More Autumn Pasta To Enjoy
Autumn Has Arrived I would say that ‘Sweater Weather’ is here but we live in Florida so that doesn’t happen until around January, if at all. But what we do experience in Florida is a cooling off. Temps in the high …

Life in sunny Florida... shoes optional
Autumn Has Arrived I would say that ‘Sweater Weather’ is here but we live in Florida so that doesn’t happen until around January, if at all. But what we do experience in Florida is a cooling off. Temps in the high …

Bowl a Comfort Dirty Rice/Spanish Rice With Fried Kielbasa Sausage A Meal In Itself —————————————————————————- Dirty Dawgs I keep my Granddaughter anywhere between 2 and 5 days a week. We tend to do a lot of coloring and drawing, and plenty …
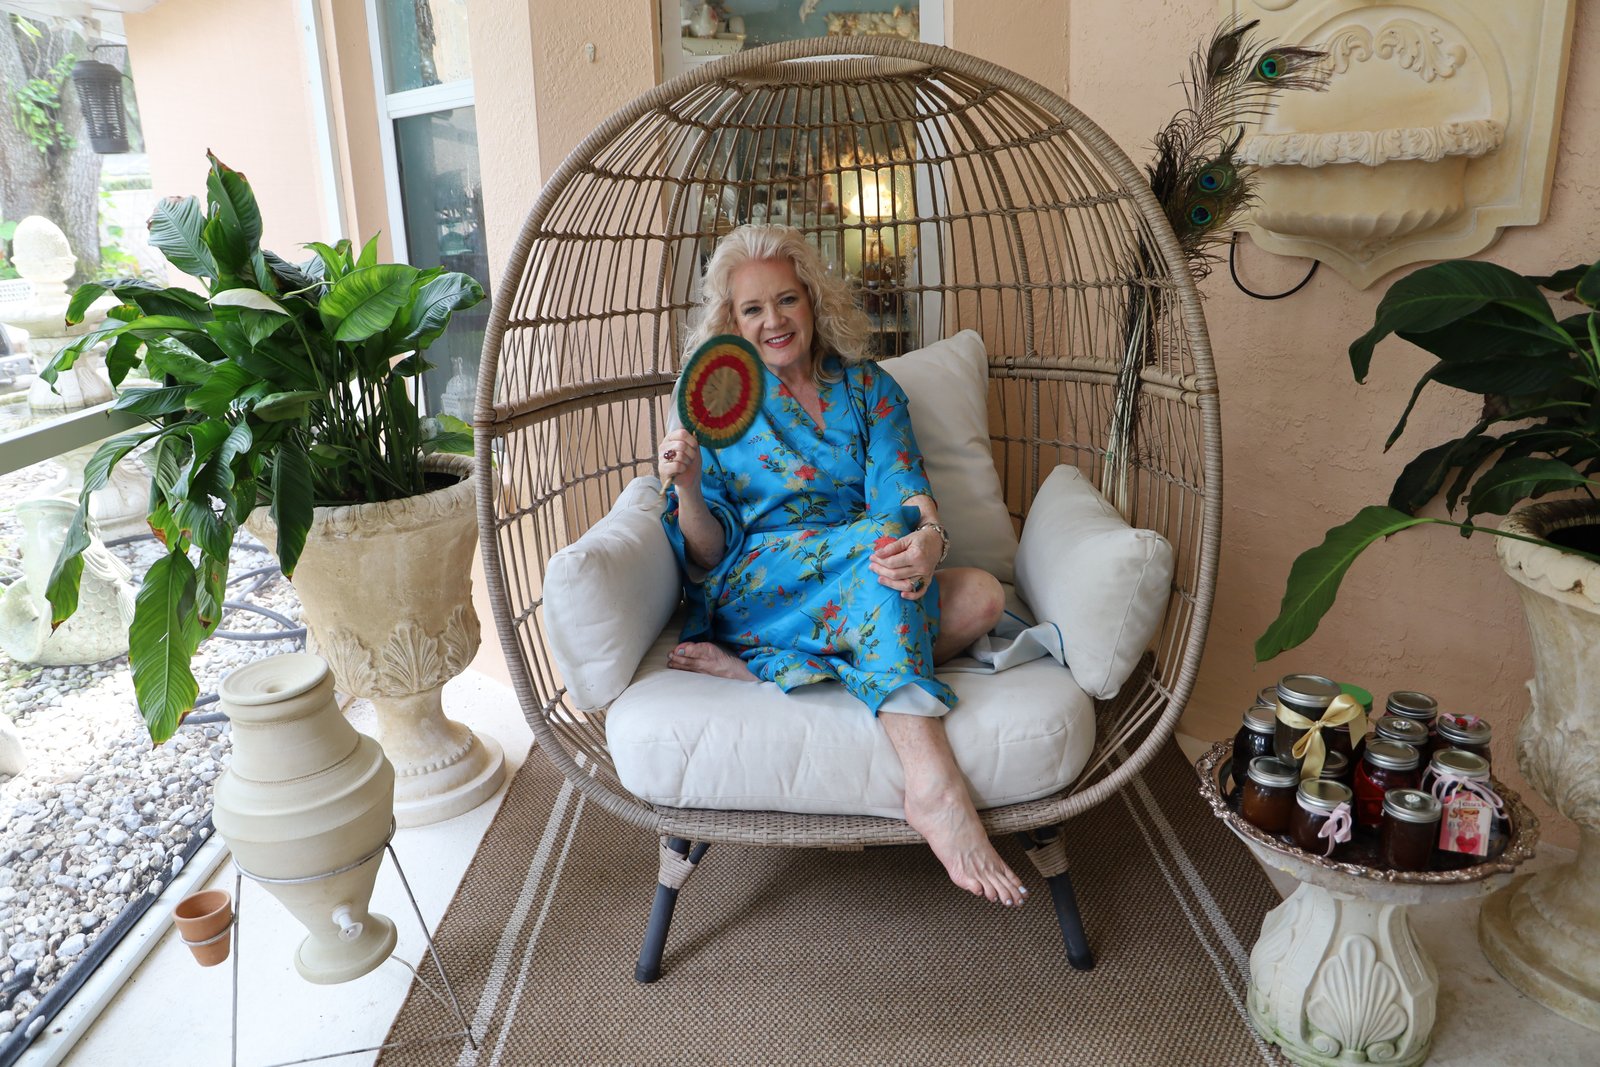
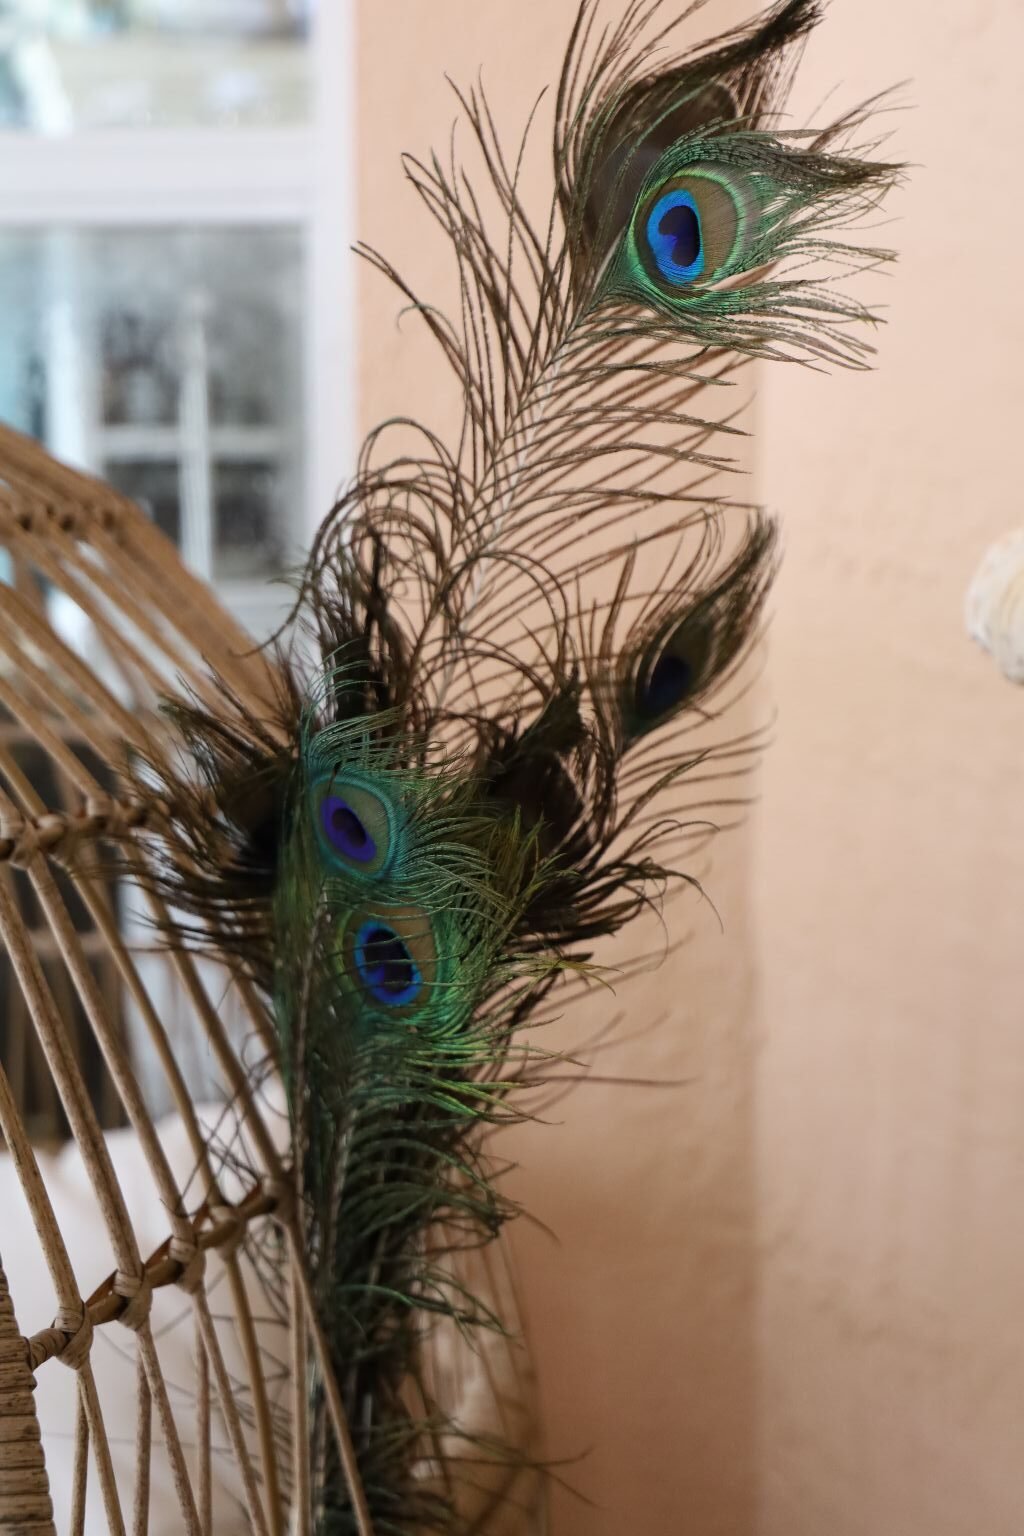
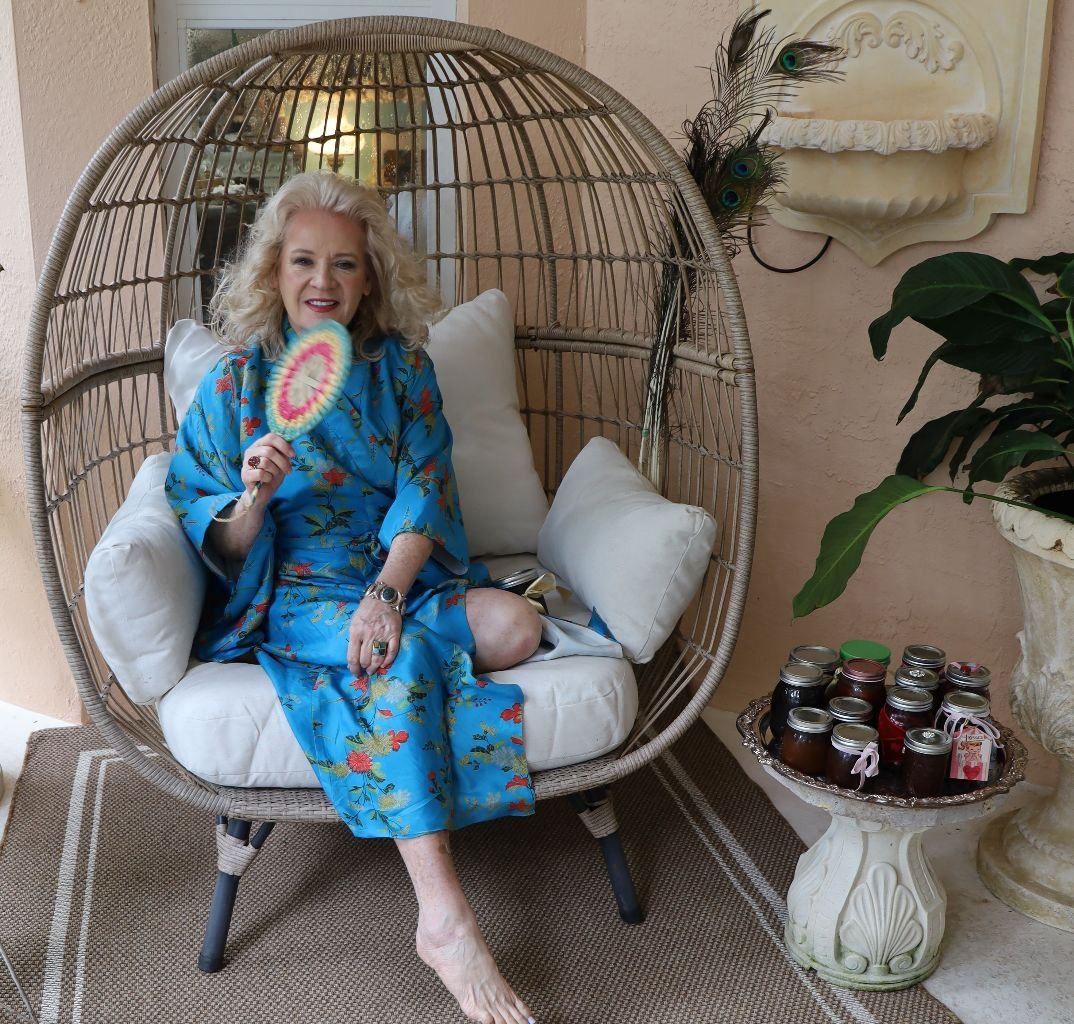
Peacock Feathers For Luck
I was born in Georgia and lived throughout the south during my upbringing. The South is also known as The Bible Belt. The South has a very large religious community that comprises of many different Churches. Baptists, Methodists, Presbyterians, Church of God, Church of Christ, Pentecostal Holiness, and a few others…. We were Disciples of Christ, which is what Ronald Reagan was, btw.
Although my family and the people we knew were more liberal than the average Southerner. We learned about other religions at church but in an educational way, and not in a ‘they will all burn in hell because they aren’t like us’ way. I was certainly exposed to the Evangelical’s and their beliefs. One thing that they would warn you about were the “Jezebels” of the world. It was just in the culture.
When I went off to college I was warned to ‘Stay away from the bitches and the whores.’ Although no one in my family ever said that to me… well, my Grandmother would always tell me to stay away from the Floozies and the Flossie Mae’s, it was just the culture of the South. (I’m not excusing it, just explaining it.) Although if anyone I knew was a Flossie Mae it was my Grandmother. That woman could sashay!
But, when I did go off to college and I did interact with the other girls there, I found that the people that I liked the most were the bitches and the whore’s. The bitches weren’t bitchy, they just stood up for themselves. They were intelligent and spoke out when it was important to do so. And the whores, well, they never judged you. They would even look out for you when you would go out with them while the Evangelical girls would just as soon dump you on the side of the road than deal with you. Also, the gay guys that I went to college with, it was a private fashion college in Charlotte, North Carolina, they were the best friends you could ever have. You could go out with them at night and they would look out for you. And the best giggles you will ever have in your life were with the gay guys!
The hypocrisy of the South is that they created a “Jezebel Sauce” that they serve at various religious functions. Whether it is a Church Suppah, a Church Picnic, a Church Wedding….. Oh, and it is the number #1 condiment in the state of conservative Mississippi.

Which brings me to all of my Jezebel’s…..
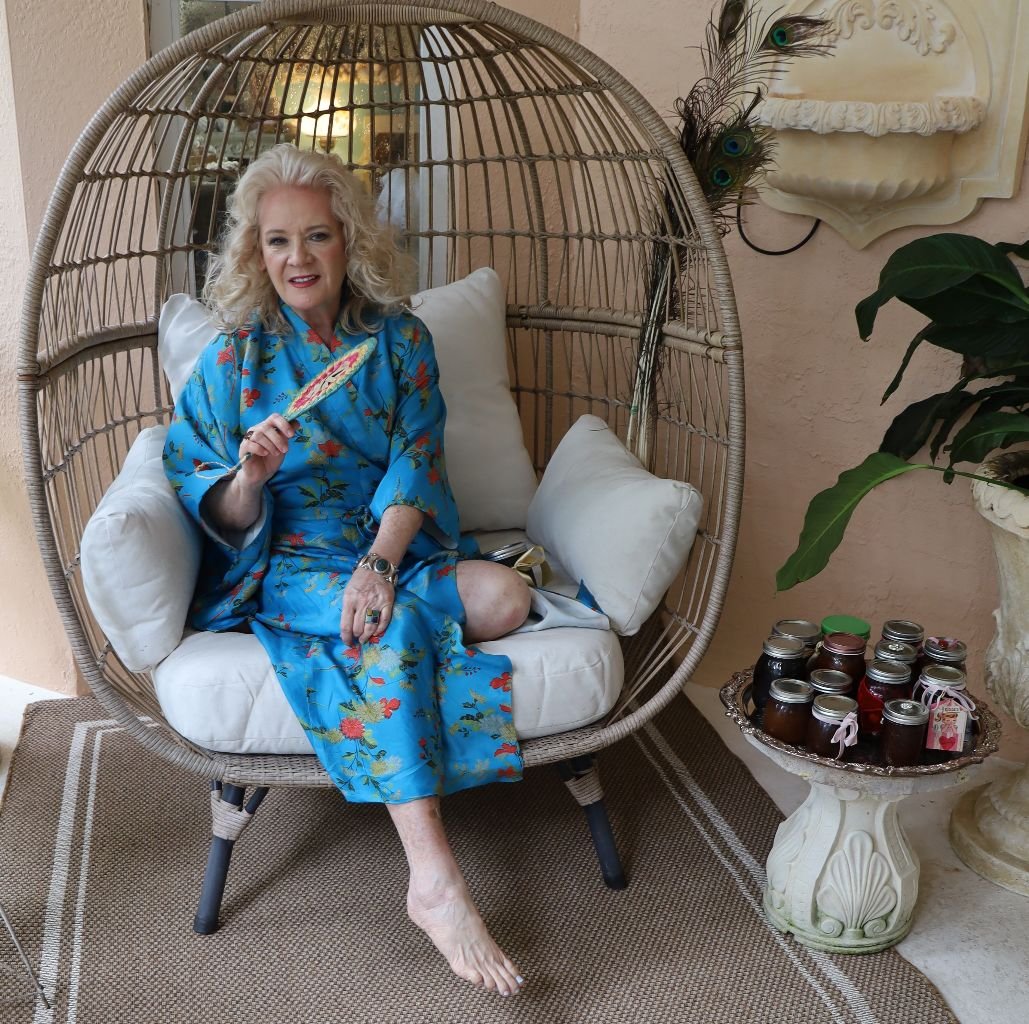
I adore each and every one of you!
Which Is Why I Created You!
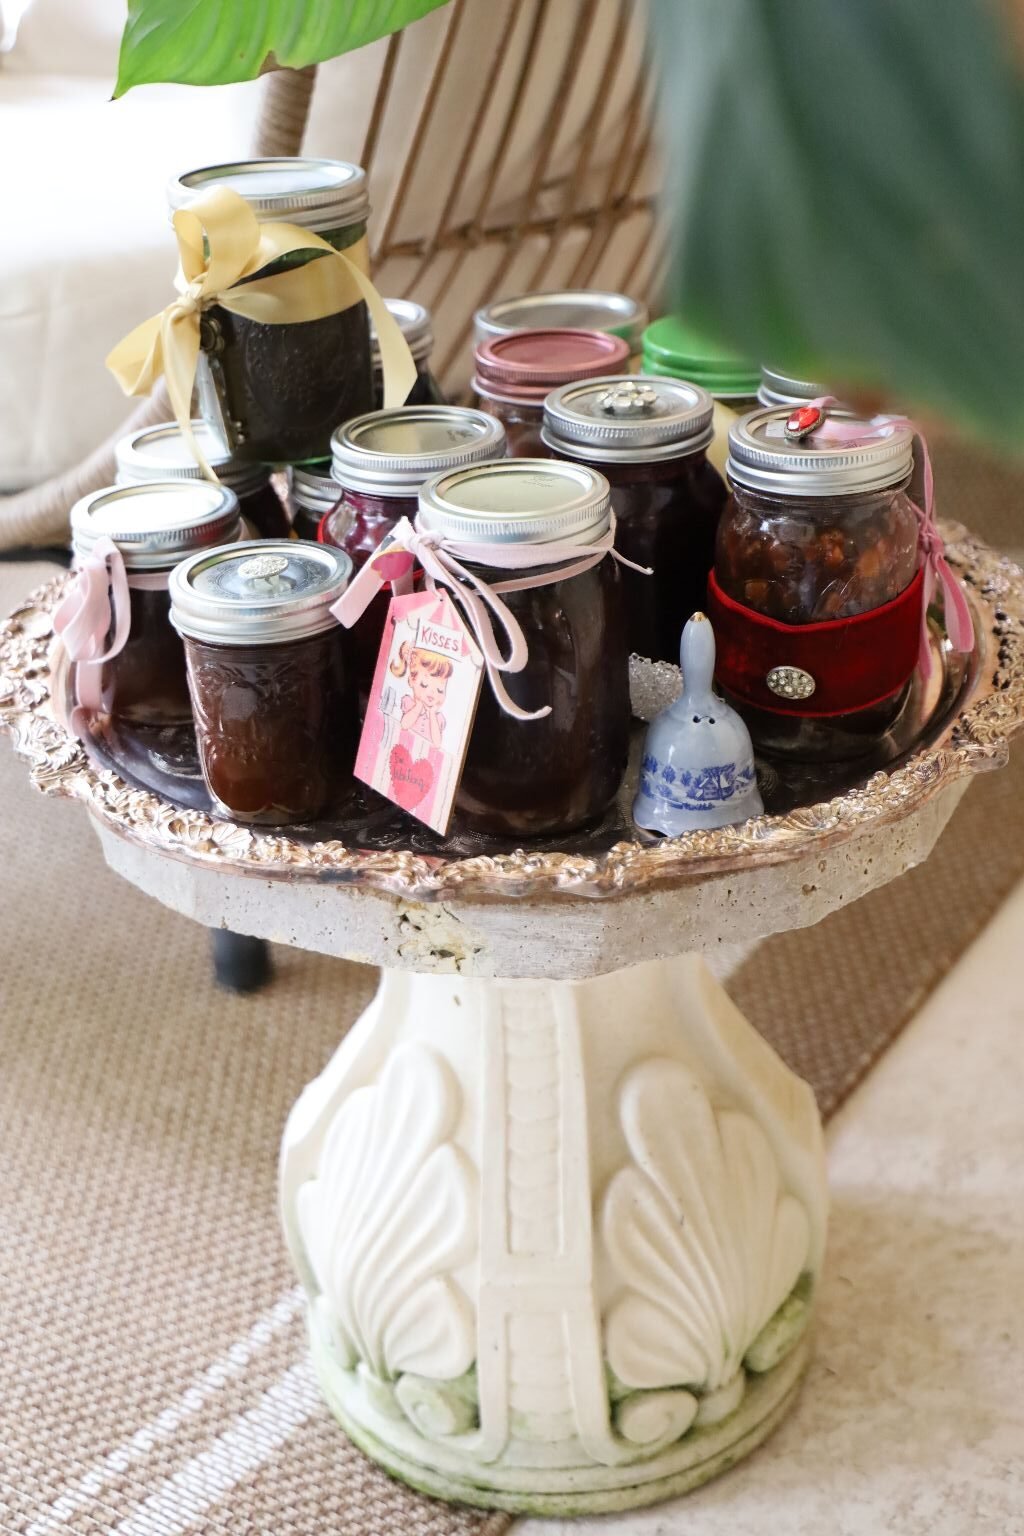
The Jezebel’s Of This World Have The Biggest Hearts…
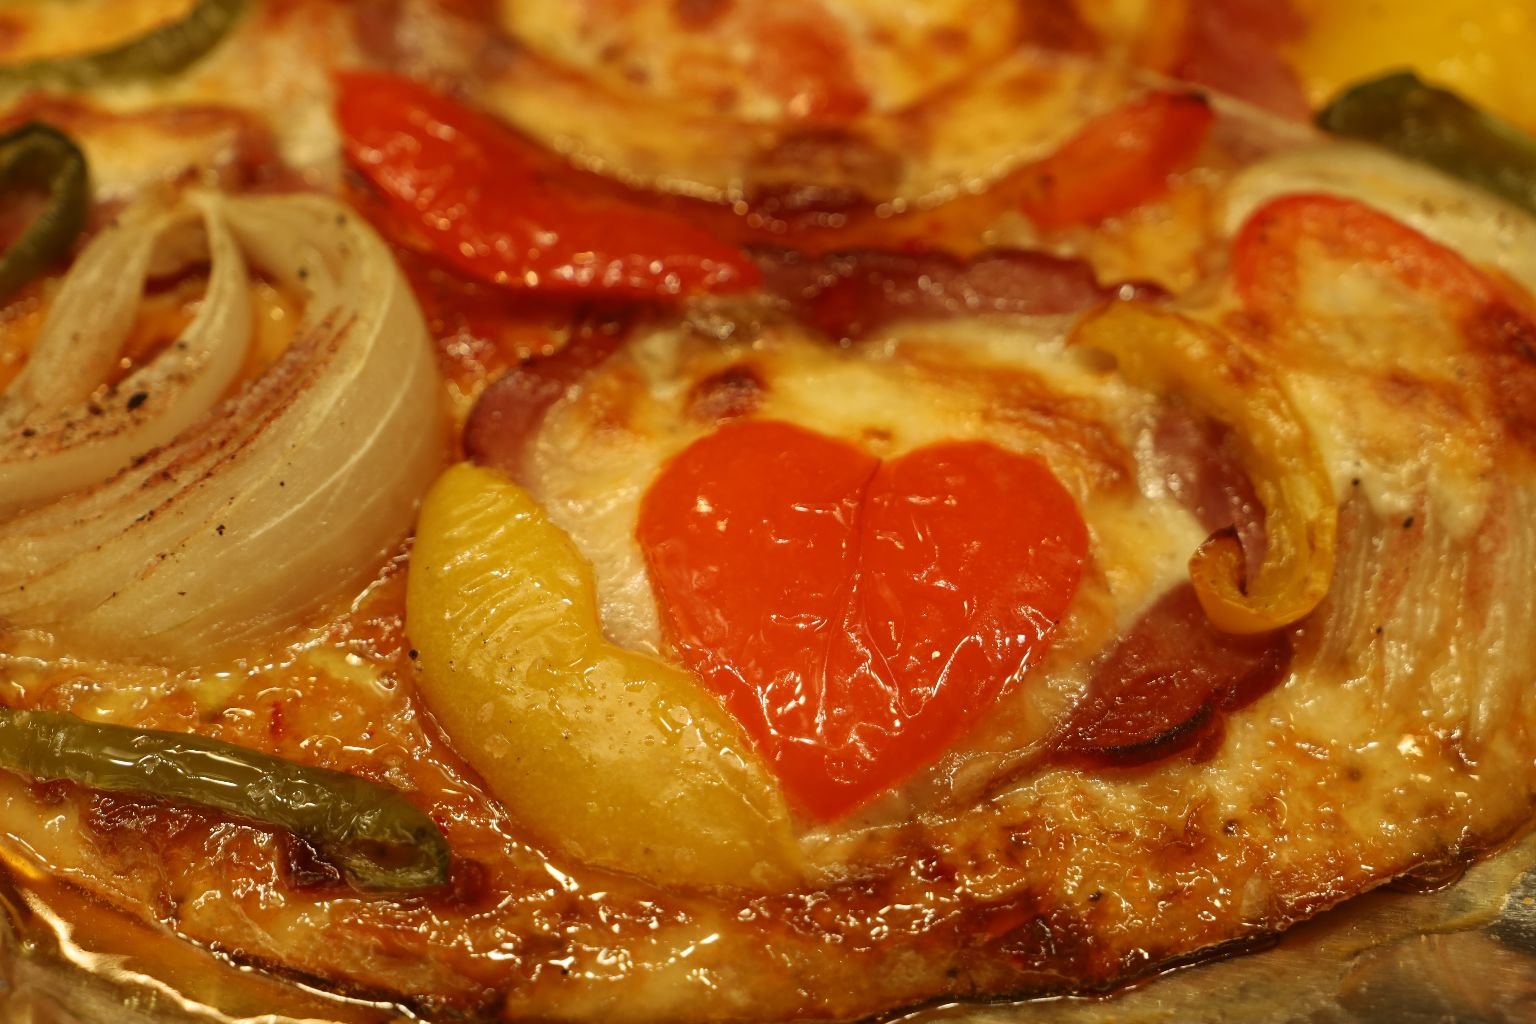
Which Is Why I Love You All!
Julie

p.s. Coming Christmas 2026,
A Naughty Christmas Jezebel For Underneath The Tree 🙂
—————————————————————————————-
Click Here For: Julie’s Jezebel Sauce
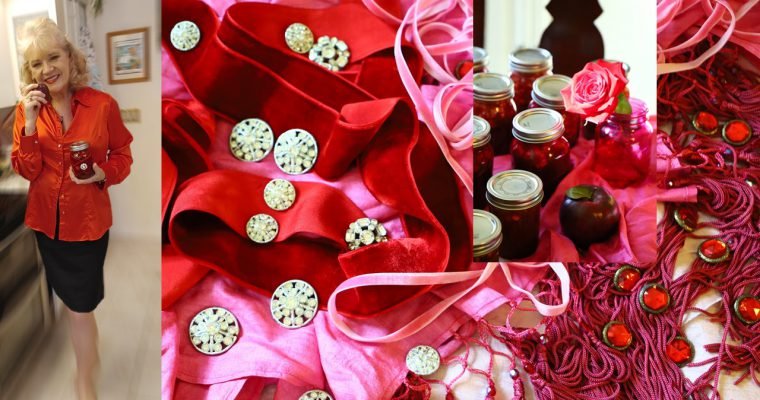
Our Jezebels On This Page:

The Forbidden Jezebel
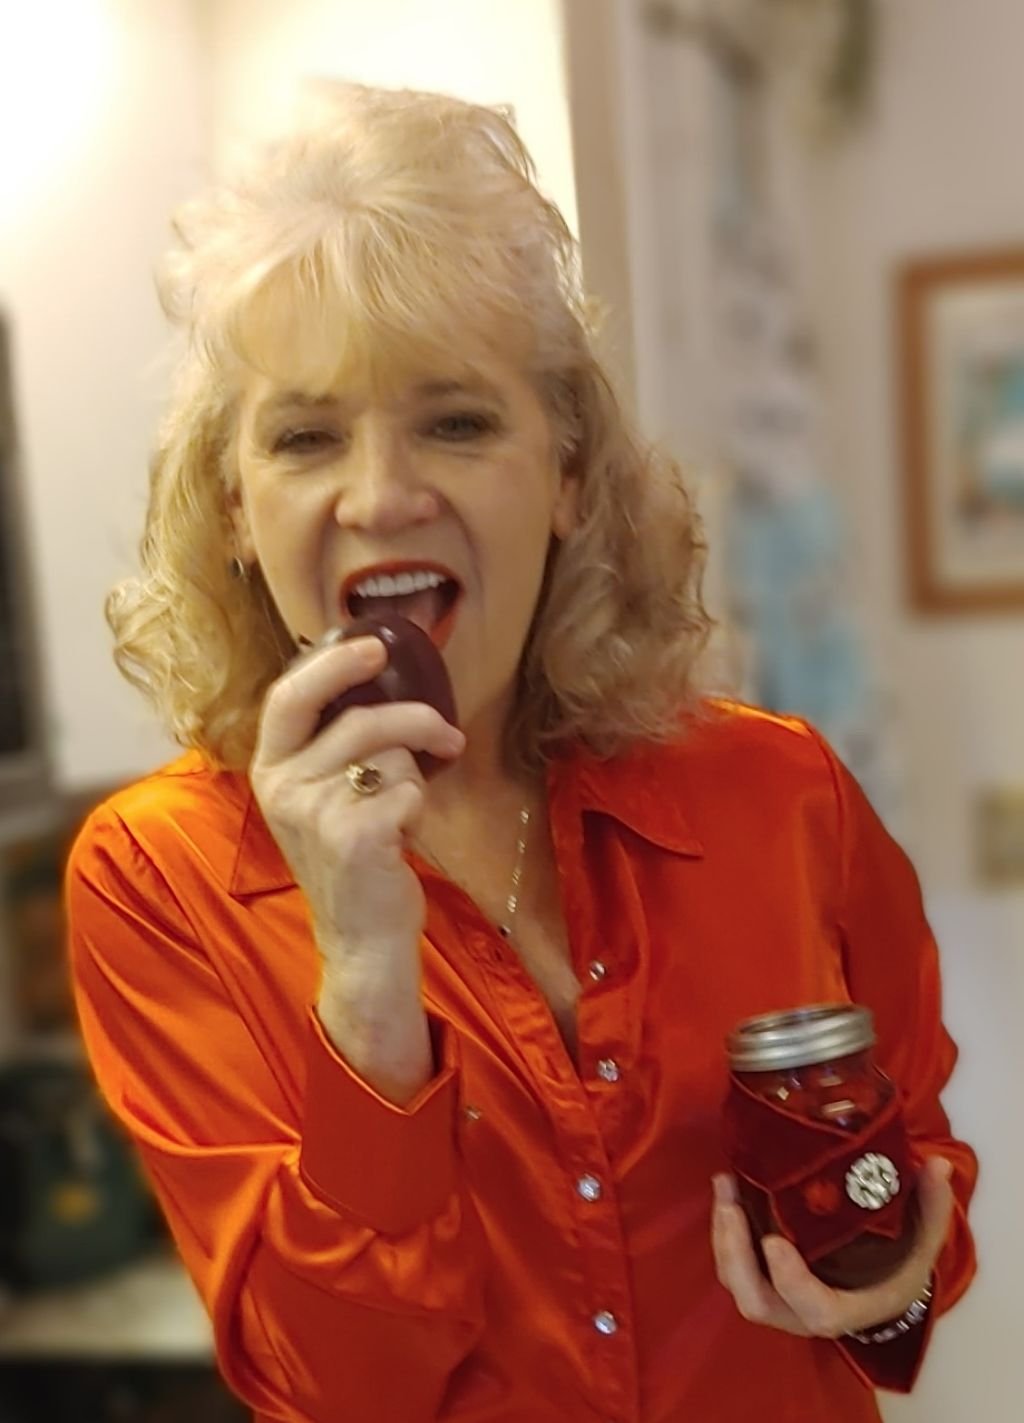
With Apples
The Classic Jezebel (My Twist)
—————————————————————————-
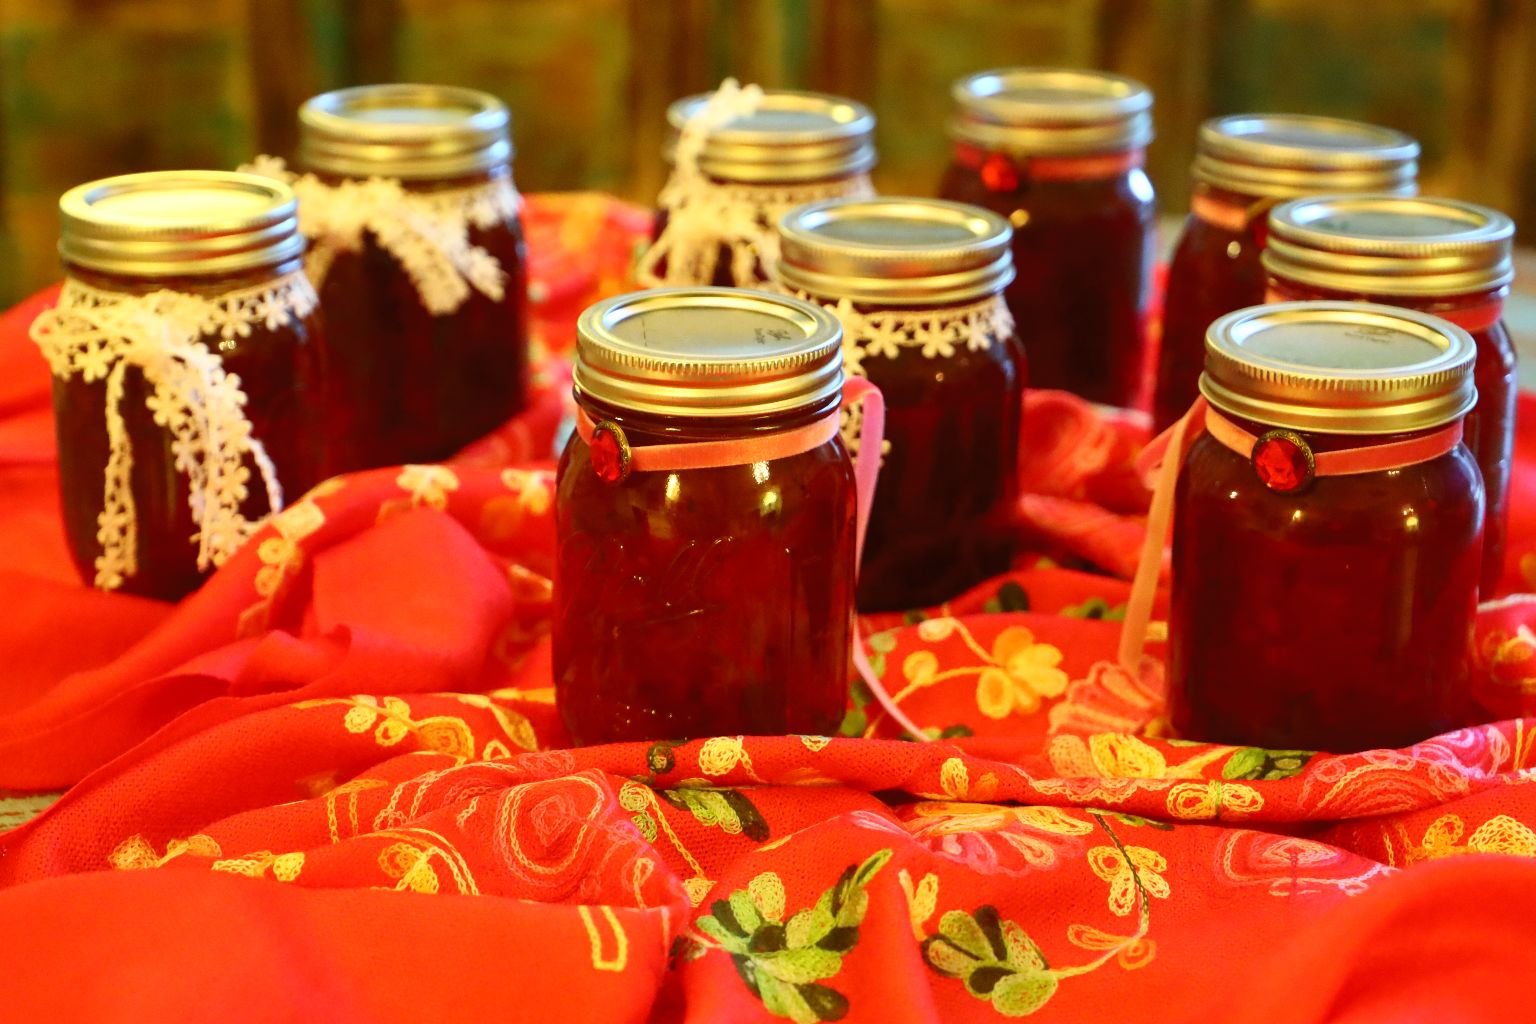
The Latin Jezebel
(With Guava Shells and Jalapeno Peppers)
—————————————————————————–
And My:

Georgia Peach Jeze-Bells
—————————————————————————–
I Also Created An:
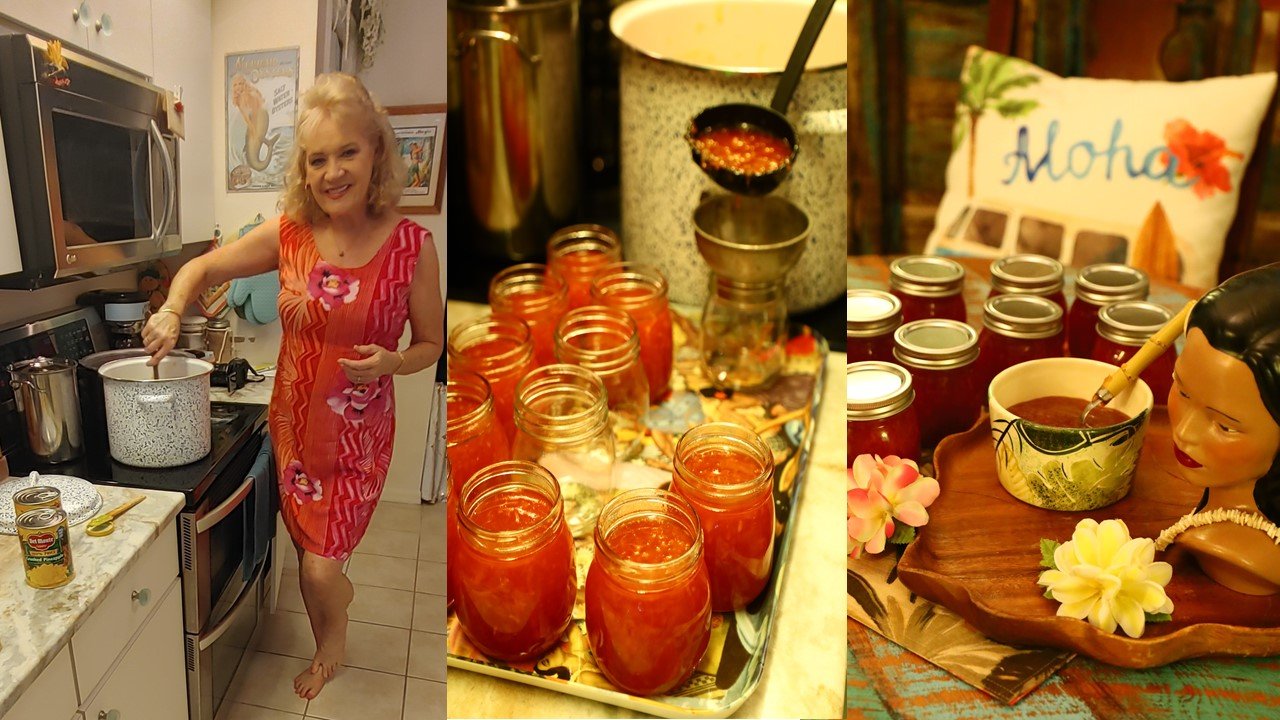
Based On Our Love Of Hawaii
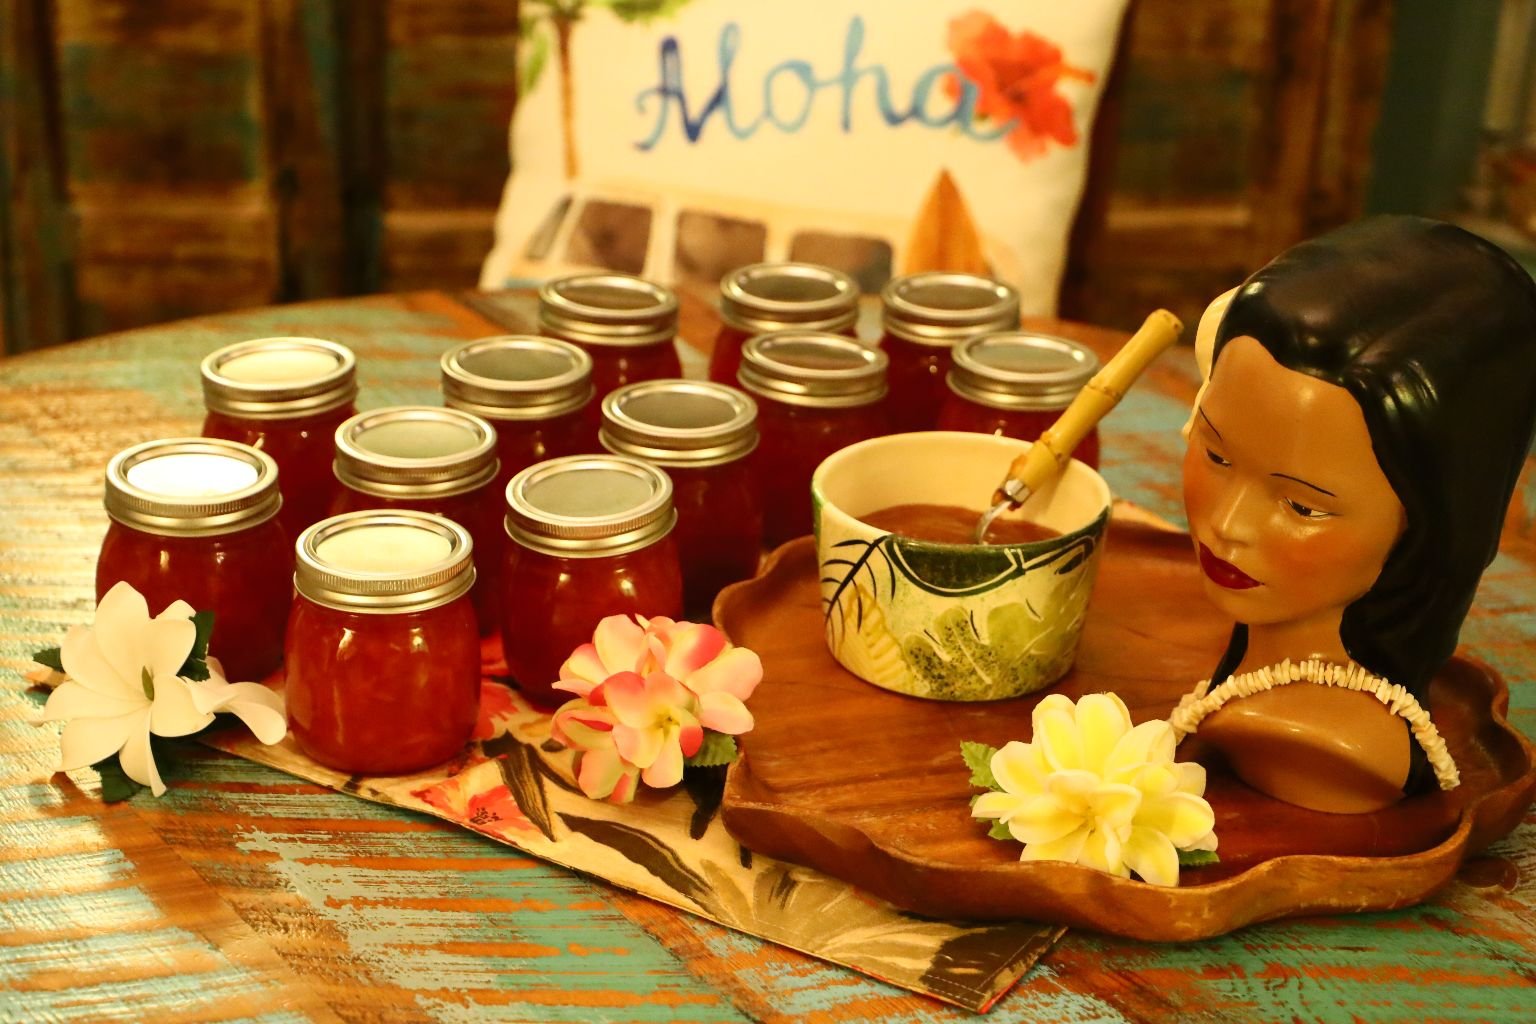
——————————————————————
AND,
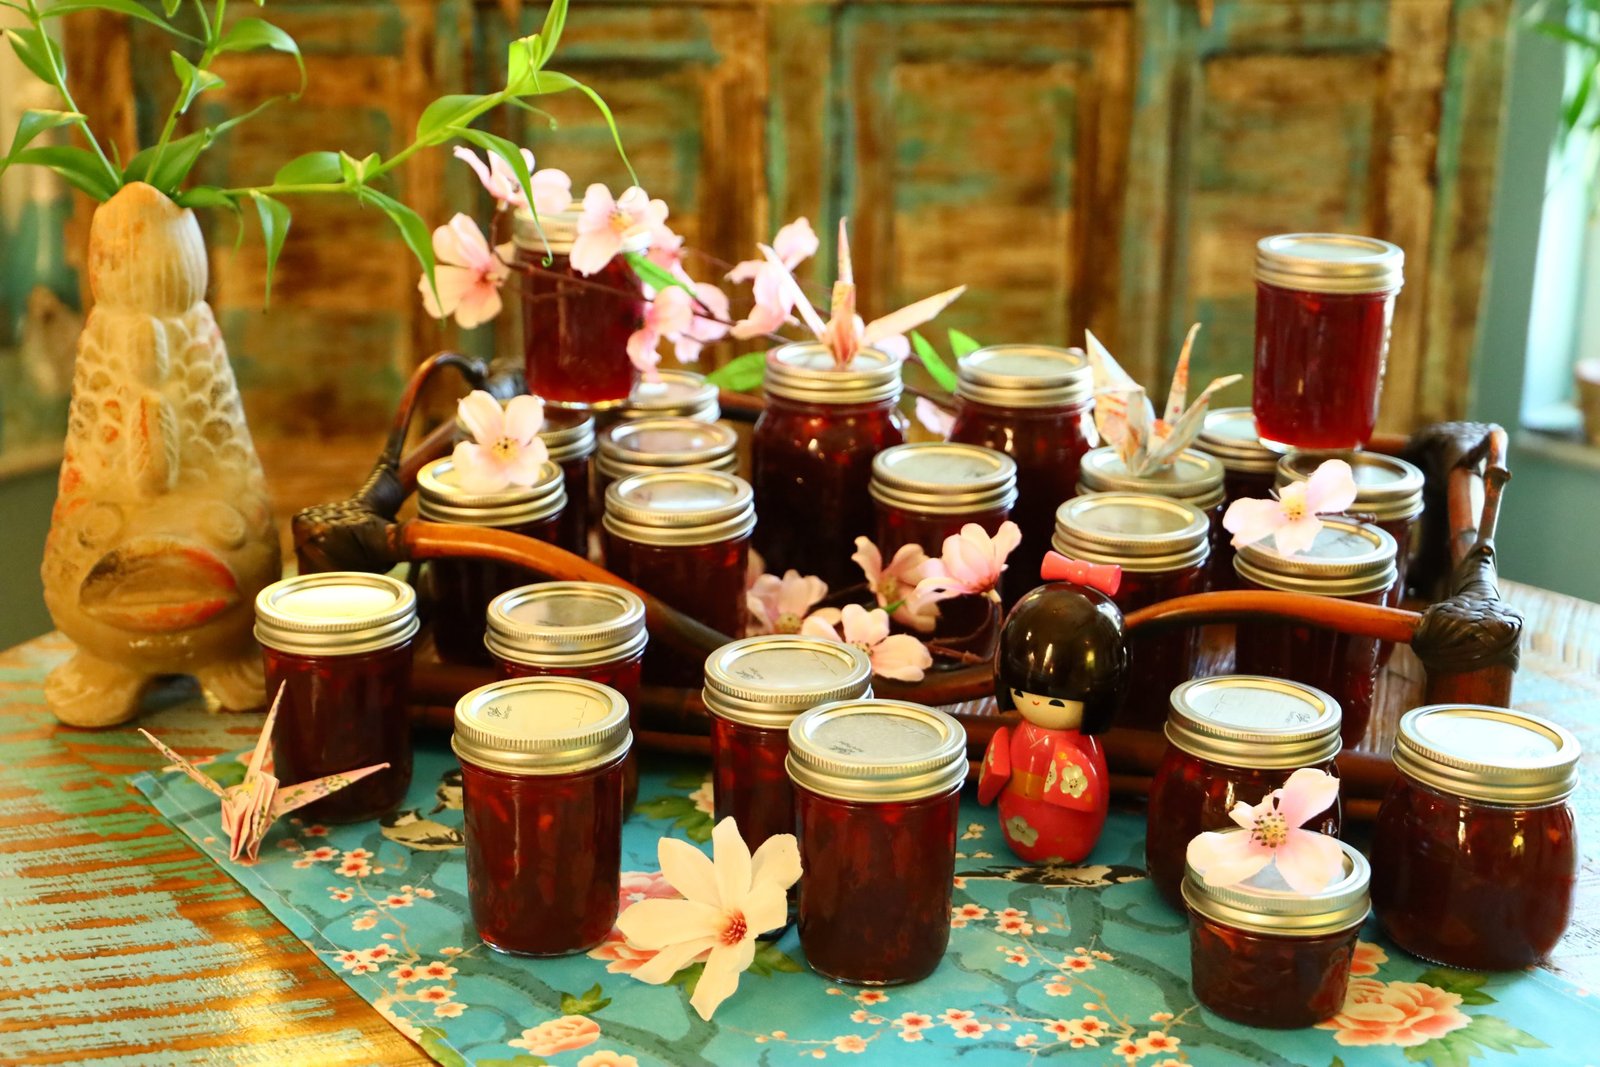
Again, Based On Our Love Of Hawaii And The Asian Cultures
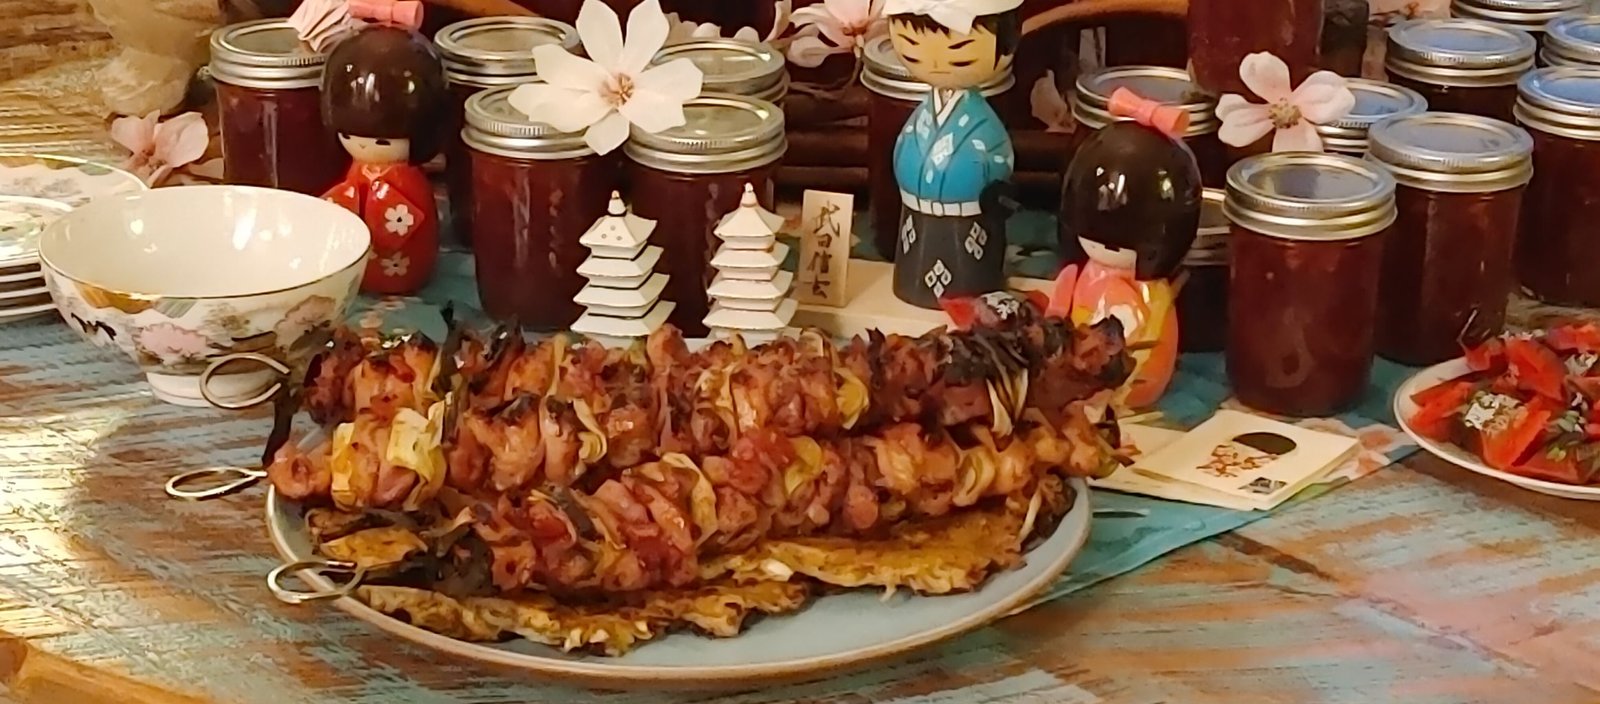
—————————————————————————————-
AND,
An Old Florida Jezebel (Sauce)
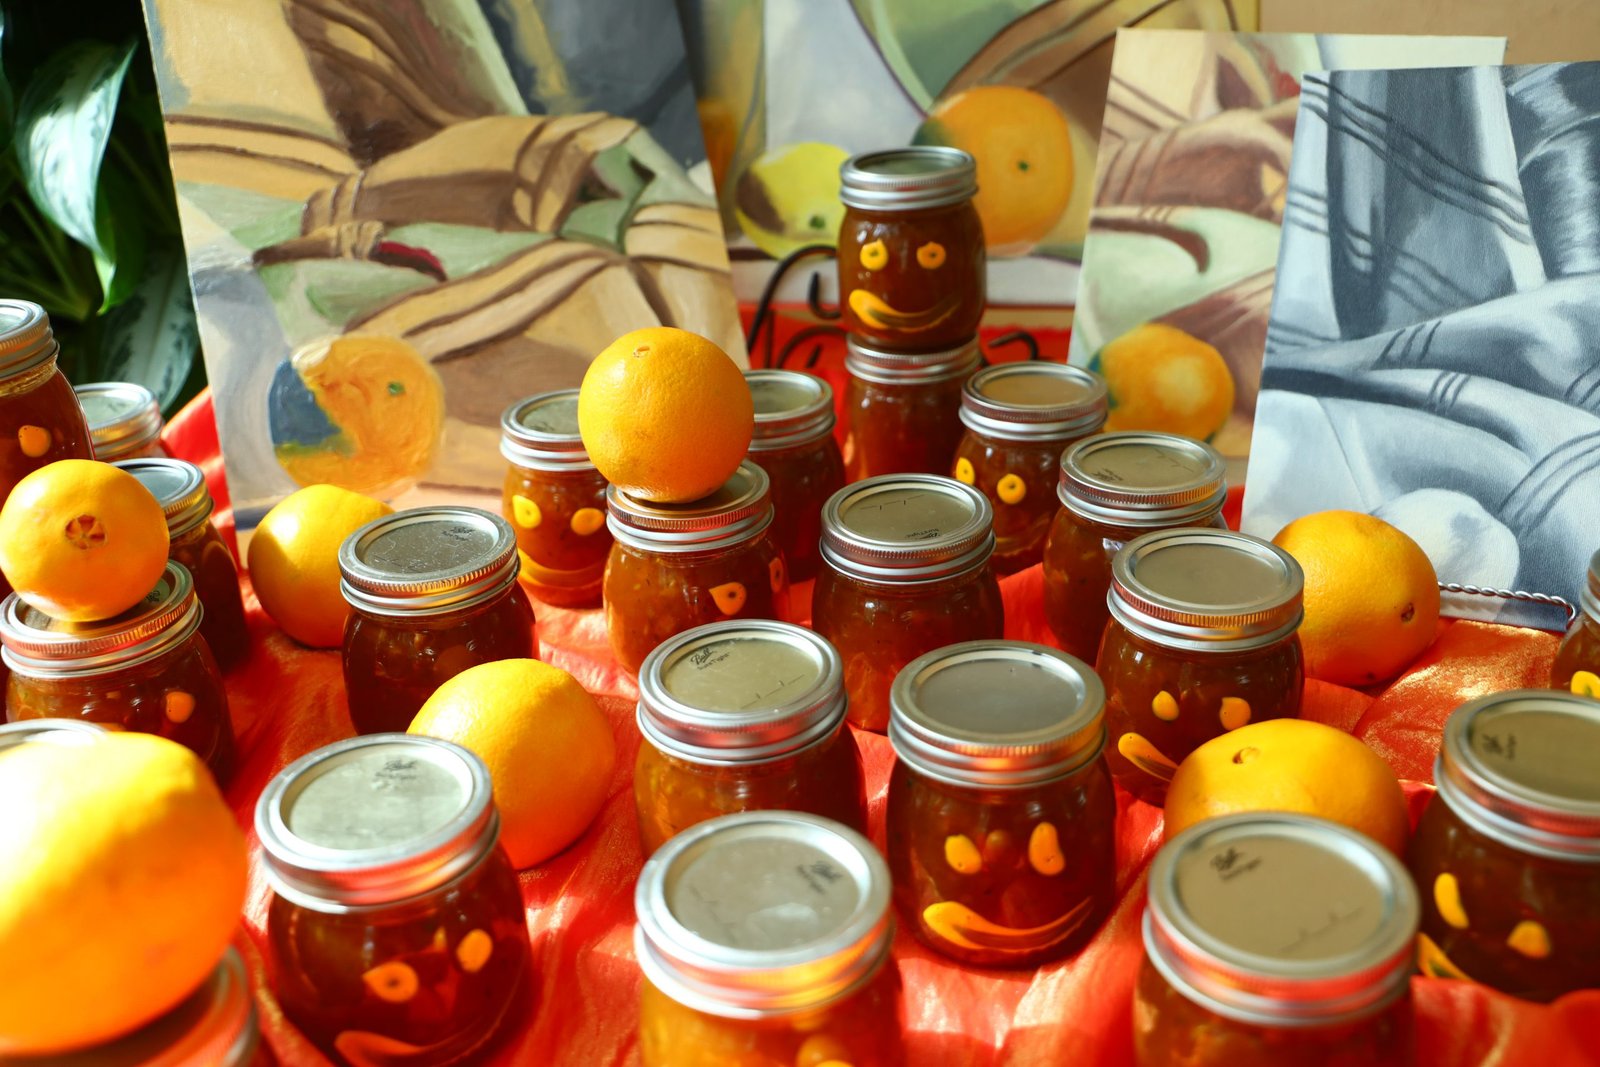
Based On My Love Of Old Florida

————————————————————————-
I ALSO CREATED,
One HOT Jezebel for Breakfast (Sauce, That is.)

AND,
Click Here For: More of Julie’s Jezebel Recipes to Enjoy
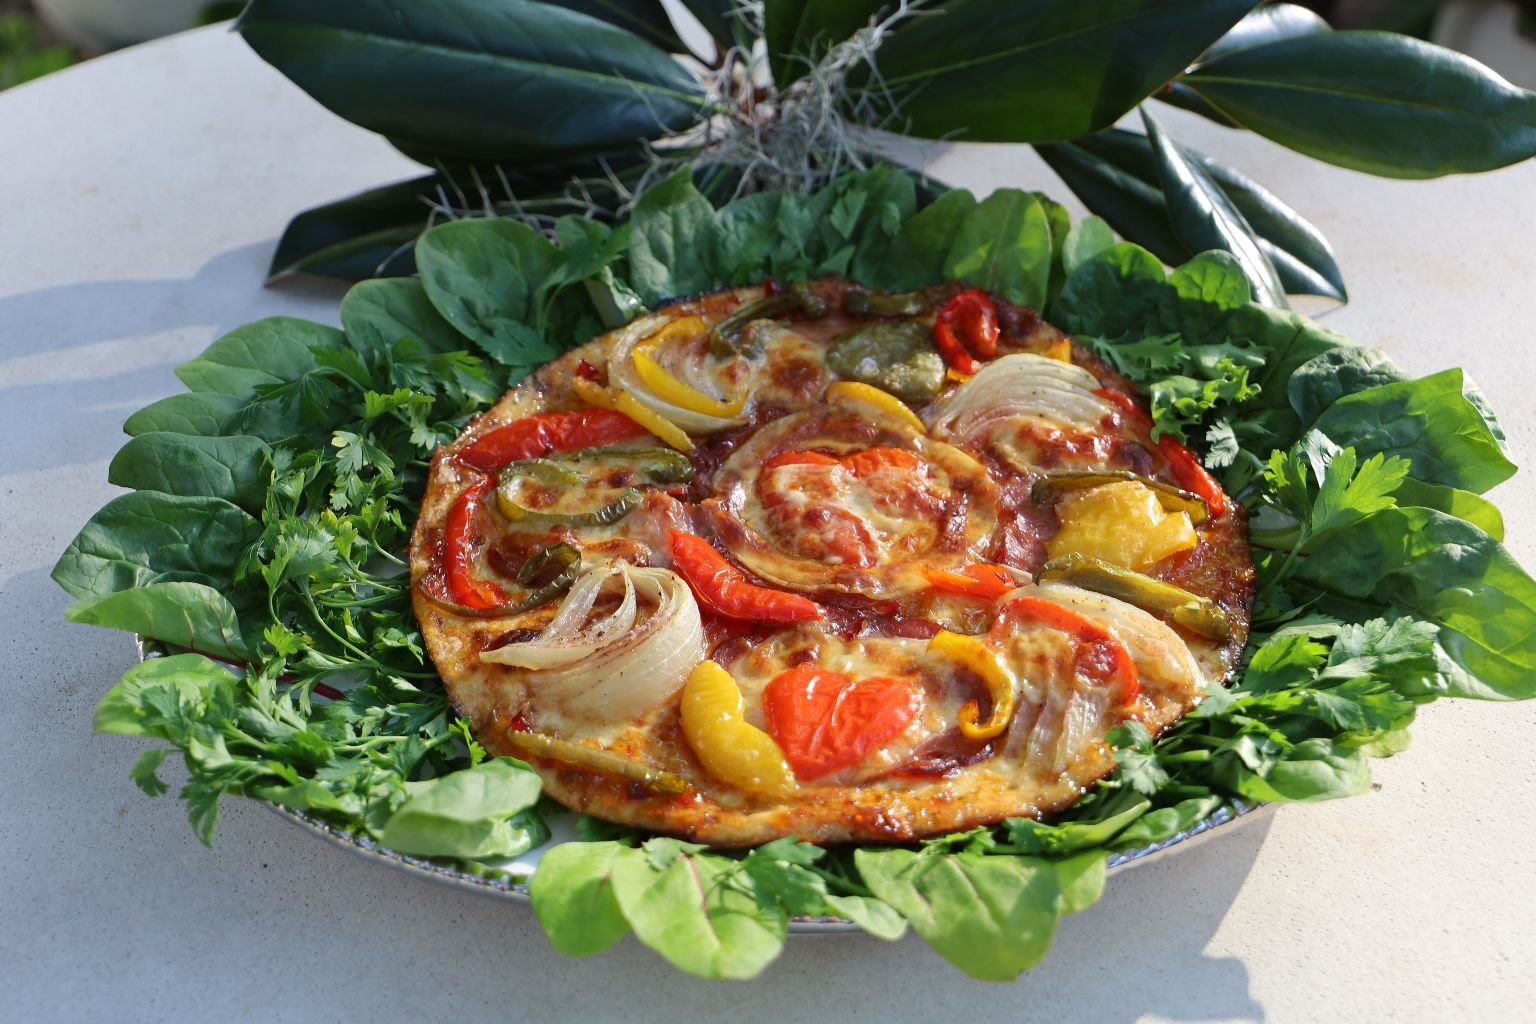
I Needed An Additional Page To Place Some Extra Jezebel Recipes
————————————————————————-
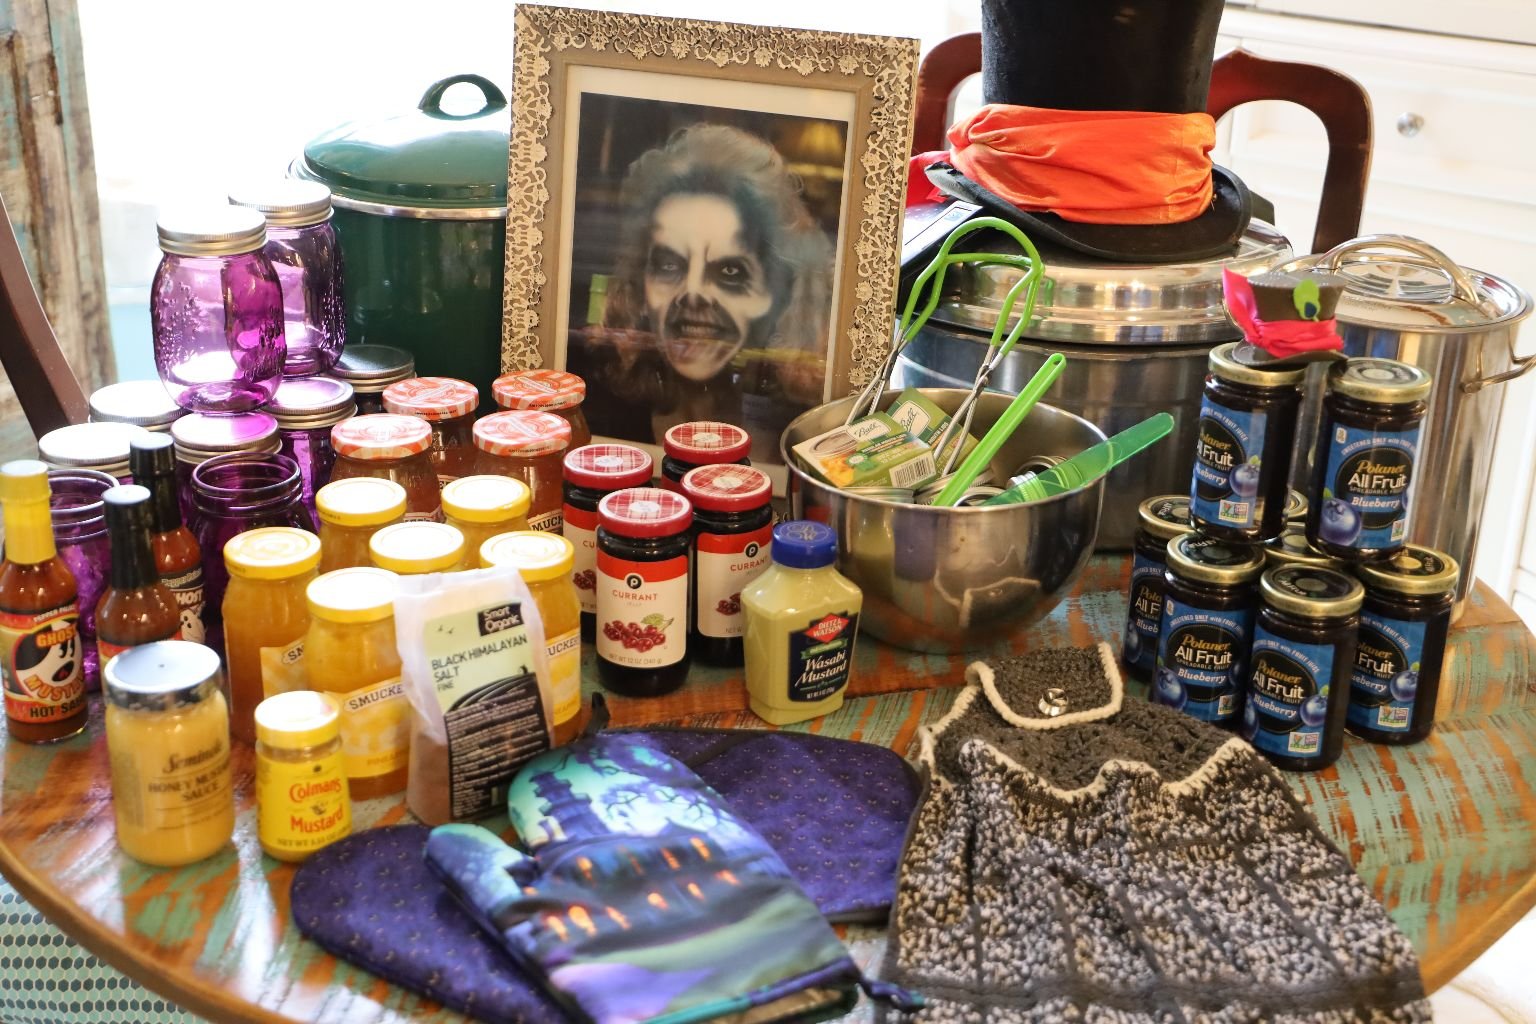
I Even Created A Halloween Jezebel:
A Haunted Jezebel, Together With A Haunted Mansion Halloween Repast

———————————————————————
AND,
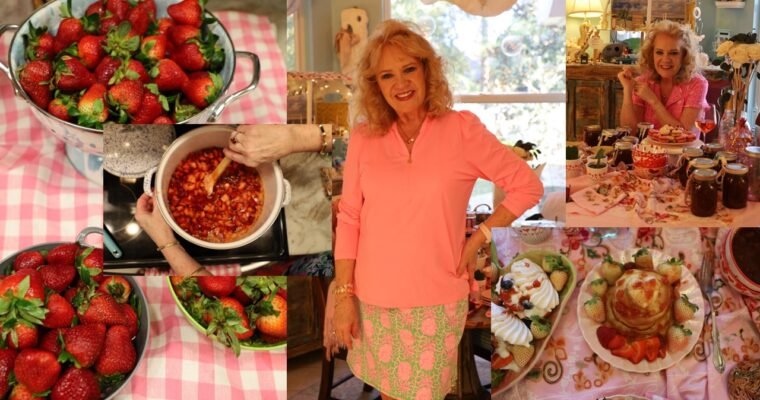
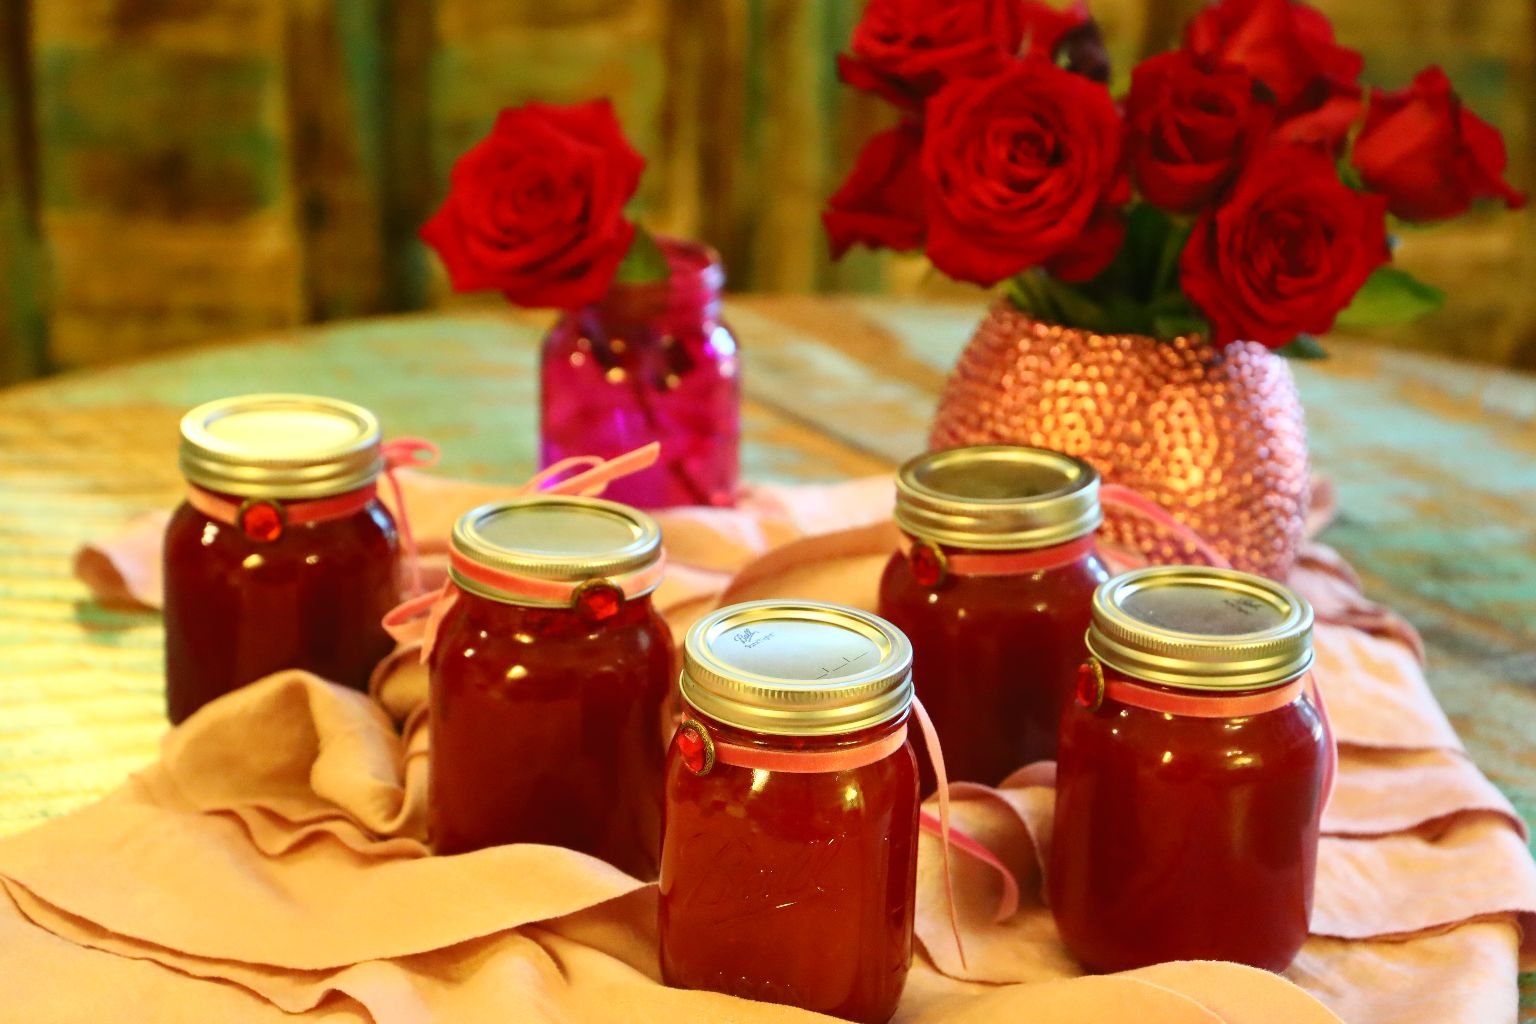
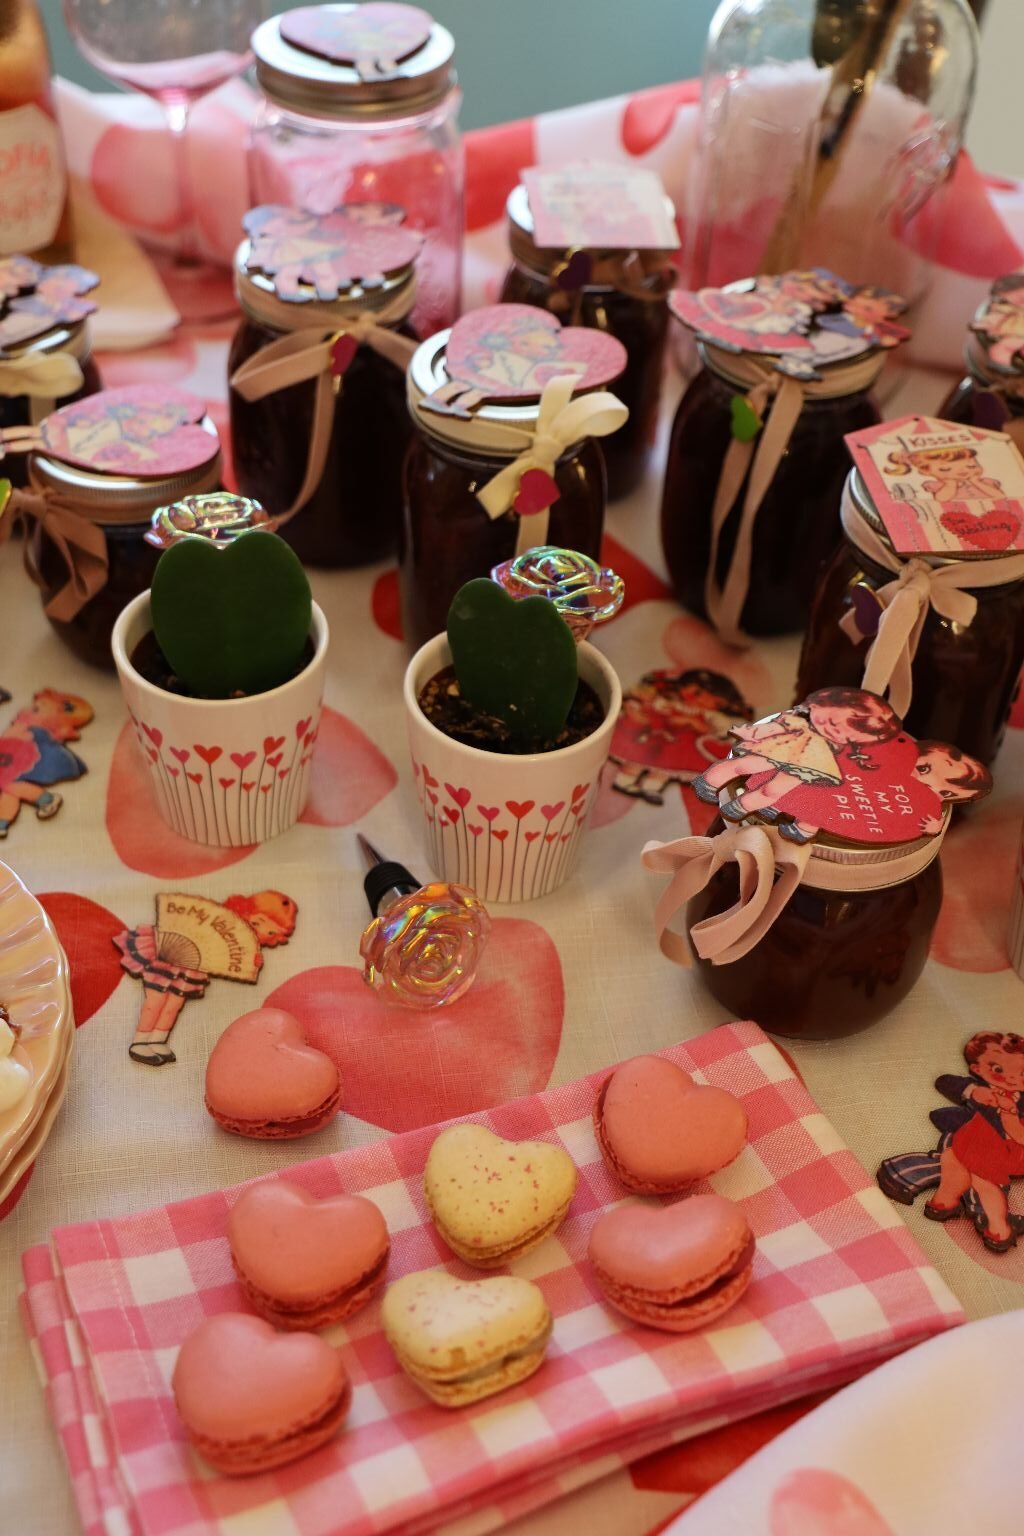
I LOVE Valentine’s Day!
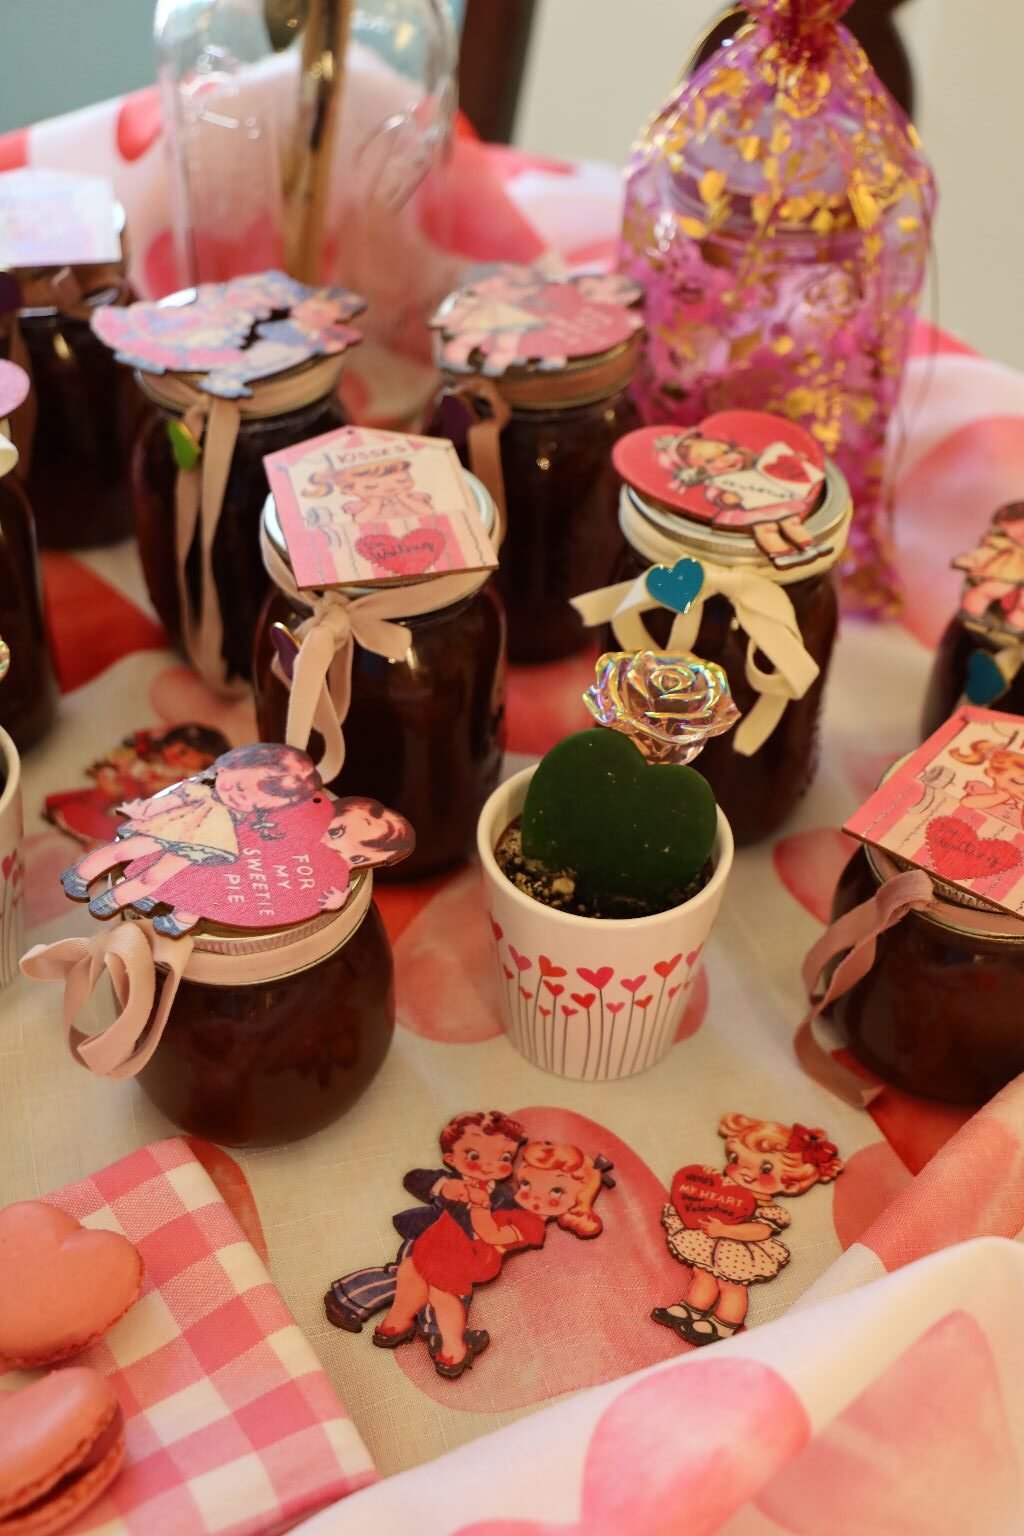
————————————————————————————–
ALSO,
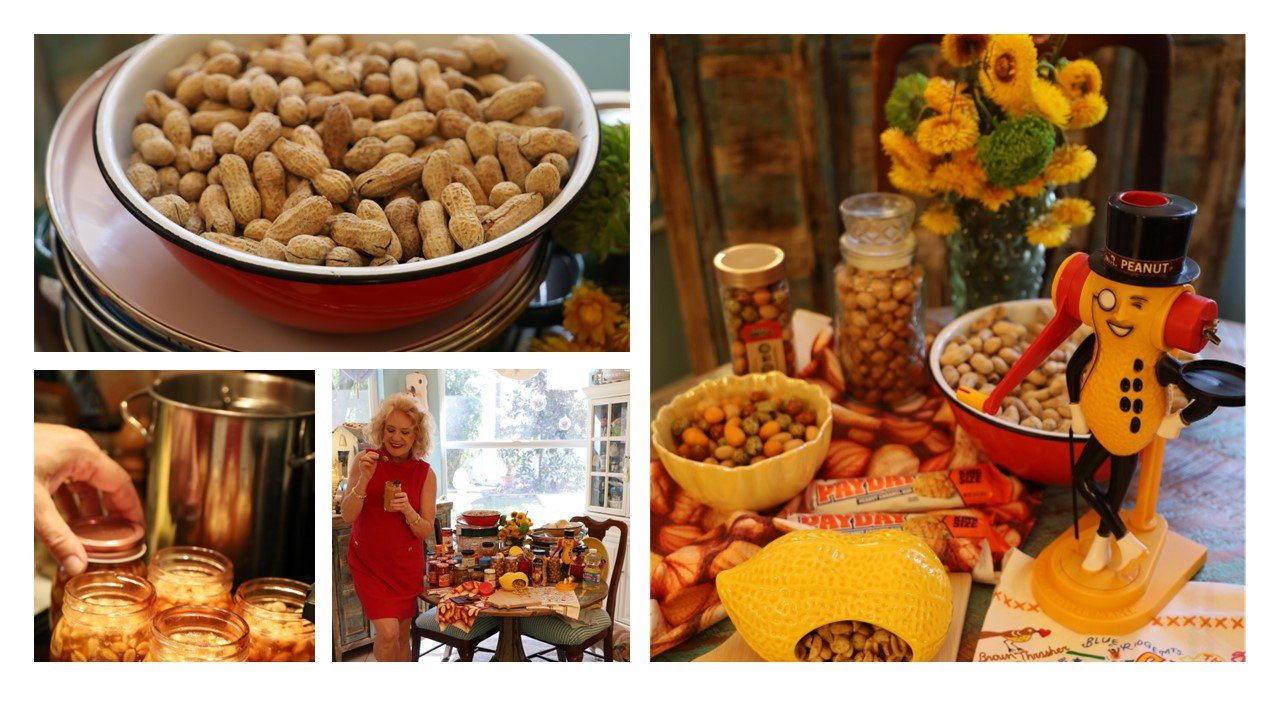
Based On My Home State Of Georgia
——————————————————————————
AND,
A Nancy Drew Mystery ._ _ _ /./_ _.././_… ././. _.. Sauce
(Because I love Nancy Drew and Morse Code)
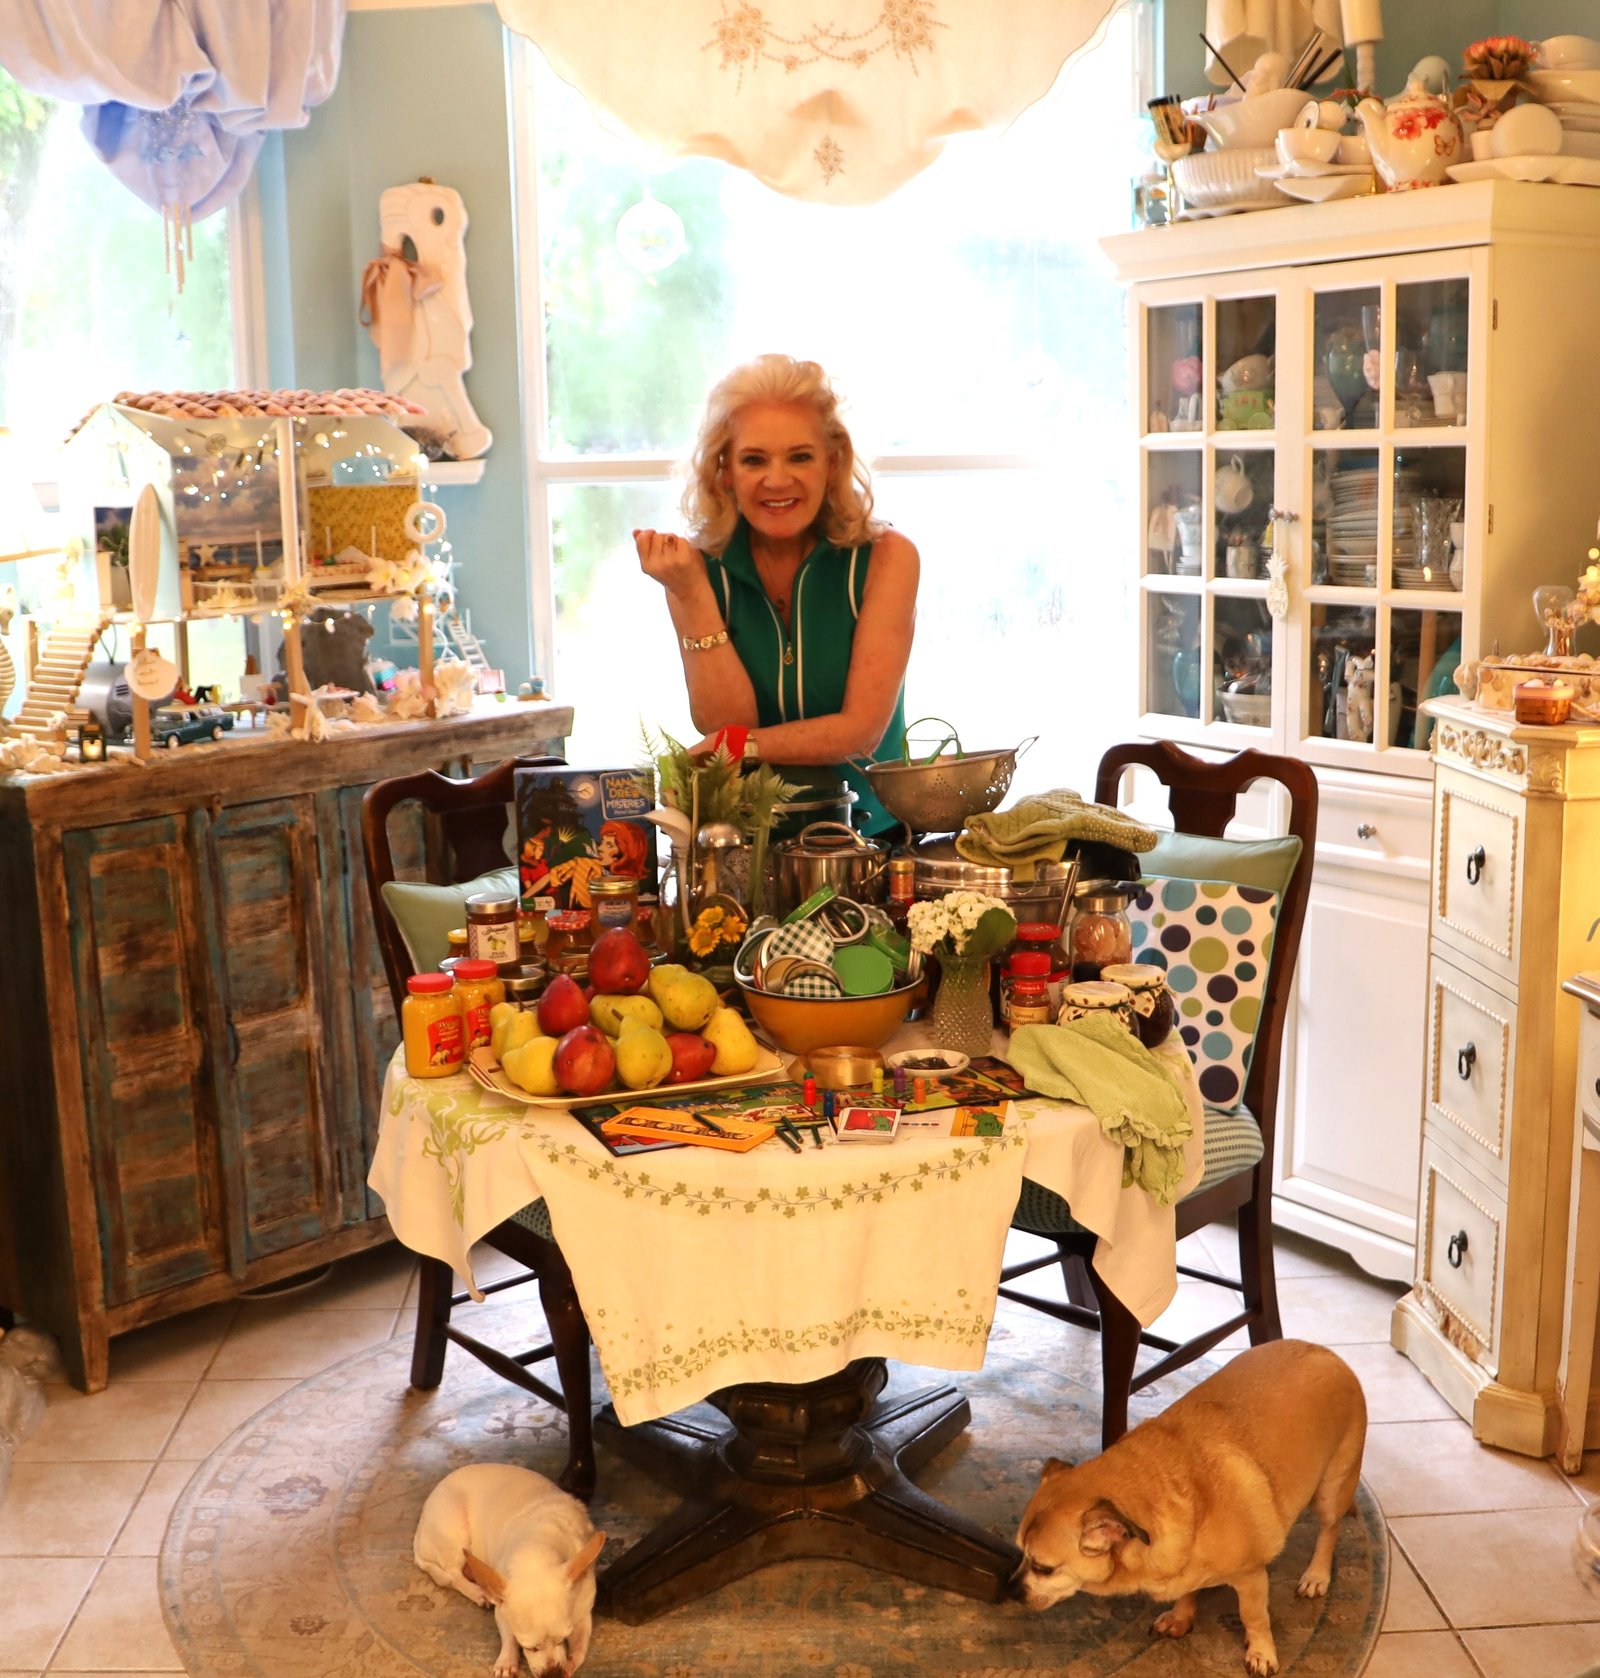
Click Here For: A Nancy Drew Mystery ._ _ _ /./_ _.././_… ././. _..Sauce
I would like to add that Nancy Drew was no ._ _ _ /./_ _.././_… ././. _.. .
I cannot even bring myself to say the word ._ _ _ /./_ _.././_… ././. _.. beside her name, which is why I got the idea to put the name in Morse Code.
The reason I created a ._ _ _ /./_ _.././_… ././. _.. sauce for Nancy Drew is because I wanted to create some sort of sauce in her honor. She was very worldly. She traveled the world with her father Caron Drew, and her friends Bess and George. Nancy knew people from all over the world and also knew and respected their cultures. She was mature beyond her young years. She had encountered many a villain, been knocked unconscious, and had to use her wits about her to escape.
—————————————————————————————

I Love Every Single One Of You!
Julie Jezebel
—————————————————————
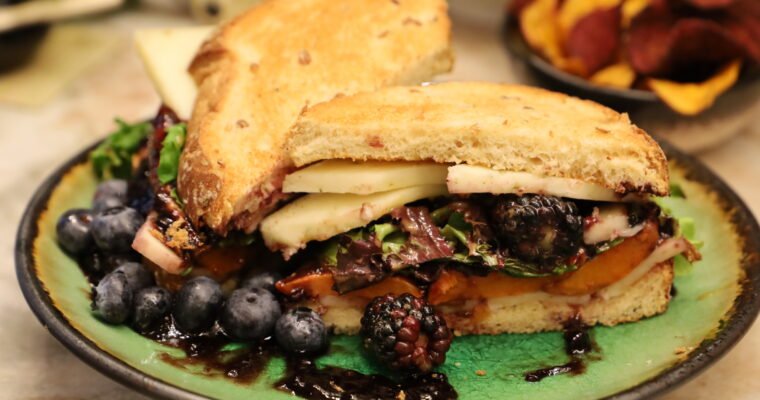
Yet Another Sandwich Page! WELCOME We eat a lot of sandwiches. Although we have sandwiches all over our website, whether they be interspersed with other recipe pages, or having their own website pages, here is yet another one I created. WE LOVE …
A Nancy Drew Mystery ._ _ _ /./_ _.././_… ././. _.. Sauce (Because I love Nancy Drew and Morse Code) I would like to say that Nancy Drew was no ._ _ _ /./_ _.././_… ././. _.. . I cannot even bring myself …


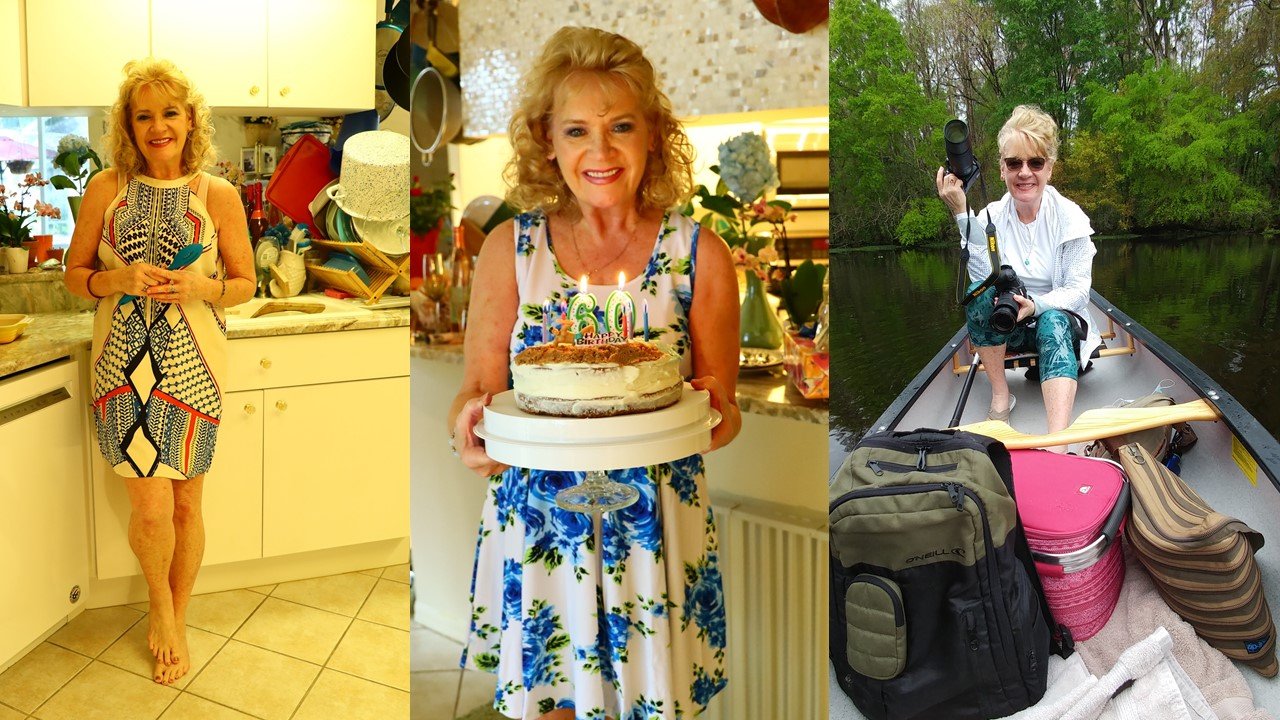
On February 13th., 2026 I Turned 65

Gordon and I ‘Out and About’ on My Birthday





65 Feels Pretty Good
——————————————————————————————
When I Turned 60 I Started this Website Page:
Sixty’s, (Sensational or Surviving?), We’ll See, Right?
(If you would like to read, just click on the link above.)
I didn’t know what 60 would be like? Which is why I started the above website page.
I assumed that I would be blogging about any changes in my body or lifestyle. Perhaps the ‘ups and downs’ of ageing? My intention was that we would explore it together.
I am a very open person. Sometimes to my detriment. But, that is who I am, and I am not going to fight against that.
Now that I am 65, I have been in my 60’s for 5 years now. I have been getting to know the ageing me and I am fine with it.
Yes, I have put on some weight in the middle. That is where my pounds accumulate anyway. They always have.
However, there is just something empowering that comes with ageing that I didn’t know in my 50’s, or 40’s, or 30’s, etc.
—————————————————————————————–
Turning 65
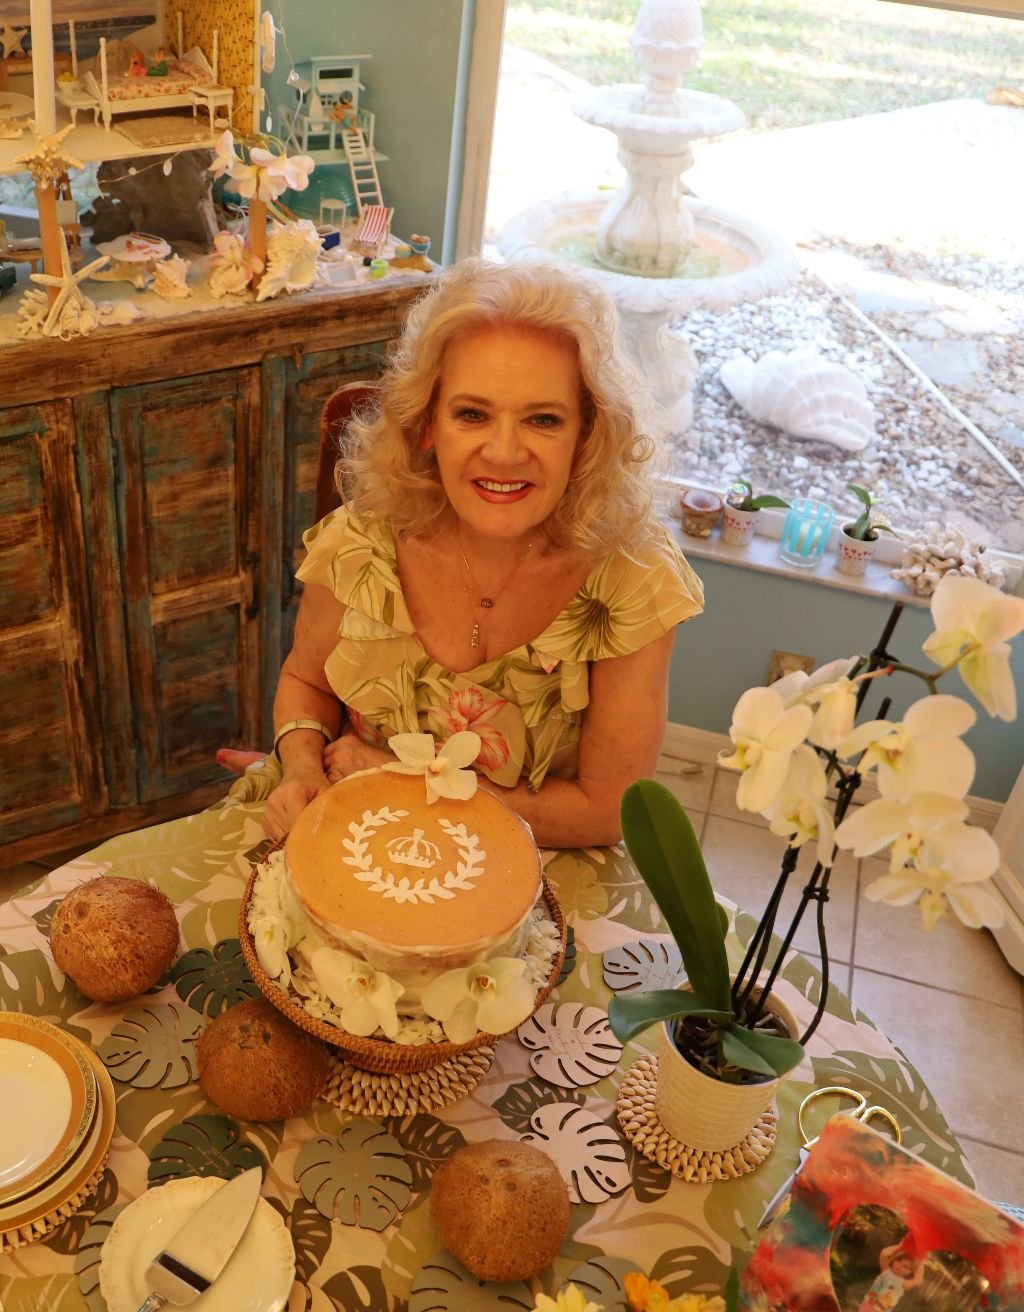
As I like to say, Uglier on the outside, Happier on the inside.
I would not go back if I were given the chance. I feel as if I have reached milestones that are important. As in evolving into the person I am destined to be. I have earned the right to be 65! Ageing is a privilege.
If I could give my younger self a heads up, I would not!
I needed to go through all that I did to get to here. I would not have made it if I did warn my younger self. I have learned that the damage that was done to me by certain people in my life never had anything to do with me. It was their damage they were inflicting on me. I used to regret being nice or kind to certain people. I have however learned that I should never be upset about doing the right thing. They are the ones that should be upset that they took advantage of my kindness, and loyalty.
I don’t know how much time I have left? Oh, as far as I know I am fine where my health is concerned. I am just referring to life in general.
None of us really know the answers to that? I always figured that I would die young. No idea why? I just always thought so. But, before I am gone, I still have many things left that I want to do. I’ll go when I’m ready. I’m stubborn that way. 🙂 But for now, my granddaughter needs me. My daughter and son-in-law need me, my husband needs me, and I need me too! 🙂
So, Here Is 65 and Beyond, Finger’s Crossed!
Julie
——————————————————————————————
BLOG ENTRIES START HERE
————————————————————————–
Shopping At The Asian Supermarket
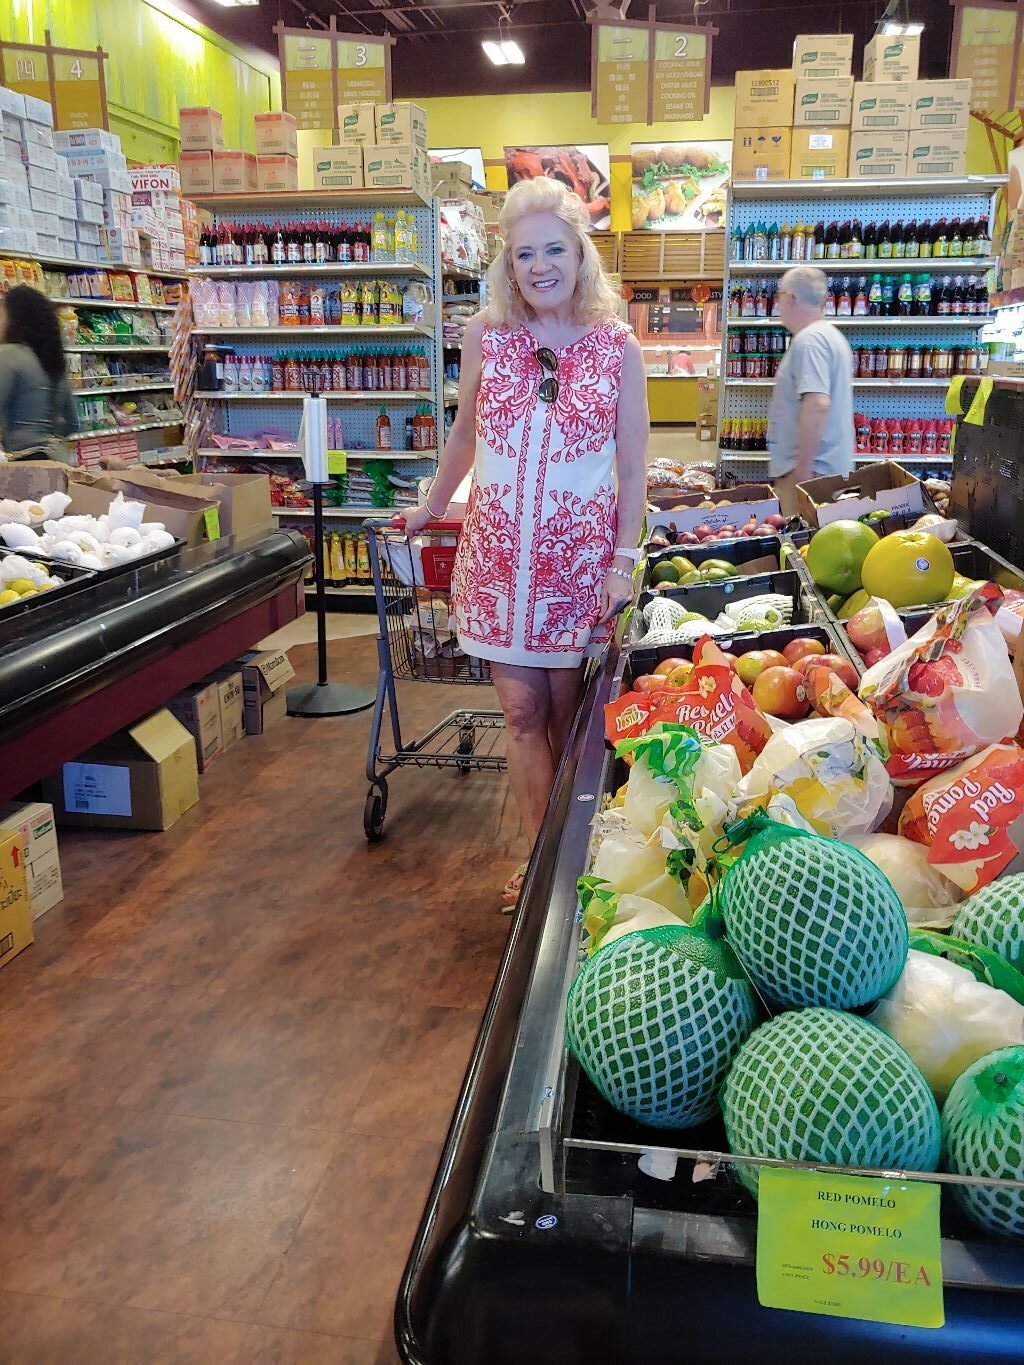
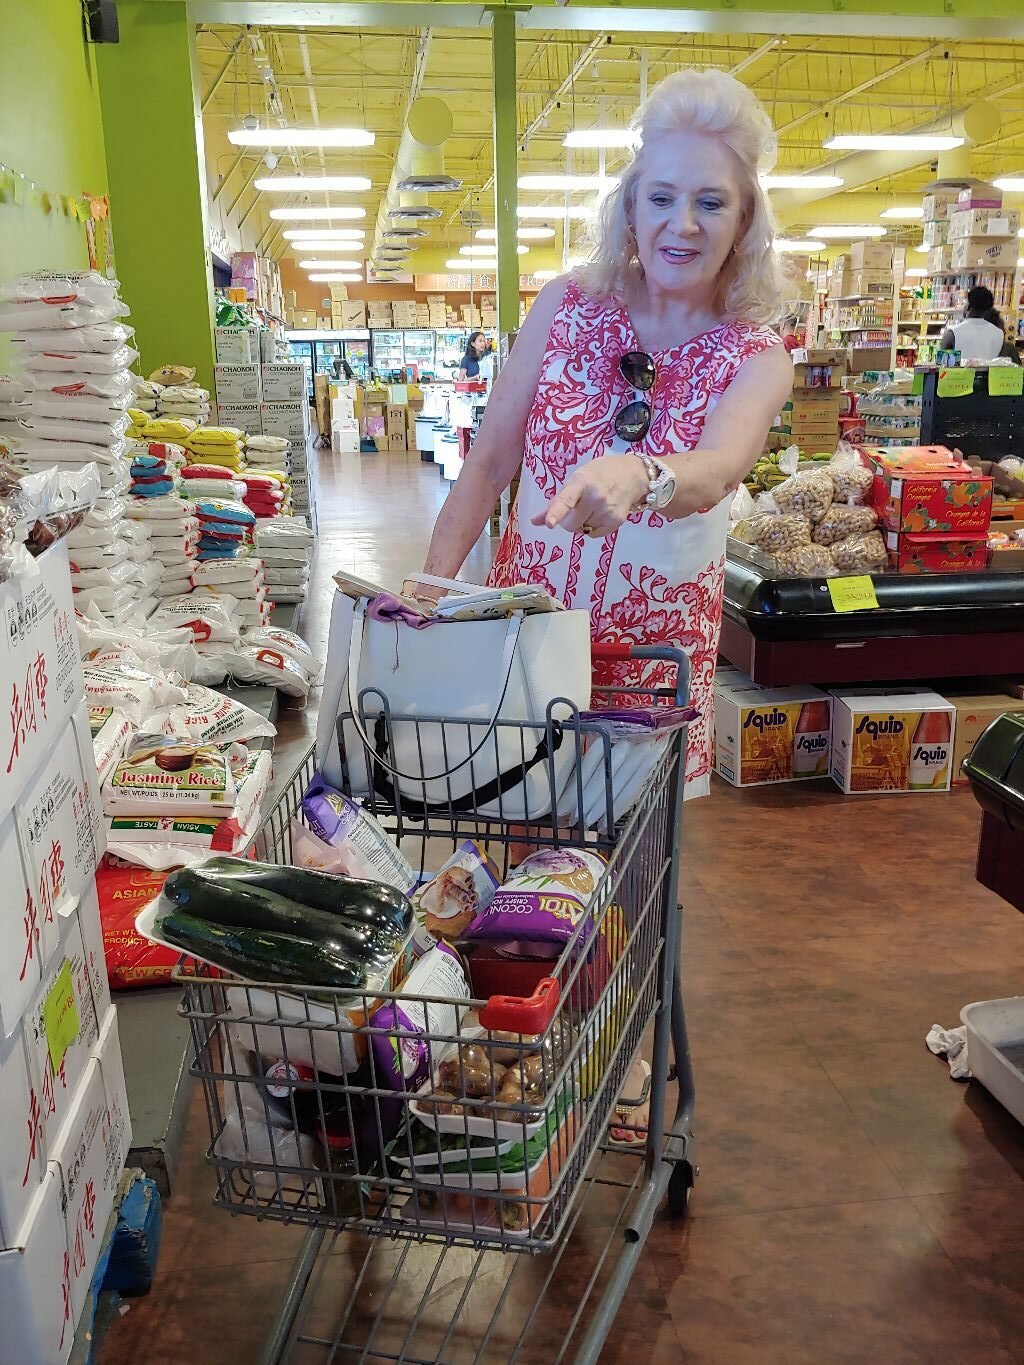
Shopping And Creating Recipes Does Make Me Happy
——————————————————————————————-
September 7, 2026


—————————————————————————————–
July 12, 2026
Constantly Chasing Sleep

Favorite Pajamas
I can remember reading decades ago how Betty White only got about 3 hours of sleep a night. I couldn’t believe that she could function on that minimal amount of sleep. Then I read around the same time frame that Martha Stewart would be up at 3:00 a.m. with a flashlight out in her garden pulling up weeds. I was so shocked that these two successful women could even function on such a minimal amount of sleep? Well, now that I am 65, I am getting not as much sleep as I need, and not being able to function without a good night’s sleep. I cannot relate. I need my sleep!
My lifestyle is that I keep my Granddaughter anywhere from 2 to 4 days a week. Either Veronica or Brian will bring her over in the early morning hours at either 5:30 a.m. or 5:45 – 6:00 a.m. I am always up by the time they bring her over. I set my alarm clock for 4:00 a.m. in the morning. I shower and I’m dressed and ready by the time Isabelle arrives.
Even though she just turned 3, we still give her a bottle in the mornings. Even though that is a bit young for her, you have to understand that her sleep has been interrupted. She needs to get back to sleep. That warm milk helps her. Whether we deliver it in a baby bottle, or a water bottle.
That also benefits me! I need to get back to sleep in the mornings myself. It is difficult for me to function without a good night’s sleep. I love a good extra hour or two in those early morning hours. That way I get to sleep in to around 8:00 or 8:30, or 9:00 a.m. in the mornings. Being her care giver, I need the extra hours of sleep in order to function for the day. After all, her parents don’t pick her up until around 4:30 – 5:00 p.m. on some days, and as early as 9:30 – 11:00 a.m., on other days. Some of those days are long!
I wanted to say that I think that we justify the early morning bottle with the understanding that there are women out there that continue to breast feed into the child’s 5th. birthday.
That is not our intention. We are just delivering the warm milk to Isabelle in a vessel that will not leak into the crib/bed, and will help her to go back to sleep, so that I can also get some more much needed sleep myself. That’s where my heating pad comes in. I do so love that warmth and it makes me drowsy, helping me to go back to sleep.
NOTE! It is easier to go to sleep once you have taken a nice warm shower, day or night. Which is usually why I tend to go back to sleep more easily after I have had my 4:00 a.m. shower on those mornings I have Isabelle. Nice shower, and a heating pad work for me!
————————————————————————————————————–
I Also Think That I Suffer From Anxiety
On those days that I have to leave the house, I tend to have a hard time sleeping the night before. That is something new to me. It’s really just been since I’ve been in my 60’s that I’ve had that problem. There is just this anxiousness and dread that I have where I am up in the middle of the night and I can’t shut my brain off in order to relax and go to sleep.
I think some of the problem it is that America is a dangerous country to live in. I don’t feel safe when I leave the house. Too many guns, and too many hot-heads that own the guns. Also, just not enough respect towards our fellow human beings. I think a lot of people would just rather shoot you than deal with you. Same with driving. Even though I do the speed limit, I am never going fast enough for some people. I think they would rather run me off the road than have to drive behind me. Which is why I tend to make appointments or run errands on those hours where there isn’t a lot of traffic. I also only shop in business’s where I feel safe in their parking lots. Now that I am 65 and ageing, I am becoming more of a target to those that take advantage of that. Always be aware of your surroundings. Quit looking at your phones and pay attention. It just might save your life.
———————————————————————————-
Afternoon Naps And Back Pain
Sometimes I do take an afternoon nap. Or, I might just lay down on the couch among my comfy blankety covers and pillows, turn the T.V. volume down low, close my eyes, and just rest and relax. If sleep follows, wonderful! If not, then that’s o.k. too because I am resting my body and getting off my back. Walking on these cement floors here in Florida can ruin your lower back. When we were living in Hawaii I developed back pains from every surface in Hawaii being cement. The reasoning behind all the cement is hurricane’s. Then when we moved to Maryland, where everything was this nice wooden surface, my back pain went away. Then we move back to Florida where everything has a cement flooring, and here come the back pains again.
I do wear indoor shoes, mainly smooshy, mooshy Flip Flops. (Or Slippers as they say in Hawaii.) The mooshy kind have a nice comfy give that allows your foot to be more comfortable. The downside is that sometimes they are easy to trip in while wearing. Something I will need to be aware of as I age.
The point I was trying to make here is that by just resting and getting off my back I feel this rejuvenation that allows me to get through the rest of the day on those sleepy tired days I sometimes have. By laying down, place a pillow underneath your pelvis just to elevate it up a bit. For me the pain goes away immediately just by doing that. Try it! See for yourself.
Also, take an Advil if your back starts to hurt, OR even before it starts to hurt! When I am about to take on a big job I just go ahead and take one. It will prevent the swelling in my lower back which brings on pain. It’s that inflammation you have to worry about.
I also don’t take any of those energy drinks. Coffee is the strongest thing that I use to pep up.
————————————————————————————-
About 2 Years Ago I Moved Into The Gust Bathroom
(For Bathing And Skincare)
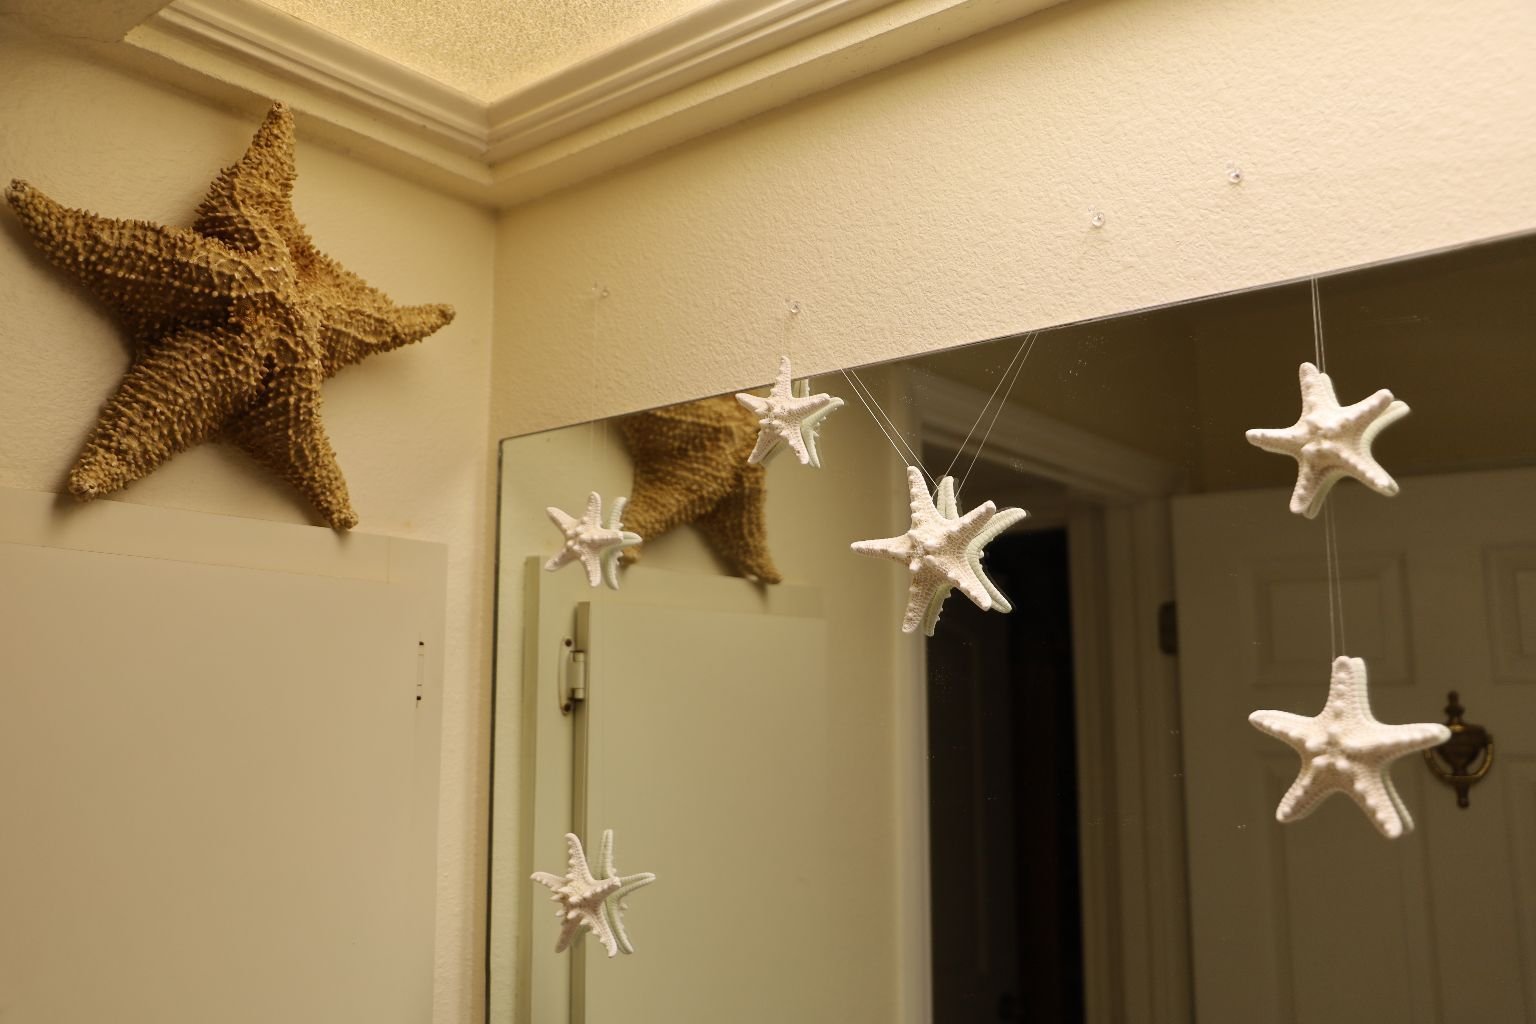
It’s been a few years but there was a time, a very long time, when my next door neighbor started stalking and harassing me.
I do document it here:
Click Here For: My Log Blog Documenting Stalking And Harassment From My Neighbor
—————————————————————————–
Gordon was working overseas and for some reason my hot-headed neighbor next door to us starting throwing things at our house at 4:00 a.m. to upset me. It was always when I was in the bathroom or in our bedroom. Regardless, I no longer felt safe on that side of our house, so I started bathing in the guest bathroom. At first I just dragged a few things into the guest bathroom, not bothering to really fix it up and make it nice. But, I have since made it nice and I’m glad that I made that switch. I feel a lot safer. I also feel like I have my very own bathroom just for me to enjoy. Yes, it’s smaller. Yes, it’s not as nice. But, I like it!
I still do my hair and make-up in our master bathroom, but I am never naked in there. I haven’t felt comfortable changing clothes or using that bathroom any more. That’s what abuse does to you.
———————————————————————-
Just Some Skincare
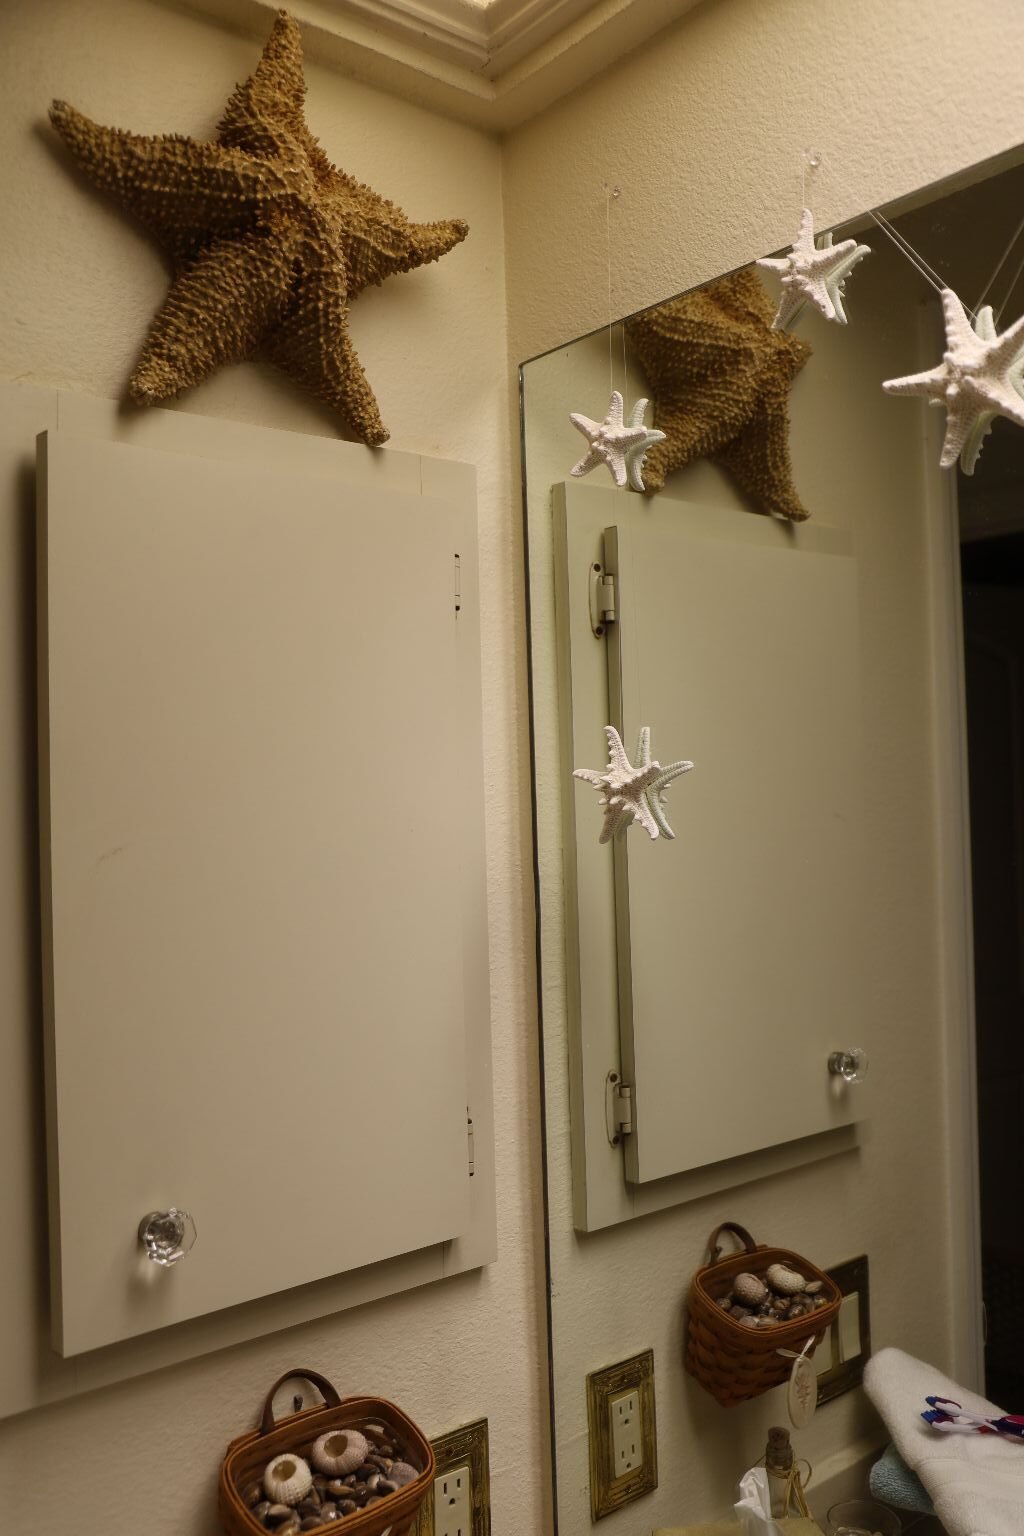
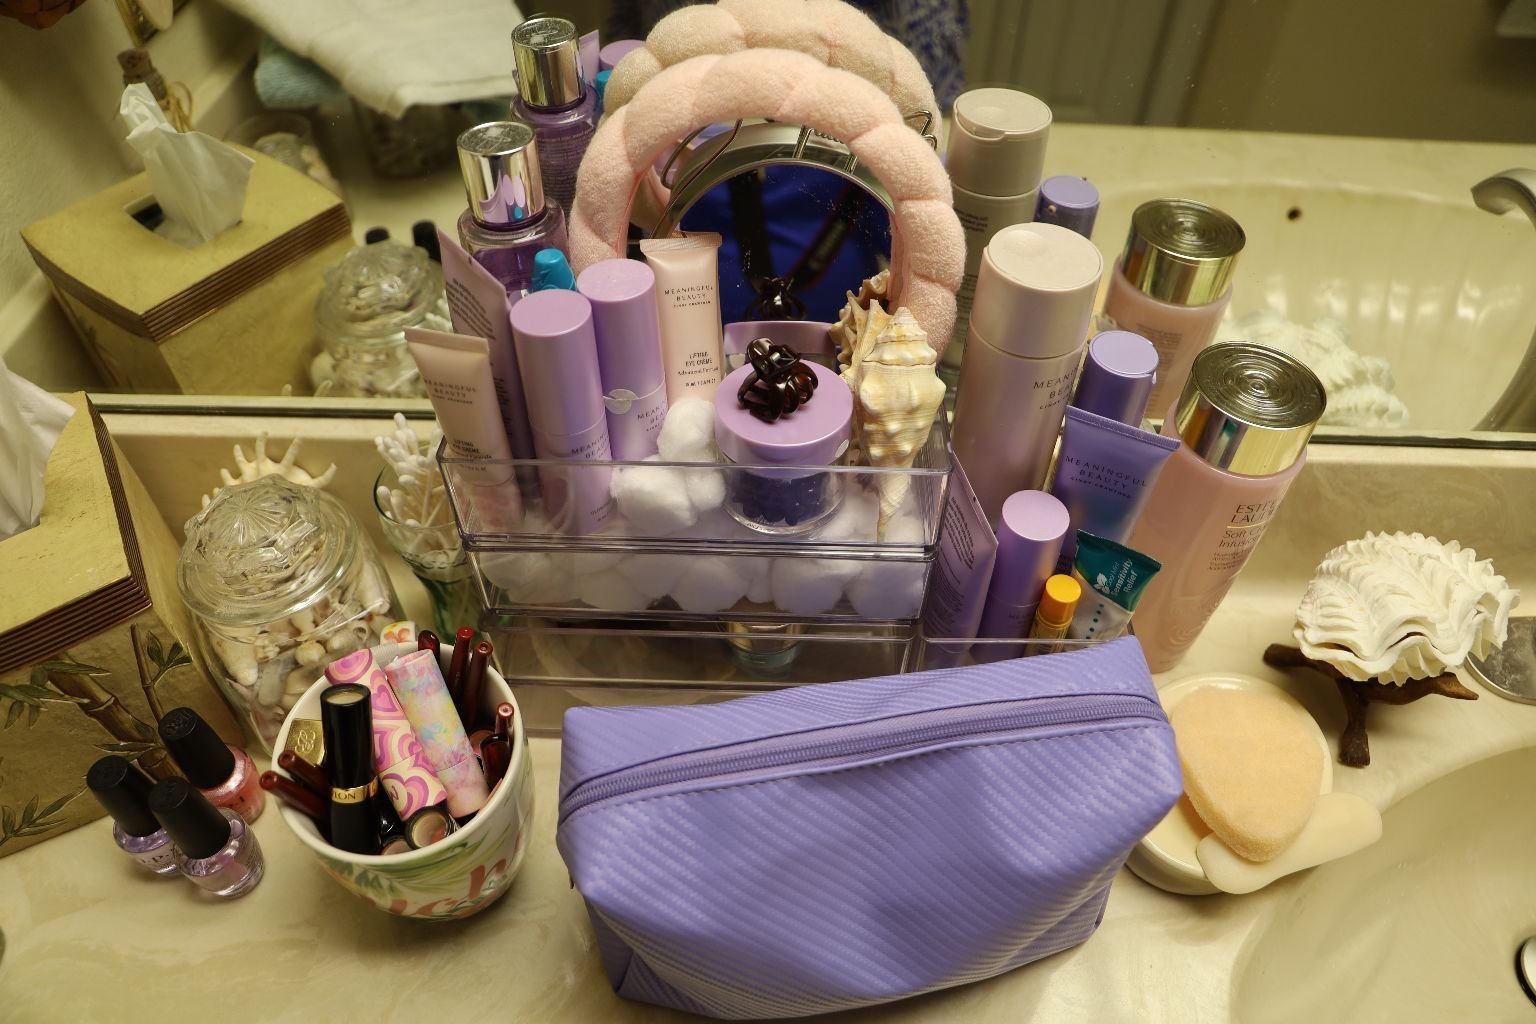
I Did Not Buy Anything New Here
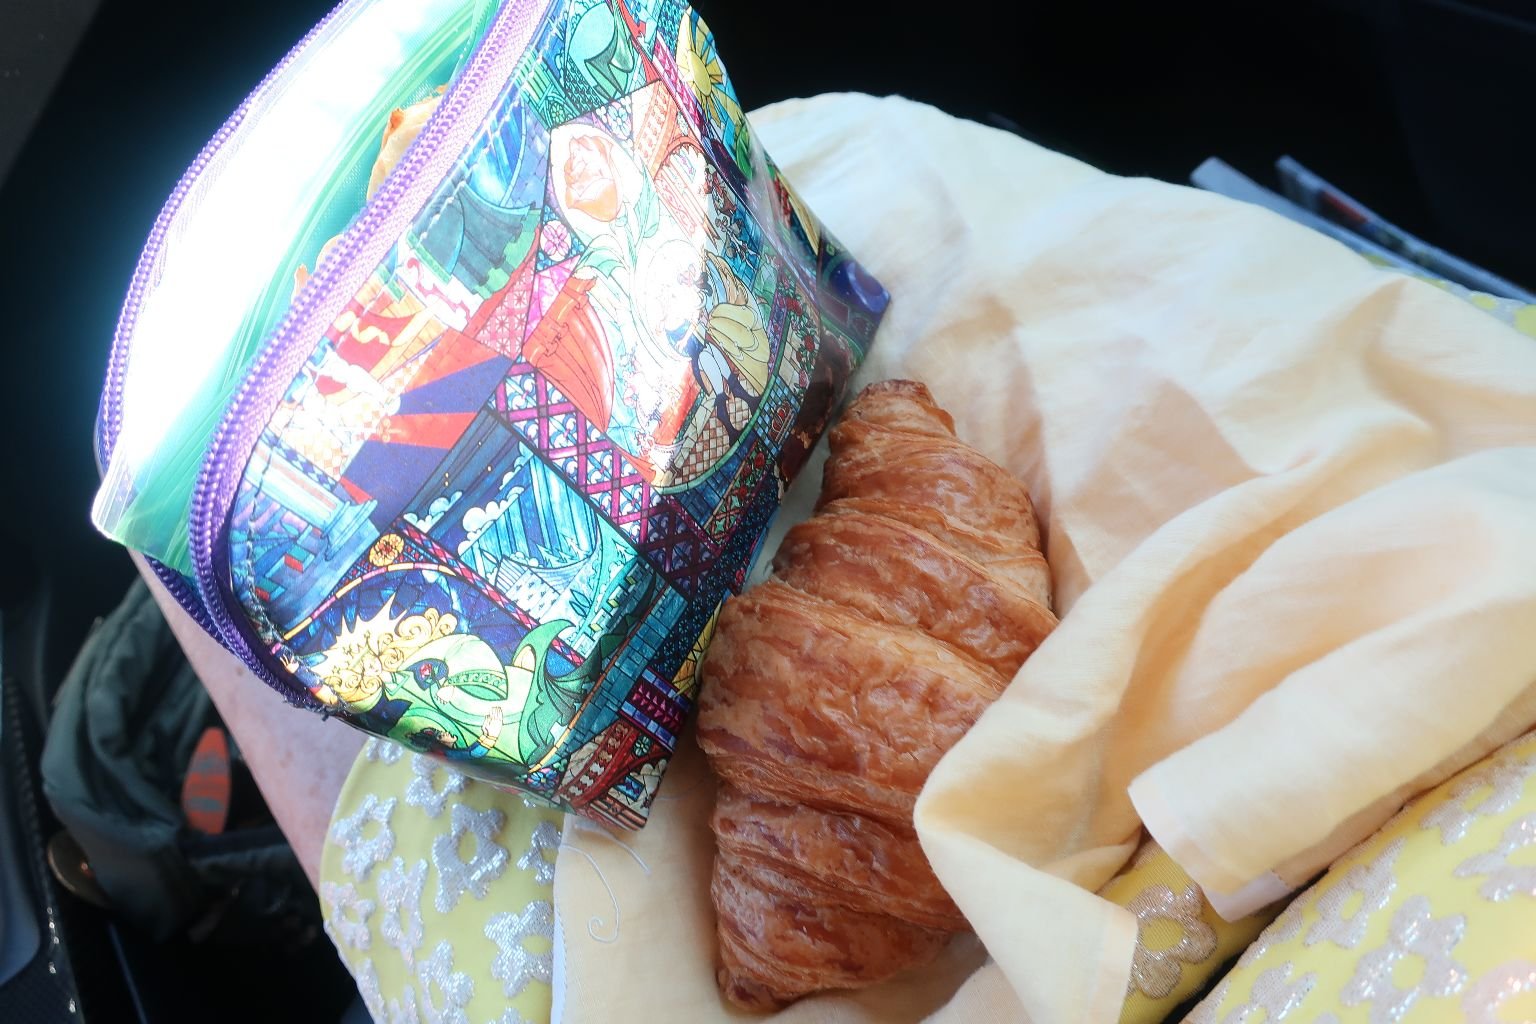
(I organized with things that I already had. Seeing as how my Cindy Crawford Skincare is all purple, I found an old ‘free with purchase’ purple cosmetic bag to house some things in.)
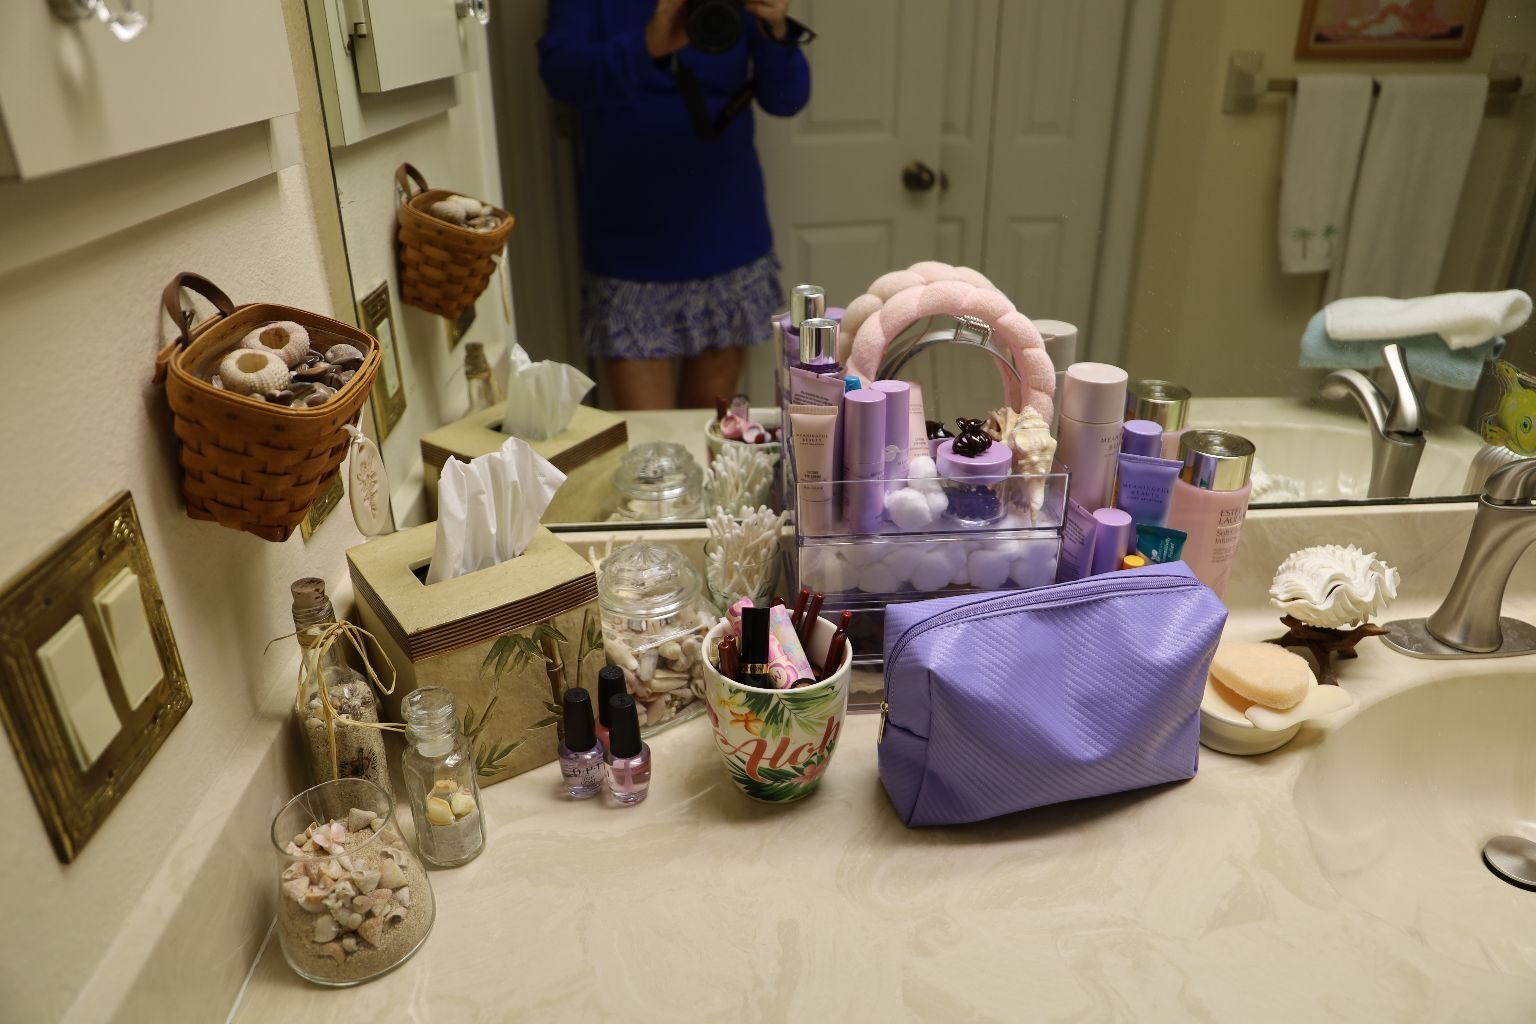
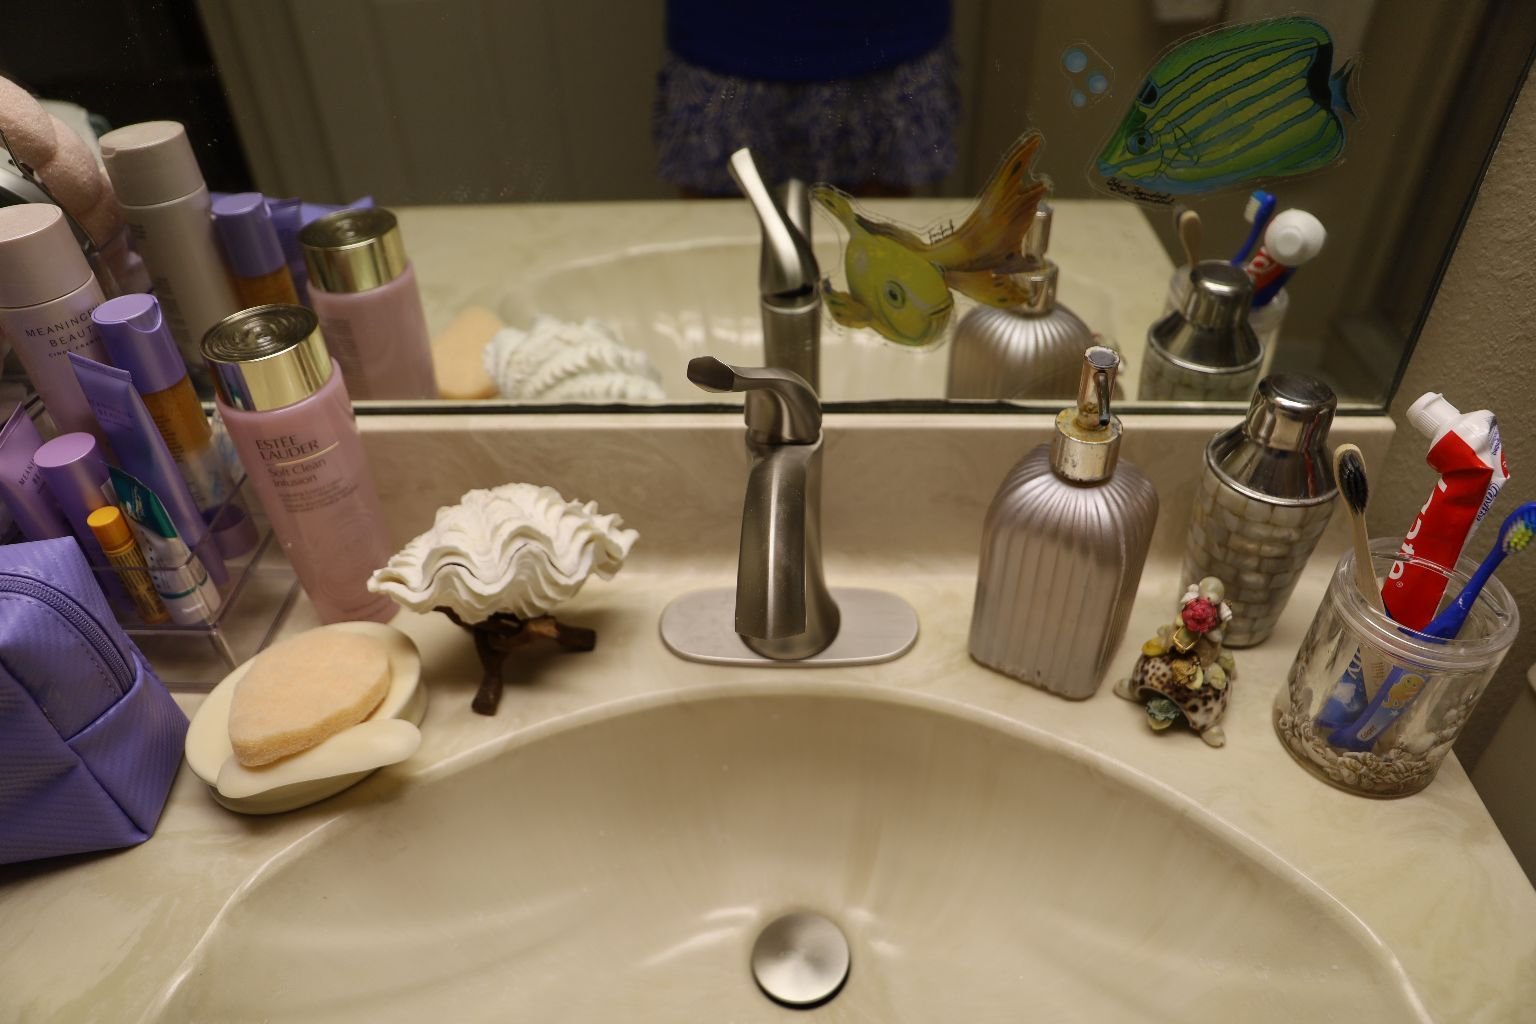
I Bought Nothing New Here, This Is Plenty Of Room For Me
Sometimes I think it’s important for us to just carve out our own little niche somewhere. A place that is just ours. With me being the only one who uses this bathroom, I keep it quite nice and clean because I don’t share it with anyone. Well, except Isabelle. 🙂
————————————————————————————–
Somethings that I may write about, I have also written about on other website pages. Not everyone reads every page that I have on this website so sometimes I do repeat myself. This is one of those times. I am writing here similar things that I wrote on my Skincare Website Page.

Click Here For: My Nifty 50’s and 60’s Skincare
——————————————————————————
I Did Add Some Hawaiian Things That Were New
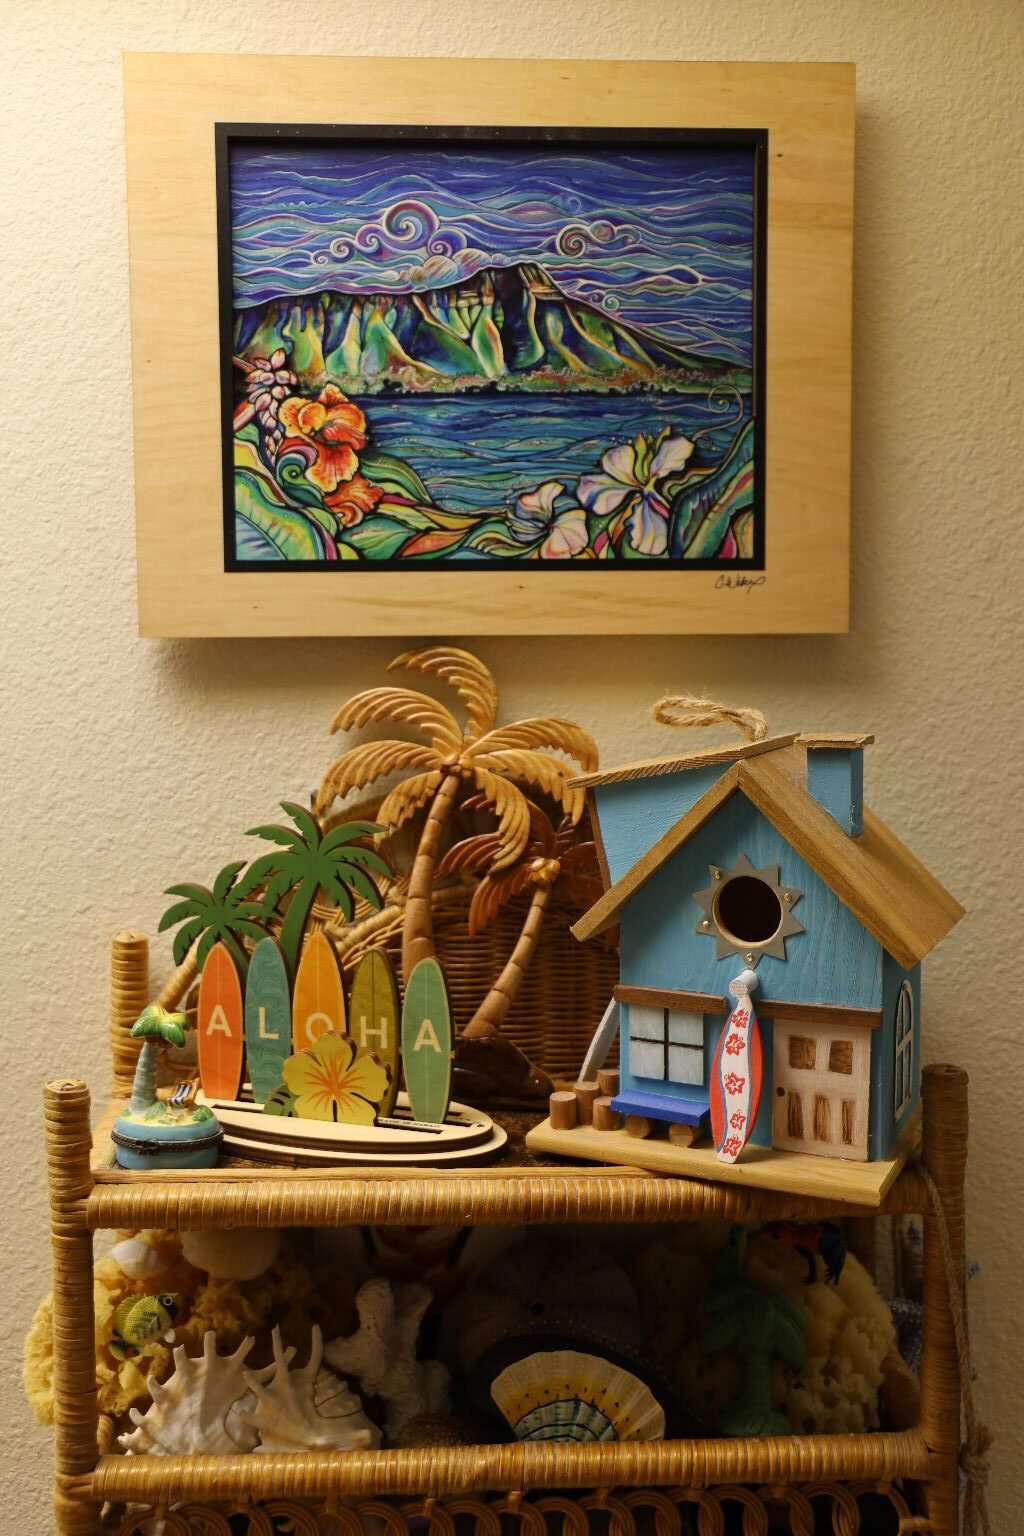
The Rattan Shelf Was My Grandmother’s
The Birdhouse/Beach House, Veronica painted years ago and gifted to me.
Diamond Head and the Surfboards spelling out Aloha, I purchased at a favorite Hawaii store, CocoNene.
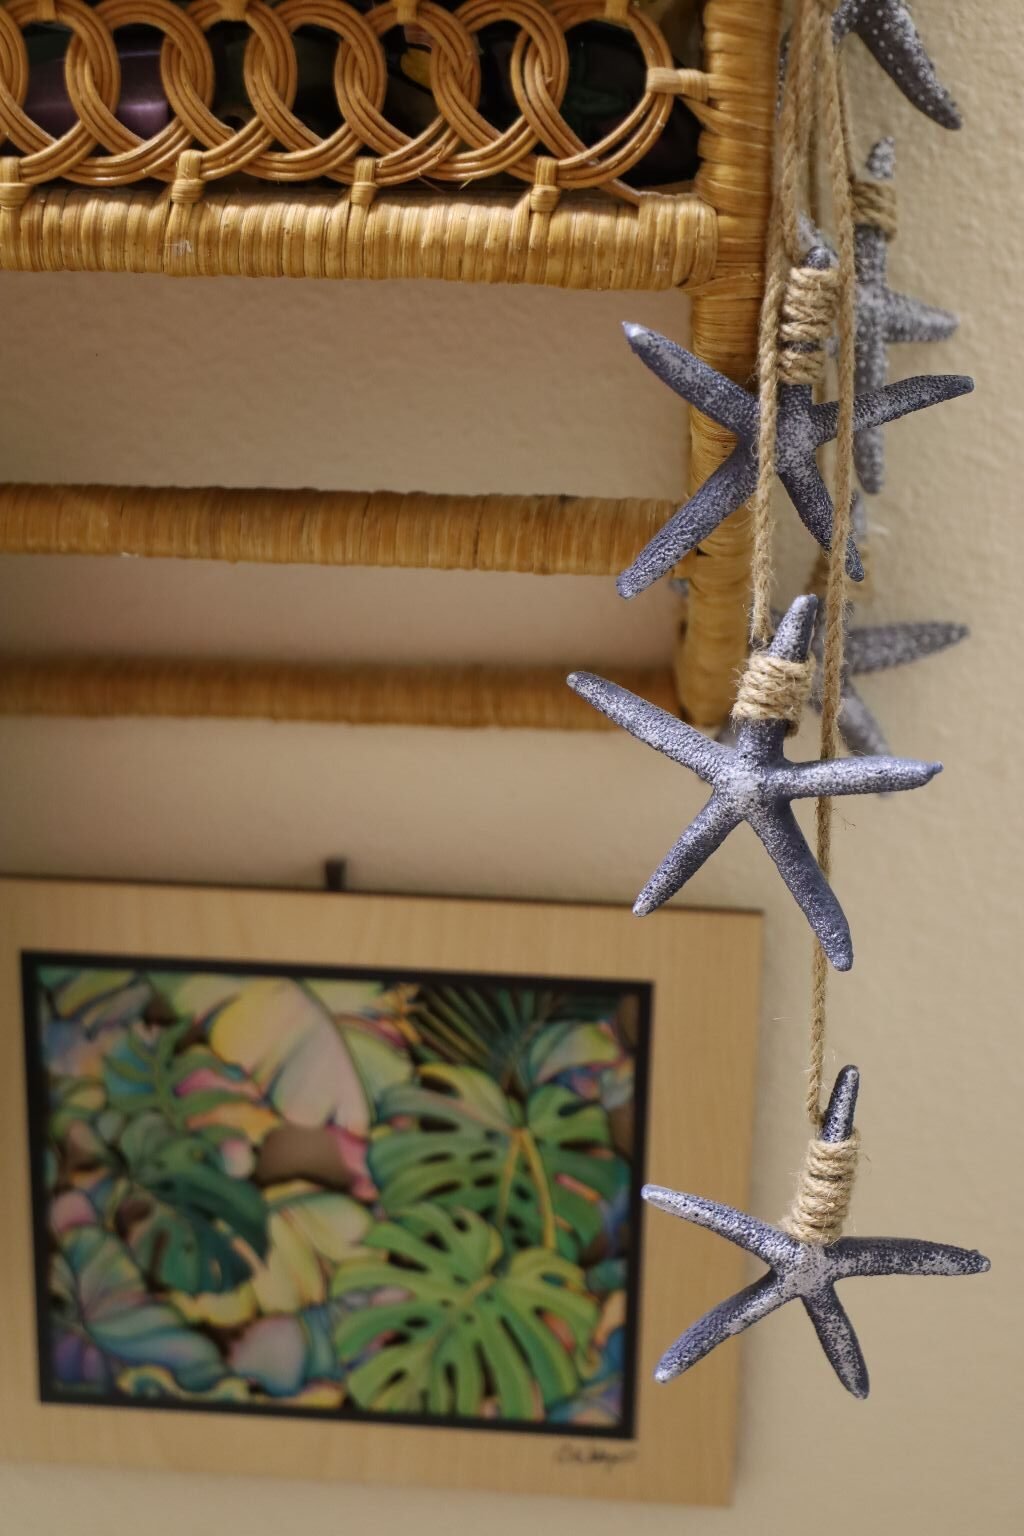
The Blue Star Fish Veronica also gifted to me one Christmas.
And the Palm Leaf painting I also purchased from Coconene.
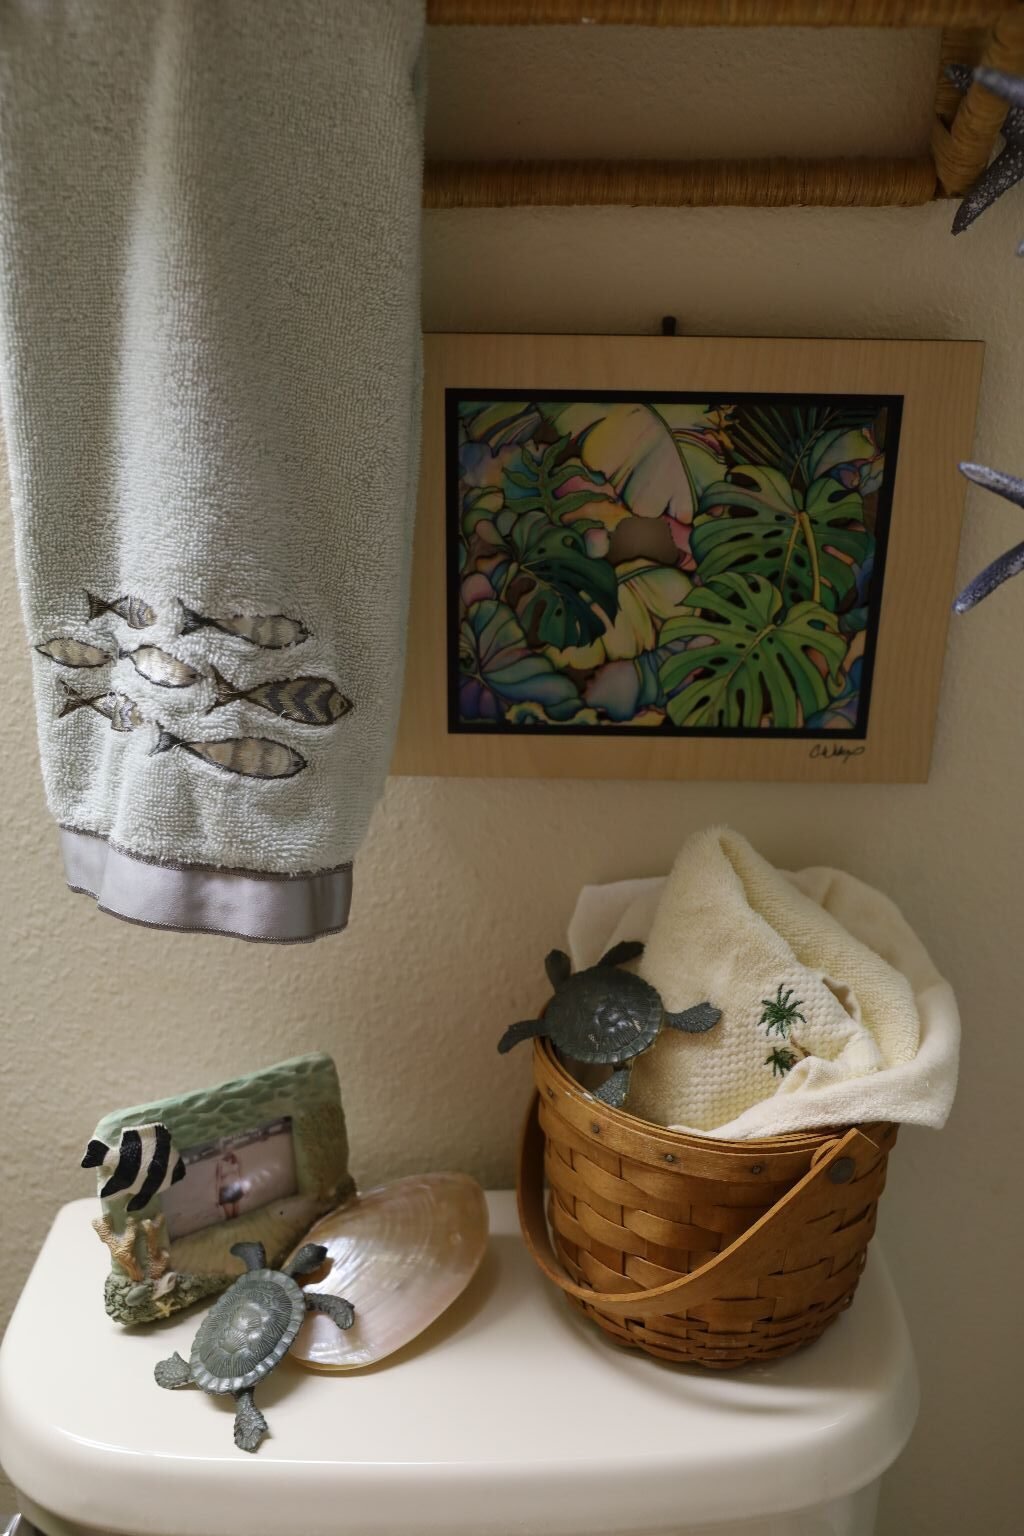
The Fish Photo Frame was a gift to Veronica from her friend Kara when they were 3 years old and we knew them in Hawaii.
Looks great there.
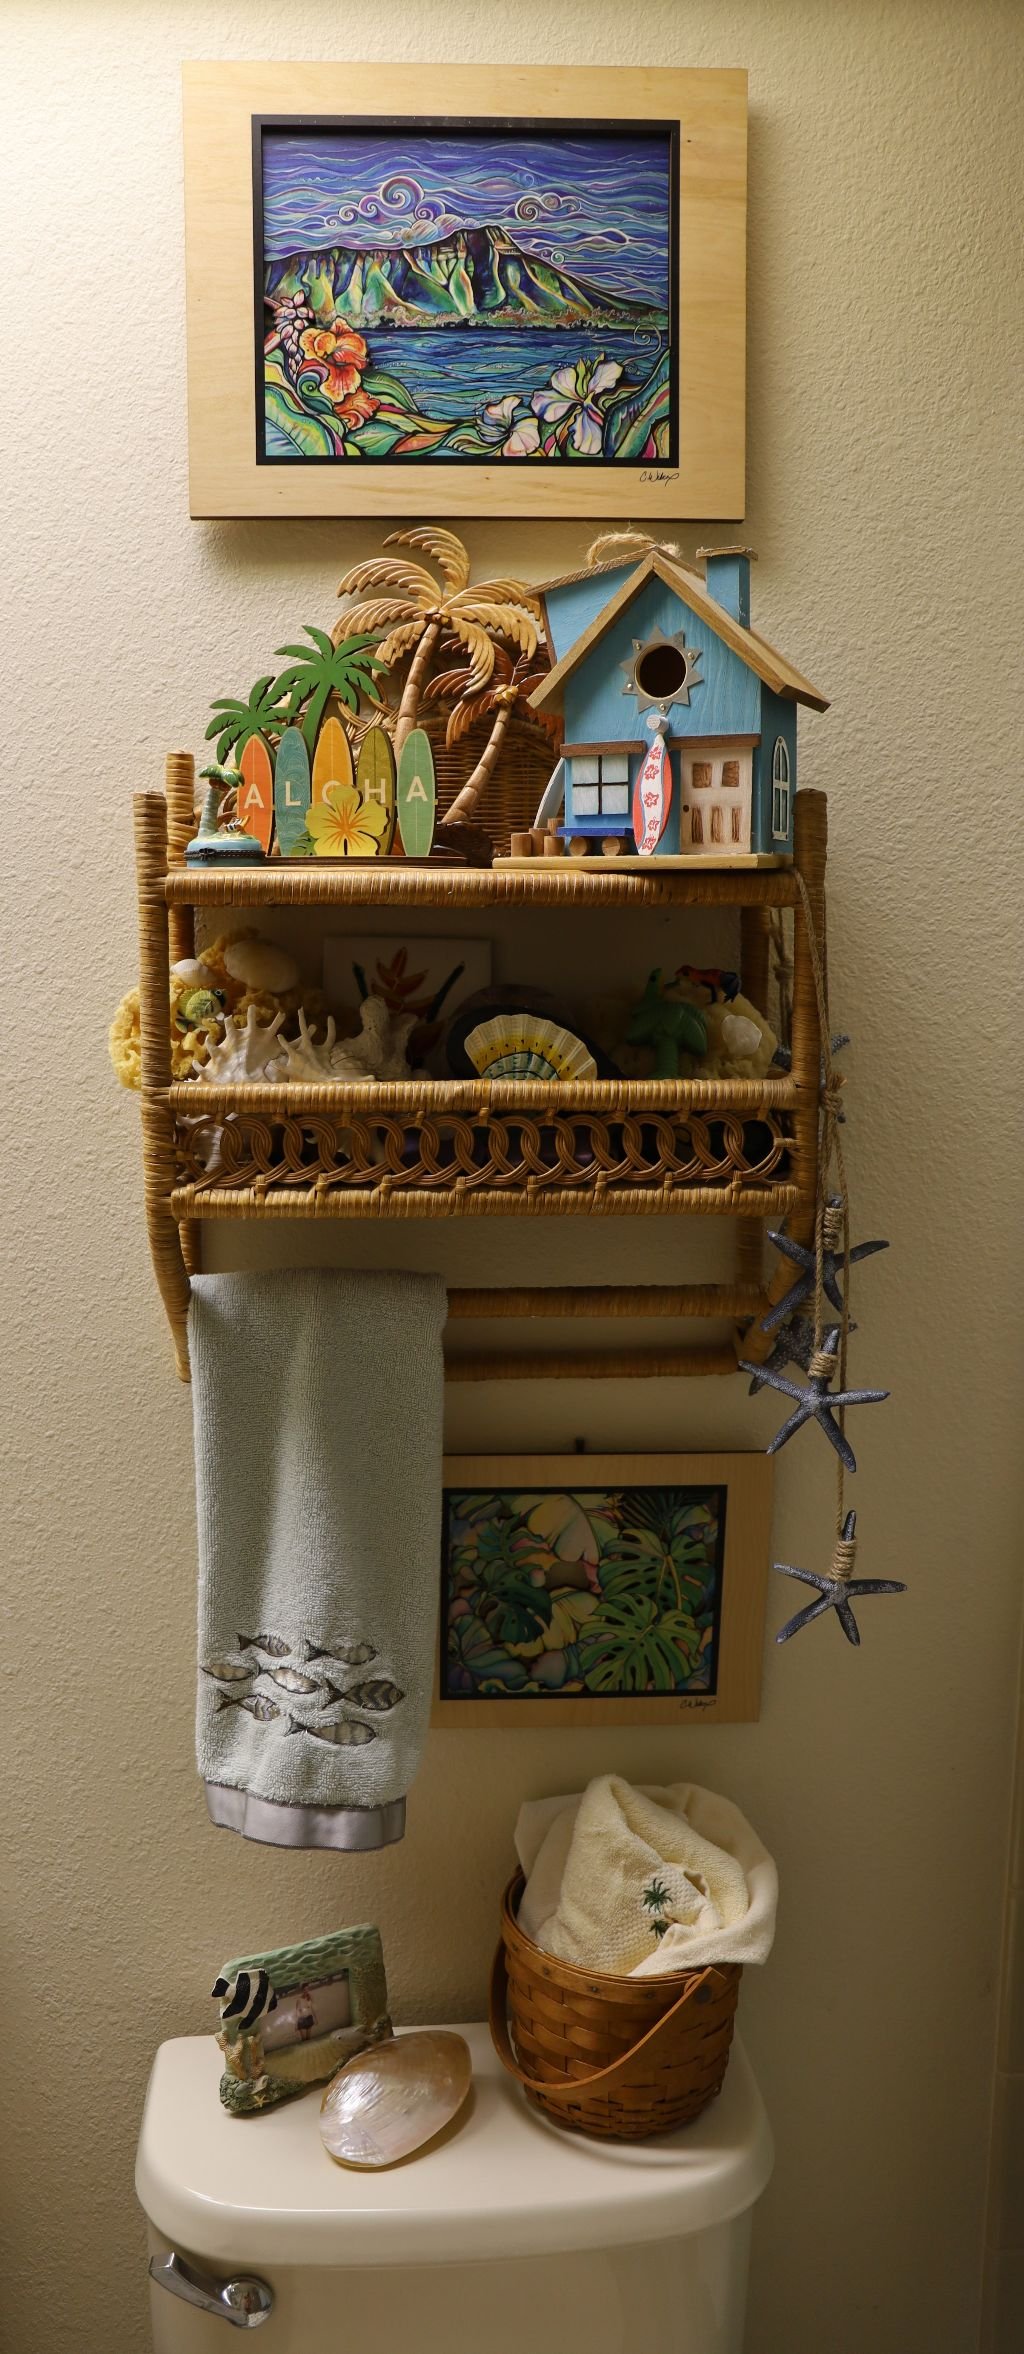
Now You Know What My Bathroom/Guest Bathroom Toilet Looks Like 🙂
———————————————————————————-
One More Thing ….
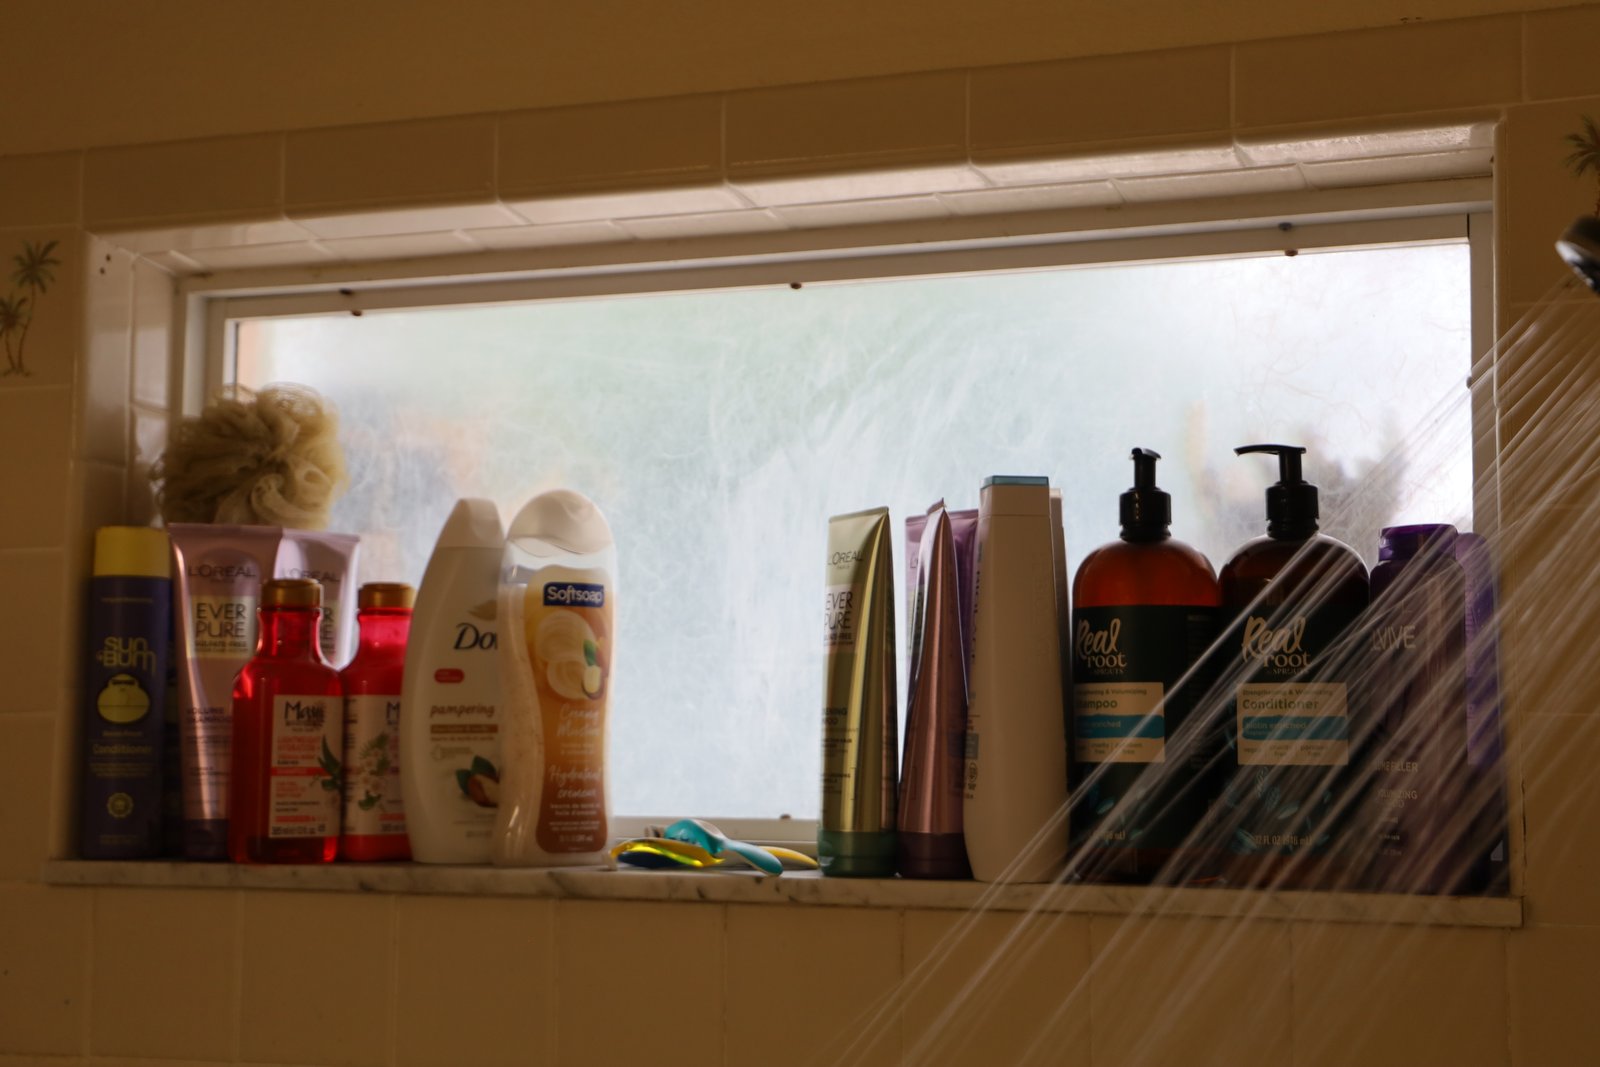
The Little Window In The Shower
(I papered it over with Rice Paper when we first moved in.)
All My Shampoo’s and Conditioner’s
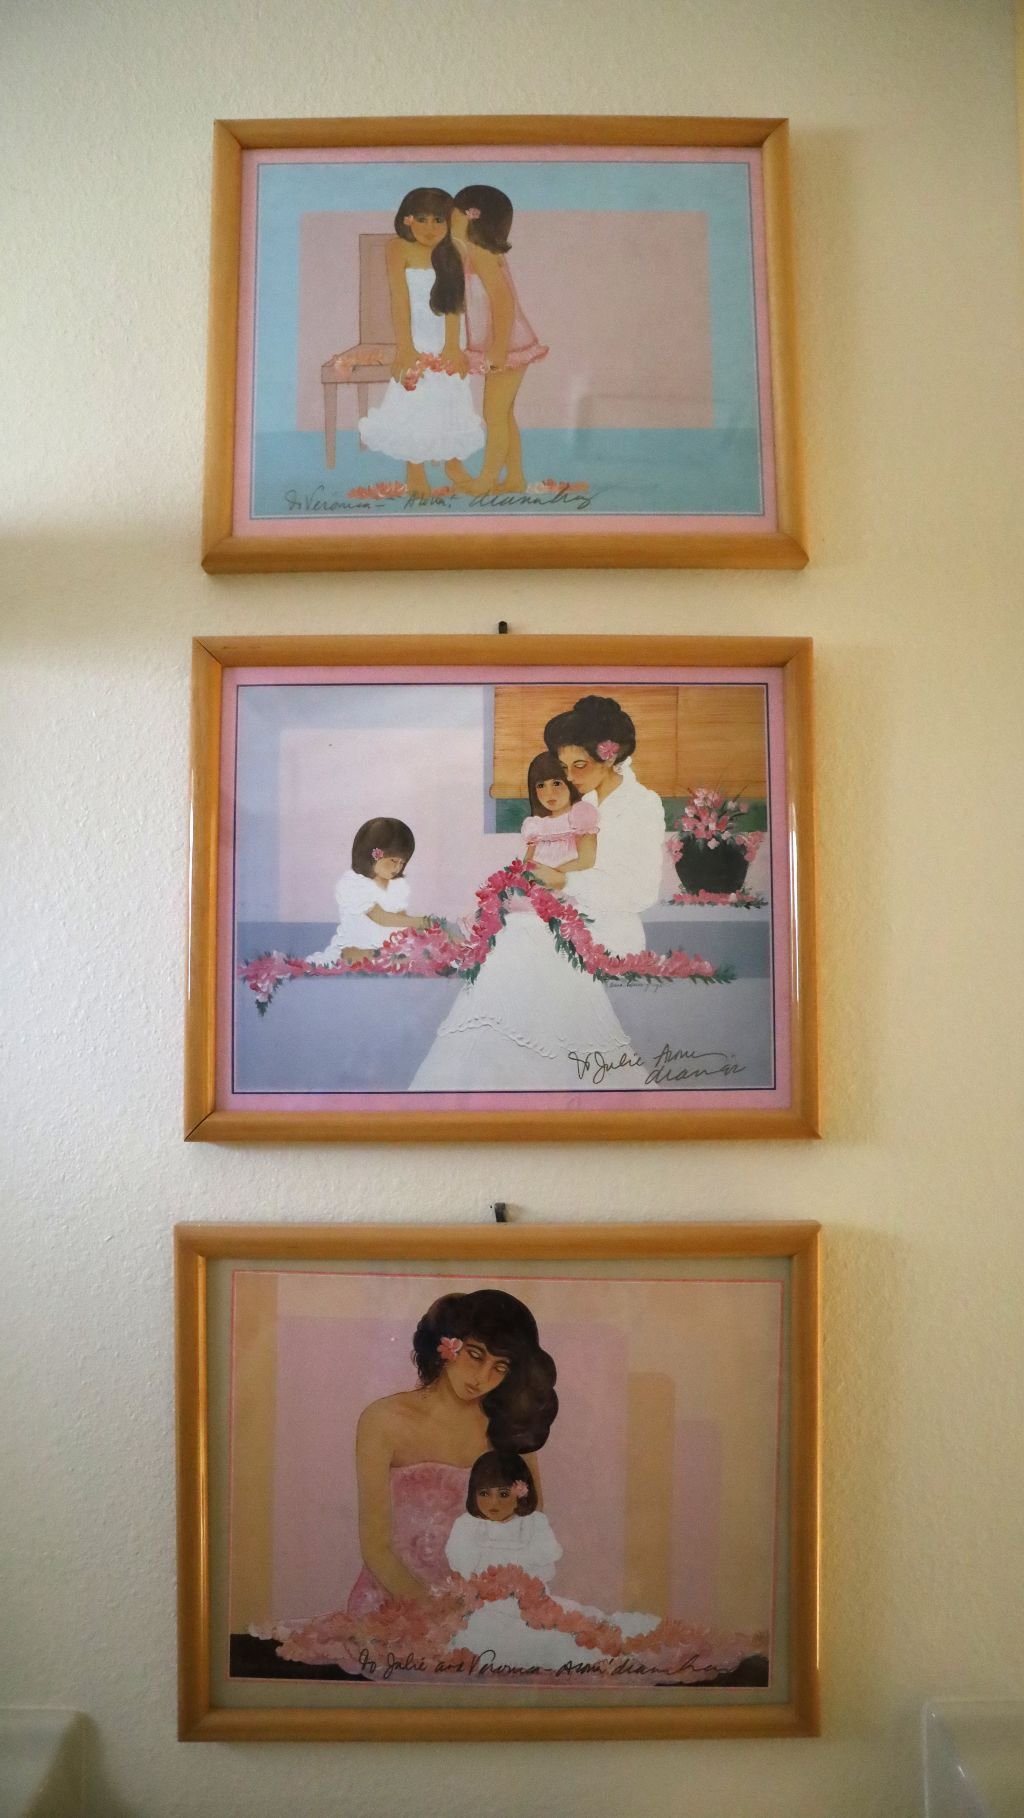
Our Diana Hanson-Young Posters From The 80’s
Autographed By Her
We Were Too Poor To Buy Prints Or Paintings Then
I Framed Them And Still Treasure Them
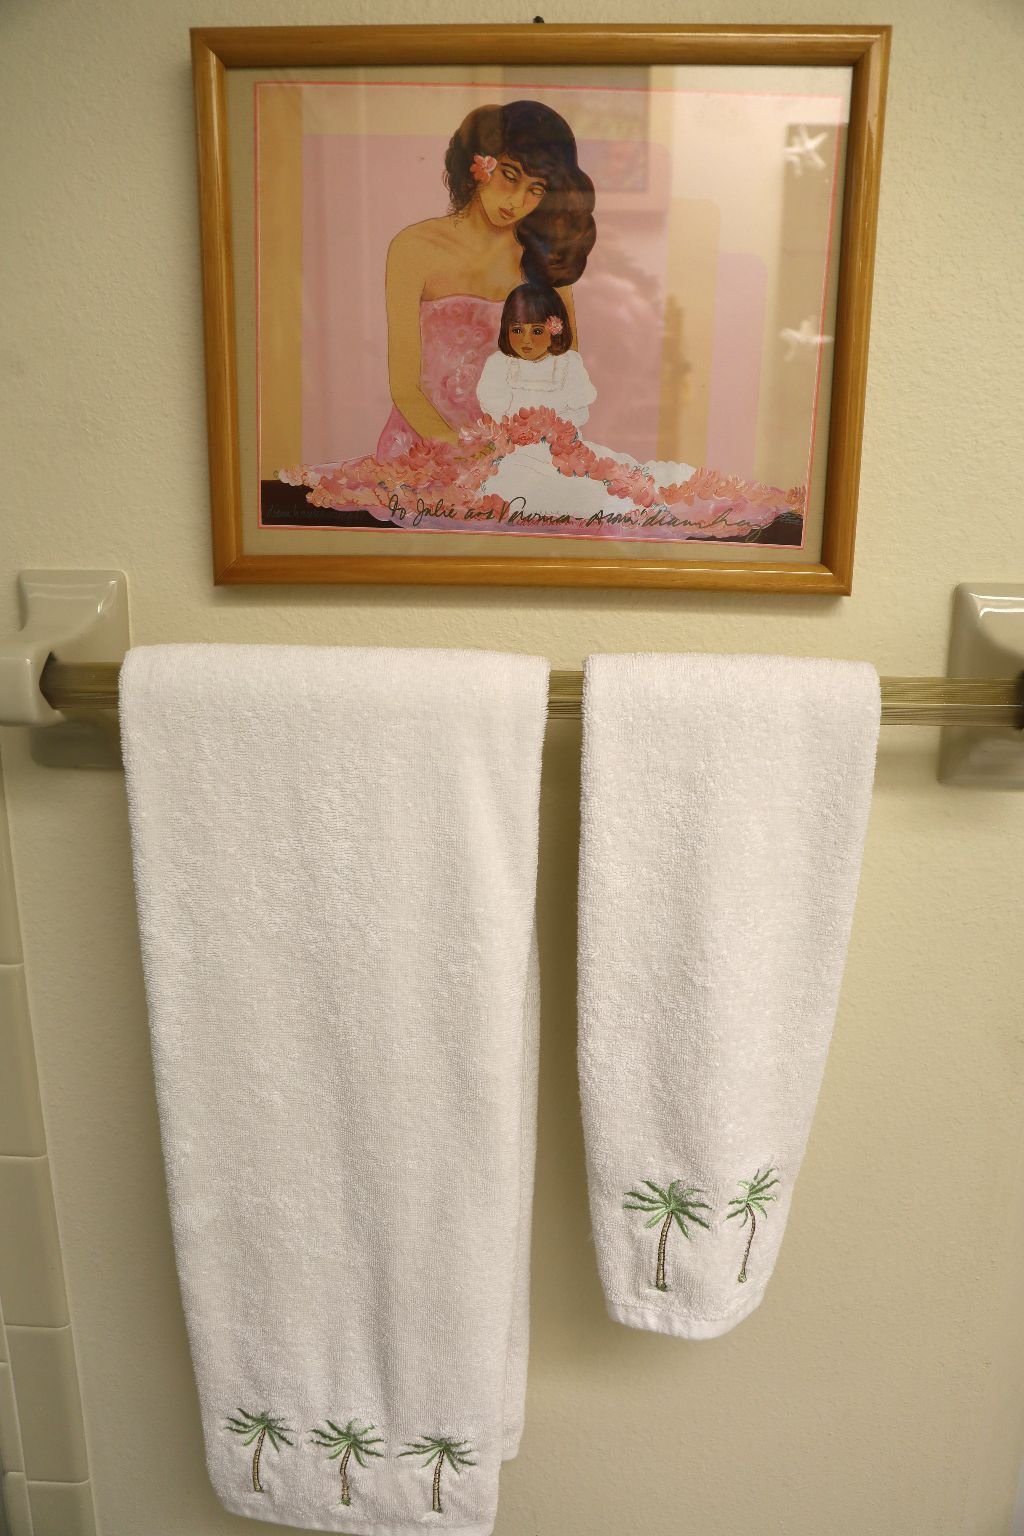
Dry Your Hands!
——————————————————————————————————-
65 And Beyond
Finger’s Crossed!
Julie

2026 A Morning Aloha (Hawaiian Kona Coffee) —————————————————————————————— Brodie In Our Backyard Plumeria Tree in Ewa Beach, 1996 ————————————————————————————- E Komo Mai Welcome to My Aloha Julie Barefoot 2026 ‘Puke Punaewele (Blog) Ready for 2026 This year will be a …

I Created A New Website:
Click Here For: VintageJulieBarefootArchives
I gave my Web Designers in India instructions on what I wanted, and they did the most remarkable job of bringing my vision to life.
I could not be happier with it!
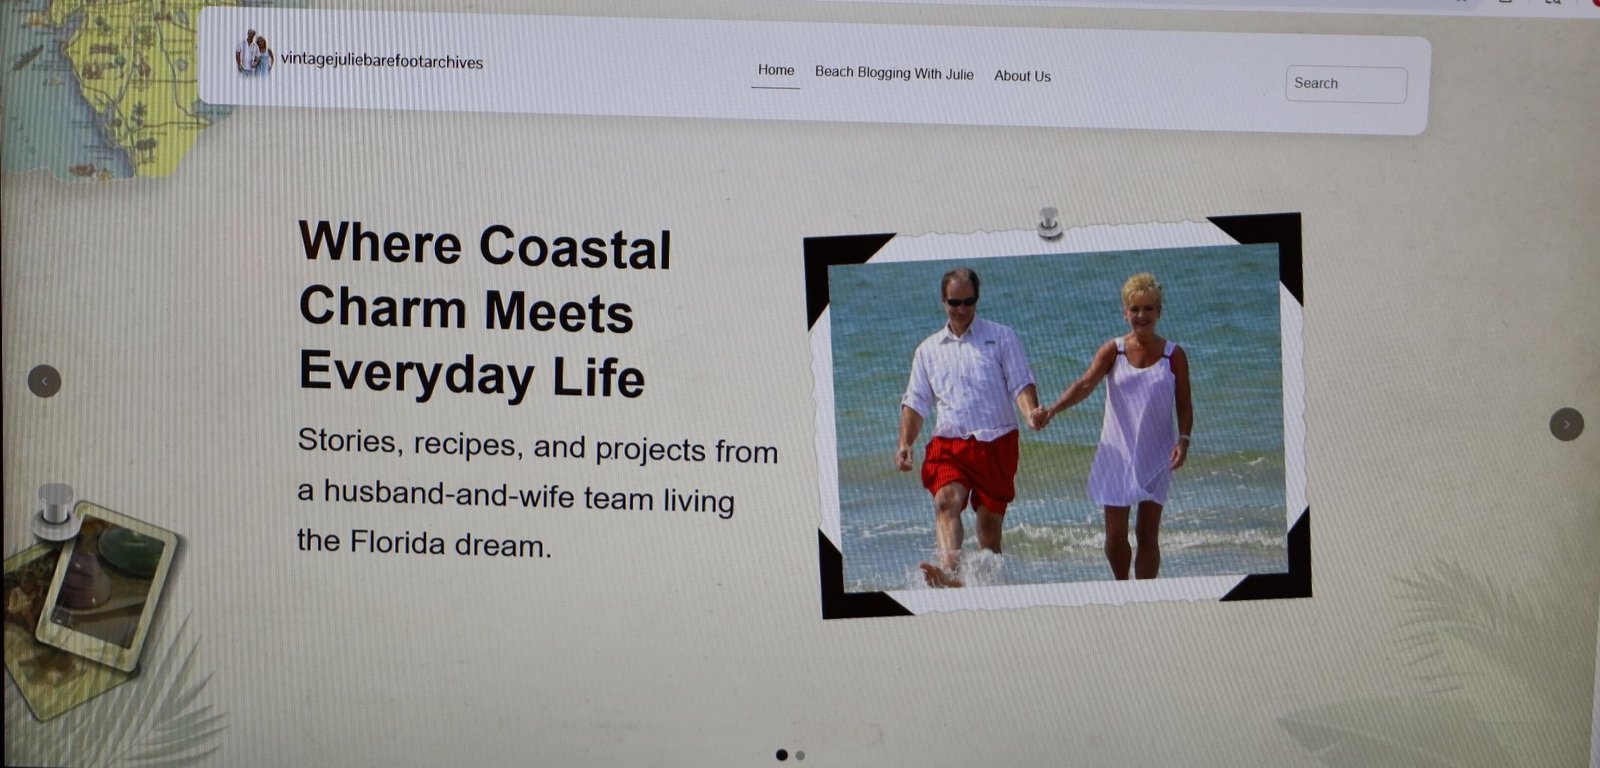
My current website: (This one.)
..Was no longer working accurately.
Therefore, I decided to instruct my Web Designers in India, to create a “New” Website in order for me to house some of my “Old” content.
Initially, I didn’t figure in that it would be my Florida Website Pages, but it did evolve into just that.
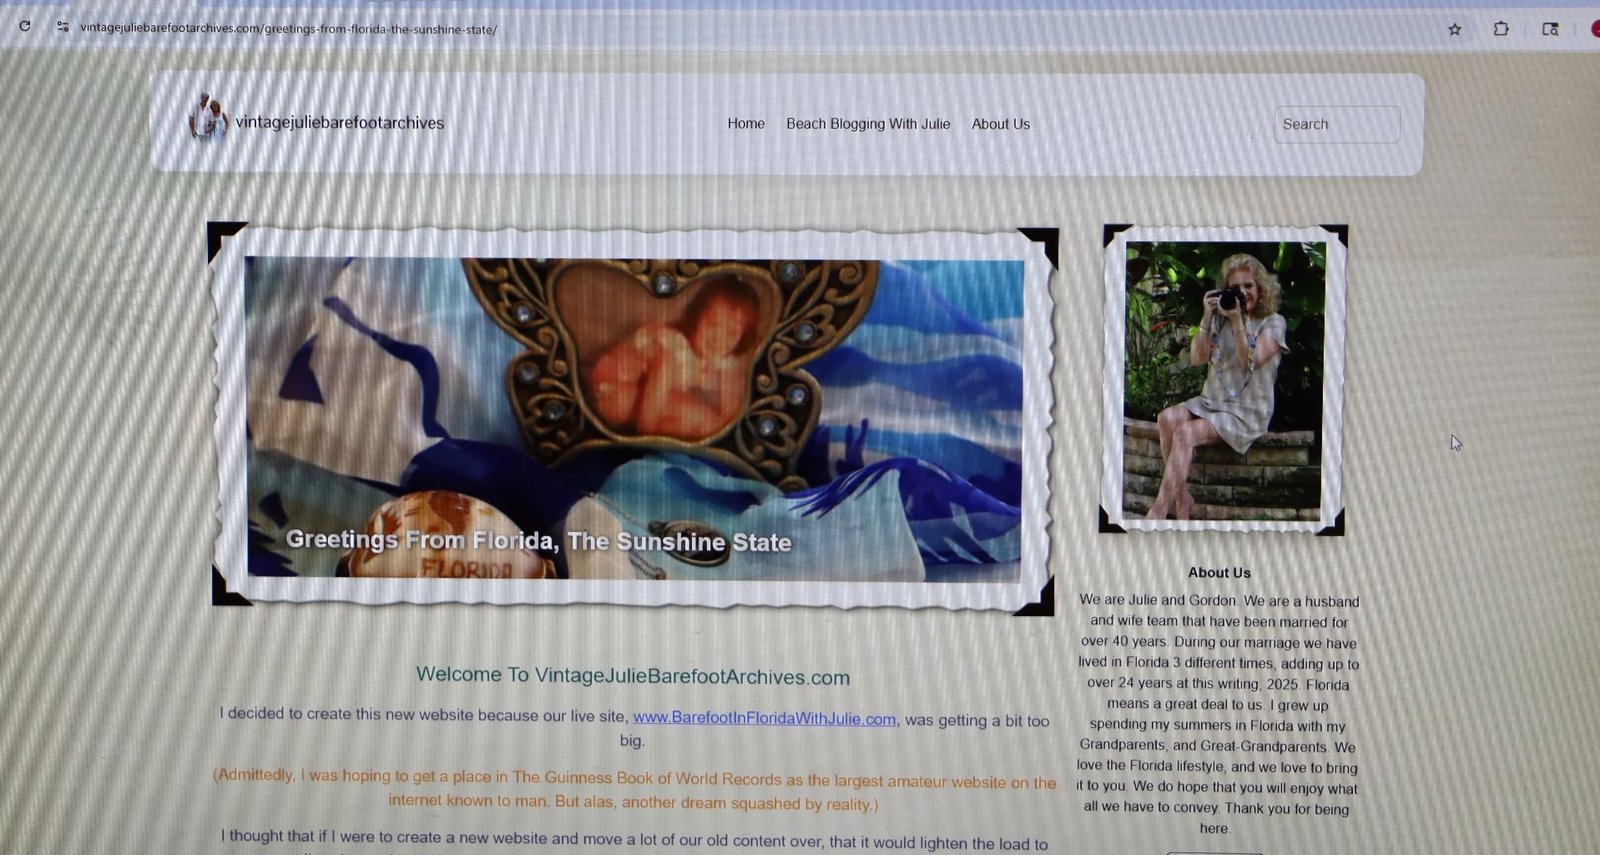
My First Blog Posting On The New/Old Website
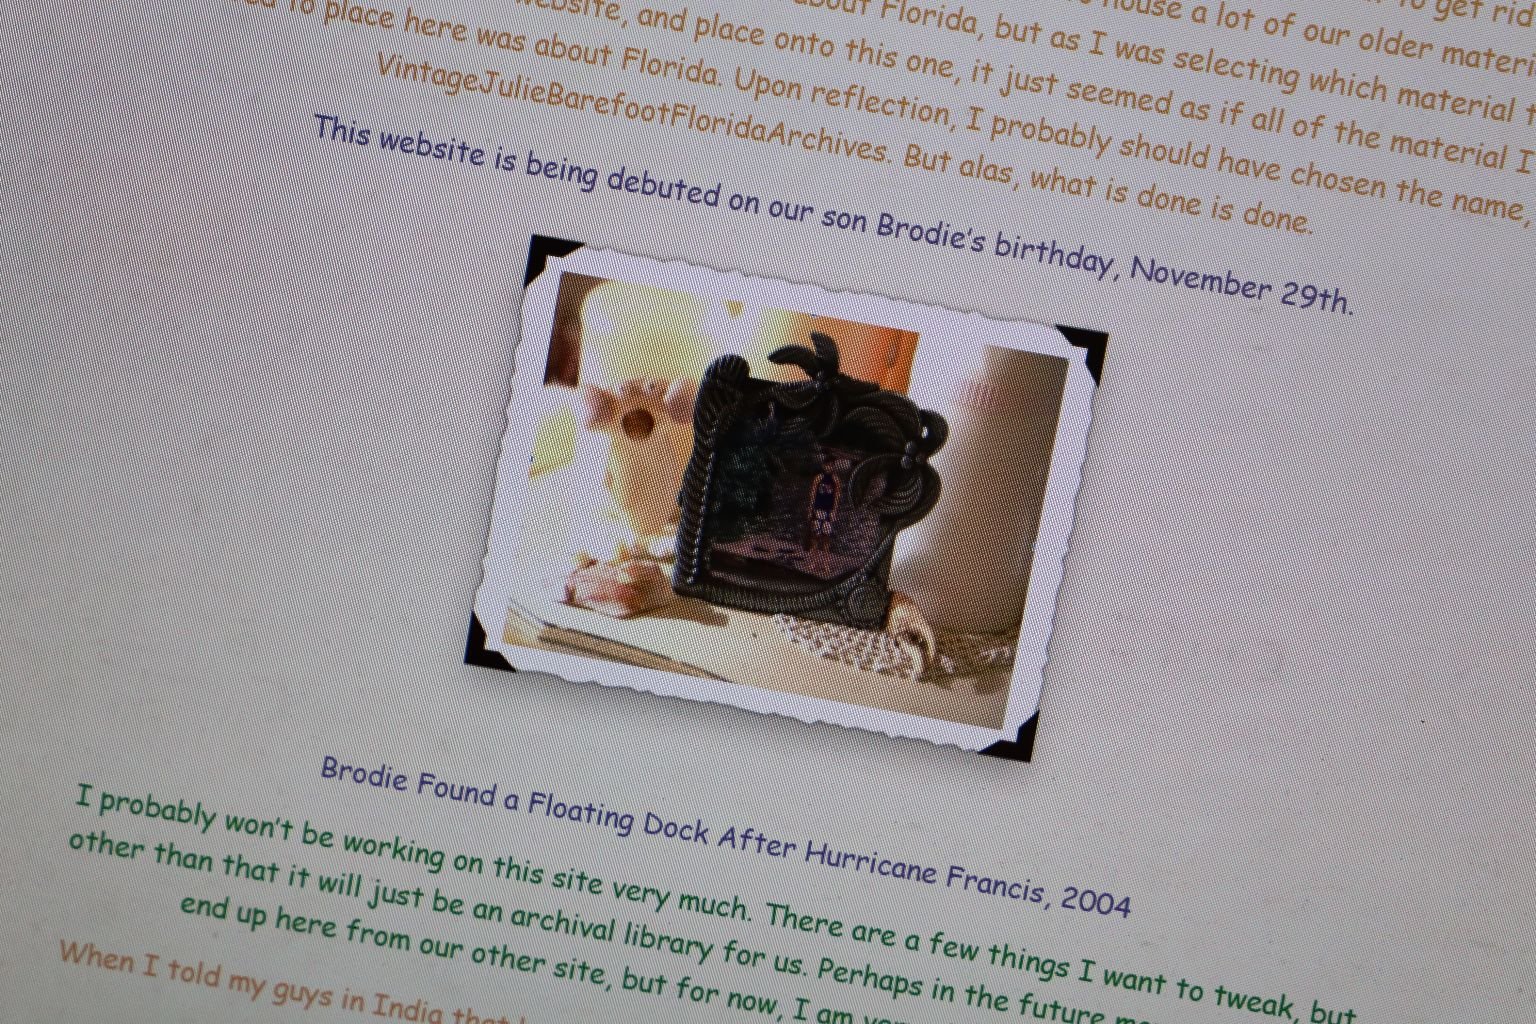
I Debuted This New Site On Brodie’s Birthday, November 29, 2025
————————————————————————————
Welcome To VintageJulieBarefootArchives.com
(As Taken From Blog Posting from the new site.)

Brodie Keith Kanakaleo Whann
I decided to create this new website because our live site, www.BarefootInFloridaWithJulie.com, was getting a bit too big.
(Admittedly, I was hoping to get a place in The Guinness Book of World Records as the largest amateur website on the internet known to man. But alas, another dream squashed by reality, or human intervention.)
I thought that if I were to create a new website and move a lot of our old content over, that it would lighten the load to our current live site, and I could make this new website about our Florida Life. So, I specifically chose website pages that were of a Florida nature. We love Florida! My ties to Florida go back to when I was a baby in the 60’s, living in Rome, Georgia with my mother, grand-parents, and great-grandparents. Every summer was spent vacationing in Florida. Also, prior to me being born, it was where my mother and her friends, and their families vacationed as well. I have some really great old photos of my grand-parents, great-grandparents, and great-aunts and uncles wearing their old fashioned swimsuits with their old timey cars parked on the beach. Once upon a time you could do that. Drive onto the beach and park your car. Mostly on the East Coast of Florida, they had the longest stretches of beaches.


I’m the tall one with my cute petite friends. St. Pete left, Daytona right.
I can remember the Florida vacations very well. We would leave Rome in the evening, and drive all night down to Florida. I would be asleep in the backseat, wearing pajamas.. My grand-father would do the driving. If I had to use the bathroom on the way down my grandfather would pull over to the side of the highway, they would open both doors, the front door and the backdoor, and I would take my winky-tink between the two doors. Sometimes, cars would honk as they would drive by. I was always in a panic that someone could see me. My grandmother always assured me that no one can. (She was probably lying.)
St. Petersburg was usually our destination. My grand-father would look for Motels with a VACANCY sign flashing towards the street. He would just drive down what is now Gulf Blvd. looking for a Motel that he thought looked nice. He would then pull into those Motels and inquire within for something suitable for all of us. I can remember that we were always on the ocean side, most of the time there was a pool. I can even remember one place we stayed at where we walked out of our motel room door directly onto the beach. There was so much beach sand outside our door.
I have beautiful memories of many Florida vacations with my grand-parents. My grand-father was one to lay on his back in the ocean, floating, and falling asleep. He was a big man, very tall, with lots of cushion. He floated very easily. I can remember one time he fell asleep and was drifting out to sea, a lifeguard was blowing his whistle trying to wake him up to get him to swim back towards shore.
Most every night we would eat at a seafood restaurant. The restaurant was always located on an ocean front, or a canal front. I have so many great memories of finding little fishies trapped between the rocks by the ocean or canals. I would use a paper cup to capture them and take them back to the motel room with me. I loved having them with me in the motel room. I loved watching them. Sometimes I would set them loose the next day, if they even made it through the night. Upon reflection I wish I had known more about helping them. But I didn’t. I was just a child.
—————————————————————————————
Hello Rosy Cheeks
I remember this very well. It was at one restaurant that was busy that evening for dinner. There were many people waiting to get seated. My grand-parents and I were sitting at a table in the entryway when suddenly this cute boy sat down right beside my grandmother, he sat across from me, he then looked at me and said with all the confidence in the world, “Hello rosy cheeks.” I was in my early teens. My grandmother instantly adored him! I guess charmers must recognize each other because my grand-mother was a charmer. She then burst out laughing.
This cute, charming boy sat there flirting with me. I knew I could fall for him in a minute! But, I was just too shy to do anything about it. But, I have always remembered that cute boy that made this awkward girl feel special.
Oh, and the rosy cheeks were from my being sunburned that day from staying out too long in the sun, on the beach.
———————————————————————————
Florida is not just a great state to vacation in, it holds so many happy memories for me and my family growing up. It makes sense that Gordon and I would settle here and live out our days until we are gone. Hopefully that won’t be for a very long time. But, until then we have a grand-daughter to help raise and make many happy Florida memories for her to take with her in life.
An old timey Motel, a Shuffleboard Court, Sun, Sand, Shells, Beach, Oranges, Orange Juice, Drawbridges, Souvenir Shops, Boat Rides, Seafood Restaurants, Summer Friendships with other Tourists, Salt Water Taffy, Vintage Beach Buckets, Sand Shovels, Flamingoes… and being Barefoot!
This is what I carry with me every day.
Happy Vintage Julie Barefoot Memories,
Julie Barefoot
(Julie Lancaster-Whann)
—————————————————————————————————
————————————————————————————————————-
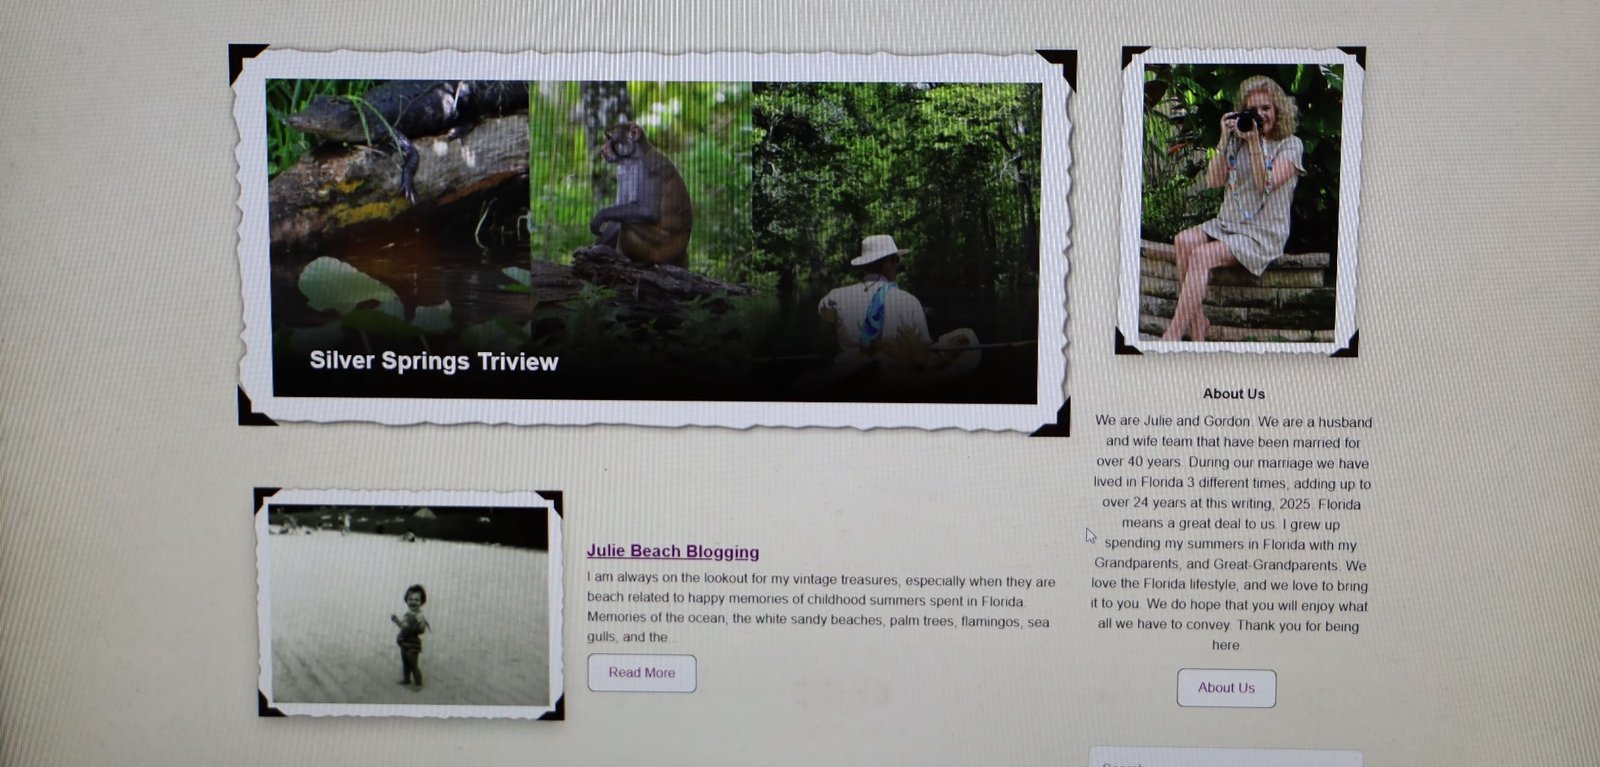
Florida is Beautiful and Unique,
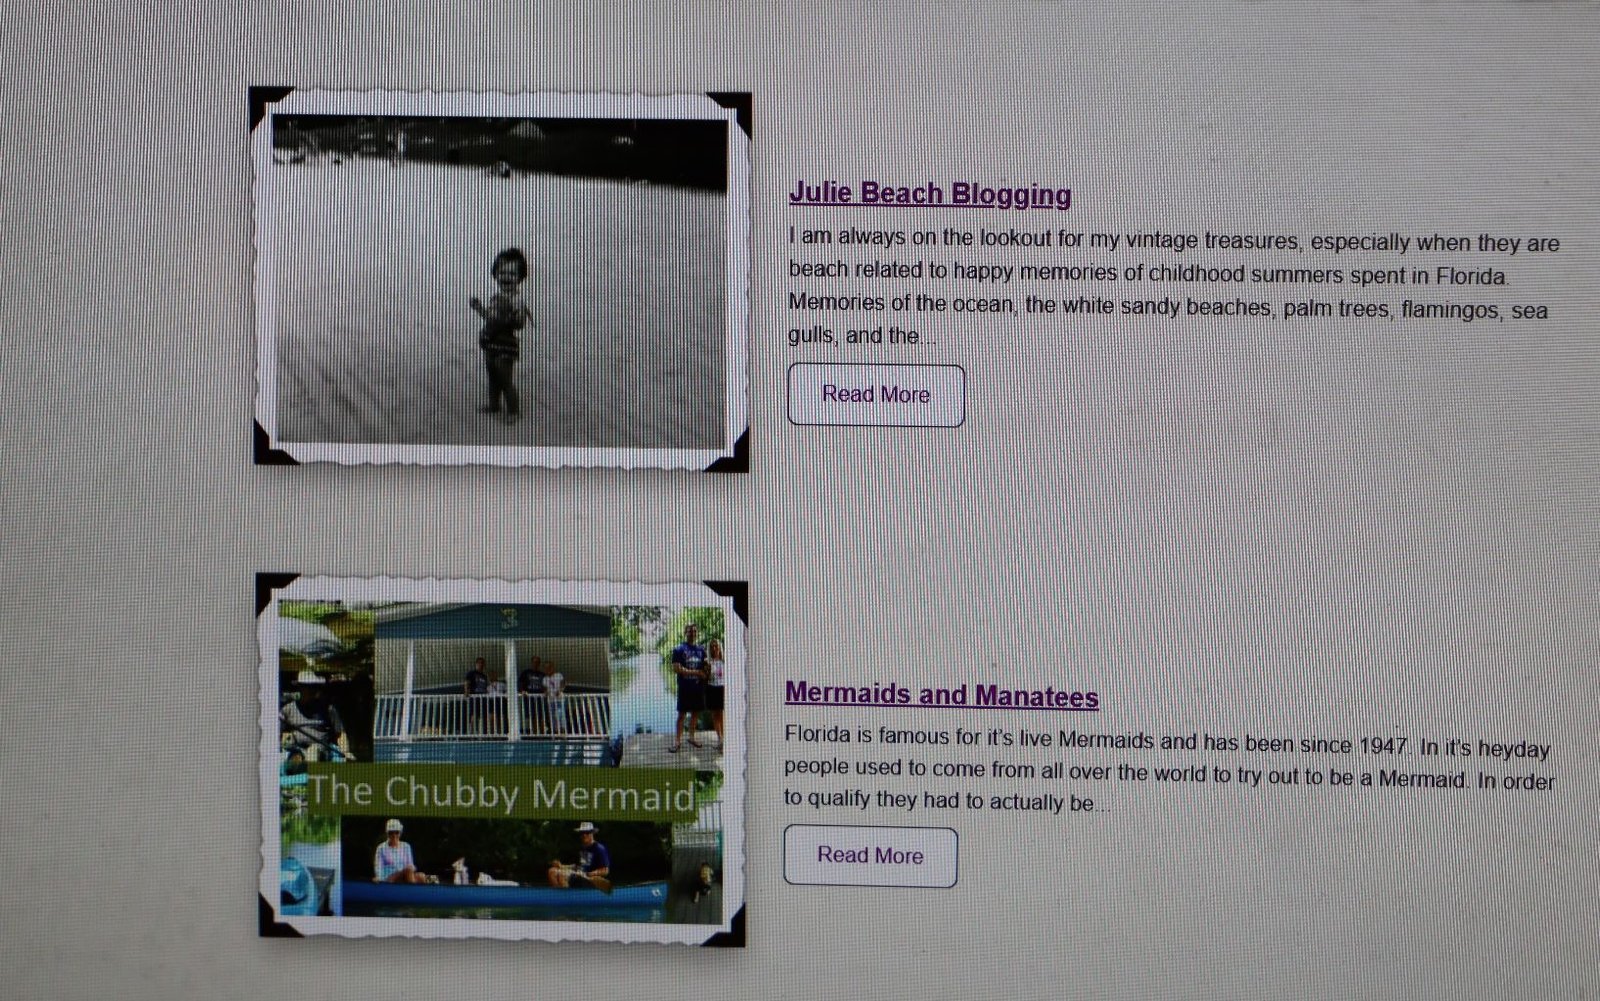
Located in the South, yet not Really Southern.
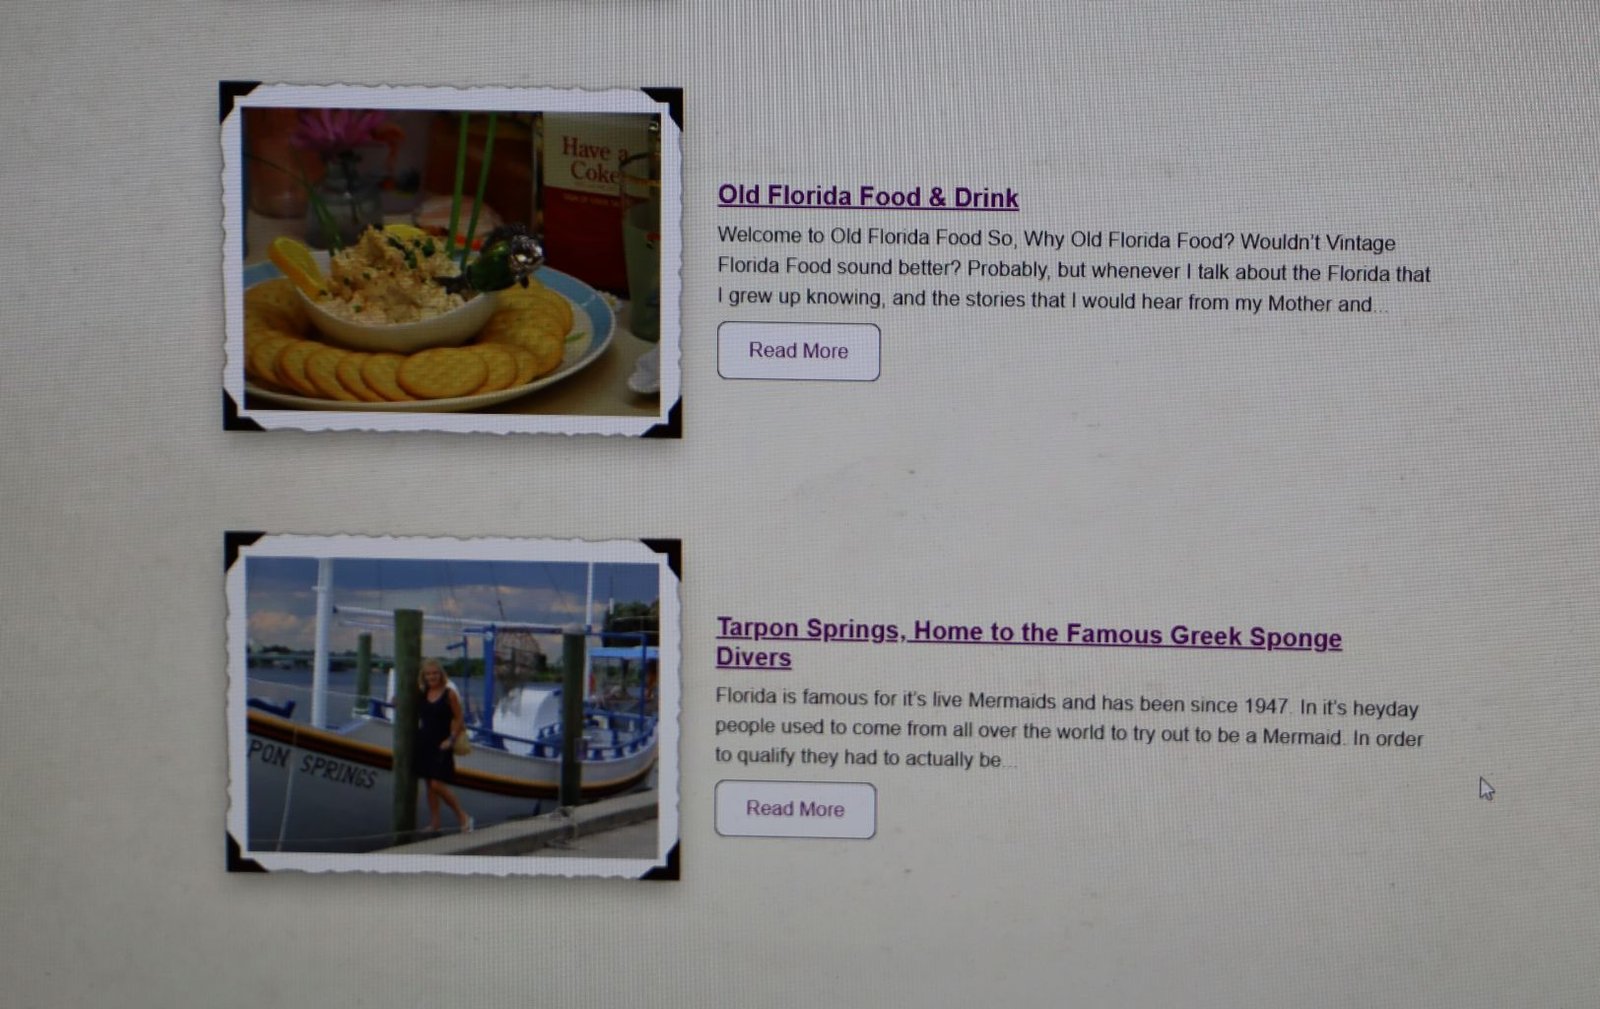
Although Florida is the East Coast, and Canada’s Destination
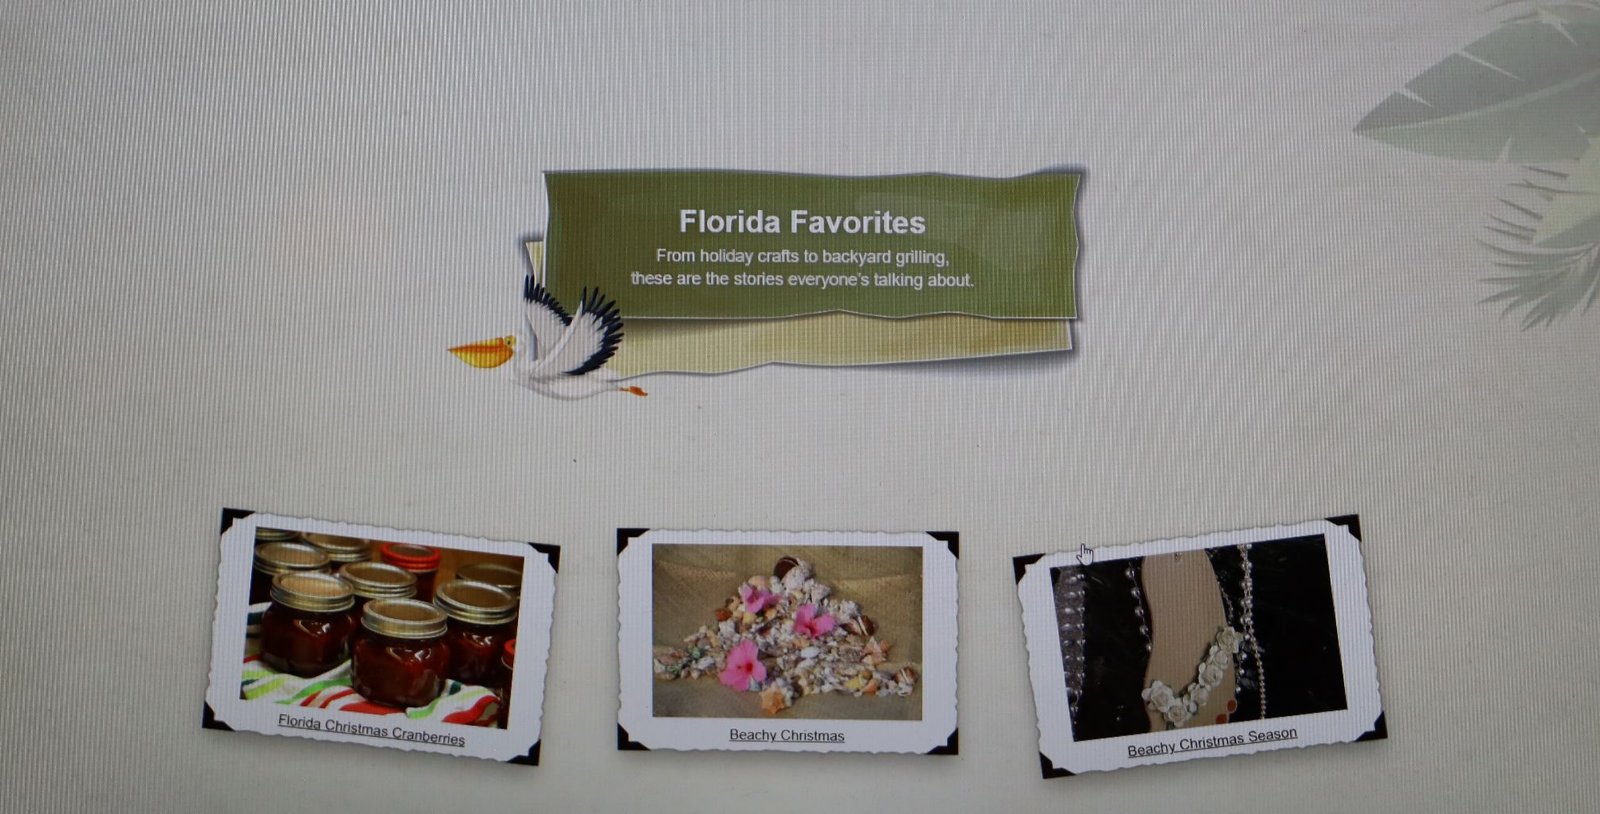
My Florida Favorites
————————————————————————————————-
———————————————————————————————-
————————————————————————————-
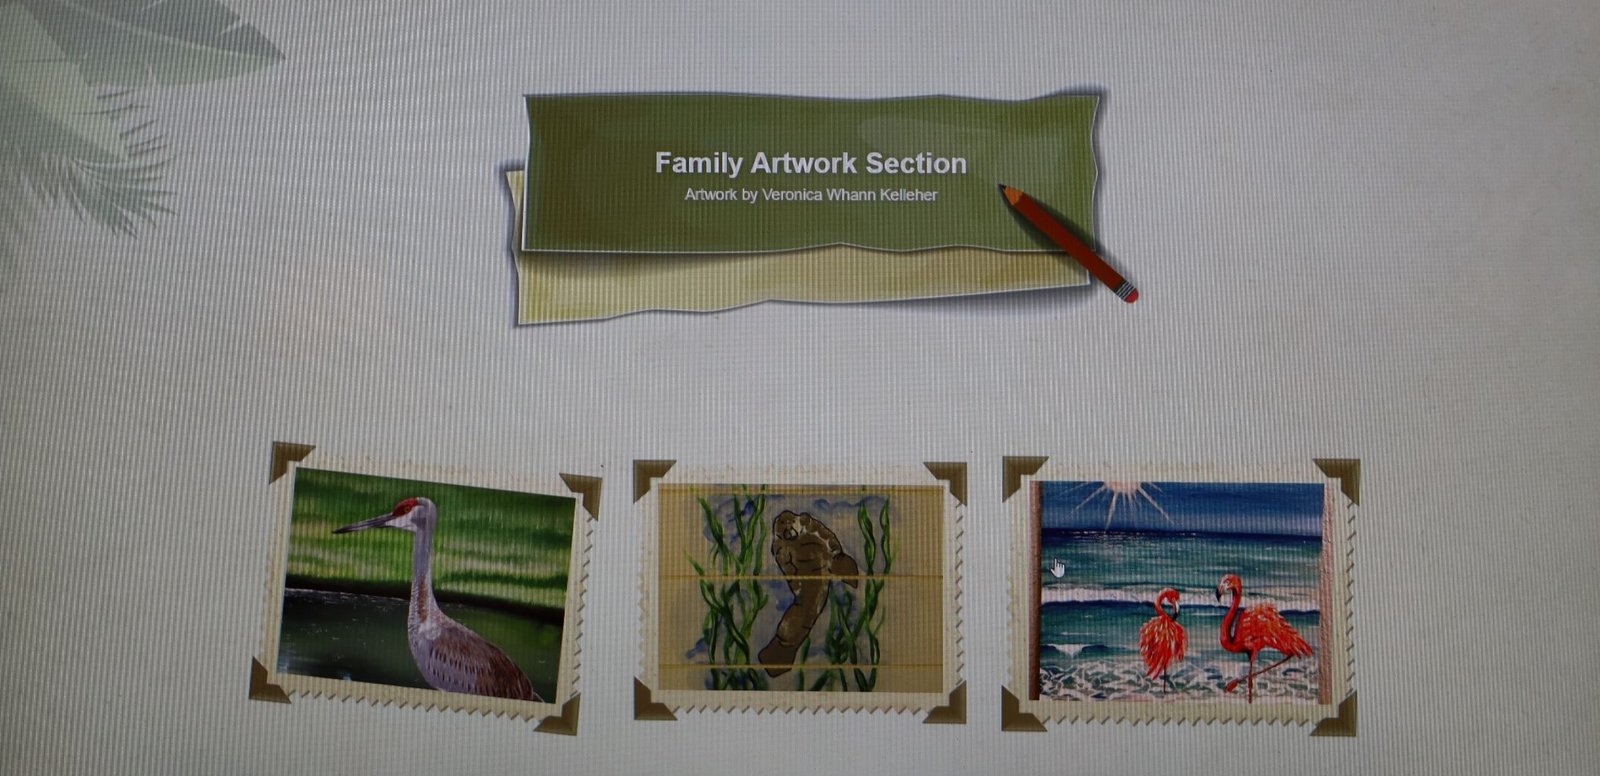
Some of Veronica’s Artwork
I asked her if she had some of her art that I could display on the new website. She sent over these. This was all she had in her possession. People do hire her to draw and paint for them. I would love to had seen those paintings, but she did contribute some nice things.
Busch Gardens
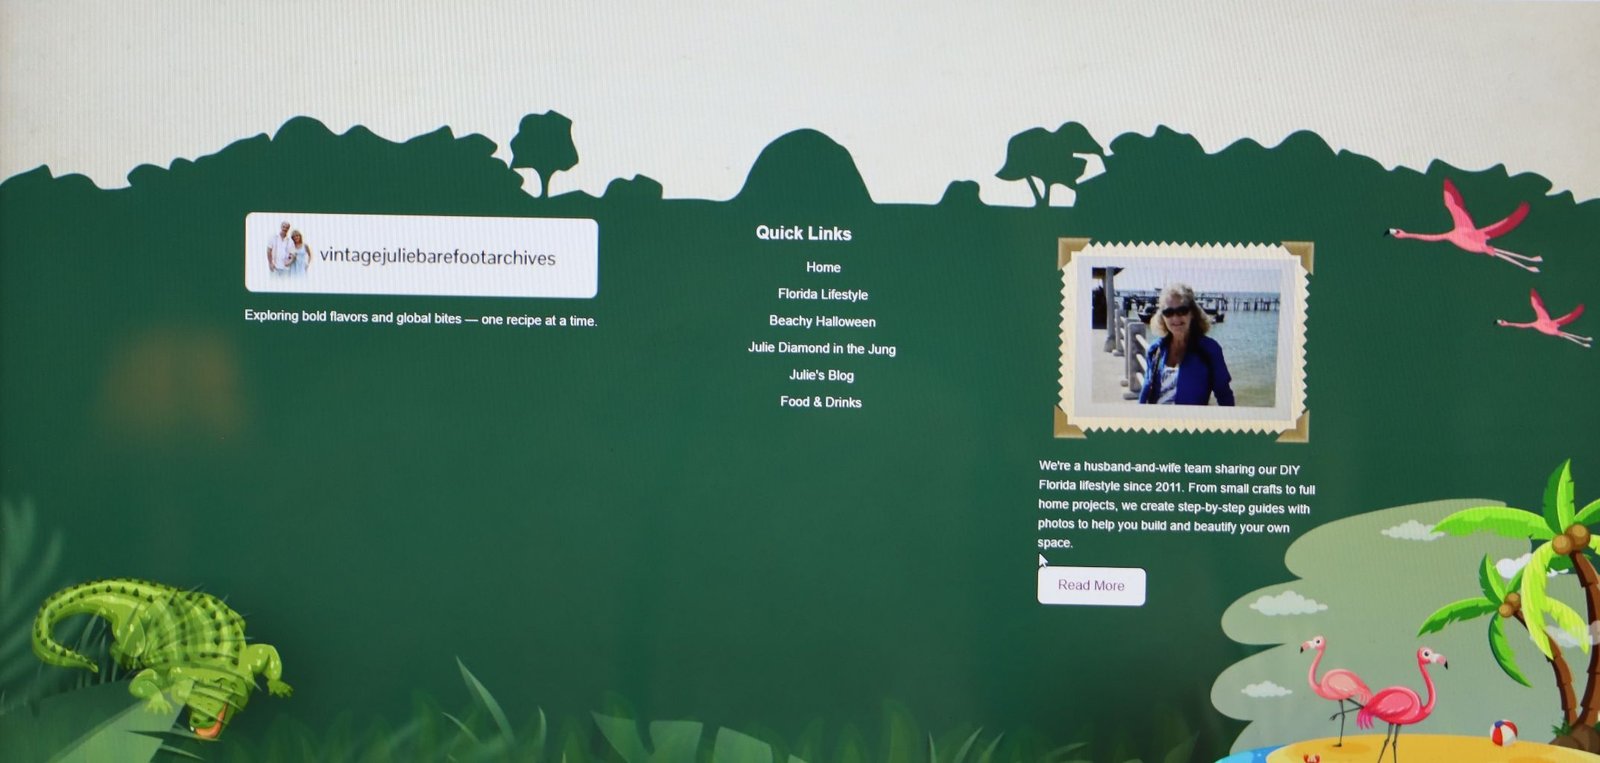
I told my guys in India that I wanted an Alligator on the bottom left, and Flamingoes on the bottom right.
I do think the landscaping you see in the graphic above looks like Africa, but then again we do have Busch Gardens here in Florida that is theme based on Africa.
So, I guess it all goes together nicely.
Web Design is a lot of fun but it isn’t really something tangible. I mean, the moment I quit paying the monthly fees, it can all just disappear. Or an experienced hacker can just come along and delete the whole thing forever. As much as I love my website’s they aren’t anything that I can hold in my hand, or place onto a shelf for display, or even own forever. My experience with having websites is that they are very vulnerable to those that know how to penetrate them, and abuse them without any conscious or authority whatsoever.
I guess what I am trying to say is that they are very temporary, so enjoy them while you can.
See You At The Beach!
Julie Barefoot
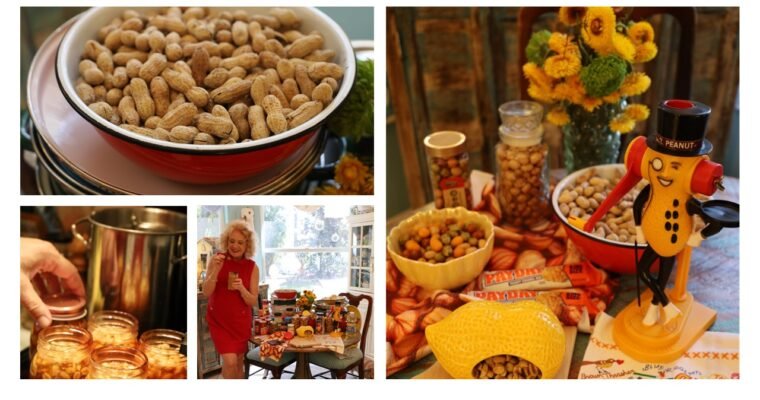
Mr. Peanut In 1906 Omedeo Obici, originally from Italy, founded the Planters Peanut Company in Wilkes-Barre, Pennsylvania. In 1916 Mr. Obici held a contest asking the public to draw a logo that he thought would best suit the company. …
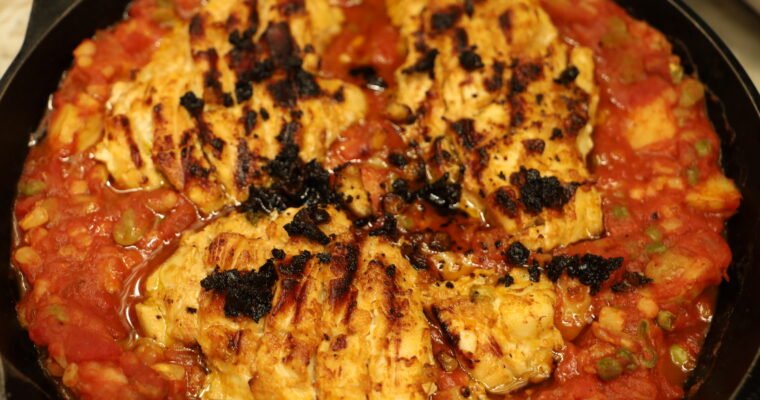
My Brunswick Stew Chicken Skillet Dinner I love Brunswick Stew! I grew up eating it in the South, in the Summer months, throughout the year, but especially for the 4th. of July. There is a history of the stew which I …
Buongiorno a Tutti
(Good Morning Everyone)
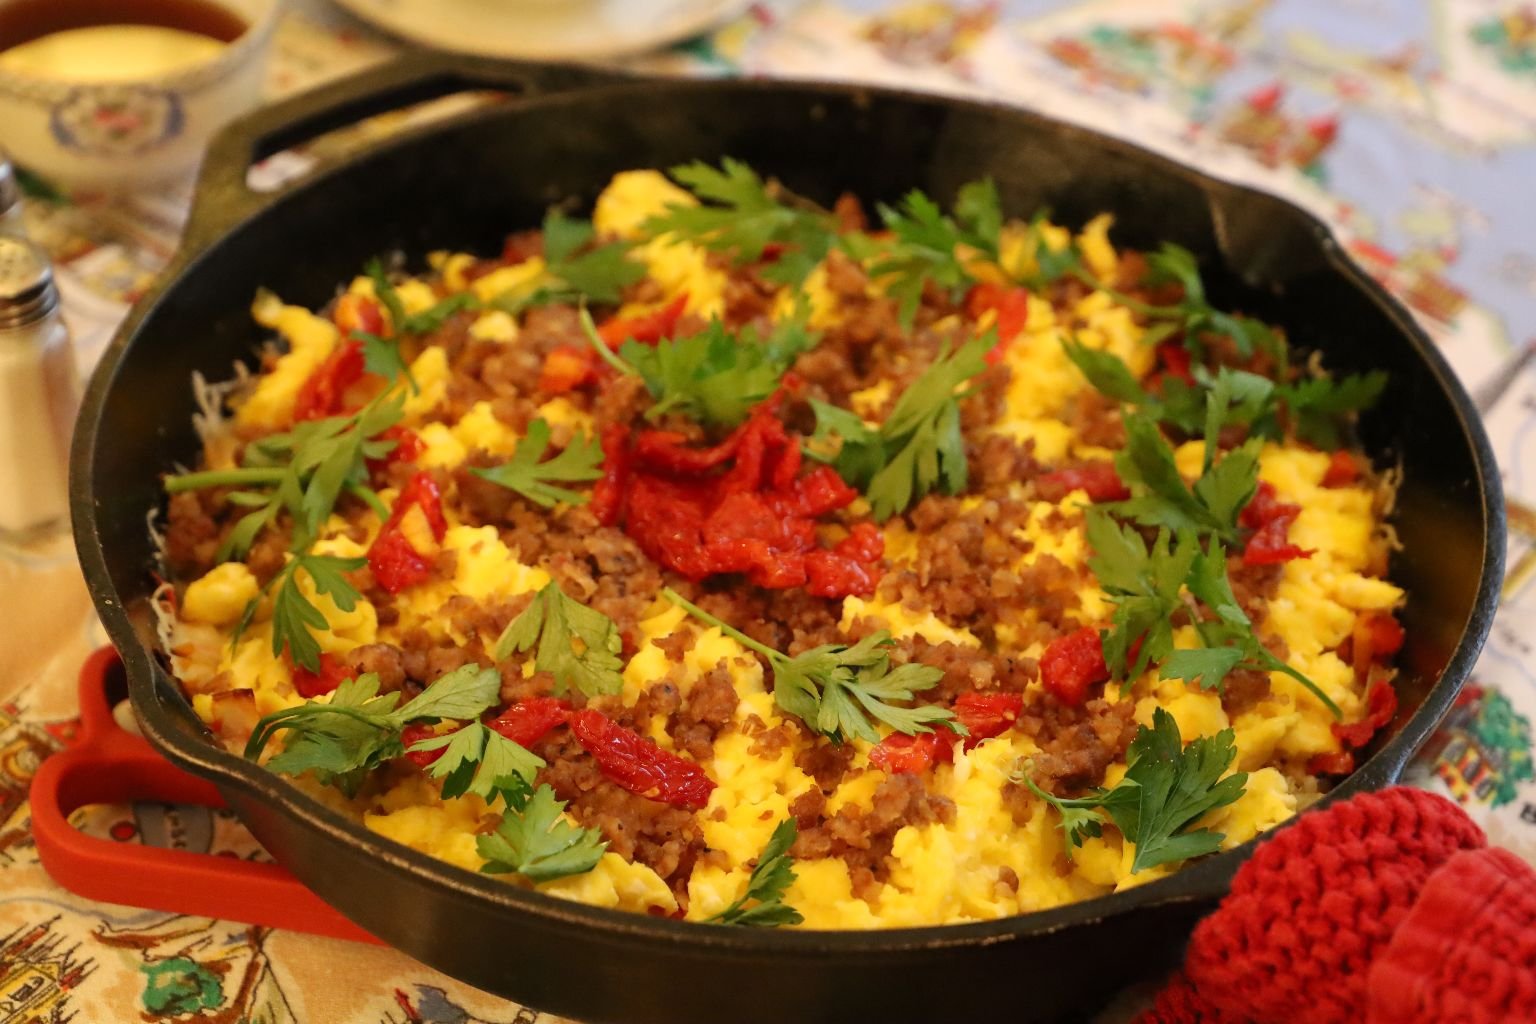
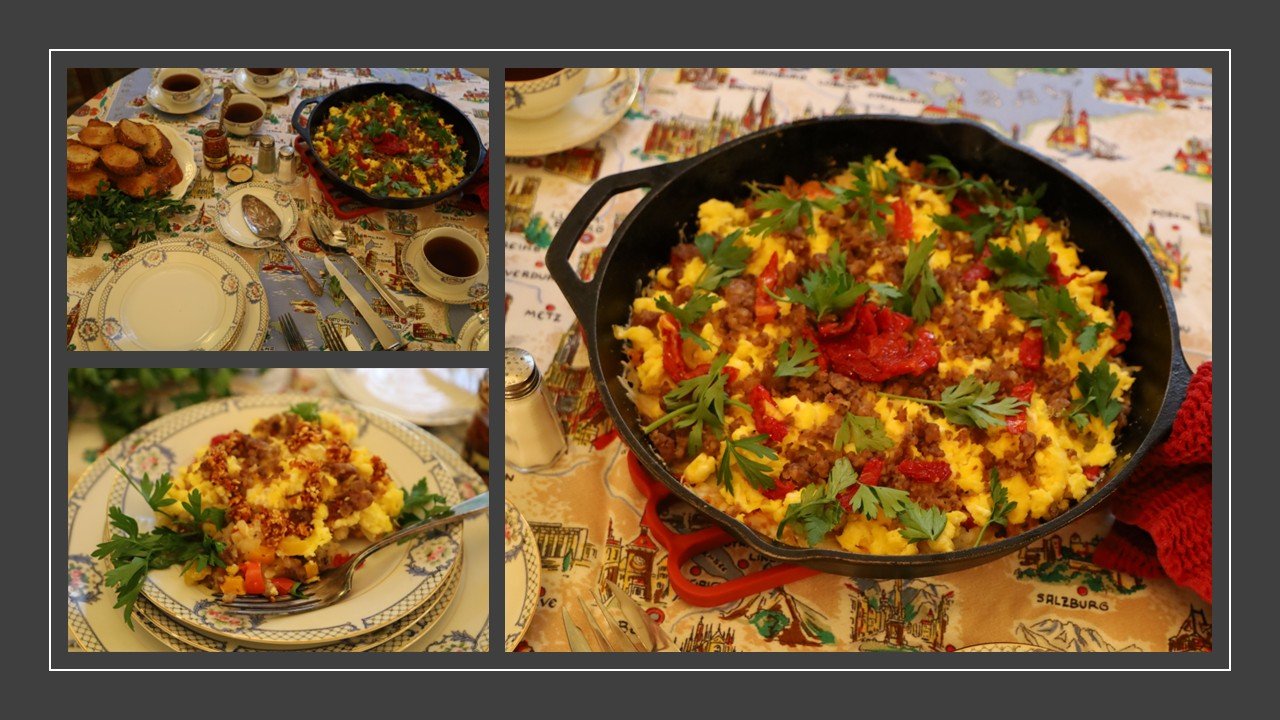
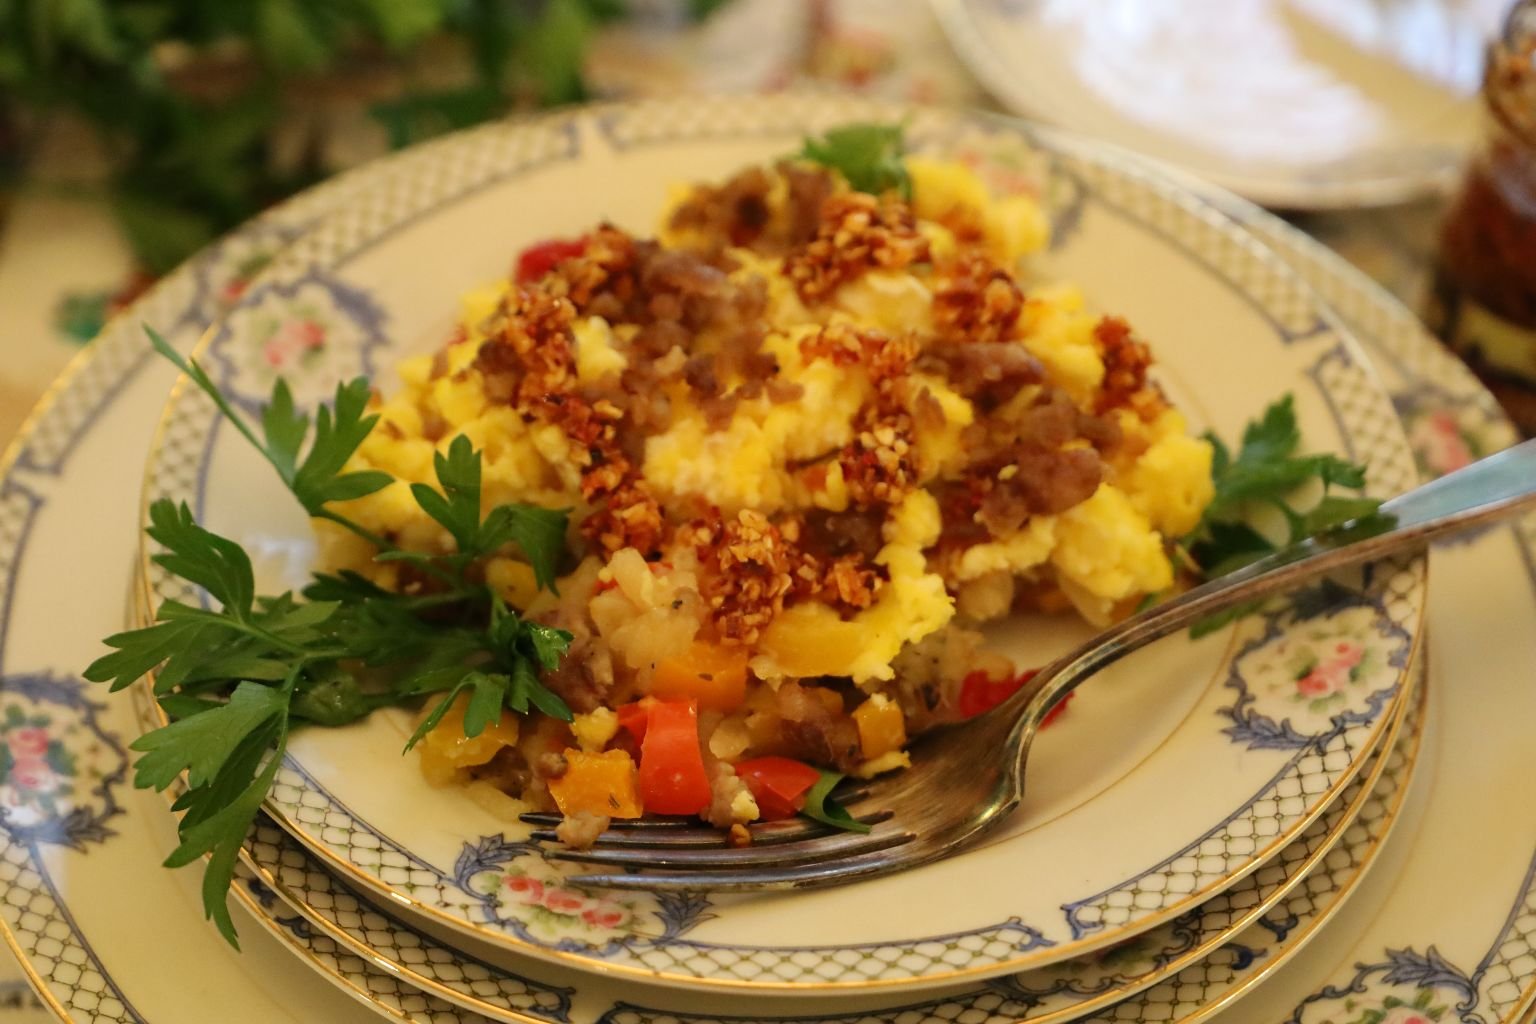
My Italiana Breakfast Skillet
———————————————————————————————–
You Don’t Have To Be Italian To Enjoy This Delicious Breakfast Skillet
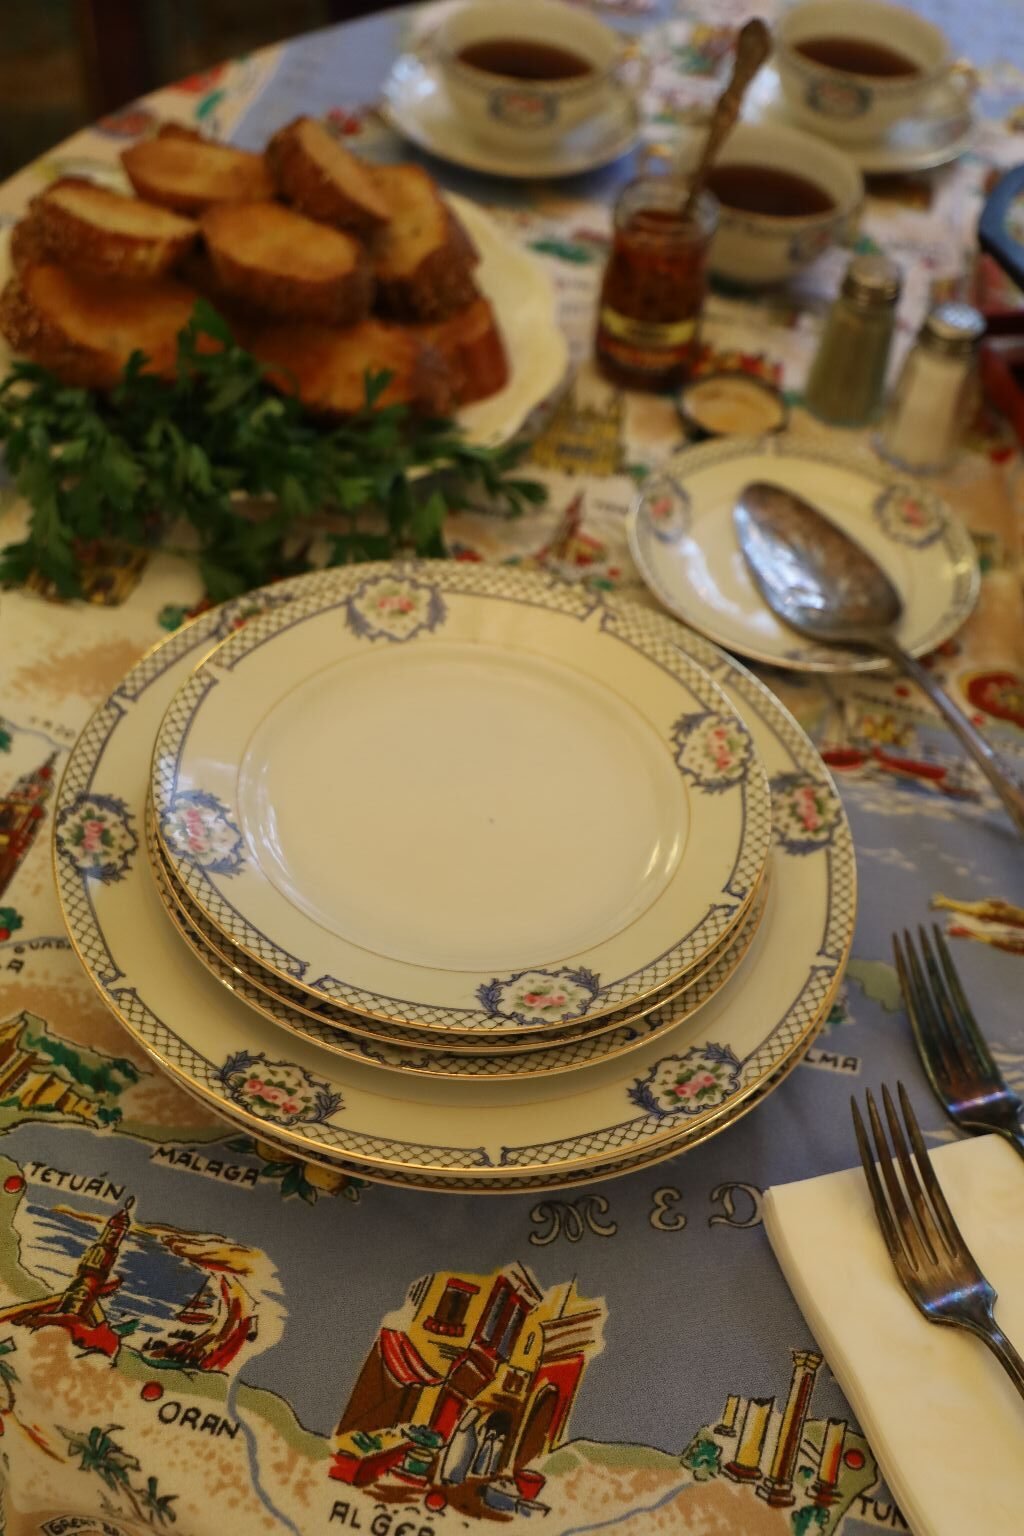
——————————————————————————————
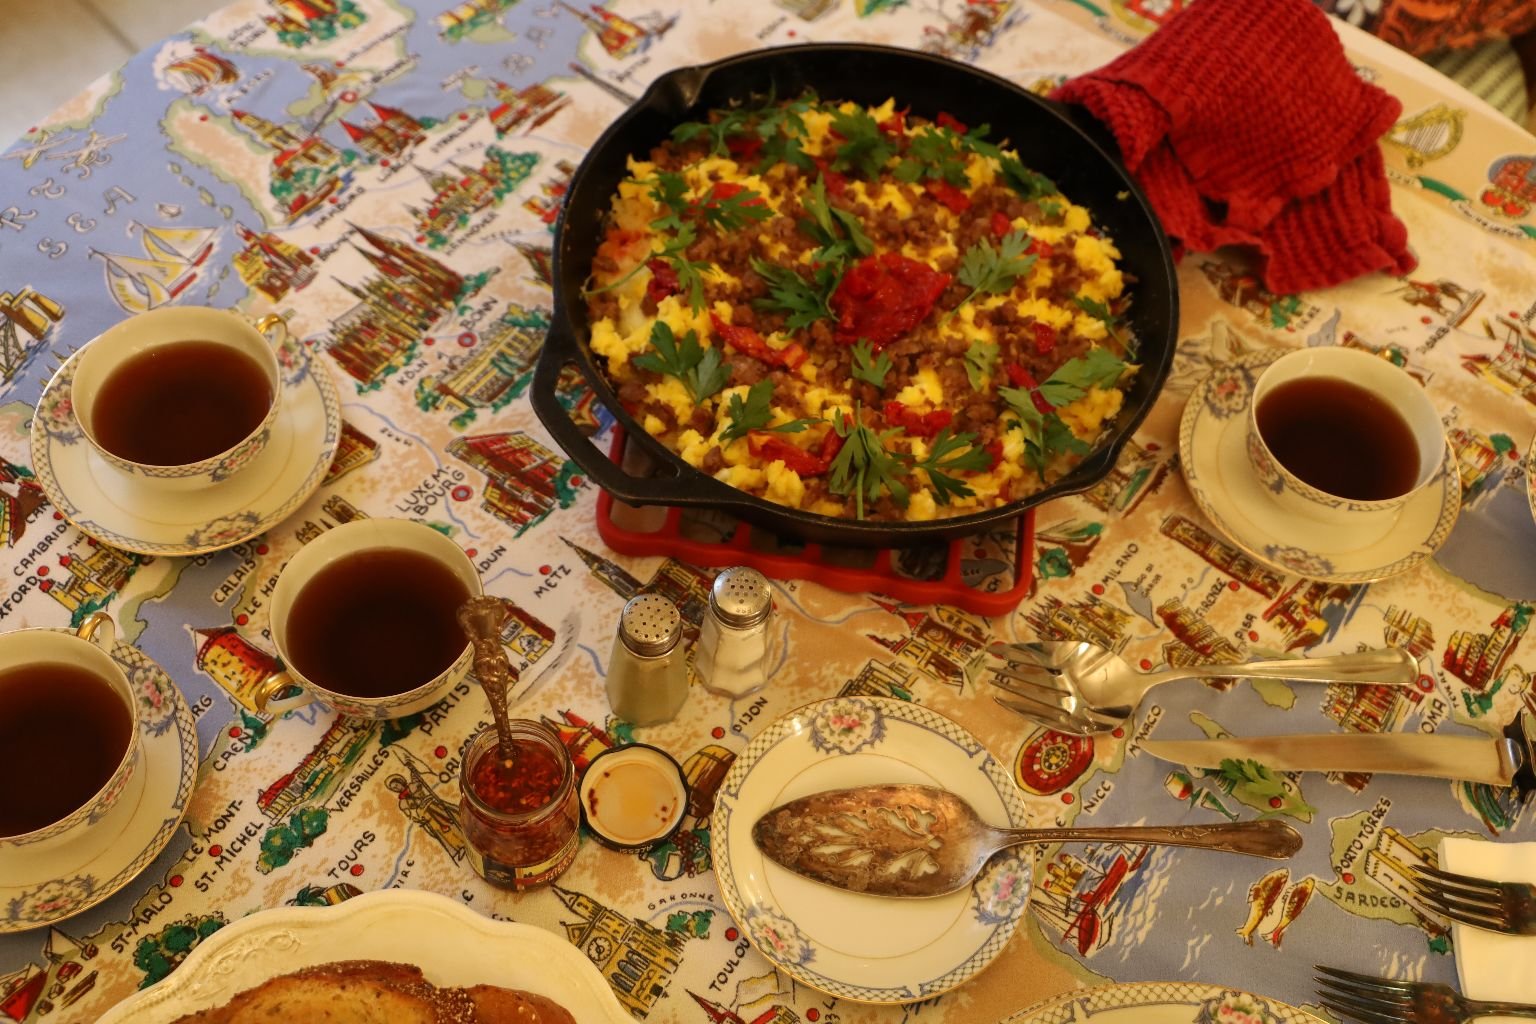
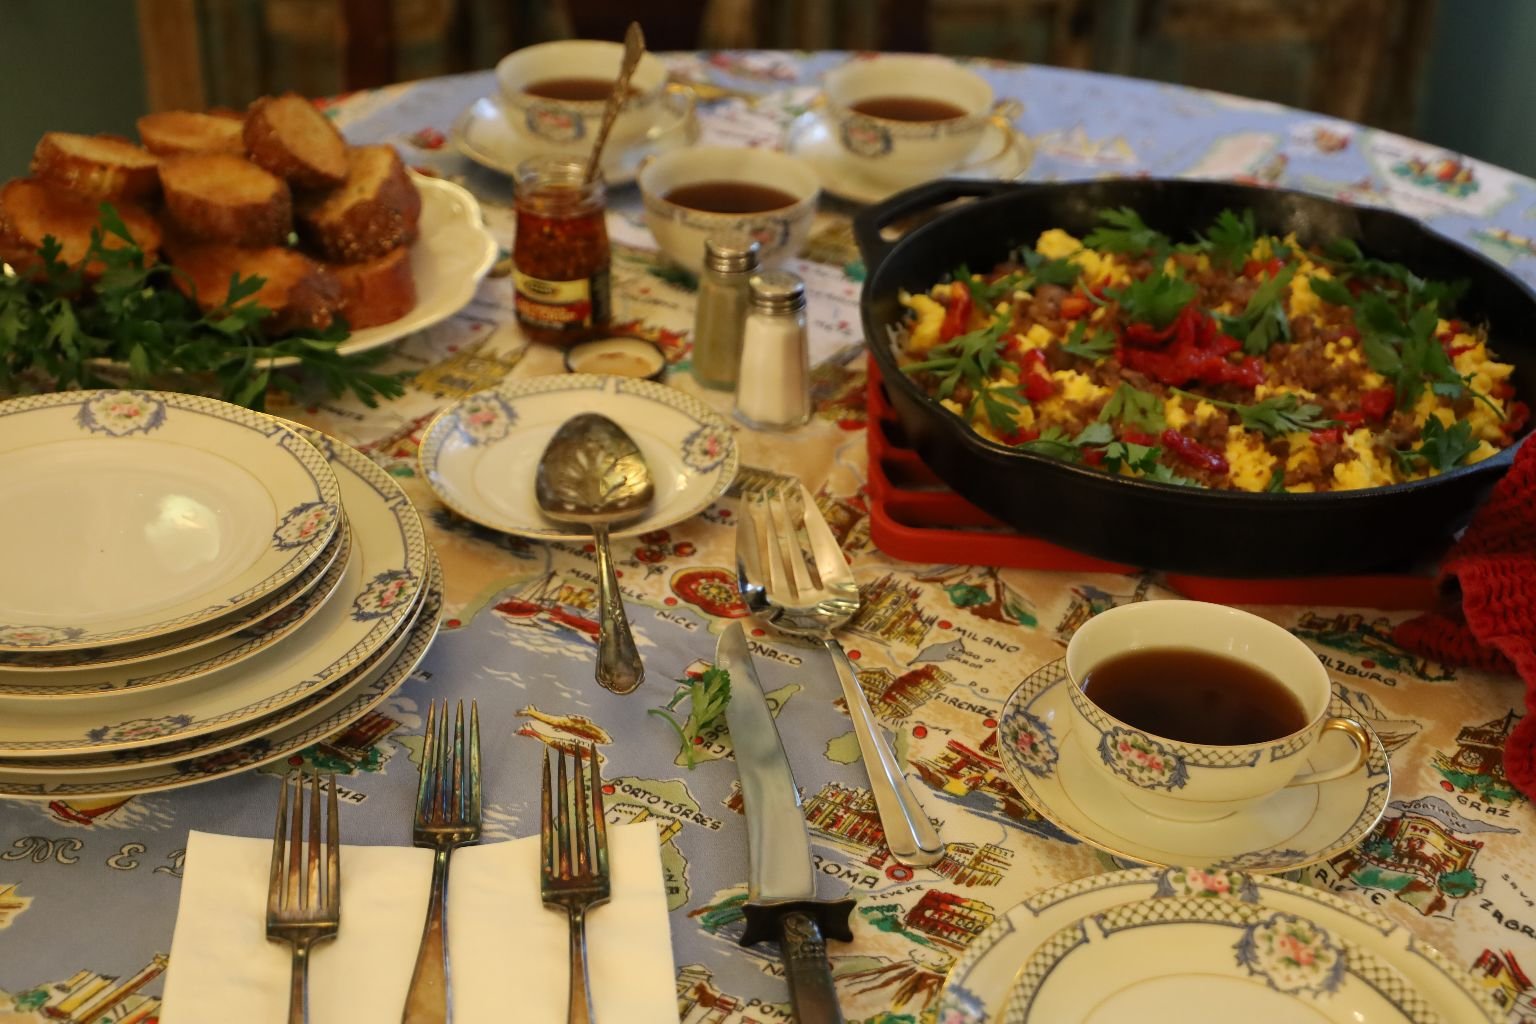
A One Skillet Breakfast With Baguette and Caffe
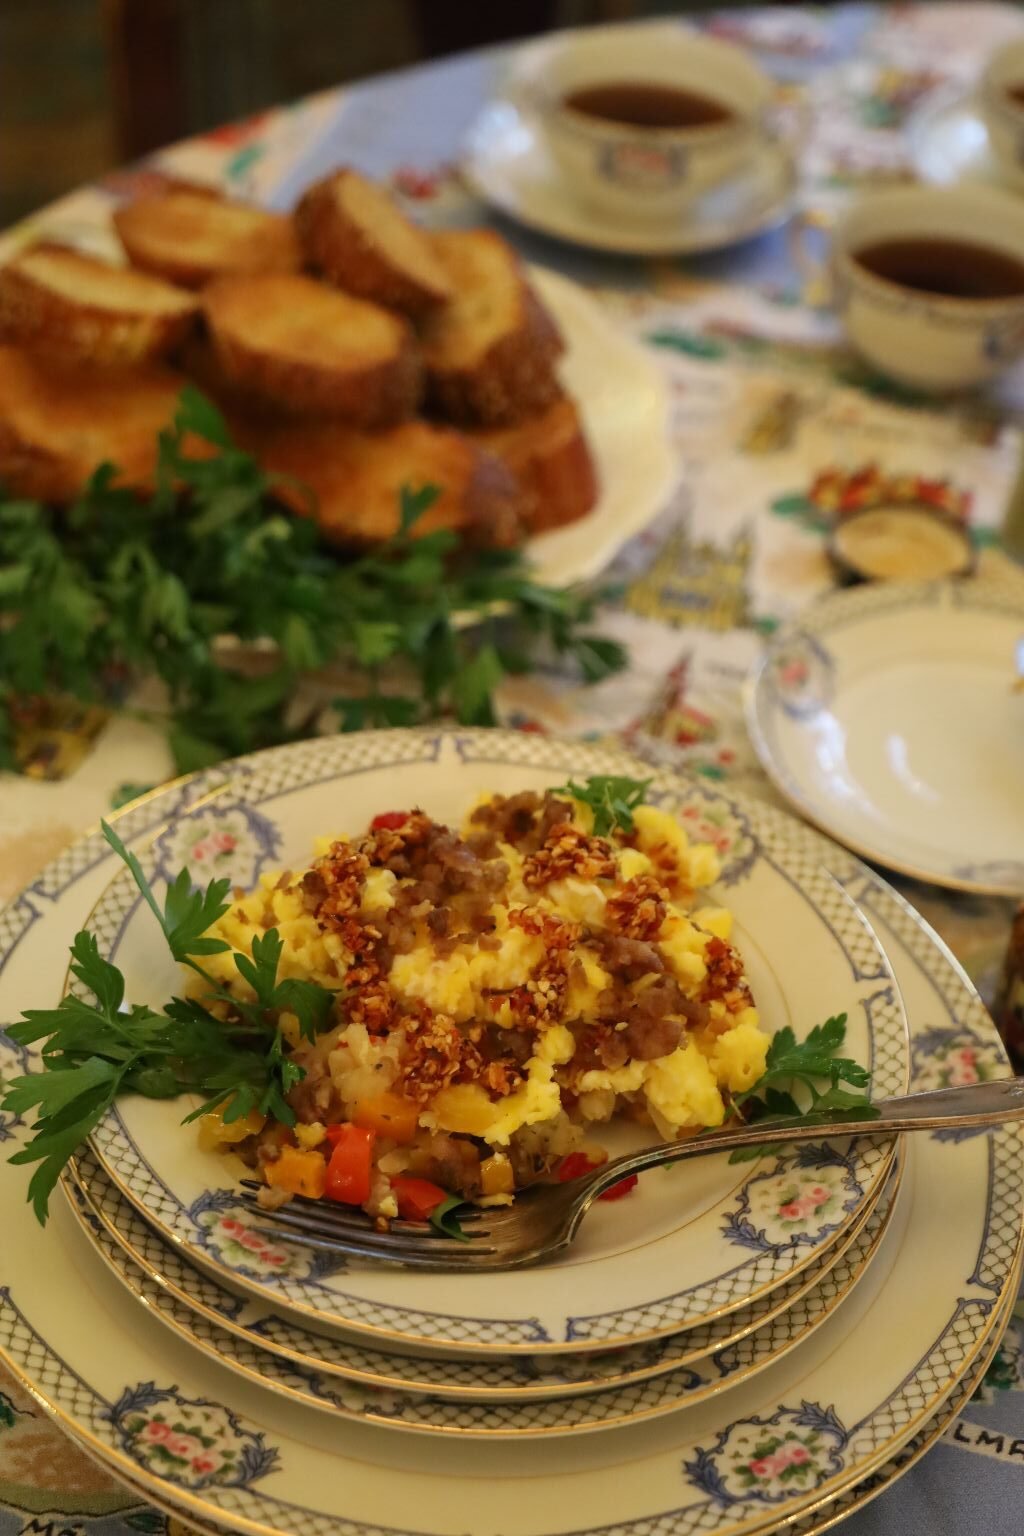
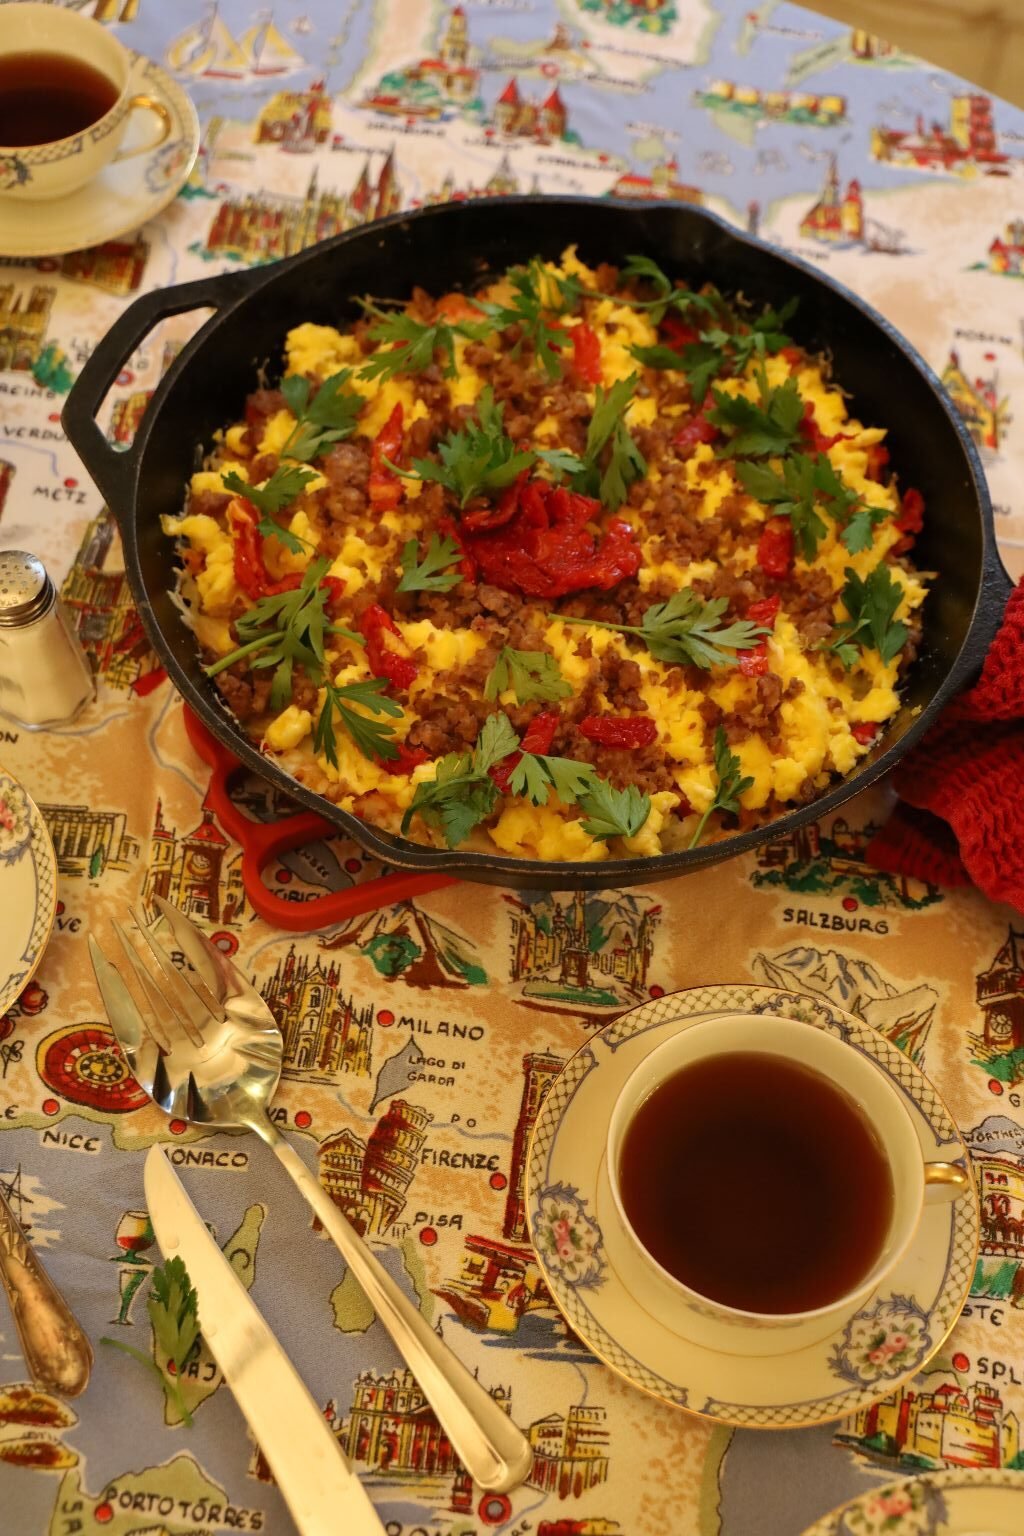
—————————————————————————————————–
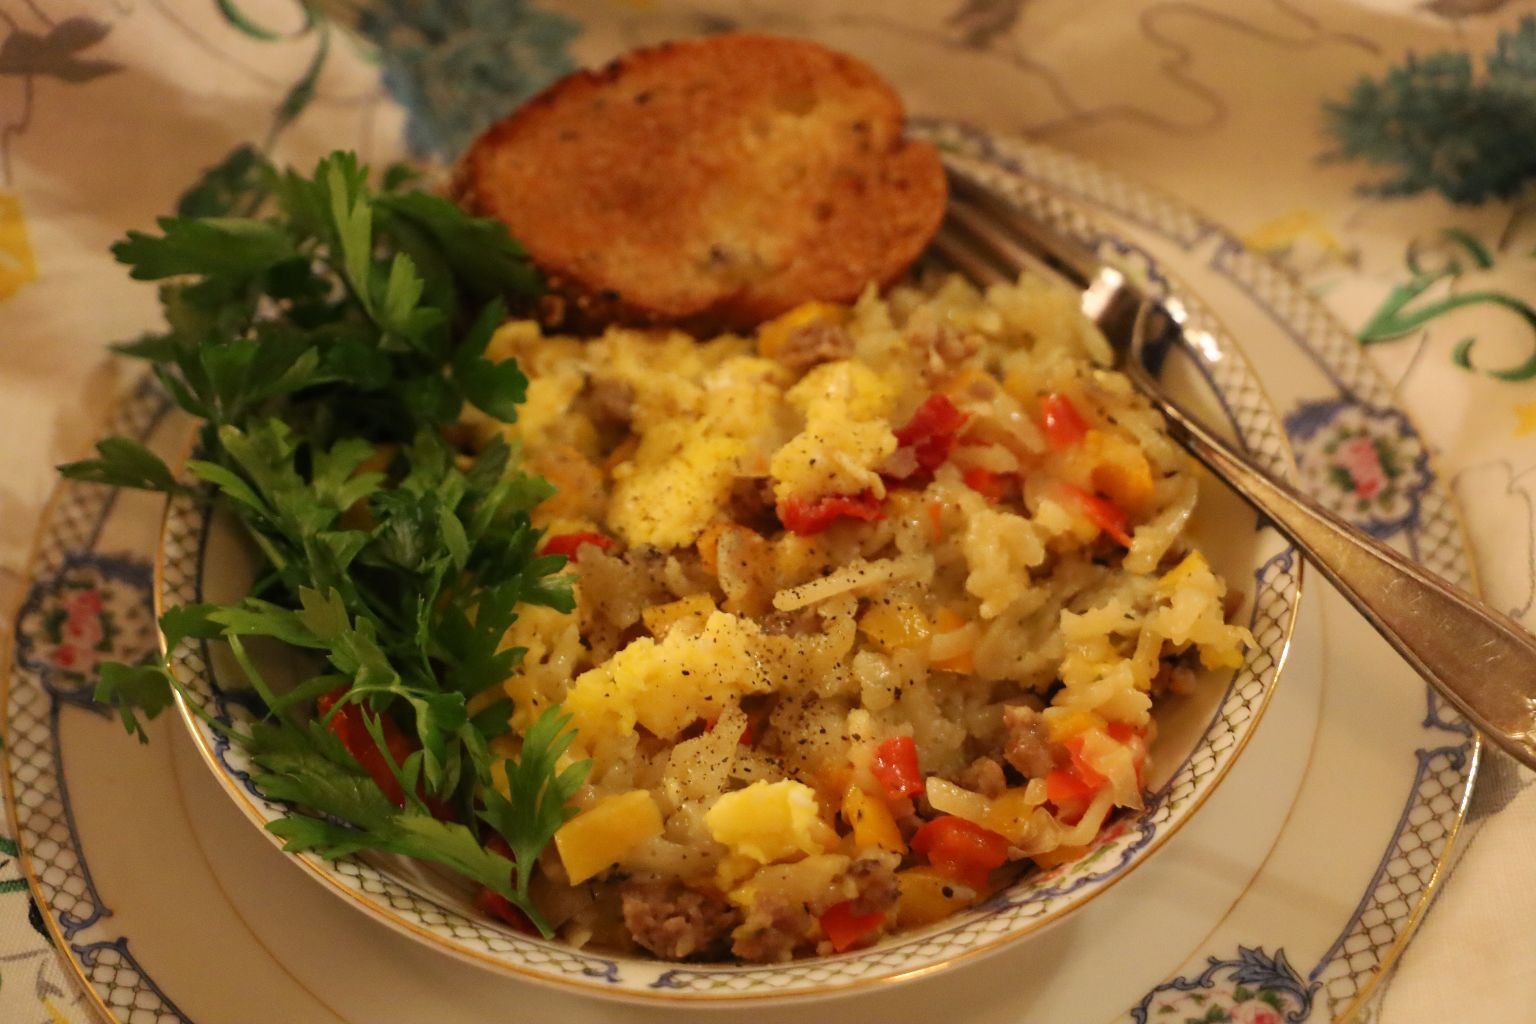
This Also Makes An Excellent Dinner, Or Even Luncheon
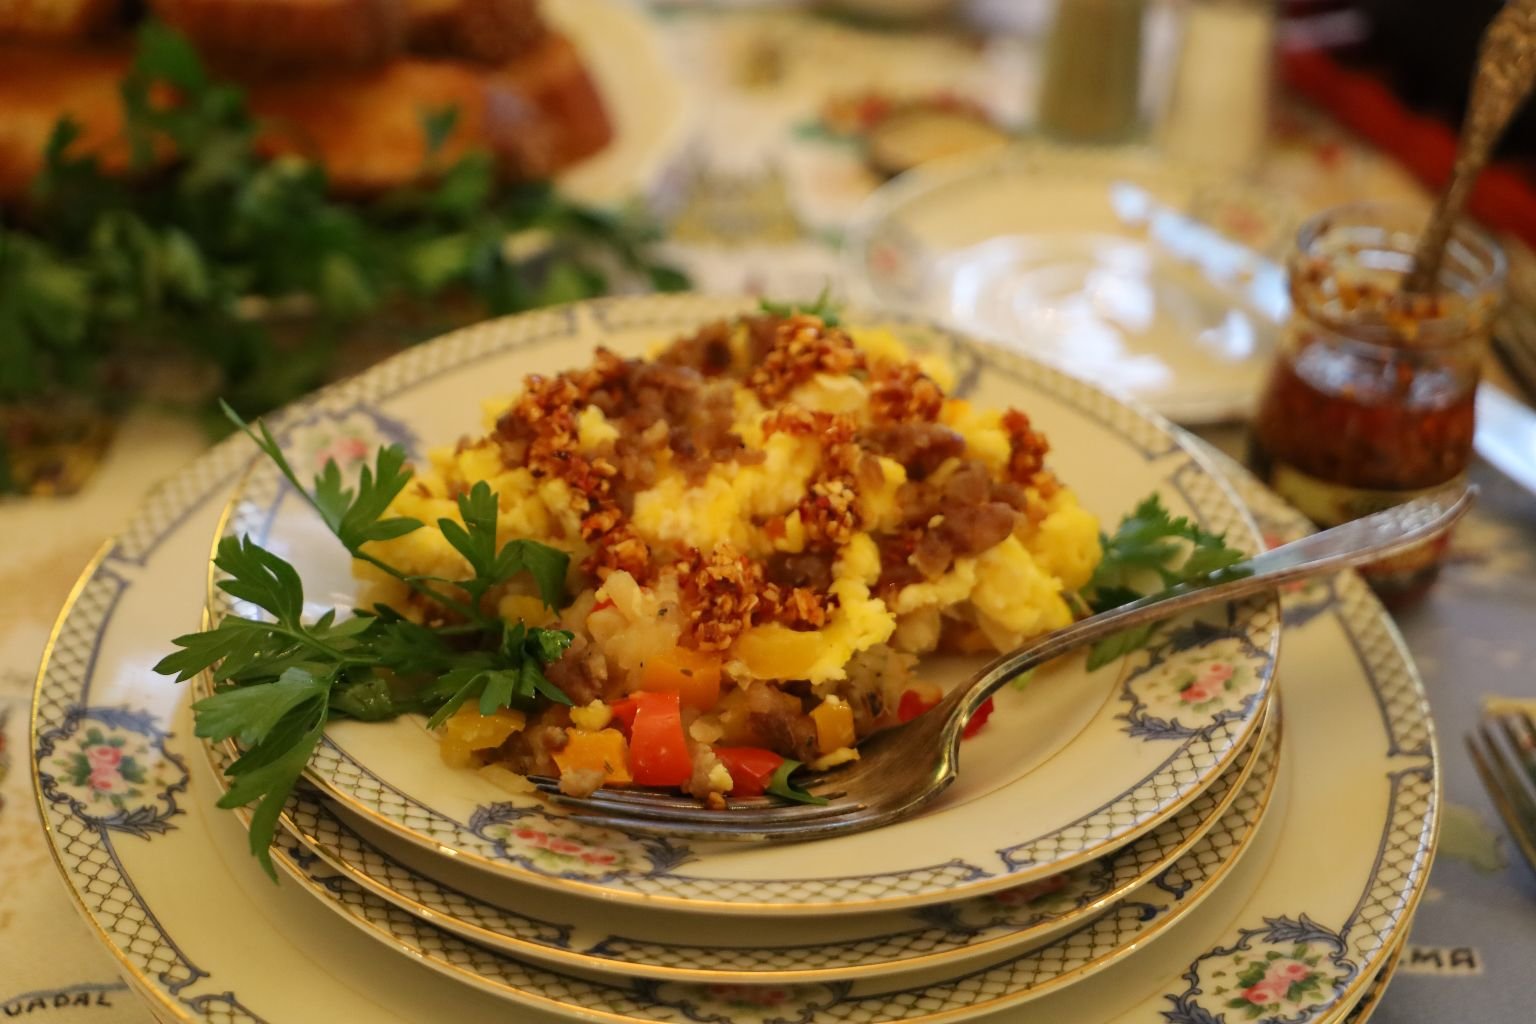
————————————————————————————————-
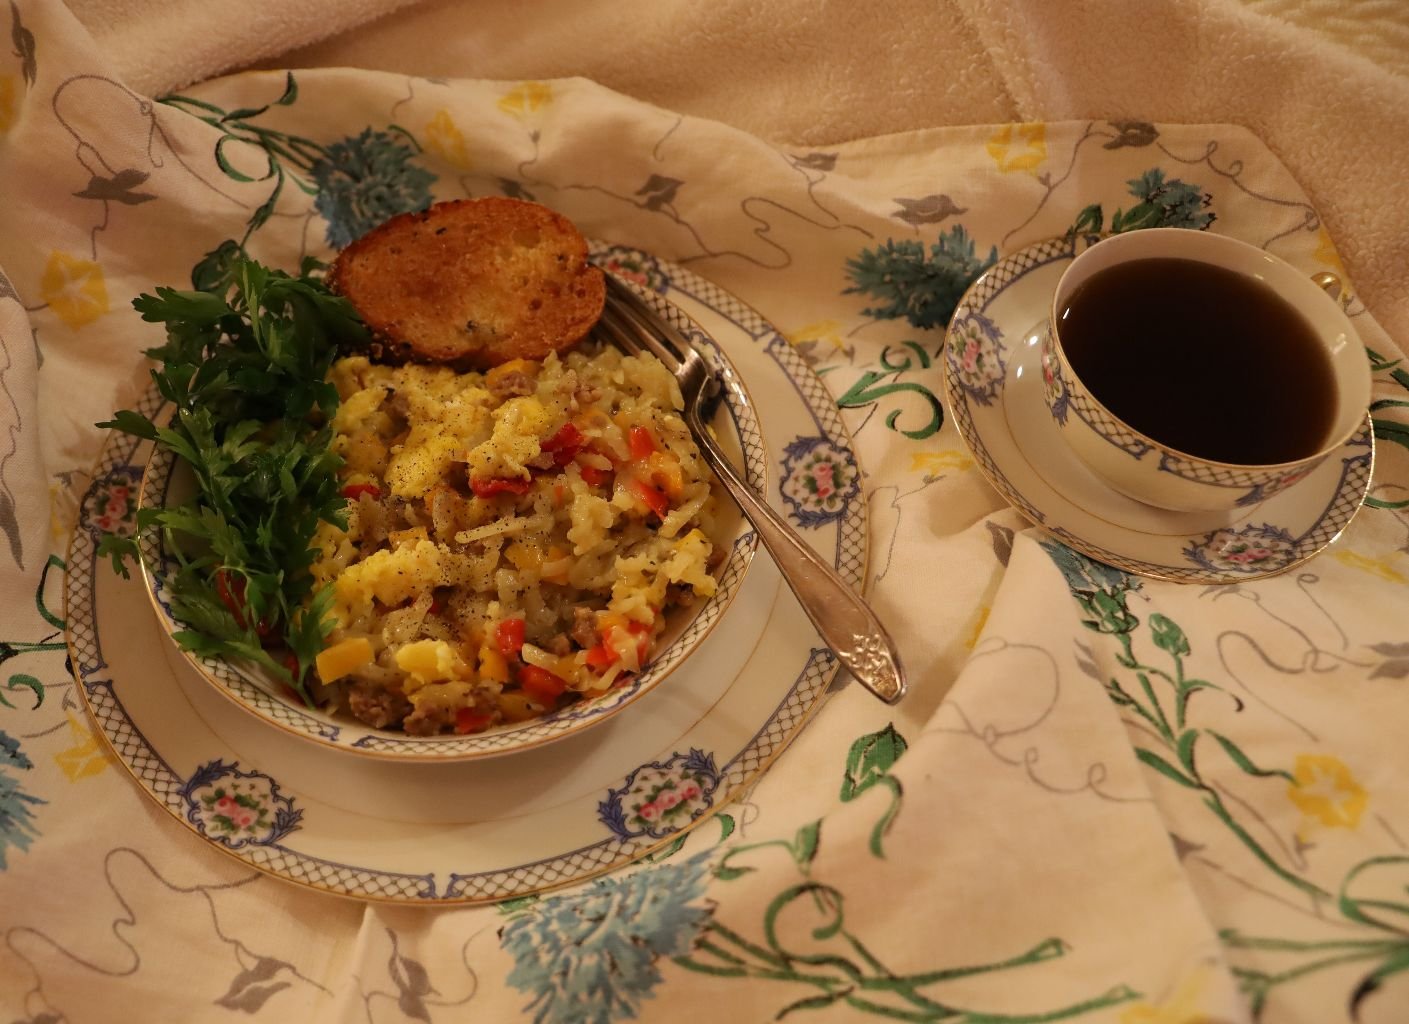
Excellent Eaten In Bed…
——————————————————————————————
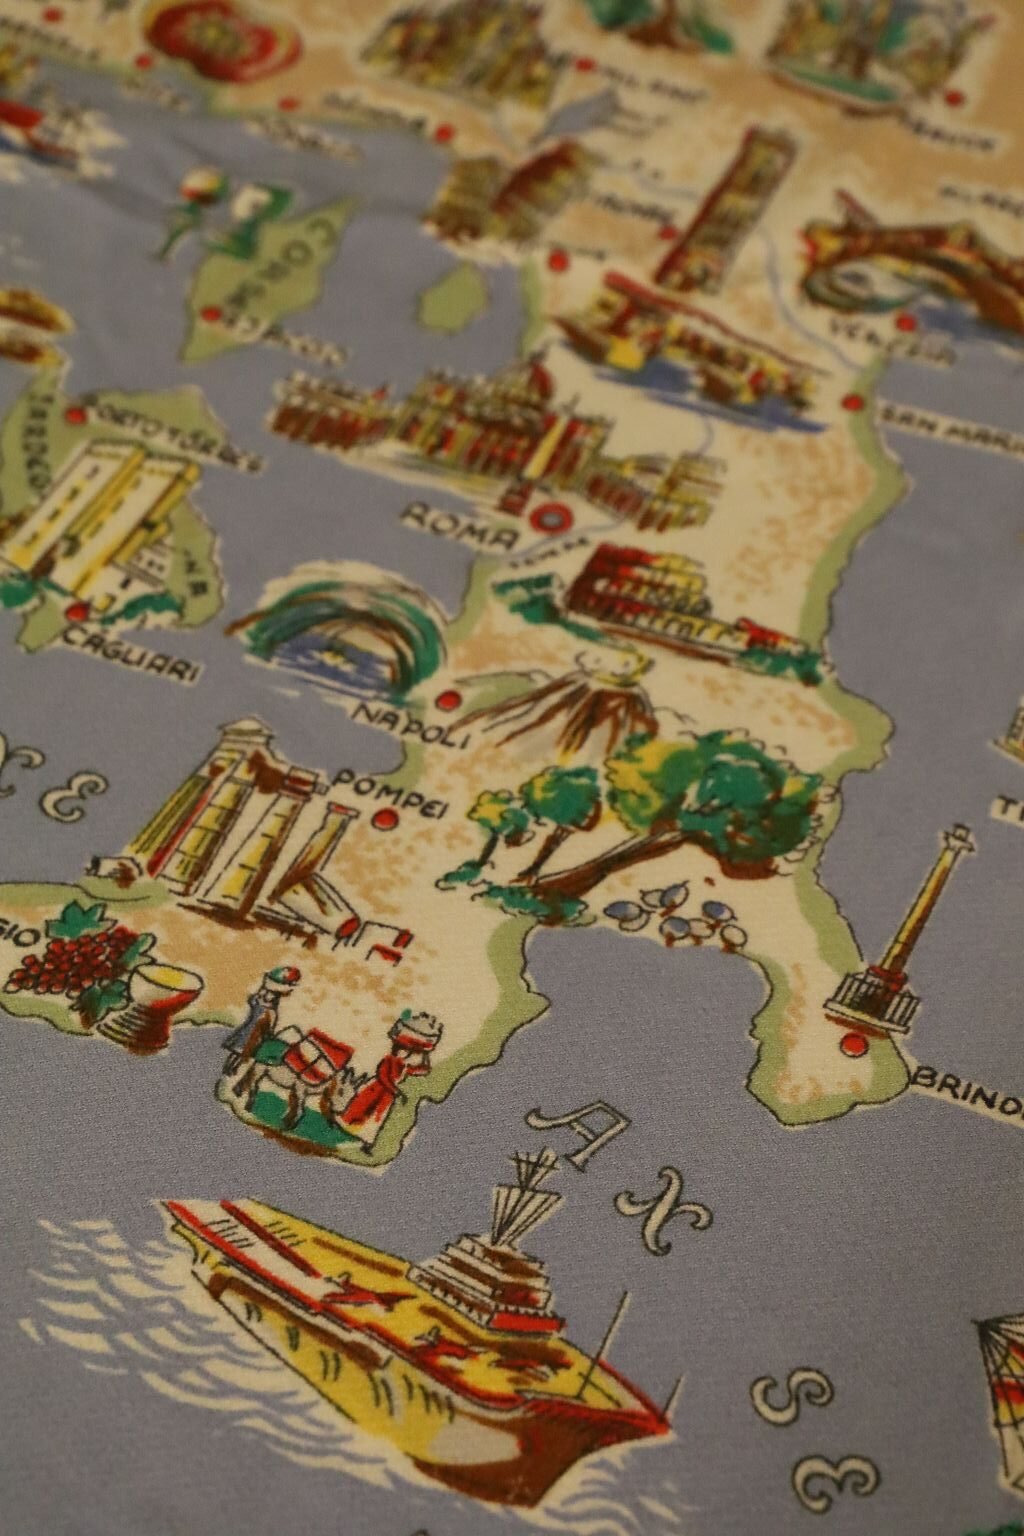
The Boot
Italy is Shaped Like a Boot
————————————————————————————
I Hope To Add More Breakfasts As Time Goes By
Godere,
Julie and Gordon
——————————————————————————————————-
Recipes Start Here
—————————————————————–
First Up:
My Italiana Breakfast Skillet
——————————————————————————-
Ingredients:
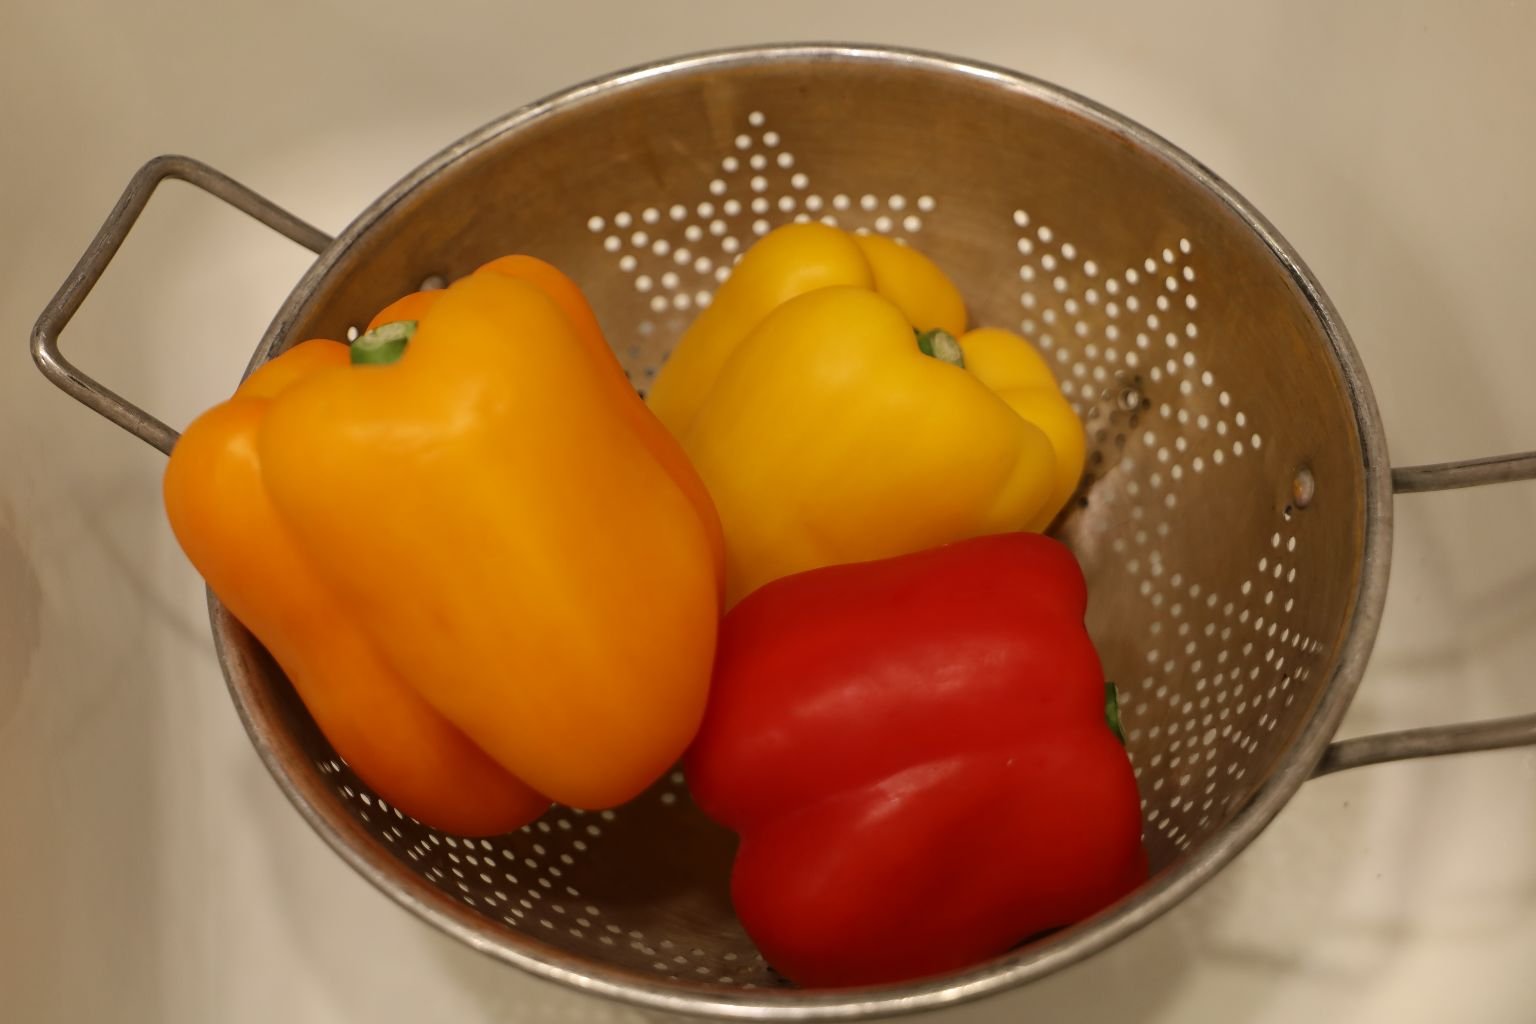
Orange, Yellow, and Red Bell Peppers, Washed
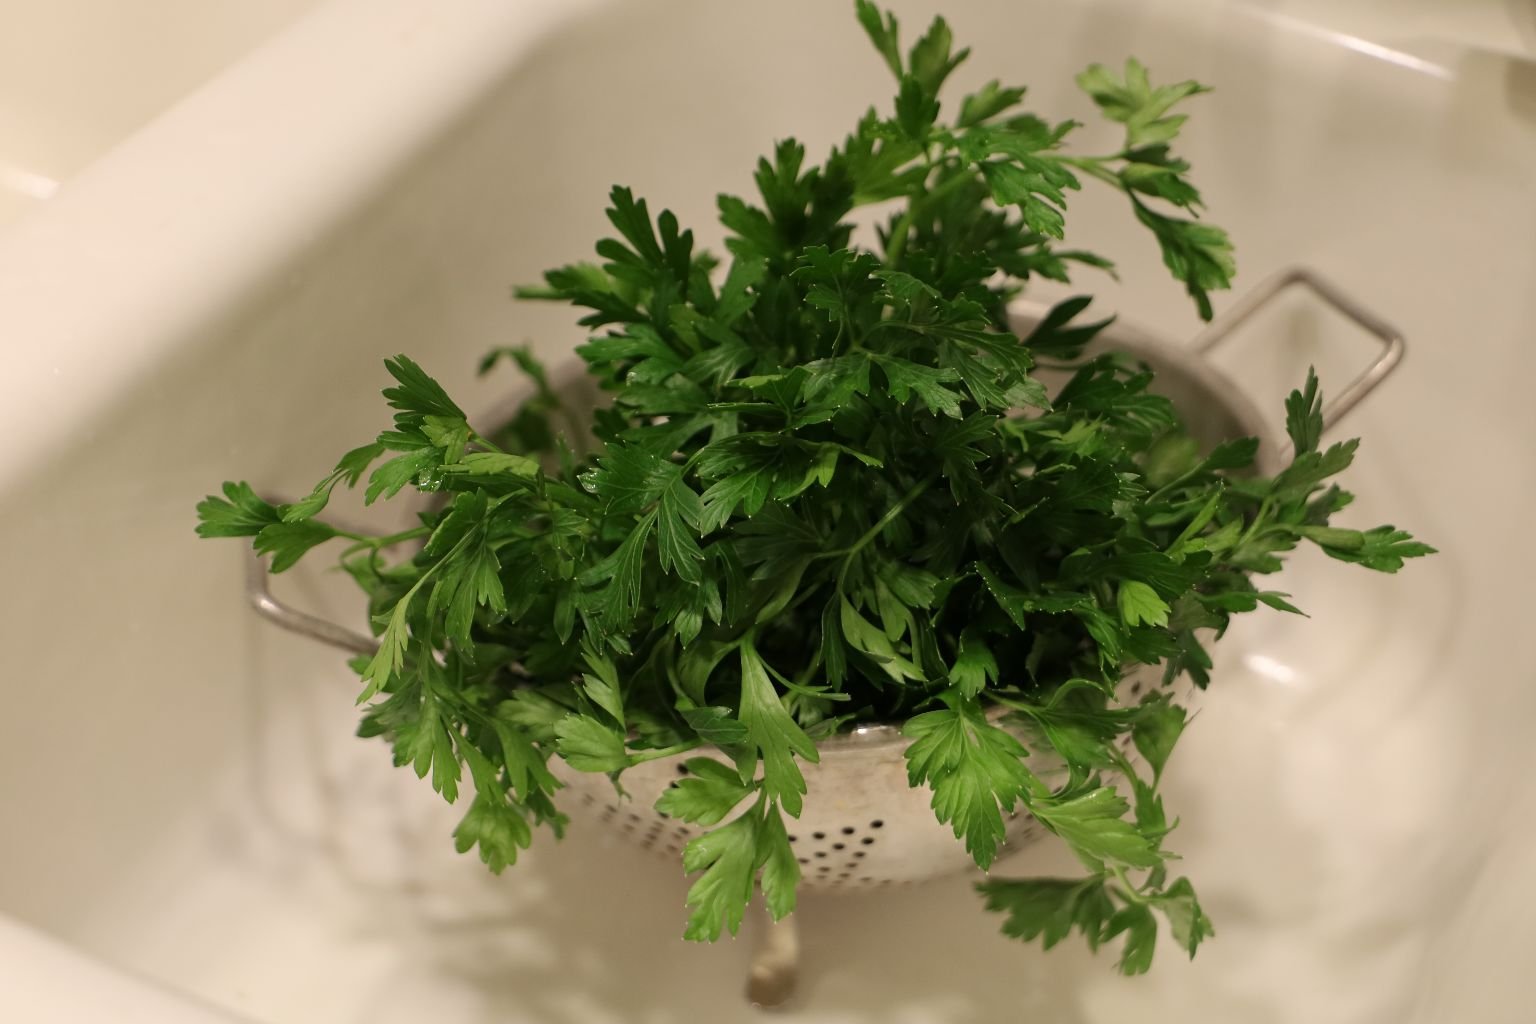
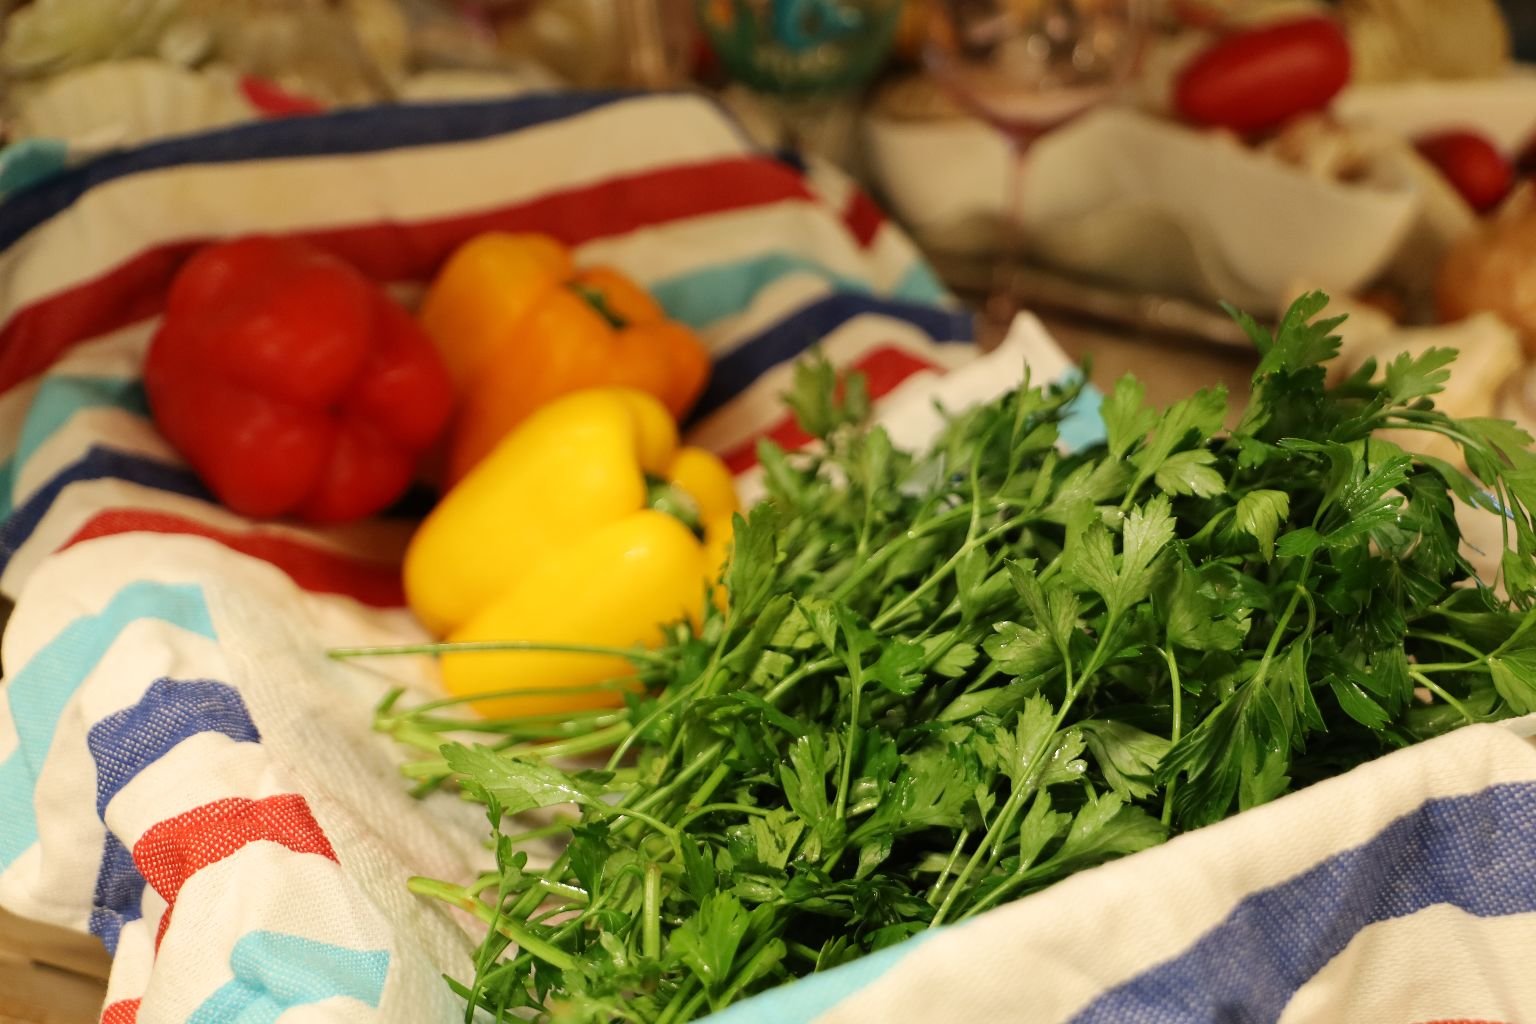
Fresh Flat Leaf Parsley, or any you Desire, Washed
(I Give The Rest Of The Ingredients As I Write The Recipe)
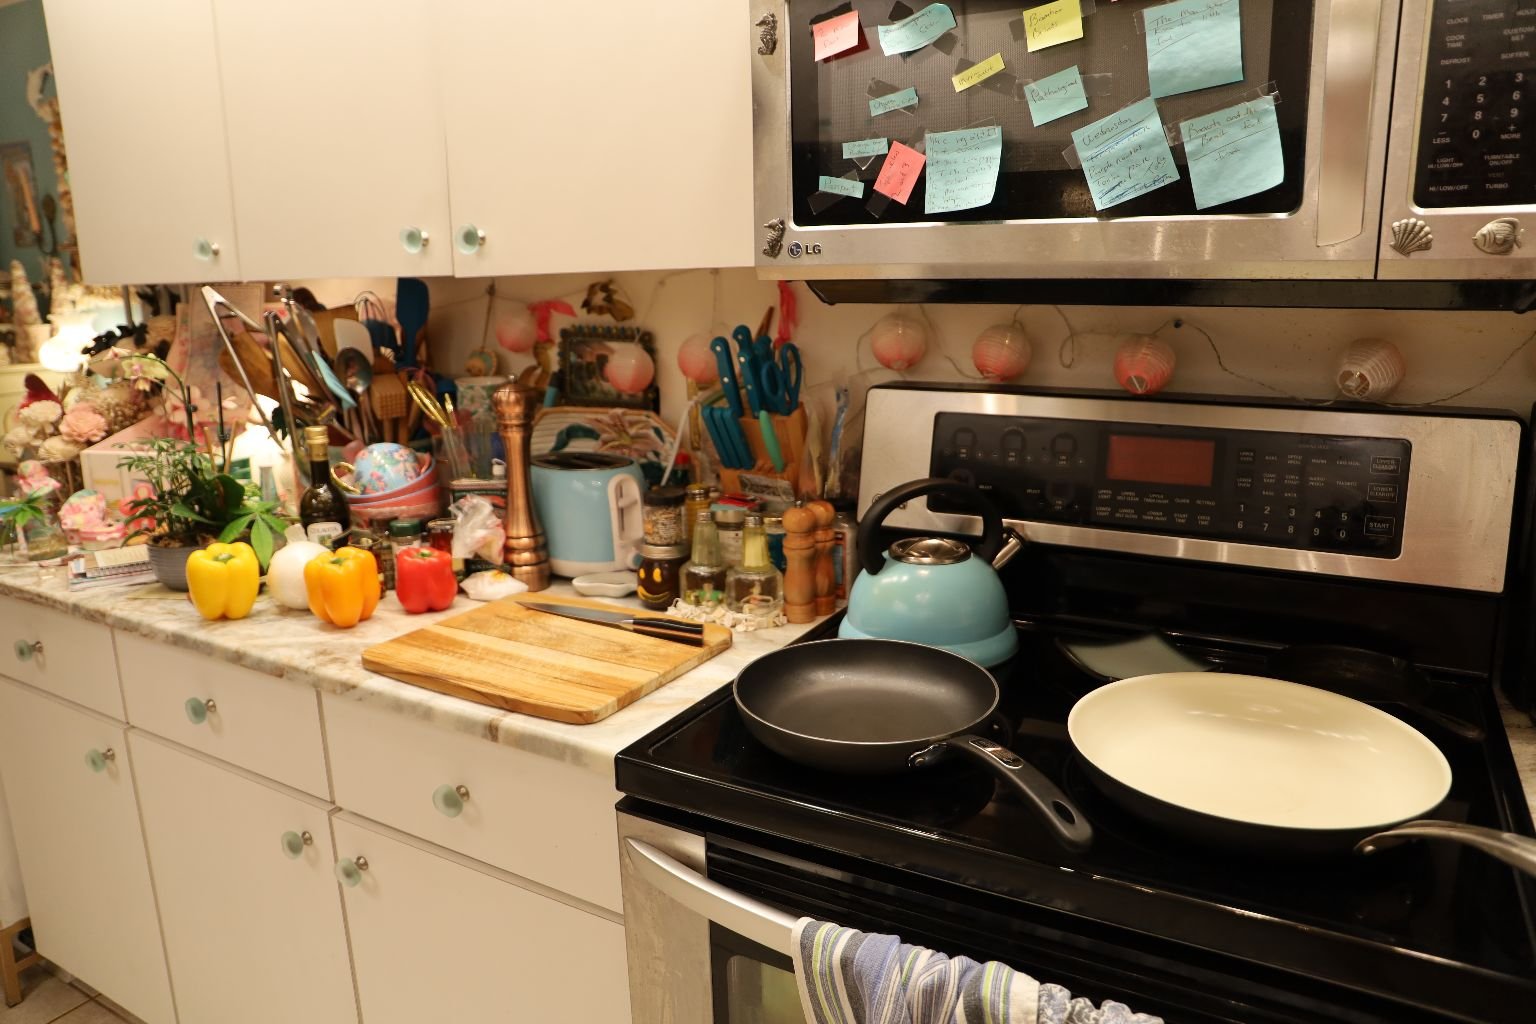
You will need a Cutting Board, and a Sautee Pan or Two…
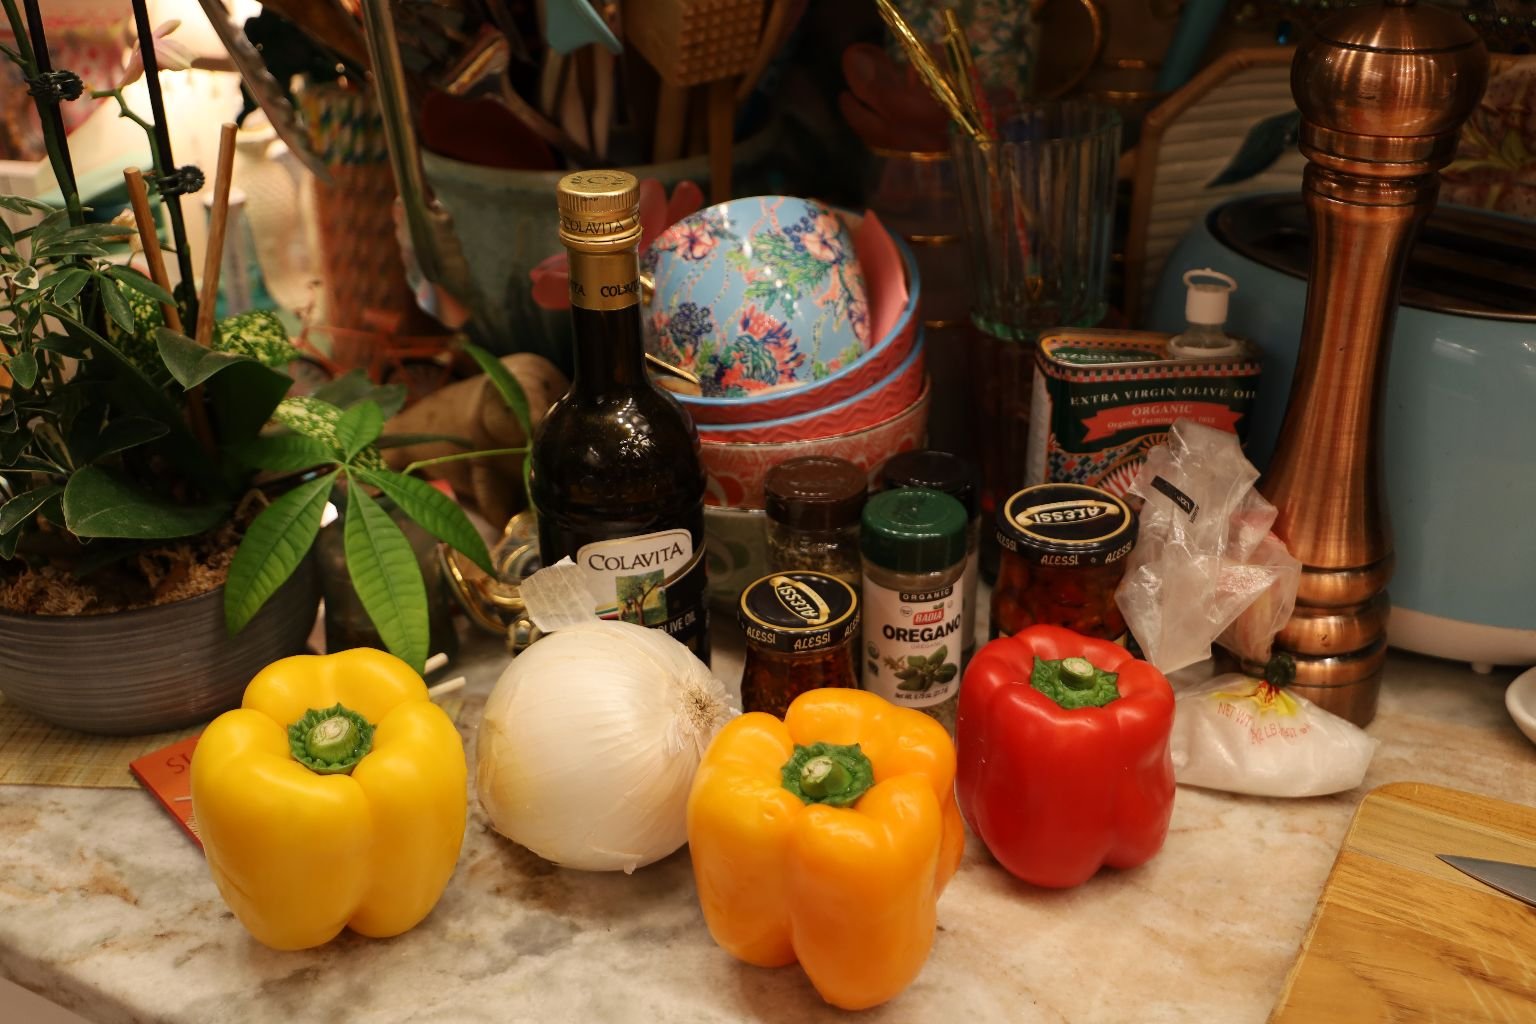
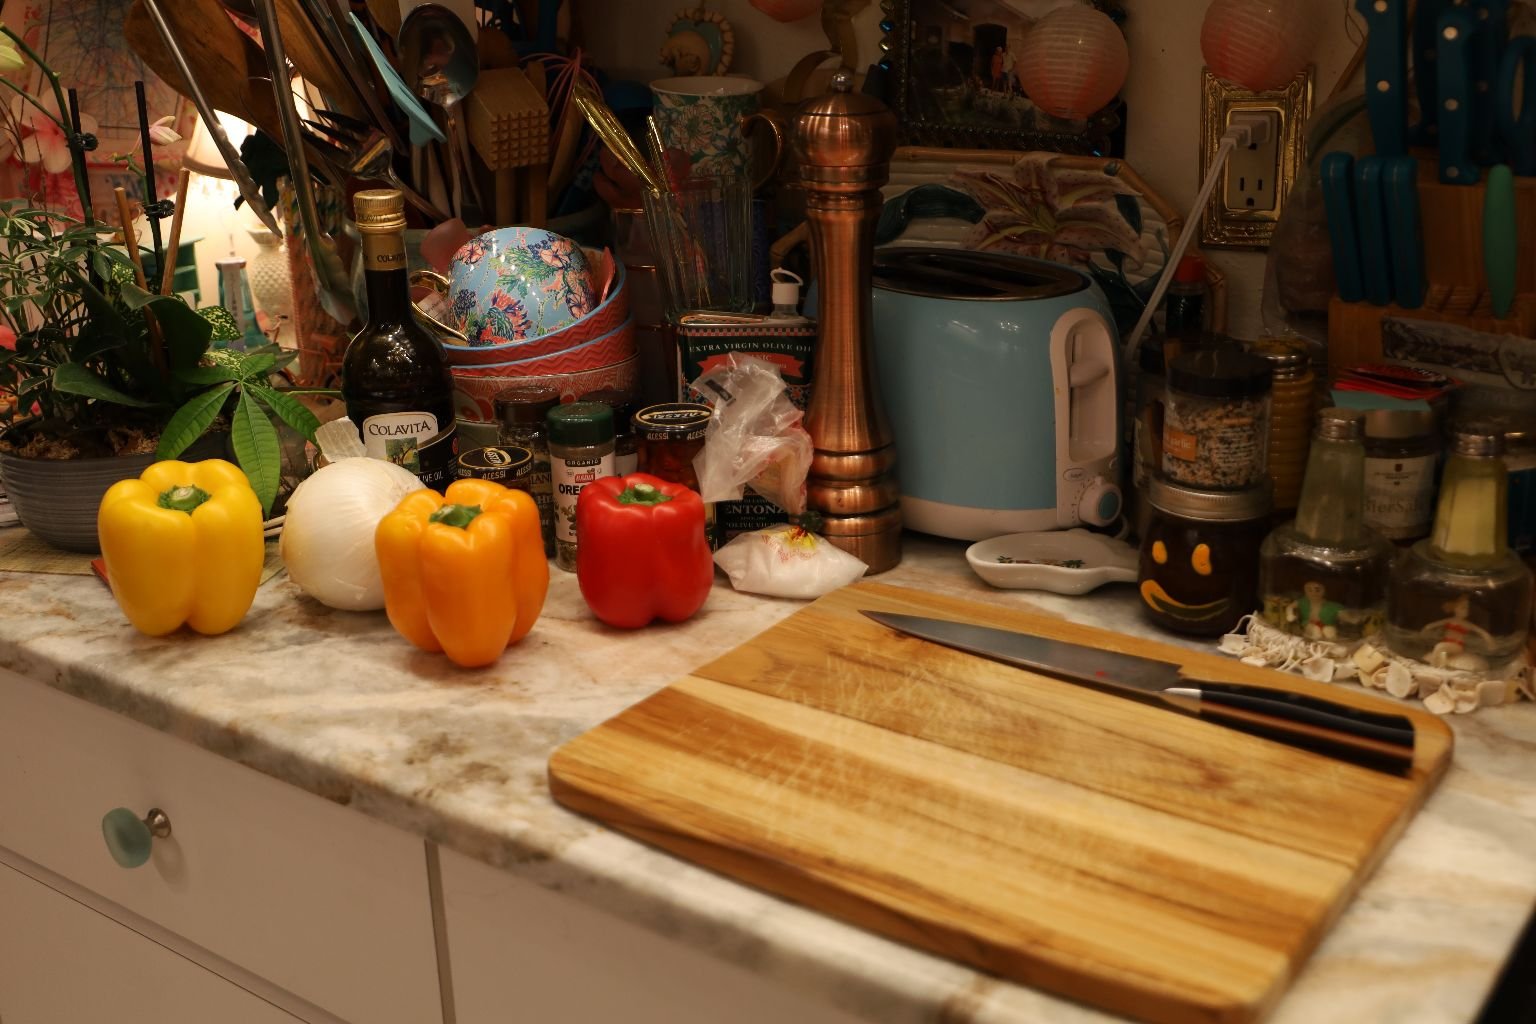
Time To Chop My Bell Peppers
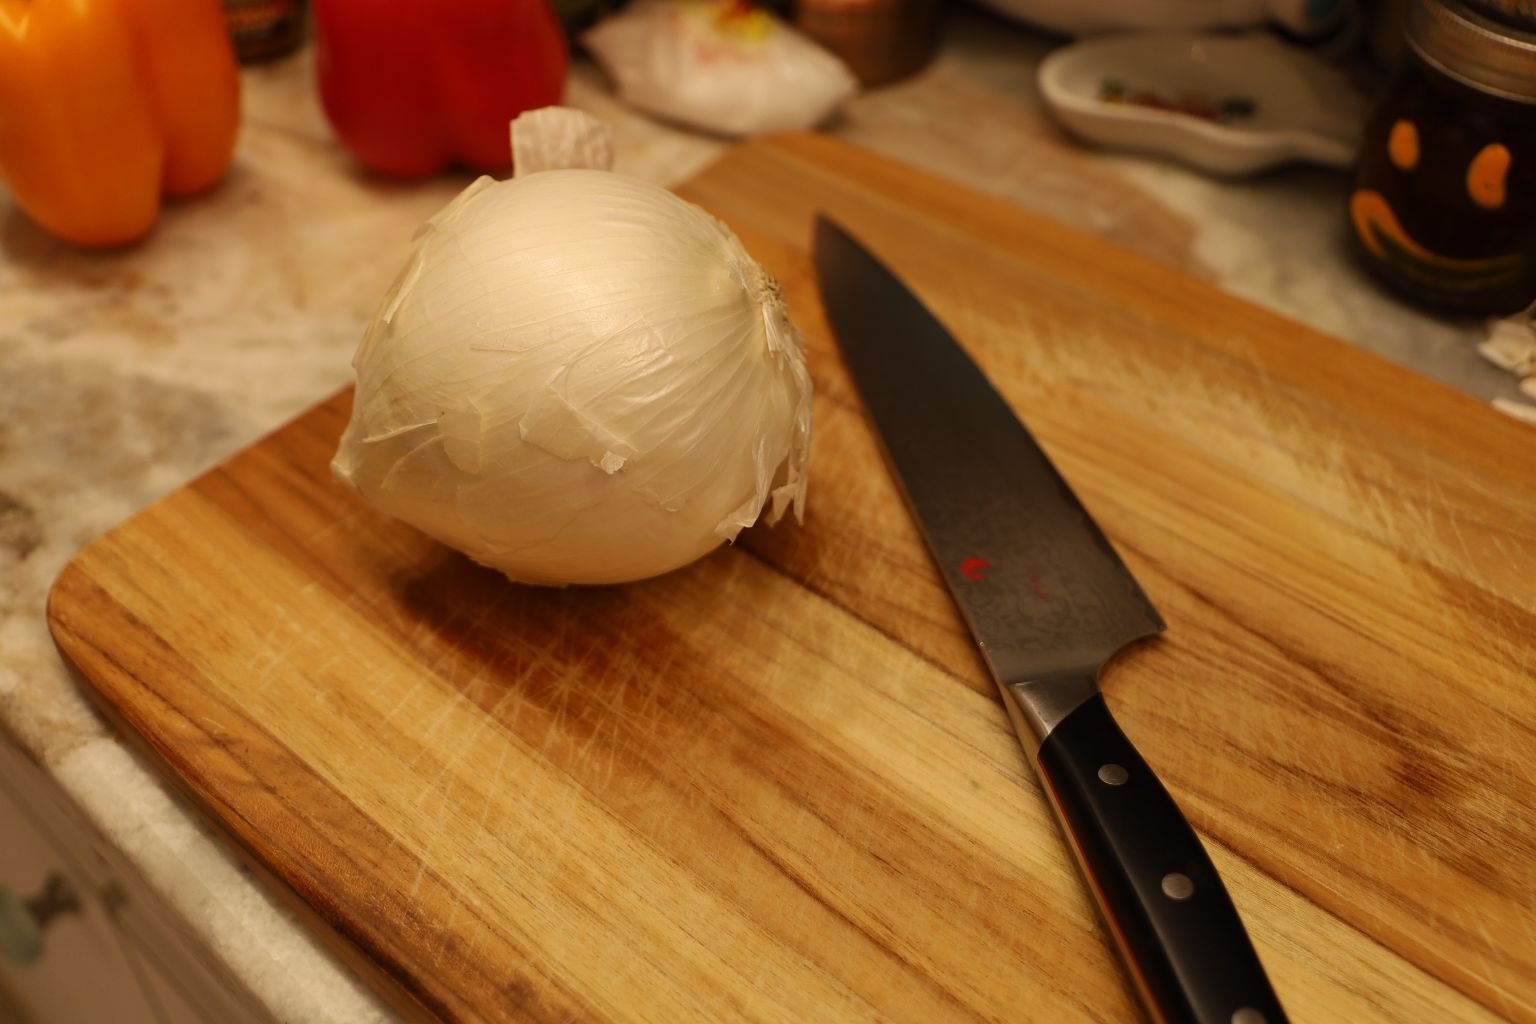
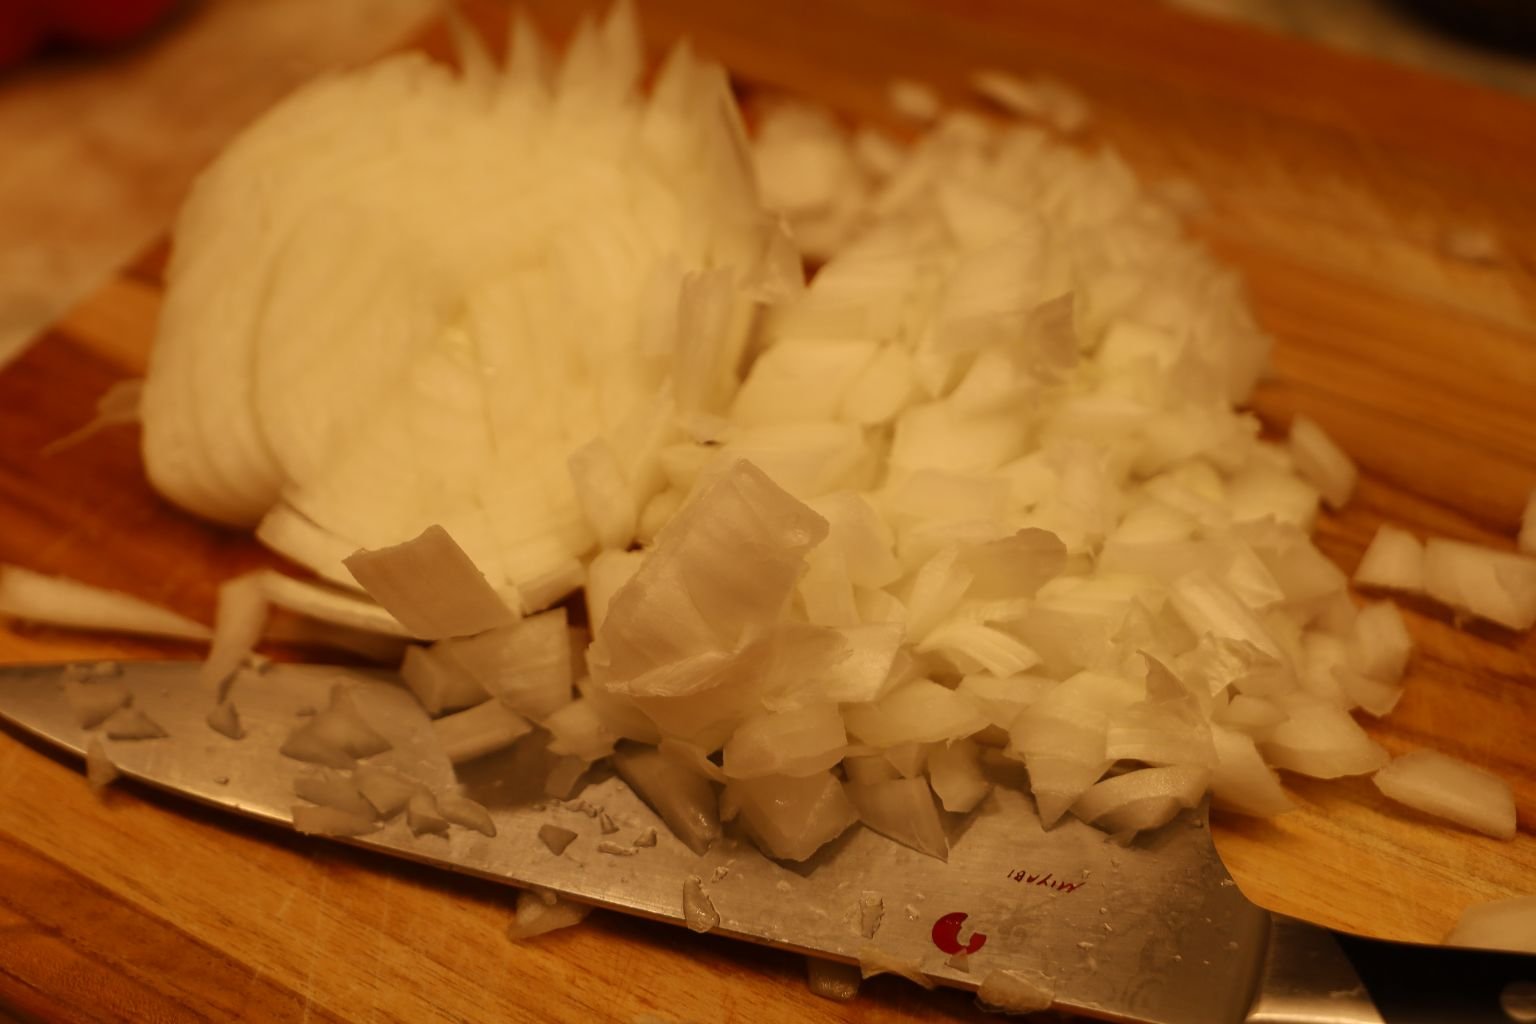
Also, White Onion, Chopped
(This was a large White Onion, I used about 3/4 of it.)
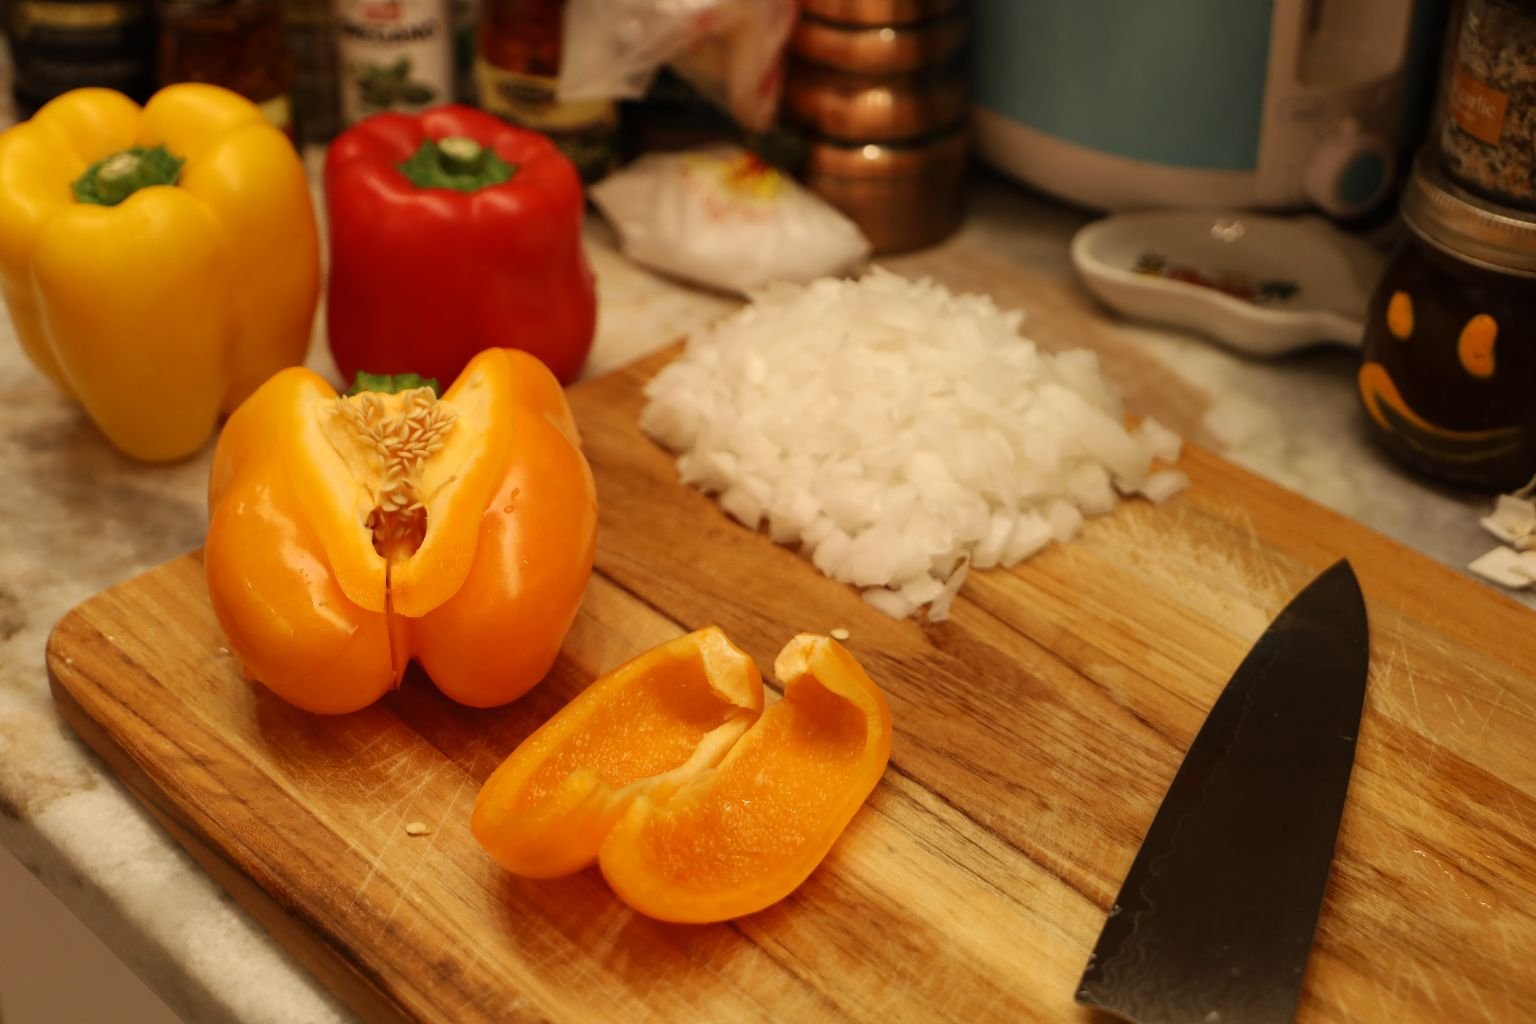
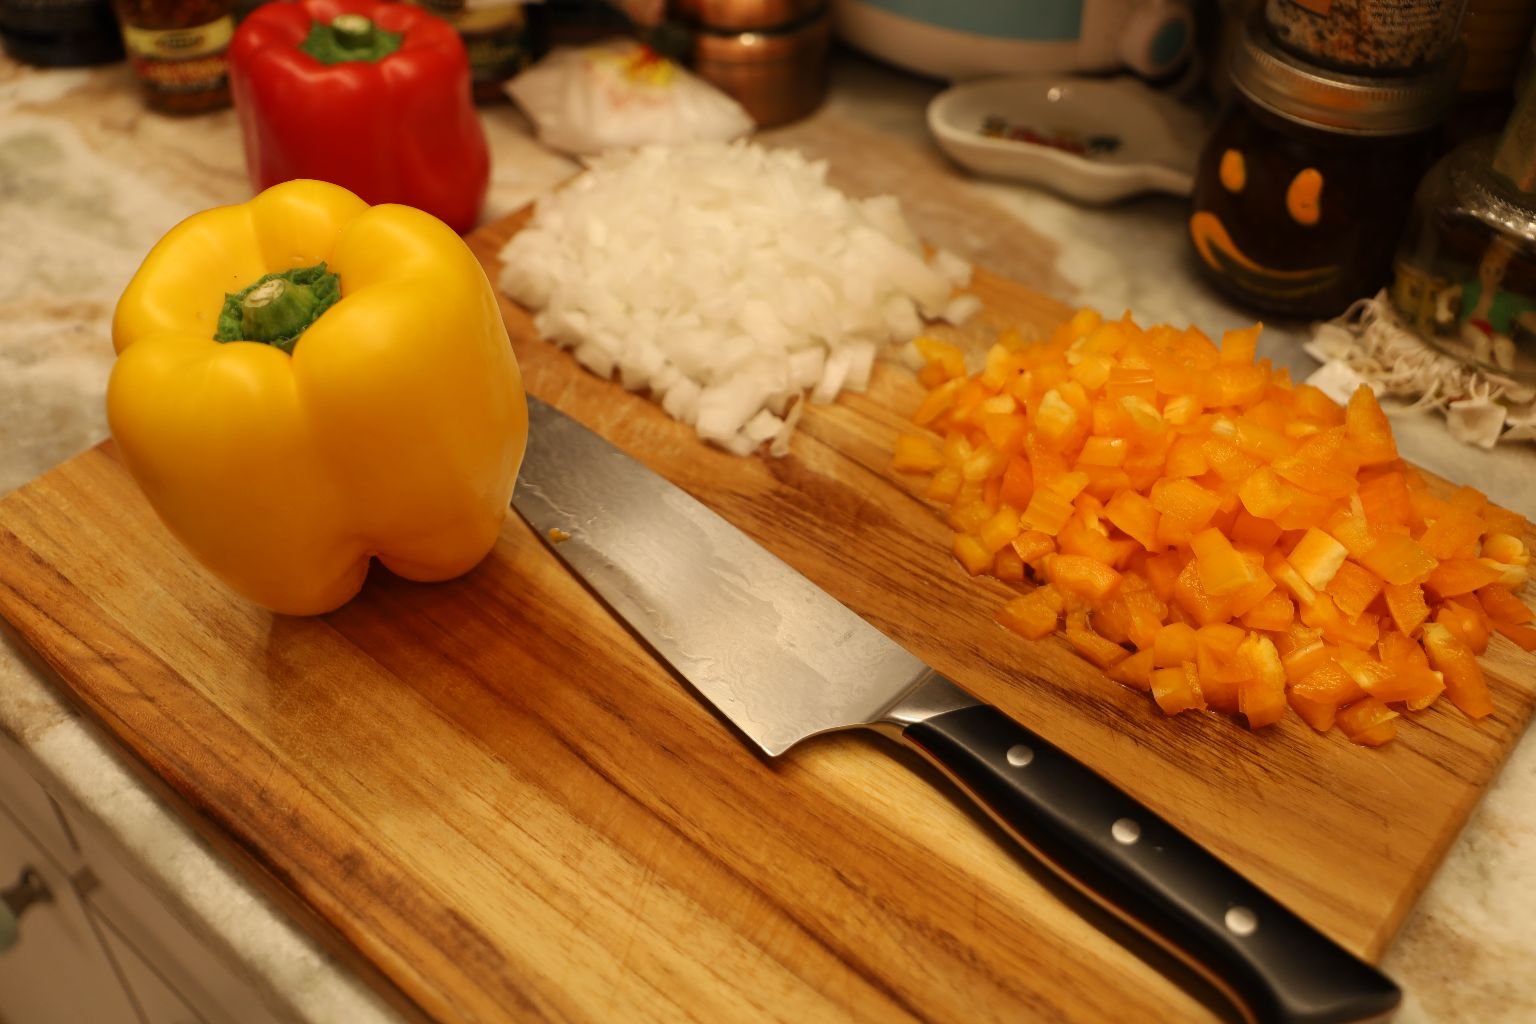
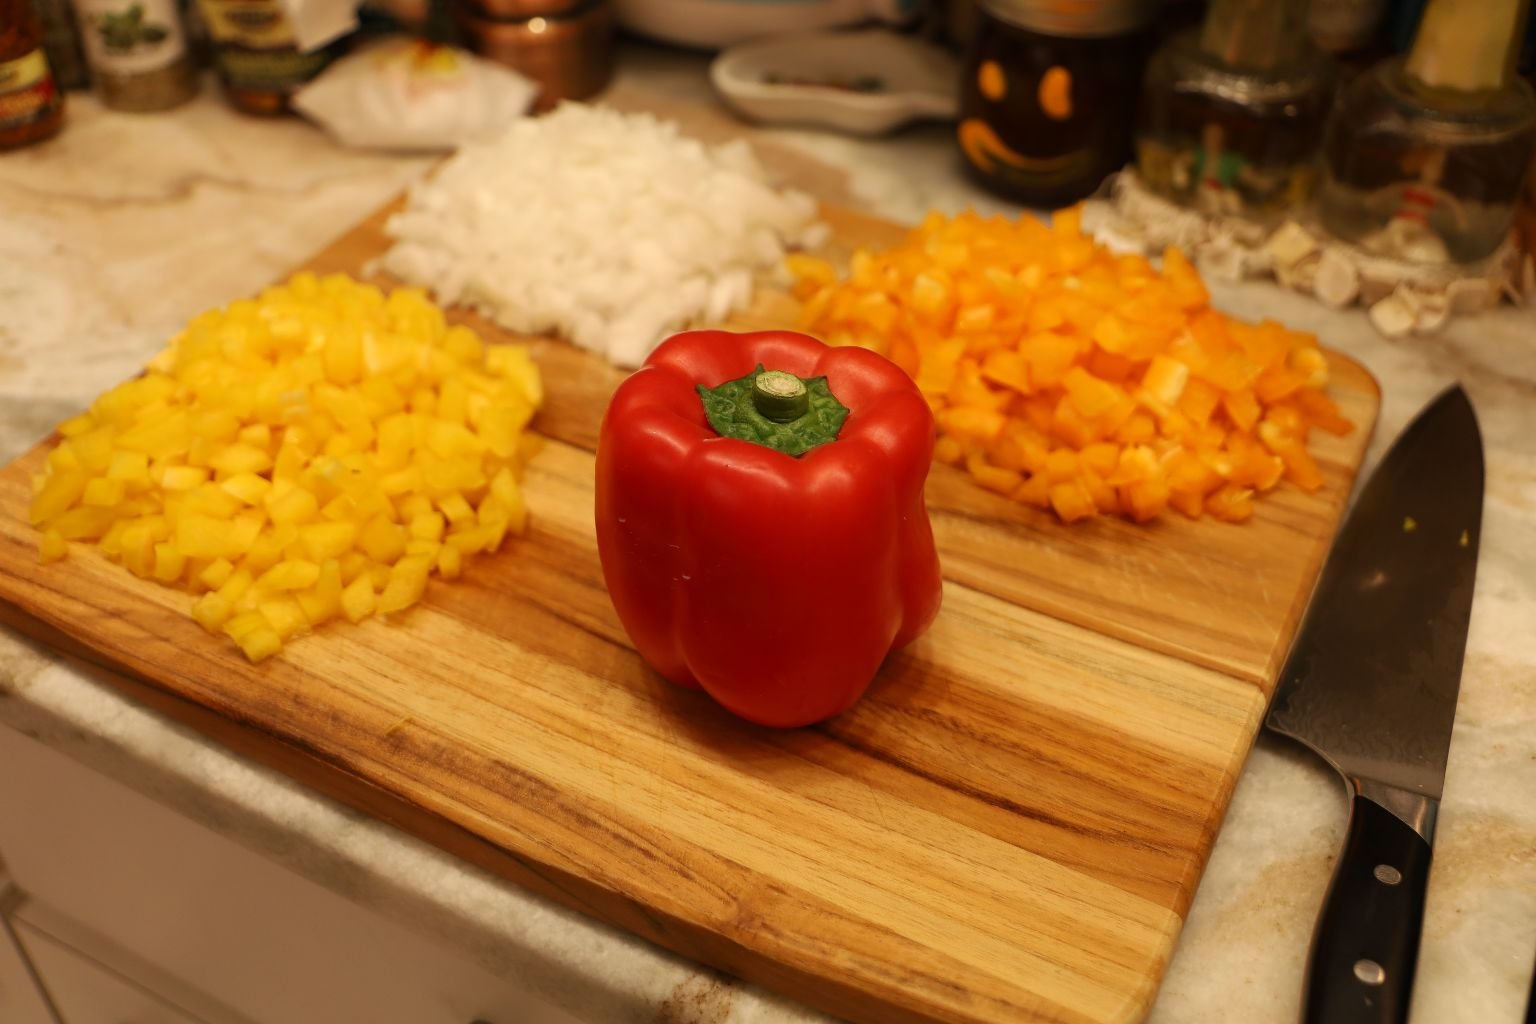
Chopping My Bell Peppers
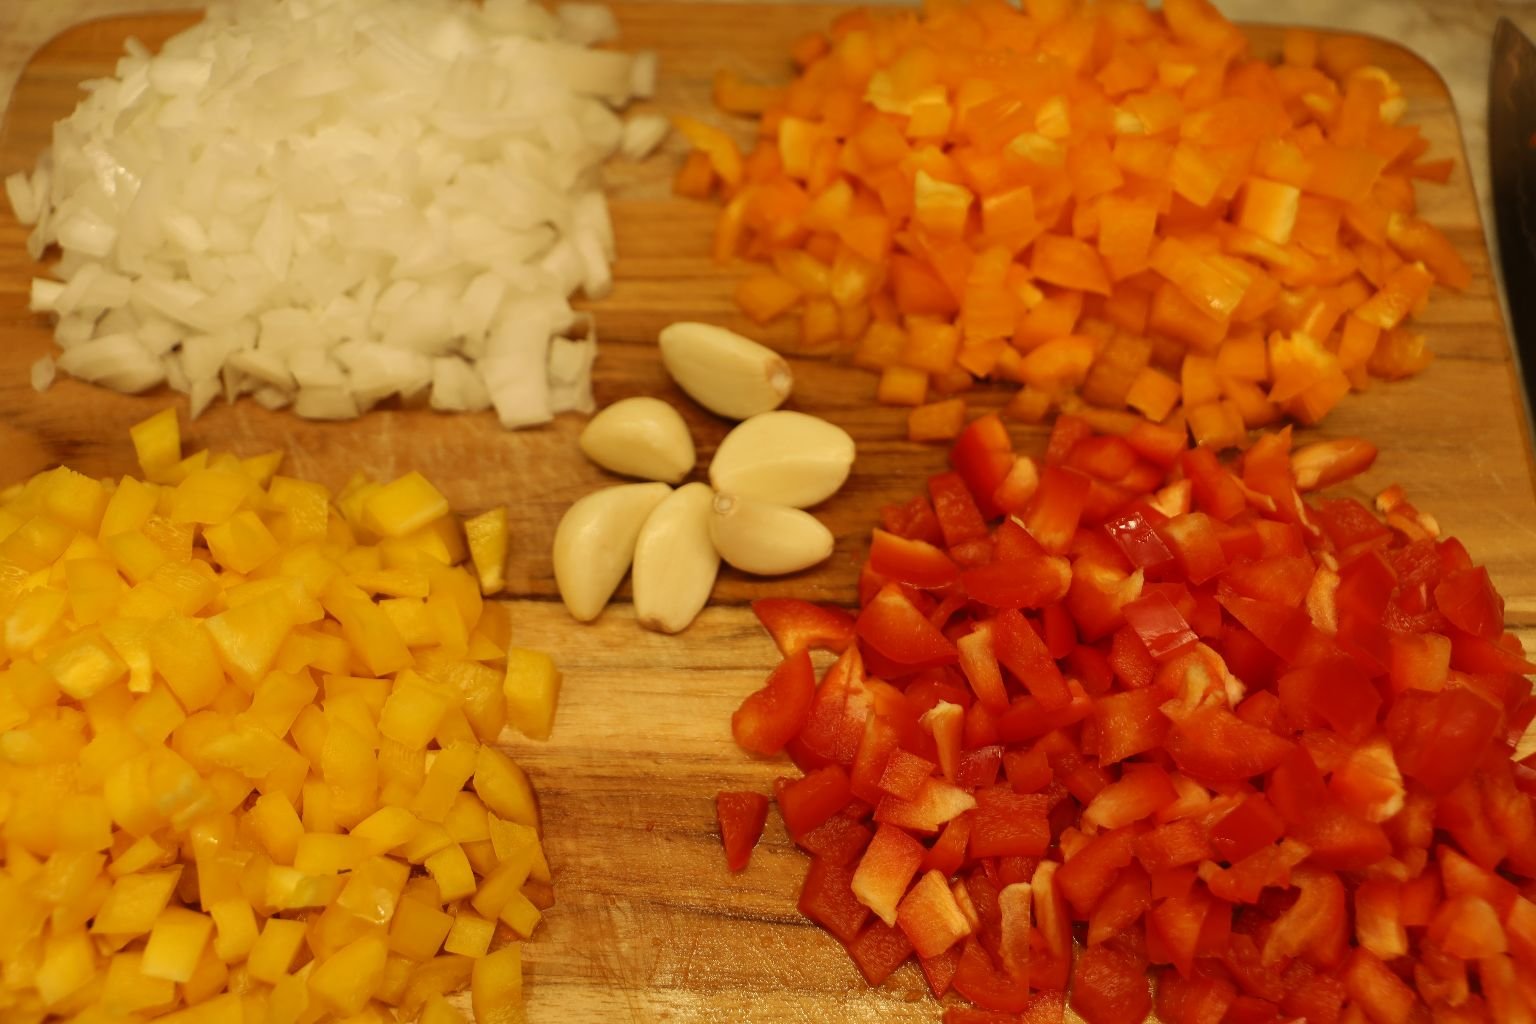
6 Garlic Cloves, Minced
————————————————————————————–
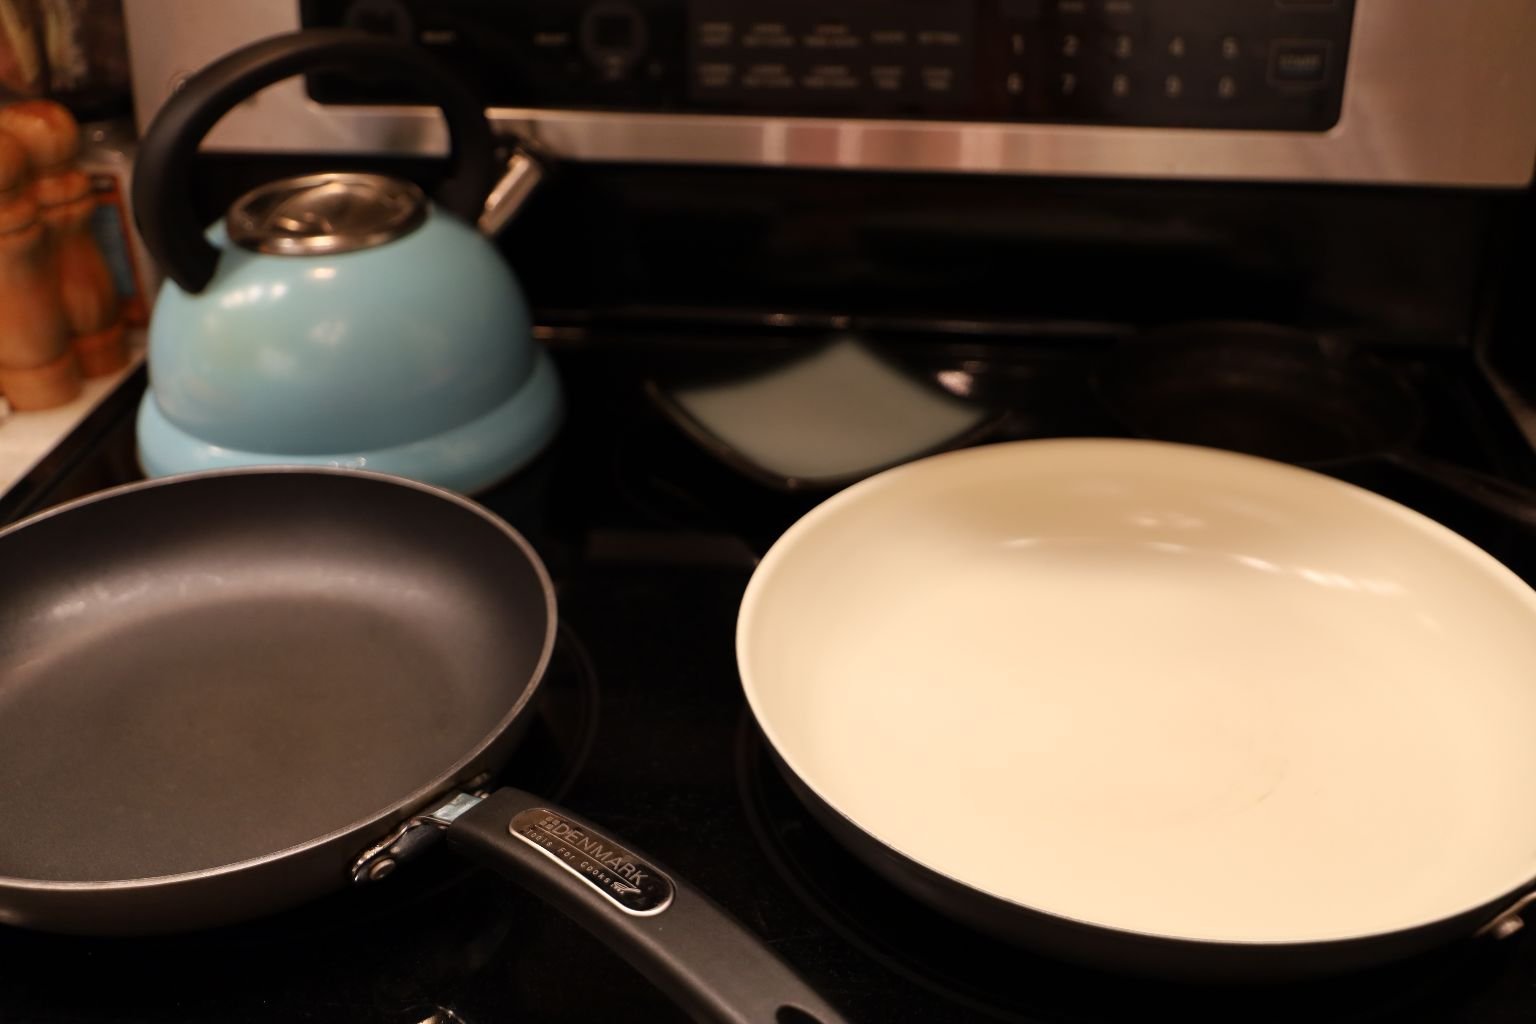
In a Large Sautee Pan Drizzle Some Olive Oil..
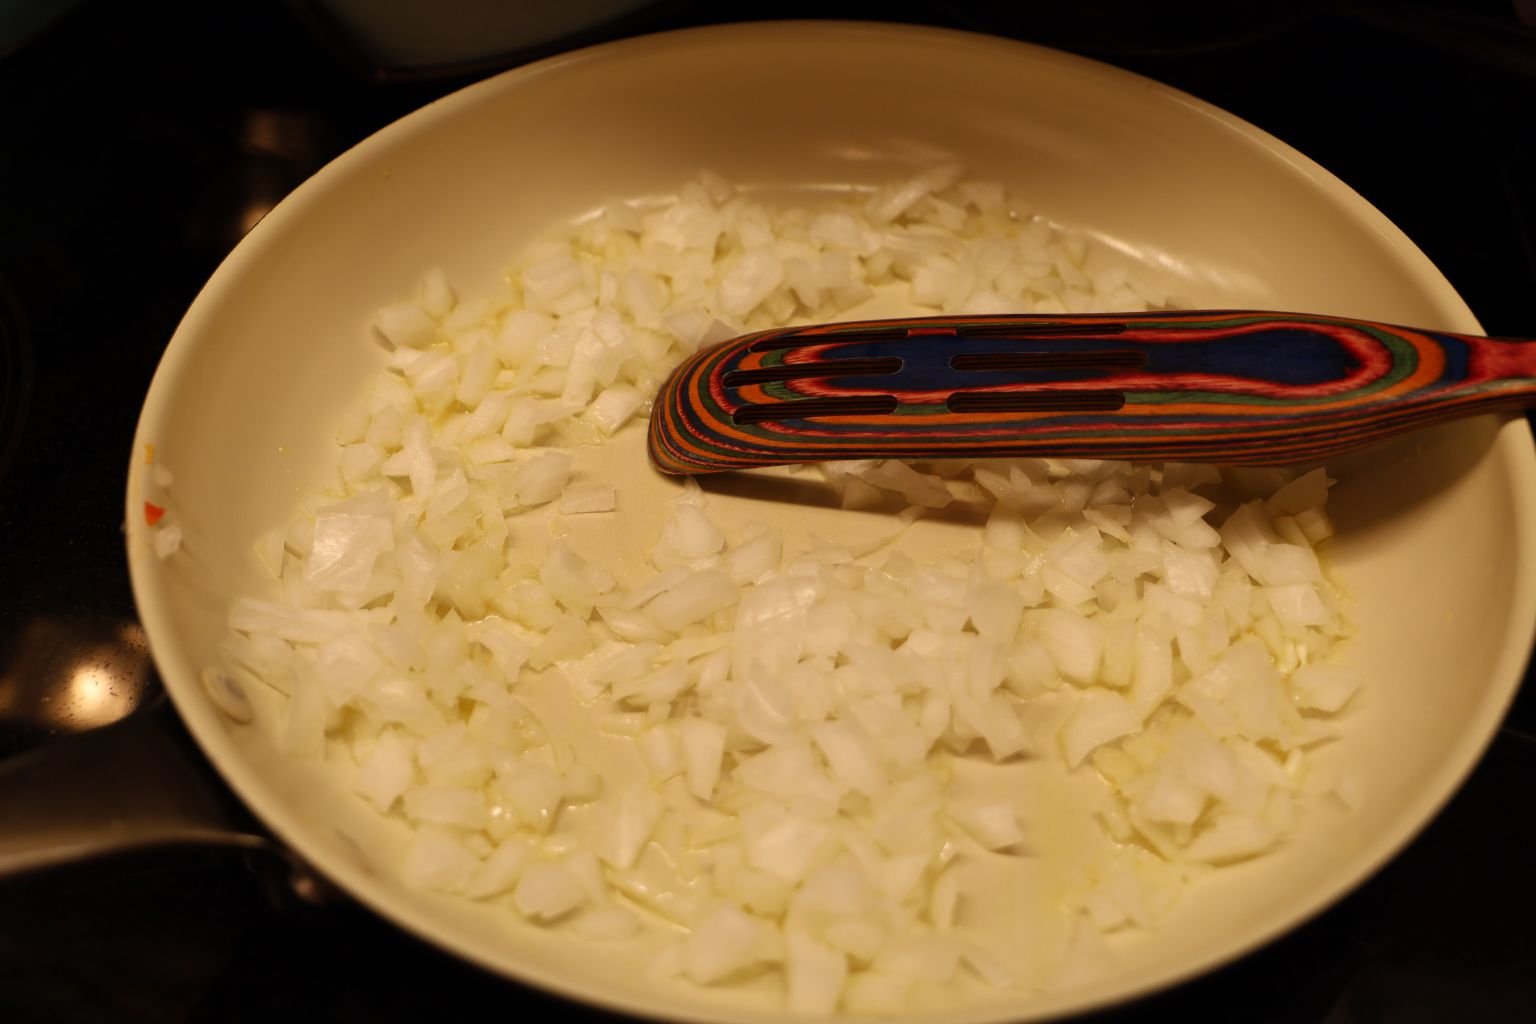
Place the Onions into the Pan to Soften on a Medium-High Heat
This should take about 5 Minutes.
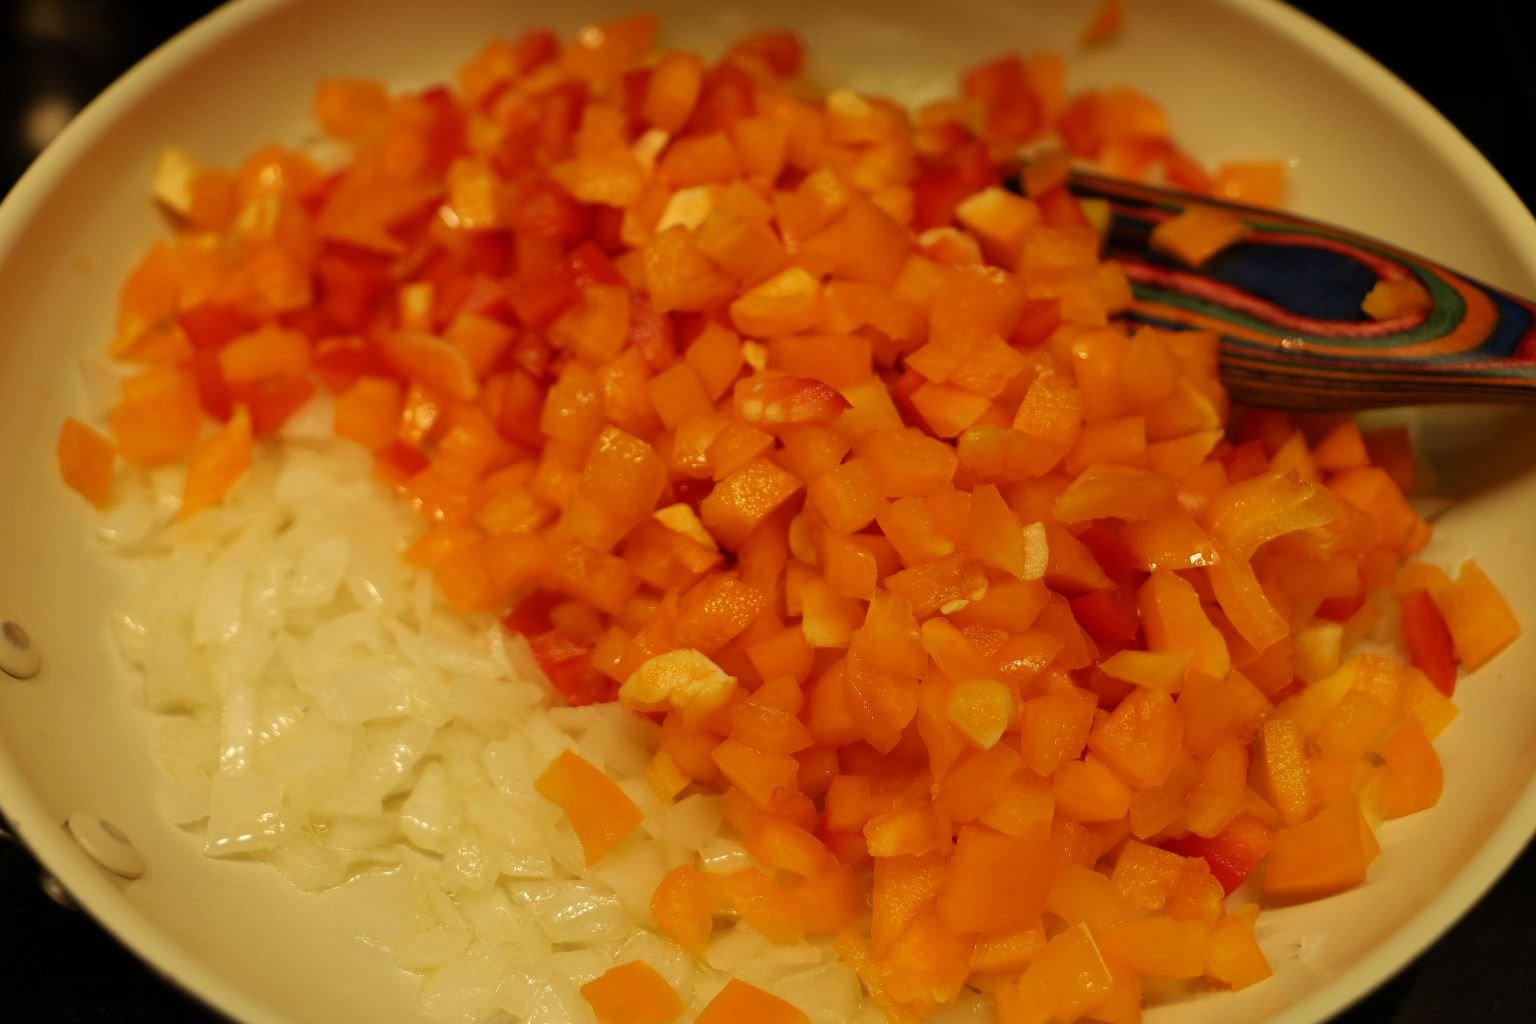
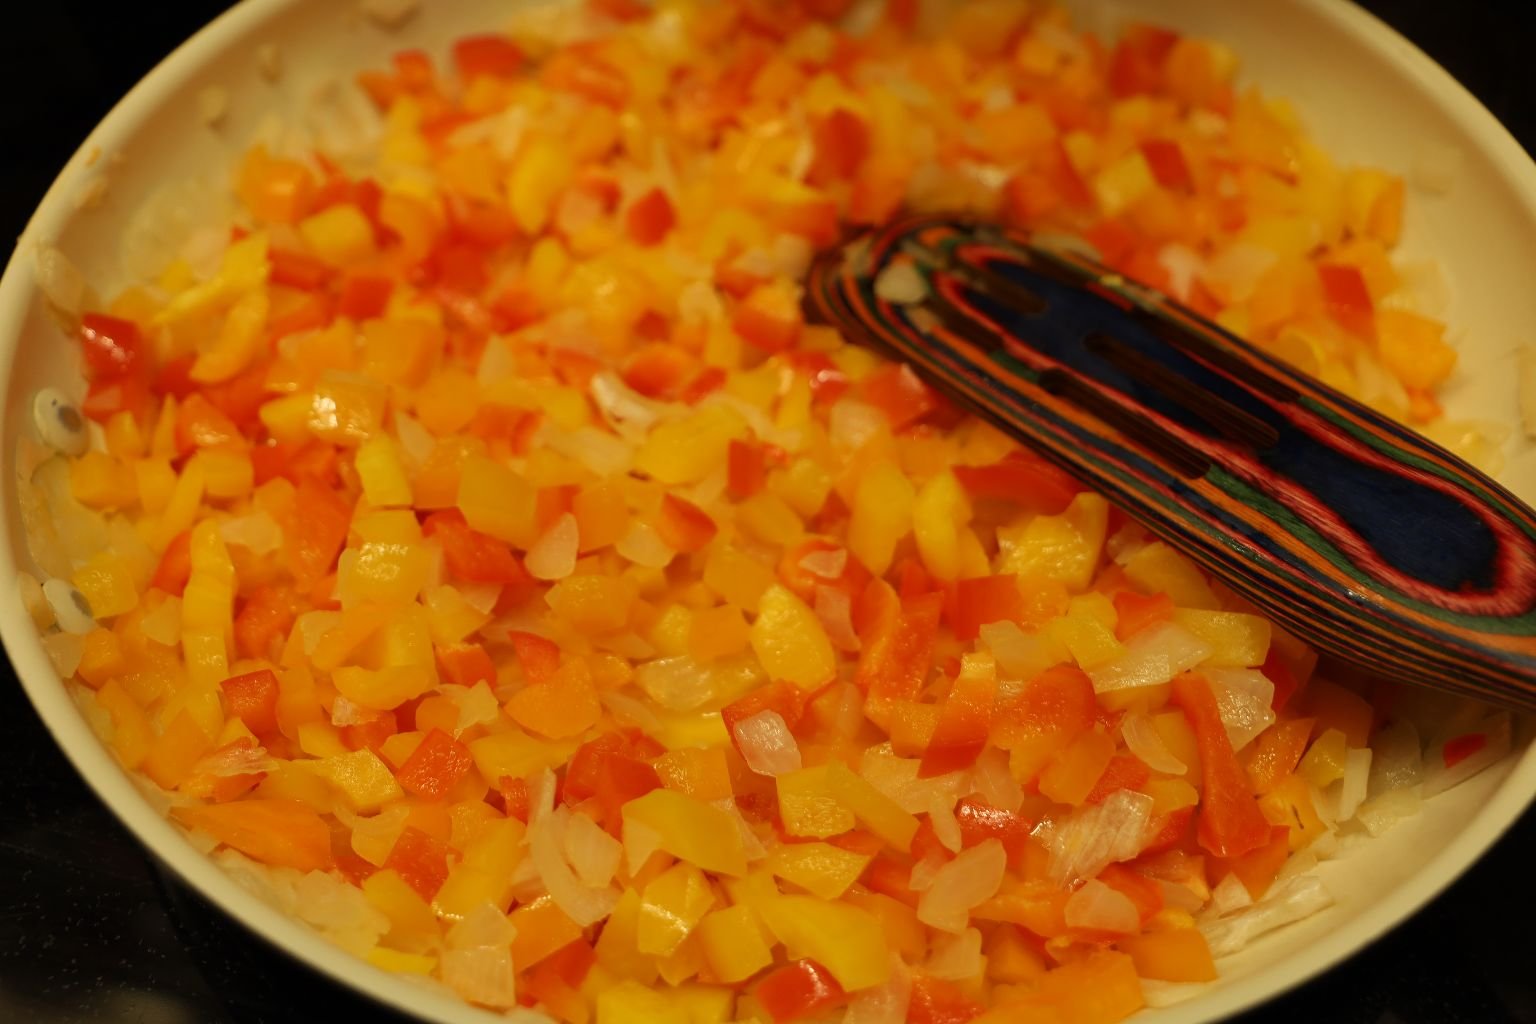
Next, add the Bell Peppers to Soften, about another 5 Minutes..
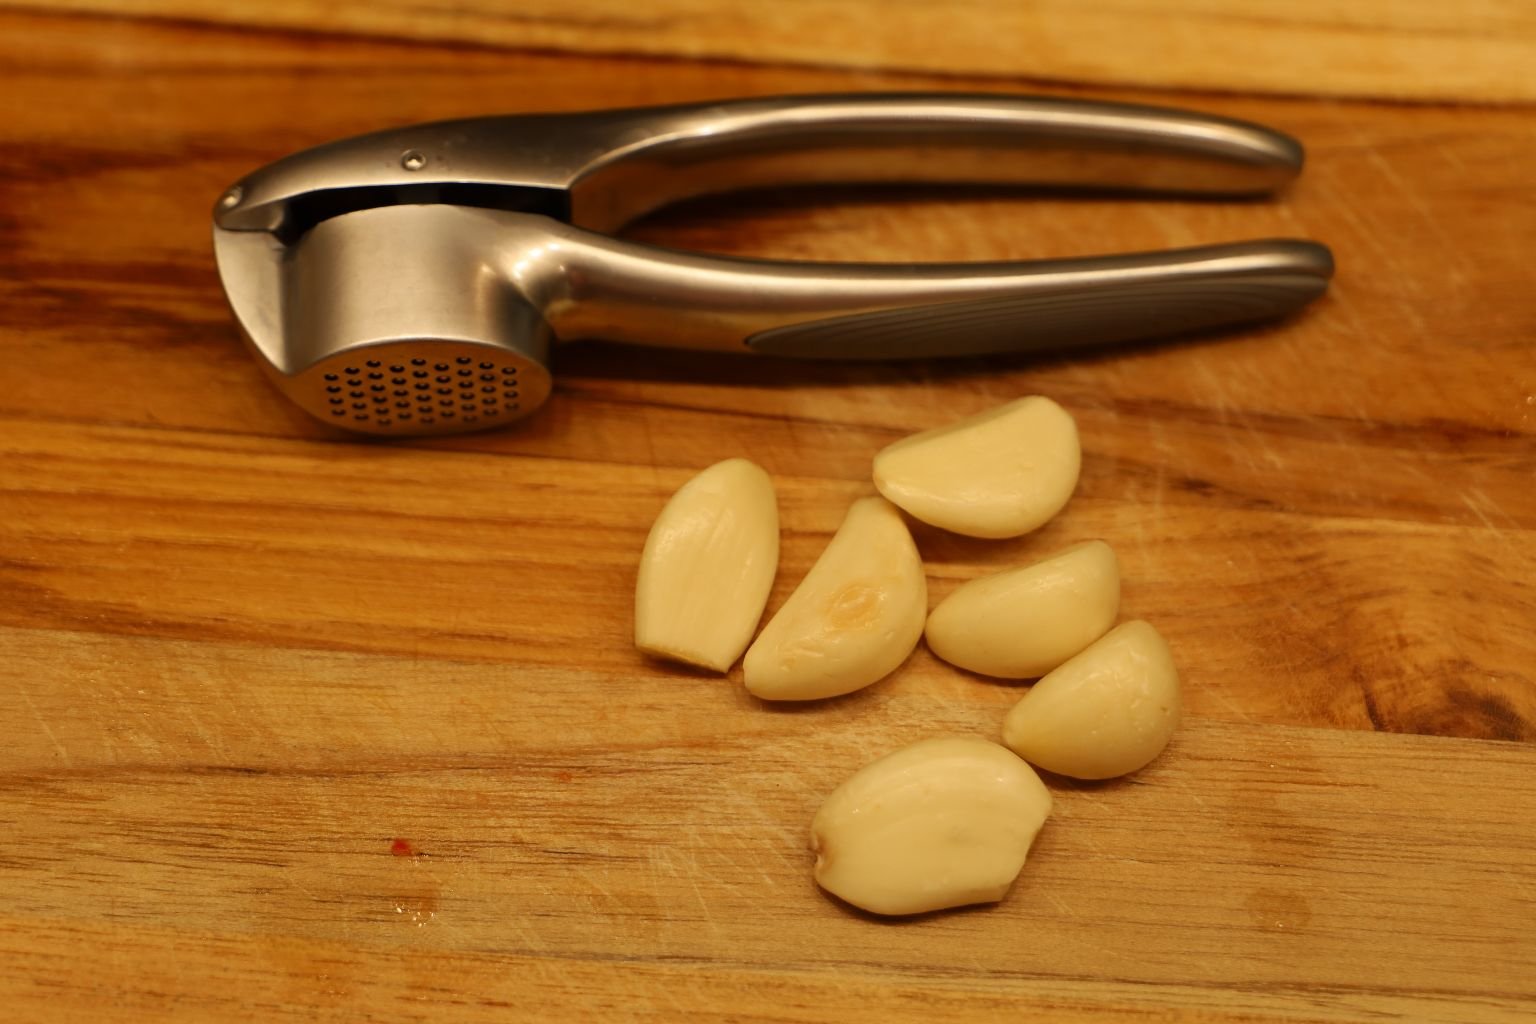
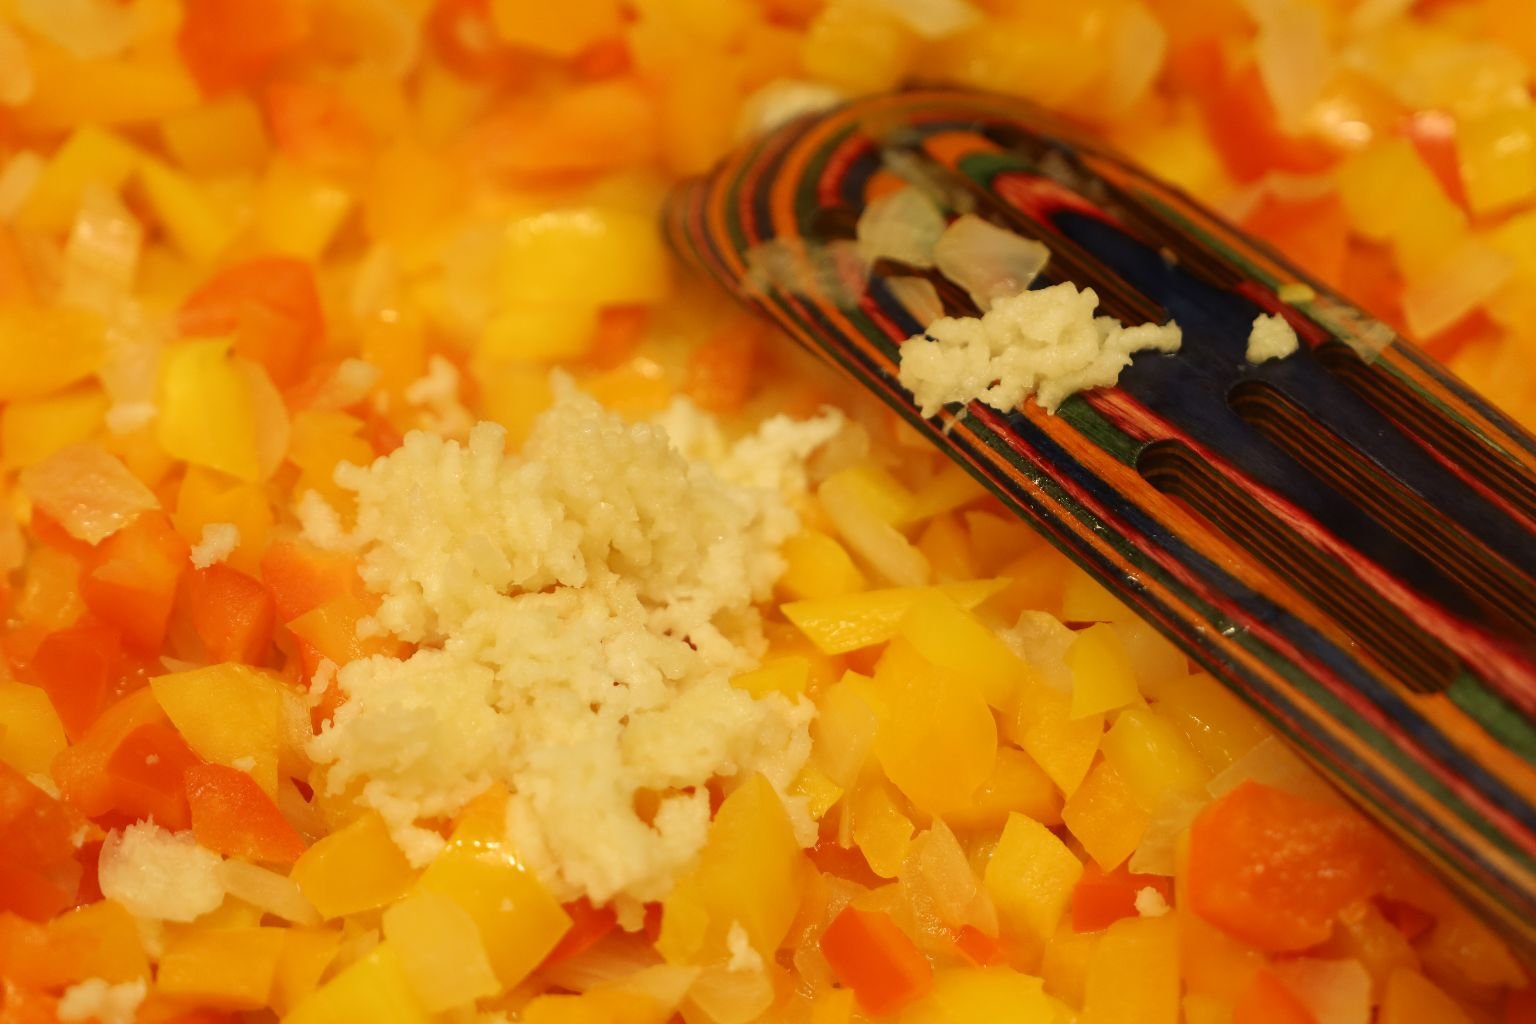
Mincing the Garlic Cloves into the Pan with the Onions and Bell Peppers
(Just Sautee a few minutes more, stirring often, until all of the ingredients are softened.
Then remove from the heat and set aside.)
—————————————————————————————————-
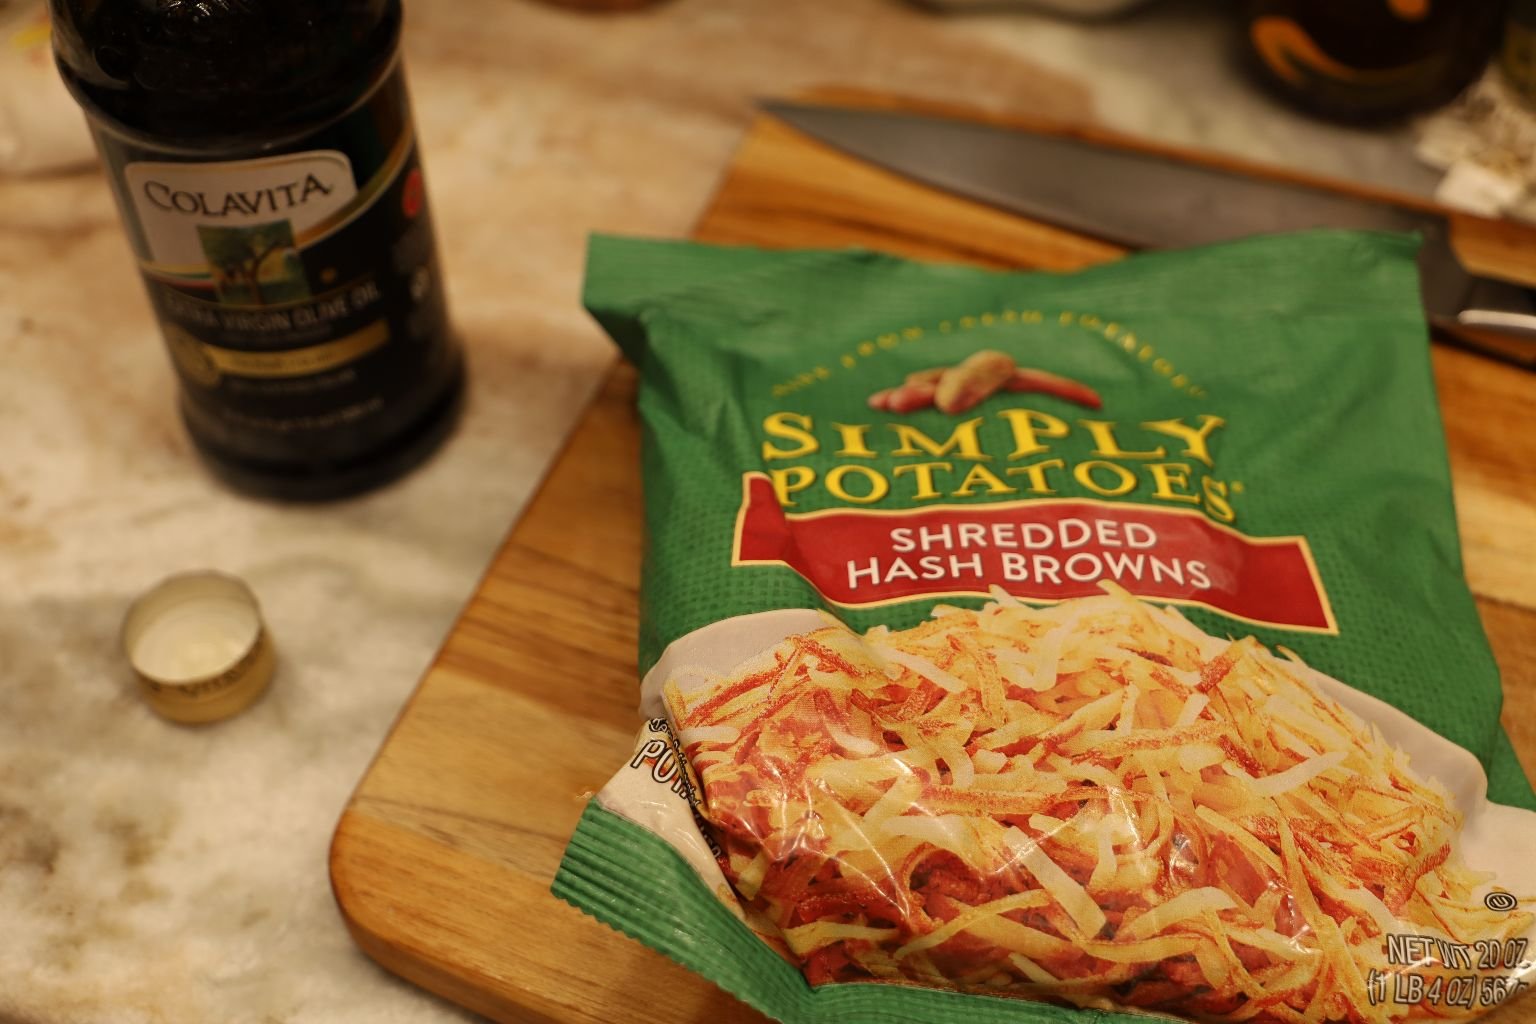
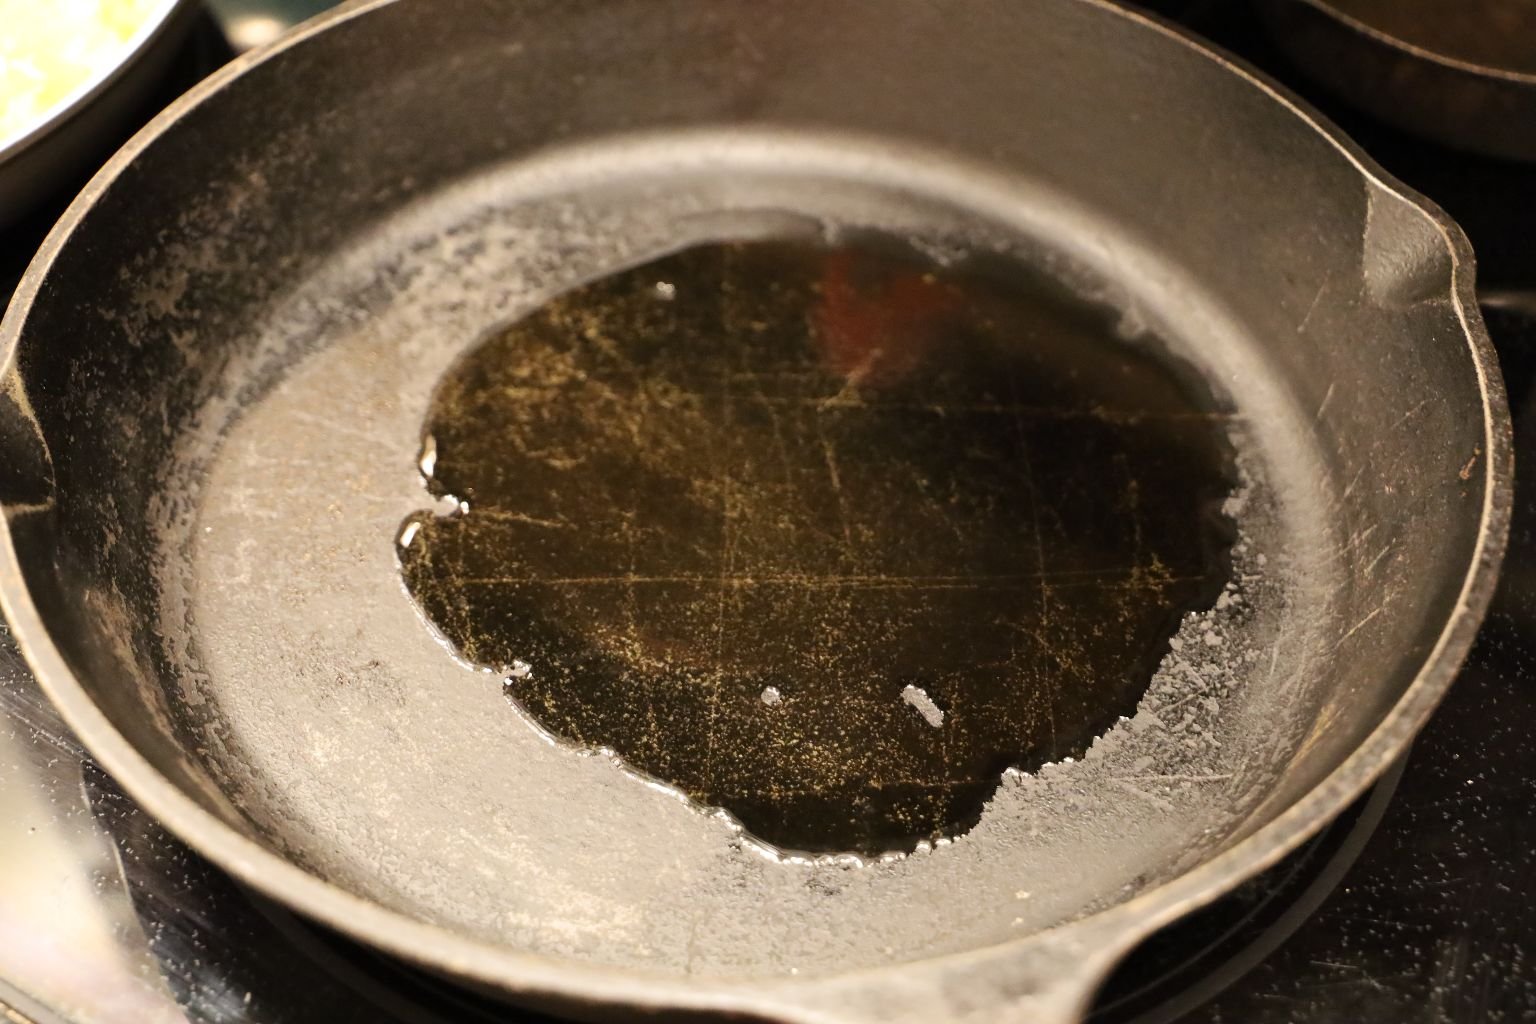
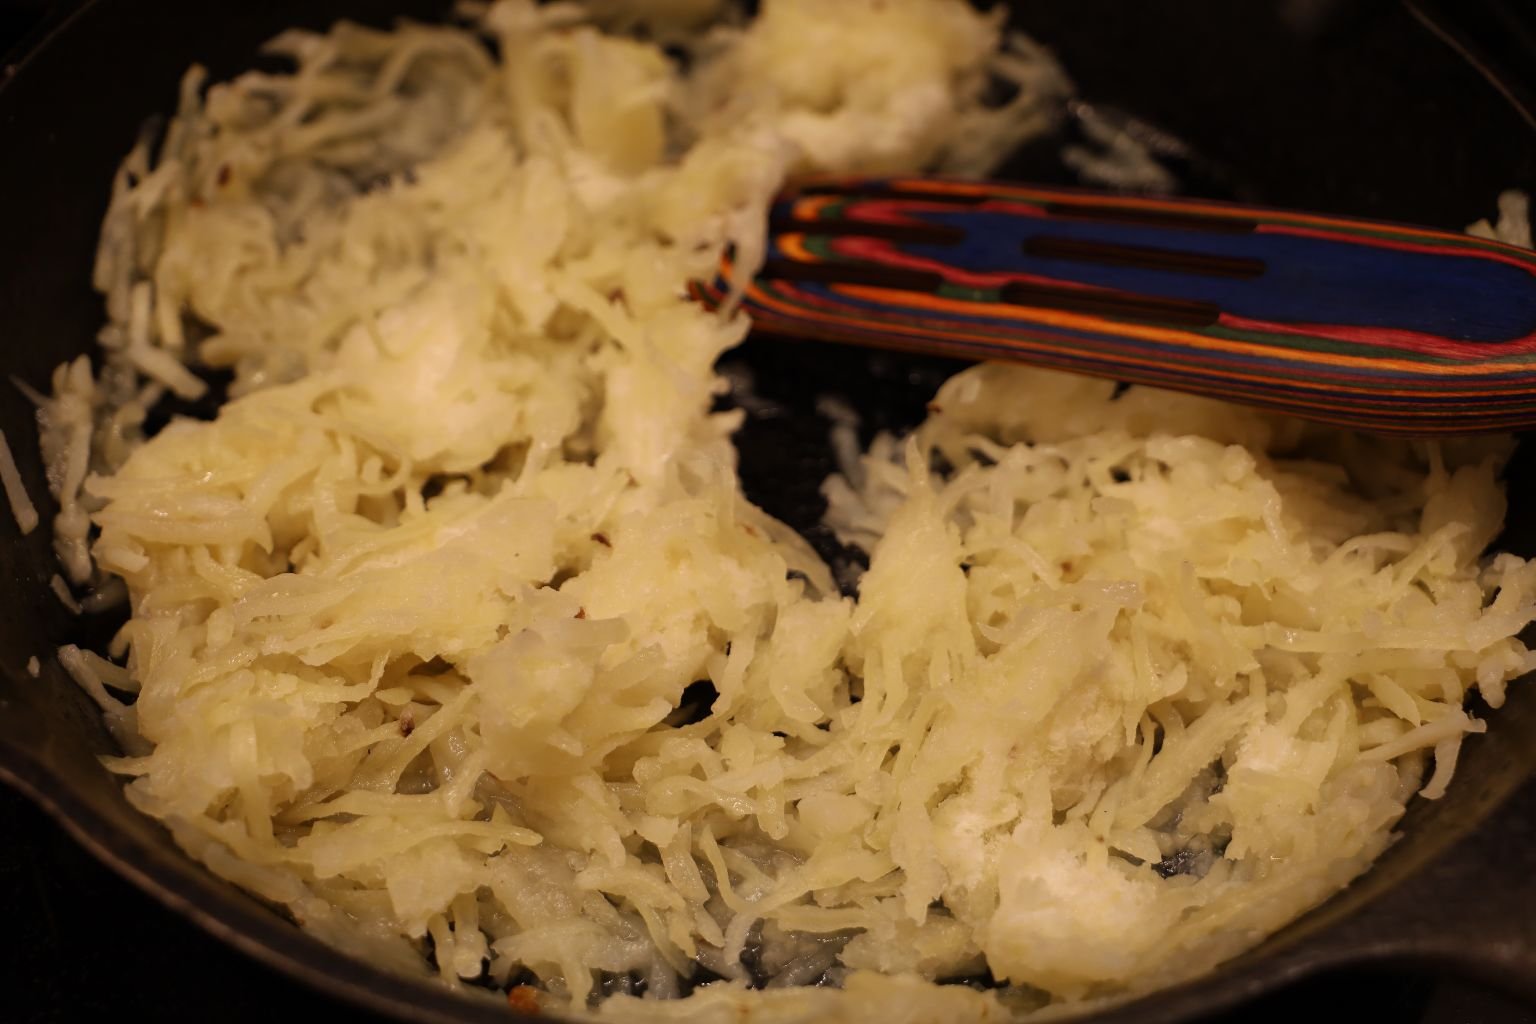
In my Cast Iron Skillet I am adding some Olive Oil, along with a bag of Hash Brown Potatoes from the freezer.
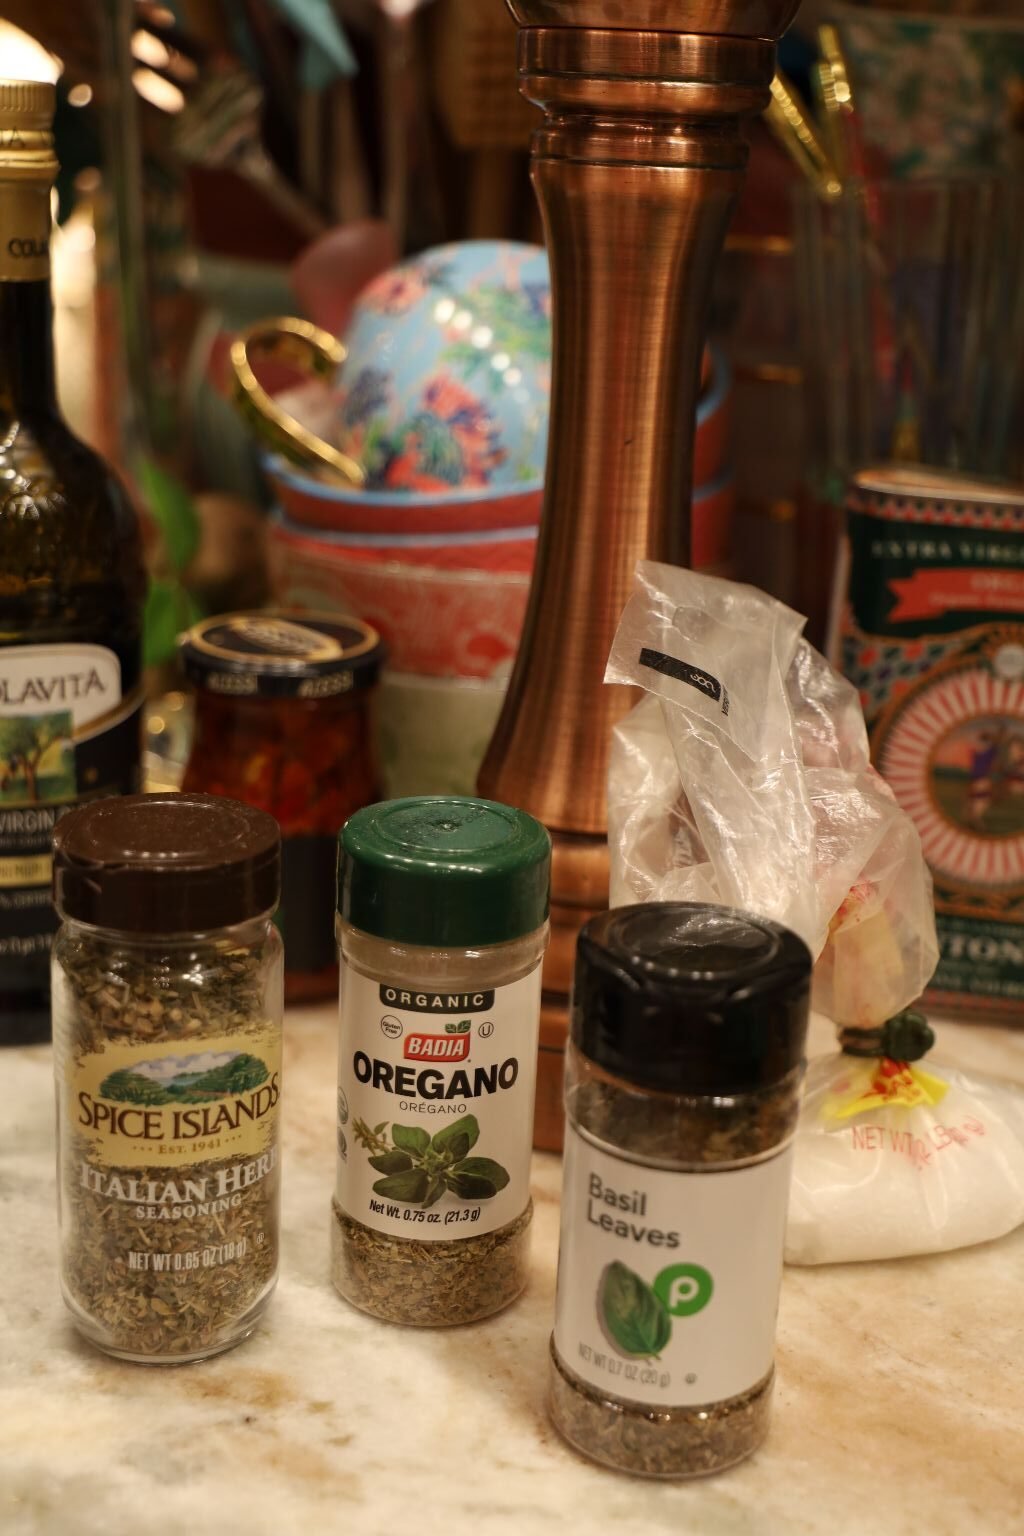
My Spices: (To Add Soon)
Italian Herb Seasoning
Ground Oregano
Ground Basil Leaves
Freshly Ground Black Pepper, To Taste
Hawaiian Sea Salt, To Taste
——————————————————————————
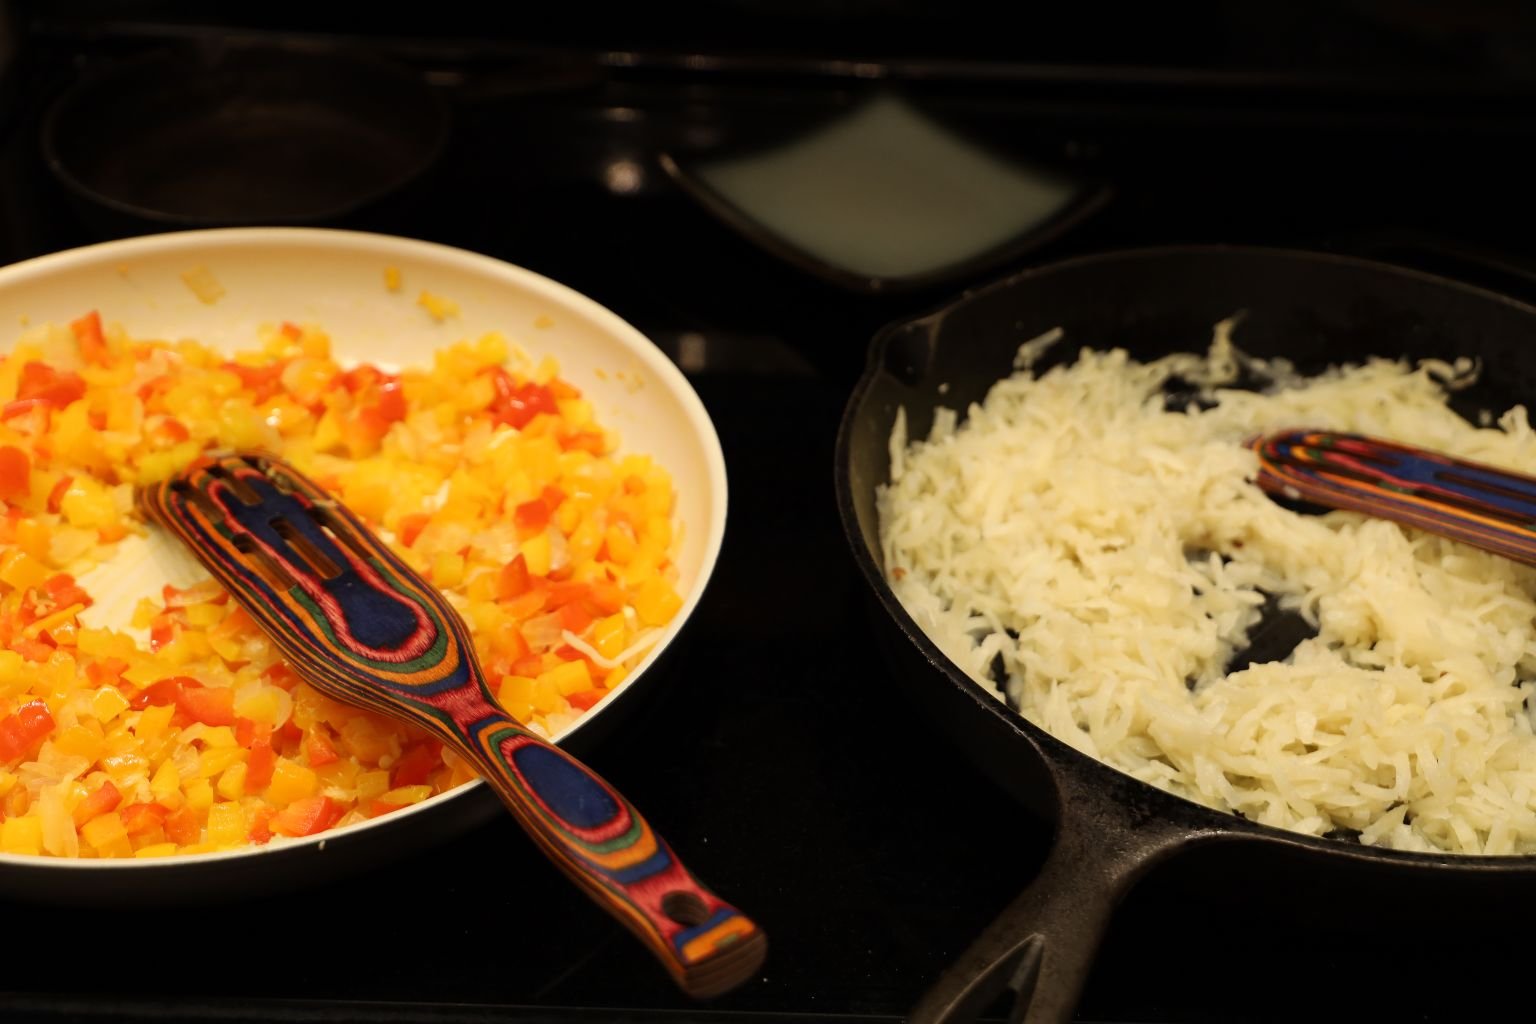
I’m Browning my Thawed Hash Browns in my Cast Iron Skillet, on a Medium Heat – Medium-High Heat.
My Onions and Peppers and Garlic are Waiting..
————————————————————————————
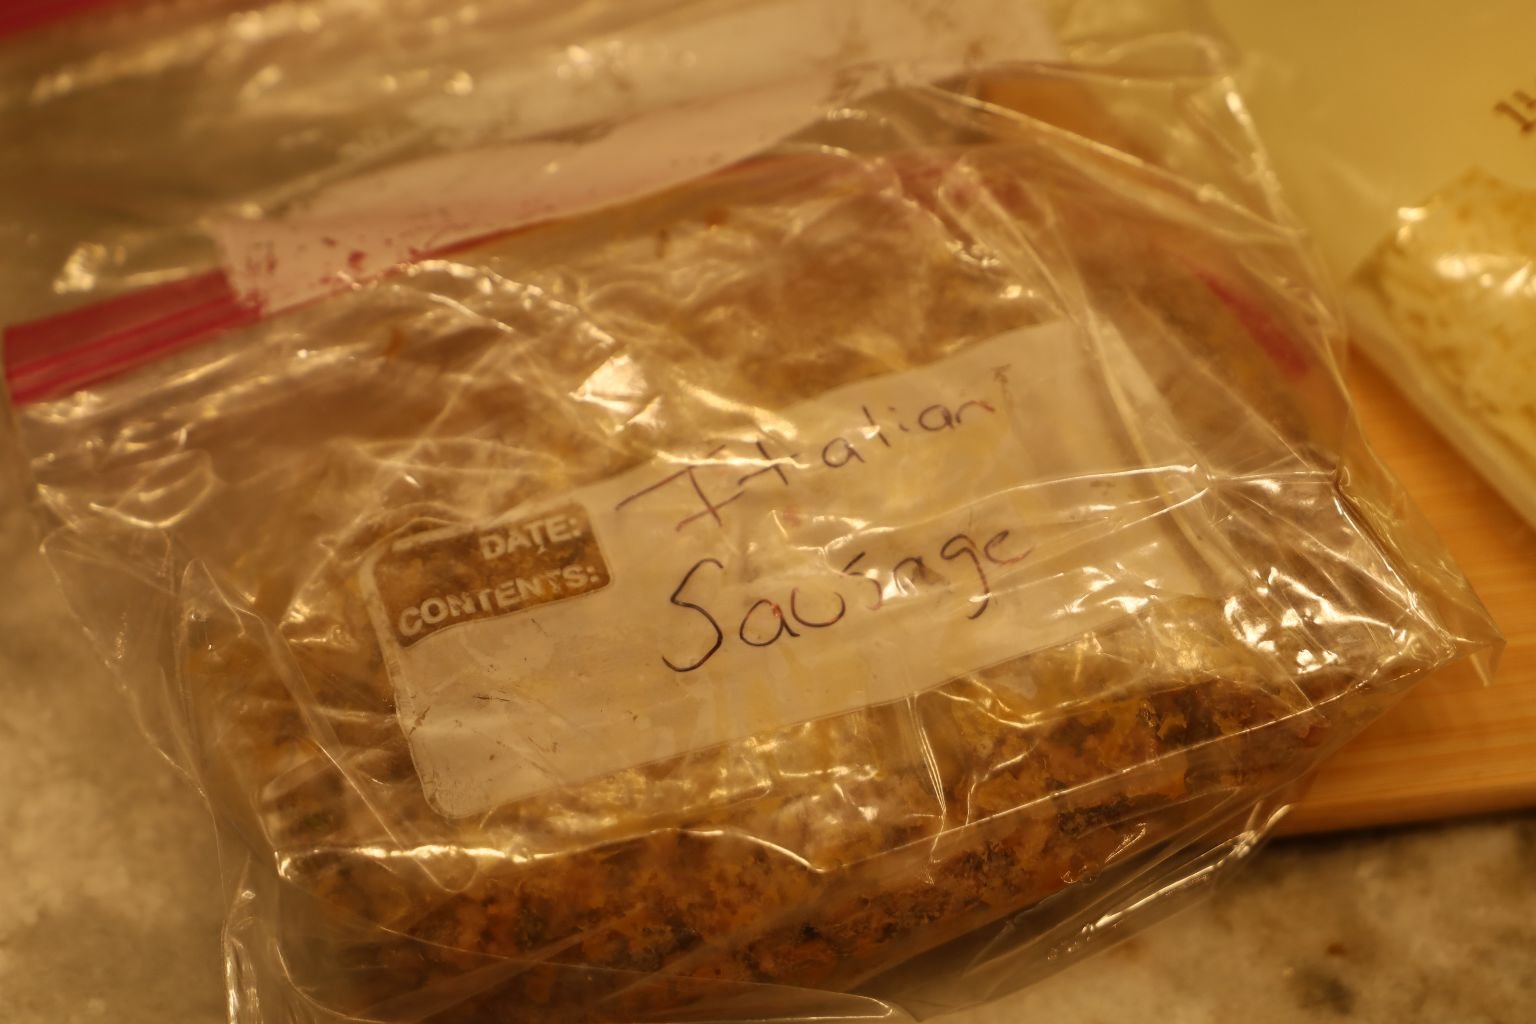
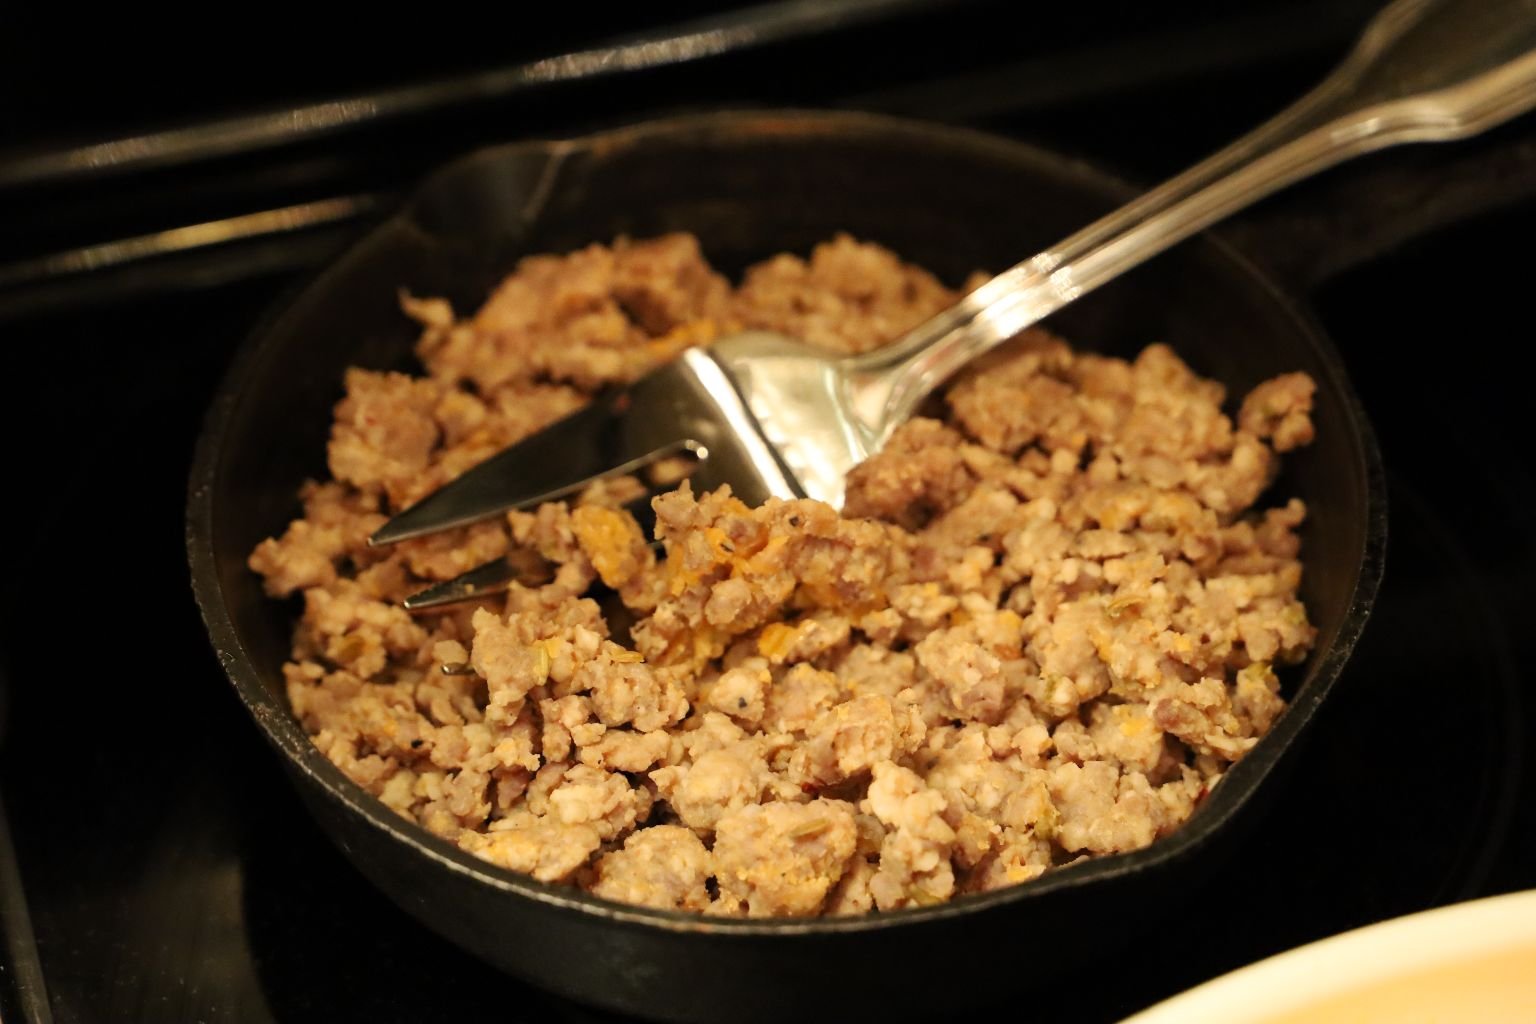
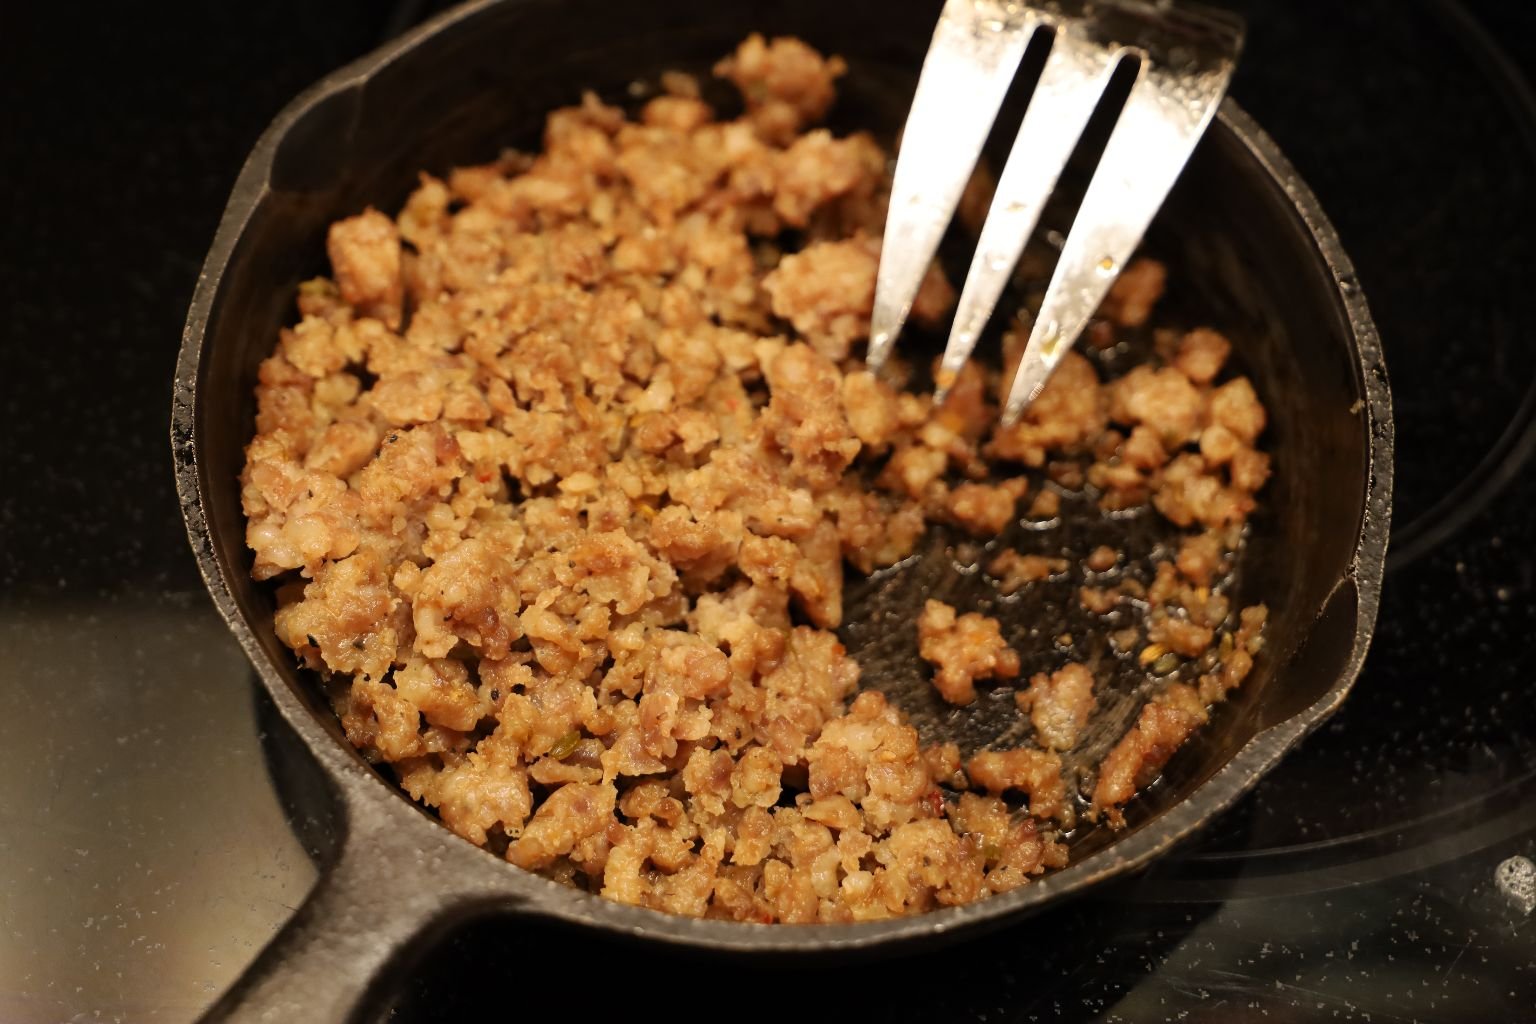
I had some Italian Sausage frozen in the freezer. I thawed it out placed it into a small Skillet on the back burner to just warm through.
Sometimes I will cook sausage to keep frozen in the freezer to place on Pizza’s or dishes like this.
———————————————————————————
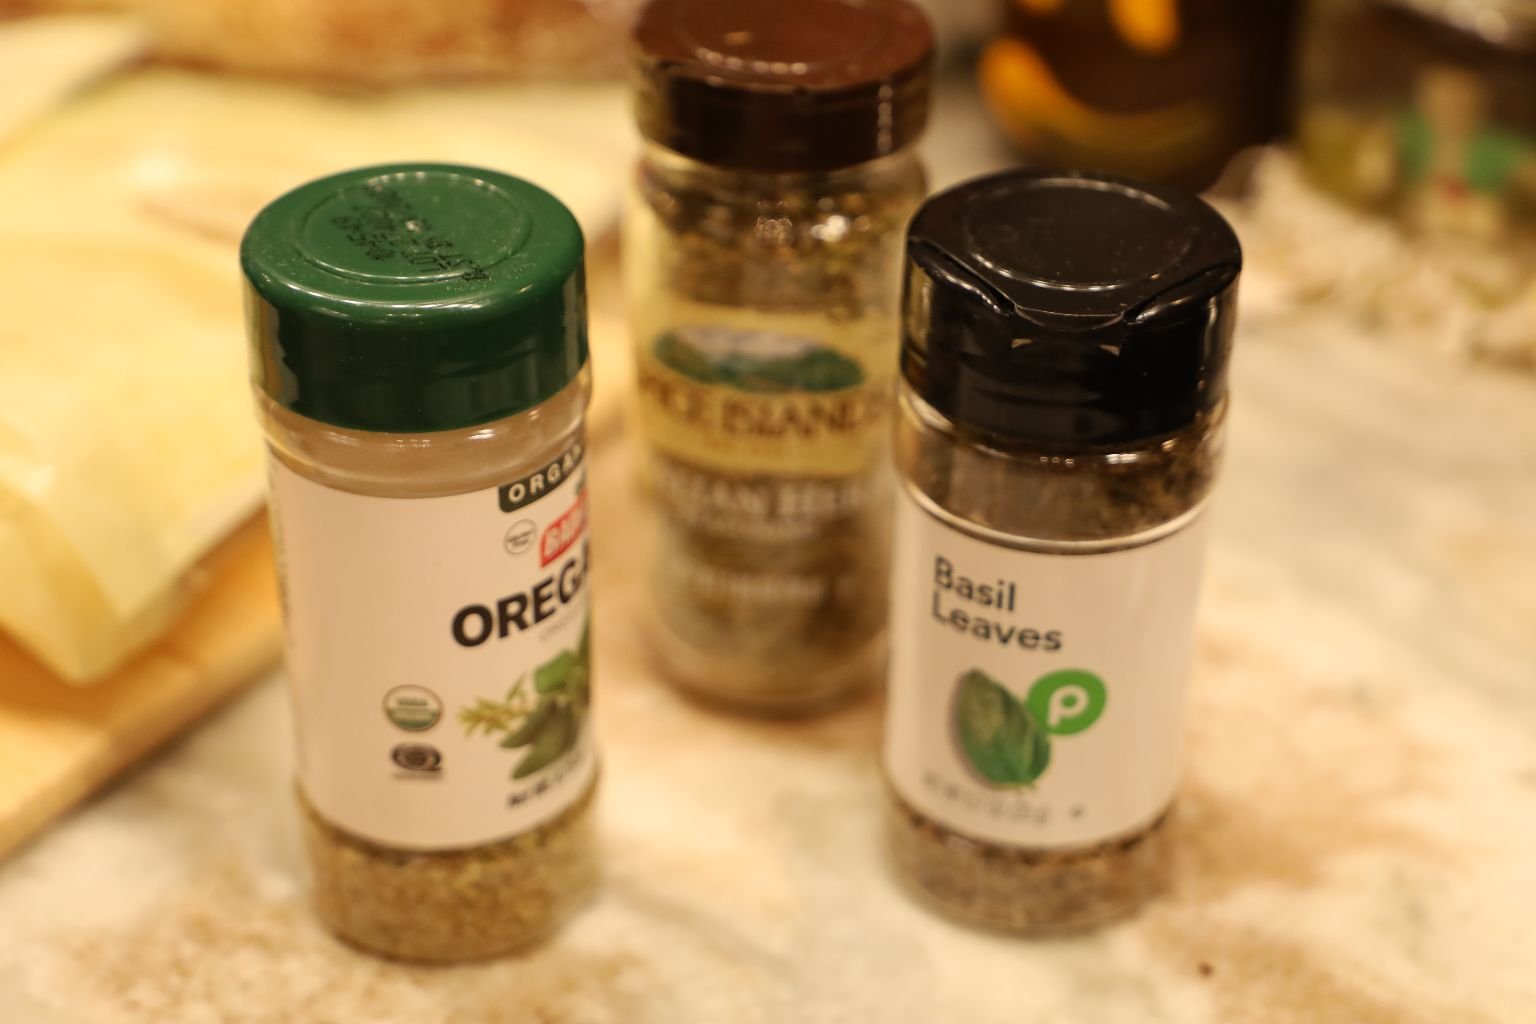
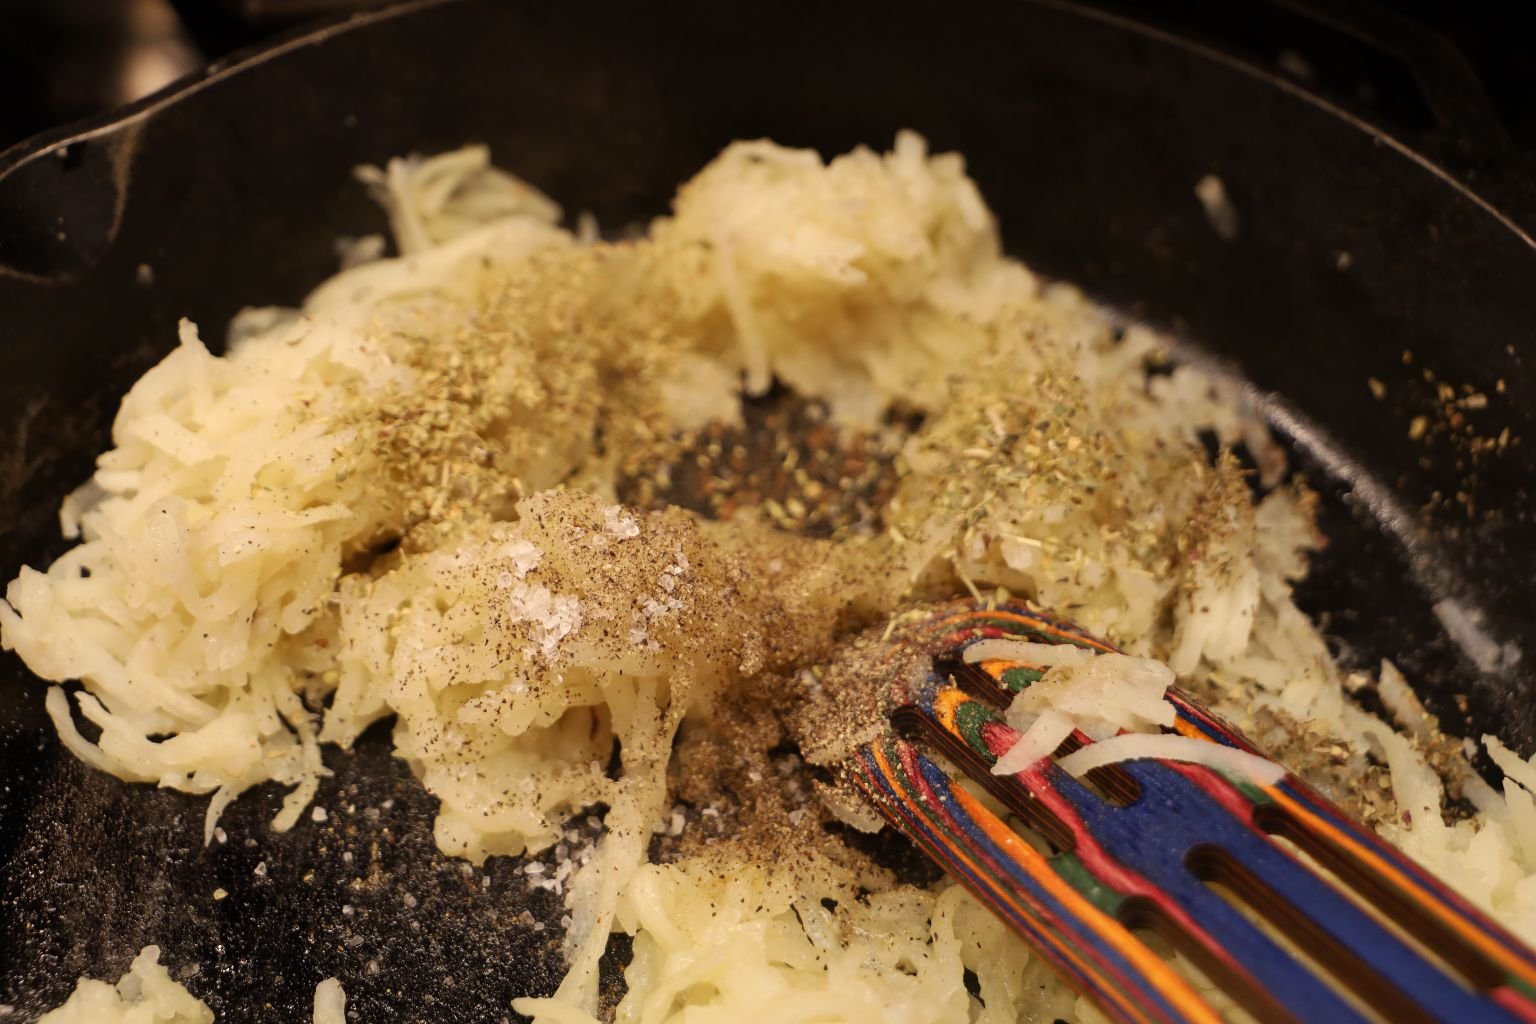
Time To Add The Spices To My Hash Brown Potatoes I’ve Been Sauteing
I probably added a 1/4 t. of each, maybe a little bit more.
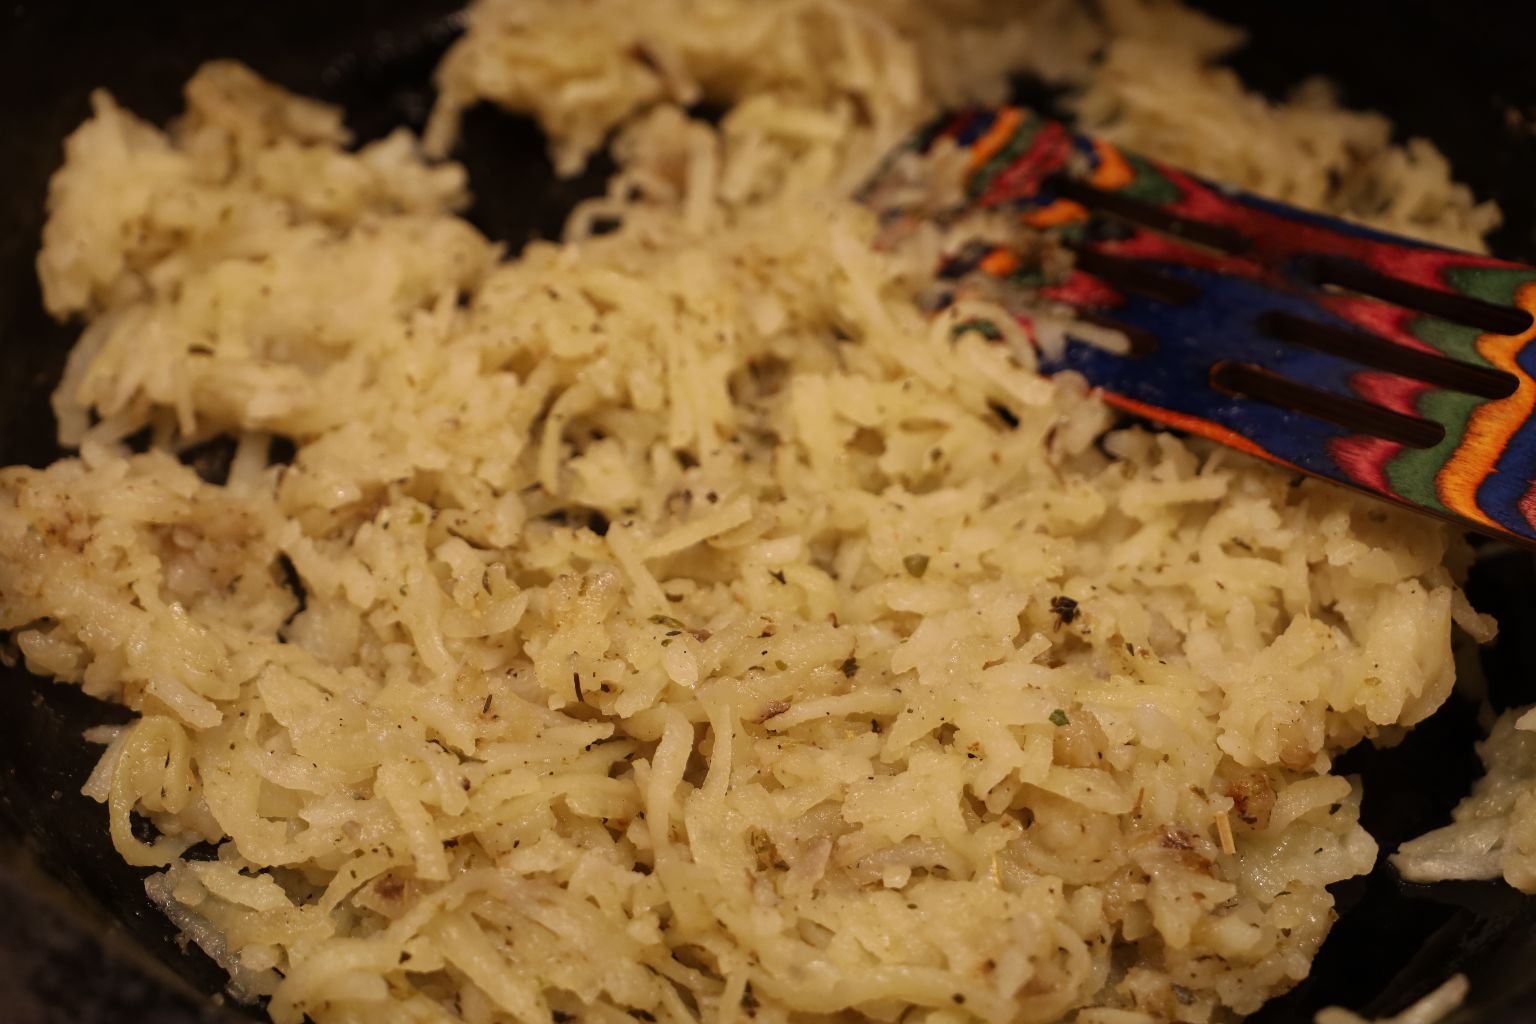
Blending The Spices Into The Hash Browns
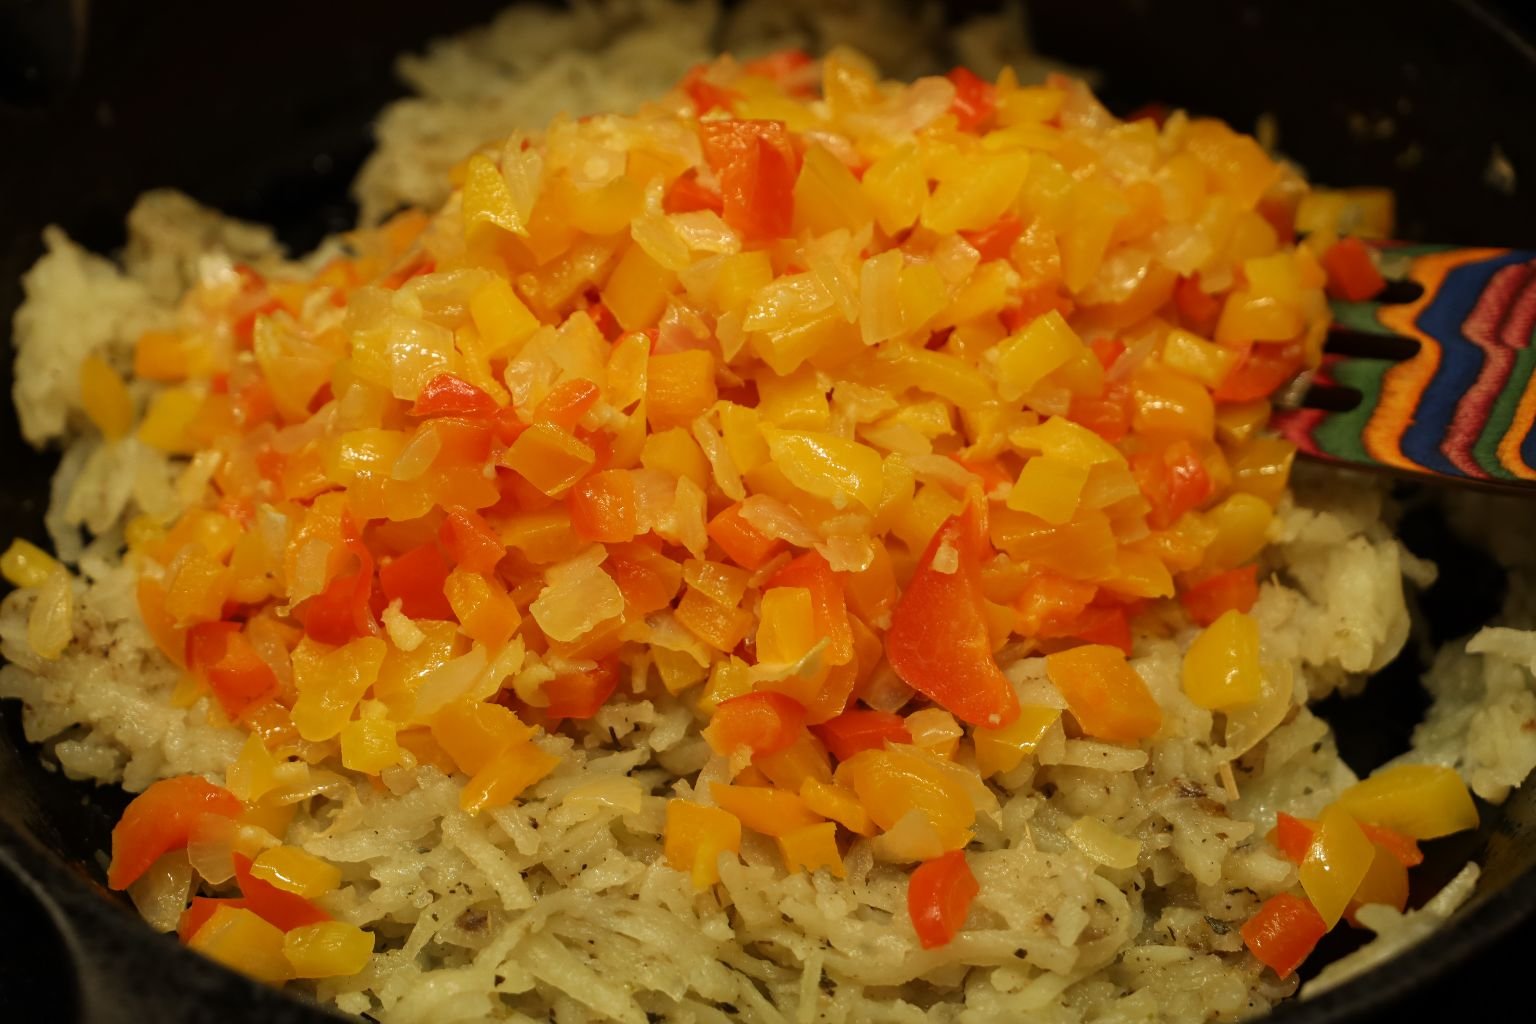
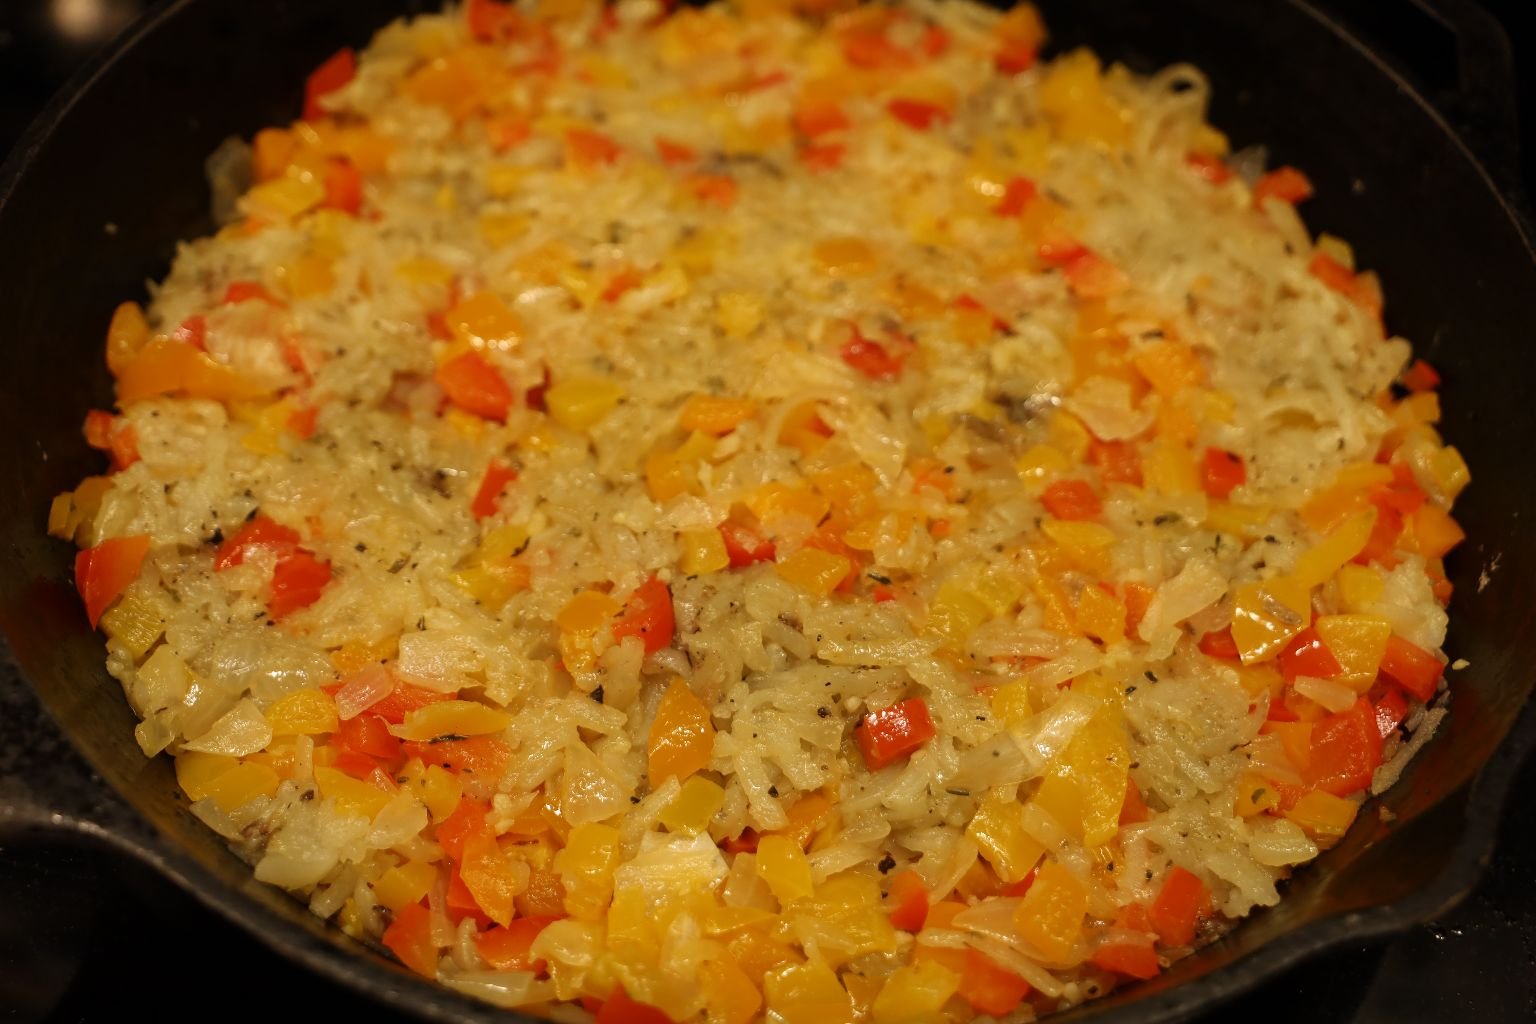
Now It’s Time to Add My Onion, Bell Peppers, and Garlic to My Hash Browns…
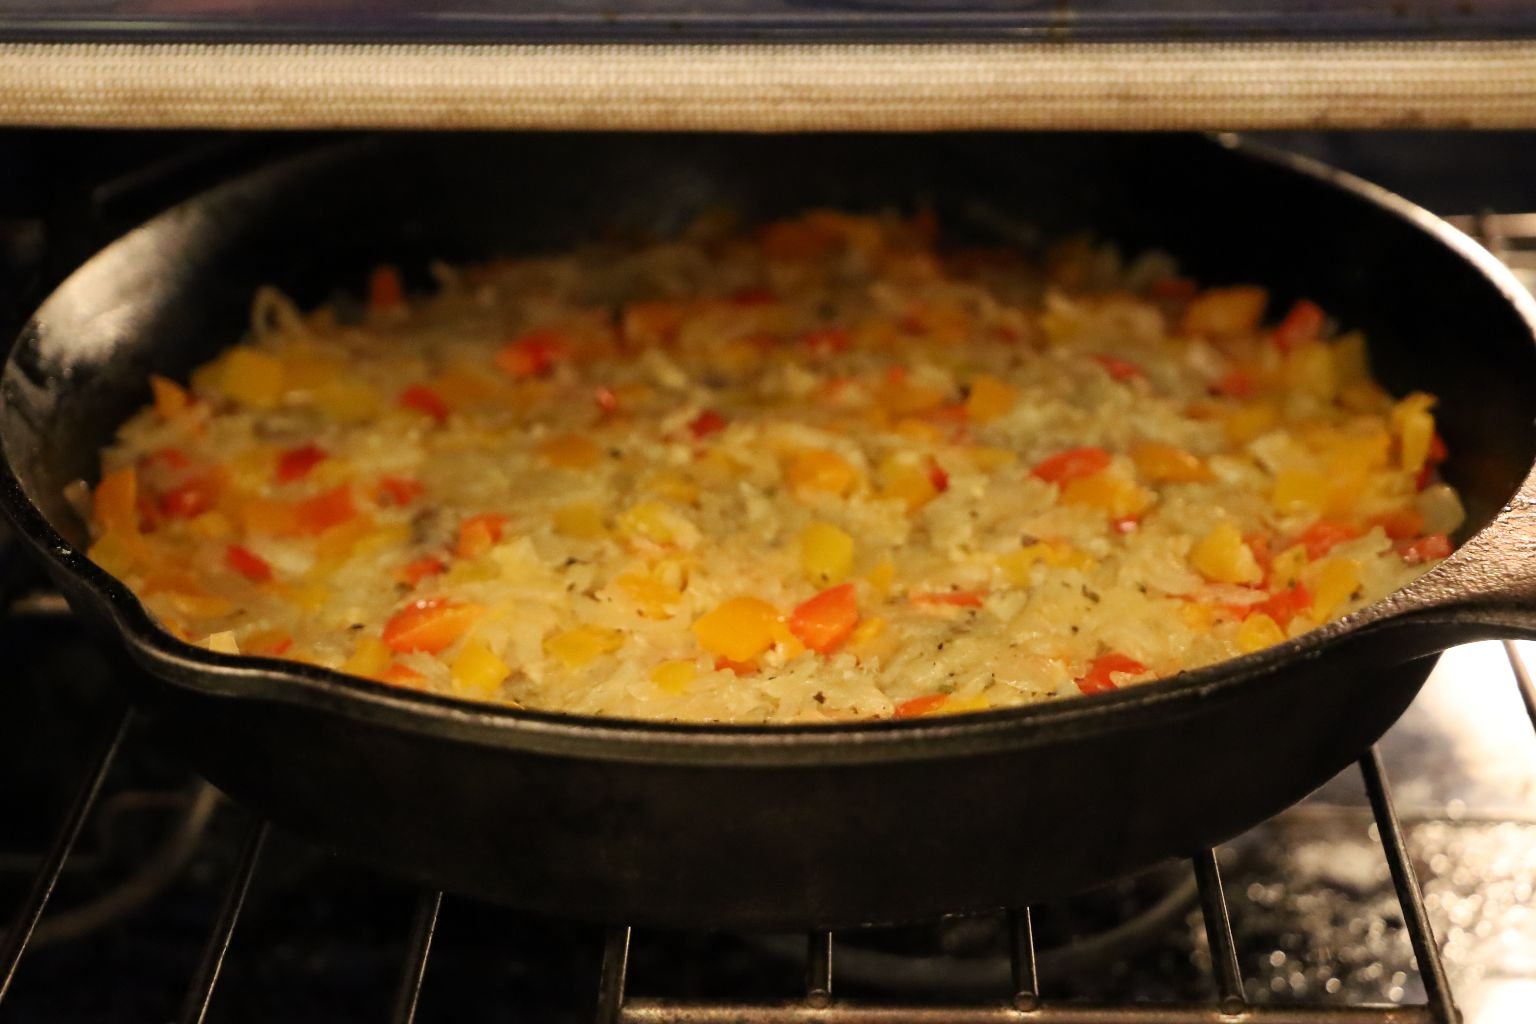
..And Placing Them Into A 350F Oven For About 10-15 Minutes.
——————————————————————————–
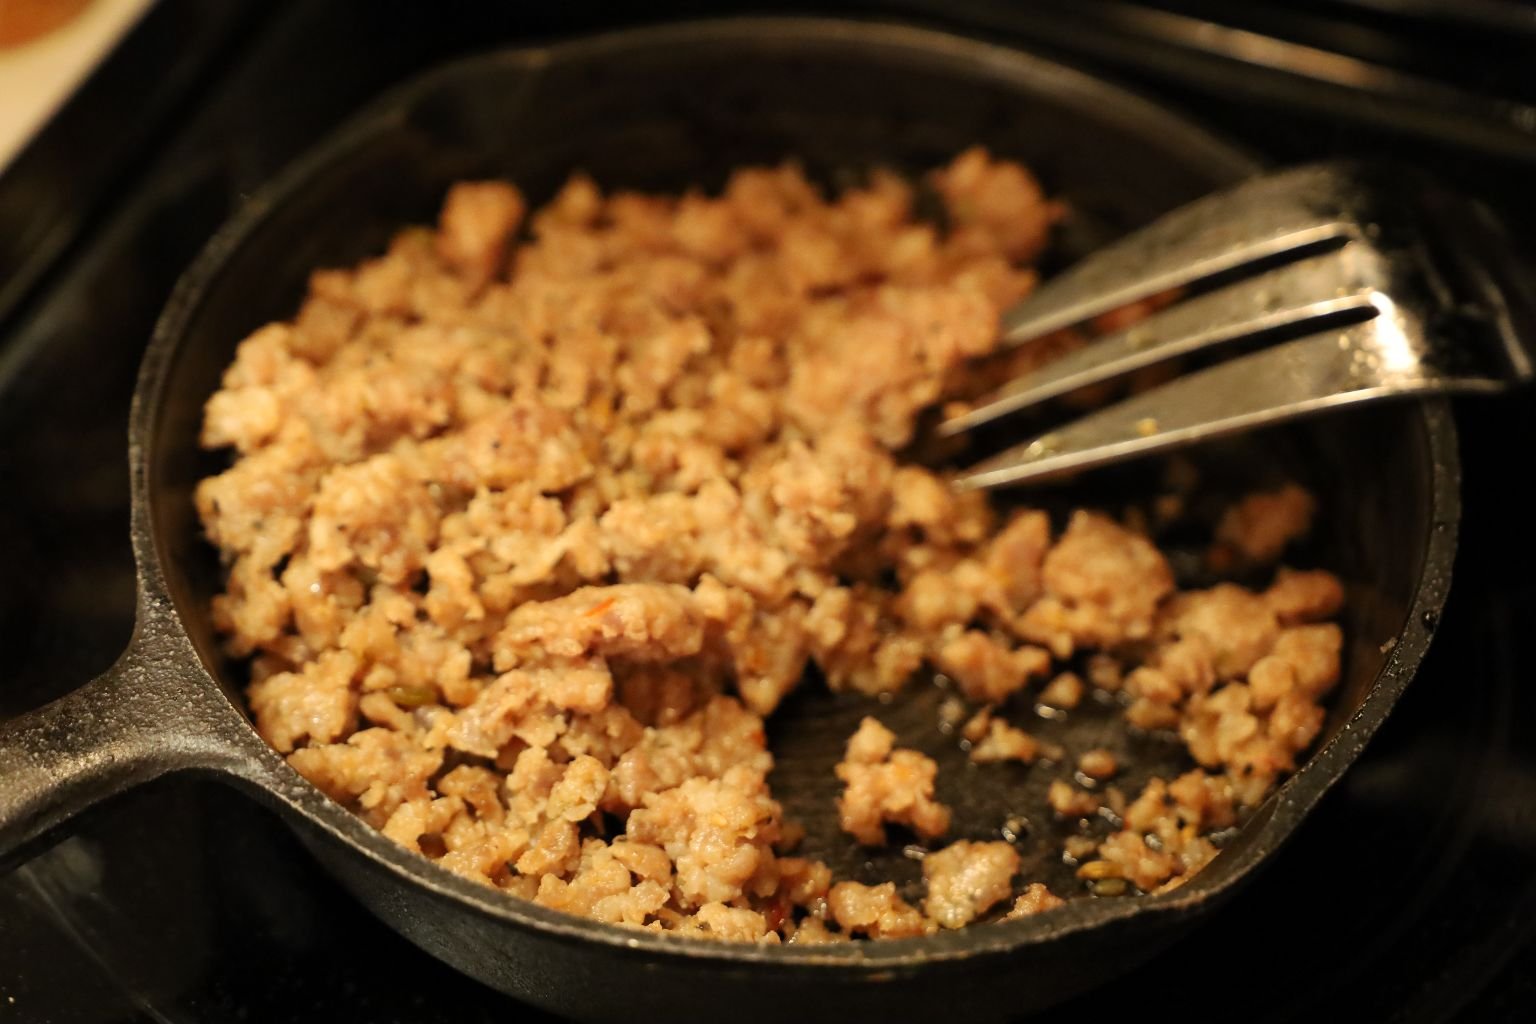
My Sausage Is Ready, And Set Aside
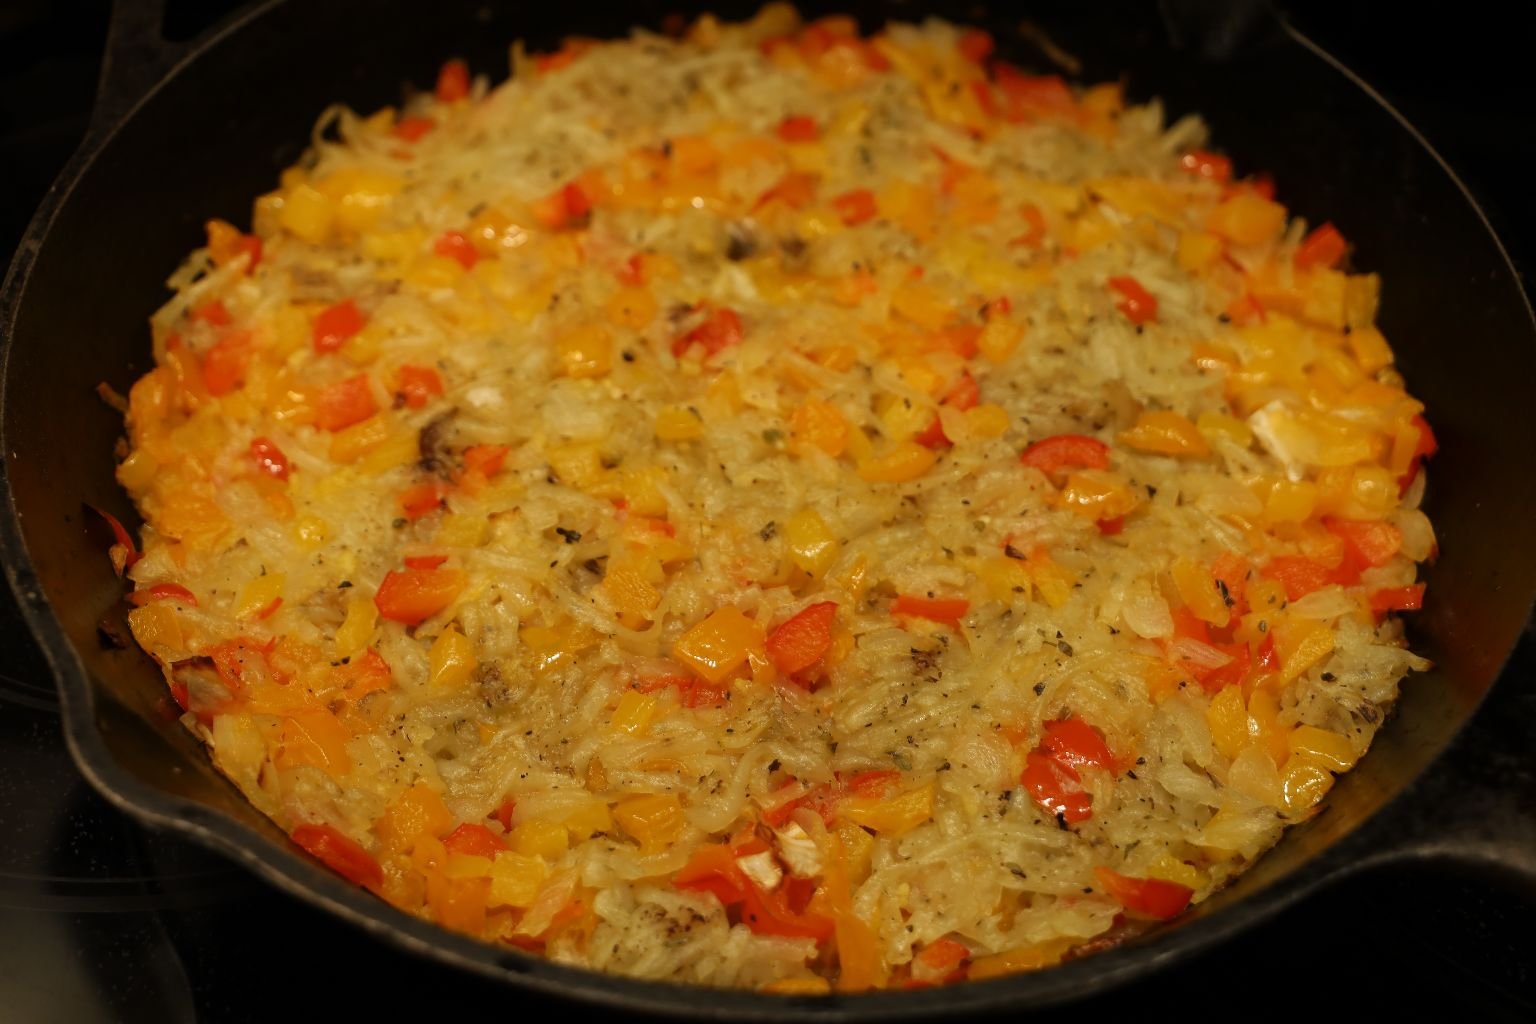
Time To Remove The Cast Iron Skillet From The Oven…
————————————————————————————–
Time To Add The Cheese
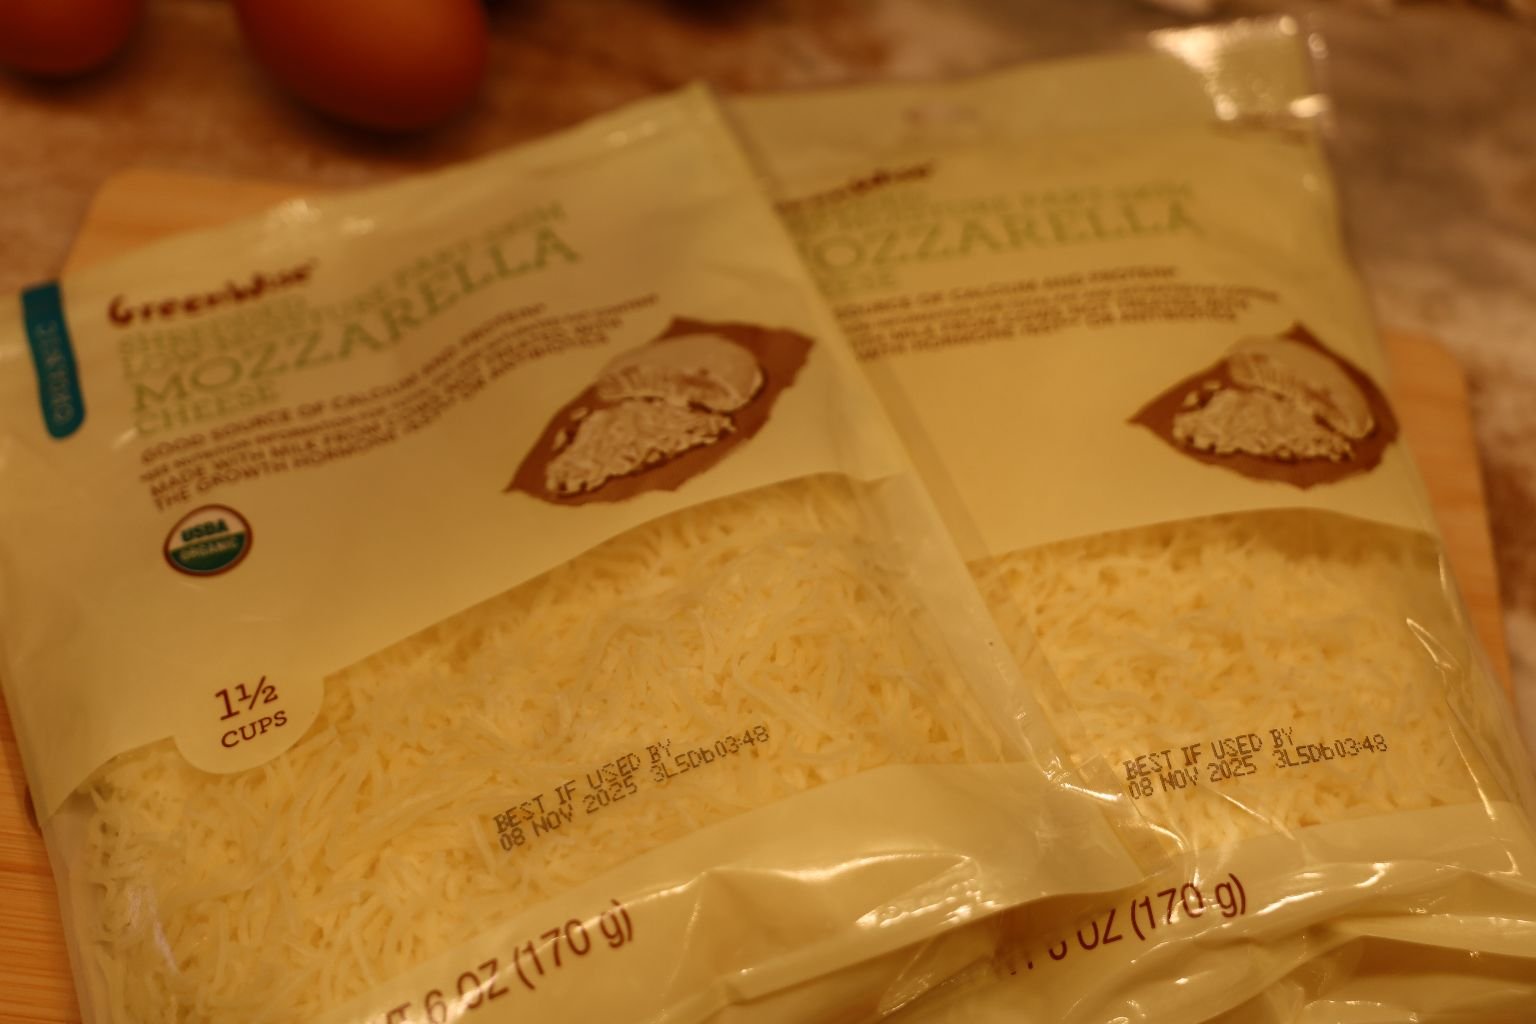
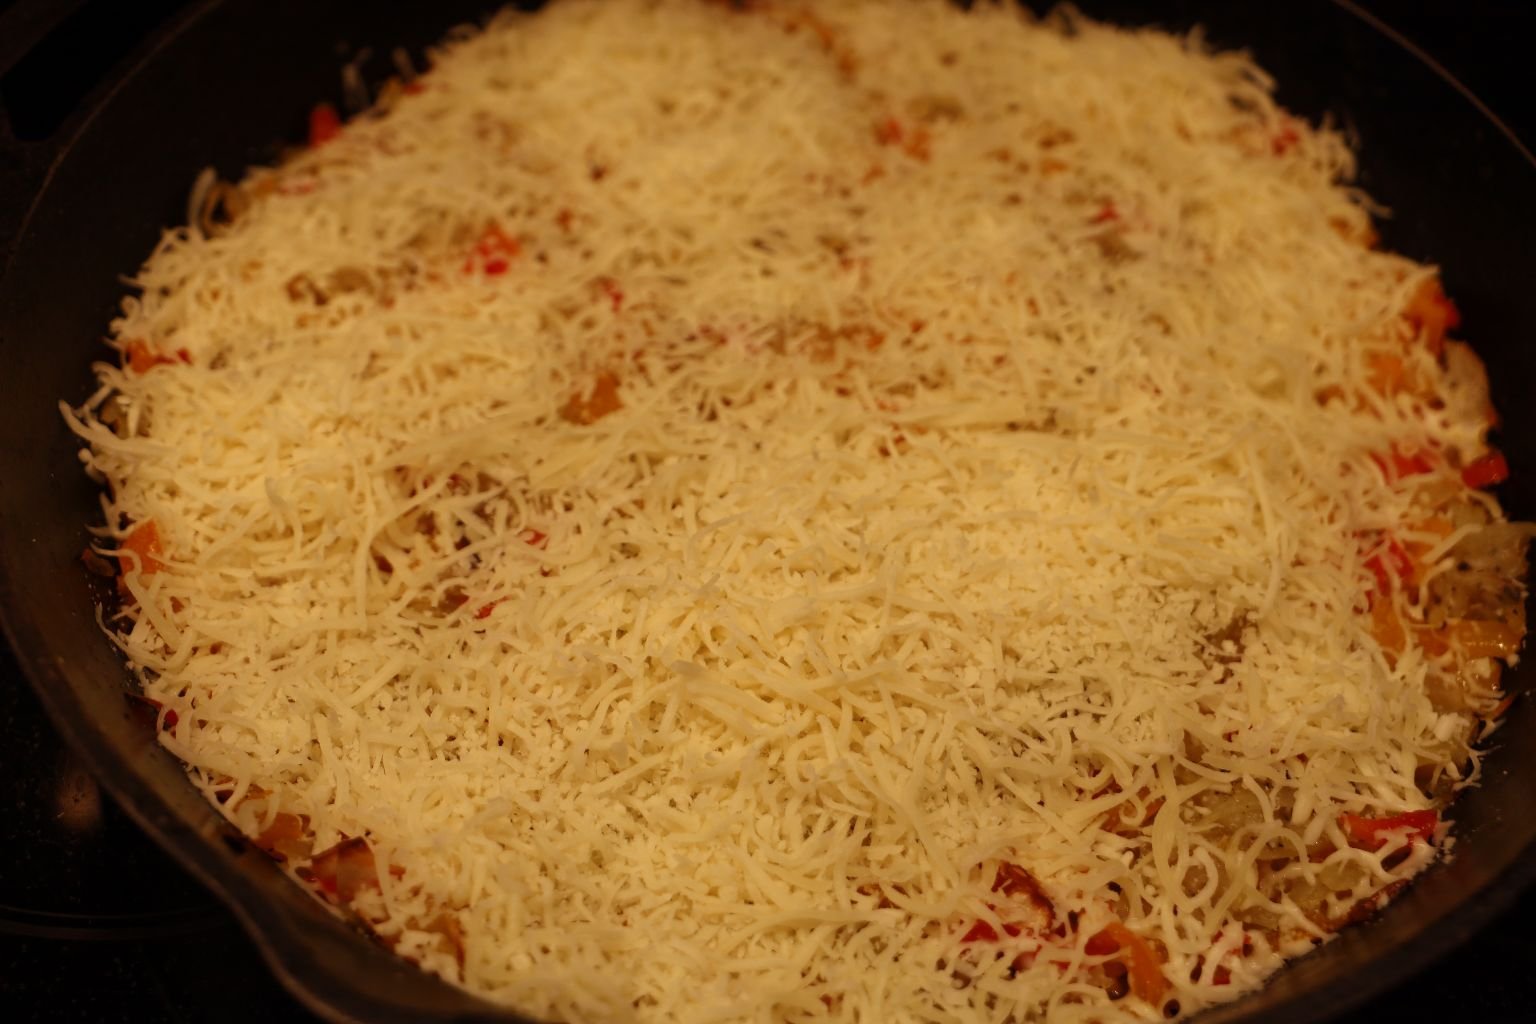
Shredded Mozzarella Cheese
(I just added as much as I wanted to over top my Hash Brown Medley.)
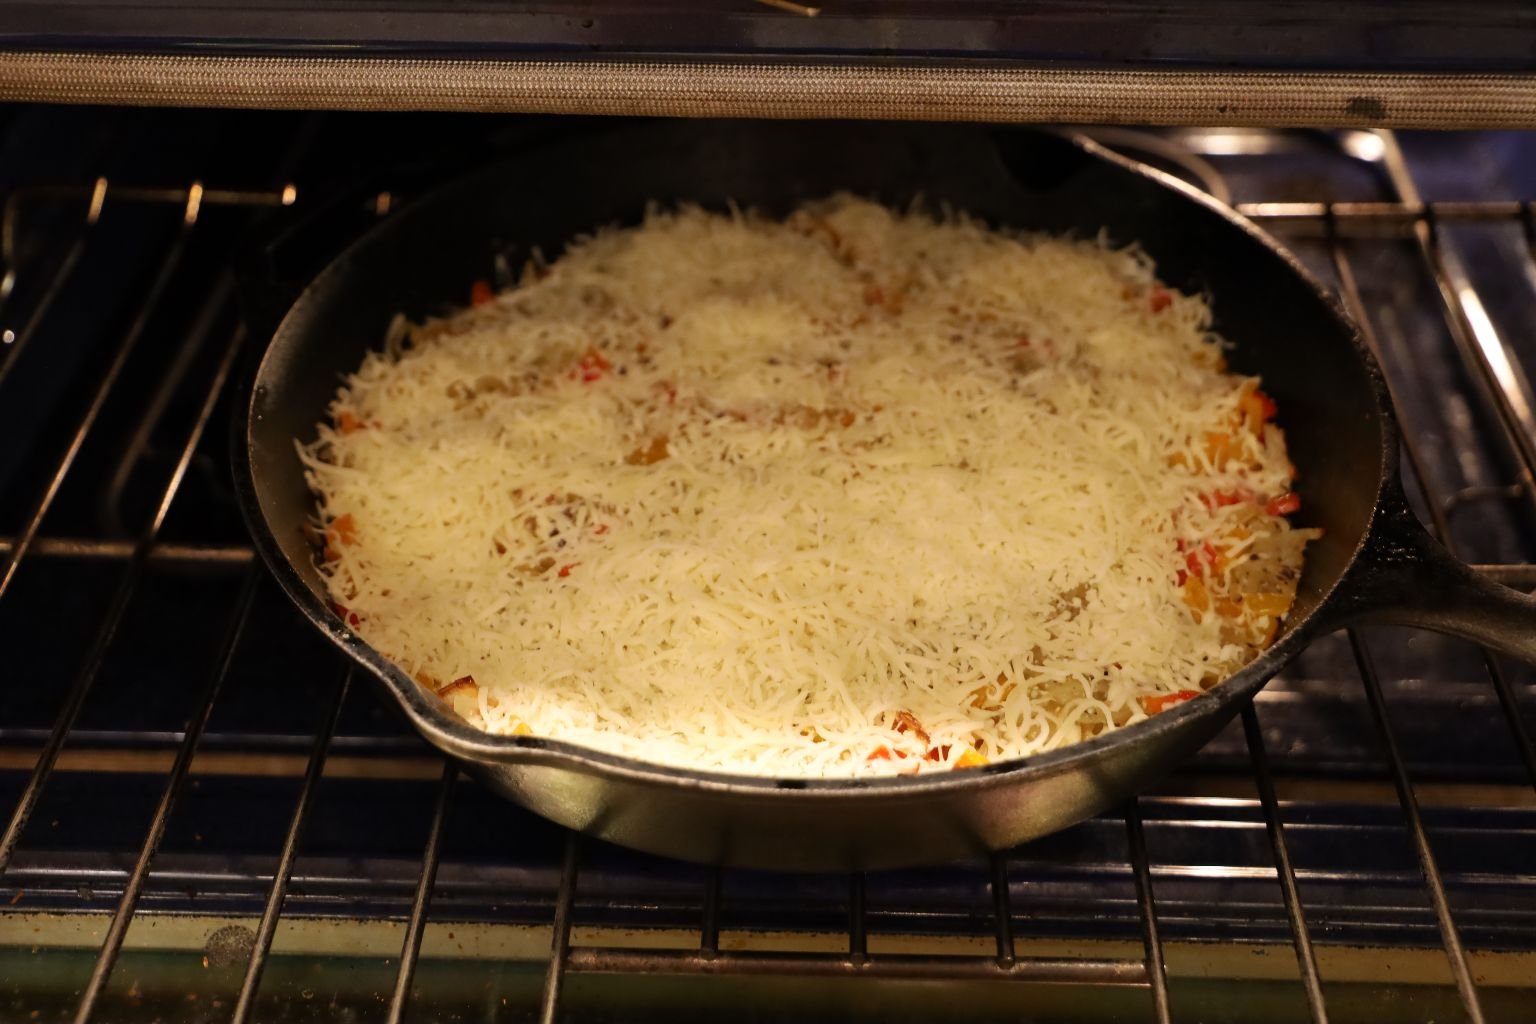
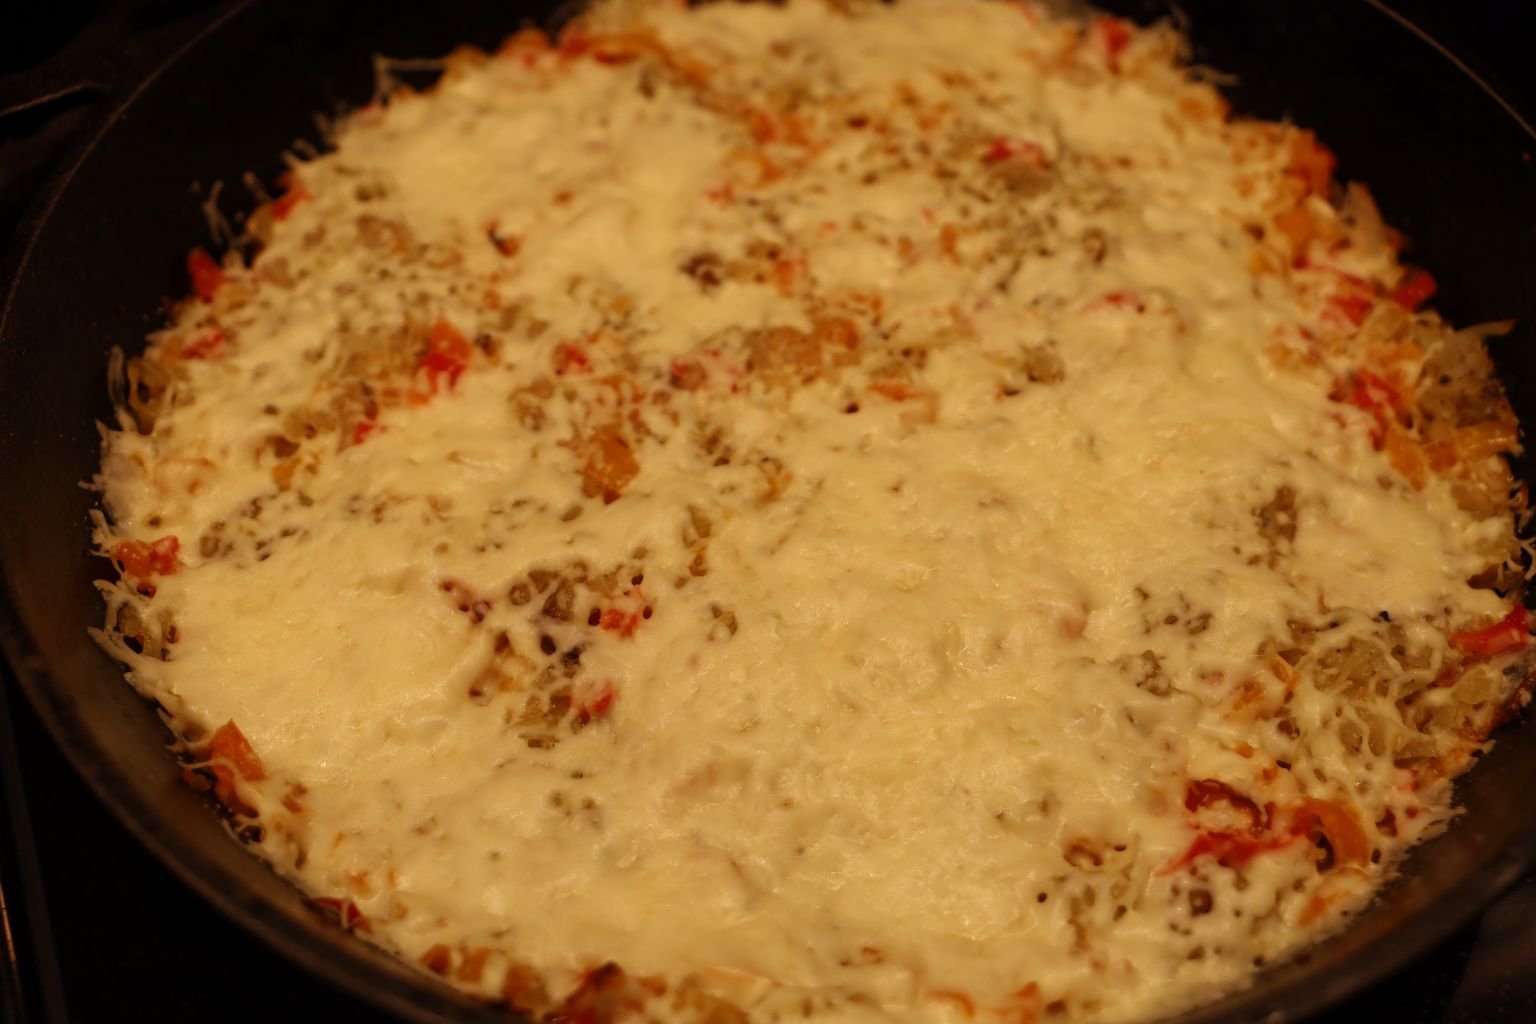
Now Place Back Into The 350F Oven For About 5 Minutes To Melt The Cheese
(When done, remove and set aside.)
————————————————————————————————
Ready To Scramble Some Eggs
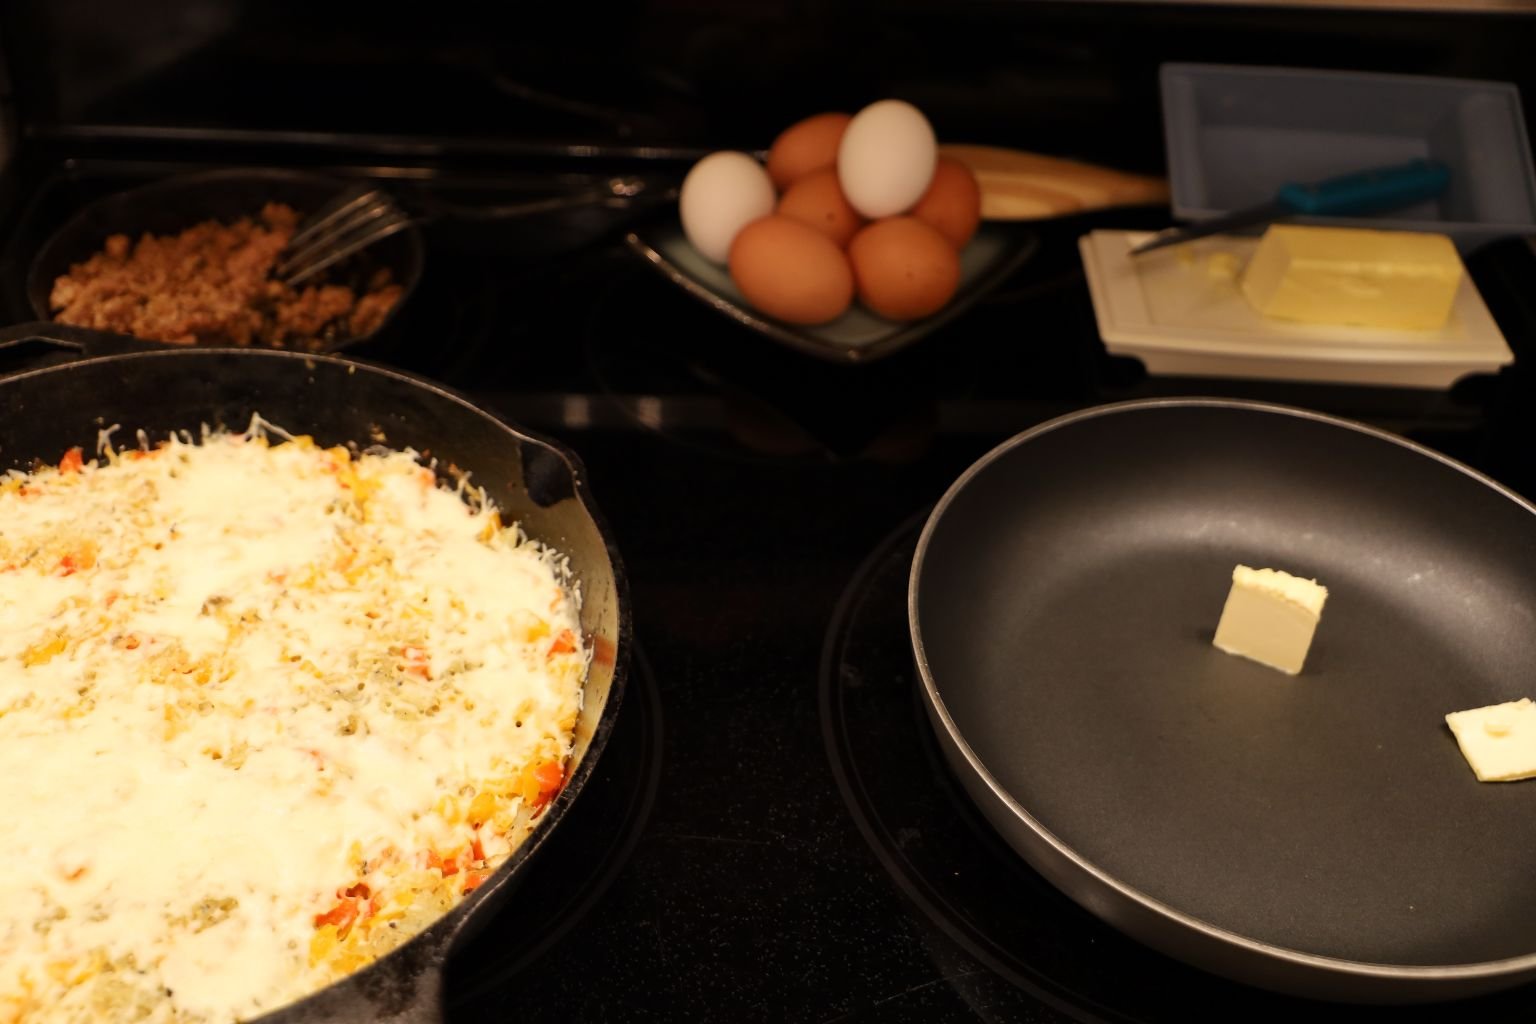
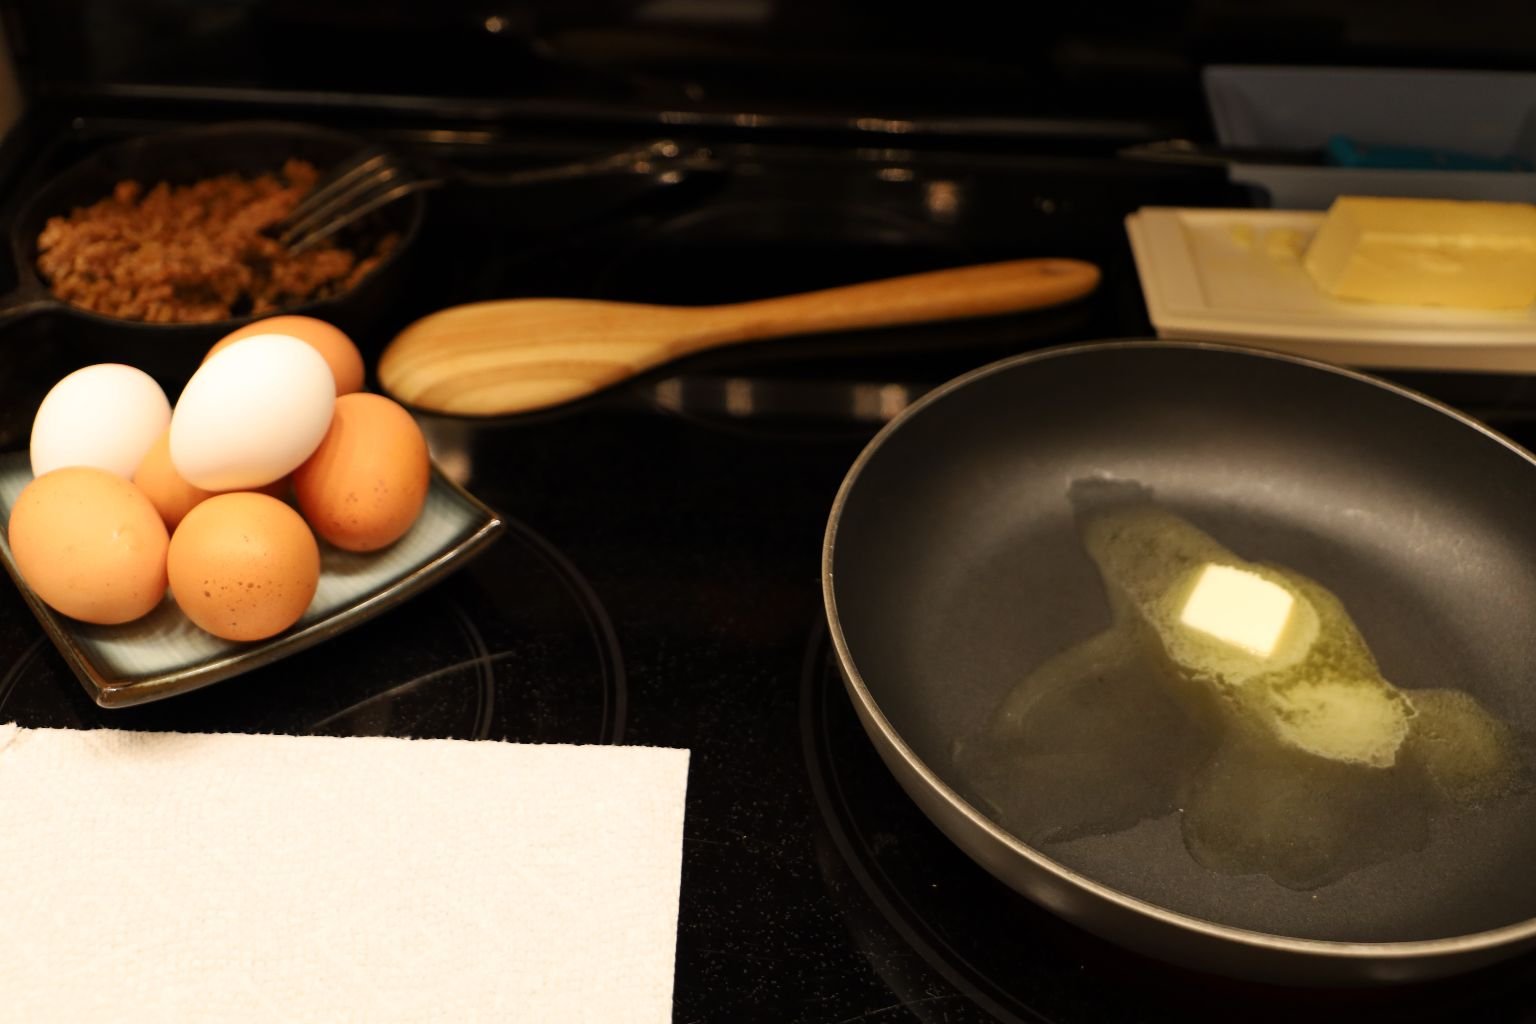
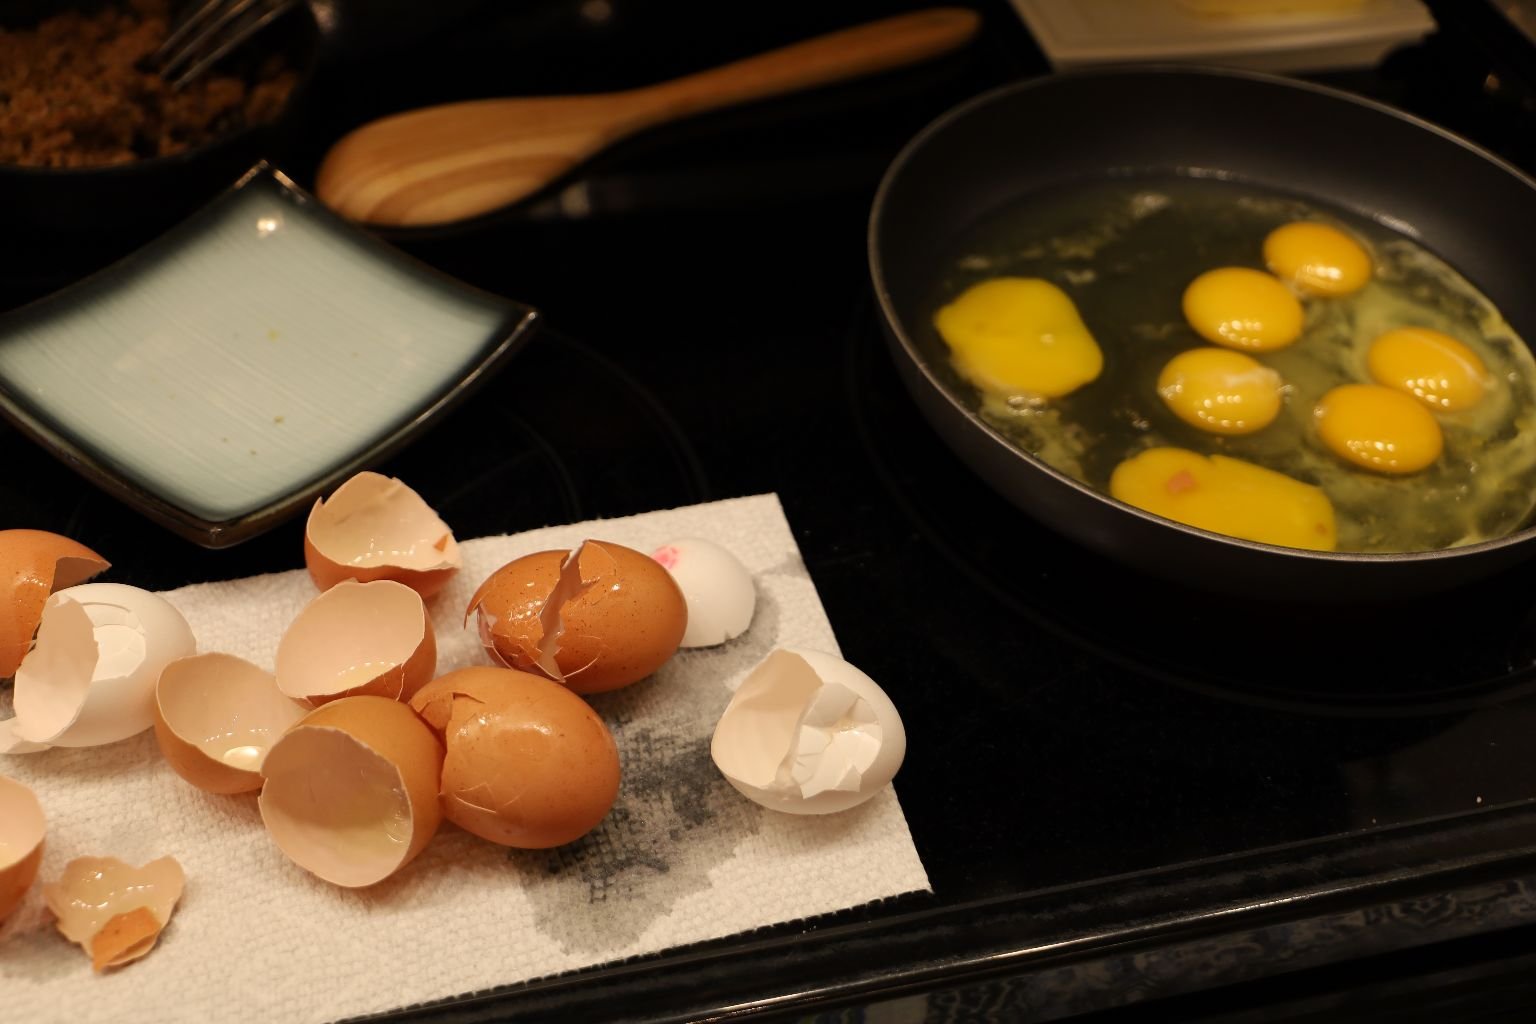
In A New Sautee Pan Add,
About 7 Eggs
Butter
Milk
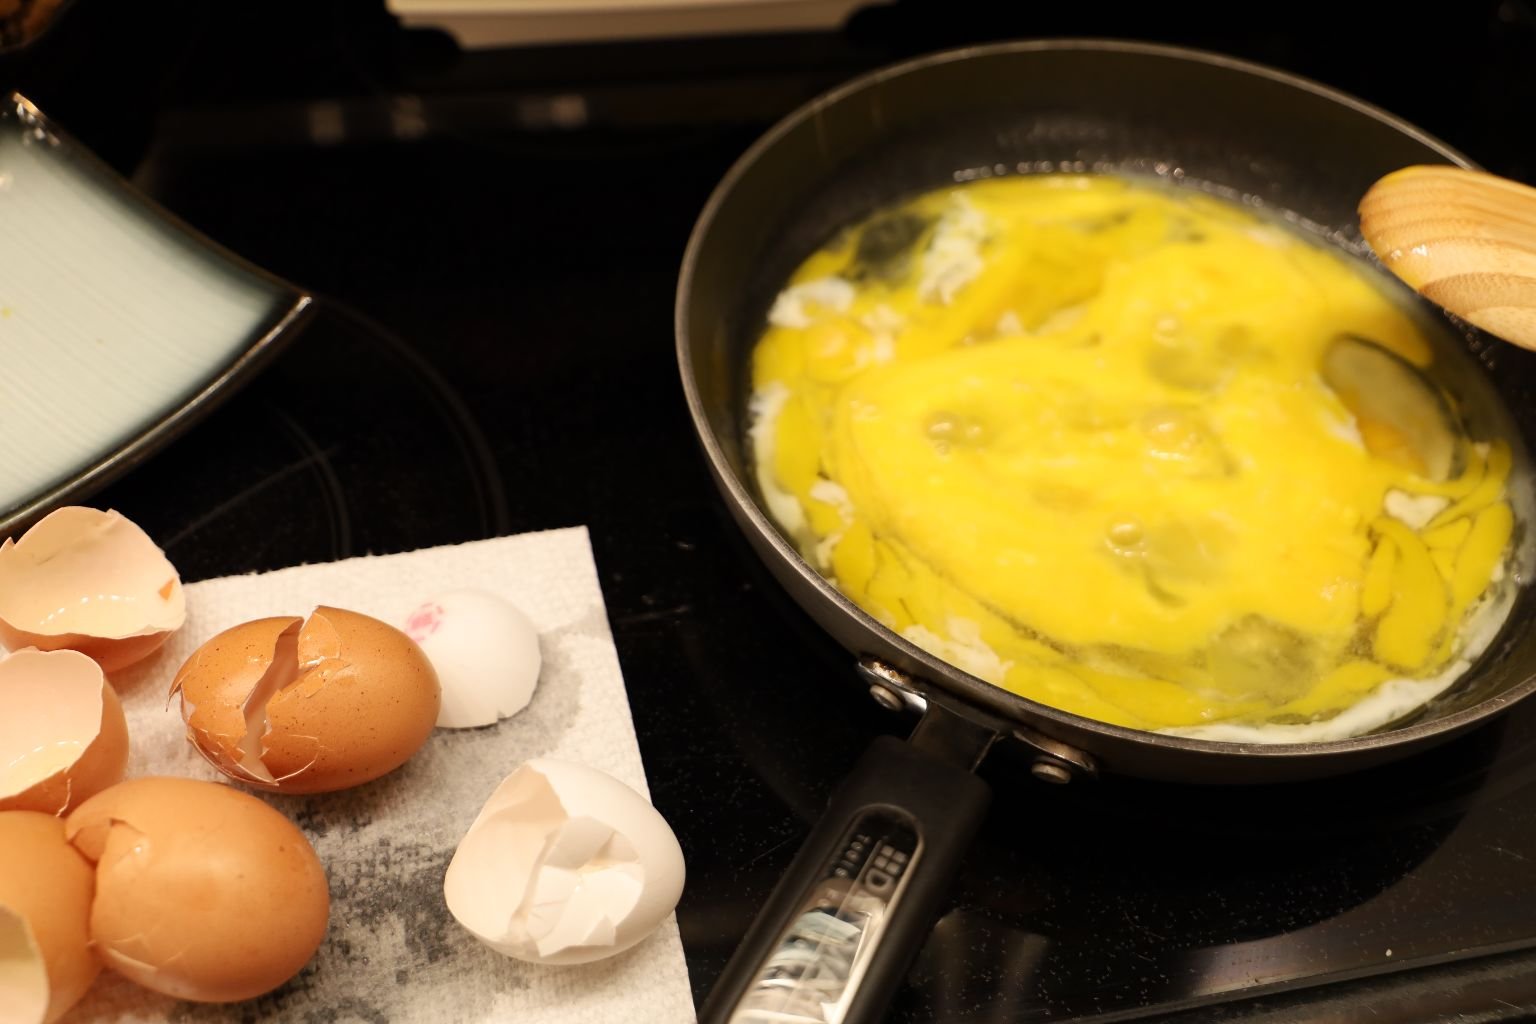
Melt Some Pats Of Butter Into A Sautee Pan,
Crack Some Eggs Into The Pan On A Medium-High Heat
Scramble With A Wooden Spoon….
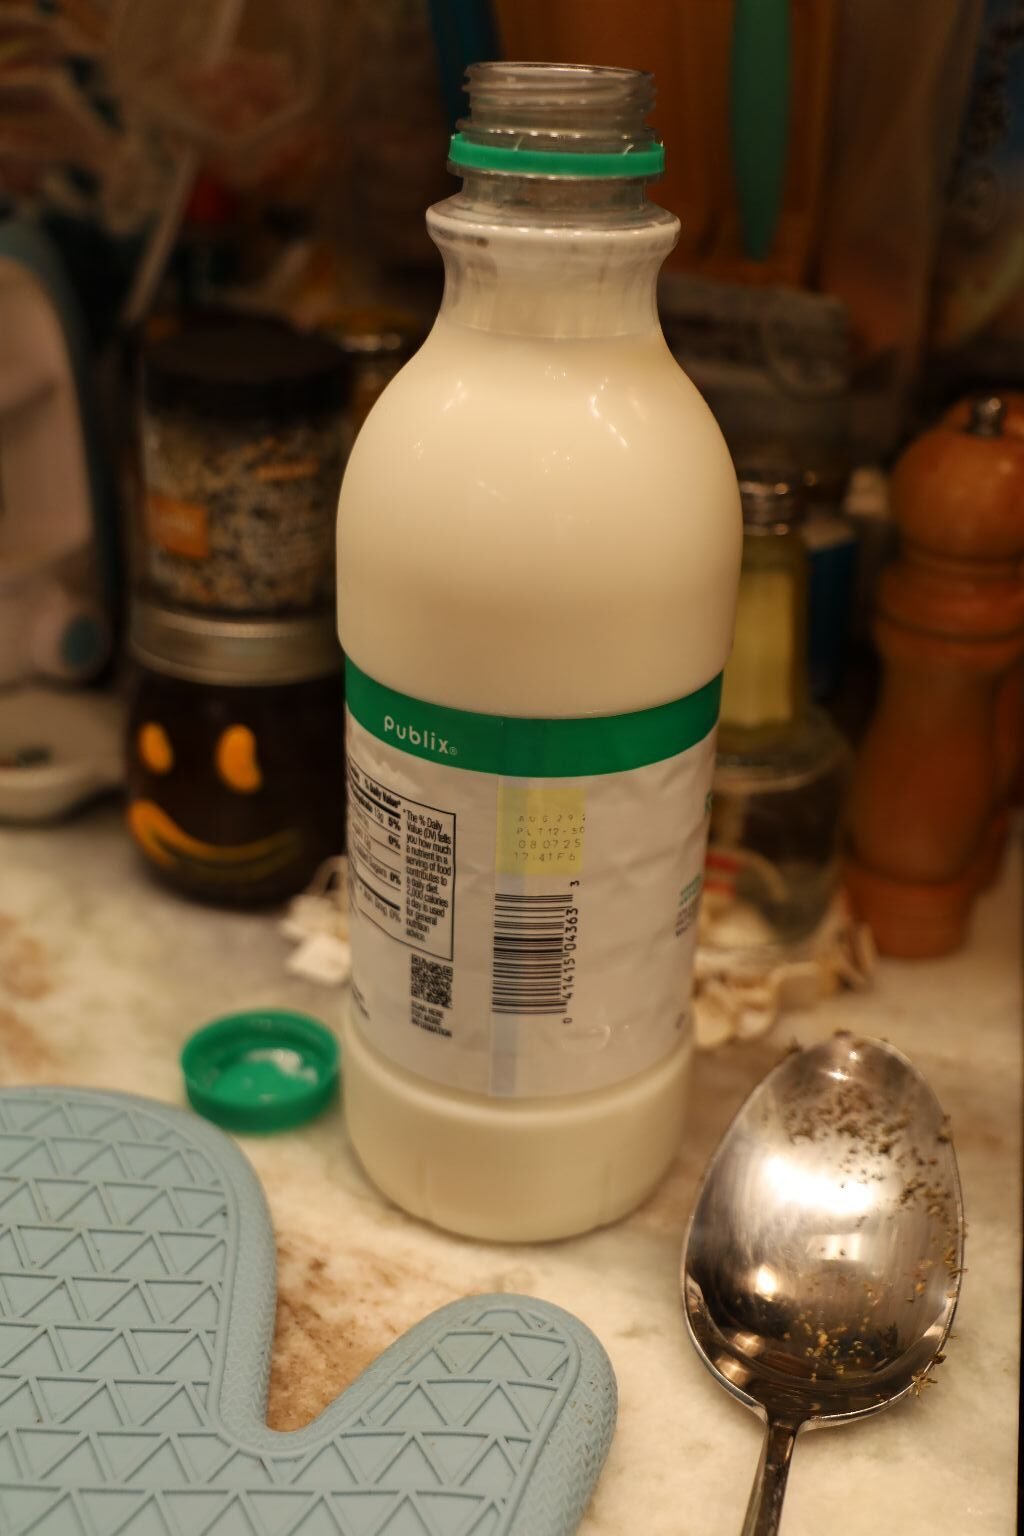
Add A Few Tablespoons Of Milk To The Eggs To Fluff
——————————————————————————————–
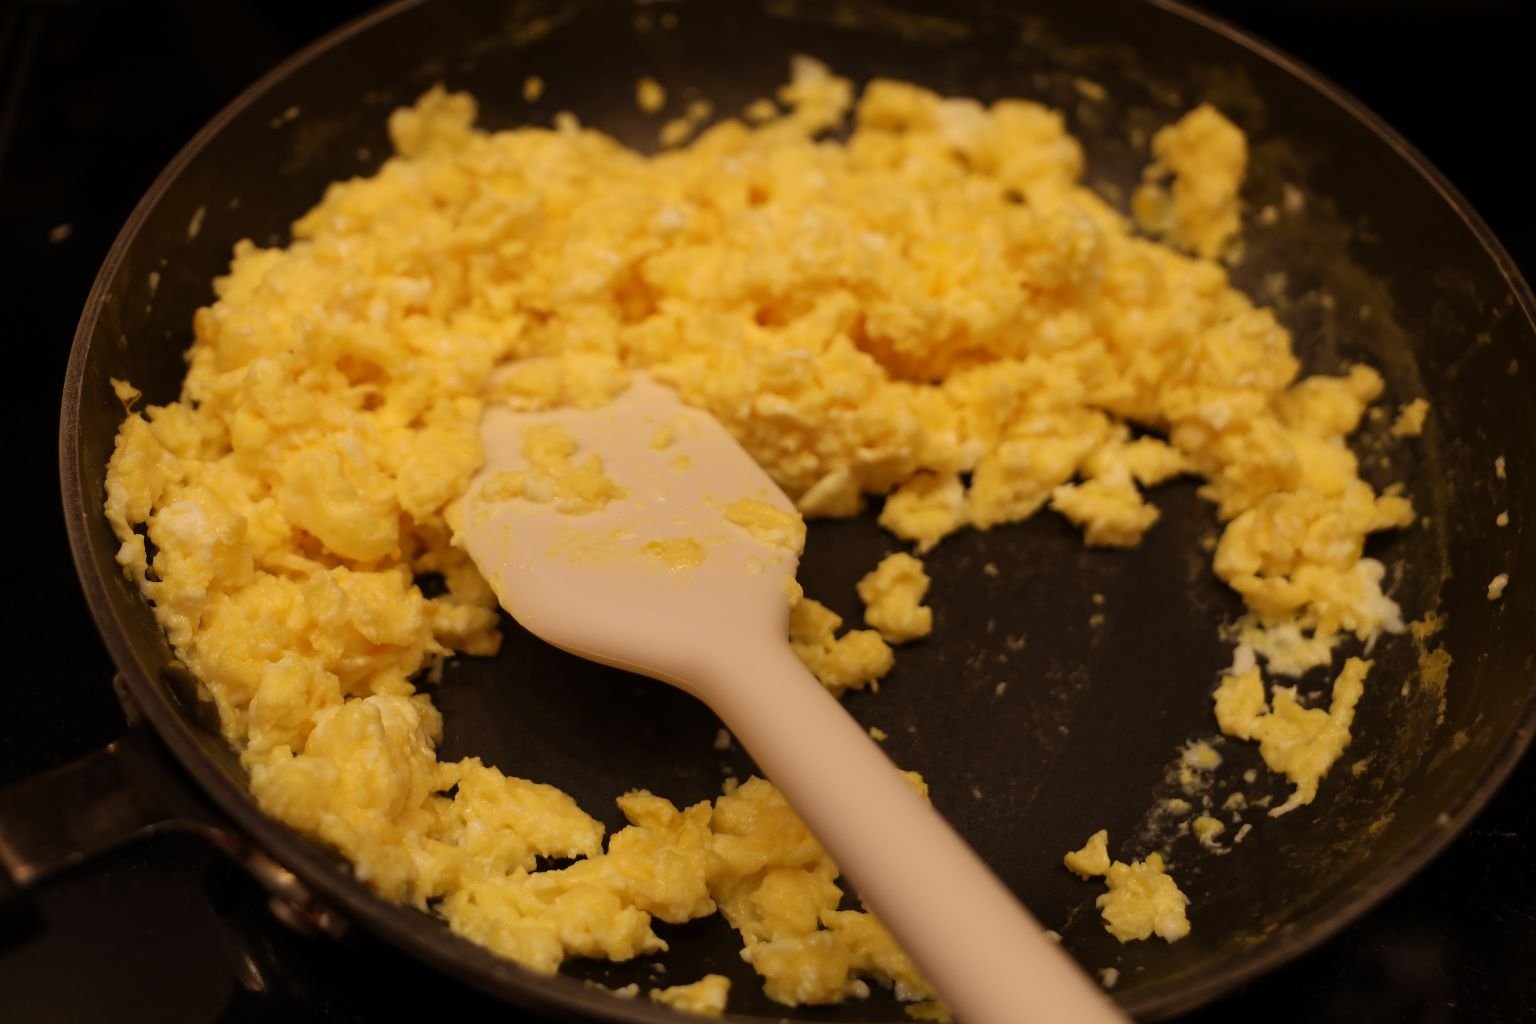
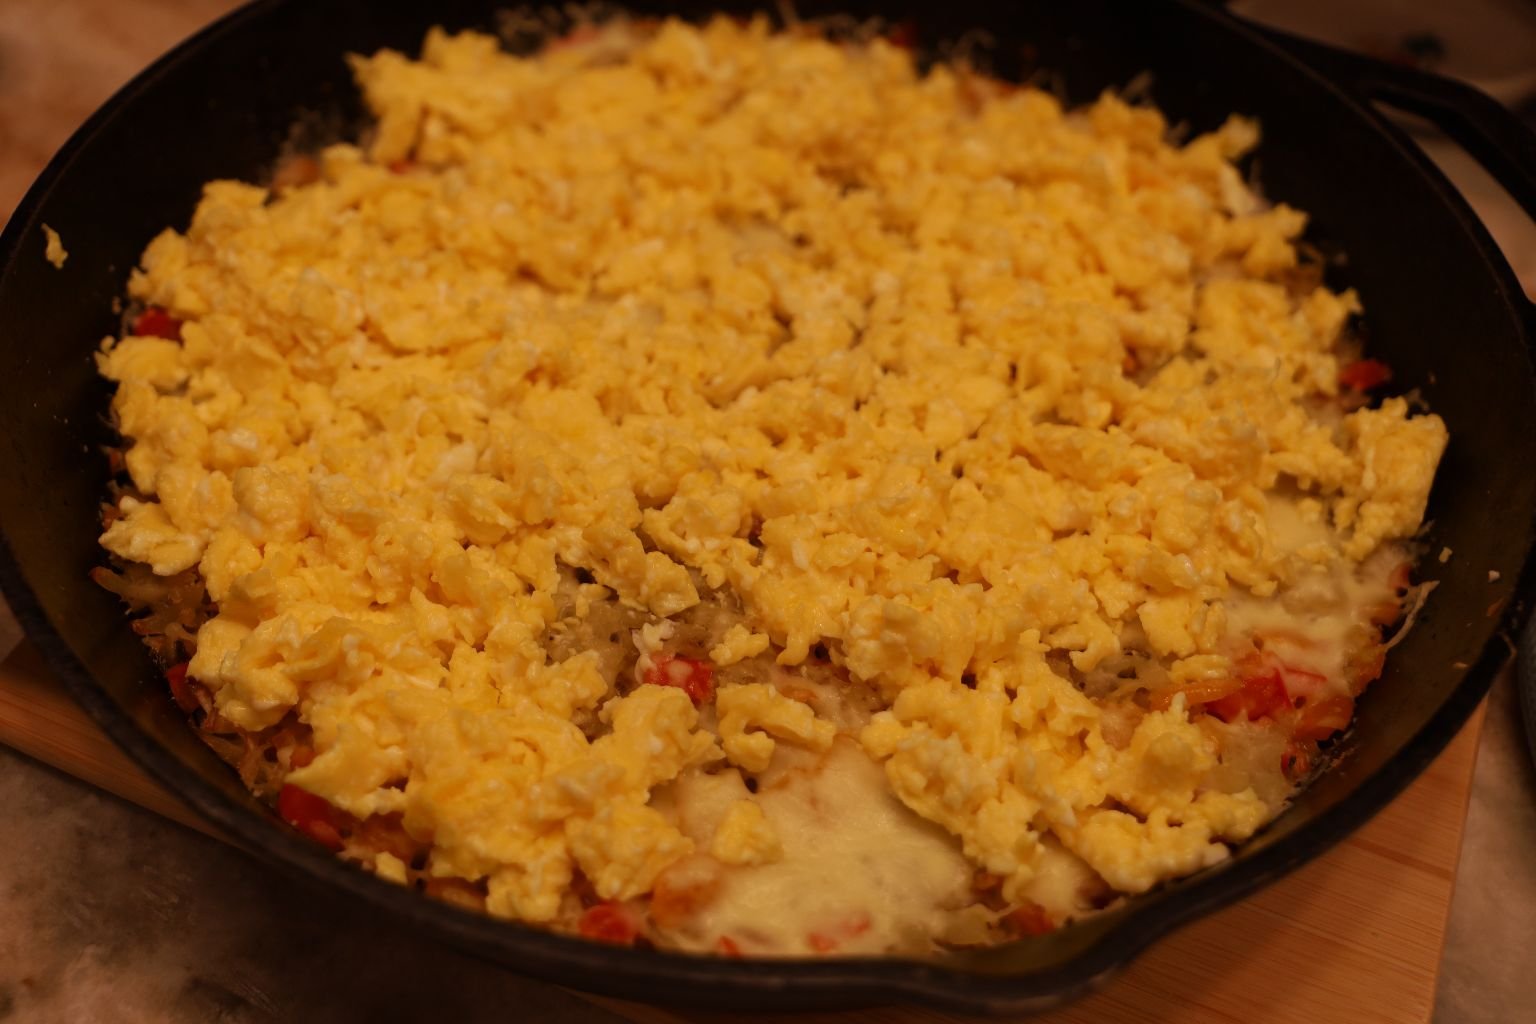
Eggs Are Ready, Time To Add Them To The Cast Iron Skillet
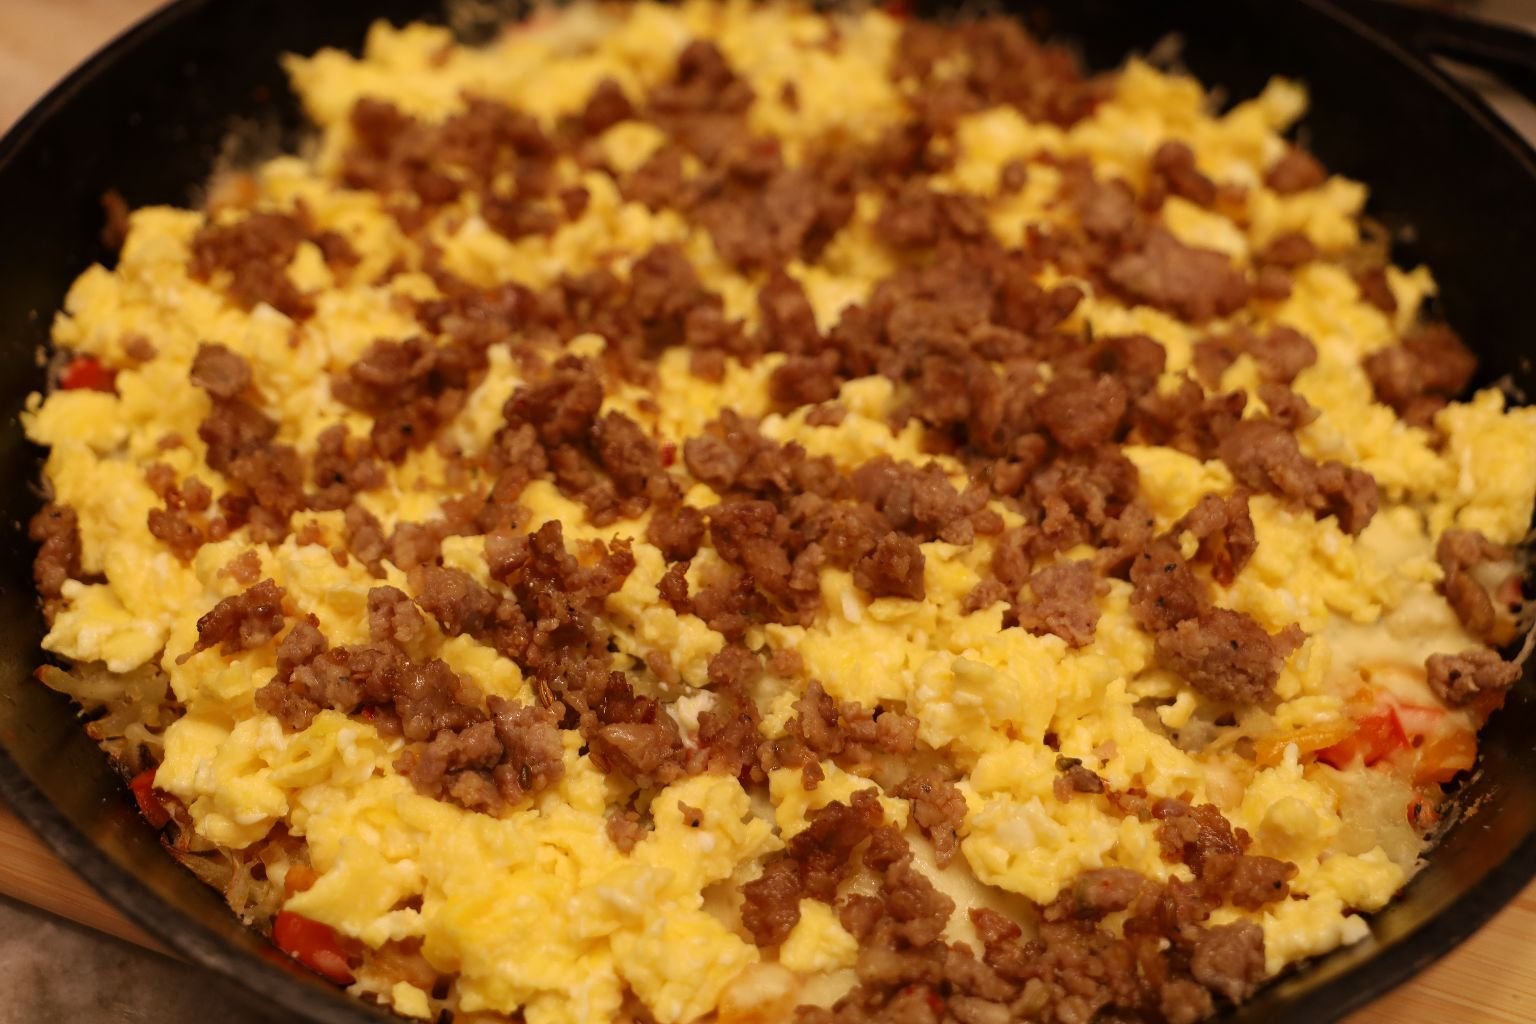
Italian Sausage Is Ready, Time To Add It To Top The Eggs
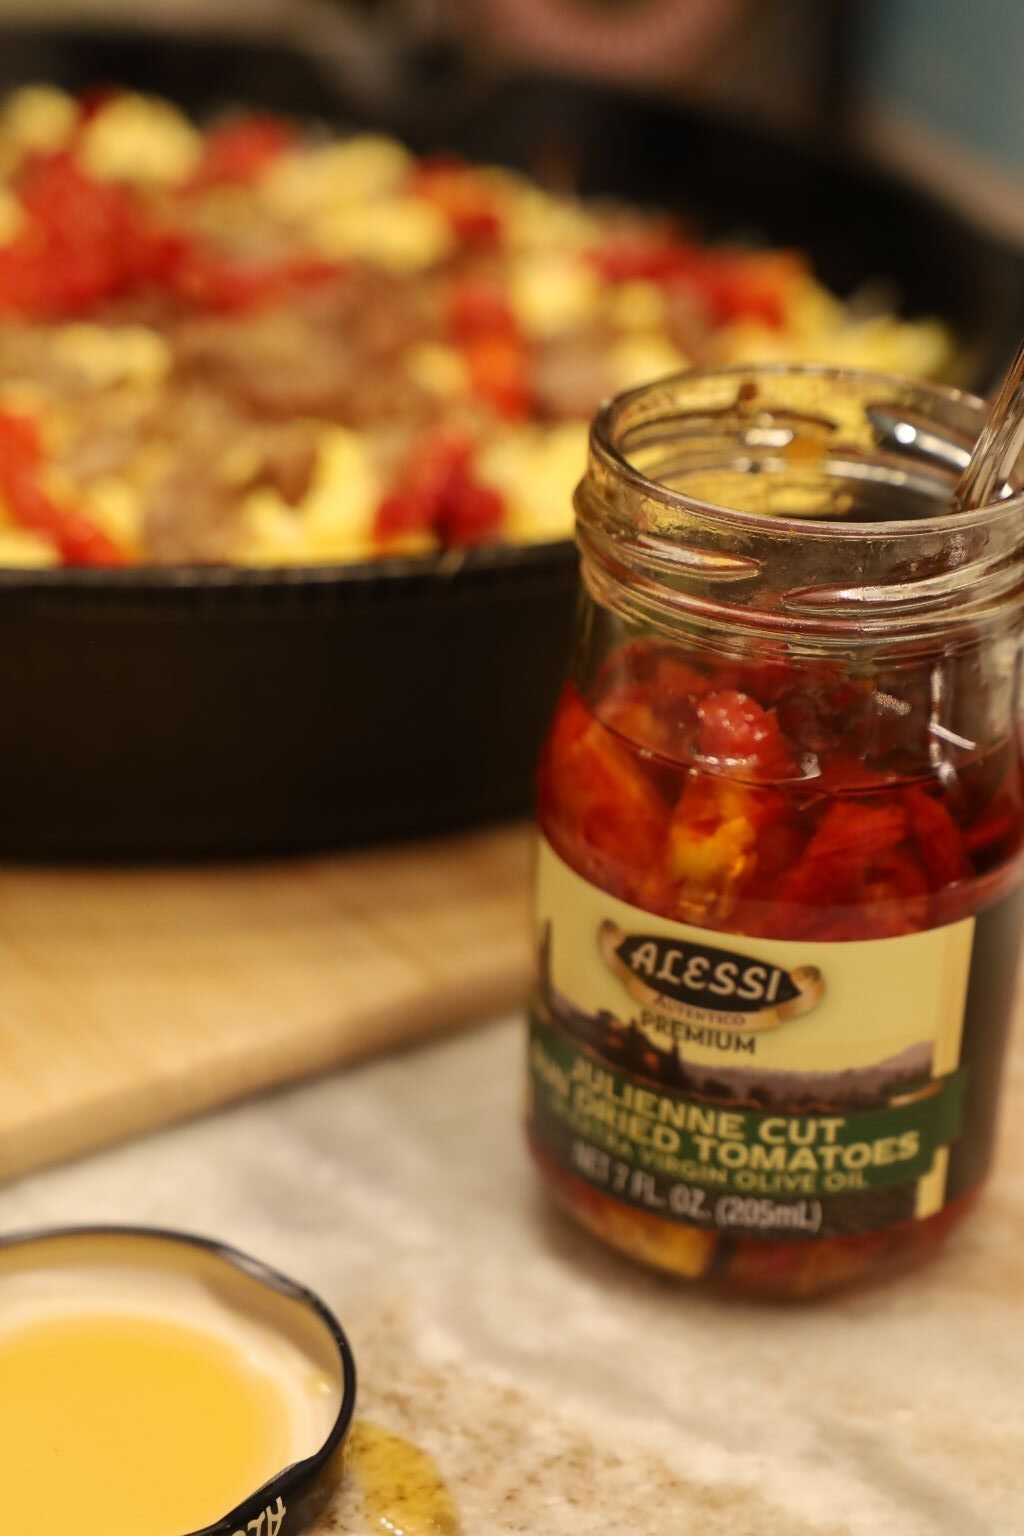
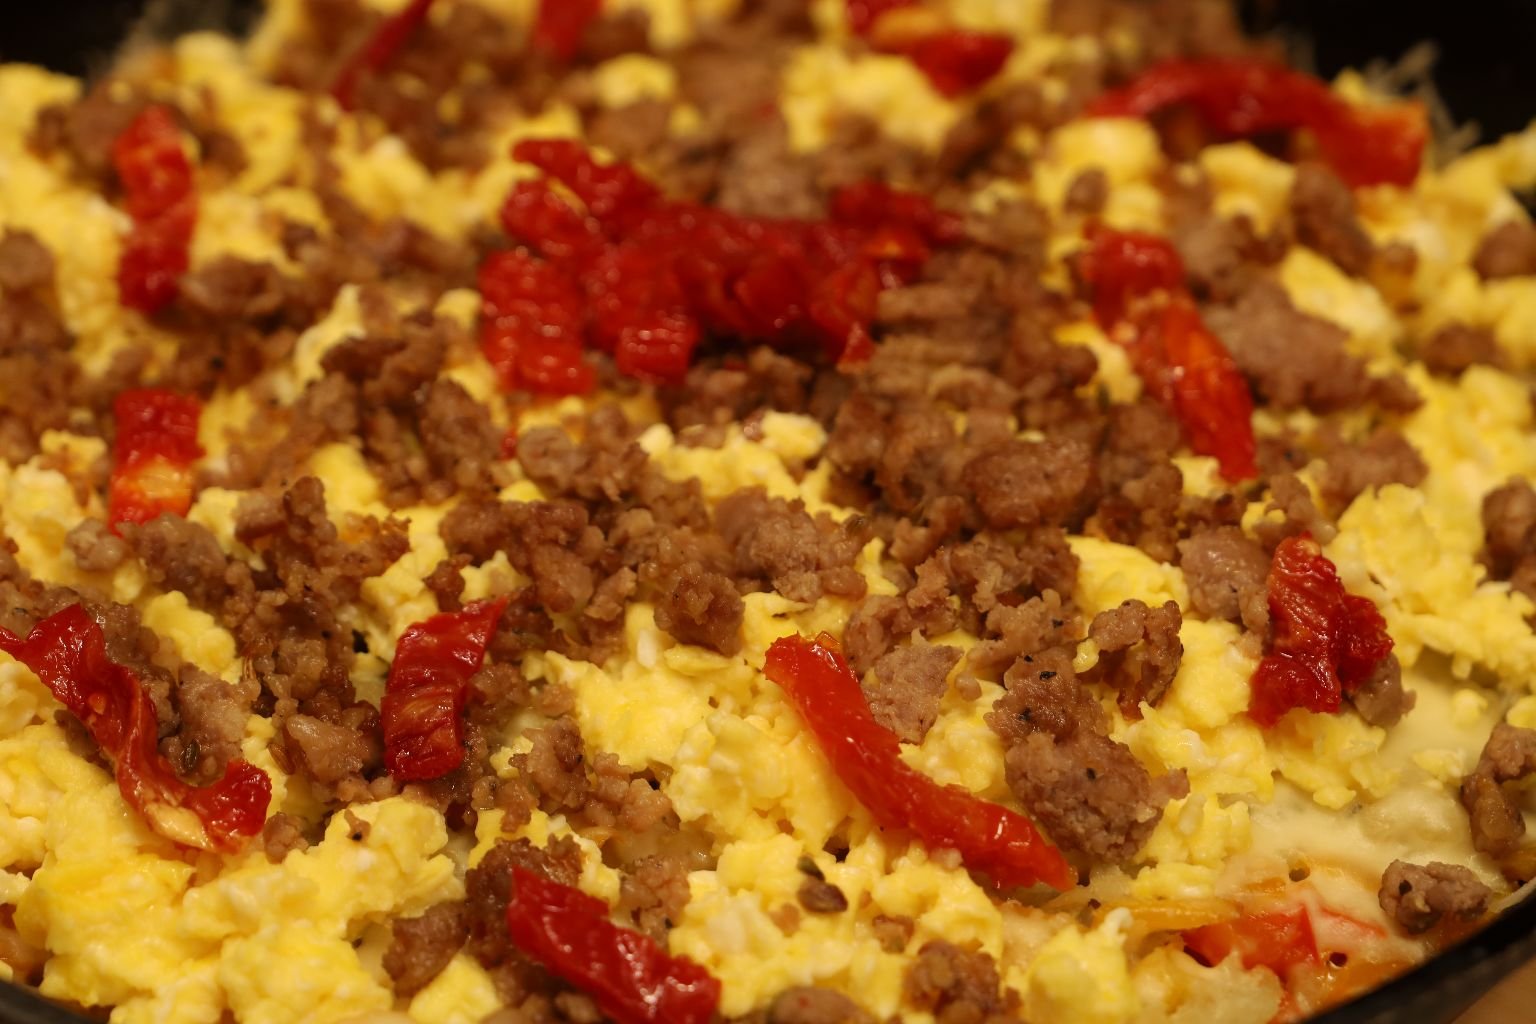
Now It’s Time To Place Some Julienne Cut SunDried Tomatoes On Top As Well
———————————————————————————-
The Herbs
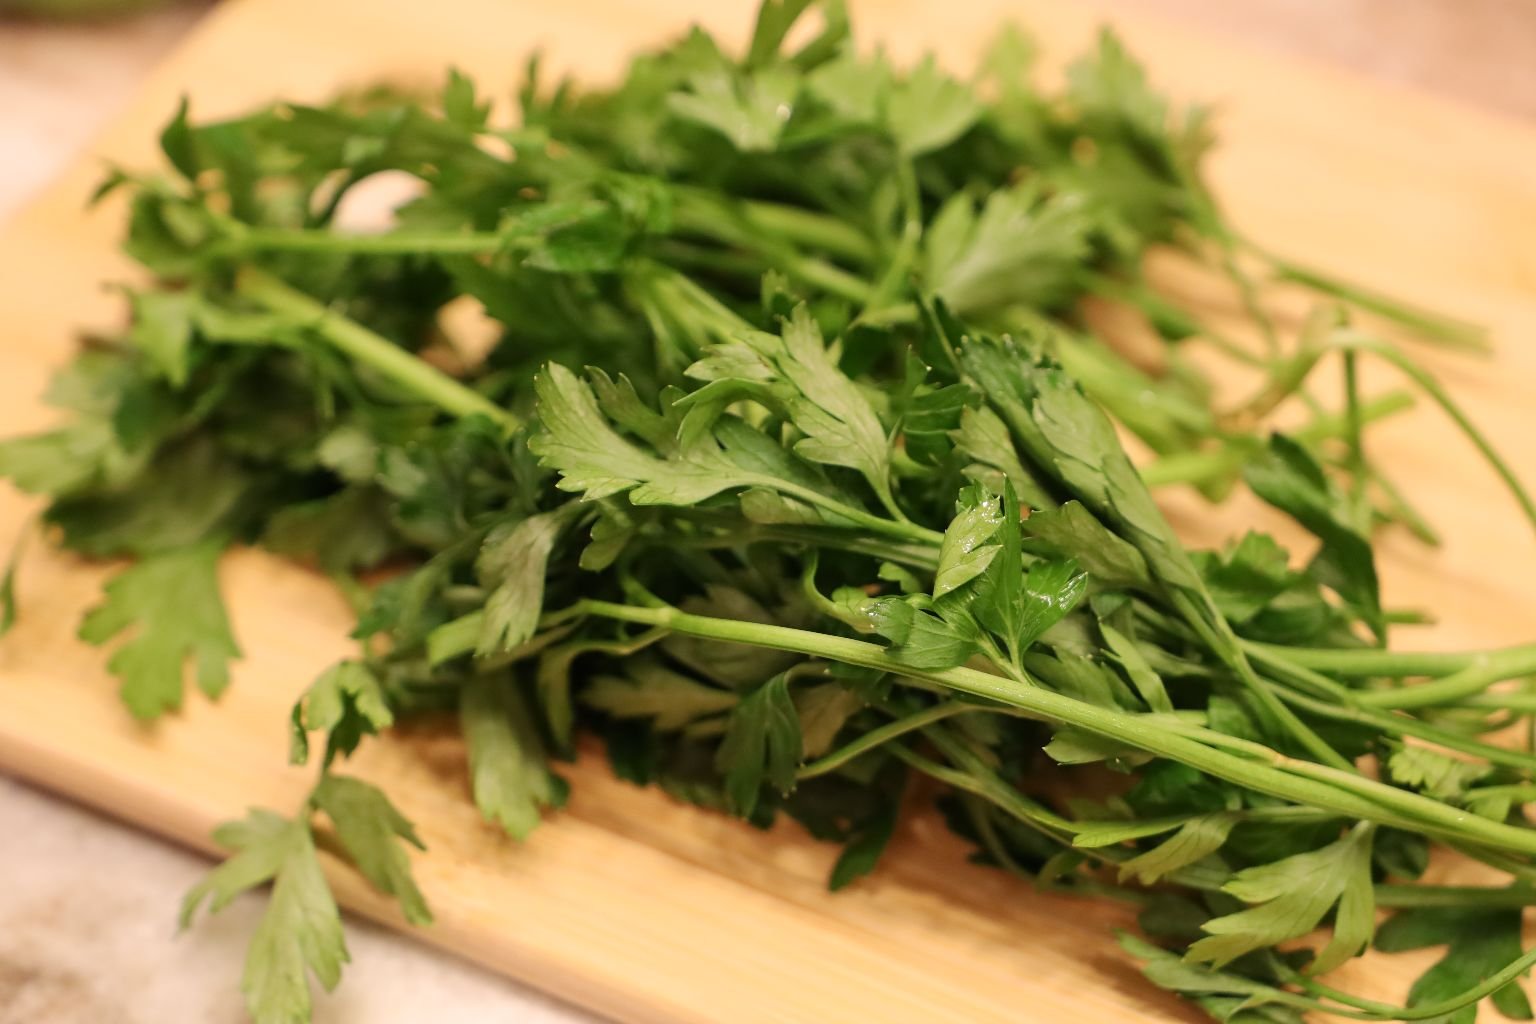
Ready To Add To The Top Of The Skillet Breakfast
——————————————————————————————–
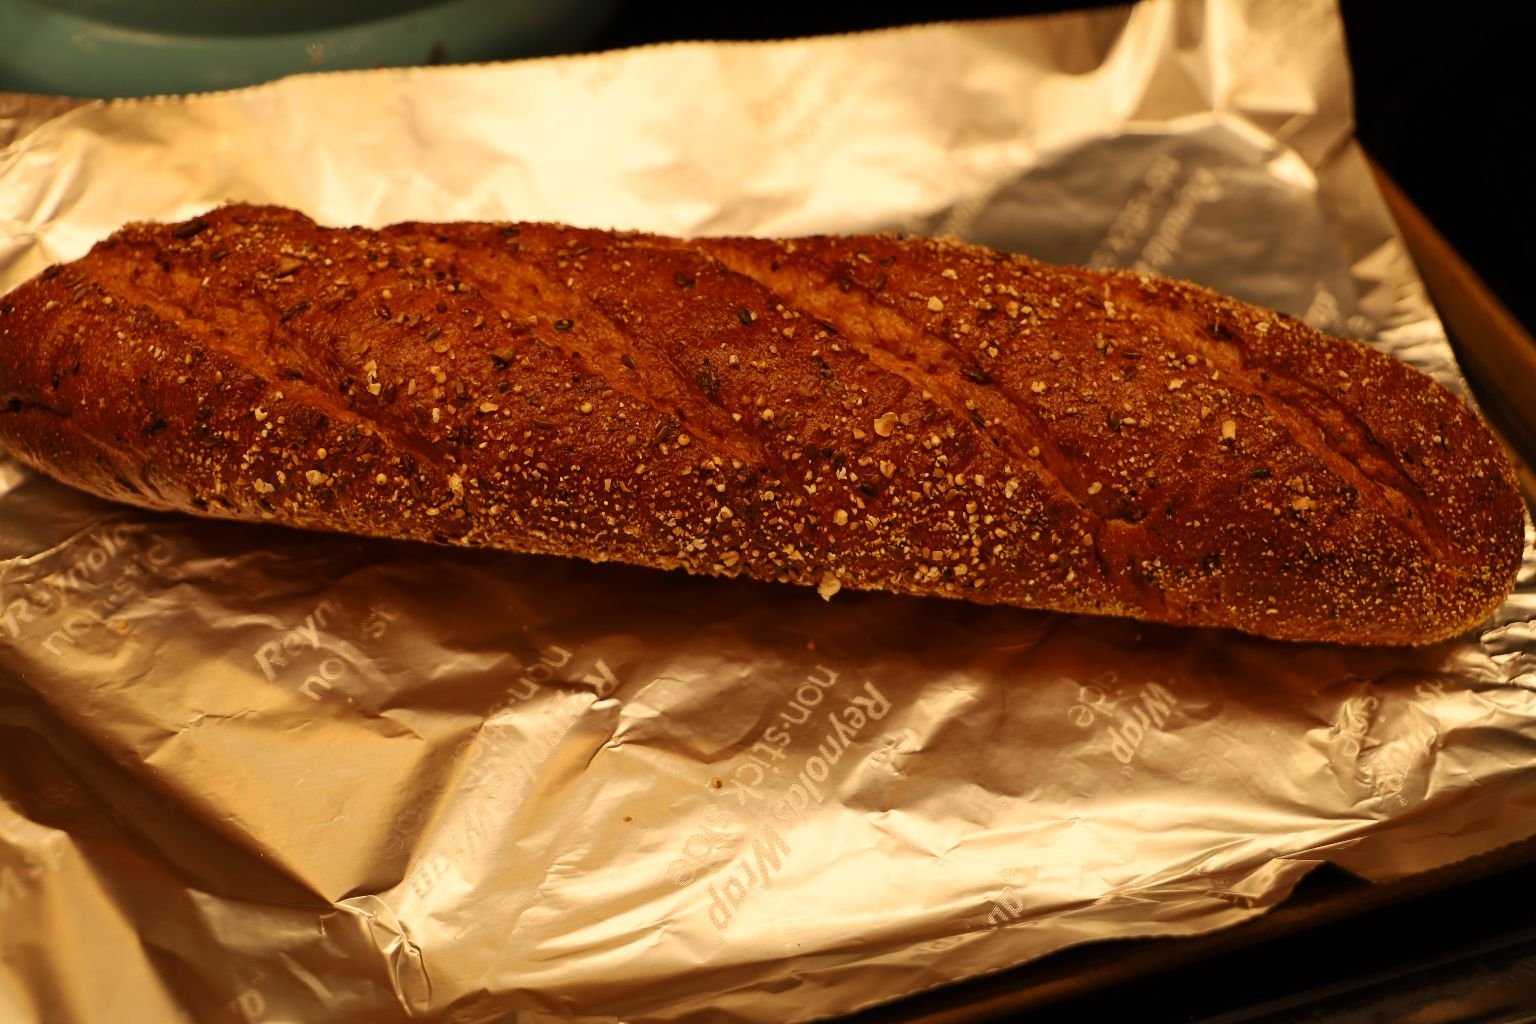
Preparing The Bread
(I love bread! I especially love it here with this Skillet Breakfast.)
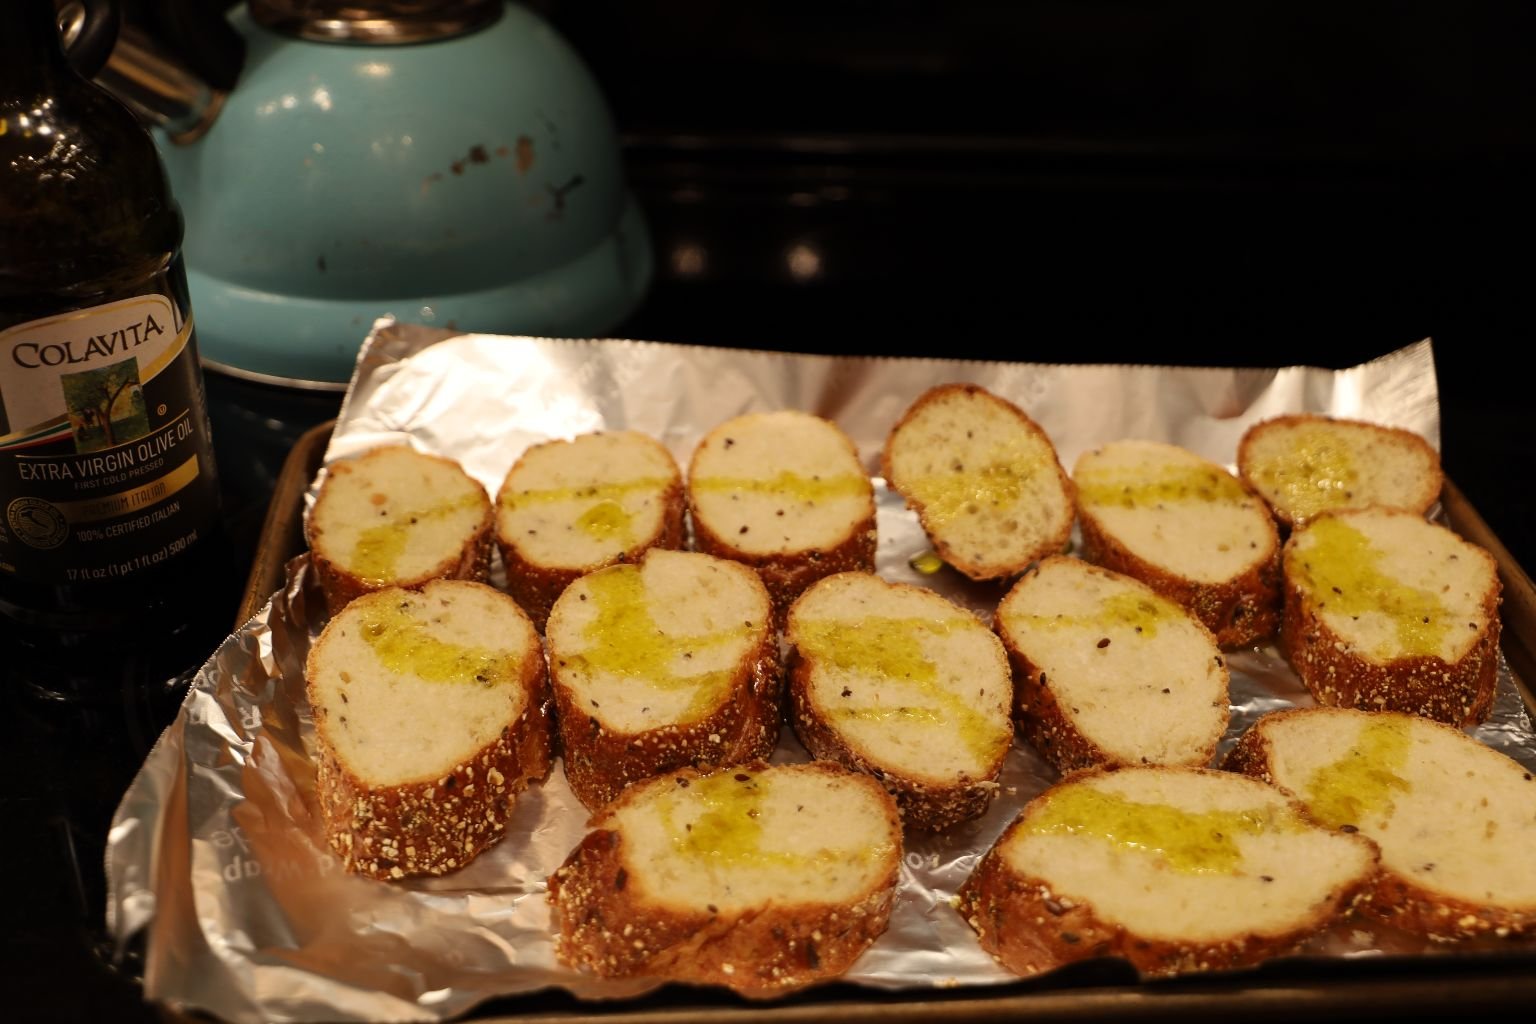
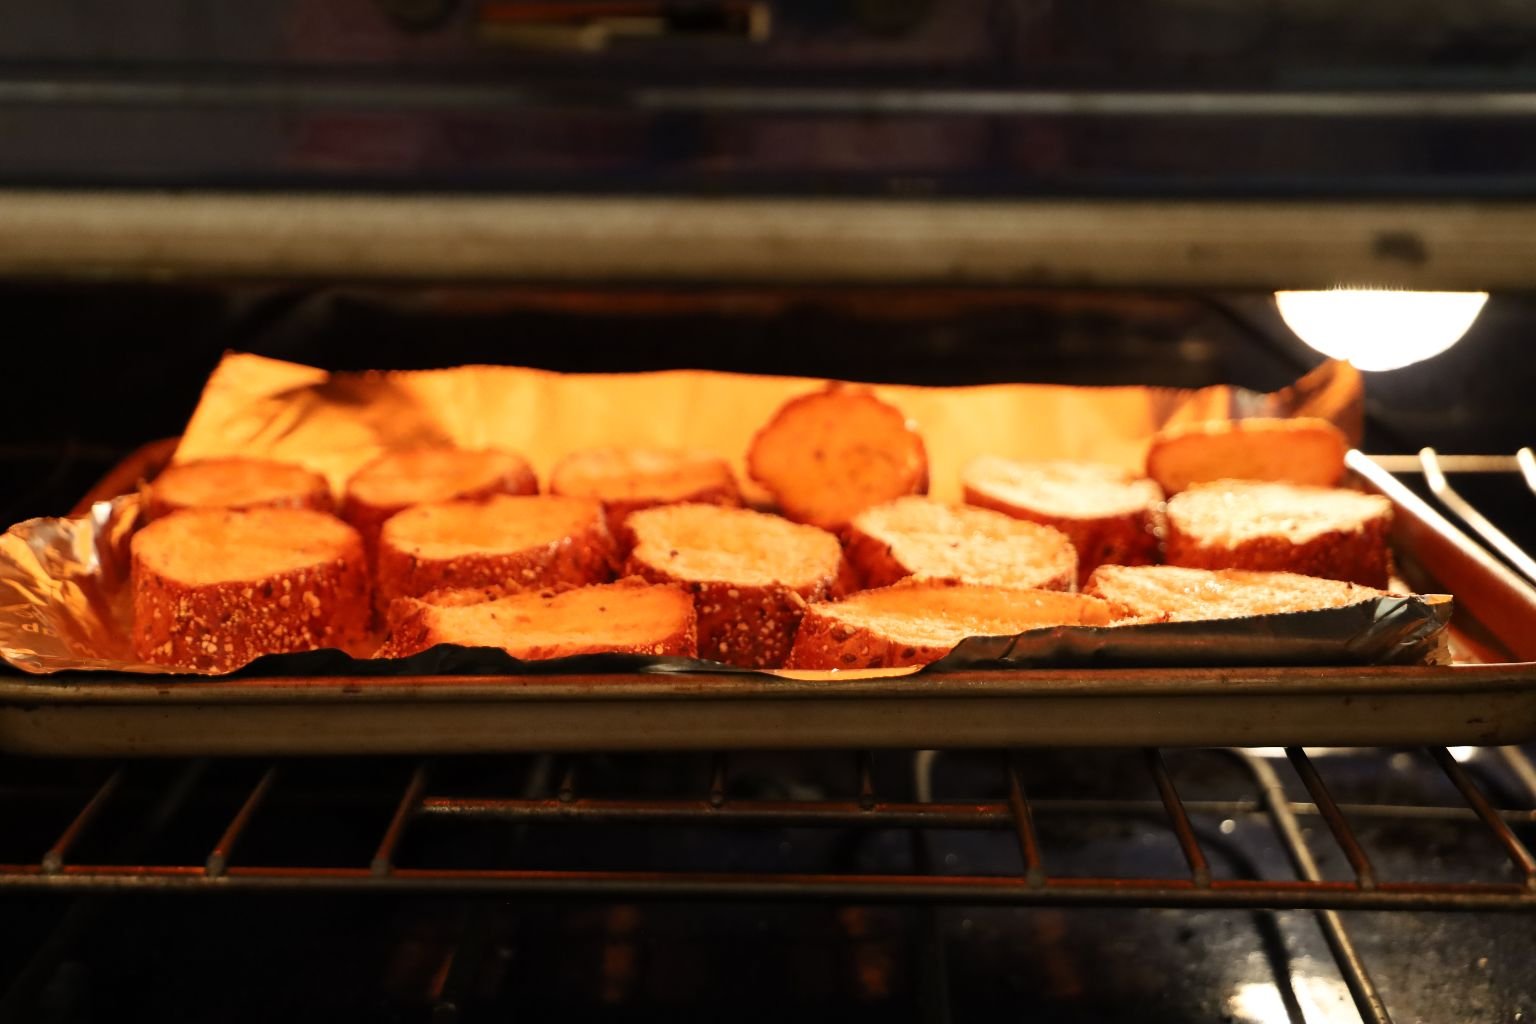
I just sliced a Baguette into rounds, drizzled with some Olive Oil, placed onto a foil lined baking sheet, and placed into a 350F Oven for about 8 minutes.
After 8 minutes I turned it on Broil to brown the bread. It was perfect!
————————————————————————————-
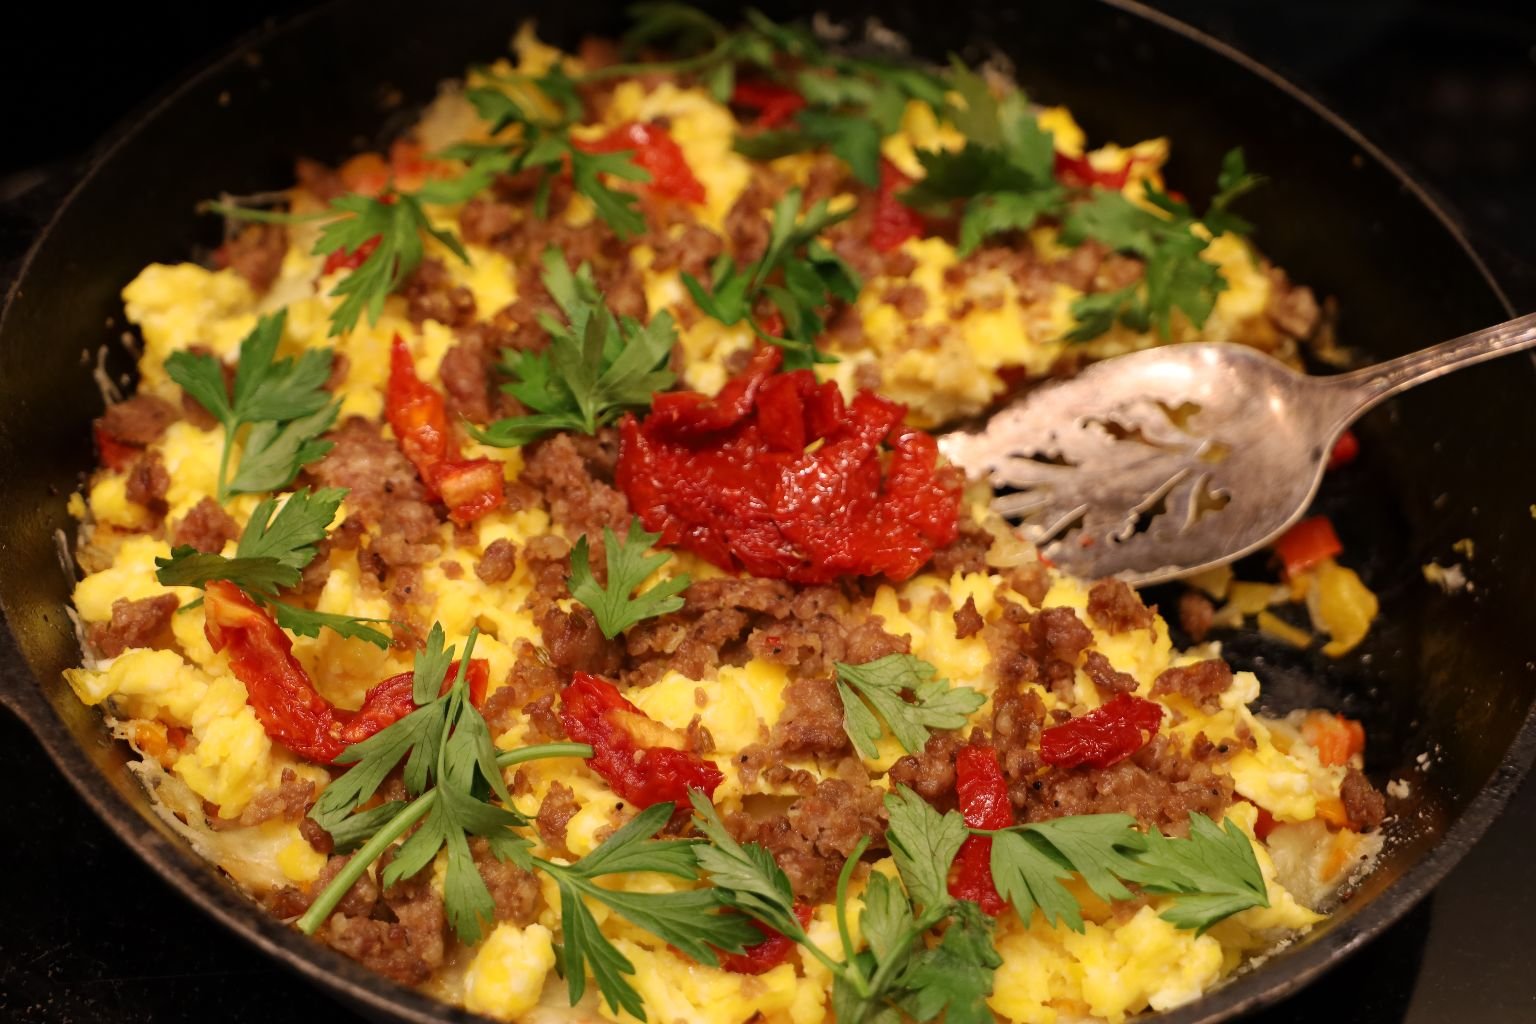
With My Skillet Breakfast Ready It Is Time To EAT!
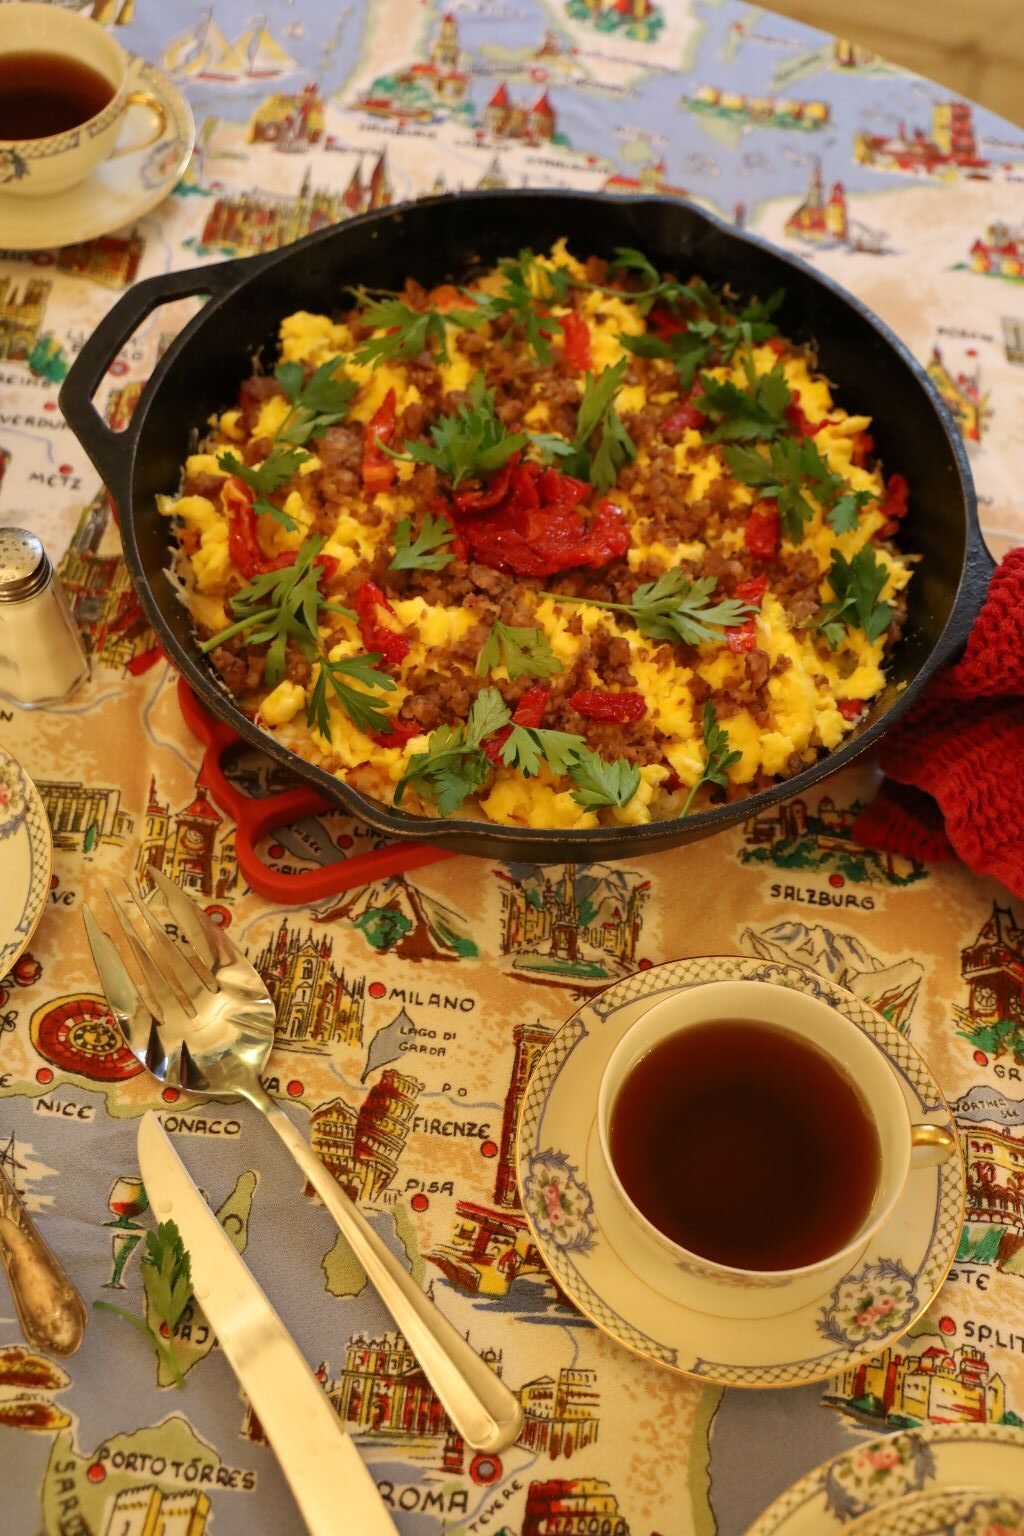
Don’t Forget The Caffe!
————————————————————————–
Buona Giornata,
Julie

“I don’t promise to forget the mystery, but I know I’ll have a marvelous time“ Nancy Drew —————————————————————————— #45 The Spider Sapphire Mystery Thrilling, dangerous adventure confront Nancy Drew while on a safari in East Africa with a group of American …
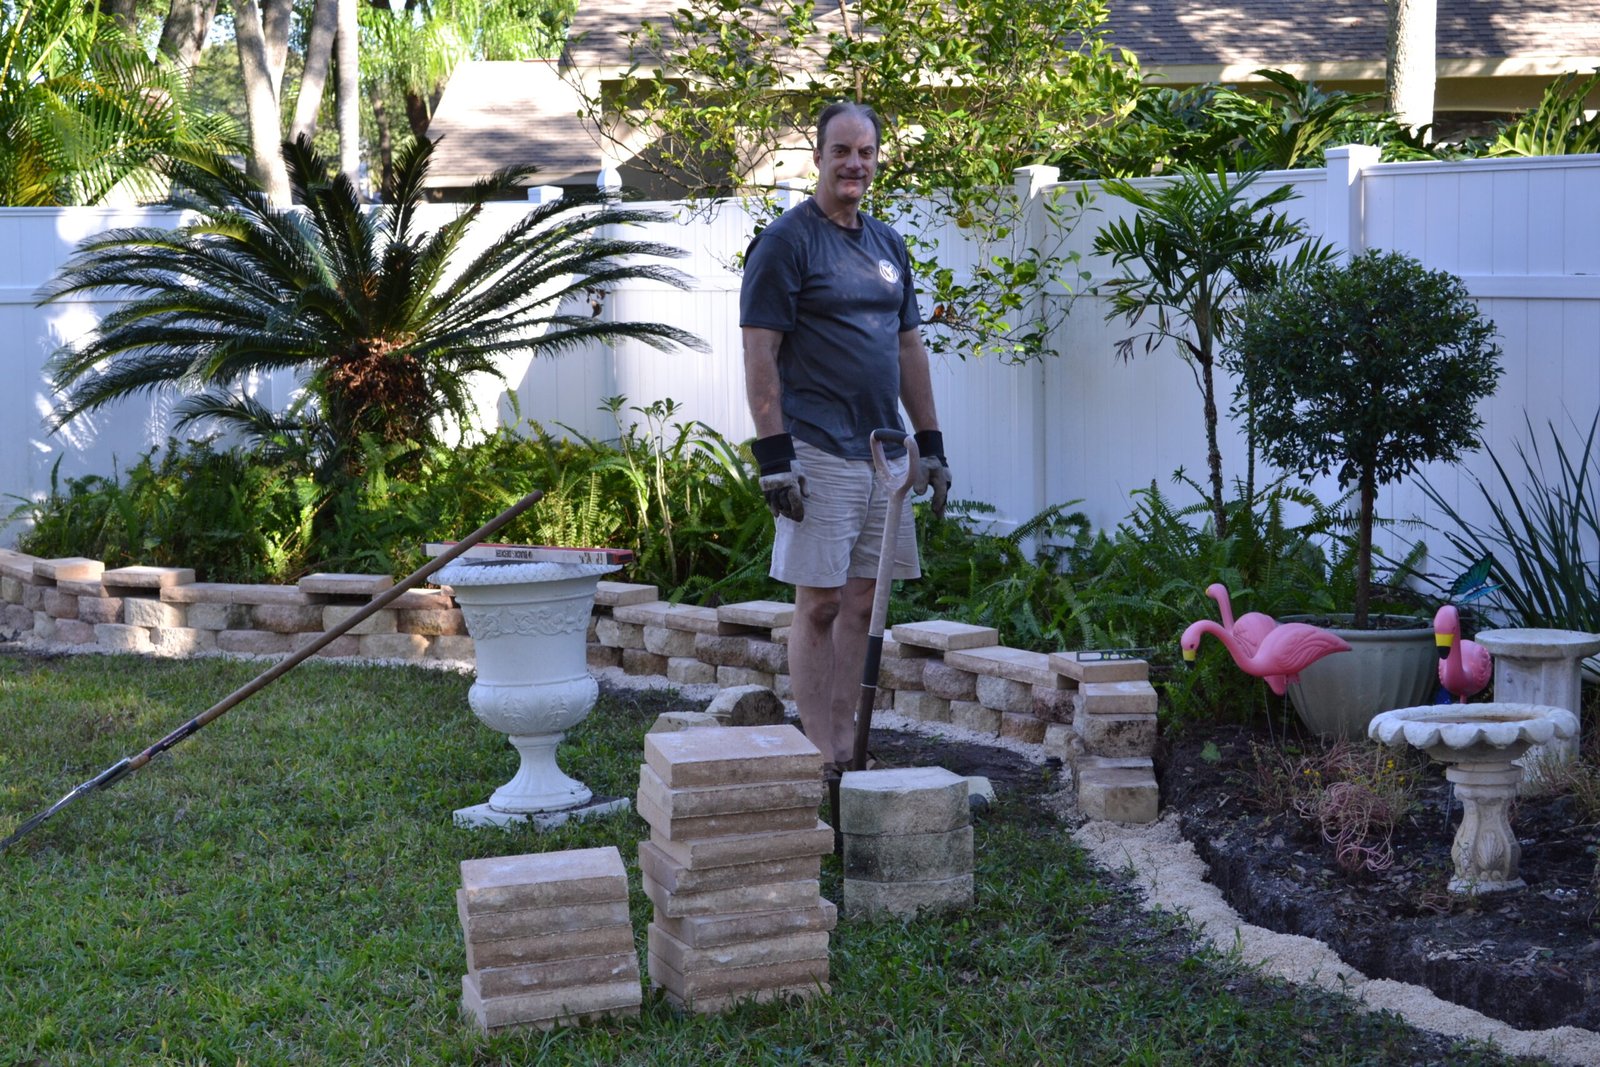
2017
When we bought our house in 2006 we had this very simple unfinished backyard with little to no landscaping. It looked very basic and almost a blank canvas for us. We then decided to make the landscaping look more professional. So we decided to replace the simple blocks that were there with a two tiered block and capstone retaining wall.

We first had to rip out the blocks that were there then had to decide the line we wanted to use for the new retaining wall.


Here Gordon brought back a load of blocks that we will use for the retaining wall.
We liked the varied color of these as they had a mix of brown and tan.

This is the back left side of our backyard.
Here you can see the wall that we are replacing. It’s just a small block ledge.
It does the job, but just not that good looking. It looks like a row of concrete beer cans.


Gordon put down about two inches of small rocks, then one inch of sand to provide the blocks a good base. You have to level the blocks from front to back and side to side, then each block after will be level with the first. Continue this for all the blocks.

Here you can see Gordon has progressed along the back.
The second row of blocks starts with a half block so that you have that overlapping brick pattern.

Our Sweet Monk, RIP
(He is actually buried in that landscaping. Him and Sugar together.) 🙂

You Can See The Old Blocks In This Photo

Gordon is still working on the retaining wall placing down the small rocks then the sand base. This base prevents the blocks from sinking into the dirt. Cut the capstones with a circular saw using a concrete blade. Cut the back part of the capstone as the wall makes it’s turns so they will fit directly over the blocks underneath.
————————————————————————————
Gordon’s Backyard Retaining Wall Completed

Finishing the retaining wall was an important part in getting ready for our backyard Christmas.

Here we are celebrating with our Limoncello and Pomegranate Cocktails

Happiest of Holidays
——————————————————————————
Christmas, 2017
Backyard Looks Great For our Christmas Party

We did an Alice In Wonderland Christmas

The Retaining Wall Gave Our Backyard A Nice Upgrade

Time For The Party
——————————————————————————–
If You Would Like To View:
Click Here For Our Alice In Wonderland Christmas

———————————————————————————————–
So, to go back to the beginning…..
Initially we wanted to build a backyard studio but our HOA, Home Owner’s Association, would not allow it but, they do allow lanai extensions with a pool cage. Therefore we hired some people to extend our lanai out from our existing one, about 36 feet, and had them also make it about 18 feet across. Our goal was to expand our living space outdoors. Here is that progress.
———————————————————————–

The AFTER, May, 2020
————————————————————————————————-


I Gordon, am standing in front of the two side French doors we had specially made.
These two doors let us bring in very large items with ease and they accent the area nicely.
My beautiful Julie, standing where you can see the entrance better.
We had the workers pour the concrete slab she is standing on to give it a nice entrance way.


Julie wrote our names in the cement before it dried.

Julie
——————————————————————————-
March 25, 2018
Our Lanai Extension….in Progress

Monk Fell in the Trench

With the exception of hiring a business to give us a new roof, and the installation of a new water heater many years ago, we are new to hiring a construction company to have work done on our property. Gordon has been our construction guy for years building all of our retaining walls and landscaping, and installing our new appliances saving us money, but Gordon can’t do this. We are at the mercy of a contractor and the people he hires as his sub-contractors for jobs the contractor doesn’t do. For example, all the work you see above has been sub-contracted out to a cement business which is a fairly common practice with all contractors. HOWEVER, the contractor may assume that the people he sub-contracted out to are actually working……..WHEN THEY AREN’T!
We were initially told that this project of preparing and pouring the cement foundation would take 4 days. 4 DAYS! So, Gordon took off from work to oversee this all last week so that I didn’t have to. I am out of my league here. We thought that we could knock out the foundation and have this leg of our new lanai done, then clean up the outside and prepare for a great Easter dinner, and then resume the construction with the pool cage, electric, French doors, two outdoor ceiling fans, etc. But now we’ve been told that the entire project will take up to one month! There is no way that Gordon can take off from work for a month so it has to be ME to deal with this. (So, you know I’m happy about it.) 🙁
Because we never know when they are going to show up someone has to be here all the time. That falls to me! I love my home life but I also like to get out of it and go somewhere occasionally. I just don’t like it that for the next month I have to revolve my life around a bunch of workers that only show up when they feel like it. And yet, that is how it is here in America when you hire contractors.
Therefore, I will go with the flow, I will make the best of it, I will clean my house, work on my website, start a few new projects, and just have a blast in my home sanctuary. 🙂
My philosophy on life is to just bring a book and make the best of it. So that’s what I shall do!
Julie
——————————————————————————
April 2, 2018
Lanai Extension Update
(Photographic Evidence Saved the Day!)
Our house is just under 2000 square feet and when we do have family over we have no choice but to spill over into our existing lanai and even our backyard. But when we do entertain in our backyard it does present a problem with all the bugs hovering around our food platters, and dinner plates. Also, our squirrels can be quite the pests! They love to chew on my roses and hibiscus flowers. They especially love the buds before they bloom. Which means I get NO Roses or Hibiscus blossoms! Also, sometimes mosquitoes can be a problem. Not only are they annoying but they bite and can carry diseases. So we figured that if we could extend our lanai outward about 36 feet in length and 18 feet wide, and enclose it with a pool cage over top, we could have more living space in the backyard. So that we could spread out some more.


I took these photos on Friday afternoon after the cement pour.
Gordon took the day off to be here. I just didn’t want to deal with it all by myself. I think that I have a deep seeded resentment that for Gordon’s 20 year Naval career he was deployed a lot and it was always up to me to take care of everything. Now it’s his turn. 🙂


The Cement Truck and the Workers
Our contractor had subcontracted the cement job out to another company to do, which is a very common thing here in America. As I stated above, we were told the job would take 4 days initially. It actually ended up taking about 6 days spread out over a period of 2 weeks. Which is now, thanks to a big problem, will spill over into week 3. (Keep Reading)

Permits Taped to our Lanai Door in our Backyard
(I cannot tell you how many times I will look up and there will be an inspector plowing through that paperwork taped to our glass doors on our lanai, usually scaring me to death! I’m not a screamer but I am a yeller (hollerer), usually letting out a loud yelp when I turn around and see a strange man standing there.) 🙂
For the past, going on 3 weeks now, I get up before dawn, shower, get dressed, unlock both of our backyard fence gates very early, prop open our screen door, (if that screen door is locked then inspectors will just walk away and then we are at their mercy as to when they will come back),

and wait for the trucks to arrive……………or not!
You never know when they will show up, or if they even will show up?
Sadly, that is pretty “normal.” I know from previous experience with the condo I used to manage out in Indian Shores, that whenever they would contract work out to be done to the building sometimes it was a total disaster in getting them there to finish the jobs they would start. According to so many horror stories I’ve heard, ours certainly isn’t that bad, not by any means. But, it is a delay and it did cost us some aggravation. (Keep Reading)
———————————

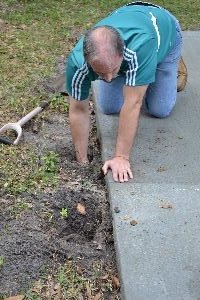
Gordon Searching for the Pipes

Found ONE, but Can’t find the Other one.
Because we have been undergoing this backyard work we have had the sprinklers turned off. Some of our things have died because of it. We have been watering with the hose a lot when we do go outside trying to keep some things alive. But when the dig was ready for the cement pour Gordon did turn on the sprinklers that night to give everything a good soaking because we then needed to turn them off again to get ready for this cement pour.

Ready for the Cement Pour
Gordon specifically made sure that the sprinkler’s were all working fine prior to the cement pour.
Also, we have appreciated all the hard work that these guys have done. They work on a few job sites at once so they tend to come and go from each job sometimes on a daily basis. Arriving at one job site at 8:00 a.m. and then arriving at our house at noon. They work very hard.

Pouring the Cement
The pour went great, there were no problems (that we knew of at the time.) The men worked hard, everything went according to plan. Gordon took off from work for the pour and between me and him, we took lots of photos. Luckily!
Of course, we usually always take tons of photos of everything that happens to us.
——————————————————————————————
The cement pour was on Friday, and one of the workers came back Saturday morning to cut the cement. By cutting it once down the middle and twice along the width, that helps to insure that the concrete doesn’t break and relieves some of the pressure. The trenches that were initially dug with cement poured in them as well, are there to insure that the slab of cement is secure.
————————————————————————————————–
So, with all of that work out of the way I told Gordon to turn the sprinkler’s back on because we need to water our yard before everything dies. So he did, and that’s when Gordon noticed all this water pouring out the back of the cement slab! And that’s when he saw a long CRACK!!!
The crack is in a crescent shape and goes from one corner of the back left to the other corner of the back right. That makes it a good 18 feet, but because it’s curved that makes it more like 25 feet!


Gordon Digging Trying to Find our Pipes
———————————————————————————
Gordon called our contractor to tell him of the problem, with the assumption that he would then take responsibility for this problem that obviously his guys did.
Weh..heh..hell… Not So!
Our contractor told Gordon that he knew a guy that we could hire to fix the problem, and that he would email us his name and phone number. He assured us that what Gordon was describing to him was a ‘simple fix’ that shouldn’t cost more than a few hundred dollars. Of course he went on to be friendly and talk about the rest of the work to be finished this coming week…..
I’m usually the one who panics while Gordon keeps controlled… so yeah, that’s how it was this time as well. 🙂
It’s not funny but Gordon just assumed that our contractor, we’ll start calling him Harry, would take care of it, after all, he’s just so nice…..
What upset me the most is that Harry was going to pawn this off on us and not take any responsibility. He then started avoiding our phone calls. That’s when Gordon and I started plowing through all the photos that we had taken of the work being done and that’s when we saw
THIS ONE………

This is the same photo below, but we cropped the bottom shot so as to better emphasize the wooden stake that you see nailed into the ground to hold that cement hose back.
VIOLA!!! THE KILLER!!!
Suddenly we were Sherlock and Watson, Miss Marple, Hercule Poirot!!!
And my personal favorite…………….ADRIAN MONK!

That is when we emailed Harry these photos showing the exact point of contact with our pipe, that stake! Hard to see in this resized photo, but it’s there.
It was a few hours before Harry emailed us back but as an Empath I turned to Gordon and said, “He’s gonna pay for it. He’s gonna take care of it. I’m feeling it. He’ll let us know shortly.” So, Gordon was then relaxed by my news and went outside to bring in some things. A few hours later we got our email telling us that he would take care of it. (This is when being an Empath is fun.) 🙂
——————————————————————————————-
So, good news right? It is good news that Harry is finally owning up to his responsibility to us as a business owner and hopefully a decent and honest human being. We are happy that as I have been working on this blog post, a man did come by to have a look at it and has told me that it is much worse than what was described to him by Harry on the phone. According to him he will have to reroute our irrigation all along the cement slab and half of our yard will be on a new system. He assured me that Harry will pay for all of it, he just needs to get in touch with Harry and that the appointment to get this work done will take place next week.
Hopefully our plants won’t all die off until we can turn our sprinkler system back on. We are planning on buying a new front yard once this work is completed but until then we have to water all the plants located in the landscaping and retaining walls, and all around the house, with the hoses. That’s a lot of work! The grass in the backyard can die but nothing else can.
I suppose that problems do arise in these kinds of jobs and that is o.k. Both Gordon and I understand this. And it looks like our water problem will probably run up into the thousands of dollars. And that is terrible. It was no one’s fault and I appreciate that Harry is going to take responsibility for it. But I can’t help but wonder that if we didn’t have photographic evidence that we could use against him in a court of law, if that is what gave him the change of heart? Or could it have been the Easter Bunny? Hmm…. we’ll never know….
Actually I DO KNOW!
Empath, remember?
Julie
——————————————————————————————————-

Later in April, 2018

I have been putting off talking about our new lanai extension and even creating a new post for it because I wanted to wait until this area was complete. It is as far as the cement pour is concerned, but I still have things I want to do to it before I start snapping away with the camera.

The French Doors Entering into our New Lanai
It was my idea to install the French doors. Apparently, we are the only ones in the history of the world to do so!! The reason that I wanted the French doors to begin with was because I knew that I wanted to add some nice furniture to the lanai, (eventually) and I wanted to be able to place the furniture inside the enclosure. But, I also wanted this grand entrance/exit to be a part of our backyard as well. I visualized the doors swung wide open and people entering and exiting them while enjoying the backyard as well as the lanai.

Ready for the Cement Pour
Julie
————————————————————————————

Our New 18 x 36 Lanai Extension
(Gordon even refers to it as, “Hey, let’s eat out on the 18 x 36.”)
No pool, just the pool cage. Believe me most people that we know that have swimming pools hate them. Sure, when you first get a pool you are in it every single day for the first 6 months, but then you will never get in it again. A pool is a money pit that will cost you every single month to maintain. So, imagine having to pour money into something that you just don’t use anymore? We didn’t want a pool, but we did want to extend our living space out into our backyard without the bother of mosquitoes and other bugs, or our backyard critters, like the squirrels. We also would like to have some little vegetable garden inside the lanai where we didn’t have to worry about the birds and other animals eating what we grew. There will also be an outdoor kitchen out there eventually, but not for a while.
I also wanted to have some lovely flowers that the squirrels didn’t chew up just for the sheer fun of it!

For some reason Monk likes walking around in all that space. 🙂

—————————————————————————————-

We have enjoyed this lanai extension tremendously.
We are also creating many wonderful memories with family and friends.
This entire project was over $12,000.00 and it was worth every penny of it. 🙂
——————————————————————————————————-


In this picture you can see where the old gutters were. Their placement here was an issue, as the rainwater would come back into our old lanai. Moving them a few feet forward on the house, placed them just far enough to the front of the house, where the natural curvature of the landscape would move the water toward the street.
(I Julie, who knows nothing about this sort of thing, pointed out to Gordon AND the contractors, that the gutters should be extended more towards the front of the house, and not remain where they were.) BOOM!!! 🙂

The gutters we had installed are 4” by 7”, which are much larger than normal.
This is due to our roof is at a long slant and we needed gutters this big, to carry the mass amount of rainwater away.
Gutters actually play a very important part in any home.
They can prevent water from spilling into an area where you don’t want water.
They can also redirect water to a safer part of your home’s property. Always invest in good gutters.
—————————————————————————————-
Father’s Day Pizza Party
2018

This was our first Lanai Extension Celebration
Click Here For: Father’s Day Pizza Party

We have since had many great entertaining on this Lanai Extension.
We also hope to have many more.
Julie and Gordon
————————————————————————————–
To View All of Our Front Yard Landscaping Projects:
Click Here For: Front Yard Retaining Wall

AND,
Click Here For: Side of the House Retaining Wall

AND,
Click Here For: Front Yard Projects

AND,
Building A Backyard Landscaping Retaining Wall And Our Lanai Extension
AND,
How To Repair And Rebuild A Retaining Wall

AND,
Click Here For: New Front Yard Landscaping Project

———————————————————————————

(Note Update April 10, 2025: If this harassment continues, or more damage is done to our property, then I will reveal their names here, and getting the police involved.) “The pen is mightier than the sword.” Edward Bulwer-Lytton ————————————————————————– Write it all …

Dear Dairy… Olive Films (I just liked the logo.) Today I rearranged the cans in the pantry and dusted them off while wearing my new full skirt I sewed last week for the church picnic, and the pearls that my husband …

UNDER CONSTRUCTION
————————————————————————
RECIPES START HERE
—————————————————————————————
UNDER CONSTRUCTION
———————————————————————————–

Hey Y’all! Every now and then I need to go back home. Oh, not literally. But with my Tongue Feelers. You know, Taste Buds? Growing up throughout the south you get a hankering for something Deep Fried, Black-eyed, Field Picked, and …

Autumn: The third season of the year, when crops and fruits are gathered and leaves fall in the northern hemisphere from September to November and in the southern hemisphere from March to May. The Countryside is Ablaze in Autumn —————————————————————— In Florida, the …

Feliz Accion De Gracias
(Happy Thanksgiving)
2023

Thanksgiving Day, After the Macy’s Thanksgiving Day Parade, I have Miracle on 34th. Street on a Loop All Day Long
This movie is the sounds of the day, blending with the smells of the kitchen, and I love every second of it.
With Gordon working overseas Thanksgiving was up to me this particular year. I really wasn’t interested in doing anything big and grand and traditional, but I also didn’t want to sacrifice taste in order to do so. I wanted things a bit easy and simple. Therefore, I came up with all of this! I am actually quite proud of it too. It was fun! Hope you enjoy!
Happy Thanksgiving,
Julie
(Hopefully we will be bringing more of these delicious recipes for future Thanksgivings.)
—————————————————————–

My Potato Chip, Potato Skins
(Recipe Down Below)
———————————————————————————

My Layered Turkey and Mexican Cranberry Sauce Tortilla Casserole

Deliciously Served With a Lime Wedge

———————————————————————
I Made These With our Homemade Mexican Cranberry Sauce
Click Here For: Spicy Hot Mexican Cranberries

———————————————————————————-

The Small One Was For Me, The Larger One Was For Brodie and Mackenzie

————————————————————————————

Here, Topped with a bit of my Mexican Cranberry Sauce and some Sour Cream
————————————————————————————–
Sarajane and Milton Whann’s Eastern Shore Cornbread Recipe


This is a Delicious Whann Family Tradition
(I decided to remake it a little bit, and include this Ole’ Smokey Mountain Pumpkin Moonshine.)

My Secret Ingredient 🙂

My Pumpkin Moonshine Based Eastern Shore Cornbread

———————————————————————————–

(Recipe Down Below)
———————————————————————————————
My Backup…

..If All Goes Bad
———————————————————————–

Sparky and Spooky with Cousin Hank
I kept Hank for about 4 days through this Thanksgiving for Brodie and Mackenzie, I refer to this time as…

..Hanksgiving 🙂

Spooky Looking Cutie

Always the 3 Together, The Power of 3
———————————————————————–
Recipes Start Here
———————————————————————————————————-
Potato Chip, Potato Skins

My New Version of Potato Skins

How this recipe came to be was that I purchased one of these bags of Dark Russets Kettle Chips, and they were delicious! They weren’t just good, they were the size of my hand. They were thick and sturdy and I knew that I had to create something to place on them to eat.
I then got the idea to use them as a new version of Potato Skins.

Baking Some Idaho Potatoes
(Most people know how to bake a potato, but just in case you don’t, I will explain it here. You simply buy any sort of potato that you desire. I used Idaho Potatoes here. I washed them in the sink to clean off all the dirt and remove any funky parts, like some growth. I then used an Ice Pick and poked about 3 holes in each potato. If you don’t do this then the potatoes can explode in your oven or microwave.
I prefer to bake potatoes in the oven so I wrapped each potato in Aluminum Foil, and secured the ends. As in, I twisted them.
Turn the oven on 400F and then just place them on the oven rack when the oven reaches the temperature. Set the timer on your stove top for about 50-60 minutes. You can test to see if they are done by simply squeezing them with your hand in an oven mitt. When you can feel them squeeze together then you know they are done. Some people will pierce the potato with a fork or knife to see if the fork or knife can easily be inserted. This is fine expect sometimes you then are pushing some of the foil into the potato. You don’t want to do that.)
——————————————————————————-

Before hand I fried up some bacon to use here.
You can fry as much, or as little as you like.

My Delicious Mess
I also have some Butter, Sour Cream, and some Shredded Cheese.


Now that my Potatoes are cooled, I am removing some of the potato and placing it into a bowl.
I’ve also dumped my Russet Potato Chips into a bowl to pick through them looking for large ones.
Remember when I told you that when I opened the original bag these chips they were the size of my hand? Well, these weren’t!

Here I am spreading out onto a baking sheet lined with Aluminum Foil, my Russet Kettle Chips.
Just like you do any nachos that you make.


I am now spreading some of the Baked Potato on top of the Potato Chips.


Here I am adding some little bits of Butter to each chip. And, some of the Shredded Cheese.


Now, crumble the Bacon on top and place into a 350F oven for about 8-10 minutes. Then turn off the oven and put it on Broil, just to turn them a bit brown and toasty.

Remove From The Oven
———————————————————————————-

My Herbs and Sour Cream
(Parsley and Chives)
—————————————————————————–


When you remove them from the oven place them onto a platter…


dollop with Sour Cream….

and add the Chives and Parsley…

Perfection in a new version of Potato Skins
—————————————————————————————-

Cooking a Turkey
My goal here is to cook a turkey to use in my:
Layered Turkey and Mexican Cranberry Sauce Tortilla Casserole
————————————————————-
I don’t think that I had ever cooked a turkey on my own. I had always had Gordon here to either do it himself, or to coach me in some way. So, this was a bit scary, I have to admit.
The First Step Was in Buying a Turkey:


I Purchased a Small One, a Little Over 6 Pounds
Once it was thawed, I washed it in the sink and removed the gizzards from inside of it, and then placed it into my aluminum baking dish.
———————————————————————————-
My Spices
In this area I employed Gordon long distance via the phone. He had me to collect them all ahead of time to use here. I was pretty much being coached long distance on how to cook my turkey.

The Spices:
Sage
Oregano
Onion Powder
Roasted Garlic Powder
Garlic Powder
Paprika
Chili Powder
Jalapeno Powder
Marjaram
Thyme
Hawaiian Sea Salt
Olive Oil
——————————————————————————-

My Hawaiian Sea Salt and Thyme

———————————————————————————–


I placed the turkey into the aluminum baking pan I bought for it.
(I would like to state that usually I don’t like buying these containers because they senselessly add to a landfill. However, this year I sadly made an exception because with Gordon working overseas I knew that he wouldn’t be here to clean it, and I always need that upper body strength in cleaning these pans after cooking these great holiday foods in them. And I do have to admit that it was nice to just throw it away when the turkey was done.)
I Placed The Turkey, Bottom Side Up, and Drizzled Some Olive Oil All Around It
I then just started adding all the spices just a few shakes at a time to the inside of the turkey.


I Then Added All The Spices To The Top Of The Turkey
(I would like to state that I cannot give you exact measurements where the spices are concerned. This is a small turkey after all. I just used a few shakes here and there with all of them.)
I followed the cooking directions on the package and placed my turkey into the oven.
I did add some water to the bottom of the pan, about a cup.

Into The Oven It Goes
(I do have the turkey sitting on a rack of sorts, so that it isn’t touching the bottom of the pan.)
—————————————————————————–
Meanwhile….. Macy’s Thanksgiving Day Parade


Cher’s Up!

I Had To Run In And Catch This Performance 🙂
———————————————————————————-
My Turkey Cooking


I do admit, not the most attractive of Turkey’s.
At one point I had removed it from the oven to add a few more spices. I accidentally tilted it a bit and then all of a sudden the button popped out as if it was done. I knew damn well it wasn’t done as it had a good 2 more hours of cooking time.


Gordon explained to me that when I tilted the turkey the juices ran towards the button and it popped out. So, exactly how accurate are those things anyway?
I also didn’t want my turkey to burn so I added some Aluminum Foil over top of it.
It’s Done!
————————————————————————
I allowed my Turkey to cool and then I picked all the meat off the bones and placed it in a container and put it in the refrigerator for the following day when I make my casseroles.

Of course, I did pick at it. 🙂
———————————————————————————
Making My Layered Turkey and Mexican Cranberry Sauce Tortilla Casseroles


Ingredients:
(This is a recipe that you can use as much or as little as you like. I spread this out into two casserole dishes. If I had more of the turkey and other ingredients I could have made each one a bit larger than I did with more layers of tortillas and turkey. And perhaps, a bit grander.)
—————————————————————————–
One Small Cooked Turkey
Our Spicy Hot Mexican Cranberries
(See Recipe Link Above)
Yellow Corn Tortillas
2 Bags Bird’s Eye Tri-Colored Peppers and Onion Medley
1 Can Green Chili Enchilada Sauce
Chili Powder
Hawaiian Sea Salt
Freshly Ground Black Pepper
10 oz. Queso Fresco Cheese
1 or 2 Limes
Bag of Shredded Cheeses
————————————————————————————
Gathering Some Ingredients

The Bird’s Eye Tri-Colored Peppers and Onions Medley, and a Sauce Pan
———————————————————————————-


Chopping Up My Thanksgiving Turkey into Bite Sized Pieces


Adding some Vegetable Oil to the Sauce Pan, (about a Tablespoon or so), and Adding the Chopped turkey Meat on a Medium- Low Heat


In a Saucepan on the Stove Top I am placing the 2 bags of the Tri-Colored Peppers and Onions.
Using the package directions.
—————————————————————————————

Ready to Add the Enchilada Sauce and our Spicy Hot Mexican Cranberries


I just eyeballed how much of the Cranberry Sauce I wanted Here

Continuing to Cook on a Medium Heat, Stirring Occasionally


Ready to Add the Hawaiian Sea Salt, Freshly Ground Black Pepper and a dash or two of Chili Powder

It is Really Looking and Tasting So Good!
—————————————————————————-
Pre-Heat Oven to 450F
I sprayed a Vegetable Oil Spray on these two casserole pans.


I Then placed the Corn Tortilla’s down on the bottom. Some whole, some I cut in order to fit.
I then placed some Shredded Cheese on top.


Now It’s Time To Start To Place The Turkey Mixture On top of Tortillas

As Is Here


Now It’s Time To Add More Corn Tortillas to the Casseroles


Also, More of the Turkey Mixture
——————————————————————————–

Time to place into the 450F Oven for about 15 minutes or So

Queso Fresco Cheese


After about 15 minutes or so, remove from the Oven, Add a sprinkling of Chili Powder over Top,
Add the Queso Fresco Cheese Crumbled, then place back into the Oven for about 5-10 Minutes to melt the Cheese

Like So…
————————————————————————————-

Limes, To Wedge
The Sauce you see Above is a Cilantro Lime Salsa Cremosa.
Perfect drizzled on Everything!


The Casserole’s are Done

——————————————————————————————
——————————————————————————————
My Pumpkin Moonshine Based Eastern Shore Cornbread

Eastern Shore Cornbread was a Whann Family Tradition in my Husband’s Home Growing Up
This particular year I wanted to make it for my own little Thanksgiving Dinner. I got the idea to add this Pumpkin Moonshine in place of some of the water in the recipe. It turned out great! It added a nice pumpkin flavor, and the alcohol contributed to a lovely caramelization which made it taste even better. It’s amazing that just adding one ingredient revamped the entire recipe.

My Pumpkin Moonshine
(I only added 2 shots to my recipe.)
————————————————————————–

Even though I have the recipe photographed above, I will relist it all here.
Ingredients:
2 Cups Milk
1 Cup Water
(I used 3/4 Cup Water and 2 Shots of the Pumpkin Moonshine)
2 Eggs
1 1/2 Cups Yellow Corn Meal
1/2 Cup Crisco
(The 1/2 Cup Crisco is to be used to grease the pan you will be using to bake the recipe. That does seem like a lot, you don’t have to use that much if you don’t want to.)
2 t. Salt
2 Cups Sugar
——————————————————————————–


As I write above, in place of the 1 Cup of Water I am only adding 3/4 Cup Water and 2 Shots of the Pumpkin Moonshine.


Place milk and water in pan. Cook until lukewarm. Test with finger – Don’t Boil- Stand over it and Watch.


Add Cornmeal and cook until thick, stirring constantly.
Remove from Heat
—————————————————————————–
In a Medium Bowl….


Whisk together your eggs…


Add your Salt…


Add your Sugar…
(Mix Together)
———————————————————————————-
Turn Your Oven on 400F

Grease Your 9 x 13 Pan With The Crisco
————————————————————————————-


You Want to Combine What’s in the Pot with What’s in the Bowl

Now Add Your 2 Shots of Pumpkin Moonshine


Mix Together, Pour Into the Greased Pan,

Place into the 400F Oven and Bake for Approximately 30 Minutes.

You may see a bit of a “burnt” look to it. That is just the caramelization.
This is a very sweet cornbread. Normally, I don’t care for sweet cornbread, but I do love this recipe!
Happy Thanksgiving,
Julie
—————————————————————————-
If you would like to view our other Mexican blog posts:
Click Here For: Julie Whann Way Mexicana Si!

AND,
Click Here For: Julie Whann Way Mexicana Dos
And,
Click Here For: Julie Whann Way Mexicana Tres
And,
Julie and Gordon Whann Way Mexicana Cuatro

AND,
Uno, Dos, Tres, Cuatro, Mexicana Cinco!
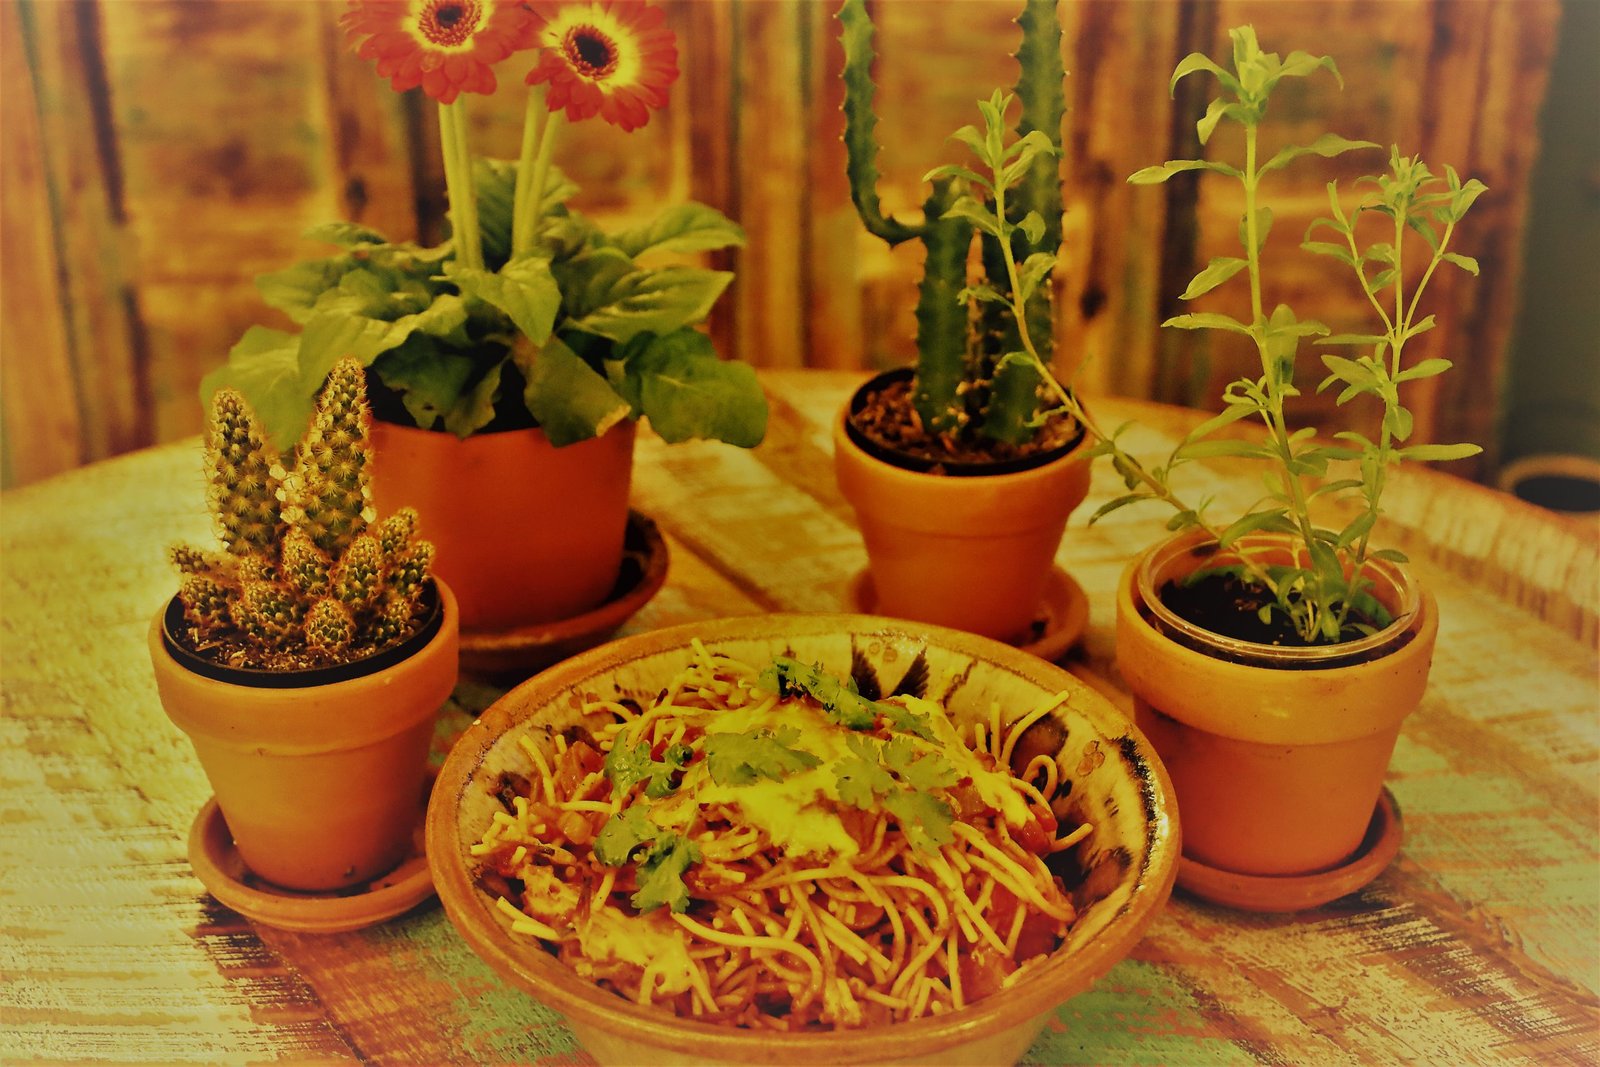
AND,

AND,

Click Here for our: Dia De Los Muertos
And,
Our Mexican Inspired Thanksgiving Roasted Chicken and Vegetables
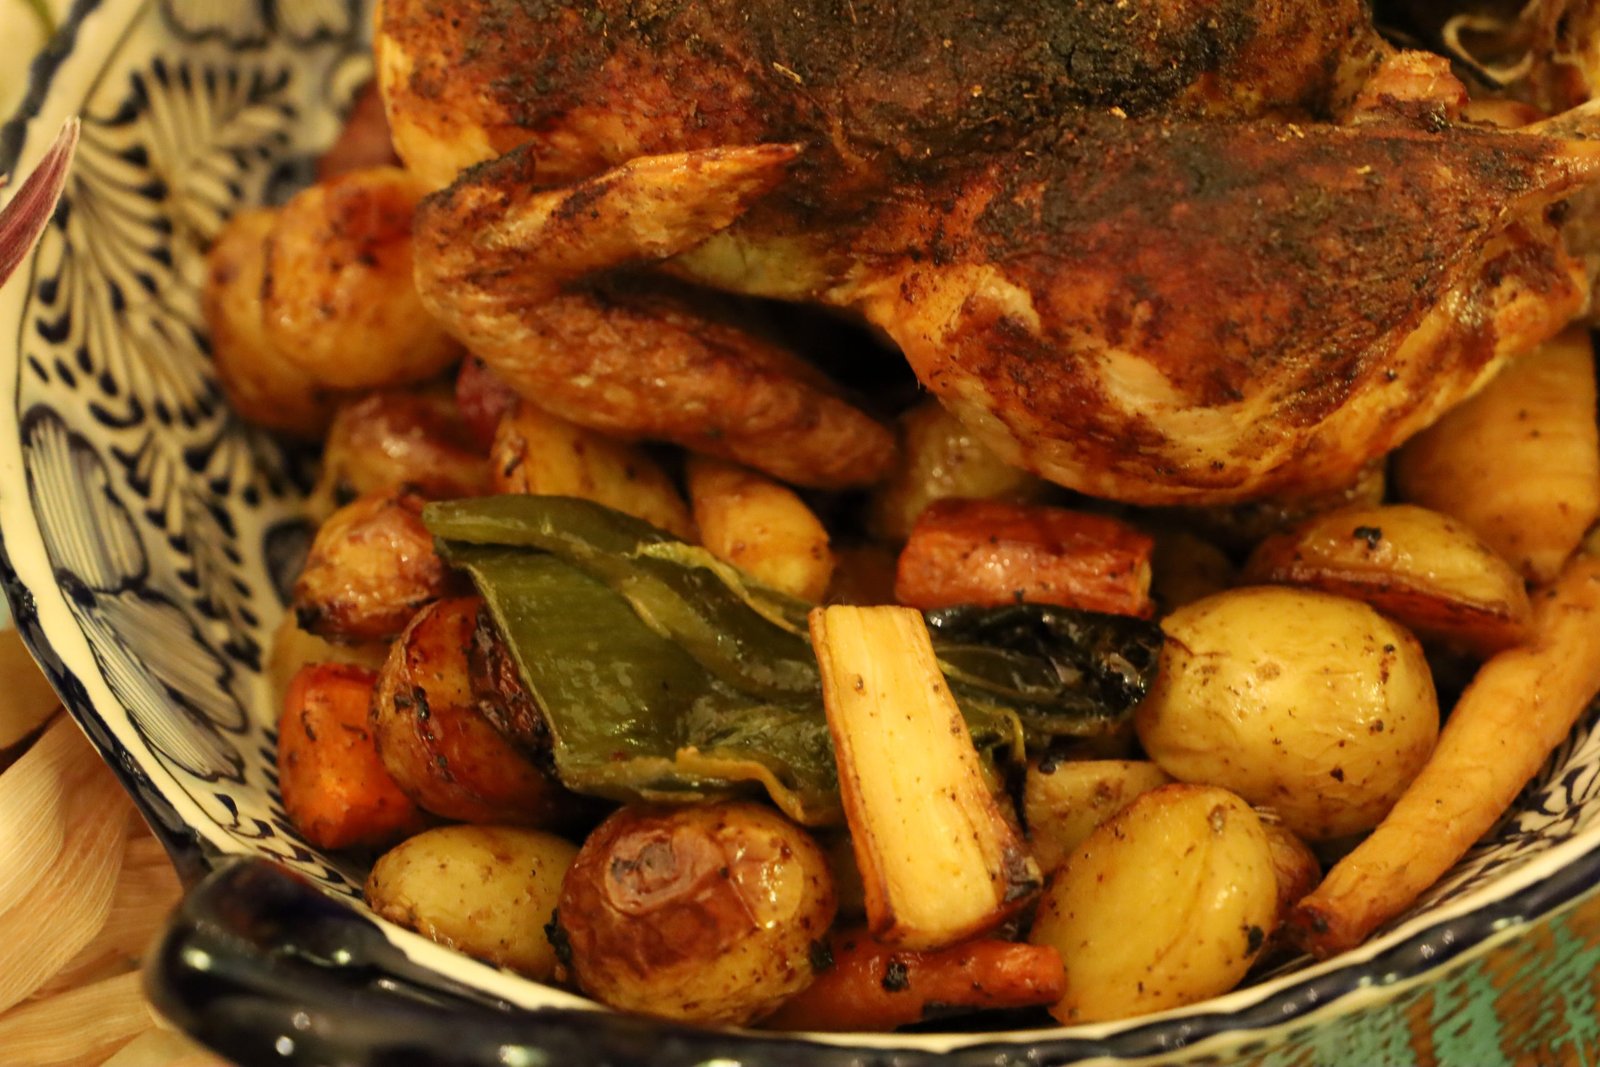
AND,
Our Mexicana Thanksgiving Dishes
AND,

AND,

Adios Amigo!
————————————————————
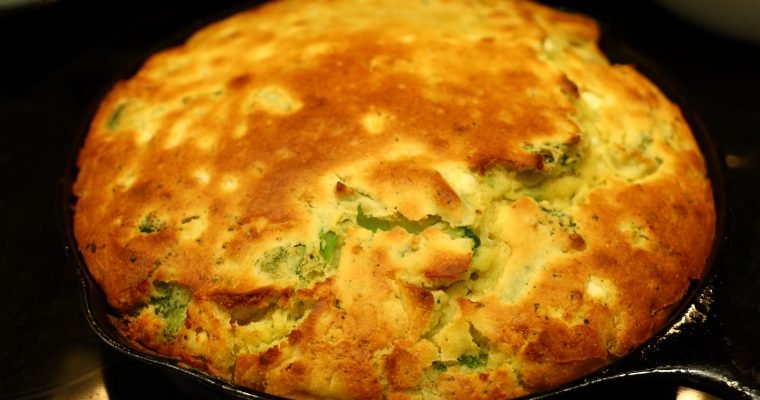
Currently Baking in Grandmother Keith’s Oven Deliciously Cooling… ————————————————————————– I LOVE Cornbread! If you were raised in the south, before the internet brought us all together culturally, then you grew up eating Cornbread religiously. We loved it whether it was …
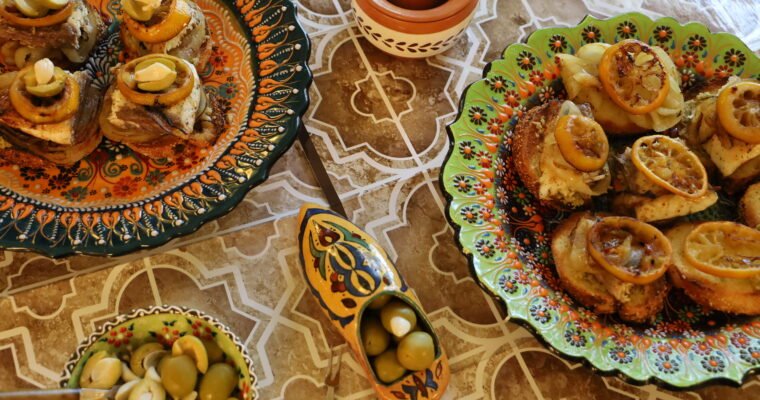
Welcome to Middle Eastern Our Way (A.K.A. MEOW) It’ll Catch On. 🙂 We are Gordon and Julie, and we love food of all kinds from all nations. Arabic Coffee Beans Gordon has traveled to many Middle Eastern countries during his time …

Good Morning and Happy Thanksgiving!
(2022)
Just in Time to Watch The Macy’s Thanksgiving Day Parade

Oh Look! It’s The Tarpon Springs High School Marching Band
From Tarpon Springs, Florida


They closed the parade!
Actually, they performed right before Mariah Carey sang ‘All I Want For Christmas’, and then Santa Clause made his appearance to close the parade.
So very proud of them, they did such a great job!
———————————————————————-
An Al Fresco Thanksgiving Lite

When it comes to Thanksgiving, I don’t think that we associate the word “Lite” with the holiday.
But, perhaps we should start to think that way.
Eating a large Thanksgiving meal won’t hurt you but, eating all those Thanksgiving leftovers just might. Eating one large meal is fine, but most American’s eat that large meal over, and over again, until the leftovers are gone.

Turkey Soup
A lot of us will then turn our leftovers into things like Turkey Soup, Turkey Casseroles, or Turkey Sandwiches/Panini’s, just to eat up the leftovers and yet have them taste differently at the same time.


Here are our Panini’s

(Kind of like a convenient Hand-Held Thanksgiving Lunch/Dinner)
——————————————————————————

This particular Thanksgiving consisted of Turkey Soup and Panini’s.
It was light (lite), delicious, and pretty easy. We actually spent less time in the kitchen, and more time enjoying the day.
Oh, our Thanksgiving’s won’t always be like this. It won’t always be just the two of us.
But, when it is, meals like this are perfect!
——————————————————————————

Souvenir’s From our Cross Country Trip out West in 1992
We saw many a Native Community and visited many Reservations. I even started a charm bracelet. I bought the chain and a few charms at one location. And then continued to buy them as we visited other Native locations. I should actually post it here. I am quite proud of it. It represents our 2 1/2 week cross country drive from Florida to California in 1992. Veronica was 5, and I was pregnant with Brodie.
(I do have to confess that Thanksgiving to me has become more thoughtful. I adore the Native American’s, and I know how horribly they have been mistreated by white people. I also know that Thanksgiving is based on a slaughter of Natives. Which is why I recognize that at every turn, but I also honor the idea of us all feasting and getting along together. I love Thanksgiving and I have no desire to ever give up the holiday. I will however, continue to honor the peace that I hope will eventually come from it.)

Fort Brodie
I save and cherish my children’s artwork from their youth. This is something that Brodie drew while we were living in Maryland. I found it and decided to post it here. We are very proud of our children and their creativity.
———————————————————————
A Roasted Spatchcock Turkey Breast


This particular Thanksgiving Gordon roasted a Spatchcock Turkey Breast and it was perfect for us!

Look at all the Drippings!
(Recipe Down Below)
—————————————————————————————-
An Excellent Use of Leftovers


Turkey Salad
I think that most people have their own Turkey/Chicken Salad recipe but I will give you mine.
Turkey Breast, Mayonnaise, Mustard, Hard Boiled Egg, Freshly Ground Black Pepper,Dashes of Tabasco Sauce, Chopped Onion, Pickle Relish, Chopped Celery.
You use the amounts that you prefer. Excellent spread onto bread with Lettuce to make a Sandwich, or I like to blob it on Crackers and eat it that way.
Either way, welcome to our Thanksgiving Lite and Leftovers.
Hope you find something you like here.
Happy Thanksgiving,
Julie and Gordon Whann
————————————————————————————-
Turkey Soup


The Crock Pot Makes Cooking This Soup Easier

———————————————————————–
This is a great way to use up those last bits of Turkey, and left over celery and onion that you used to make the dressing, and other recipes for Thanksgiving.

All of Our Ingredients


————————————————————————-


List of Ingredients:
3-4 quarts Chicken Broth
4 or 5 Multi-colored Carrots
2-3 Celery Stalks – chopped
1/2 to 3/4 Medium Yellow Onion – chopped
1 Turkey Neck
2 Bay Leaves
1 Tbsp. Rubbed Sage
1/2 t. Fresh Ground Pepper
1 t. Hawaiian Sea Salt
1 (4.7 oz..) Roasted Garlic and Olive Oil Pearled Couscous – Near East Brand
2-3 Cups Cooked Turkey – chopped
2 Cups Wide Egg Noodles – cooked
2 Cups Zucchette Pumpkin Shaped Noodles – Vegan (Sprouts Brand
——————————————————————

Start by peeling your carrots..


then cut them into 1 inch sections.


Place about 2 quarts of Chicken Stock into your slow cooker then add your sliced carrots and turn your Crock-Pot to High, and 4 hours cooking time.


Wash and chop your Celery as shown…


and add them to the cooker.


Now, chop your Onions and use as many as your like. This recipe doesn’t have to be followed to the letter as you want to fill up the cooker with the listed ingredients. We also like a thick and hearty soup.


Add your chopped Onion to the cooker.


Here is our Turkey Neck, which I will also add to the cooker and take out later when the meat falls off the bone.

I store our Bay Leaves in a canning jar to keep them well sealed.


Add two or three of them to the cooker.


Now, add the Rubbed Sage and freshly ground Black Pepper.


Now add your Sea Salt to the pot. We like using Hawaiian Sea Salt.


Now add your Pearled Couscous to the cooker along with the seasoning packet.

———————————————————————–

Add more Chicken Stock to fill the cooker.
—————————————————————————-


You Just Want to Cover and Continue to Cook

———————————————————————————

Here we saved a good amount of Turkey Breast from our Thanksgiving Turkey.


Chop your Turkey into bite-sized pieces.


Add your Turkey to the Crock-Pot.


Here we cooked the Egg Noodles separately as per directions and then added them to the cooker.


—————————————————————————

As you can see the Crock-Pot is getting quite full.


We can still add some Pumpkin Shaped pasta though so we cooked it as per the directions.

Our original intent was for this to be a colorful garnish, however, I Julie, went a bit heavy on the pasta.
After about 4 hours the soup should be good and hot.

Here we added the Pumpkin Pasta.

This soup is very hearty, full of nutrients and tastes great!
It also freezes well……
———————————————————————————


Also great for leftovers… simply place the frozen soup in a large pot and turn the heat to medium low.

Here you have once again the great Turkey Soup.

——————————————————————————

Turkey Squash Grilled Cheese Sandwich

This is a Squash Casserole that we had leftover from Thanksgiving. I Julie, got the idea to use it in Grilled Cheese Sandwiches. The Squash were softened from the Casserole, but still had a bite to them that suited this sandwich well.


Ingredients:
Leftover Squash From Casserole
1/4 Cup Jack O Pumpkin Seed Cheese – Shredded
1/4 Cup Sharp Cheddar Cheese – Shredded
2 Tbsp. Butter
3-4 slices of Cooked Bacon
1/4 Cup Parsley
Bread Slices and/or…
2 slices of Brown Bread – Cheesecake Factory Brand
——————————————————————-

We have used (Igourmet) to find many of our favorite cheeses. This Jack O Pumpkin Seed we thought would go well in this sandwich.


Slice off the outer rind.


Then shred as much as you will need. We also shredded some Sharp Cheddar Cheese to make a few of these sandwiches.

Spread some of the butter on one side of the bread.


—————————————————————————–


Heat your pan to medium high heat and place the buttered side down in the pan. Then add your Pumpkin Seed shredded Cheese and cooked Squash slices.


Now, top the Squash with some cooked Bacon and Fresh Parsley.


Add your Shredded Cheddar Cheese to the Parsley. It is fine if a little spills over as it is great when cooked. Top the sandwich with another buttered slice of bread as shown. Cook for sandwich for a few minutes or until you can move the sandwich and there a slight scraping noise. That means the bread is getting toasted. Flip the sandwich over using your spatula and cook on the other side for about another few minutes until browned.

————————————————————————


We hope you enjoy these unique and delicious grilled sandwiches!
————————————————————————

Spatchcock Turkey Breast

Nicely Carved

Gathering Our Ingredients


List of Ingredients:
1 Tbsp. Oregano
1 Tbsp.Thyme
1 Tbsp.Rubbed Sage
1 Tbsp.Marjoram
1 Tbsp.Onion Powder
2 t. Ground Allspice
2 t. Chili Powder
1 Tbsp. Ground Coriander
1 Tbsp. Ground Cumin
2 Tbsp. Raw Cane Sugar
2 Tbsp. Splenda Brown Sugar
1 Heaping Tbsp. Whole Grain Mustard
2 Tbsp. Chicken Stock
2 Tbsp. Olive Oil
Salt, and Freshly Ground Black Pepper to taste
NOTE: The Spices I am placing in the mixing bowl are specifically for the top of the Turkey Breast to give it a nice Crust.
—————————————————————————-


Here I am adding the spices into a medium sized bowl.


I am using my palm to measure the amounts.


Of course you can add as much or as little of these spices as you like.


I also like using a variety of sweeteners as it gives the flavor more depth.


This turned out to be a nice grainy mustard. We used it again later in the next recipe below.


Now add your Chicken Stock…


then the Olive Oil.


Mix all the ingredients together to make sure there is enough liquid in the mixture to make it spread easily over the meat.


Add your Sea Salt, and Freshly Ground Black Pepper to taste…

then mix all the ingredients well using a whisk.
Now, Set Aside
————————————————————————-


Here is the Turkey Breast I bought which is produced by Shady Brook Farms. I have found their turkey’s are very nice and well priced! With all poultry, rinse them well with running water to remove any old blood and particulates like stray bones and loose feathers. Also, look it over and remove any feathers that may still be attached.

I began thawing this two days earlier and it still had some ice in the main cavity. Rinsing it helped to remove this ice and thaw the meat.

Here I placed the Turkey Breast on a roasting rack on top of a roasting pan.


Pat the skin dry so the seasonings will adhere to them.
INITIALLY: I was just going to season and roast the Turkey Breast like this. However, it was as I was adding the spices that I realized the Turkey would cook much better, and the spices would adhere better, if I Spatchcocked it.
Not meaning to confuse you. But, I am telling the story as it has happened.
Sometimes a recipe can evolve as it is being created. Which happens with us sometimes.
———————————————————————————-
So, as it began….


Seeing how the meat was upright, I thought I would add some seasonings and olive oil to the cavity and outside of the breasts to help the spice mixture adhere to the meat.


I brushed the oil from the cavity onto the outside of the breasts.


Now, I am sprinkling a little of the spices I used before on the Turkey to help the spice mixture adhere to the dry surface.


————————————————————————–


Adding Some Spices….


…just winging it.


——————————————————————————–

Now, I am adding some Chicken Stock to the roasting pan so the fat drippings don’t burn on the bottom of the pan.
————————————————————————
It was at this point that I decided to Spatchcock the Turkey Breast.

I placed the breast on the cutting board. I thought if I were to Spatchcock the breasts, the spices would simply lay on top of the meat. Spatchcock means to split the breasts and remove the backbone to lay the meat flat. Doing this will also help the meat to cook evenly.
—————————————————————————–


Start by splitting the breasts with your knife. I stabbed the breast bone evenly…


then continued the cut with my knife. Now cut the breasts away from the backbone.


Here you can see the breasts and backbone almost separated. Continue to flatten the breasts by pressing your hand down on them to finish breaking the breastbone. I am using my right hand to do this. In the next picture you can see the breasts are now fully split. Using your left hand press down on the backbone then use your knife to cut the backbone away from the breasts. If you want, you could save the backbone for soup stock.
———————————————————————-


Here is the Spatchcocked Turkey on the roasting rack.


Now, simply spread your spice mixture (that you had set aside from the mixing bowl above) over the top of the Turkey as shown, as they will spread more evenly during the cooking process.


I sprinkled some extra spices used in the mixture on the rest of the breasts for good measure.

Roast the breasts in a 350’F oven for about 45 min. or until the internal temperature reaches 160’F.

I removed the pan from the oven to add some water, as it was almost dry.

———————————————————————————

Place the meat back in the oven to finish the cooking. Here you can see the light blue temperature indicator popped up to indicate the meat was done. I also used my digital thermometer just to be sure.
—————————————————————————————–

Here is a great shot of the drippings in the bottom of the pan which would make a great gravy.
————————————————————————————————
Let the meat rest for about 15 min. to allow the super-heated outside juices to return to the center of the meat, making the meat juicy and raising the internal temperature to 165’F. Cutting into the meat right out of the oven would disrupt the juice movement and the juices would spill out all over your cutting board.


Slice the meat down and away from the breastbone as shown.


Continue to do this on both sides of the breast. The clumps of spices are delicious!
Enjoy!
————————————————————————————
Leftover Spatchcock Turkey


Using the leftover meat, we made pressed sandwiches using Julie’s Florida Jezebel Sauce… absolutely delicious!


To start, use some good crusty bread.
These were perfect in size and thickness.


I love Swiss Cheese so we shredded a good amount of it.

I love to use our cast iron skillets as they hold the heat well and are great for frying. I placed about 1 Tbsp. of olive oil into the pan and spread it around using a paper towel and turned up the temperature to medium.


Slice the bread in half then spread some grainy mustard and Julie’s Florida Jezebel Sauce on each slice.


Add your sliced turkey breast and grated Swiss piled high as shown.


Then we added some fresh Spinach leaves to the top of the cheese and used the top section of the bread to close the sandwich.


Place the sandwich off center in the pan as shown.


I quickly made another sandwich…

and placed it next to the one in the pan.

I then placed another cast iron skillet on top of the sandwiches…


then placed another as shown to increase the weight.
I also pressed down on the sandwiches some to help them press evenly.

I am making another sandwich as I am sure they will be great!


After a few minutes, remove the pans and using a spatula turn the sandwiches over and cook for another few minutes until well browned and crusty.
———————————————————————————-

Time to dig in!
———————————————————————–
If you would like the recipe for:
An Old Florida Jezebel (Sauce)
Happy Thanksgiving!
Julie and Gordon
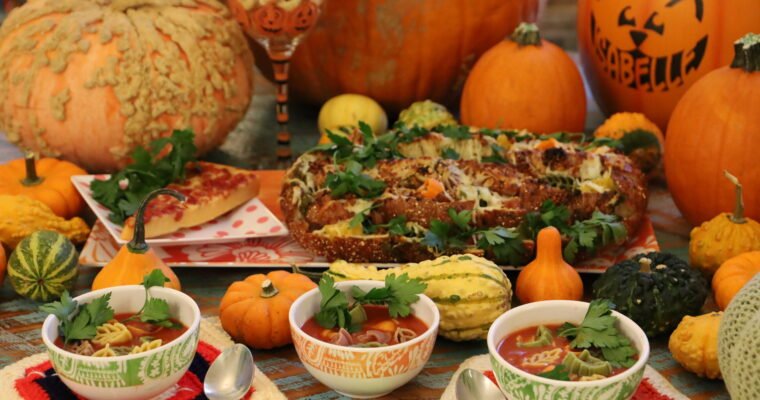
Autumn Me, Rome, Georgia, mid 1960’s playing in the leaves. (Love the cars.) 🙂 When I think of Autumn I always first think of leaves. The Fall colors of the trees as the leaves fall off of them, and crunch …

(I swear to you that I am not flipping anyone off in the photo above. I didn’t know my fingers looked like that. Sorry. I would like to state that we have been using our fingers for centuries before someone decided to deem one …

Welcome To Our Big Bang Theory Saturnalia
CLUE

(Just doing some decorating for the holidays.)

CLUE
How It All Started
(We don’t recommend The Big Bang Theory Cookbook seen above, as there are many recipes that are not correct. Even some of the stories describing the recipes are inaccurate. It is a nice guide though as it does list some of the character’s favorite foods. But, that’s pretty much all it is good for.)

Saturnalia, Here We Come! 🙂

Lo Saturnalia!
Lo, Lo, Lo……

————————————————————–

Snow Globes of Julie and Gordon


Would anyone care for a hot beverage? Santa, perhaps?
We also have some of Sheldon’s Meemaw’s Christmas Cookies.
——————————————————————
The Big Bang Theory
2007-2019

Starring
Jim Parsons as Sheldon Cooper
Johnny Galecki as Leonard Hofstadter
Simon Helberg as Howard Wolowitz
Kaley Cuoco as Penny
Kunal Nayyar as Raj Koothrappali
Melissa Rauch as Bernadette Rostenkowski
Mayim Bialik as Amy Farrah Fowler
————————————————————
A Big Bang Theory Christmas

Sheldon and Leonard’s Living Room
———————————————————–
Gordon and Julie’s Living Room
(Trying to recreate the set.)

A Christmas Card To You This 2021 From Us
——————————————————————-

Holiday Greetings
“Live long and prosper.” Leonard Nimoy
——————————————————————

Julie and Gordon as Penny and Sheldon

Leonard, Sheldon, and Penny

Welcome to our very Merry Big Bang Theory Saturnalia CLUE!

We have been fans of the show ever since it debuted in September, 2007. Excellent cast, excellent writing, excellent content. We were sad to see it end in 2019.
12 years of laughter!
THANK YOU!
I believe it was Jim Parsons, Sheldon Cooper, who didn’t want to continue the show. Without him there really isn’t a show. HE was The Big Bang Theory! I can imagine it being difficult to constantly have to be the same weight, have the same hair style, and be the same pale person for that long, must have had it’s challenges. I see why he didn’t want to continue. But, I do wish that he had.
Every actor on this show was outstanding. They brought their characters to life and we will love them forever for it.
I would also like to honor the extended cast:
Kevin Sussman as Stuart Bloom
Carol Ann Susi as Debbie Wolowitz
John Ross Bowie as Barry Kripke
Wil Wheaten as Wil Wheaten
Laurie Metcalf as Mary Cooper
Aarti Mann as Priya Koothrappali
Christine Baranski as Dr. Beverly Hofstadter
Brian Posehn as Bert Kibbler
And all the additional cast and guest stars that contributed to this wonderful show!
Stephen Hawking, Neil deGrasse Tyson, Bill Nye The Science Guy, Billy Bob Thornton, Brent Spiner, LaVar Burton, Adam West, Stan Lee, William Shatner, Leonard Nimoy, George Takei, James Earl Jones, Carrie Fisher, and our personal favorite, Bob Newhart.
————————————————————–
We loved every episode. Every plot line. Every character.
The writer’s really did know what they were doing when they wrote the show.
Thank you so much for the inspiration for this 2021 Saturnalia CLUE!
————————————————–
“It’s a Saturnalia Miracle!” Leonard Hofstadter
—————————————————————-

The Big Bang Theory CLUE
This is how it all began. I found this CLUE game online and just had to have it.
Knowing full well this would be our Christmas.
——————————————————————
Also Check Out:
Our Big Bang Holiday Greetings

We did this in 2015. Just a small homage to the show that we love.
This Saturnalia CLUE, however, is a much more in depth take on our love for this show.
———————————————-

Sheldon’s Meemaw’s Christmas Cookies
(Recipe Down Below)

…they built a pyramid.
Math, science, history, unraveling the mystery…
It all started with the Big Bang.
BANG!
——————————————————————-


Cookies and a Hot Beverage for Santa
————————————————————-

Decorating our Saturnalia Tree
The Colors of CLUE
I chose these colored ornaments to represent the colors on the CLUE board game. Each color represents a character. For example, RED for PENNY, WHITE for BERNADETTE, YELLOW/GOLD for LEONARD, PURPLE for RAJ, GREEN for HOWARD, BLUE for AMY.
—————————————————————
Saturnalia is the celebration that the Pagans had for Winter Solstice. The Pagan’s would bring an Evergreen into their homes in the winter as a symbol that Spring was just right around the corner and to just hang in there for the remaining cold days. Hence, the Christmas Tree.


Here Gordon is decorating our tree with vintage lights.

Ah, a hot beverage.

Gordon/Sheldon setting up the train for underneath the tree.


The train is actually our son Brodie’s. My Grandmother gave it to him when he was very young. Seeing as how Sheldon loves trains, it seemed appropriate.

Choo-Choo!
———————————————————————-
Our Big Bang Theory Saturnalia Tree

I wanted this tree to symbolize the interests of the cast.
The Chinese Take Out Containers….

The Star Trek Phaser, Com Badges, and Communicators….

The “B” for Brodie, our son. Or, is it for The Big Bang? 🙂

Stockings Filled with Nerds Candy Canes….

——————————————————————–

Can that be Cinderella? Snow White? And Sleeping Beauty?
(The characters that Penny, Bernadette and Amy portrayed at Disneyland.)

Sheldon’s Train
——————————————————————-

I wanted the ornaments on our tree to symbolize a few of my favorite scenes from the series.
When Penny, Bernadette, and Amy played hooky and got makeovers at Disneyland to be Princess’s.
————————————————————–
The guys love of Indiana Jones……

“Snakes. Why’d it have to be snakes?”
——————————————————————–


The Smurfs!
When Howard and Bernadette were Smurf’s one year for Halloween. Bernadette was Smurfette. Howard was Papa Smurf.

Oh, and just another laser gun. 🙂
————————————————————-

The Big Bang Theory CLUE

For those that know me I am a huge fan of CLUE.
I am also a huge fan of The Big Bang Theory.

This Was So Much FUN!
Being Leonard and Penny

We Wanted To Recreate The Foods From The Show

I always loved how they would all eat around the coffee table.
It was the nexus of their existence.


To the far left is Julie’s Aloha Wahine Jezebel Sauce.
Here we have the Hot Tea, symbolizing the “hot beverage” that Sheldon always presented.


What is missing here is Sheldon’s Mandarin Chicken that he loves so much. However, I think we pretty much covered a good bit of their favorites.


A Lovely Start to Our Saturnalia

———————————————————————


Lo Saturnalia!
Gordon, Julie, Sparky and Spooky
————————————————————-

Sheldon’s Favorite Cheesecake Factory Item
The Barbeque Bacon Cheeseburger

Here we ate ground turkey in place of the beef and added a slice of cheddar cheese, lettuce, tomato, and bacon. Topped with a few dill pickle slices and a side of coleslaw, baked beans and sweet potato crinkle cut fries. We did our best to make it a bit healthier.
———————————————————————-

Sheldon’s Favorite Dinner
————————————————————————


Recreating Sheldon’s Favorite Dinner


Dinner and a CLUE


Seeing as how Sheldon loves Spaghetti with Little Hot Dogs Cut Up, that is what we decided to make.
The bread above is from The Cheesecake Factory. Gordon sliced it and placed some shaved Parmesan into each slice.
We simply just doctored up a plain jarred spaghetti sauce. Not too extreme as we figured that Sheldon probably liked things a bit plain. Plus, no one of the show, except Raj, really knows how to cook. I think that Penny’s spaghetti is usually a bit “crunchy.”

—————————————————————-


Penny is RED in the game so the spaghetti is to represent her color.
You can see the hot dogs in my spaghetti above.
Topped with a dousing of Kraft powdered Parmesan Cheese. I’ve seen that shaker container on their tables when they’ve eaten spaghetti before.

The Table is Set and We are Ready to Eat!


The Red Wine also Represents Penny’s Favorite Beverage

All of Our Game Board Characters

The Nerd Candy Cane Filled Stockings
(Just a few Treats)

I made the GREEN SALAD to represent Howard’s Color in the Game, also we have Purple Artisan Lettuce to represent Raj’s color in the game.
Lots of Leafy Purple and Green Artisan Lettuce, Broccoli, Cauliflower, Mushrooms, Tomatoes, and some Shaved Parm.

The Salad Dressing we used was a nice Italian, not shown.
——————————————————————


The Making of Our Dinner
The Salad and Cheesecake Factory Bread, Pasta and Spaghetti Sauce with Hot Dogs cooking separately.

—————————————————————

It Truly Was Delicious

Cheers!
———————————————————-

With the Dogs, Wearing our Pajamas, Wine, CLUE, and The Big Bang Theory on T.V.
——————————————————————

Gifts From Brodie and Mackenzie 🙂
(They had just arrived so I thought I would include them seeing as how nice they look.)
————————————————————————-
Our CLUE Dessert

The WHITE Cheesecake, BLUEberry Compote, and YELLOW Lemons
(White for Bernadette, Blue for Amy, Yellow for Leonard)

Although this cheesecake isn’t from The Cheesecake Factory, we still knew that we had to include one. So, we bought this small one and opened a jar of our homemade Blueberry Compote and added a nice Lemon.
Perfect!
——————————————————————–
STAR TREK


It wouldn’t be The Big Bang Theory without inserting Star Trek.
And Gordon and I just happened to have a few Star Trek uniforms in our closet.

Again, another hot beverage.
This time in my Wonder Woman mug, and Gordon’s Captain Kirk Tribble mug.
Penny was Wonder Woman in at least one episode I can recall.

And yes, we do have Star Trek toys. 🙂
————————————————————–

Amy in STAR FLEET

I love this episode of Amy dressed as a Star Trek Science Officer.
She is so cute here. She is trying to appeal to Sheldon’s love of Star Trek and he is loving her for doing it. 🙂
Although to him he’s in hell because he likes it.
——————————————————————

Here I am doing Tricorder readings on Gordon.


I’m pretty sure he’s loving it too. 🙂


Oh, but what’s this? Mistletoe!
———————————————————————

————————————————————–

——————————————————————

Live Long and Prosper
———————————————————————


Gordon and Julie as Leonard and Penny
I Dared To Don the Penny Wig 🙂
(Shaved about 20 years off of me.)
——————————————————————-

Merry Christmas Sheldon!
We really wanted to recreate this scene from which Penny gives Sheldon a napkin that was autographed by Leonard Nimoy when he came into the Cheesecake Factory Restaurant where Penny works. She had him to autograph it for Sheldon and he is blown away by it! Especially when he realizes that he wiped his mouth on it, thus presenting Sheldon with the DNA of Leonard Nimoy.
———————————————————————
Our Recreation
—————————————————————–


————————————————


“Look Leonard, Sheldon’s hugging me!” Penny

“It’s a Saturnalia Miracle!” Leonard

“Live long and prosper.” Leonard Nimoy

Penny’s Gift Baskets
————————————————————————-

Charcoal Crackers and Oranges
It is a custom in some American families to place a lump of Coal in the stocking of a child that has been “naughty” throughout the year. It is also customary to place an Orange in the stocking of the child who has been “nice.”
Gordon and his siblings always received BOTH!
—————————————————
Here are our Naughty and Nice Appetizers
with Howard and Bernadette in mind.
——————————————————————

The Ingredients:
Cream Cheese, Softened (We used 2, 8 oz.)
Valencia Orange Peel
Ground Ginger
Ground Cinnamon
Nutmeg, We grated the nut itself.
Chopped Pecans
Orange Slices
Orange Olive Oil
———————————————————
Place the softened Cream Cheese into a mixing bowl.


Then Add The Spices

This is all up to personal taste.
We however, used about 1 teaspoon of each per 8 oz. cream cheese. Meaning, since we used 2, 8 oz. Cream Cheeses, that means we used about 2 teaspoon of each spice. The Nutmeg is strong so we used about 1/2 t. per Cream Cheese.
Mix Together Well With a Fork
———————————————————————–


Chopped Pecans

I cannot tell you how many I added.
I just eyeballed the amount as to what we would like to eat.
Then mix all together.


Now Time to Put Together
Crackers, Cream Cheese Spread, Sliced Oranges, and a drizzle of Orange Olive Oil

Added some Asian Seed Crackers and a few Pears

The Naughty and Nice!
————————————————————————-

Sparky and Spooky
Cute Doggie Break, Under Blankets Fresh Out of the Dryer
—————————————————————-
And Now For…..

Sheldon’s Meemaw’s Christmas Cookies

Amy and Sheldon
The Best Christmas Gifts are Homemade
———————————————————-
Julie Ready to Make Sheldon’s Meemaw’s Christmas Cookies
When I consulted The Big Bang Theory Cookbook above, when I purchased it and it arrived, I specifically looked for this recipe. I was very disappointed to discover that the photo didn’t match the example on the show. Also, the ingredients didn’t match.
I then turned to the internet to try and find the recipe and I did.
Click Here For: Own Two Hands.com and Meemaw’s Cookie Recipe
This is the website of two adorable little girls actually making Sheldon’s Meemaw’s Christmas Cookies,
a.k.a. Thing One and Thing Two
I am not going to post their cute photo of them on my website, but I am going to give you the link to their website.
I would like to thank these girls for the recipe. 🙂
———————————————————————


The Ingredients:
Meemaw’s Christmas Cookies
Makes about 8 dozen small cookies
Preheat the oven to 375°F (190°C).
Beat together until creamy:
– 1 1/2 cups unsalted butter, softened
– 1 cup granulated sugar
– 1 tsp almond extract*
Beat in, about a third at a time:
– 3 1/2 cups all-purpose flour
Insert any shape of disk into cookie press (the ones in the show are tree-shaped, but any shape will do). Press dough onto an ungreased cookie sheet one inch apart. Alternately, use a pastry bag with a wide tip to create designs.
Decorate with:
– coloured sugar or sprinkles
Bake for 10 to 13 minutes, or until firm and very slightly browned.
Remove from cookie sheet onto a cooling rack. Serve immediately, or place into a container once they are cooled, where they can last up to a week.
——————————————————————
I’m using my vintage mixer that My Meemaw gave to me.


The Softened Butter and the Granulated Sugar


————————————————————


Creaming Everything Together Until Mixed Thoroughly


The best time to make cookies is while wearing your pajamas. 🙂


————————————————————————–

This is a very easy and classic recipe.

This is My Meemaw’s Pastry Thingy for Making Cookies
I’m using the Christmas Tree disk, just like Sheldon’s Meemaw’s Cookies.


Here I am Placing the Dough Mixture into the Pastry Thingy
—————————————————————–
Although I could have used any of the attachment disks for the Pastry Thingy, I chose the one with the Christmas tree as that is the one Sheldon is holding in the photo above.
I hadn’t used this Pastry Thingy in awhile and it was a bit hard at first. It also took me back to baking with my own Meemaw.


Of course, I wanted to use the Sprinkles from my youth.
Red and Green sugars as well as the multi-colored little balls.

I Placed Parchment Paper onto the Cookie Sheets

Into a 375F Oven They Go!
Bake for about 10-13 minutes as stated in the recipe.

Out of the Oven and Cooling

Sheldon’s Meemaw’s Christmas Cookies


Our son Brodie and his girlfriend Mackenzie came over to visit us on Christmas Day and we gave them some of these cookies. They LOVED them! Even wanted to take some with them home. The thing is, this recipe has only about 4 ingredients yet it is so very delicious. Which proves that the classics are still relevant.
——————————————————————–

Indian Food
This is for Raj, and the fact that Raj didn’t like Indian Food

Here is our Indian Food Spread in Honor of Raj

——————————————————————-


We Happen To LOVE Indian Food!
Especialy the Samosa’s!

Our Take Out Menu

Me, Helping Myself

——————————————————————–

Enjoying Our Dinner 🙂

——————————————————————–

Gulab Jamun, Our Dessert
An Indian Donut in Syrup
The fact that it stays so firm and together while in this can of Syrup Water is amazing.
—————————————————————
Jiffy Pop Popcorn

——————————————————————-


Jiffy Pop and Big Bang Theory

Throw in some of Sheldon’s Meemaw’s Christmas Cookies
and Season’s of TBBT DVD’s and Blurays, and we have a PARTY!


————————————————————

————————————————————————
Sheldon’s White Board

Cosmology
Dark Matter
Nevtrino CP
Proton Decay
Axions
———————————————————–
Gordon’s White Board

Lo Saturnalia
Merry Christmas
Mele Kalikimaka
Feliz Navidad
🙂

Autumn Once Labor Day is over with….. There is just something special about the end of Summer and the beginning of Autumn. To most of us it’s having the kids go back to school. Always a special time for me …
Premiering at a Theater Near You! Starring Julie’s Jezebel Sauce, and a Cast of Supporting Foods For those of you outside The Bible Belt of America, you probably have never heard of Jezebel Sauce. It’s exact Southern origins are a bit …

Merry X-Mas
I had no where to put these little X-Mas X-Tras, so I created this page to place them on.
Nothing grand, just something cute and simple. Sometimes, that’s all you need.
Have a Safe and X-Tra Special, Merry X-Mas,
Julie and Gordon XXO
———————————————————————————


I couldn’t help but make my 2023 official Christmas mug Alexis from Schitt’s Creek.
—————————————————————–

Veronica’s CRACK
(That’s what she’s calling it. Probably because they are made with Soda Crackers.) 🙂
Recipe From Veronica’s Sources
For one batch you need:
2 sticks of butter
1 cup of brown sugar
1 Tbsp vanilla extract
1 full sleeve of saltine crackers
1 full bag of chocolate chips (Dark, milk, or white chocolate)
Directions:
•Preheat oven to 350 degrees
•On a baking sheet (with raised edges to prevent spilling) covered in foil, lay a single layer of saltines. Spray with cooking spray.
•On the stovetop begin to melt your butter and sugar, add vanilla.
•Melt until it begin soon to look really bubbly.
•Pour evenly over the saltines.
•Spread mixture evenly then put the baking sheet in the oven until the toffee starts to bubble.
•Take out of the oven (fix saltines as needed if they moved) and quickly sprinkle chocolate chips over the entire baking sheet.
•Wait about 5 minutes for chips to melt and spread evenly.
•Optional: Add festive sprinkles, nuts, pretzels, etc.
•Place in fridge for about 30-60 minutes to cool down.
•Once cooled, take out of the fridge and ether break it apart by hand or use a knife to make cleaner cuts to look like bark.
•Enjoy!
(She says that this will be an X-Mas tradition of hers from now on.)
—————————————————————–

Coffee, Sweets, and Decorations
———————————————————————————-

Frosty and Rudolph
(Aren’t they charming?)

I’ve been plowing through containers in the attic trying to find things to pass on to our children for their X-Mas’s. I came across these books of Veronica’s from when she was little. The photos are X-Tras of her that I wanted her to have. Wasn’t she cute? 🙂

Julie and Veronica, 1990, Rome, Georgia
————————————————————–

We found Brodie’s train that my Grandmother gave to him for Christmas when he was young and decided to set it up underneath our tree. Of course it doesn’t work, but it is still very cute to have set up to look at and enjoy.

Sometimes giving the gift of X-Mas’s past, and in memories, is the best gift of all.
—————————————————————

Not every gift has to be homemade.
Here is a gift that can accompany a dessert, or with some holiday mugs.
Or simply given on it’s own.
——————————————————————-

Strawberry Jam Sour Cream Loaf Cake
(Recipe Down Below)
————————————————————————-
Barbie’s, Santa, and….


Christmas Wrapping Paper
It actually made a nice backdrop for these displays.
I passed the Barbie’s onto my daughter Veronica as they are hers.
———————————————————

Fragrance Disk Player

This is actually from the mid 80’s. When I was selling Germaine Monteil Cosmetics this Fragrance Disk Player was being sold in my department. I bought one. Still have it to this day.
———————————————————————-


Our Holiday Charcuterie Board
Everyone seems to be doing these this holiday season, and we are following right along.


I adore foods displayed like this because I enjoy ‘snacking here and there’ and not always ‘feasting.’
To me, the heavy Christmas foods are served on Christmas Day.
But, the little party’s here and there should be light in their fare. Or at least, in smaller portions.


Fruits, Cheeses, Meats, Nuts, Honey’s, Garlic, Olives, and Sweets


Gordon and Julie’s Cocktail Plates
(Recipes Down Below)
——————————————————————-
Ready For The Post Office

X-Mas Gifts to be Mailed

Our Arabic, and Indian Foods X-Mas Care Packages
We love shopping at our local ethnic supermarkets and putting together a range of foods to create a theme that we can then introduce to those in our lives.

Beautiful Artisan Jars of Honey, Coconut, and Nuts
Automatically, these were a hit with the recipients. Look how unique and beautiful the contents in those jars are? They are nothing more than nuts and coconut in honey, that’s it. But, what is so special about them is how they were put together. They are from Turkey.


On the left you see this white stringy stuff with a dusting of green? That is Arabic cotton candy. When you open the package you are removing what looks like a white haired wig with green ground pistachio’s on it. Really good!
On the right are Gulab Jamun, an Indian donut in syrup. Really delicious! Also some Arabic Bruschetta and some Turkish Delight. I believe that most everyone has heard of Turkish Delight.

Arabic Olive Oils, Olives, Grilled Olives, Fermented Olives….


Hazelnut and Chocolate Turkish Delight, Pistachio’s, Stuffed Zucchini


Stuffed Grape Leaves….

…and Helva
————————————————————————-
The Gift of Julie’s Jezebel Sauce

Click Here For: Julie’s Jezebel Sauce

They make X-Cellent Edible Gifts
——————————————————————-

My Marinated Olives, Herbs and Cheeses, Congealed From the Refrigerator
I thought they looked beautiful just like this!

Here, Ready to go into the Fridge


(Recipe Down Below)

Ready to Give as Edible Gifts
——————————————————————–

Veronica’s Favorite, Sausage Balls

Although we have a few recipes for these on our website, we made these differently than we normally do.

———————————————————-
We also made SAGE Sausage Balls w/ Fresh SAGE


(Recipes Down Below)
————————————————————–

Kona Koffee, Kahlua, and Chocolate Liquor Kocktail

This is a favorite Kocktail of ours. It’s 3 parts Koffee, Kahlua, and Liquor.


Just mix into a pitcher and serve.
—————————————————————–
Marinating Cocktail Sausages

This is special for us, and an old favorite.

Simple ingredients of:
Cocktail Sausages, Orange, Lime, Sweet Black Soy Sauce, and, Sweet Chili Sauce

You Just Drain the Sausages and Place into a Bowl


Eyeball the Ingredients of Sweet Chili Sauce and Sweet Black Soy Sauce


Now, Add the Juice and Pulp of an Orange and a Lime

Place Into a Baggie to Marinate Overnight

Next Day…..


Place into oven safe baking dishes, into a 400F oven for about 30 to 45 minutes. Monitor the cooking progress so that the sausages don’t burn. You do want them to plump up, like so. Remove every 15 minutes or so to stir and distribute the sauces so that the sausages are always coated.
A Favorite With Everyone!
———————————————————————

Strawberry Jam and Sour Cream Loaf Cake
(My Recipe Title) 🙂

The Ingredients:
1 Cup Sour Cream (You can use Lite Sour Cream)
1 Cup Strawberry Jam (I used Sugar Free)
1 Cup Butter, Softened
1 1/2 Cups Sugar
4 Eggs
3 Cups Flour
1 t. Baking Soda
3/4 t. Cream of Tartar
1 t. Lemon Extract
1 t. Vanilla
1/2 Cup Pecans, Chopped
Powdered Sugar (For Dusting)
—————————————————————

Recipe Taken From: The Potluck Adventures of Mrs. Marmalade
This children’s recipe book was given to us by my Mother-In-Law, Sarajane Whann
It used to belong to her.
——————————————————–


Time To Get Started

The Recipe:
No Place Like Home
Essentially Strawberry Bread
—————————————————
I made this cake exactly as the recipe is written. It made 2 loaf cakes. I made the first batch using regular sour cream and sugar free strawberry jam. I made the next 2 cakes using the lite sour cream and sugar free strawberry jam. They both tasted delicious! So, if you are trying to cut back on the richness of this cake, the lite sour cream and sugar free strawberry jam do not take away any of the flavor.

1 1/2 Cups Granulated Sugar


Add To The 1 Cup of Softened Butter, and Cream Together in a Mixer

Time to add the 4 Eggs.
I did this one at a time and blended until each Egg is incorporated into the Sugar and Butter.


In a separate bowl mix together the Strawberry Jam and Sour Cream.


(I do wish that I had not blended this as much as I did.
I loved coming across the little blobs of jam in the cake.)


(Still incorporating those eggs.) 🙂

Now you want to mix all of the dry ingredients together.
But NOT the Powdered Sugar, that is for later.

Whisk the dry ingredients together in a separate bowl.
————————————————————-


Now We Have 3 Bowls of Ingredients to Blend Together.
First add some of the Strawberry Jam and Sour Cream to your Sugar/Butter/Egg mixture. Mix together thoroughly. Then add a scoop of the dry ingredients to the Sugar/Butter/Egg mixture. Mix together thoroughly. Then add some more of the Strawberry Jam and Sour Cream to the Sugar/Butter/Egg mixture. Mix together thoroughly. Then again, add the dry ingredients as well, a scoop at a time. Do this until all of the ingredients are mixed well in the mixer. Rotating one at a time.


Your Batter Should Look Like This
(A Pretty PINK)


Now It’s Time To Add Our Lemon Extract and Vanilla


Mix Together


Now Add The Pecans and Stir Together


Ready to Pour into the Loaf Pans
—————————————————————

Spray With a Cooking Oil Spray
(This one is for baking and it has flour in it.)
This Recipe Makes 2 Loaf Cakes

Place Into a Preheated 325F Oven for About an Hour.
(I would check it after 40 minutes just to make sure things are going well. If the cake is becoming too brown you may want to cover it with Aluminum Foil to prevent it from burning. Then check it every 5 minutes from thereon.)


When you can insert a toothpick or wooden skewer and it comes out clean, you know it’s done.
Set on wire racks to cool while in the pan first. Then, after about 15 – 20 minutes or so remove from the pans and set on the rack to continue to cool.

Let Sit on the Rack Until Totally Cool
——————————————————————-


This is Truly Delicious!


This is a Beautiful Gift given just as it is! 🙂
—————————————————————————

This is the second batch of 2 that I made using the lite Sour Cream and the Sugar Free Strawberry Jam.


I Followed the Recipe Same as Above


I Did Add More Nuts to This Batch 🙂

Bake Same as Above, Decorate However You Like
A Sprinkling of Powdered Sugar Looks Nice
———————————————————————-

Remember The Beautiful Honey and Nuts from Above?
They Work Great on a Charcuterie Board
Our Holiday Charcuterie Board
We have a baked Brie with our very own Honey and Walnut Topping.

Click Here For: Santa’s Elves Kitchen Favorites
—————————————————————–
We also have Green Grapes, Cranberry-Walnut Bread, Whole Wheat Rustic Bread, Black Garlic, Whole Grain Milton Crackers, Turkey Hickory Farms Sausage, Sweet Lebanon Bologna, Cracker Barrel Sweet Smoked Ham, Prosciutto Bacon, Mustard, Cashew Nuts, Dates, Dried Figs, Montavio Festivo Cheese, Black and White Sesame Seeded Crackers, and Rice Crackers with Sesame and Nuts, also our Marinated Olives, Herbs and Cheeses.
A Beautiful and Tasty Charcuterie Board
————————————————————–


Black Garlic

This Black Garlic is so Sweet! It’s fermented. You simply peel off the skin and it is ready to eat. Perfect for a Charcuterie Board. It spreads nicely onto a piece of bread or a cracker, or eaten with a cheese.
——————————————————————————-


Baking Brie is Really Easy
You of course need a pan that can go into the oven. This is a non-stick pan we are using. Gordon simply removed the brie from it’s wrappings and placed it into this skillet.


This is a 400F oven for about 25 minutes.
He covered it with a pie pan so as not to brown it.


When the inside of the Brie is all jiggly, then it is done.


Turn Out Onto A Plate, Top With Something Sweet
Here, we are using our Honey Walnut Topping from Above
———————————————————————


Slicing Some of These Delicious Breads

Placing Onto a Baking Sheet to Brown a Bit

We Love These Milton’s Crackers
(Gordon’s dad’s name is Milton.) 🙂
——————————————————————-


The Meats For Our Charcuterie Board
Cracker Barrel Sweet Smoked Ham
Sweet Lebanon Bologna
Pancetta Bacon
—————————————————————–


Here Gordon is Rolling Them into Cigars


Regular Lebanon Bologna and our Hickory Farms Turkey Sausage

Montasio Festivo
A very mild cheese. This would be great on a grilled cheese sandwich with the cranberry-walnut bread and some of the great meats we have here. Just a suggestion on ways to eat the leftovers.
—————————————————————————————
Creating My Marinated Olives, Herbs, Cheese, etc.
I started this out by roasting some Garlic Cloves in Roasted Garlic Olive Oil.


Turn the oven on 400F and place a few Garlic Cloves into a dish with some of the Garlic Olive Oil. Cover with foil and bake for a good 35 minutes. Stirring every 15 minutes or so. I don’t want this to brown as much as I normally do because it is going into the jars of olives and cheeses.

Like so…..
This is where creativity comes into play.
You can make this to be whatever you want it to be.
We have:
Sweet Cherry Peppers
Banana Pepper Rings
Various Olives of Mediterranean, Green, Greek, Pimiento Stuffed, etc.
———————————————————

We also have Bay Leaves, Lemons, White Peppercorns,
Pink Peppercorns, and our secret weapon Buddah’s Hand. (You’ll see.)
————————————————————-

Time to Drain the Liquids From These Jars


Like so….

Place Into a Mixing Bowl


Now Add the Peppercorns and Lemon Zest

Cut the Feta Into Chunks


Now We Start To Fill Our Jars

Here is Our Buddah’s Hand
To those that don’t know. This is a funky lemon. 🙂


I started filling the jars with everything that you see above and also placed some herbs in there as well. Basil, Thyme, and Rosemary. Also, Bay Leaves.
They Look Very Beautiful and Festive, Don’t They?
Time To Either Give As Gifts, Or Refrigerate
This is How Beautiful They Look Refrigerated

Perfect on a Charcuterie Board
—————————————————————————–
Sausage Balls

New Sausage Balls, and Cheddar Biscuits

These are truly excellent and you can follow the package directions on your own. They make an excellent addition to any holiday table.
————————————————————–
Our NEW Sausage Balls
This was an experiment that actually turned out pretty good.


Ingredients:
3, 1 LB. Jimmy Dean Sausage (Any Flavor)
6 Cups Bisquick (The stores were sold out of boxed Bisquick so we found these packets that we used as well.)
3-4 Cups Grated Sharp Cheddar Cheese
1/2 t. Freshly Ground Black Pepper
1/2 t. Red Pepper Flakes
1 t. Black Garlic Powder
1 t. Sazon Completa
1 t. Roasted Garlic Powder
—————————————————————


You just need a large mixing bowl for this.
Remove the sausage from it’s casings and place into a bowl.

—————————————————————-


Now Add All of the Bisquick

———————————————————————-


—————————————————————

————————————————————————-


Now It’s Time To Add The Freshly Ground Black Pepper


Red Pepper Flakes, Ground Black Pepper


Sazon Completa, Ground Roasted Garlic


Mix Together By Hand…..

——————————————————————-


Now, Grate All of Your Sharp Cheddar Cheese…


Add To The Bowl and Mix Together
—————————————————————


You want to roll the sausage mixture into balls and place onto a foil lined baking sheet. Space them an inch or so apart. They do not rise that much.
Preheat Your Oven to 350F

Bake For About 15-20 Minutes

More Sausage Balls Ready For The Oven

When Done…..
———————————————————————-

The Cheddar Biscuits, DONE! 🙂
——————————————————————-
SAGE Sausage Balls with Fresh SAGE

These are now Gordon’s X-Tra favorites.
I still prefer the traditional ones, Veronica too, but, I do have to say these were really good.

Here Gordon used Hot and Sage Sausage in place of regular sausage. He also used Italian Cheeses in place of our traditional Sharp Cheddar. It was my idea to add the Fresh Sage to enhance the flavor of the Sage Sausage.


2, 1 LB. Jimmy Dean Sausage (Sage and Hot)
4 Cups Bisquick
2 Cups Grated Cheeses
(We used Mozzarella, Asiago, and an Italian Blend)
1 t. Freshly Ground Black Pepper
———————————————————


Chopping The Sage
Gordon used about 2-3 Tablespoons


Add All Ingredients to a Large Mixing Bowl


Mix Everything Together with your Hands

Like so….


Roll into small balls and place onto a baking sheet.
Bake in a 350F Oven for about 20-25 minutes.

Allow To Cool

Store in either a Tupperware container or a plastic baggie and keep in the refrigerator until every single one has been eaten. 🙂
——————————————————-
Have an X-Tra Special X-Mas Day!
Julie and Gordon
XXXOOO

Merry Christmas Welcome This 2020 year we have gone through renovations in our kitchen and living room. It was something of a holiday inconvenience but we got through it pretty good. One thing that we wanted to make, and …

Mele Kalikimaka, 2020 me ka Hou’oli Makahiki Hou! ———————————————– Our Tropical Hawaiian Cranberry Sauce Canning and Christmas While Undergoing Home Renovations We Still Managed to Have a Nice Kalikimaka All of my Poi Balls (I made them myself 23 years ago …

Spicy Hot Mexican Cranberries

Regalos Comestibles
(Edible Gifts)

We made a similar Cranberry Sauce last year for our Feliz Navidad.
Click Here For: Feliz Navidad a Casa Whann
You can find the recipe for our 2019 Cranberries on that post.

Our Spicy Hot Mexican Navidad Cranberries From 2019
You can also find many other Navidad recipes there as well.
—————————————————————–


Deliciosa!

Tamale With our Spicy Hot Cranberries
————————————————————–

Our Spicy Hot Cranberries with our Grilled Turkey Legs

Feliz Navidad,
Julie and Gordon Whann
———————————————————————
Our Kitchen Is:
EN CONSTRUCCION

But that did not stop us from creating this excellent addition to any fiesta table.

We doubled the recipe as some pictures may show a larger quantity of ingredients.
The recipe below will make ~9 pints of Spicy Hot Mexican Cranberry Sauce.
Ingredients:
7 Bags of fresh cranberries – rinsed well
3 Poblano Peppers – diced
4 Cups water
Zest and Juice of 3 Limes
1/2 Cone of Piloncillo Brown Sugar
1 Tbsp. Sea Salt
1/2 cube of Guava Paste
3/4 Cup Turbinado Sugar
2 1/2 Cups White Sugar
1 Habanero Pepper
1/2 Tbsp. Ground Cinnamon
2 Whole Medium Sized Cinnamon Sticks
3 Tbsp. Hot Sauce (We used Iguana Habanero Pepper Sauce)
We also placed a whole Habanero in each pint jar of our Spicy Hot Mexican Cranberries.
——————————————————–


Pictured are the ingredients we used… just not the quantity seen.
————————————————————

Wash your jars well!
Because we are going through home renovations at this writing, we are no dishwasher and we are having to use the laundry room sink as a kitchen sink. So, in order to sterilize the jars I, Julie am washing them in warm soapy water and then Gordon is placing them into hot water to boil so that we can sterilize them that way.


Using boiling hot water, sterilize the jars. I let the jars sit in the boiling water for a good 5 min.
(Otherwise you can just put them through a sterilize cycle in your dishwasher.)

Rinse Your Cranberries
I also looked them over and discarded any that were soft.

The things we do during a pandemic combined with home renovations!
———————————————————


Here you can see we doubled the recipe using two large pots. As the cranberries cook, they will pop and reduce in size by around half. Do not turn on the heat just yet!


Slice your Poblano Peppers in half, then in dice sized pieces and remove the seeds if you want, but we used them in the recipe to obtain/extract their heat. It also makes the cranberry sauce look authentic.

————————————————————–


Add the diced Poblano Peppers and some seeds to the pot of cranberries.

Red and Green
—————————————————————-

Add 4 cups of water to the pot and turn your pot onto medium heat.


Here is the Guava Paste we used.


Place half of the Guava Paste into the pot.


Pictured is the Brown Sugar we used. As you can see we used half in each pot.


Add 2 medium sized cinnamon sticks.

Sea Salt


Now, add your Sea Salt to the pot.

Then zest your limes…

Look How Beautiful!


now slice the limes in half,

and squeeze the juice into the pot.
——————————————————–


Mix the cranberries and other ingredients well. You will see them start to bubble away.


Then add your Turbinado Sugar to the pot.


Now, add your white sugar to the pot.
As you can see, we like using different sweeteners as they provide a more complex flavor.

Now, add your hot sauce to the mix.
Be sure to taste it so you can adjust the heat of the cranberry sauce. We liked this particular sauce as it gave a nice flavor in addition to the heat that we wanted. Some sauces that we tested were just heat not no flavor.

Be careful with the Habanero’s as they are very hot and their oils will stay on your fingers for ~24 hours, so DO NOT Touch your face or eyes. Just use gloves and you won’t have to worry about them.


Here we diced the Habanero and placed it into a garlic press to quickly mince the Habanero.


Add the Habanero in stages, tasting as you go, mixing the cranberries well before each taste. We also let some time pass as the Habanero’s hot oil will spread throughout the sauce. Once the cranberry sauce is at this stage where most all the cranberries have popped, turn down the heat to a simmer, so as not to burn your ingredients.

We ended up using 1 whole Habanero in this pot of cranberry sauce.
——————————————————-


We used our grill’s side burner to heat up the water to use to process the jars, since our oven’s burners were being used to make the cranberry sauce.
——————————————————


Here you can see that we doubled the recipe. Once the cranberries were cooked down, we combined the pots ingredients in order to make room on our stove top.

————————————————————-


Here, I am set up to can the jars of cranberry sauce.

We place a whole Habanero in each pint jar to add to the sauce’s heat. We did remove the stem first by cutting it off with scissors. We did not want to pierce the pepper.
—————————————————————–

Use a large funnel and ladle your sauce up to the fill level marked on the jar.


You can’t fill the jar all the way up as it needs air space to create the vacuum which seals the jar. The space in canning terms is called Head Space.

Now that your jars are filled to the proper height…


using a dampened clean paper towel wipe down the top of the jar until clean. This is easily done as the excess sauce will turn the towel red. The jars need to be clean so the lid will seal properly.

I have my lids soaking in just under boiling water to loosen up the rubber seal. If the water is too hot, you could ruin the seal under the lid.


Using a special magnetized tool, remove a lid and carefully place it on top of the clean jar. Screw a ring on top of the jar to just barely tight. Too tight will not allow the air to escape during the canning process creating a vacuum.

Place your sealed jars into the water and bring to a boil, being sure the jars are submerged. You should see air leaking out of the jars creating a vacuum seal. If not, you may want to carefully loosen the ring and place the jar back into the boiling water.

Boil/Process the jars for 15 minutes.


Remove the jars when done and place on a towel to absorb the excess water. Be careful as any cold water left on a surface will shatter these super heated jars. I once placed the jars on a cutting board after processing them and the water from a jar cooled slightly and ran over the board. I placed a jar on the wet surface and it immediately shattered on me.

As you remove the jars from the boiling water, you should begin to hear the jars lids pop and move down. This is the vacuum being created using the Head Space you made, sealing the jars. This may take some time with the jars as they are not the same. Give it at least 20 minutes. If after 20 minutes the jar hasn’t sealed, remove the ring and discard the lid. Check the Head Space of the jar to ensure you are right on the line and add or remove and sauce if needed. Next, wipe down the jars top surface to ensure there is no debris in the way of the jar’s lid which would prevent a seal. Now, place and new lid on the jar, add the ring to just snug and place the jar back into the pot of boiling water, being sure it is submerged. Process/Boil the jar for another 15 minutes. Hopefully this time the jar will seal. I usually count the pops as I make each batch.
We both hope you and yours will enjoy our Spicy Hot Mexican Cranberry Sauce!
——————————————————————-
Pulled Pork Nachos for Dinner
(Nachos Con Puerco Desilachado)

We never miss an opportunity to eat Mexican foods as it is one of our favorites. Gordon purchased a lot of pulled pork from the Latin Supermarket and we used it on our nachos many nights before it was gone. 🙂


Tortilla Chips, Refried Beans, Pulled Pork, Queso Cheese, Tomatoes, Black Beans, Chili Powder, Taco Seasoning….
——————————————————————-

We can’t seem to stop eating our Pulled Pork Nachos. 🙂
——————————————————————-
If you would like to view our other Mexican blog posts:
Click Here For: Julie Whann Way Mexicana Si!
AND,
Click Here For: Julie Whann Way Mexicana Dos
And,
Click Here For: Julie Whann Way Mexicana Tres
And,
Julie and Gordon Whann Way Mexicana Cuatro
AND,
Uno, Dos, Tres, Cuatro, Mexicana Cinco!
AND,
AND,
Click Here for our: Dia De Los Muertos
And,
Our Mexican Inspired Thanksgiving Roasted Chicken and Vegetables
AND,
Our Mexicana Thanksgiving Dishes
AND,
AND,
Adios Amigo!
Gracias,
Julie and Gordon

THANKSGRILLIN’ 2020 Welcome to our Home Renovations Thanksgiving A.K.A. Our Thanksgiving During our Home Renovations With our kitchen under construction, it fell to the outside grill to deliver us our turkey from evil. (Or something to that affect.) Check …

Welcome to the Recipe for Julie’s Chicken Knot Pies


Ready to go into the Oven
I have always loved Turkey Pot pies and actually grew up eating quite a few of them. My mother wasn’t much of a cook, and she would say that with pride. Oh, she had a few dishes that were favorites of ours that she could cook quite well. But, overall cooking really wasn’t her thing. Cutting corners, saving time, saving money, were more her thing. As she would say to me, “My time is worth something.”
So, when you grow up not really being exposed to a lot of home cooking then frozen T.V. dinner’s were delicious. One of my favorite dinner’s was this Banquet Turkey Pie. I think they cost around .99 cents each back in the day and there were always a few in our freezer for me to heat up in the oven to have for dinner.
Retro Memory

Turkey Pot Pie
It really wasn’t until my late 20’s when we were living in Hawaii that some friend of mine gave me her recipe for a Chicken Pot Pie. I then made it, and it was nothing grand at all, but I realized how much better it tasted than my retro frozen Turkey Pot Pies that I used to love so much. Just because it had fresher ingredients.
Through the years I would come across a few Chicken Pot Pie recipes here and there, and I would make them every now and then. A lot of them were always similar in ingredients. Which was fine as they always tasted nice. However, when it came to creating my own Chicken Pot Pies I wanted to do some things differently.
For example, I came across these Garlic Knots online while we were doing our Covid 19 shopping and delivery and I wanted to try them. They are so good that I then wondered what we could do with them in our own cooking? And that is when the Chicken Knot Pie recipe was born inside my head.
I am always looking for short cuts where baking is concerned because I’m not very good at it. Also, it just seems to be so much trouble making dough from scratch and all the effort that goes into it. For me, doing that kind of baking is something that I have to really be in the mood to do. Usually around the holidays, or something like that.
But, I promise you that nothing is long and elaborate here. Nothing complicated. No taste was sacrificed in order to make it more convenient. I promise you! You’ll see.
Julie
———————————————————————

If I was going to recreate a Pot Pie Memory then I was going to get out the Vintage Pot Holders.
—————————————————————————
Julie’s Chicken Knot Pies


Get out your Pie Plates and let’s start with the Top and the Bottom of these Pies.
The Top being my Hot Mama Bread Knots, and the Bottom being the frozen Pie Crusts.
Thawed!
First, let’s spray the Pie Plates with a Butter or Vegetable Cooking Spray


For this project I bought a few frozen pie crusts that came together.
I thawed them out from the freezer and when they were pliable, I placed them into my pie plates, like so. This way, I don’t have to make some pie crust from scratch. I just spread out the pie crust along the pie plates.

I turned the oven on 350F and then placed both pie plates with the thawed crusts in them, in order for them to cook up a little bit.
About 8 minutes. I don’t like a doughy crust so I wanted to bake the crust just a little bit first.
So, while that is baking……
…….time to start the pies!

Ingredients:
(This recipe made 2 1/2 Pies. 2 regular pie plates, and 1 small one.)
Frozen Pie Crusts- I bought a package of them.
3 Boxes Hot Mama Bread Knots
1 Stick of Butter (1/2 Cup)
2 Cups Chopped Onion
3 Cups Chopped Carrots
4 Cups Chopped Red Potatoes
1 Elephant Ear Garlic Clove, Minced (Or 3 Regular Garlic Cloves, Minced)
Salt and Freshly Ground Black Pepper (About 1 teaspoon each)
2 teaspoons dried Thyme
2 teaspoons dried Rosemary
2 Tablespoons Fresh Sage, Chiffonade, Chopped
(Also, save some fresh Sage to top your pies with.)
3/4 Cup All Purpose Flour
Chicken Stock/Broth 1 Container = 1 Quart
1 Cup Heavy Cream
The Meat of a small Rotisserie Chicken
1 1/2 Cups Frozen Peas
———————————————————————
Although I don’t have a photo of all the chopping, I used a crinkle cut tool to make these great cuts of the Potatoes and Carrots.


In the bowl are my chopped Onions, Carrots, and Red Potatoes.


Note the Rotisserie Chicken at photo left.
I sat that out so that it could come to room temperature before I started removing the meat.

This is the Crinkle Cut Tool that I used.

I talk about above how I placed the pie crusts in the oven for about 8 minutes. I however failed to tell you that you need to use a fork to poke holes in the crust so that it doesn’t bubble up. (I forgot to do it myself.)
————————————————————-


Now It’s Time To Melt My Stick of Butter in a Saucepan on Medium Heat
Then Add My Chopped Onions, Carrots and Red Potatoes
———————————————————————–


Now It’s Time to Mince our Elephant Ear Garlic Clove, or 2-3 Regular Garlic Cloves

We sauteed these vegetables in this saucepan for a good 30 minutes stirring occasionally on a medium-high heat. It took a while for the potatoes and carrots to soften. But, while they were softening we did add the salt and freshly ground black pepper.


——————————————————————


Once the Vegetables Started to Soften I Added the Minced Elephant Ear Garlic
————————————————————-

Dried Rosemary and Dried Thyme


Before I Add The Herbs, I Added the All Purpose Flour to our Already Cooked Vegetables
(This will thicken the mixture.)


Now It’s Time to Add our Dried, and Fresh Herbs

This is our Freshly Chopped Sage
—————————————————————————-
Now We Have Our Stove Top on Medium Heat


Time To Add Our Chicken Stock

The Frozen Peas Have Been Thawing And The Rotisserie Chicken Has Been Chopped


With the Chicken Stock and Vegetables Coming to a Boil, Add the Heavy Whipping Cream


The Skillet Mixture is Thickening

Look How Beautiful!


Once it Thickens up a bit, Time to Add the Chopped Rotisserie Chicken and the Frozen Peas


Combine and Stir Until Thickened
—————————————————————


Once your beautiful and delicious mixture has thickened, it’s time to ladle it into each pie plate.


Once you have done that then place in your thawed bread knots on top.


Cram as many on top as you like.

Place each pie plate on a cookie sheet and then place into a 400F oven.


———————————————————————


I covered each pie with aluminum foil.
Here Gordon is placing them into the oven for me.

We Baked These For About 35 Minutes.
(Each oven is different. Use your own judgement.)


After about 35 minutes I removed the foil and placed them back into the oven for an additional 10 – 15 minutes to brown the tops.

———————————————————————

Fresh Out of the Oven
———————————————————————
Our 1/2 Pie Left


There was just enough left to make this final small pie.


Beautiful and Delicious
—————————————————————

Julie’s Chicken Knot Pies 🙂
Dot With Some Fresh Sage Leaves (From our Garden)

Julie’s Blackberry Pies ——————————————————————– Served with Kool-Whip mixed with Blackberry Jam and Topped with Blackberries Perhaps Eaten with The Cranky Bastard Blackberry Wine ———————————————————— When I think of a pie, Mother Goose always comes to mind: Sing a Song of …

Happy Thanksgiving or Feliz dia de Accion de Gracias My Corn Husk Dolls Our Mexican Inspired Roasted Chicken and Vegetables Because it was just going to be the two of us, Gordon and Myself for Thanksgiving this …

‘Tis The Season….
…For Making Delicious Edible Gifts
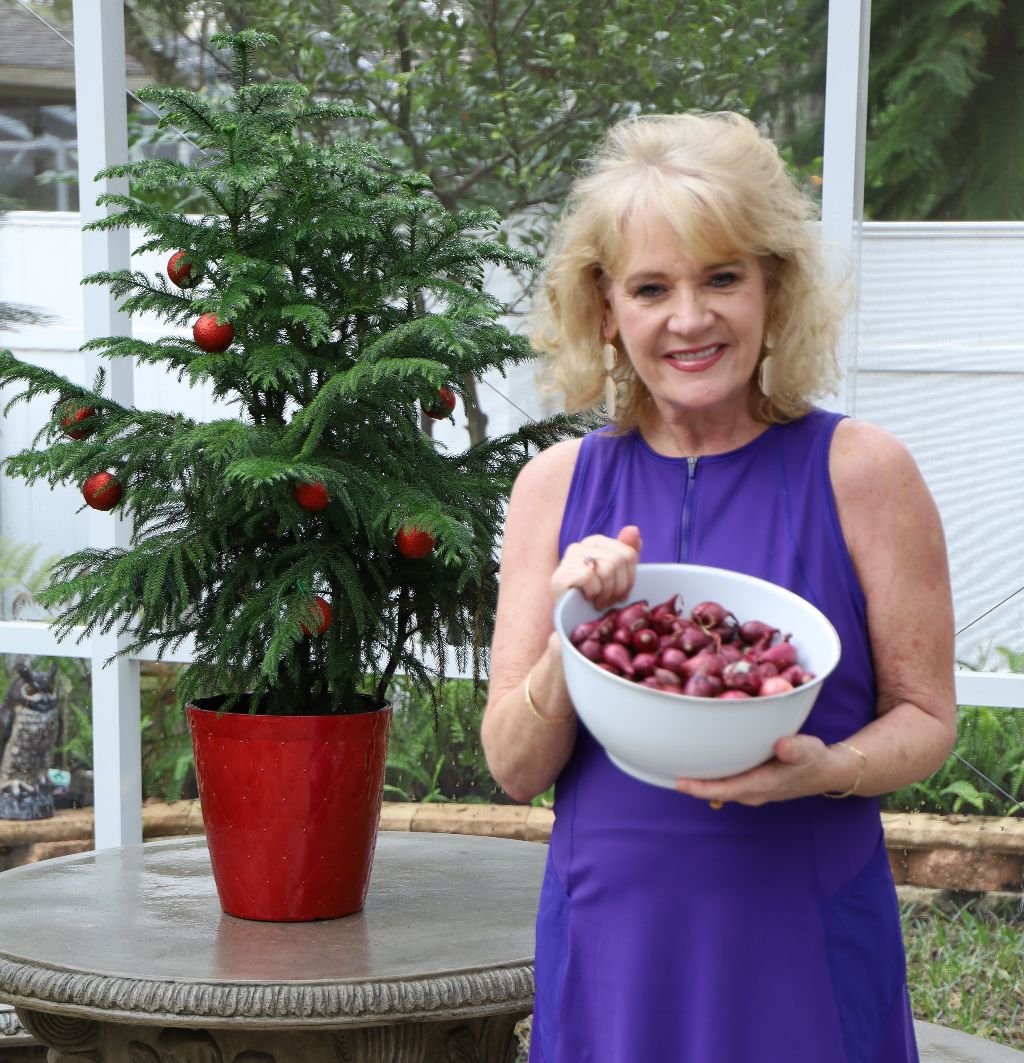
Julie with Red Pearl Onions
How About Pickling Some Purple Pearls?
Actually, they are known as Red Pearl Onions, they just look Purple to me.

I think they are beautiful.
Who wouldn’t be happy to receive such a nice edible gift?
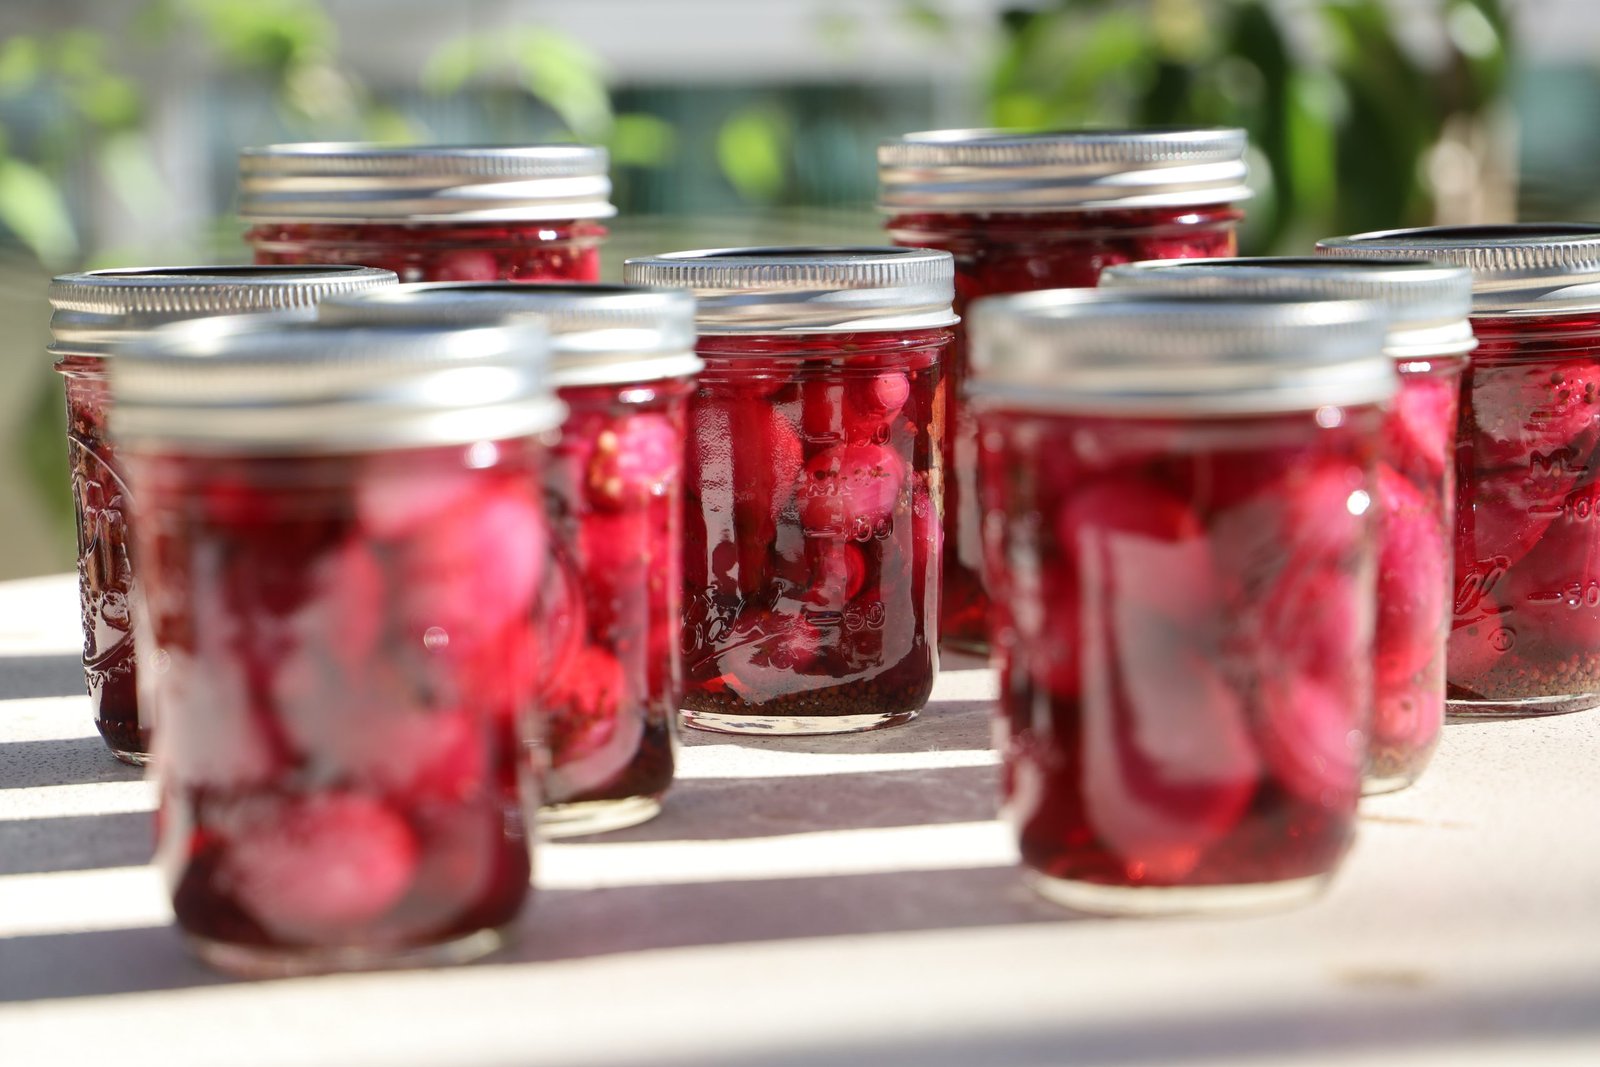
You eat them however you like.
We enjoy them with sandwiches or any time you would eat a pickle.
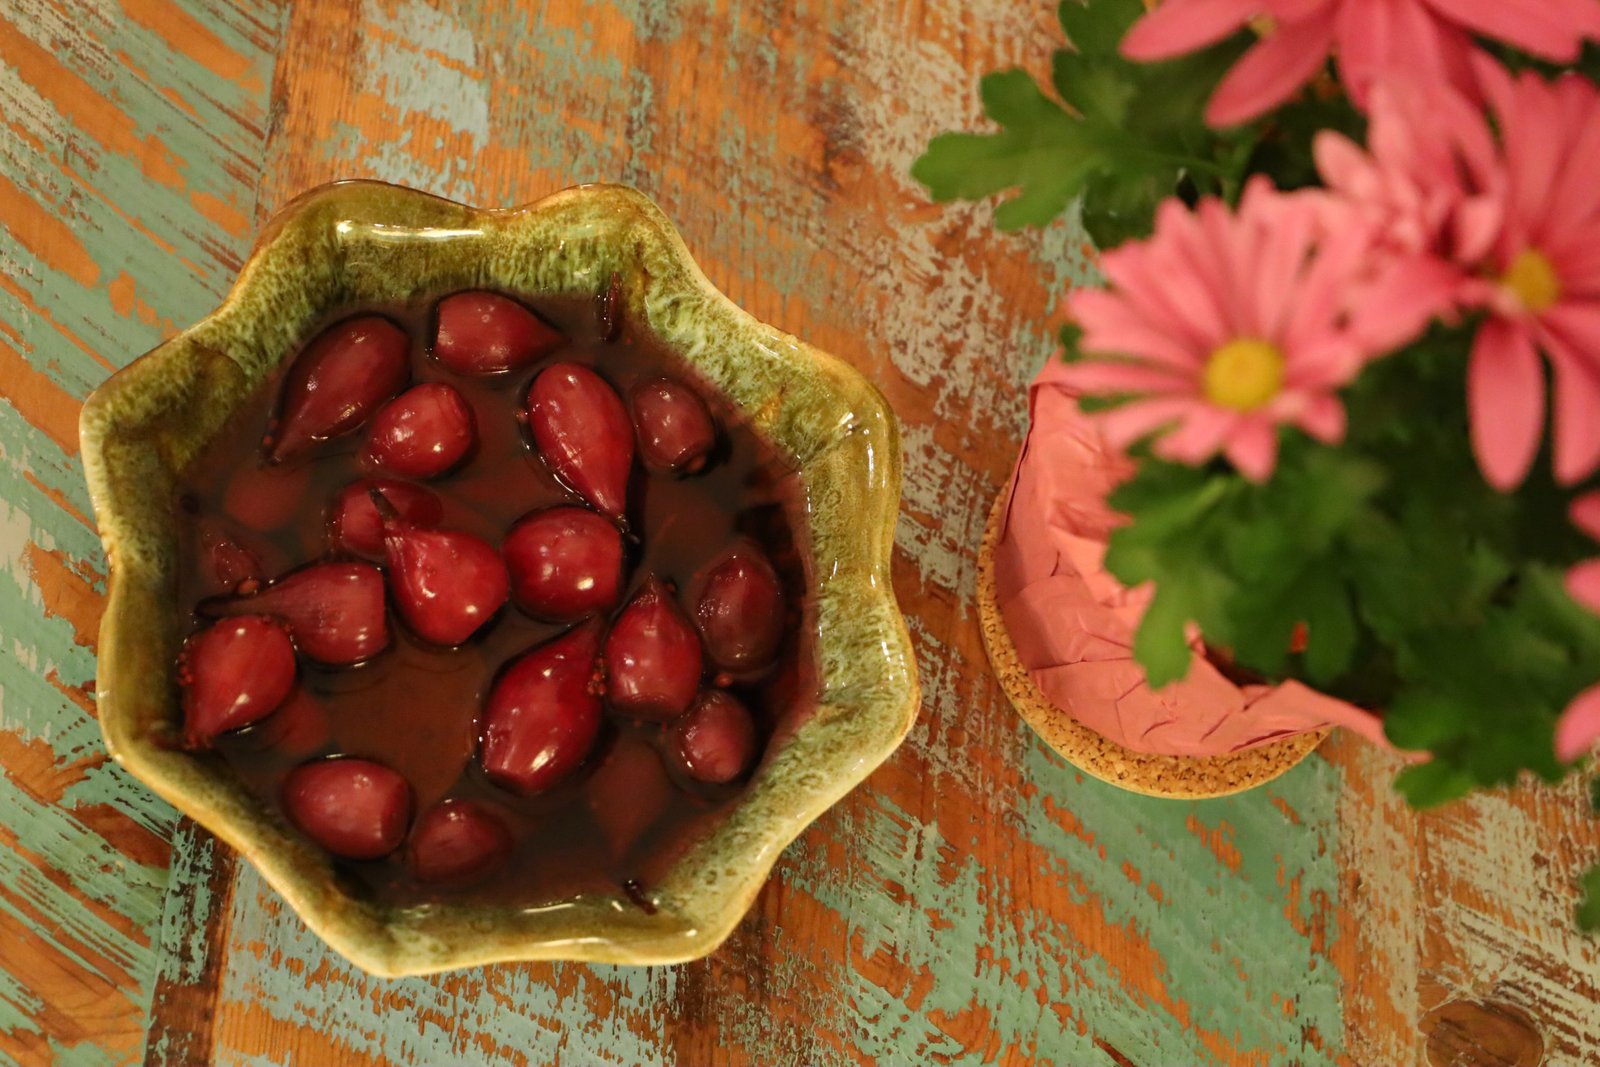
————————————————————-
Also Check Out Our:

AND,
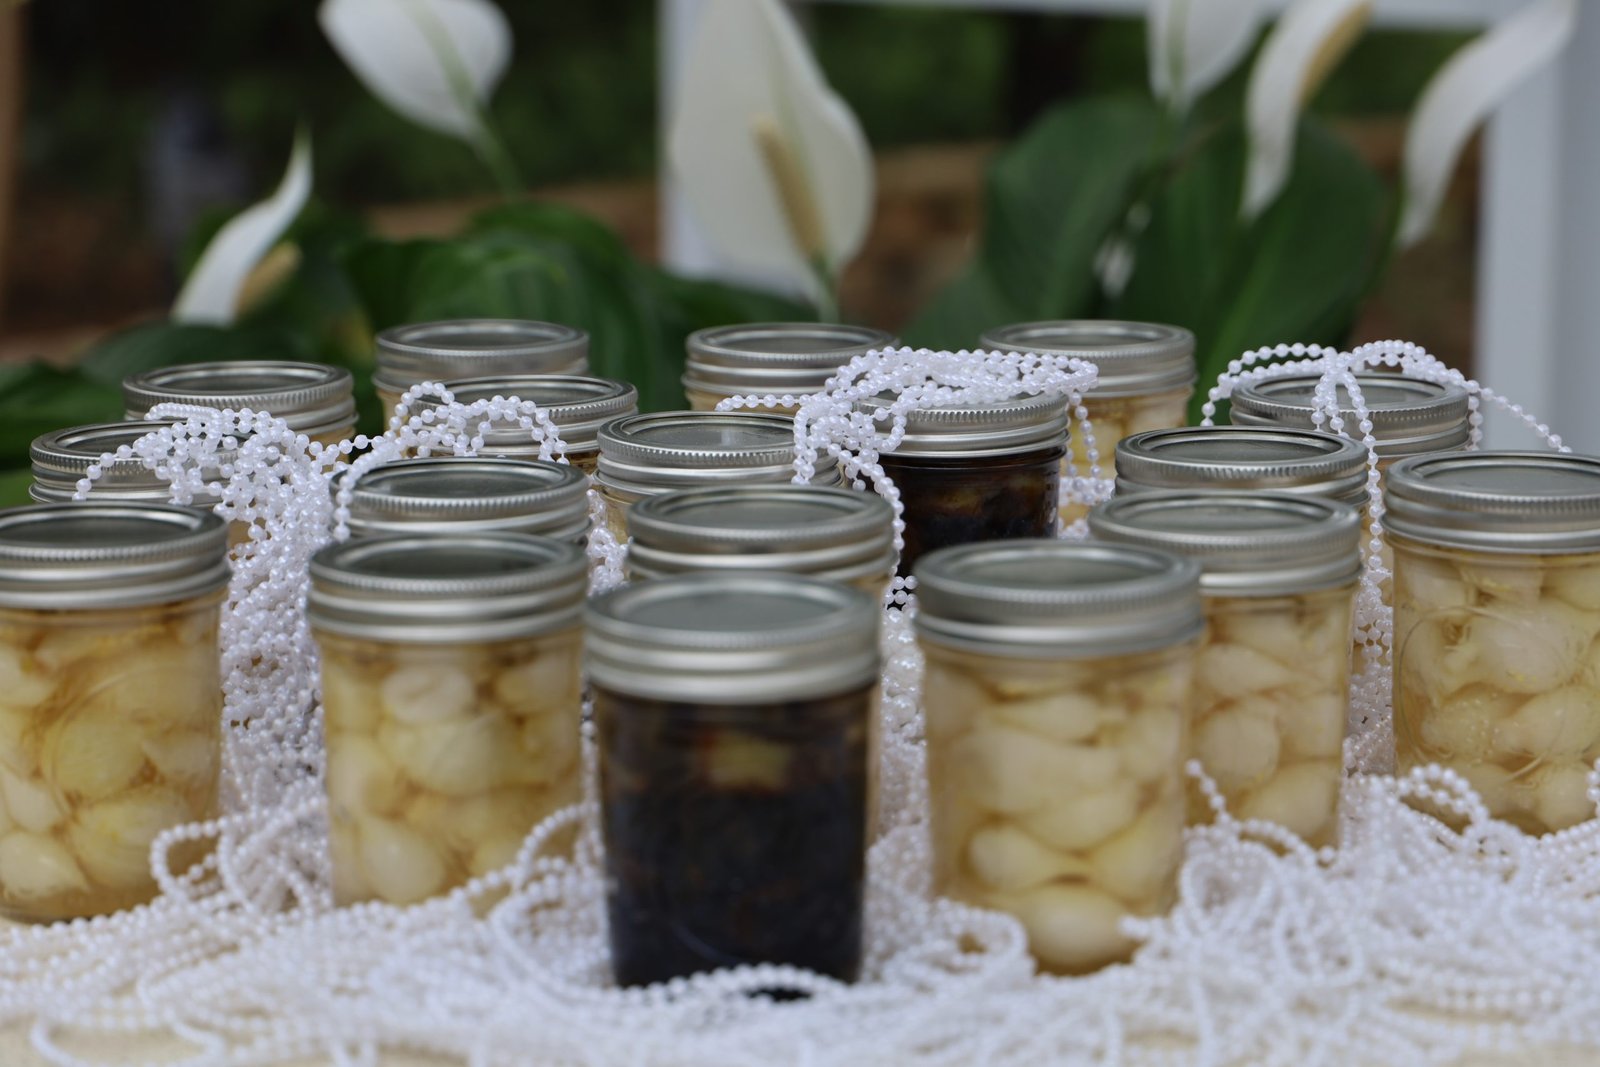
————————————————————–
How To Pickle Purple Pearl Onions
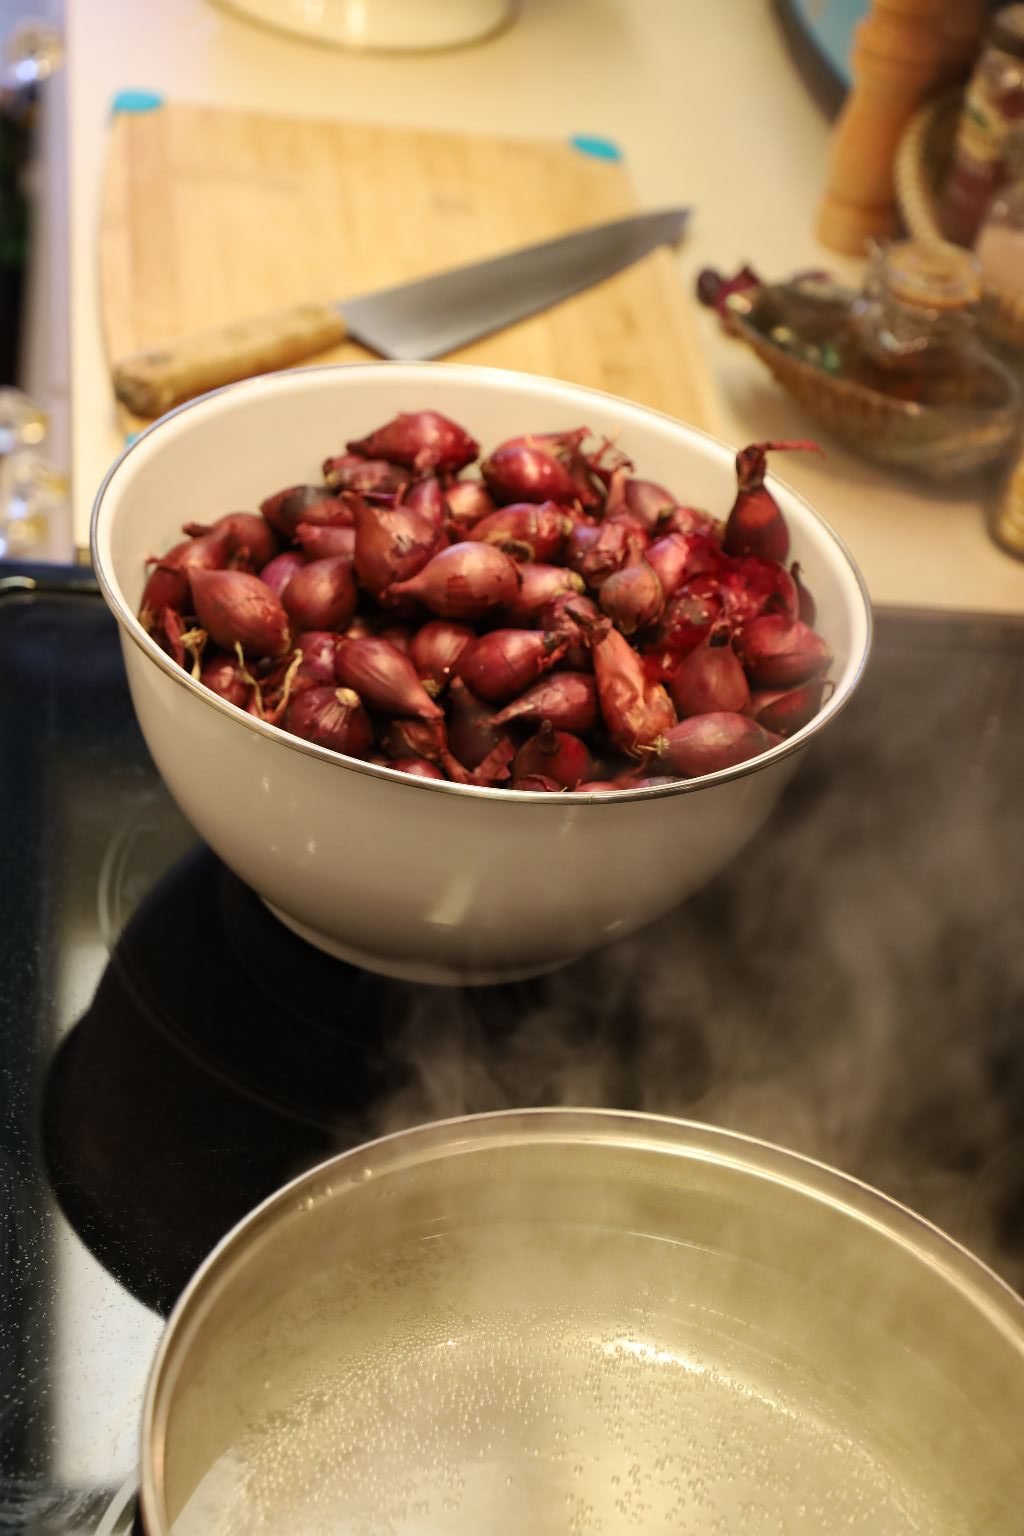
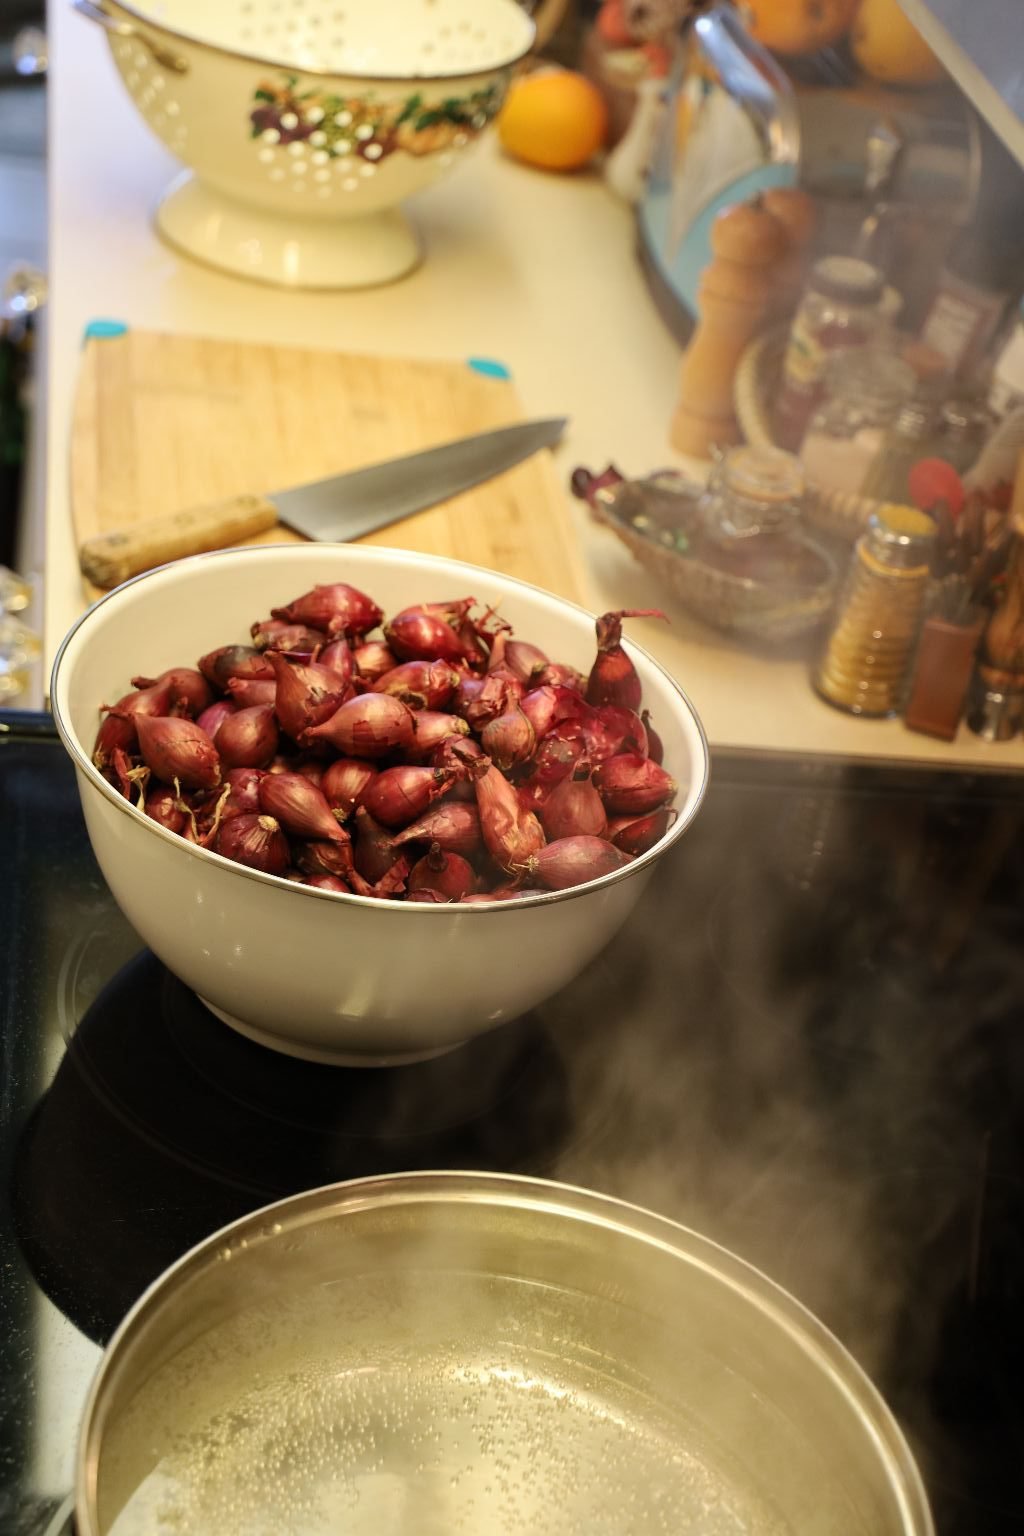
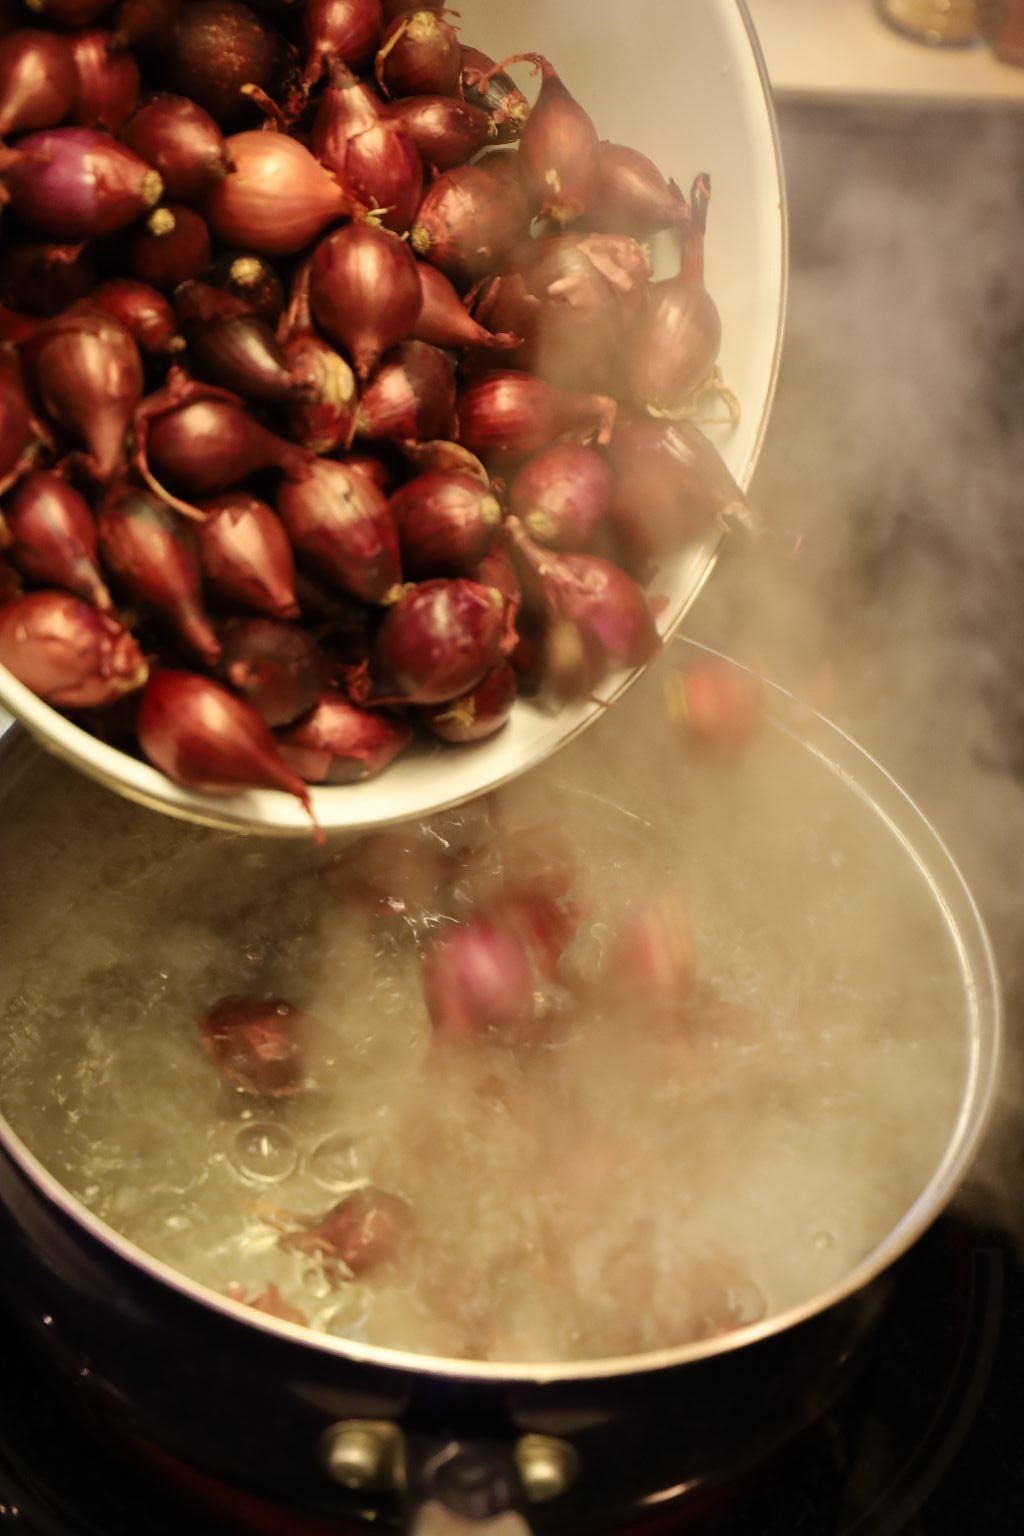
Begin this recipe by placing your pearl onions into a large pot of boiling water for about 1 minute. Doing this will make their dry outer skin, which is basically inedible, soft and easily removed. You may need to do this in large batches.
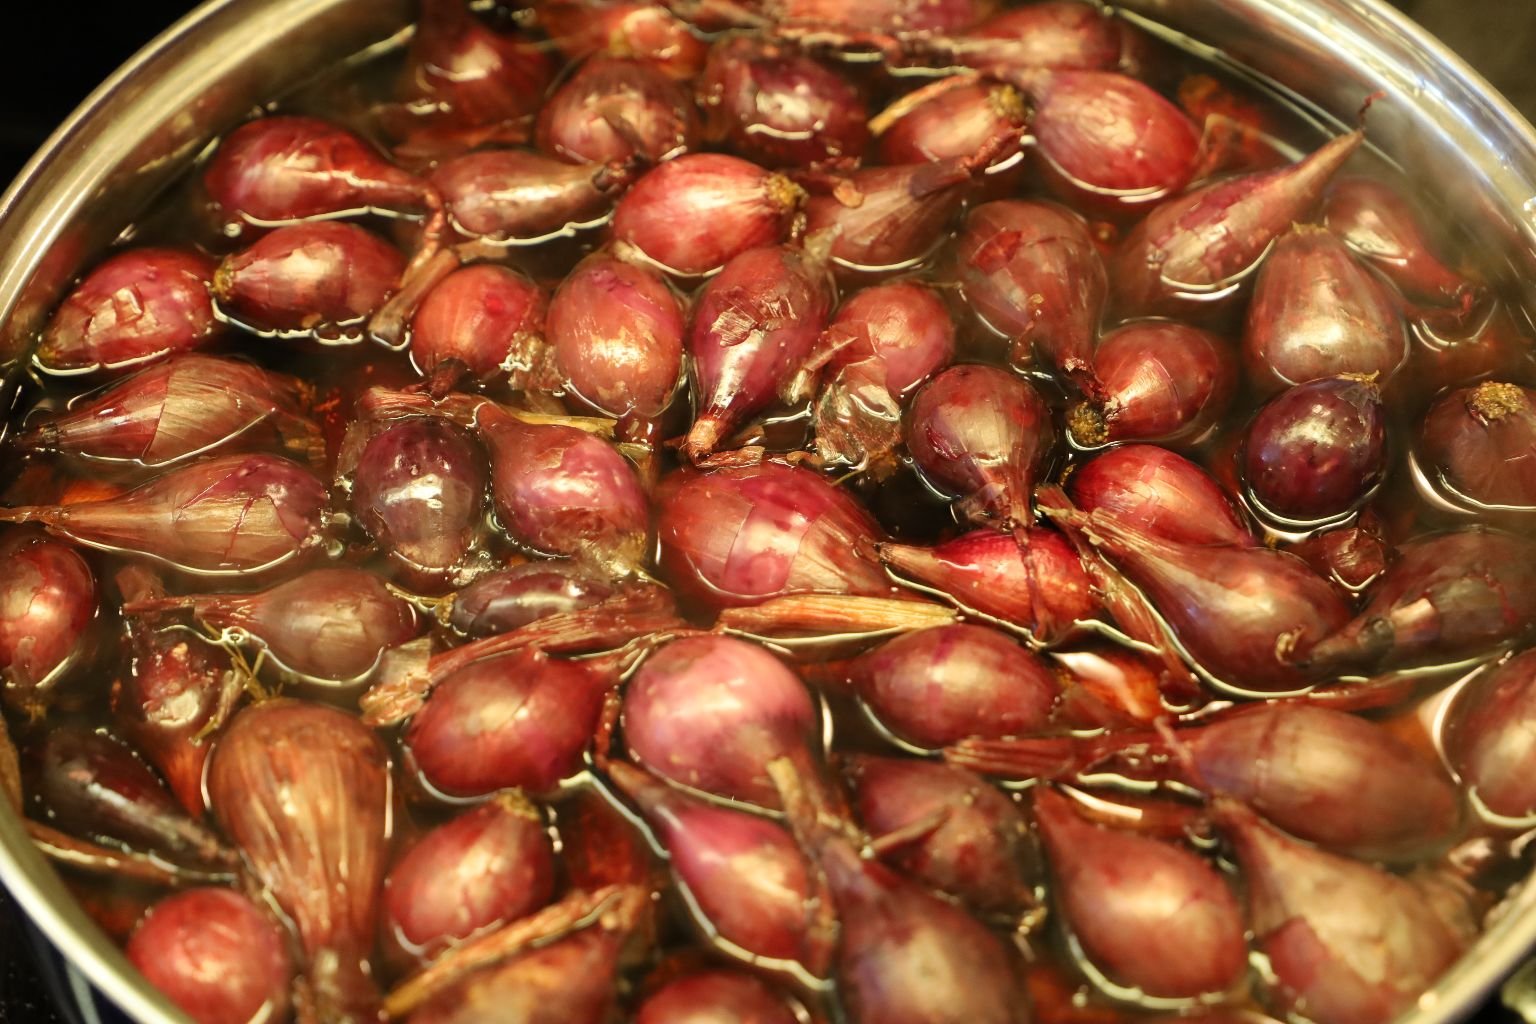
Be sure to stir your onions as they boil.
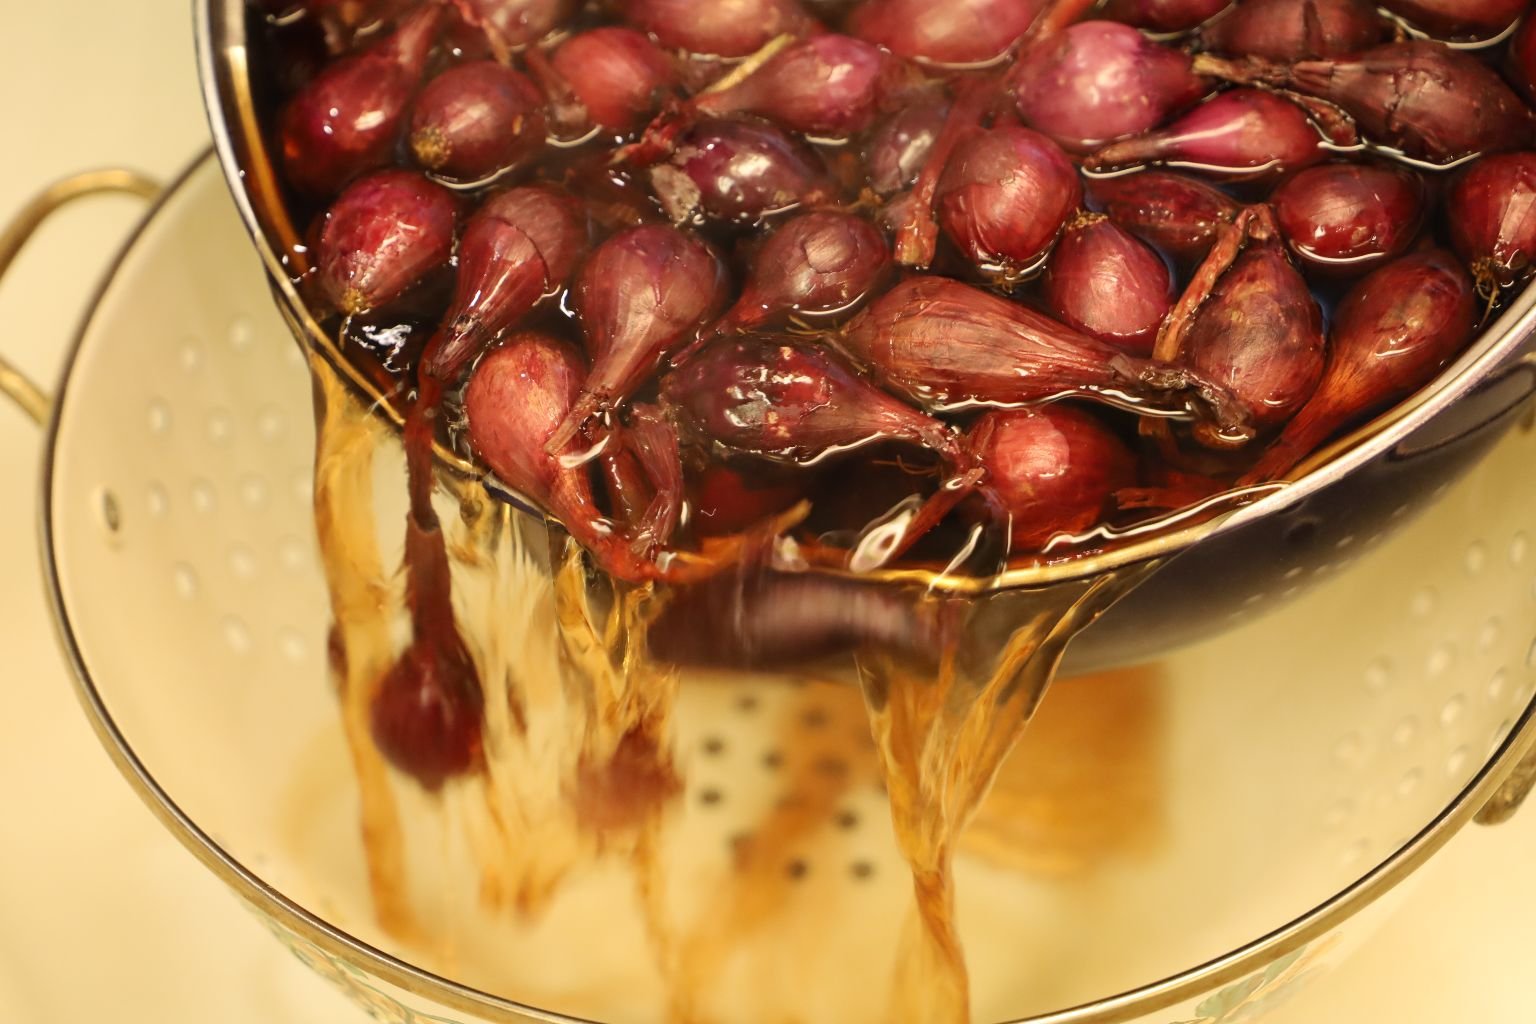
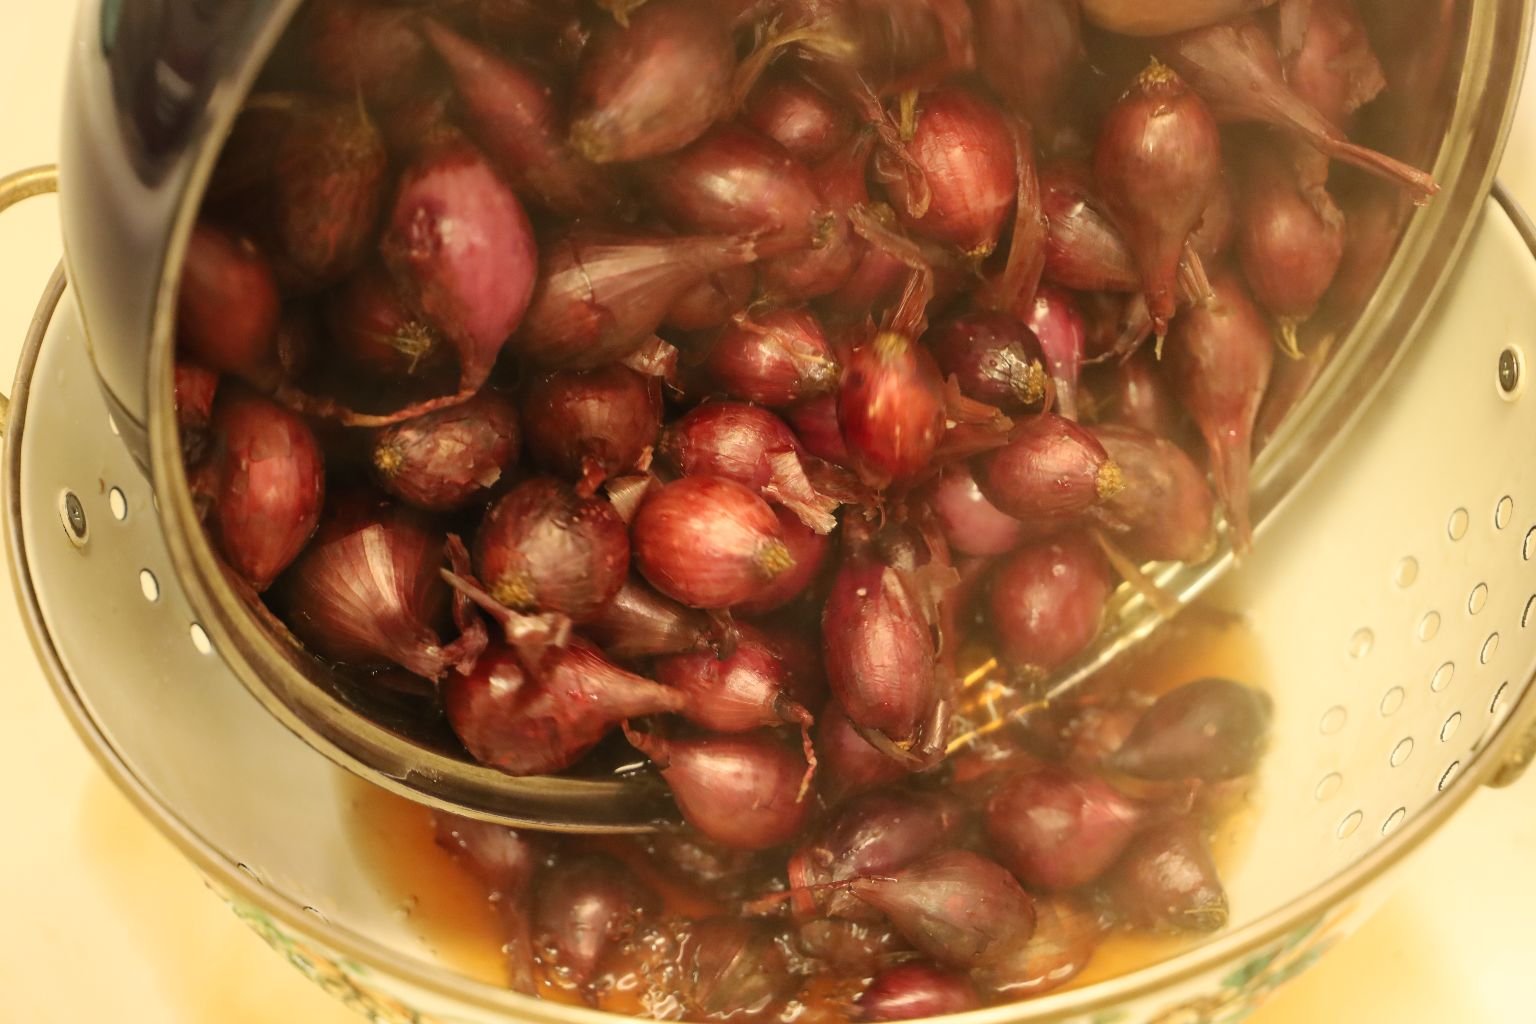
When the minute is done, pour the onions into a large colander.
Rinse the onions with cold water to stop the cooking process.
To remove the outer onion skins, simply pinch the onions at the root end, pulling back the outer skin with your fingers. Sometimes the onions shoot out of the skins which could be a fun project for the kids! Except make sure the onions are cool by then.
Here is the end product. Their deep purple color varies between the onions and will stain most anything they touch.
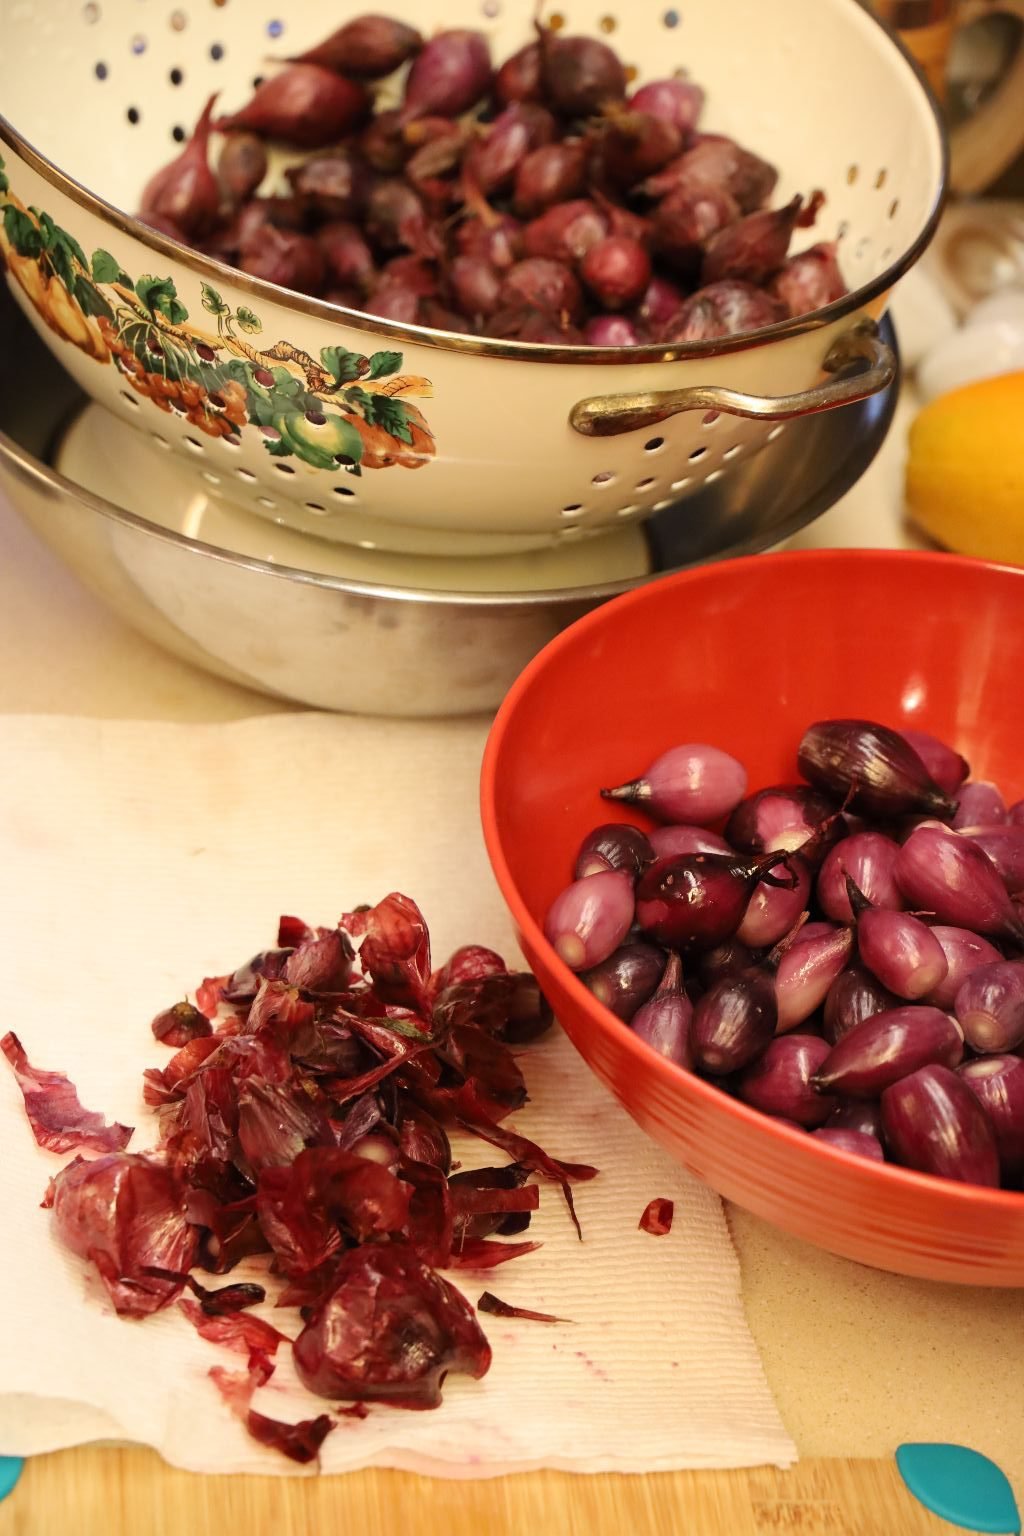
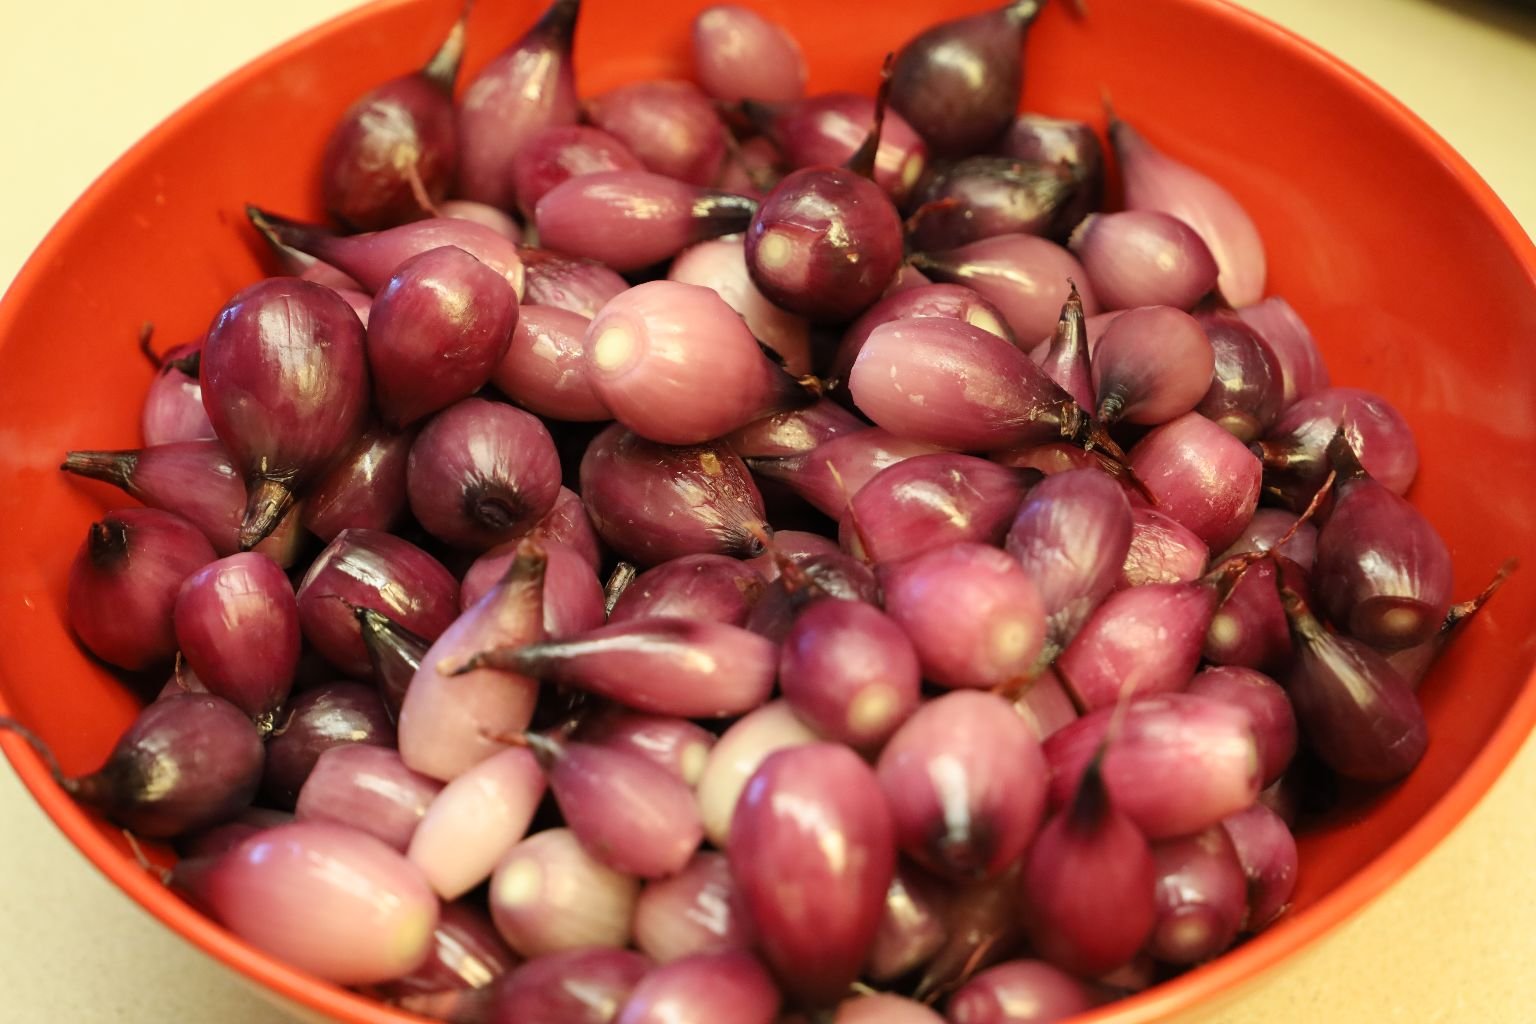
Once you have peeled back the onion’s skin, place them into a large bowl for later use.
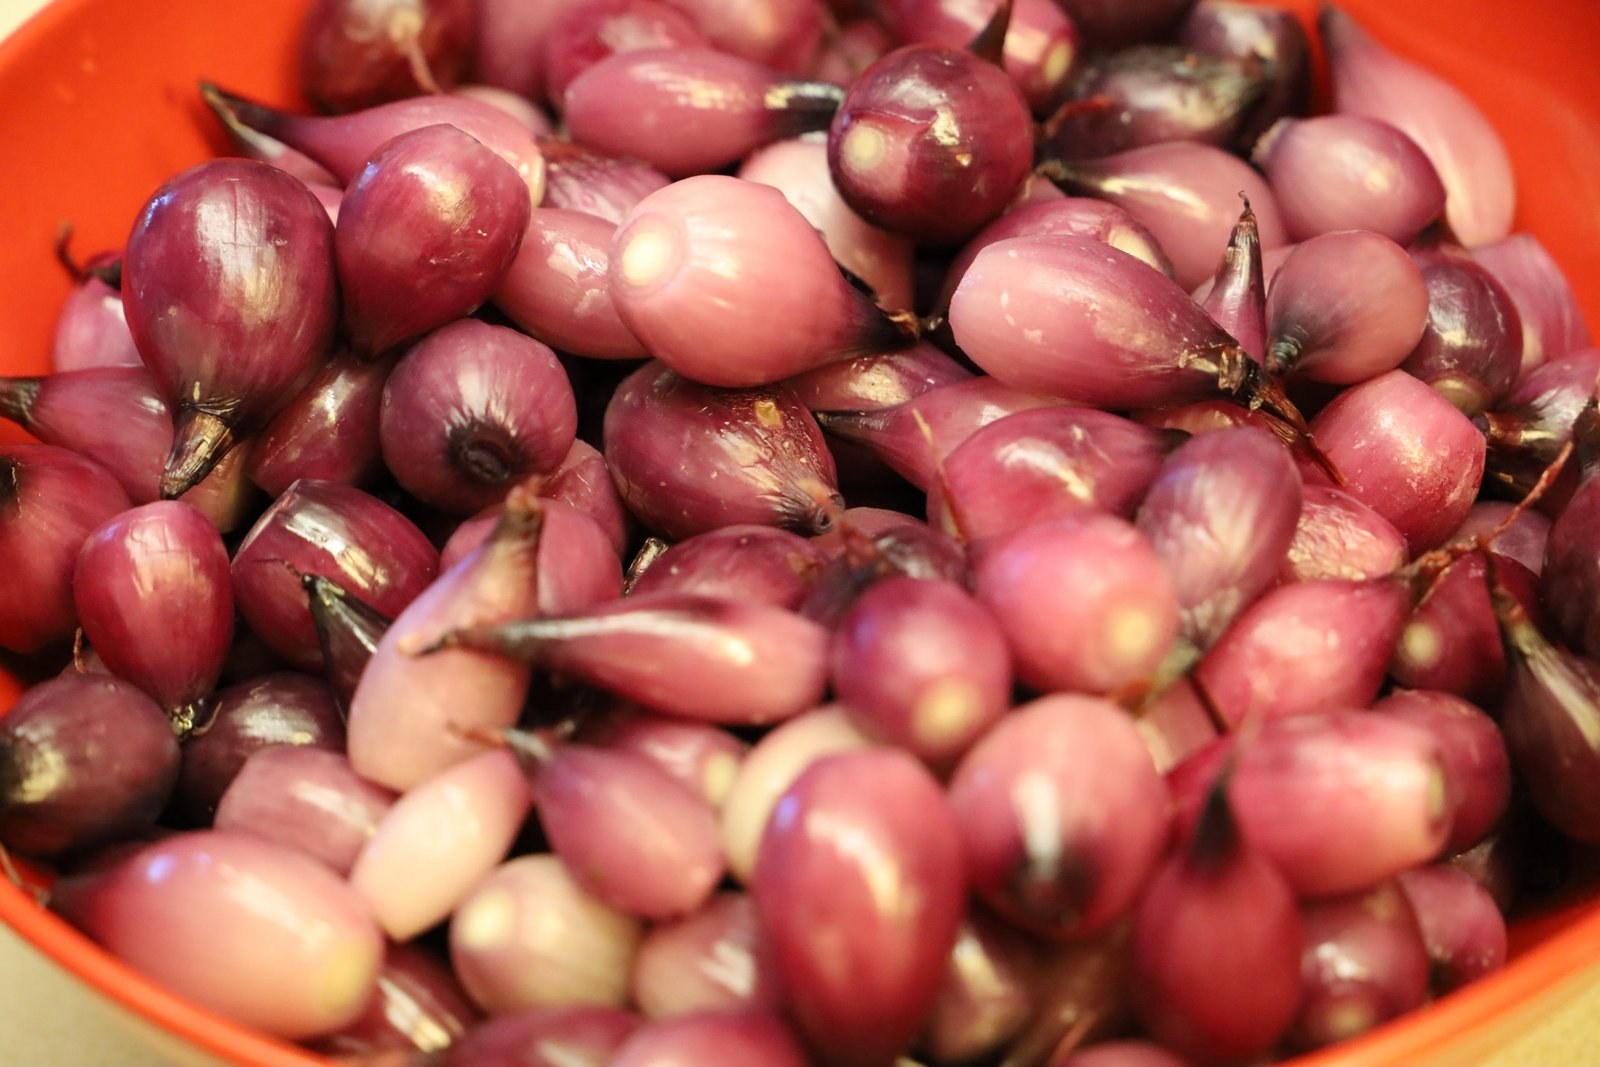
——————————————————————
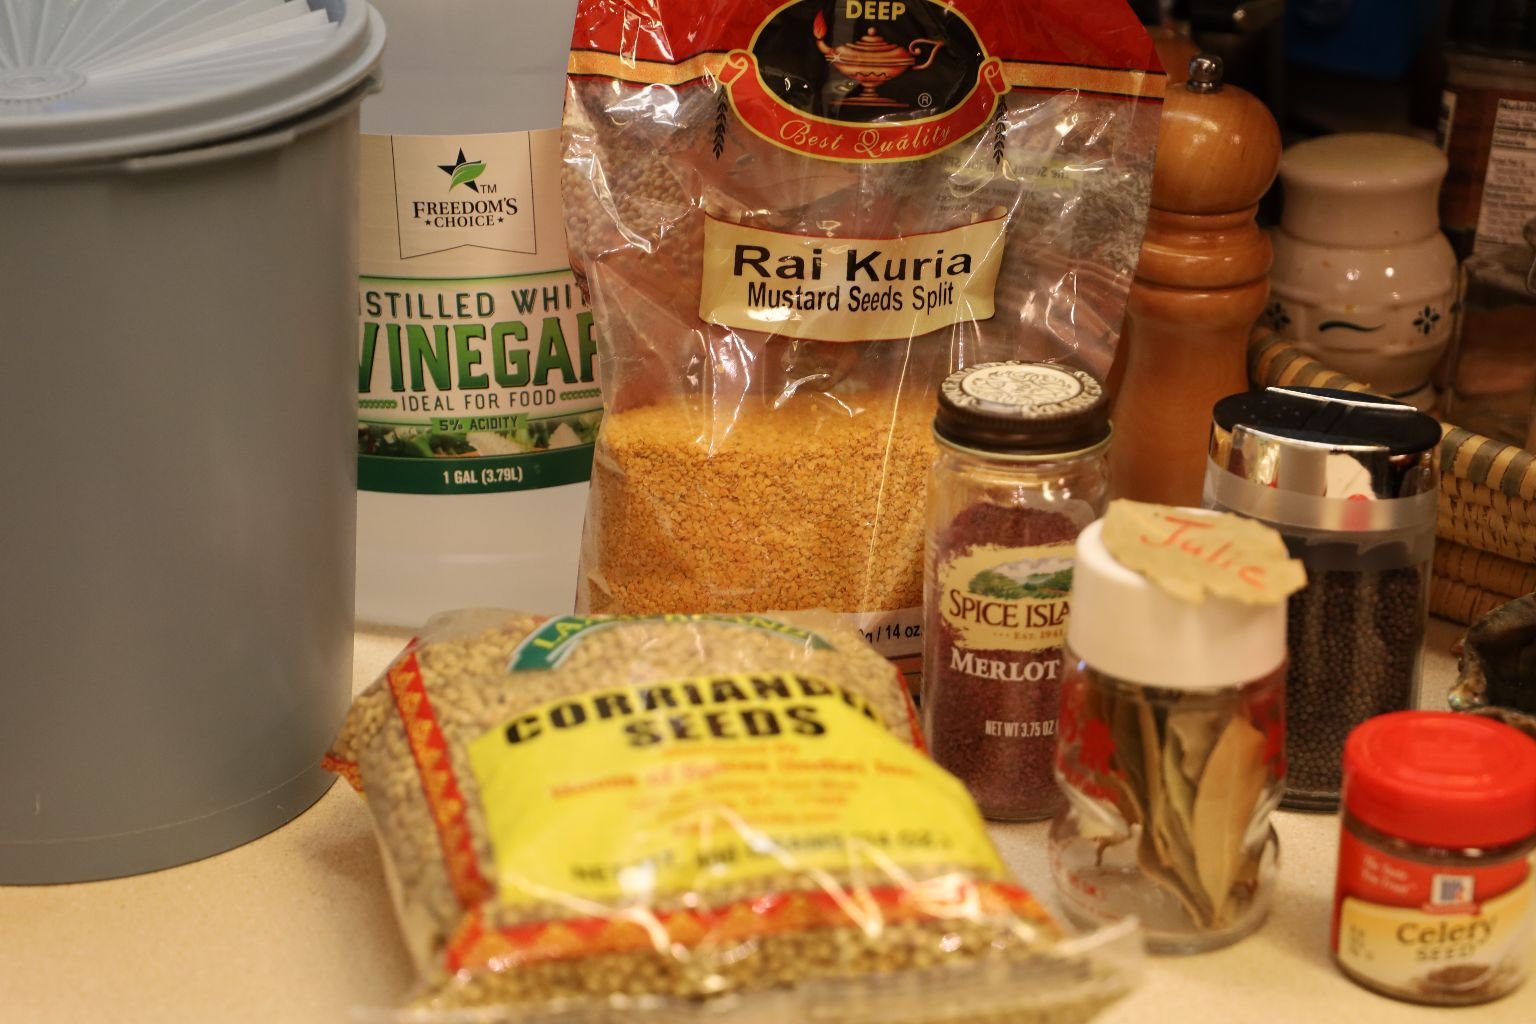
Ingredients:
10 Cups Red/Purple Pearl Onions – Skinned
~20 Bay Leaves
1 Cup Sugar
5 Cups White Distilled Vinegar
1 Tbsp. Merlot Salt
1 Tbsp. Brown Mustard Seeds – You could also use Split Yellow Mustard Seeds as shown in the picture
1/2 Tbsp. Celery Seeds
1/2 Cup Corriander Seeds
Sterilize your jars in the dishwasher using your heat dry setting and when done keep them clean and covered with a clean dish towel. Do not touch the insides of your jars. Pack your pearl onions into the jars adding two Bay Leaves to each jar as shown. Be sure all the onions are at least 1/4 inch away from the top of the jar. This area is called the Headspace and is used to create a vacuum inside the jar to preserve the contents.
Now for the pickling liquid! Here you see our setup. On the left of the stove is our pot for the pickling liquid and to the right of it is our large pot which will be used to process the jars. This pot has to be at least two inches taller than your tallest canning jar. In this canning pot, fill it half way with water and turn your heat on high to begin to heat the water to a boil.
In the large pickling pot add your sugar…
Then add your vinegar and heat the ingredients to medium high heat. We chose to use White vinegar, but you can use any type of vinegar you like as there are many varieties out there. I would also suggest using an Apple Cider vinegar for this recipe.
Stir the sugar and vinegar mixture well until the sugar dissolves. Here you also see the pot filled half way with water which will be used to process the jars. Not seen is the smaller pot of just under boiling water which is heating our lids to soften their rubber seals. Be sure not to boil this water as it could ruin the rubber seals.
——————————————————————-
Now, add your Merlot salt to the mixture. We chose to use this type of salt as it would help to enhance the brilliant purple color and taste of the onions. A little red wine is always good!
Gordon Adding the Merlot Salt
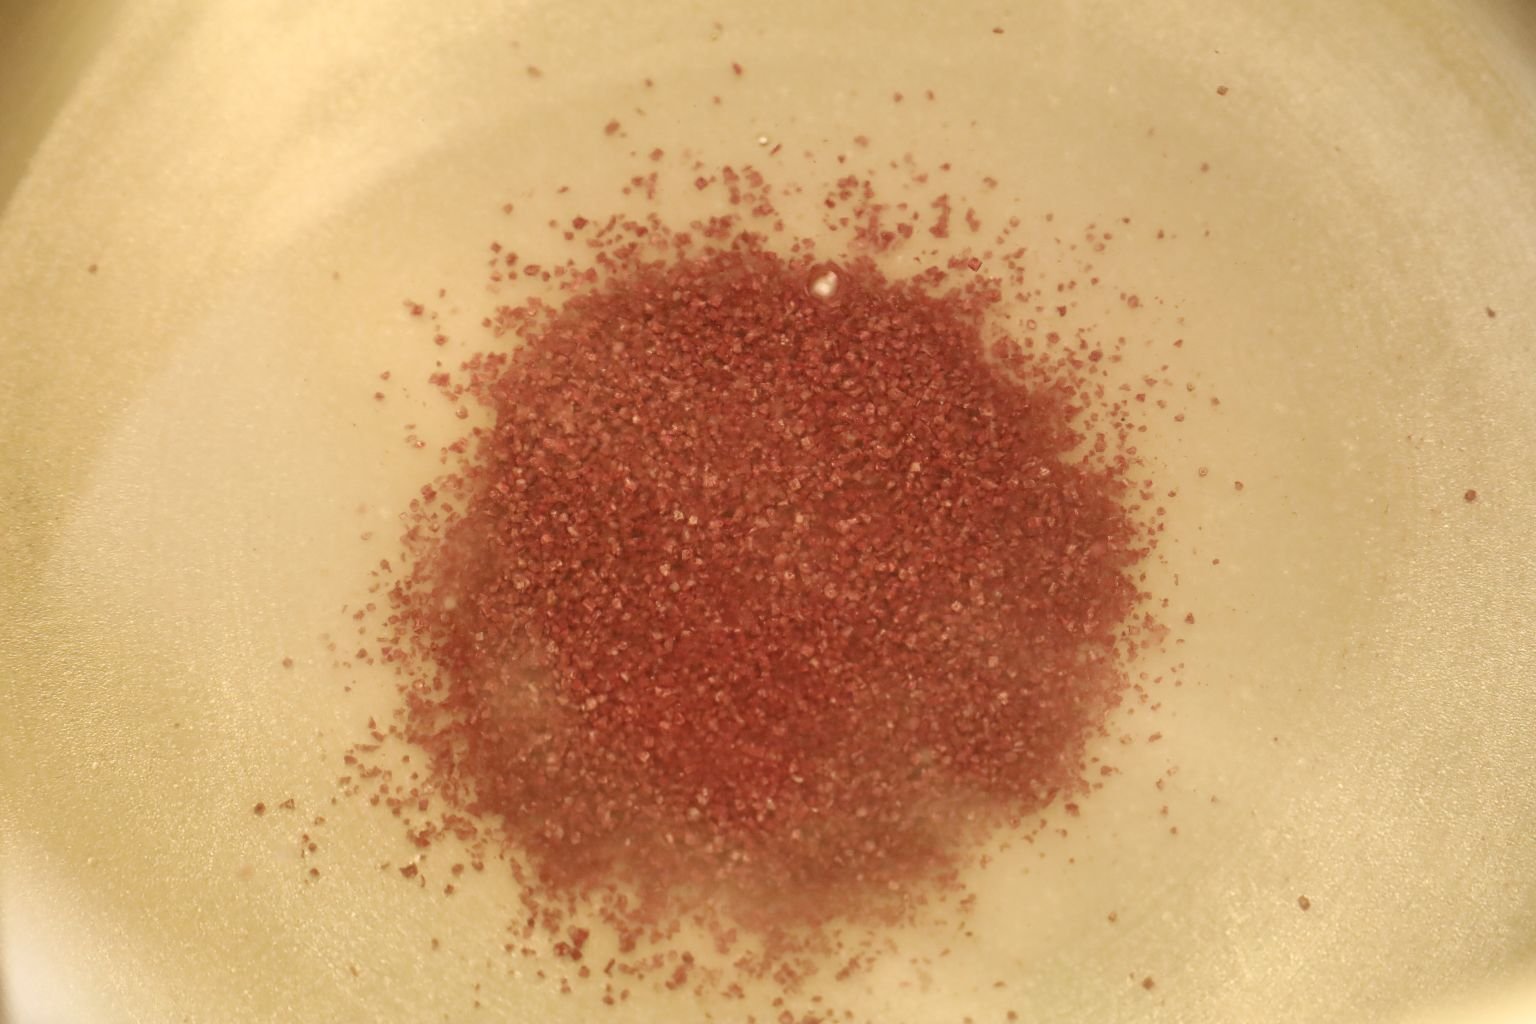
—————————————————————–
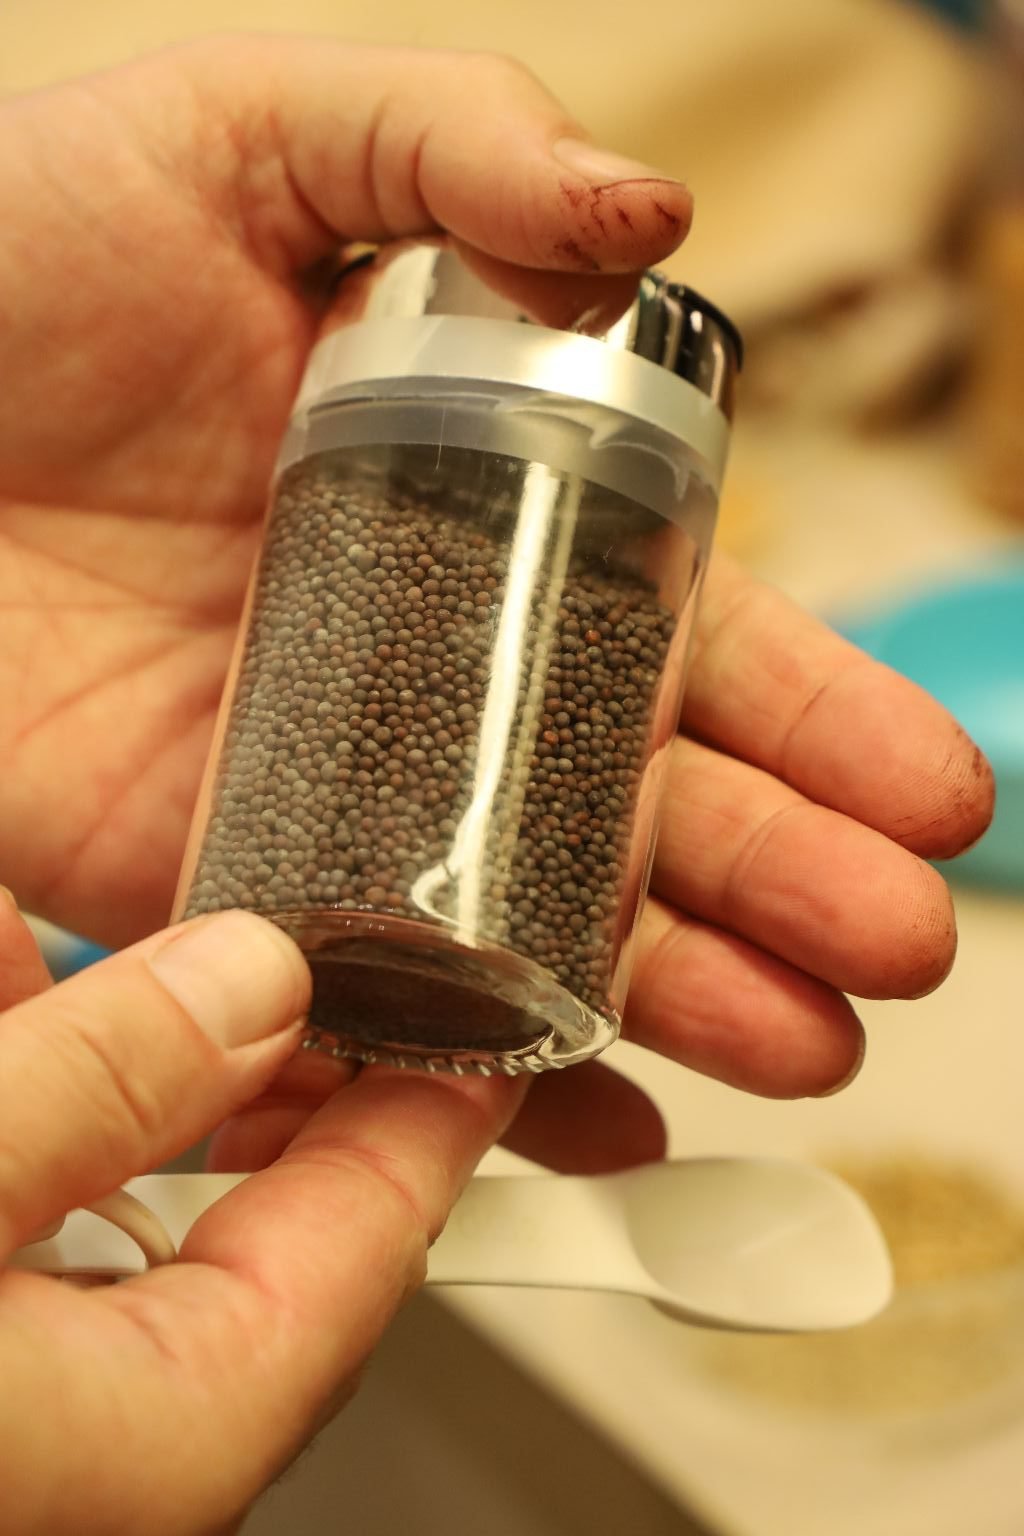
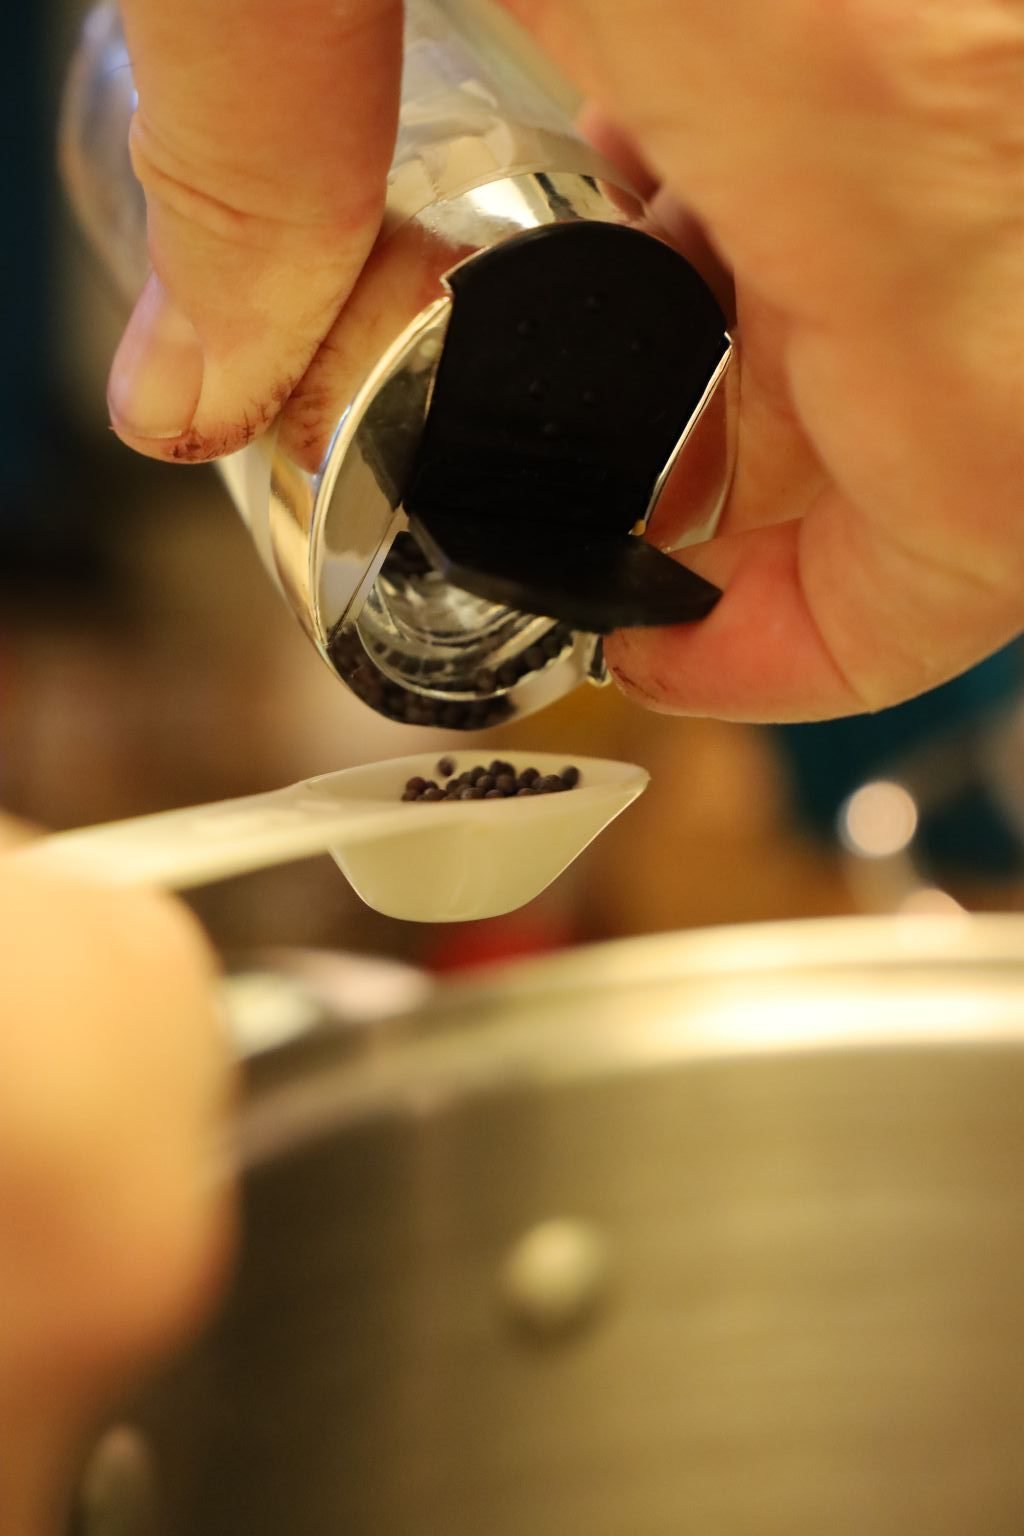
Then add your brown mustard seeds, although they look black.
NOTE: We chose not to use the Split Yellow Mustard Seeds.
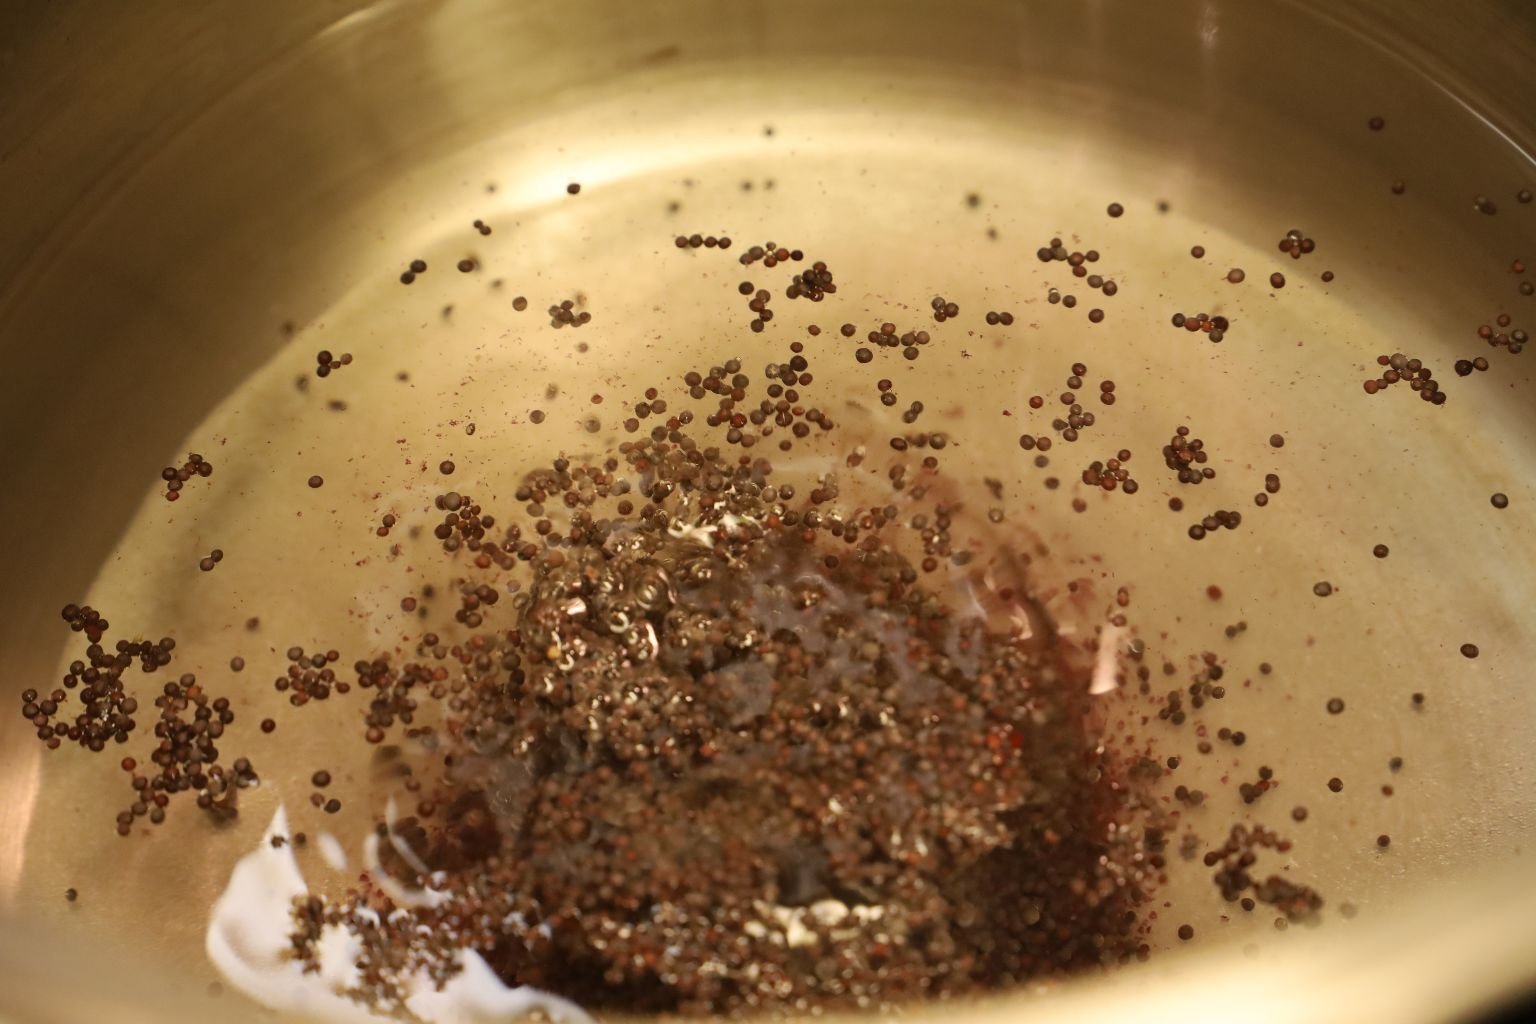
——————————————————————-
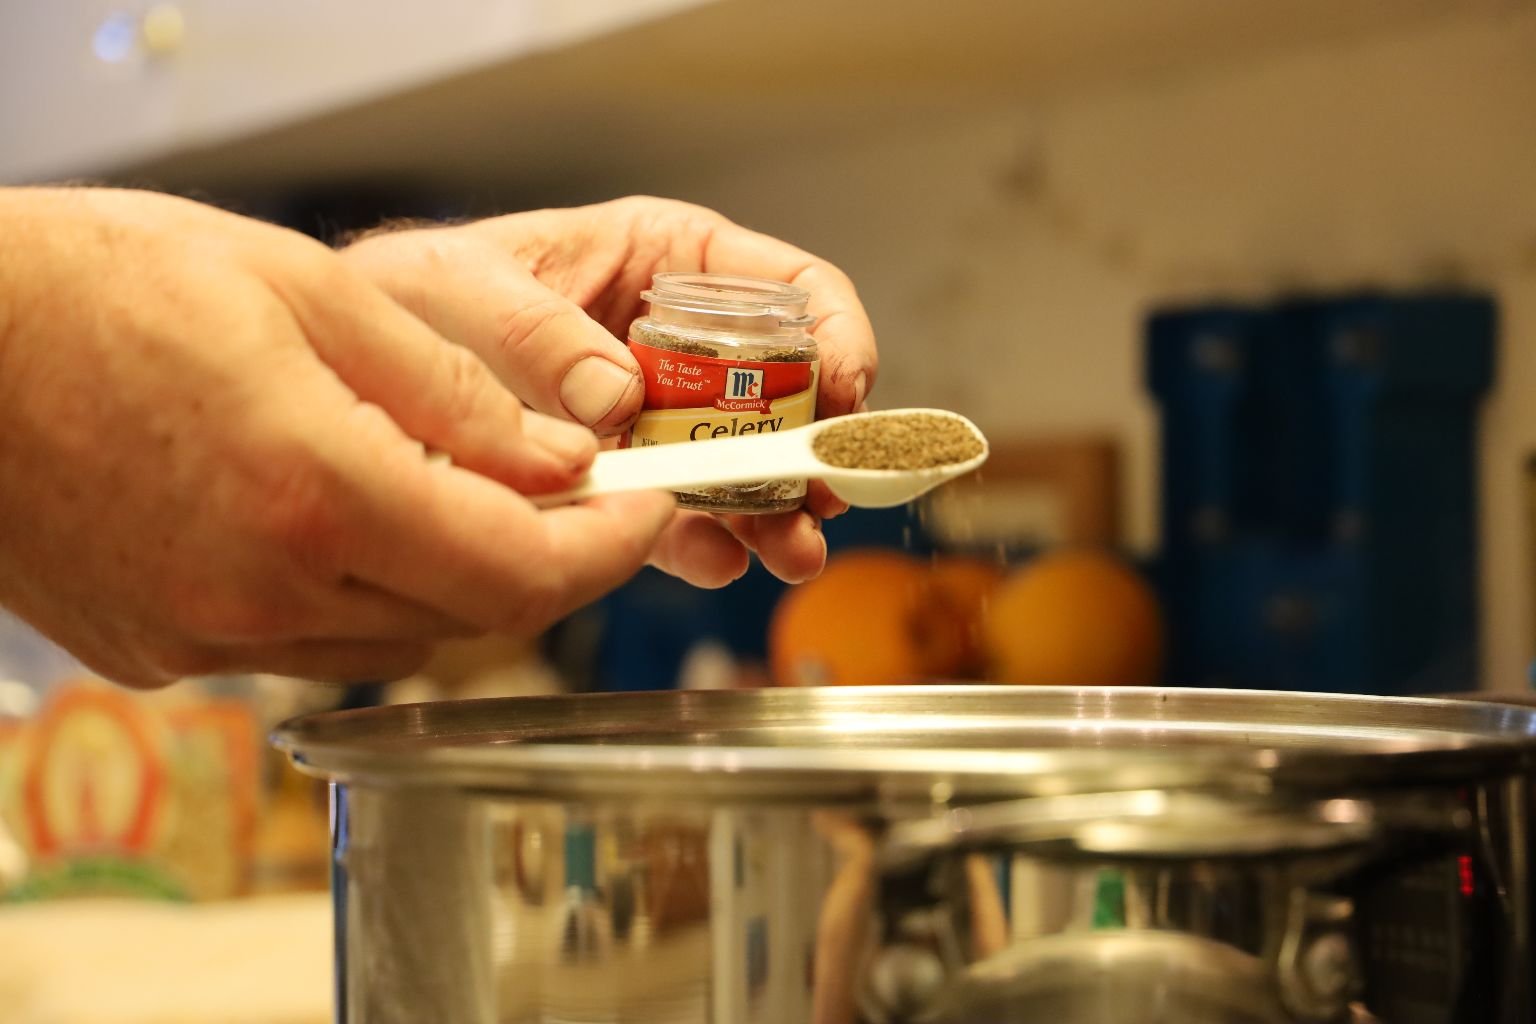
Now add your Celery Seeds to the pot…
…then your Corriander Seeds.
Mix all the ingredients well bringing the liquid just under a boil. Doing this will help to soften the various seeds. Then reduce the heat to medium and let simmer for about 10 minutes.
Use a large ladle and funnel to pour the pickling liquid into the jars when ready.
Using a funnel makes things a lot easier.
Pour the liquid up to 1/2 inch away from the top of the jar’s Headspace. This area must be kept clear as it is used to create the vacuum within the jar as previously mentioned.
Here you see all the jars filled with liquid up to the Headspace area.
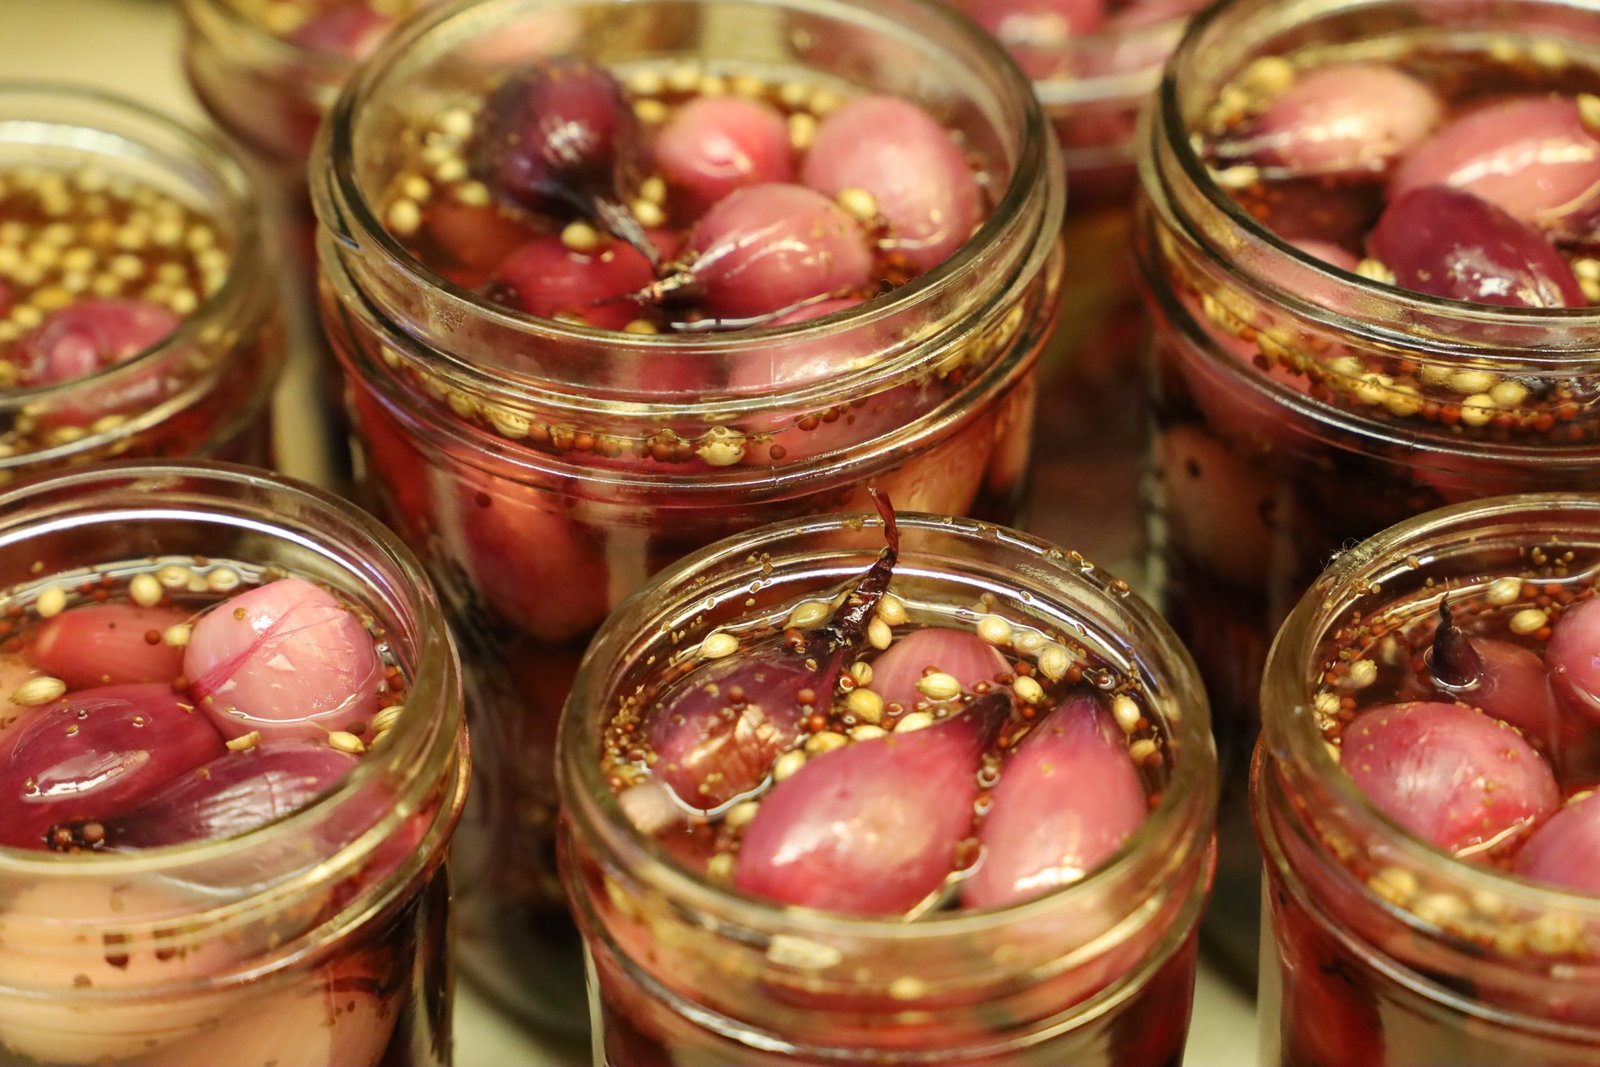
Using a wet paper towel, wipe the top of all the jars to remove any spilled pickling liquid or seeds which could prevent the jars from sealing properly. Place a heated lid on top of the cleaned jars then tighten a ring onto the jar until it is barely snug. This is a critical step due to if you tighten the ring too tight, the air can’t escape from the jar creating the needed vacuum.
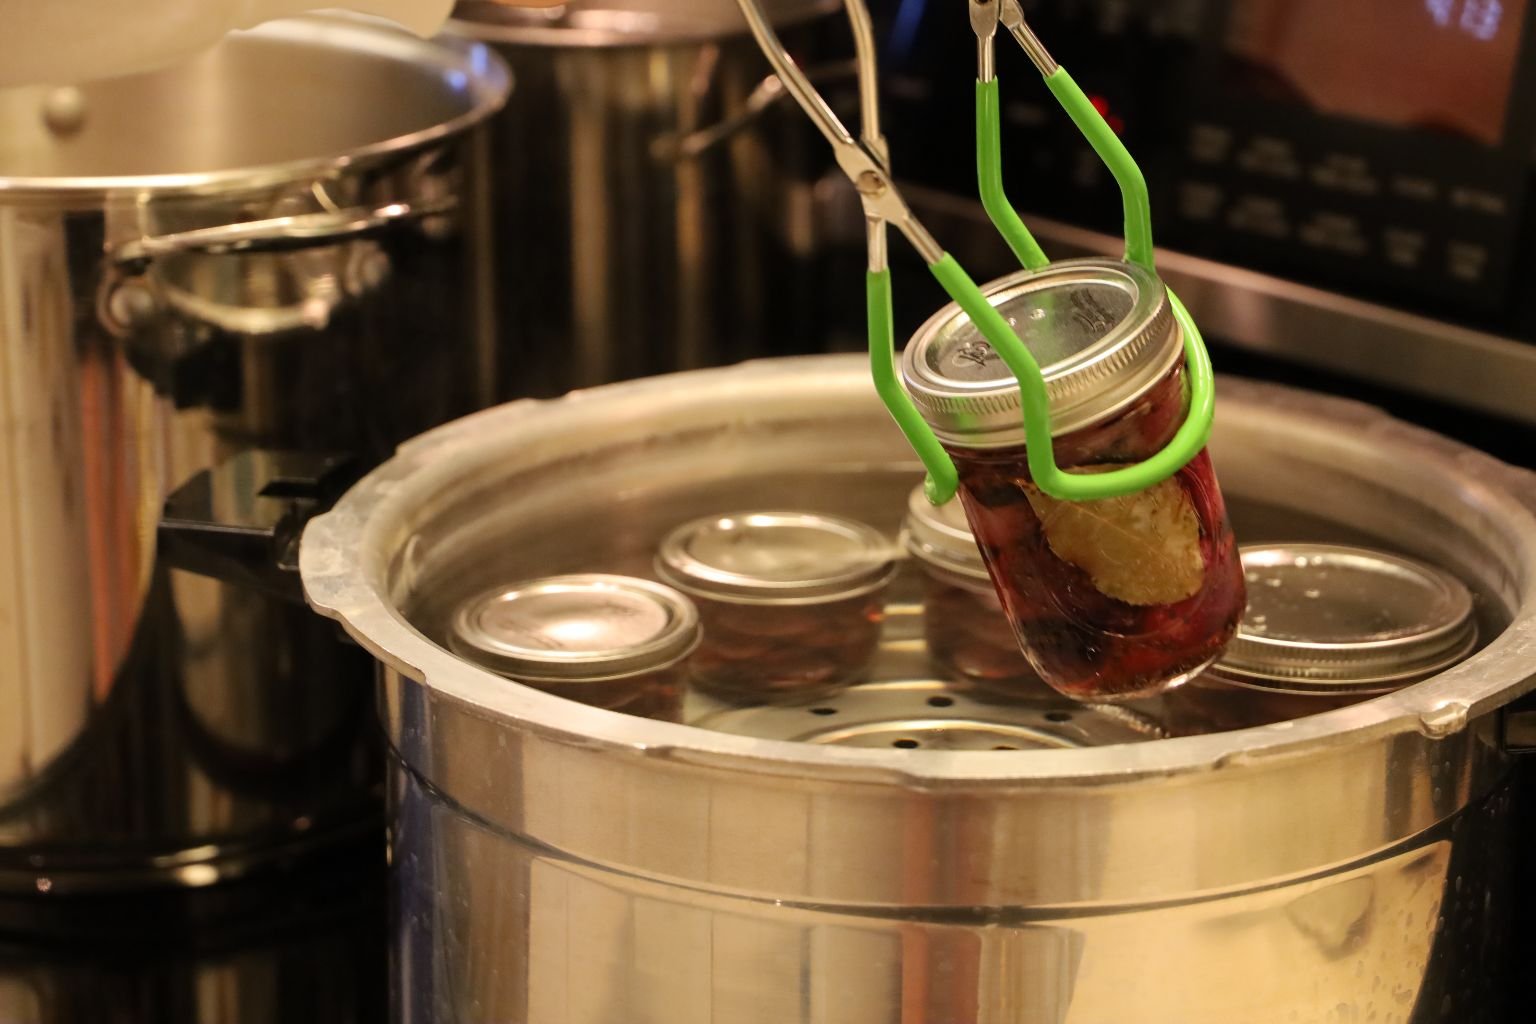
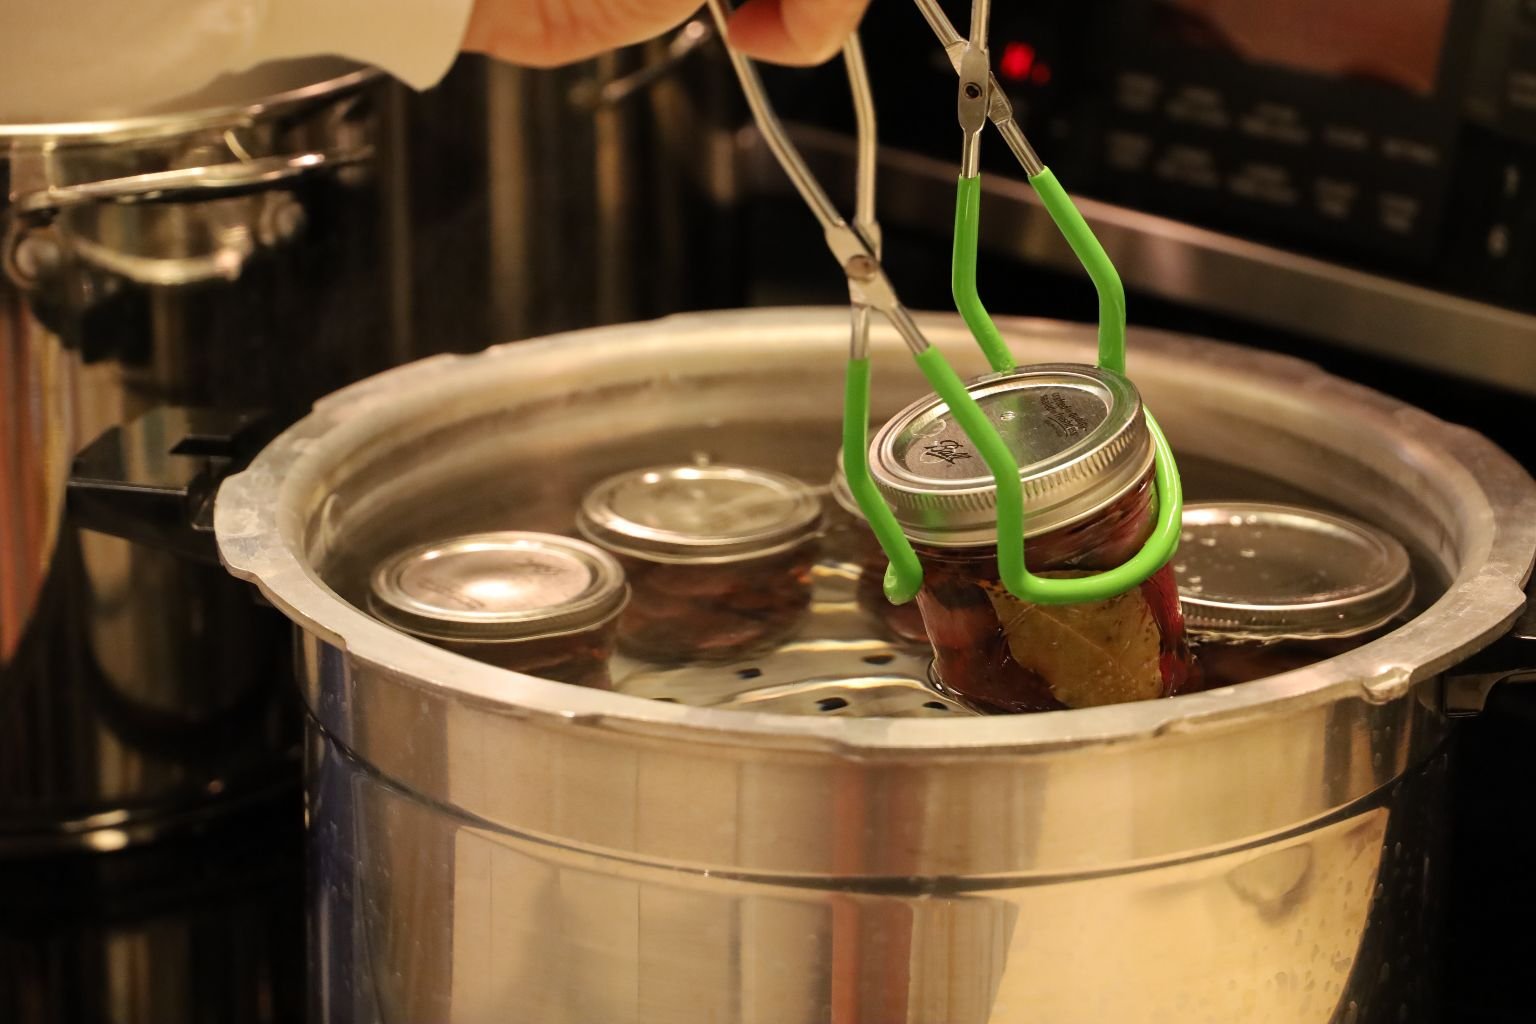
Place your jars using your rubberized tongs into the pots heated water.
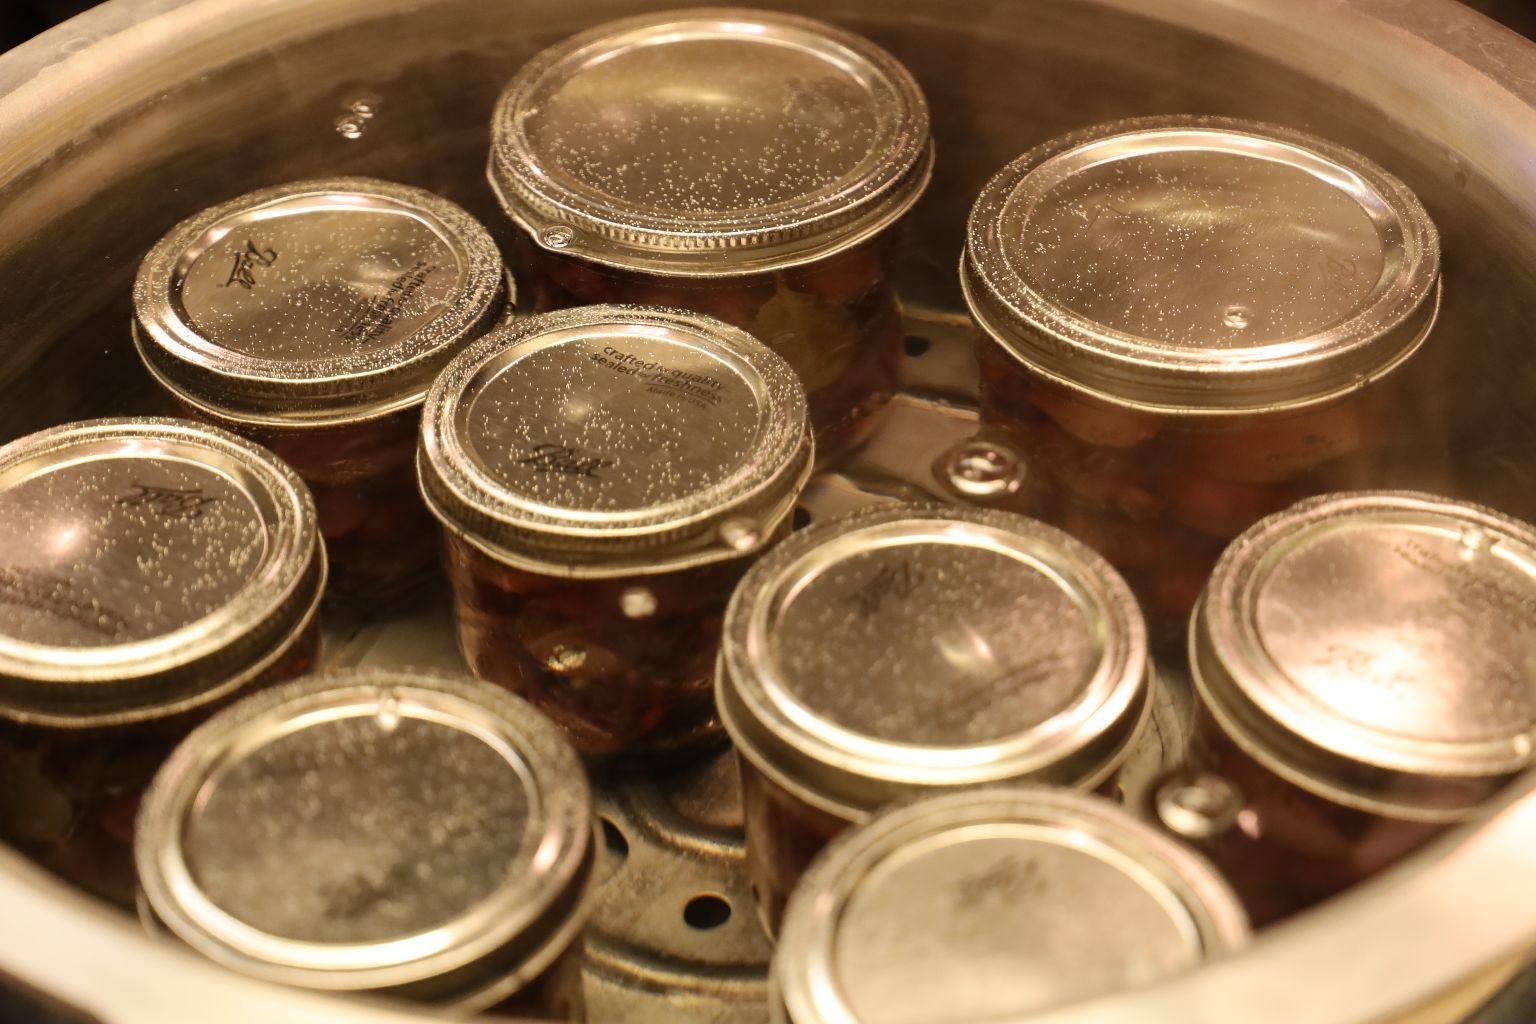
You should see bubbles escaping from all the jars which tells you the lids aren’t on too tight. If you don’t see these bubbles, remove the jar and loosen the jar’s ring slightly. Also be sure water covers the top of all the jars. Boil the jars, which is also called process, for about 10 minutes.
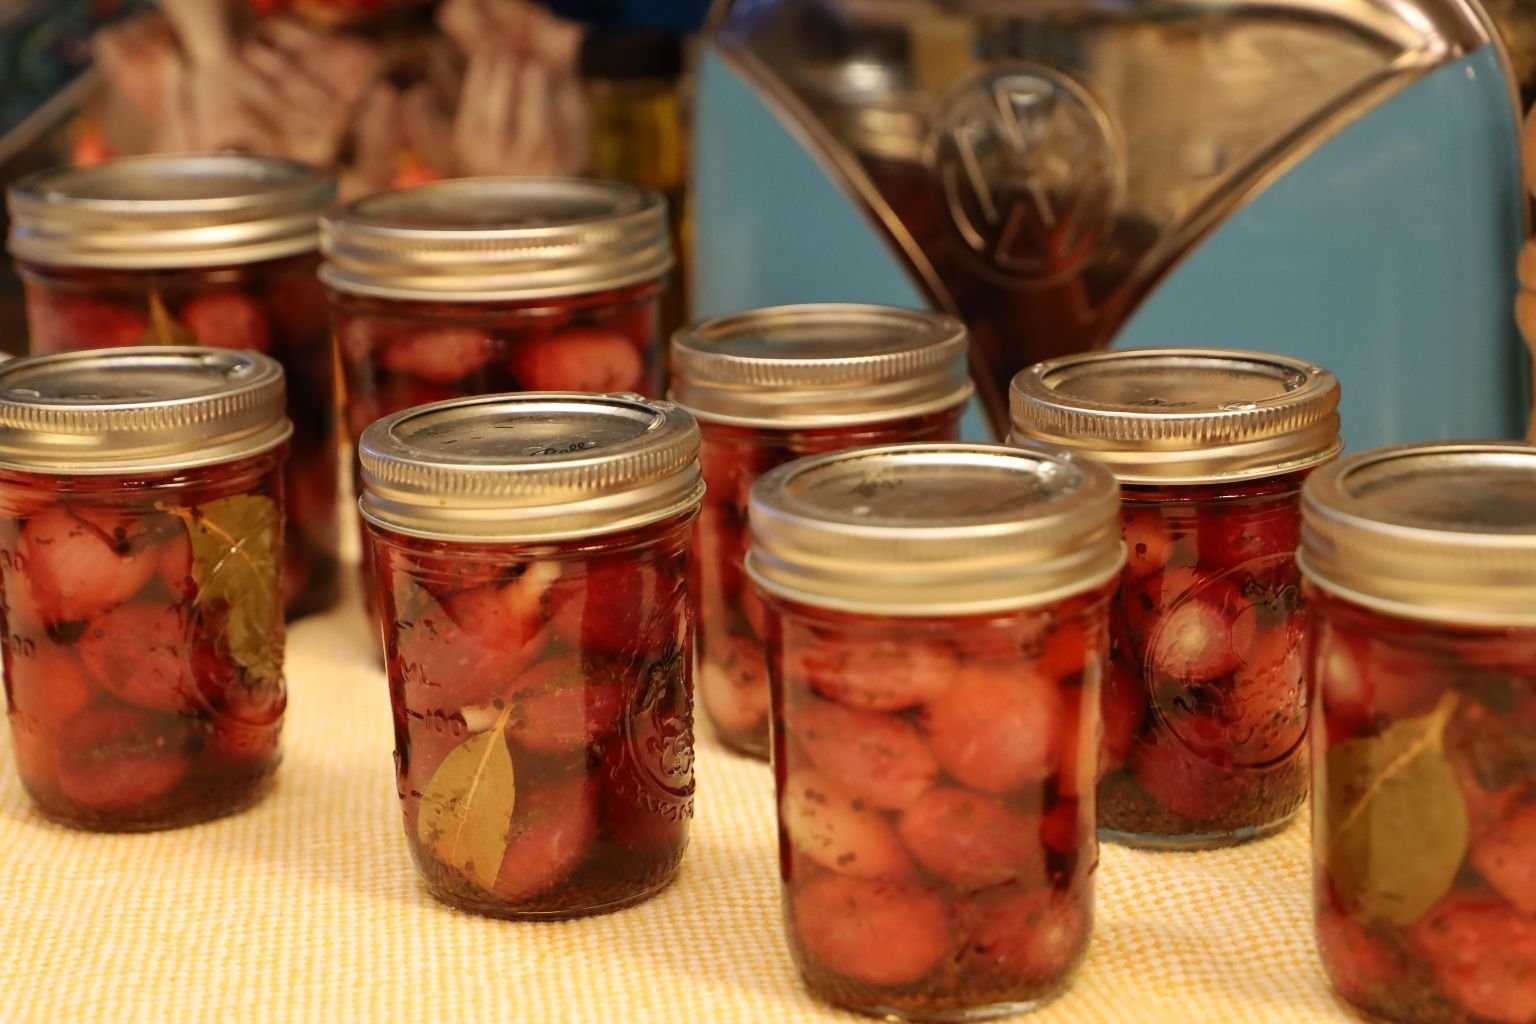
When done, remove the jars from the boiling liquid using your rubberized tongs and place them on a dishcloth to cool. At this point you should start to hear the lids pop as this is the vacuum forcing the lid downward creating a pop. All of your lids should be in the downward position within 15 minutes. If not, you will have to begin the processing of those jars all over again. This is likely due to either the jar didn’t have enough headspace or there was something wrong with the lid’s seal. CAUTION in these next steps the jars will be extremely hot. Remove some of the pickling liquid, wipe the top of the jar and use a new lid being sure to check the rubber seal for any issues. Replace the ring and then submerge the jar in boiling water and process the jar for another 10 minutes. With the jars that have properly sealed, remove the rings and using a paper towel, wipe away the excess water on the ring and seal. Doing this will prevent the metal from rusting. Replace the rings to just tight when dry as the rings only prevent the sealed lid from being removed inadvertently. The rings DO NOT keep the lids sealed. If you ever find a lid in the up position which can be tested by pushing down on it lightly, the contents have been compromised by bacteria and needs to be thrown away.
These pearl onions are delicious by themselves as a side dish or within a Martini!
Either way, they make a great gift and can be kept in your pantry for years! Theoretically, if the food was processed safely and stored properly and shows no sign of spoilage, until that vacuum seal is broken, there should be no way that it becomes contaminated or becomes unsafe. Especially with the vinegar and sugar in this particular pickling, there is no real way for bacteria to exist.
Enjoy, and Season’s Greetings,
Julie and Gordon
Hi! Welcome! So happy to have you here! My name is Julie Lancaster-Whann and welcome to my: The Pot Thickens… Musings of an Amateur Cook So, what makes me an ‘Amateur?’ Easy! I don’t get paid! And, because I don’t …
The Death Star (That’s no moon, that’s a space station. Obi Wan Kenobi) ———————————————————— Welcome to a Whann Christmas in the Galactic Empire ——————————————————– Christmas Morning (Brodie Whann and Mackenzie) Captain Tarkin Crunch Hurry! I’ve poured the blue milk! Darth Vader Prize …
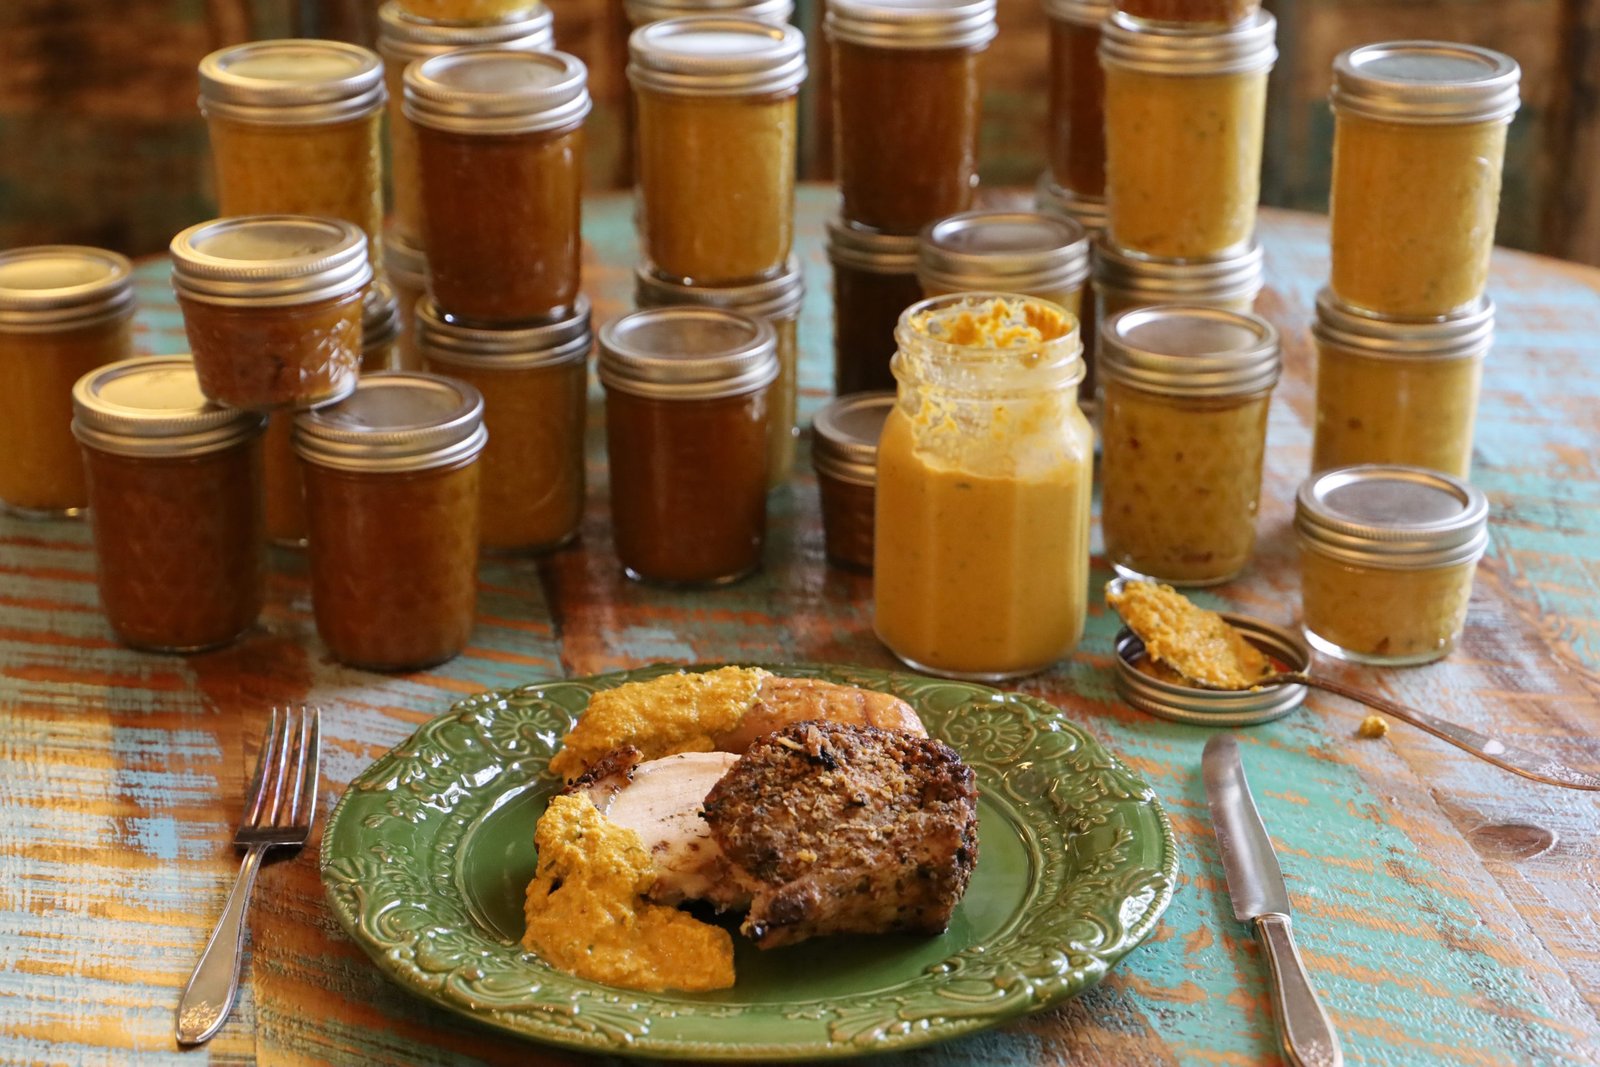
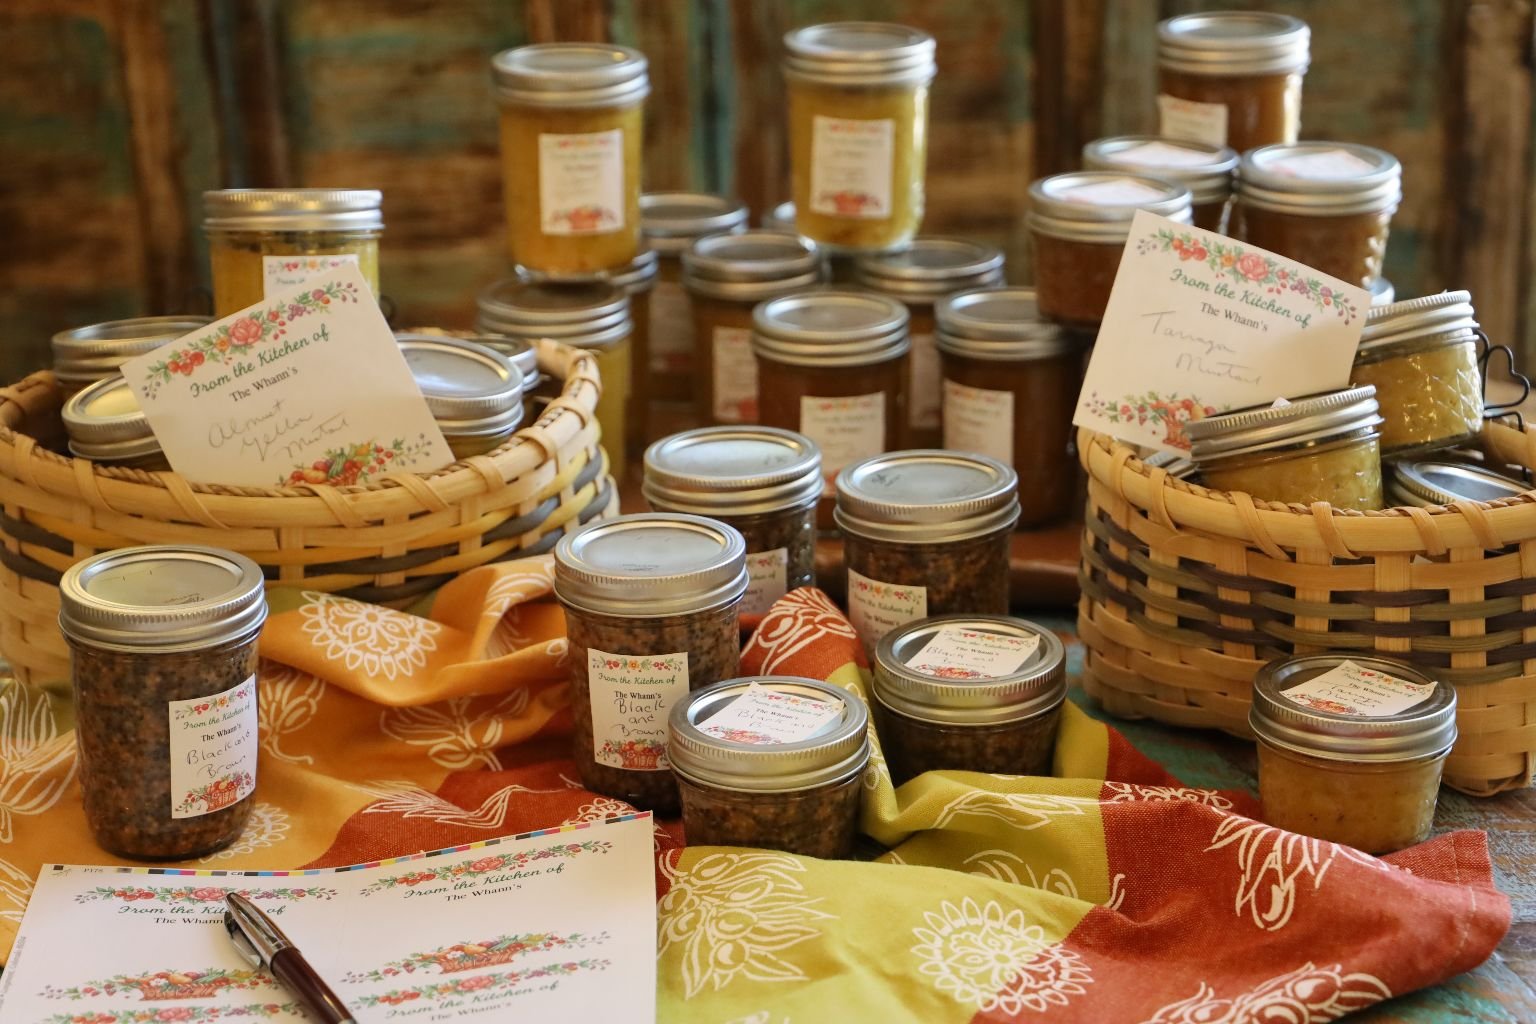
Welcome to Pork, Sausage and Mustard
From the Kitchen of…….
Gordon and Julie
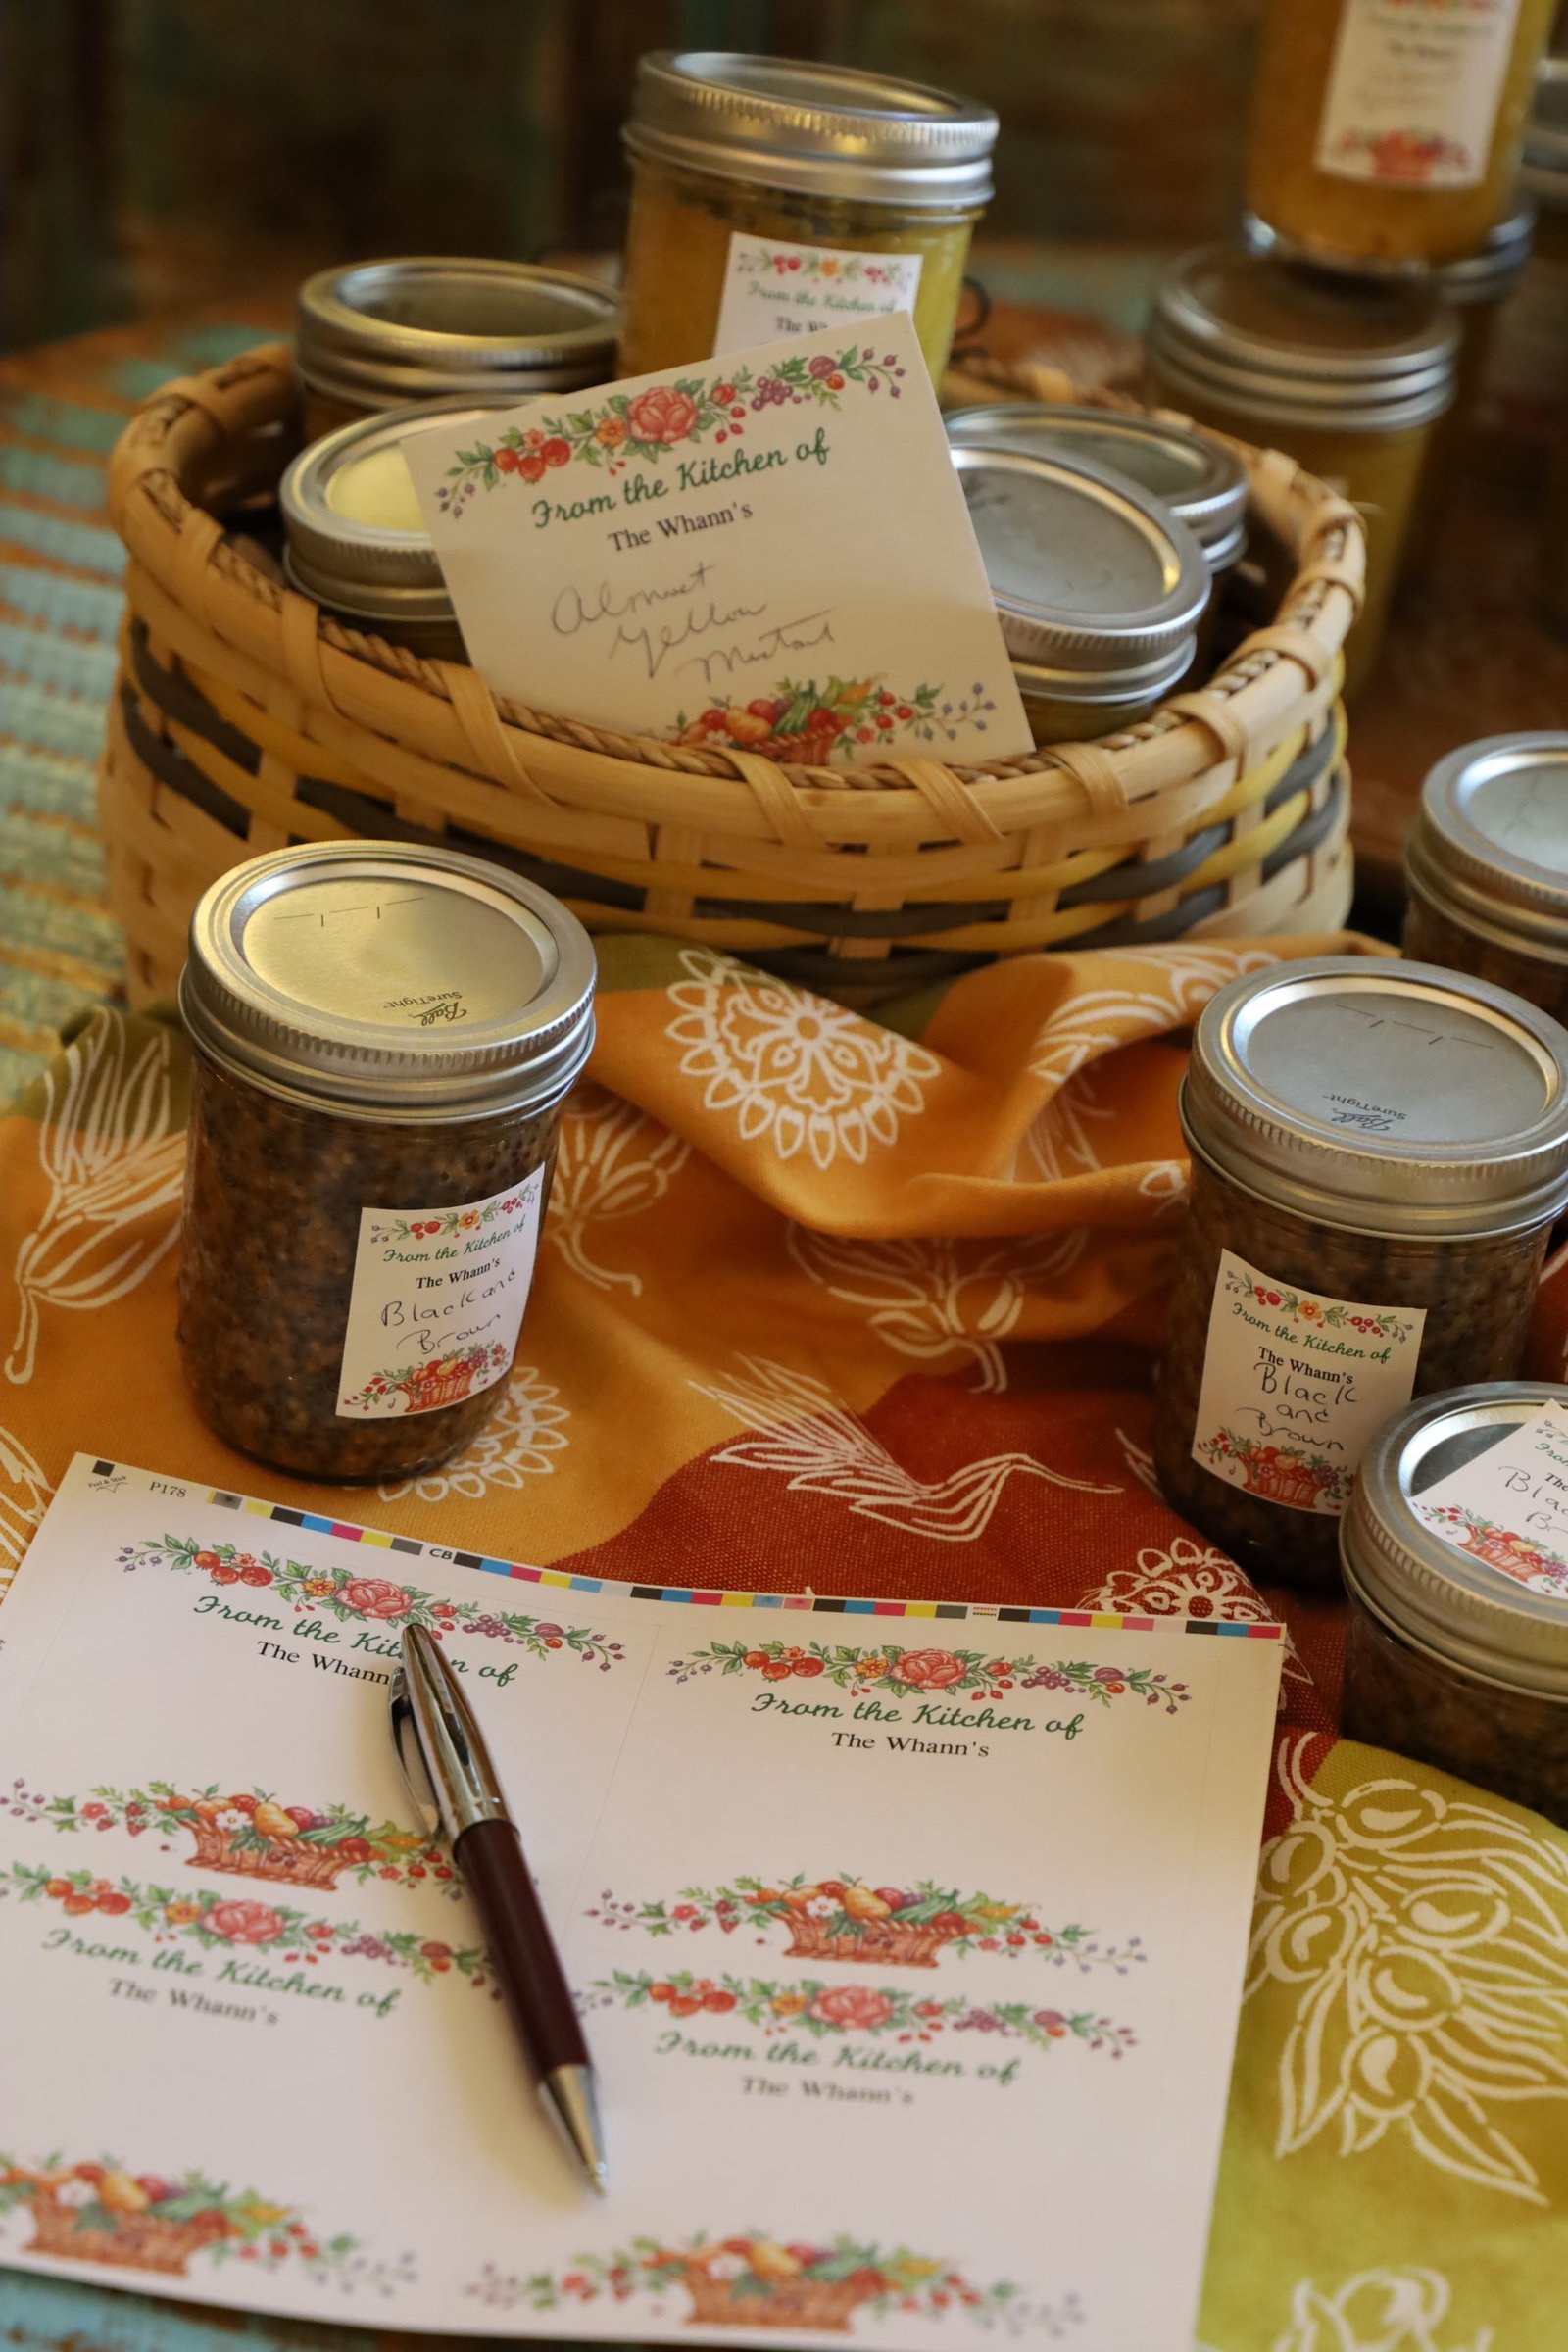
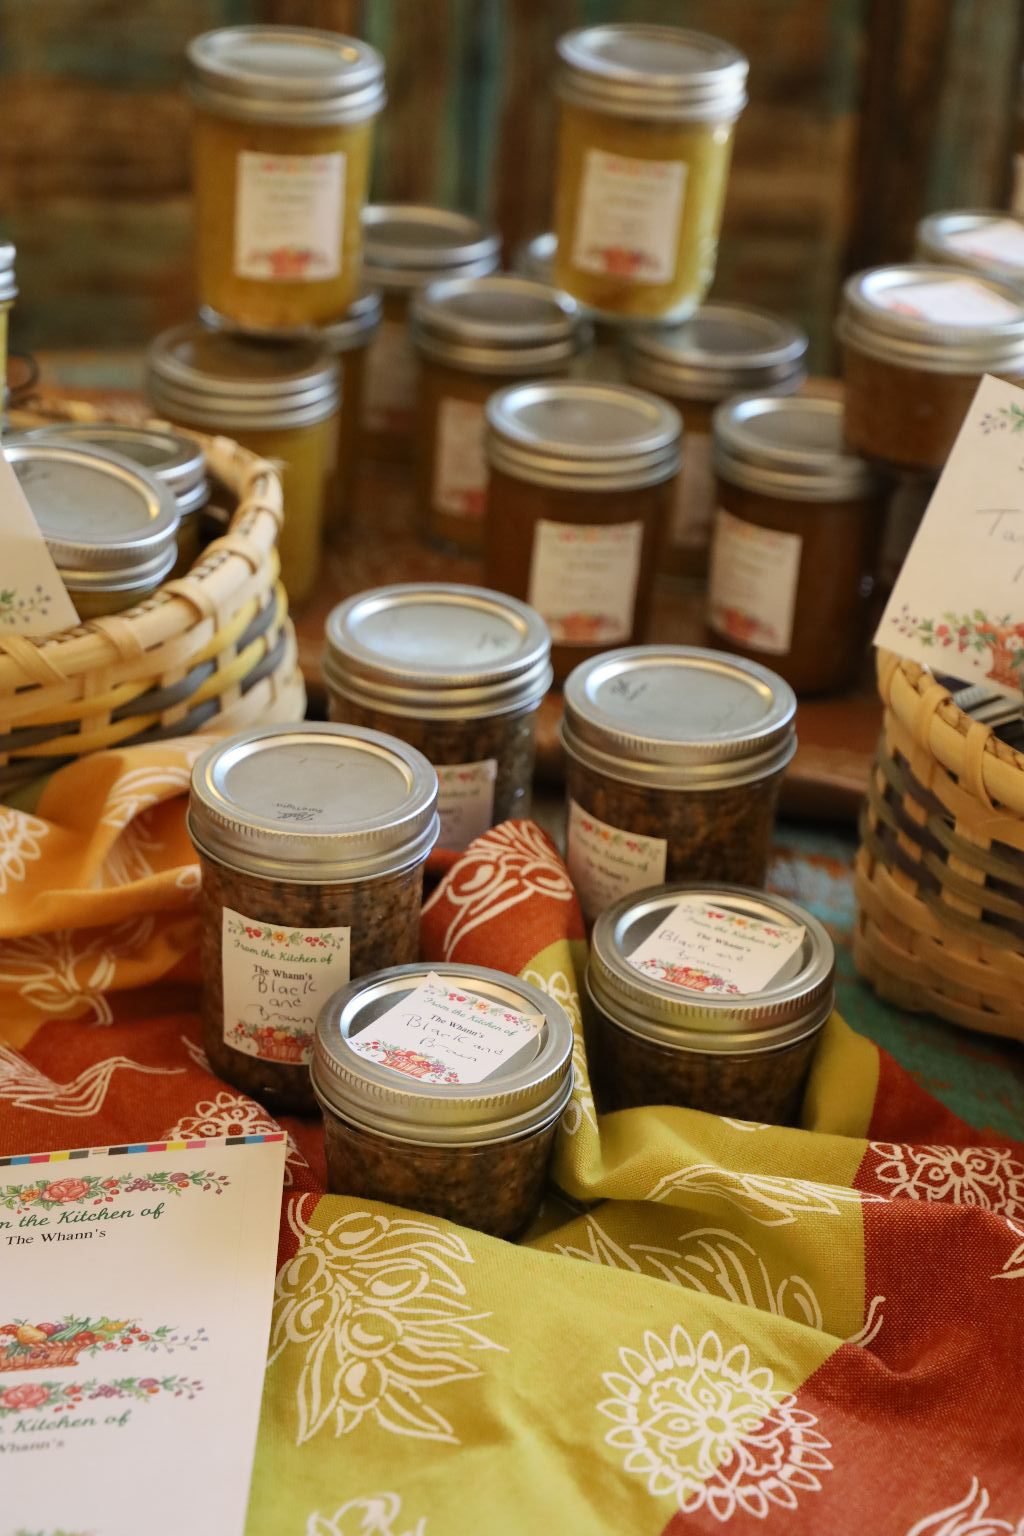
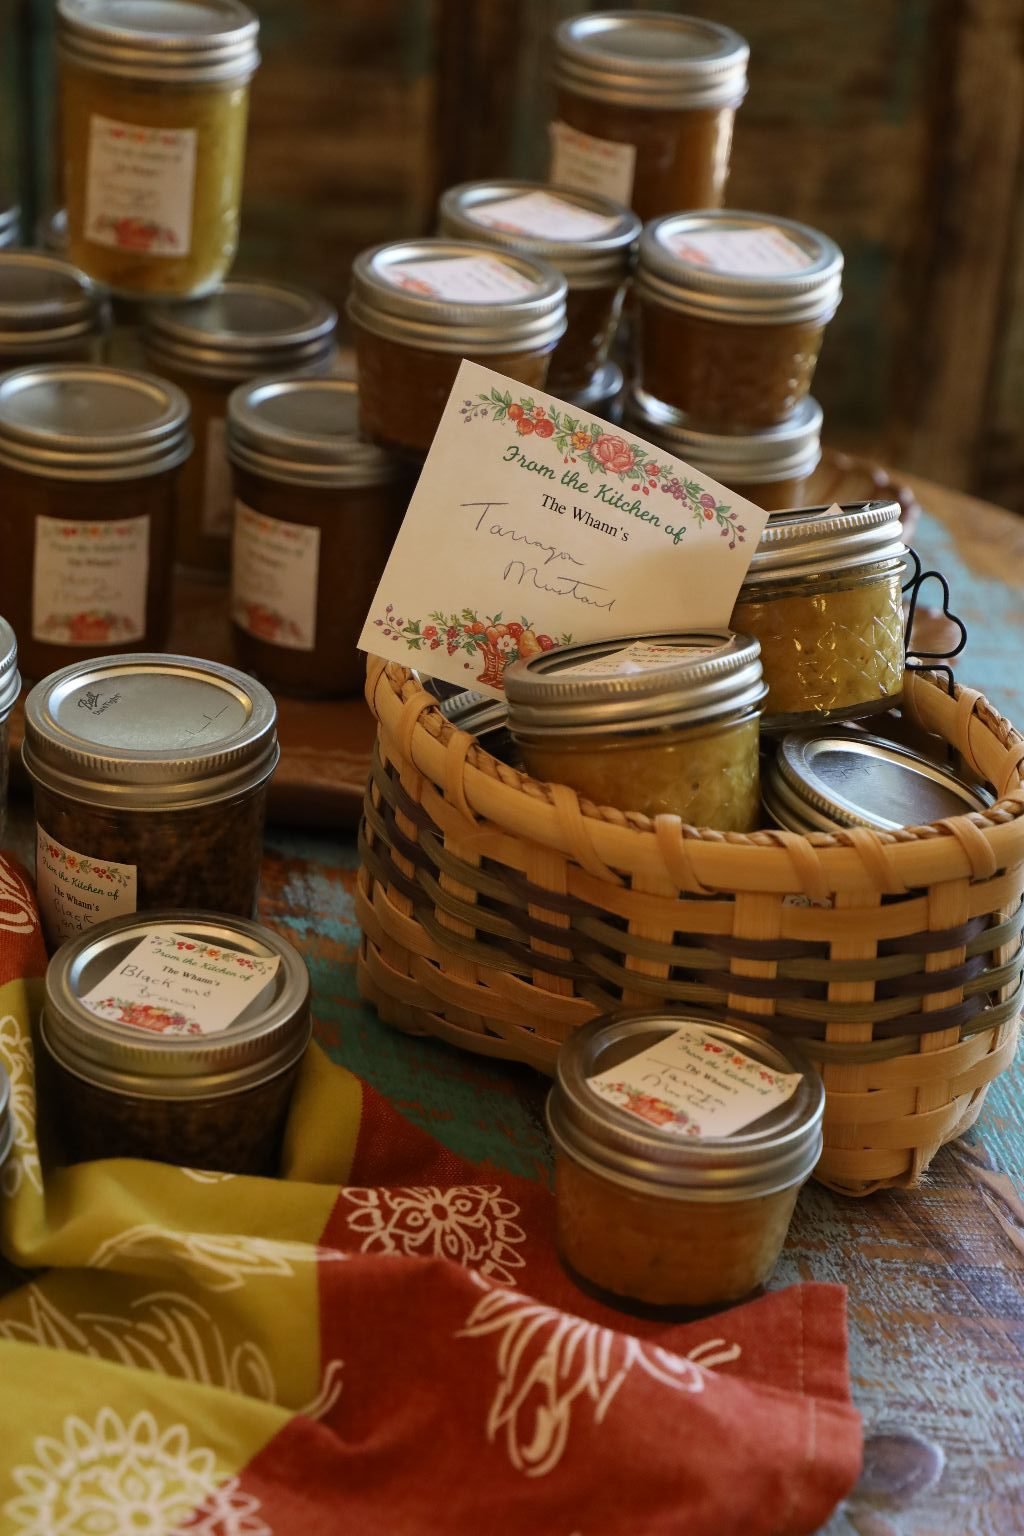
Today, we will be making MUSTARD, and lots of it!
At this writing we are in the middle of a pandemic, the Coronavirus/Covid 19.
Gordon and I decided to make good use of our lockdown time and make lots of mustard. We love mustard and we eat it quite often. But it was while we were ordering groceries online and we were at the mercy of our shopper (an essential worker), who did their best to fulfill our order, that I remarked how nice it would be if we didn’t have to worry about condiments and just have our shoppers to focus on more fruits and vegetables. We had a ton of meat in the freezer so we didn’t have to worry about farming that shopping out to anyone. But we are picky with our mustard and our particular brands always seemed to be vacant from the shelves. So, we decided to make our own. And guess what? It wasn’t that hard at all. But, it does take several days from start to finish. About 10 days to be exact.
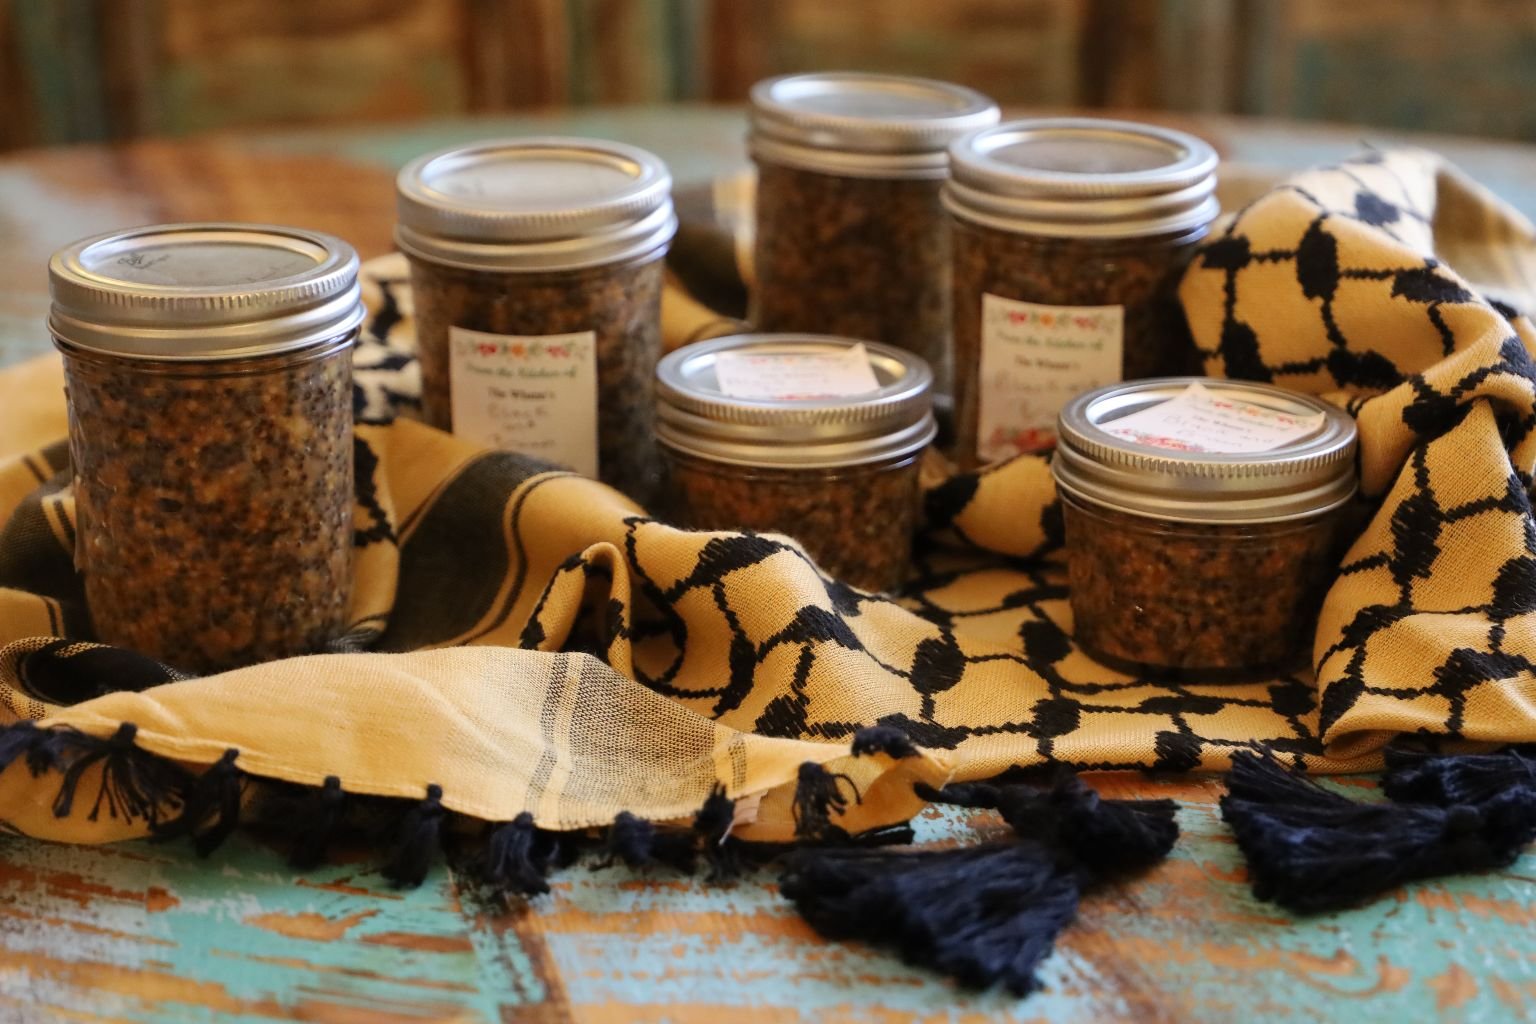
Our Black and Brown Mustard
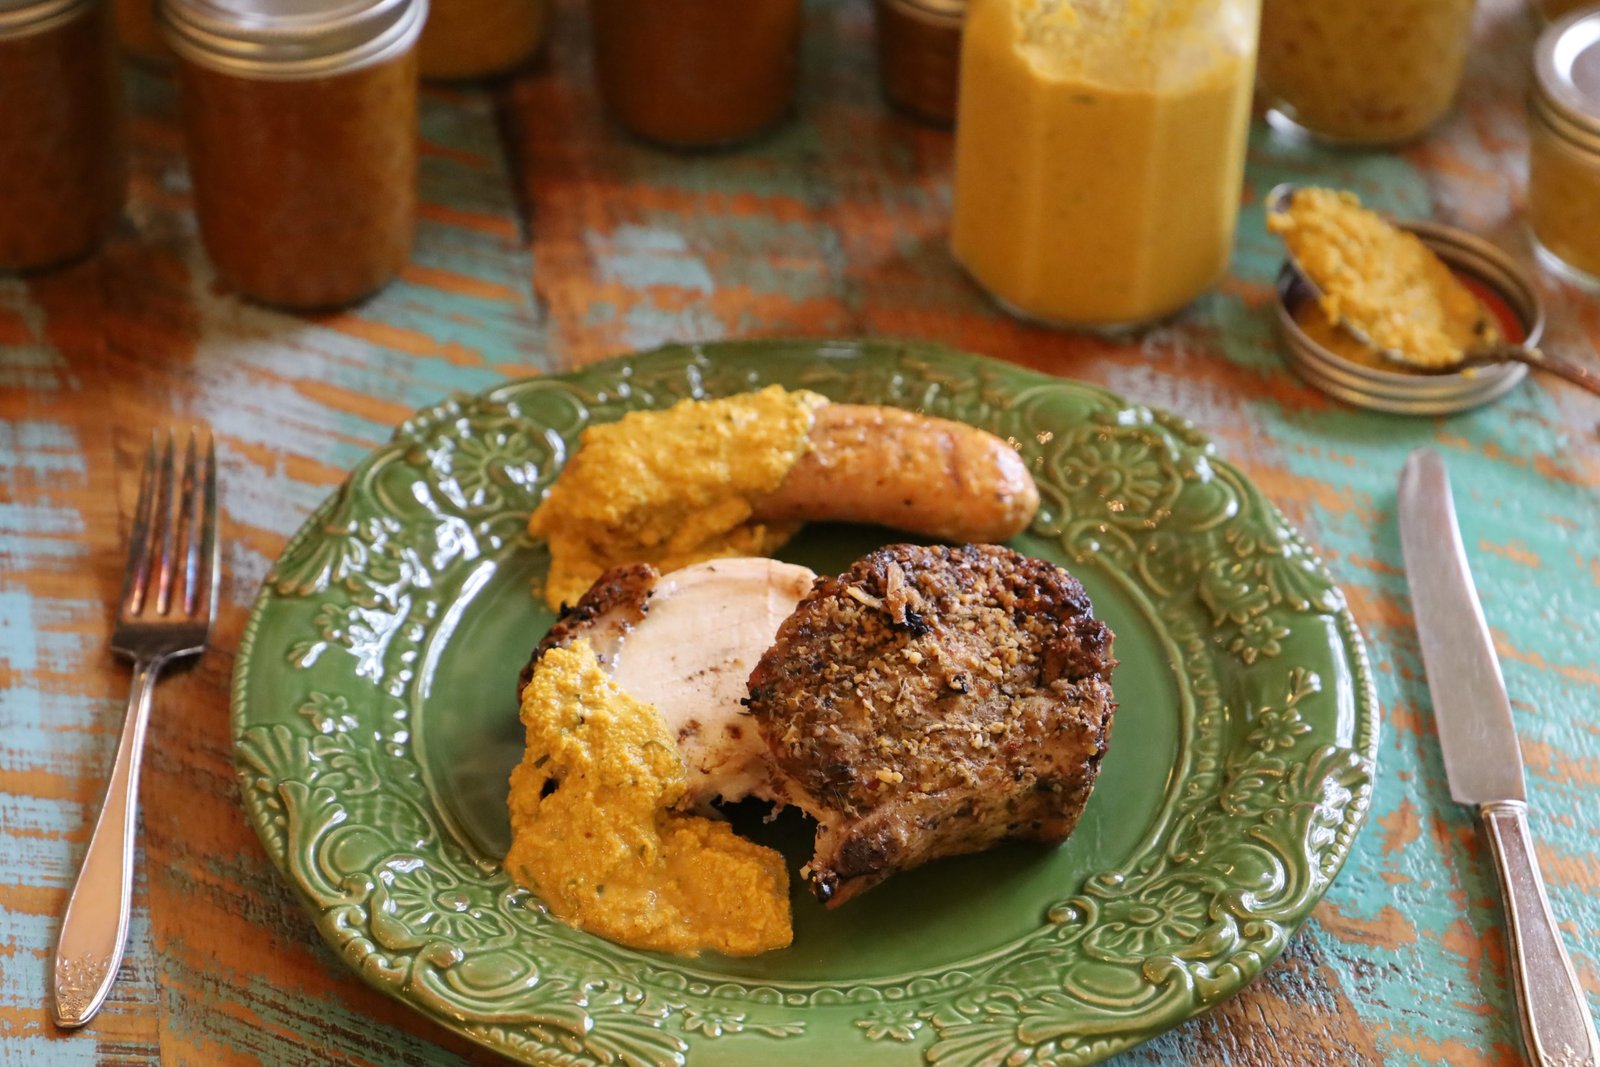
Pork, Sausage and Mustard (Tarragon to be exact.)
———————————————————
Food glorious Food,
Hot (Pork), Sausage and Mustard,
While we’re in the mood,
We’re anxious to try it.


My VHS Copy of Oliver
(Okay, okay, so I borrowed the lyrics from an old song from the movie Oliver (1968) and switched them around a bit. I saw the movie when I was 7 and fell madly in love with The Artful Dodger, played by Jack Wild. The music was beautiful! I got the record album for Christmas and played it over and over again. But this song stuck with me the most.)
Food, Glorious Food
by Laurence Jeffcoate
(When I named this post Pork, Sausage and Mustard, I thought I was accurately naming it correctly. Then I find out it’s Hot, Sausage and Mustard. All these years of singing that old favorite song in the shower only to discover I got the words wrong? It was their British Cockney accents that threw me. Well, I’m keeping it wrong. I do have to admit I wondered why they would be pairing Pork with Sausage?……)
—————————————————————–
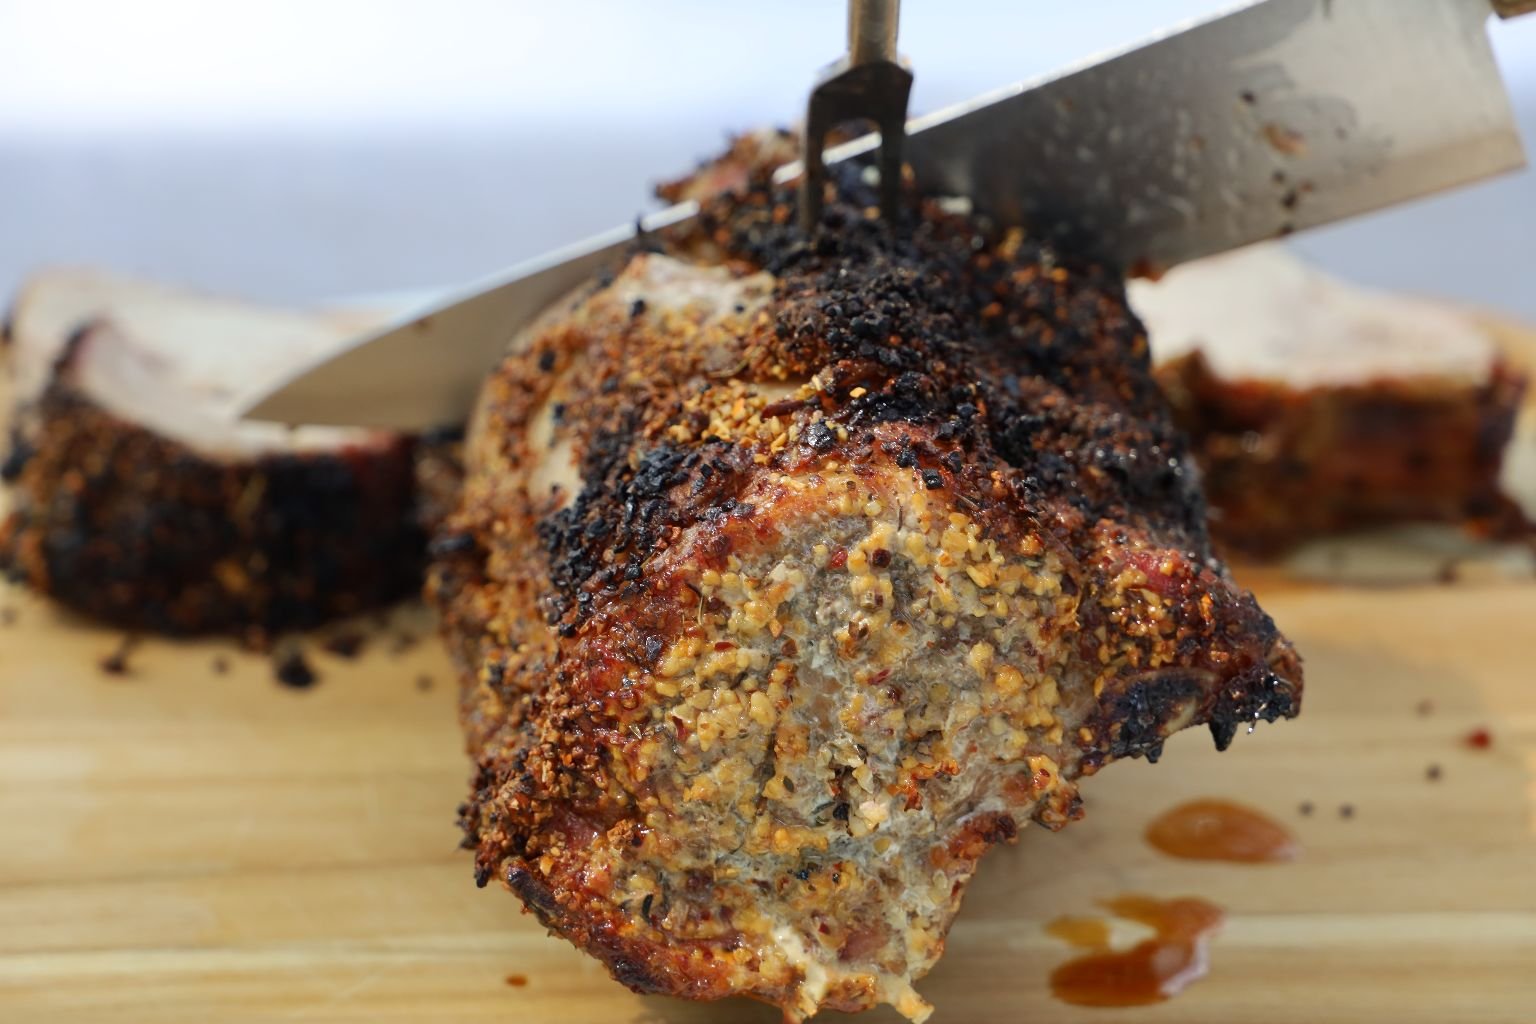
——————————————————————–
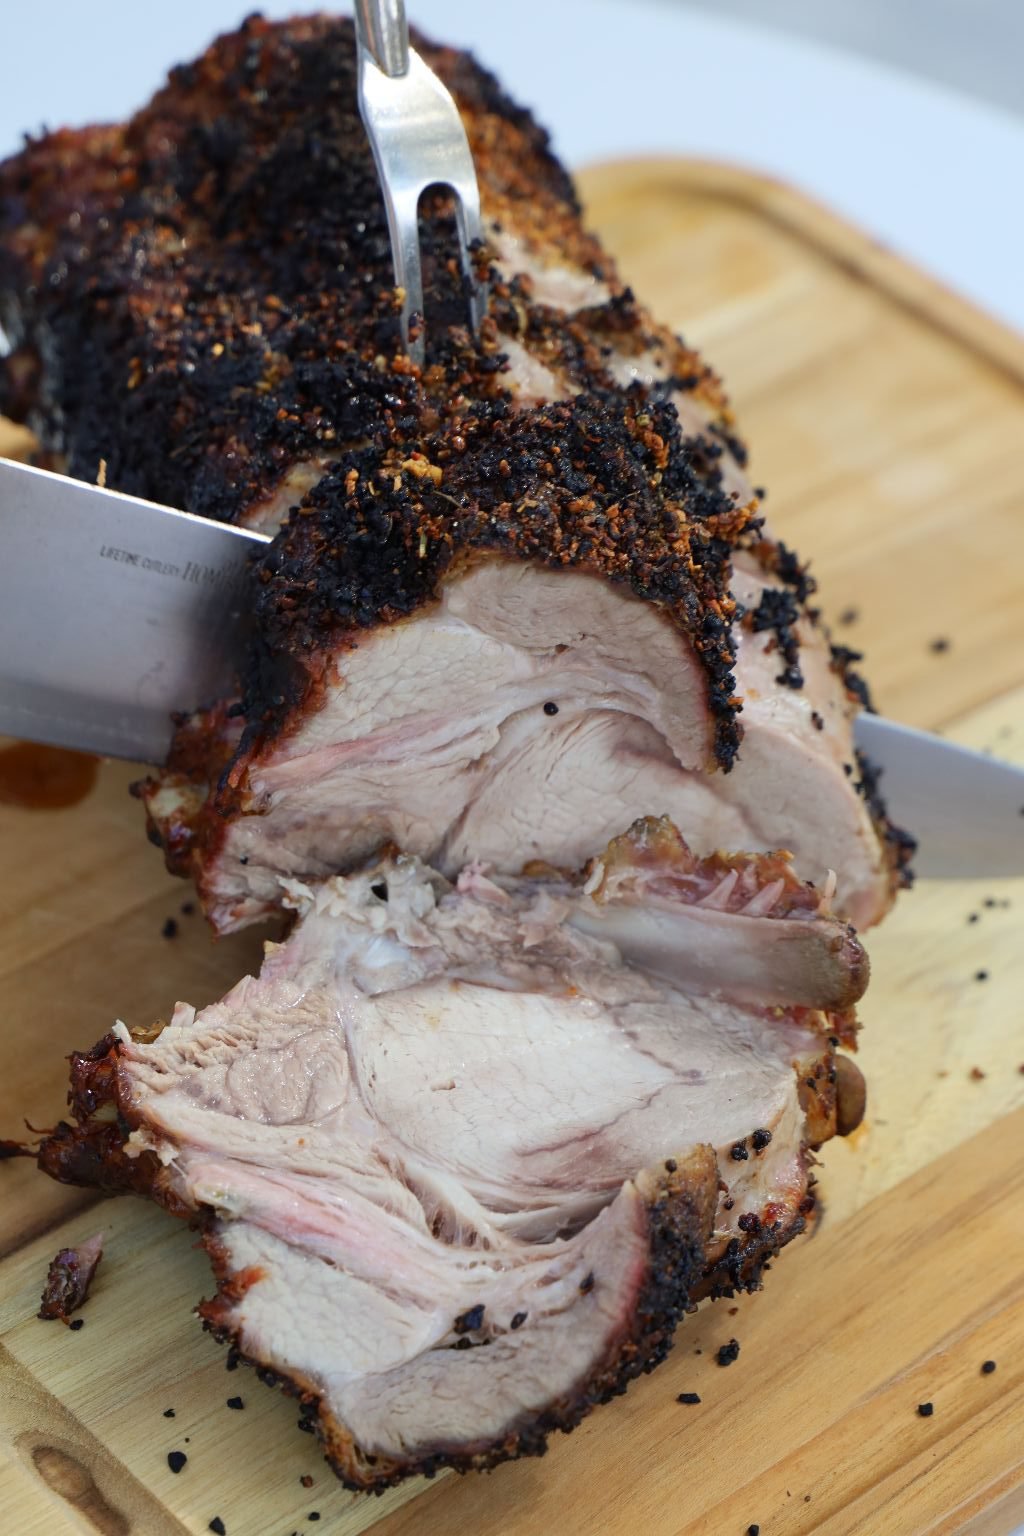
Gordon’s Bone In Pork Roast
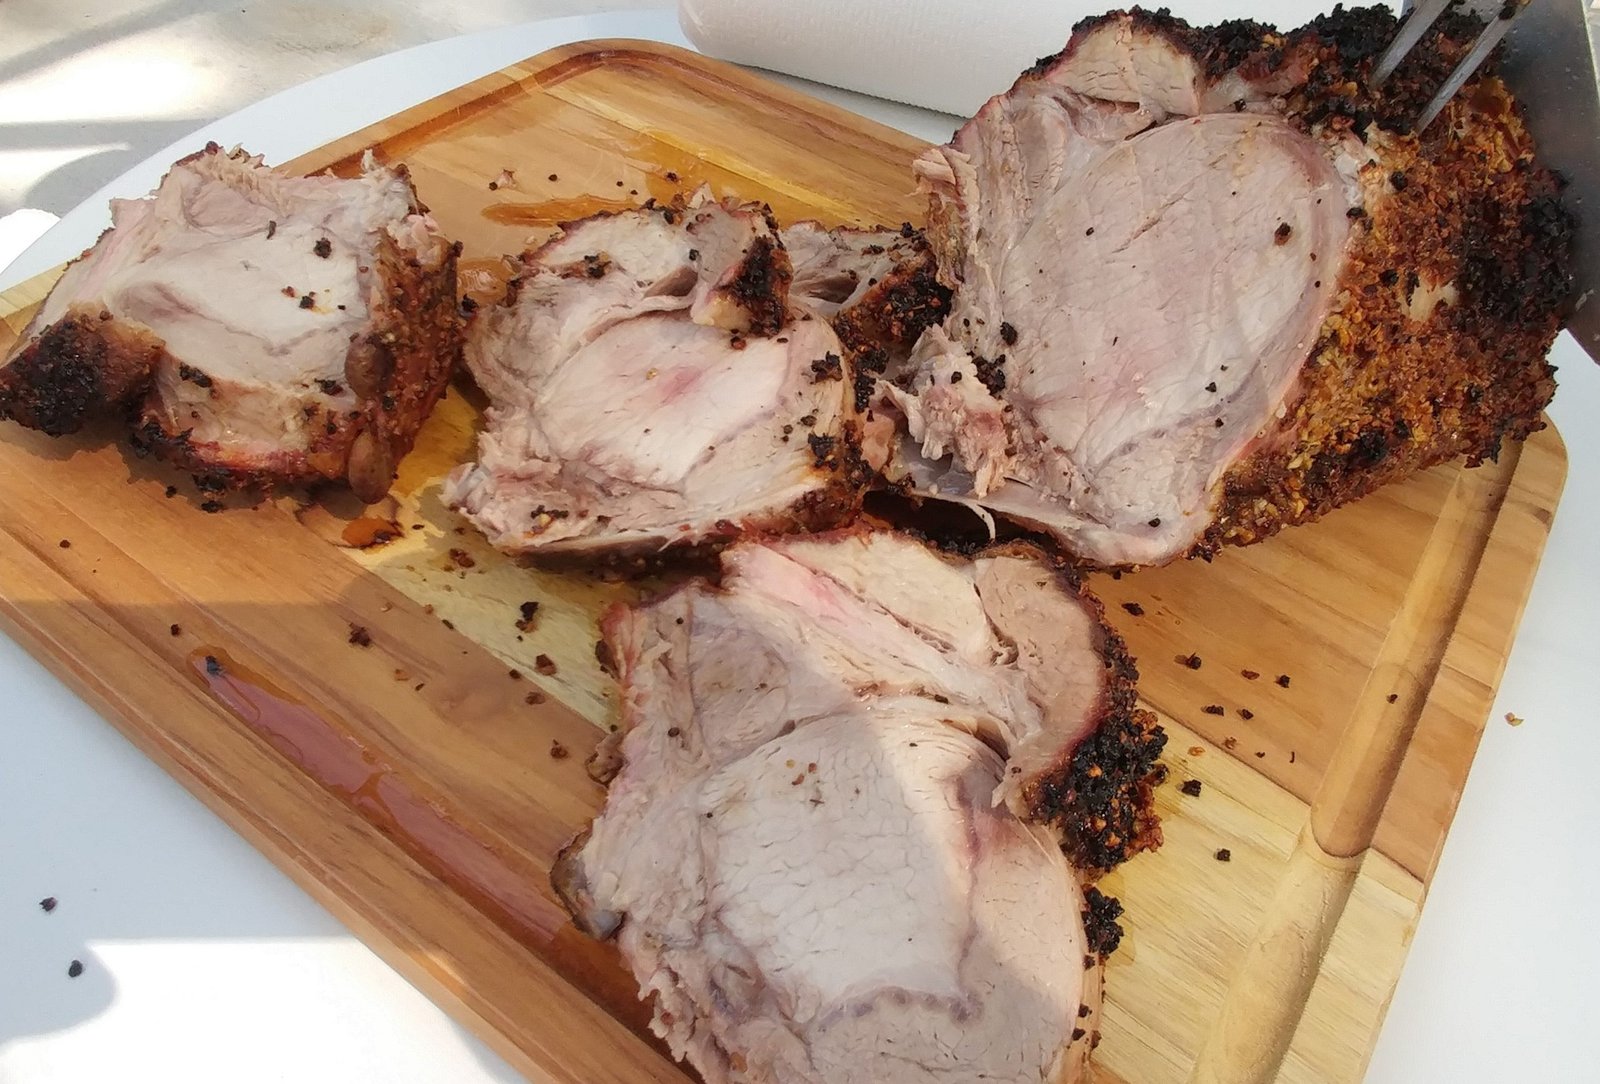
PORK
Recipe write up will be at the bottom of this post.
Hey, we have to give you something special to put your mustard on.
(Recipe Down Below)

Our Mustard’s are also good on Grilled Sausages

—————————————————————-
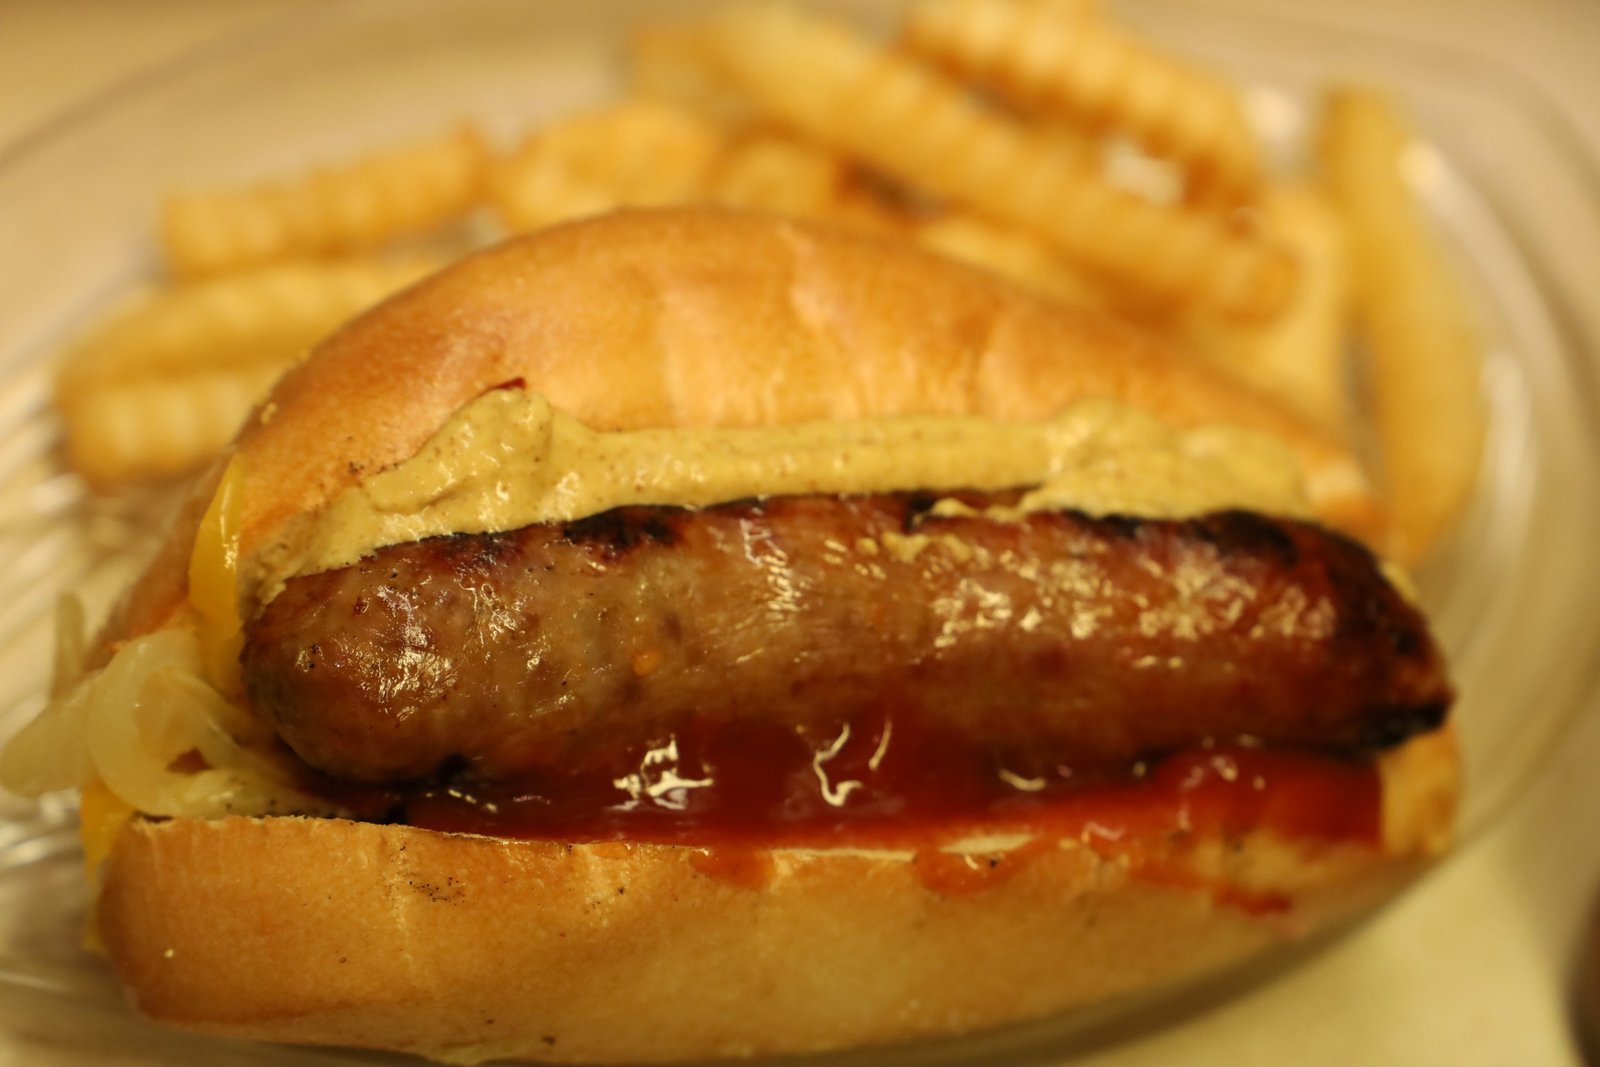
————————————————————-
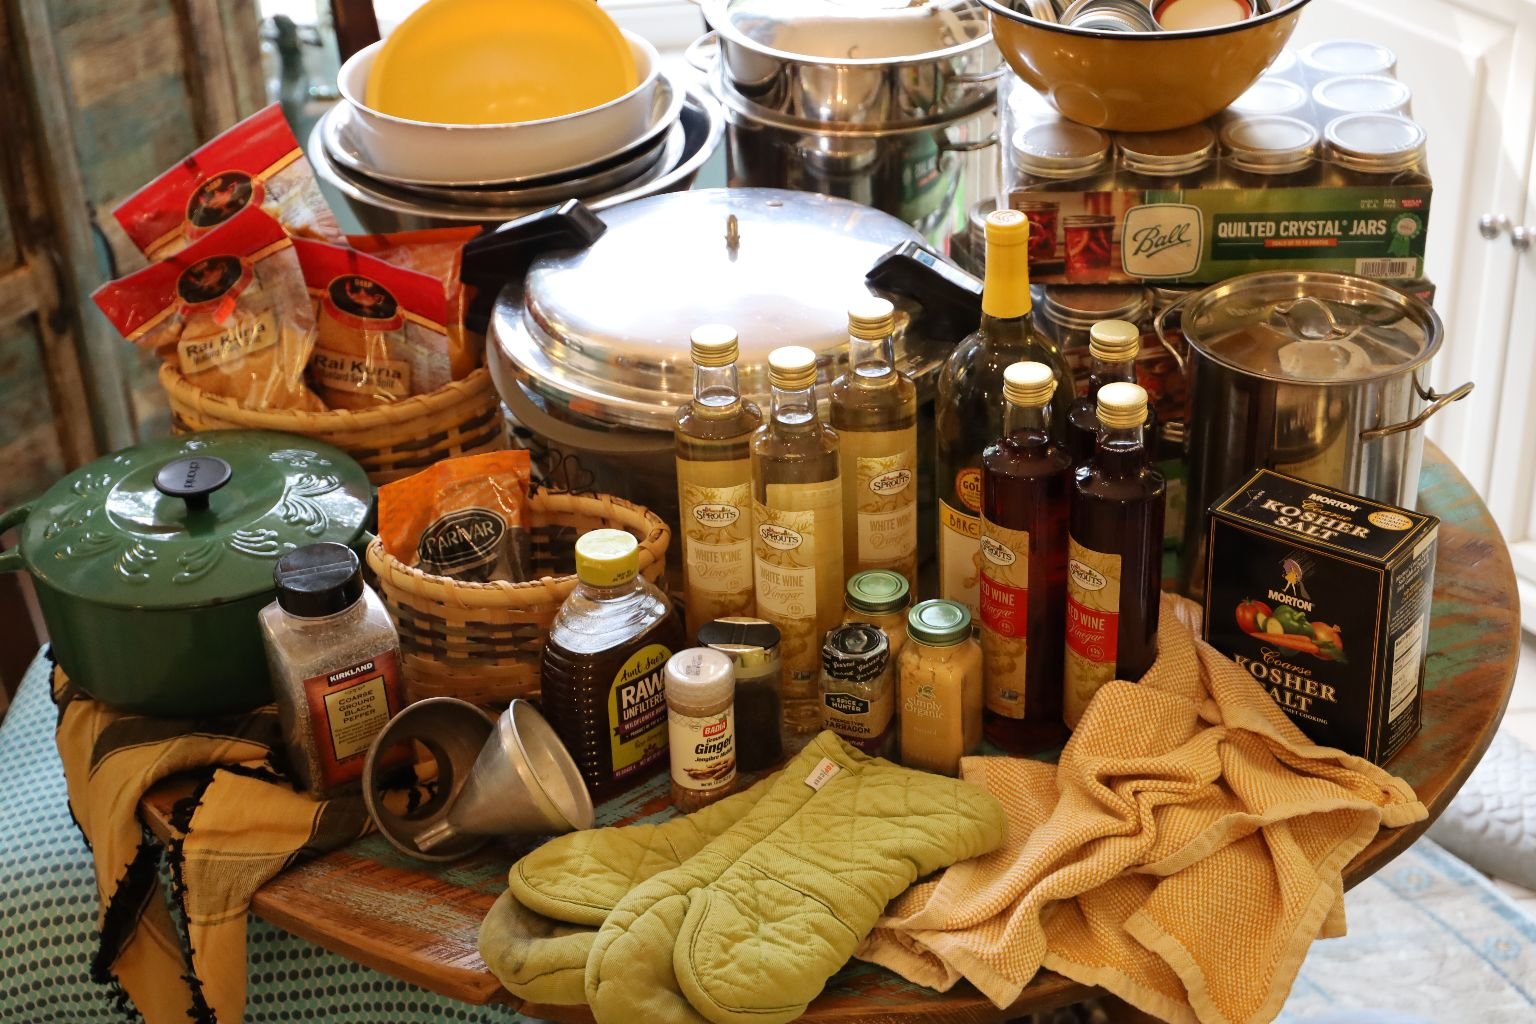
Our Ingredients
Here are the ingredients we used to make four different mustard’s.
The basic ingredients you will need are brown and yellow mustard seeds, red and white wine vinegar’s, dry white wine, honey, dry mustard, and some salt and pepper. You may want to also add some garlic powder and paprika to the mustard to add more flavor.
The 4 Mustard’s We Will Be Making Are:
The Yellow Mustard Base
Black and Brown Mustard
(Although we used the black and yellow seeds the mustard ended up looking black and brown.)
Tarragon Mustard
Almost Yellow Mustard
(It’s actually a Yellow Mustard but it isn’t as yellow as we would have liked so we call it Almost Yellow because it’s almost yellow.)
And,
Honey Mustard
——————————————————
We also have other ingredients here to flavor our different mustard’s.
They will be added to each mustard recipe.
To make a variation of mustard we used some Ground Ginger and Dried Tarragon.
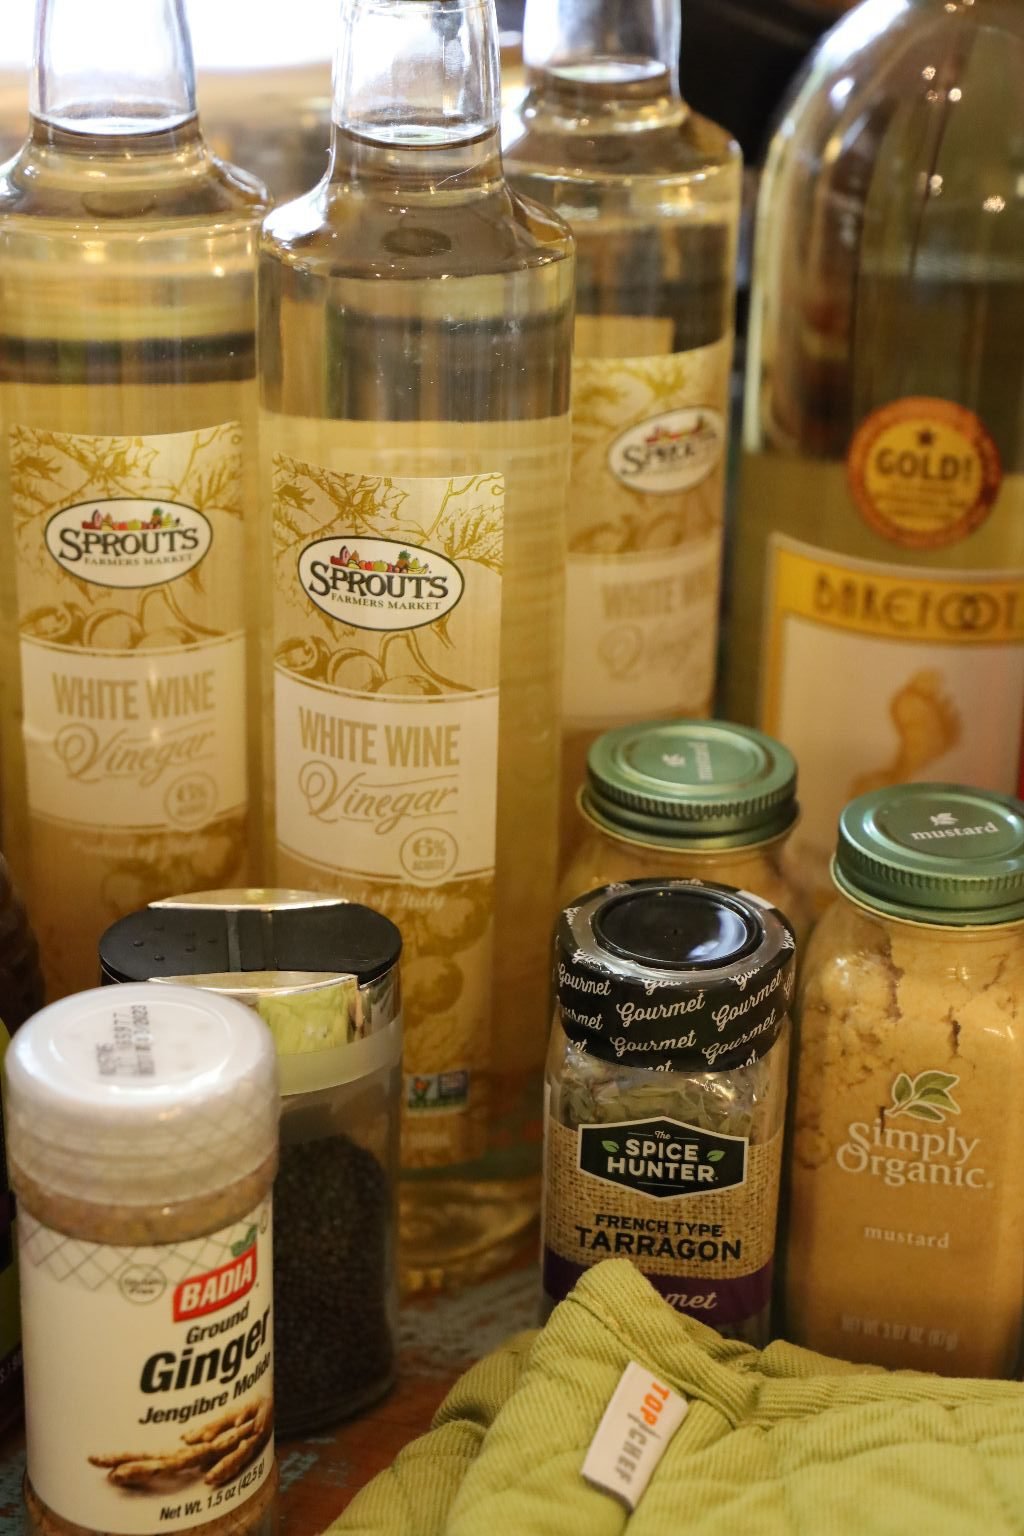
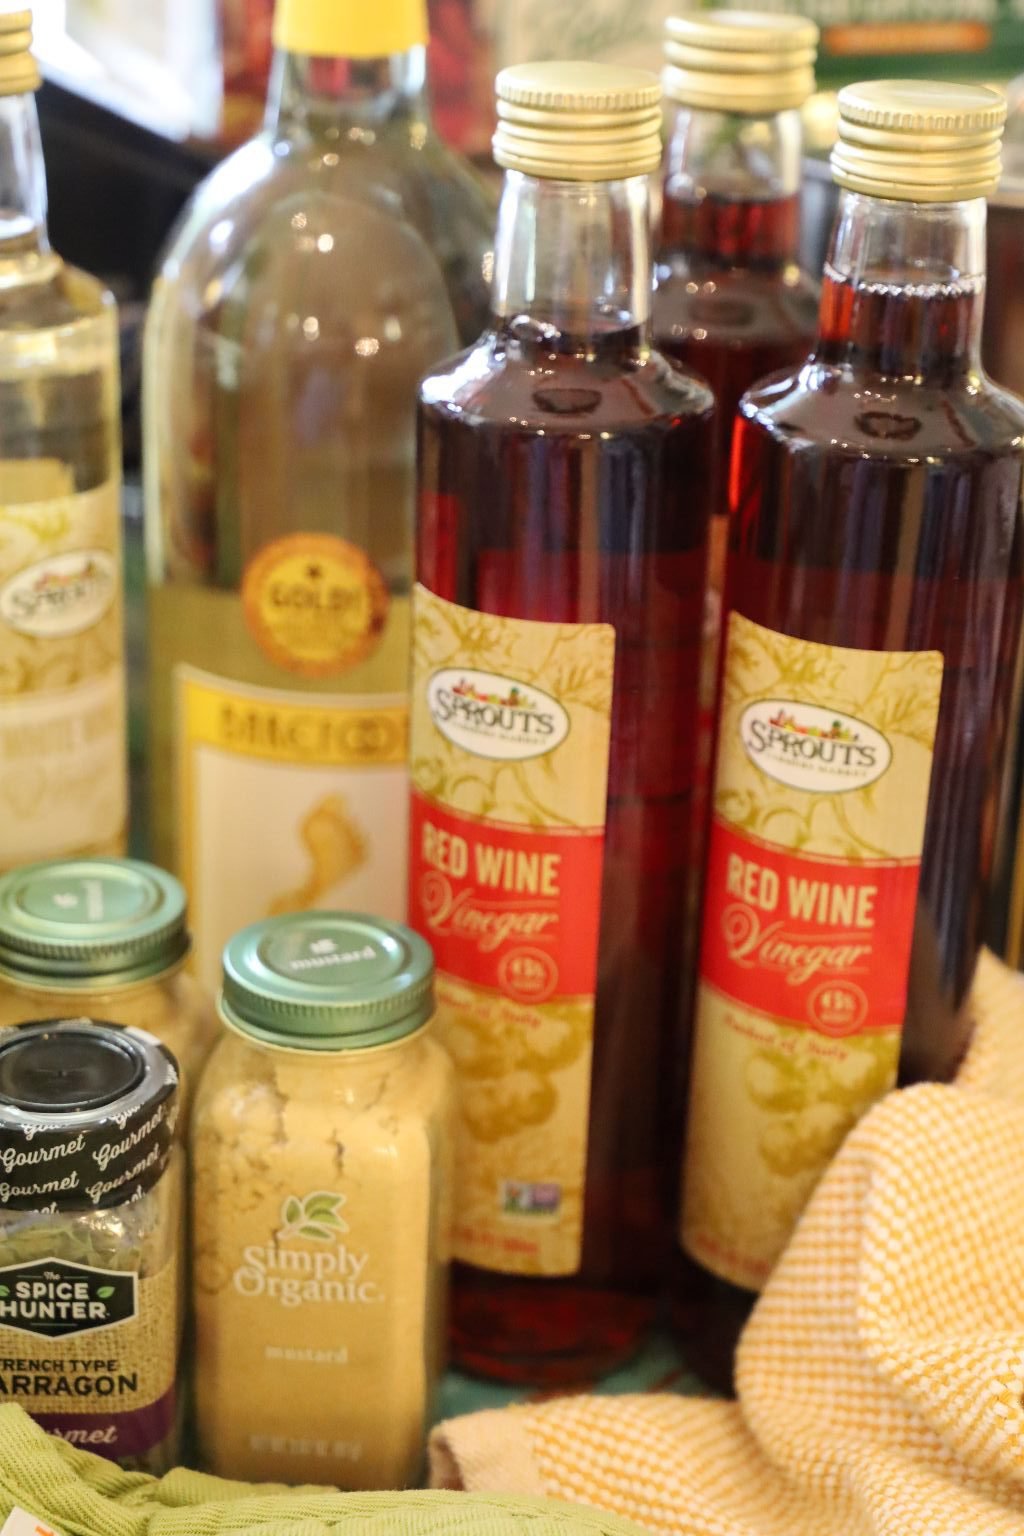
It is a small investment, but well worth it.
MUSTARD
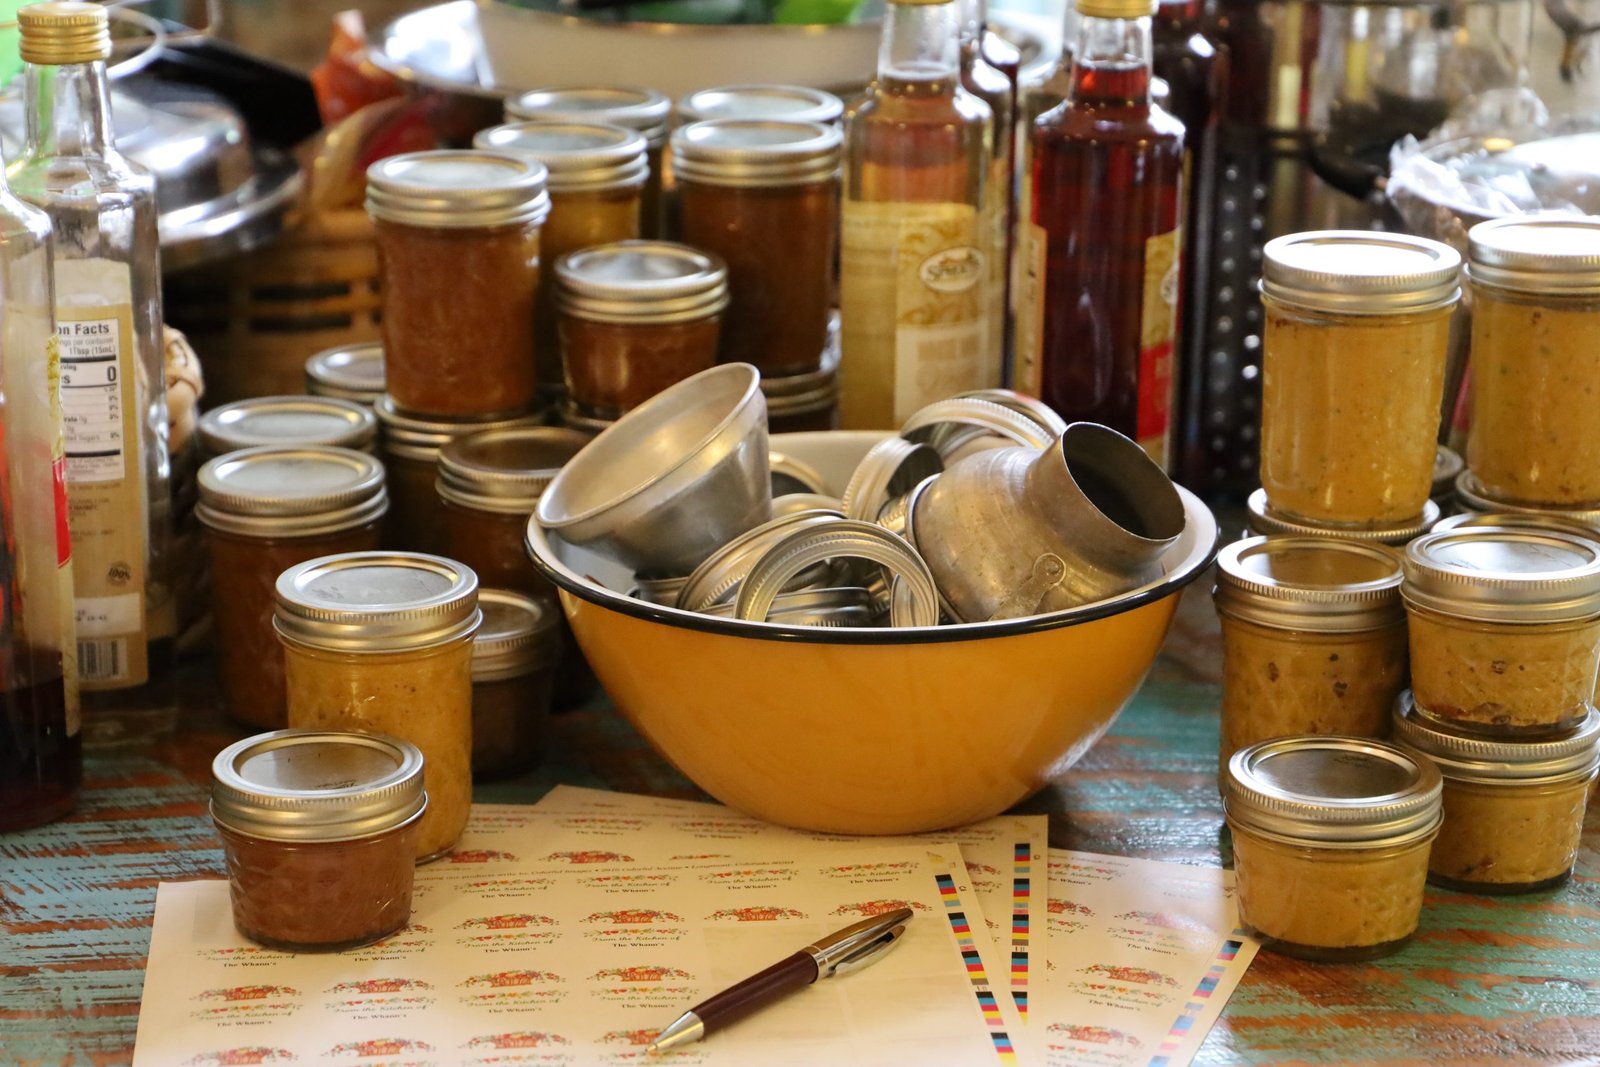
You will also need plenty of canning jars, lids, and rings.
Again, you are making an investment here, but isn’t it nice to have a stocked pantry?
Especially in uncertain times?
————————————————————-
Making our “Almost” Yellow Mustard

This recipe will take about 10 days to make so plan ahead!
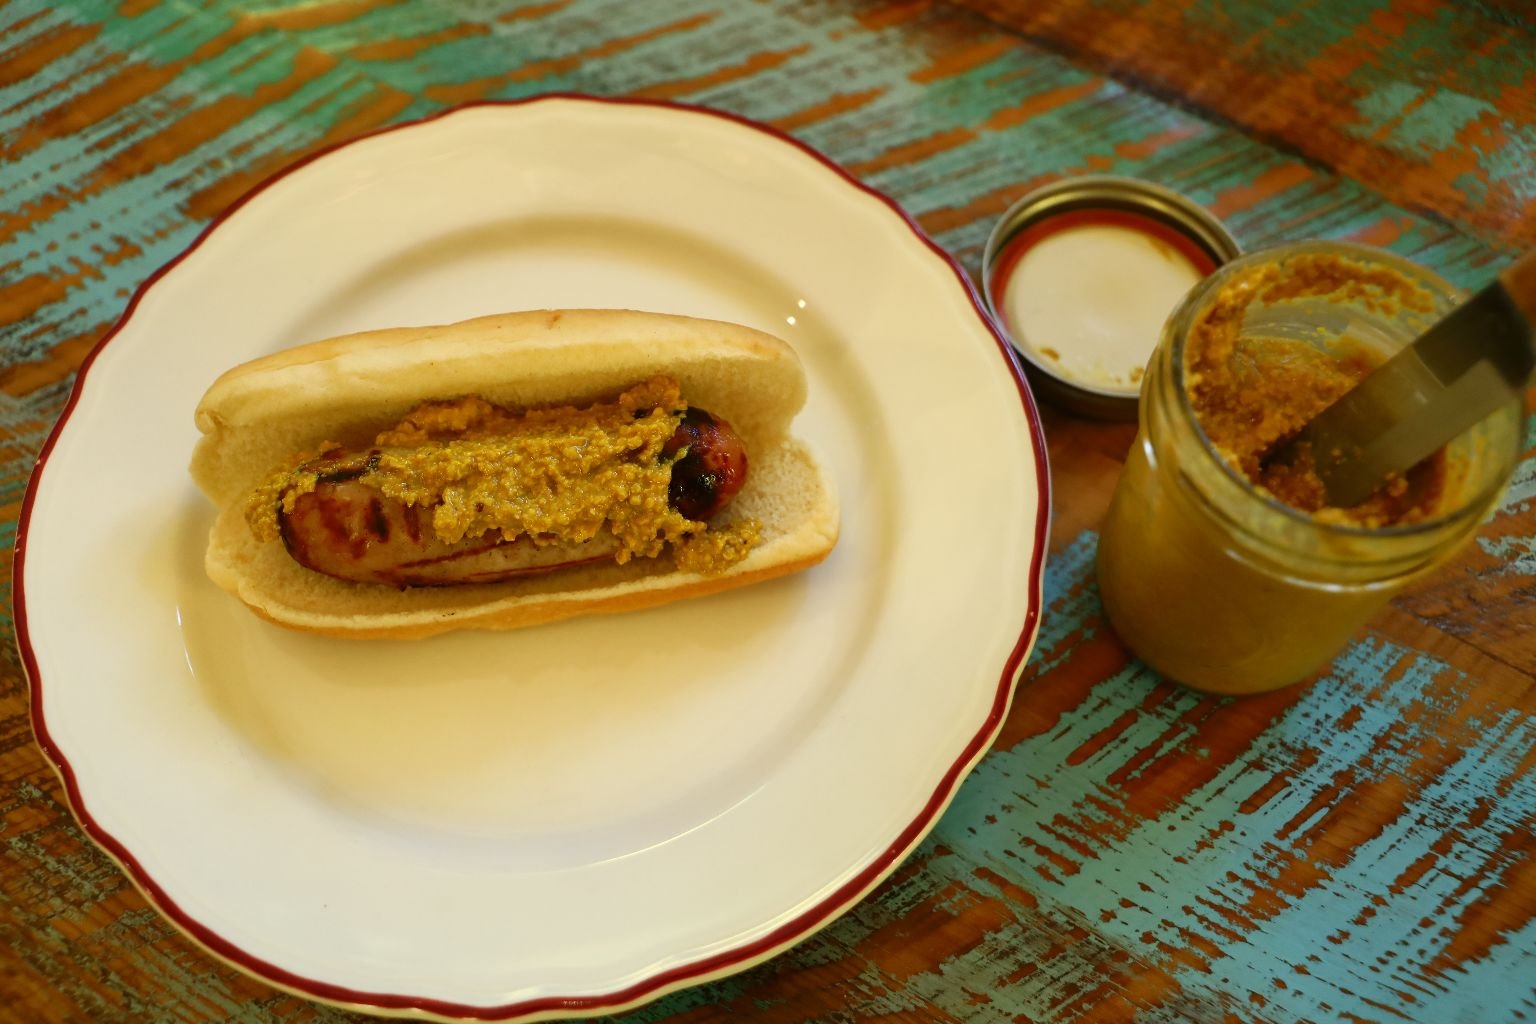
Here we are placing our Almost Yellow Mustard onto a grilled Apple Chicken Sausage.
——————————————————-
Gordon in the Kitchen, Ready to Make Mustard
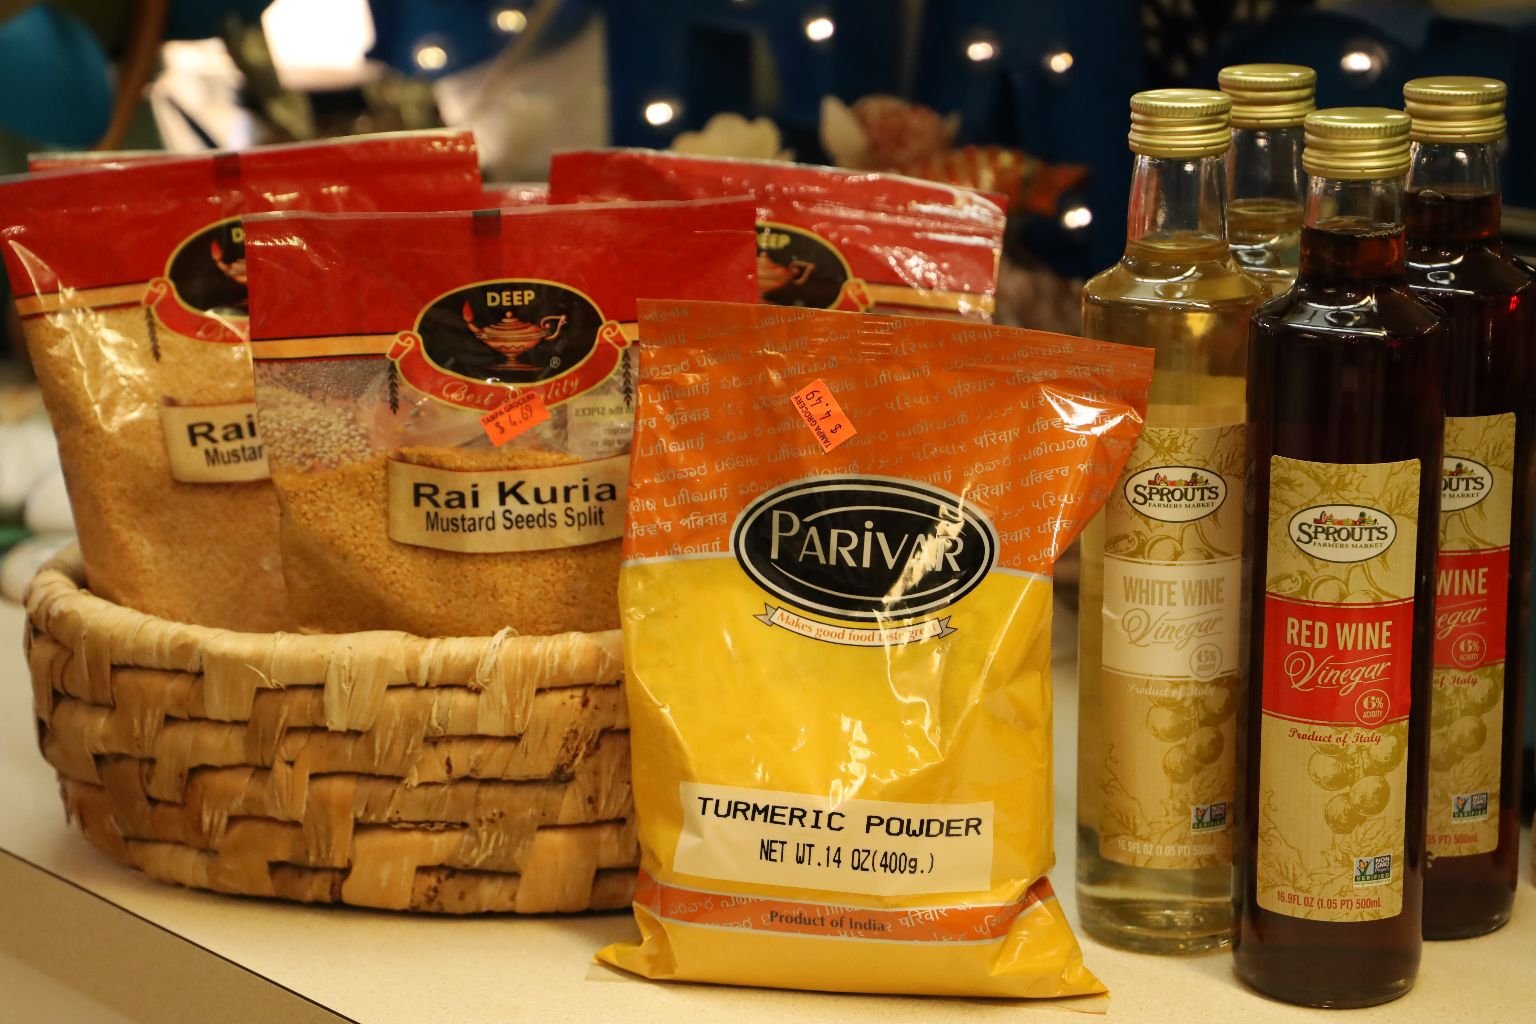
The below ingredients will make 16 (1/2 pint) size jars. This is also a good Yellow Mustard base to use to make a variety of other mustard’s.
Ingredients:
8 Cups Split Yellow Mustard Seeds
5 Cups Red Wine Vinegar
5 Cups White Wine Vinegar
1 Cup Dry White Wine
8 Tbsp. Honey
10 Tbsp. Dry Mustard
3 Tbsp. Turmeric
3 Tbsp. Black Pepper
5 Tbsp. Salt (Kosher)
——————————————————————–
Be sure to have a large nonreactive pot.
A nonreactive pot is referring to the type of metal the pot is made from. Stainless steel, ceramic, glass and metal cookware with enamel coating are all nonreactive. Reactive cookware are made from aluminum, cast iron, and copper, but are sometimes lined with nonreactive tin. If you use a reactive pot the acid could react with the metal pot imparting a metallic taste to the mustard as well as discoloring it.
——————————————————————
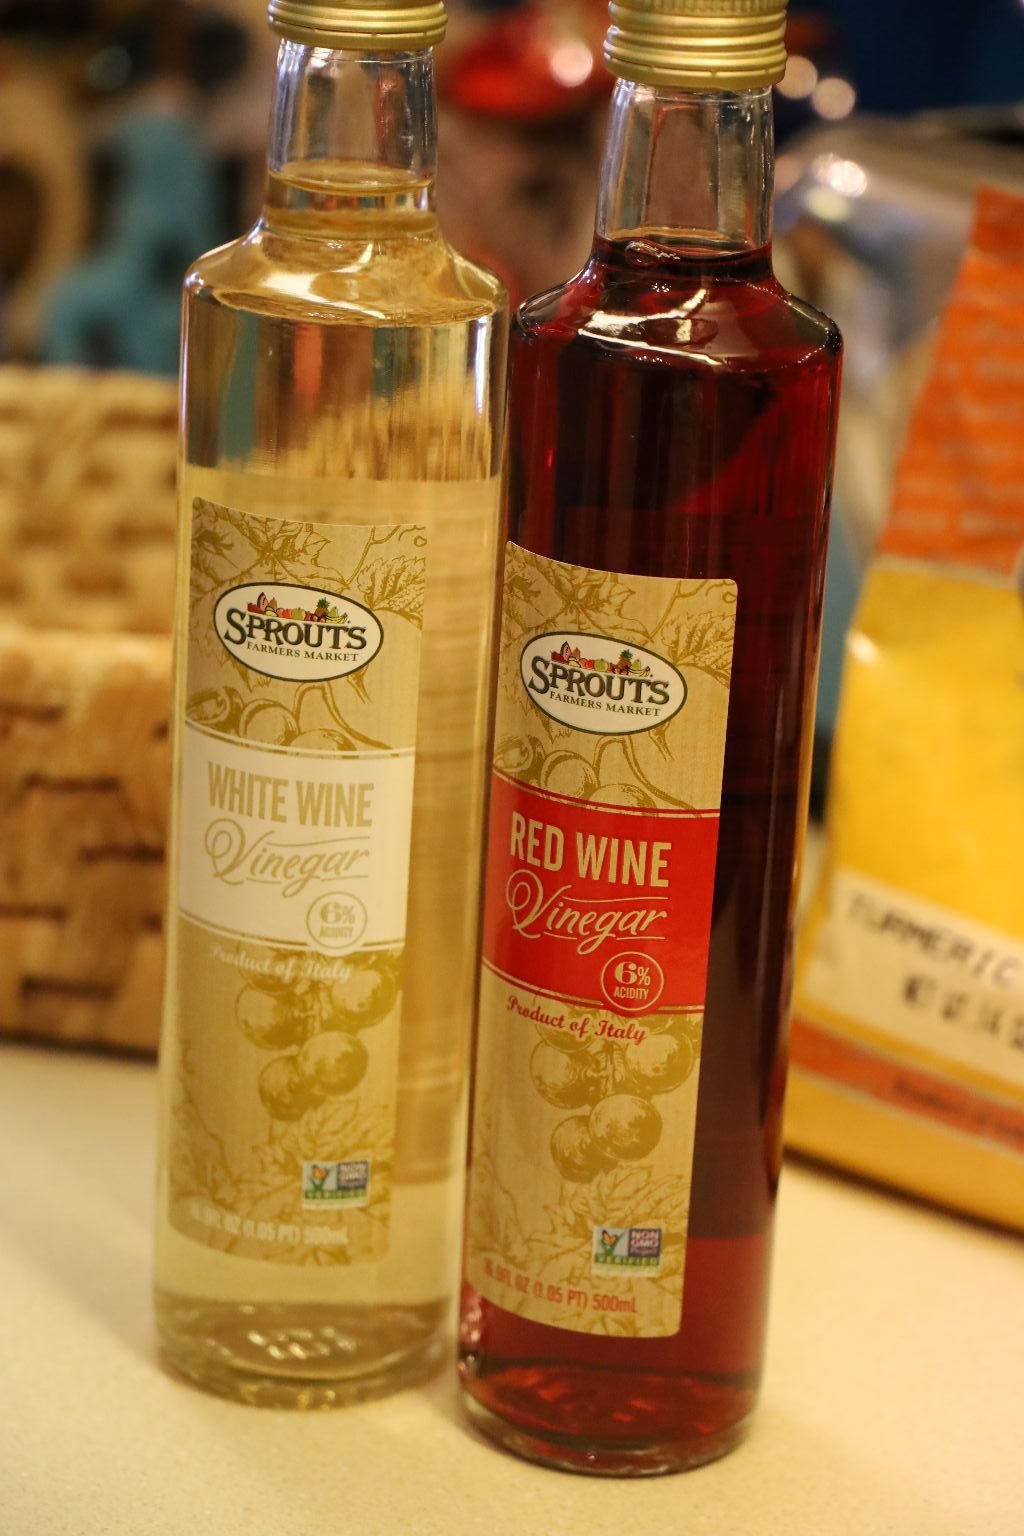
Because we were having essential workers to shop for us we bought many things we needed for these recipes from Sprouts.
————————————————————-
Add 4 cups of your Red, and 4 cups of your White Wine Vinegar into the pot.
Then pour in your mustard seeds.
We bought these seeds from our local Indian food store.
Here I added a little more of the vinegar to the pot.
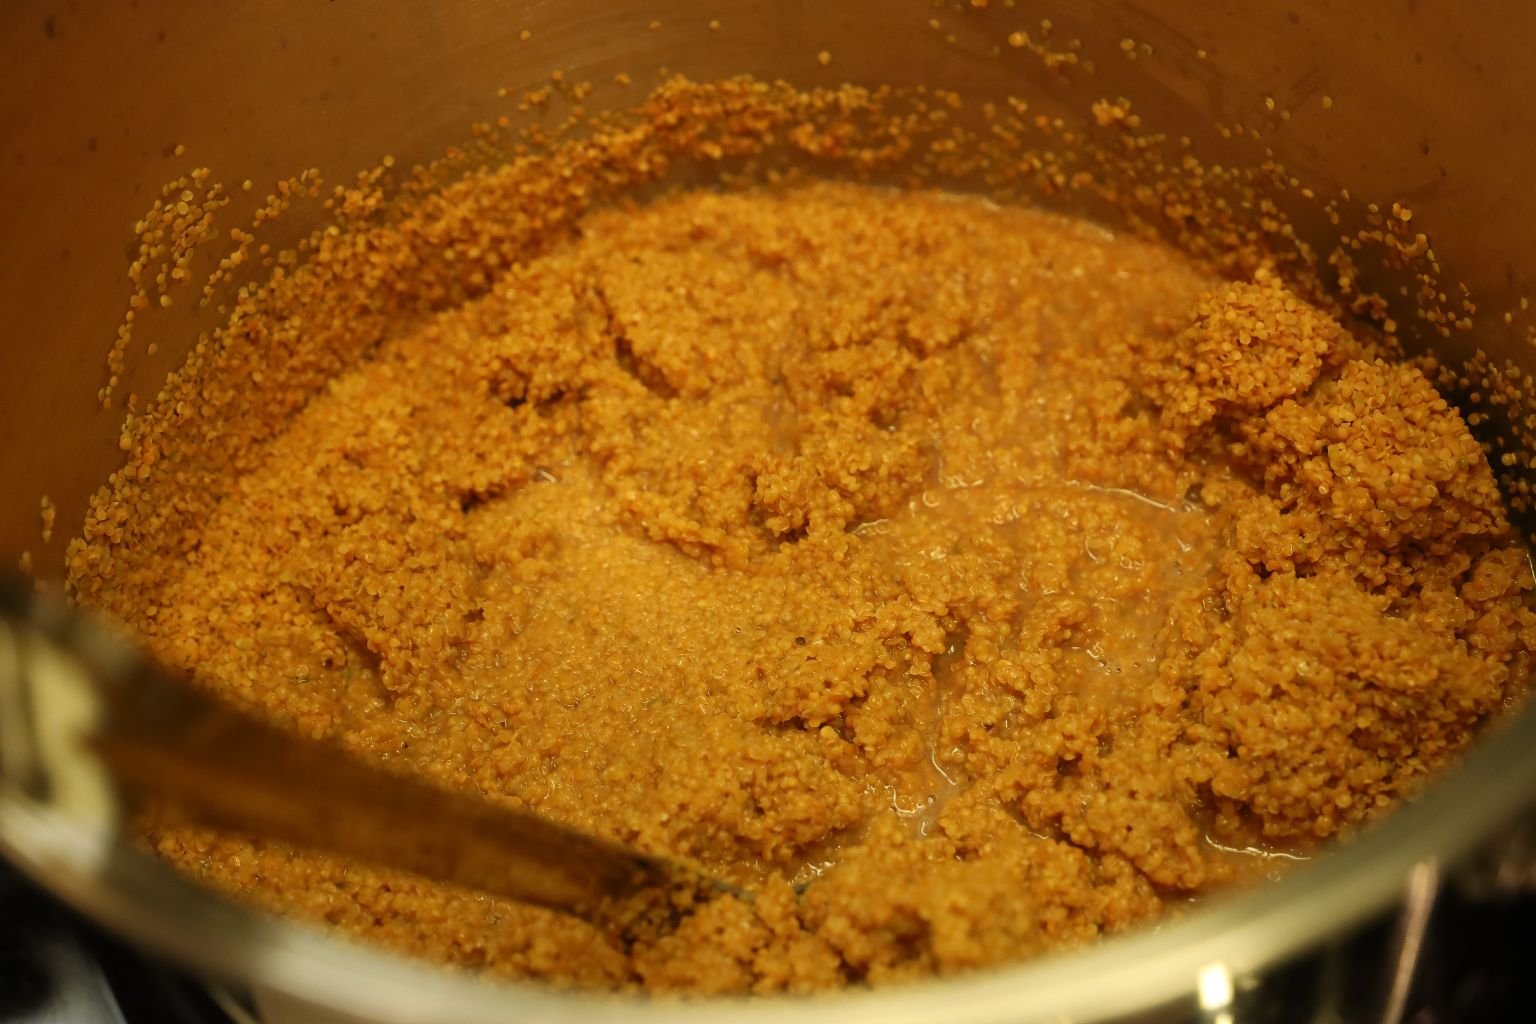
Stir your ingredients together.
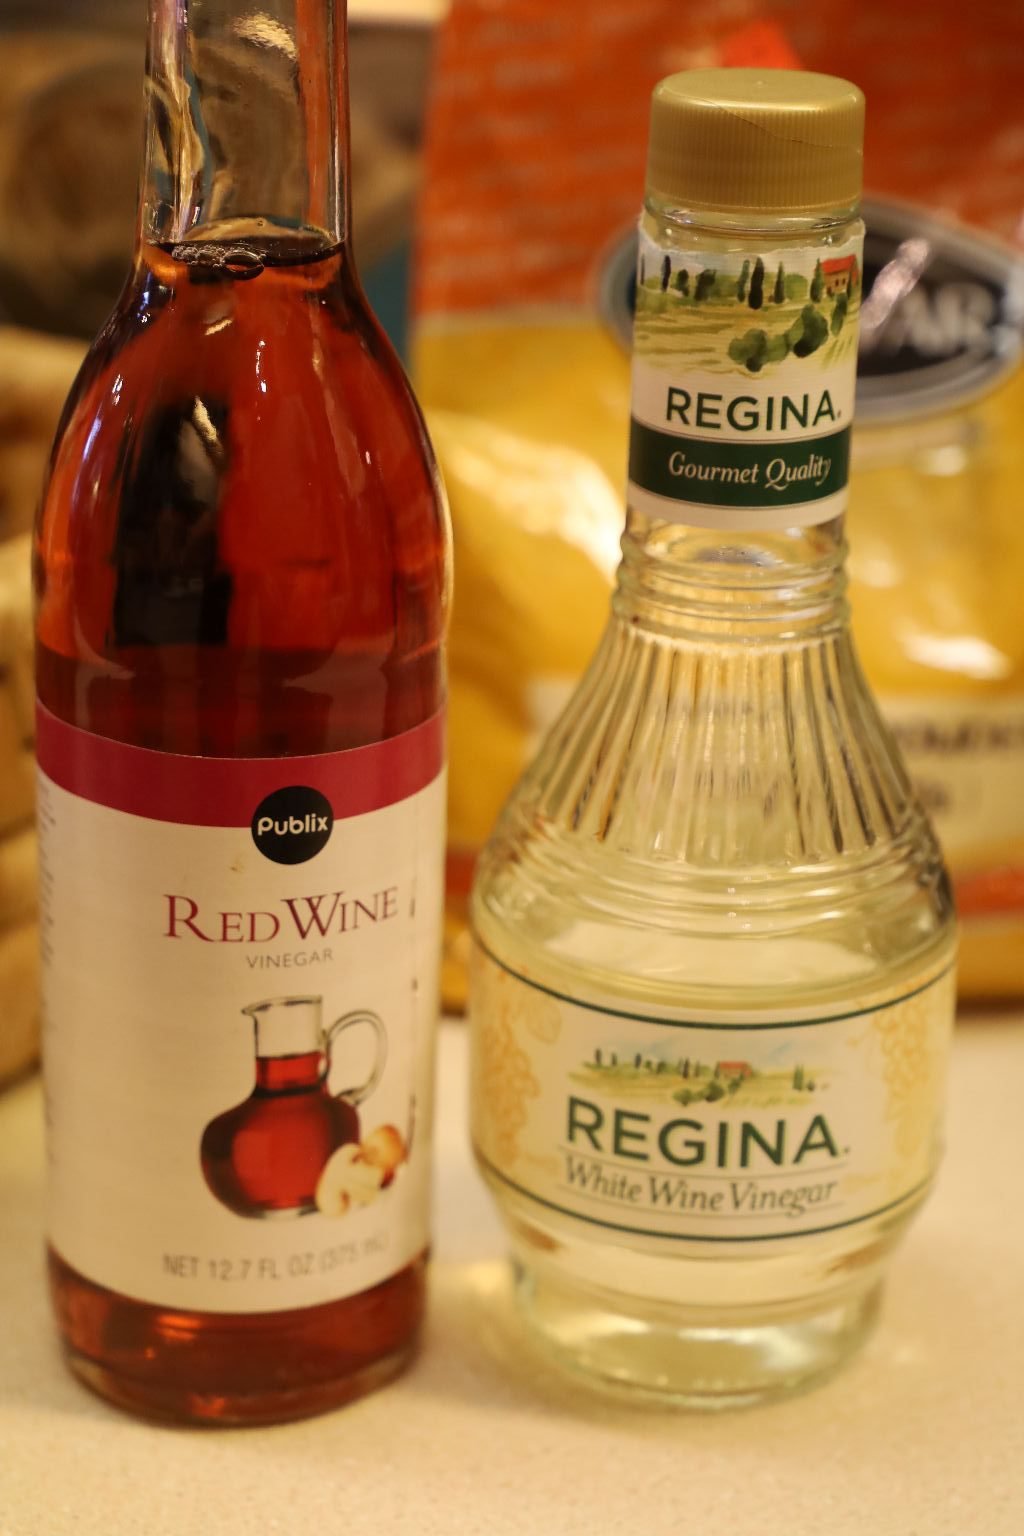
This is also a good time to use some of the vinegar’s you have in your cabinet which will also give the mustard a unique flavor as all vinegar’s don’t taste the same.
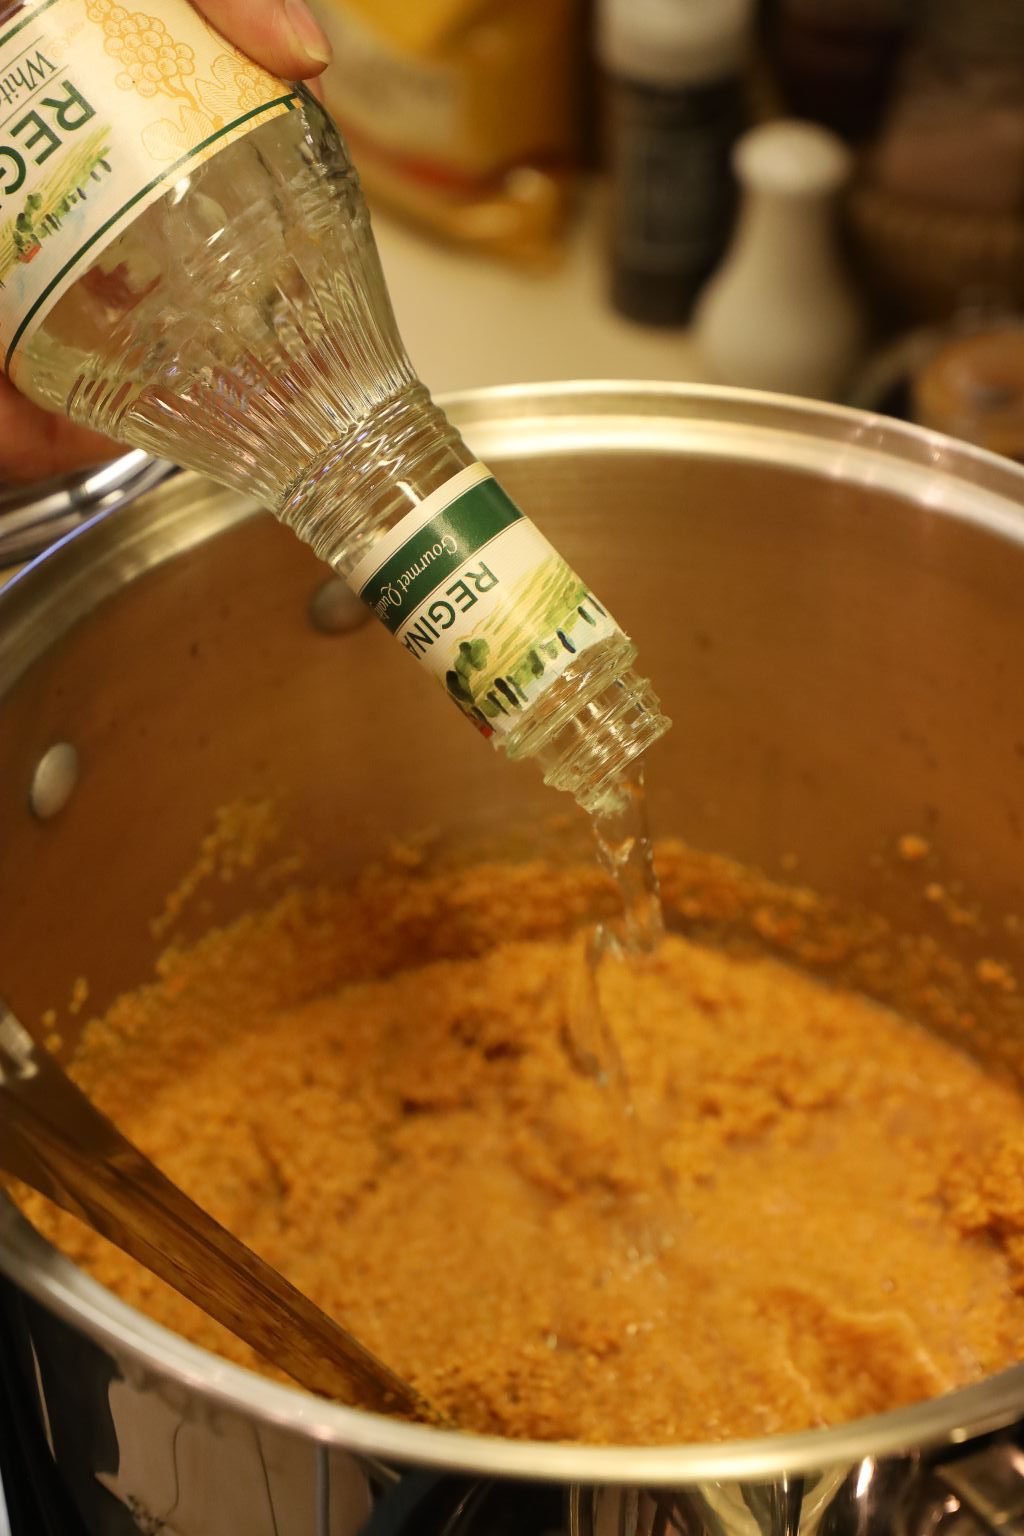
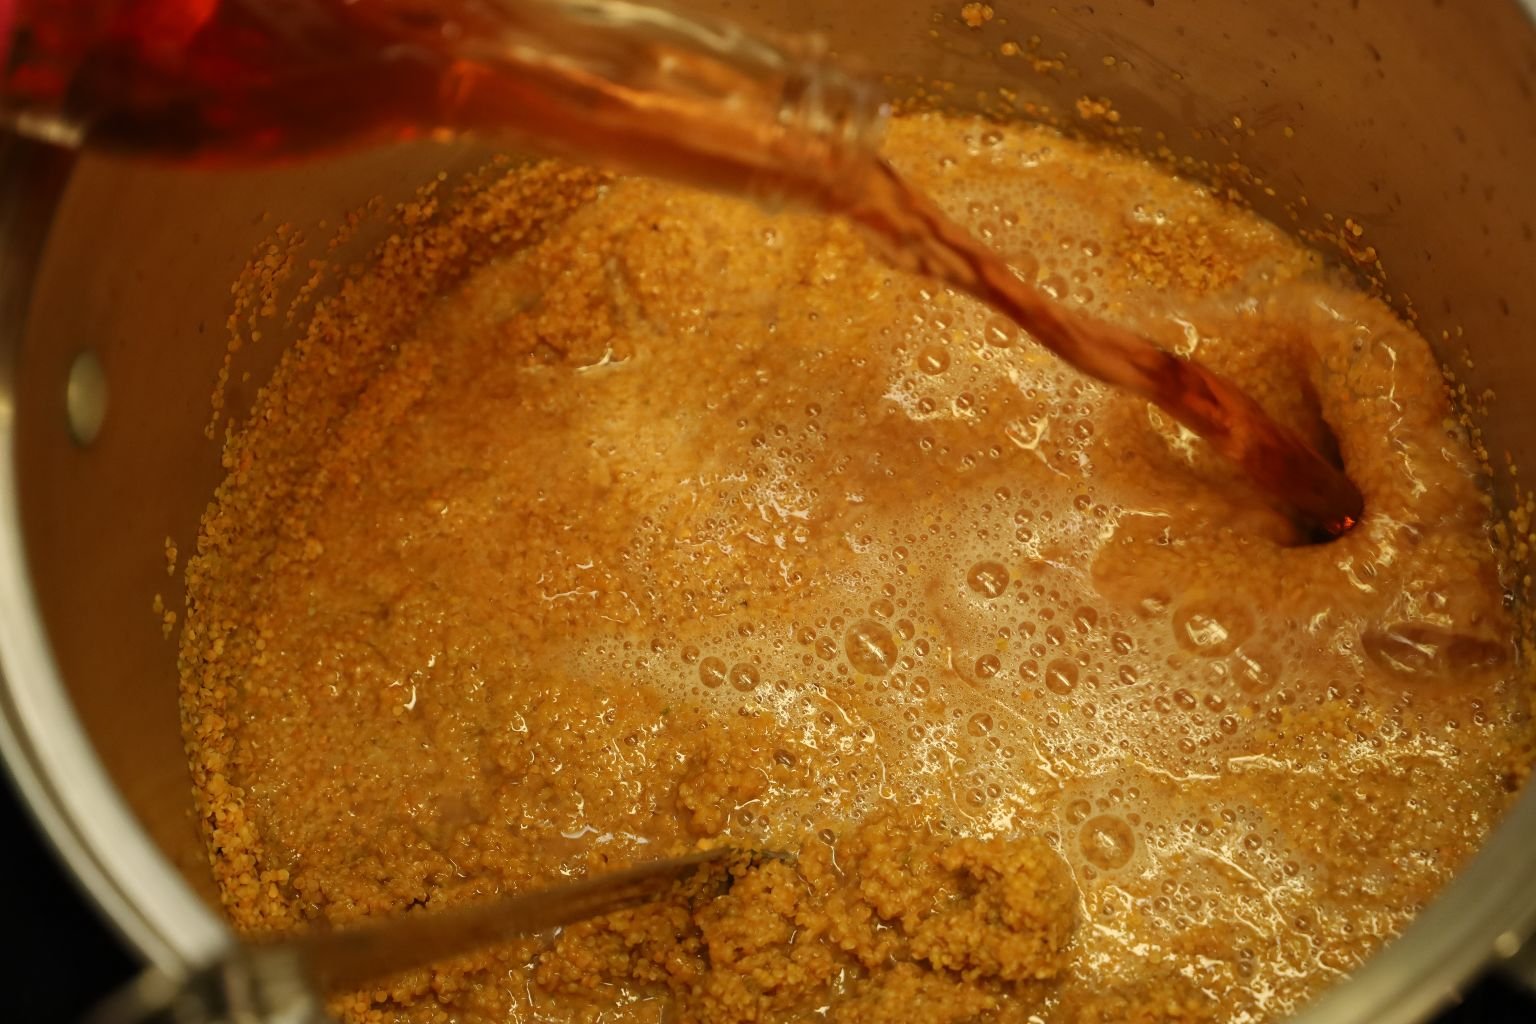
The mustard still looked a little dry, so I added a little more vinegar to the pot.
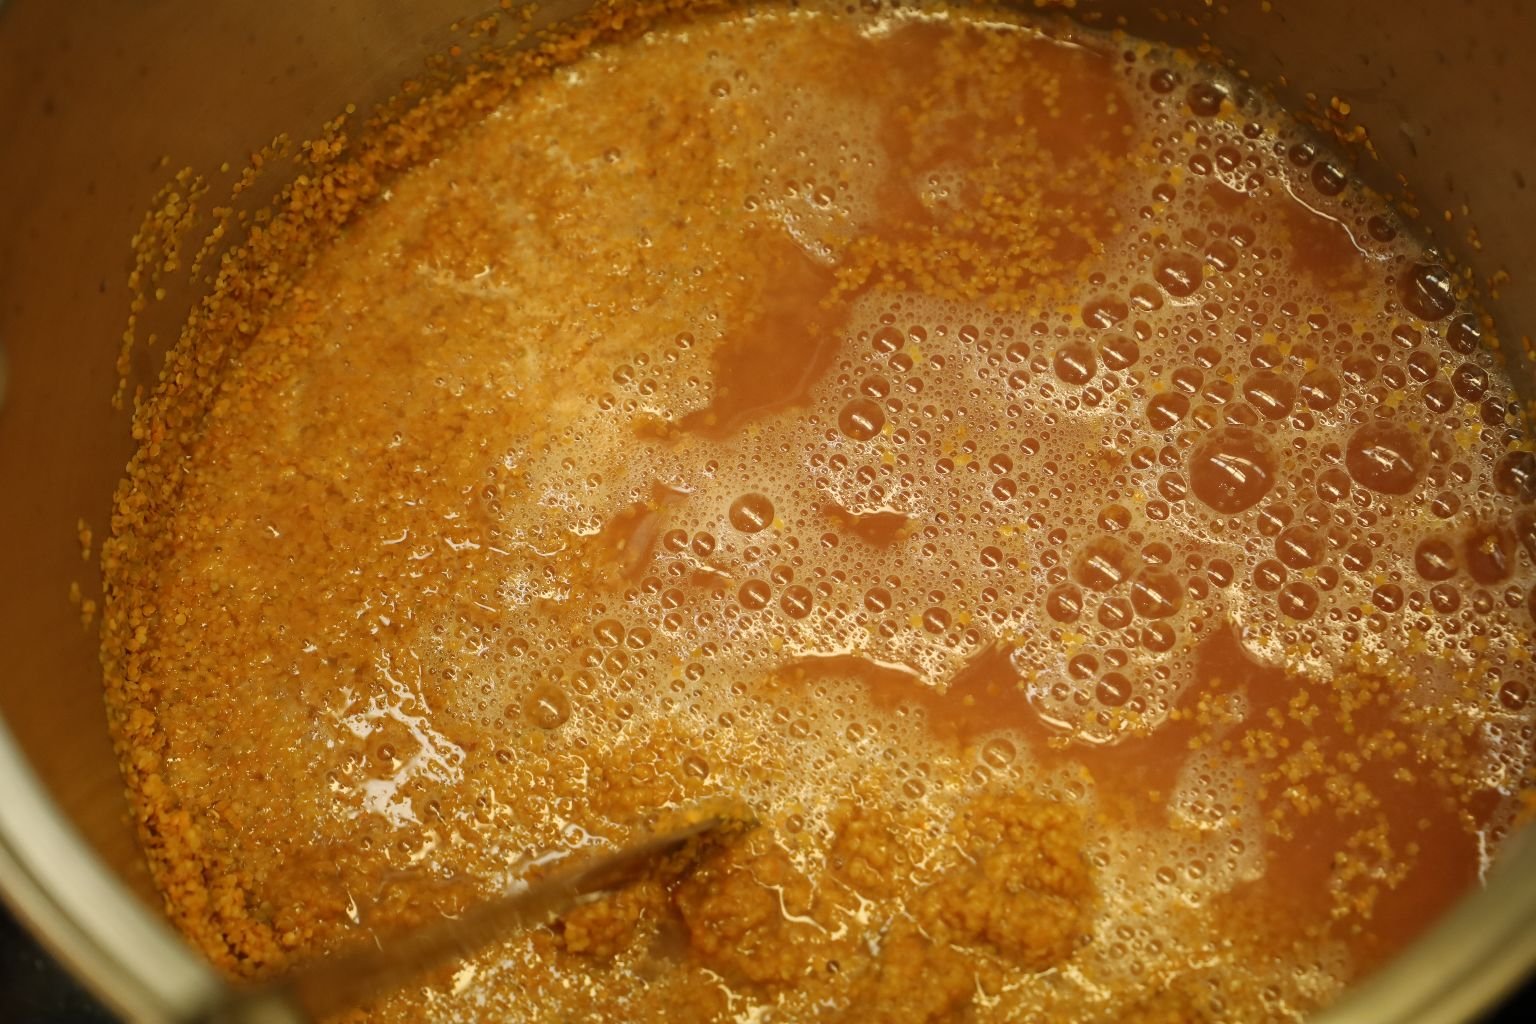
This looks good as I now have a bit more vinegar than seeds, so the seeds have some liquid to absorb.
Cover your pot with some plastic wrap and let the ingredients sit at room temperature for 5 days. But, check after a few days to see how well it is going.
——————————————————–
Day 2
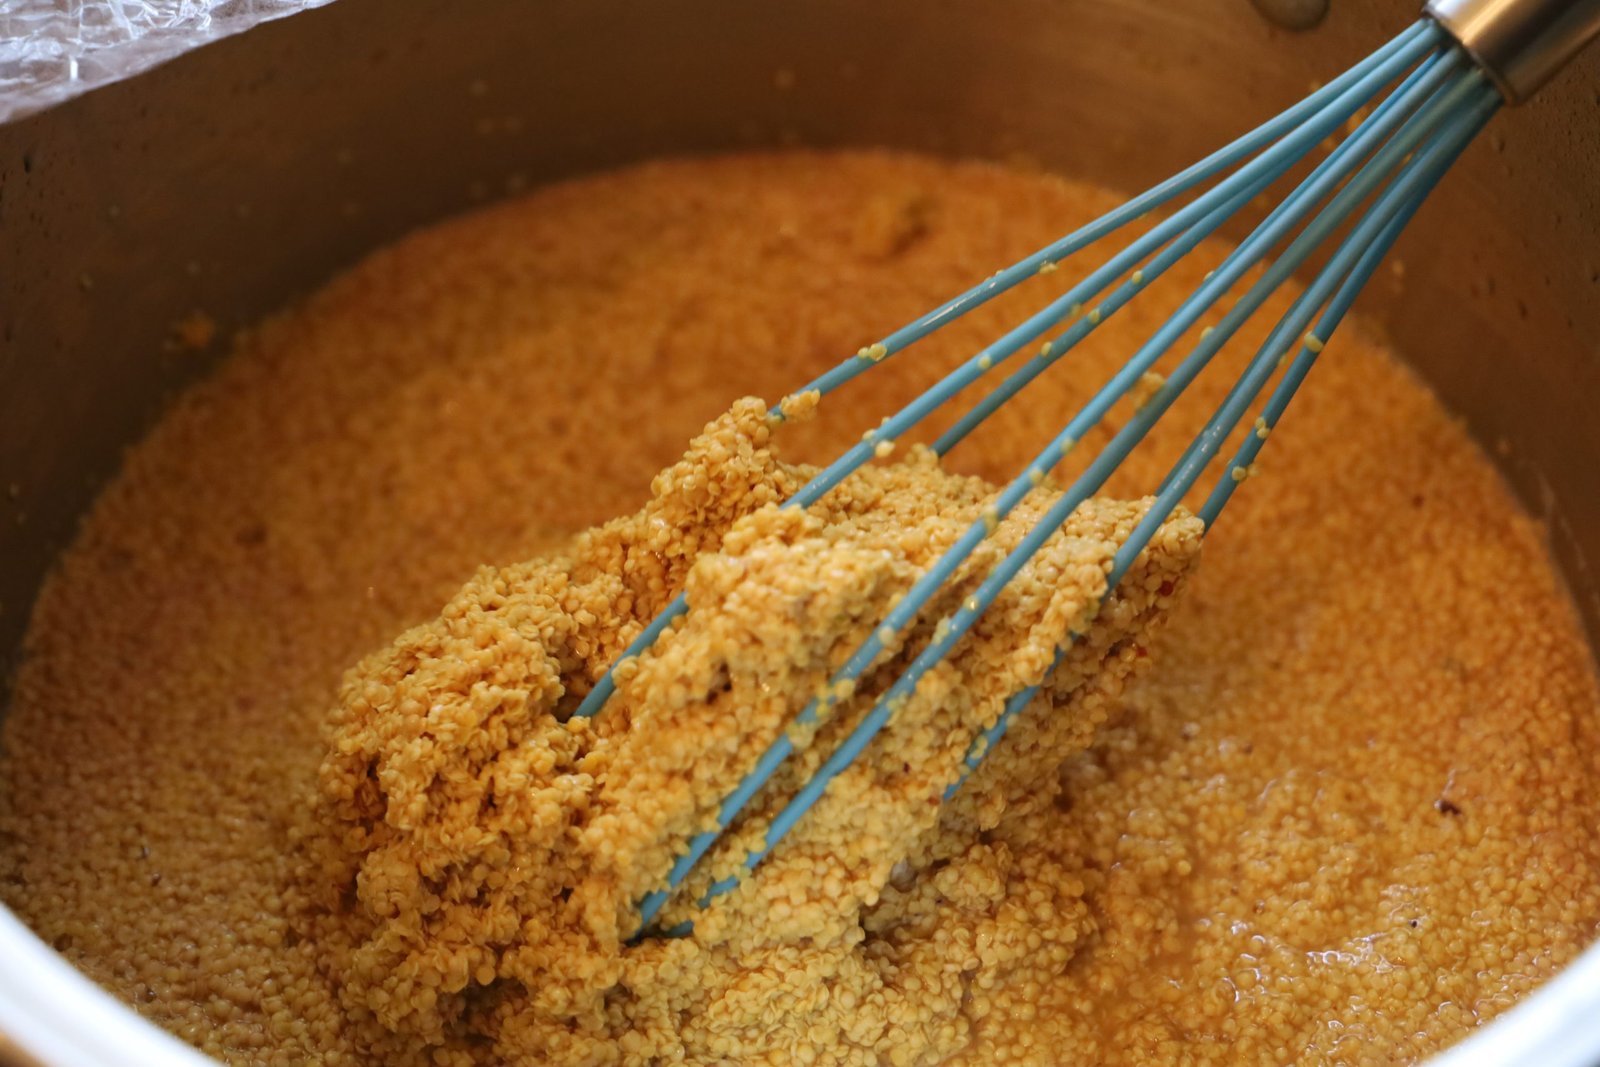
Here you can see the mustard seeds have absorbed the wet ingredients.
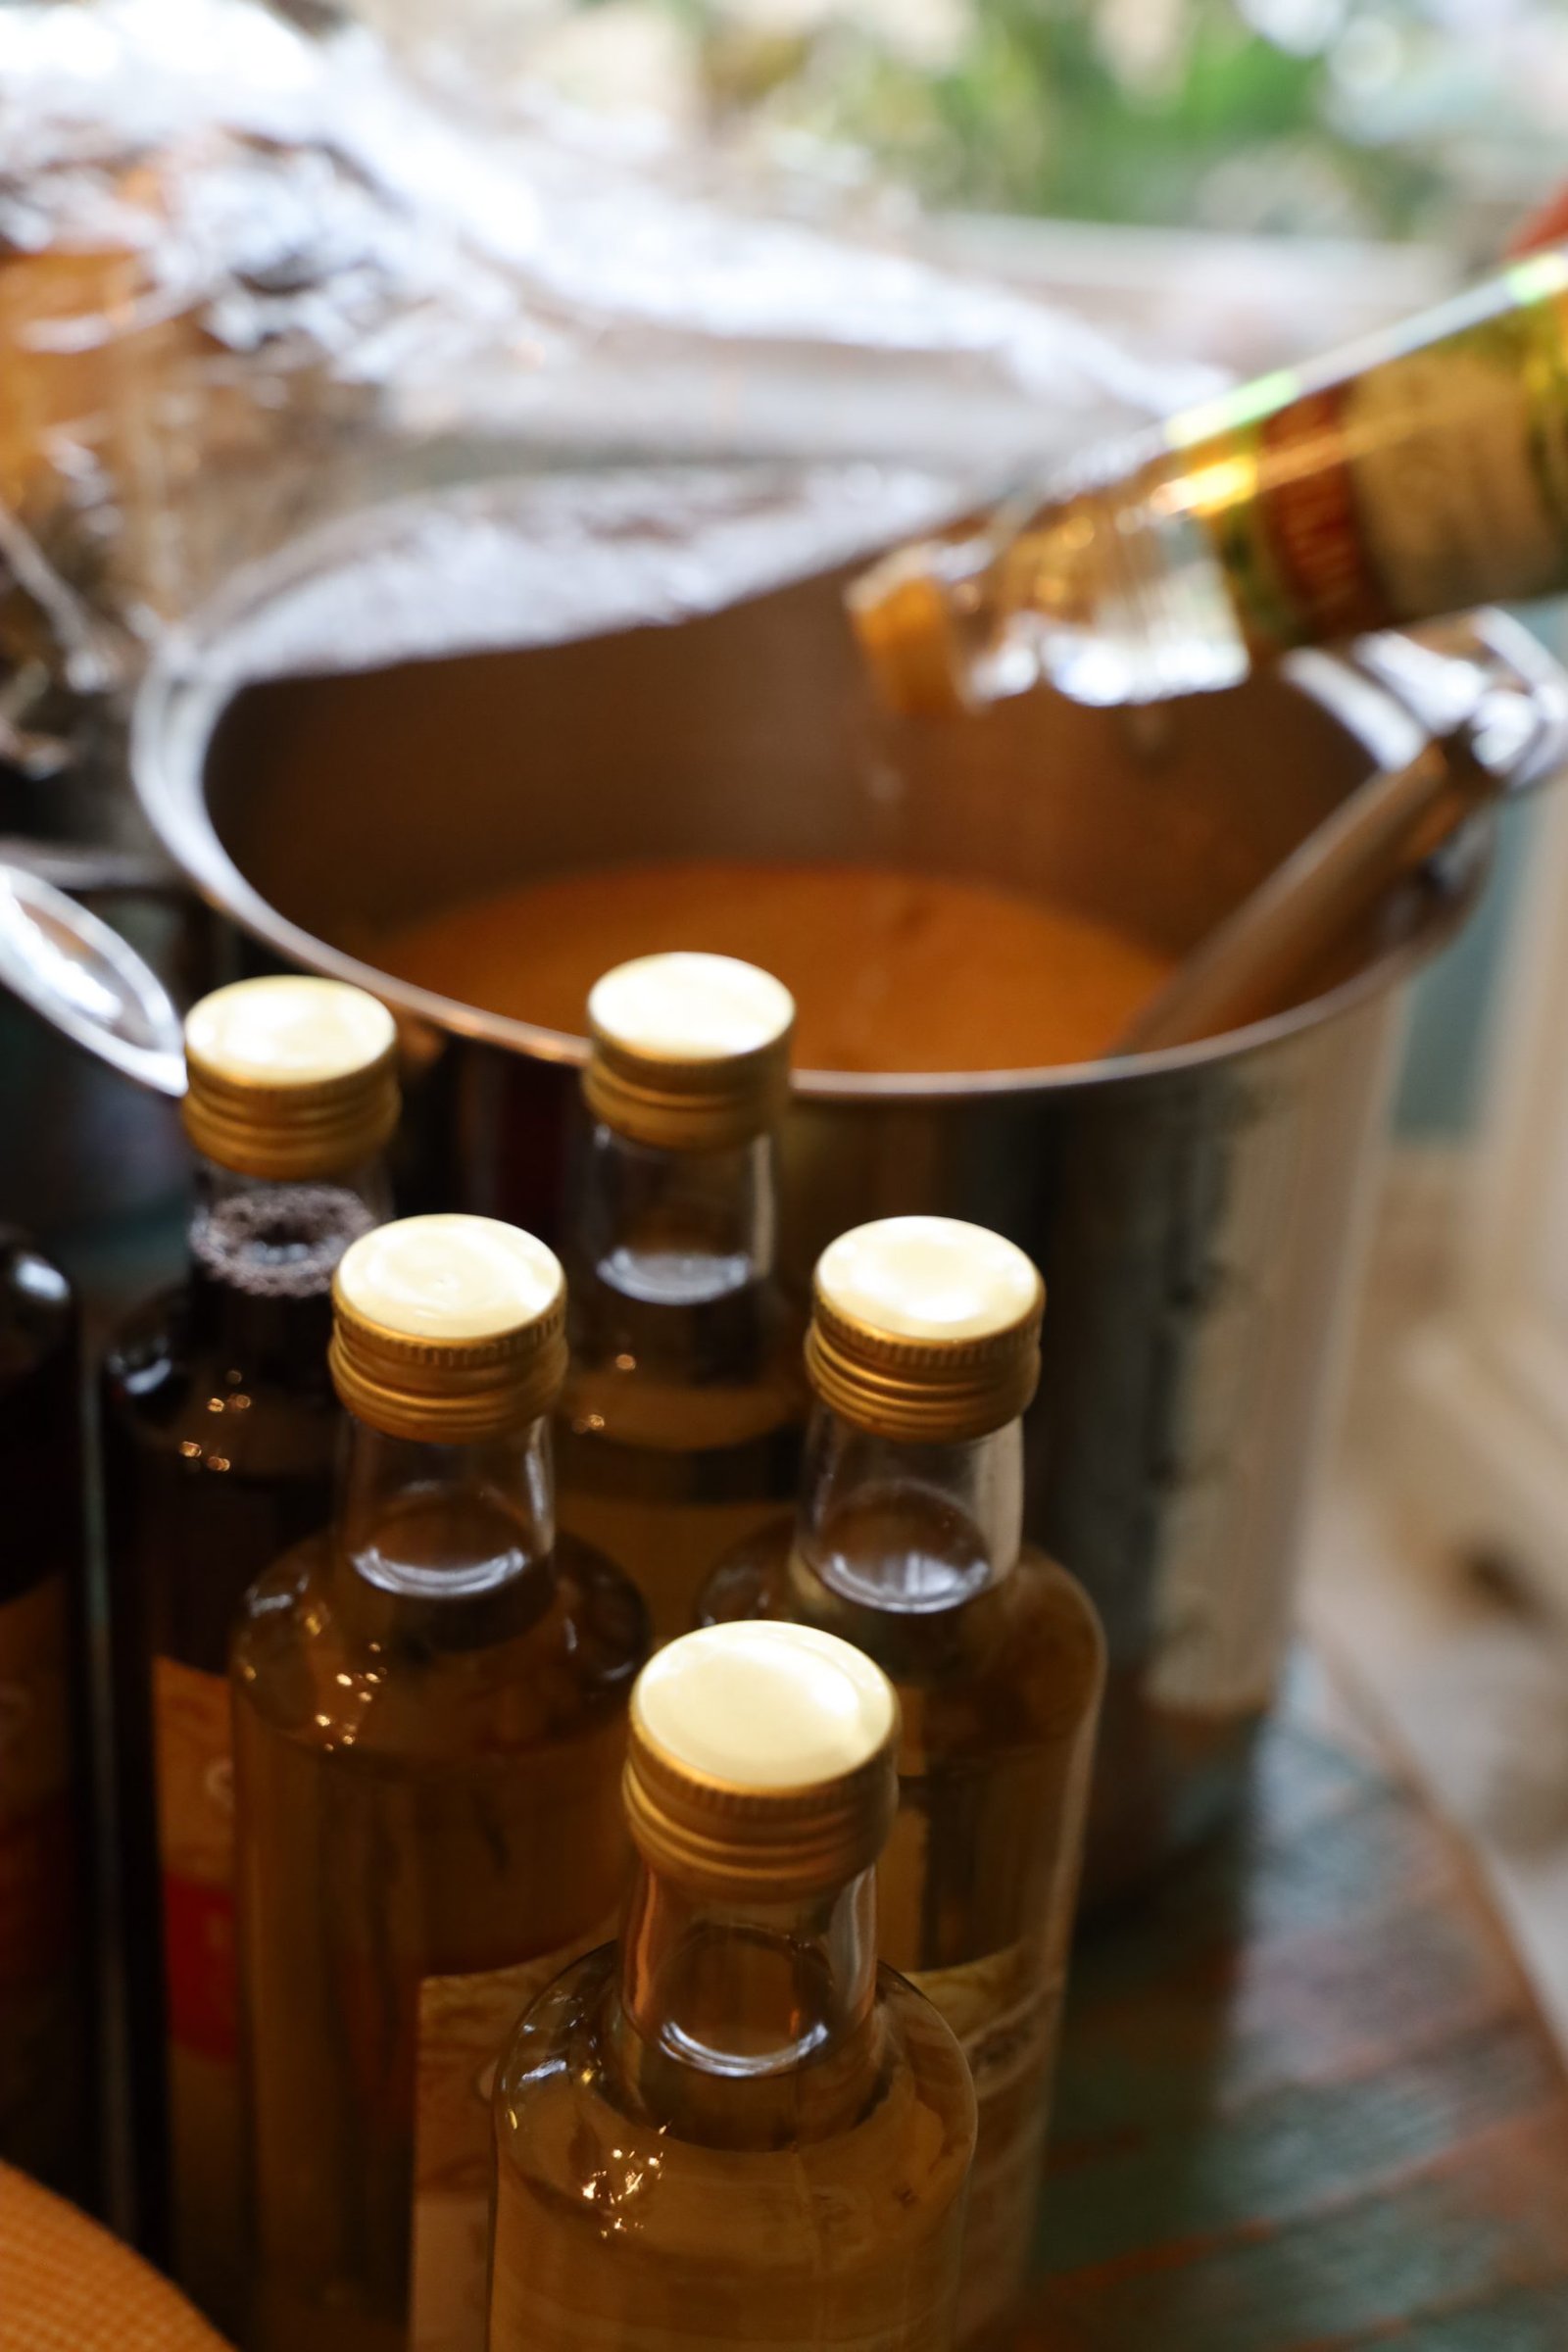
Time to add a bit more vinegar as you want the ratio of liquid to seeds to be about even. We have plenty of bottles of vinegar as we planned on making many different varieties of mustard. Watch the mustard pot over the next few days adding more vinegar when needed.
————————————————–
Day 5
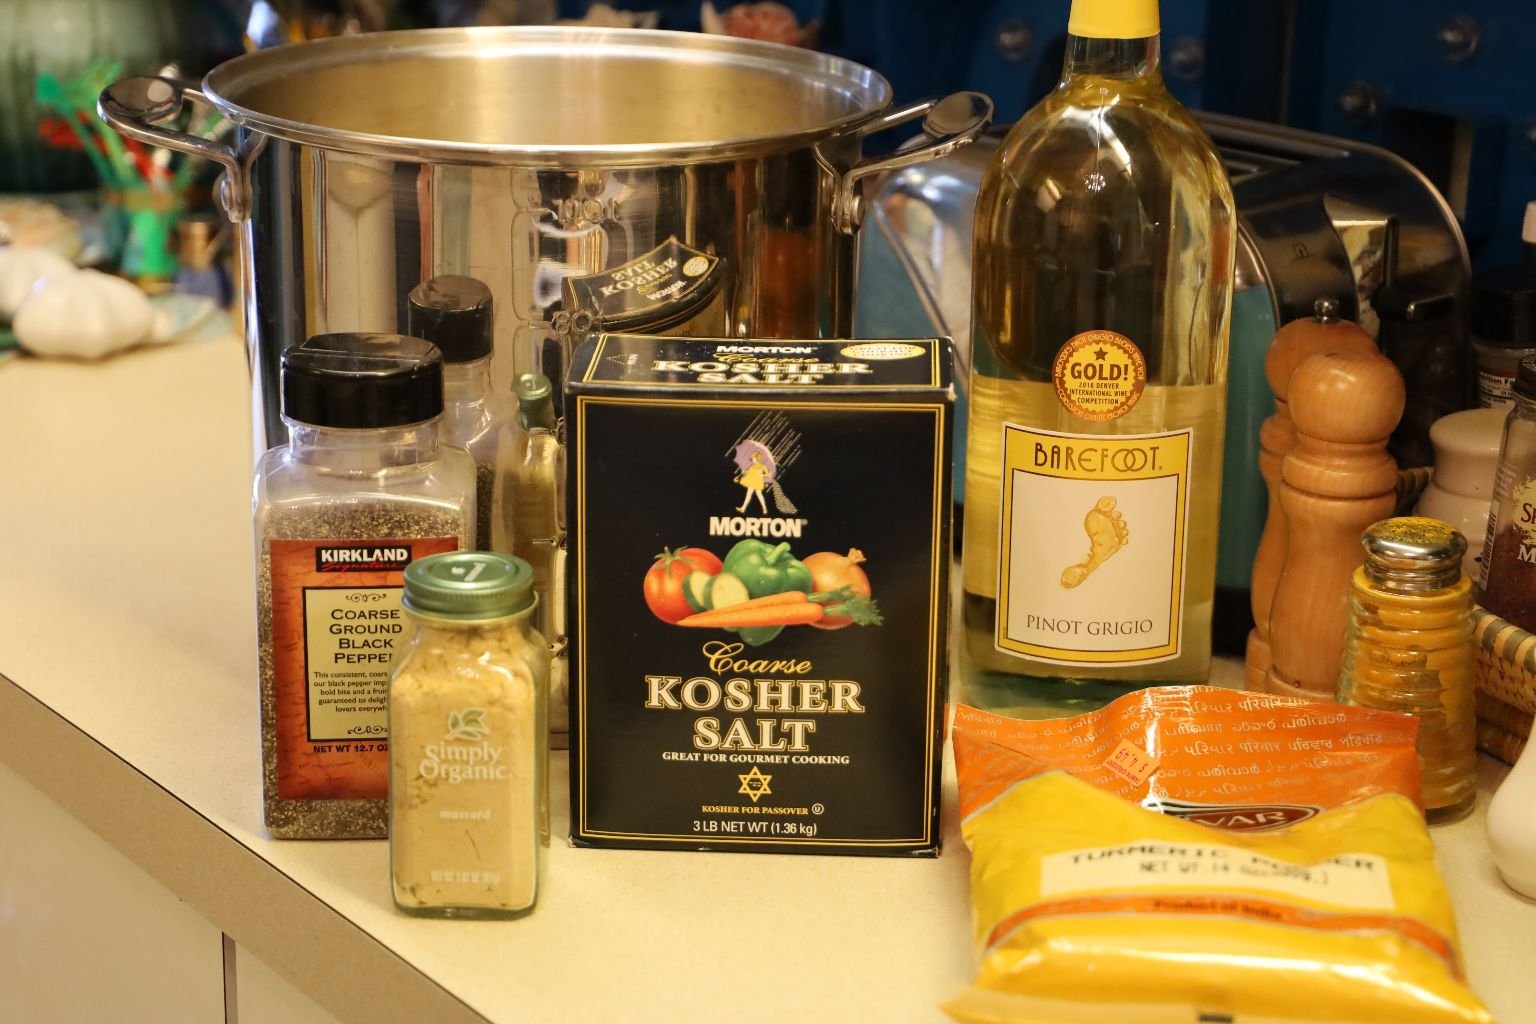
Now, that the dry mustard seeds have absorbed the vinegar and have softened, you can add your other ingredients to pot.
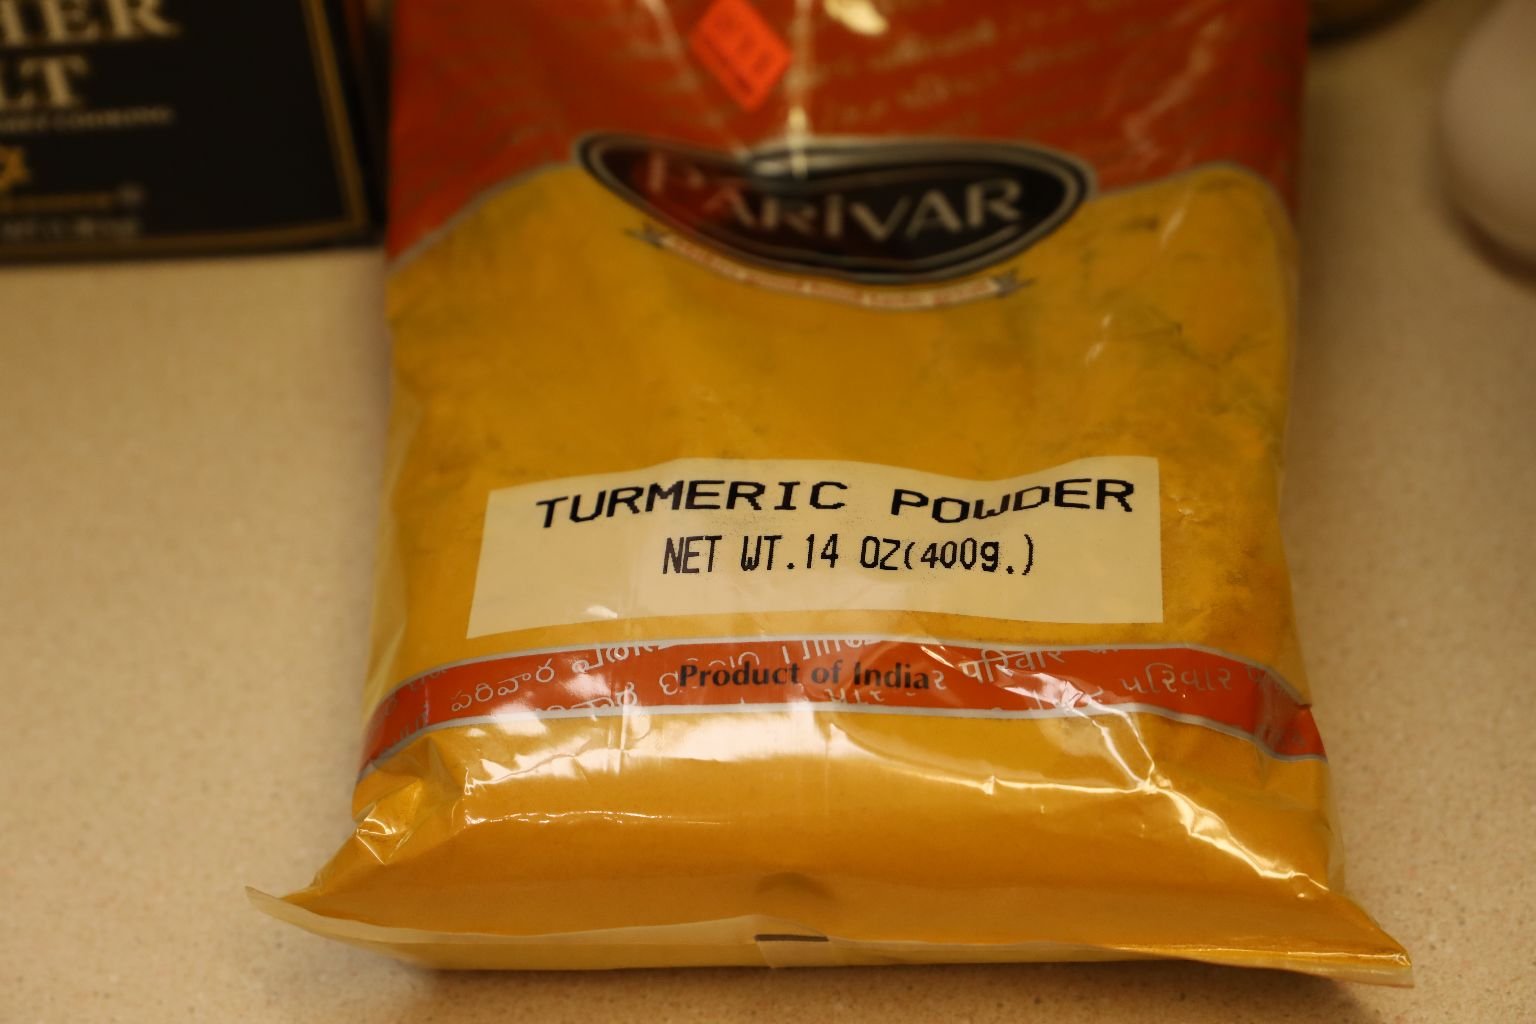
This is a very good brand of Turmeric which we used at the Indian restaurant I interned at.
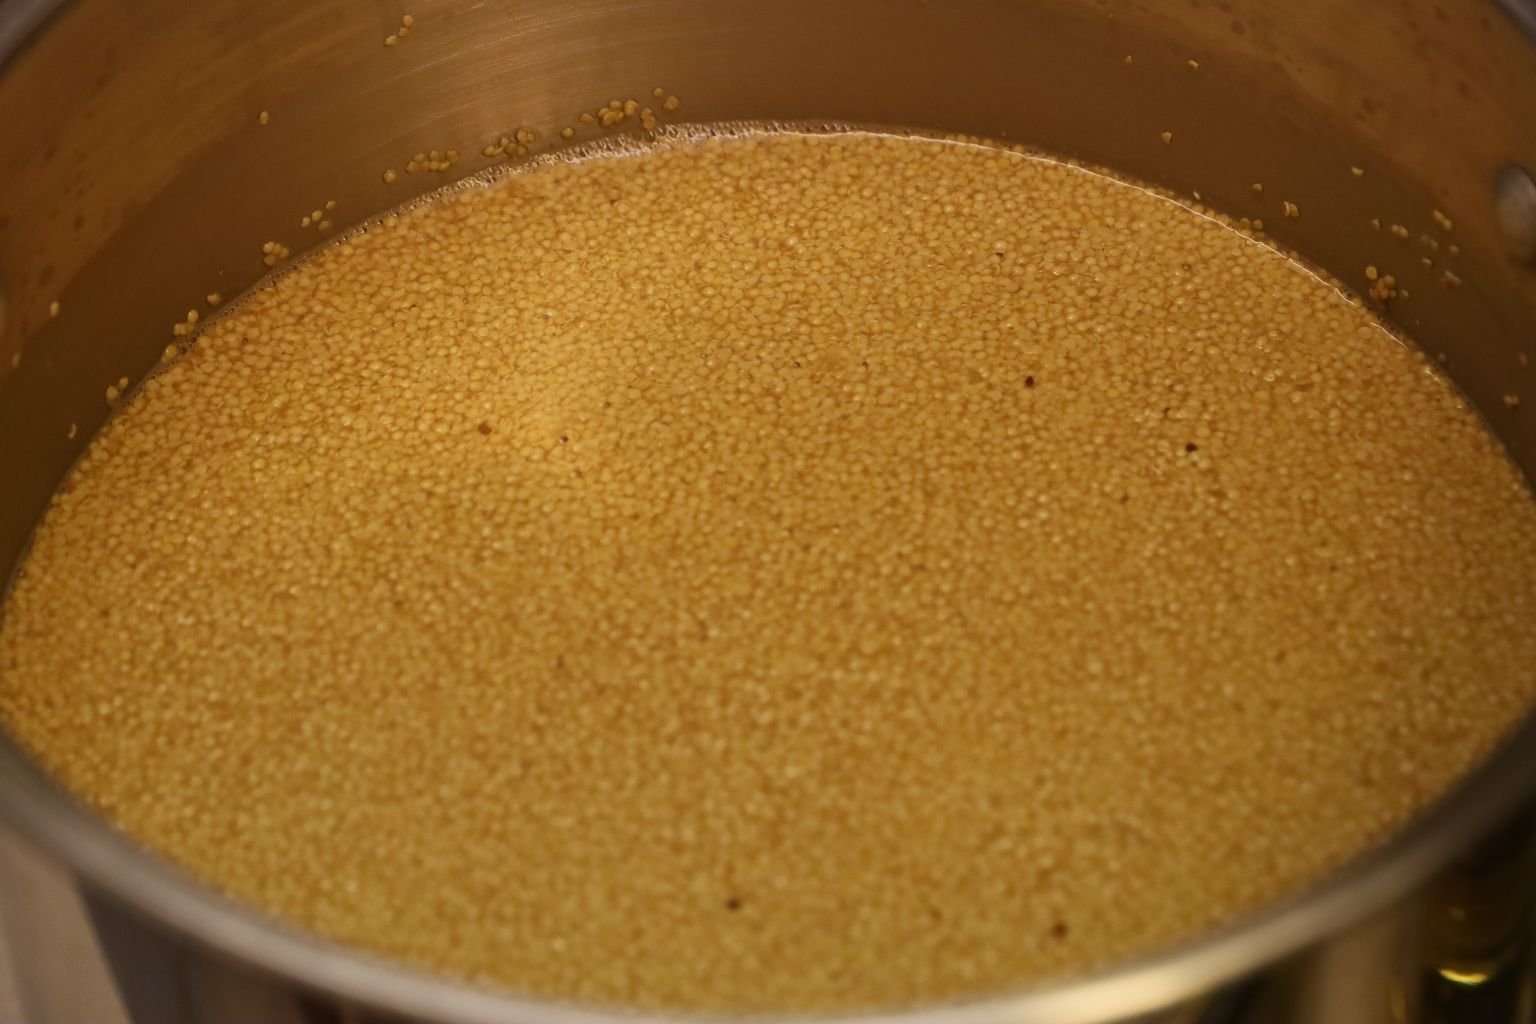
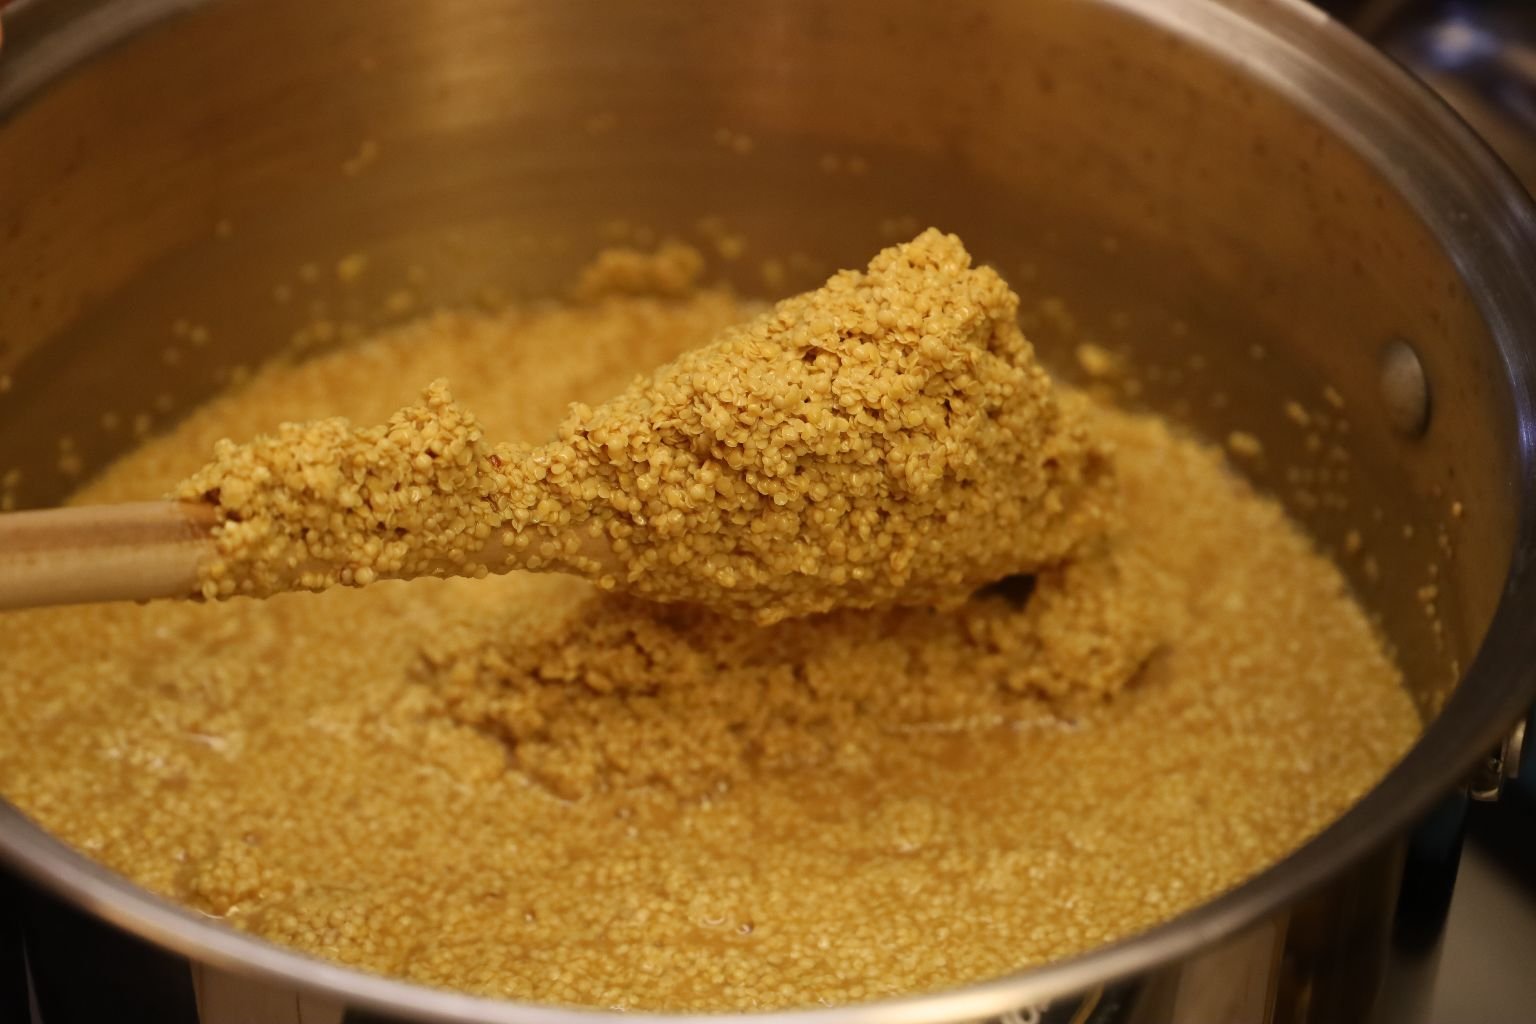
This is a great shot of the mustard at this stage.
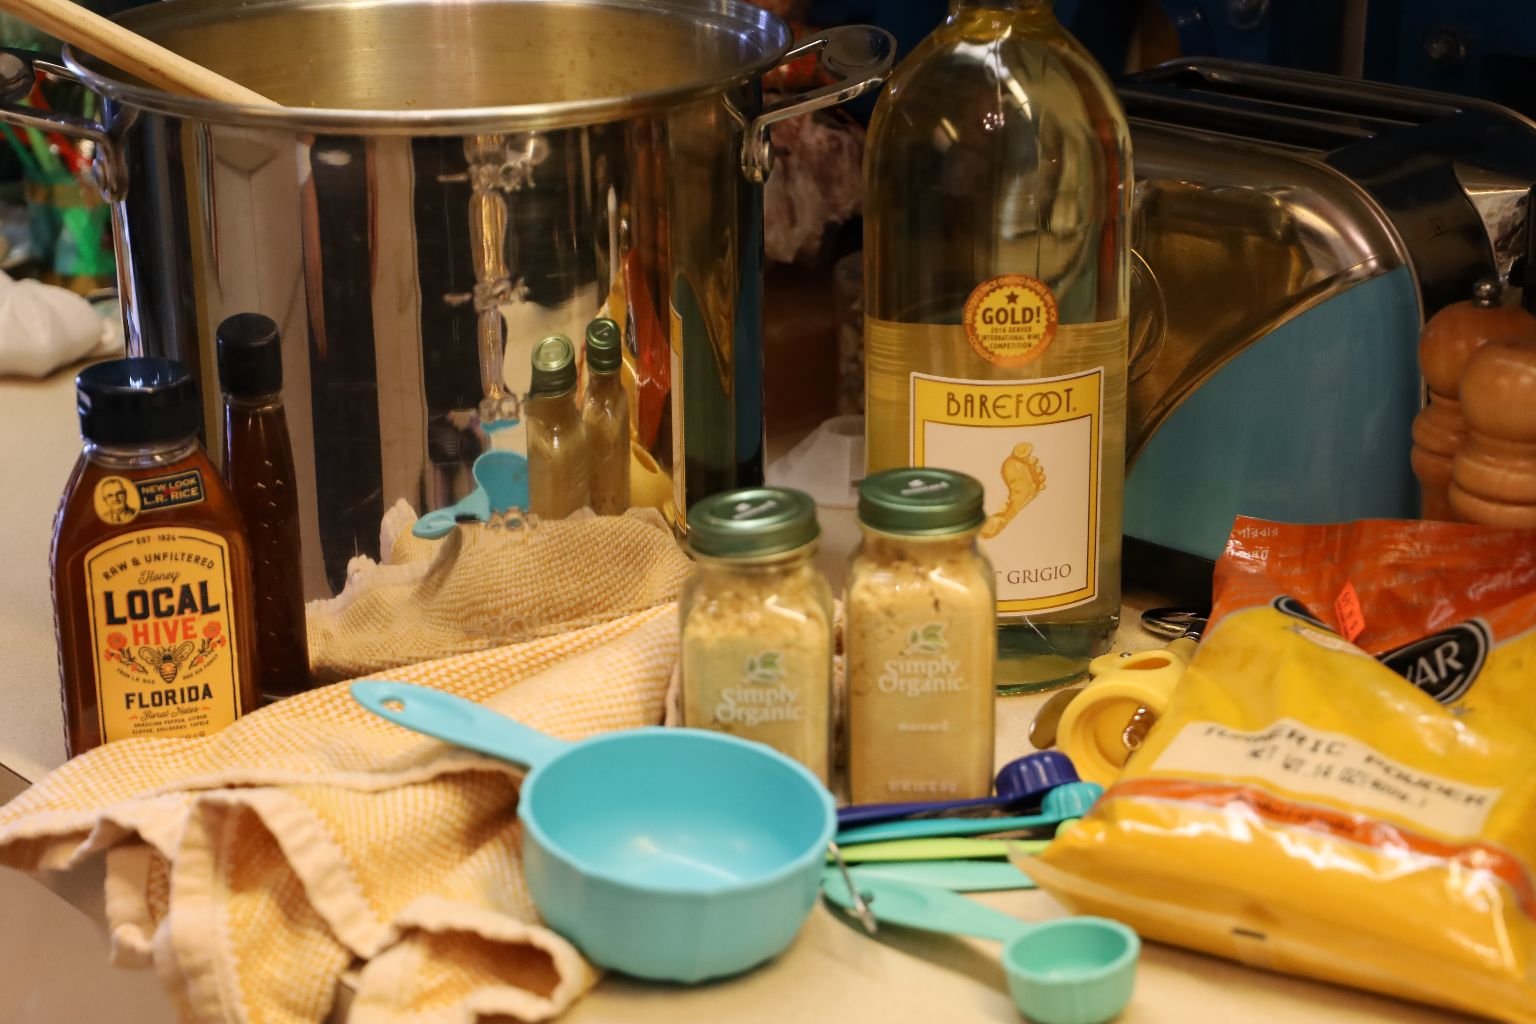
Here are the ingredients we are now adding.
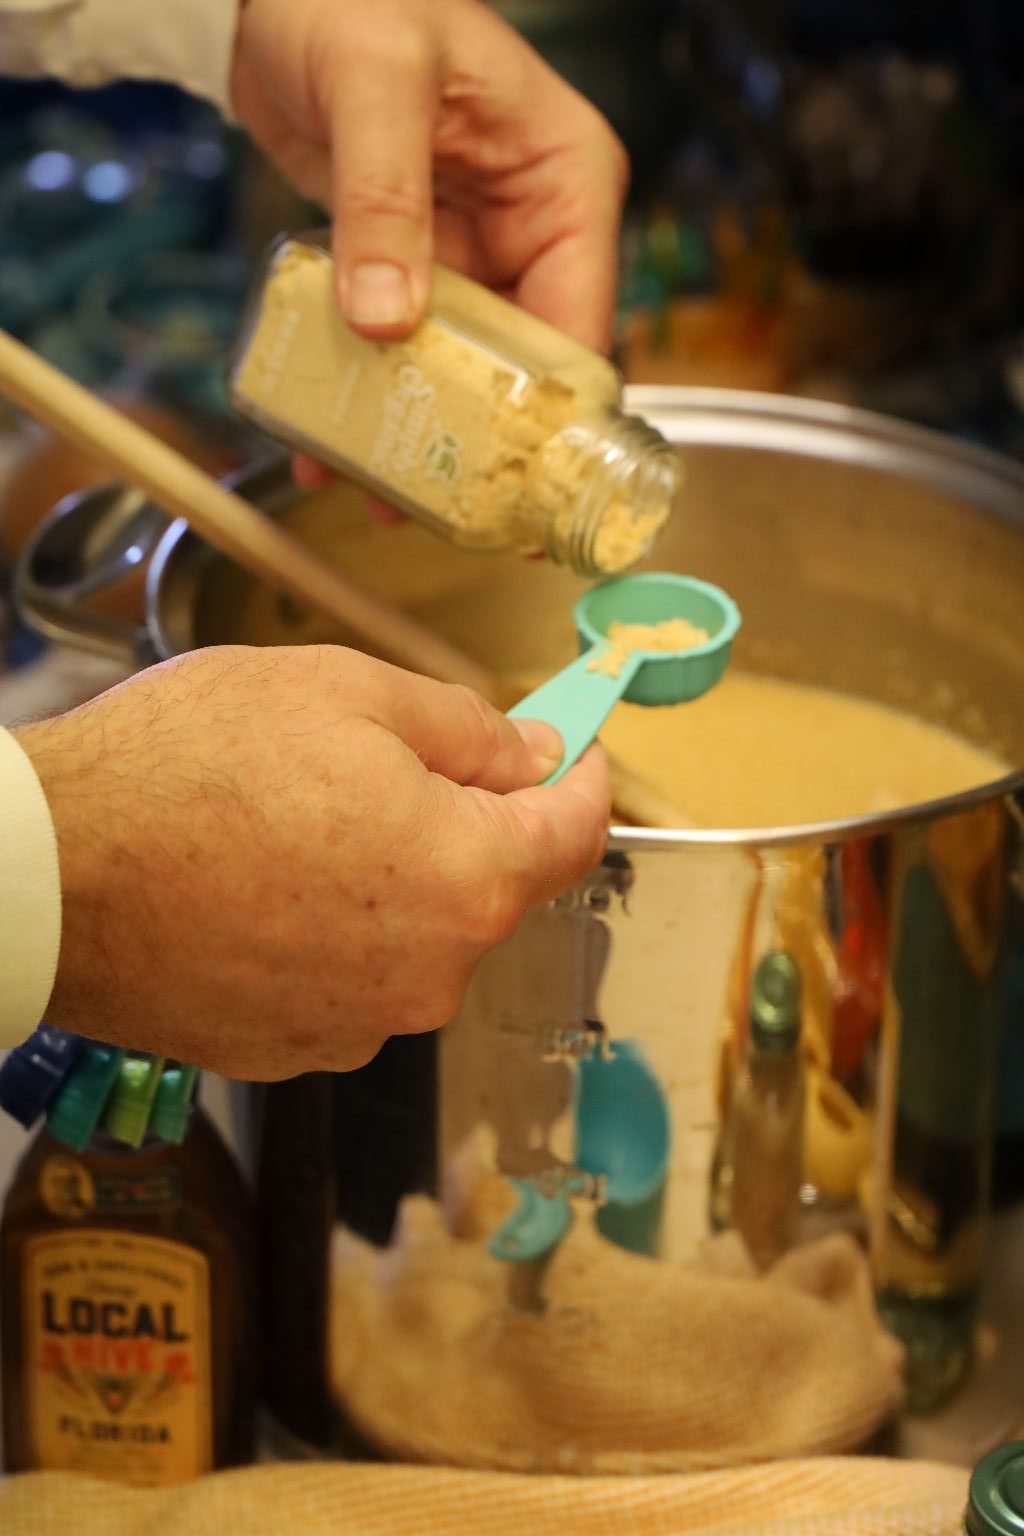
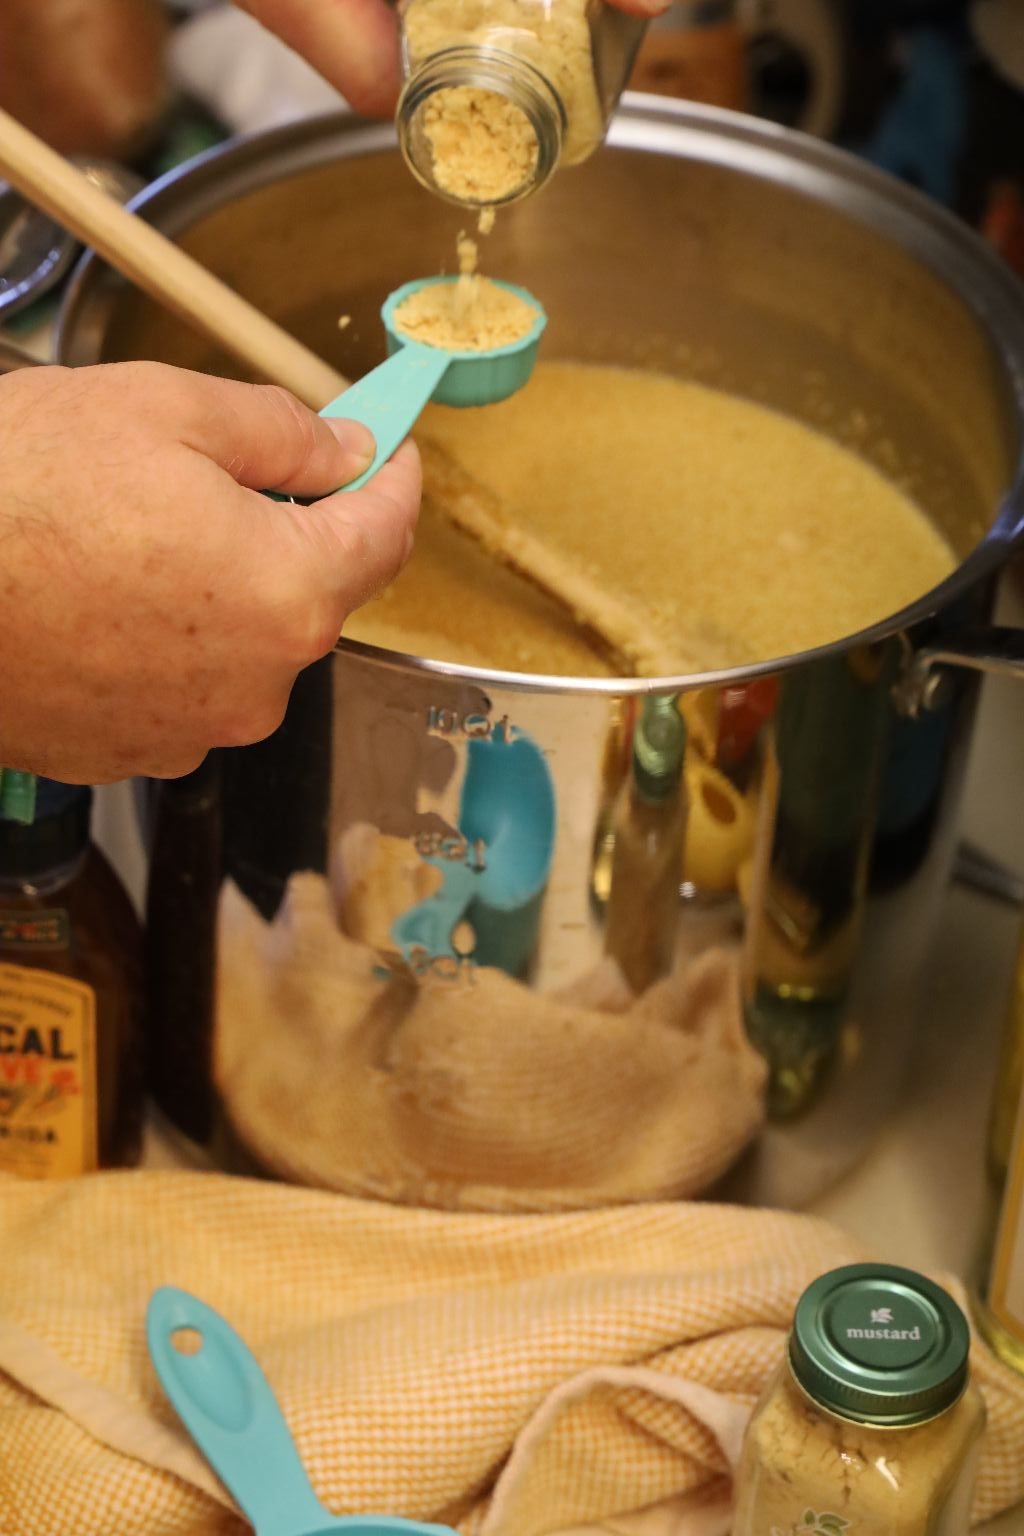
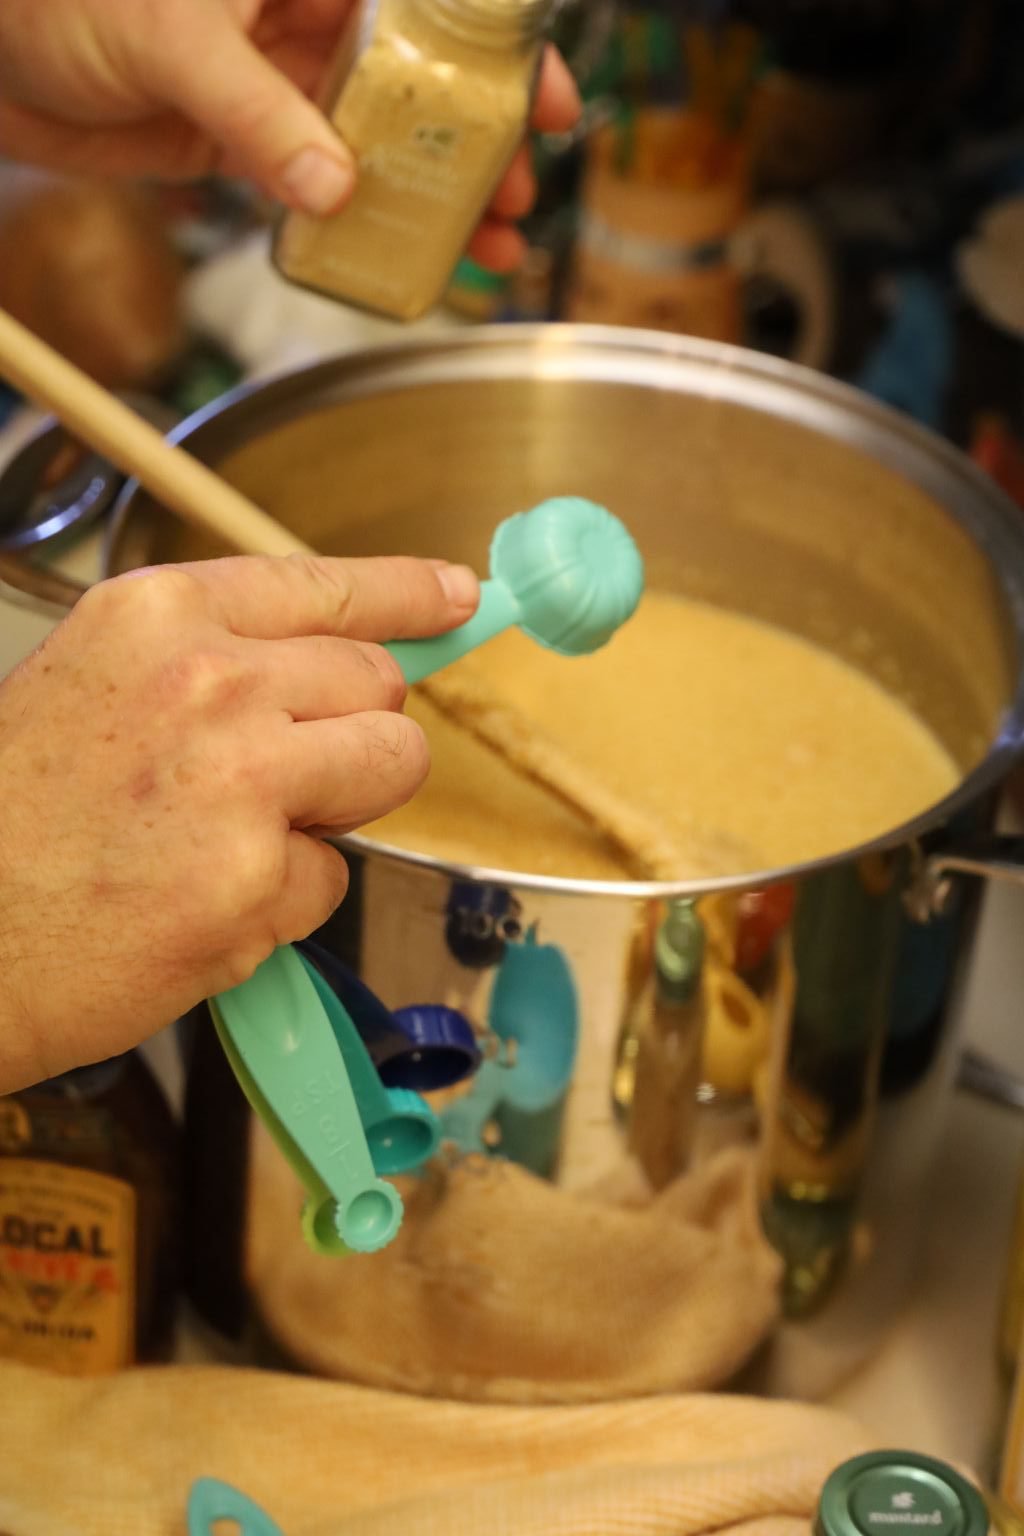
Dry Mustard,
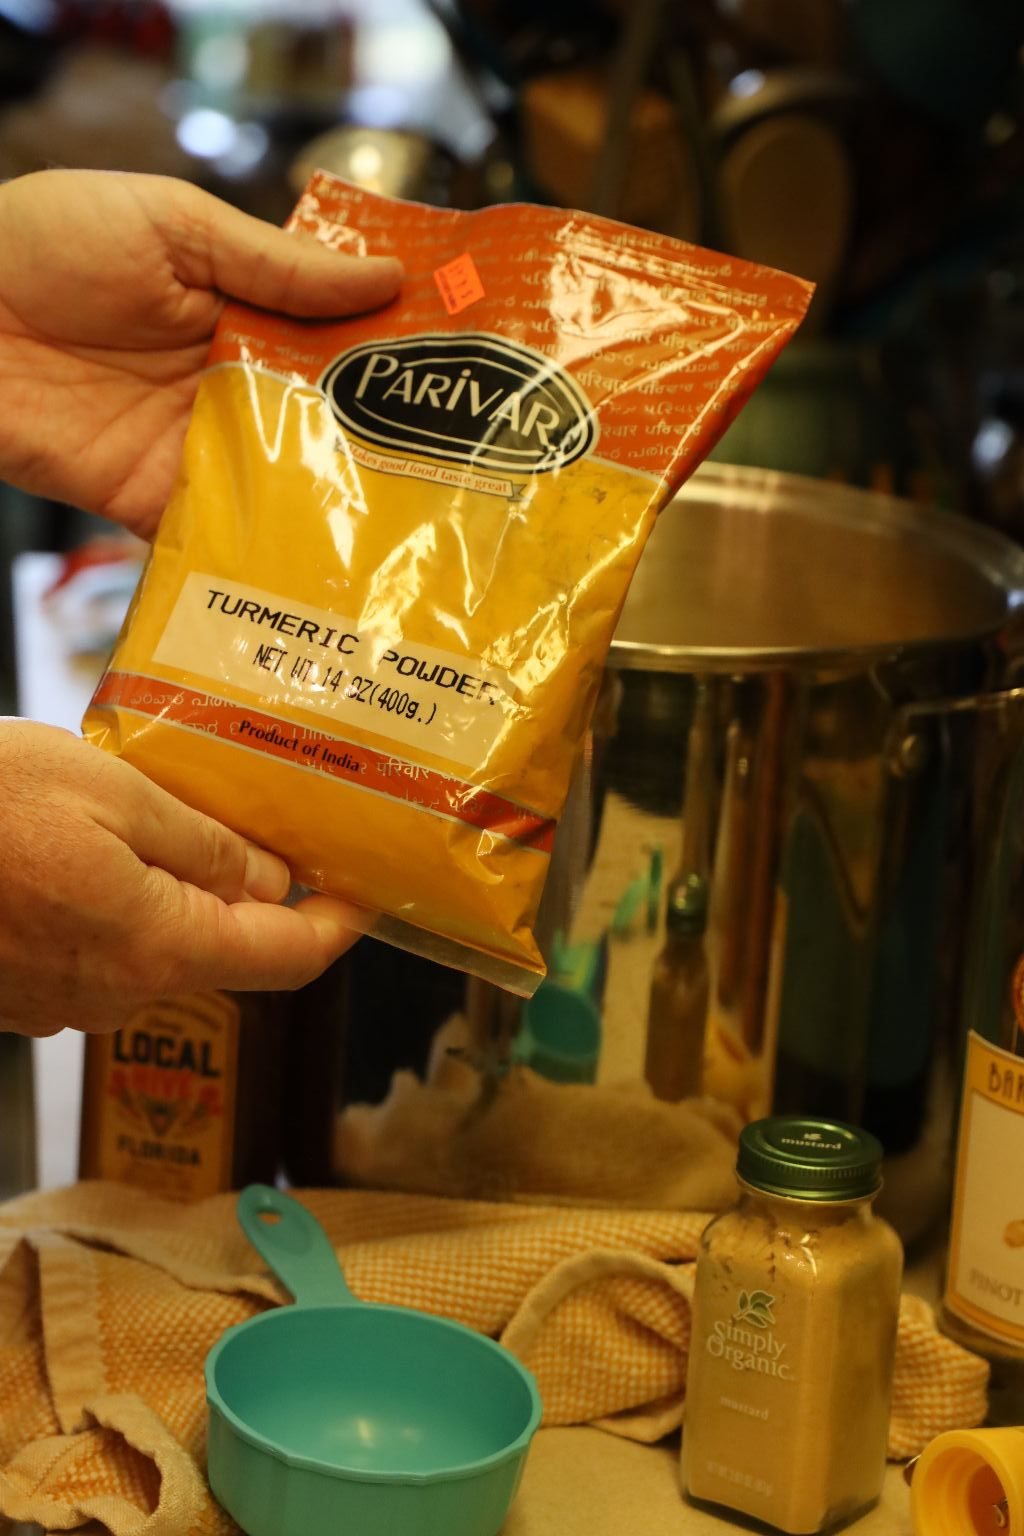
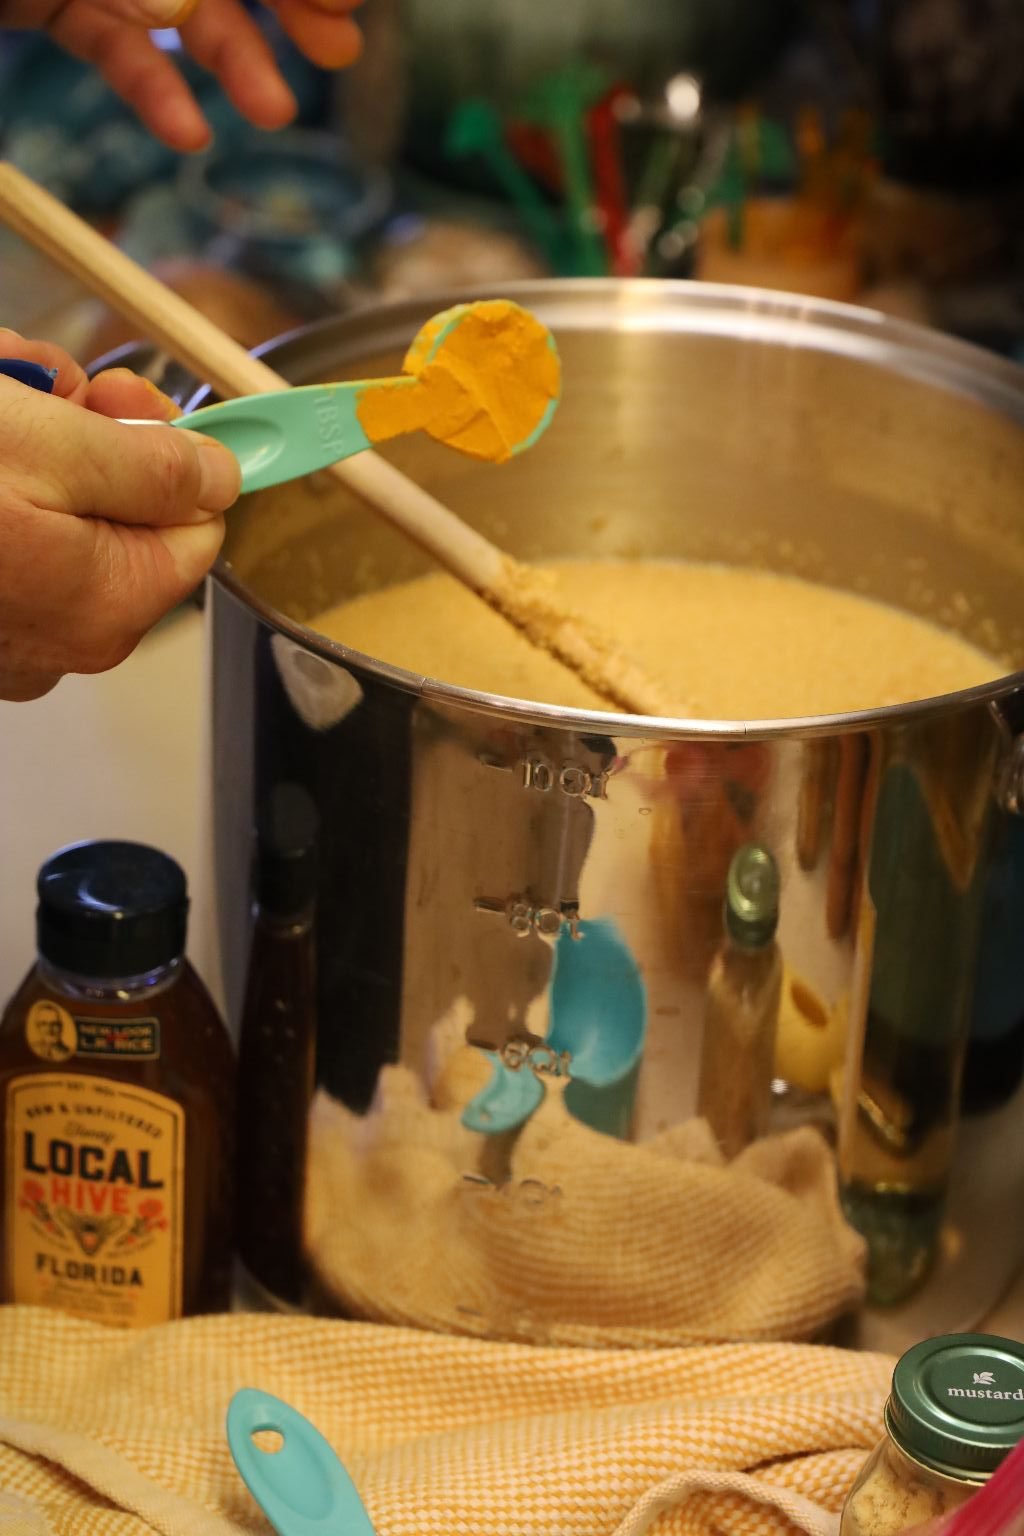
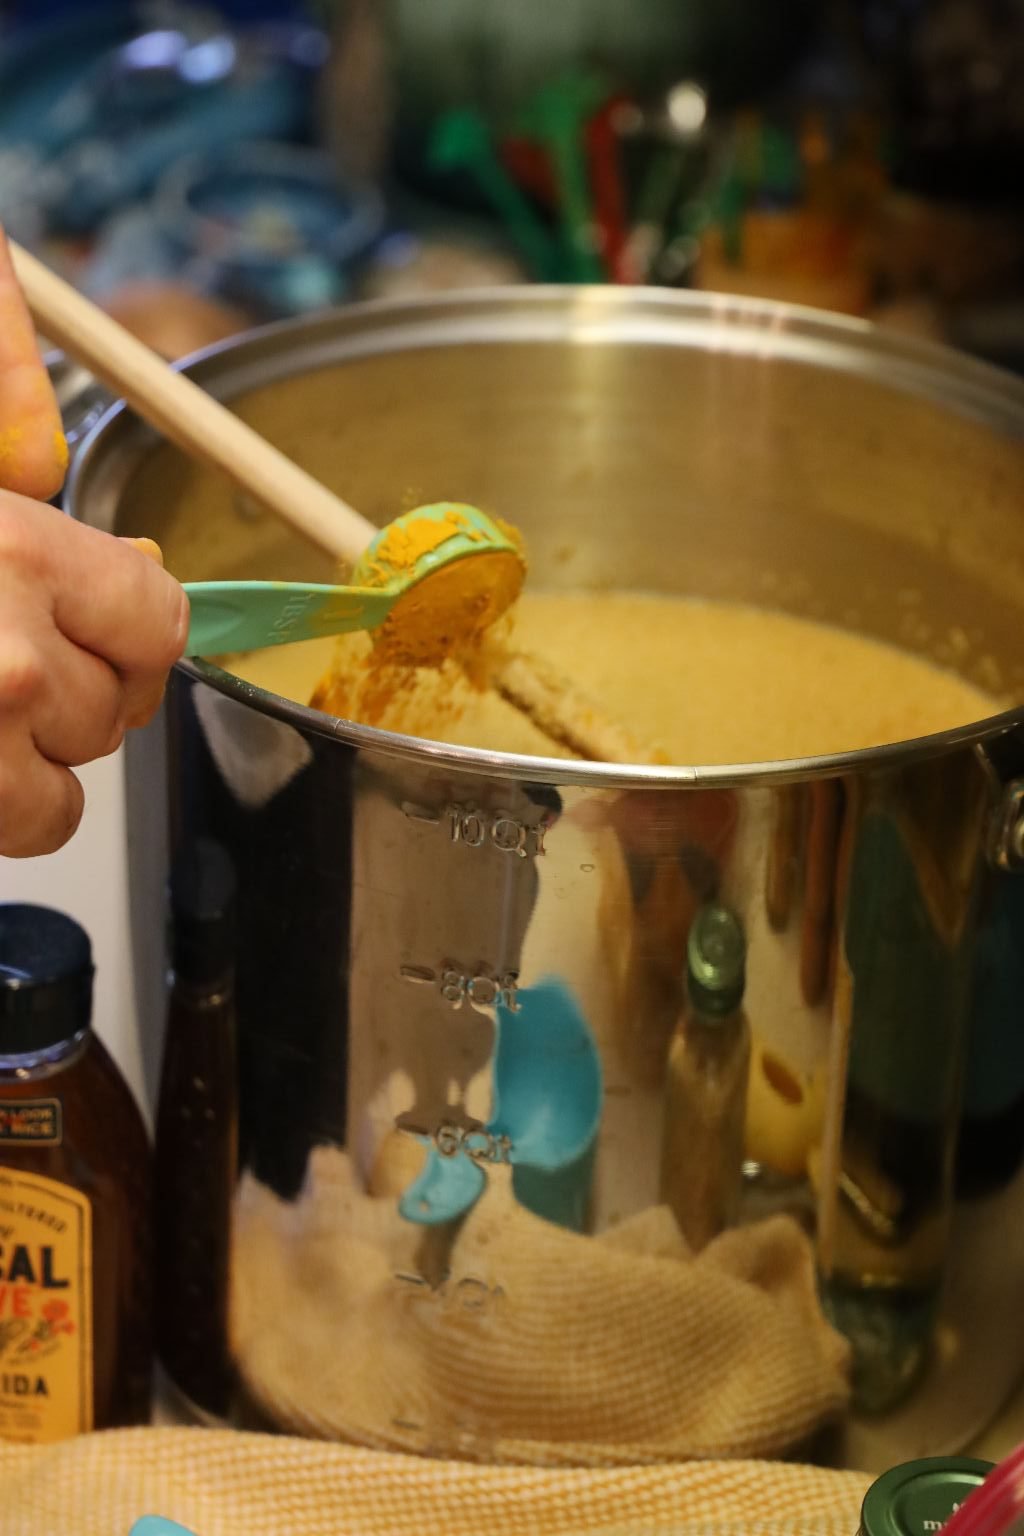
Turmeric,
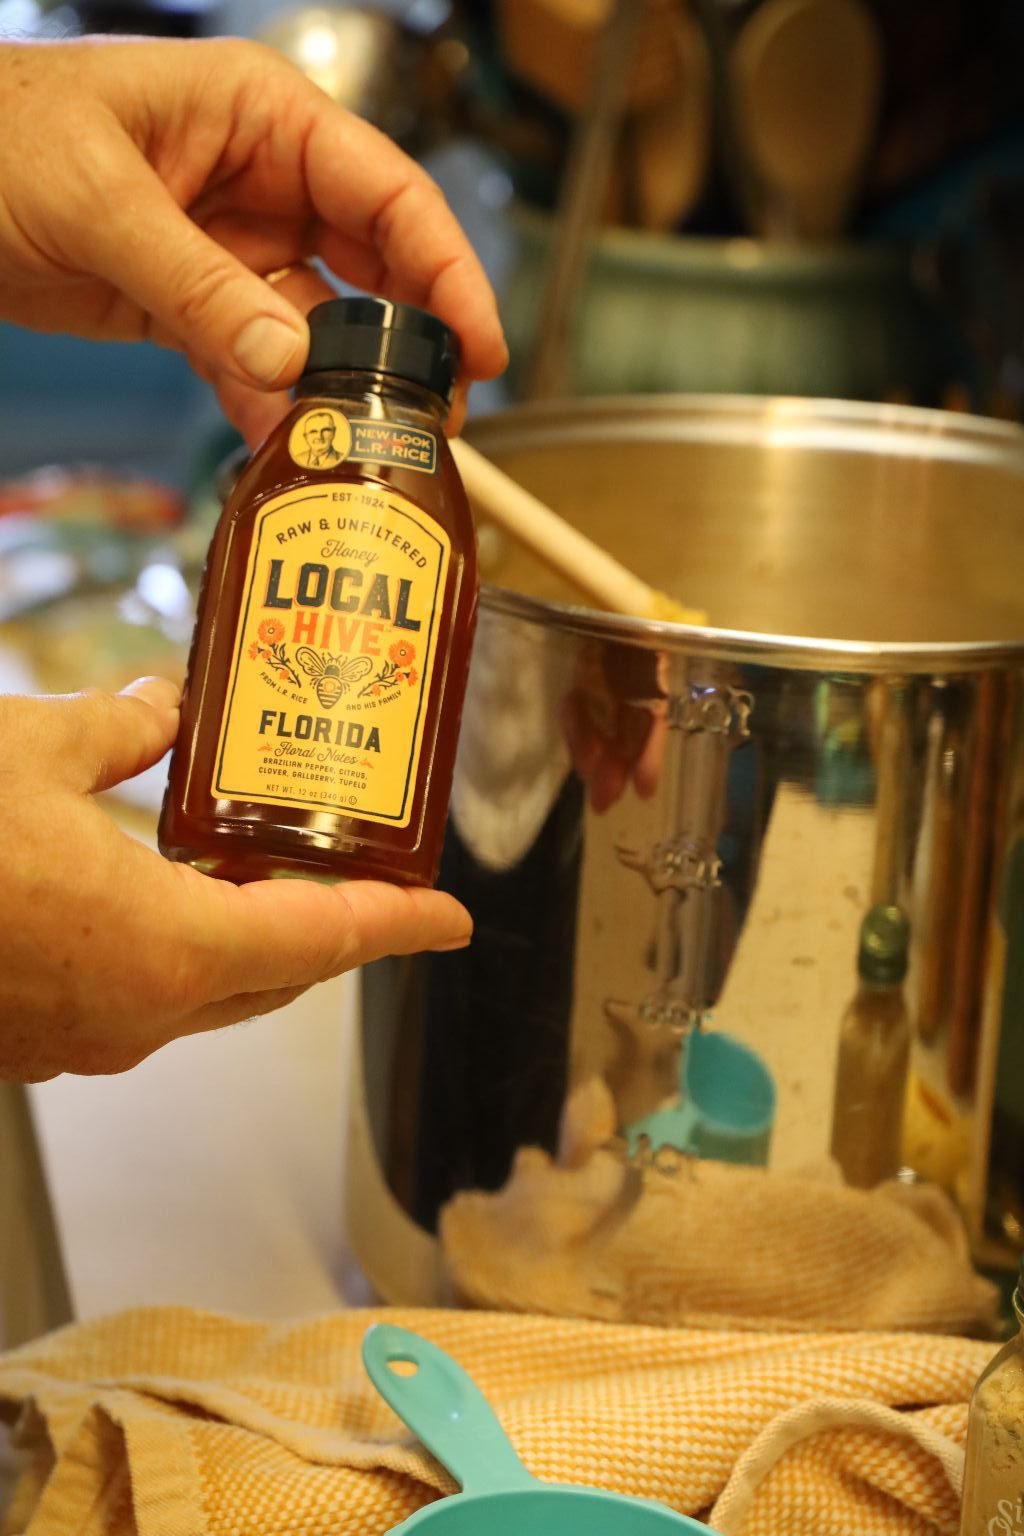
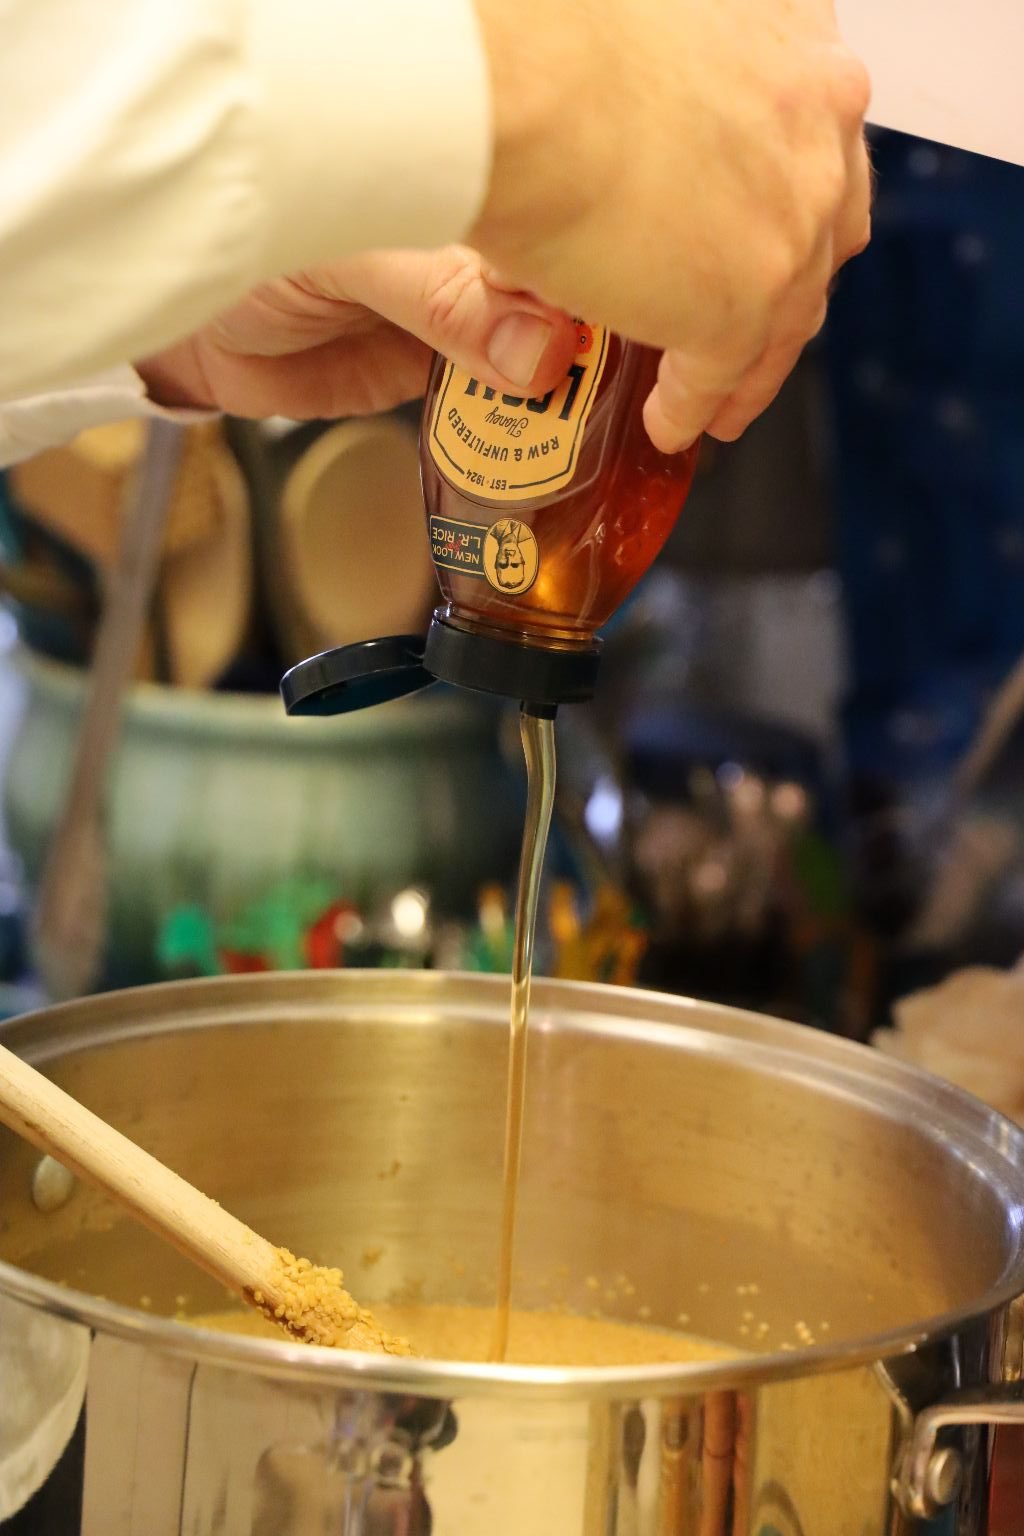
Then add the honey.
You can use any type of honey you like as they all taste different. We like this local Florida brand.
Now the wine. Be sure to taste some to ensure it is good! 🙂
Add the wine to the pot…
…then add your salt and pepper and stir everything together.
Cover the pot with your plastic wrap and let this sit for another 5 days.
Here you can see the ingredients are bright and yellow just like a mustard you would buy in the store. As we wanted to make a variety of mustard’s we split this base mixture up and added other ingredients to it as you will see later.
—————————————————————
NOTE: Notice Gordon’s shaven beard here. Well, we inserted this in between his bearded mustard’s.
Here is how we made our Black and Brown whole-grain mustard.
This recipe will take about 10 days to make so plan ahead!
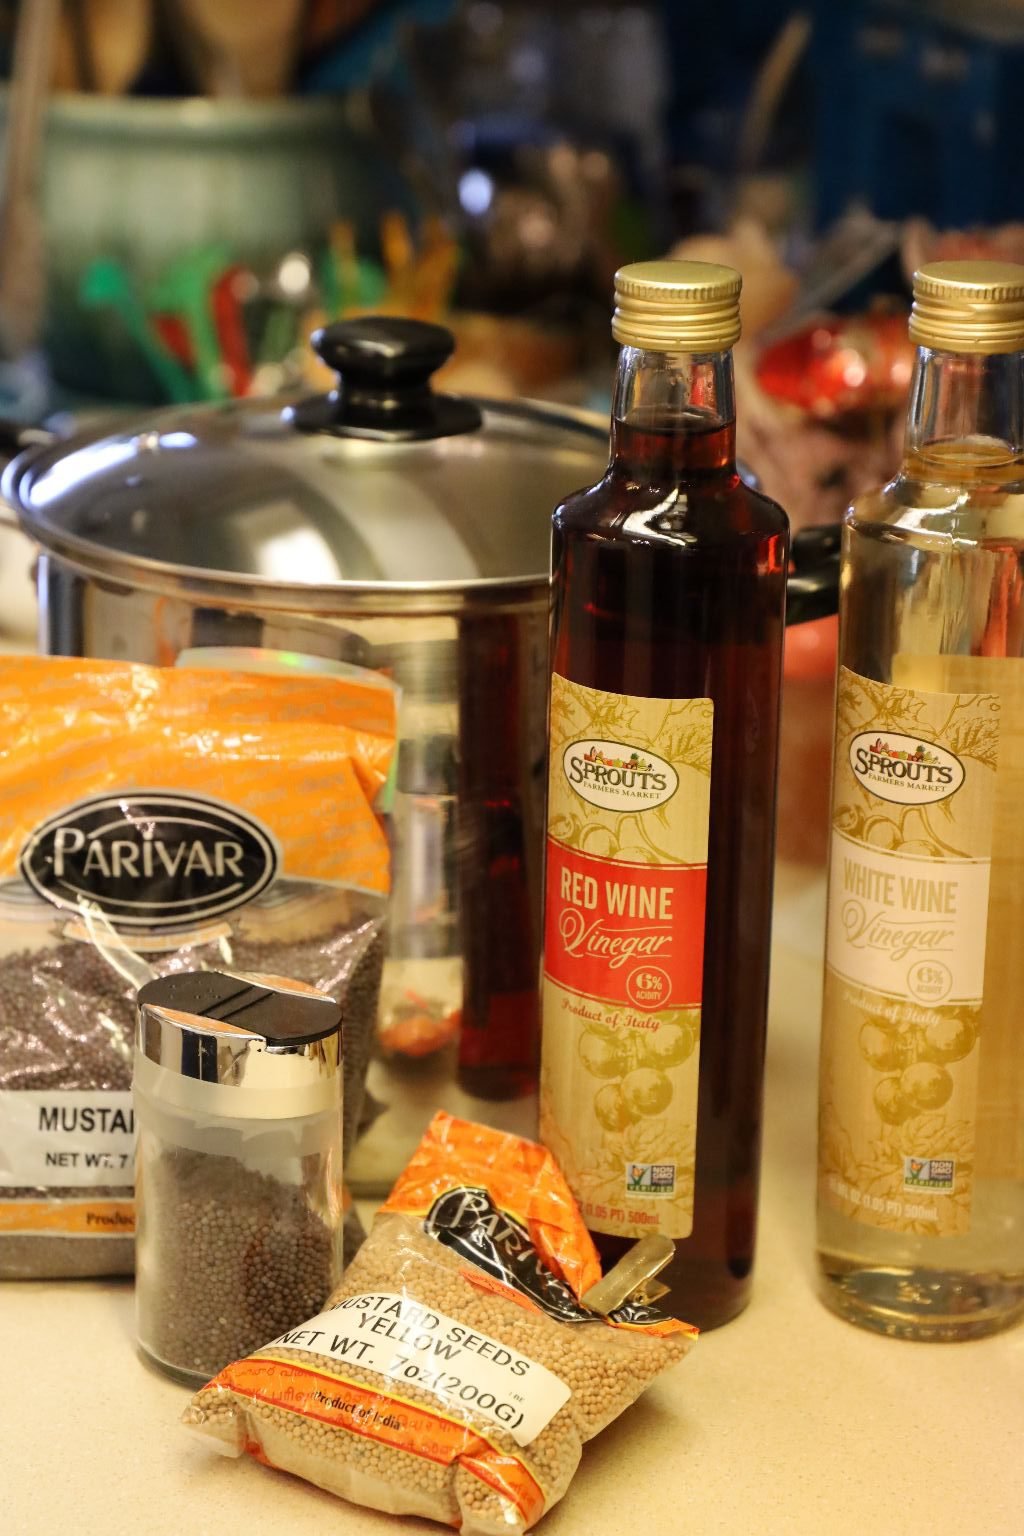
Ingredients:
1 1/4 Cups White Wine Vinegar
1 1/4 Cups Red Wine Vinegar
3/4 Cup Brown Mustard Seeds
3/4 Cup Yellow Mustard Seeds
2 Tbsp. Honey
3 Tbsp. Dry Mustard
4 tsp. Hawaiian salt
2 tsp. pepper
—————————————————————–
NOTE: We wanted to keep this mustard grainy. Before jarring we could have placed the mustard mixture into a blender to have a more creamy consistency. We didn’t want that. This consistency is perfect here!
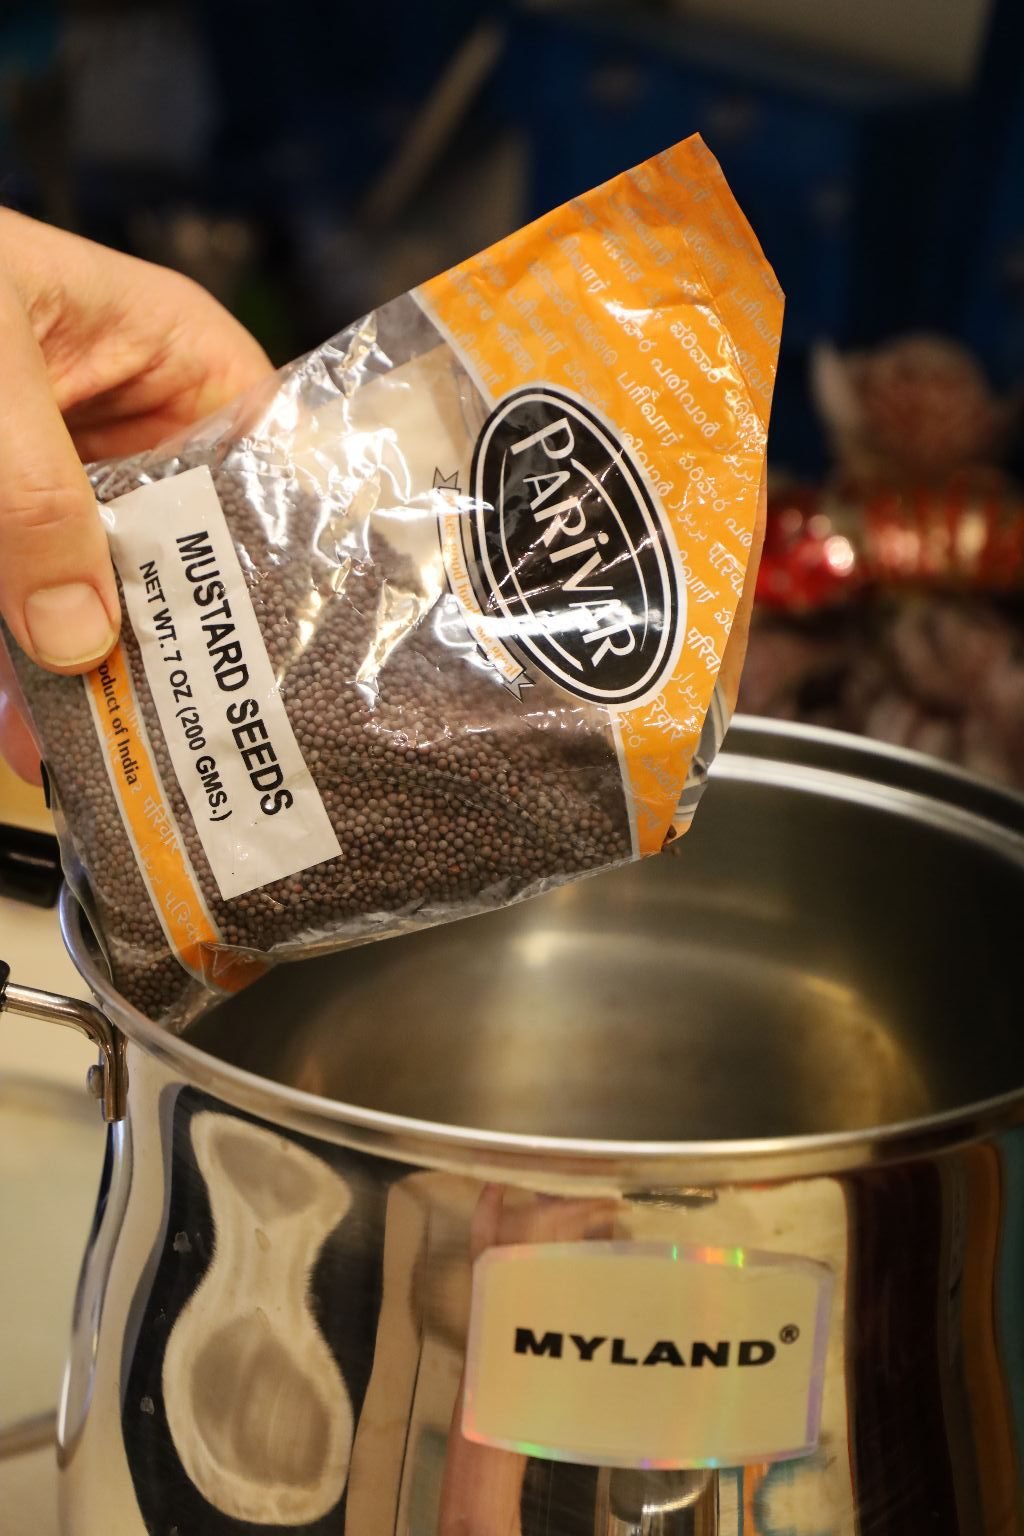
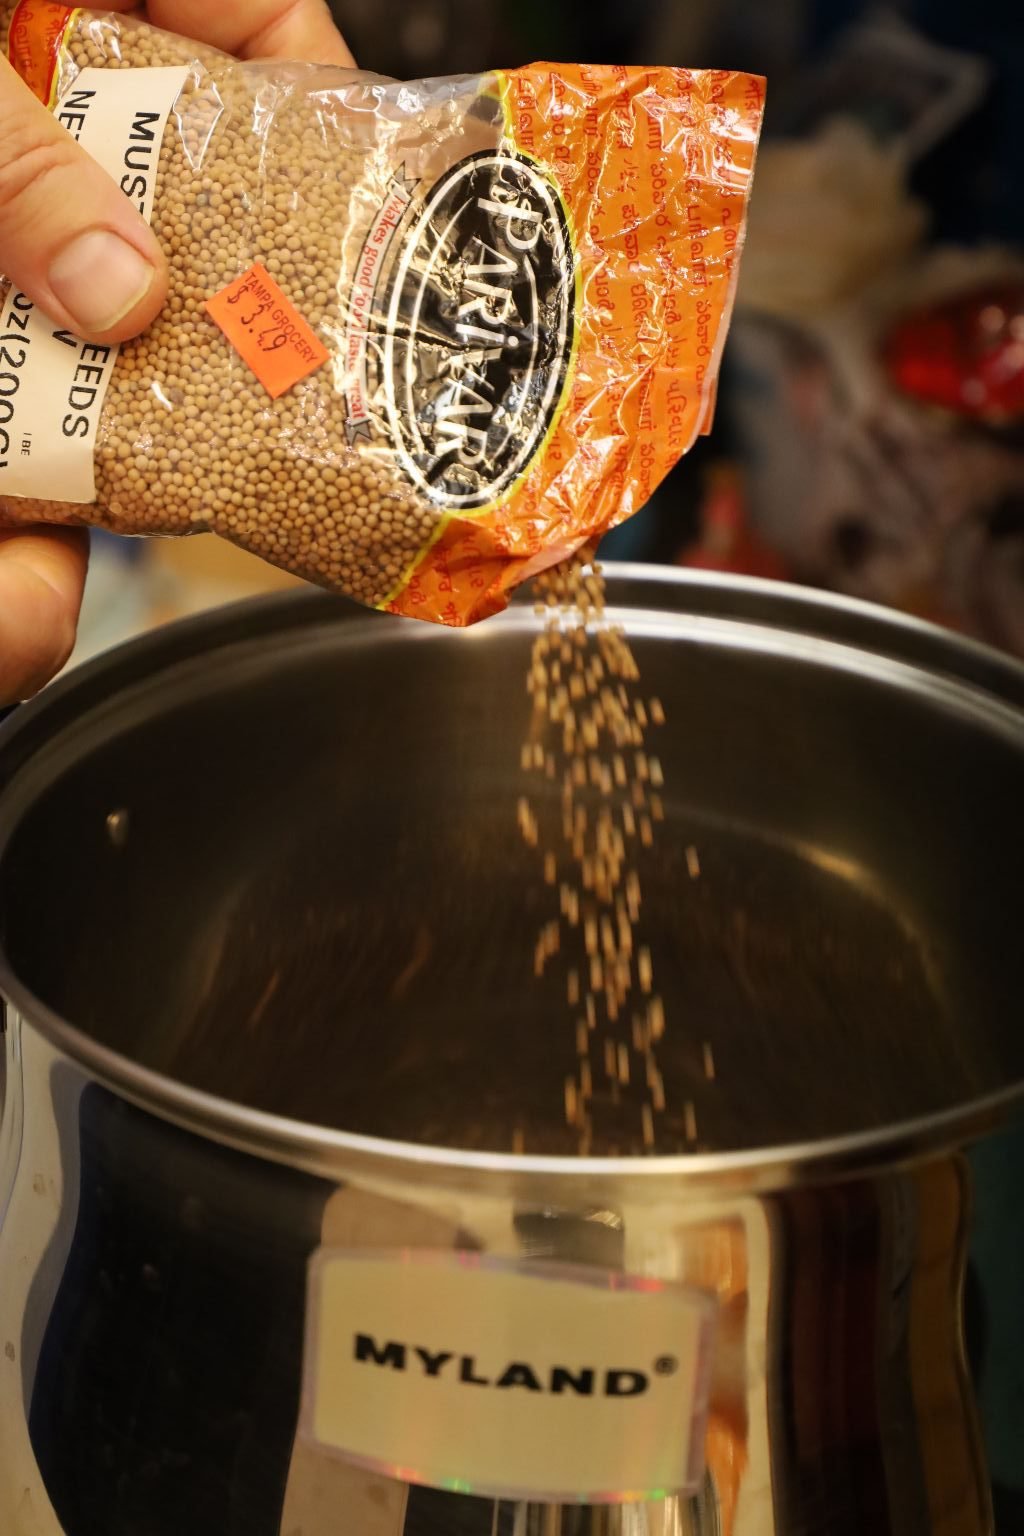
Using a nonreactive pot, pour in your brown and yellow whole mustard seeds.
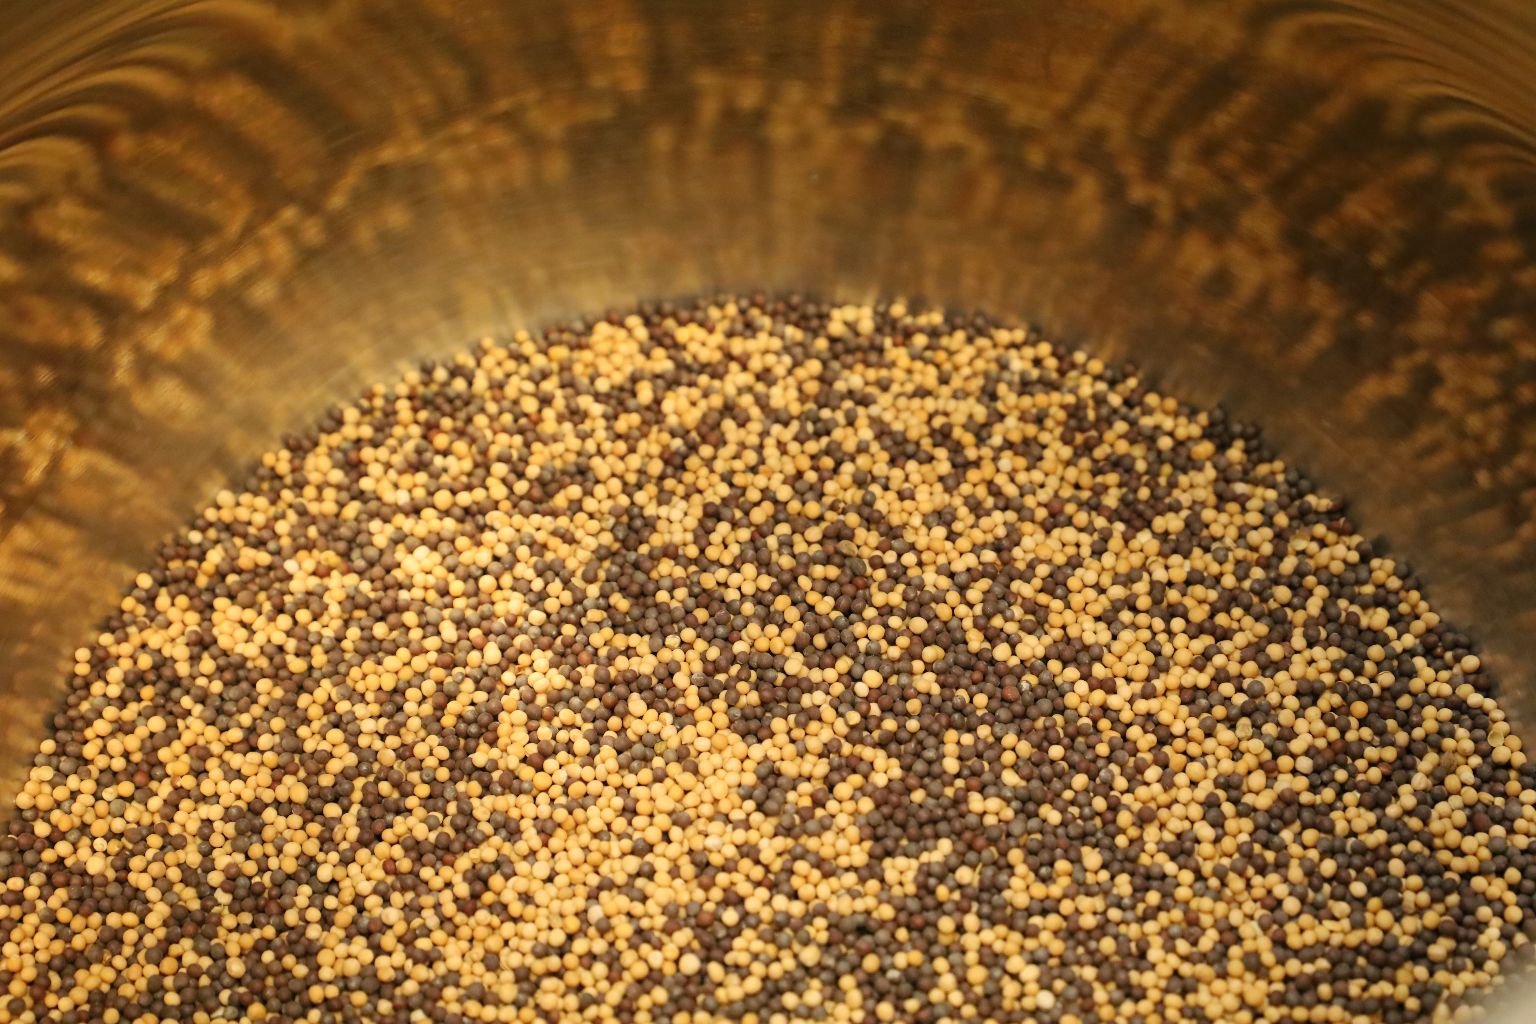
Note that the brown mustard seeds look black.
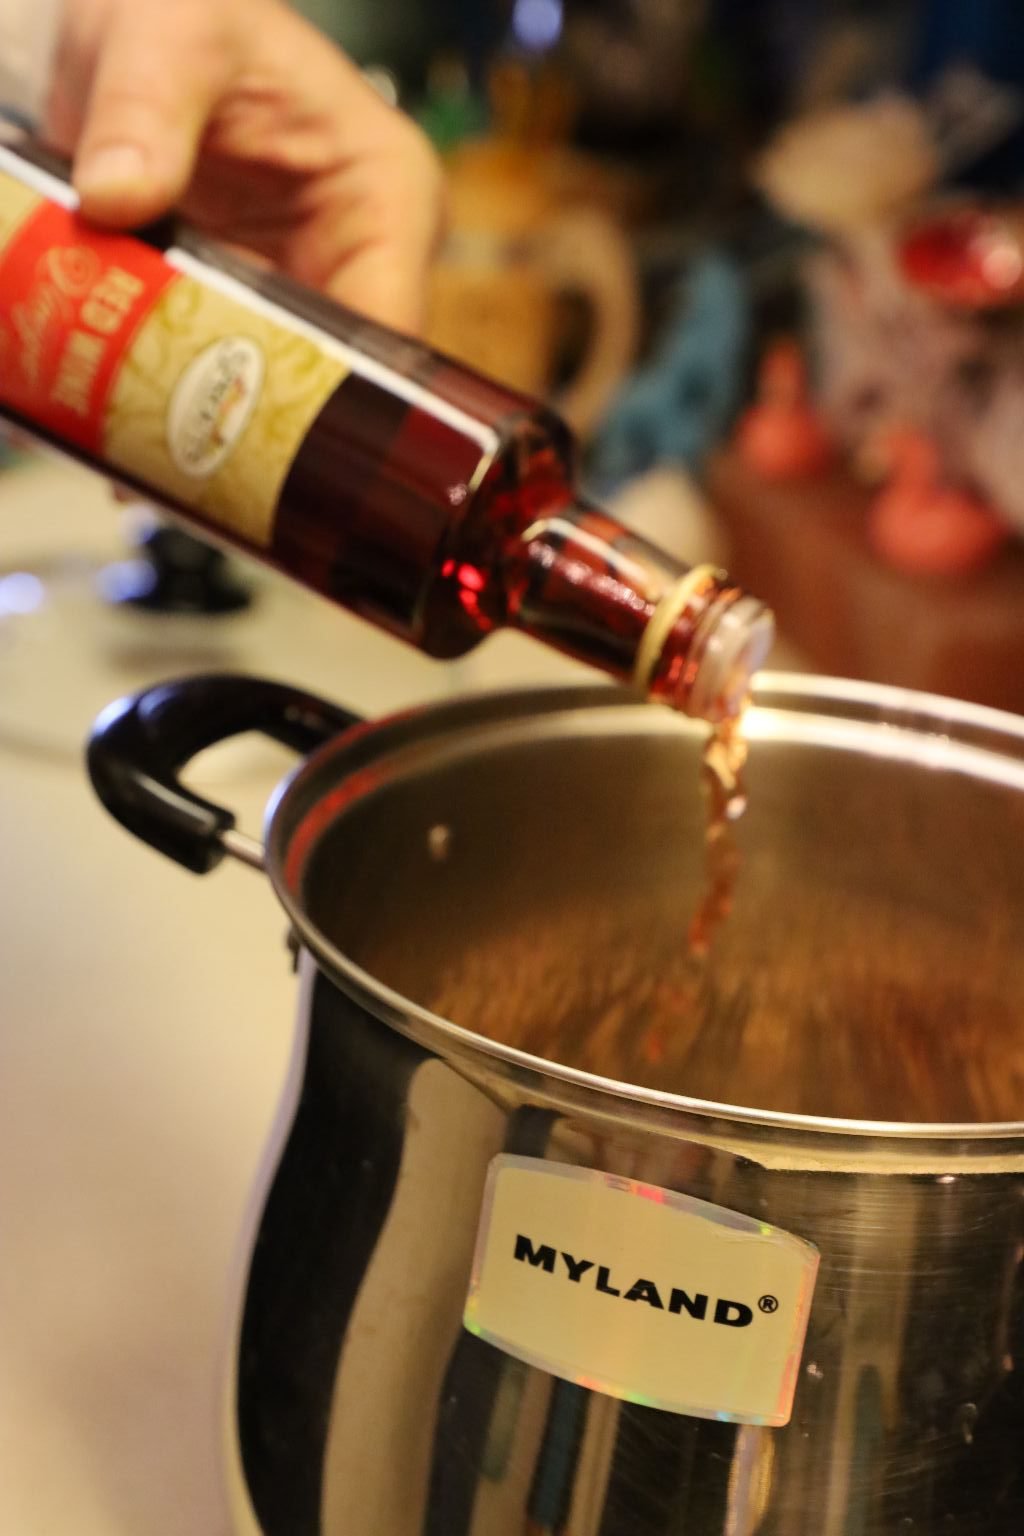
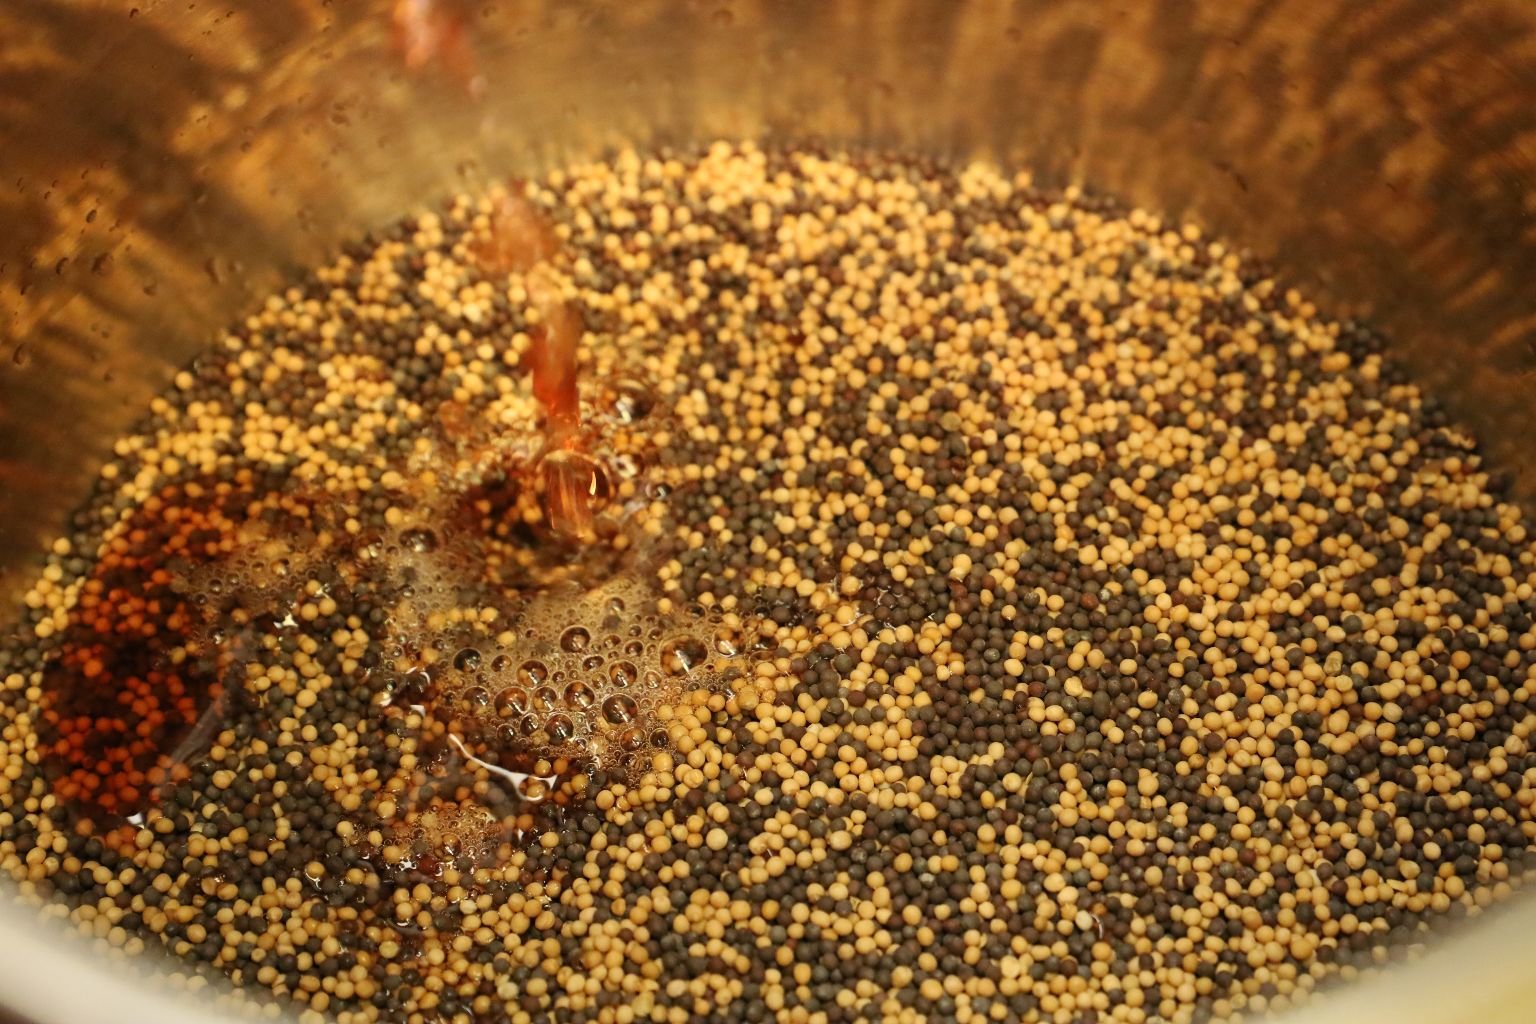
Now add your Red Wine Vinegar…
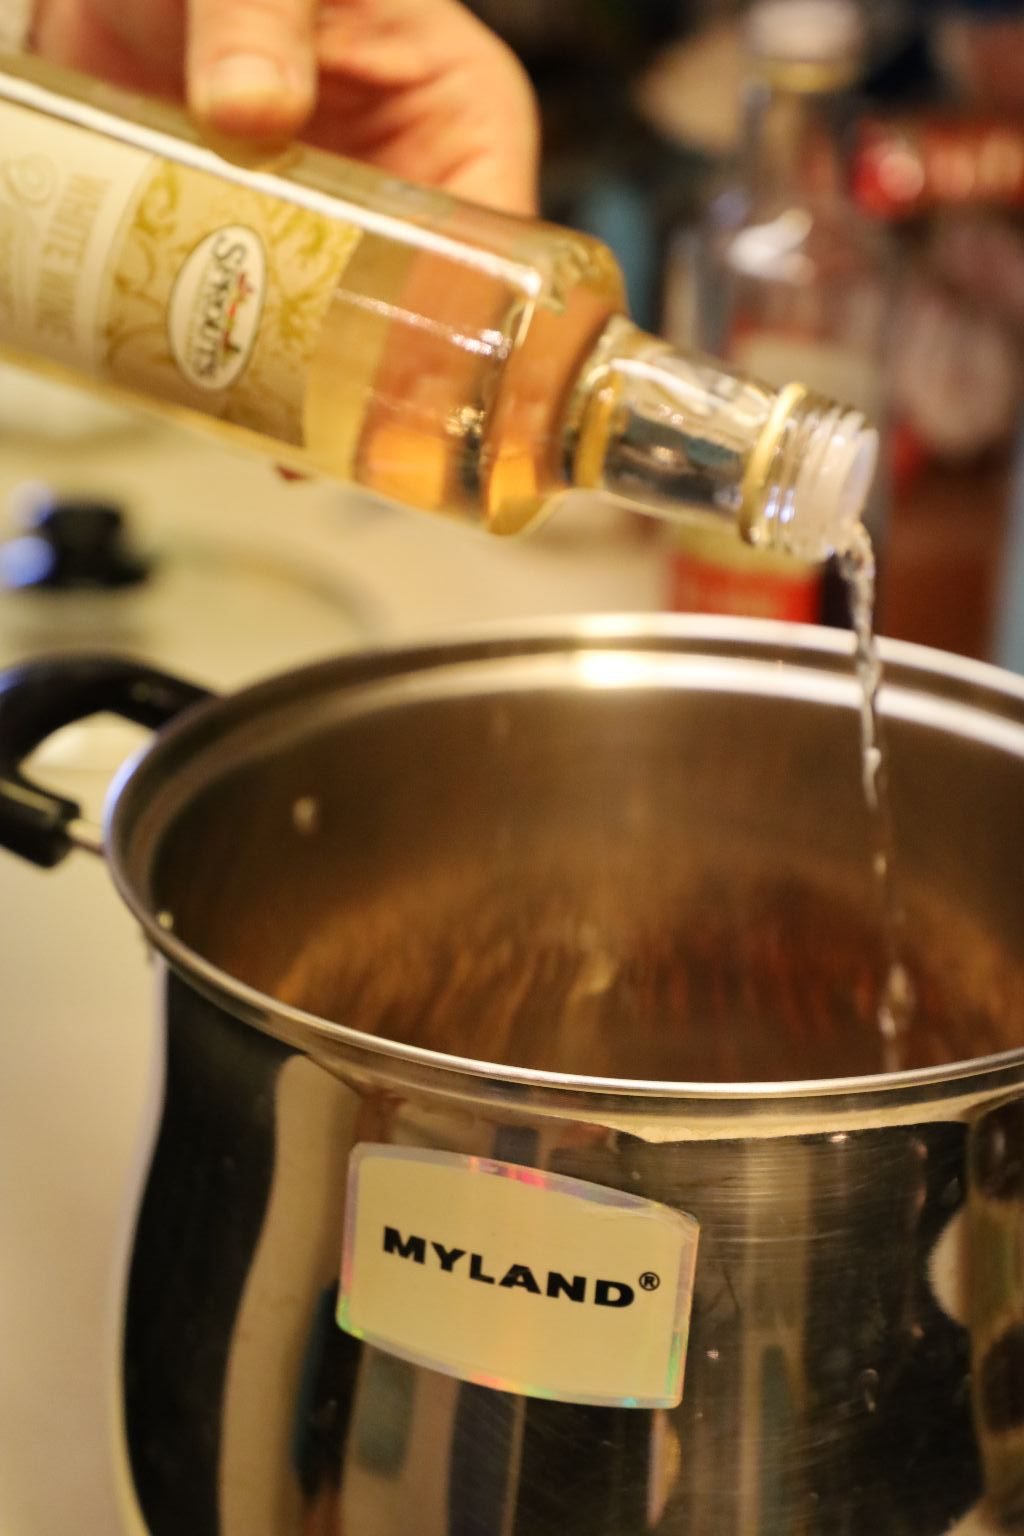
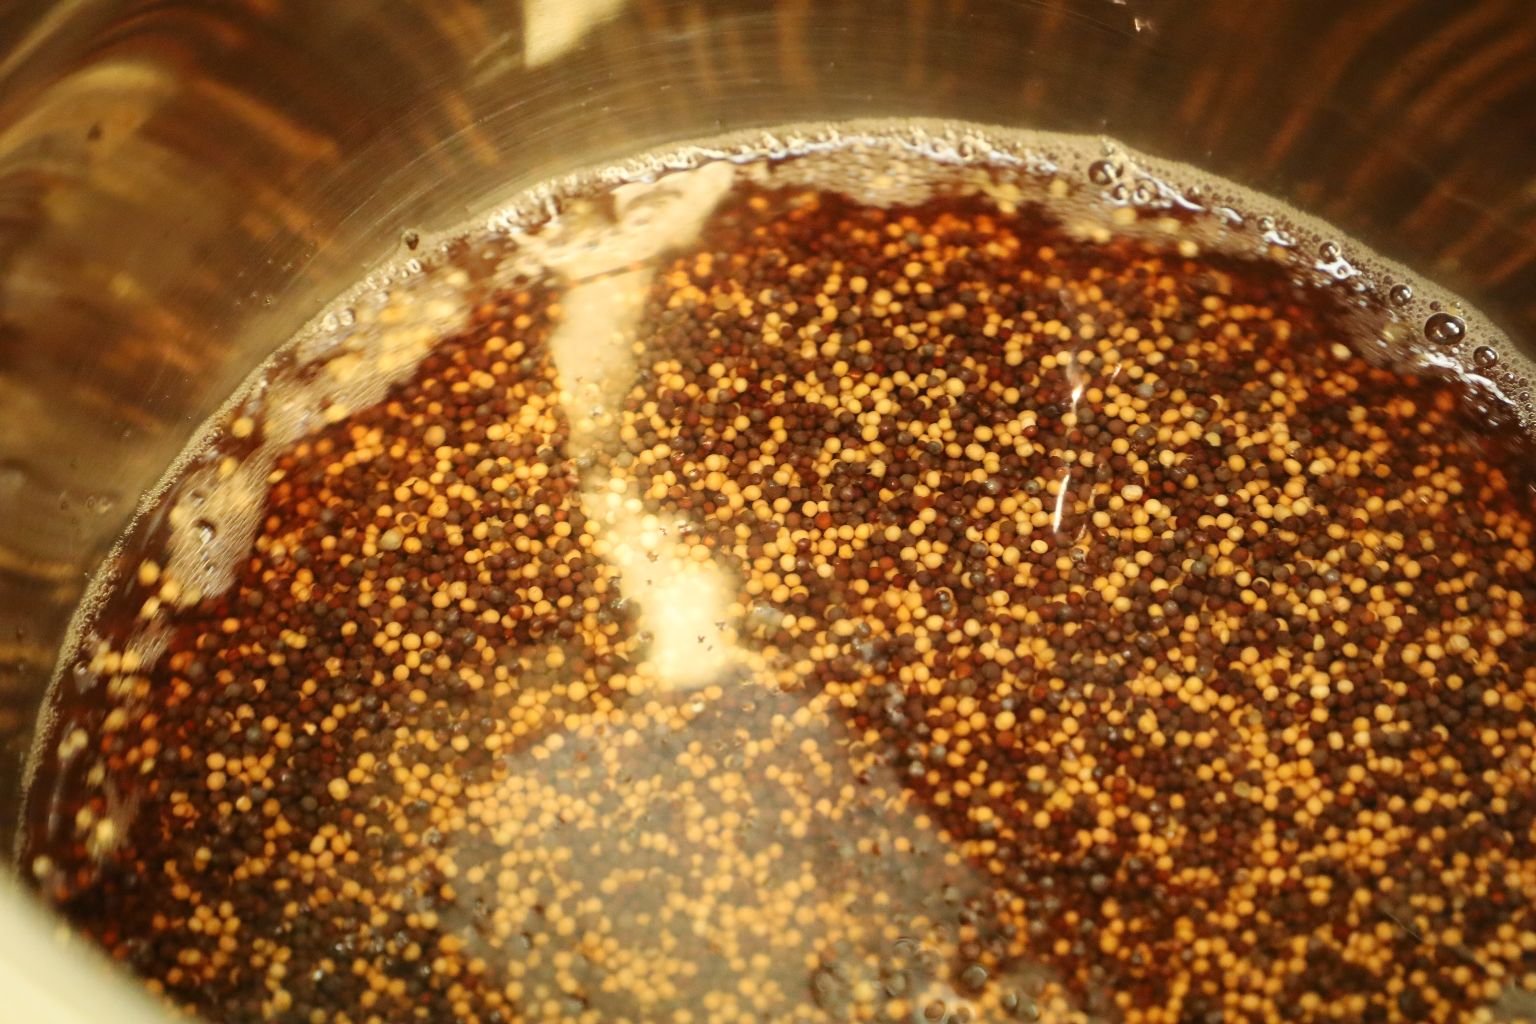
then add your White Wine Vinegar to the pot and stir the ingredients together. Cover the pot with plastic wrap and let it sit at room temperature in order to allow the seeds to absorb the liquid.
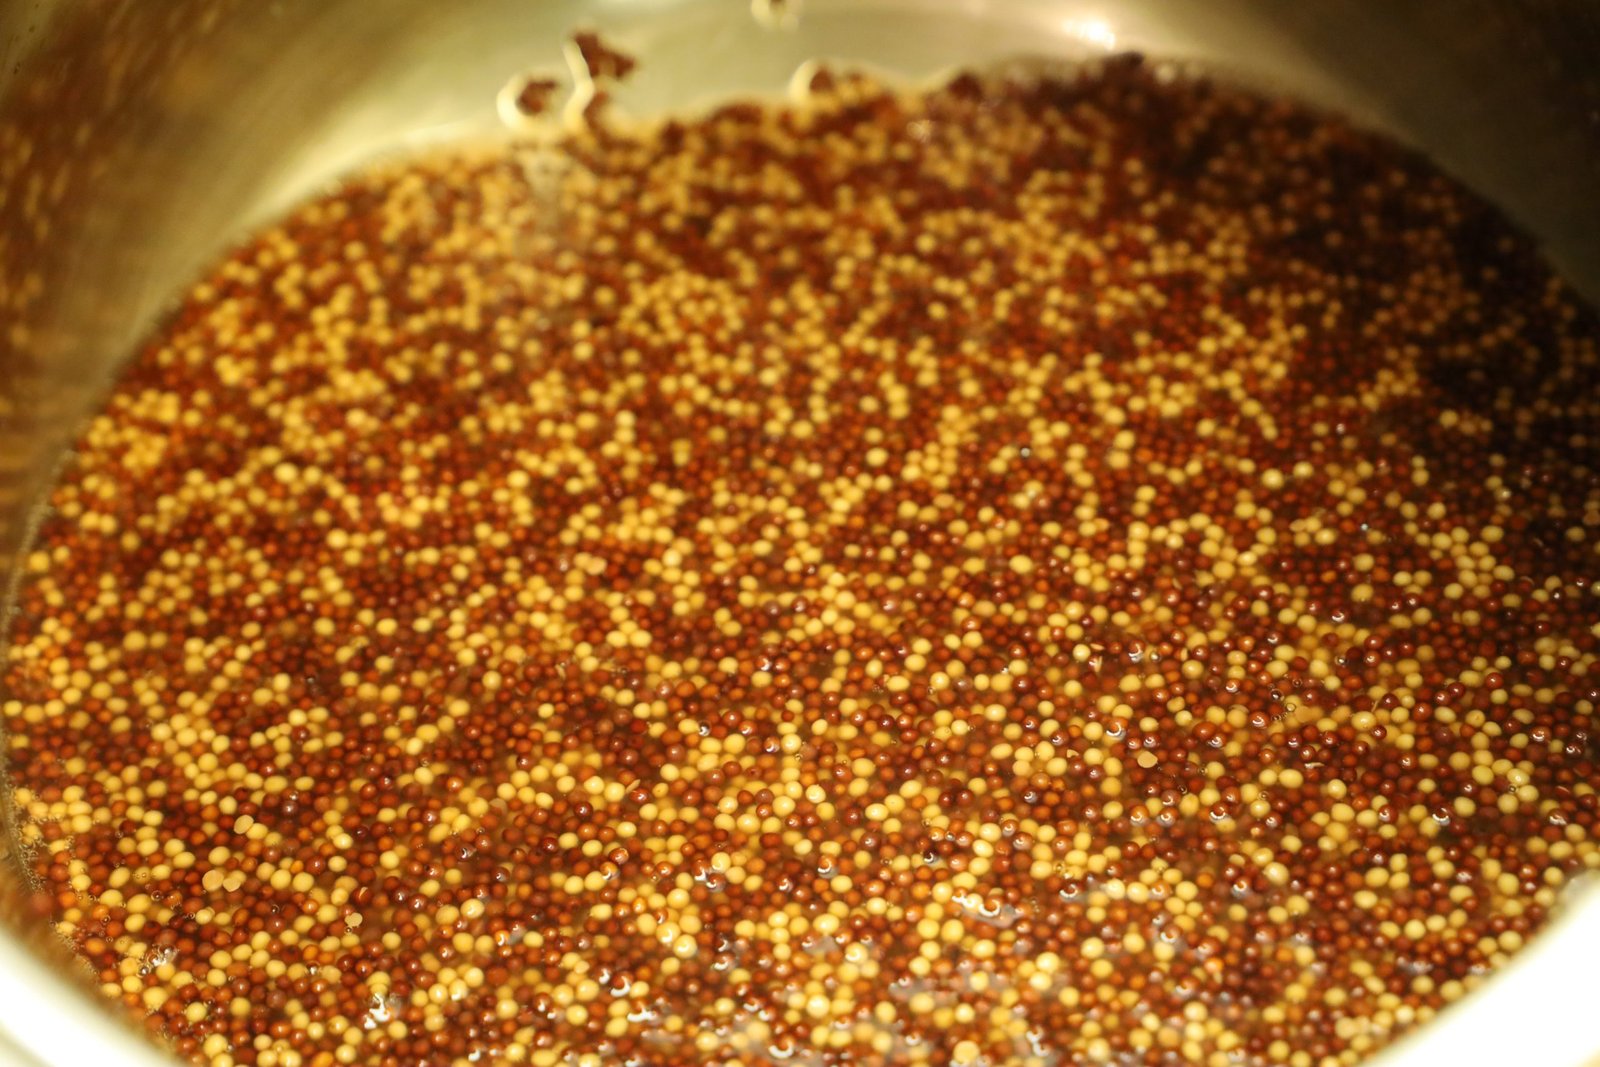
———————————————————————–
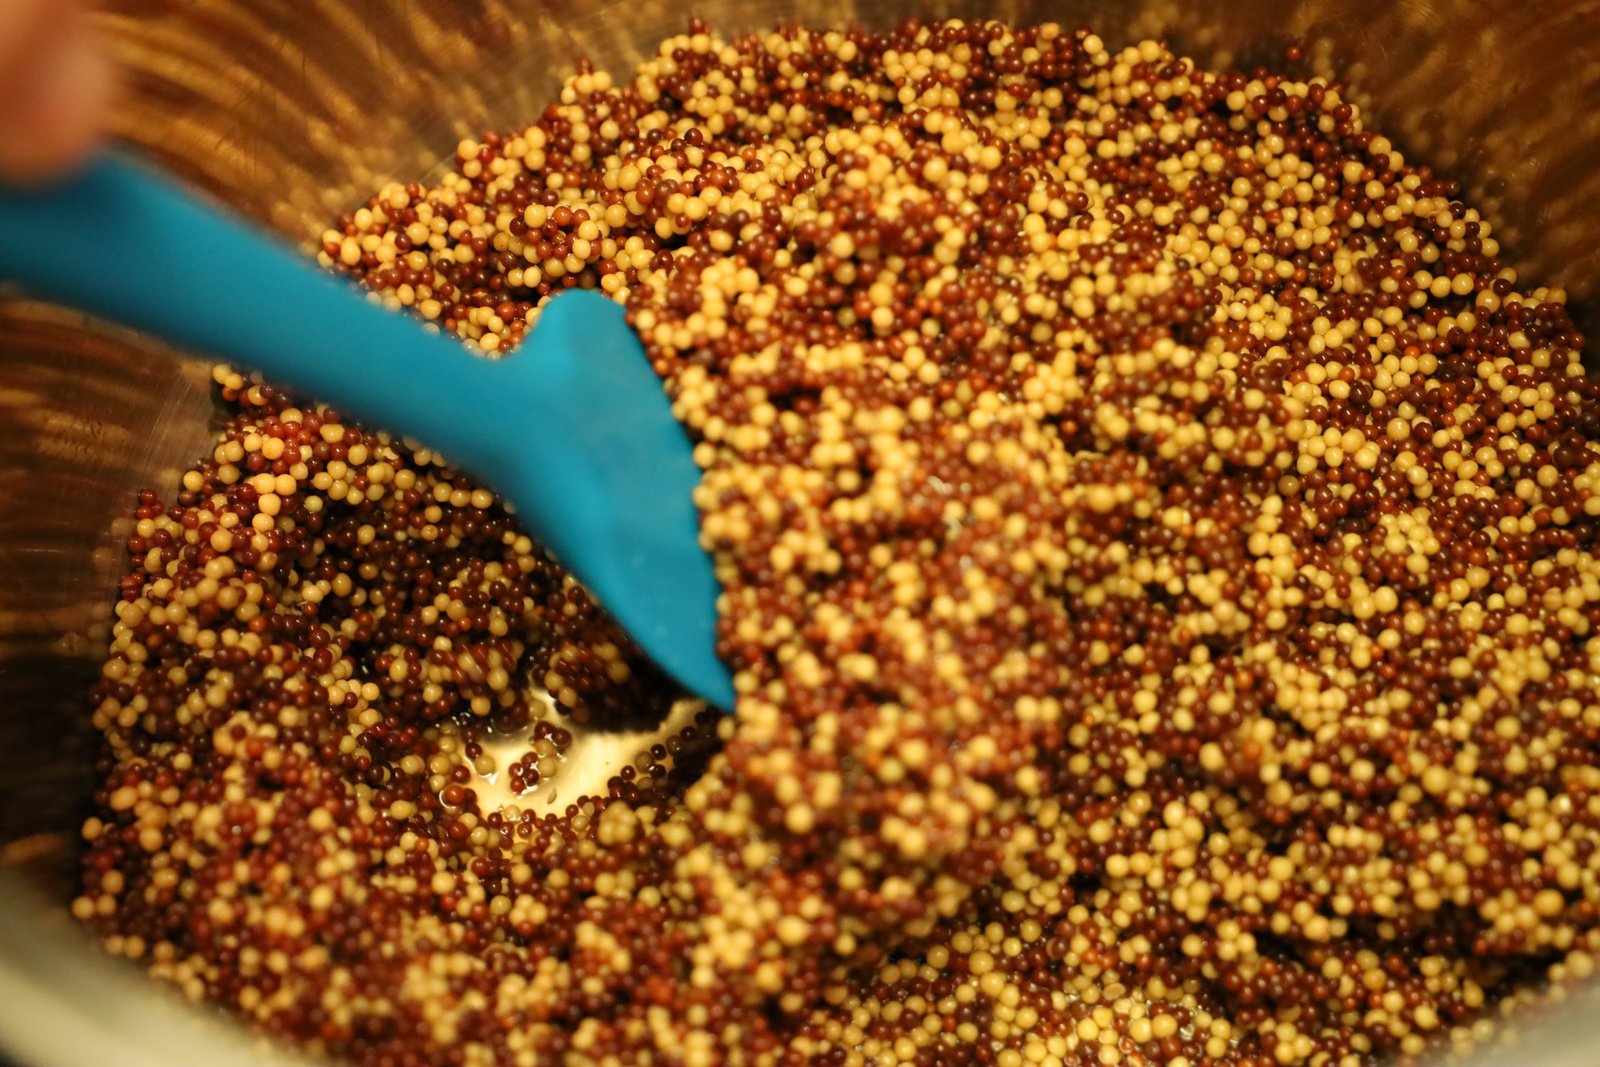
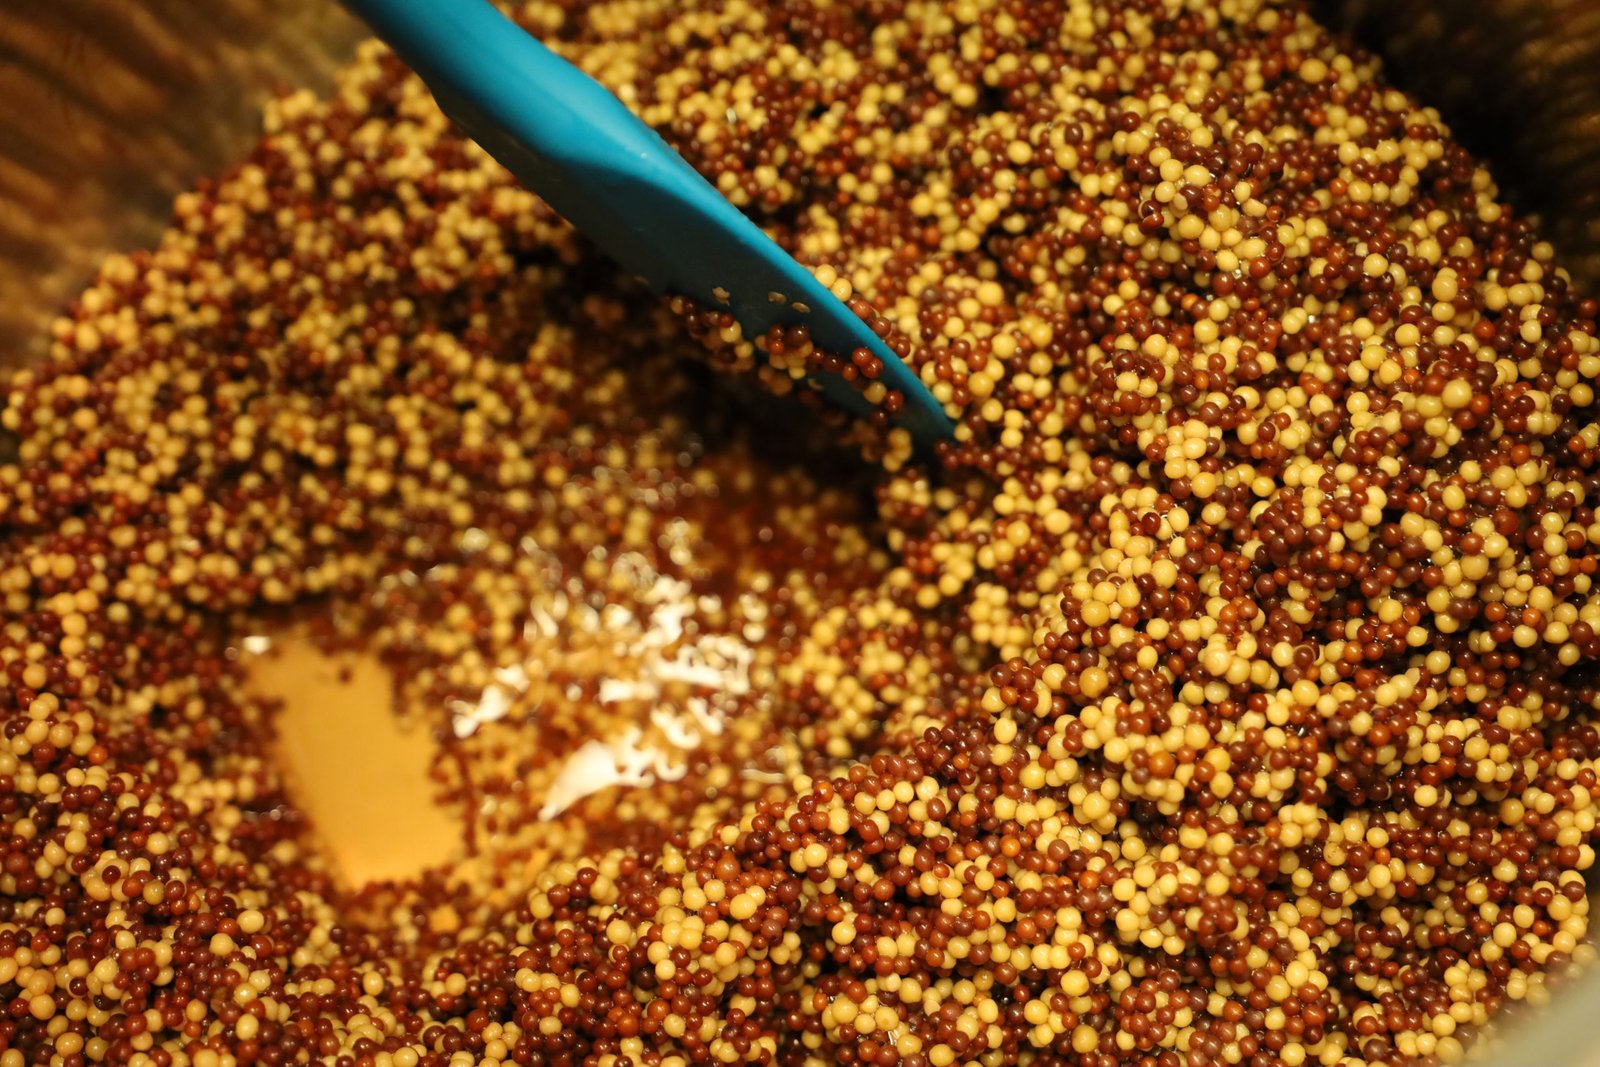
After a few days time, you can see the dry seeds have absorbed the vinegar.
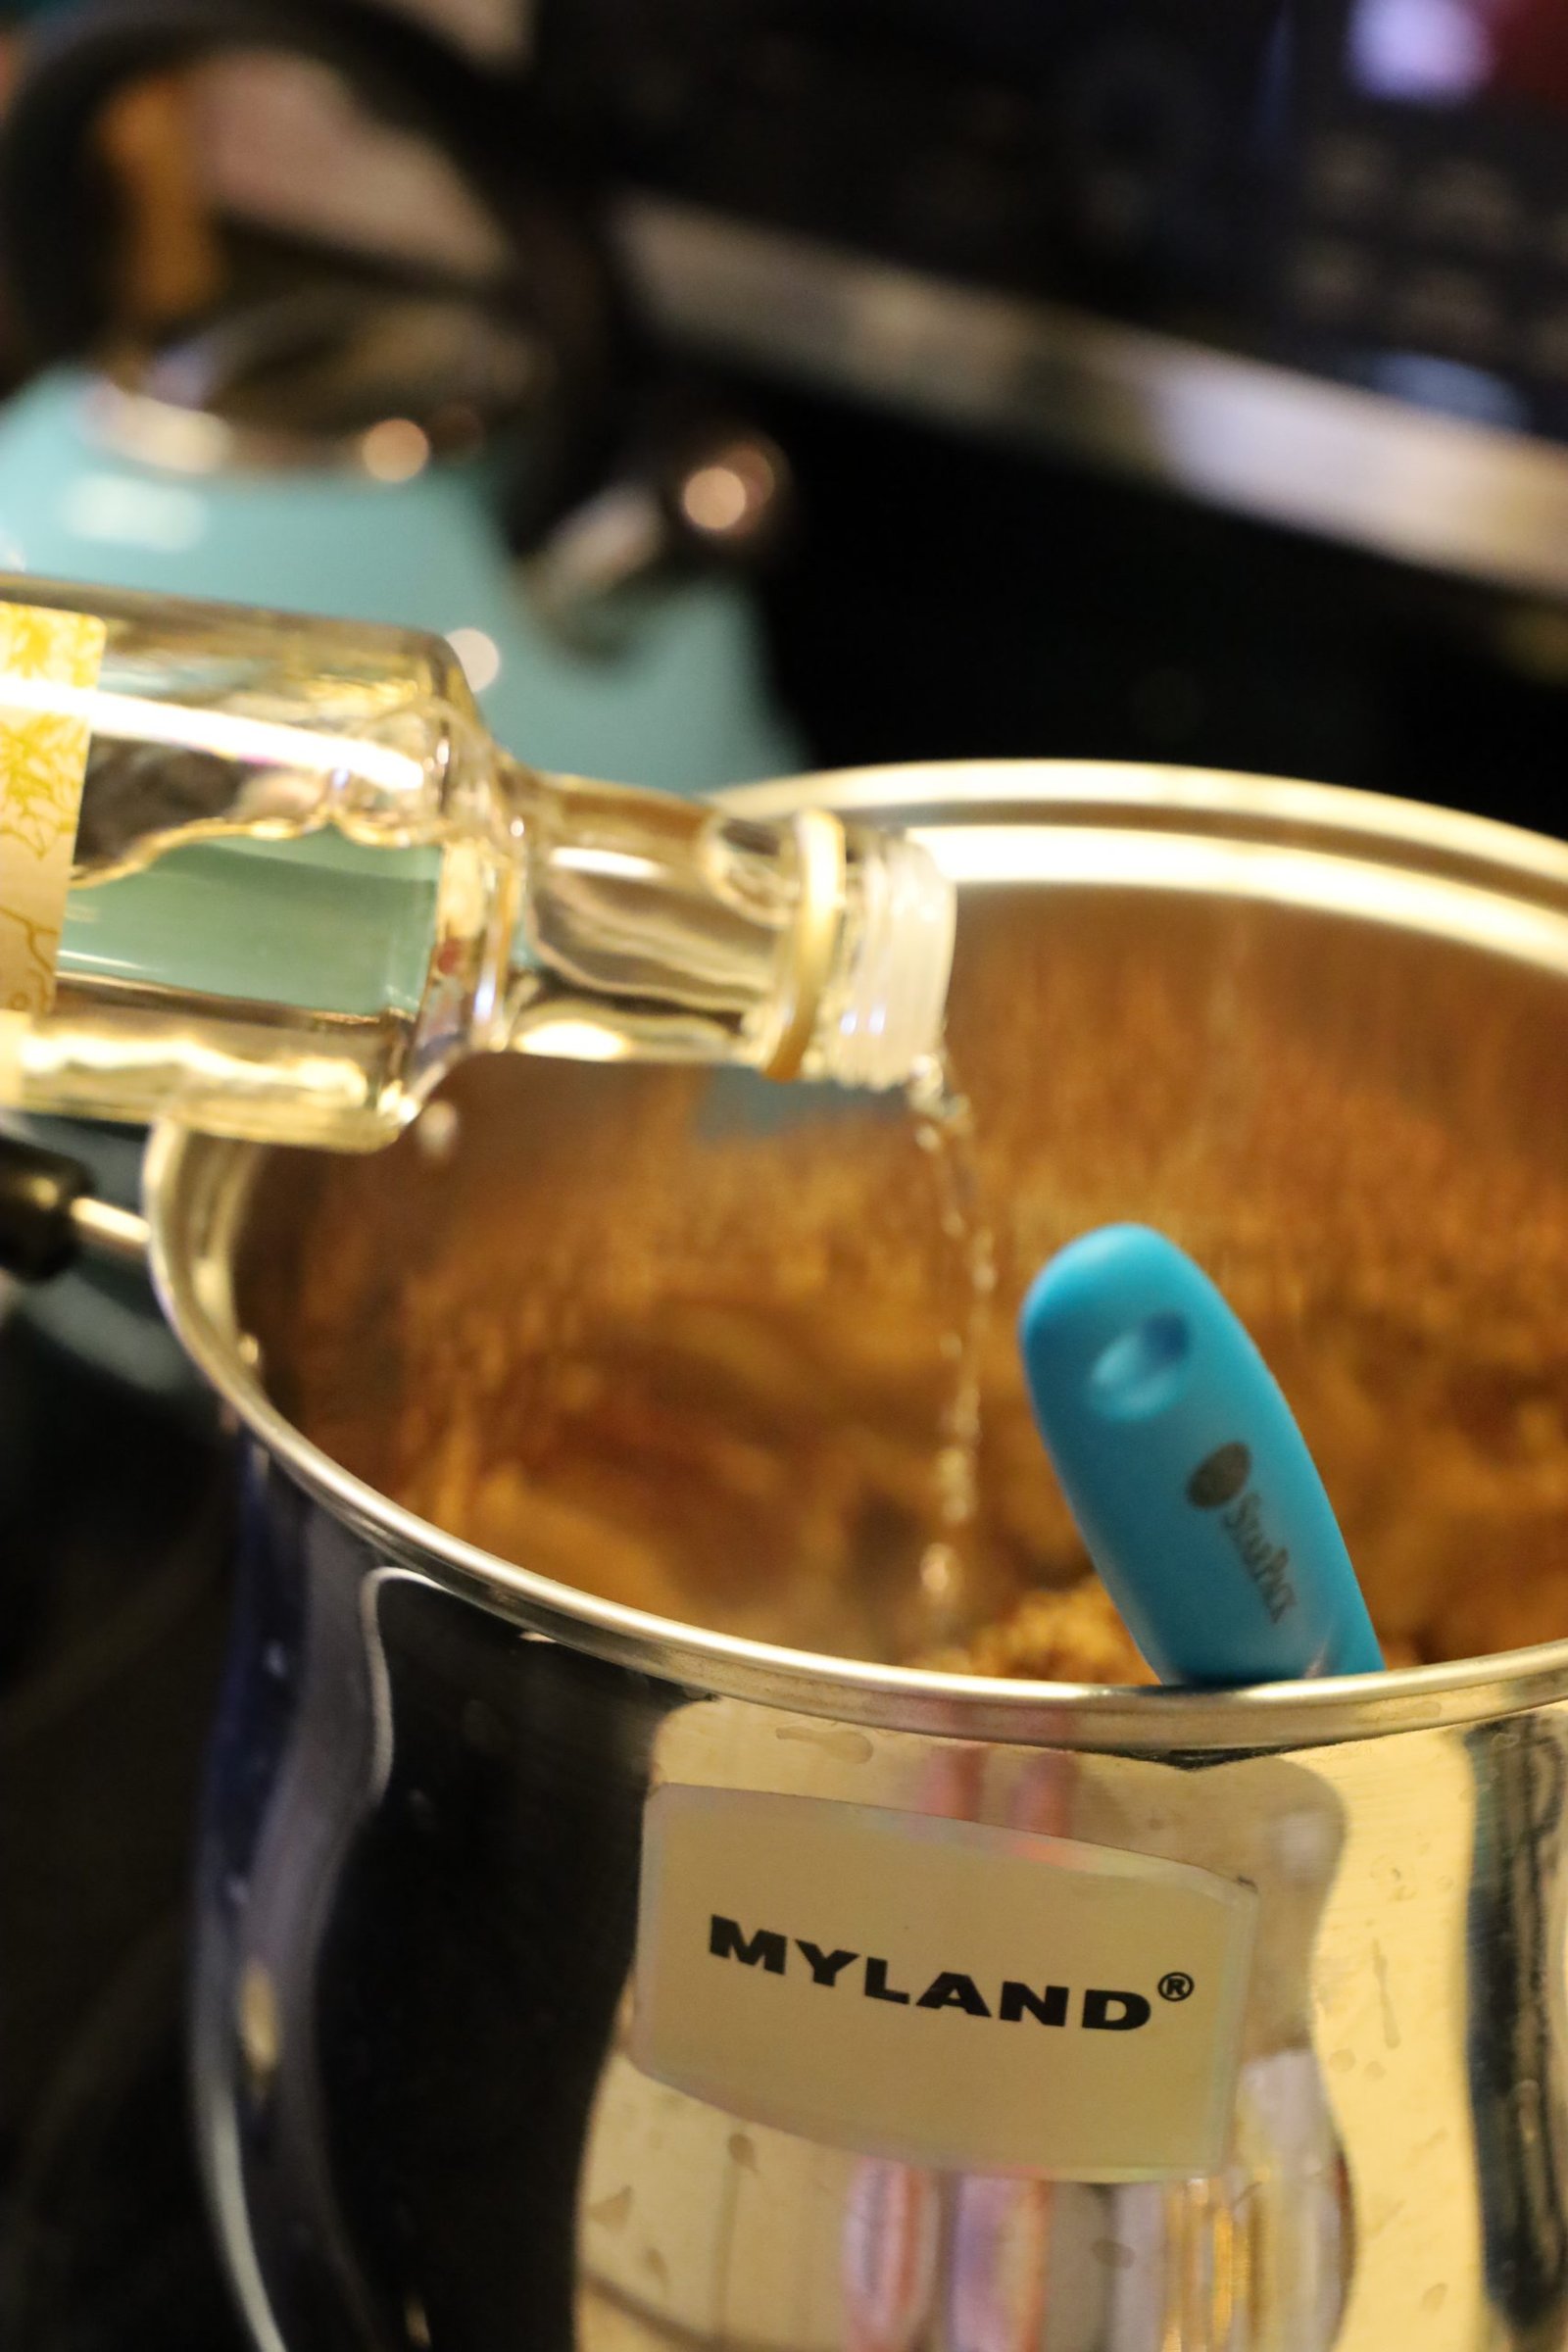
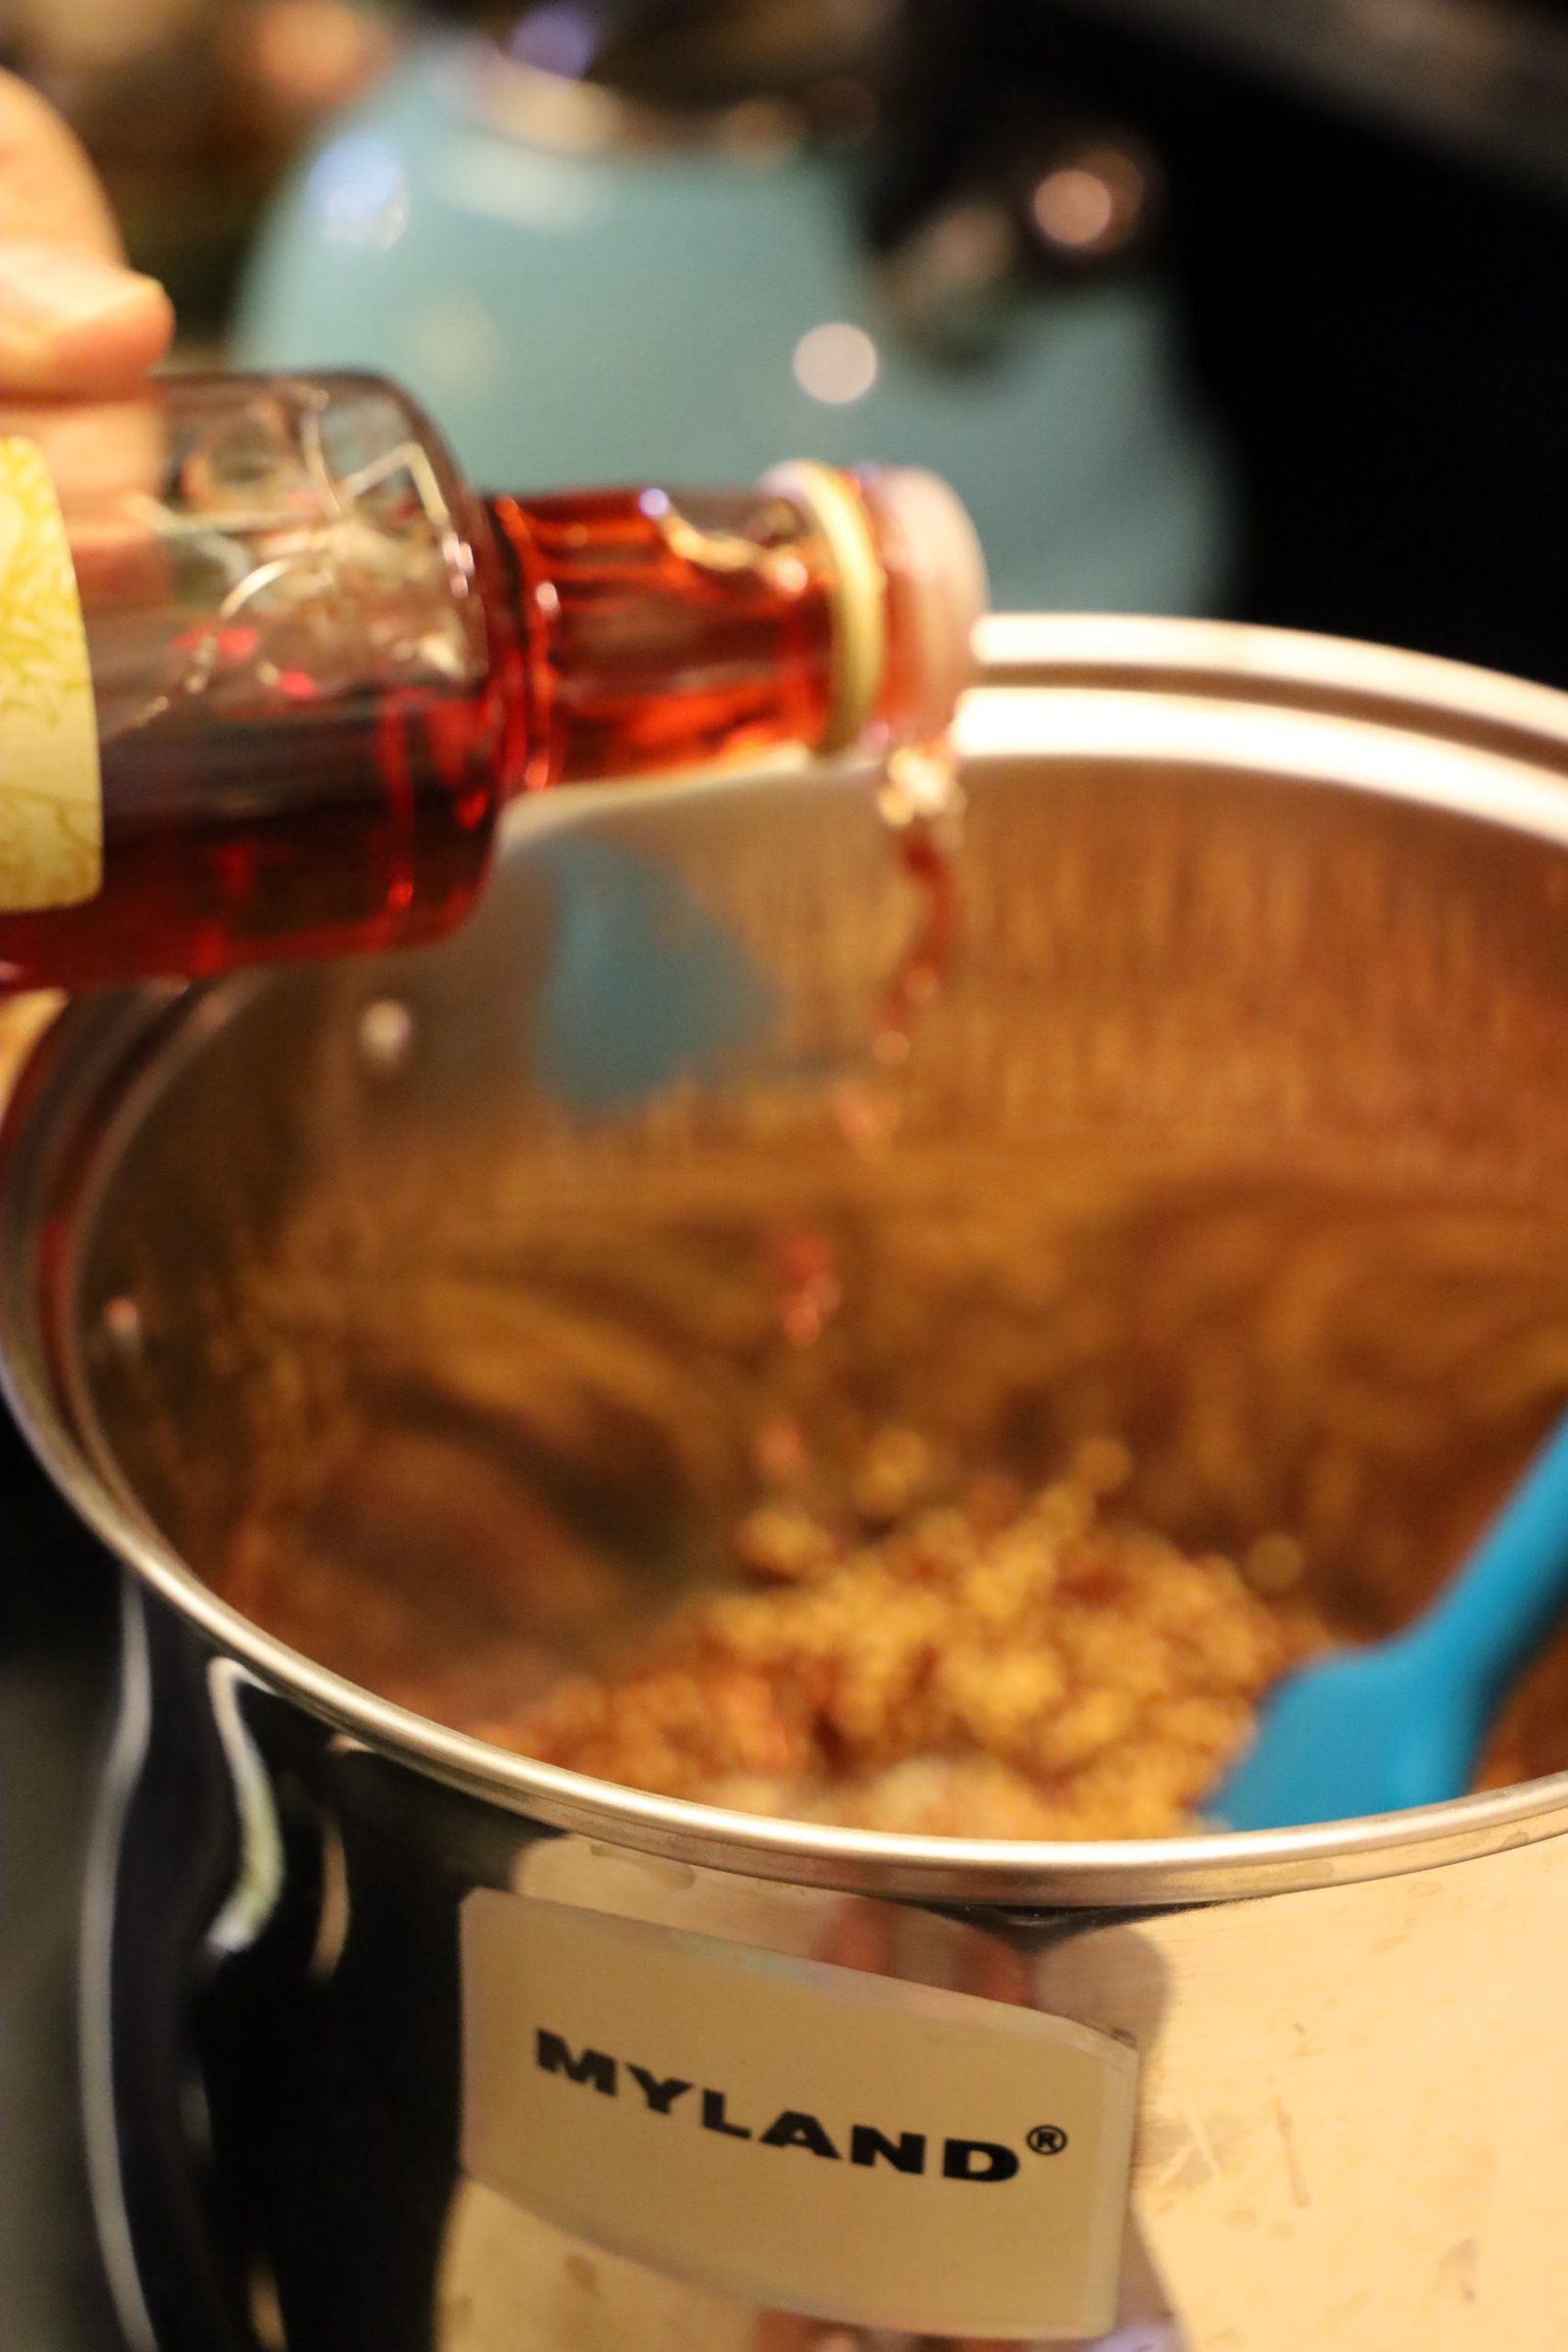
When this happens, add more of your vinegar until the ratio of liquid is slightly greater than the seeds. Let the seeds and vinegar sit and check again after a few more days adding more vinegar if necessary.
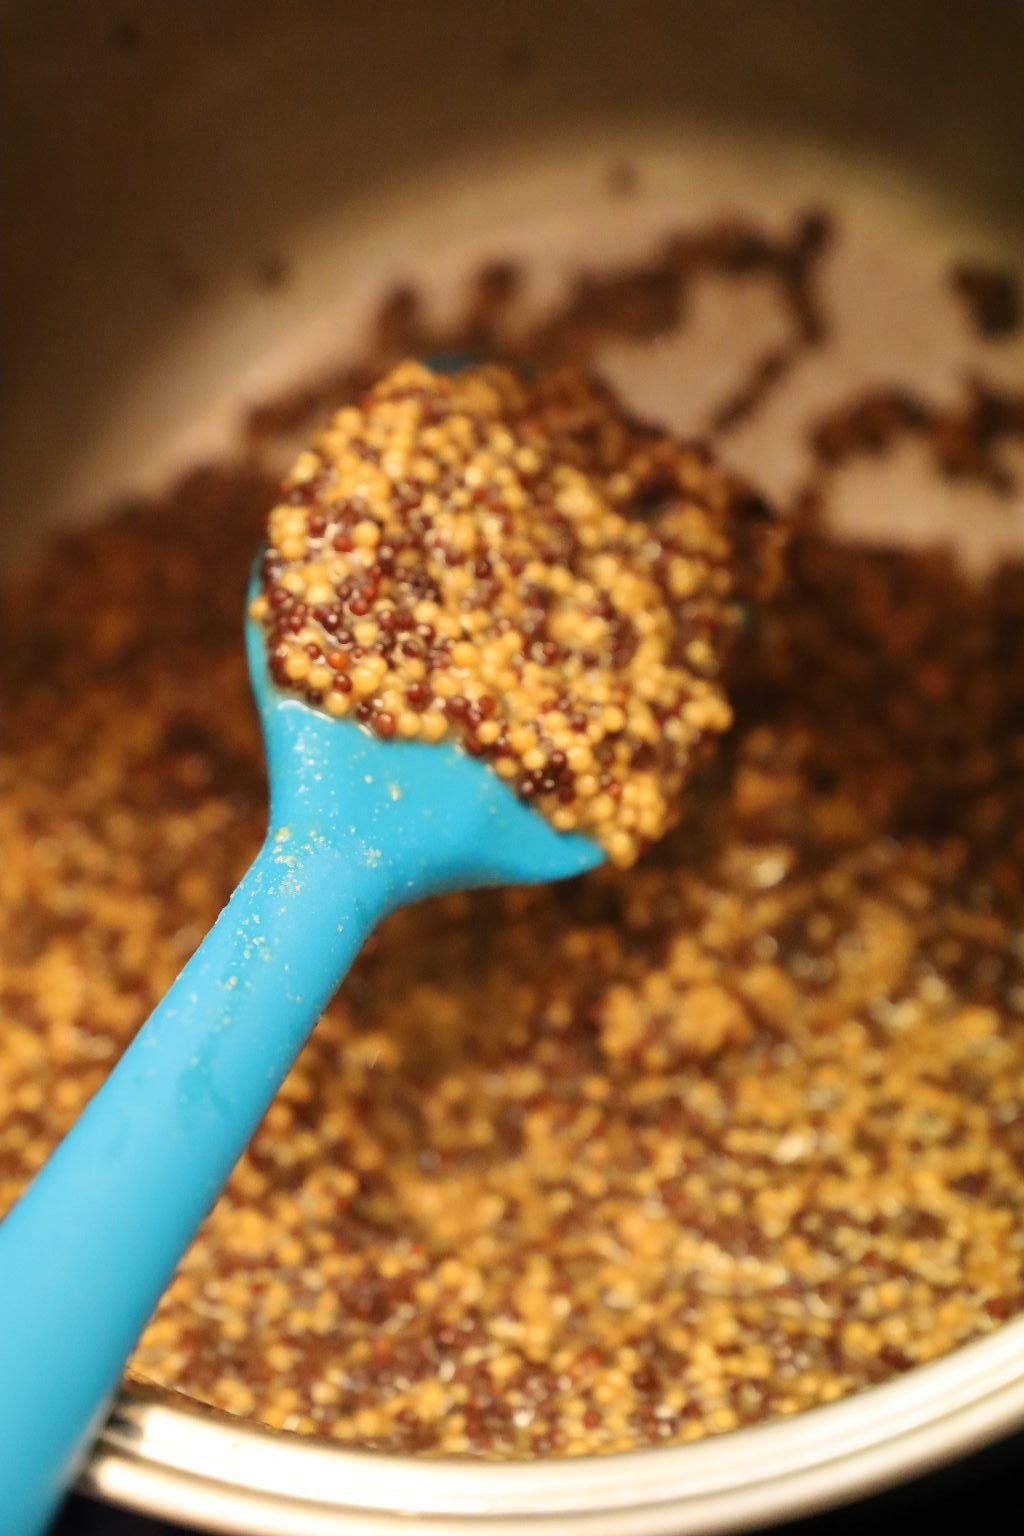
After about 9 or 10 days, your mustard seeds should be softened. If not, let the seeds sit longer until they are softened. At this time your ratio of seeds to liquid should be about even.
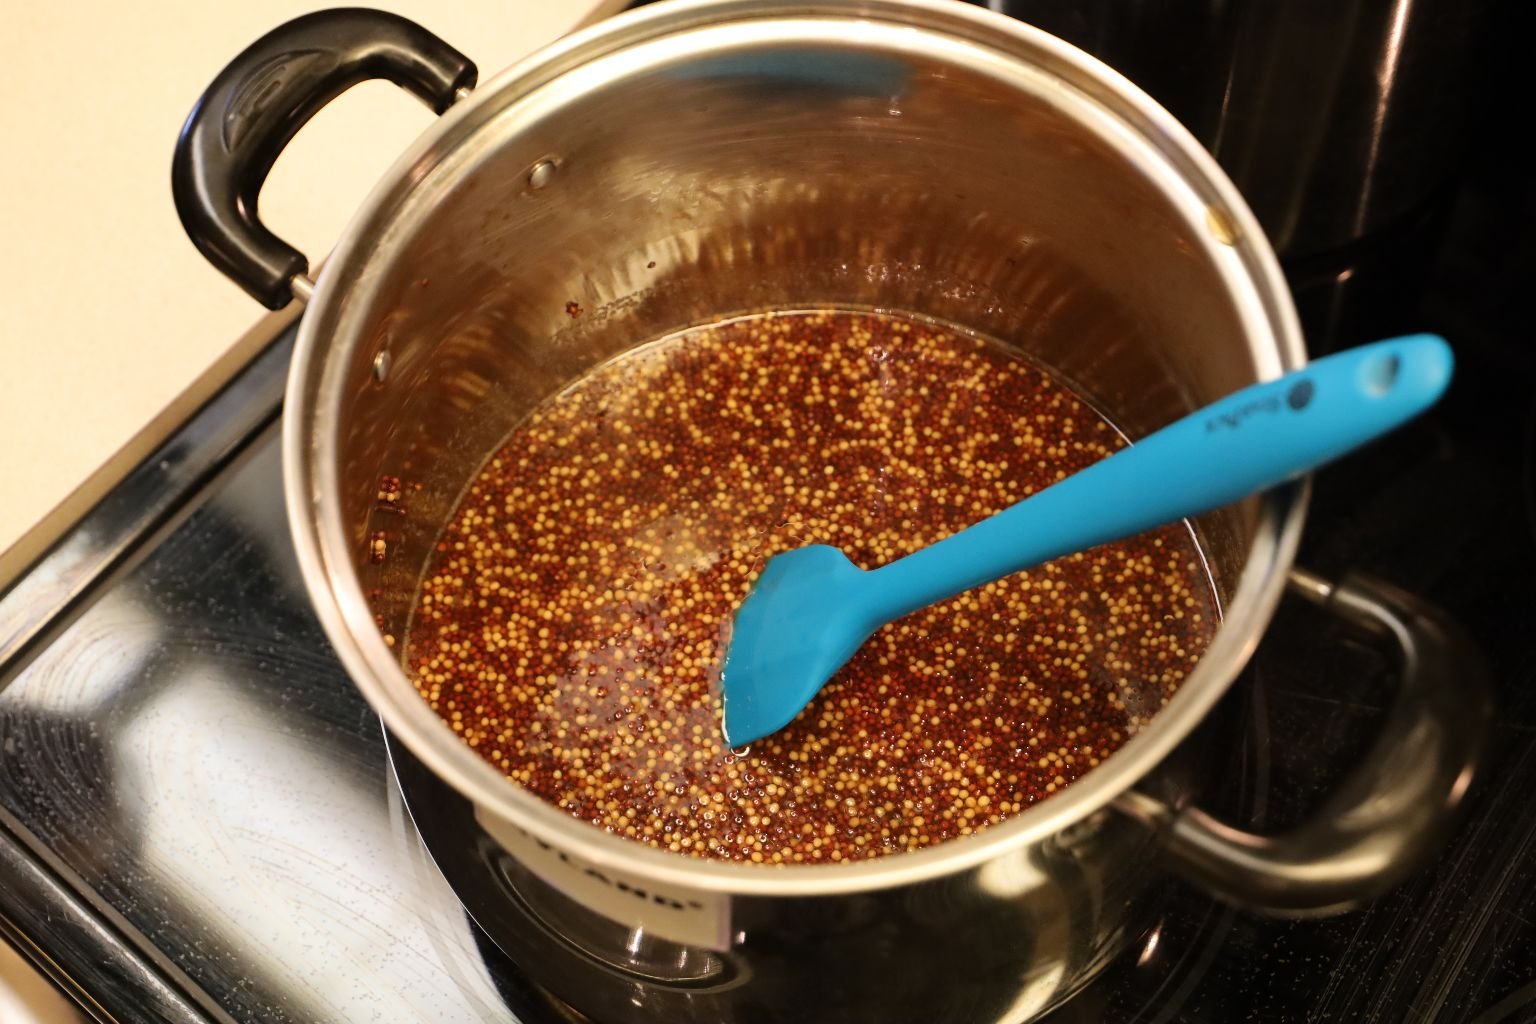
Once your seeds are softened, place your pot on the stove and turn up the heat to medium high.
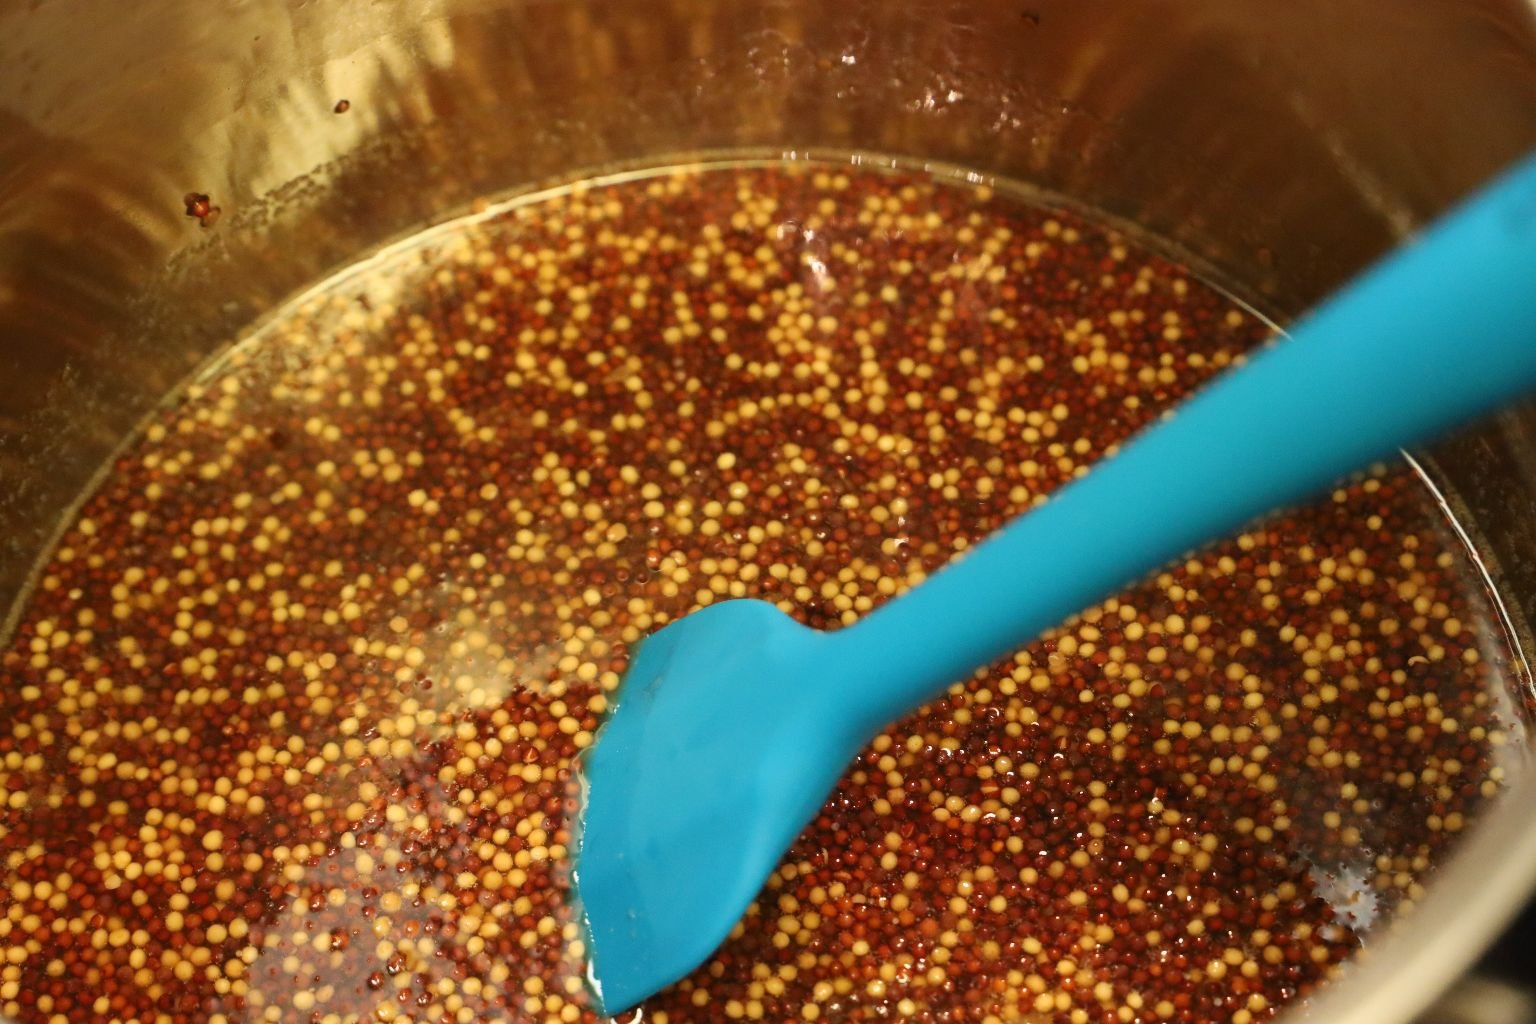
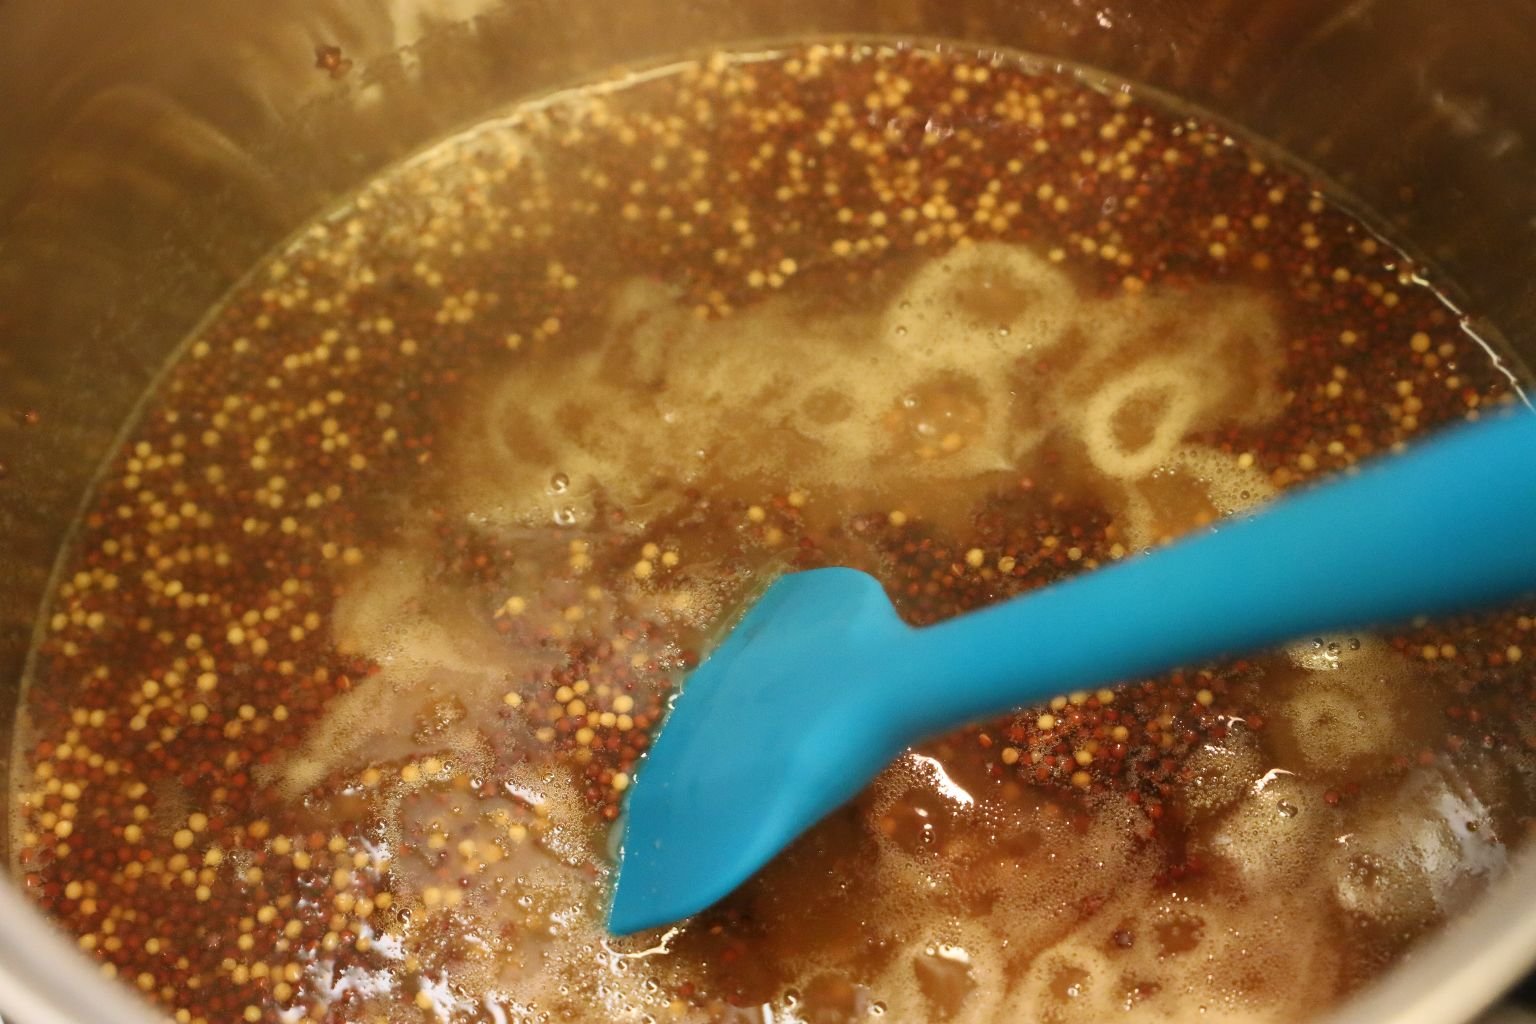
——————————————————————
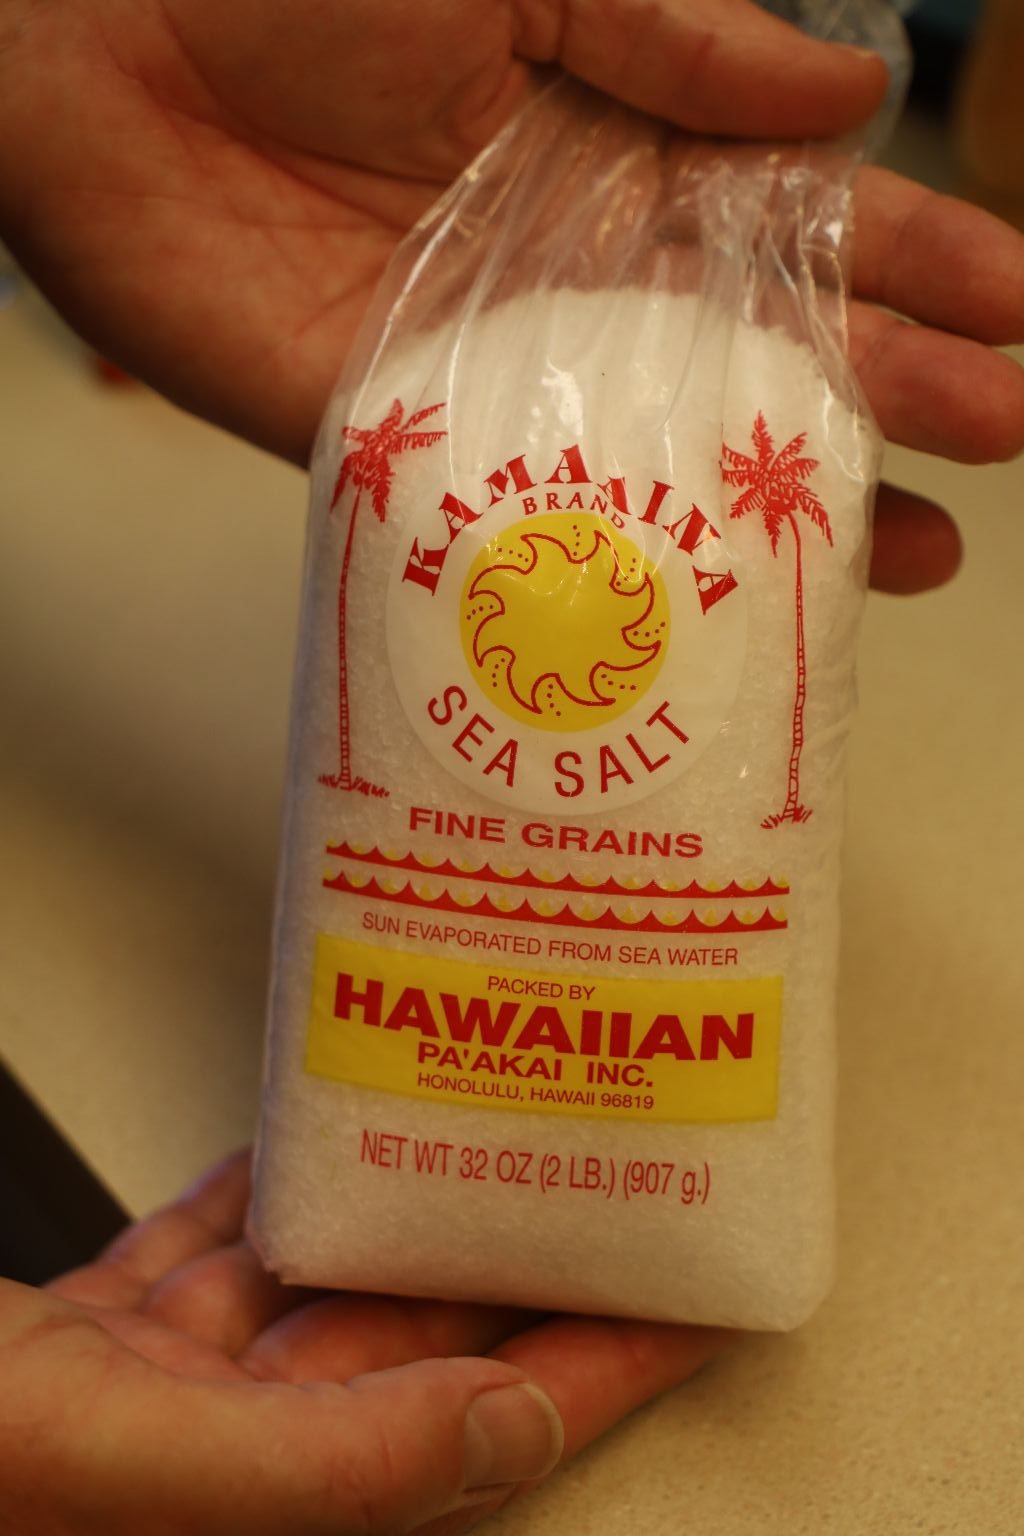
Here we wanted to use our salt from Hawaii.
We have a number of varieties of salt which makes it fun to use and explore their different tastes.
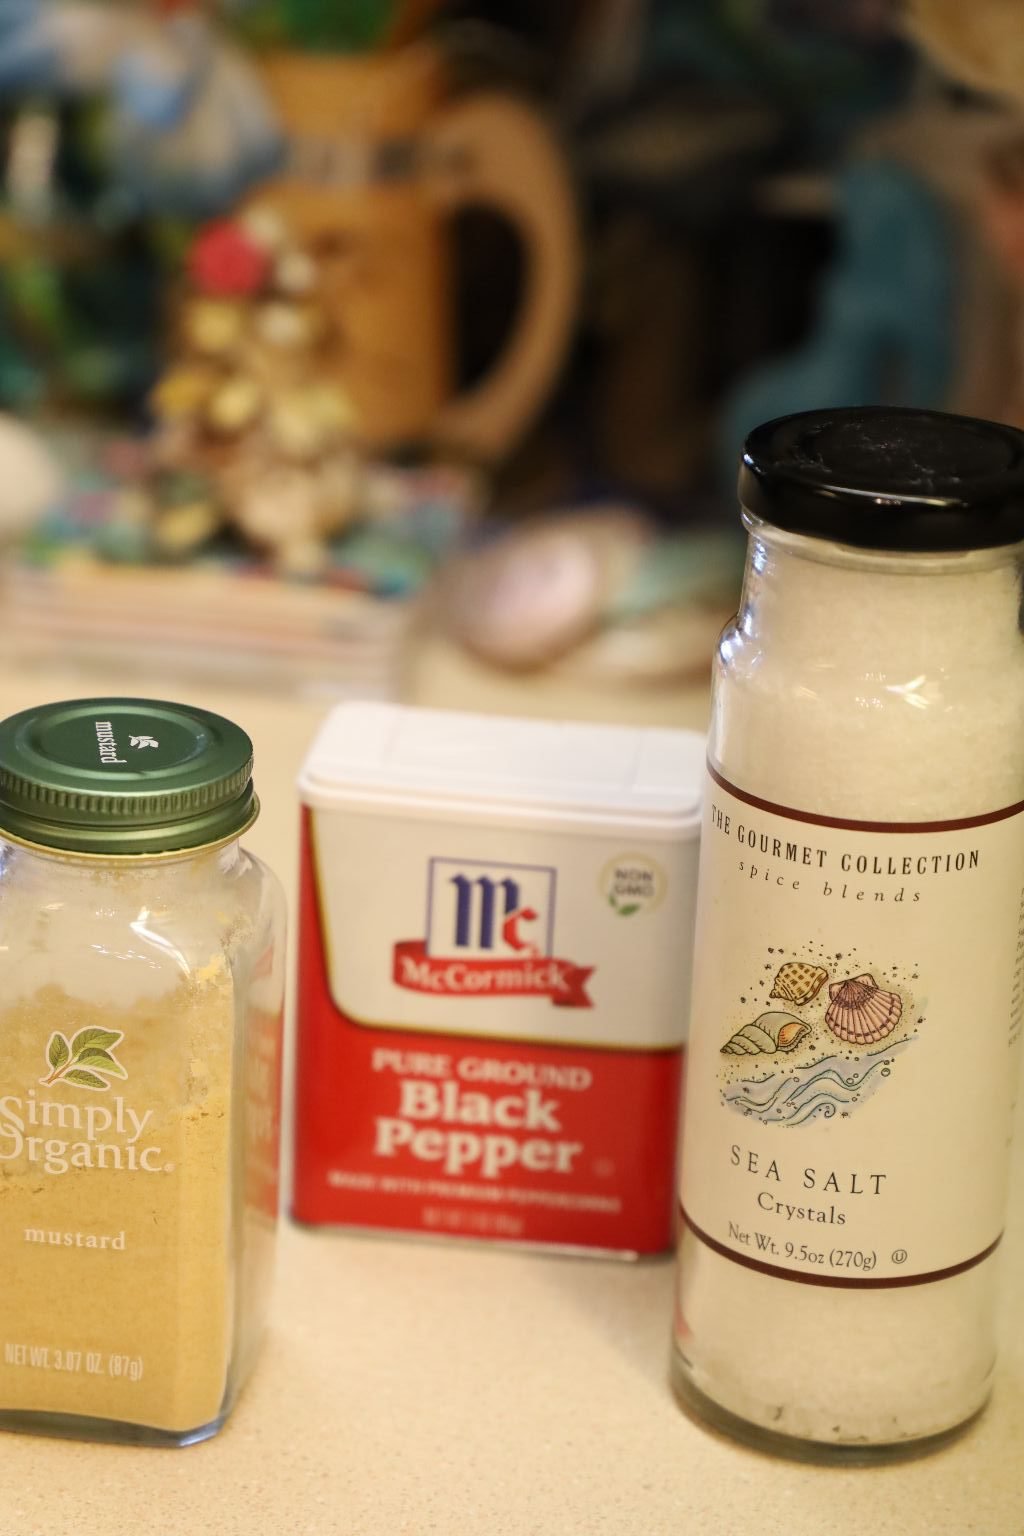
We put our Hawaiian Salt into the jar labeled Sea Salt on the right.
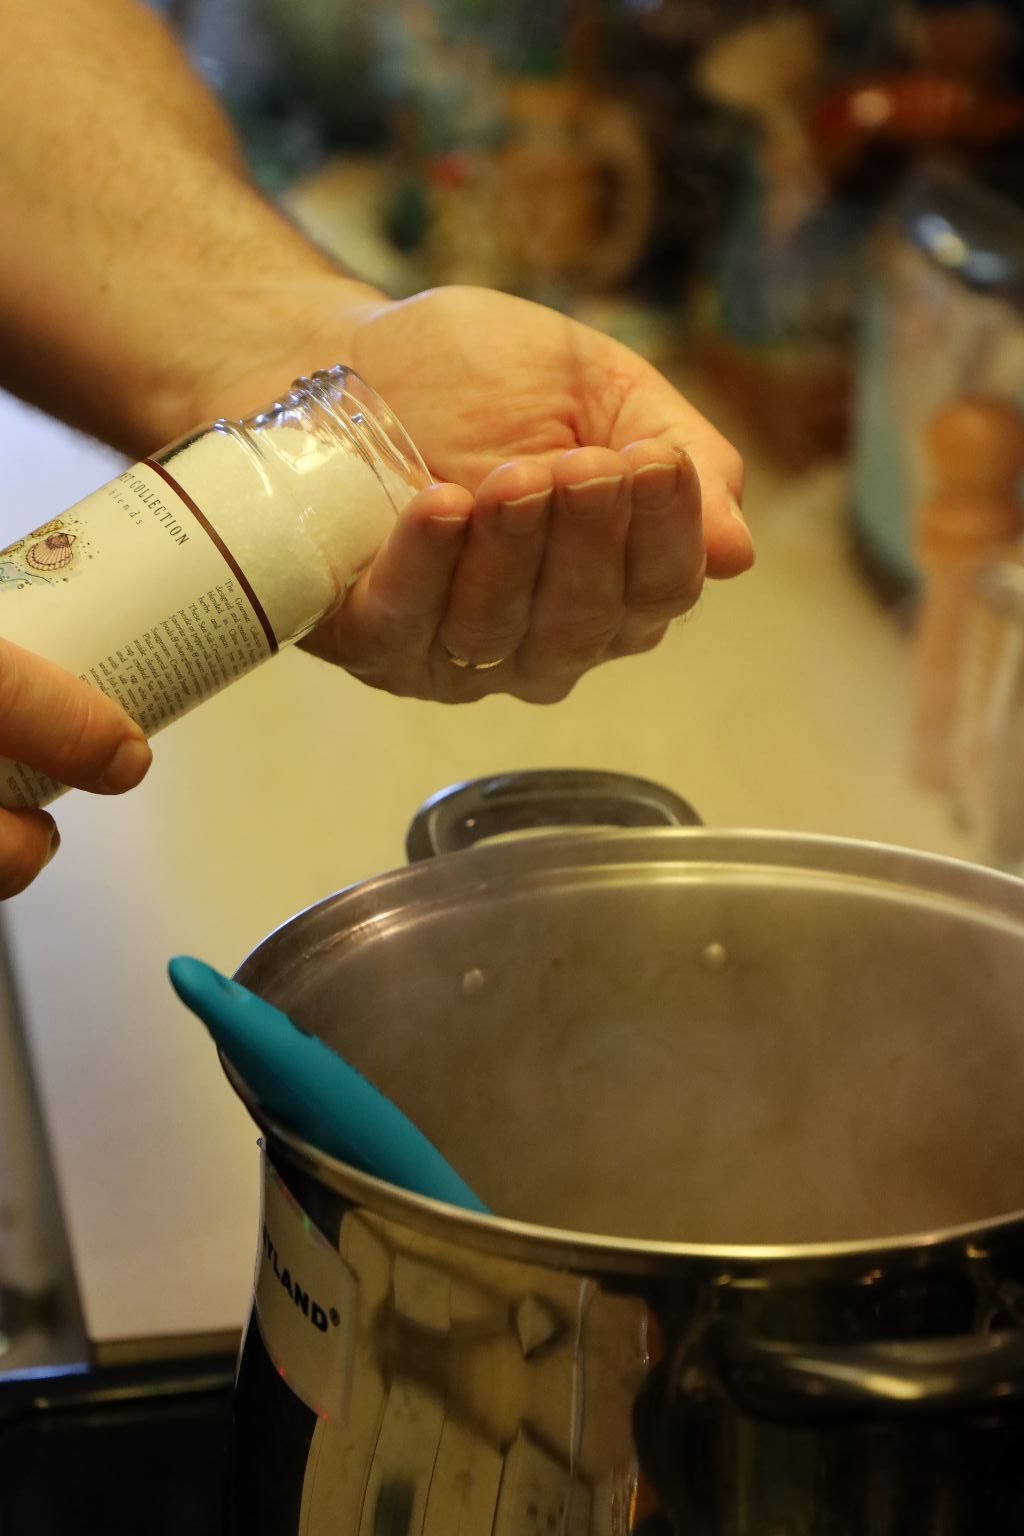
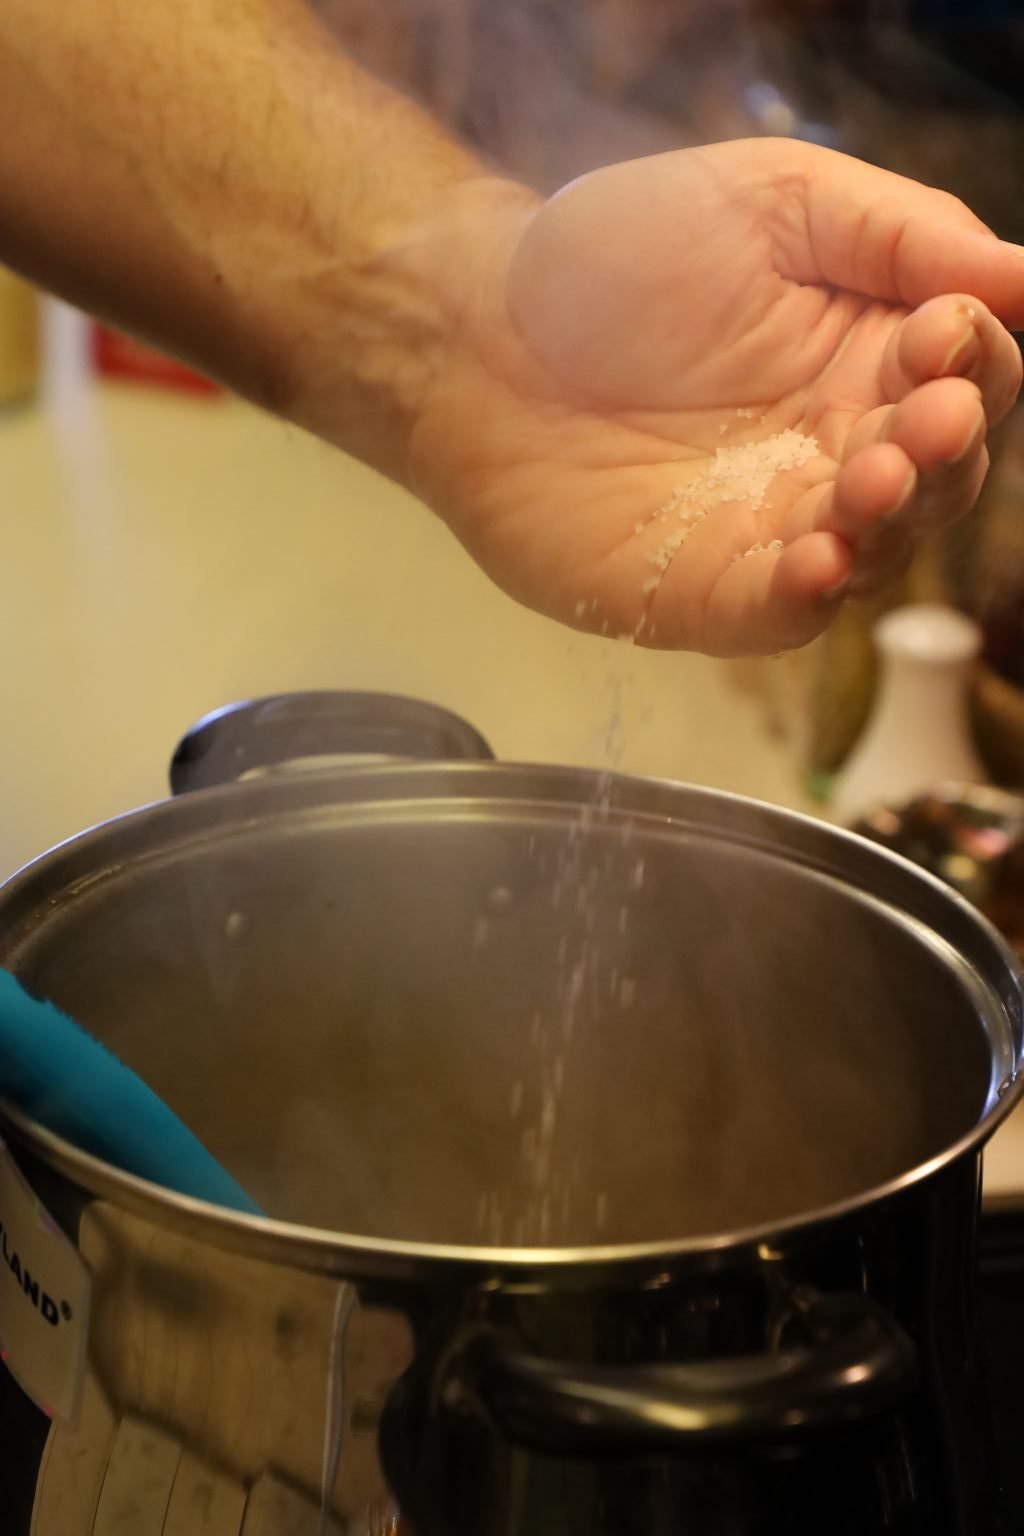
Here I added the Hawaiian Salt…
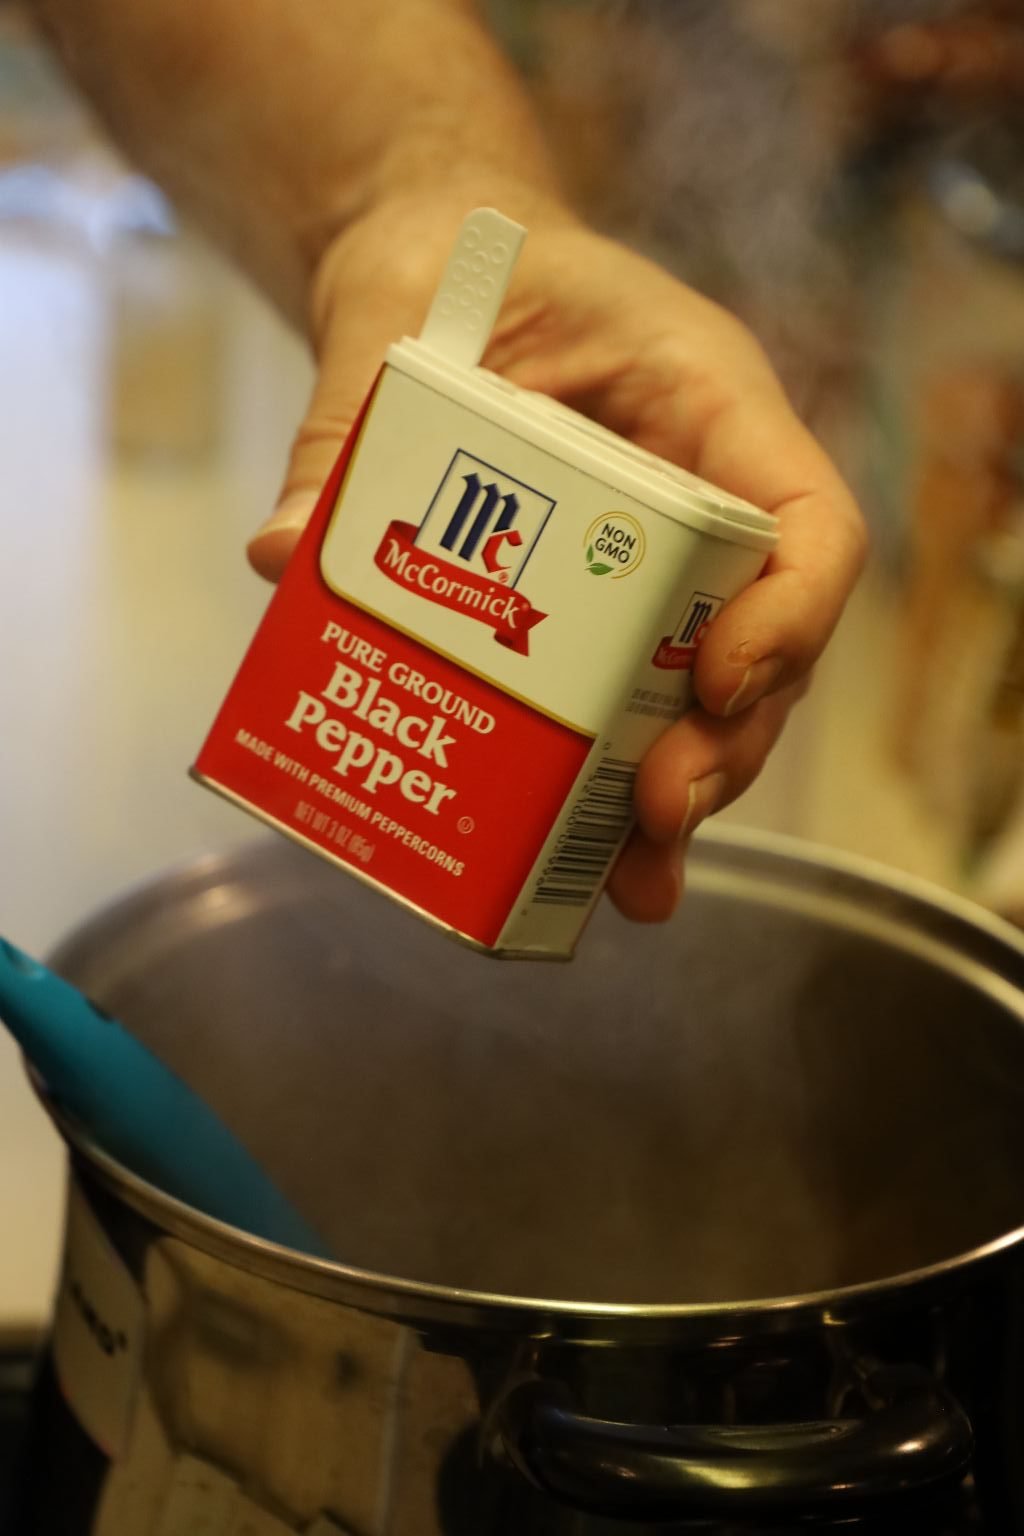
the pepper…
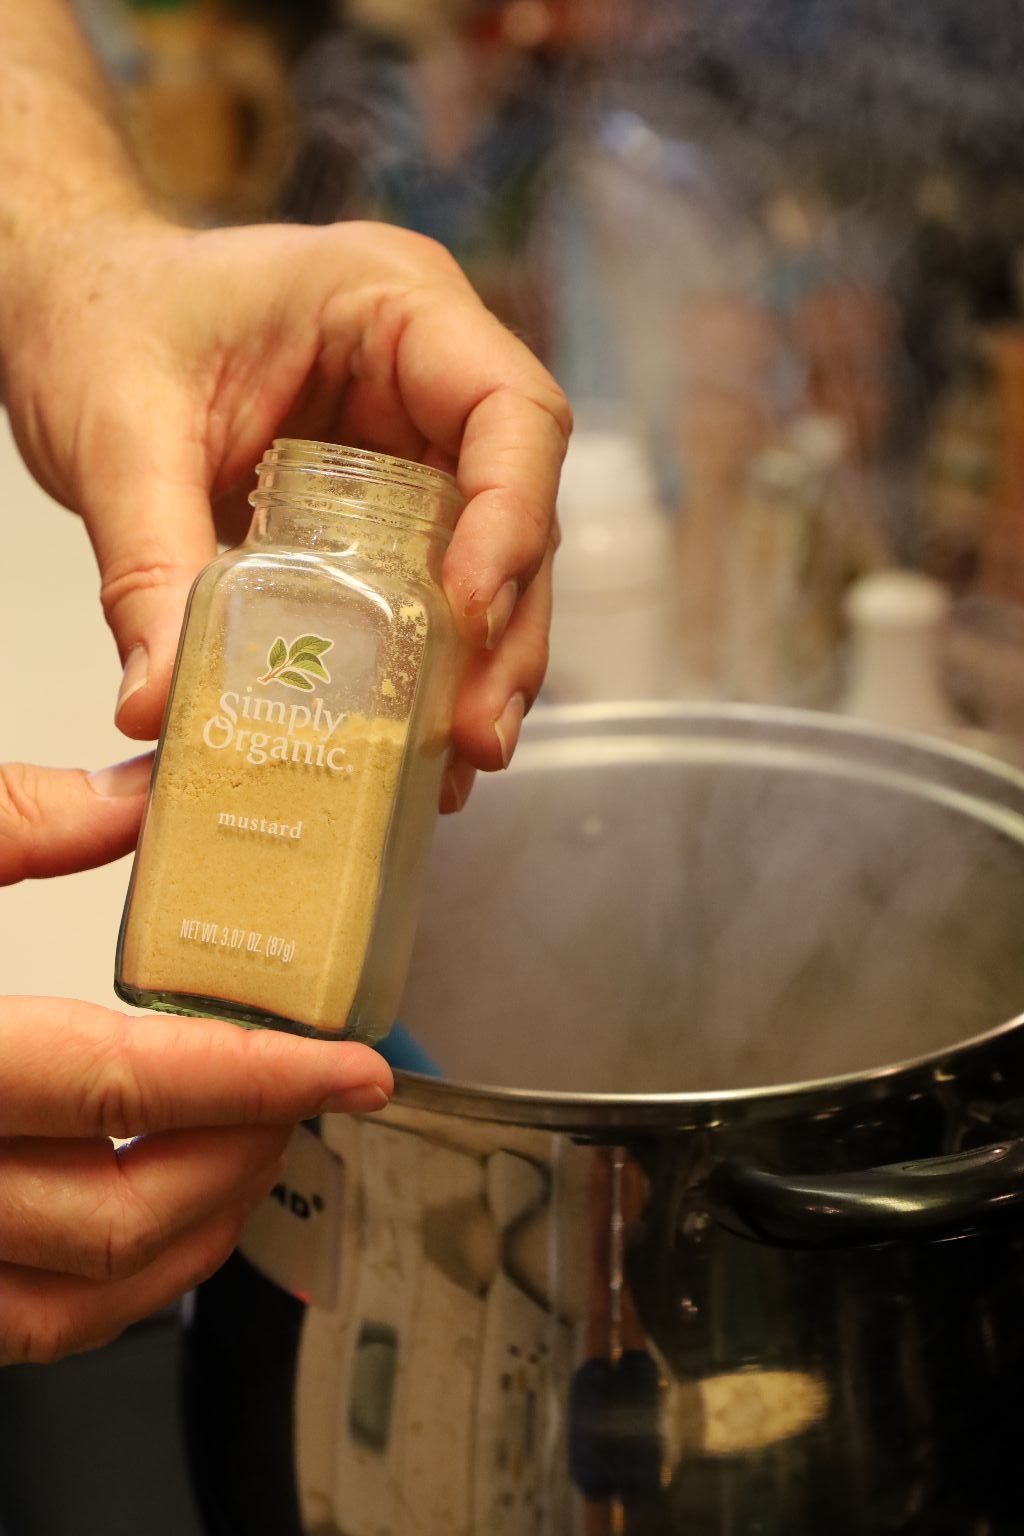
then the dry mustard to the pot.
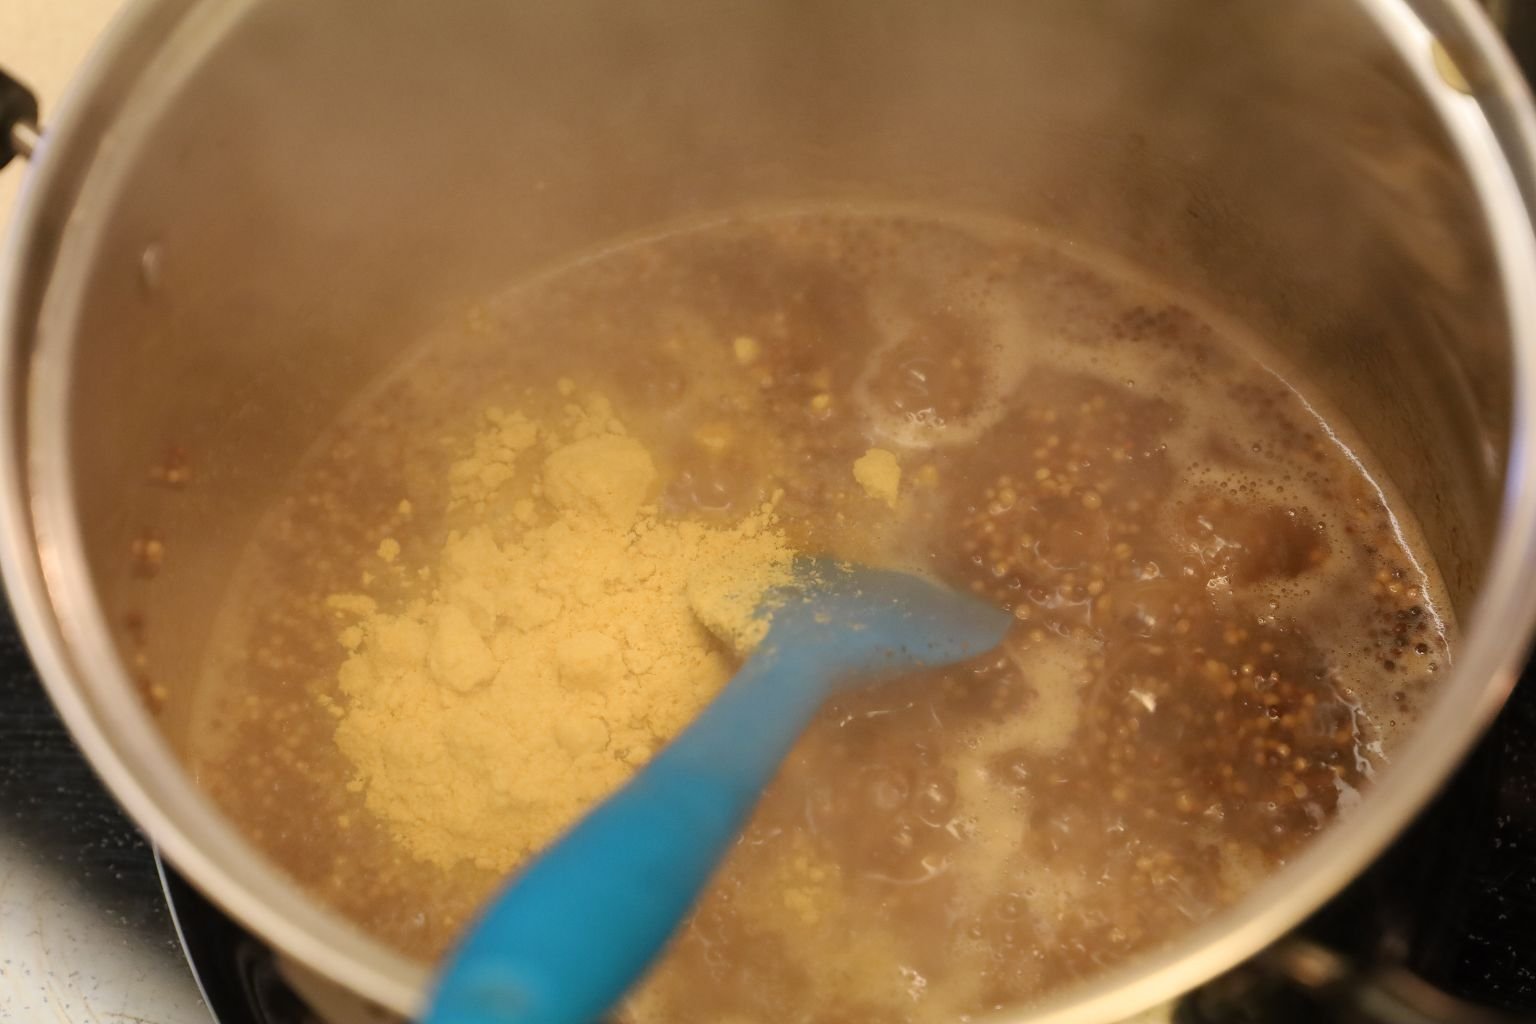
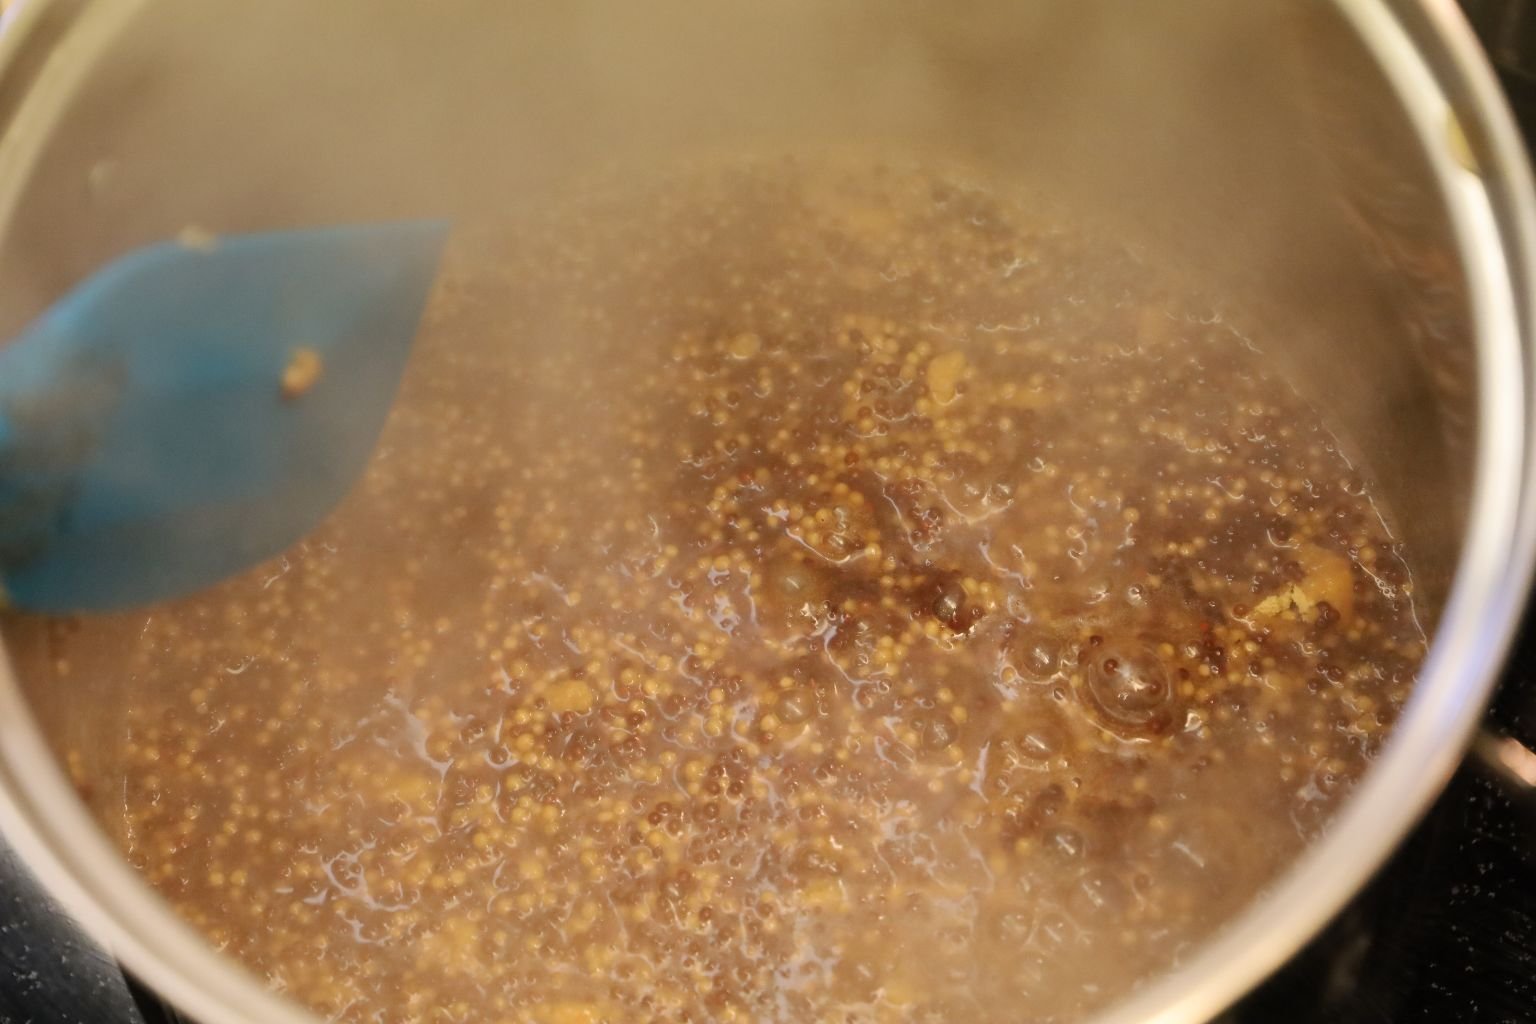
Stir all the ingredients together.
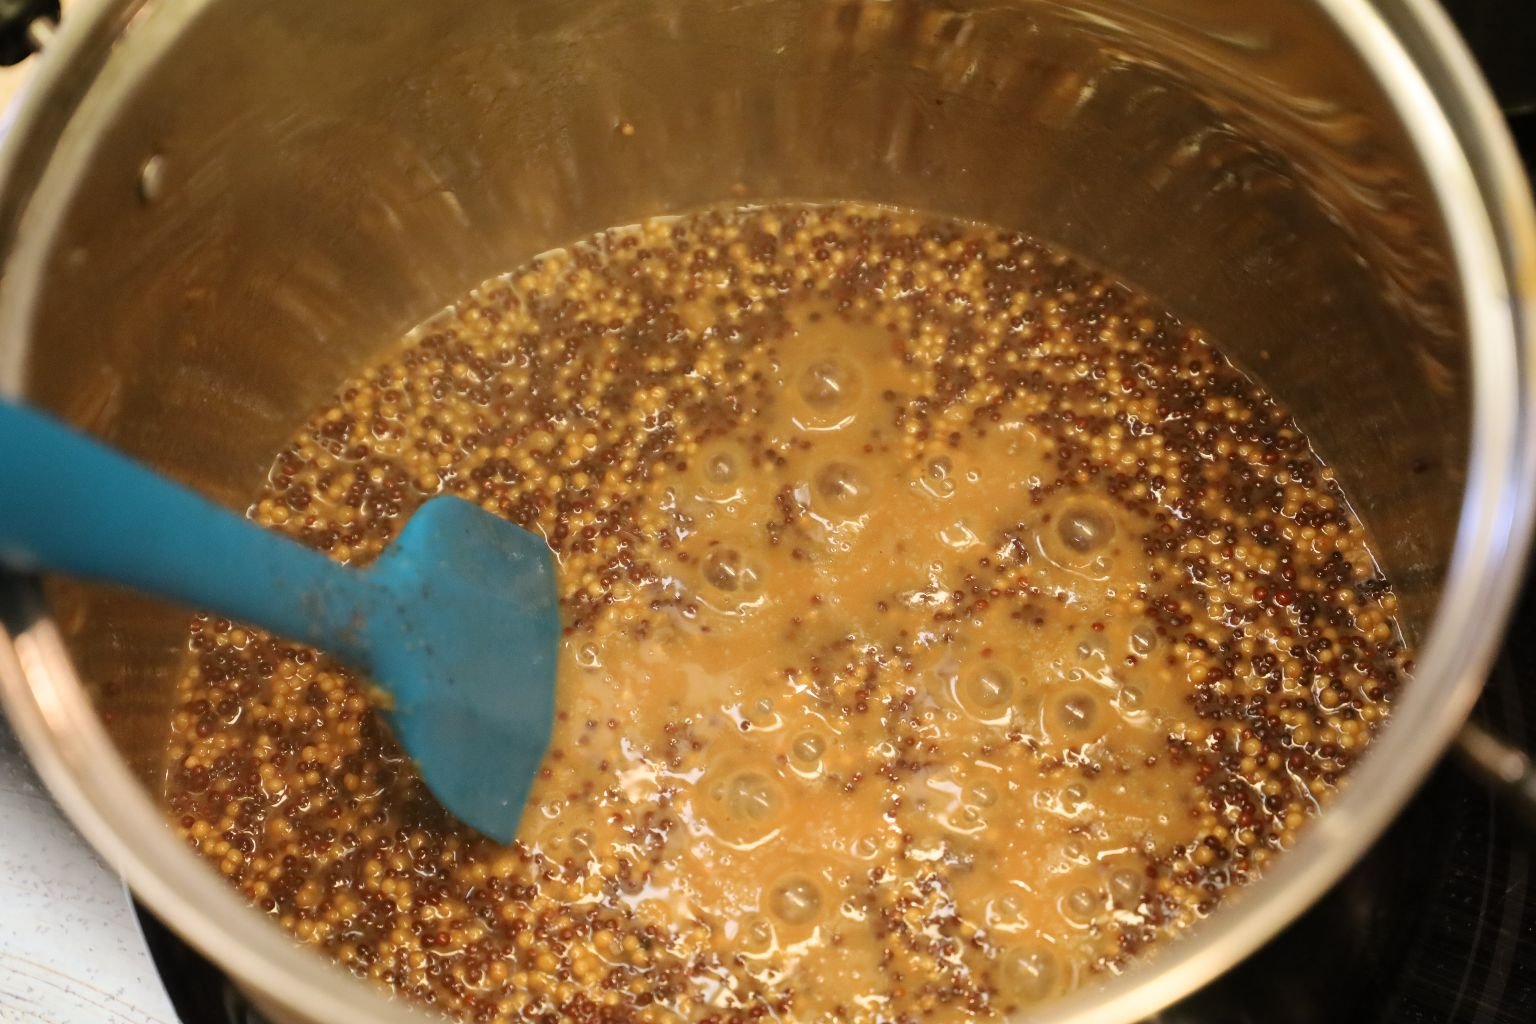
I tasted the mustard and felt it needed a touch more Hawaiian Salt.
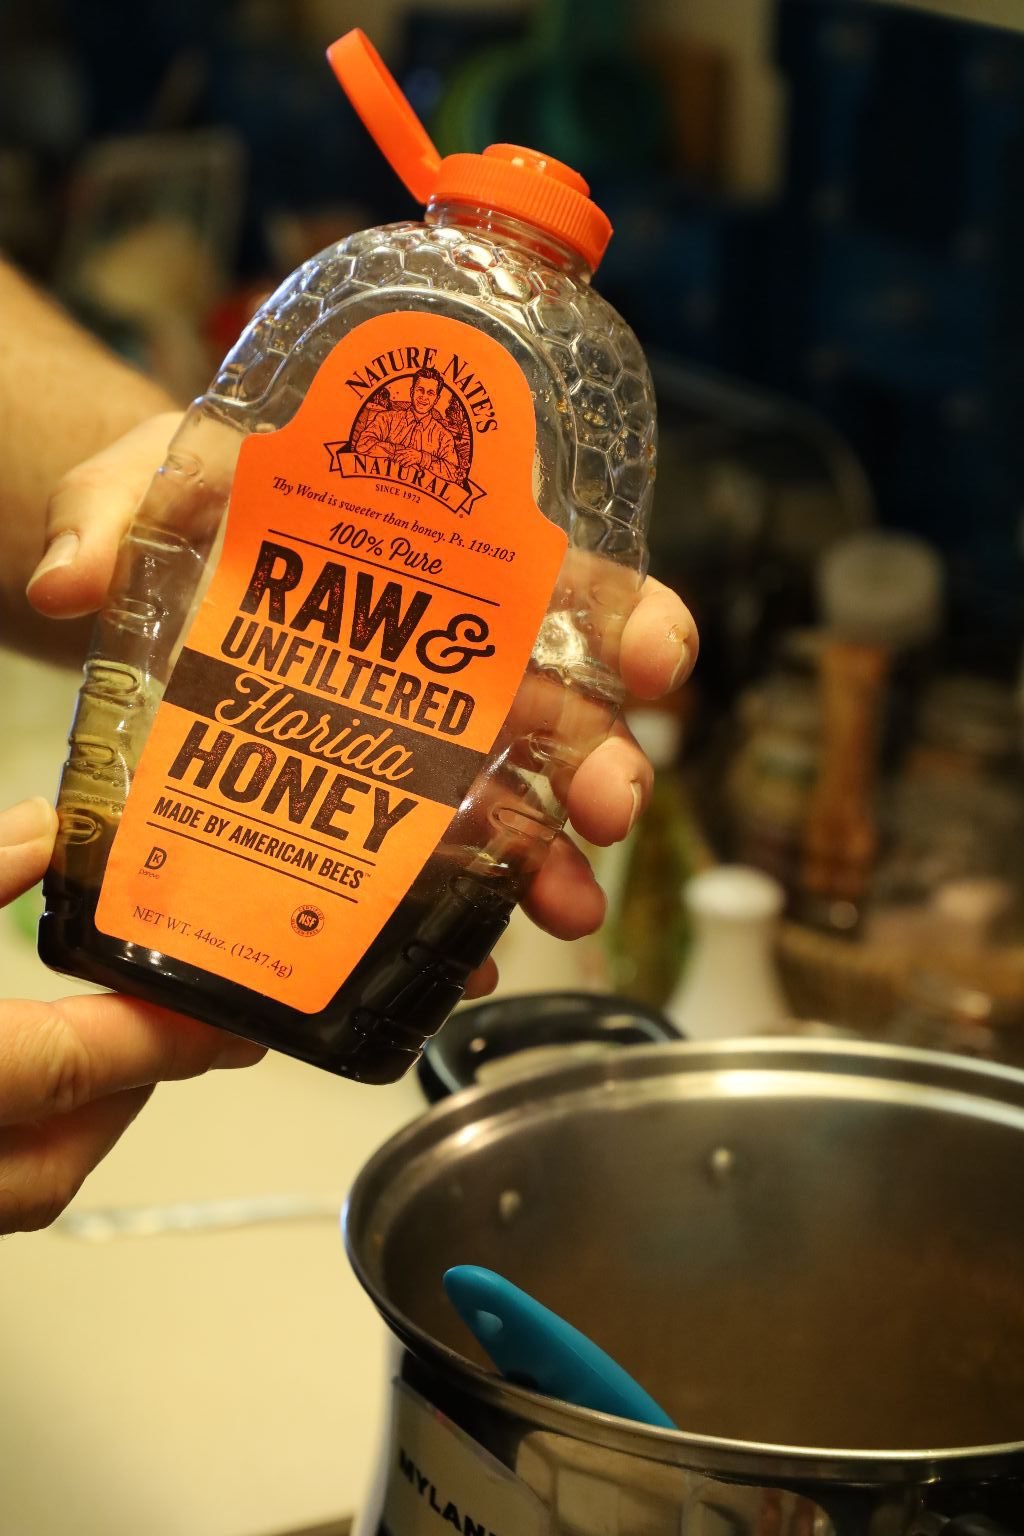
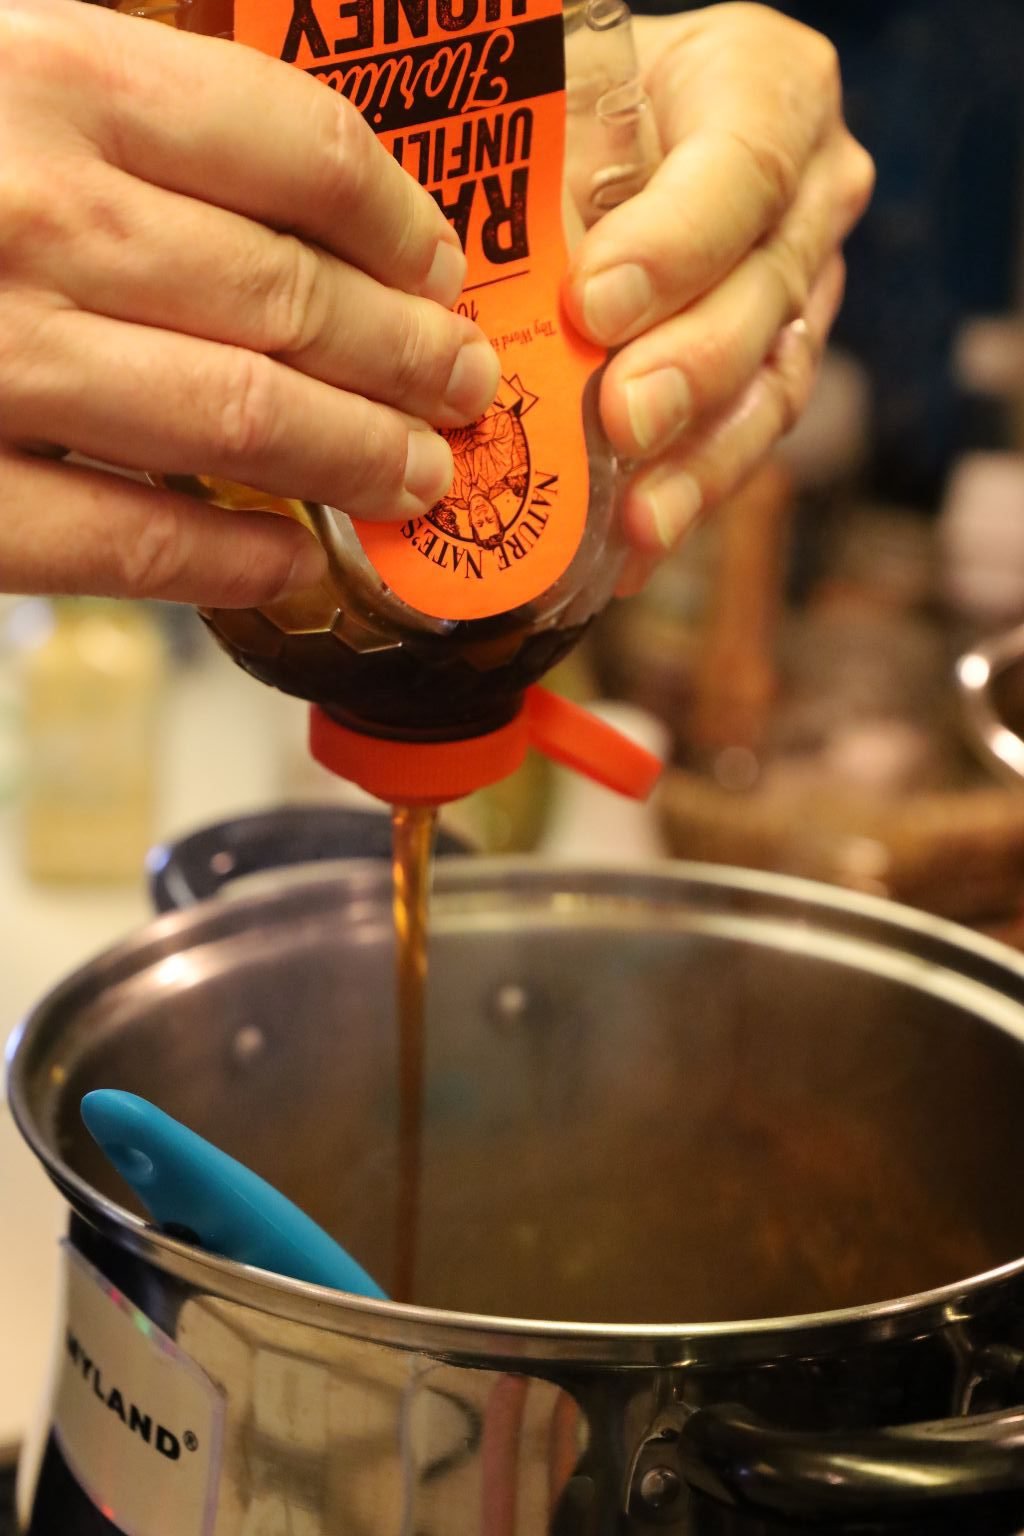
Now, add your honey to the pot.
This time we added this raw Florida honey as it had a more bold flavor.
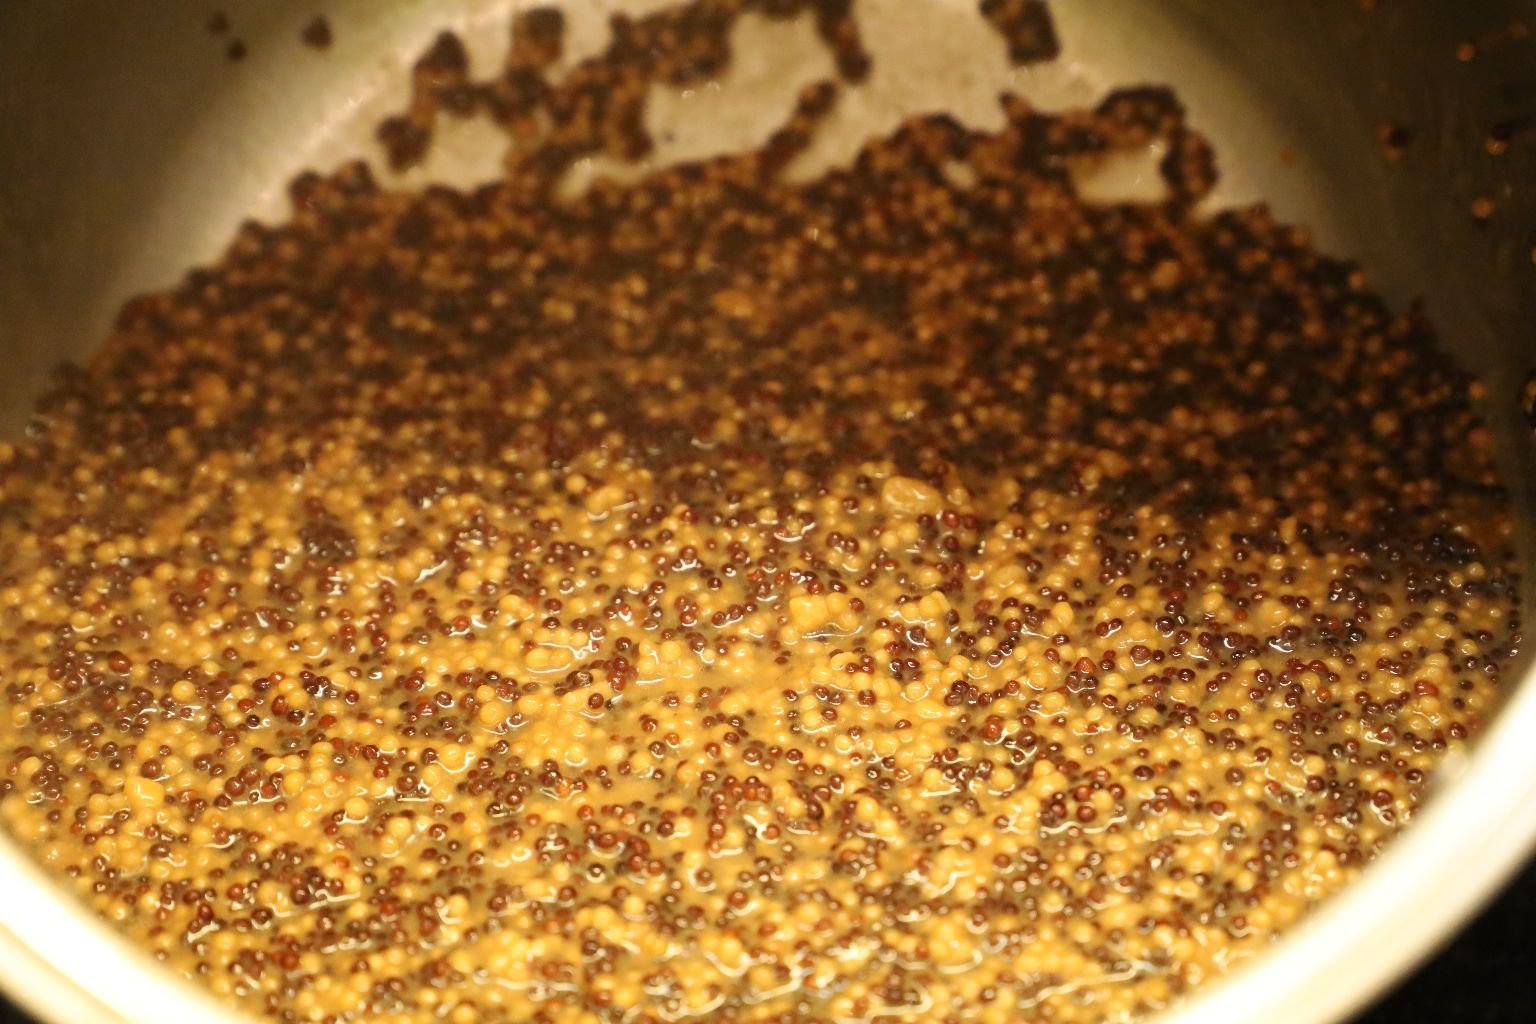
Cook the mustard until it has a think consistency as shown. Sterilize your jars using your dishwasher. When they are done, remove them and cover with a dishtowel until ready to use so that they don’t get dirty. Out of shot, in another pot we placed our lids in almost boiling water to soften the rubber seal. An almost boil will just start to show tiny bubbles in the water.
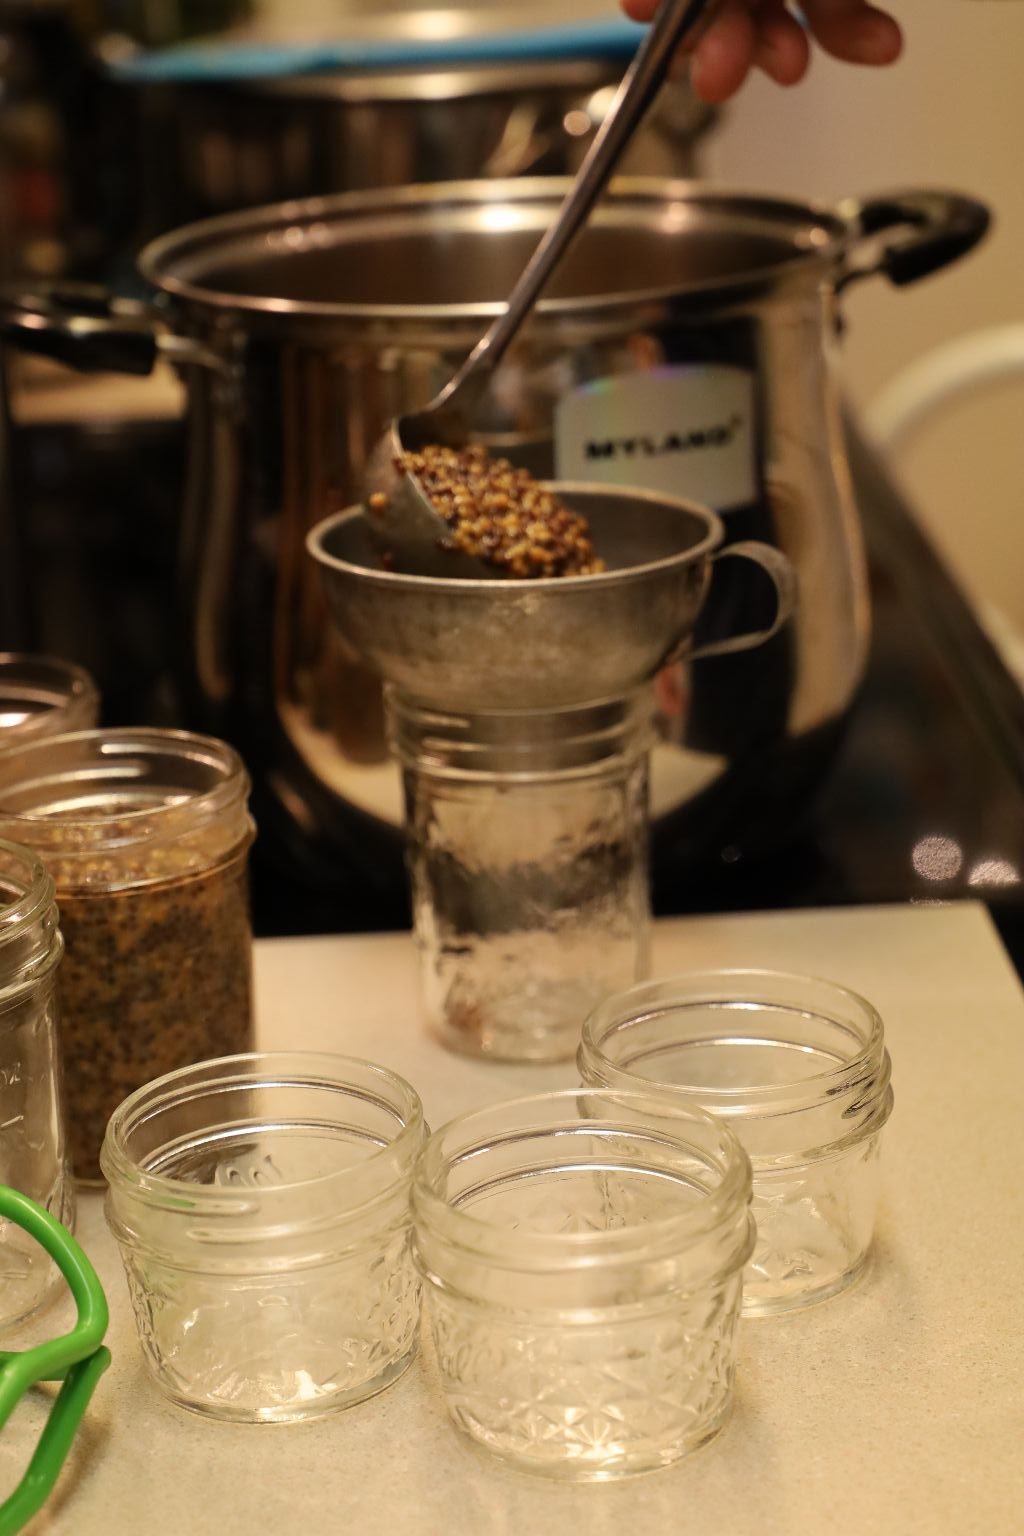
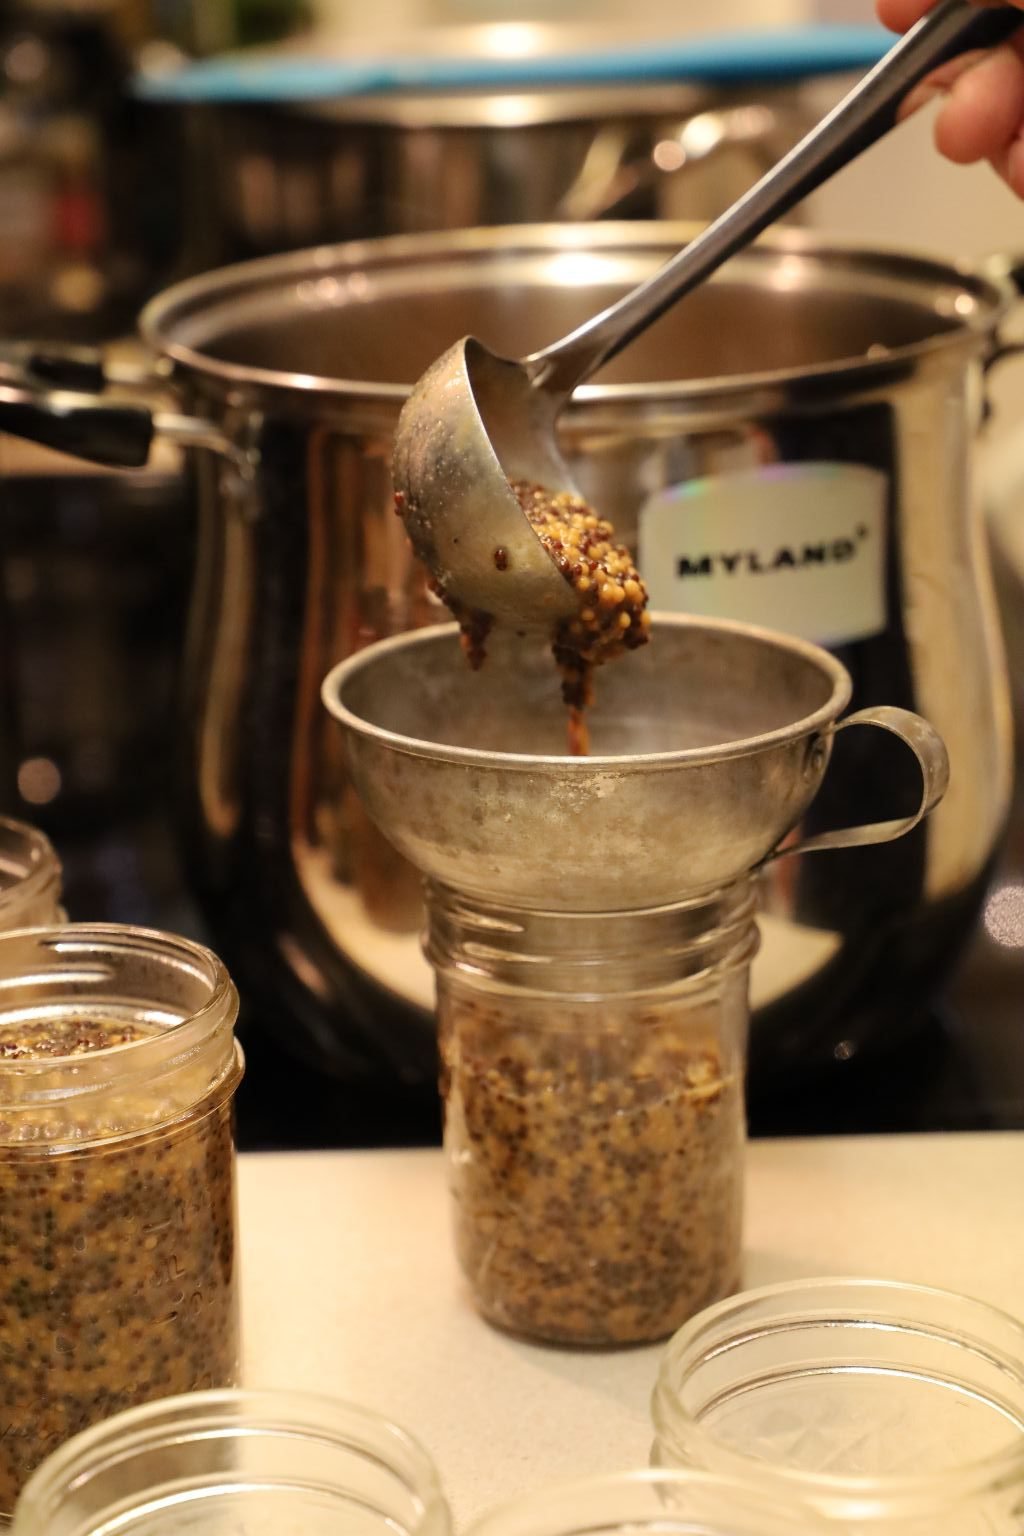
Fill your jars with the mustard using a ladle and funnel leaving 1/2 inch of space between the mustard and the top of the jar. This is called headspace which allows a vacuum to build up within the jar making a good seal.
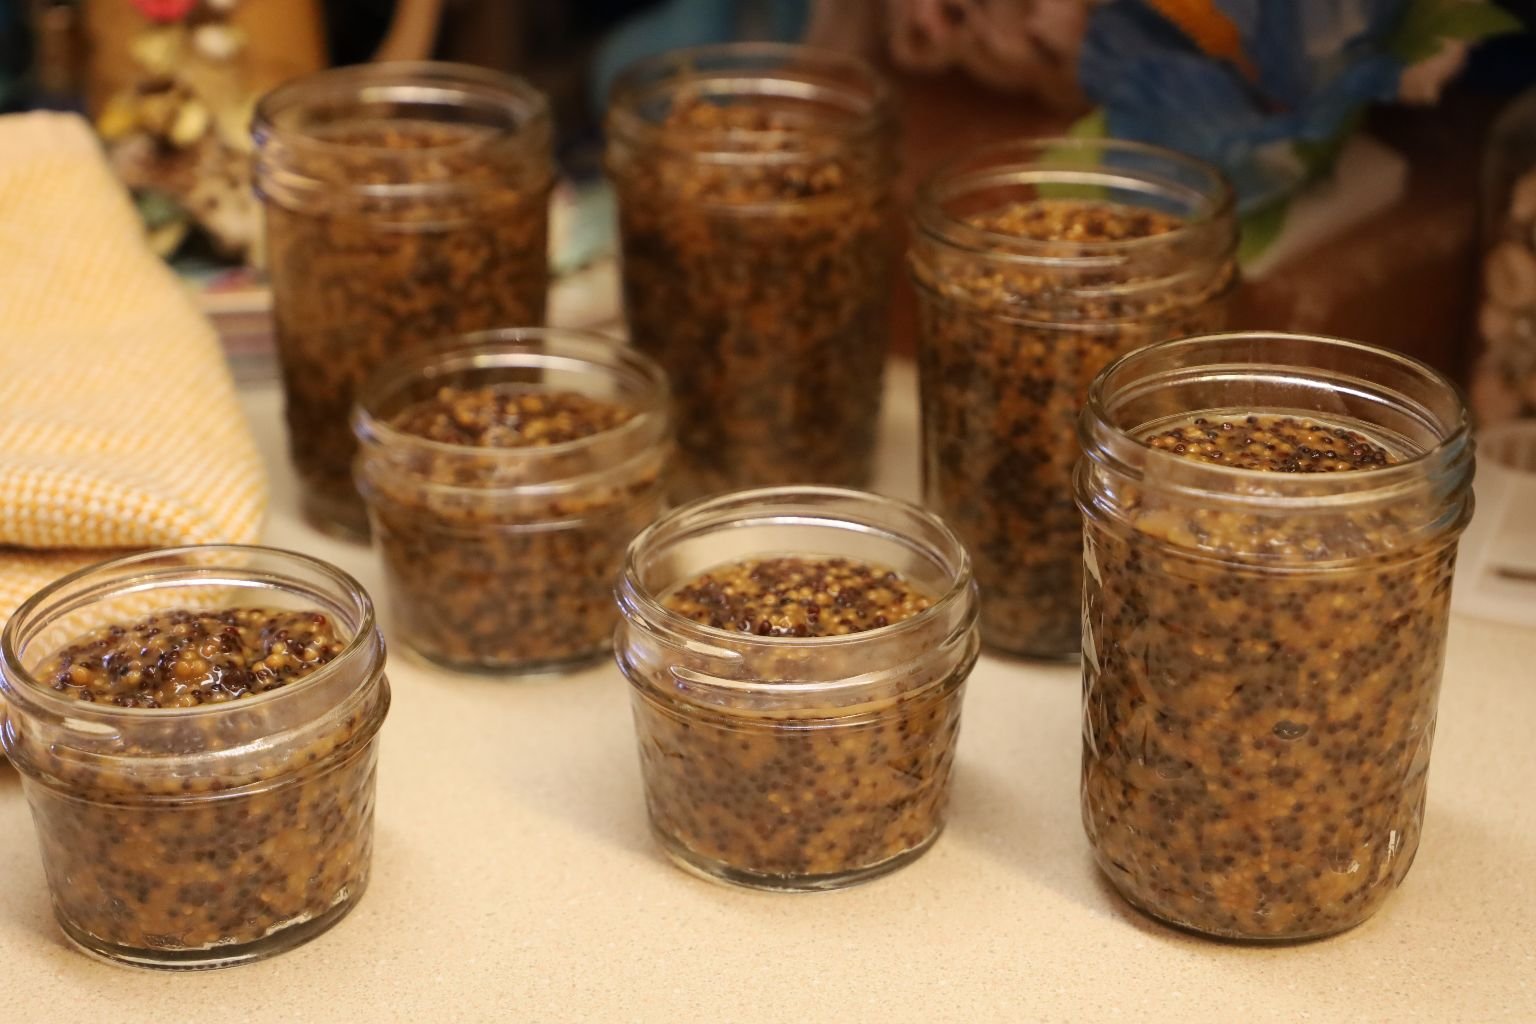
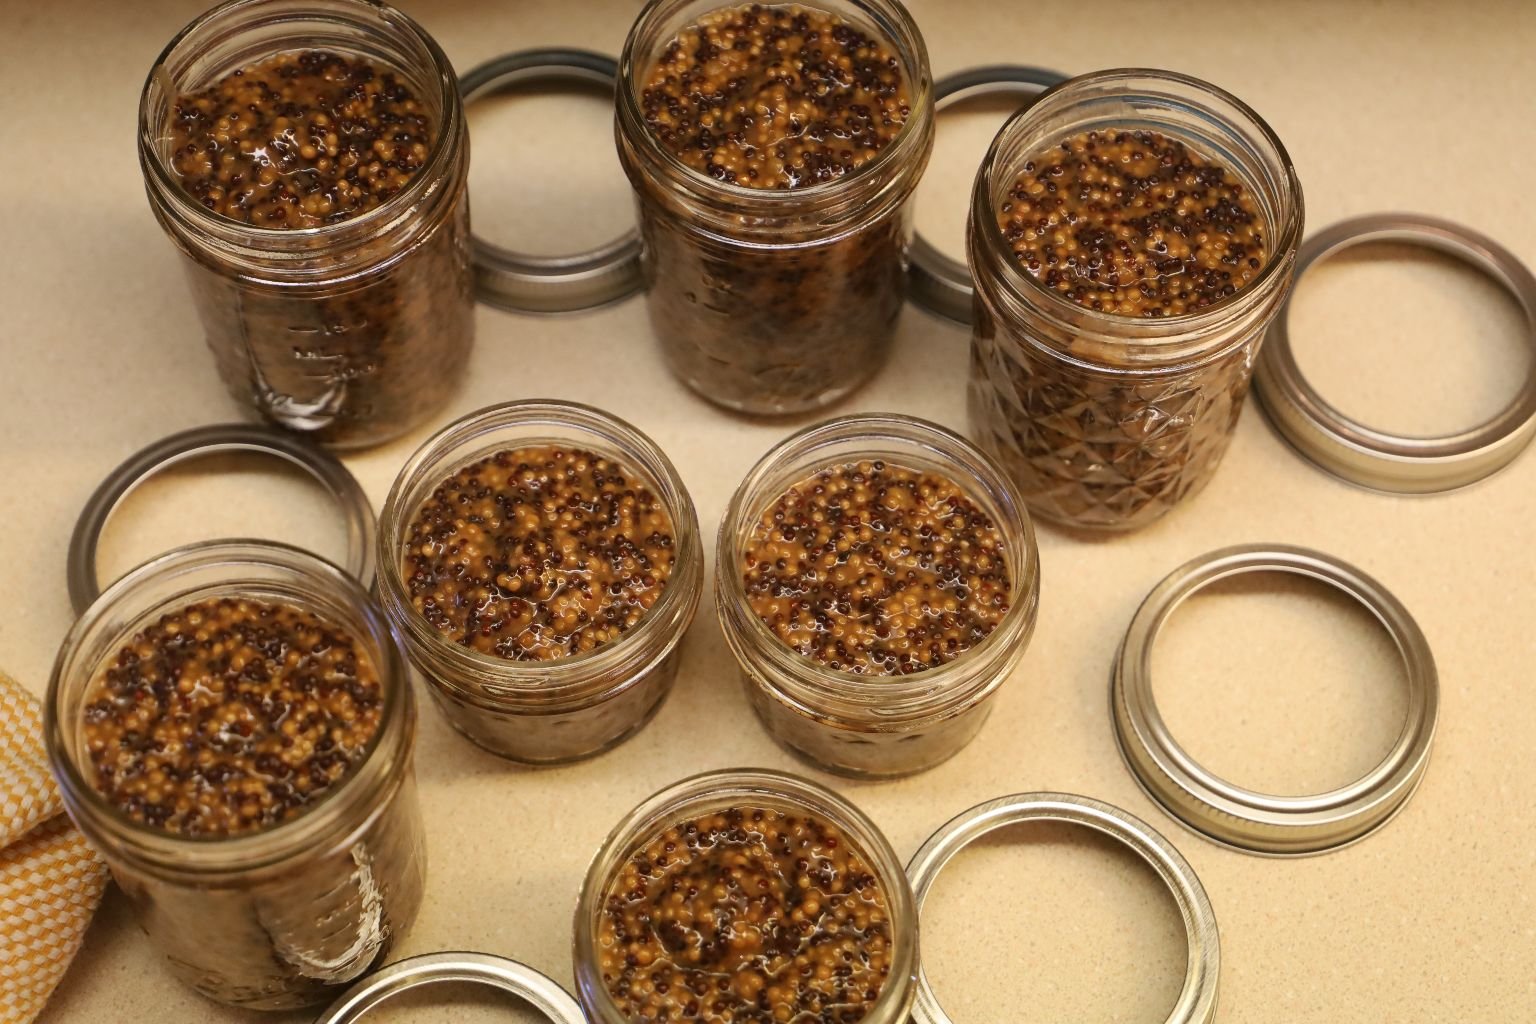
Here is a great picture Julie took of all of our filled jars!
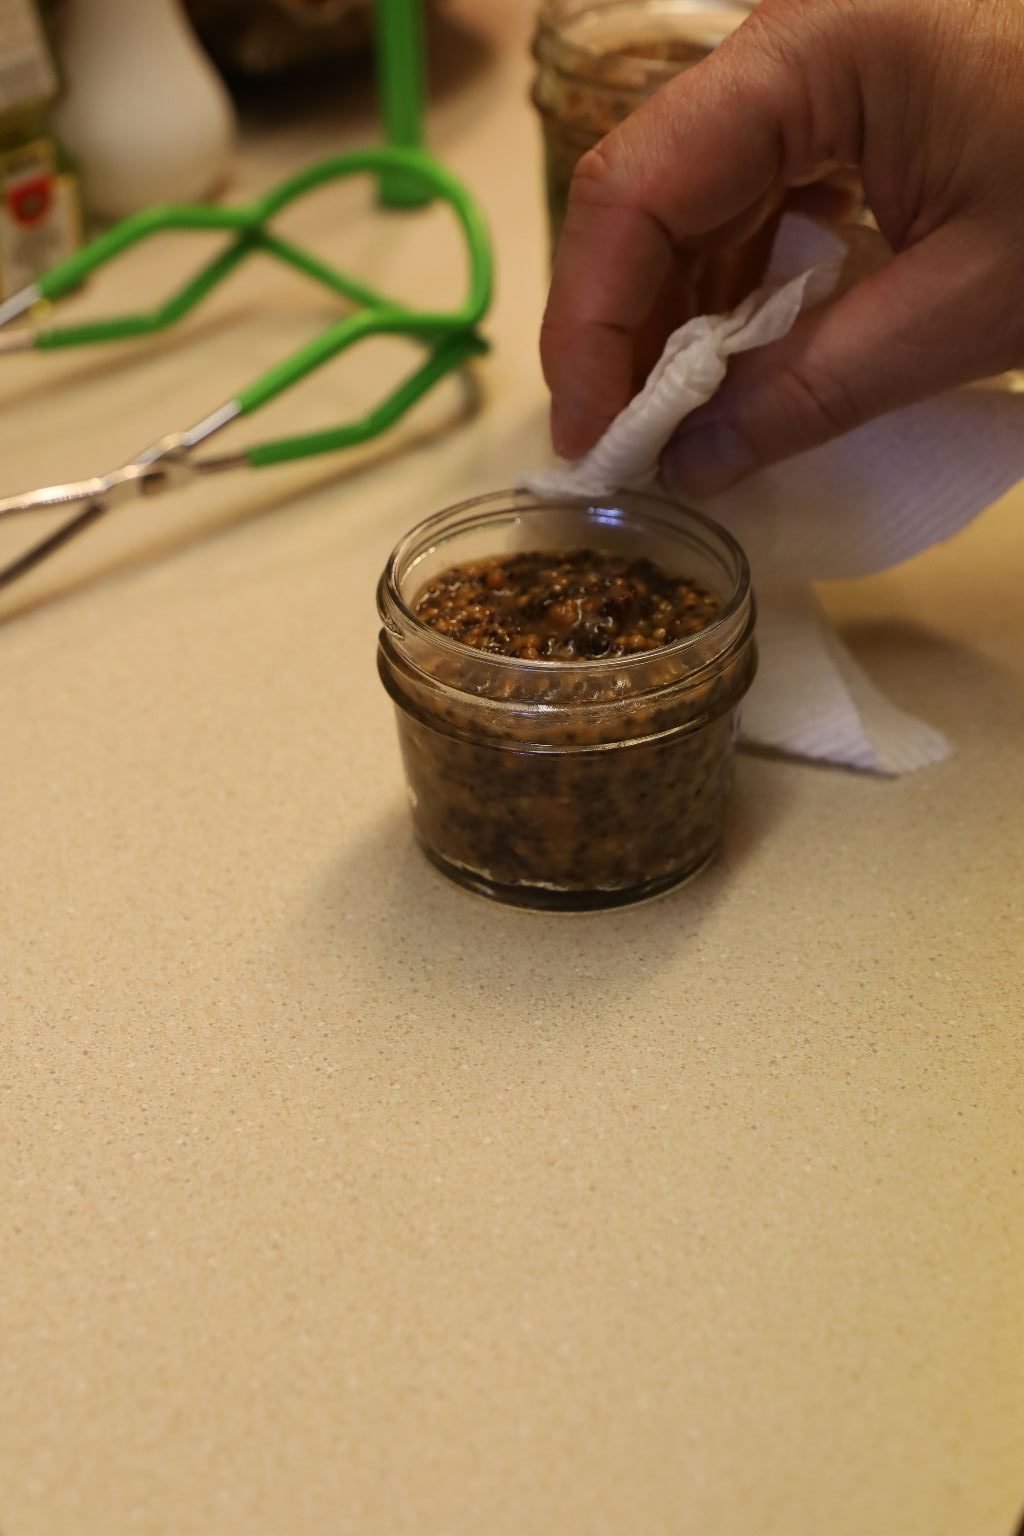
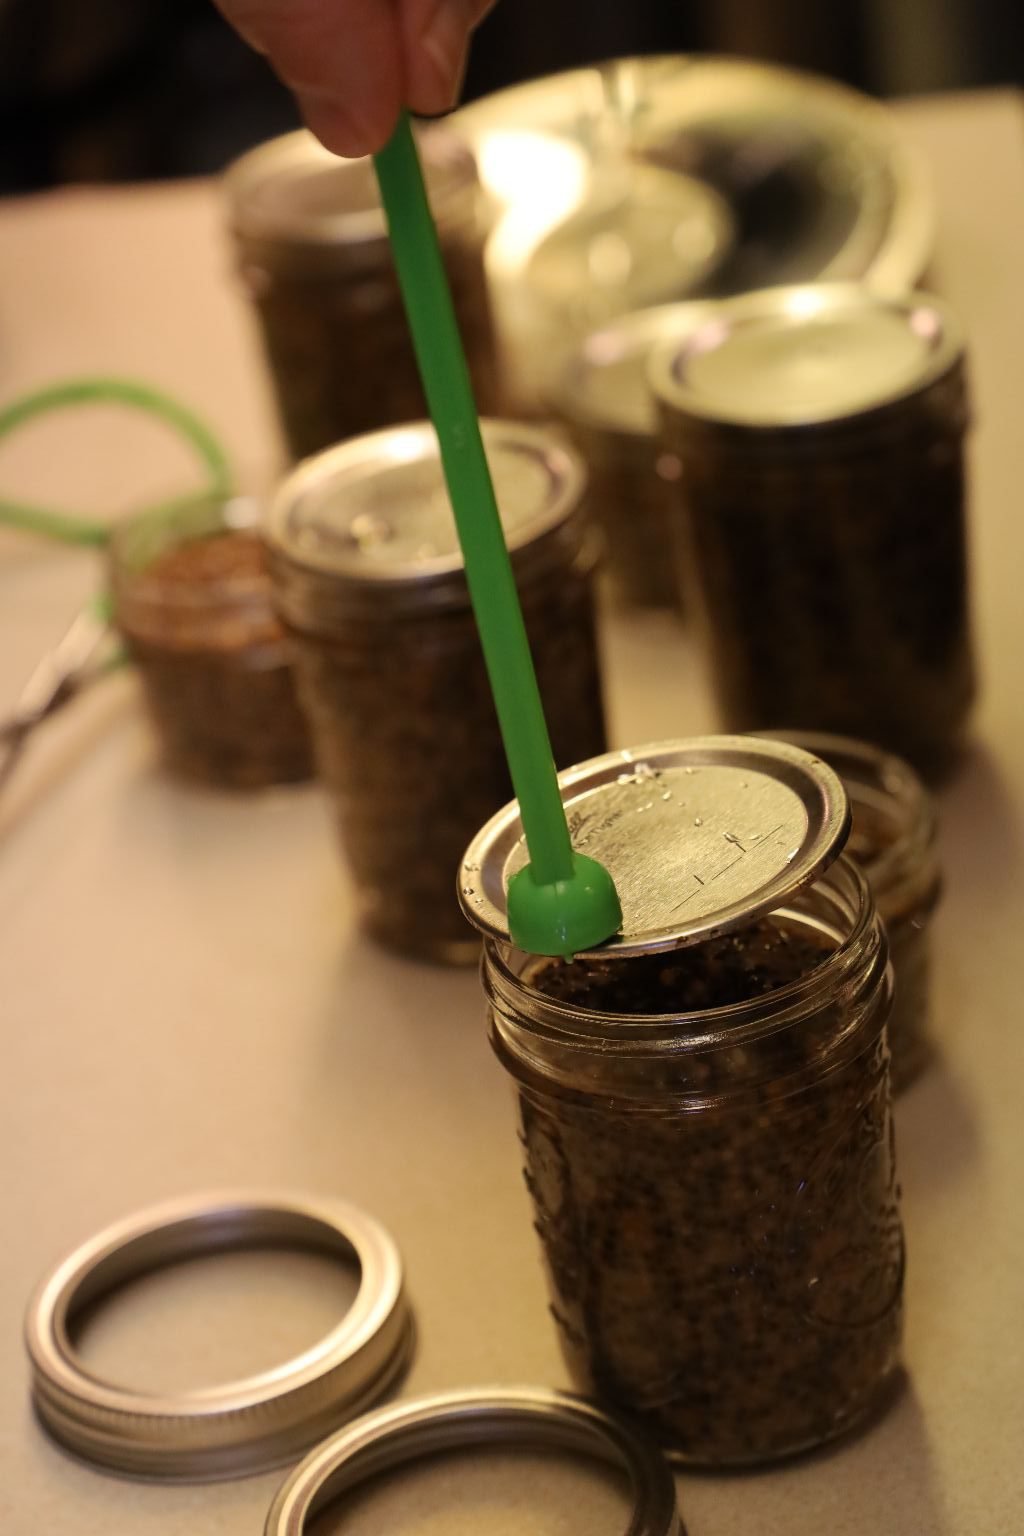
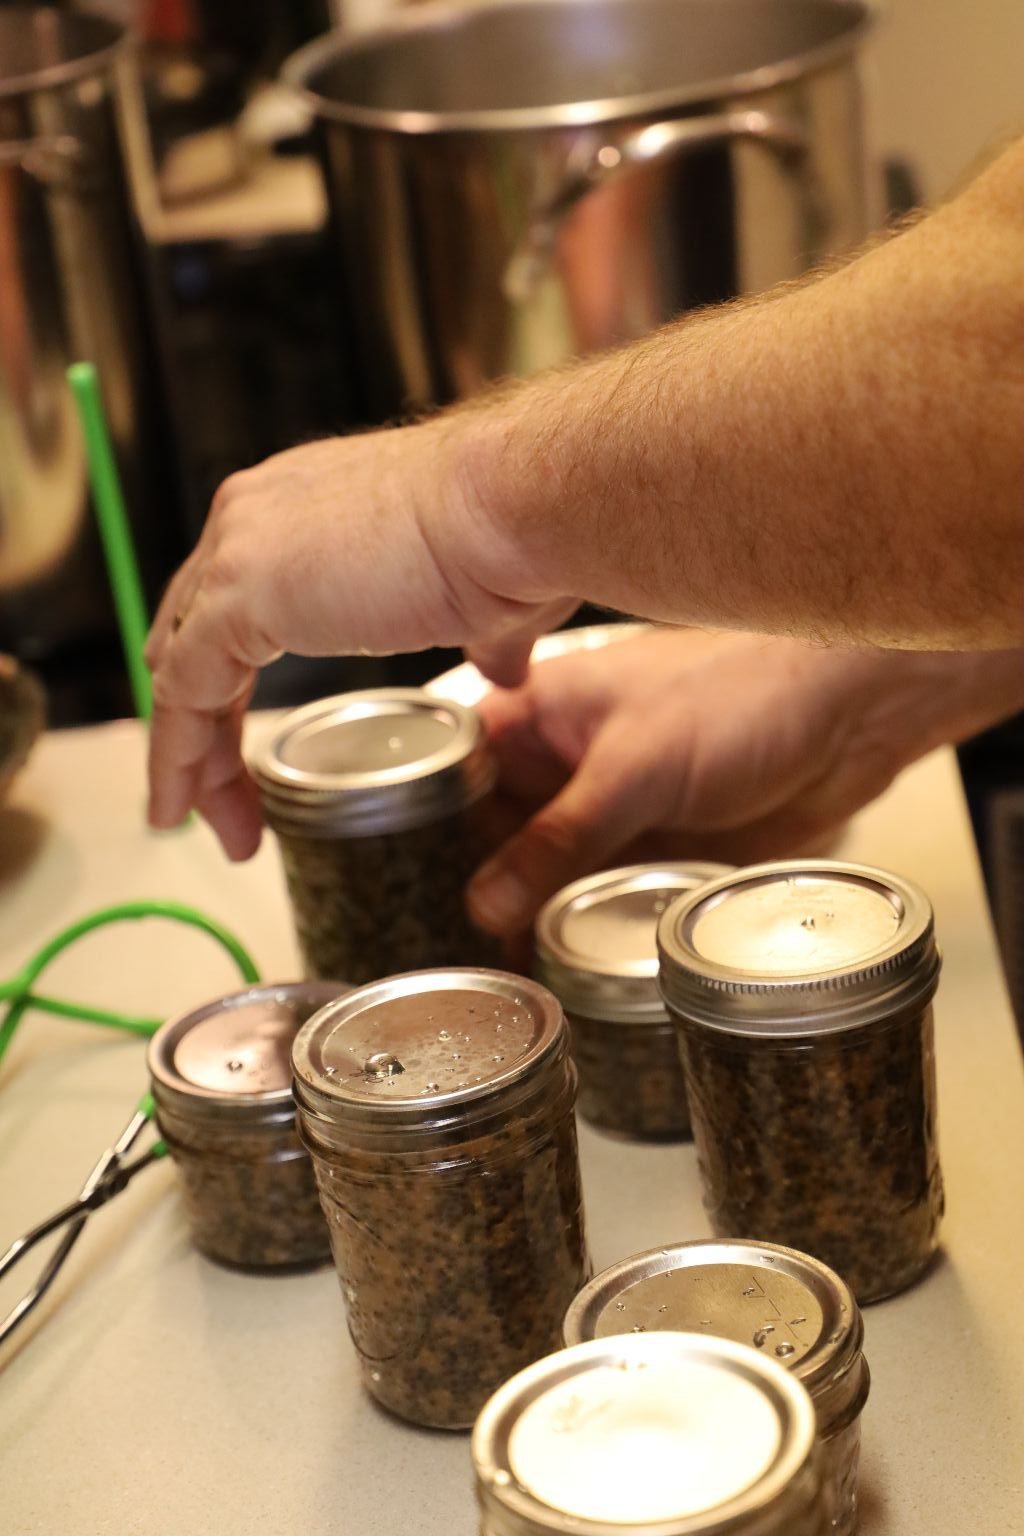
Wipe down the top of the jar with a wet paper towel until clean. If it is not clean, the lid will not seal properly. Using this magnetized stick, remove the hot lid from your pot of hot water and place it on the jar as shown. Place a ring on the jar and barely tighten the lid. This will allow the air to escape as it boils in the next step creating a vacuum within the jar.
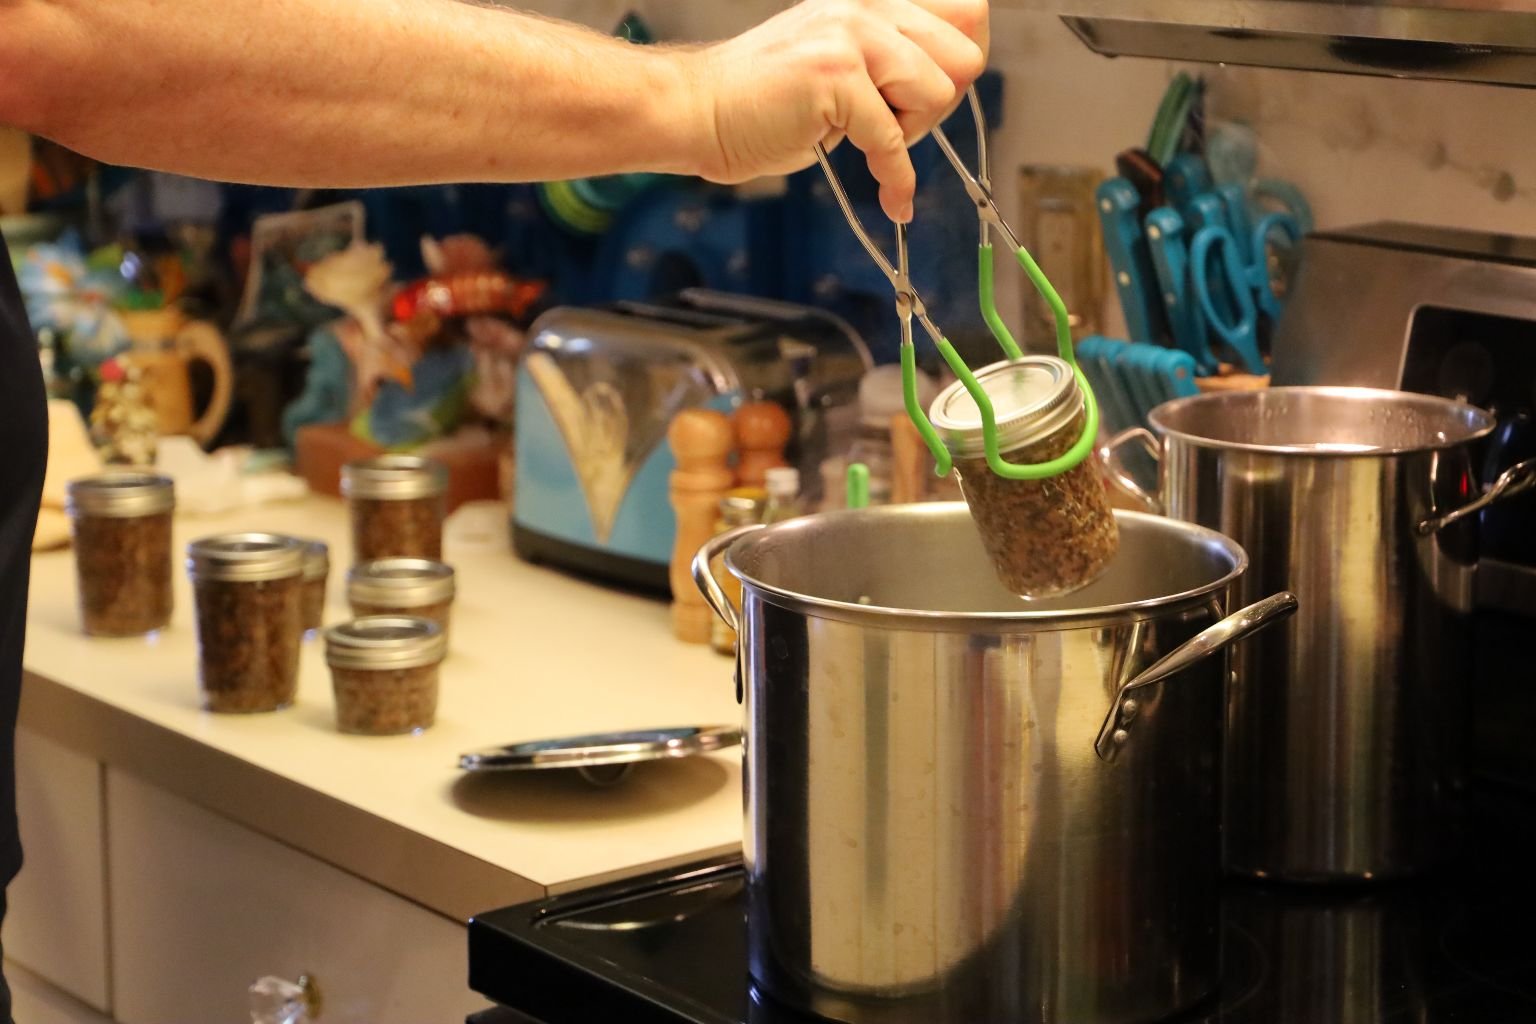
Place your jars into a large pot of water and bring it up to a boil.
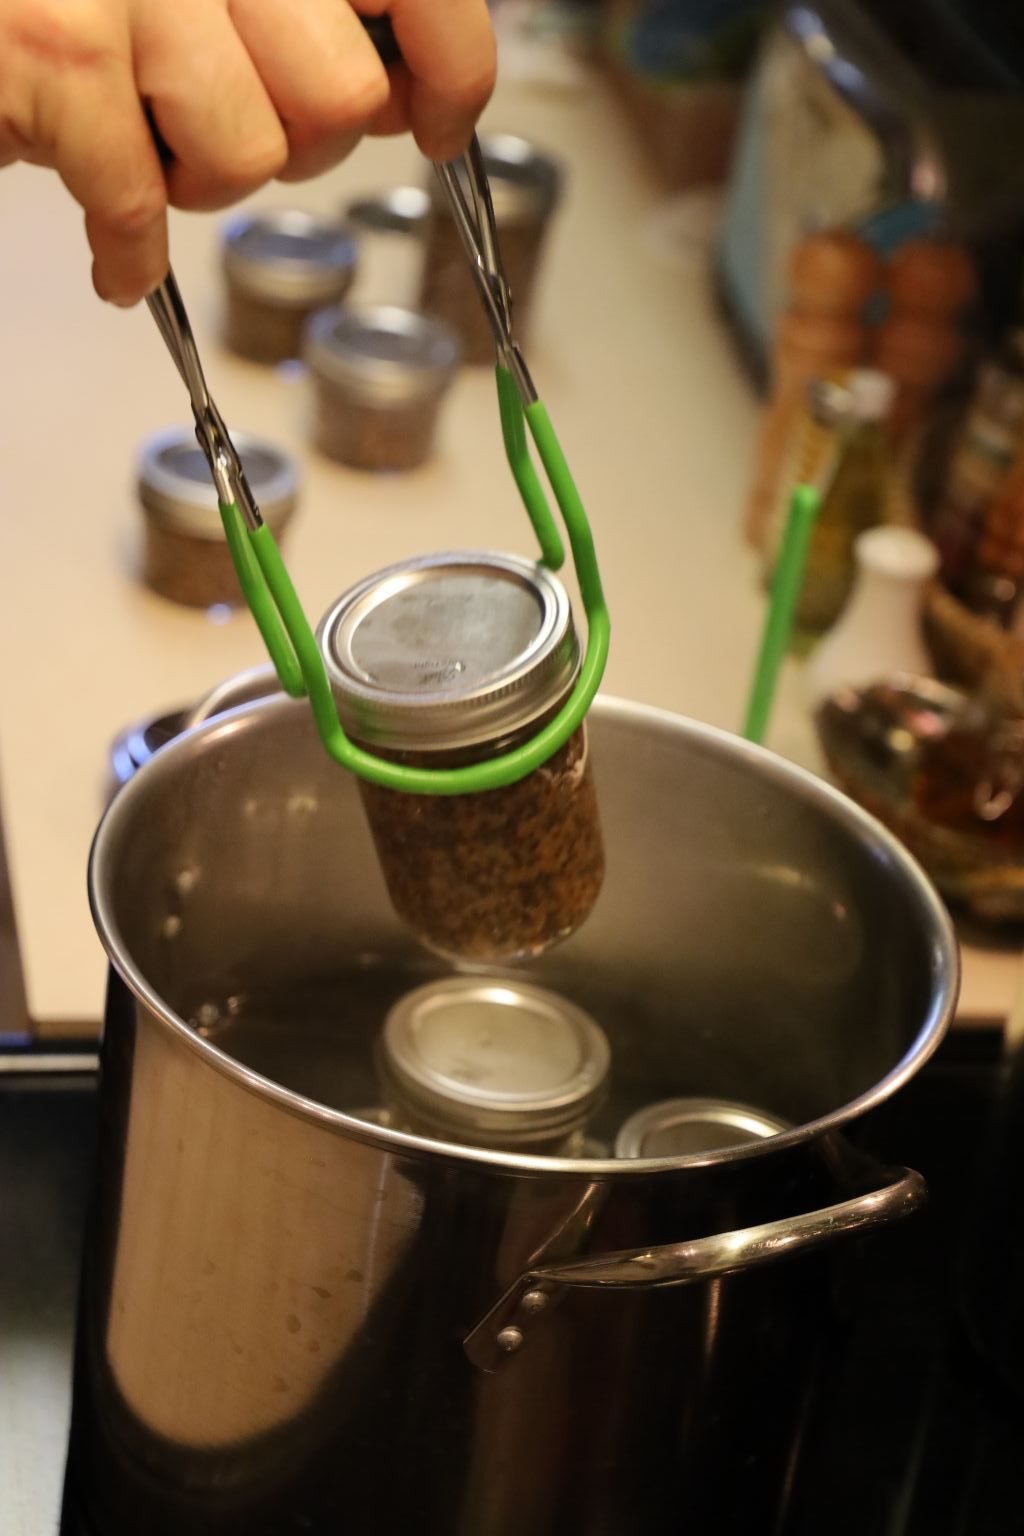
After all of your jars are in the pot, ensure there is about 1 inch of water covering them. Bring the water to a boil, and boil the jars for 15 minutes. This step is called processing the jars.
Using the special tongs, remove the jars from the water…
—————————————————————-
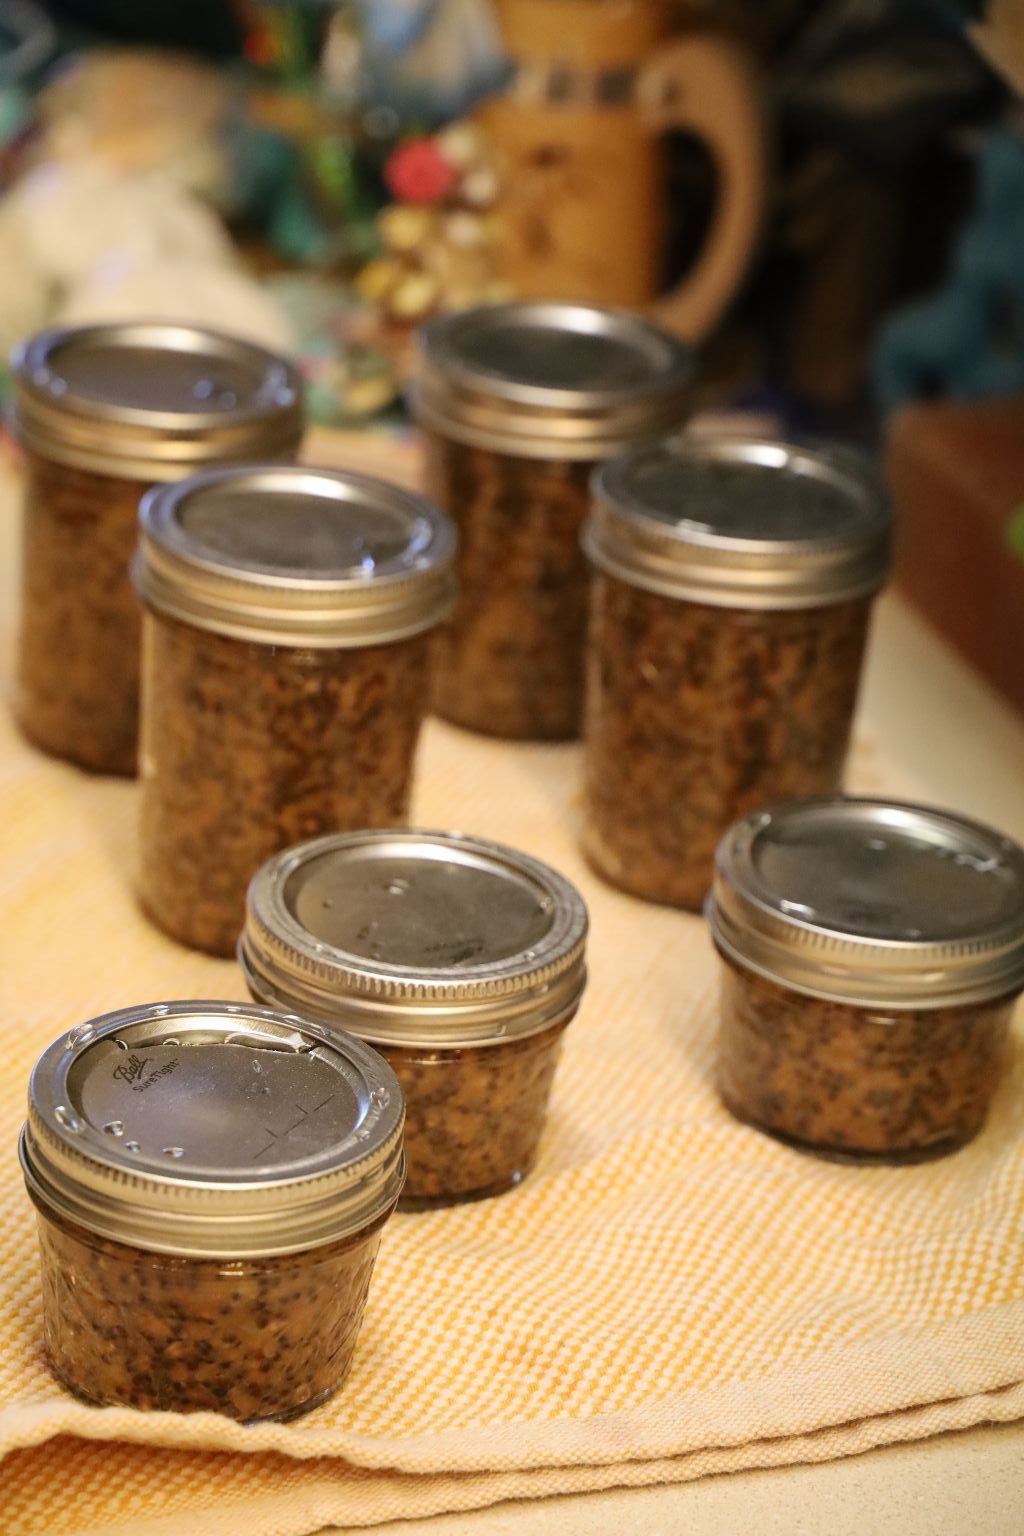
and place them on a dishtowel. You should begin to hear the lids pop as they seal. This is caused by the lid being pulled down from the vacuum within the jar. This means that your mustard jar is sealed properly. Caution, the jars will be extremely hot during these next steps. After about an hour, if the lid can be pushed down, the lid didn’t seal and needs to be processed all over again. In this case, remove the lid, wipe down the top of the jar and possibly remove some of the mustard to ensure you had enough headspace. Then, add another lid as before and process the jar again for another 15 min. in the boiling water. If the lid seal is down and properly sealed, carefully remove the ring as the jar will still be hot, and wipe the lid and the inside of the ring with a dry paper towel. This will prevent any rust forming over time as the mustard sits in your pantry. The ring is only there to ensure the lid doesn’t accidentally get lifted up. Replace the ring, tighten securely when it is dry.
———————————————————-
Tarragon Mustard
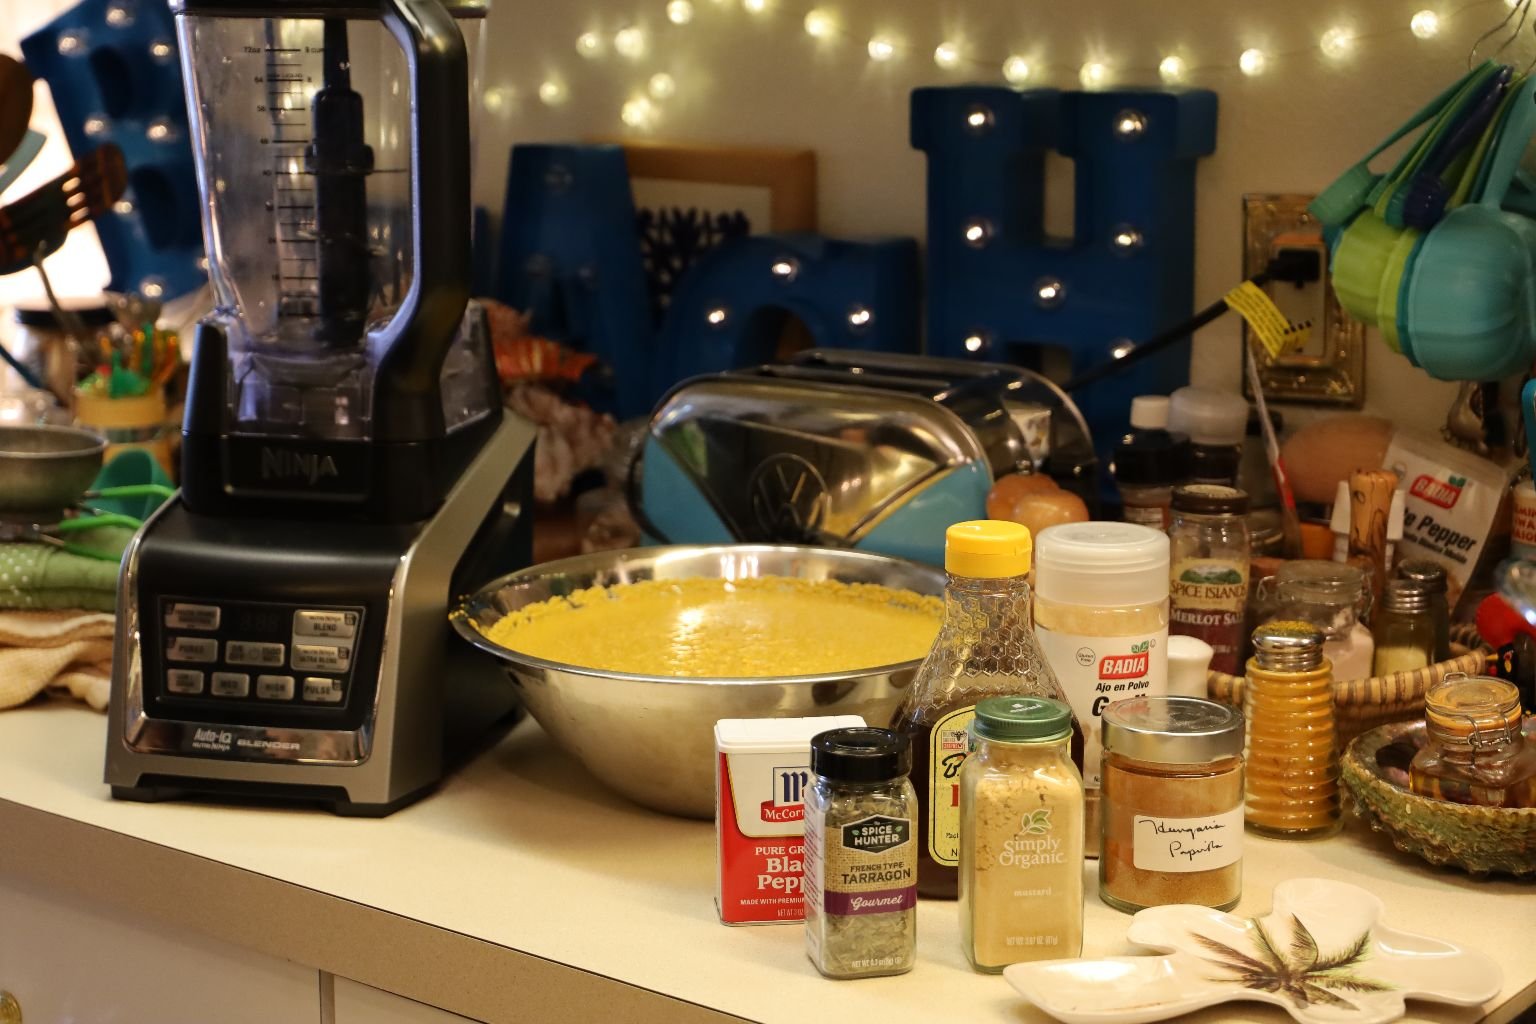
Add the below ingredients to your yellow mustard base from the recipe above.
12 Cups Yellow Mustard Base
Salt and Pepper to taste
1 1/2 Tbsp. Dry Mustard
2 Tbsp. Garlic Powder
2 Tbsp. Sweet Paprika – we used one 1 Tbsp. of two different types of Sweet Paprika
1/2 Cup Honey
3 Tbsp. Dried Tarragon
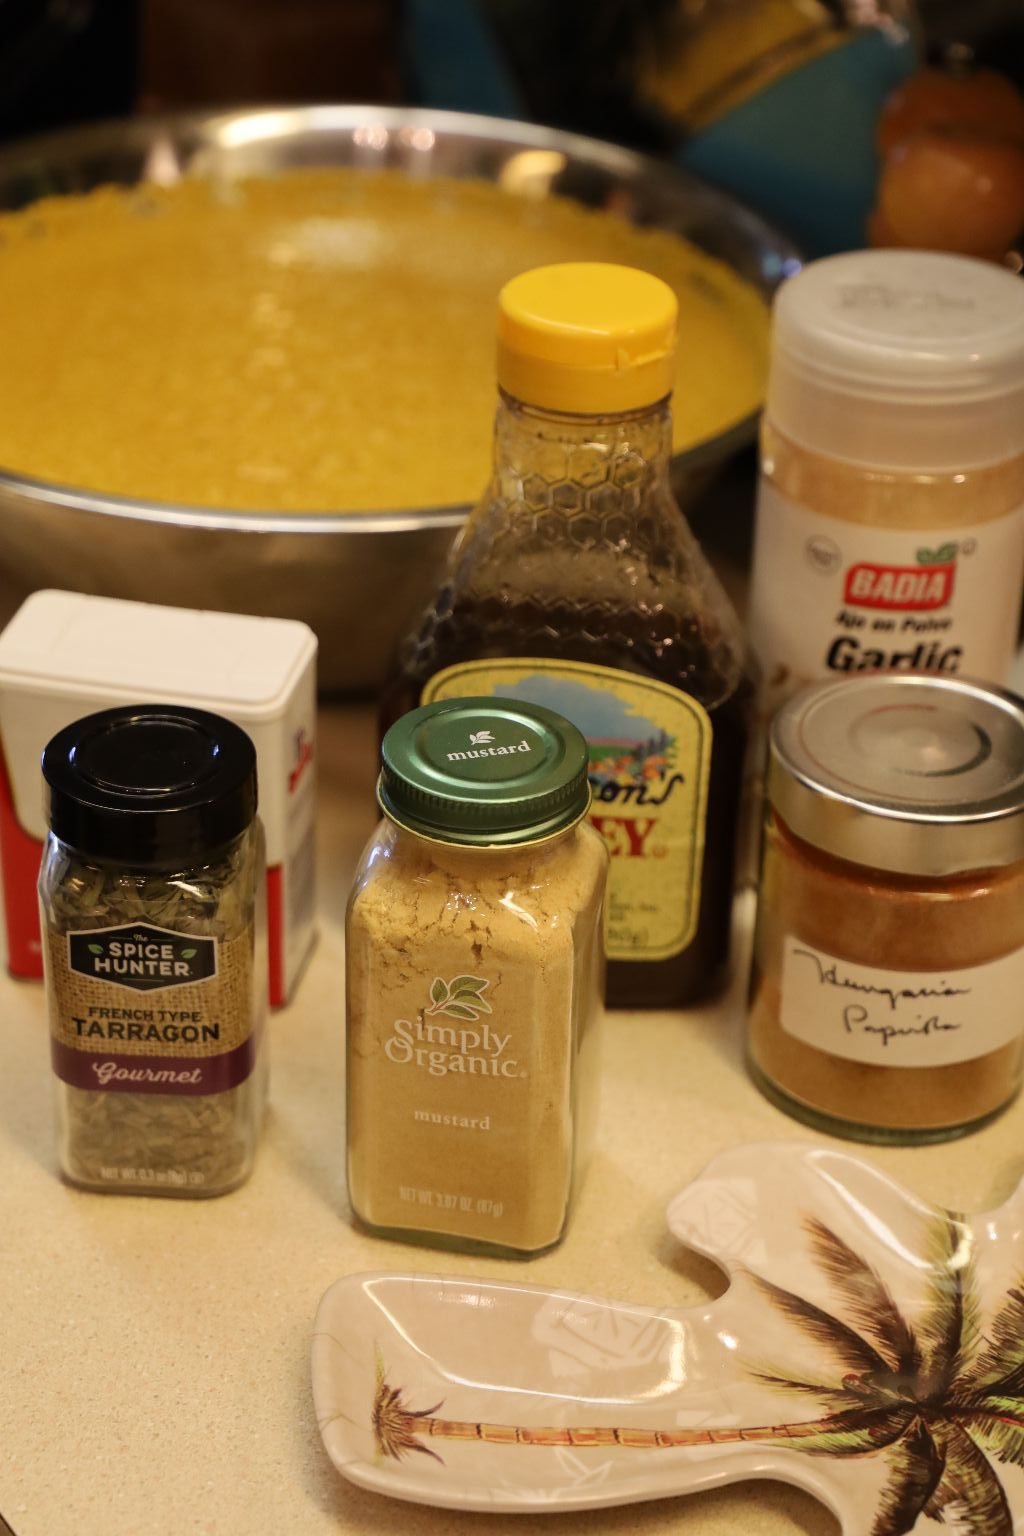
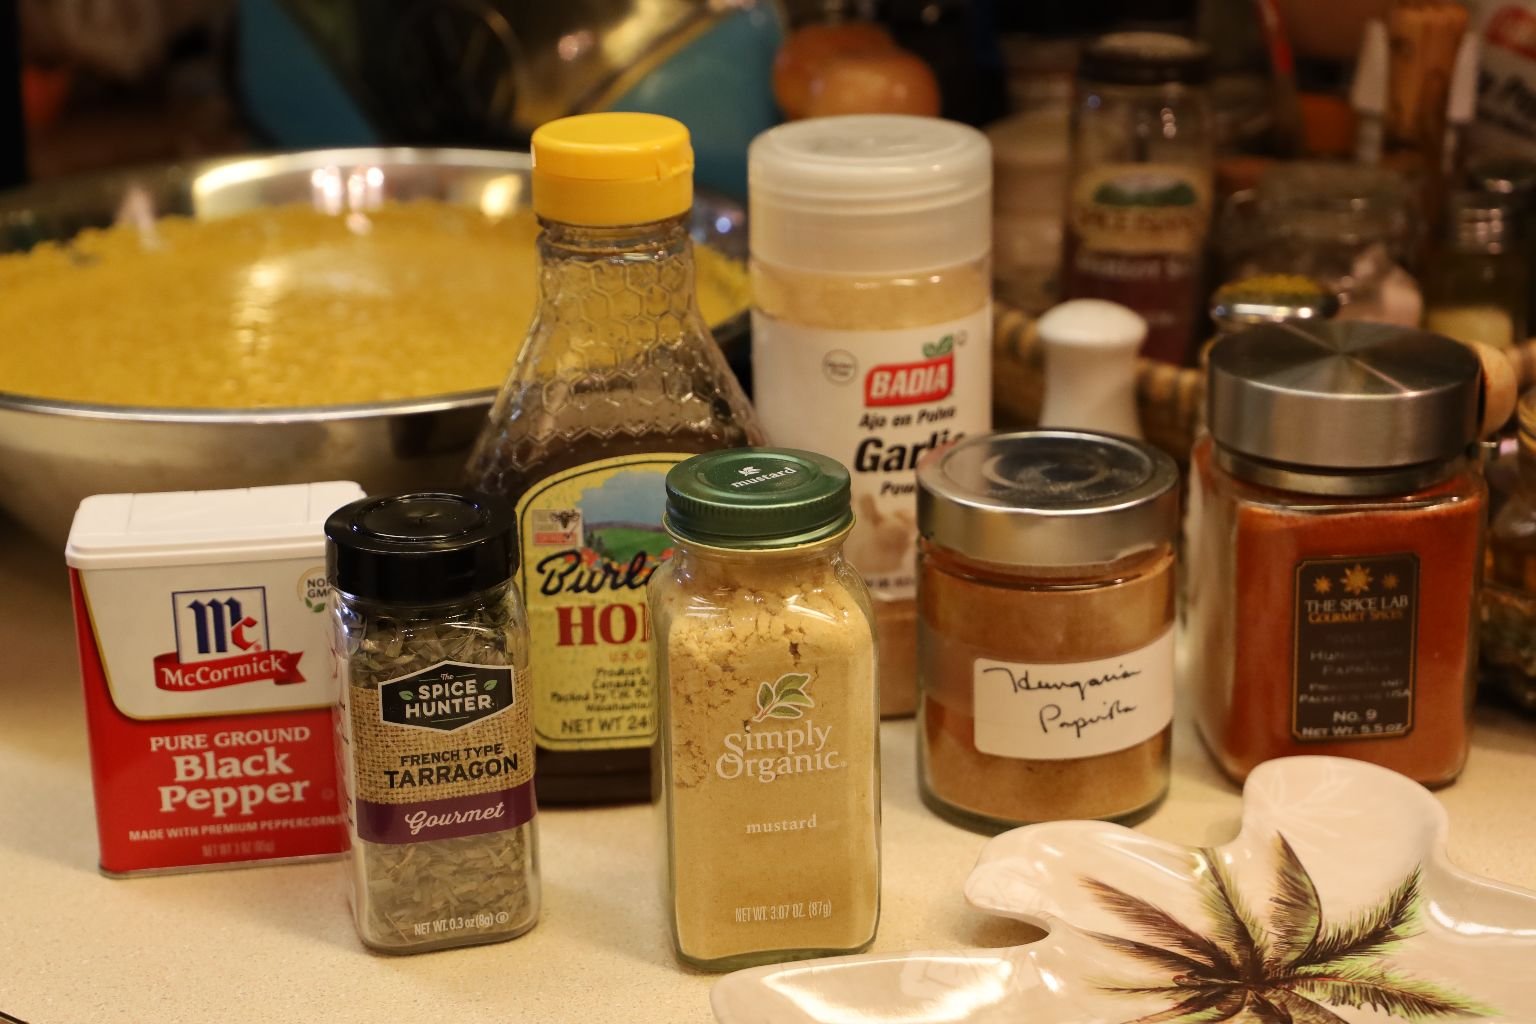
Here is a close up of the ingredients used.
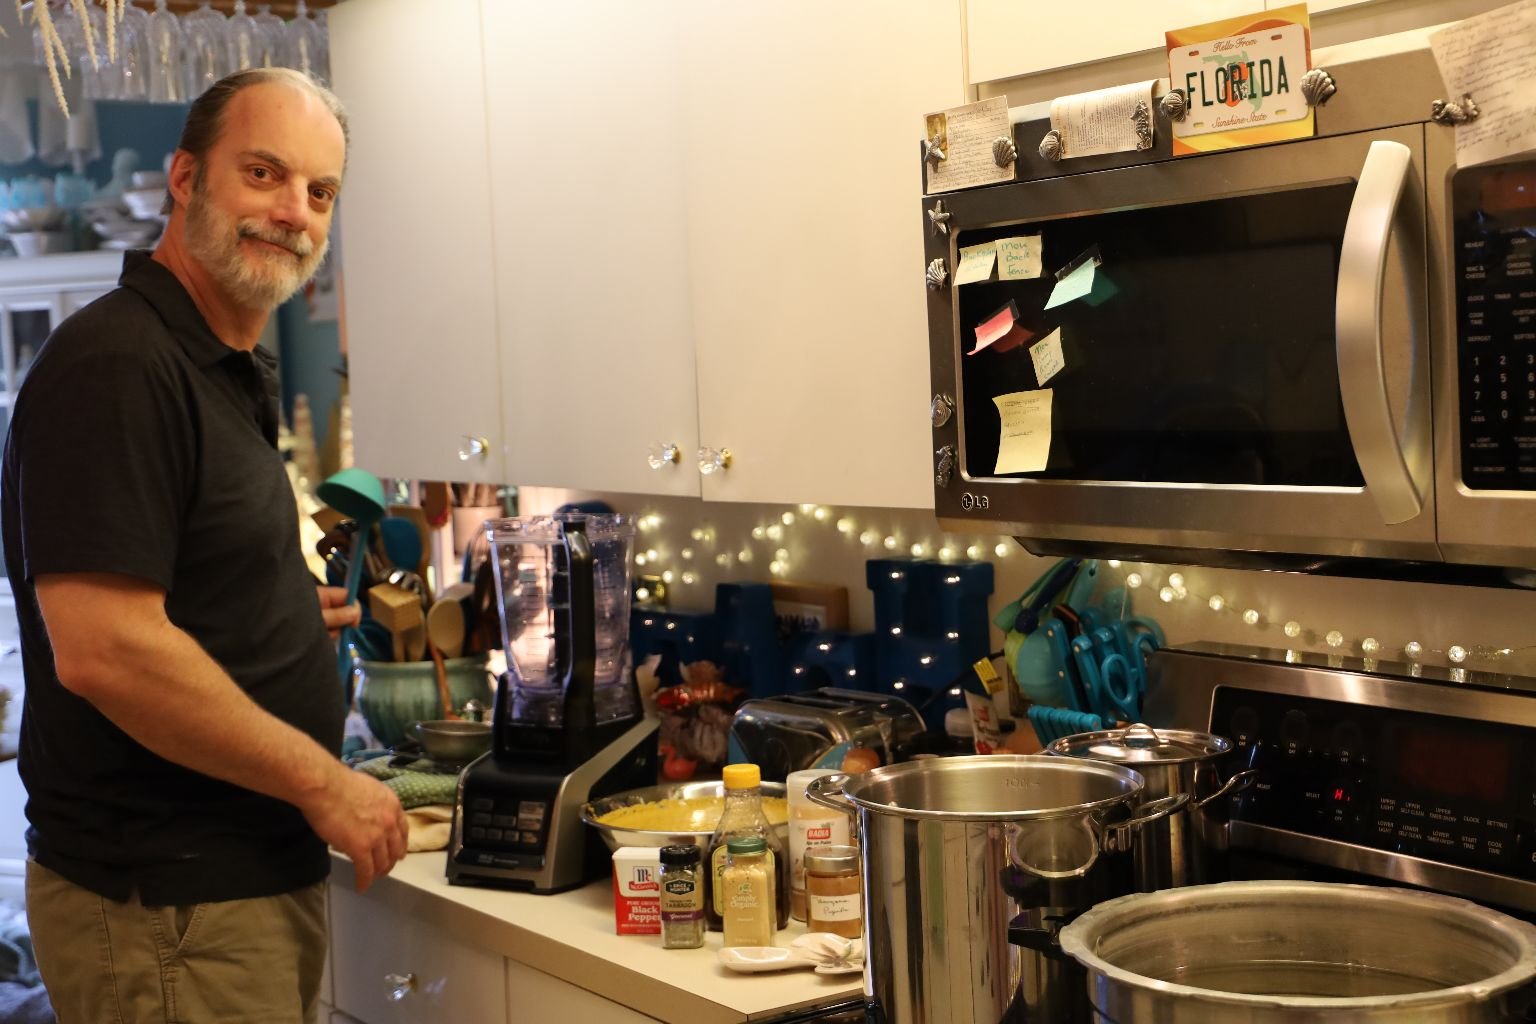
Gordon, Ready to Tackle Tarragon Mustard
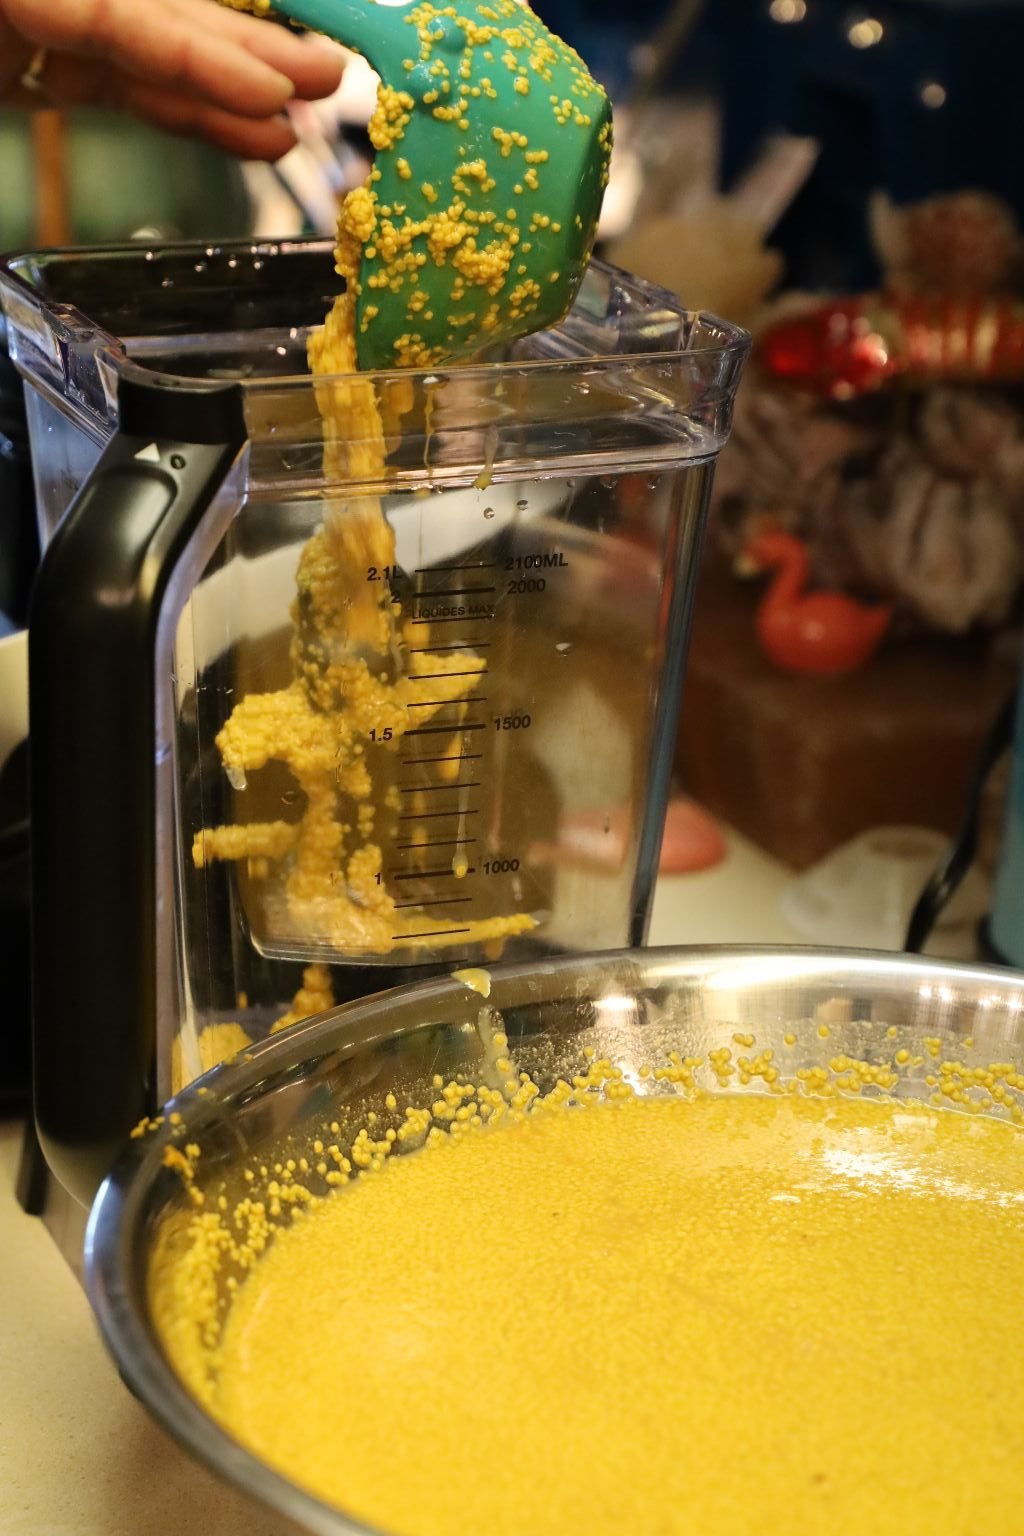
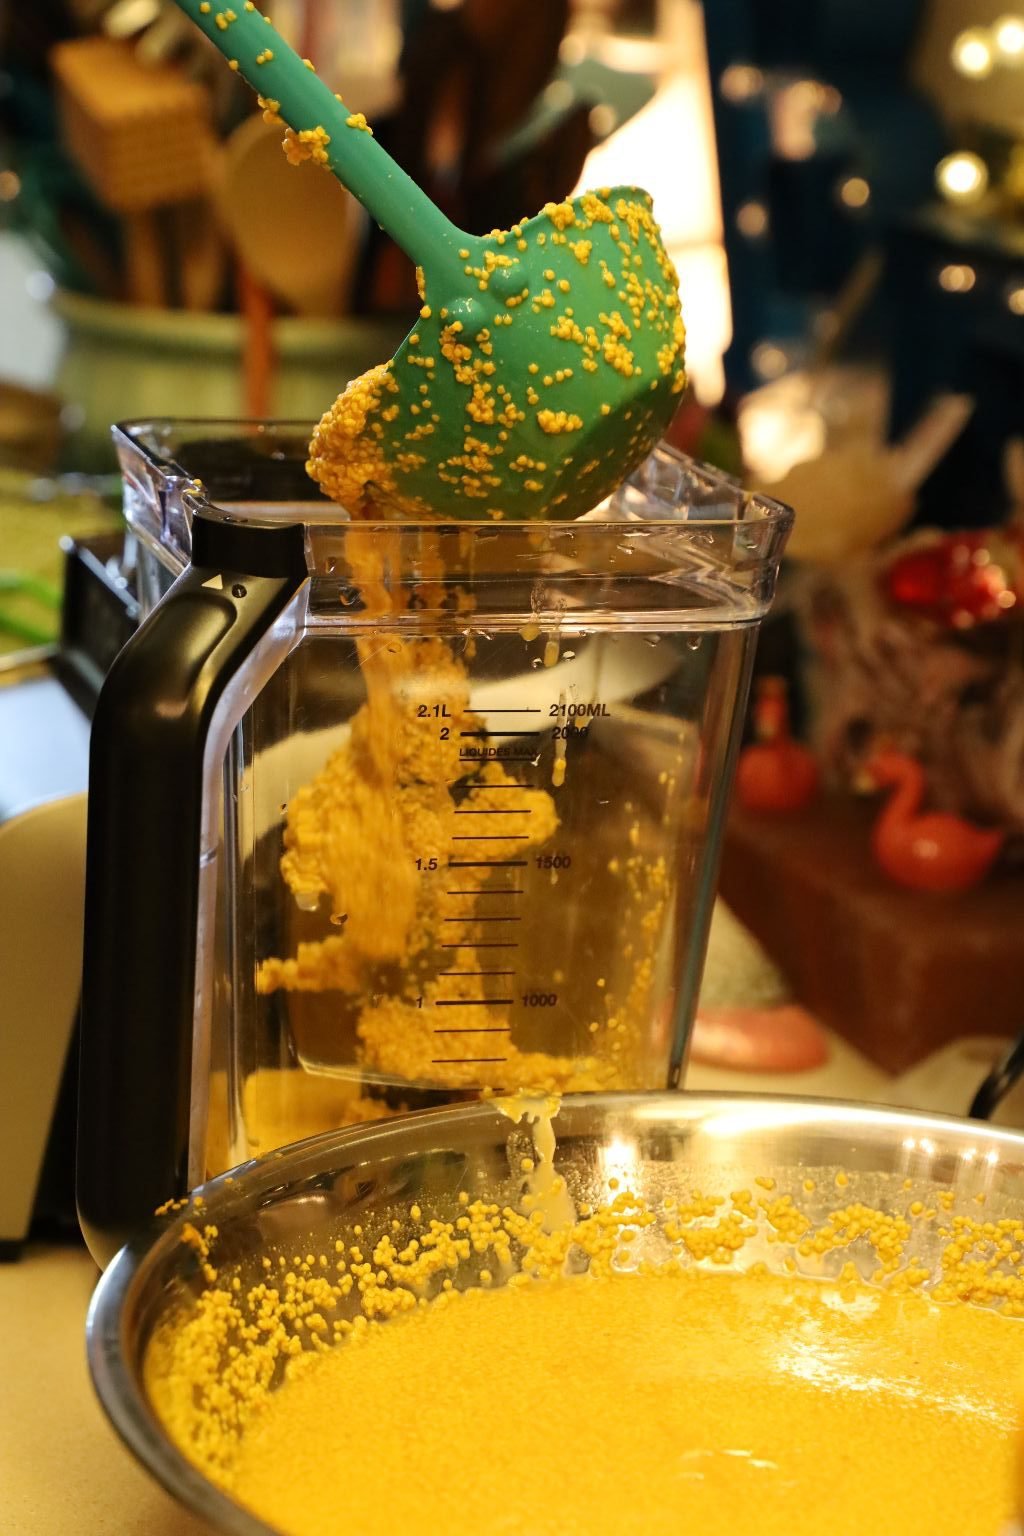
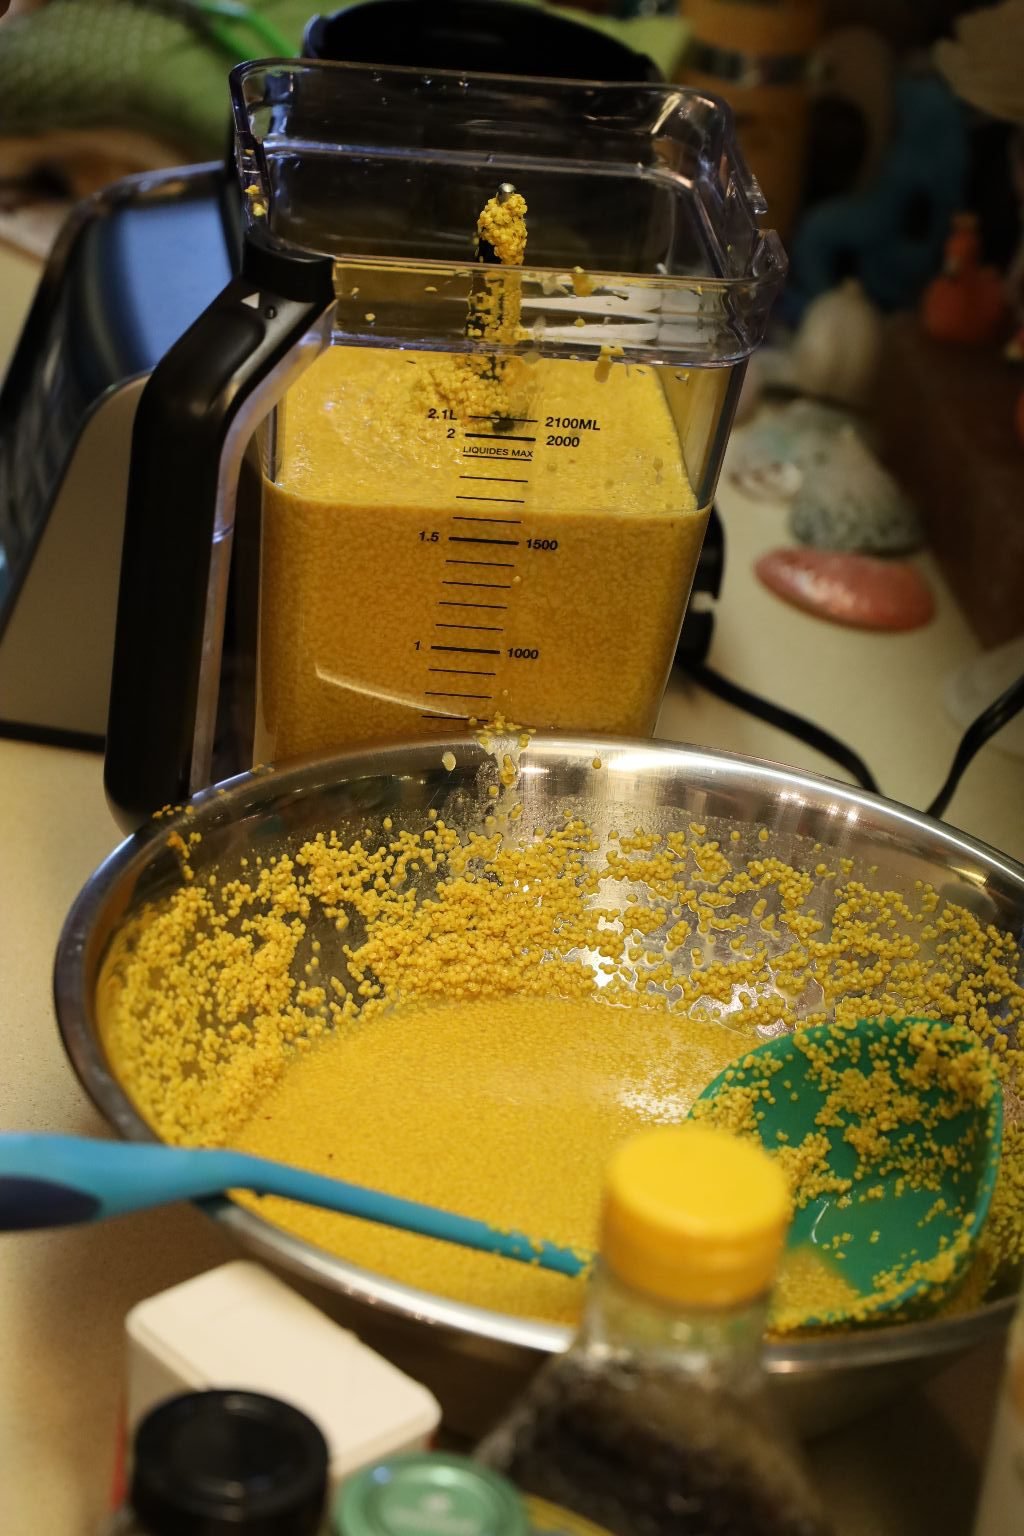
Add 8 Cups of your Yellow Mustard base to your blender.
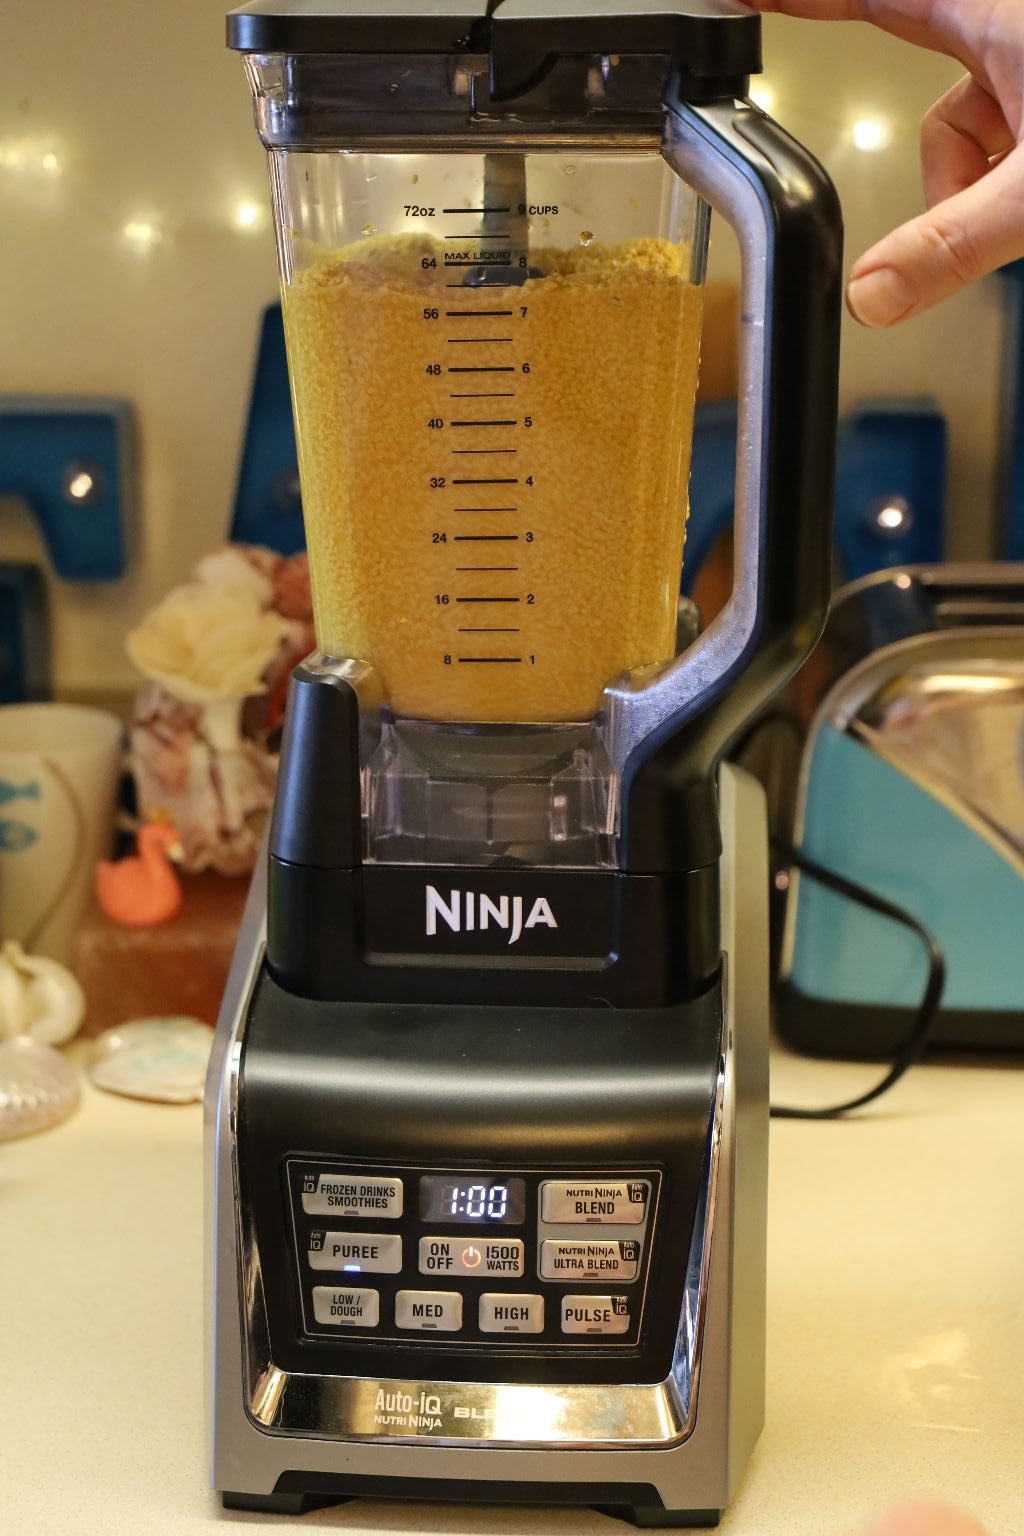
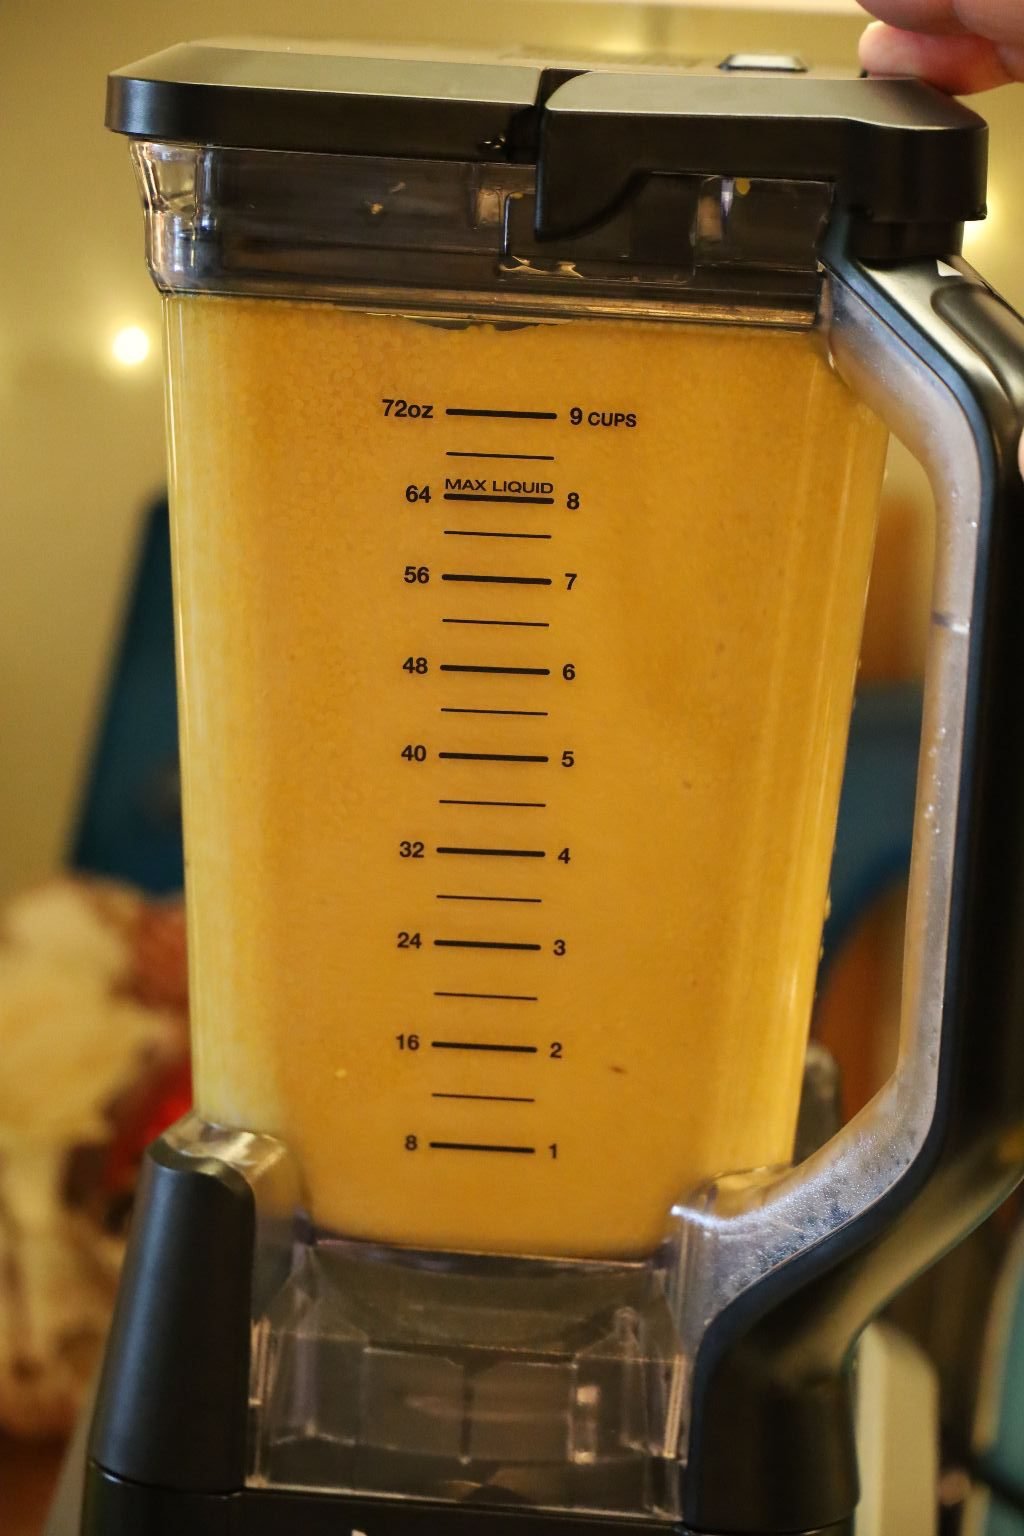
Puree the mustard base until it is smooth.
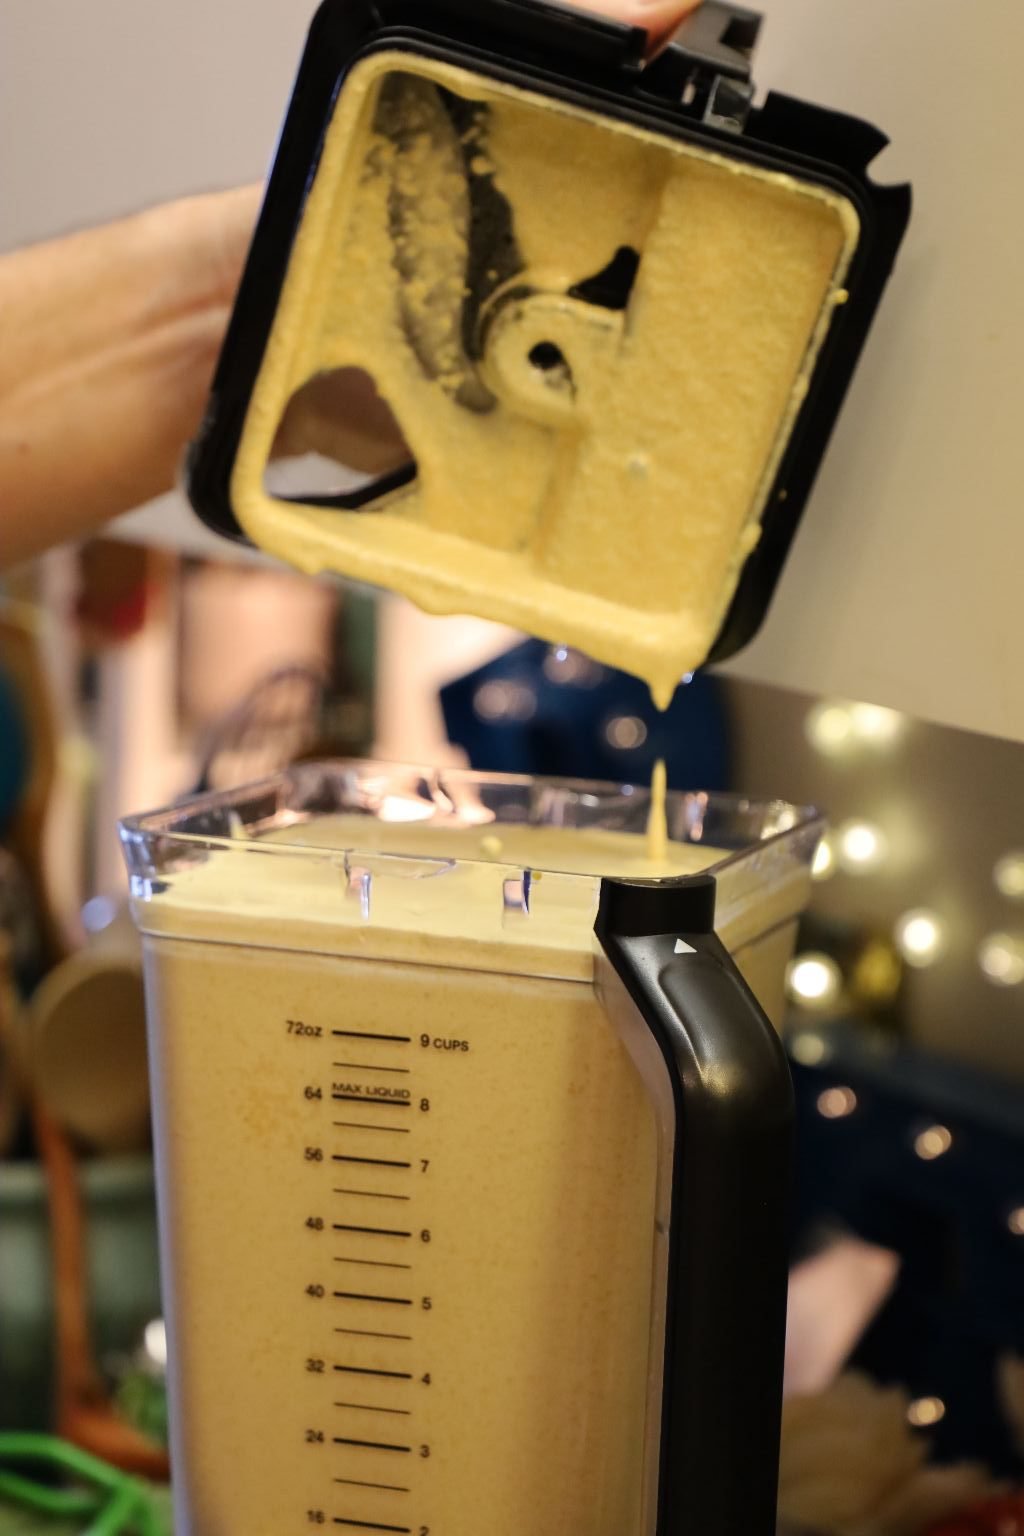
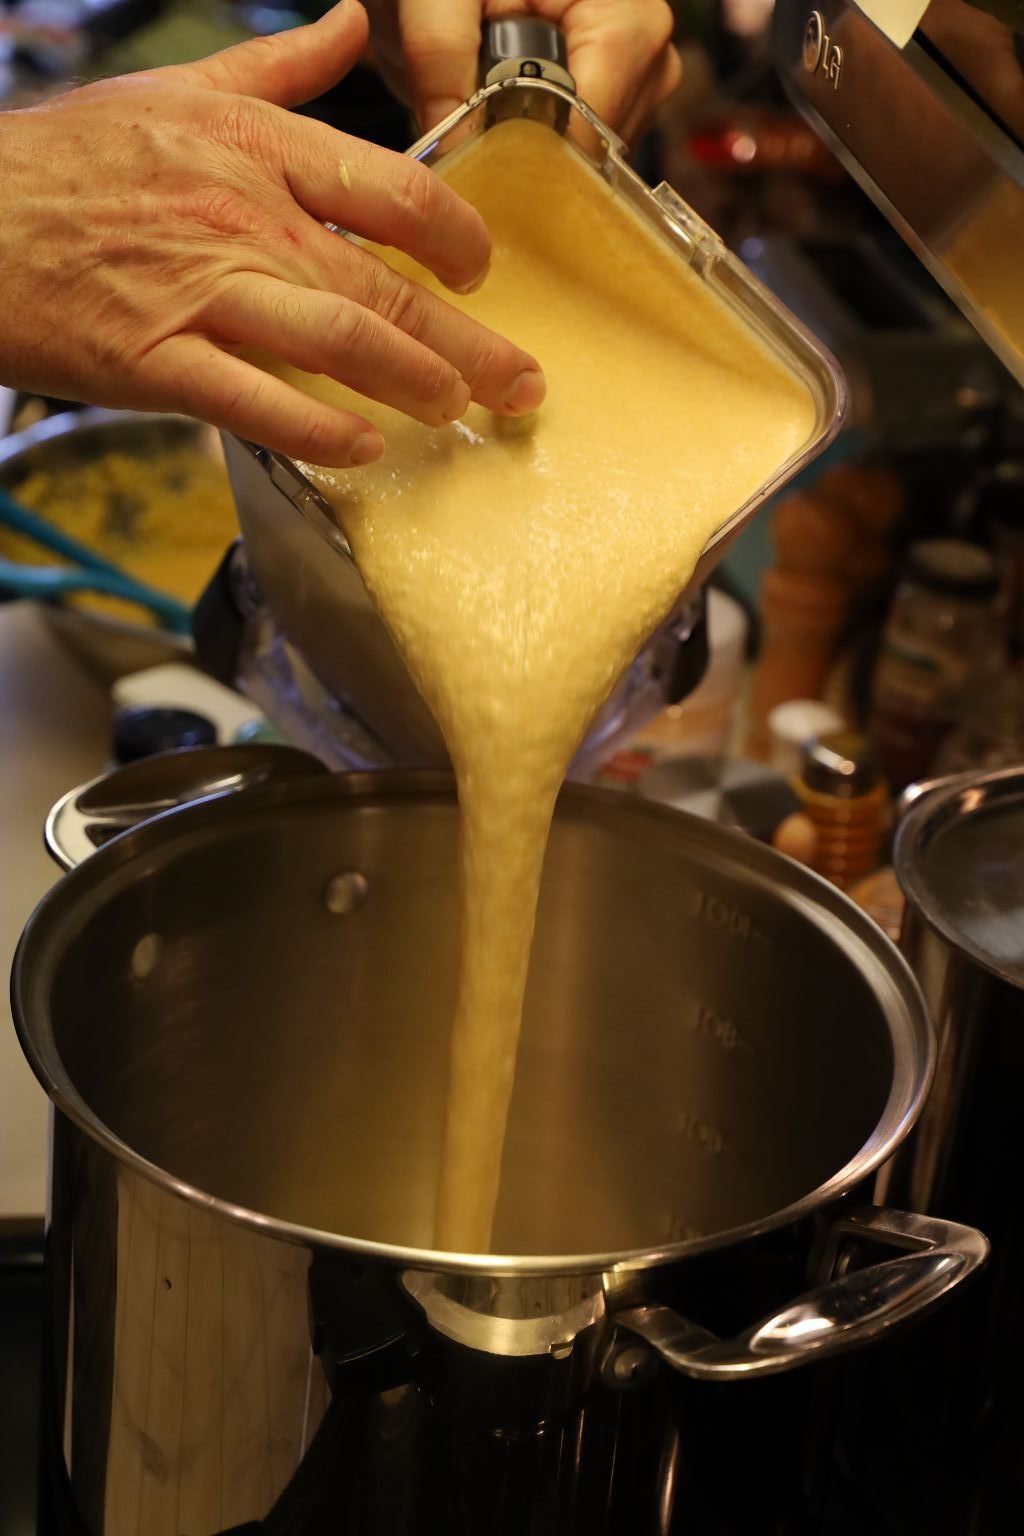
Add your pureed mustard to a large pot.
You can see the lighter color change from the puree process.
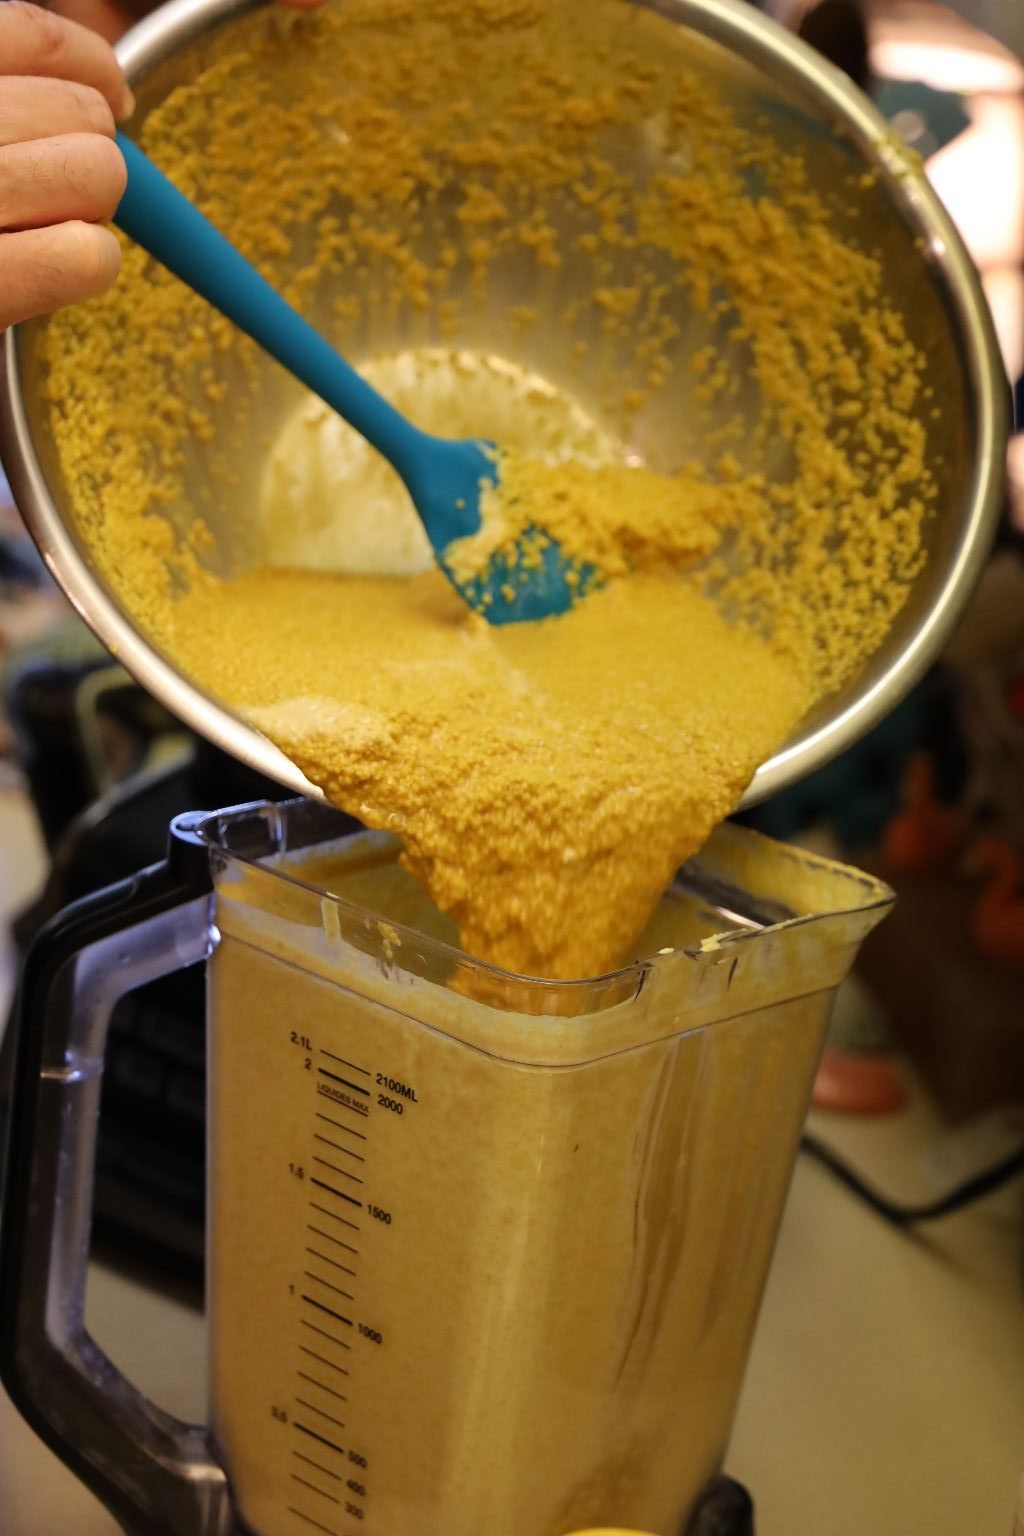
Add the remaining 4 Cups of Yellow Mustard base to the blender…
and puree it until smooth.
————————————————————
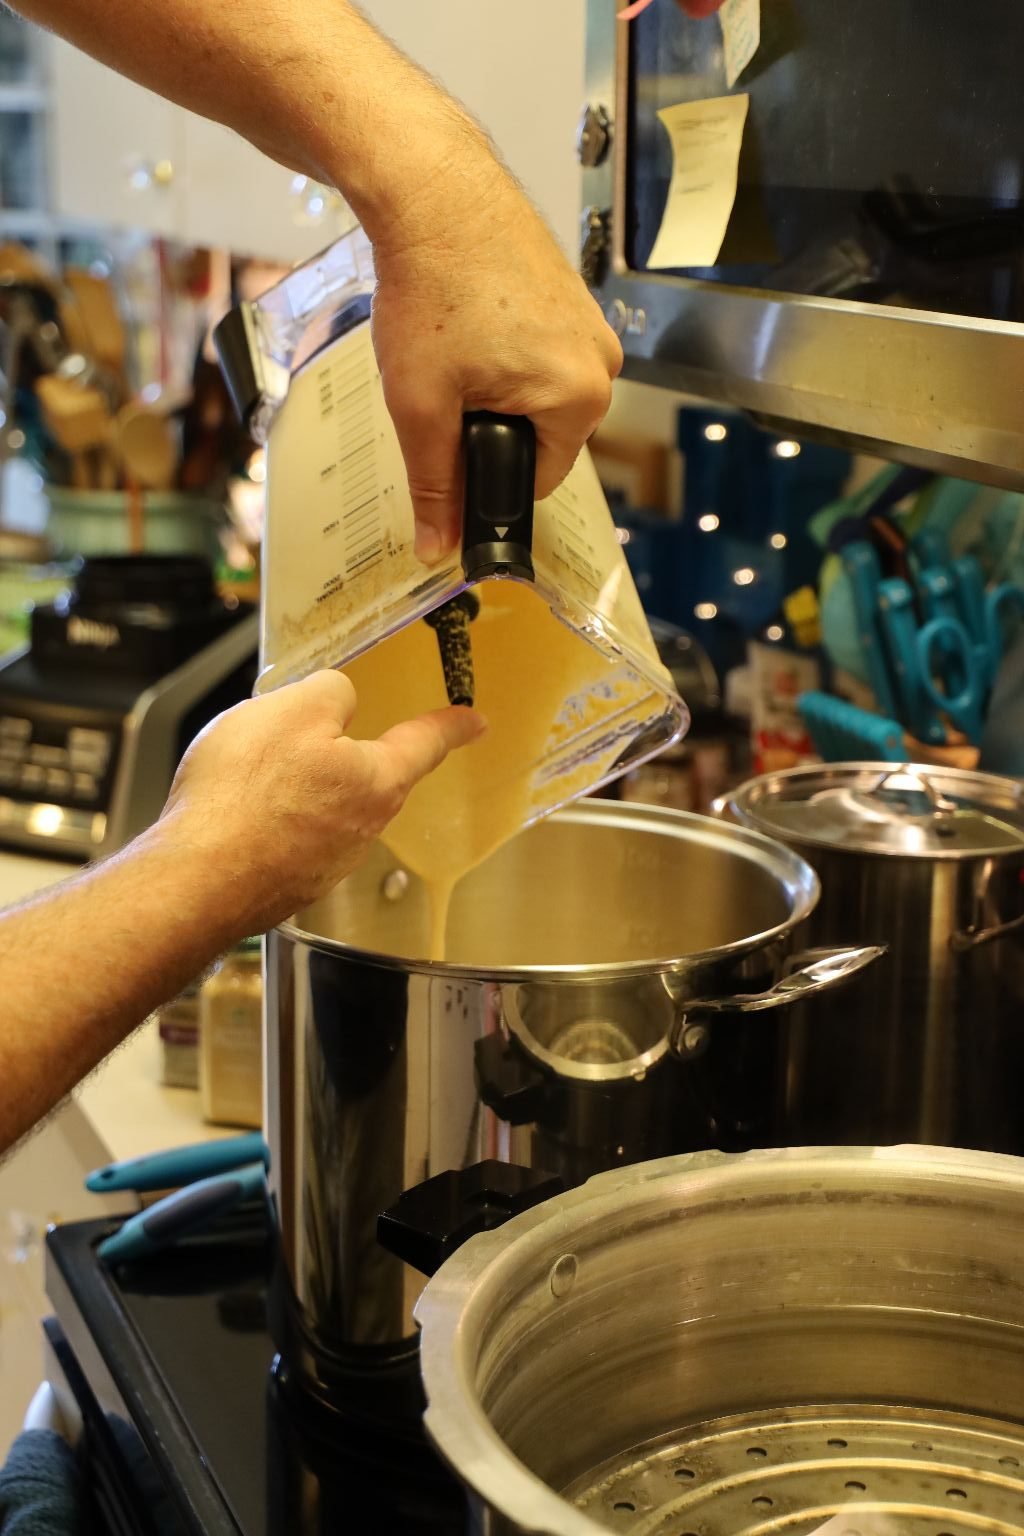
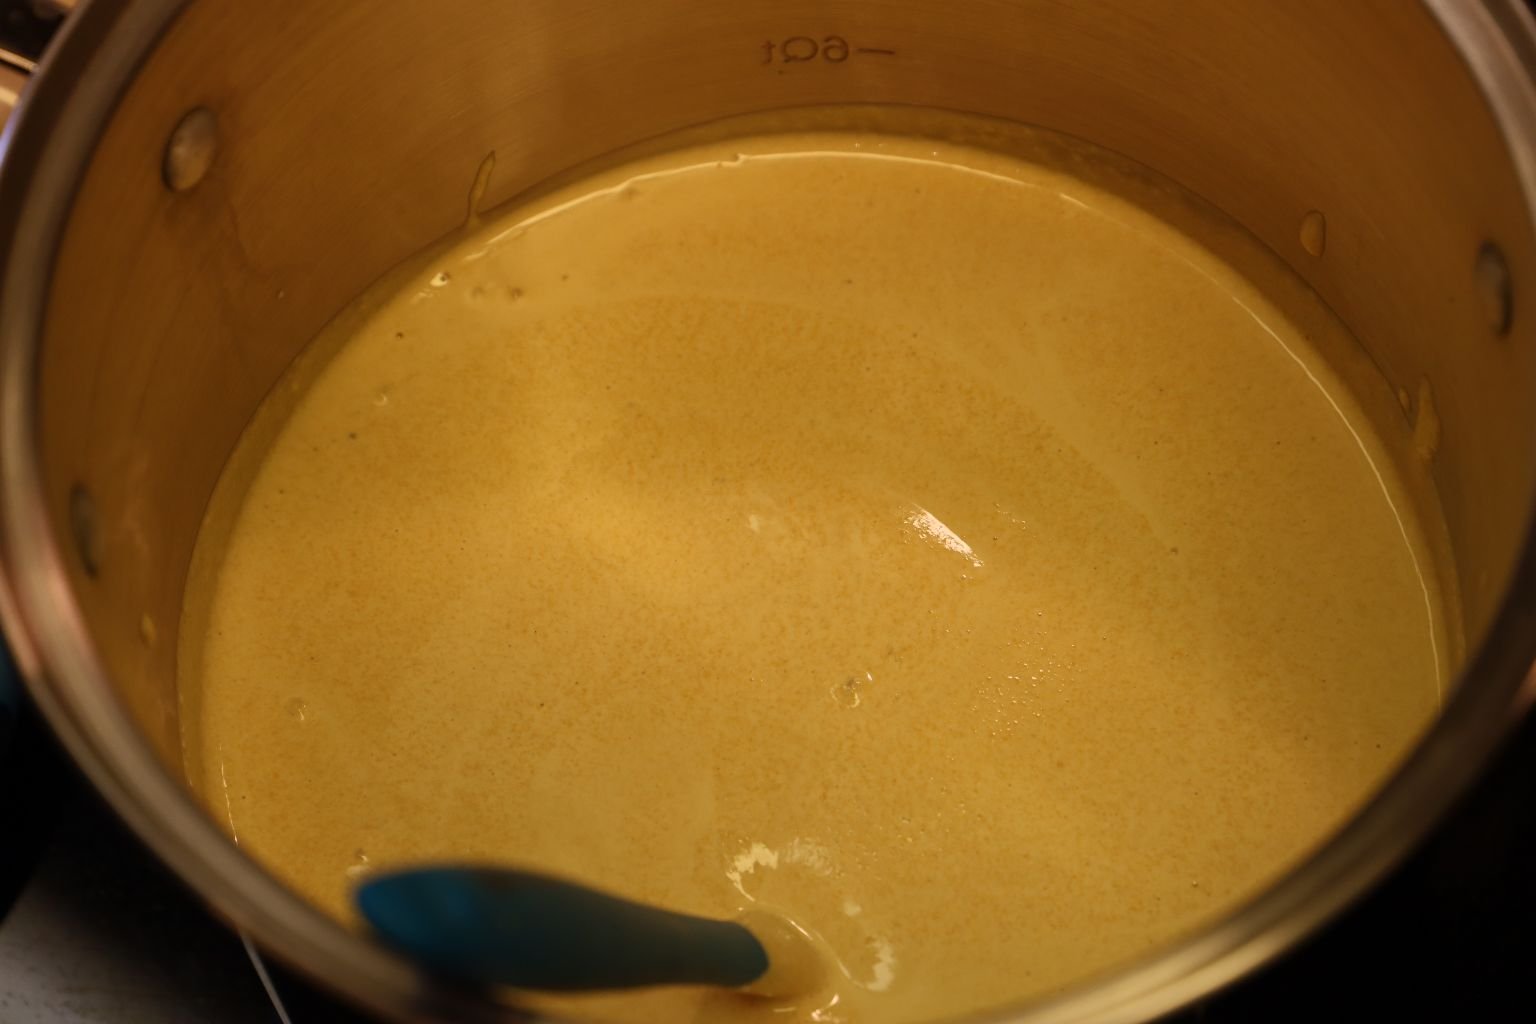
Add the puree to the pot then taste the mustard!
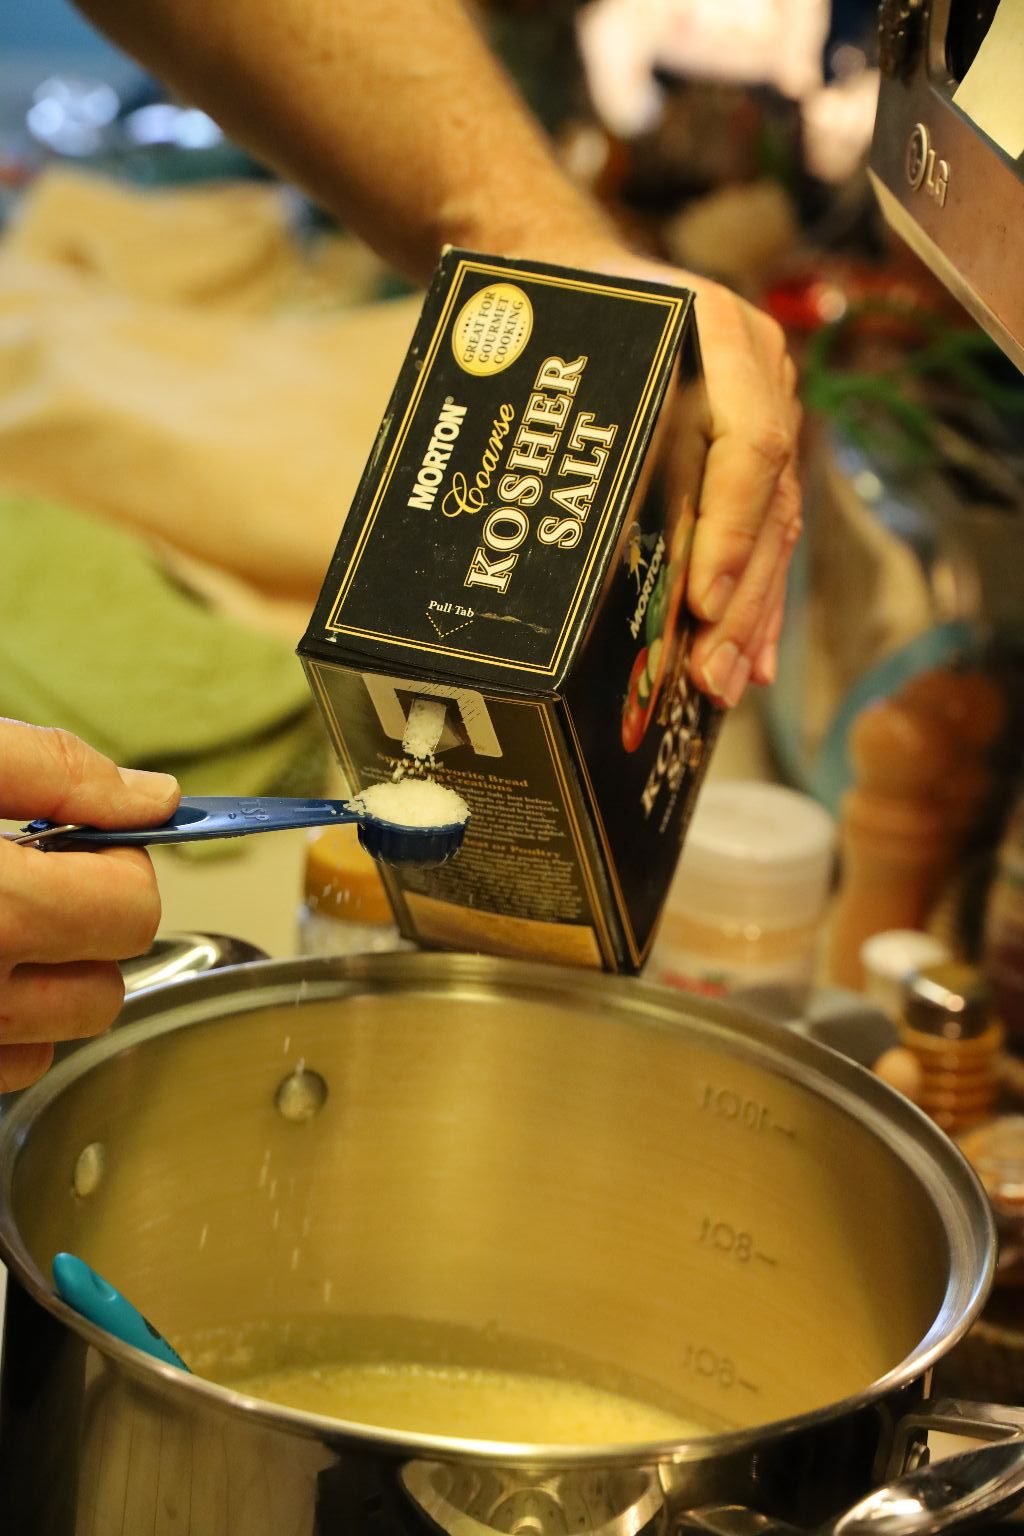
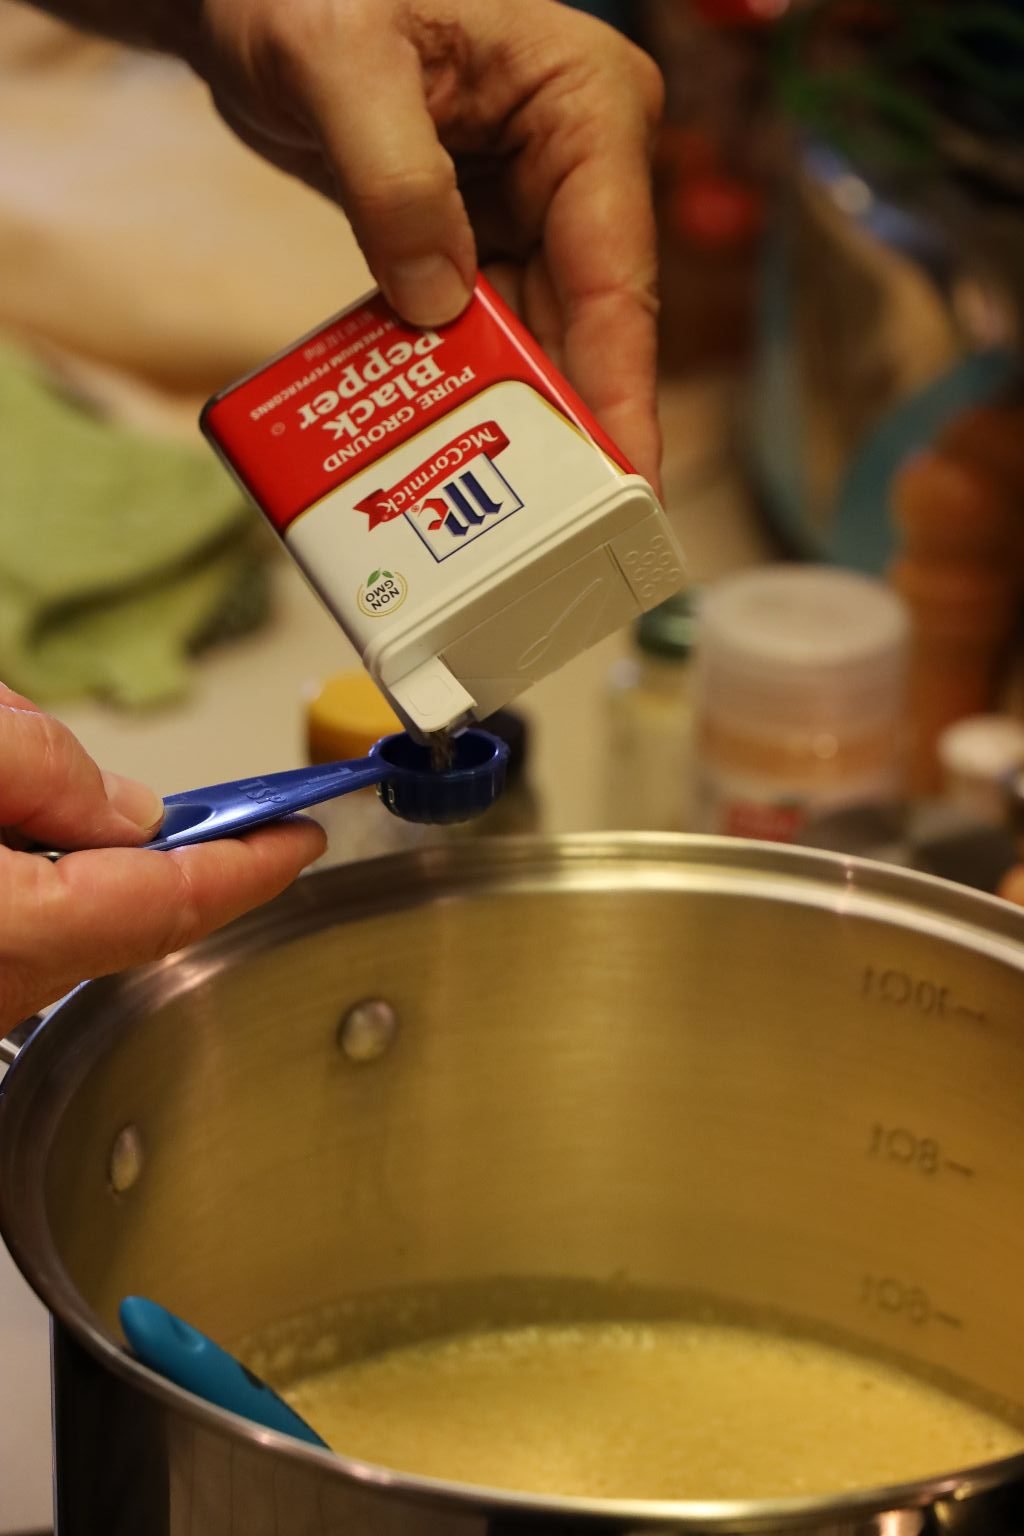
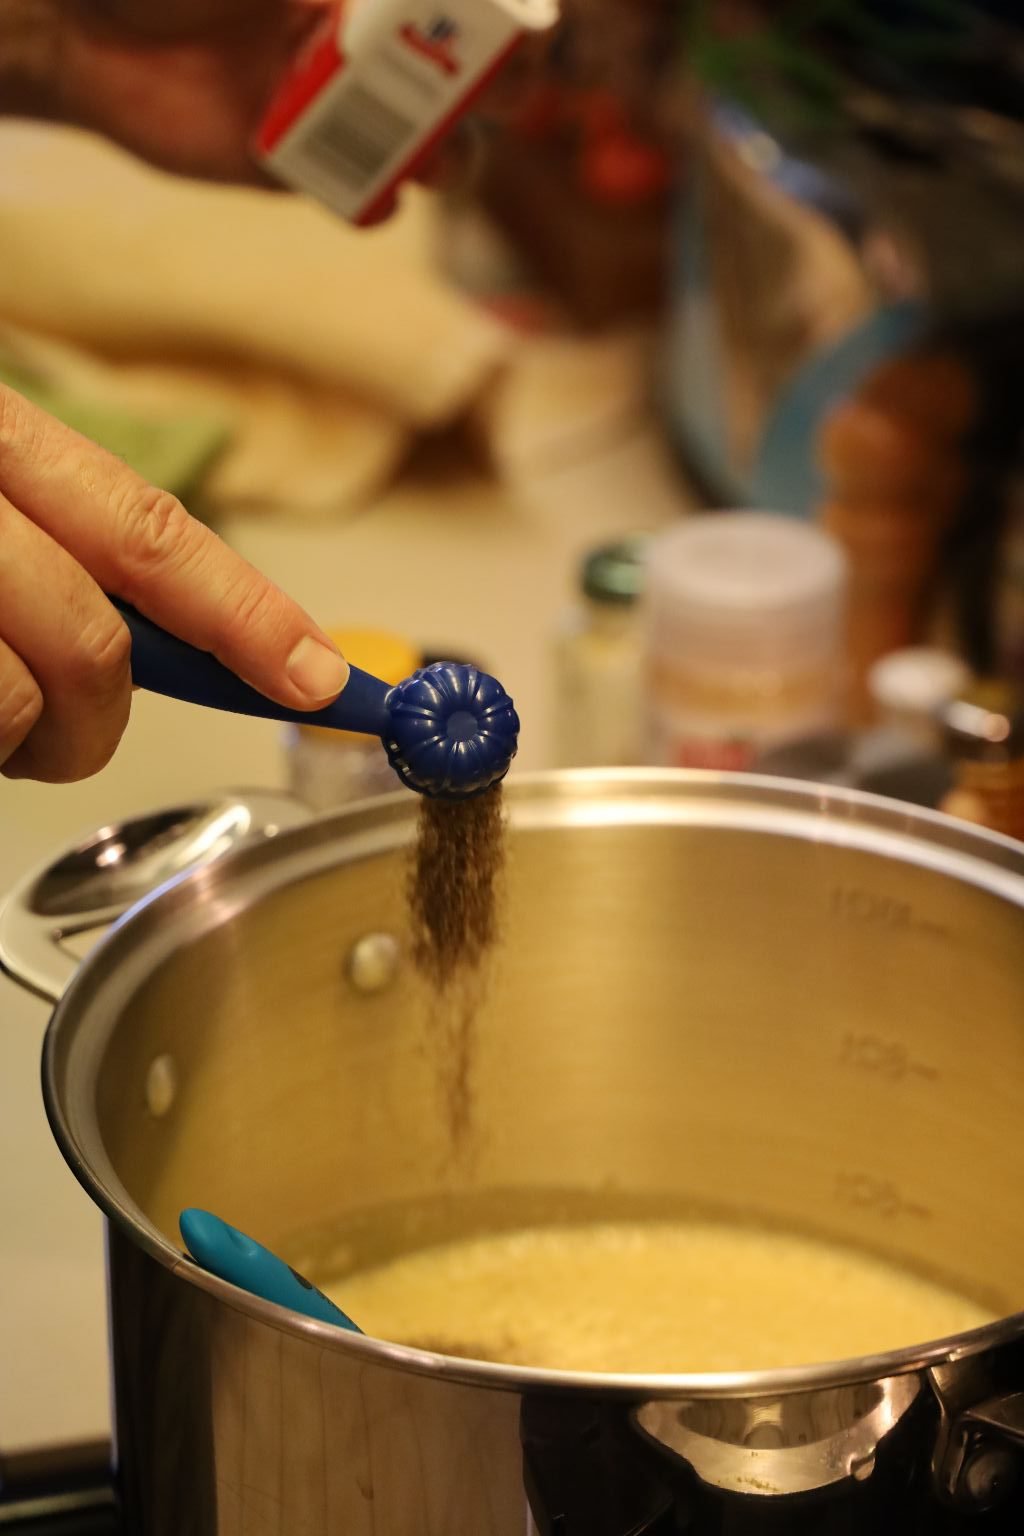
Here, I felt it needed more salt and pepper, so add enough to your liking.
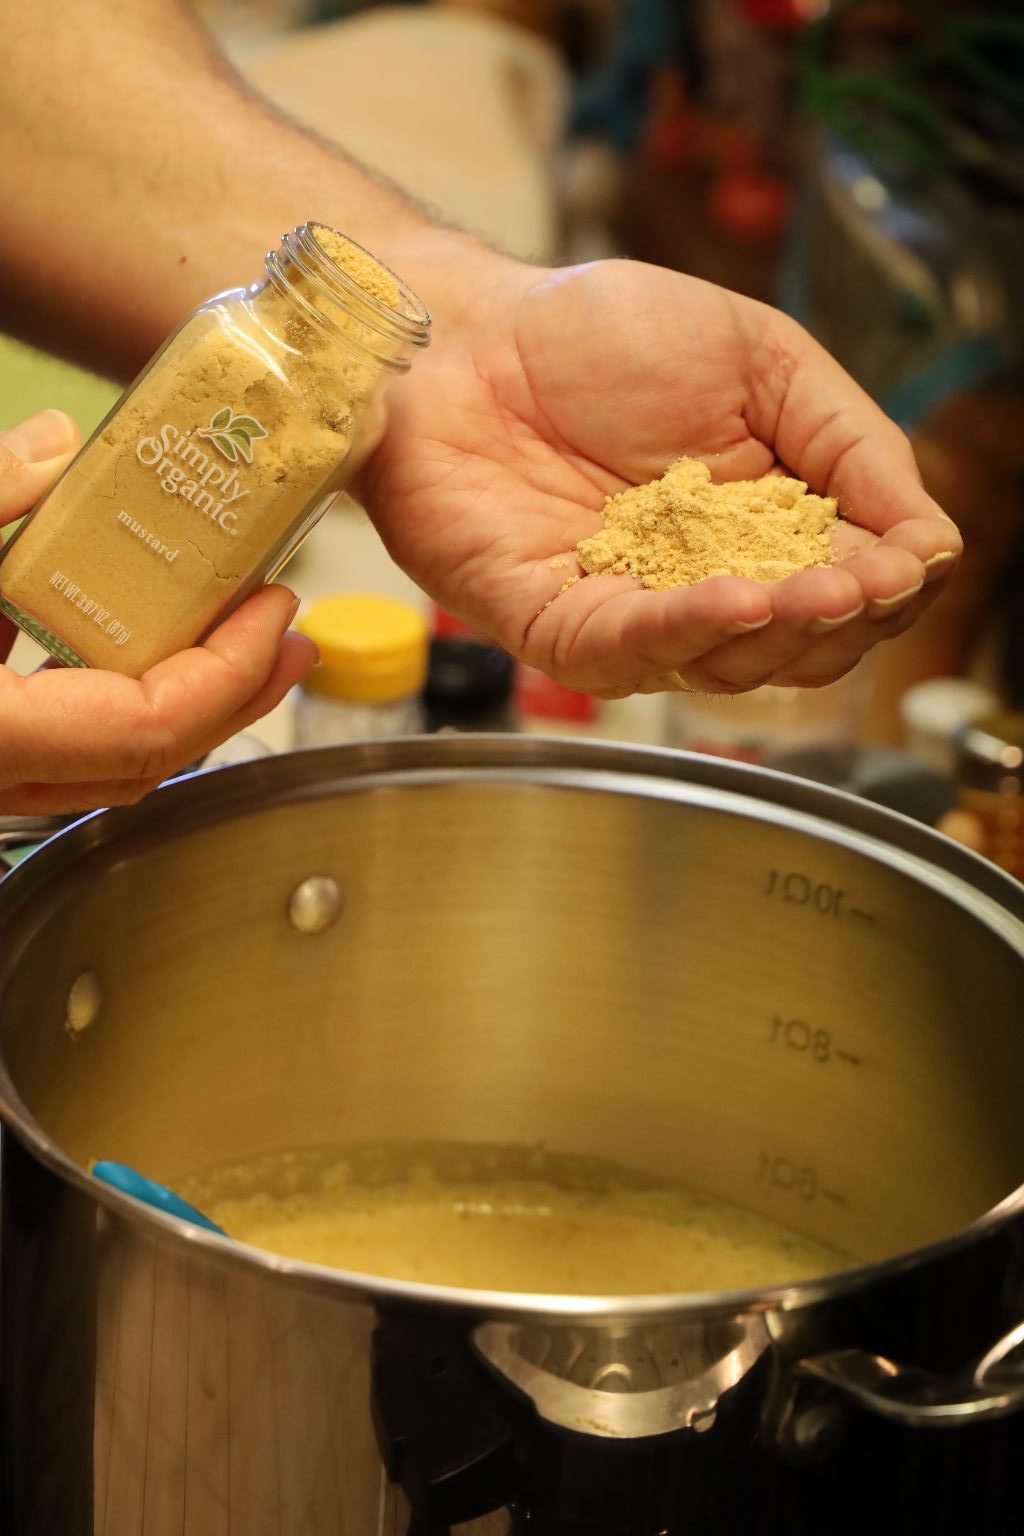
I also added more mustard powder to the mix.
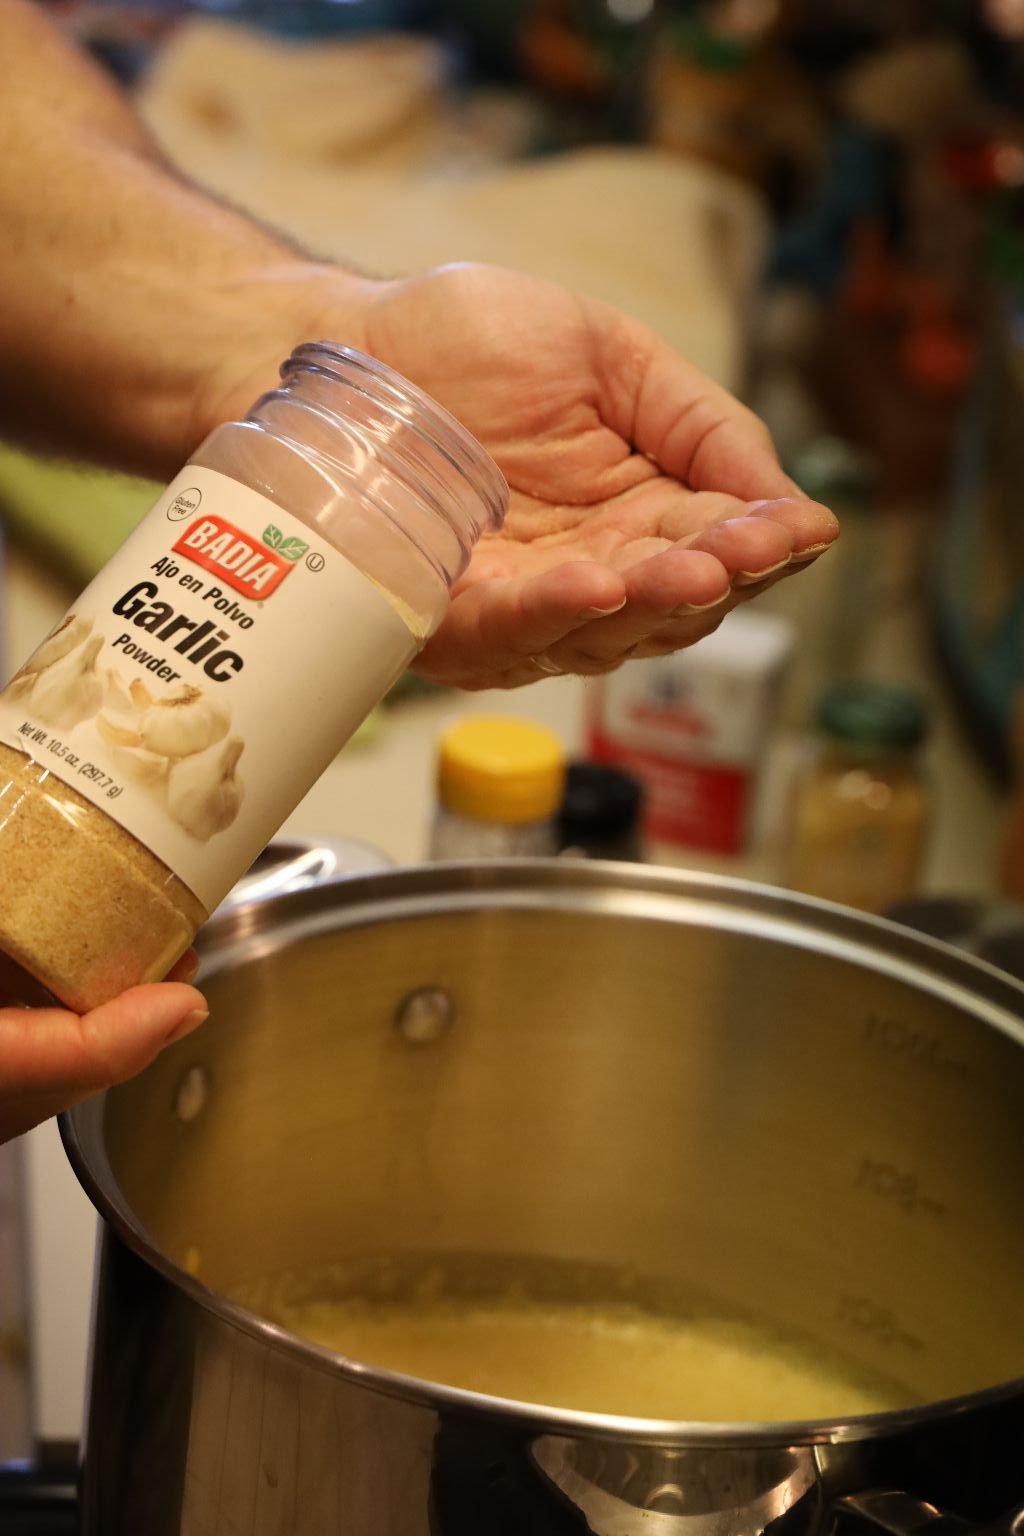
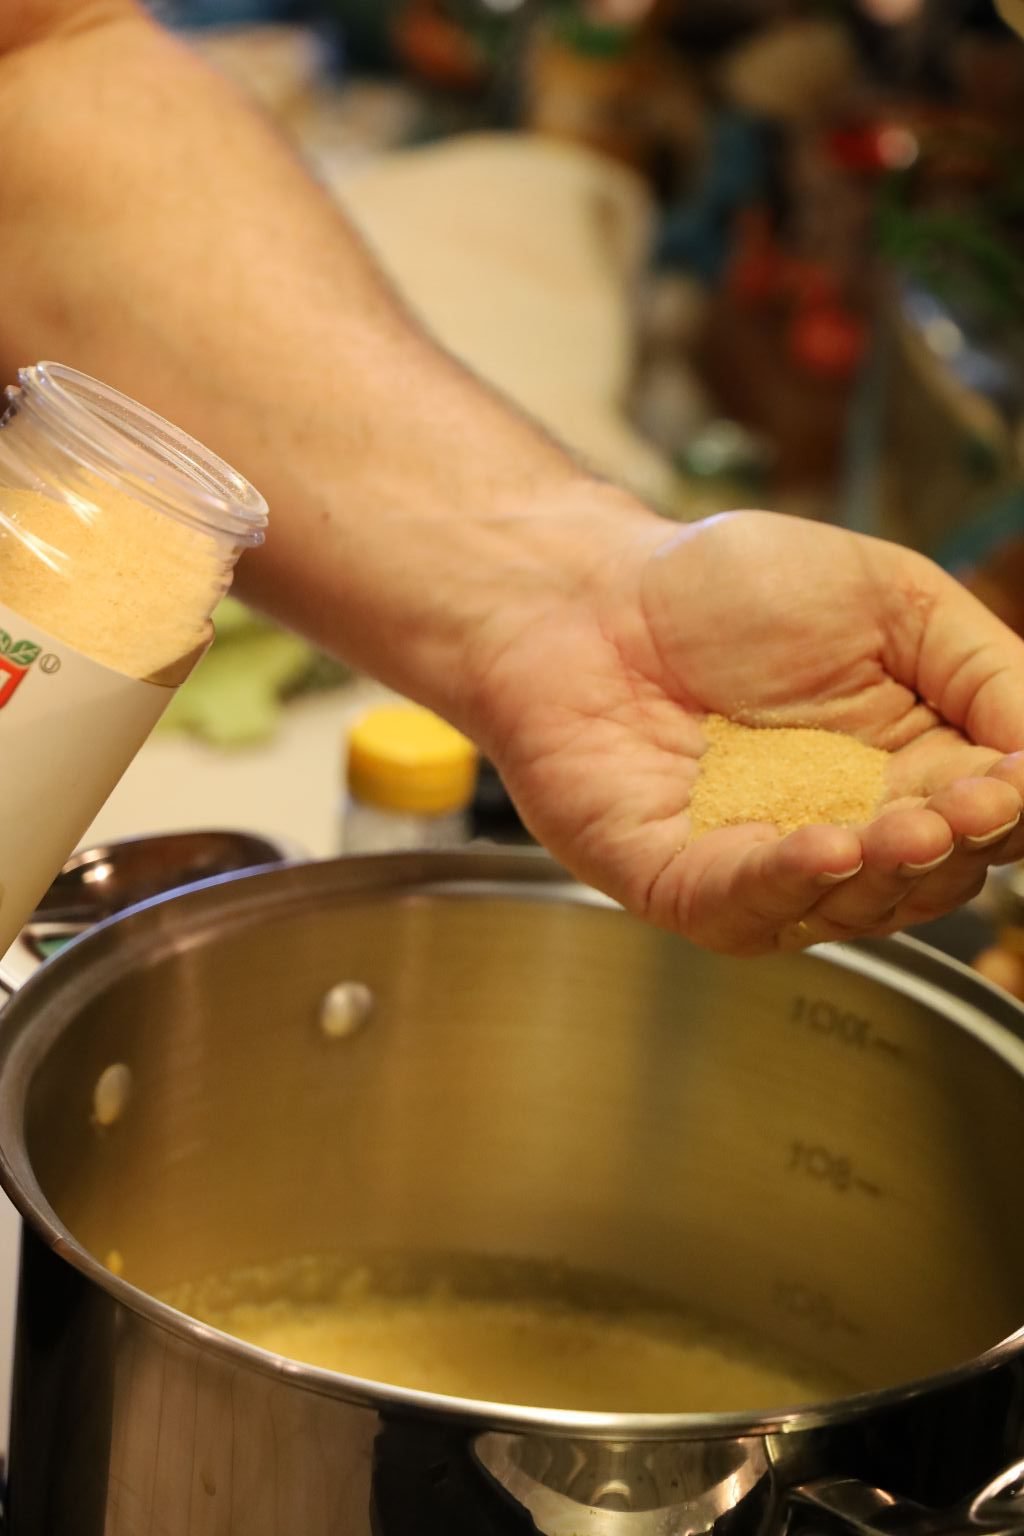
Now, add your garlic powder…
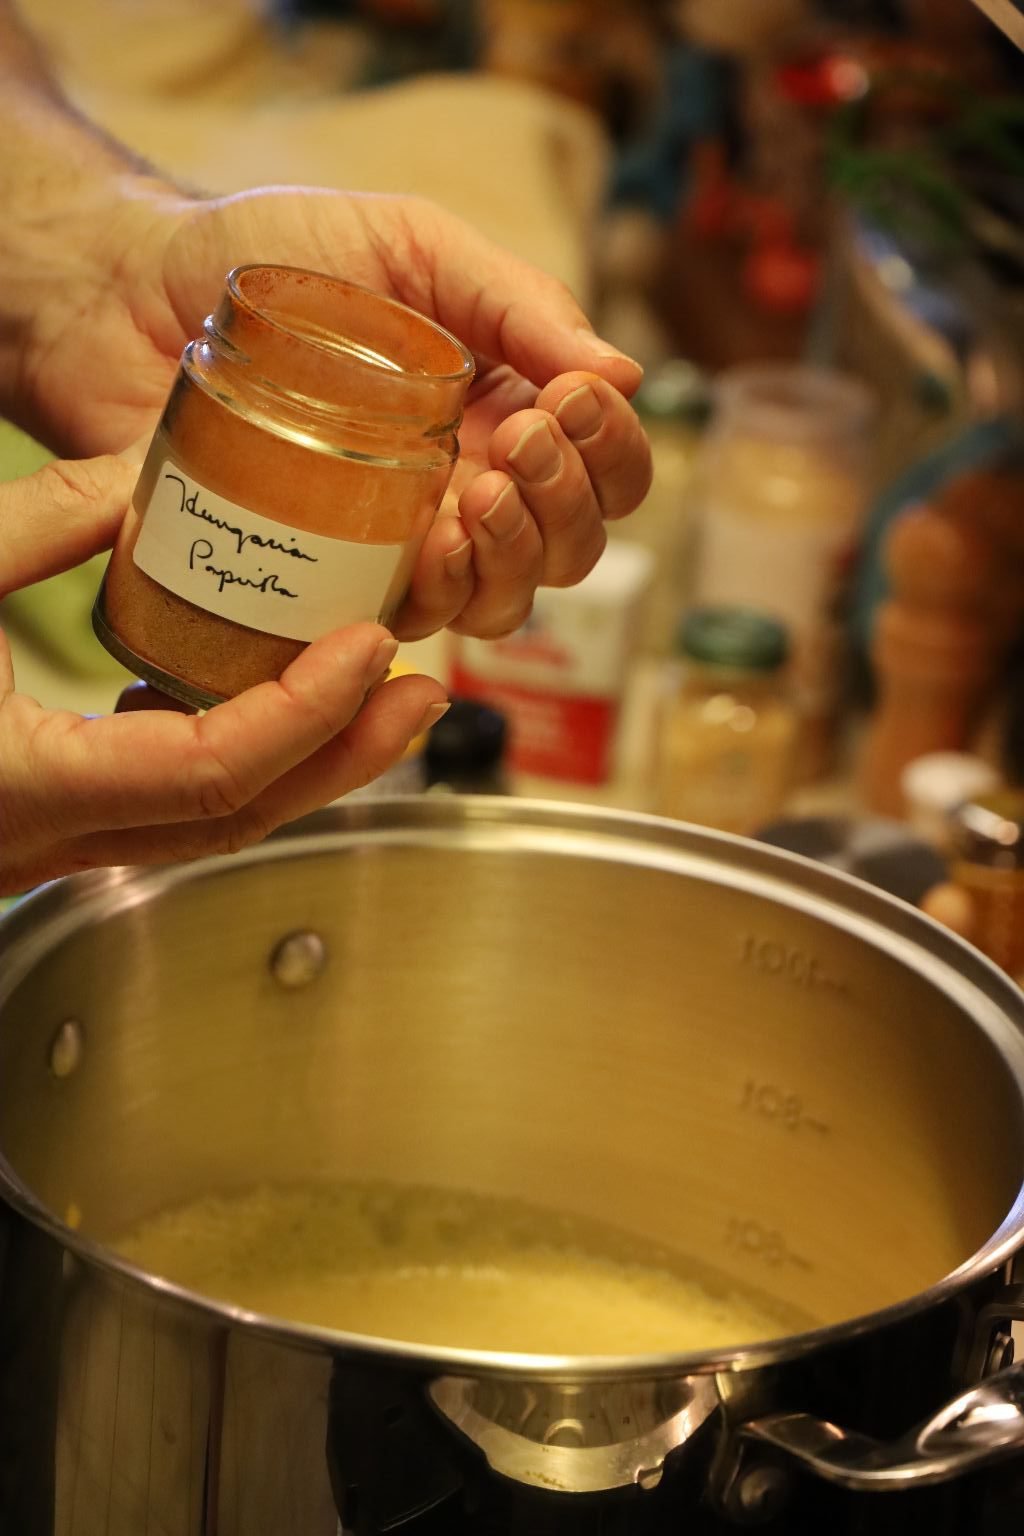
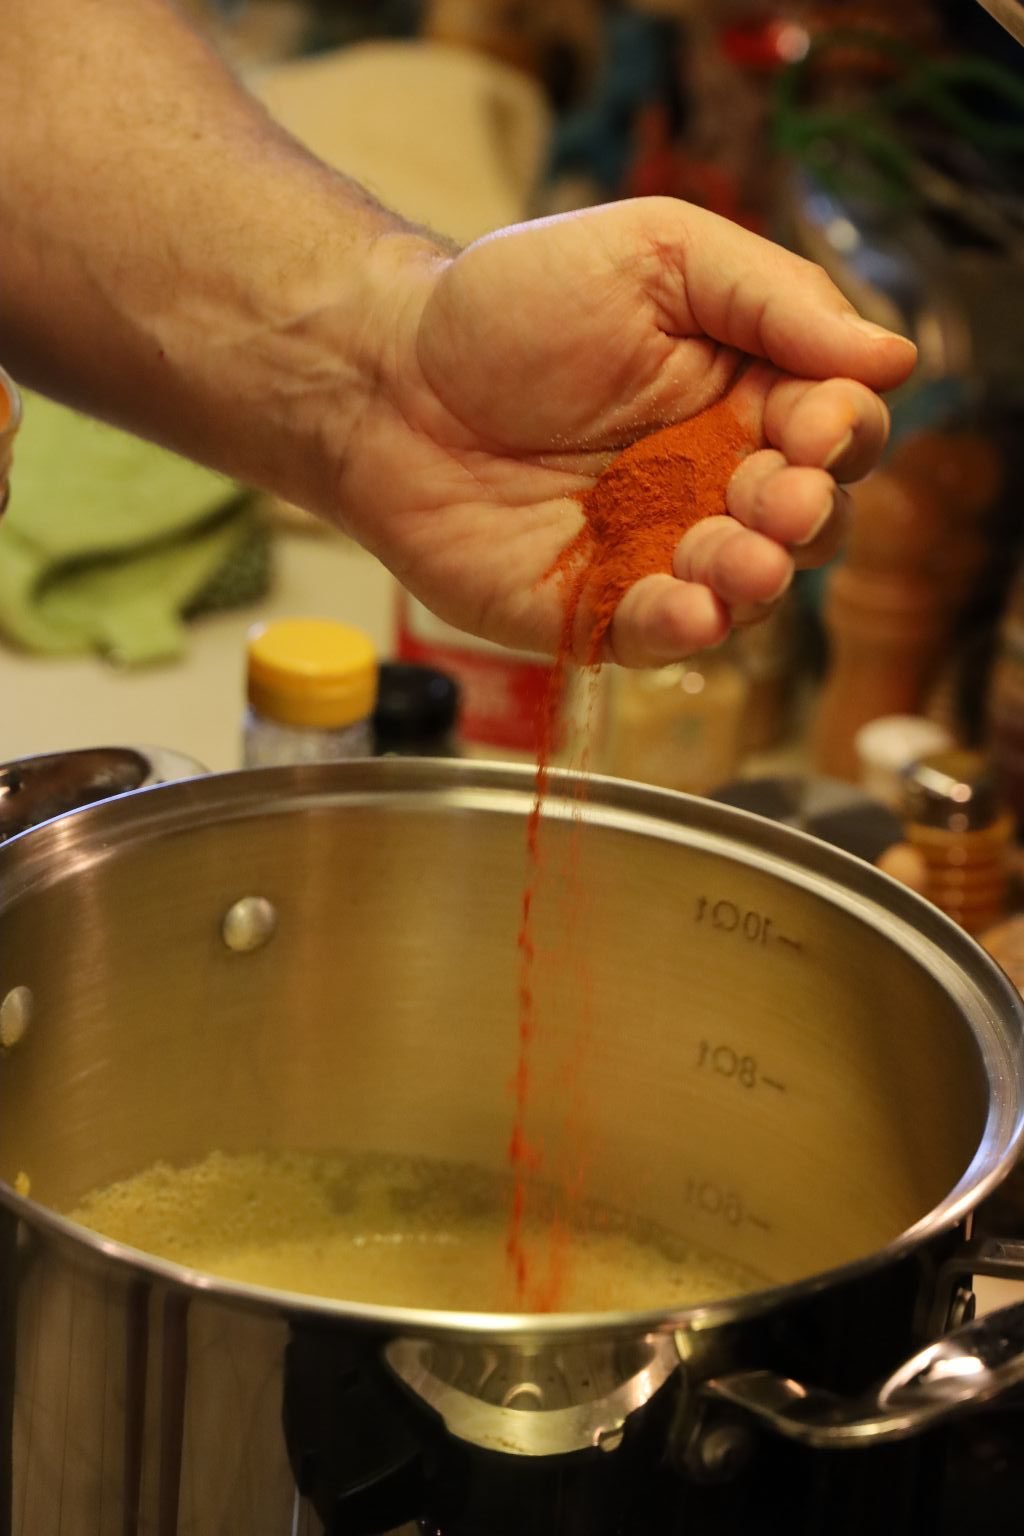
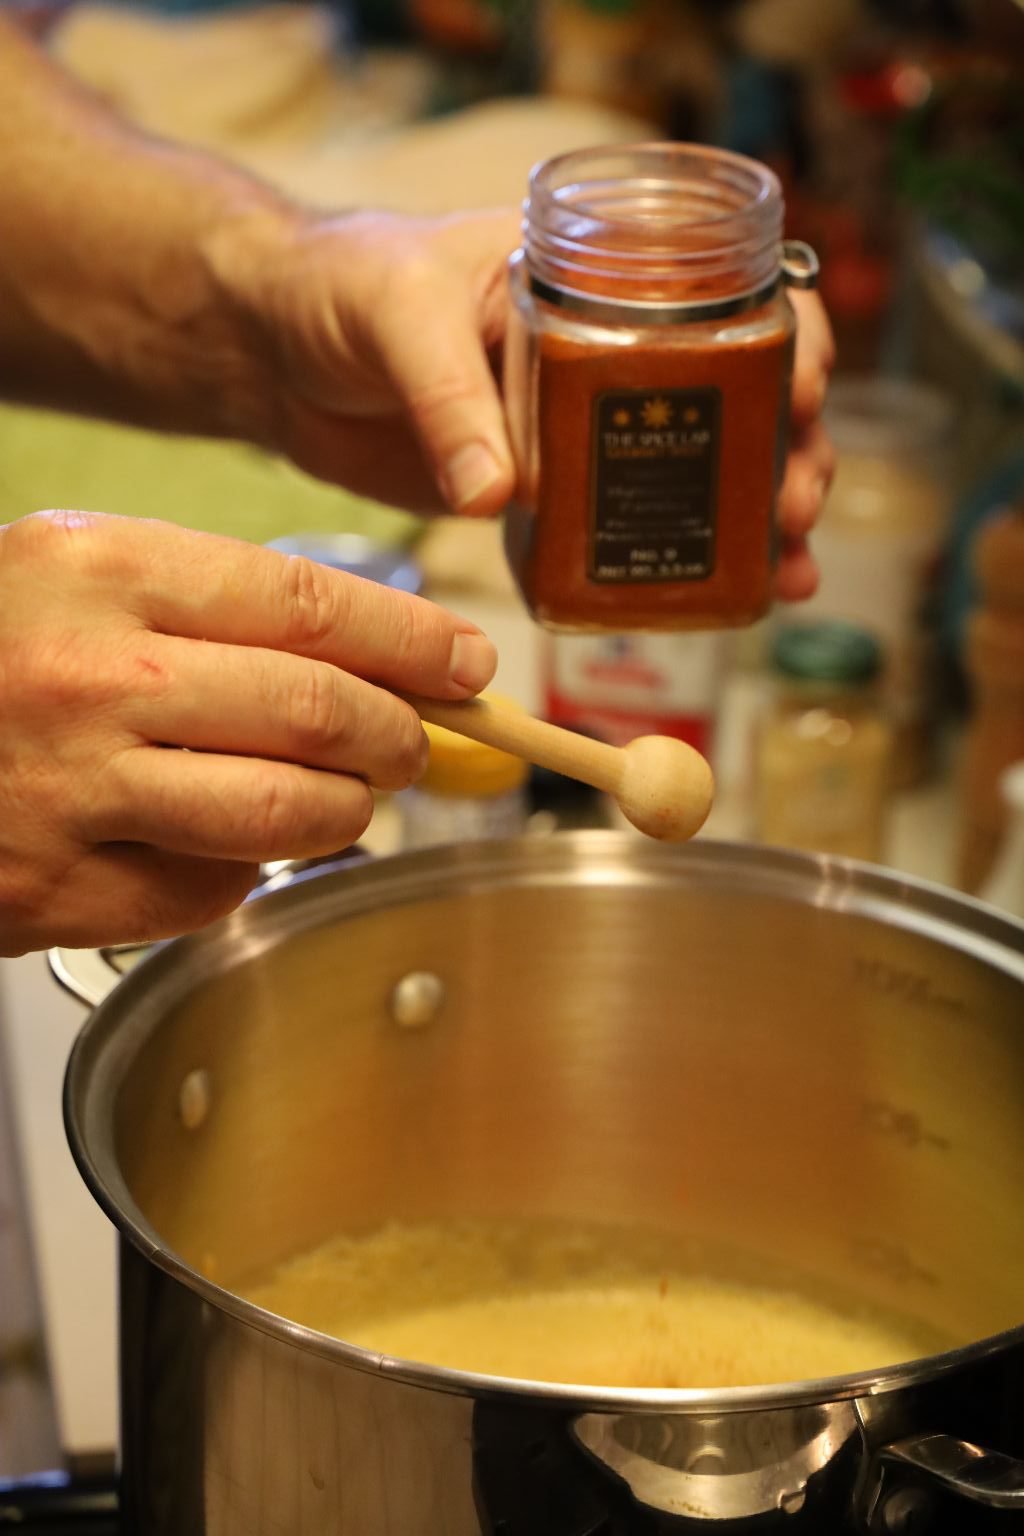
Then your Paprika.
We had two different types of sweet paprika.
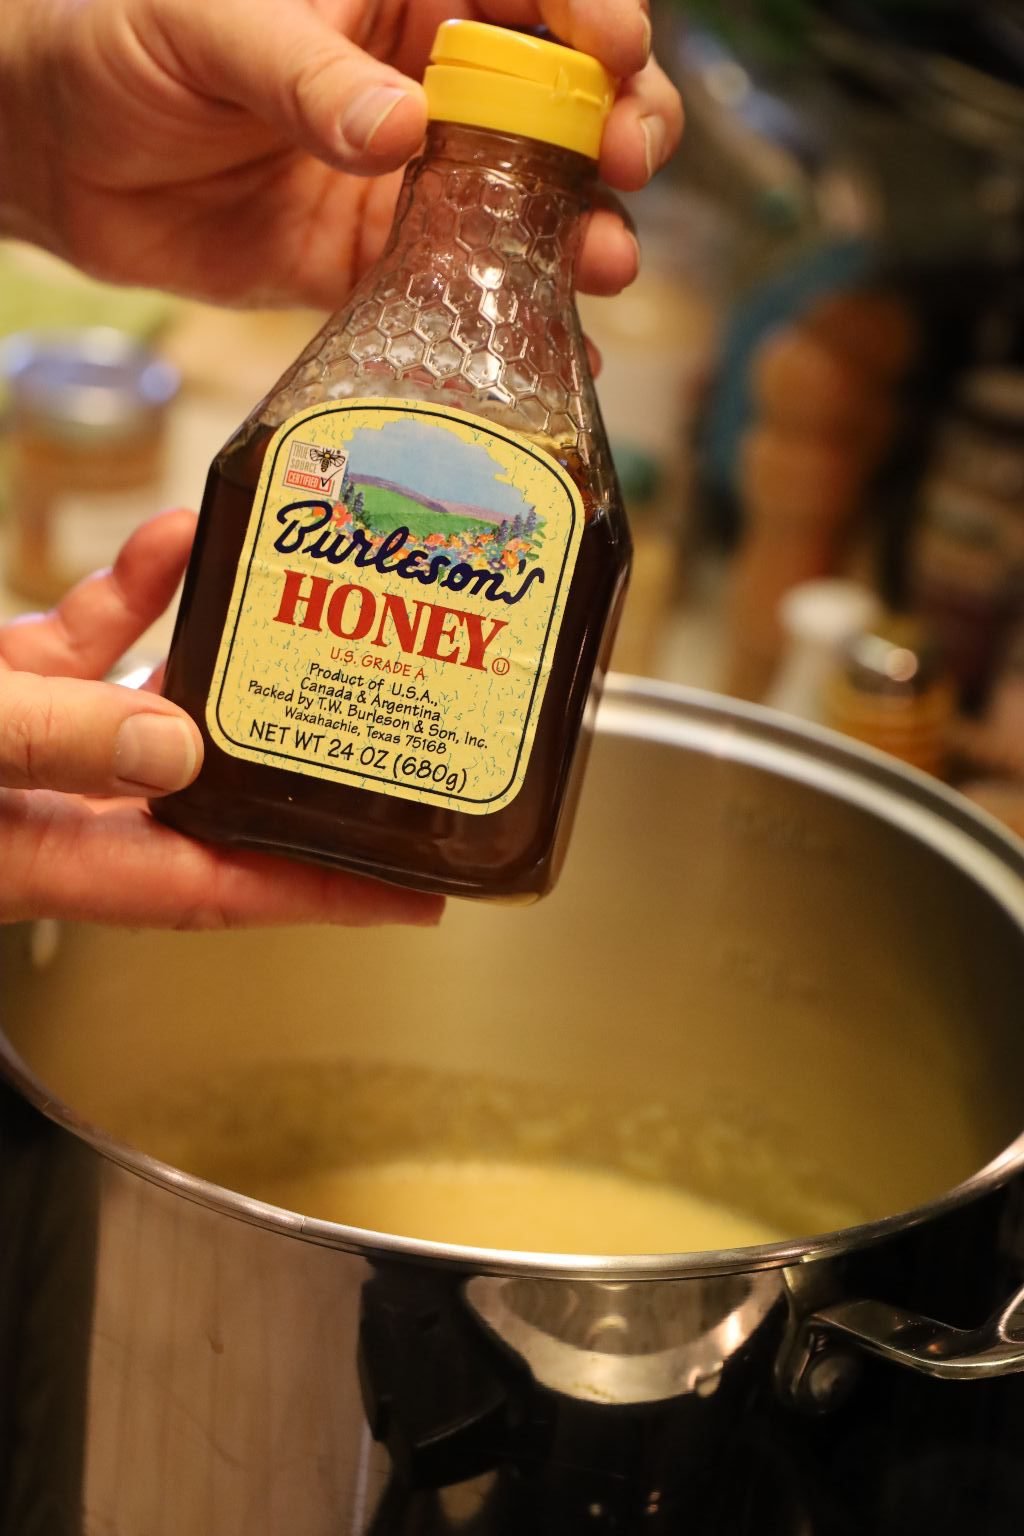
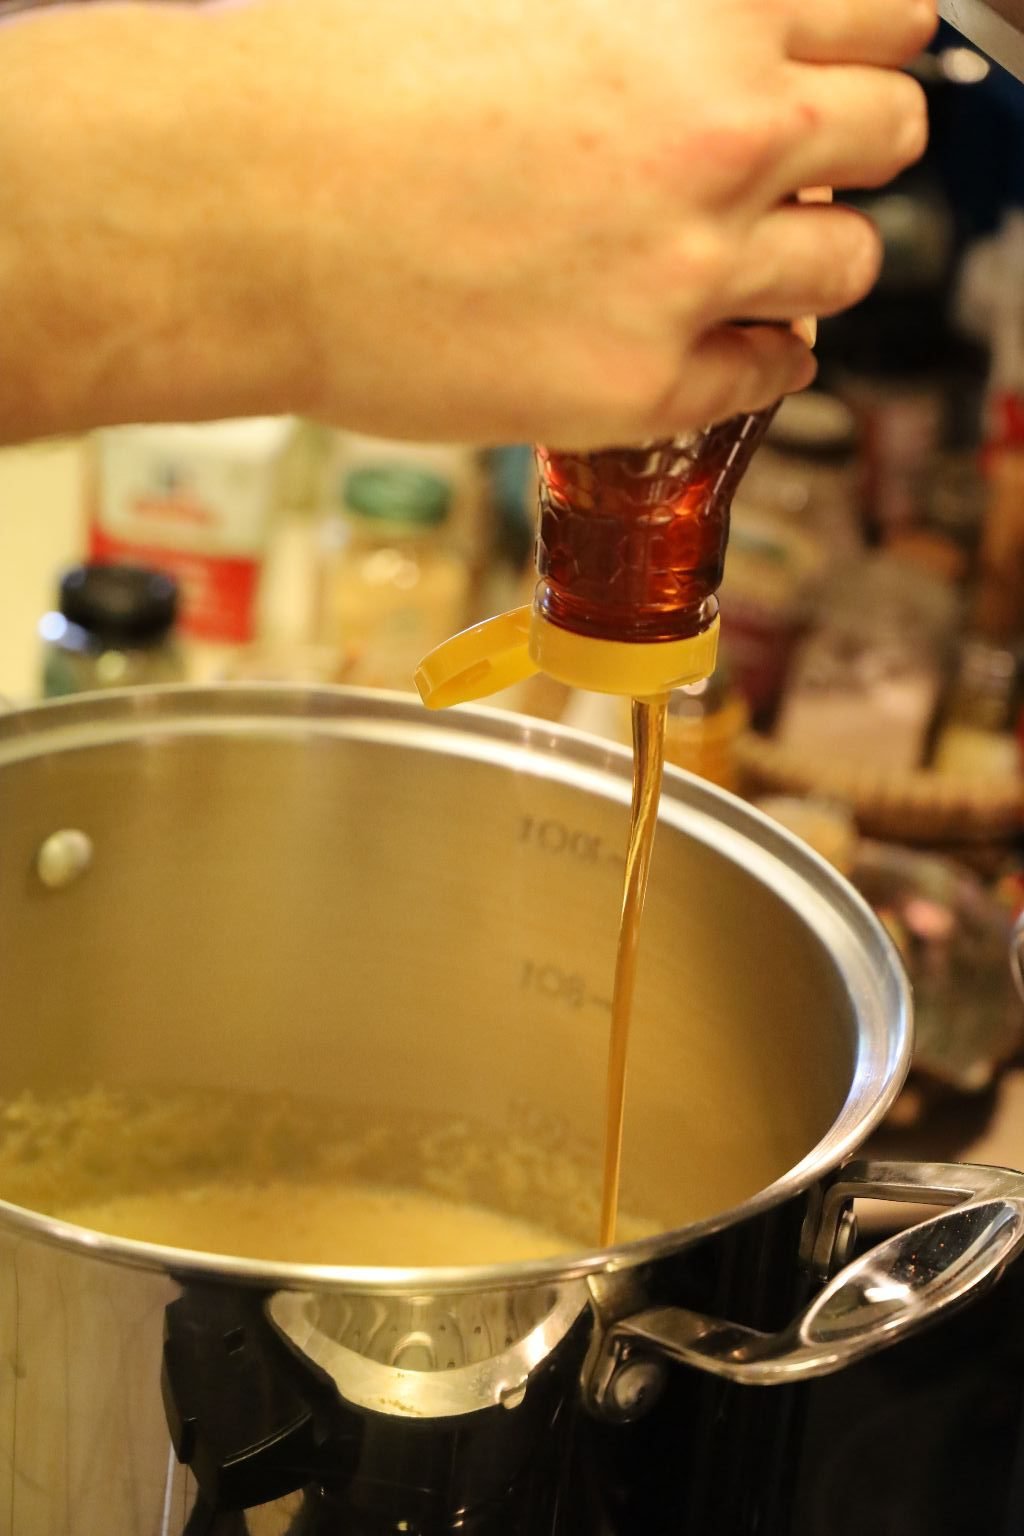
Now, add your honey to the pot. This was another nice tasting honey.
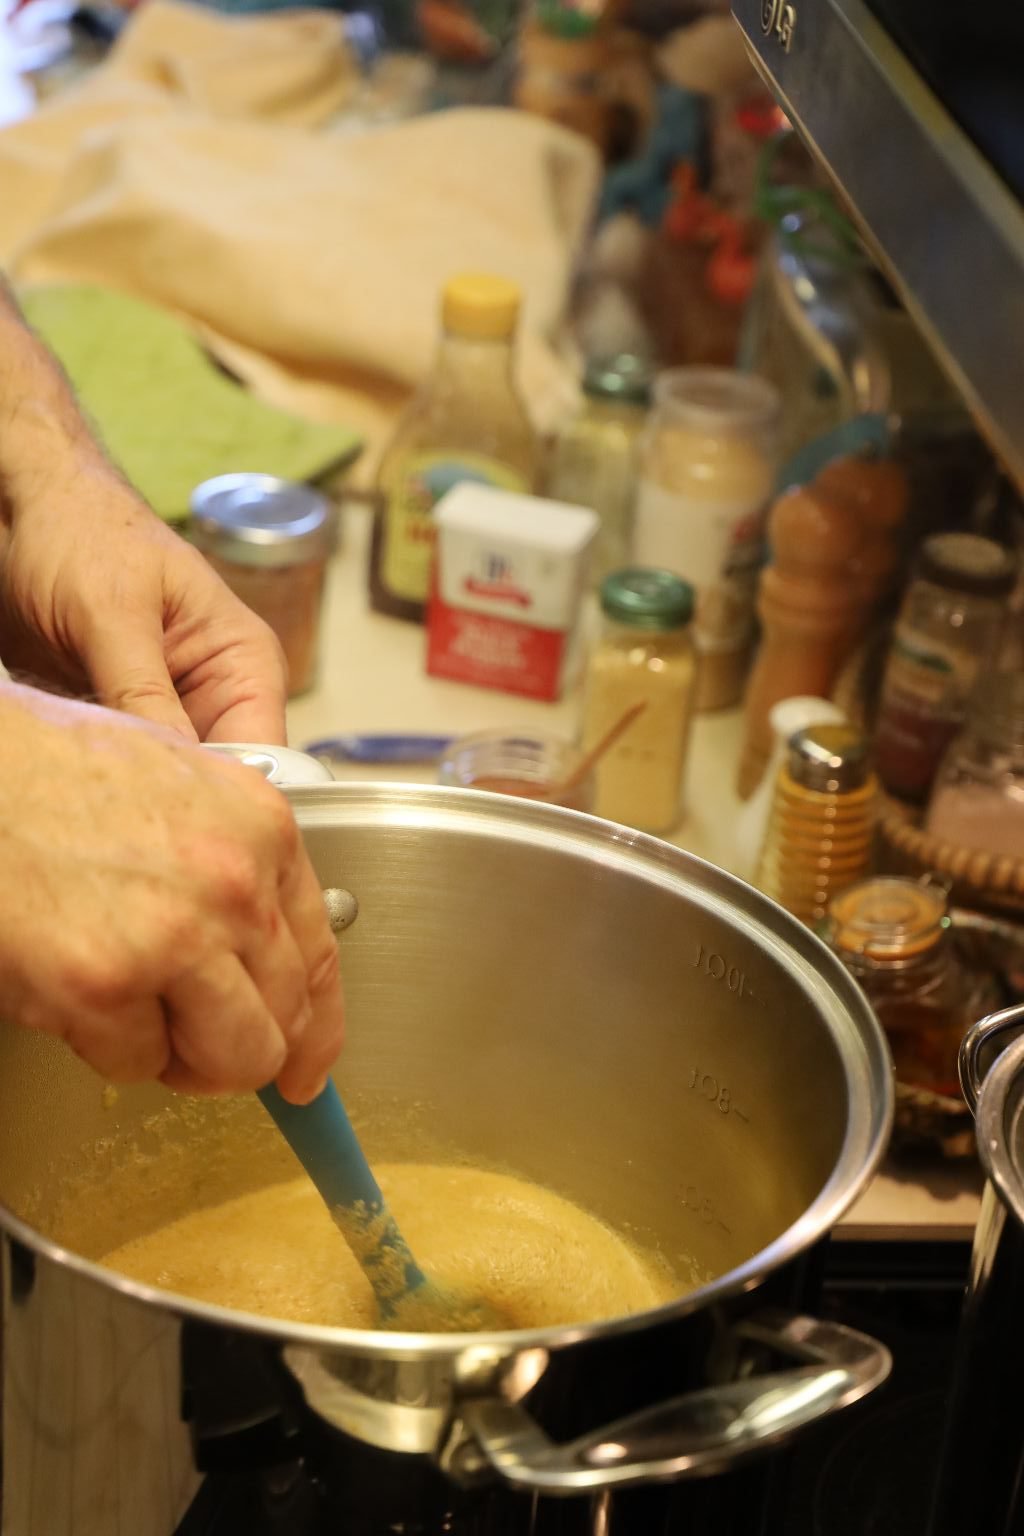
Stir the ingredients well and heat the mixture on the stove until it begins to boil.
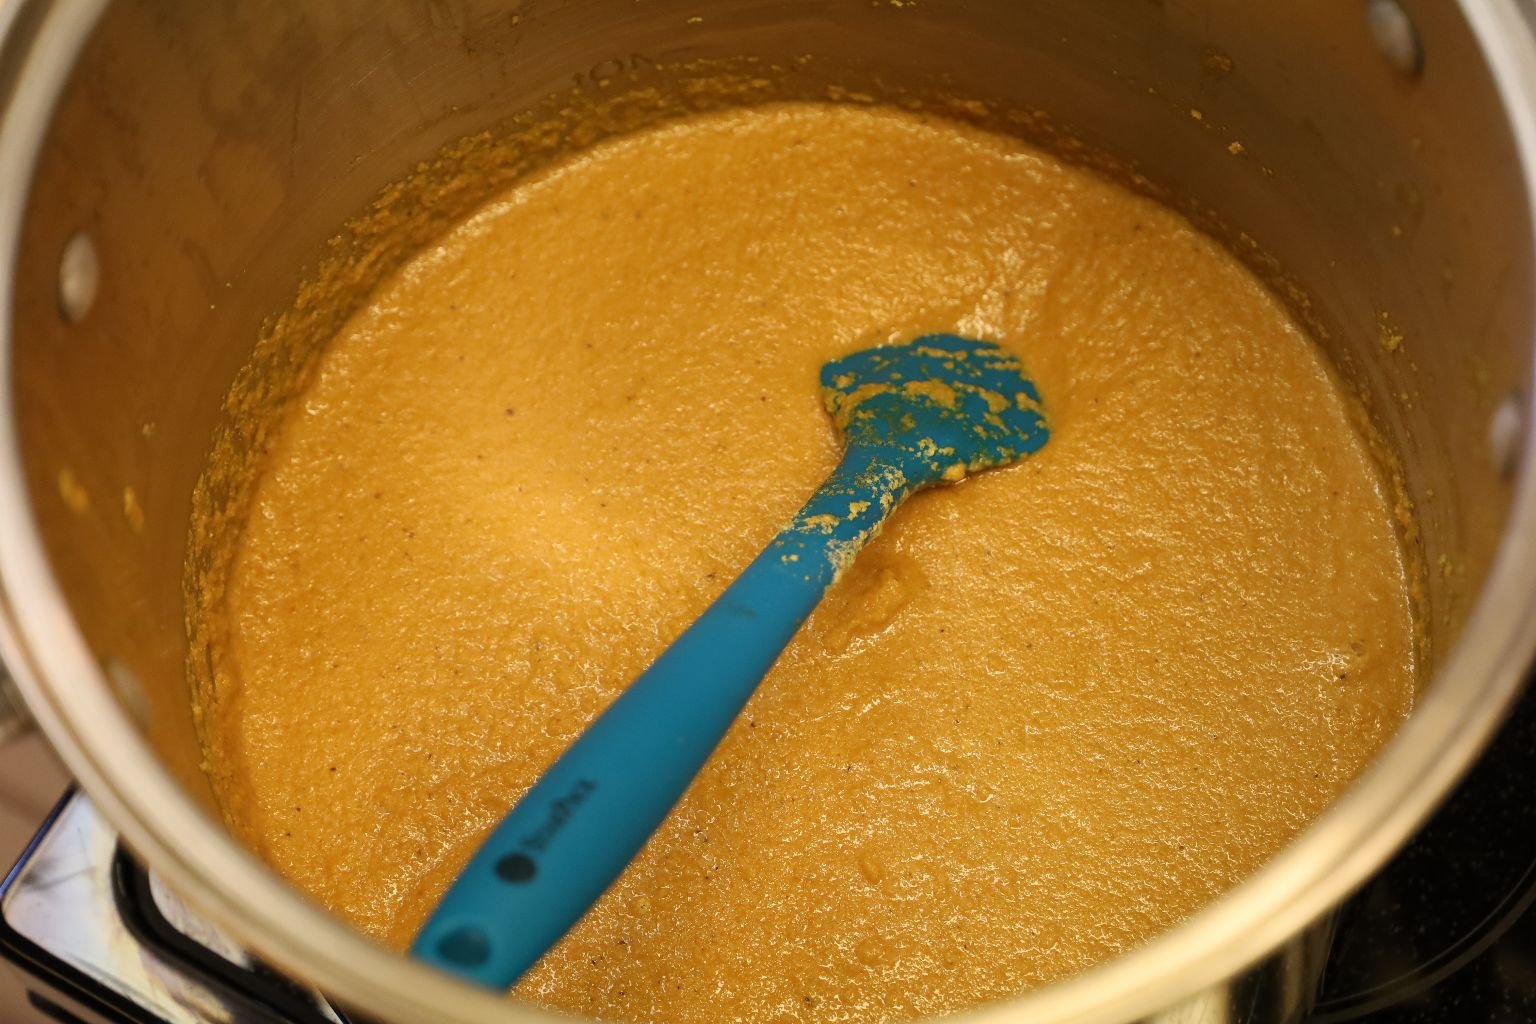
Once it boils, lower the heat and simmer the mustard until it is the consistency of your liking.
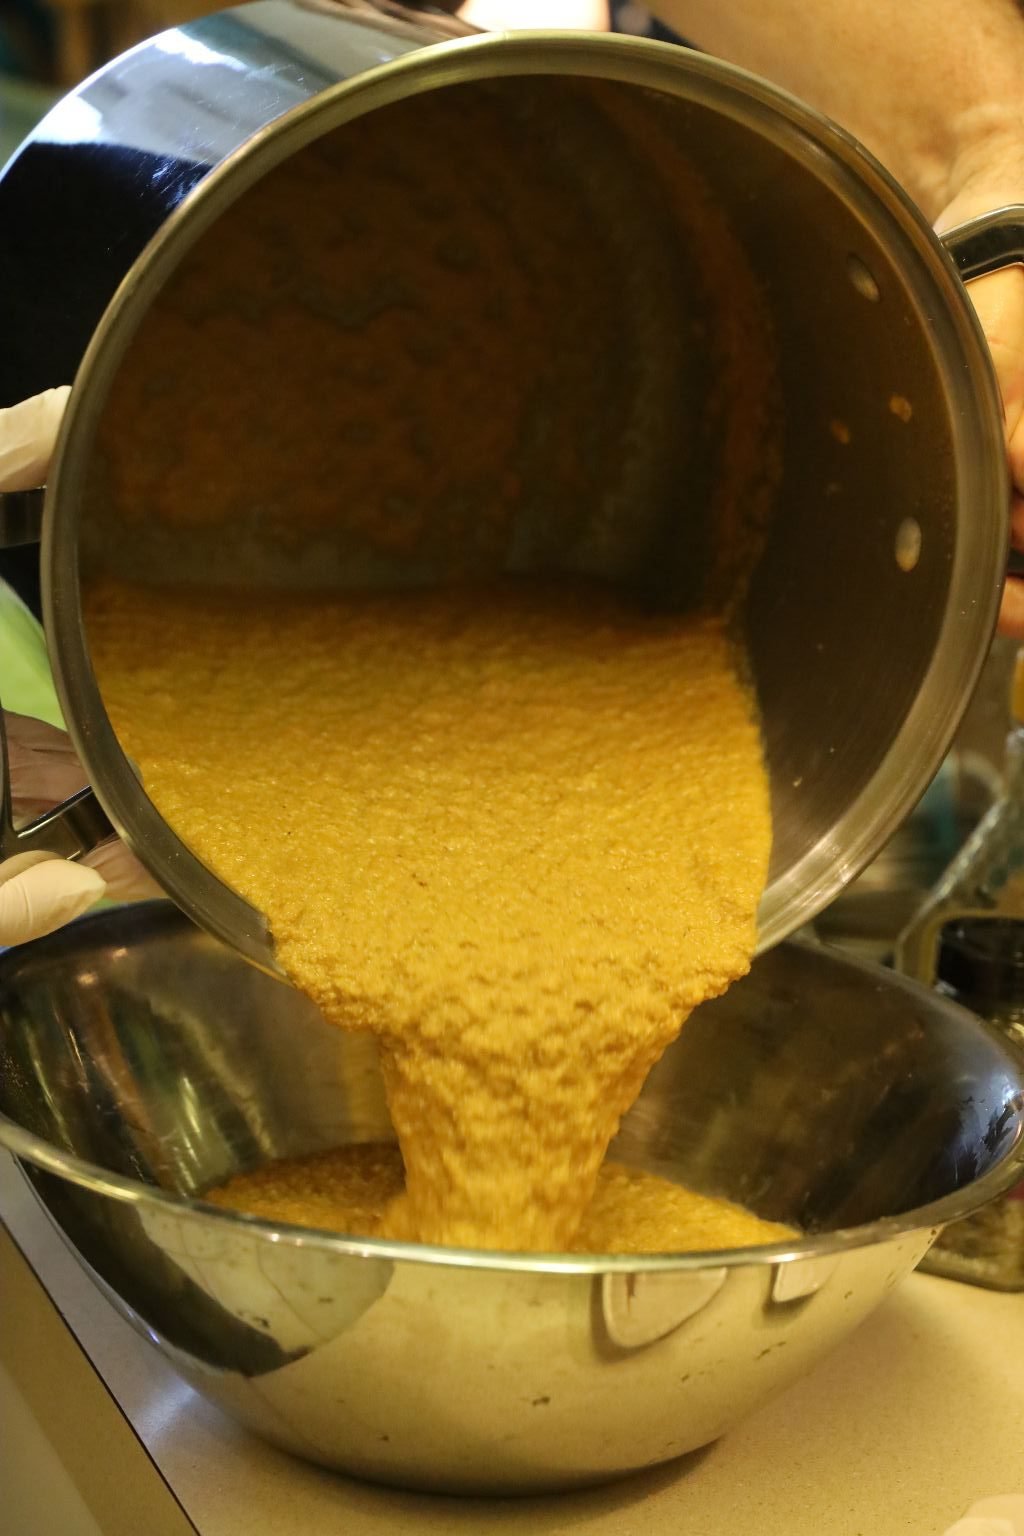
When done, I poured the mustard into a large bowl to cool.
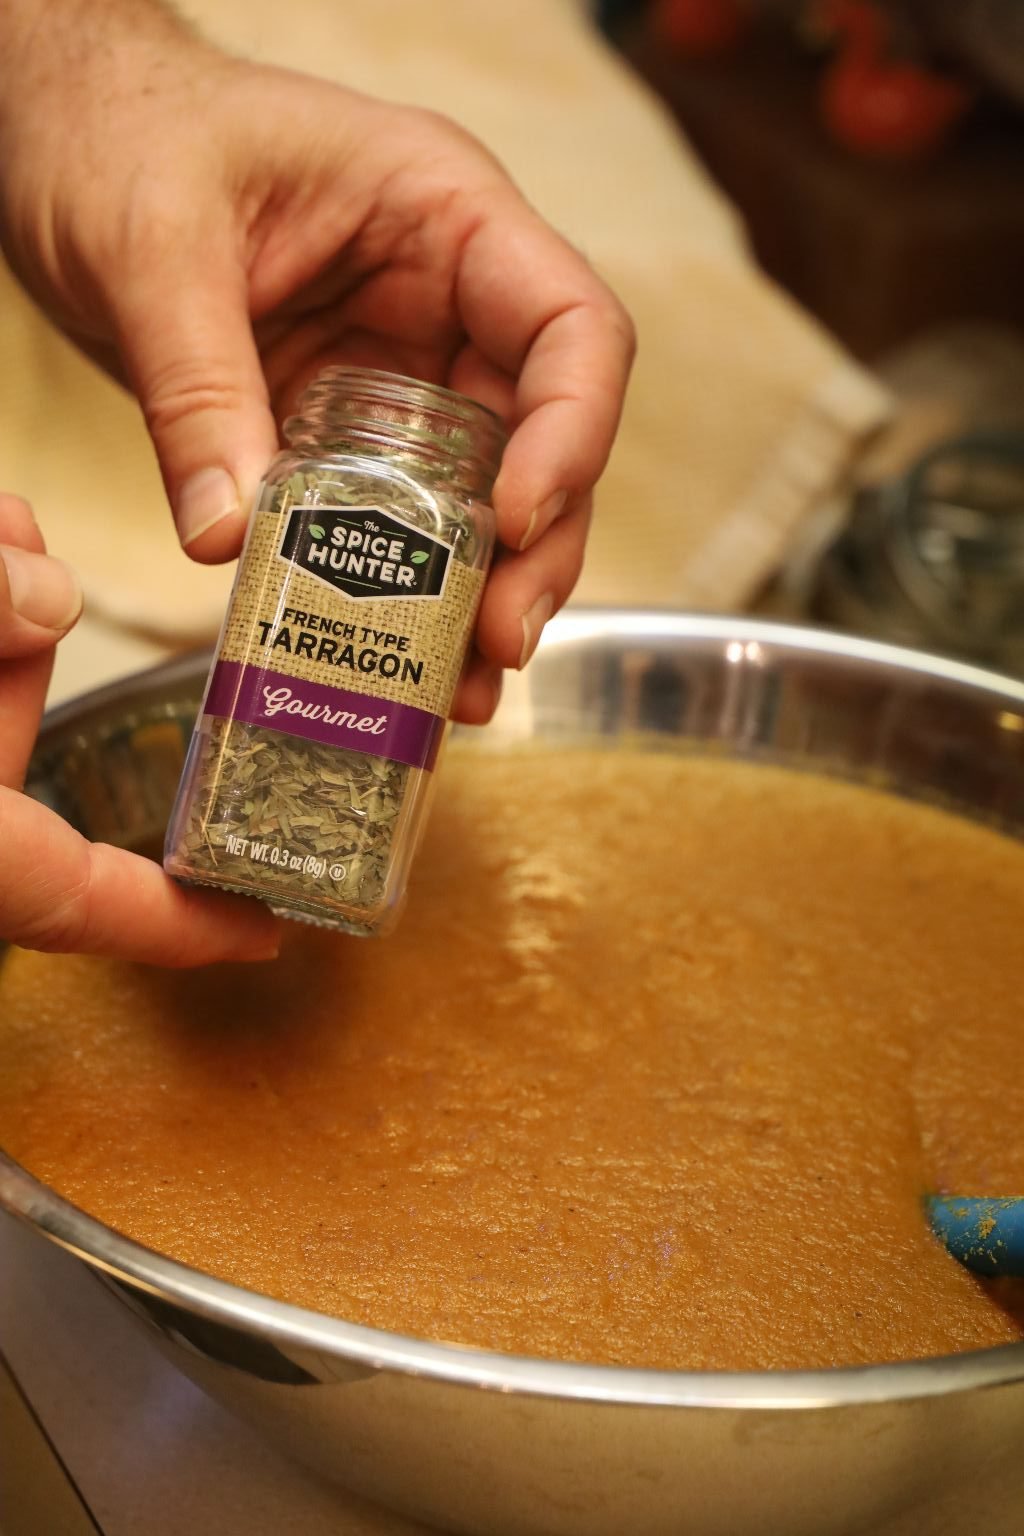
Once it is mostly cooled, I added the dry tarragon to the bowl.
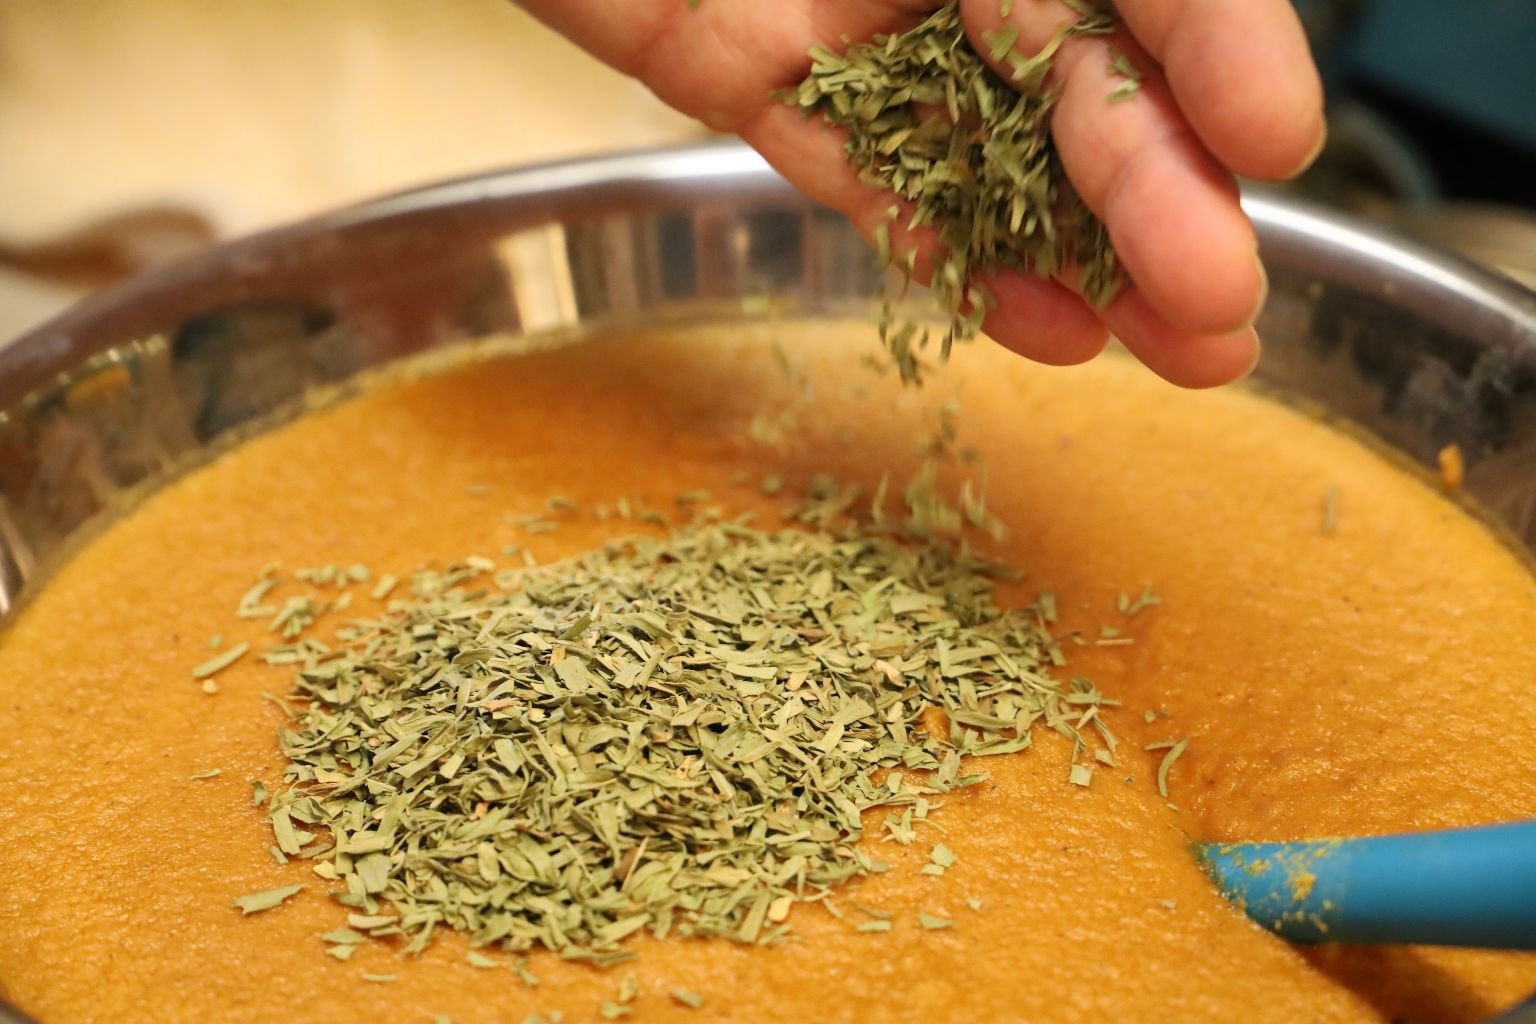
Stir all the ingredients together well.
Here you can see the mustard is nice and thick but still fluid enough to pour.
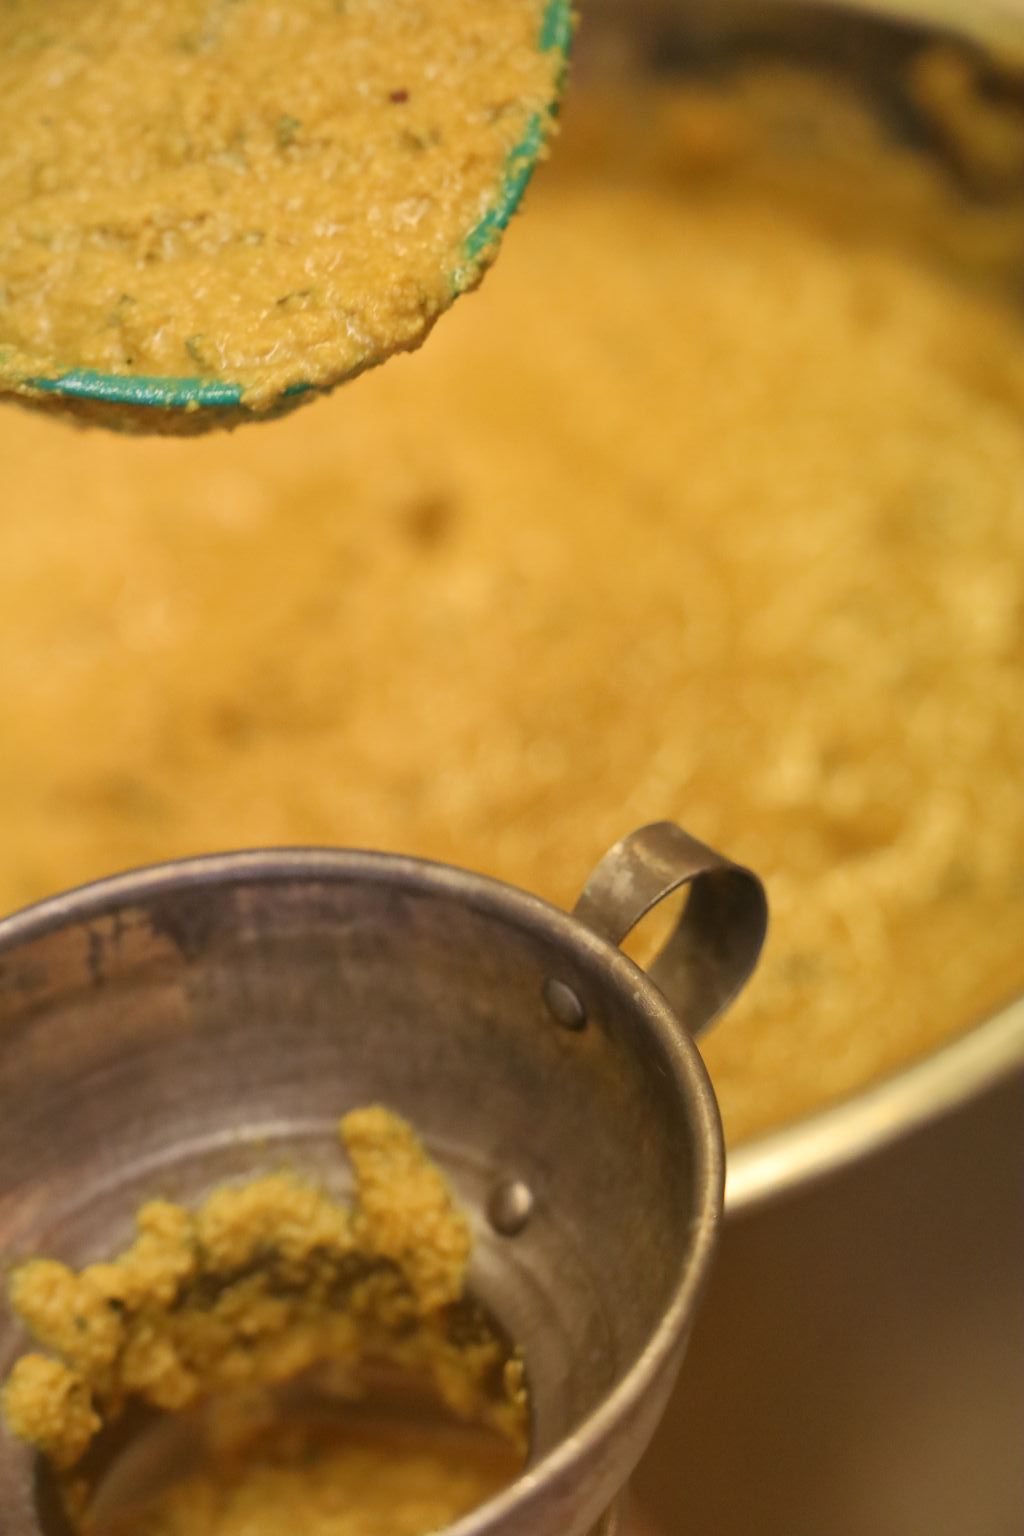
Using a ladle and funnel, add your mustard to the sterilized jars. Sterilize your jars using your dishwasher. When they are done, remove them and cover with a dishtowel until ready to use. Place your lids in a pot of almost boiling water to soften the rubber seal. An almost boil will just start to show tiny bubbles in the water which will just make the seal pliable. If you bring the water to a hard boil, you might ruin the rubber seal.

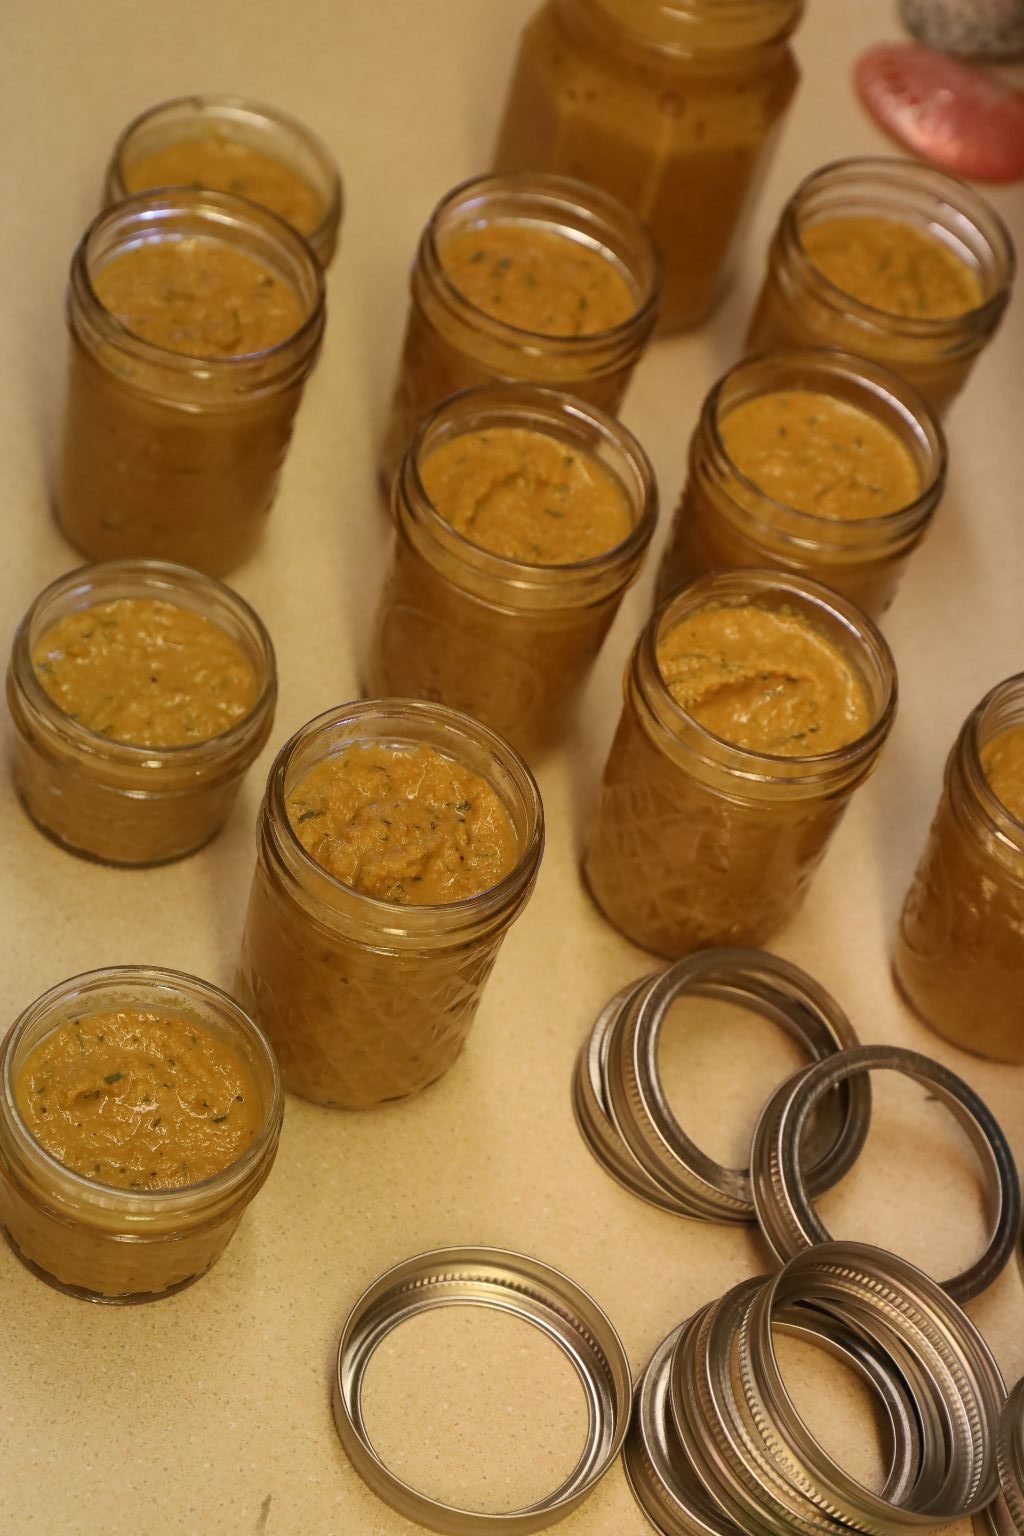
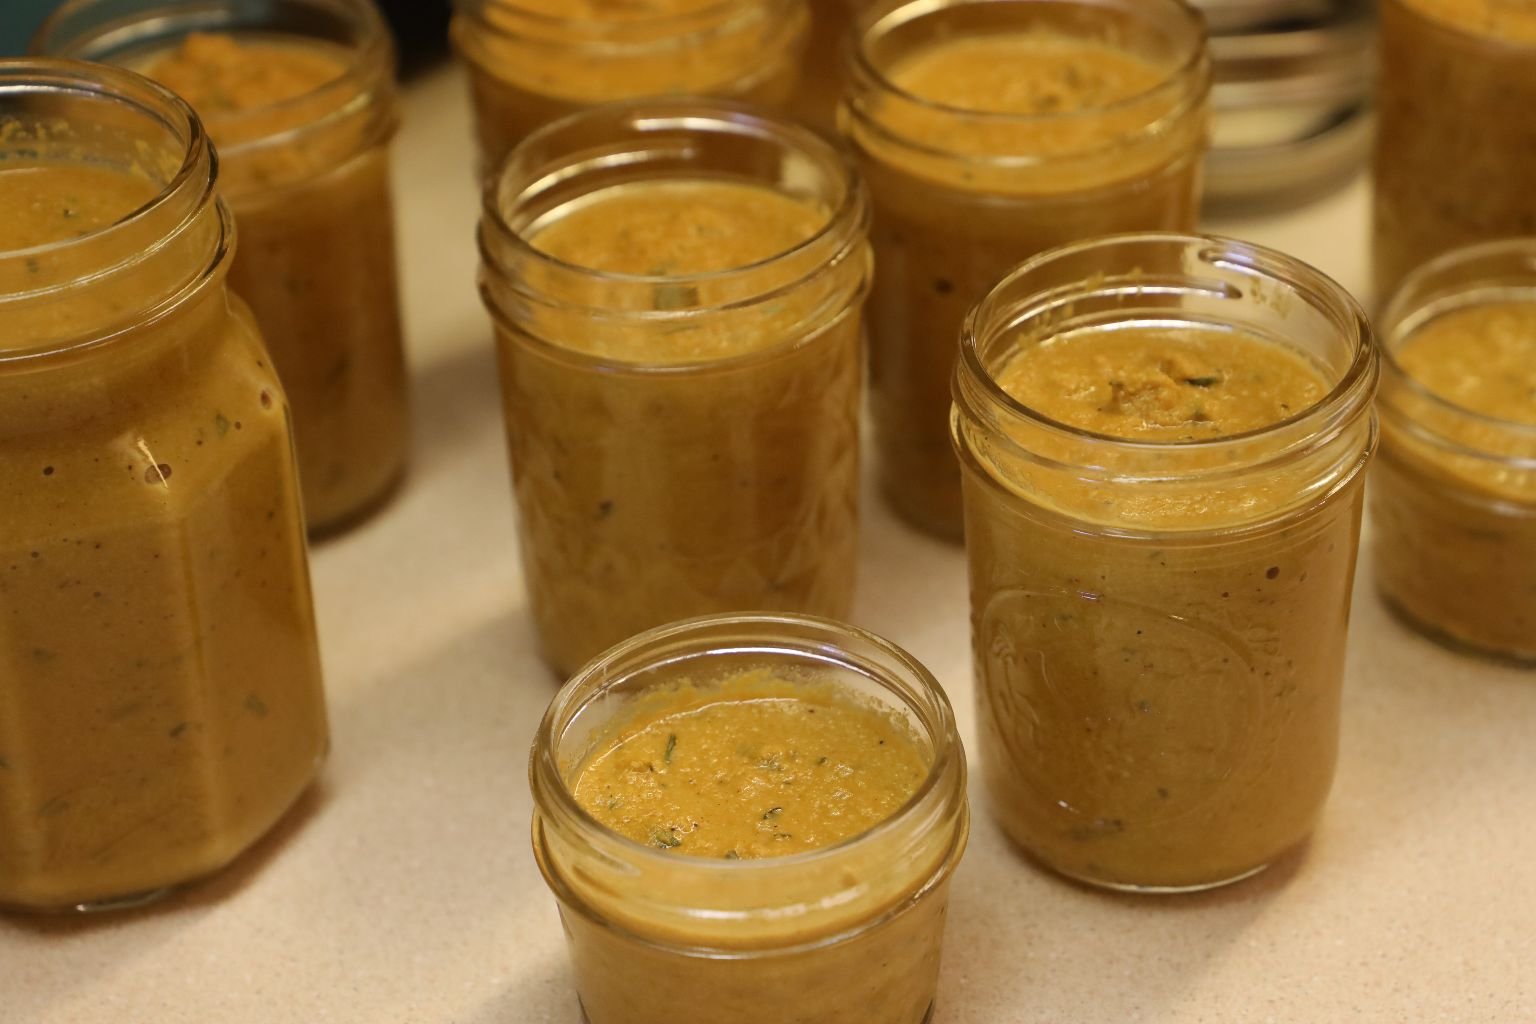
Wipe down the top of the jar with a wet paper towel until clean. If it is not clean, the lid will not seal properly.
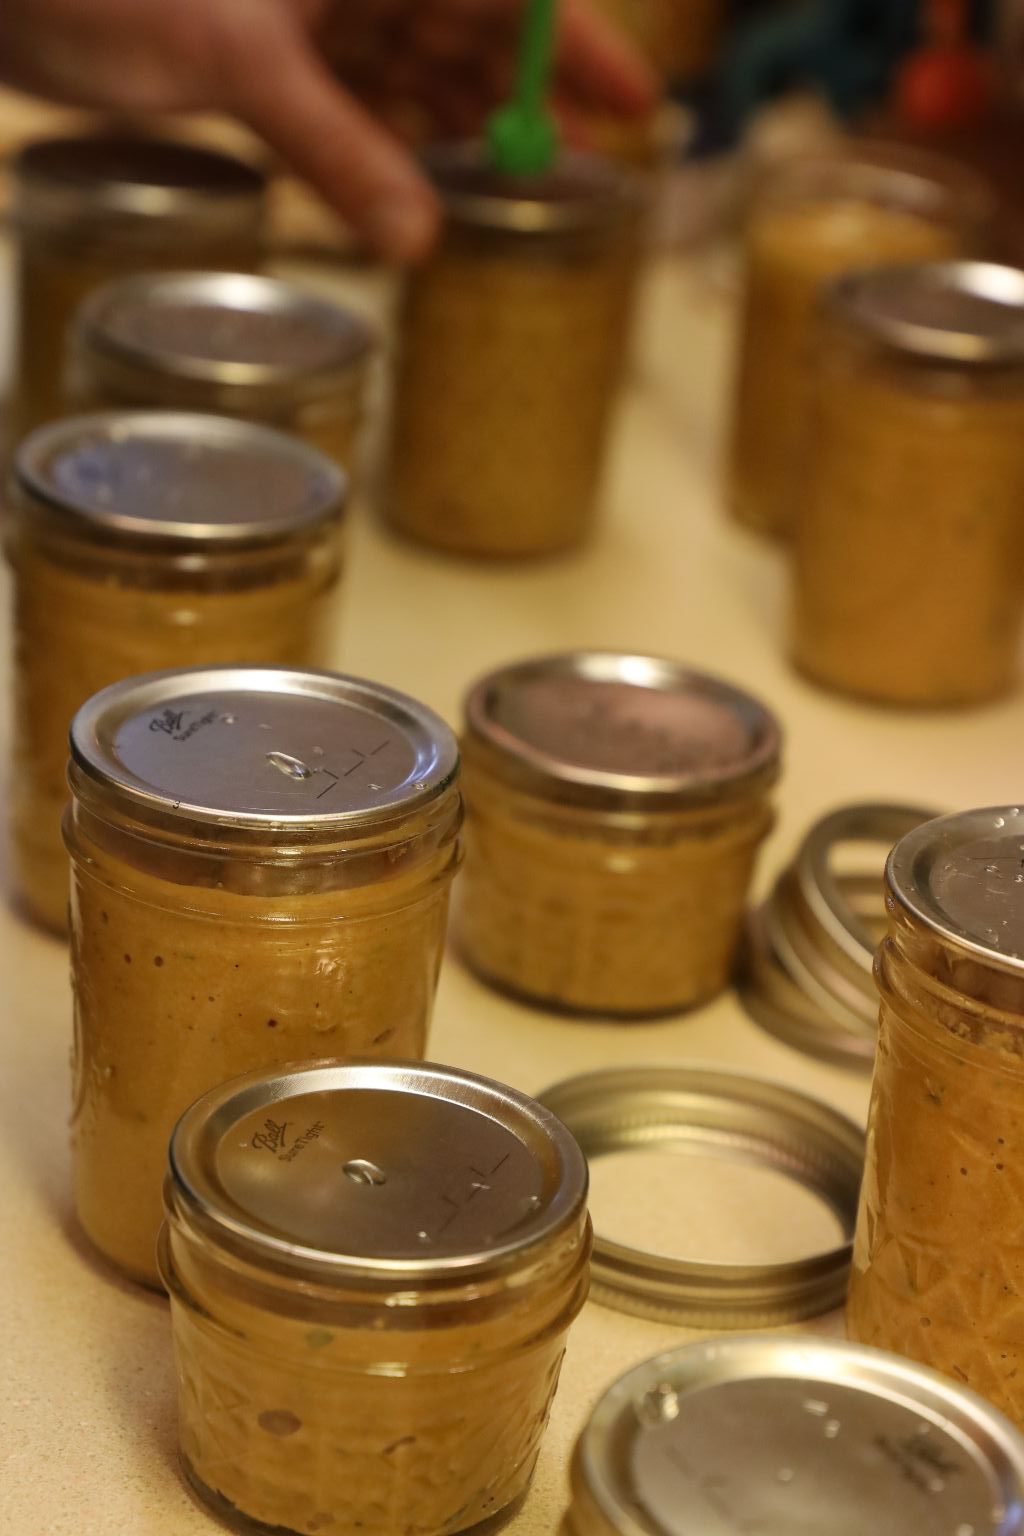
Using the magnetized stick, remove the hot lid and place it on the jar as shown. Place a ring on the jar and barely tighten the lid. This will allow the air to escape as it boils in the next step creating a vacuum within the jar.
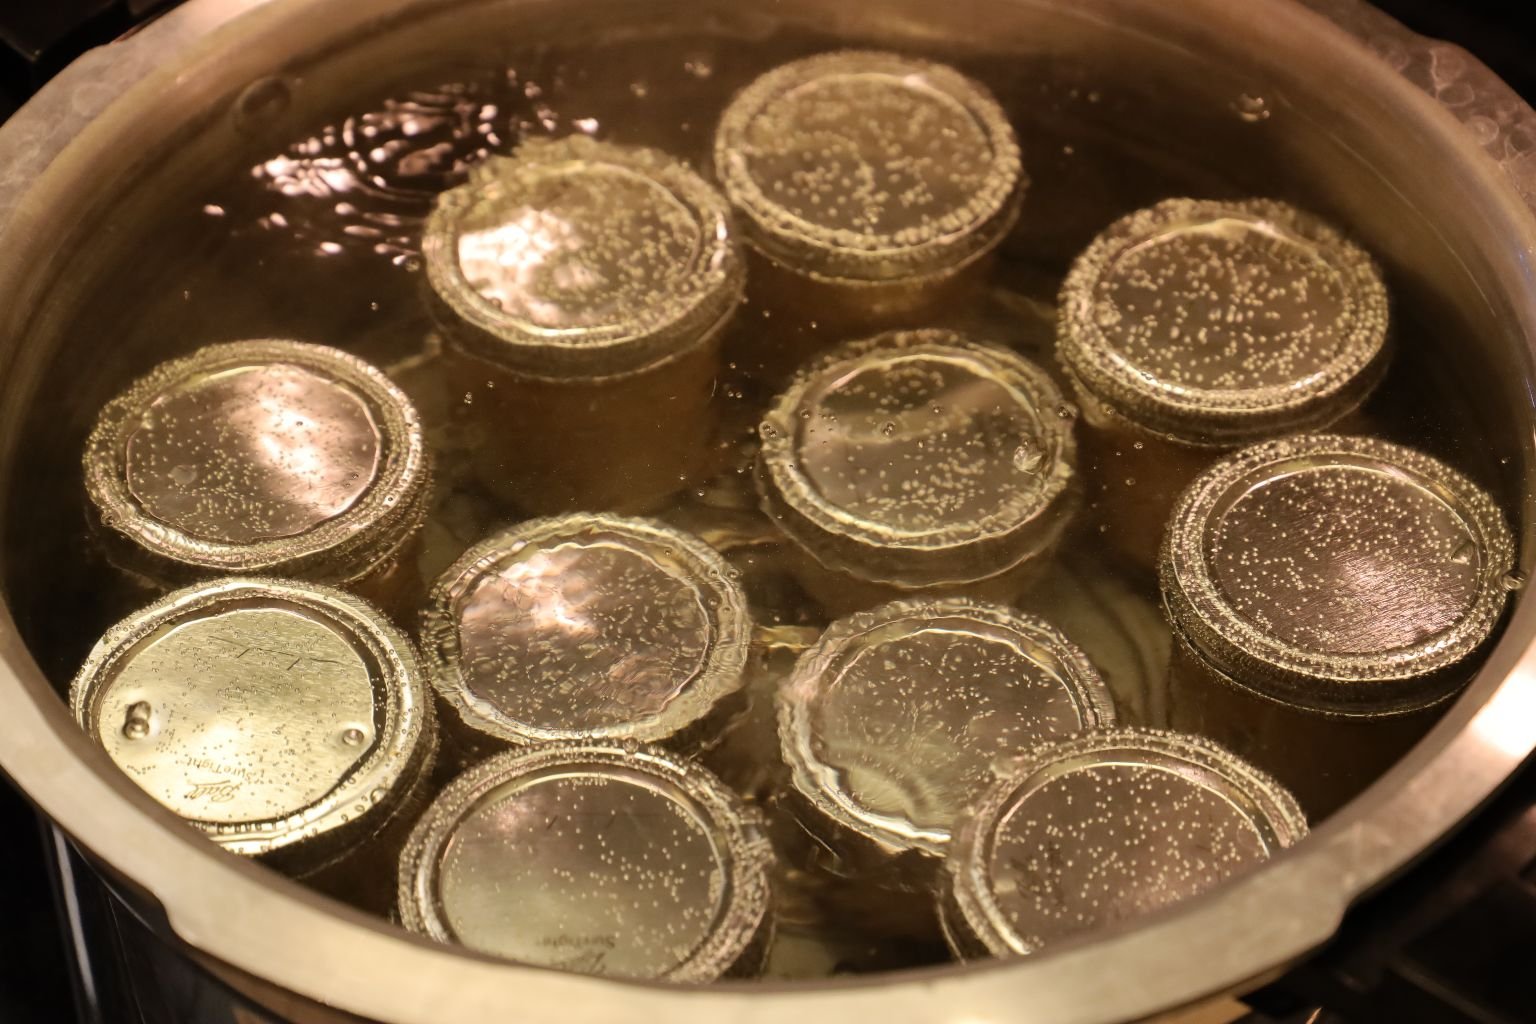
After all of your jars are in the pot, ensure there is about 1 inch of water covering them. Bring the water to a boil and boil the jars for 15 minutes. This step is called processing the jars.
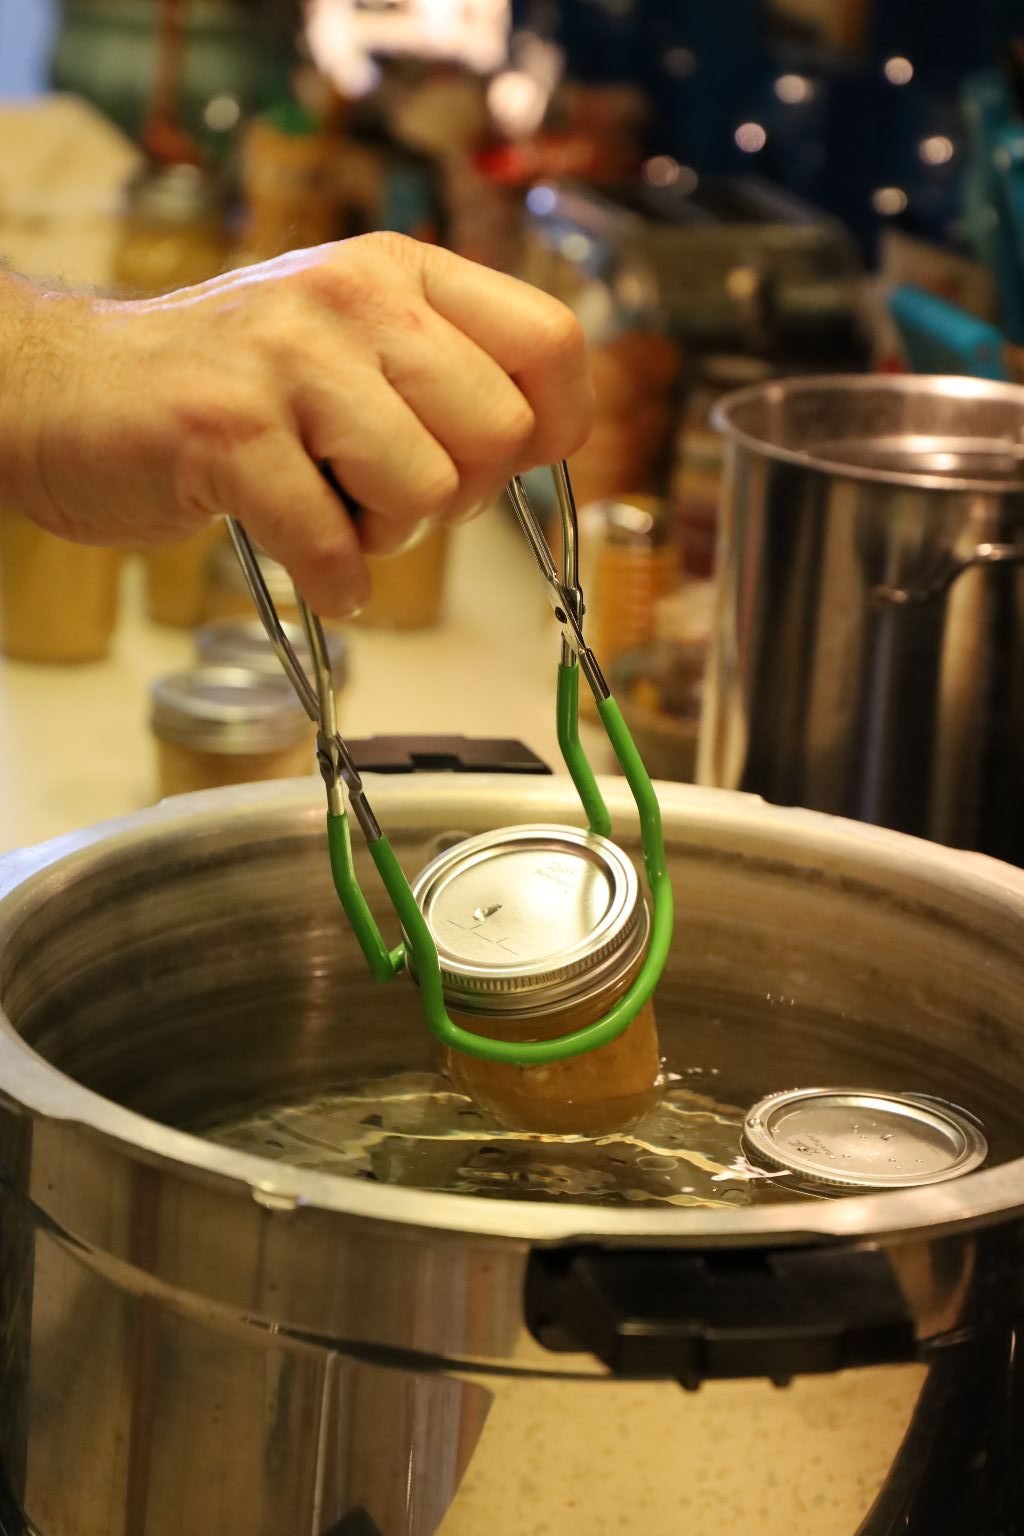
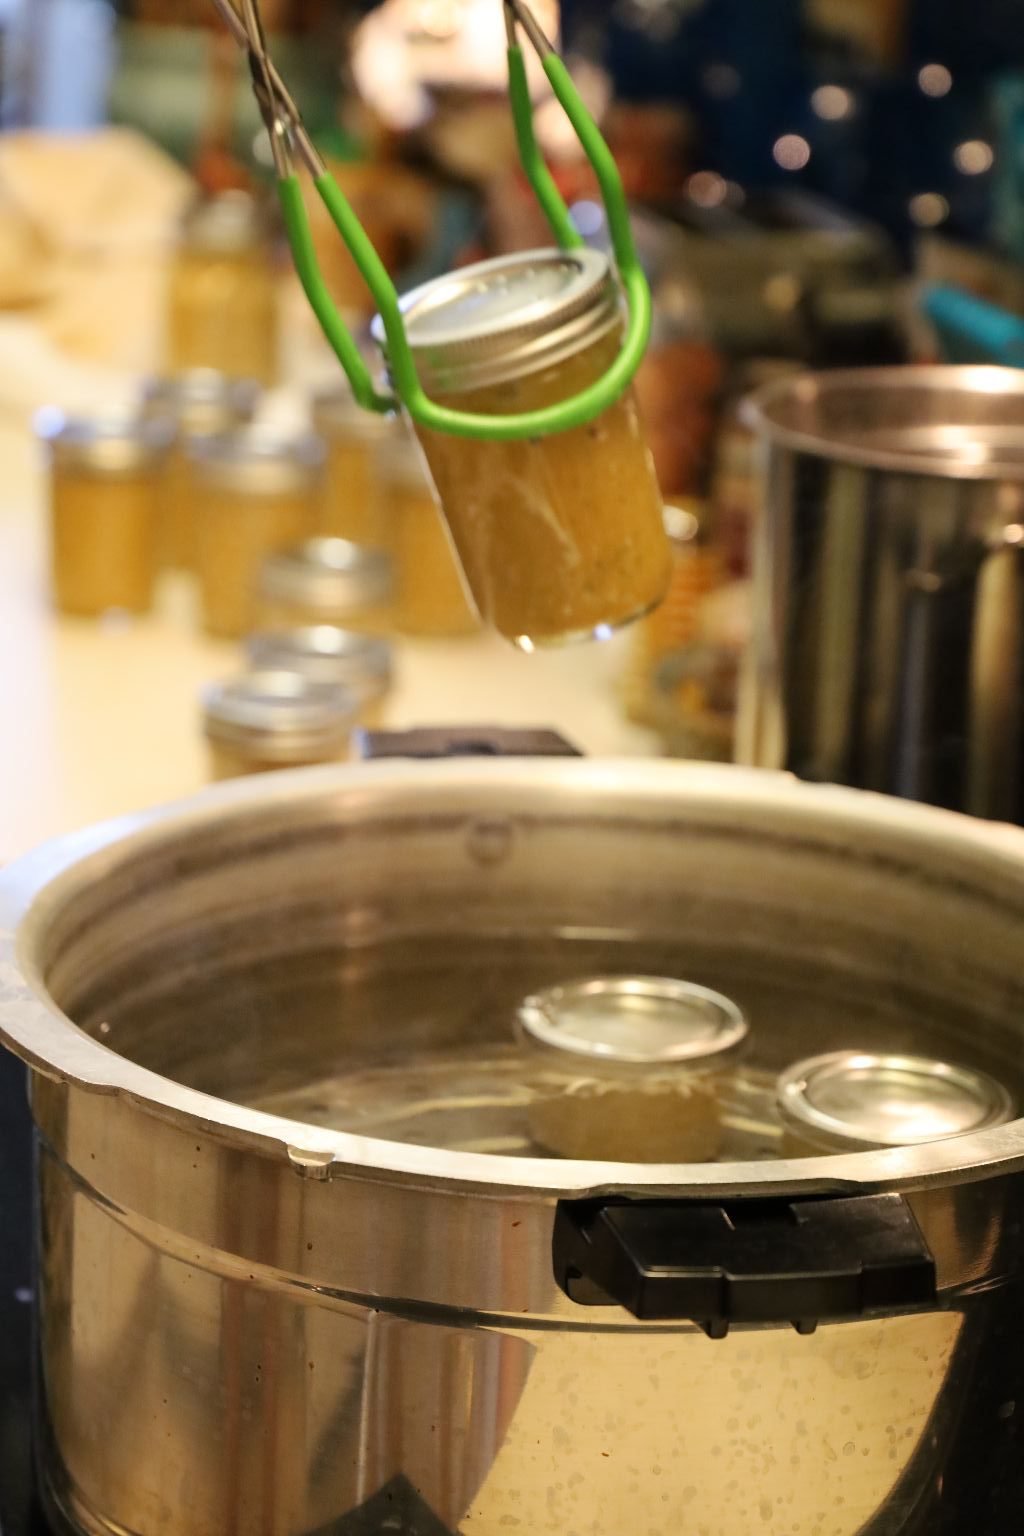
Using the special tongs, remove the jars from the water and place them on a dishtowel. You should begin to hear the lids pop as they seal. This is caused by the lid being pulled down from the vacuum within the jar. This means that your mustard jar is sealed properly. Caution, the jars will be extremely hot during these next steps. After about an hour, if the lid can be pushed down, the lid didn’t seal and needs to be processed all over again. In this case, remove the lid, wipe down the top of the jar and possibly remove some of the mustard to ensure you had enough headspace. Then, add another lid as before and process the jar again for another 15 min. in the boiling water. If the lid seal is down and properly sealed, carefully remove the ring as the jar will still be hot, and wipe the lid and the inside of the ring with a dry paper towel. This will prevent any rust forming over time as the mustard sits in your pantry. The ring is only there to ensure the lid doesn’t accidentally get lifted up. Replace the ring finger tight when it is dry.
————————————————————
Time to Make our Almost Yellow Mustard
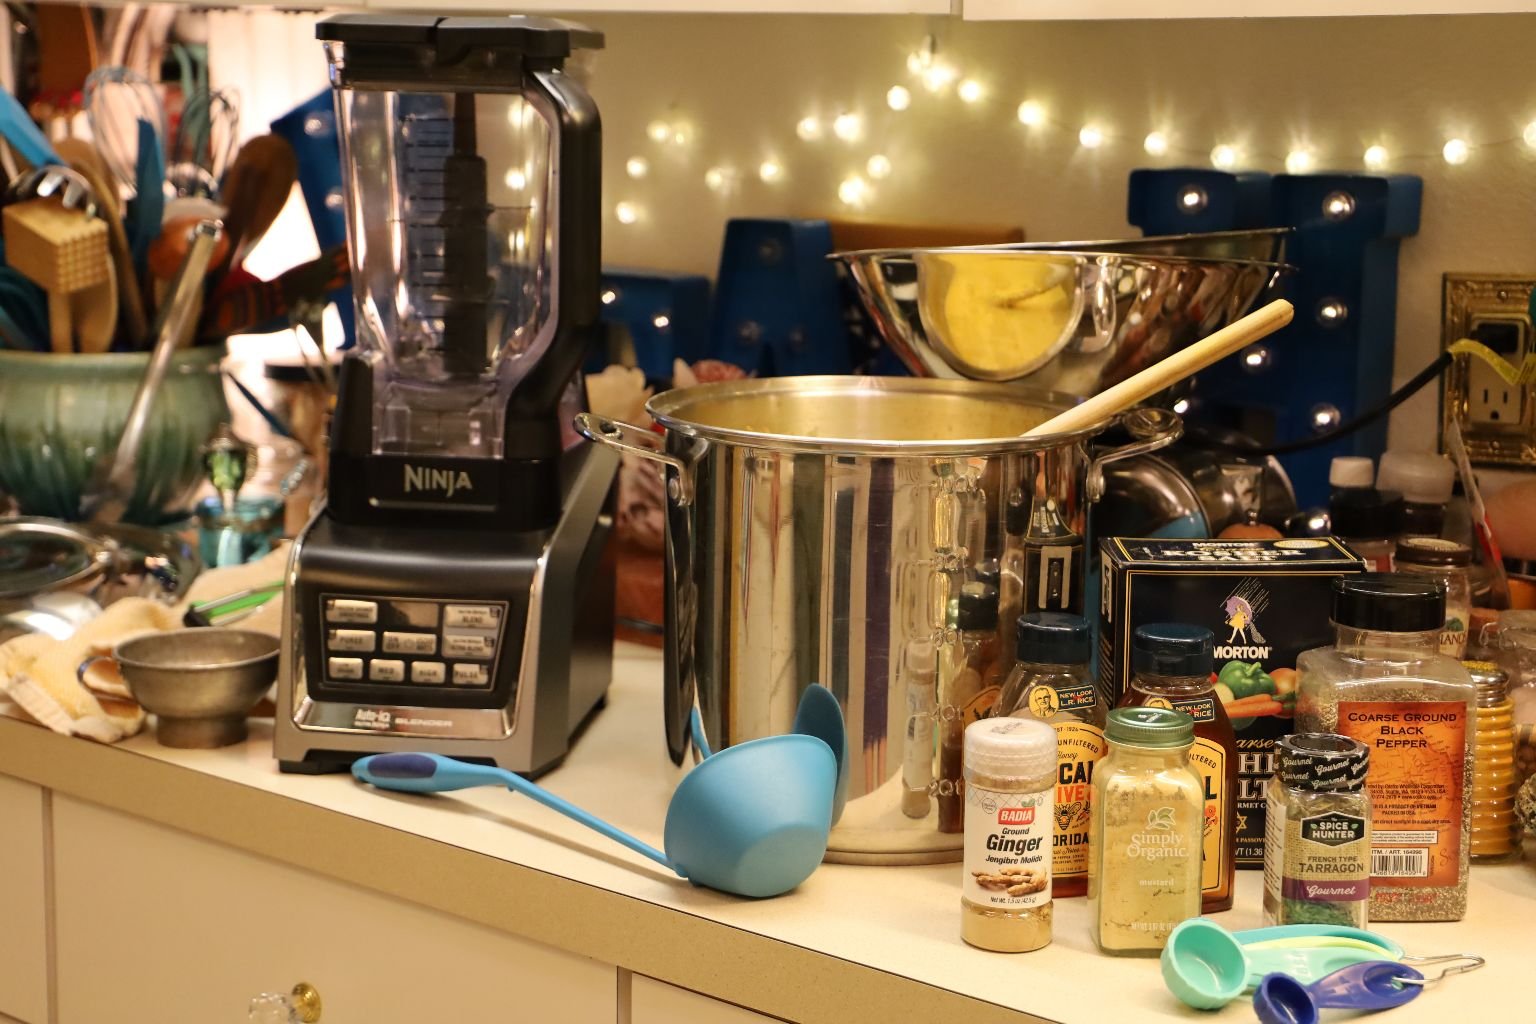
Ingredients and tools we used for our mustard’s.
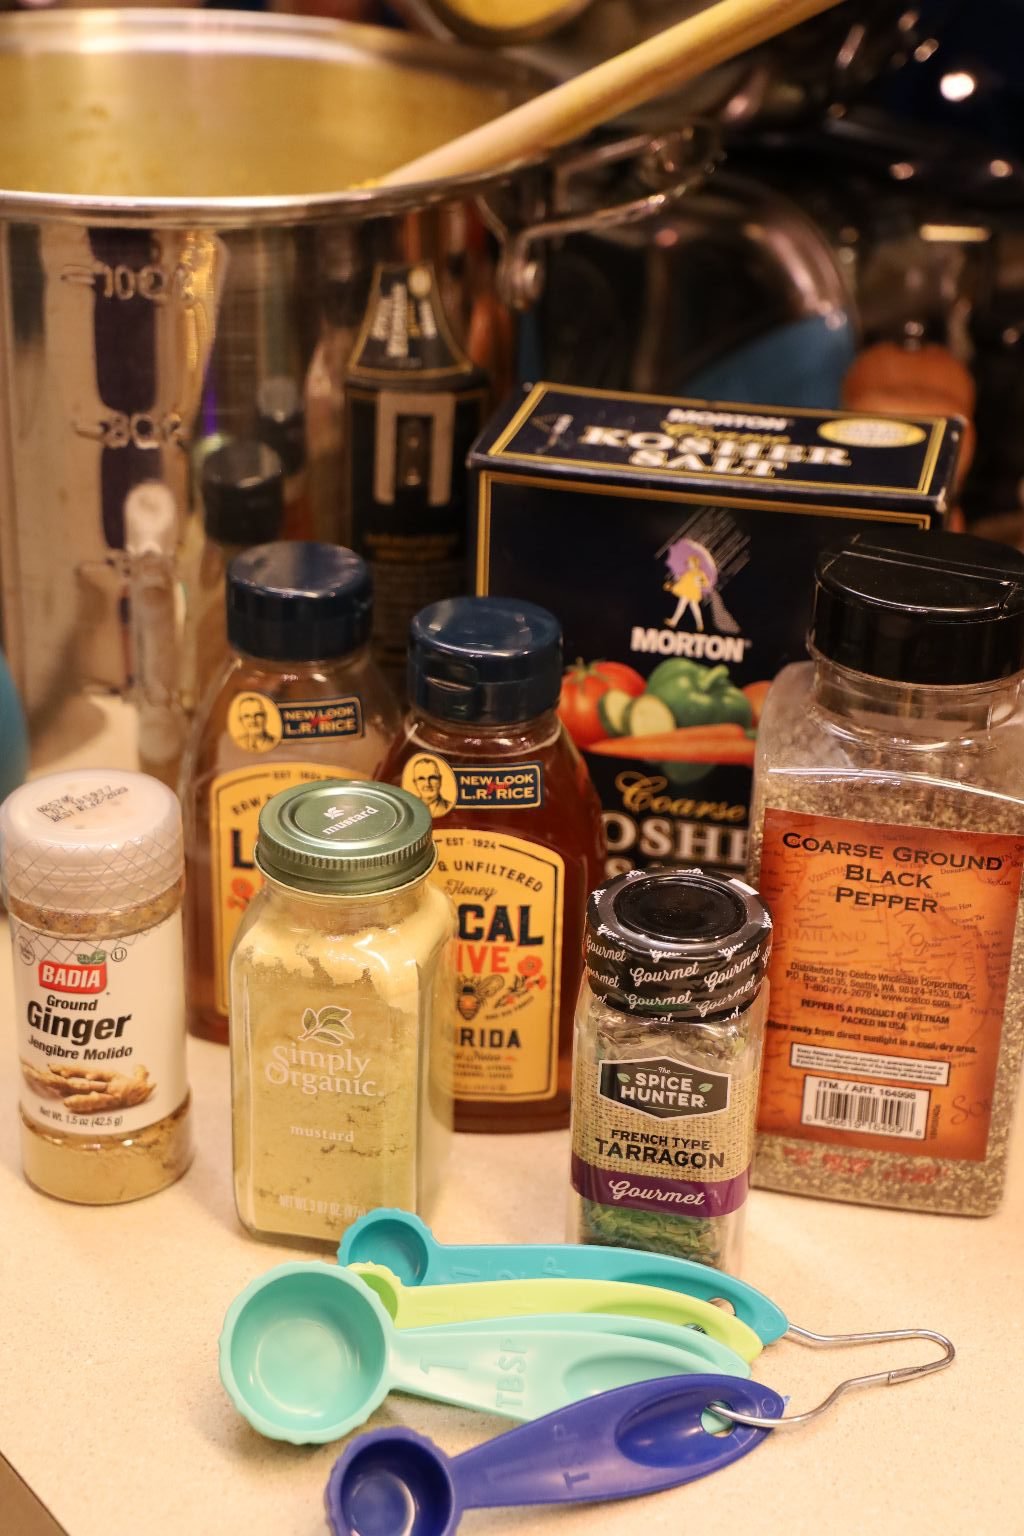
(Disregard the dried tarragon in the photo above.)
Ingredients:
12 Cups of the Yellow Mustard Base
1 tsp. Kosher Salt
3 tsp. Black Pepper
1 1/2 Tbsp. Mustard Powder
1 1/2 Tbsp. Turmeric Powder
3/4 Cup Honey
1 1/2 Tbsp. Sweet Paprika
1 tsp. Garlic Powder
(Always taste as you go. This is after all, geared towards your personal tastes. If you want more Paprika, then add more Paprika.)
———————————————————–
Gordon Dividing our Yellow Mustard Base
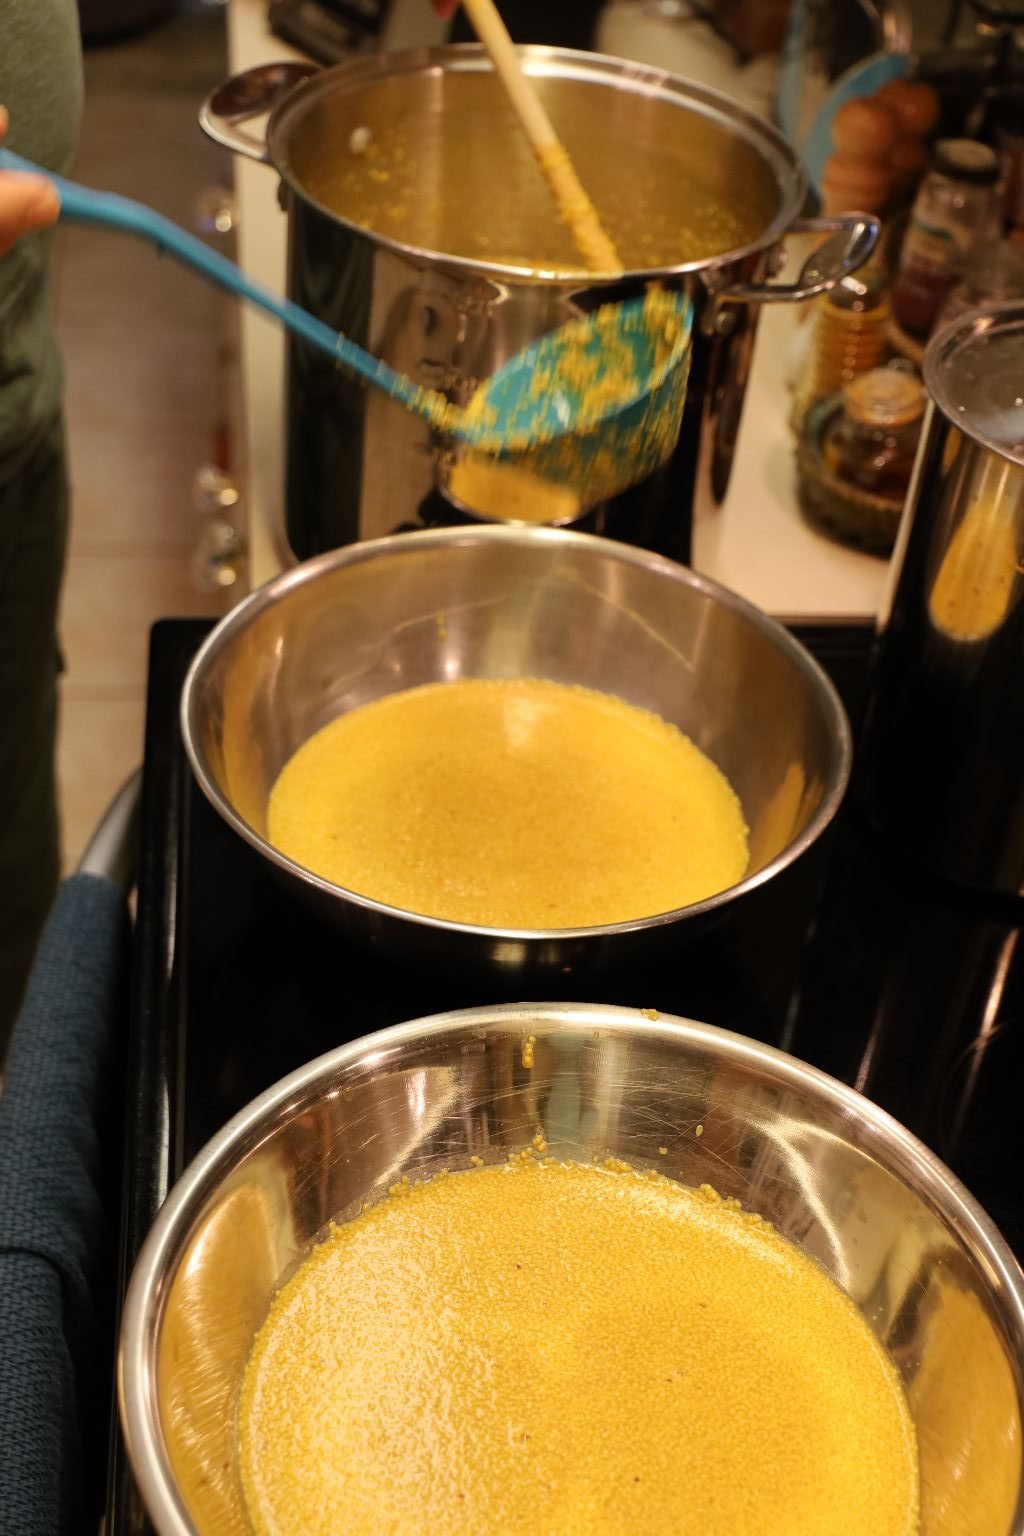
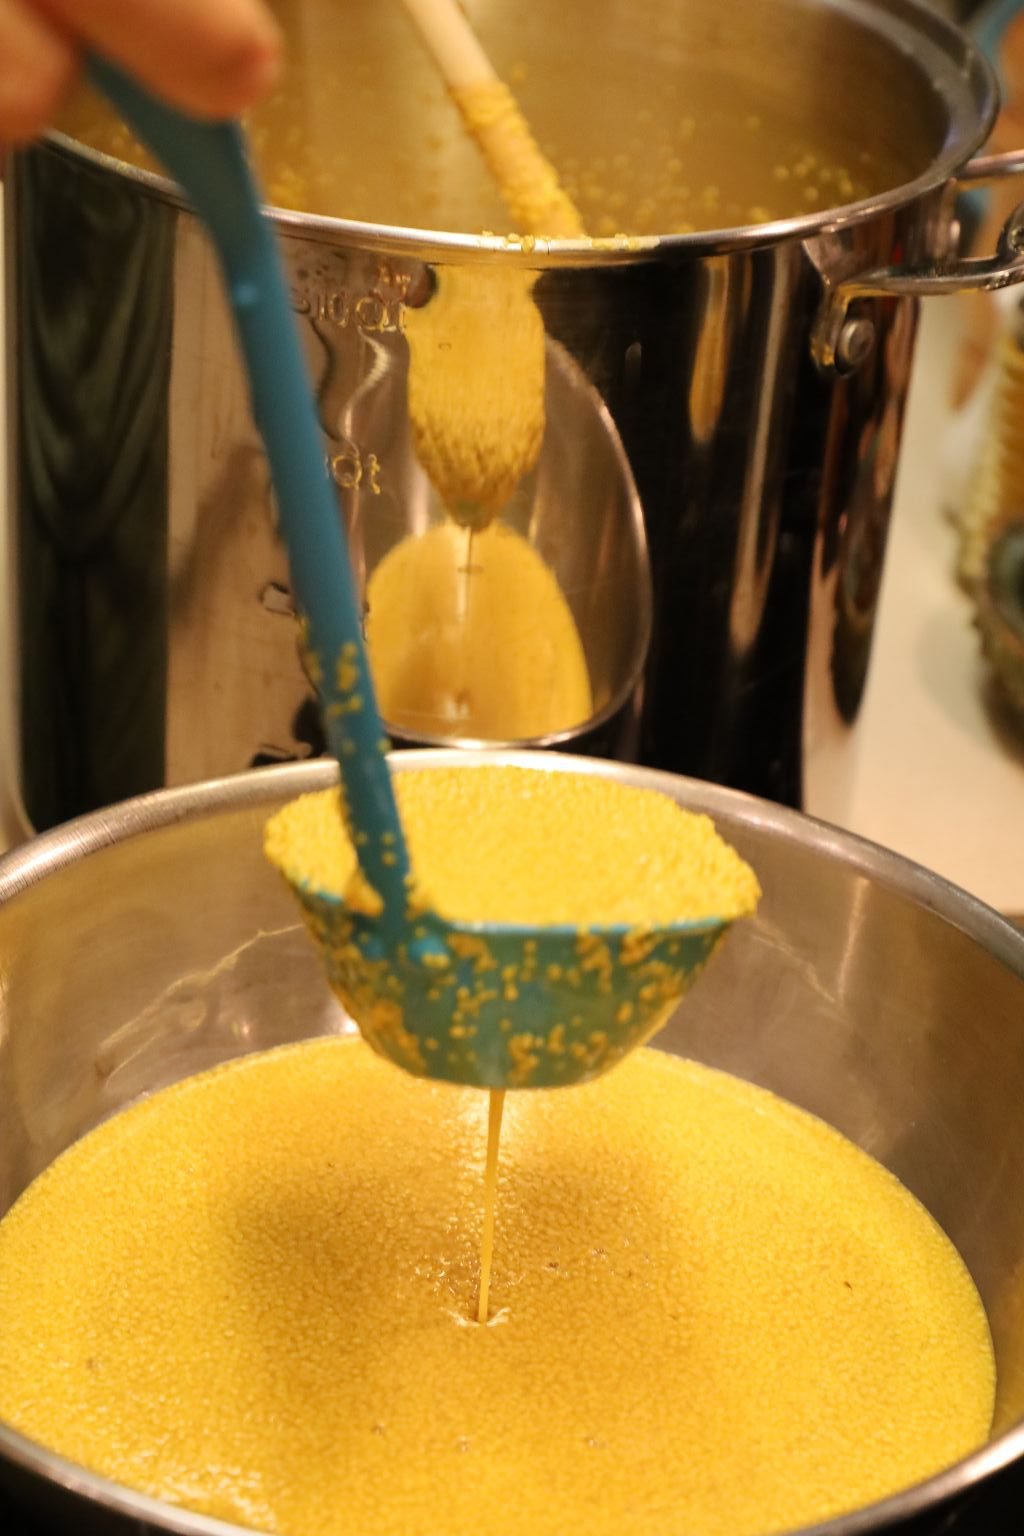
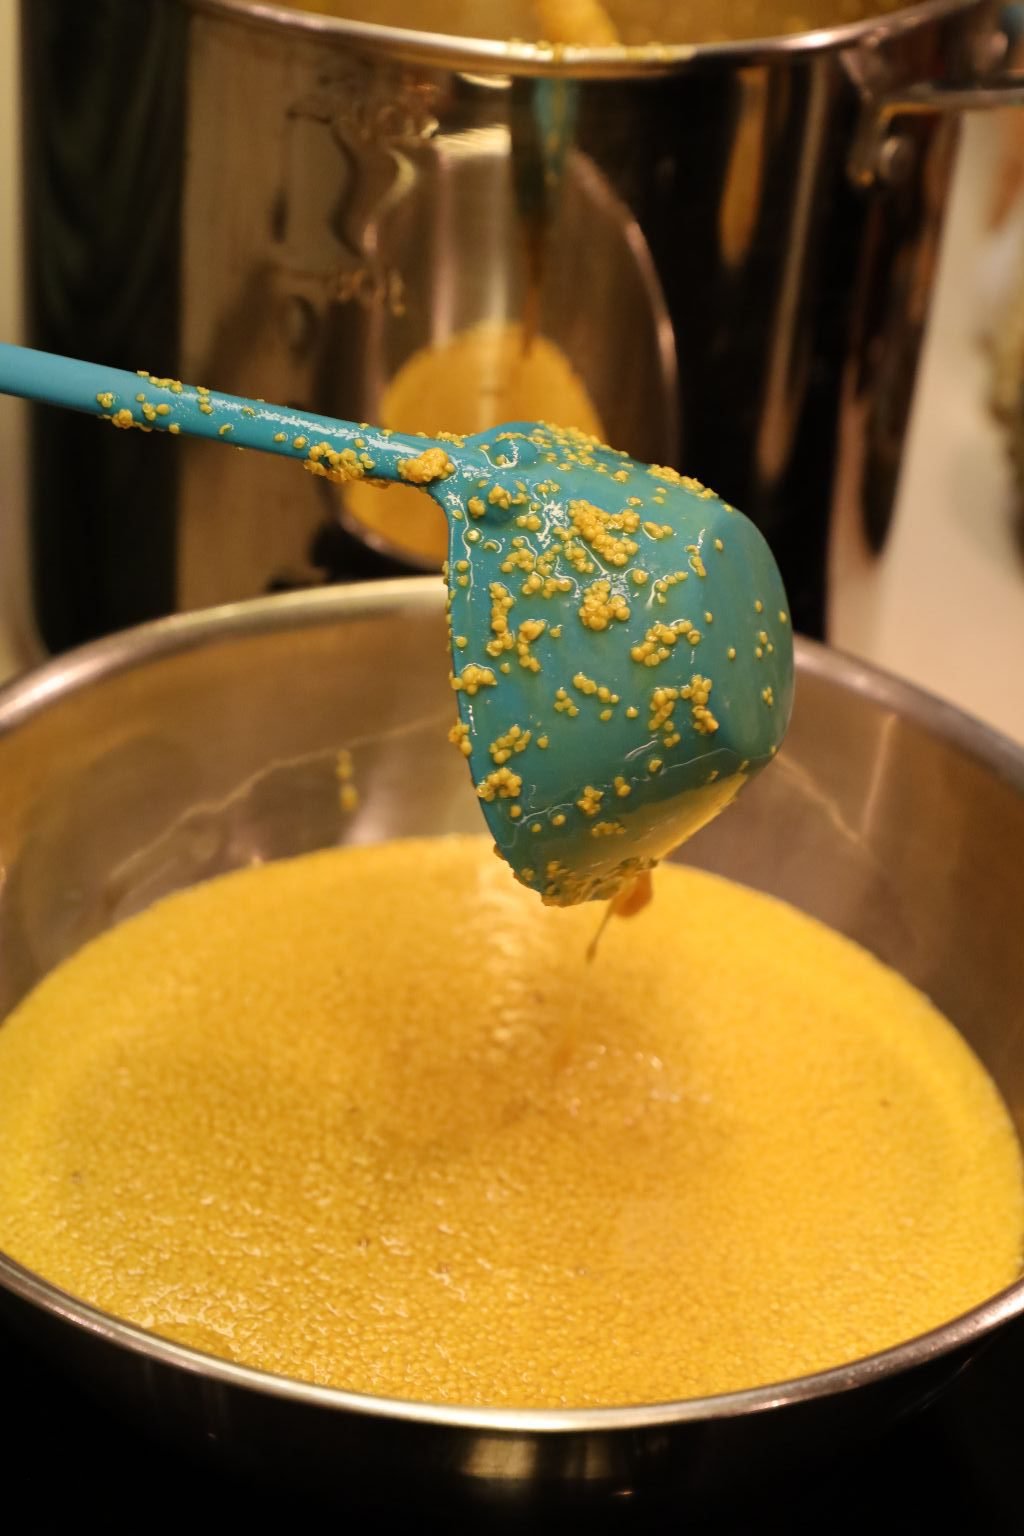
—————————————————————-
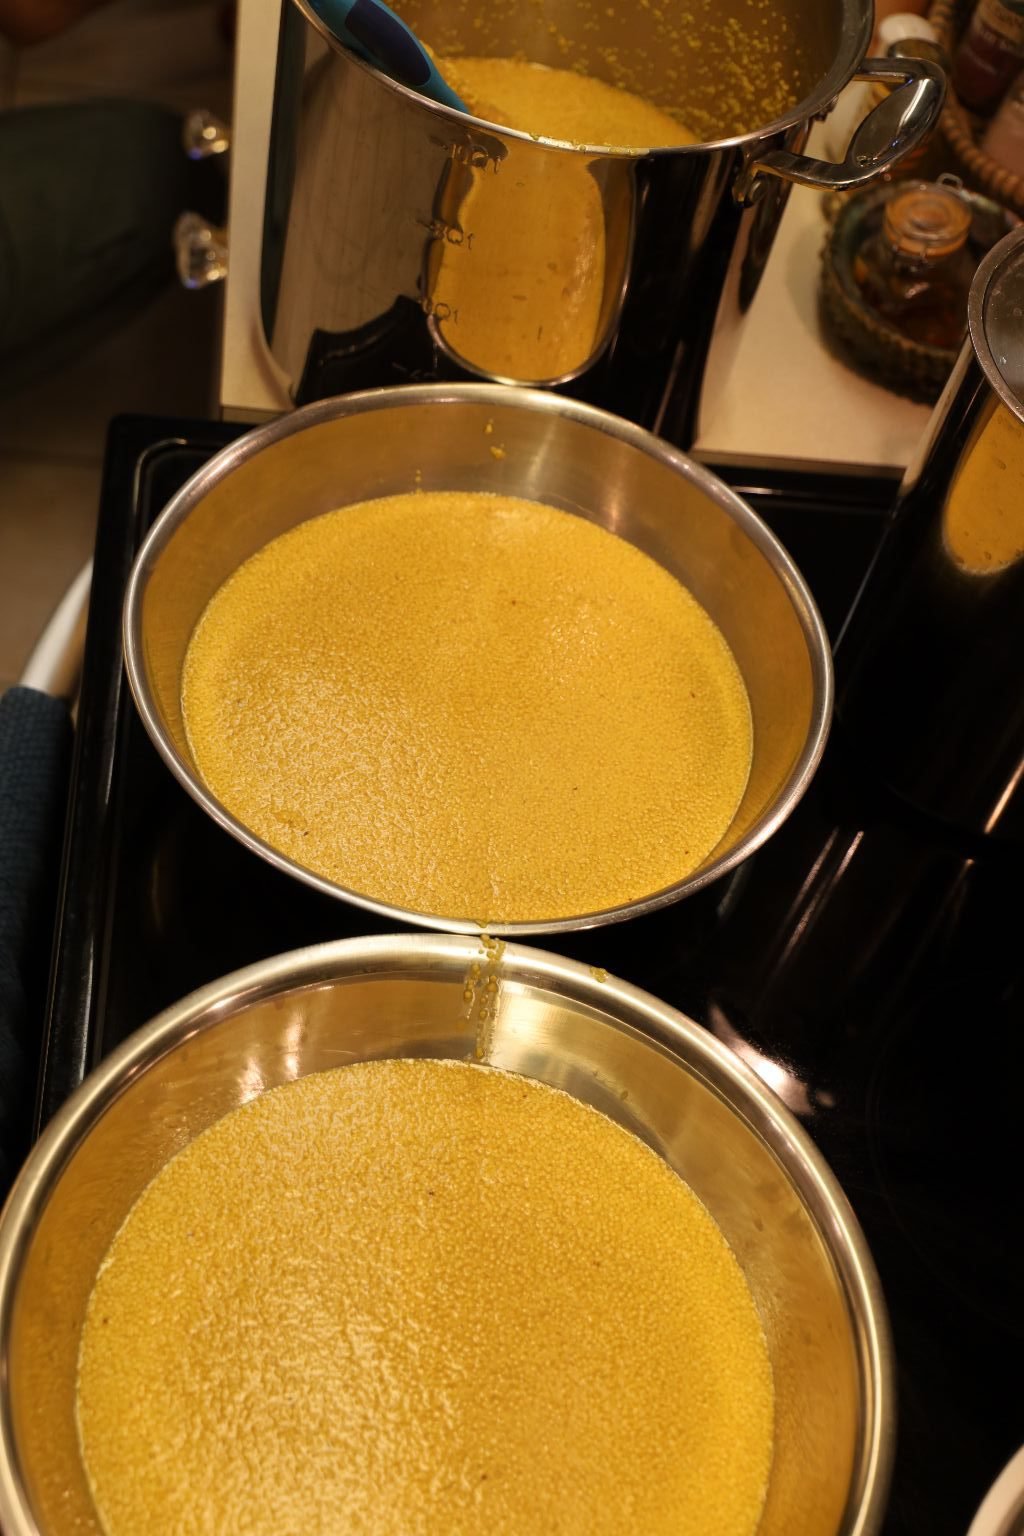
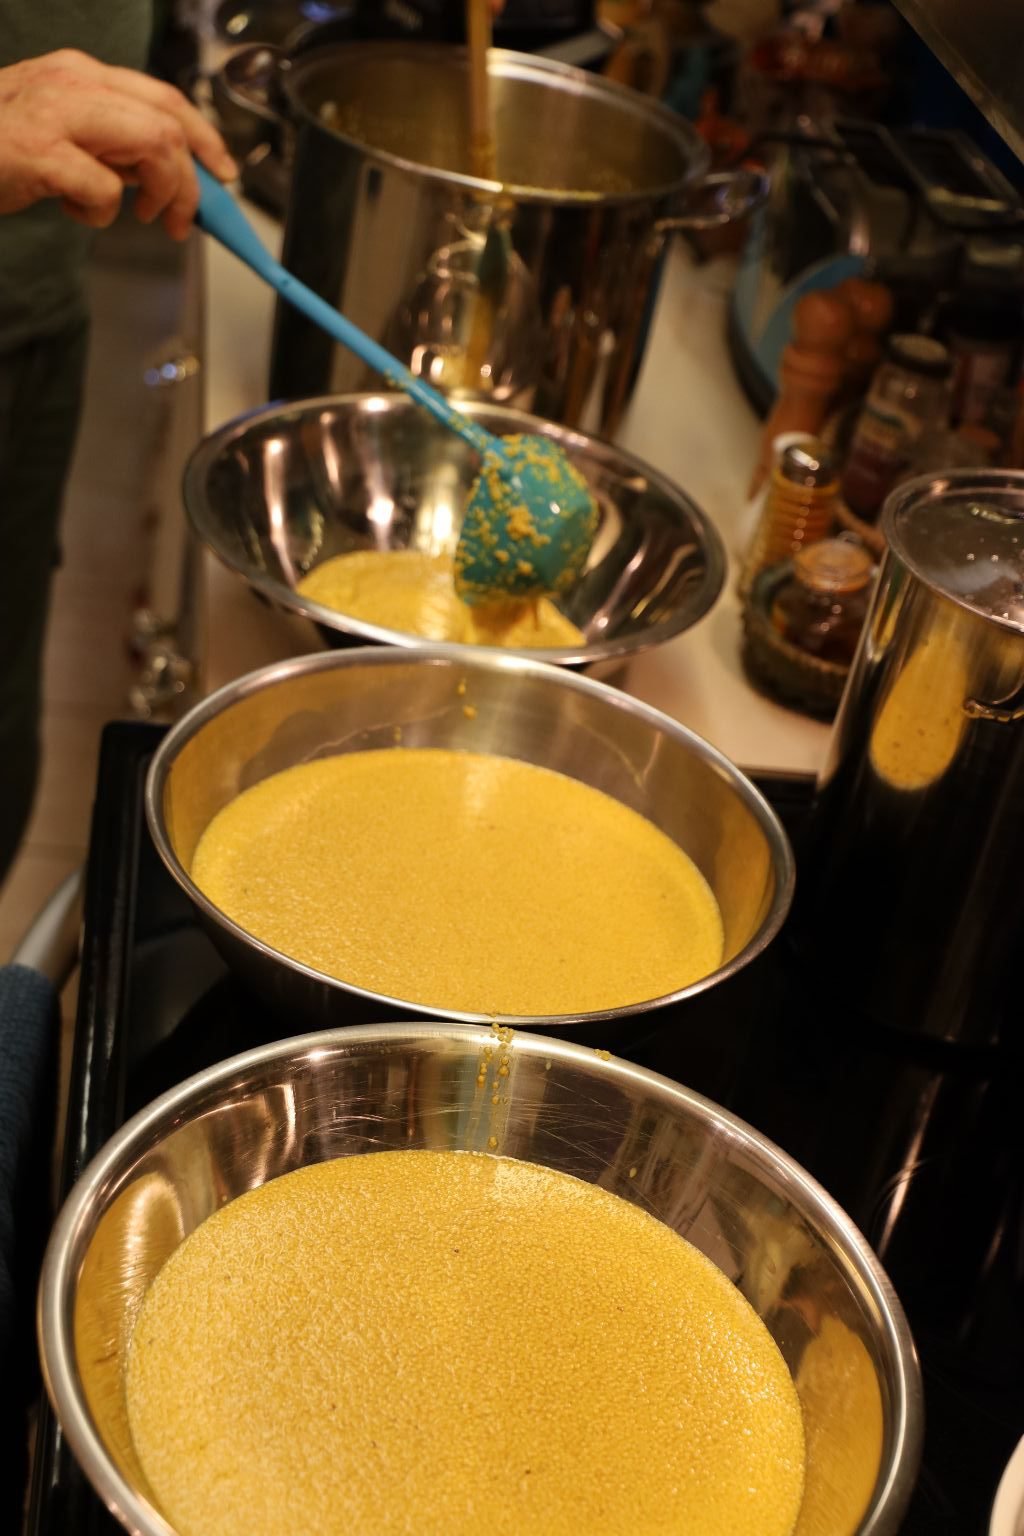
Making Our Almost Yellow Mustard
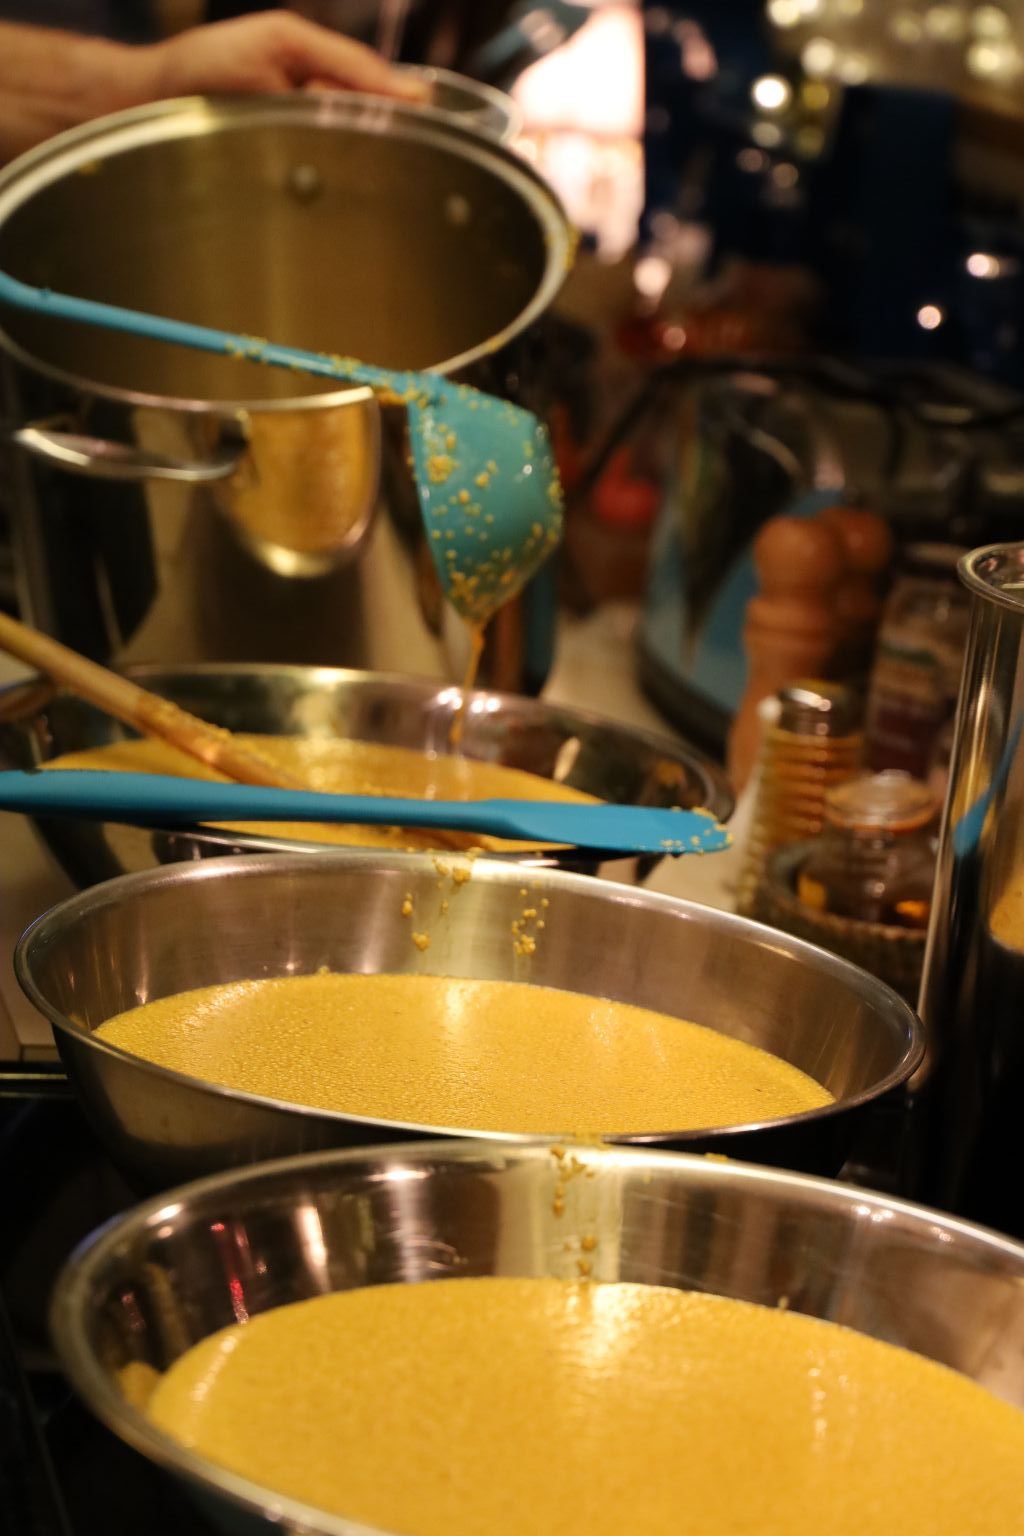
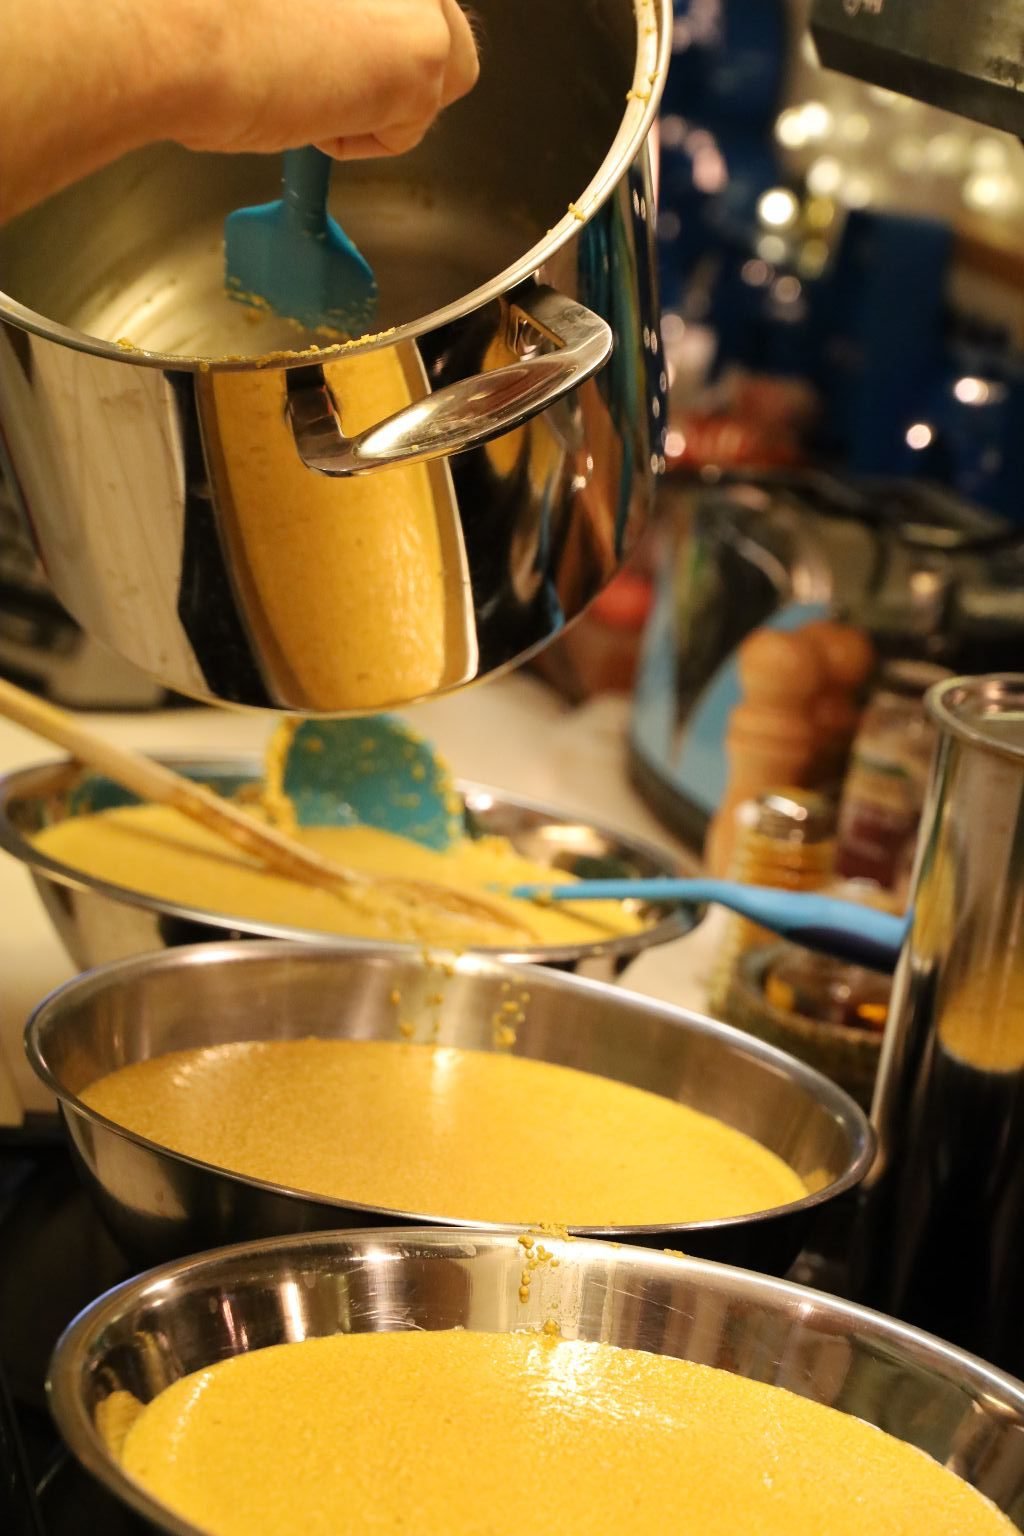
Here I am dividing the last of the Yellow Mustard Base in half, so I can make both the Yellow Mustard and Honey Mustard, (recipe to follow down below.)
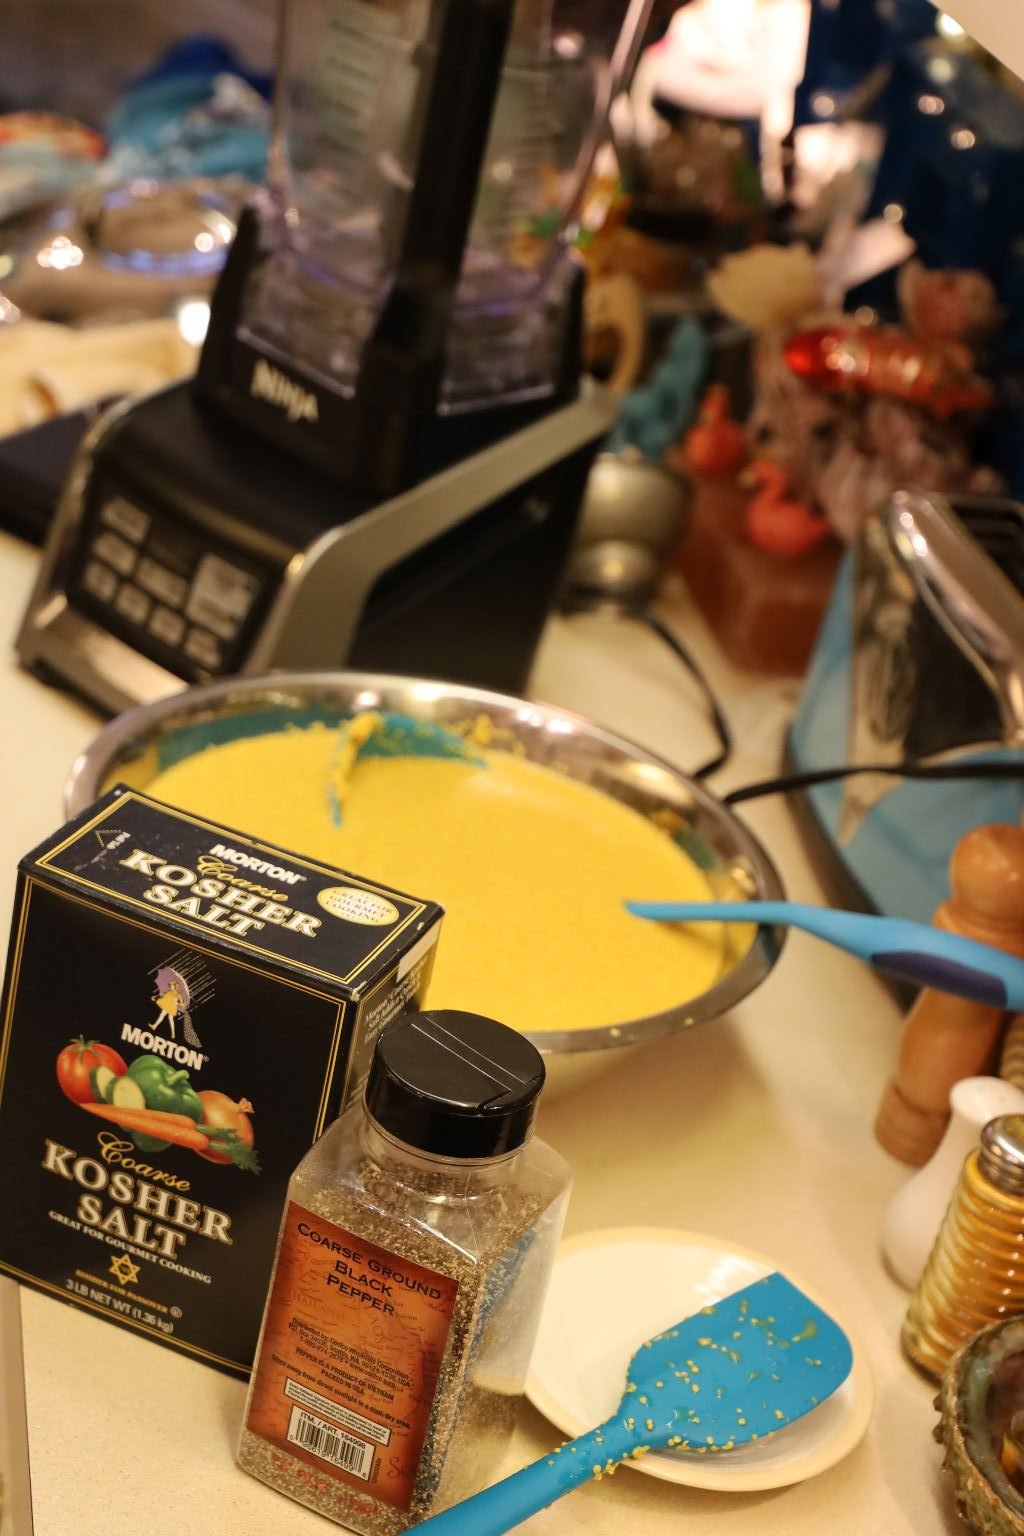
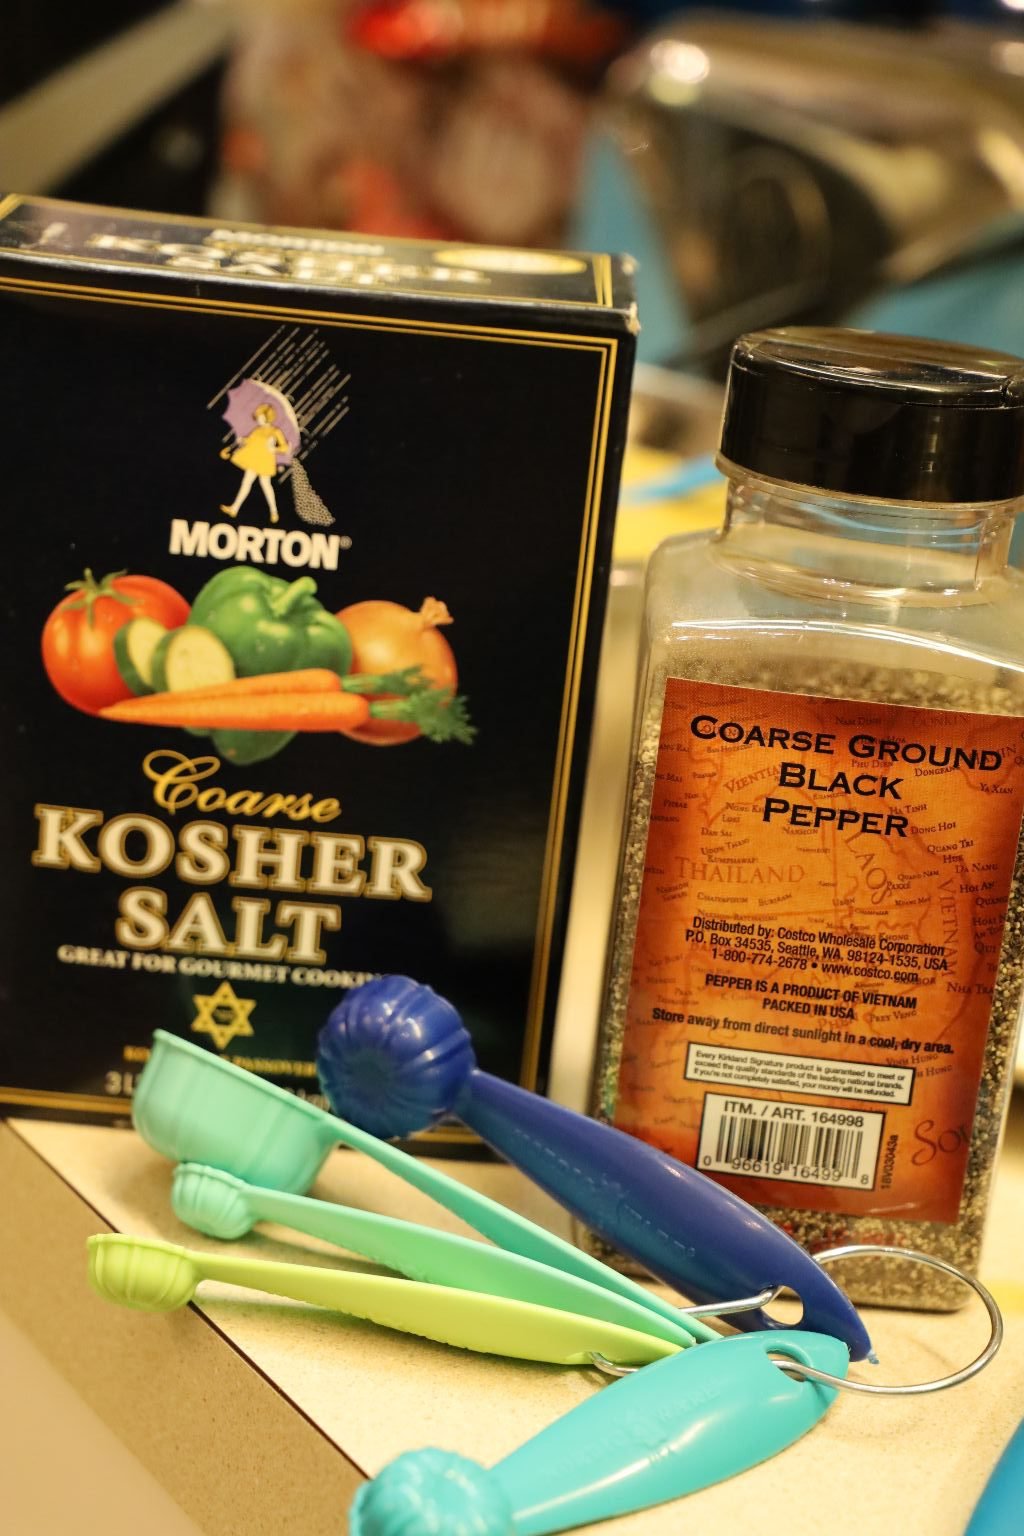
Adding the Ingredients
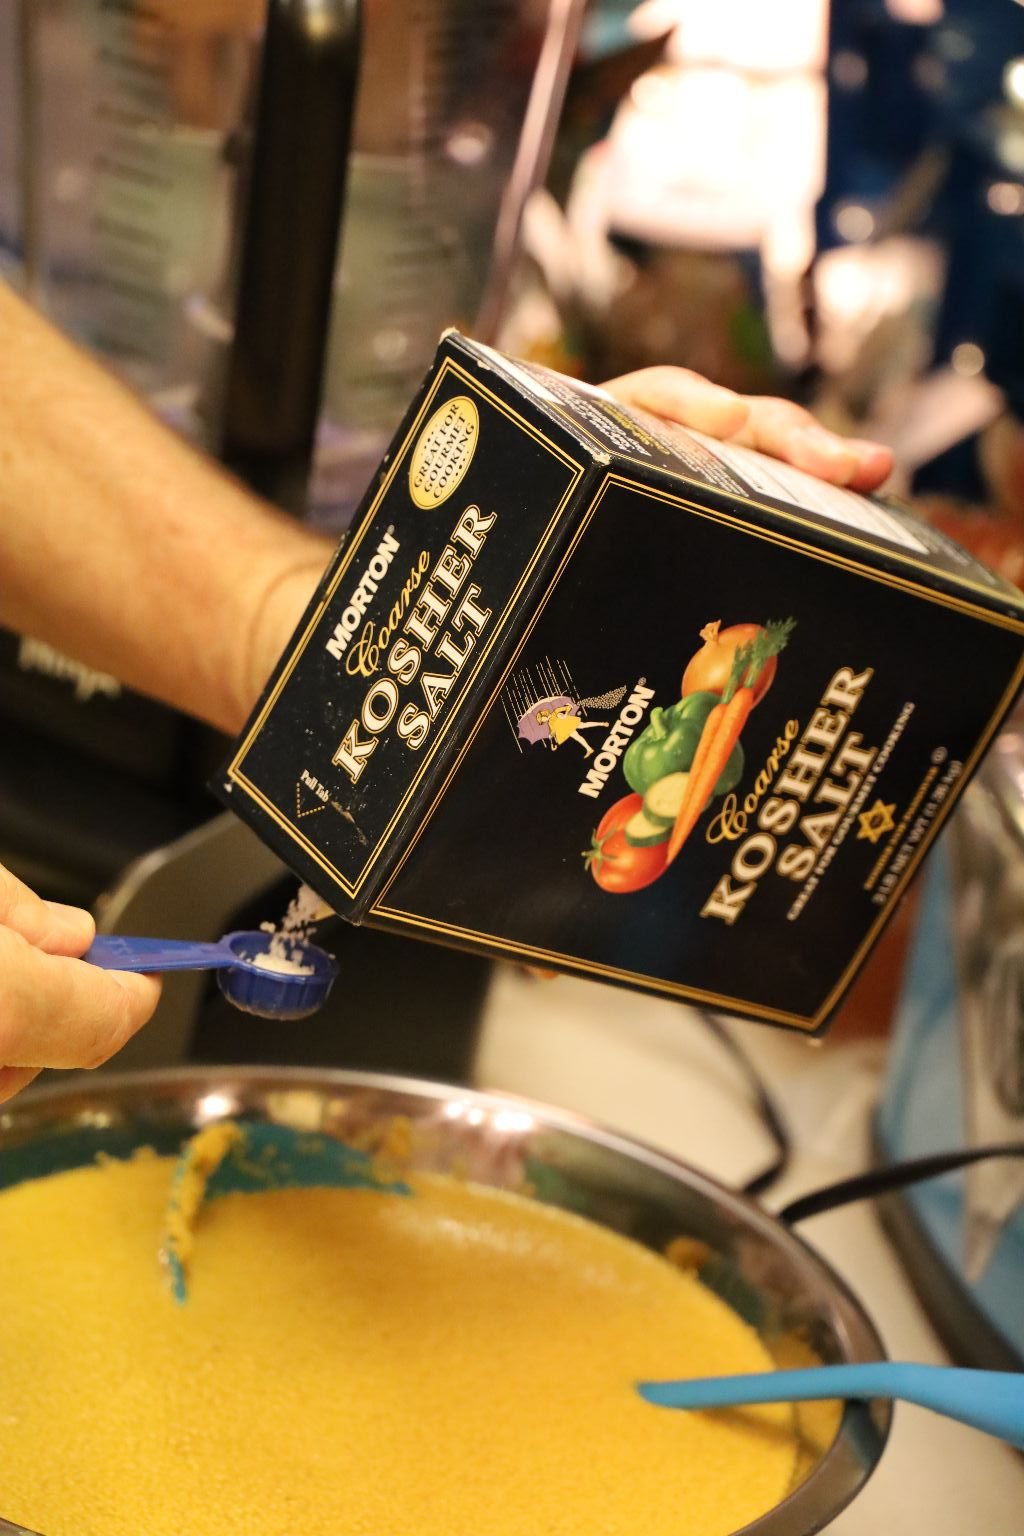
Kosher Salt
—————————————————————–
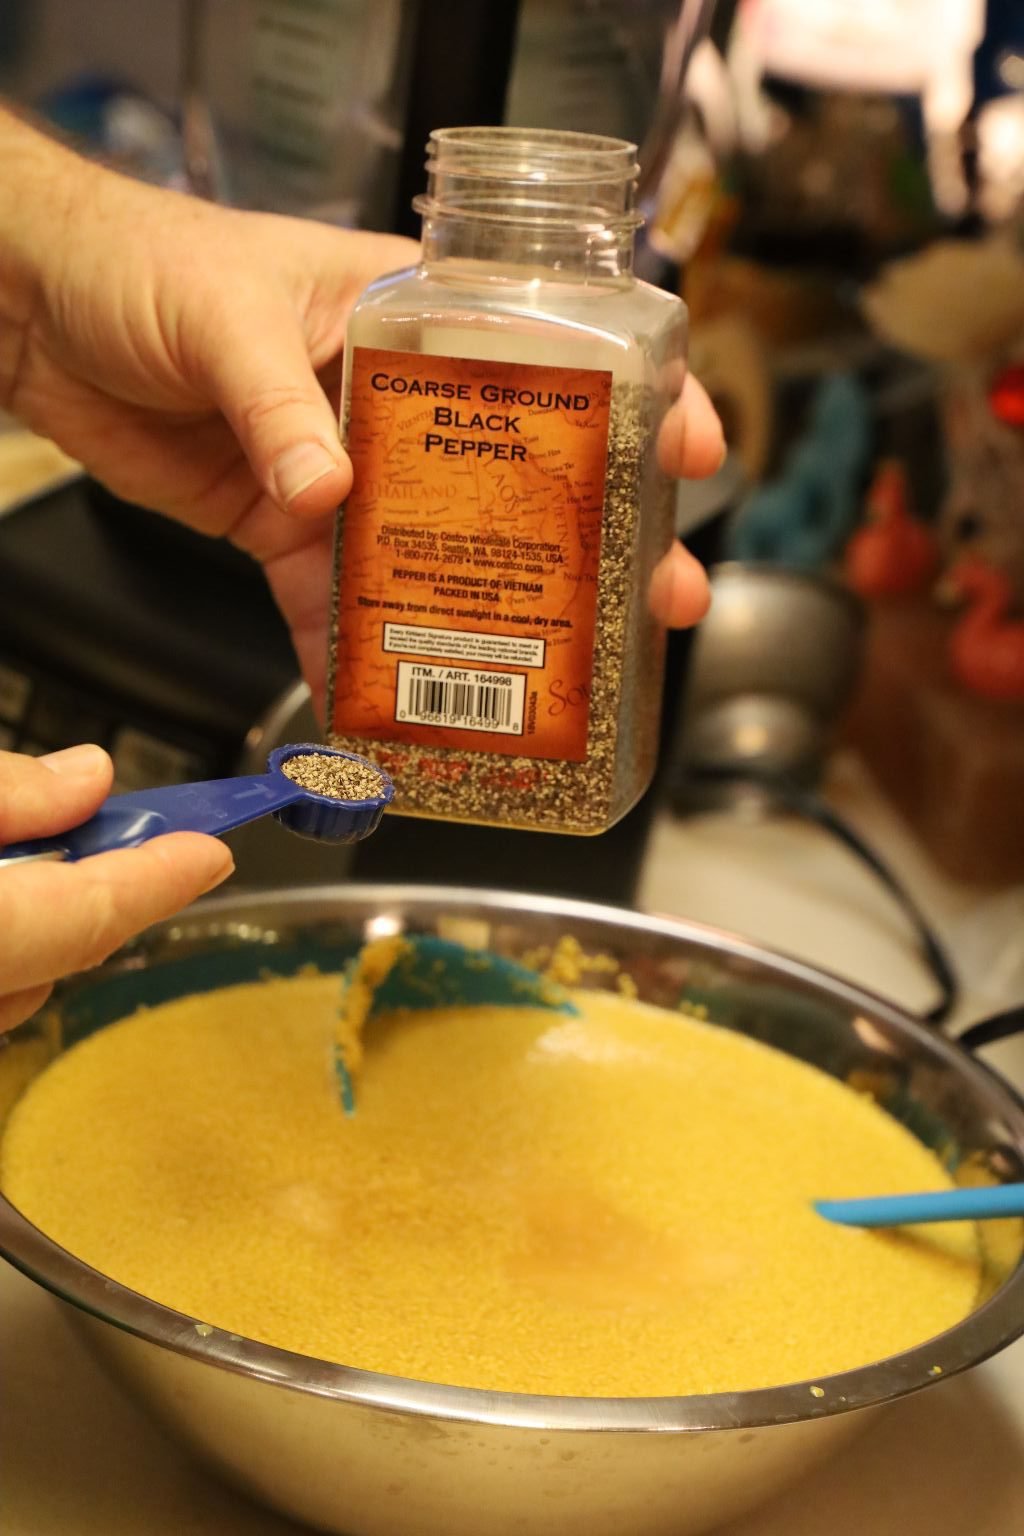
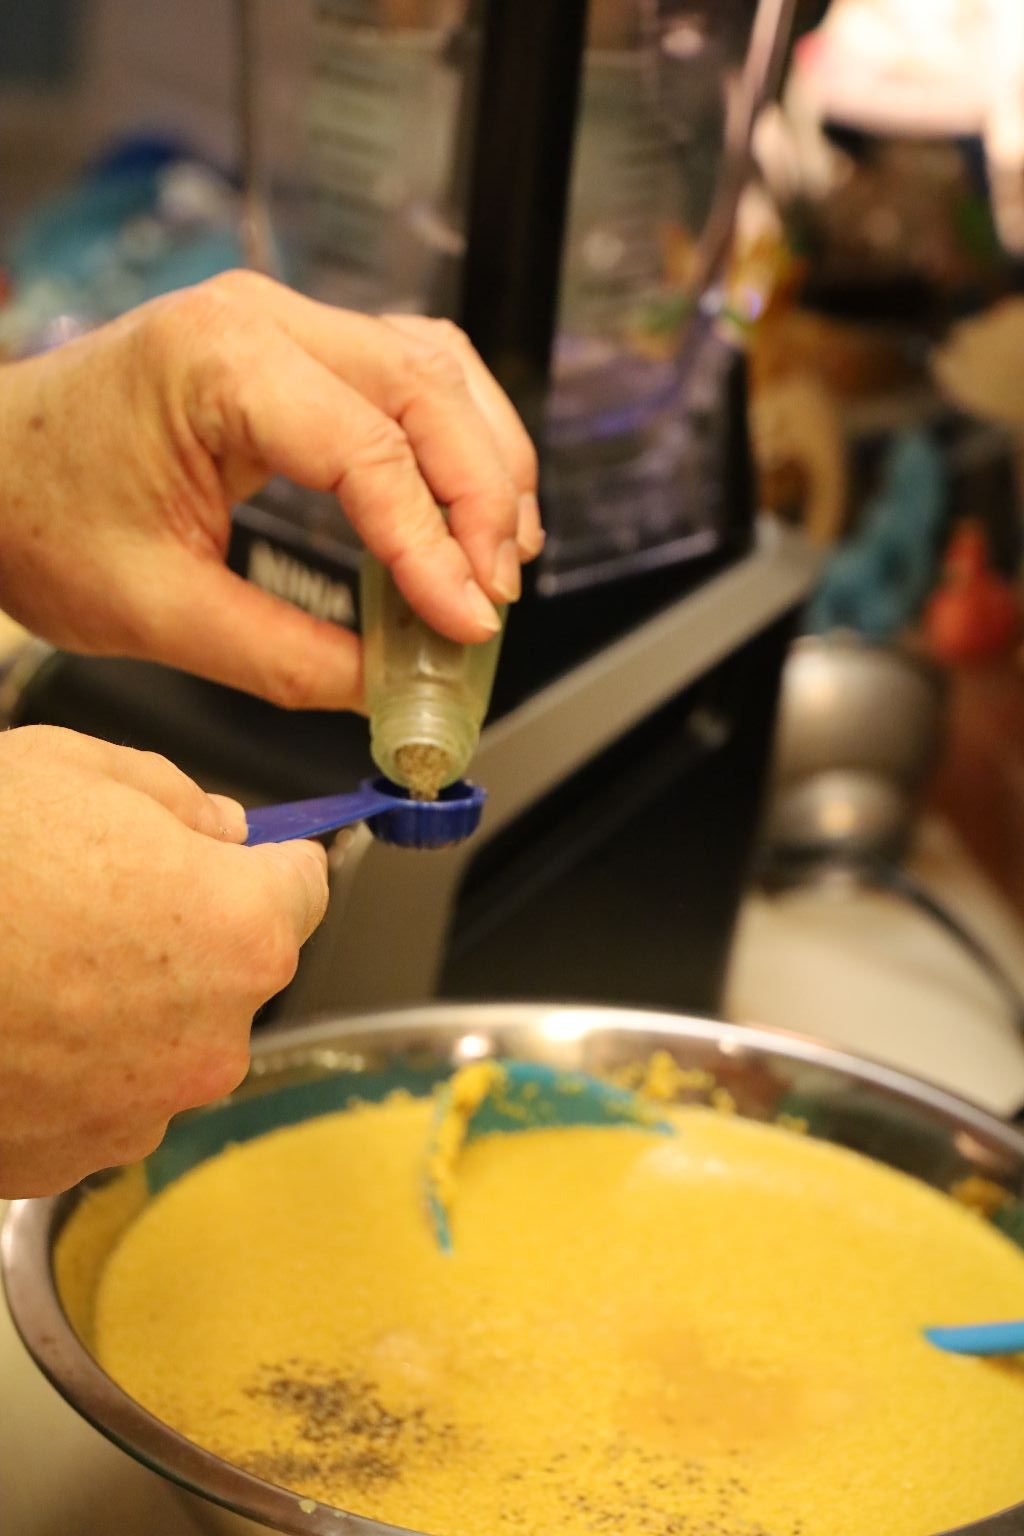
Here Gordon is using a coarse black pepper, left. I didn’t like the look of it and told him to try the fine ground pepper. It ended up blending in much better.
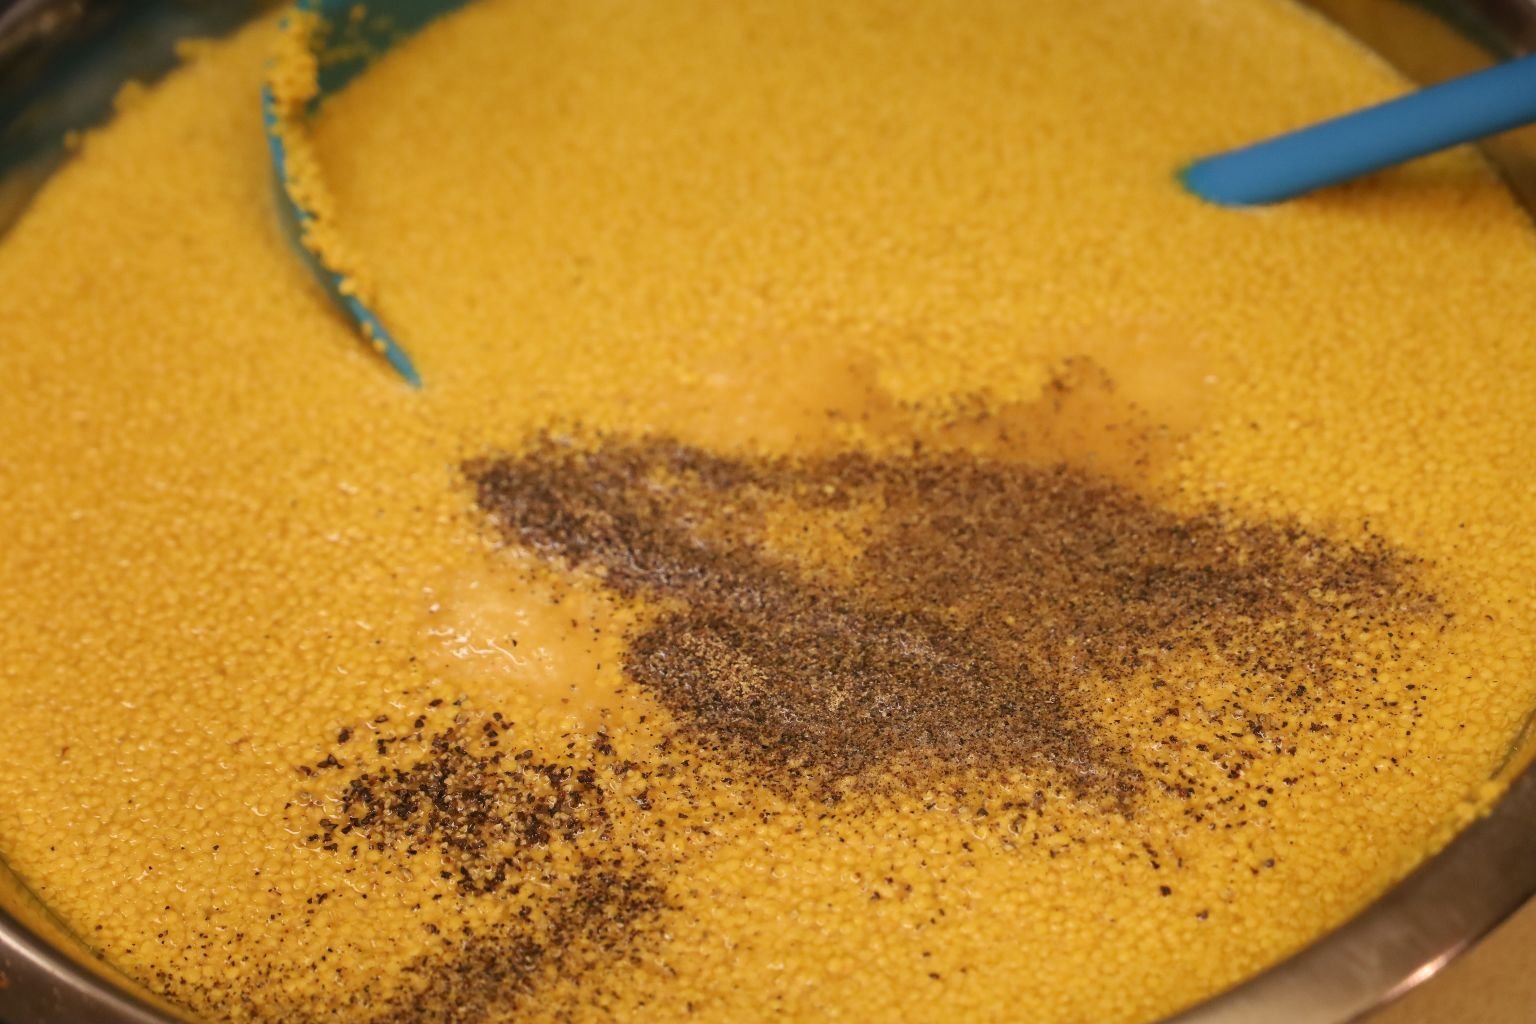
——————————————————————-
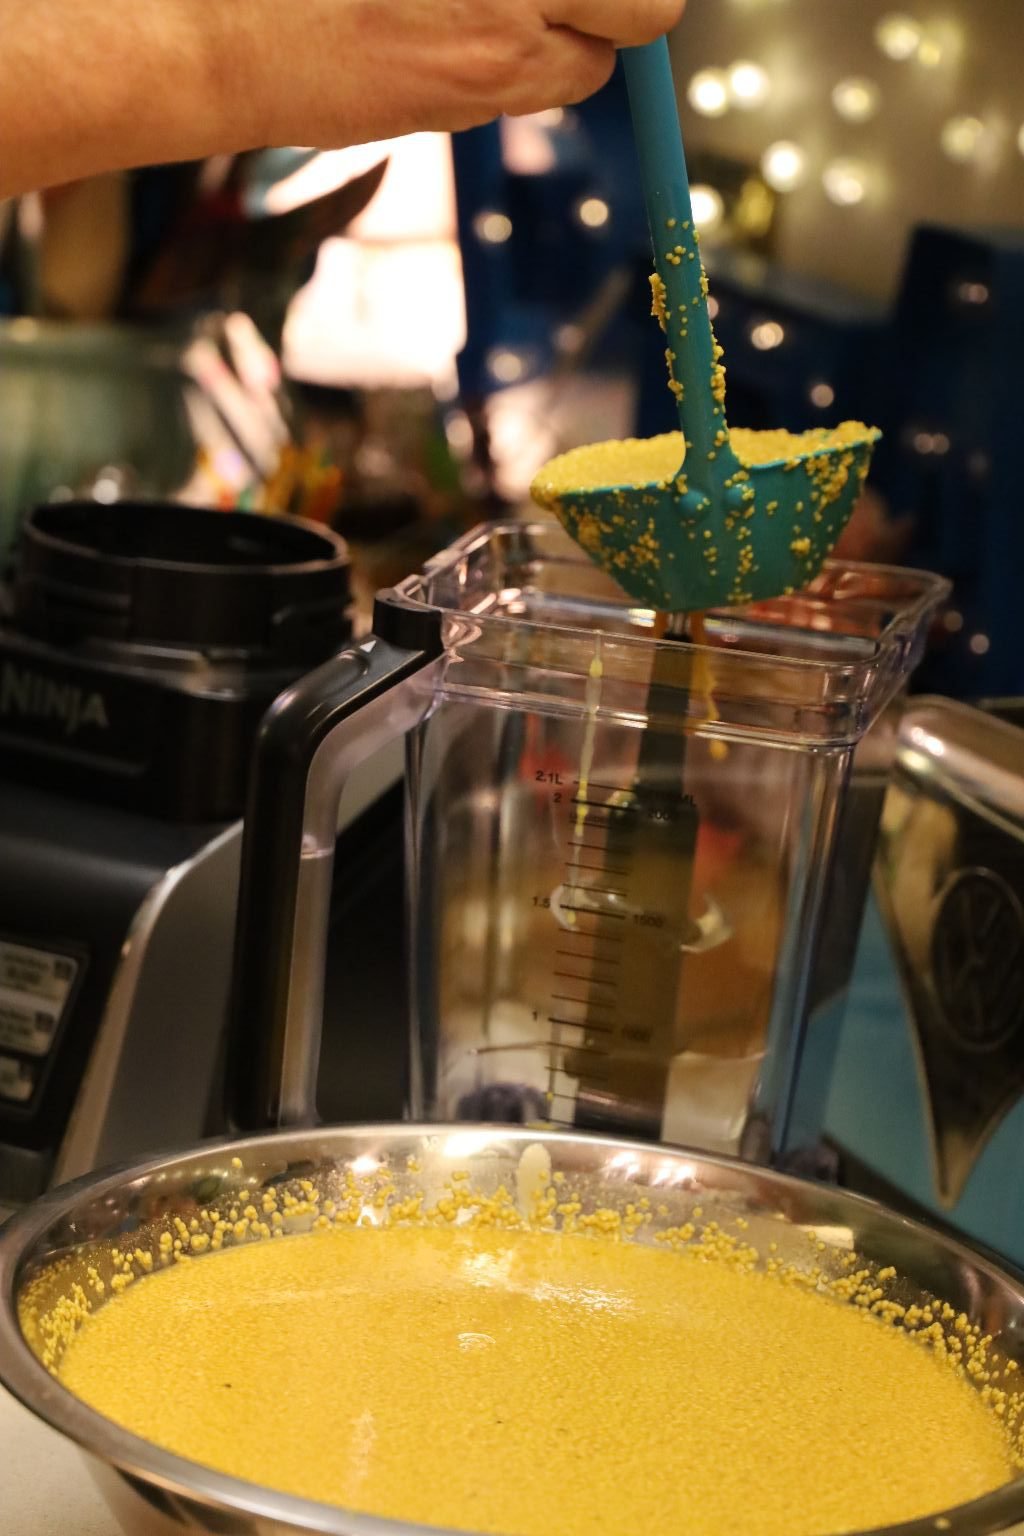
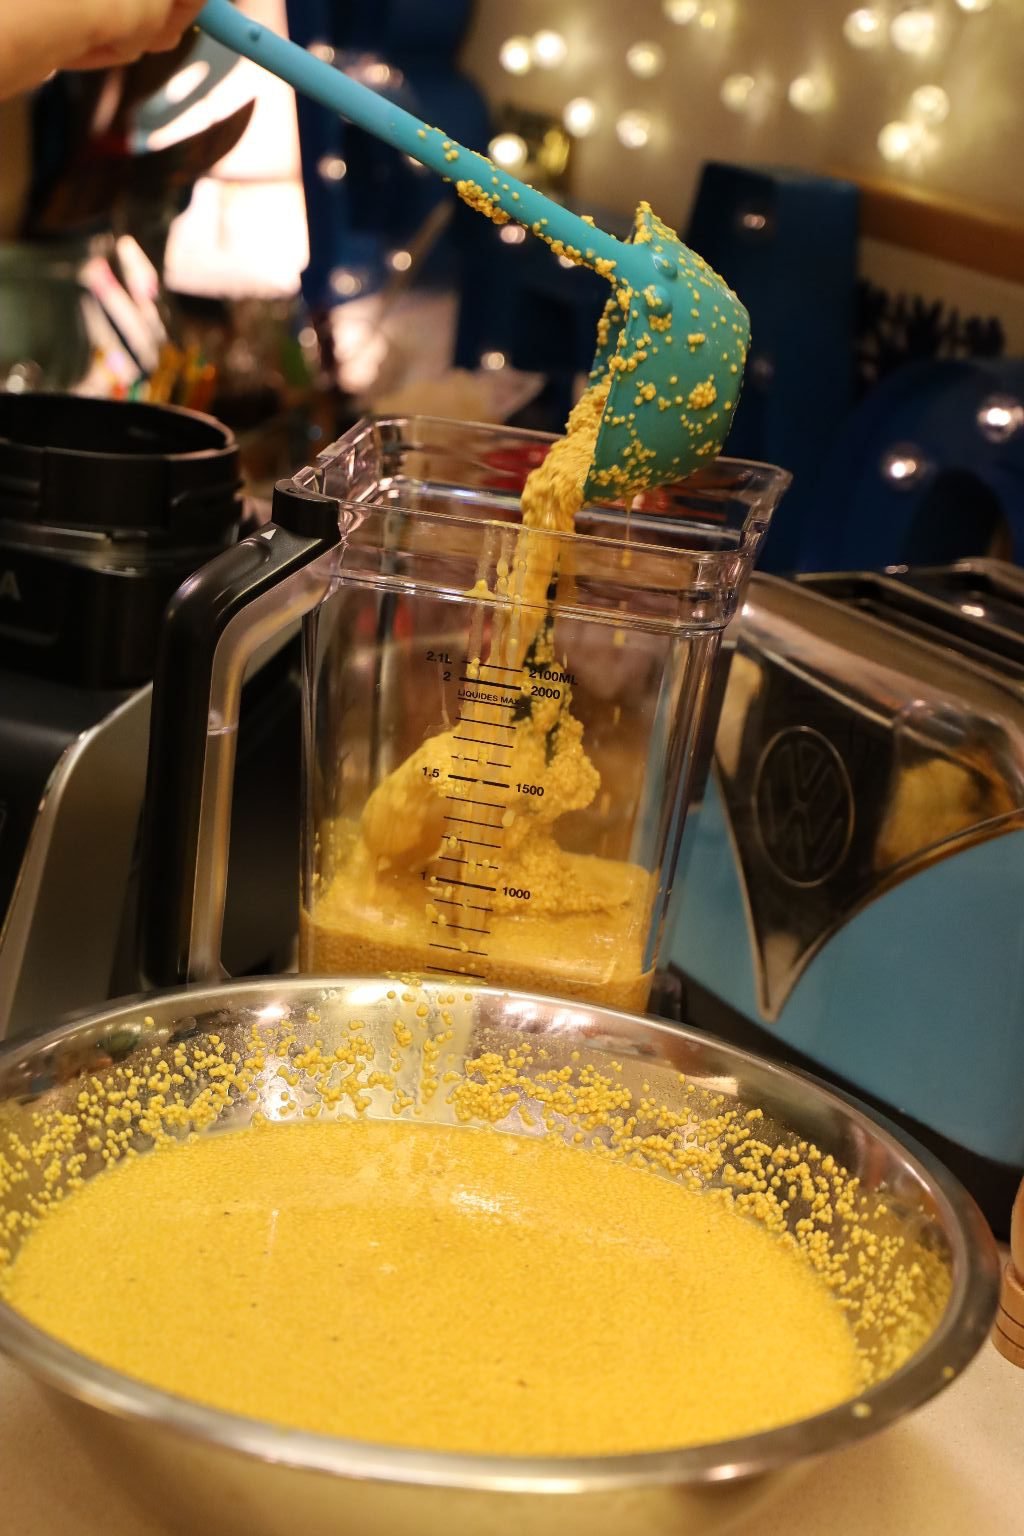
It’s at this point that Gordon is adding some of the yellow mustard to the blender for a smoother consistency.
Using a large ladle makes it easy to transfer the mustard into the blender.
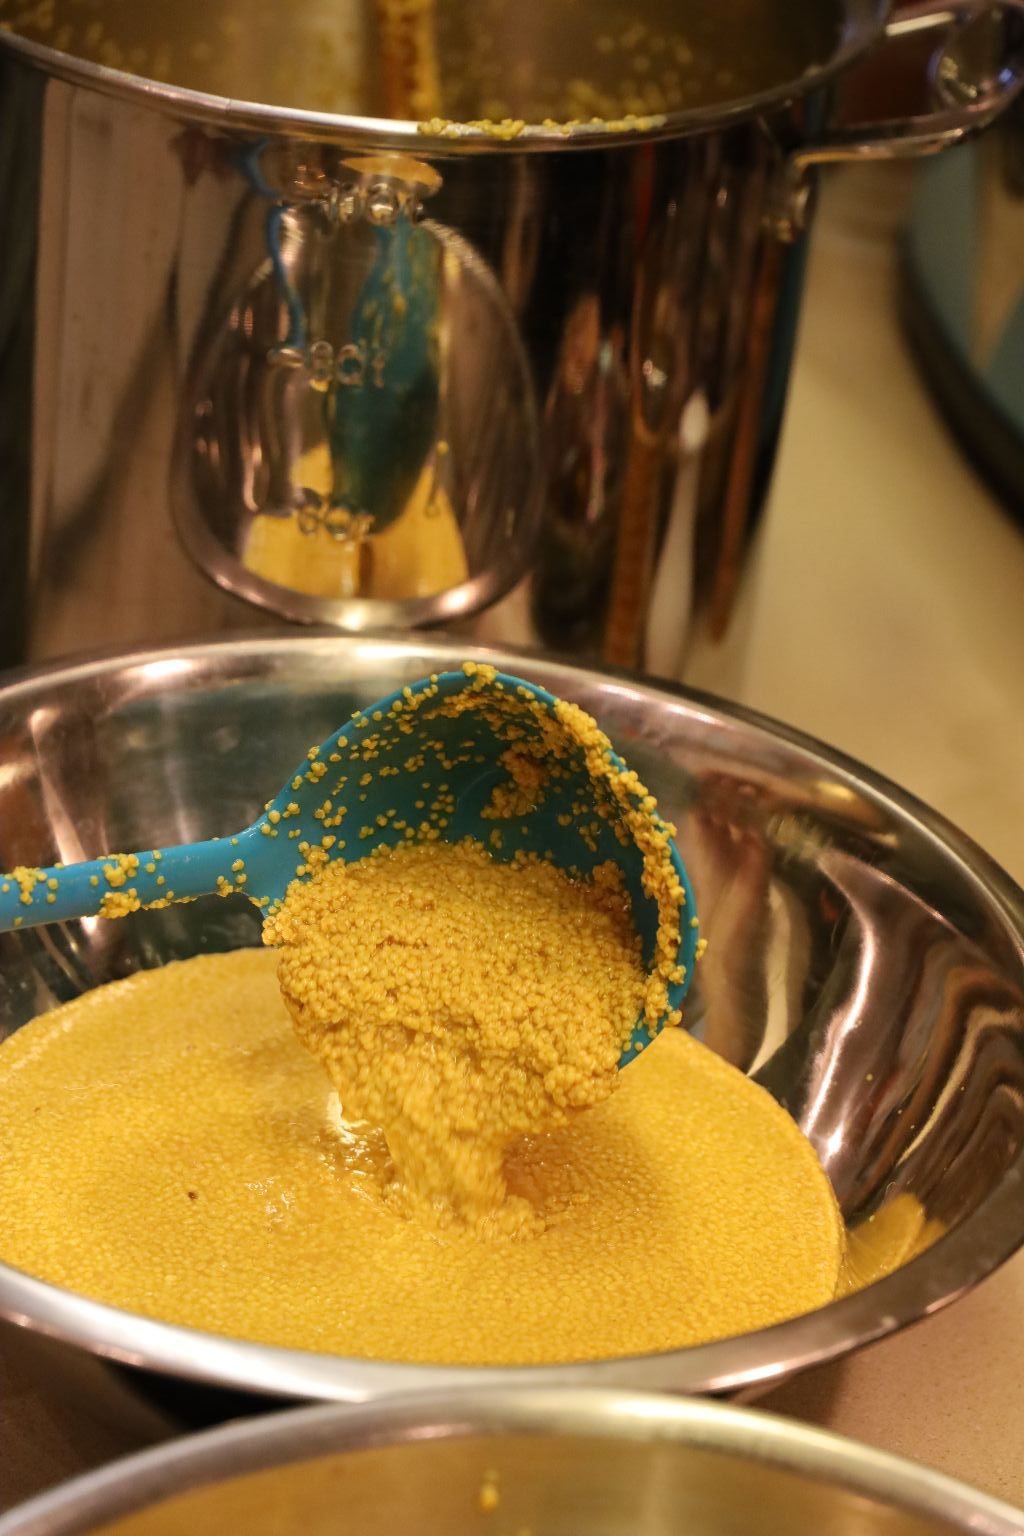
You can see how grainy the mustard still is.
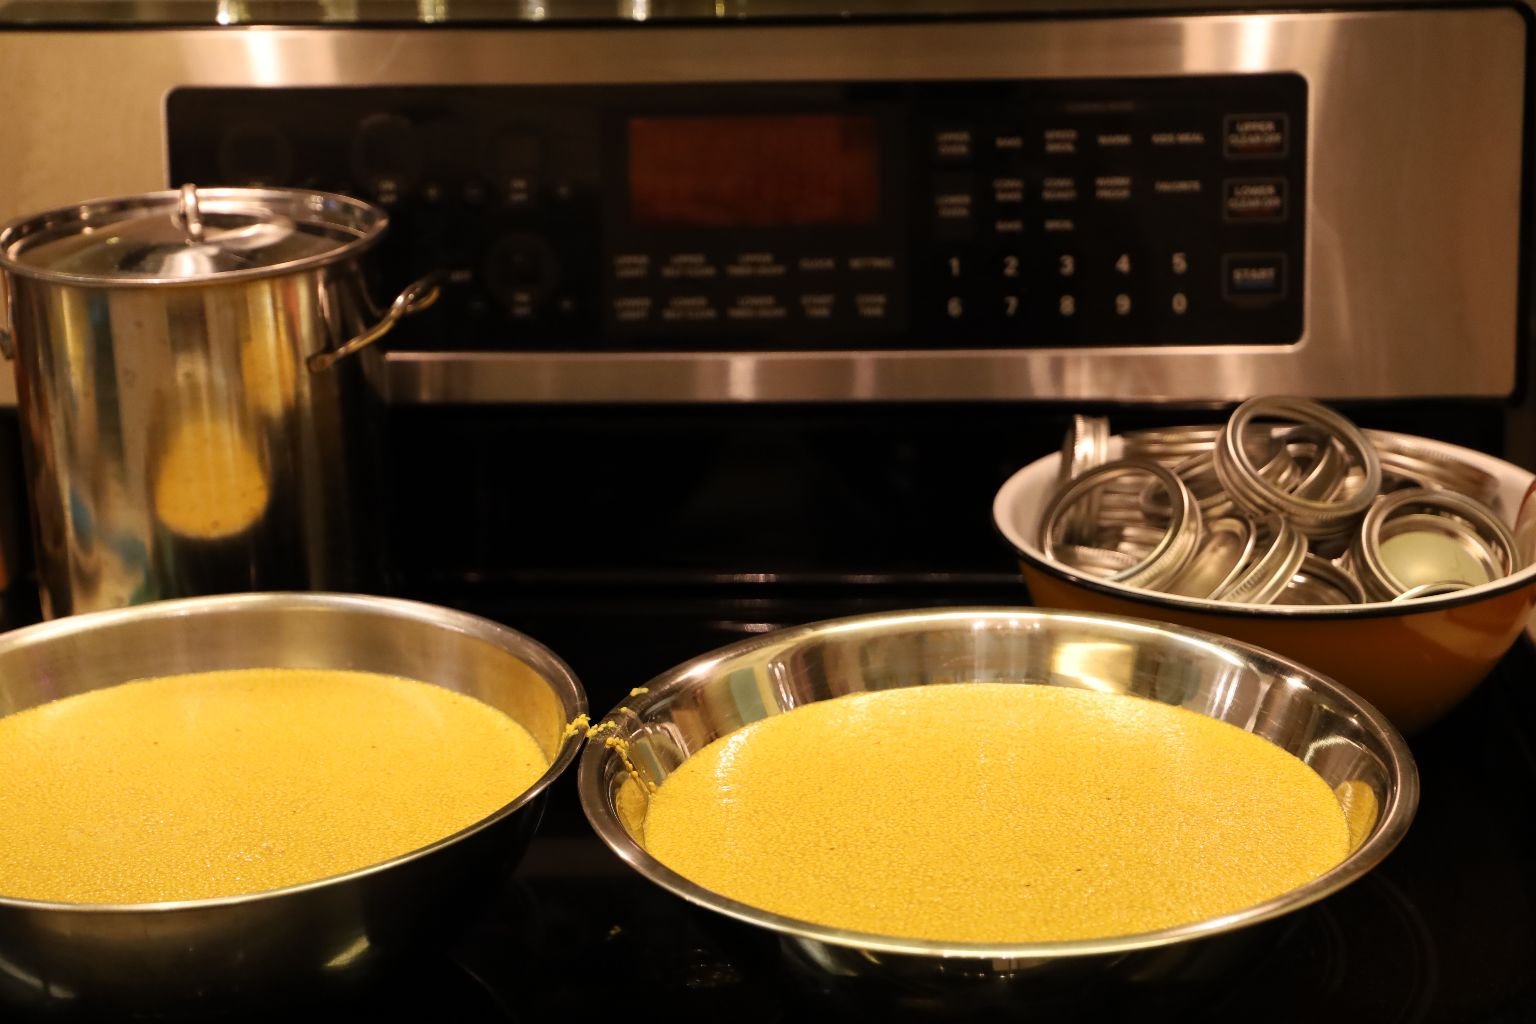
This is a great picture showing in the back left the pot I used to heat the lids in almost boiling water, the two even amounts of our Yellow Mustard Base, and a bowl of the clean rings.
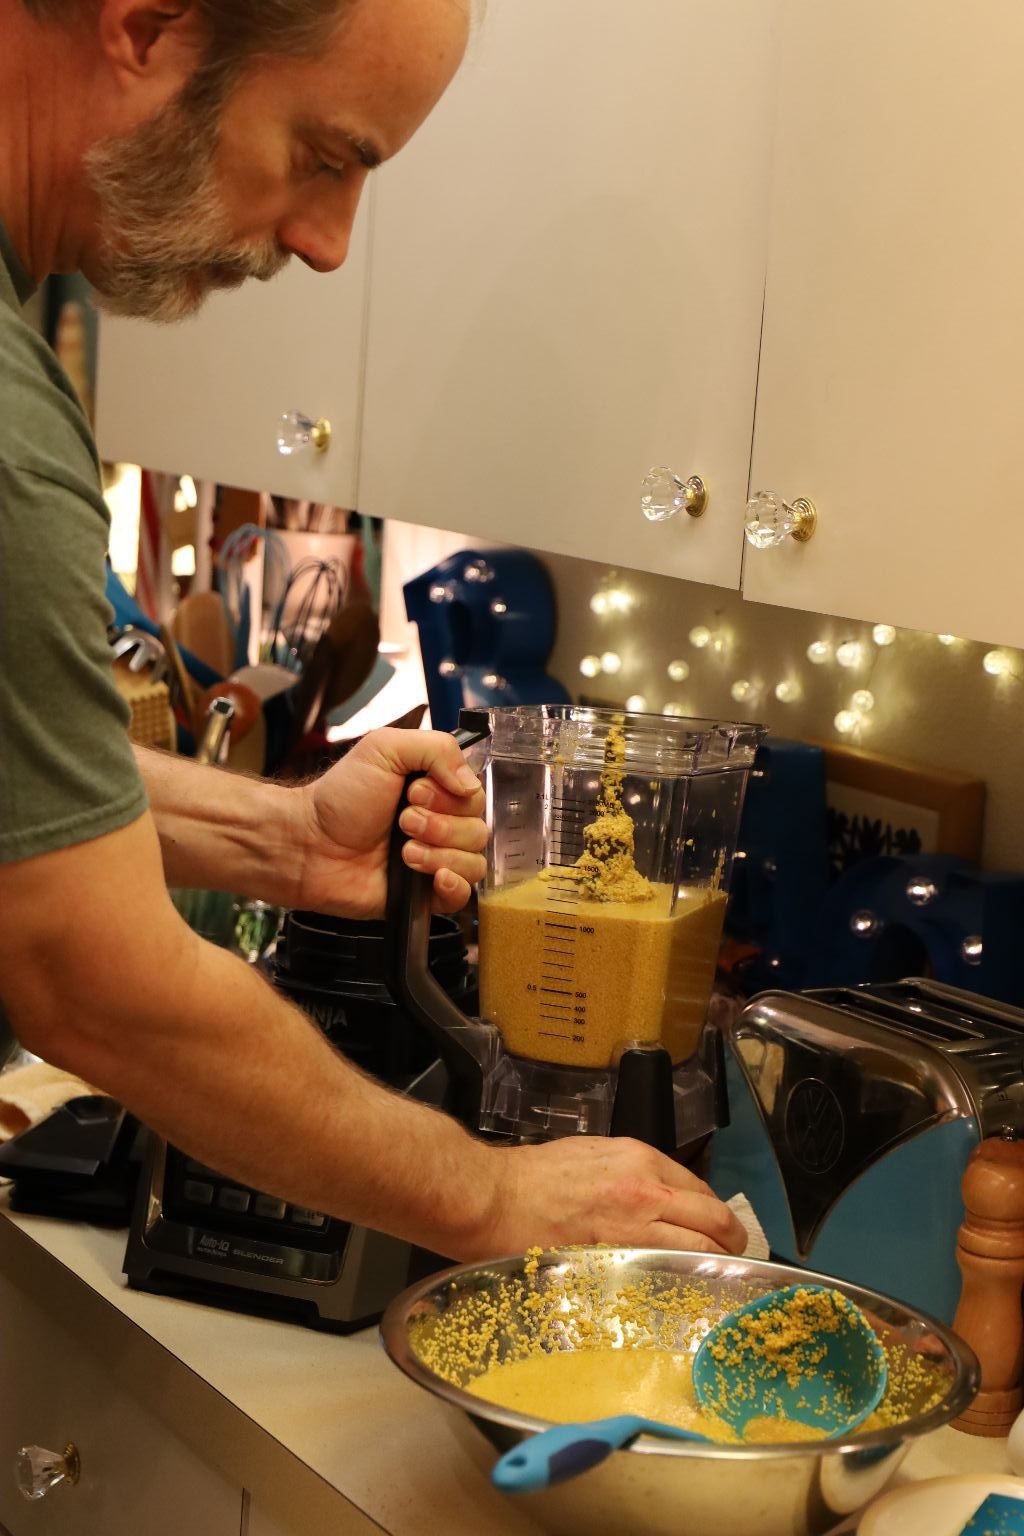
Here I am cleaning up as mustard will stain almost everything it touches.
(That’s because of the Turmeric in it.)
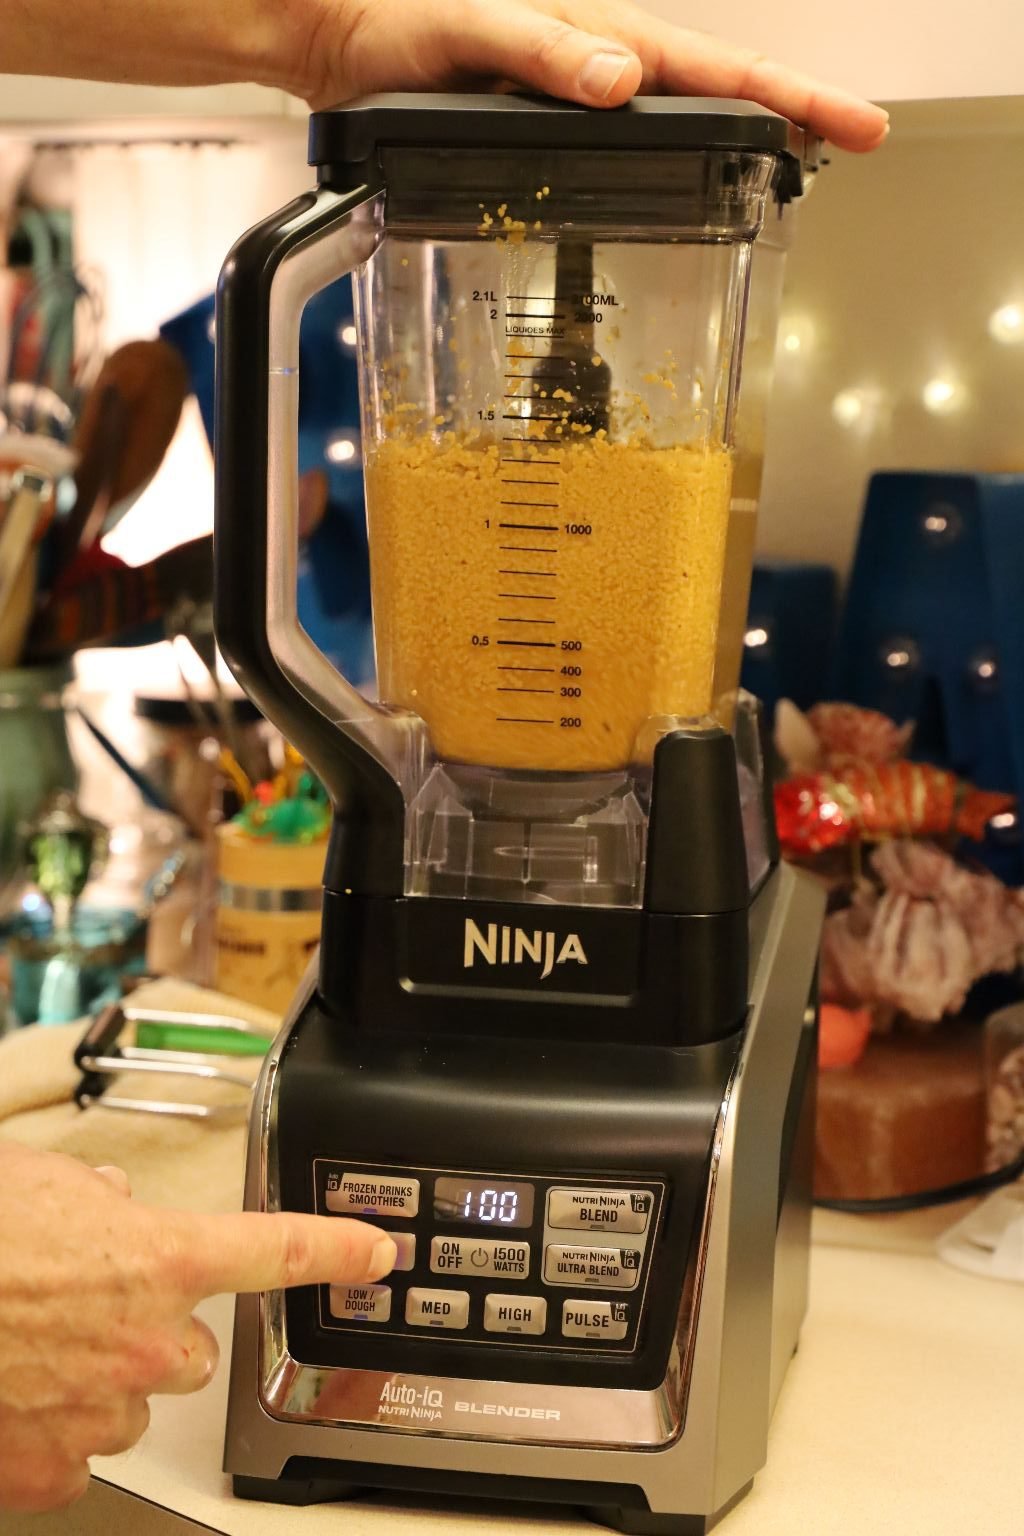
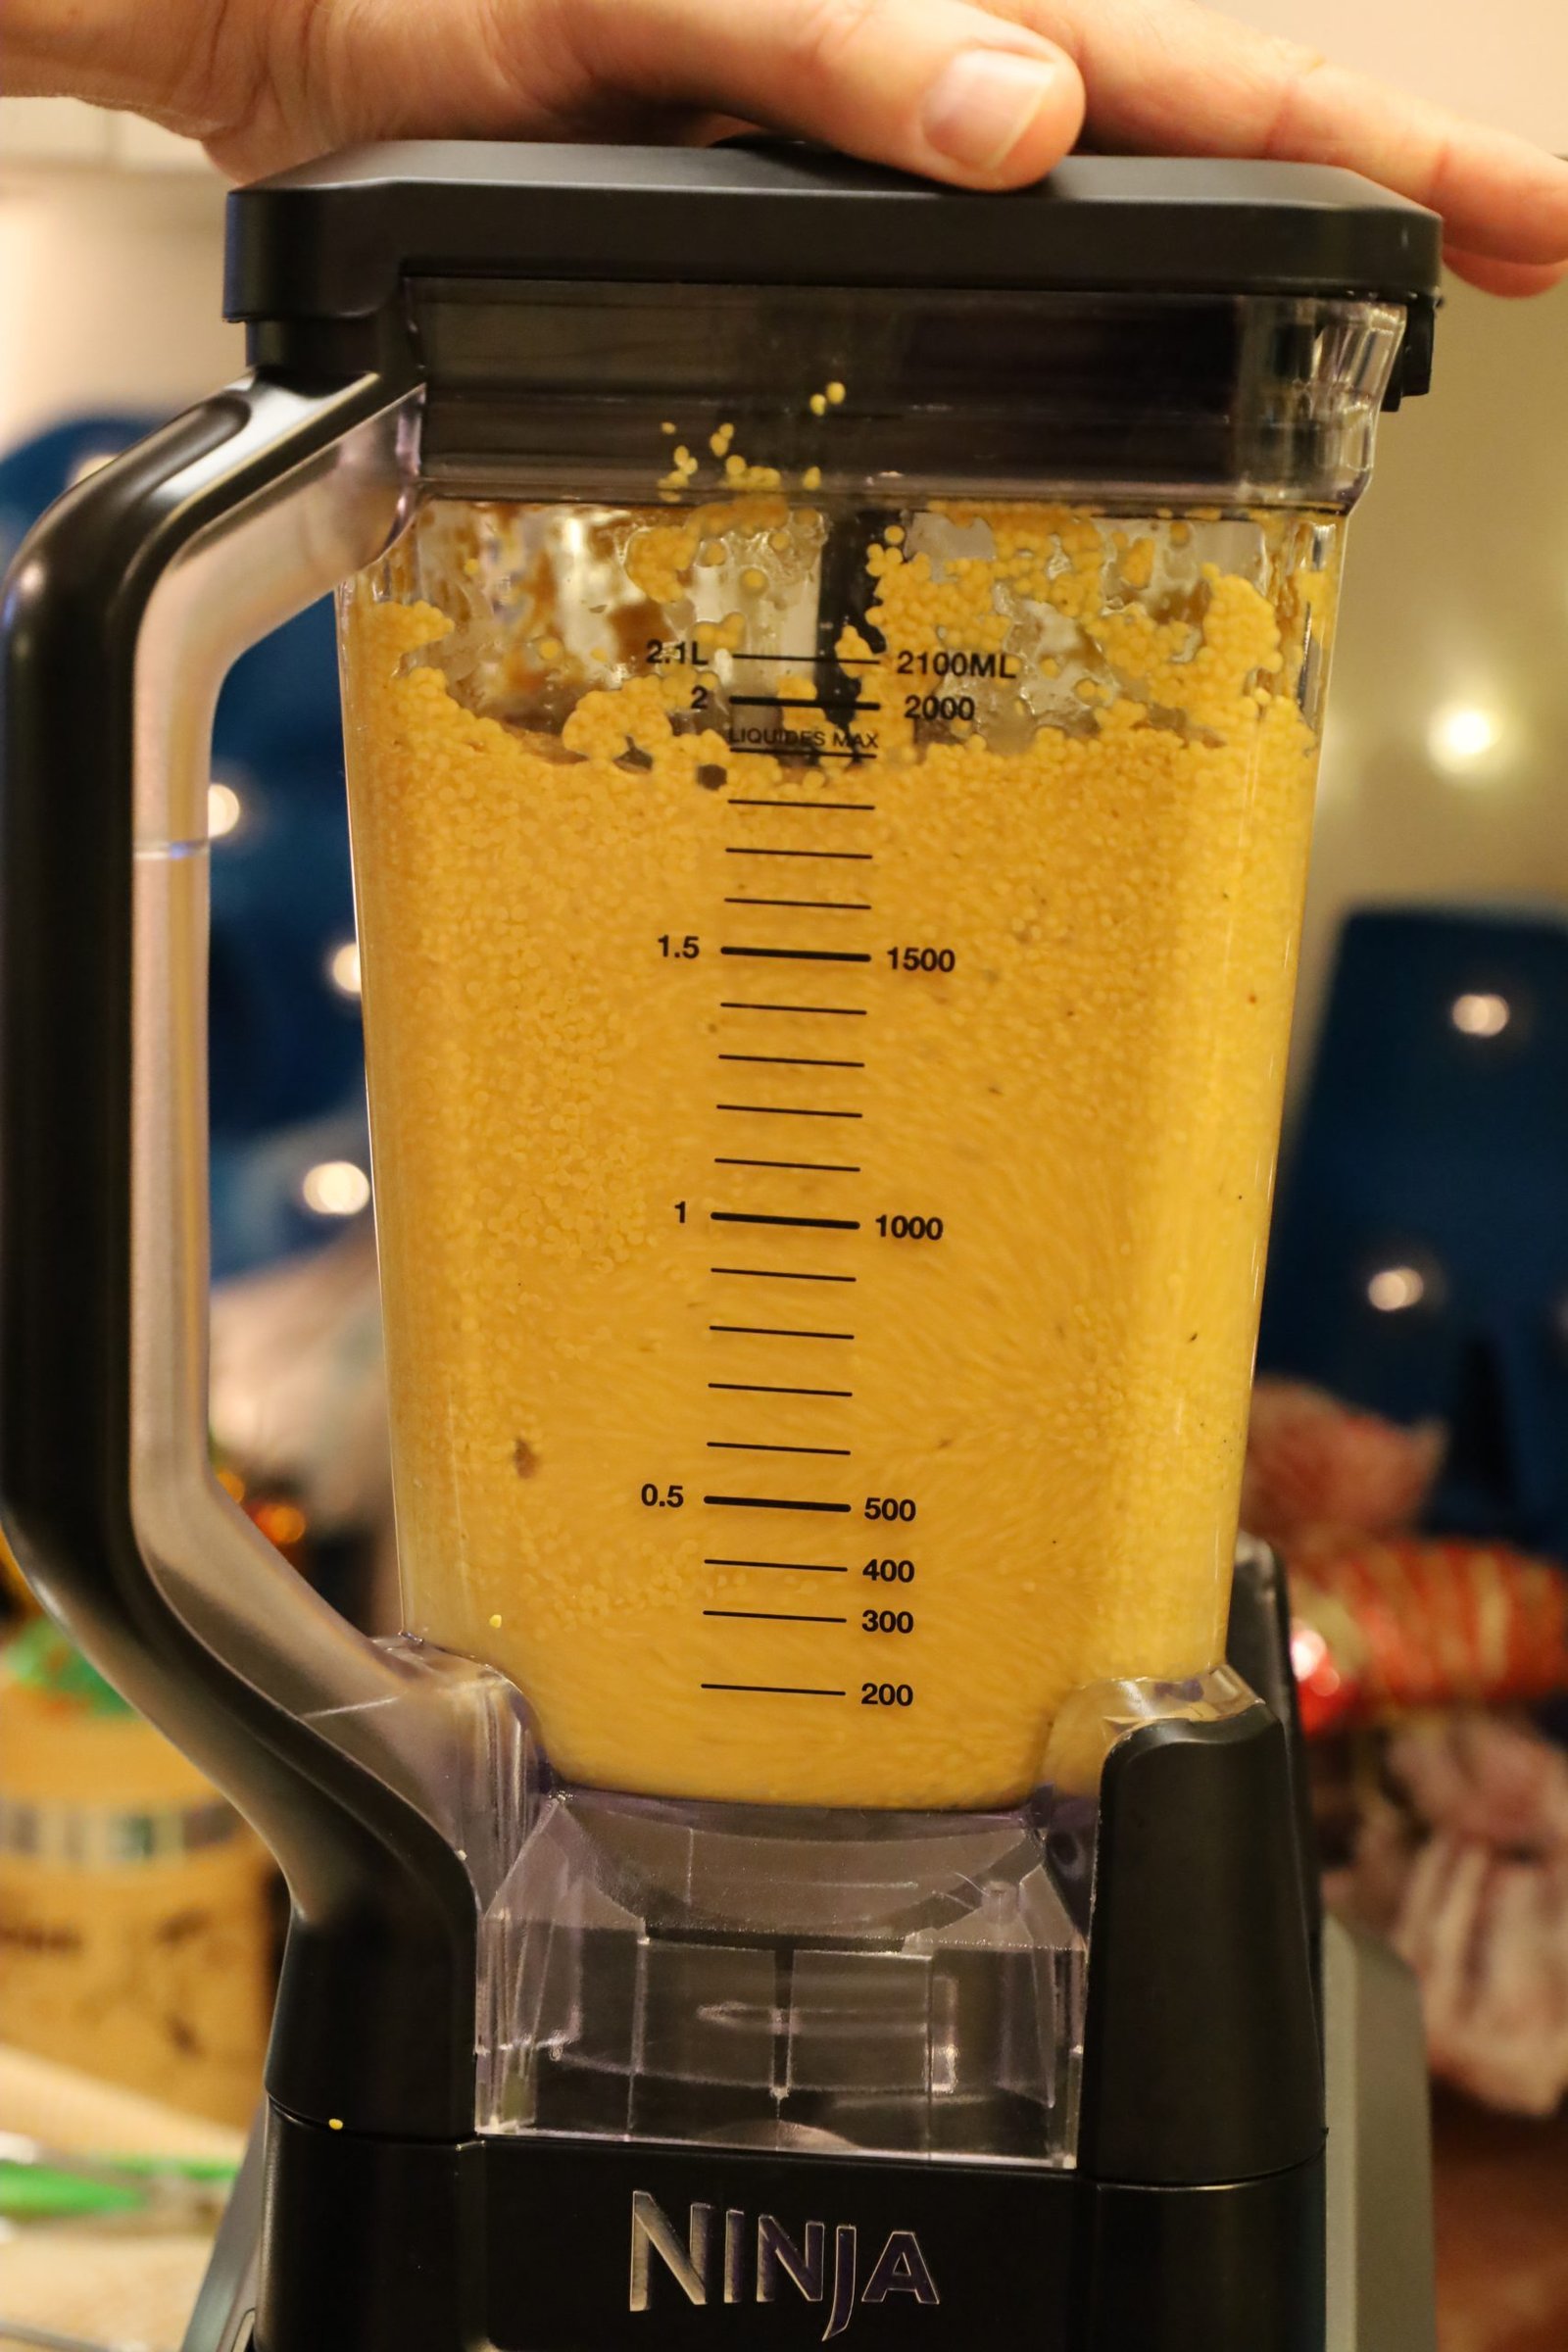
I placed half of the Yellow Mustard Base (~6 Cups) into the blender and pureed it.
Most blenders have a puree setting. This only took about a minute.
Once it was at the consistency I liked, I poured it back into the Yellow Mustard Base that wasn’t pureed. We wanted a mixture of smooth and grainy, combined.
You can see how pureeing the mustard whips air into it giving it a lighter color. We wanted our Yellow Mustard to have some texture, which is why we didn’t puree all of the Yellow Mustard Base.
Now, heat your mustard to medium high heat.
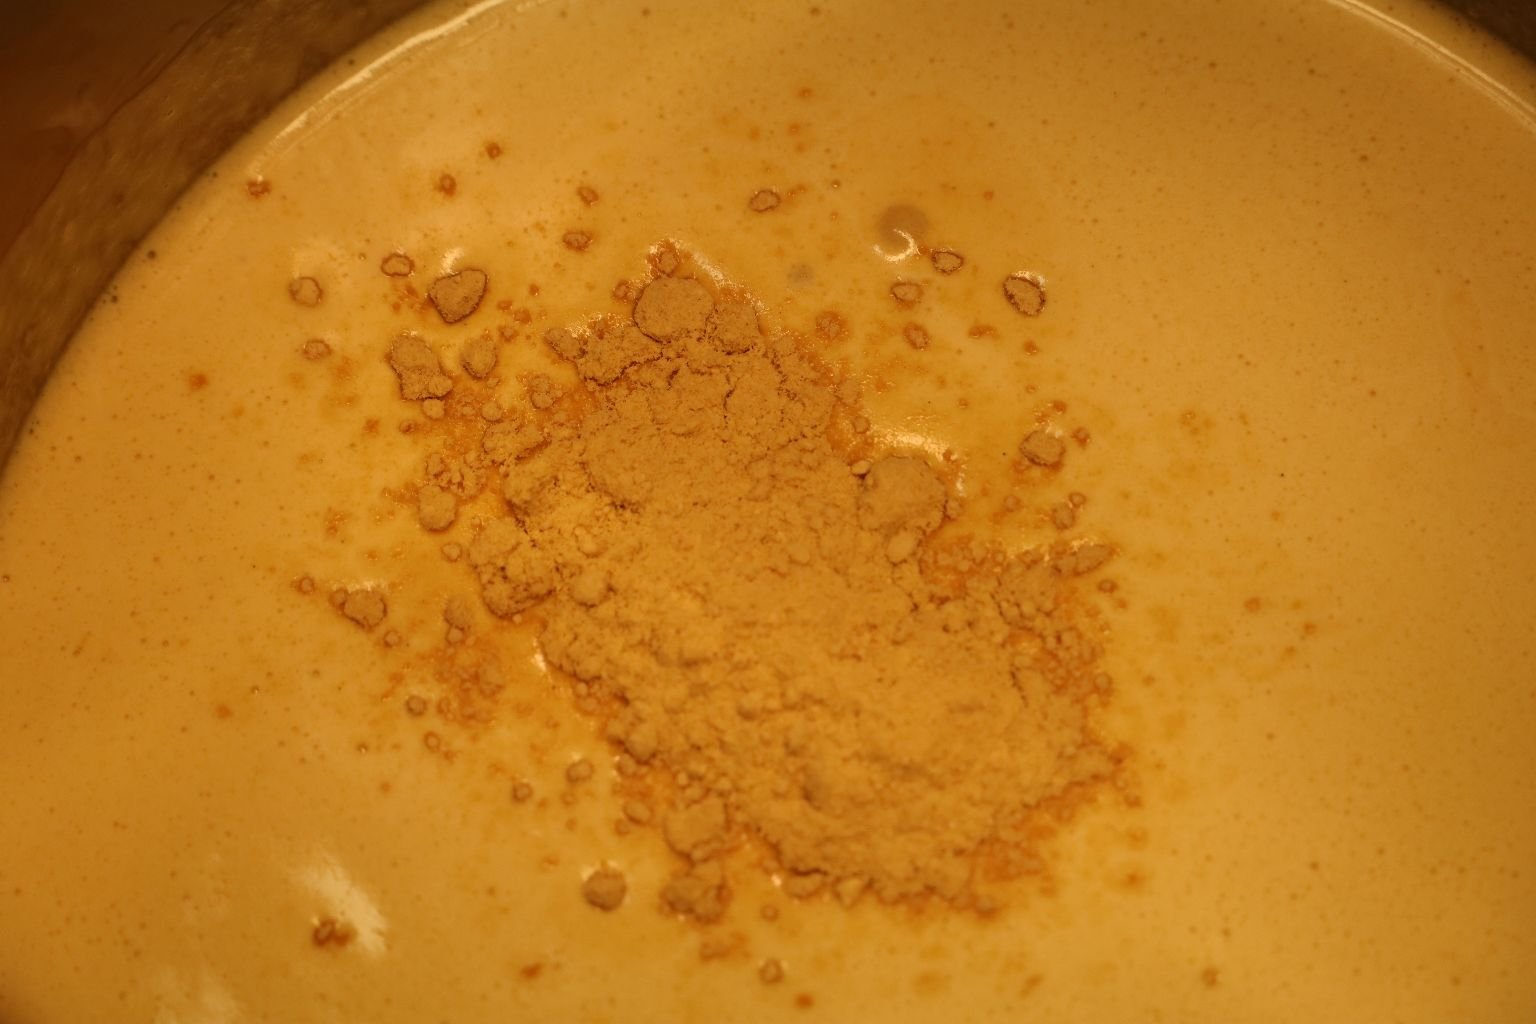
Here Gordon is adding more dry Mustard Powder.

Cook your mustard until it gets to the consistency you like.
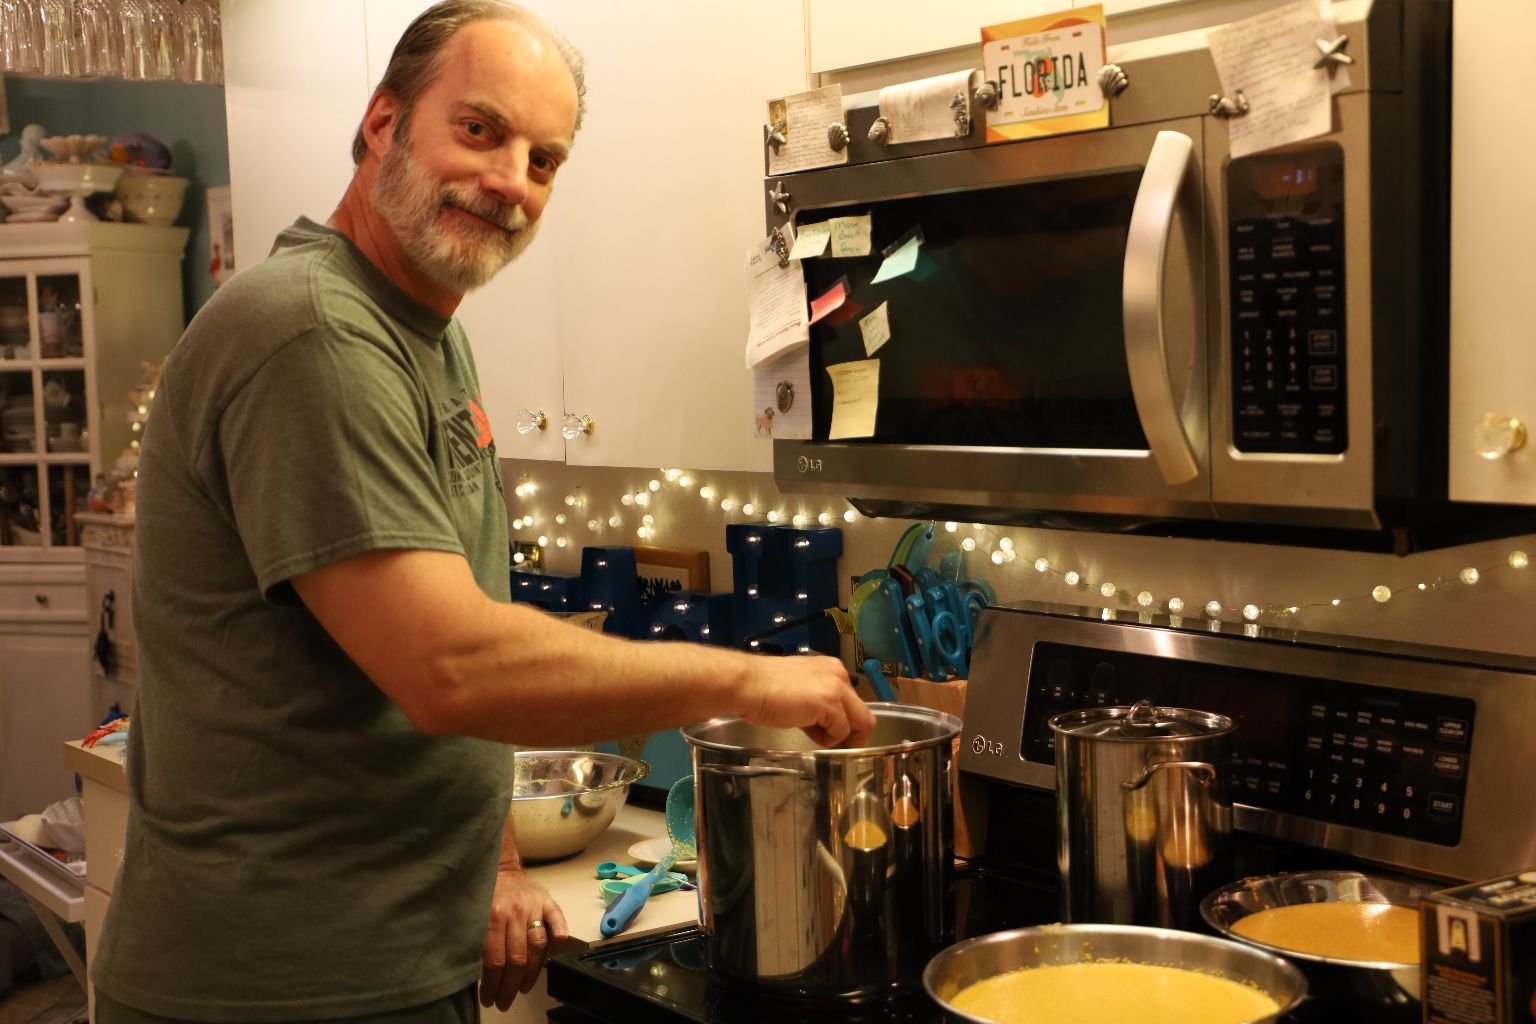
————————————————————————–
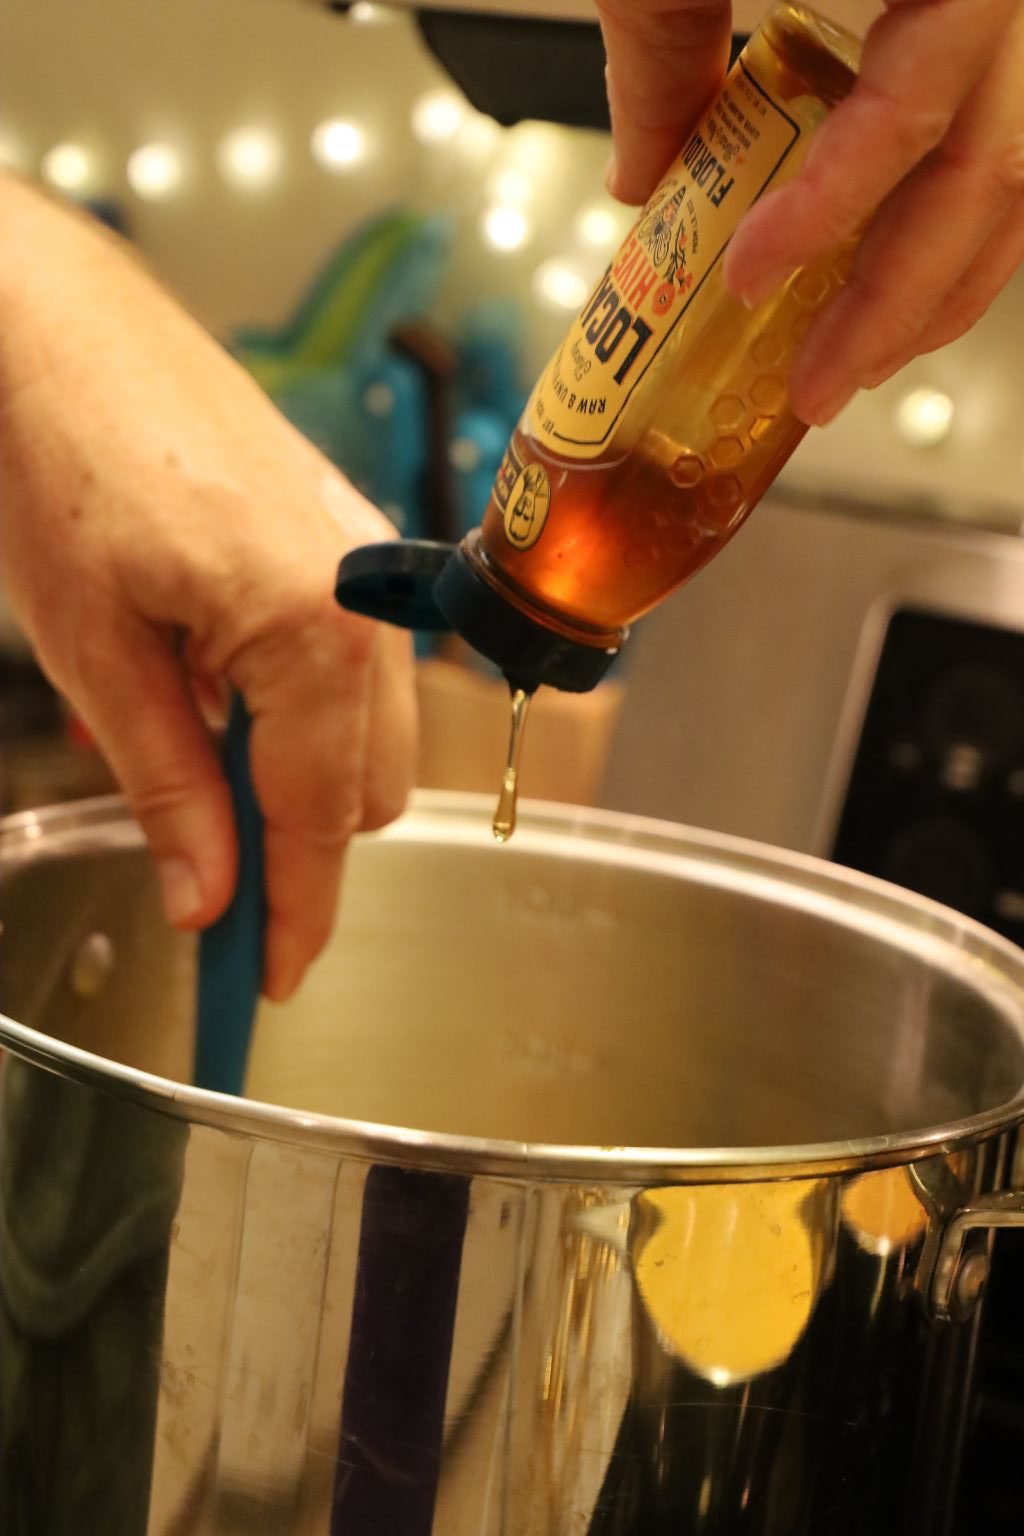
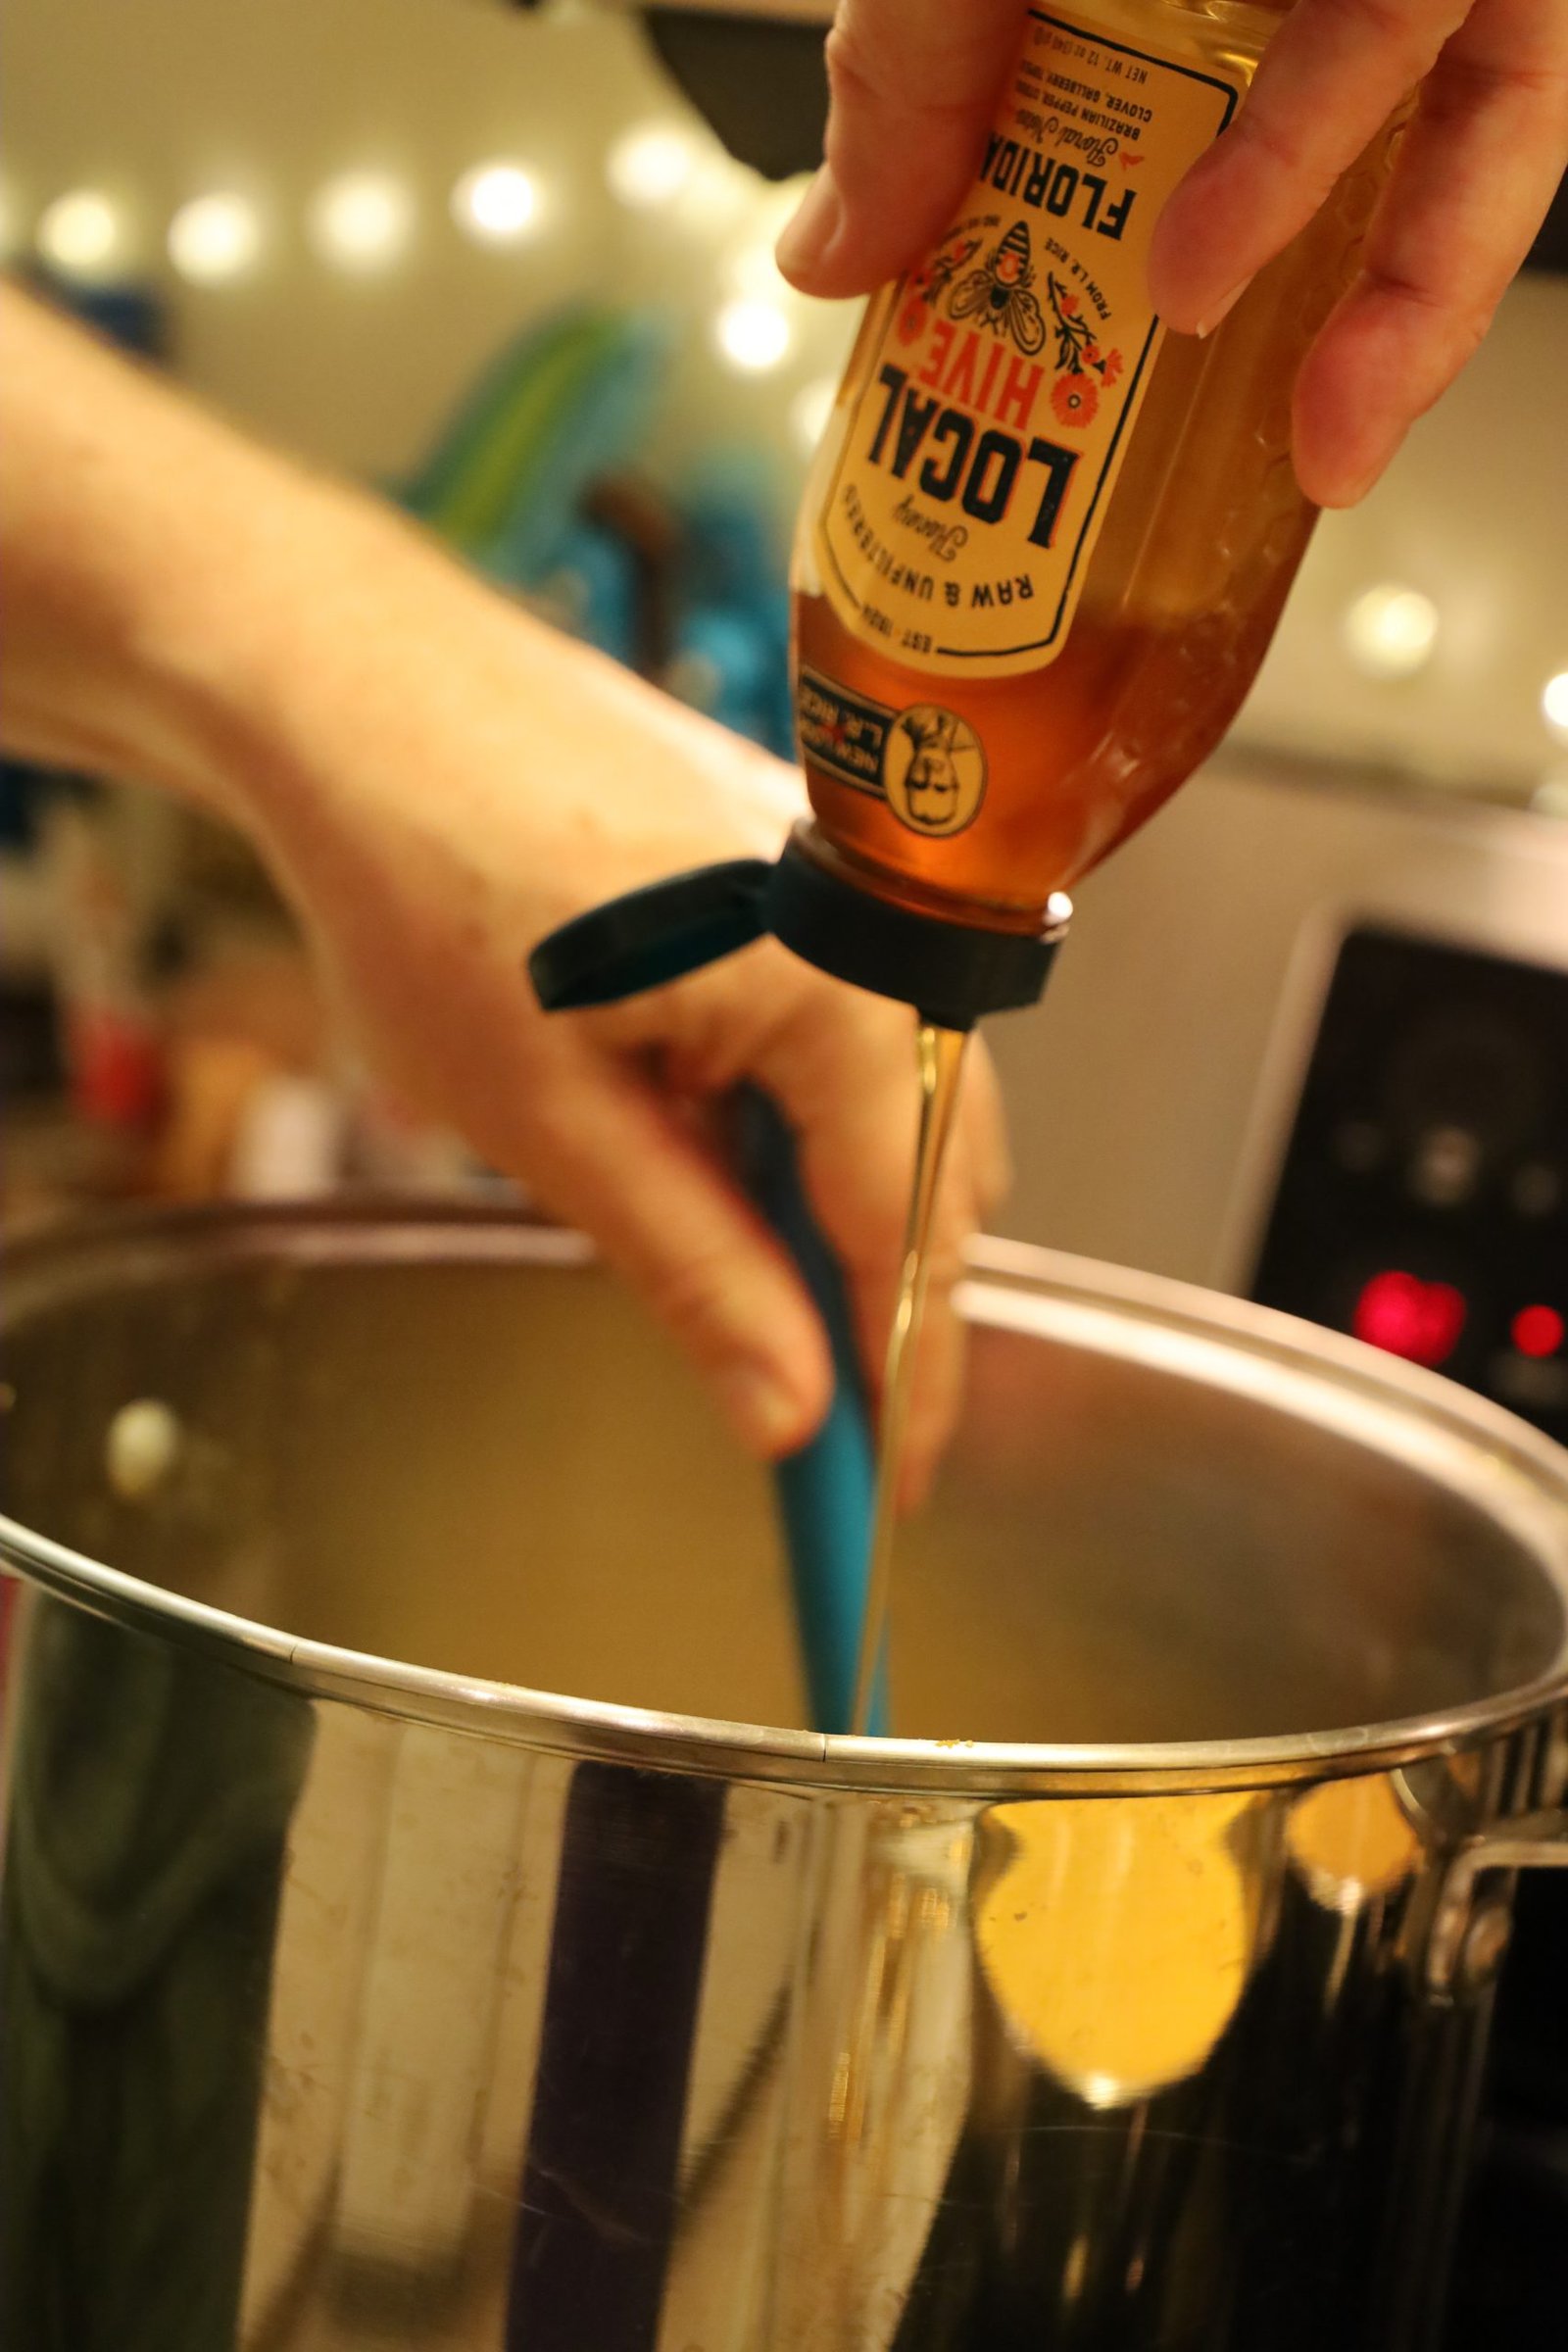
Here, I am Adding the Honey
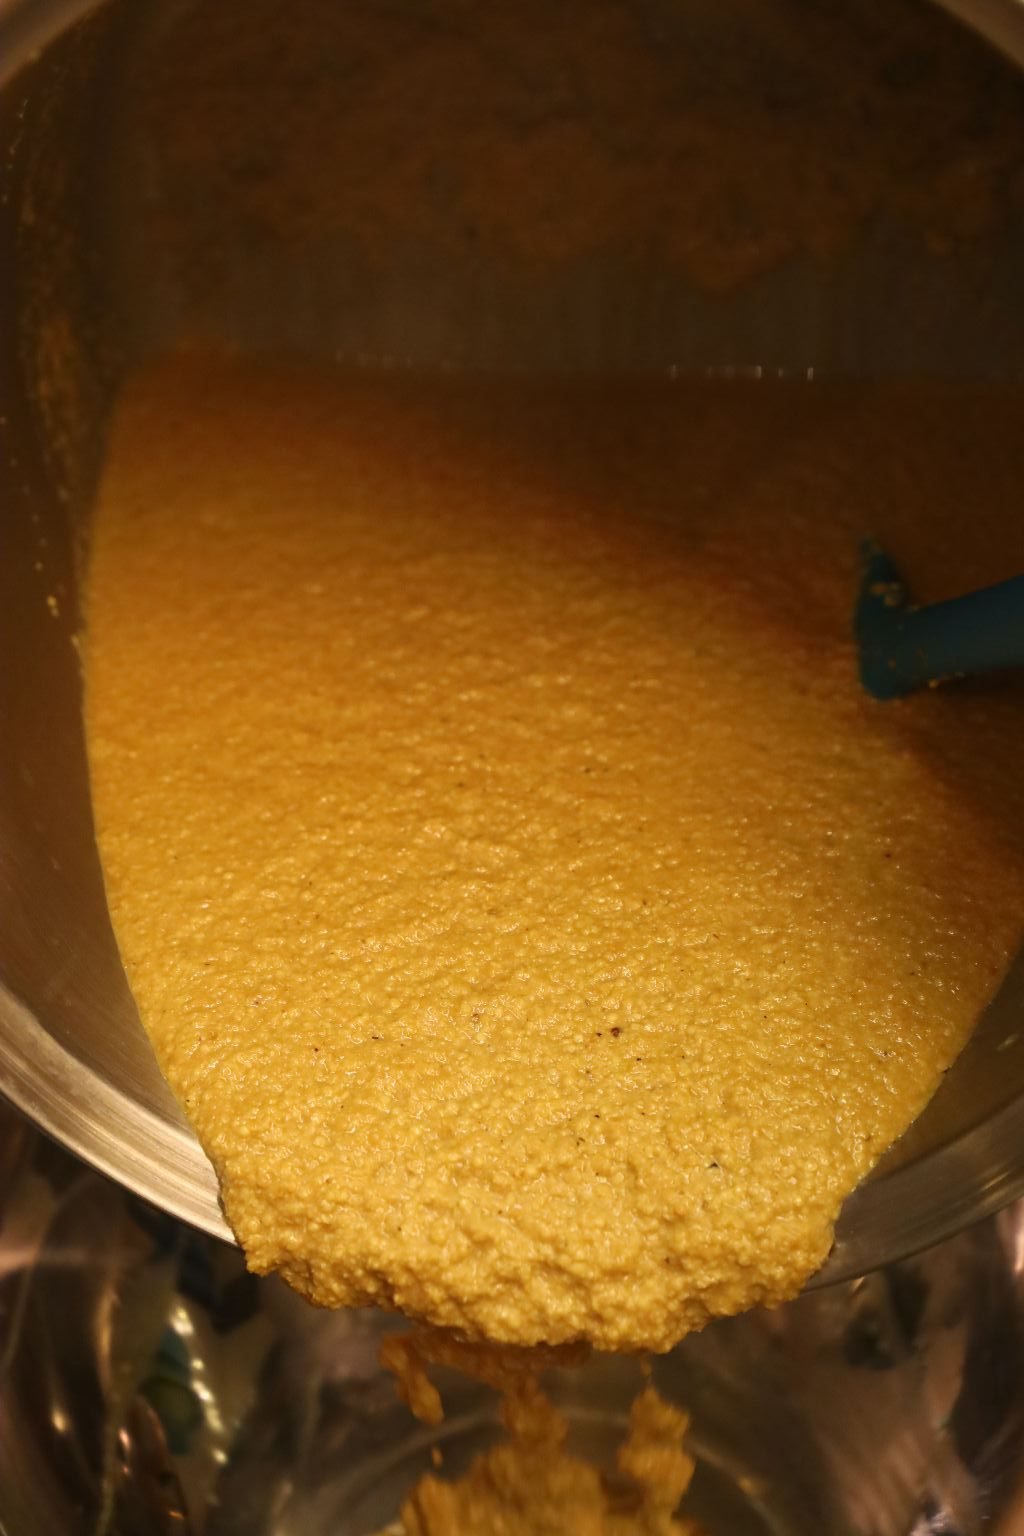
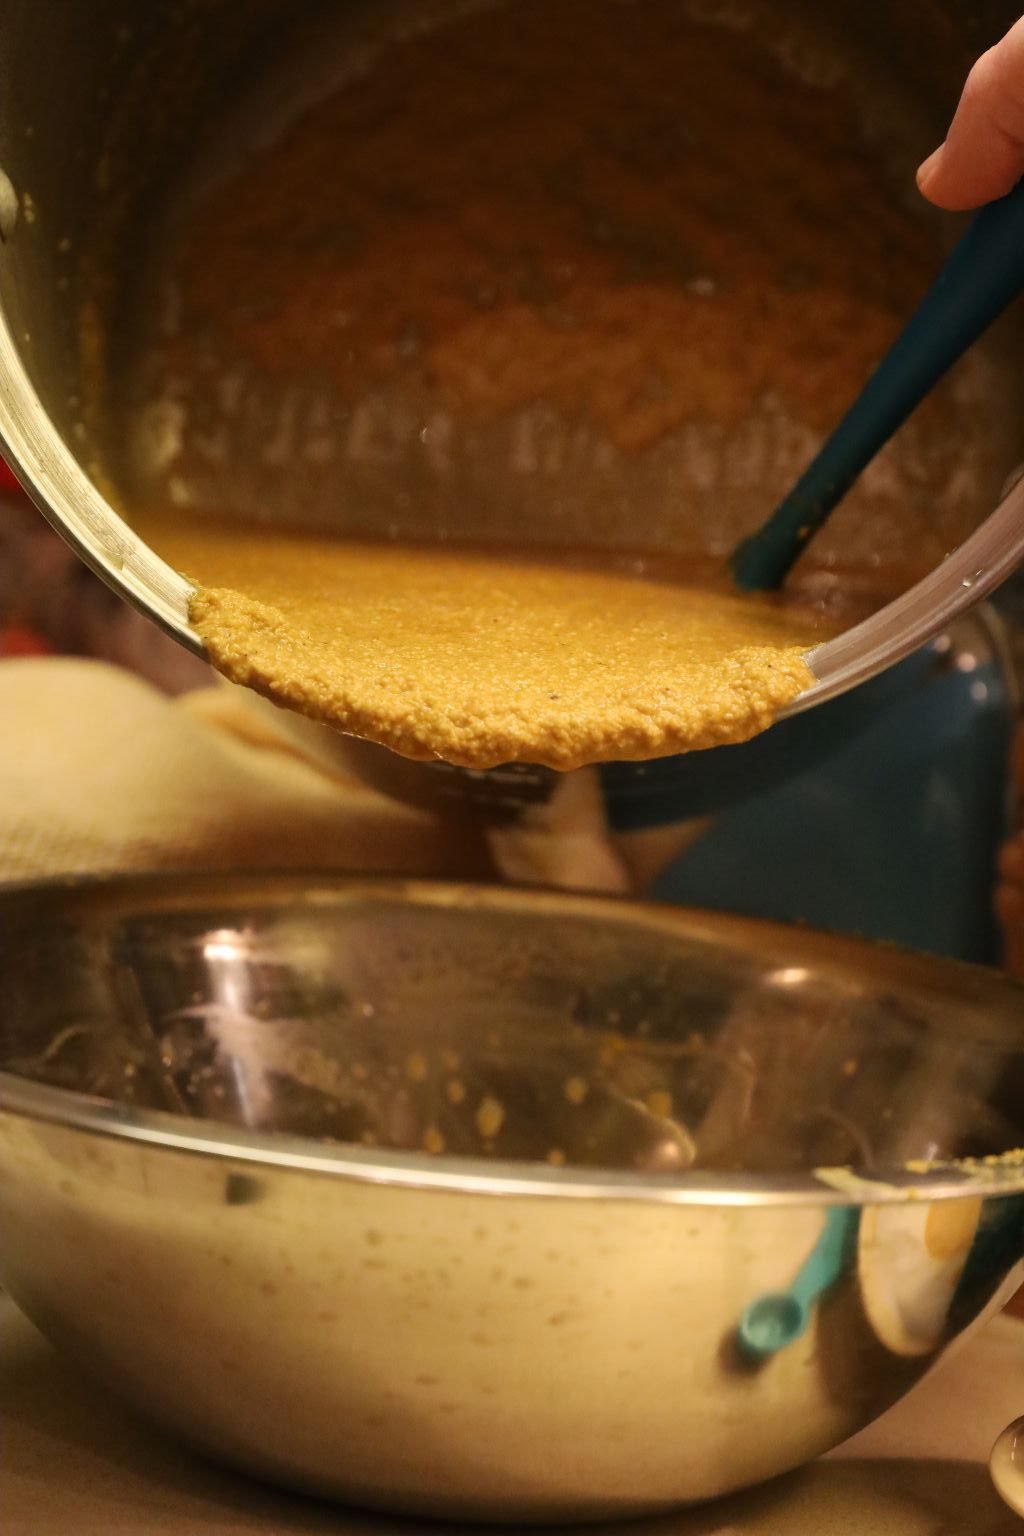
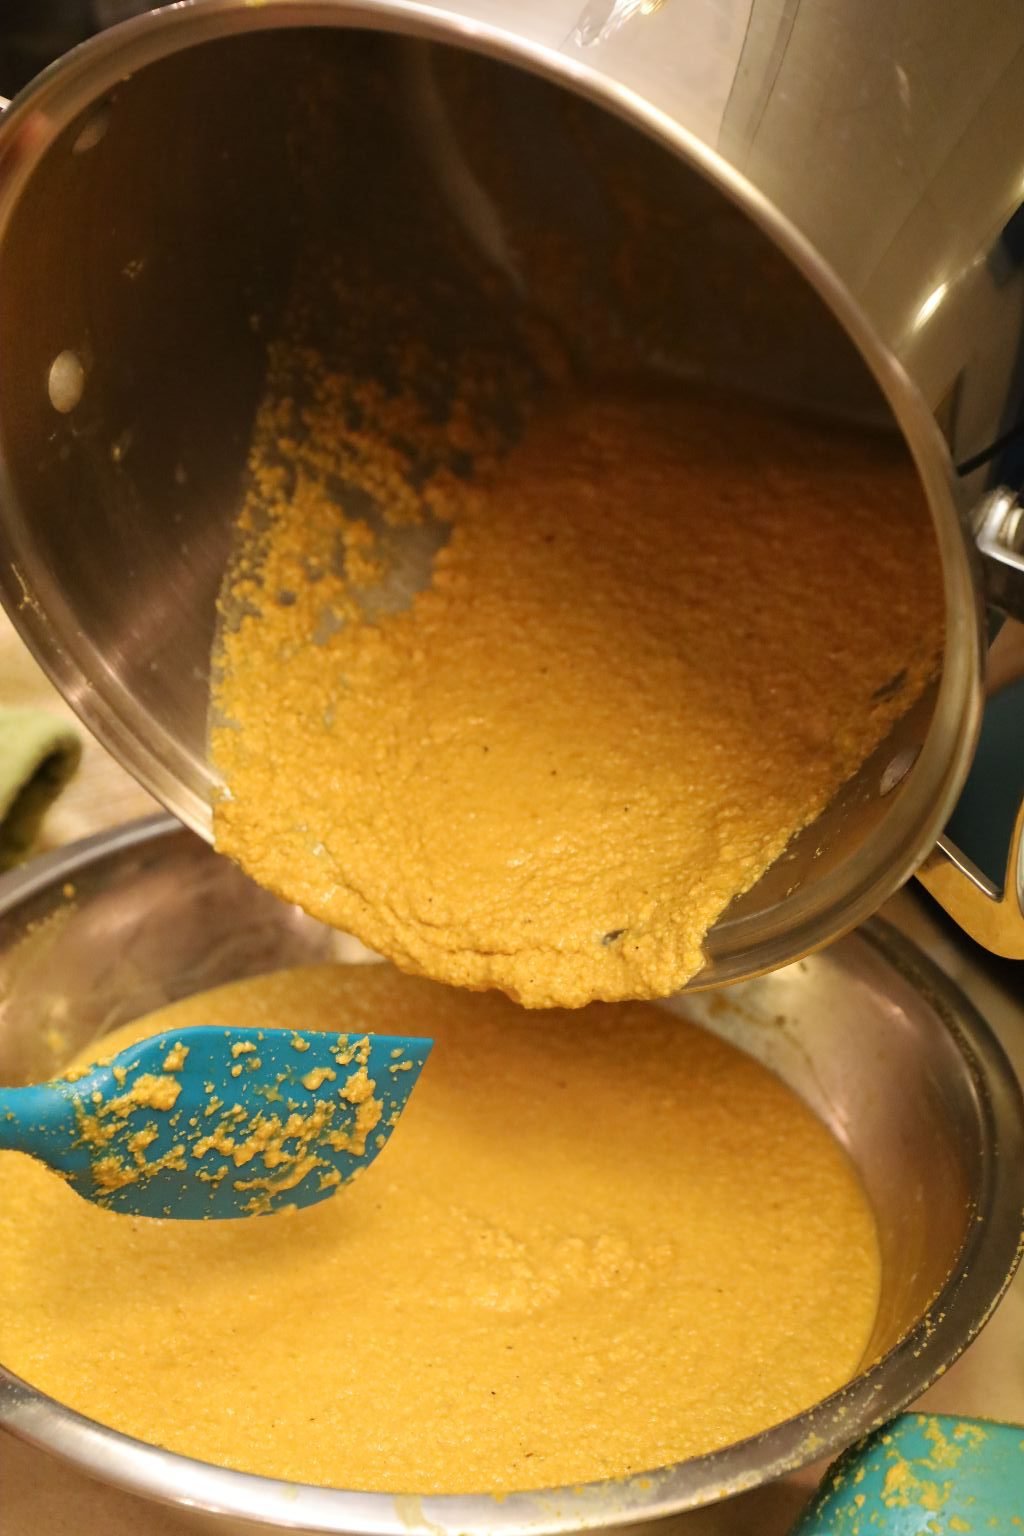
When the mustard is at the consistency I liked, I removed it from the heat. I transferred the mustard from the pot to the bowl because It is easier to remove the mustard from the bowl when scooping it into the jars.
Here is a bowl of lids and rings.
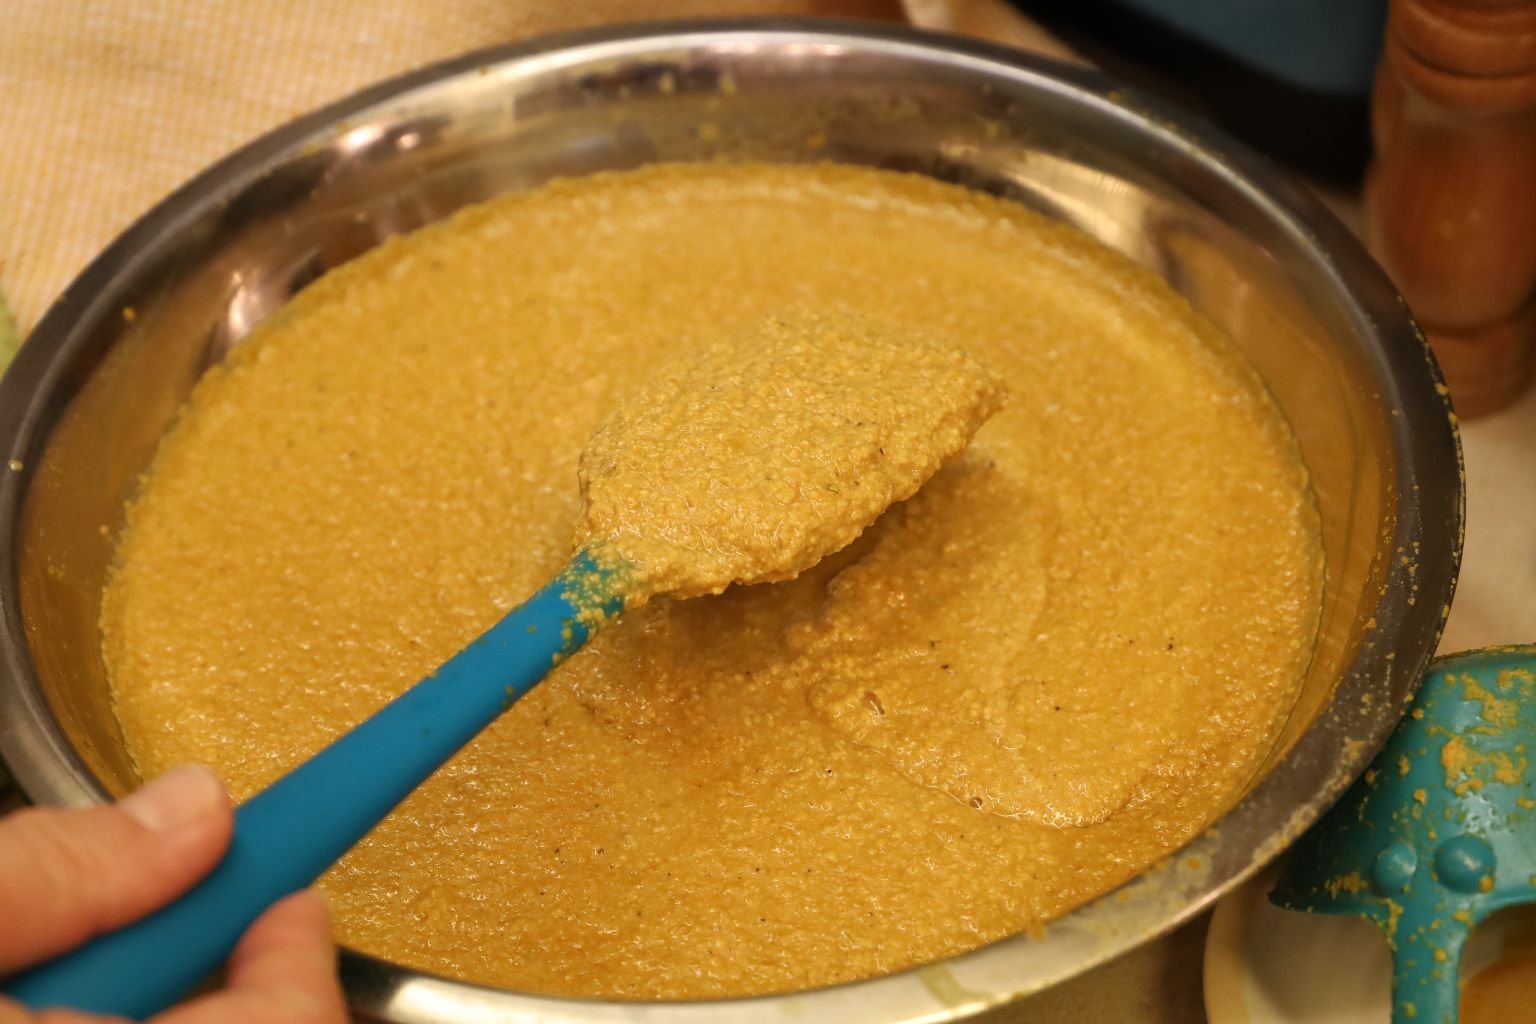
I tasted the mustard…
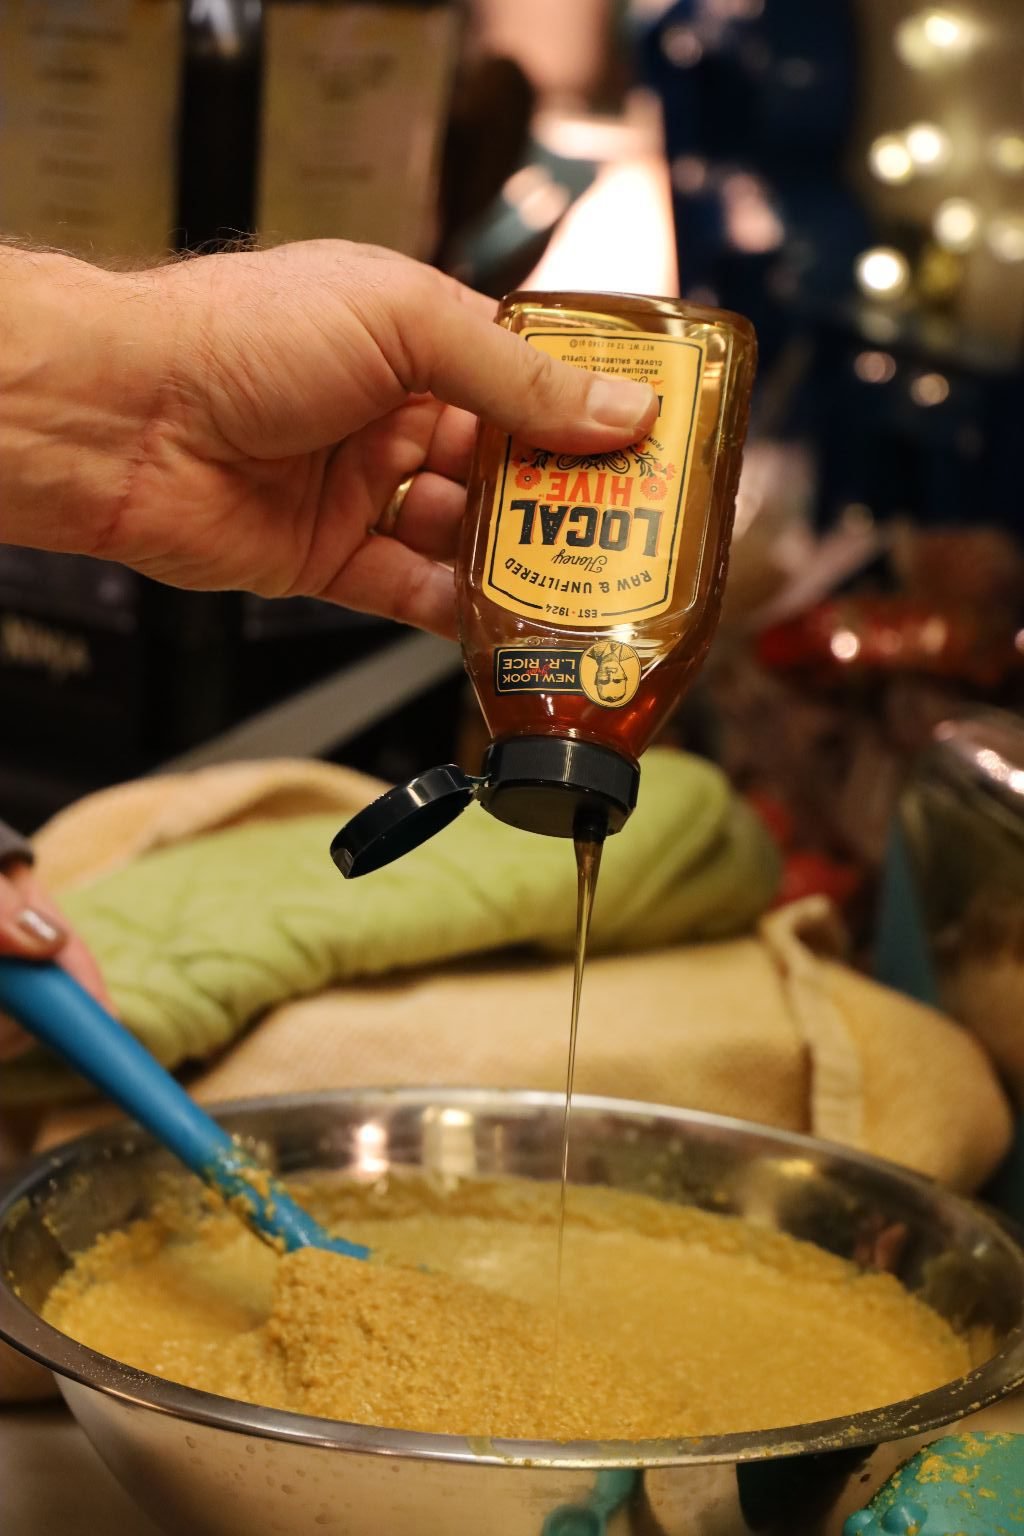
and felt it needed more honey!
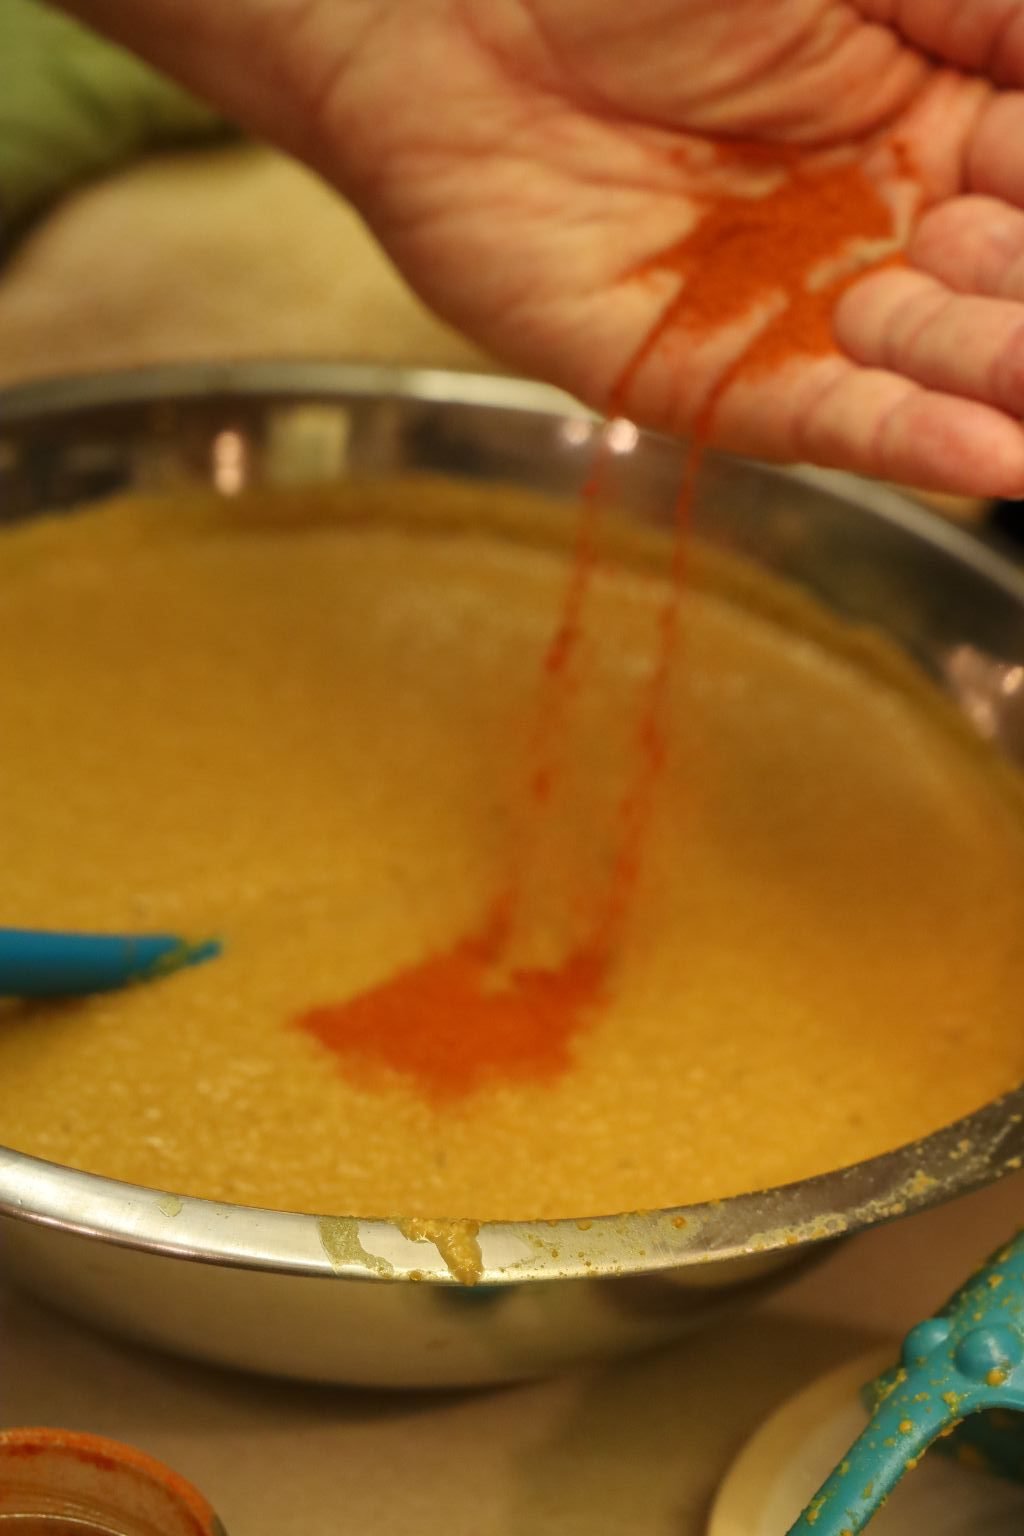
Now add your Sweet Paprika…
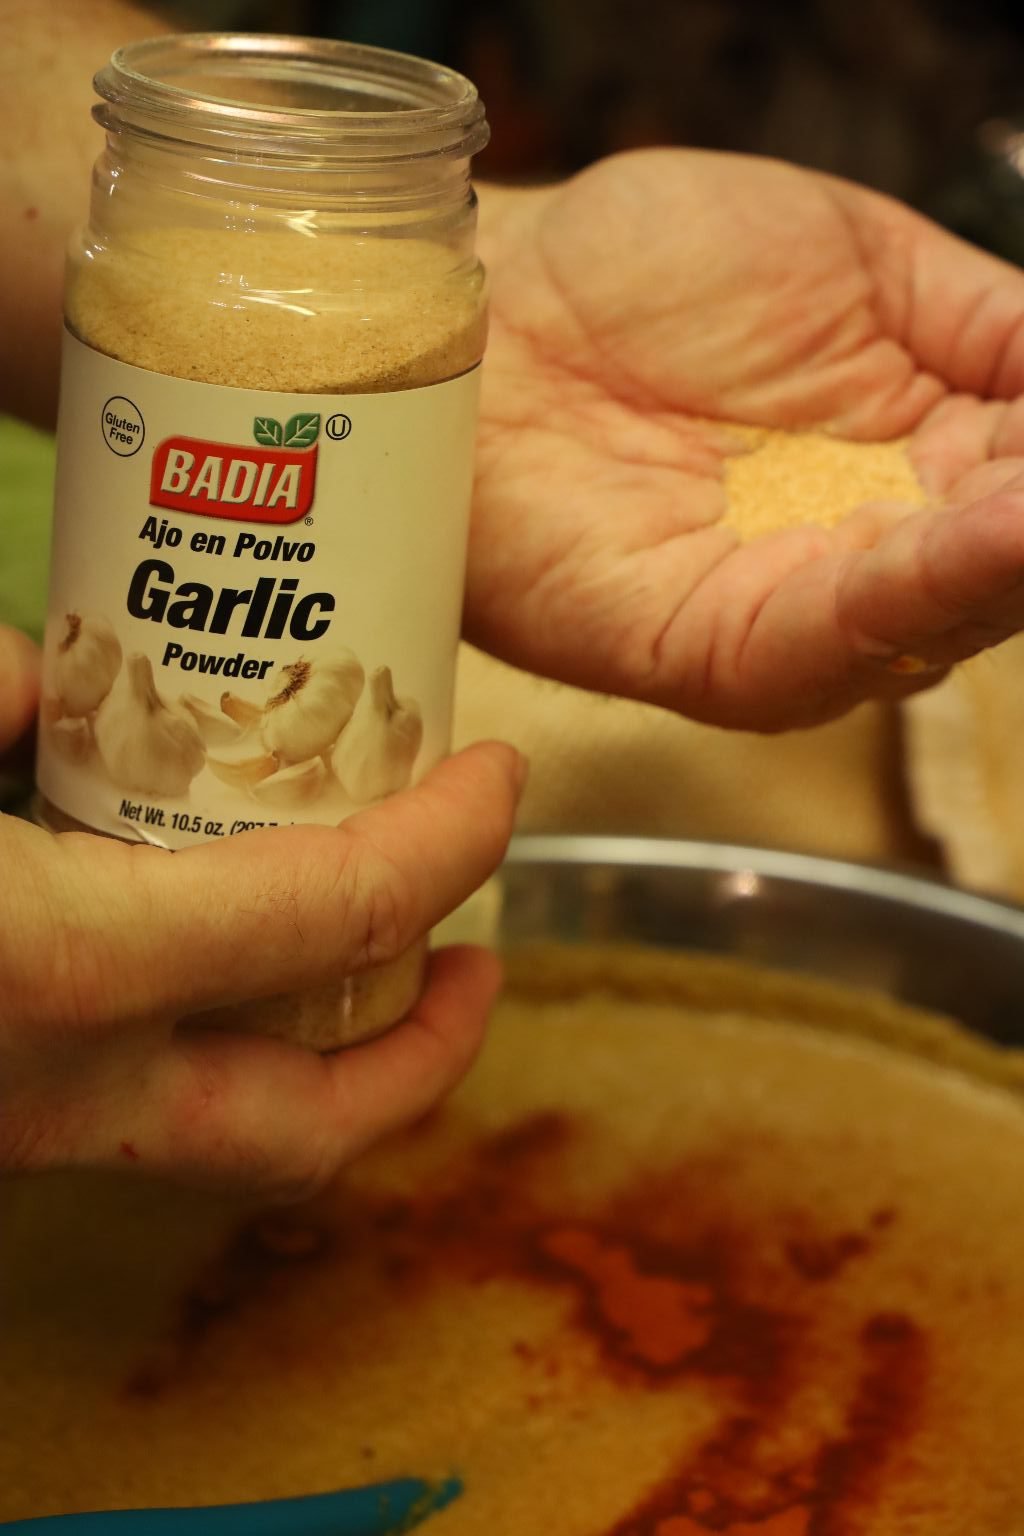
….then your Garlic Powder to the bowl.
Stir in all your ingredients.
Now, taste the mustard again to ensure it is to your liking!
If not, add more of the ingredients until it does.
———————————————————–
Here I am placing my lids into the almost boiling water to prep them for the canning process.
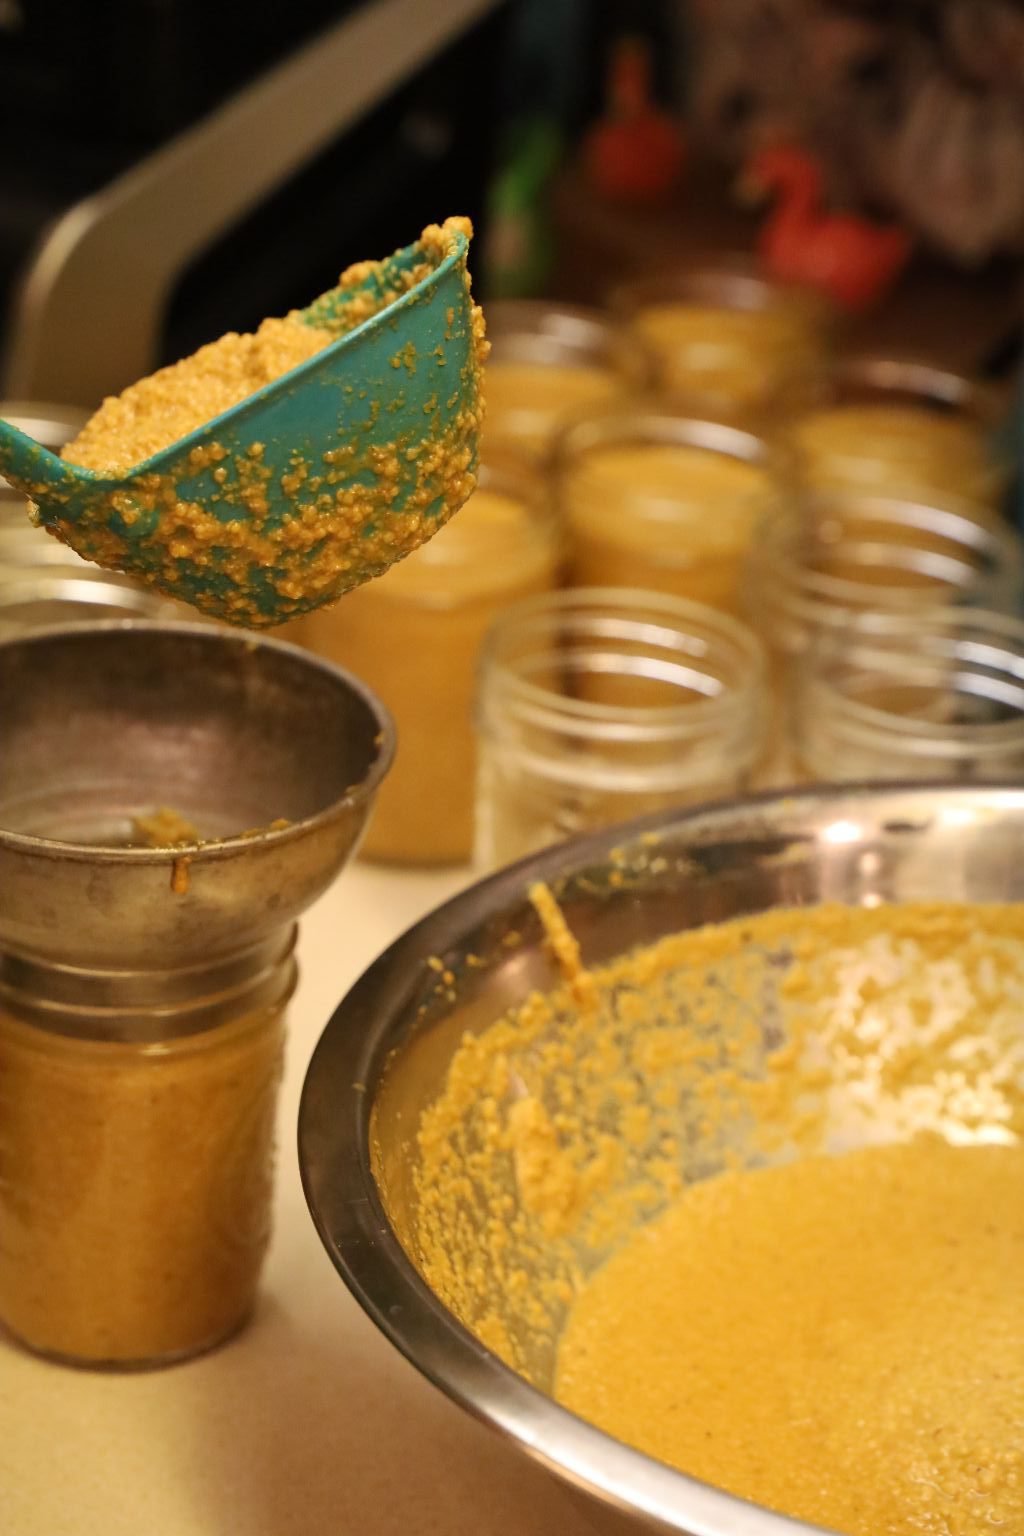
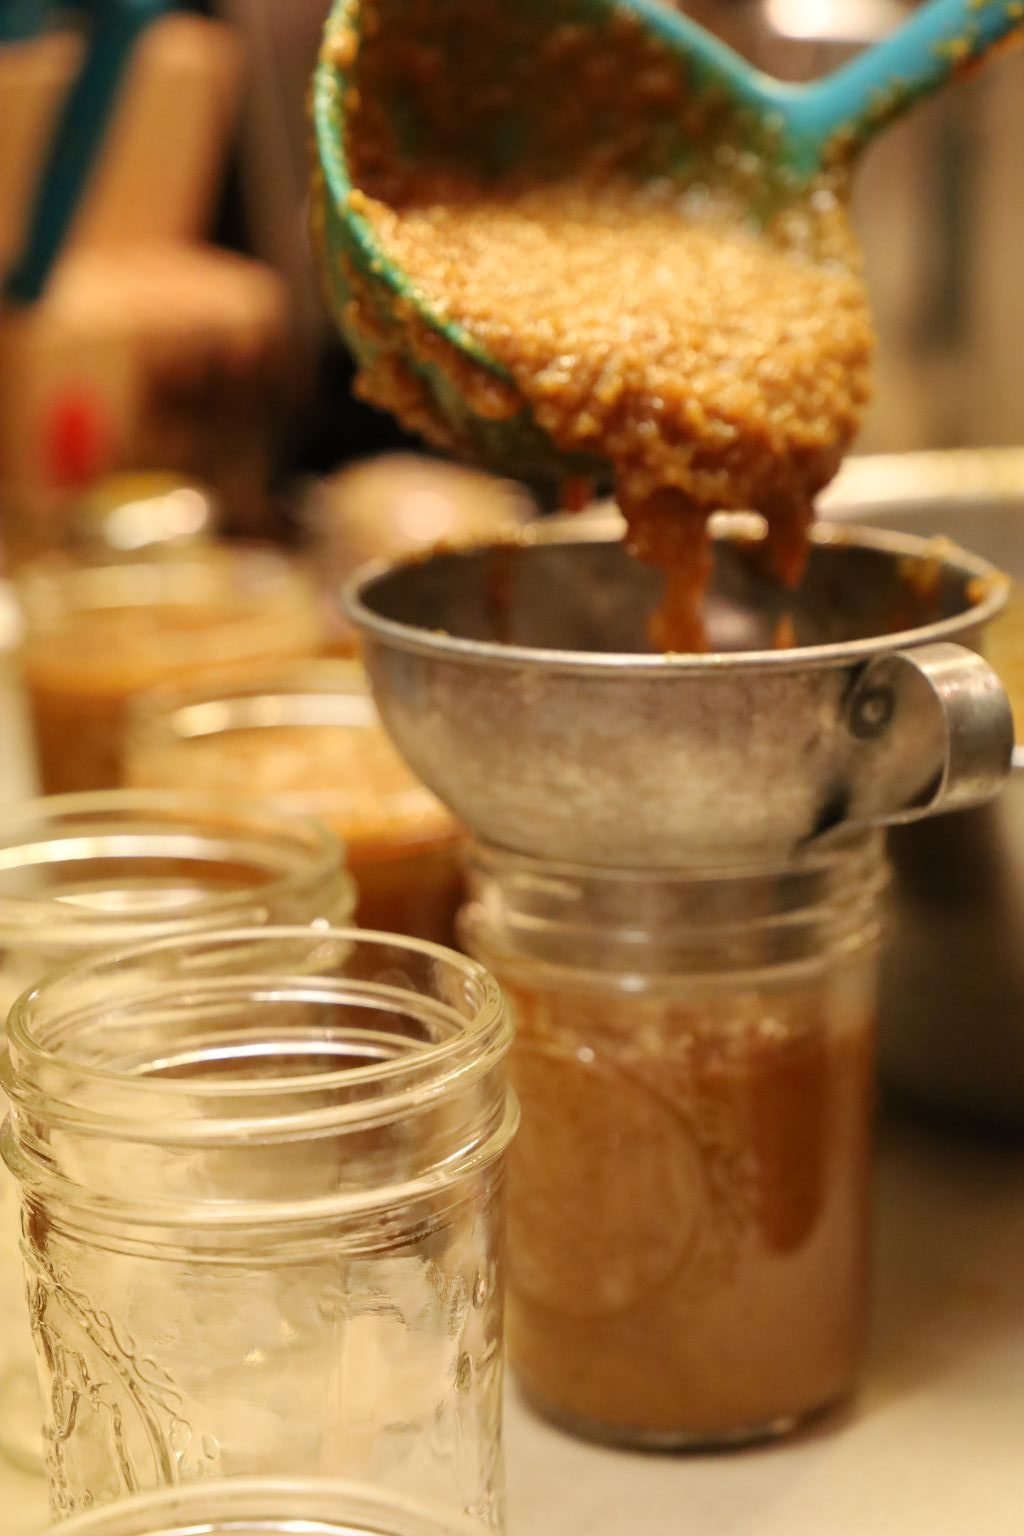
Using a ladle and funnel, add your mustard to the sterilized jars. Sterilize your jars using your dishwasher. When they are done, remove them and cover with a dishtowel until ready to use. Place your lids in a pot of almost boiling water to soften the rubber seal. An almost boil will just start to show tiny bubbles in the water which will just make the seal pliable. If you bring the water to a hard boil, you might ruin the rubber seal.
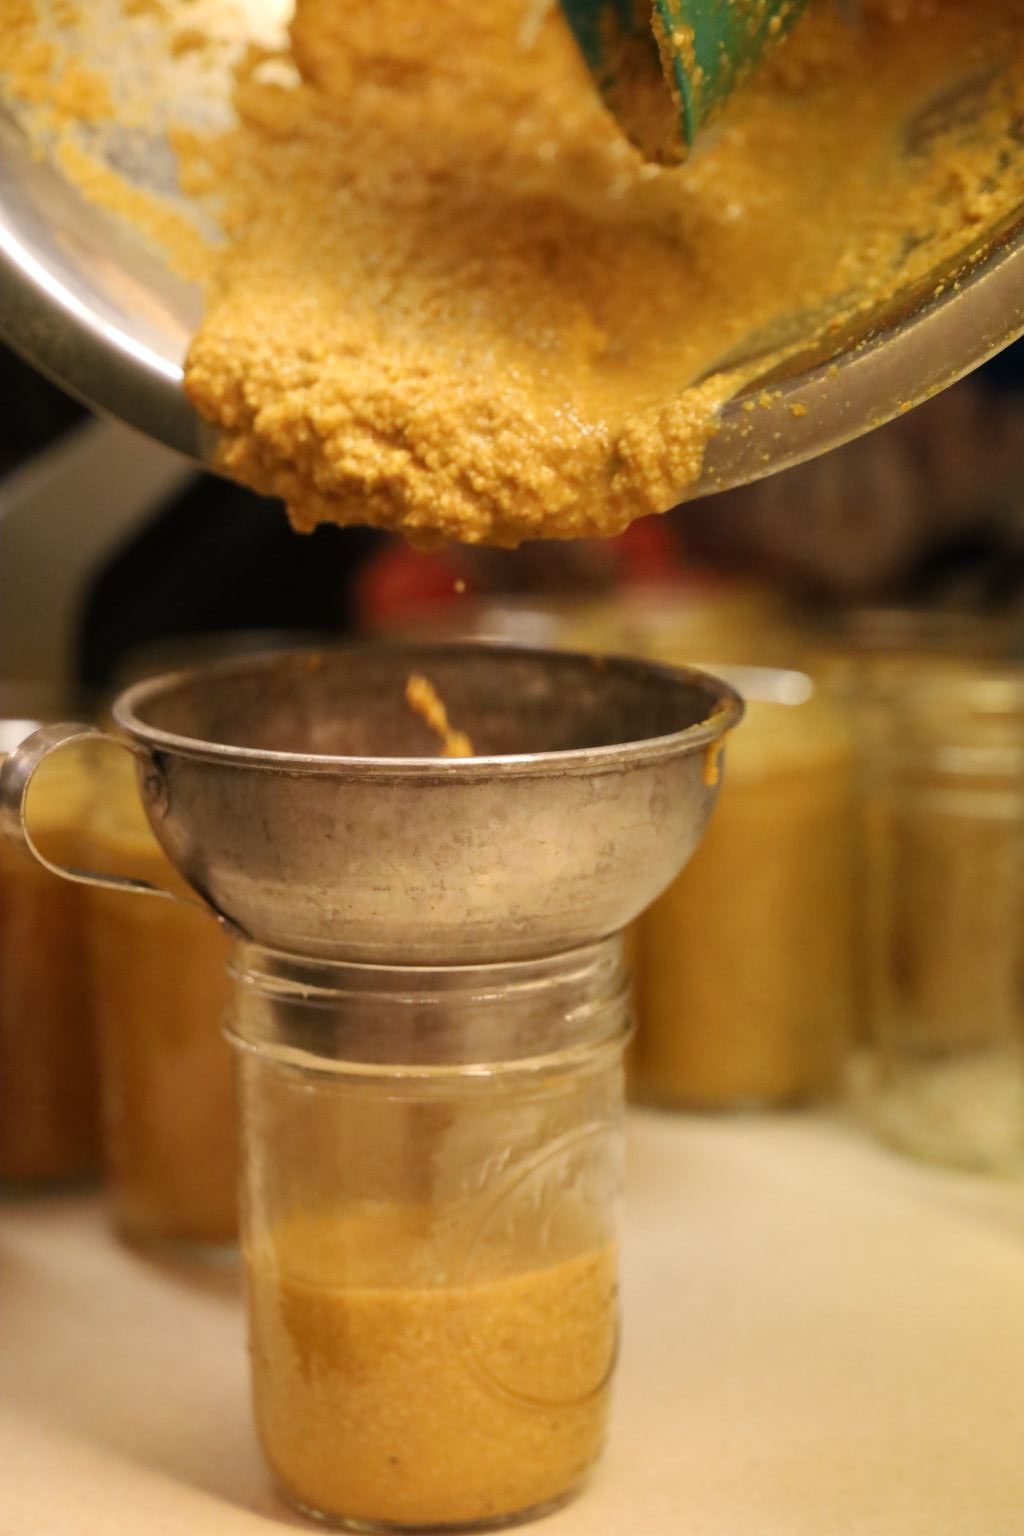
Leave 1/2 inch of headspace between the top of the mustard, to the top of the jar. This headspace allows a vacuum to build up within the jar making a good seal.
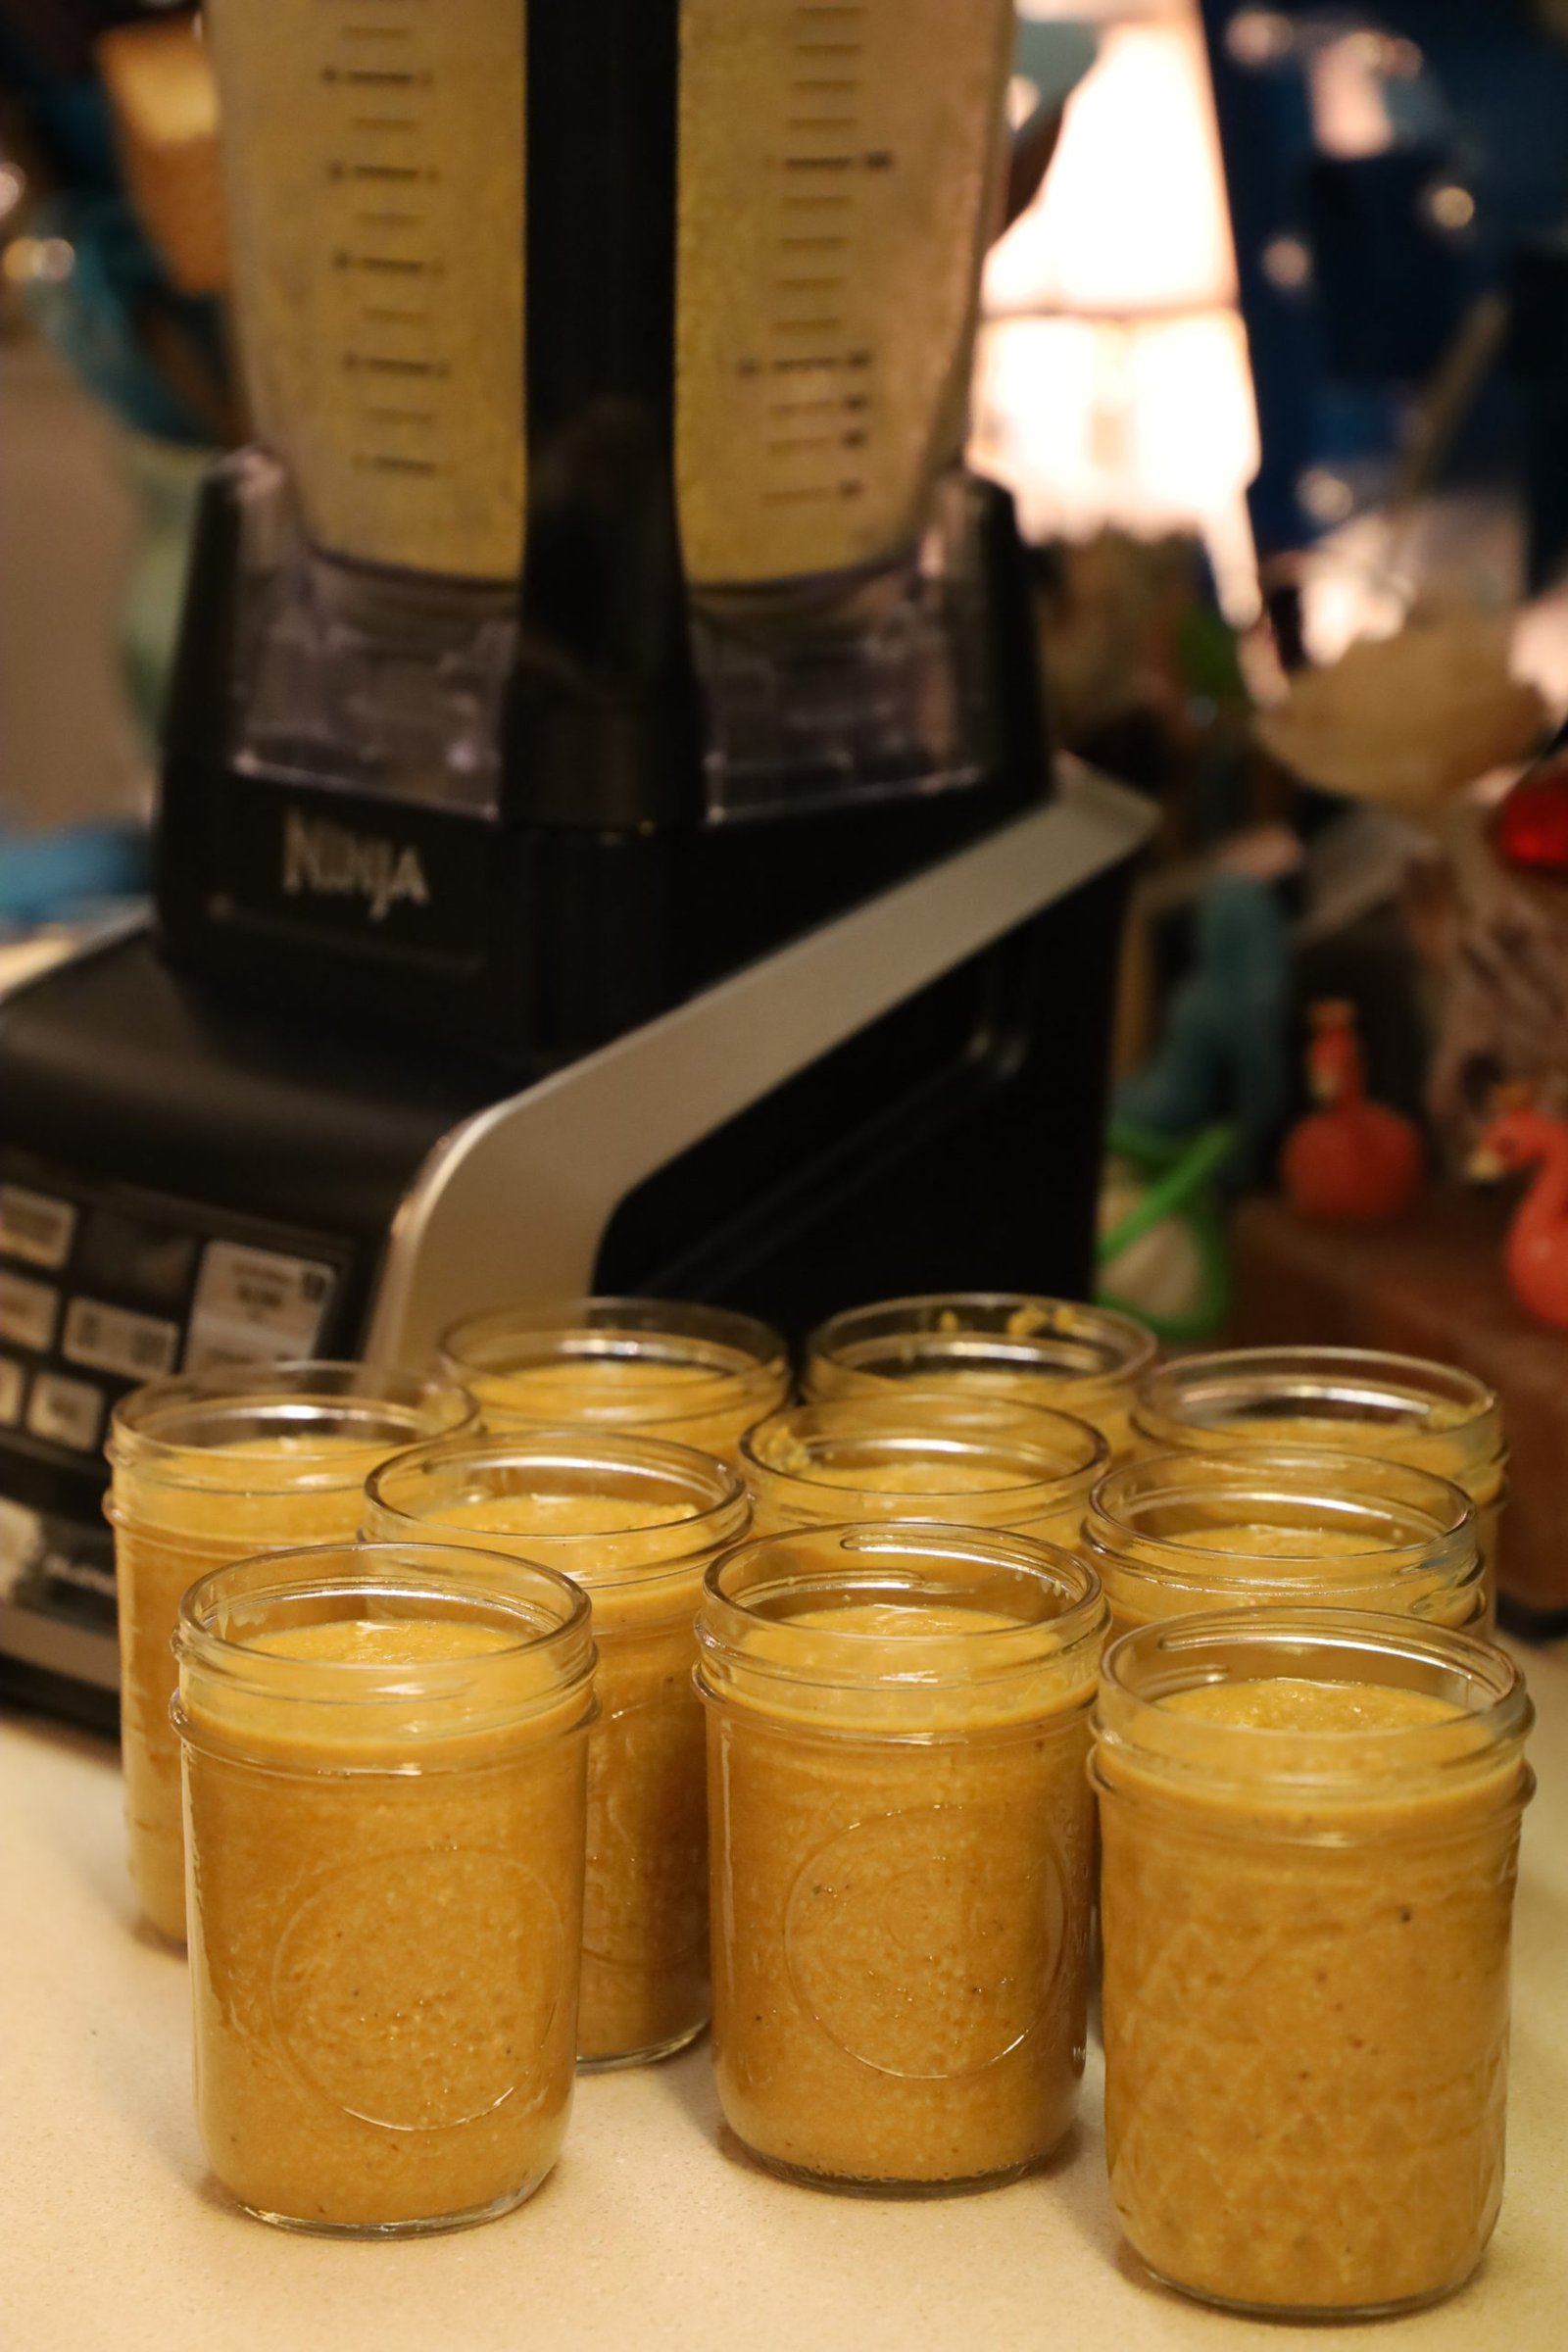
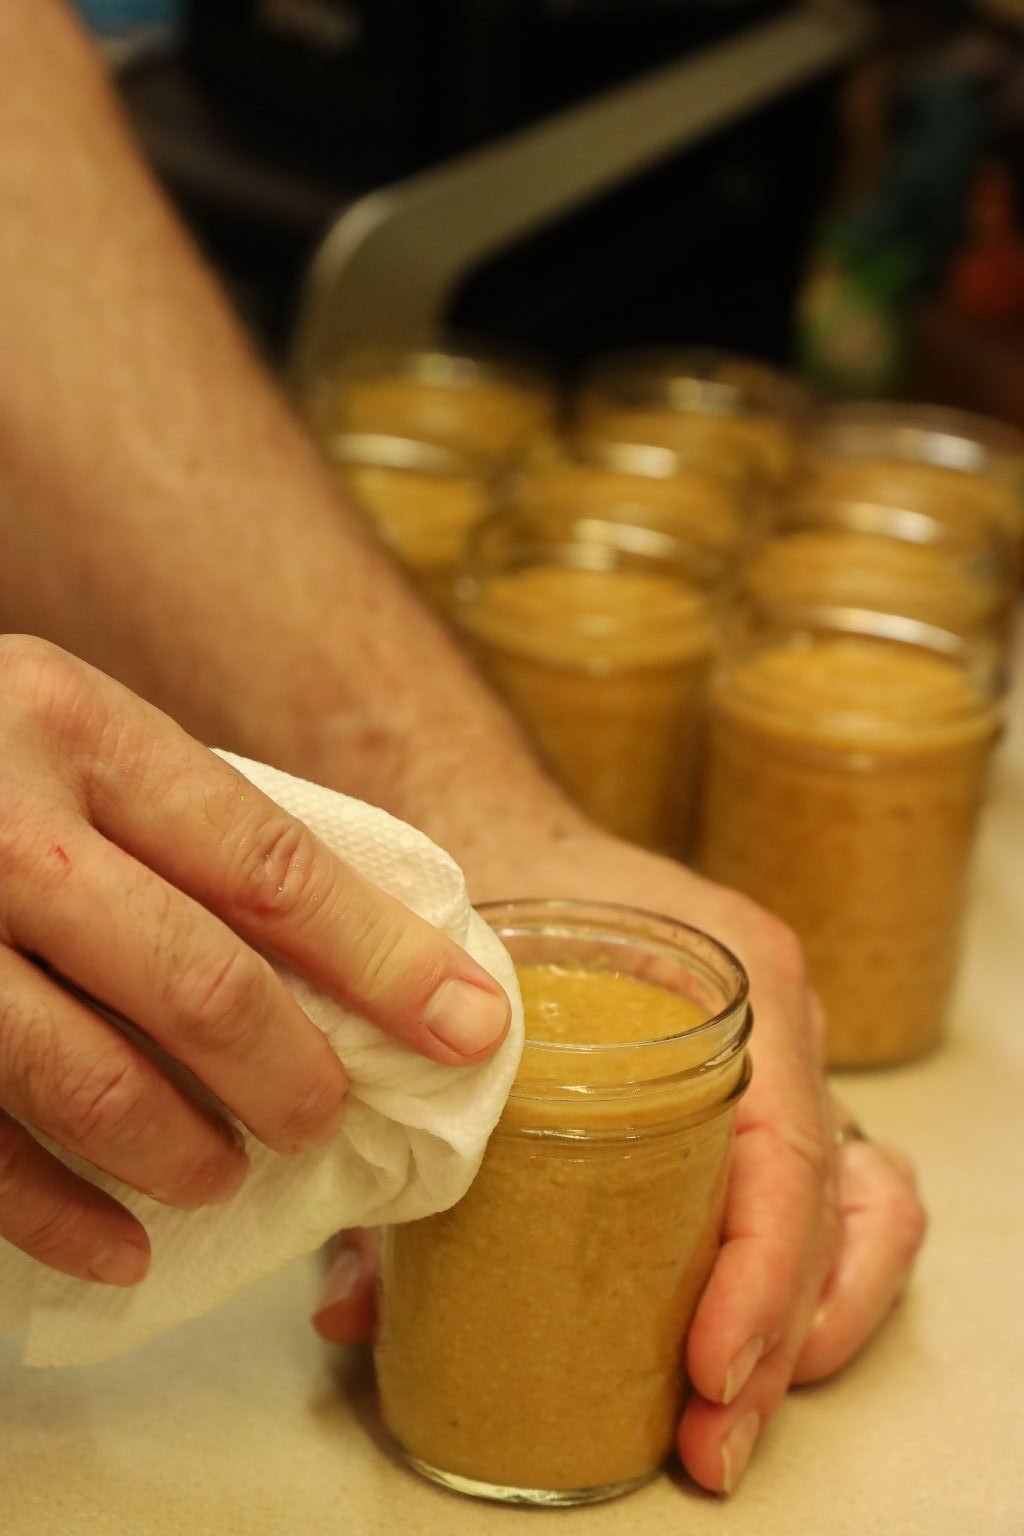
Wipe down the top of the jar with a wet paper towel until clean. If it is not clean, the lid will not seal properly.
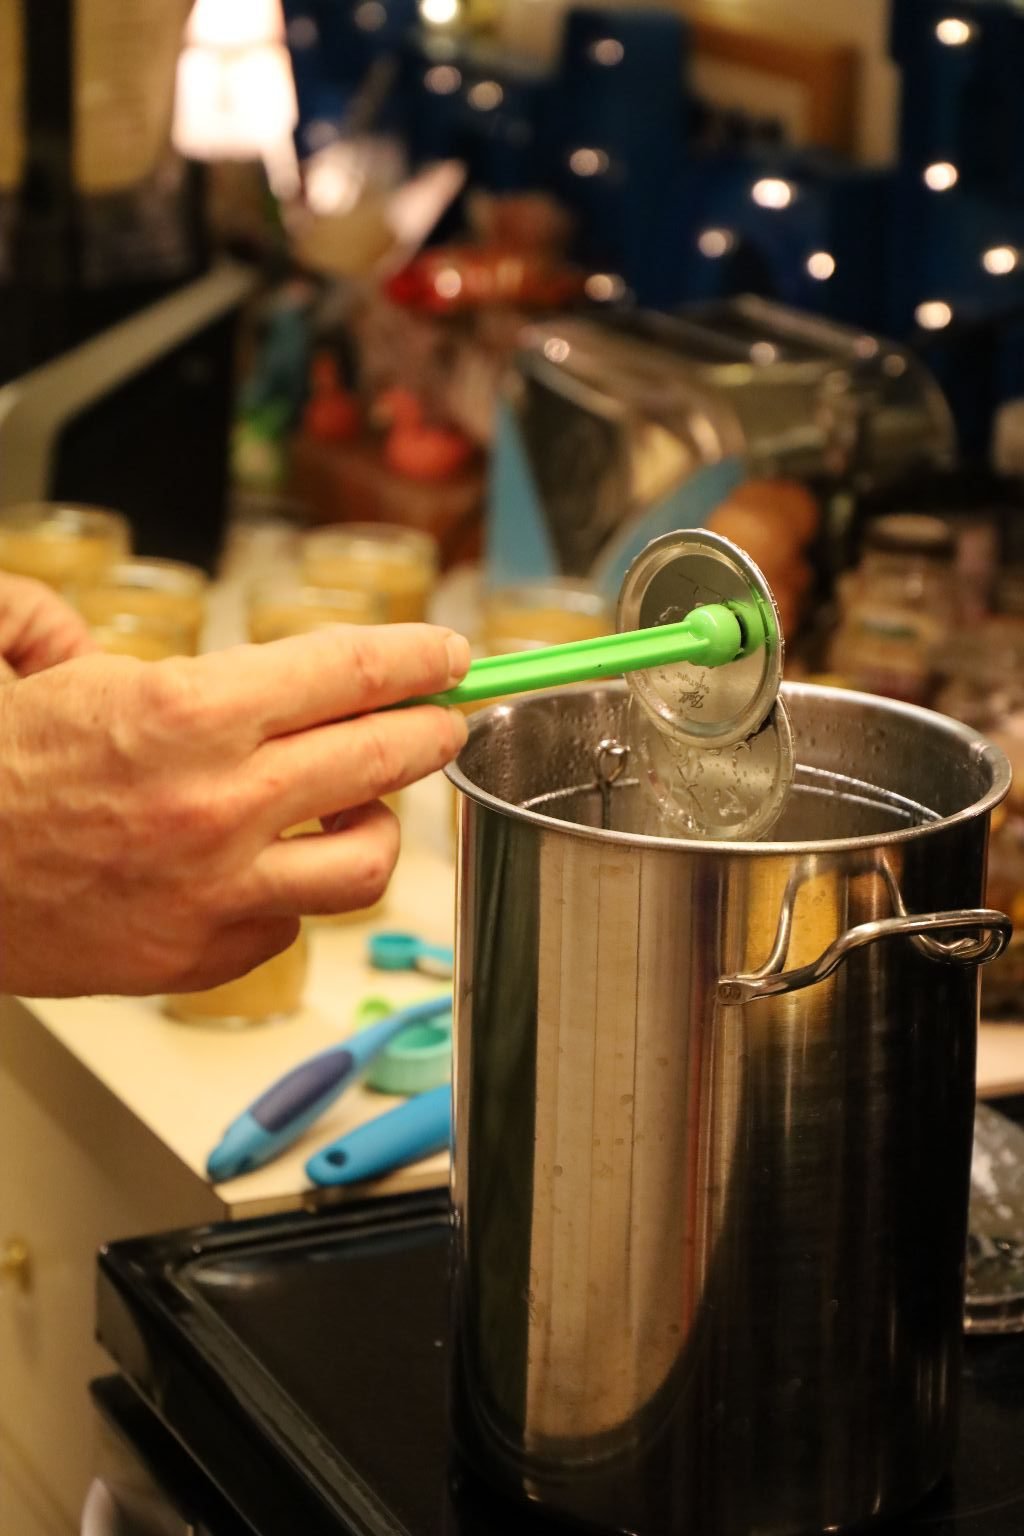
Using the magnetized stick, remove the hot lid and place it on the jar as shown.
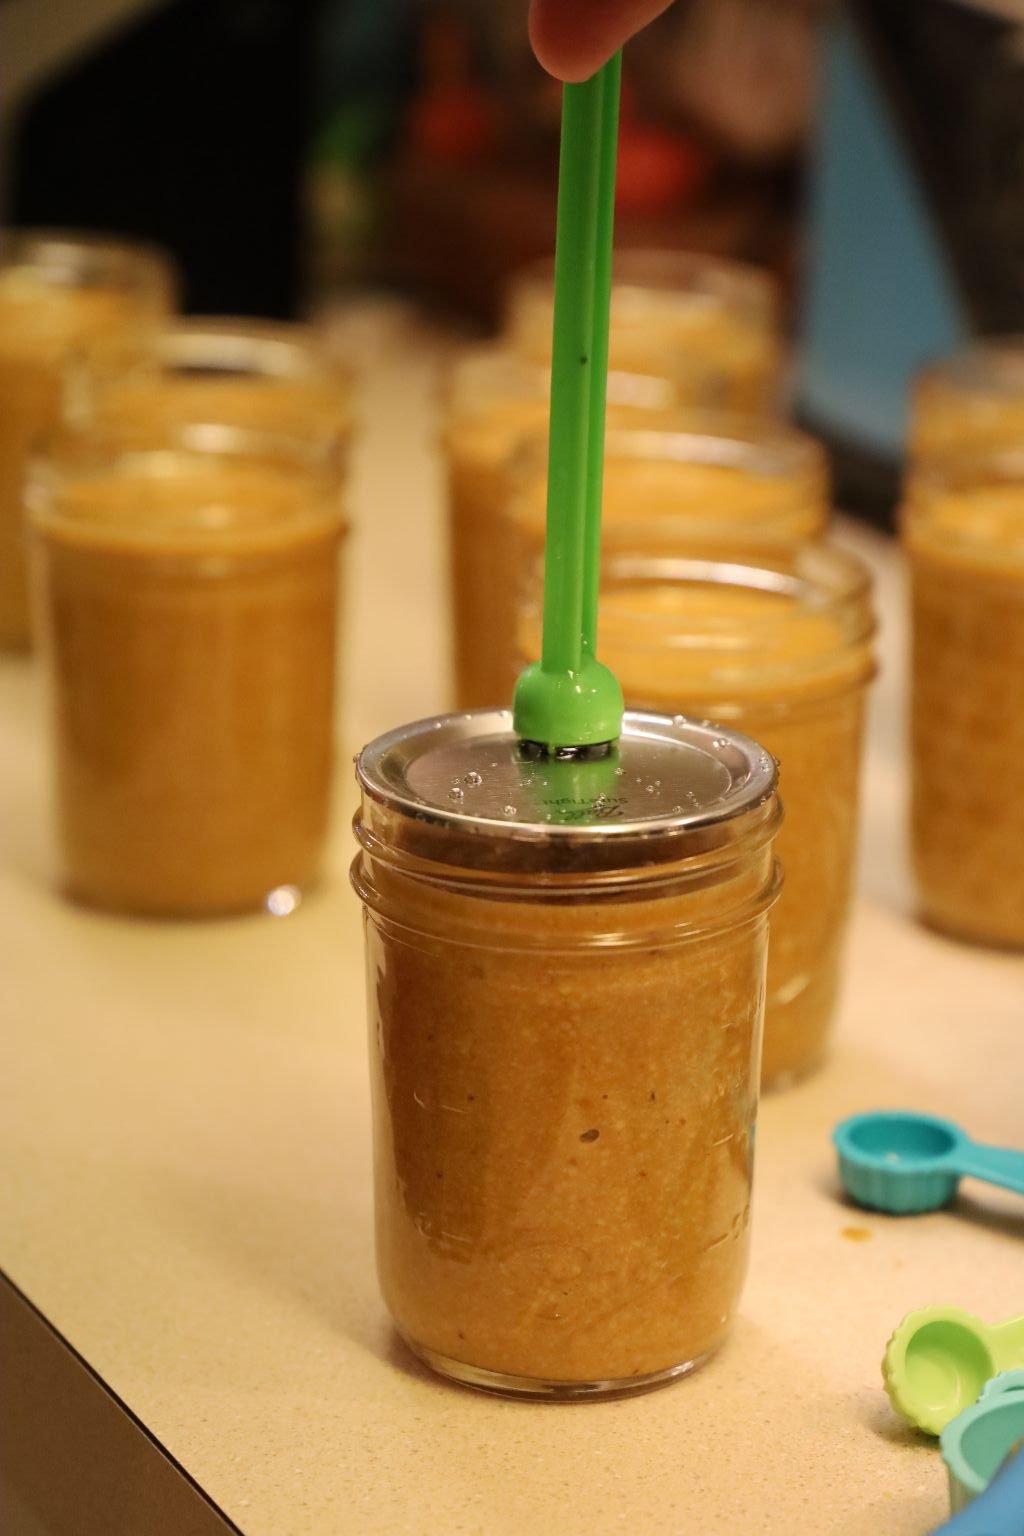
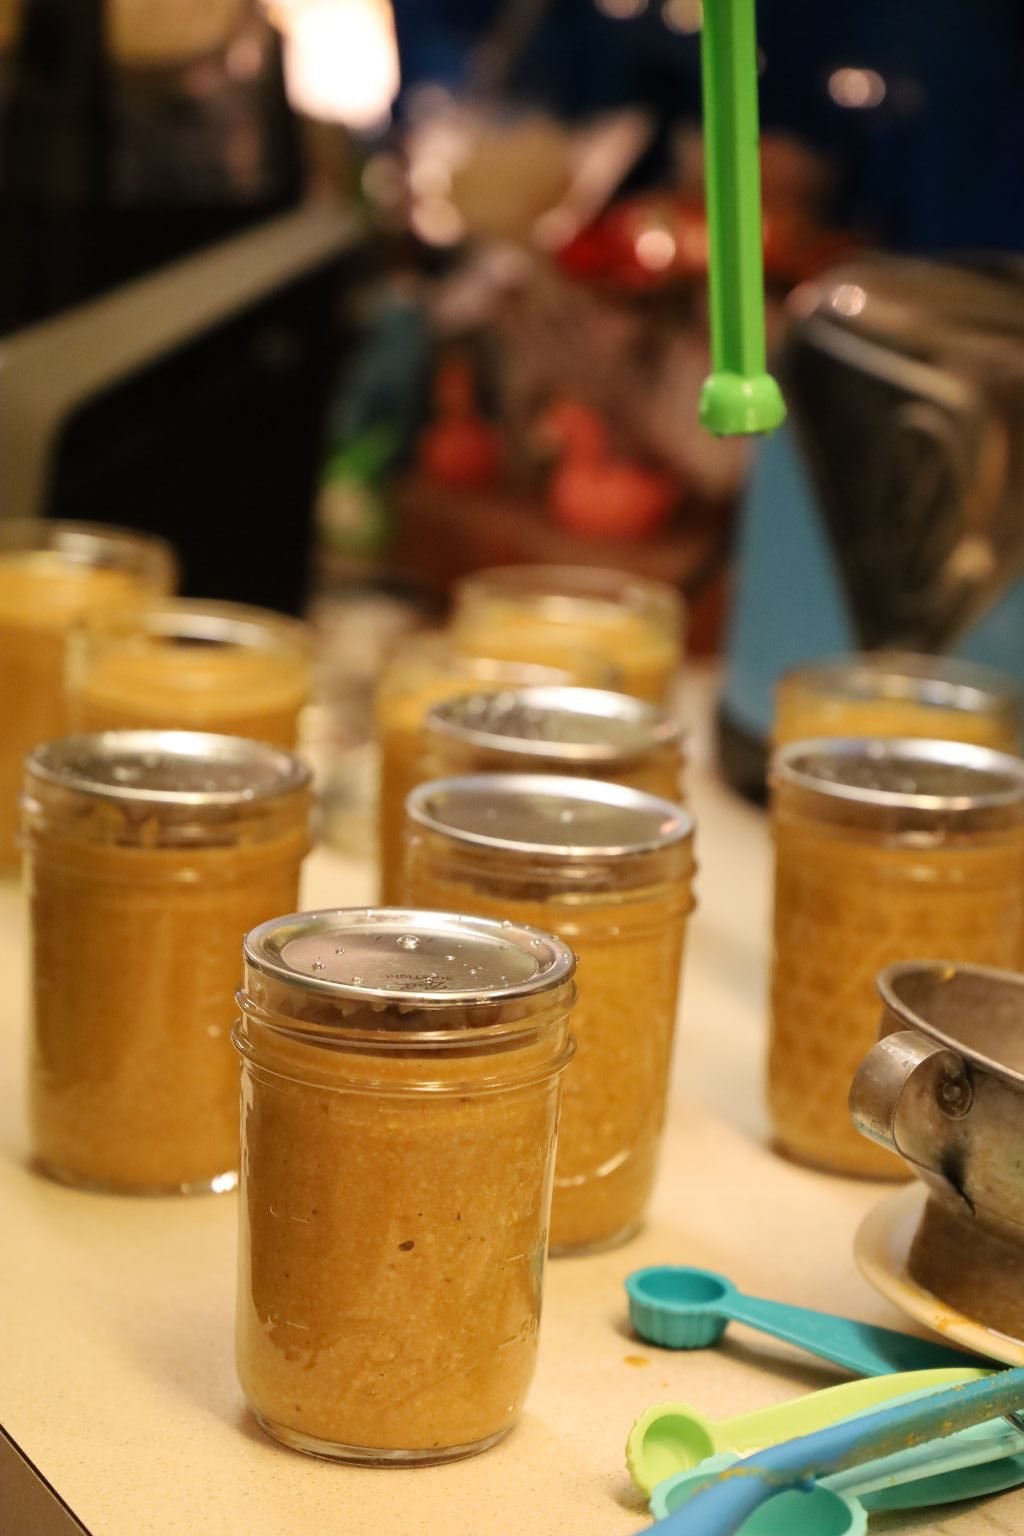
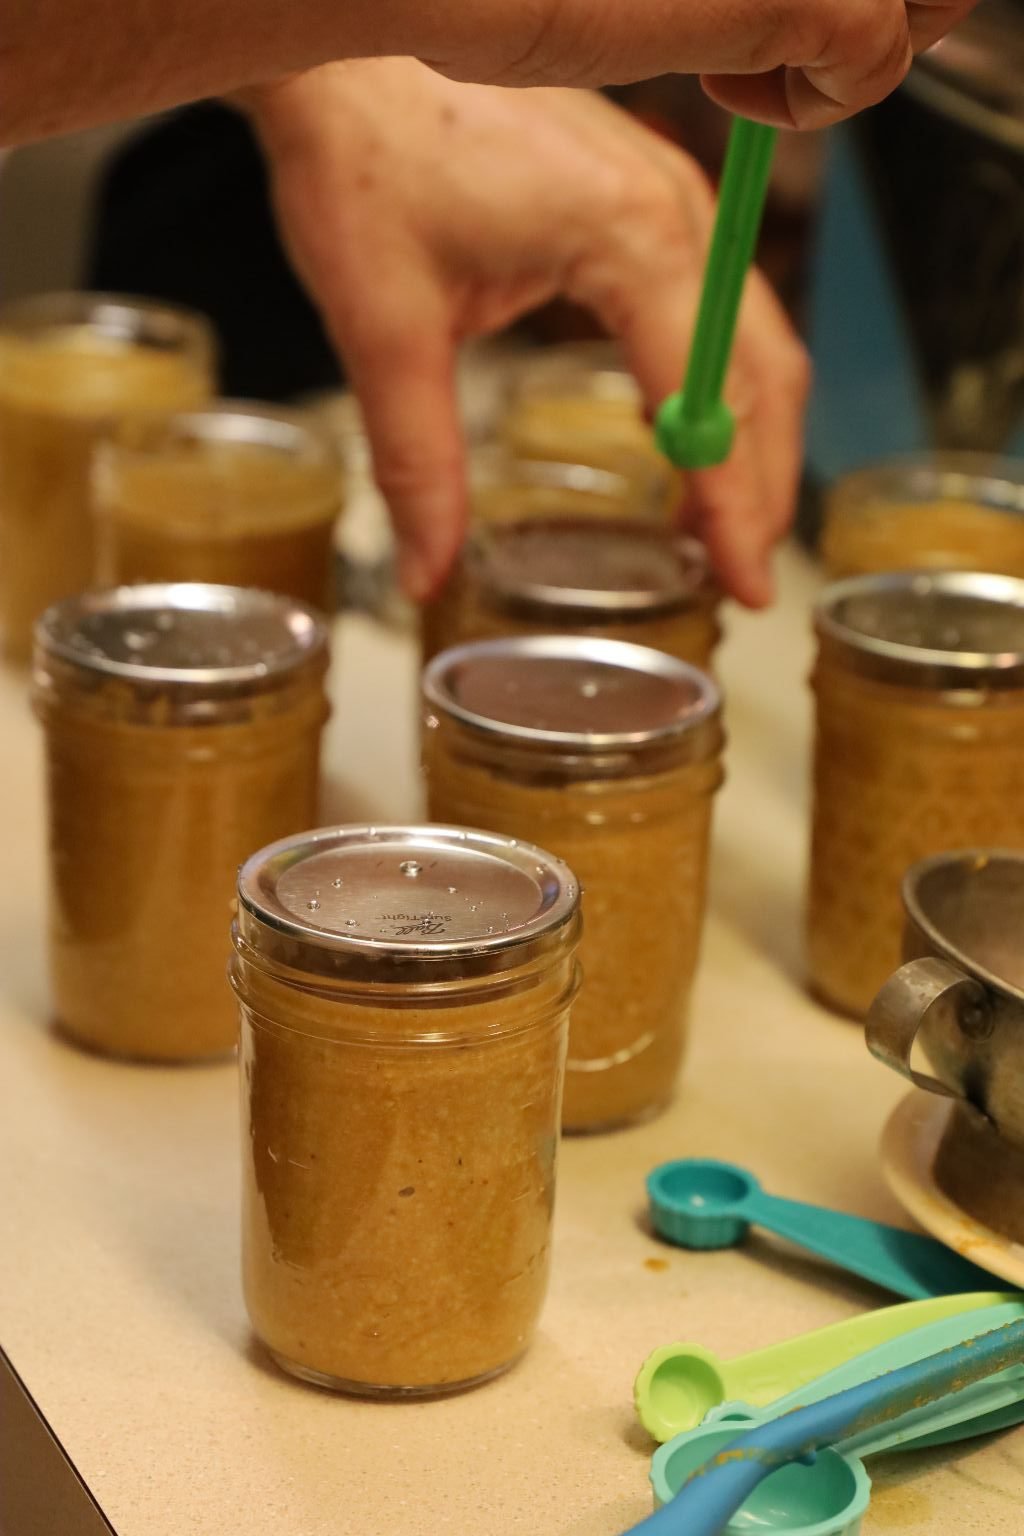
Place a ring on the jar and barely tighten the lid. This will allow the air to escape as it boils in the next step creating a vacuum within the jar.
After all of your jars are in the pot, ensure there is about 1 inch of water covering them. Bring the water to a boil and boil the jars for 15 minutes. This step is called processing the jars.
Using the special tongs, remove the jars from the water and place them on a dishtowel. You should begin to hear the lids pop as they seal. This is caused by the lid being pulled down from the vacuum within the jar. This means that your mustard jar is sealed properly. Caution, the jars will be extremely hot during these next steps. After about an hour, if the lid can be pushed down, the lid didn’t seal and needs to be processed all over again. In this case, remove the lid, wipe down the top of the jar and possibly remove some of the mustard to ensure you had enough headspace. Then, add another lid as before and process the jar again for another 15 min. in the boiling water. If the lid seal is down and properly sealed, carefully remove the ring as the jar will still be hot, and wipe the lid and the inside of the ring with a dry paper towel. This will prevent any rust forming over time as the mustard sits in your pantry. The ring is only there to ensure the lid doesn’t accidentally get lifted up. Replace the ring finger tight when it is dry.
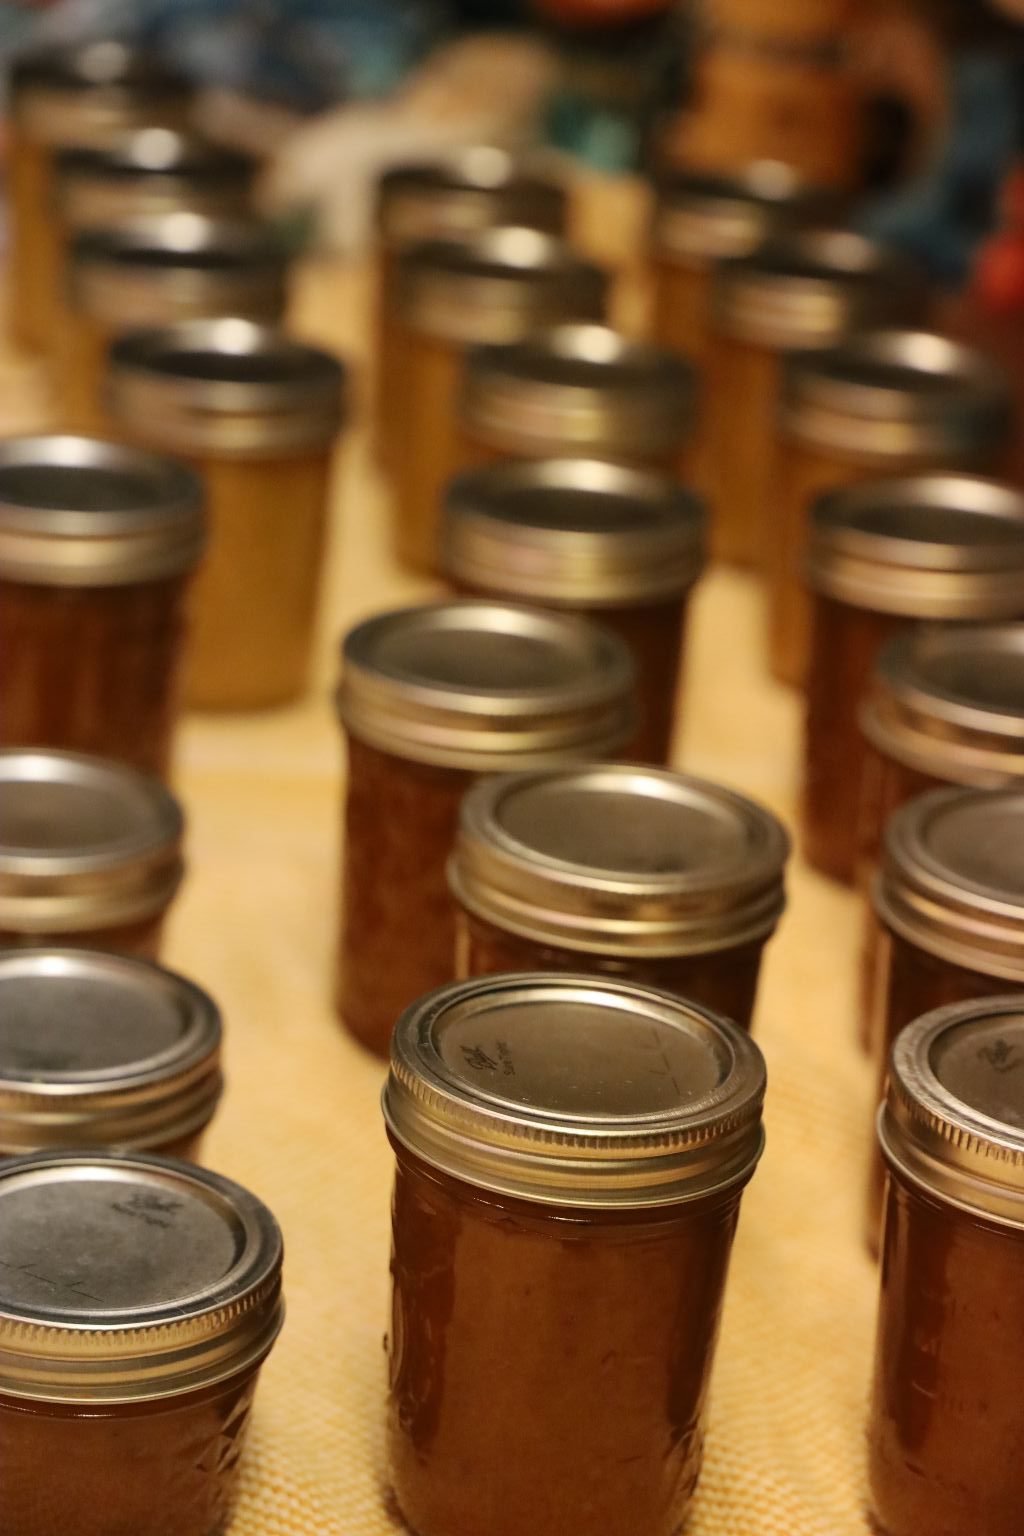
———————————————————–
Honey Mustard
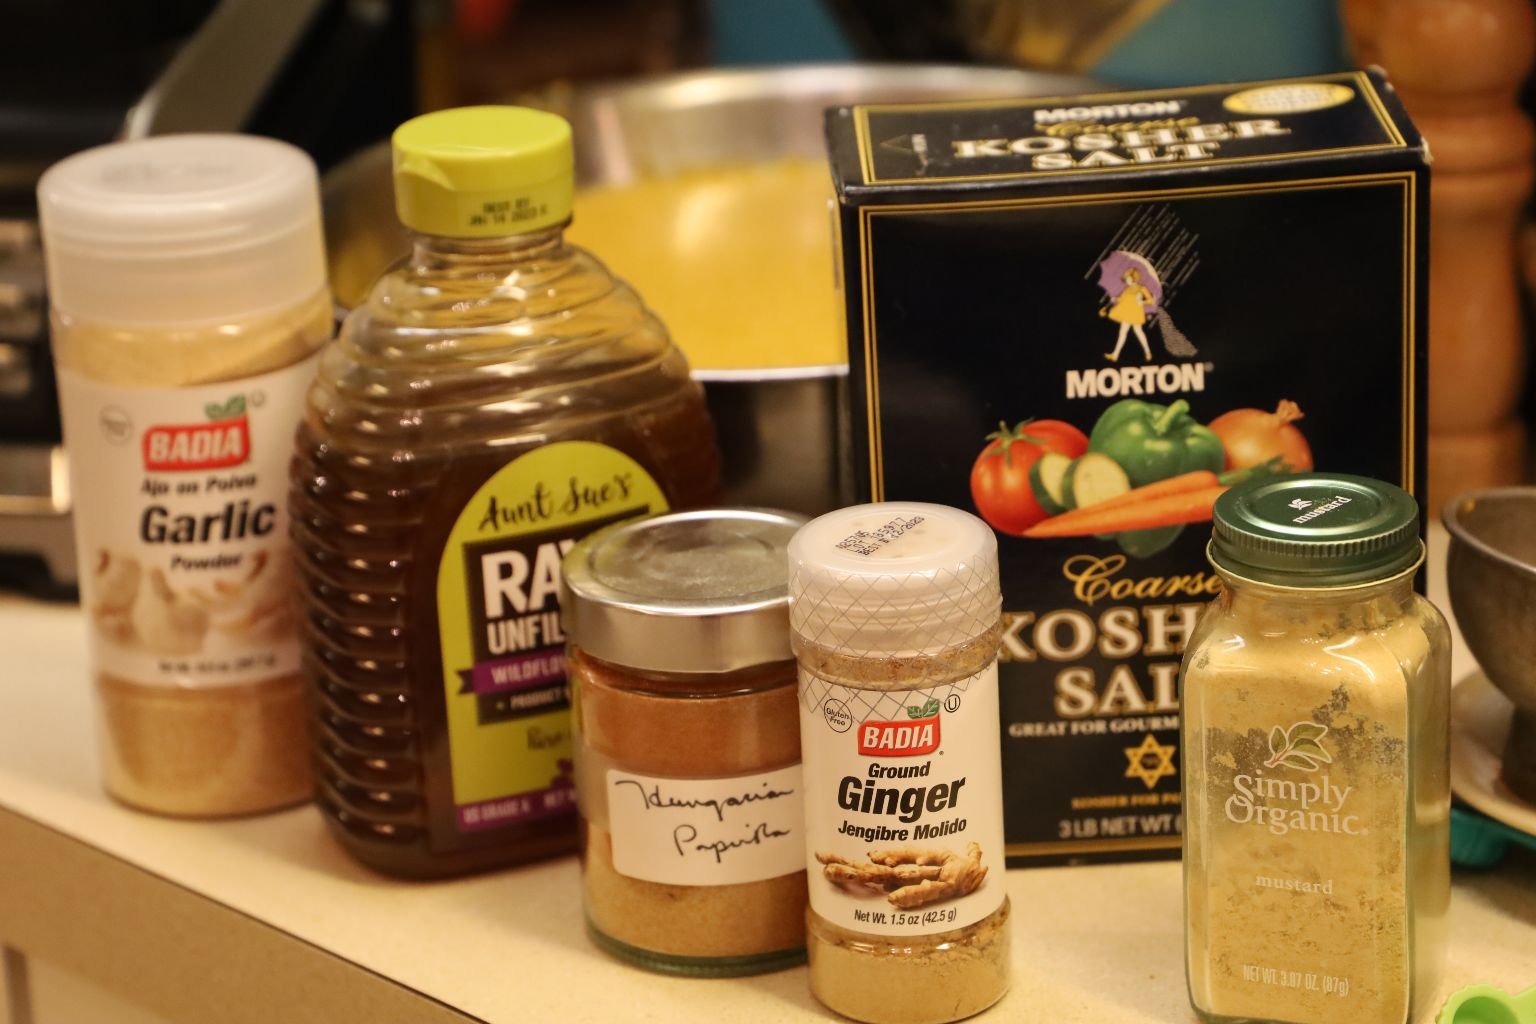
Ingredients:
12 Cups Yellow Mustard Base
1 tsp. Kosher Salt
1 tsp. Black Pepper
2 Tbsp. Mustard Powder
1 1/2 tsp. Ginger Powder
2 Tbsp. Garlic Powder
3 Tbsp. Hungarian Paprika
3 Tbsp. Sweet Paprika
1 1/2 Cups Honey
2 Tbsp. Sugar
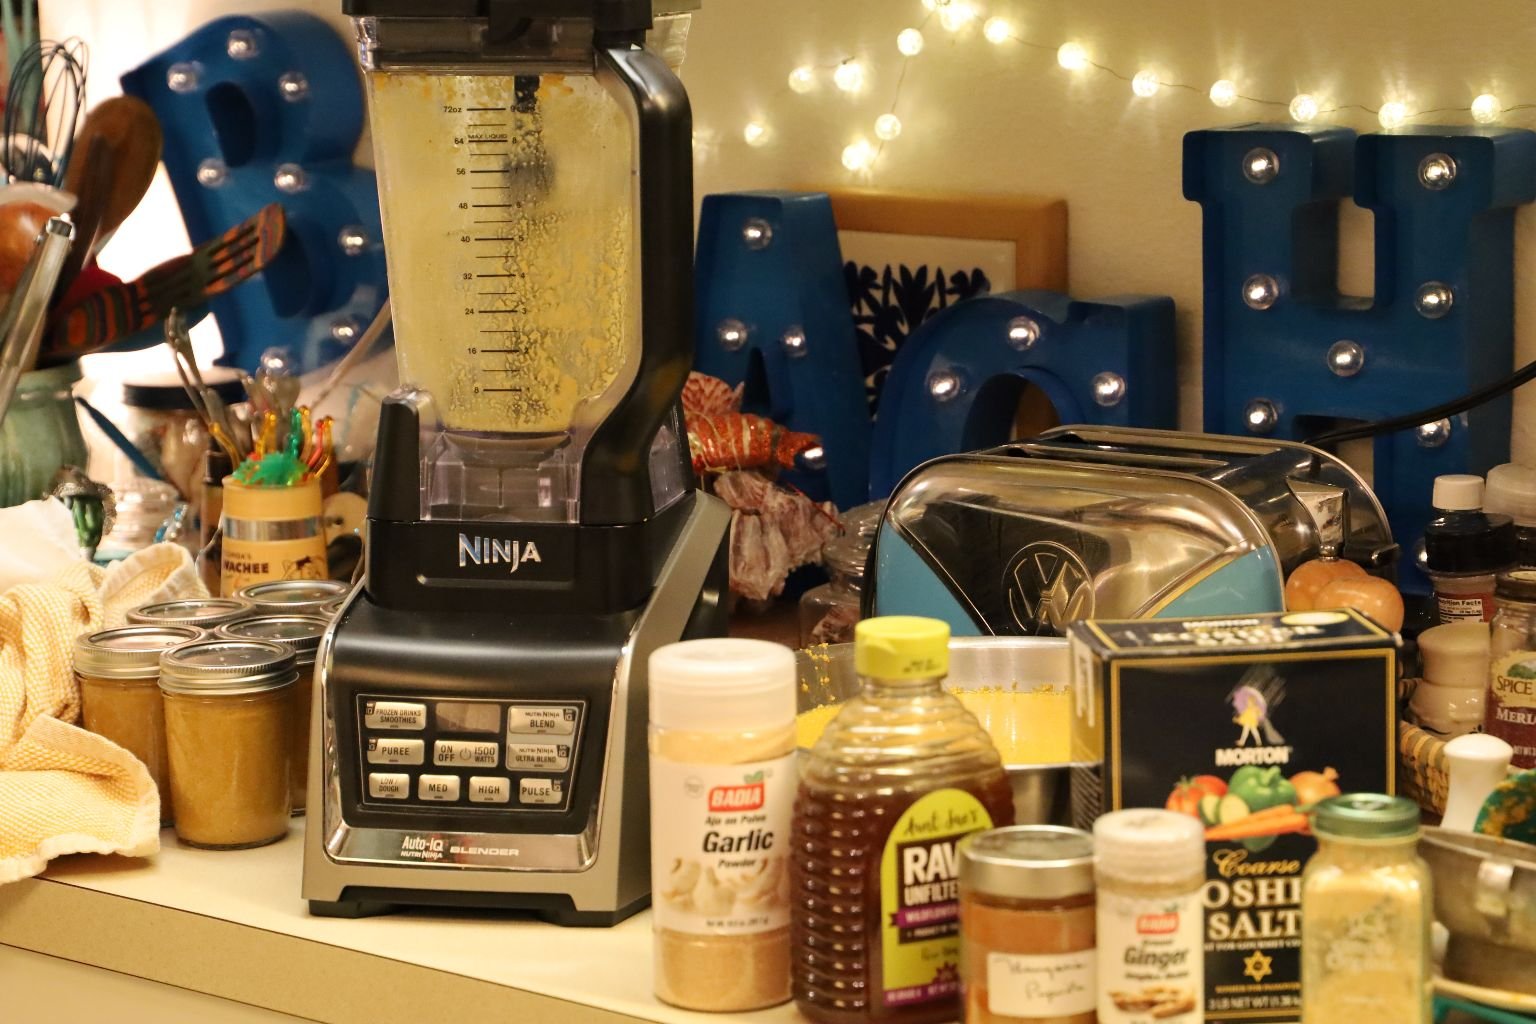
Making mustard will take up a lot of your counter space. 🙂
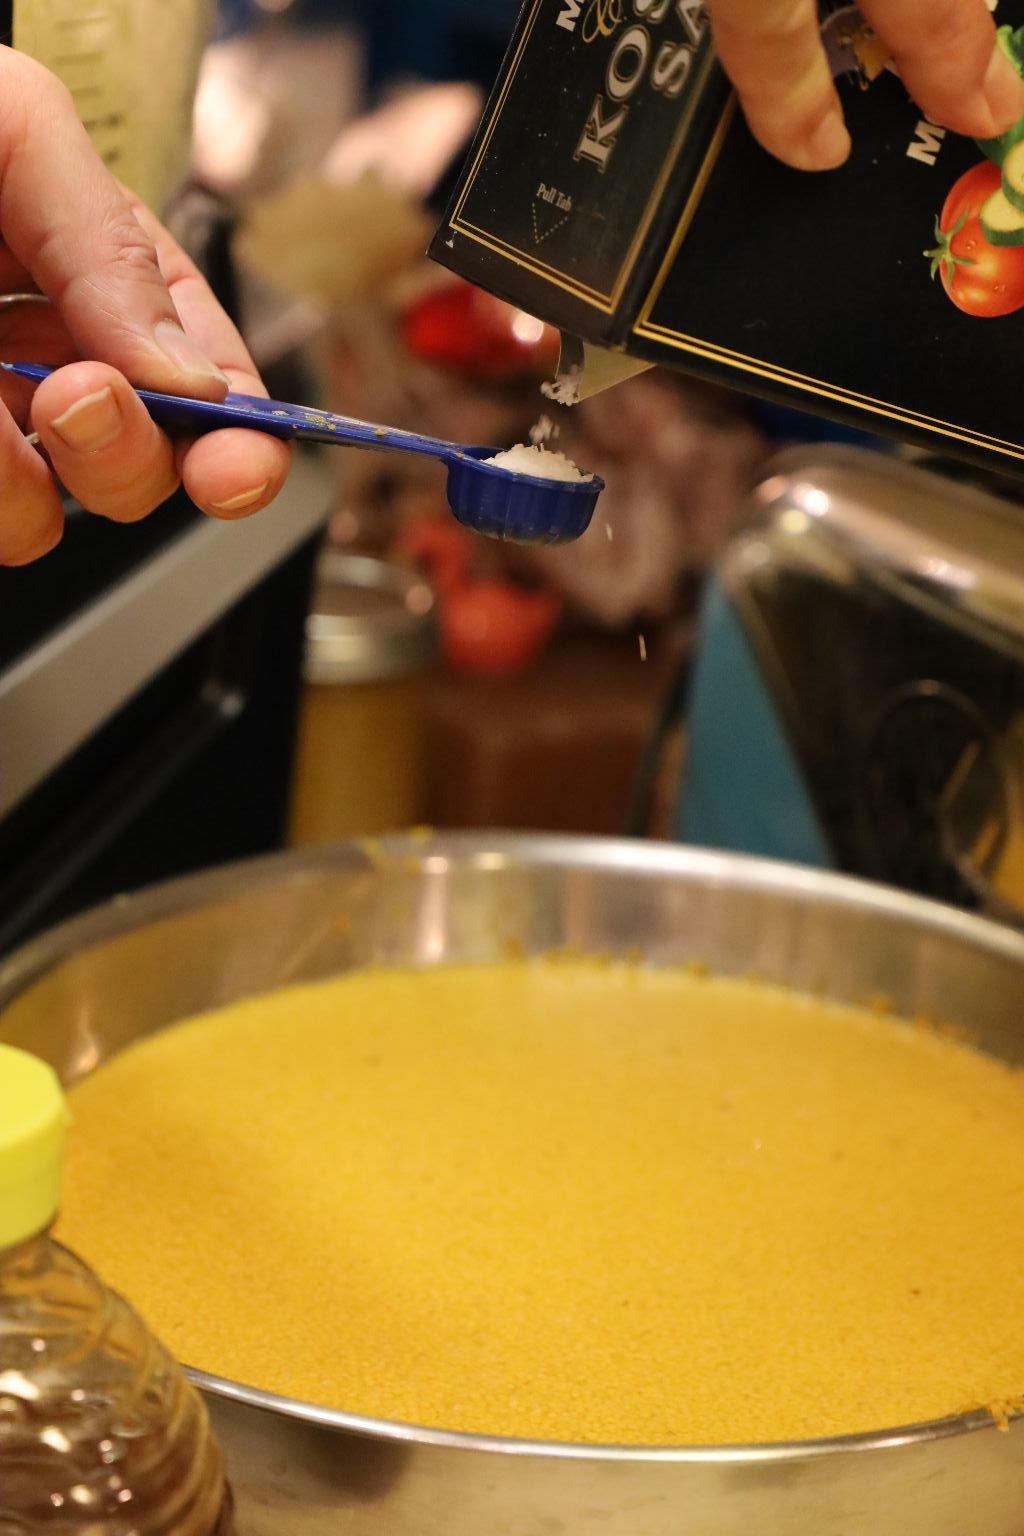
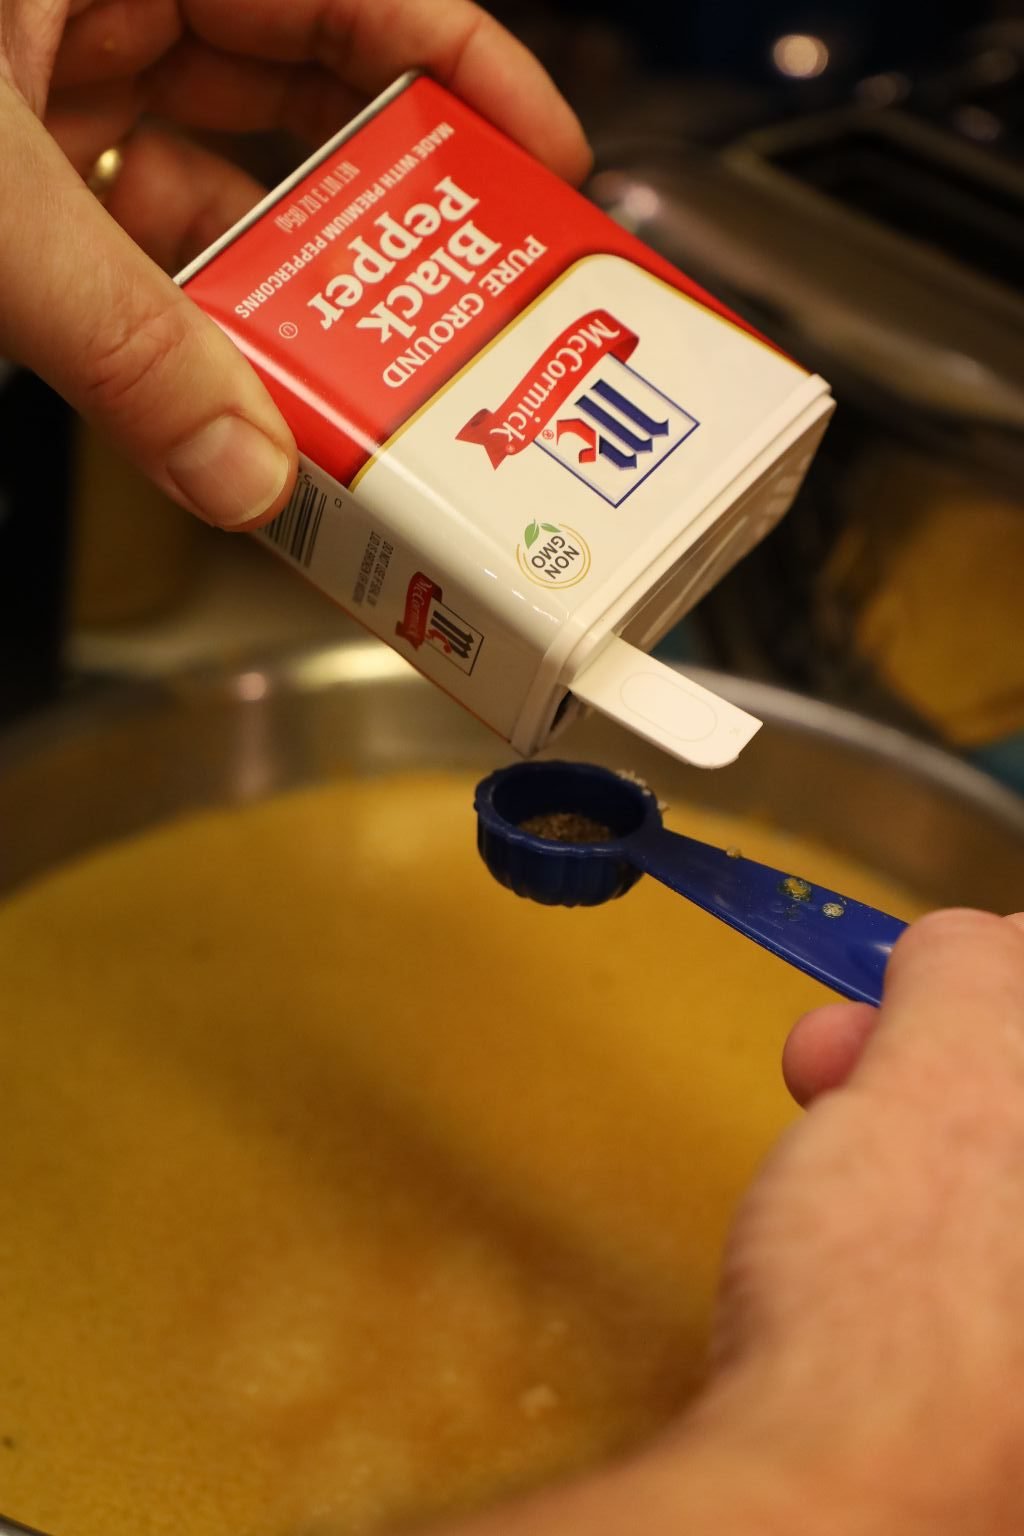
To begin, add your Kosher Salt and Black Pepper to the Yellow Mustard Base.
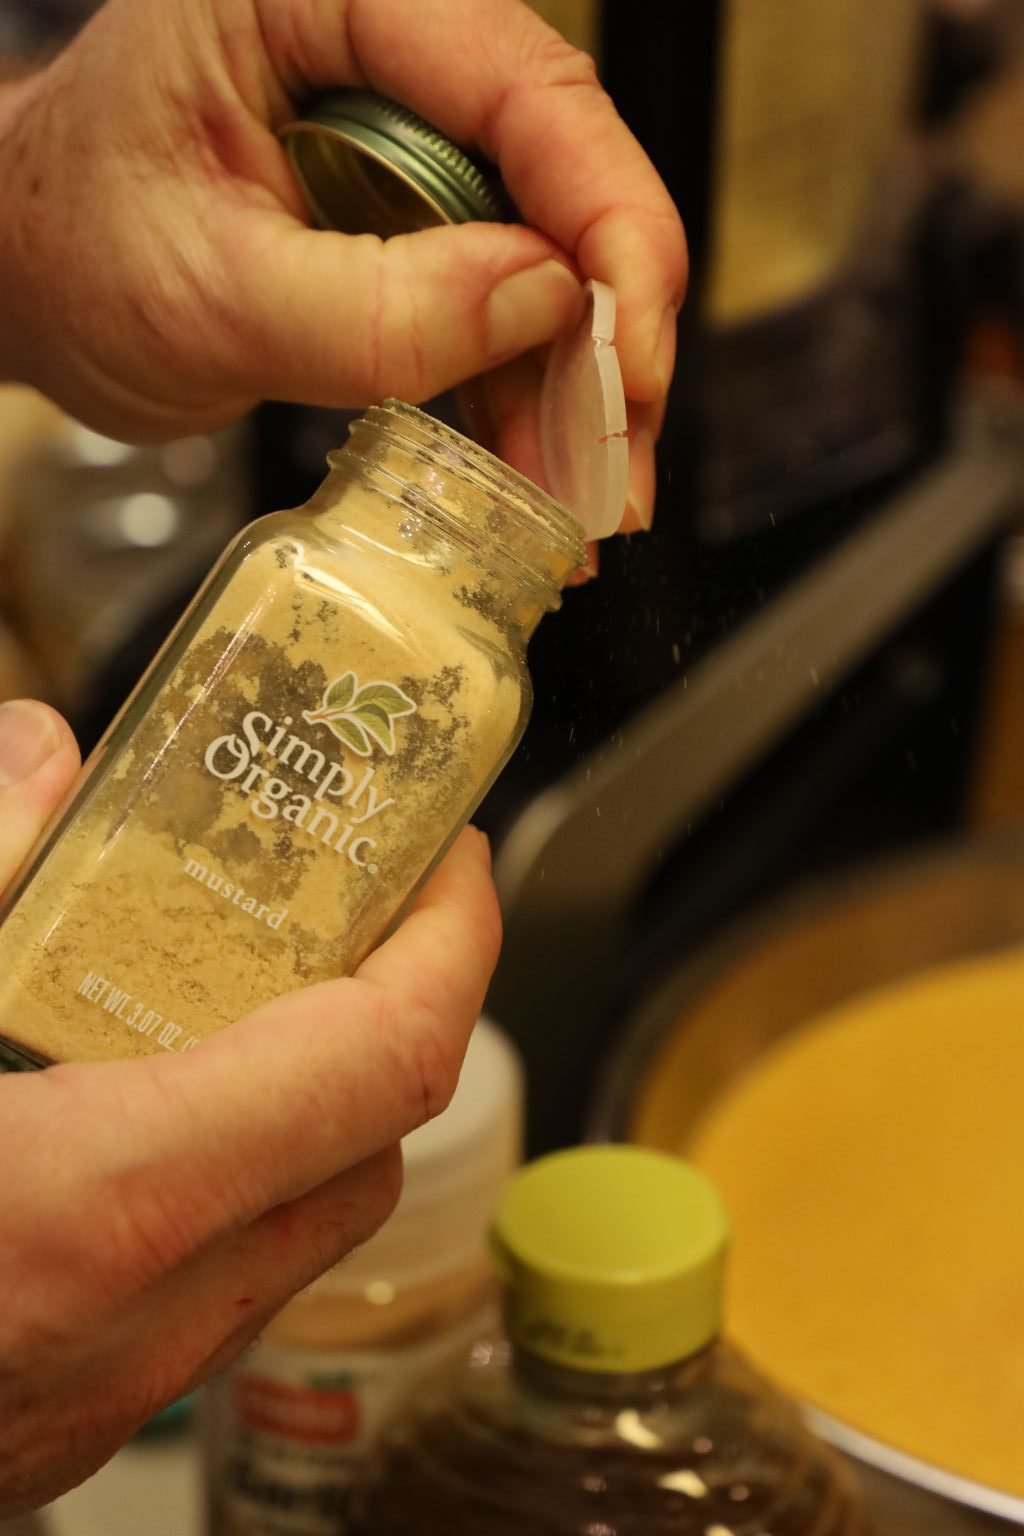
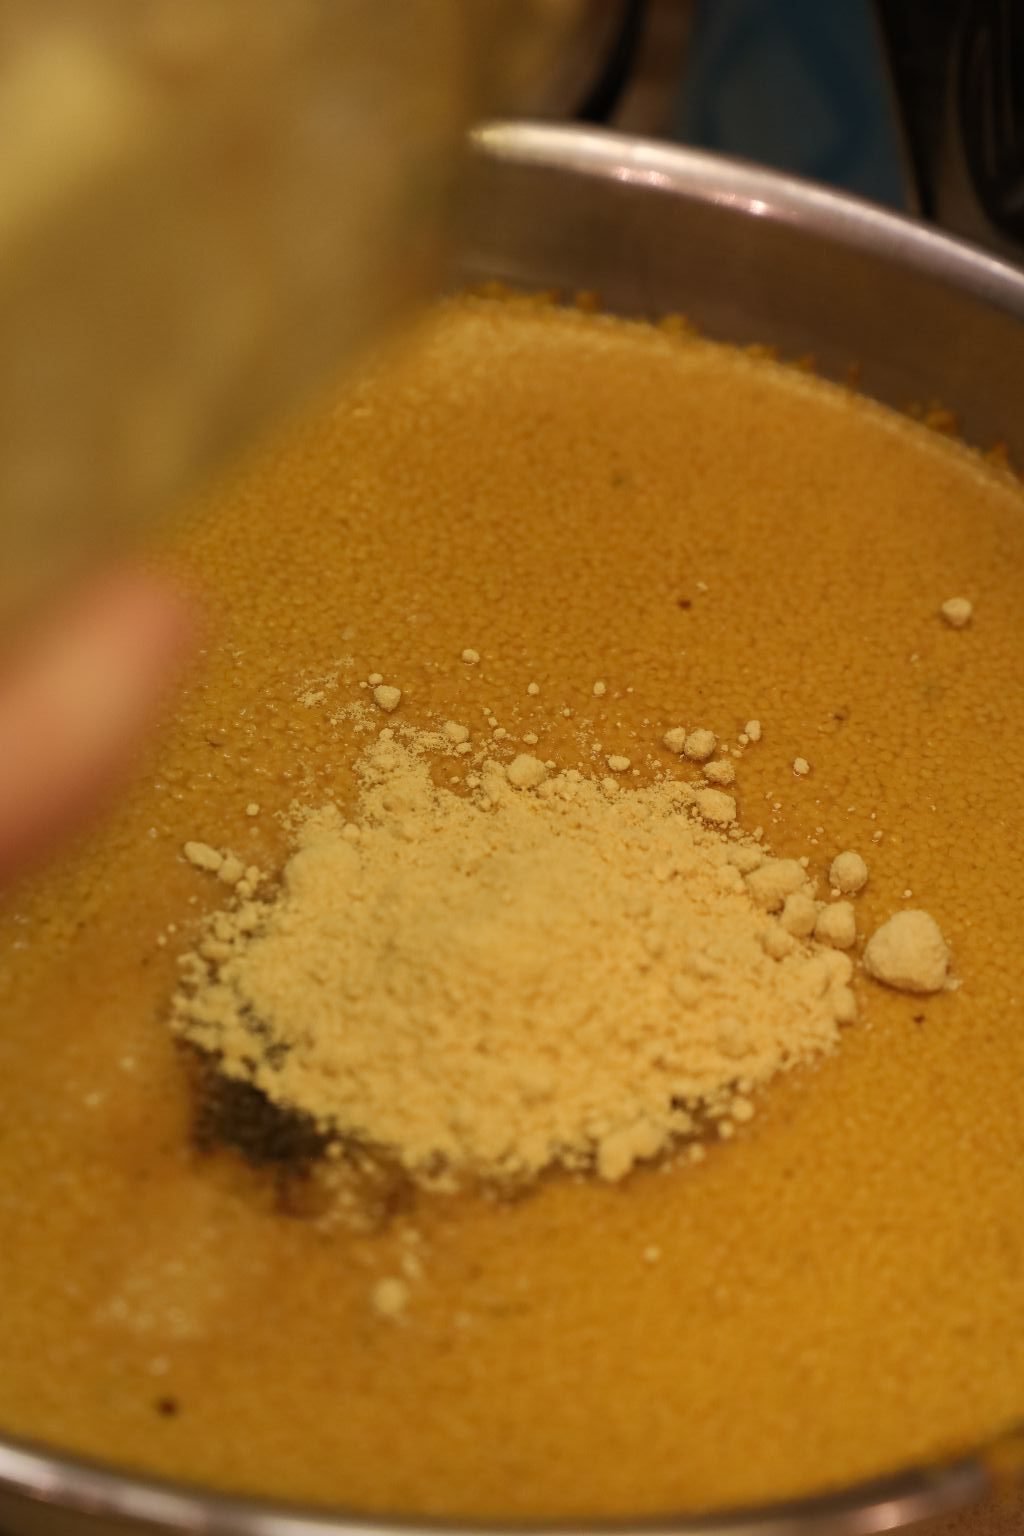
Now, add your Mustard Powder to the mix.
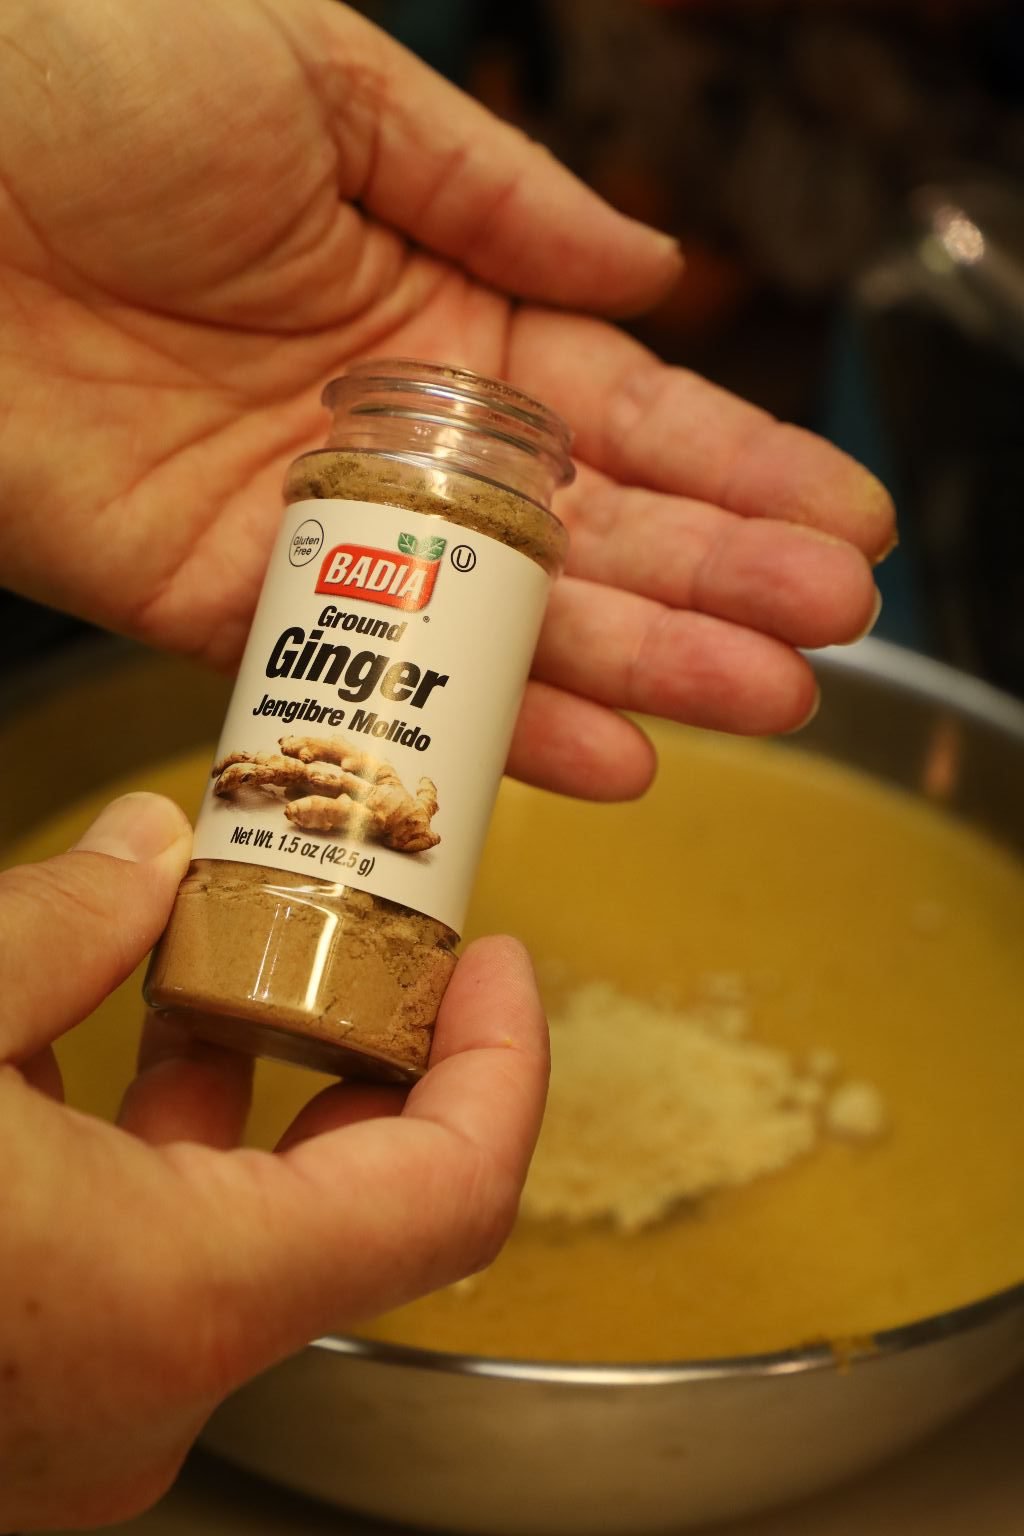
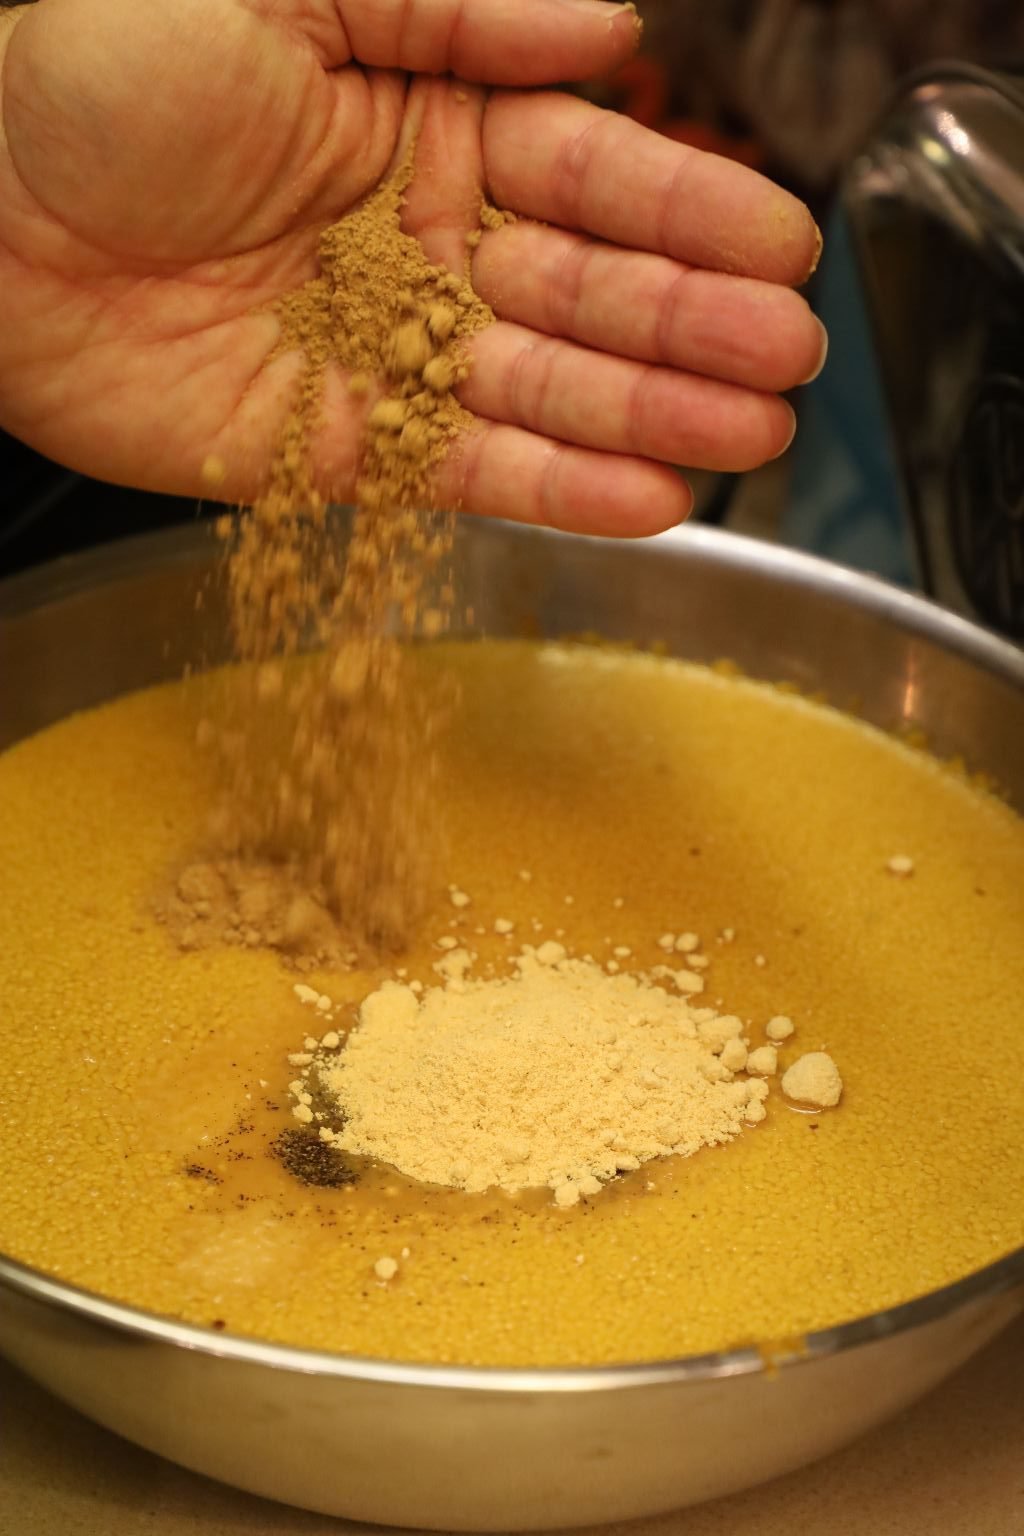
Then add your Ginger…
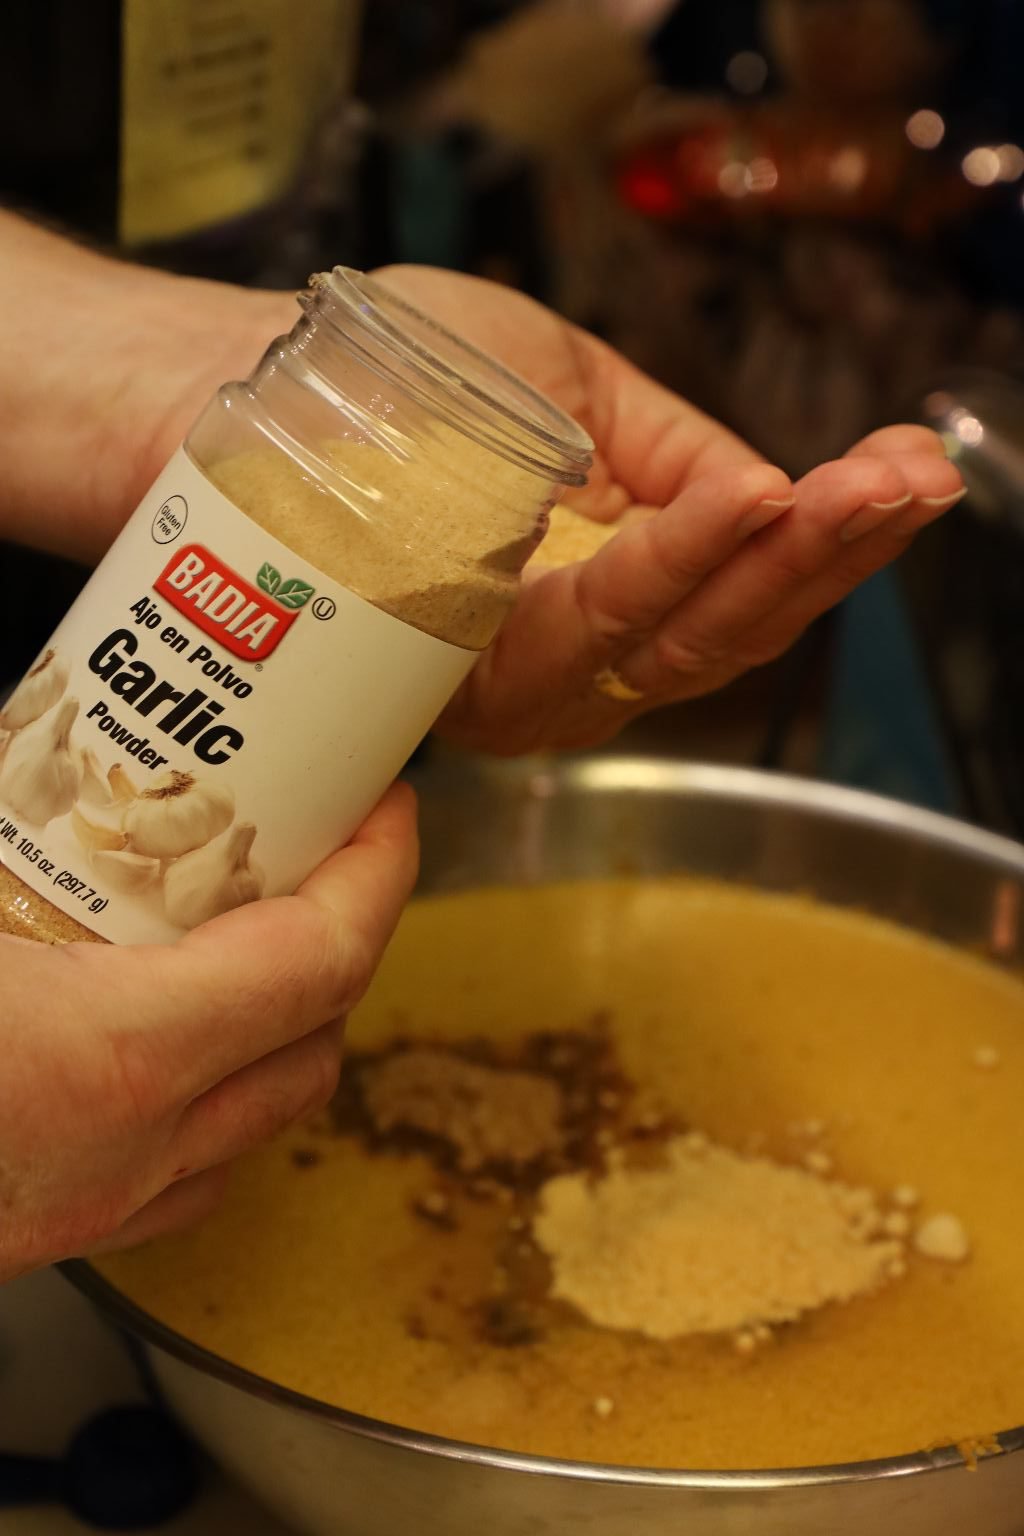
Garlic …
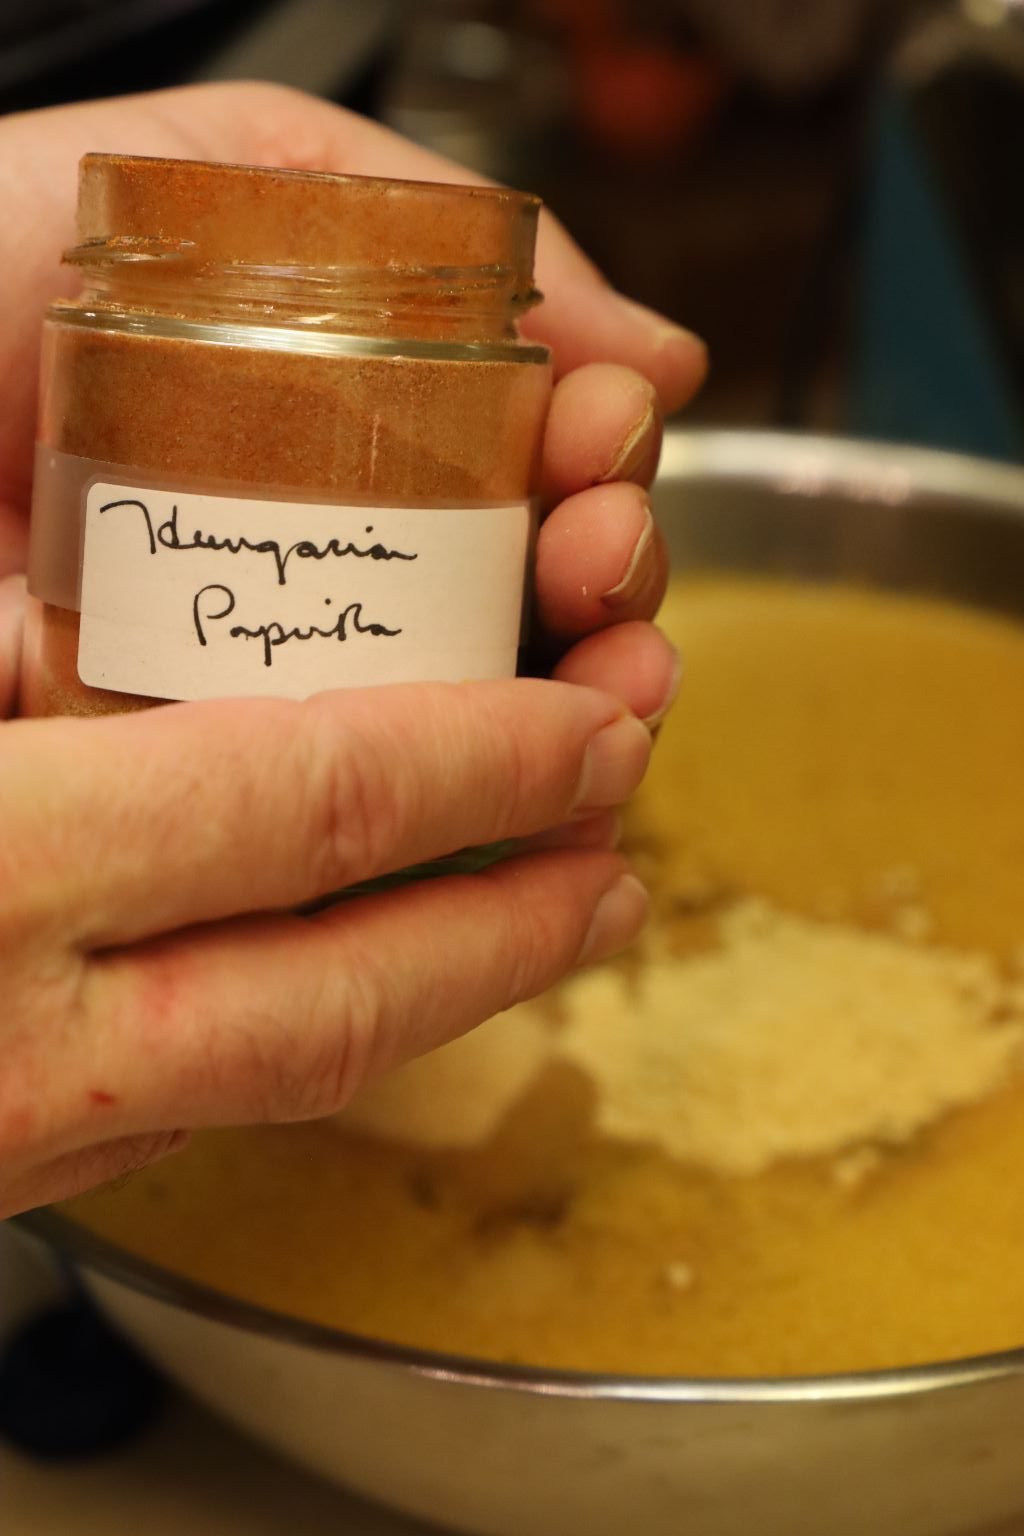
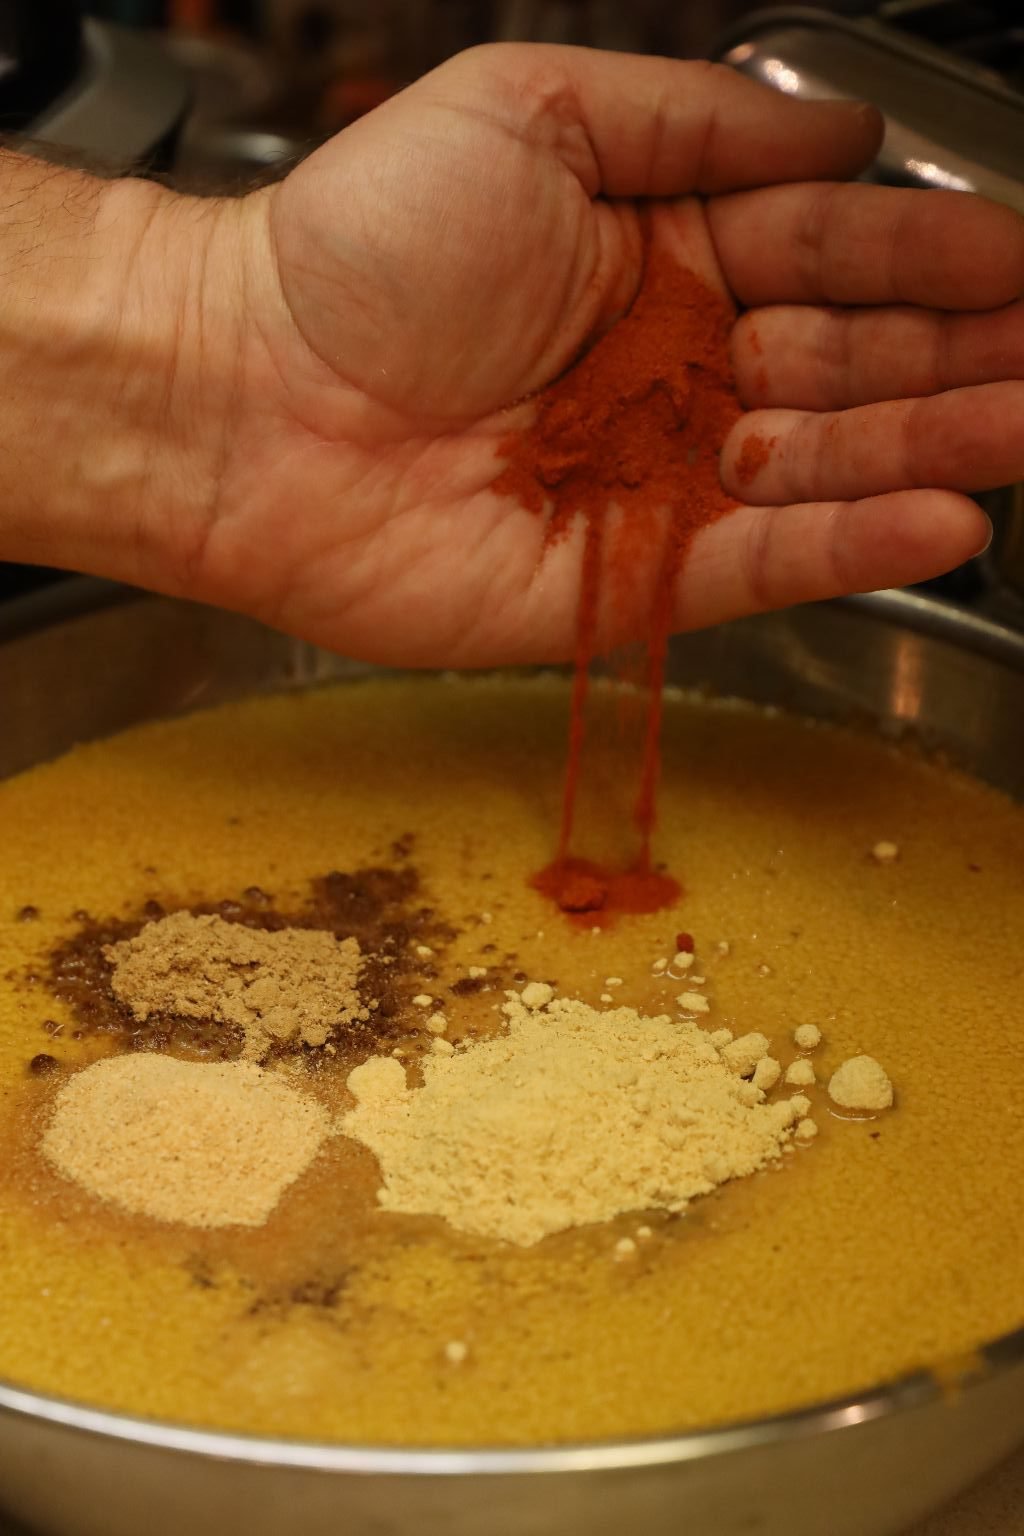
and Hungarian Paprika to the mixture.
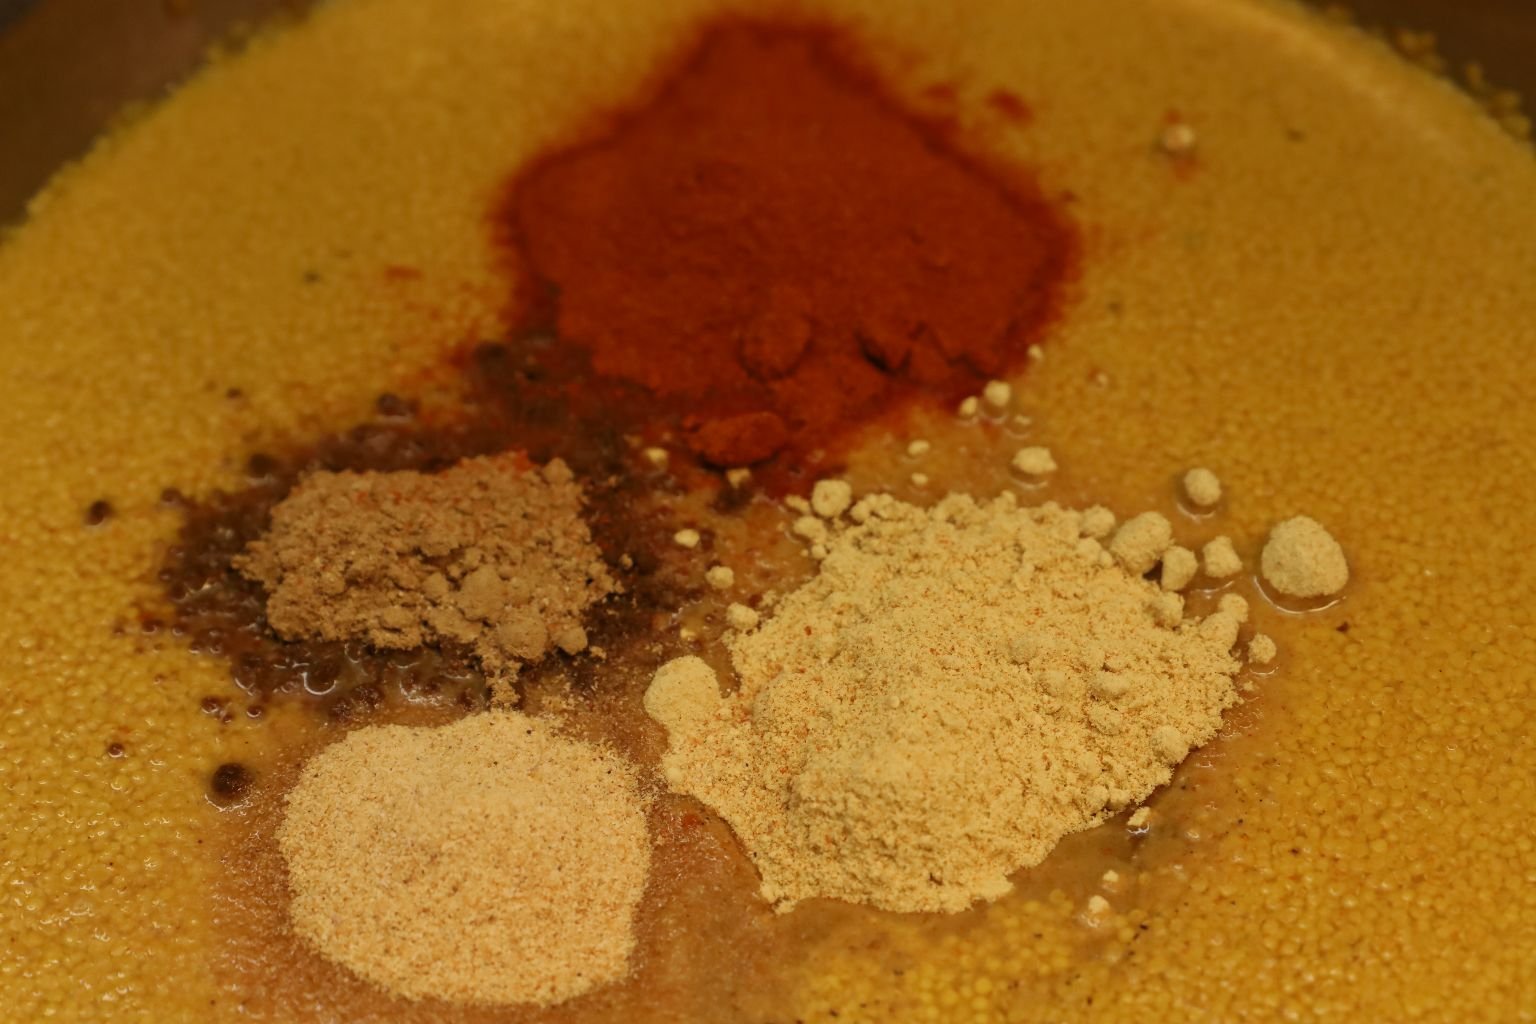
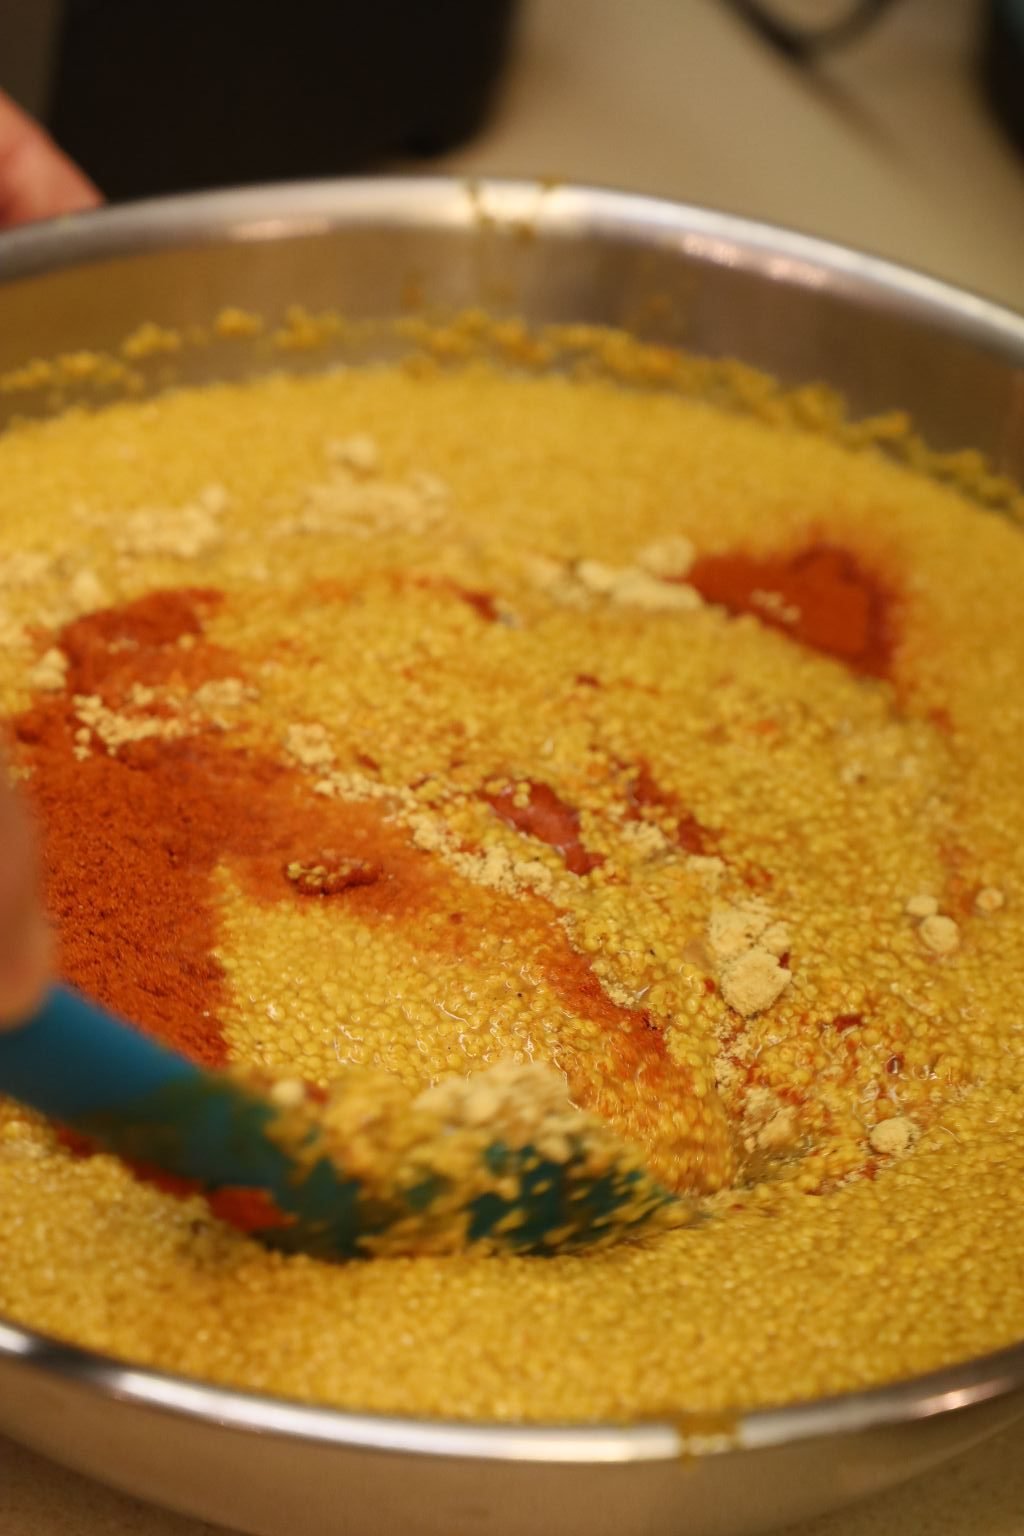
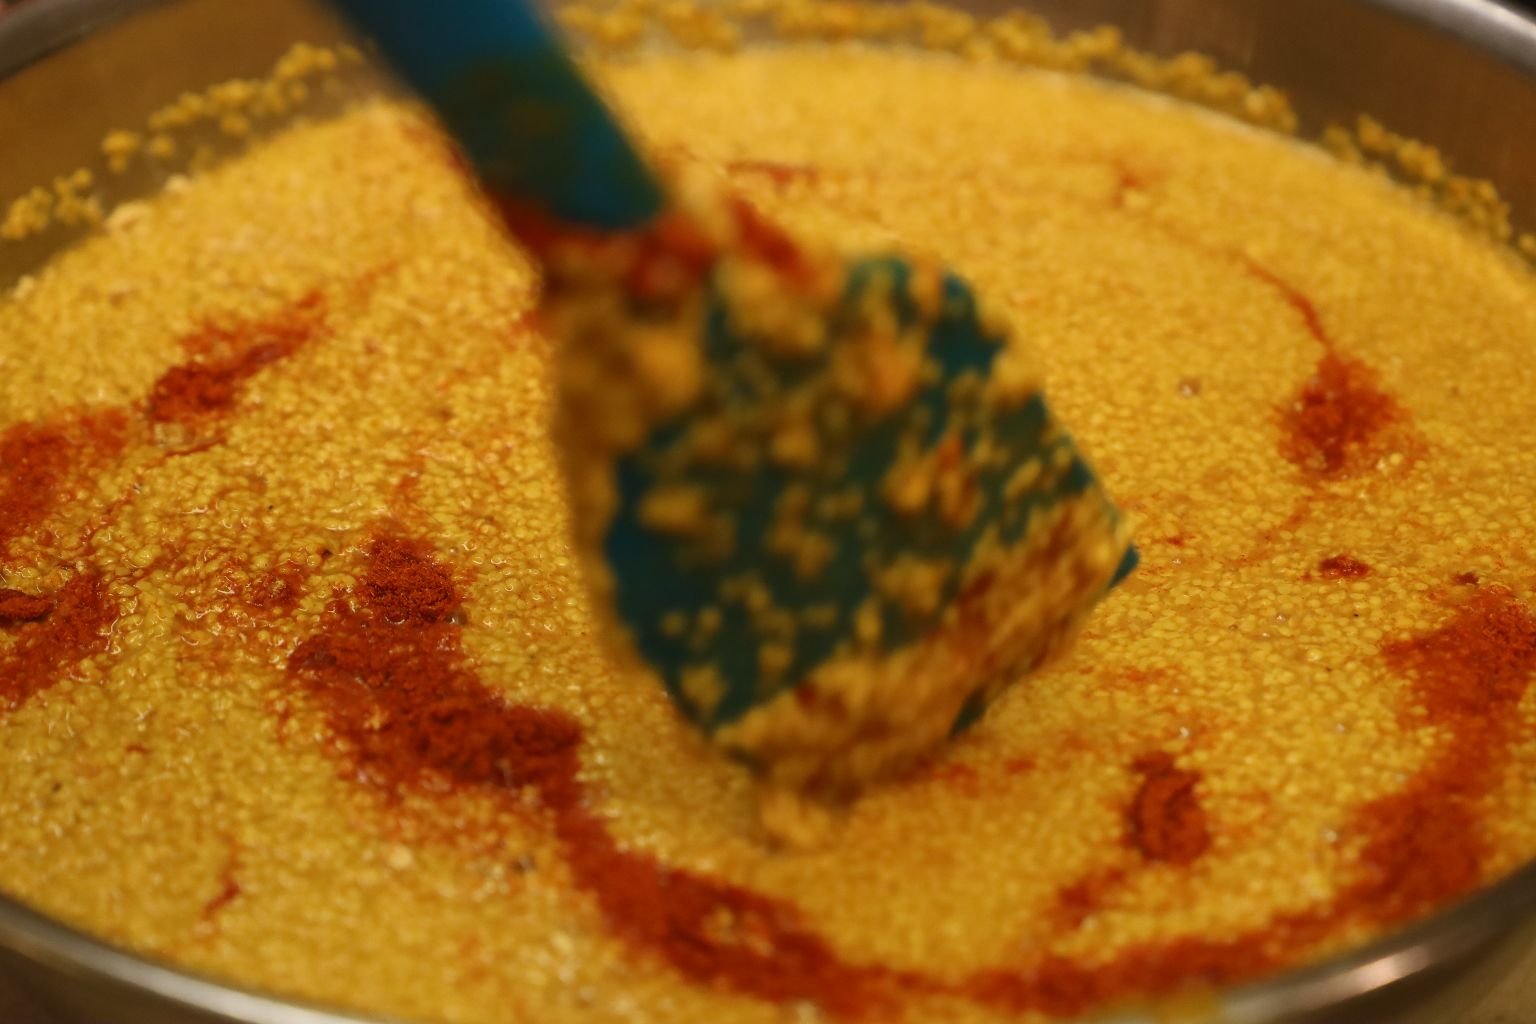
Stir together all the ingredients.
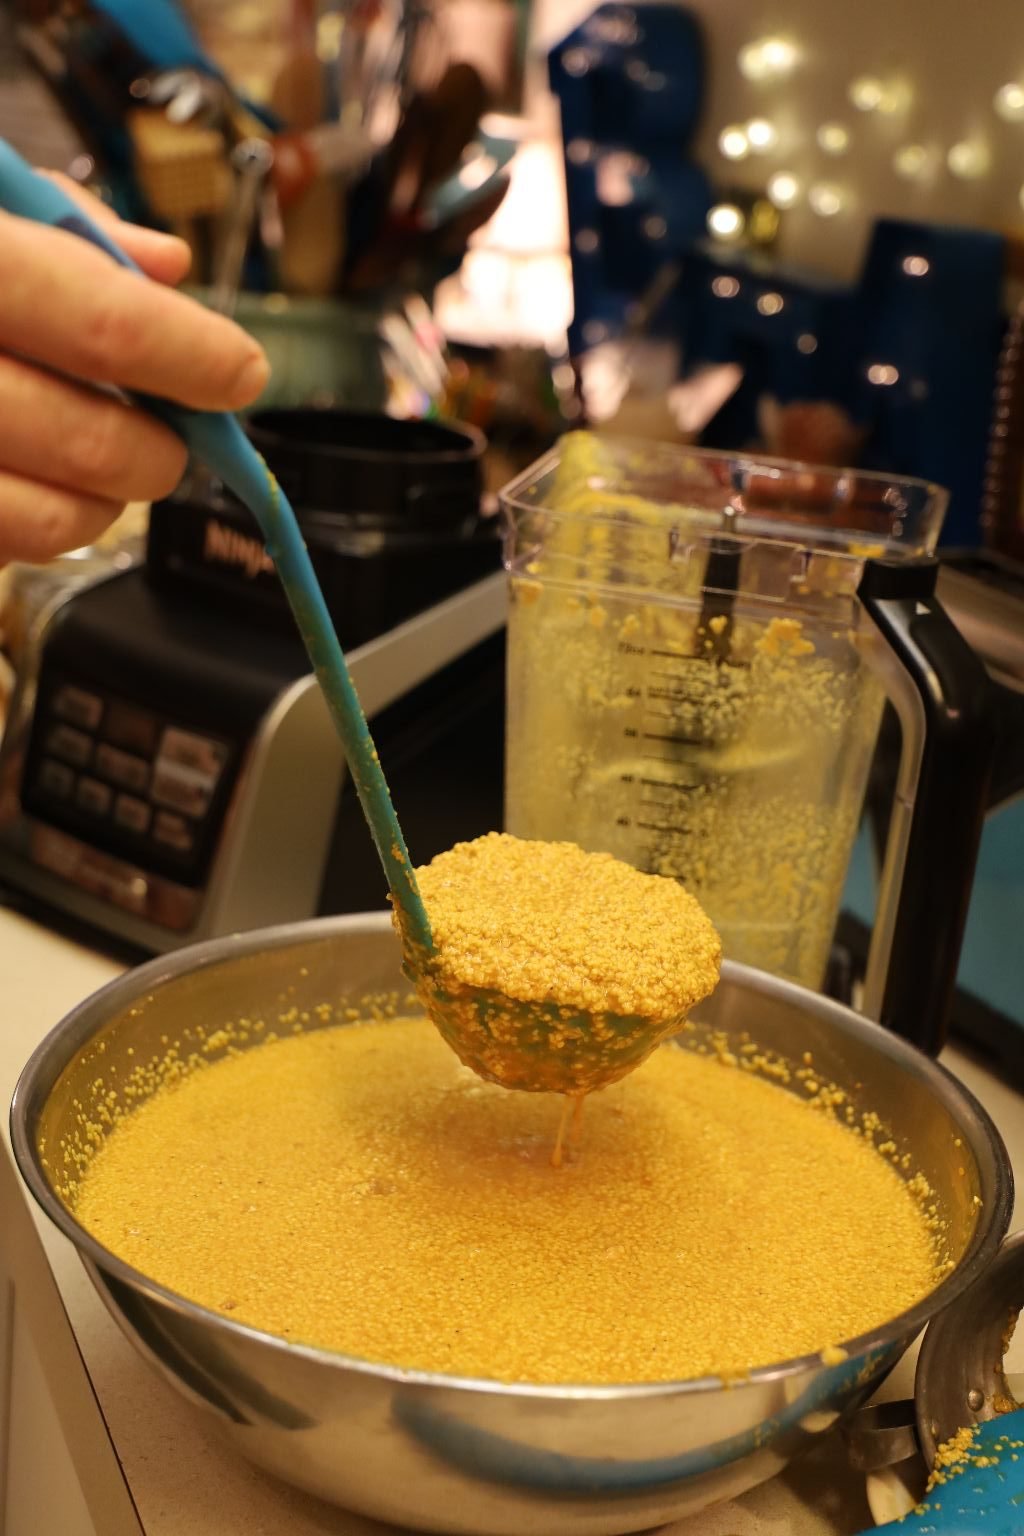
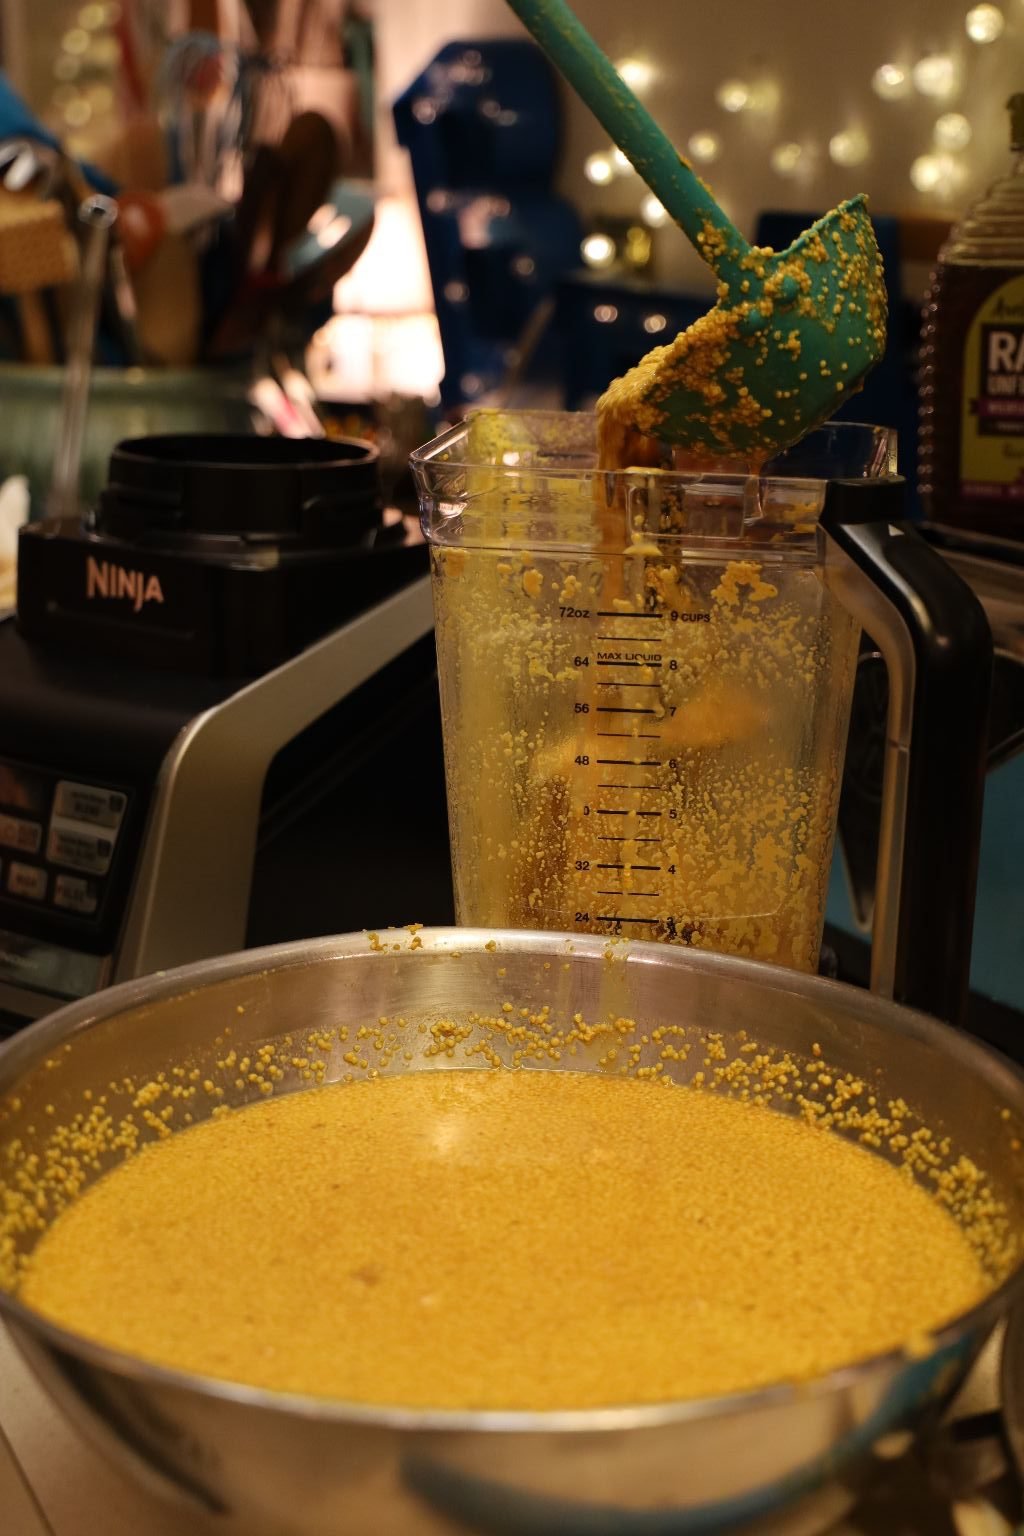
I then added ~6 Cups of the mixture to the blender.
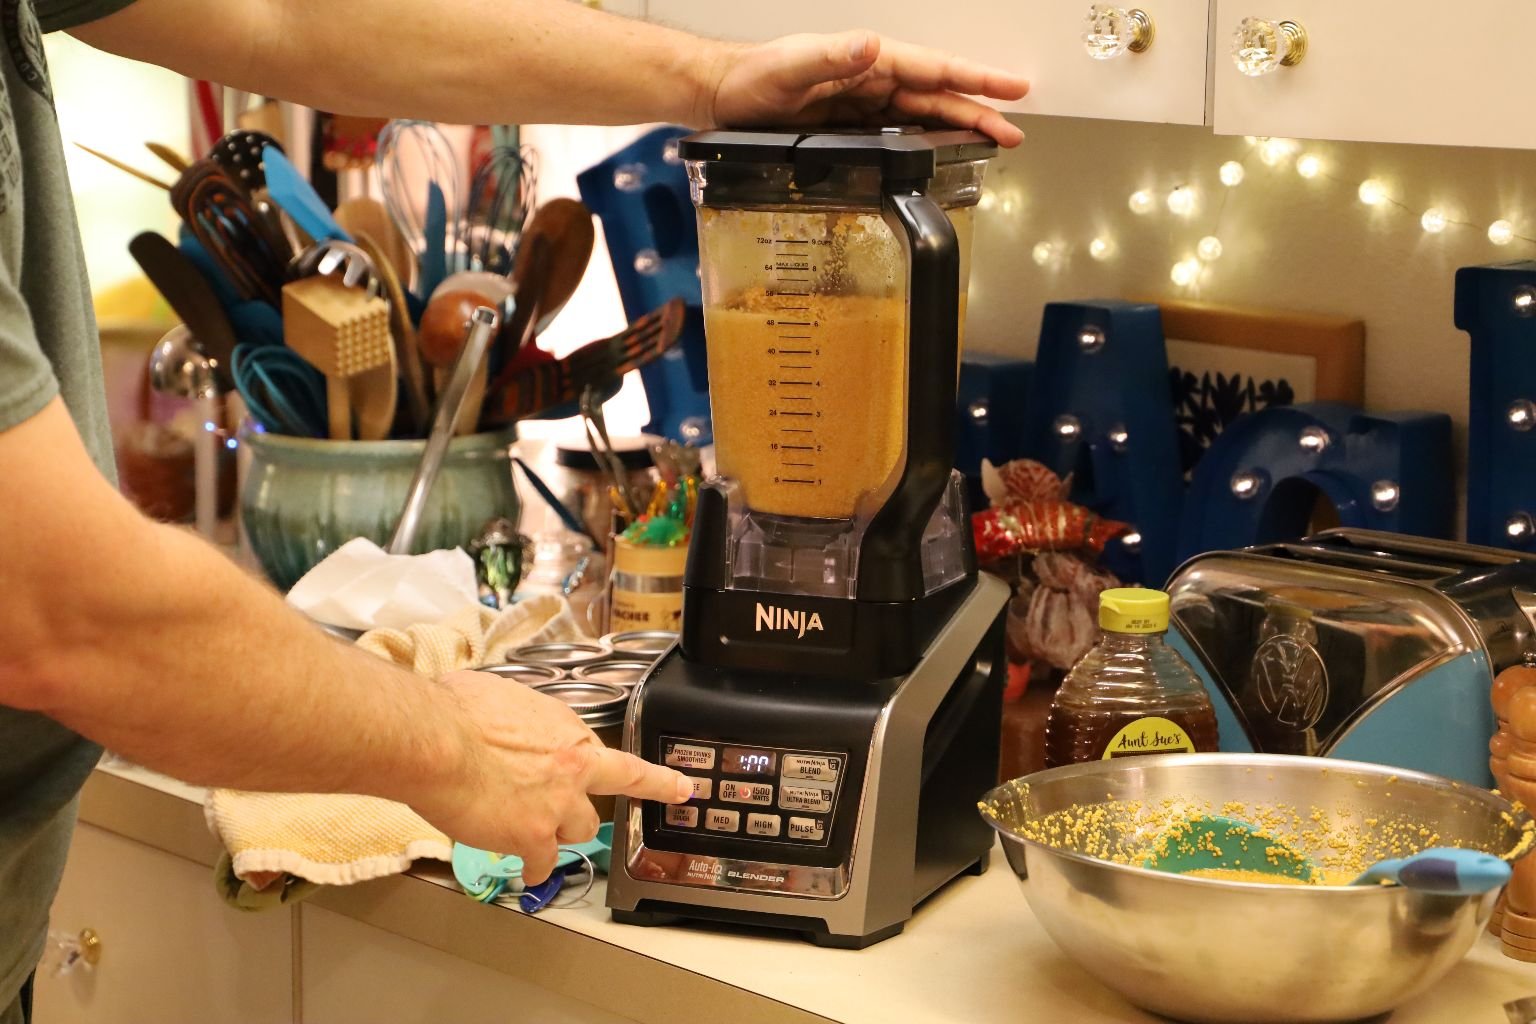
I pureed this part of the mustard into very smooth.
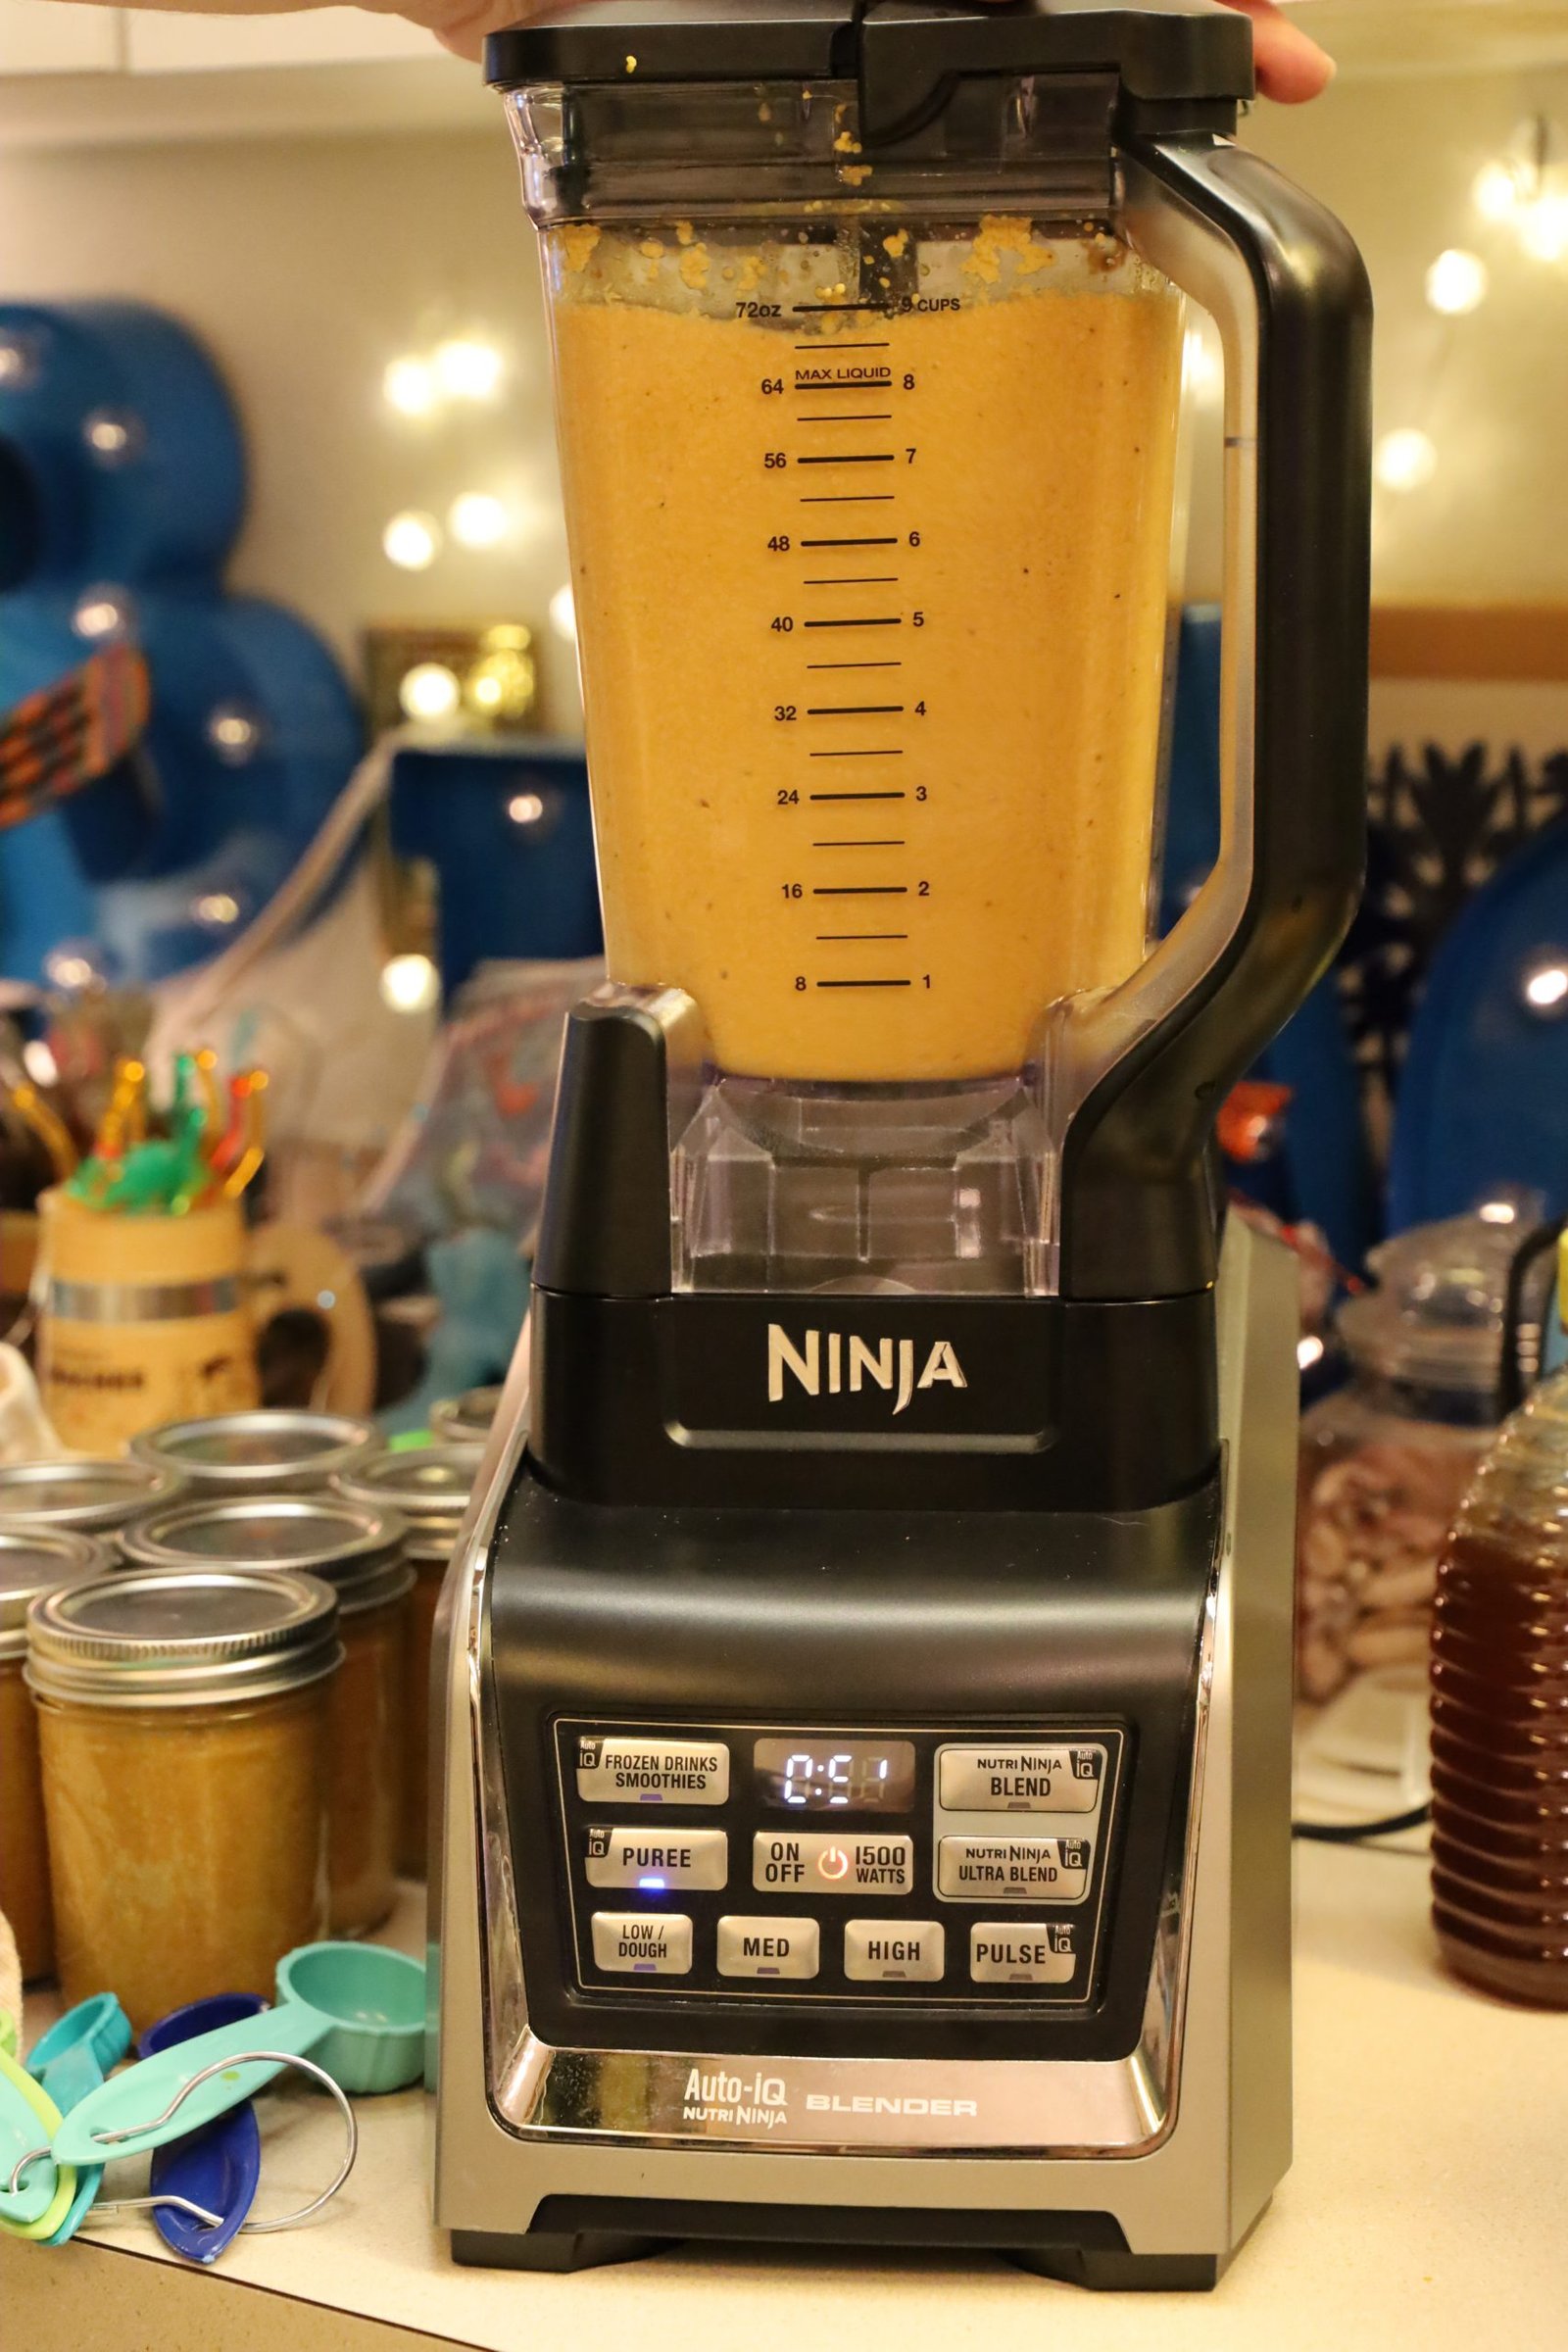
——————————————————
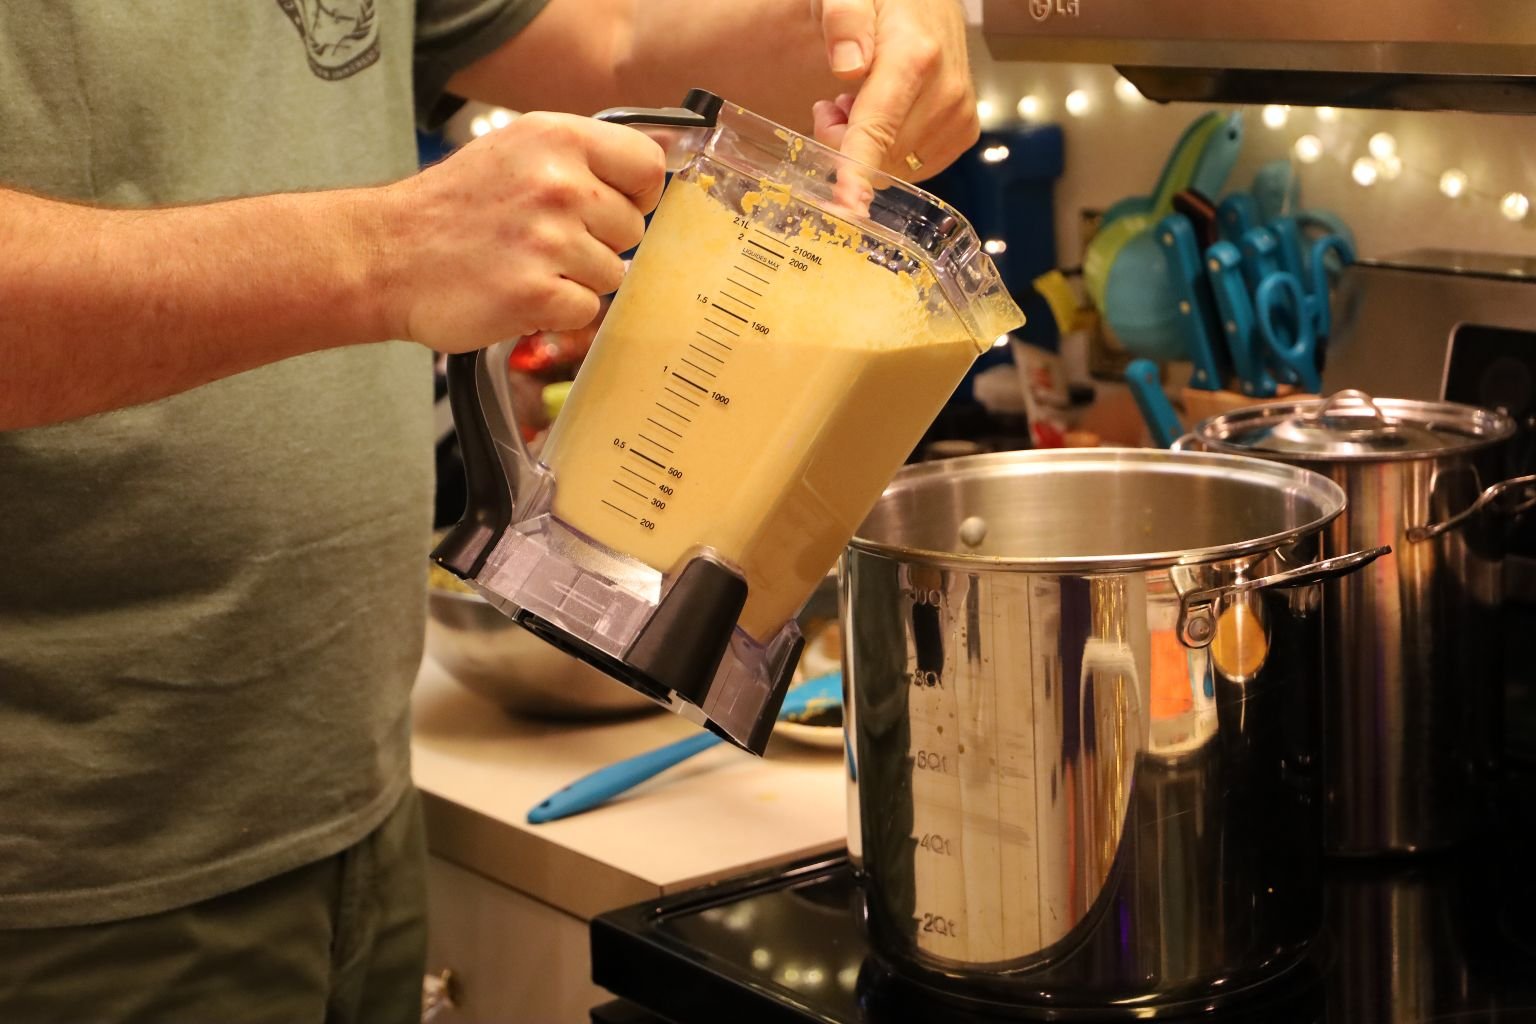
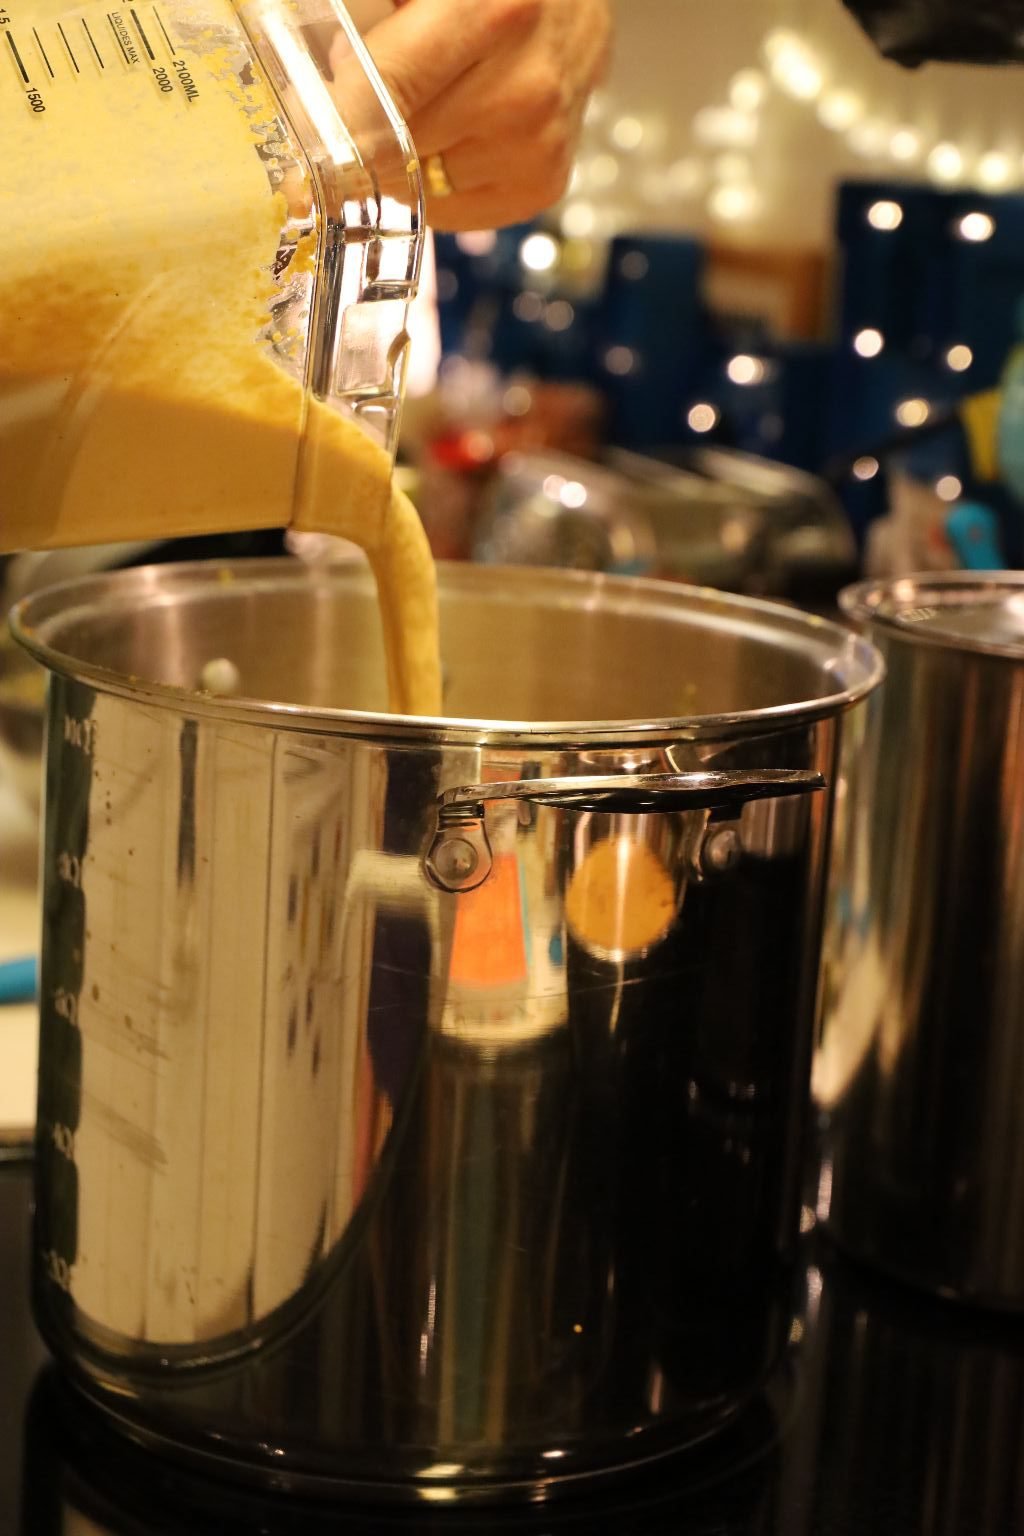
Now, pour the pureed mustard into a large pot and begin to heat it over medium high heat.
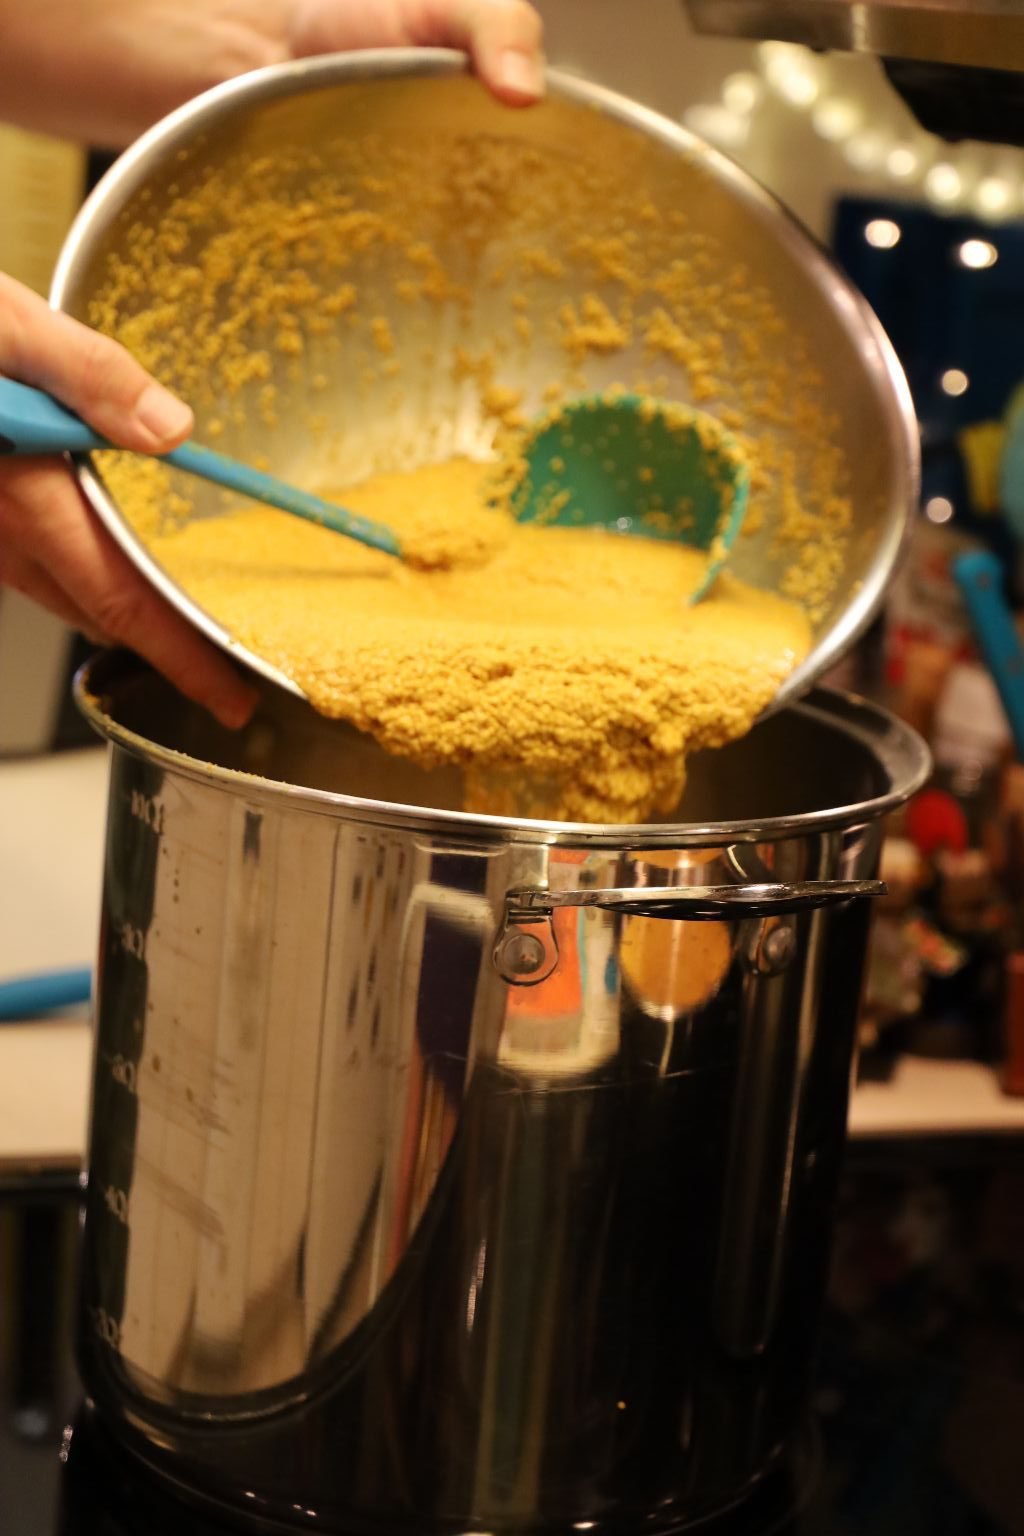
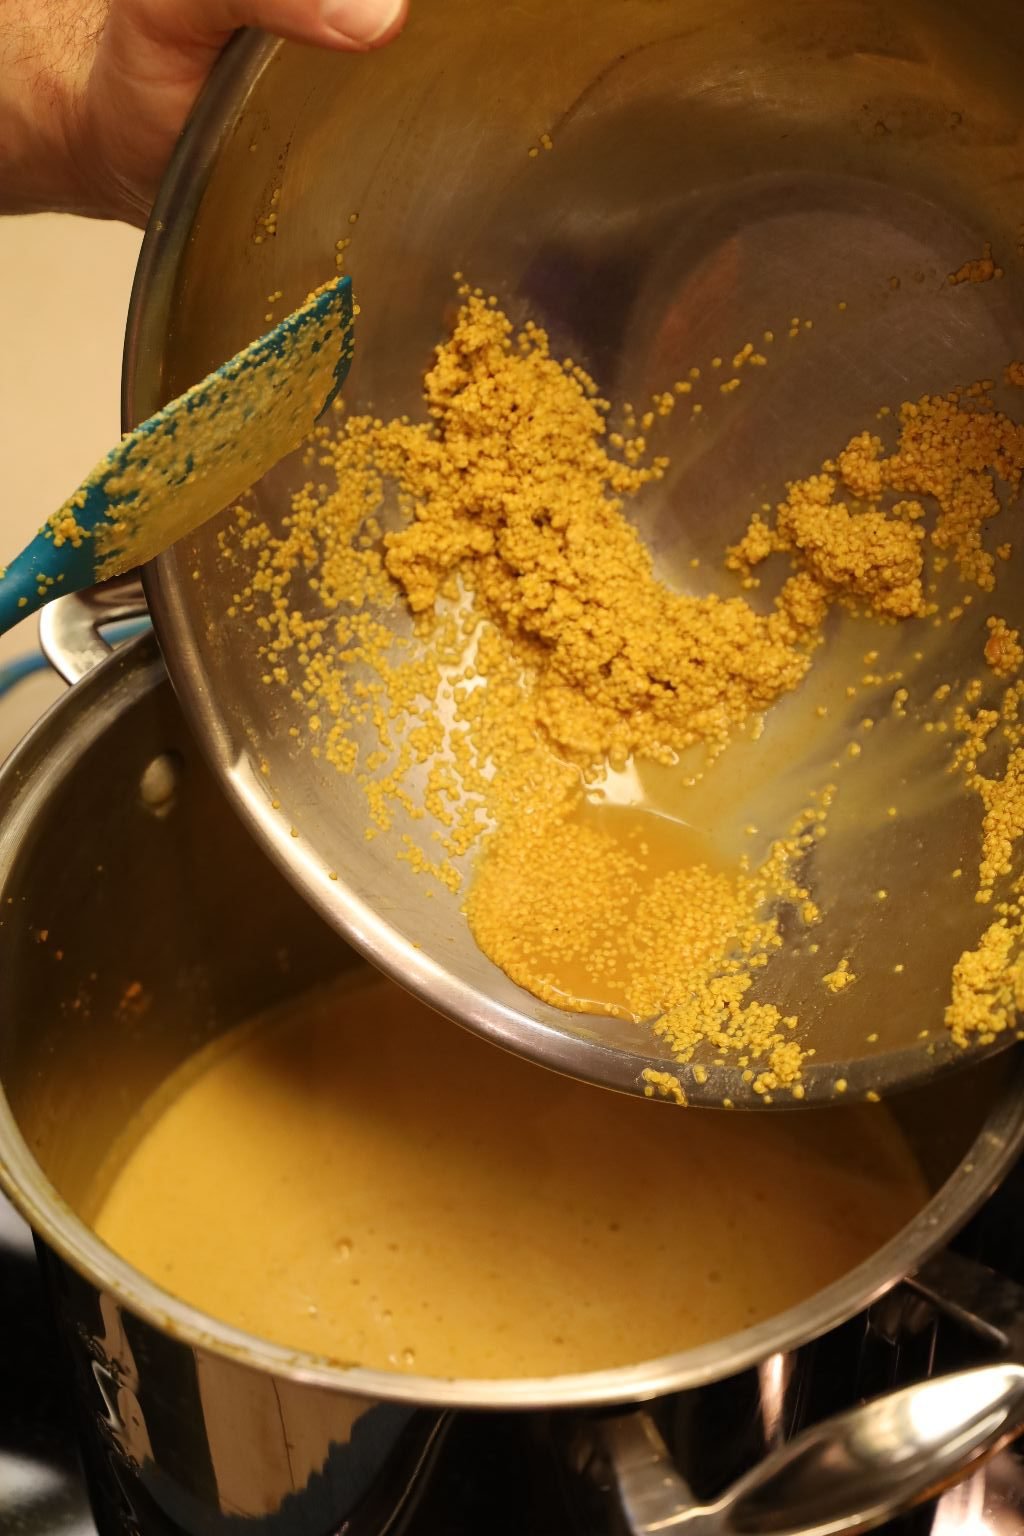
Add the rest of your mustard to the pot and stir the pot to combine.
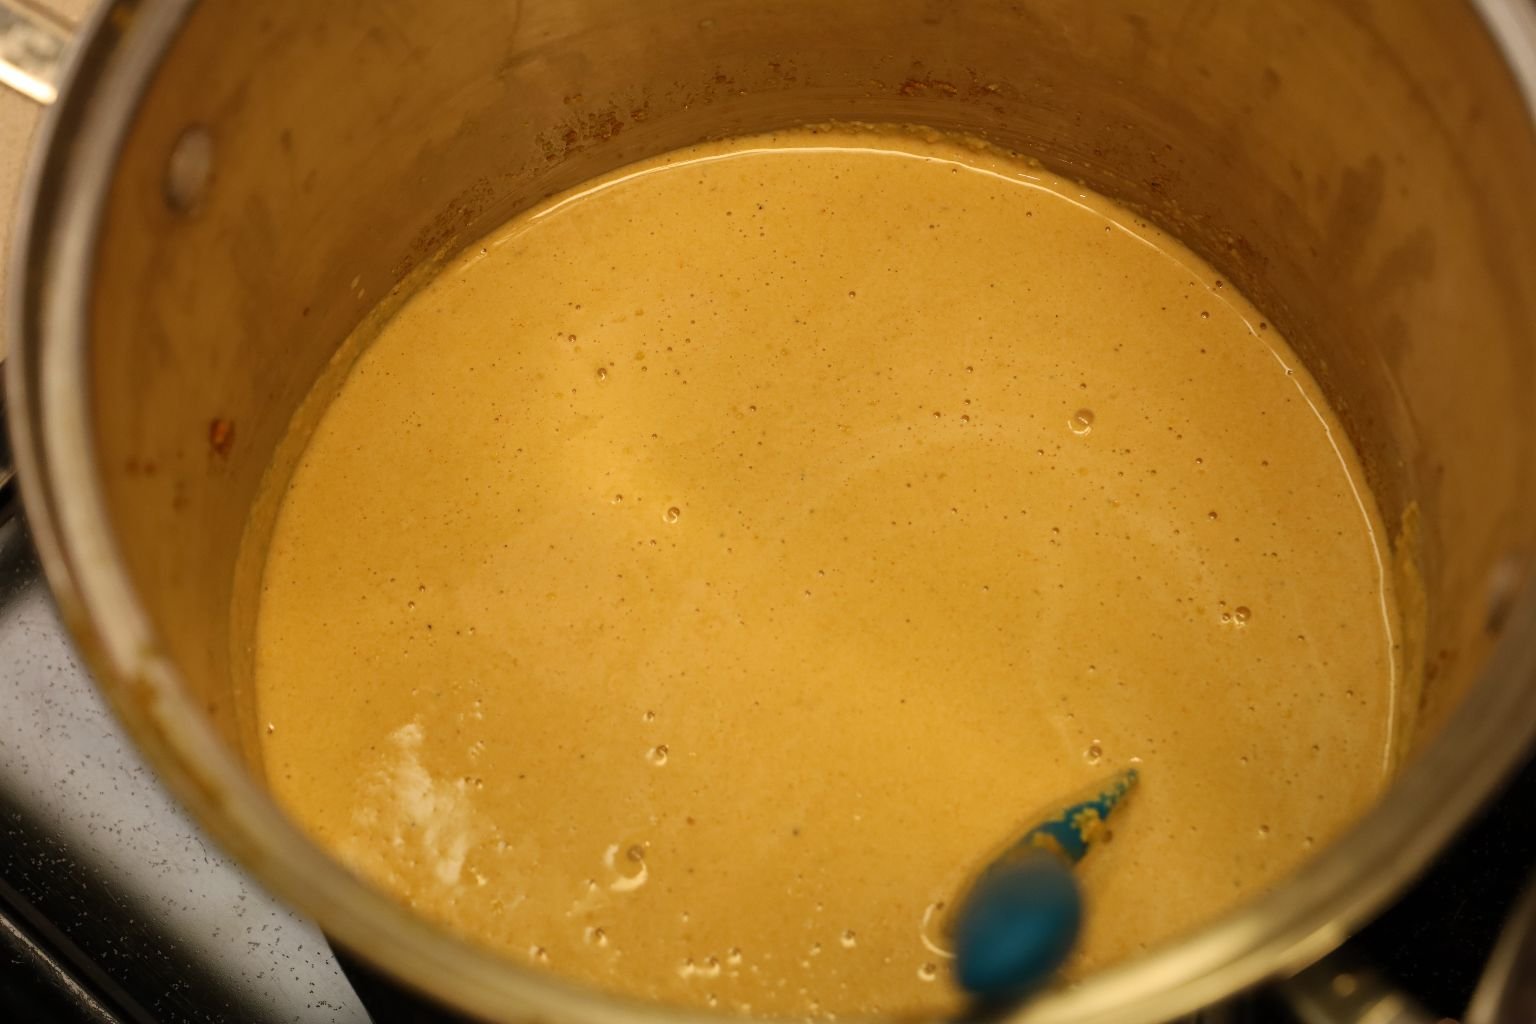
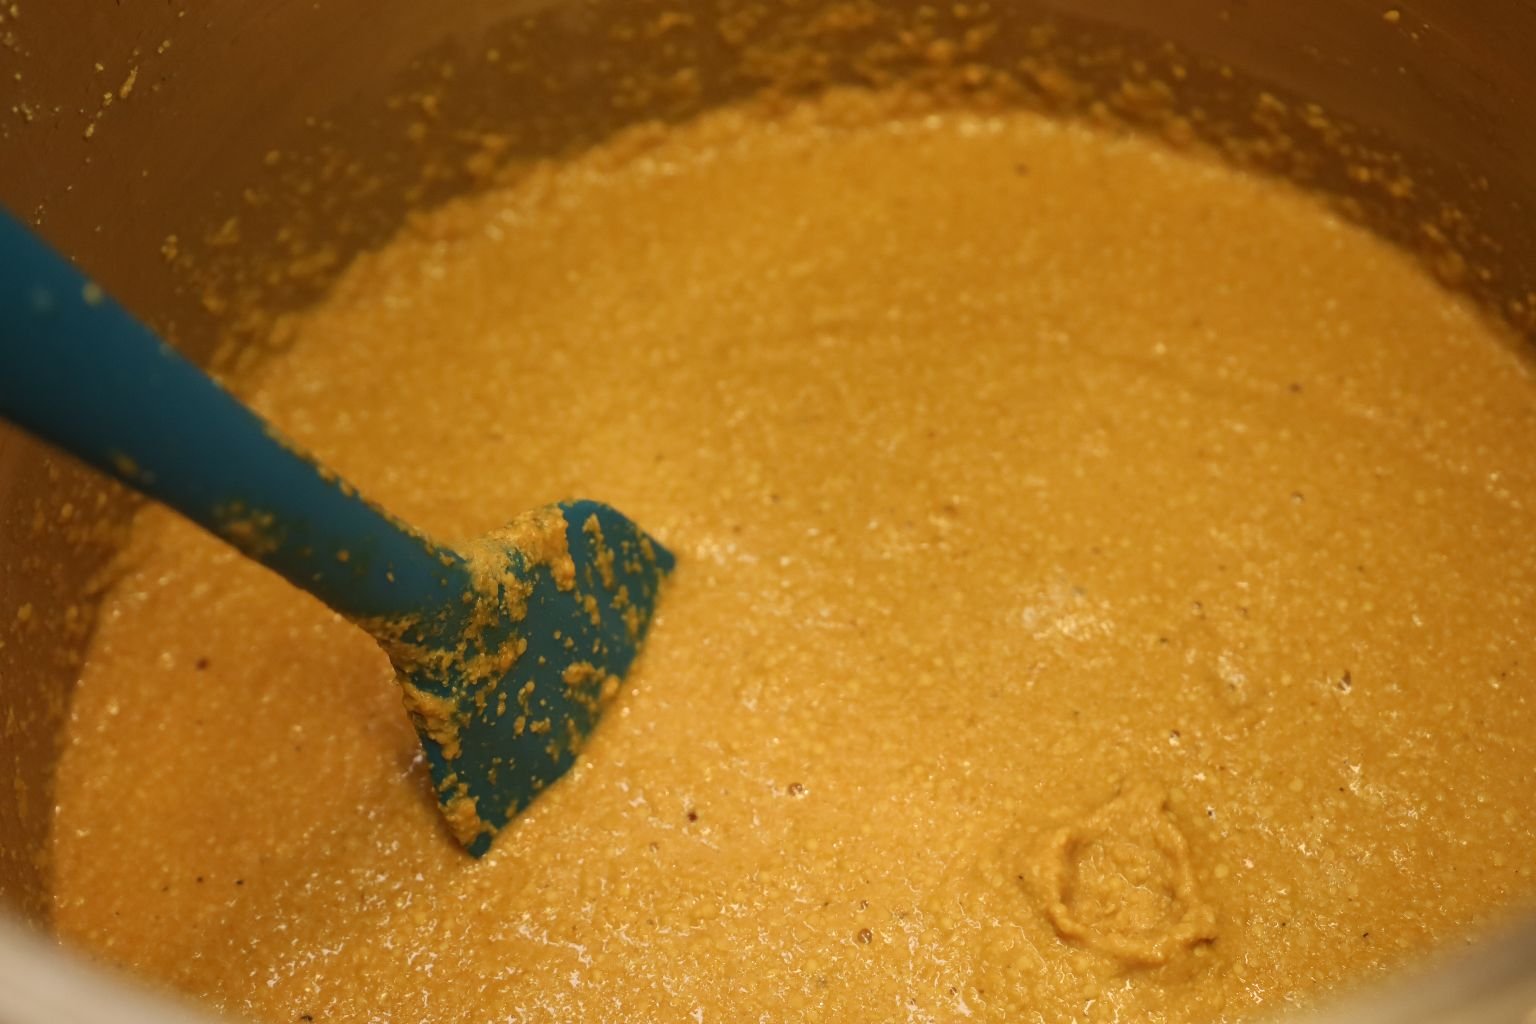
Continue to stir the mustard as it heats.
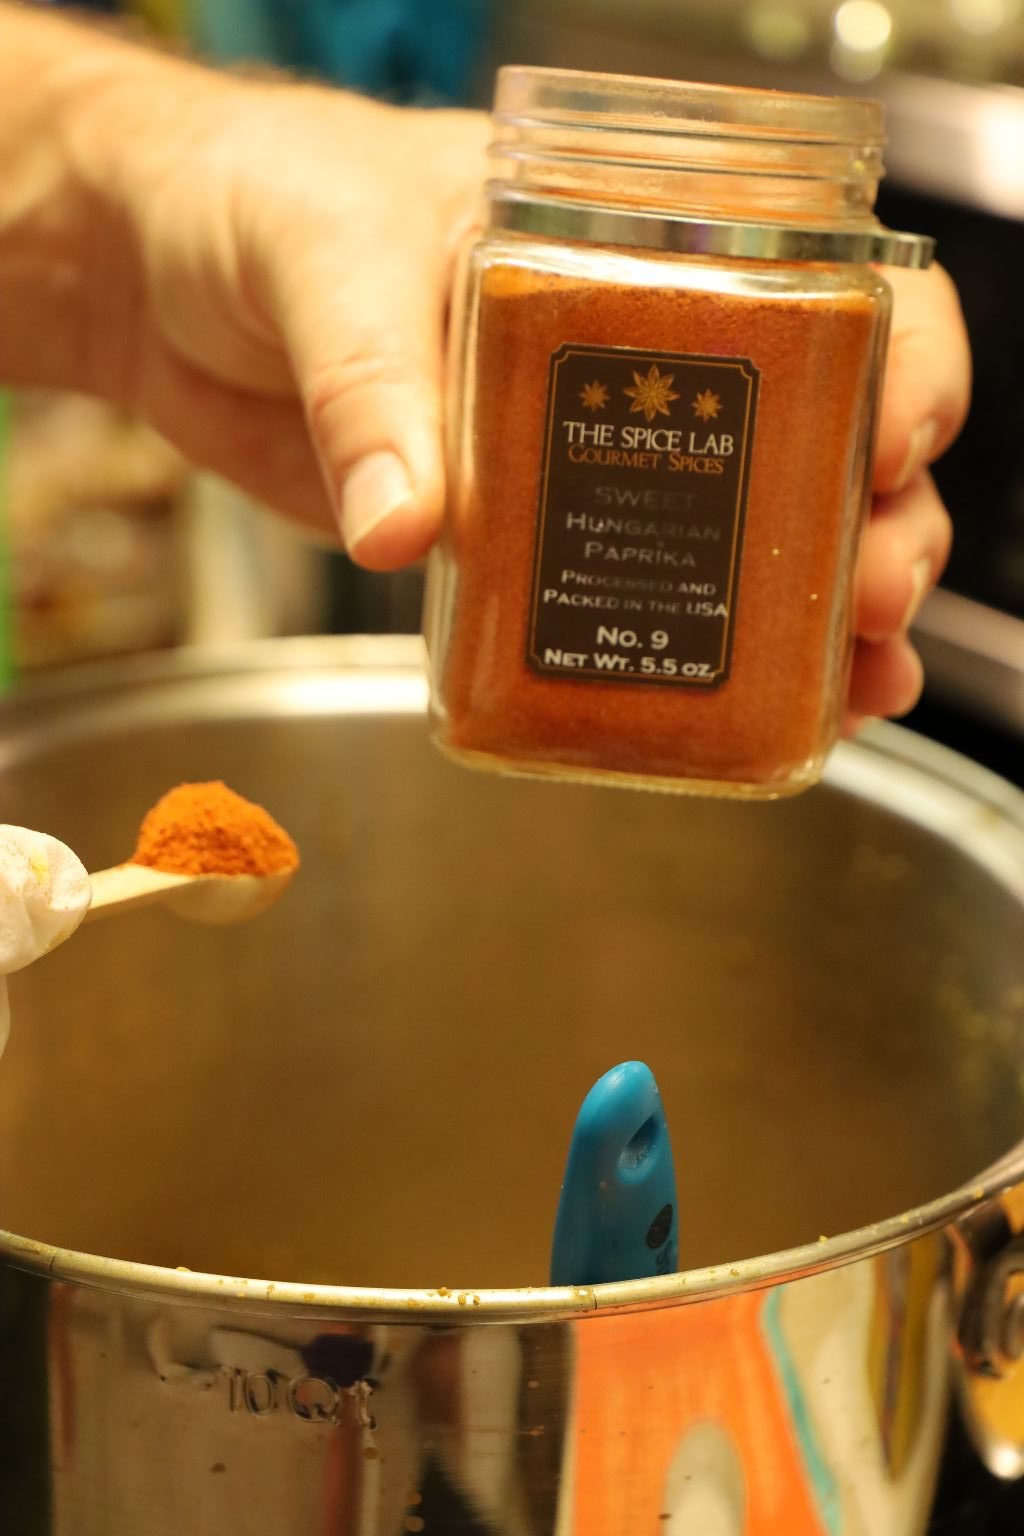
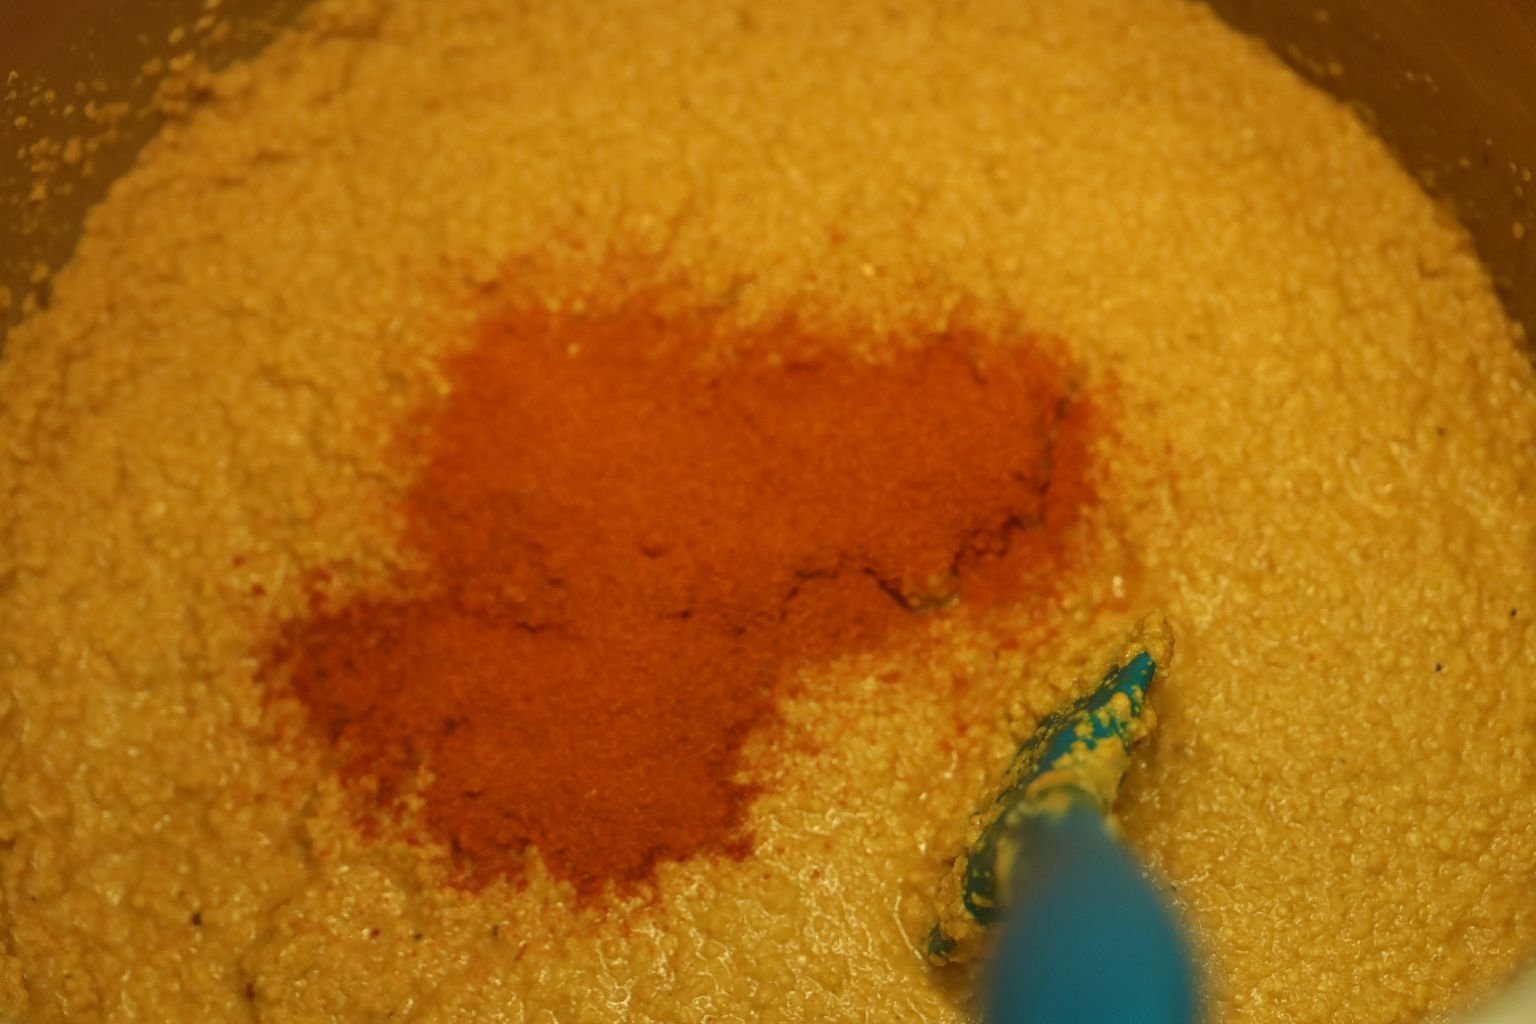
I then added the Sweet Paprika to the mixture.
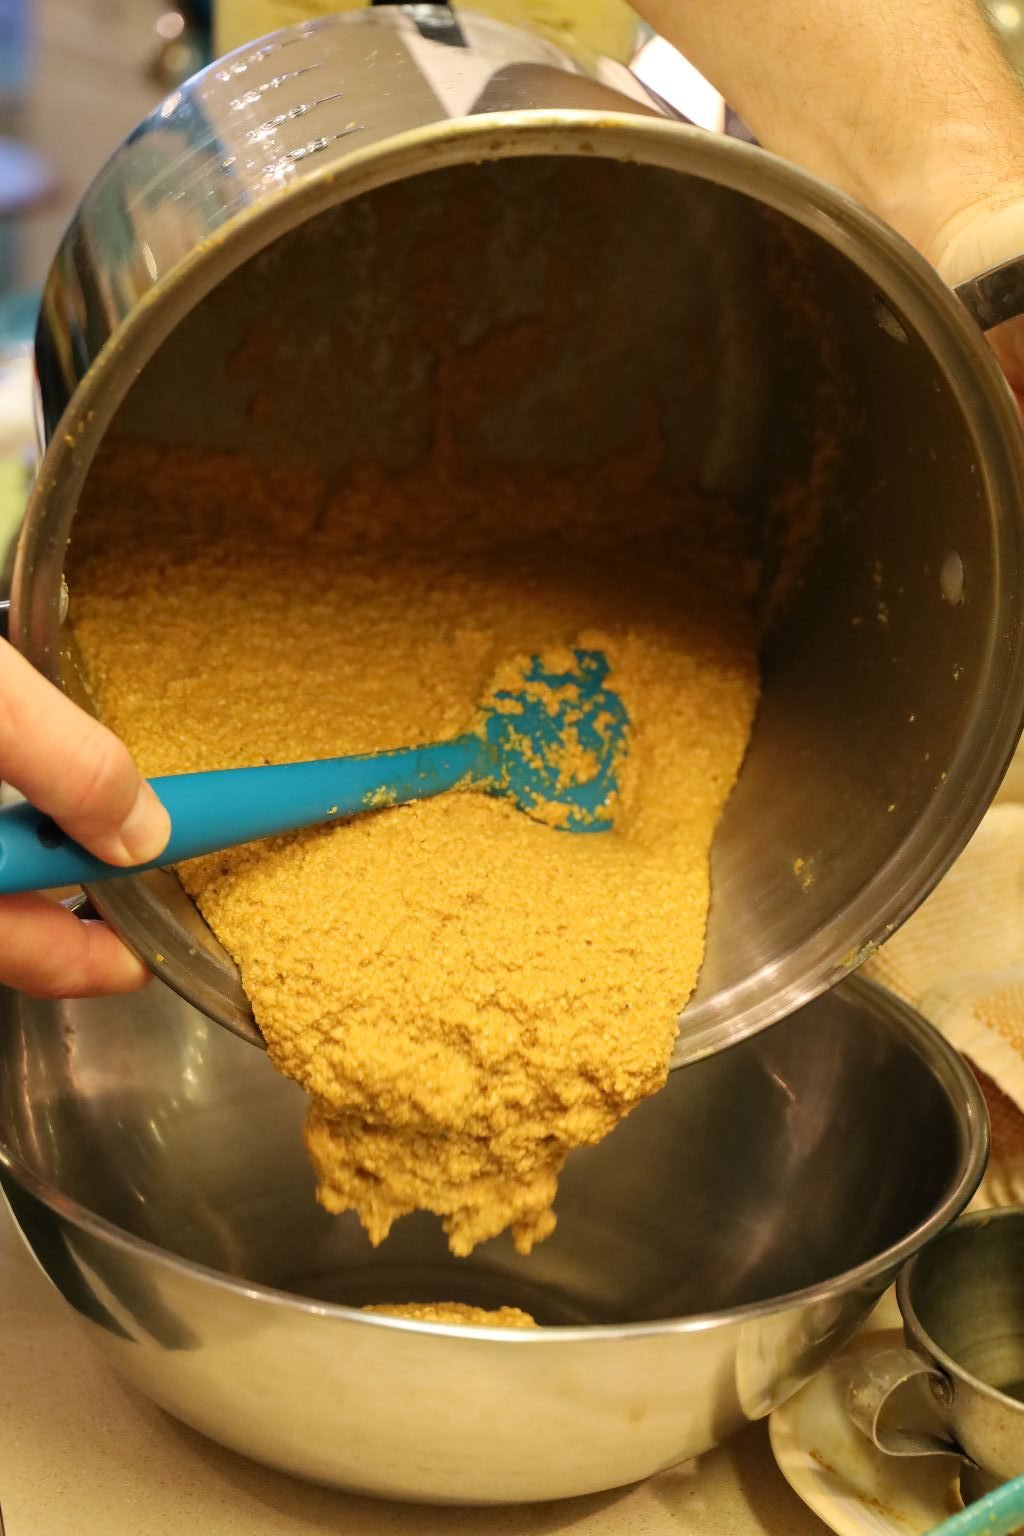
Once the mustard was at the consistency I liked, I removed it from the heat and placed it into a bowl to cool.
Add your Honey to the mustard.
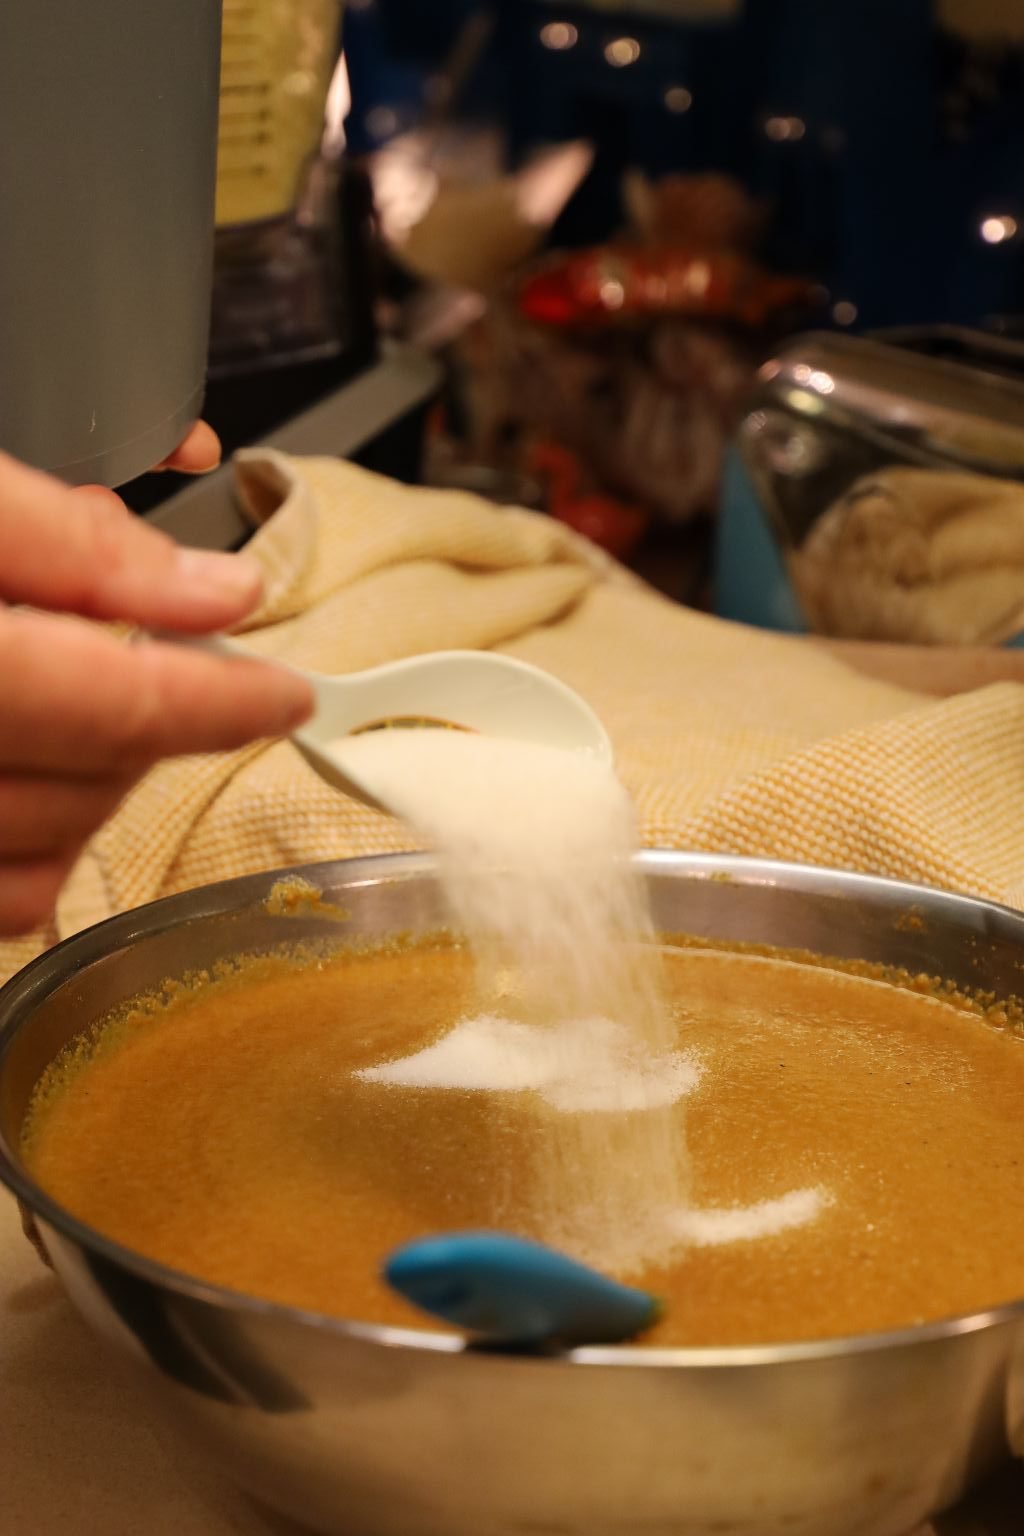
Here I am still adding the Honey then I added the Sugar.
Here you can see the dark color the Honey gives to the mustard. This is also a good time to taste the mustard and add any other ingredients such as honey, garlic, or ginger to make it taste to your liking!
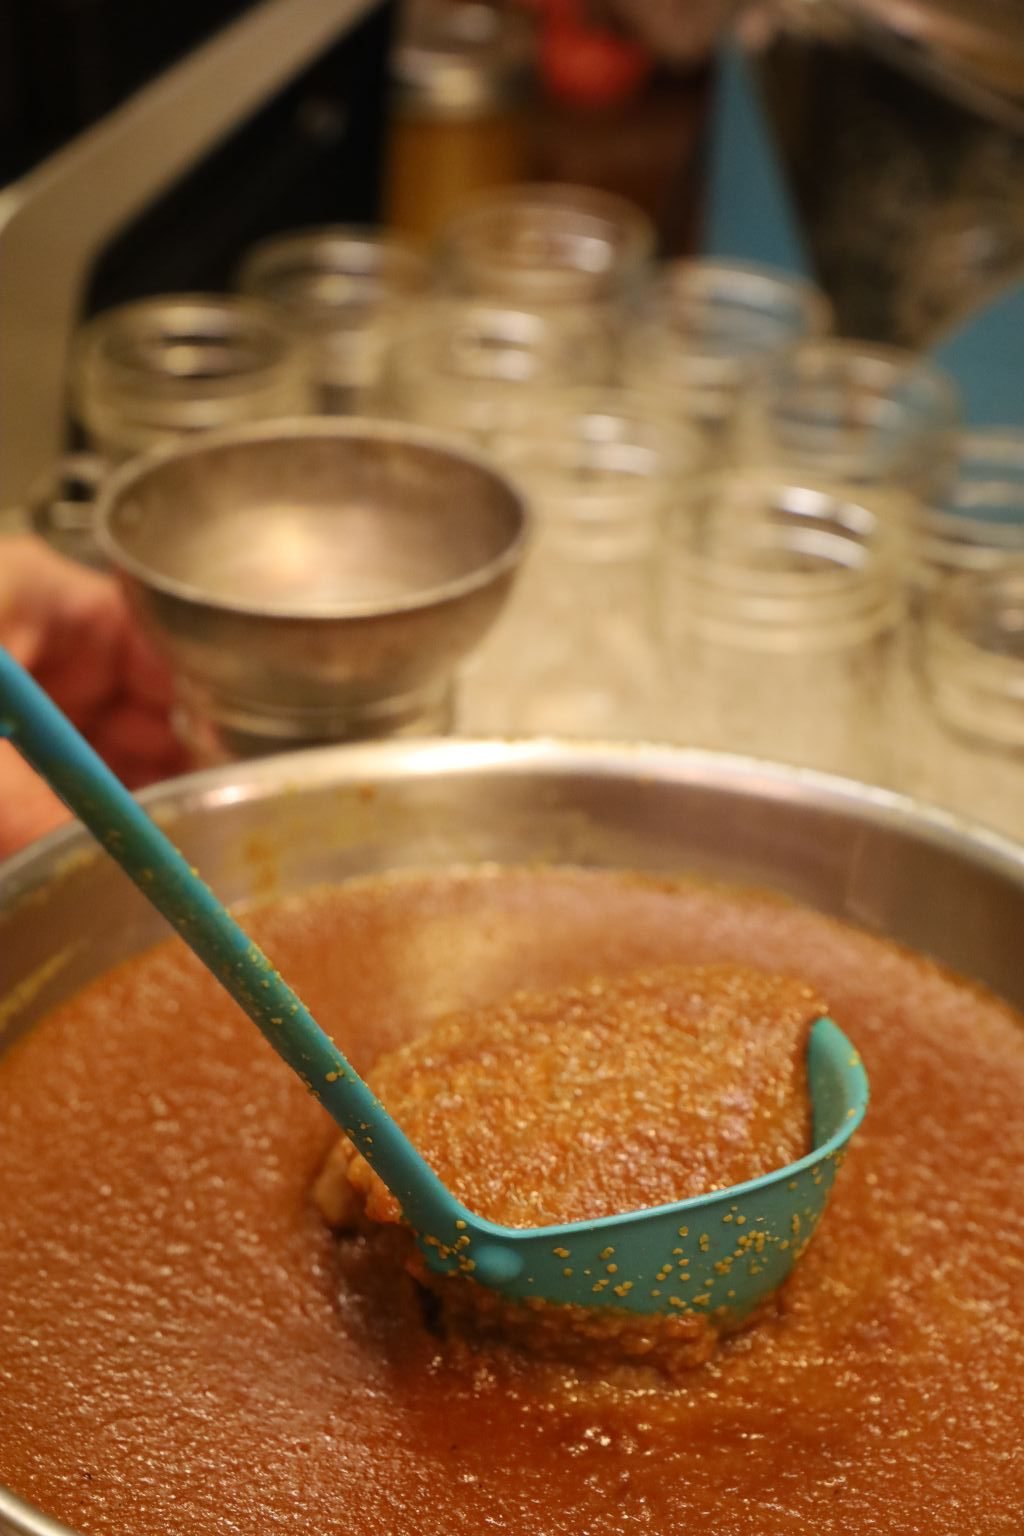
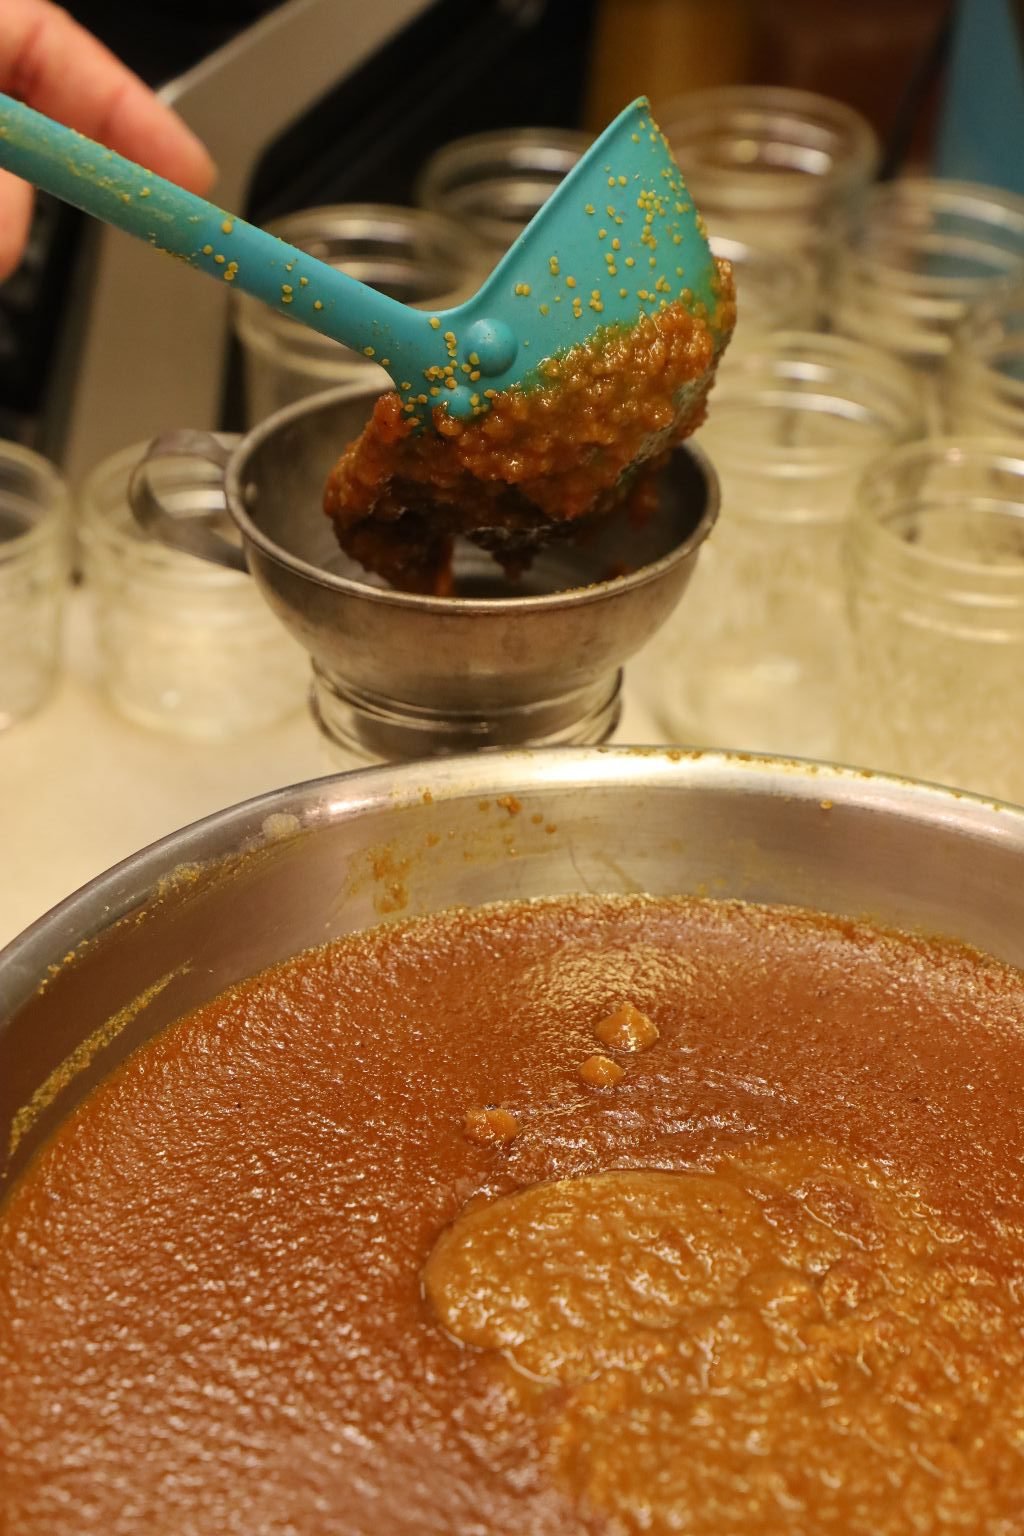
Using a ladle and funnel, add your mustard to the sterilized jars. Sterilize your jars using your dishwasher. When they are done, remove them and cover with a dishtowel until ready to use. Place your lids in a pot of almost boiling water to soften the rubber seal. An almost boil will just start to show tiny bubbles in the water which will just make the seal pliable. If you bring the water to a hard boil, you might ruin the rubber seal.
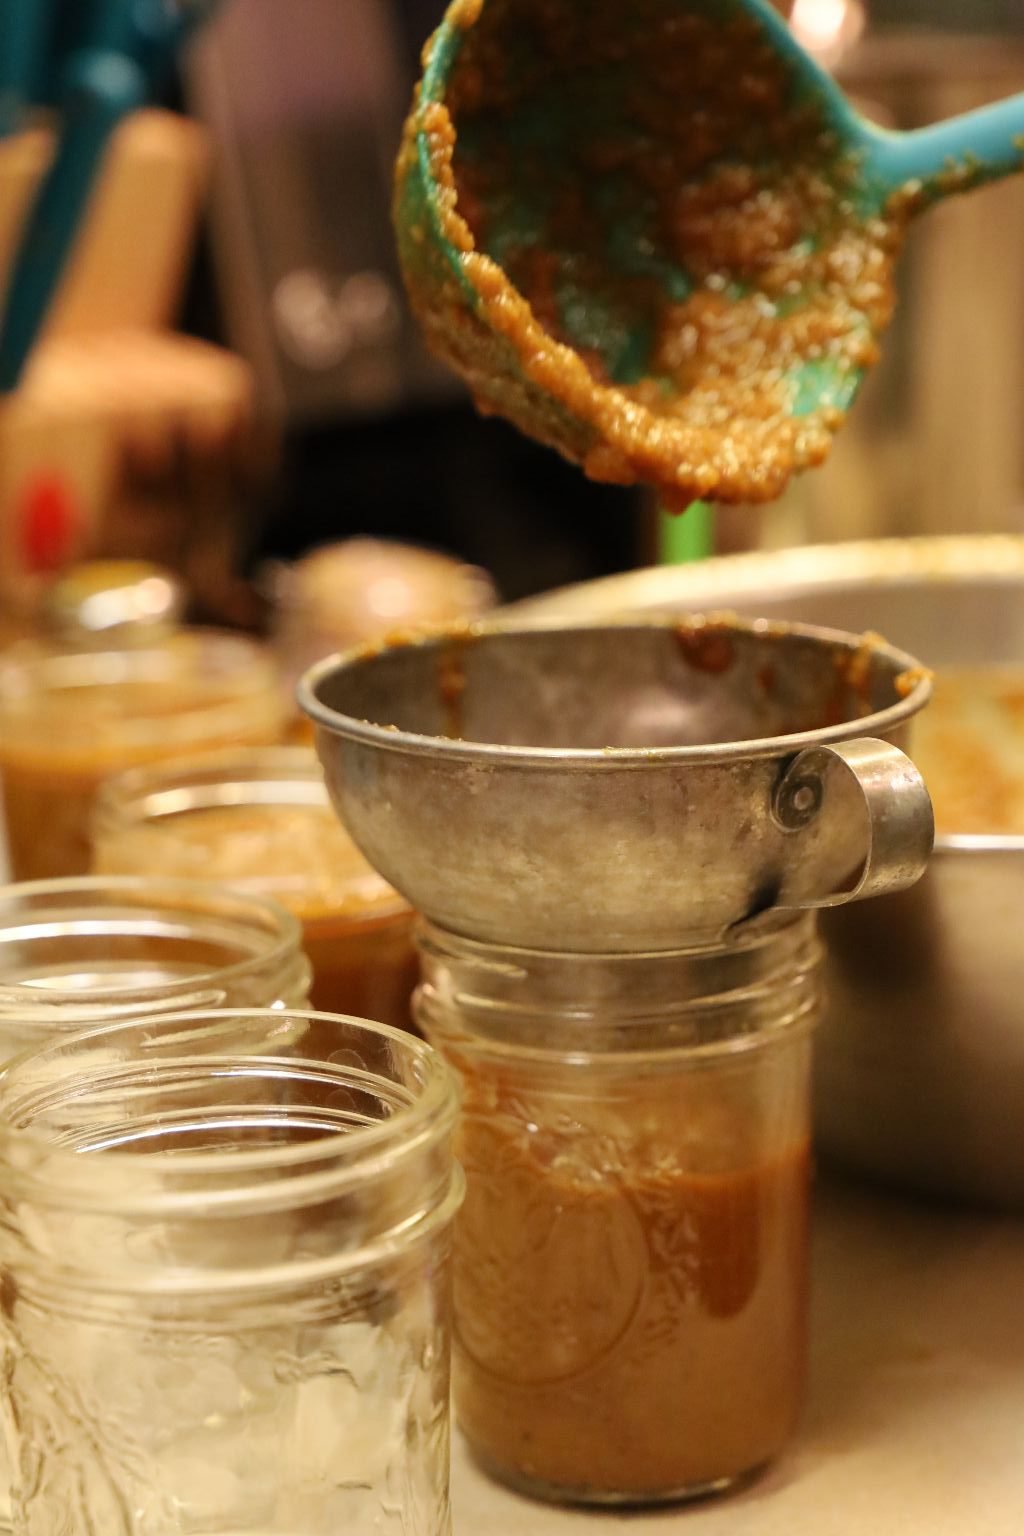
——————————————————————–
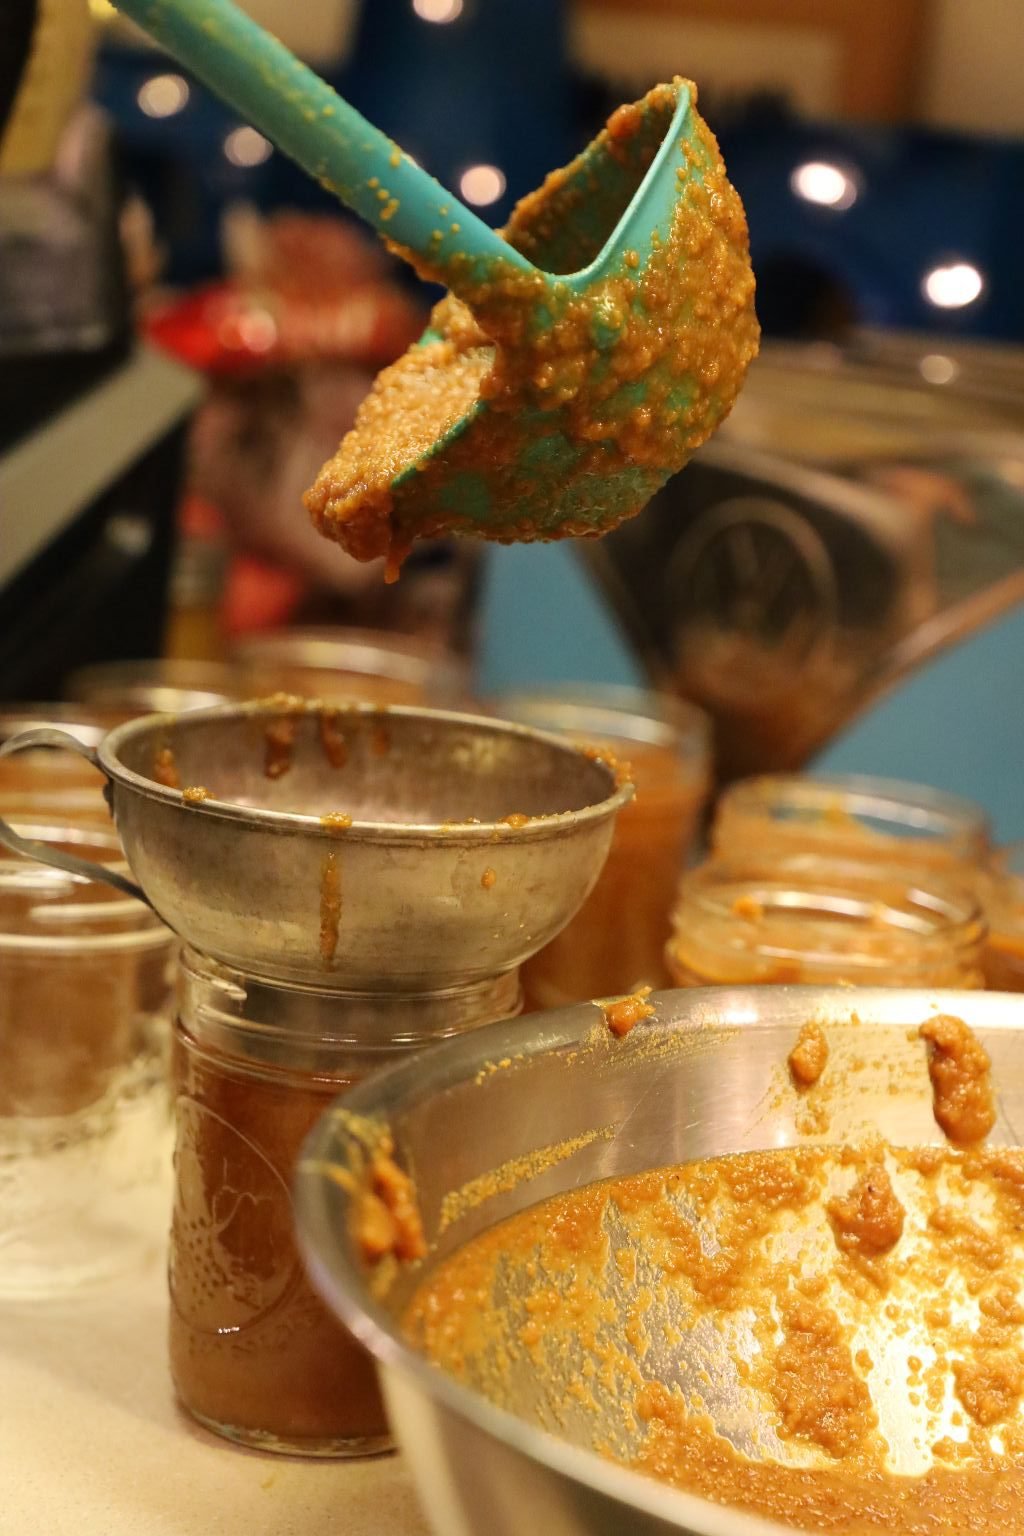
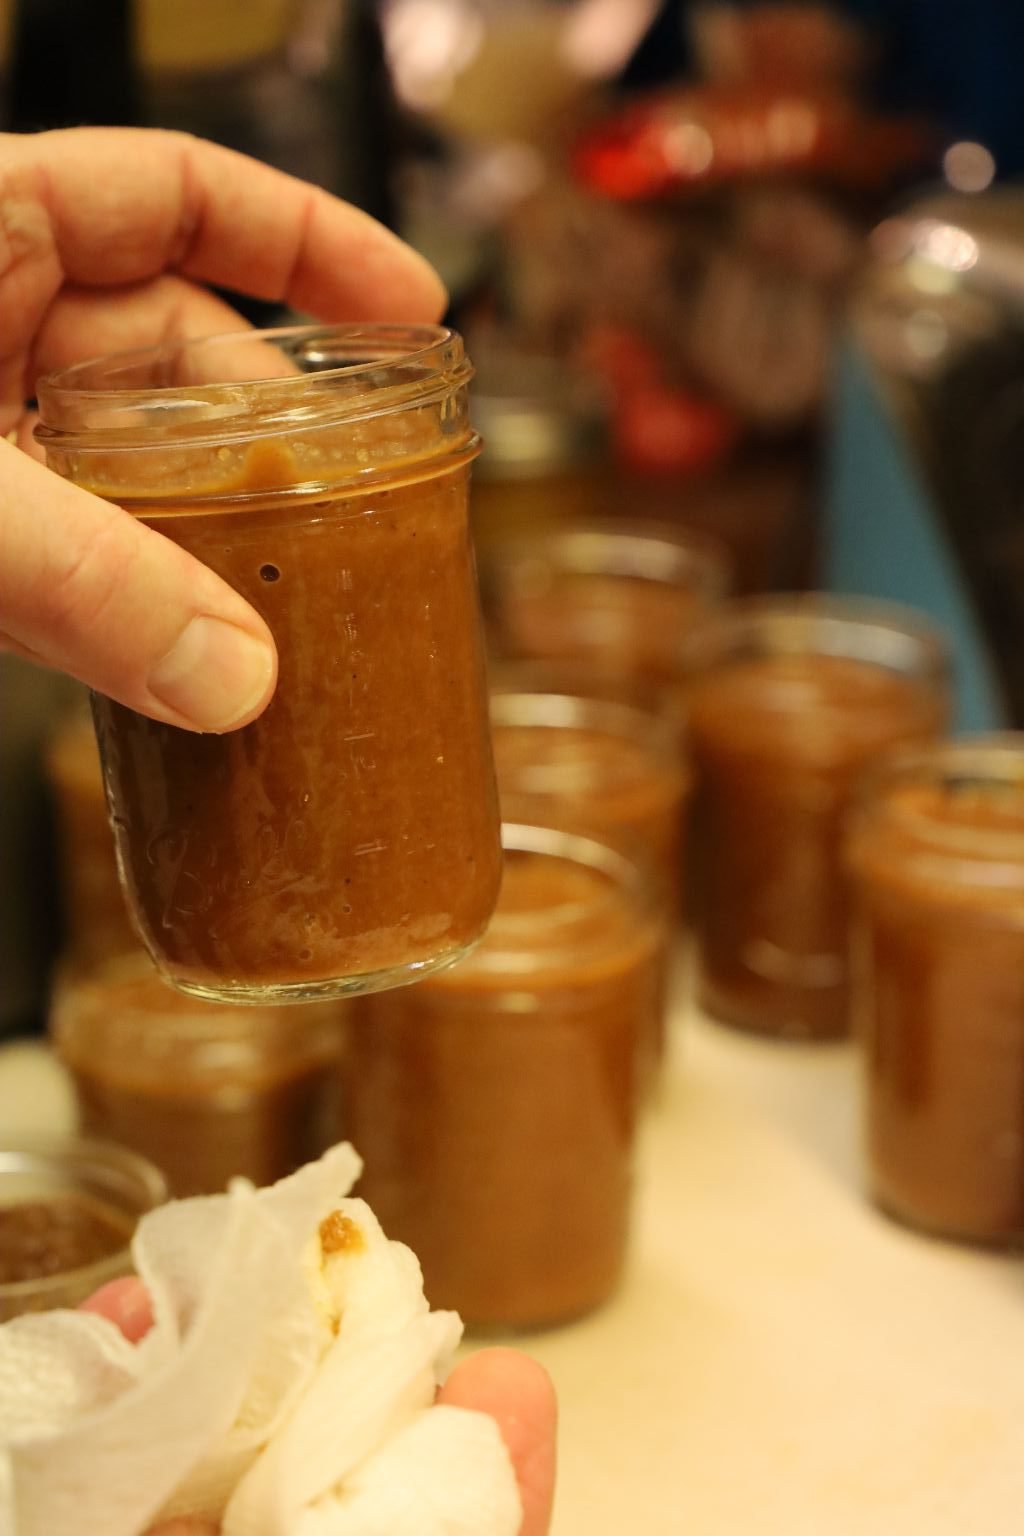
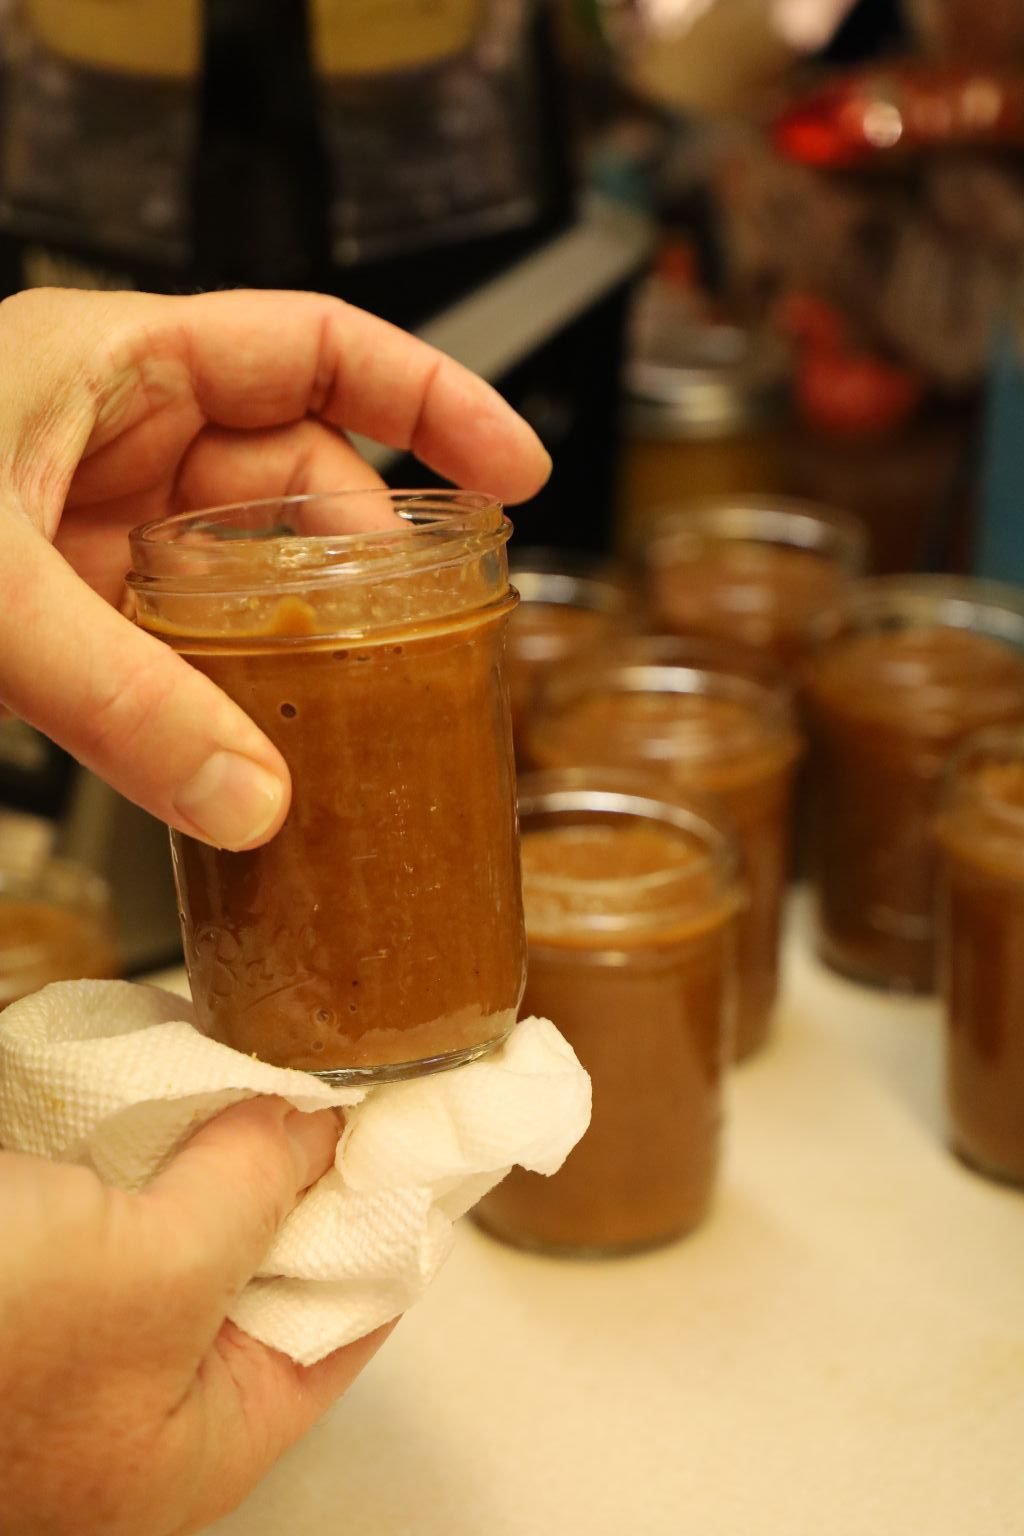
Wipe down the top of the jar with a wet paper towel until clean. If it is not clean, the lid will not seal properly.
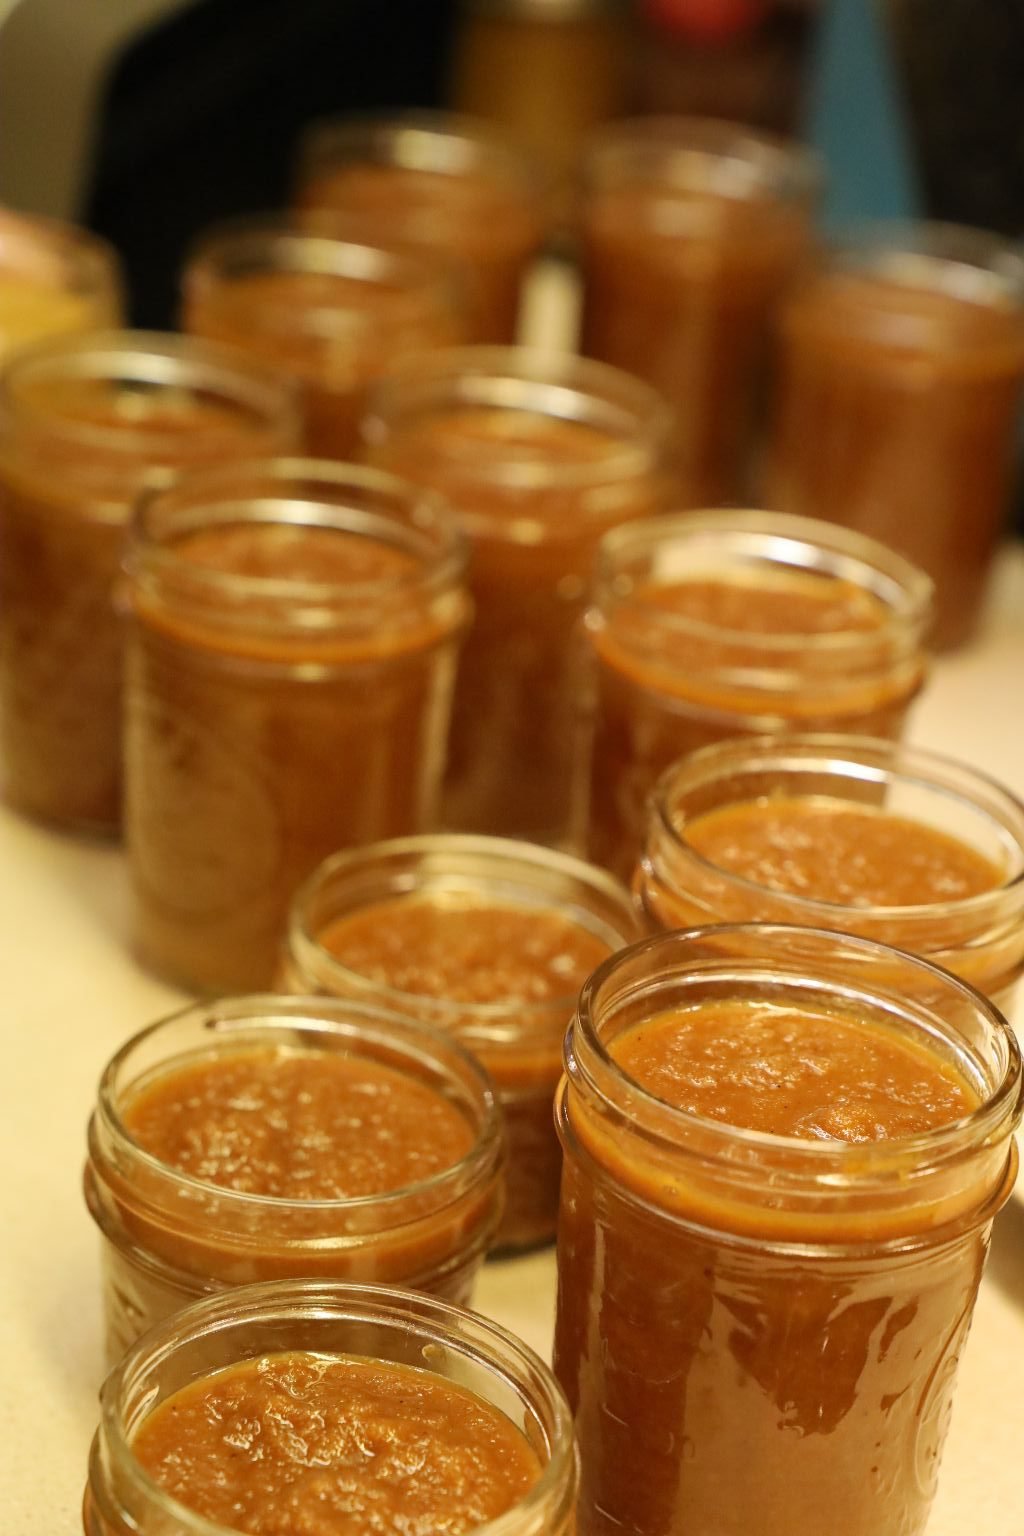
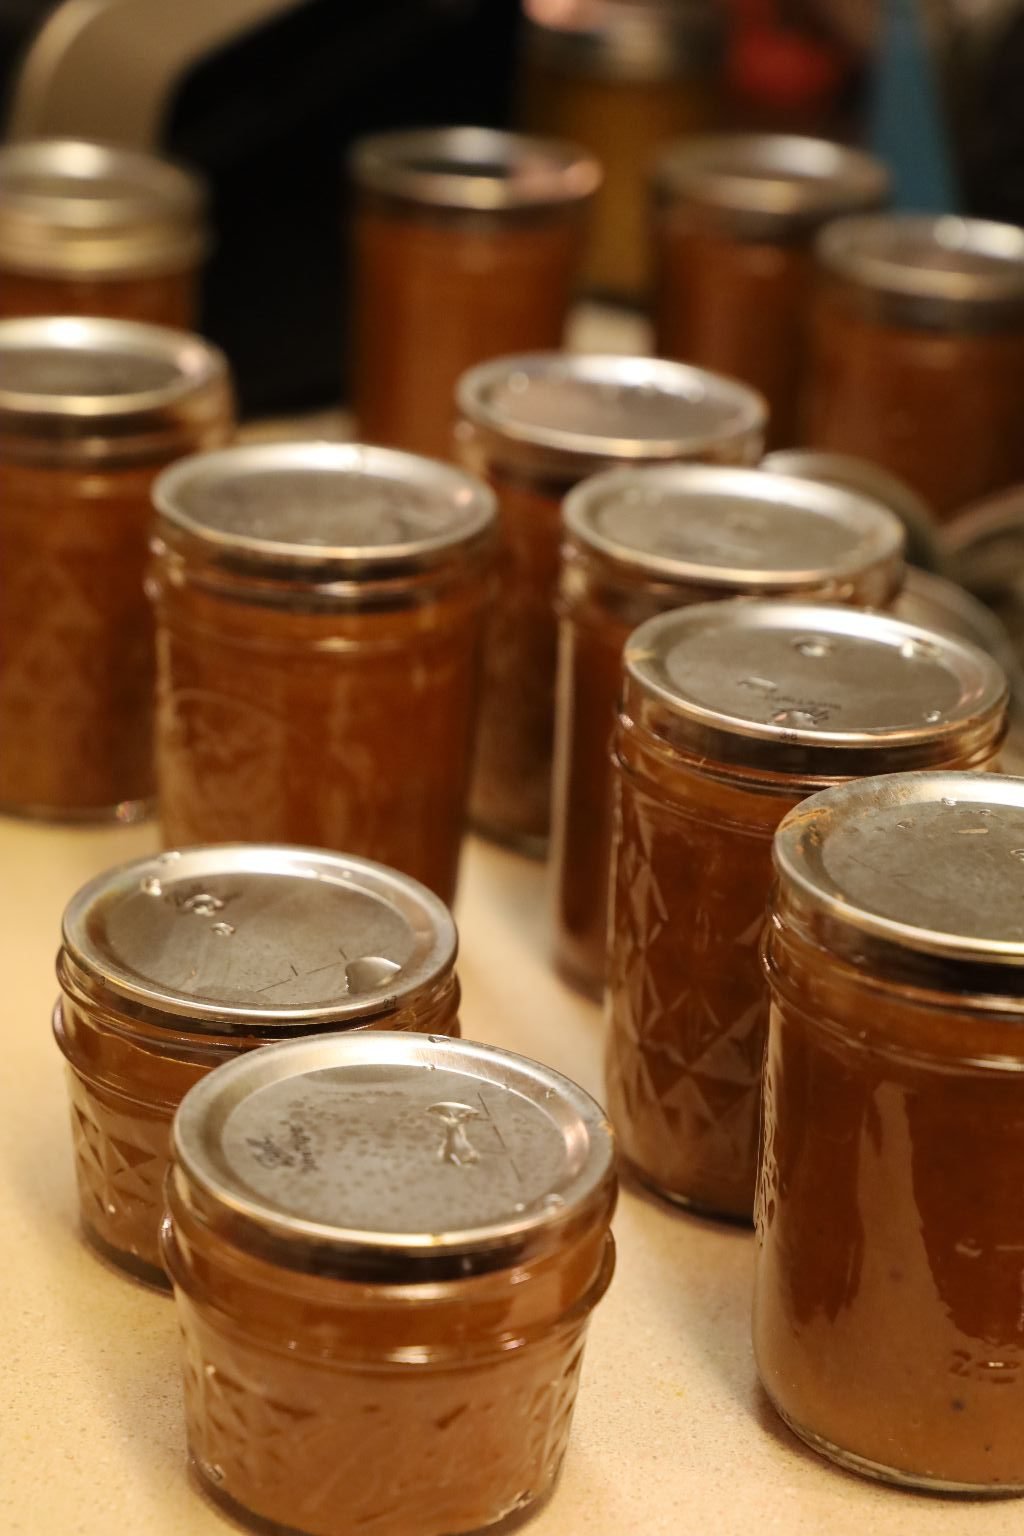
Using the magnetized stick, remove the hot lid and place it on the jar. Place a ring on the jar and barely tighten the lid. This will allow the air to escape as it boils in the next step creating a vacuum within the jar.
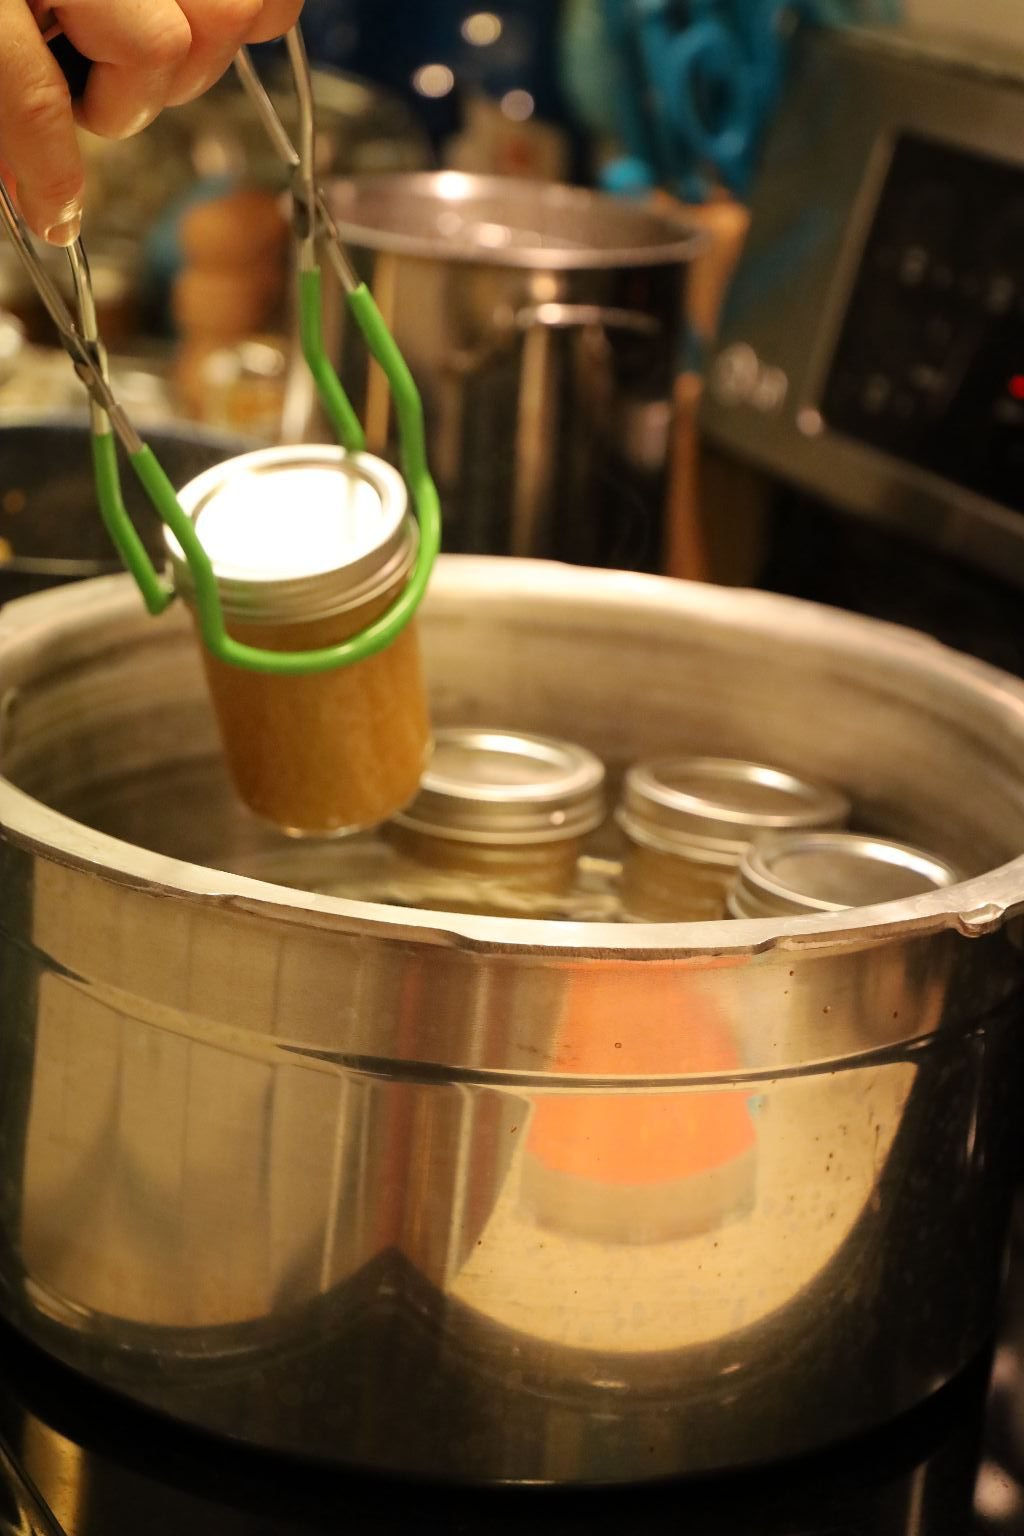
Here I am carefully placing the jars into the pot.
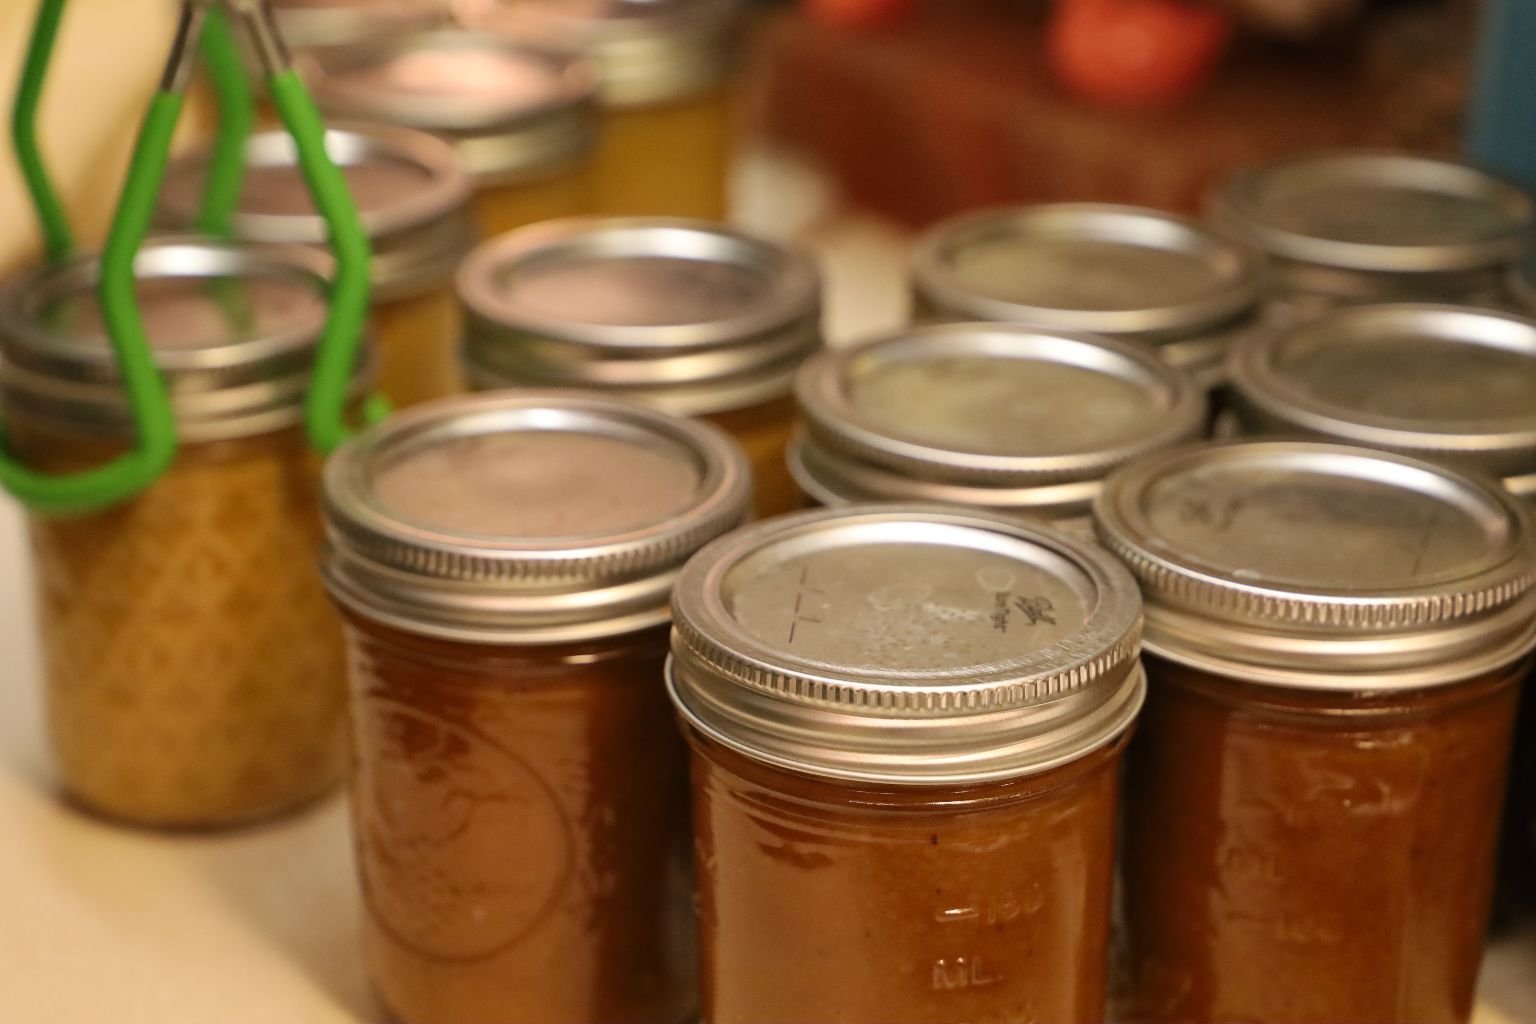
Here is a picture of both the Almost Yellow and Honey Mustard waiting to be processed.
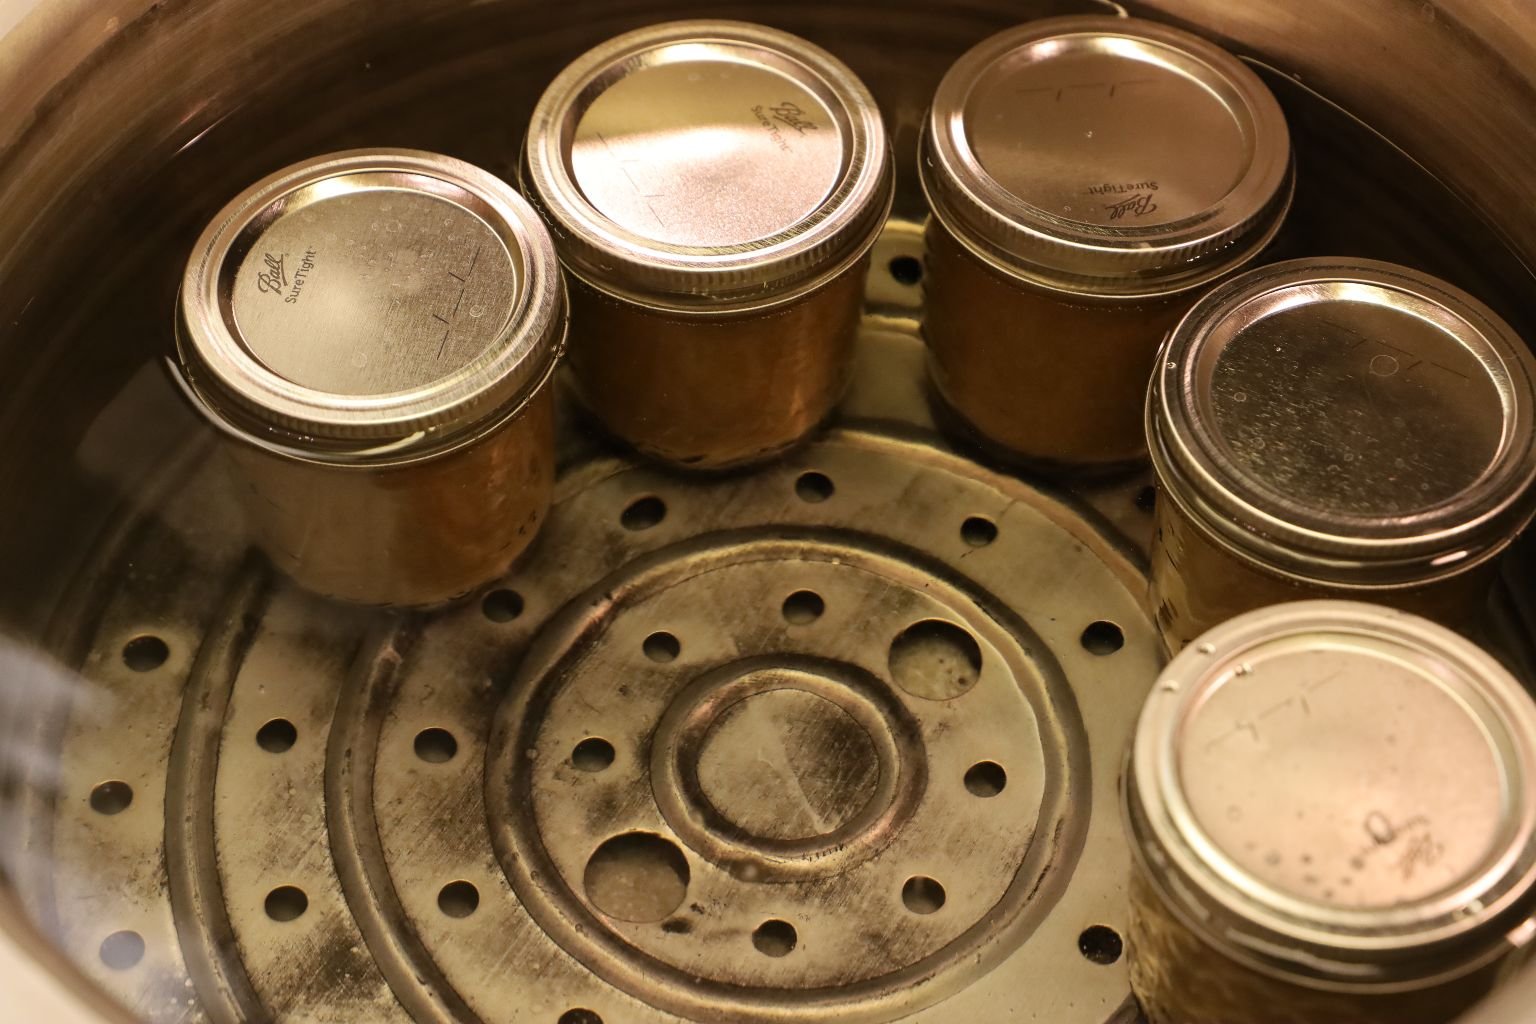
————————————————————-
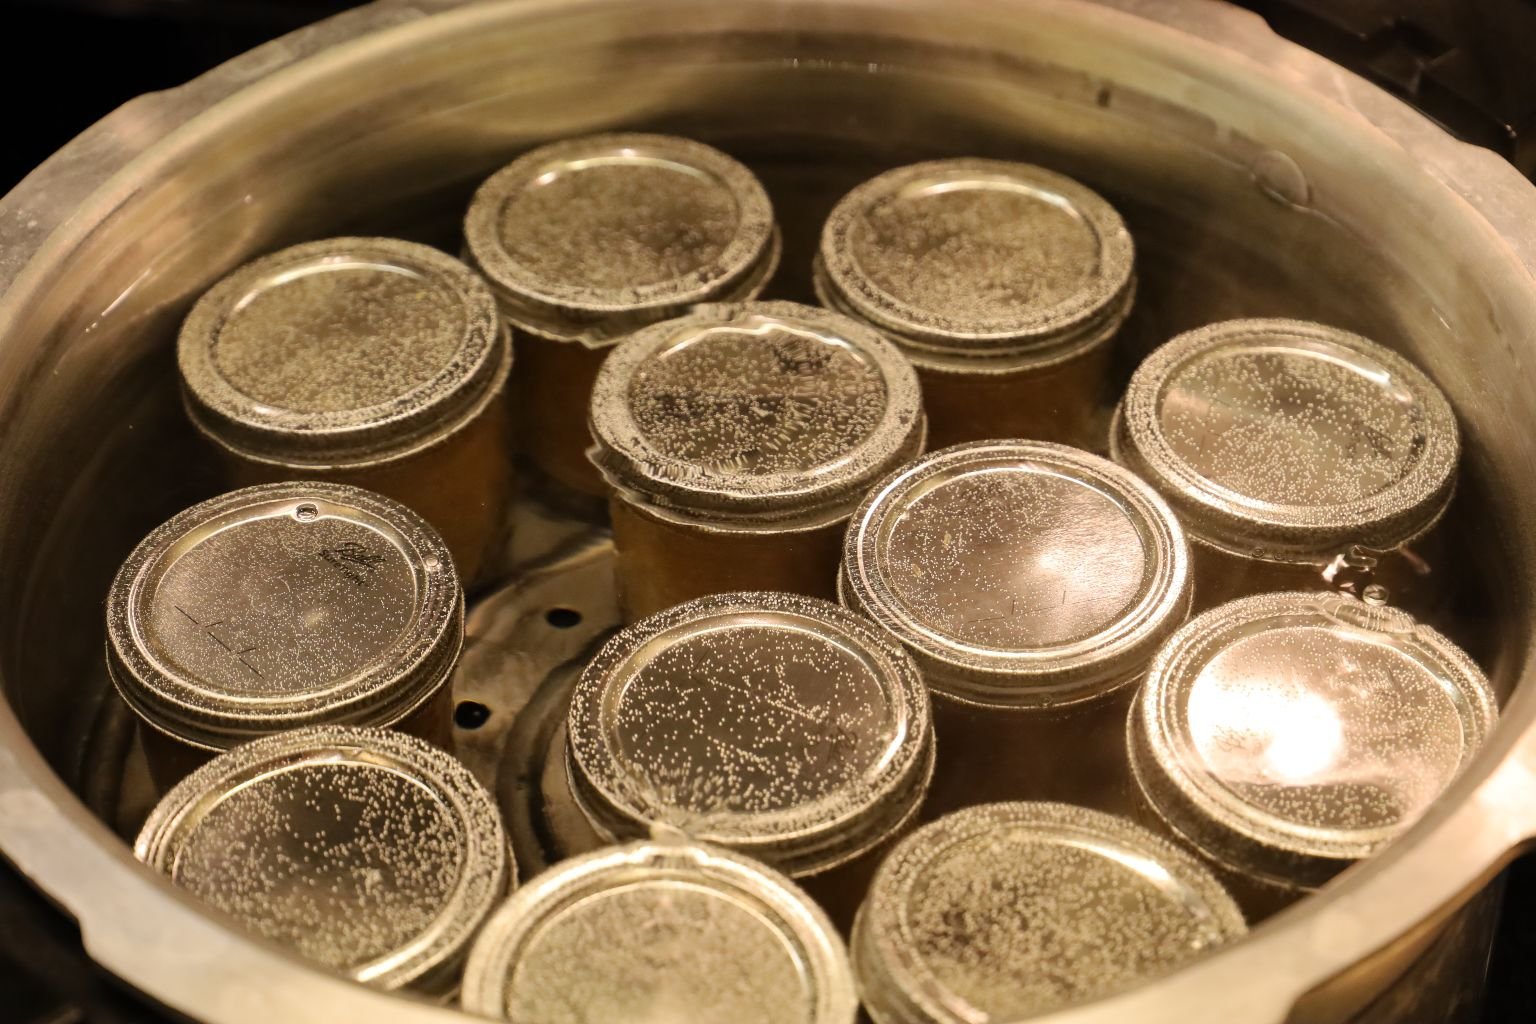
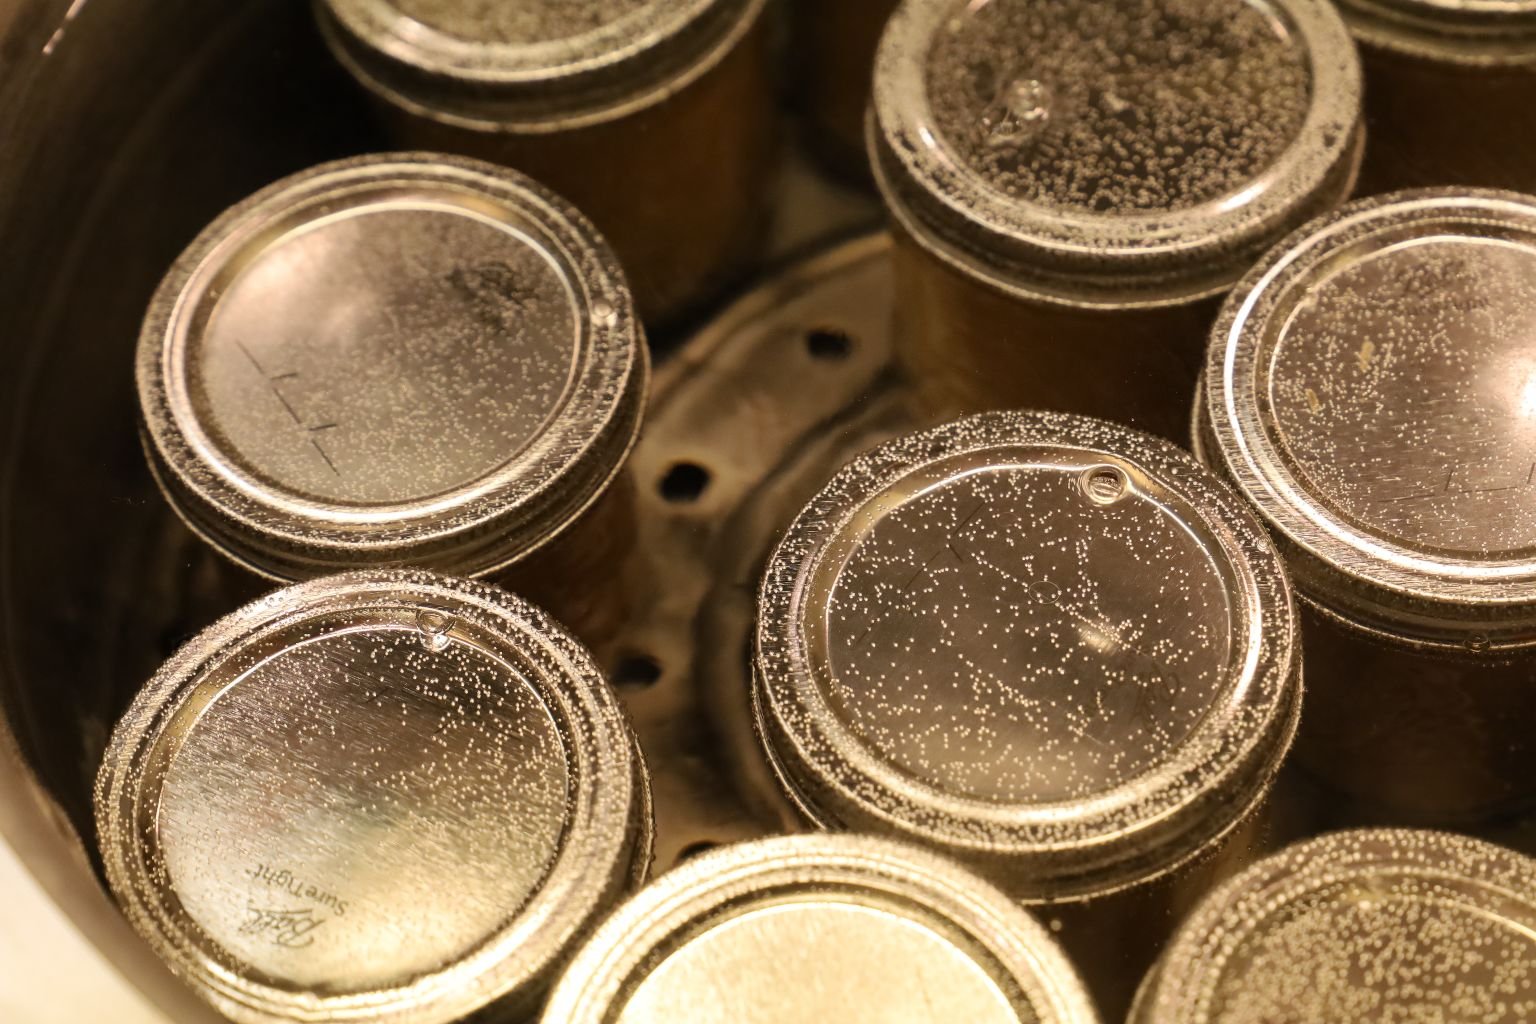
After all of your jars are in the pot, ensure there is about 1 inch of water covering them. Bring the water to a boil and boil the jars for 15 minutes. This step is called processing the jars.
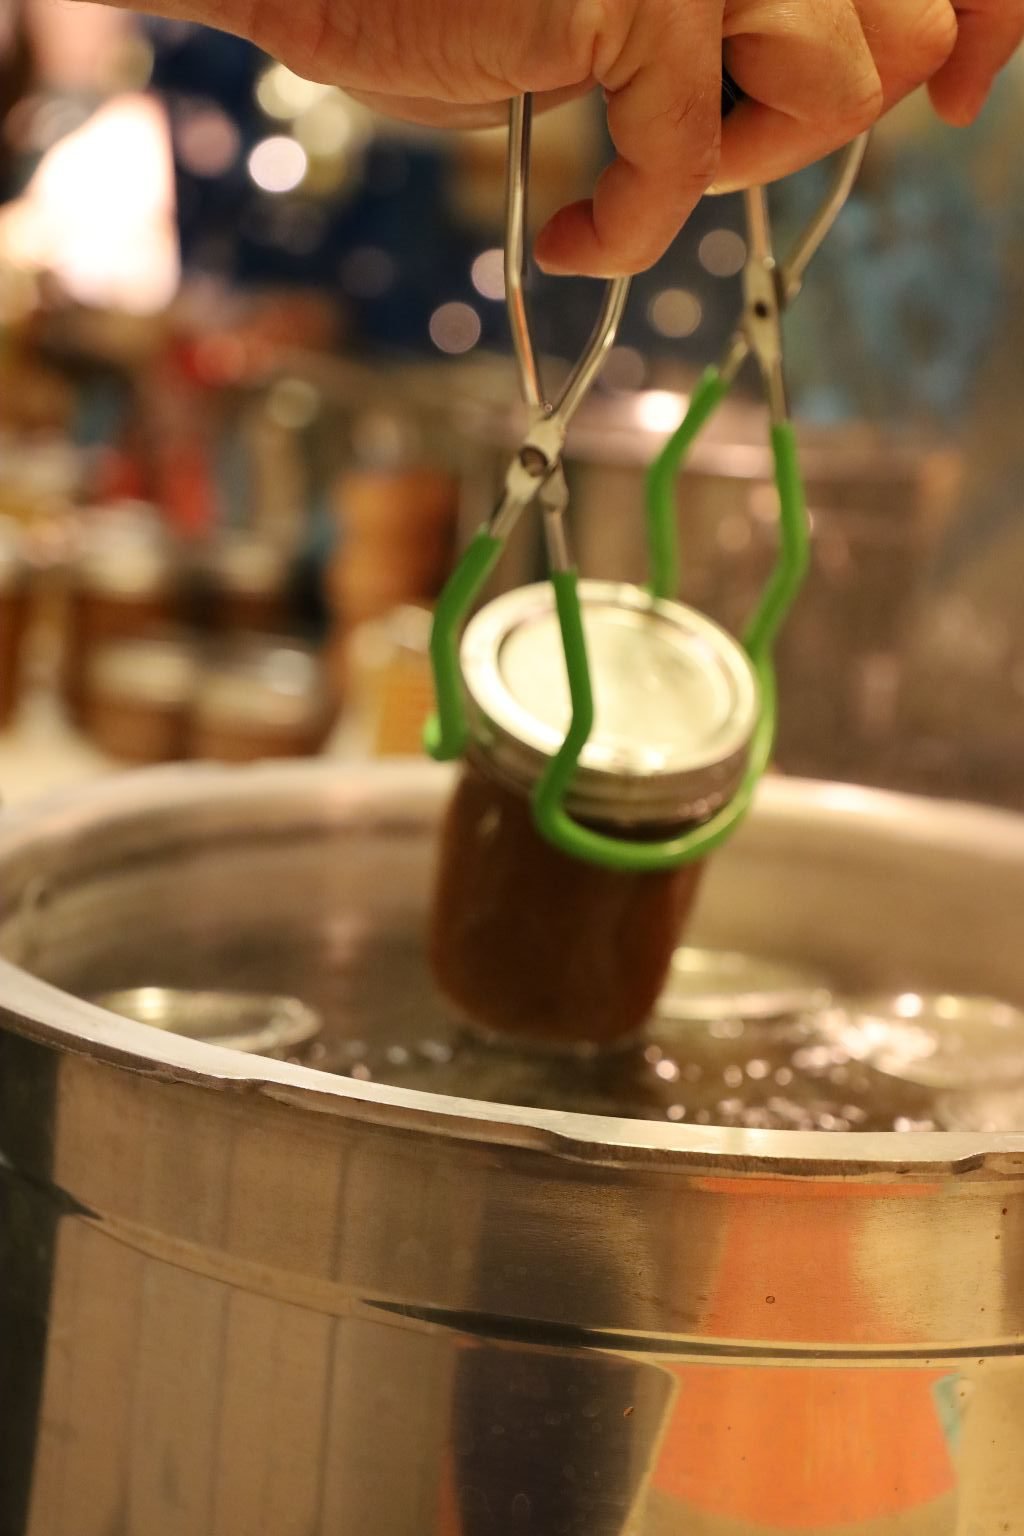
Using the special tongs, remove the jars from the water and place them on a dishtowel. You should begin to hear the lids pop as they seal. This is caused by the lid being pulled down from the vacuum within the jar. This means that your mustard jar is sealed properly. Caution, the jars will be extremely hot during these next steps. After about an hour, if the lid can be pushed down, the lid didn’t seal and needs to be processed all over again. In this case, remove the lid, wipe down the top of the jar and possibly remove some of the mustard to ensure you had enough headspace. Then, add another lid as before and process the jar again for another 15 min. in the boiling water. If the lid seal is down and properly sealed, carefully remove the ring as the jar will still be hot, and wipe the lid and the inside of the ring with a dry paper towel. This will prevent any rust forming over time as the mustard sits in your pantry. The ring is only there to ensure the lid doesn’t accidentally get lifted up. Replace the ring finger tight when it is dry.
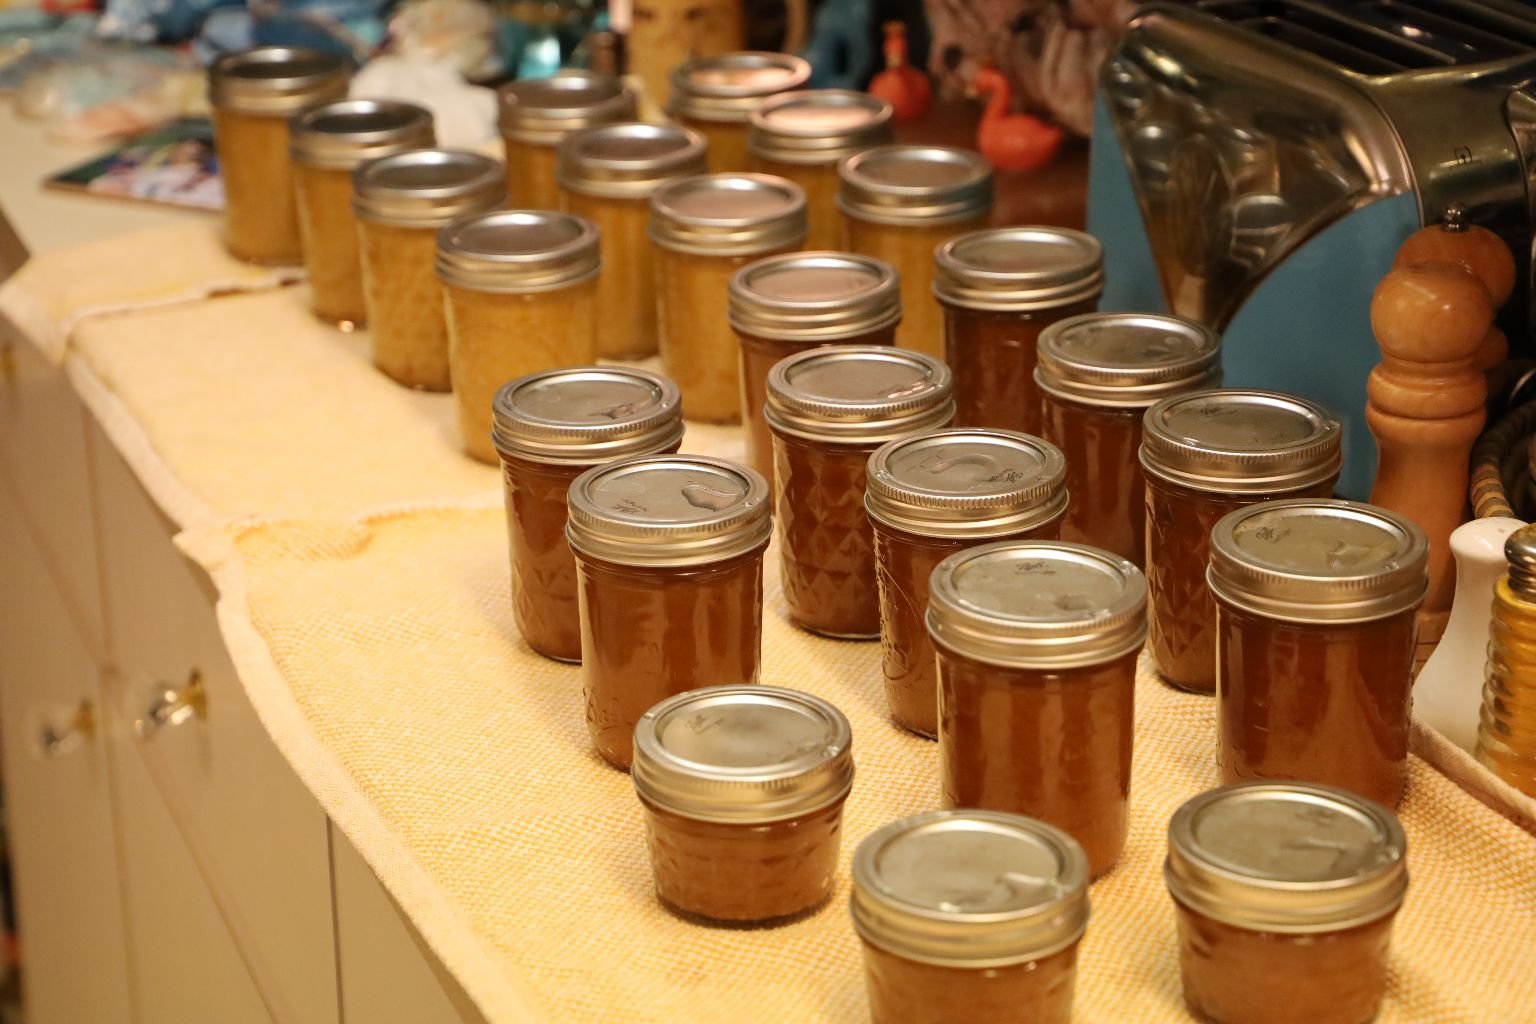
Here you can see both the Yellow and Honey Mustard on the kitchen towel popping as the vacuum is created.
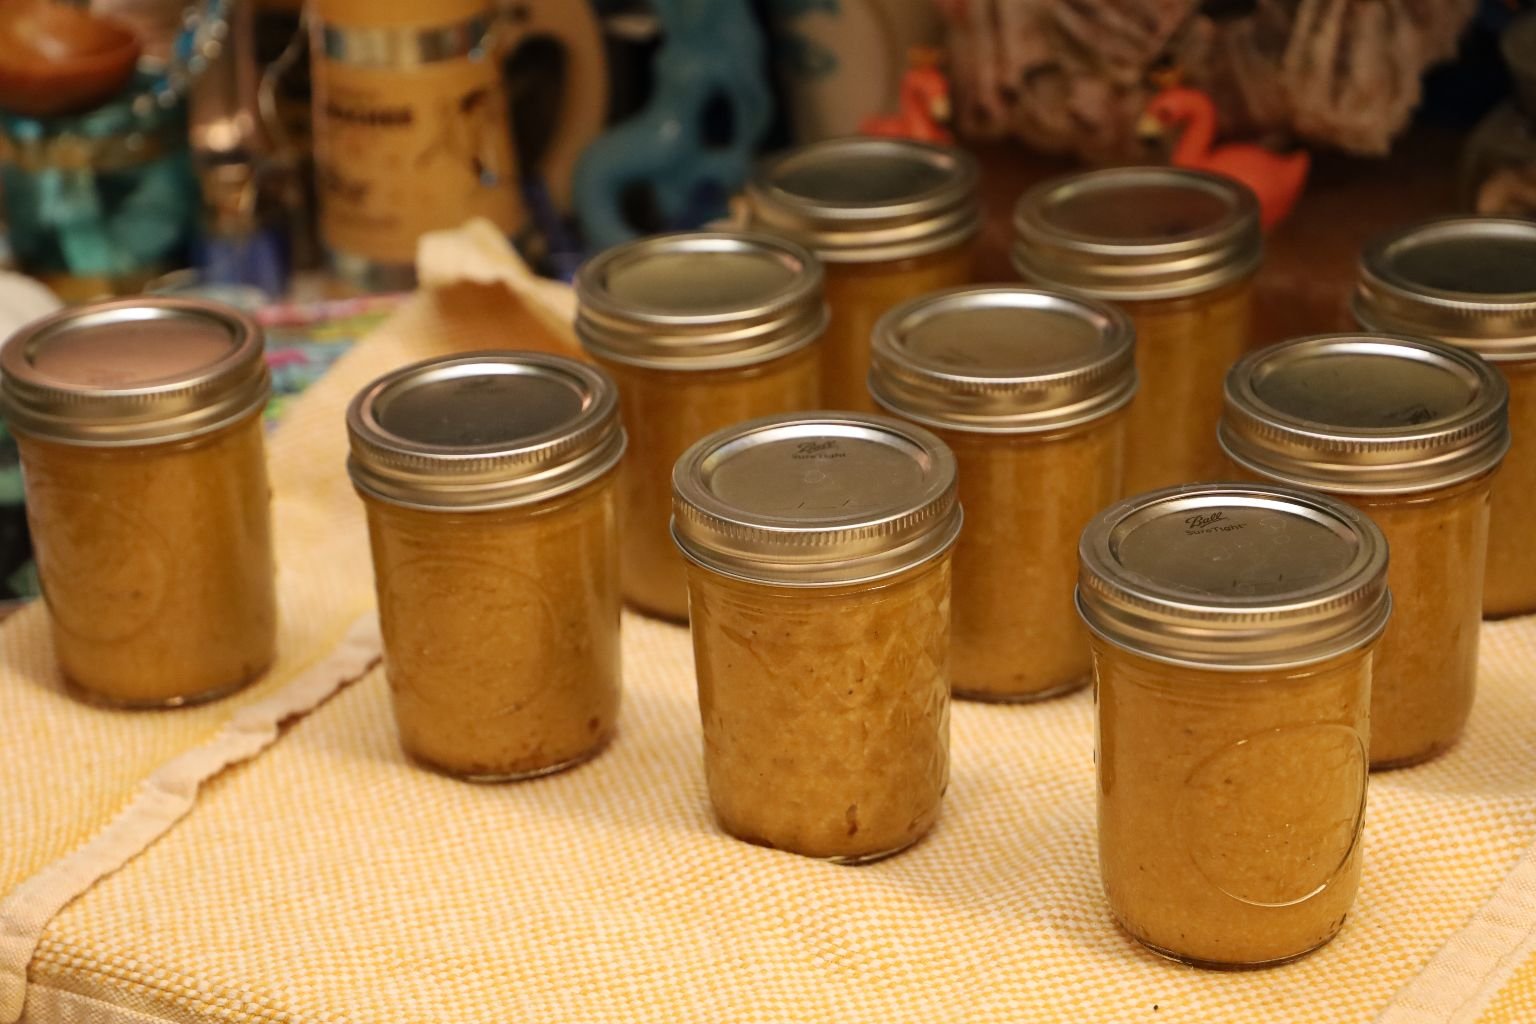
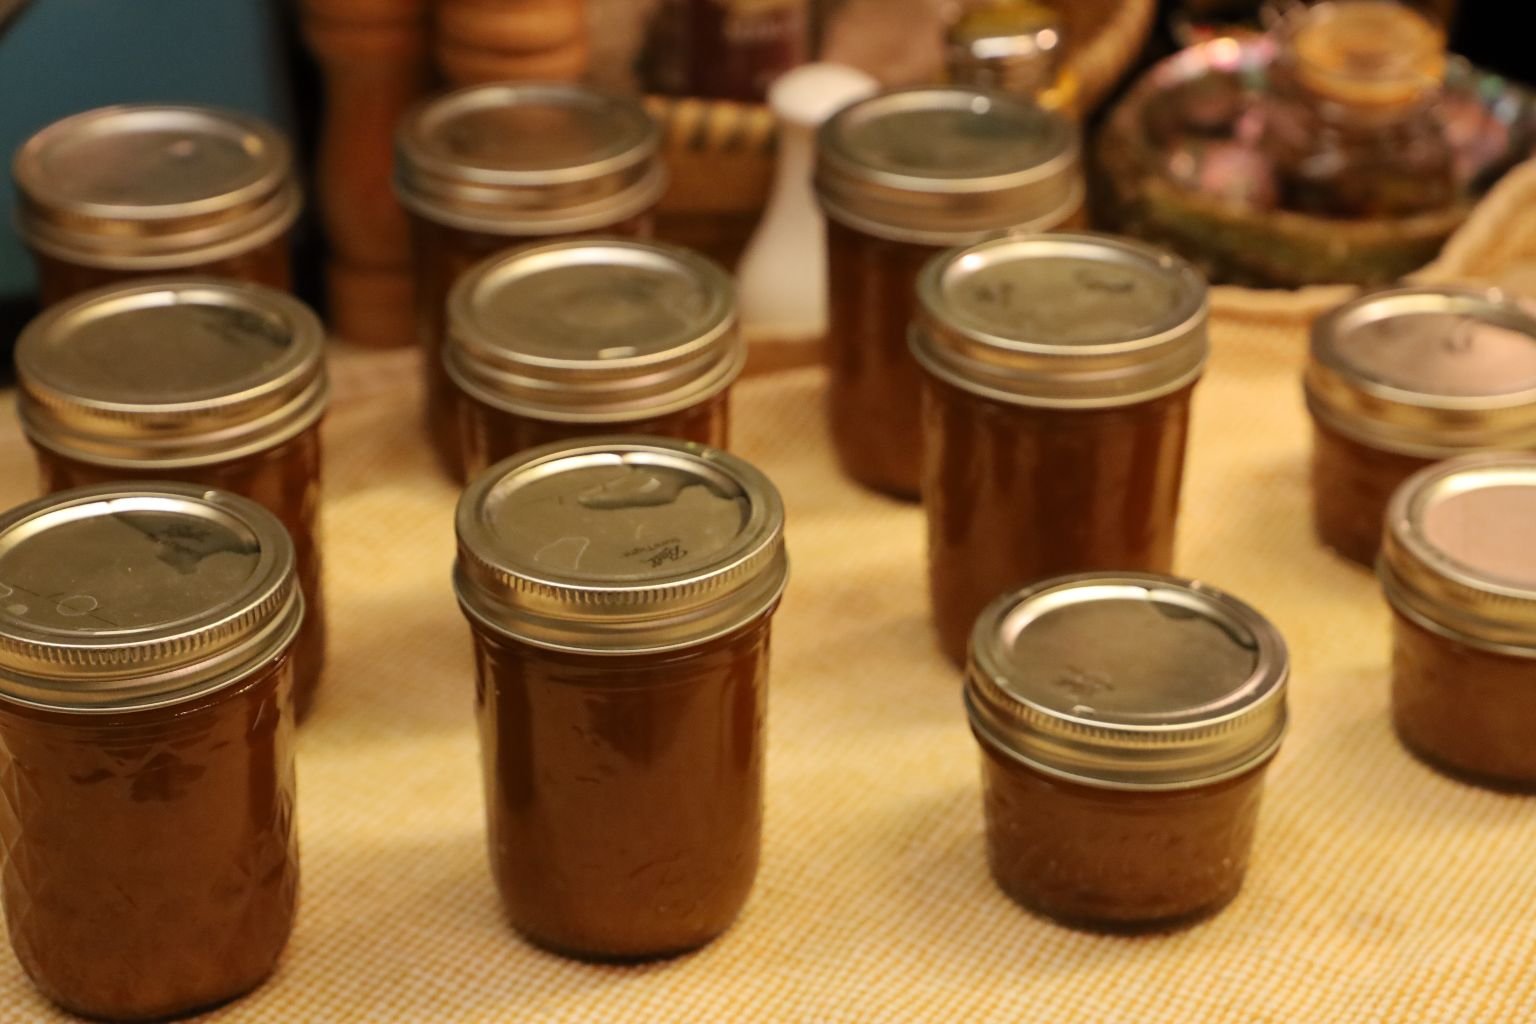
These will make great Christmas/Happy Holiday gifts, or any time of year!
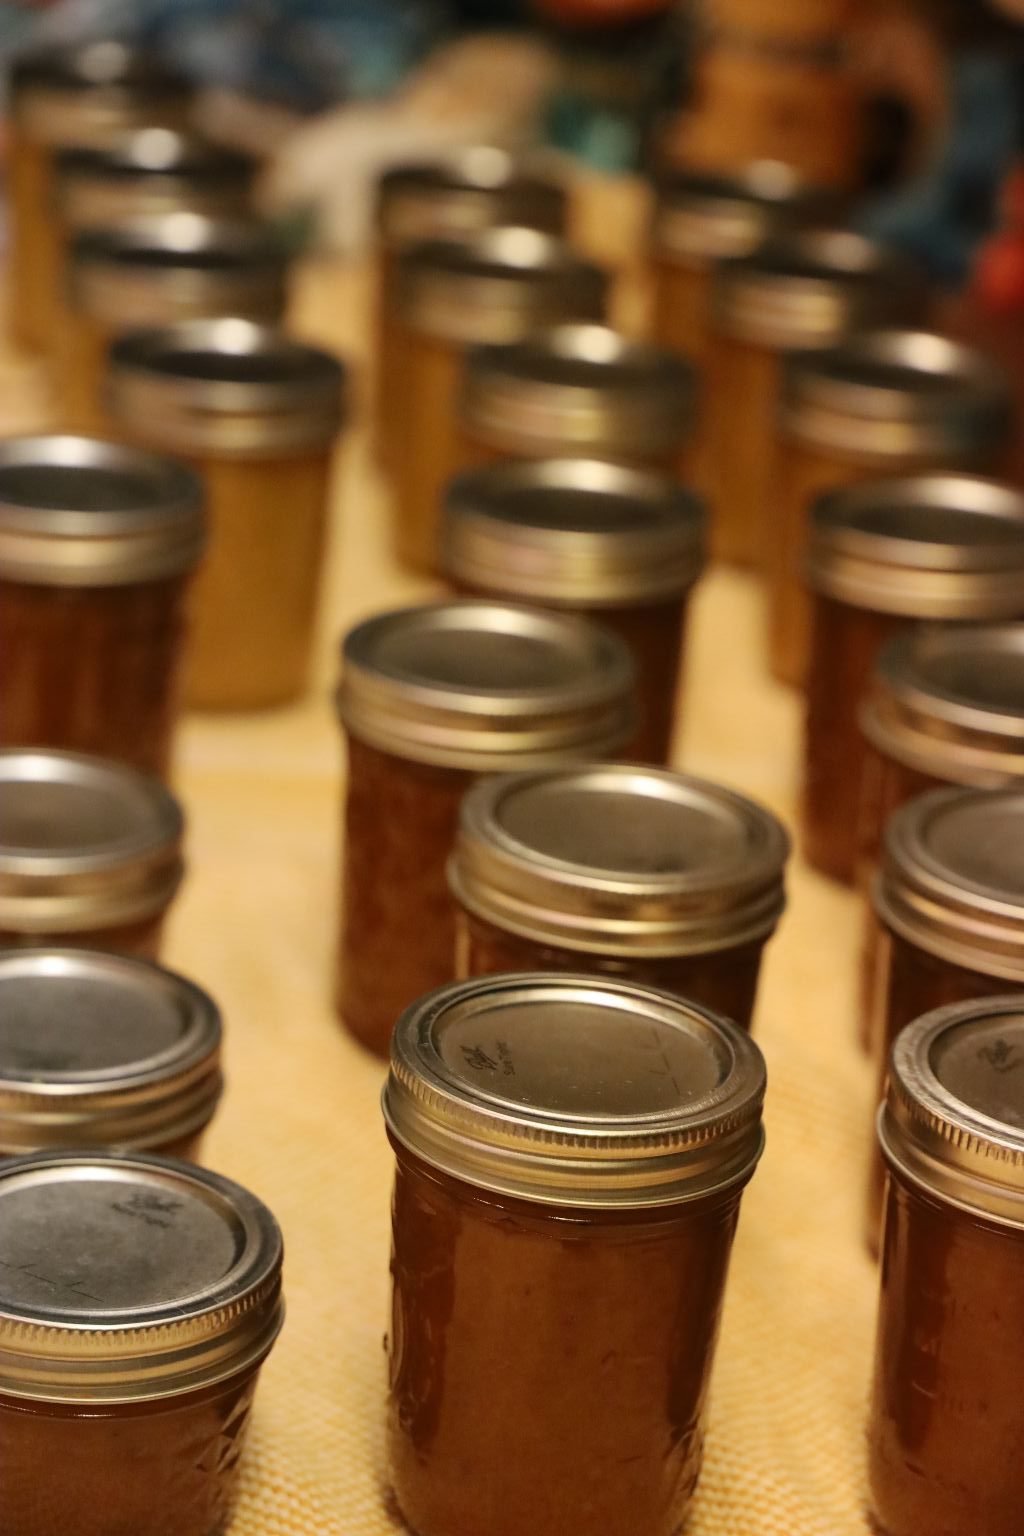
Our laundry room is now full of mustard! 🙂
————————————————————–
Gordon’s Bone In Pork Roast
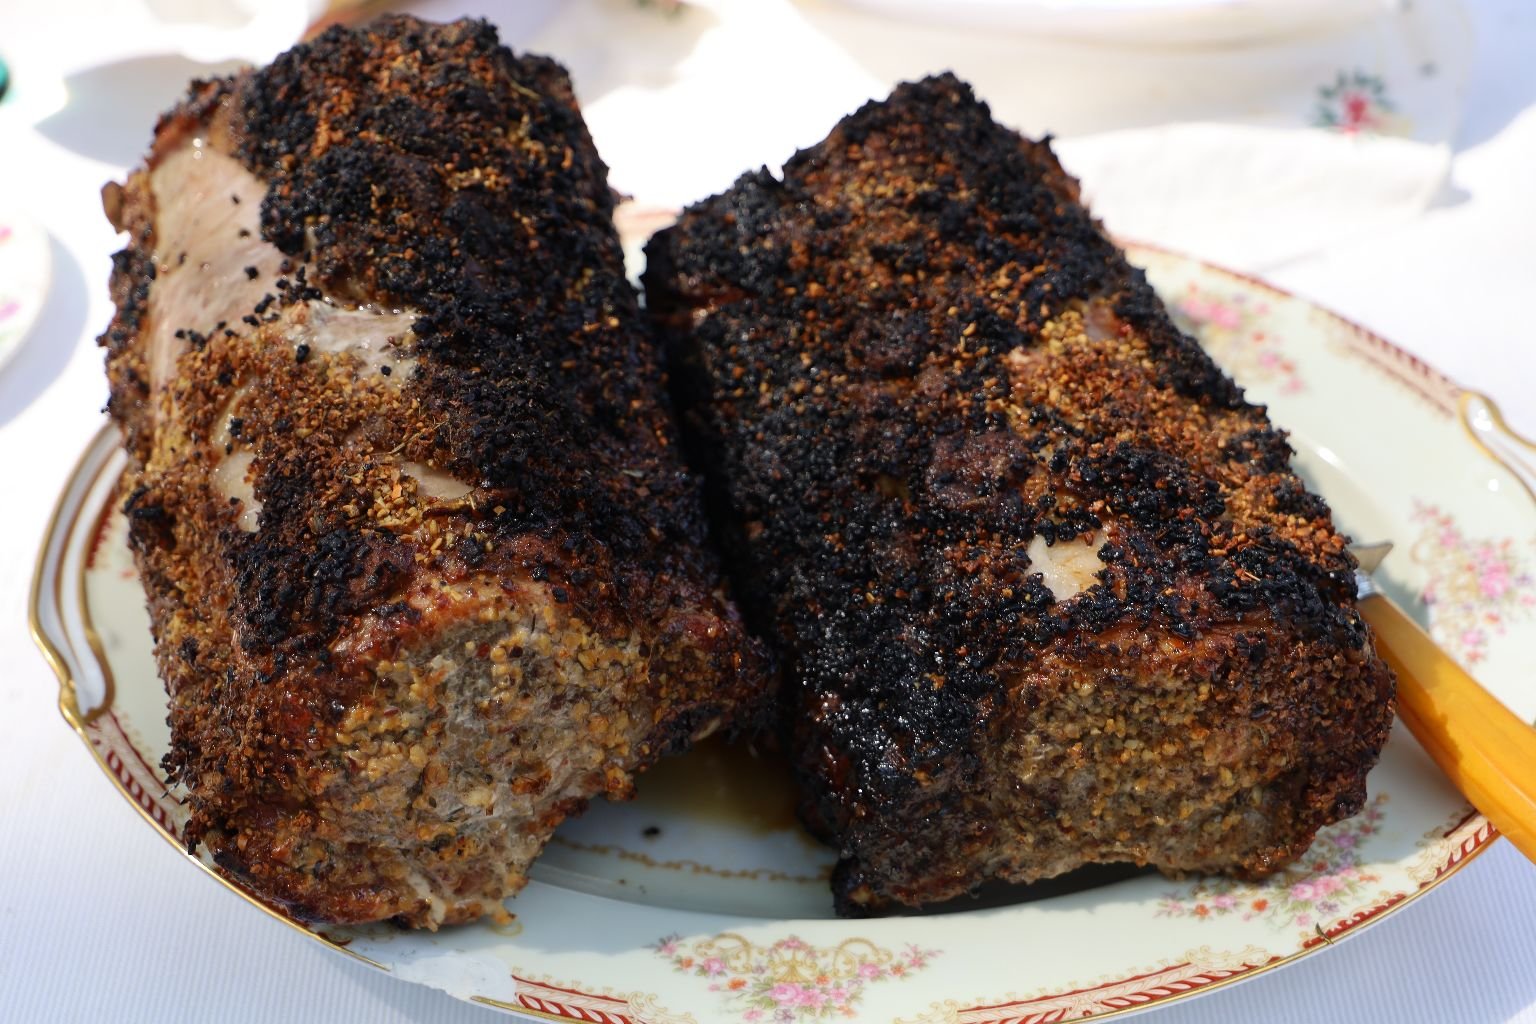
We Make TWO!
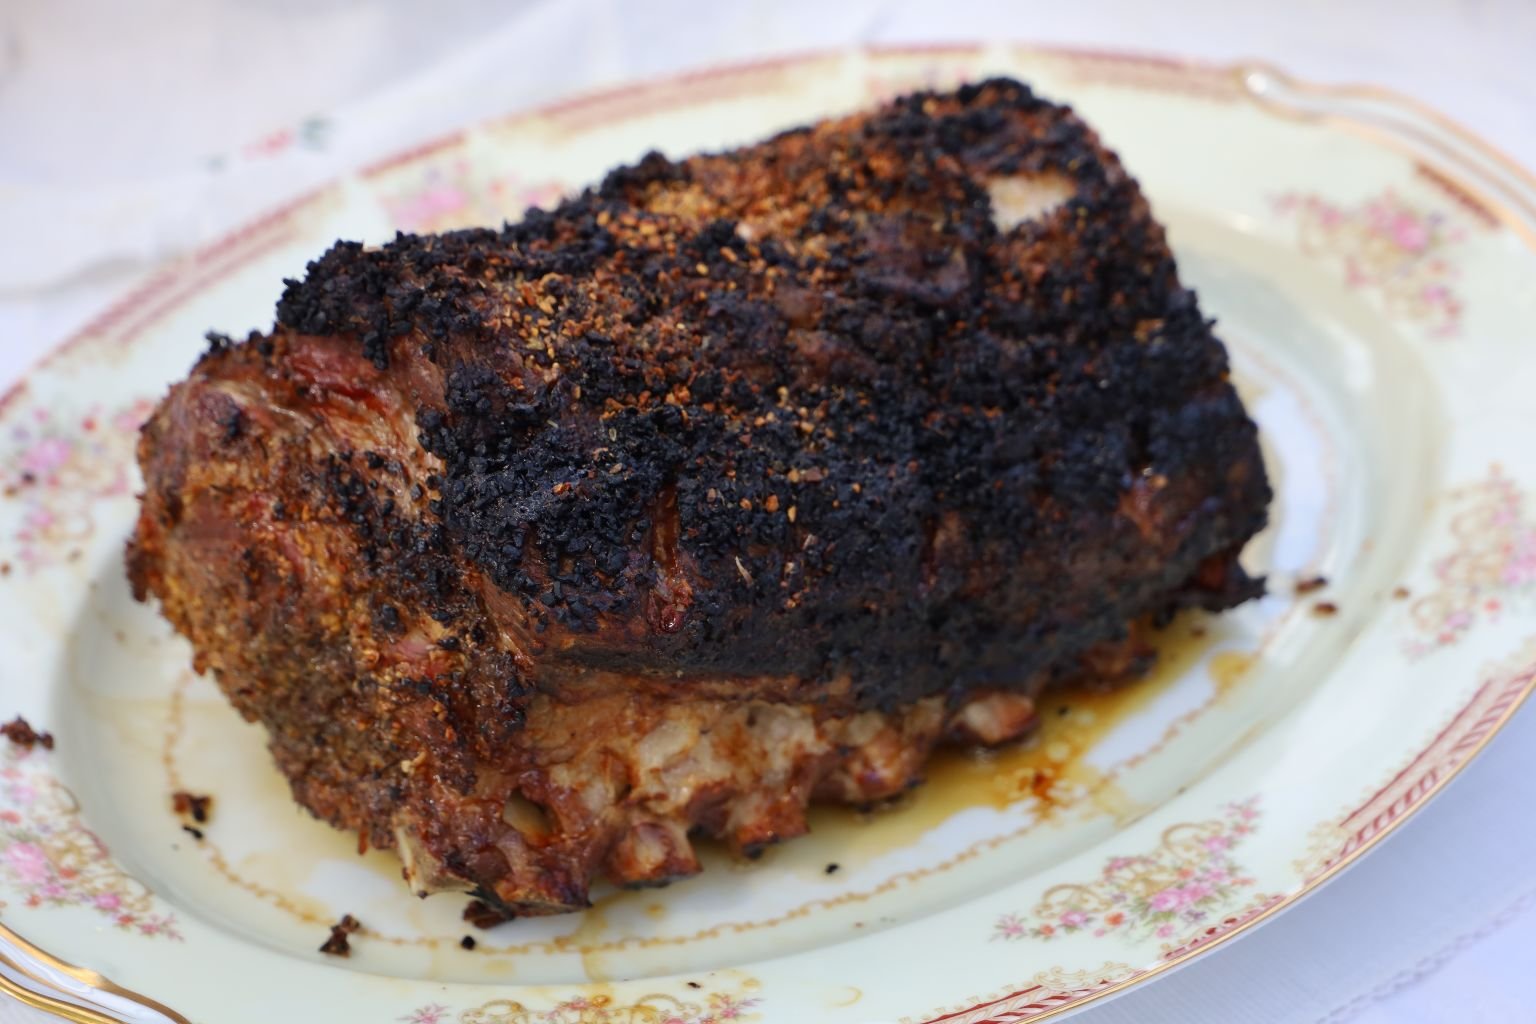
——————————————————————-
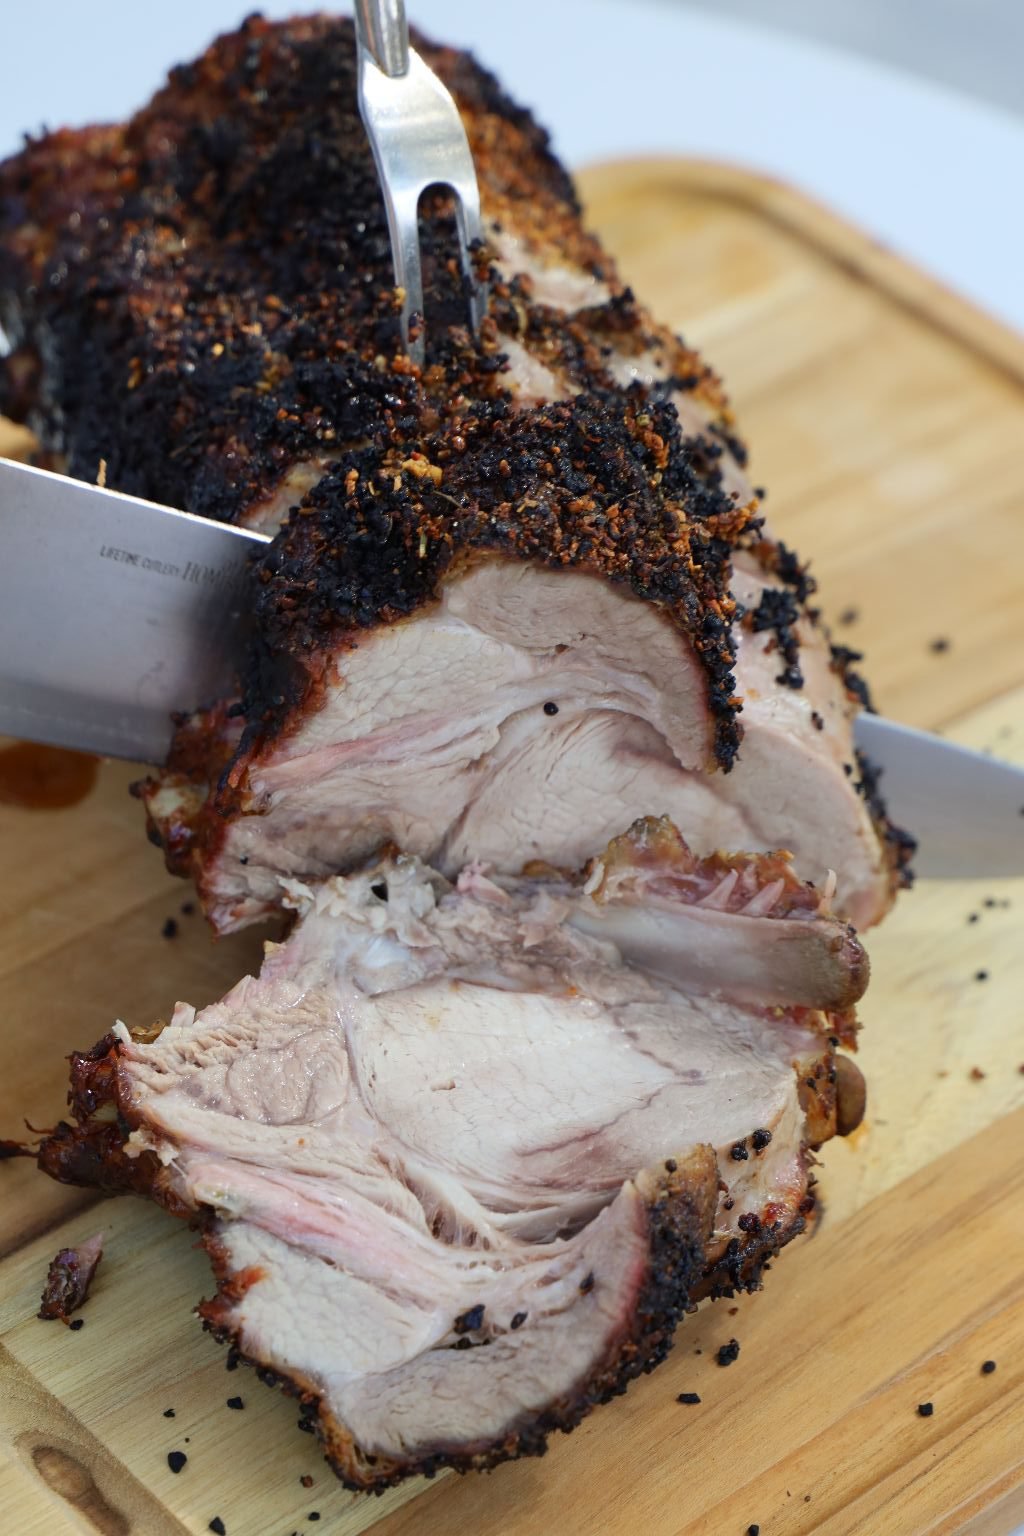
——————————————————————-
Ingredients:
2x ~6lb. Bone in Pork Roasts
1 1/2 Cups (Weber’s) Roasted Garlic and Herb seasoning
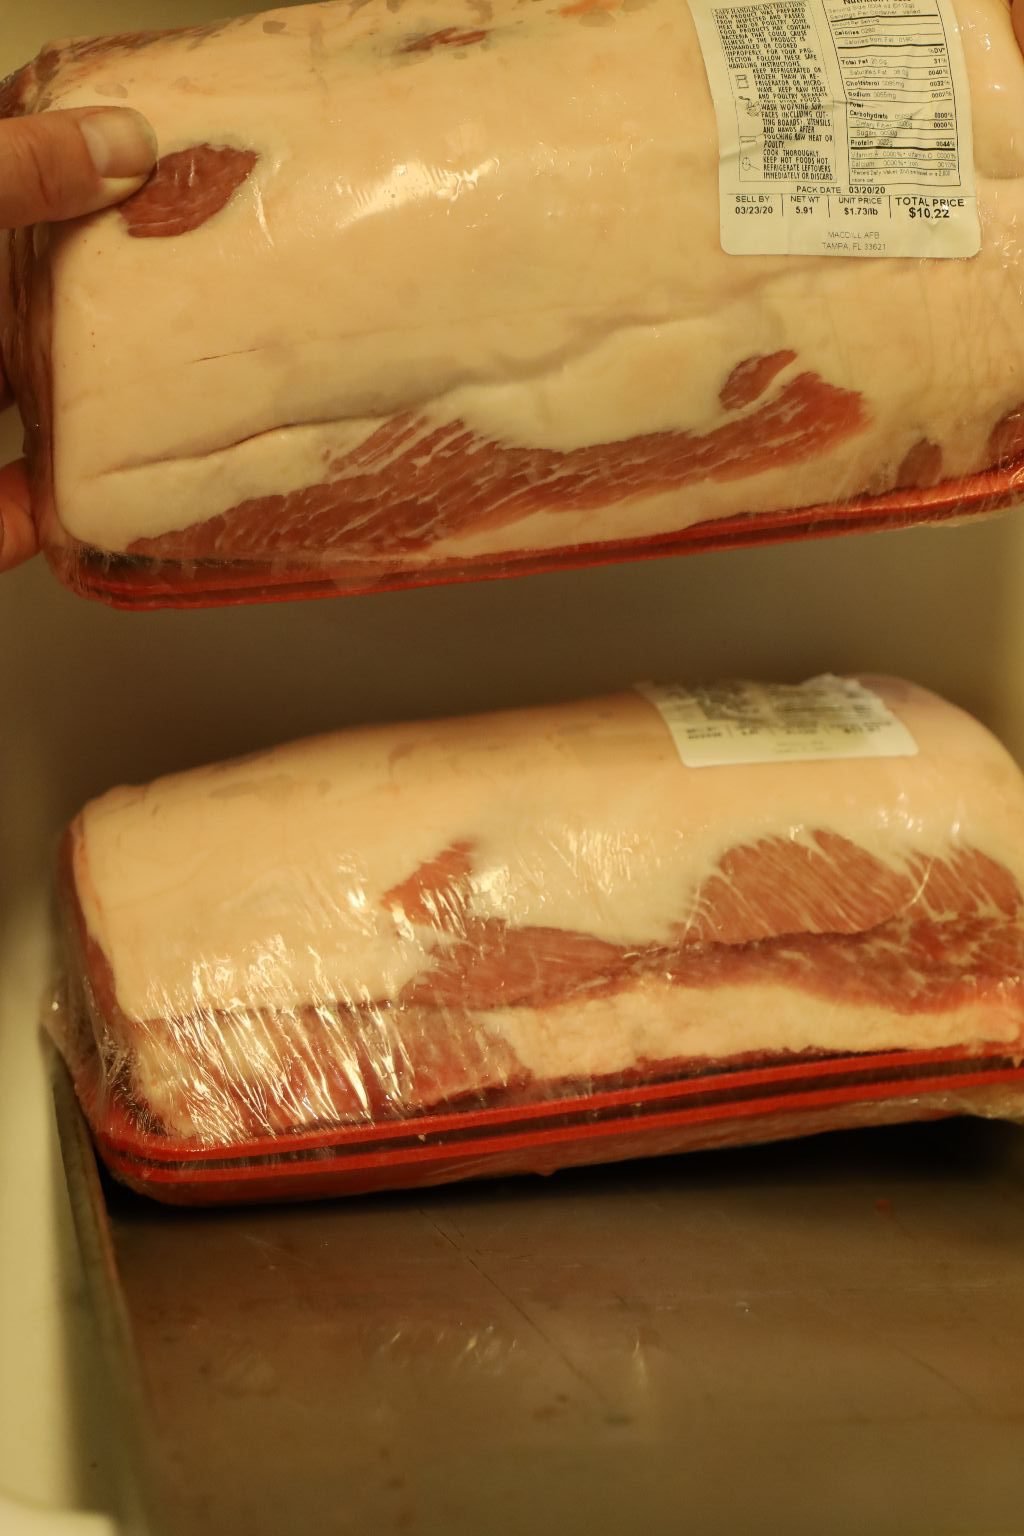
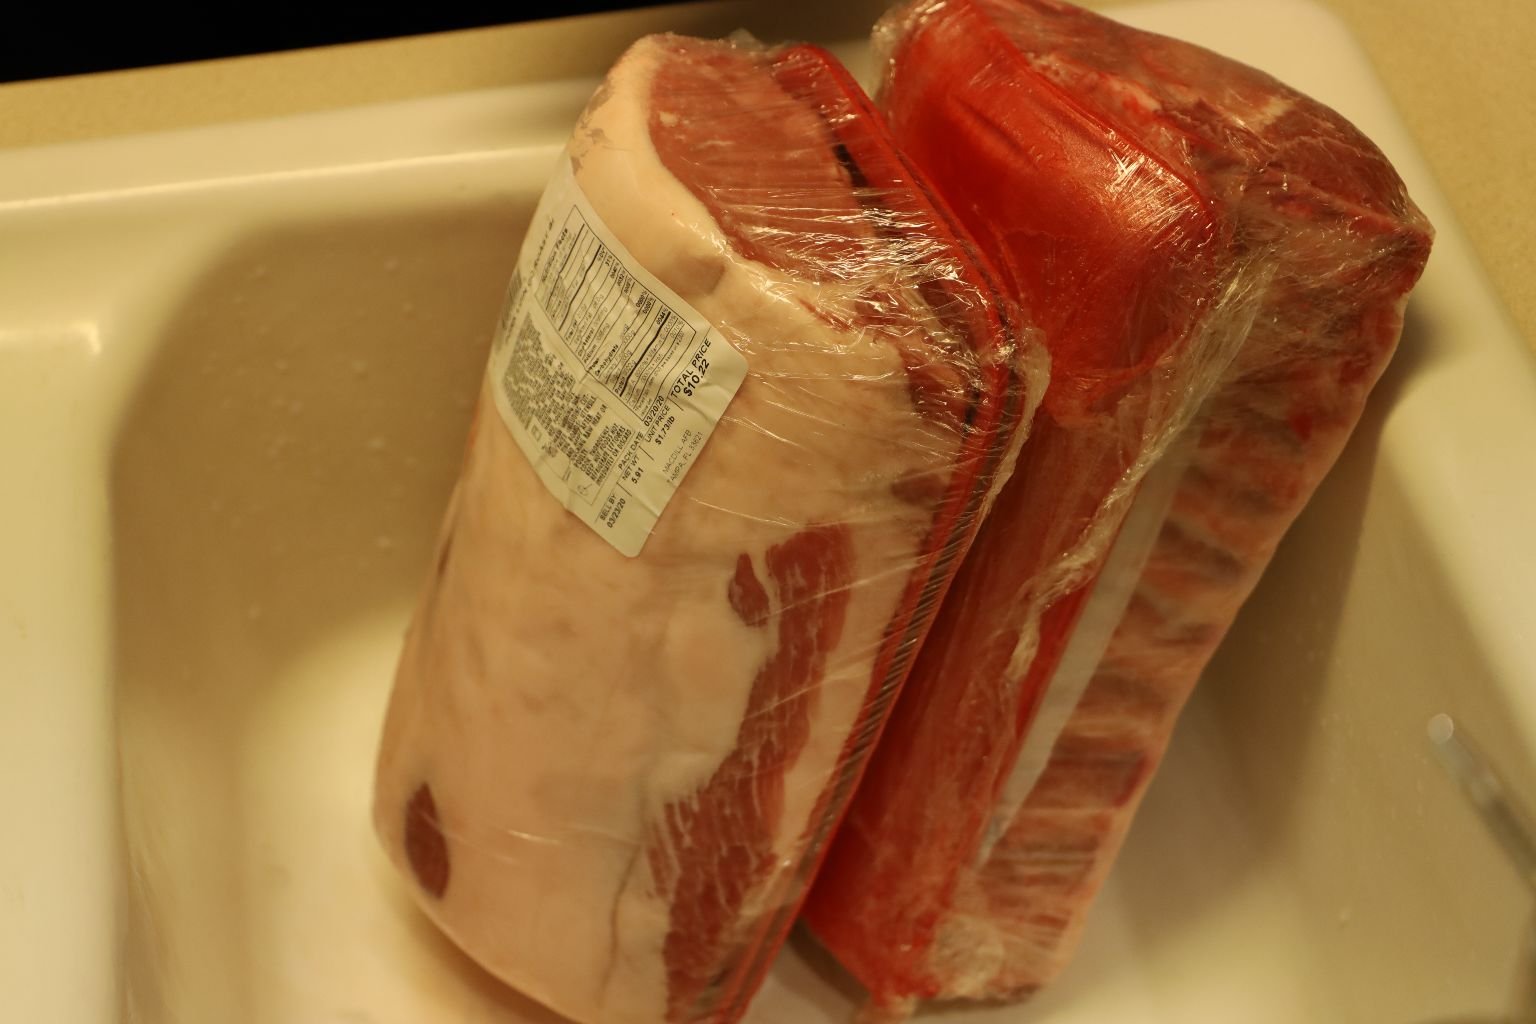
Let the pork roasts come to room temperature.
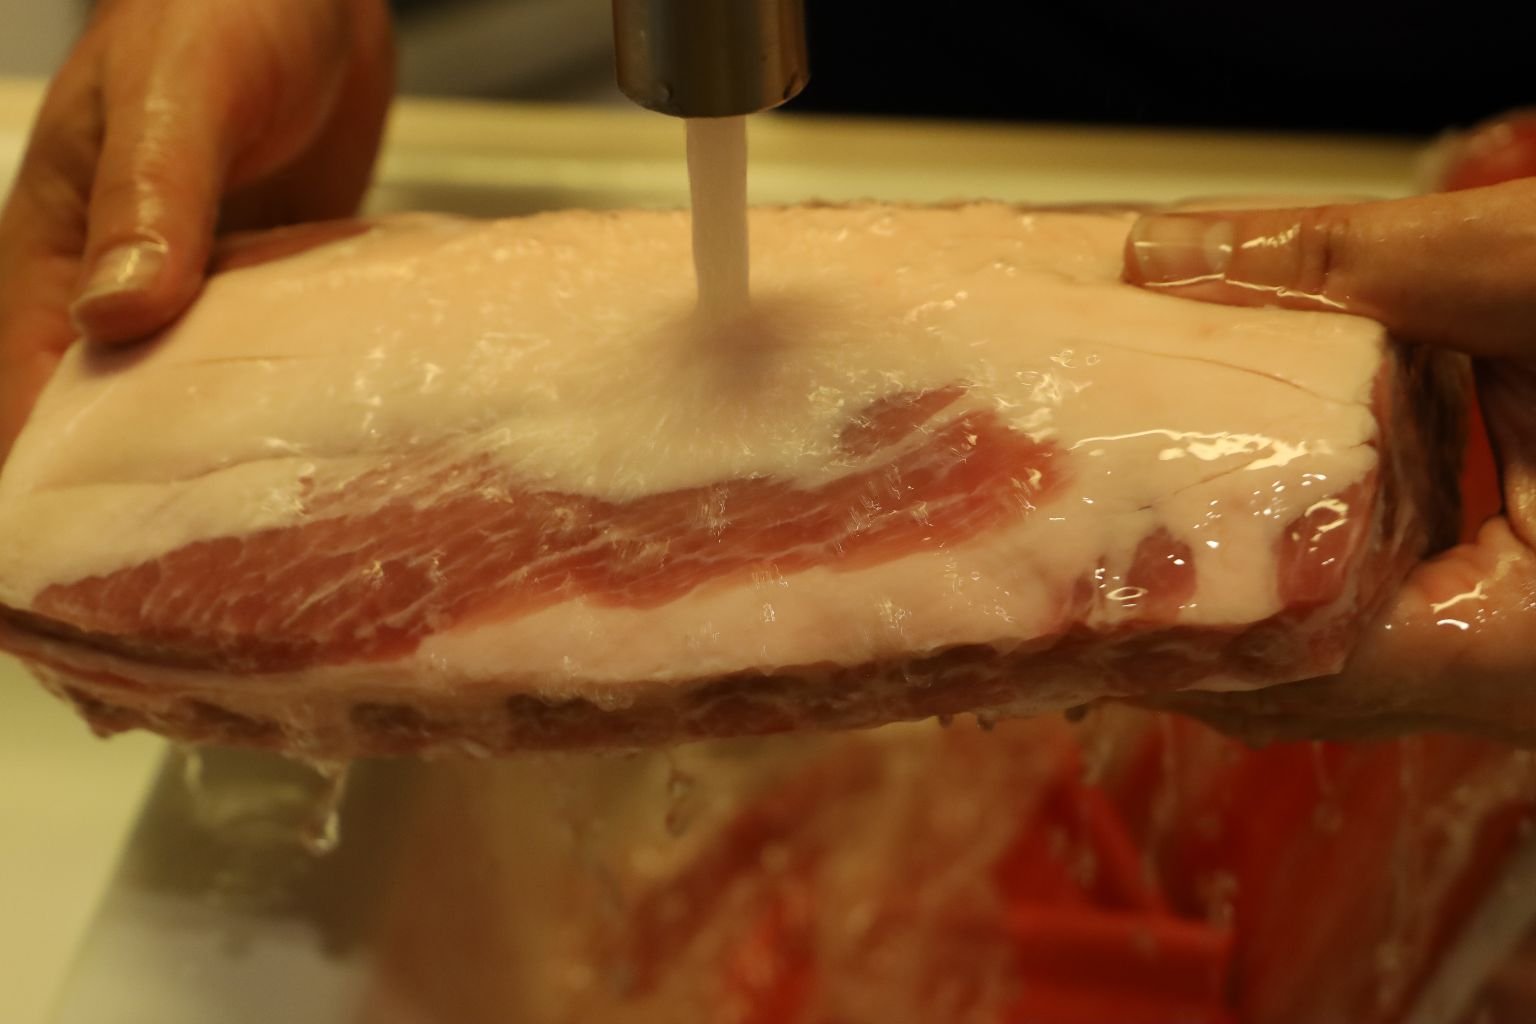
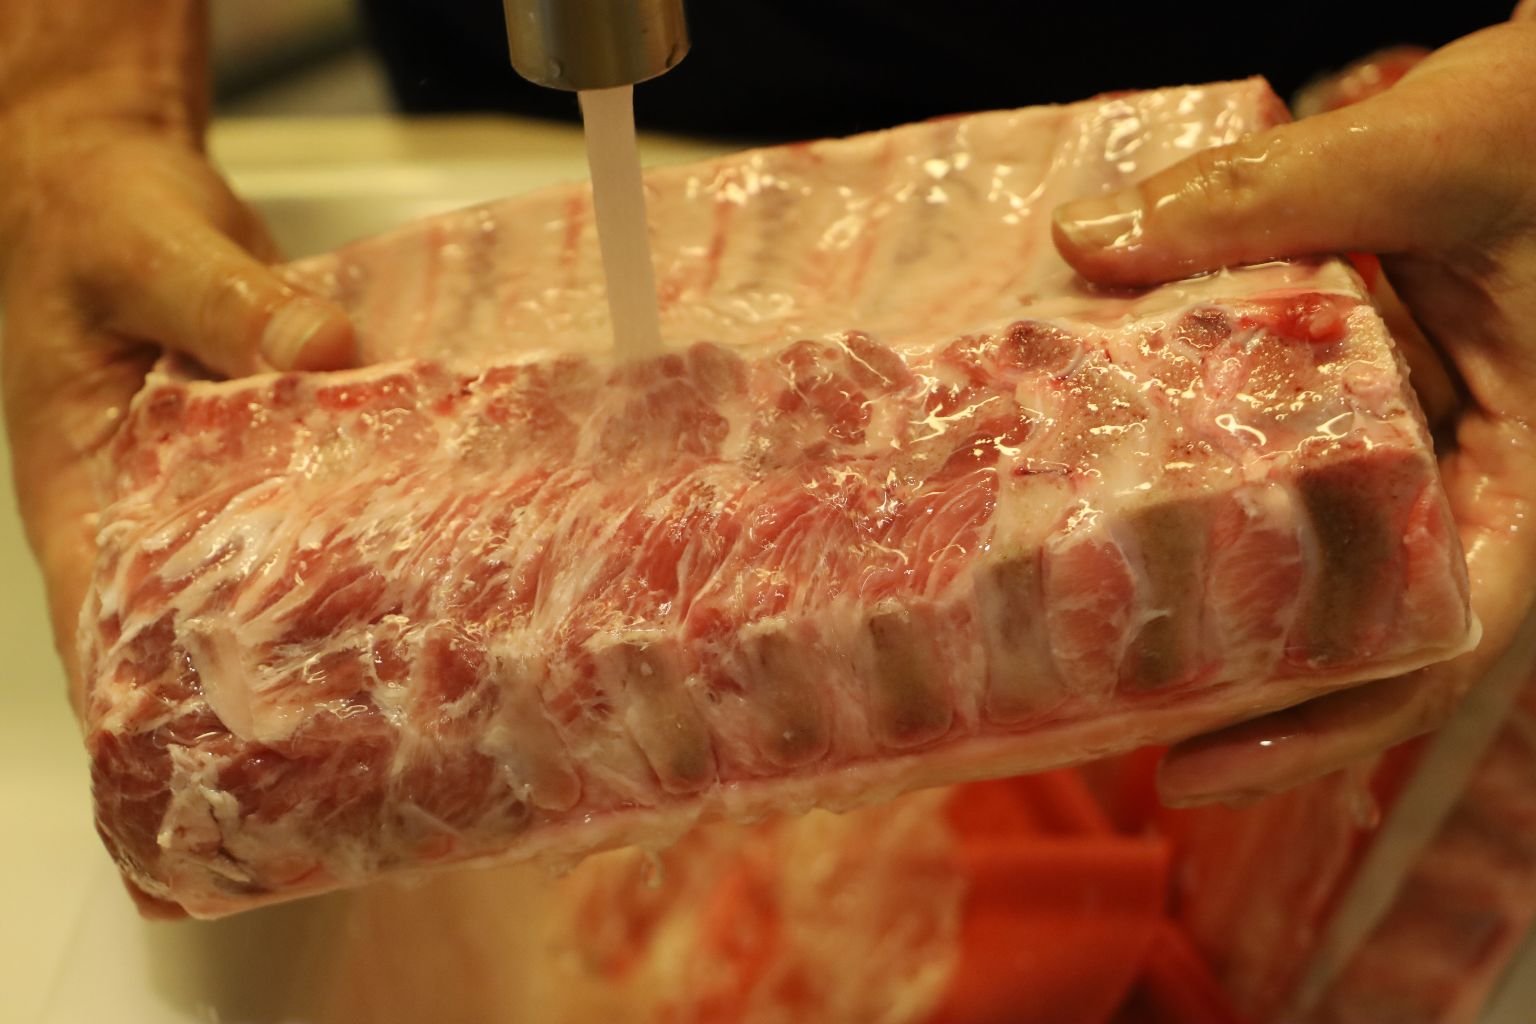
Remove the plastic covering on the pork roasts and rinse the excess blood and bone debris with fresh water. Not shown, remove the silver skin from behind the bones as your would with ribs. It usually peals off fairly easily once started.
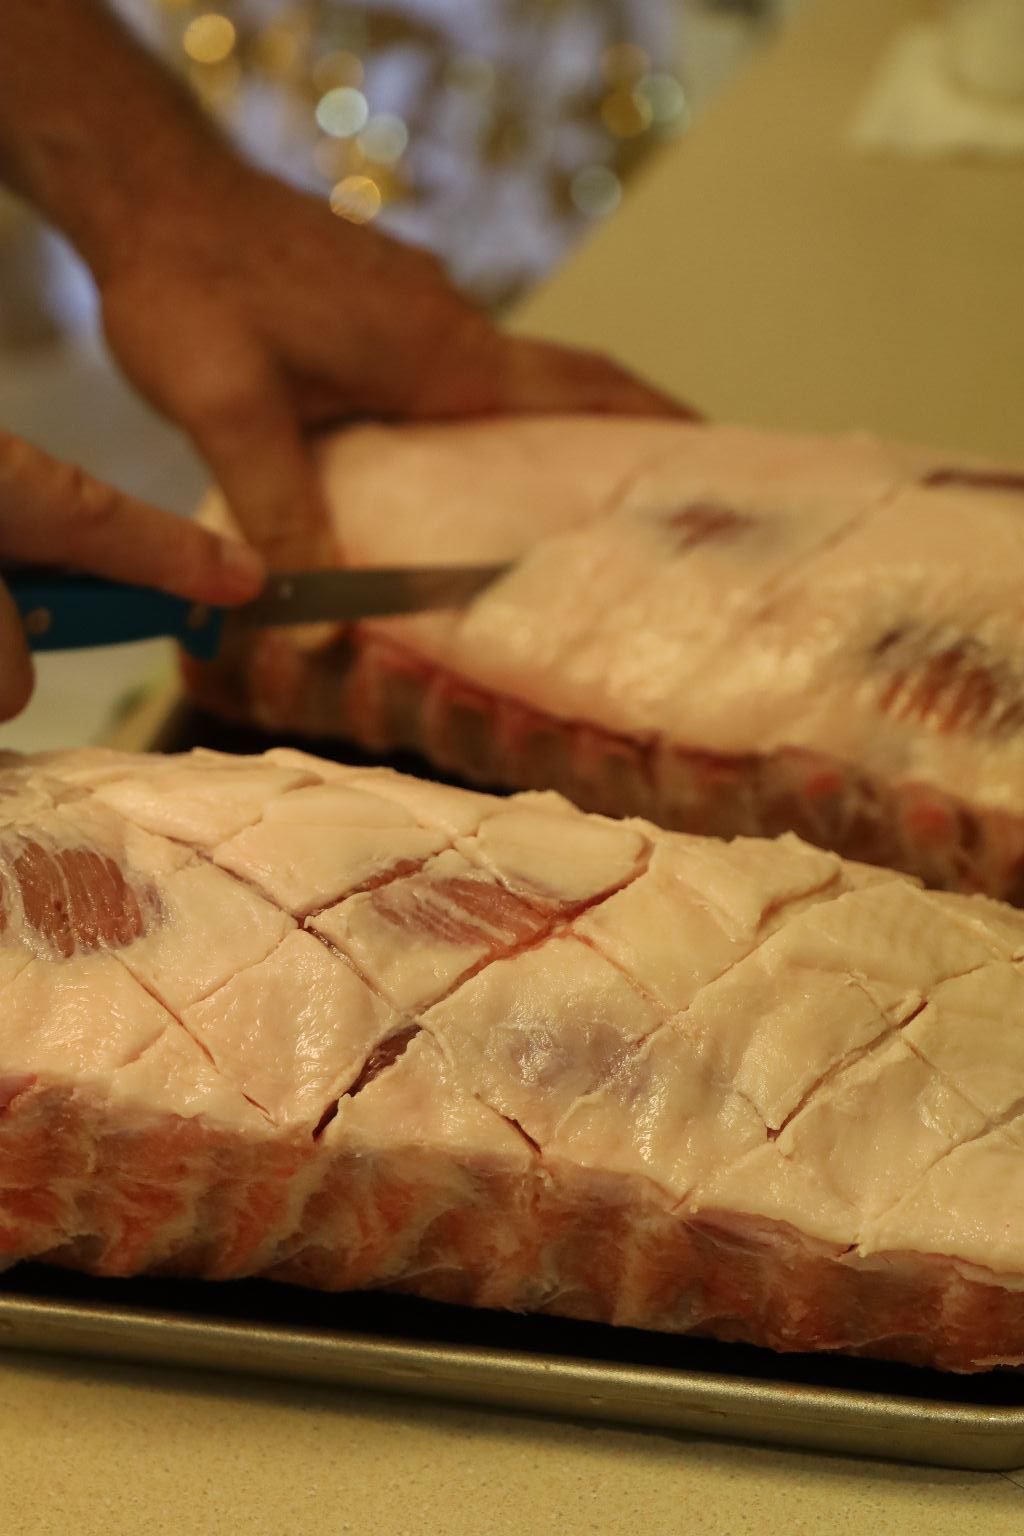
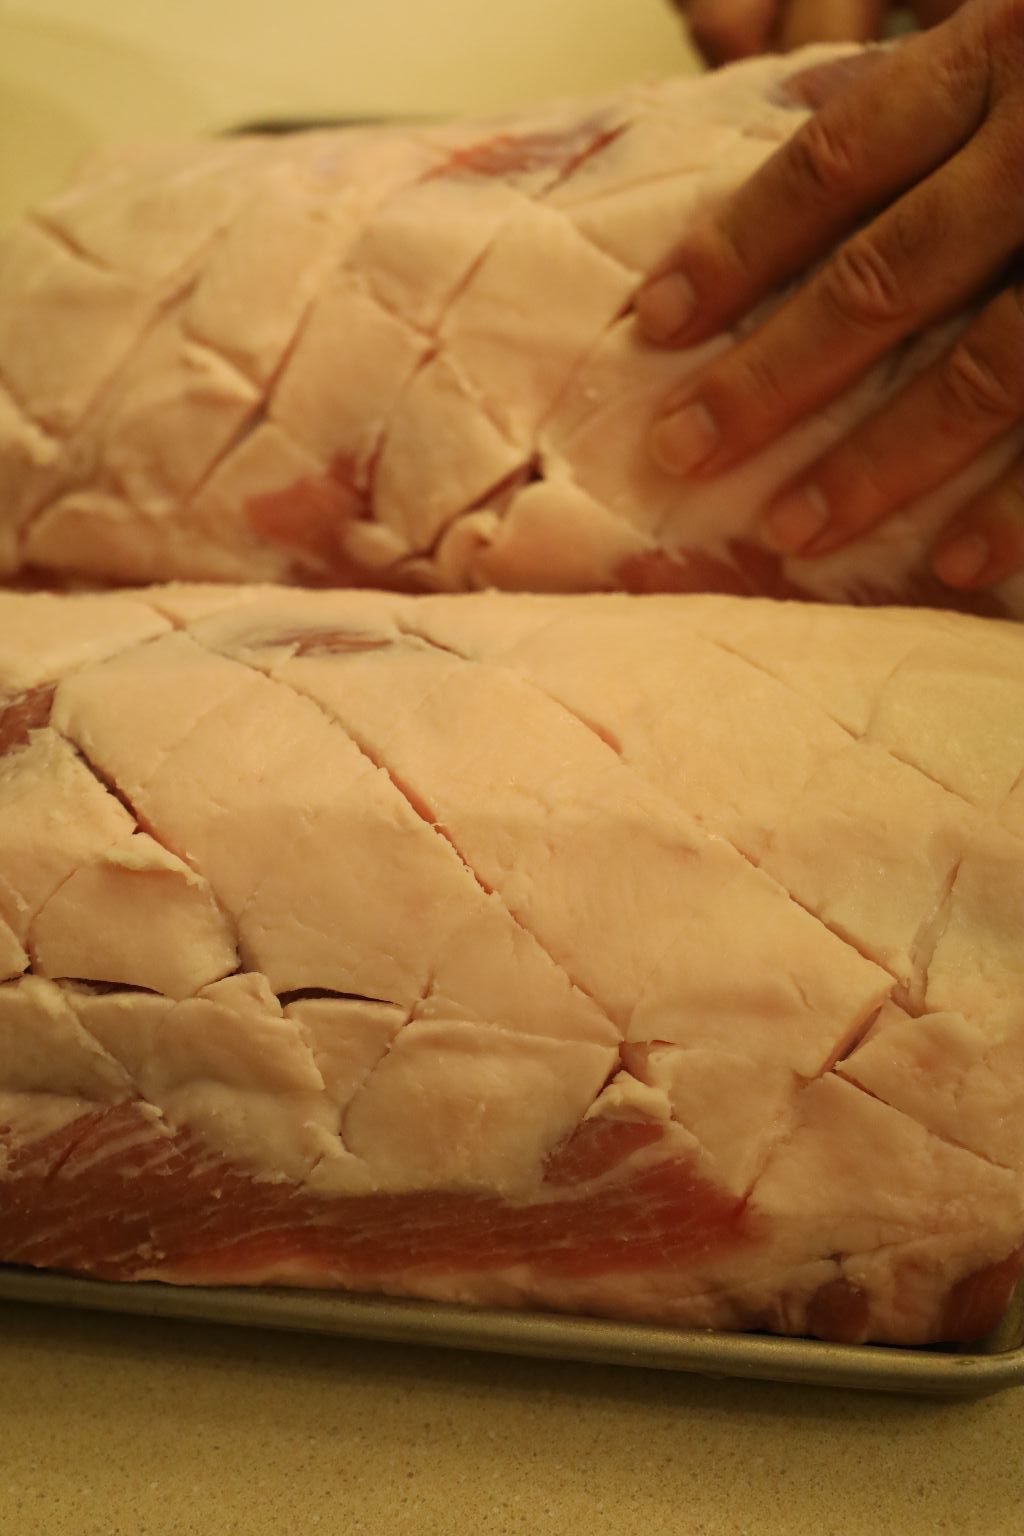
Remove the excess water using a paper towel until dry. Using a sharp knife, score the fat about 1/8 inch deep to allow the spices to penetrate the meat and help the fat to drain off.
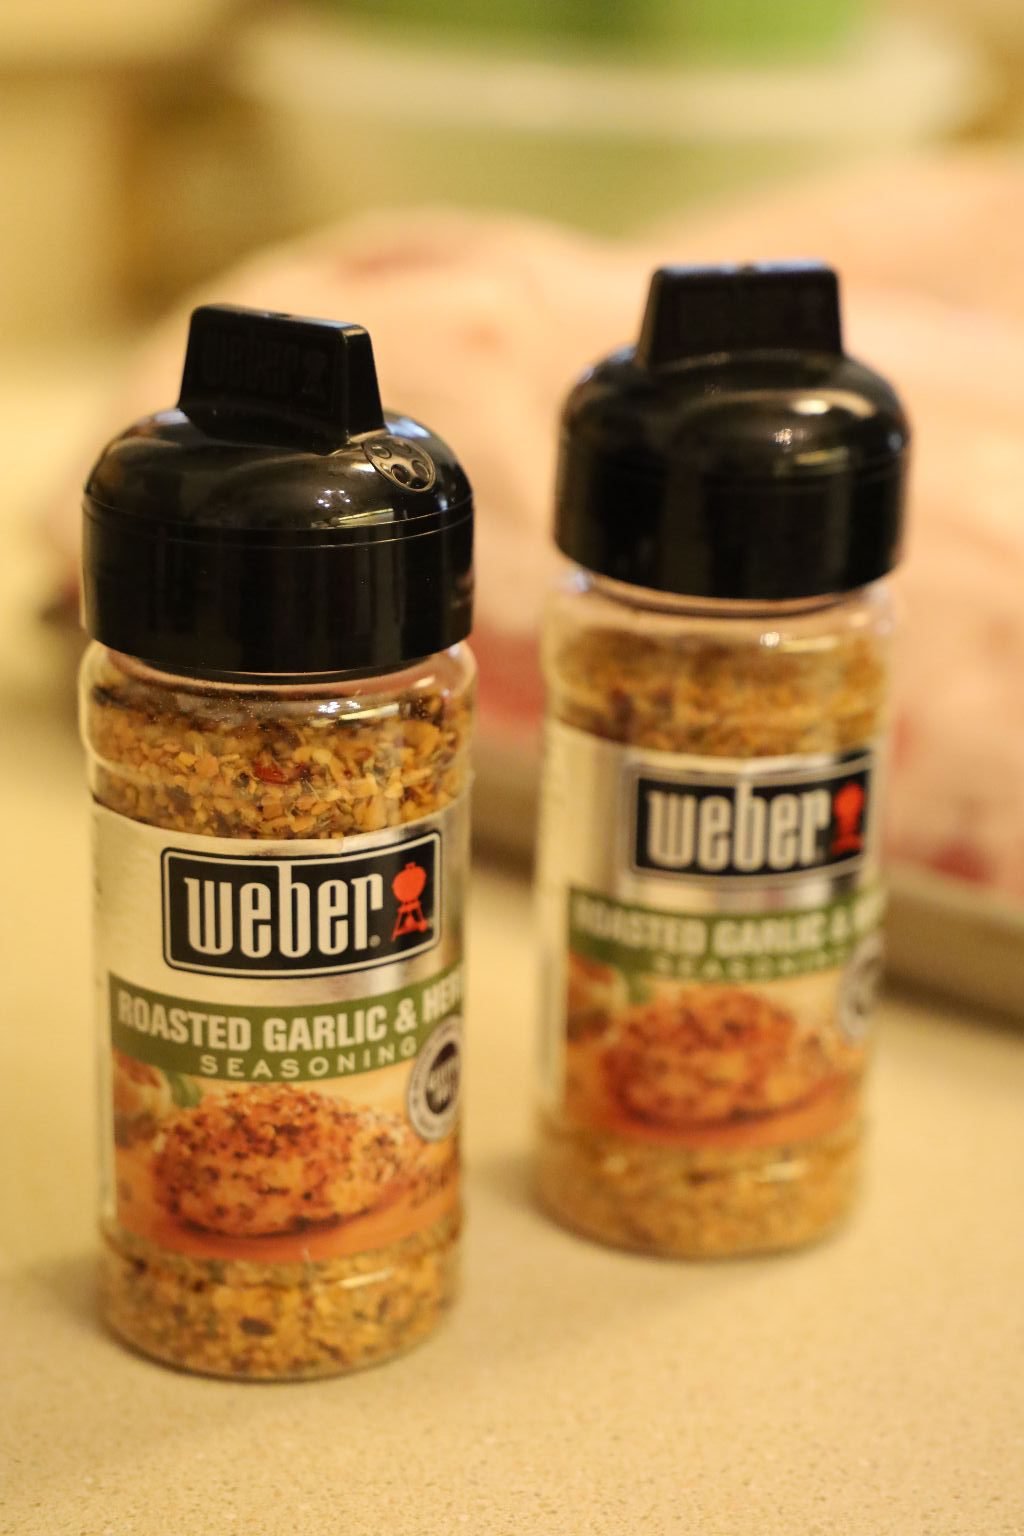
Here is a picture of the spices I used.
These have a bold garlic taste and the herbs compliment the flavor of the meat.
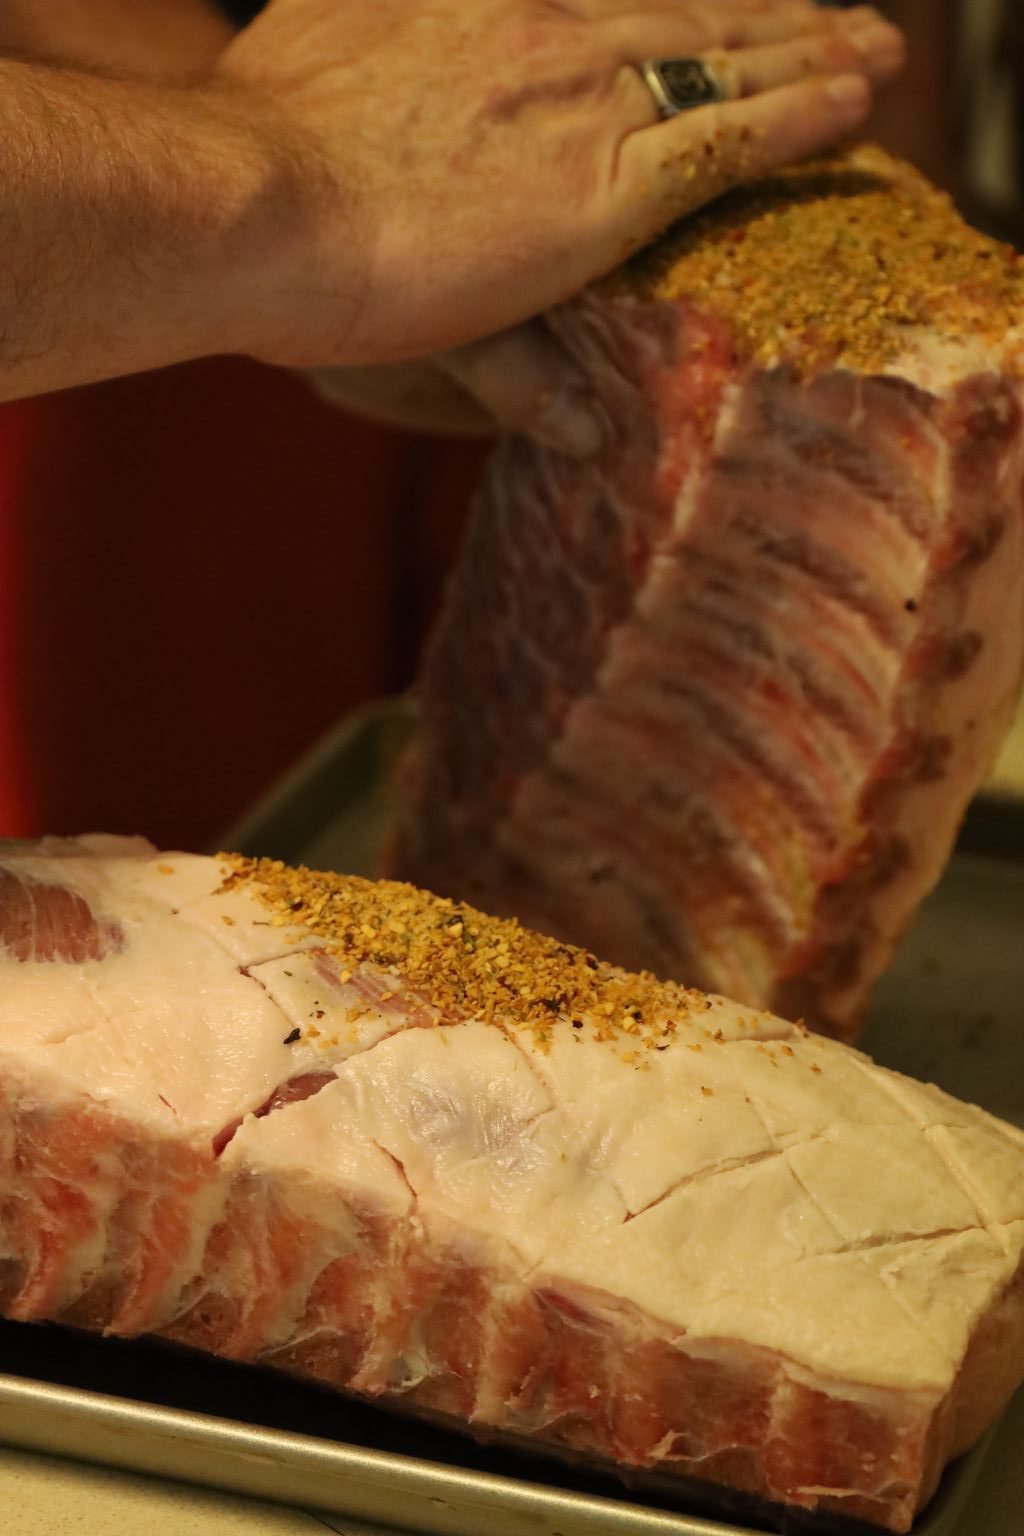
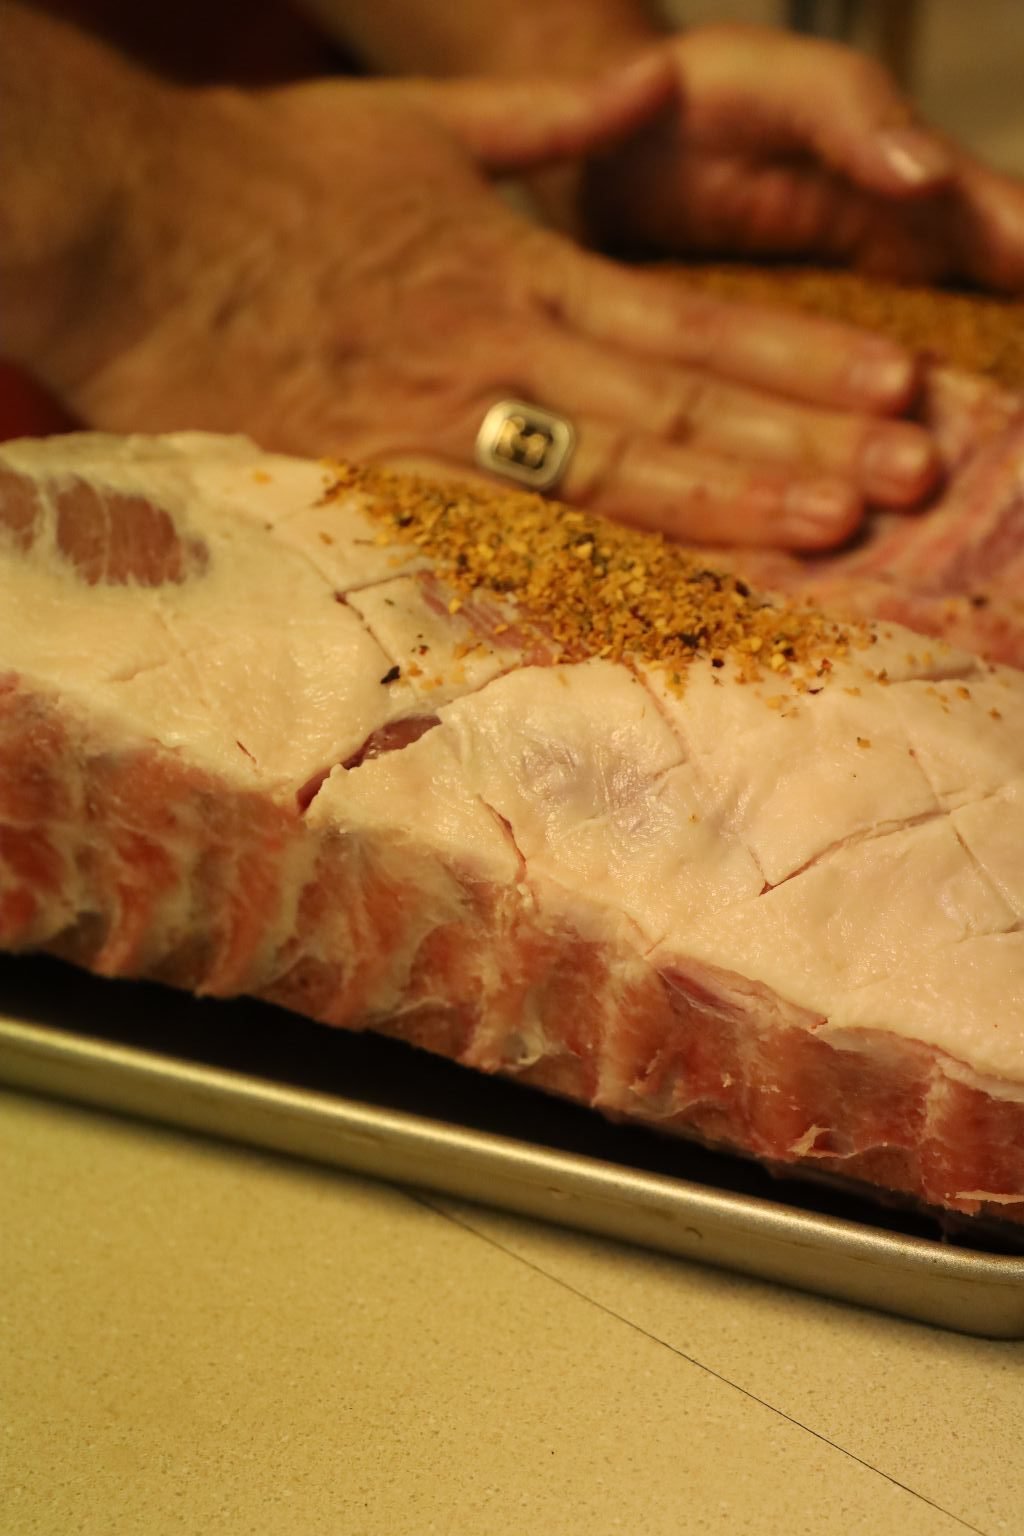
Place a large amount of the spices into your hands and push and rub the spices into the meat.
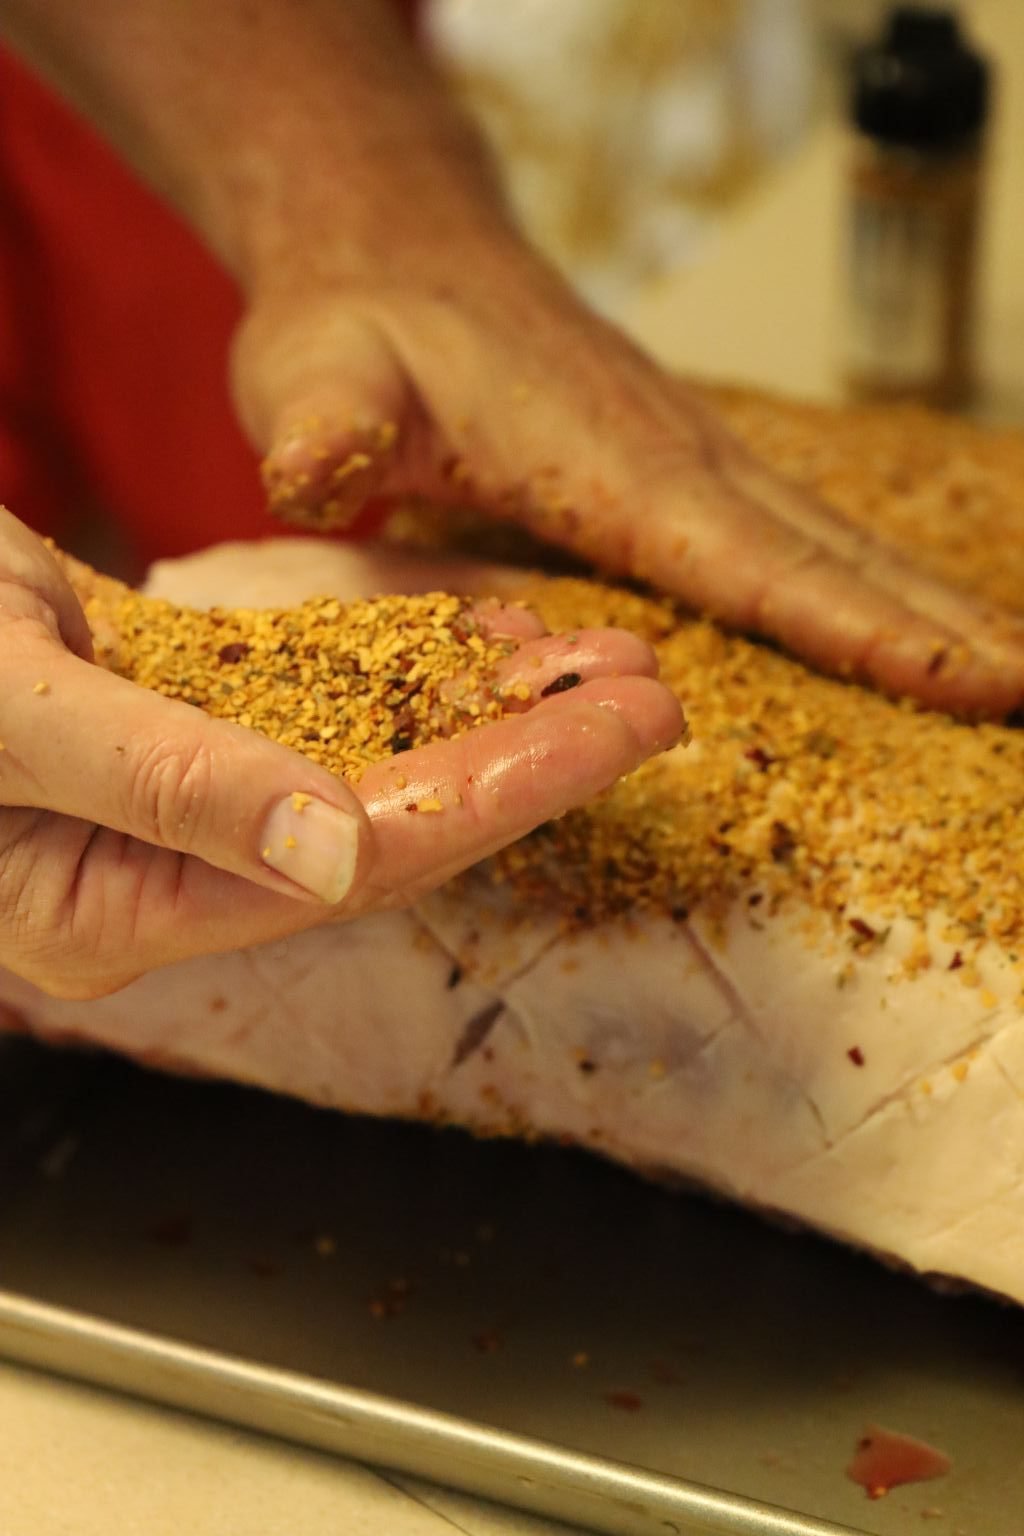
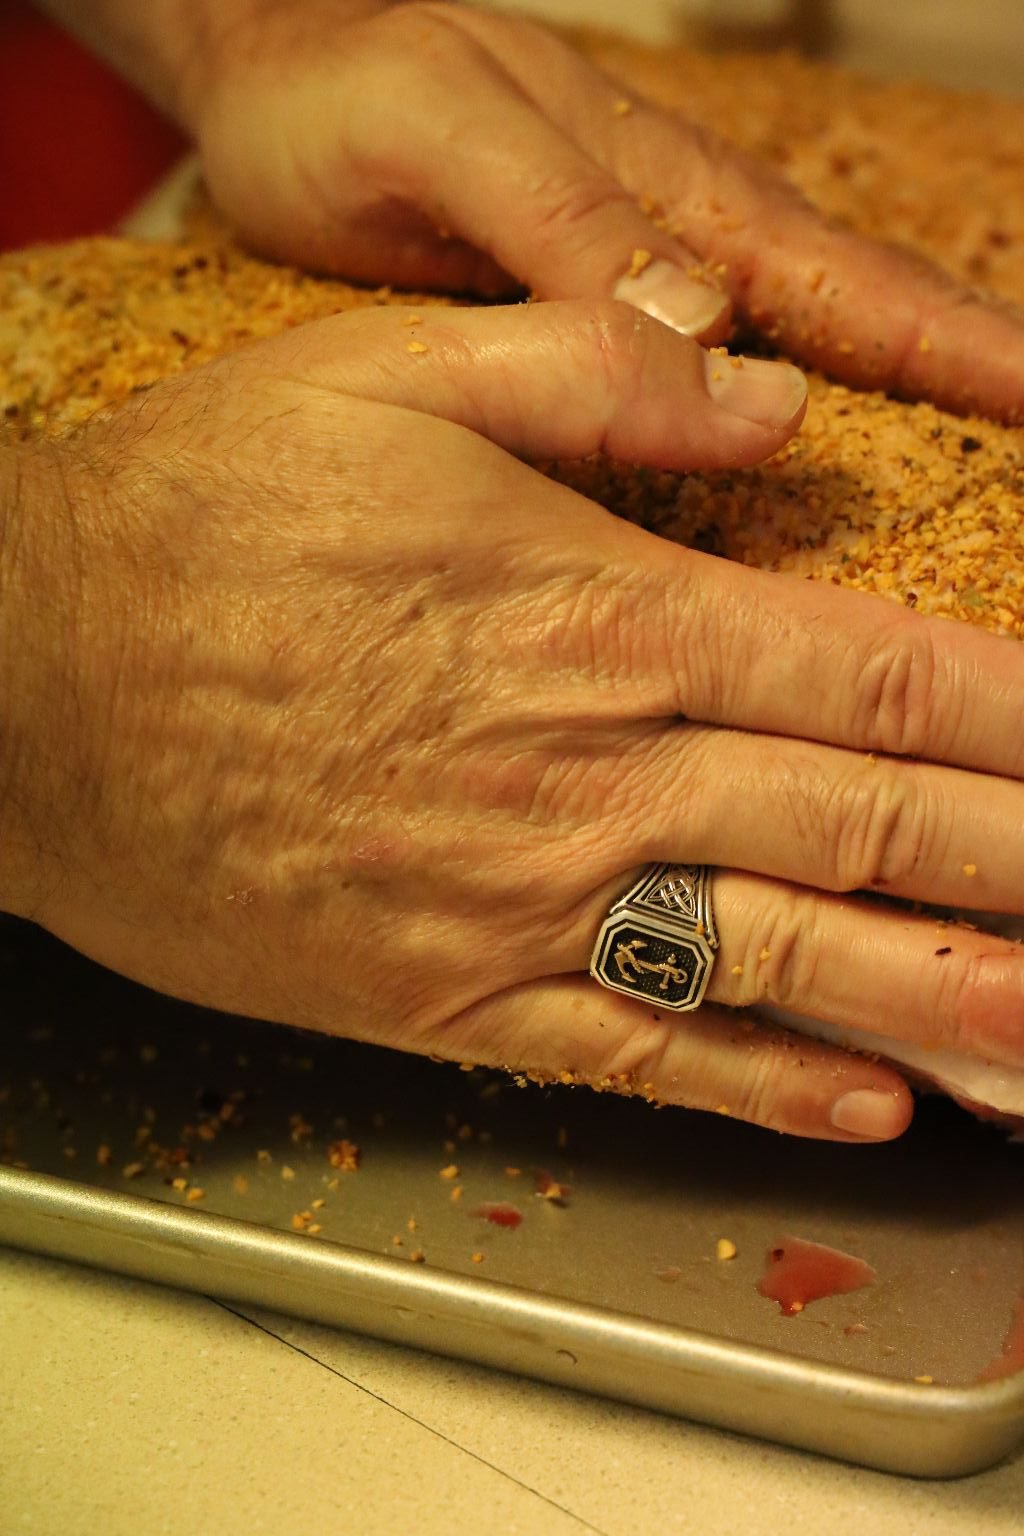
Do this on all sides of the meat.
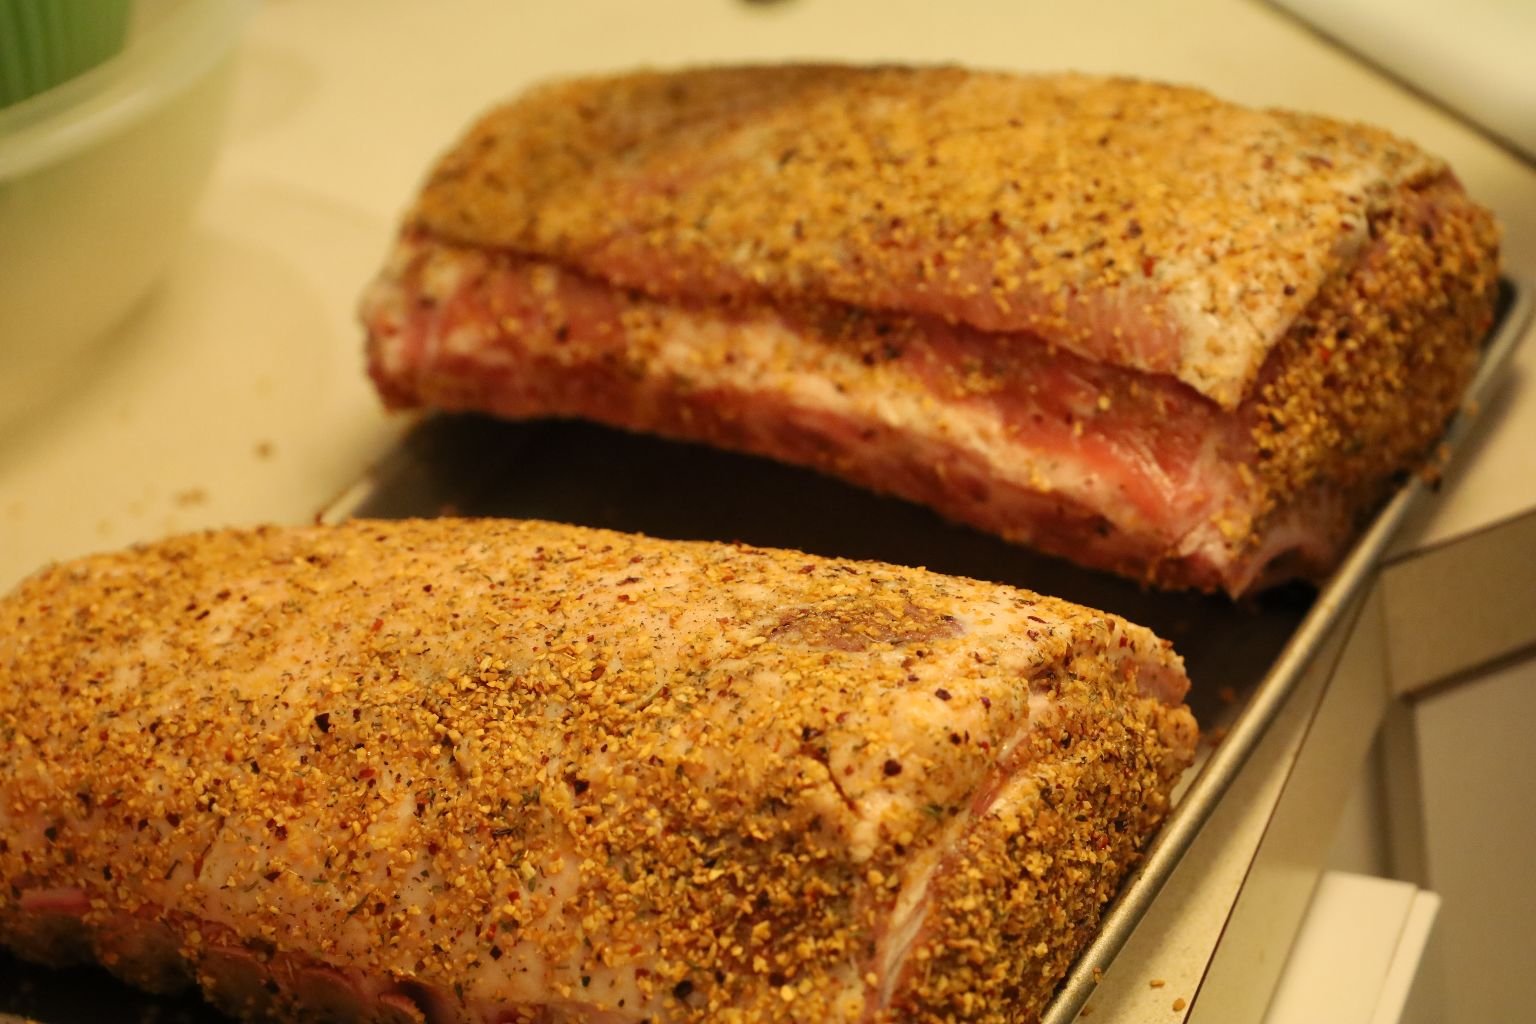
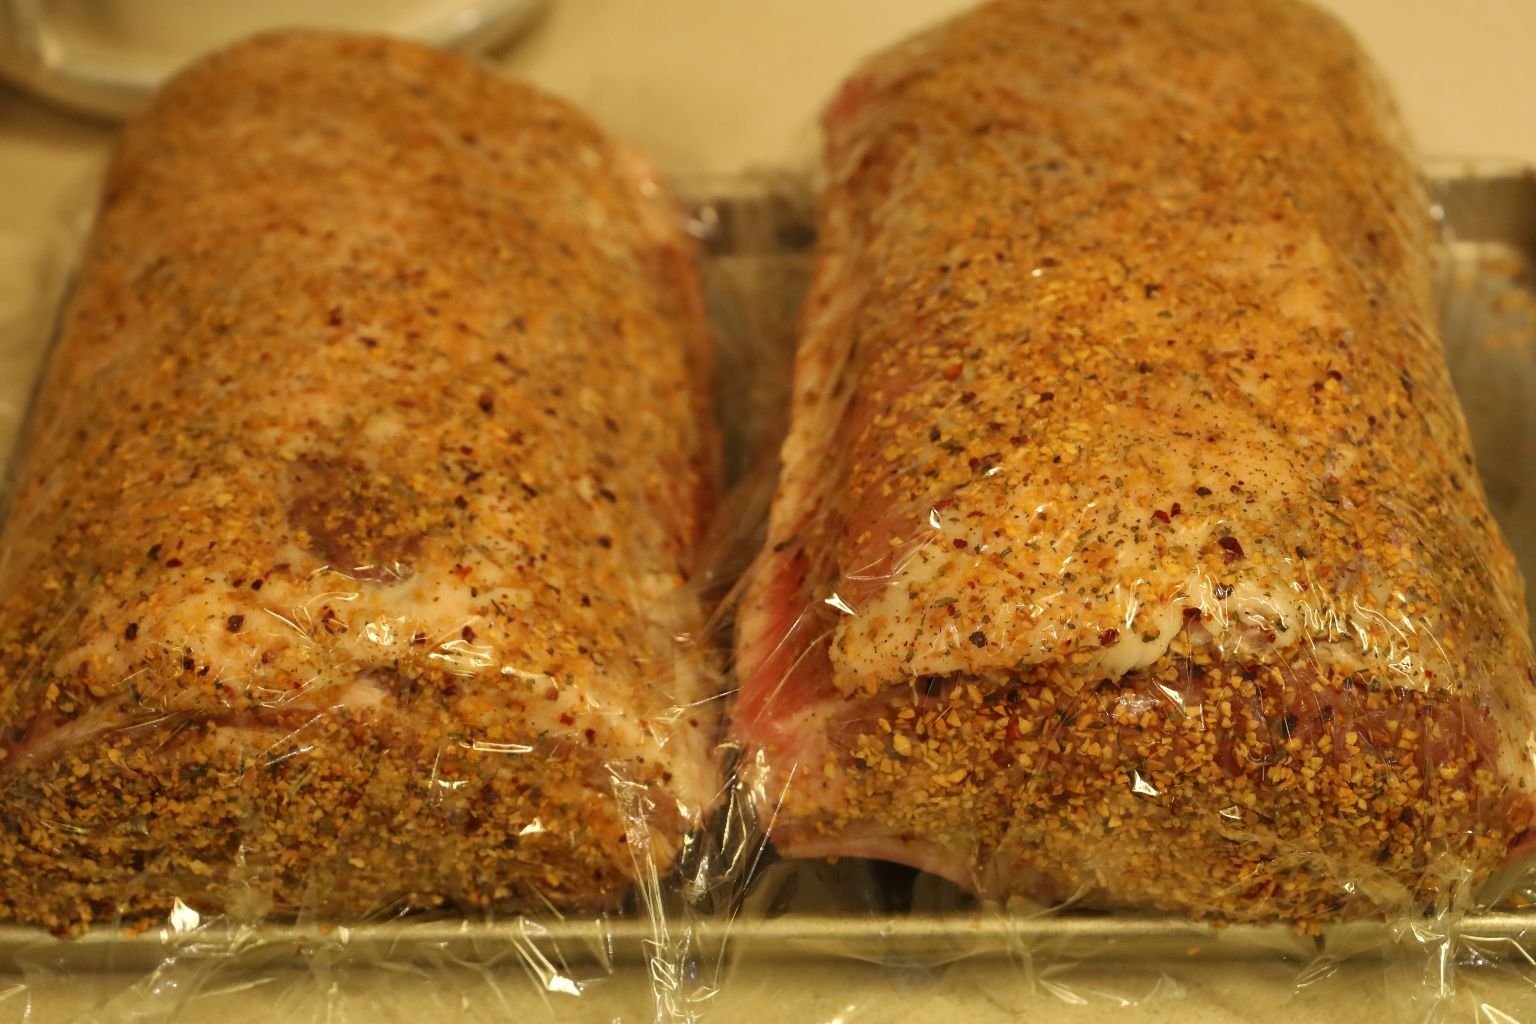
Here you can see the meat is well seasoned. I then wrapped the meat in plastic until I was ready to cook them. This will also allow the seasoning to somewhat marinade the meat.
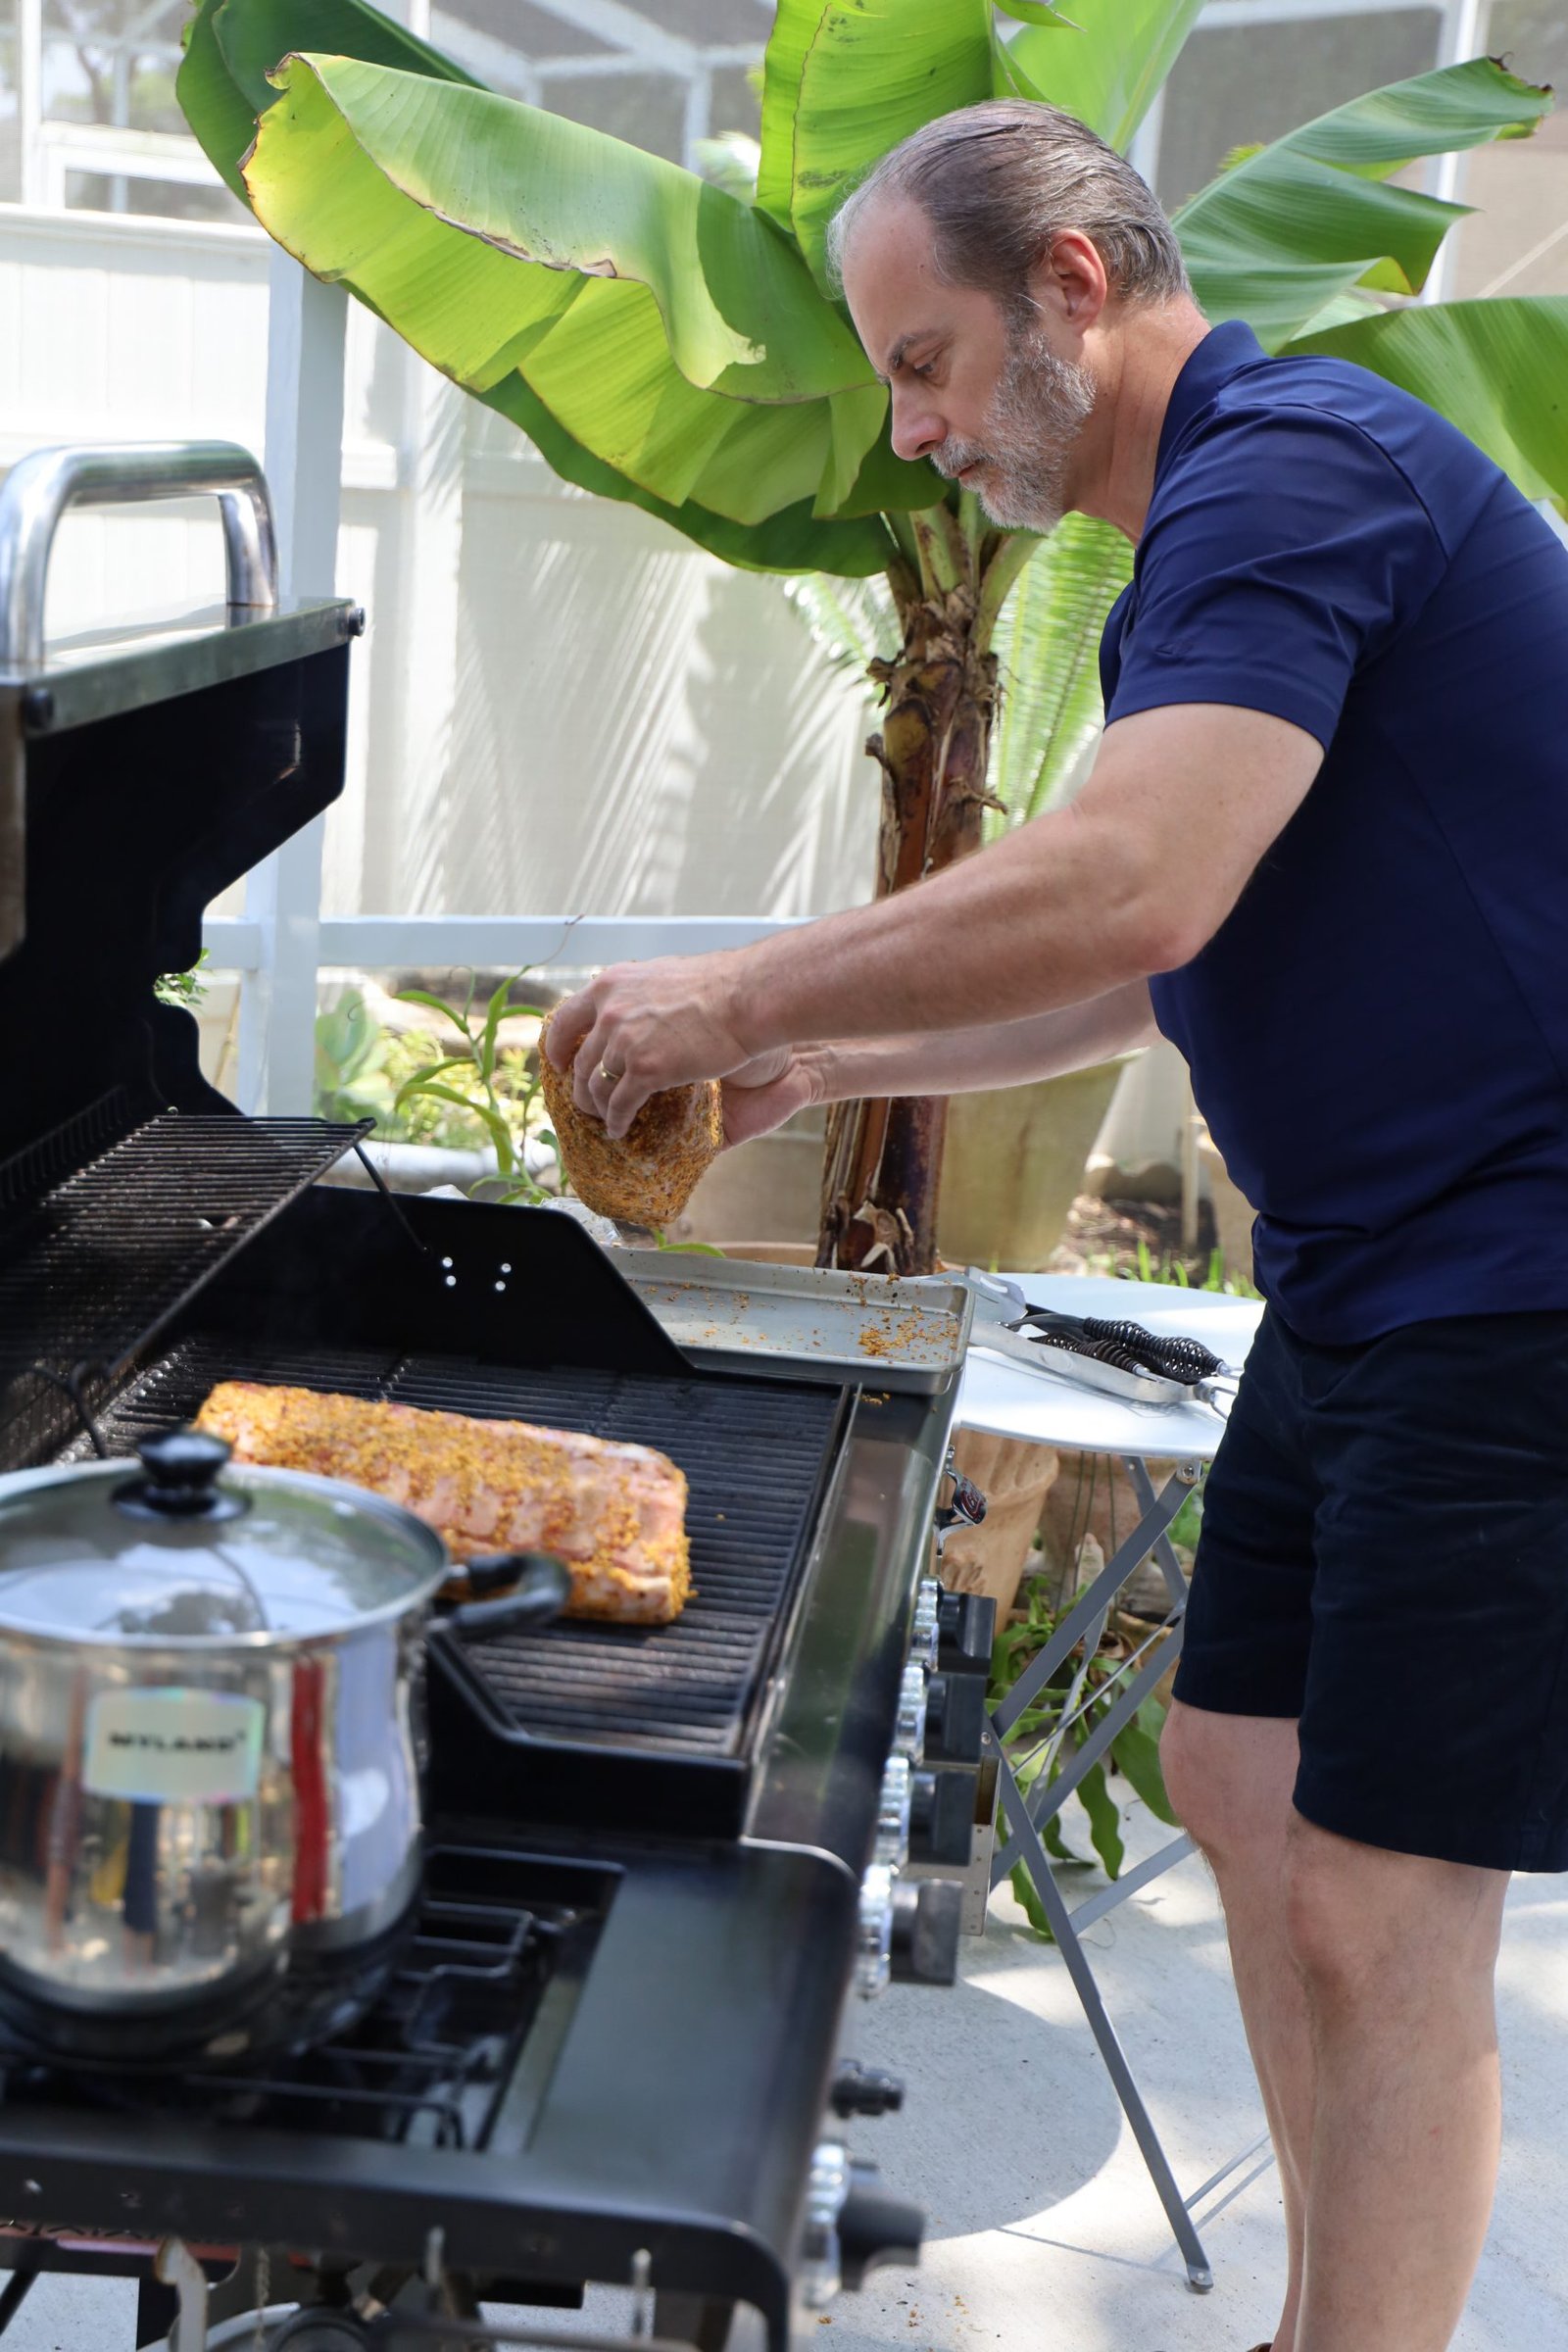
Heat your grill to medium heat and place the fat side down to get some initial cooking on the fatty side. Here I have the burners on directly under the meat.
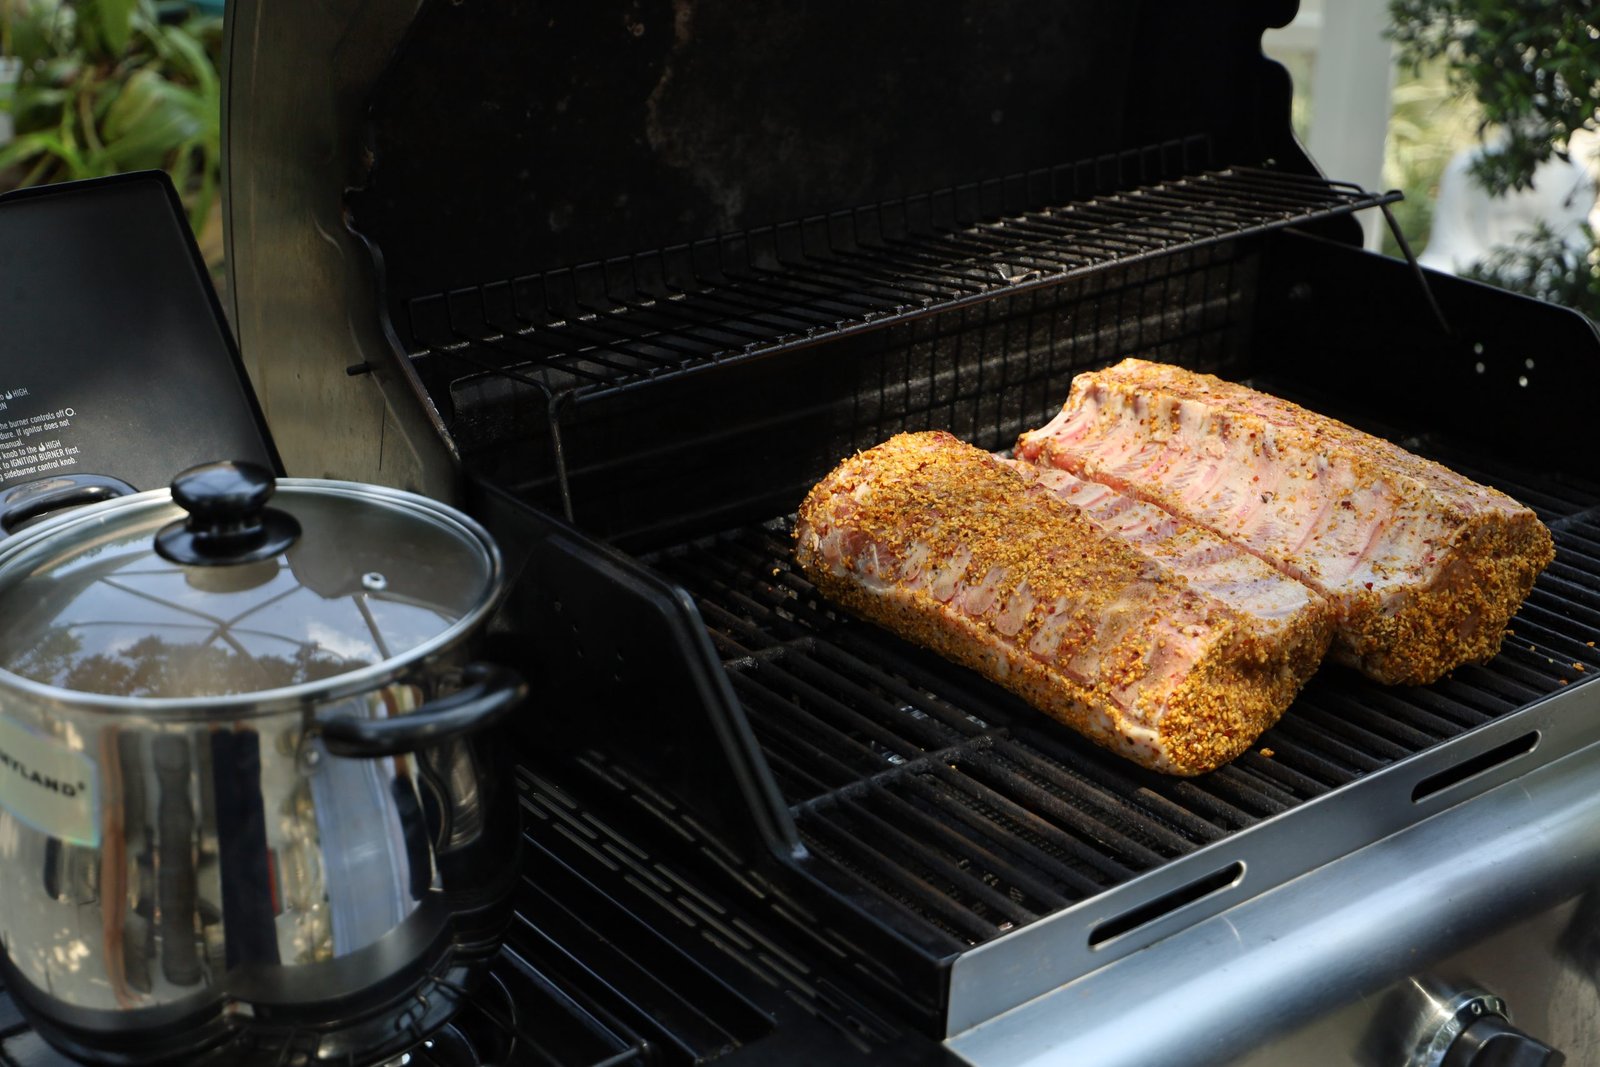
Here you can see I am cooking more food in the pot next to the grill.
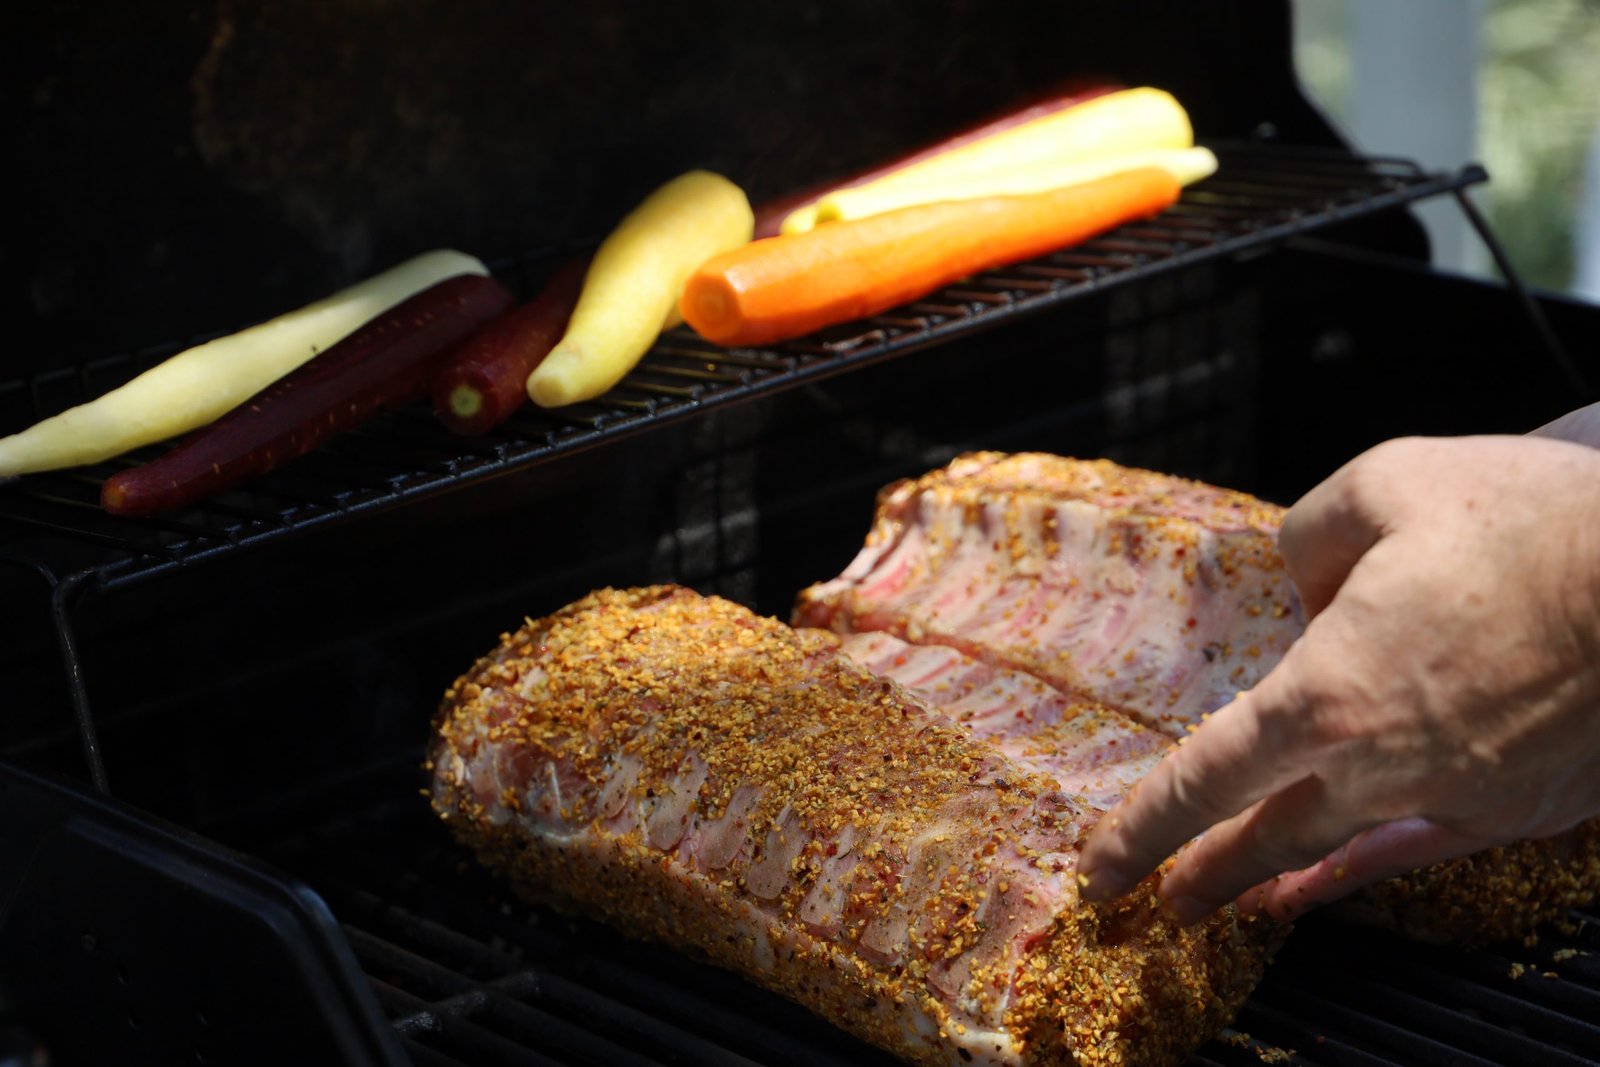
Cook the meat on the fatty side until you begin to get some good char.
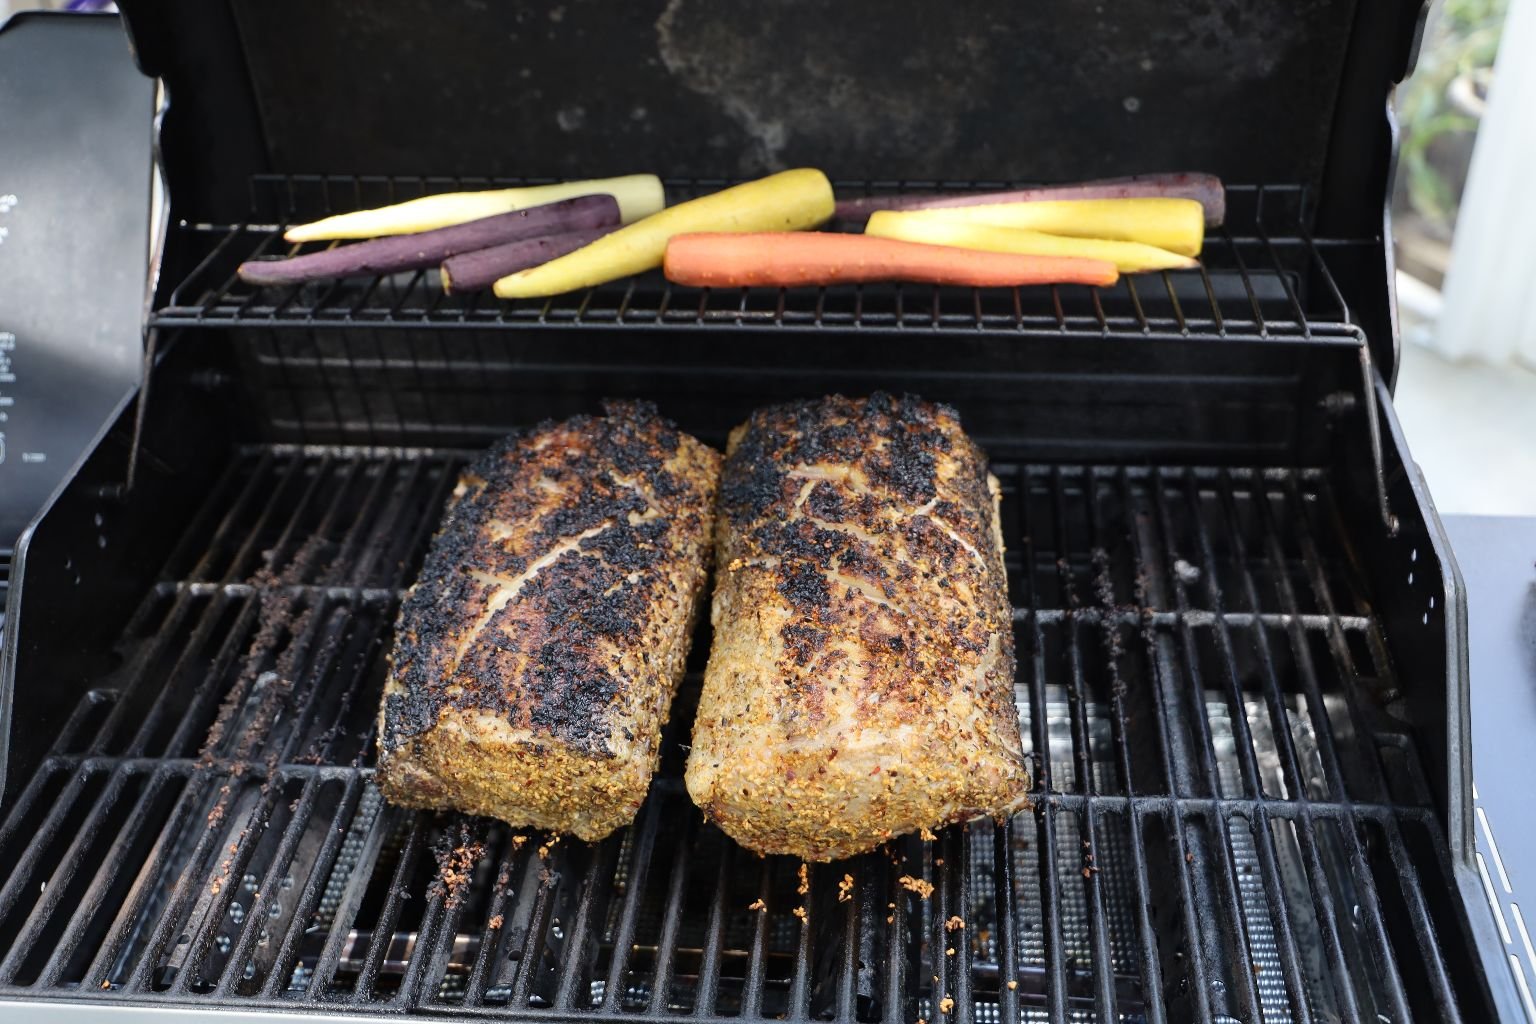
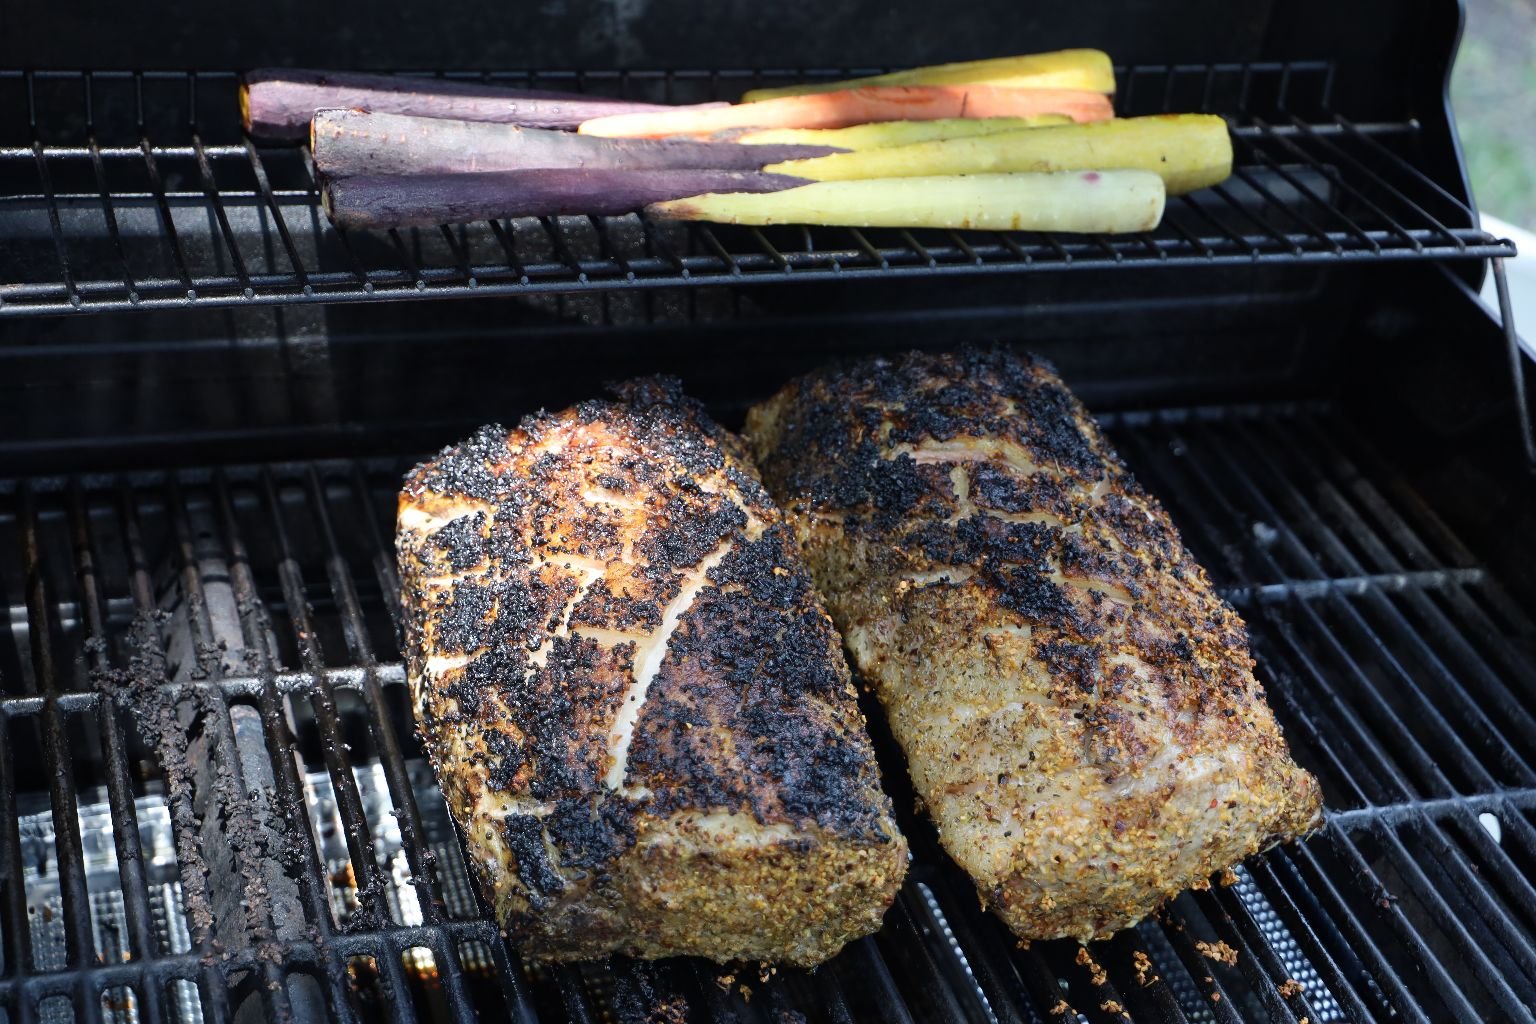
Once you have the char you like, turn the meat over and begin to cook the meat on the other side. Now, turn off the burners directly under the meat and turn on the ones to the outside of the meat to medium high. This will prevent the fat from catching on fire and burning your meat. Having the burners on will roast the meat from the heat on both sides.
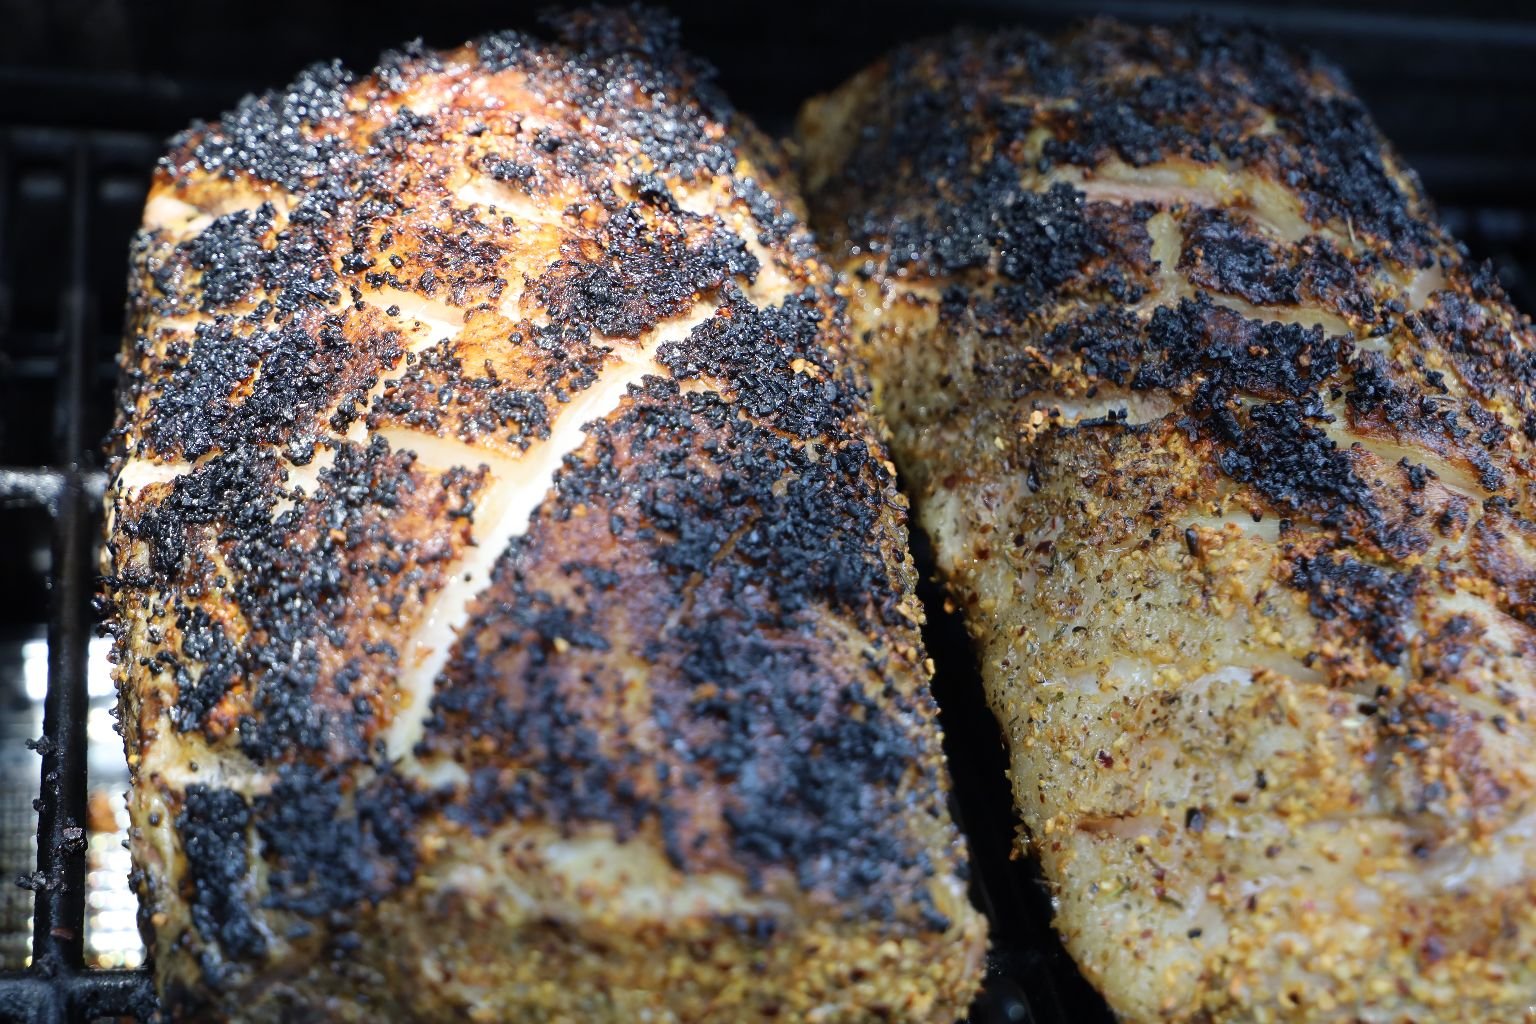
Cook your pork roasts until they have an internal temperature of ~140’F.
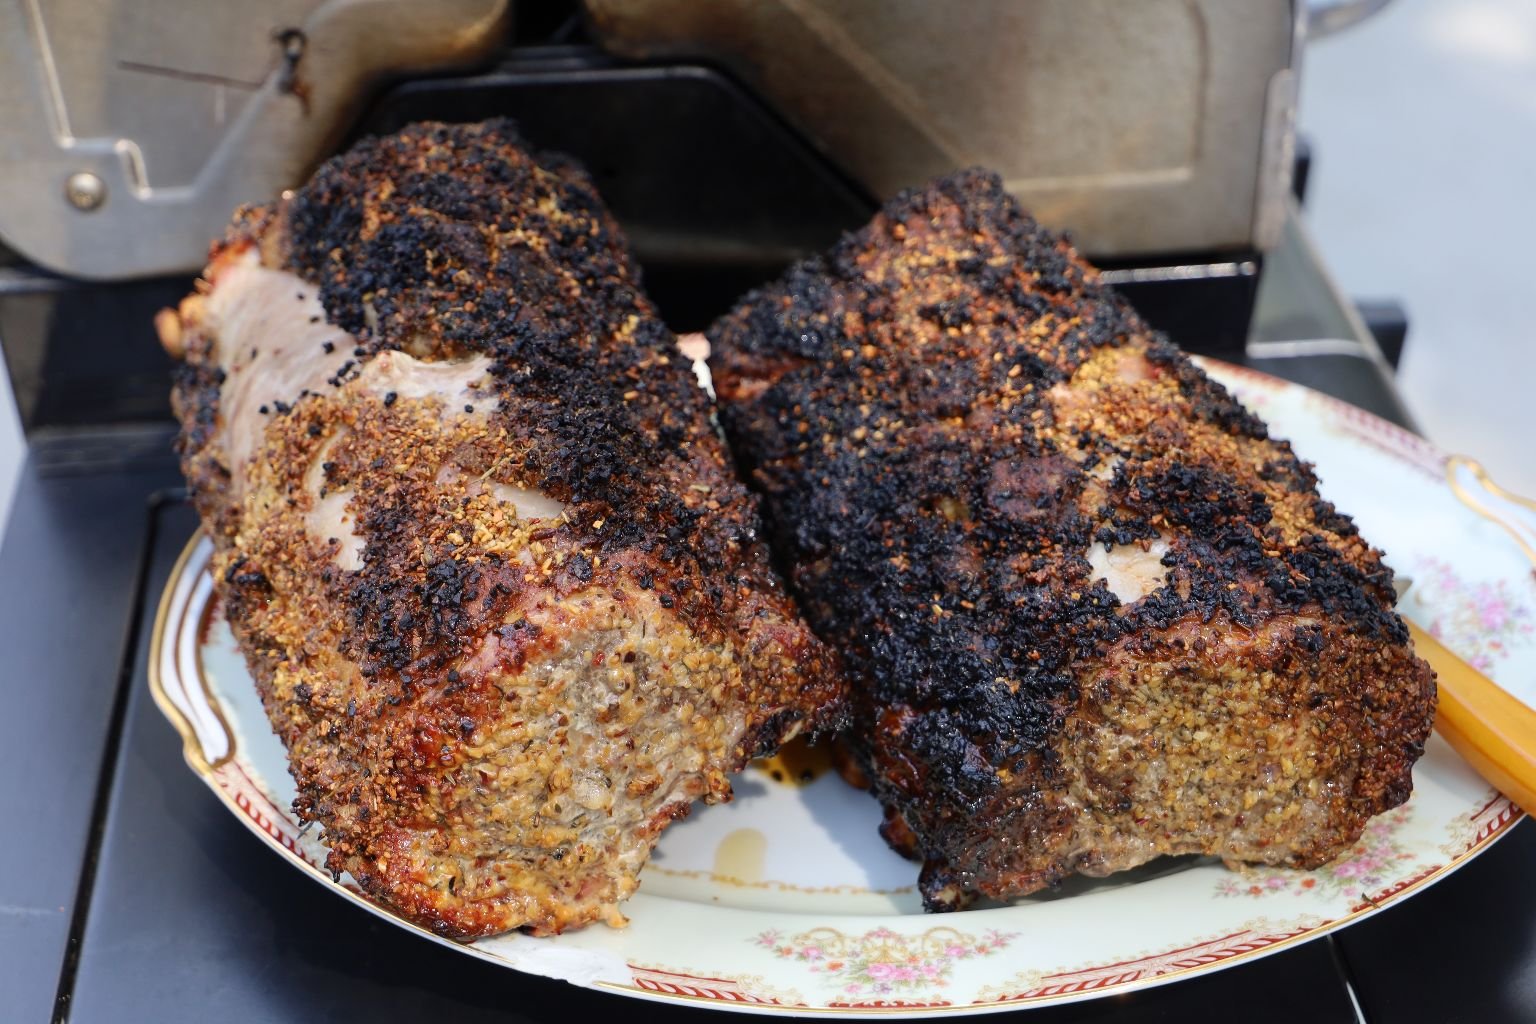
The heated juices will raise the meats internal temperature to 145’F as the meat rests. The heated juices will return to the center of the meat if you let it rest for ~15 min.
If you don’t let it rest and immediately cut into the roast, those moving juices will just run all over your plate. Here you can see a nice end cut of the meat. Trust me, it is difficult to let the meat rest as it looks so good!
———————————————————–
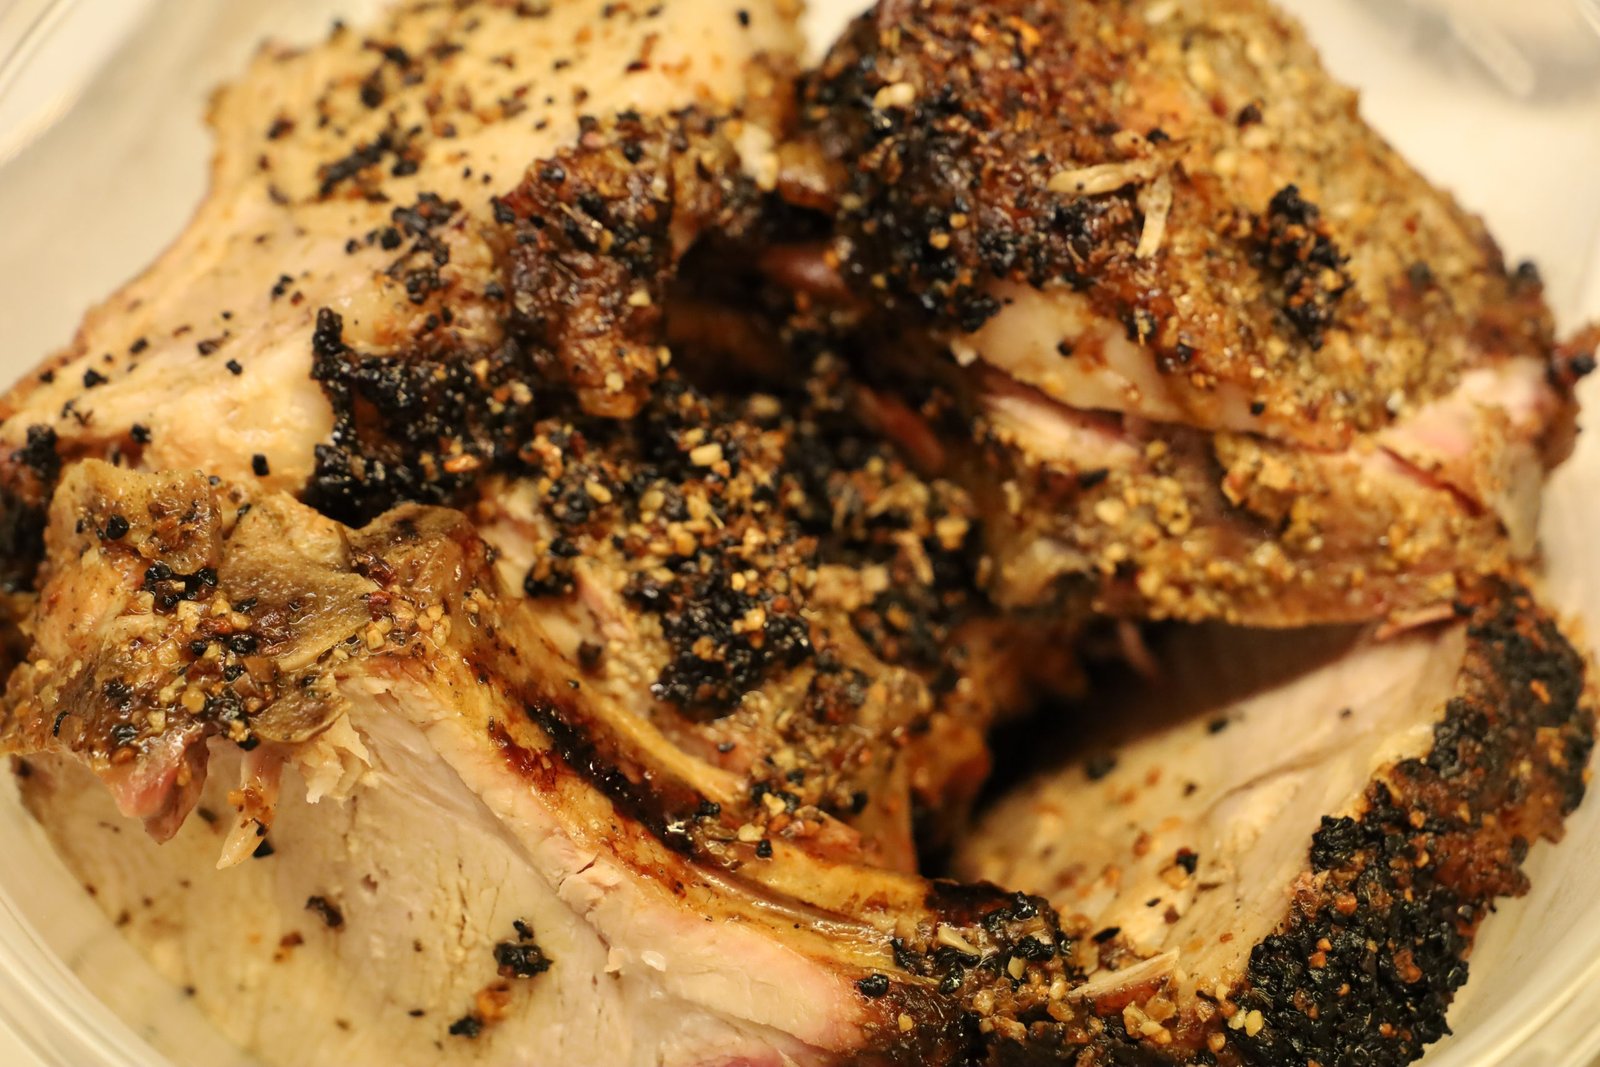
Leftovers…….Great with Mustard. 🙂
————————————————————————
Consider Yourself
by Lionel Bart
Consider yourself at home.
Consider yourself one of the family.
We’ve taken to you so strong.
It’s clear we’re going to get along.
Consider yourself well in,
Consider yourself part of the furniture.
There isn’t a lot to spare.
Who cares. What, ever we got we share.
————————————————————
Consider yourselves our friend,
Gordon and Julie 🙂
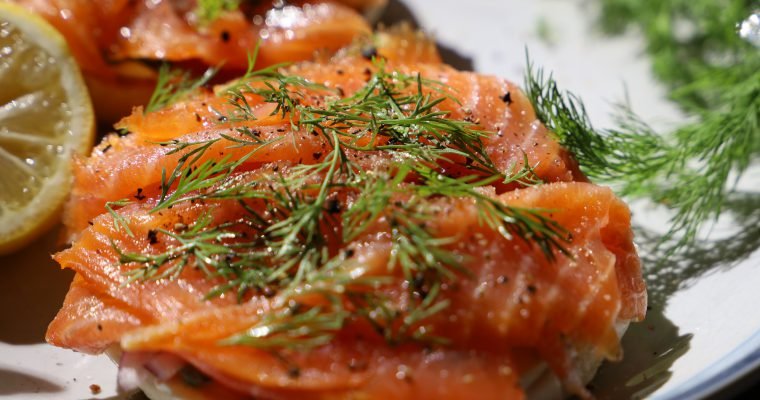
Good Morning Welcome to Breakfast with Brodie and Mackenzie We have a few menu items you might enjoy. ———————————————————- Bagel and Lox Ingredients: One Bagel (I use the Everything or Egg style bagels.) Smoked Salmon (I use Fresh Market’s Nova …

Merry Christmas Hello My name is Julie and I am 59 years old. I first met Santa when I was 2 year’s old at Riches Department Store in Atlanta, Georgia and I’ve been a big fan ever since. Gordon and I have …


Onion Soup Topped with Toasted Bread and Melted Crusty Cheese
(Pork Tenderloins and Grilled Asparagus compliments of Gordon.
Recipe write up at the bottom of this post.)


We would like to introduce to you our son Brodie and his girlfriend Mackenzie.
They are the new cooking dynamic duo in our family that have discovered the joys of cooking and trying new foods while discovering the talents and creativity that they never knew existed inside of them. They have certainly been a ‘shot in the arm’ for Gordon and myself as their foods differ from ours and they are becoming something of an inspiration to us as they like to try and recreate some of their favorite foods they eat in restaurants, as well as to create new dishes on their own.
Of course Brodie having grown up with a culinary father has been something of an inspiration to him. And as his mother I do have to brag that Brodie’s Teriyaki Chicken has surpassed Gordon’s in taste and texture. But isn’t that the mark of a great teacher when the student goes on to surpass you? But shh… let’s not tell Gordon quite yet. 🙂
And Mackenzie is quite creative on her own. She has just discovered by taste, the ingredients needed in a recent recipe she and Brodie were working on from a restaurant they would frequent.
This post represents their debut as a cooking couple.
We are very happy to have them join our website and we hope that you will give their recipes a try.
See you in the Kitchen,
Julie and Gordon
—————————————————————–
Here they recreated an Onion Soup.
They have also started a new blog post on breakfasts, something they are quite good at. If you would like to take a look….
Click Here For: Breakfast with Brodie and Mackenzie

——————————————————-
ONION SOUP

The Smell is Magnificent!

These Ramekin’s are Perfect for the Soup
(Gordon and Brodie had actually gone out shopping at a thrift store that morning and found them for this food project.)

The Broiled Sourdough

Right Out of the Oven
————————————————————–
Ingredients:
1 Red Onion, sliced
1 Vidalia Onion, sliced
1 White Onion, sliced
6 Shallots, sliced
Purple Pearl Onions, about 12 in a package, sliced
Cipollini Onions, package count was 9, sliced
Butter/Margarine, 1 stick
Beef Stock, 8 Cups
Olive Oil (about 4 T.)
Fresh Thyme, a few sprigs
Bay Leaves, 2-3
Salt
———————————————-
1 Cup Port Wine
1 Cup Madeira Wine
1 Cup Sherry Wine
BREAD, any of your choice.
————————————————————

Slicing the Onions and Adding them to a Large Bowl.

———————————————————-


Mackenzie and Brodie Chopping, and Cooking Down the Onions
After slicing the Red, Vidalia and White Onions, they added them to this cast iron pot. But first they placed about 4 T. of Butter and 2 glugs of Olive Oil on a Medium Heat.
—————————————————————

Shallots to be Chopped

Sliced Shallots Added to a Pot with some Butter (1-2 T.) and Olive Oil to Soften on Medium Heat in a separate pot.

Pour the original pot of cooked down onions into a colander in order to drain the liquid from the pot.


The extra liquid that is removed will be reserved for later use. Now the onions need to caramelize in the pot to create the brown color. You will be adding the onion juice later to the soup. Try a spoonful or two as the juice is quite tasty. Continue to cook down/caramelize the onions to the doneness your prefer, which will give them even more great flavor.

When browned to your liking, add One Cup Port, and One Cup Madeira and One Cup Sherry to the original pot of onions.

Reduce by half for around 2 hours and add the Cippolini and Pearls Onions about an hour into reducing.

Cipollini and Purple Pearl Onions

Test your knife skills by slicing all the onions evenly. The varied onion within this recipe, give the soup a well balanced and rounded flavor.


Adding your sliced Cipollini and Purple Pearl Onions to the main pot of onions and then add the Beef Broth, about 8 cups which is 2, 32 ounce containers.

—————————————————————-

Stir the soup well and continue to cook over high heat to slightly tenderize the Cipollini and Purple Pearl Onions. The varying textures of the onions will give the soup a little bite.

Add a little Thyme, Bay Leaves, and Salt, and bring it all to a boil, then reduce the heat and let it simmer for 10 min.
————————————————————

To make the crostini, coat the crostini slices lightly in butter and toast in a cast iron skillet over low to medium heat. Make them nice and crispy.
Ladle the soup into a bowl or a crock as shown, which is ideal for French Onion Soup.
—————————————————–
Place the Crostini slices directly on top of the Soup.

————————————————————–


Mackenzie, Hand grated Gruyere,
and some Manchego.

Pile It ON!

Melt the cheese using the broiler until the cheese browns and forms a crust.

Be careful it’s piping hot!

———————————————————-


On the left are three previously three inch thick marinated pork tenderloins which were grilled using the following simple steps. Light your grill and place three burners on high for ~five minutes. Remove the tenderloins from their packages, turn the grill down to medium and place on the grill, one on top of each burner. After five minutes of grilling, turn the tenderloin onto it’s opposite side and grill for another five minutes. Once that five minutes has passed, turn the tenderloin over to a third side previously not grilled. When completed, move all three tenderloins to a part of the grill which has no heat underneath it, place it down on a side not yet grilled. If needed, turn off one of the burners to provide room for all three tenderloins. Let them sit without flame underneath them for yes, another five min. Now, when done, remove the tenderloins and let them rest for at least 10-15 min. to allow the juices to return to the center of the meat, creating a juicy cut of meat.
On the right are our grilled asparagus. This is easily done by first placing a cooling rack on the grill so as not to allow the asparagus from falling through. It is difficult to see in the photo above but it is a black rack placed on the grill and then the asparagus is placed on top of it.
To prepare the asparagus for the grill, place them on a sheet pan, then douse with a good helping of olive oil and a good sprinkling of lemon pepper. Mix all the ingredients around well then place and your pre-heated medium high grill. Grill the asparagus for ~ eight minutes, then turn over and grill for another eight minutes.
NOTE: Due to the size and thickness of the asparagus some may need to be removed sooner, or cooked longer than others.
Remove and eat!


A Perfect Accompaniment to Brodie and Mackenzie’s Onion Soup
———————————————————


Spooky and Sparky
(Waiting for scraps to fall off the table and making our lives a little better.) 🙂

Black and White Pearls Our Very Elegant Pickled Pearl Onions and Balsamic Pearls How About An Elegant Edible Gift? Welcome to The Recipe, Gordon and Julie ——————————————————————- Be Sure To Also Check Out Our: Pickled Purple Pearls Also Check Out Our: …

From The Kitchen Of……. UNDER CONSTRUCTION ———————————————————- ———————————————————– ———————————————————— ——————————————————————- ———————————————————- Be Sure To Also Check Out Our: Pickled Purple Pearls —————————————————— AND, Black and White Pearls ————————————————————– ————————————————————— Roasting Pearls on the Grill ——————————————————— UNDER CONSTRUCTION Clutching My …


Merry Kitchy Kristmas

My name is Julie, and our dogs are Spooky, (the Chihuahua) and Sparky, the Chug.
I am standing in our Kitchy Kristmas Nook.
I Want to Welcome You to our Kitchy Kristmas!

You will not find beautiful magazine photographs of food and decorations here that would be in the most sophisticated of homes, although beauty is in the eye of the beholder. This is more of a fun, tacky, variety of foods, drinks and decorations that will make you smile and laugh. Hopefully put you at ease.
Which to me is the best kind of Christmas. One that we don’t take seriously. One that reminds us of our childhood and Dr. Seuss, and How the Grinch Stole Christmas. Something that would be seen, and served, in Whoville. 🙂

This is the tackiest, and the most beautiful cake I have ever made in my life, all at the same time!
I wanted to make a cake that would match my dress, and I think I succeeded. 🙂
I baked 3 layers of cake in a square pan for this.

Ready to serve onto Peppermint Plates

I also have a Blueberry Peppermint Cocktail here as well.


Enjoying playing with the dogs in my nook.
I hope to bring you some very fun Kitchy Kristmas ideas for you and your family to enjoy.
After all, tis the season…..
Merry Kitchmas!
Julie
—————————————————-
Also check out our:
Santa’s Elves Kitchen Favorites
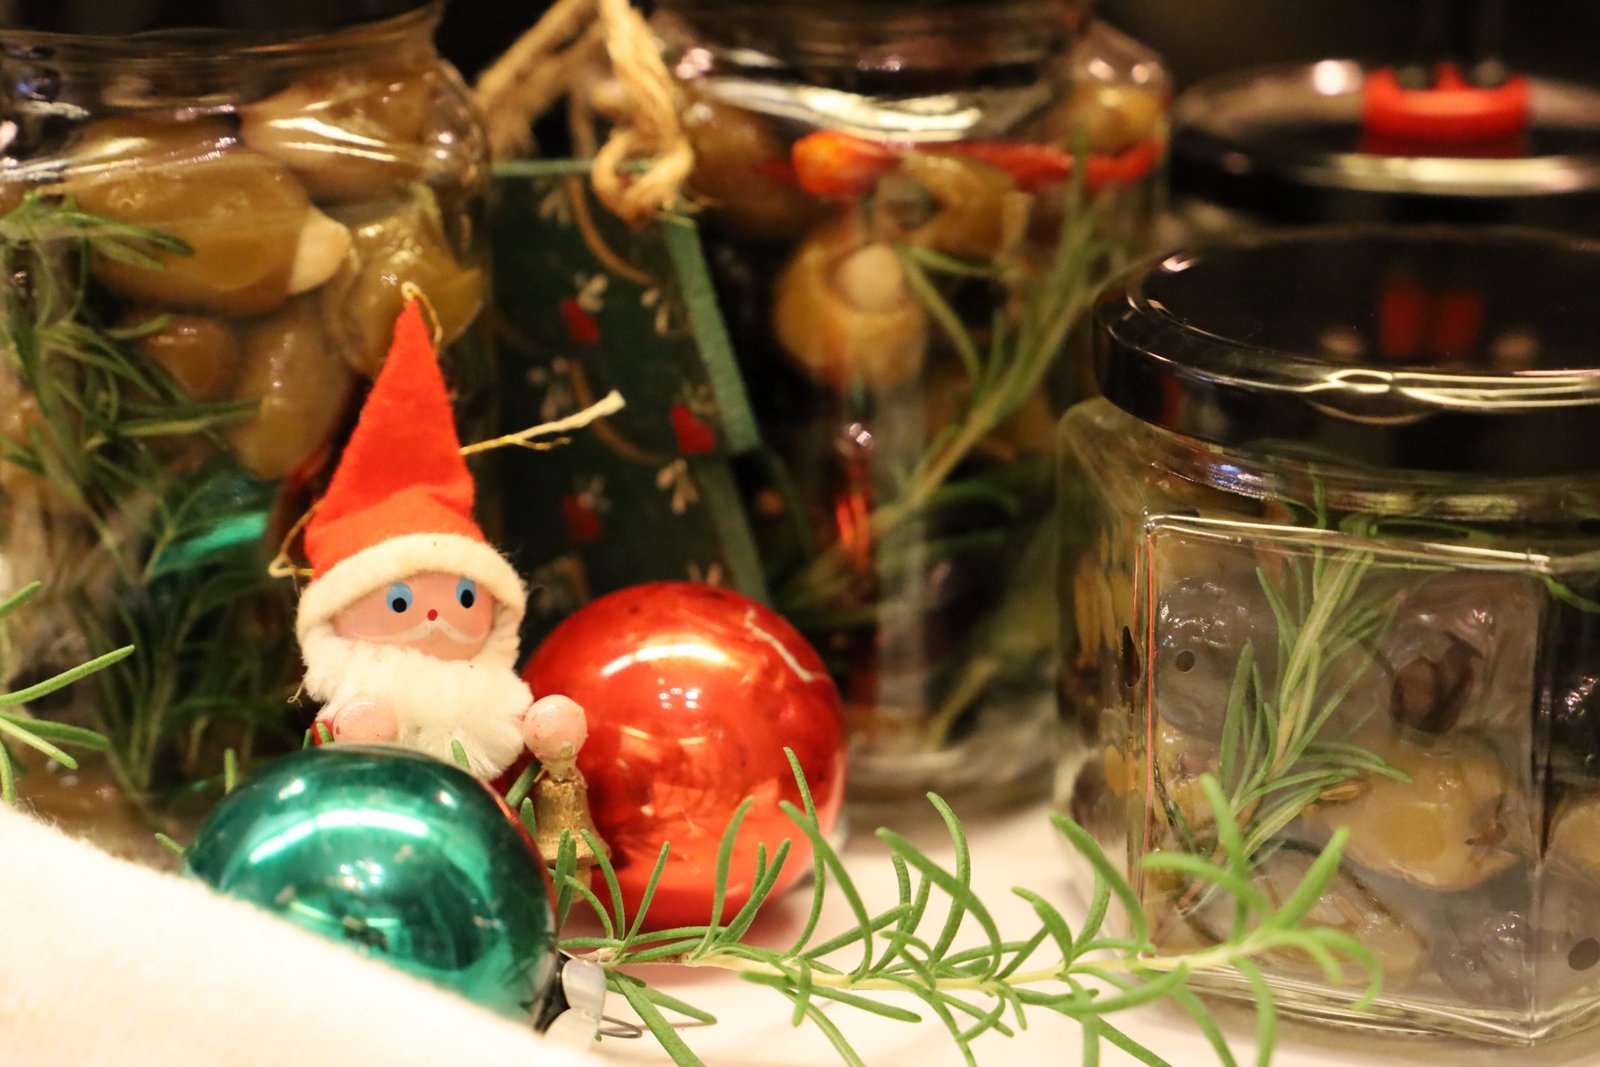
——————————————————————————————
Creating My Santa Loaf Cake

This is a Strawberry Jam/Sour Cream Cake.
I wanted to incorporate the Strawberry Jam into the Topping.
Here is what I did:

I placed the loaf cake onto a Christmas Tray sprinkled with some Coconut, to look like Snow.

In a bowl I mixed some Sugar Free Strawberry Jam and some Lemon Juice.
I then sprinkled some Powdered Sugar over the cakes, placed the Strawberry Jam down the middle of the cake….

I Then Placed These Ready Made Cookies Down The Middle

Perfect Little Christmas Cake Gift
(Recipe Down Below)
——————————————————
How I Made My Kitchy Kristmas Kake

(As I’m holding the cake my hands are stained with blue food coloring.)


I started off with 2 White Cake Mixes and 2 Red Velvet ones. Although I didn’t use on of the Red Velvet Cakes. Gordon ended up taking that one into work.
Oh,And lots of Candy Canes are needed here.

Again, just make the cakes according to package directions.

———————————————————-

——————————————————-


I used SQUARE Baking Dishes here. Having sprayed them with a buttery cooking oil. Although for this cake project I only ended up needing 3 of these.

Bake According to Package Instructions

————————————————————

White and Red Velvet Kakes Kooling in my Kitchy Kitchen

Remove from the oven and place them onto a cooling rack for about 10 minutes or so. Then remove them from the pans and place on the racks so that they can continue to cool thoroughly.

Now I am slicing off the tops of the cakes so that they will stay stacked on top of each other without sliding off.


Once cooled, I placed one of the square cakes upside down onto a plate that I wanted to use to hold them. But first I placed pieces of parchment paper all around the cake so that I could ice it without it getting the plate too messy.
I also bought ready made frosting and just added some blue food coloring to each one.

Here Gordon is frosting the cake for demonstration purposes as I photograph it.
I wanted the layers to be stacked oddly and not be perfect. But, you do need to make sure the cakes don’t slide off each other. Hence, the chopsticks holding our layers in place as we frost the cake.
Then just place candy canes all around however you like.
You can even crush some to sprinkle all around.

This is definitely the most fun I’ve ever had in the kitchen. 🙂
—————————————————————–
Strawberry Jam and Sour Cream Loaf Cake
(My Recipe Title) 🙂
The Ingredients:
1 Cup Sour Cream
1 Cup Strawberry Jam
1 Cup Butter, Softened
1 1/2 Cups Sugar
4 Eggs
3 Cups Flour
1 t. Baking Soda
3/4 t. Cream of Tartar
1 t. Lemon Extract
1 t. Vanilla
1/2 Cup Pecans, Chopped
Powdered Sugar (For Dusting)
—————————————————————
My Added/Substituted Ingredients:
Flaked Coconut
Sugar Free Strawberry Jam Mixed with Lemon Juice
(For the Topping)
Lite Sour Cream in place of Regular Sour Cream
Decorative Christmas Cookies
——————————————————————
Recipe Taken From: The Potluck Adventures of Mrs. Marmalade
This children’s recipe book was given to us by my Mother-In-Law, Sarajane Whann
It used to belong to her.
——————————————————–
Time To Get Started
The Recipe:
No Place Like Home
Essentially Strawberry Bread
—————————————————
I made this cake exactly as the recipe is written. It made 2 loaf cakes. I made the first batch using regular sour cream and sugar free strawberry jam. I made the next 2 cakes using the lite sour cream and sugar free strawberry jam. They both tasted delicious! So, if you are trying to cut back on the richness of this cake, the lite sour cream and sugar free strawberry jam do not take away any of the flavor.
1 1/2 Cups Granulated Sugar
Add To The 1 Cup of Softened Butter and Cream Together in a Mixer
Time to add the 4 Eggs.
I did this one at a time and blended until each Egg is incorporated into the Sugar and Butter.
In a separate bowl mix together the Strawberry Jam and Sour Cream.
(I do wish that I had not blended this as much as I did.
I loved coming across the little blobs of jam in the cake.)
(Still incorporating those eggs.)
Now you want to mix all of the dry ingredients together.
But NOT the Powdered Sugar, that is for later.
Whisk the dry ingredients together in a separate bowl.
————————————————————-
Now We Have 3 Bowls of Ingredients to Blend Together.
First add some of the Strawberry Jam and Sour Cream to your Sugar/Butter/Egg mixture. Mix together thoroughly. Then add a scoop of the dry ingredients to the Sugar/Butter/Egg mixture. Mix together thoroughly. Then add some more of the Strawberry Jam and Sour Cream to the Sugar/Butter/Egg mixture. Mix together thoroughly. Then again, add the dry ingredients as well, a scoop at a time. Do this until all of the ingredients are mixed well in the mixer.
Your Batter Should Look Like This
(A Pretty PINK)
Now It’s Time To Add Our Lemon Extract and Vanilla
Mix Together
Now Add The Pecans and Stir Together
Ready to Pour into the Loaf Pans
—————————————————————
Spray With a Cooking Oil Spray
(This one is for baking and it has flour in it.)
This Recipe Makes 2 Loaf Cakes
Place Into a Preheated 325F Oven for About an Hour.
(I would check it after 40 minutes just to make sure things are going well. If the cake is becoming too brown you may want to cover it with Aluminum Foil to prevent it from burning. Then check it every 5 minutes from thereon.)
When you can insert a toothpick or wooden skewer and it comes out clean, you know it’s done.
Set on wire racks to cool while in the pan first. Then, after about 15 – 20 minutes or so remove from the pans and set on the rack to continue to cool.
Let Sit on the Rack Until Totally Cool
——————————————————————-
This is Truly Delicious!
This is a Beautiful Gift given just as it is! 🙂
—————————————————————————
This is the second batch of 2 that I made using the lite Sour Cream and the Sugar Free Strawberry Jam.
I Followed the Recipe Same as Above
I Did Add More Nuts to This Batch 🙂
Bake Same as Above, Decorate However You Like
A Sprinkling of Powdered Sugar Looks Nice Too
————————————————————–

Julie’s Christmas Wreath for Dinner

This was my New Year’s Day Dinner for 2019. A combination of leftovers and just being creative. You can see the pottery mold wreath above. That was a gift from my parents to Gordon and myself years ago. I decided to use it for this delicious project.

I first greased the pottery with a vegetable oil spray. I then placed some of my Grandmother’s Southern Dressing into the mold……. (This cornbread dressing had yet to be cooked in the oven. When I originally made a batch for Thanksgiving I decided to freeze some for future use. Hence, this project.)

I filled the pottery half way up with the un-cooked Cornbread Dressing.


I then picked a rotisserie chicken and placed the meat on top of my cornbread dressing. When I finished I placed more dressing on top of the chicken so that is was encased.


I then baked it in the oven on a 350F for probably about 25 minutes or so. But when using this pottery I had to place it into a cold oven and let it come to temperature, otherwise it would crack. Although you can use whatever cooking dish you like. But the point of this was to make a wreath.

When it was done I turned it out unto a plate, like so.

In the meantime, I placed some chicken broth into a saucepan and added some green food coloring. When it came to a boil I added the Egg Noodles so that they could cook until ad dente.
This is my kitchy pasta!

The Old Mill at Berry College in Mt. Berry, Georgia
It was then that I looked at the Country Gravy Mix that I had chosen for this project. I noticed that it was made in Rome, Georgia. My home town! I swear to you that I did not know that! Also, the Old Mill was the mill that I was very familiar with at Berry College in Mount Berry, Georgia! I immediately got all excited! How could I know not this? 🙂

Southeastern Mills, INC.
Rome, Georgia (My hometown.)


I made the country gravy according to package directions.

I placed the green egg noodles onto a platter. Then, place a plate with the cornbread wreath on top of that. Then I placed some of our homemade cranberry sauce into the middle, like so. I then topped it with the country gravy, and sprinkled some dried cranberry’s on top.

Eating a Christmas Wreath
(It may not look like much but it was delicious and a great way to eat leftovers.)
——————————————————

Have a Merry Kitchmas,
Julie
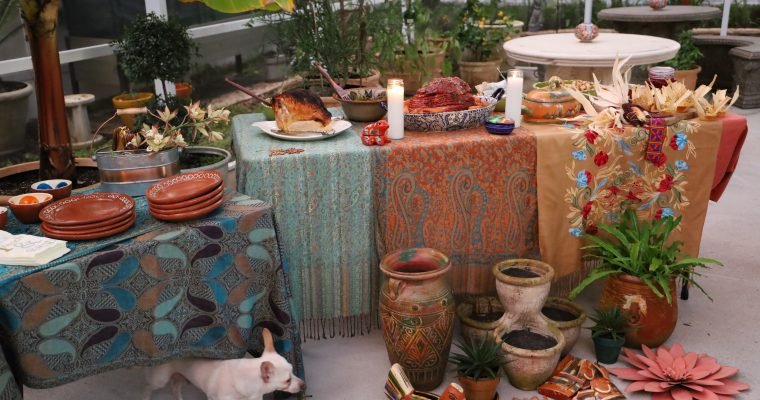
————————————— SHOPPING, DAY OF…….Feliz Navidad O.K. I’ve got my lists. Right Here! ——————————————————— We have our Feliz Navidad on Saturday. I think Joseph is coming so we need to include him. Veronica is in Tennessee now but she will …