Pickled Purple Pearls

‘Tis The Season….
…For Making Delicious Edible Gifts
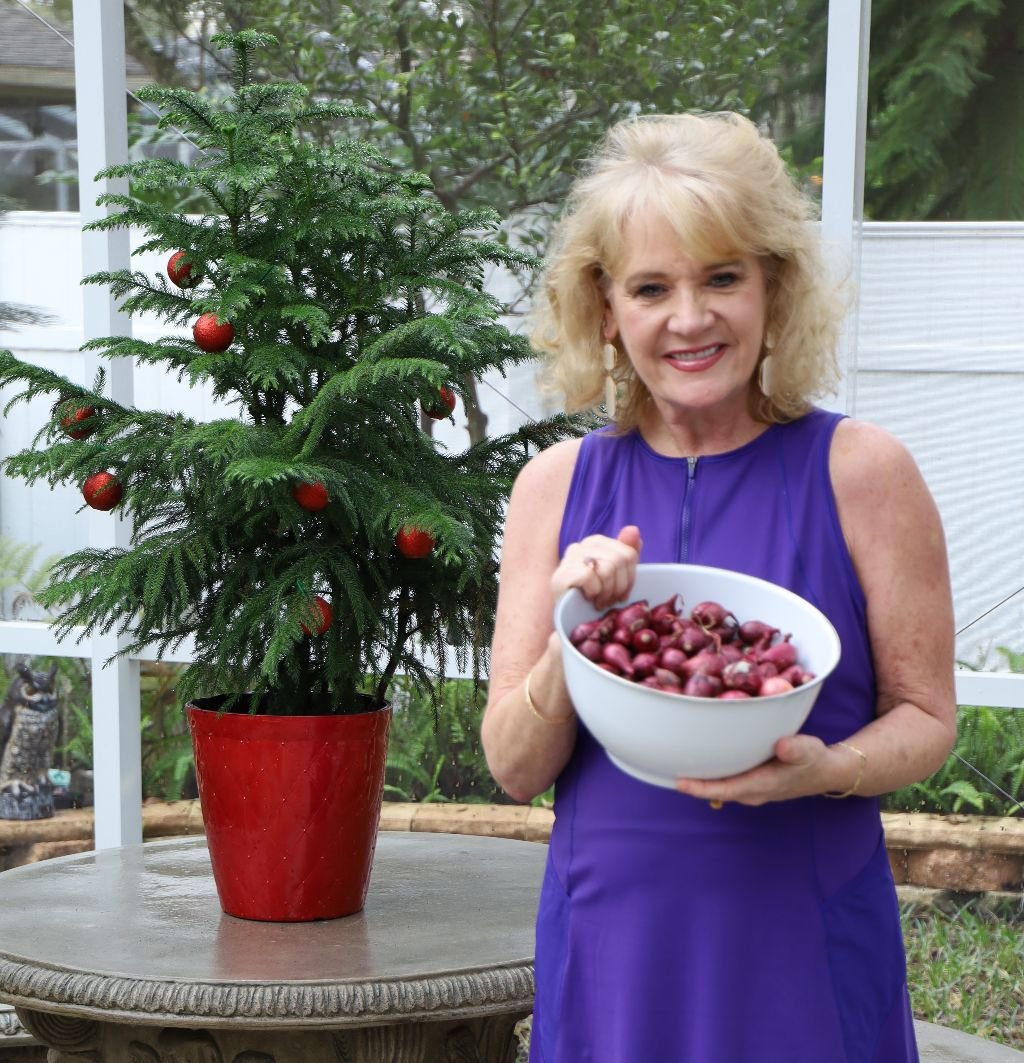
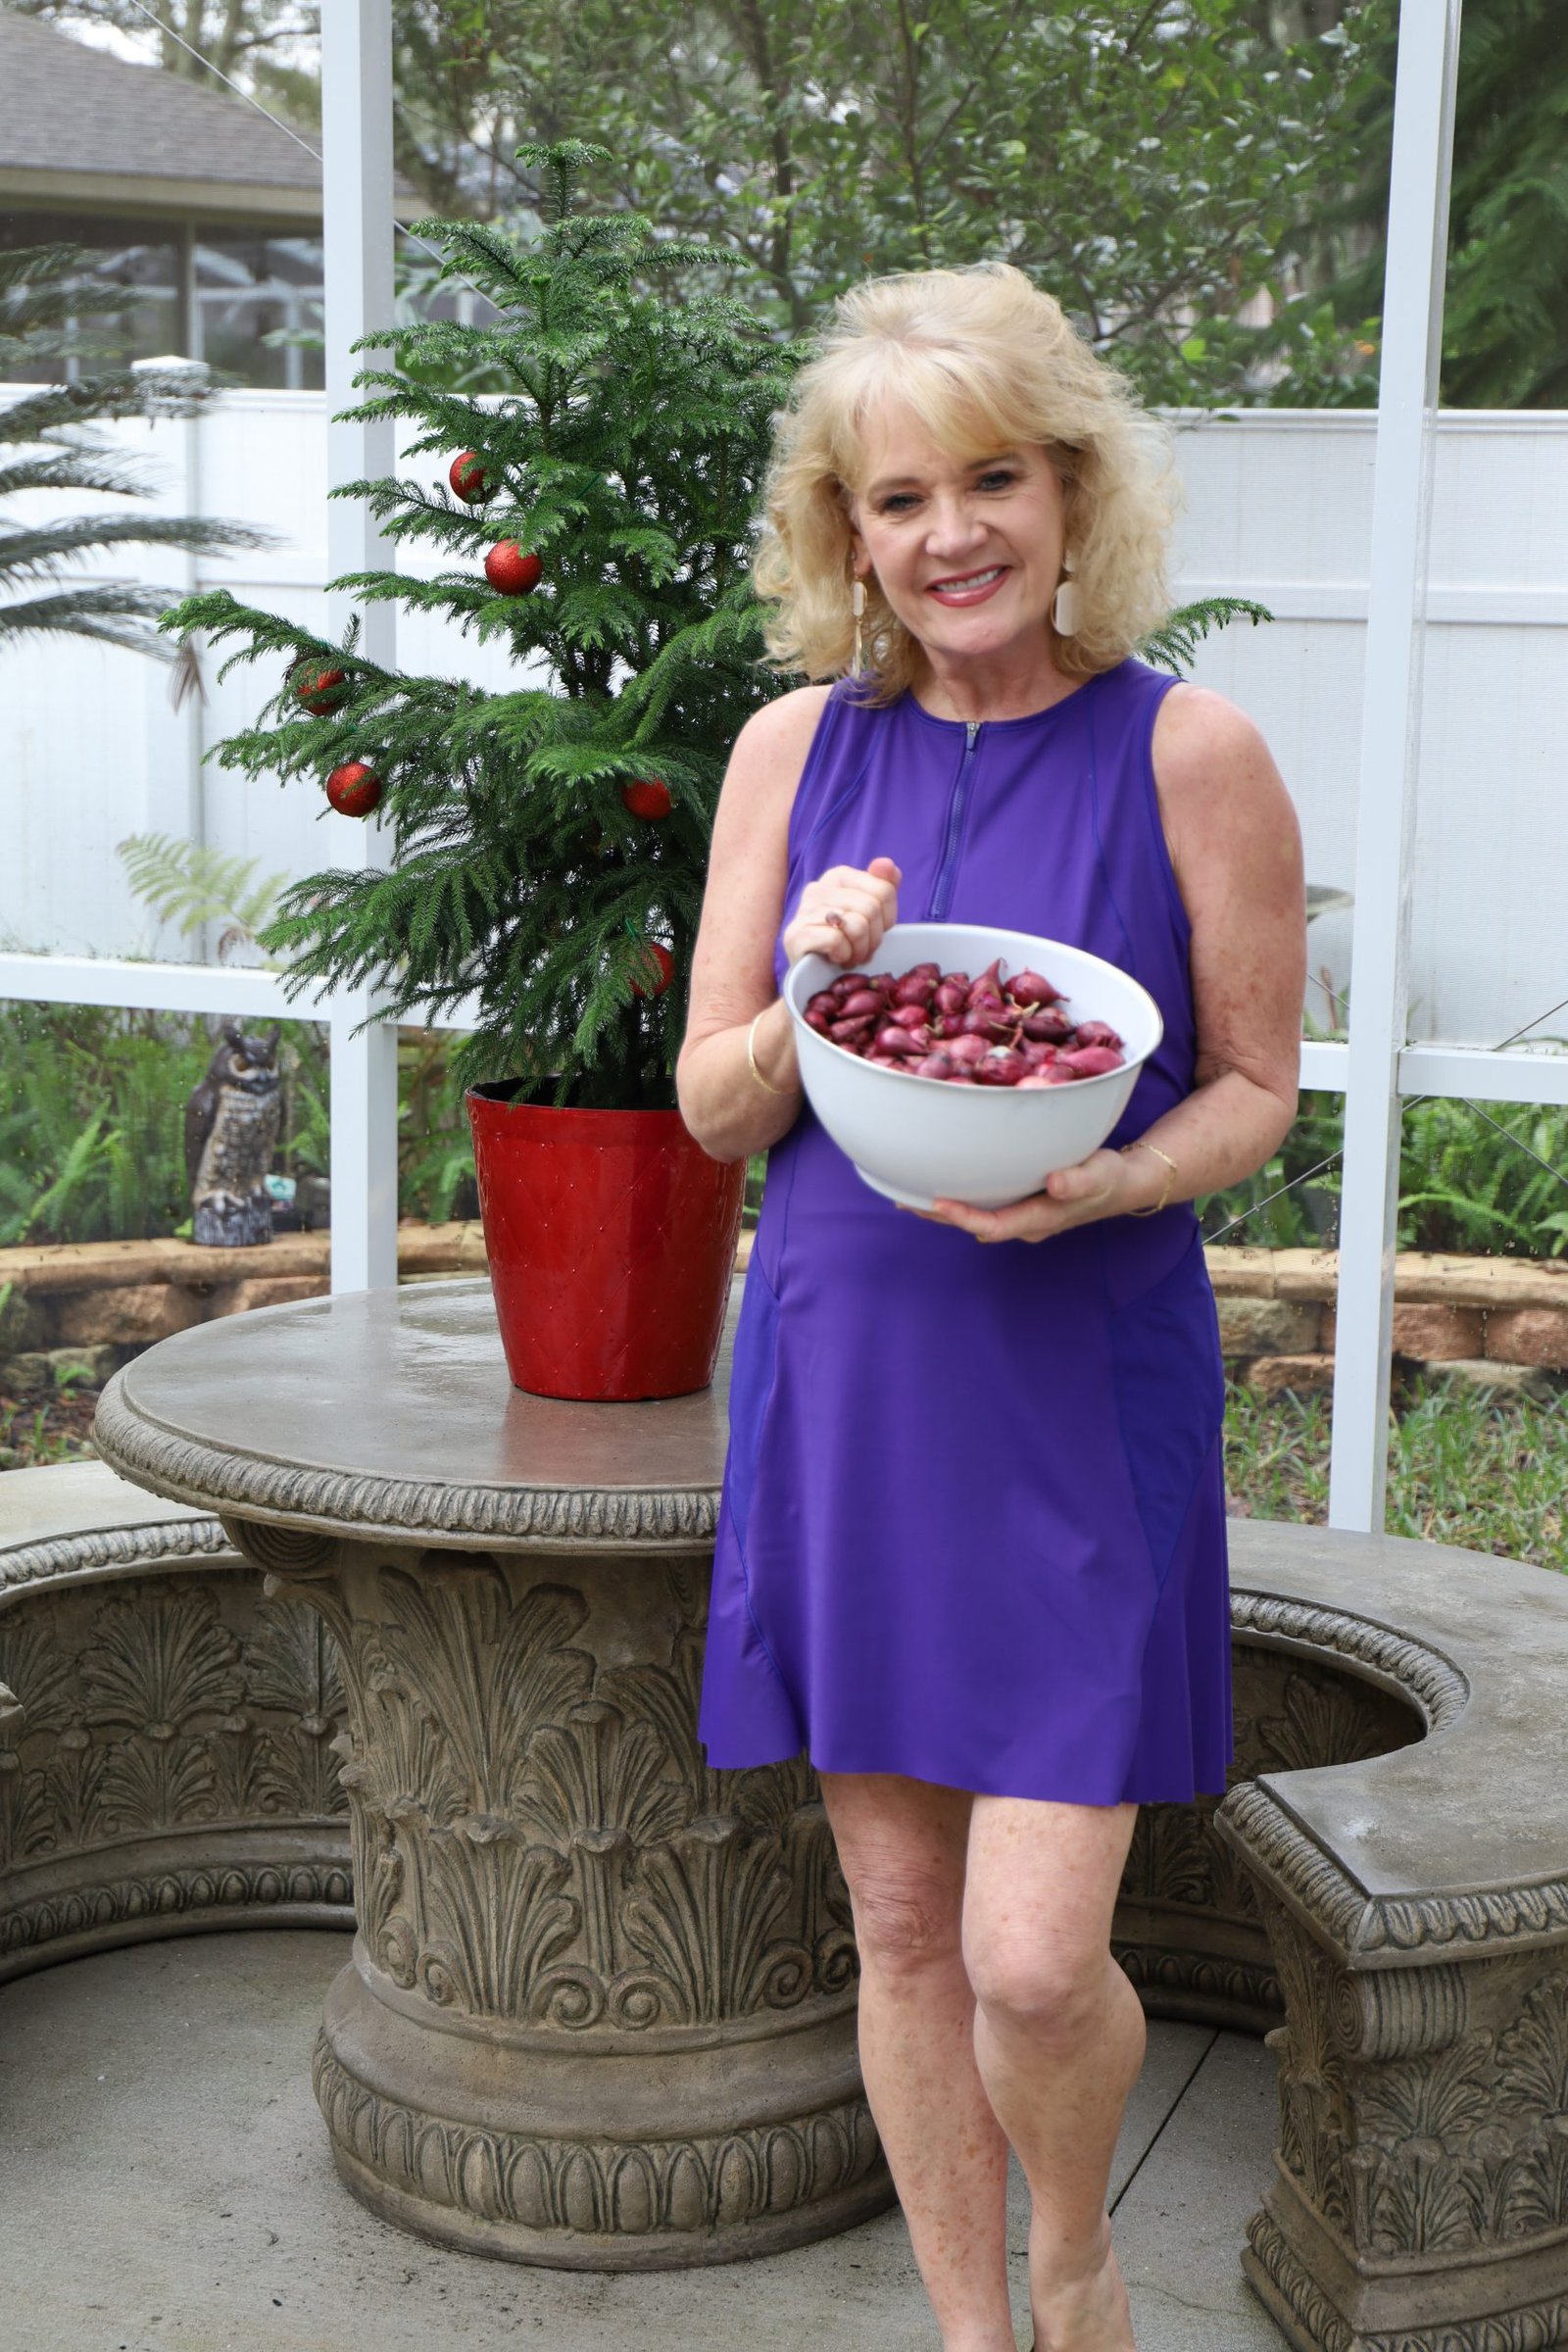
Julie with Red Pearl Onions
How About Pickling Some Purple Pearls?
Actually, they are known as Red Pearl Onions, they just look Purple to me.

I think they are beautiful.
Who wouldn’t be happy to receive such a nice edible gift?
You eat them however you like.
We enjoy them with sandwiches or any time you would eat a pickle.
————————————————————-
Also Check Out Our:

AND,
————————————————————–
How To Pickle Purple Pearl Onions
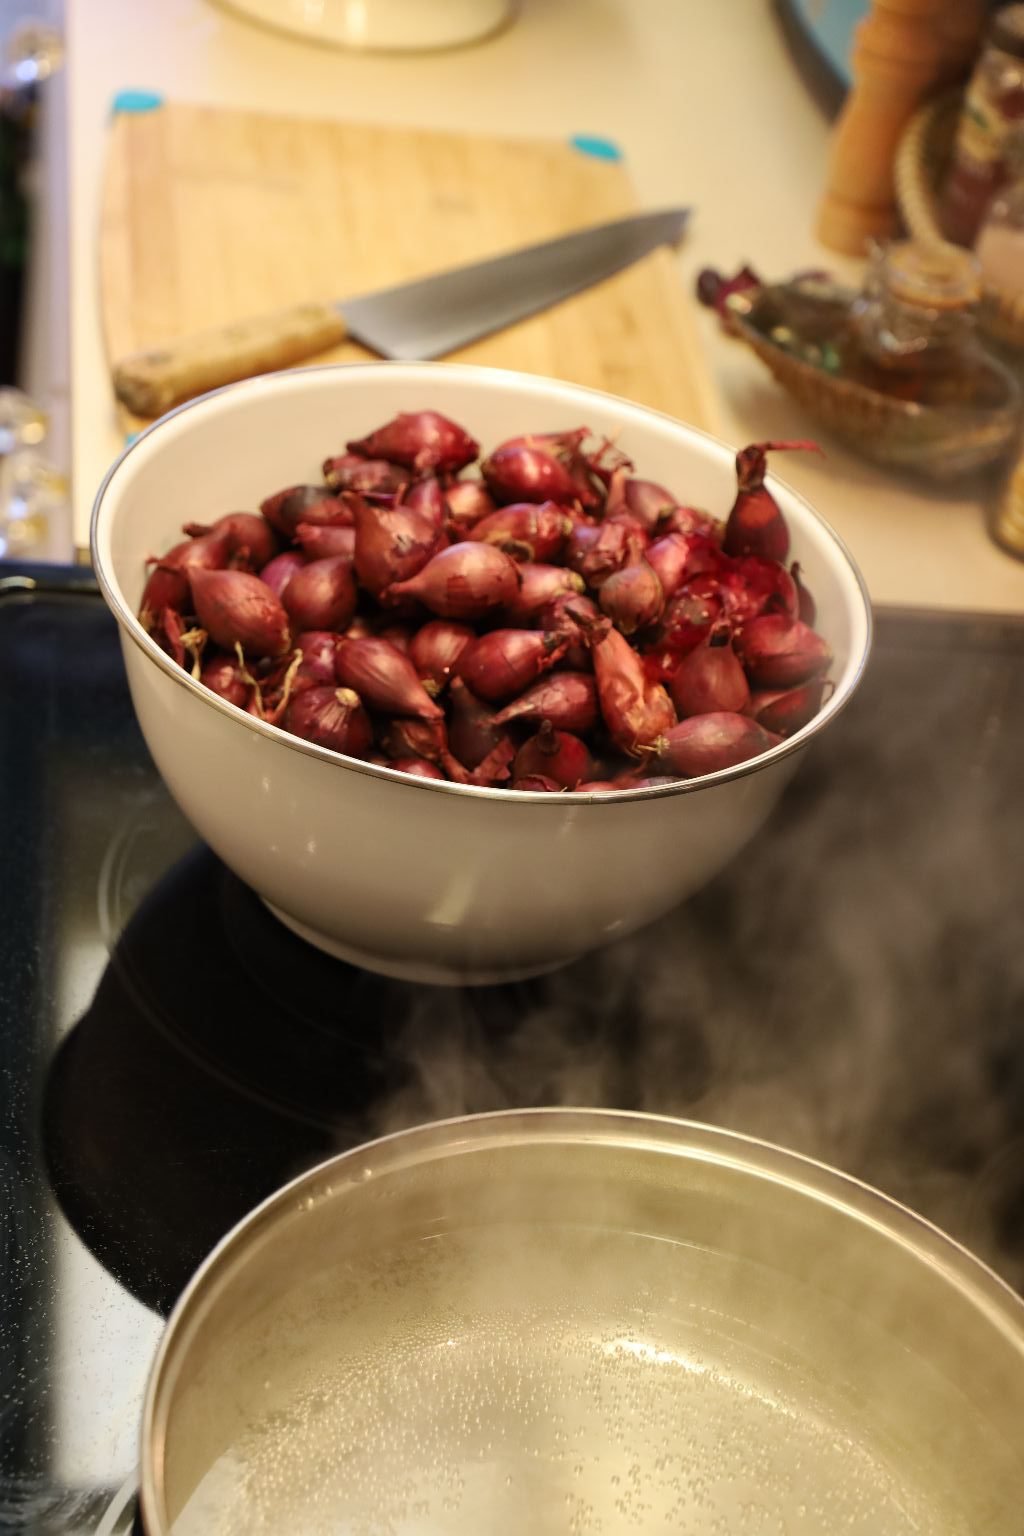
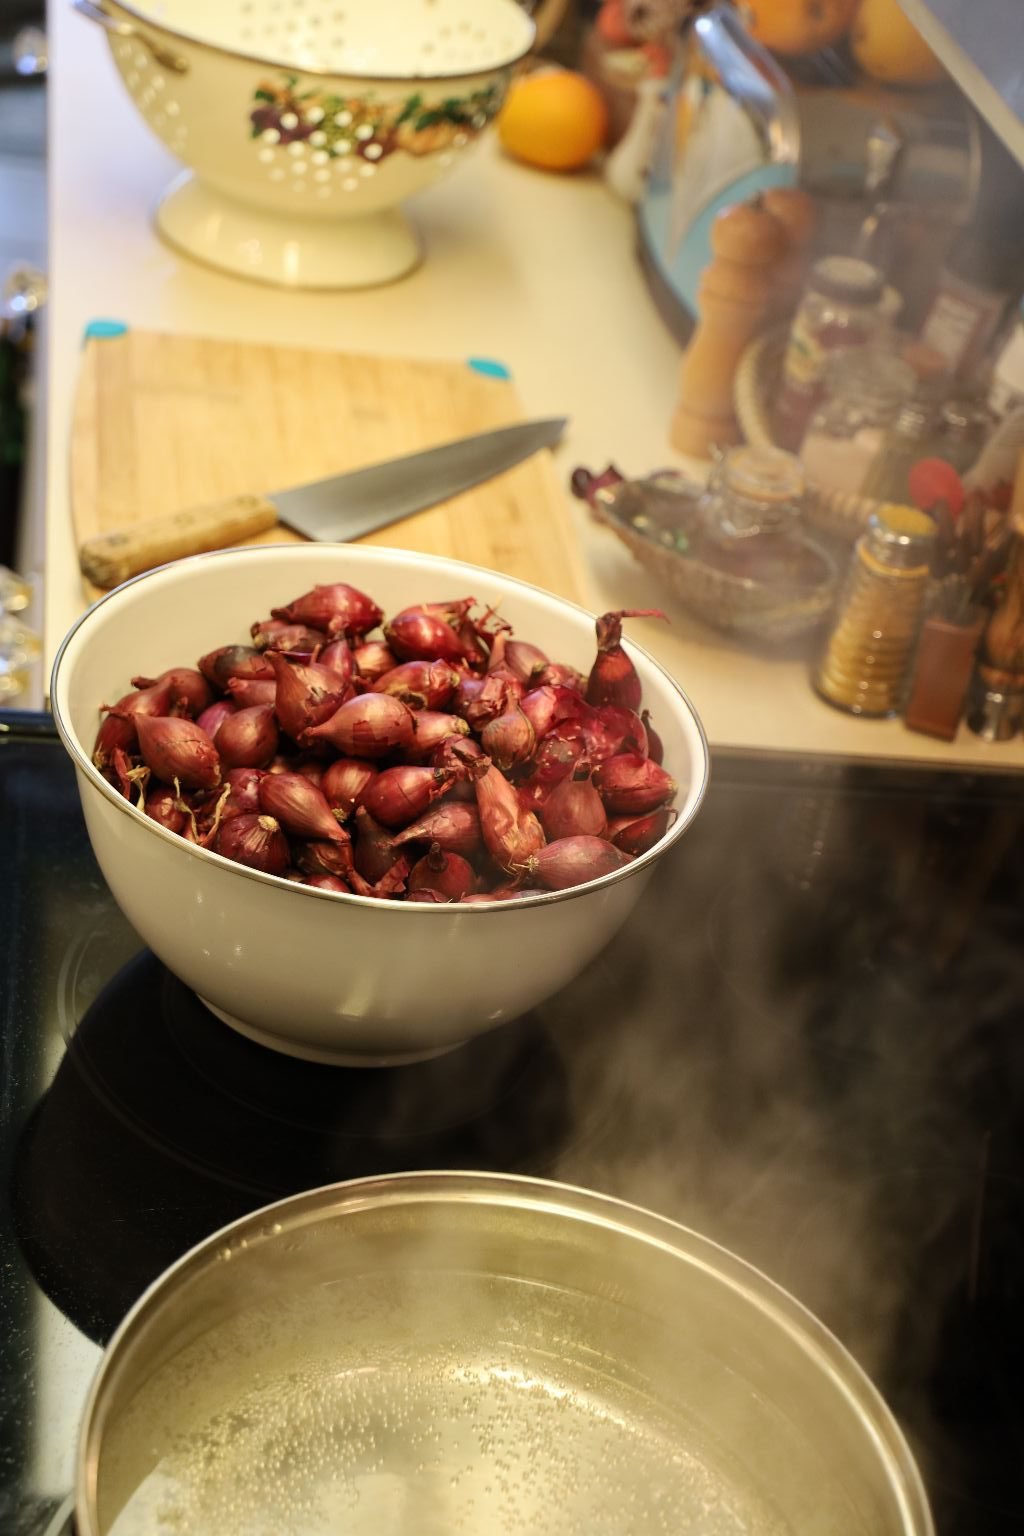
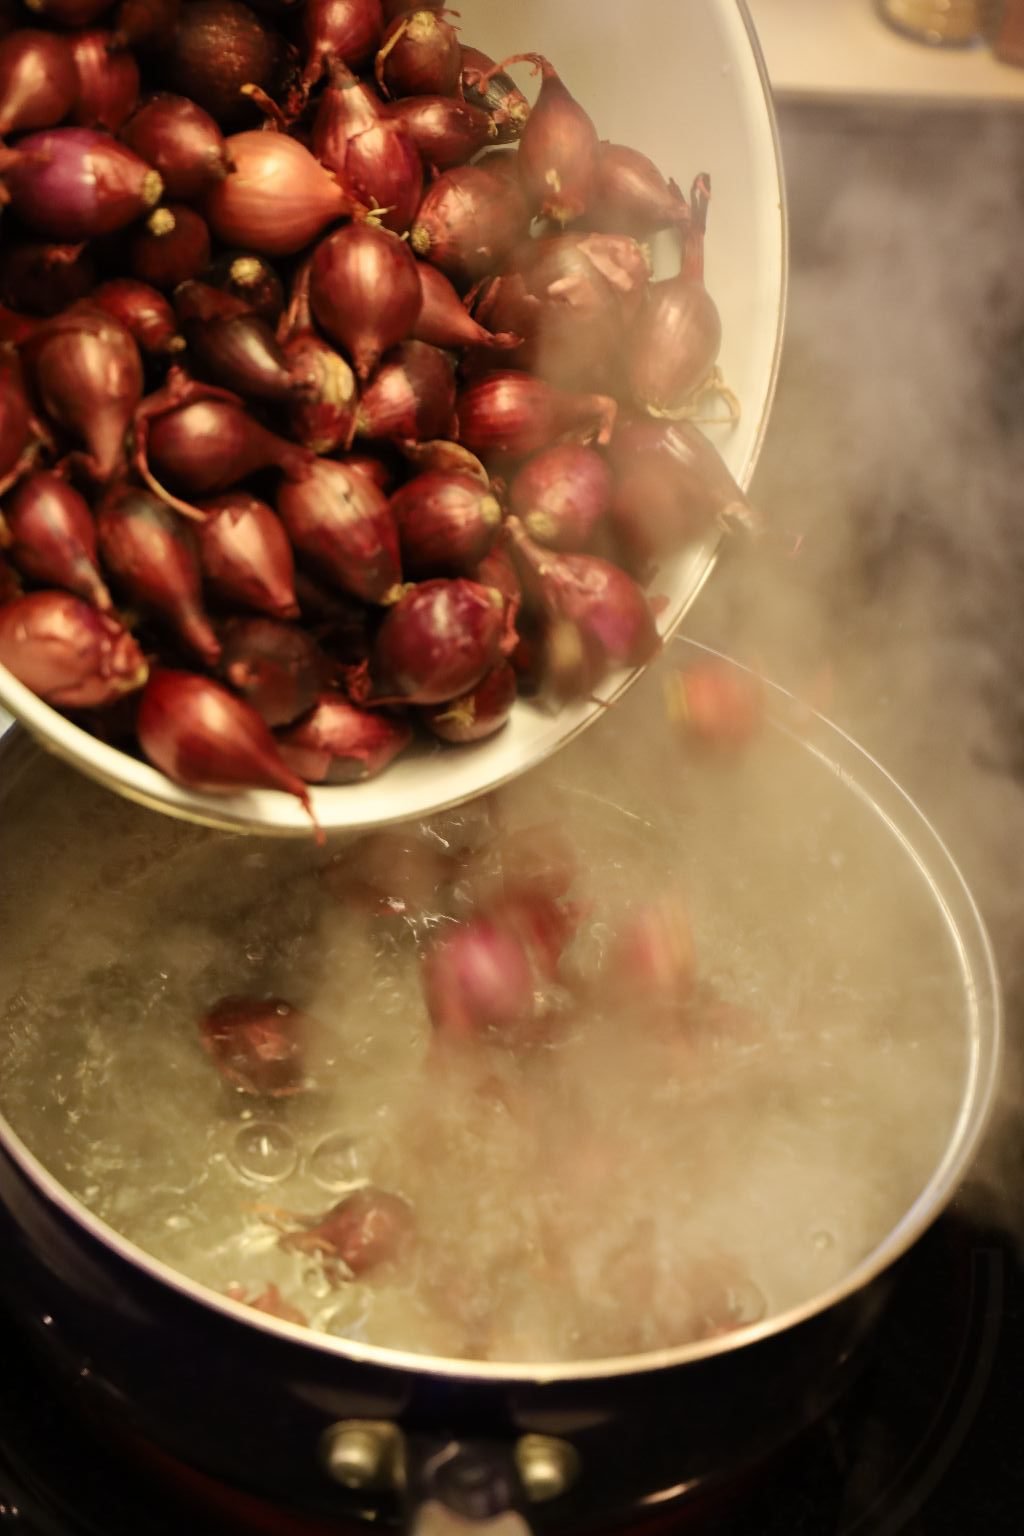
Begin this recipe by placing your pearl onions into a large pot of boiling water for about 1 minute. Doing this will make their dry outer skin, which is basically inedible, soft and easily removed. You may need to do this in large batches.
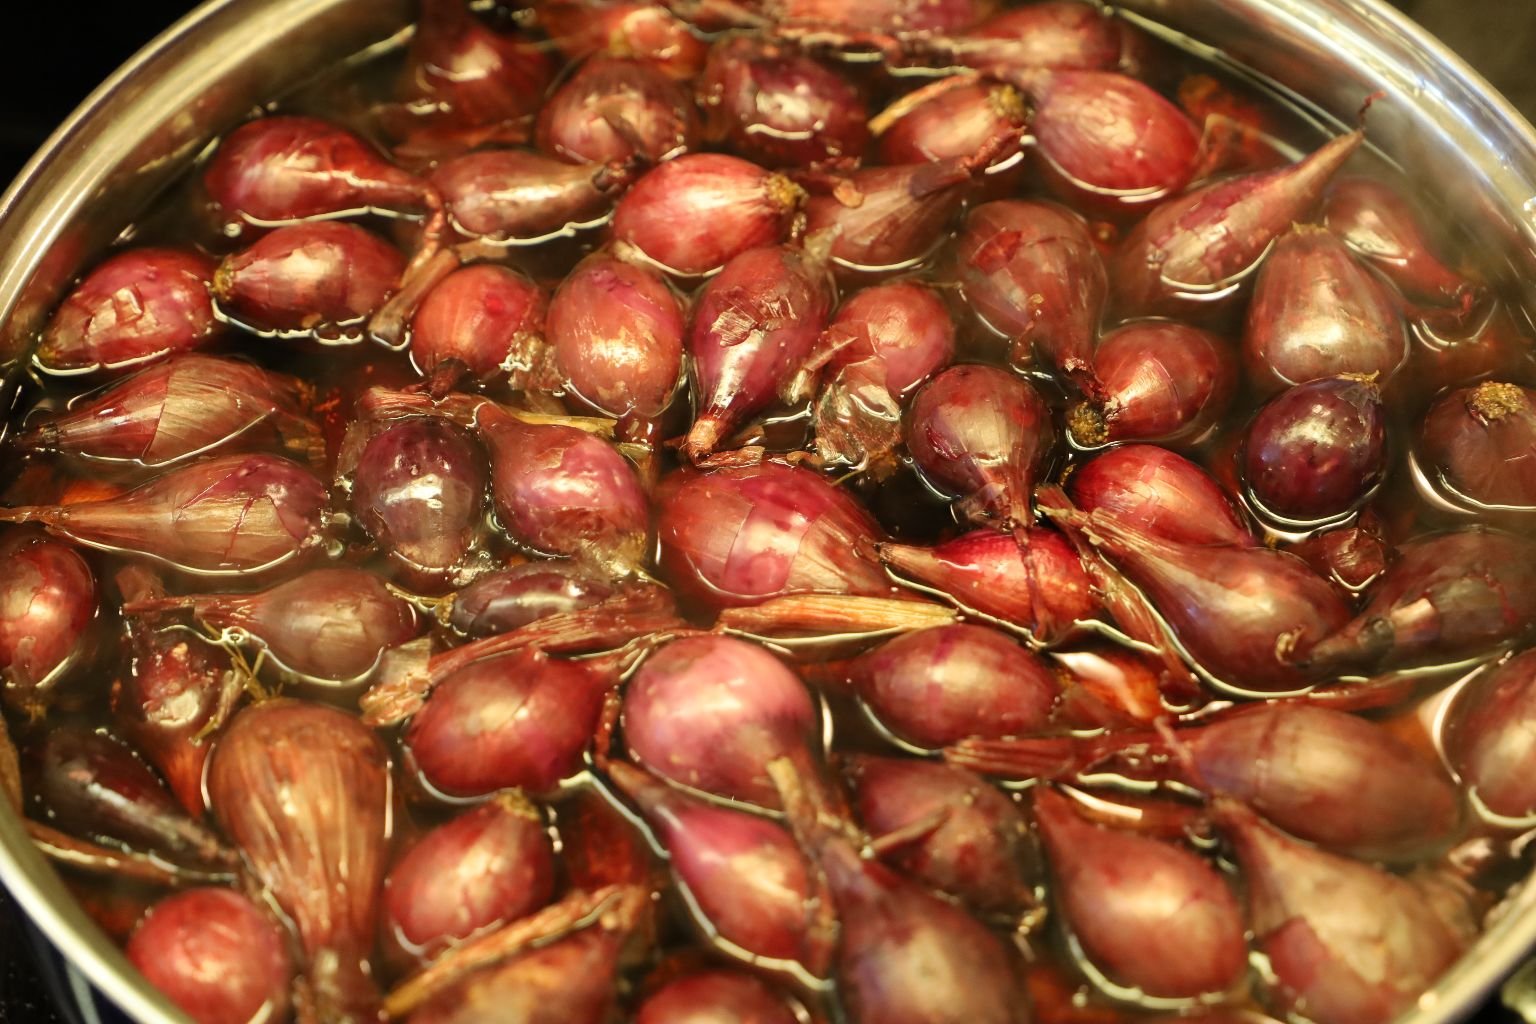
Be sure to stir your onions as they boil.
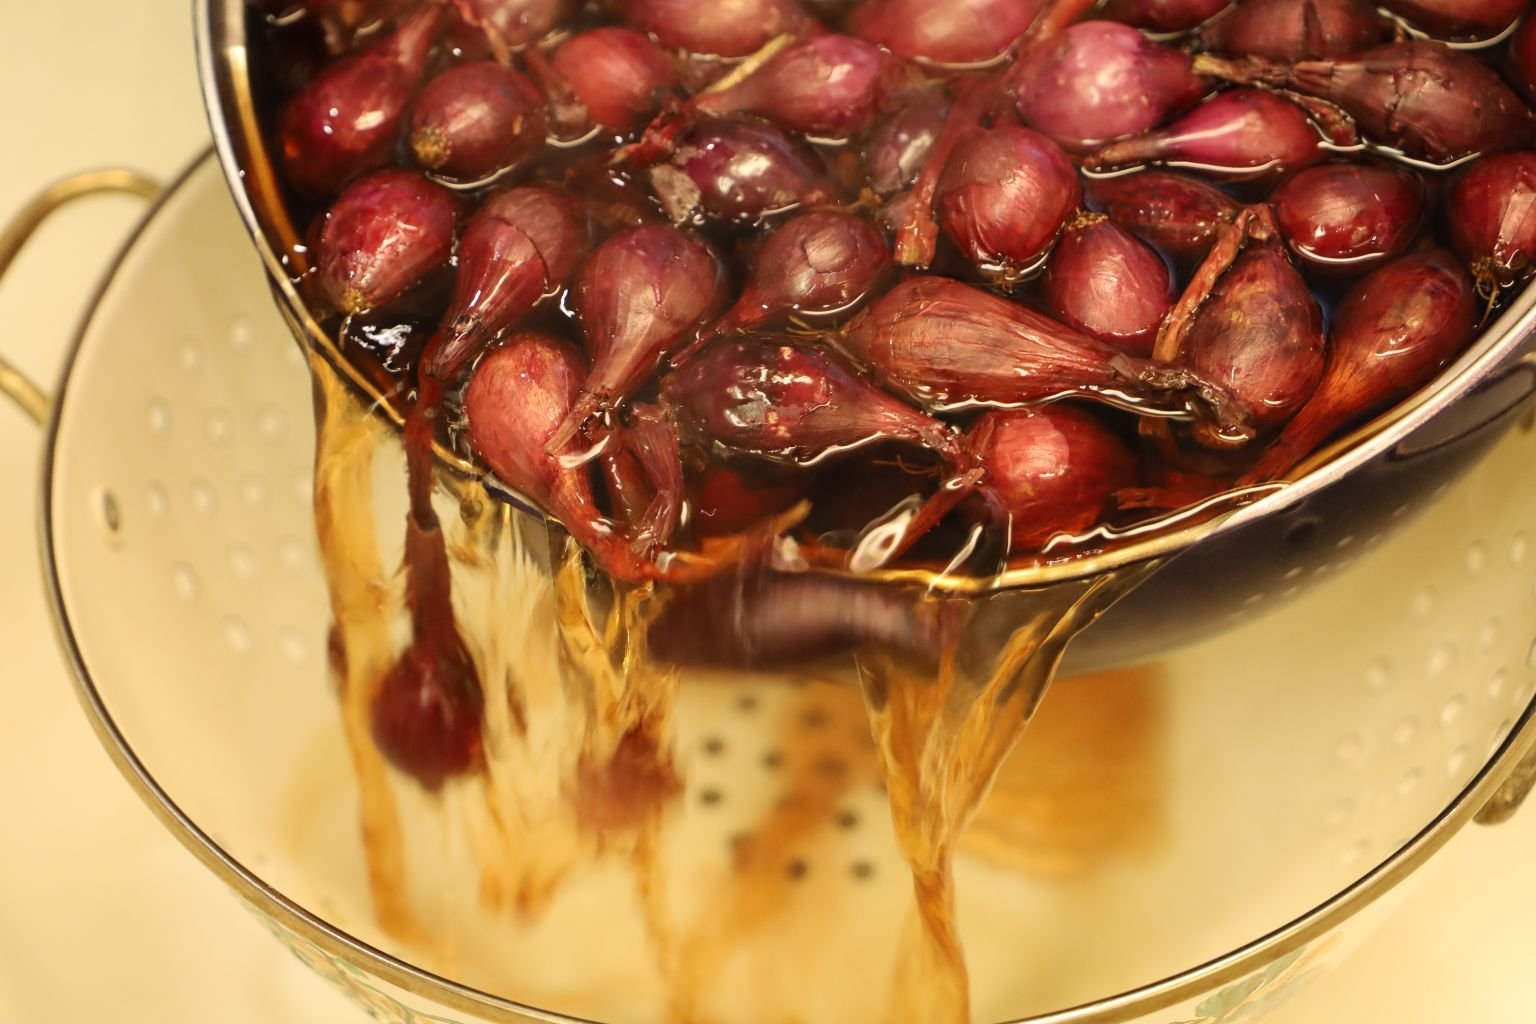

When the minute is done, pour the onions into a large colander.
Rinse the onions with cold water to stop the cooking process.
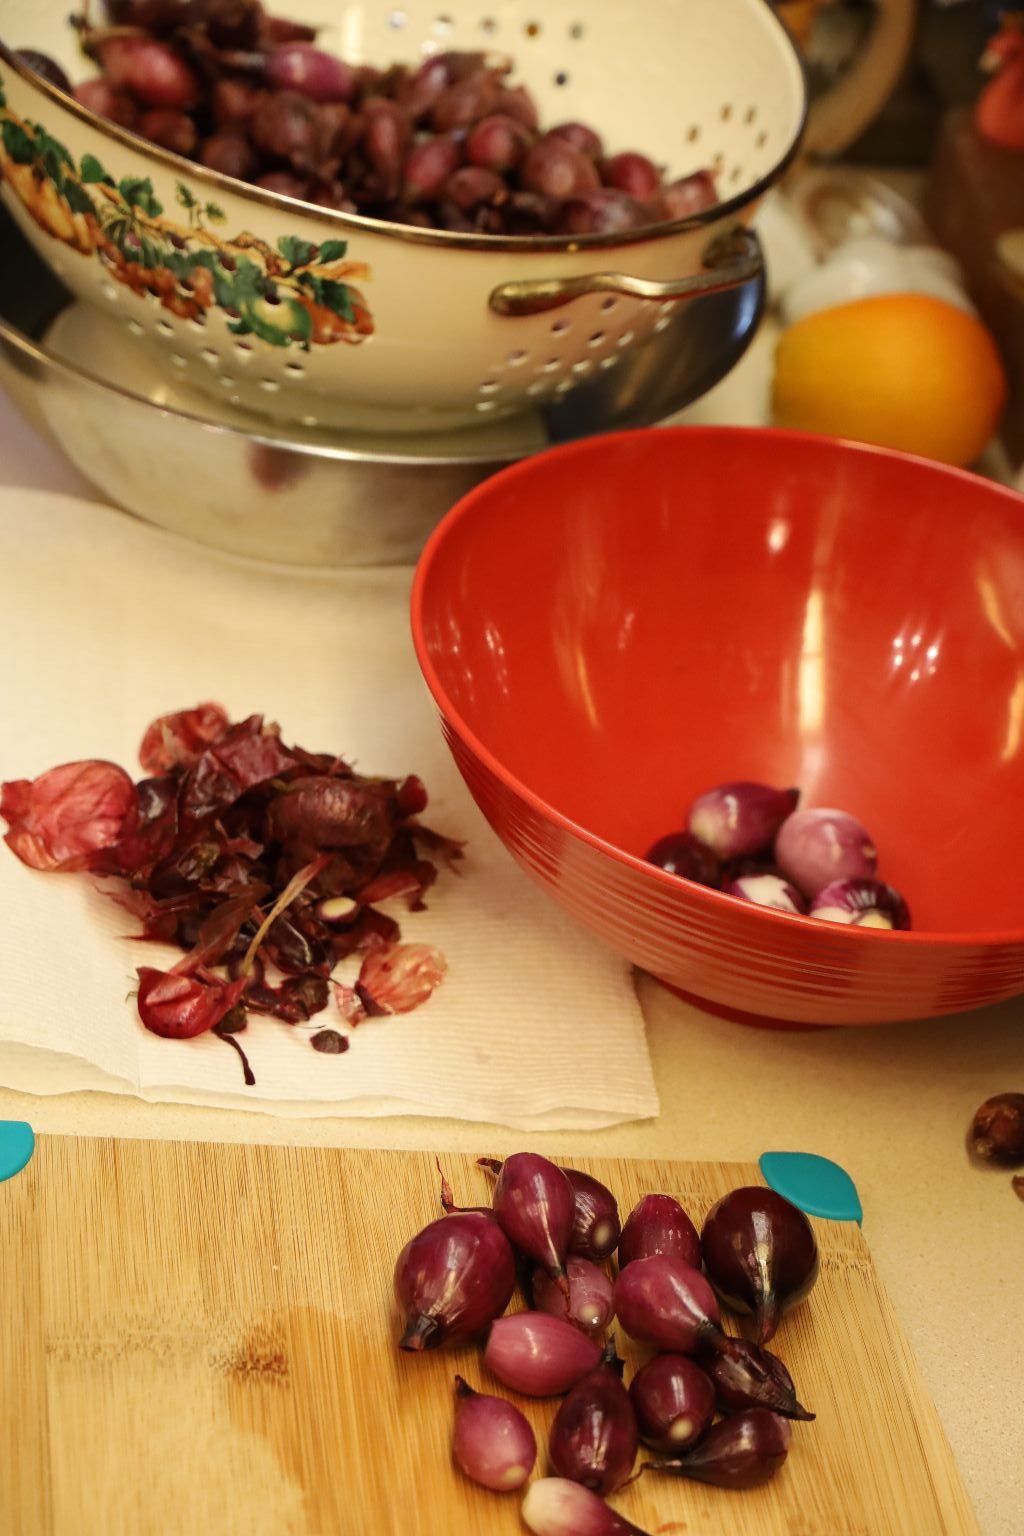
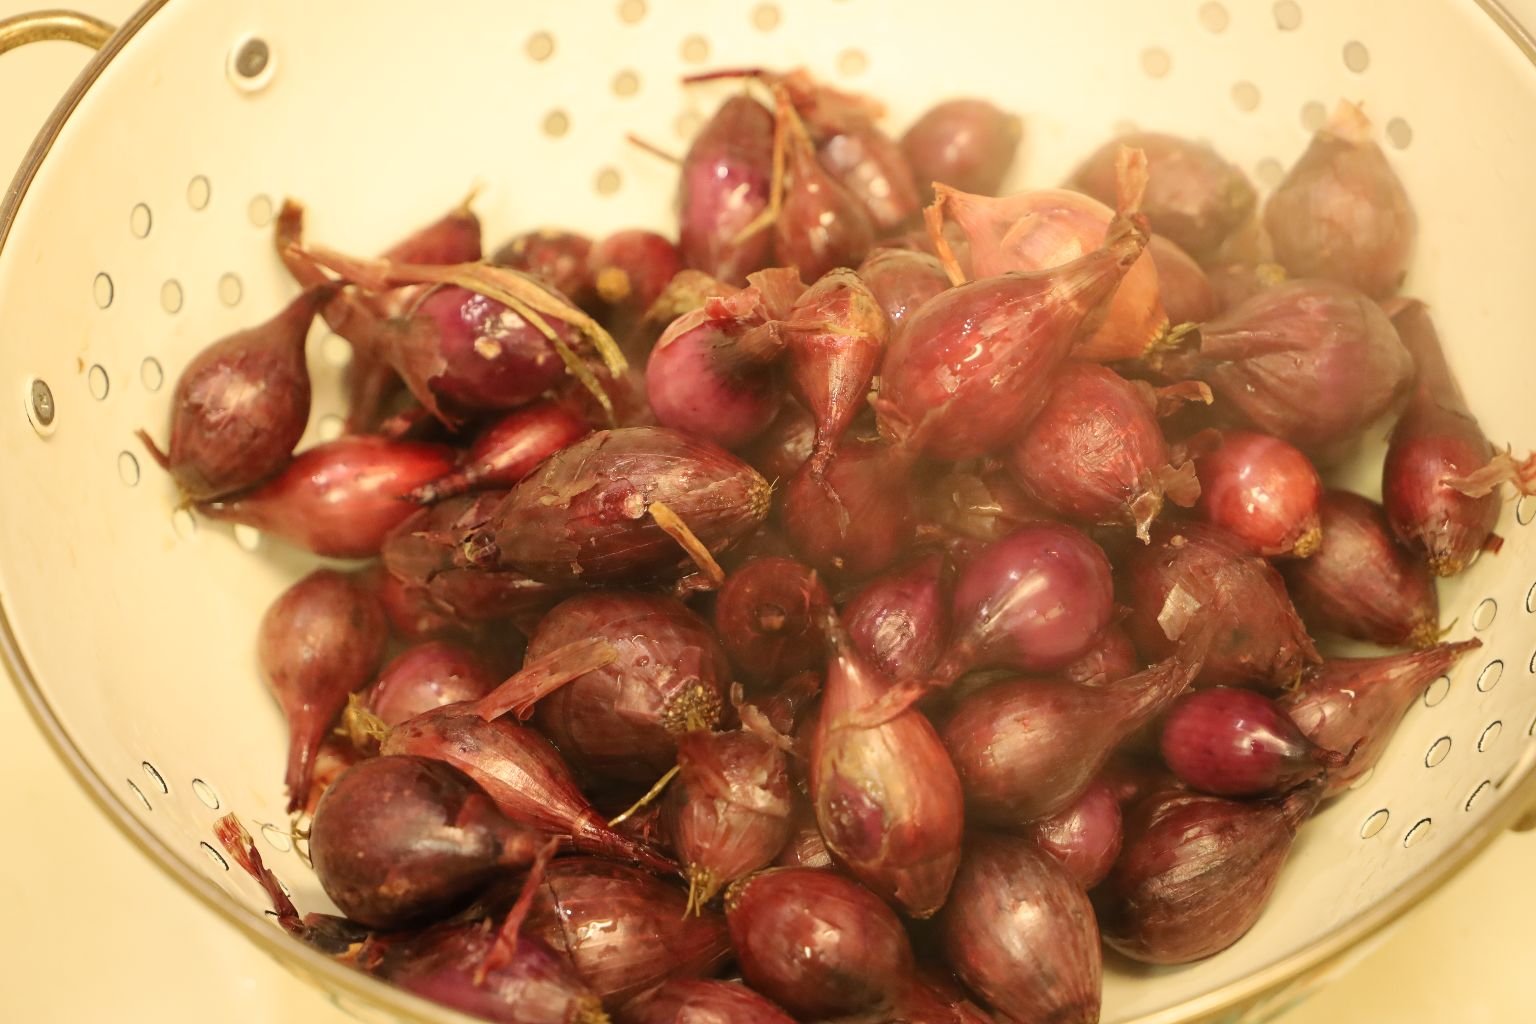
To remove the outer onion skins, simply pinch the onions at the root end, pulling back the outer skin with your fingers. Sometimes the onions shoot out of the skins which could be a fun project for the kids! Except make sure the onions are cool by then.
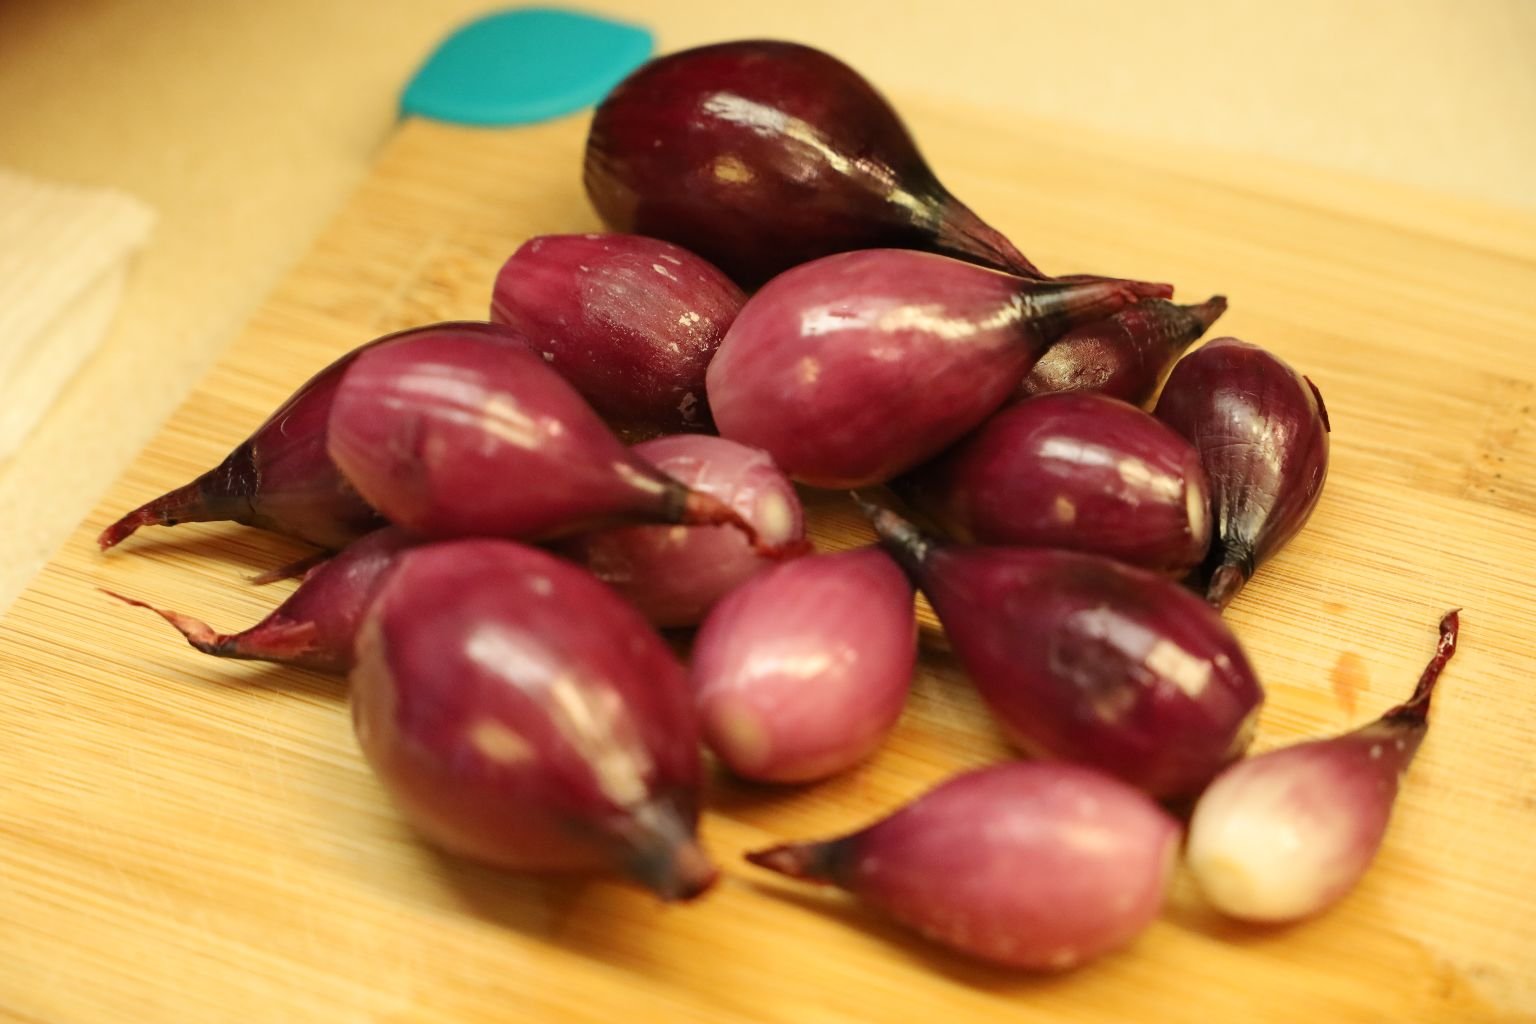
Here is the end product. Their deep purple color varies between the onions and will stain most anything they touch.
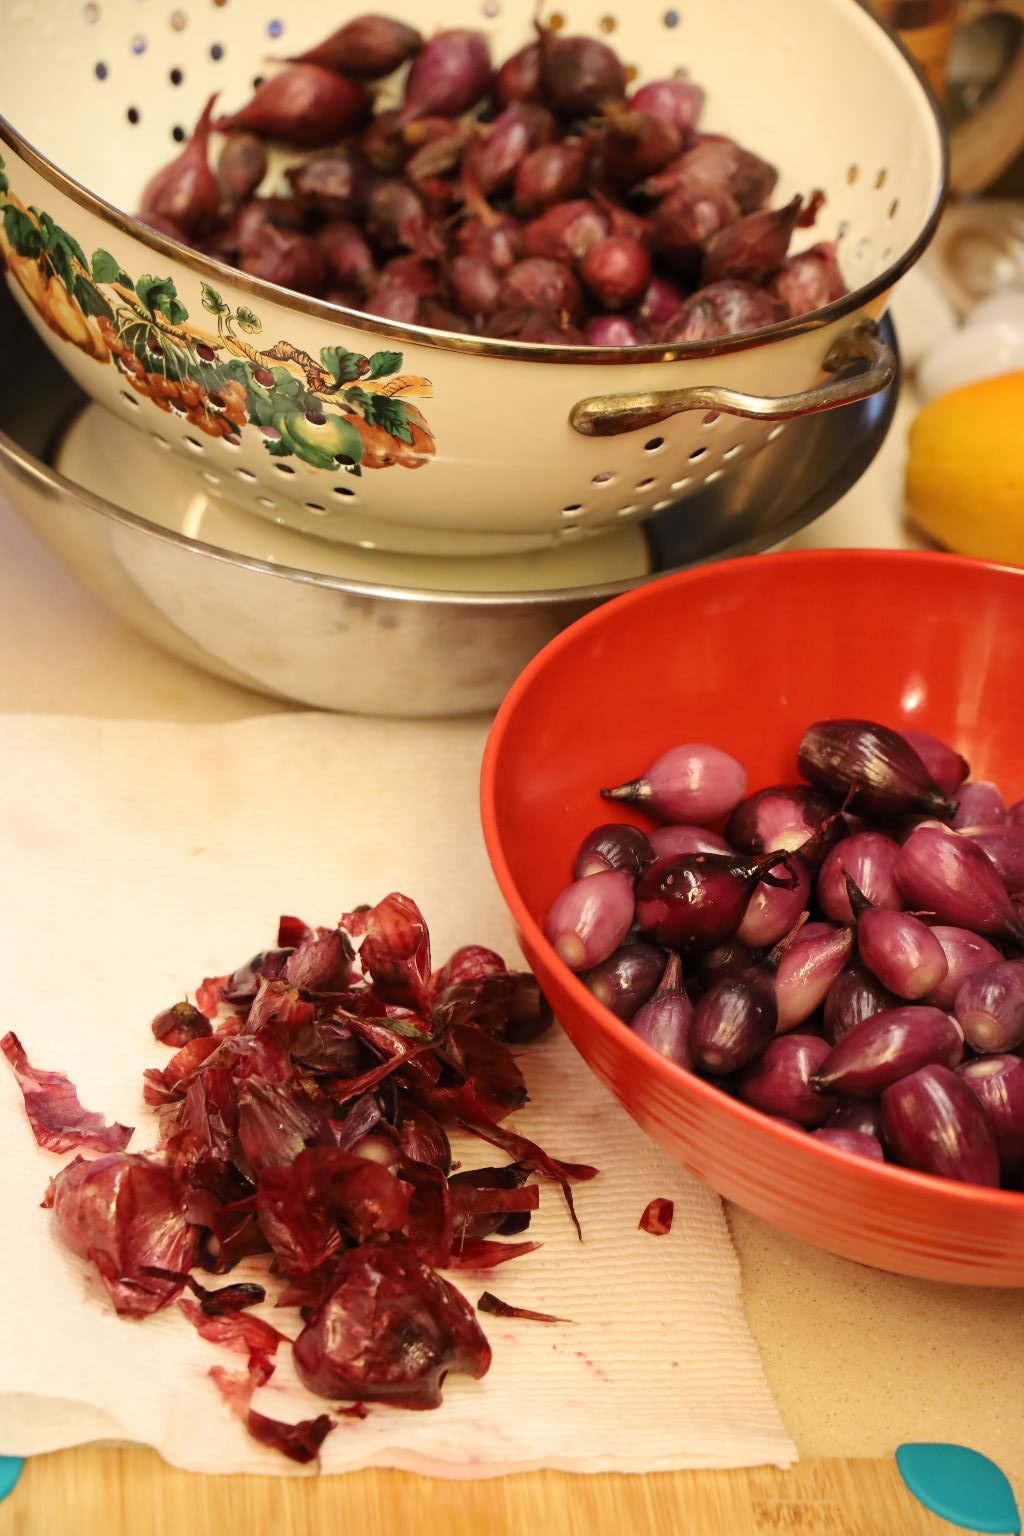
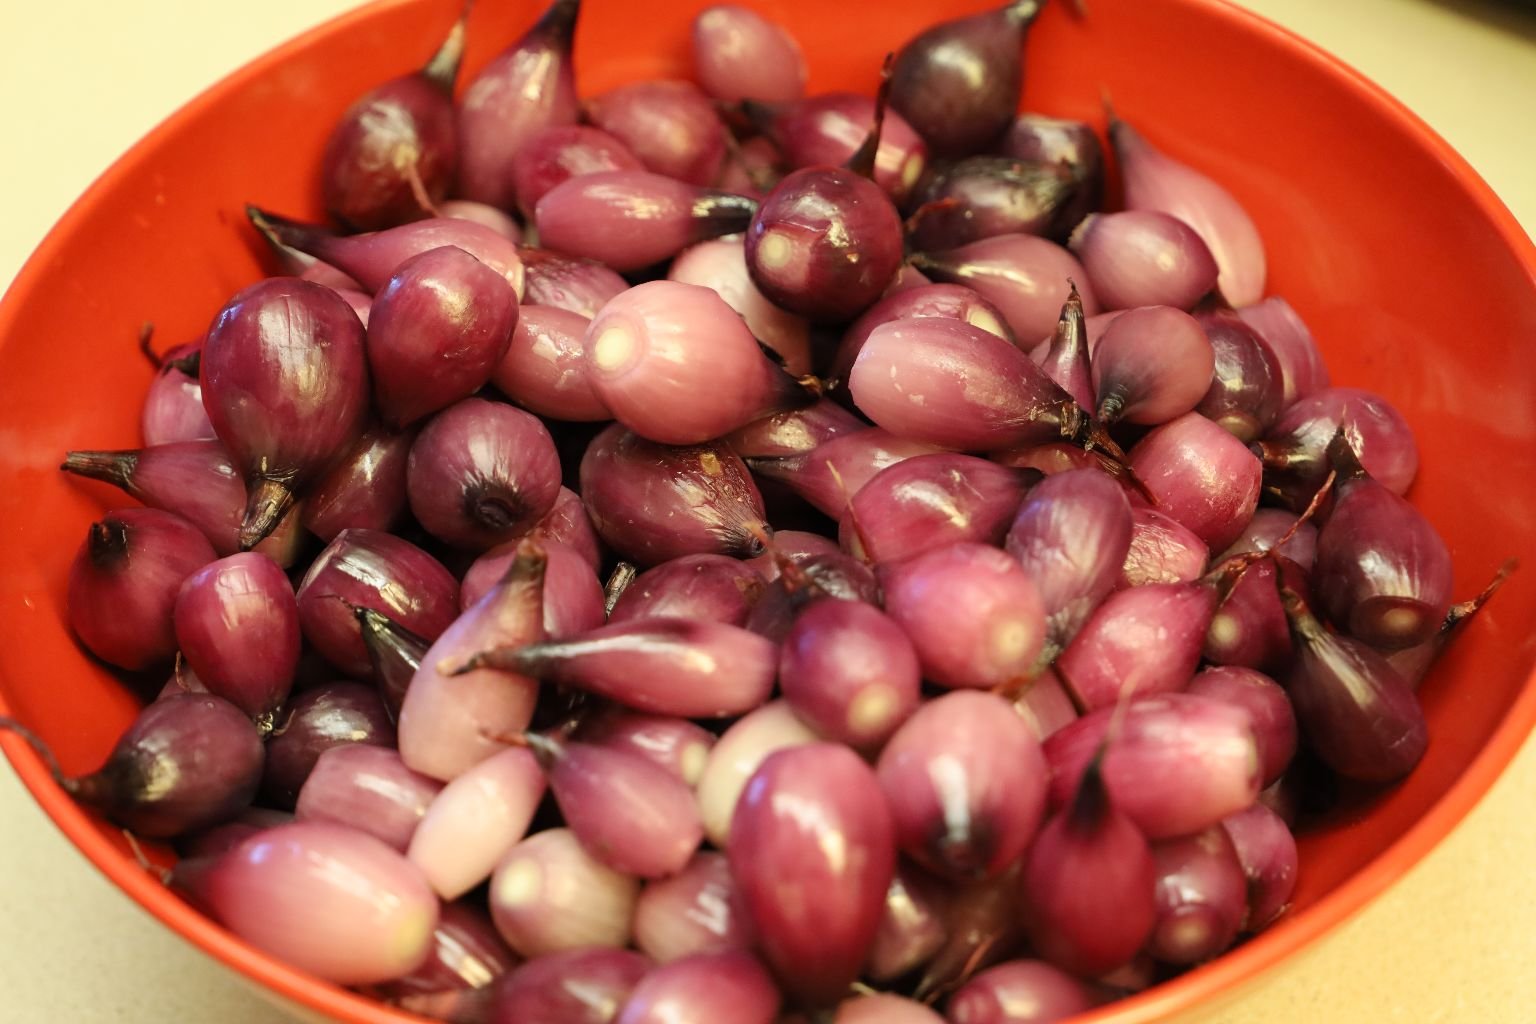
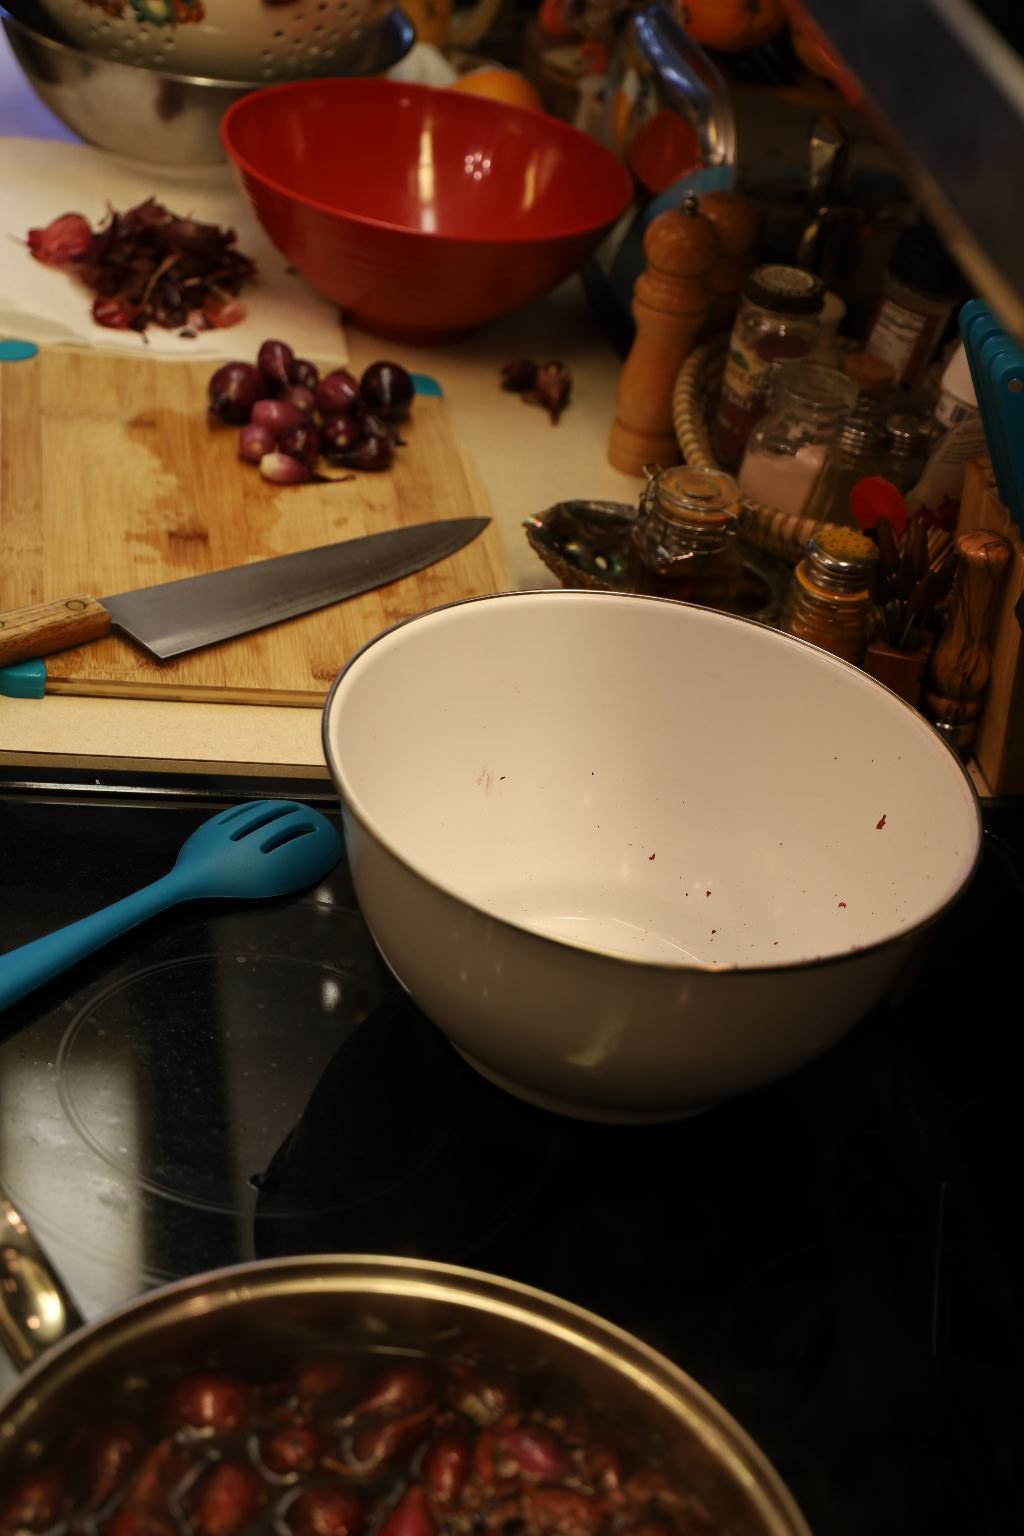
Once you have peeled back the onion’s skin, place them into a large bowl for later use.

——————————————————————
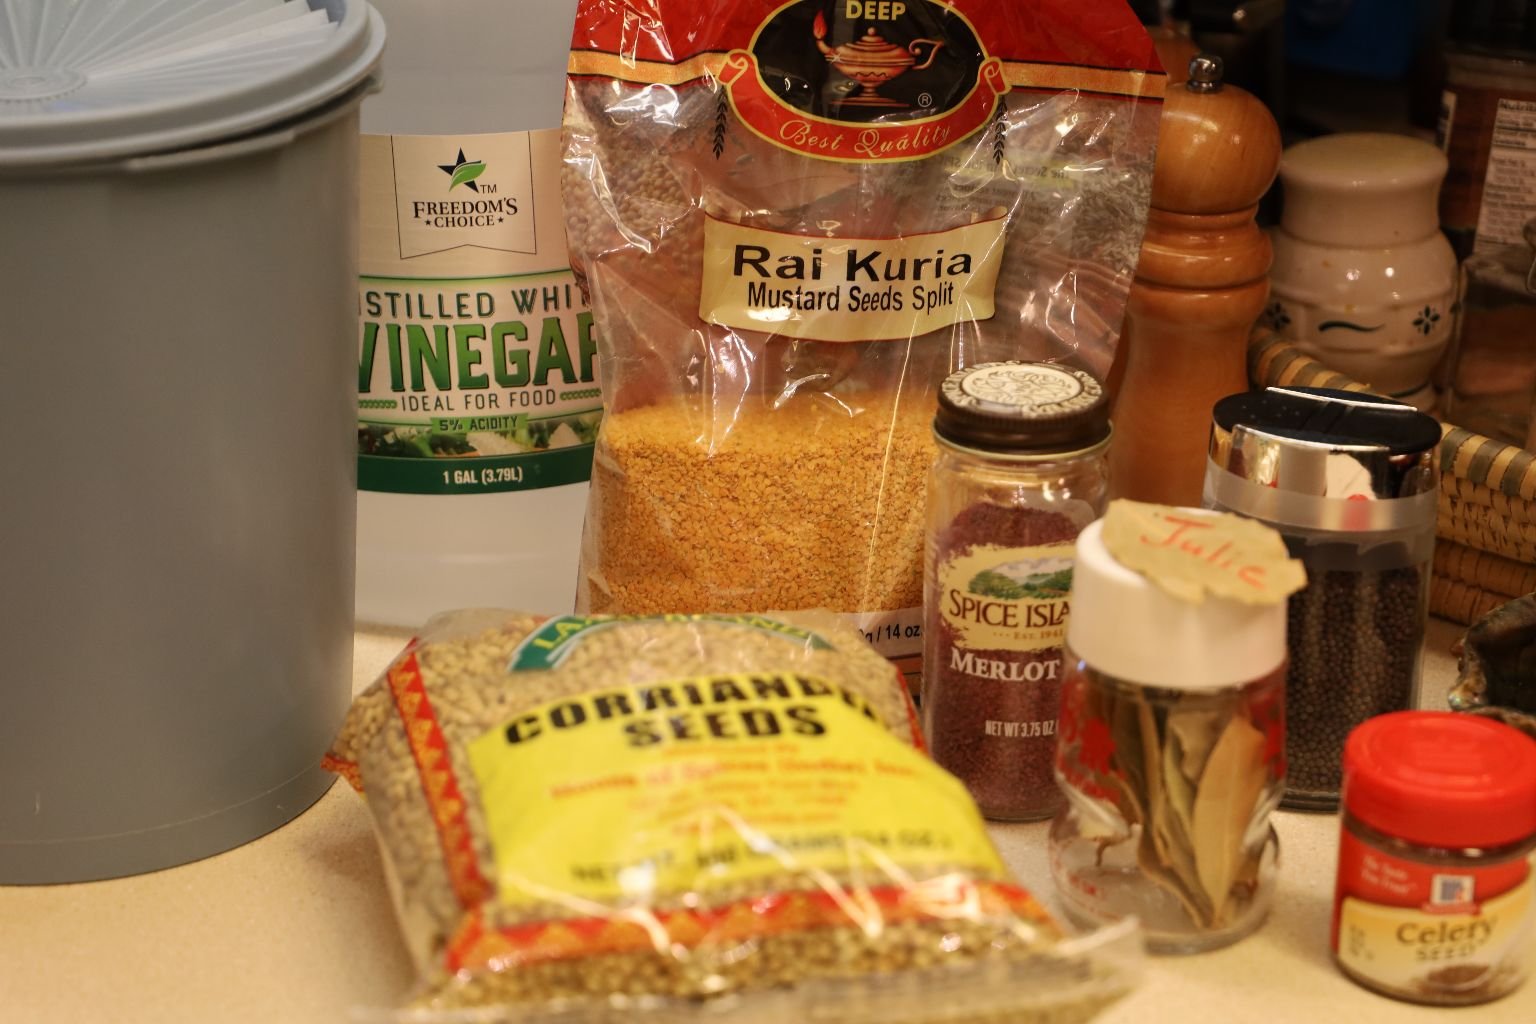
Ingredients:
10 Cups Red/Purple Pearl Onions – Skinned
~20 Bay Leaves
1 Cup Sugar
5 Cups White Distilled Vinegar
1 Tbsp. Merlot Salt
1 Tbsp. Brown Mustard Seeds – You could also use Split Yellow Mustard Seeds as shown in the picture
1/2 Tbsp. Celery Seeds
1/2 Cup Corriander Seeds
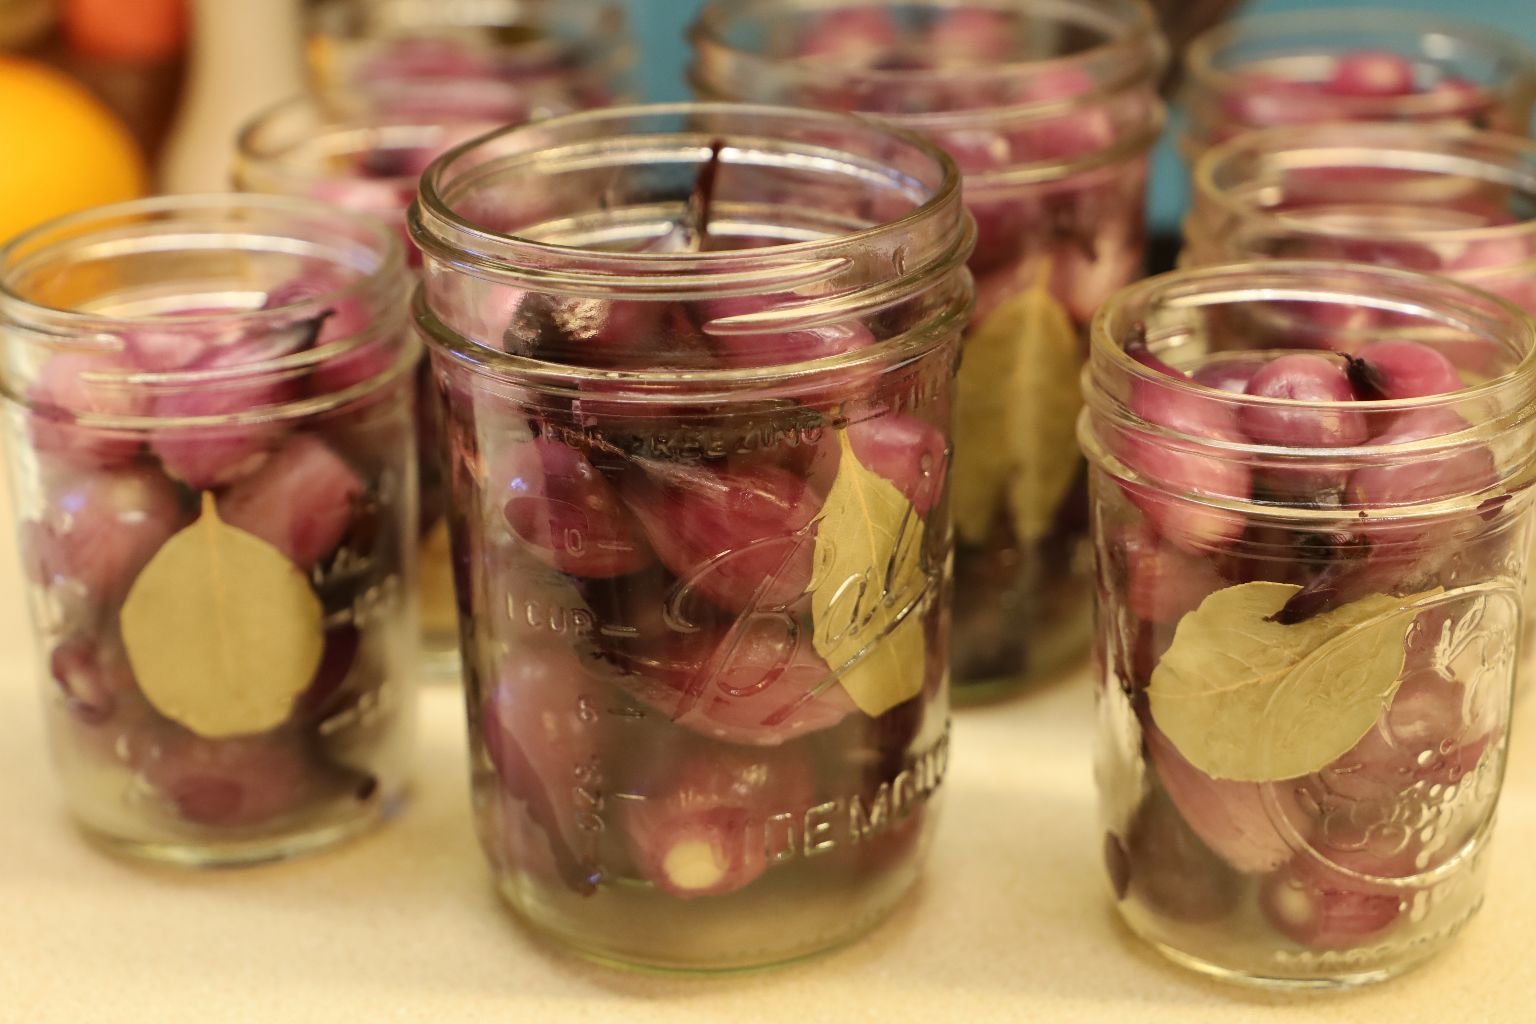
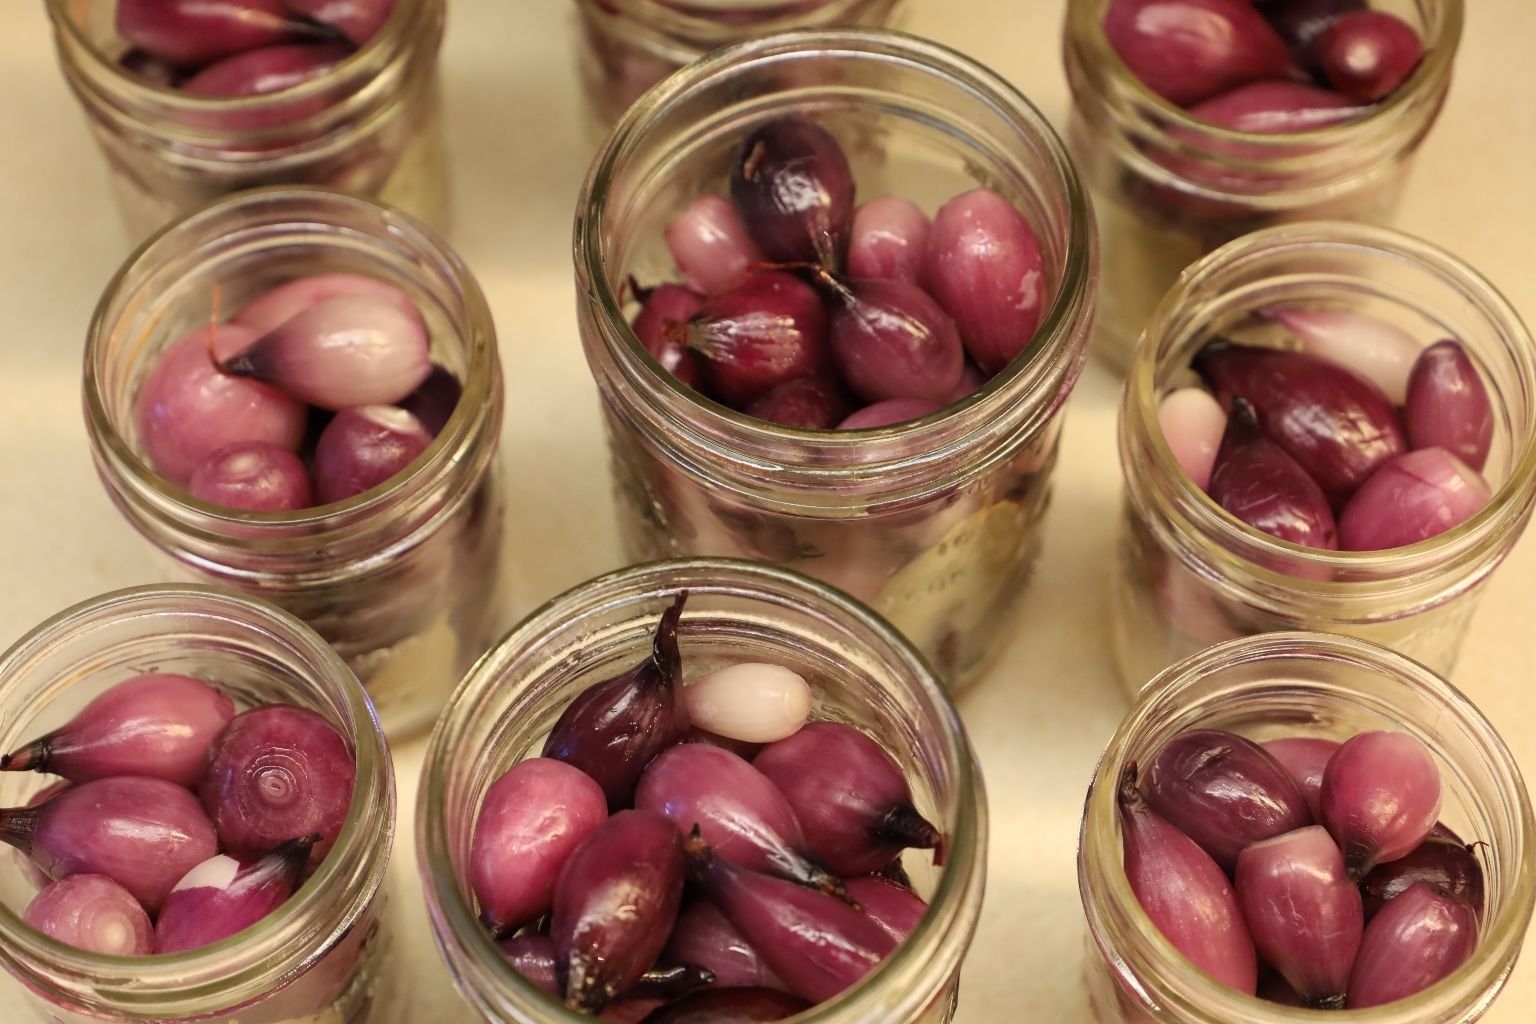
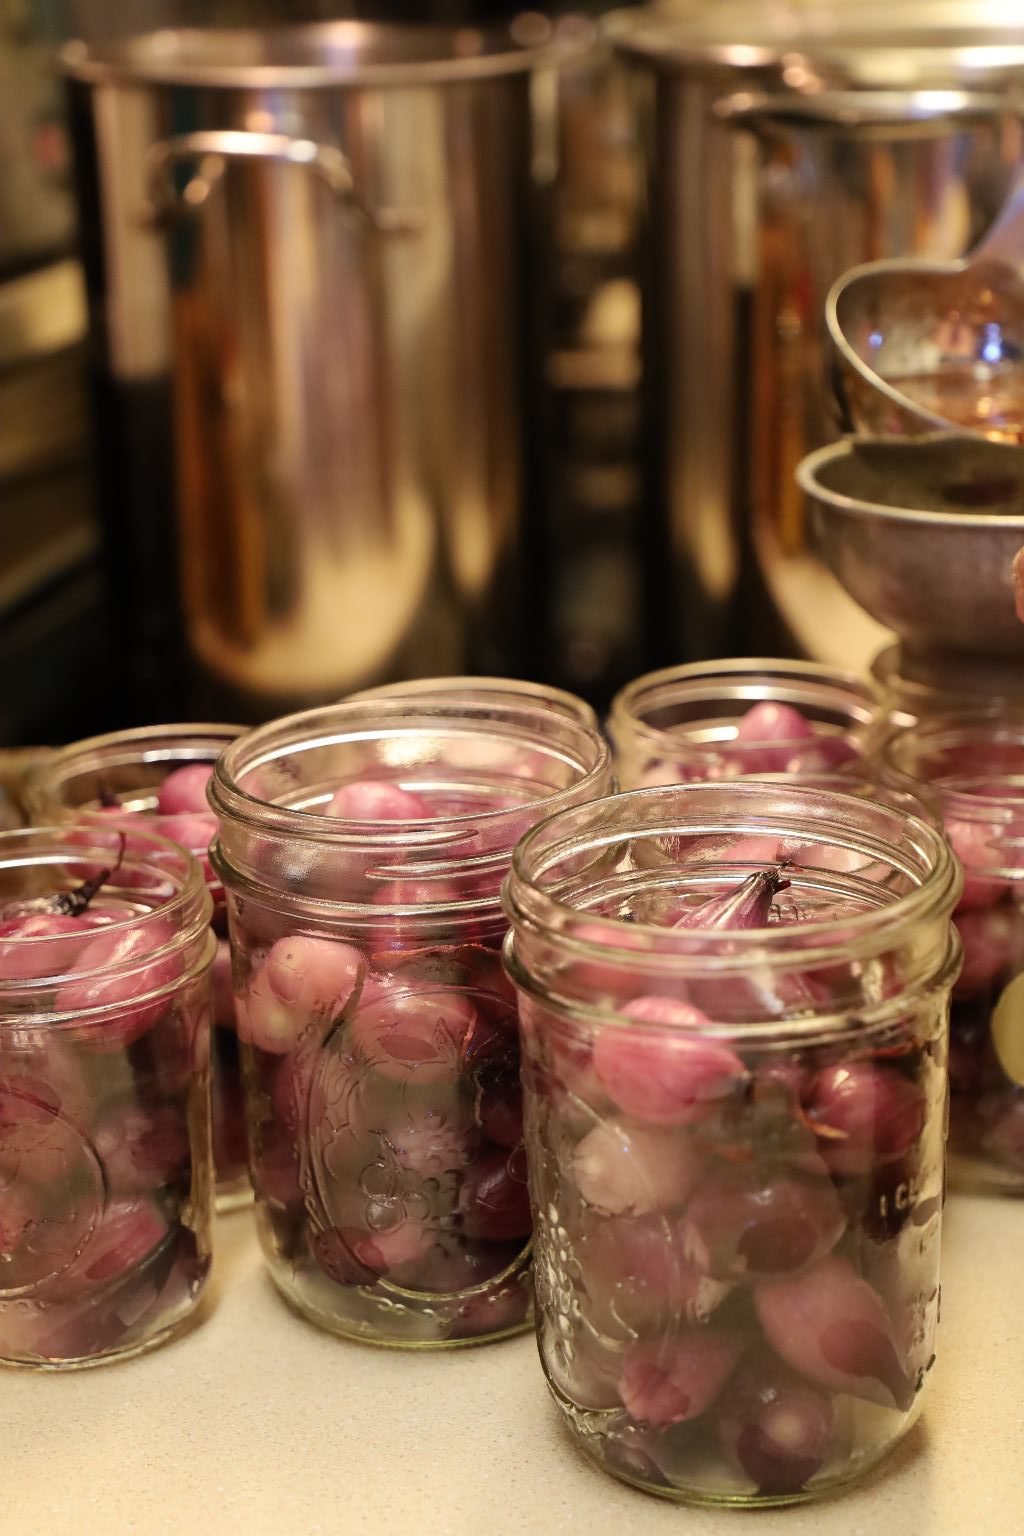
Sterilize your jars in the dishwasher using your heat dry setting and when done keep them clean and covered with a clean dish towel. Do not touch the insides of your jars. Pack your pearl onions into the jars adding two Bay Leaves to each jar as shown. Be sure all the onions are at least 1/4 inch away from the top of the jar. This area is called the Headspace and is used to create a vacuum inside the jar to preserve the contents.
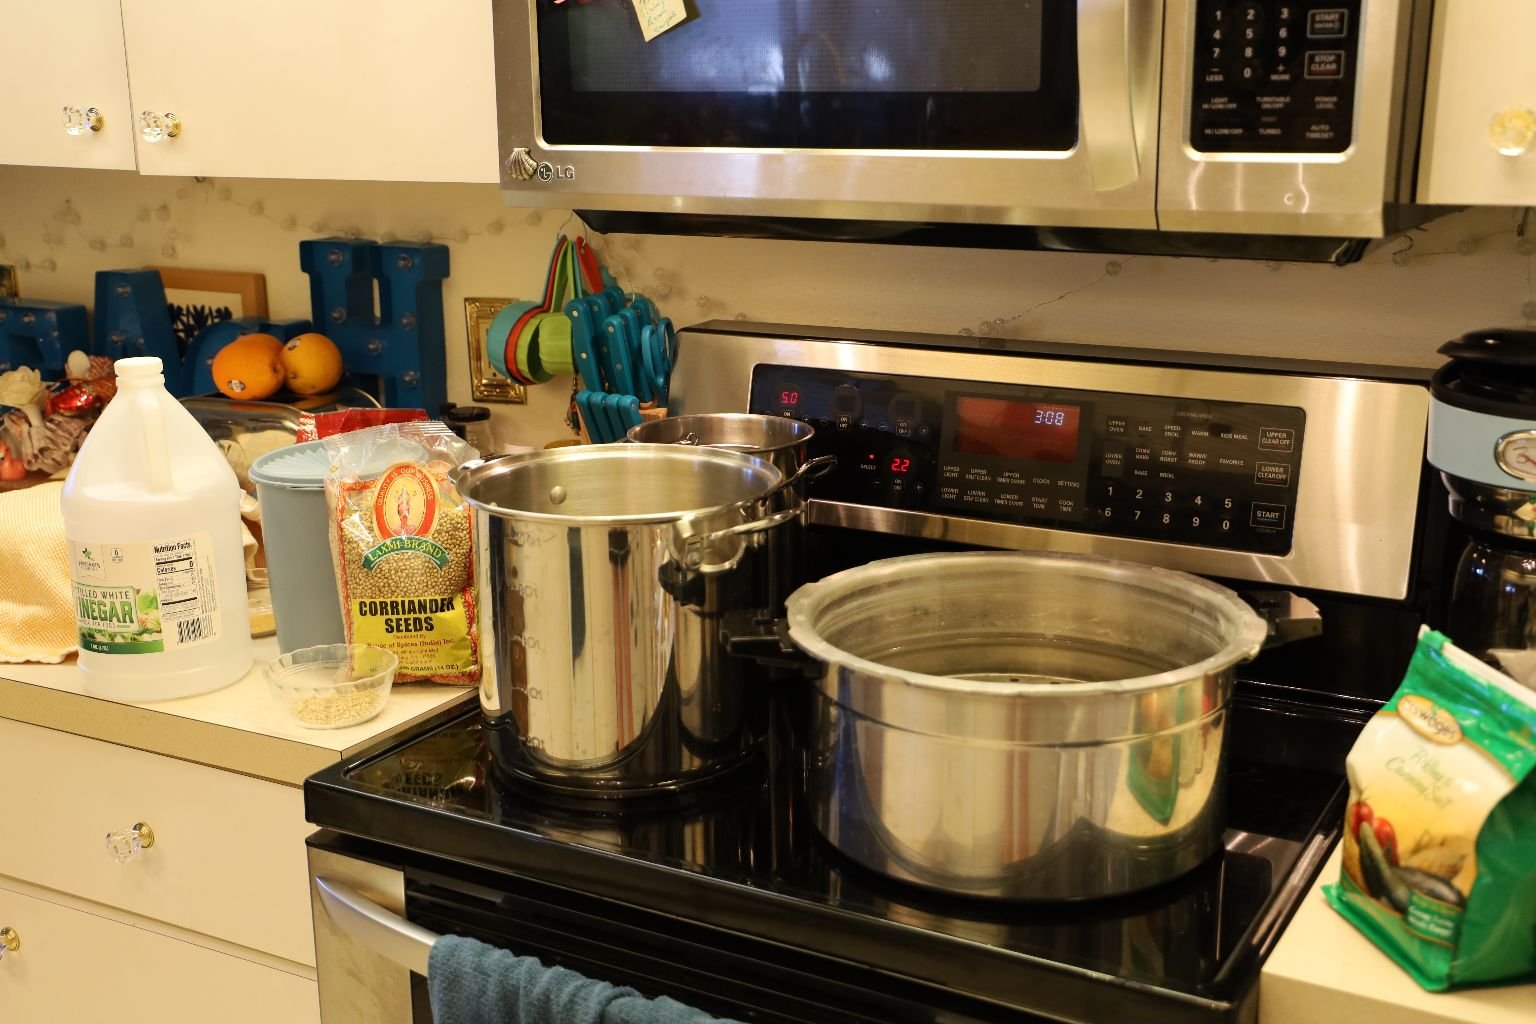
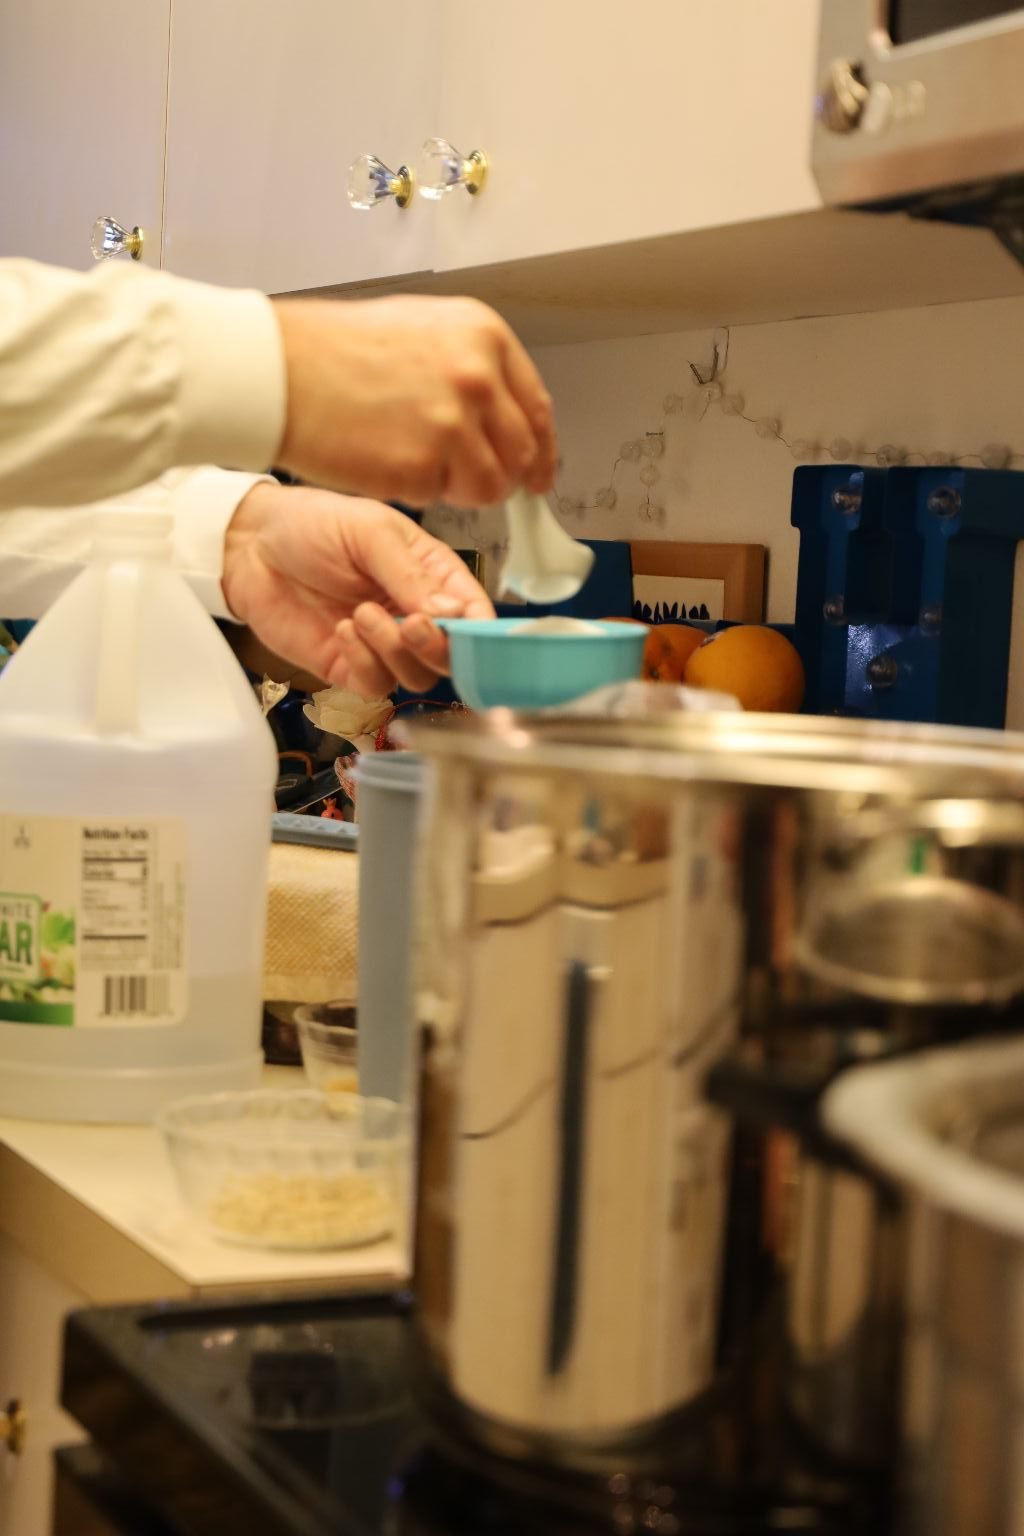
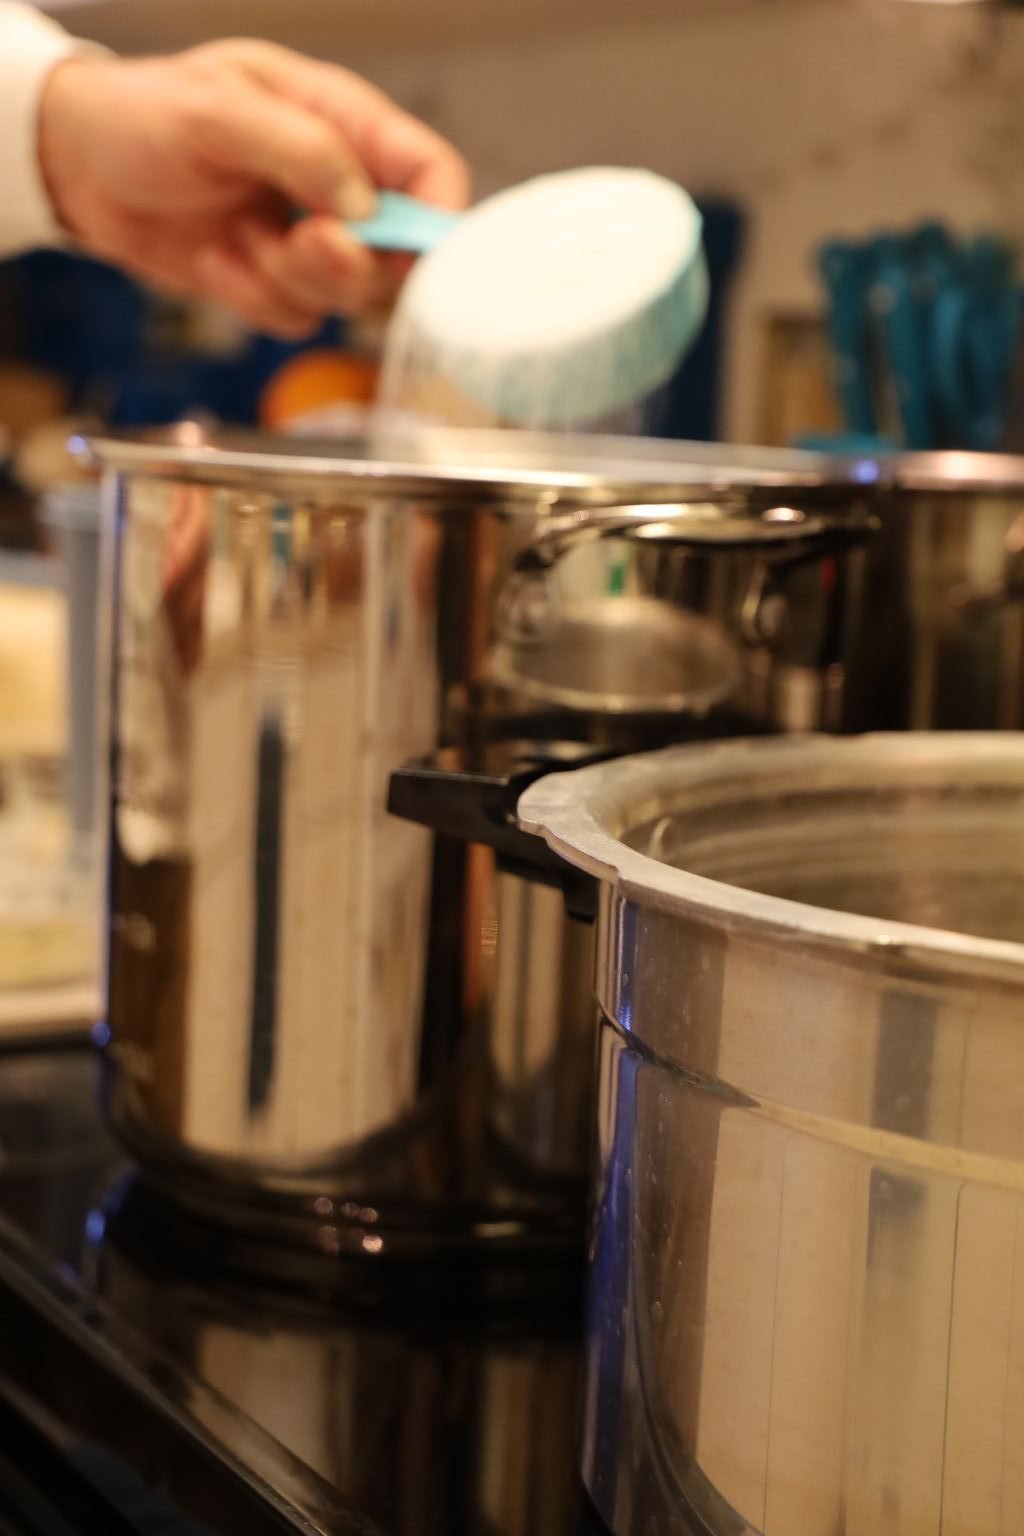
Now for the pickling liquid! Here you see our setup. On the left of the stove is our pot for the pickling liquid and to the right of it is our large pot which will be used to process the jars. This pot has to be at least two inches taller than your tallest canning jar. In this canning pot, fill it half way with water and turn your heat on high to begin to heat the water to a boil.
In the large pickling pot add your sugar…
Then add your vinegar and heat the ingredients to medium high heat. We chose to use White vinegar, but you can use any type of vinegar you like as there are many varieties out there. I would also suggest using an Apple Cider vinegar for this recipe.
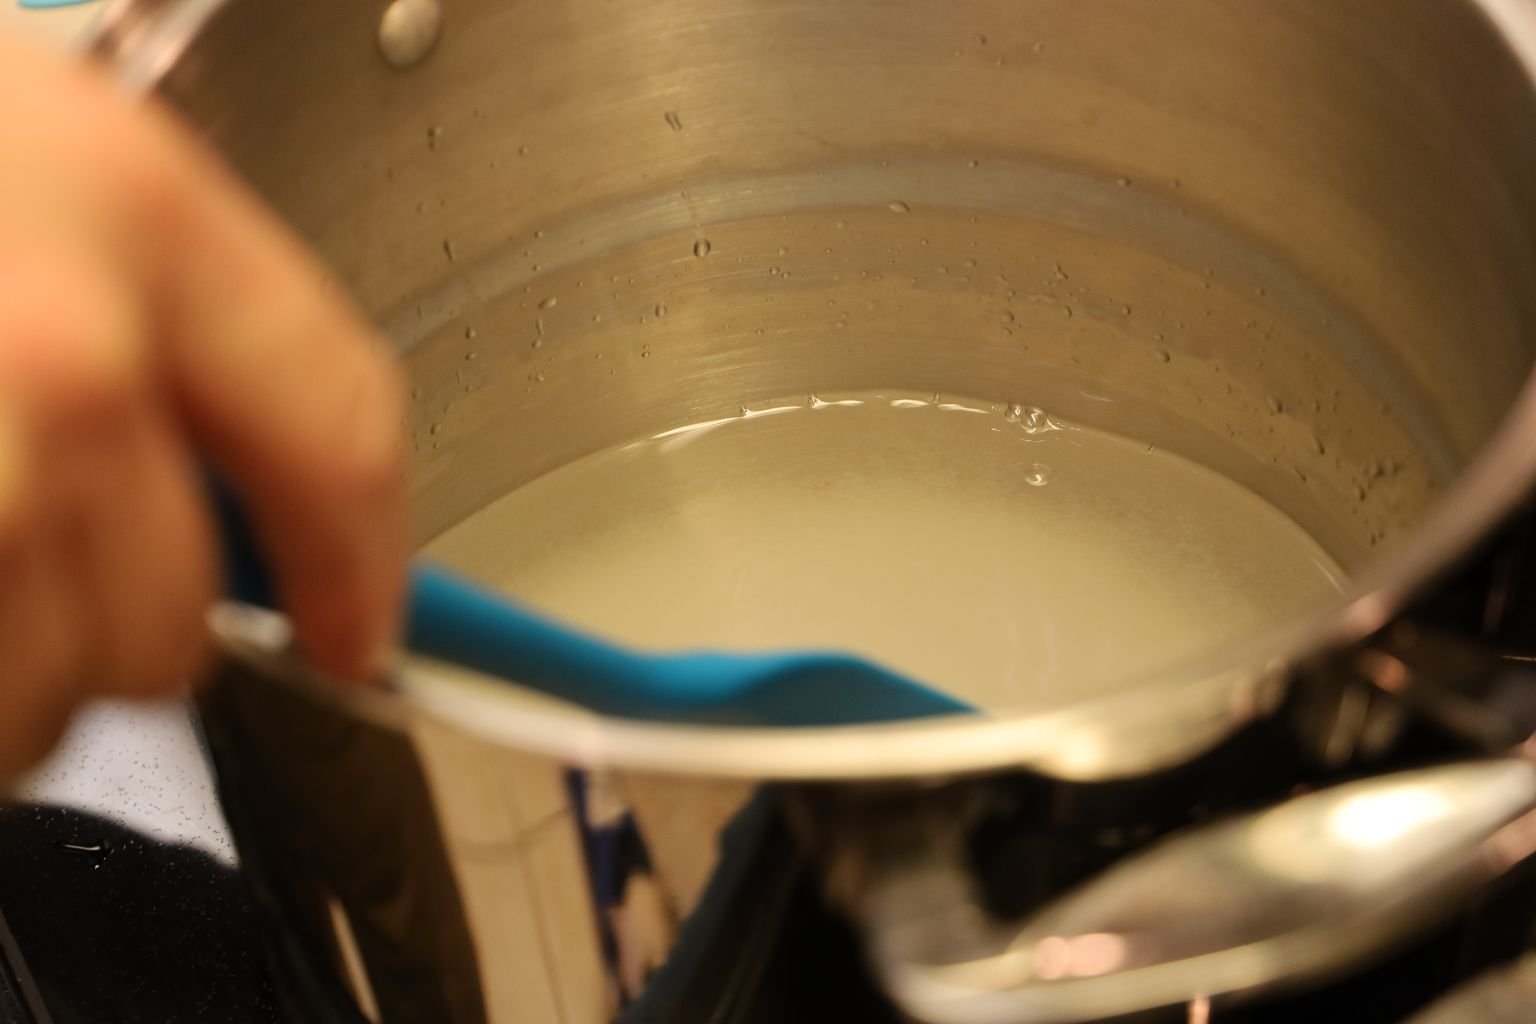
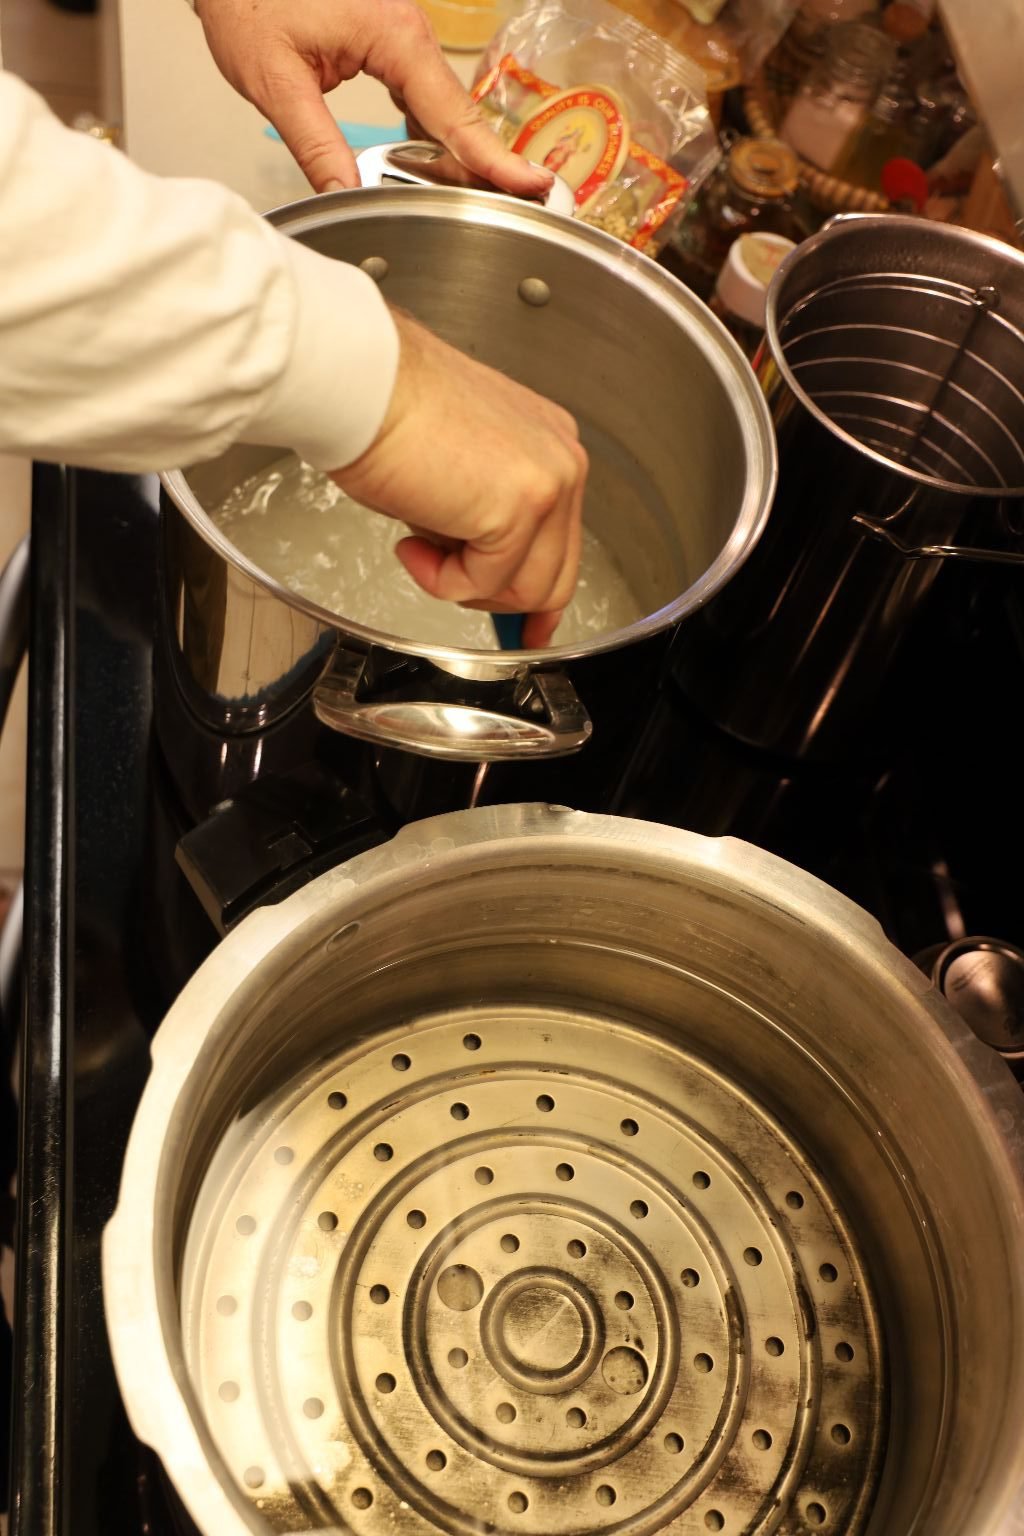
Stir the sugar and vinegar mixture well until the sugar dissolves. Here you also see the pot filled half way with water which will be used to process the jars. Not seen is the smaller pot of just under boiling water which is heating our lids to soften their rubber seals. Be sure not to boil this water as it could ruin the rubber seals.
——————————————————————-
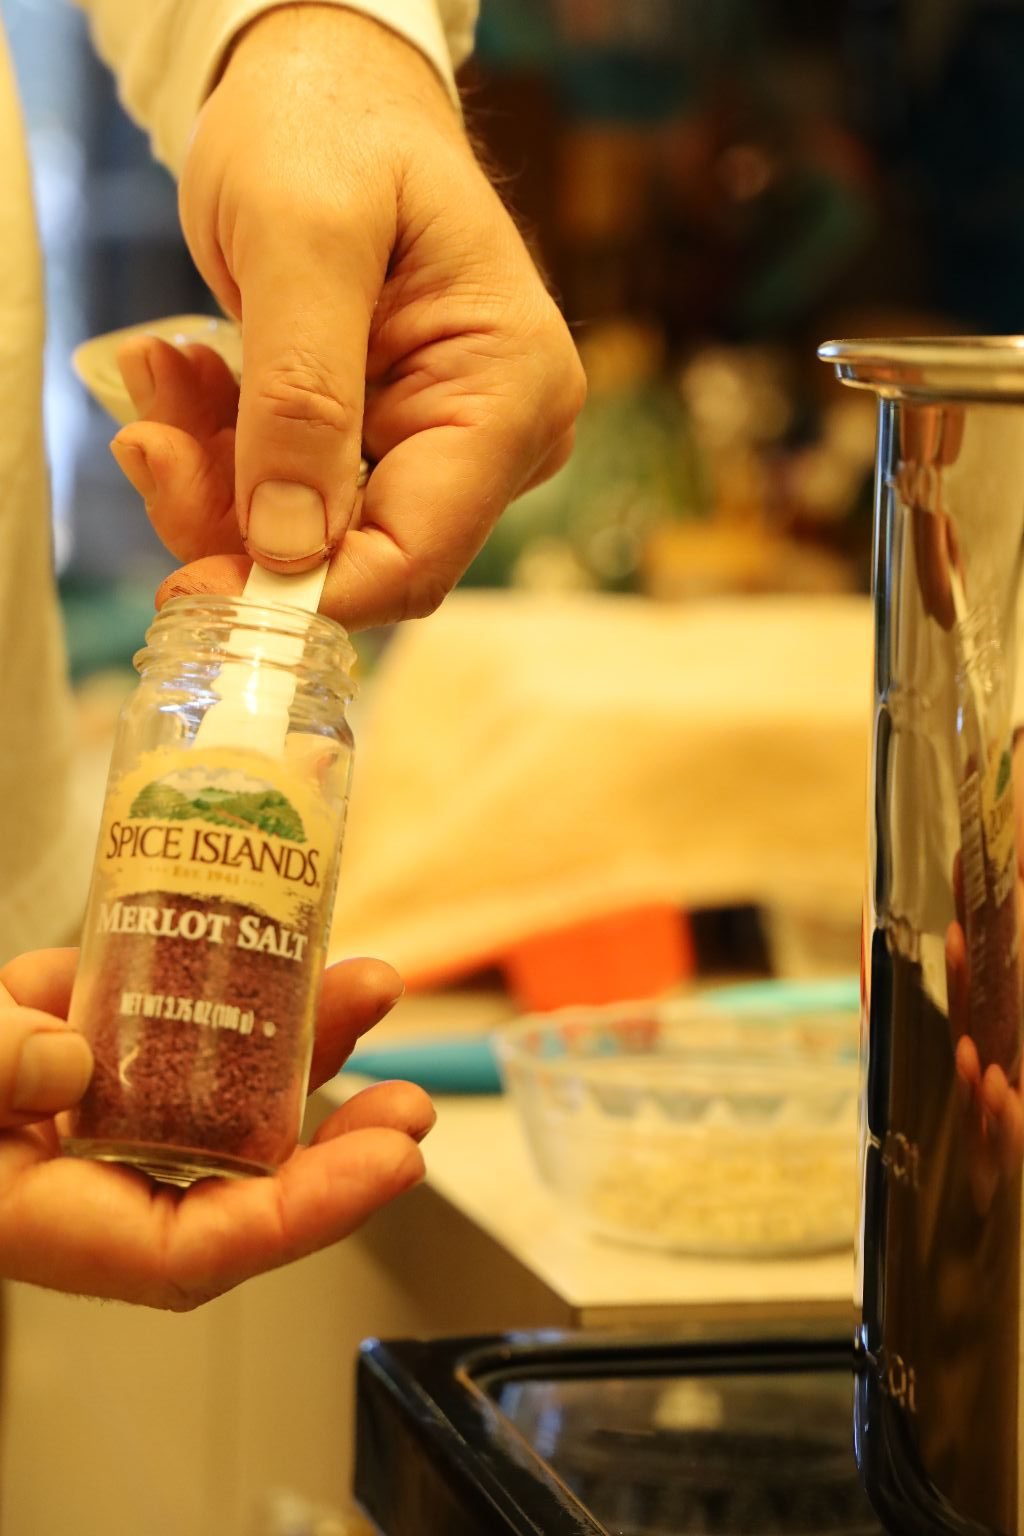
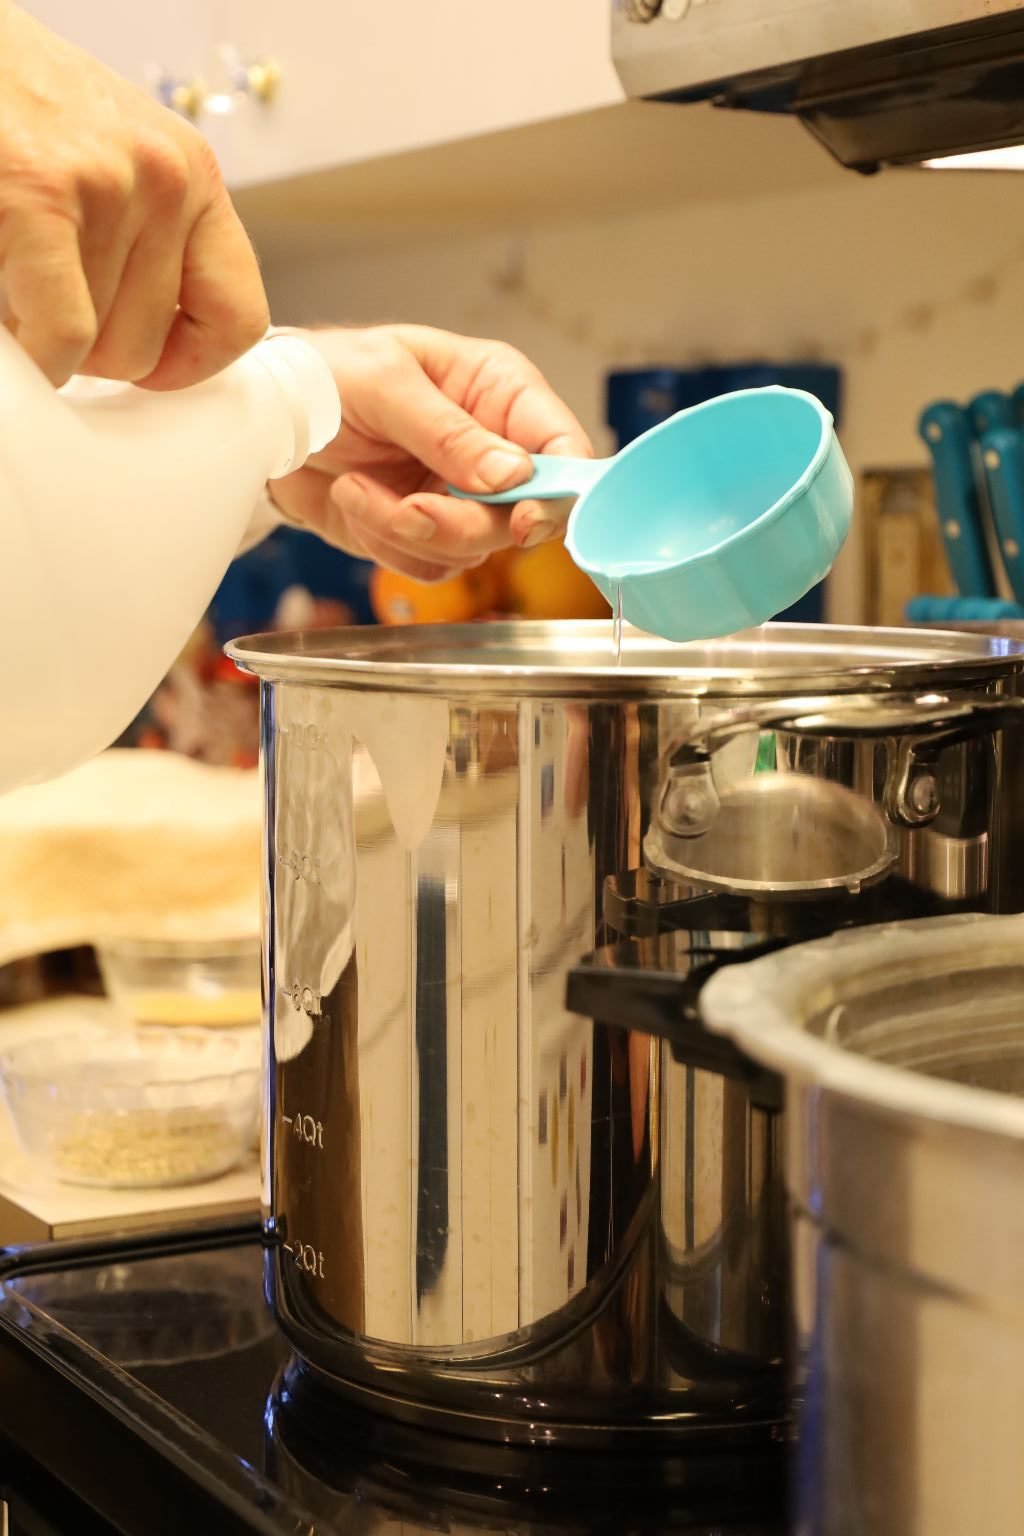
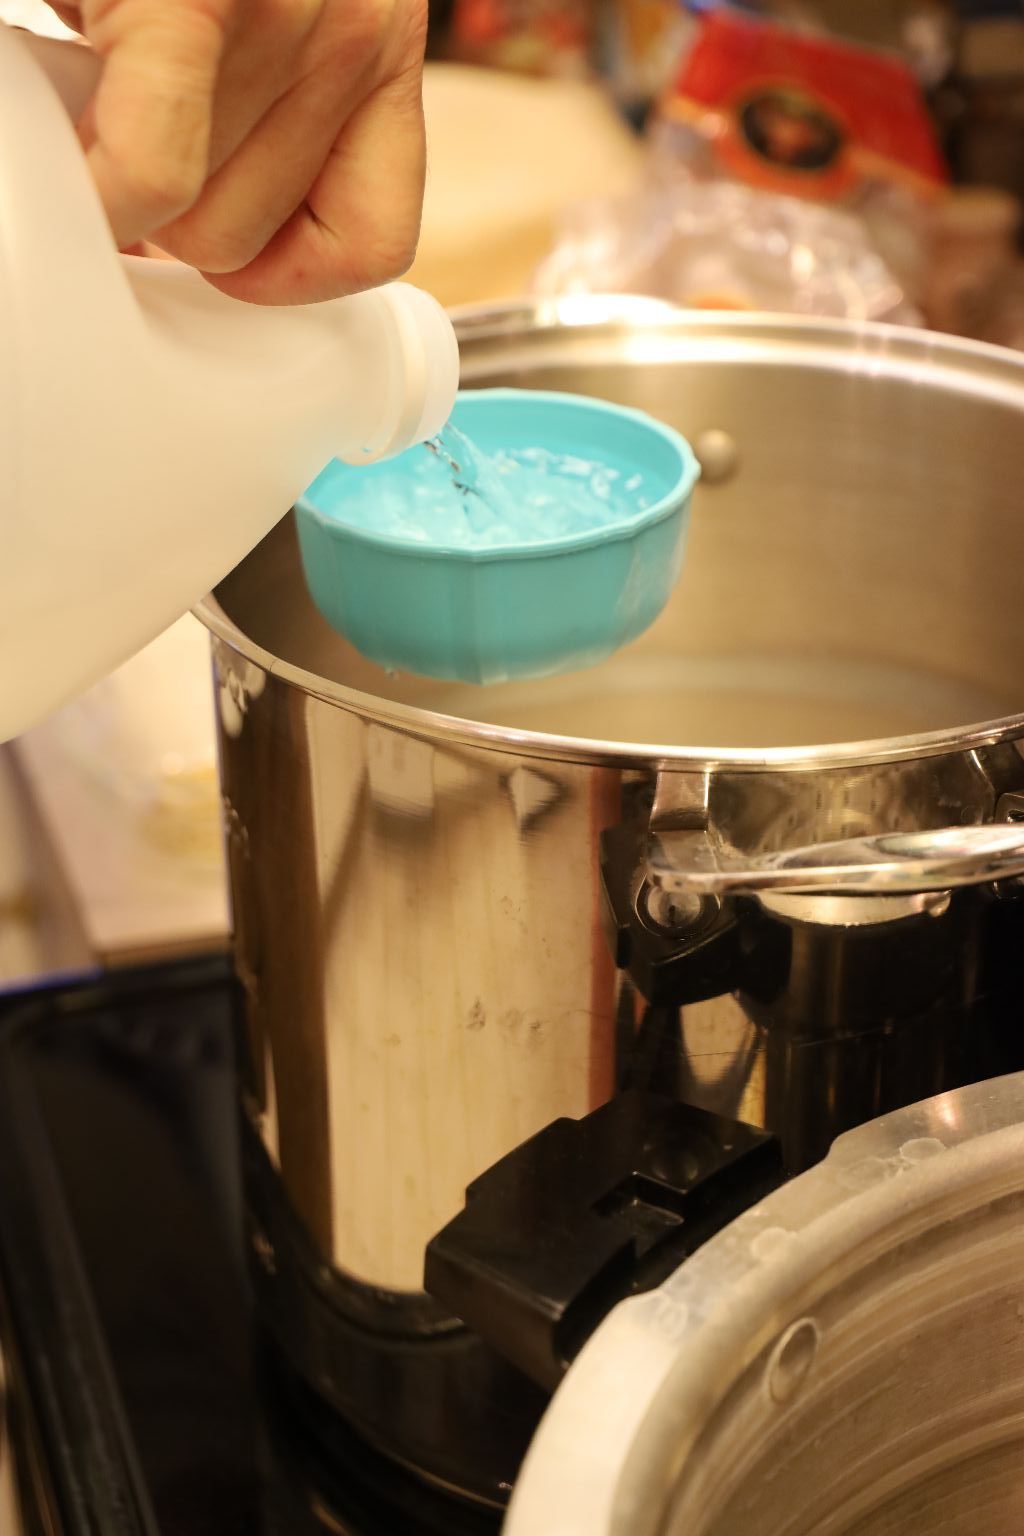
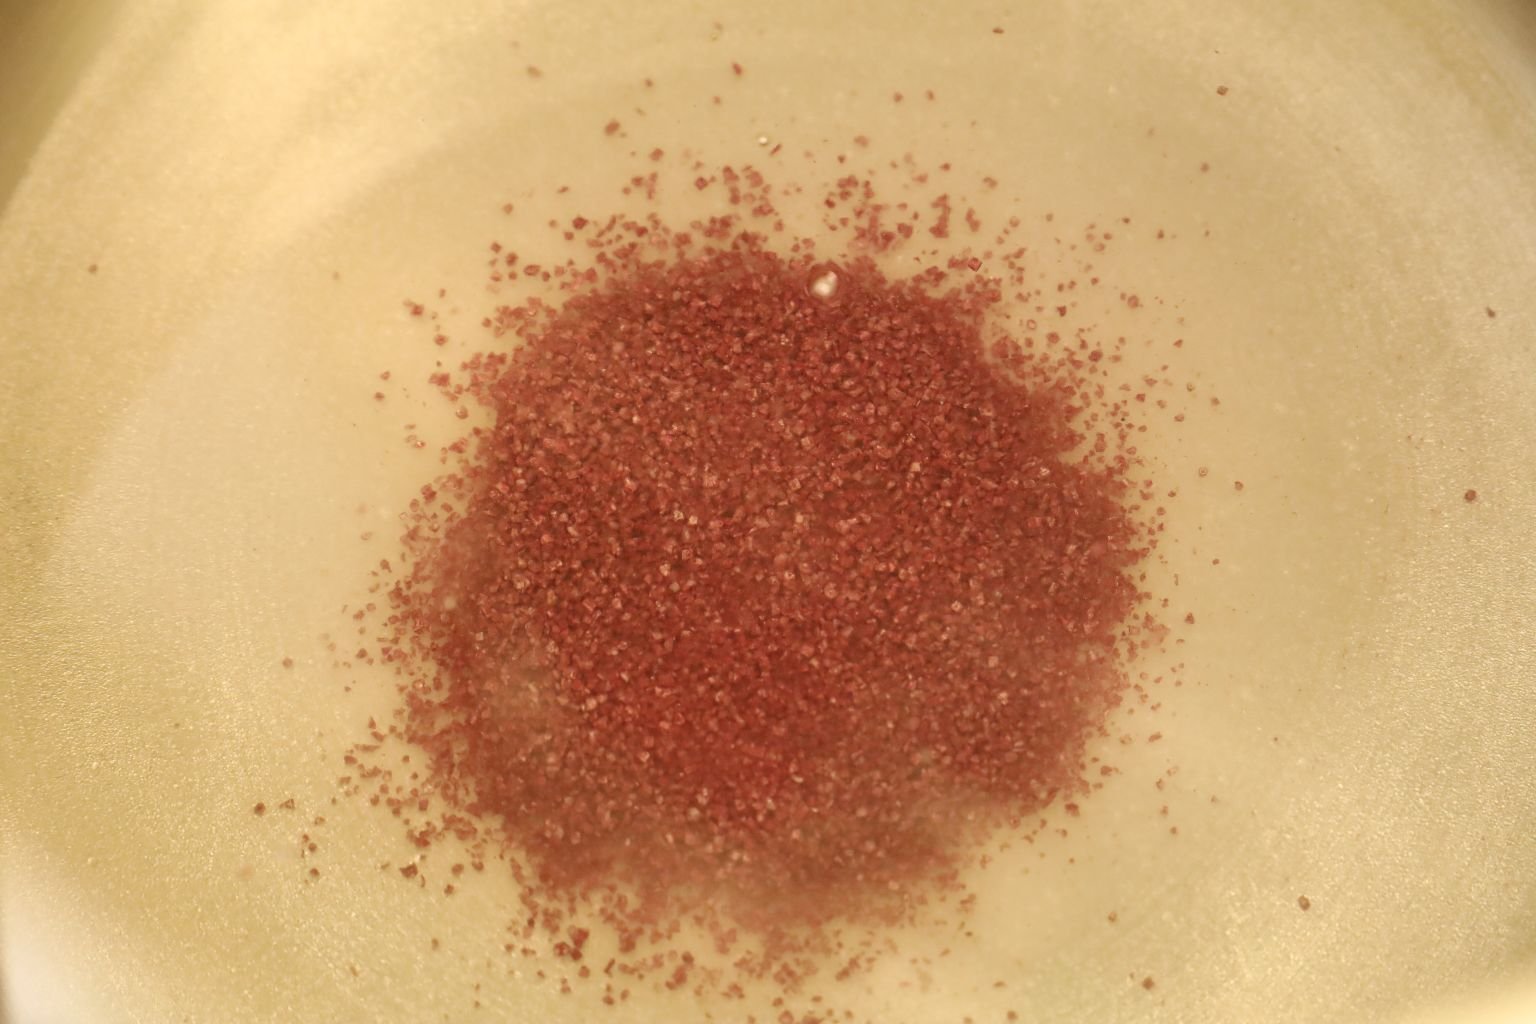
Now, add your Merlot salt to the mixture. We chose to use this type of salt as it would help to enhance the brilliant purple color and taste of the onions. A little red wine is always good!
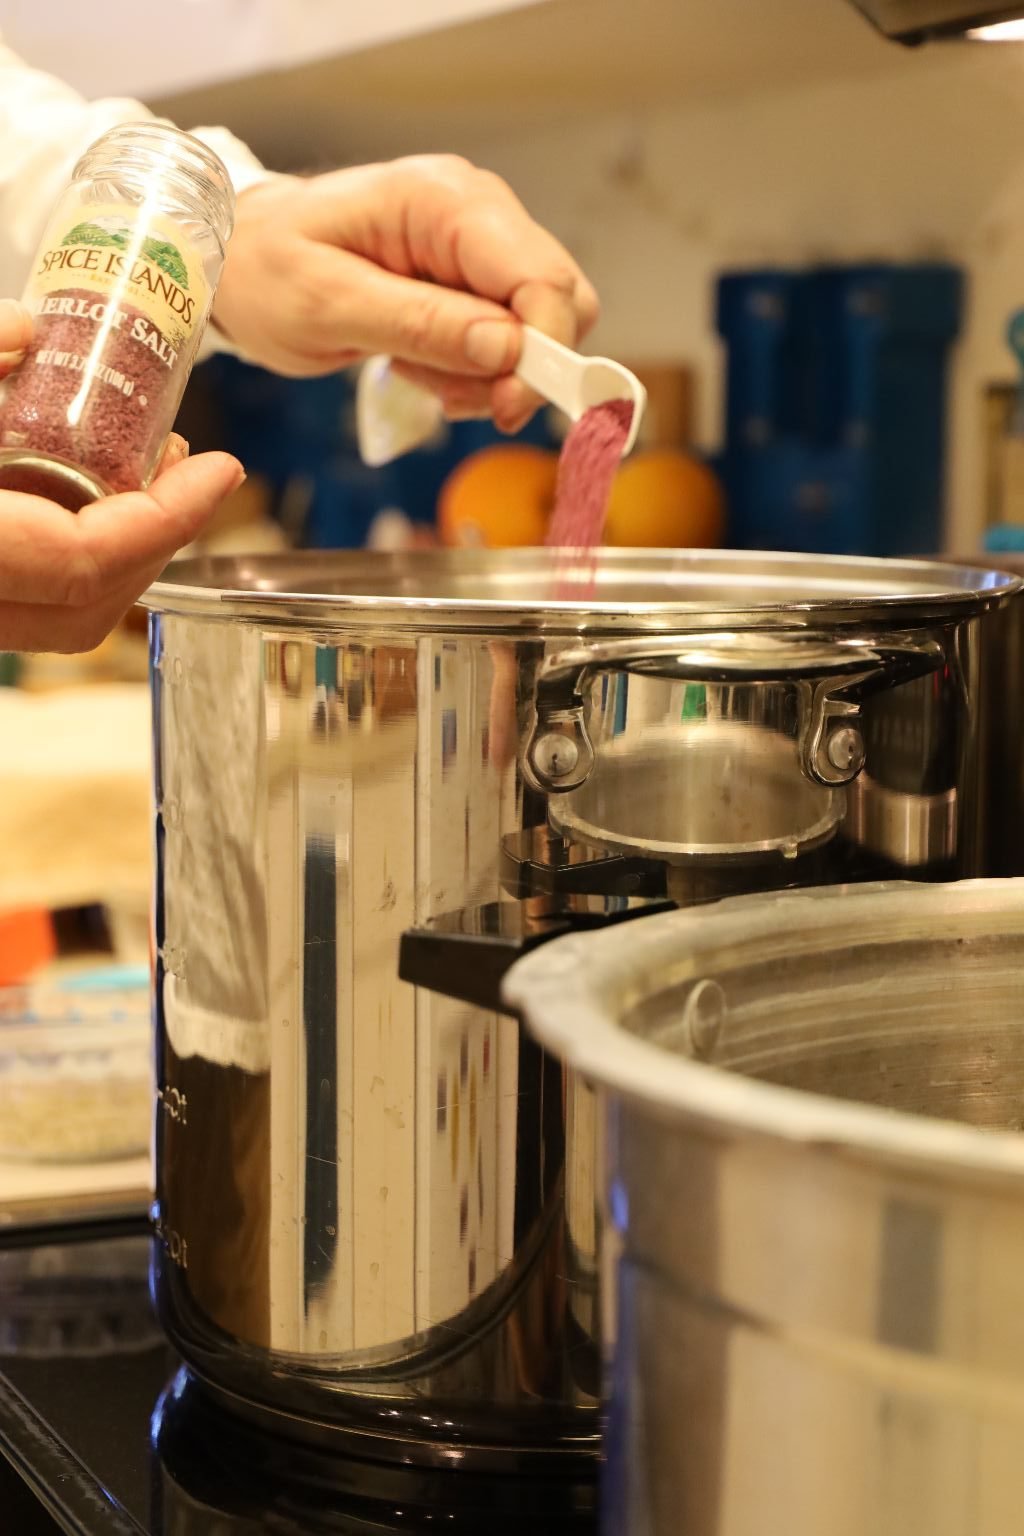
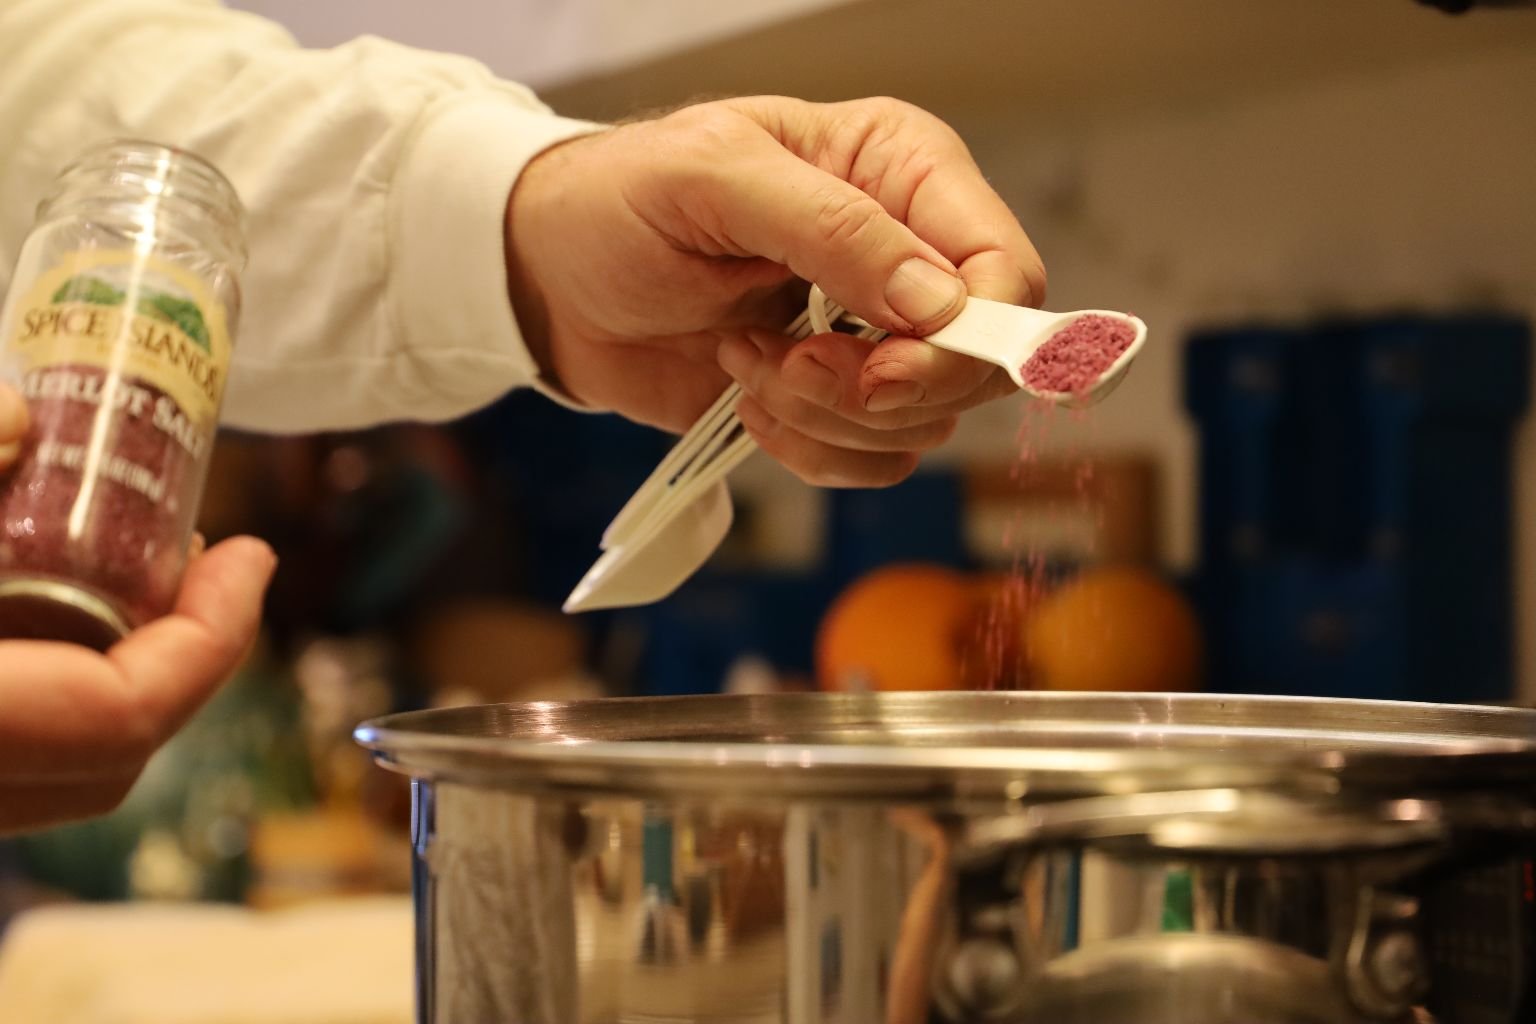
Gordon Adding the Merlot Salt
—————————————————————–
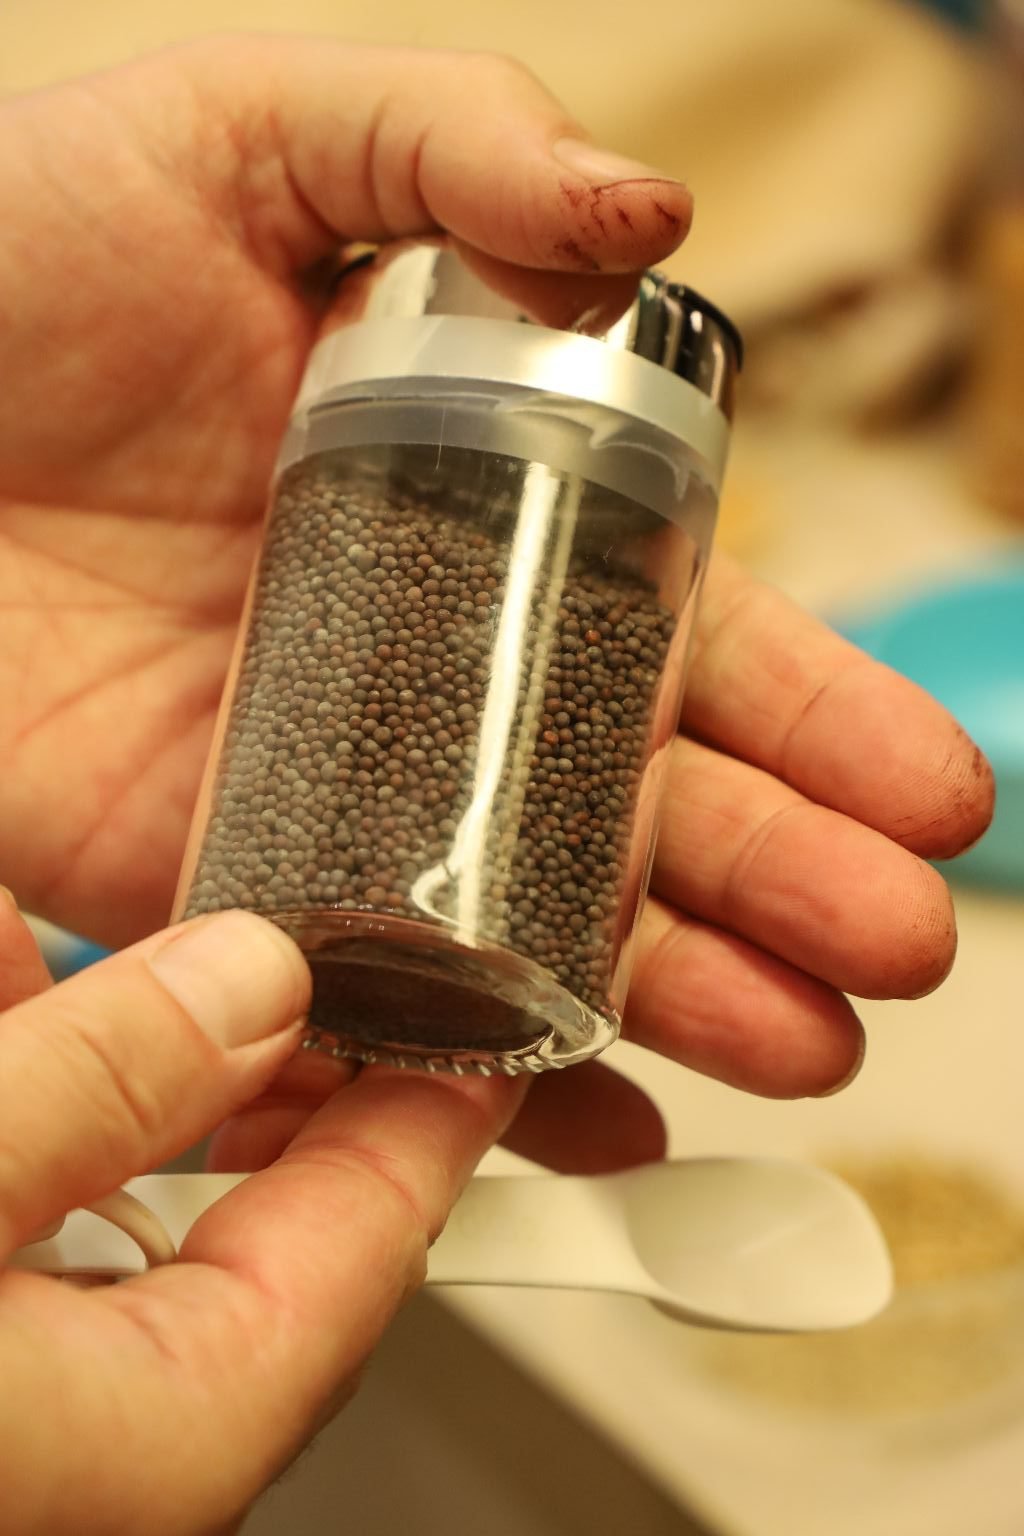
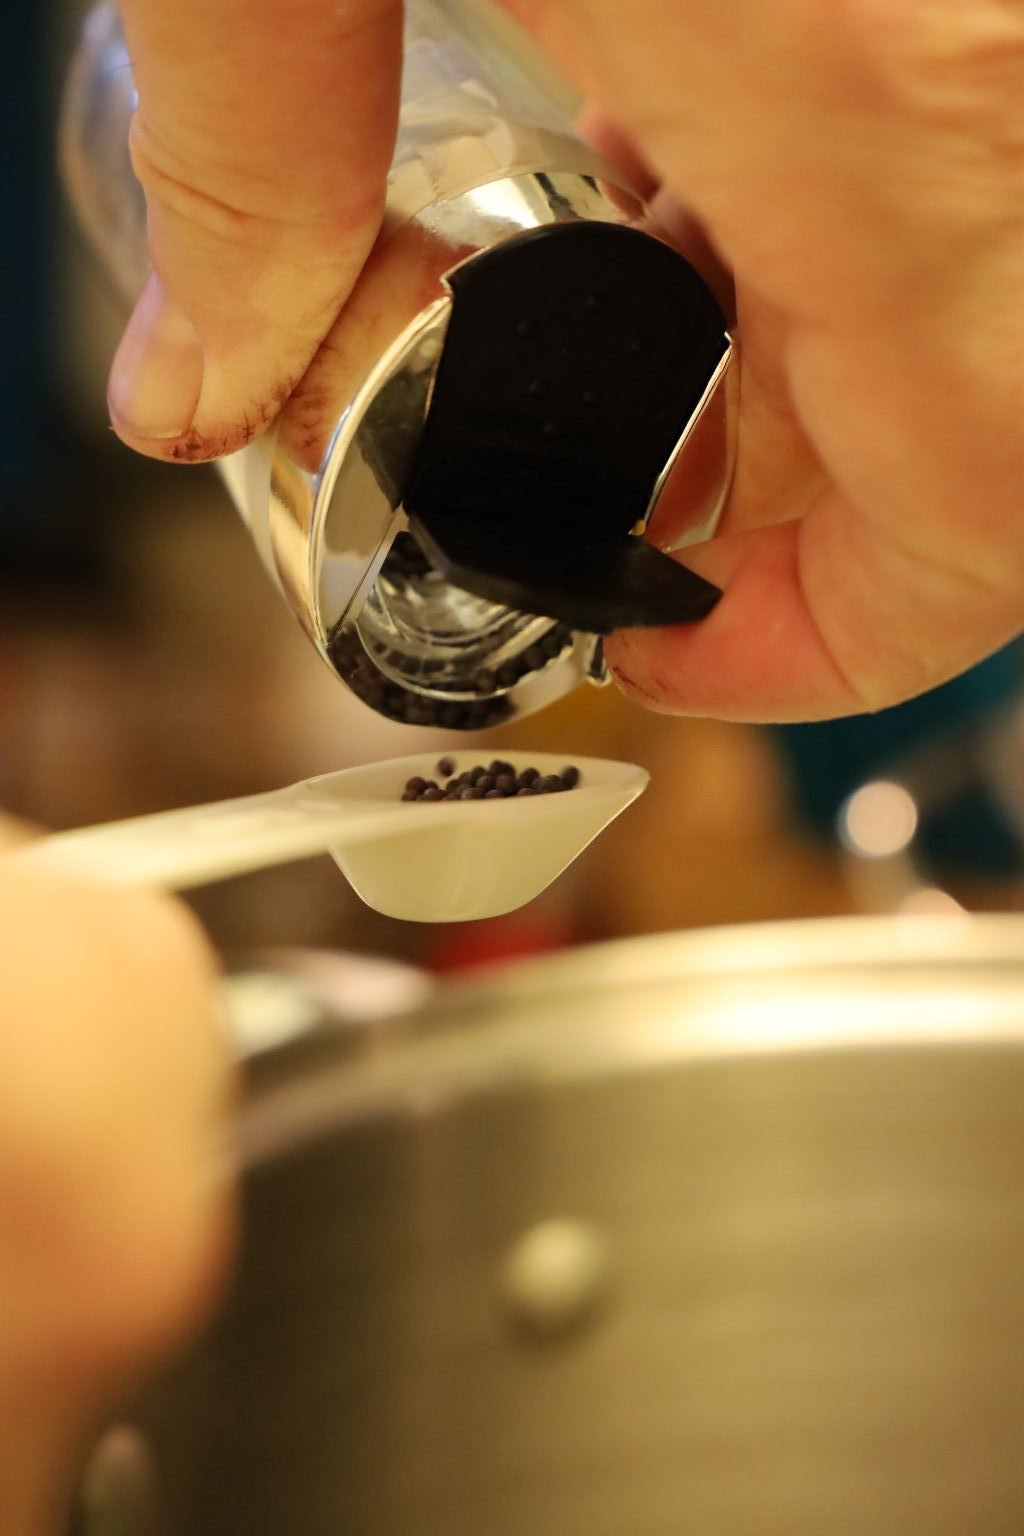
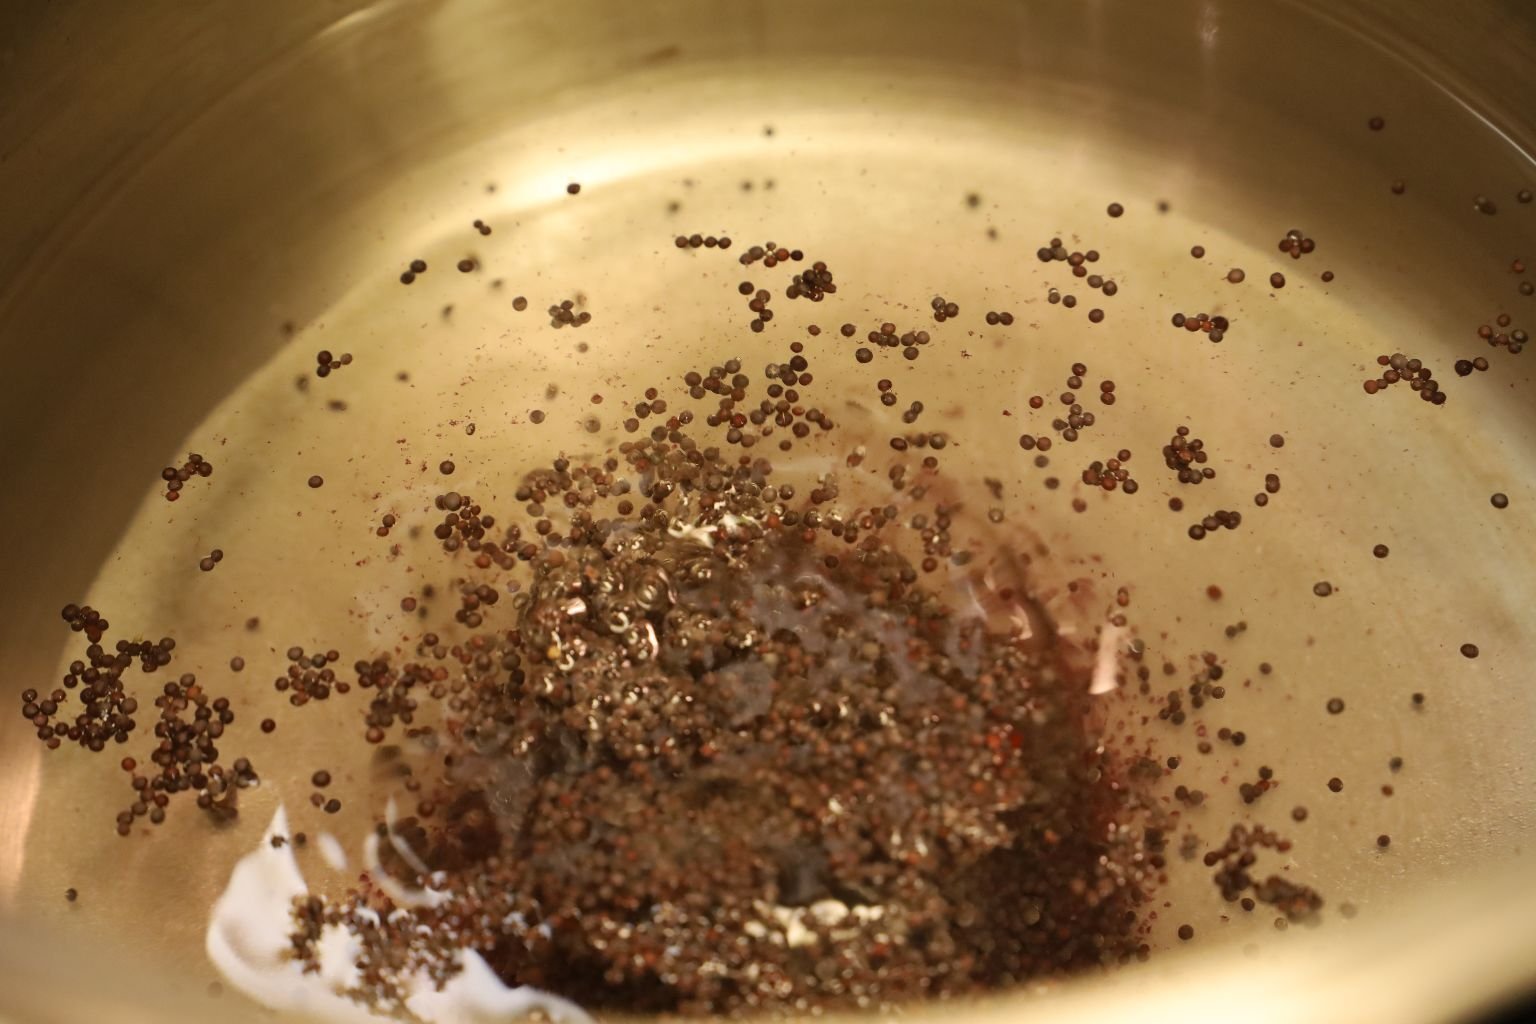
Then add your brown mustard seeds, although they look black.
NOTE: We chose not to use the Split Yellow Mustard Seeds.
——————————————————————-
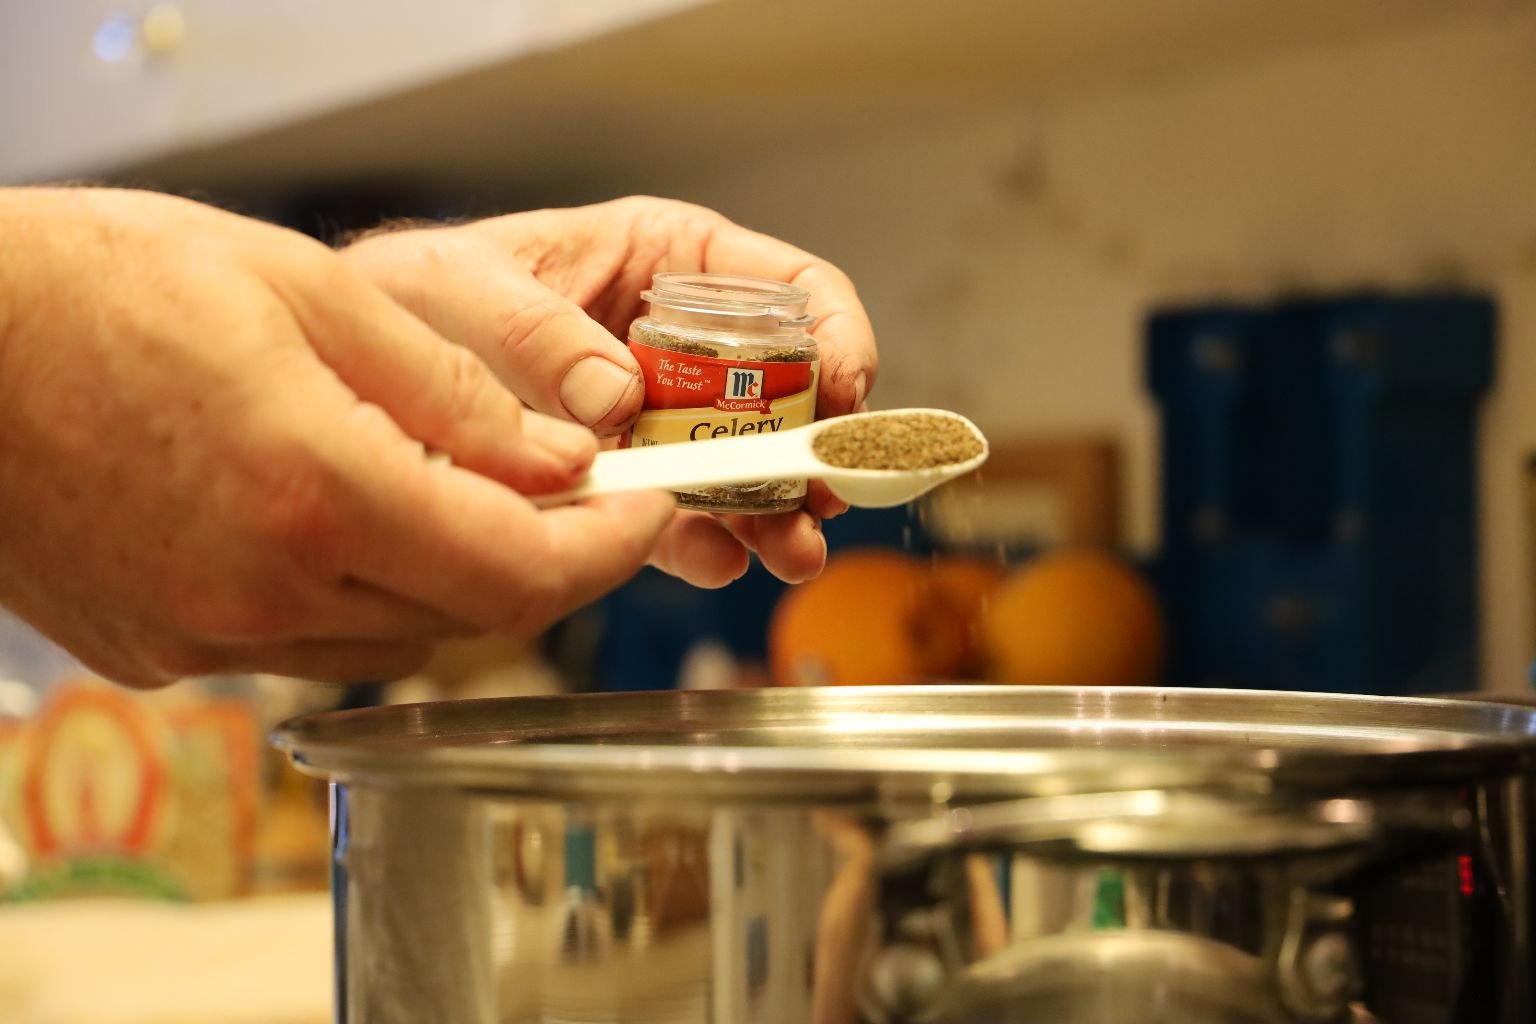
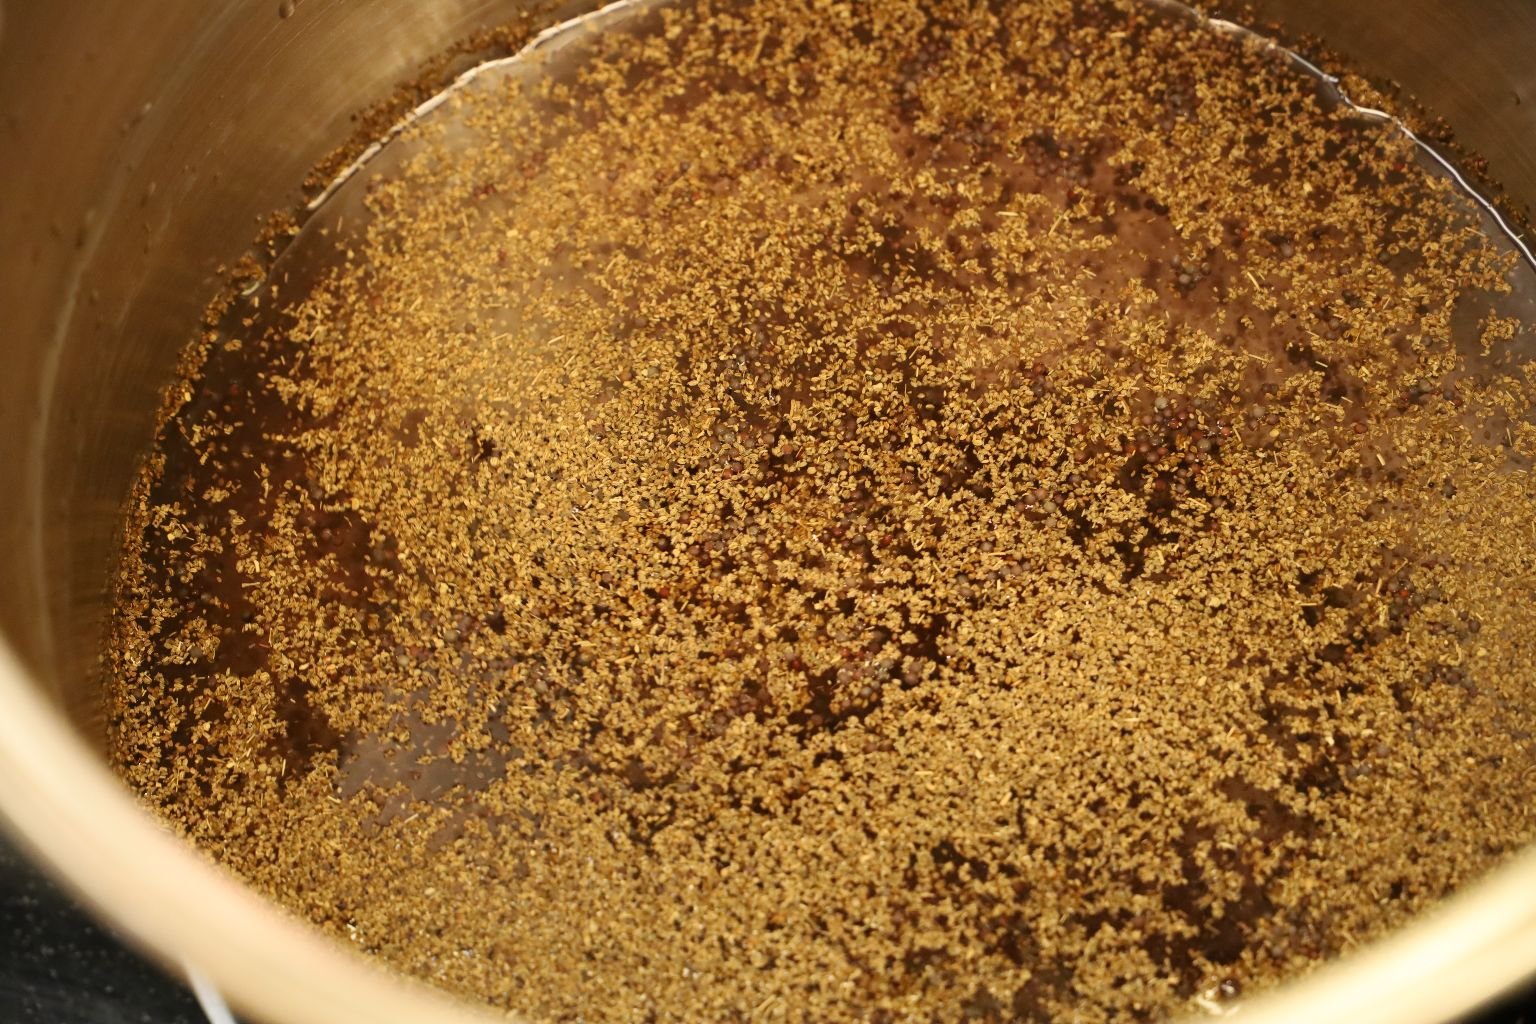
Now add your Celery Seeds to the pot…
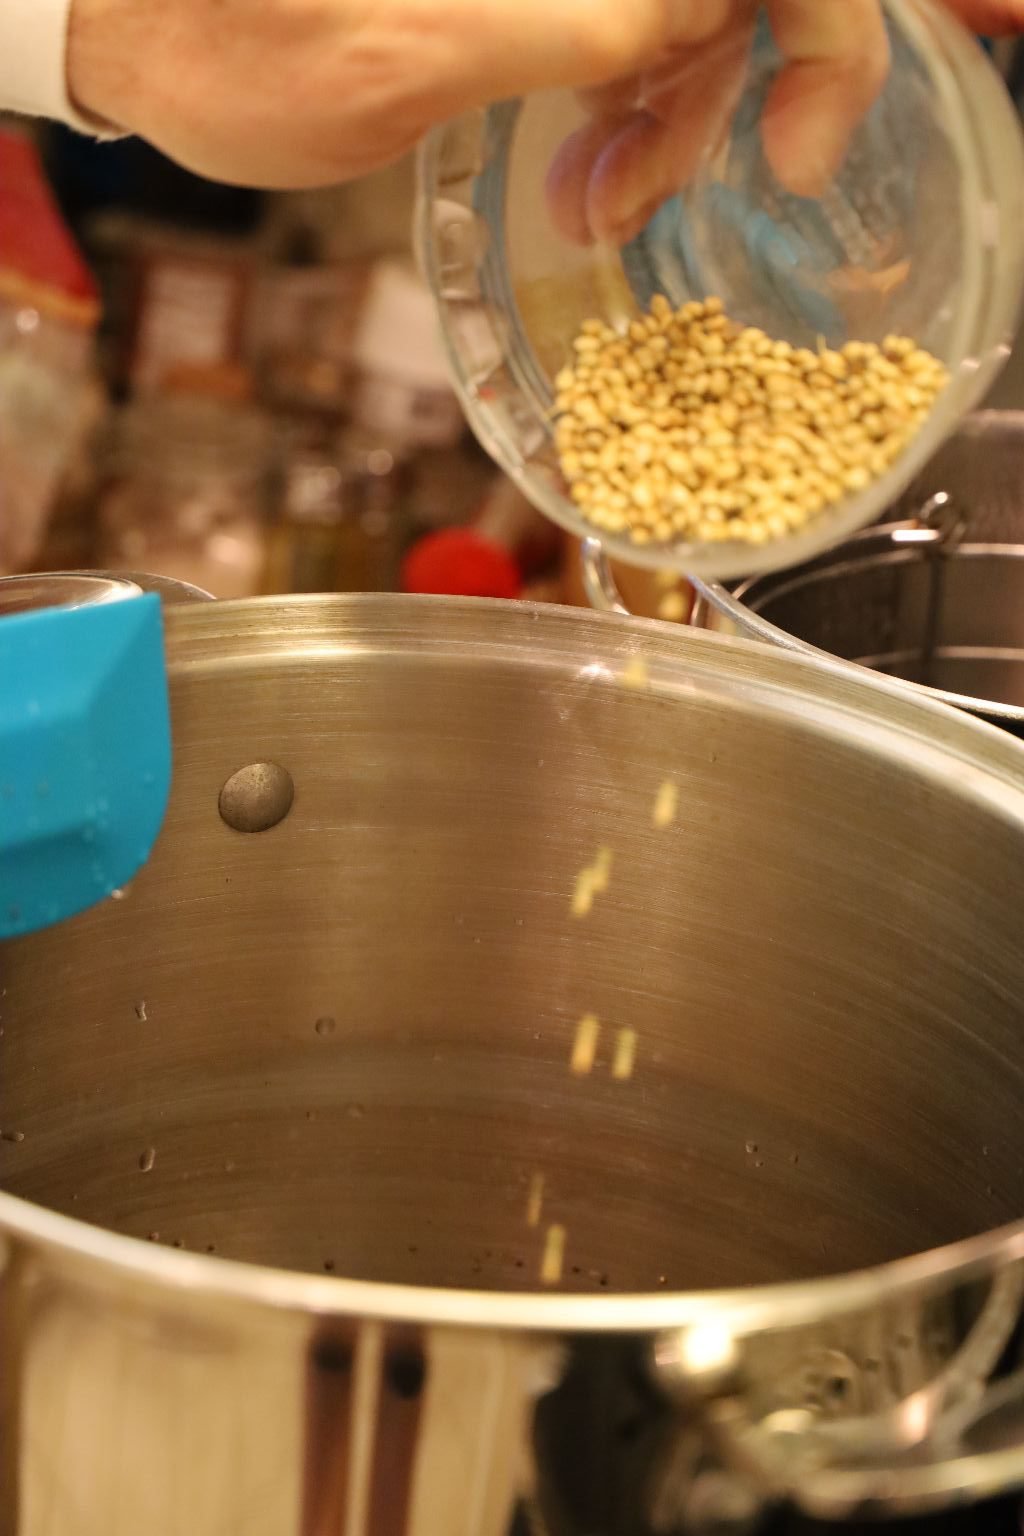
…then your Corriander Seeds.
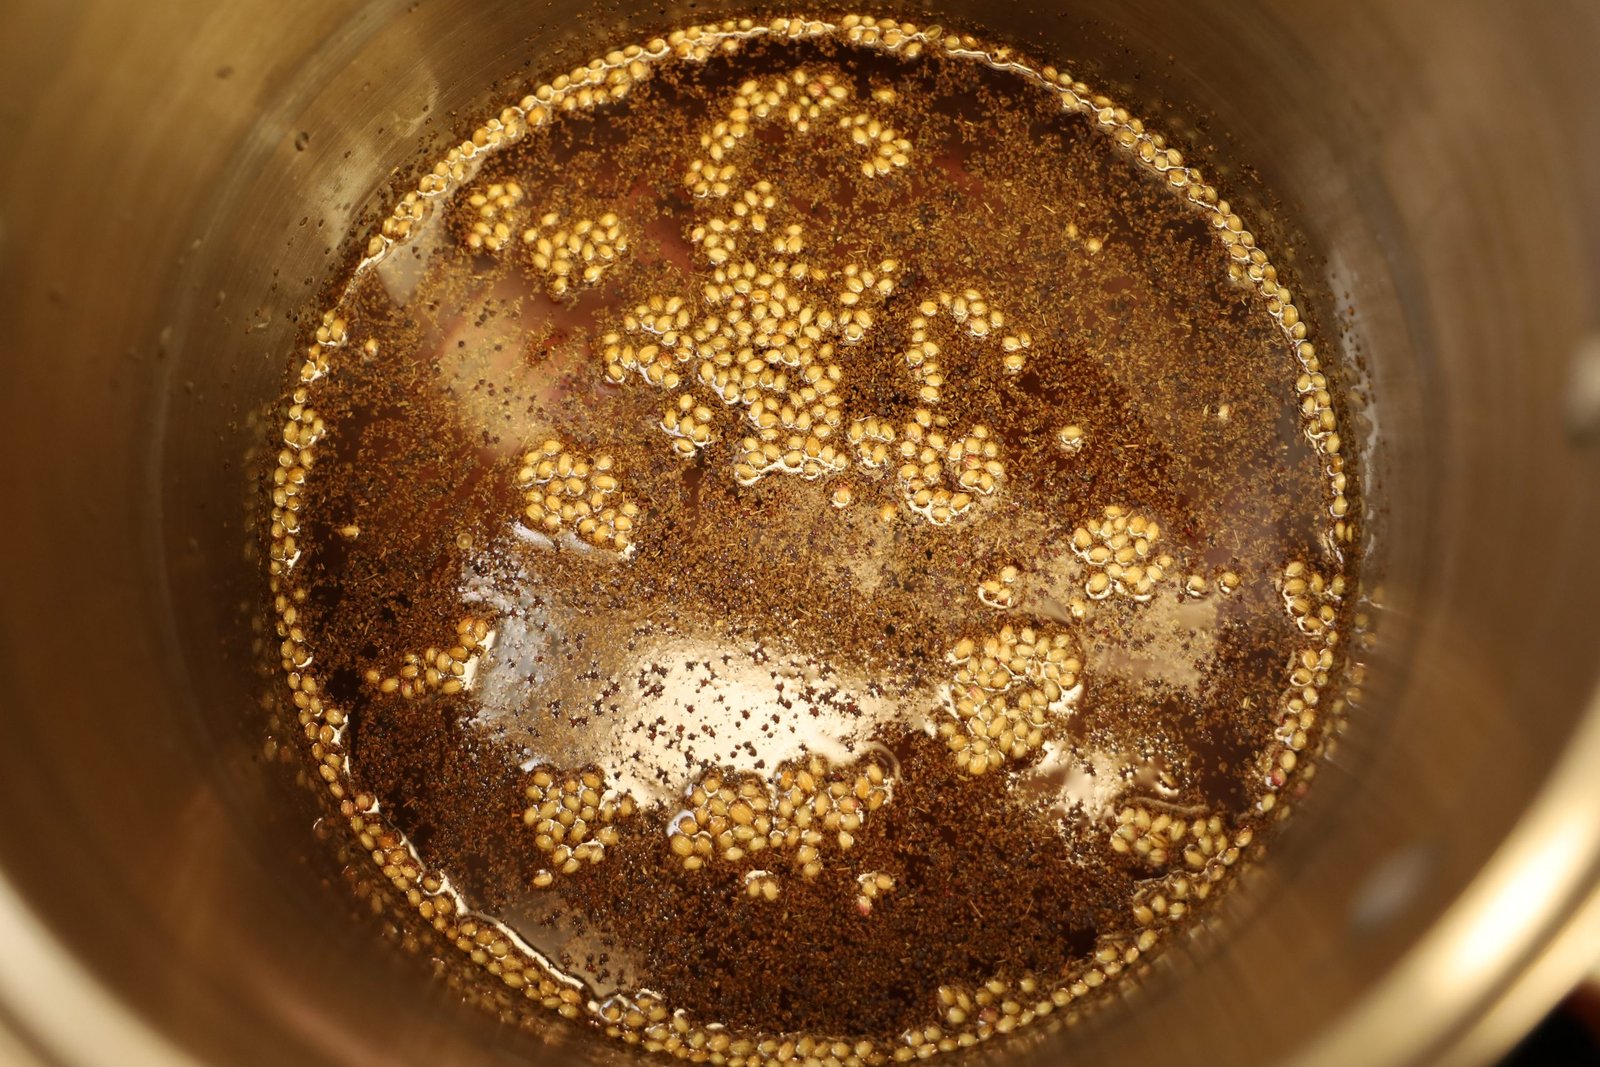
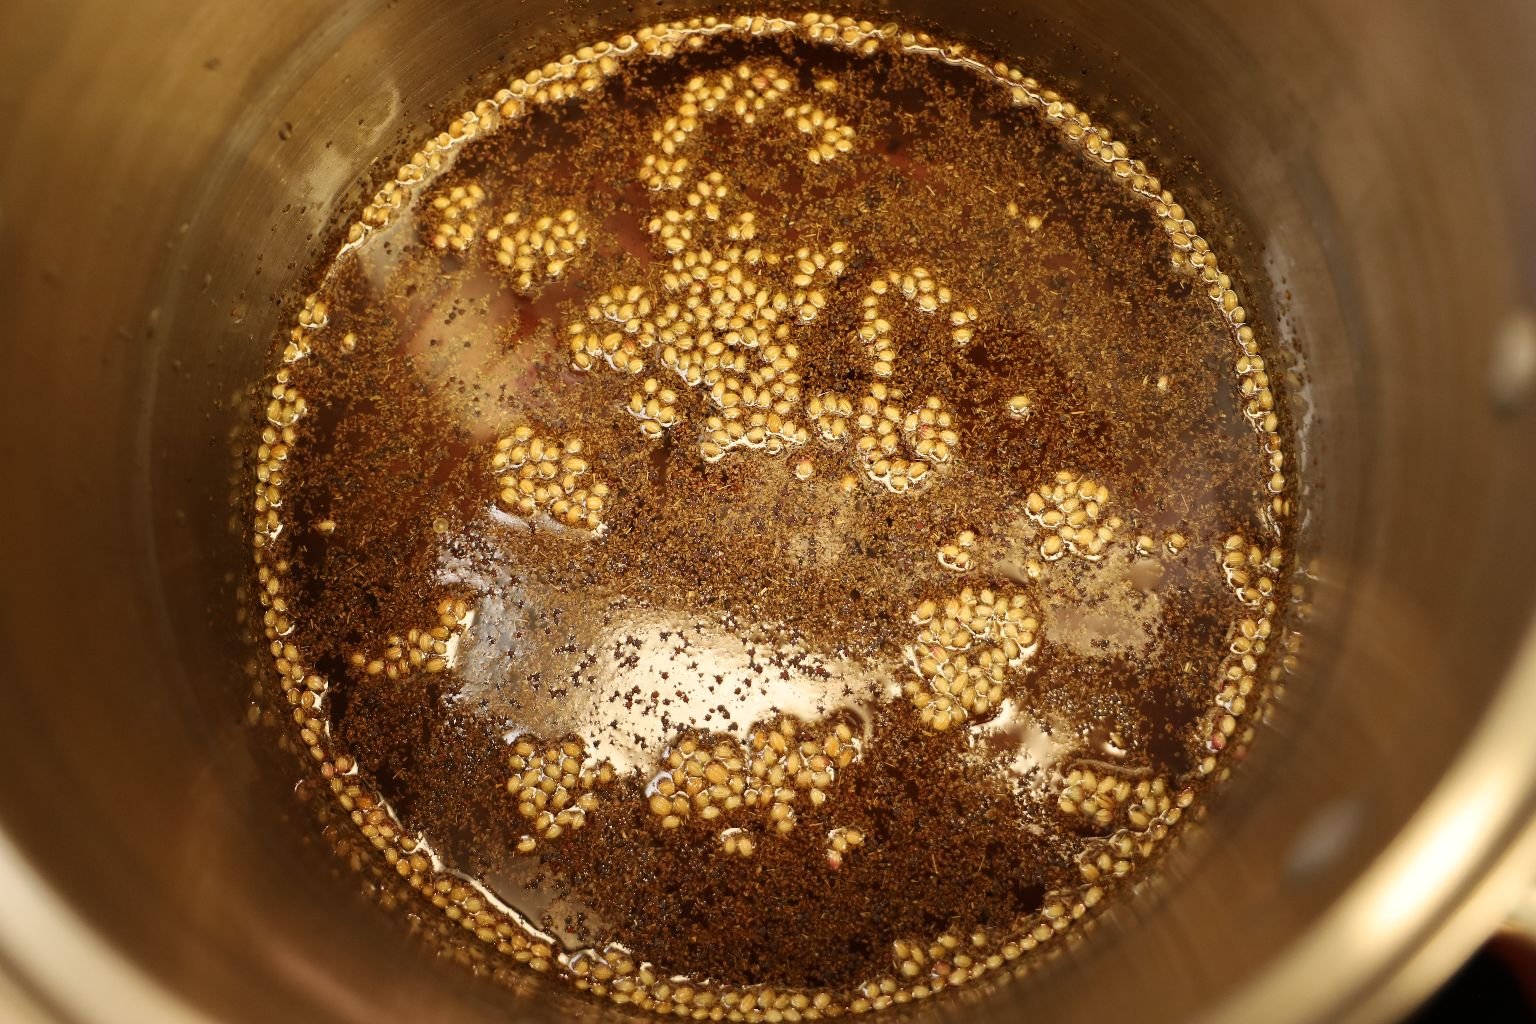
Mix all the ingredients well bringing the liquid just under a boil. Doing this will help to soften the various seeds. Then reduce the heat to medium and let simmer for about 10 minutes.
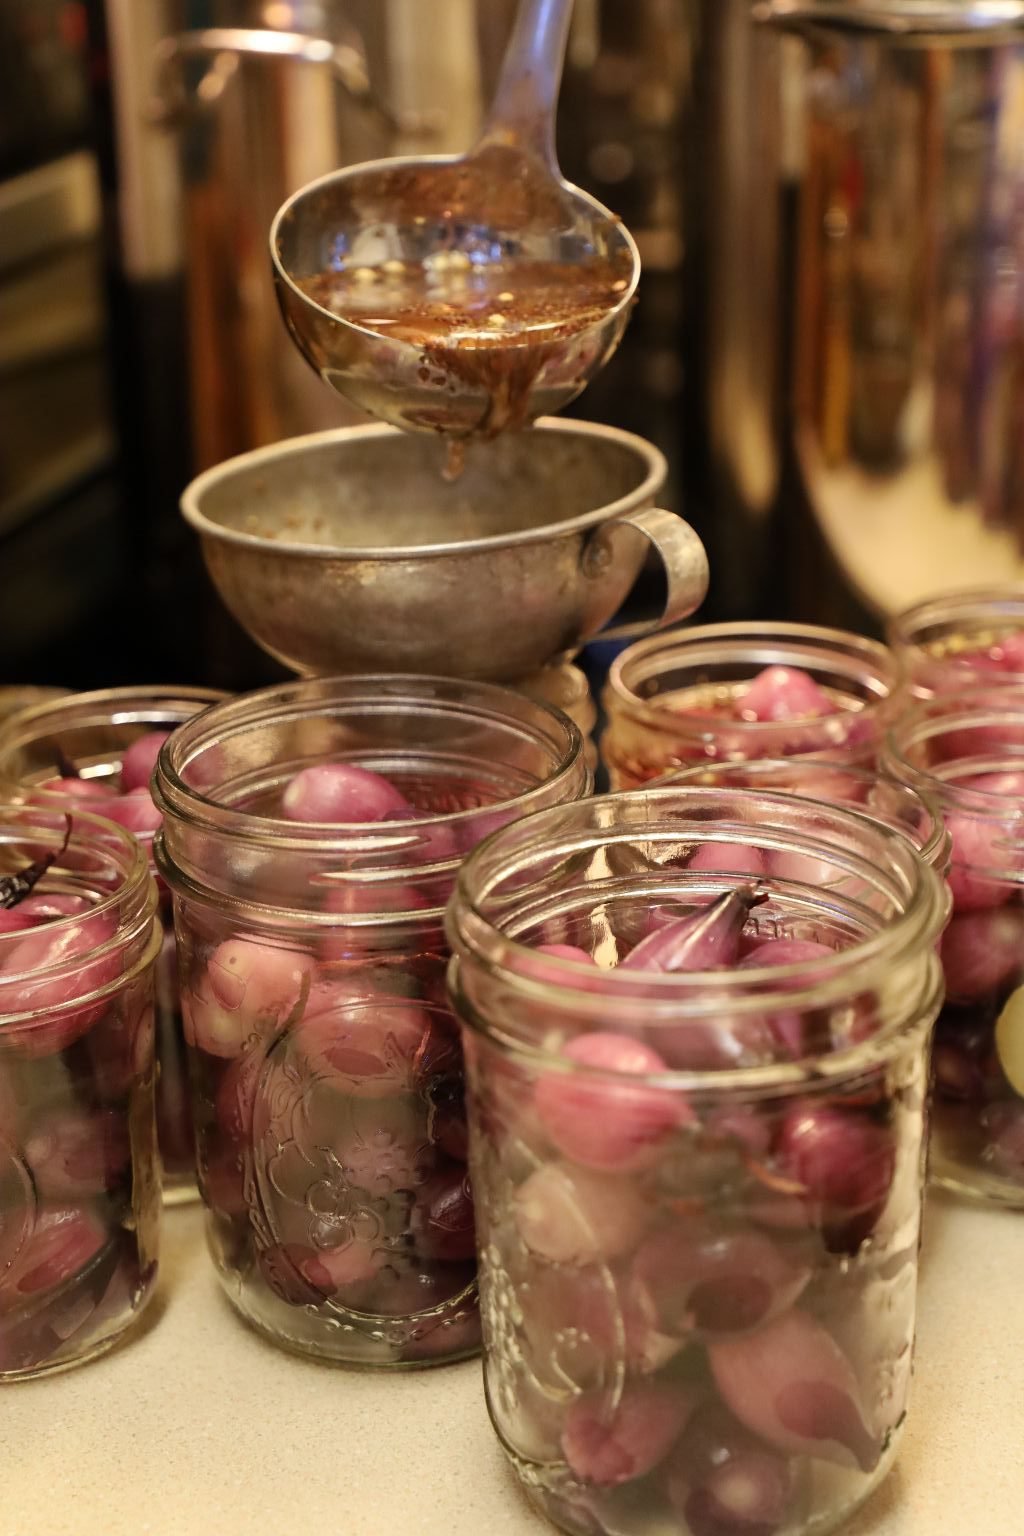
Use a large ladle and funnel to pour the pickling liquid into the jars when ready.

Using a funnel makes things a lot easier.
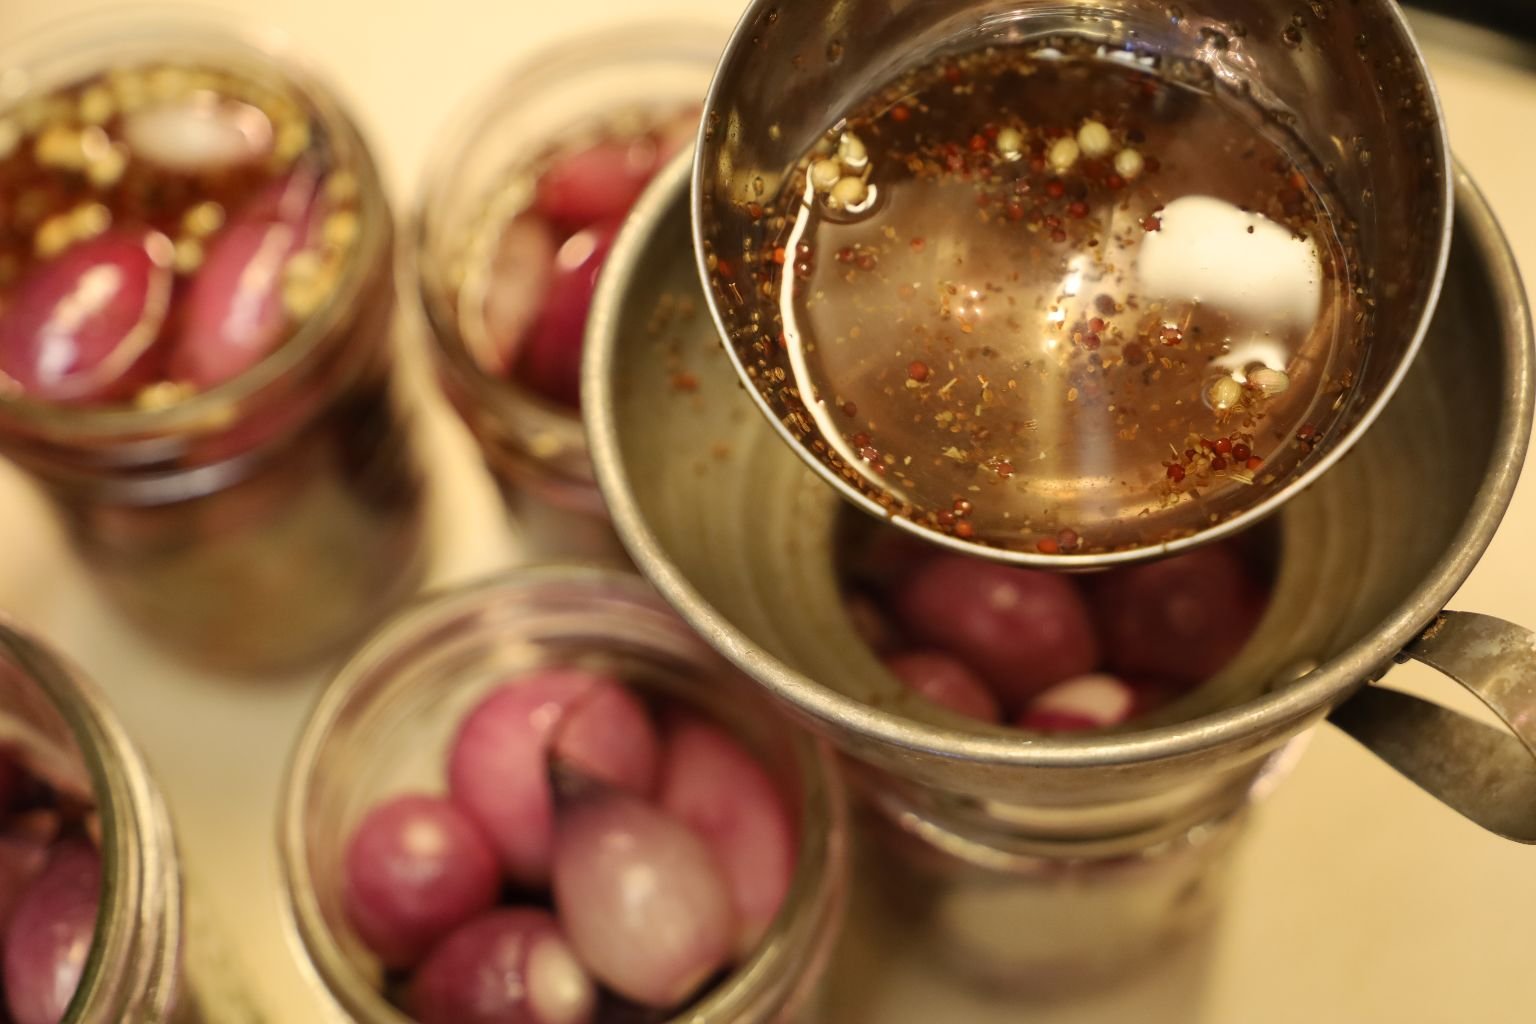
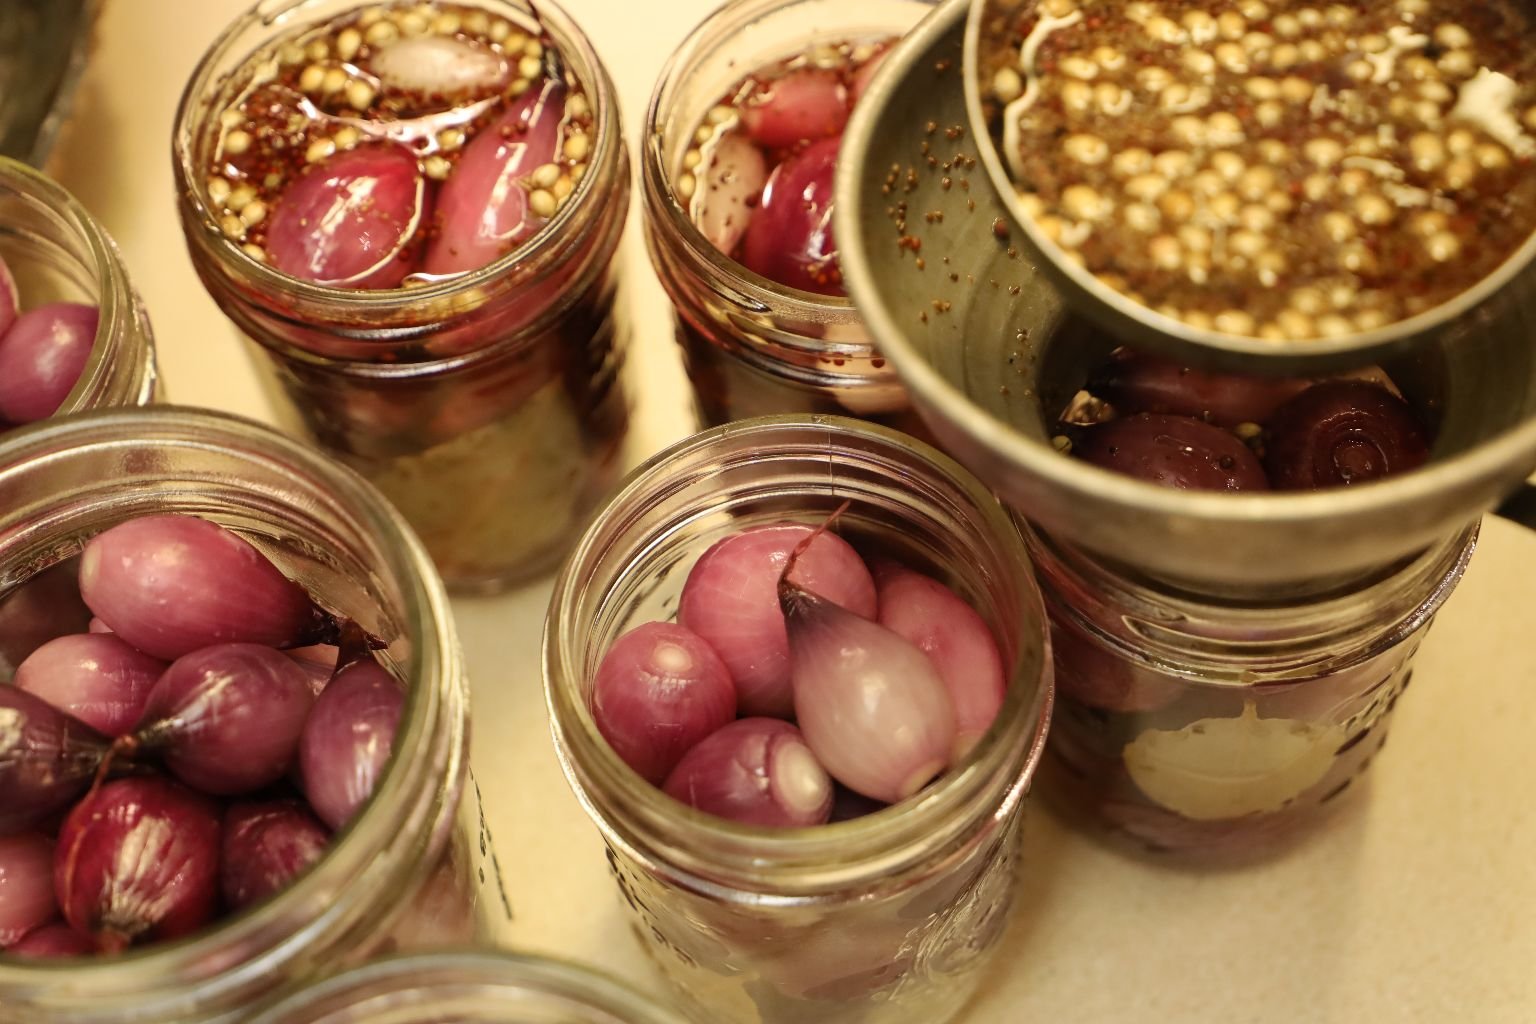
Pour the liquid up to 1/2 inch away from the top of the jar’s Headspace. This area must be kept clear as it is used to create the vacuum within the jar as previously mentioned.
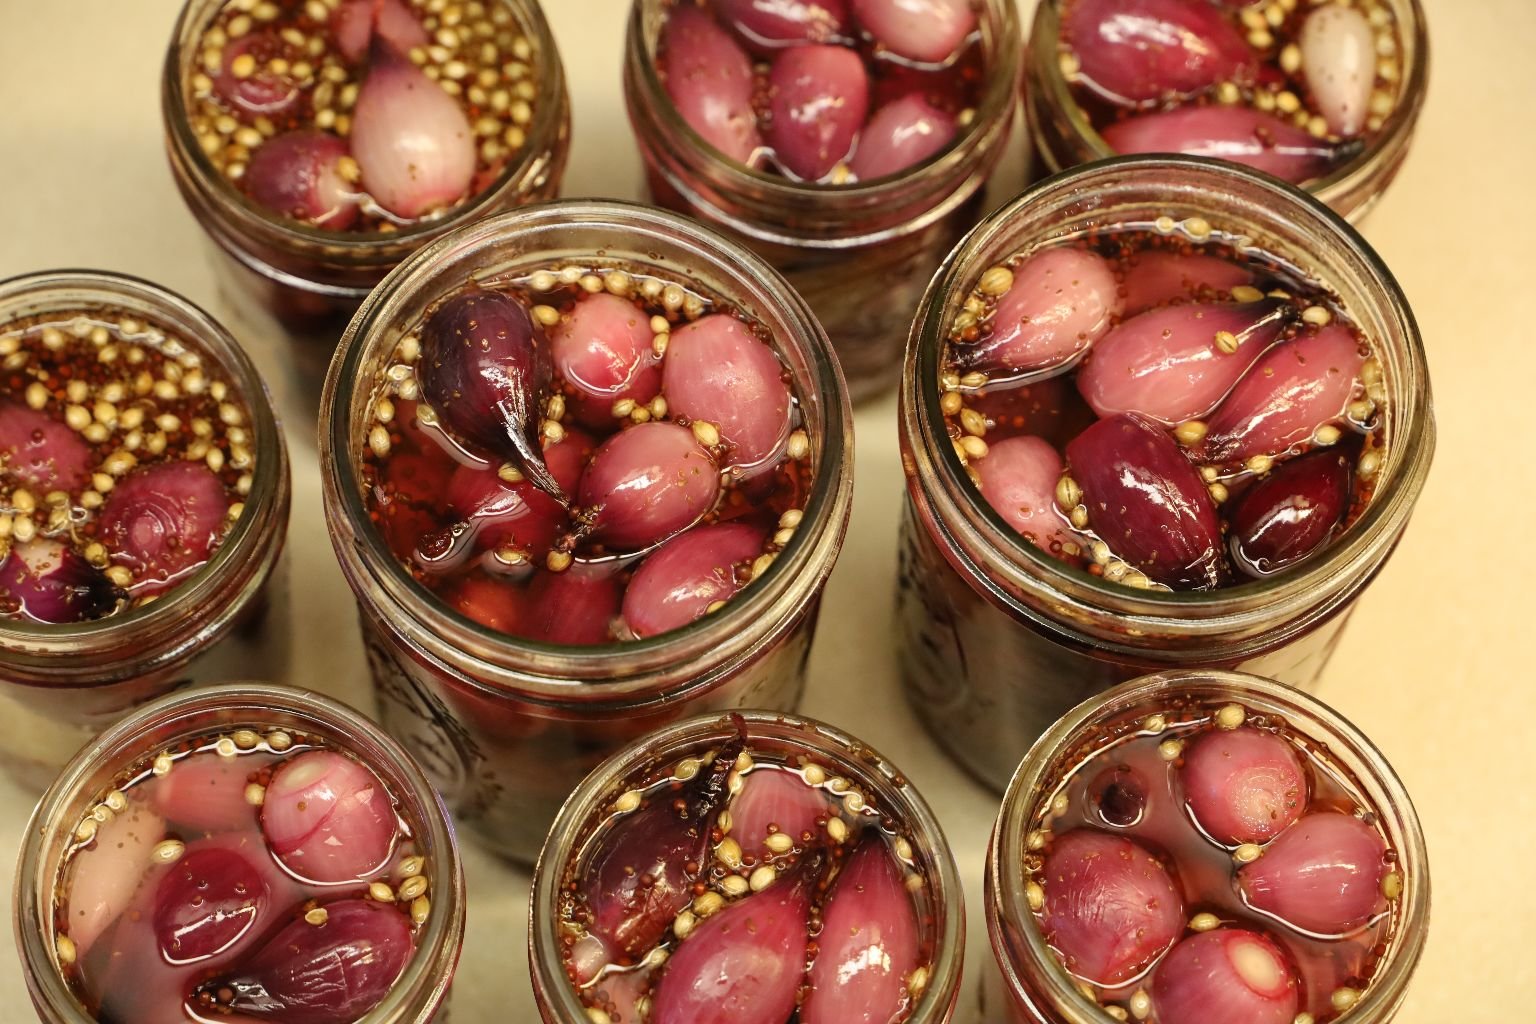
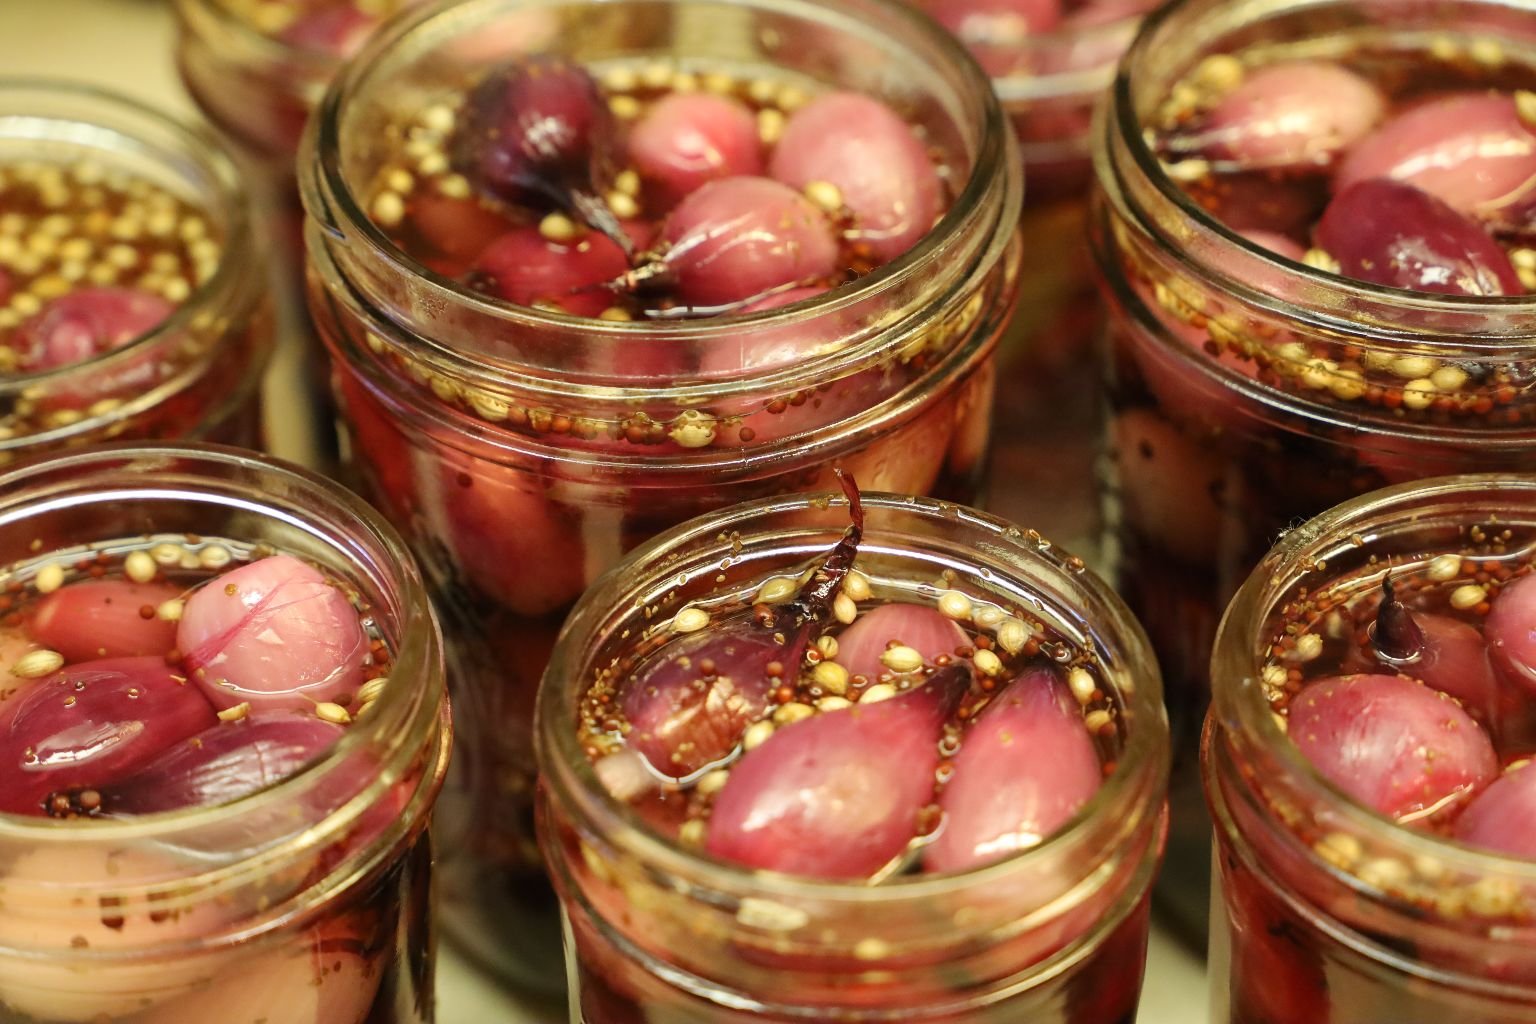
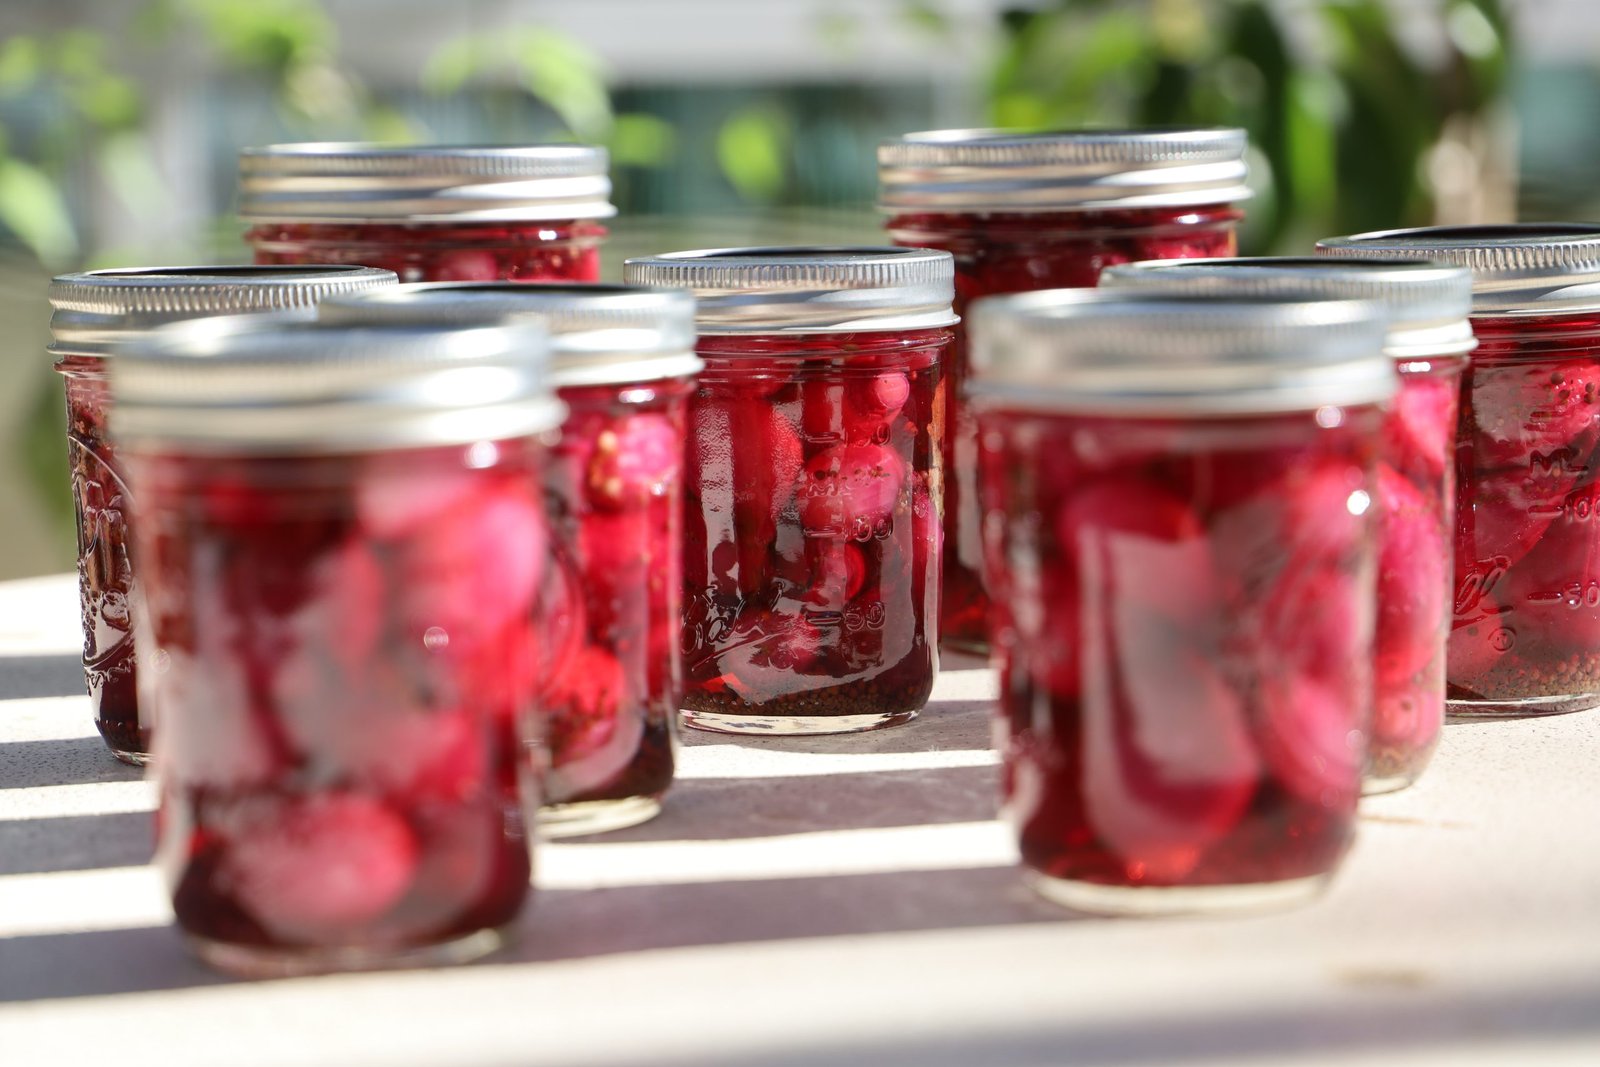
Here you see all the jars filled with liquid up to the Headspace area.

Using a wet paper towel, wipe the top of all the jars to remove any spilled pickling liquid or seeds which could prevent the jars from sealing properly. Place a heated lid on top of the cleaned jars then tighten a ring onto the jar until it is barely snug. This is a critical step due to if you tighten the ring too tight, the air can’t escape from the jar creating the needed vacuum.
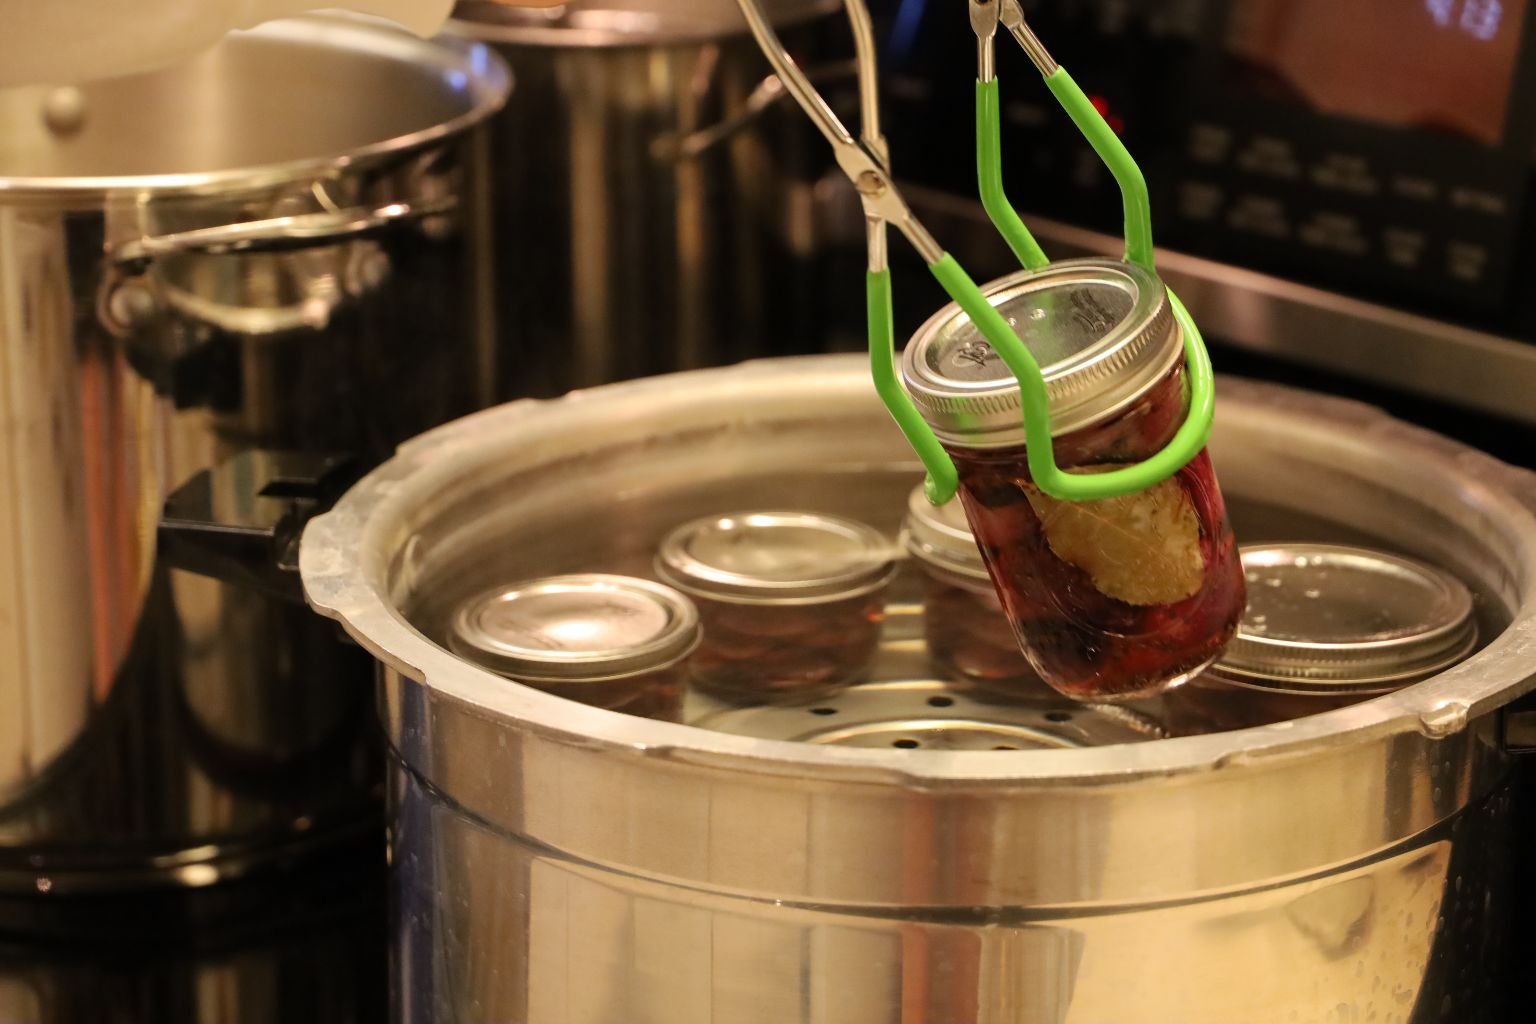
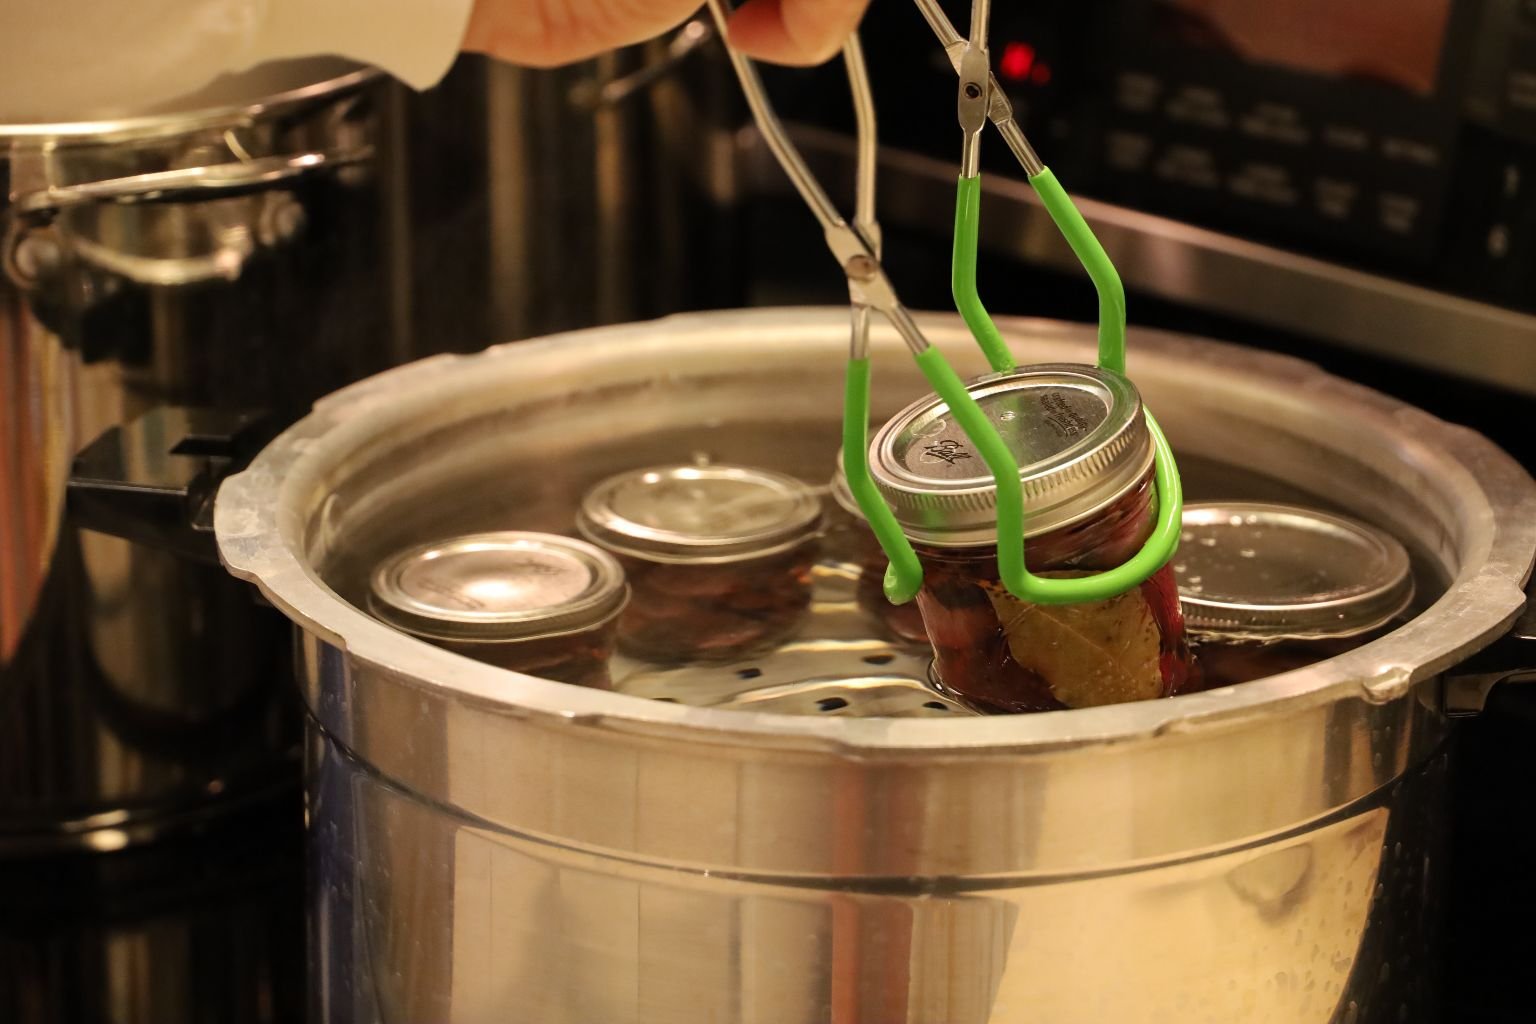
Place your jars using your rubberized tongs into the pots heated water.
You should see bubbles escaping from all the jars which tells you the lids aren’t on too tight. If you don’t see these bubbles, remove the jar and loosen the jar’s ring slightly. Also be sure water covers the top of all the jars. Boil the jars, which is also called process, for about 10 minutes.
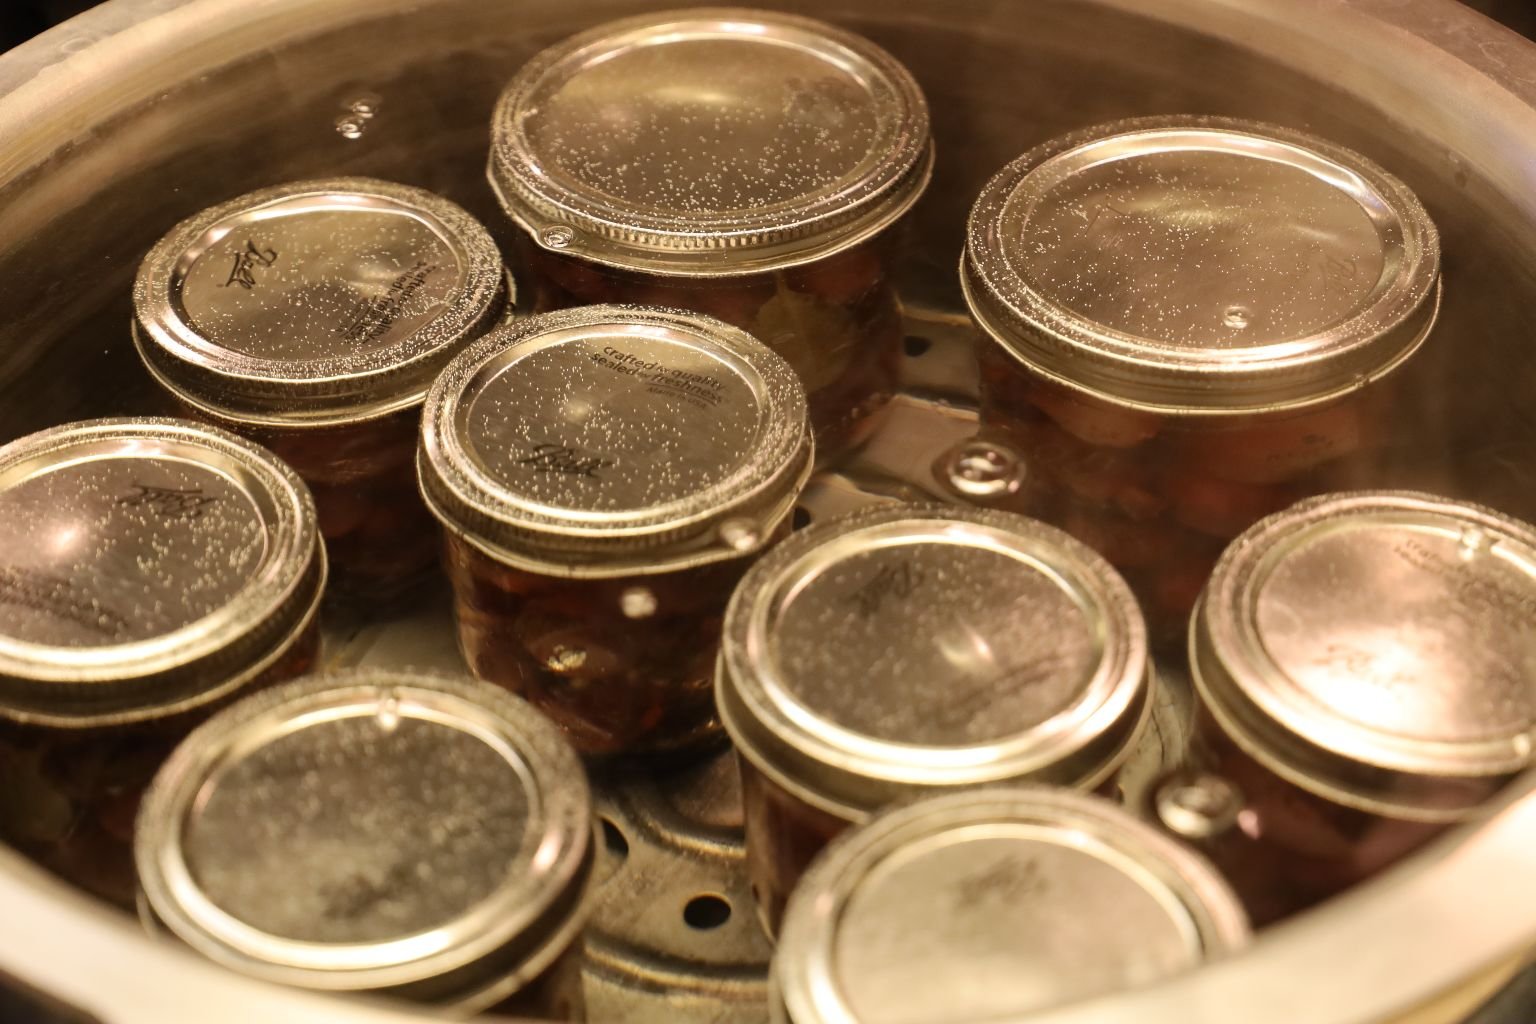
When done, remove the jars from the boiling liquid using your rubberized tongs and place them on a dishcloth to cool. At this point you should start to hear the lids pop as this is the vacuum forcing the lid downward creating a pop. All of your lids should be in the downward position within 15 minutes. If not, you will have to begin the processing of those jars all over again. This is likely due to either the jar didn’t have enough headspace or there was something wrong with the lid’s seal. CAUTION in these next steps the jars will be extremely hot. Remove some of the pickling liquid, wipe the top of the jar and use a new lid being sure to check the rubber seal for any issues. Replace the ring and then submerge the jar in boiling water and process the jar for another 10 minutes. With the jars that have properly sealed, remove the rings and using a paper towel, wipe away the excess water on the ring and seal. Doing this will prevent the metal from rusting. Replace the rings to just tight when dry as the rings only prevent the sealed lid from being removed inadvertently. The rings DO NOT keep the lids sealed. If you ever find a lid in the up position which can be tested by pushing down on it lightly, the contents have been compromised by bacteria and needs to be thrown away.
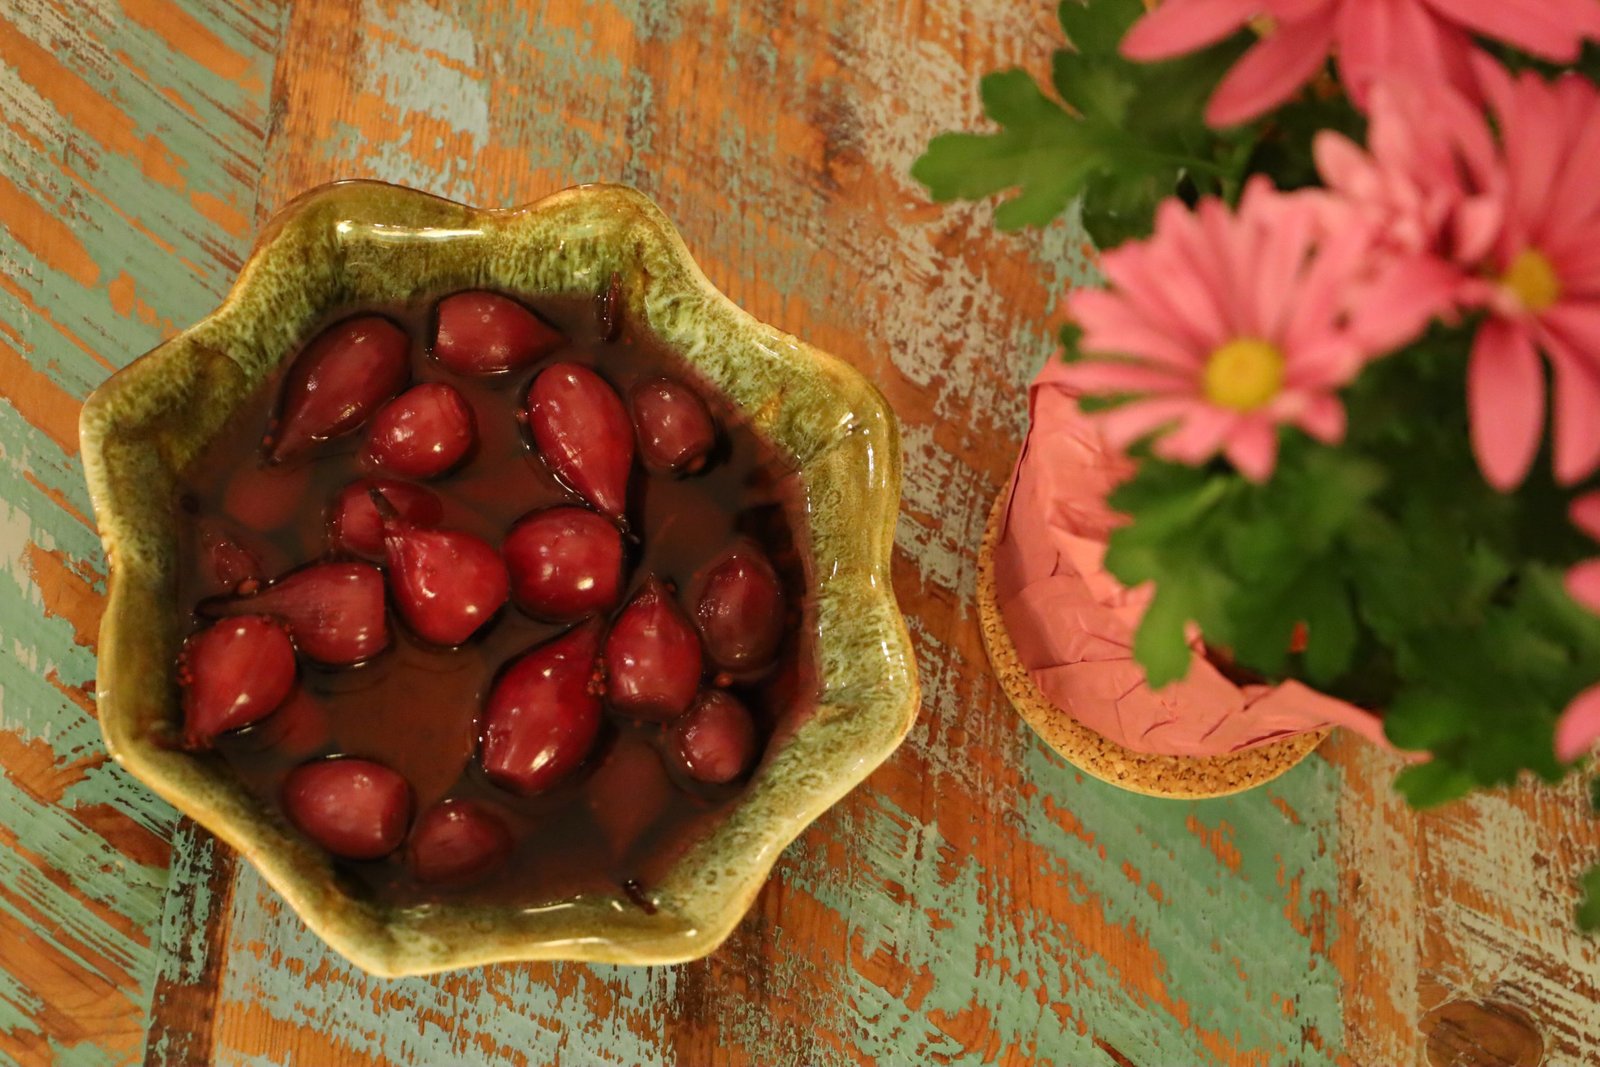
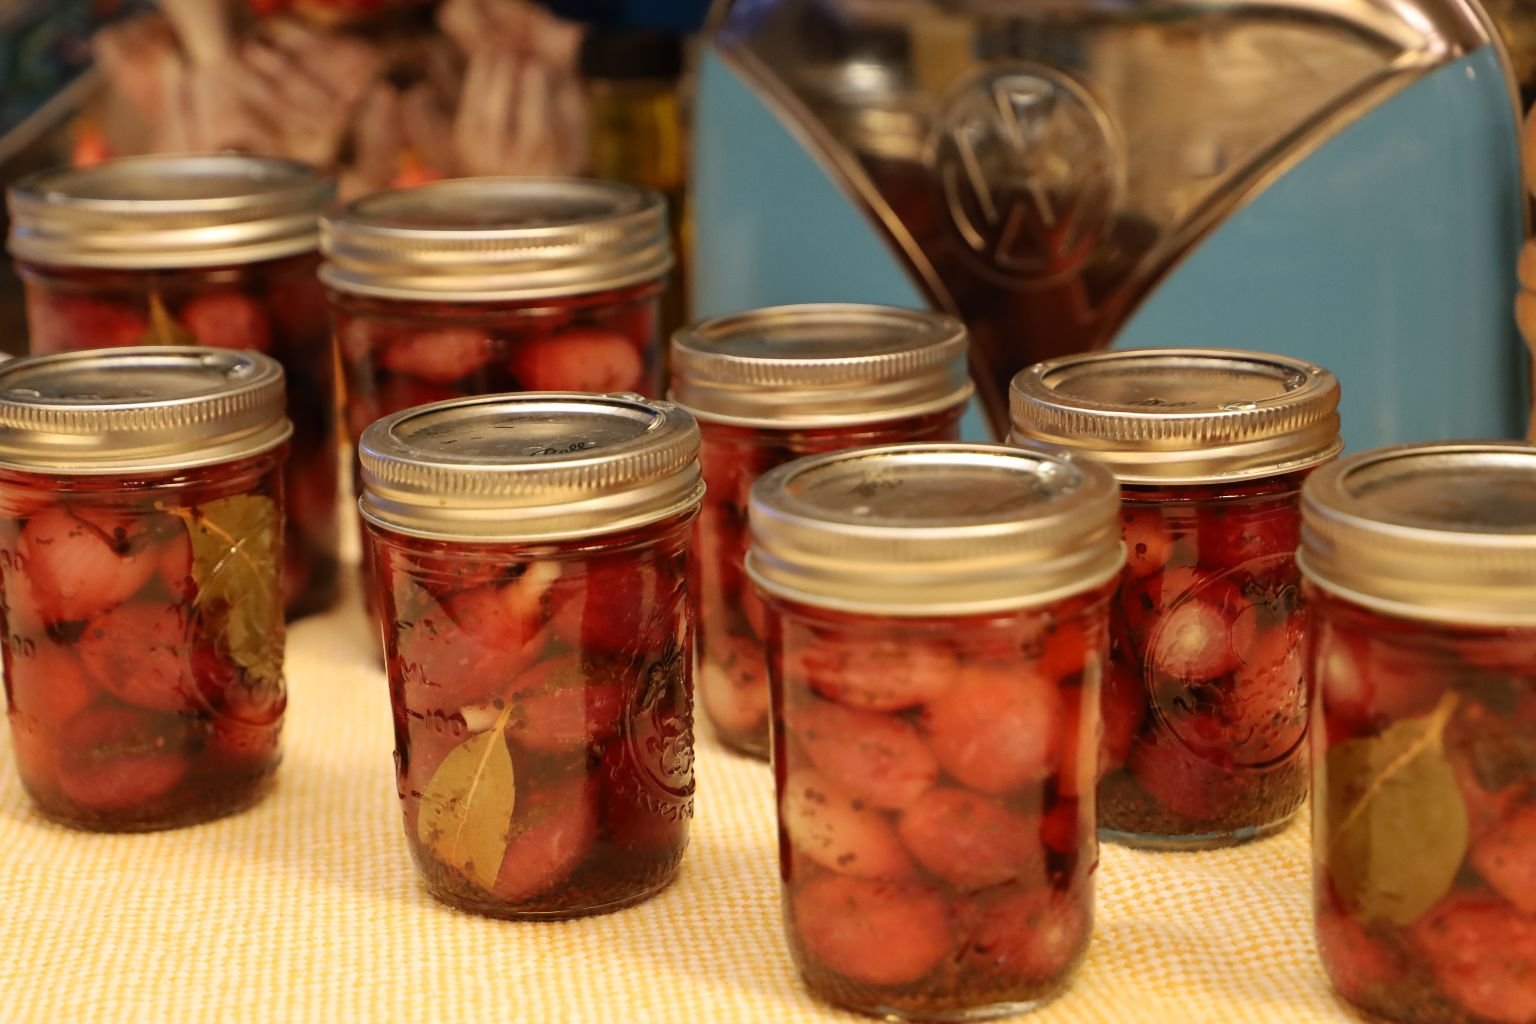
These pearl onions are delicious by themselves as a side dish or within a Martini!

Either way, they make a great gift and can be kept in your pantry for years! Theoretically, if the food was processed safely and stored properly and shows no sign of spoilage, until that vacuum seal is broken, there should be no way that it becomes contaminated or becomes unsafe. Especially with the vinegar and sugar in this particular pickling, there is no real way for bacteria to exist.
Enjoy, and Season’s Greetings,
Julie and Gordon