Julie Whann Way Mexicana, Si!

———————————

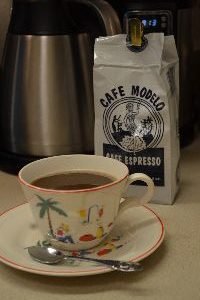
Cafe Modelo, Cafe Espresso
————————————–
Hola! Buenos Dias.

Mi Nombre Es Julie Whann.
Bienvenido a Julie Whann Way Mexicana, Si!
Estoy muy feliz de que estes aqui. Espero llenar esta publicacion con muchos grandiosos receta.

Gracias,
Julie Whann
————————————————–
Be sure to check out our Dia De Los Muertos Post:

Click Here for our: Dia De Los Muertos
And,
Also check out my Julie Whann Way Mexicana Dos:

Click Here for: Julie Whann Way Mexicana Dos
AND,
Click Here For: Julie Whann Way Mexicana Tres
——————————————————

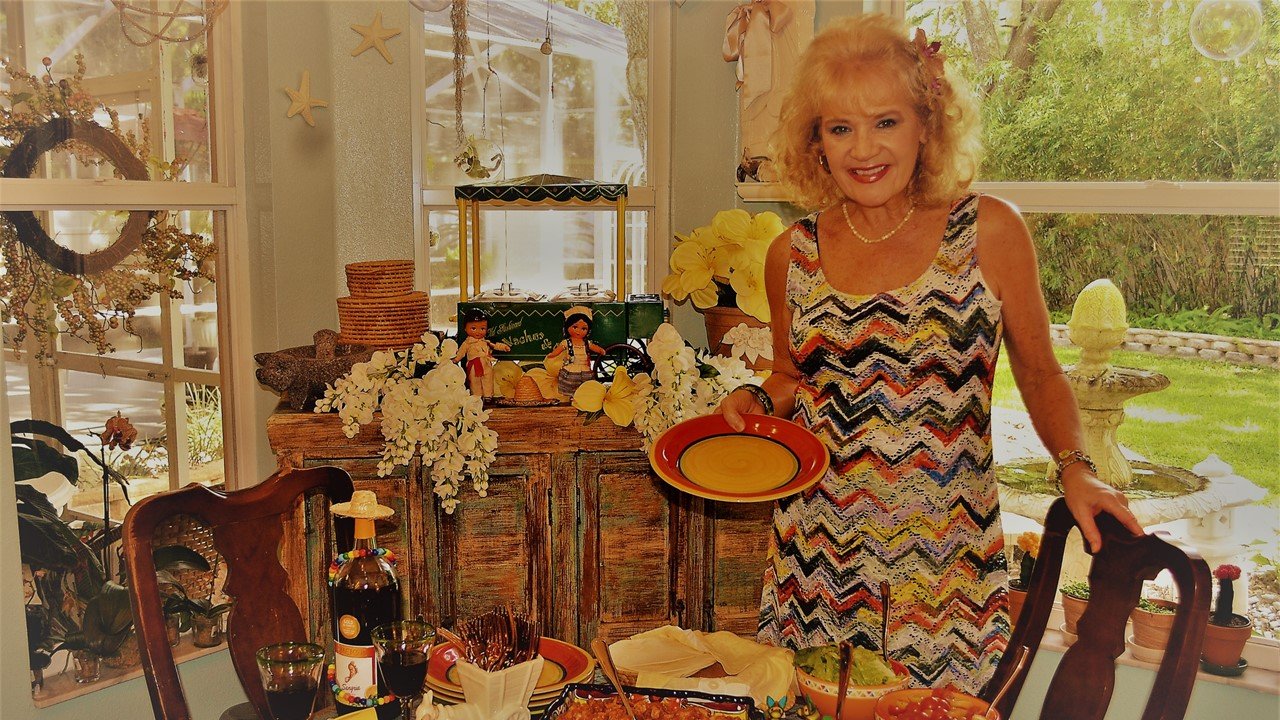
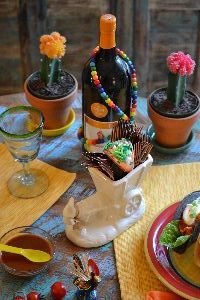
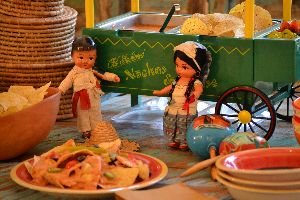
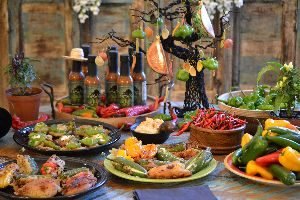
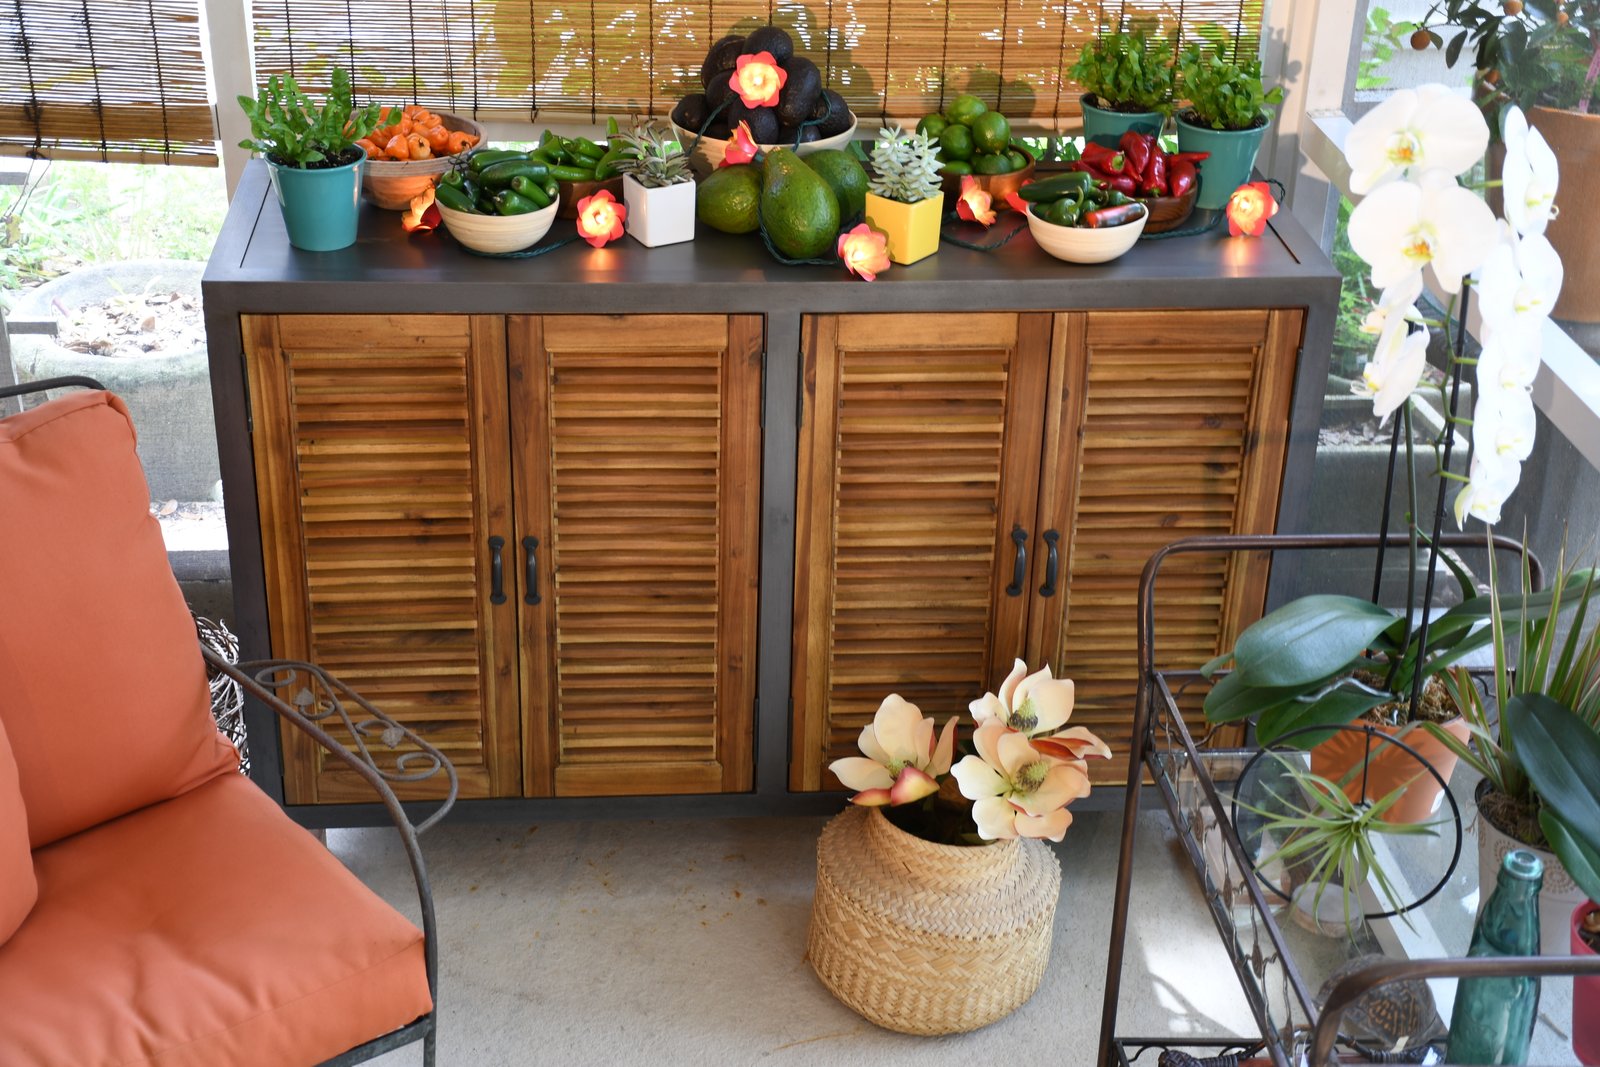
Time to get out the collectibles and celebrate all things Mexicana.
My adorable little dolls…..

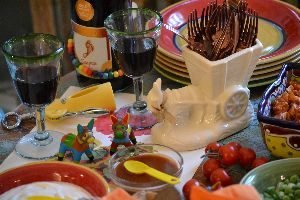
My daughter Veronica’s Nacho Cart that we gave her one Christmas many years ago.
It was at a time when she wanted to be a Chef and open a Mexican Food Restaurant. That dream vanished but she still loves her Mexican foods. I wanted to use the cart just one more time before I gave it to her to keep at her casa.

I would like to state that I have no Mexican or Latin heritage that I am aware of. Even though our last name is Whann, pronounced WAN, the name is actually Welsh, as in European. Although people always assume that we are either Mexican (Juan) or Chinese, (Wan). 🙂 (It does get us good reservations when we book over the phone though.) wink. wink.
The recipes that I have here are just my interpretation of my love of all things Mexican, especially the foods. Also please forgive any Spanish language mistakes that I may make here. My Junior High and High School Spanish mainly consisted of “How much,” and “Where is the bathroom?” On our trips to Mexico. And when it does come to bull fighting I do root for El Toro. 🙂
The recipes on this post are not authentic in any way. They are either recipes from my 1970’s past when Mexican food started getting attention here in America, or my interpretation based on my love of Mexican foods and recipes that I have eaten and enjoyed through the years.
Mi Casa es Su Casa,
Julie Whann
——————————————–

The Nacho Cart
The History of Nachos…….
Nachos were created by a man named Ignacio Anaya in 1943 as a last minute hors d’oeuvre at the Mexican restaurant where he worked called the Victory Club in Piedras Negras, Mexico.
Ignacio’s nickname was “Nacho.”
“Nacho’s” were originally called “Nacho’s Especiales” but was shortened to “Nacho’s.”
Nacho’s quickly spread to every Mexican restaurant in Texas.
Nacho’s were originally cut from tortillas, then fried, cheese was grated over the chips and then heated until the cheese melted.
Though Nacho’s were popular in Texas they were unknown everywhere else. Then a man named Frank Liberto decided to sell Nacho’s as a concession item. He reformulated the cheese in order for it to stay soft.
Frank Liberto first attempted to sell Nacho’s at Arlington Stadium in Arlington, Texas in 1977. Monday Night Football made a visit to the Arlington Stadium and Howard Cosell was offered up some in the reception area, loved them so much that he took to the airways raving about them during his show making Nacho’s a household name. (I love a good success story.)
(The history of nacho’s as taken from the Nachos Maker instruction and recipe booklet.) 🙂
—————————————–
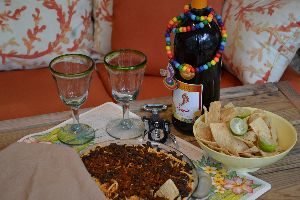
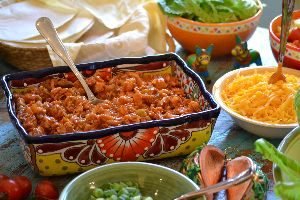
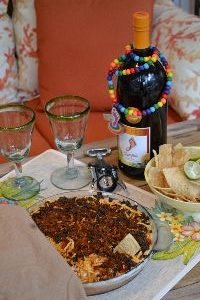
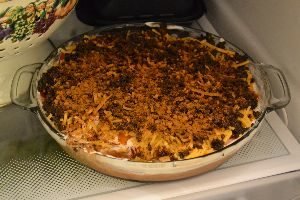
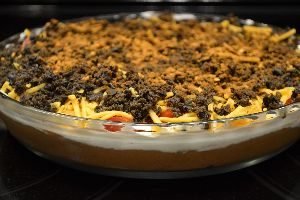
Here I decided to remake an old 1970’s Mexican Cheese Dip. You’ll find the recipe listed down below. It was so much fun to make and to eat! One thing that I love about Mexican food is how colorful and tasty everything is. I’m starting to regret giving Veronica back her little Nacho Cart. I think she stuck it in her attic. 🙁
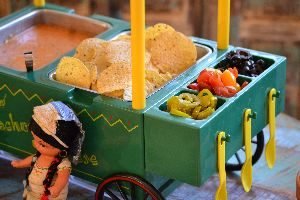
The melted cheese, the crisp tortillas, Jalapeno’s, tomatoes, olives…..

Muy Bien!

(See Recipe Below)

——————————————
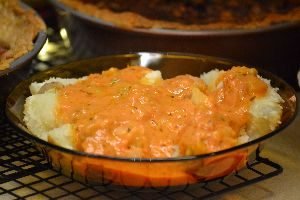
This Taco Cheese Sauce is also excellent over a Baked Potato.
———————————–
All of the Recipe’s are Listed Down Below
———————————

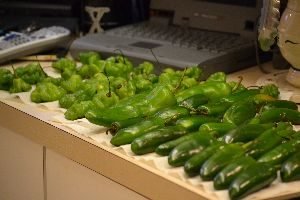
Serrano, Mini Bell, and Cheyenne

Some like it HOT!!
————————————–
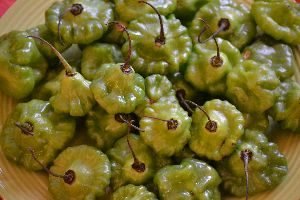
Cachucha

I saw these and knew exactly what I wanted to do with them.
And they do look like little flying saucers.
——————————————–

Taco’s and Peppers Hanging on my Tree
—————————————–

—————————————-
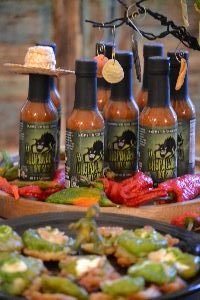
Mexican Goat Sucker, El Chupacabra Hot Sauce

Julie’s El Chupacabra Goat Cheese Cachucha Suckers
I based these on the Mexican legend of El Chupacabra, the Goat Sucker.

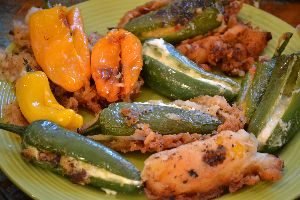
My Delicious Spread of Pepper Poppers
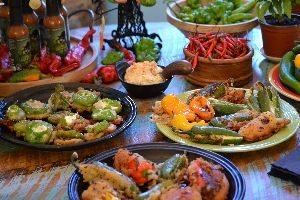
———————————————

My 1970’s Green Chili Dip/Spread

Fried Peppers Stuffed with Cheese’s
—————————————-
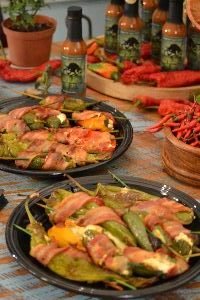
Julie’s Bacon Wrapped Pepper Poppers

———————————————

————————————–

Margarittaville
————————————-
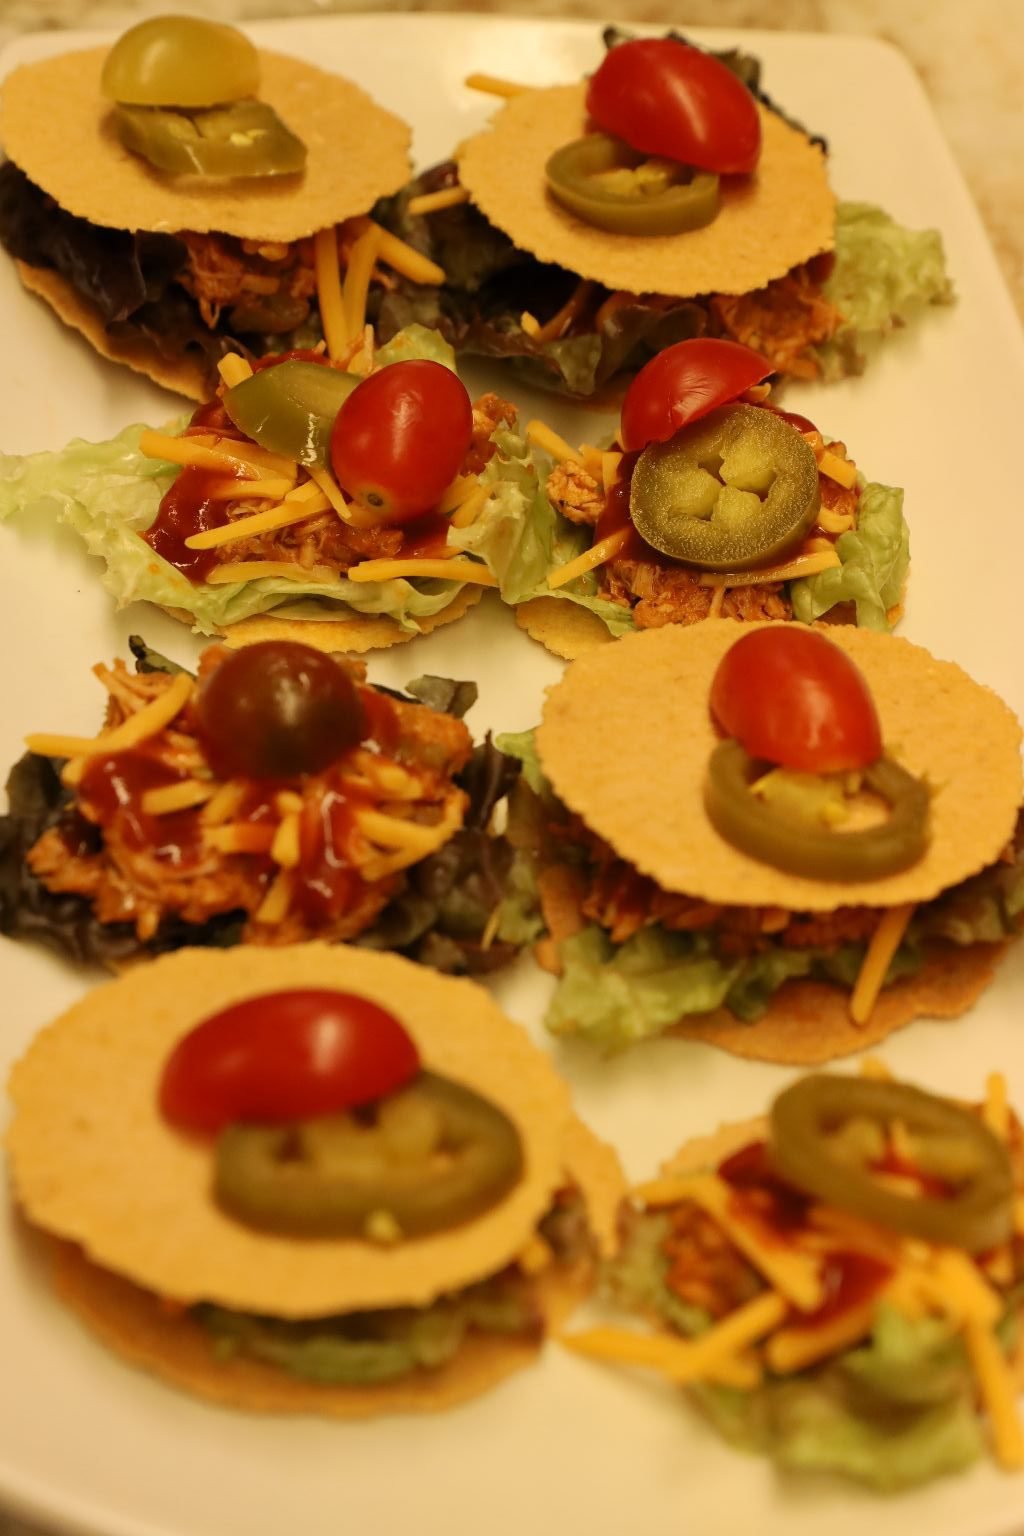
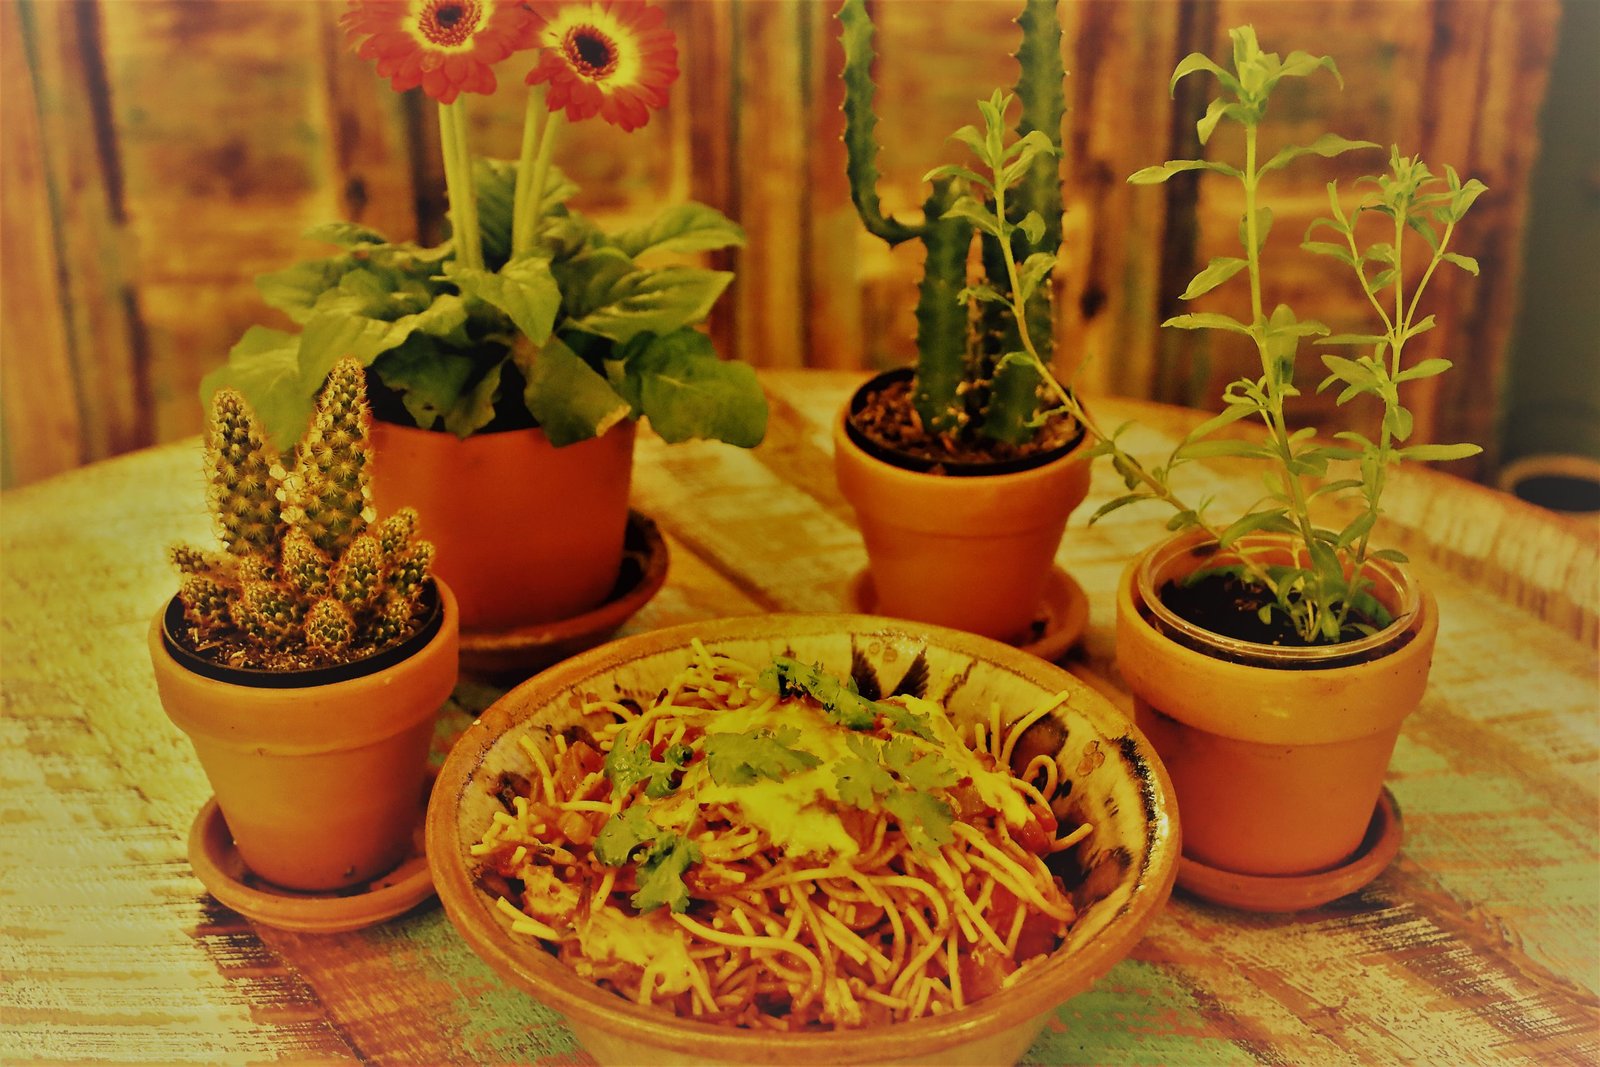
Julie’s Chicken Taco Cracker Snack
I have my Chicken Taco Recipe Down Below,
…But, here is just a taste of how to eat it in a Snack.

Ignore the Puzzle, Sometimes we eat on Puzzles 🙂

I wanted to eat my Chicken Tacos in a Cracker so I created these. The crackers I purchased from the Spanish Market, I then added my Chicken Taco mixture, some Sharp Cheddar Cheese, Sliced Jalapeno’s, and some Grape Tomatoes.
——————————————-
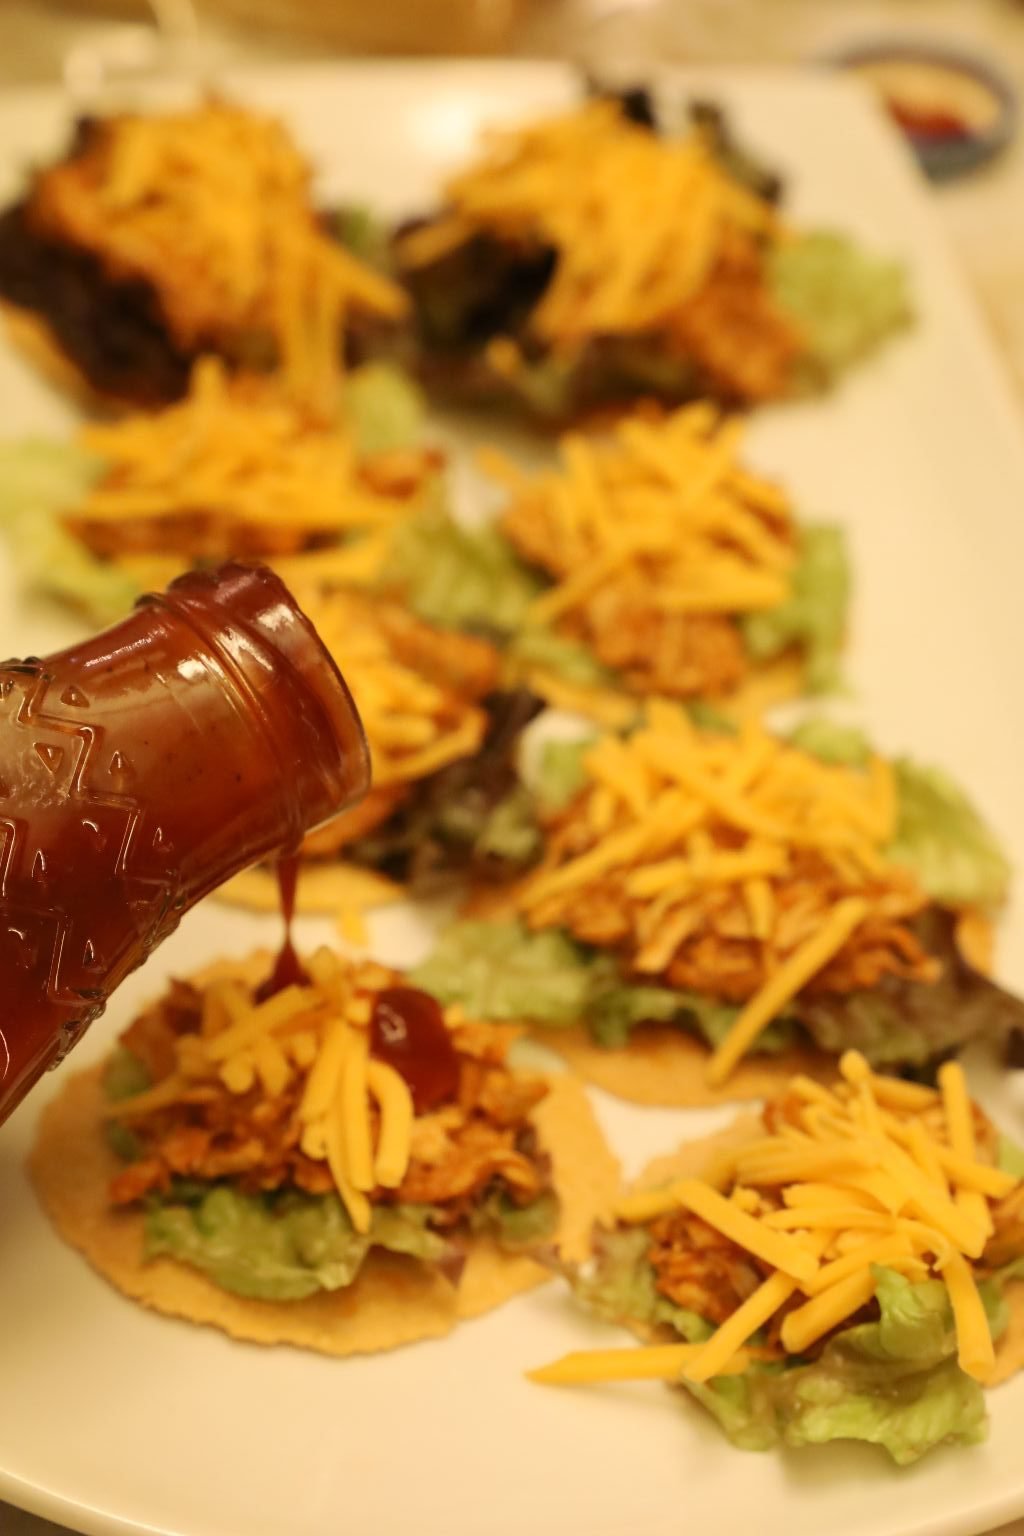
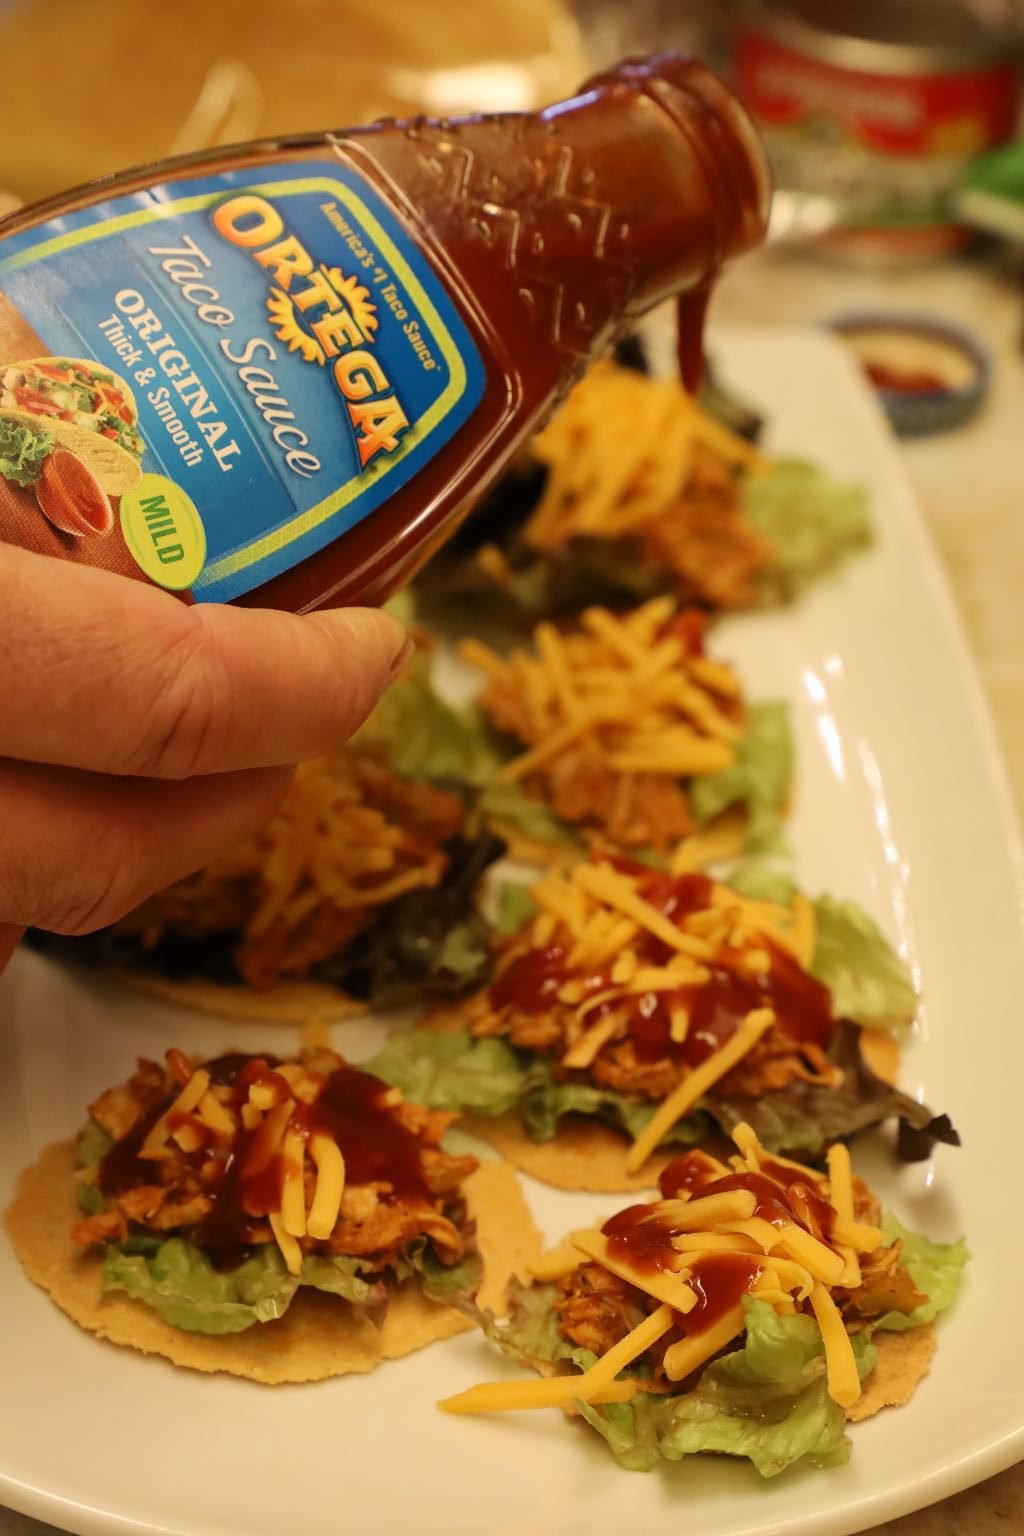
Let’s Not Forget My Favorite Ortega Taco Sauce (Mild)
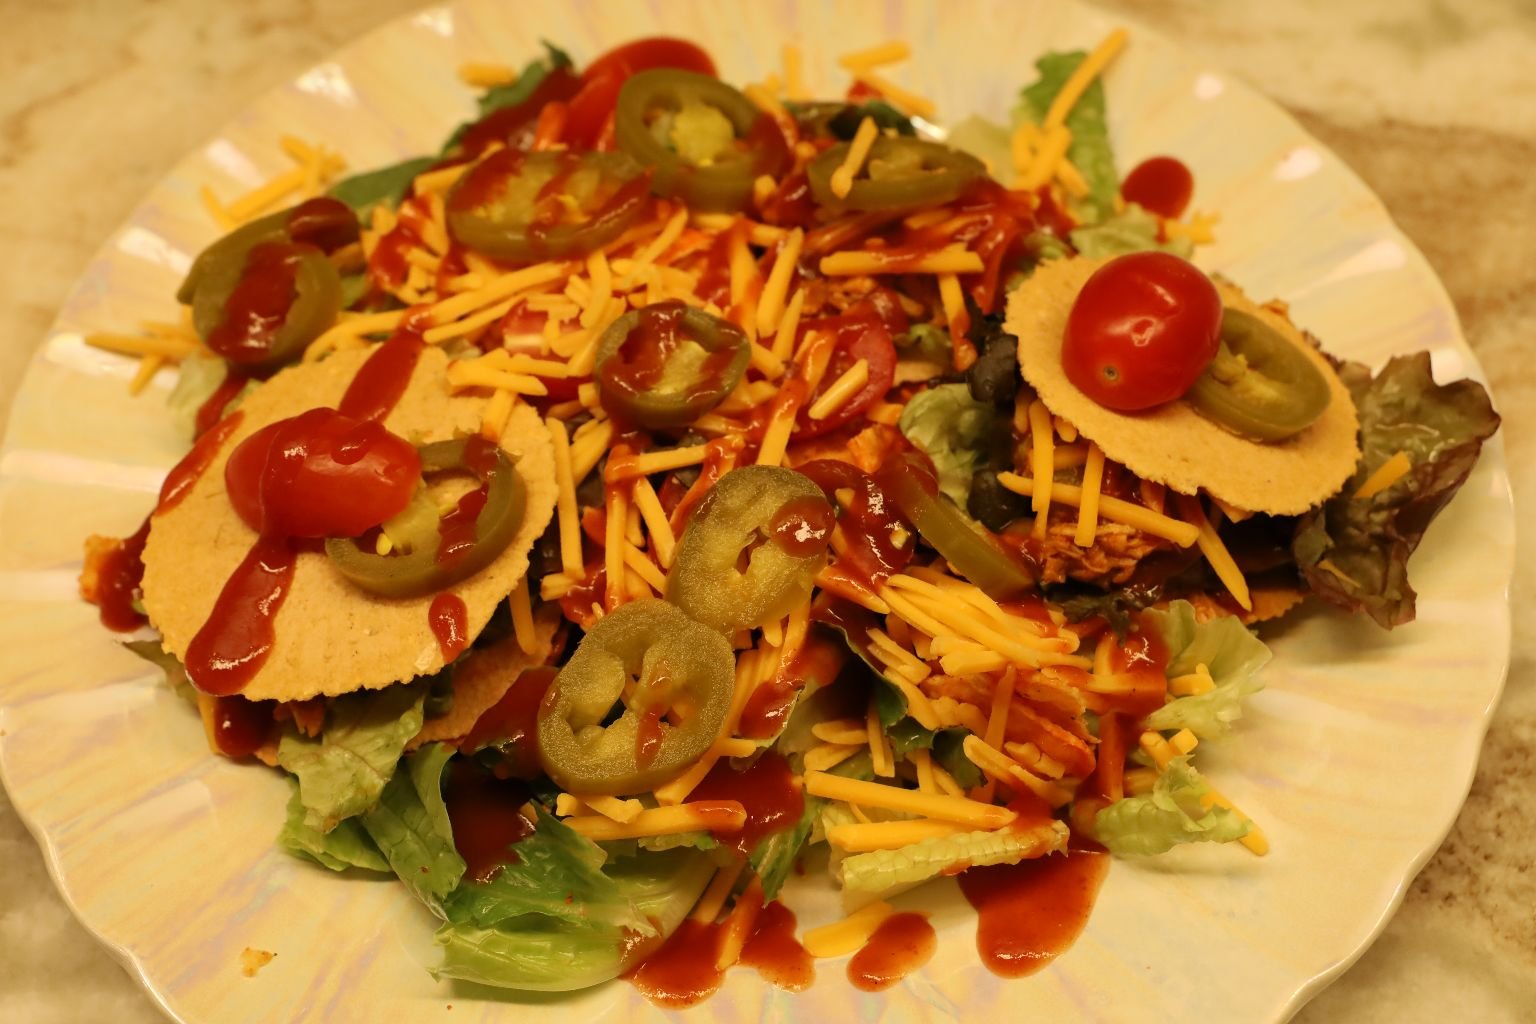
I Added Some Lettuce Here For A Taco Salad
————————————

Julie’s Guacamole

—————————————–

I love the assortment of HOT SAUCES that I can buy at the Latin Supermarket.
They work very well on everything I’ve got listed on this post. 🙂
—————————————–
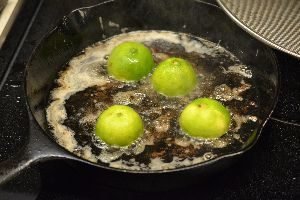
Limes Cooked in Bacon Grease

————————————-
Julie’s 3 Pork Nachos

————————————

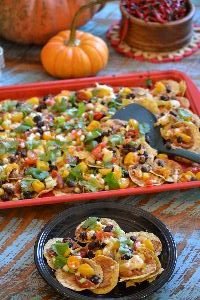
Pumpkin Nachos

———————————————
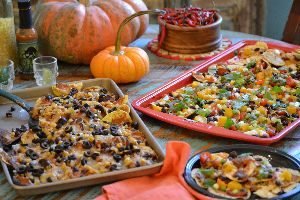
Julie’s Black Bean and Corn/Corn Relish Nachos
————————————–
Quesadillas
Breakfast Plantain Quesadillas

Topped with Platano Chips
—————————————-
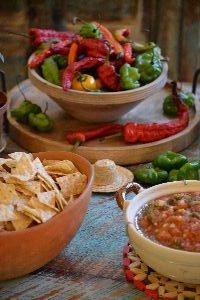
Salsa and Tortilla Chips
————————————–
Savory Salsa Pancakes


————————————–
Julie’s 7 Layer Dip
(That only has 5 Layers)
—————————————-

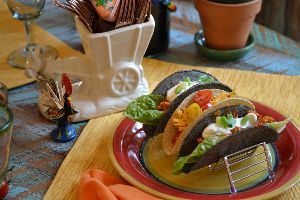
Mis Tacos De Pollo
(My Chicken Taco’s, and my Pride and Joy)

———————————————–
These Chicken Taco’s are our family’s most favorite thing to eat, that I make. It is also a hit with everyone that has ever eaten them. This is my brother Ben’s most favorite food in the entire world, my Chicken Taco’s. When I give him the gift of taco’s it is like Christmas morning and he is 5 and getting everything on his wish list. 🙂

My most favorite way to eat them is inside a crispy corn taco shell. But, I also love them on a romaine or lettuce leaf, and even over top some nacho’s that I have made. Also by crushing some tortilla chips onto a plate, and then adding the chicken taco mixture, some chopped tomatoes, and to top them with some cheese, lettuce and toppings and making a taco salad.
The Crispy Taco Shells

Just going in for a little taste…….
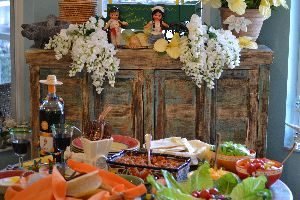
Beautiful and Colorful
————————————-
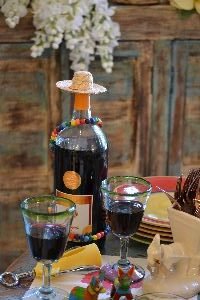

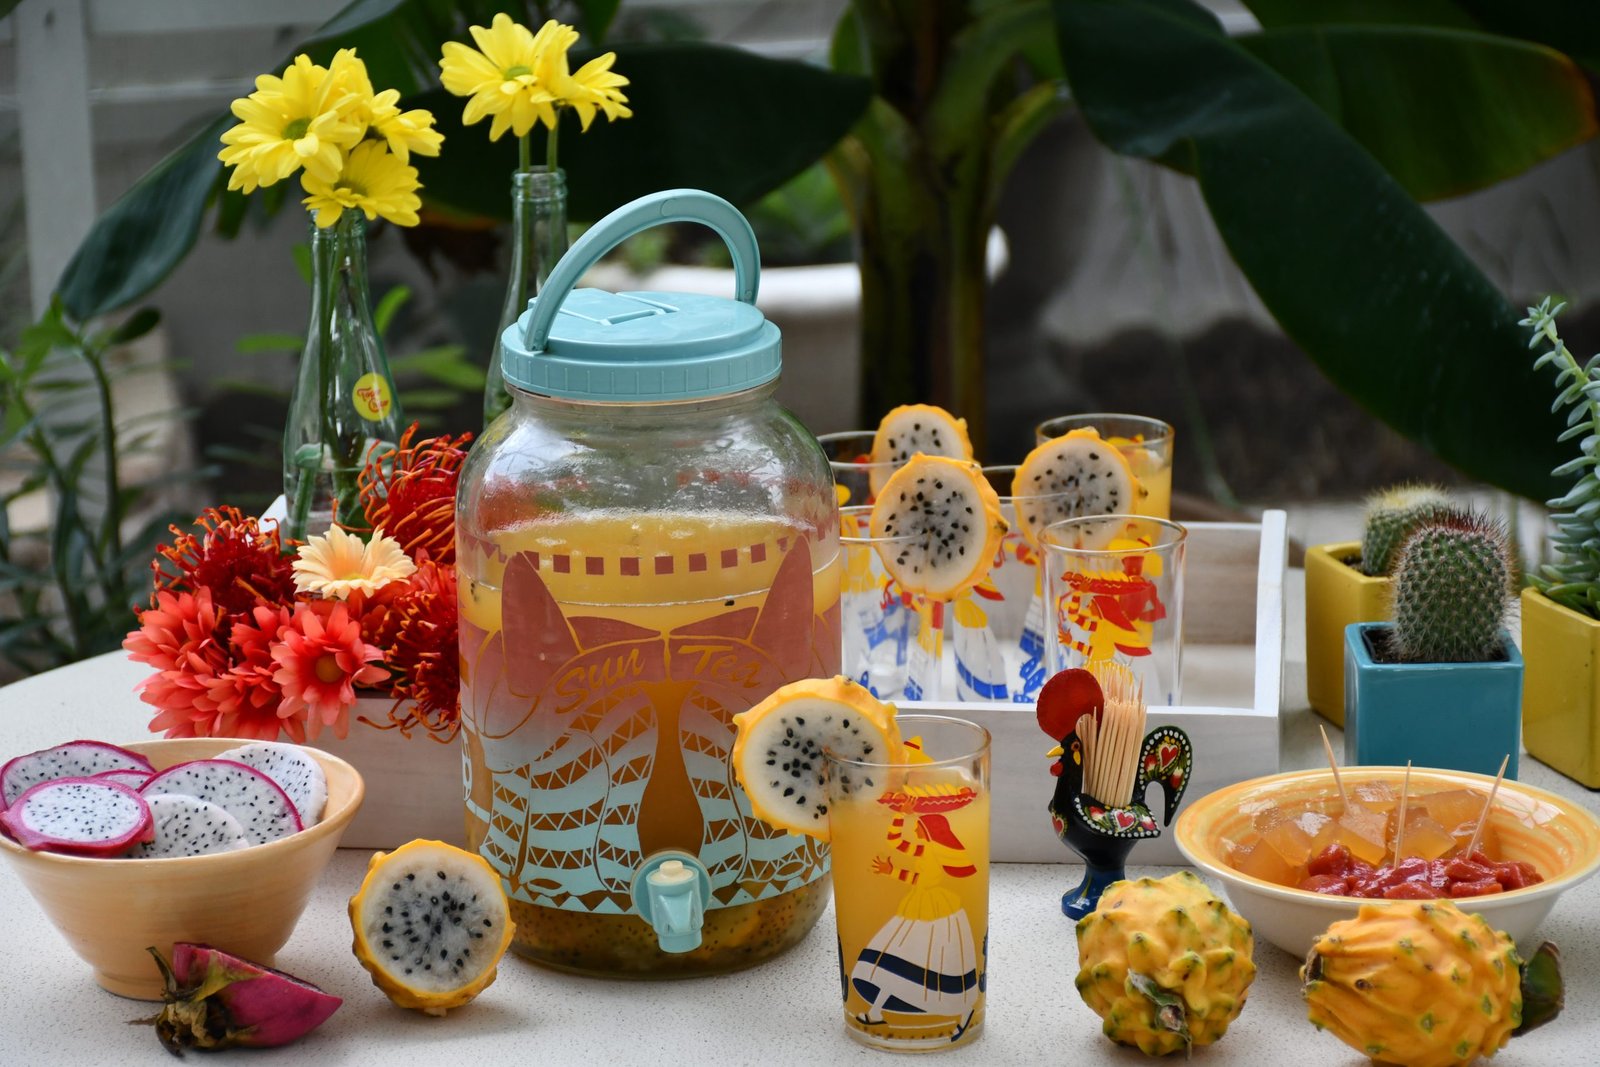
Some Sangria, and an atmosphere can make all the difference.
My vintage Mexican planter holds the cutlery.
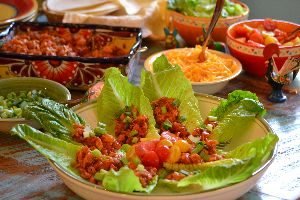
A healthy alternative, chicken taco’s on a romaine leaf.


Add some tomatoes, cheese, toppings and taco sauce.

Julie Whann Way Chicken Taco’s

Ole’
———————————–
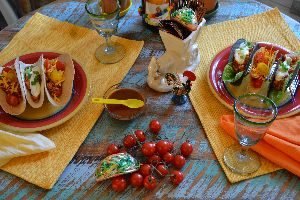
Taco Table for Dos

—————————————–

Sangria and Taco’s


———————————————
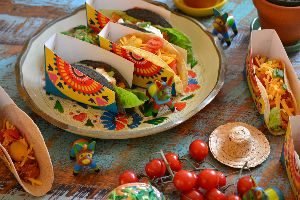
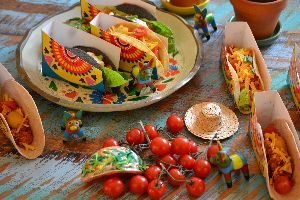
Colorful, Crunchy, Delicious, Festive
————————————–
Chicken Taco’s on the Go…..

I love to give the gift of food and seeing as how my Chicken Taco’s are so very popular with everyone that has ever eaten them, I love to make lots of extra to give as gifts. I also love to freeze the leftovers. As they freeze very well.

The gift of Chicken Taco Mixture, Chopped Tomatoes, Grated Cheese, Chopped Spring Onions, Chopped Black Olives, Taco Shells, soft and hard, and Taco Sauces.
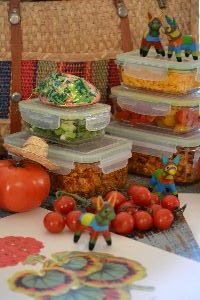
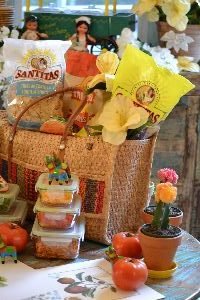
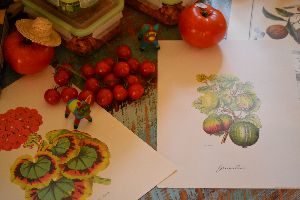
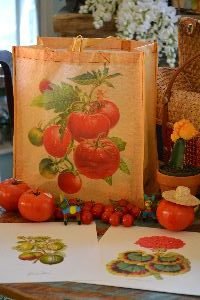
I found some lovely prints at a store that I thought would look really nice with my food. They were very inexpensive, as in about $2.00 each.

Ready to give away as gifts to those that I love and care about feeding.

——————————————————
—————————————-
Julie’s Chicken Taco’s
Recipe 🙂
I will say that my recipe for Chicken Taco’s is less about the ingredients that I use, and more about TECHNIQUE!
( I also do something to the chicken that every single person in the world frowns down on, but I do believe this to be the secret, so keep reading.)
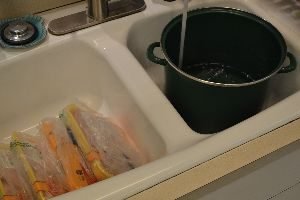
(I always wash my chicken before I place it in the pot to boil.)
Whenever I make my Chicken Taco’s I always double, and sometimes even triple the recipe. Most we eat, some we give away, and other’s we freeze for next time. And they do freeze very well. I used 8 large chicken breasts here.

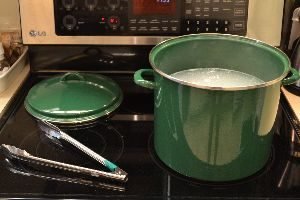
I start off by filling my largest pot with water and adding some salt to it. Just a few shakes from my salt shaker. I’m told it helps the water to speed up the boiling process. Whether that’s true or not, I don’t know, but perhaps the salt does aid in the taste of the chicken because most of the time I never salt anything that I cook, even when the recipe call’s for salt.
I start out by putting the chicken on high, but as it starts to boil I reduce the heat to about an 8 on the scale of 1-10 on the stove top.
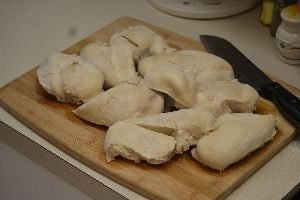
I believe this is the First “mistake” that I make that other’s don’t. (And I don’t even consider it a “mistake.”) I boil the chicken longer than necessary. I think the fact that I do is because I come from the south where we tend to cook food to death. I think that has something to do with it. But this chicken has no pink at all. I am particular that way. So, you may wonder why that’s a bad thing? (To me it isn’t.) But, the chicken still has a lot more cooking to do, which is why most people would perhaps frown down on my already cooking it to death.
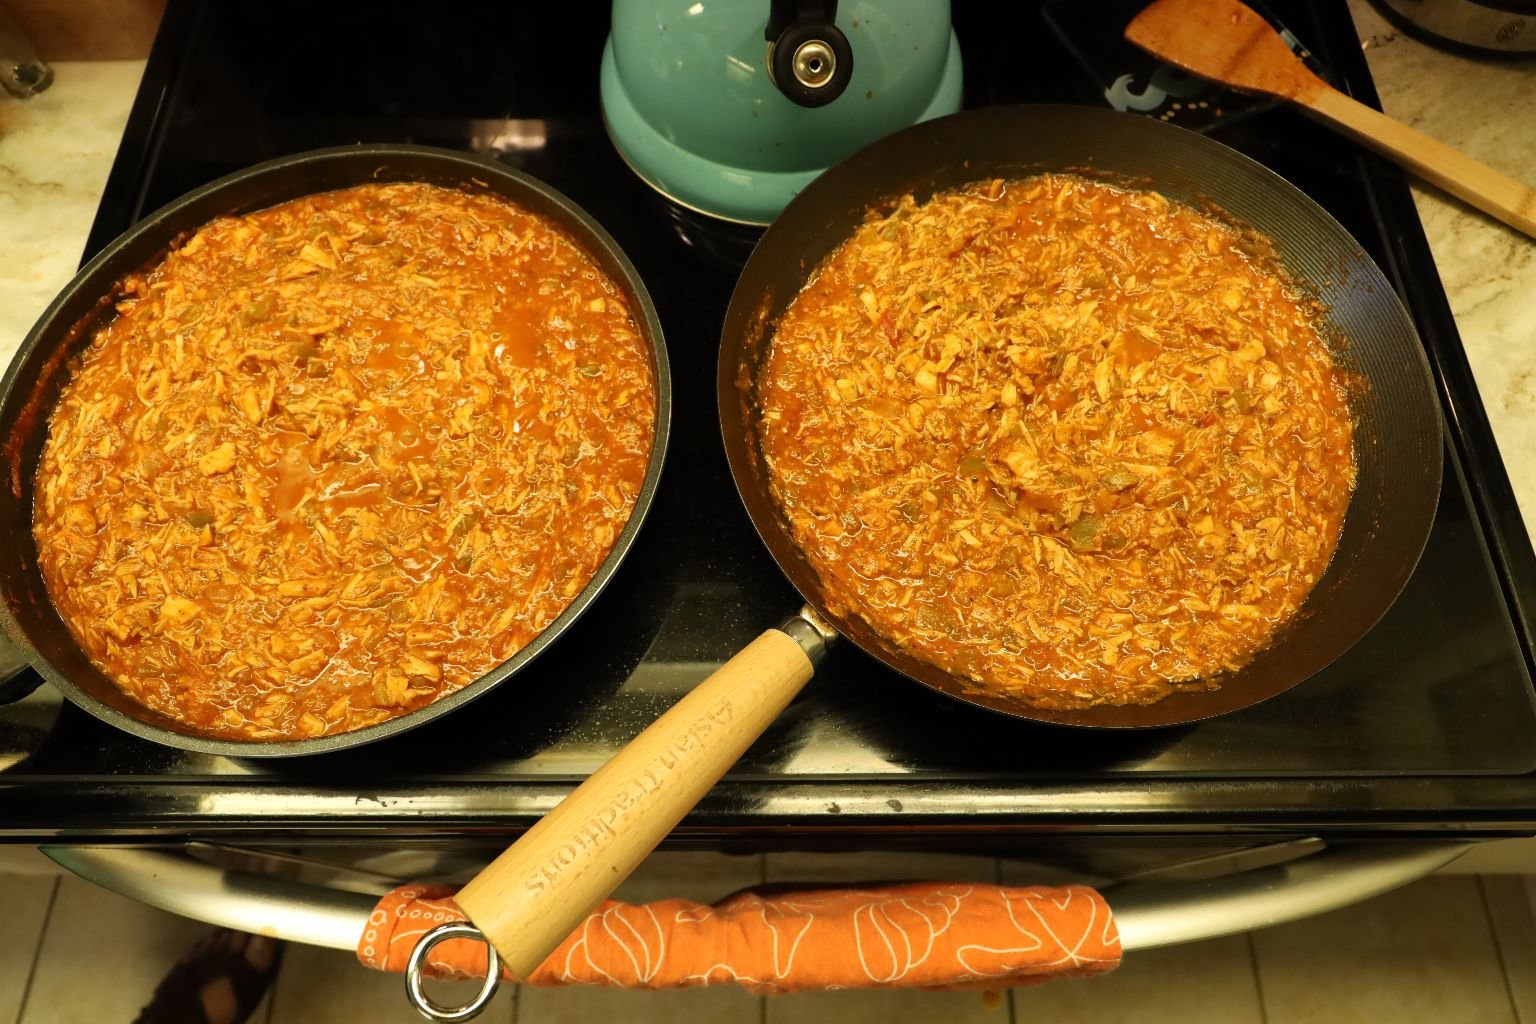
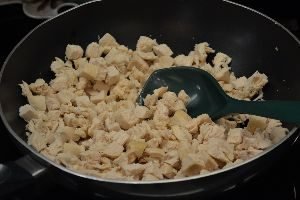
SECOND: And I do believe this is another reason why my chicken taco’s turn out so good, is because I cook them in a WOK.
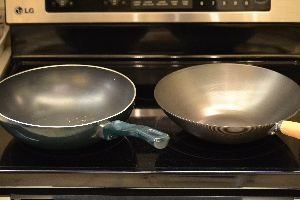
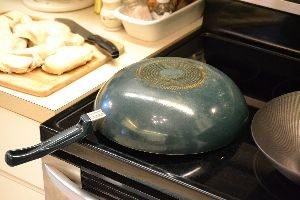
Notice the green WOK in the photo’s above on the left in each photo? I have had that WOK since the early 90’s and I have never made my chicken tacos’ in anything but that WOK, and have them taste as good as they do. When I use a regular pan……..NOPE! Just not as good.
It is so old and beat up, the handle is so loose and rusted, it is so dented in many places, and I cannot tell you how many time’s that Gordon has thrown it away and I am digging it out of the trash. Oh, he knows now to leave it alone otherwise I will throw one of his expensive pots away. 🙂
But I do believe that making my Chicken Taco’s in that WOK does have something to do with how good they taste.
I’m sure that there is a scientific reason behind it….something to do with the distribution of heat, blah, blah, blah……

The THIRD Reason that I think why my Chicken Taco’s are soooooo good………
Because the chicken is so hot when I take it out of the pot of boiling water and place the breasts onto a cutting board to cool…… I tend to let them sit out a long time and they do kind of dry out. Sometimes my chicken has been sitting out a good 45 minutes and it starts to kind of really wrinkle and buckle.
BUT, I believe that having it so dry that the next thing I do makes it taste even better…….
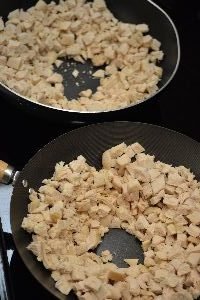
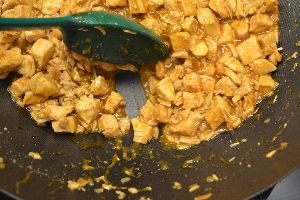
I STIR FRY THE CHICKEN IN VEGETABLE OIL!


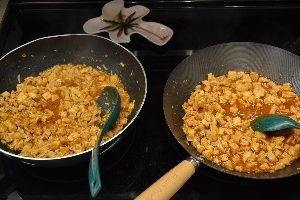
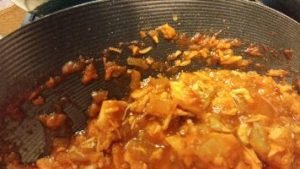
When I cut the chicken breasts into small pieces, as in the photos above where I’ve got them distributed between 2 WOK’S, I always make a hole in the center of the WOK’S. I do this because this is where I pour the Vegetable Oil. I’ve got the heat on a medium-high here. So, as the chicken is starting to warm up in the WOK’S, I add about a Tablespoon of the Vegetable Oil in the center, or maybe even a little more. I then stir it around, kind of like a stir fry, and the chicken will drink that oil in! That’s when I will then add a SECOND Tablespoon of Vegetable Oil, and the chicken will do the same thing……. DRINK IT IN! I then do this a THIRD TIME!
—————————————-

I wanted to show you in the photo above, this is the chicken/fat from the breasts that don’t make it to my Chicken Taco’s. I tend to cut out every little yucky bit that doesn’t make it past my inspection. One thing that I have always hated growing up was biting into a nice spoon full of whatever only to have some yucky, chewy, piece of meat/fat that I then had to spit into my napkin because I just couldn’t tolerate it. So I prefer to go through all of the meat of everything that I cook and nothing gets past me that will be a yucky bite in whatever I make.
————————————————–
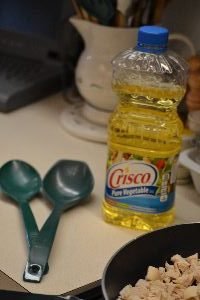
The Vegetable Oil that I use to the left, and the rest of the Ingredients for my Chicken Tacos, right.
——————————————

McCormick Original Taco Seasoning Mix
I grew up on this Taco Seasoning Mix and it is my preferred for my Chicken Taco’s.

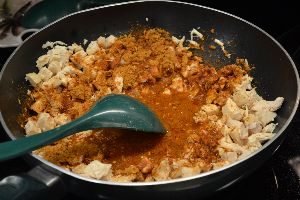
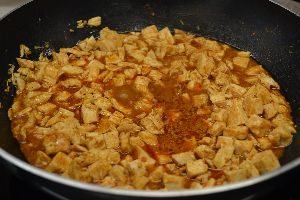
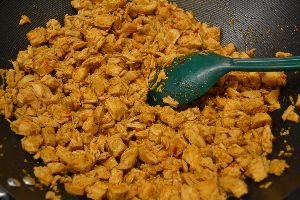
Depending on how much chicken that I am using in my taco’s will depend on how many taco seasoning packet’s that I use. So, in the pot above I am using either 1 1/2 – 2 packet’s per pot. Because I do double my recipe between 2 pots, I usually place 1 1/2 per pot which equals 3 packet’s total. So, just go by the package instructions. Once the chicken has absorbed the Vegetable Oil I do dump into the WOK the Taco Seasoning Mixes and then quickly add some water. I probably add about a cup and a half. You want it to look like the photo directly below.
I do bring it to a simmering boil, stirring quite a bit. I want the chicken to absorb the liquid. Once it does start simmering though I do reduce the heat to about a 2 or 3 and let it bubble away, but not to the point of spitting at you and spattering all around.
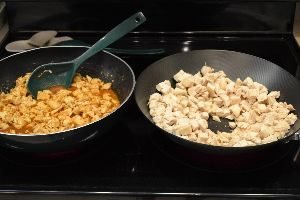
Because I can’t stir two WOK’S at once I start one and get it going, before I then tackle the second one.
Now I’ve got 2 WOK’s going.
The direction’s on the packet’s of taco seasoning mix pretty much call for this to simmer away for about 20 minutes or so….. I think so anyway. I haven’t actually read the back of a packet in over 20 year’s because I don’t follow those direction’s to the letter. But, what I do is to have this mixture simmer away until most of the liquid has gone and absorbed into the chicken, which may take 45 minutes or so. Maybe less, you need to monitor.
You also want to stir quite often to make sure nothing stick’s on the bottom.
Simmering Away on the Stove Top

When I use the spoon and move the chicken from the bottom of the WOK, you can see that the liquid is absorbing.
That is what you want!
Now onto the next step………
——————————————–

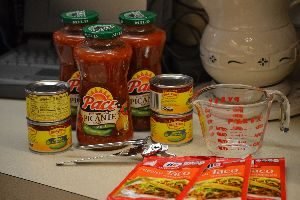
PACE Picante Sauce……. MILD


I use about 1 1/2 of these jars per WOK, which equals out to 3 jars.
They are about 1 pound, 8 ounces each.
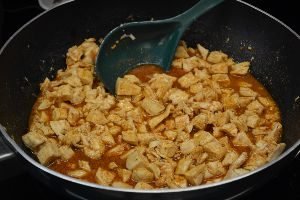
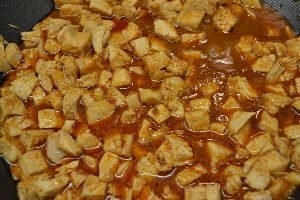
I just pour them into both WOK’S and let them simmer away for about an hour, to an hour and a half or so, until the liquid has mostly absorbed and the chicken mixture becomes very thick. I keep the heat on a medium low. I do keep an eye on this and I stir the WOK’S quite frequently. I don’t mind them simmering a bit but I don’t want them to spatter and spit at you. I just want the mixture to become very thick.
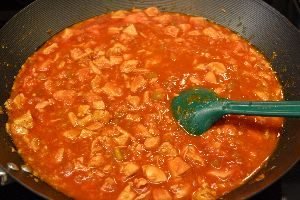

You can see in the photo’s above how the mixture is thickening up nicely.
The longer it simmers, the thicker it gets.
——————————————
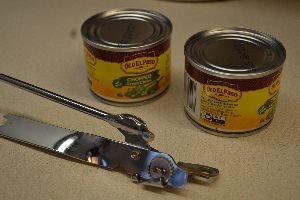
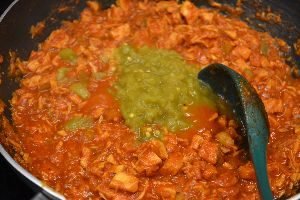
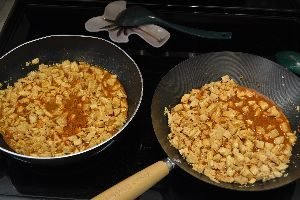
After about 45 minutes from when I put in the Pace Picante Sauce, I then add two can’s of diced green chili’s. I don’t drain them, I just toss them in. And that’s 1 can per WOK.
I just stir them in and continue with the cooking process while all the flavor’s blend together and thicken up.
———————————————
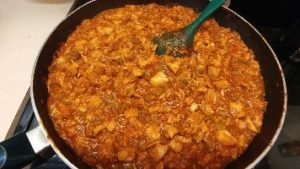
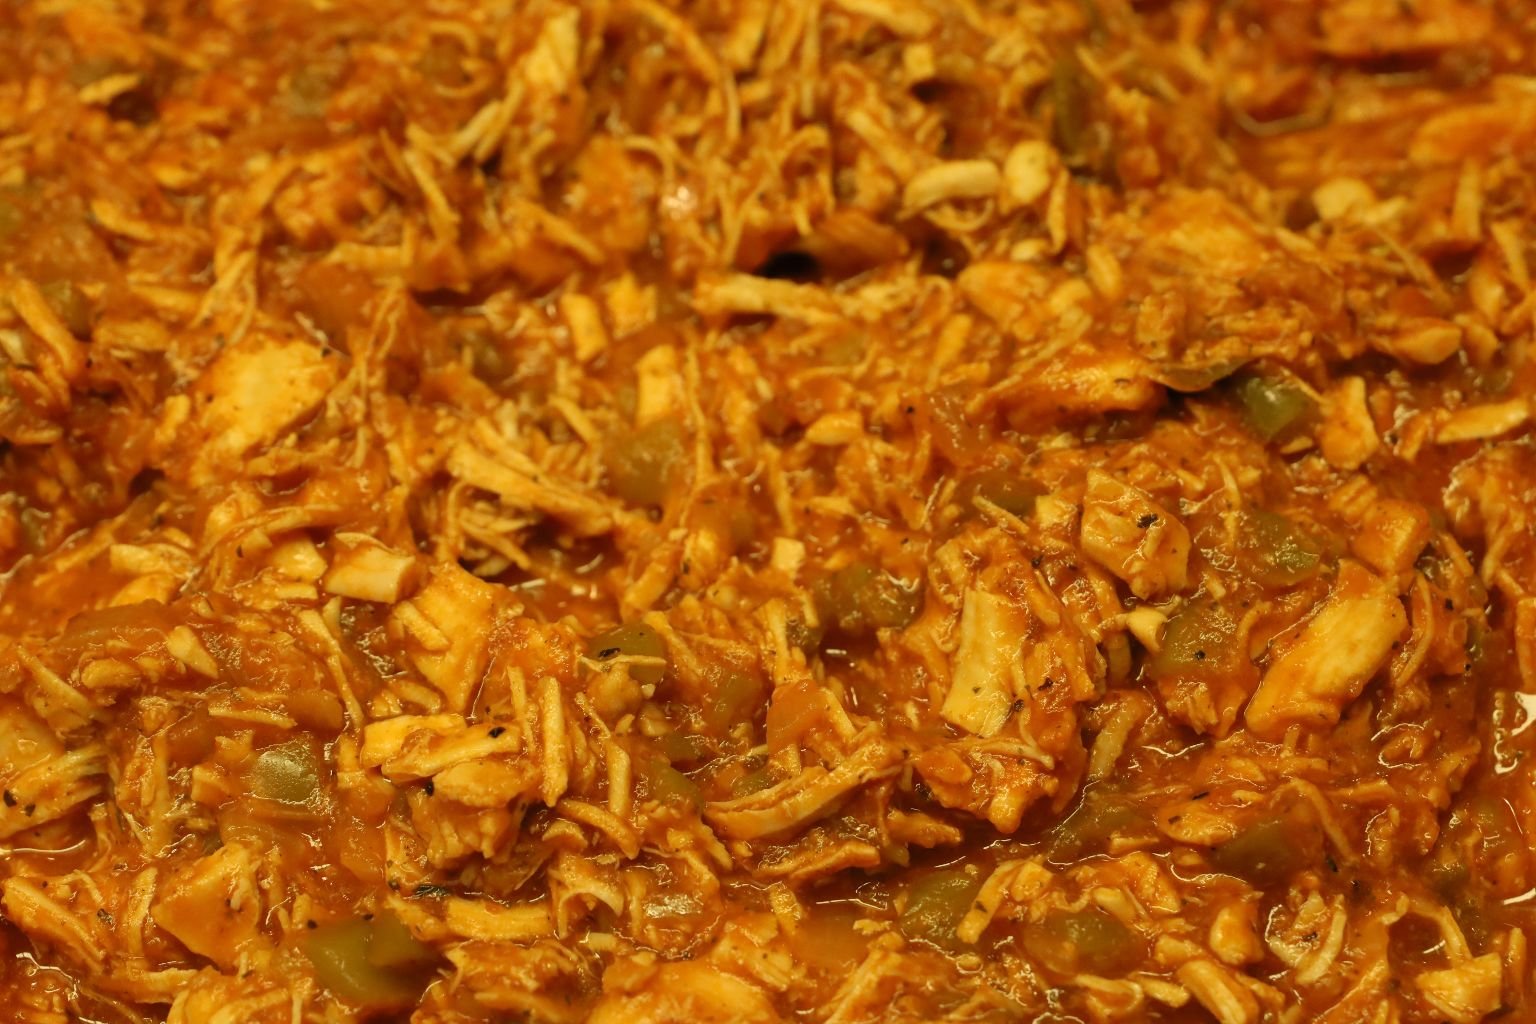
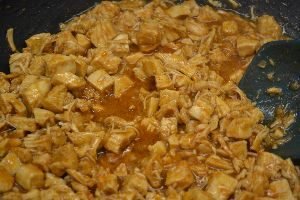
Look How Thick It’s Getting!

This is exactly how I want it to look, and taste. 🙂

Although these photo’s do not do it justice, it’s those bits around the WOK that become caramelized and so flavorful that they make this dish soooooo good! Not to mention because of the vegetable oil that I stir fried them in earlier? You have that floating oil that I love so much in Italian food, which I think makes it taste even better here in Mexican food.
I probably let my Chicken Taco’s simmer away a good 21/2 hours before now. That does not include the beginning cooking time. I’m referring to from the time I added the taco seasoning mix with water, to this point. But I do put it on low for the last 30 minutes just to keep it warm.
————————————-

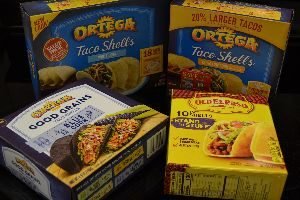
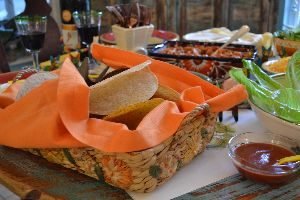
Our family uses a variety of taco shell’s, hard and soft so I always have an assortment to choose from.
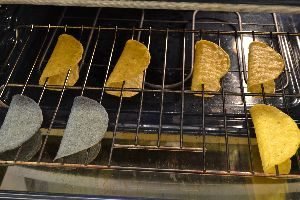
A good way to heat up the Taco Shell’s in the oven without them loosing their shape is to place them on the oven rack this way.
I also love to chop up some nice tomatoes, lettuce, spring onions, add some grated cheese, sour cream, and taco sauces.
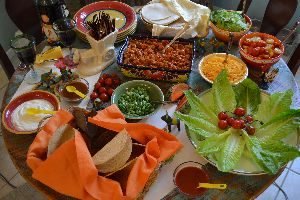
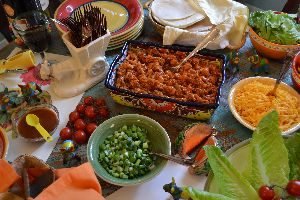
The Table is Set
Ven Y Cogelo!!!!
(Come and get it.)
———————————————-
Julie’s Gringo Chicken Taco’s
(So named by me because they are very blonde, but not bland!) 🙂

For these chicken taco’s I used the Old El Paso Taco Seasoning Mix for Chicken.
I wanted these taco’s specifically for Chicken Quesadilla’s.
I made them the same way as I did with my Chicken Taco’s from above, except I only added the taco seasoning packet’s and no other extra’s.

I added the Vegetable Oil, just like above.
Stir Fried it around. I did it 3 times as always.


——————————————————-
But here I used a packet and a half of the Old El Paso Taco Seasoning Mix for Chicken and I let that saute away, according to package directions until the liquid had been absorbed and all I had left was a lovely chicken taco mixture.
But, I did let the chicken taco’s simmer away in the WOK much longer than the instructions call for. You can see how thick they are. I let them simmer until they look like this.

Just look at how thick and beautiful it is! Not to mention delicious!
They are ready to eat just like they are, in soft and hard taco shell’s.
Or you can eat them as we did as Quesadilla’s.
——————————————
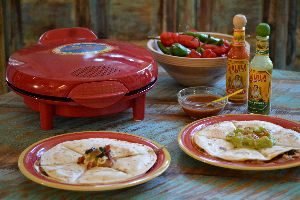
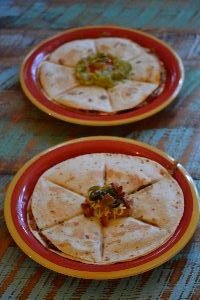
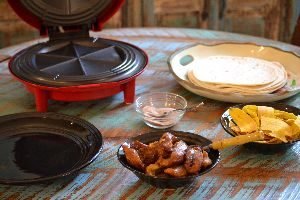
Quesadillas
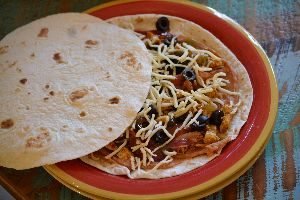
Chicken Quesadilla’s
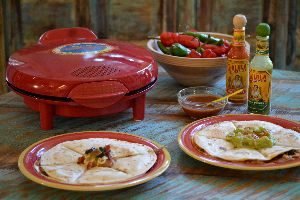
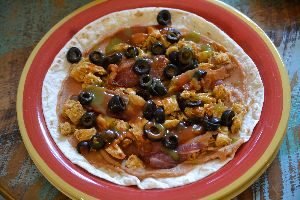
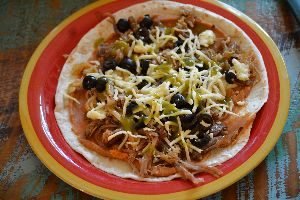
The Chicken Taco recipe from above is really perfect here. It makes a great Quesadilla. You just need the flour tortillas, some bean dip, or refried beans, then add the chicken taco mixture all around, some black olives, black beans, cheese, and anything else that you desire. Then place all the ingredients onto a tortilla, cover with another tortilla, then place into a Quesadilla Maker.
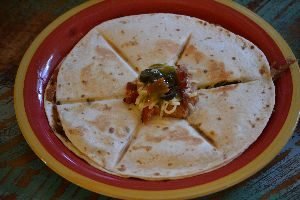

These two are finished and ready to eat.
I topped one with some bean dip, black olives, bacon, and hot sauce. I topped the other with guacamole and hot sauce.
——————————————–
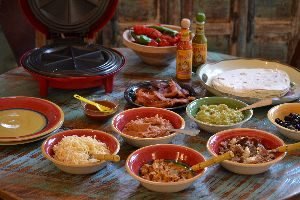
Quesadilla’s Ready to Assemble
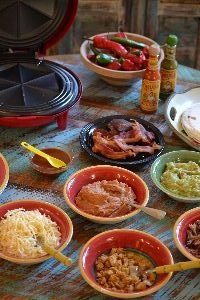

I also have some pulled pork and some bacon here as well.

Flour Tortilla’s
————————————————–
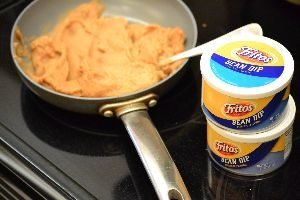
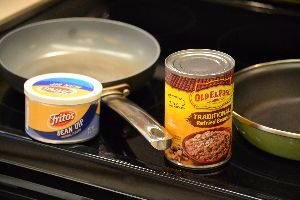
I am nuts about this bean dip and always have been. I grew up eating it and I prefer it to refried beans. But I first like to warm it up on the stove top in a pan before I spread it onto a tortilla.
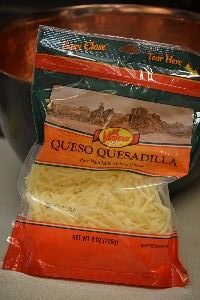
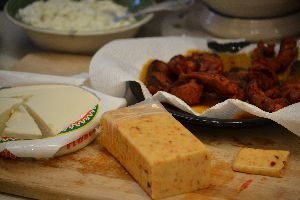
This is an excellent cheese for any of the recipe’s we have here.
I buy it at the Latin Supermarket. It’s so soft and creamy.

This one is mine! 🙂

——————————————-

Placed onto the Quesadilla Maker, following the cooking instructions.
——————————————–
This One is Brodie’s


———————————————–

Cook According to the Instructions

Yummy!

———————————————–
SABROSO!!
————————————————-
Guacamole
———————————————-

We first start out with fresh ingredients of Avocados, Onions (I used sweet onions here), Tomatoes, Lemons and Limes.
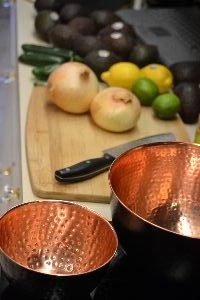
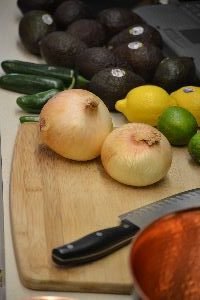
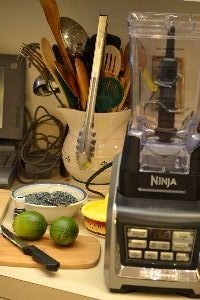
You will need a cutting board, good sharp knife, and a few mixing bowls. Also, a hand mixer if you have one.
Ingredients:
(I wish I could give you exact amounts but I can’t as I make it different each time. Depending on how many Avocados that I have.)
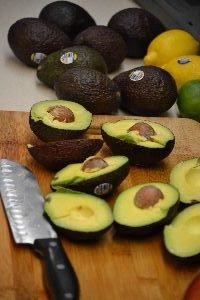
Avocados ( I probably used about 12 Avocados)
Onions ( I chopped about 2 Onions)
Poblano Peppers (2-3 Chopped and De-seeded)
Lemon and Lime Juice ( I just squeeze away. 🙂 )
Ascorbic Acid (2 teaspoons or so….)
Tomatoes, Chopped
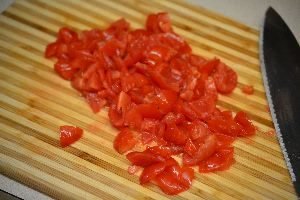
(Just to add some color and taste. I don’t want them to dominate, just accent.)
Bacon (For sprinkling on top.)
———————————————
I eyeball this and taste it as I go.
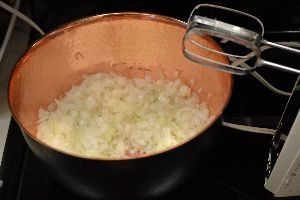
First I chop the onion and add it to a mixing bowl.

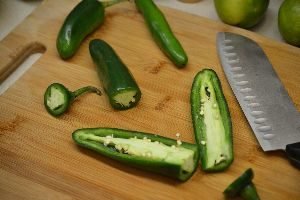
I then chop and de-seed a few Poblano Peppers and add to the onions.

I then slice my Avocados in half, removing the seed, and scooping out the flesh and placing it into the mixing bowl on top of the onions and poblano peppers.
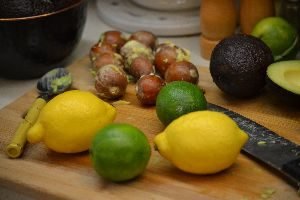
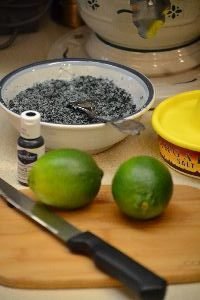
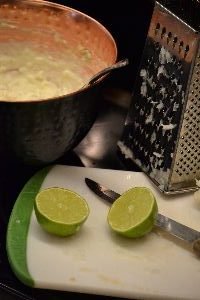
I also want a good amount of Lemons and Limes ready to add their juices to the mixing bowl.
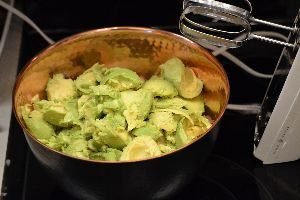
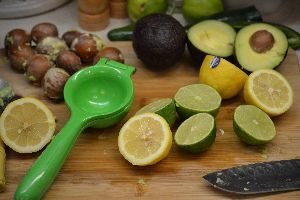
You can see the Avocado to the left, and the lemons and limes to the right. You will also need a juicer, or you can just squeeze them onto the scooped out flesh of the Avocados with your bare hands. I also grated some black pepper onto the Avocado’s here.

A Hand Mixer goes well in mixing everything up together.


Now you want to add the Asorbic Acid, about a teaspoon or two depending on how much dip you are making. This will really help in keeping your Guacamole from turning brown. I have discovered that the limes and lemon juice that I use just doesn’t prevent it from turning brown on it’s own. It needs a little help, that is what the Asorbic Acid does.
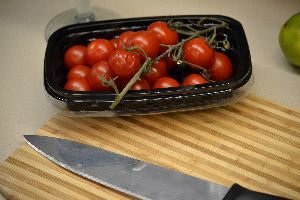

Now chop the amount of Tomatoes that you will like to add.
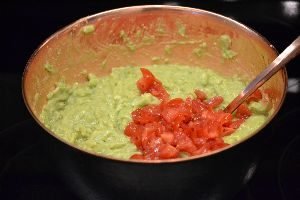
Now refrigerate in order for the flavors to blend together.
——————————————–
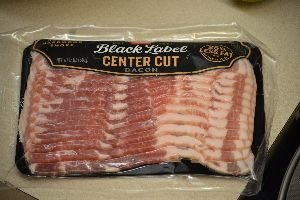
Fry up a few slices of bacon to crumble on top of your Guacamole.


———————————

Open a bag of Tortilla Chips and you have an excellent appetizer.
—————————————–
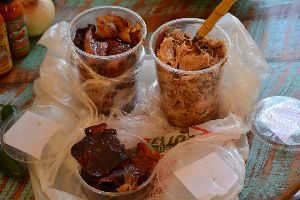
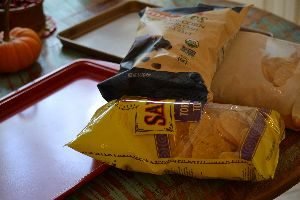
Latin Supermarket Purchases
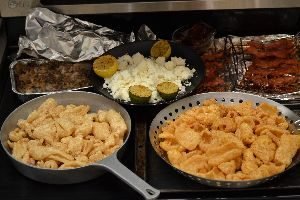
Pulled Pork, Pork Skins, and Fried Plantains
I will be using these in the next few recipes. Know that their pulled pork isn’t like our traditional American BBQ pulled pork. It isn’t meant to be eaten in a sandwich, it is meant more as a side dish in Latin cooking. But I do use it on my 3 Pork Nachos and it goes very well.
————————————–
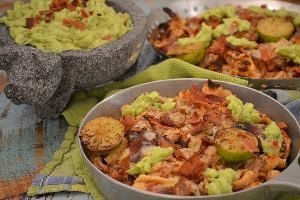
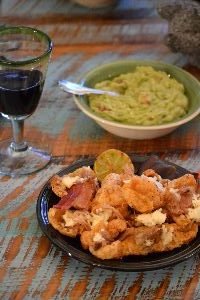
Julie’s 3 Pork Nachos

Pork Skins, Pulled Pork, and Bacon

I love Nacho’s and I got the idea to make a 3 Pork Nacho appetizer.
(I’m sure I didn’t invent the idea, but I did invent my version of it.)

———————————————–


You can cook bacon however you like but I decided to cook some of it in the oven on a baking rack lined with aluminum foil. I wanted it to crisp up nicely. I also added some of the pig skin that I purchased from the Latin Supermarket.
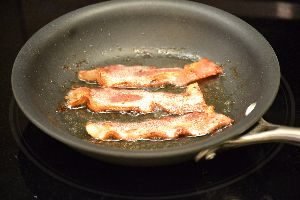
I can’t remember why I am frying up these 3 slices of bacon here.
Perhaps the rack was full above and I needed to cook it another way?

Ready to Grate some Jalapeno Pepper Jack Cheese

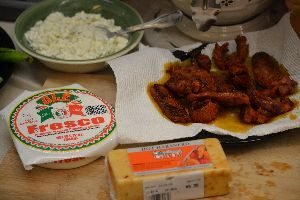
Some of the Ingredients:


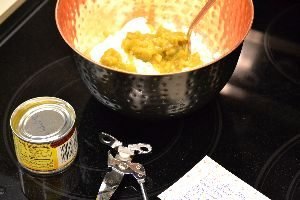
I just remembered why I cooked up those 3 pieces of bacon in this pan, so that I would have the bacon grease in order to fry up the lemon and key limes in it. It was truly delicious!


Crumbling the Queso Fresco onto a plate.

The Pork Rinds
Ready for the Assembly

First place the pork rinds into a pan to place into the oven.

Next I added the crispy pig skin, just a few pieces.

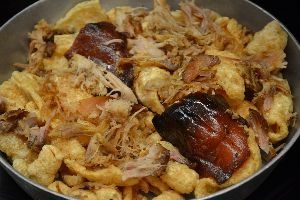
I then placed the shredded pulled pork that I purchased at the Latin Supermarket Buffet on to the nachos.


Next I added the crumbled Queso to the top of the nachos.

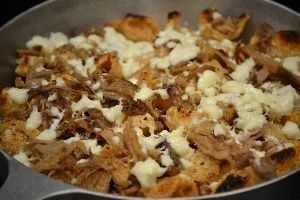
Place into a hot oven on Broil until the cheese melts and everything warms through.
————————————————

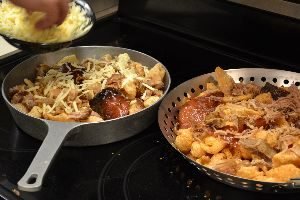
I also added some of the shredded jalapeno pepper jack cheese over top.


And remember the lemon and lime that I cooked in bacon grease? Well, I added those too.
Also some of my leftover avocado.
Also great served with my Guacamole recipe from above. 🙂
—————————————
It IS the……..
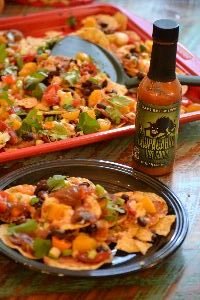
Mexican Goat Sucker!!!
El Chupacabra Hot Sauce on Nachos
(One of many hot sauces we eat in our casa.)

El Chupacabra is a Mexican Legend
(El Chupacabra would Exsanguinate the blood of goats. That means to drink their blood, vampire style.)
Cool, huh? 🙂
—————————————

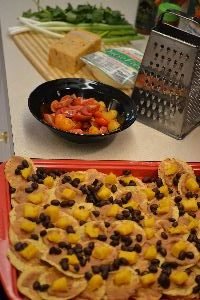
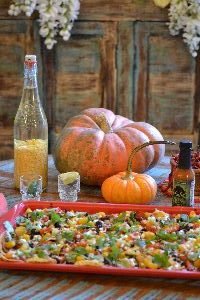
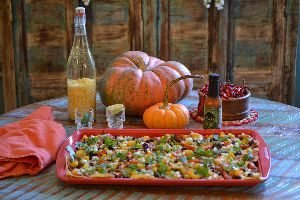
Julie’s Pumpkin Nachos
AND

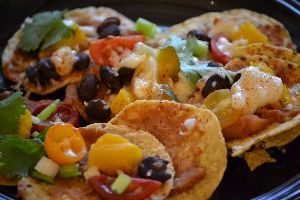
Julie’s Black Bean and Corn/Corn Relish Nachos

Perfect for any Halloween, or Dia De Los Muertos
—————————————
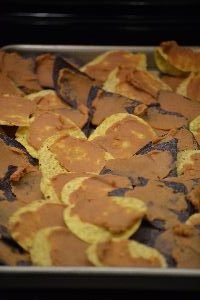
Start out with a pumpkin…….

——————————————
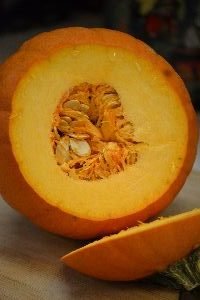
All I did was to slice a small pumpkin in half, remove the seeds, and then slice into small little bites.


I did not remove the skin from the pumpkin until after it was cooked. It was easier for me to do it that way..

I did place the pumpkin bites onto a baking sheet and drizzled olive oil over them.
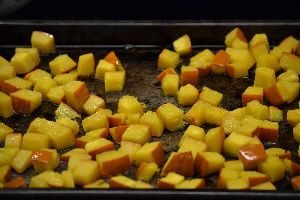
Bake in a 350F oven for about 20 minutes or so.
Just until the bites are nice and tender and a fork is inserted with ease.
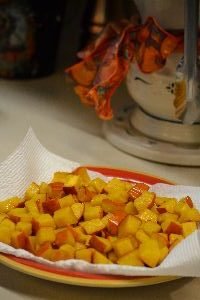
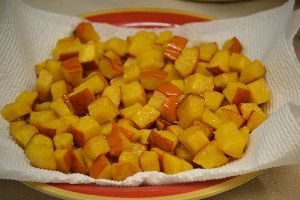
Let drain onto paper towels.
———————————
Now Comes the Assembly
Use any Tortilla Chips you like.
I’m making TWO different Nachos here so I am using a variety.
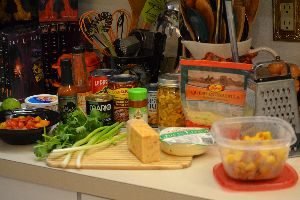
The Ingredients:
(Note: All the ingredients you see above was used to make TWO different kinds of Nachos. I will list all the ingredients here and then explain where they fit in during this recipe write up.)
———————————–
Tortilla Chips, any variety you prefer
Refried Beans
Bean Dip
Black Beans in a can, drained
Chopped Tomatoes
Sliced Black Olives
Spring Onions, sliced thinly
Chopped Fresh Coriander
Can of Mexican Corn, drained
Corn Relish (our homemade relish) OPTIONAL
Various Cheeses…Queso, Jalapeno, and Shredded Milk Quesadilla Cheese
Baked Pumpkin Chunks
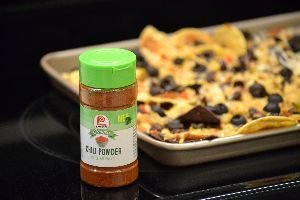
Chili Powder for Sprinkling
AND, any hot sauce you prefer…..
——————————————
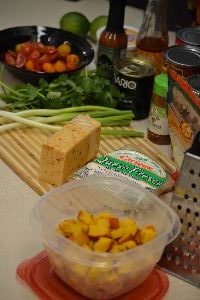
Everything Laid out in Front of You


———————————-

Bean Dip, and Refried Beans
(I always heat these two up in sauce pans on the stove top.)
—————————————–
The very first thing that I do is to place all the tortilla chips onto a baking sheet.
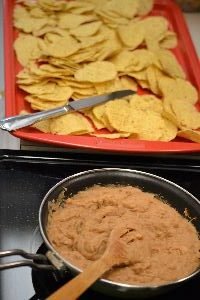

Heating the Bean Dip and the Refried Beans.
Just to warm them through.

You then want to spread the bean mixture onto each Tortilla Chip.

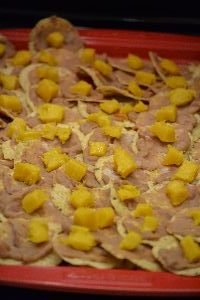
Next Comes the Cooked Pumpkin Chunks


Drain and rinse a can of Black Beans into a Colander.
When they are a bit dry sprinkle some over the nacho base of chips, dip, and pumpkin.

Like so……

Next, you want to scatter over some pretty sliced grape tomatoes of various colors, if you like.

Very Colorful!
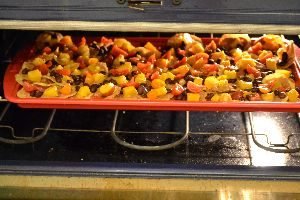
I decided to warm them up in a 350F oven for about 5 -8 minutes before I added the cheese.
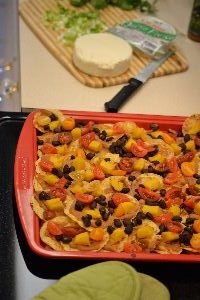

Chopped Spring Onions and Queso Fresco Cheese
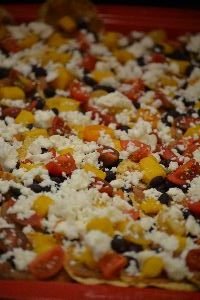

When I removed the nachos from the oven I crumbled the Queso Cheese over the nachos and then placed them back into the oven for just a few minutes in order for the cheese to melt.
—————————————–
——————————————-
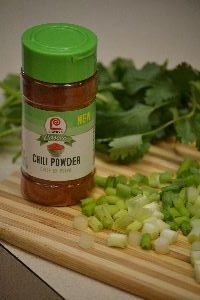
When I removed them from the oven I sprinkled the chopped spring onions, chopped fresh coriander and the sprinkling of chili powder over top.
Delicioso!!
The pumpkin gave a kind of potato consistency to the nachos.
——————————————-
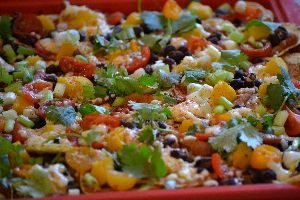
The Close Up
———————————————–

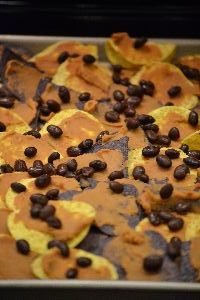
Our Corn/Tequila Liquor
(Excellent addition to our Nachos)
Just remove some corn from the cob and place into a bottle through a funnel. Next, pour in some Tequila and some lime juice. Now set aside for a few days in order for the flavors to mingle. You can do this in the refrigerator.
YUM!!!
——————————————–
—————————————-
—————————————–
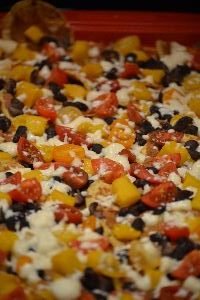
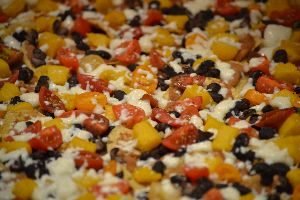
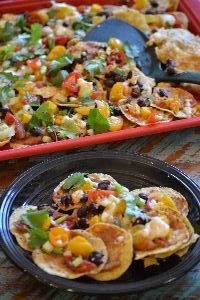
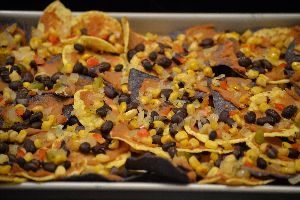
Next up, Julie’s Black Bean and Corn/Corn Relish Nachos

———————————————
————————————————–

Tortilla Chips
Bean Dip

I used two different kinds of tortilla chips here.
I also spread each chip with Bean Dip that I had warmed on the stove top.
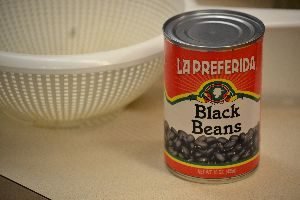
Can of Black Beans drained, rinsed and a bit dry before sprinkling over nachos.
———————————–

Mexicorn, and our Corn Relish


I ended up using our Corn Relish but it does have a lot of vinegar in it and that may not appeal to everyone, so I suggest draining a can of Mexicorn to sprinkle on top. Or you could just cut some corn off a cob and add that. Whatever you like.

Ready to go into the Oven

I baked these in a 350F oven for about 8 minutes just to warm everything up.
——————————————
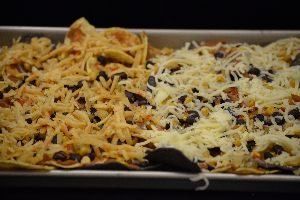
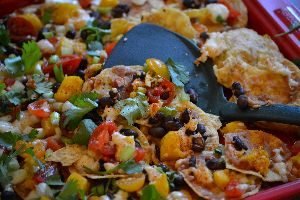
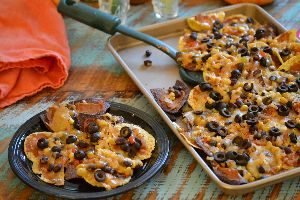
I then removed the nachos from the oven and added two different kinds of shredded cheese. The yellow one to the left is a Jalapeno cheese, and the one to the right is a shredded milk Quesadilla cheese.
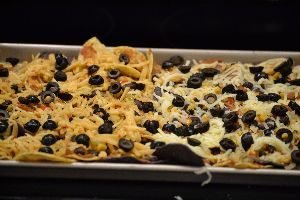
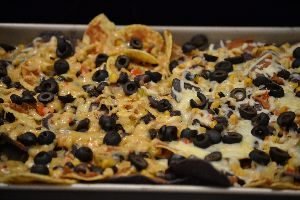
I then sprinkled some sliced olives over top, followed by a sprinkling of Chili Powder.
—————————————————–
I then placed them back into the oven and put it on Broil, just to melt the cheese.
This is NACHO cheesy Nachos!
——————————————-
Breakfast Plantain Quesadilla
Topped with Platano Chips
——————————————–
Remember the Fried Plantains that I bought from the Latin Supermarket?

Well, they were excellent here!
Everyone that we have ever come in contact with here in Florida, at any sort of casual, social, or work related get together where people bringing food is concerned, lights up in delight when they find out that we ran by the Latin Supermarket and picked up a large catering container of Fried Plantains, as our contribution to the meal. Word would quickly spread and people that had already fixed their plates would then double back inside to get some. They are sweet and delicious, they are also a natural muscle relaxant. As in if you eat a banana/plantain every day you won’t have cramps in your feet and legs.

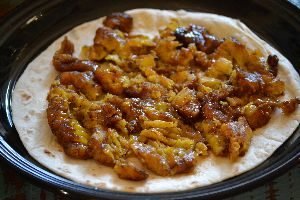
These breakfast Quesadilla’s are perfect for any Saturday or Sunday morning with the kids. The kids can even make them, they aren’t that difficult. Just make sure they know how to safely work the Quesadilla Maker.
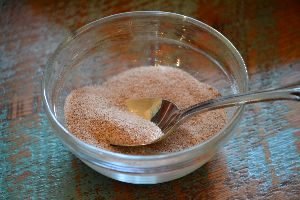
Sugar and Cinnamon
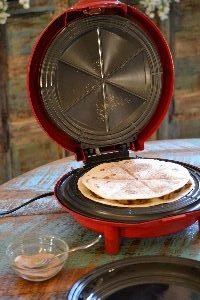
I just use a bit of cooking oil spray on the Quesadilla Maker bottom, then I sprinkle just a little bit of the Sugar/Cinnamon mixture, and then I place the Tortilla with the smooshed Plantain on it, then top with another Tortilla, sprinkle some sugar/cinnamon, then close and cook until done.
A Sweet Treat 🙂
————————————
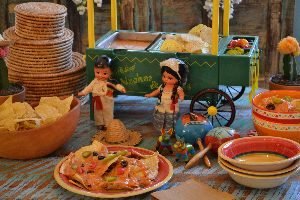
Nacho’s Especiales
I based this on an old 1970’s recipe that I had in my Mexican recipe collection. Of course it is an Americanized version, but so what? To me this is the definition of immigration. One culture bringing a recipe into another culture and of course it is going to change in nature a bit.
The technique, the ingredients…… the taste…..
And this is DELICIOSO!!!

Mexican food isn’t just about the taste, it is also about the colorful culture.
The Nacho Cart

I can very easily picture this at a kid’s/teen’s birthday party, and what a hit that it would be. I think that children like fixing their own foods, as in making their own taco’s or putting together their own nacho’s to enjoy.
———————————————–
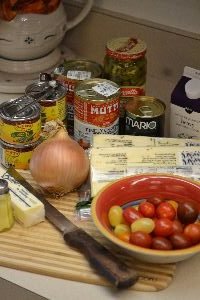
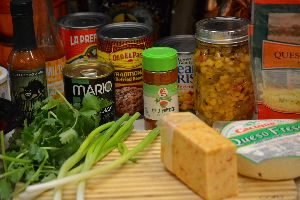
The Ingredients:
1/4 Cup of Butter or Margarine
1 Medium Sized Spanish or Yellow Onion, chopped and diced
1 Pound of Jalapeno Pepper Jack Cheese, chopped into small chunks.
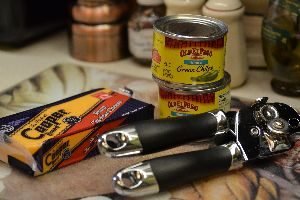
3-4, 4.5 oz. small cans of Diced Chili Peppers, drained
2, 14 oz. Cans of Tomato Sauce
1/2 Cup of Heavy Cream
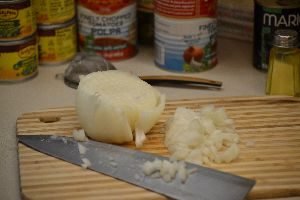

I first chopped my onion into small diced sized bits.
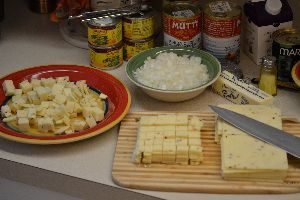

I then chopped into chunks the Jalapeno Pepper Jack Cheese.
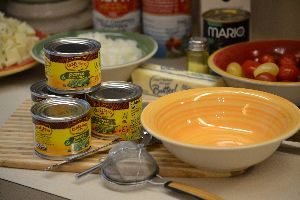

Next, I drained the cans of diced chili’s through a strainer and then into a bowl.
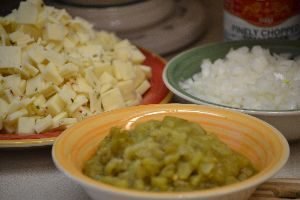
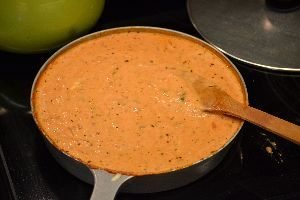
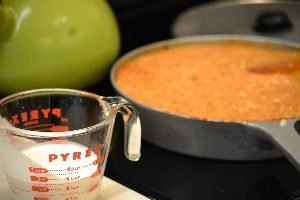
With most everything in bowls it’s time to make the Nacho Cheese.


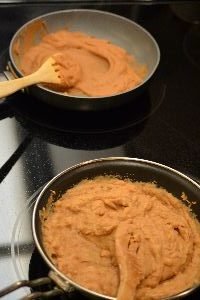
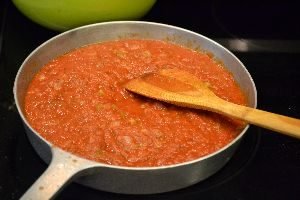
I first place the butter into a saucepan on the stove top on a medium heat.. I want to melt the butter and to saute the onion around in it in order to soften. This should take about 3 -5 minutes.


Now it’s time to add the Tomato Sauce to the Onions and Butter. This particular brand is Italian and has some excellent Italian herbs in it which I believe added a nice additional taste to this Nacho Cheese. (And isn’t the blending of foods and cultures immigration?) 🙂

Next comes the Diced Green Chili’s……

————————————————–
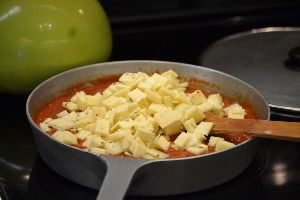
Time to add the Jalapeno Pepper Jack Cheese to Melt
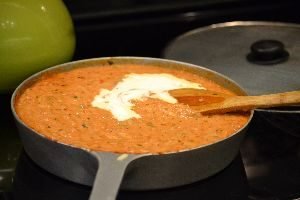
When the cheese is melted in then add the Heavy Cream.
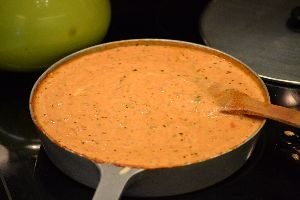
Look How Yummy and Creamy it Looks!
————————————————-
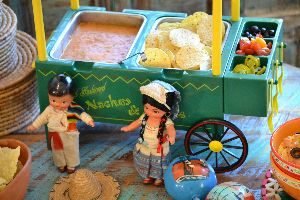
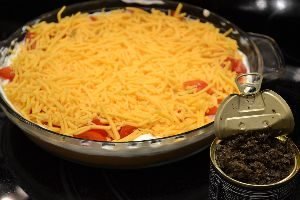
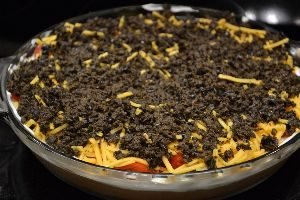
Now it’s time to assemble the Nacho Cart
Tortilla Chips, Cheese, Black Olives, Chopped Tomatoes, and Chopped Jalapeno Peppers

——————————————–
Festivo y Sabroso
——————————————
Julie’s 7 Layer Dip (that only has 5 layers)
This is yet another running joke in our family. My 7 Layer Dip is a big hit with all of us, yet it only has 5 layers. But, when I say that tonight I’m making my 5 Layer Dip then no one knows what I am talking about. But when I say “I’m making my 7 Layer Dip.” There are gasps of delight!
Add some Tortilla Chips and Sangria and we have a great Friday night treat!
———————————————
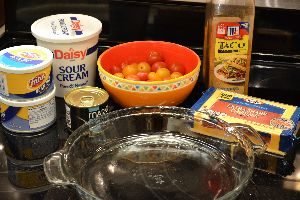
The Ingredients:
Bean Dip or Refried Beans
Sour Cream
Chopped Tomatoes
Grated Sharp Cheddar Cheese
Sliced or Diced Black Olives
And a sprinkling of McCormick’s Taco Seasoning Mix (I guess this makes it my “6 Layer Dip.” 🙂

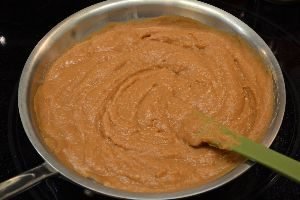
I like to use a pie plate for this and I use 2 cans of Bean Dip. I heat them up in a saucepan on the stove just to combine and warm through. Then I add them to the pie pan and refrigerate until a bit firm.
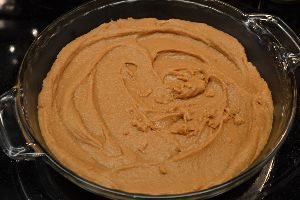
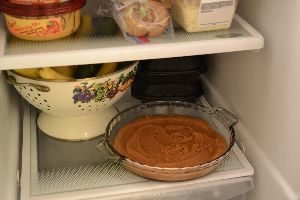
Into the refrigerator it goes for about 30 minutes.
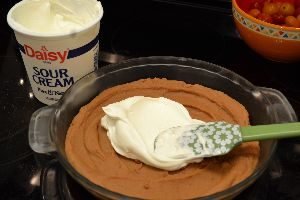

I then spread a layer of sour cream over the bean dip. It then goes back into the refrigerator for another 30 minutes.
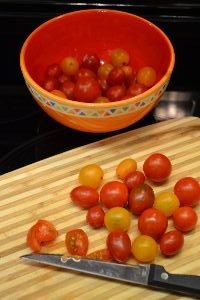

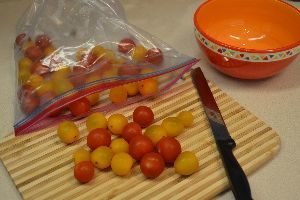
While the bean dip and sour cream are setting I then start to chop up several little cherry/grape tomatoes.
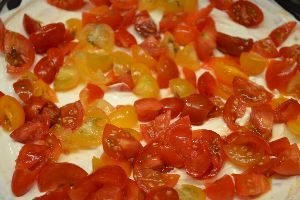
I then sprinkle them on top of the sour cream.
——————————————–

——————————————-

I then add a layer of grated sharp cheddar cheese to the tomatoes.

I then add a tremendous amount of chopped black olives over the sharp cheddar cheese.
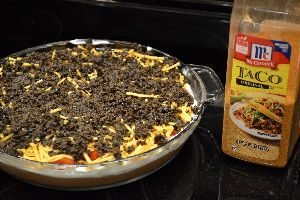
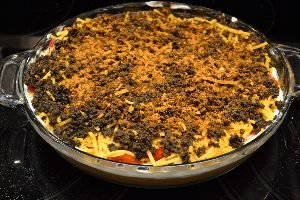
I then add a sprinkling of McCormack’s Taco Seasoning Mix but you could sprinkle some Mexican Chili Powder if you like.
Then back into the fridge until ready to eat. 🙂
—————————————-
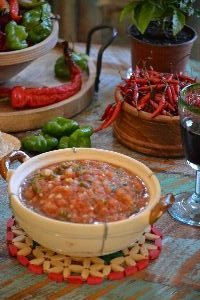
Julie’s Salsa
————————————————
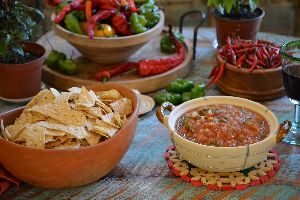
Served with Tortilla Chips
————————————————
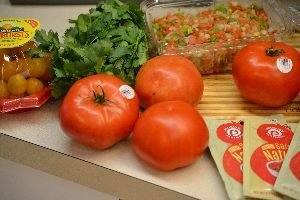
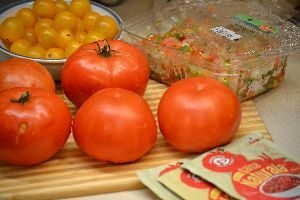
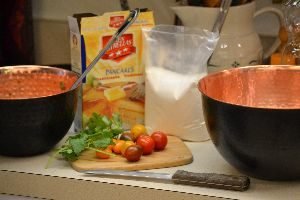
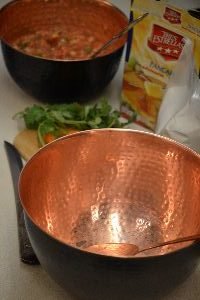
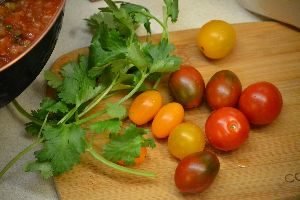
My Salsa Recipe is very easy to make. All you need are fresh tomatoes, I like to use a variety of colorful ones. Some Pico de Gio, fresh Cilantro and these little packets Salsa Seasonings.
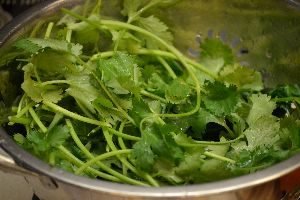
Fresh Cilantro
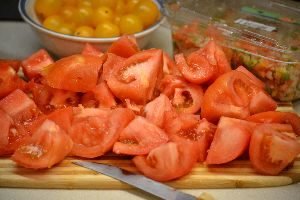
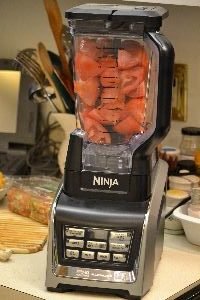
I first add some chopped tomatoes to my blender and B-L-E-N-D.
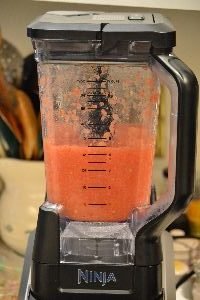
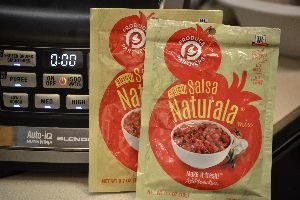
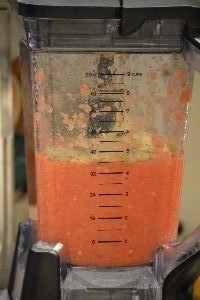
I then add these Salsa Seasoning Packets to the pureed tomatoes in my blender. I do this to taste. So in other words I add about one packet per 3 med-/large tomatoes.
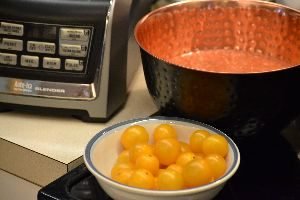
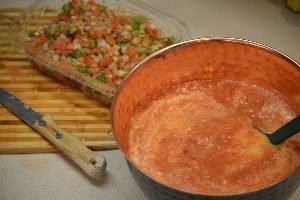
For some added color to this salsa I pureed some pretty yellow grape tomatoes as well.
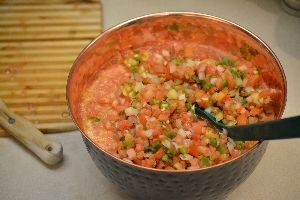

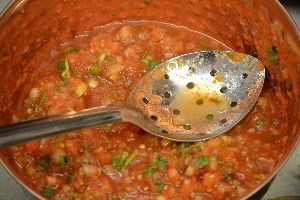
I then added the Pico de Gio to my existing Salsa.
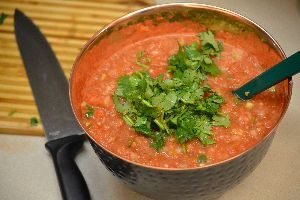
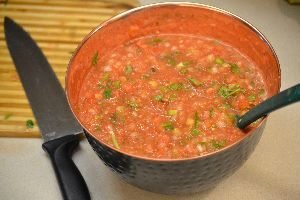
Then I added some chopped, fresh cilantro.
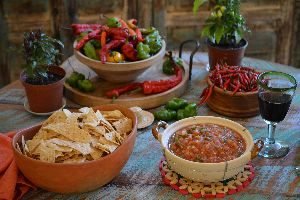
Excellent and Easy Salsa
——————————-
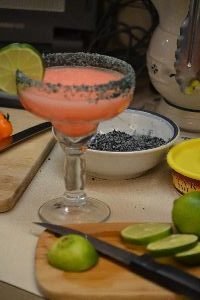
The Margaritaville
I wanted to make a Margarita and I pretty much just depended on a ready made mix, some black salt, and some key limes.
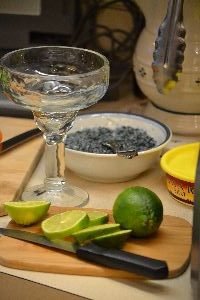
I just added some black food coloring to the Margarita Salt and I sliced some Key Limes.
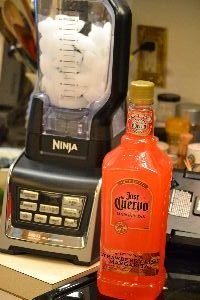
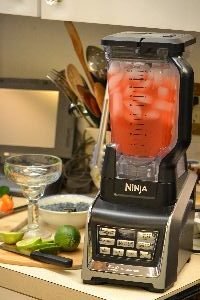
I then added some ice cubes to my blender and some Tequila based Margarita Mix.
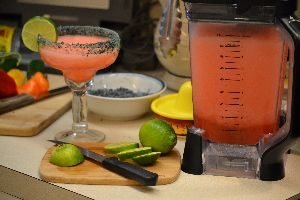
Blend Together…..
🙂
——————————–
Julie’s El Chupacabra Goat Sucker Cachucha’s
And my El Chupacabra Hot Sauce
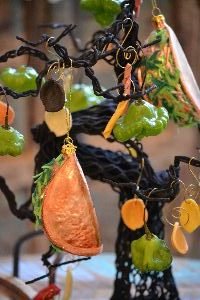
Cachuchua Peppers also make nice Ornaments for my Spooky Tree
My Goat Cheese Stuffed Cachuchua Fried Peppers
They kind of look like little flying saucers, don’t they?
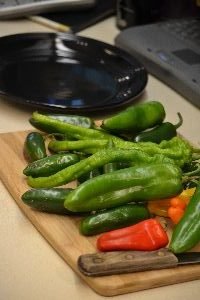
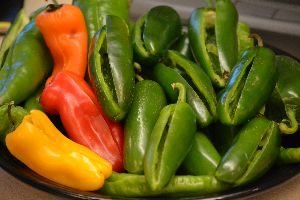
My Cachuchua, Poblano, and Jalapeno Peppers
———————————————-
But First……..
Julie’s Green Chili Dip
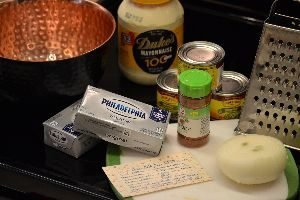
2, 8 ounce Cream Cheese’s
2-3, 4.5 ounce can’s of Chopped Green Chili’s (drained)
1 Cup Mayonnaise
1/2 med. onion, grated
Chili Powder to Taste
Lime Juice, about a half of a lime
————————————————
In a mixing bowl place your softened cream cheese’s, mayonnaise, drained chopped green chili’s, grated onions…….
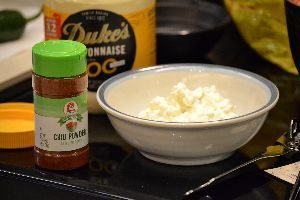
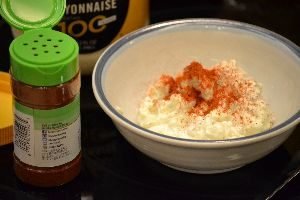
And Chili Powder to Taste
(I think I did a bit of a Musical Chairs/Bowls here, but I think you understand the recipe.)

I also added some Lime Juice here, about half a lime.
Just combine everything and then place into the refrigerator to cool, and for the flavor’s to combine.
————————————————
Now for the Batter
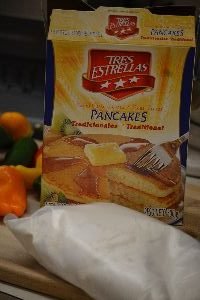
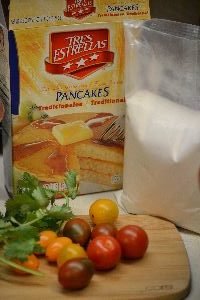
For the batter I am using a Mexican Pancake Mix. But you can use any pancake mix or even something like Bisquick.
Just make according to package directions for the amount of batter you will need.
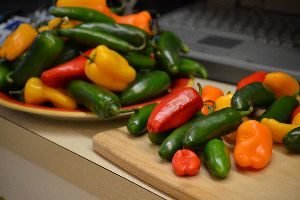
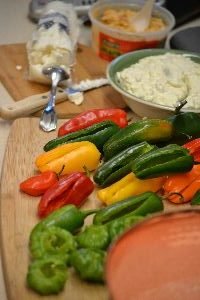
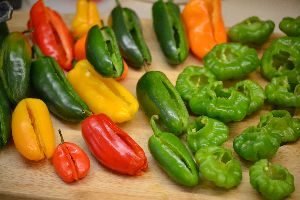
All of my Peppers
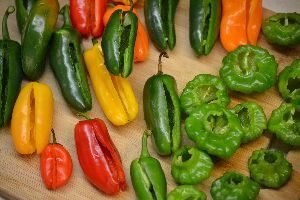
Cut, Gutted, and Cleaned Out
————————————————
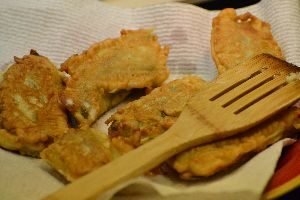
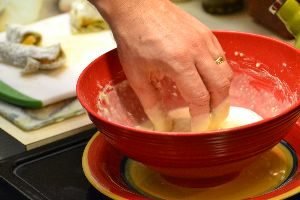
My intention here is to stuff the peppers with various cheeses and dip them in batter to fry in the cast iron skillet. I don’t want to totally coat them in batter. I just want a hint of batter around them. Just to add some taste and texture.
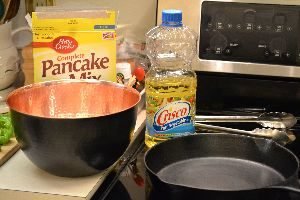
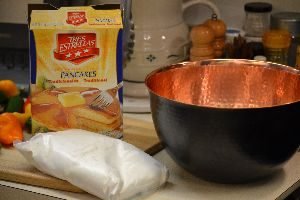
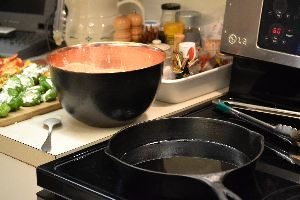
My Mexican Pancake batter is ready and my cast iron skillet is ready to take the Vegetable Oil.
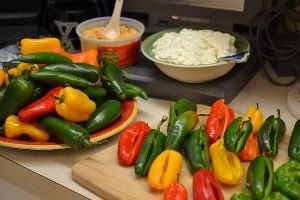
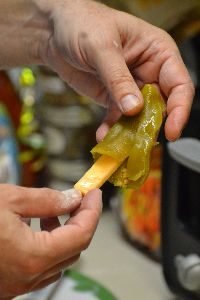
My Peppers are ready to Stuff
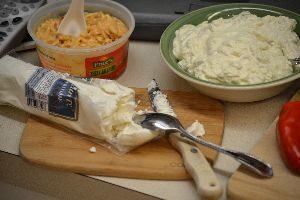
Goat Cheese, Pimiento Cheese, and my Green Chili Dip/Spread
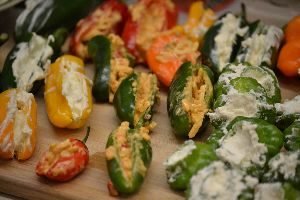
Stuffing the Peppers
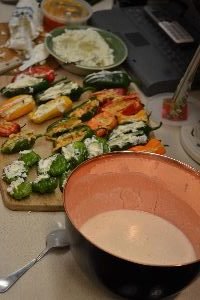
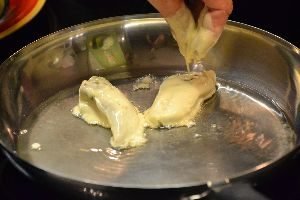
Ready to dip into the batter and then into the frying pan.
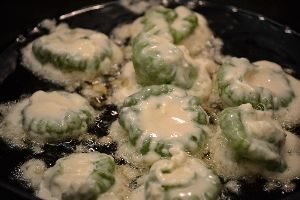
The Cachuchua’s Stuffed with Goat Cheese
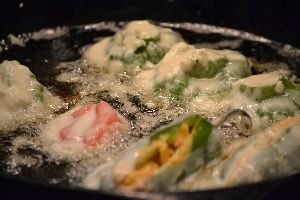
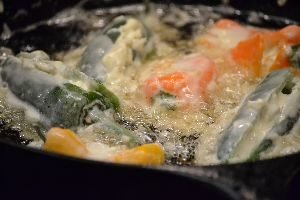
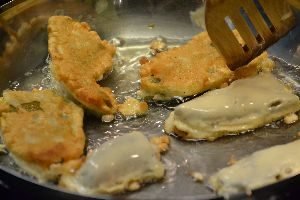
Peppers Frying
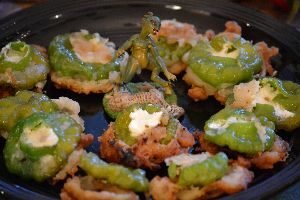
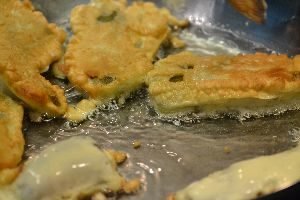
These are ready.
When they finish cooking place them onto paper towels for the oil to drain.
———————————————–
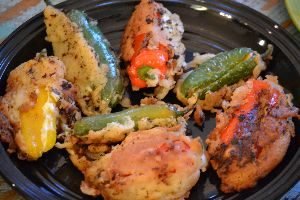
This is what I wanted, a HINT of batter.

My Green Chili Dip/Spread is Ready
——————————————-

———————————————-
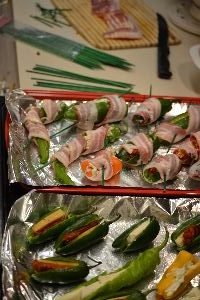
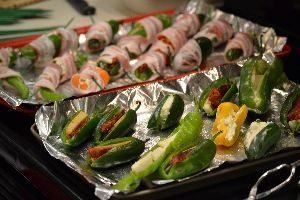
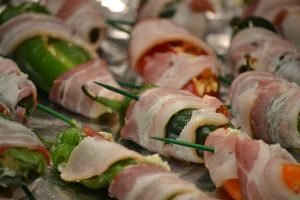
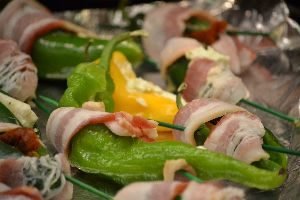
Julie’s Bacon Wrapped Pepper Poppers
——————————————-
Oh Boy!!
———————————————-
Some of these peppers are hot, some are mild, and some are in between.
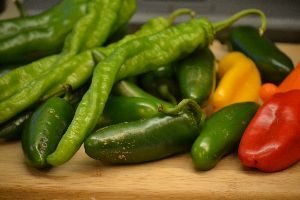
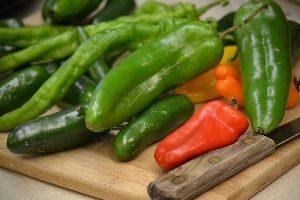
They just need to be washed and then gutted of all of their seeds and innards.
————————————————
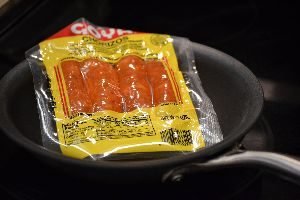
The BEST Chorizo in the World! It’s a GOYA brand.
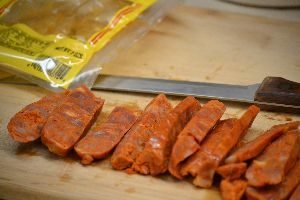
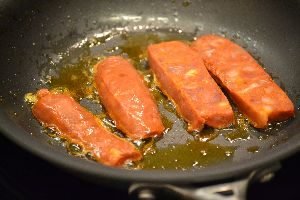
I just sliced them and fried them up in a small pan.
They are very, very greasy! But oh so delicious!!!!
(As I was frying the chorizo Brodie came in for a taste, then another taste, then another taste, then another taste.
We both kept eating it, it was that good!)
————————————————-
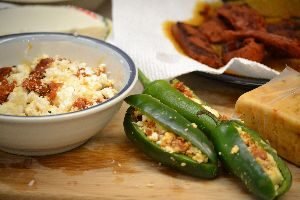
All the Stuffings
My Green Chili Dip, Sliced Queso, Fried Chorizo, and some Spicy Jalapeno Cheese
———————————————
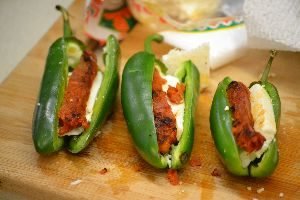
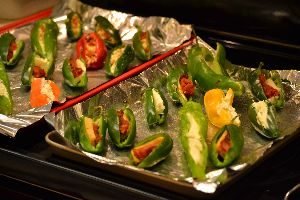
The Peppers are Sliced and Ready for Stuffing
In some of the peppers the chorizo held together, but in others it started to crumble a bit.
So, I decided to mix it with the queso cheese and spoon the mixture into a few of the peppers.
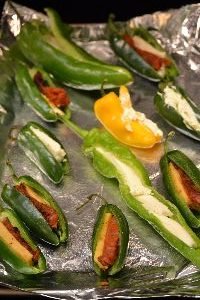
————————————————–
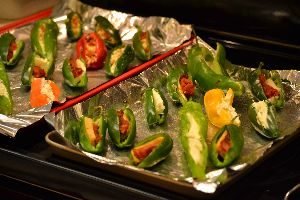
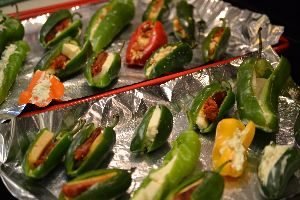
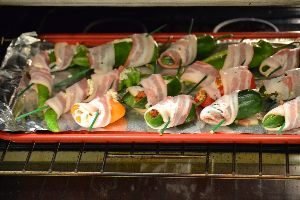
With all the peppers stuffed I placed them onto baking sheets lined with aluminum foil. I did spray just a tad of cooking oil spray on the foil before I placed the peppers down because sometimes they do stick.
I placed them onto the baking sheet.
———————————————
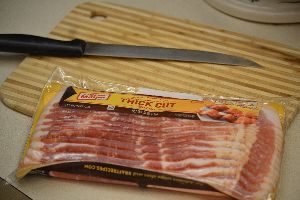
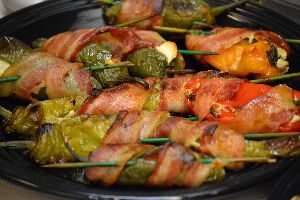
Now it’s time for the bacon.
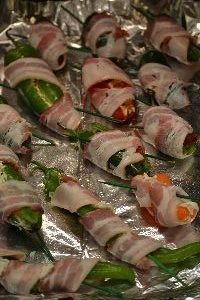
I wrapped all the peppers with bacon and then secured them with a short wooden skewer.
———————————————
————————————————-
————————————————
When ready I placed them into a 400F oven.
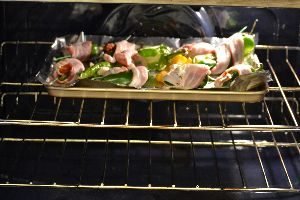
You want to bake them for 15 minutes.
Although I didn’t do it here, place cheese side down first.
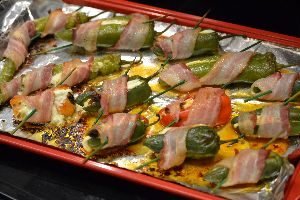
Then remove from oven and turn them over. Then place them back into the oven for another 20 minutes.
But you should monitor it as each oven is different.
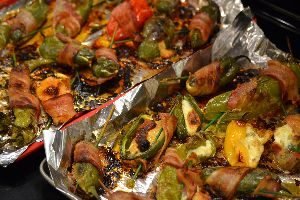
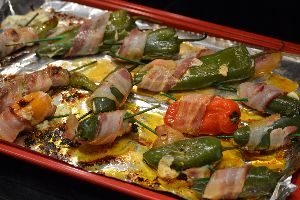
Right Outta the Oven and Perfecto!
——————————————–

——————————————–
Yeah, Perfecto!
———————————
Korean/Mexican?
Why Not!
We had some leftover Korean pancake mix and I was craving this very old recipe that we used to cook but hadn’t in about 15 years, so Gordon combined Mexican with Korean and this is what he came up with.
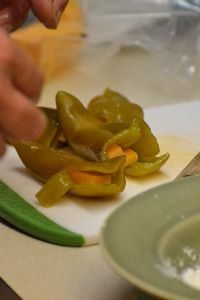
And Now for the Best Mexican Pepper Poppers Ever!
It Couldn’t be Simpler
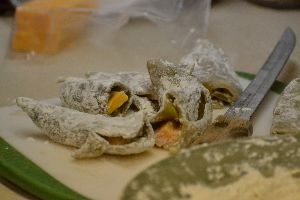
You can use any peppers that you like. We use the whole green chilies from a can.
Add your sharp cheddar cheese, insert the cheese into the peppers, then dredge in flour.
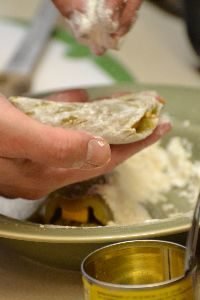
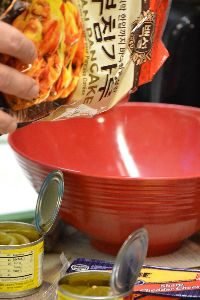
Next Comes The Pancake Batter
This Korean pancake batter is excellent whether you use it as pancakes or as a coating.
Dredge the stuffed peppers with cheese into the Korean pancake mix then place into a frying pan with some vegetable oil. Fry until golden brown.
————————————————
We eat them just like this but you could add some sort of salsa to them or top with cheese.
———————————————-
Salsa Pancakes

These are soooo good!
Gordon simply added salsa to our Korean pancake mix that was leftover.
They would taste really good topped with a bit of salsa as well.
Gordon gets the best ideas when he is cooking, they just flow right out of him.
“Tenga un feliz Cinco de Mayo!”
Julie
——————————————-
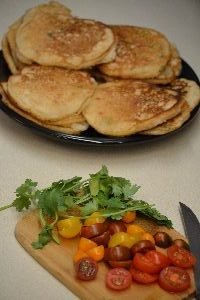
Julie’s Recreation Salsa Pancakes
A Delicious Salsa Breakfast
—————————————–
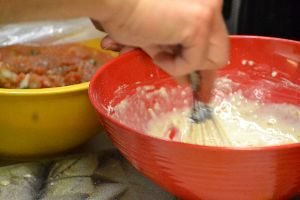
I wanted to recreate the Salsa Pancakes that Gordon came up with except this time I wanted to use a Mexican pancake mix and I wanted to top them with my leftover Green Chili Dip and some leftover chopped tomatoes and cilantro.
Julie’s Leftover Salsa
Some leftover tomatoes and cilantro.

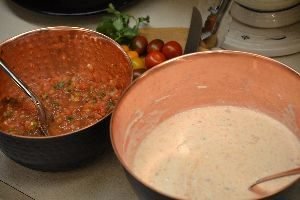
Just make any pancake mix that you prefer and then add your leftover salsa to the mixture.
You will want to drain out any excess water from the salsa.
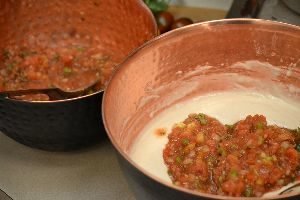
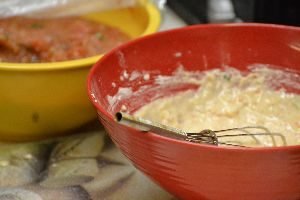
Stir Together
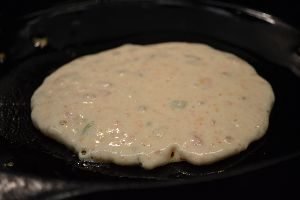
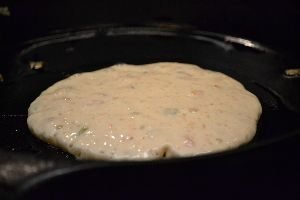
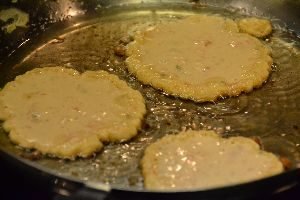
Now just make the pancakes according to the pancake package directions.
——————————————-
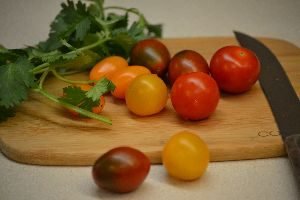
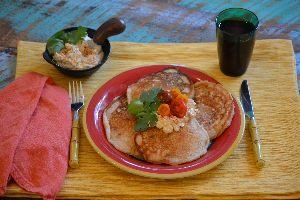
A nice garnish will be some small colorful cherry/grape tomatoes and some cilantro.
———————————————-

To top it off, a dollop of my Green Chili Dip sprinkled with some Mexican chili powder.

————————————————
Breakfast for Breakfast, or Breakfast for Dinner
——————————————–
Feliz Navidad
——————————————
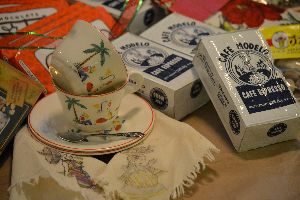
The Gift of Mexico
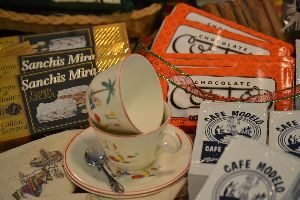
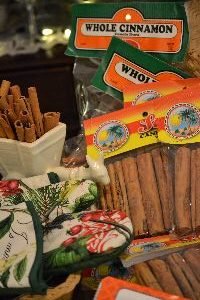
Mexican Coffee, Chocolate, Sweets, Cinnamon, Spices, Nuts, Tequila…..
Every year Gordon and I give the gift of foods and recipes from other countries. One year we did an Italian care package of cookbooks, pasta’s, tomato sauces, candies, olive oil’s, etc. Another year we did a Greek Food themed care package of various Greek food ingredients and recipes. We’ve also done an Asian care package, and here we have our Mexican food care package of goodies.
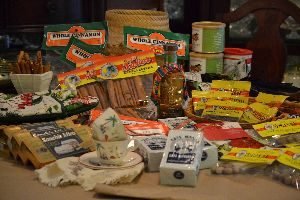
It’s also nice to throw in a vintage Mexican tea cup and saucer, and even a nice dish towel for the kitchen.
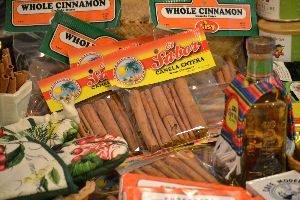
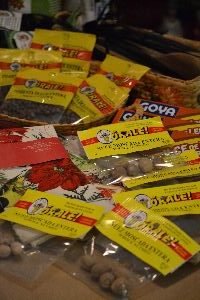
Whenever you shop at the ethnic food stores in your communities there are so many every day food items that are just so much cheaper, especially the Christmas food spices that I love so much. The large bags of cinnamon sticks are about $2.00 here. That should give you an idea of just how much cheaper these items are.
—————————————–
Gracias for migrating over to my post. 🙂
Julie
————————————
If you would like to check out our other Mexican posts:

AND,
AND,
AND,
Julie and Gordon Whann Way Mexicana Cuatro

AND,
Uno, Dos, Tres, Cuatro, Mexicana Cinco!
AND,

AND,

AND,
Our Mexican Inspired Thanksgiving Roasted Chicken and Vegetables

AND,
Our Mexicana Thanksgiving Dishes

AND,

AND,

Adios Amigo!