

The sign to the left says….
Low Cut Blouses are Looked Down Upon in this Establishment
——————————————-
Healthy food, healthy living, great recipes, fresh ingredients with lots of taste. Join us as we bring you great ideas for your own cooking and healthy life. Eating right never tasted so good.
P.S. We also have a lot of unhealthy recipes for you to try as well. 🙂
—————————————-
Be sure to check out our Naan Bread Pizza post as well as our Gordon and Julie Italian post.

Gordon and Julie Foods Video Promo

Chin Chin!
—————————————————————————————————–
We have many food blog posts throughout this website.
This is but just one of them!
We do hope you will kick your shoes off and do some browsing. We love to share. Everything on this website is free. We love to pass on what we know, what we’ve learned, what we’ve figured out and what we’ve invented.
Gordon has a degree in Culinary Arts.
I am the one that comes up with the ideas though, and he is the one that makes them happen.
I think we make a pretty good team! Hope you think so too.
Thank you so much for taking the time to be here.
Julie and Gordon
————————————————————
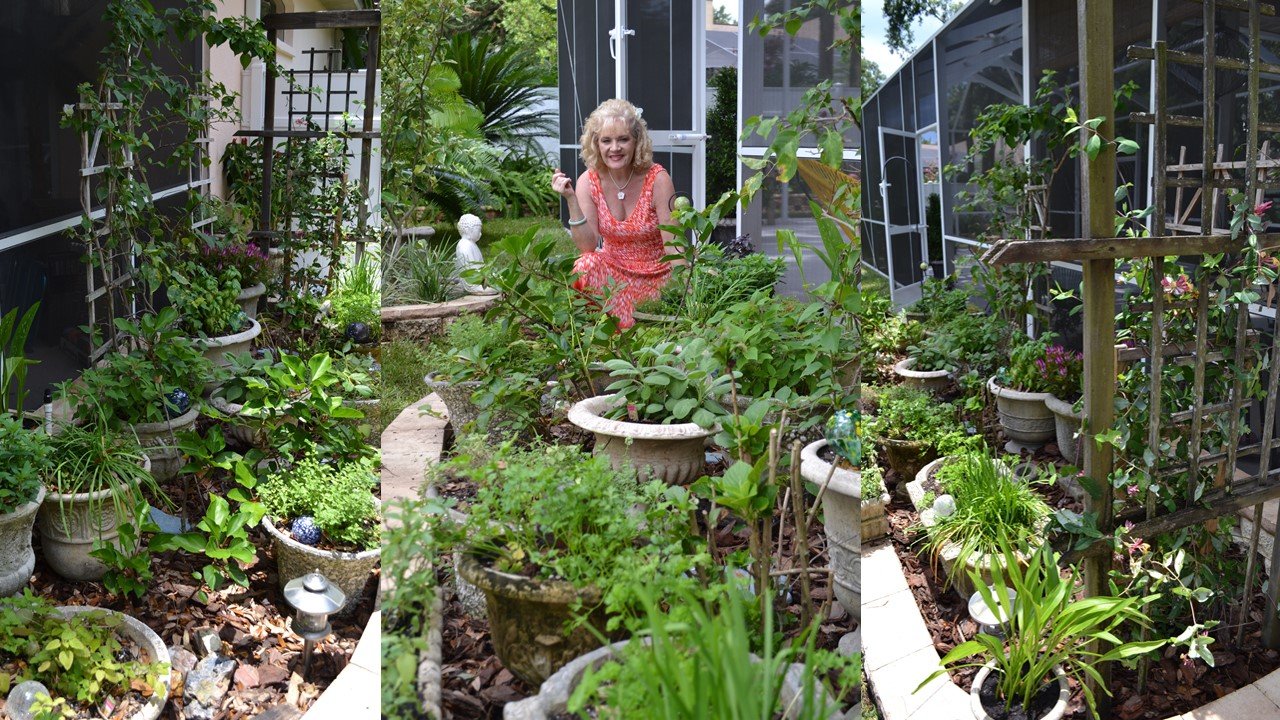
Every Great Meal Starts Here


I’m so proud of it!
My herb garden.
I hope it inspires you to create your own herb garden.

I love green and orange. Such lovely colors for a garden.

Basil to die for!
This is actually my very first herb garden that I created in our own backyard.

It has since evolved over the years. If you would like to take a look:
———————————————————–
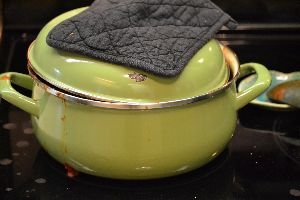
A Messy Pot
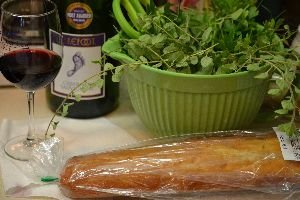
Lots of fresh green herbs from the garden. Excellent ciabatta bread. Cabernet Sauvignon! Barefoot, of course. Then you know dinner is going to be spectacular!!

Fresh Parsley, Chives and Oregano
Anytime that you use fresh herbs in your cooking you are actually helping to prevent certain cancers. When I was growing up my parents taught me to look at food as medicine. Because that is what food is. So I grew up eating certain things that I did not like but I knew they were good for me.
In the same way that when we were little and were sick our mother’s gave us our medicine, it tasted horrible but we choked it down anyway, then later on we felt better. That is what food does for you. Good, healthy food, that is. Sometimes it doesn’t taste so good. So just choke it down because you will feel better later on.
Sometimes when I eat out I will order something that I don’t particularly like, (liver) but I eat it anyway and choke it down and then I feel better later on. So don’t be so quick to shun that super food just because you don’t like the taste.
—————————————————————–
Bay Leaves
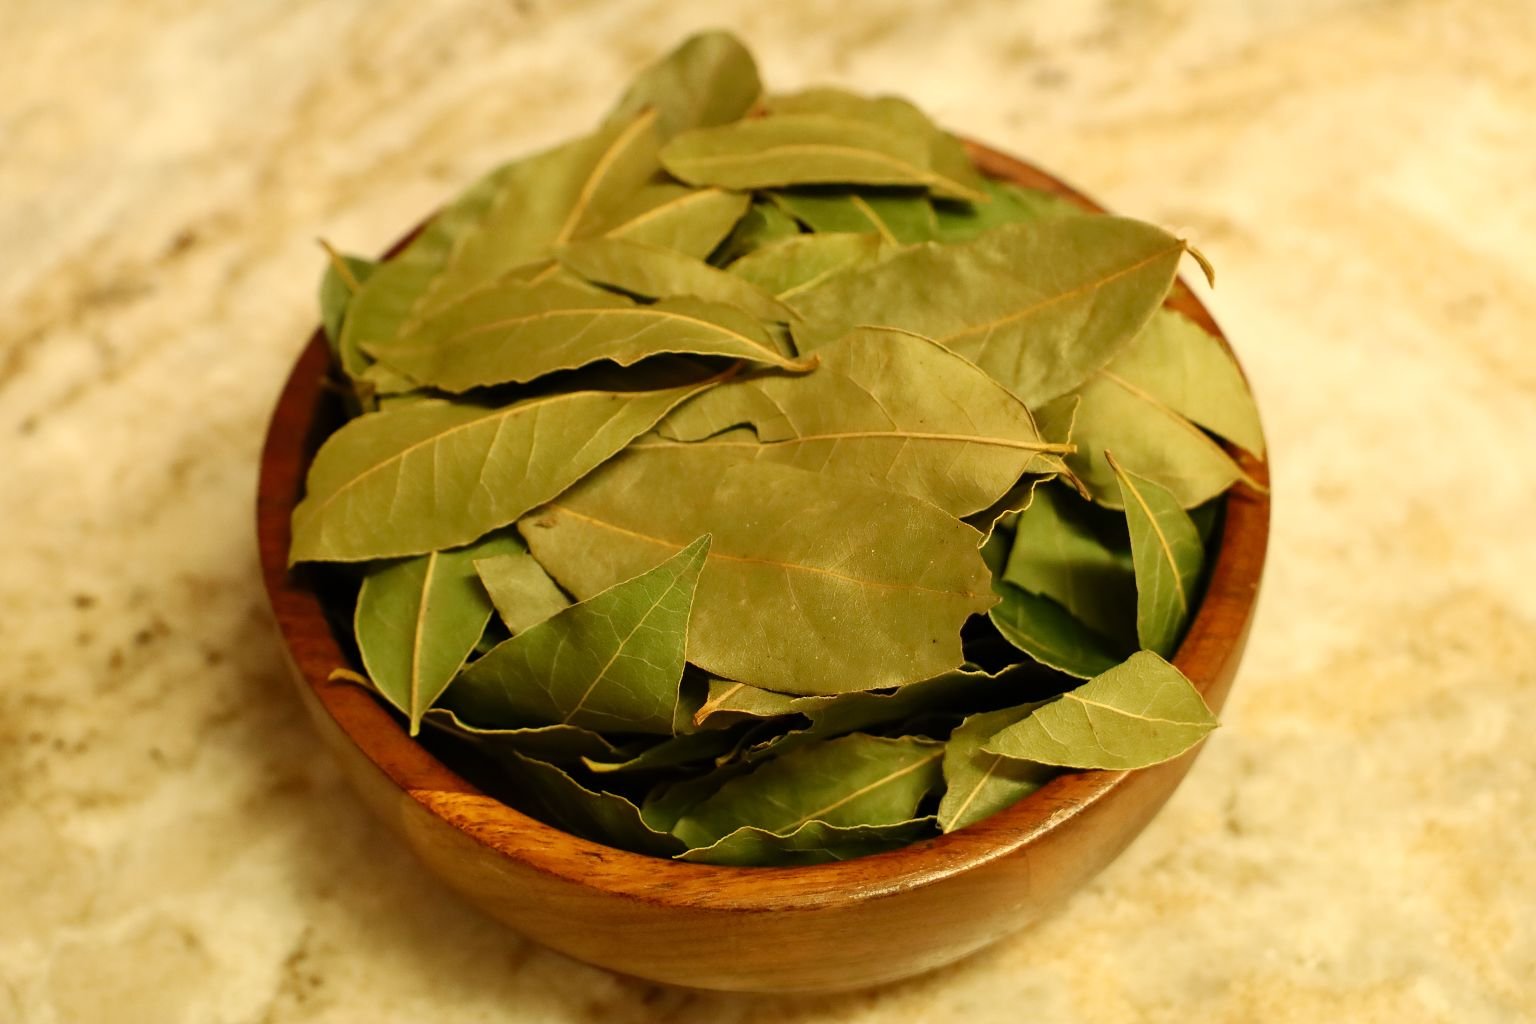
Gordon’s sister Heather sent us some Bay Leaves from their tree in their backyard in Raleigh, North Carolina for Christmas.


How cool is that to have your very own Bay Leaf Tree?


Now we know where to find more when we run out.
——————————-
A Delicious and Easy Pasta Salad
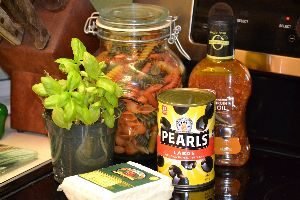
The ingredients are various pretty vegetable pasta’s, black pearl olives, feta cheese, Italian oil and vinegar salad dressing, and fresh basil.
This is very easy to make. All you need to do is to boil the pasta until it is al dente, then drain the water and place the pasta into a bowl. How place some black olives and crumble some feta cheese into the pasta. Then add as much of the salad dressing as you like. Then top with the fresh basil leaves.

So easy, so pretty, nice lunch or light dinner.
———————————————————————————-
Make This For Me, PLEASE!
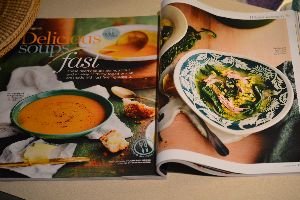
This magazine is The Australian Women’s Weekly, New Zealand Edition. My friend Trish who has now passed, would send them to me. They are some of the best magazines I have ever read.

Here are Just a Few

Gordon’s Chicken Soup with Spinach Leaves

The Chicken Soup Base
So Gordon set about making my soup. I do love it that all I need to say is, ‘make something like this’, and he DOES IT!!
We may see a recipe that we are interested in making and then we cater it to our tastes and health needs. For example here we added some red potatoes, onion, diced carrots, lots of our herbs, turmeric, and white wine.
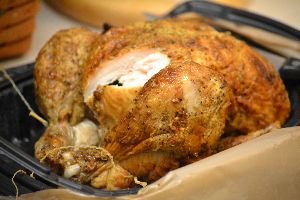
This was a rotisserie chicken that Gordon bought at the commissary. Wonder who snacked on it?? That would be ME!!
An already cooked rotisserie chicken does add a different flavor than one that you are cooking yourself.

Here Gordon Removed the Chicken from the Bone
It’s funny but when we have chicken in our kitchen our pugs sit on each side of the kitchen floor like those tennis ball boys that run for the tennis balls at matches. The closer pug will snatch up the fallen treat on the floor and then retrieve back to their station, while sitting and waiting on the next fallen treat.
(Note: Our pugs have since passed but I wanted to keep the cute story included here.)

Adding the Herbs to our Soup

Eating at the Computer
(You know you do it too!!)
Cooking tip: Add the raw spinach to your bowl, then pour the soup over it. Never add that raw spinach to the soup it will just get all mushy and yucky.
———————————————————-
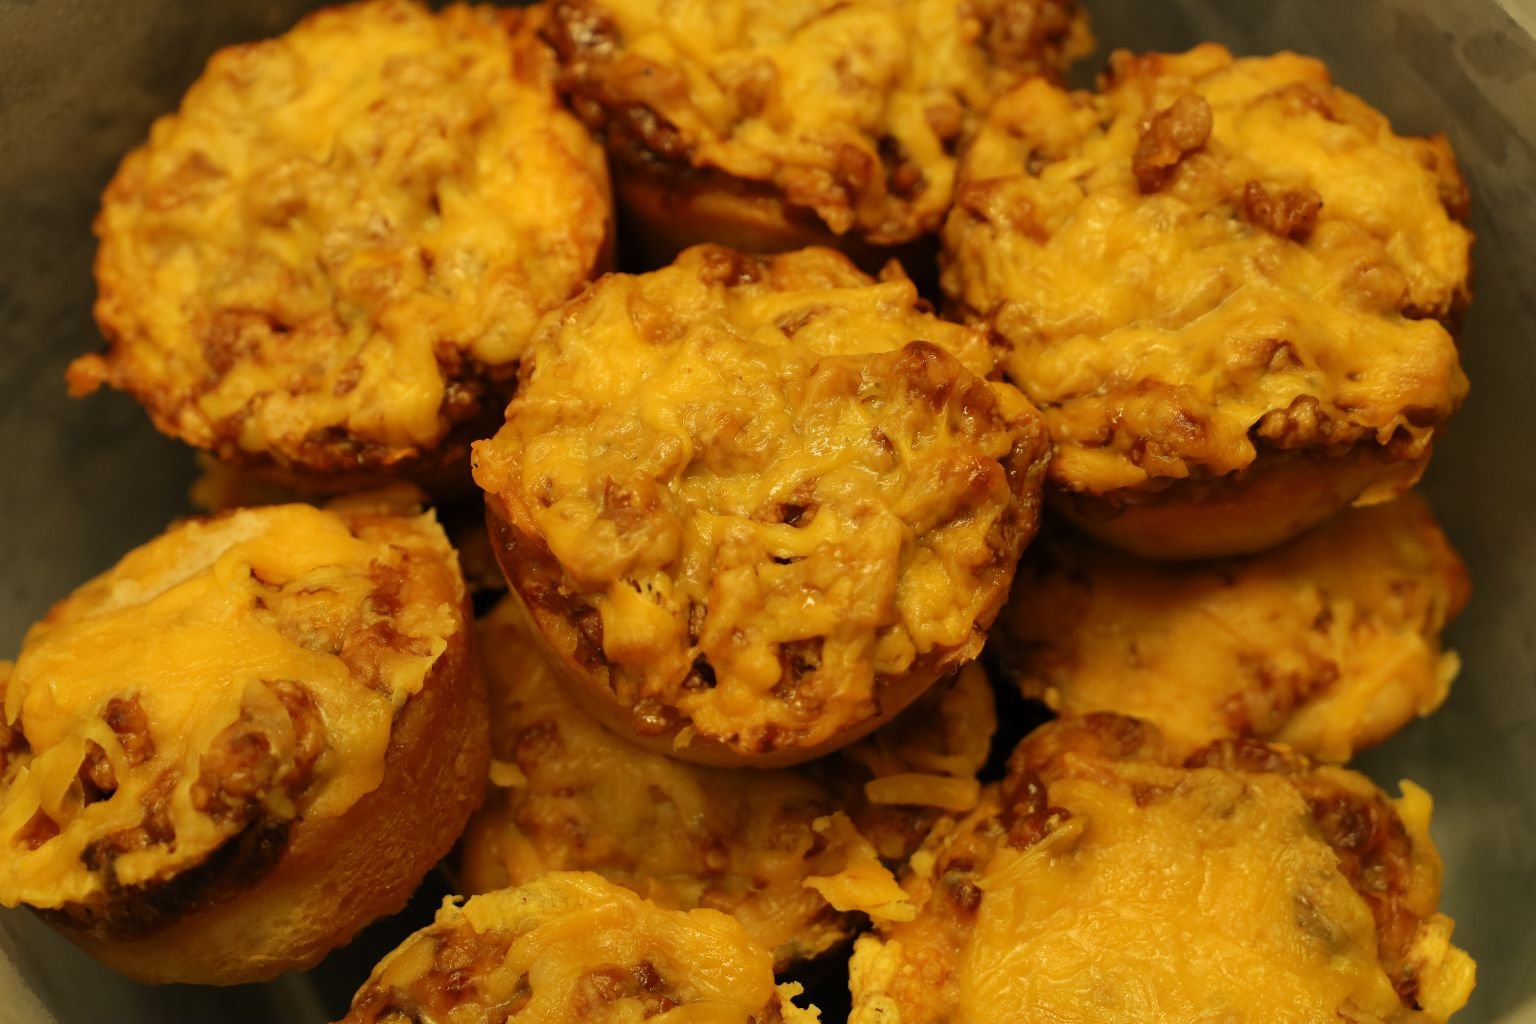
Bar-B-Que Cups

This delicious dinner is from my childhood. I don’t know where my mother got the recipe from but she would make these for me and my little brothers and we loved them. I have changed the recipe somewhat to make it a bit more healthy but trust me, you will LOVE them!
Ingredients:
-Pillsbury Refrigerator Biscuits, 12 ounces.
(I used 3 cans)
You want to spread each biscuit into each muffin tin cup before adding the meat mixture.
2-3 pounds ground meat, (we used ground turkey)
You can use ground beef or ground chicken.
Brown the meat in a sauce pan, drain fat.
-1 small onion, chopped
-1 small red bell pepper, chopped
(Sautee the onion and bell pepper in olive oil until softened)
Add to the ground meat mixture.
2 cups Bar-b-que sauce, any kind.
(You can eyeball how much that you want according to your own personal taste. Add to meat mixture).
1 cup brown sugar (we used Splenda brown sugar). Add to meat mixture.
Once all the ingredients have been added you want to bring the mixture to a boil so that it can thicken, about 20 minutes or so.
Place the meat mixture into each muffin tin cup that already has a biscuit flattened in the bottom.
Bake in a 350* oven for about 25 minutes or so. Then remove and add the topping, cheese.
Topping: Sharp Cheddar Cheese, grated.
This goes on top of the Bar-b-que cups the last 5 minutes of cooking. Place the cheese on top of each muffin cup then place back into the oven for an additional 5 minutes of cooking. Then remove from the oven and let cool. Perfect!
(The beauty of this recipe is that you can adjust it to your own taste. You don’t have to specifically go by my recipe. Add or subtract what you like or don’t like).
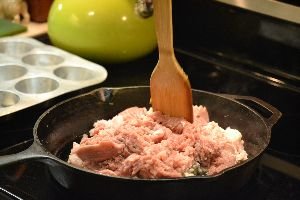
Brown your “meat” in a skillet. Here I’m using ground turkey but you can use ground beef or ground chicken for this recipe.

Saute your onions and red bell pepper in some olive oil.

Adding the Bar-b-que sauce to the ground turkey and sauteed onion and red bell pepper.

Add the brown sugar and then bring to a boil and let simmer until nice and thick about 20 – 30 minutes.

Spray a muffin tin with some cooking oil spray, then add some flattened bread dough to each muffin slot in the tin. You can spread this out with your fingers. Above we used refrigerator biscuits.

Now they are ready for the oven. You want a 350* oven and you want to cook them for about 25 minutes or longer, depending on your oven.

When they are done remove from oven and then top with some sort of cheese. I used a sharp yellow cheddar cheese in the photo above. Place back in the oven for about 5 more minutes so that the cheese can melt. Then remove from oven. Let cool. Then serve.
Kids especially love these.
———————————————————–
I created a different way to eat the BBQ Cups above:

We had some leftover refrigerator pizza dough, and some leftover BBQ Cup mixture so…..

I got the idea for us to make some BBQ Pinwheels.

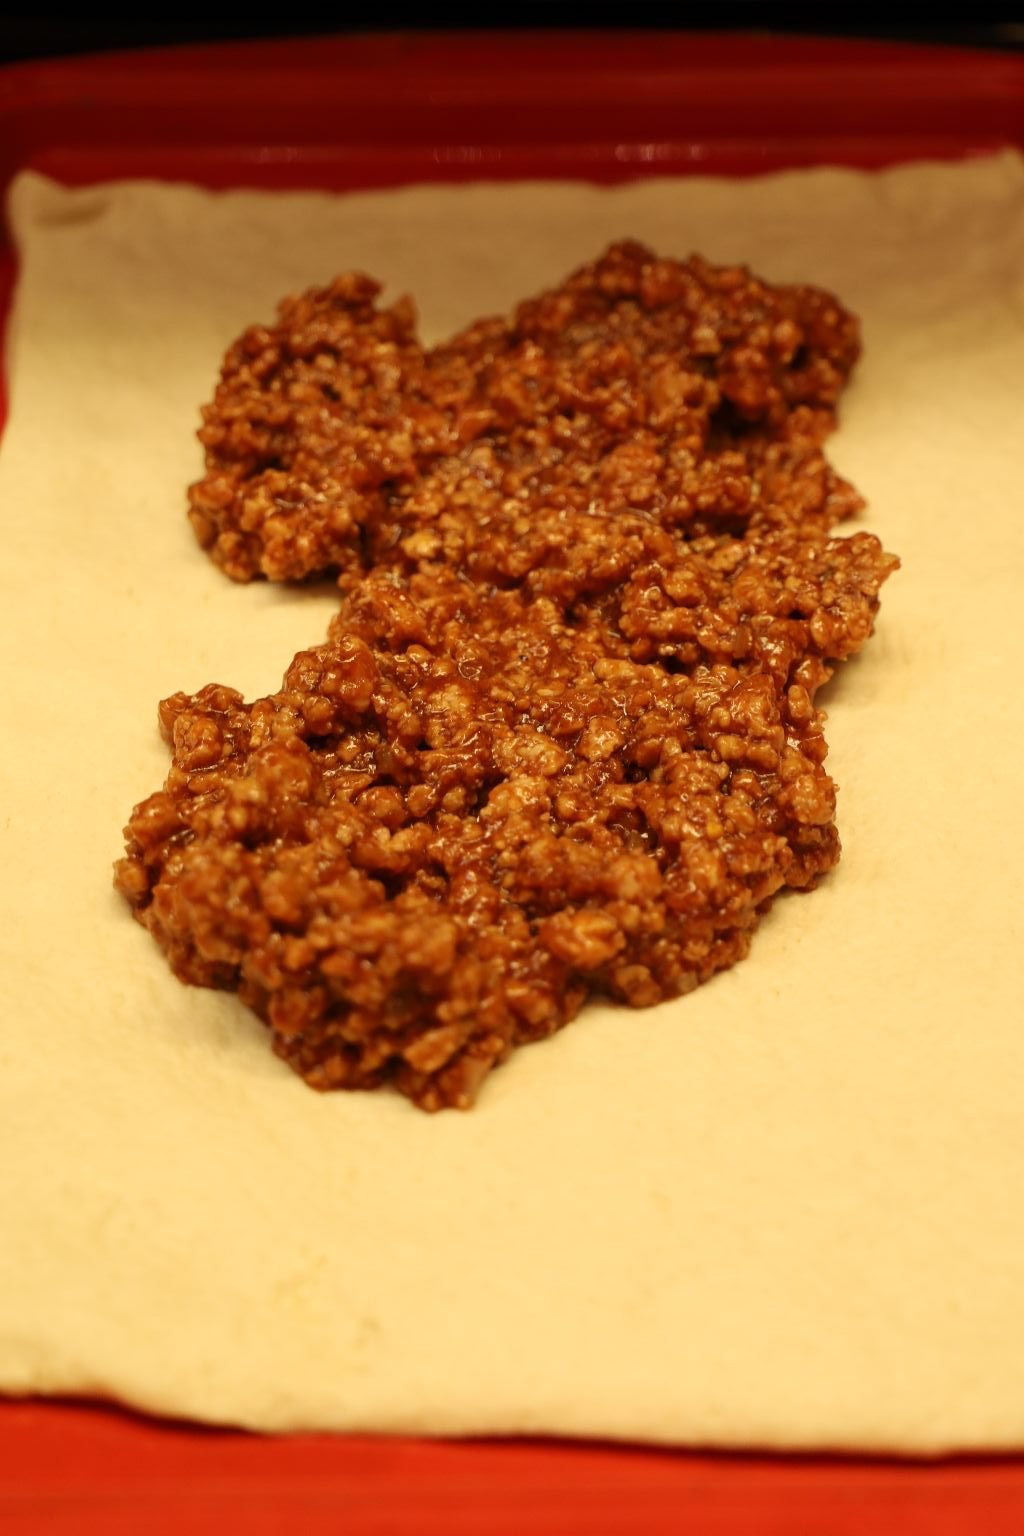
I told Gordon to just spread some pizza dough out onto a cookie sheet sprayed with an olive oil spray….
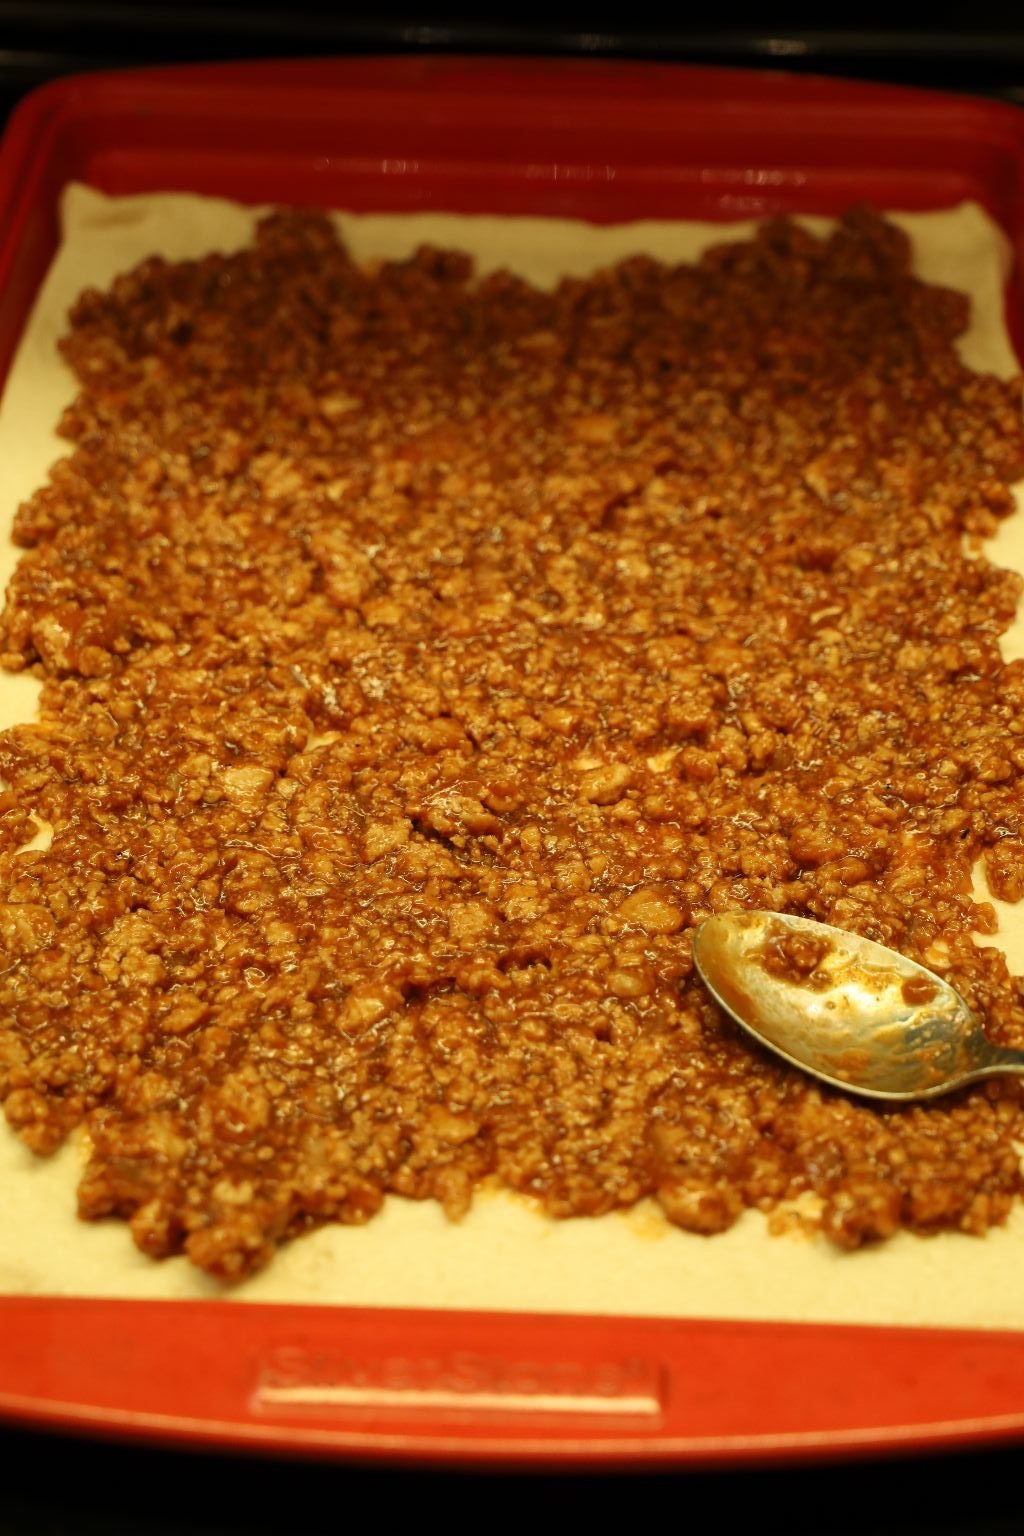
And then to spread out our meat mixture onto the dough.

Grate some Sharp Cheddar Cheese over Top


Then Roll It All Up

Once Rolled Up…..


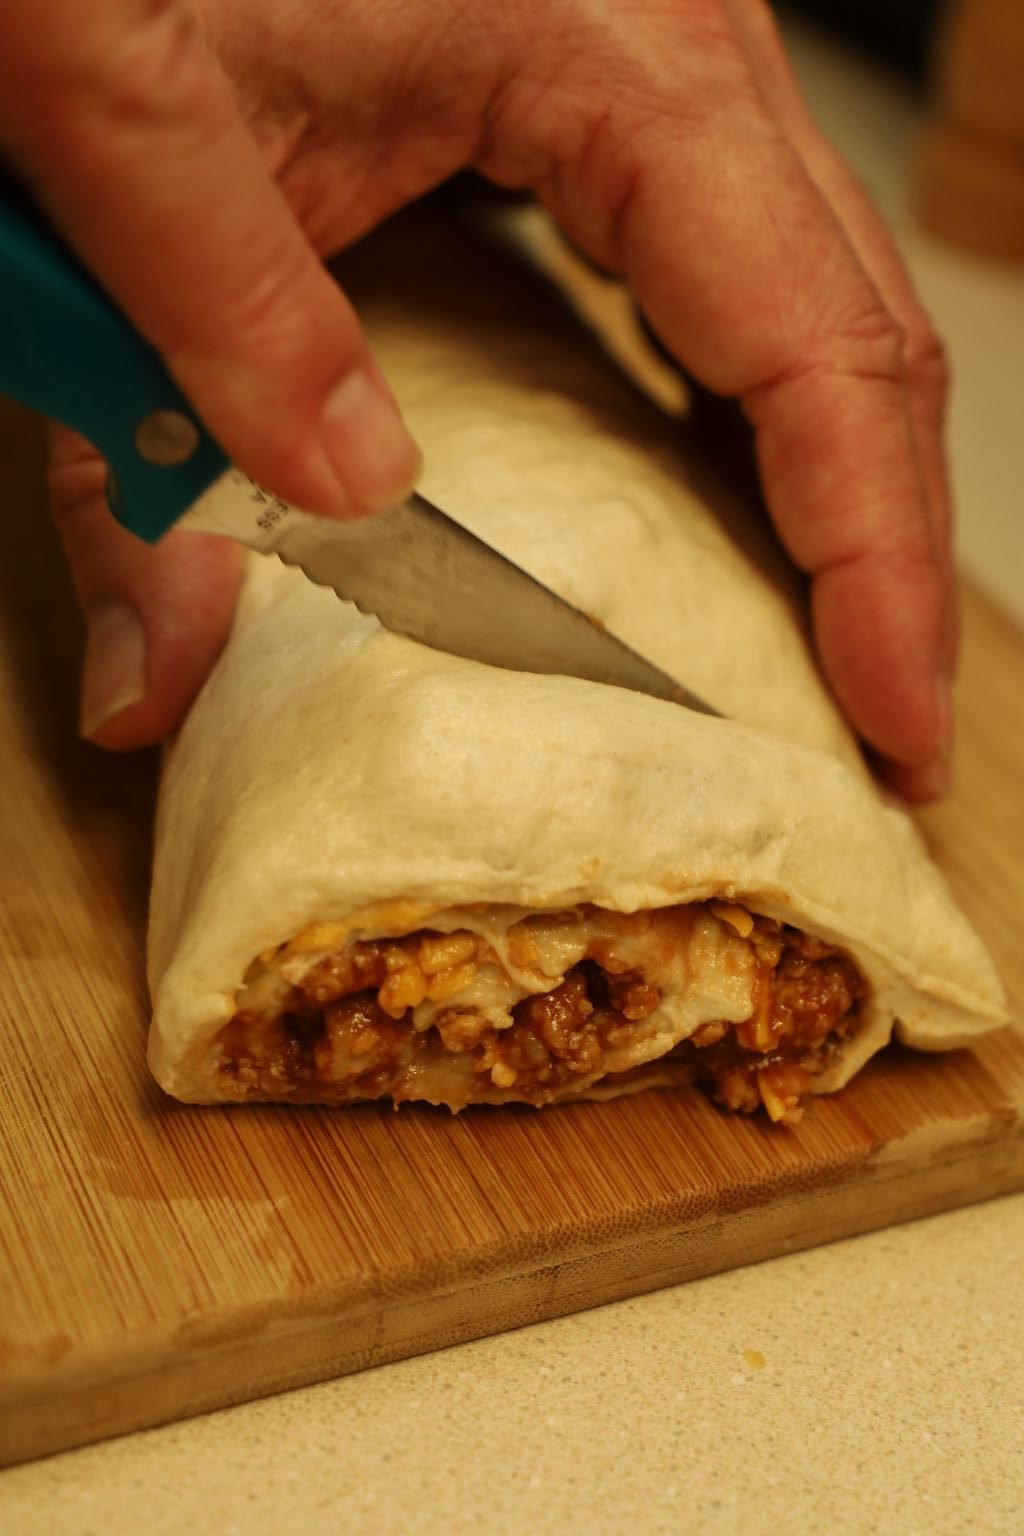
Now, place onto a cutting board and slice into 1 inch rounds. Although we do wish we would have cut them into 1 1/2 inch rounds. That way they would have been thicker and easier to handle.

Now place onto a baking sheet for about 25 minutes and put into a 350F oven.
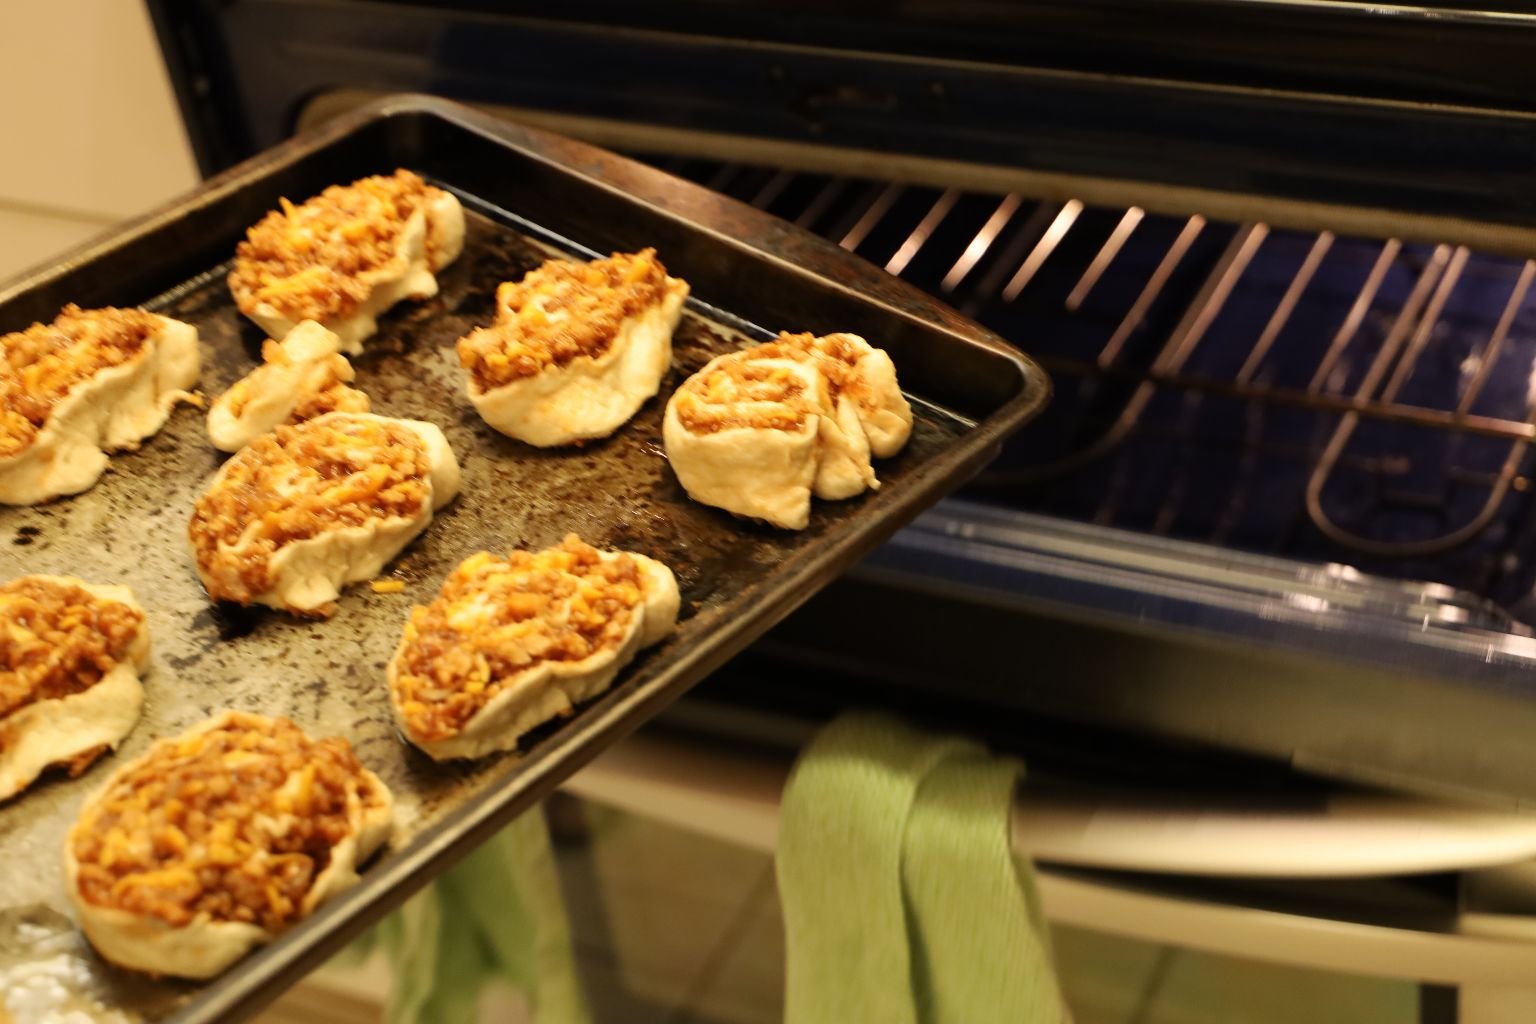

Into the Oven They Go!

After About 25 Minutes Remove From Oven and Grate on the Cheese


Grated Sharp Cheddar Cheese
Then place them back into the oven for an additional 5 minutes in order for the cheese to melt.

Right Outta The Oven

Grab a Plate and a Fork
———————————————————–

Hot Cheesy Bacon Dip w/ Toasts
(Keep reading for the recipe.)

Fried Acorn Squash and Pumpkin w/ Dipping Sauces
(Keep reading for the recipe.)
————————————————————–

Ribs in the Crock Pot and the Oven

(Keep reading for the recipe.)
——————————————————————-

Giant Hash Browns
(Keep reading for the recipe.)
—————————————————-
Hot Cheesy Bacon Dip w/ Toasts

Ingredients:
1 Tbsp. Butter
1/2 Yellow Onion – sliced thinly
2 8oz. packages of Philadelphia Cream Cheese
1/2 tsp. Freshly Ground Pepper
1 1/2 Cups Kraft Sharp Cheddar Cheese – grated
1/2 Cup Boar’s Head 3 Pepper Colby Jack Cheese – grated
1/2 Cup Boar’s Head Chipotle Gouda Cheese – grated
1 tsp. Worcestershire Sauce
1 tsp. Grey Poupon Country Dijon Mustard
1 tsp. Boar’s Head Delicatessen Style Mustard
1 Cup Half and Half
1 1/2 Tbsp. Hungarian Sweet Paprika
~8 Thick Sliced Smoked Bacon – cooked crispy – not sure how many slices we ate before putting them into the dip, ooops!
—————————————————–


Slice your onion in half and remove the peel. Then slice the onion half thinly (1/8 inch thick) without cutting through the root end. Doing this will hold the onion together while you slice it more. Place 1 Tbsp. of butter into a large pot and heat to medium high.

Here you can see the thin slices of onion. I keep the root end towards me so I can get very close to the root end without going through it.


Now slice the onion in the opposite direction to produce fine squares as shown above.
Nice pictures Julie!


Use the back of your knife to remove the sliced onion from your cutting board. This will save your knife’s blade. Place your sliced onion into the pot when the butter has melted. Stir the onion and butter mixture and saute the onion until soft. Add fresh ground pepper to the mixture.


Softening our Cream Cheese to Room Temperature


Slice the Philadelphia Cream Cheese into chunks as shown and add them to the pot with the softened onions.

Here are the Boar’s Head 3 Pepper and Chipotle cheeses I bought on sale. Taste the cheeses as you may find them too strong in flavor for your dip. If you can’t find these cheeses or don’t like them, you could use more Cheddar or another cheese you like that melts well.


Shred your 3 Pepper, Chipotle, and Cheddar Cheese and add them to the pot. Shredding the cheese will help it to melt faster.

Stir all the ingredients together.


Now, add your Worcestershire Sauce to the pot and stir to combine.


Then add both of your mustard’s to the pot…

and stir to combine.


Add your Half and Half to the cheese mixture…

…and stir to combine.
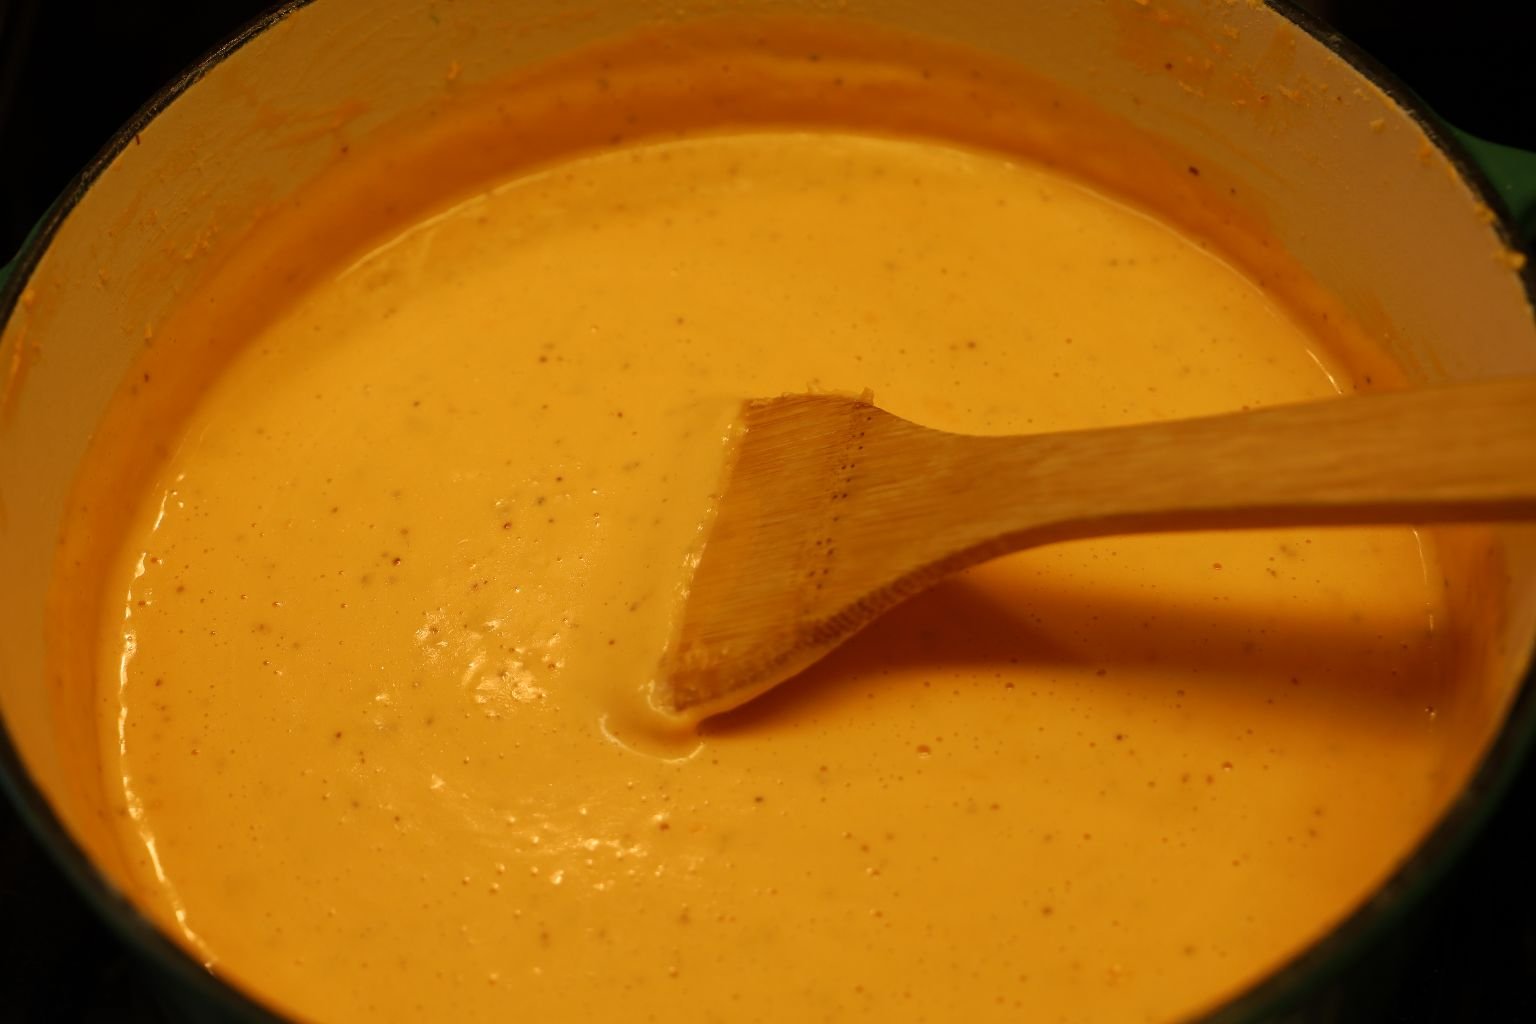
At first it may appear it won’t mix together as seen in the picture on the left, but just keep stirring. As you can see it looks amazing.
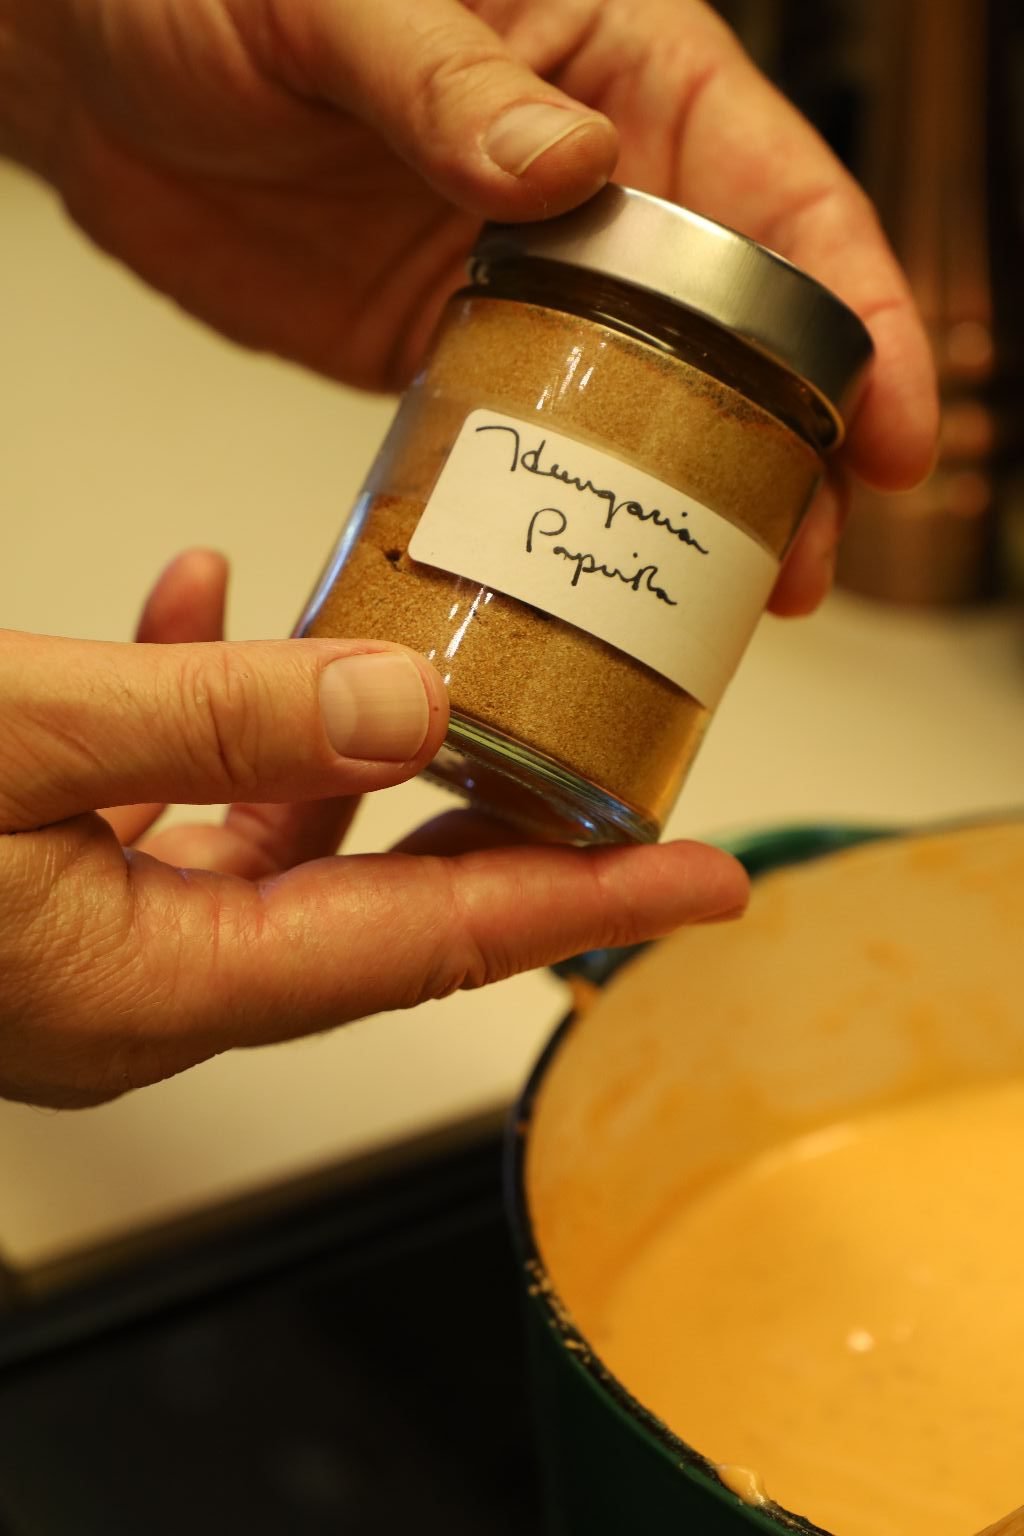


Add in your Hungarian Sweet Paprika.
(Or any Paprika that you like.)

Stir the mixture to combine.

Lastly, cook then crumble your bacon into chunks (not shown) and add it to the cheese mixture. We cooked our bacon using this pottery device in the microwave. The bacon grease drips away from the bacon leaving it crispy.

Serve the cheese dip hot with thin slices of toasted bread!
————————————————————
Fried Acorn Squash w/ Dipping Sauces

Ingredients:
~4-5 Cups Peanut Oil
2 Acorn Squash – sliced into 1/4 inch thick wedges
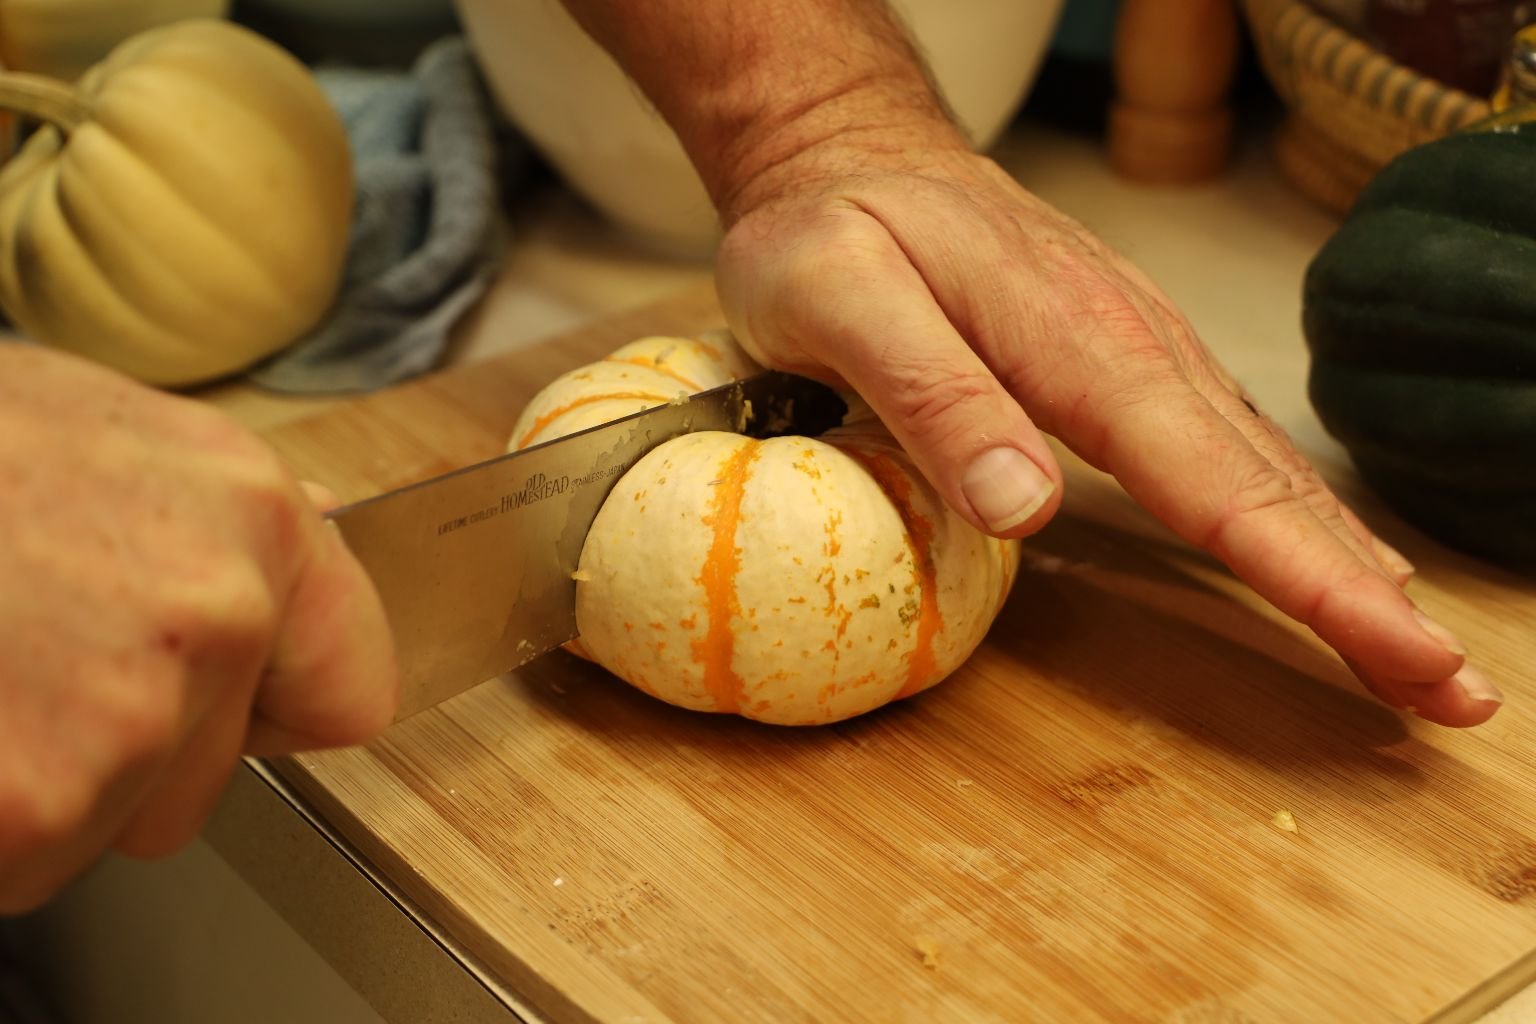
3 Mini White Pumpkins – possibly the Jack Be Little variety, sliced into 1/4 inch thick wedges
3 Small Pumpkins – possibly the Lil Pump-ke Mon variety, sliced into 1/4 inch thick wedges
3/4 Cup Flour
1/2 Cup Corn Starch
3/4 tsp. Black Pepper – coarse ground
1 Cup Beer – we chose to use Corona Extra – kept cold until ready to use
————————————————————-
Sauces
3/4 Cup Ken’s Steak House Russian
1/2 Cup Gorgonzola Cheese
3/4 Cup Kraft Creamy French
1/2 Feta Cheese – plain


———————————————————–


Add your flour to a medium bowl.
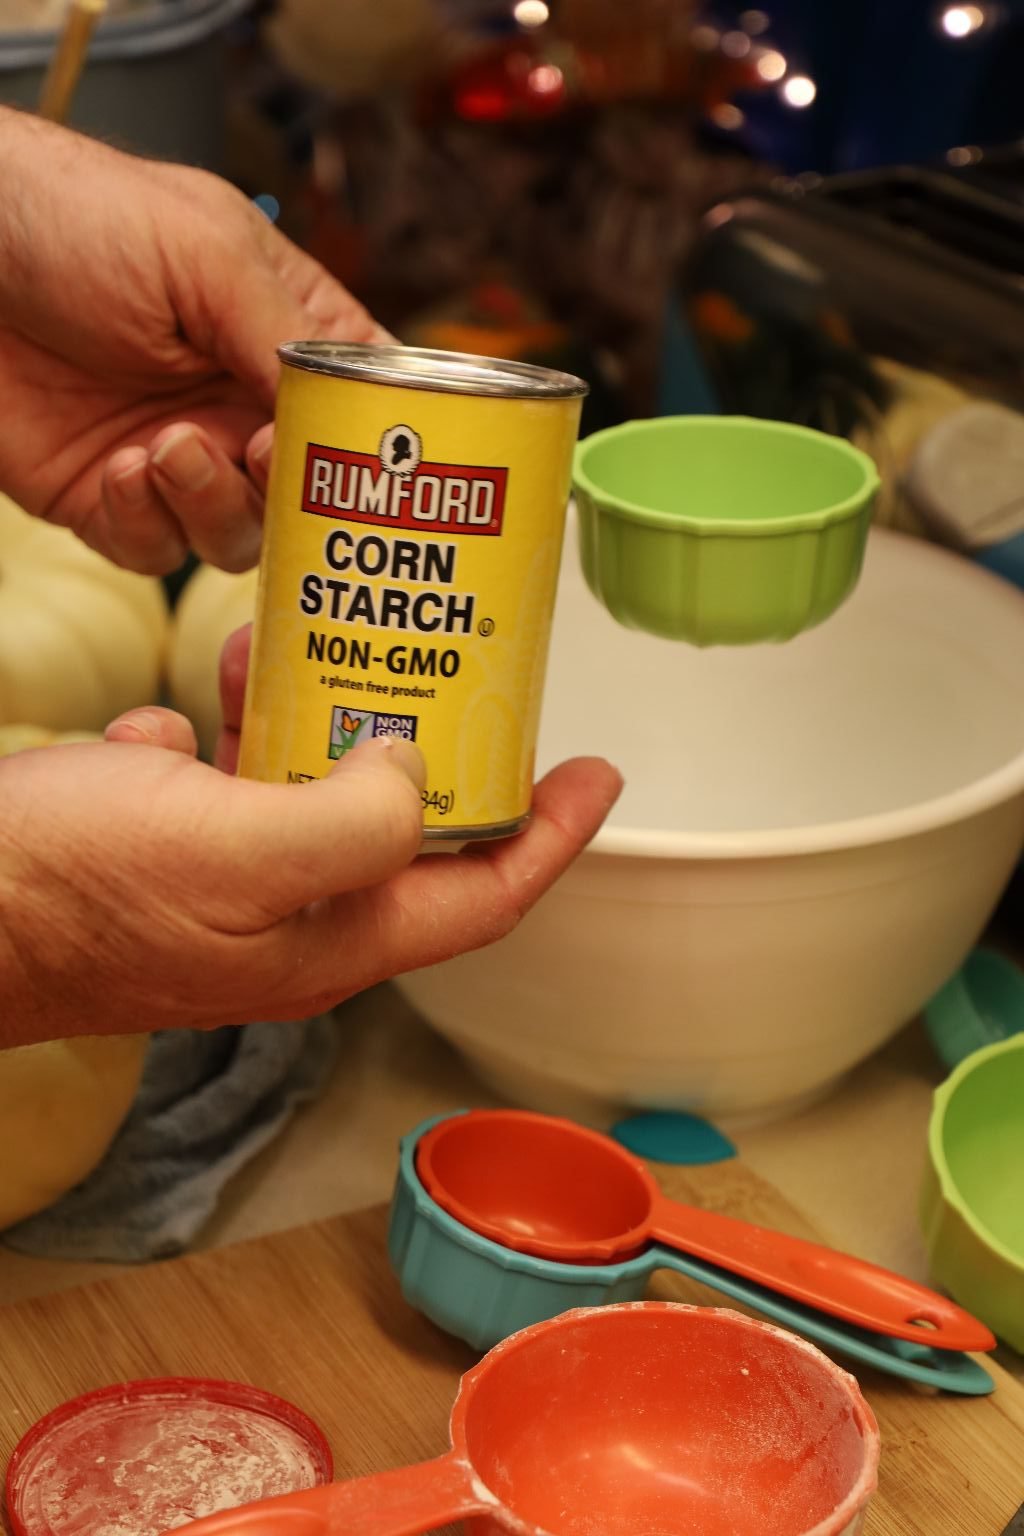

Then add your corn starch. We used up all of the first brand,
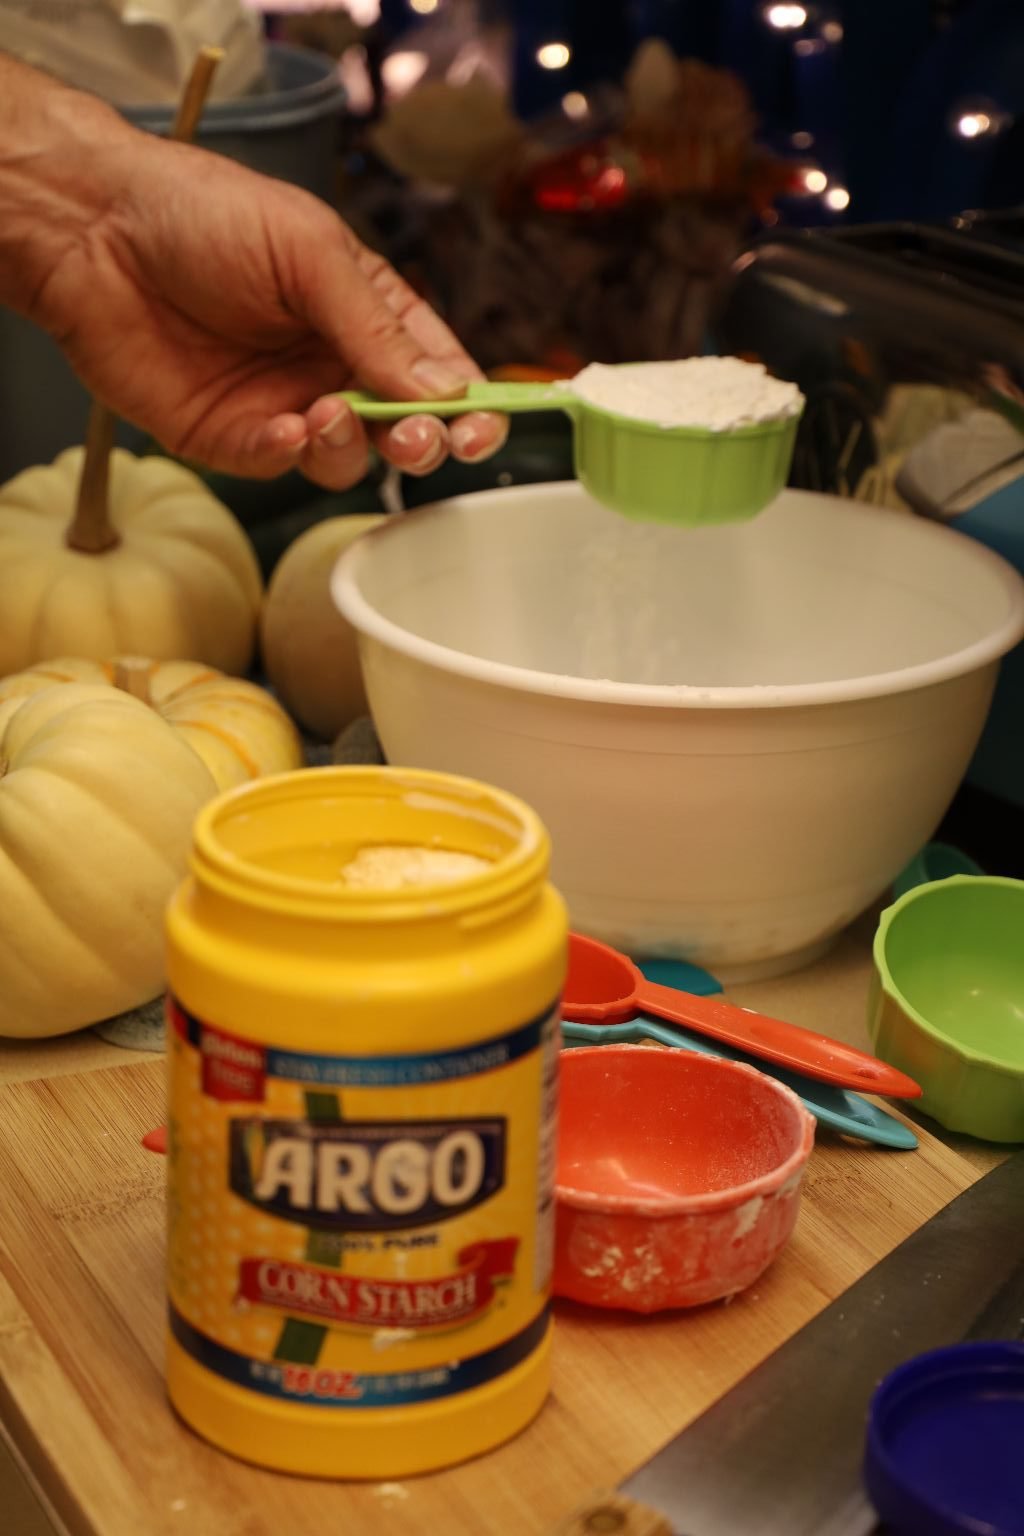

which is why you see two different brands of corn starch.


Now add your coarse ground black pepper to the bowl.


Here is the beer we chose to use and the very unique opener my sister bought for me! Don’t add your beer just yet to the bowl of other ingredients.


Begin by slicing your Acorn Squash in half.

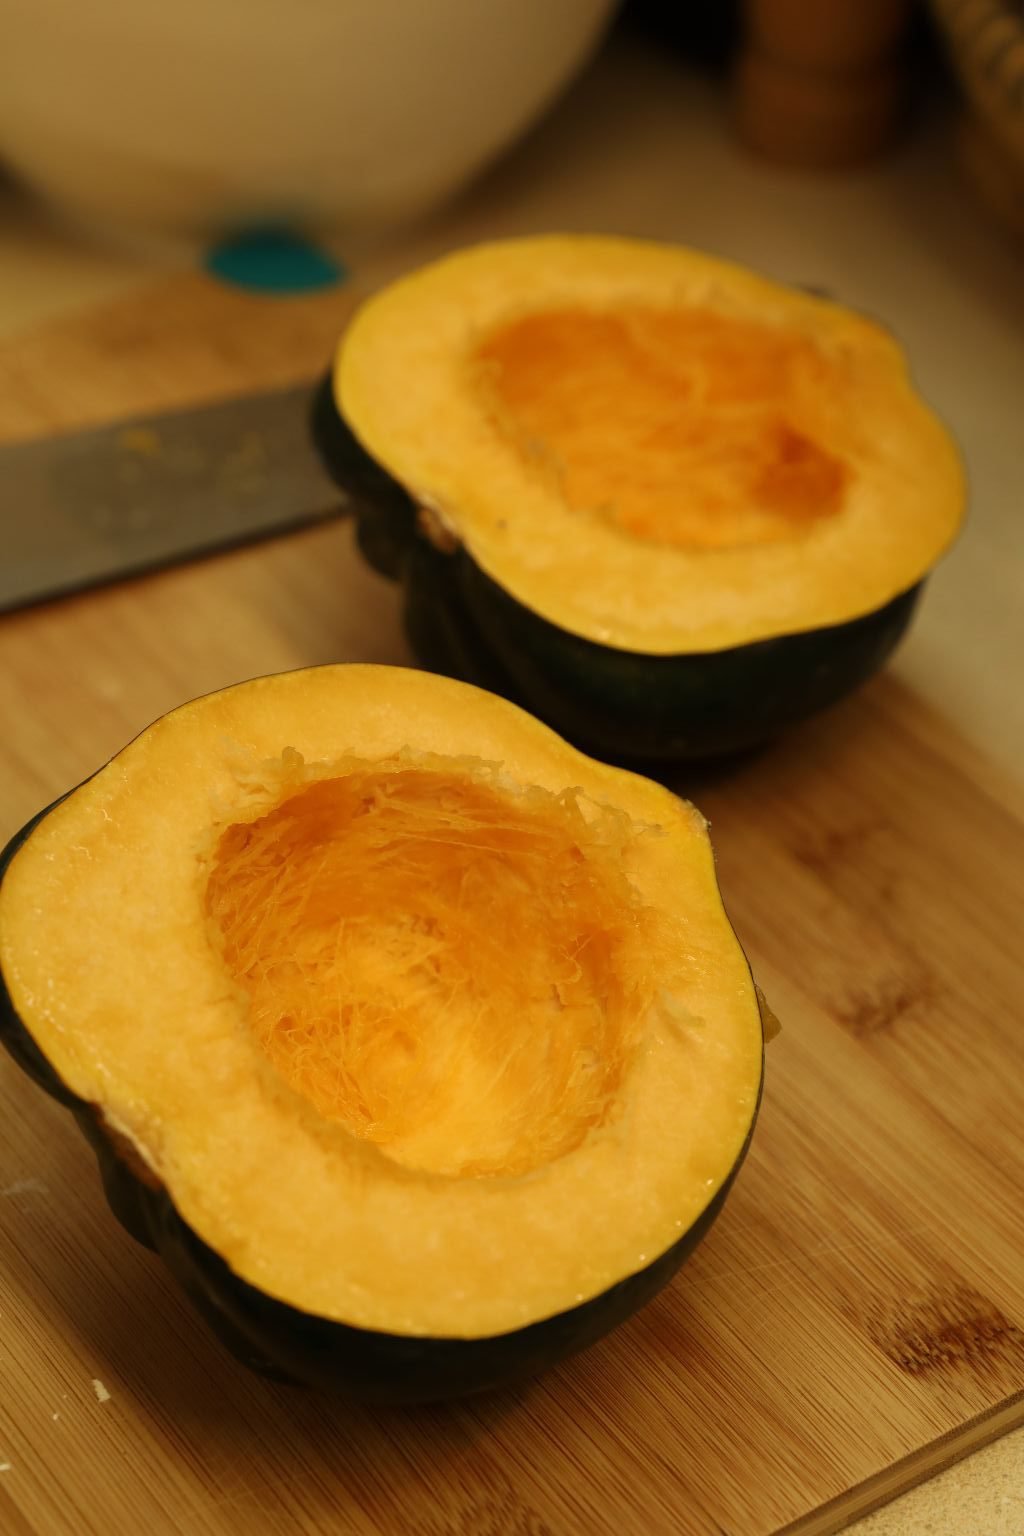

Remove the seeds using a spoon until the insides are clean as pictured. Then slice the squash into 1/4 inch thick half moons as shown.


Add your oil to a large pot and heat it to medium high heat.

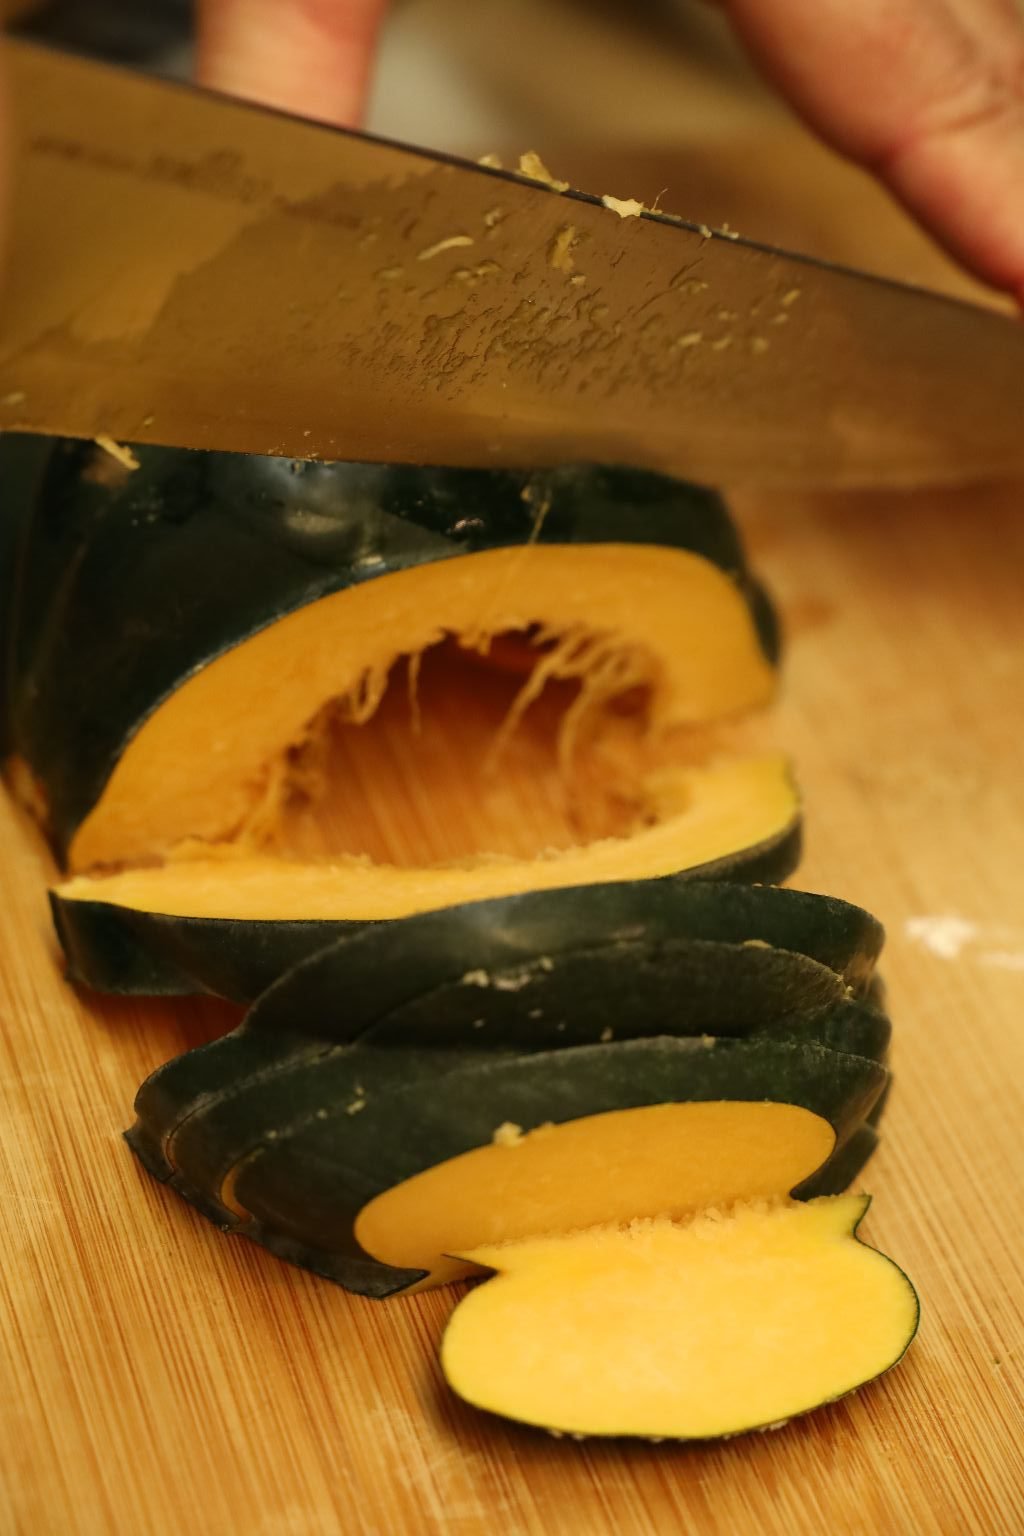
Continue to slice your Acorn Squash.

——————————————————–

—————————————————

Slice the other pumpkins in half as well.


Remove the seeds as before, and slice them into half moon shapes ~ 1/4 inch thick.

Here you can see I am slicing a lot of squash and pumpkins.


———————————————————-

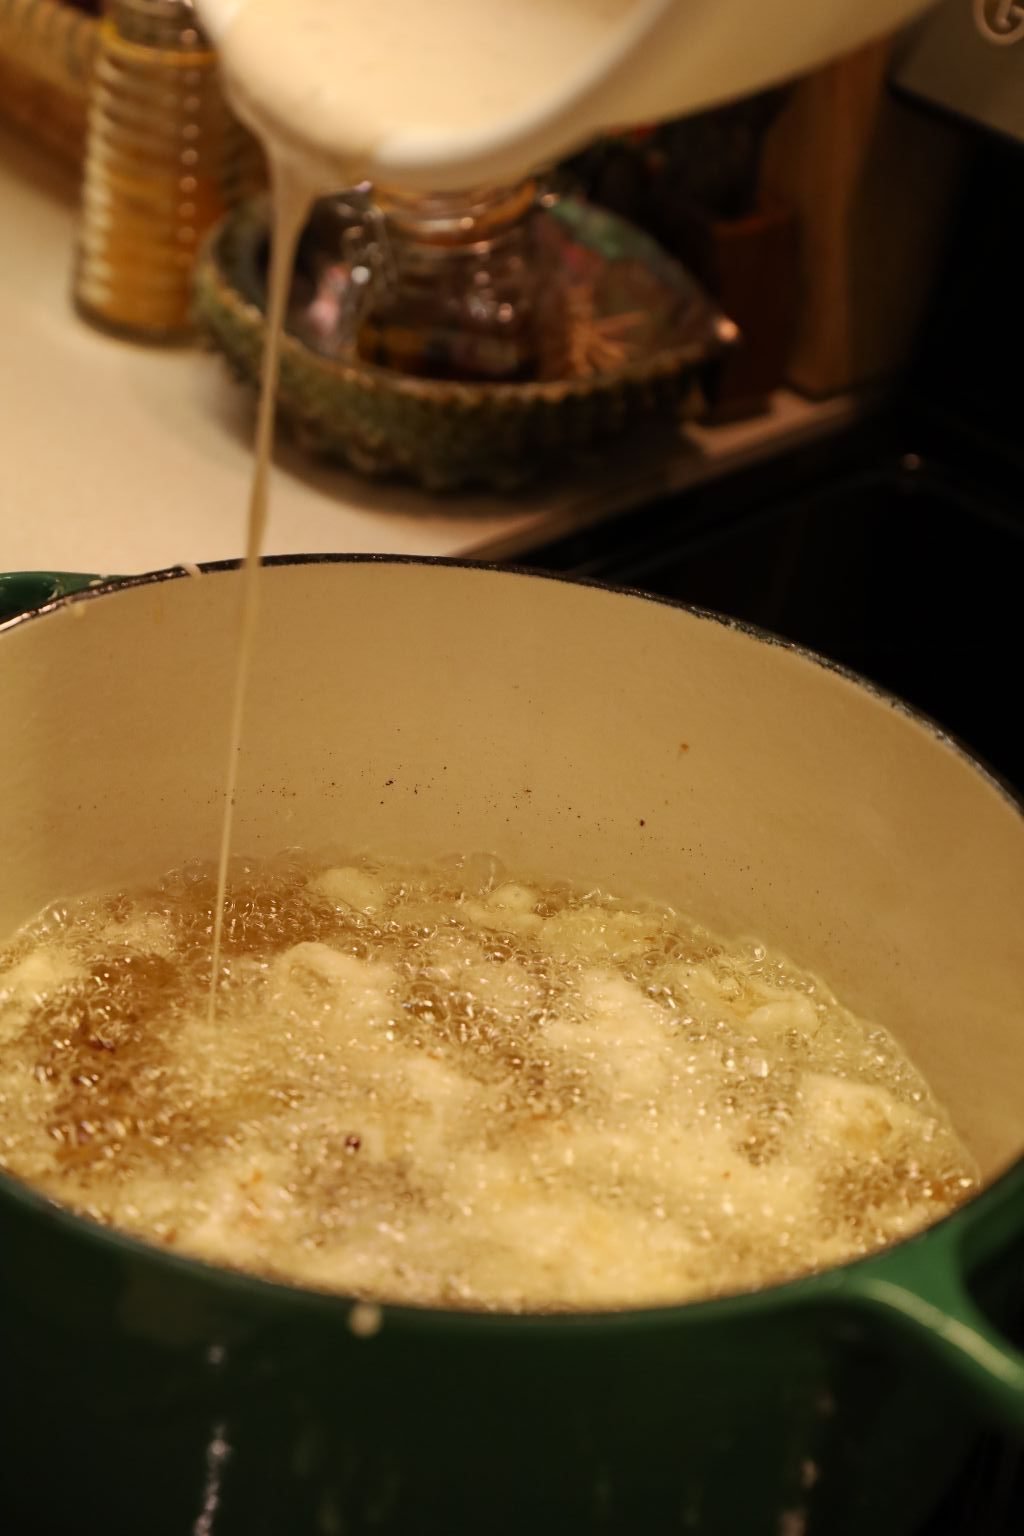
Now that you have your slices ready…


add your beer to the flour and cornstarch mixture.

Gently mix all the ingredients together.


I used a rubber spatula to get all the dry ingredients off the sides. Now quickly drench a slice of Acorn Squash into the batter and carefully place the coated piece into the hot oil. Do this by placing one of the battered slice ends into the oil carefully having it fall away from you into the oil. This will prevent any oil from splashing toward you. Add about 5 slices of battered Acorn Squash into the oil. Any more slices would lower the heat of the oil.

Here you can see I loaded up the batter with slices of Acorn Squash.


You can see the five slices of battered Acorn Squash frying in the oil. Turn the slices over when one side is done to ensure even cooking. When brown and crispy, remove the slices using a fryer skimmer.

Place the fried item on a large plate lined with a few sheets of paper towels to absorb the excess oil. Lightly salt the fried slices shortly after they are removed from the oil as the wet oil will hold onto it.
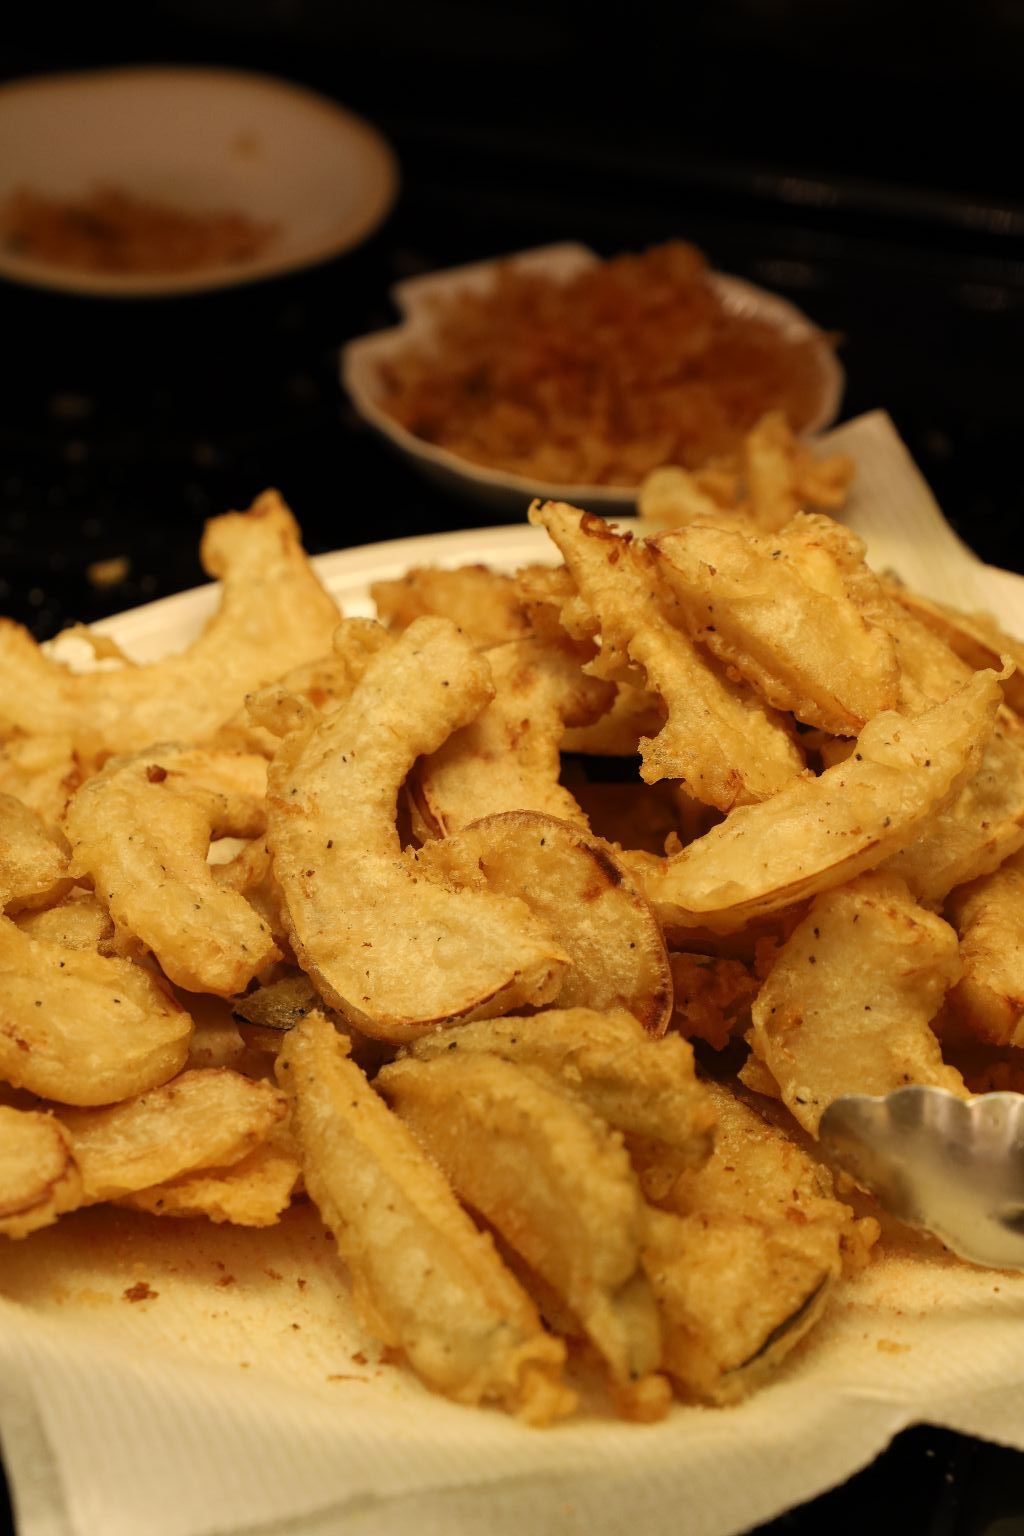
They turned out really nice.


Continue to fry the slices as stated before.


We had so many slices that I wanted to keep them warm. To accomplish this, place the fried slices on a cookie sheet lined with parchment paper and turn your oven on 250’F.
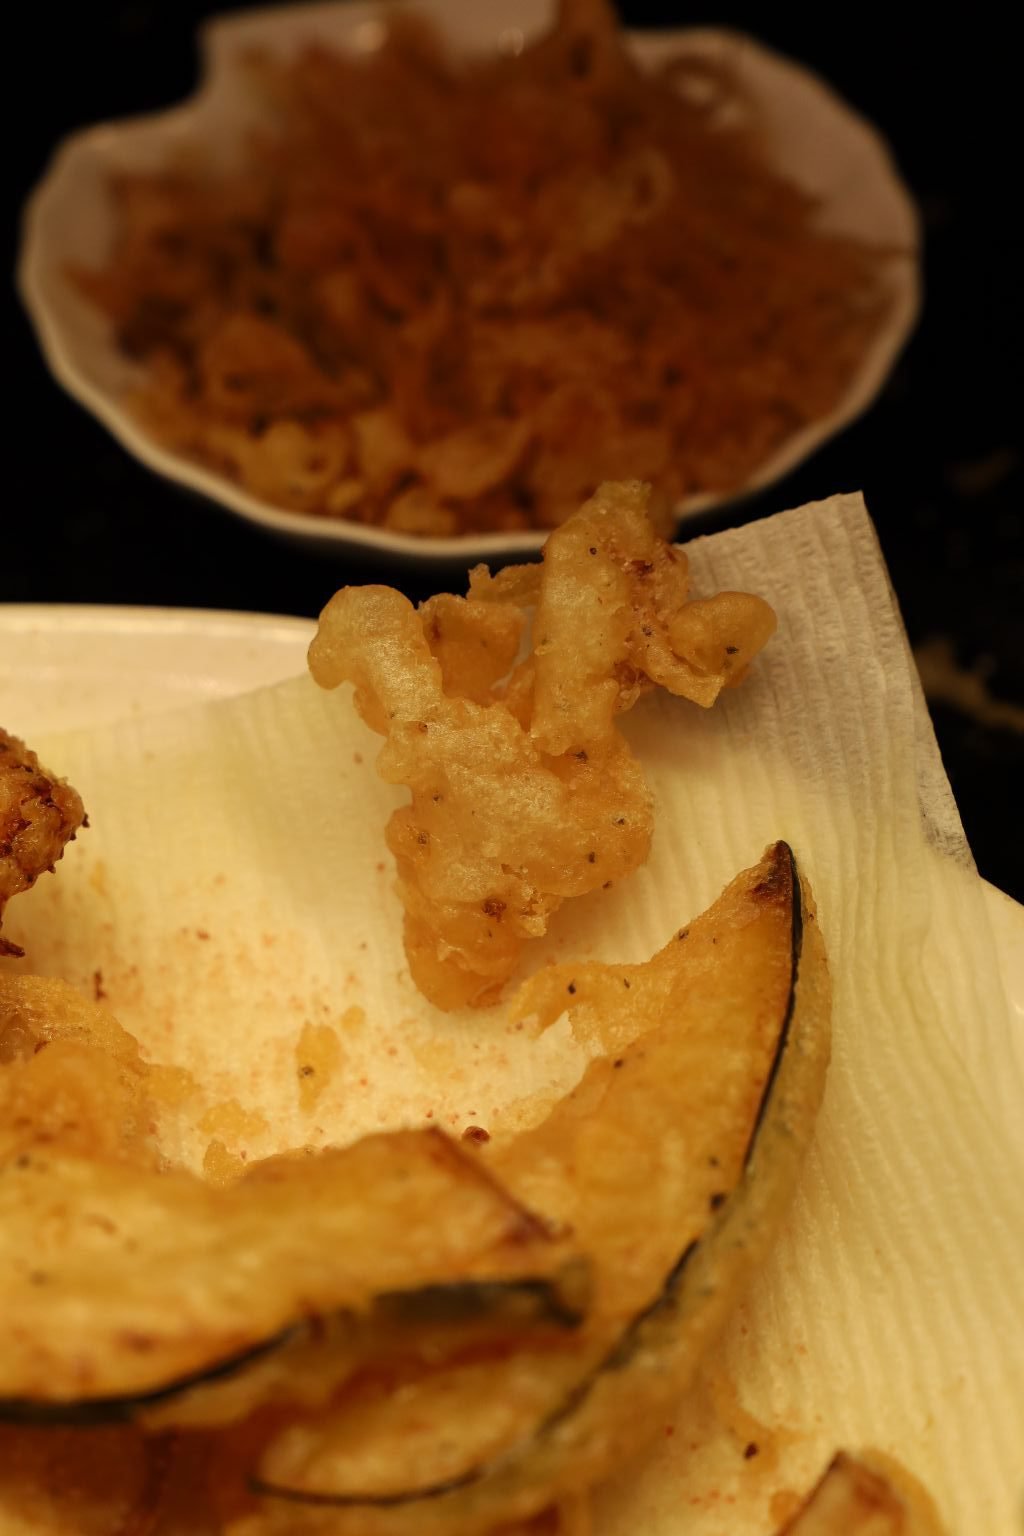
Now For The Crispy Bits

After you have fried all your squash and pumpkin slices, pour any remaining batter into the hot oil.


Now you have basically created a savory Funnel Cake. This is nice to snack on but we have something else in mind for these. Stay tuned.


Here you can see all the battered slices both draining, and keeping warm in the oven.
——————————————————–
Now For Our Dipping Sauces


How make our quick and easy dipping sauces.


We just wanted to use some of our favorite salad dressings and just dress them up a bit.
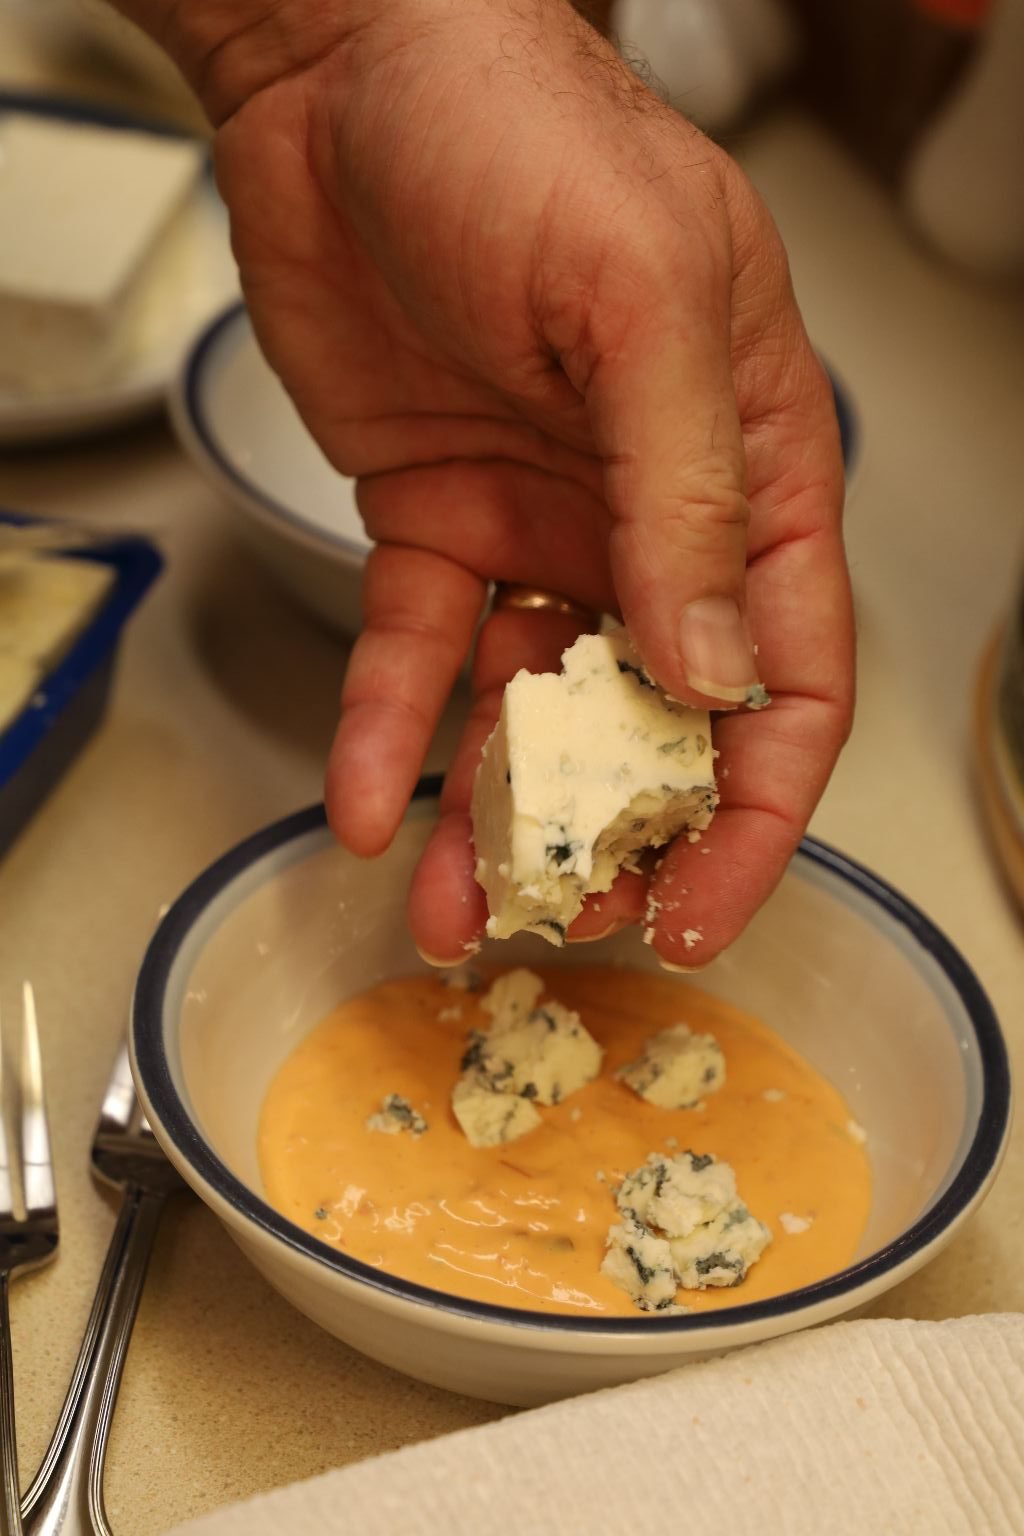

Crumbling in some Gorgonzola cheese to the salad dressing in a bowl.


Remember the crunchy bits of fried leftover batter?
We will be adding a few of those to top each dipping sauce, kind of like a garnish.

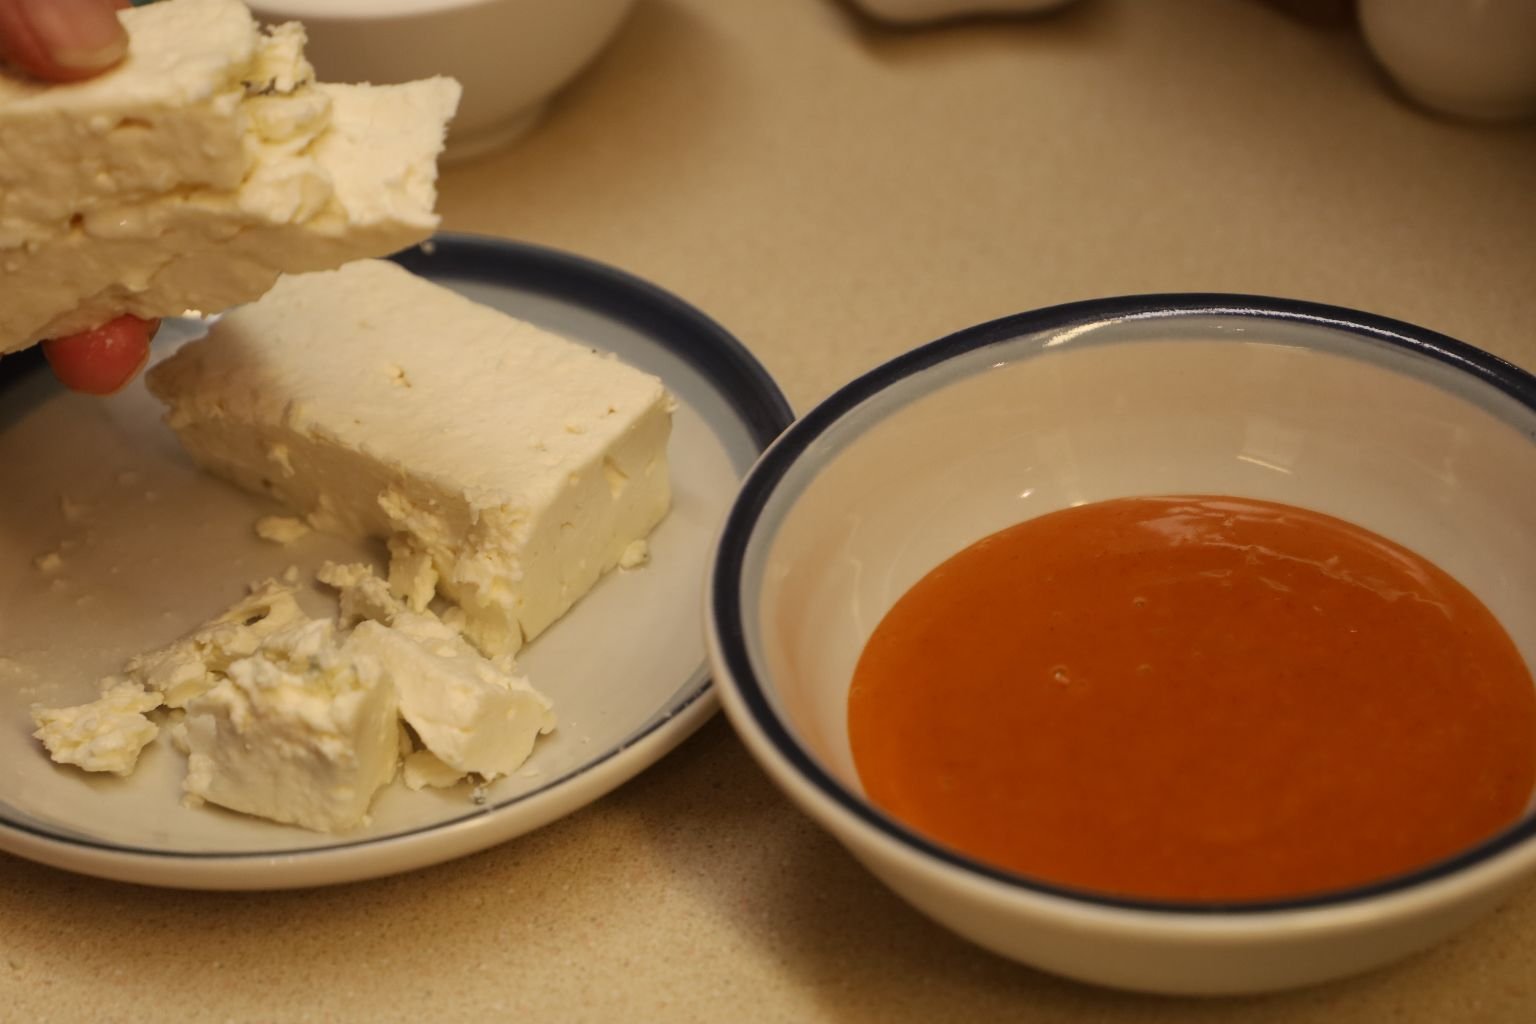
Adding some Feta Cheese to this Creamy French Dressing.


Looks like the Dipping Sauces are about Ready

Removing the Fried Squash and Pumpkin from the Oven

Now It’s Time to Plate!
————————————————————–
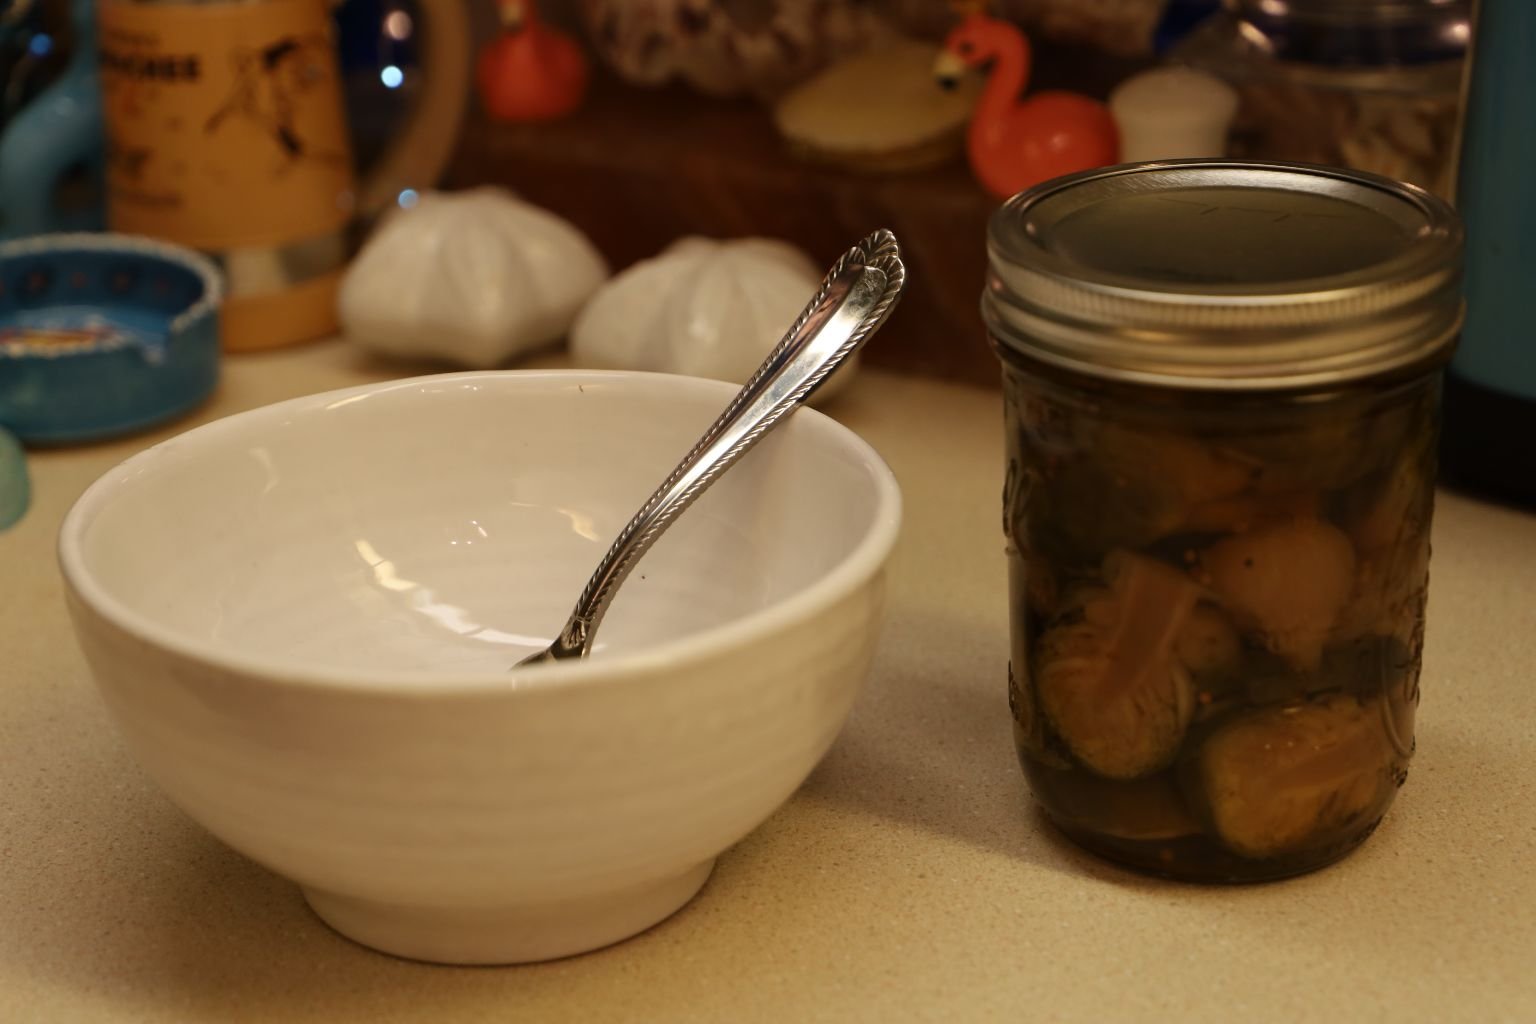

Our Pickled Brussel Sprouts

The pickled Brussel Sprouts were a great accompaniment to the fried squash and pumpkin, as the vinegar in the sprouts helped to cut through the taste of the oil in the squash.
———————————————————–
Ribs in the Crock Pot, and Oven
————————————————————–
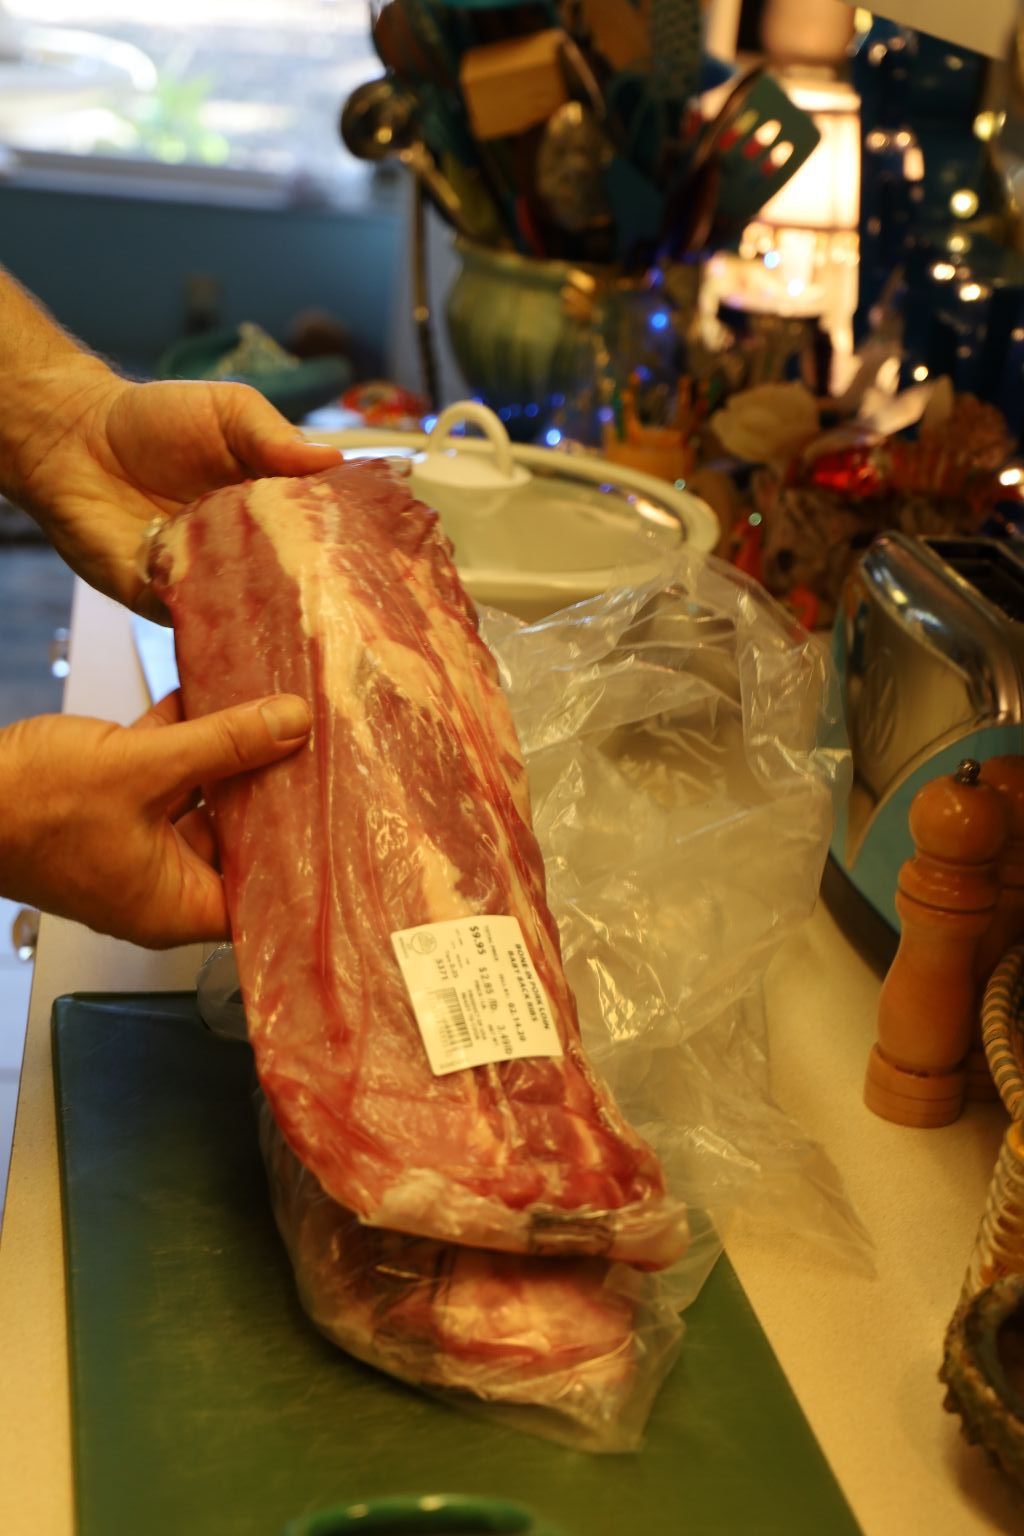
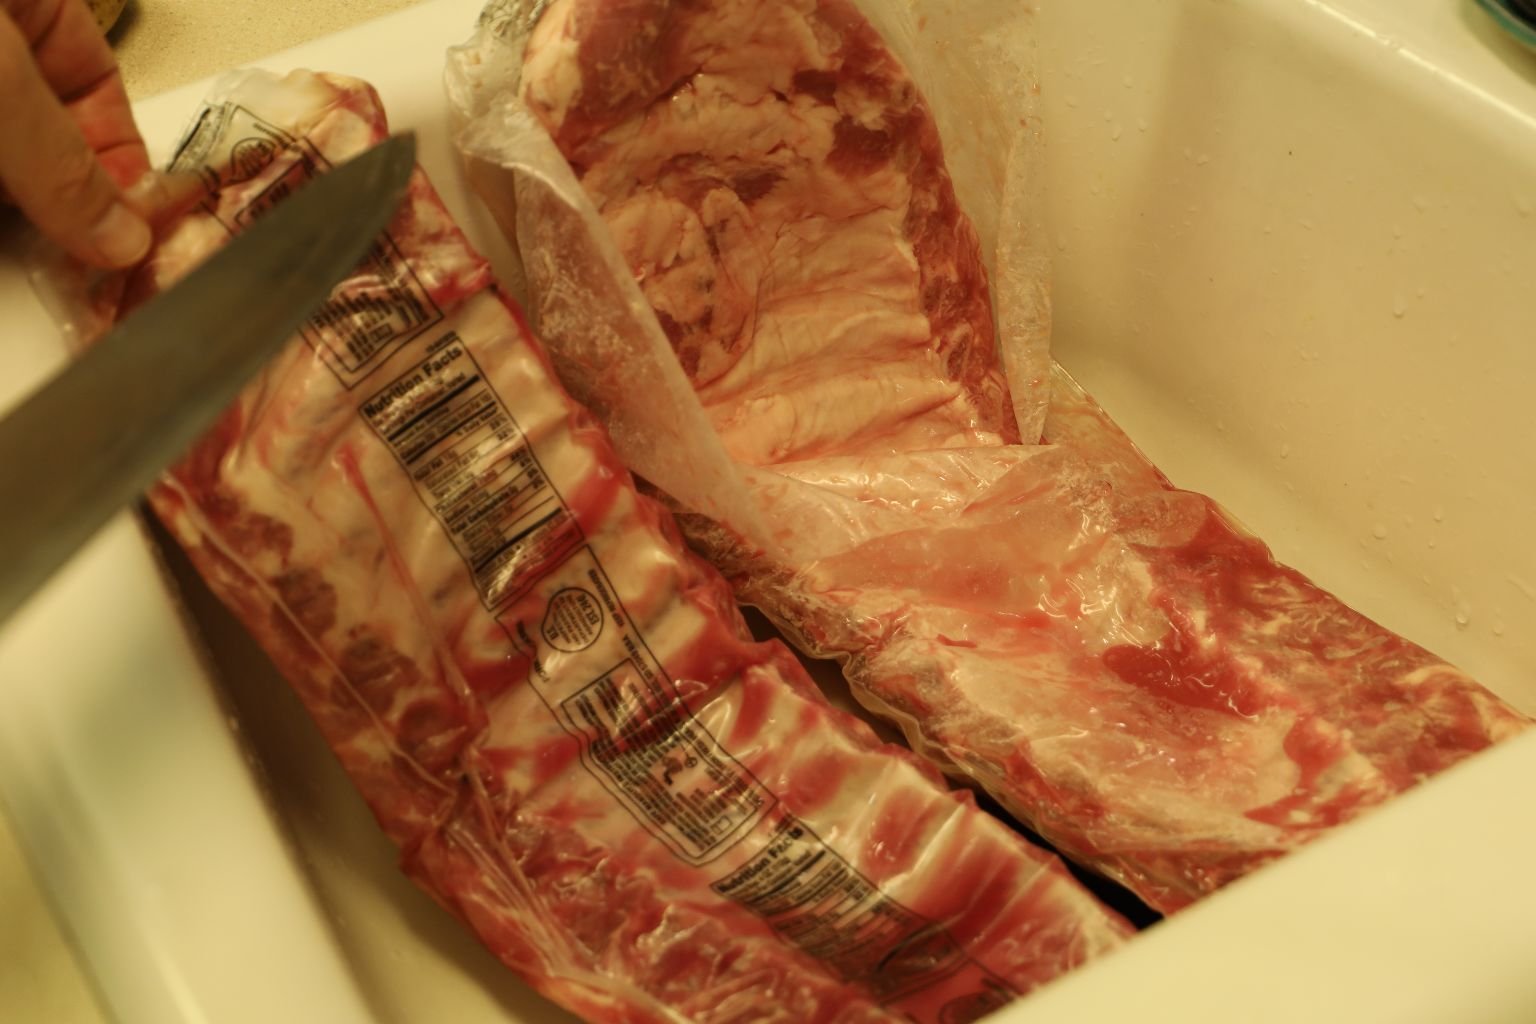
Here are the baby back pork ribs we used for this recipe. Open them up in the sink…

and rinse off the blood residue. I then pat them dry with paper towels and place them on a cutting board. Then be sure to clean the sink and the surrounding area to ward off any cross contamination.

Pictured is some of the beer we used to marinate the ribs in.
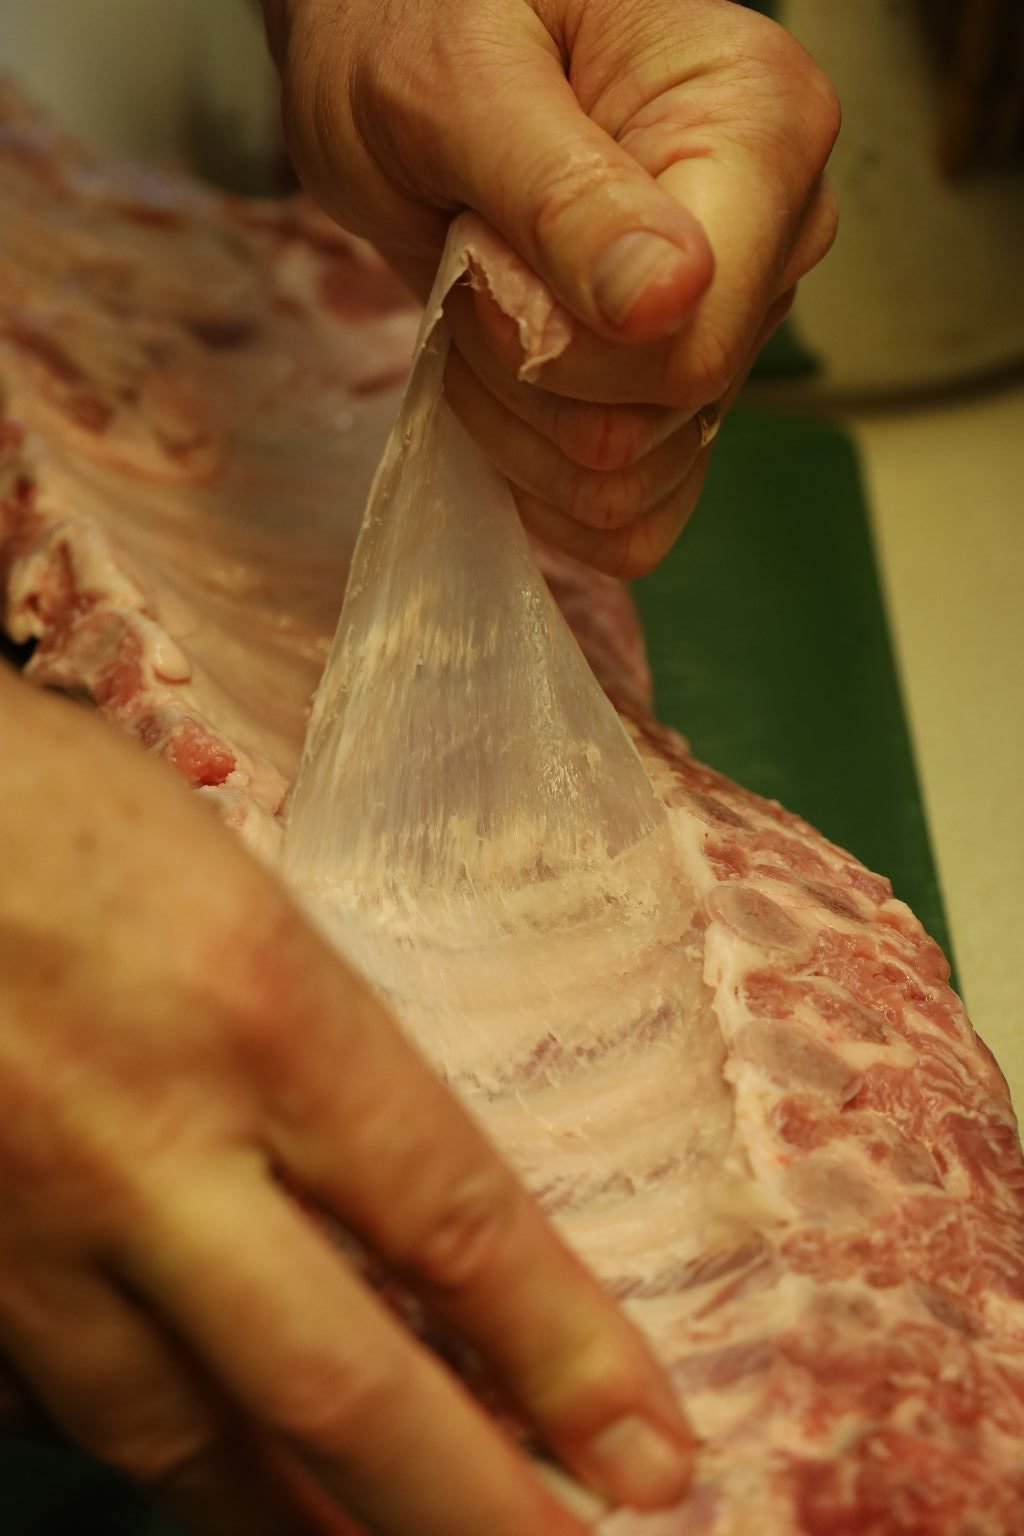


On the back side of the ribs you will find a thin layer of what is called silver skin. Remove this as it can be chewy and tough when cooked and is just not appealing on the ribs.

I chose to slice between every other rib, but you can slice between each rib if you like.

I love this unique beer bottle opener my sister got me.


Use a pot large enough to hold all the ribs. I wanted to just cover the ribs in beer so I added some of this Samuel Adams beer.
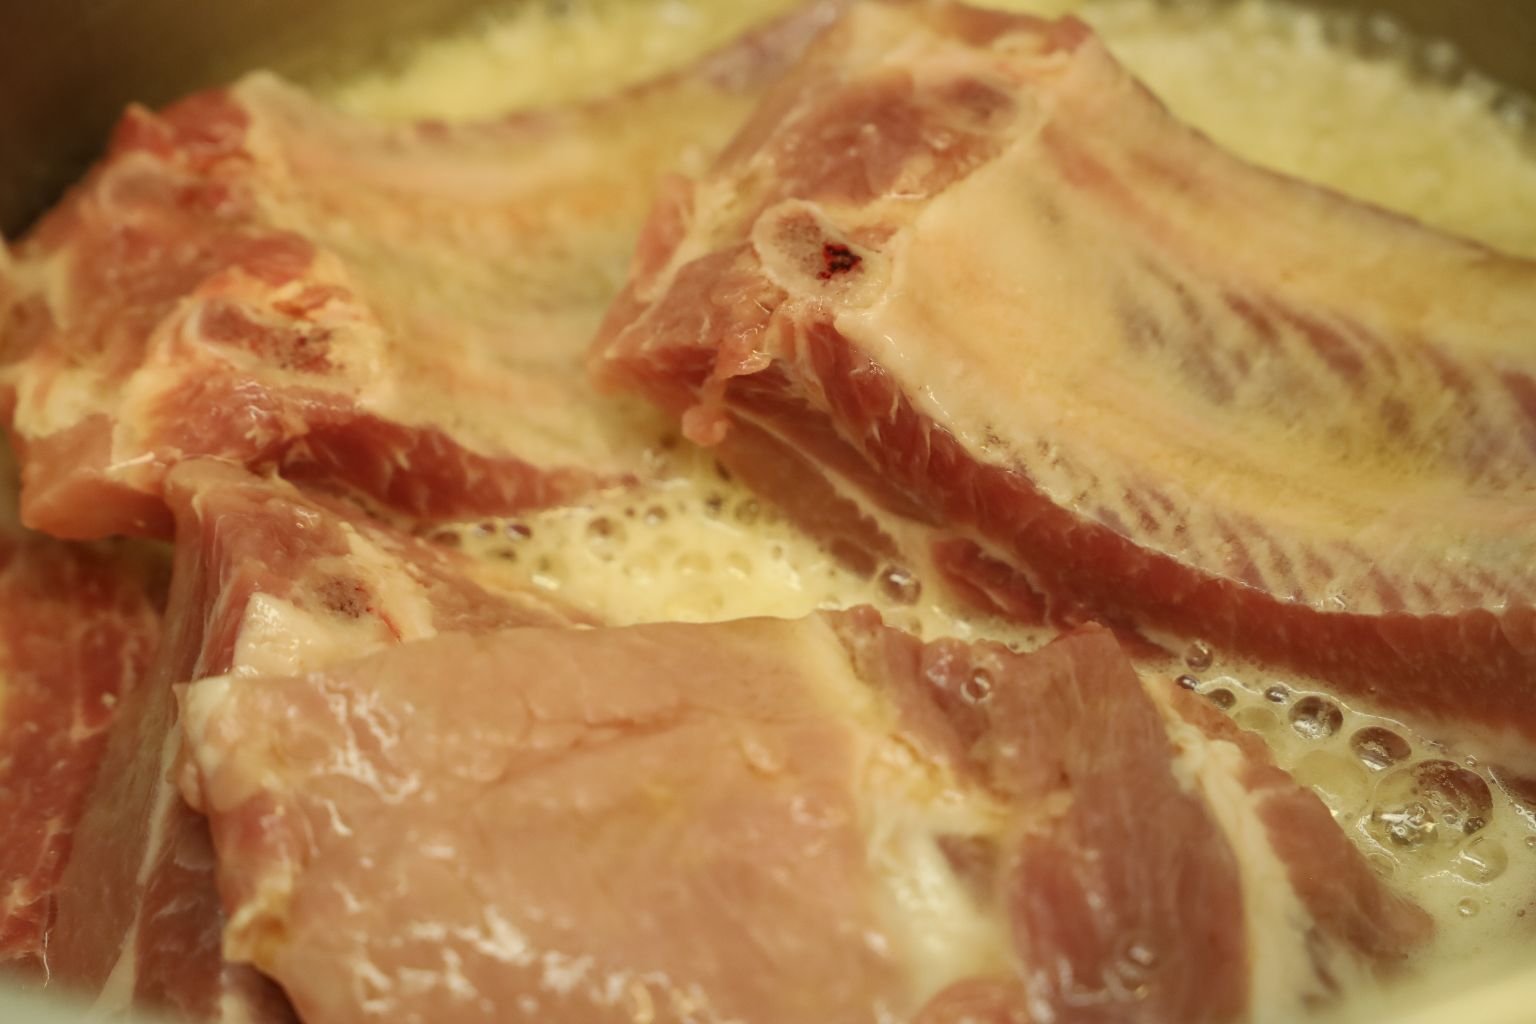
Here you can see the ribs just about covered in beer. Cover the pot and marinate the ribs in the beer for at least four hours which is what I did. If you like, you can marinate the ribs overnight and keep them in the refrigerator until ready to cook.
————————————————————

To make the BBQ sauce, I used the ingredients below:
1/2 Vidalia Onion – sliced into small pieces
3 Tbsp. Olive Oil
2 Garlic Cloves – sliced thinly and chopped
1 Cup Beer – I used Corona Extra
1 Can Tomato Puree
1/3 Cup Molasses
2 Tbsp. Double Concentrated Tomato Paste
2 Tbsp. Worcestershire Sauce
2 Tbsp. Grey Poupon Country Dijon Mustard
3/4 Cup Splenda Brown Sugar
1/2 tsp. Fine Ground Himalayan Pink Salt
1/2 tsp. Freshly Ground Pepper
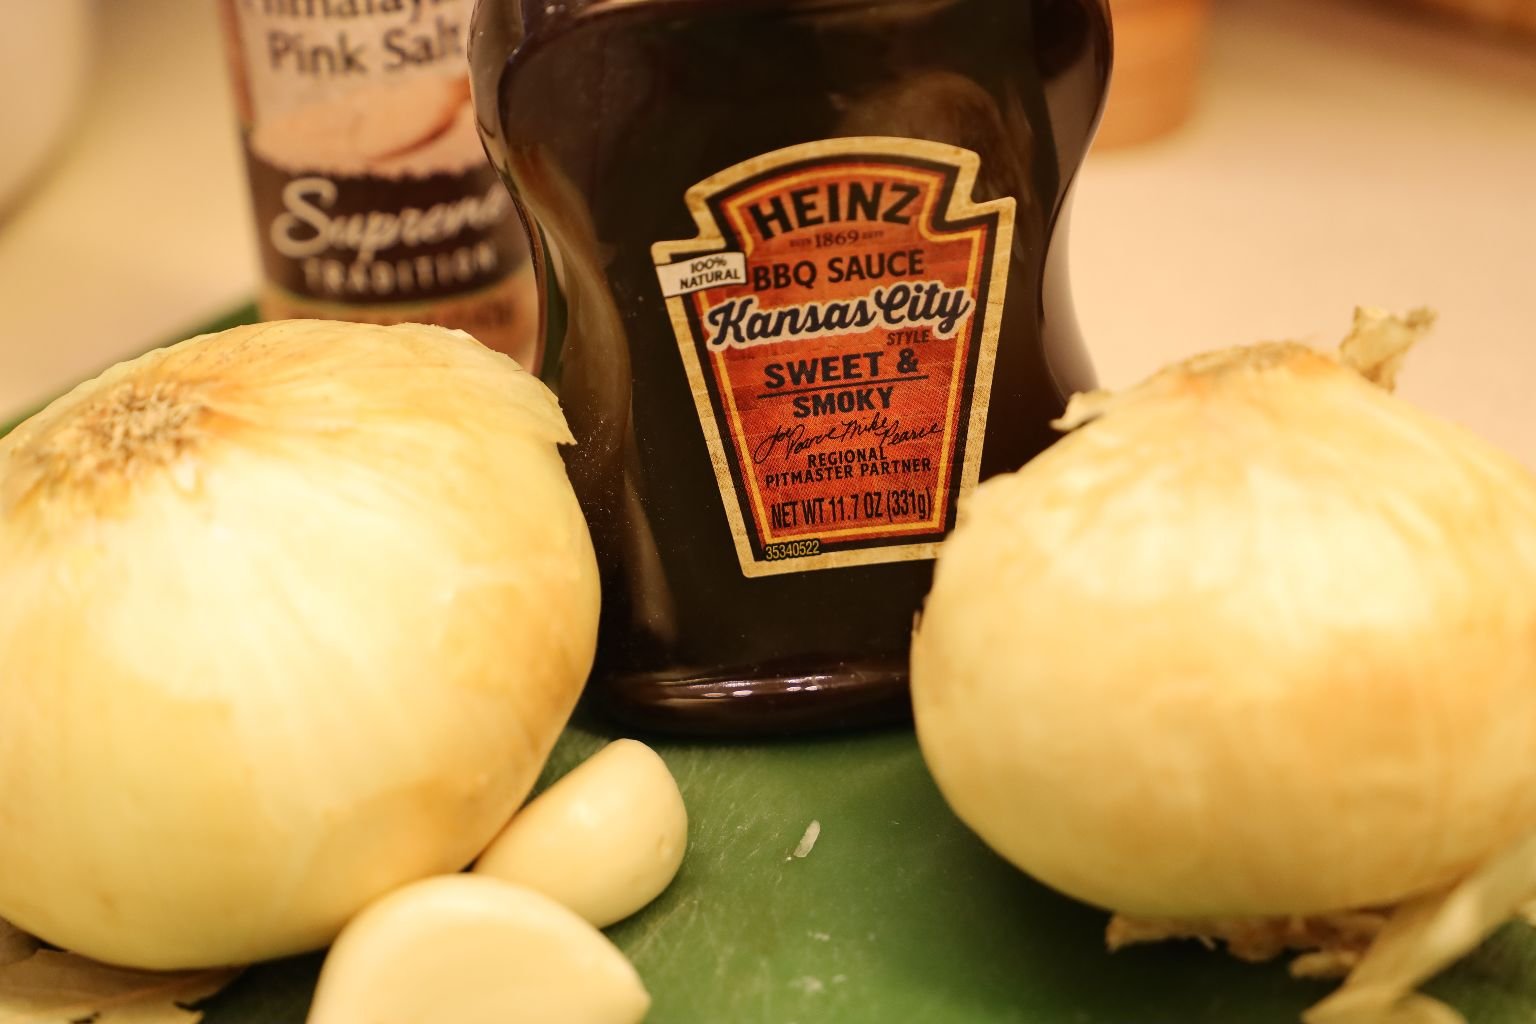
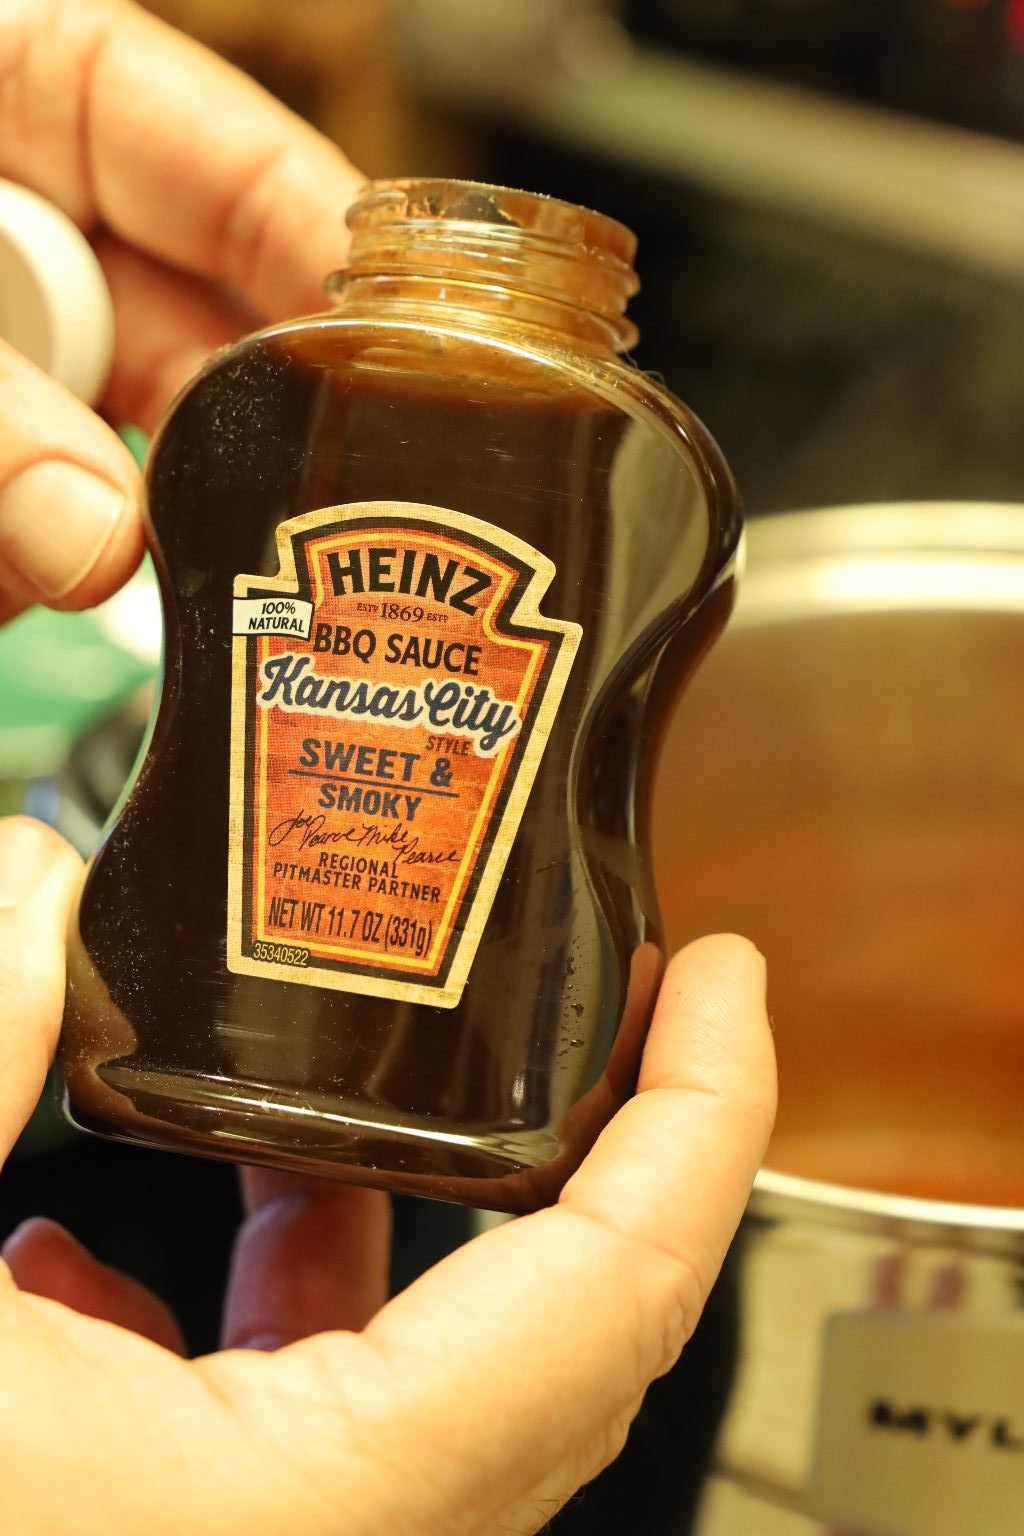
1/2 Cup Heinz Kansas City BBQ Sauce

———————————————————-
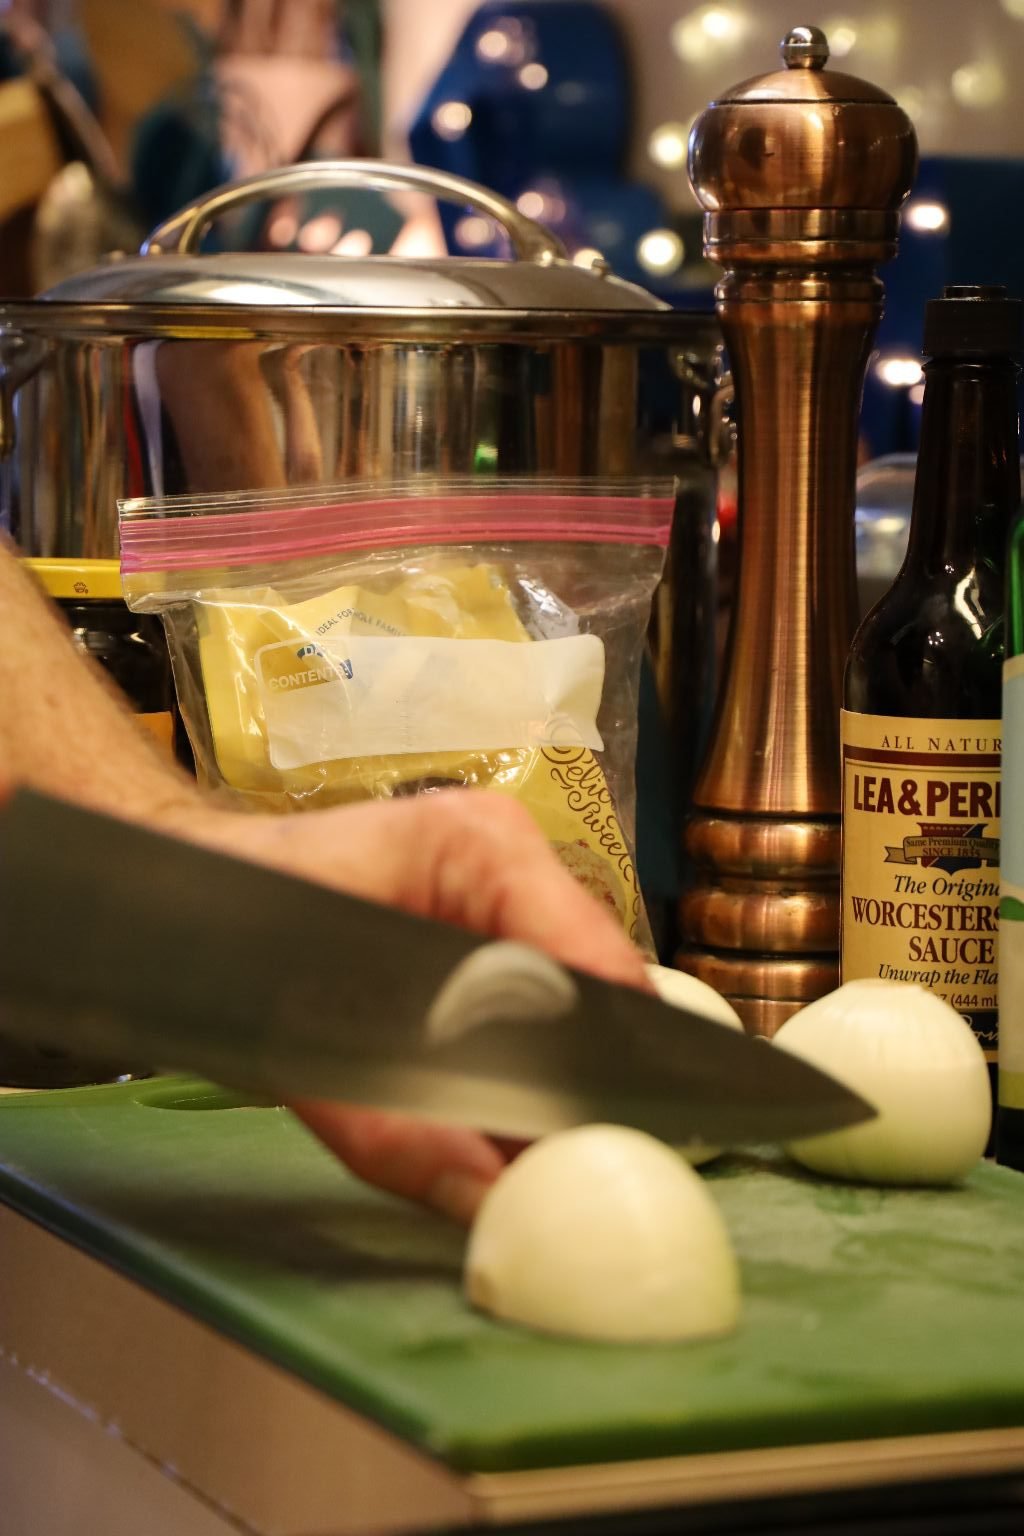
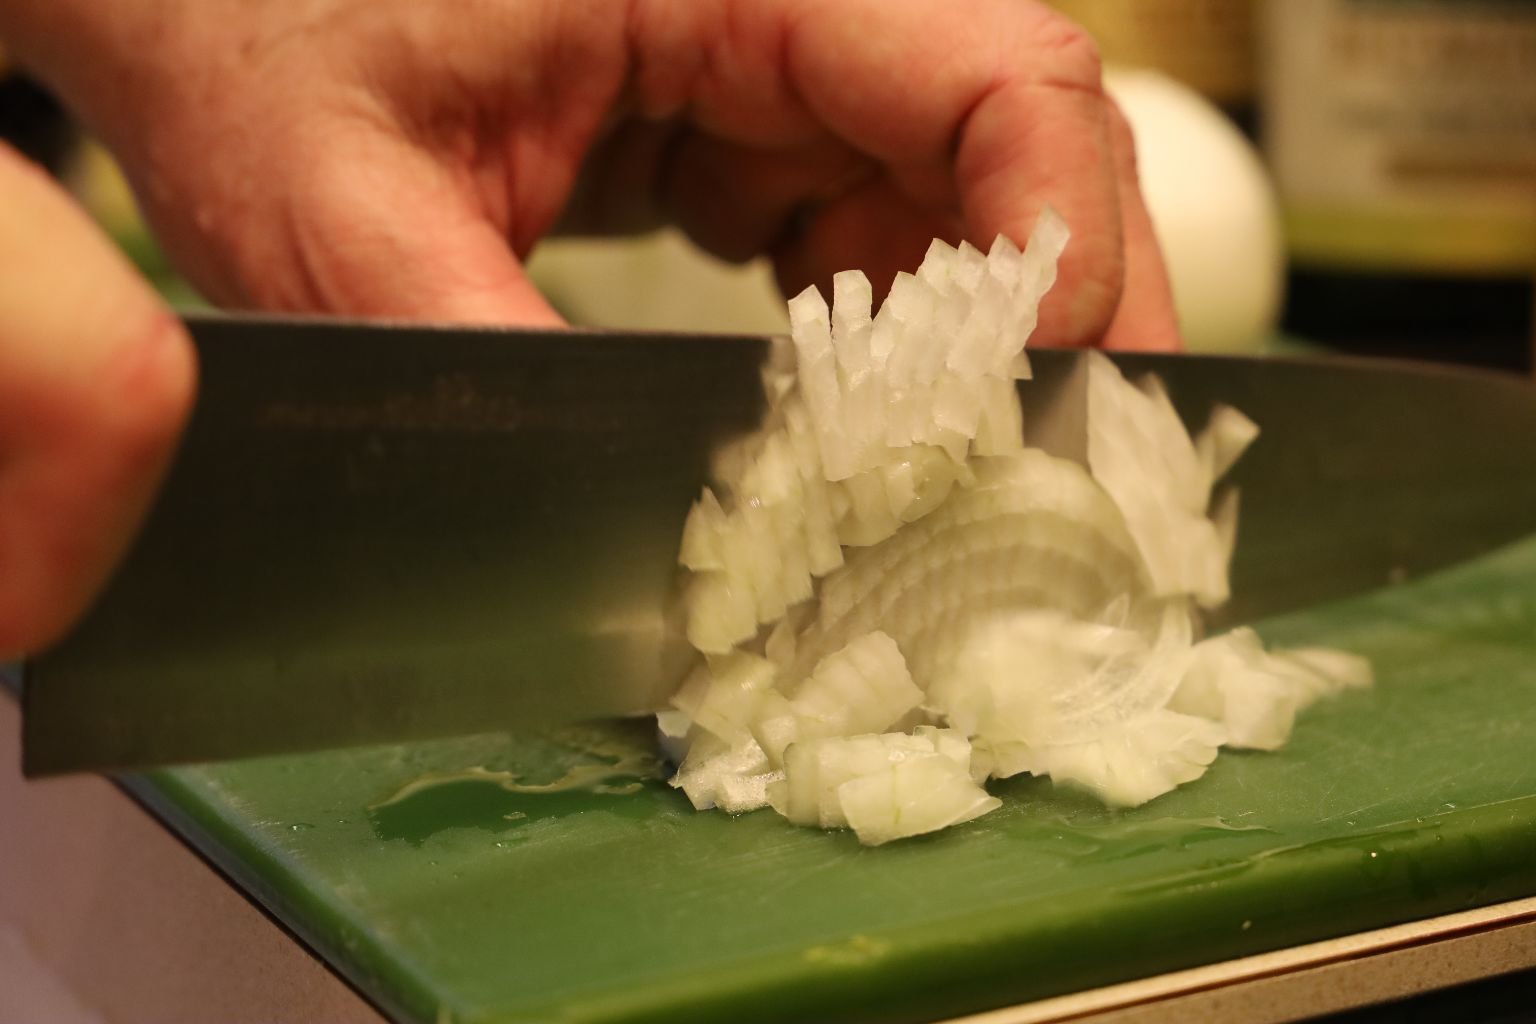
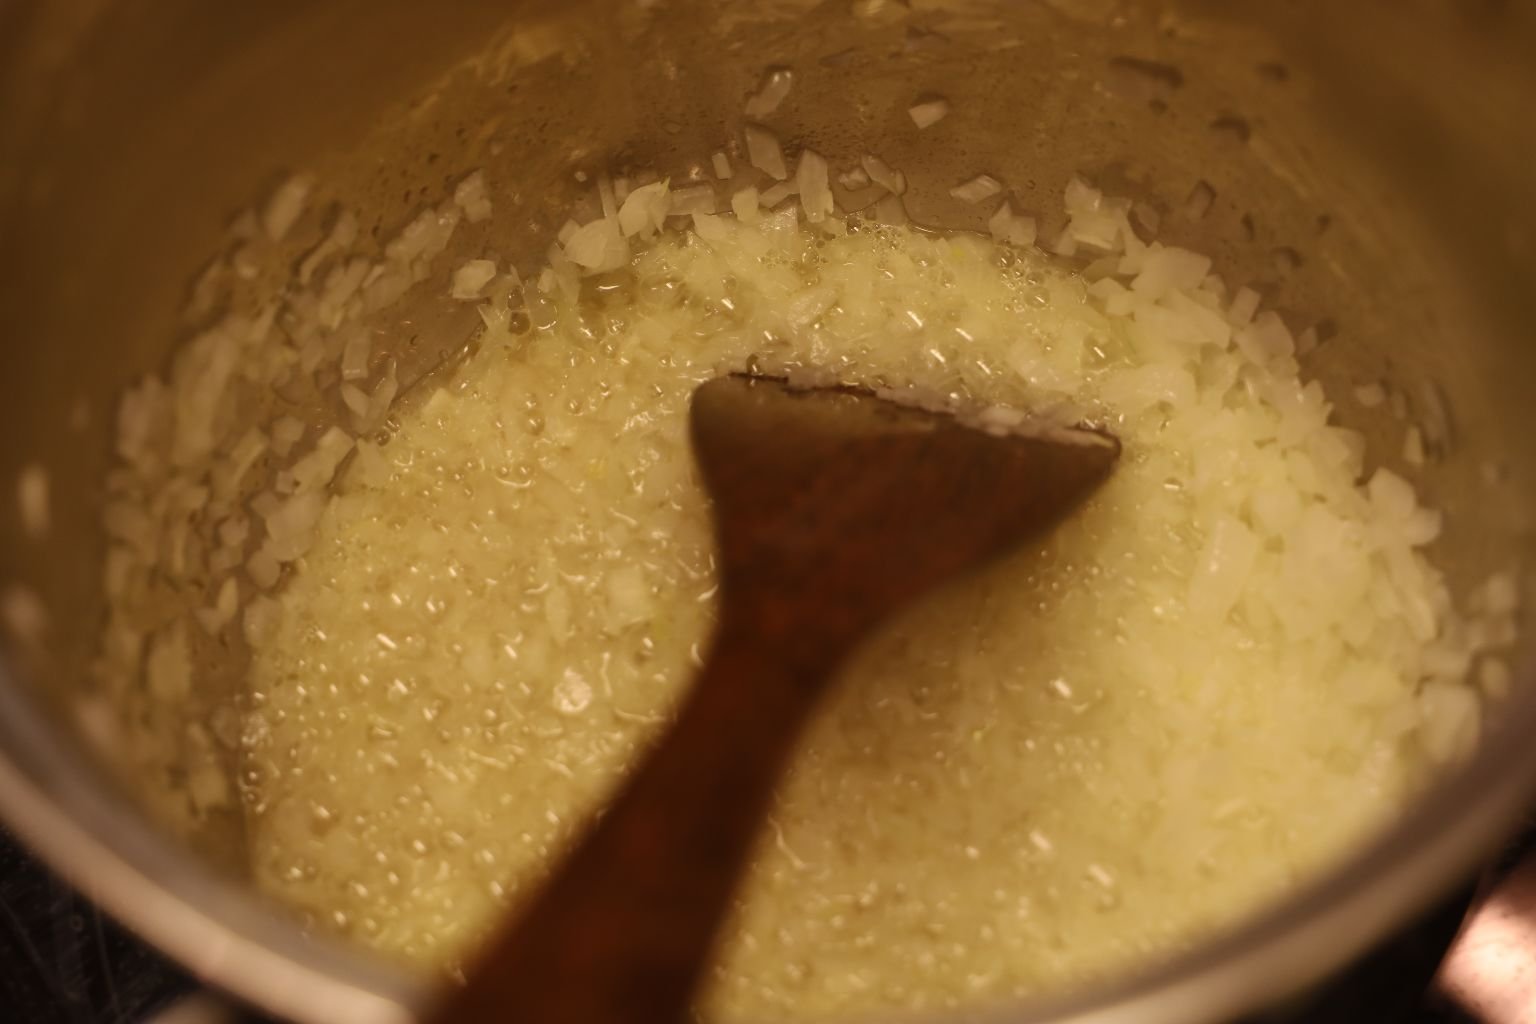
Slice your onion thinly then into small pieces.


Add your olive oil to a large pot then add your sliced onions.

Cook the onions on medium heat until tender stirring often.


Slice your garlic thinly then into small pieces, then add them to the pot.


Let the garlic cook for about 5 min. then add your beer to the pot.
Stir the ingredients and let them cook for a few minutes.

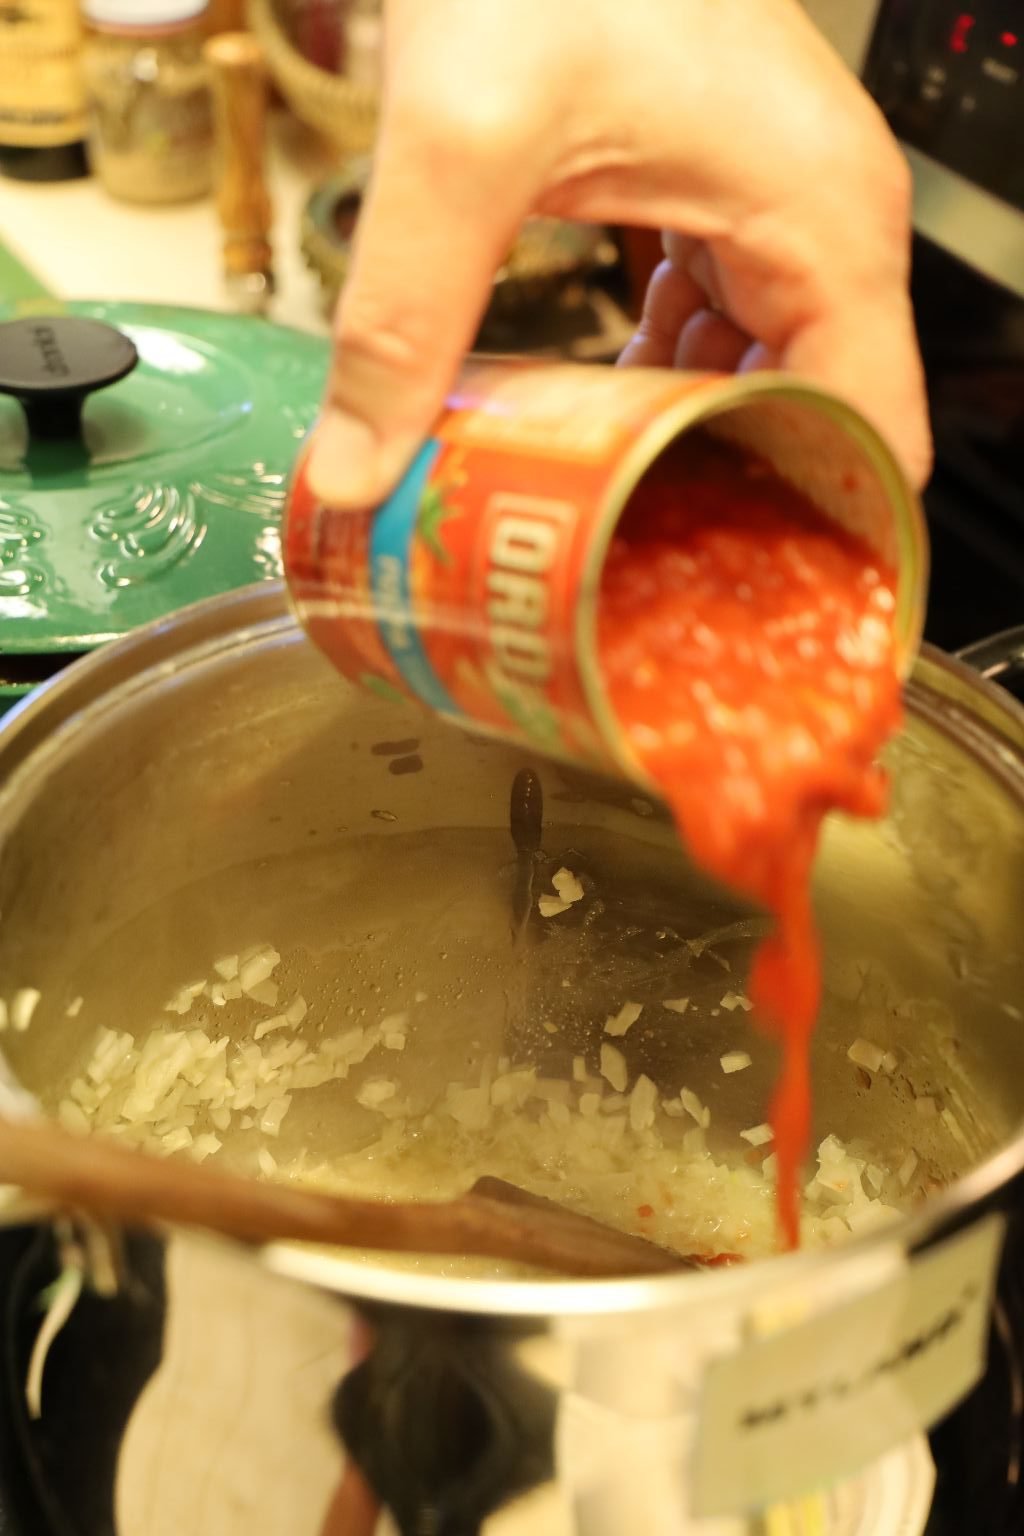
Now add your Tomato puree to the pot.

———————————————————

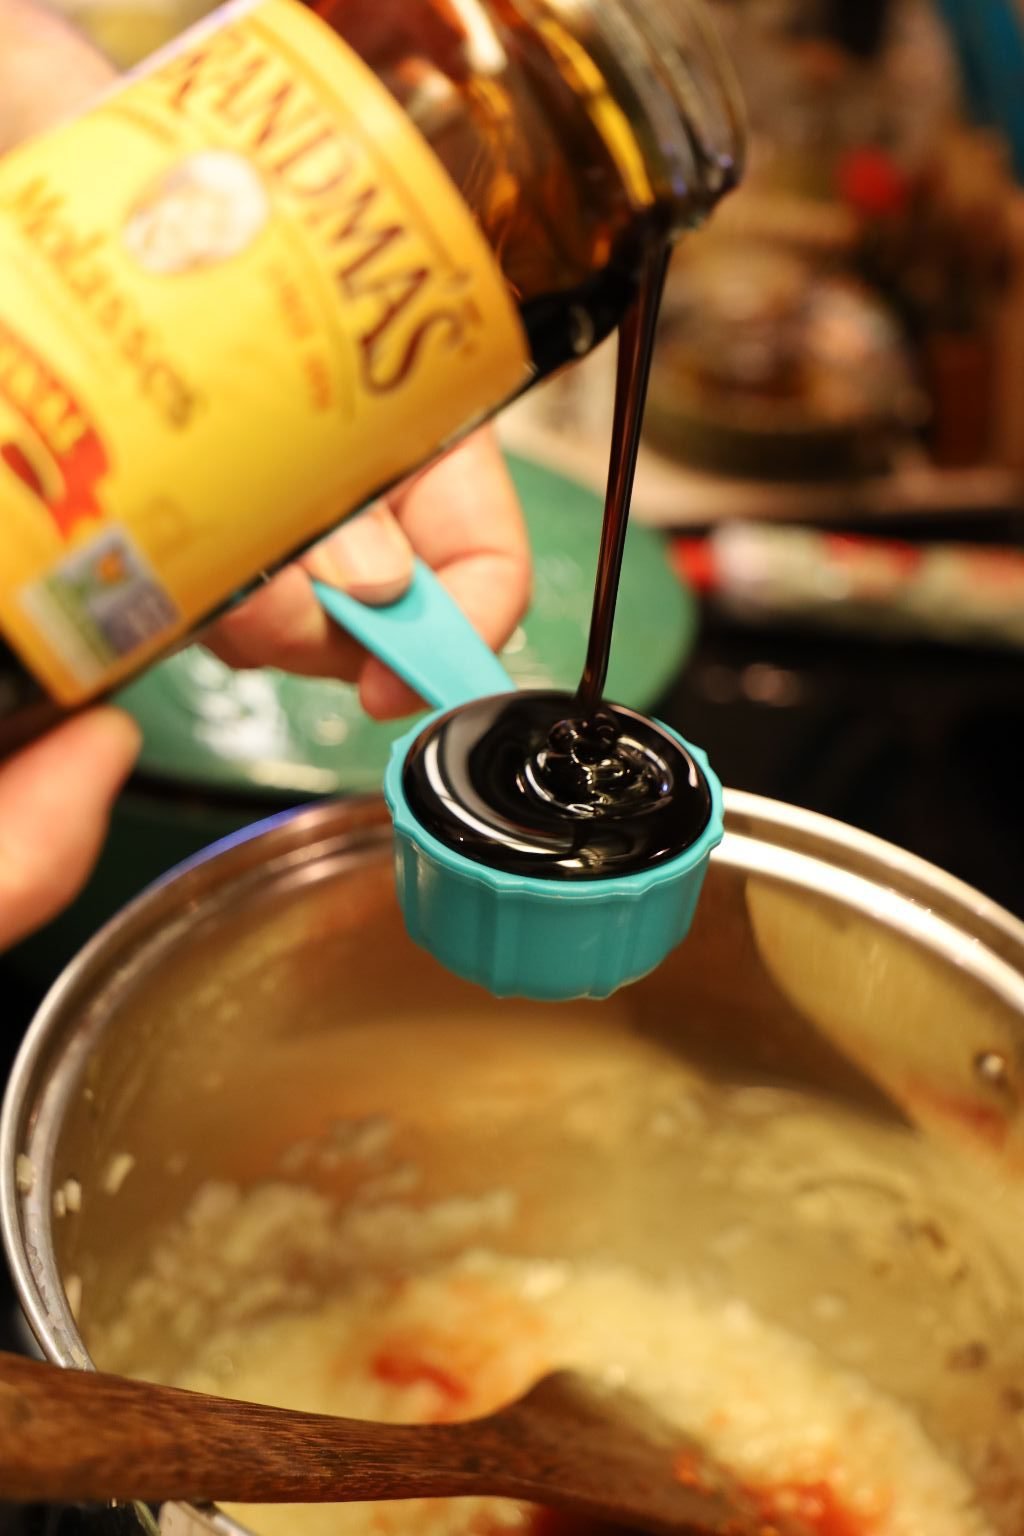
Then add your molasses. If you decide to measure this, spray your measuring cup first with some oil which will allow the molasses to easily pour out of the cup without much of it sticking.
Add the molasses to the pot.
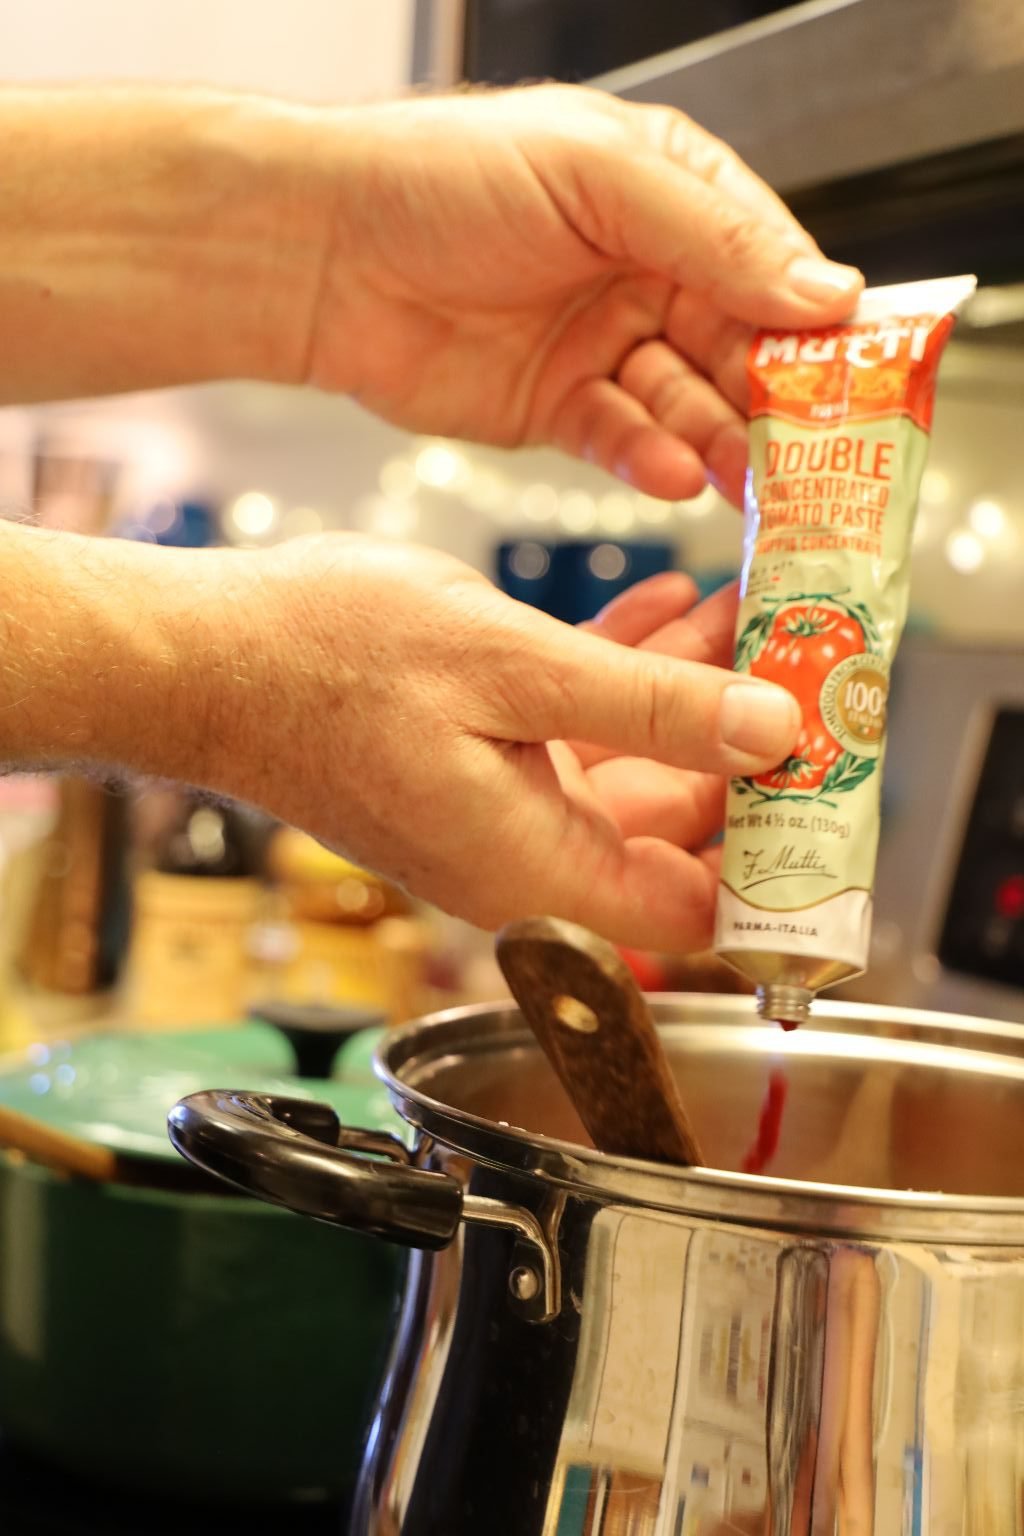

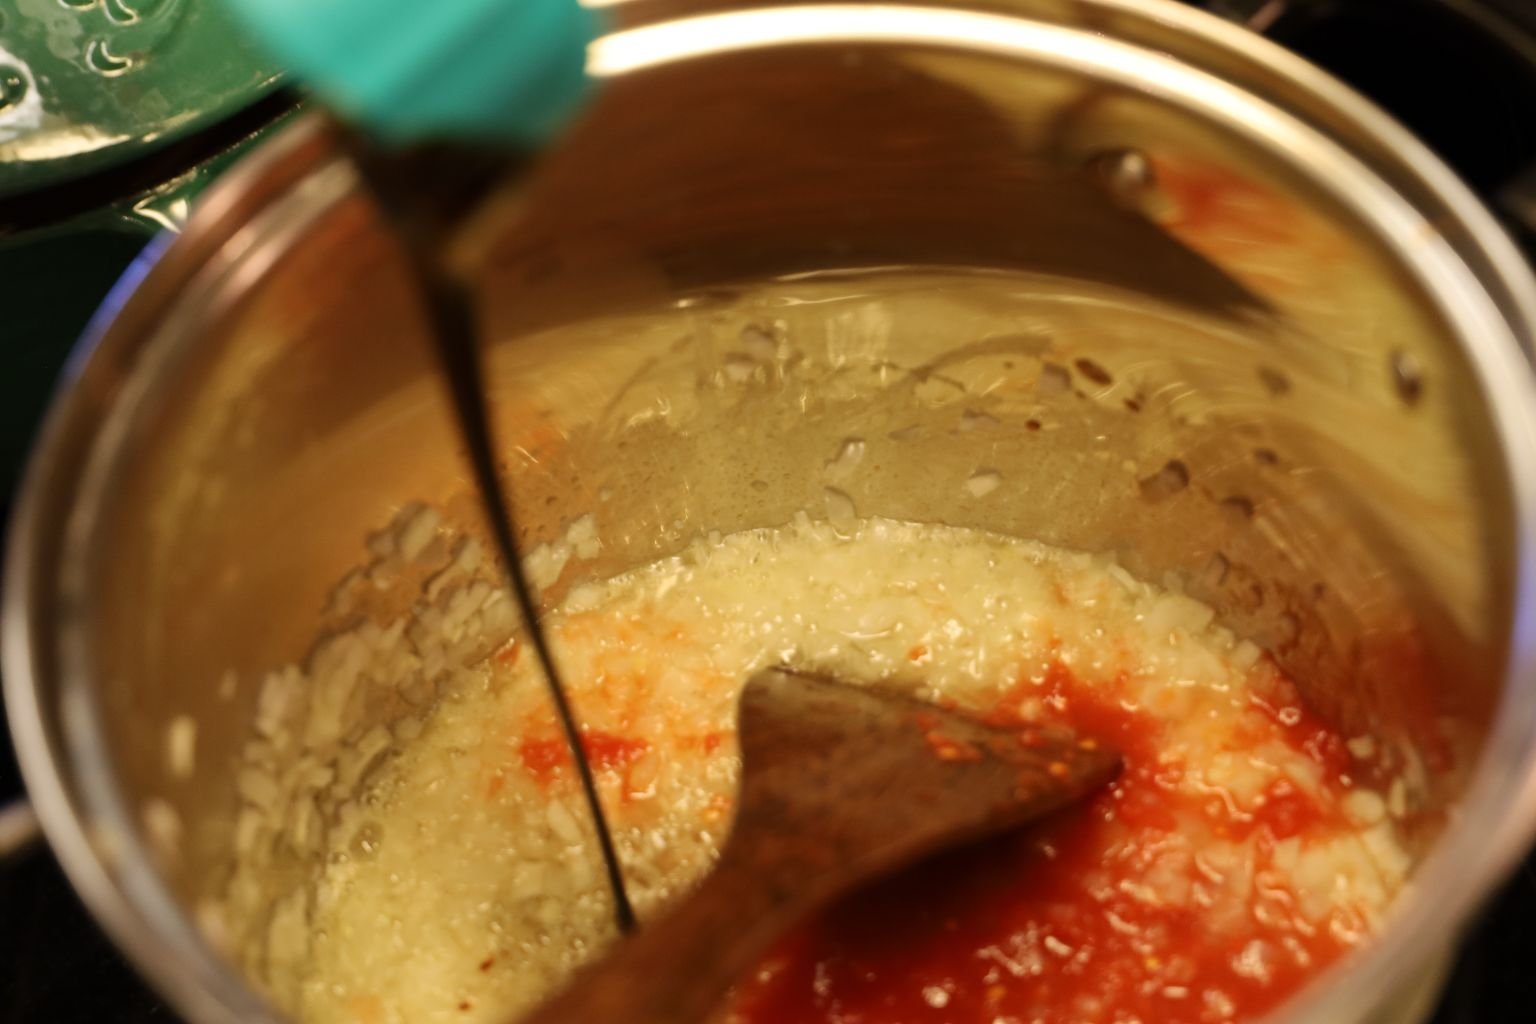
Then add your tomato paste…


Worcestershire sauce, and Dijon mustard to the pot.

Stir the BBQ sauce occasionally to prevent it from sticking. You may want to turn the temperature down to a simmer if it is too hot. This sauce will take a long time to reduce which is why I am cooking it the same time I am cooking the ribs.

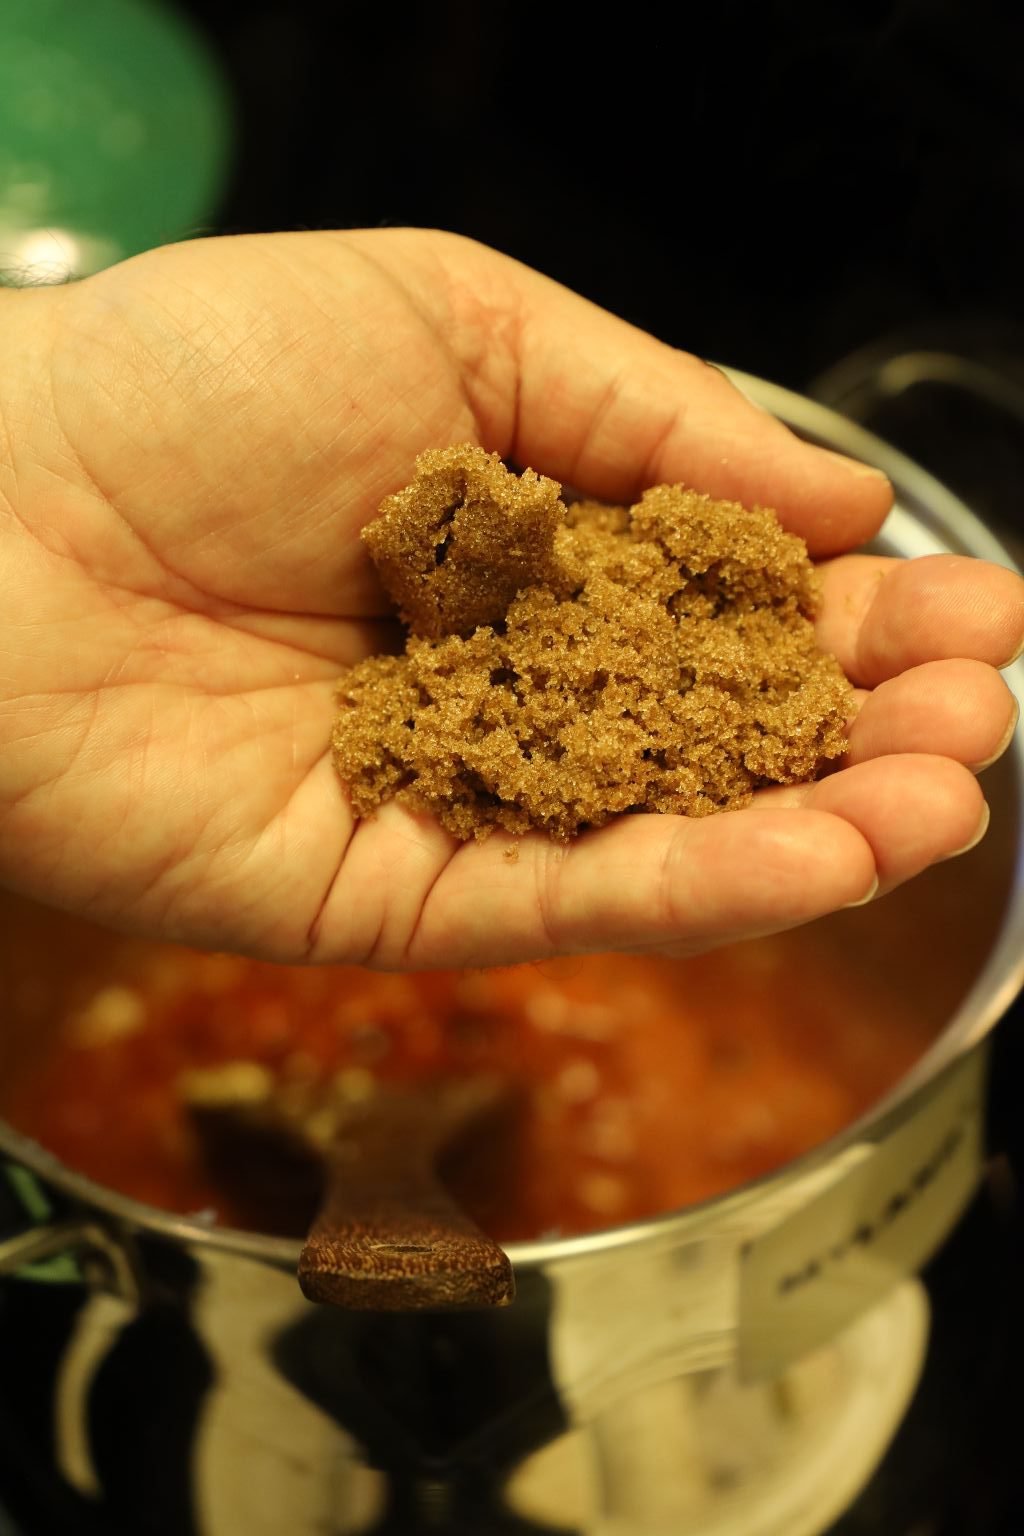
Add your brown sugar to the pot.
We like using Splenda because it has a concentrated sweet flavor.
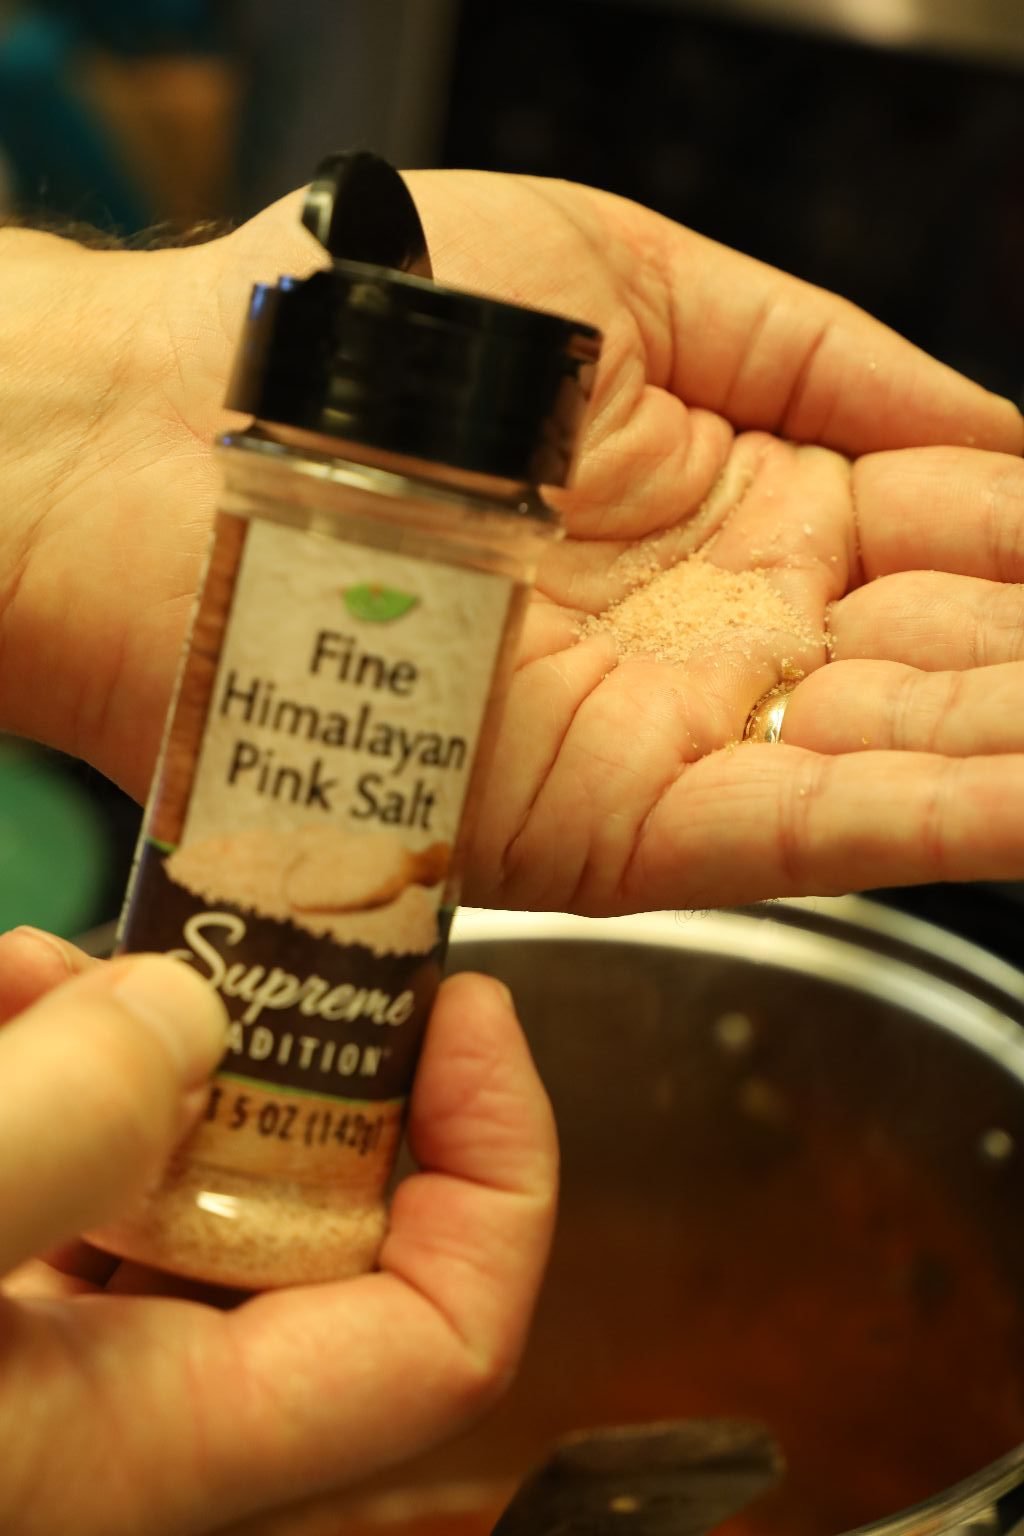

Then add your salt and ground pepper to the pot. I used this Himalayan salt as it isn’t as concentrated as other salts and it has a subtle taste to it.

Again, stir all the ingredients often so the sauce doesn’t stick and burn.

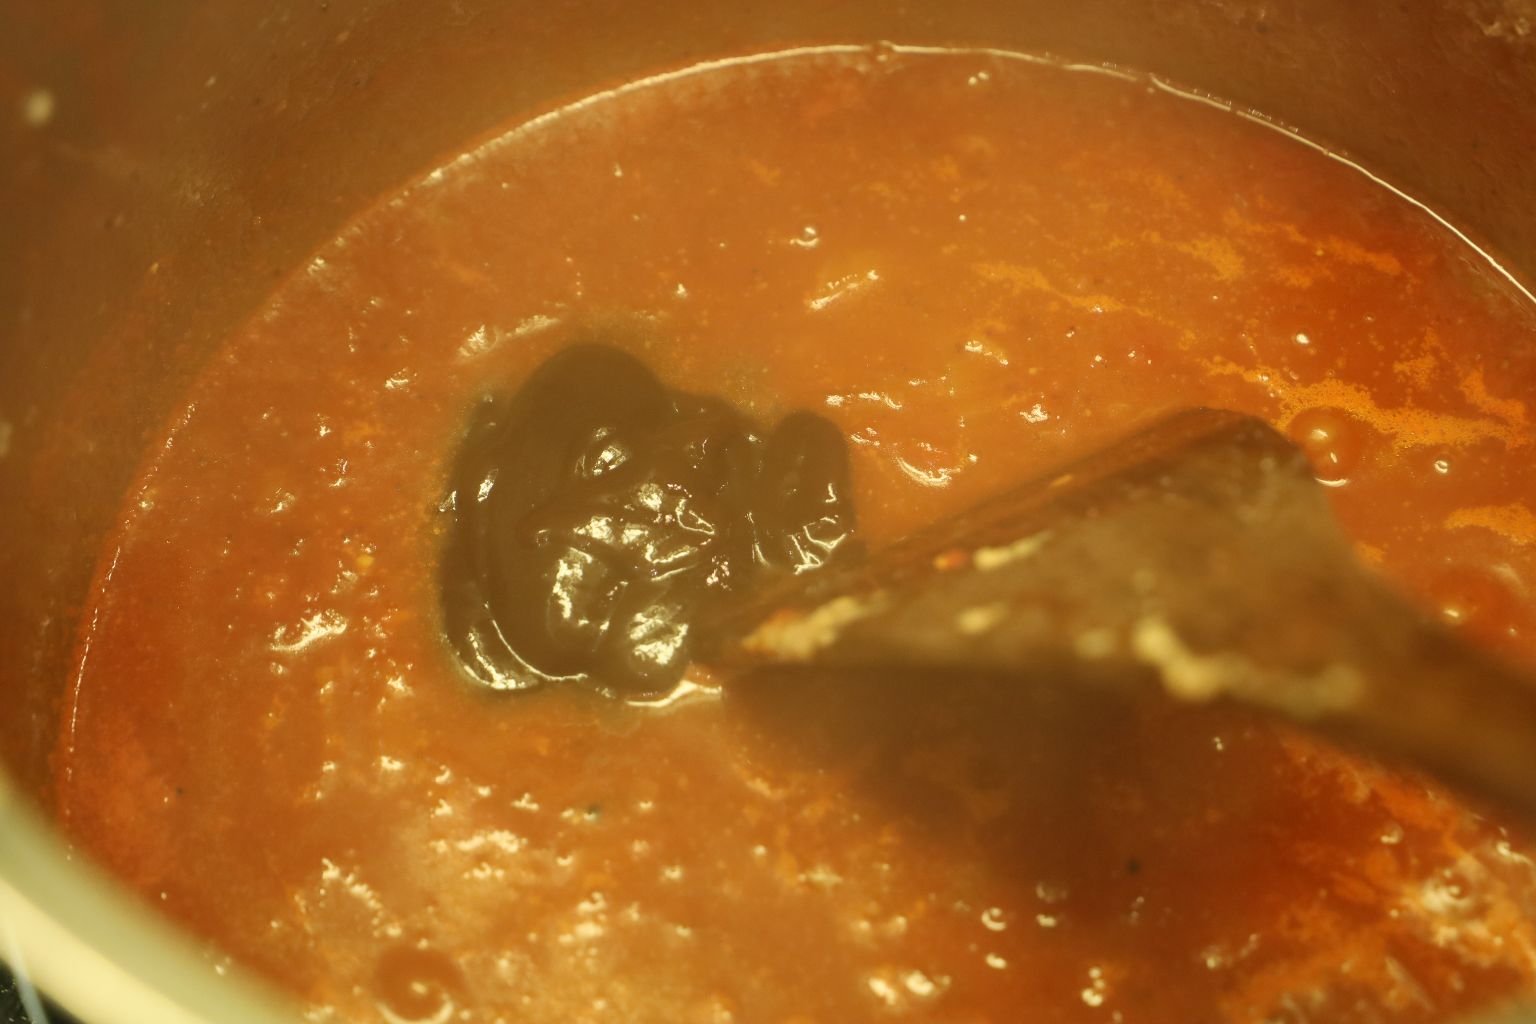
Now, It Simmer’s Away for the Next Few Hours
(Stiffing occasionally.)
—————————————————————————
To make the braising liquid which I cooked the ribs in, I used the below ingredients:
1 Vidalia Onion – sliced thinly in half circles
1 Cup Heinz Kansas City BBQ Sauce
2 Garlic Cloves – sliced
3 Bay Leaves
——————————————————-


Slice your onion in half then into thin half circle slices.

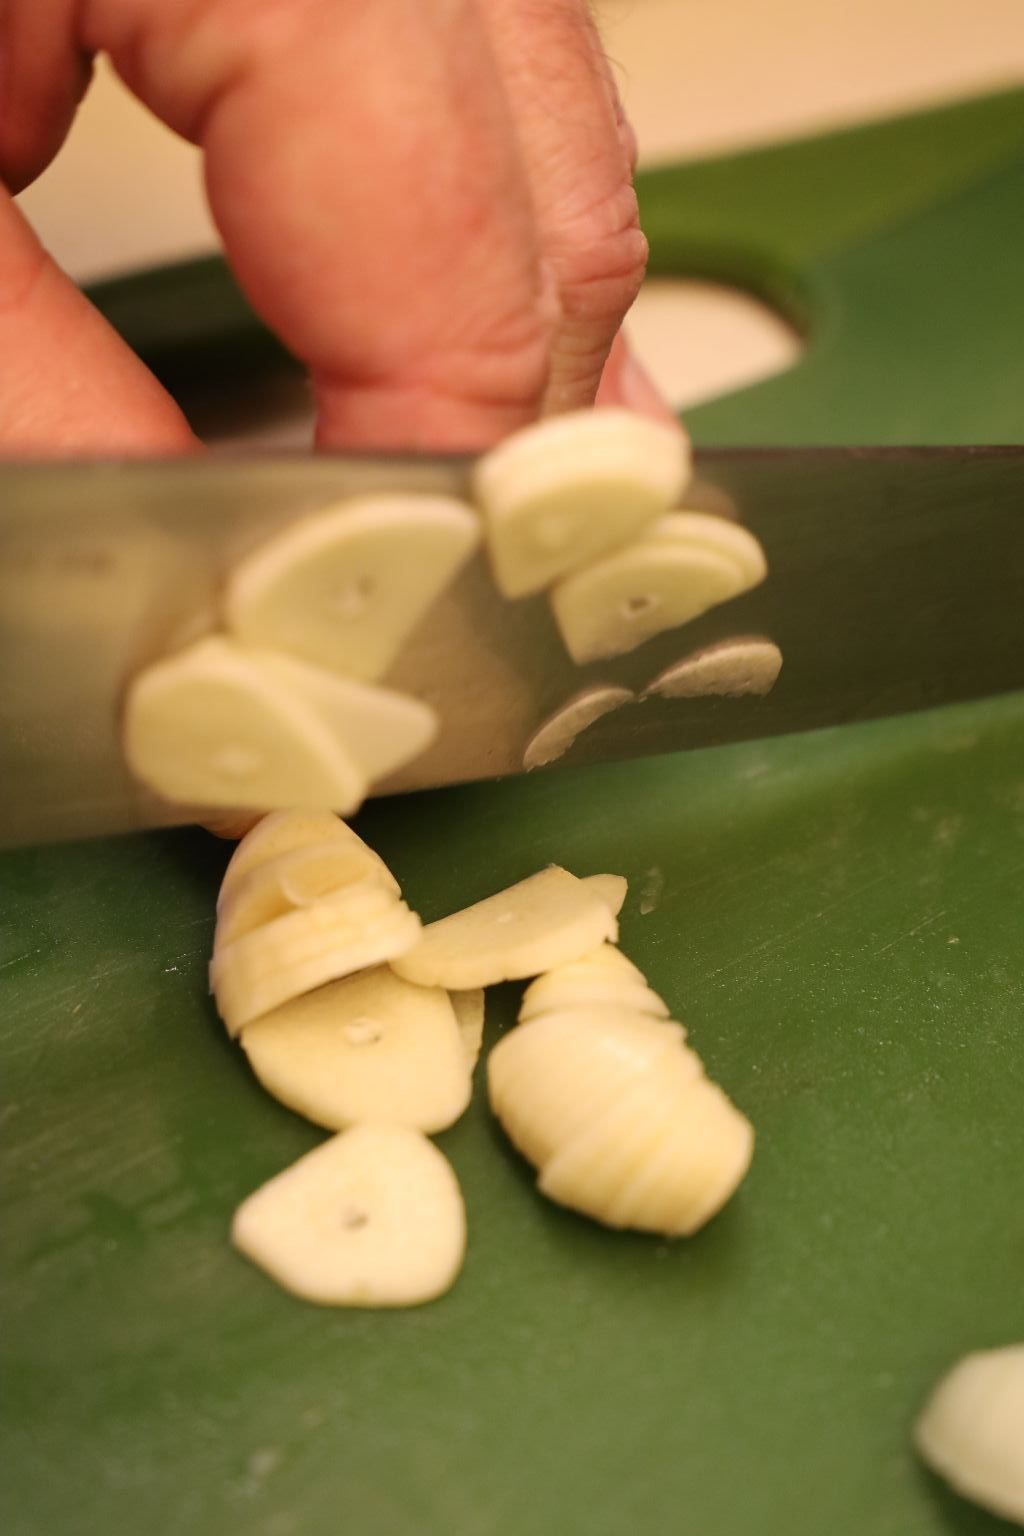
Slice your garlic cloves thinly as well.
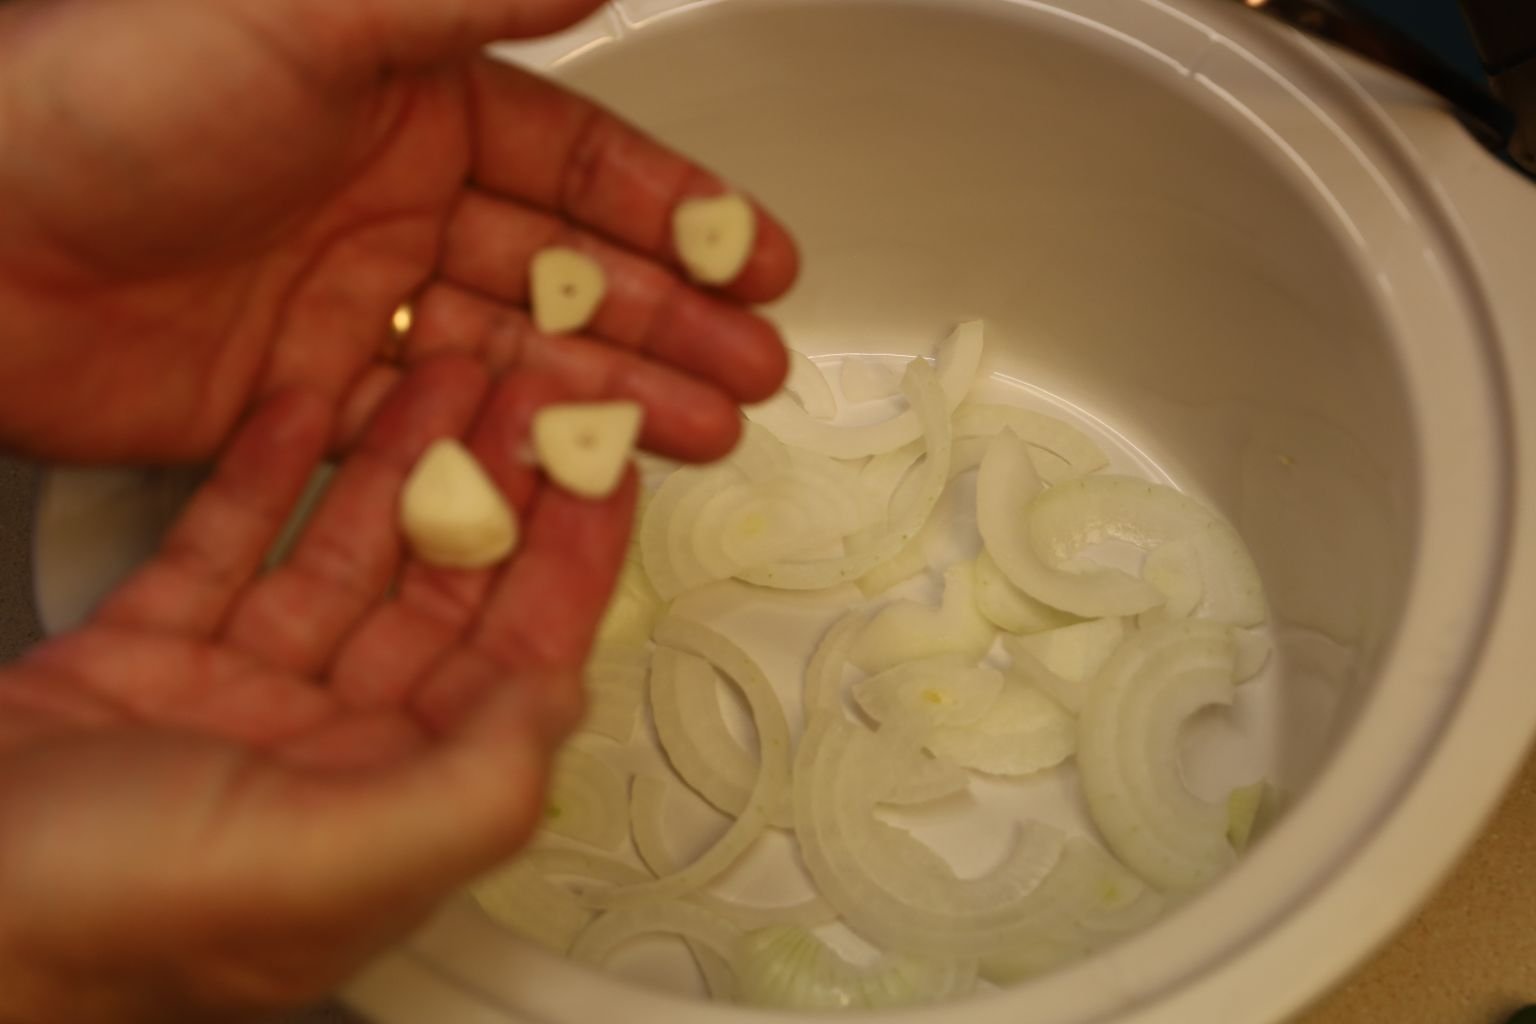
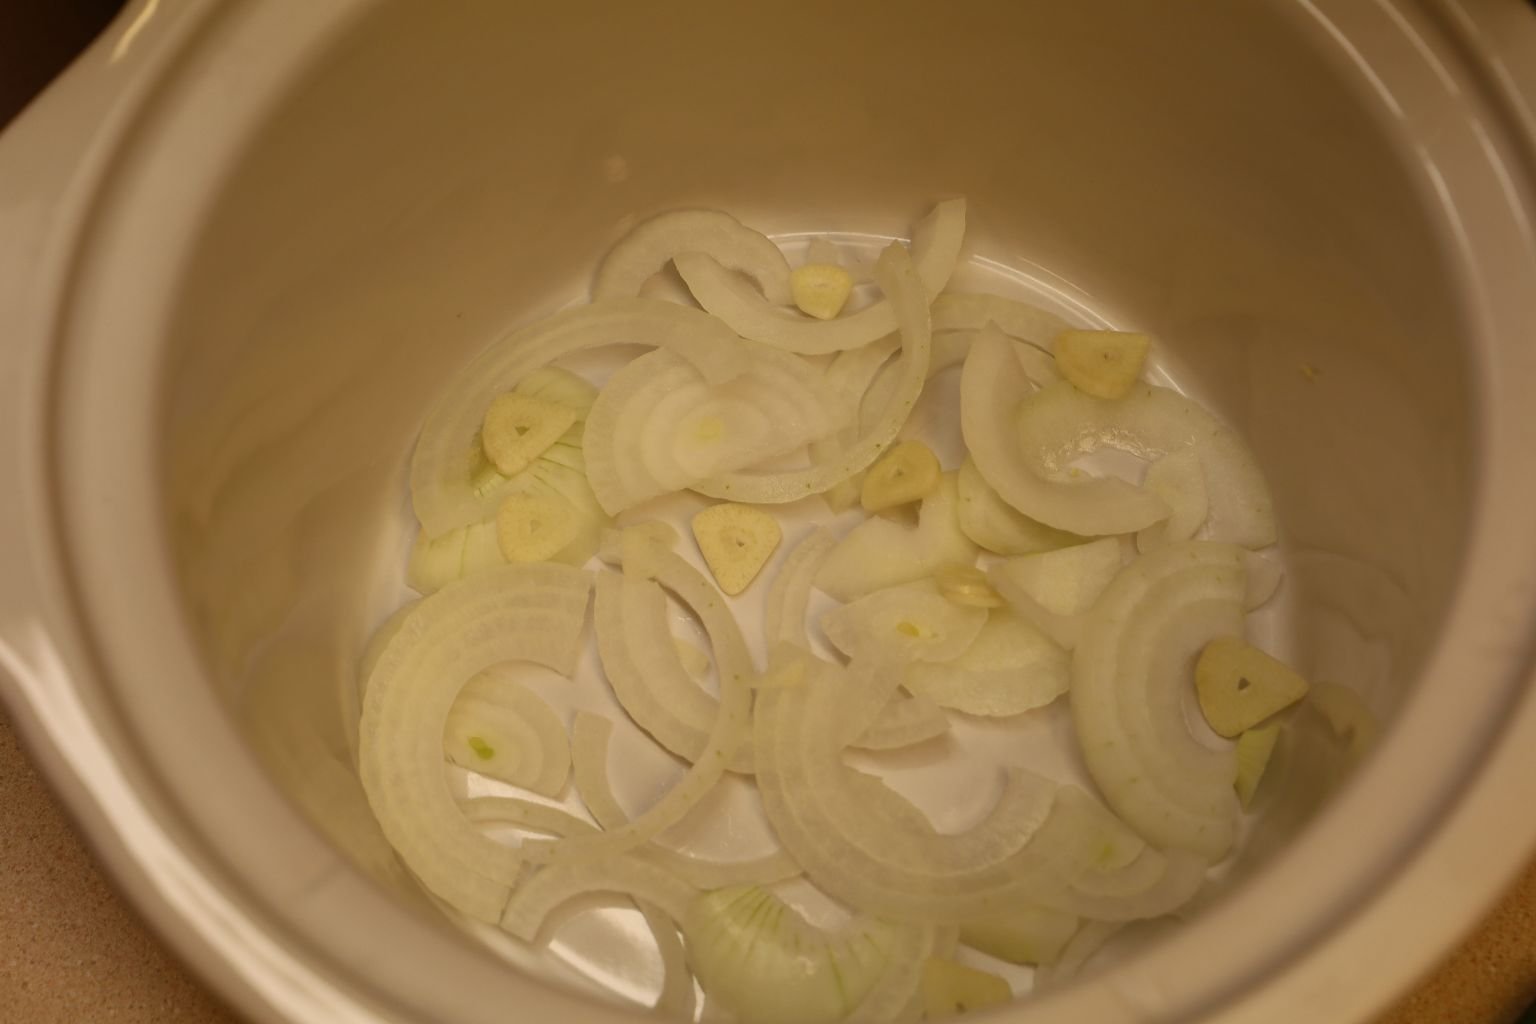
Add half of your sliced onions and half of your sliced garlic to the crock pot.

Sorry this isn’t in order but, this BBQ sauce tasted great, so I also added it to the BBQ sauce pot, which is still cooking down to concentrate the flavors.
Mix it in well with the other ingredients and continue to cook it down slowly.

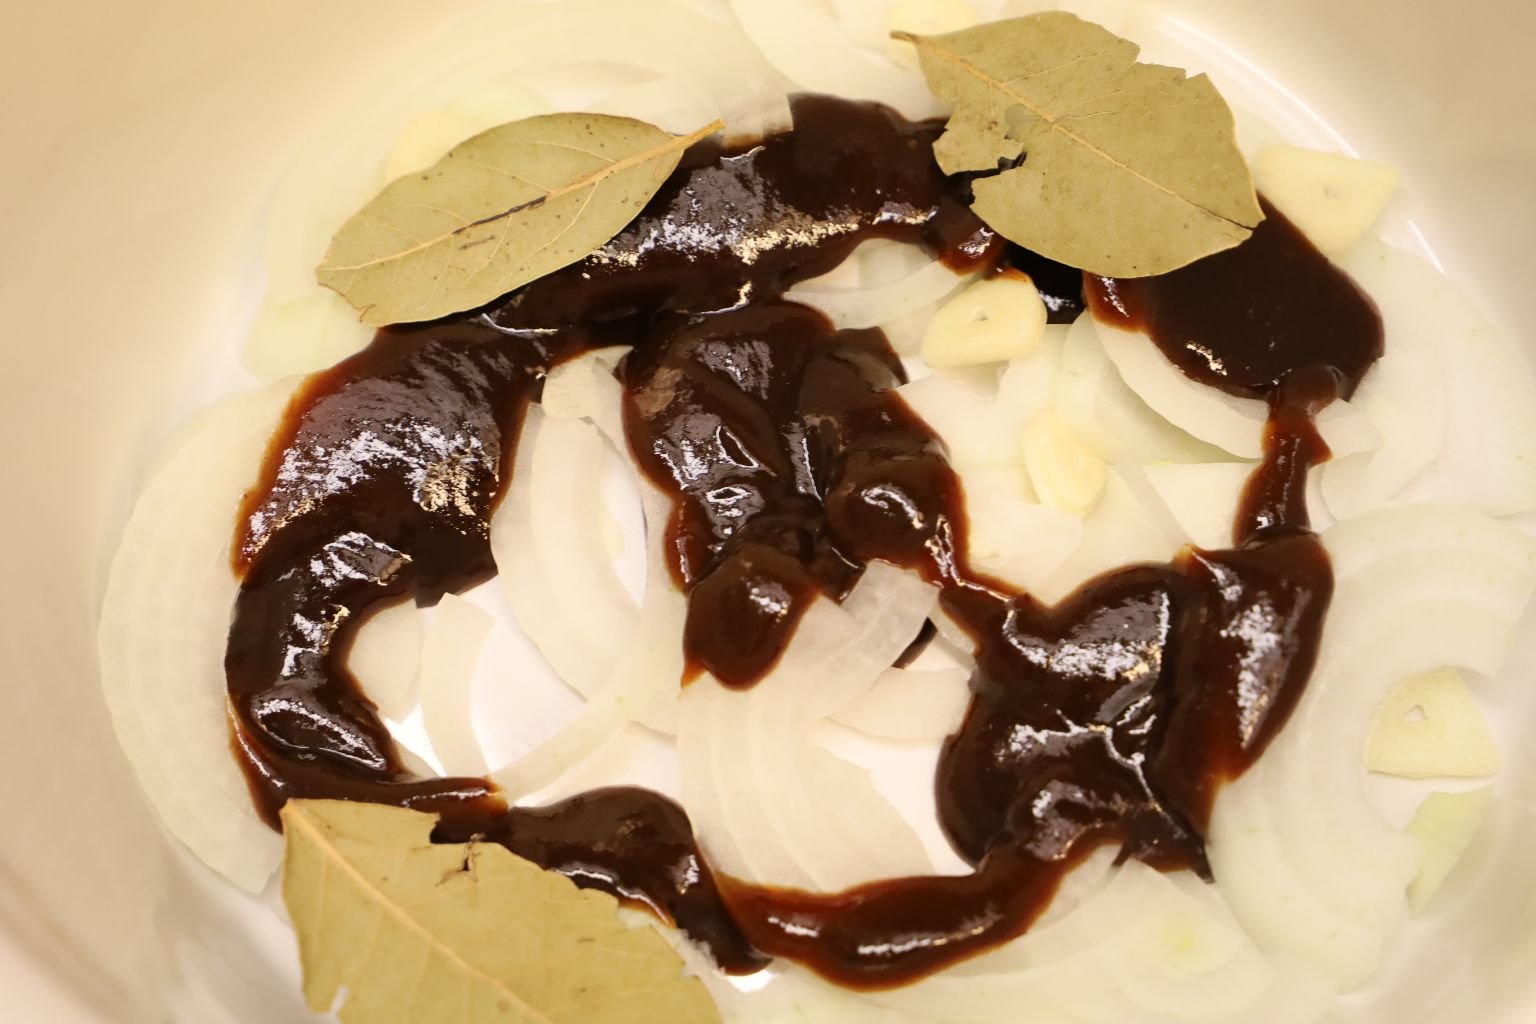
Now, back to the crock pot, add 1/2 Cup of the Kansas City BBQ Sauce to the onions and garlic and then add your three bay leaves.
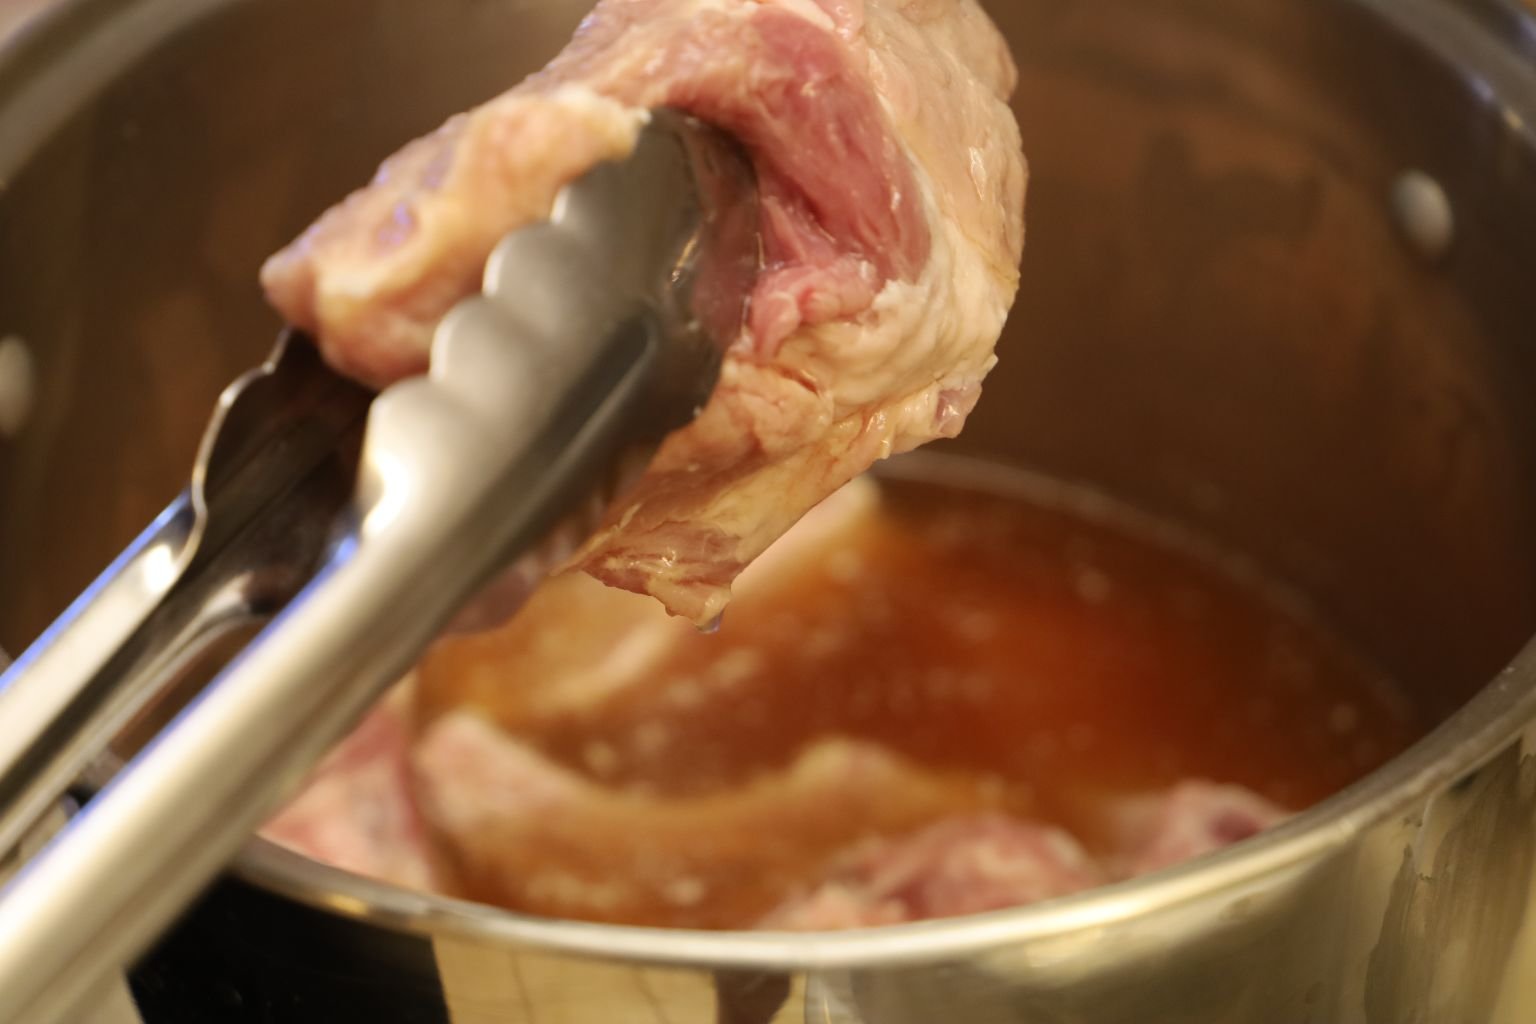
Remove the ribs from the beer marinade using tongs and keep the beer left in the pot to use later to cook the ribs.


——————————————————
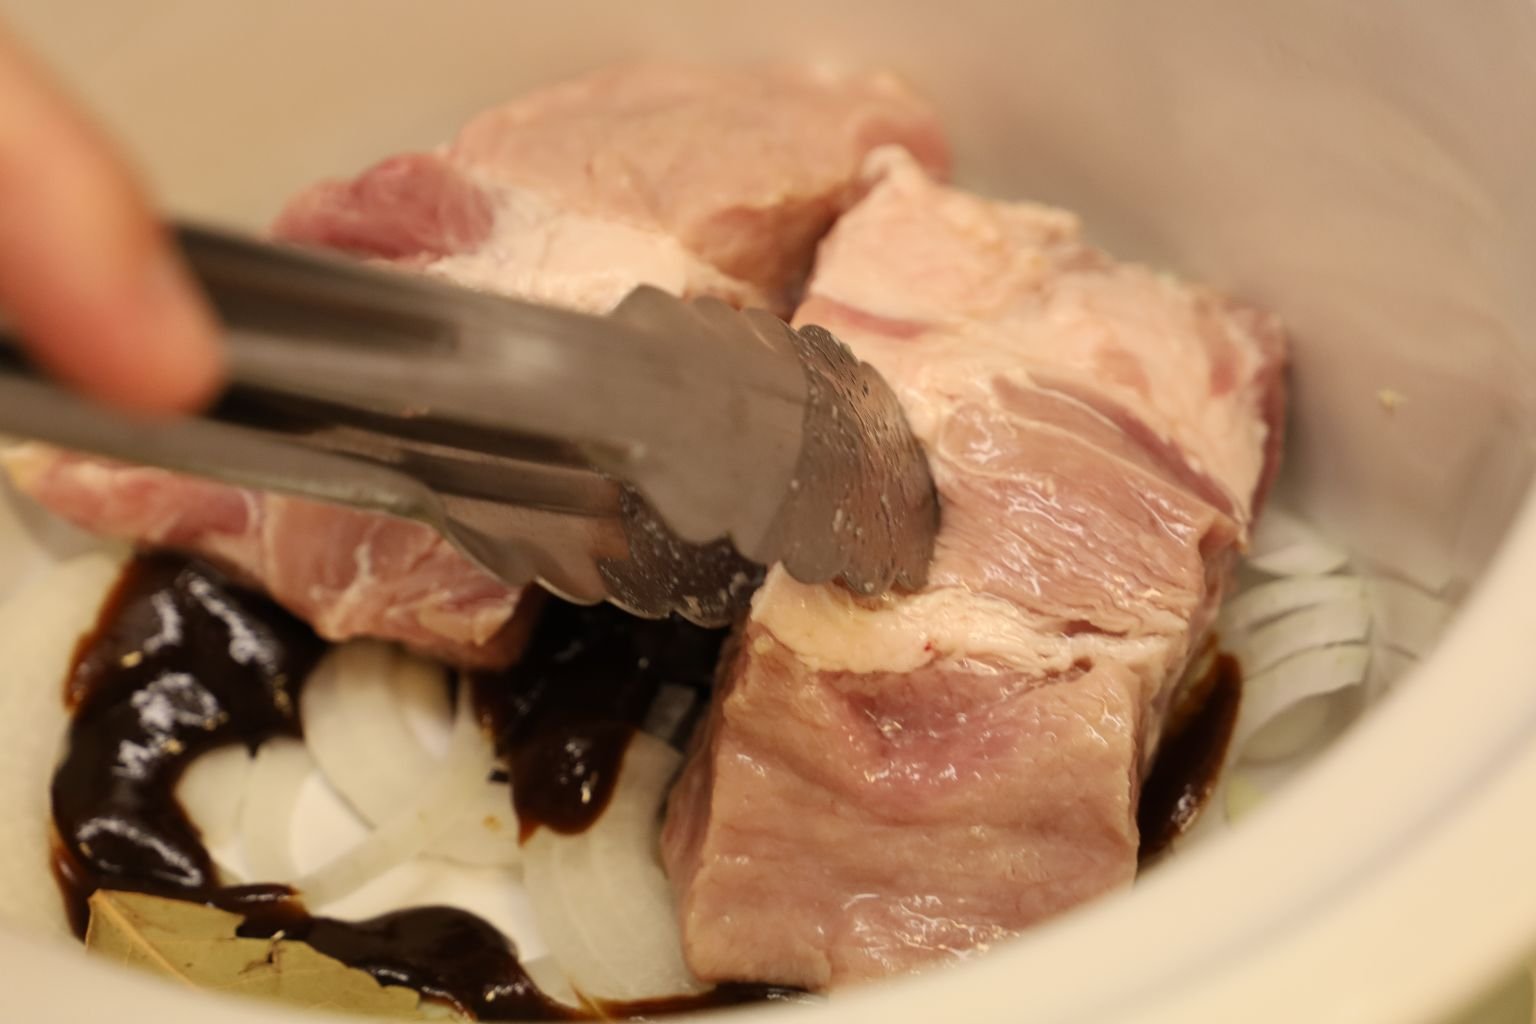

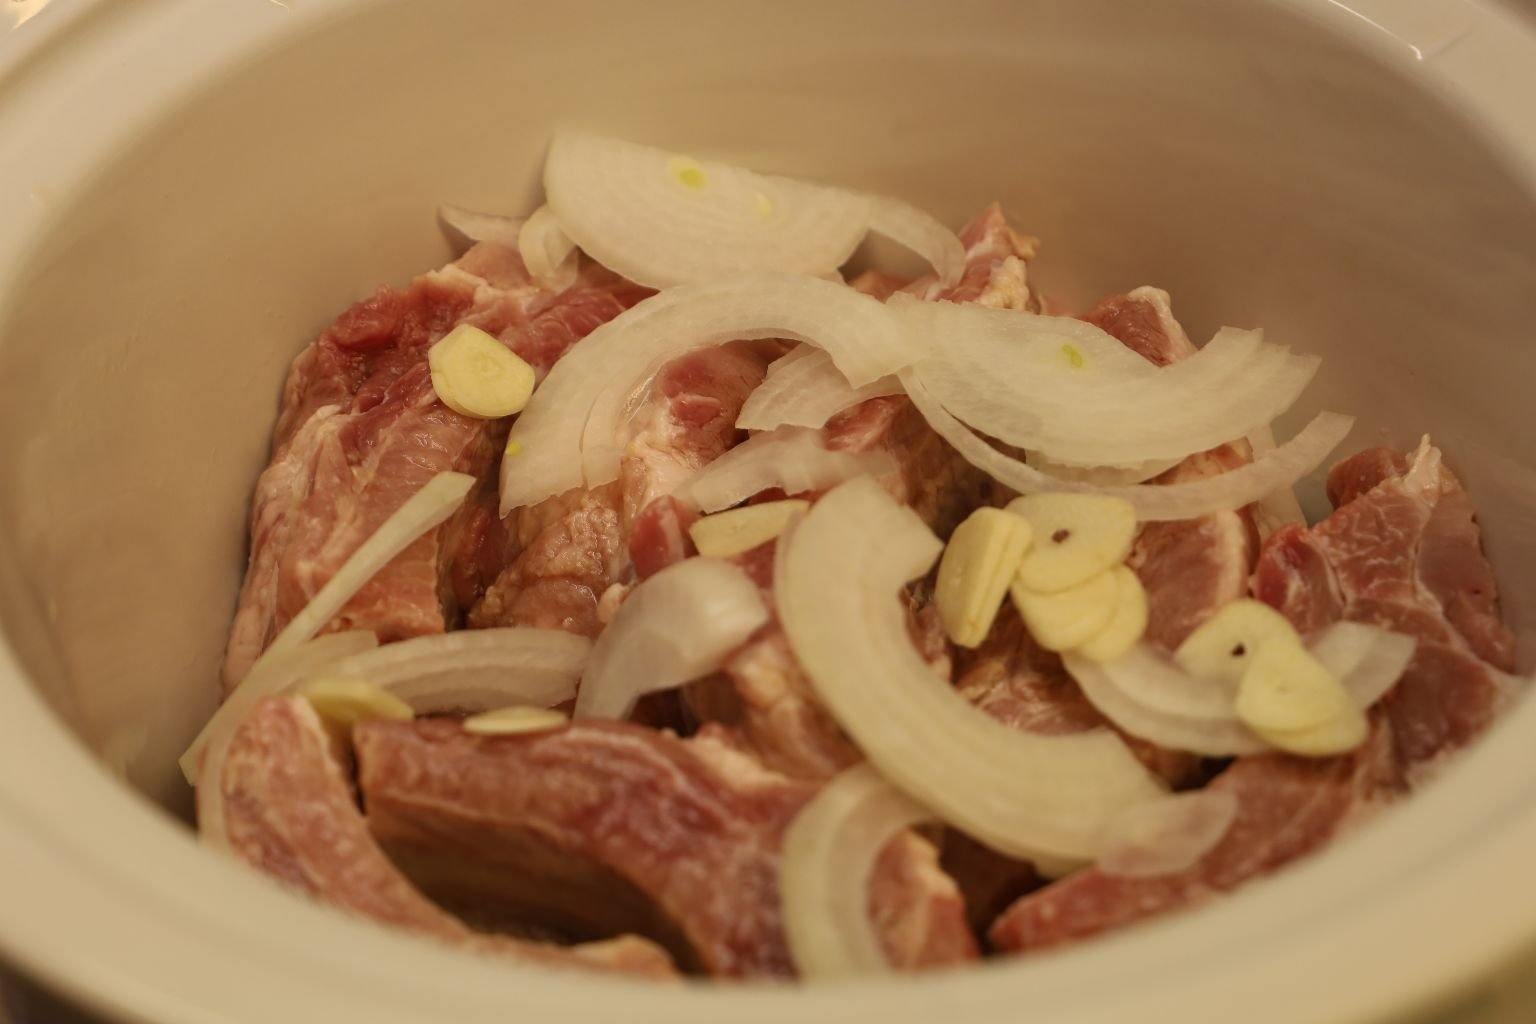
Place the ribs in the crock pot. I found placing them on their sides worked best. Then top the ribs with the remainder of your sliced onions and garlic.

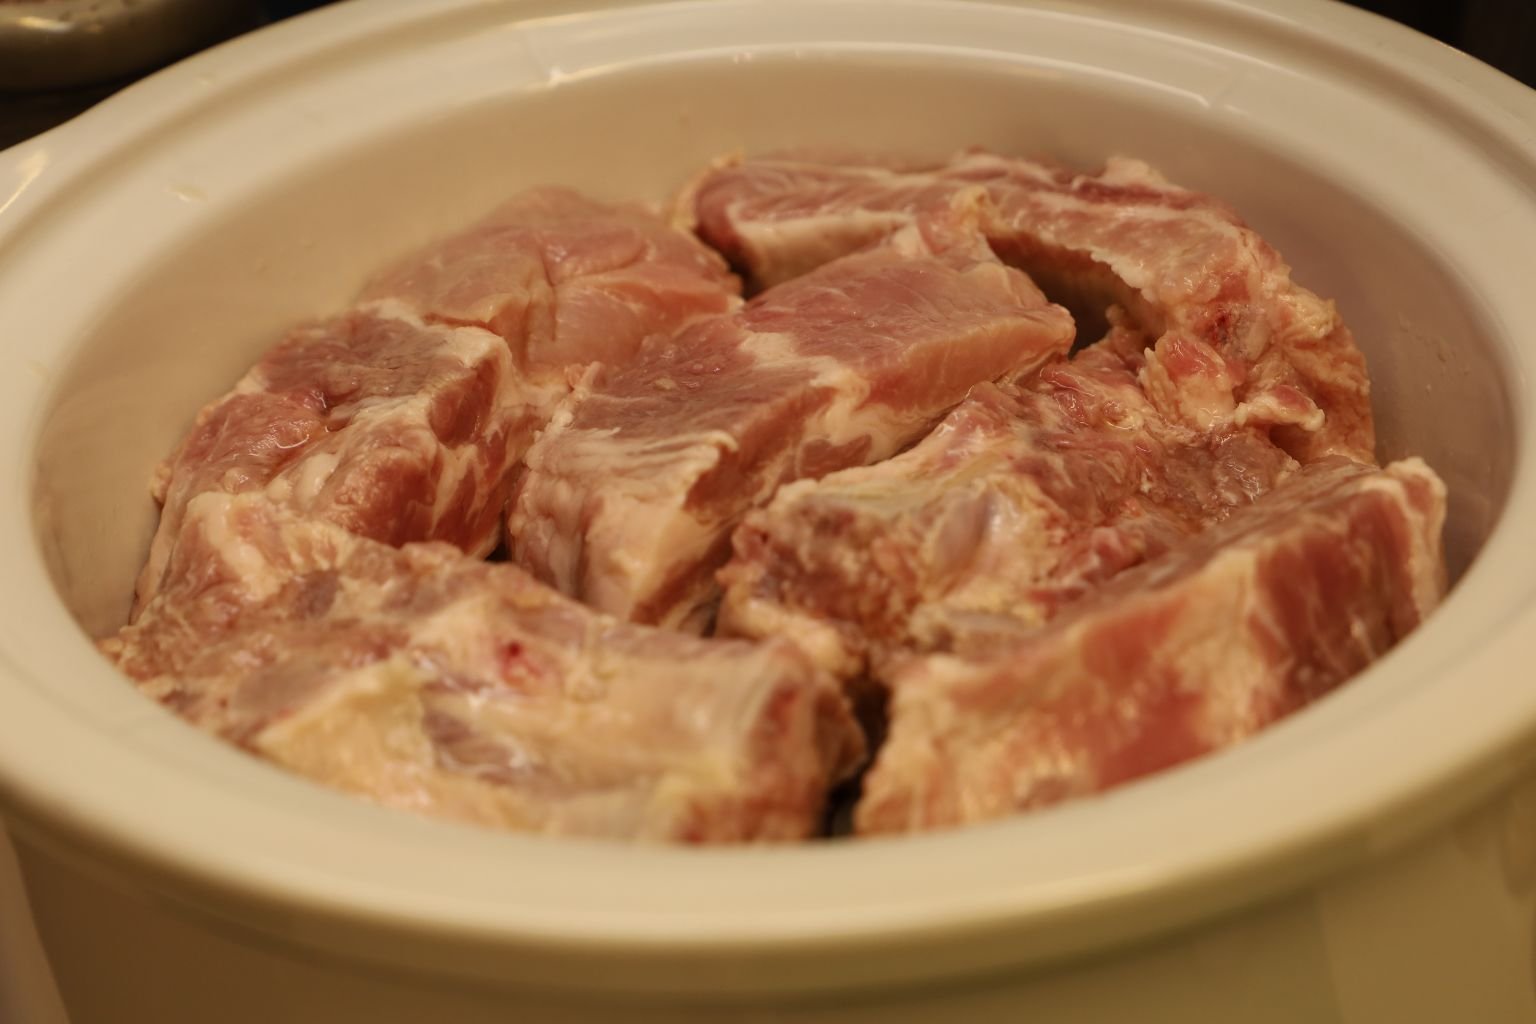
Then continue to add the remaining ribs to your crock pot.
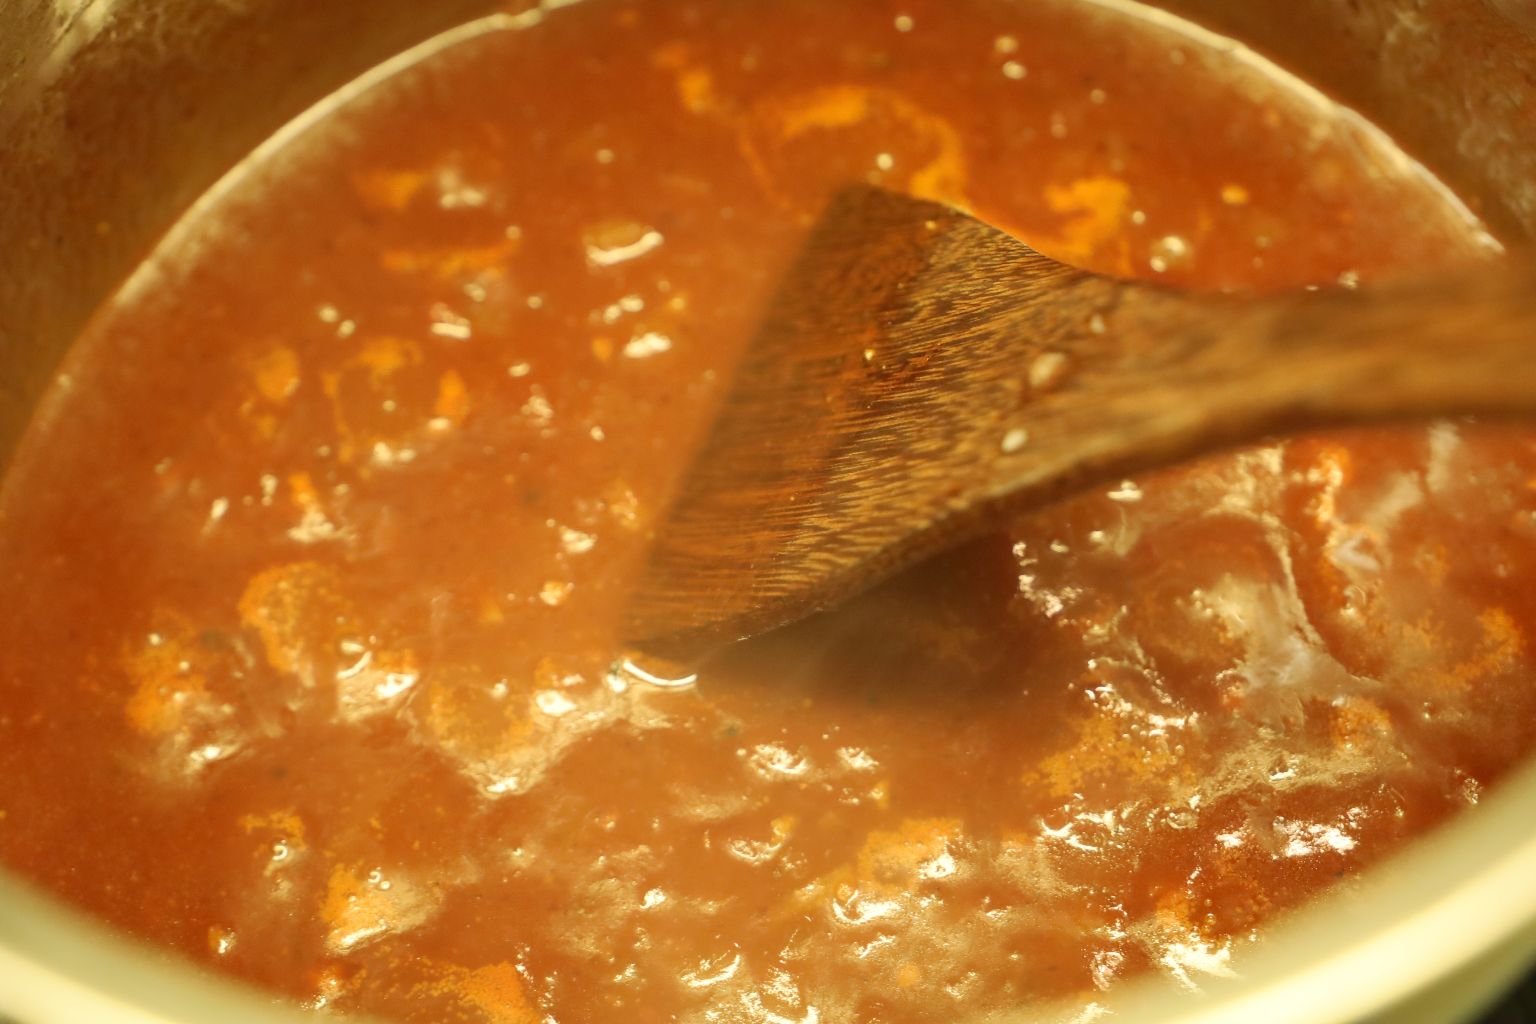
The BBQ Sauce is Getting Nice and Thick
Remember to continue to stir the sauce!

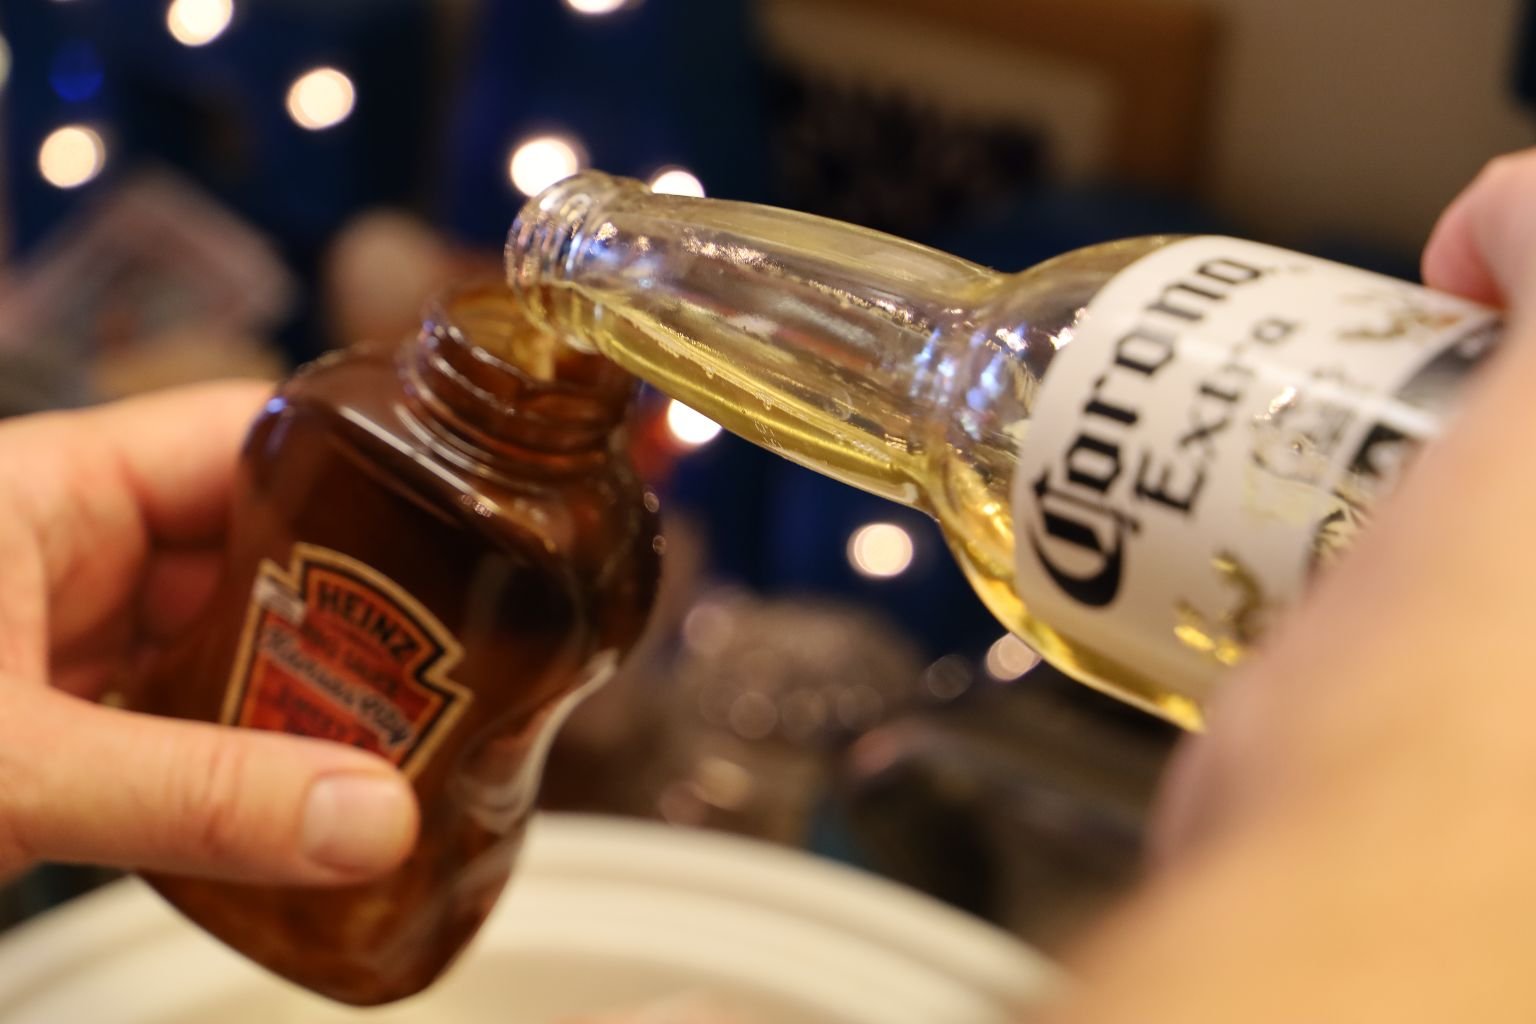

Now add the remainder of the BBQ to the crock pot. I used some beer to remove the remaining BBQ sauce in the bottle.

Now use the leftover beer marinade to cover the ribs in the crock pot.

Cook / Braise the ribs in the crock pot on low for eight hours.
————————————————————–

When the ribs are done, remove them using tongs…

and place them spread apart on a sheet pan lined with aluminum foil. Preheat your oven to 400’F.


Thickly coat the ribs with your homemade BBQ sauce as shown.

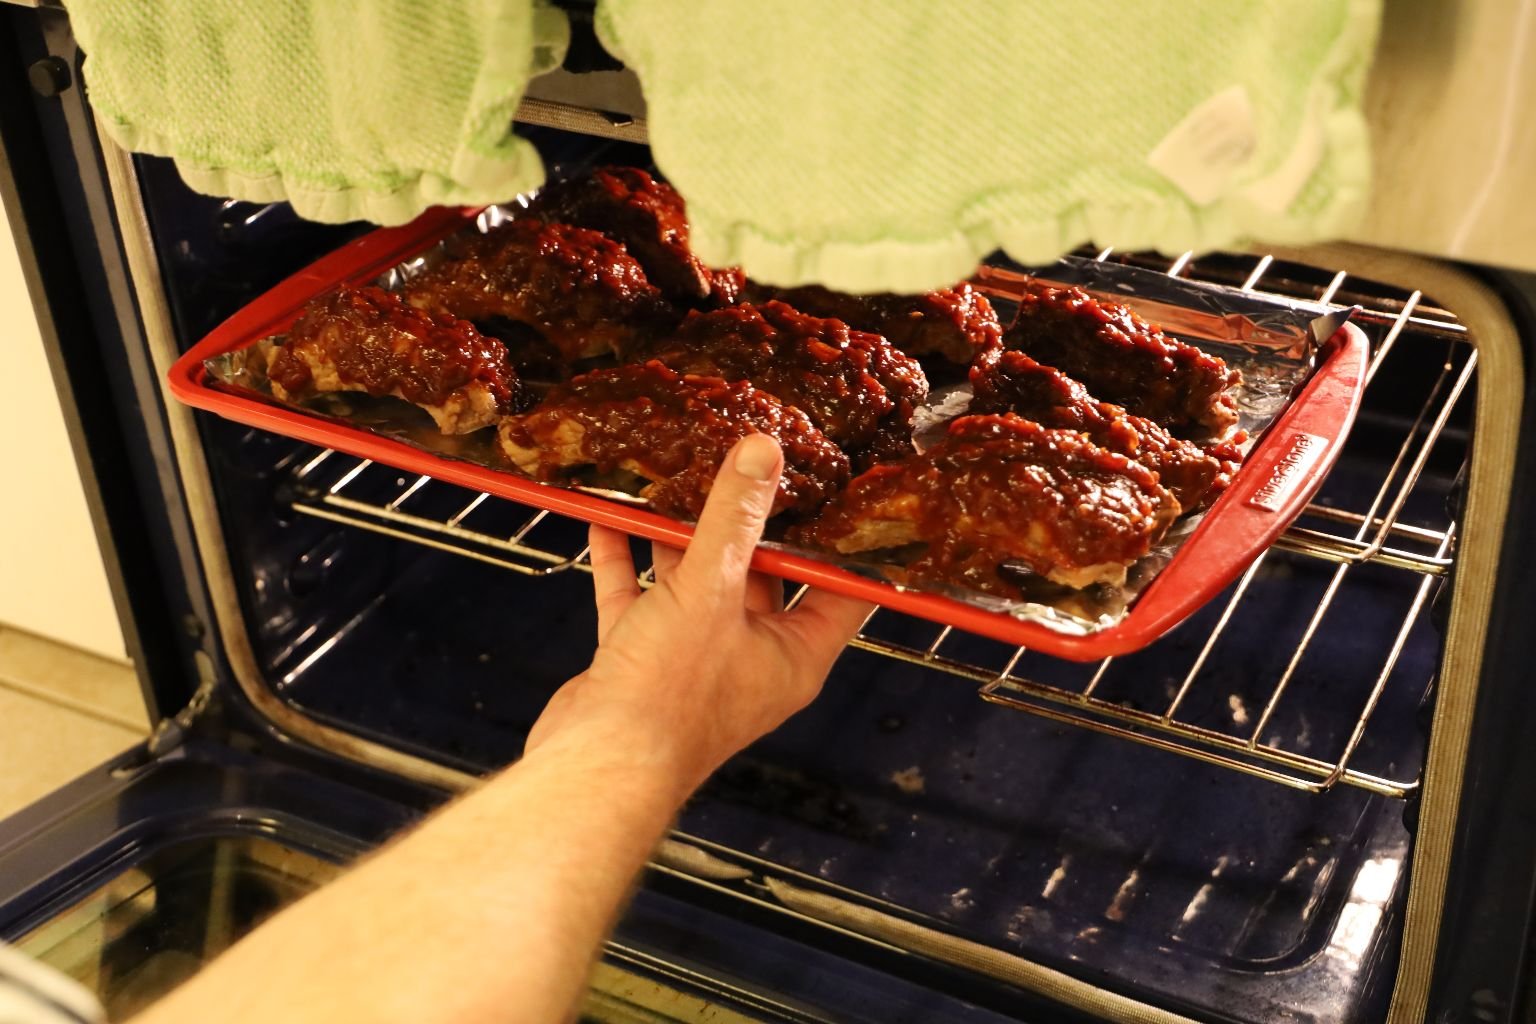
Roast the ribs for ~20 to 25 minutes or until the sauce thickens and slightly browns.

We never got around to plating these because we grabbed them off the baking sheet the second they came out of the oven. 🙂
—————————————————–
Giant Hash Browns
How these Giant Hash Browns came to be was my idea, Julie. We were trying to think of a side for the ribs. Gordon had suggested something like hash browns or ratatouille. I didn’t want something little and small to chase around the plate with my fork so I suggested Giant Hash Browns. Hash Browns, just bigger. Hence the name and the sizes.

~5 Golden Beats – Peeled and chopped into large chunks
~5 Russet Potatoes – Chopped into large chunks
~10 Red Potatoes – Chopped into large chunks
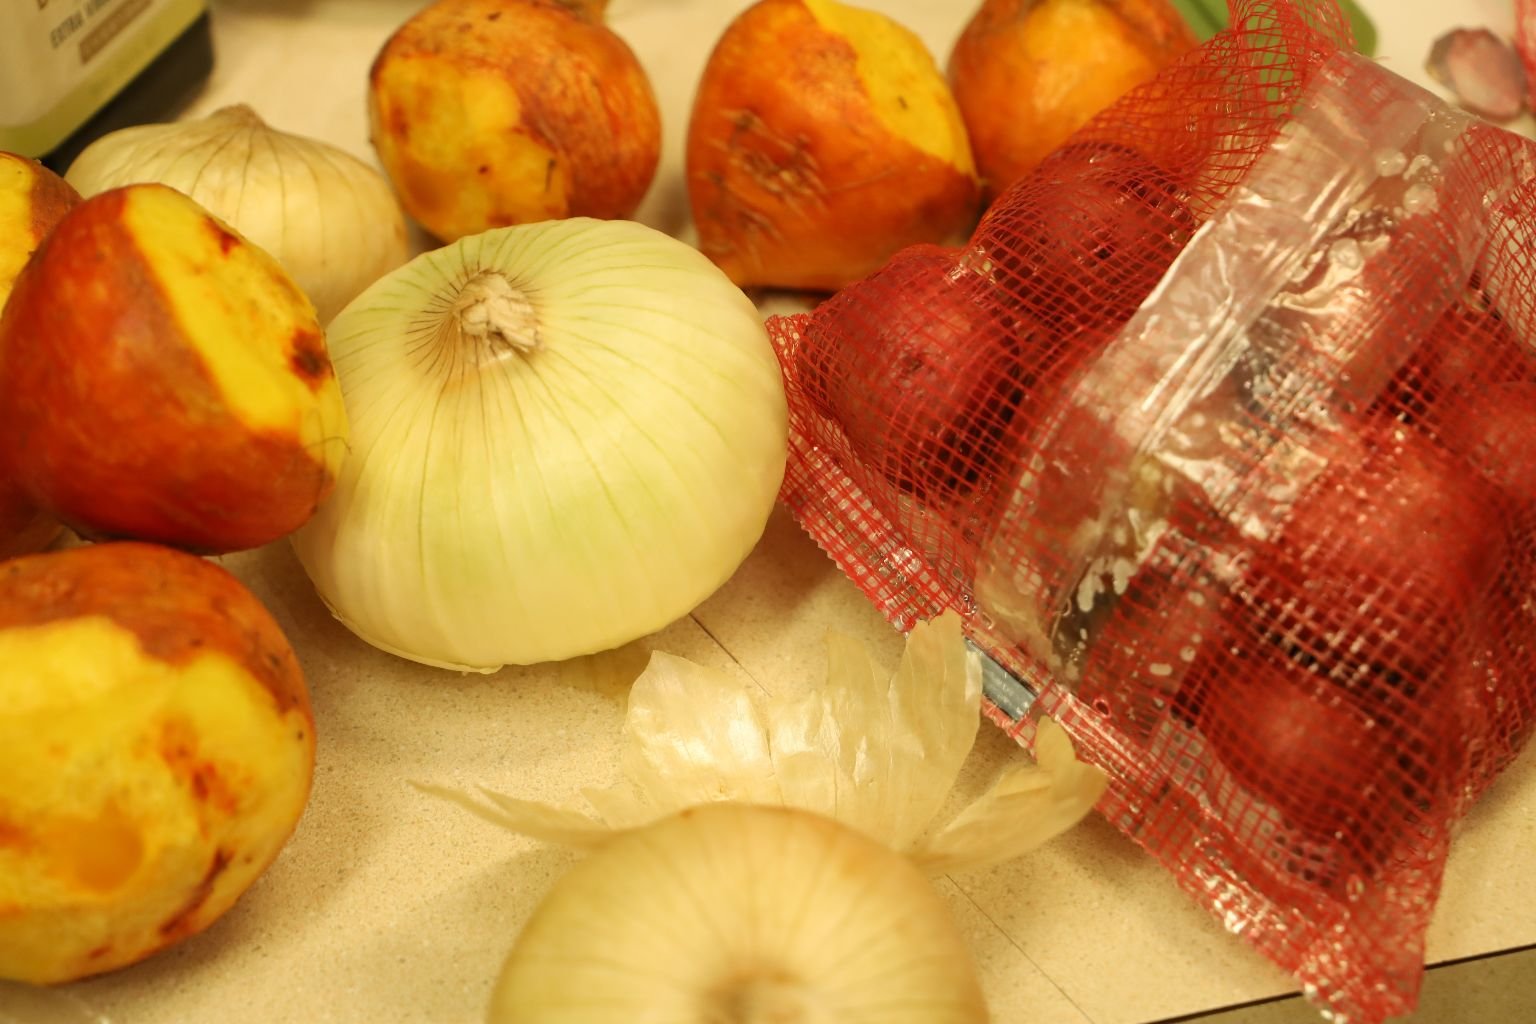
2 Large Vidalia Onions – Chopped in large dice sized pieces
4 Garlic Cloves – Chopped finely
Cooking Spray – Enough to coat two sheet pans
1 tsp. Fine Ground Himalayan Pink Salt
1 tsp. Fresh Ground Pepper
8 Mini Sweet Peppers – Chopped into diced sized pieces
6 Tbsp. Olive Oil
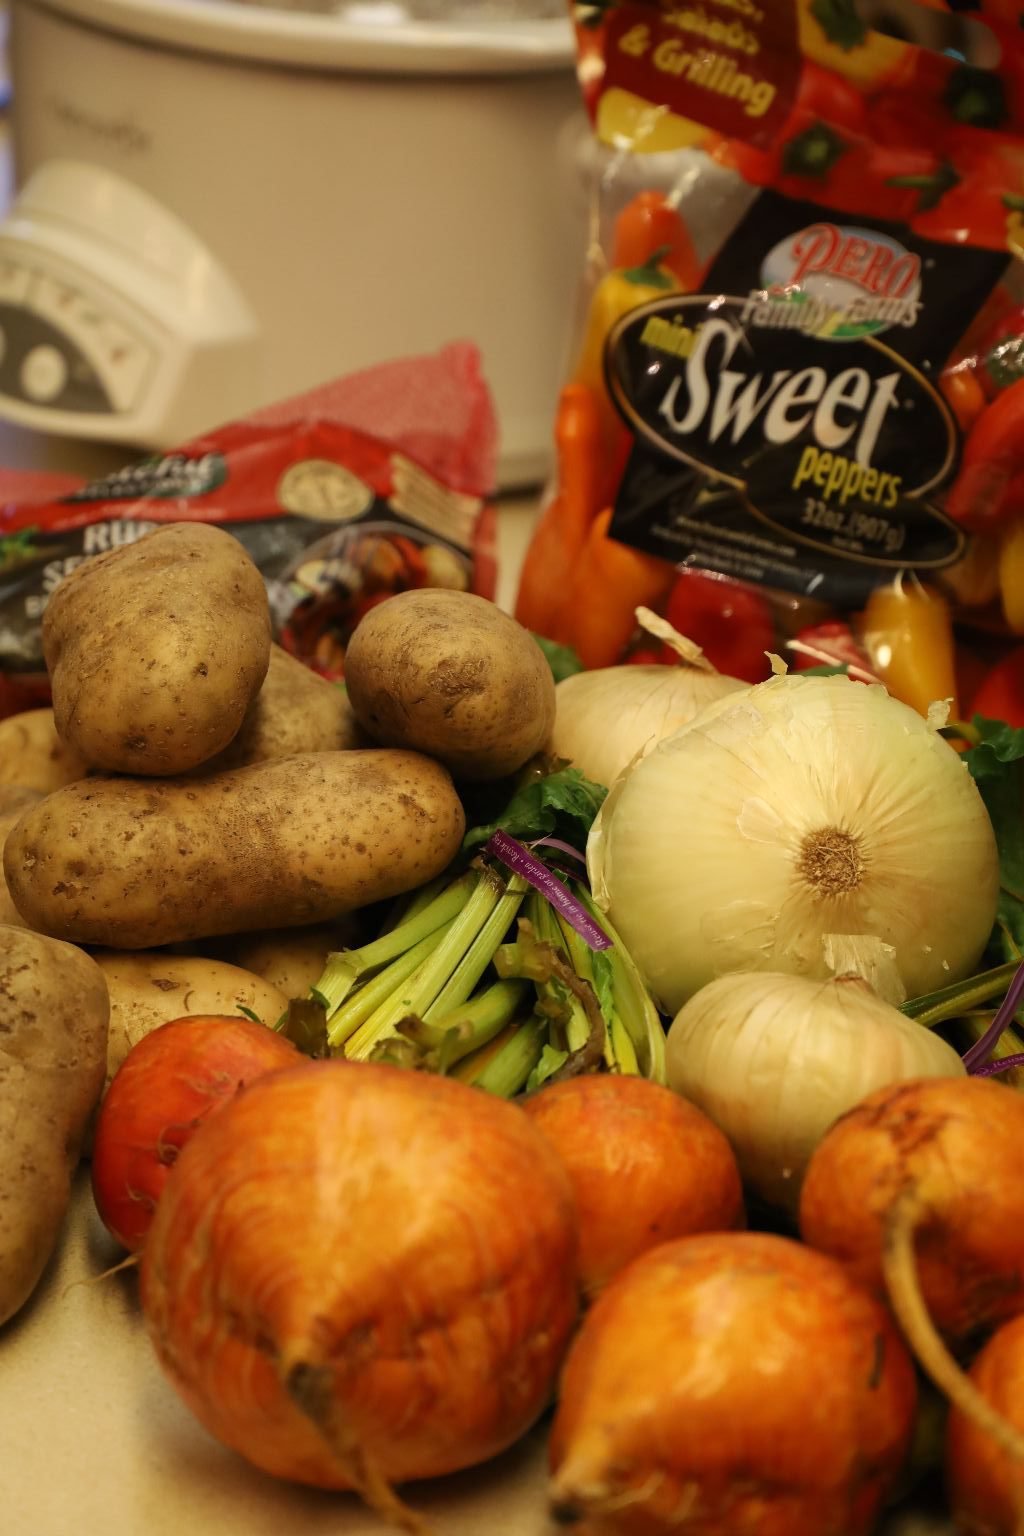

Beautiful Golden Beets

Slice off the green tops of the Golden Beets, then peel off any part of their skins that are bruised or damaged with a peeler.
Continue to chop your root vegetables into large chunks keeping them the same size.

Our Ribs (from recipe above) are Cooking


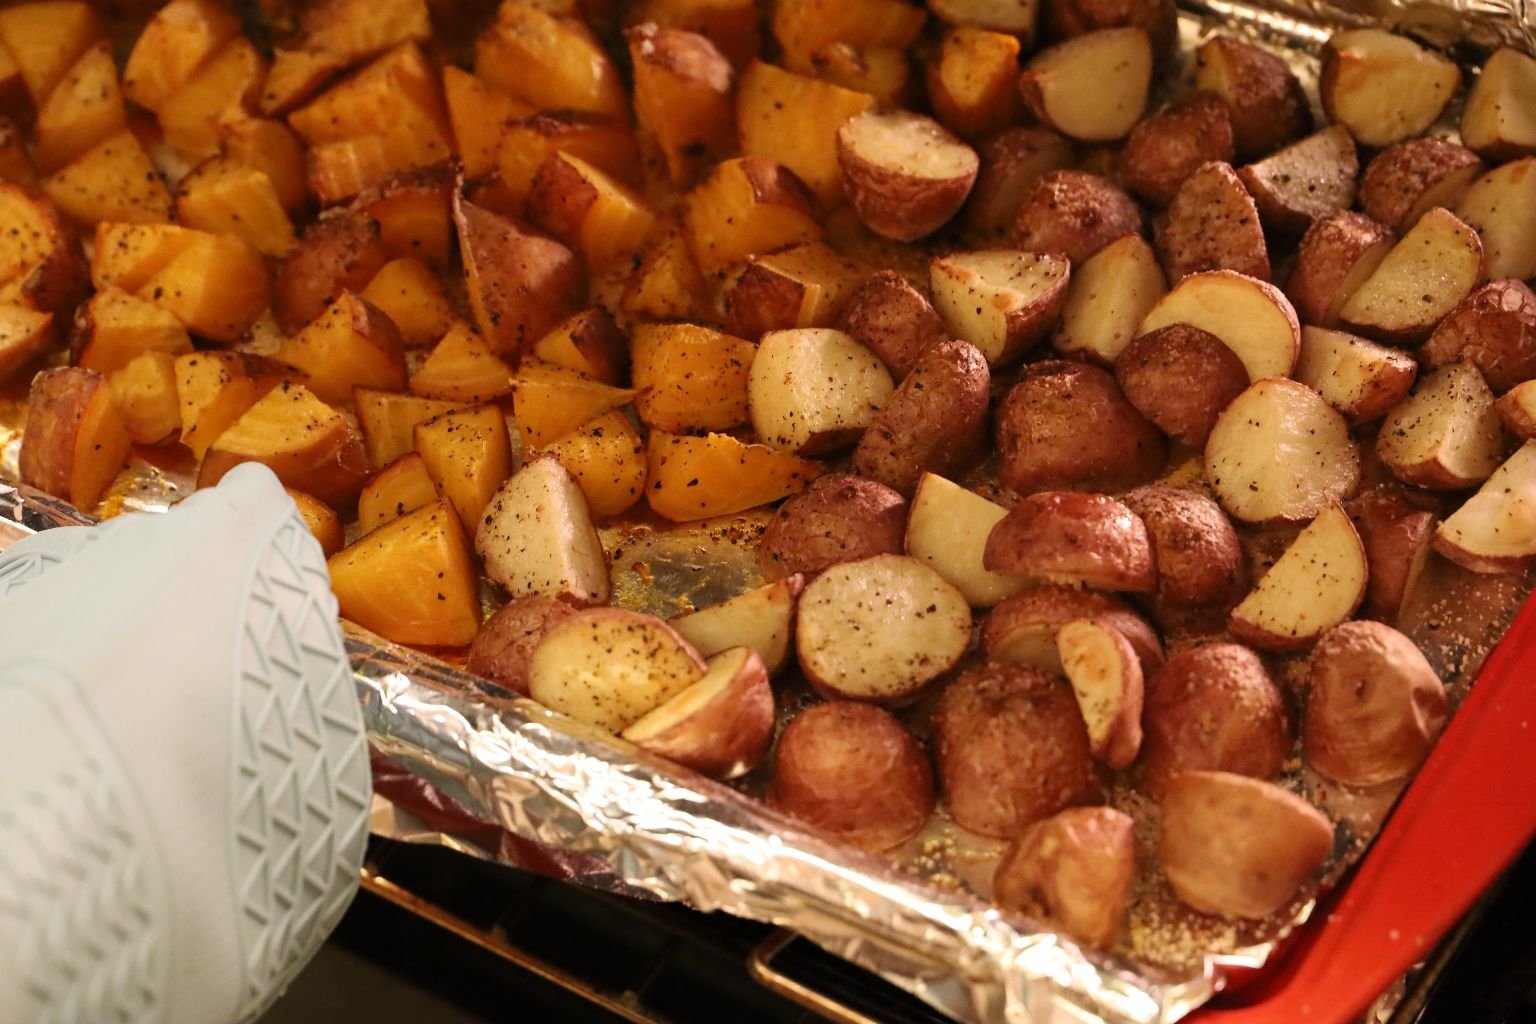
I sliced the Red Potatoes in half then quartered them… not shown. Line two baking sheets with aluminum foil then spray them with some cooking spray.


I sliced the Golden Beets the same way making most everything the same size, so they would cook evenly. Preheat your oven to 400’F.


Spread the chopped Beets and Red Potatoes out evenly on a sheet pan as shown. Salt and Pepper the vegetables lightly.

————————————————————

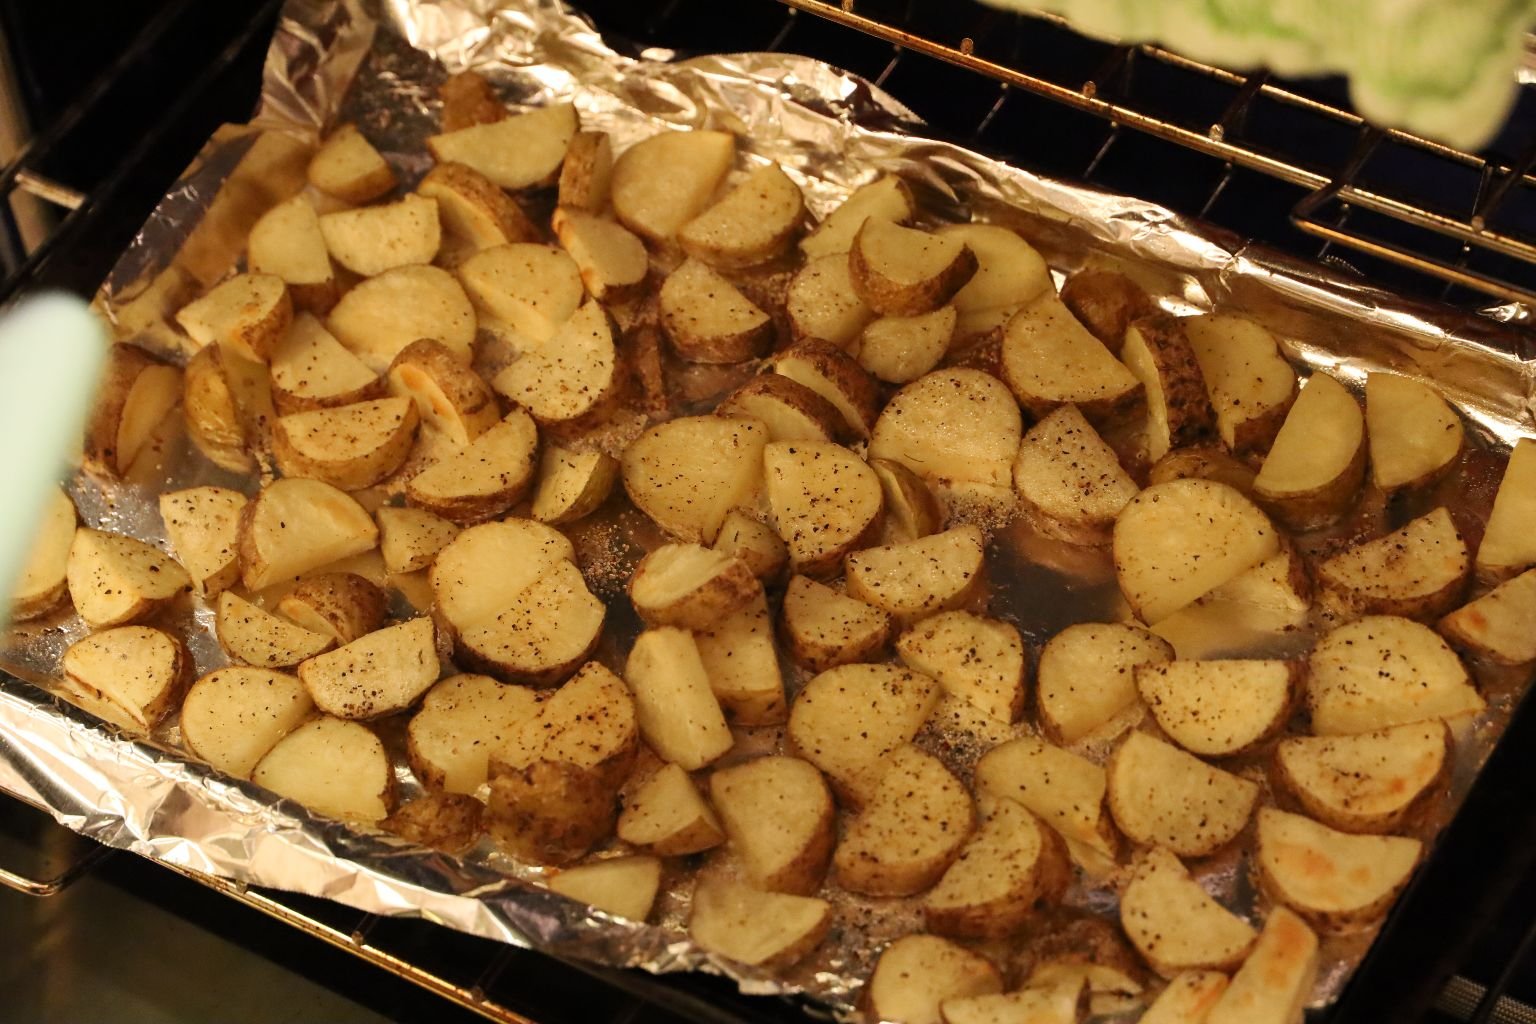
Place the chopped Golden Beets and Red Potatoes into the oven and roast them for about 35 minutes or until fork tender.
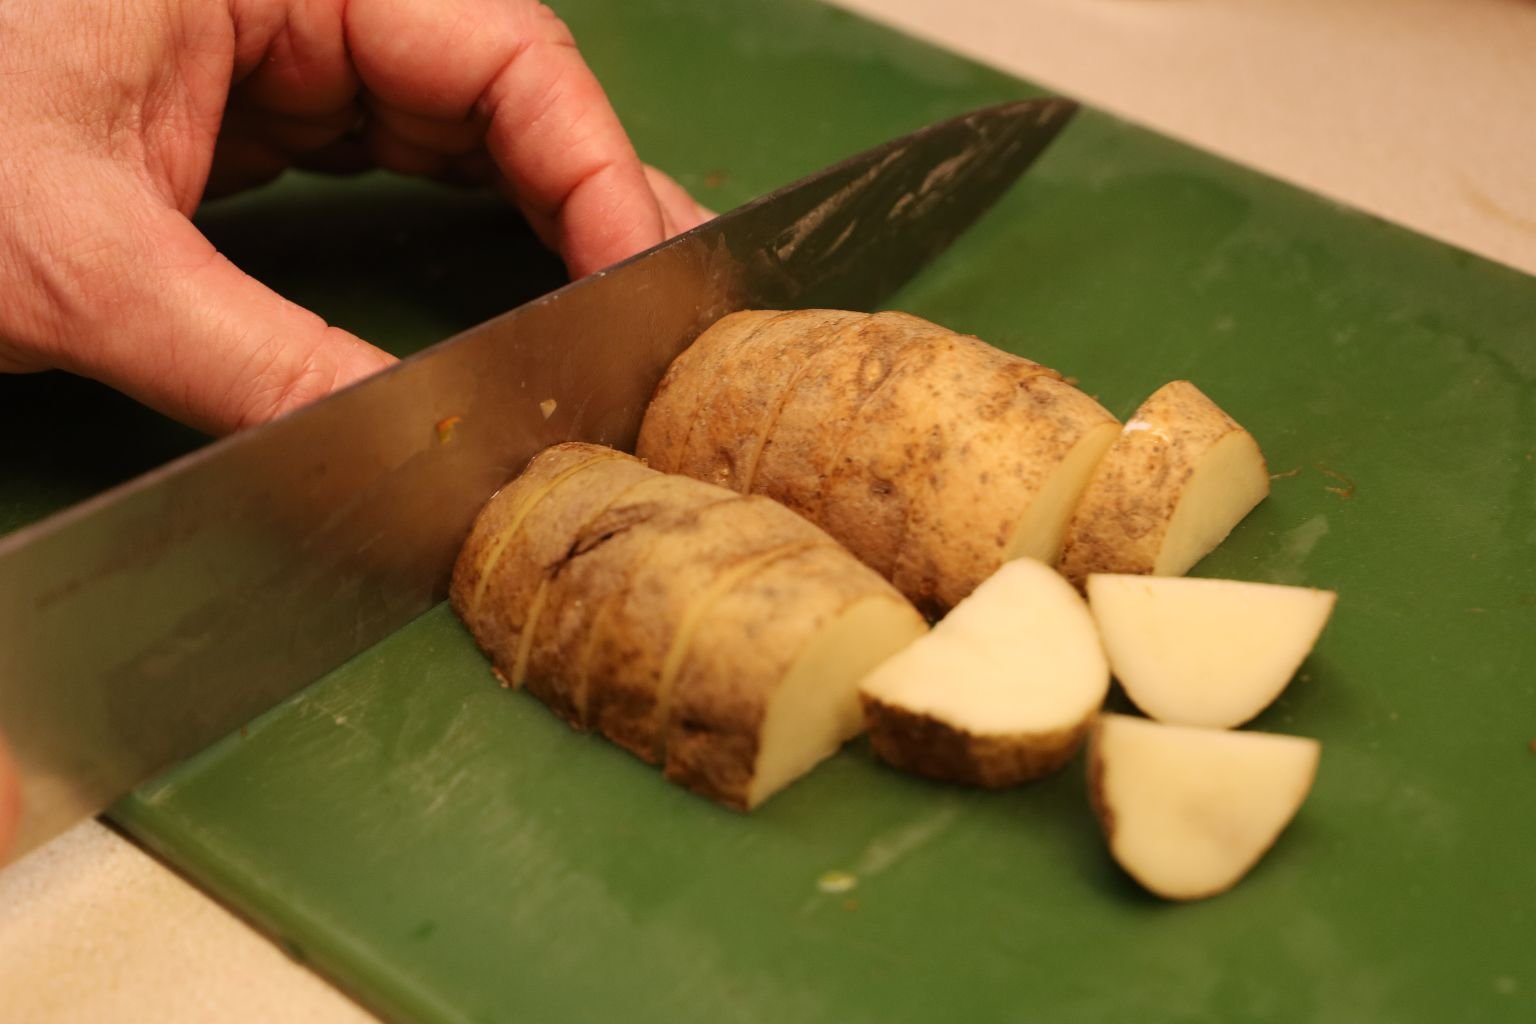

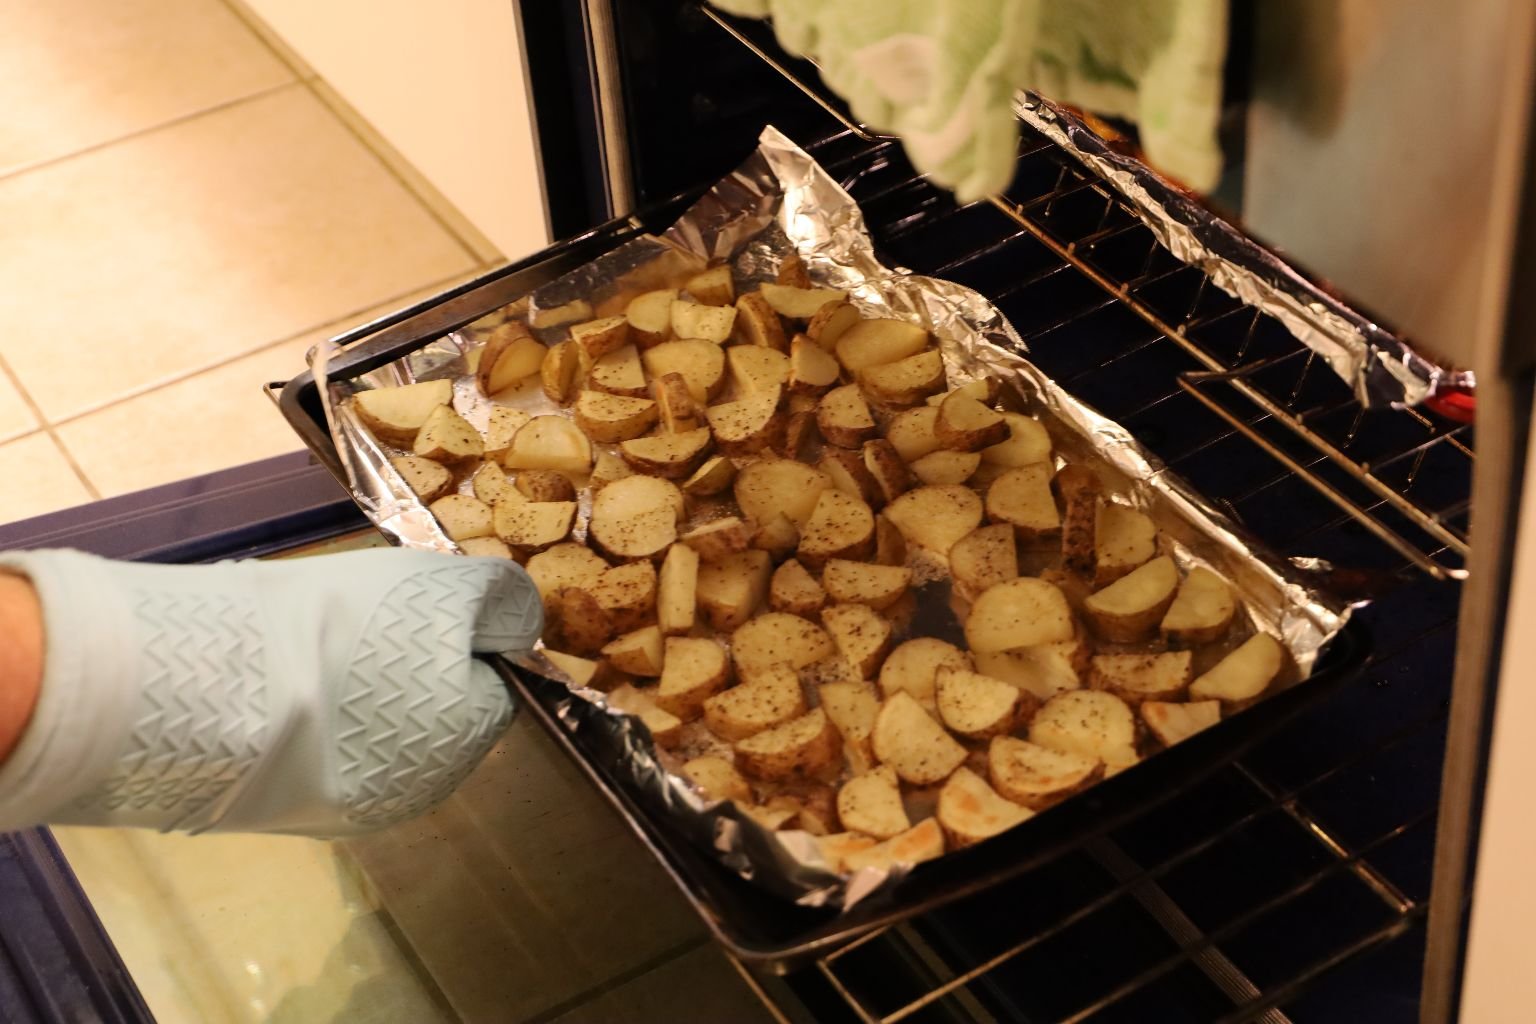
Slice your Russet Potatoes in half then into chunks as shown. Again making them all the same size so they cook evenly.

Spread them out evenly on a sheet pan that has been coated with some cooking spray.
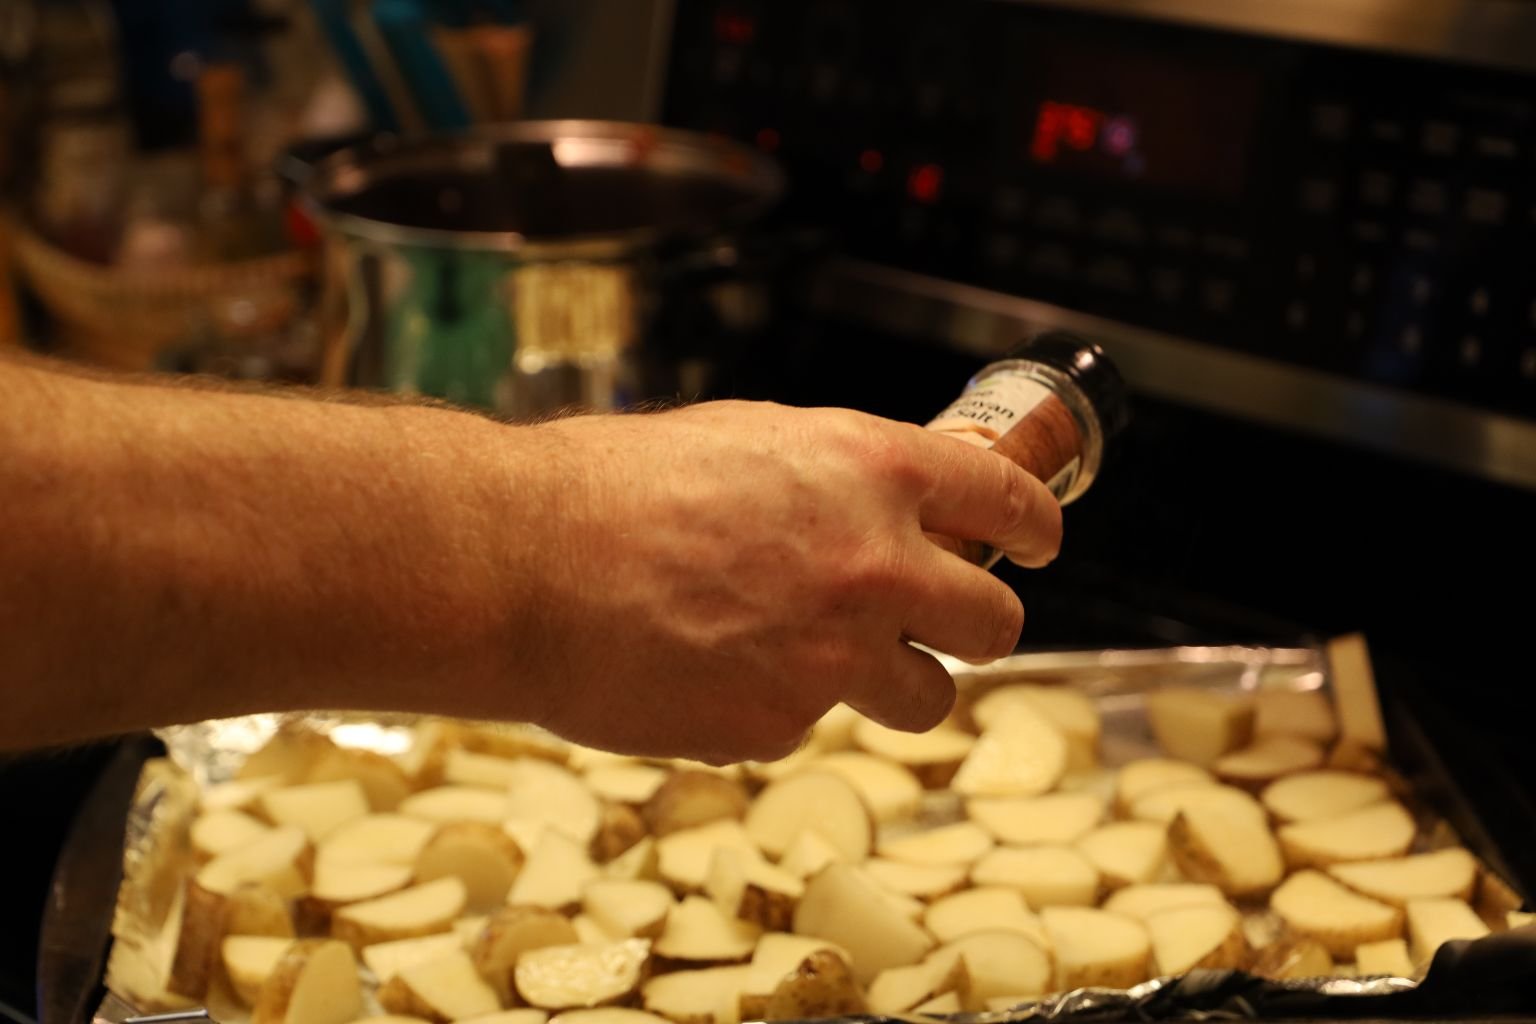

Salt and pepper the Russet Potatoes as before.

Place them in the oven as well, roasting them for ~35 minutes or until fork tender.


Slice, then chop your onions into diced sized pieces and place them into a large skillet with 3 Tbsp. of your olive oil.
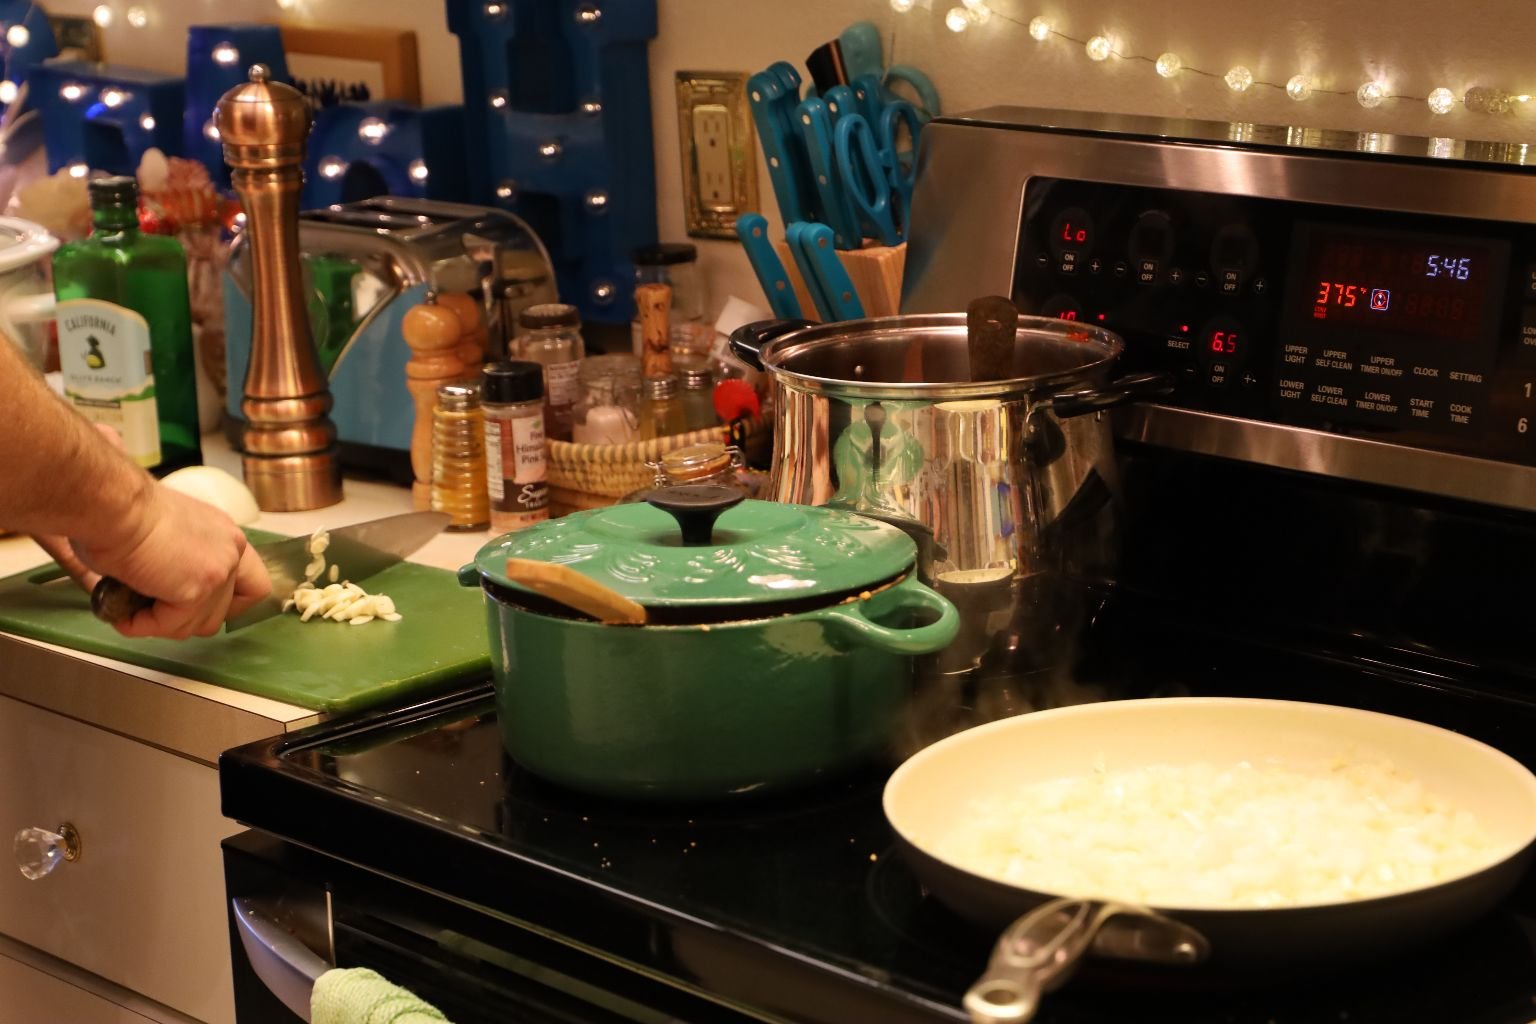
Stir the onions and saute them on medium heat.

Slice your garlic while the onions are sauteing… see if your photographer will mix the onions around. 🙂
(I always do! I do a heck of a lot of cooking while I take photos. I just need a photographer to photograph me, photographing you.)


Saute the onions until they are almost translucent and soft.

While the onions are sauteing is also a good time to slice your mini sweet peppers into diced sized pieces.


Here you can see I have the next ingredients ready to saute.


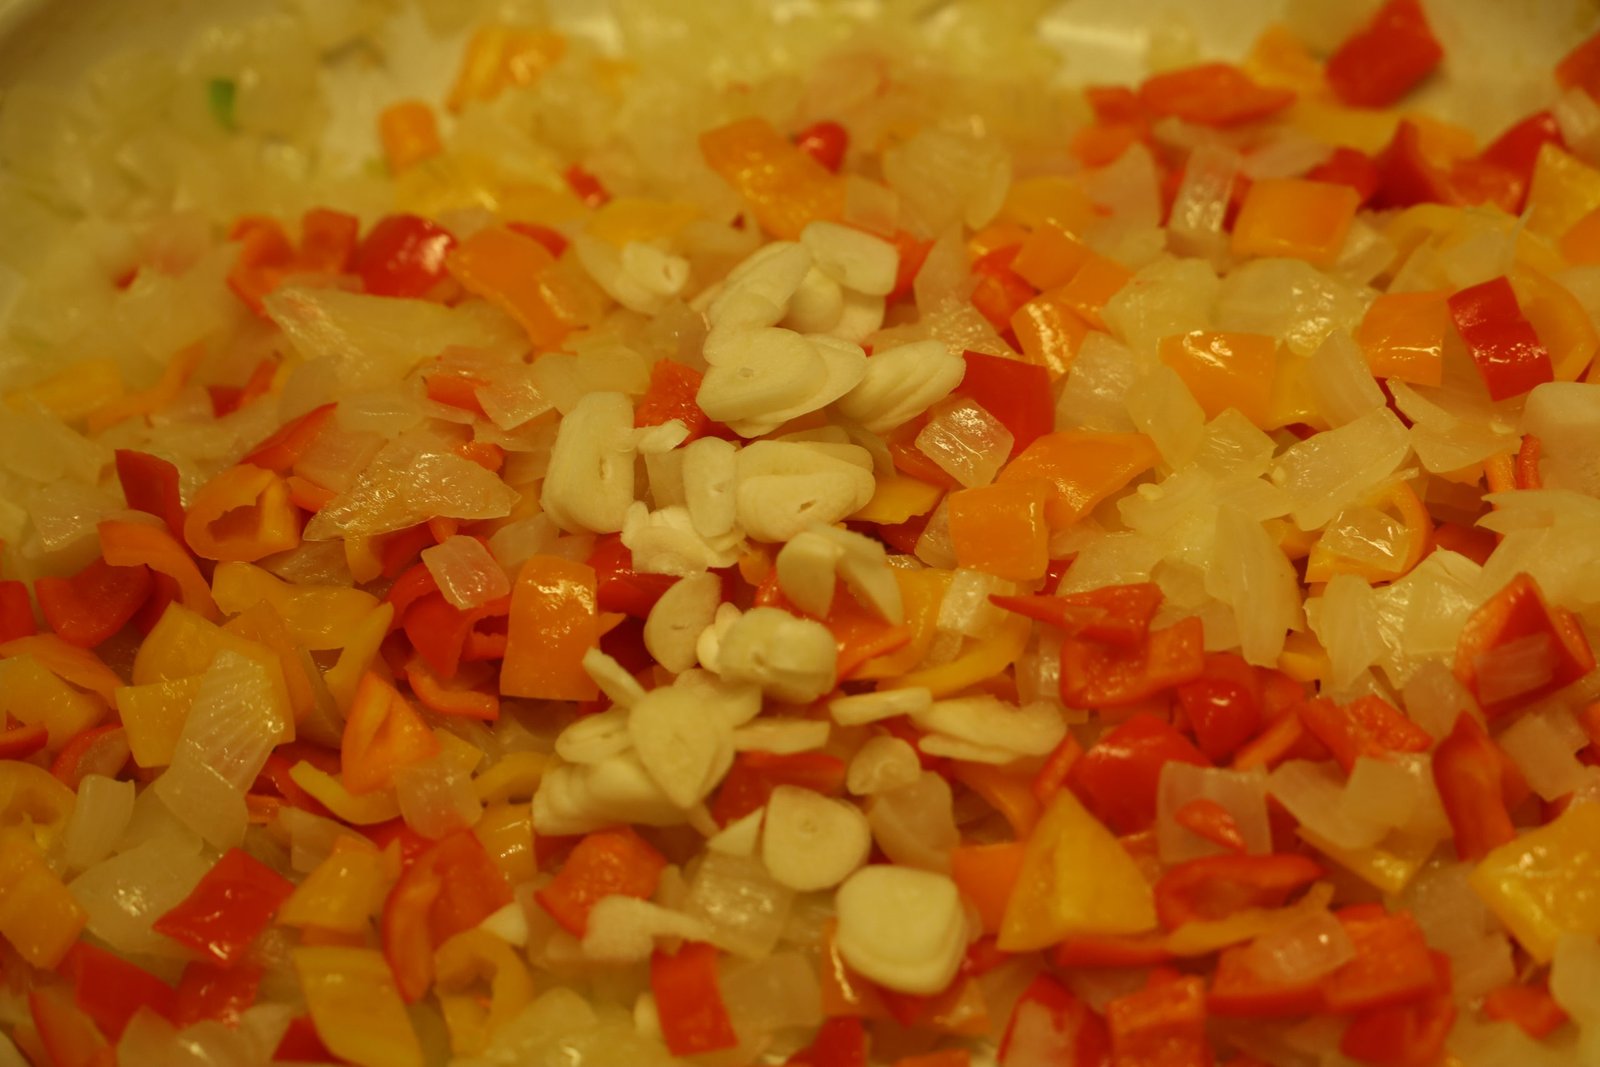
Once your onions are fully cooked, add your chopped peppers and garlic. Saute these ingredients until softened… about 8 minutes.
—————————————————————-
Check your root vegetables for doneness.

When the root vegetables are fork tender, remove them from the oven.

Using a larger skillet or Wok as I did, add 3 Tbsp. of olive oil.


Place your sauteed onions, garlic and peppers to the Wok and continue to cook them on medium heat.

——————————————————–

Add your roasted Russet Potatoes to the onion mixture.

Stir the ingredients well.

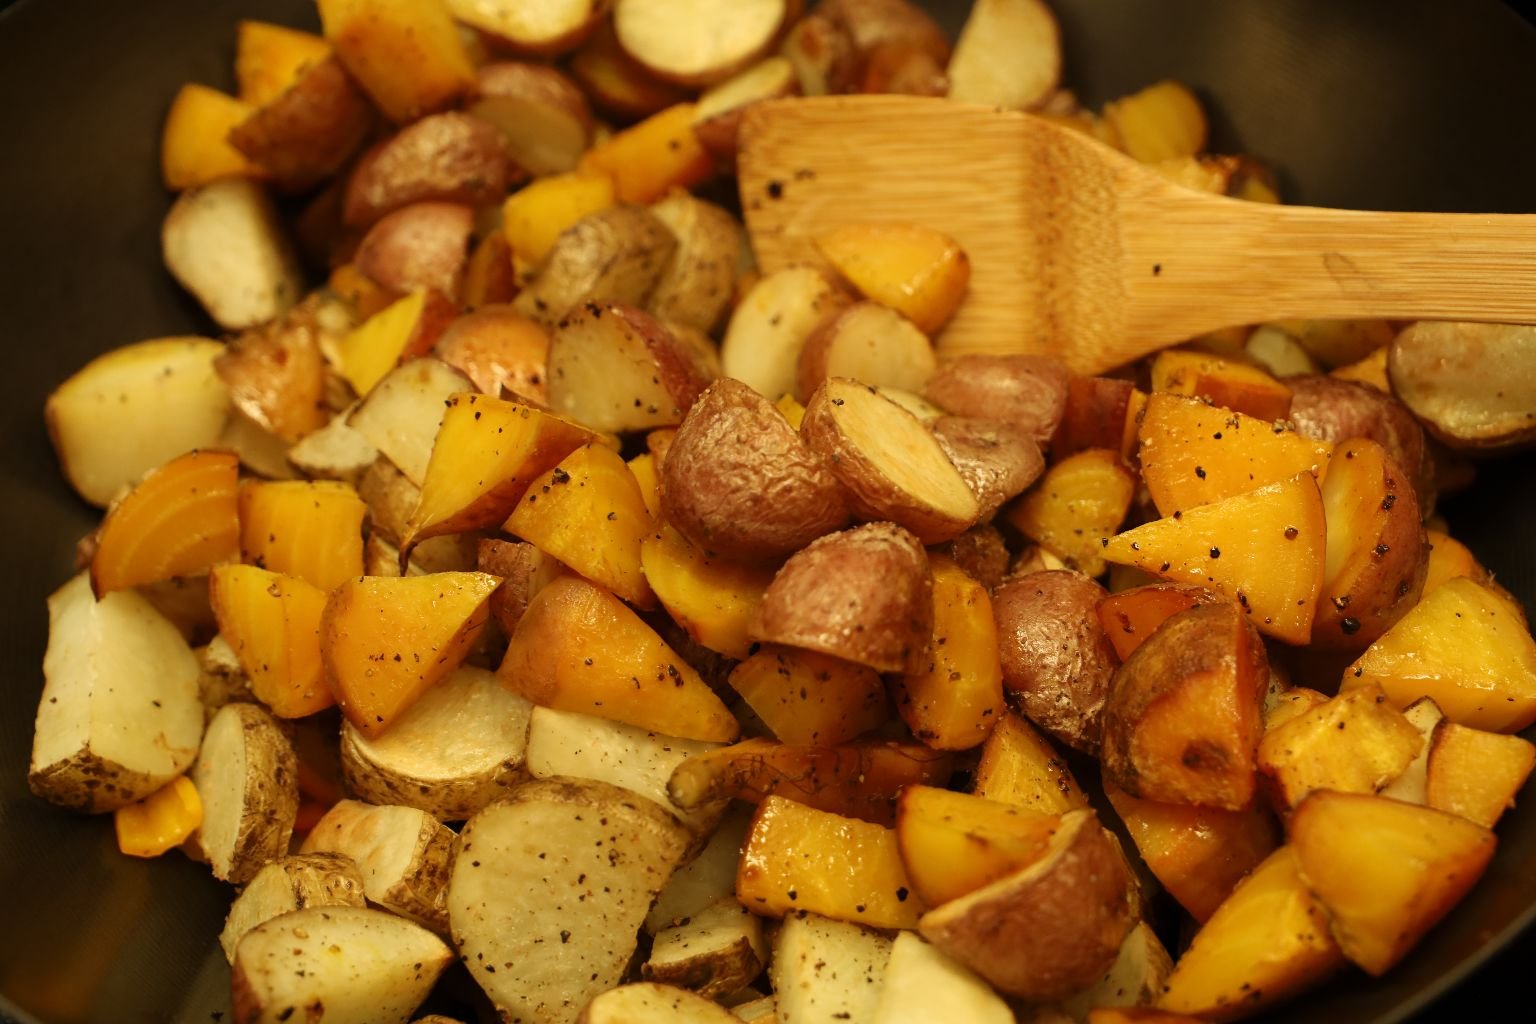
Now, add your roasted Red Potatoes and Golden Beets to the other potatoes and mix all the ingredients well.

Taste the mixture and add more salt and pepper if needed. Continue to cook these Giant Hash Browns tossing them often until the root vegetables are brown and crispy… about another 10 minutes.

Here you can also see the ribs are done as well.
Great Dinner!
——————————————————————-
African Chicken Soup
This is the best chicken soup that I have ever eaten. It is nothing like our North American or European version of a chicken soup. It is a bit spicy so it’s not the kind of chicken soup that you would want when you were sick, but it is delicious!!

(This is a recipe that Gordon got at his culinary school).
Muamba Nsusu – Congo Chicken Soup
1 Chicken cut into 8 pieces
1 qt Chicken stock
2 tbsp Palm oil
1 cup Onions diced
1 ½ tsp Garlic minced
½ tsp Crushed red pepper flakes
1 cup Tomato seeded, and diced to ½”
¼ cup Tomato paste
1/3 cup Peanut butter
Salt and Pepper to taste
Combine chicken and chicken stock; simmer until chicken is tender. Remove chicken from stock and retain stock at a simmer. Skin chicken and shred meat; set aside. Heat oil over medium heat; add onions and garlic and sautee 3 to 5 minutes, until soft. Add red pepper flakes and diced tomatoes; bring to a simmer. Combine 1 cup chicken broth from step 1 with tomato paste and peanut butter; stir until smooth. Combine chicken meat, tomato mixture, chicken broth, and peanut butter mixture. Stir and continue to simmer unit the soup is thickened, 5 to 10 minutes; do not boil. Salt and Pepper to taste. Serve hot.
———————————————————————————-
Turkey Vegetable Meatloaf


The ingredient assembly.
Gordon and I have not eaten red meat in over 20 years, but we do eat chicken, turkey and pork. We also eat fish, but only when we know where it came from. So this turkey vegetable meatloaf satisfies that carnivore craving that we do have occasionally, but because it is loaded with veggies and low in fat, it’s a lot healthier for us.


My shadow in the kitchen Sugar…waiting for scraps to fall.
Ingredients for Two Meatloafs
3/4 Yellow Bell Pepper 1/2″ dice
1 Zucchini 1/2″ dice
1/2 Yellow Onion 1/2″ diced
4 tbsp Olive oil
1/2 cup Black Olives some chopped some cut into rounds
1/3 cup Sun dried tomatoes chopped
Salt and Pepper to taste
4 Garlic cloves mashed
1 Egg
1 bunch of parsley chopped
1 tsp Oregano dried or fresh
1 tsp Thyme dried or fresh
3 lbs of ground Turkey
1/2 teaspoon red pepper flakes
1/2 cup or so of grated Parmesan cheese2 9×5″ glass loaf pans
Non-stick cooking spray
3/4 cup Balsamic Vinegar
 To the left is my mixture of sauteed vegetables I used in the turkey meatloaf. I love the colors of them together.

Peel and chop off the root ends of the garlic.
Place them in a mortar and pestle and mash them to a fine pulp.


Chop up a three quarters of a red bell pepper, yellow bell pepper, and a zucchini into 1/2″ dice. Also chop about half a medium sized onion to the same size dice. Saute them in a large pan with a little bit of olive oil on medium heat. Add salt and pepper to taste.


Chop up about 1/2 cup of black olives leaving some whole. Then chop up 1/3 cup of sun dried tomatoes. Toss both the chopped olives and sun dried tomatoes into the pan and saute them for about 4 minutes. Lastly, add your garlic pulp and cook for another few minutes.


This is what you should now have.
Set the mixture aside to cool.
Crack your egg into a medium mixing bowl. Take a bunch of parsley and chop it finely and place it in a bowl with a teaspoon of oregano and thyme. Whisk all the ingredients together adding some salt and pepper.


Place your thawed ground turkey into the bowl with about 1/2 teaspoon red pepper flakes, 1/2 cup or so of grated Parmesan cheese and mix all together with a wooden spoon or your hands.


Once your sauteed vegetables have cooled, mix them together with your ground turkey mixture until just combined.


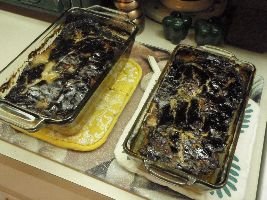
Coat two 9X5 inch loaf pans with a nonstick spray and gently press the mixture into the pans.


In a bowl, whisk together 3/4 of a cup of ketchup and 3/4 of a cup of balsamic vinegar and place the mixture on top of the meatloaf.


Bake them in a 425’F oven for approximately one hour. Let the meat rest for at least 10 minutes to let all the juices return to the center of the meat. Cutting them directly from the oven will produce a dry meatloaf.
Below, we topped some bread rolls with butter and herbs and baked them until hot.


Heat some green beans to go on the side and you have a great meal.

This was a great meal and we had plenty of leftovers for Gordon to take into work.
————————————————————————————-
Julie’s Salmon Patties

Ingredients: I tend to eyeball everything and don’t use precise measurements.
2- 14.75 ounce cans pink salmon
1 medium onion, chopped (or thereabouts).
1 cup plain or seasoned bread crumbs (or thereabouts).
A few shakes of any hot sauce, I prefer Tabasco
2 eggs to use as a binder
Pepper to taste
Olive Oil (Not extra virgin)
You want to combine all the ingredients together. Keep the bones in the salmon. Do not remove. They are soft and it is pure calcium. Very healthy for you. Heat your skillet to medium high heat with the olive oil. I love to use my Grandmother’s cast iron skillet. Then just form the salmon into patties and place in the hot oil. Just enough oil to cover the bottom on the skillet. Brown on both sides, just a few minutes each. I love to throw in my extra onion that I chop up because I love that they get all caramelized and yummy. I don’t eat them on any sort of bun, but I suppose that you could if you liked and made a salmon pattie burger.
————————————————————–
Happy Eating!
Gordon and Julie