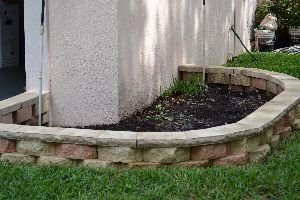
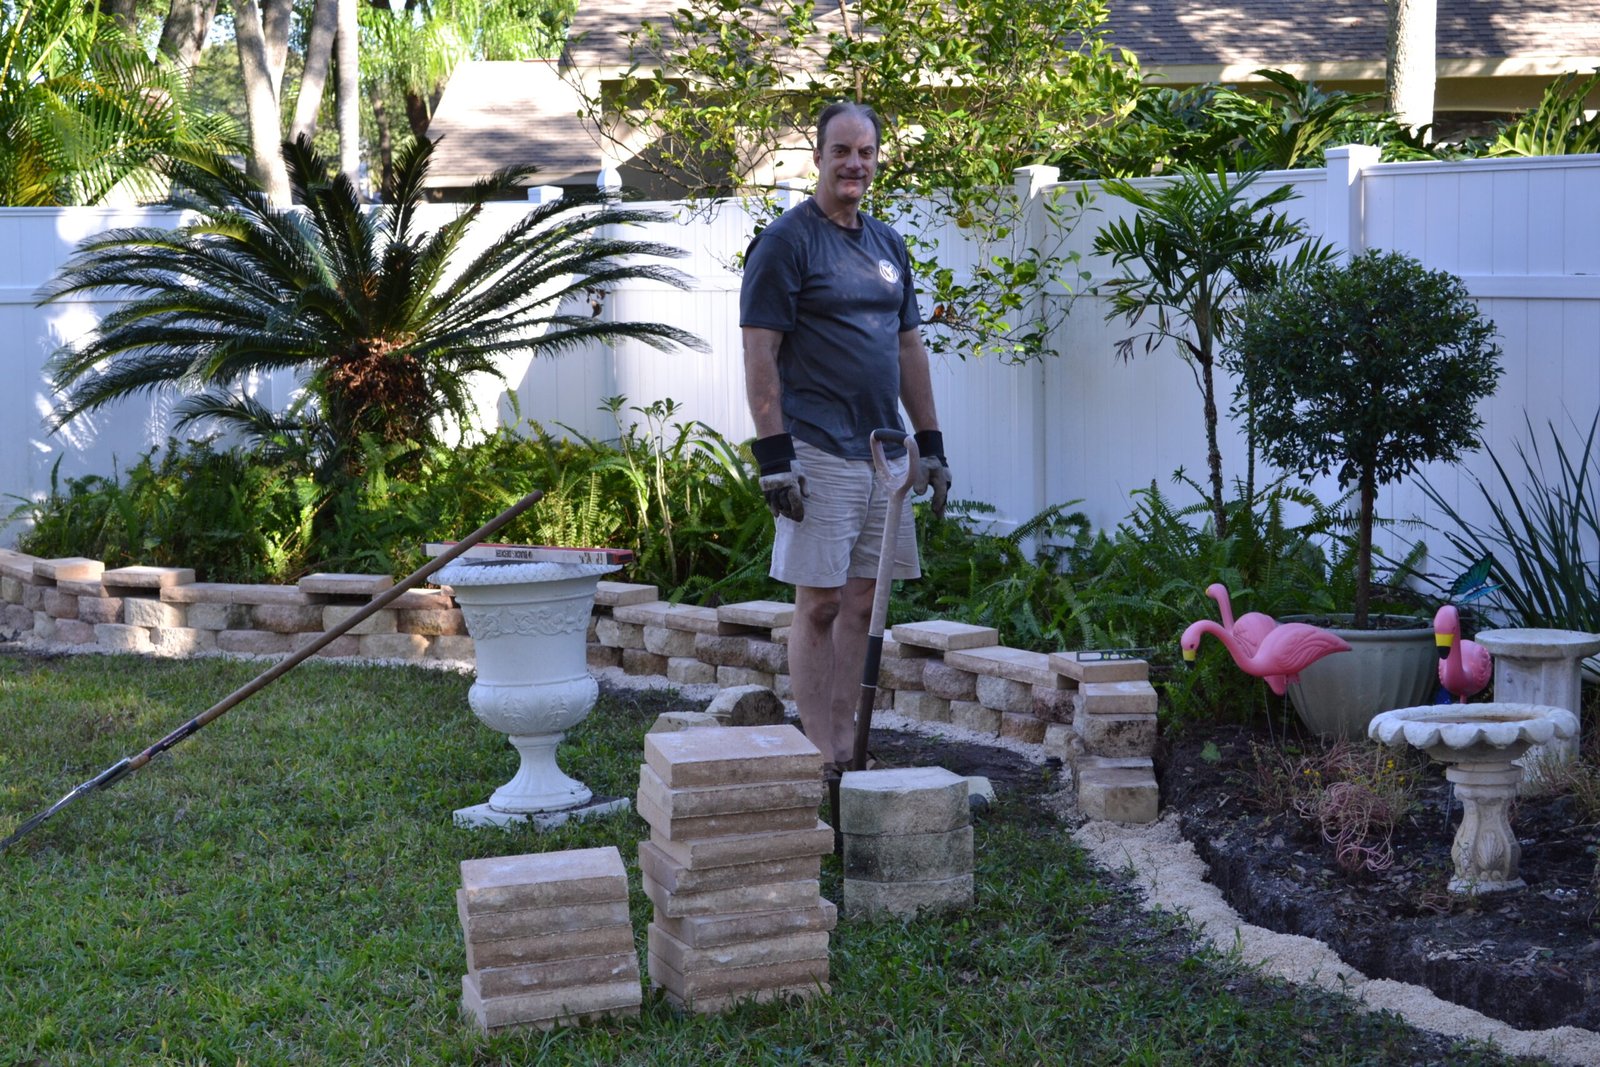
Side of the House Retaining Wall

Before and……………………………After!
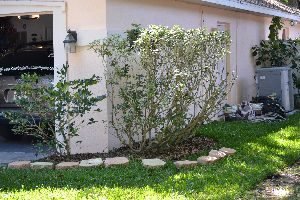
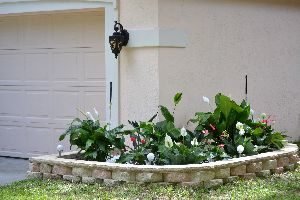

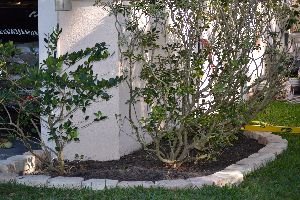
What a Difference
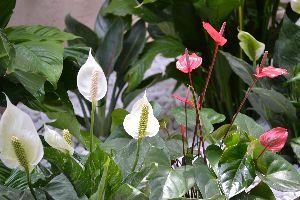
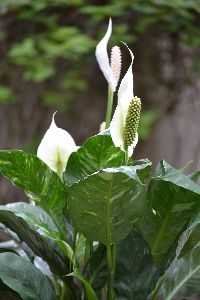
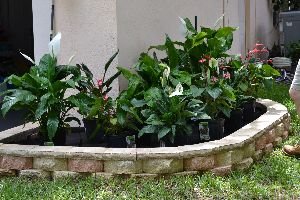
Ape’s and Anthuriums
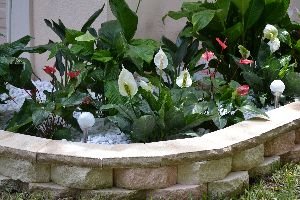
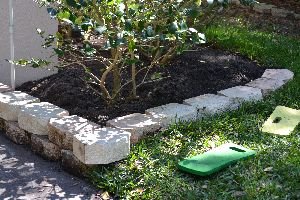
The finished results!
————————————————-

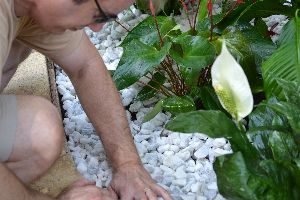
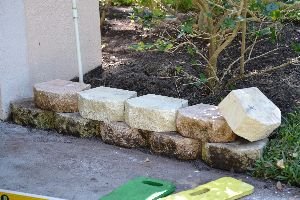
Retaining Wall Accent
Here I’ve added some egg shaped stones to the crevices of the retaining wall that Gordon built. I happen to like it. It is a bit different though.
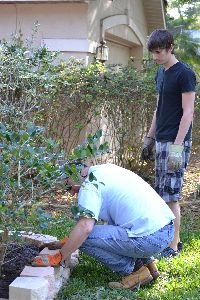
How To Start

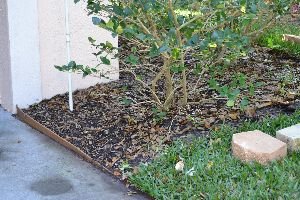
I first pulled back the blocks which lined the bed.

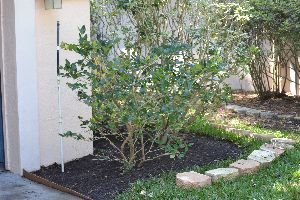
Then raked out the leaves, so I could start with a clean surface.

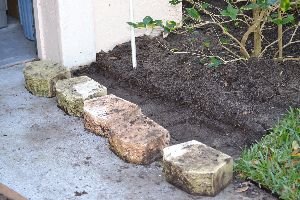
I then pulled out the old retainer which had sunk deep into the ground and was basically worthless. Now, make the area flat to place some of the blocks into position making sure you stamp down the ground, so it is firm and has no give. This way, the blocks won’t sink into the ground. I simply just walk on the area and jump a few times. My yard slopes which is hard to see now, but is why I started on this side first. I knew my first row was at the correct height since I placed a block around the start of the corner where I could gauge the height. This way my second row would float directly onto the rest of the blocks which would go on to being the first row of the rest of the wall.


Now, place the blocks in the area and ensure they are level.
This is key since all the other blocks will be place upon this first row.
This will take some time, but it is worth it.

Ensure the blocks are level from both side to side and back to front.
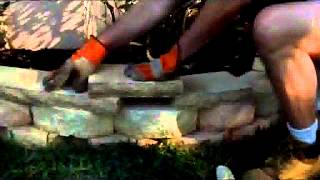
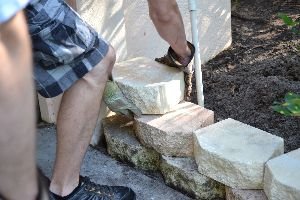
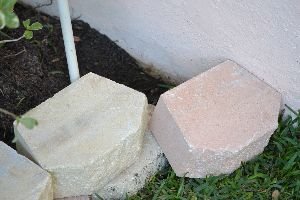
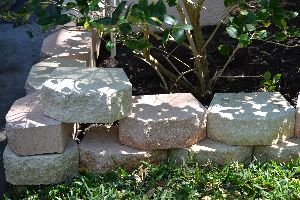
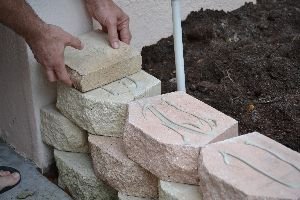
Now, simply place more blocks upon the first row being sure to stagger the colors and keep them offset which will provide stability to your wall.
You will have a half block which you will need to break at the start of the second row. Here you can also see how the block at the corner will float directly onto the first row of the rest of the wall.
On the left is a good illustration of how my lawn slopes which is why I had to make that first row by the driveway and why I started on this side first.

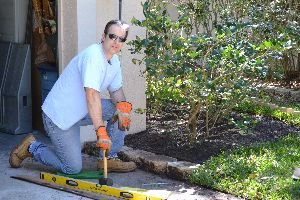
The next rows go on quickly since there is no more leveling and you simply have to stagger the blocks by color. This is where you can enlist some family help.


Here you can see where the block needs to be cut to fit.

Here is another block which needs to be cut to fit since the staggered pattern is starting to overlap due to the curve of the blocks. As they curve and move they create less space and need to be cut to even out the space.

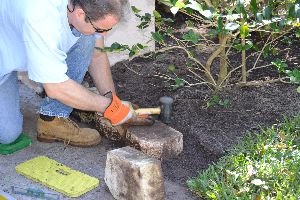
Using a chisel and hammer scribe a line with an easy soft touch which you will gradually increase as you go.

You can scribe the line the entire way around the block for a cleaner cut.
Once you have a good line, increase your force with the hammer.

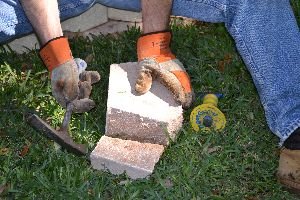
Soon the block will break!


Here I need to break a block in half to be placed at the start of the second row by the driveway. Simply scribe your line again all the way around the block and continue to hit harder as you go.
 Here you can see where the first block I broke fits perfectly!
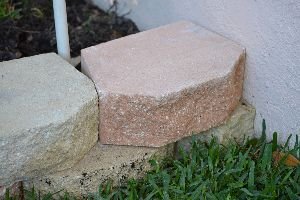
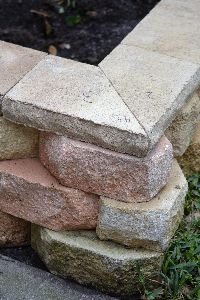
Here at the corner I had a few options and I chose to cut the block down on the side and the back, so it would fit nicely with the next block.

Here, I also started to see where the cap stones would go and see how they looked.


I started to cut the block down to size keeping the shape of the block, so it still matched the others.
You can see it still has the basic shape of the other blocks on all sides and gives me the corner I wanted.

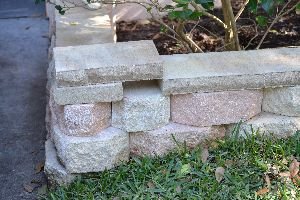
Here on the right you can see the corner block and the amount of cutting it took to get it to look that way. Here is also an illustration of how I would need to have the cap stones cut at a 45′ angle to where the points of the block meet making the corner.

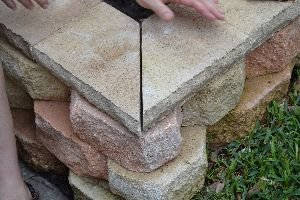
I then overlapped the capstone blocks scribing in pencil where the next block met, so I could have a smooth edge around the wall. Be sure to number the capstones on the bottom, so you know where they go when you get them back.

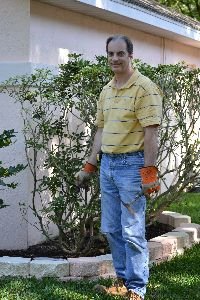
I also pulled up the hedges.
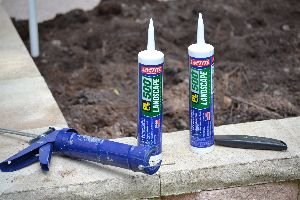
This and the next few pictures illustrate what I meant and are the finished product. I then just had to glue them into place with some construction adhesive.

I am fortunate to have the people of Outdoor Impressions cut my blocks for me. They have been featured on the DIY network while the show has done outdoor projects here in Tampa.

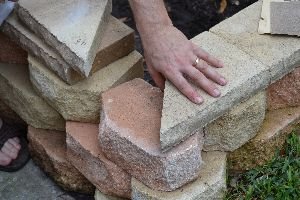
Above you see a tight fit.
 To accomplish this I had to flip the capstones over due to the cut was at a slight angle. These blocks are hand cut, so you will have slight variations.
Below on the left you can see the half block which started the second row as well as the half capstone block.
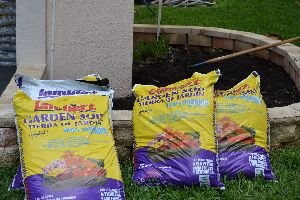

I used a couple bag of good gardening soil to fill in the dirt behind the wall making it a flat surface.

Here I glued down the capstones once I knew for sure how the blocks were to be set.


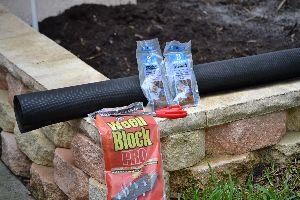
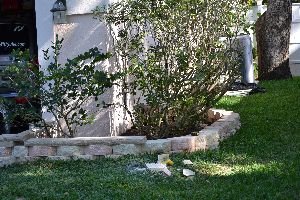
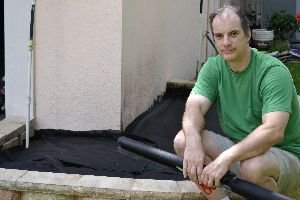
Upper right you can see the weed block material, scissors, and staples used in my next step of the project.
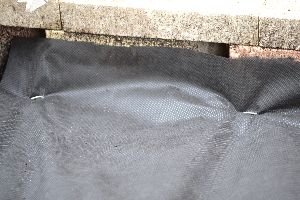

Roll out the material to fit the area and staple down covering the entire bed.


Place your plants where you want them to go then cut an X in the material and peel back the rest.

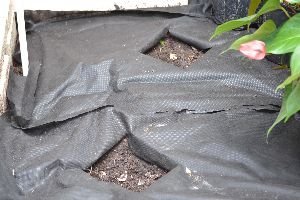
Dig your hole with a post hole digger to the correct depth of the plant saving the unused dirt back into the bag from which it came.

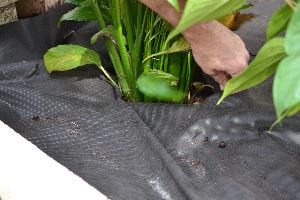
Now, fold back the weed block material around the plant.


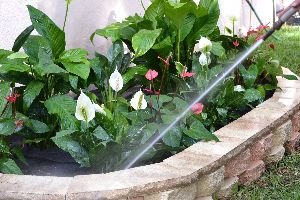

Give them a good watering and now pour your stones around the plants.


Push the stones close to the plants.
That is it!
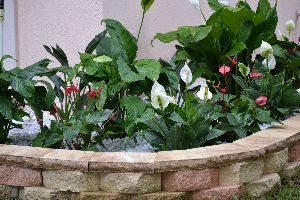
We hope that you enjoyed this project and may try something similar yourself.
Gordon and Julie
————————————————————————-
To View All of Our Front Yard Landscaping Projects:
Click Here For: Front Yard Retaining Wall

AND,
Click Here For: Side of the House Retaining Wall
AND,
Click Here For: Front Yard Projects

AND,
Building A Backyard Landscaping Retaining Wall And Our Lanai Extension
AND,
How To Repair And Rebuild A Retaining Wall

AND,
Click Here For: New Front Yard Landscaping Project

———————————————————————————