More Autumn Pasta To Enjoy
Autumn Has Arrived I would say that ‘Sweater Weather’ is here but we live in Florida so that doesn’t happen until around January, if at all. But what we do experience in Florida is a cooling off. Temps in the high …

Life in sunny Florida... shoes optional
Autumn Has Arrived I would say that ‘Sweater Weather’ is here but we live in Florida so that doesn’t happen until around January, if at all. But what we do experience in Florida is a cooling off. Temps in the high …

Bowl a Comfort Dirty Rice/Spanish Rice With Fried Kielbasa Sausage A Meal In Itself —————————————————————————- Dirty Dawgs I keep my Granddaughter anywhere between 2 and 5 days a week. We tend to do a lot of coloring and drawing, and plenty …
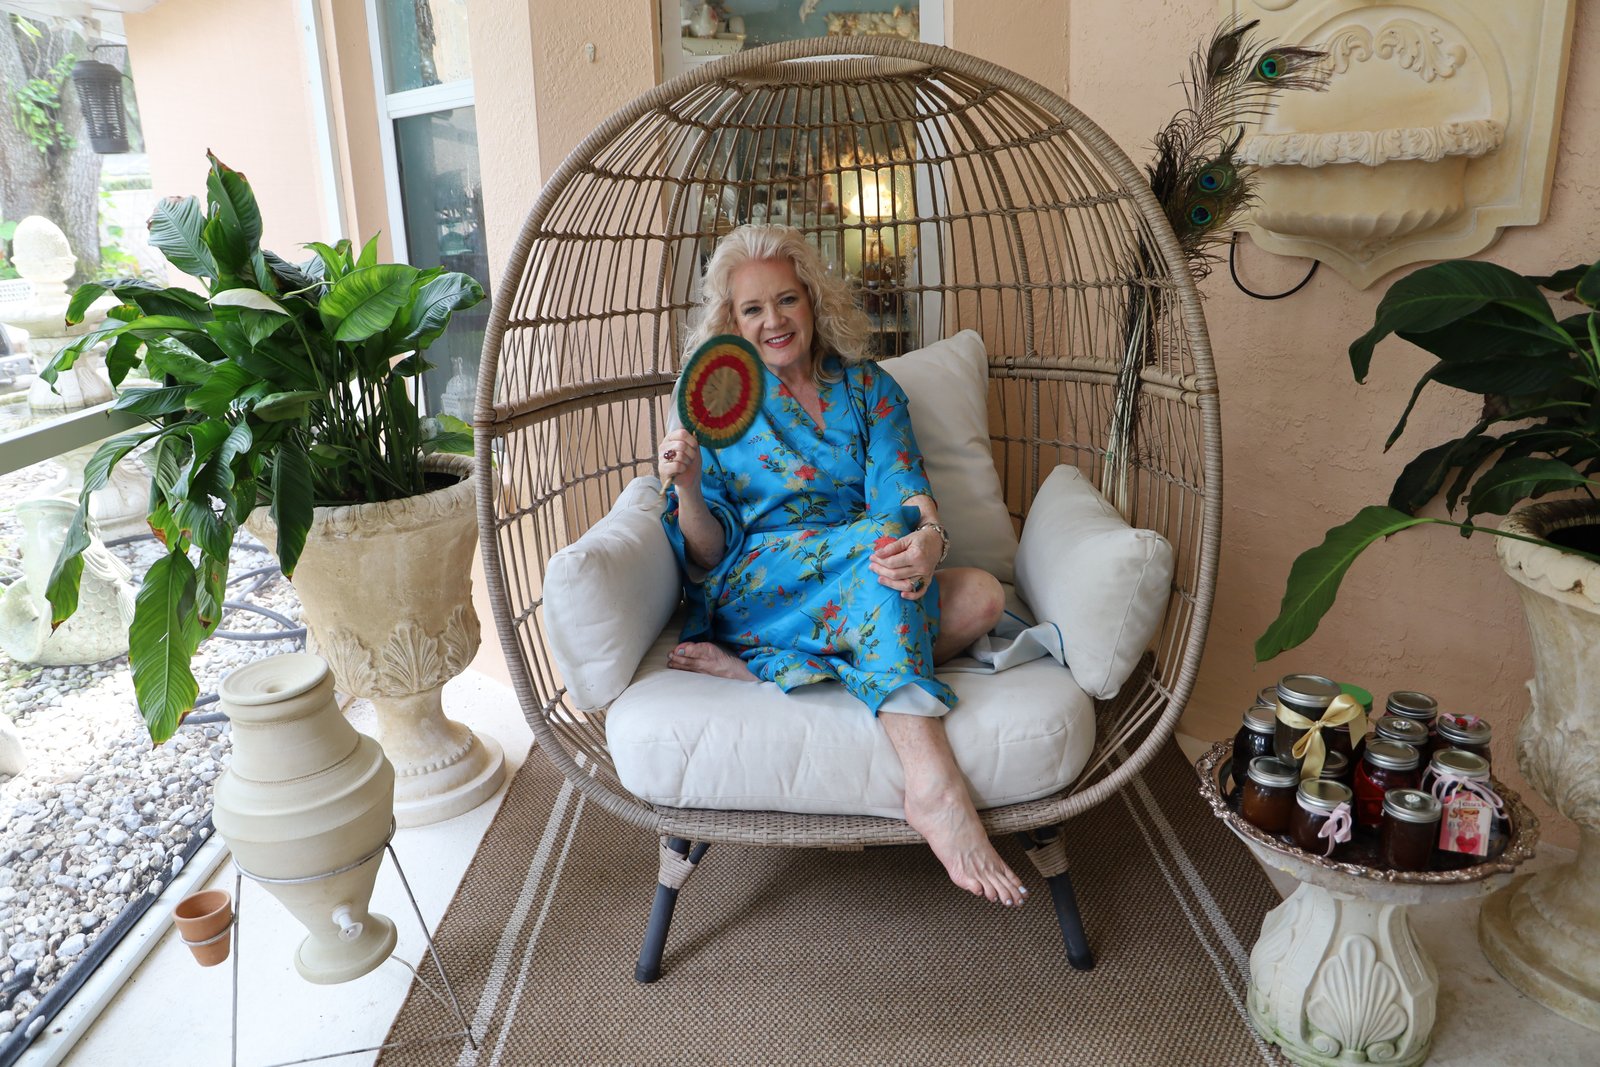
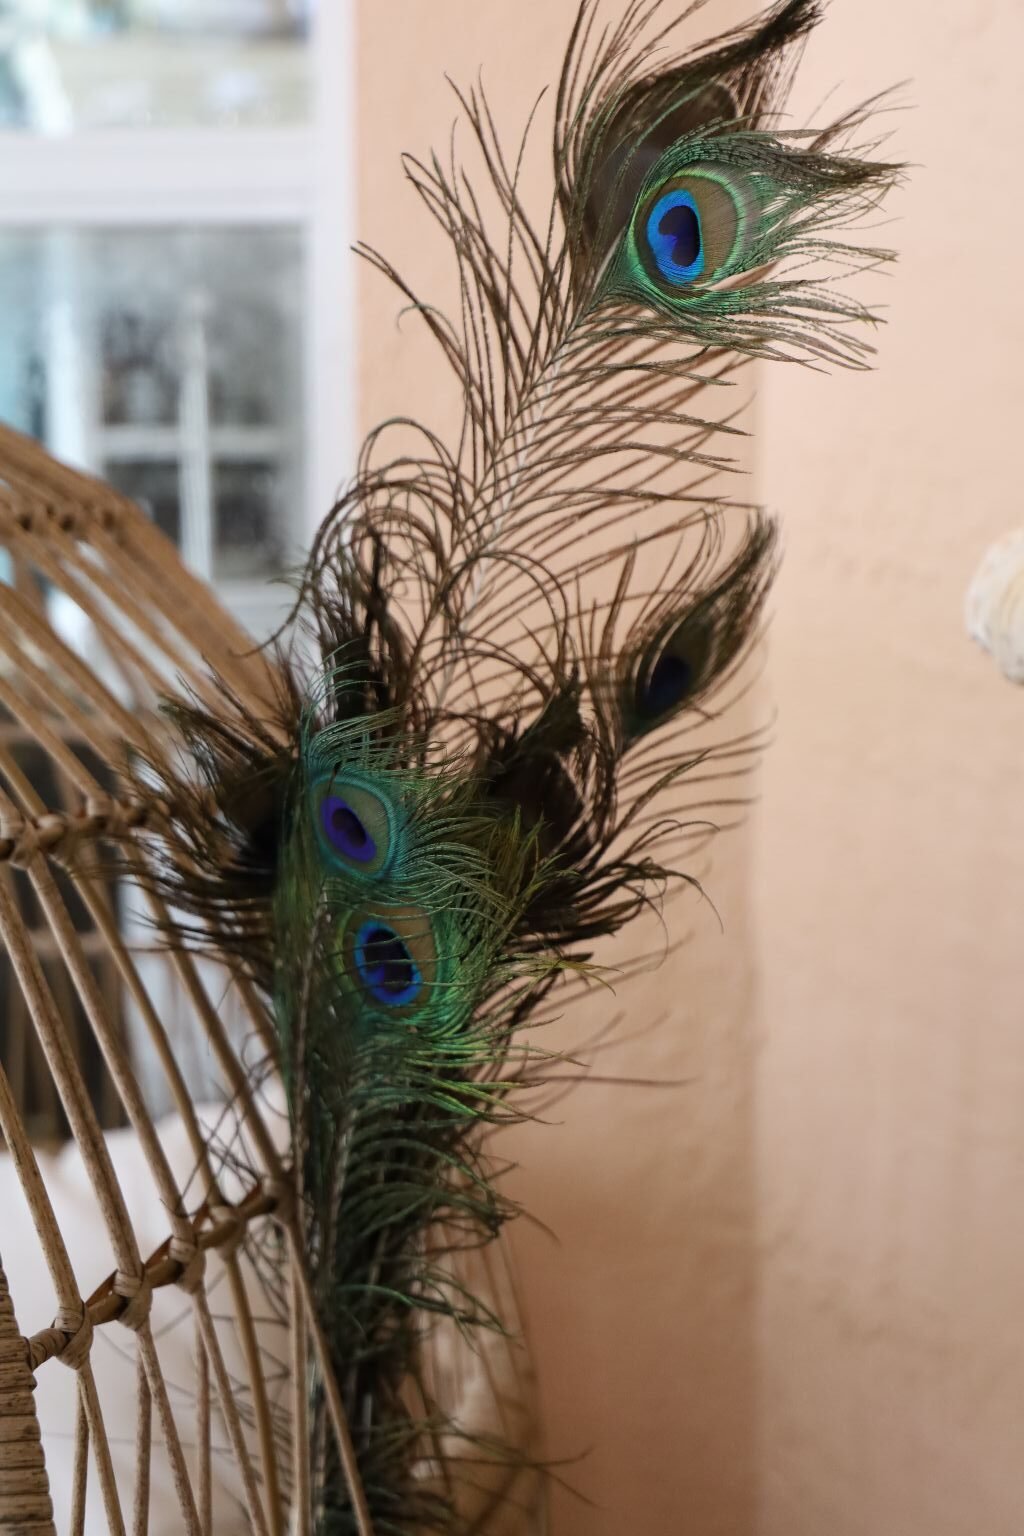
Peacock Feathers For Luck

I was born in Georgia and lived throughout the south during my upbringing. The South is also known as The Bible Belt. The South has a very large religious community that comprises of many different Churches. Baptists, Methodists, Presbyterians, Church of God, Church of Christ, Pentecostal Holiness, and a few others…. We were Disciples of Christ, which is what Ronald Reagan was, btw.
Although my family and the people we knew were more liberal than the average Southerner. We learned about other religions at church but in an educational way, and not in a ‘they will all burn in hell because they aren’t like us’ way. I was certainly exposed to the Evangelical’s and their beliefs. One thing that they would warn you about were the “Jezebels” of the world. It was just in the culture.
When I went off to college I was warned to ‘Stay away from the bitches and the whores.’ Although no one in my family ever said that to me… well, my Grandmother would always tell me to stay away from the Floozies and the Flossie Mae’s, it was just the culture of the South. (I’m not excusing it, just explaining it.) Although if anyone I knew was a Flossie Mae it was my Grandmother. That woman could sashay!
But, when I did go off to college and I did interact with the other girls there, I found that the people that I liked the most were the bitches and the whore’s. The bitches weren’t bitchy, they just stood up for themselves. They were intelligent and spoke out when it was important to do so. And the whores, well, they never judged you. They would even look out for you when you would go out with them while the Evangelical girls would just as soon dump you on the side of the road than deal with you. Also, the gay guys that I went to college with, it was a private fashion college in Charlotte, North Carolina, they were the best friends you could ever have. You could go out with them at night and they would look out for you. And the best giggles you will ever have in your life were with the gay guys!
The hypocrisy of the South is that they created a “Jezebel Sauce” that they serve at various religious functions. Whether it is a Church Suppah, a Church Picnic, a Church Wedding….. Oh, and it is the number #1 condiment in the state of conservative Mississippi.

Which brings me to all of my Jezebel’s…..

I adore each and every one of you!
Which Is Why I Created You!
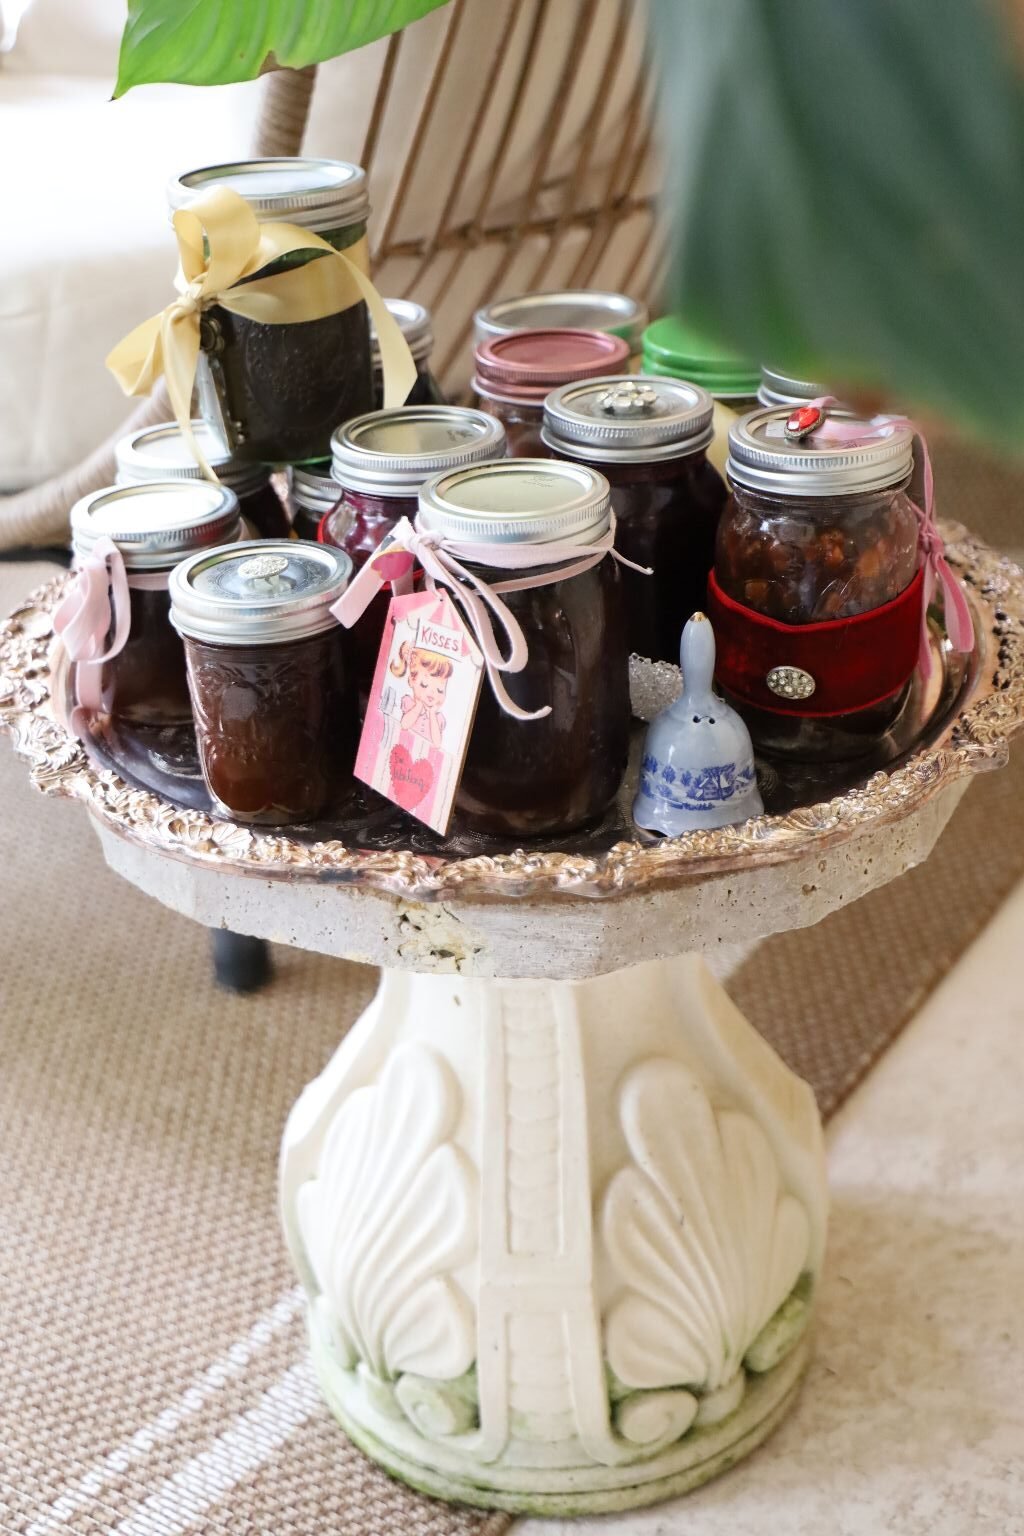
The Jezebel’s Of This World Have The Biggest Hearts…
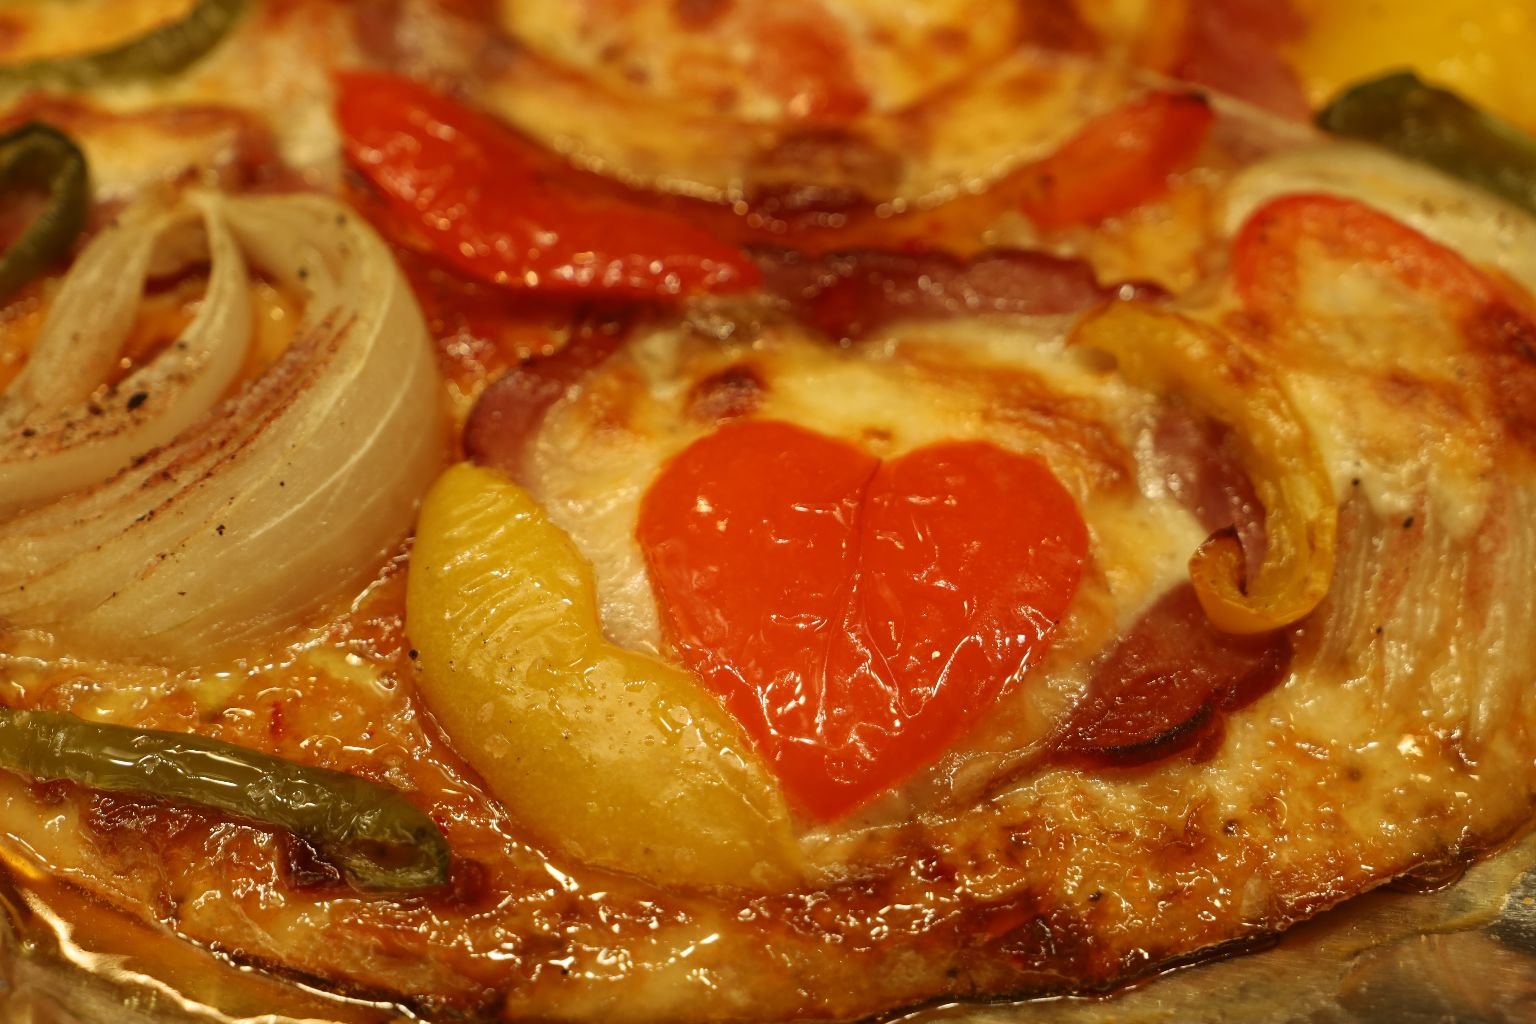
Which Is Why I Love You All!
Julie

p.s. Coming Christmas 2026,
A Naughty Christmas Jezebel For Underneath The Tree 🙂
—————————————————————————————-
Click Here For: Julie’s Jezebel Sauce
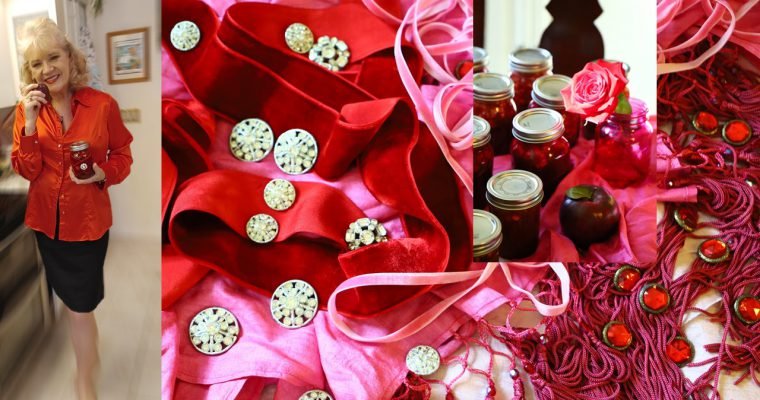
Our Jezebels On This Page:

The Forbidden Jezebel
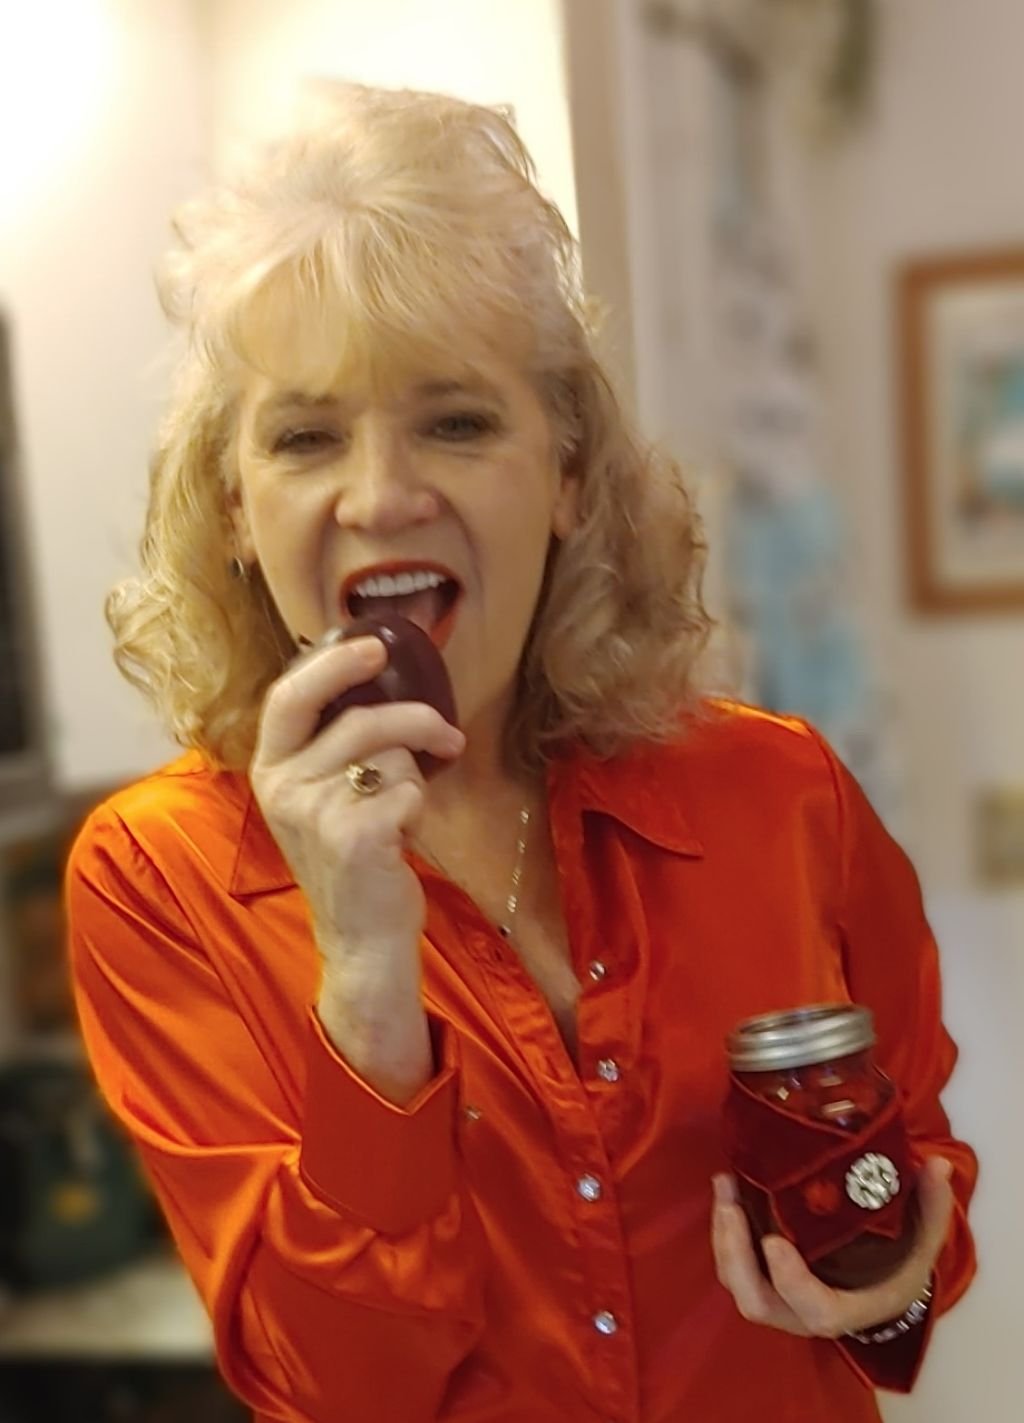
With Apples
The Classic Jezebel (My Twist)
—————————————————————————-
The Latin Jezebel
(With Guava Shells and Jalapeno Peppers)
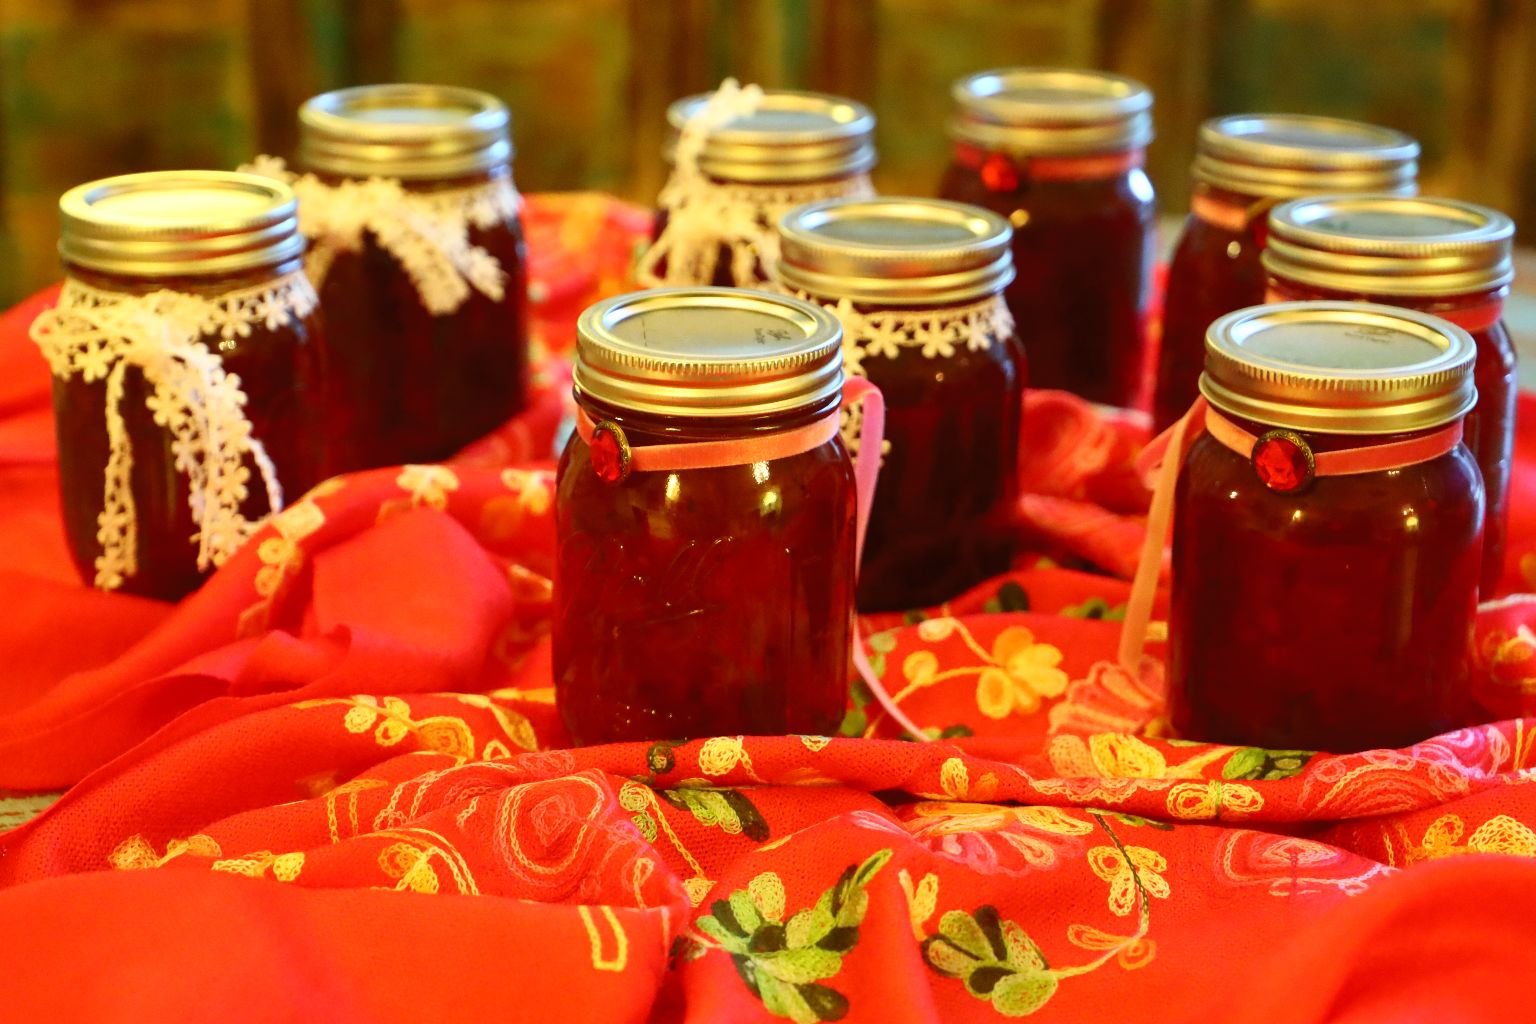
—————————————————————————–
And My:

Georgia Peach Jeze-Bells
—————————————————————————–
I Also Created An:
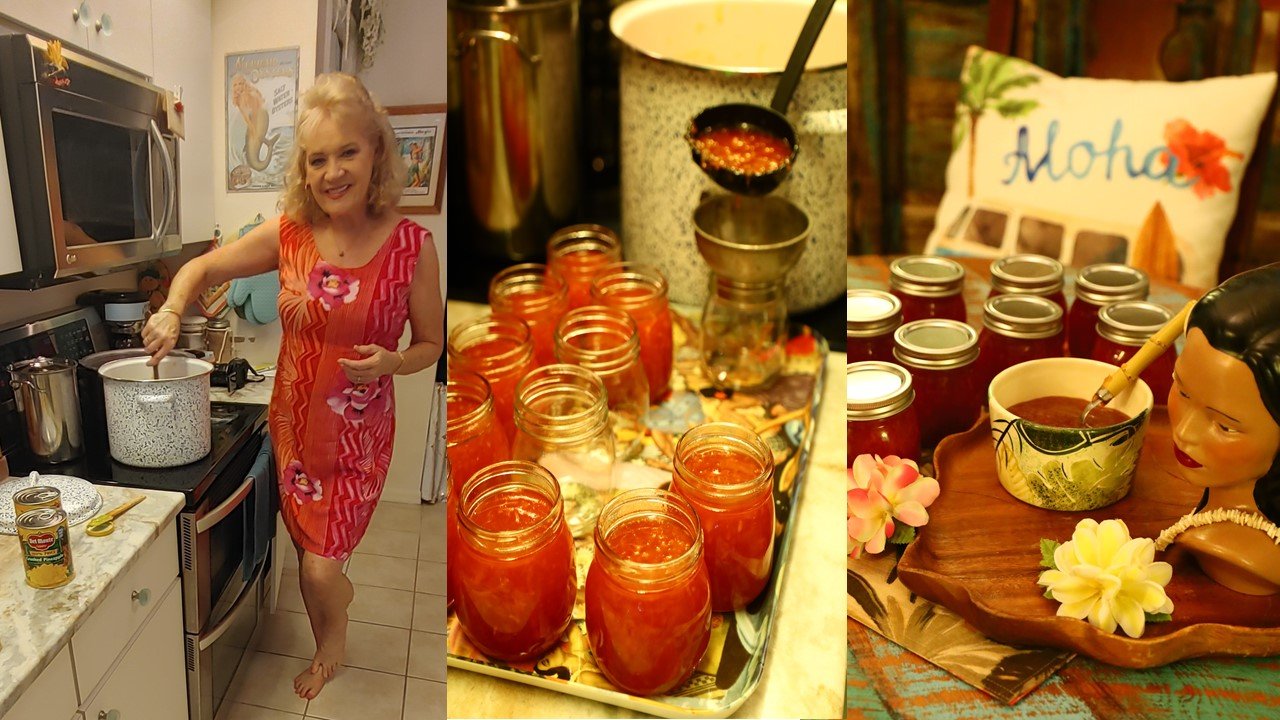
Based On Our Love Of Hawaii
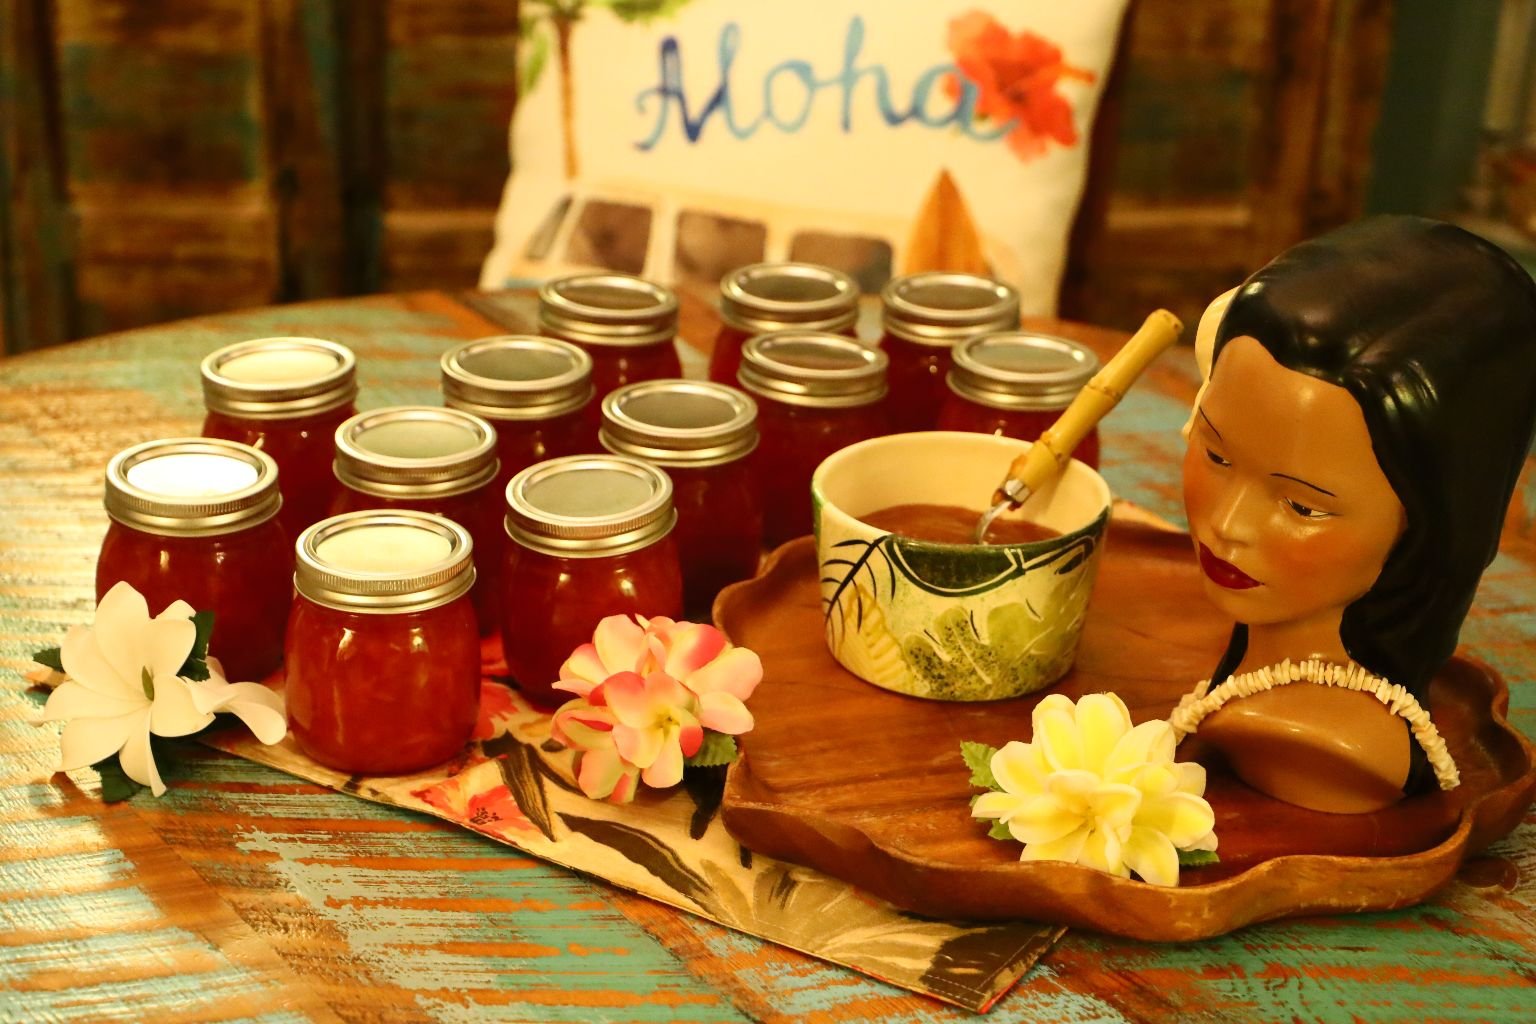
——————————————————————
AND,
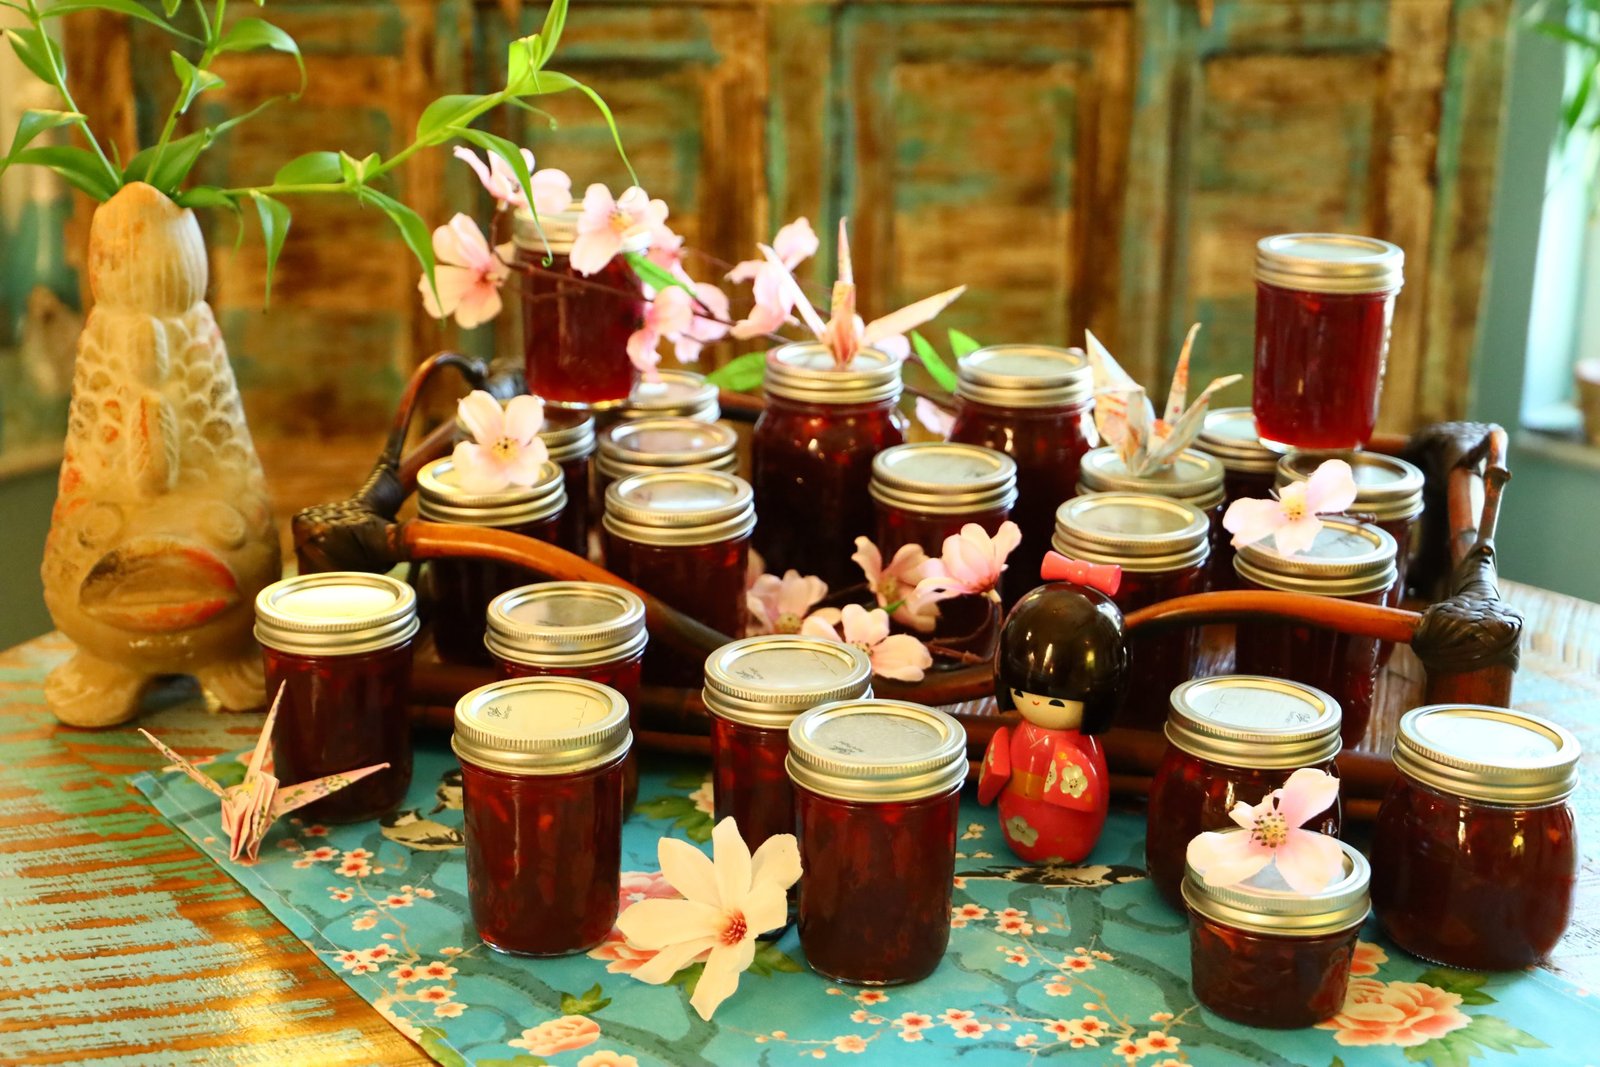
Again, Based On Our Love Of Hawaii And The Asian Cultures
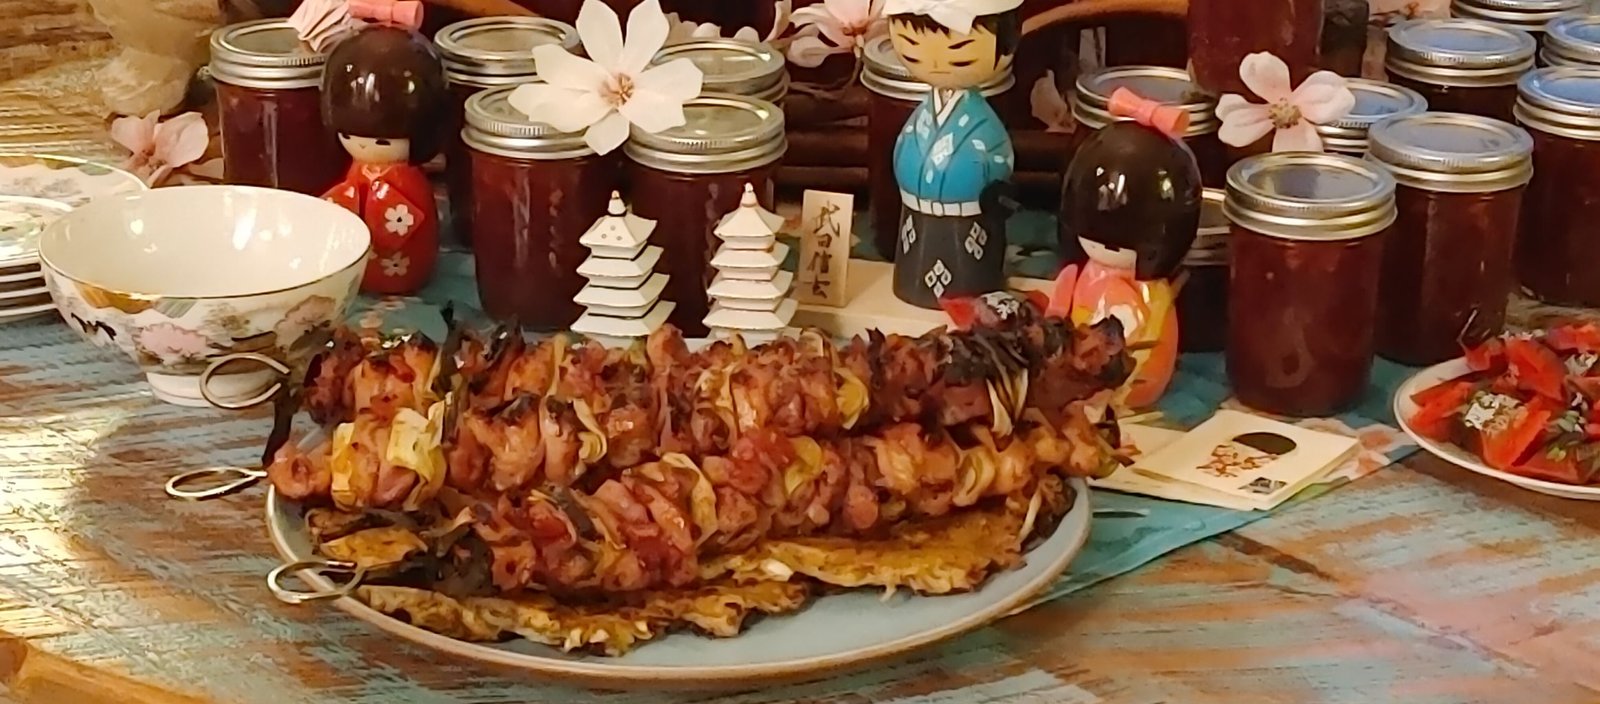
—————————————————————————————-
AND,
An Old Florida Jezebel (Sauce)
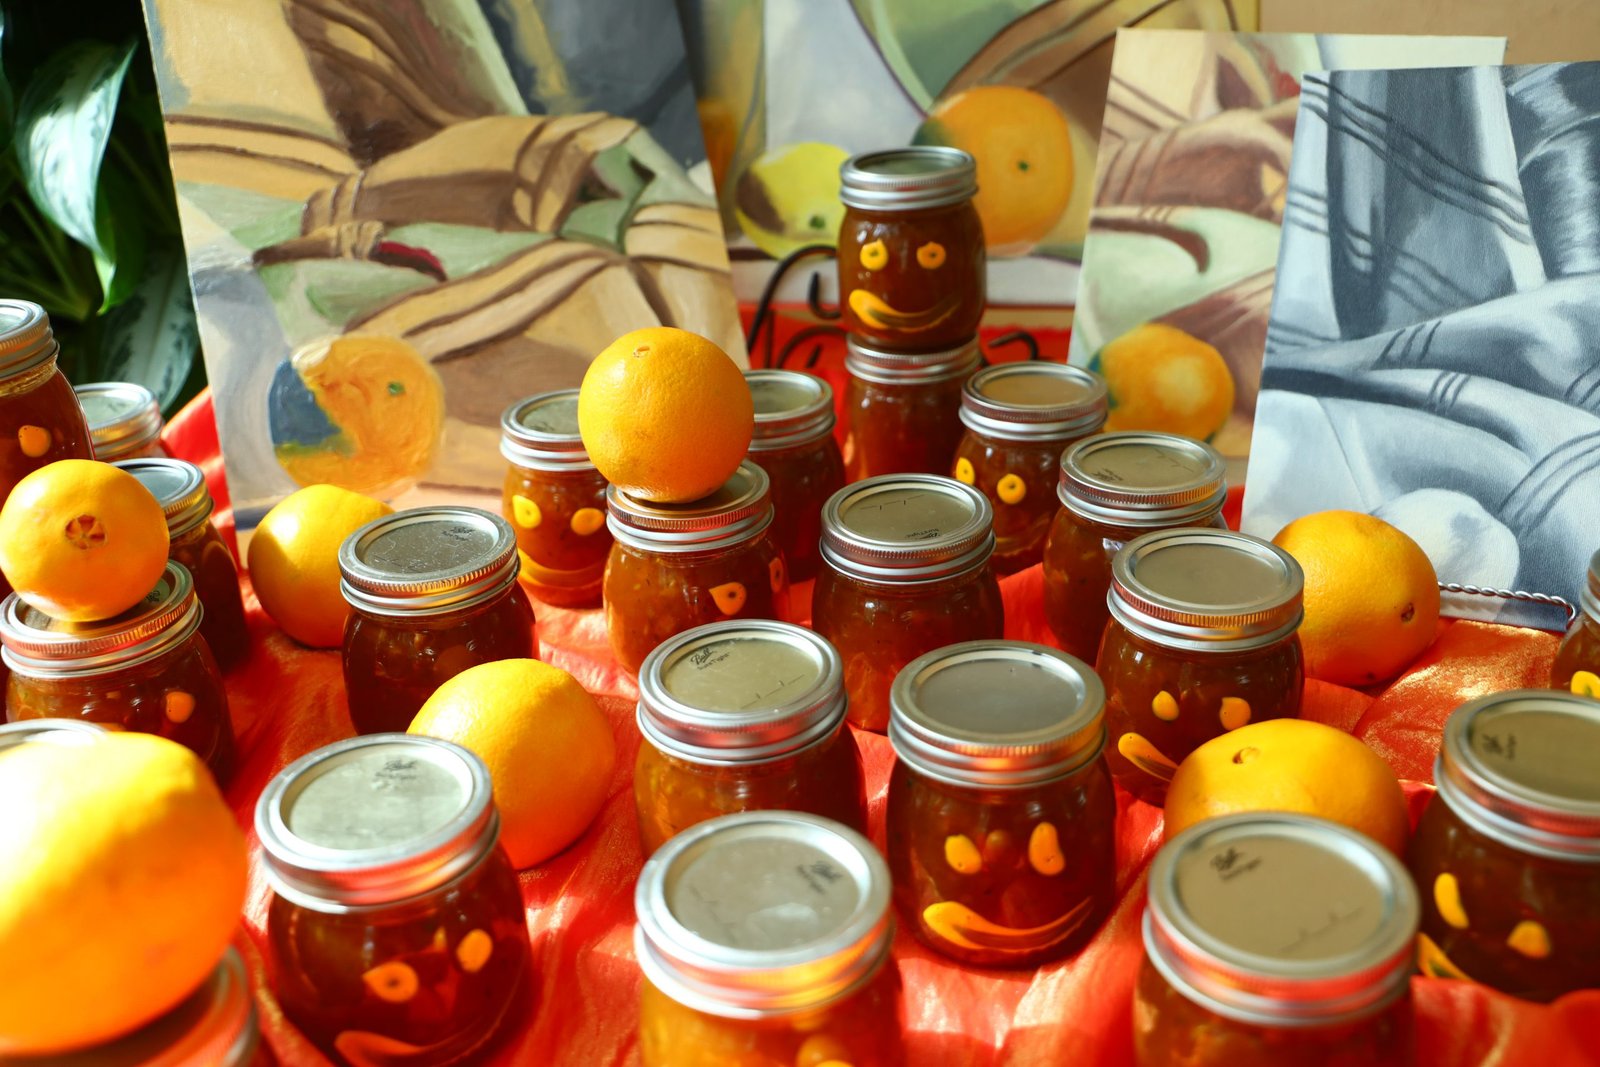
Based On My Love Of Old Florida

————————————————————————-
I ALSO CREATED,
One HOT Jezebel for Breakfast (Sauce, That is.)

AND,
Click Here For: More of Julie’s Jezebel Recipes to Enjoy
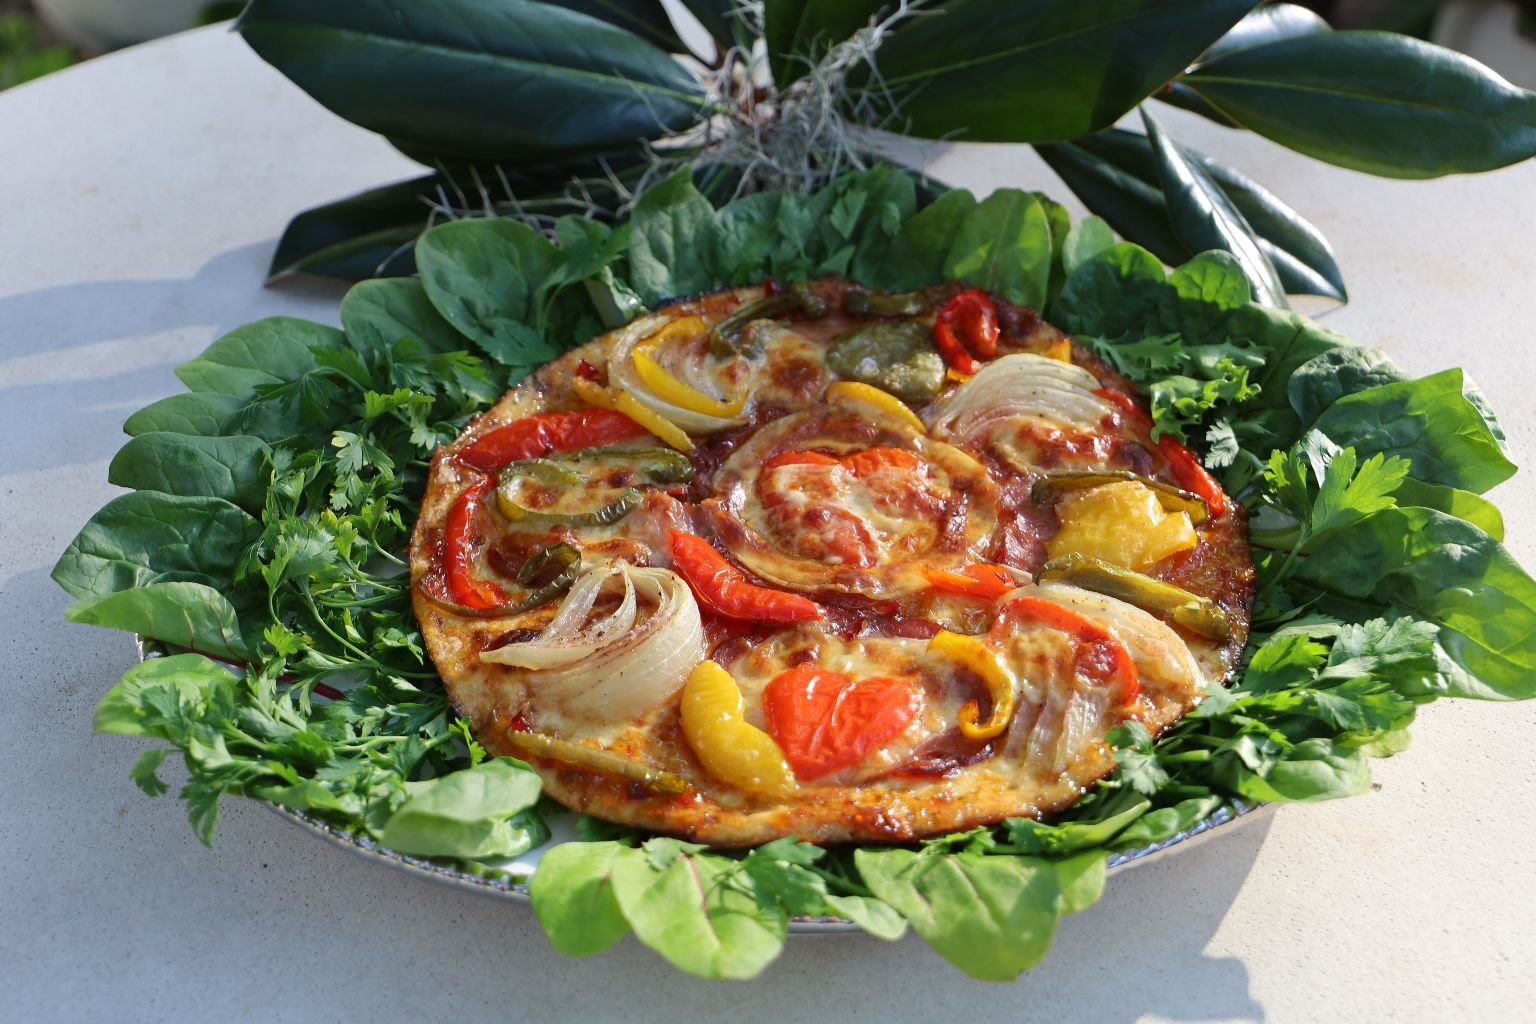
I Needed An Additional Page To Place Some Extra Jezebel Recipes
————————————————————————-
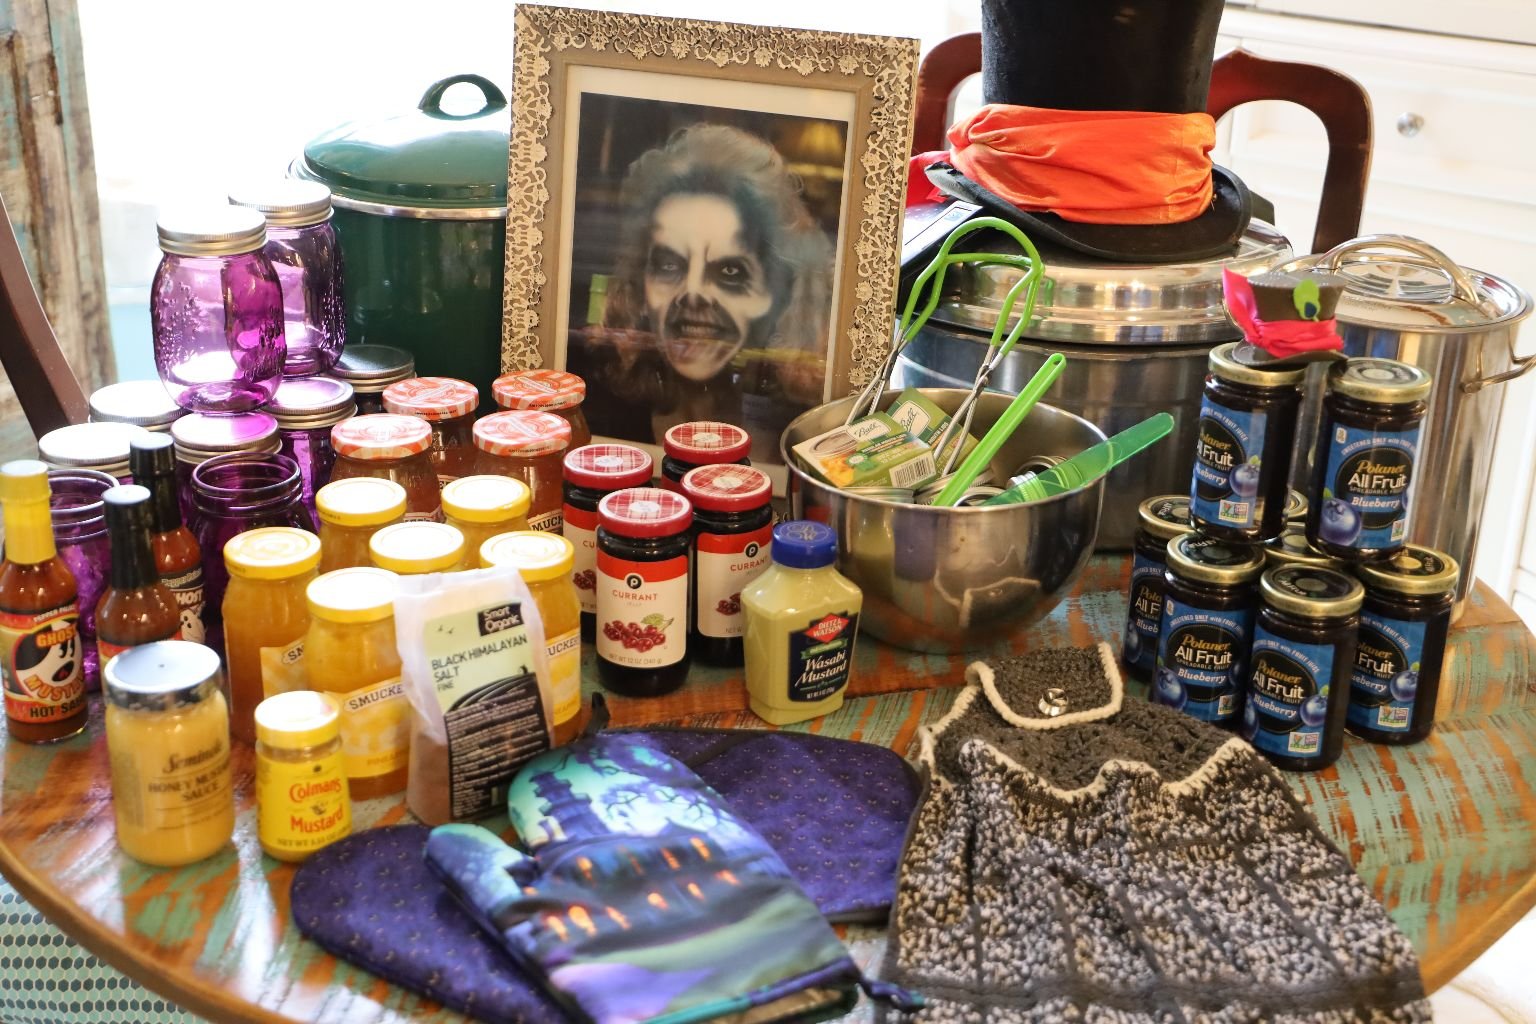
I Even Created A Halloween Jezebel:
A Haunted Jezebel, Together With A Haunted Mansion Halloween Repast

———————————————————————
AND,
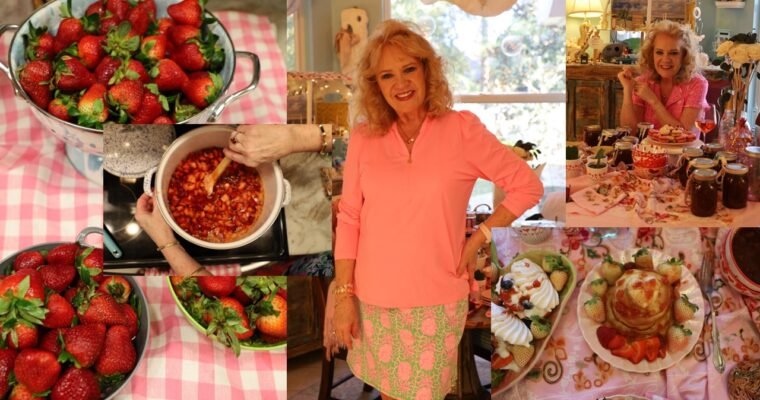
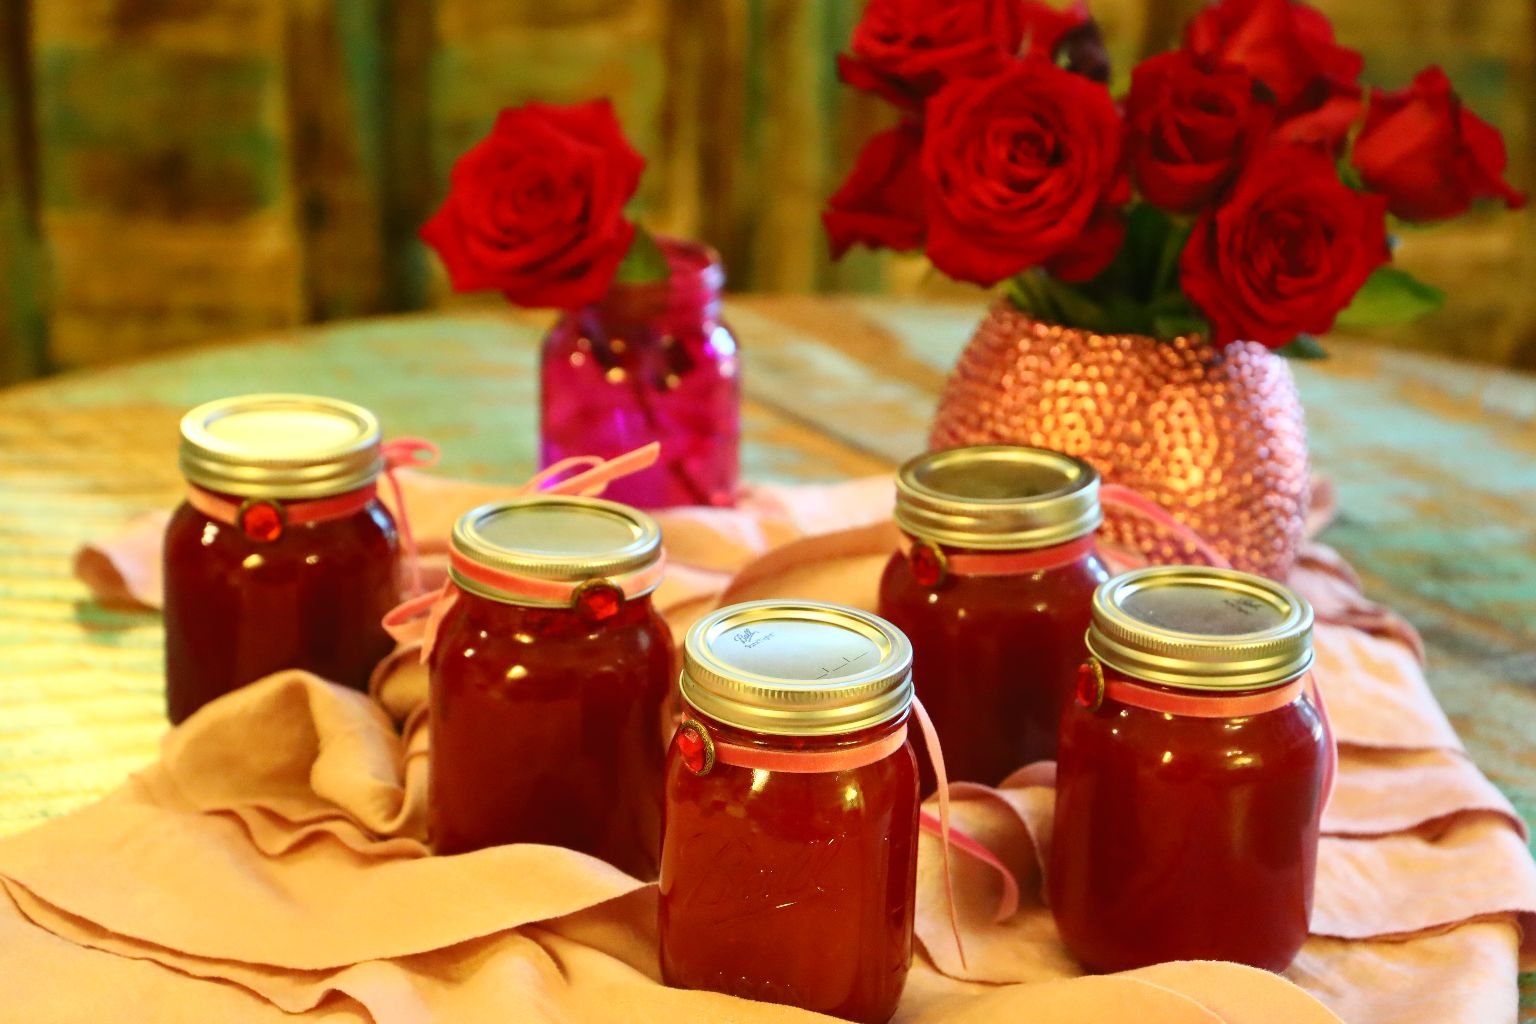
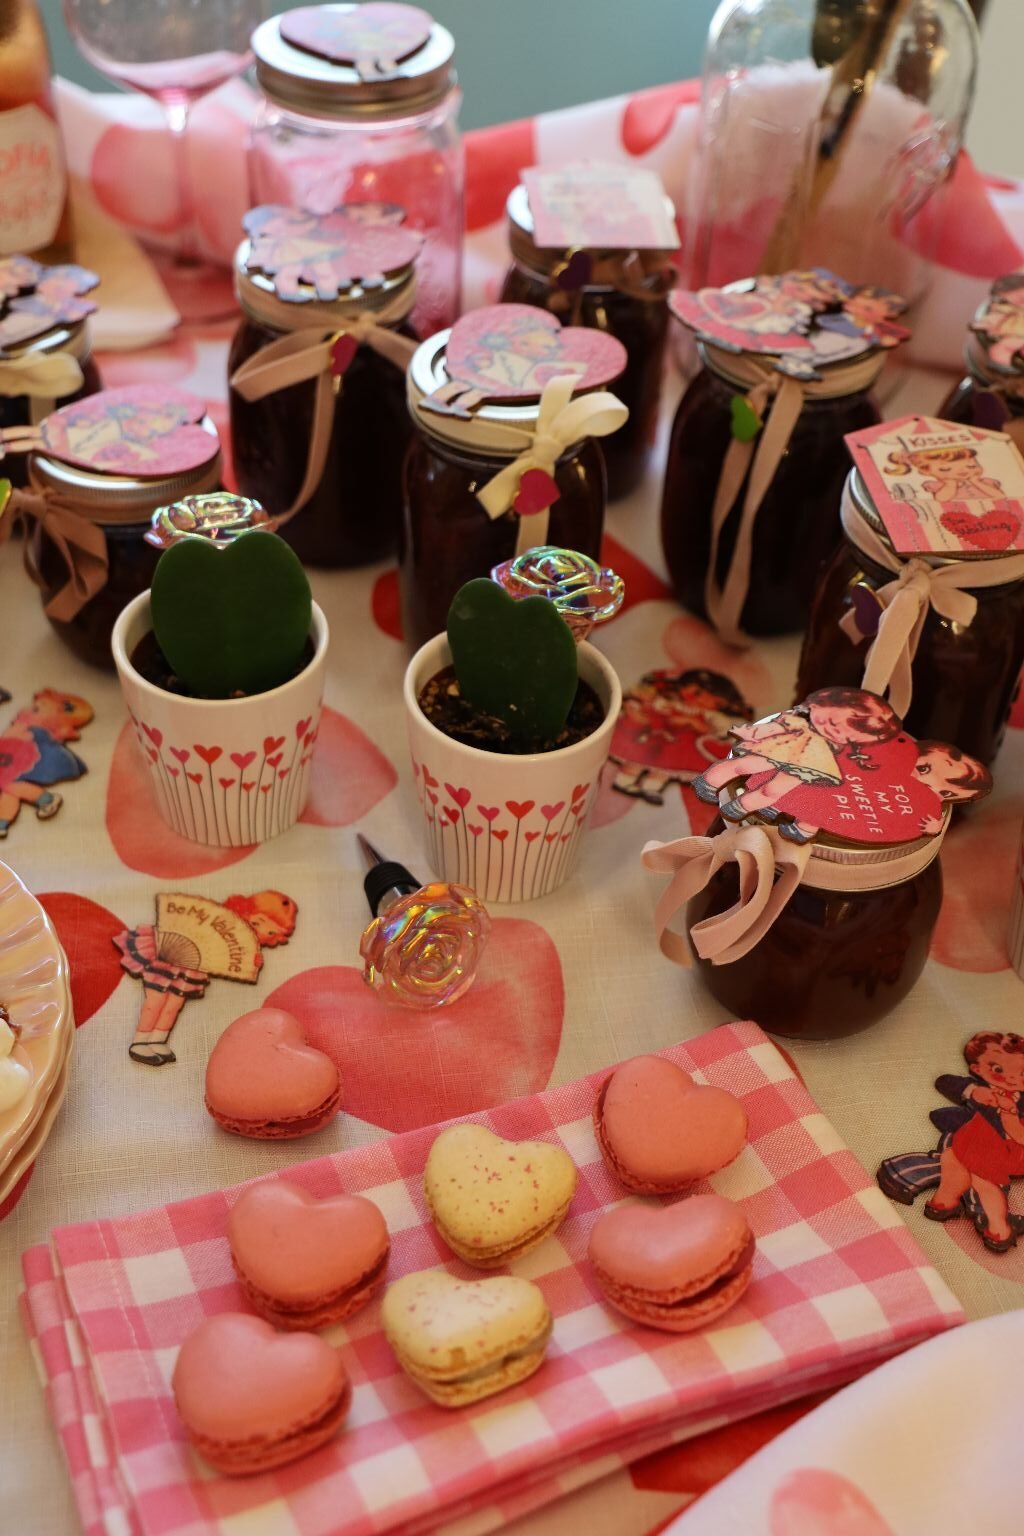
I LOVE Valentine’s Day!
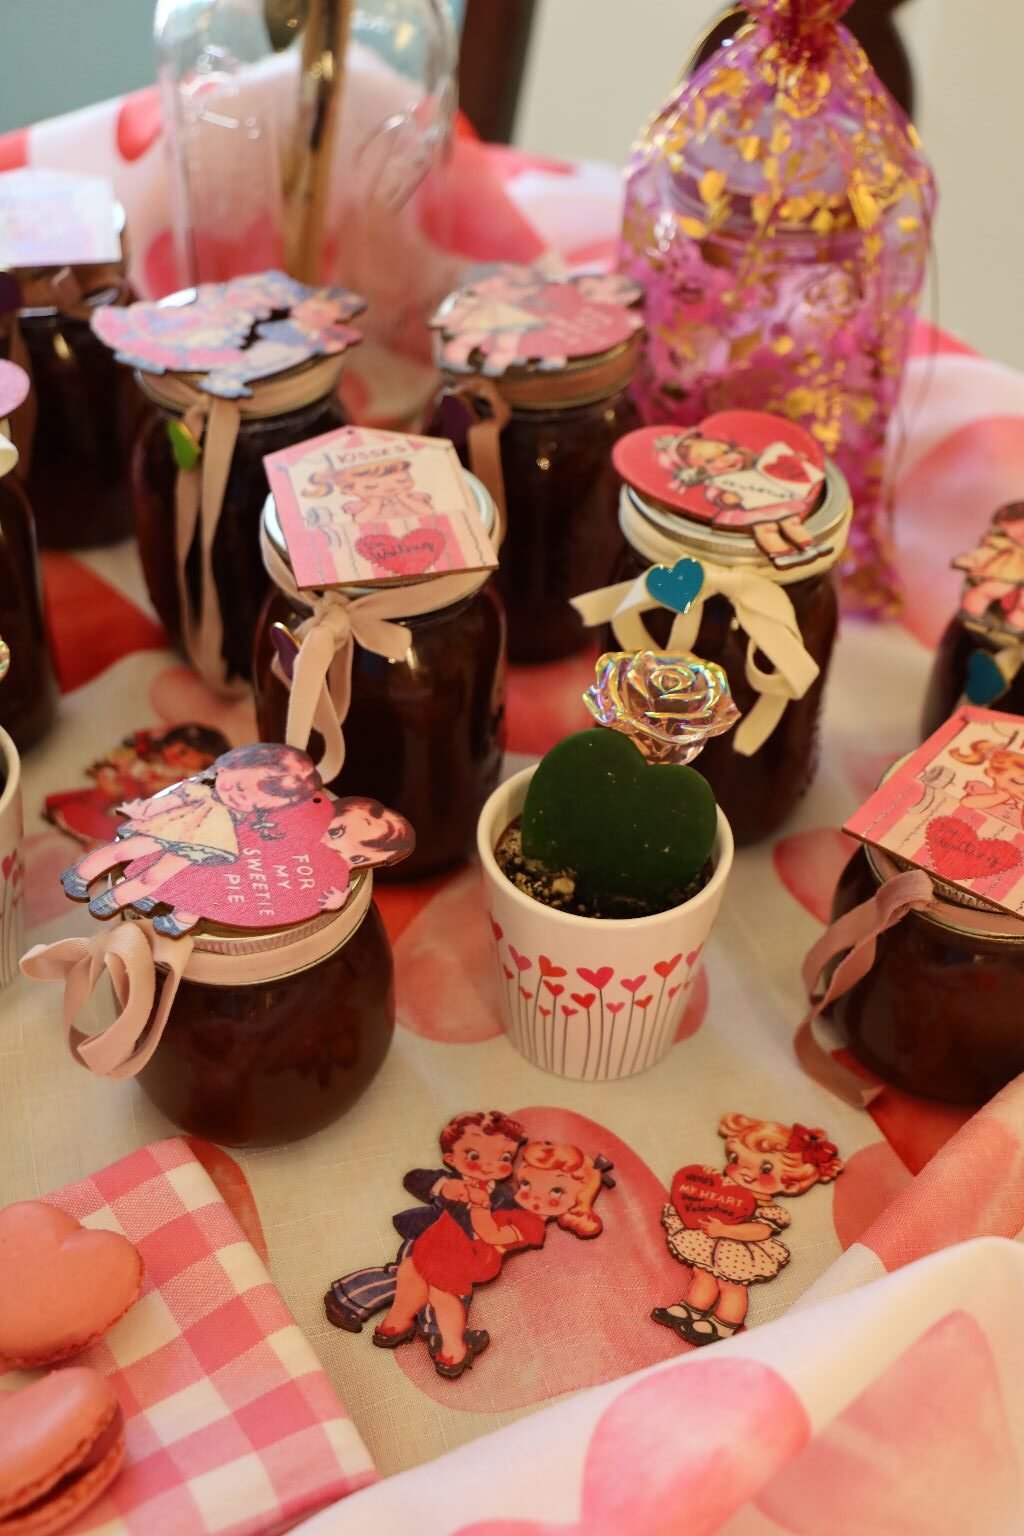
————————————————————————————–
ALSO,
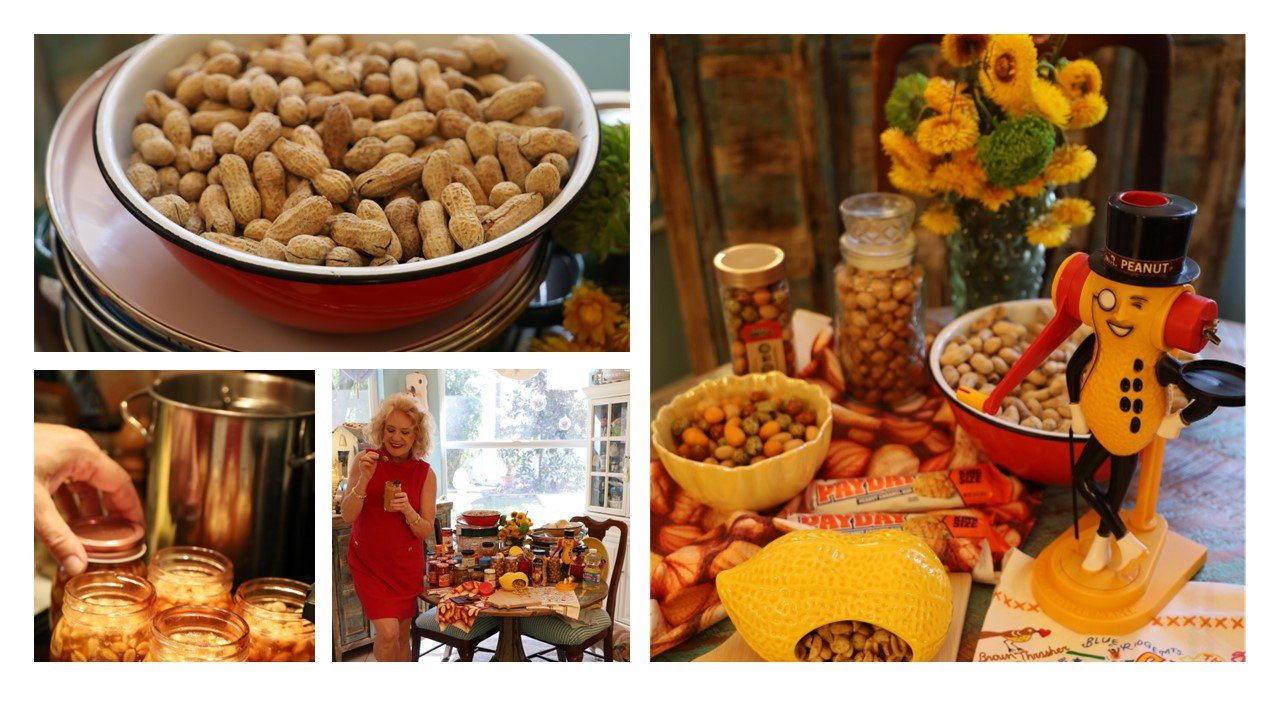
Based On My Home State Of Georgia
——————————————————————————
AND,
A Nancy Drew Mystery ._ _ _ /./_ _.././_… ././. _.. Sauce
(Because I love Nancy Drew and Morse Code)

Click Here For: A Nancy Drew Mystery ._ _ _ /./_ _.././_… ././. _..Sauce
I would like to add that Nancy Drew was no ._ _ _ /./_ _.././_… ././. _.. .
I cannot even bring myself to say the word ._ _ _ /./_ _.././_… ././. _.. beside her name, which is why I got the idea to put the name in Morse Code.
The reason I created a ._ _ _ /./_ _.././_… ././. _.. sauce for Nancy Drew is because I wanted to create some sort of sauce in her honor. She was very worldly. She traveled the world with her father Caron Drew, and her friends Bess and George. Nancy knew people from all over the world and also knew and respected their cultures. She was mature beyond her young years. She had encountered many a villain, been knocked unconscious, and had to use her wits about her to escape.
—————————————————————————————

I Love Every Single One Of You!
Julie Jezebel
—————————————————————
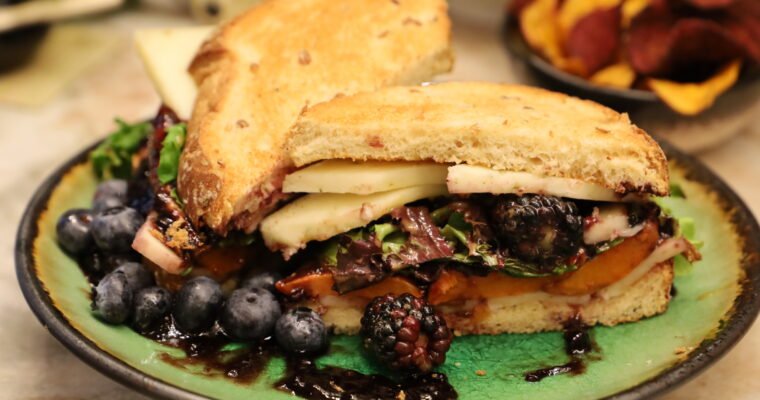
Yet Another Sandwich Page! WELCOME We eat a lot of sandwiches. Although we have sandwiches all over our website, whether they be interspersed with other recipe pages, or having their own website pages, here is yet another one I created. WE LOVE …
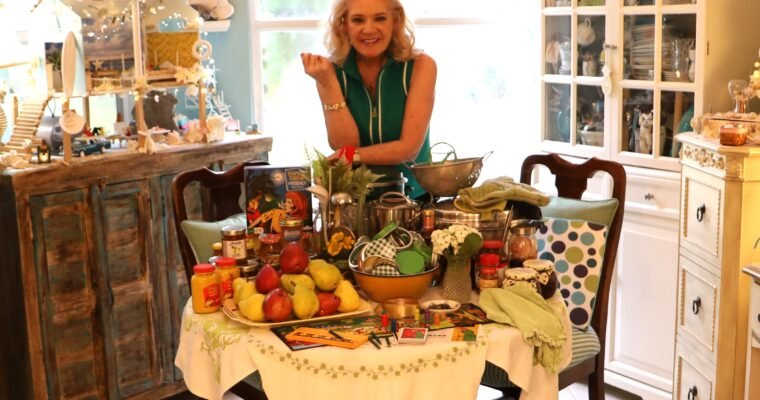
A Nancy Drew Mystery ._ _ _ /./_ _.././_… ././. _.. Sauce (Because I love Nancy Drew and Morse Code) I would like to say that Nancy Drew was no ._ _ _ /./_ _.././_… ././. _.. . I cannot even bring myself …


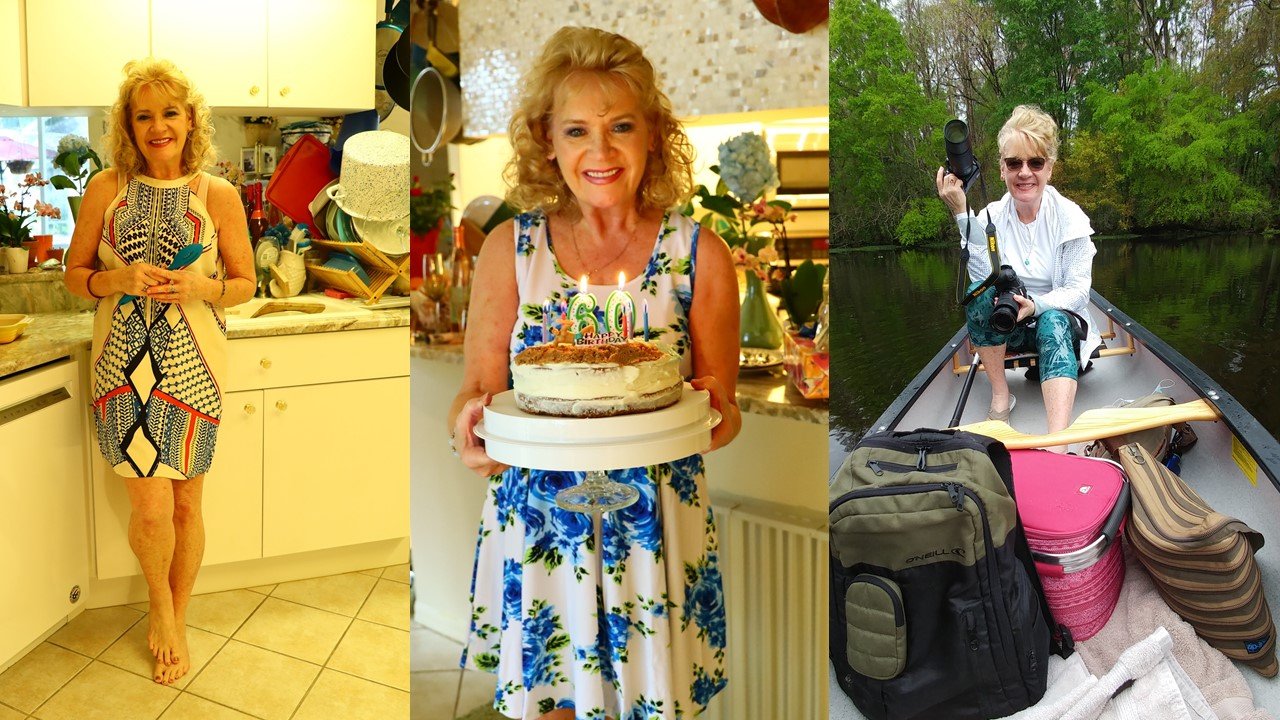
On February 13th., 2026 I Turned 65

Gordon and I ‘Out and About’ on My Birthday





65 Feels Pretty Good
——————————————————————————————
When I Turned 60 I Started this Website Page:
Sixty’s, (Sensational or Surviving?), We’ll See, Right?
(If you would like to read, just click on the link above.)
I didn’t know what 60 would be like? Which is why I started the above website page.
I assumed that I would be blogging about any changes in my body or lifestyle. Perhaps the ‘ups and downs’ of ageing? My intention was that we would explore it together.
I am a very open person. Sometimes to my detriment. But, that is who I am, and I am not going to fight against that.
Now that I am 65, I have been in my 60’s for 5 years now. I have been getting to know the ageing me and I am fine with it.
Yes, I have put on some weight in the middle. That is where my pounds accumulate anyway. They always have.
However, there is just something empowering that comes with ageing that I didn’t know in my 50’s, or 40’s, or 30’s, etc.
—————————————————————————————–
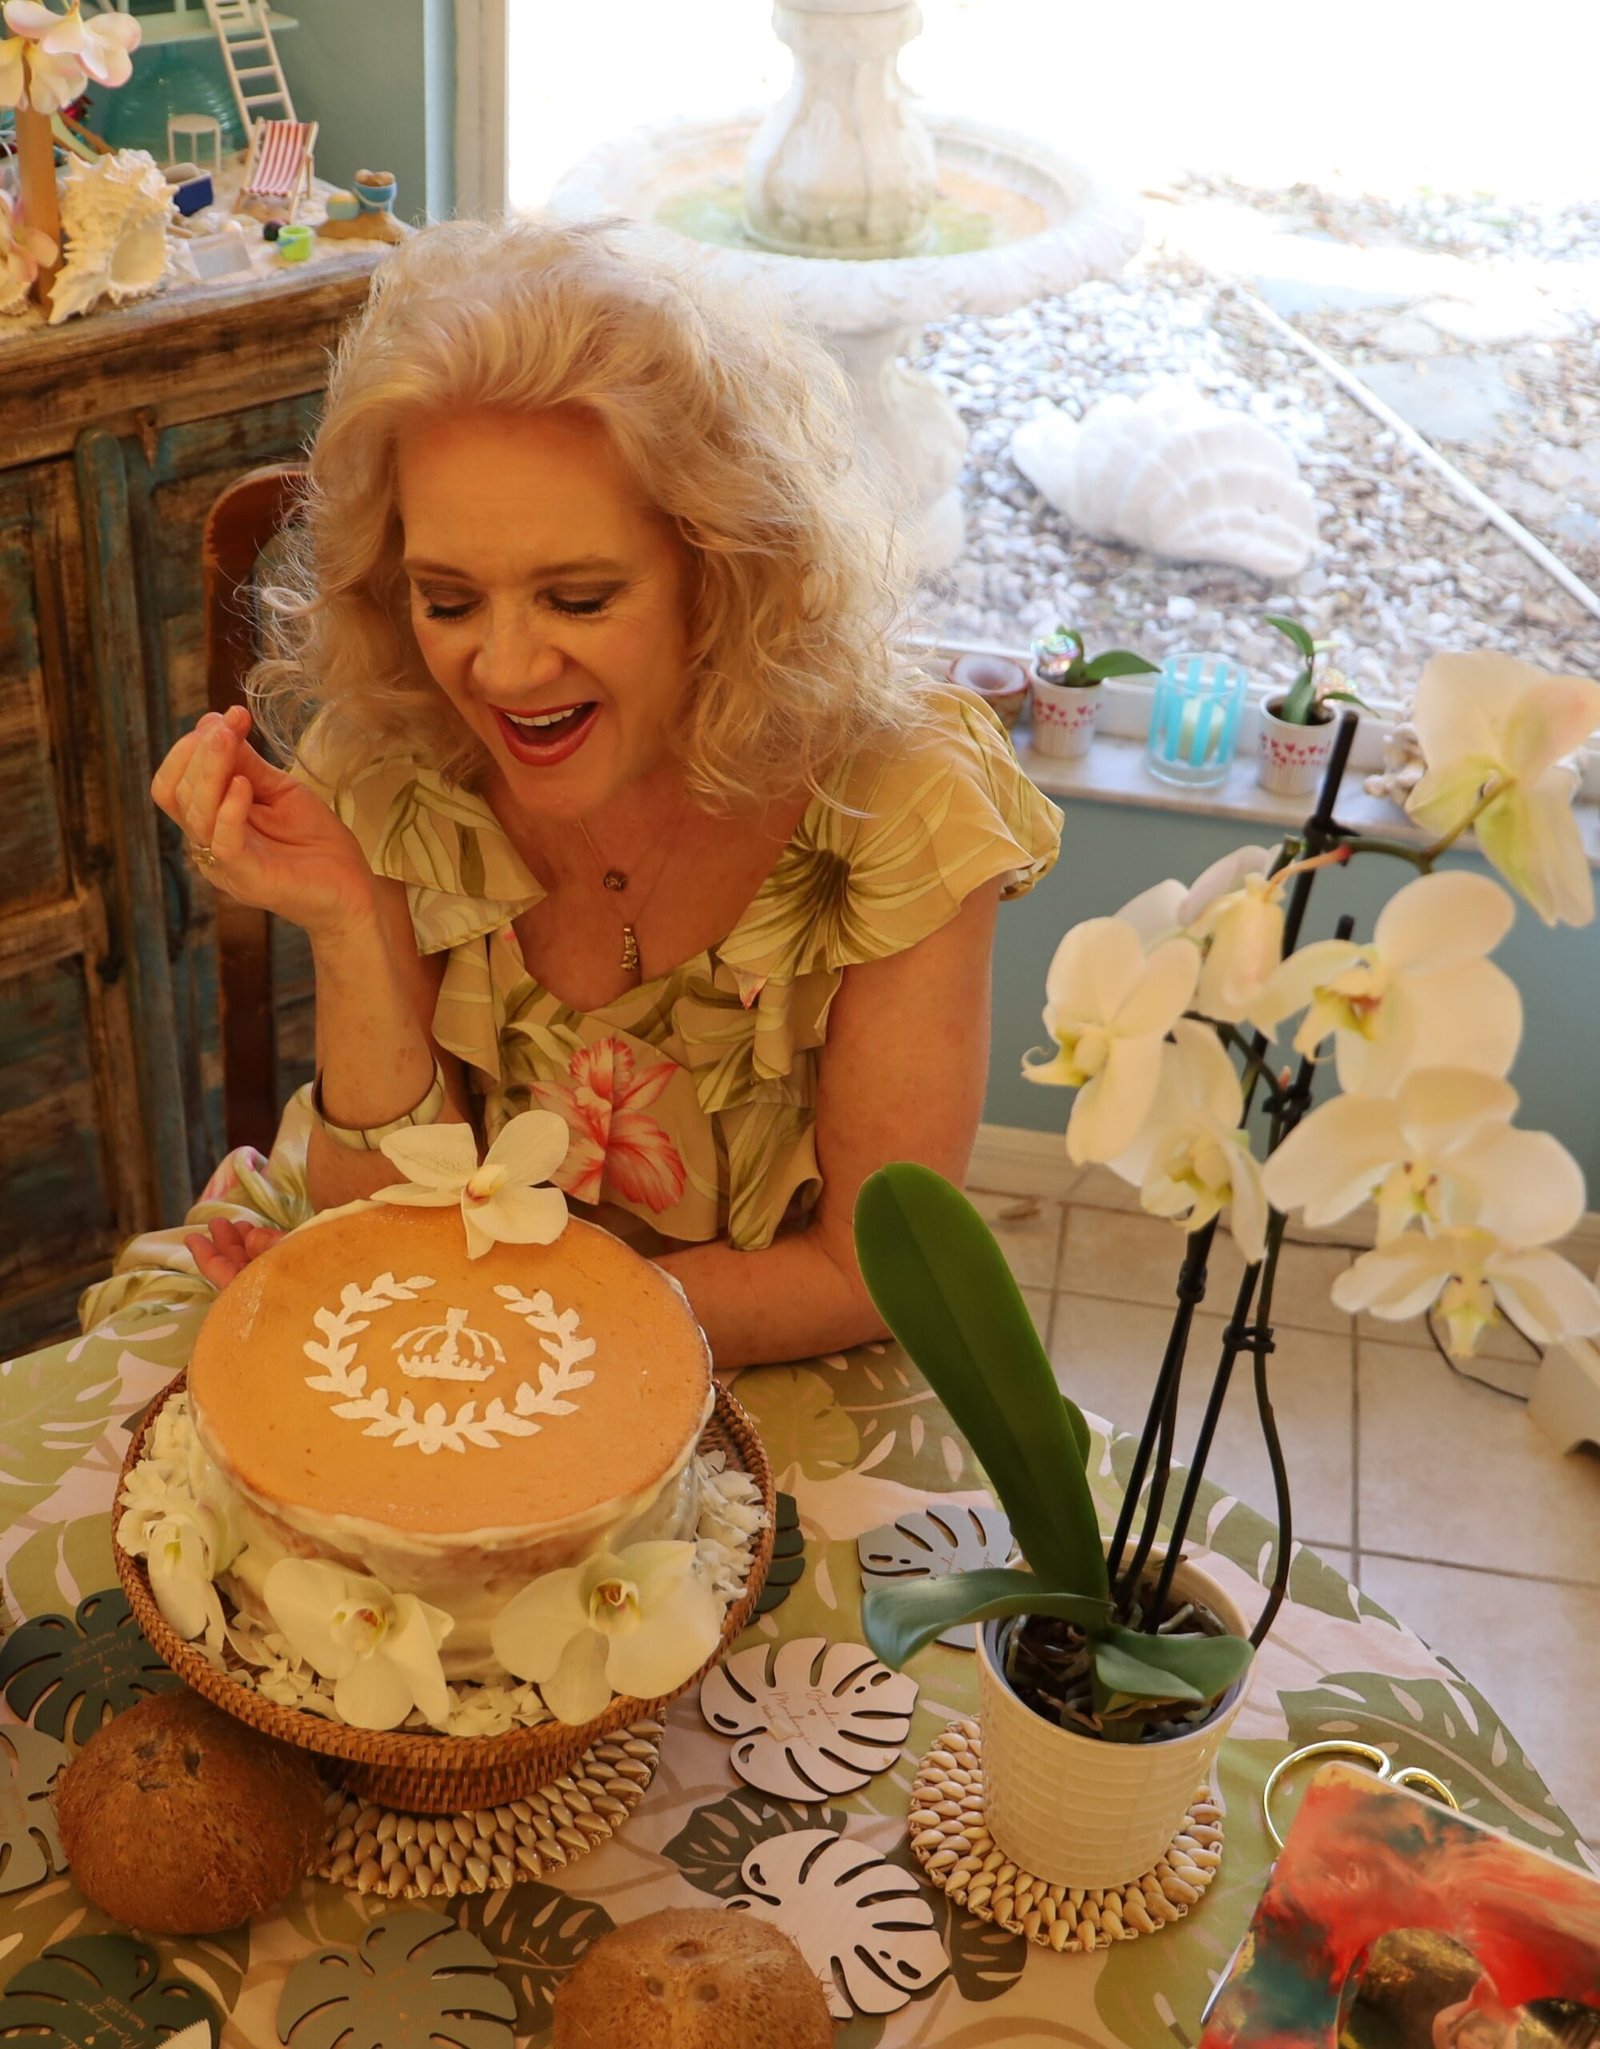
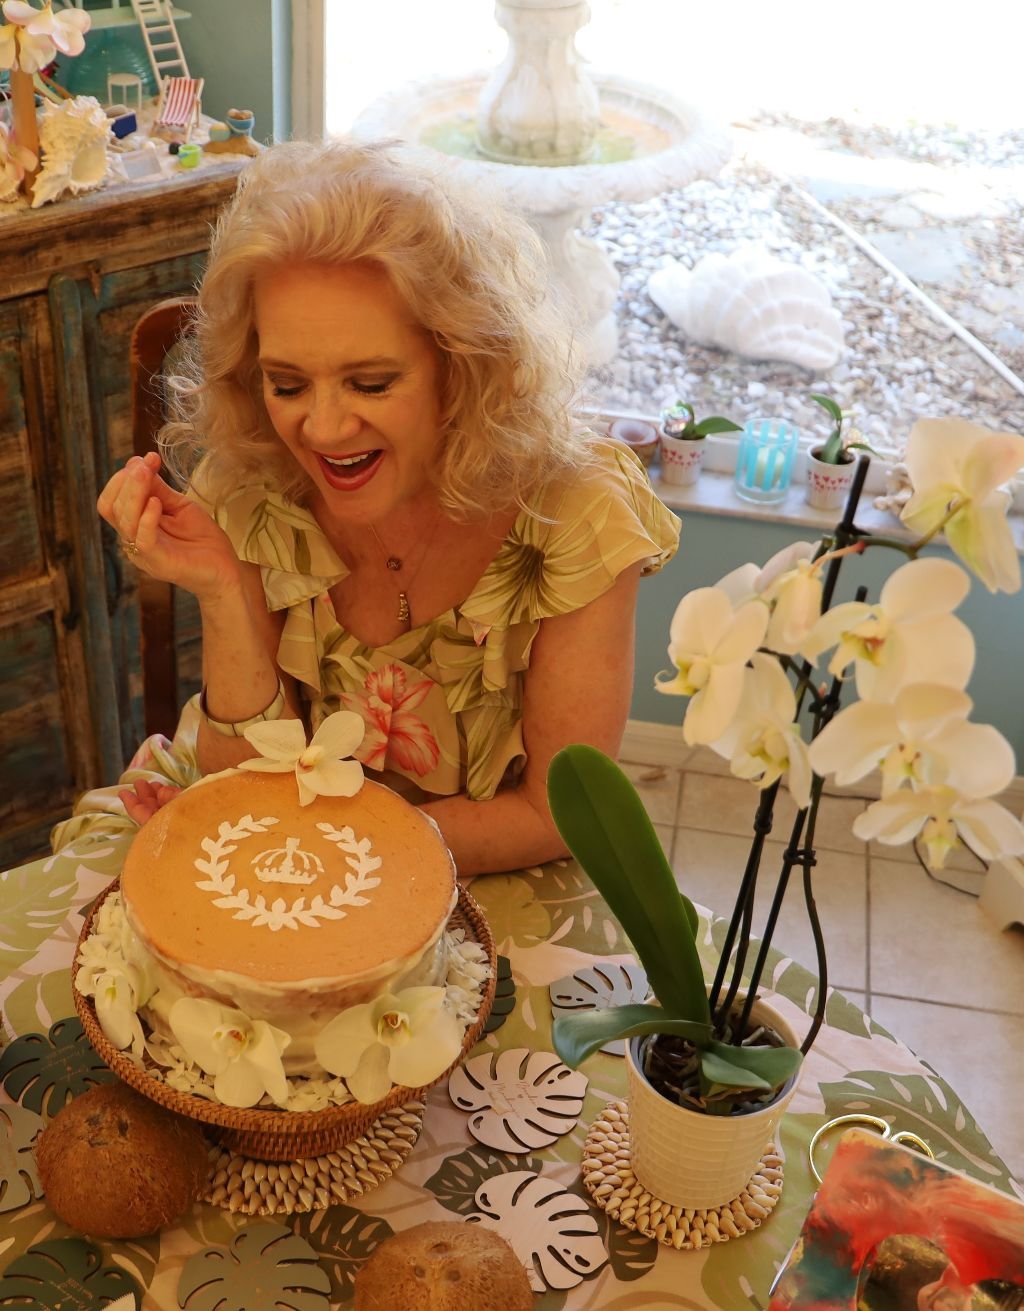
Turning 65
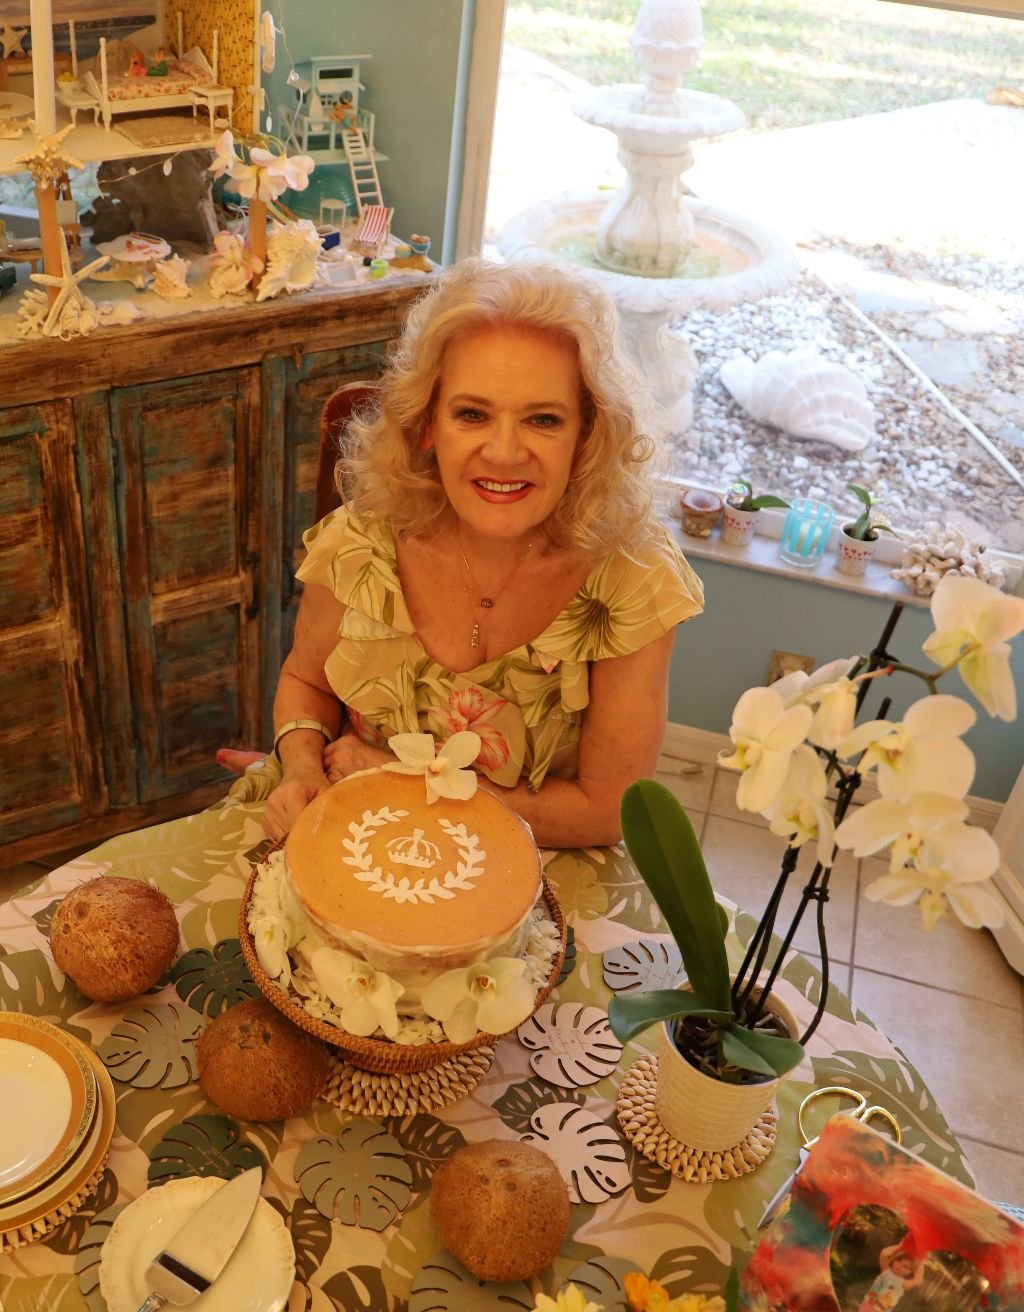
As I like to say, Uglier on the outside, Happier on the inside.
I would not go back if I were given the chance. I feel as if I have reached milestones that are important. As in evolving into the person I am destined to be. I have earned the right to be 65! Ageing is a privilege.
If I could give my younger self a heads up, I would not!
I needed to go through all that I did to get to here. I would not have made it if I did warn my younger self. I have learned that the damage that was done to me by certain people in my life never had anything to do with me. It was their damage they were inflicting on me. I used to regret being nice or kind to certain people. I have however learned that I should never be upset about doing the right thing. They are the ones that should be upset that they took advantage of my kindness, and loyalty.
I don’t know how much time I have left? Oh, as far as I know I am fine where my health is concerned. I am just referring to life in general.
None of us really know the answers to that? I always figured that I would die young. No idea why? I just always thought so. But, before I am gone, I still have many things left that I want to do. I’ll go when I’m ready. I’m stubborn that way. 🙂 But for now, my granddaughter needs me. My daughter and son-in-law need me, my husband needs me, and I need me too! 🙂
So, Here Is 65 and Beyond, Finger’s Crossed!
Julie
——————————————————————————————
BLOG ENTRIES START HERE
————————————————————————–
Shopping At The Asian Supermarket
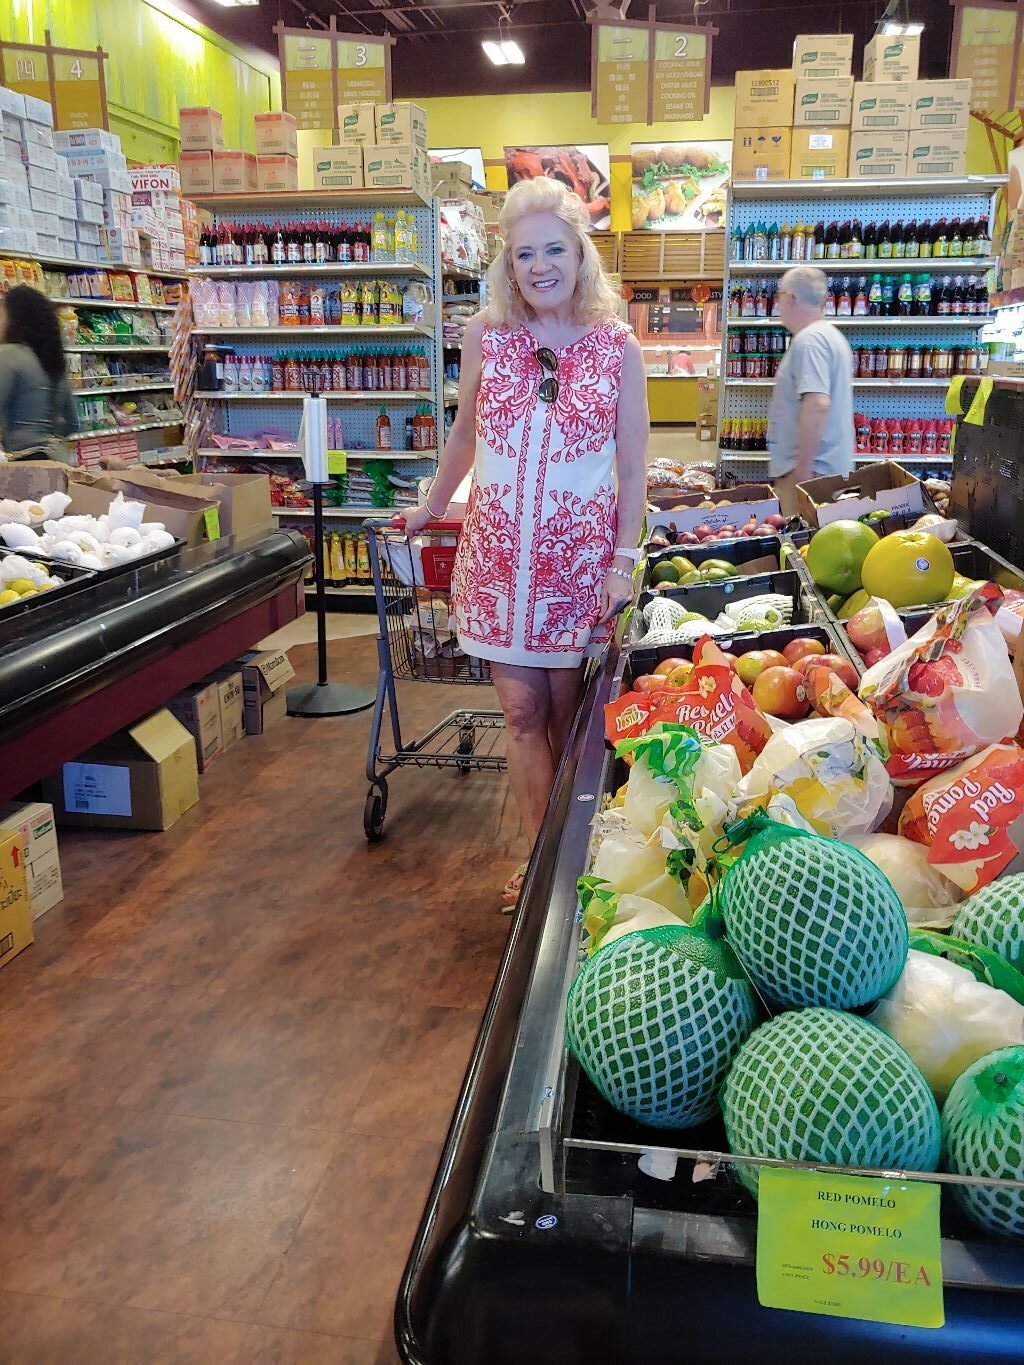
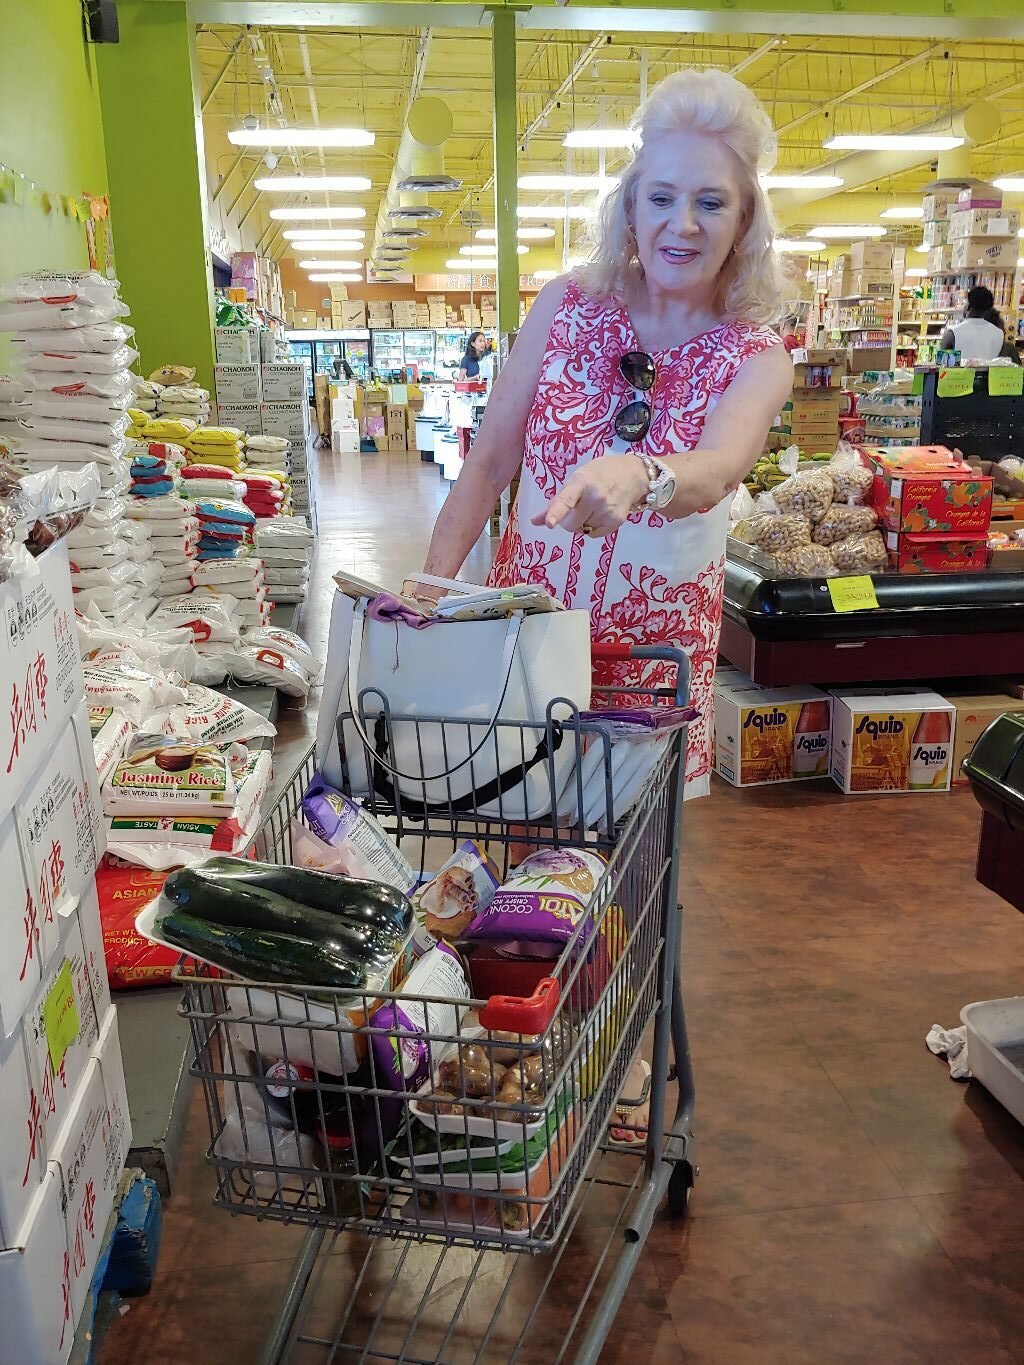
Shopping And Creating Recipes Does Make Me Happy
——————————————————————————————-
September 7, 2026


—————————————————————————————–
July 12, 2026
Constantly Chasing Sleep

Favorite Pajamas
I can remember reading decades ago how Betty White only got about 3 hours of sleep a night. I couldn’t believe that she could function on that minimal amount of sleep. Then I read around the same time frame that Martha Stewart would be up at 3:00 a.m. with a flashlight out in her garden pulling up weeds. I was so shocked that these two successful women could even function on such a minimal amount of sleep? Well, now that I am 65, I am getting not as much sleep as I need, and not being able to function without a good night’s sleep. I cannot relate. I need my sleep!
My lifestyle is that I keep my Granddaughter anywhere from 2 to 4 days a week. Either Veronica or Brian will bring her over in the early morning hours at either 5:30 a.m. or 5:45 – 6:00 a.m. I am always up by the time they bring her over. I set my alarm clock for 4:00 a.m. in the morning. I shower and I’m dressed and ready by the time Isabelle arrives.
Even though she just turned 3, we still give her a bottle in the mornings. Even though that is a bit young for her, you have to understand that her sleep has been interrupted. She needs to get back to sleep. That warm milk helps her. Whether we deliver it in a baby bottle, or a water bottle.
That also benefits me! I need to get back to sleep in the mornings myself. It is difficult for me to function without a good night’s sleep. I love a good extra hour or two in those early morning hours. That way I get to sleep in to around 8:00 or 8:30, or 9:00 a.m. in the mornings. Being her care giver, I need the extra hours of sleep in order to function for the day. After all, her parents don’t pick her up until around 4:30 – 5:00 p.m. on some days, and as early as 9:30 – 11:00 a.m., on other days. Some of those days are long!
I wanted to say that I think that we justify the early morning bottle with the understanding that there are women out there that continue to breast feed into the child’s 5th. birthday.
That is not our intention. We are just delivering the warm milk to Isabelle in a vessel that will not leak into the crib/bed, and will help her to go back to sleep, so that I can also get some more much needed sleep myself. That’s where my heating pad comes in. I do so love that warmth and it makes me drowsy, helping me to go back to sleep.
NOTE! It is easier to go to sleep once you have taken a nice warm shower, day or night. Which is usually why I tend to go back to sleep more easily after I have had my 4:00 a.m. shower on those mornings I have Isabelle. Nice shower, and a heating pad work for me!
————————————————————————————————————–
I Also Think That I Suffer From Anxiety
On those days that I have to leave the house, I tend to have a hard time sleeping the night before. That is something new to me. It’s really just been since I’ve been in my 60’s that I’ve had that problem. There is just this anxiousness and dread that I have where I am up in the middle of the night and I can’t shut my brain off in order to relax and go to sleep.
I think some of the problem it is that America is a dangerous country to live in. I don’t feel safe when I leave the house. Too many guns, and too many hot-heads that own the guns. Also, just not enough respect towards our fellow human beings. I think a lot of people would just rather shoot you than deal with you. Same with driving. Even though I do the speed limit, I am never going fast enough for some people. I think they would rather run me off the road than have to drive behind me. Which is why I tend to make appointments or run errands on those hours where there isn’t a lot of traffic. I also only shop in business’s where I feel safe in their parking lots. Now that I am 65 and ageing, I am becoming more of a target to those that take advantage of that. Always be aware of your surroundings. Quit looking at your phones and pay attention. It just might save your life.
———————————————————————————-
Afternoon Naps And Back Pain
Sometimes I do take an afternoon nap. Or, I might just lay down on the couch among my comfy blankety covers and pillows, turn the T.V. volume down low, close my eyes, and just rest and relax. If sleep follows, wonderful! If not, then that’s o.k. too because I am resting my body and getting off my back. Walking on these cement floors here in Florida can ruin your lower back. When we were living in Hawaii I developed back pains from every surface in Hawaii being cement. The reasoning behind all the cement is hurricane’s. Then when we moved to Maryland, where everything was this nice wooden surface, my back pain went away. Then we move back to Florida where everything has a cement flooring, and here come the back pains again.
I do wear indoor shoes, mainly smooshy, mooshy Flip Flops. (Or Slippers as they say in Hawaii.) The mooshy kind have a nice comfy give that allows your foot to be more comfortable. The downside is that sometimes they are easy to trip in while wearing. Something I will need to be aware of as I age.
The point I was trying to make here is that by just resting and getting off my back I feel this rejuvenation that allows me to get through the rest of the day on those sleepy tired days I sometimes have. By laying down, place a pillow underneath your pelvis just to elevate it up a bit. For me the pain goes away immediately just by doing that. Try it! See for yourself.
Also, take an Advil if your back starts to hurt, OR even before it starts to hurt! When I am about to take on a big job I just go ahead and take one. It will prevent the swelling in my lower back which brings on pain. It’s that inflammation you have to worry about.
I also don’t take any of those energy drinks. Coffee is the strongest thing that I use to pep up.
————————————————————————————-
About 2 Years Ago I Moved Into The Gust Bathroom
(For Bathing And Skincare)
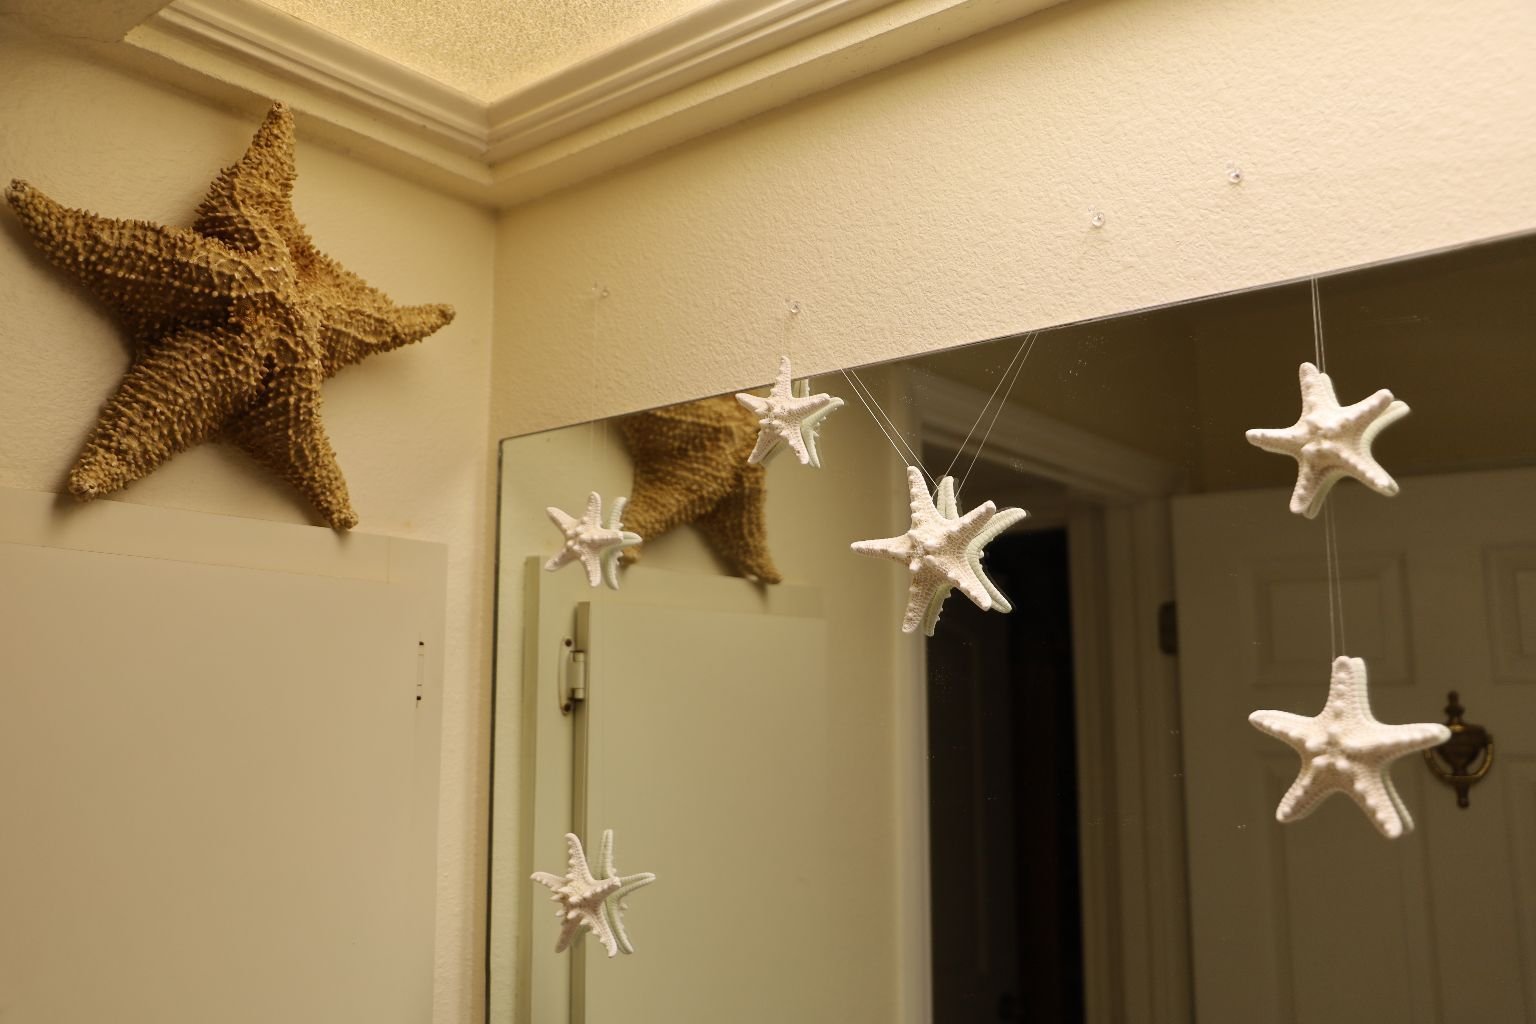
It’s been a few years but there was a time, a very long time, when my next door neighbor started stalking and harassing me.
I do document it here:
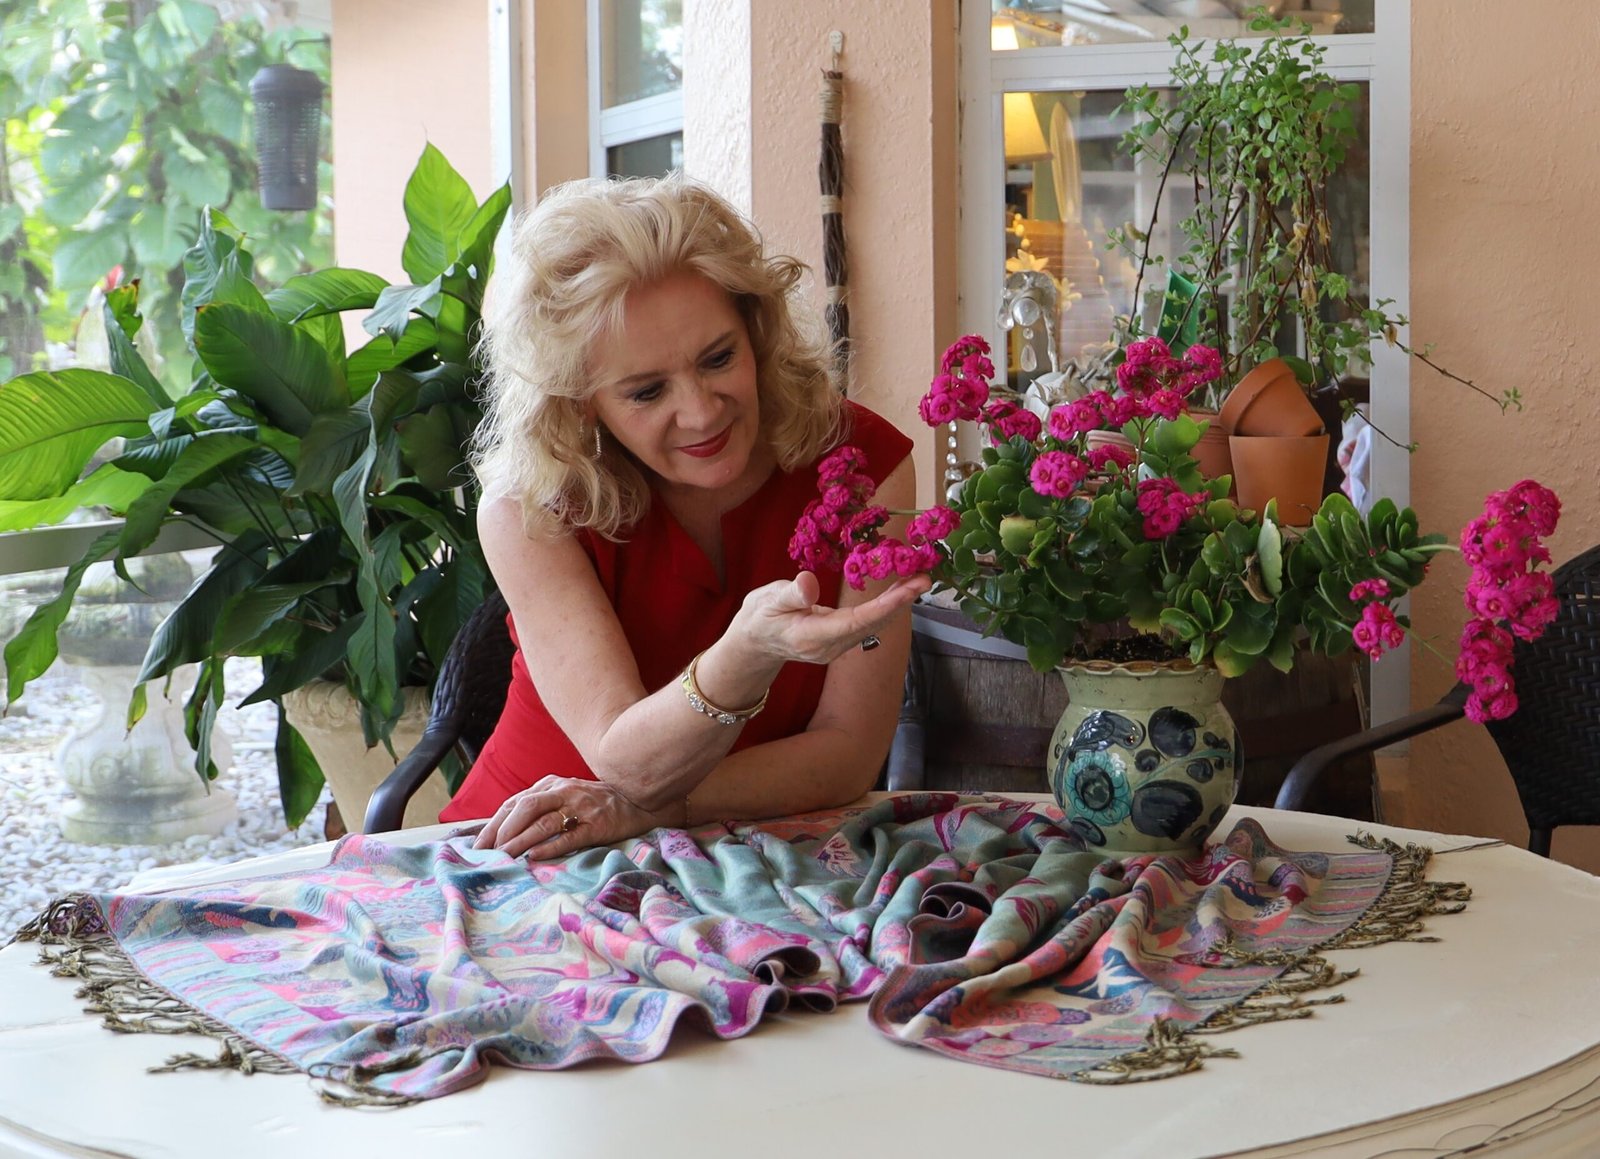
Click Here For: My Log Blog Documenting Stalking And Harassment From My Neighbor
—————————————————————————–
Gordon was working overseas and for some reason my hot-headed neighbor next door to us starting throwing things at our house at 4:00 a.m. to upset me. It was always when I was in the bathroom or in our bedroom. Regardless, I no longer felt safe on that side of our house, so I started bathing in the guest bathroom. At first I just dragged a few things into the guest bathroom, not bothering to really fix it up and make it nice. But, I have since made it nice and I’m glad that I made that switch. I feel a lot safer. I also feel like I have my very own bathroom just for me to enjoy. Yes, it’s smaller. Yes, it’s not as nice. But, I like it!
I still do my hair and make-up in our master bathroom, but I am never naked in there. I haven’t felt comfortable changing clothes or using that bathroom any more. That’s what abuse does to you.
———————————————————————-
Just Some Skincare
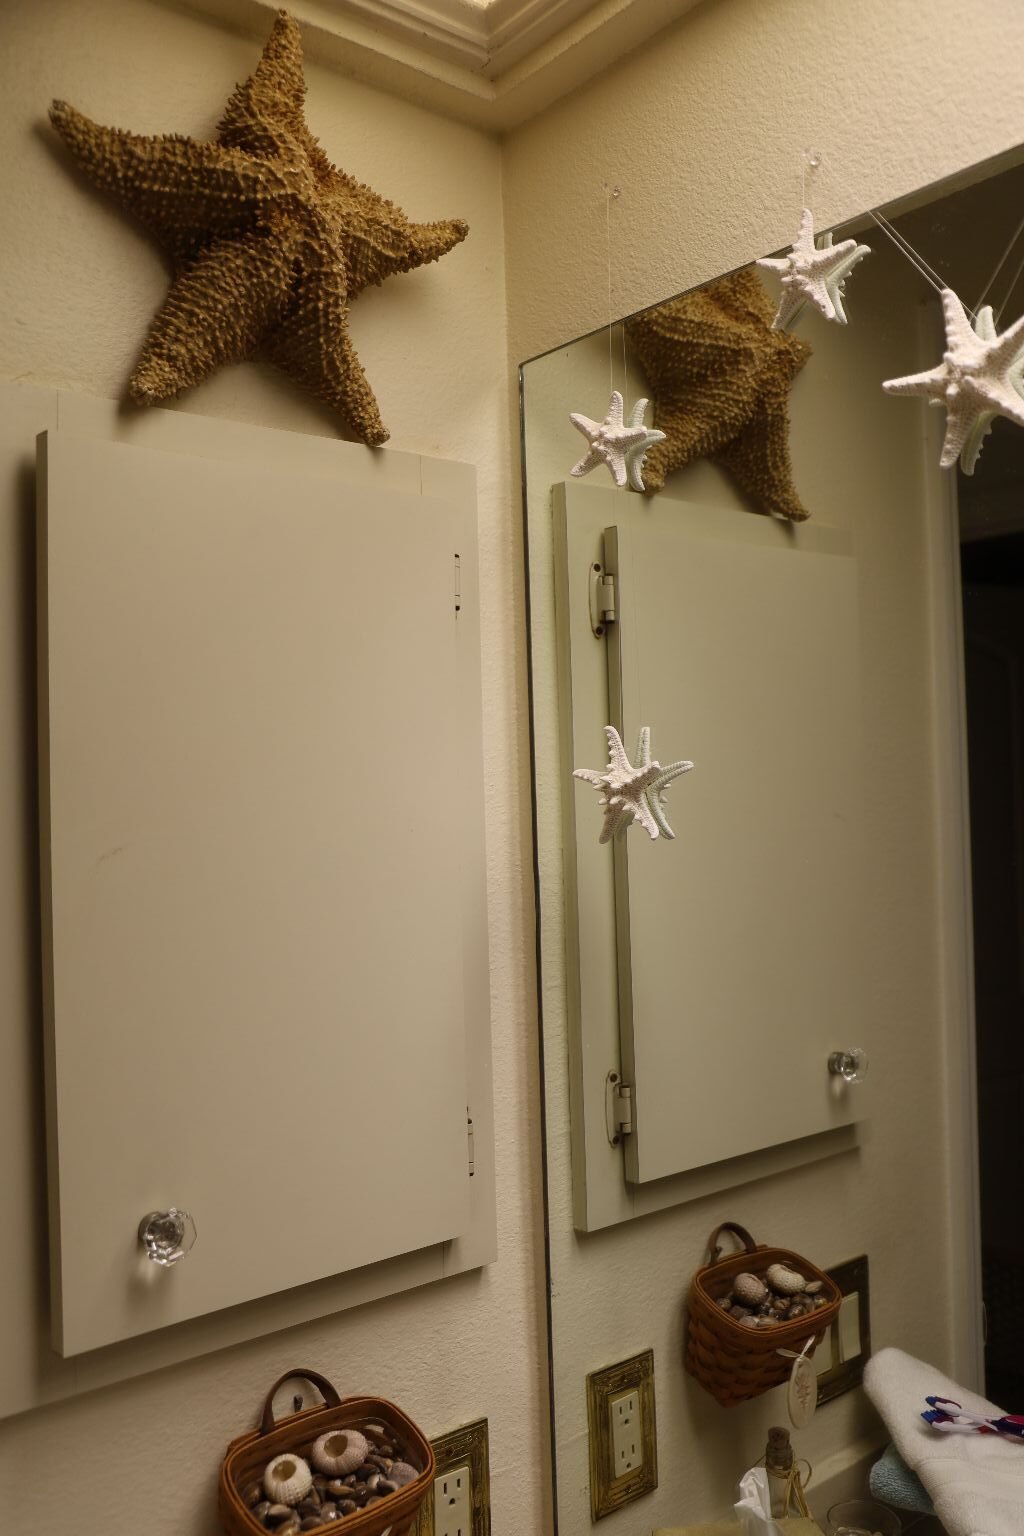
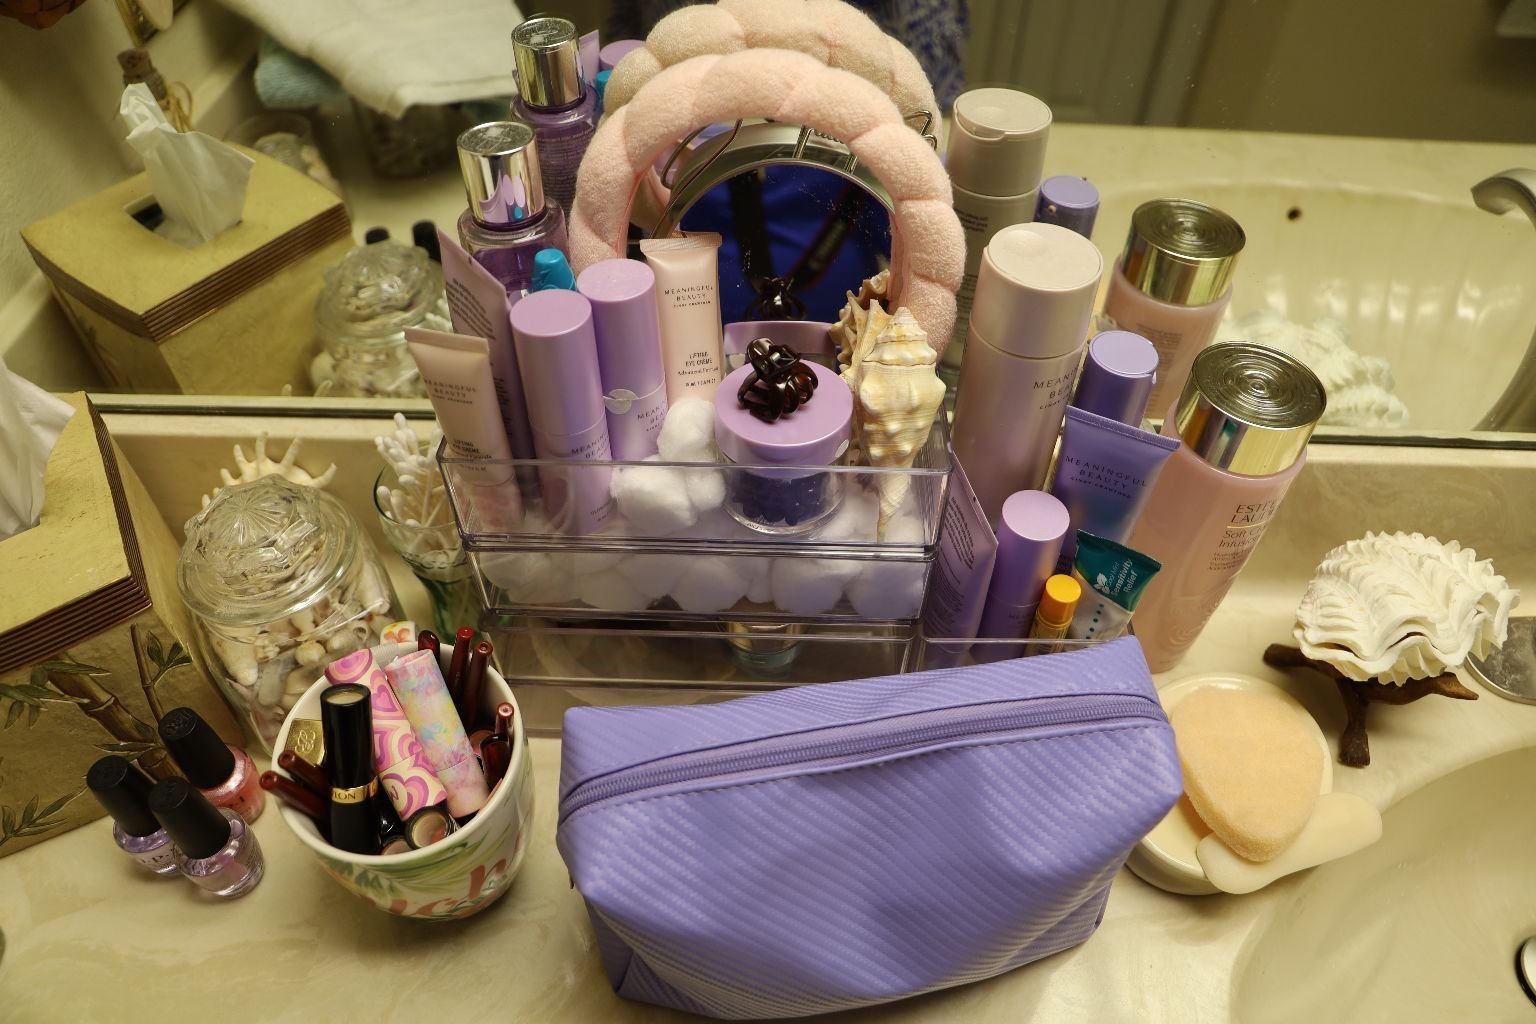
I Did Not Buy Anything New Here
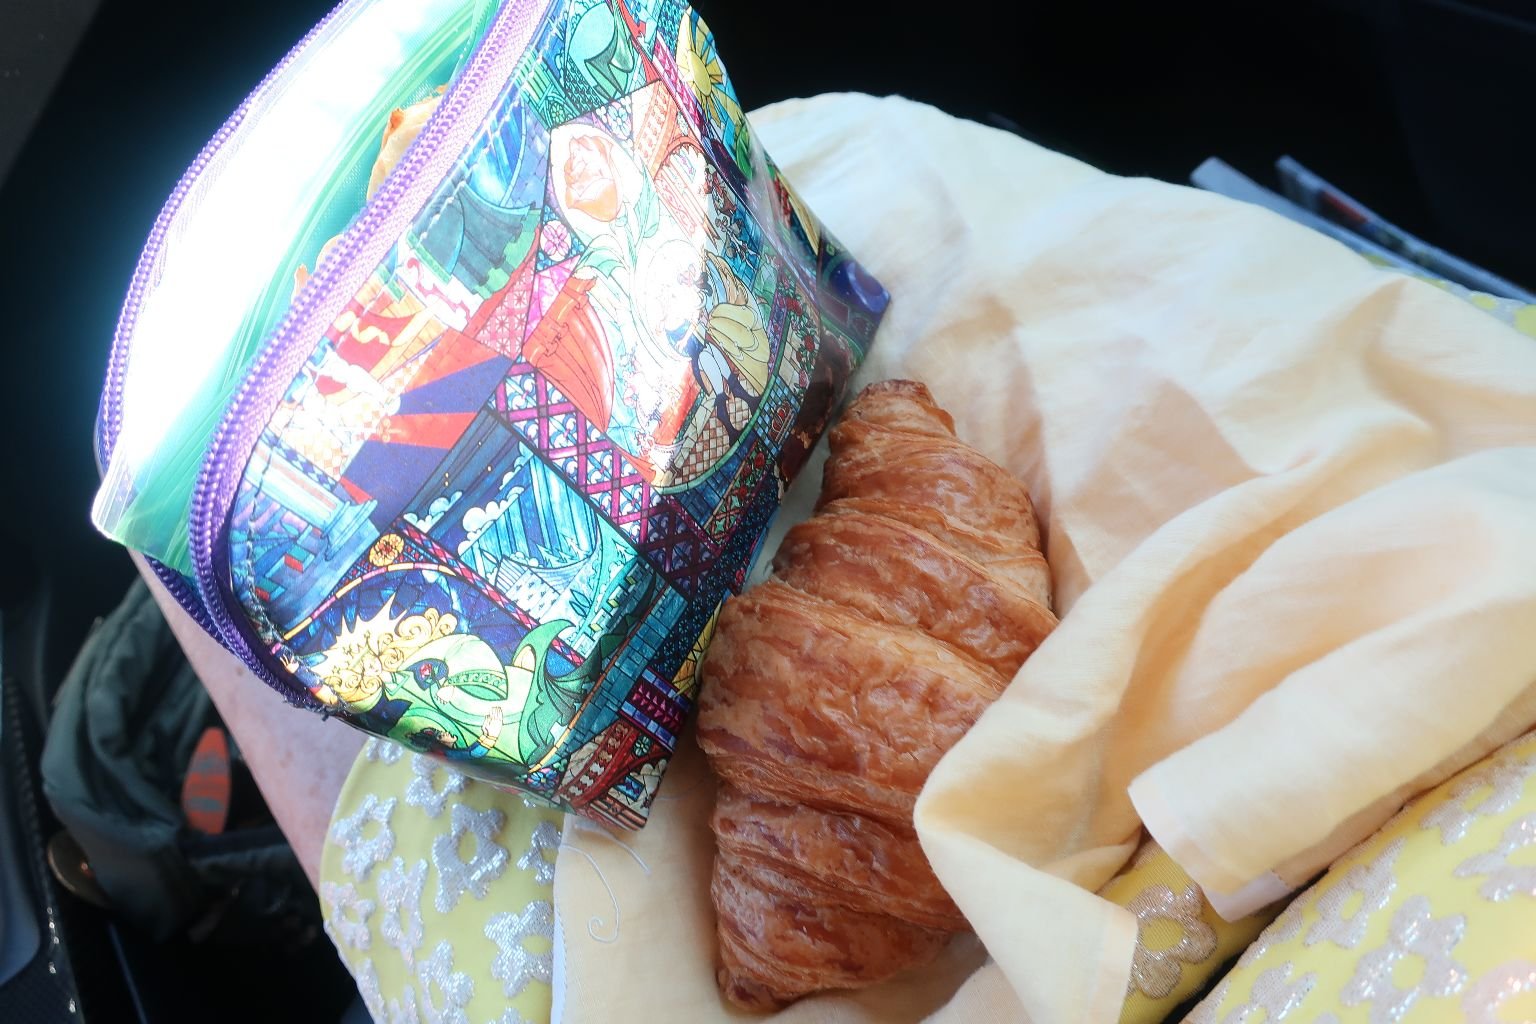
(I organized with things that I already had. Seeing as how my Cindy Crawford Skincare is all purple, I found an old ‘free with purchase’ purple cosmetic bag to house some things in.)
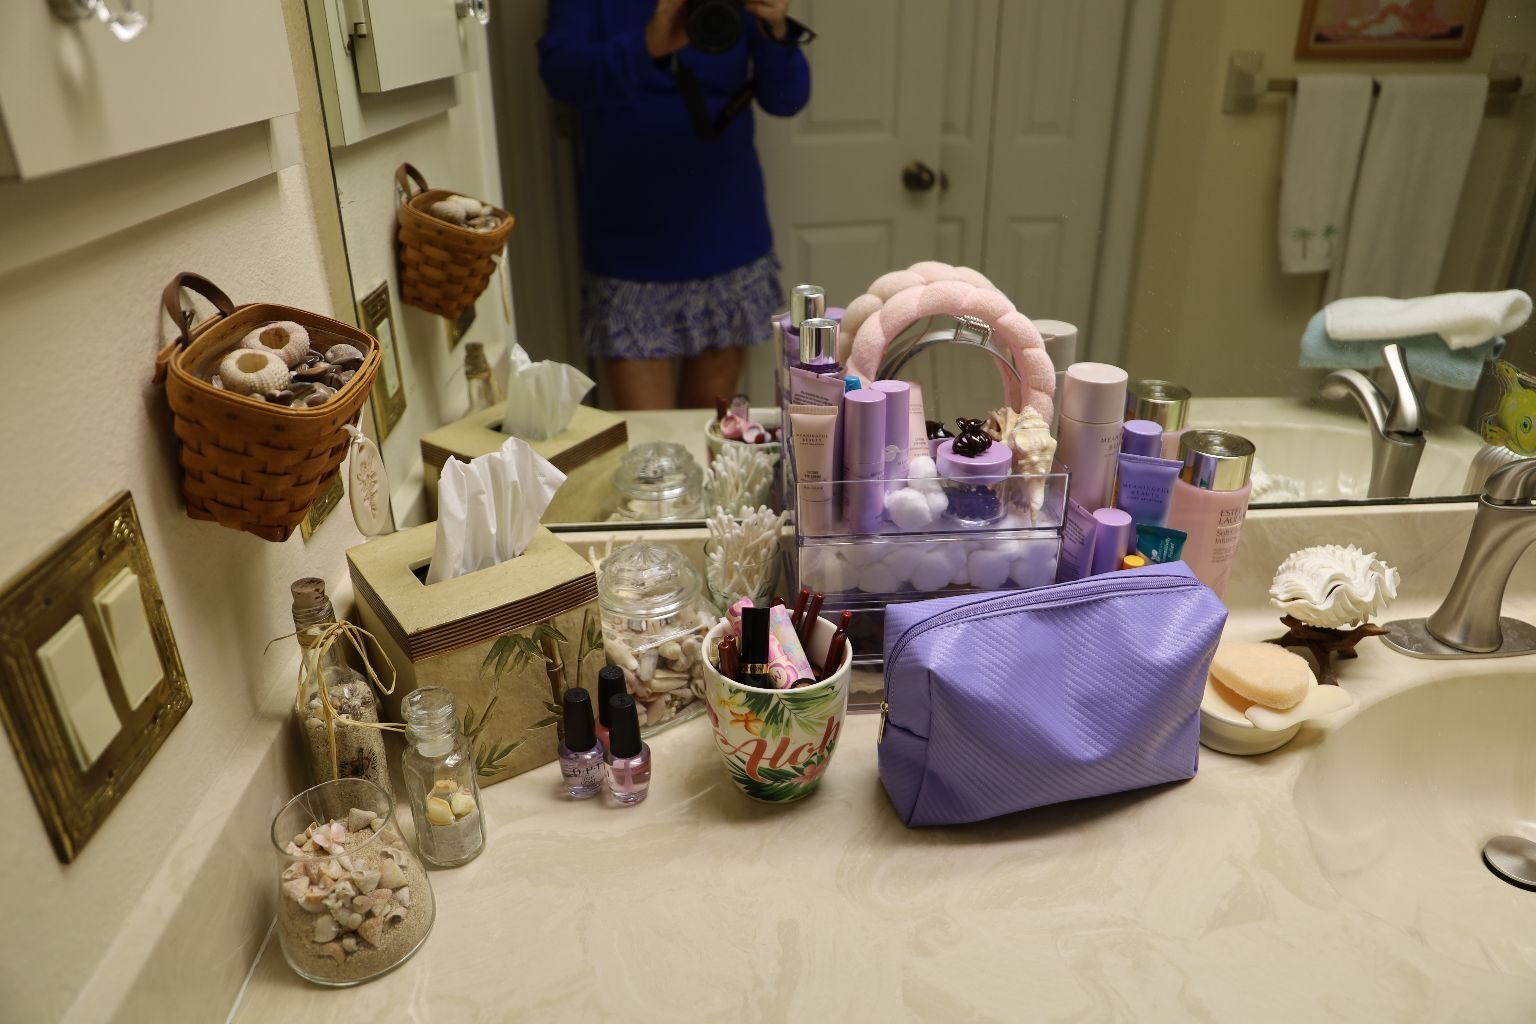
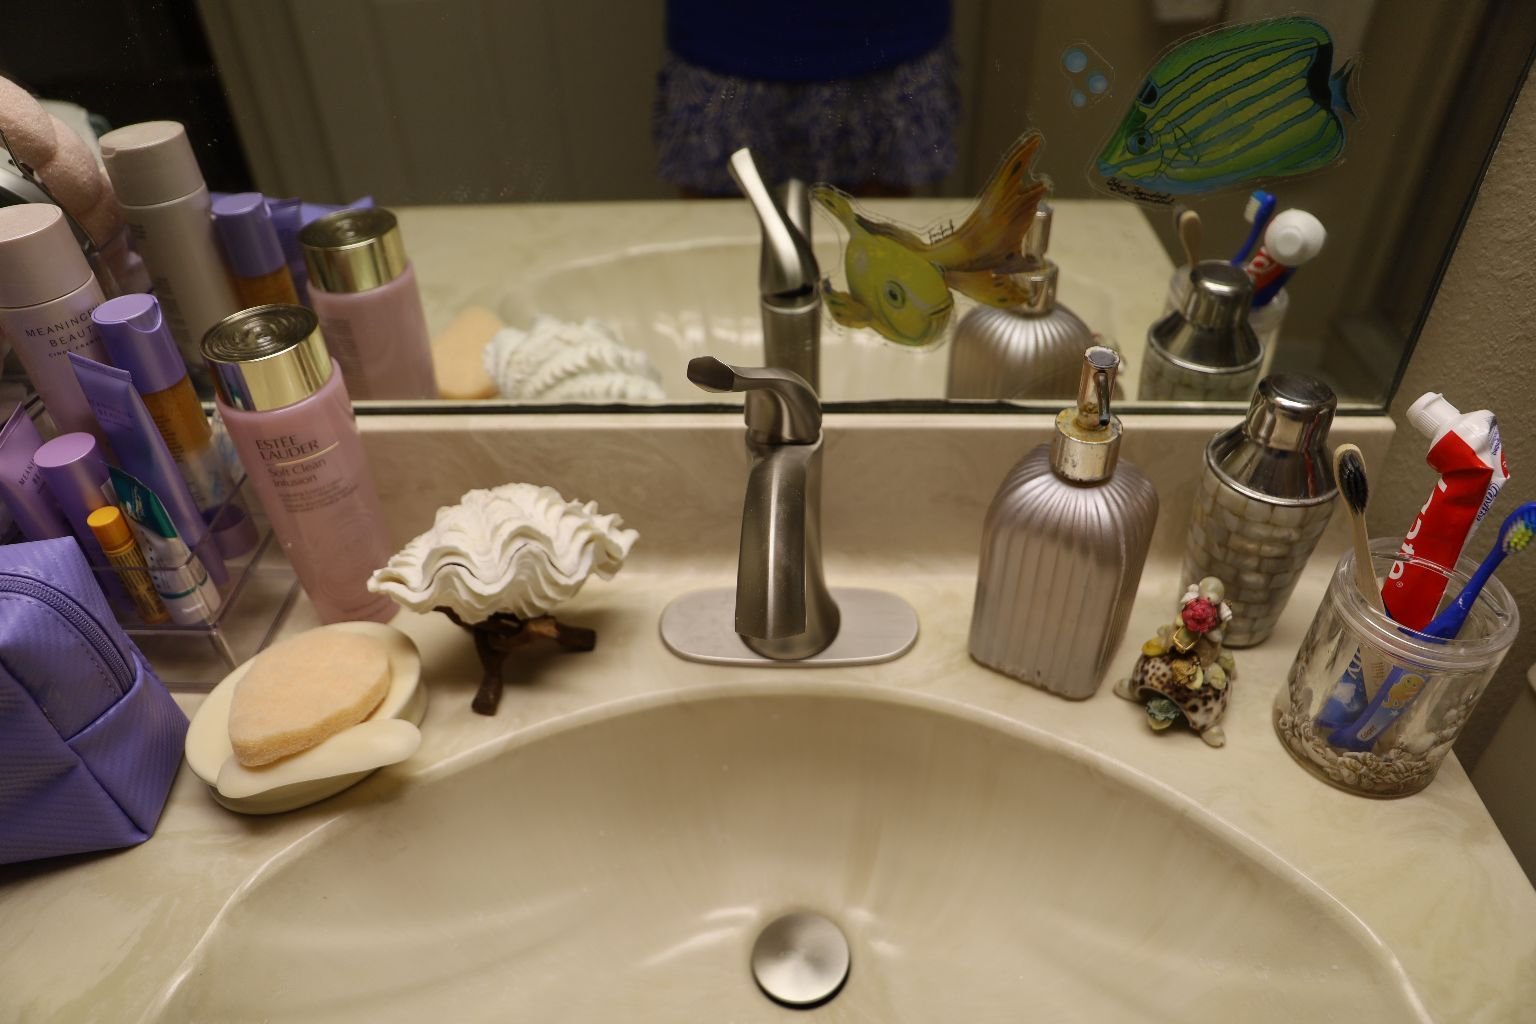
I Bought Nothing New Here, This Is Plenty Of Room For Me
Sometimes I think it’s important for us to just carve out our own little niche somewhere. A place that is just ours. With me being the only one who uses this bathroom, I keep it quite nice and clean because I don’t share it with anyone. Well, except Isabelle. 🙂
————————————————————————————–
Somethings that I may write about, I have also written about on other website pages. Not everyone reads every page that I have on this website so sometimes I do repeat myself. This is one of those times. I am writing here similar things that I wrote on my Skincare Website Page.

Click Here For: My Nifty 50’s and 60’s Skincare
——————————————————————————
I Did Add Some Hawaiian Things That Were New
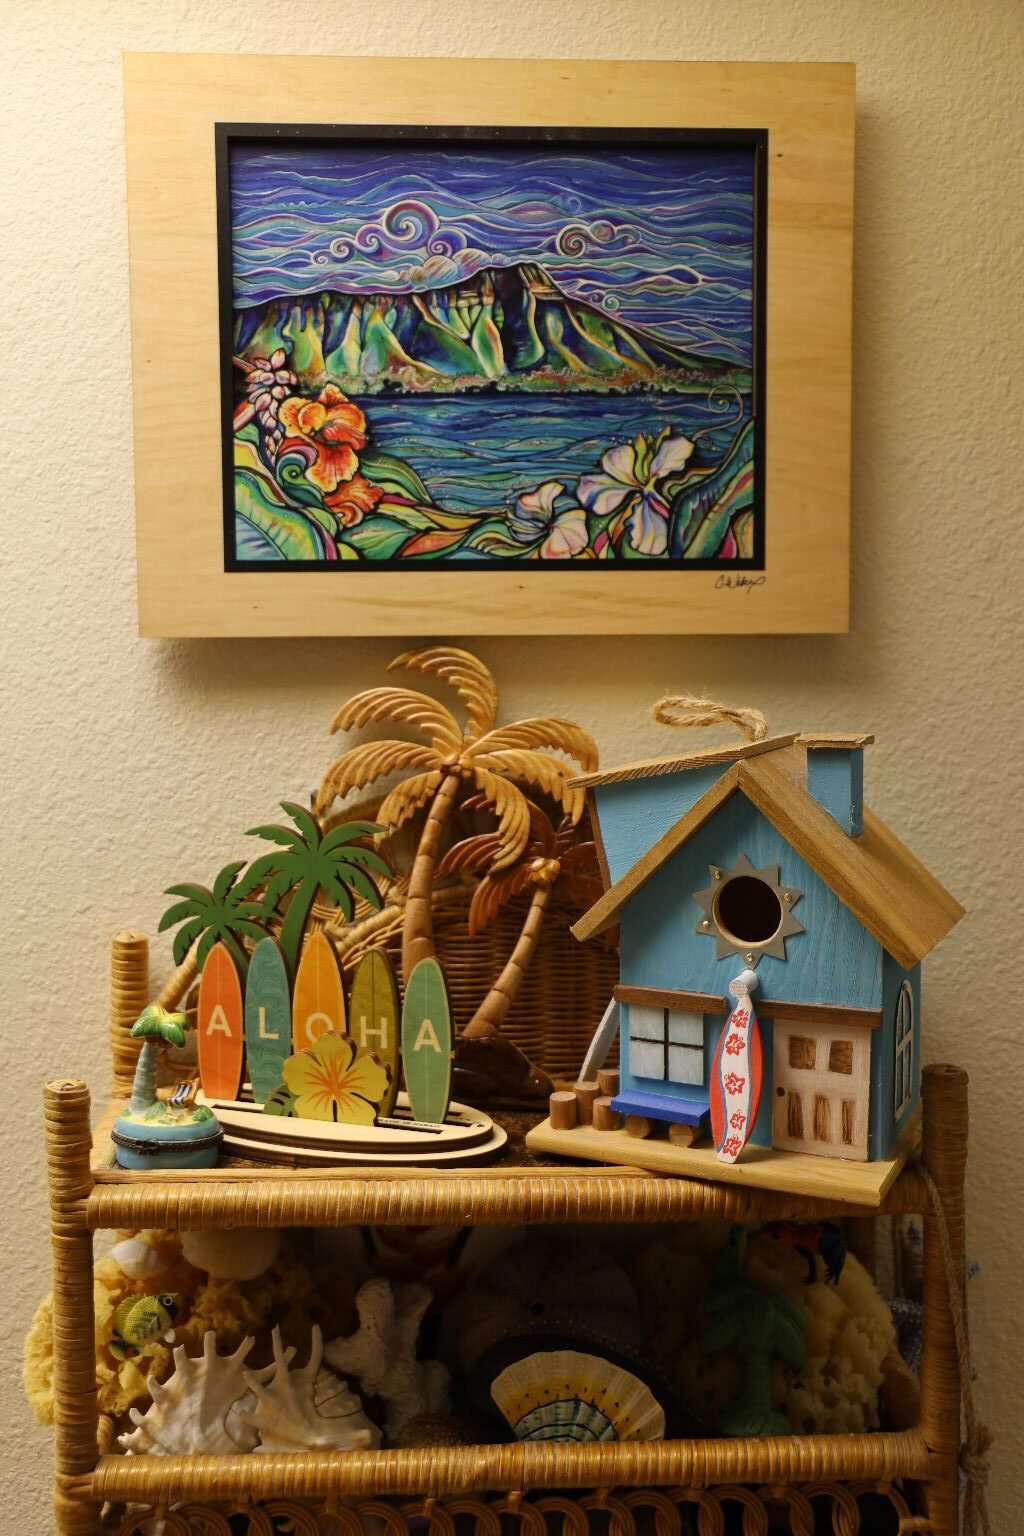
The Rattan Shelf Was My Grandmother’s
The Birdhouse/Beach House, Veronica painted years ago and gifted to me.
Diamond Head and the Surfboards spelling out Aloha, I purchased at a favorite Hawaii store, CocoNene.
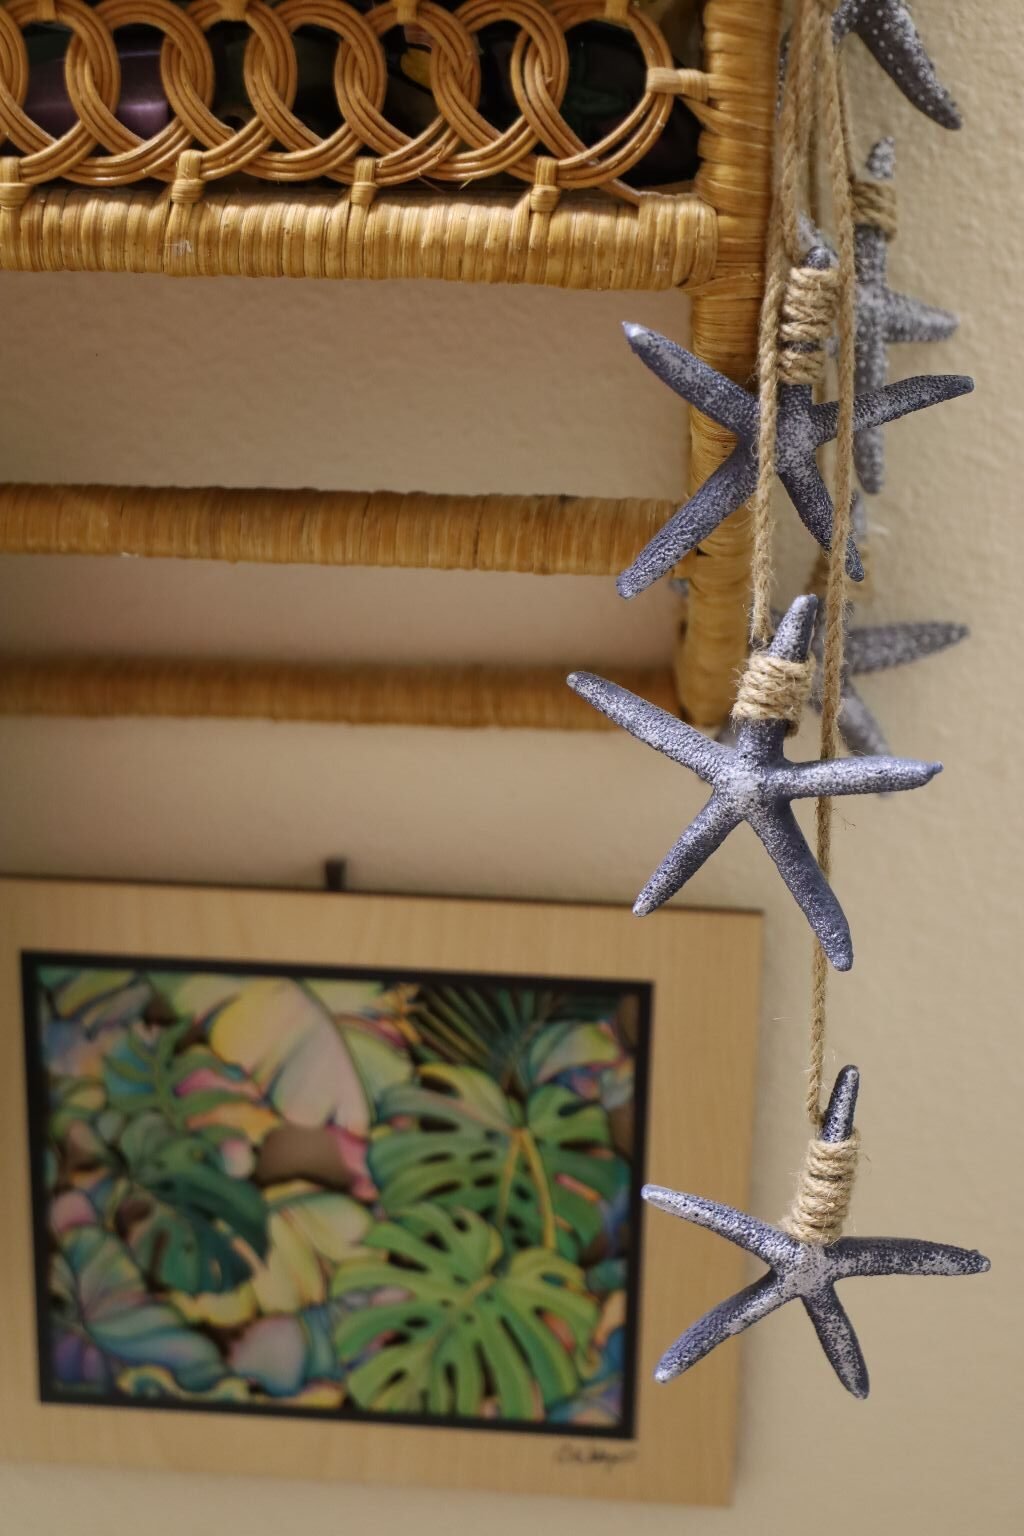
The Blue Star Fish Veronica also gifted to me one Christmas.
And the Palm Leaf painting I also purchased from Coconene.
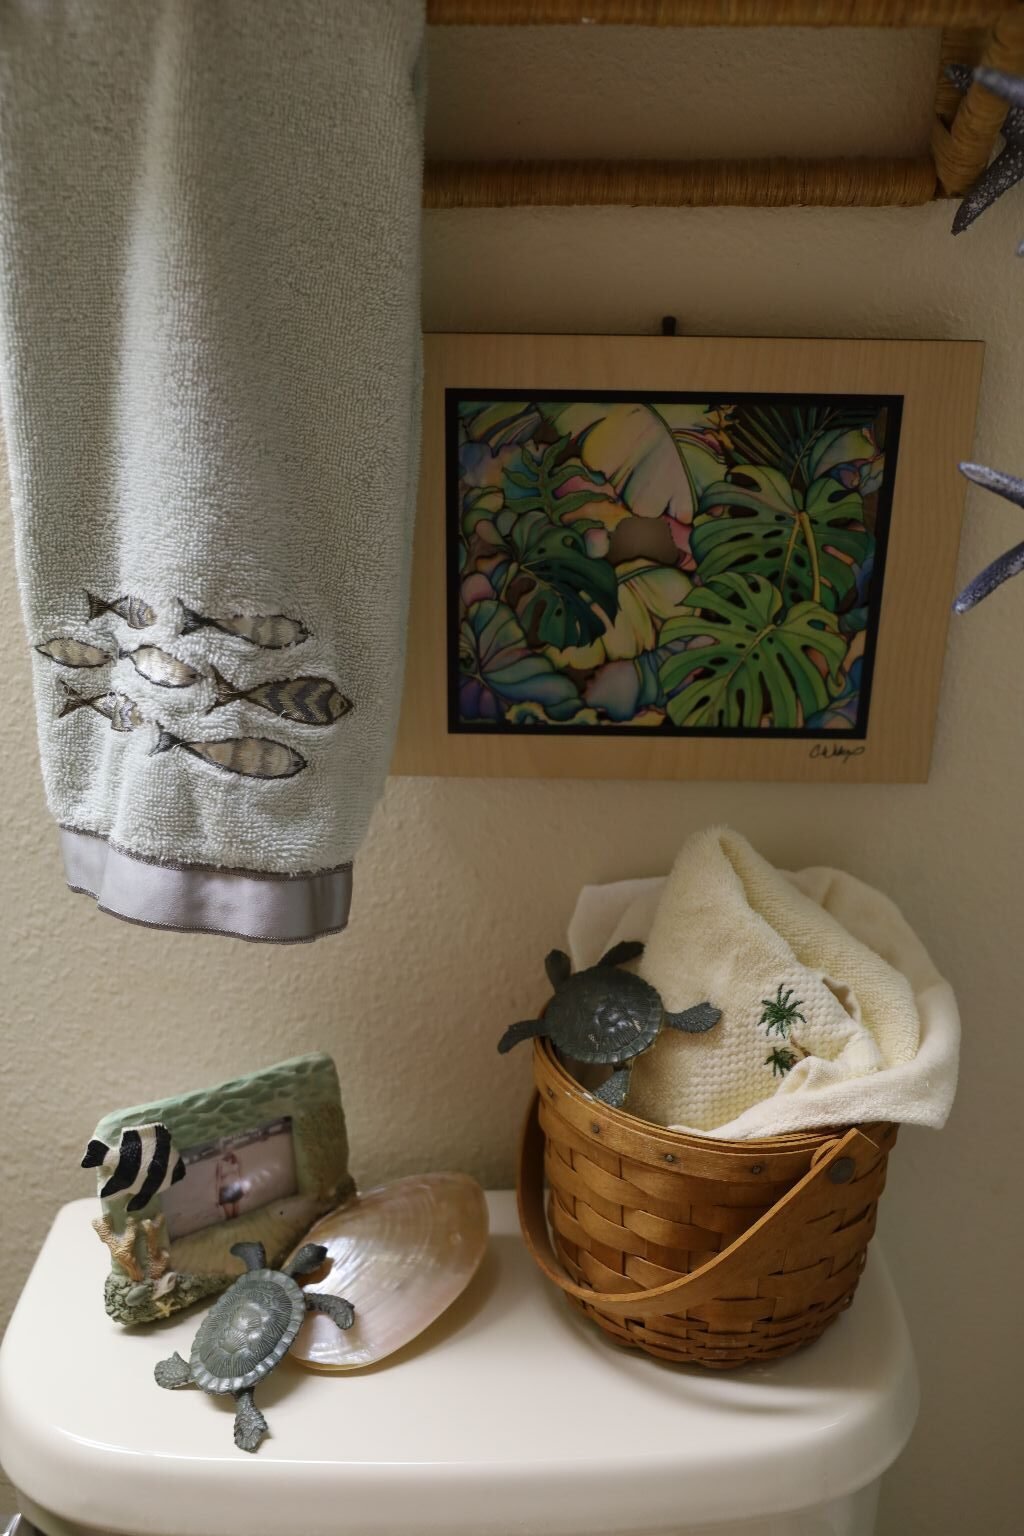
The Fish Photo Frame was a gift to Veronica from her friend Kara when they were 3 years old and we knew them in Hawaii.
Looks great there.
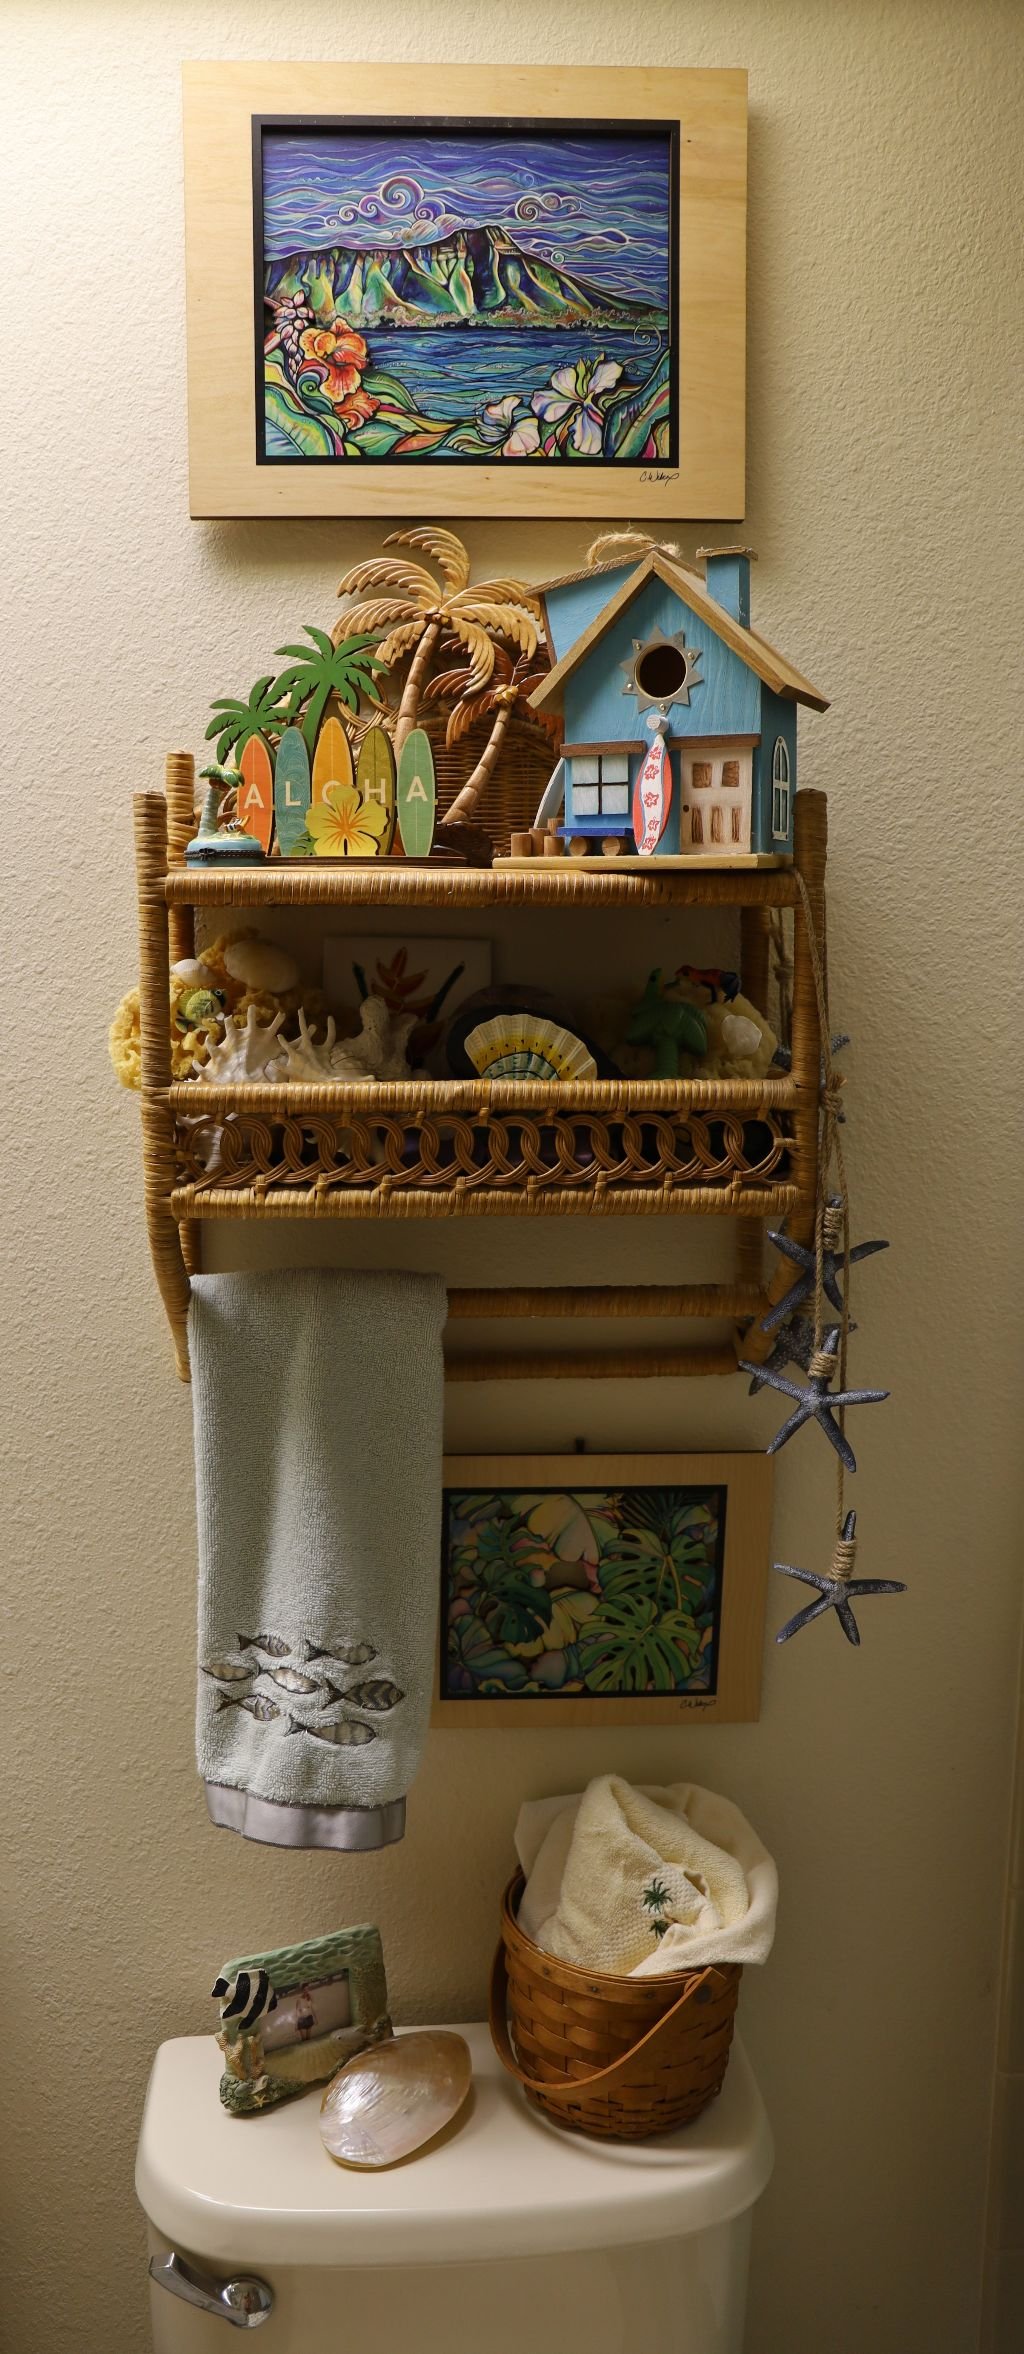
Now You Know What My Bathroom/Guest Bathroom Toilet Looks Like 🙂
———————————————————————————-
One More Thing ….
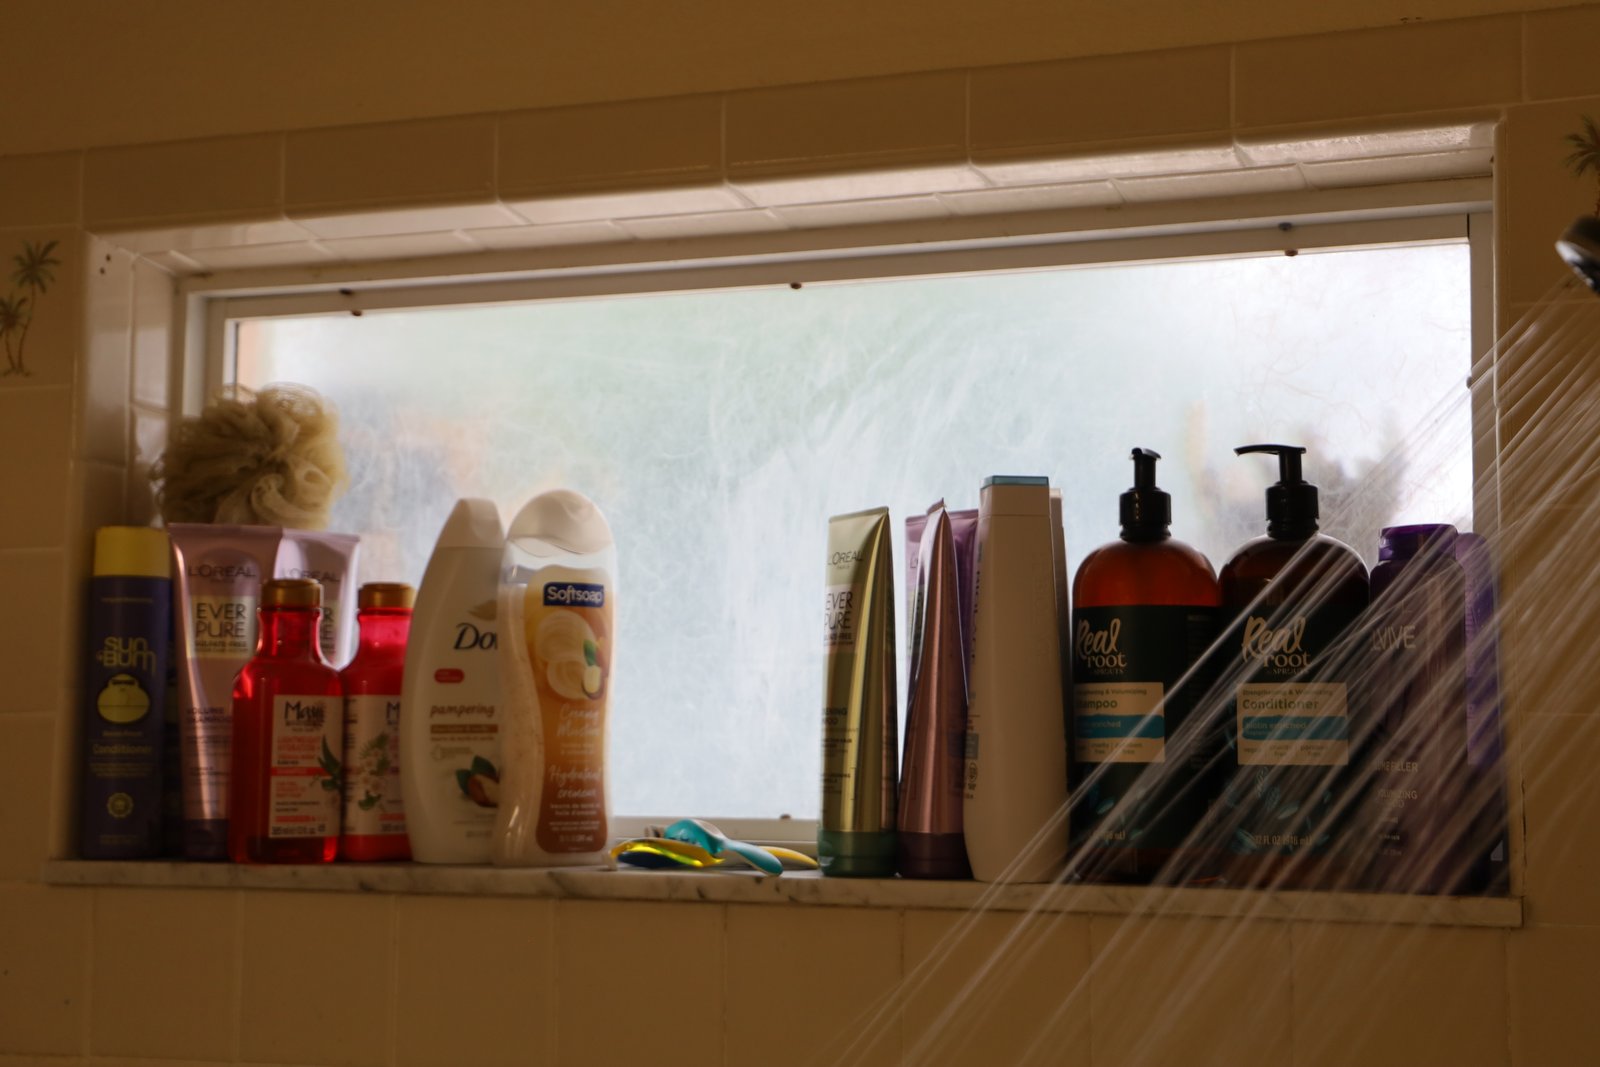
The Little Window In The Shower
(I papered it over with Rice Paper when we first moved in.)
All My Shampoo’s and Conditioner’s

Our Diana Hanson-Young Posters From The 80’s
Autographed By Her
We Were Too Poor To Buy Prints Or Paintings Then
I Framed Them And Still Treasure Them
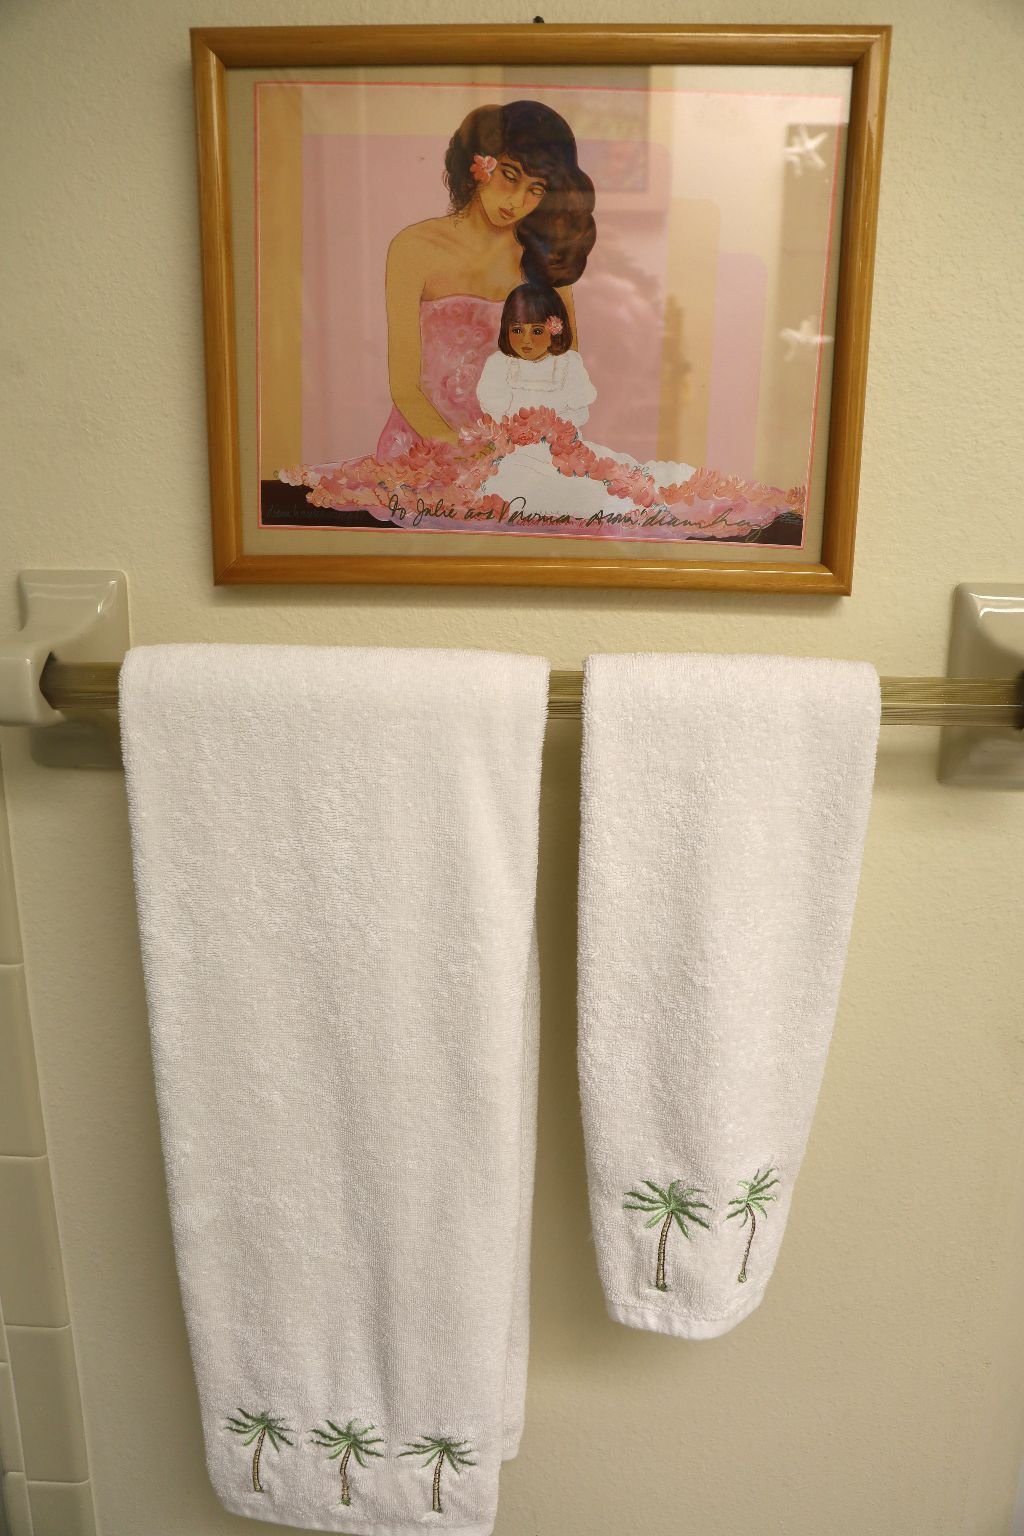
Dry Your Hands!
——————————————————————————————————-
65 And Beyond
Finger’s Crossed!
Julie

2026 A Morning Aloha (Hawaiian Kona Coffee) —————————————————————————————— Brodie In Our Backyard Plumeria Tree in Ewa Beach, 1996 ————————————————————————————- E Komo Mai Welcome to My Aloha Julie Barefoot 2026 ‘Puke Punaewele (Blog) Ready for 2026 This year will be a …

I Created A New Website:
Click Here For: VintageJulieBarefootArchives
I gave my Web Designers in India instructions on what I wanted, and they did the most remarkable job of bringing my vision to life.
I could not be happier with it!
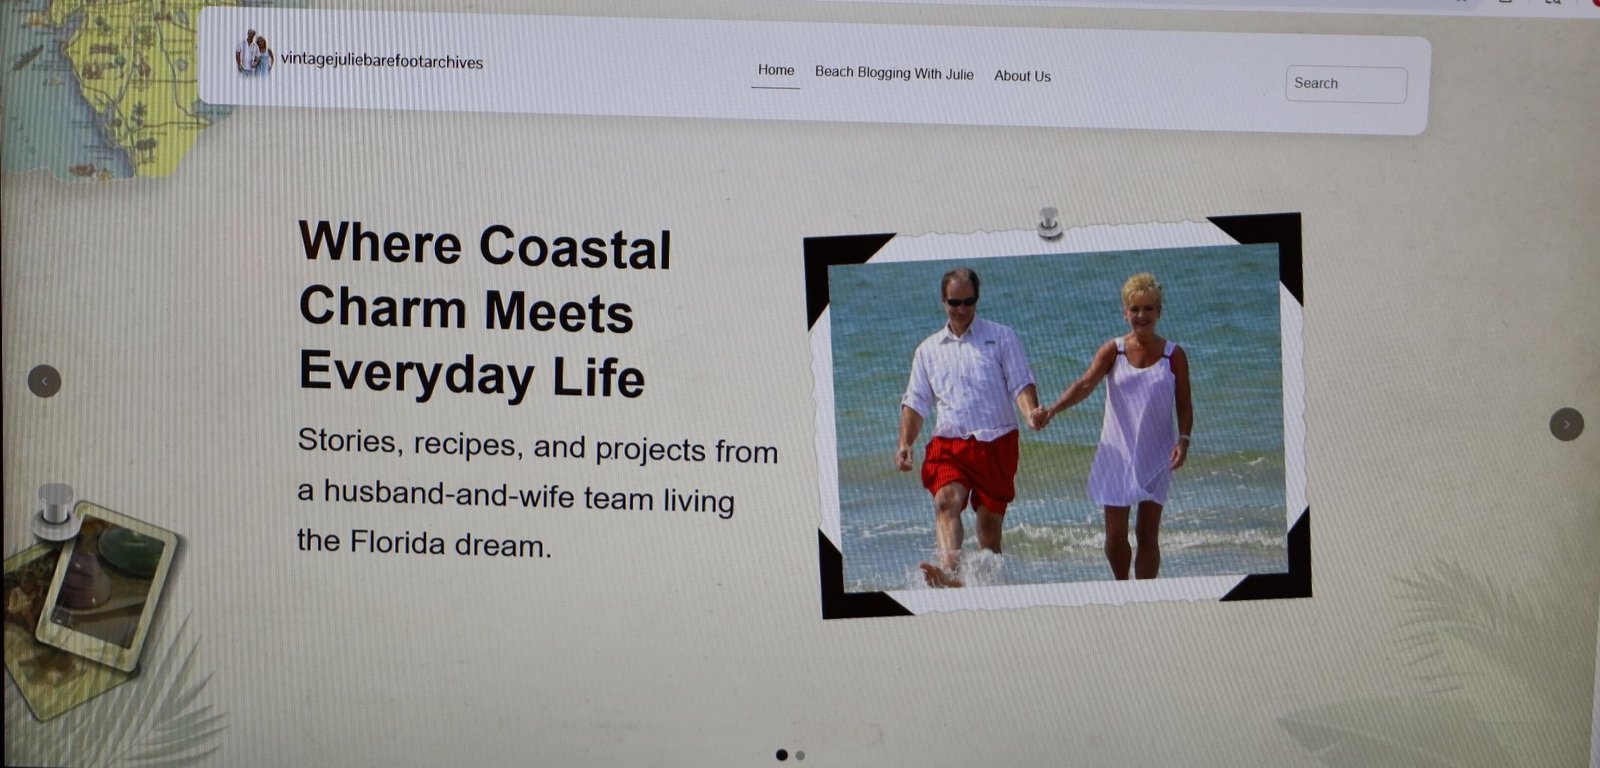
My current website: (This one.)
..Was no longer working accurately.
Therefore, I decided to instruct my Web Designers in India, to create a “New” Website in order for me to house some of my “Old” content.
Initially, I didn’t figure in that it would be my Florida Website Pages, but it did evolve into just that.
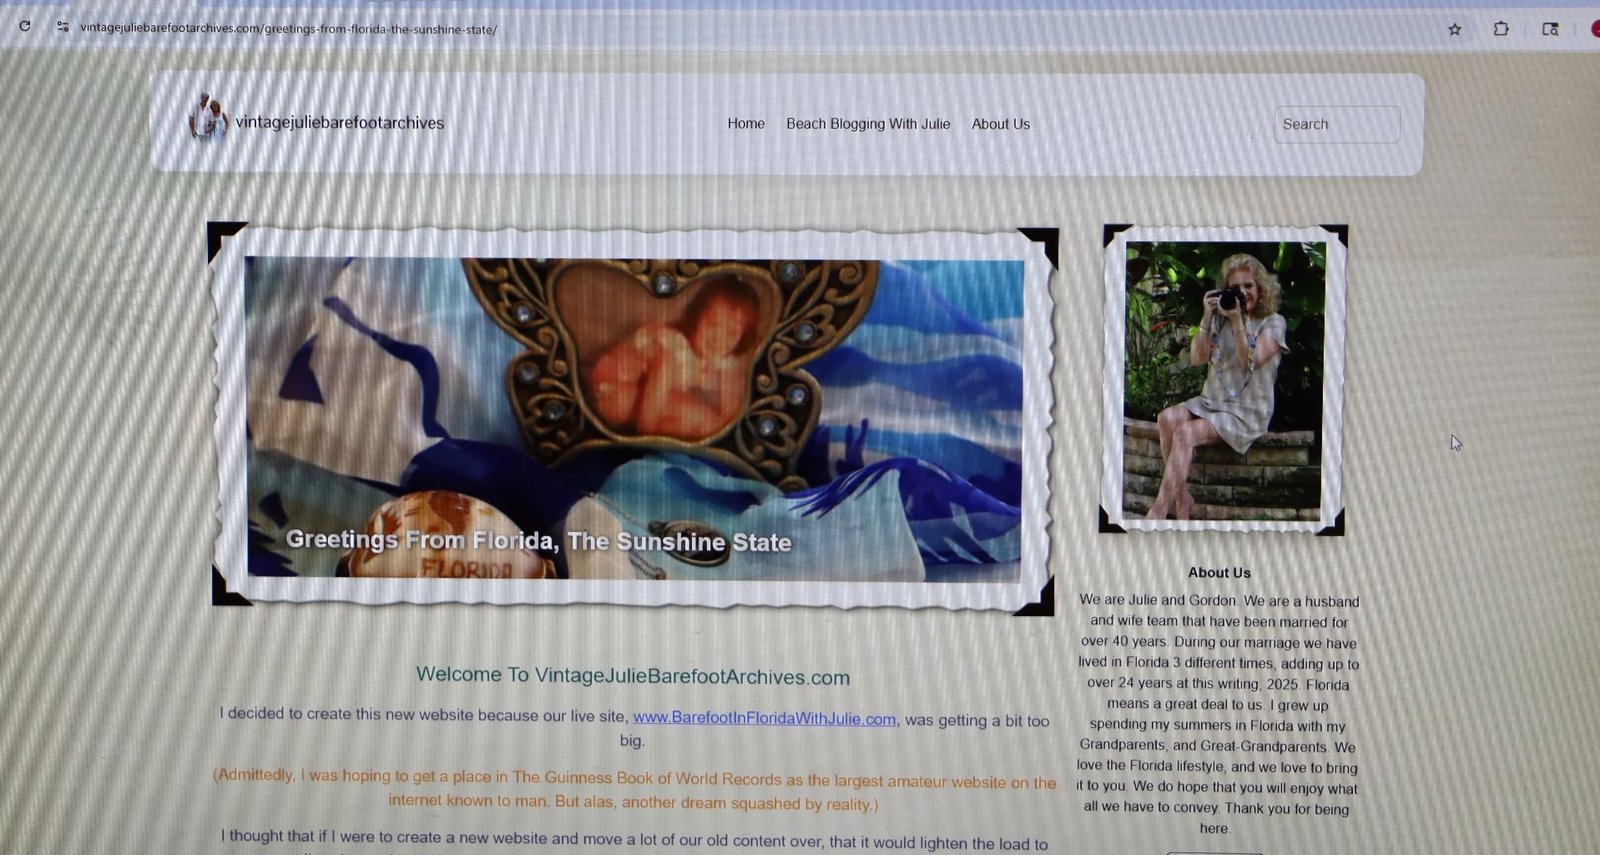
My First Blog Posting On The New/Old Website
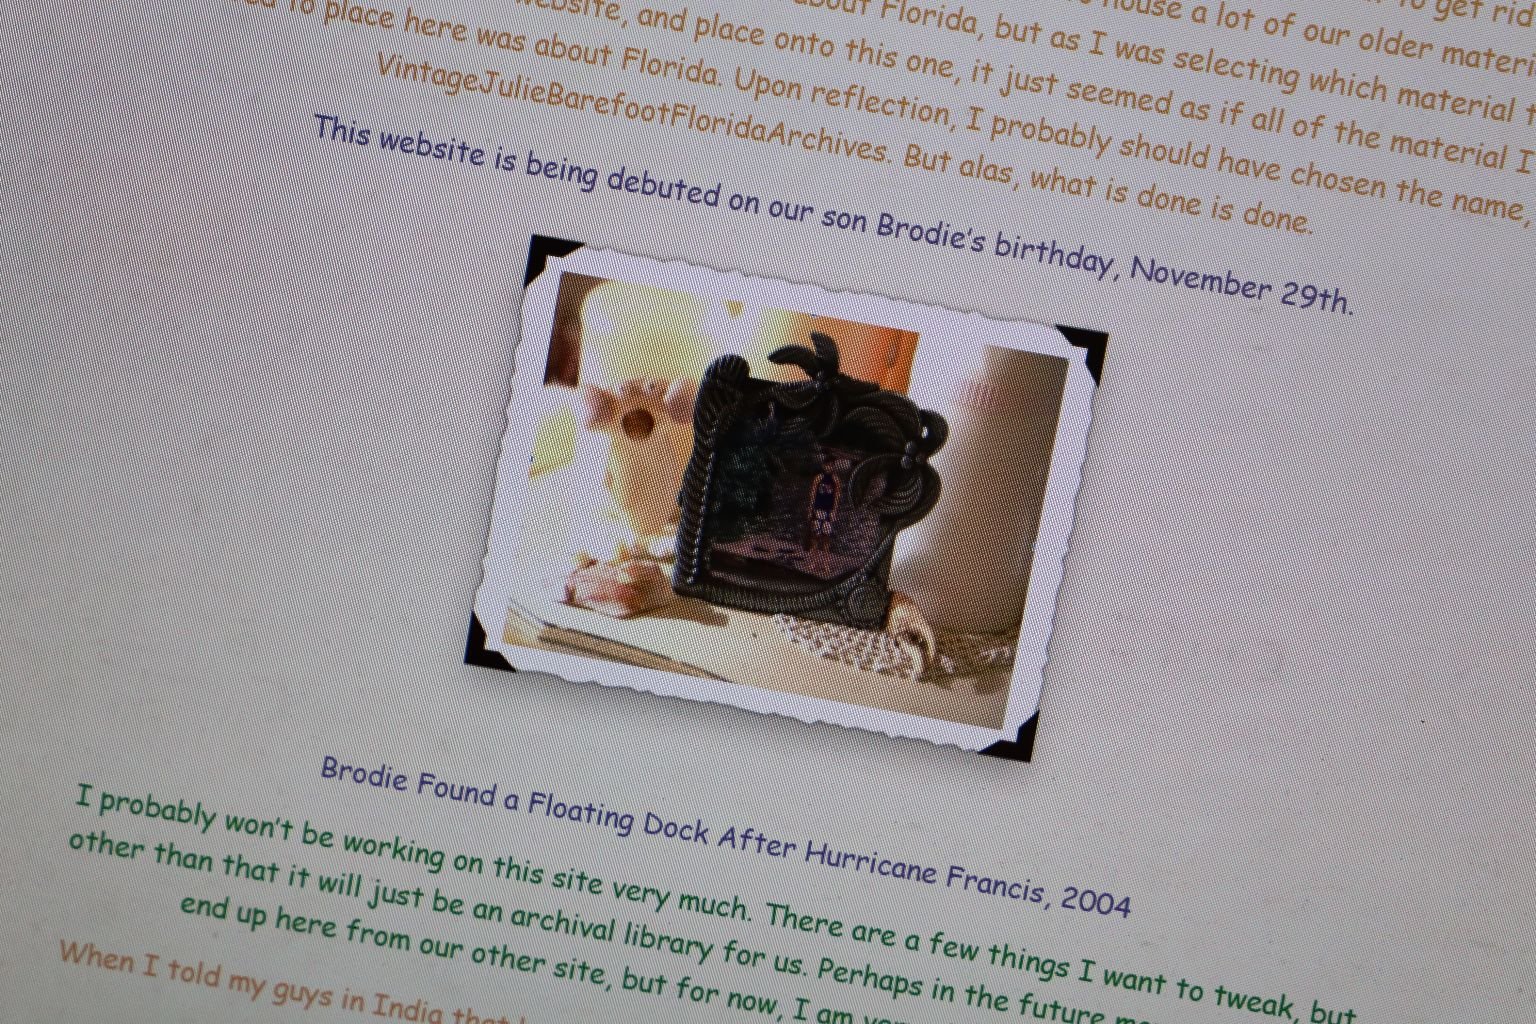
I Debuted This New Site On Brodie’s Birthday, November 29, 2025
————————————————————————————
Welcome To VintageJulieBarefootArchives.com
(As Taken From Blog Posting from the new site.)

Brodie Keith Kanakaleo Whann
I decided to create this new website because our live site, www.BarefootInFloridaWithJulie.com, was getting a bit too big.
(Admittedly, I was hoping to get a place in The Guinness Book of World Records as the largest amateur website on the internet known to man. But alas, another dream squashed by reality, or human intervention.)
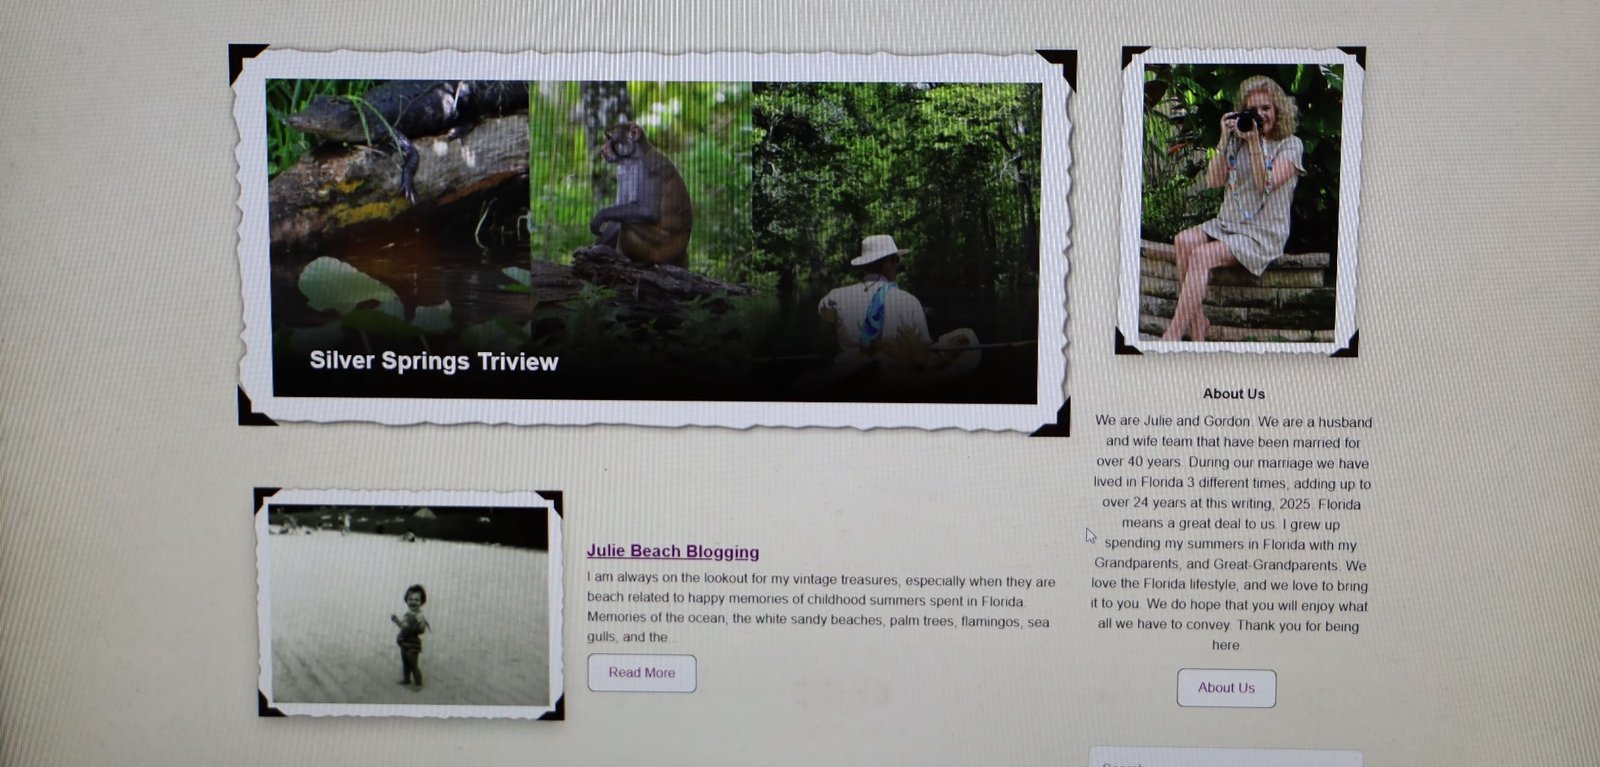
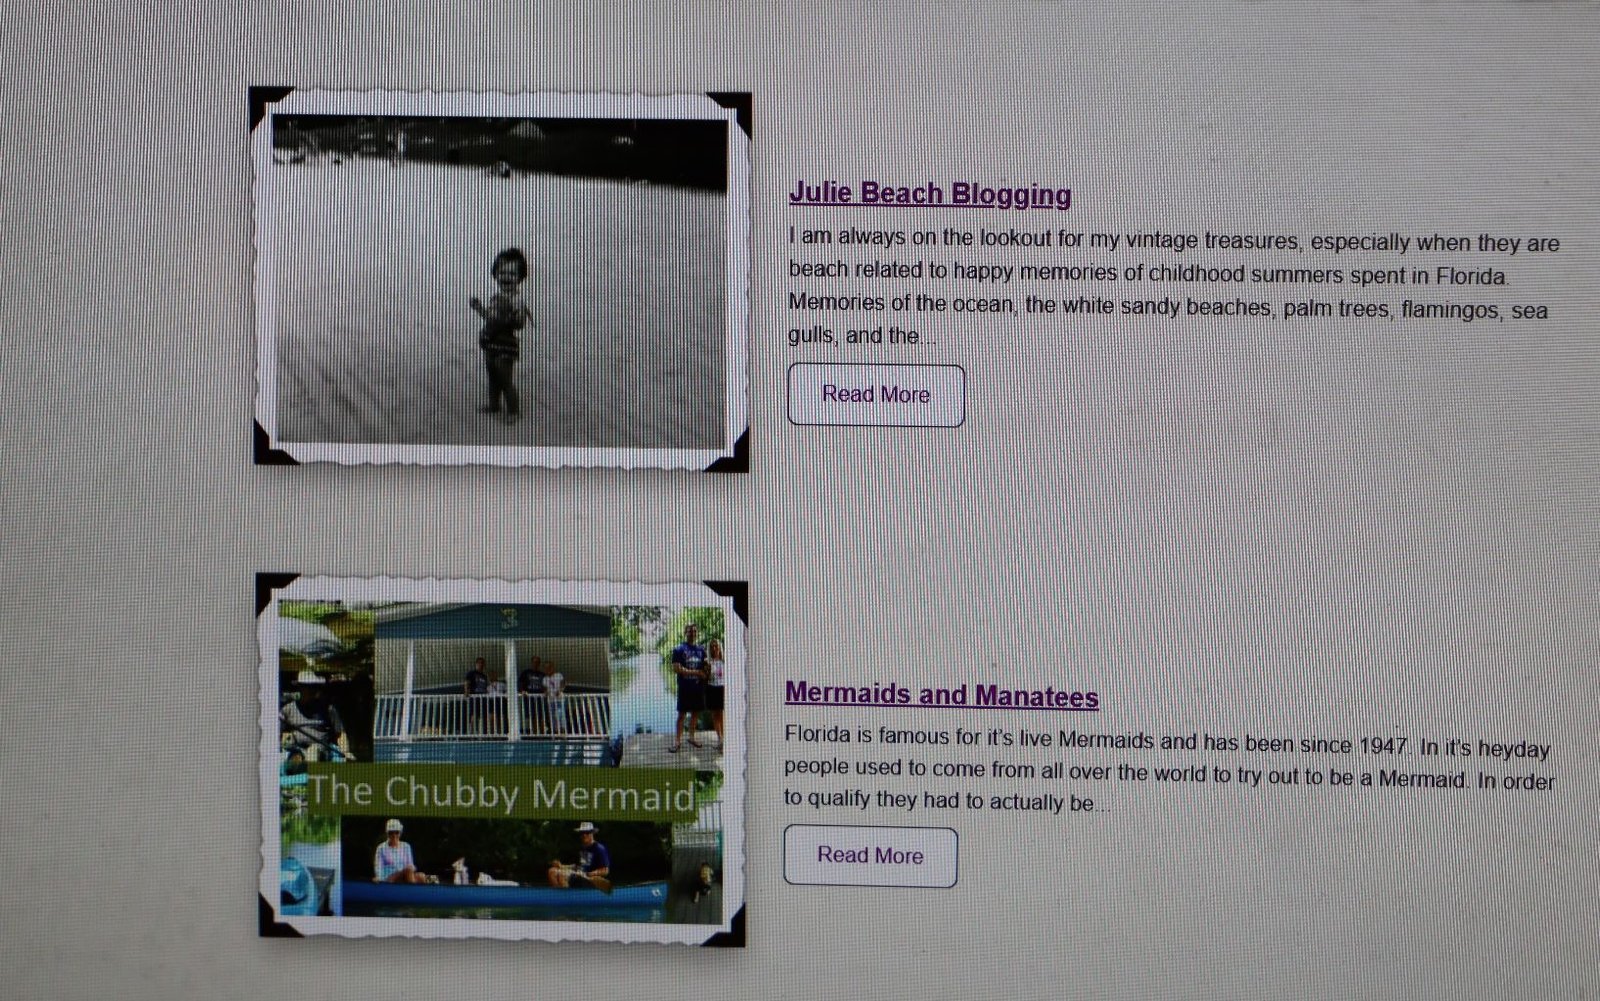
I thought that if I were to create a new website and move a lot of our old content over, that it would lighten the load to our current live site, and I could make this new website about our Florida Life. So, I specifically chose website pages that were of a Florida nature. We love Florida! My ties to Florida go back to when I was a baby in the 60’s, living in Rome, Georgia with my mother, grand-parents, and great-grandparents. Every summer was spent vacationing in Florida. Also, prior to me being born, it was where my mother and her friends, and their families vacationed as well. I have some really great old photos of my grand-parents, great-grandparents, and great-aunts and uncles wearing their old fashioned swimsuits with their old timey cars parked on the beach. Once upon a time you could do that. Drive onto the beach and park your car. Mostly on the East Coast of Florida, they had the longest stretches of beaches.


I’m the tall one with my cute petite friends. St. Pete left, Daytona right.
I can remember the Florida vacations very well. We would leave Rome in the evening, and drive all night down to Florida. I would be asleep in the backseat, wearing pajamas.. My grand-father would do the driving. If I had to use the bathroom on the way down my grandfather would pull over to the side of the highway, they would open both doors, the front door and the backdoor, and I would take my winky-tink between the two doors. Sometimes, cars would honk as they would drive by. I was always in a panic that someone could see me. My grandmother always assured me that no one can. (She was probably lying.)
St. Petersburg was usually our destination. My grand-father would look for Motels with a VACANCY sign flashing towards the street. He would just drive down what is now Gulf Blvd. looking for a Motel that he thought looked nice. He would then pull into those Motels and inquire within for something suitable for all of us. I can remember that we were always on the ocean side, most of the time there was a pool. I can even remember one place we stayed at where we walked out of our motel room door directly onto the beach. There was so much beach sand outside our door.
I have beautiful memories of many Florida vacations with my grand-parents. My grand-father was one to lay on his back in the ocean, floating, and falling asleep. He was a big man, very tall, with lots of cushion. He floated very easily. I can remember one time he fell asleep and was drifting out to sea, a lifeguard was blowing his whistle trying to wake him up to get him to swim back towards shore.
Most every night we would eat at a seafood restaurant. The restaurant was always located on an ocean front, or a canal front. I have so many great memories of finding little fishies trapped between the rocks by the ocean or canals. I would use a paper cup to capture them and take them back to the motel room with me. I loved having them with me in the motel room. I loved watching them. Sometimes I would set them loose the next day, if they even made it through the night. Upon reflection I wish I had known more about helping them. But I didn’t. I was just a child.
—————————————————————————————
Hello Rosy Cheeks
I remember this very well. It was at one restaurant that was busy that evening for dinner. There were many people waiting to get seated. My grand-parents and I were sitting at a table in the entryway when suddenly this cute boy sat down right beside my grandmother, he sat across from me, he then looked at me and said with all the confidence in the world, “Hello rosy cheeks.” I was in my early teens. My grandmother instantly adored him! I guess charmers must recognize each other because my grand-mother was a charmer. She then burst out laughing.
This cute, charming boy sat there flirting with me. I knew I could fall for him in a minute! But, I was just too shy to do anything about it. But, I have always remembered that cute boy that made this awkward girl feel special.
Oh, and the rosy cheeks were from my being sunburned that day from staying out too long in the sun, on the beach.
———————————————————————————
Florida is not just a great state to vacation in, it holds so many happy memories for me and my family growing up. It makes sense that Gordon and I would settle here and live out our days until we are gone. Hopefully that won’t be for a very long time. But, until then we have a grand-daughter to help raise and make many happy Florida memories for her to take with her in life.
An old timey Motel, a Shuffleboard Court, Sun, Sand, Shells, Beach, Oranges, Orange Juice, Drawbridges, Souvenir Shops, Boat Rides, Seafood Restaurants, Summer Friendships with other Tourists, Salt Water Taffy, Vintage Beach Buckets, Sand Shovels, Flamingoes… and being Barefoot!
This is what I carry with me every day.
Happy Vintage Julie Barefoot Memories,
Julie Barefoot
(Julie Lancaster-Whann)
—————————————————————————————————
————————————————————————————————————-
Florida is Beautiful and Unique,
Located in the South, yet not Really Southern.
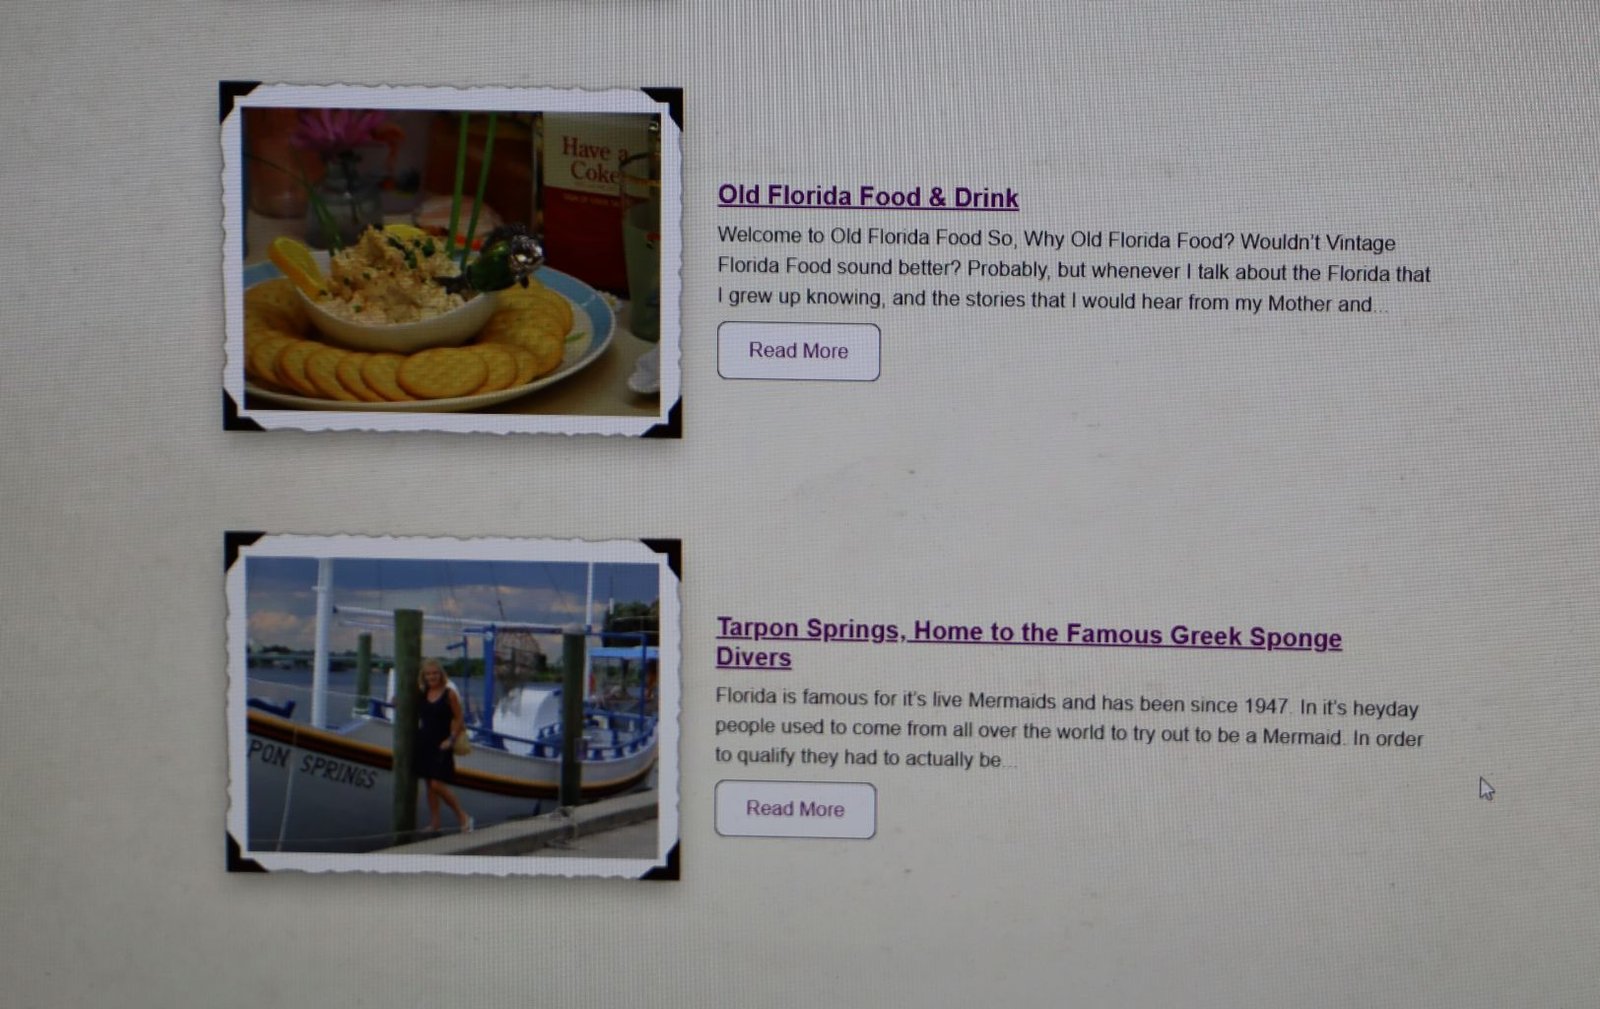
Although Florida is the East Coast, and Canada’s Destination
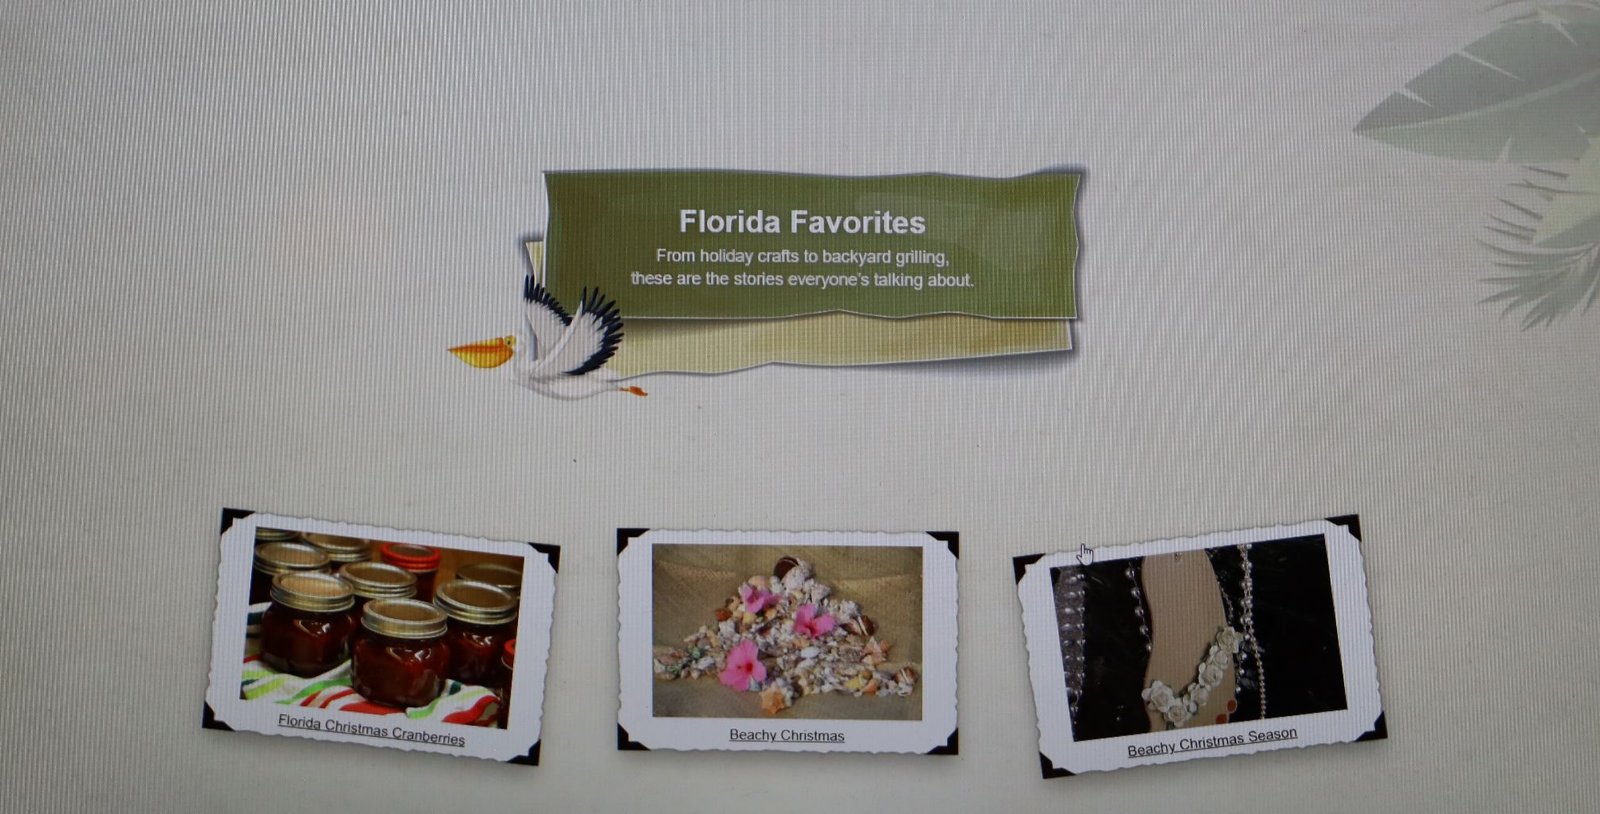
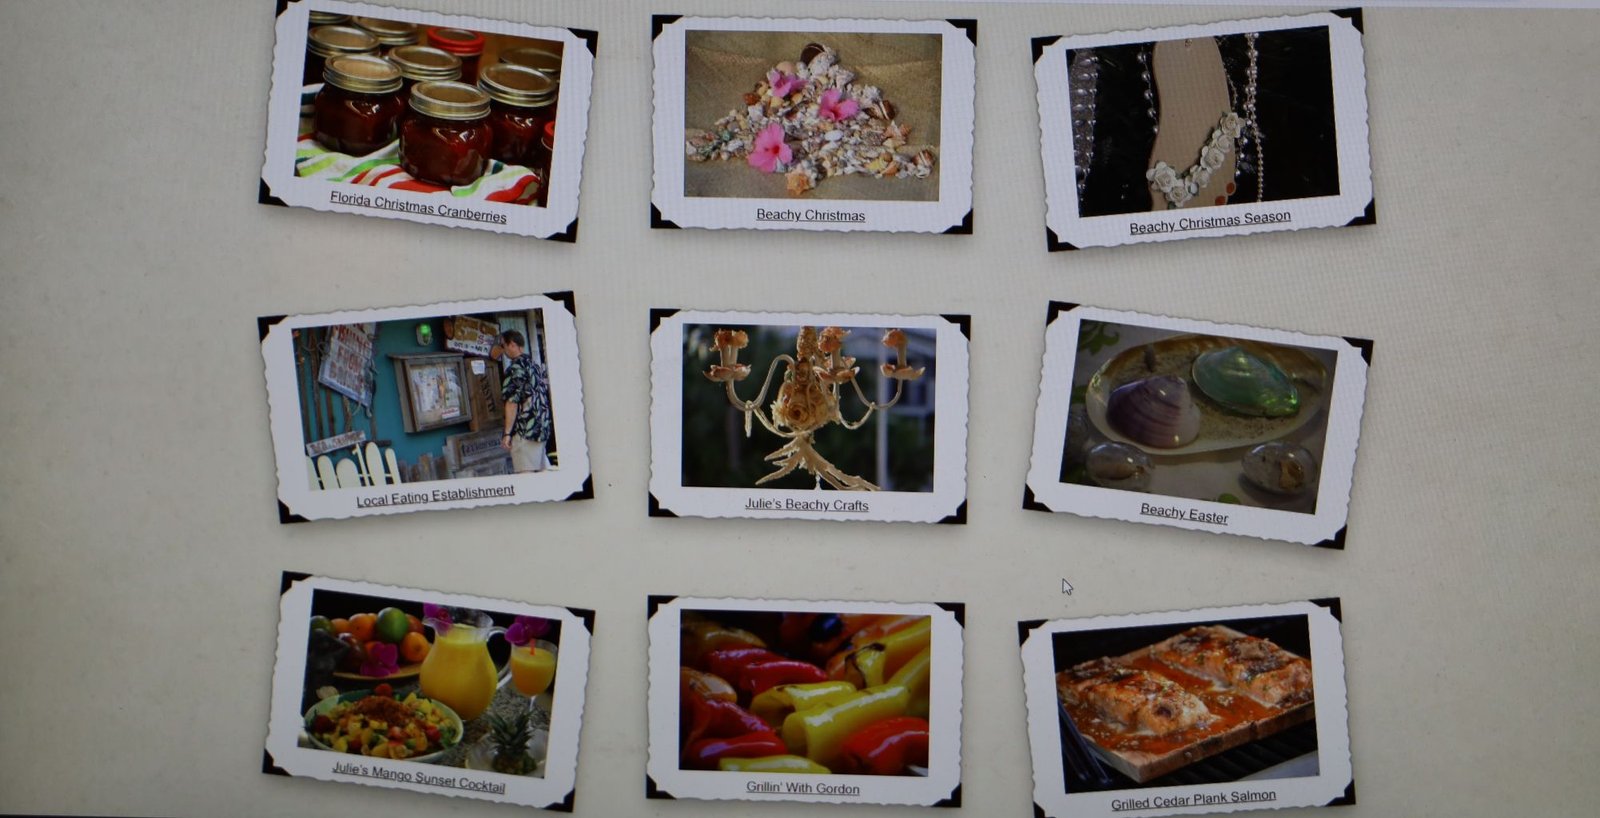
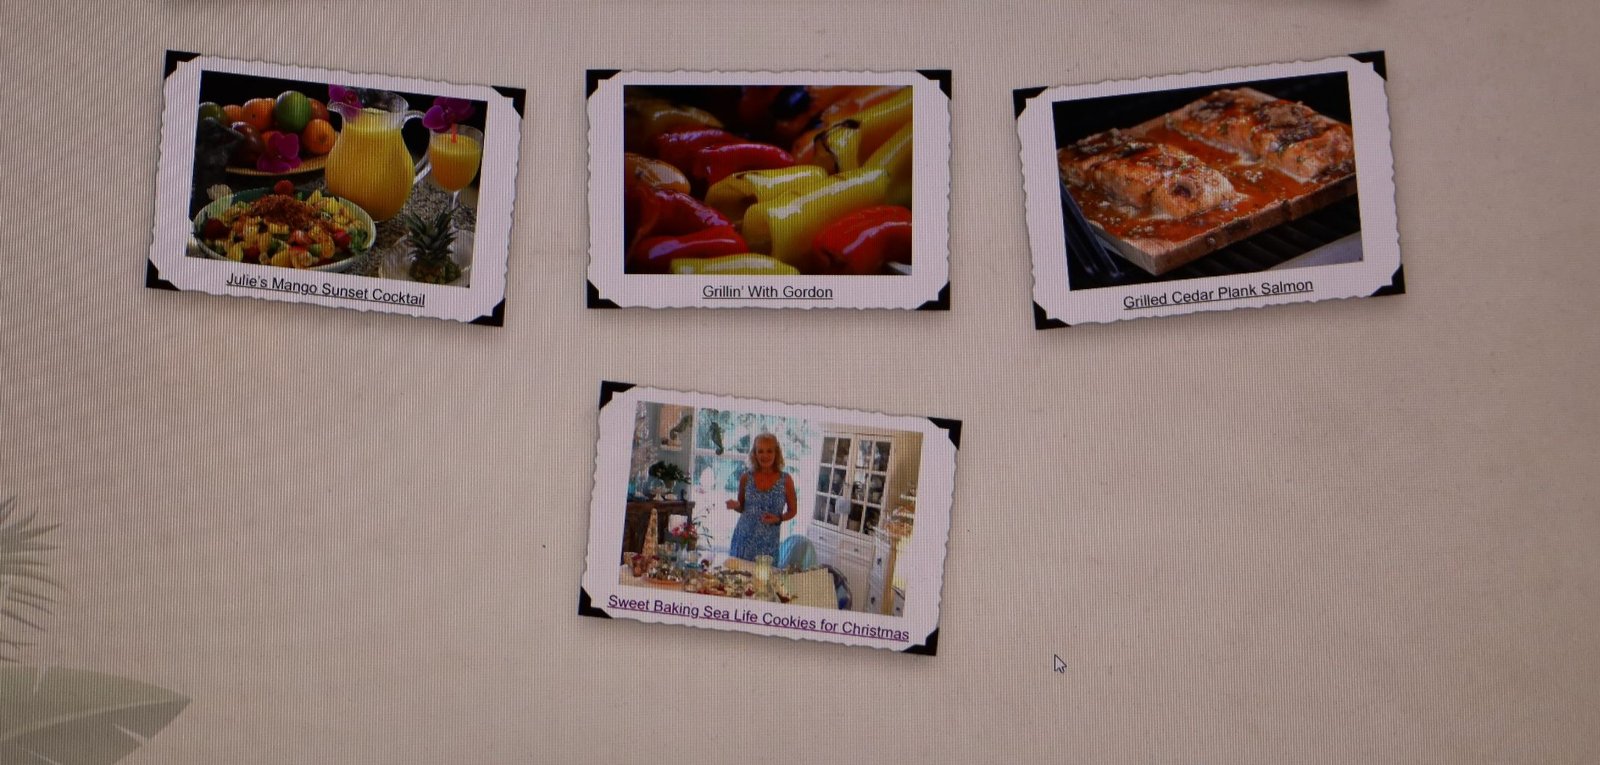
My Florida Favorites
————————————————————————————————-
———————————————————————————————-
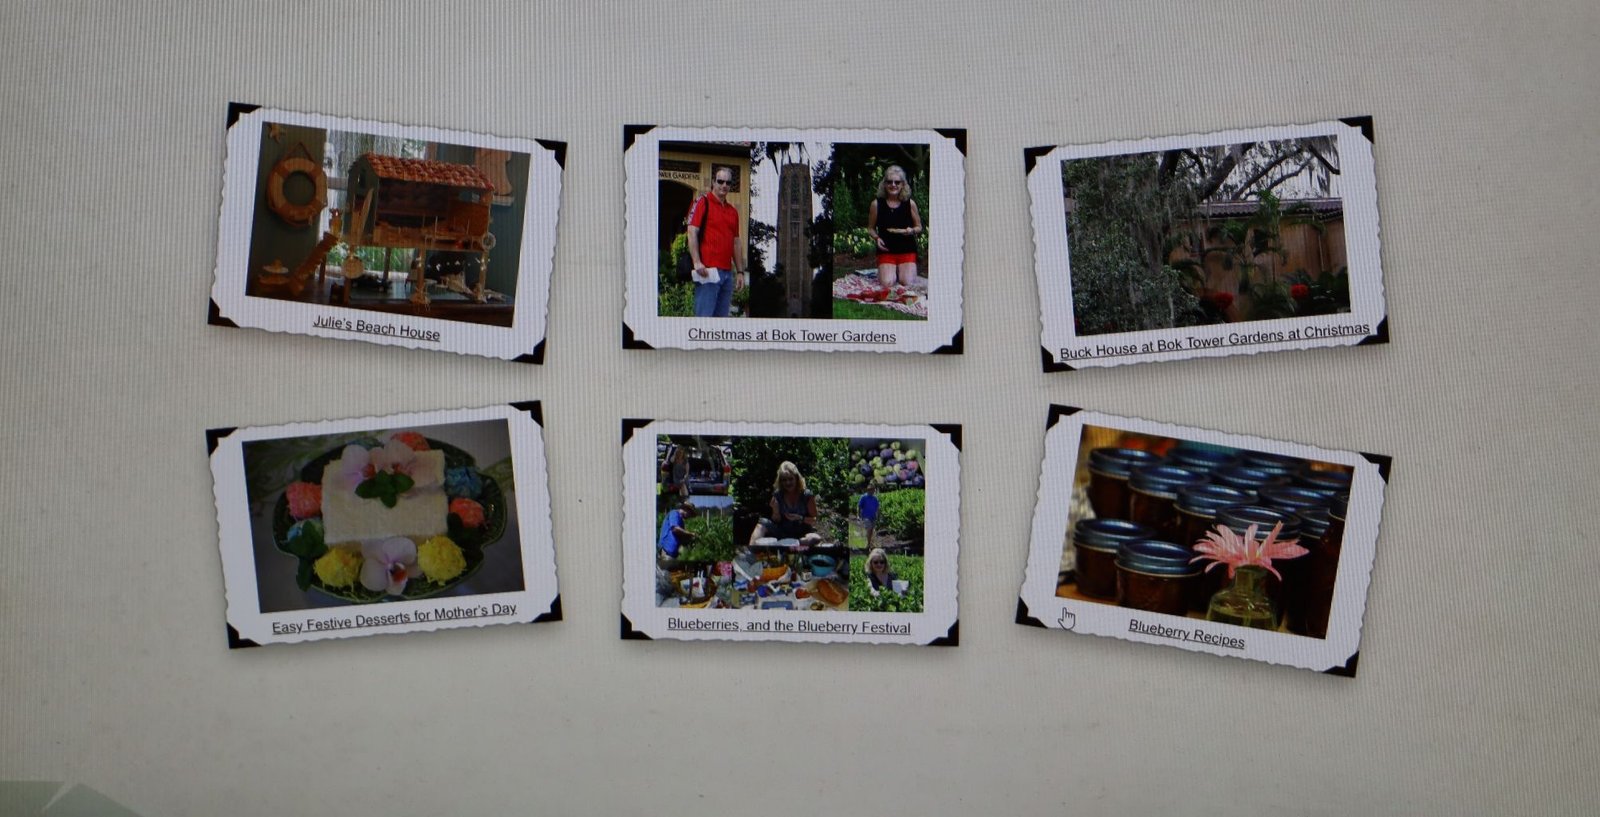
————————————————————————————-
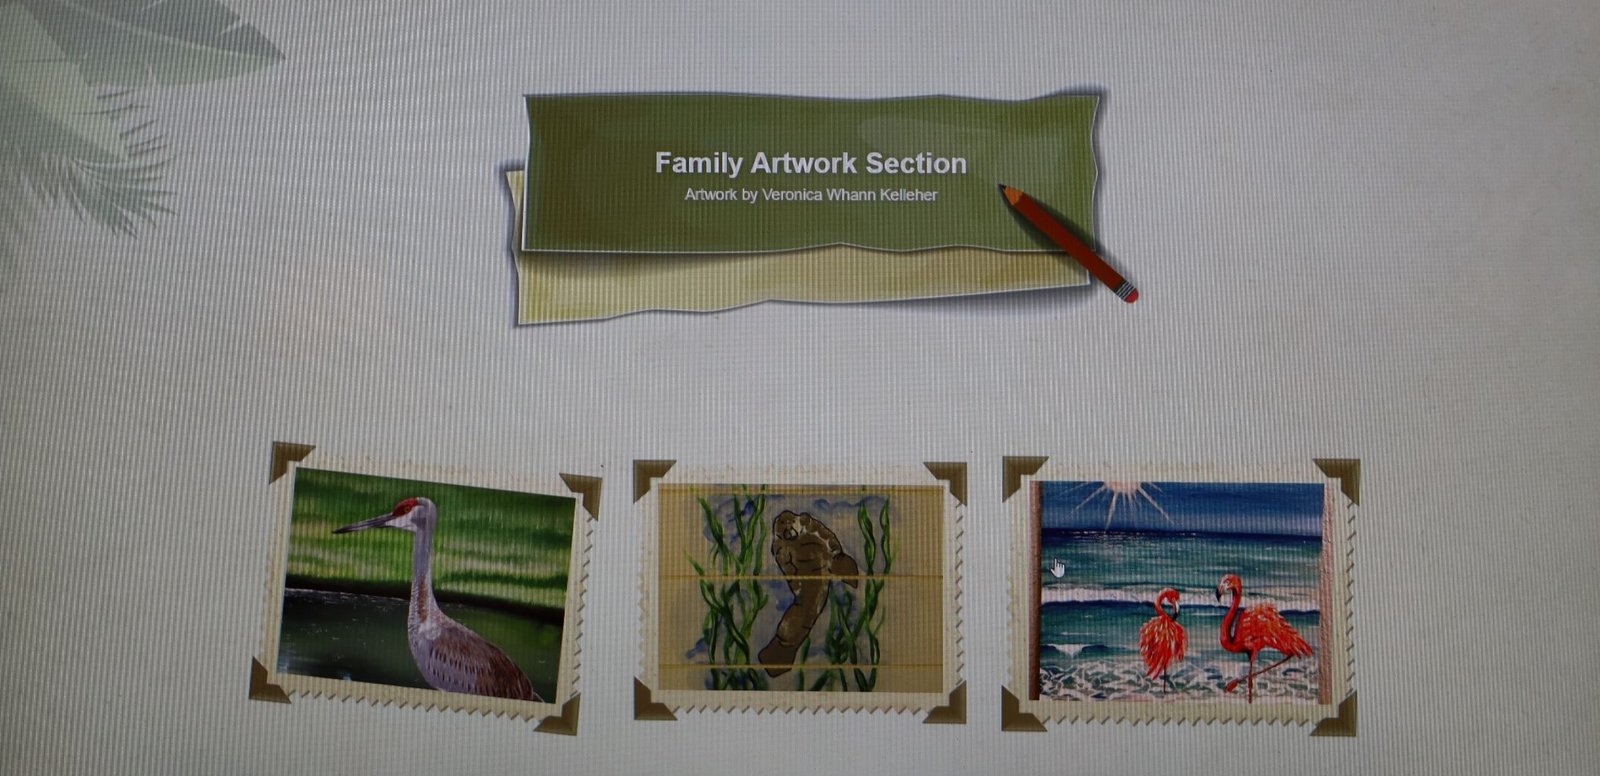
Some of Veronica’s Artwork
I asked her if she had some of her art that I could display on the new website. She sent over these. This was all she had in her possession. People do hire her to draw and paint for them. I would love to had seen those paintings, but she did contribute some nice things.
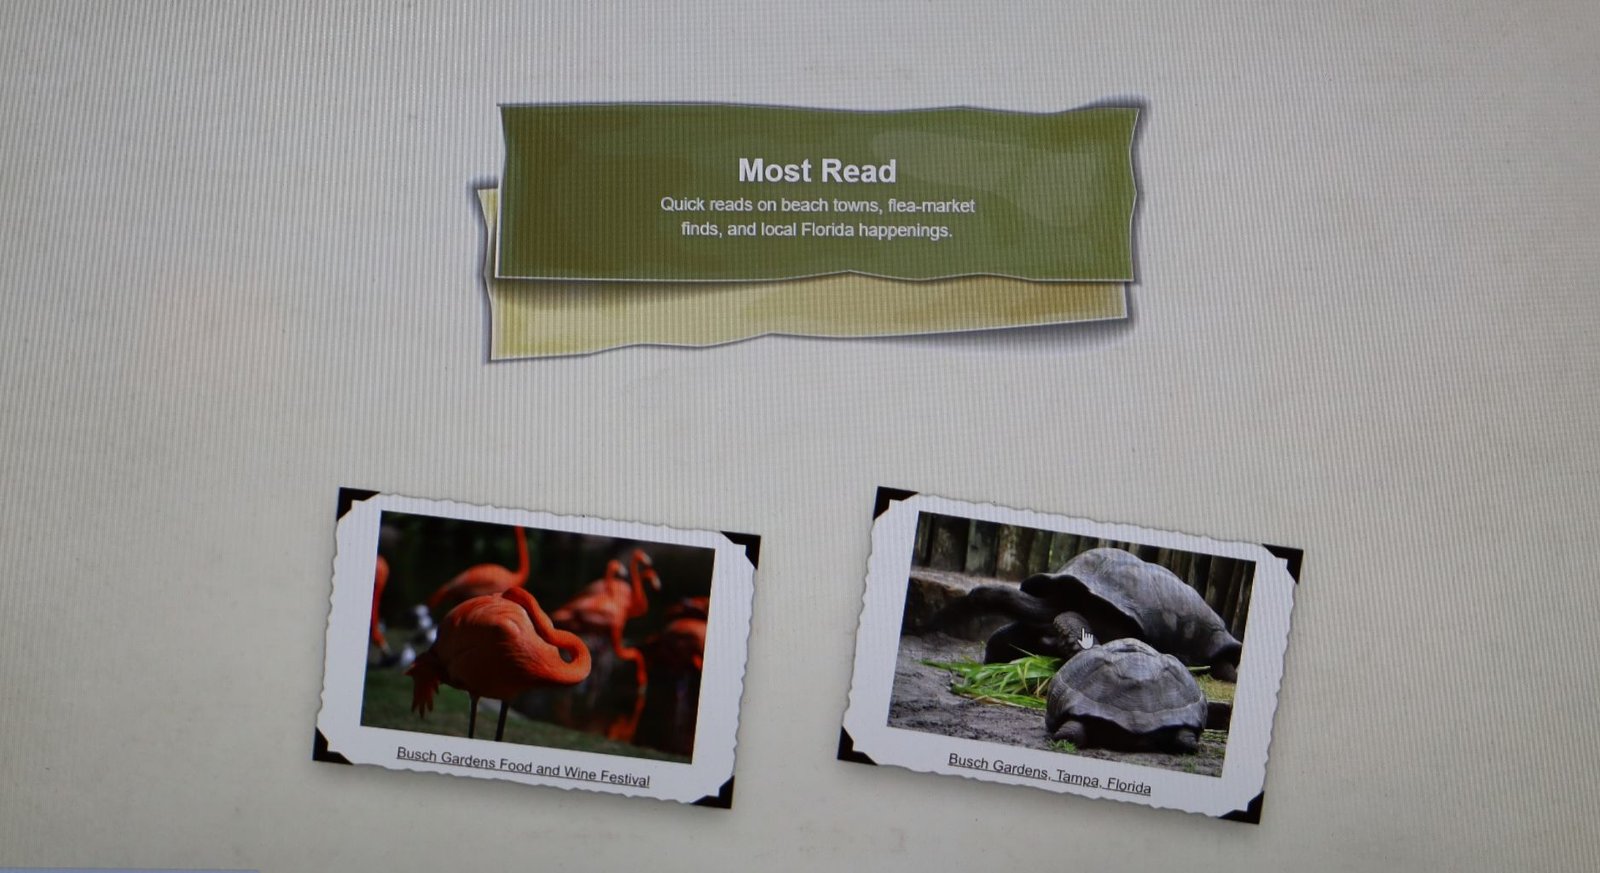
Busch Gardens
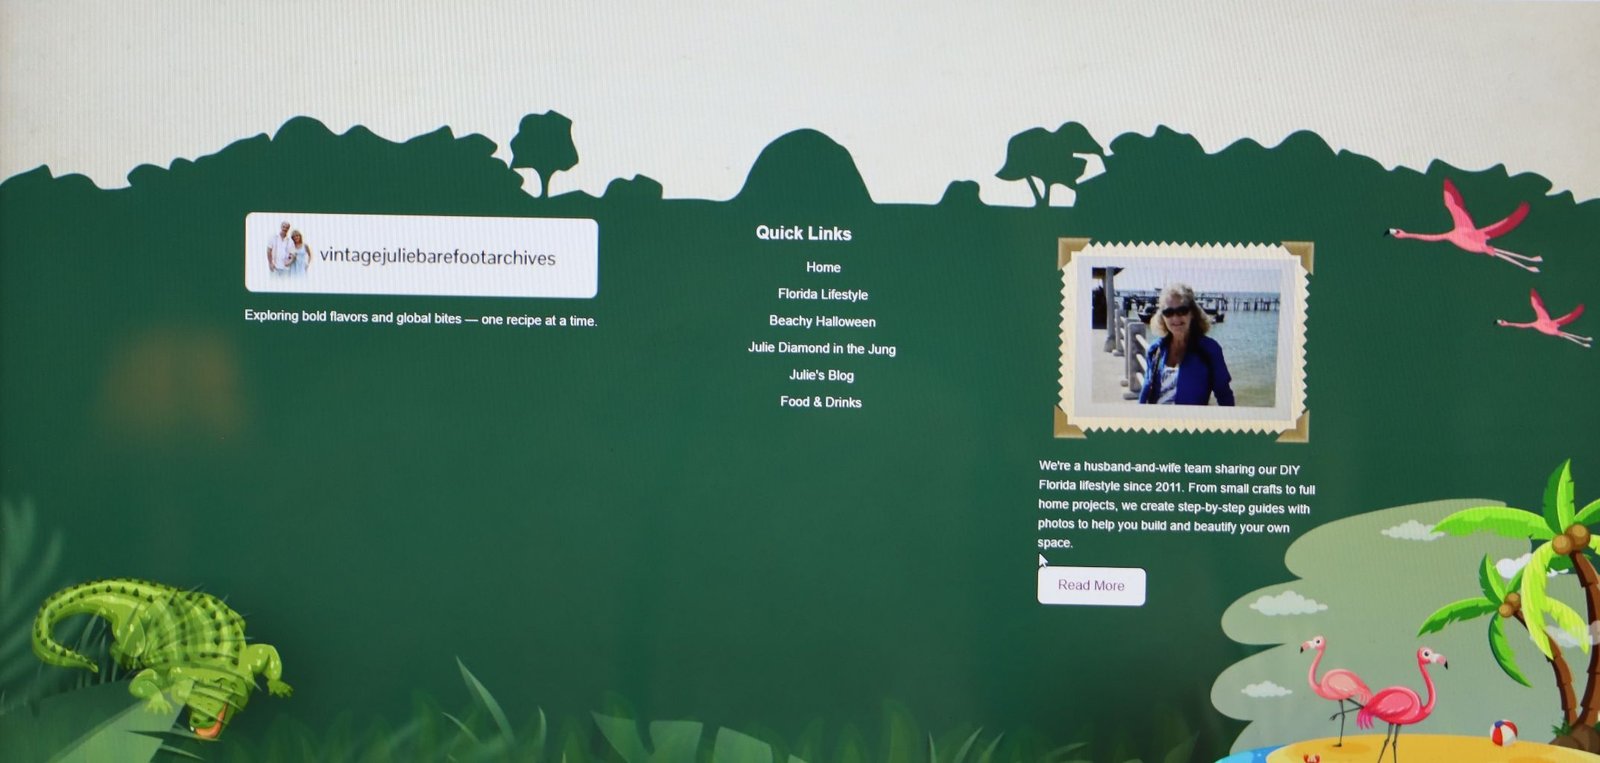
I told my guys in India that I wanted an Alligator on the bottom left, and Flamingoes on the bottom right.
I do think the landscaping you see in the graphic above looks like Africa, but then again we do have Busch Gardens here in Florida that is theme based on Africa.
So, I guess it all goes together nicely.
Web Design is a lot of fun but it isn’t really something tangible. I mean, the moment I quit paying the monthly fees, it can all just disappear. Or an experienced hacker can just come along and delete the whole thing forever. As much as I love my website’s they aren’t anything that I can hold in my hand, or place onto a shelf for display, or even own forever. My experience with having websites is that they are very vulnerable to those that know how to penetrate them, and abuse them without any conscious or authority whatsoever.
I guess what I am trying to say is that they are very temporary, so enjoy them while you can.
See You At The Beach!
Julie Barefoot
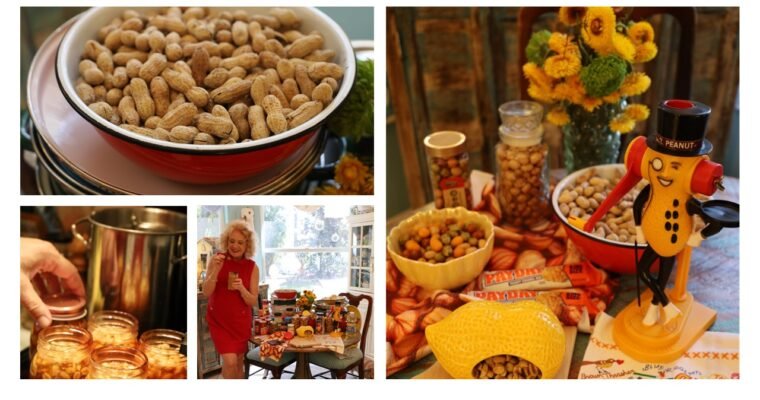
Mr. Peanut In 1906 Omedeo Obici, originally from Italy, founded the Planters Peanut Company in Wilkes-Barre, Pennsylvania. In 1916 Mr. Obici held a contest asking the public to draw a logo that he thought would best suit the company. …
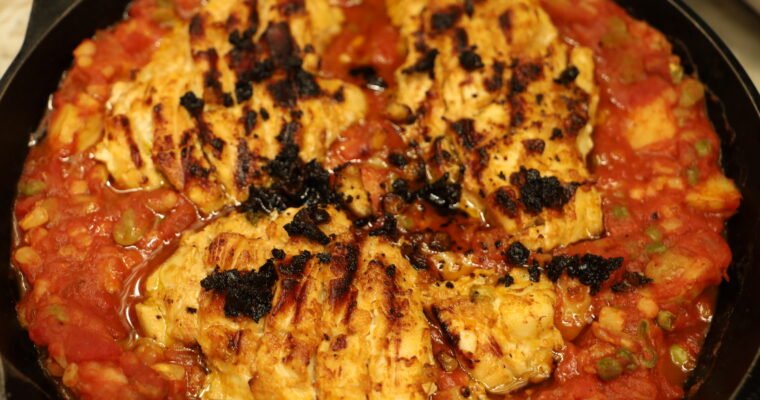
My Brunswick Stew Chicken Skillet Dinner I love Brunswick Stew! I grew up eating it in the South, in the Summer months, throughout the year, but especially for the 4th. of July. There is a history of the stew which I …
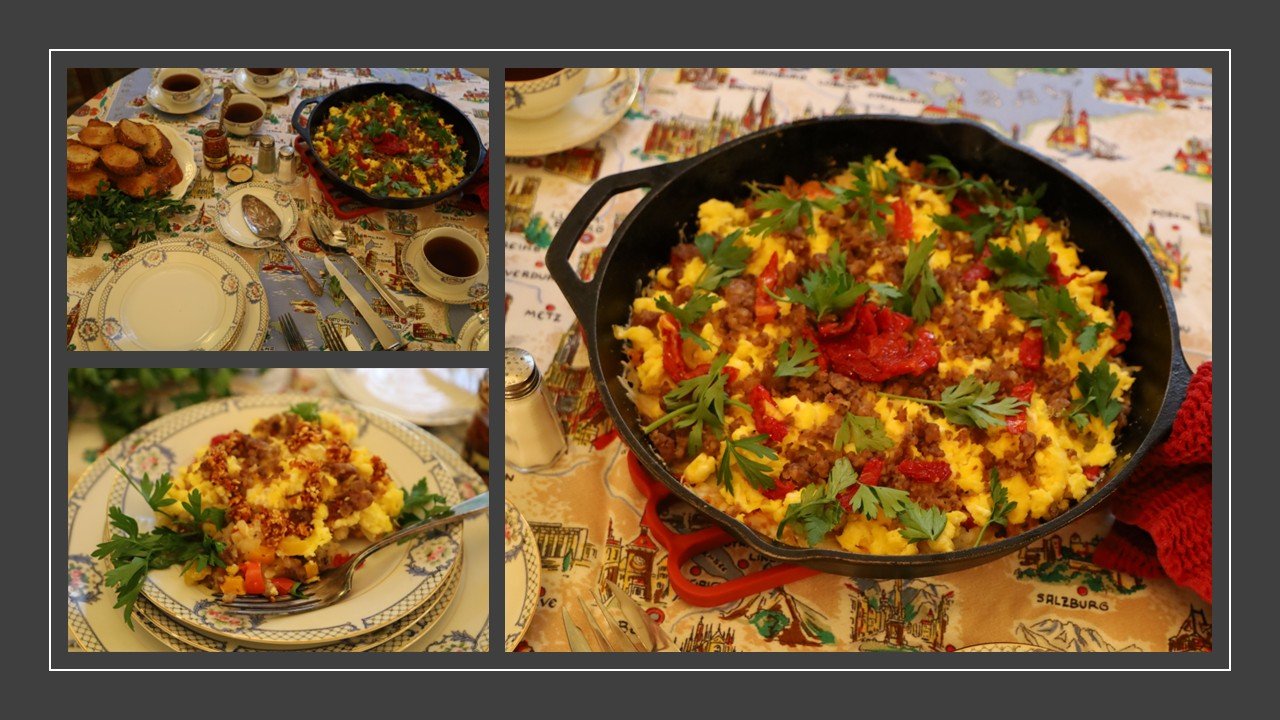
Buongiorno a Tutti
(Good Morning Everyone)
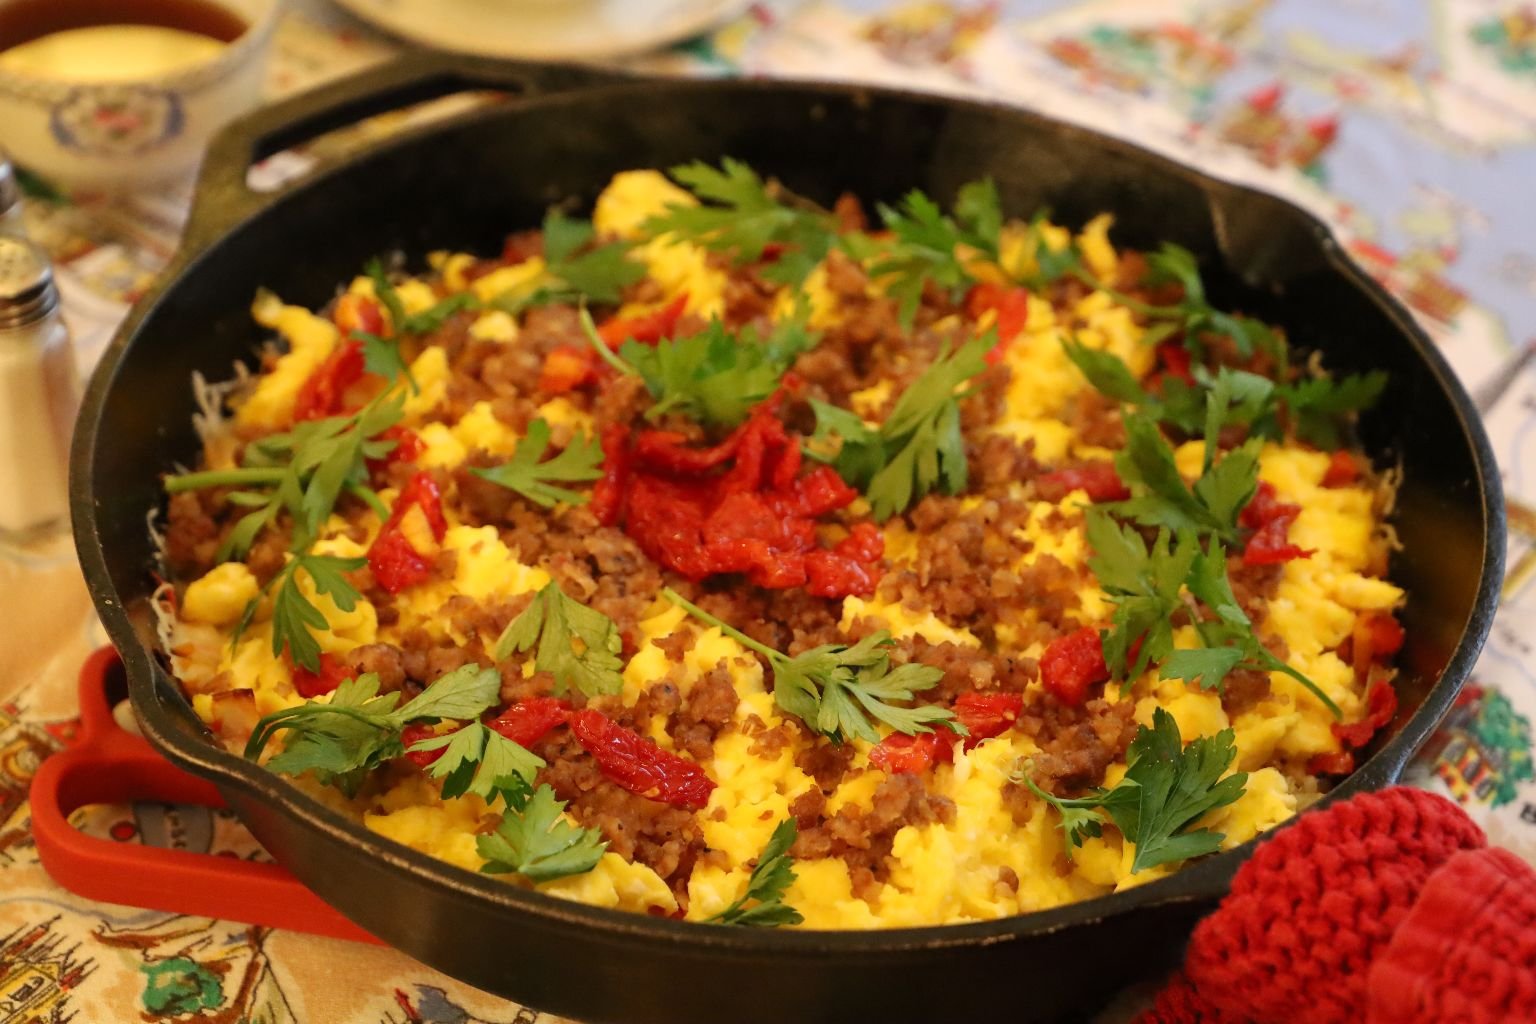
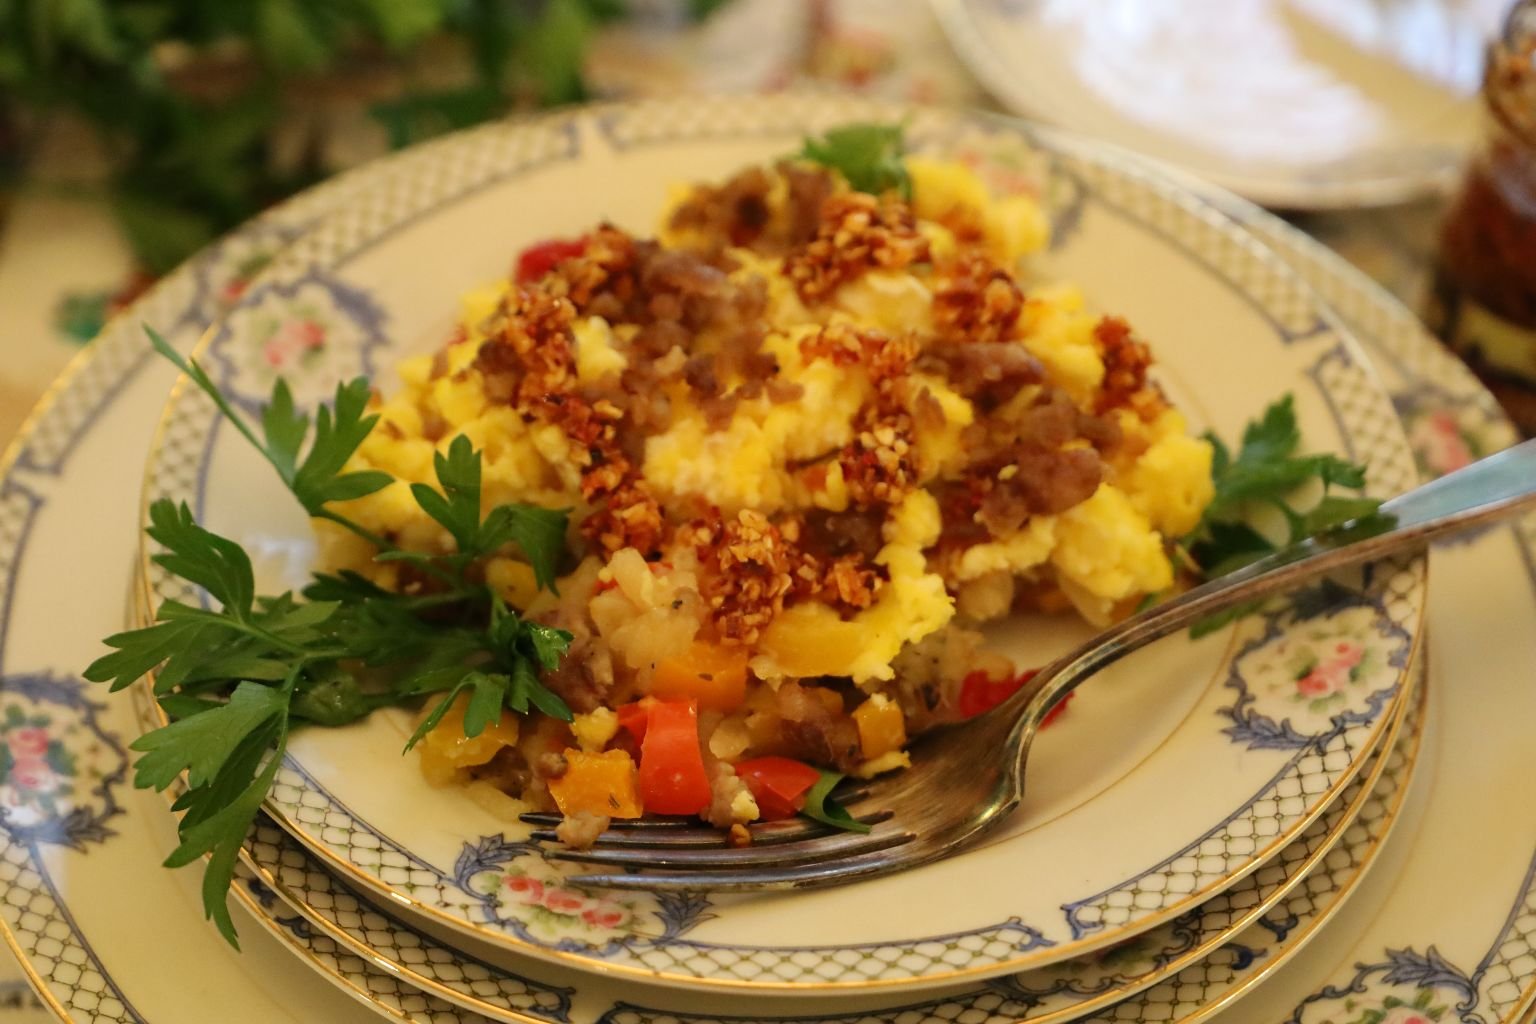
My Italiana Breakfast Skillet
———————————————————————————————–
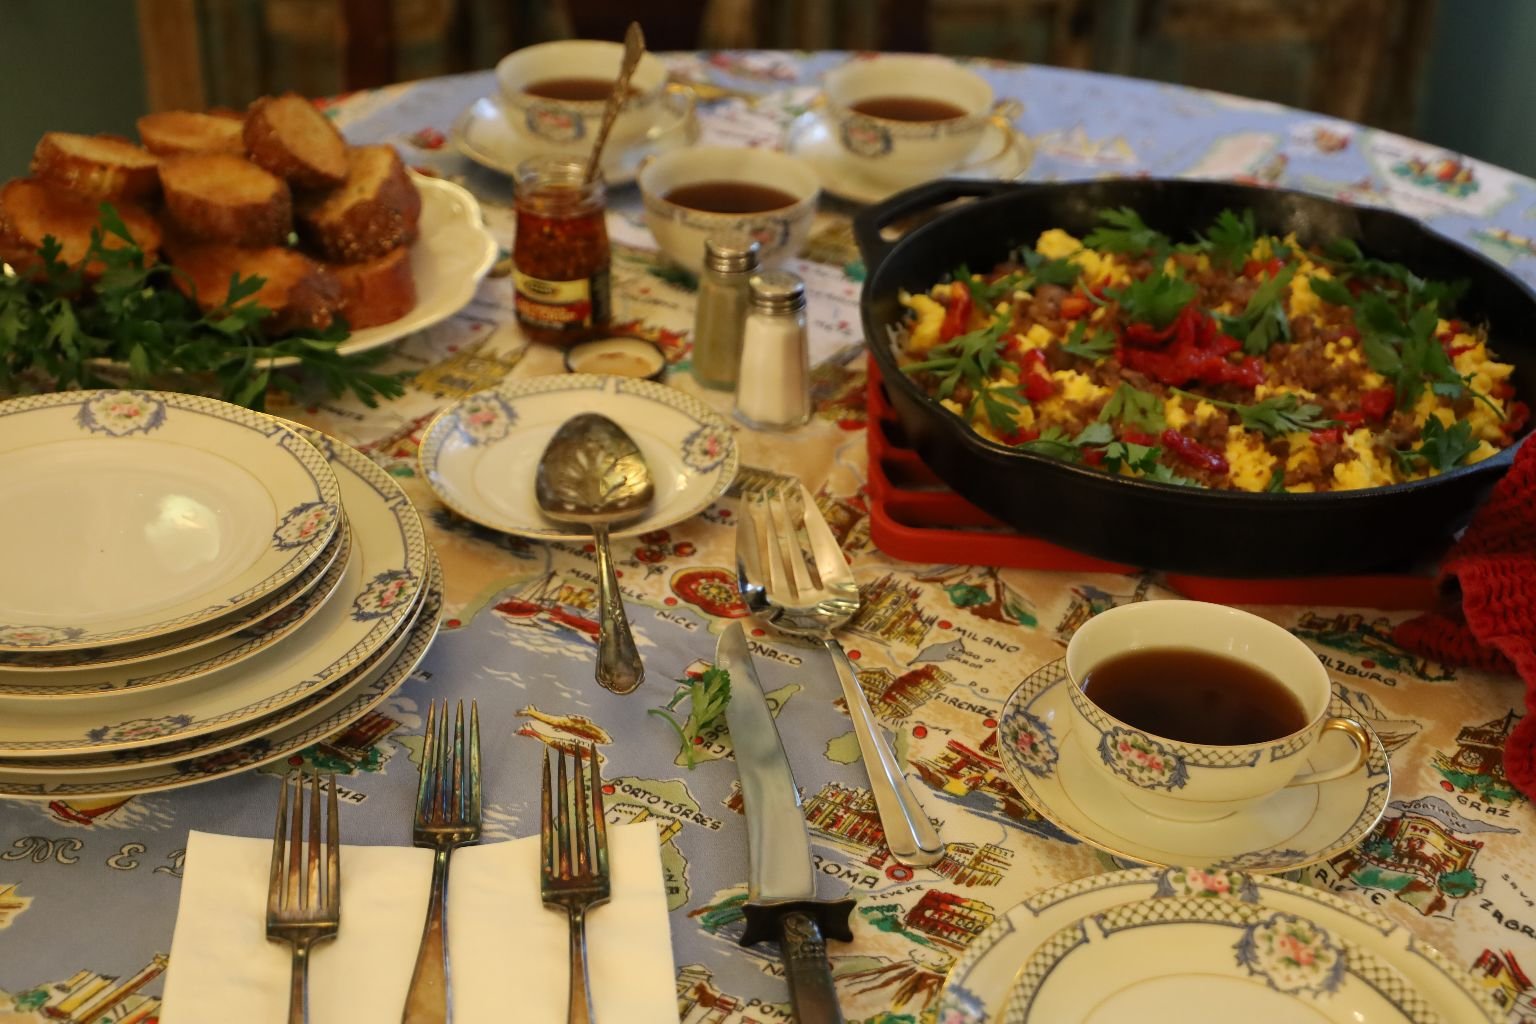
You Don’t Have To Be Italian To Enjoy This Delicious Breakfast Skillet
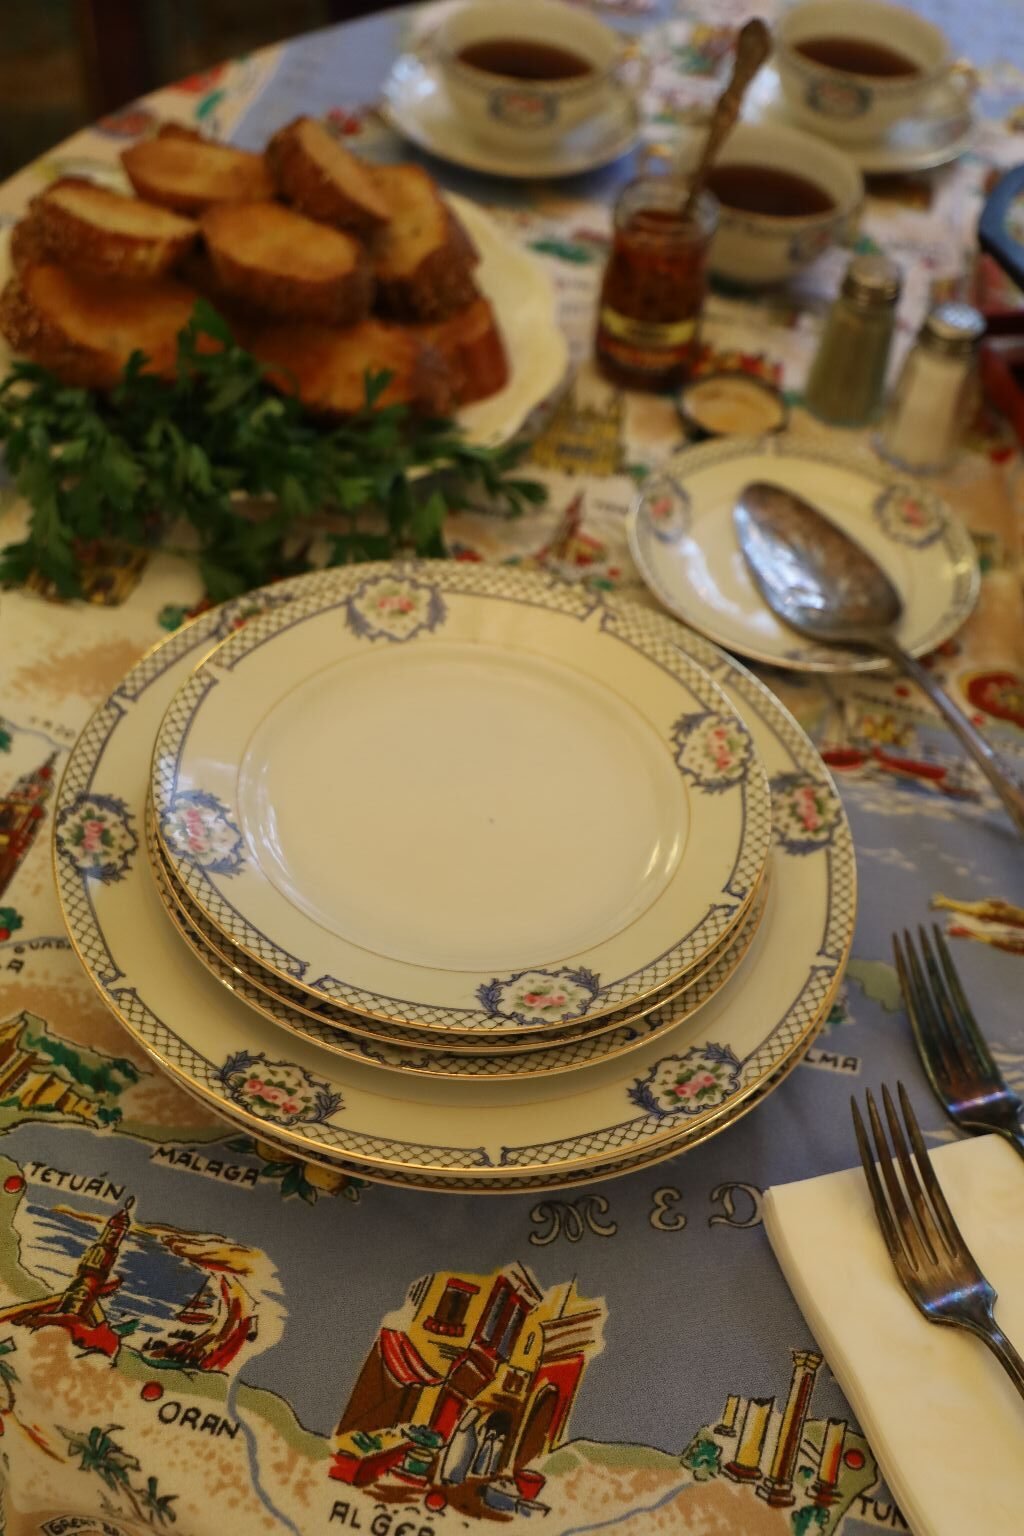
——————————————————————————————
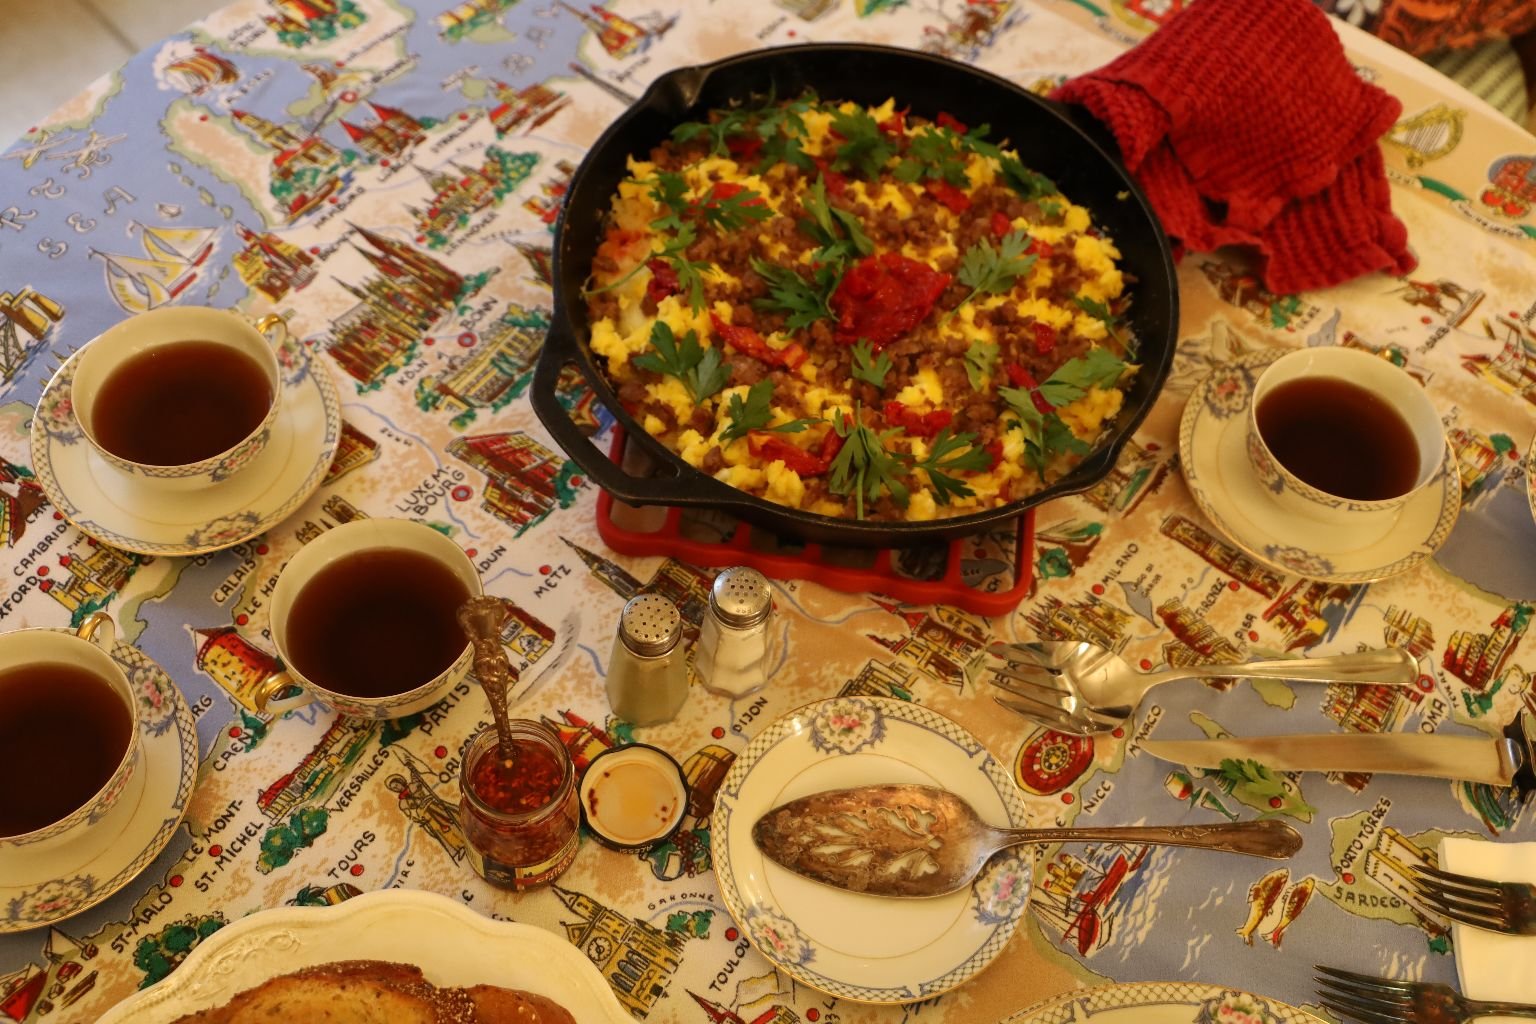
A One Skillet Breakfast With Baguette and Caffe
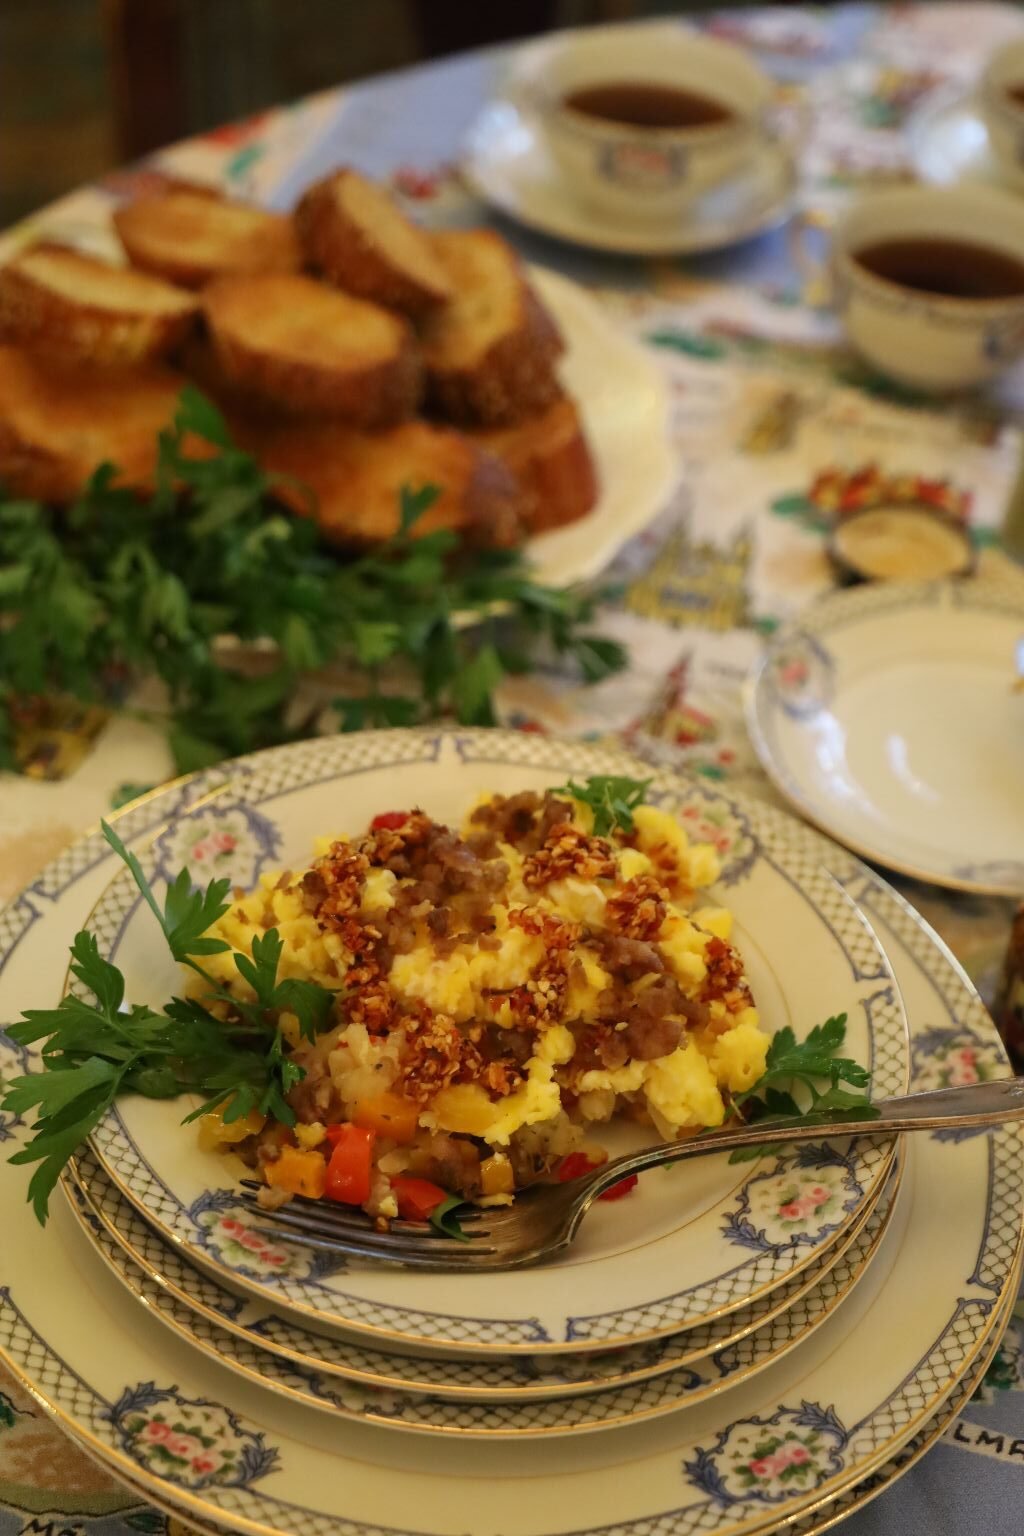
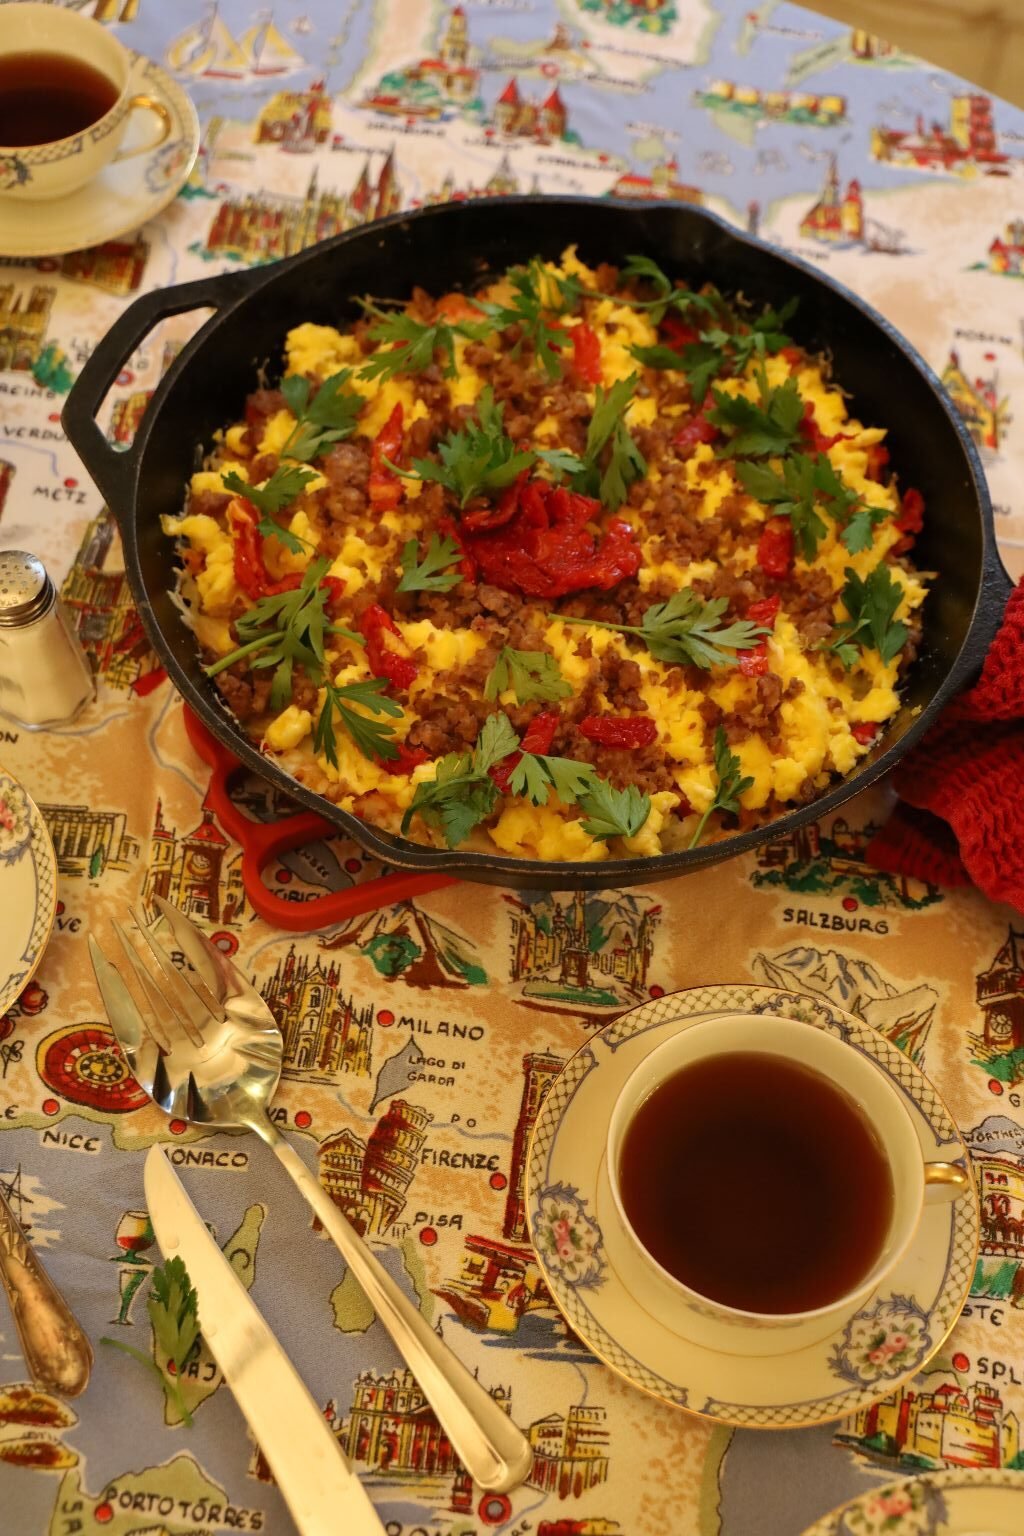
—————————————————————————————————–
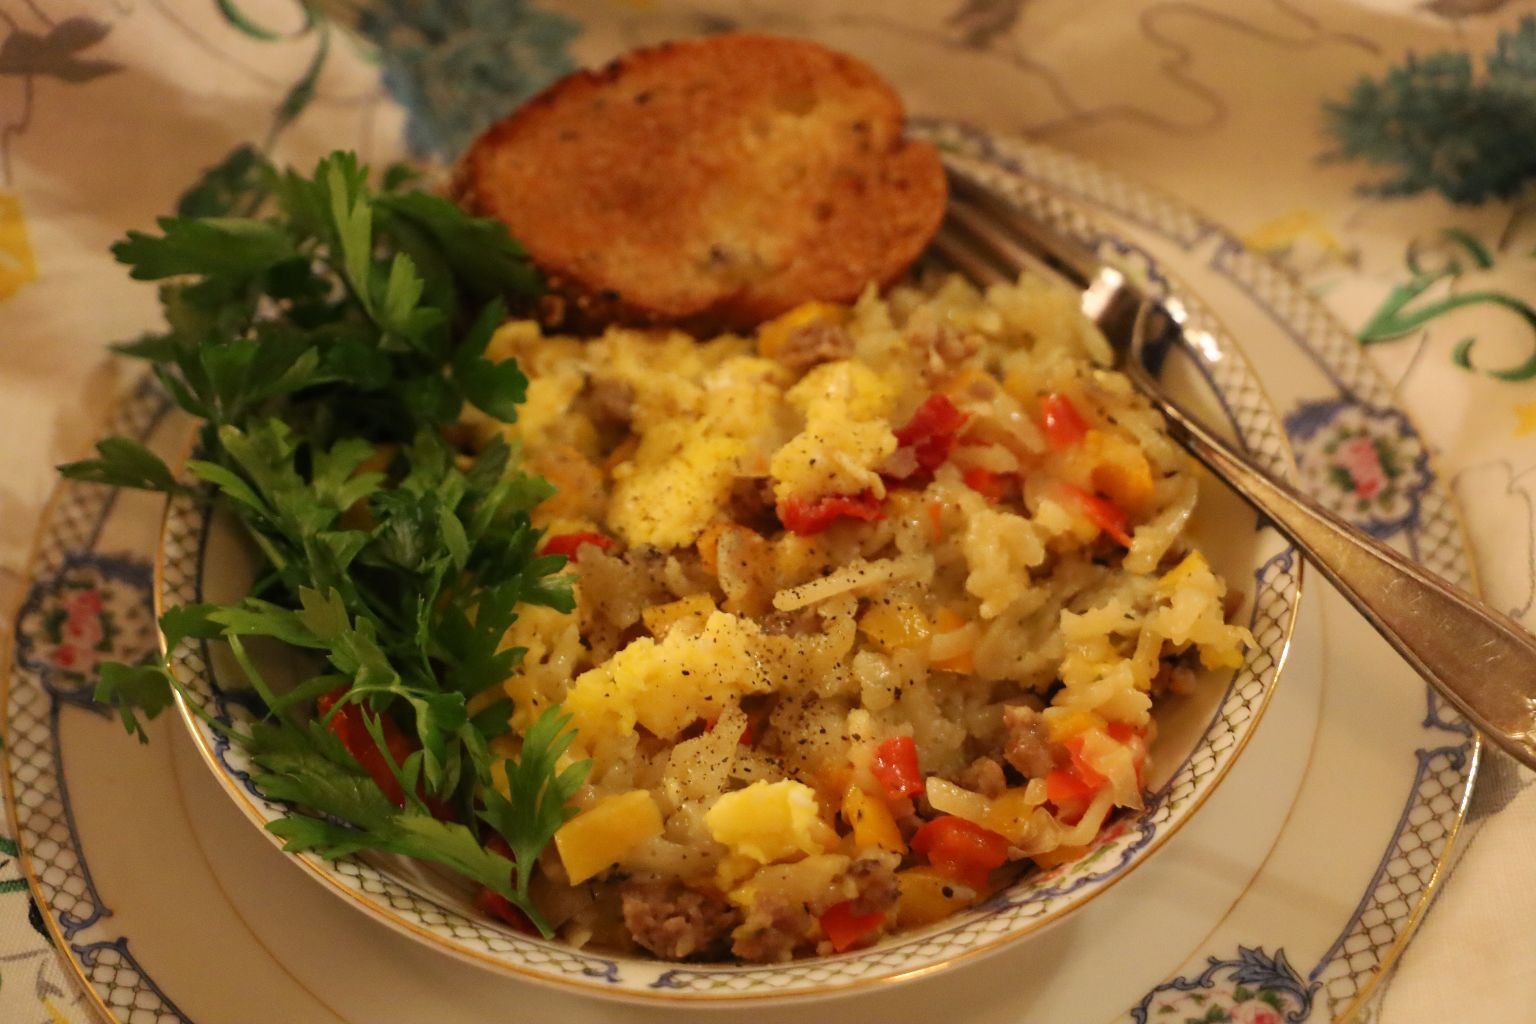
This Also Makes An Excellent Dinner, Or Even Luncheon
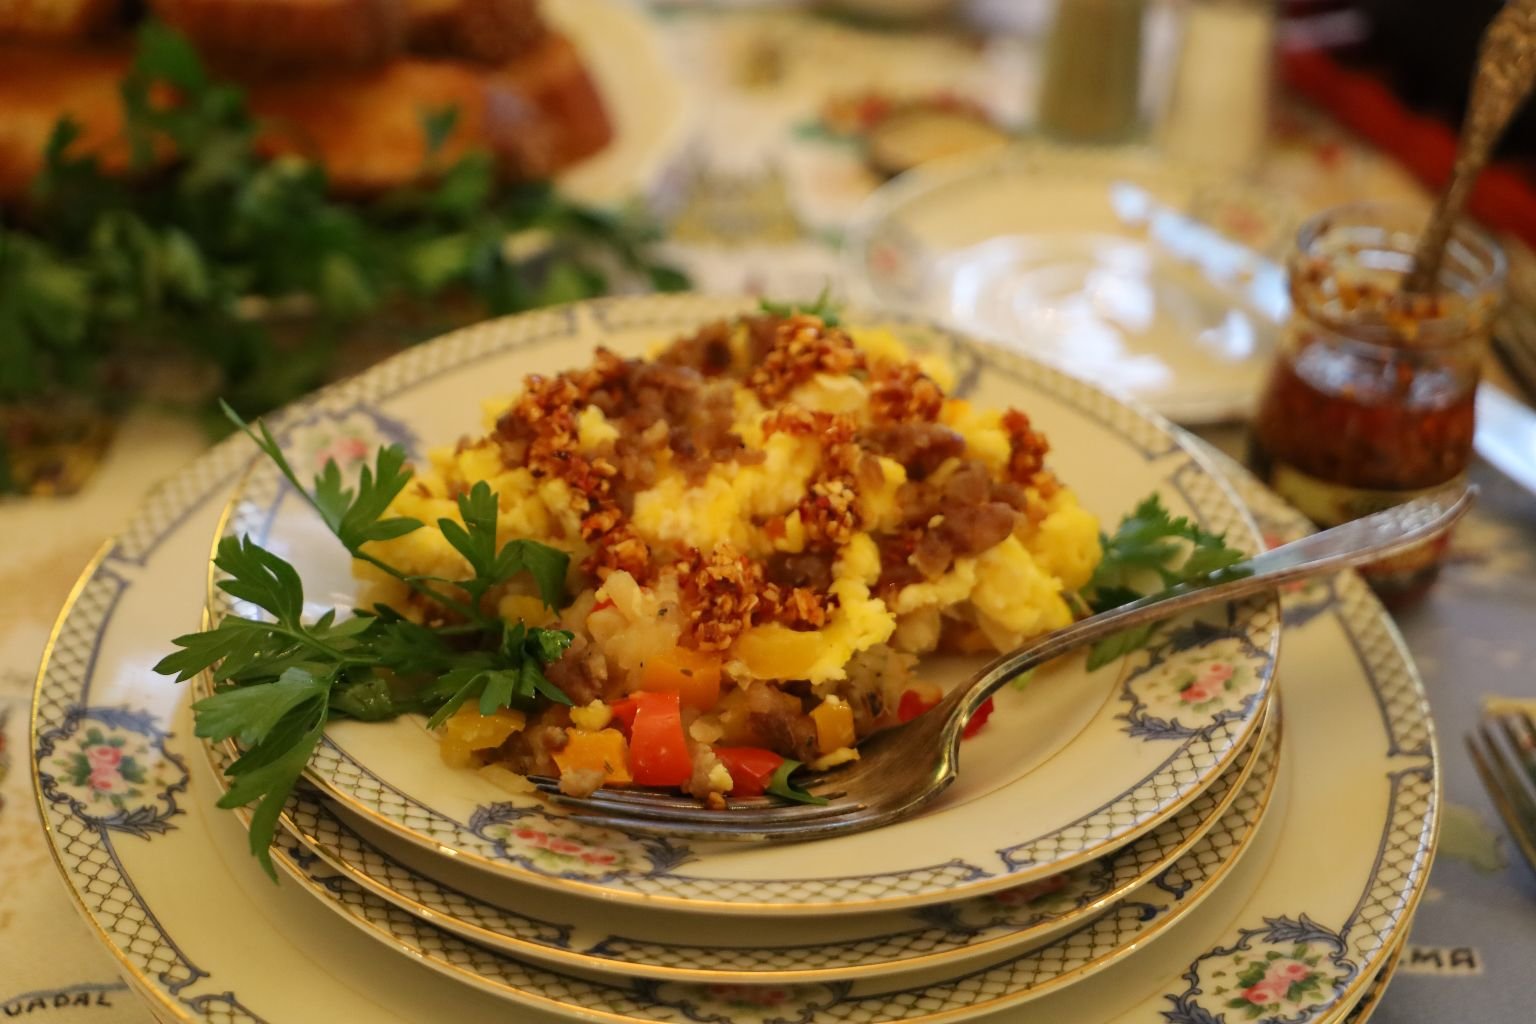
————————————————————————————————-
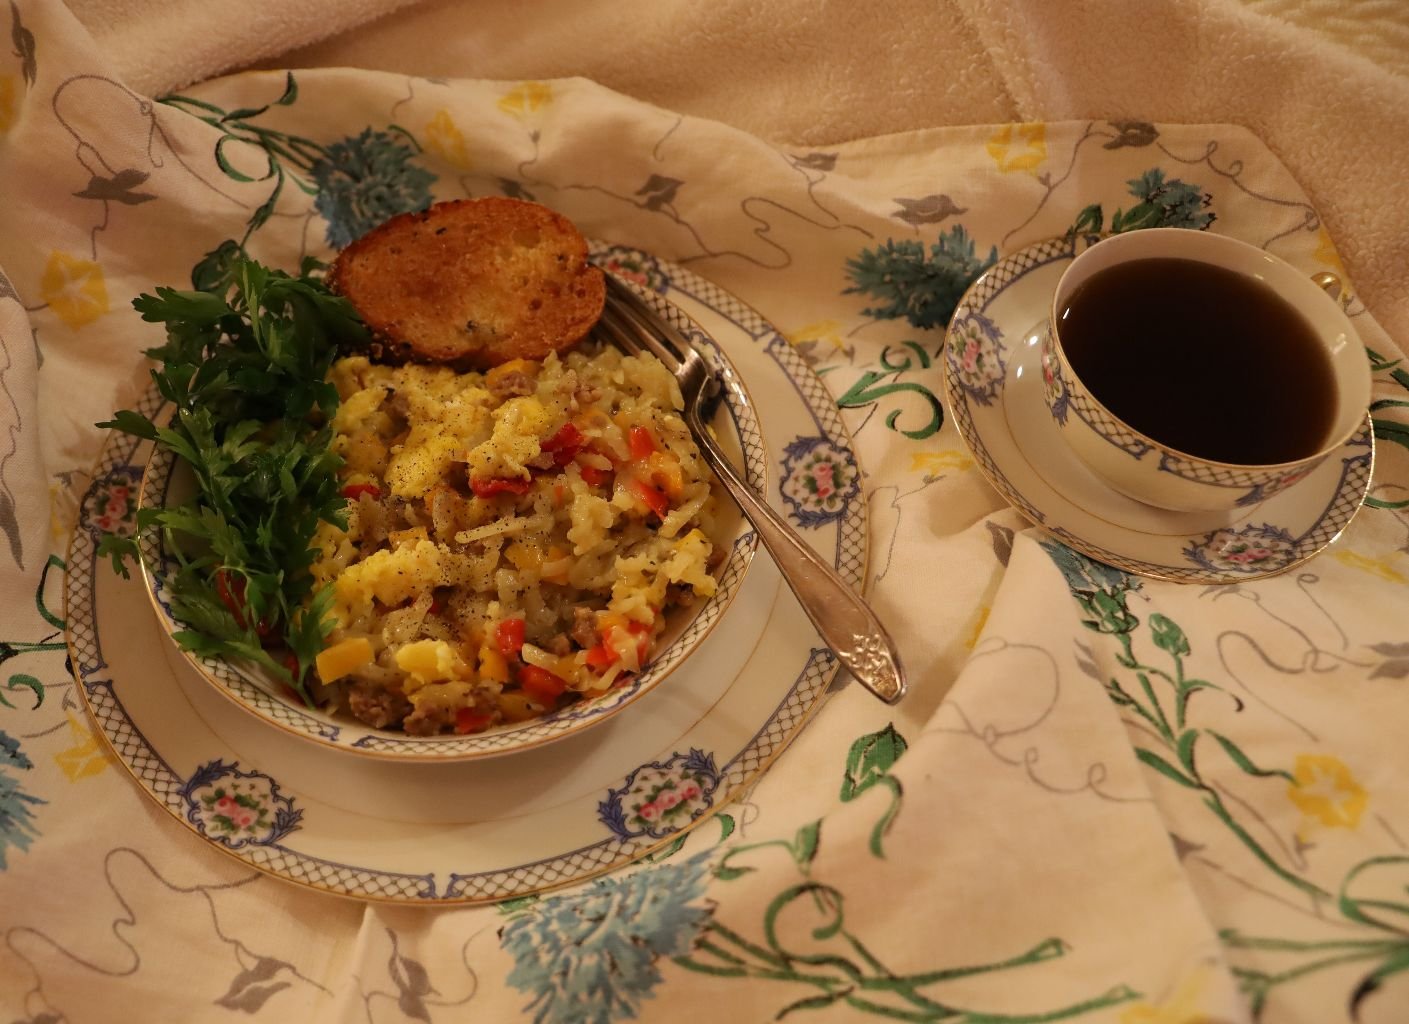
Excellent Eaten In Bed…
——————————————————————————————
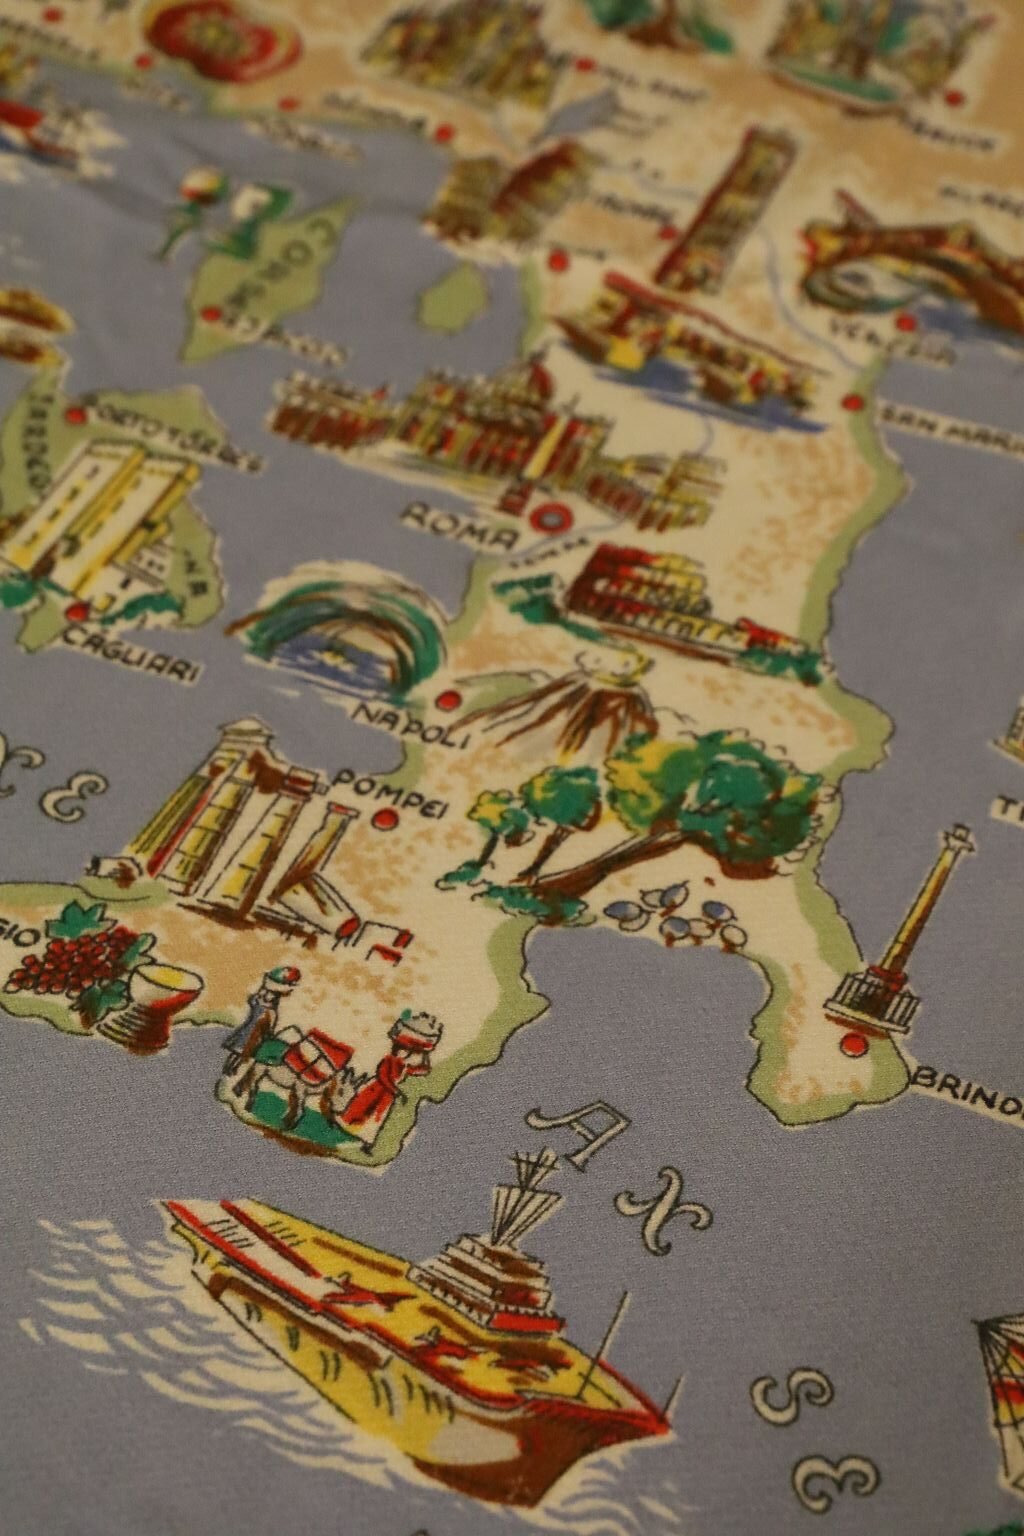
The Boot
Italy is Shaped Like a Boot
————————————————————————————
I Hope To Add More Breakfasts As Time Goes By
Godere,
Julie and Gordon
——————————————————————————————————-
Recipes Start Here
—————————————————————–
First Up:
My Italiana Breakfast Skillet
——————————————————————————-
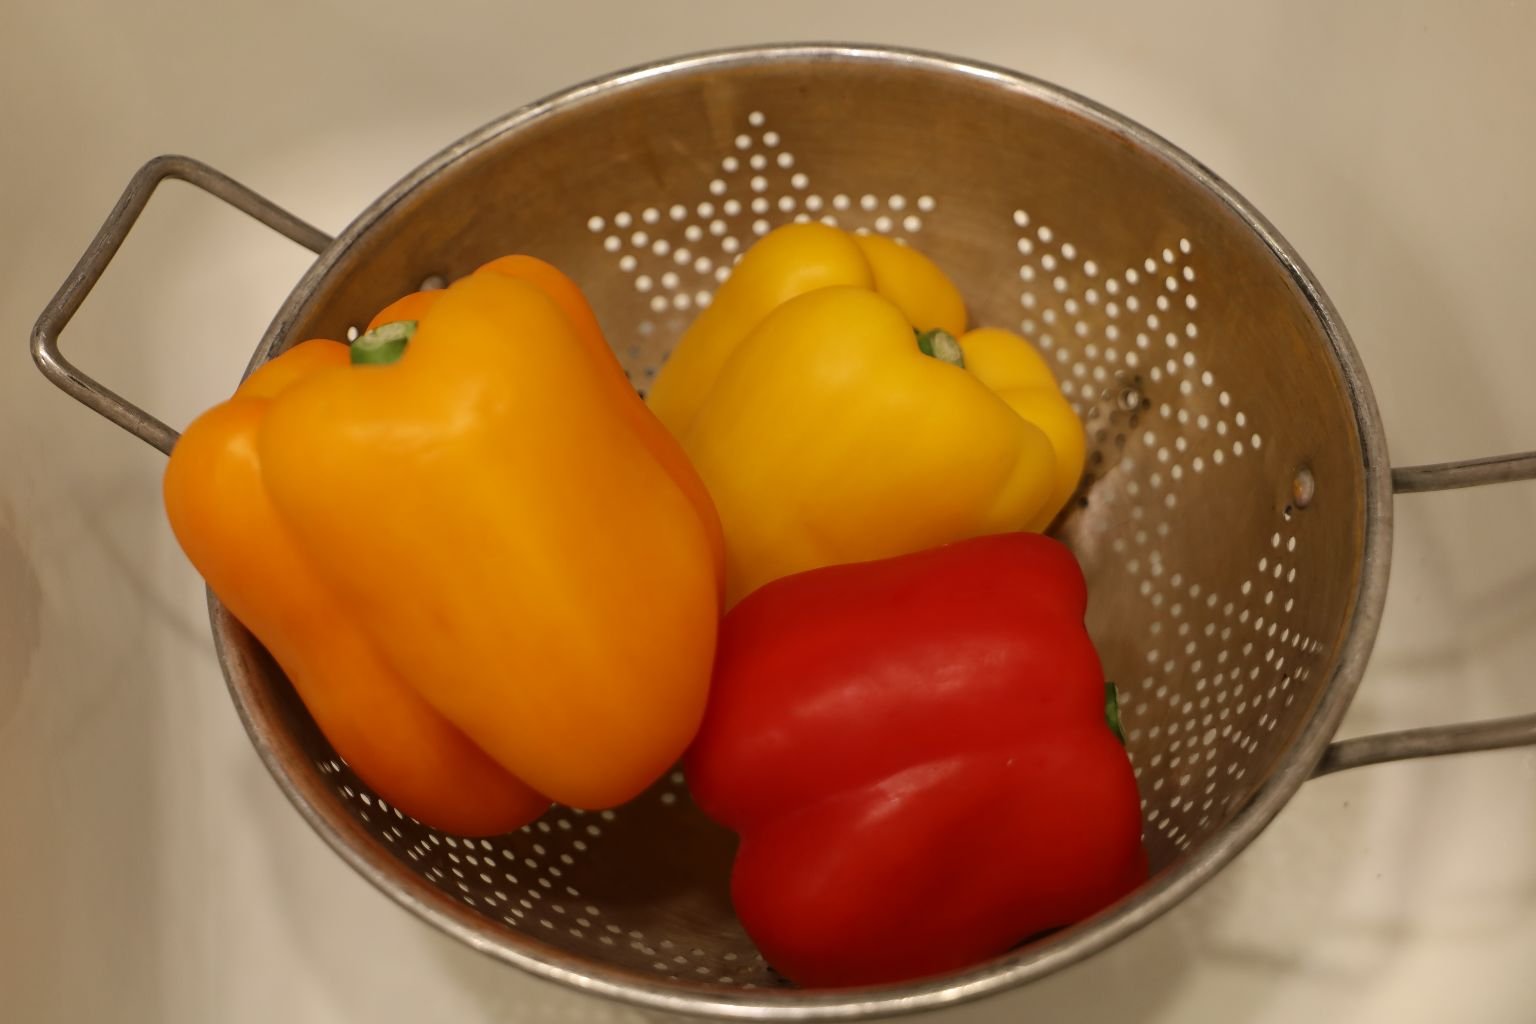
Ingredients:
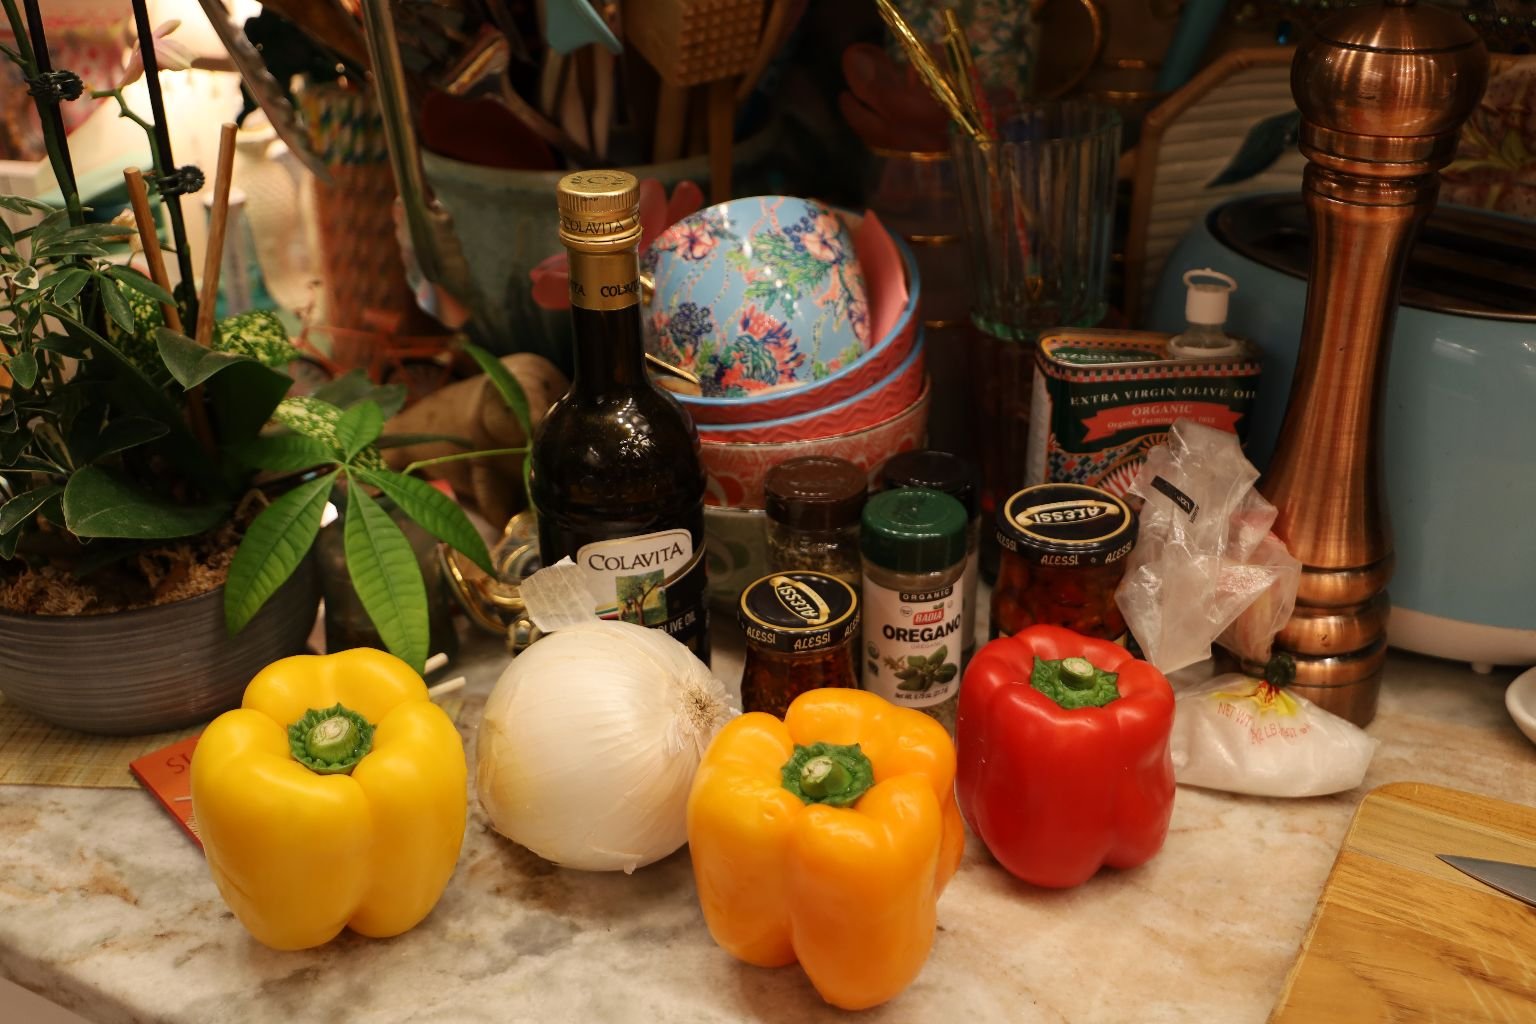
Orange, Yellow, and Red Bell Peppers, Washed
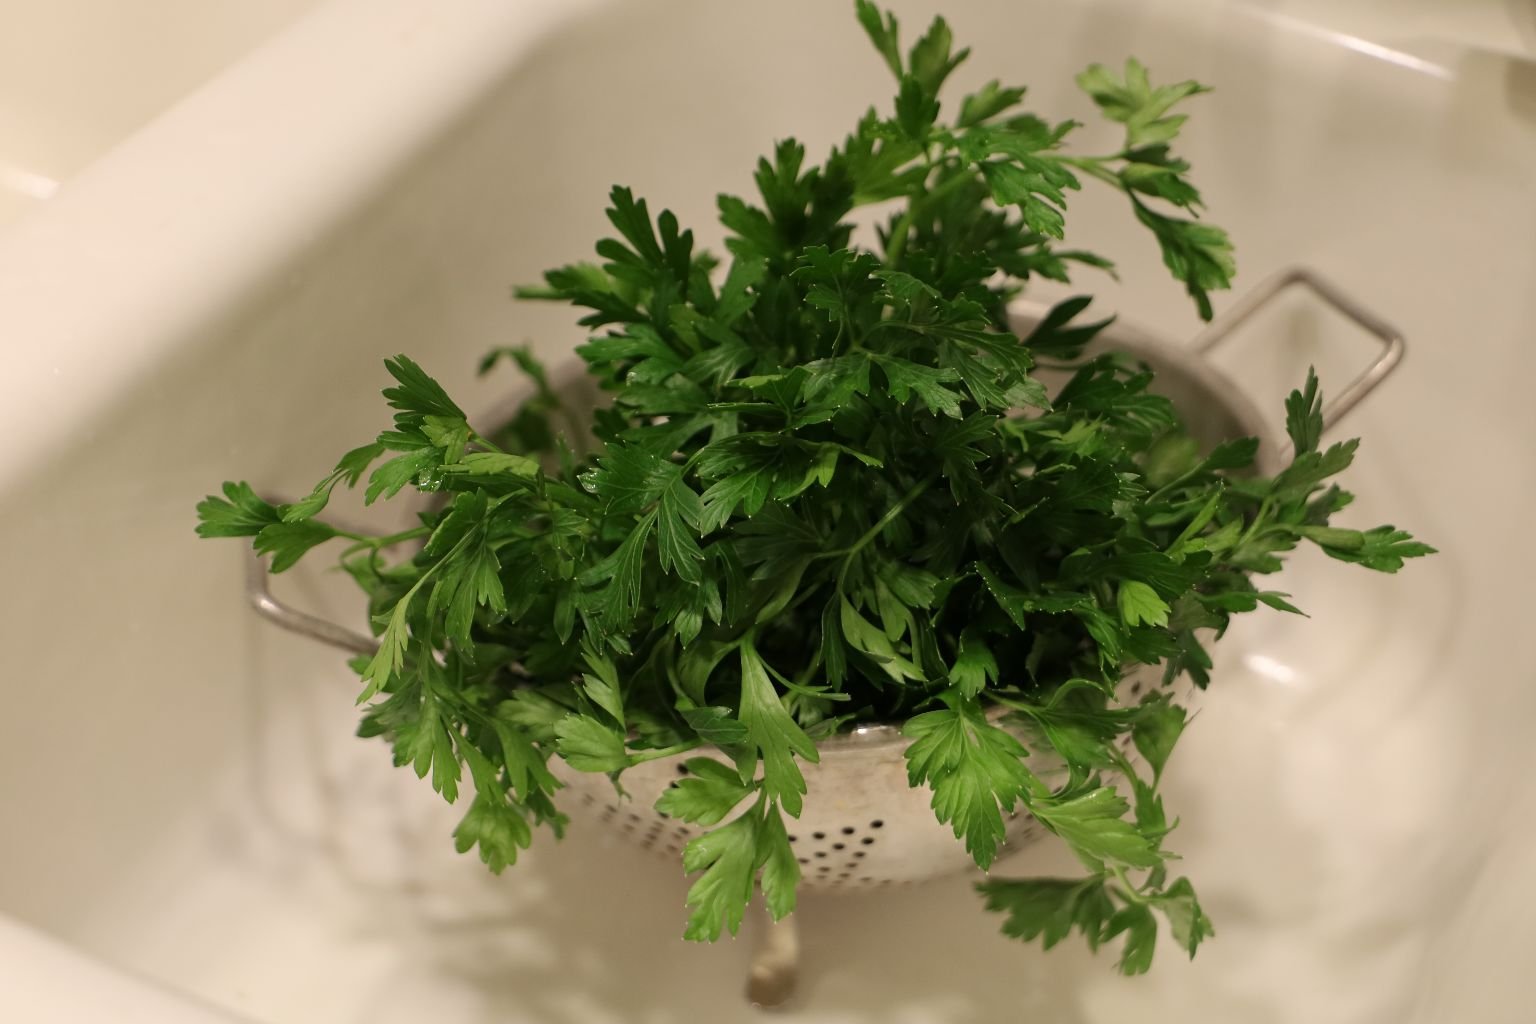
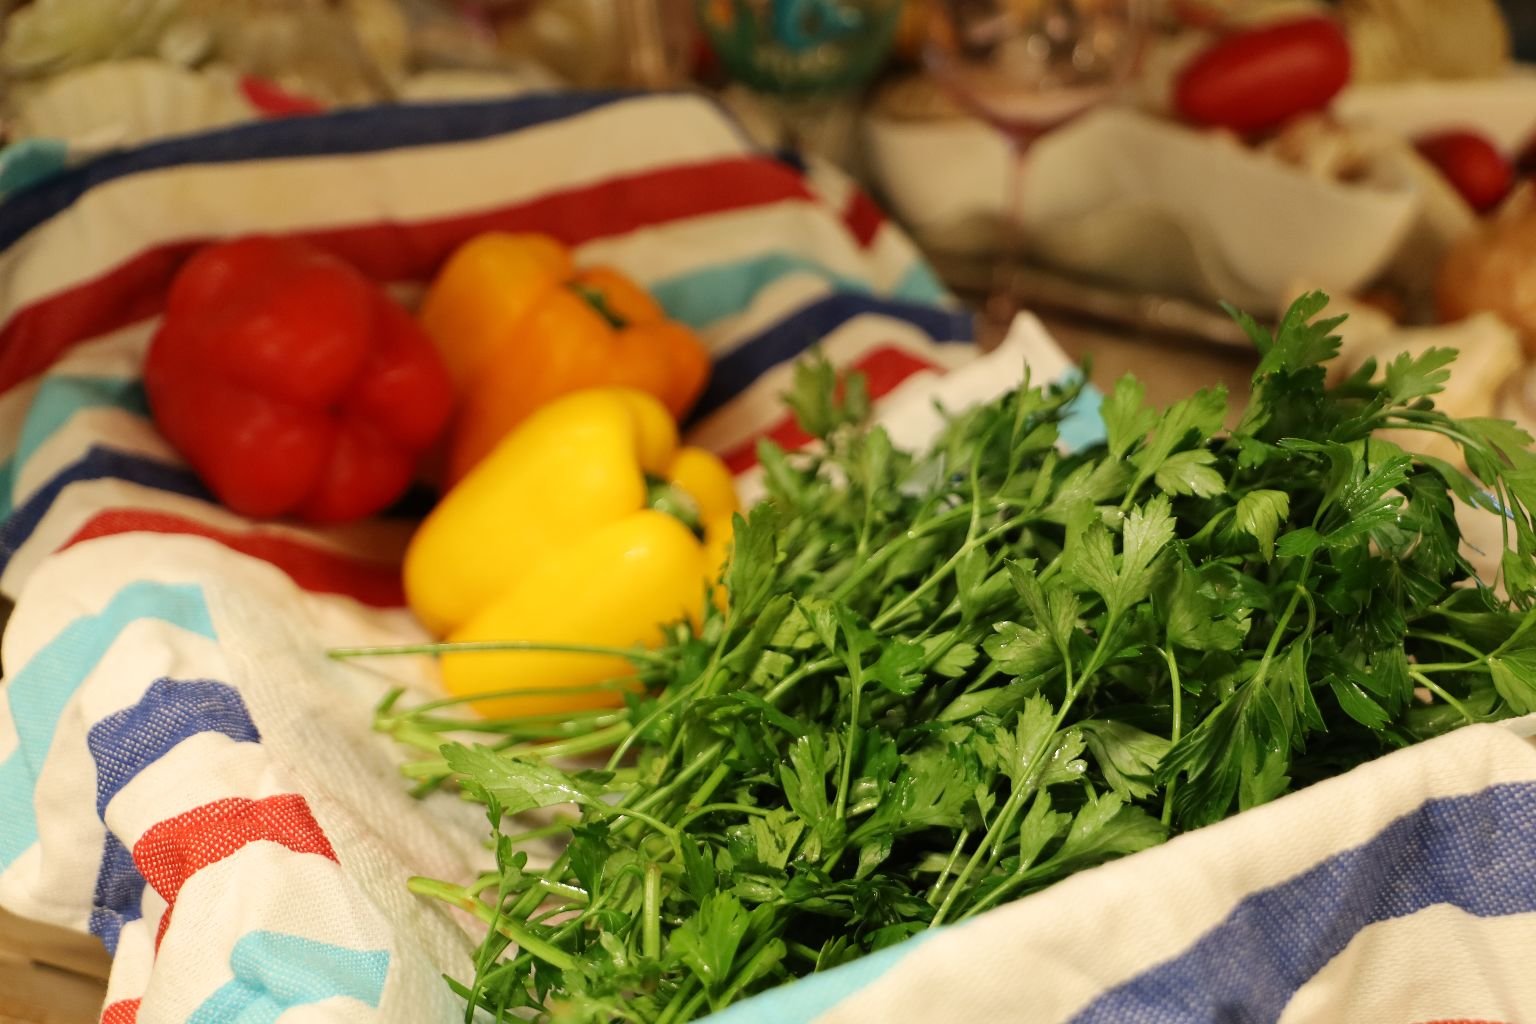
Fresh Flat Leaf Parsley, or any you Desire, Washed
(I Give The Rest Of The Ingredients As I Write The Recipe)
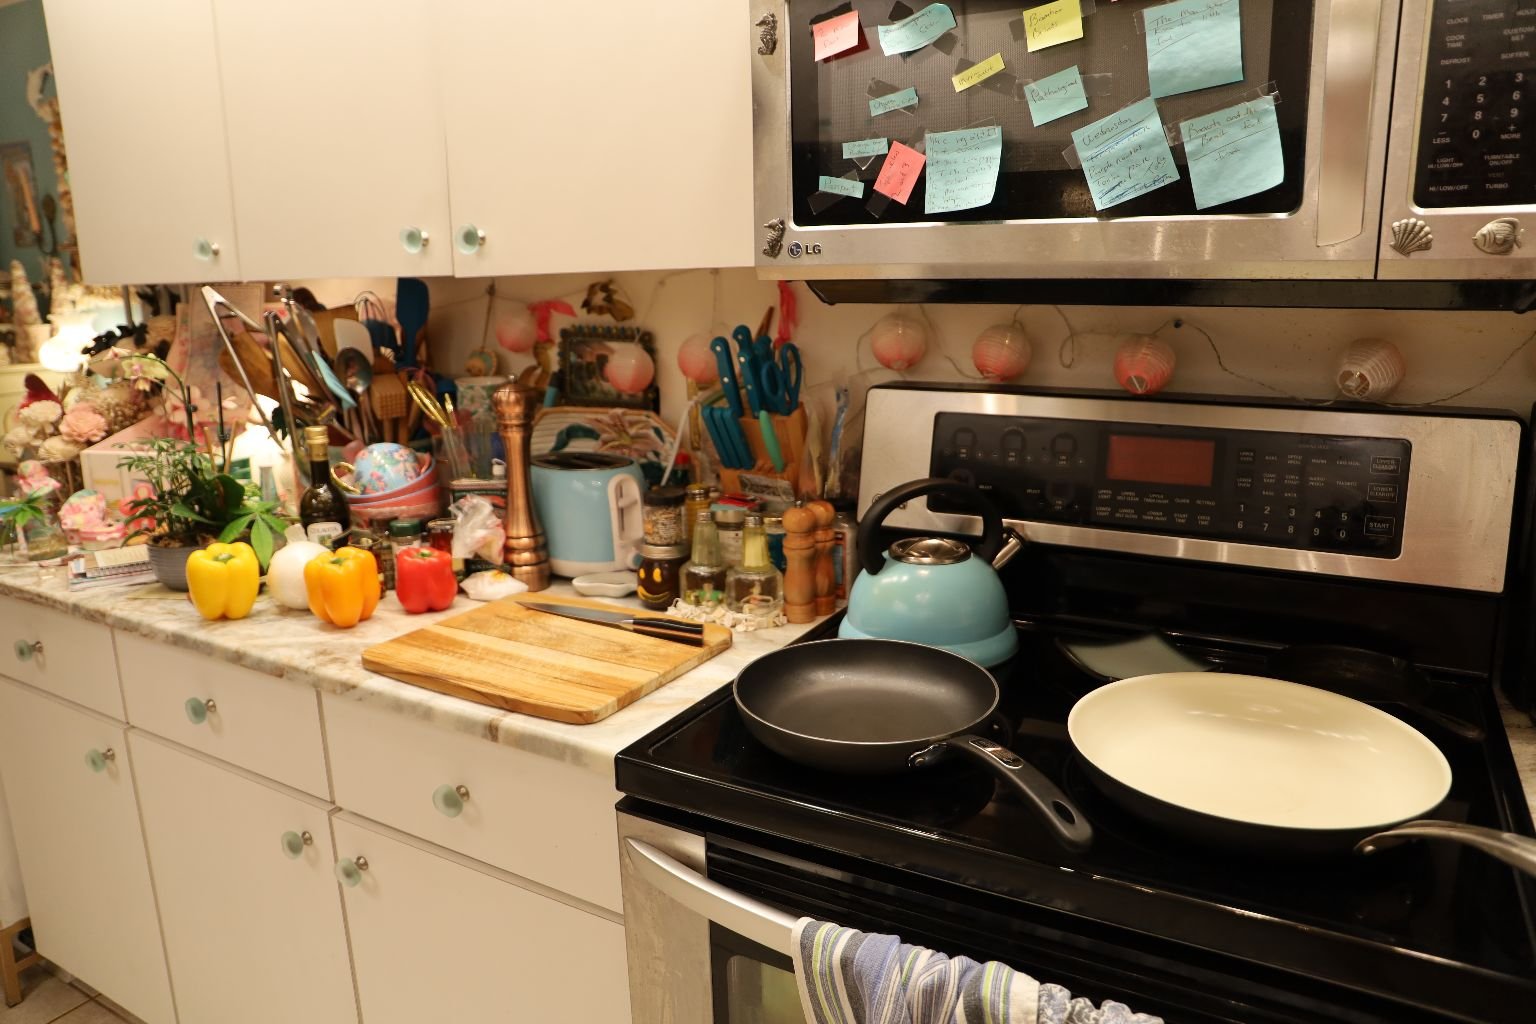
You will need a Cutting Board, and a Sautee Pan or Two…
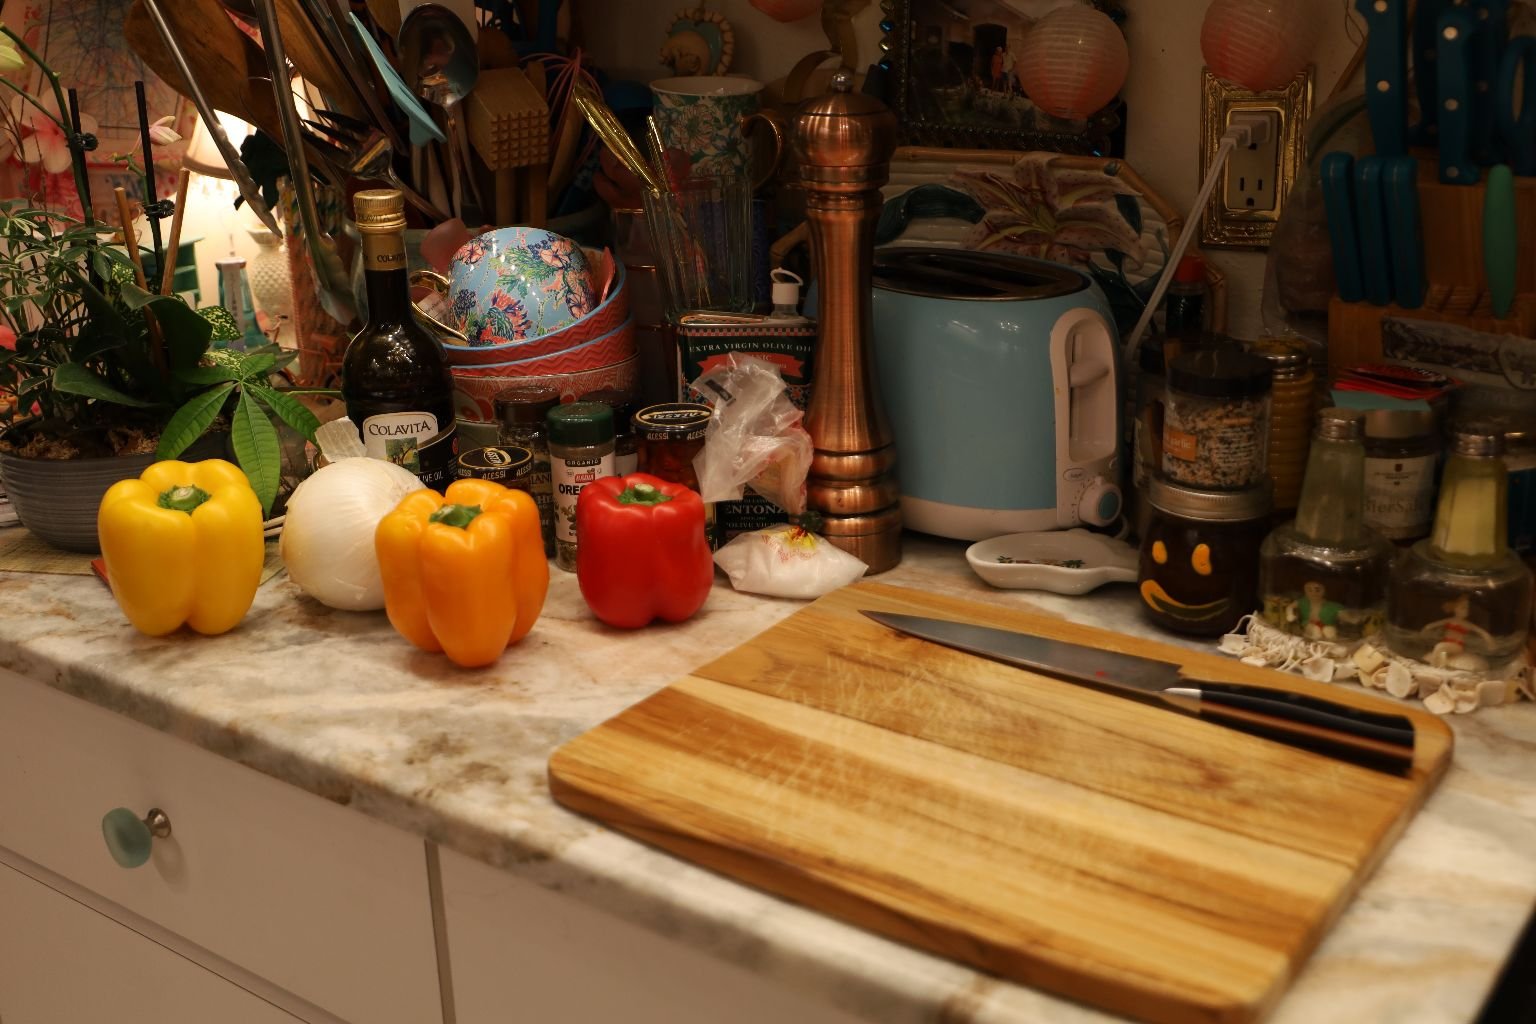
Time To Chop My Bell Peppers
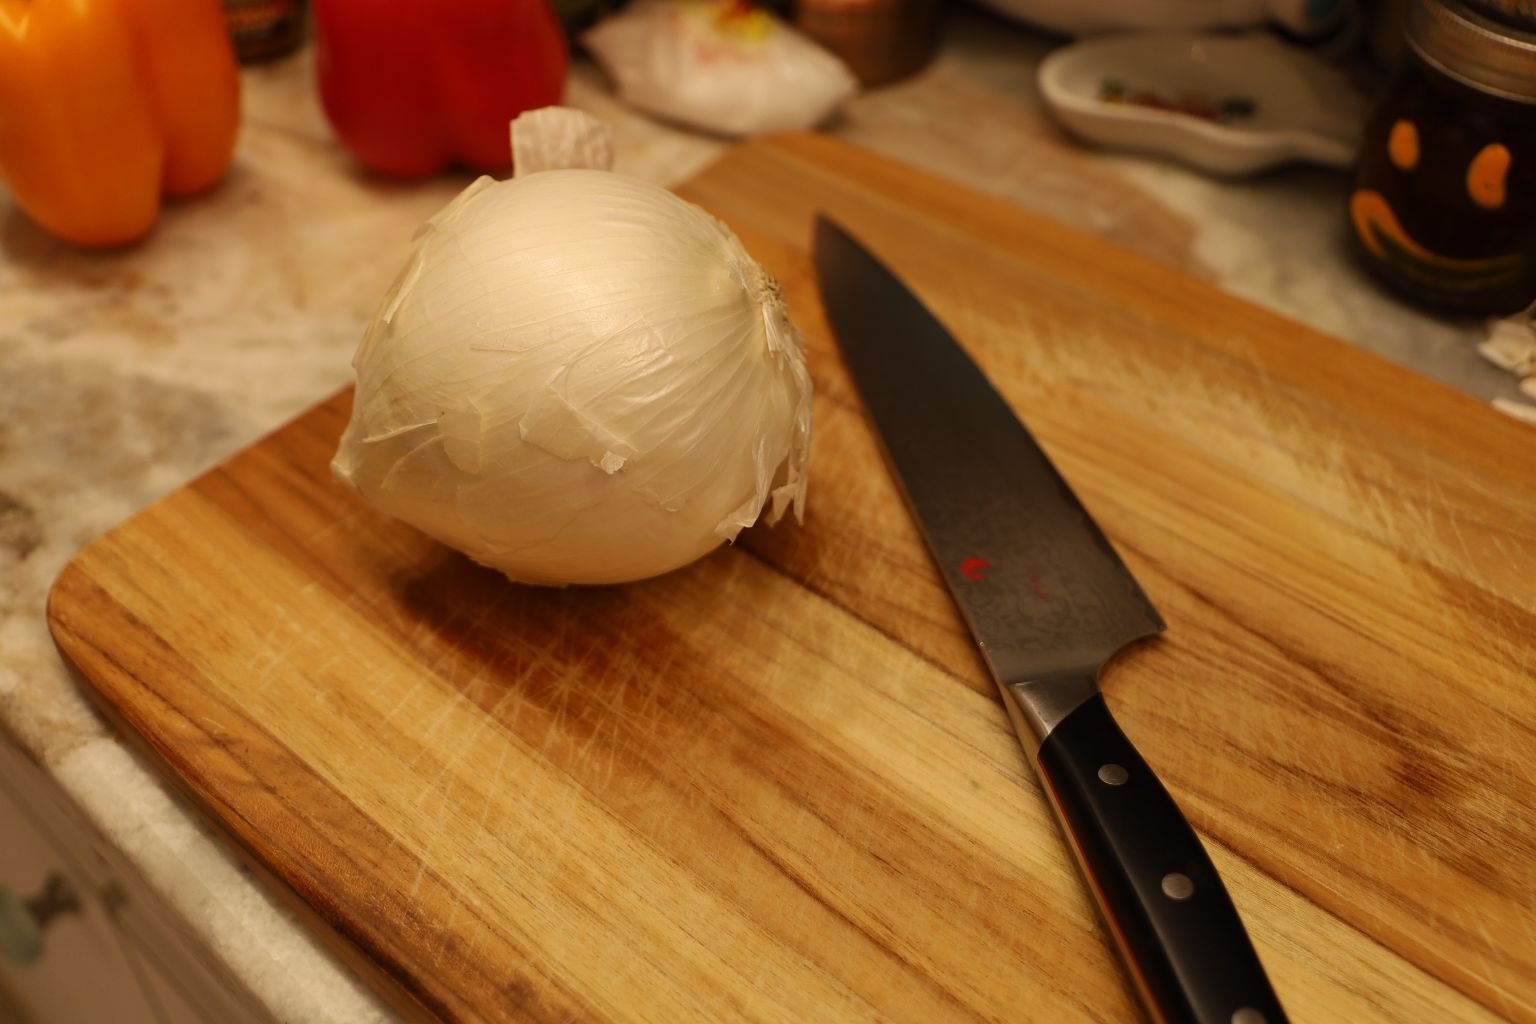
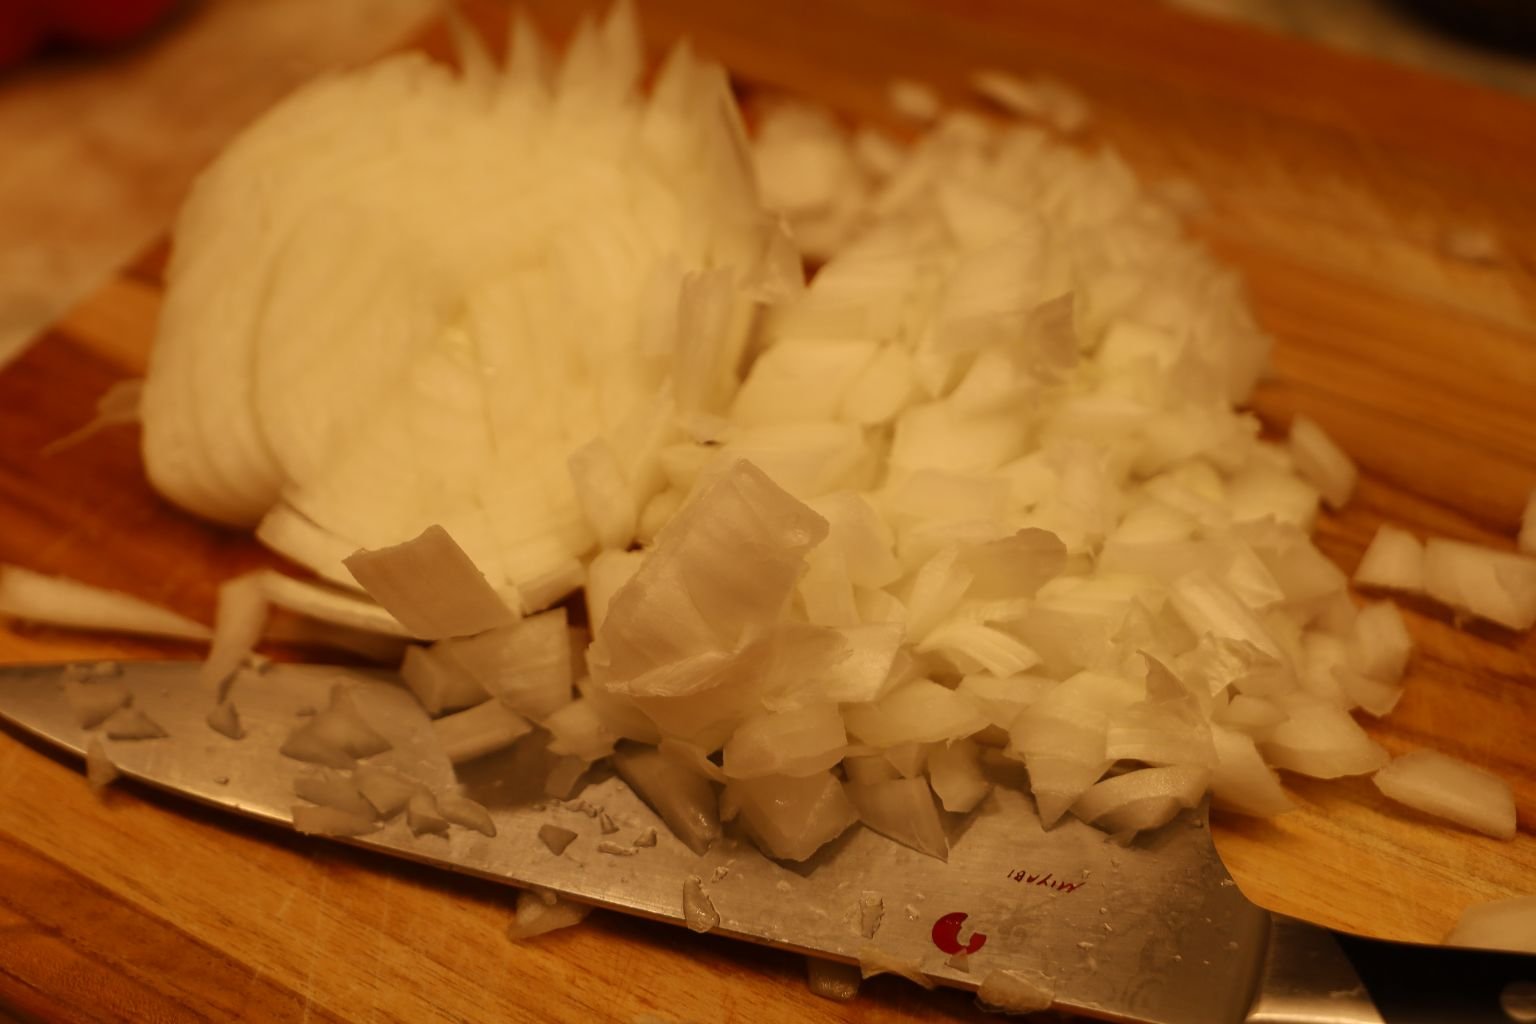
Also, White Onion, Chopped
(This was a large White Onion, I used about 3/4 of it.)
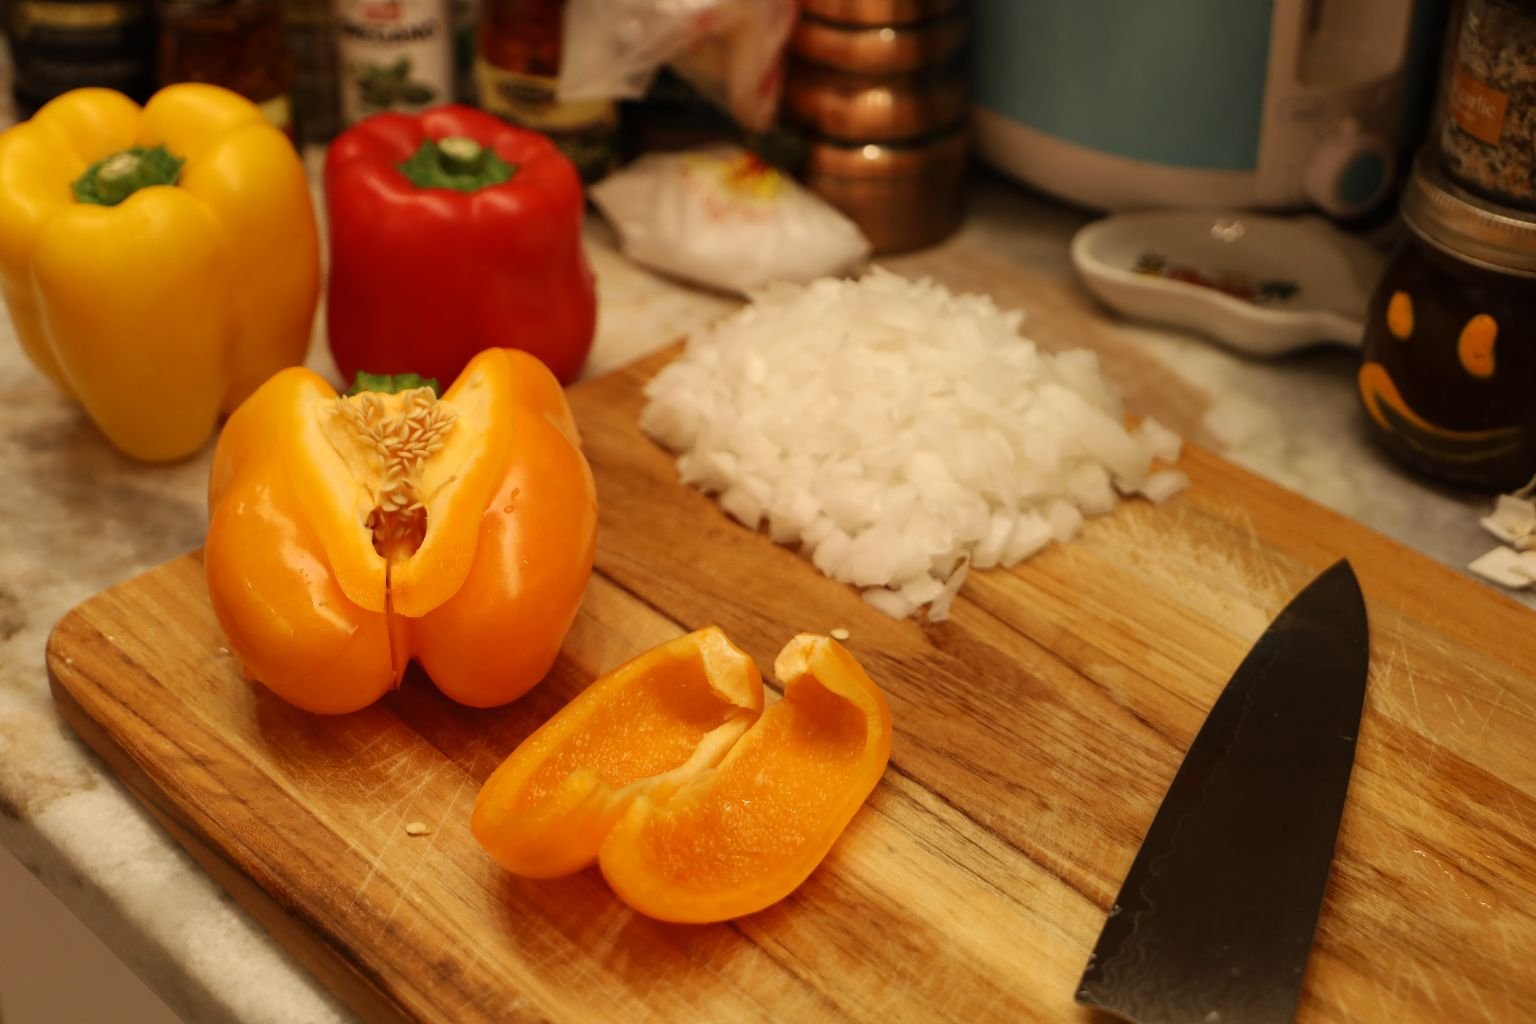
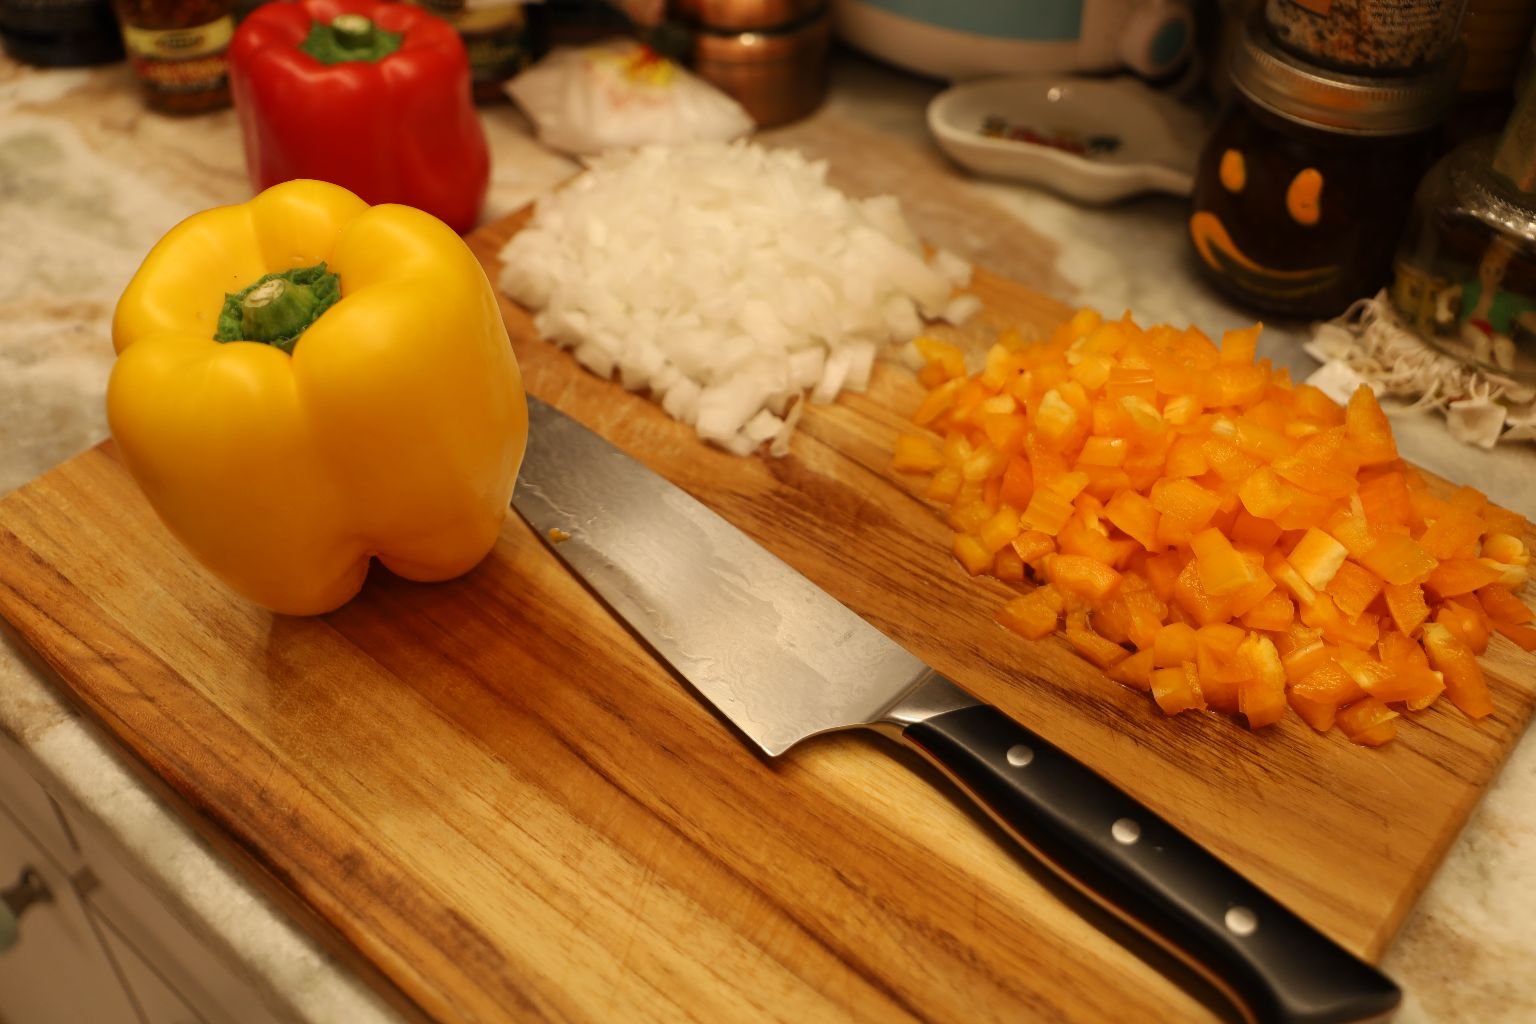
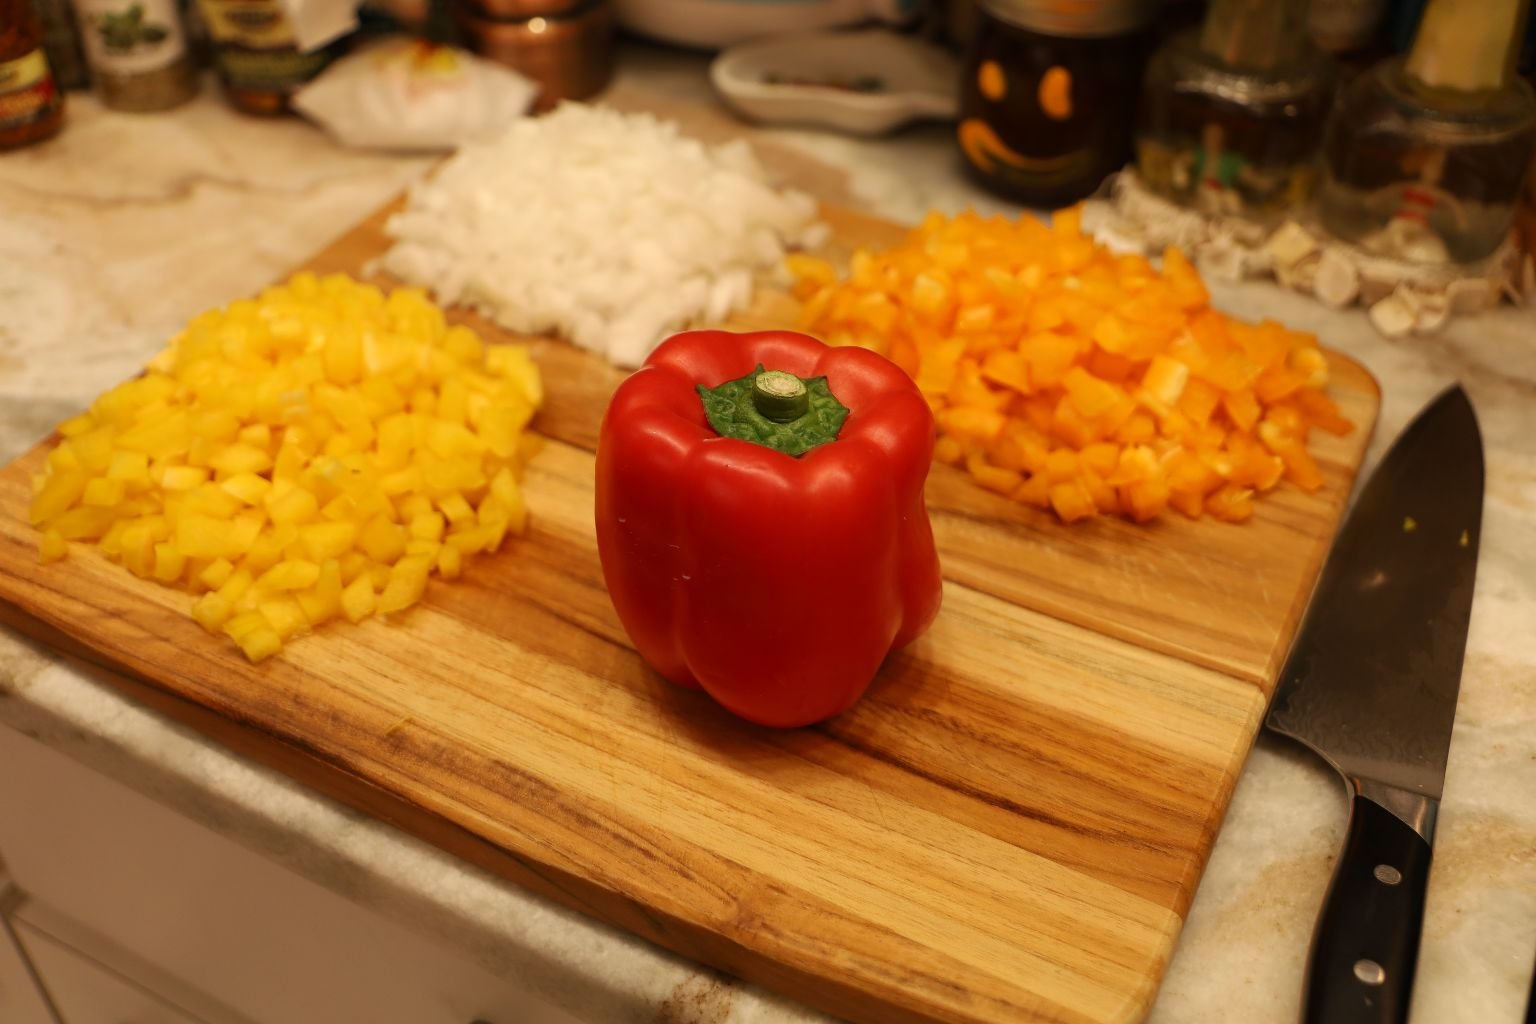
Chopping My Bell Peppers
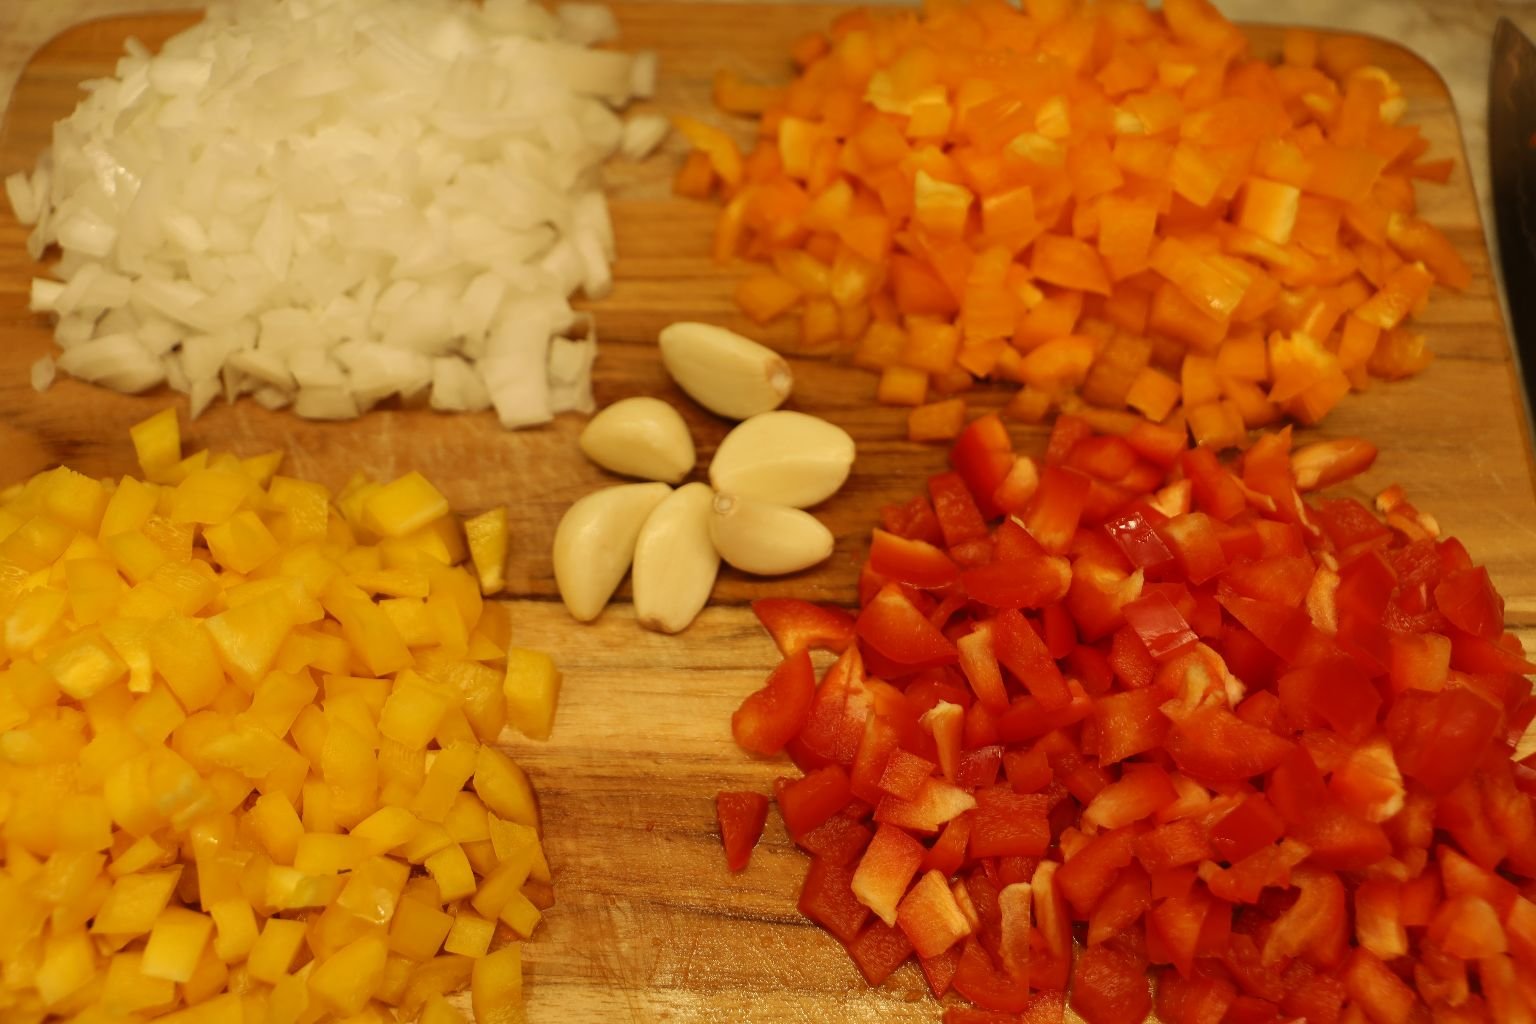
6 Garlic Cloves, Minced
————————————————————————————–
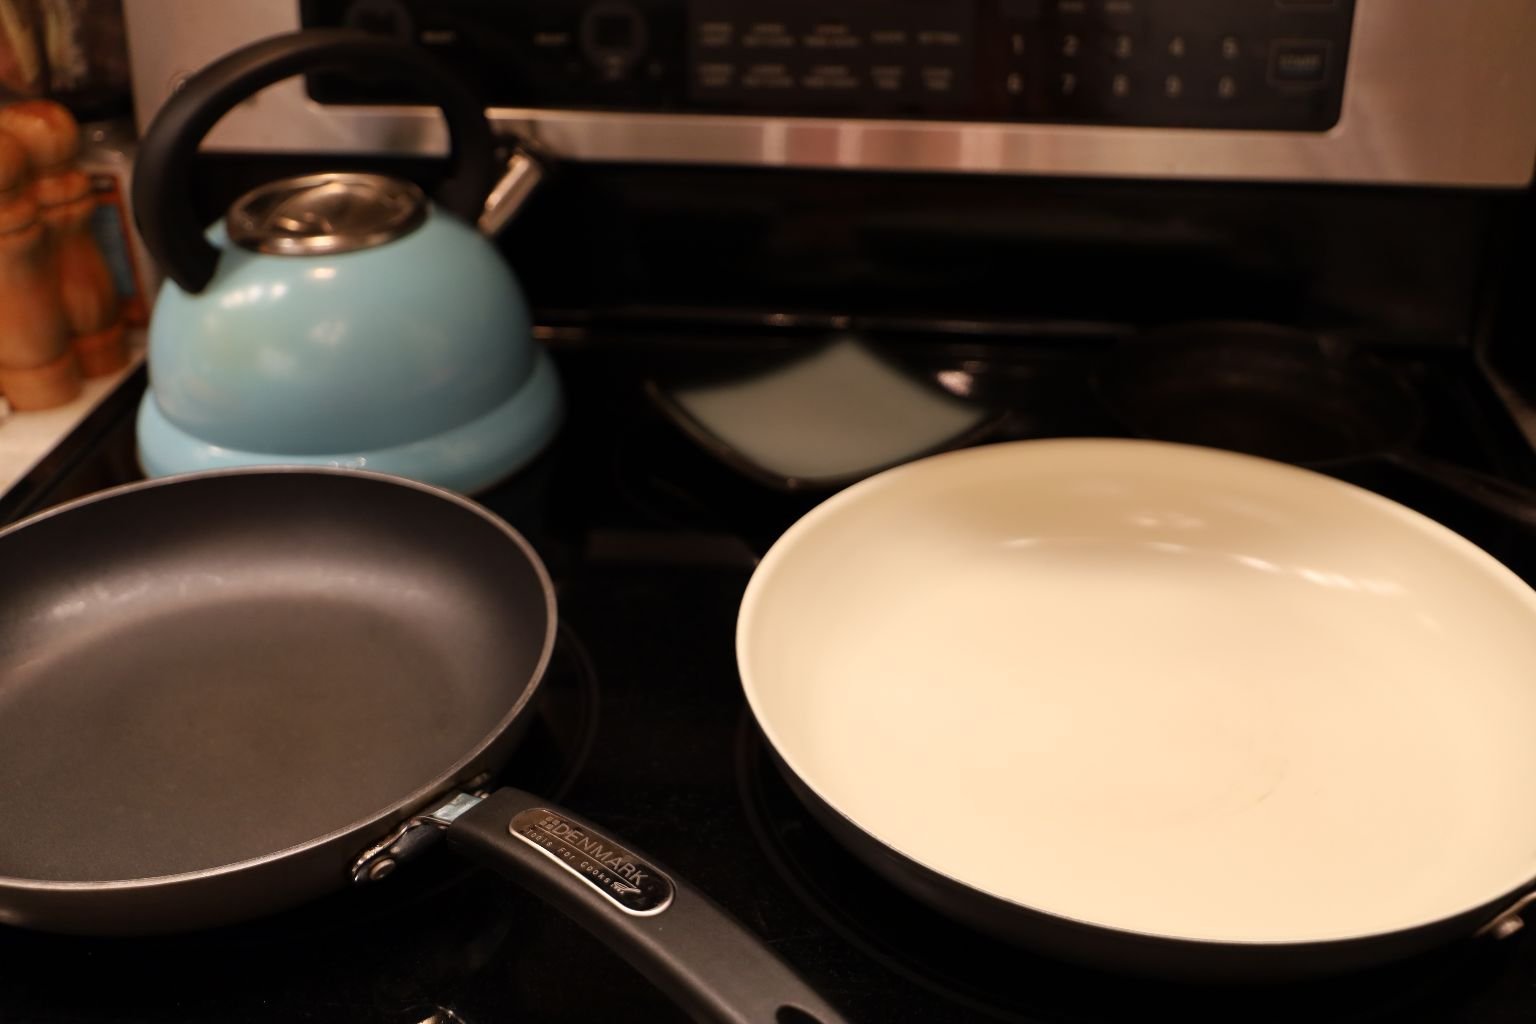
In a Large Sautee Pan Drizzle Some Olive Oil..
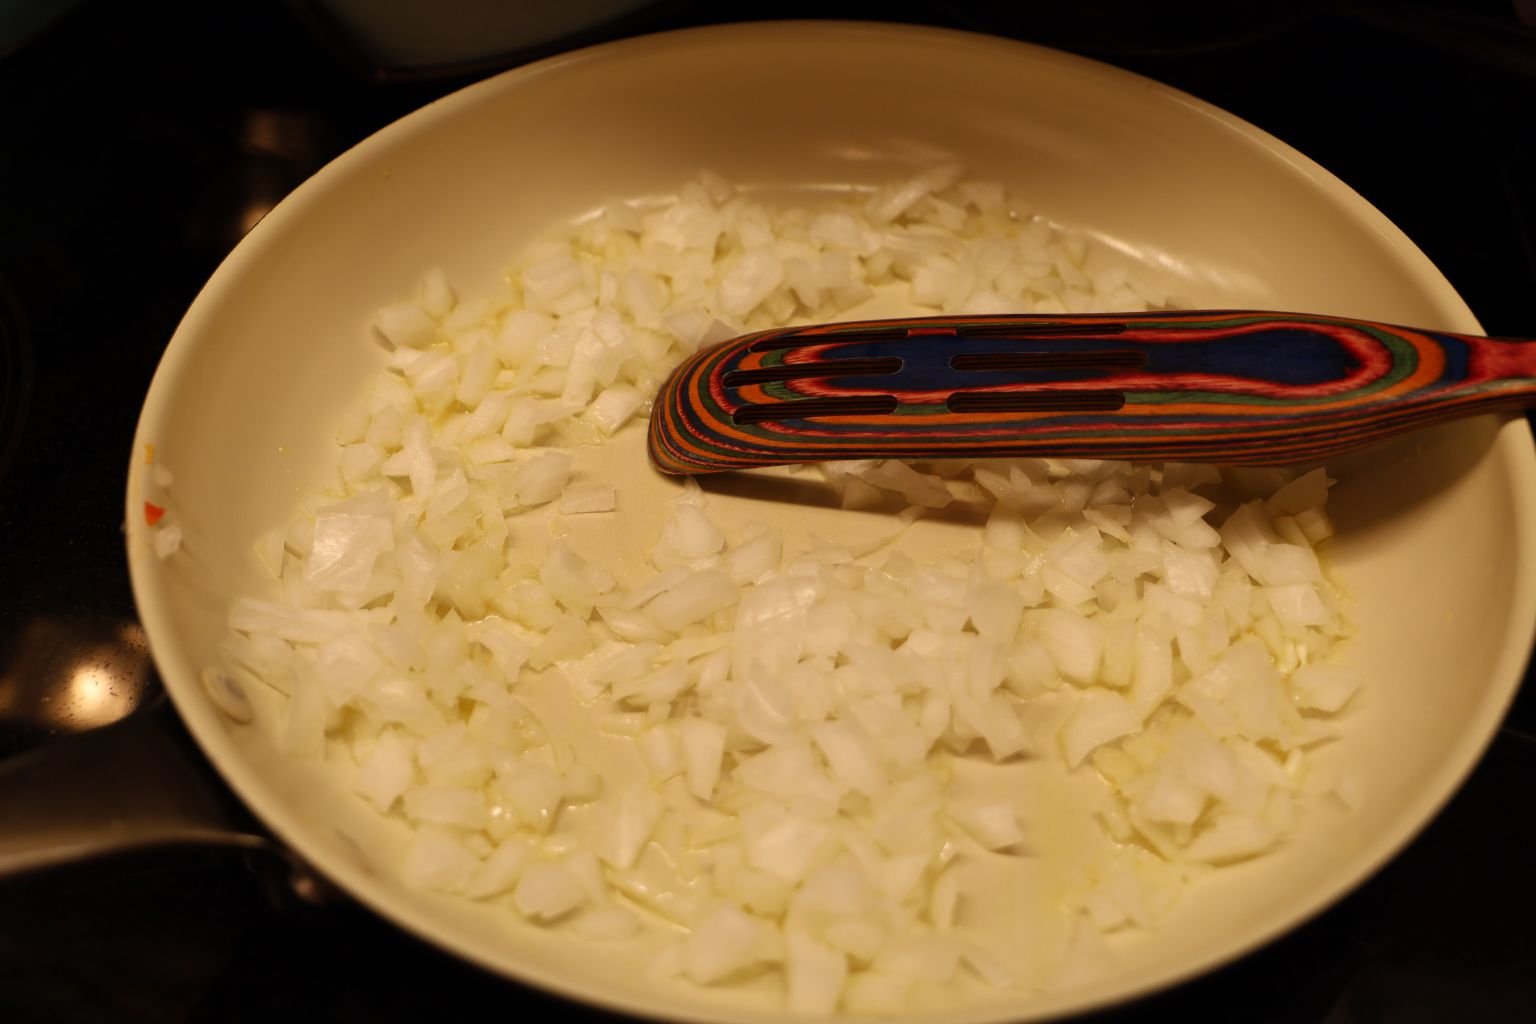
Place the Onions into the Pan to Soften on a Medium-High Heat
This should take about 5 Minutes.
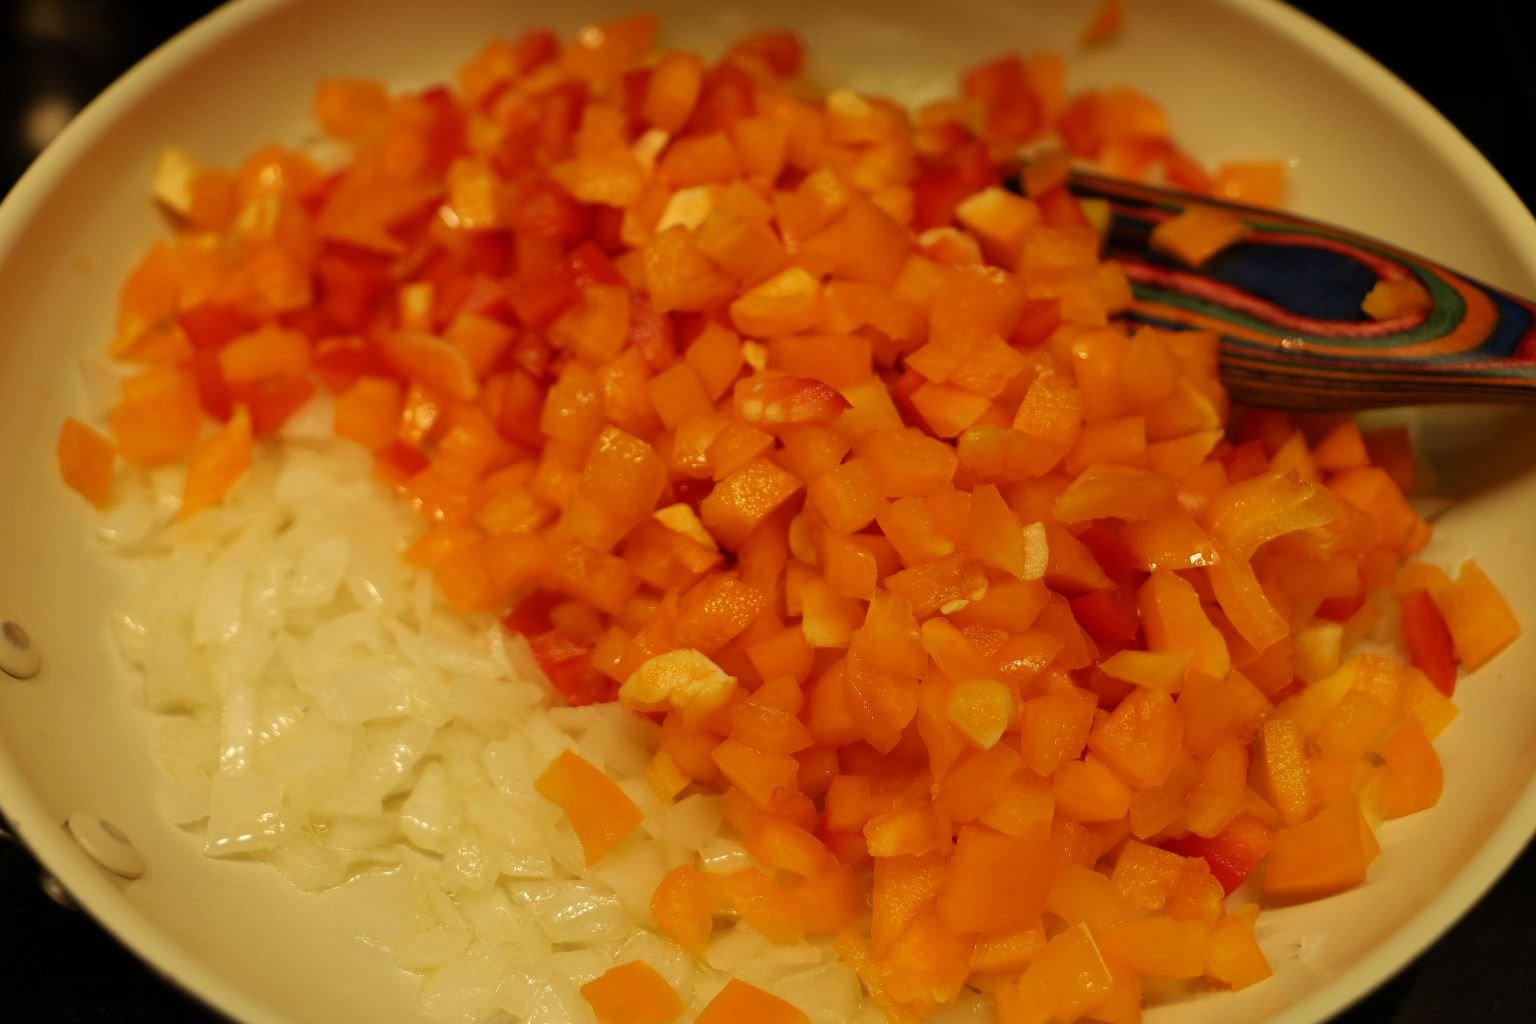
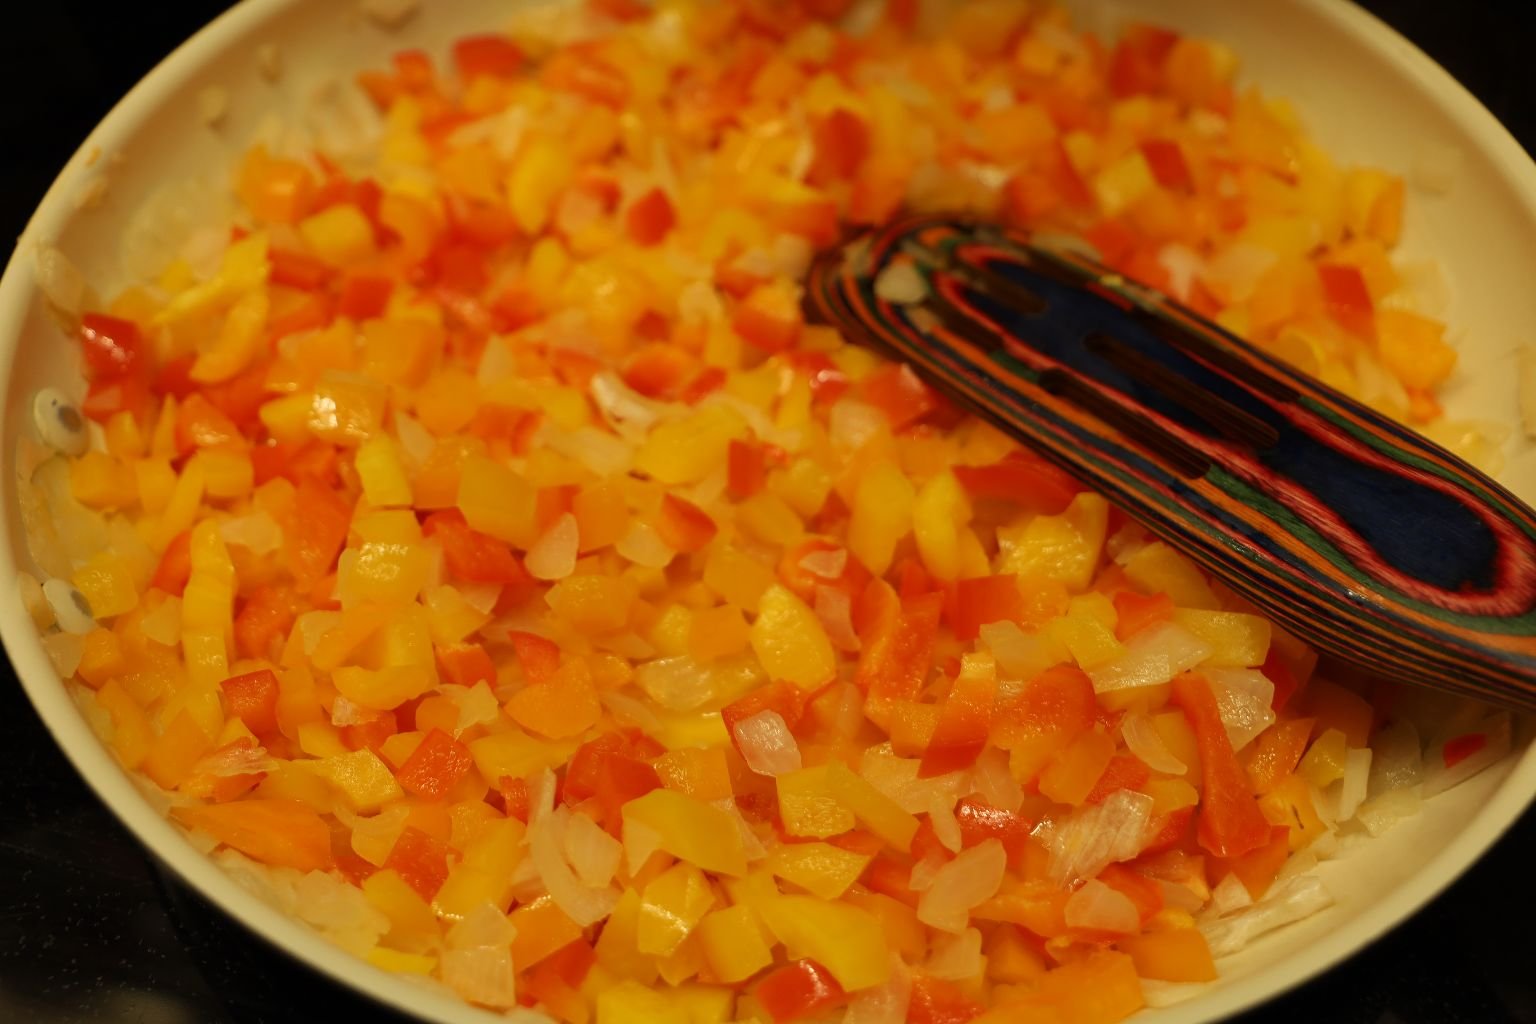
Next, add the Bell Peppers to Soften, about another 5 Minutes..
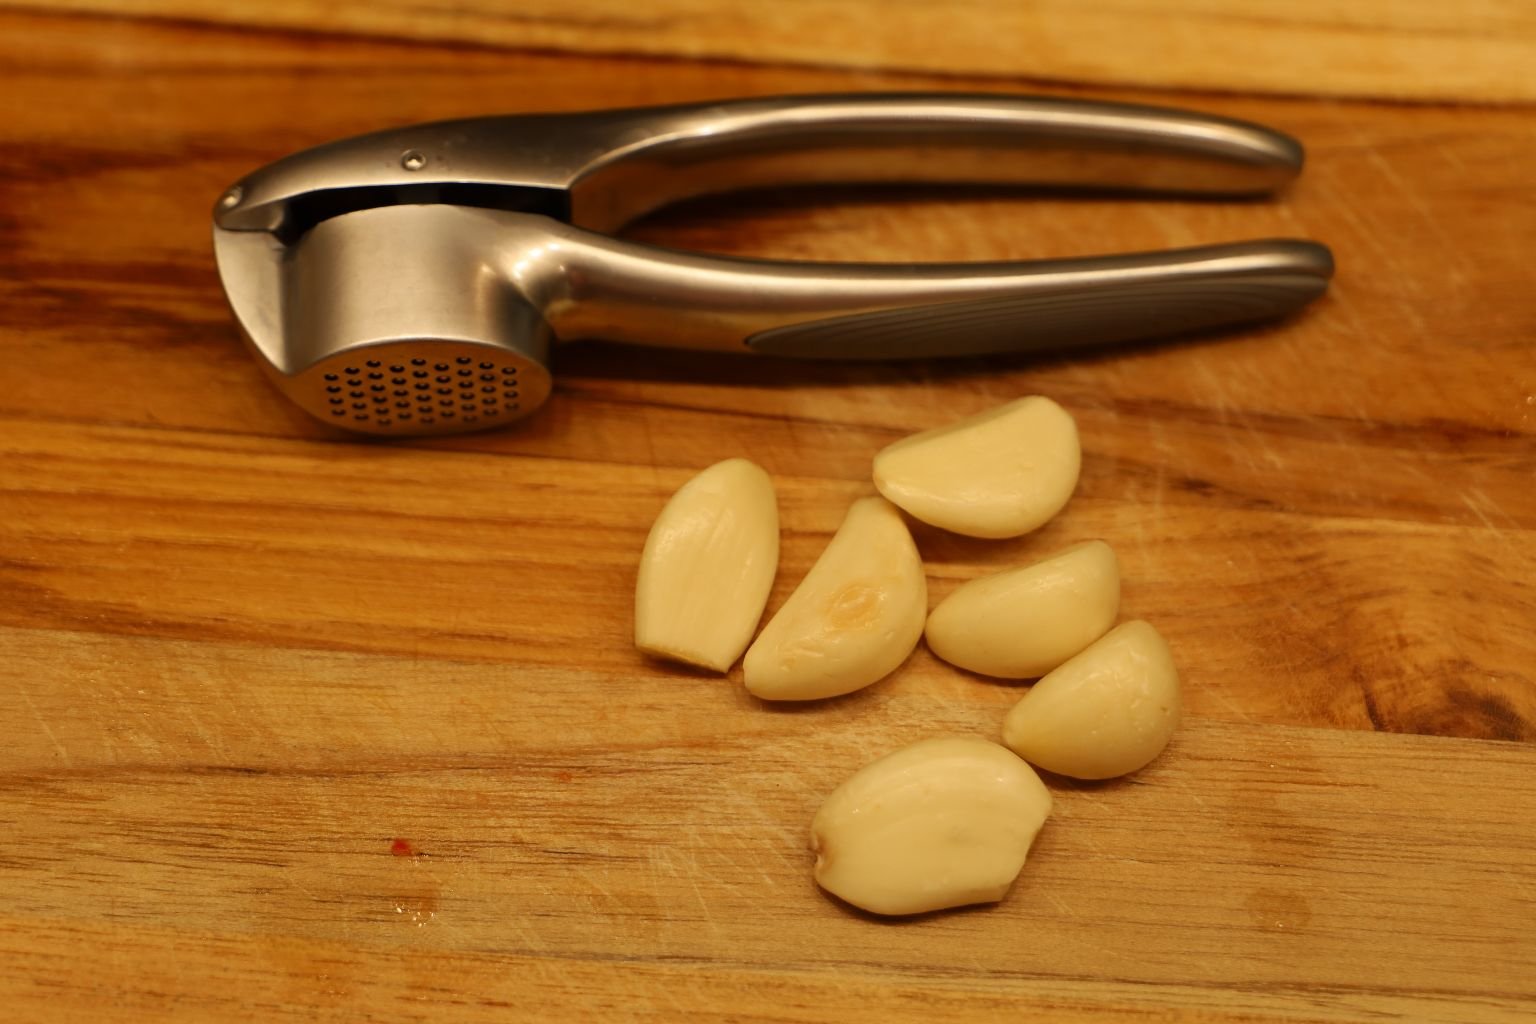
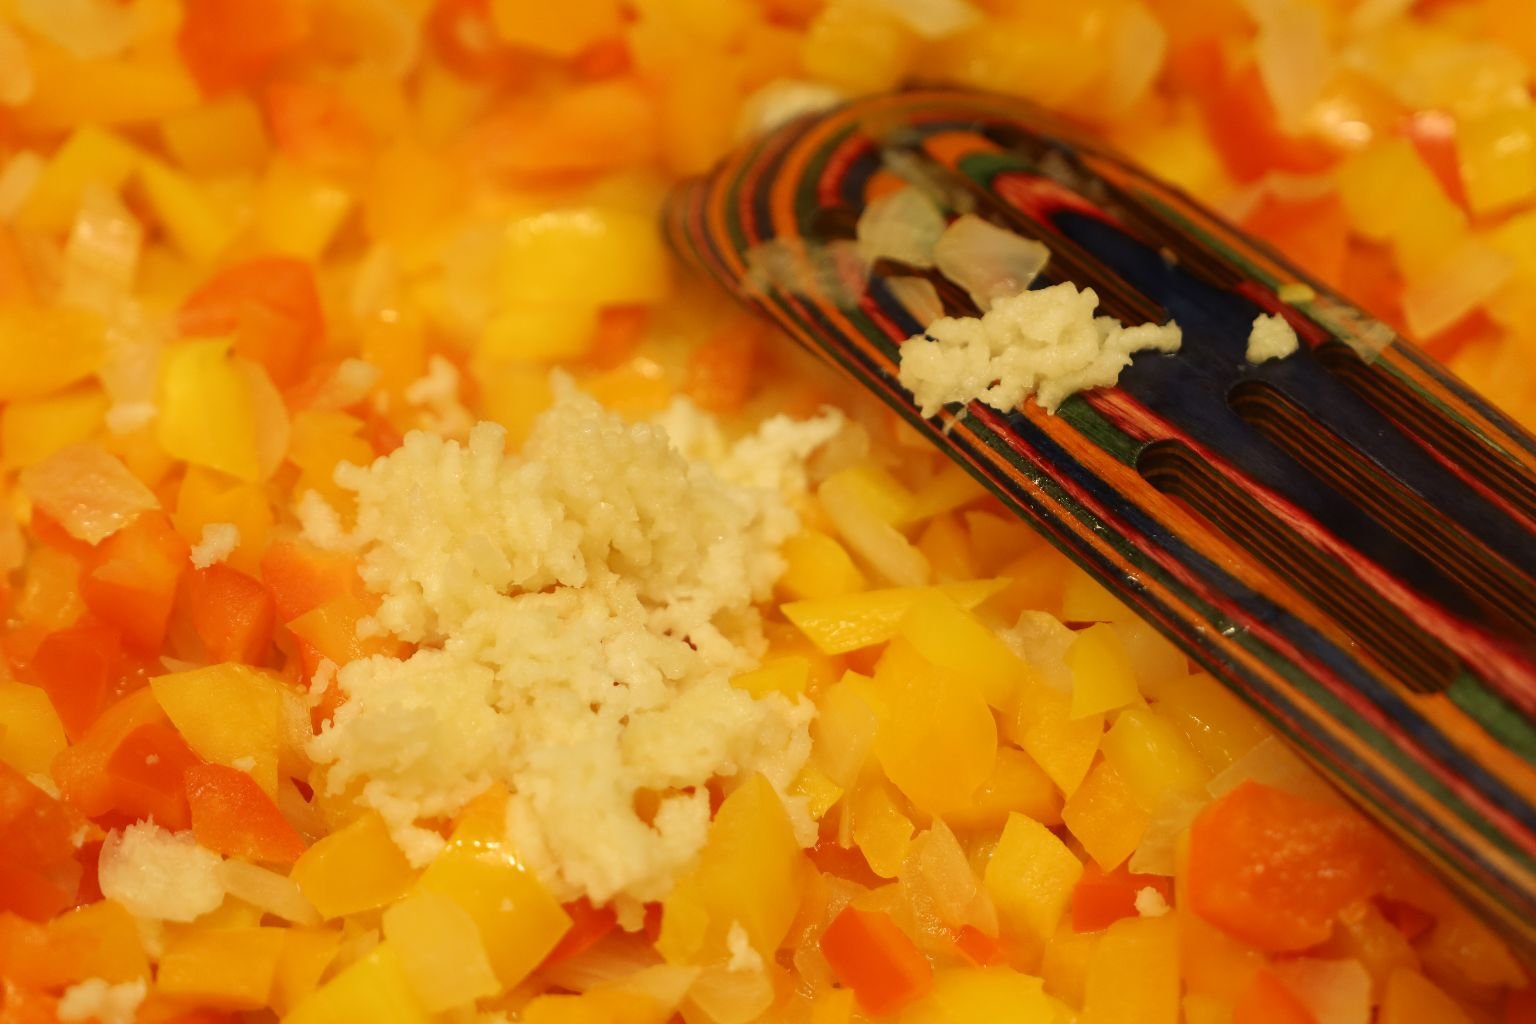
Mincing the Garlic Cloves into the Pan with the Onions and Bell Peppers
(Just Sautee a few minutes more, stirring often, until all of the ingredients are softened.
Then remove from the heat and set aside.)
—————————————————————————————————-
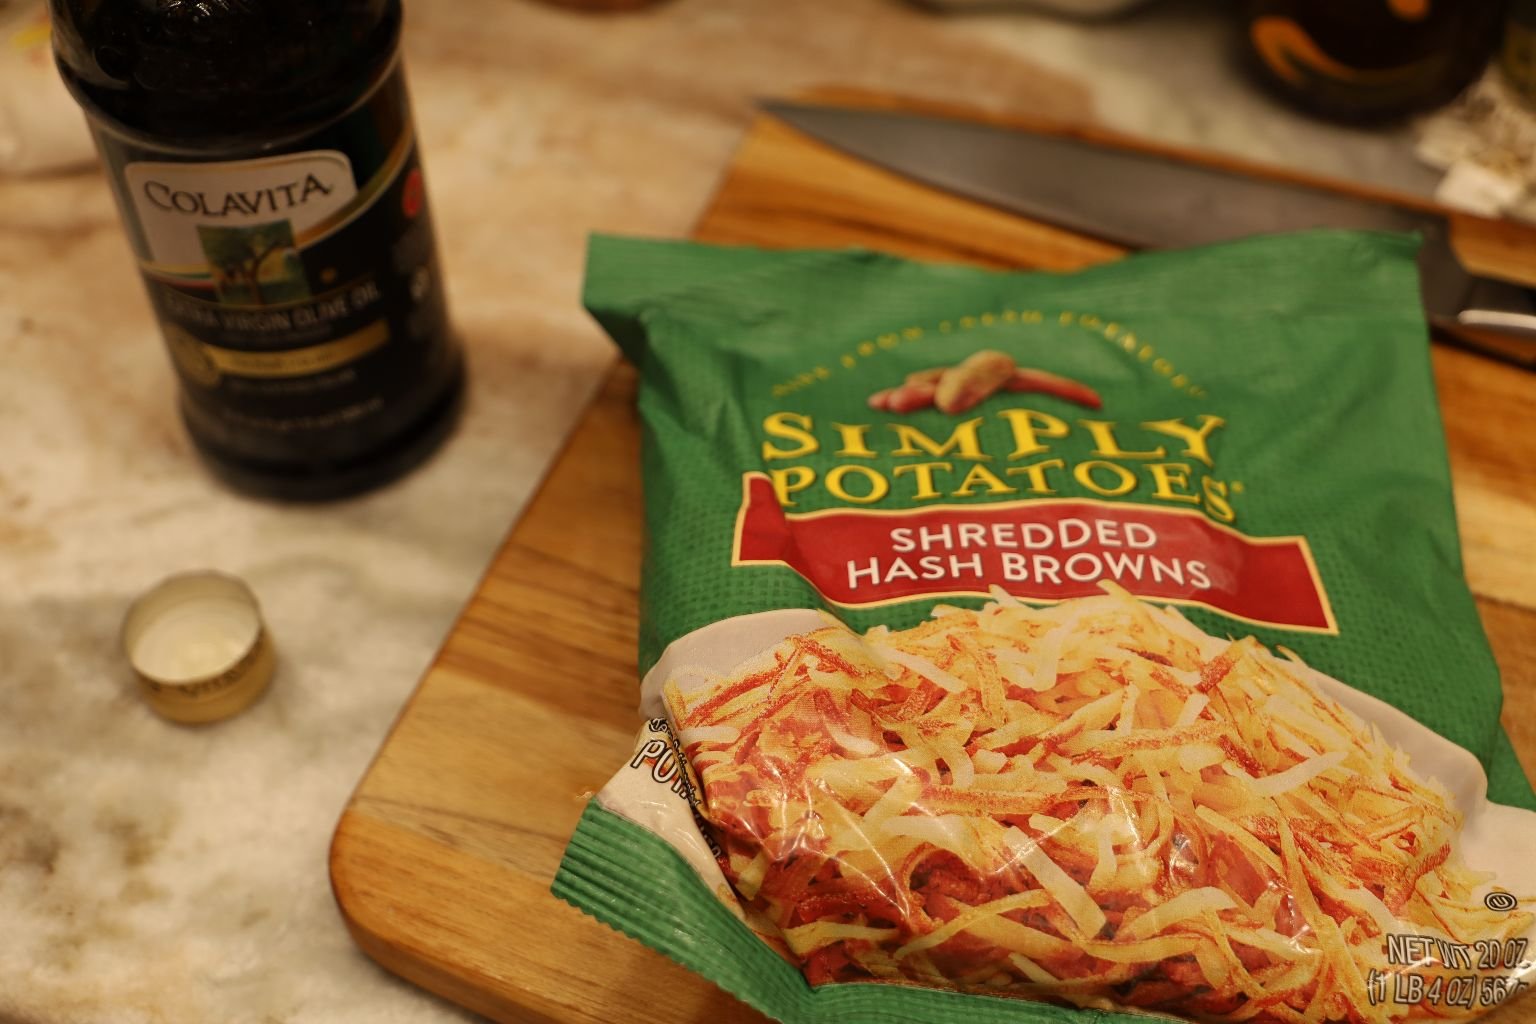
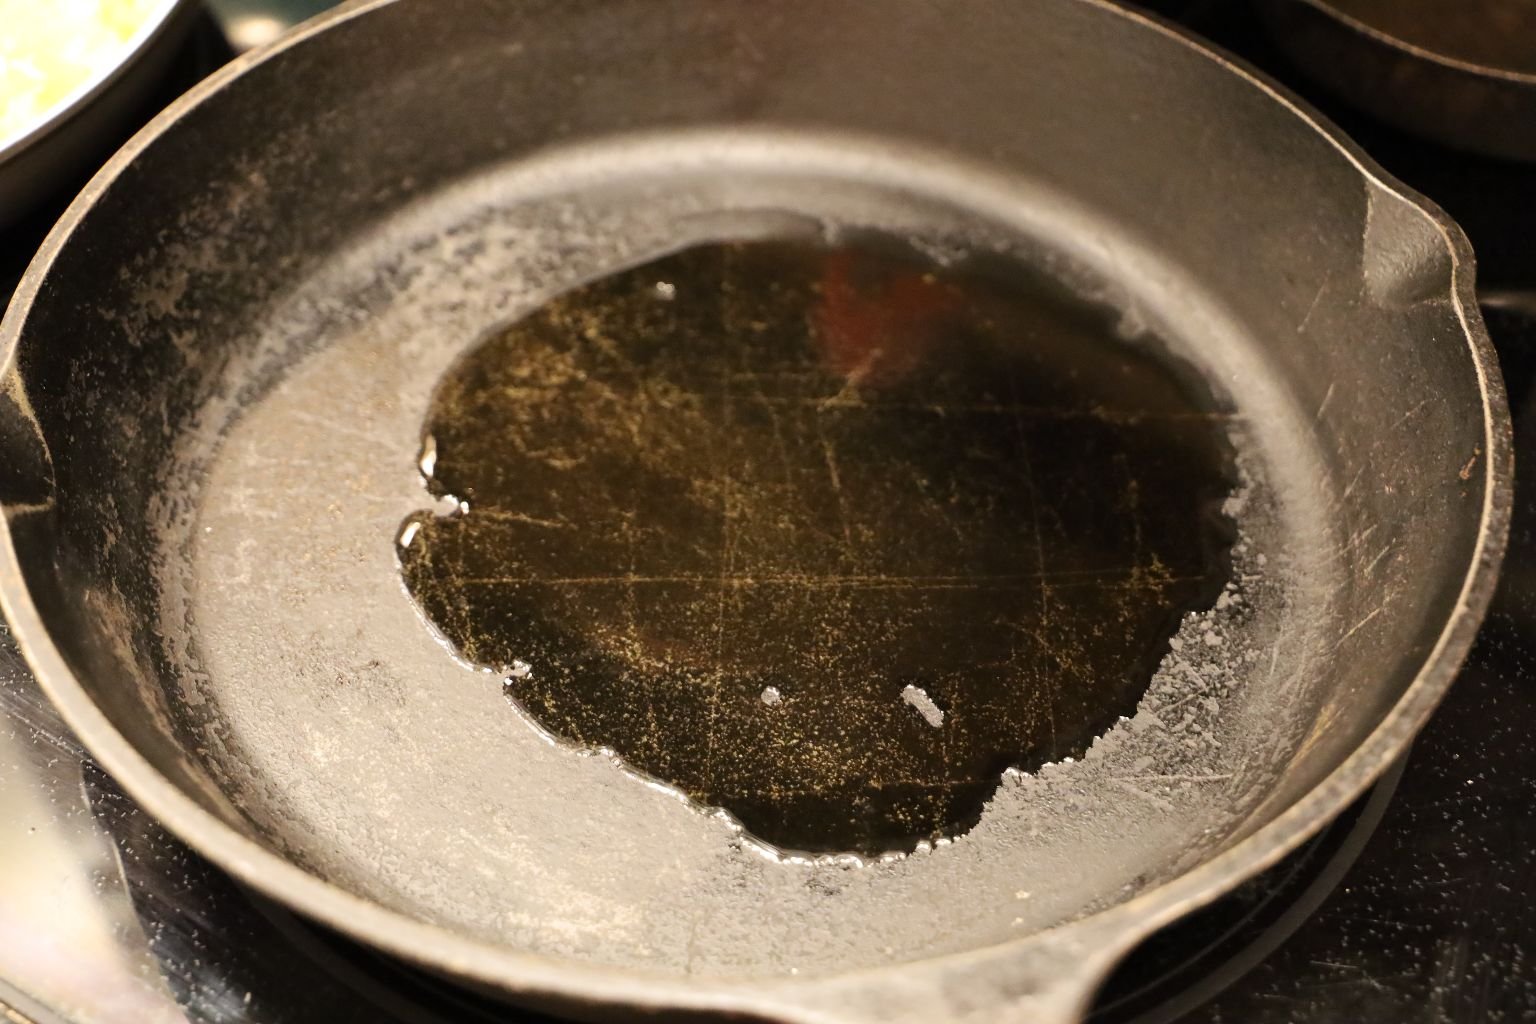
In my Cast Iron Skillet I am adding some Olive Oil, along with a bag of Hash Brown Potatoes from the freezer.
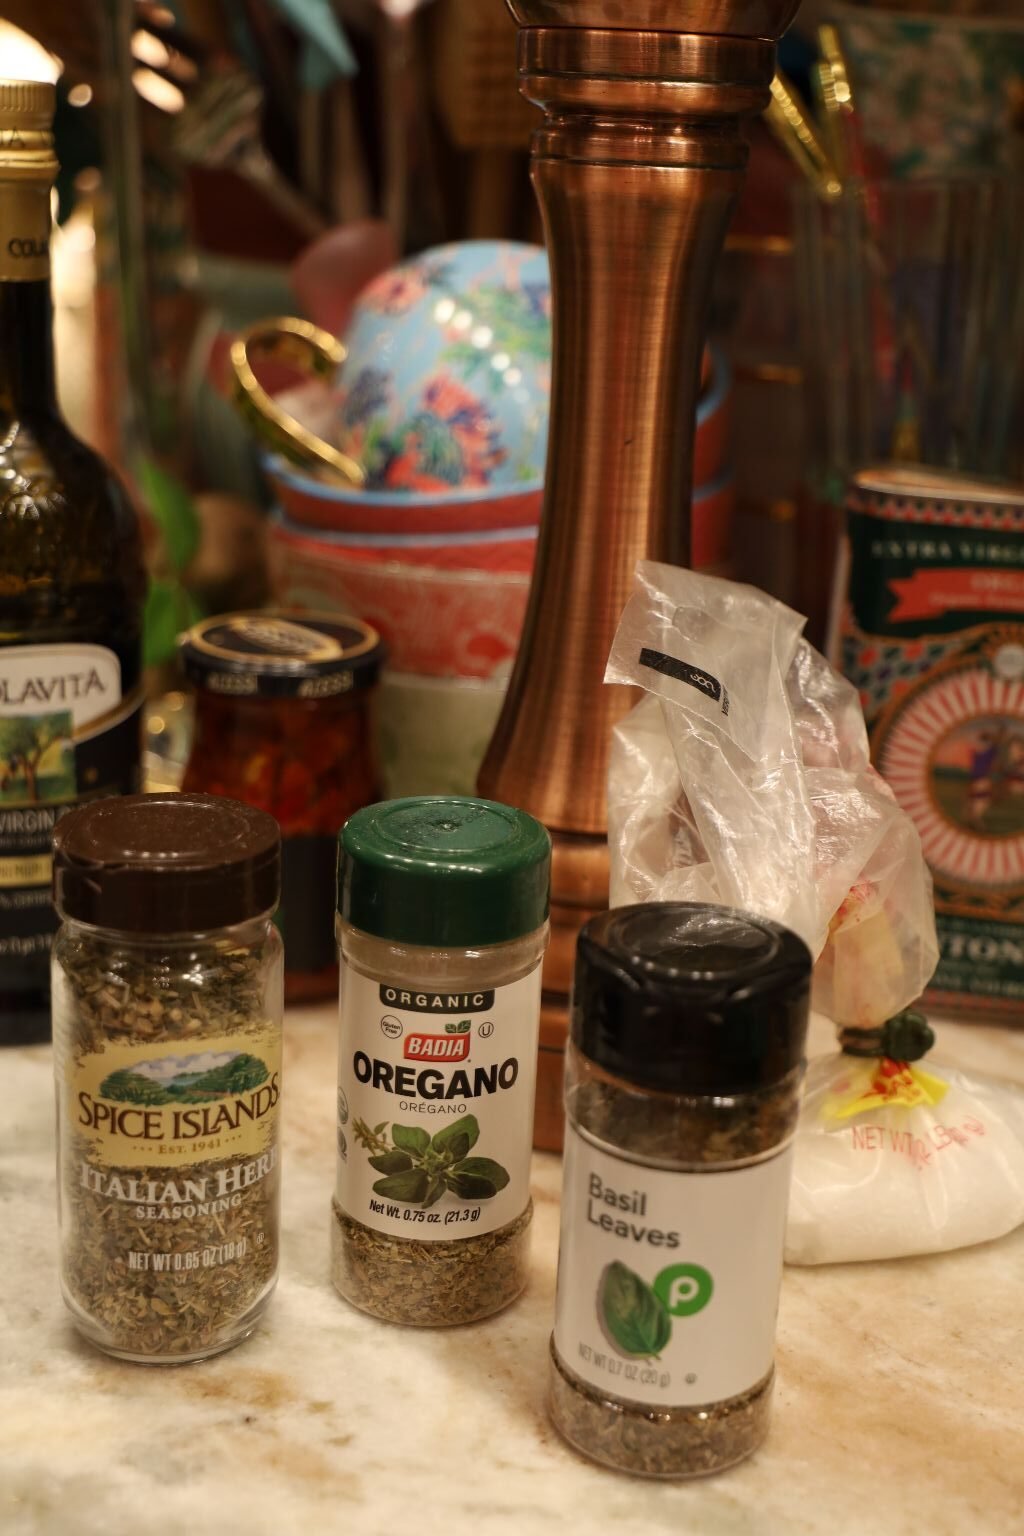
My Spices: (To Add Soon)
Italian Herb Seasoning
Ground Oregano
Ground Basil Leaves
Freshly Ground Black Pepper, To Taste
Hawaiian Sea Salt, To Taste
——————————————————————————
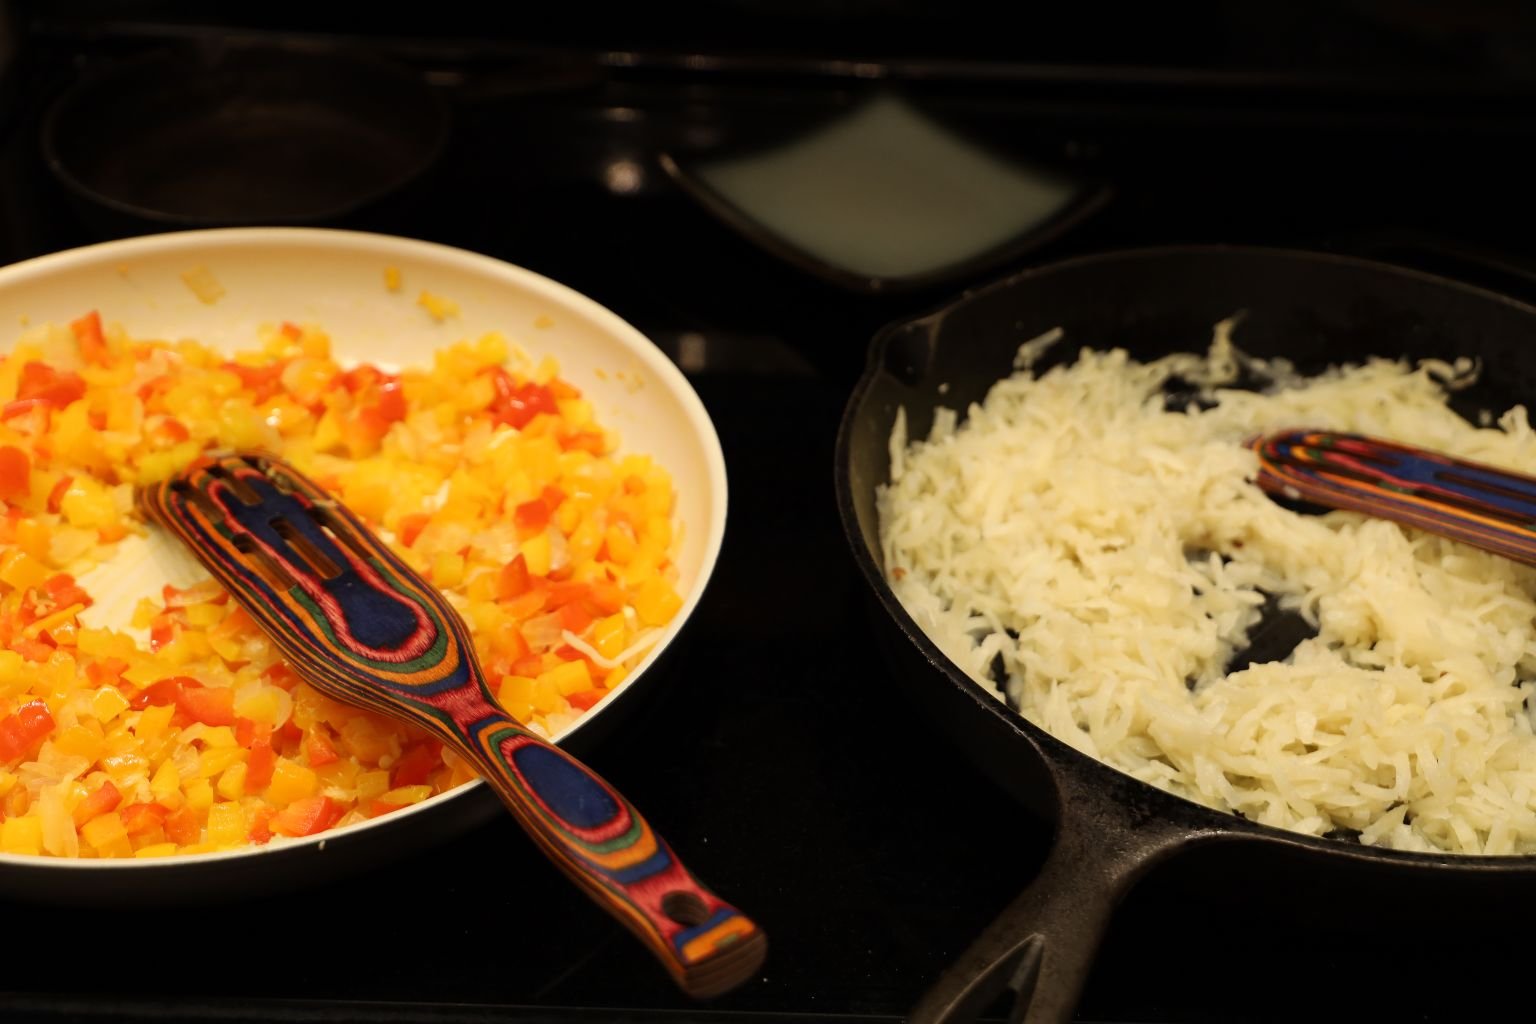
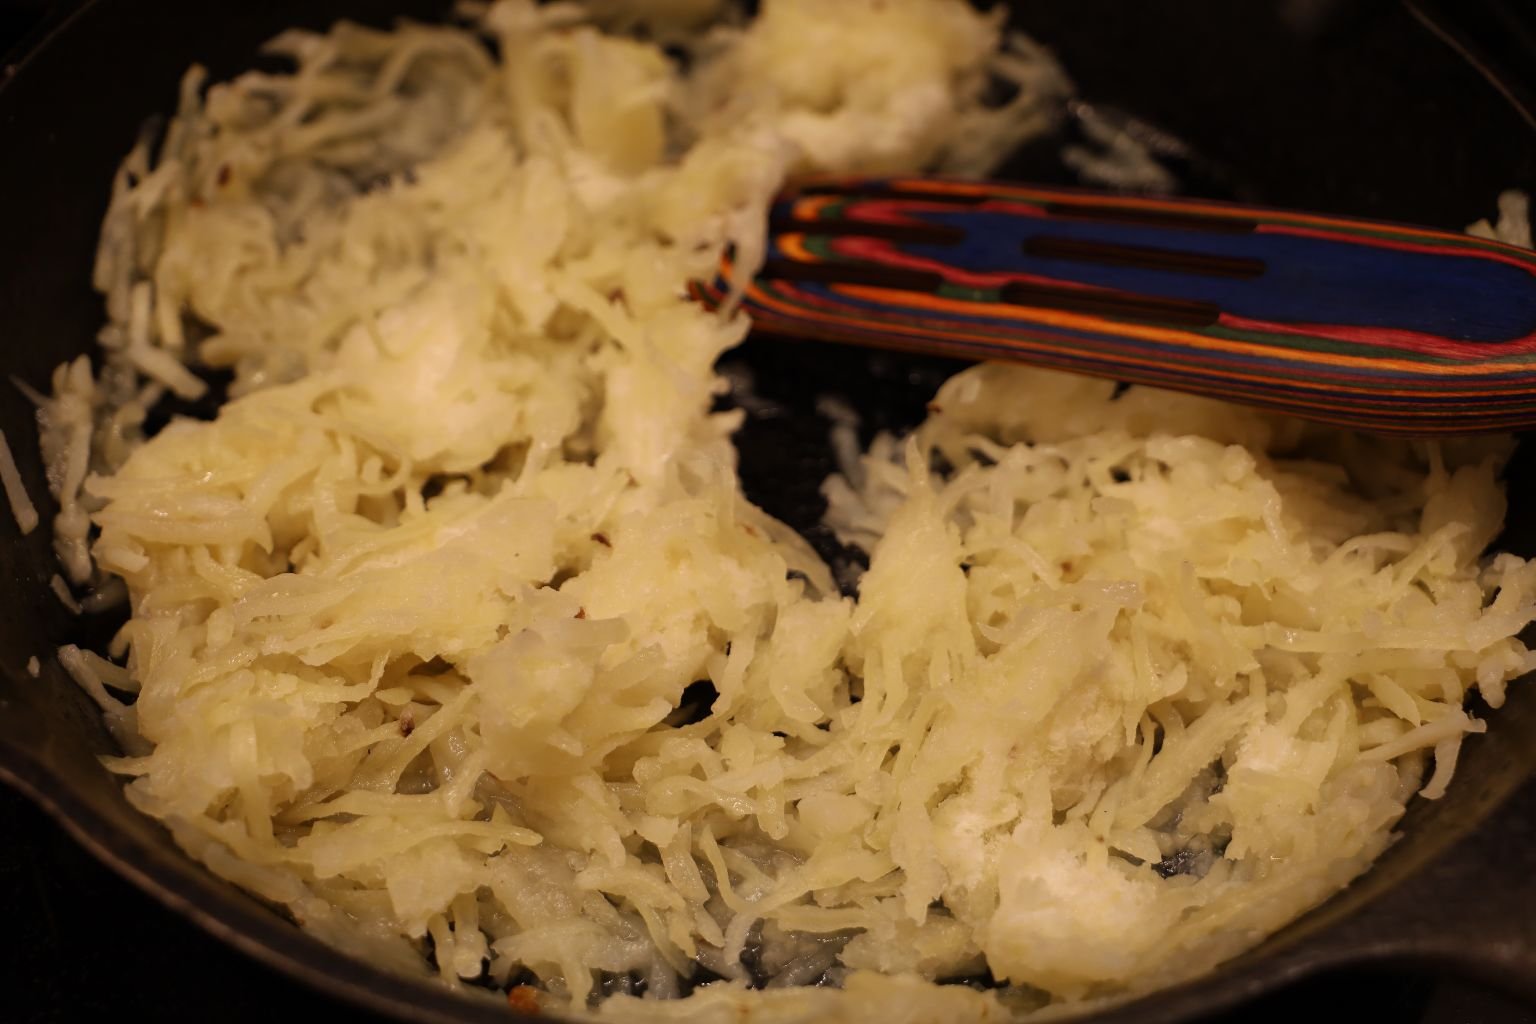
I’m Browning my Thawed Hash Browns in my Cast Iron Skillet, on a Medium Heat – Medium-High Heat.
My Onions and Peppers and Garlic are Waiting..
————————————————————————————
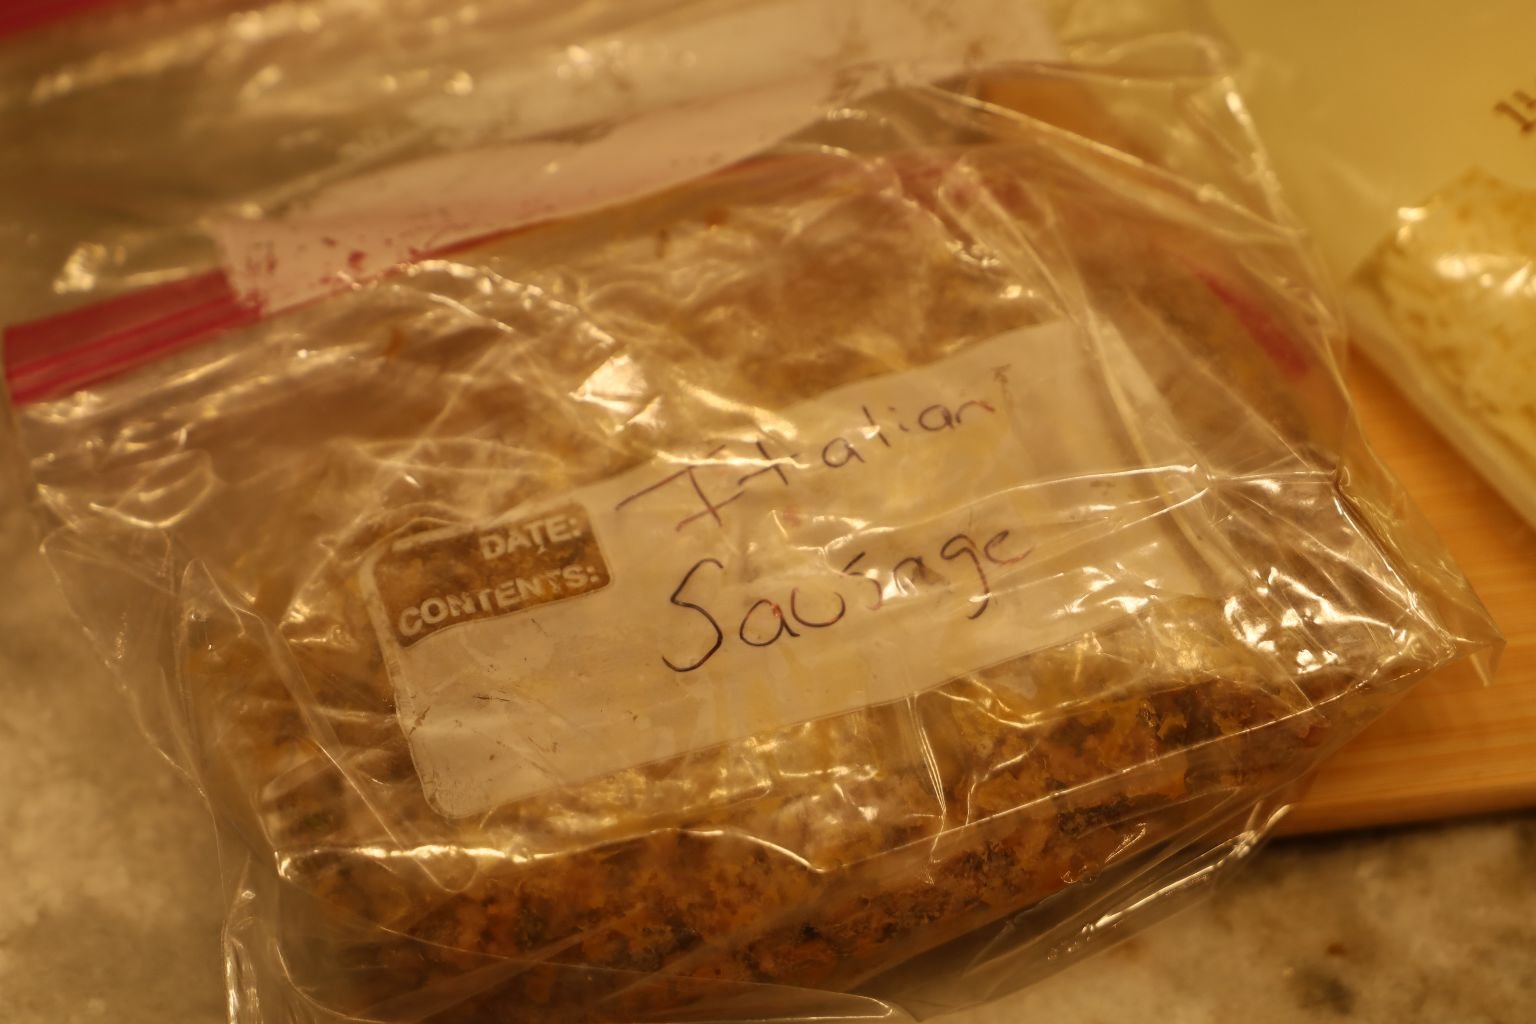
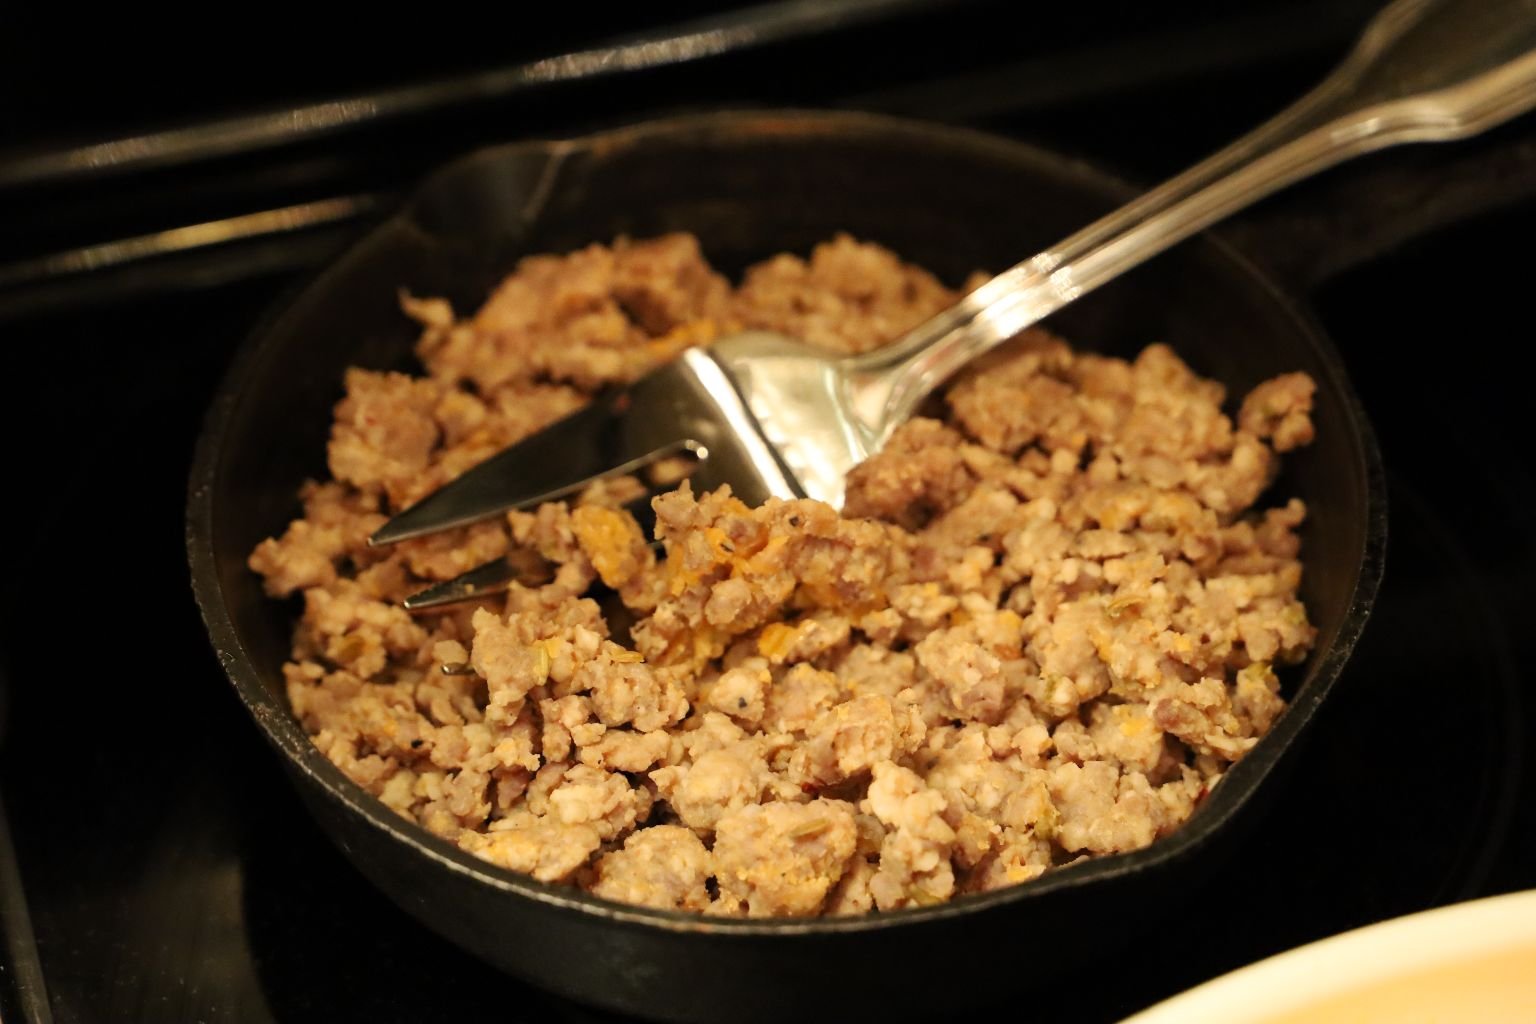
I had some Italian Sausage frozen in the freezer. I thawed it out placed it into a small Skillet on the back burner to just warm through.
Sometimes I will cook sausage to keep frozen in the freezer to place on Pizza’s or dishes like this.
———————————————————————————
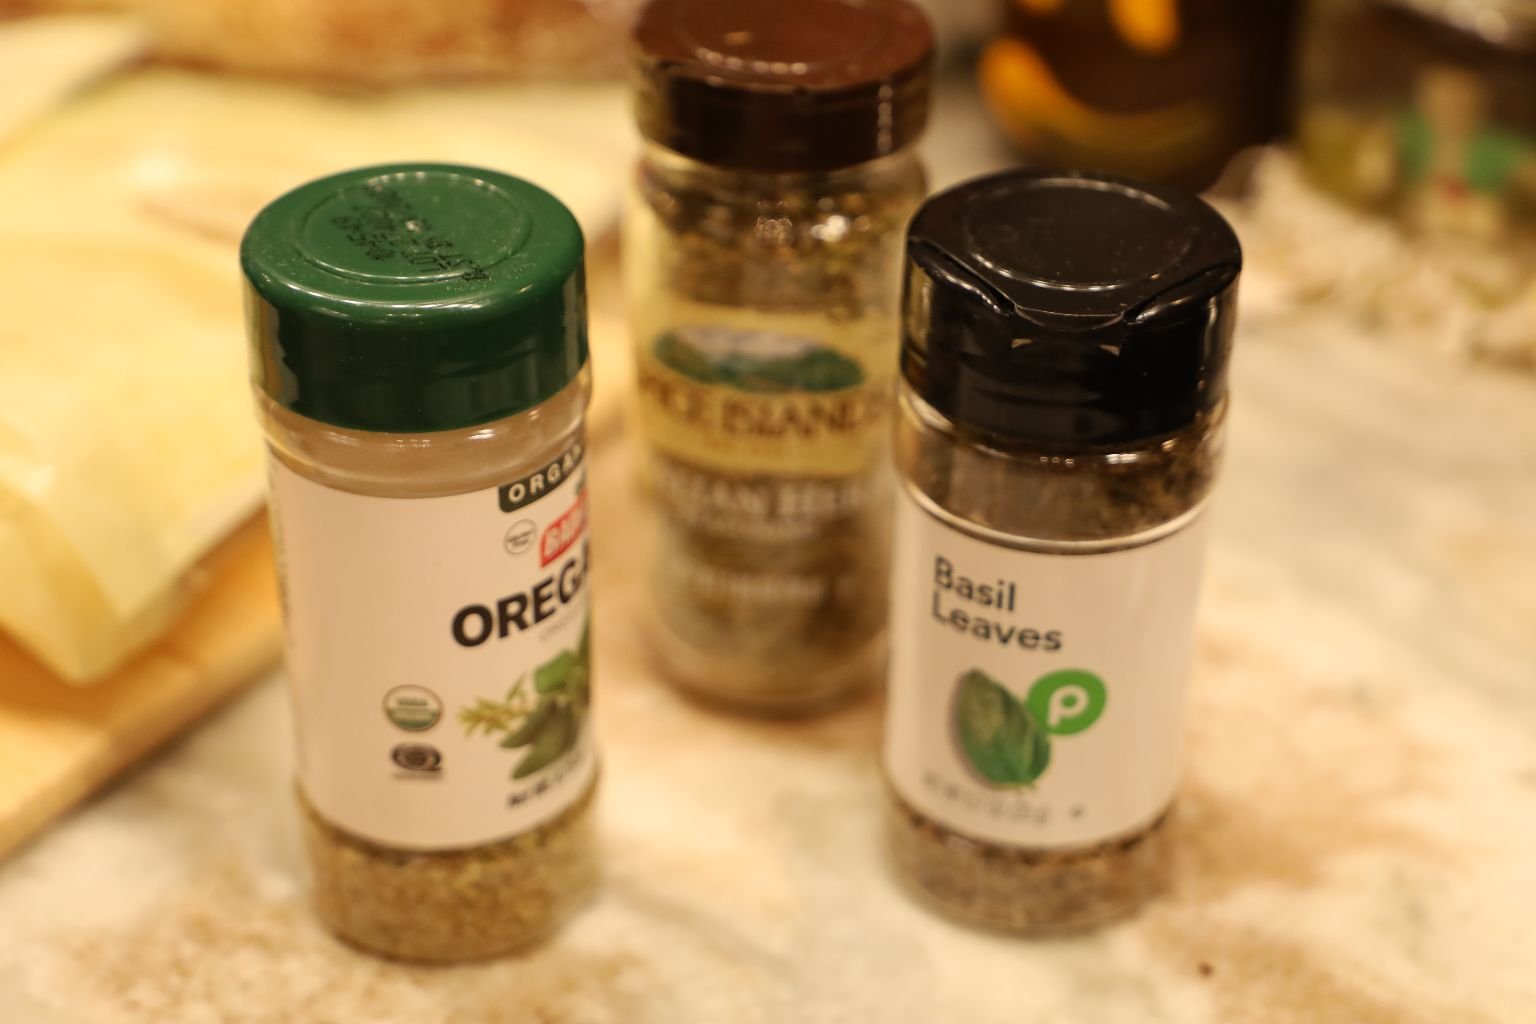
Time To Add The Spices To My Hash Brown Potatoes I’ve Been Sauteing
I probably added a 1/4 t. of each, maybe a little bit more.
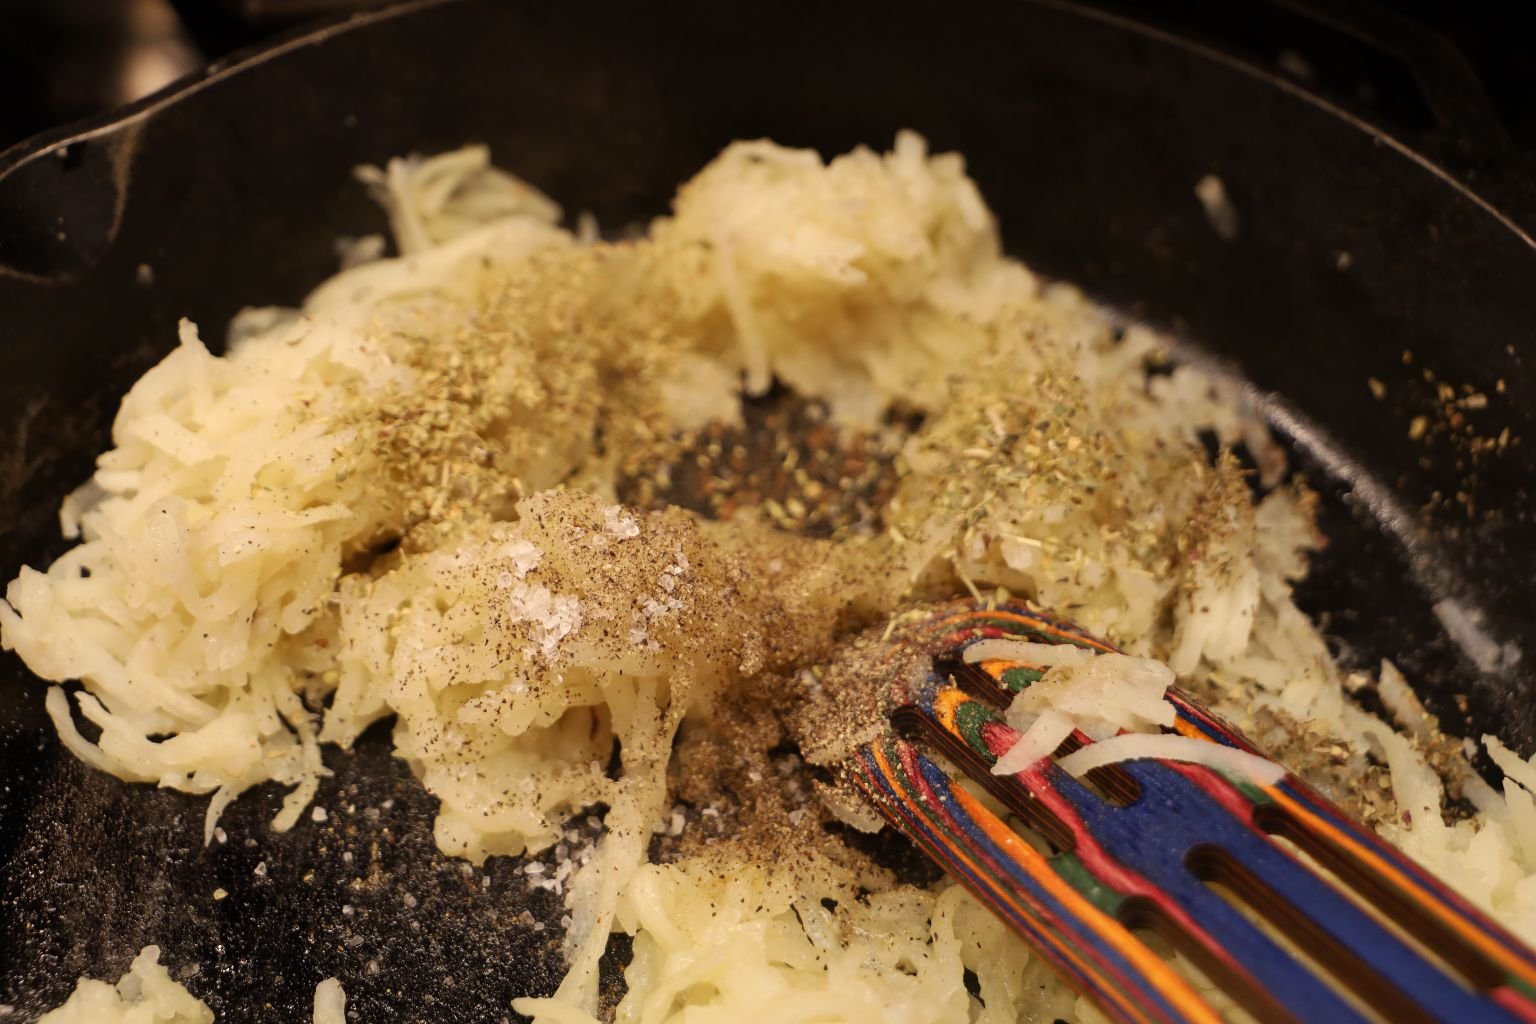
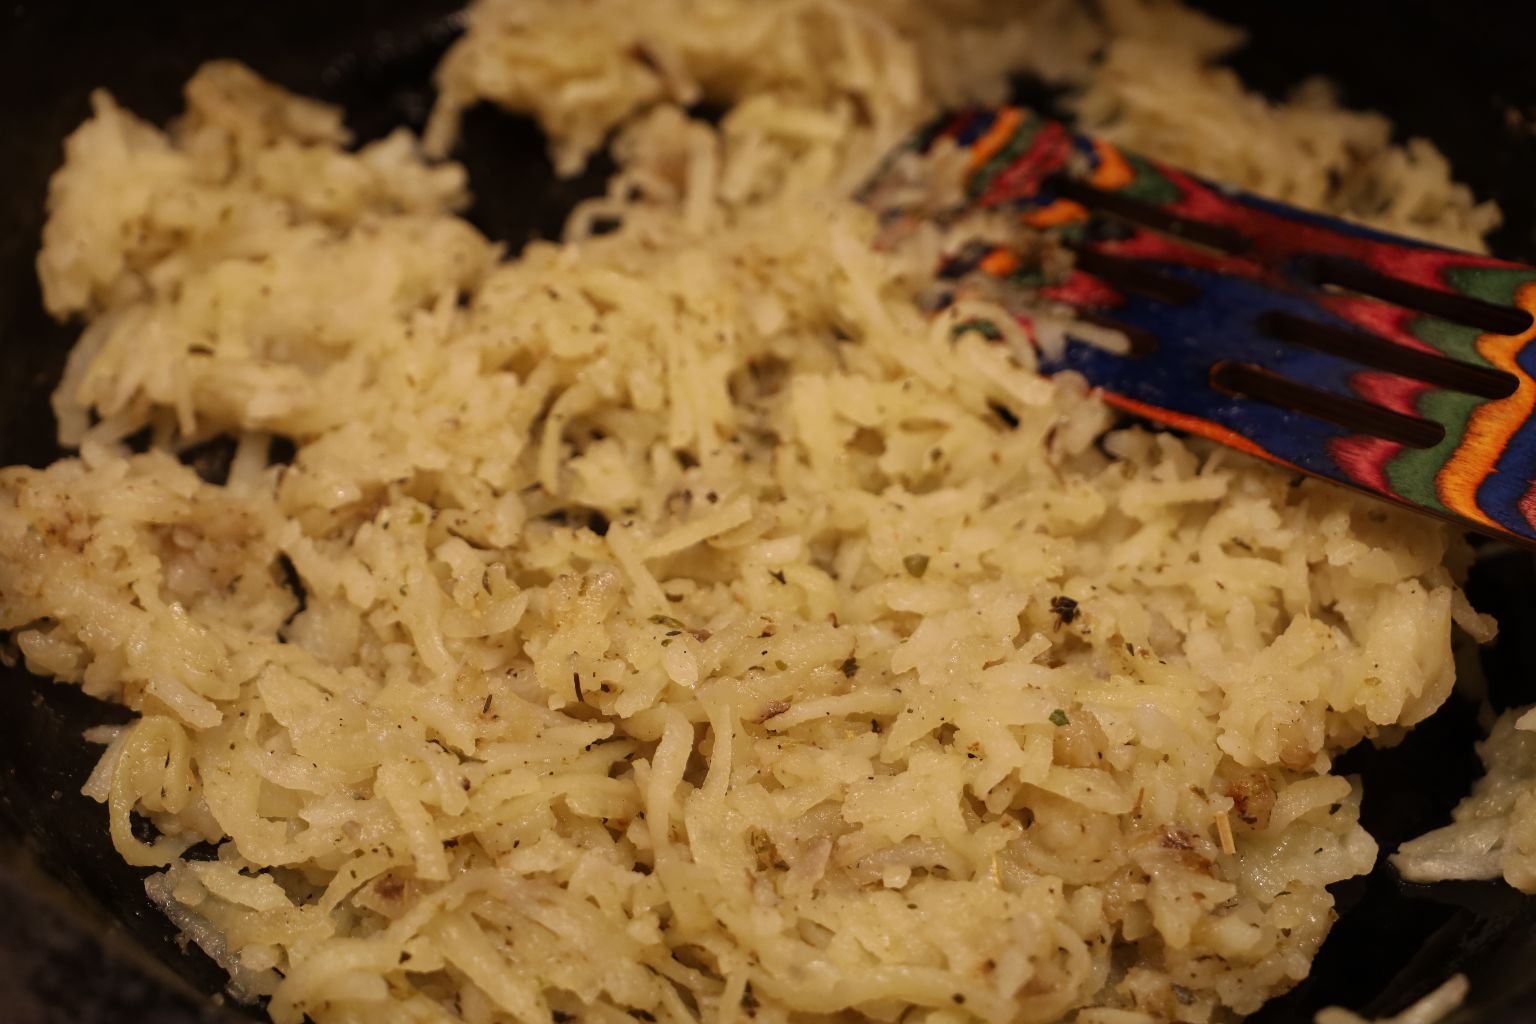
Blending The Spices Into The Hash Browns
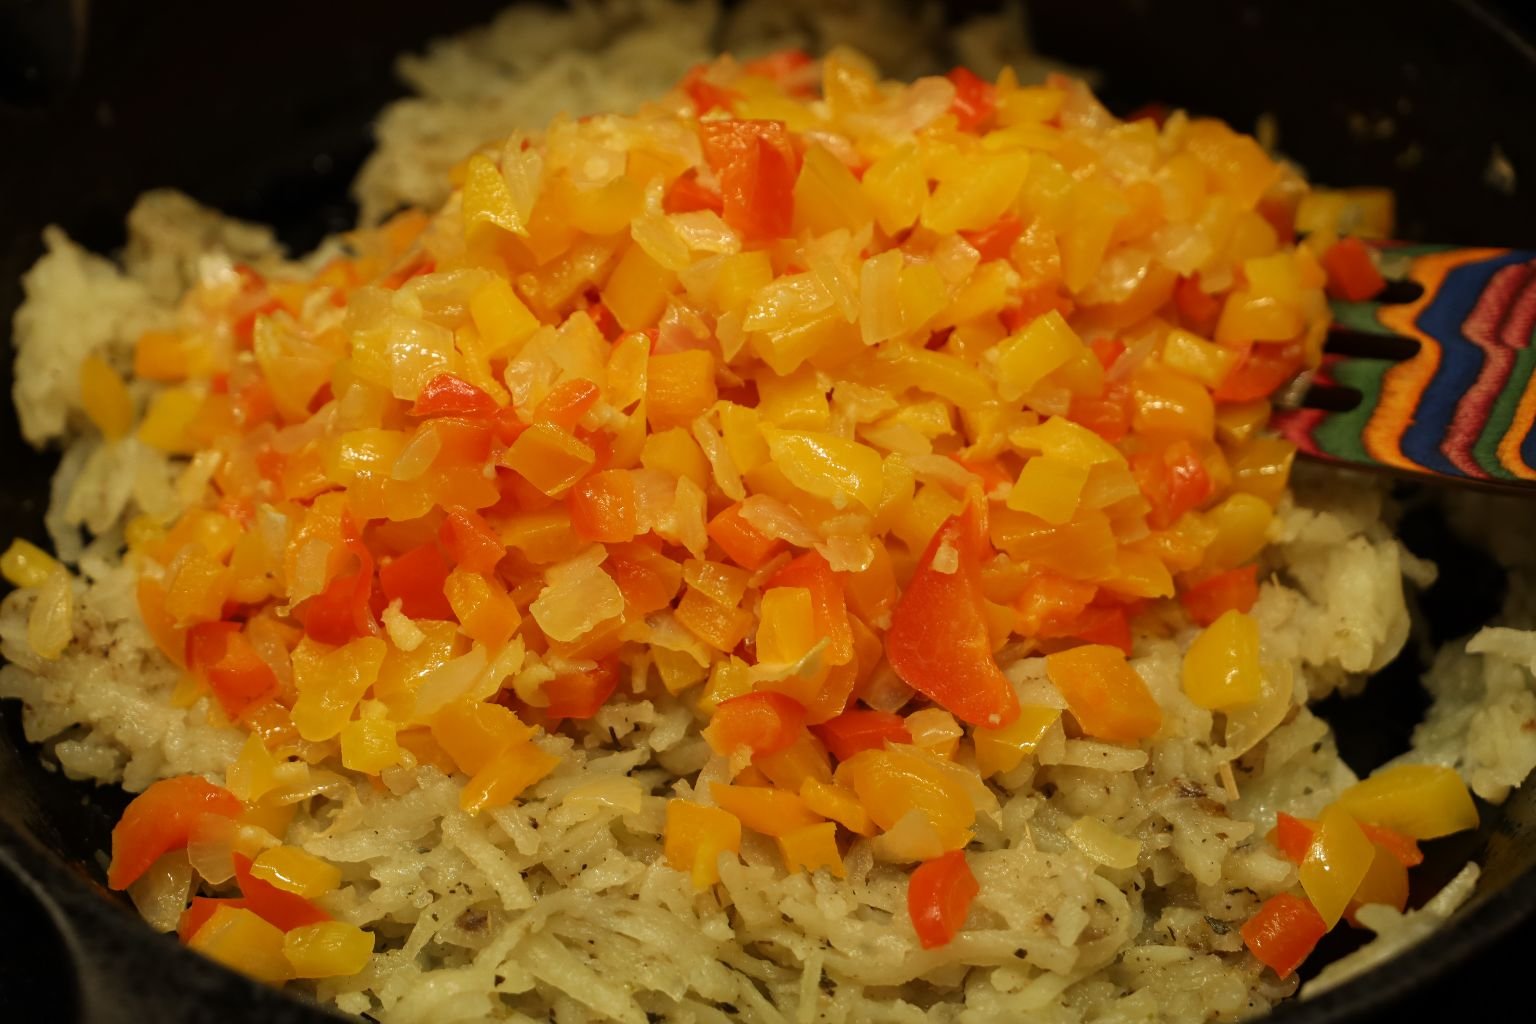
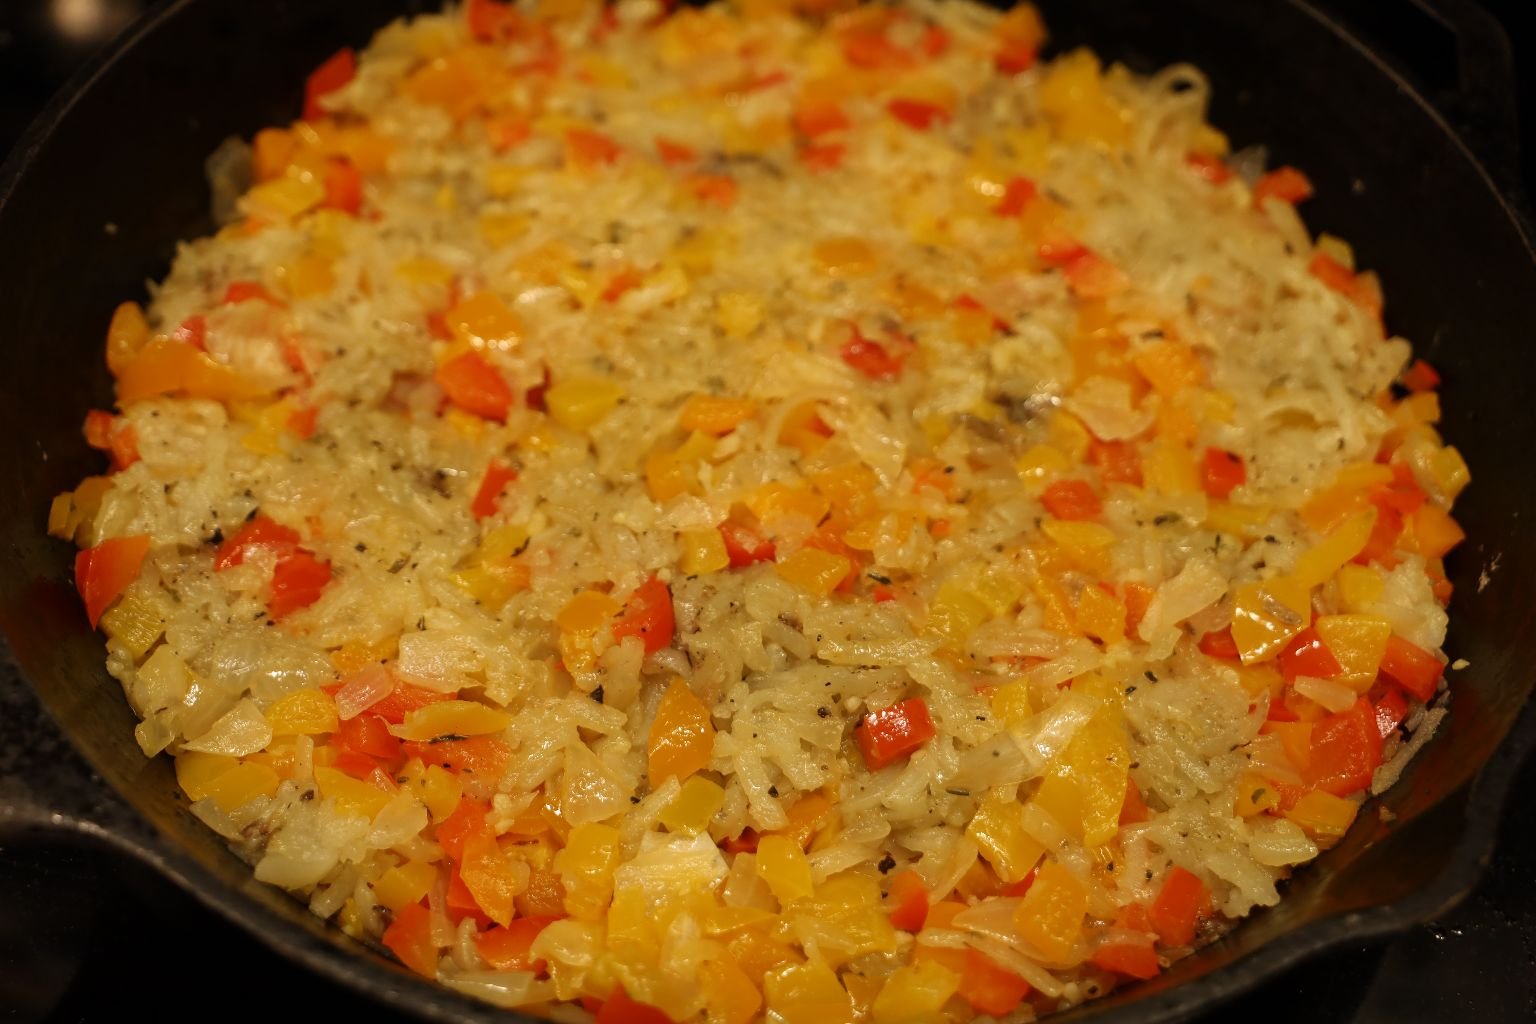
Now It’s Time to Add My Onion, Bell Peppers, and Garlic to My Hash Browns…
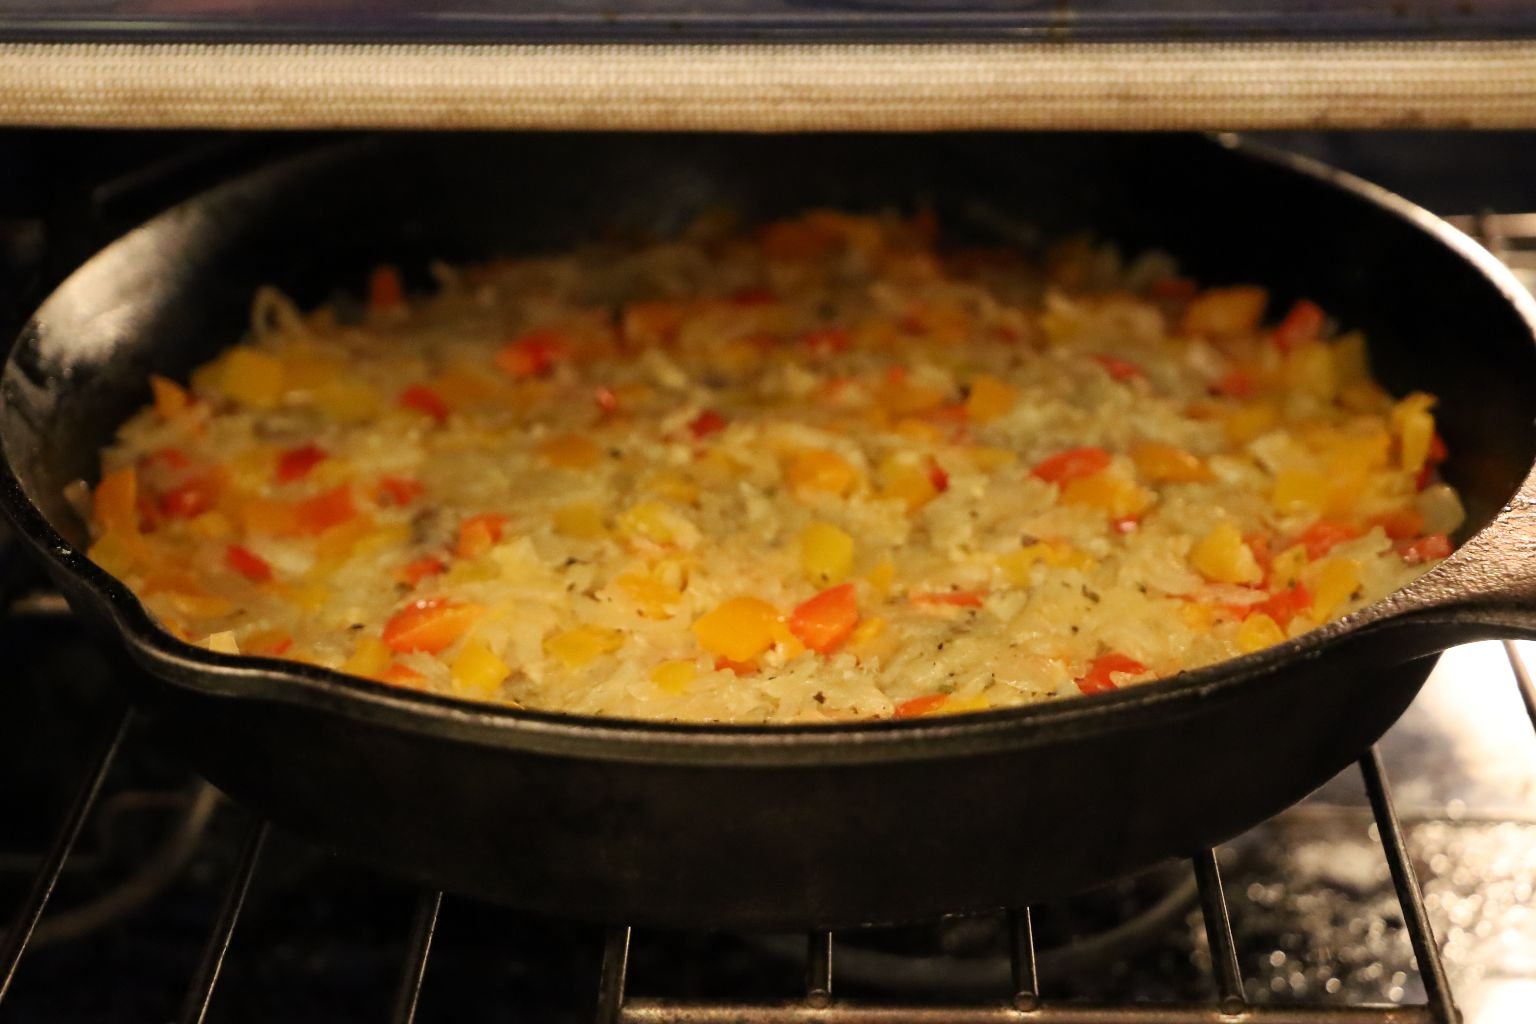
..And Placing Them Into A 350F Oven For About 10-15 Minutes.
——————————————————————————–
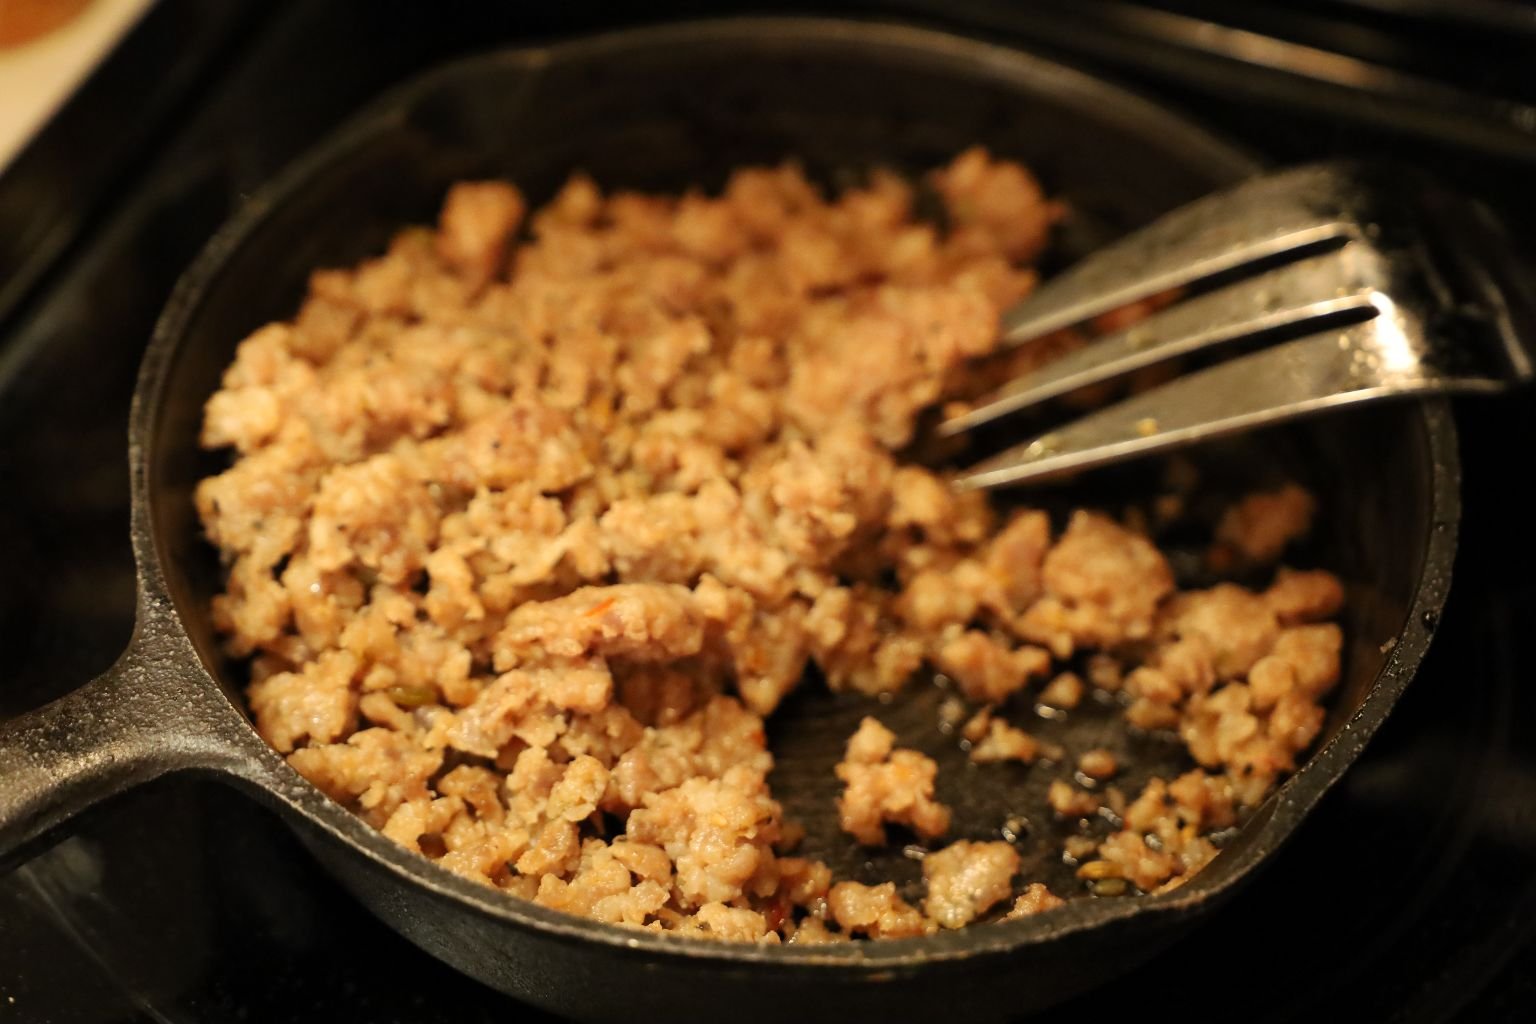
My Sausage Is Ready, And Set Aside
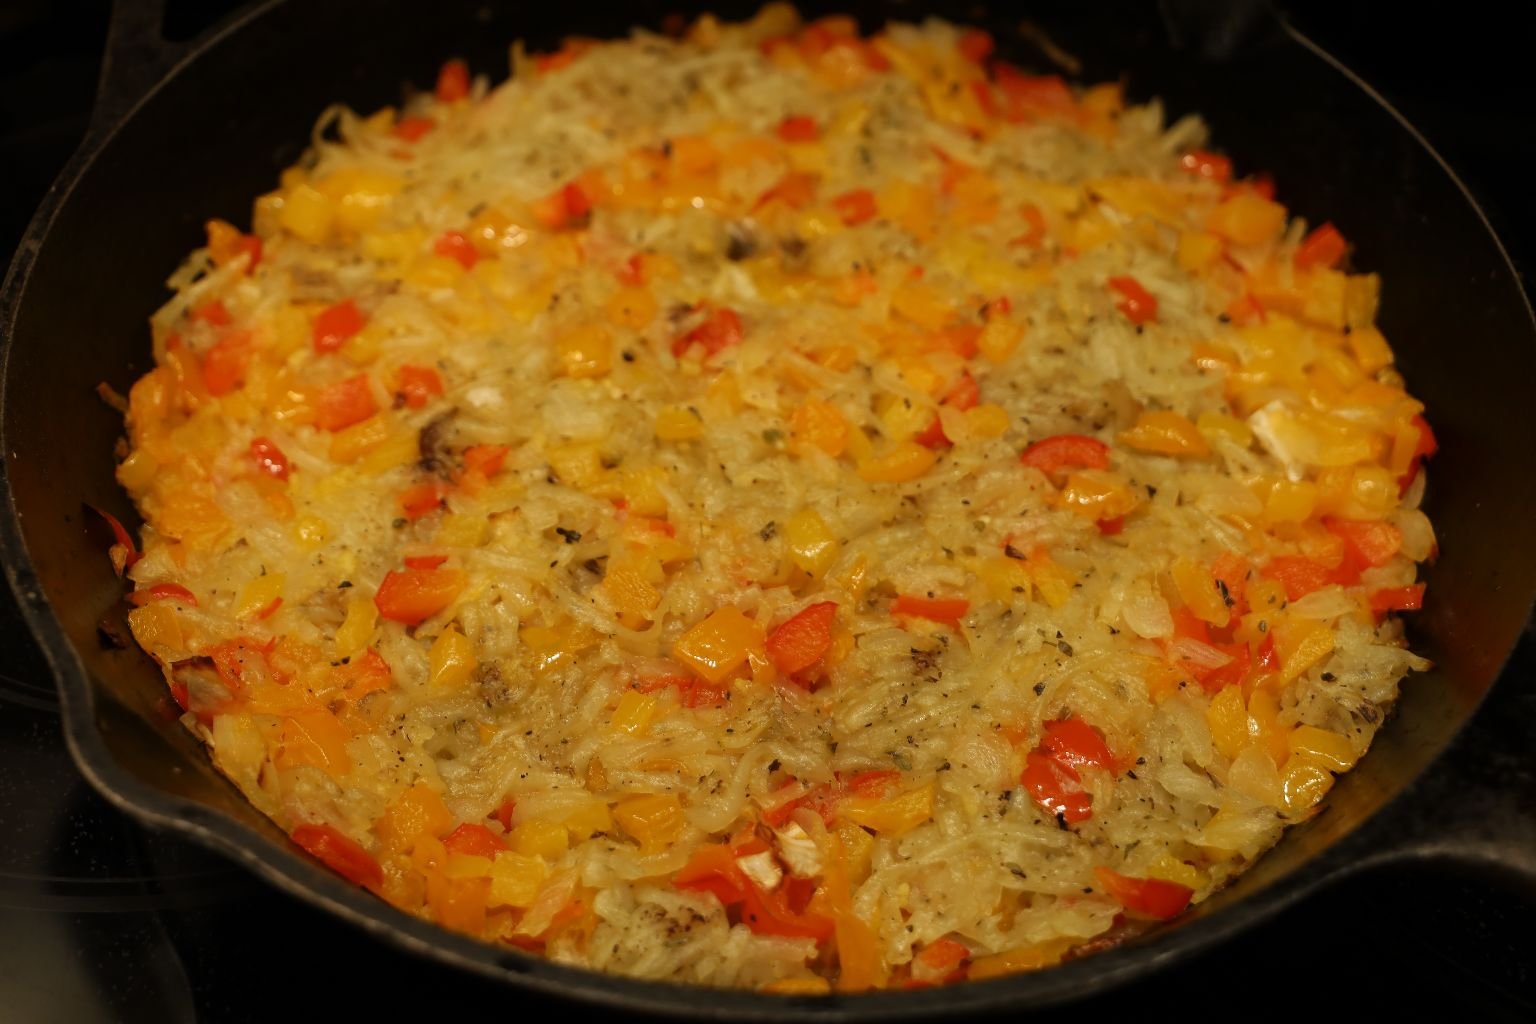
Time To Remove The Cast Iron Skillet From The Oven…
————————————————————————————–
Time To Add The Cheese
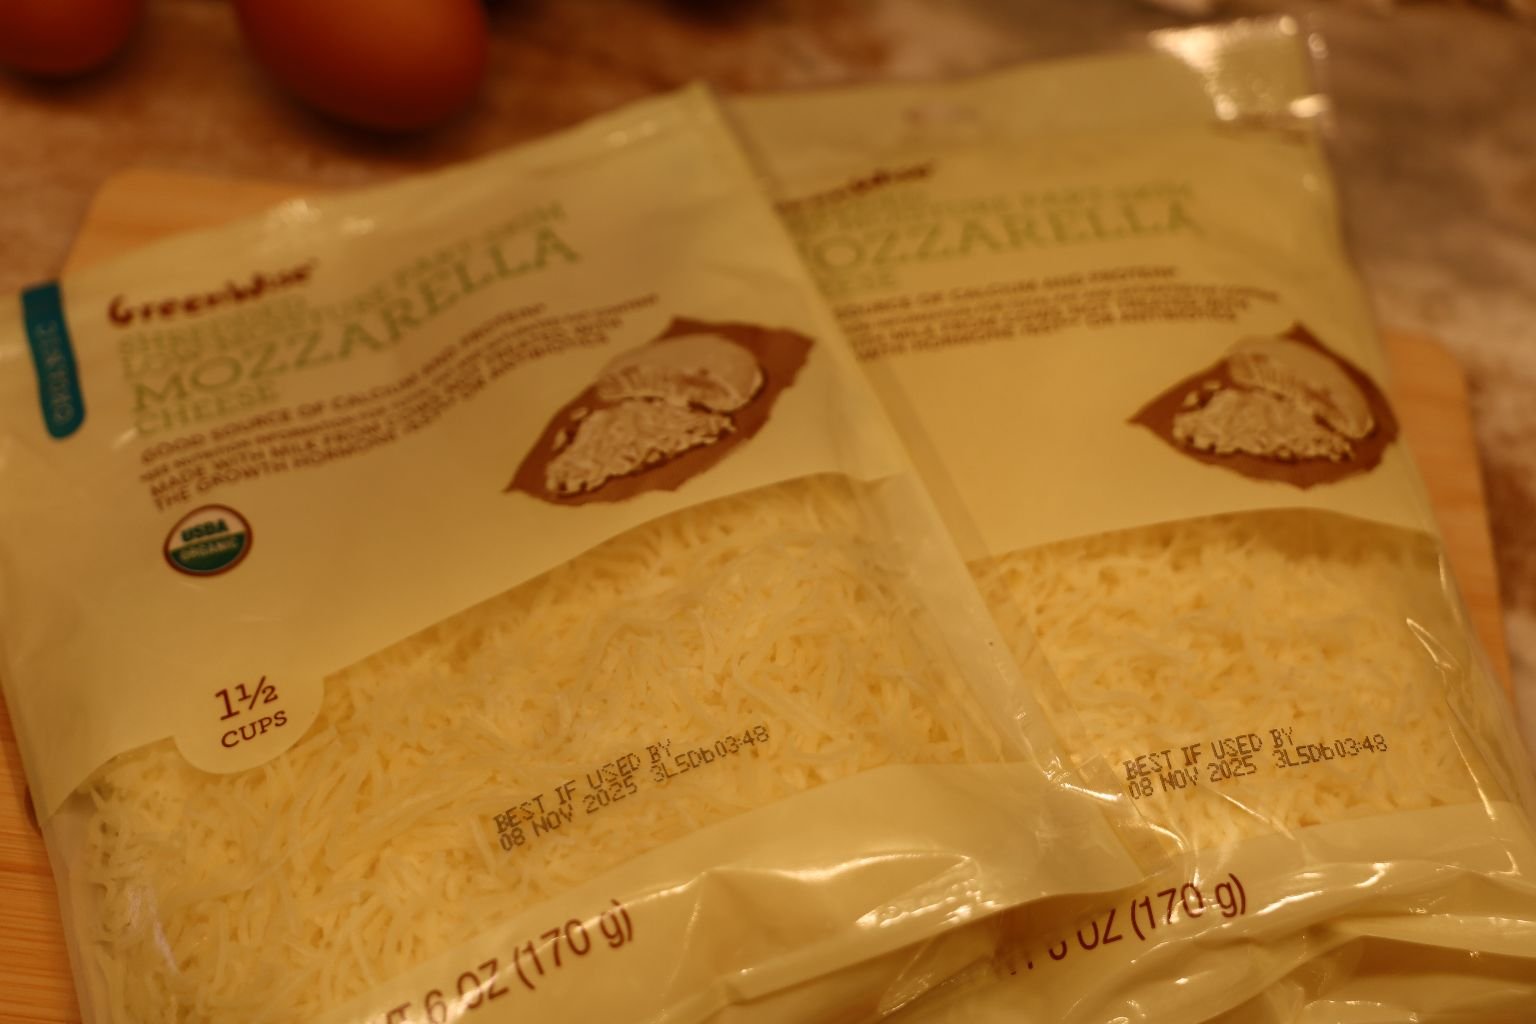
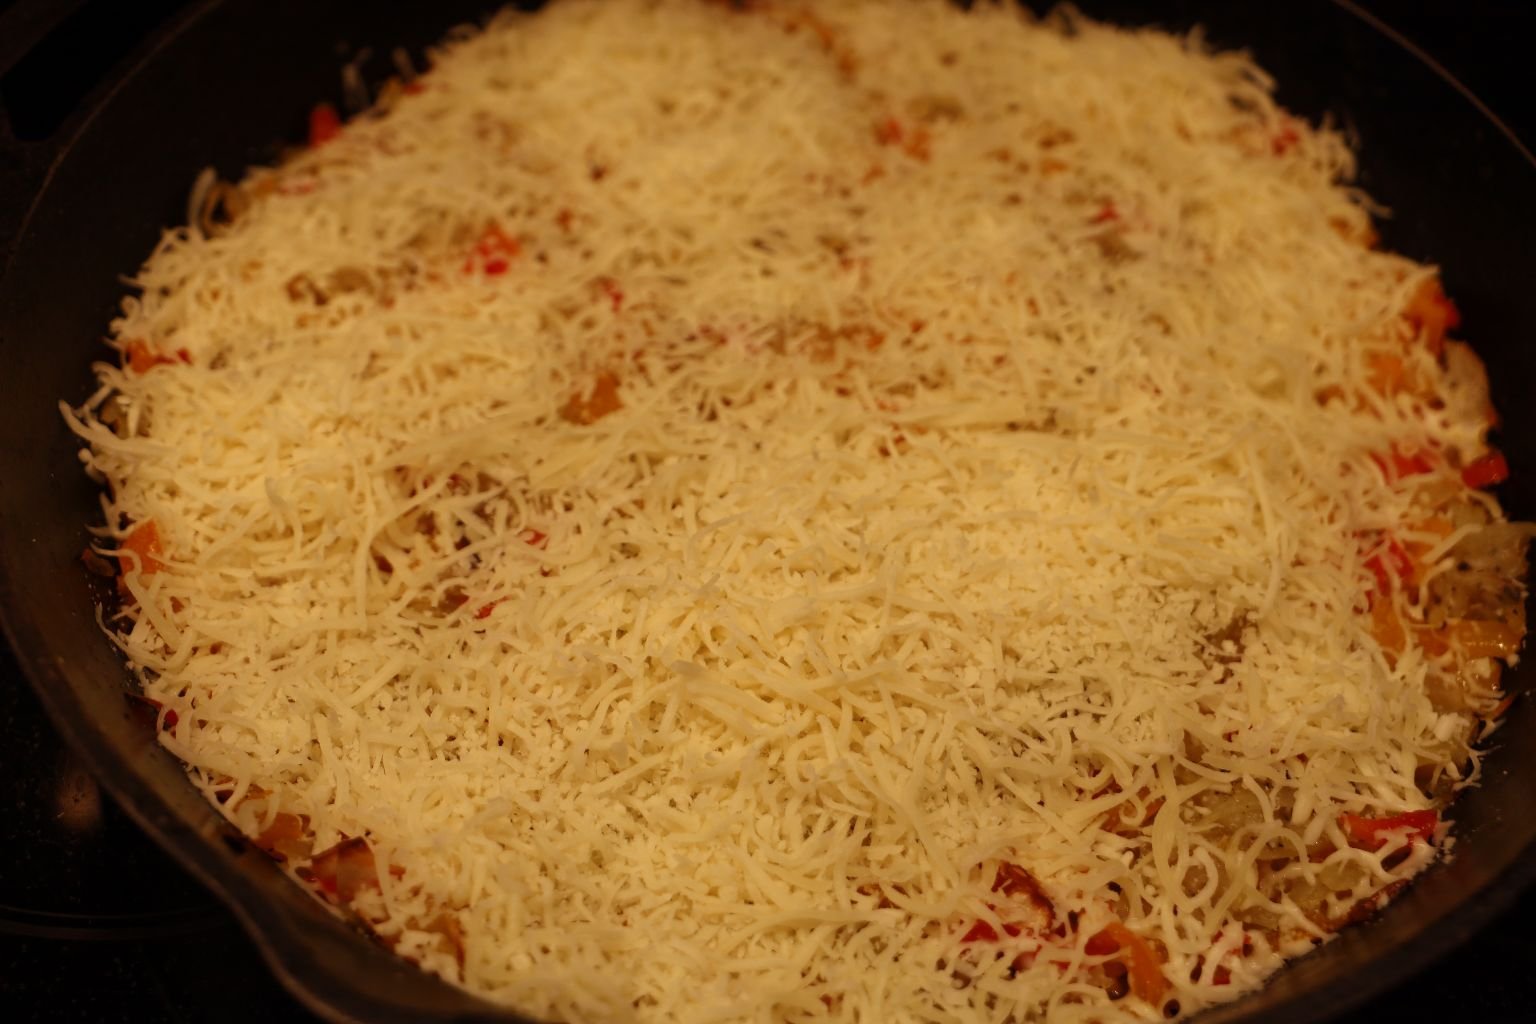
Shredded Mozzarella Cheese
(I just added as much as I wanted to over top my Hash Brown Medley.)
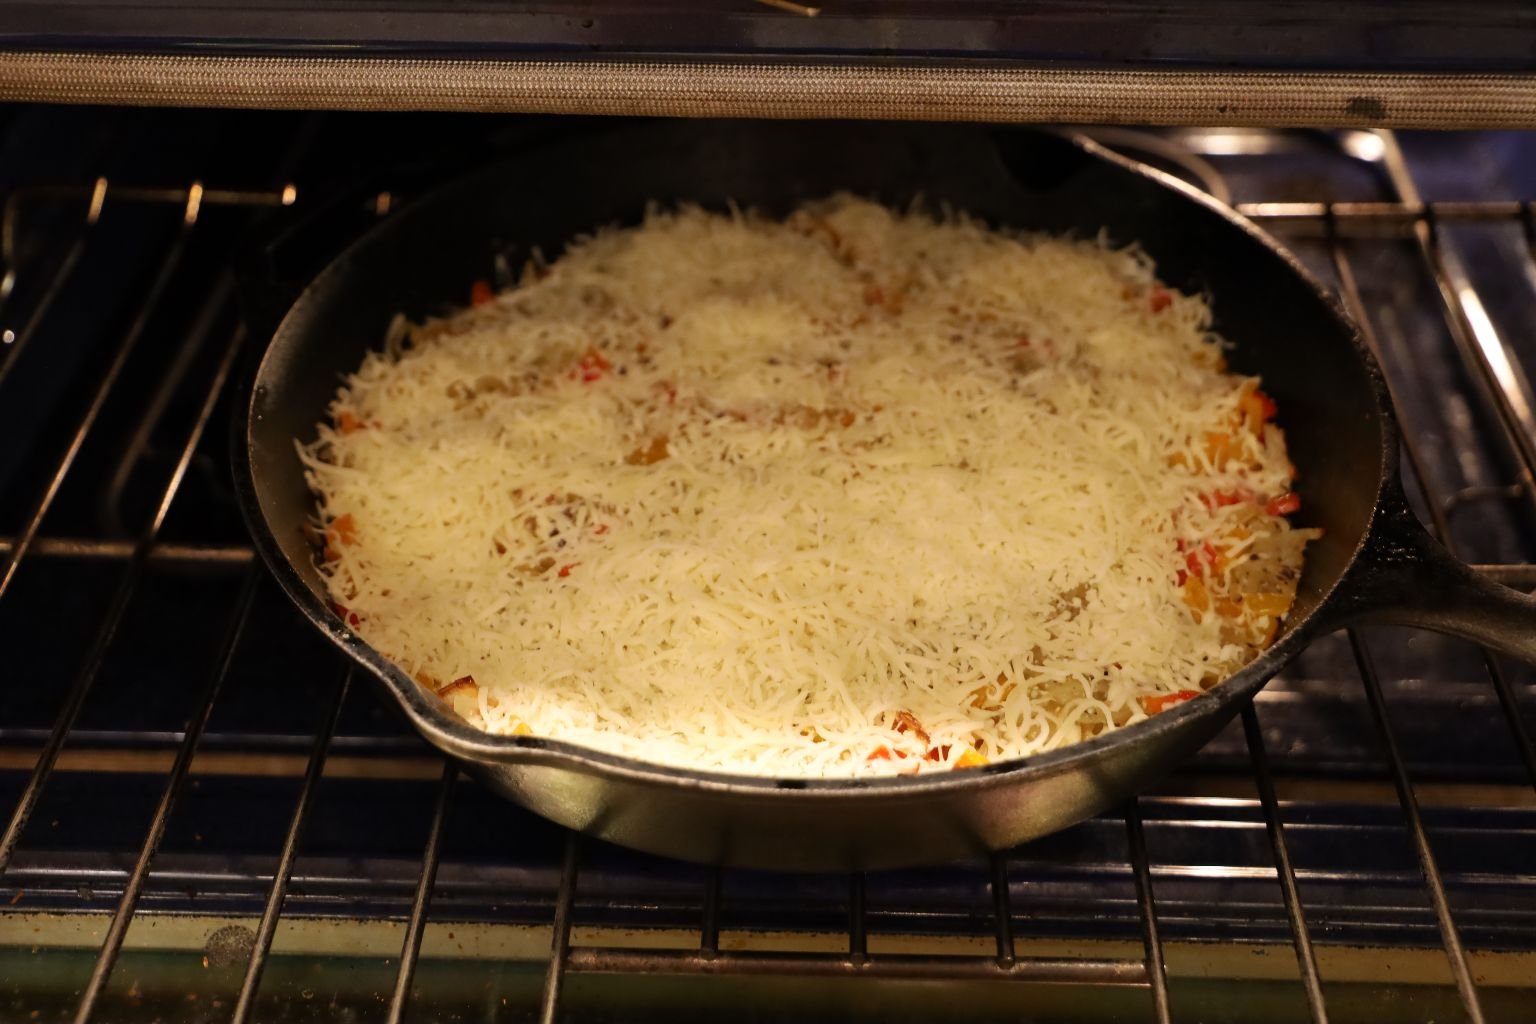
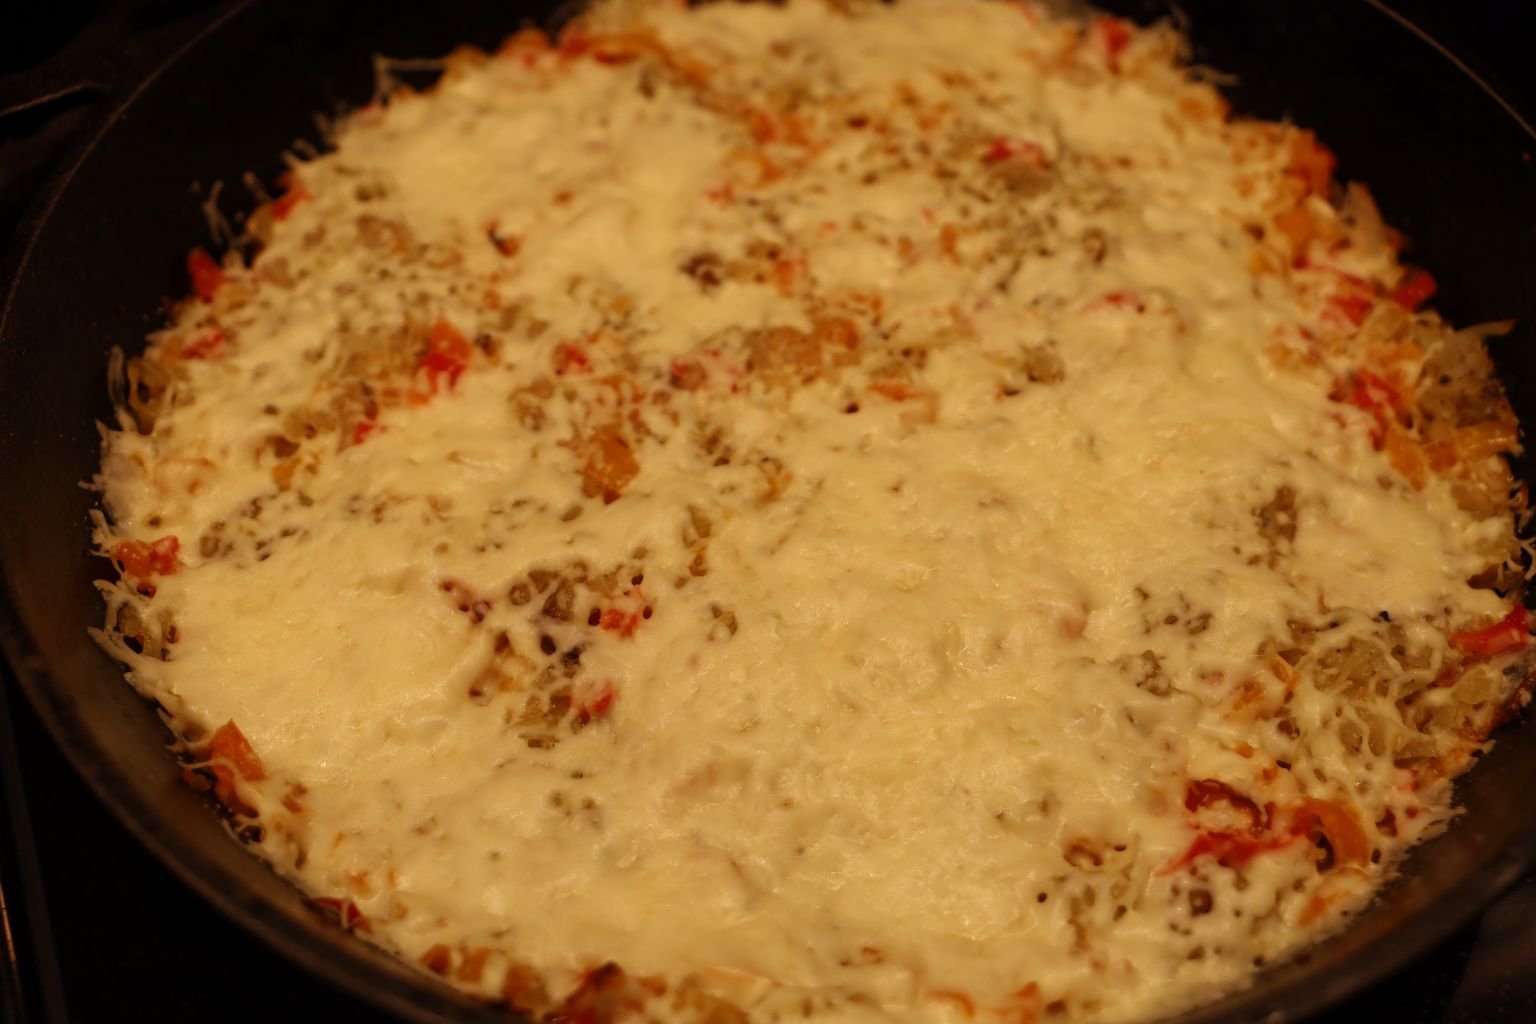
Now Place Back Into The 350F Oven For About 5 Minutes To Melt The Cheese
(When done, remove and set aside.)
————————————————————————————————
Ready To Scramble Some Eggs
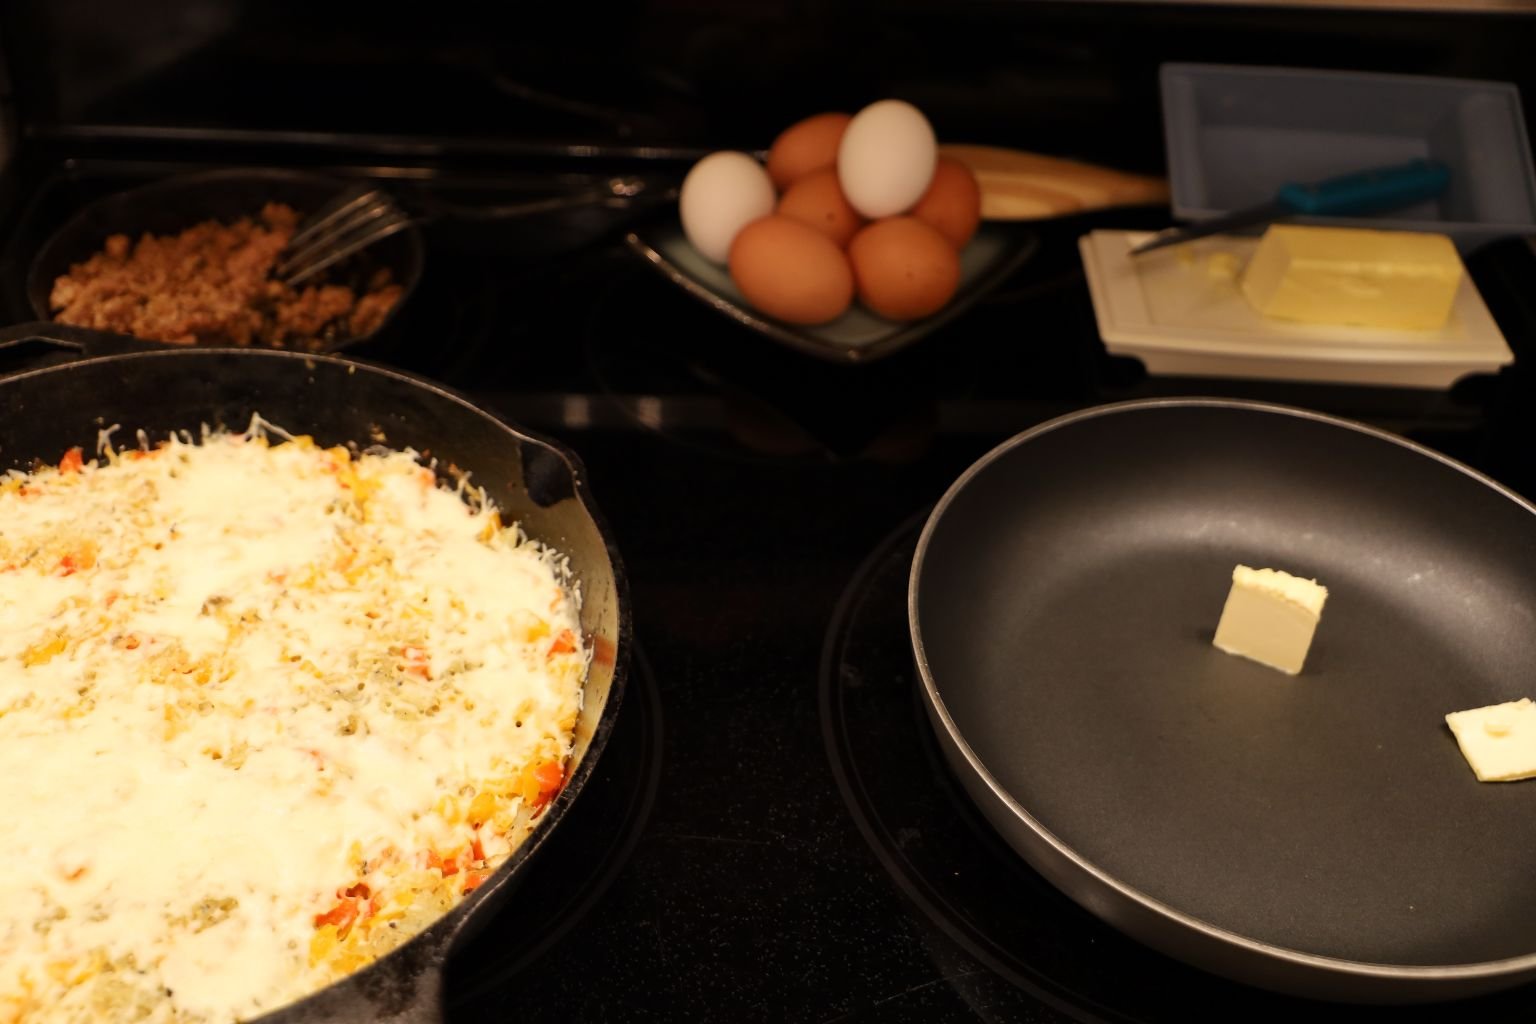
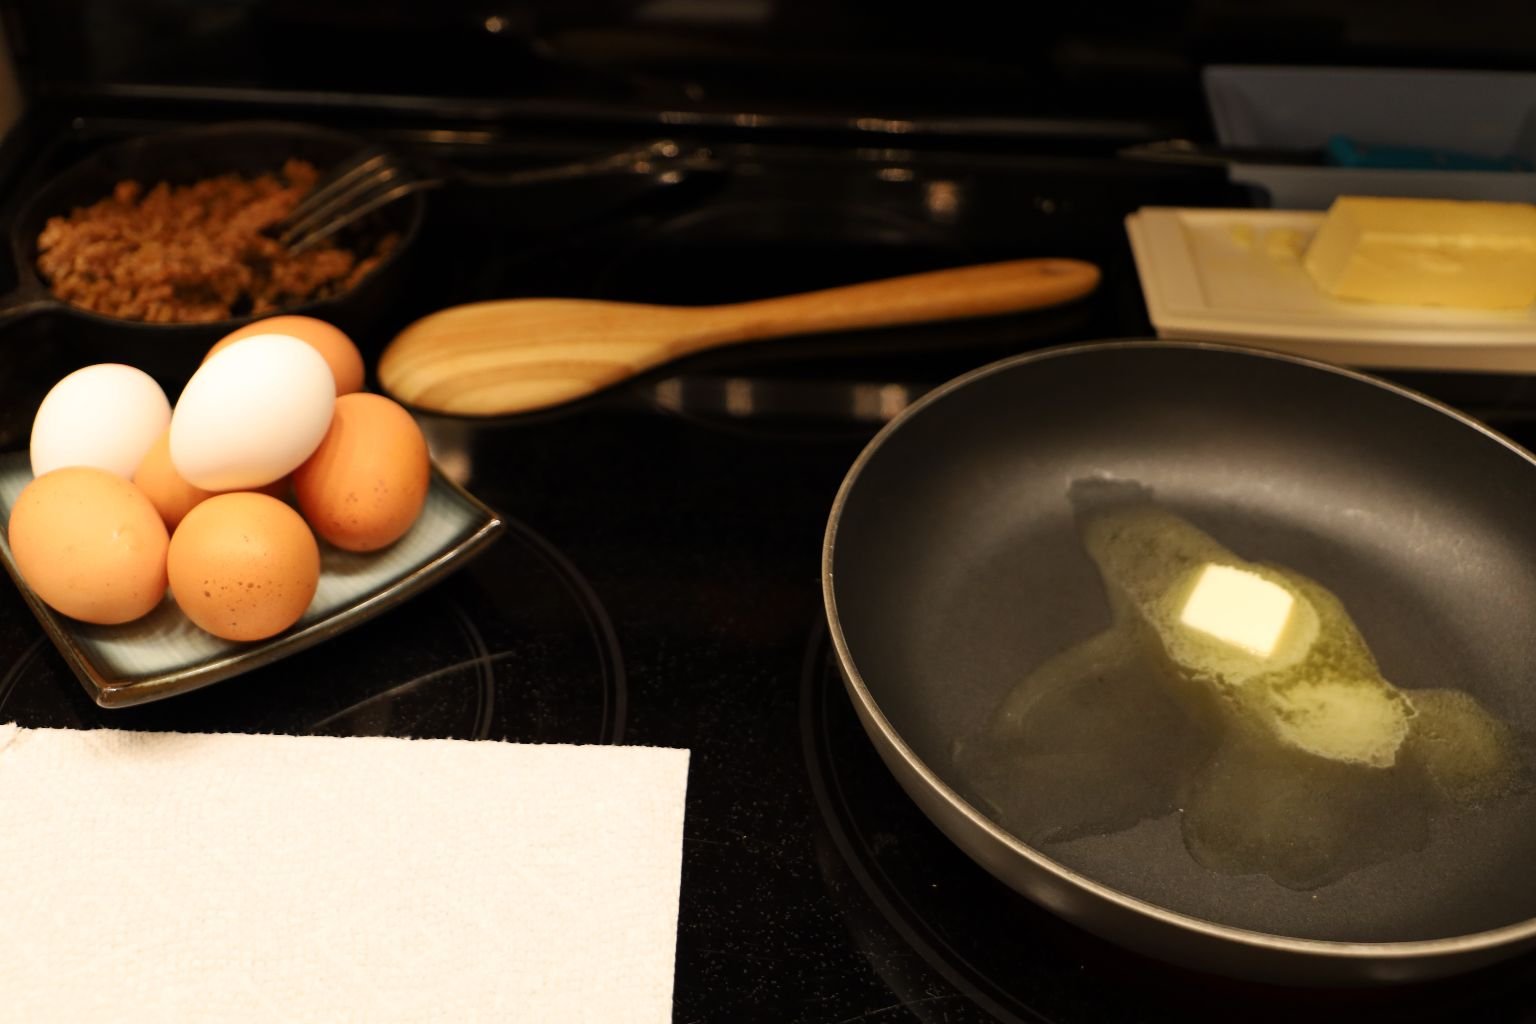
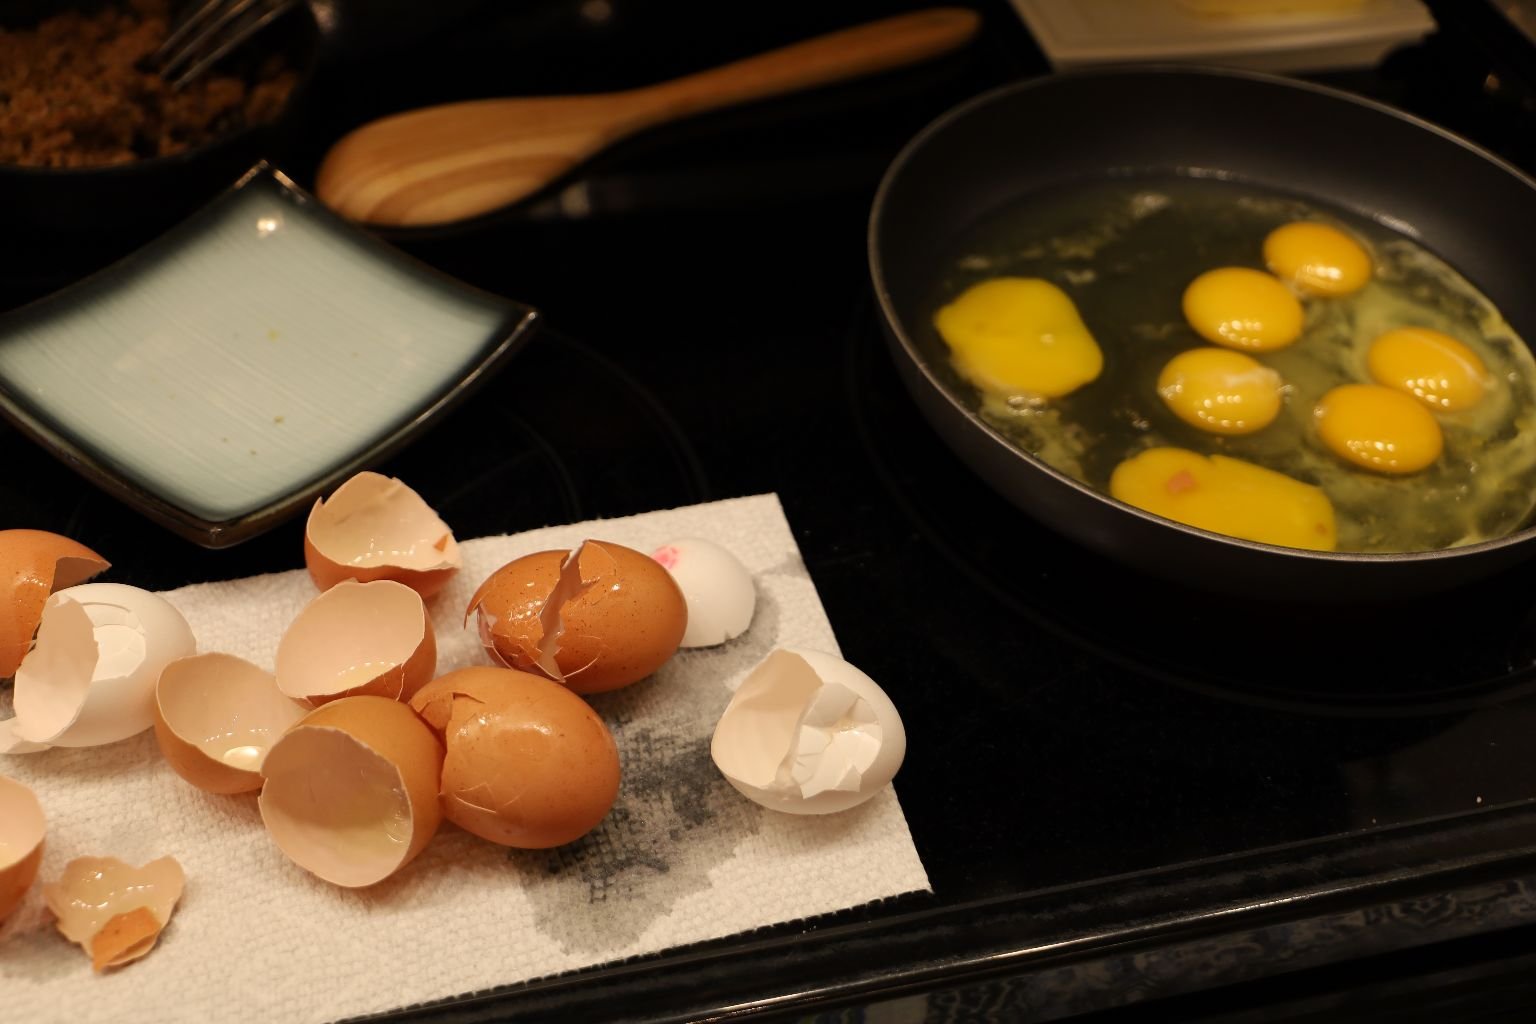
In A New Sautee Pan Add,
About 7 Eggs
Butter
Milk
Melt Some Pats Of Butter Into A Sautee Pan,
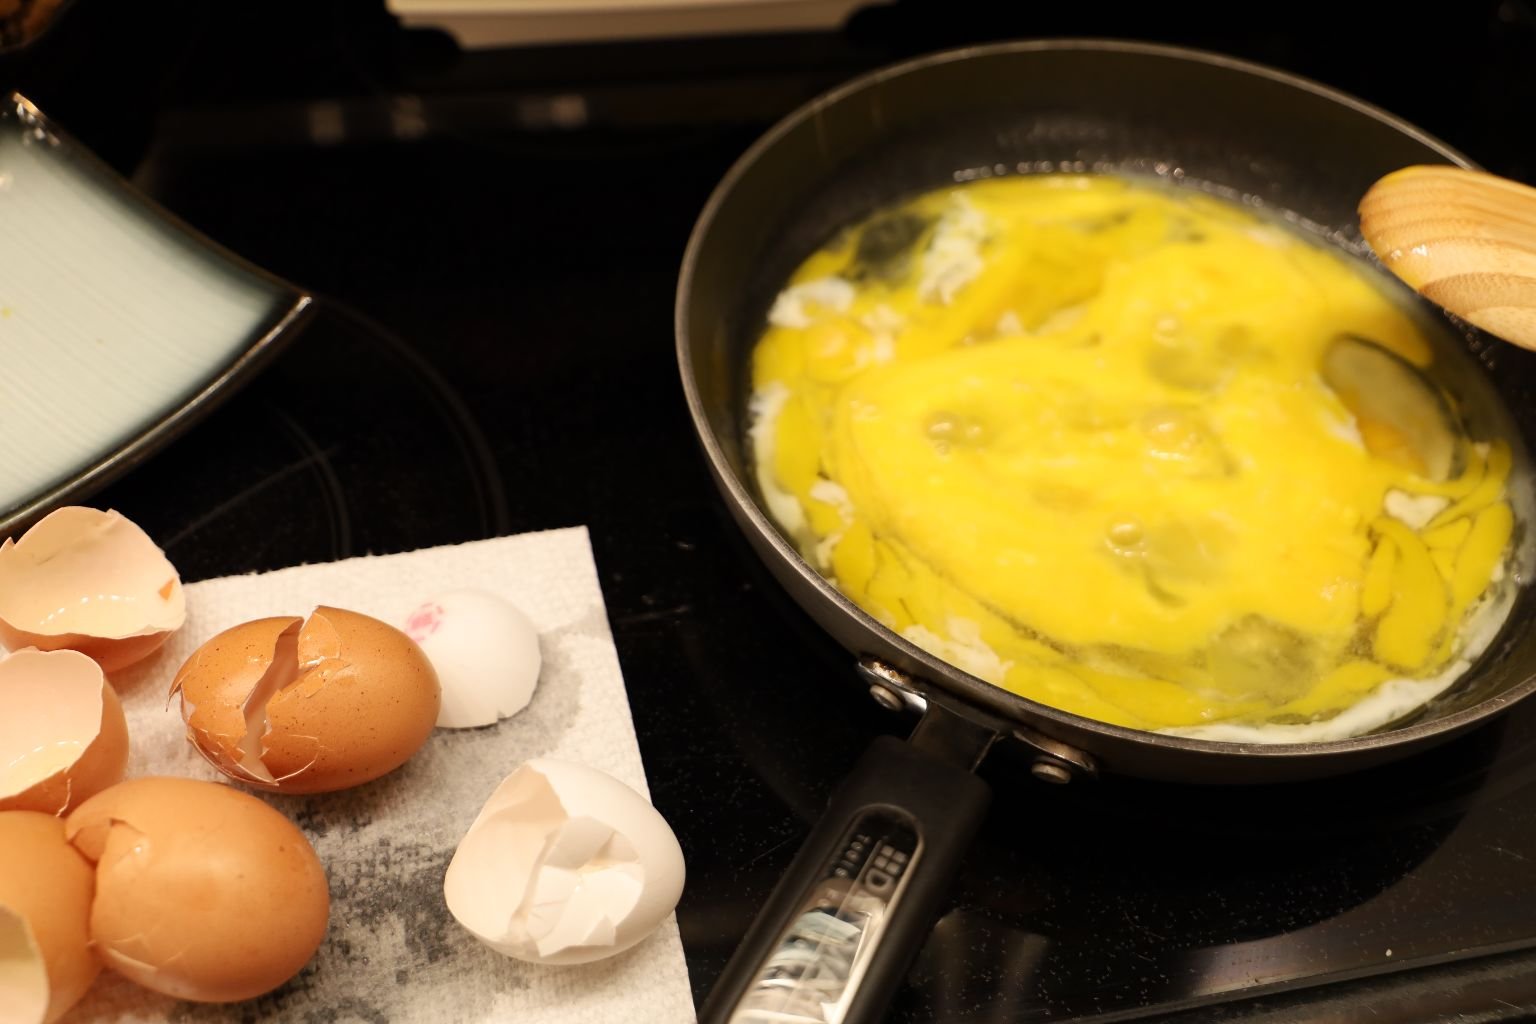
Crack Some Eggs Into The Pan On A Medium-High Heat
Scramble With A Wooden Spoon….
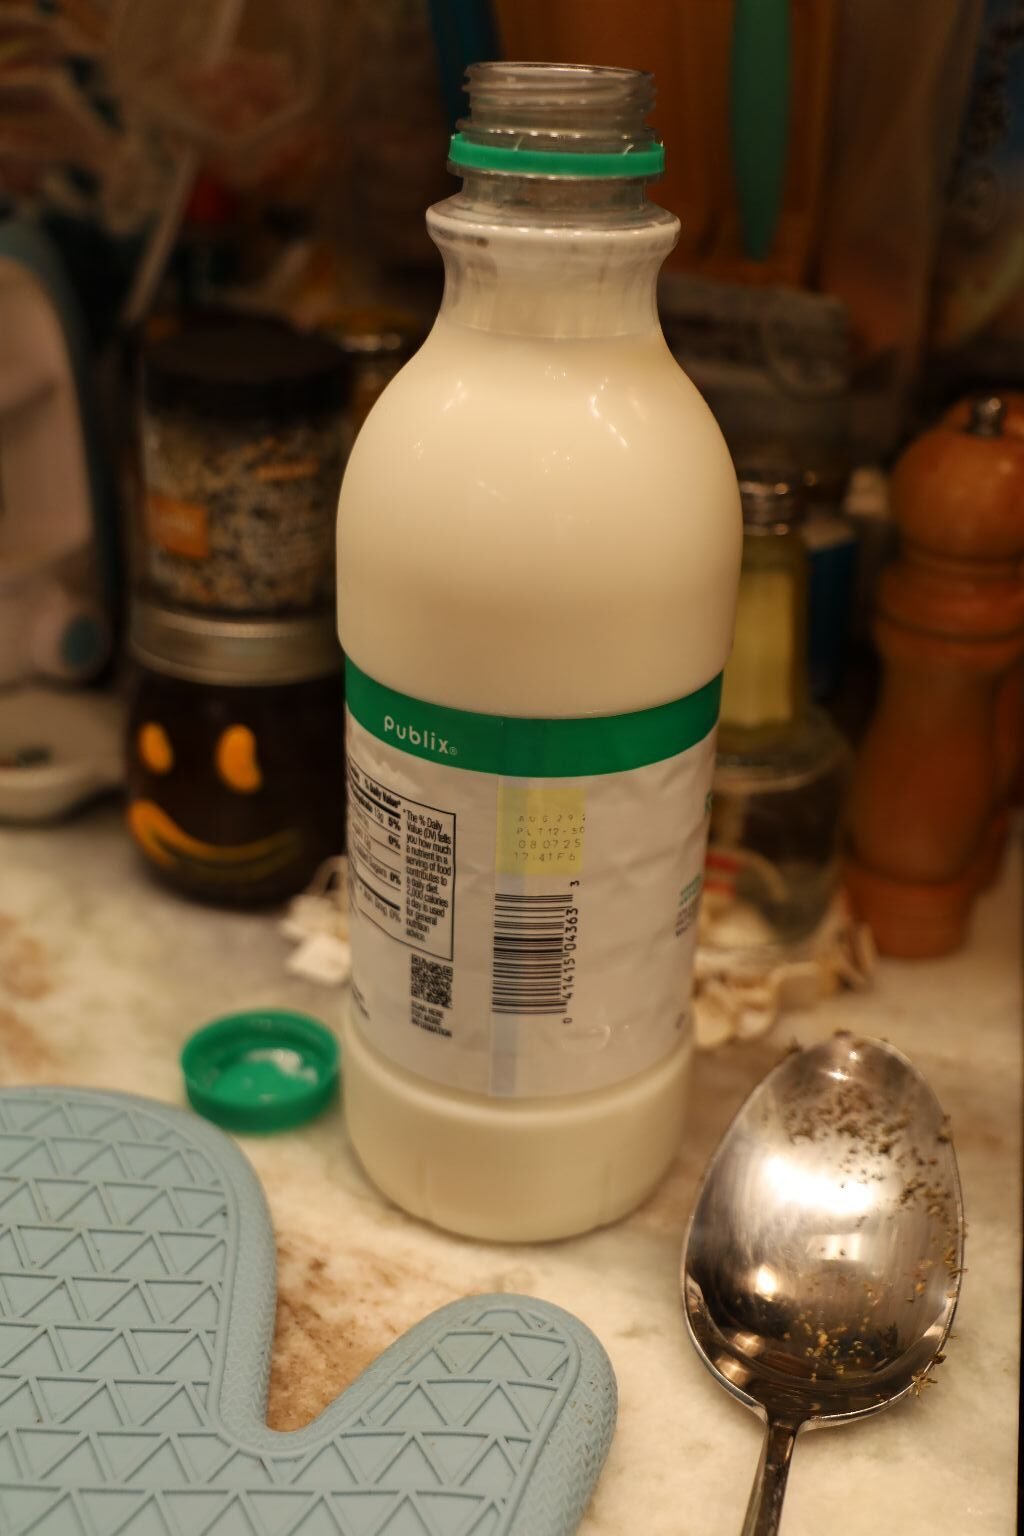
Add A Few Tablespoons Of Milk To The Eggs To Fluff
——————————————————————————————–
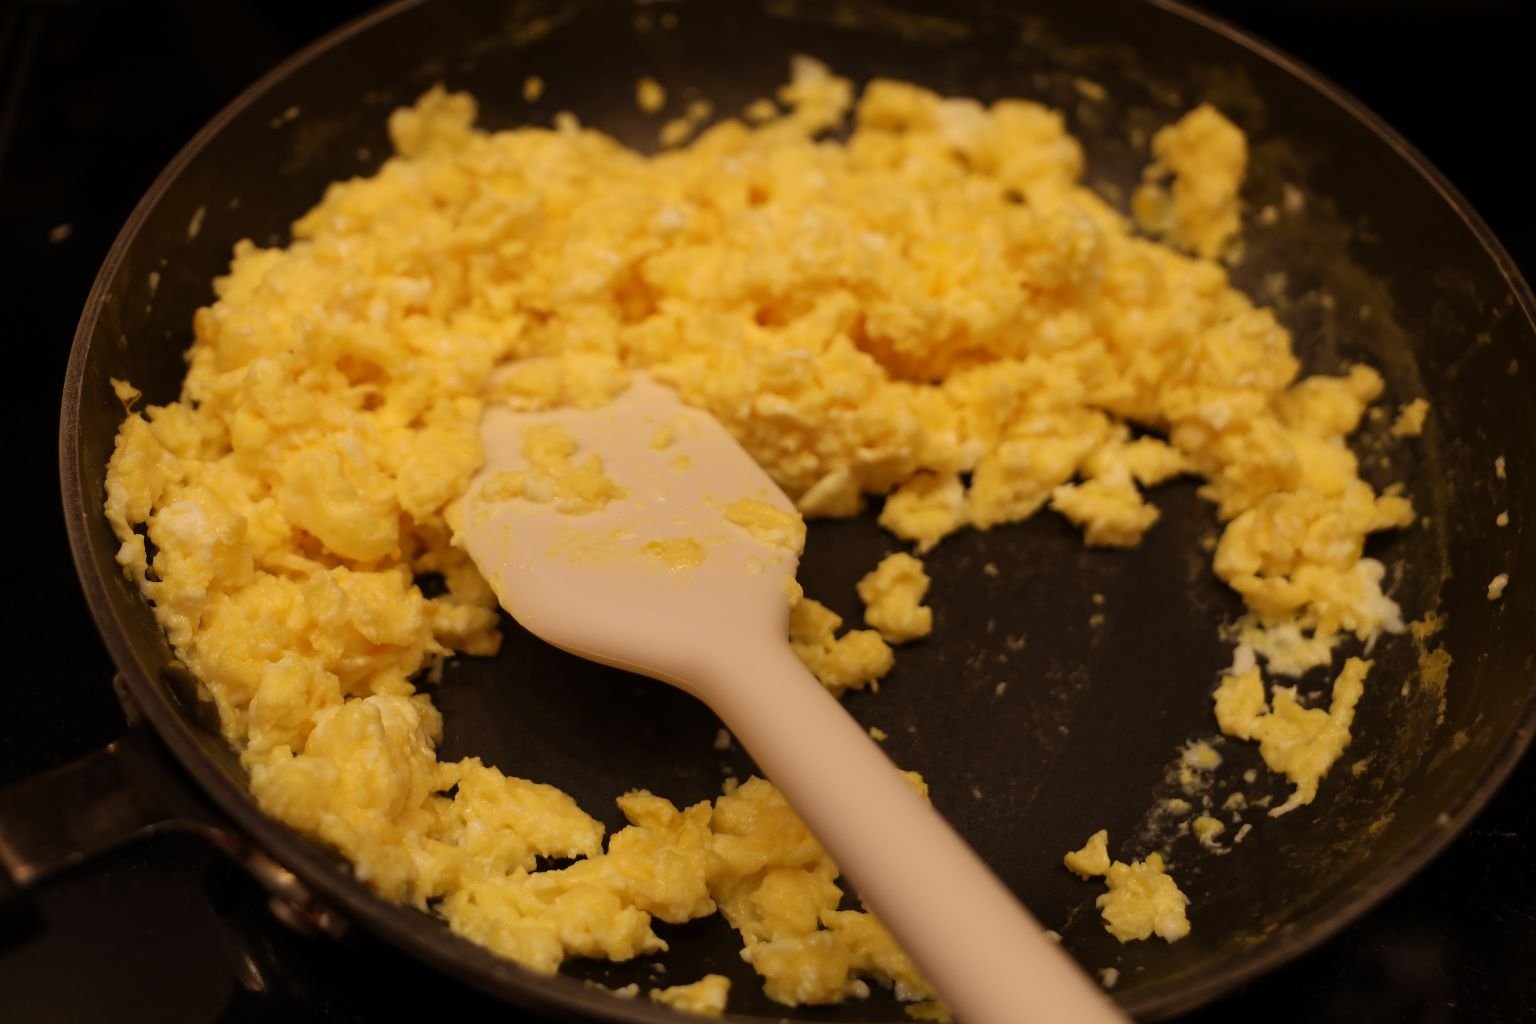
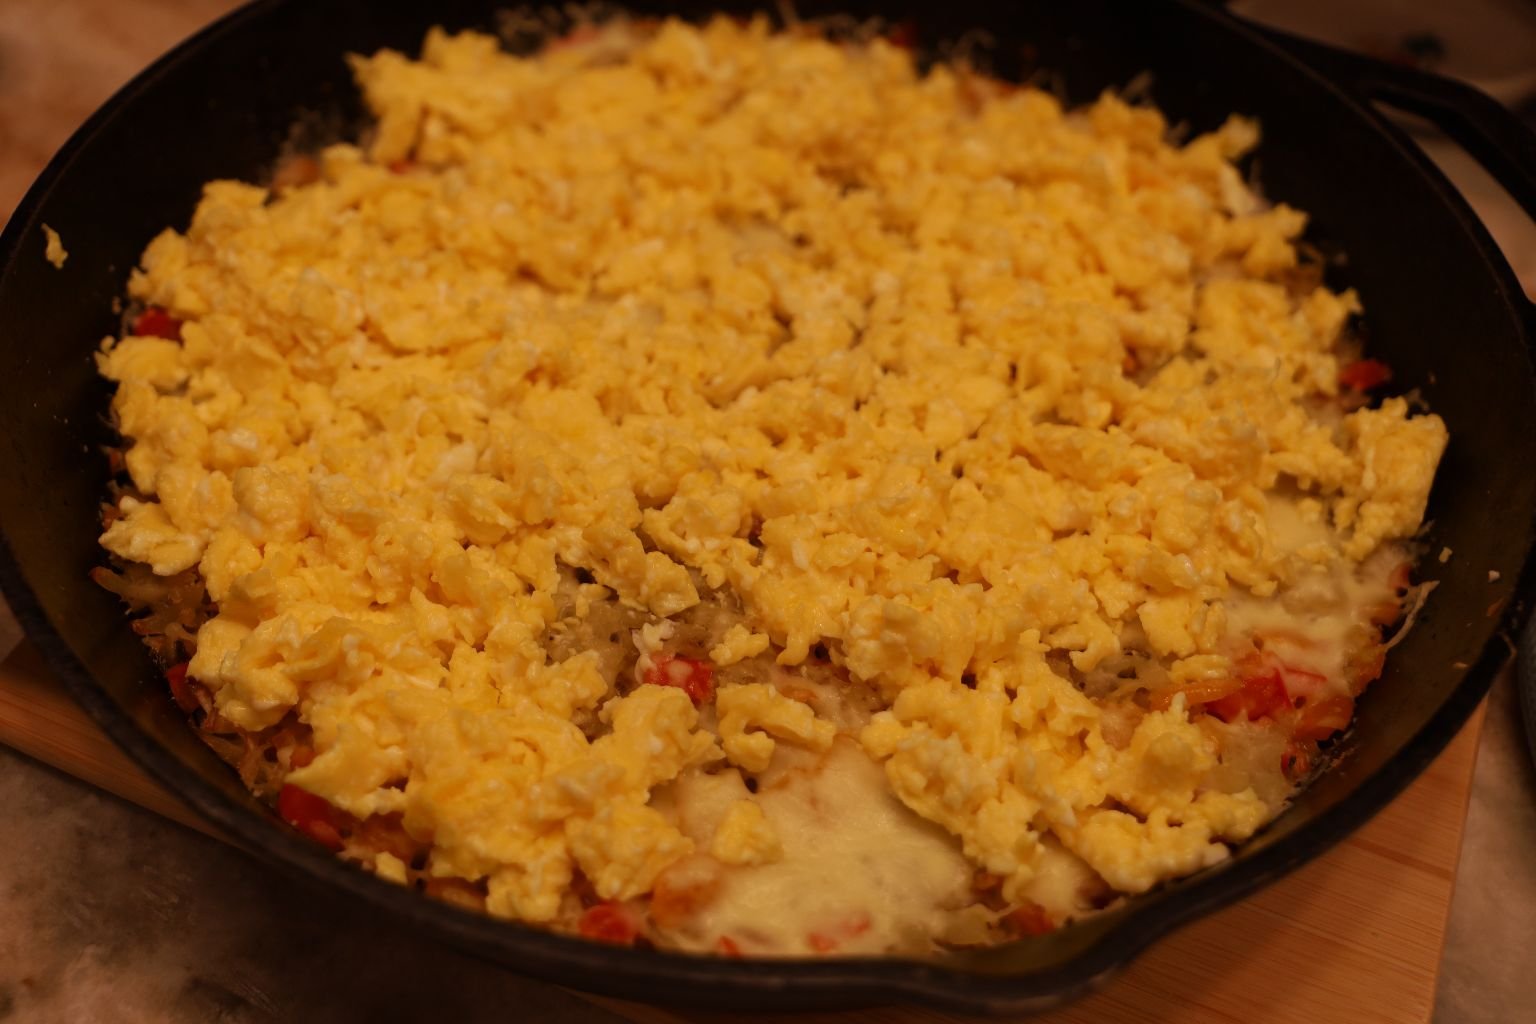
Eggs Are Ready, Time To Add Them To The Cast Iron Skillet
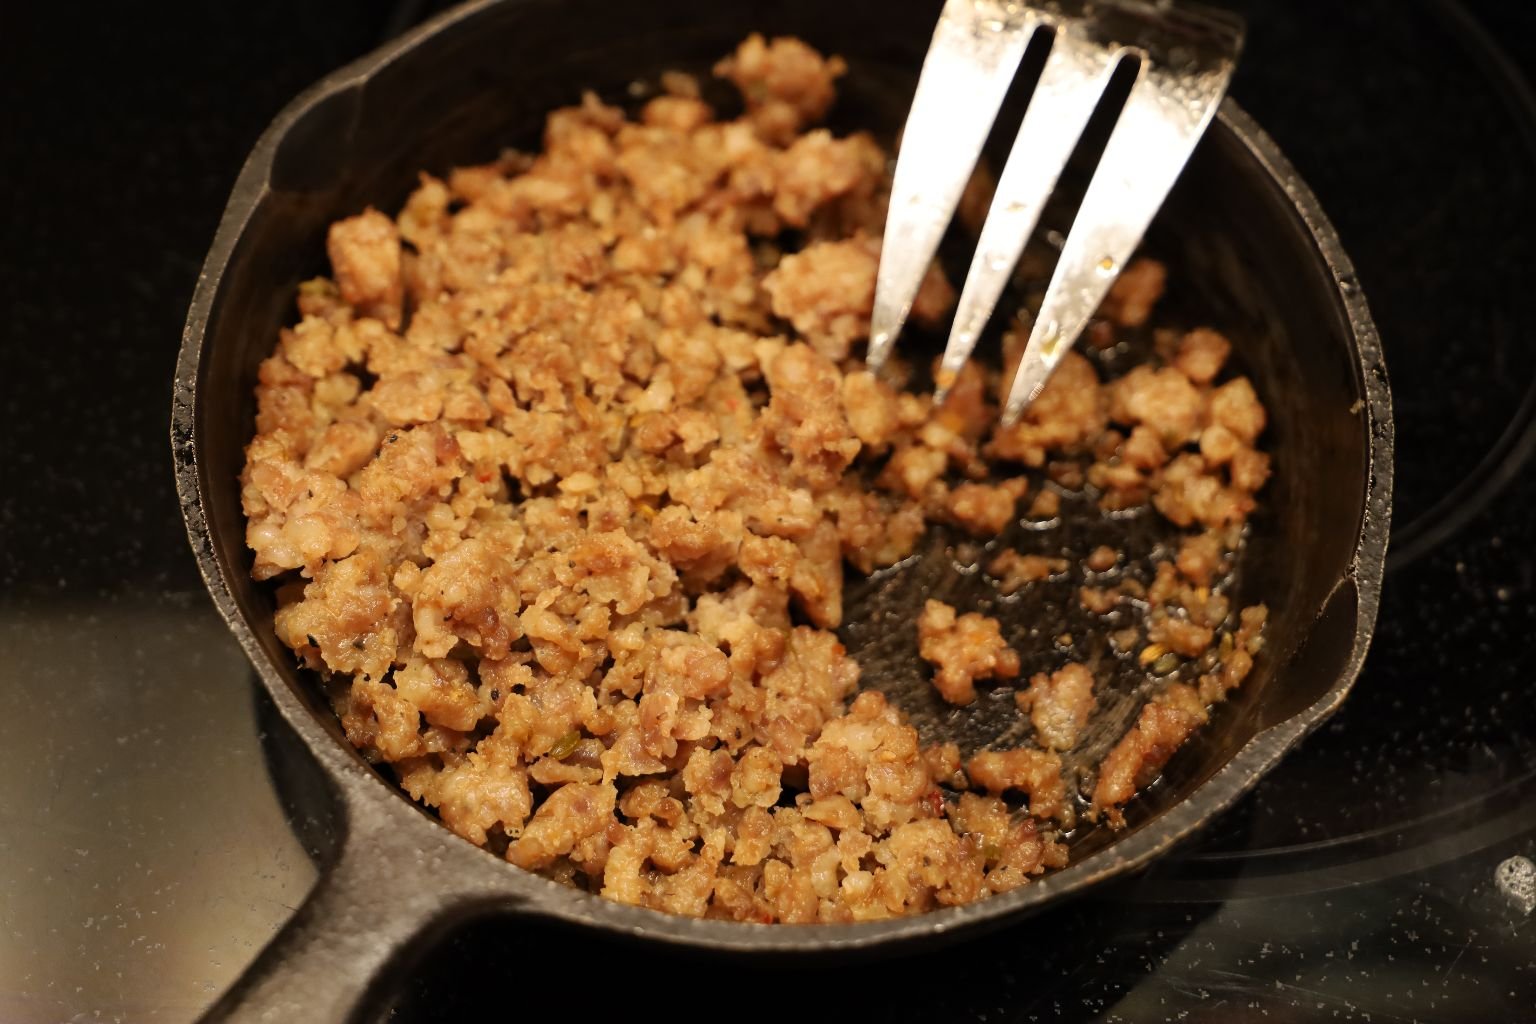
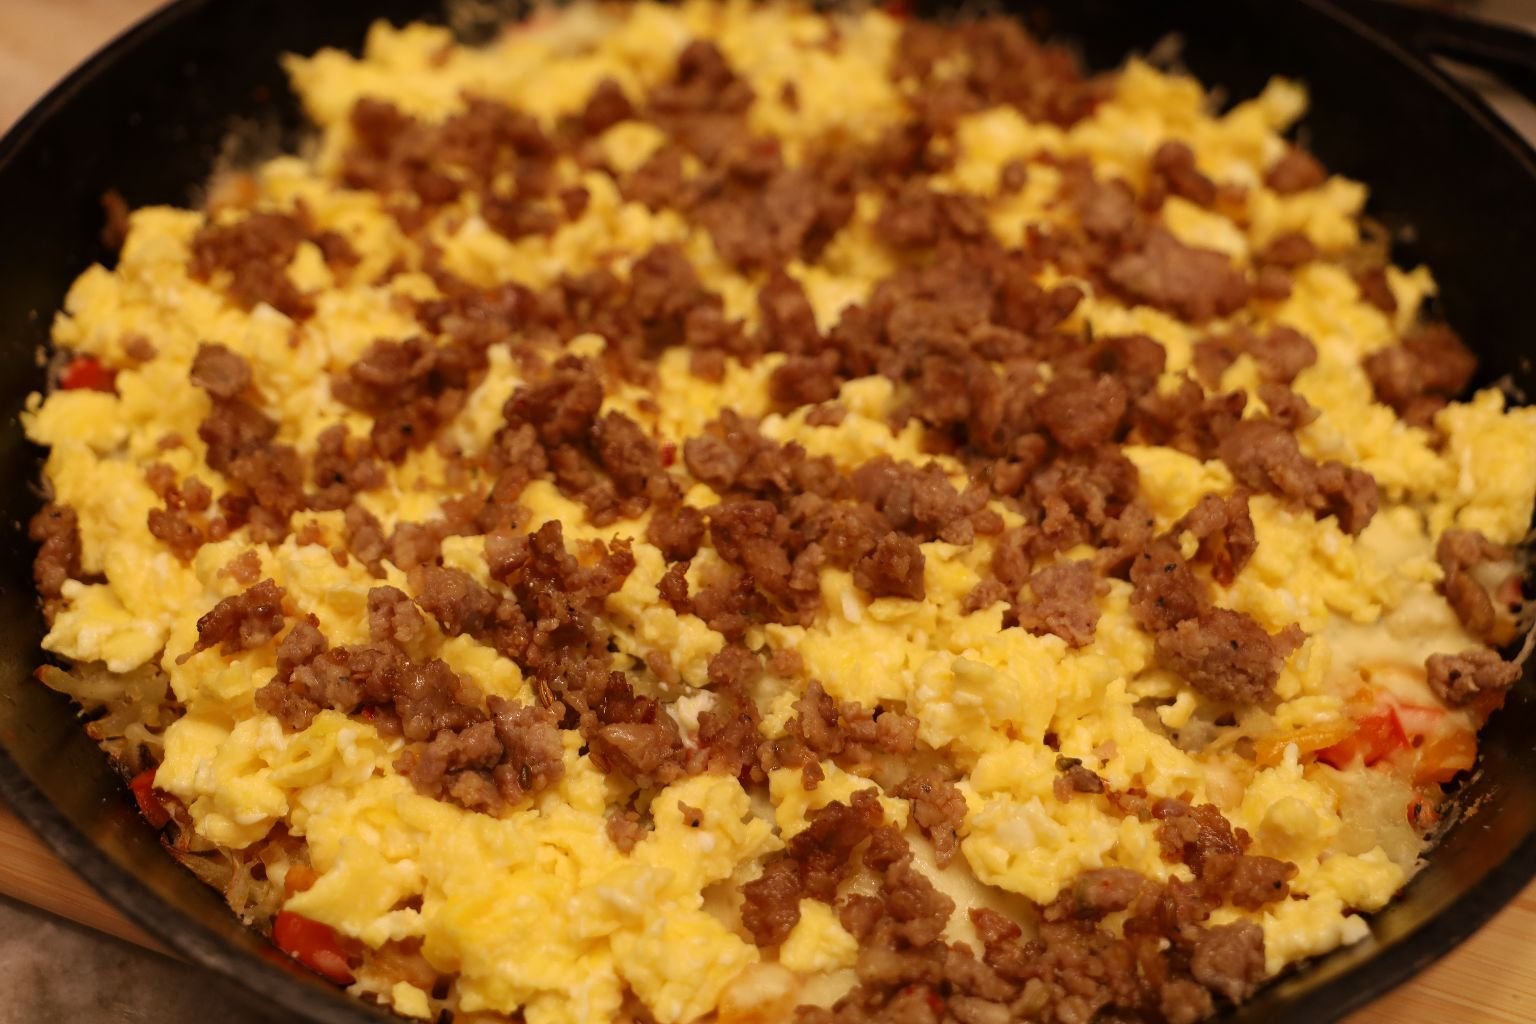
Italian Sausage Is Ready, Time To Add It To Top The Eggs
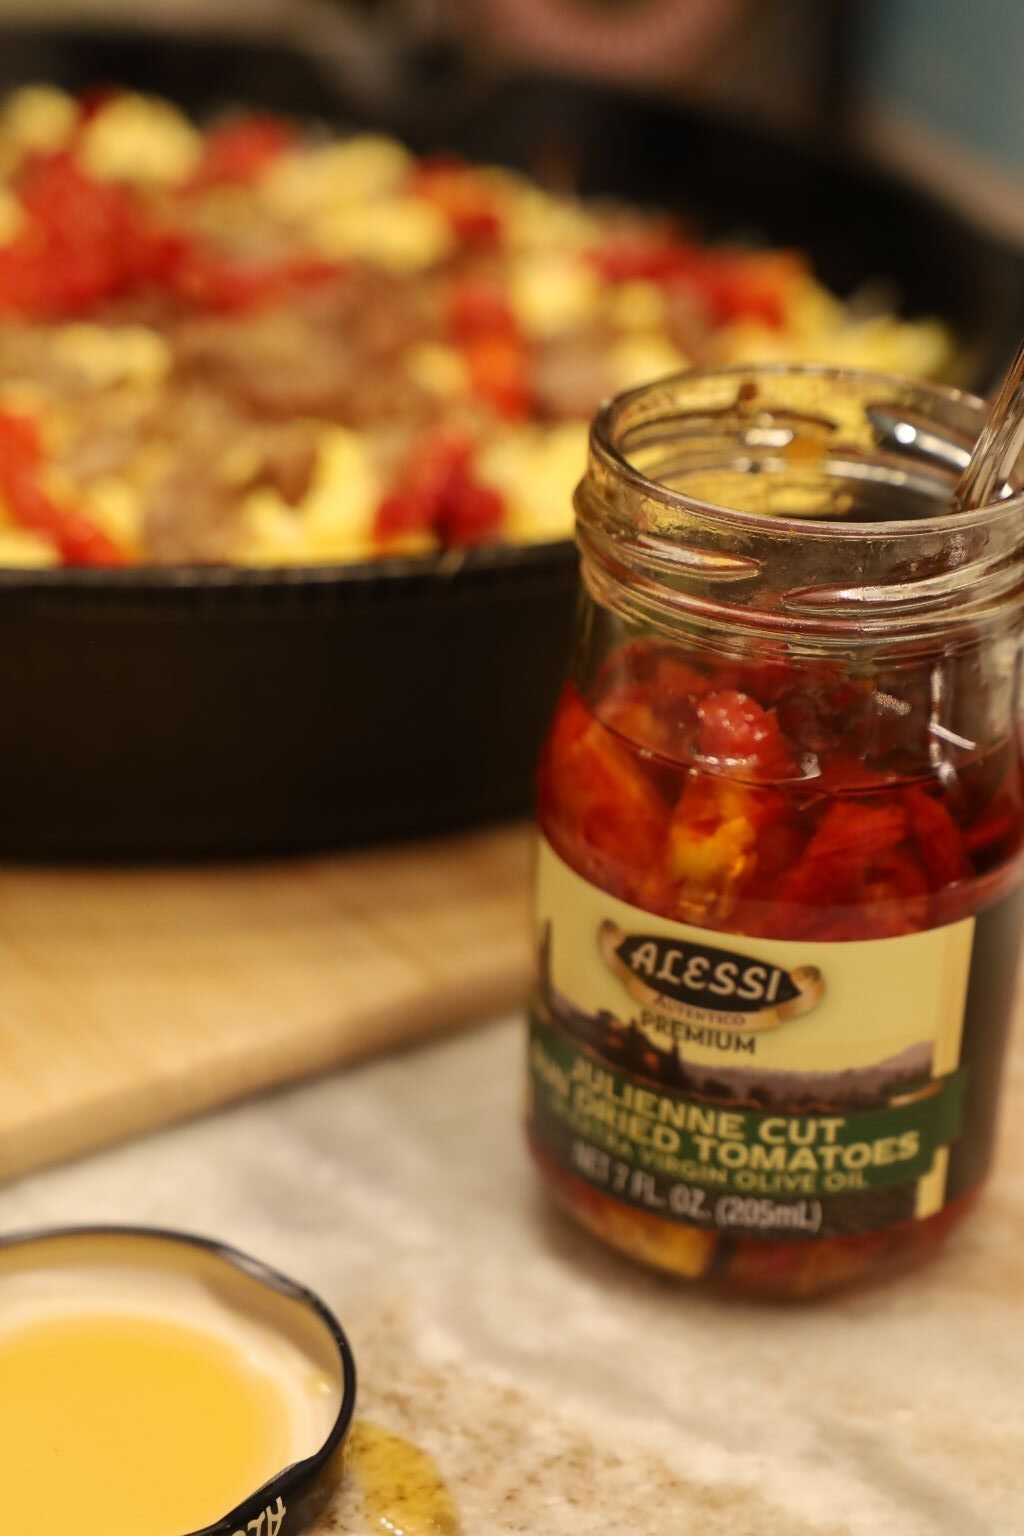
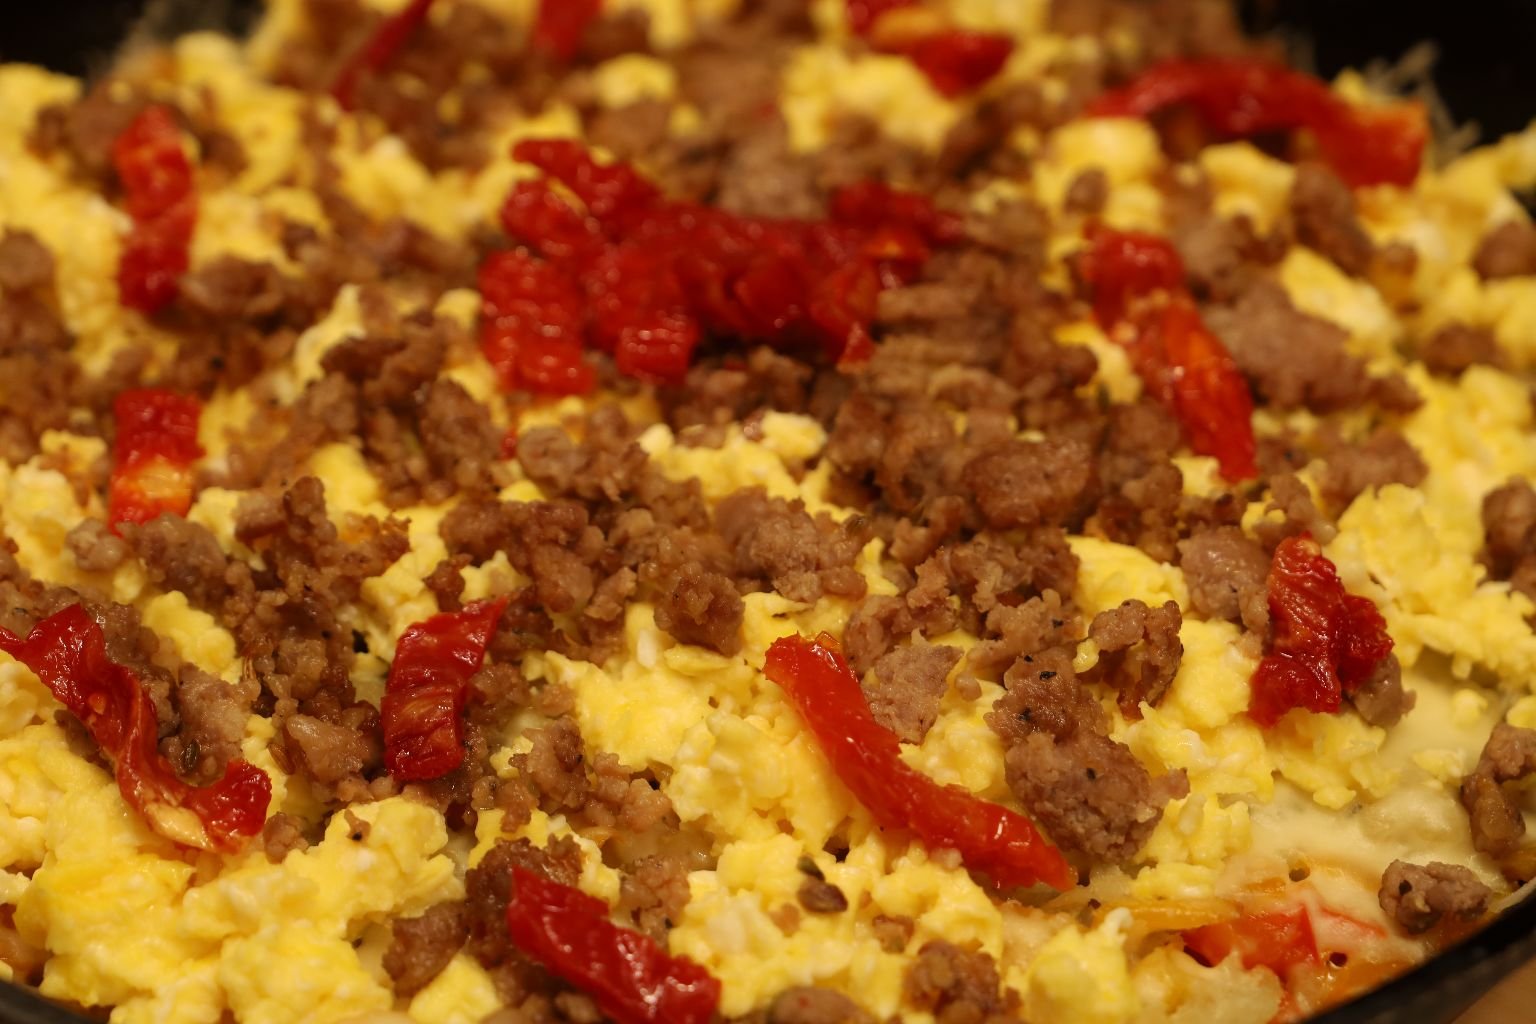
Now It’s Time To Place Some Julienne Cut SunDried Tomatoes On Top As Well
———————————————————————————-
The Herbs
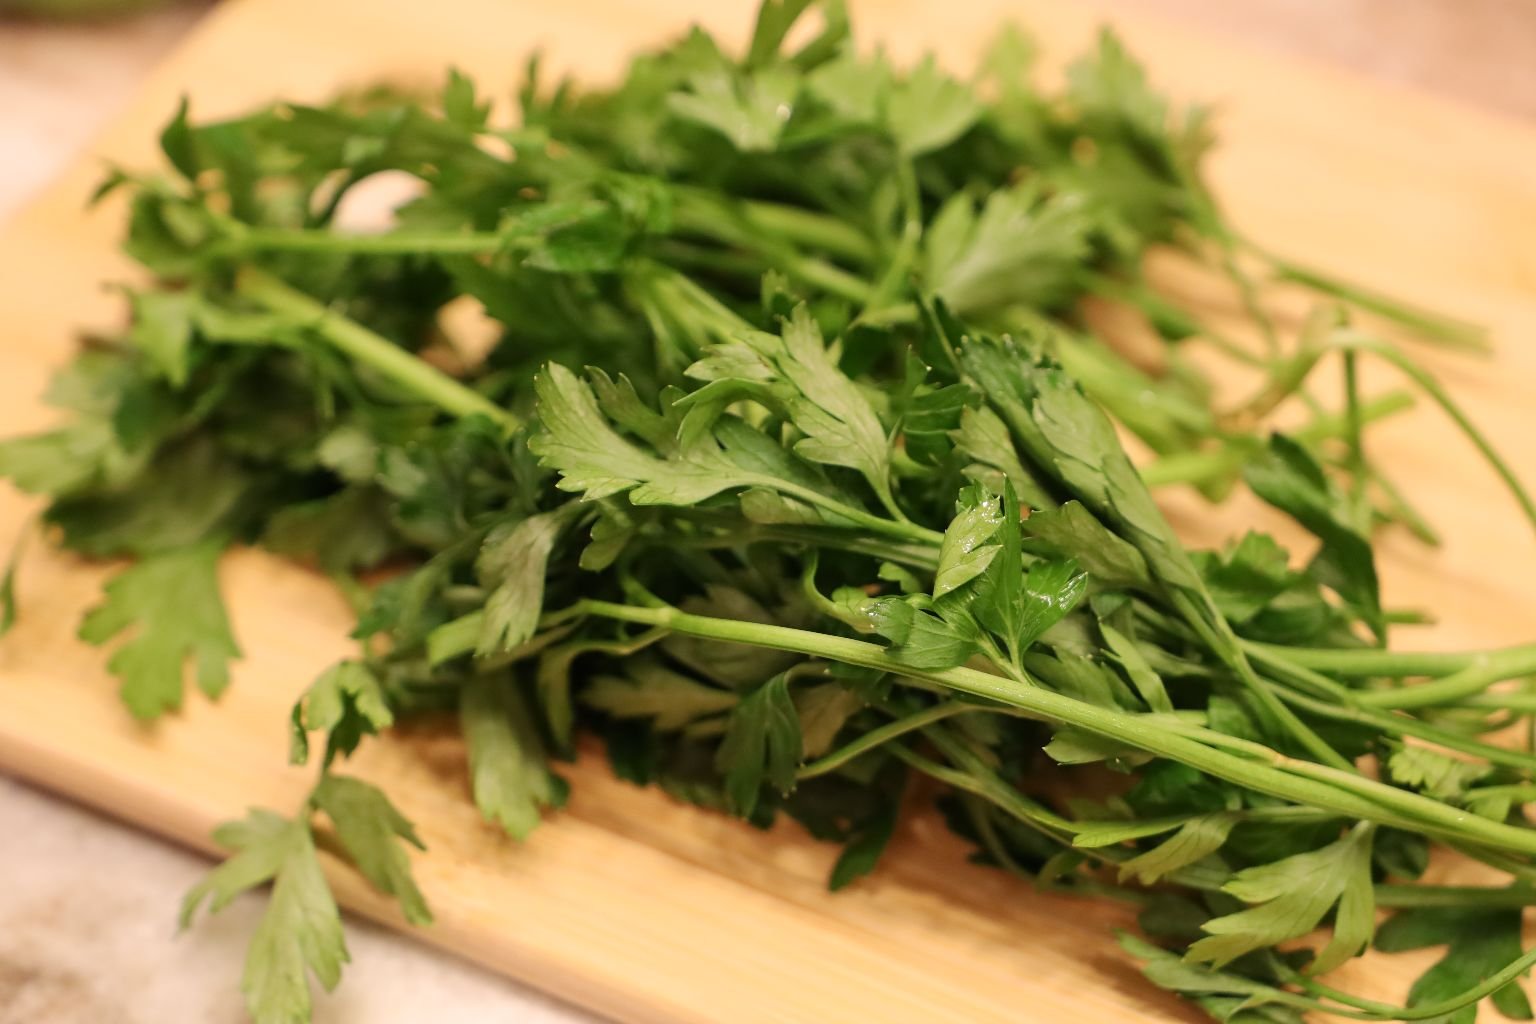
Ready To Add To The Top Of The Skillet Breakfast
——————————————————————————————–
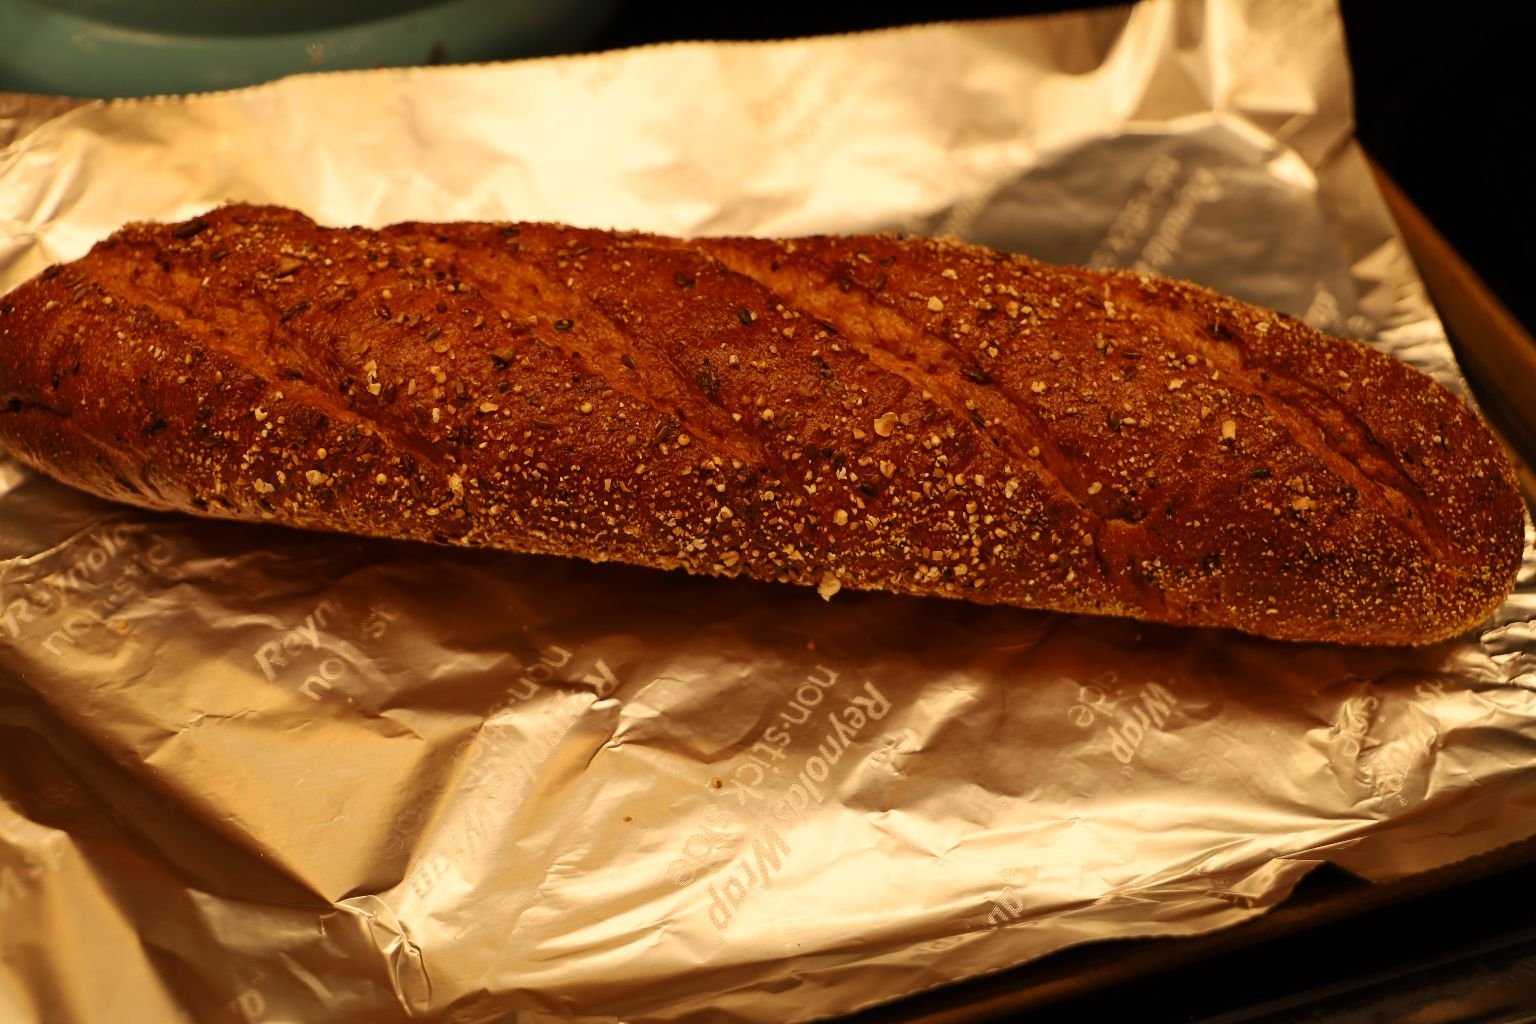
Preparing The Bread
(I love bread! I especially love it here with this Skillet Breakfast.)
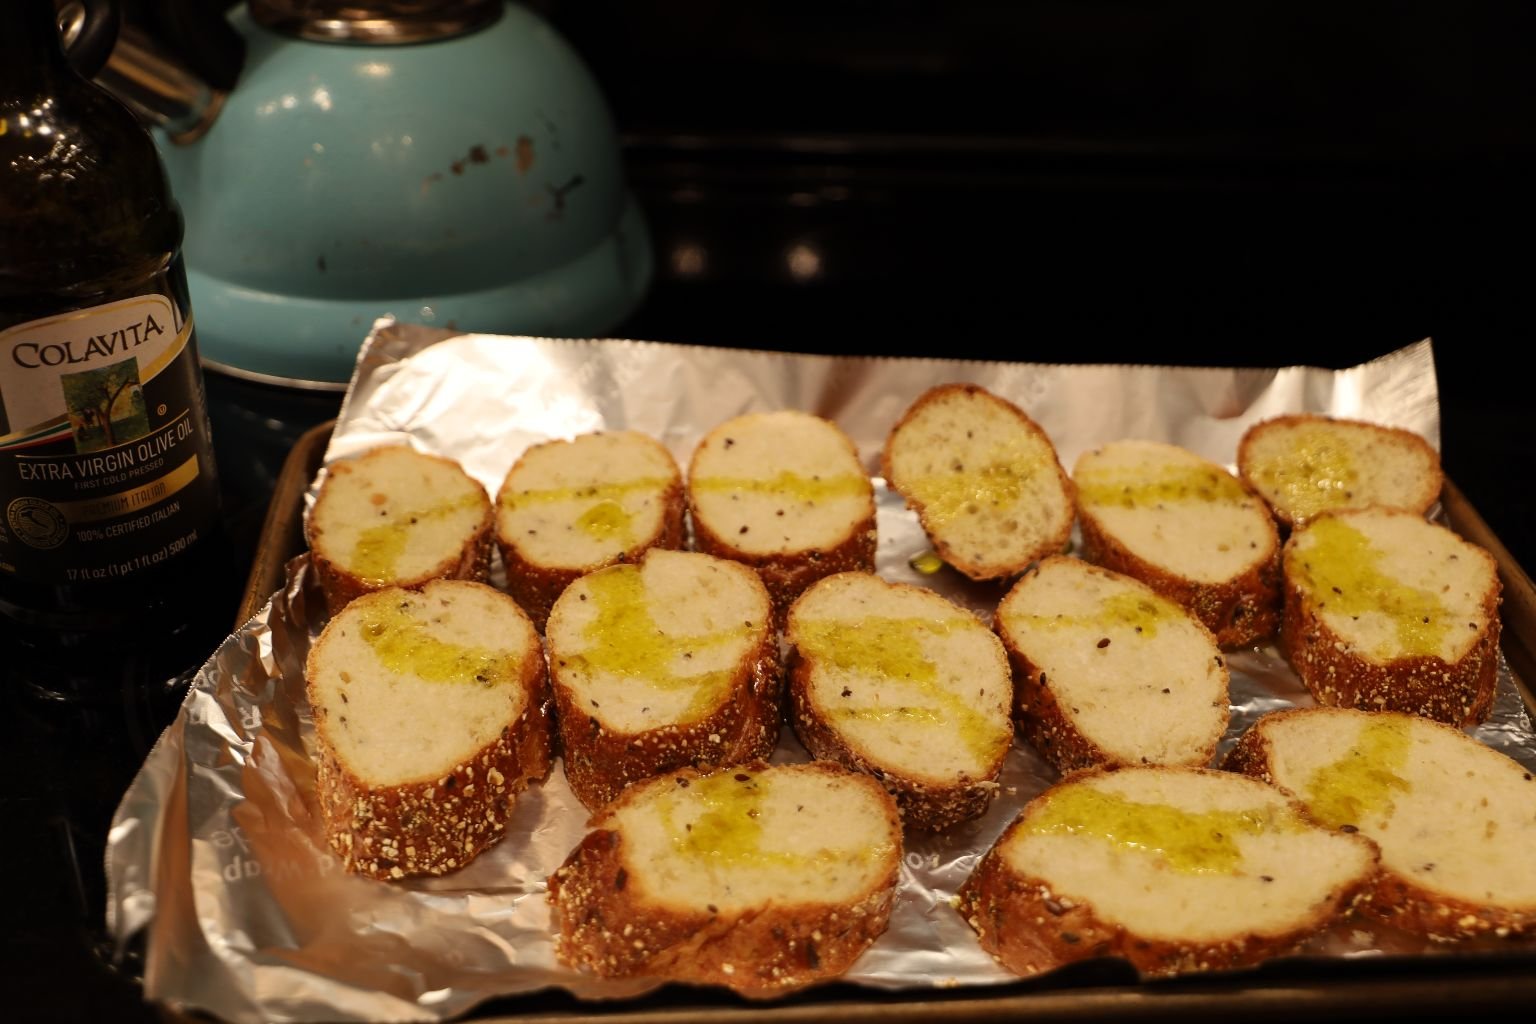
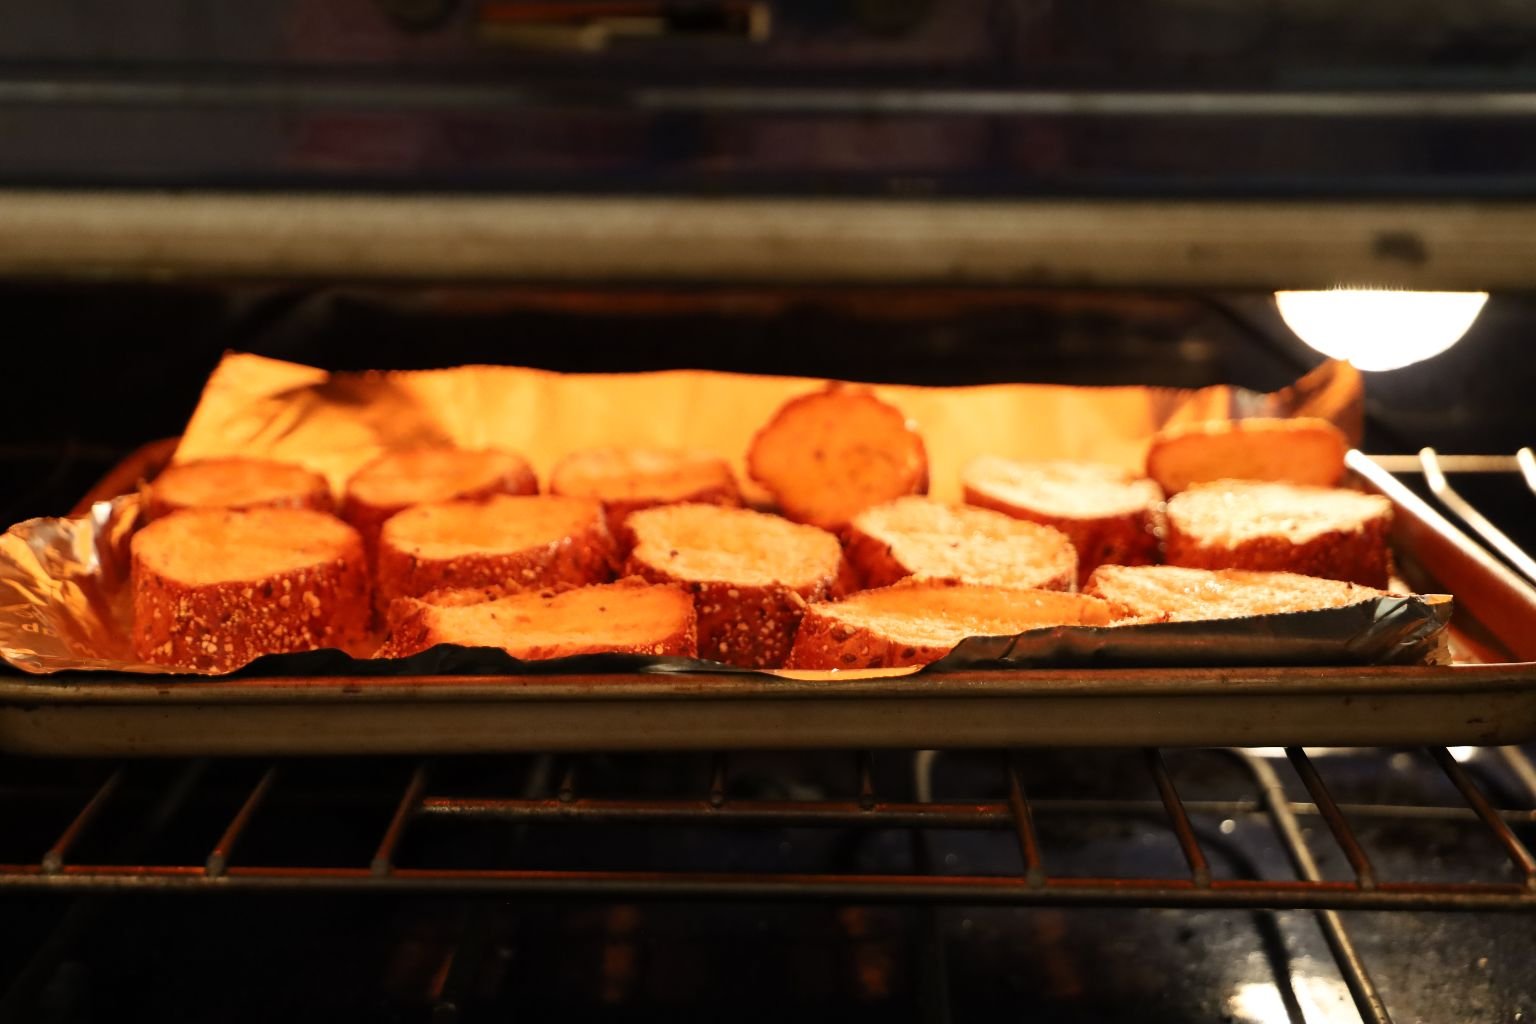
I just sliced a Baguette into rounds, drizzled with some Olive Oil, placed onto a foil lined baking sheet, and placed into a 350F Oven for about 8 minutes.
After 8 minutes I turned it on Broil to brown the bread. It was perfect!
————————————————————————————-
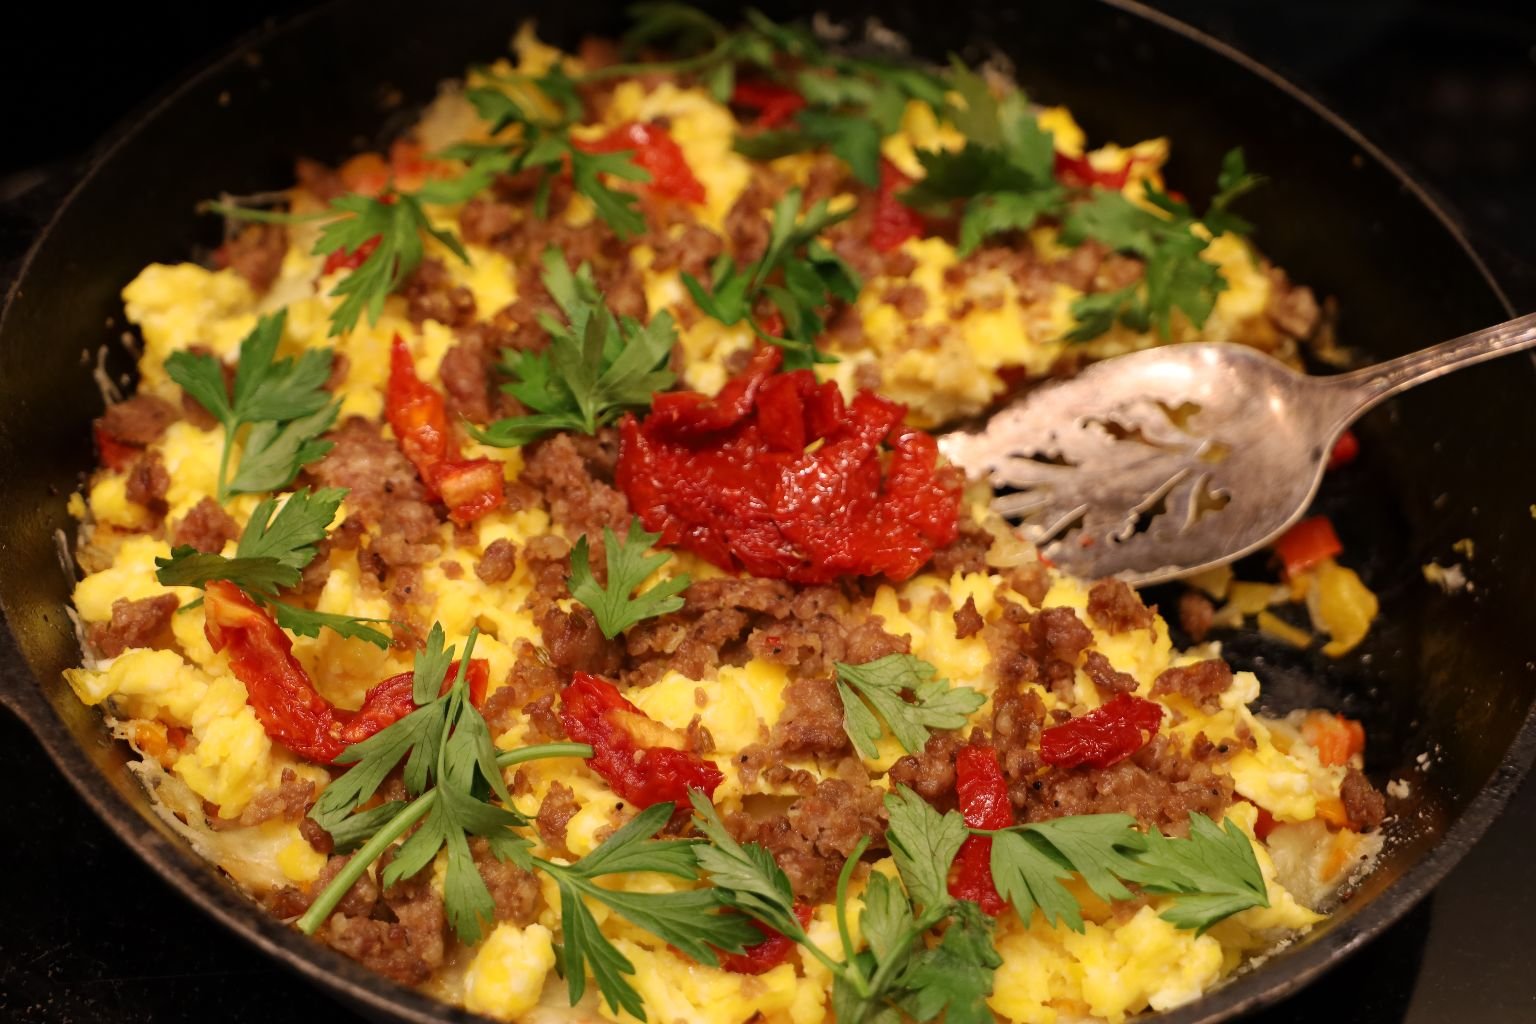
With My Skillet Breakfast Ready It Is Time To EAT!
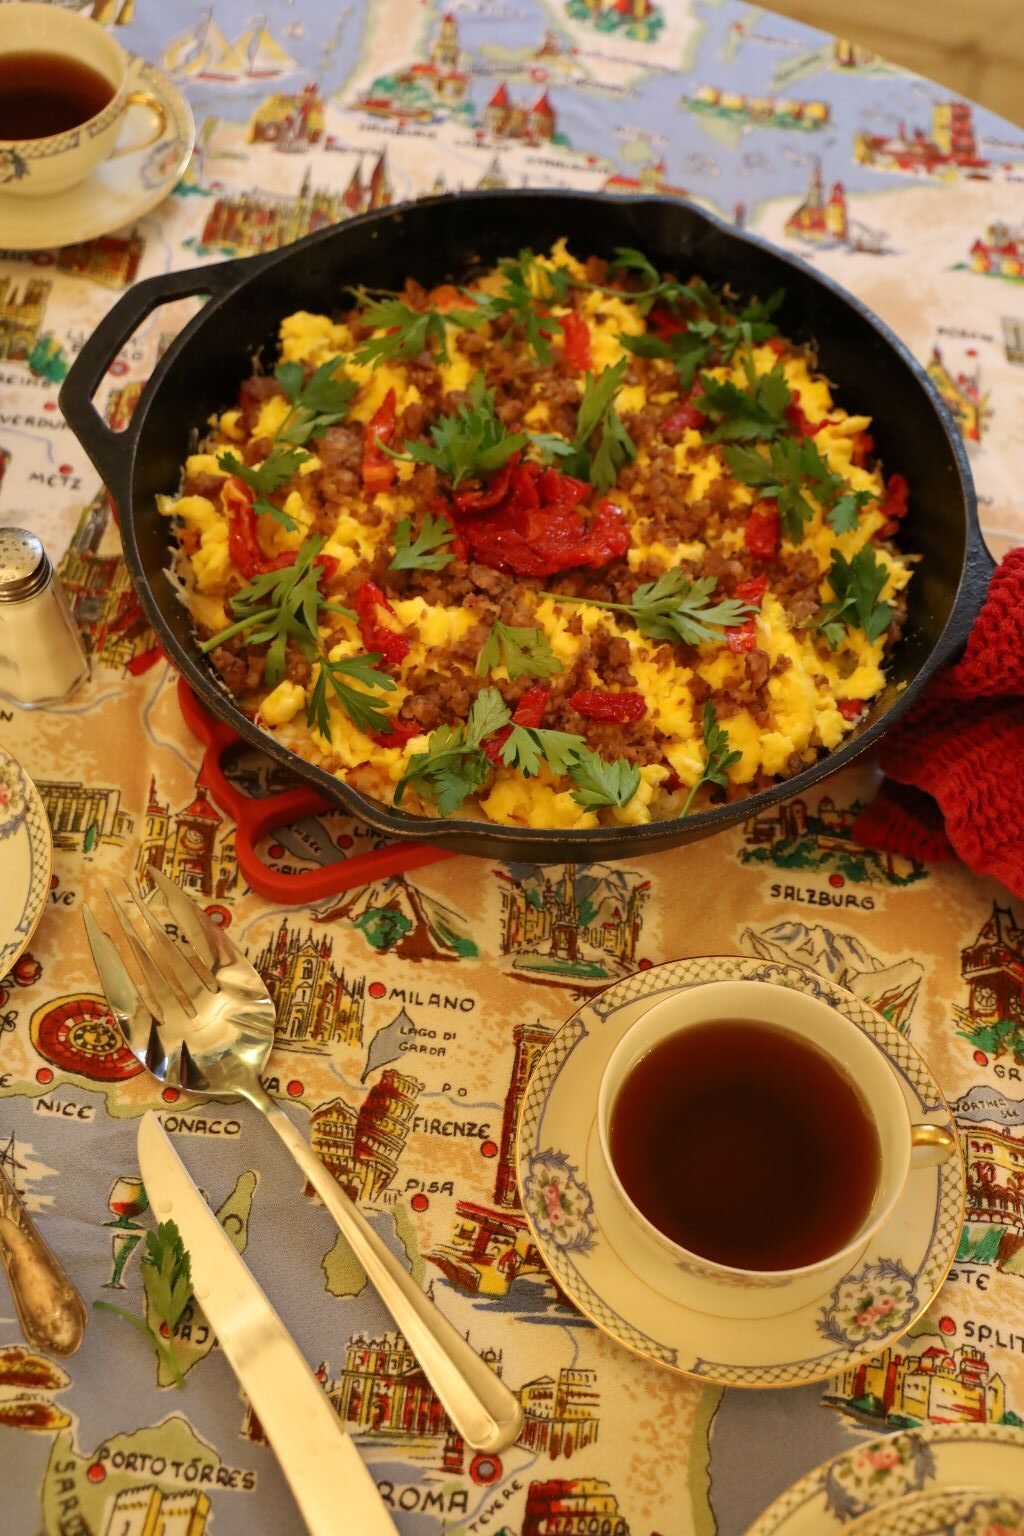
Don’t Forget The Caffe!
————————————————————————–
Buona Giornata,
Julie

“I don’t promise to forget the mystery, but I know I’ll have a marvelous time“ Nancy Drew —————————————————————————— #45 The Spider Sapphire Mystery Thrilling, dangerous adventure confront Nancy Drew while on a safari in East Africa with a group of American …
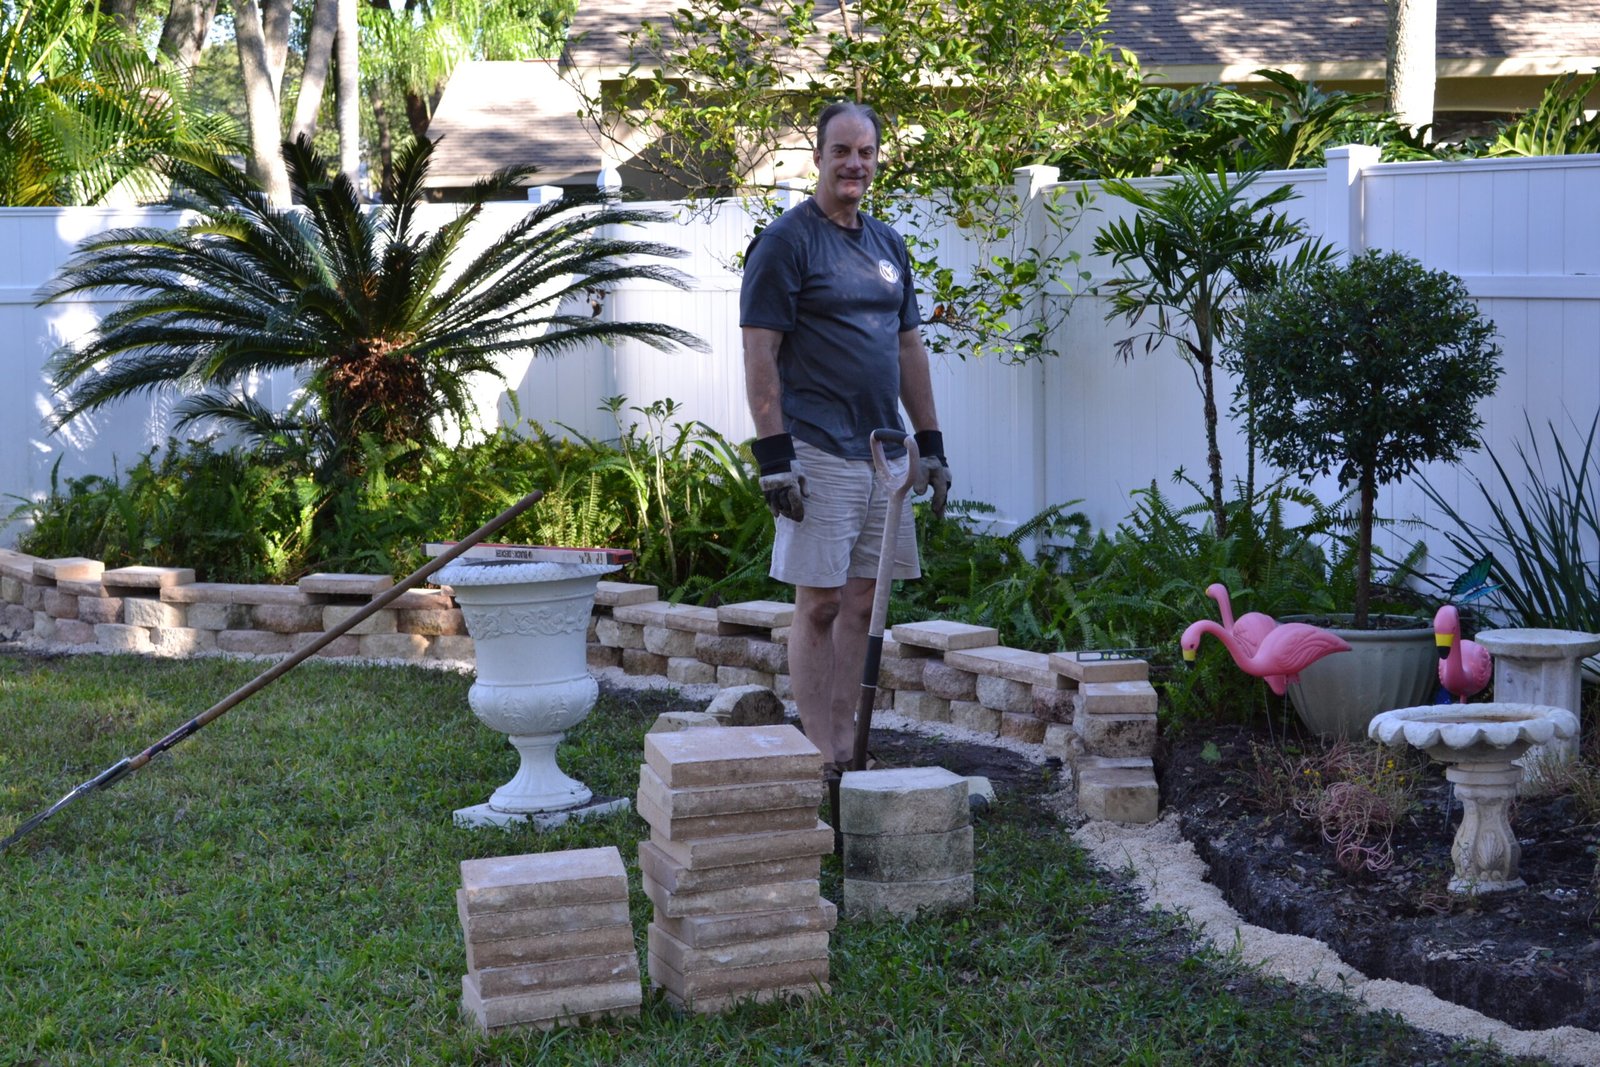
2017
When we bought our house in 2006 we had this very simple unfinished backyard with little to no landscaping. It looked very basic and almost a blank canvas for us. We then decided to make the landscaping look more professional. So we decided to replace the simple blocks that were there with a two tiered block and capstone retaining wall.

We first had to rip out the blocks that were there then had to decide the line we wanted to use for the new retaining wall.


Here Gordon brought back a load of blocks that we will use for the retaining wall.
We liked the varied color of these as they had a mix of brown and tan.

This is the back left side of our backyard.

Here you can see the wall that we are replacing. It’s just a small block ledge.
It does the job, but just not that good looking. It looks like a row of concrete beer cans.


Gordon put down about two inches of small rocks, then one inch of sand to provide the blocks a good base. You have to level the blocks from front to back and side to side, then each block after will be level with the first. Continue this for all the blocks.

Here you can see Gordon has progressed along the back.
The second row of blocks starts with a half block so that you have that overlapping brick pattern.

Our Sweet Monk, RIP
(He is actually buried in that landscaping. Him and Sugar together.) 🙂

You Can See The Old Blocks In This Photo

Gordon is still working on the retaining wall placing down the small rocks then the sand base. This base prevents the blocks from sinking into the dirt. Cut the capstones with a circular saw using a concrete blade. Cut the back part of the capstone as the wall makes it’s turns so they will fit directly over the blocks underneath.
————————————————————————————
Gordon’s Backyard Retaining Wall Completed

Finishing the retaining wall was an important part in getting ready for our backyard Christmas.

Here we are celebrating with our Limoncello and Pomegranate Cocktails

Happiest of Holidays
——————————————————————————
Christmas, 2017
Backyard Looks Great For our Christmas Party

We did an Alice In Wonderland Christmas

The Retaining Wall Gave Our Backyard A Nice Upgrade

Time For The Party
——————————————————————————–
If You Would Like To View:
Click Here For Our Alice In Wonderland Christmas

———————————————————————————————–
So, to go back to the beginning…..
Initially we wanted to build a backyard studio but our HOA, Home Owner’s Association, would not allow it but, they do allow lanai extensions with a pool cage. Therefore we hired some people to extend our lanai out from our existing one, about 36 feet, and had them also make it about 18 feet across. Our goal was to expand our living space outdoors. Here is that progress.
———————————————————————–

The AFTER, May, 2020
————————————————————————————————-


I Gordon, am standing in front of the two side French doors we had specially made.
These two doors let us bring in very large items with ease and they accent the area nicely.
My beautiful Julie, standing where you can see the entrance better.
We had the workers pour the concrete slab she is standing on to give it a nice entrance way.


Julie wrote our names in the cement before it dried.

Julie
——————————————————————————-
March 25, 2018
Our Lanai Extension….in Progress

Monk Fell in the Trench

With the exception of hiring a business to give us a new roof, and the installation of a new water heater many years ago, we are new to hiring a construction company to have work done on our property. Gordon has been our construction guy for years building all of our retaining walls and landscaping, and installing our new appliances saving us money, but Gordon can’t do this. We are at the mercy of a contractor and the people he hires as his sub-contractors for jobs the contractor doesn’t do. For example, all the work you see above has been sub-contracted out to a cement business which is a fairly common practice with all contractors. HOWEVER, the contractor may assume that the people he sub-contracted out to are actually working……..WHEN THEY AREN’T!
We were initially told that this project of preparing and pouring the cement foundation would take 4 days. 4 DAYS! So, Gordon took off from work to oversee this all last week so that I didn’t have to. I am out of my league here. We thought that we could knock out the foundation and have this leg of our new lanai done, then clean up the outside and prepare for a great Easter dinner, and then resume the construction with the pool cage, electric, French doors, two outdoor ceiling fans, etc. But now we’ve been told that the entire project will take up to one month! There is no way that Gordon can take off from work for a month so it has to be ME to deal with this. (So, you know I’m happy about it.) 🙁
Because we never know when they are going to show up someone has to be here all the time. That falls to me! I love my home life but I also like to get out of it and go somewhere occasionally. I just don’t like it that for the next month I have to revolve my life around a bunch of workers that only show up when they feel like it. And yet, that is how it is here in America when you hire contractors.
Therefore, I will go with the flow, I will make the best of it, I will clean my house, work on my website, start a few new projects, and just have a blast in my home sanctuary. 🙂
My philosophy on life is to just bring a book and make the best of it. So that’s what I shall do!
Julie
——————————————————————————
April 2, 2018
Lanai Extension Update
(Photographic Evidence Saved the Day!)
Our house is just under 2000 square feet and when we do have family over we have no choice but to spill over into our existing lanai and even our backyard. But when we do entertain in our backyard it does present a problem with all the bugs hovering around our food platters, and dinner plates. Also, our squirrels can be quite the pests! They love to chew on my roses and hibiscus flowers. They especially love the buds before they bloom. Which means I get NO Roses or Hibiscus blossoms! Also, sometimes mosquitoes can be a problem. Not only are they annoying but they bite and can carry diseases. So we figured that if we could extend our lanai outward about 36 feet in length and 18 feet wide, and enclose it with a pool cage over top, we could have more living space in the backyard. So that we could spread out some more.


I took these photos on Friday afternoon after the cement pour.
Gordon took the day off to be here. I just didn’t want to deal with it all by myself. I think that I have a deep seeded resentment that for Gordon’s 20 year Naval career he was deployed a lot and it was always up to me to take care of everything. Now it’s his turn. 🙂


The Cement Truck and the Workers
Our contractor had subcontracted the cement job out to another company to do, which is a very common thing here in America. As I stated above, we were told the job would take 4 days initially. It actually ended up taking about 6 days spread out over a period of 2 weeks. Which is now, thanks to a big problem, will spill over into week 3. (Keep Reading)

Permits Taped to our Lanai Door in our Backyard
(I cannot tell you how many times I will look up and there will be an inspector plowing through that paperwork taped to our glass doors on our lanai, usually scaring me to death! I’m not a screamer but I am a yeller (hollerer), usually letting out a loud yelp when I turn around and see a strange man standing there.) 🙂
For the past, going on 3 weeks now, I get up before dawn, shower, get dressed, unlock both of our backyard fence gates very early, prop open our screen door, (if that screen door is locked then inspectors will just walk away and then we are at their mercy as to when they will come back),

and wait for the trucks to arrive……………or not!
You never know when they will show up, or if they even will show up?
Sadly, that is pretty “normal.” I know from previous experience with the condo I used to manage out in Indian Shores, that whenever they would contract work out to be done to the building sometimes it was a total disaster in getting them there to finish the jobs they would start. According to so many horror stories I’ve heard, ours certainly isn’t that bad, not by any means. But, it is a delay and it did cost us some aggravation. (Keep Reading)
———————————

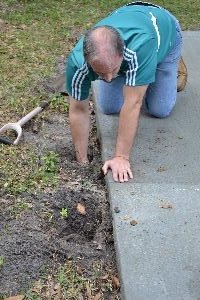
Gordon Searching for the Pipes

Found ONE, but Can’t find the Other one.
Because we have been undergoing this backyard work we have had the sprinklers turned off. Some of our things have died because of it. We have been watering with the hose a lot when we do go outside trying to keep some things alive. But when the dig was ready for the cement pour Gordon did turn on the sprinklers that night to give everything a good soaking because we then needed to turn them off again to get ready for this cement pour.

Ready for the Cement Pour
Gordon specifically made sure that the sprinkler’s were all working fine prior to the cement pour.
Also, we have appreciated all the hard work that these guys have done. They work on a few job sites at once so they tend to come and go from each job sometimes on a daily basis. Arriving at one job site at 8:00 a.m. and then arriving at our house at noon. They work very hard.

Pouring the Cement
The pour went great, there were no problems (that we knew of at the time.) The men worked hard, everything went according to plan. Gordon took off from work for the pour and between me and him, we took lots of photos. Luckily!
Of course, we usually always take tons of photos of everything that happens to us.
——————————————————————————————
The cement pour was on Friday, and one of the workers came back Saturday morning to cut the cement. By cutting it once down the middle and twice along the width, that helps to insure that the concrete doesn’t break and relieves some of the pressure. The trenches that were initially dug with cement poured in them as well, are there to insure that the slab of cement is secure.
————————————————————————————————–
So, with all of that work out of the way I told Gordon to turn the sprinkler’s back on because we need to water our yard before everything dies. So he did, and that’s when Gordon noticed all this water pouring out the back of the cement slab! And that’s when he saw a long CRACK!!!
The crack is in a crescent shape and goes from one corner of the back left to the other corner of the back right. That makes it a good 18 feet, but because it’s curved that makes it more like 25 feet!


Gordon Digging Trying to Find our Pipes
———————————————————————————
Gordon called our contractor to tell him of the problem, with the assumption that he would then take responsibility for this problem that obviously his guys did.
Weh..heh..hell… Not So!
Our contractor told Gordon that he knew a guy that we could hire to fix the problem, and that he would email us his name and phone number. He assured us that what Gordon was describing to him was a ‘simple fix’ that shouldn’t cost more than a few hundred dollars. Of course he went on to be friendly and talk about the rest of the work to be finished this coming week…..
I’m usually the one who panics while Gordon keeps controlled… so yeah, that’s how it was this time as well. 🙂
It’s not funny but Gordon just assumed that our contractor, we’ll start calling him Harry, would take care of it, after all, he’s just so nice…..
What upset me the most is that Harry was going to pawn this off on us and not take any responsibility. He then started avoiding our phone calls. That’s when Gordon and I started plowing through all the photos that we had taken of the work being done and that’s when we saw
THIS ONE………

This is the same photo below, but we cropped the bottom shot so as to better emphasize the wooden stake that you see nailed into the ground to hold that cement hose back.
VIOLA!!! THE KILLER!!!
Suddenly we were Sherlock and Watson, Miss Marple, Hercule Poirot!!!
And my personal favorite…………….ADRIAN MONK!

That is when we emailed Harry these photos showing the exact point of contact with our pipe, that stake! Hard to see in this resized photo, but it’s there.
It was a few hours before Harry emailed us back but as an Empath I turned to Gordon and said, “He’s gonna pay for it. He’s gonna take care of it. I’m feeling it. He’ll let us know shortly.” So, Gordon was then relaxed by my news and went outside to bring in some things. A few hours later we got our email telling us that he would take care of it. (This is when being an Empath is fun.) 🙂
——————————————————————————————-
So, good news right? It is good news that Harry is finally owning up to his responsibility to us as a business owner and hopefully a decent and honest human being. We are happy that as I have been working on this blog post, a man did come by to have a look at it and has told me that it is much worse than what was described to him by Harry on the phone. According to him he will have to reroute our irrigation all along the cement slab and half of our yard will be on a new system. He assured me that Harry will pay for all of it, he just needs to get in touch with Harry and that the appointment to get this work done will take place next week.
Hopefully our plants won’t all die off until we can turn our sprinkler system back on. We are planning on buying a new front yard once this work is completed but until then we have to water all the plants located in the landscaping and retaining walls, and all around the house, with the hoses. That’s a lot of work! The grass in the backyard can die but nothing else can.
I suppose that problems do arise in these kinds of jobs and that is o.k. Both Gordon and I understand this. And it looks like our water problem will probably run up into the thousands of dollars. And that is terrible. It was no one’s fault and I appreciate that Harry is going to take responsibility for it. But I can’t help but wonder that if we didn’t have photographic evidence that we could use against him in a court of law, if that is what gave him the change of heart? Or could it have been the Easter Bunny? Hmm…. we’ll never know….
Actually I DO KNOW!
Empath, remember?
Julie
——————————————————————————————————-

Later in April, 2018

I have been putting off talking about our new lanai extension and even creating a new post for it because I wanted to wait until this area was complete. It is as far as the cement pour is concerned, but I still have things I want to do to it before I start snapping away with the camera.

The French Doors Entering into our New Lanai
It was my idea to install the French doors. Apparently, we are the only ones in the history of the world to do so!! The reason that I wanted the French doors to begin with was because I knew that I wanted to add some nice furniture to the lanai, (eventually) and I wanted to be able to place the furniture inside the enclosure. But, I also wanted this grand entrance/exit to be a part of our backyard as well. I visualized the doors swung wide open and people entering and exiting them while enjoying the backyard as well as the lanai.

Ready for the Cement Pour
Julie
————————————————————————————

Our New 18 x 36 Lanai Extension
(Gordon even refers to it as, “Hey, let’s eat out on the 18 x 36.”)
No pool, just the pool cage. Believe me most people that we know that have swimming pools hate them. Sure, when you first get a pool you are in it every single day for the first 6 months, but then you will never get in it again. A pool is a money pit that will cost you every single month to maintain. So, imagine having to pour money into something that you just don’t use anymore? We didn’t want a pool, but we did want to extend our living space out into our backyard without the bother of mosquitoes and other bugs, or our backyard critters, like the squirrels. We also would like to have some little vegetable garden inside the lanai where we didn’t have to worry about the birds and other animals eating what we grew. There will also be an outdoor kitchen out there eventually, but not for a while.
I also wanted to have some lovely flowers that the squirrels didn’t chew up just for the sheer fun of it!

For some reason Monk likes walking around in all that space. 🙂

—————————————————————————————-

We have enjoyed this lanai extension tremendously.
We are also creating many wonderful memories with family and friends.
This entire project was over $12,000.00 and it was worth every penny of it. 🙂
——————————————————————————————————-


In this picture you can see where the old gutters were. Their placement here was an issue, as the rainwater would come back into our old lanai. Moving them a few feet forward on the house, placed them just far enough to the front of the house, where the natural curvature of the landscape would move the water toward the street.
(I Julie, who knows nothing about this sort of thing, pointed out to Gordon AND the contractors, that the gutters should be extended more towards the front of the house, and not remain where they were.) BOOM!!! 🙂

The gutters we had installed are 4” by 7”, which are much larger than normal.
This is due to our roof is at a long slant and we needed gutters this big, to carry the mass amount of rainwater away.
Gutters actually play a very important part in any home.
They can prevent water from spilling into an area where you don’t want water.
They can also redirect water to a safer part of your home’s property. Always invest in good gutters.
—————————————————————————————-
Father’s Day Pizza Party
2018

This was our first Lanai Extension Celebration
Click Here For: Father’s Day Pizza Party

We have since had many great entertaining on this Lanai Extension.
We also hope to have many more.
Julie and Gordon
————————————————————————————–
To View All of Our Front Yard Landscaping Projects:
Click Here For: Front Yard Retaining Wall

AND,
Click Here For: Side of the House Retaining Wall

AND,
Click Here For: Front Yard Projects

AND,
Building A Backyard Landscaping Retaining Wall And Our Lanai Extension
AND,
How To Repair And Rebuild A Retaining Wall

AND,
Click Here For: New Front Yard Landscaping Project

———————————————————————————

(Note Update April 10, 2025: If this harassment continues, or more damage is done to our property, then I will reveal their names here, and getting the police involved.) “The pen is mightier than the sword.” Edward Bulwer-Lytton ————————————————————————– Write it all …

Dear Dairy… Olive Films (I just liked the logo.) Today I rearranged the cans in the pantry and dusted them off while wearing my new full skirt I sewed last week for the church picnic, and the pearls that my husband …

UNDER CONSTRUCTION

————————————————————————
RECIPES START HERE
—————————————————————————————
UNDER CONSTRUCTION
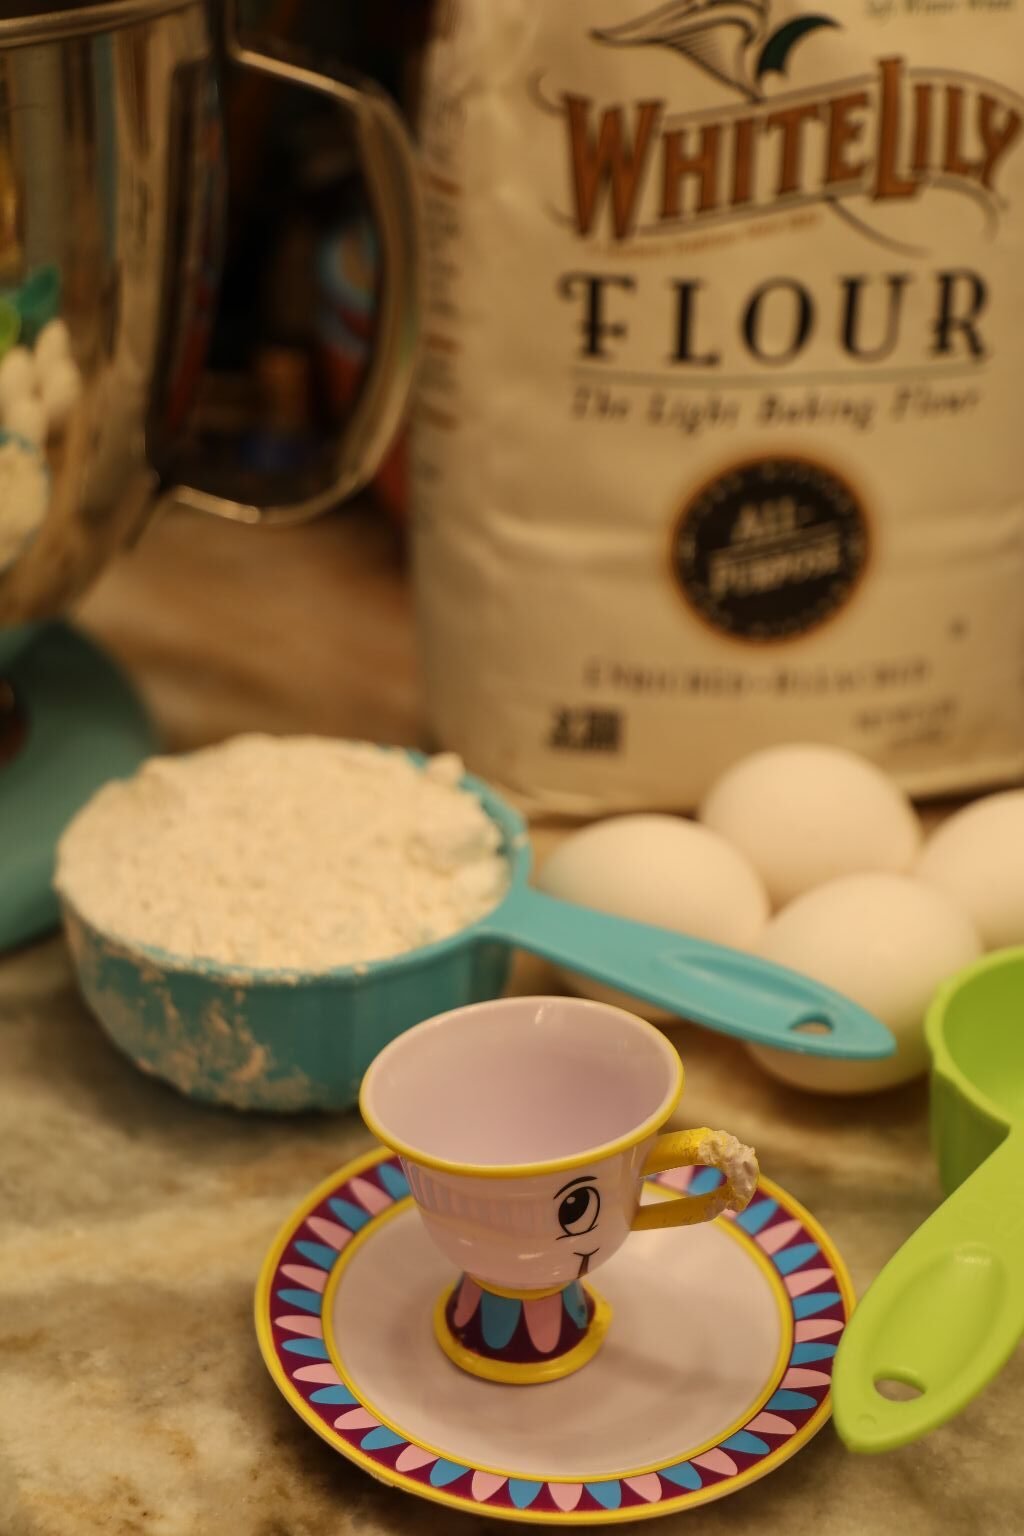
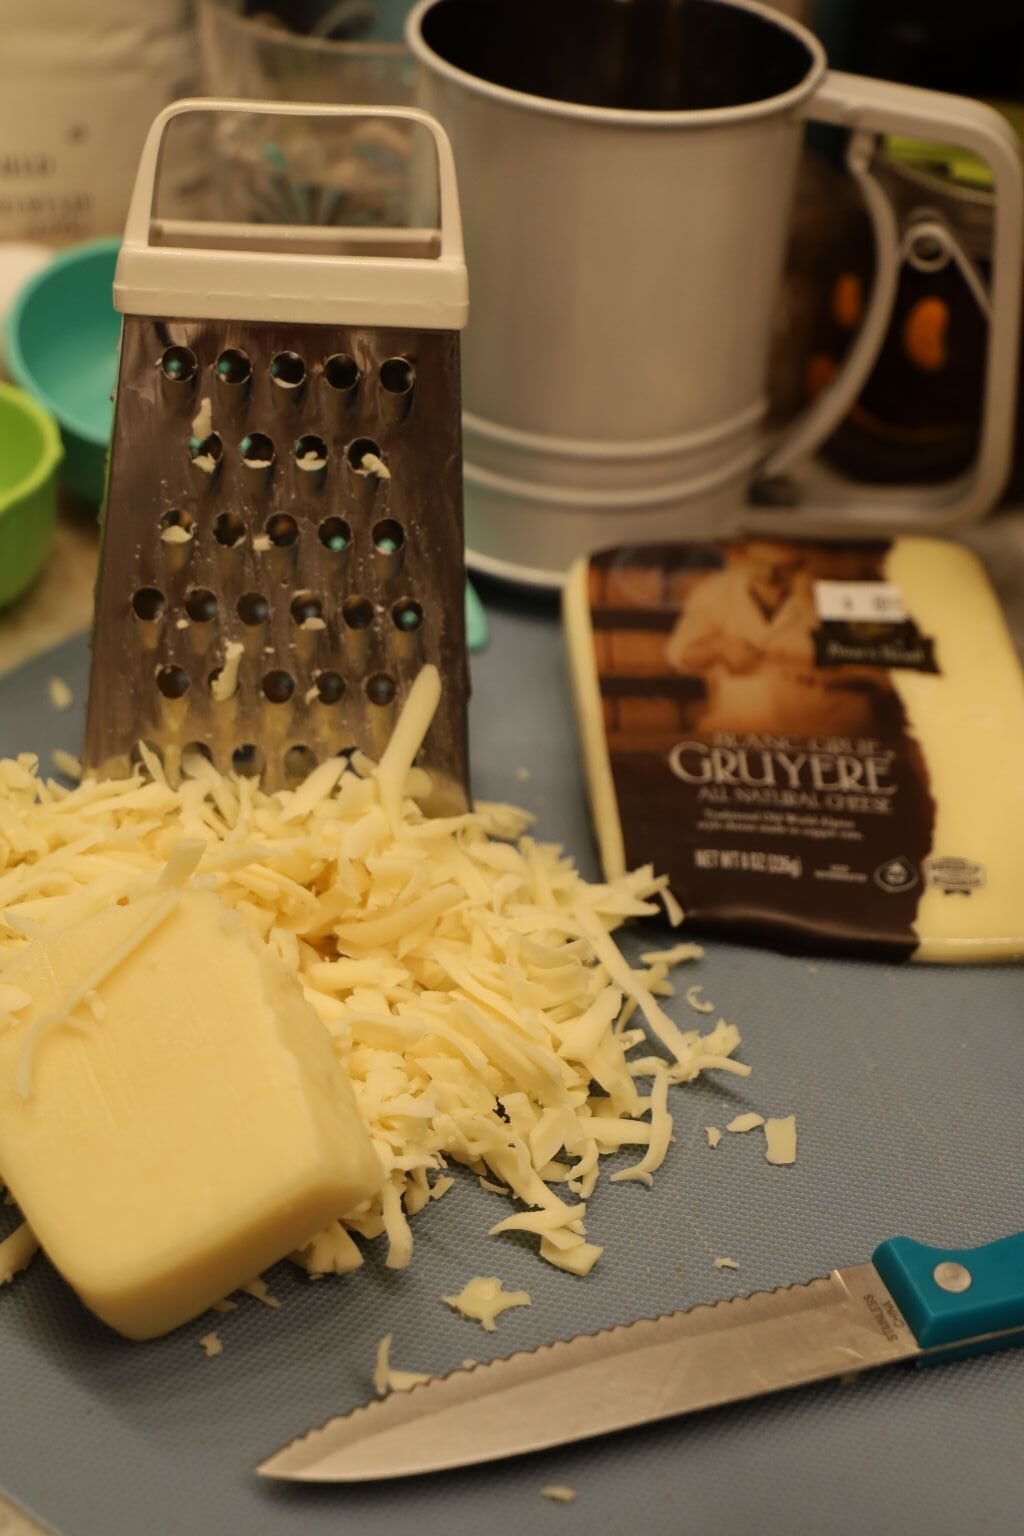
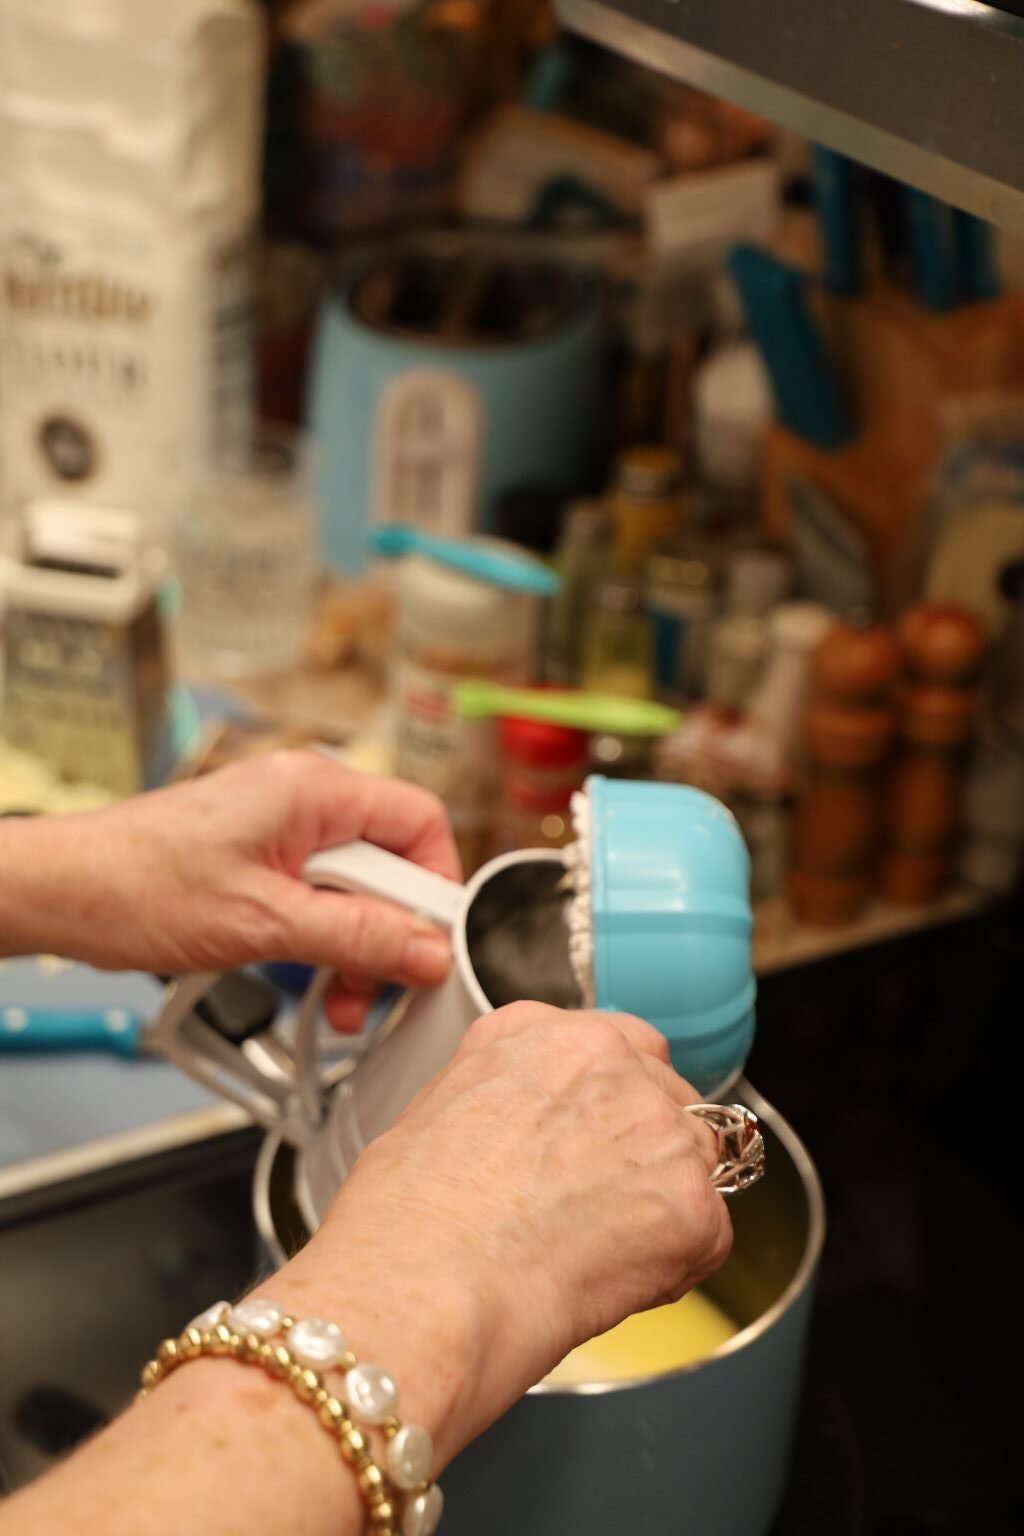
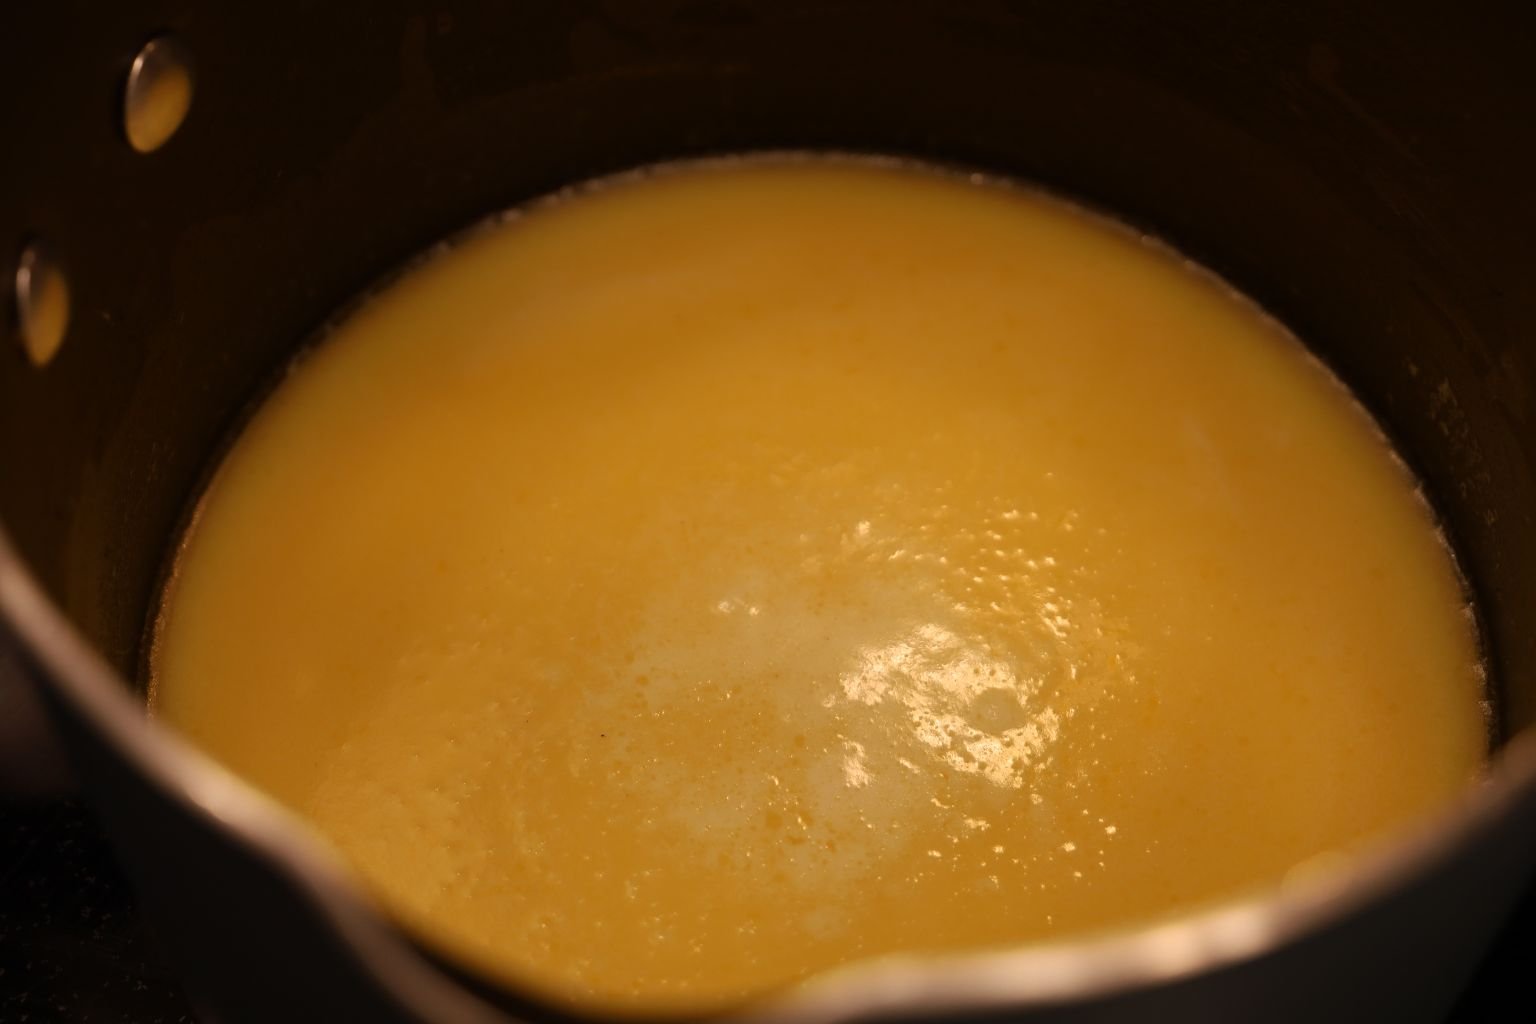
———————————————————————————–

Hey Y’all! Every now and then I need to go back home. Oh, not literally. But with my Tongue Feelers. You know, Taste Buds? Growing up throughout the south you get a hankering for something Deep Fried, Black-eyed, Field Picked, and …

Autumn: The third season of the year, when crops and fruits are gathered and leaves fall in the northern hemisphere from September to November and in the southern hemisphere from March to May. The Countryside is Ablaze in Autumn —————————————————————— In Florida, the …

Feliz Accion De Gracias
(Happy Thanksgiving)
2023

Thanksgiving Day, After the Macy’s Thanksgiving Day Parade, I have Miracle on 34th. Street on a Loop All Day Long
This movie is the sounds of the day, blending with the smells of the kitchen, and I love every second of it.
With Gordon working overseas Thanksgiving was up to me this particular year. I really wasn’t interested in doing anything big and grand and traditional, but I also didn’t want to sacrifice taste in order to do so. I wanted things a bit easy and simple. Therefore, I came up with all of this! I am actually quite proud of it too. It was fun! Hope you enjoy!
Happy Thanksgiving,
Julie
(Hopefully we will be bringing more of these delicious recipes for future Thanksgivings.)
—————————————————————–

My Potato Chip, Potato Skins
(Recipe Down Below)
———————————————————————————

My Layered Turkey and Mexican Cranberry Sauce Tortilla Casserole

Deliciously Served With a Lime Wedge

———————————————————————
I Made These With our Homemade Mexican Cranberry Sauce
Click Here For: Spicy Hot Mexican Cranberries

———————————————————————————-

The Small One Was For Me, The Larger One Was For Brodie and Mackenzie

————————————————————————————

Here, Topped with a bit of my Mexican Cranberry Sauce and some Sour Cream
————————————————————————————–
Sarajane and Milton Whann’s Eastern Shore Cornbread Recipe


This is a Delicious Whann Family Tradition
(I decided to remake it a little bit, and include this Ole’ Smokey Mountain Pumpkin Moonshine.)

My Secret Ingredient 🙂

My Pumpkin Moonshine Based Eastern Shore Cornbread

———————————————————————————–

(Recipe Down Below)
———————————————————————————————
My Backup…

..If All Goes Bad
———————————————————————–

Sparky and Spooky with Cousin Hank
I kept Hank for about 4 days through this Thanksgiving for Brodie and Mackenzie, I refer to this time as…

..Hanksgiving 🙂

Spooky Looking Cutie

Always the 3 Together, The Power of 3
———————————————————————–
Recipes Start Here
———————————————————————————————————-
Potato Chip, Potato Skins

My New Version of Potato Skins

How this recipe came to be was that I purchased one of these bags of Dark Russets Kettle Chips, and they were delicious! They weren’t just good, they were the size of my hand. They were thick and sturdy and I knew that I had to create something to place on them to eat.
I then got the idea to use them as a new version of Potato Skins.

Baking Some Idaho Potatoes
(Most people know how to bake a potato, but just in case you don’t, I will explain it here. You simply buy any sort of potato that you desire. I used Idaho Potatoes here. I washed them in the sink to clean off all the dirt and remove any funky parts, like some growth. I then used an Ice Pick and poked about 3 holes in each potato. If you don’t do this then the potatoes can explode in your oven or microwave.
I prefer to bake potatoes in the oven so I wrapped each potato in Aluminum Foil, and secured the ends. As in, I twisted them.
Turn the oven on 400F and then just place them on the oven rack when the oven reaches the temperature. Set the timer on your stove top for about 50-60 minutes. You can test to see if they are done by simply squeezing them with your hand in an oven mitt. When you can feel them squeeze together then you know they are done. Some people will pierce the potato with a fork or knife to see if the fork or knife can easily be inserted. This is fine expect sometimes you then are pushing some of the foil into the potato. You don’t want to do that.)
——————————————————————————-

Before hand I fried up some bacon to use here.
You can fry as much, or as little as you like.

My Delicious Mess
I also have some Butter, Sour Cream, and some Shredded Cheese.


Now that my Potatoes are cooled, I am removing some of the potato and placing it into a bowl.
I’ve also dumped my Russet Potato Chips into a bowl to pick through them looking for large ones.
Remember when I told you that when I opened the original bag these chips they were the size of my hand? Well, these weren’t!

Here I am spreading out onto a baking sheet lined with Aluminum Foil, my Russet Kettle Chips.
Just like you do any nachos that you make.


I am now spreading some of the Baked Potato on top of the Potato Chips.


Here I am adding some little bits of Butter to each chip. And, some of the Shredded Cheese.


Now, crumble the Bacon on top and place into a 350F oven for about 8-10 minutes. Then turn off the oven and put it on Broil, just to turn them a bit brown and toasty.

Remove From The Oven
———————————————————————————-

My Herbs and Sour Cream
(Parsley and Chives)
—————————————————————————–


When you remove them from the oven place them onto a platter…


dollop with Sour Cream….

and add the Chives and Parsley…

Perfection in a new version of Potato Skins
—————————————————————————————-

Cooking a Turkey
My goal here is to cook a turkey to use in my:
Layered Turkey and Mexican Cranberry Sauce Tortilla Casserole
————————————————————-
I don’t think that I had ever cooked a turkey on my own. I had always had Gordon here to either do it himself, or to coach me in some way. So, this was a bit scary, I have to admit.
The First Step Was in Buying a Turkey:


I Purchased a Small One, a Little Over 6 Pounds
Once it was thawed, I washed it in the sink and removed the gizzards from inside of it, and then placed it into my aluminum baking dish.
———————————————————————————-
My Spices
In this area I employed Gordon long distance via the phone. He had me to collect them all ahead of time to use here. I was pretty much being coached long distance on how to cook my turkey.

The Spices:
Sage
Oregano
Onion Powder
Roasted Garlic Powder
Garlic Powder
Paprika
Chili Powder
Jalapeno Powder
Marjaram
Thyme
Hawaiian Sea Salt
Olive Oil
——————————————————————————-

My Hawaiian Sea Salt and Thyme

———————————————————————————–


I placed the turkey into the aluminum baking pan I bought for it.
(I would like to state that usually I don’t like buying these containers because they senselessly add to a landfill. However, this year I sadly made an exception because with Gordon working overseas I knew that he wouldn’t be here to clean it, and I always need that upper body strength in cleaning these pans after cooking these great holiday foods in them. And I do have to admit that it was nice to just throw it away when the turkey was done.)
I Placed The Turkey, Bottom Side Up, and Drizzled Some Olive Oil All Around It
I then just started adding all the spices just a few shakes at a time to the inside of the turkey.


I Then Added All The Spices To The Top Of The Turkey
(I would like to state that I cannot give you exact measurements where the spices are concerned. This is a small turkey after all. I just used a few shakes here and there with all of them.)
I followed the cooking directions on the package and placed my turkey into the oven.
I did add some water to the bottom of the pan, about a cup.

Into The Oven It Goes
(I do have the turkey sitting on a rack of sorts, so that it isn’t touching the bottom of the pan.)
—————————————————————————–
Meanwhile….. Macy’s Thanksgiving Day Parade


Cher’s Up!

I Had To Run In And Catch This Performance 🙂
———————————————————————————-
My Turkey Cooking


I do admit, not the most attractive of Turkey’s.
At one point I had removed it from the oven to add a few more spices. I accidentally tilted it a bit and then all of a sudden the button popped out as if it was done. I knew damn well it wasn’t done as it had a good 2 more hours of cooking time.


Gordon explained to me that when I tilted the turkey the juices ran towards the button and it popped out. So, exactly how accurate are those things anyway?
I also didn’t want my turkey to burn so I added some Aluminum Foil over top of it.
It’s Done!
————————————————————————
I allowed my Turkey to cool and then I picked all the meat off the bones and placed it in a container and put it in the refrigerator for the following day when I make my casseroles.

Of course, I did pick at it. 🙂
———————————————————————————
Making My Layered Turkey and Mexican Cranberry Sauce Tortilla Casseroles


Ingredients:
(This is a recipe that you can use as much or as little as you like. I spread this out into two casserole dishes. If I had more of the turkey and other ingredients I could have made each one a bit larger than I did with more layers of tortillas and turkey. And perhaps, a bit grander.)
—————————————————————————–
One Small Cooked Turkey
Our Spicy Hot Mexican Cranberries
(See Recipe Link Above)
Yellow Corn Tortillas
2 Bags Bird’s Eye Tri-Colored Peppers and Onion Medley
1 Can Green Chili Enchilada Sauce
Chili Powder
Hawaiian Sea Salt
Freshly Ground Black Pepper
10 oz. Queso Fresco Cheese
1 or 2 Limes
Bag of Shredded Cheeses
————————————————————————————
Gathering Some Ingredients

The Bird’s Eye Tri-Colored Peppers and Onions Medley, and a Sauce Pan
———————————————————————————-


Chopping Up My Thanksgiving Turkey into Bite Sized Pieces


Adding some Vegetable Oil to the Sauce Pan, (about a Tablespoon or so), and Adding the Chopped turkey Meat on a Medium- Low Heat


In a Saucepan on the Stove Top I am placing the 2 bags of the Tri-Colored Peppers and Onions.
Using the package directions.
—————————————————————————————

Ready to Add the Enchilada Sauce and our Spicy Hot Mexican Cranberries


I just eyeballed how much of the Cranberry Sauce I wanted Here

Continuing to Cook on a Medium Heat, Stirring Occasionally


Ready to Add the Hawaiian Sea Salt, Freshly Ground Black Pepper and a dash or two of Chili Powder

It is Really Looking and Tasting So Good!
—————————————————————————-
Pre-Heat Oven to 450F
I sprayed a Vegetable Oil Spray on these two casserole pans.


I Then placed the Corn Tortilla’s down on the bottom. Some whole, some I cut in order to fit.
I then placed some Shredded Cheese on top.


Now It’s Time To Start To Place The Turkey Mixture On top of Tortillas

As Is Here


Now It’s Time To Add More Corn Tortillas to the Casseroles


Also, More of the Turkey Mixture
——————————————————————————–

Time to place into the 450F Oven for about 15 minutes or So

Queso Fresco Cheese


After about 15 minutes or so, remove from the Oven, Add a sprinkling of Chili Powder over Top,
Add the Queso Fresco Cheese Crumbled, then place back into the Oven for about 5-10 Minutes to melt the Cheese

Like So…
————————————————————————————-

Limes, To Wedge
The Sauce you see Above is a Cilantro Lime Salsa Cremosa.
Perfect drizzled on Everything!


The Casserole’s are Done

——————————————————————————————
——————————————————————————————
My Pumpkin Moonshine Based Eastern Shore Cornbread

Eastern Shore Cornbread was a Whann Family Tradition in my Husband’s Home Growing Up
This particular year I wanted to make it for my own little Thanksgiving Dinner. I got the idea to add this Pumpkin Moonshine in place of some of the water in the recipe. It turned out great! It added a nice pumpkin flavor, and the alcohol contributed to a lovely caramelization which made it taste even better. It’s amazing that just adding one ingredient revamped the entire recipe.

My Pumpkin Moonshine
(I only added 2 shots to my recipe.)
————————————————————————–

Even though I have the recipe photographed above, I will relist it all here.
Ingredients:
2 Cups Milk
1 Cup Water
(I used 3/4 Cup Water and 2 Shots of the Pumpkin Moonshine)
2 Eggs
1 1/2 Cups Yellow Corn Meal
1/2 Cup Crisco
(The 1/2 Cup Crisco is to be used to grease the pan you will be using to bake the recipe. That does seem like a lot, you don’t have to use that much if you don’t want to.)
2 t. Salt
2 Cups Sugar
——————————————————————————–


As I write above, in place of the 1 Cup of Water I am only adding 3/4 Cup Water and 2 Shots of the Pumpkin Moonshine.


Place milk and water in pan. Cook until lukewarm. Test with finger – Don’t Boil- Stand over it and Watch.


Add Cornmeal and cook until thick, stirring constantly.
Remove from Heat
—————————————————————————–
In a Medium Bowl….


Whisk together your eggs…


Add your Salt…


Add your Sugar…
(Mix Together)
———————————————————————————-
Turn Your Oven on 400F

Grease Your 9 x 13 Pan With The Crisco
————————————————————————————-


You Want to Combine What’s in the Pot with What’s in the Bowl

Now Add Your 2 Shots of Pumpkin Moonshine


Mix Together, Pour Into the Greased Pan,

Place into the 400F Oven and Bake for Approximately 30 Minutes.

You may see a bit of a “burnt” look to it. That is just the caramelization.
This is a very sweet cornbread. Normally, I don’t care for sweet cornbread, but I do love this recipe!
Happy Thanksgiving,
Julie
—————————————————————————-
If you would like to view our other Mexican blog posts:
Click Here For: Julie Whann Way Mexicana Si!

AND,
Click Here For: Julie Whann Way Mexicana Dos
And,
Click Here For: Julie Whann Way Mexicana Tres
And,
Julie and Gordon Whann Way Mexicana Cuatro

AND,
Uno, Dos, Tres, Cuatro, Mexicana Cinco!
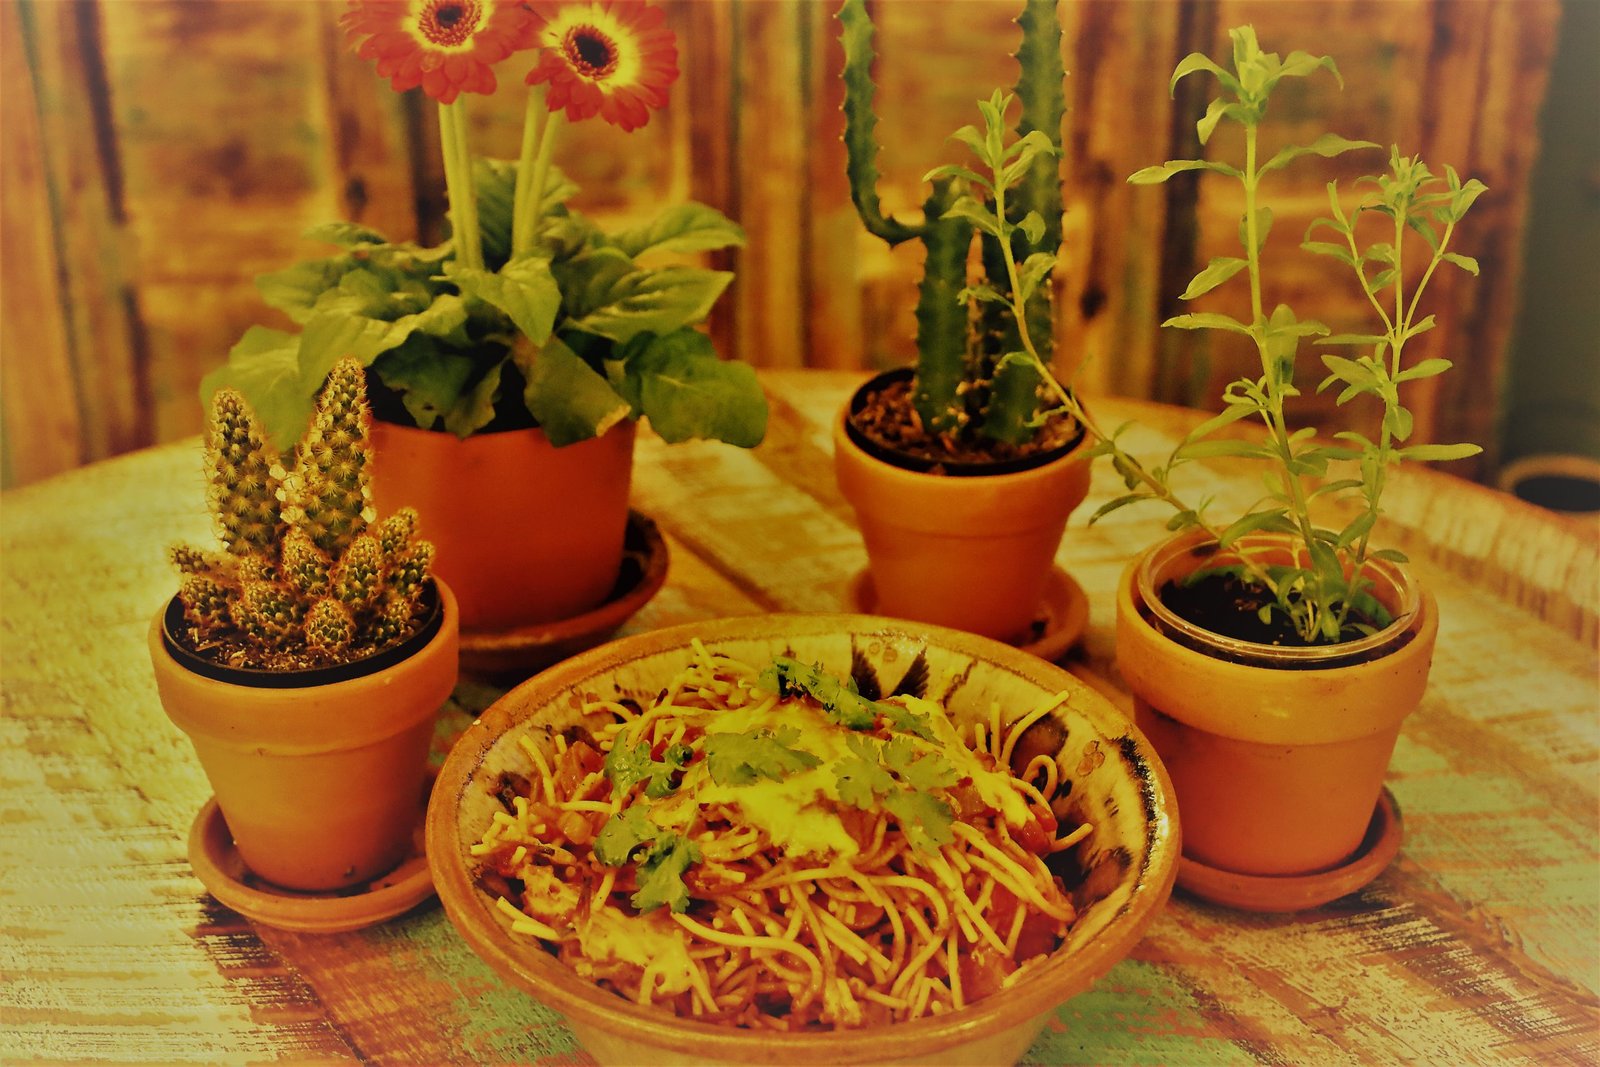
AND,

AND,

Click Here for our: Dia De Los Muertos
And,
Our Mexican Inspired Thanksgiving Roasted Chicken and Vegetables
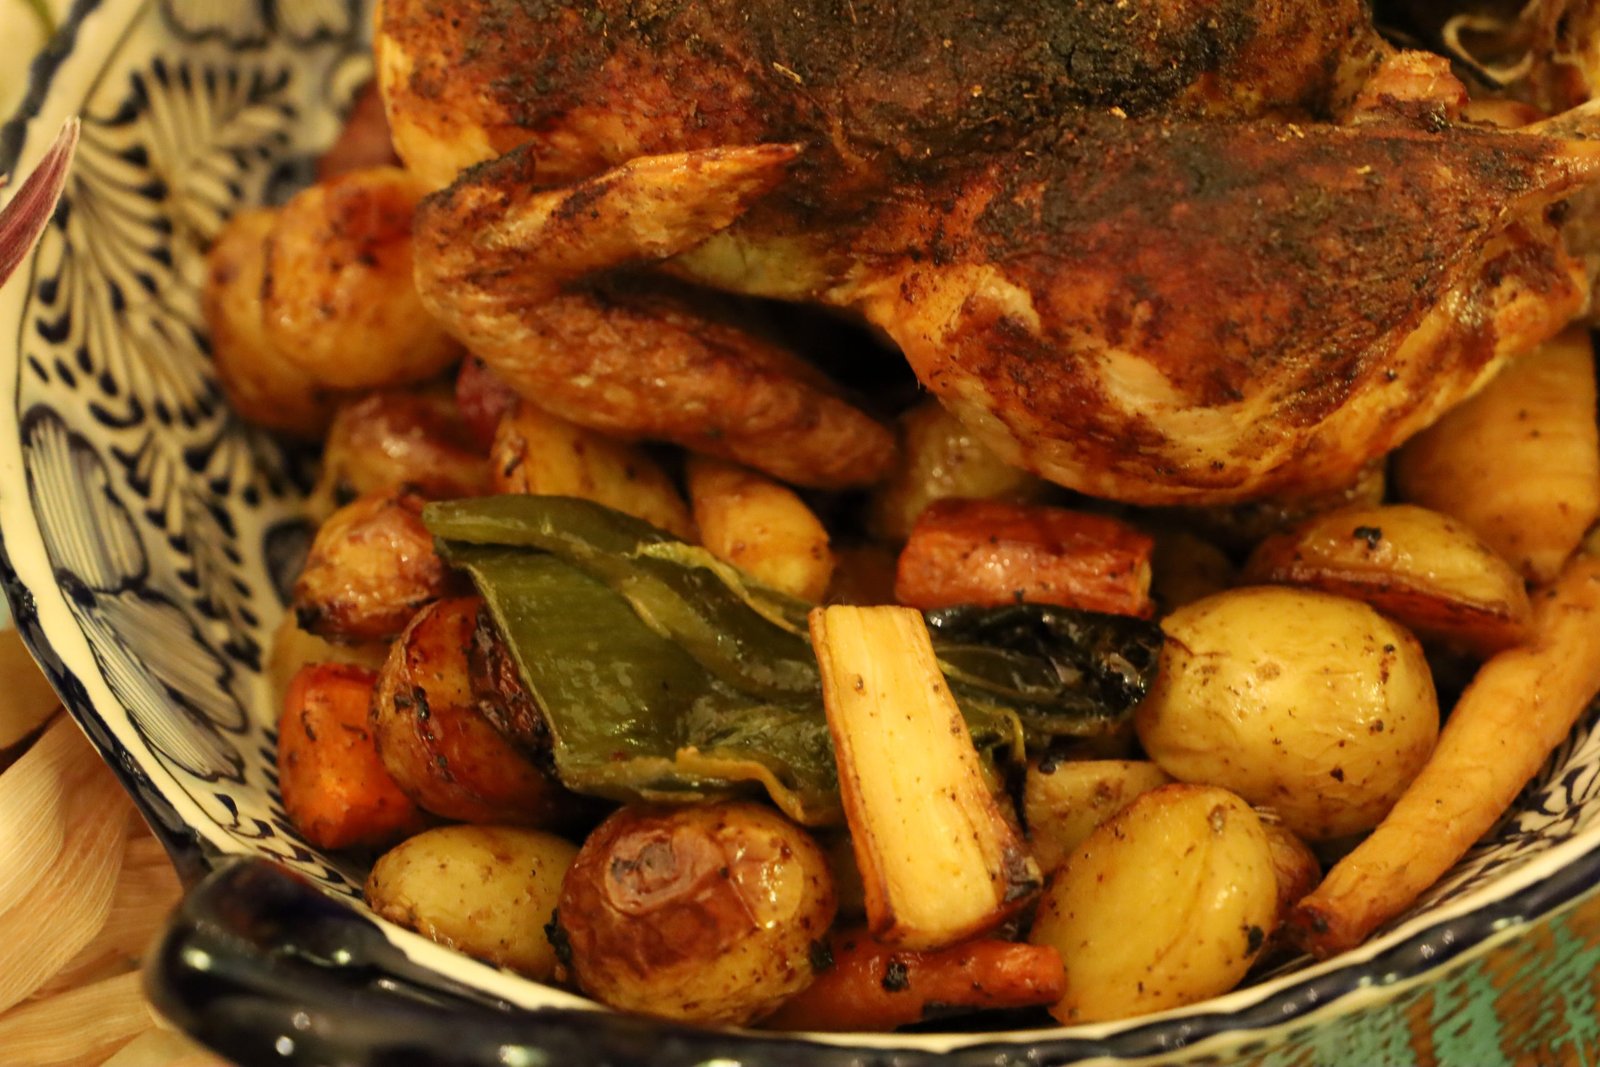
AND,
Our Mexicana Thanksgiving Dishes
AND,

AND,

Adios Amigo!
————————————————————
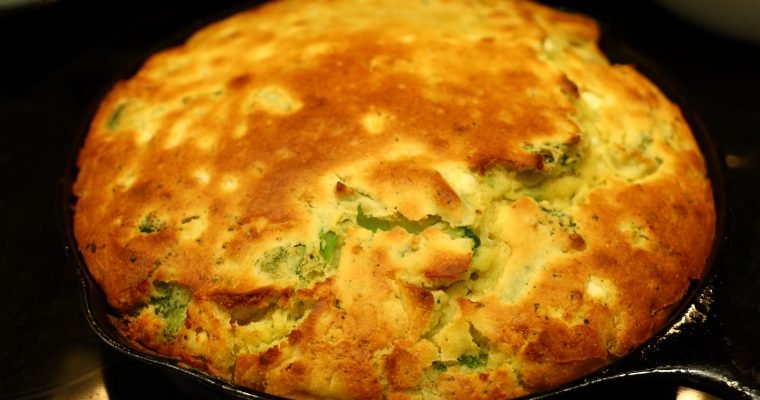
Currently Baking in Grandmother Keith’s Oven Deliciously Cooling… ————————————————————————– I LOVE Cornbread! If you were raised in the south, before the internet brought us all together culturally, then you grew up eating Cornbread religiously. We loved it whether it was …

Welcome to Middle Eastern Our Way (A.K.A. MEOW) It’ll Catch On. 🙂 We are Gordon and Julie, and we love food of all kinds from all nations. Arabic Coffee Beans Gordon has traveled to many Middle Eastern countries during his time …

Good Morning and Happy Thanksgiving!
(2022)
Just in Time to Watch The Macy’s Thanksgiving Day Parade

Oh Look! It’s The Tarpon Springs High School Marching Band
From Tarpon Springs, Florida


They closed the parade!
Actually, they performed right before Mariah Carey sang ‘All I Want For Christmas’, and then Santa Clause made his appearance to close the parade.
So very proud of them, they did such a great job!
———————————————————————-
An Al Fresco Thanksgiving Lite

When it comes to Thanksgiving, I don’t think that we associate the word “Lite” with the holiday.
But, perhaps we should start to think that way.
Eating a large Thanksgiving meal won’t hurt you but, eating all those Thanksgiving leftovers just might. Eating one large meal is fine, but most American’s eat that large meal over, and over again, until the leftovers are gone.

Turkey Soup
A lot of us will then turn our leftovers into things like Turkey Soup, Turkey Casseroles, or Turkey Sandwiches/Panini’s, just to eat up the leftovers and yet have them taste differently at the same time.


Here are our Panini’s

(Kind of like a convenient Hand-Held Thanksgiving Lunch/Dinner)
——————————————————————————

This particular Thanksgiving consisted of Turkey Soup and Panini’s.
It was light (lite), delicious, and pretty easy. We actually spent less time in the kitchen, and more time enjoying the day.
Oh, our Thanksgiving’s won’t always be like this. It won’t always be just the two of us.
But, when it is, meals like this are perfect!
——————————————————————————

Souvenir’s From our Cross Country Trip out West in 1992
We saw many a Native Community and visited many Reservations. I even started a charm bracelet. I bought the chain and a few charms at one location. And then continued to buy them as we visited other Native locations. I should actually post it here. I am quite proud of it. It represents our 2 1/2 week cross country drive from Florida to California in 1992. Veronica was 5, and I was pregnant with Brodie.
(I do have to confess that Thanksgiving to me has become more thoughtful. I adore the Native American’s, and I know how horribly they have been mistreated by white people. I also know that Thanksgiving is based on a slaughter of Natives. Which is why I recognize that at every turn, but I also honor the idea of us all feasting and getting along together. I love Thanksgiving and I have no desire to ever give up the holiday. I will however, continue to honor the peace that I hope will eventually come from it.)

Fort Brodie
I save and cherish my children’s artwork from their youth. This is something that Brodie drew while we were living in Maryland. I found it and decided to post it here. We are very proud of our children and their creativity.
———————————————————————
A Roasted Spatchcock Turkey Breast


This particular Thanksgiving Gordon roasted a Spatchcock Turkey Breast and it was perfect for us!

Look at all the Drippings!
(Recipe Down Below)
—————————————————————————————-
An Excellent Use of Leftovers


Turkey Salad
I think that most people have their own Turkey/Chicken Salad recipe but I will give you mine.
Turkey Breast, Mayonnaise, Mustard, Hard Boiled Egg, Freshly Ground Black Pepper,Dashes of Tabasco Sauce, Chopped Onion, Pickle Relish, Chopped Celery.
You use the amounts that you prefer. Excellent spread onto bread with Lettuce to make a Sandwich, or I like to blob it on Crackers and eat it that way.
Either way, welcome to our Thanksgiving Lite and Leftovers.
Hope you find something you like here.
Happy Thanksgiving,
Julie and Gordon Whann
————————————————————————————-
Turkey Soup


The Crock Pot Makes Cooking This Soup Easier

———————————————————————–
This is a great way to use up those last bits of Turkey, and left over celery and onion that you used to make the dressing, and other recipes for Thanksgiving.

All of Our Ingredients


————————————————————————-


List of Ingredients:
3-4 quarts Chicken Broth
4 or 5 Multi-colored Carrots
2-3 Celery Stalks – chopped
1/2 to 3/4 Medium Yellow Onion – chopped
1 Turkey Neck
2 Bay Leaves
1 Tbsp. Rubbed Sage
1/2 t. Fresh Ground Pepper
1 t. Hawaiian Sea Salt
1 (4.7 oz..) Roasted Garlic and Olive Oil Pearled Couscous – Near East Brand
2-3 Cups Cooked Turkey – chopped
2 Cups Wide Egg Noodles – cooked
2 Cups Zucchette Pumpkin Shaped Noodles – Vegan (Sprouts Brand
——————————————————————

Start by peeling your carrots..


then cut them into 1 inch sections.


Place about 2 quarts of Chicken Stock into your slow cooker then add your sliced carrots and turn your Crock-Pot to High, and 4 hours cooking time.


Wash and chop your Celery as shown…


and add them to the cooker.


Now, chop your Onions and use as many as your like. This recipe doesn’t have to be followed to the letter as you want to fill up the cooker with the listed ingredients. We also like a thick and hearty soup.


Add your chopped Onion to the cooker.


Here is our Turkey Neck, which I will also add to the cooker and take out later when the meat falls off the bone.

I store our Bay Leaves in a canning jar to keep them well sealed.


Add two or three of them to the cooker.


Now, add the Rubbed Sage and freshly ground Black Pepper.


Now add your Sea Salt to the pot. We like using Hawaiian Sea Salt.


Now add your Pearled Couscous to the cooker along with the seasoning packet.

———————————————————————–

Add more Chicken Stock to fill the cooker.
—————————————————————————-


You Just Want to Cover and Continue to Cook

———————————————————————————

Here we saved a good amount of Turkey Breast from our Thanksgiving Turkey.


Chop your Turkey into bite-sized pieces.


Add your Turkey to the Crock-Pot.


Here we cooked the Egg Noodles separately as per directions and then added them to the cooker.


—————————————————————————

As you can see the Crock-Pot is getting quite full.


We can still add some Pumpkin Shaped pasta though so we cooked it as per the directions.

Our original intent was for this to be a colorful garnish, however, I Julie, went a bit heavy on the pasta.
After about 4 hours the soup should be good and hot.

Here we added the Pumpkin Pasta.

This soup is very hearty, full of nutrients and tastes great!
It also freezes well……
———————————————————————————


Also great for leftovers… simply place the frozen soup in a large pot and turn the heat to medium low.

Here you have once again the great Turkey Soup.

——————————————————————————

Turkey Squash Grilled Cheese Sandwich

This is a Squash Casserole that we had leftover from Thanksgiving. I Julie, got the idea to use it in Grilled Cheese Sandwiches. The Squash were softened from the Casserole, but still had a bite to them that suited this sandwich well.


Ingredients:
Leftover Squash From Casserole
1/4 Cup Jack O Pumpkin Seed Cheese – Shredded
1/4 Cup Sharp Cheddar Cheese – Shredded
2 Tbsp. Butter
3-4 slices of Cooked Bacon
1/4 Cup Parsley
Bread Slices and/or…
2 slices of Brown Bread – Cheesecake Factory Brand
——————————————————————-

We have used (Igourmet) to find many of our favorite cheeses. This Jack O Pumpkin Seed we thought would go well in this sandwich.


Slice off the outer rind.


Then shred as much as you will need. We also shredded some Sharp Cheddar Cheese to make a few of these sandwiches.

Spread some of the butter on one side of the bread.


—————————————————————————–


Heat your pan to medium high heat and place the buttered side down in the pan. Then add your Pumpkin Seed shredded Cheese and cooked Squash slices.


Now, top the Squash with some cooked Bacon and Fresh Parsley.


Add your Shredded Cheddar Cheese to the Parsley. It is fine if a little spills over as it is great when cooked. Top the sandwich with another buttered slice of bread as shown. Cook for sandwich for a few minutes or until you can move the sandwich and there a slight scraping noise. That means the bread is getting toasted. Flip the sandwich over using your spatula and cook on the other side for about another few minutes until browned.

————————————————————————


We hope you enjoy these unique and delicious grilled sandwiches!
————————————————————————

Spatchcock Turkey Breast

Nicely Carved

Gathering Our Ingredients


List of Ingredients:
1 Tbsp. Oregano
1 Tbsp.Thyme
1 Tbsp.Rubbed Sage
1 Tbsp.Marjoram
1 Tbsp.Onion Powder
2 t. Ground Allspice
2 t. Chili Powder
1 Tbsp. Ground Coriander
1 Tbsp. Ground Cumin
2 Tbsp. Raw Cane Sugar
2 Tbsp. Splenda Brown Sugar
1 Heaping Tbsp. Whole Grain Mustard
2 Tbsp. Chicken Stock
2 Tbsp. Olive Oil
Salt, and Freshly Ground Black Pepper to taste
NOTE: The Spices I am placing in the mixing bowl are specifically for the top of the Turkey Breast to give it a nice Crust.
—————————————————————————-


Here I am adding the spices into a medium sized bowl.


I am using my palm to measure the amounts.


Of course you can add as much or as little of these spices as you like.


I also like using a variety of sweeteners as it gives the flavor more depth.


This turned out to be a nice grainy mustard. We used it again later in the next recipe below.


Now add your Chicken Stock…


then the Olive Oil.


Mix all the ingredients together to make sure there is enough liquid in the mixture to make it spread easily over the meat.


Add your Sea Salt, and Freshly Ground Black Pepper to taste…

then mix all the ingredients well using a whisk.
Now, Set Aside
————————————————————————-


Here is the Turkey Breast I bought which is produced by Shady Brook Farms. I have found their turkey’s are very nice and well priced! With all poultry, rinse them well with running water to remove any old blood and particulates like stray bones and loose feathers. Also, look it over and remove any feathers that may still be attached.

I began thawing this two days earlier and it still had some ice in the main cavity. Rinsing it helped to remove this ice and thaw the meat.

Here I placed the Turkey Breast on a roasting rack on top of a roasting pan.


Pat the skin dry so the seasonings will adhere to them.
INITIALLY: I was just going to season and roast the Turkey Breast like this. However, it was as I was adding the spices that I realized the Turkey would cook much better, and the spices would adhere better, if I Spatchcocked it.
Not meaning to confuse you. But, I am telling the story as it has happened.
Sometimes a recipe can evolve as it is being created. Which happens with us sometimes.
———————————————————————————-
So, as it began….


Seeing how the meat was upright, I thought I would add some seasonings and olive oil to the cavity and outside of the breasts to help the spice mixture adhere to the meat.


I brushed the oil from the cavity onto the outside of the breasts.


Now, I am sprinkling a little of the spices I used before on the Turkey to help the spice mixture adhere to the dry surface.


————————————————————————–


Adding Some Spices….


…just winging it.


——————————————————————————–

Now, I am adding some Chicken Stock to the roasting pan so the fat drippings don’t burn on the bottom of the pan.
————————————————————————
It was at this point that I decided to Spatchcock the Turkey Breast.

I placed the breast on the cutting board. I thought if I were to Spatchcock the breasts, the spices would simply lay on top of the meat. Spatchcock means to split the breasts and remove the backbone to lay the meat flat. Doing this will also help the meat to cook evenly.
—————————————————————————–


Start by splitting the breasts with your knife. I stabbed the breast bone evenly…


then continued the cut with my knife. Now cut the breasts away from the backbone.


Here you can see the breasts and backbone almost separated. Continue to flatten the breasts by pressing your hand down on them to finish breaking the breastbone. I am using my right hand to do this. In the next picture you can see the breasts are now fully split. Using your left hand press down on the backbone then use your knife to cut the backbone away from the breasts. If you want, you could save the backbone for soup stock.
———————————————————————-


Here is the Spatchcocked Turkey on the roasting rack.


Now, simply spread your spice mixture (that you had set aside from the mixing bowl above) over the top of the Turkey as shown, as they will spread more evenly during the cooking process.


I sprinkled some extra spices used in the mixture on the rest of the breasts for good measure.

Roast the breasts in a 350’F oven for about 45 min. or until the internal temperature reaches 160’F.

I removed the pan from the oven to add some water, as it was almost dry.

———————————————————————————

Place the meat back in the oven to finish the cooking. Here you can see the light blue temperature indicator popped up to indicate the meat was done. I also used my digital thermometer just to be sure.
—————————————————————————————–

Here is a great shot of the drippings in the bottom of the pan which would make a great gravy.
————————————————————————————————
Let the meat rest for about 15 min. to allow the super-heated outside juices to return to the center of the meat, making the meat juicy and raising the internal temperature to 165’F. Cutting into the meat right out of the oven would disrupt the juice movement and the juices would spill out all over your cutting board.


Slice the meat down and away from the breastbone as shown.


Continue to do this on both sides of the breast. The clumps of spices are delicious!
Enjoy!
————————————————————————————
Leftover Spatchcock Turkey


Using the leftover meat, we made pressed sandwiches using Julie’s Florida Jezebel Sauce… absolutely delicious!


To start, use some good crusty bread.
These were perfect in size and thickness.


I love Swiss Cheese so we shredded a good amount of it.

I love to use our cast iron skillets as they hold the heat well and are great for frying. I placed about 1 Tbsp. of olive oil into the pan and spread it around using a paper towel and turned up the temperature to medium.


Slice the bread in half then spread some grainy mustard and Julie’s Florida Jezebel Sauce on each slice.


Add your sliced turkey breast and grated Swiss piled high as shown.


Then we added some fresh Spinach leaves to the top of the cheese and used the top section of the bread to close the sandwich.


Place the sandwich off center in the pan as shown.


I quickly made another sandwich…

and placed it next to the one in the pan.

I then placed another cast iron skillet on top of the sandwiches…


then placed another as shown to increase the weight.
I also pressed down on the sandwiches some to help them press evenly.

I am making another sandwich as I am sure they will be great!


After a few minutes, remove the pans and using a spatula turn the sandwiches over and cook for another few minutes until well browned and crusty.
———————————————————————————-

Time to dig in!
———————————————————————–
If you would like the recipe for:
An Old Florida Jezebel (Sauce)
Happy Thanksgiving!
Julie and Gordon
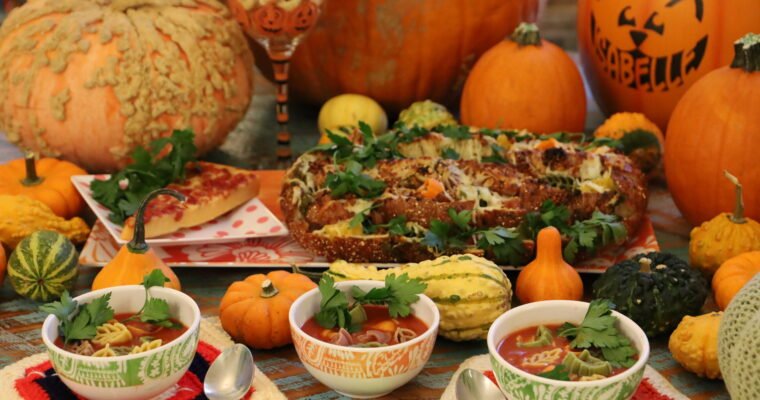
Autumn Me, Rome, Georgia, mid 1960’s playing in the leaves. (Love the cars.) 🙂 When I think of Autumn I always first think of leaves. The Fall colors of the trees as the leaves fall off of them, and crunch …

Autumn Once Labor Day is over with….. There is just something special about the end of Summer and the beginning of Autumn. To most of us it’s having the kids go back to school. Always a special time for me …


Premiering at a Theater Near You!
Starring Julie’s Jezebel Sauce, and a Cast of Supporting Foods
For those of you outside The Bible Belt of America, you probably have never heard of Jezebel Sauce. It’s exact Southern origins are a bit unknown but the sauce is based on the Jezebel Temptress from The Bible. In other words, it’s wicked and will tempt you.


The sauce is sweet with some heat, and tangy with a bite.

Although I can’t remember any of my Southern family members ever making it, I can tell you that it was at many a Pot Luck Dinner, Covered Dish Affair, Picnic and BBQ, when I was growing up. It is also the number #1 condiment in Mississippi.

There are many versions of Jezebel Sauce.
It’s base is a Pineapple Preserve/Apple Jelly/Mustard and Horseradish foundation.
We took that base and created our own.
—————————————————————

My Jezebel Shelf
———————————————————————

Julie Jezebel

Also Makes a Great Gift
—————————————————————

When I was a very young girl I can remember watching the 1938 movie Jezebel, starring Bette Davis, on my Grand-Parent’s T.V in the 60’s in Rome, Georgia. Also starring are Henry Fonda and George Brent.


Jezebel Movie Posters
I came across these reviews on http://www.imdb.com :


It is 1850’s New Orleans, and Julie Marsten (Davis), a head-strong young woman who doesn’t find it the least improper to be late for her own engagement party because she feels like riding her horse instead, is getting married to Preston Dillard (Fonda). Unfortunately, Preston isn’t at the party because he is hammering out business at his family’s bank; when they are married, he and Julie will be moving north, an almost sacrilegious action during this time. Buck Cantrell (George Brent) is Julie’s former beau, who remains a family friend and still defends Julie’s honor. One day, when Preston doesn’t drop everything to attend a dress fitting for Julie that he had originally promised to attend, she defiantly insists that she purchase a red dress, breaking the white dress only tradition for the ball they were attending. Despite the protestations of everyone she knows, including Preston, she wears the dress to the ball, causing her to be ostracized and the official break up of her engagement to Preston when he realizes that he cannot deal with her headstrong attitude. He leaves for the north without her, and comes back a year later with a surprise, and sees that Yellow Fever has gripped New Orleans, a peril that threatens everyone.

Bette Davis Eyes
“Jezebel” is a tale of defiance, love and redemption. Davis plays her role so well that it is hard to determine whether you want to support her or marginalize her as a spoiled brat. I think that even when the film was made, (1938) the lines were still blurred as to how many freedoms and how much free-thinking should be afforded to women. It is easy for me to say that Julie’s red dress was much ado about nothing, but then again, this is the millennium, when nothing is overtly shocking anymore. The mere fact that I thought so much about a classic film (which generally has throwaway plots) is a true testament to Davis’ performance and the writing, under William Wyler’s direction. “Jezebel” is essentially “Gone with the Wind” without the budget or the color, and was made the year before that film was released. Most of the characters are fairly throwaway, but the subject is Julie, and her development is amazing and very believable, despite the melodramatic genre. This is a film that most classic film lovers have seen, I’m sure (I am apparently a late bloomer in regard to this film) but if you are one and you haven’t seen it, or are a Bette Davis fan, see this movie. Most of her late 30’s to 1950 films are so spectacular just because of her performance (if the rest is good, it’s gravy), and this is one of her best known performances. 7/10 –Shelly


Hot PINK Jezebel Jars

Me Julie, Ready to Make My Many Jezebels

Red Roses in my Hot Pink Vase were a necessary inspiration for me.


Before I start any project I need to have everything spread out on a table in front of me.
To the Left: My Latin Jezebel, Center: My Classic Take, To the Right: The Forbidden
I am lacking a few ingredients in the photos but I spread everything out in order to build onto it as I went.

The Hawaiian Bell Pepper Above Looked Like a Mouth to Me

This is to be my Georgia Peach Jeze-Bells
I Wanted the Red and Pink Food Coloring Although None Went Into This Jezebel

—————————————————————
We will not only bring to you the recipes for our many Jezebels, but we will also bring to you the recipes of the foods that we eat them on.
I’m pretty sure that I could win an Oscar for my Jezebel’s. 🙂
——————————————————————

Jewels and Ribbon Adornments For My Jars
(I knew that I wanted my Jezebel’s to be adorned with things you would picture in a brothel.) 🙂
————————————————————-
Our Jezebels
(With Many Recipes Down Below)
The Forbidden Jezebel
With Apples

Ham Steak With Forbidden Jezebel Sauce

—————————————————————-
The Classic Jezebel (My Twist)
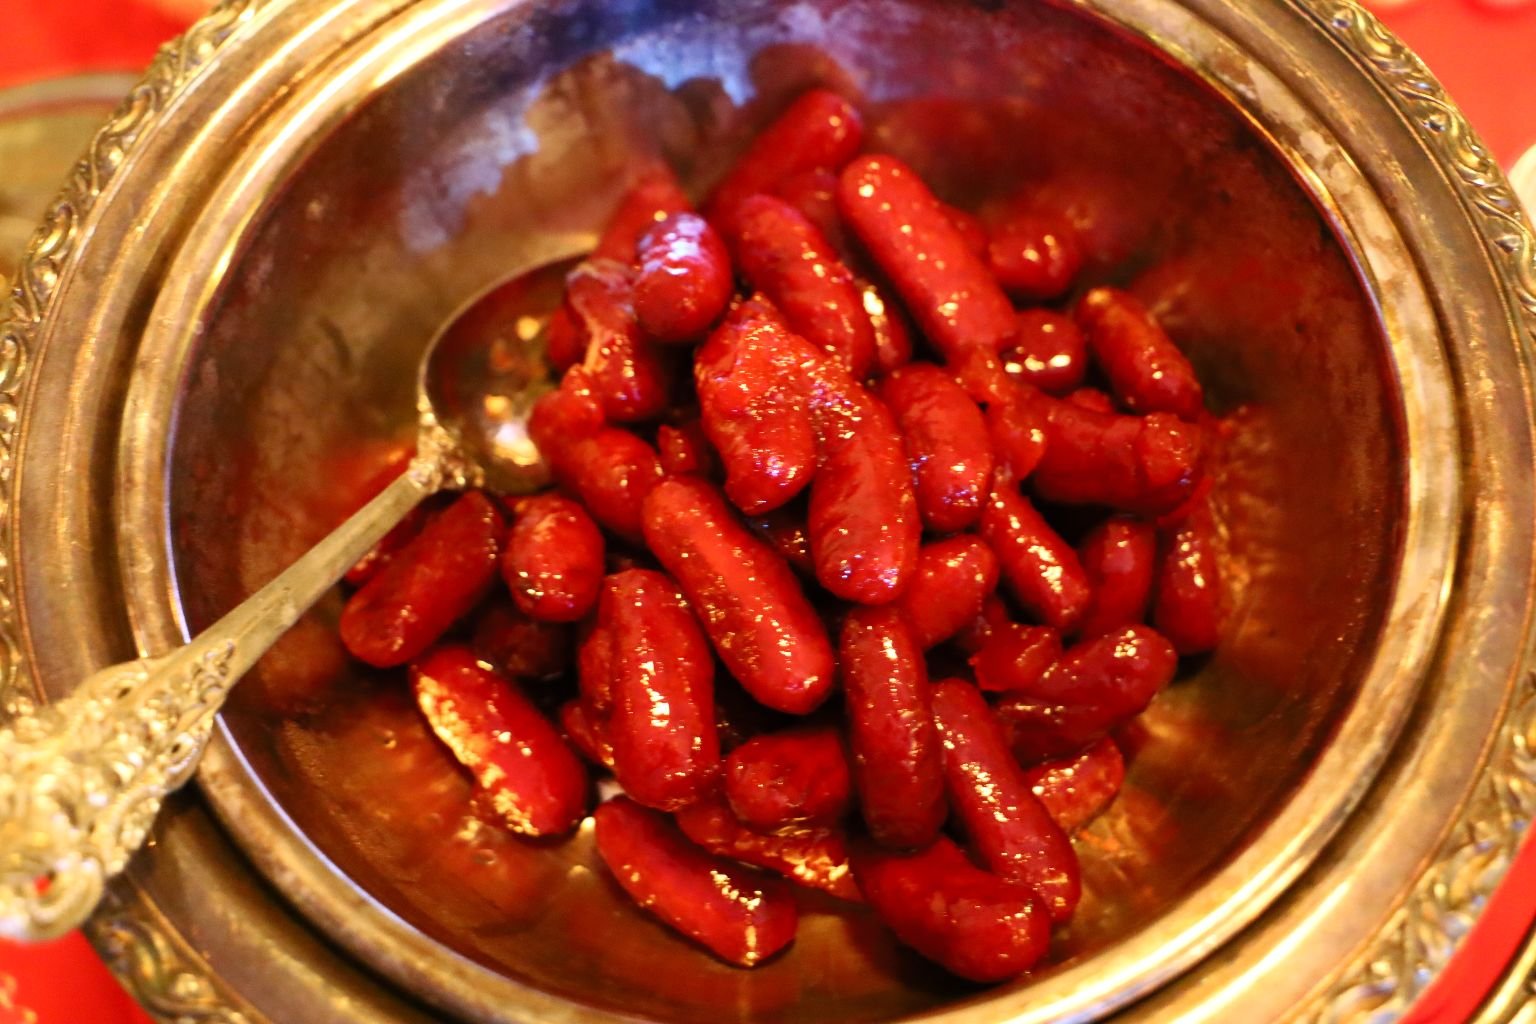
Excellent on Cocktail Sausages
Also,

The Devil Made Me Do It Cheese Dip Spread w/ Julie’s Classic Jezebel Sauce

(Recipes Down Below)
————————————————————

The Latin Jezebel
(With Guava Shells and Jalapeno Peppers)
———————————————————-
The Georgia Peach Jeze-Bells

Our Roasted Bells, Onions, Peaches, and Cantaloupe
Also,

A Delicious Glazed Ham
In My Georgia Peach Jeze-Bells Sauce
(Recipe Down Below)
(With Peaches and Bell Peppers)

She was after all, a Southern Jeze-Belle.
——————————————————————-
Also Check Out My:
Click Here For: Julie’s Jezebel Sauce
AND,
AND,
AND,
An Old Florida Jezebel (Sauce)
AND,
One HOT Jezebel for Breakfast (Sauce, That is.)
AND,
Click Here For: More of Julie’s Jezebel Recipes to Enjoy
AND,
I Even Created A Halloween Jezebel:
A Haunted Jezebel, Together With A Haunted Mansion Halloween Repast
AND,
AND,
AND,
A Nancy Drew Mystery ._ _ _ /./_ _.././_… ././. _.. Sauce
(Because I love Nancy Drew and Morse Code)
Click Here For: A Nancy Drew Mystery ._ _ _ /./_ _.././_… ././. _..Sauce
AND,
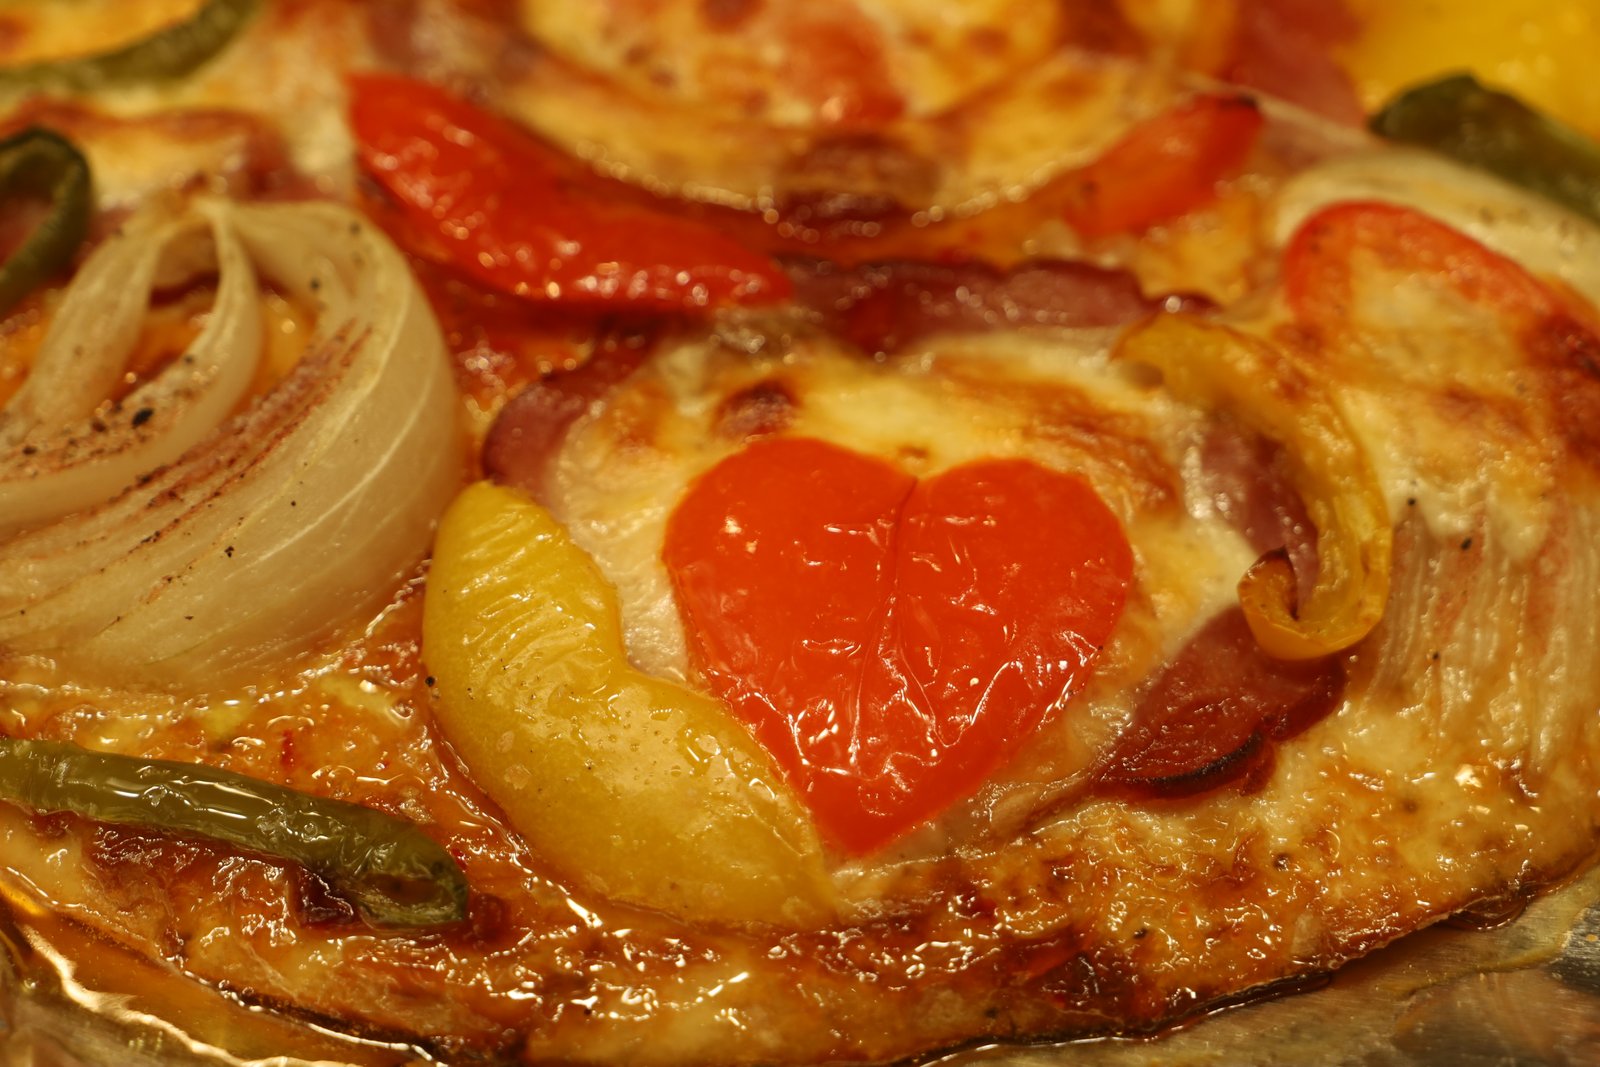
All My Delicious Jezebel’s To Tempt You
——————————————————————————————


Making My Jezebel’s
This is a labor of love.
Anything from my early childhood is always a pleasure for me to make.
There are so many happy memories attached to it.


The Jezebel Can Be Eaten On Many Foods
This is the Classic Jezebel
It is excellent on Egg Rolls, Pork Chops, As a Glaze on Pork…


—————————————————————

Used as a Glaze or Side Condiment (or Both)

(Recipe Down Below)
————————————————————————

Gordon Also Glazed our Salmon Steaks with my Classic Jezebel Sauce

Grilled Jezebel Salmon Steaks


A Delicious Dinner of Salmon, Grilled Lemons, Grilled Asparagus, Squash and Zucchini Fries…..

with Arabic Rice

Topped with Fresh Dill


———————————————————————–


Used as a Glaze and a Sauce
(Recipes at the Bottom of Page)
———————————————————
Cocktail Sausages Marinated and Cooked in Julie’s Classic Jezebel
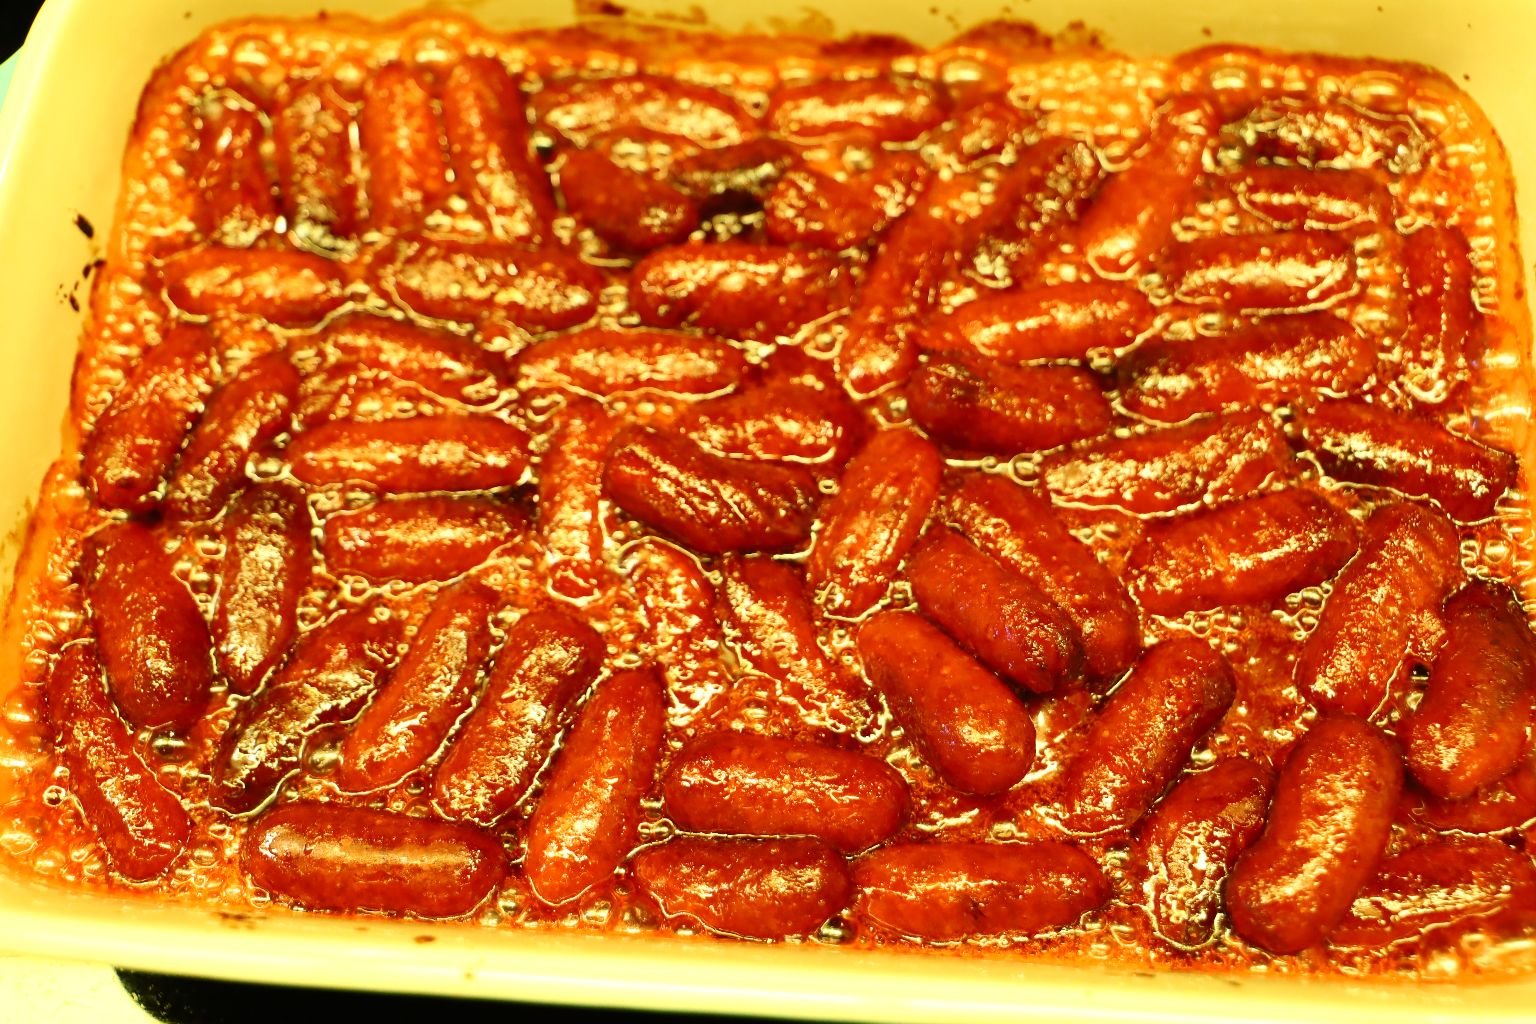
AND,
The Devil Made Me Do It Cheese Dip Spread w/ Julie’s Classic Jezebel Sauce
(Recipes Down Below)
——————————————————————–

Ham Steak With Forbidden Jezebel and Apples

(Recipes at the Bottom)
—————————————————————–
Pan Seared Chicken Breasts with Latin Jezebel Sauce,
with Stuffed Jalapeno’s and Roasted Vegetables


——————————————————–

Gordon Hasselbacked the Carrots
—————————————————————–

We gave some of our Latin Jezebel Chicken and Vegetables to our son and his girlfriend when he dropped by the following day. He then texted the next day bragging about how much they both loved it and were so impressed with it that they then opened the jar of Latin Jezebel that we had given them.

(Recipes Located at the Bottom.)
————————————————————–

Making Julie’s Classic Jezebel Sauce
We Are Canning These


Making the Classic Jezebel Sauce is not hard at all.
But, we are canning these so more work is going into them.
Ingredients:
4, 12 Ounce Jars of Pineapple Preserve Topping
3-4 Jars, 17 Ounces, of Apple Jelly
2 Jars, 5.8 Ounces Each, Brown Sugar Bourbon Mustard
4 Tablespoons S&B Oriental Hot Mustard
(Place the dry mustard into a small bowl and add enough water for the consistency that you want.)
2, 5.1 Ounce Jars of Horseraddish
(Or thereabouts. Use as much or as little as you like.)
4 Teaspoons of Fine Hawaiian Sea Salt (Or any that you prefer.)
—————————————————————–
You will need a pot for this. Place it on a low-medium heat.


The Hardest Part for me is Opening the Jars

Just When I’m Ready to Get Started
The Power Went Out!
Thanks a lot TECO!
(Tampa Electric)


LIGHTS Back ON!
Time To Get Going!

The pot is on a Low-Medium Heat. I first put in the jars of Pineapple and then Apple Jelly.

I Added Both Jars of Brown Sugar Bourbon Mustard
I then mixed together the Mustard Powder with some Water to create a paste.


Whisking it All Together

You Want to Heat up the Sauce so that it Blends Together


Here I am Adding Some Pink Food Coloring

I Wanted This To Look Very Jezebel

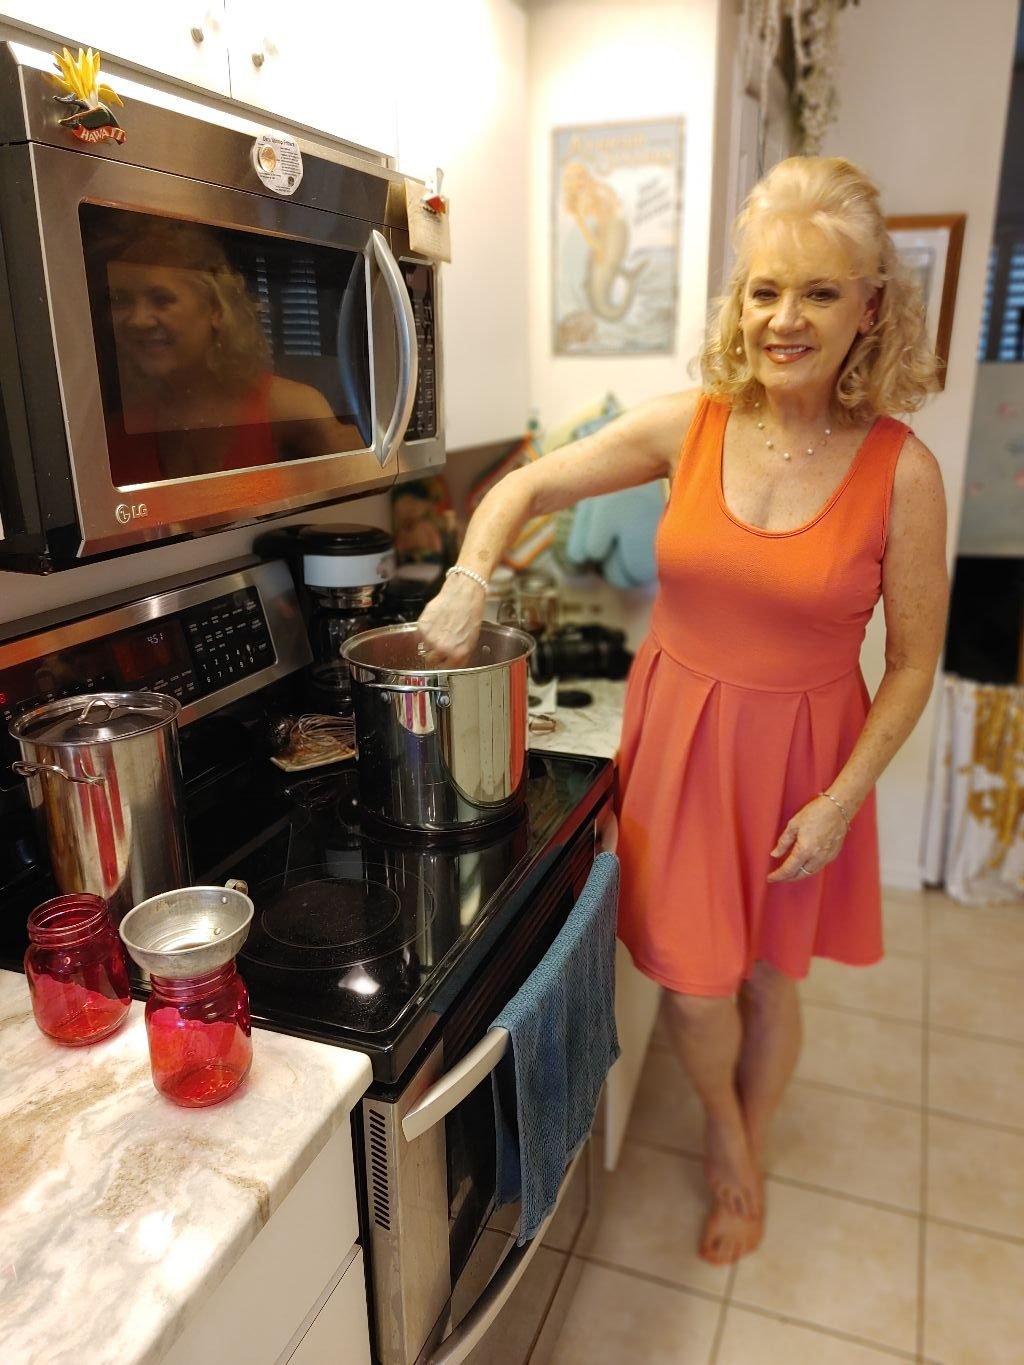
I Did Bring This to a Boil and Now It’s Ready to Jar
(You just want everything to cook together, perhaps 15 minutes or so, then it is ready.)
————————————————————–
Ready To Place Into Jars


You will need some Canning Jars and Lids. I ran the Jars through the Dishwasher so that they are nice and sanitized. Remember that when you remove them from the Dishwasher not to touch the Jars on the inside of them.
Right now we are only placing the Jezebel into the Jars. The complete Canning Process will take place after we’ve made our Latin Jezebel.


Julie’s Classic Jezebel in Jars and Ready for Canning
—————————————————————————-

Julie’s Latin Jezebel Sauce
This Jezebel Was Fun!

Ingredients:
3, 12 Ounce Jars of Pineapple Preserve Topping
2, 17 Ounce Jars Passion Fruit Jam
2, 17 Ounce Jars Mango Jam
2, 20 Ounce Jars Bohio Guayaba (Guava Shells)
1, 10 Ounce Jar Jalapeno Pepper Jelly
4-5 Tablespoons Plochman’s Cuban Style Mustard
2-3 Jalapeno Peppers, Deseeded and Diced into Pieces
4 Teaspoons Fine Hawaiian Sea Salt
Pink Food Coloring
————————————————————————


These Bohio Brand Guava Shells Make This Jezebel
Along with the Jalapeno Peppers

The Guava Shells Look Like Tomatoes Simmering Away

The Jalapeno Pepper Jelly is the Heat
(Along with the Jalapeno’s)


We just want to bring all of this to a nice simmer, stirring consistently.


The Cuban Style Mustard is our Latin Mustard Taste Here
(Use as much or as little as you like. This is to be designed for your taste buds.)


Slicing, De-Seeding, and Chopping the Jalapeno Peppers


Adding the Chopped Jalapeno’s to the Sauce to Simmer
—————————————————————-
With All of the Ingredients Added and Warmed It’s Time to Jar


Using a Funnel and Adding the Latin Jezebel to my Jars

Classic and Latin Jezebel Ready to be Sealed


Fill the jars with the Jezebel leaving about 1 inch of head space which is the space from the top of the sauce to the top of the jar. This space is needed to create a vacuum when the jars are in the boiling water. Wipe the top of the jar clean with a wet paper towel. This will create a good seal between the lid and the jar.

Place the lids in water that is heated just under a boil for about 10 min. to loosen the rubber seal and sterilize the lids. Using a magnetized stick, remove the lids from the water and place them on the jars.


Place the ring around the jar just snug and not tight which will allow the air to escape creating a vacuum. Place the closed jars under water where you should see bubbles leaving the jars. Boil the jars for 15 min. This is the canning process.


When 15 min. are done, remove the jars with the tongs and place on a hand towel to cool.

You should begin to hear the jars pop as the vacuum pulls the lid down. Some jars don’t have a button top and will not pop, but will be in the down position. Any jar that didn’t pop or lid not in the down position needs to be re-done. It could be that the jar didn’t have a good seal, or there isn’t enough head space. Use a new lid, check the seal by wiping the top of the jar, and remove a touch of the sauce. Place the jar back under water and boil again for another 15 min. until sealed.
———————————————————————

Forbidden Jezebel
I walked into the room and the sun was shining on my one rose and nothing else.
I just had to take a picture of it.


With My Velvet Ribbon and Jeweled Button Adornments

My Forbidden Jezebel
With Apples
—————————————————————–

You will of course need a large pot, and our canning pot.


Ingredients:
3, 12 Ounce Jars of Pineapple Preserve Topping
2 Jars, 17 Ounces, of Apple Jelly
2, 17 Ounce Jars Passion Fruit Jam
1, 17 Ounce Jar Mango Jam
1 Jar, 28 Ounces, Apple Butter (We used about 3/4 of the jar.)
4 Teaspoons Fine Hawaiian Sea Salt
8 Tablespoons of a Sweet and Spicy Mustard
6 Tablespoons Honey
(We used a honey that Gordon purchased from The Middle East. It has a different taste than our honey does.)
2 Tablespoons Horseraddish
Chopped Apples, We Used a Red and a Green
Pink Food Coloring
——————————————————————


This recipe starts out like all the others. Open your jars of Preserves, Jelly’s and Jam’s and place them into a pot on a low to medium heat.

You Want Everything to Melt and Blend Together


We Added Apple Butter to This
The jar is 28 ounces but we used about 3/4 of it.


Here Gordon is Adding Our Sea Salt


We used many different Mustard’s in all of our Jezebel’s.
Each one brought a different flavor to everyone.
Here we decided to use this Sweet and Spicy one.

Squirt in as much as you like. This is for your tastes. So, taste as you go.


I knew that I wanted for us to use this Honey that Gordon picked up in The Middle East.
This is after all, Forbidden Jezebel. 🙂


Use a Whisk to Blend the Ingredients in the Pot


And now for the truly “forbidden” part, APPLES!


The Red…

and The Green.


The Apples in our Forbidden Jezebel

We did Soften Them in the Pot for About 7 Minutes

Now It’s Time to Jar

Delicious!!

————————————————————————————-

——————————————————————-


Here Gordon is Wiping the Outside of the Jars


Gordon Does Explain in the Recipe Above, The Canning Process


——————————————————————–

The Forbidden Jezebel
———————————————————————–

Georgia Peach Jeze-Bells Sauce
This one I based on my Rome, Georgia Southern Roots

You will of course need a nice big pot to cook the Jezebel, and water in the canning pot to sterilize the jars. It can be going at a nice simmer while you make the Jezebel.

Ingredients:
3, 12 Ounce Jars of Pineapple Preserve Topping
2 Jars, 17 Ounces, of Apple Jelly
3, 17 Ounce Jars Peach Preserves
3, 10.5 Ounce, Braswell’s Red Pepper Jelly
4 Tablespoons Fine Hawaiian Sea Salt
8 Tablespoons Sweet and Spicy Mustard
2 Tablespoons Tabasco Sauce (Or to Taste)
4, 4.5 Ounce Cups Diced Peaches, Drained
3, Hawaiian Bell Peppers, Diced (or any you desire)
————————————————
Although you do see Pink Food Coloring in these photos, I did NOT use any.
The peach coloring was pretty all on it’s own.
————————————————————————


Some of the Ingredients

You want to have the pot on a medium-low heat.

—————————————————————–


A Whisk Works Well in Breaking up the Blobs


Use Whatever Mustard You Like, To Taste

Of Course, I Am Adding Tabasco
(It would be a SIN not to.) 🙂

This was a total after thought.
We had these in the pantry and decided to add them.
Good choice!


I just drained the juice from the peaches and added them to the pot.

Stirring Together, Simmering Away

Chopping The Hawaiian Bell Peppers


We Wanted a Dice


Adding Them to the Pot

Now Dicing Some Red Bell Pepper


Adding To The Pot


Now For The Orange Bell Pepper


Adding To The Pot


And Add Anything Else You Desire As Well


You just want the pot to simmer a bit and then let sit.
———————————————————————

Time For Canning
(Gordon goes over the actual canning process in a few of these write up’s so I will forgo the repeat. But, I will add that these jars have been run through the dishwasher to sterilize. When I removed the jars I didn’t touch the inside of the jars. I placed them on a clean surface and covered the jars with a tea towel so that no dust or dog hairs (we have dogs) could get inside the jars.)


My Old Thrift Store Funnel
Here we are adding our Georgia Peach Jeze-Belles Sauce to the jars

It’s Really Beautiful and Delicious Too!

Here Gordon is Wiping Down The Jars


Sterilizing The Lids


Adding The Rings to The Lids


Placing The Jars Into The Pot To Sterilize Them and Seal Them
—————————————————————
I hope that you enjoy making our Jezebel recipes, or even creating your own. Imagine that?
Being able to create your own condiment/sauce/gravy… Cool, huh?
It’s really not that hard. You just need an imagination and the patience to be experimental.
Julie Jezebel
——————————————————————-
The Recipes
———————————————
Autumn Pork Chops
w/ Arabic Rice and Grilled Spring Onions

Topped With Fresh Herbs and Sliced Jalapeno’s

——————————————————————

Julie’s Classic Jezebel
In a Gravy Boat or a Bowl, or Even Out of the Jar…. Yum!


—————————————————————-
Ingredients:
4 – 1 Inch Thick Cut Pork Chops
3 Tbsp. Olive Oil
2 Tbsp. Weber Chicago Steak Seasoning
2 Tbsp. McCormick Grill Mates Smokehouse Maple Seasoning
5-6 Green Onions – used in a “Supporting Role”
———————————————————————

Wash and dry your Pork Chops then coat with your Olive Oil. I placed them on a try and used it to take the chops out to the grill.


Season the pork with the seasonings evenly on both sides.


———————————————————————–

Here are the well seasoned pork chops, green onions and tongs to use to turn all the items over while grilling.


Turn your grill’s burners on high and close the lid for ~8 min. or so to heat up the grill. When heated to temperature, turn done the burners to medium and place the pork chops on the grill grates as shown. Place the green onions on the tray running them through the oil and seasonings from the pork chops. Take the tray away as it has raw pork on it and be sure to wash your hands well with soap and water.

Place the green onions on the upper part of your grill as shown.

Close the grill and don’t touch the pork for at least 6 min.


Open the grill and turn both the green onions and pork chops. Place the pork on another section of the grill to make the grill marks on the other side. The grill marks came from the heated grill grates at the start of the grilling process. Grill the pork for another 5 min. or until you have an internal temperature of ~140’F. When it rests for at least 8 min. or so, the meat’s outside super heated juices will sink back into the center of the meat bringing the meat up to 145’F.

Place the pork in the corners of a large serving tray and serve with the grilled green onions and Arabic styled rice and Yeast Rolls.
—————————————————————————-
Gordon Glazed our Salmon Steaks with my Classic Jezebel Sauce
Grilled Jezebel Salmon Steaks
A Delicious Dinner of Salmon, Grilled Lemons, Grilled Asparagus, Squash and Zucchini Fries…..
with Arabic Rice
Topped with Fresh Dill
———————————————————————–
Used as a Glaze and a Sauce
————————————————

Here I am soaking the cedar wood plank in water using a cast iron lid to keep it down.
In Order To Make……..

Jezebel Cedar Plank Salmon Steaks
WITH…..
————————————————————-
Arabic Rice, Grilled Asparagus and Squash, and Zucchini Fries
(We’ve got 3 recipes in the making here.)


Ingredients for the Arabic Rice:
1 1/2 Cups Brown Basmati Rice
3/4 Large Red Onion – diced
3 Tbsp. Olive Oil – I used one from the country of Jordan
1 Tbsp. Ground Cardamom – or more to taste
1 Tbsp. Ground Cumin – or more to taste
1 Tbsp. Ground Coriander – or more to taste
5 Cardamom Pods – seeds removed
~1/2 Cup Dried Cherries
~1/2 Cup Pitted Dried Apricots
~1/2 Cup Chopped Dates
~1/2 Cup Mixed Jumbo Raisins
1/2 tsp. Himalayen Salt
1 tsp. Dried Valencia Orange Peel
2 Whole Cinnamon Sticks
2 Bay Leaves
Fresh Ground Pepper to taste
Garnish with chopped chives
——————————————————————


Add your rice to your rice cooker’s bowl and wash with fresh water a couple of times until the water runs clear. This removes the coating. Use your fingers to mix the rice with the fresh water and pour out the milky water and any non-rice pieces. Then add one inch of water above the rice. Use your index finger and your first knuckle to measure this 1 inch measurement. Cook the rice in your cooker until done.


Slice your Red Onion in half then dice it as shown.

Here I placed them in a bowl for later use.
——————————————————————-

Grilled Asparagus Ingredients:
~30 Asparagus
3 Tbsp. Olive Oil
1 1/2 Tbsp. Lemon Pepper

Wash your Asparagus then slice off the woody ends as shown. Usually about 1 inch of the end depending on the freshness of the Asparagus.


Place the Asparagus into a large baggie and add your olive oil.


Add your lemon pepper and close the bag letting it sit overnight or at least for a few hours.
——————————————————————–


Yellow Squash and Zucchini Fries:
Ingredients:
3 Yellow Squash – sliced
3 Zucchini Squash – sliced
2 Eggs – beaten
2 Tbsp. Water
2 Cups Wheat Panko Bread Crumbs
1/2 Cup Grated Asiago Cheese
Salt and Pepper to taste
—————————————————————–

Slice all the squash into thin French fry wedges as shown.


Crack your eggs into a large bowl…


—————————————————————-


then add your water to the bowl and whisk until combined.


Pour your Panko Bread Crumbs into another bowl …


then add your shredded Asiago Cheese and mix all the ingredients well.


Add your pepper and salt to taste and mix well again.

Dip your squash wedge into the egg mixture to thoroughly coat.


Then dip it into the Panko and cheese mixture,


and set it on a baking tray lined with aluminum foil as shown.


Slice the ends off of your Zucchini squash and cut them into wedges as before and place them into the egg, then Panko mixtures.

Here you can see I have the bowls and tray all in a row to simplify the process.

Line the squash fries in rows on the tray as shown.


Sprinkle a little more Asiago cheese on the squash if wanted.


Bake the fries in a 400’F oven for about 25 min. or until browned.
————————————————————–

Here you can see the rice is perfectly cooked and ready for the Arabic Rice recipe.
——————————————————————–


Thaw and rinse clean your salmon fillets.


Using a pair of food pliers, remove the bones as shown. You could also remove the backbone if you desired. They are also easily removed after the Salmon is cooked.
———————————————————————-


I like to use a Wok for rice dishes as they remind me a making Asian foods and the ease of moving the ingredients around which the Wok provides.

Heat the Wok to medium high heat and add your oil.


When the oil comes to temperature, add your Red Onions and saute them for a few minutes.


Now add your Cardamom…


Cumin…

———————————————————————–


and Coriander to the Red Onions and mix well.


Here I am also using the Whole Cardamom Seeds which I am removing from their Pod.


Mix the Red Onion and seasonings well adding more oil if needed.


Add your Dried Cherries to the Wok…


Then your Apricots…


Chopped Dates…


and Raisins to the Wok and continue to mix well.


Now add your Cinnamon Sticks and Bay Leaves to the mixture…


then your Salt…


and Dried Orange Peel, and again mix all the ingredients well.
The aroma of this is amazing!


Now remove some of your rice from the bowl and add it to the other ingredients in the Wok.


Begin to break up the rice with your wooden spatula while mixing all the ingredients together. Add as much rice as you like until the consistency looks good to you. Use any leftover rice for other meals.

Here is the finished dish which was garnished with some chopped chives.
——————————————————————–

Here I have removed the Squash Fries from the oven as they have browned to my liking.

Set them aside to be eaten later.
———————————————————————-

Slice some lemons in half to be grilled along with your Salmon.

Here are the four Salmon Fillet Steaks and a brush for the Jezebel sauce.


Turn on your grill to high and heat for about 8 min. When at temperature, reduce the heat to medium and place your cedar planks on the grates. TIP: Buy an entire board of cedar wood at your local home improvement store and have them cut the wood into manageable planks. This is much cheaper than buying the already cut wood planks. Just make sure that the wood is untreated.


Place some oil on the plank and brush it evenly over the wood’s surface.


Now place your Salmon on the plank, placing one inside the other as shown.

—————————————————————————


Add about 1/2 cup of your Jezebel sauce to a small bowl and …


use your brush to evenly coat the fish with your sauce/glaze.


Add your Asparagus to the grill as shown, over medium heat.


Close the grill for about 8 min. then turn the Asparagus using your tongs.
Add your lemons to the grill and cook them until they have grill marks on the cut side. Grill the fish until firm and you see the white fat coming out of the fish which should take about 15 min. total time depending on the thickness of your fish and the amount of times you open your grill to tend to other items.
—————————————————————————-

Here you can see the nicely grilled Salmon Steaks which we garnished with some fresh Dill Sprigs.


Pictured above are the grilled lemon and Asparagus.

Here is the plated meal… this was really good and the Jezebel sauce was a huge hit.

——————————————————————-


What an Excellent Dinner!

—————————————————————
Cocktail Sausages Marinated and Cooked in Julie’s Classic Jezebel
Look How Plump and Delicious They Look
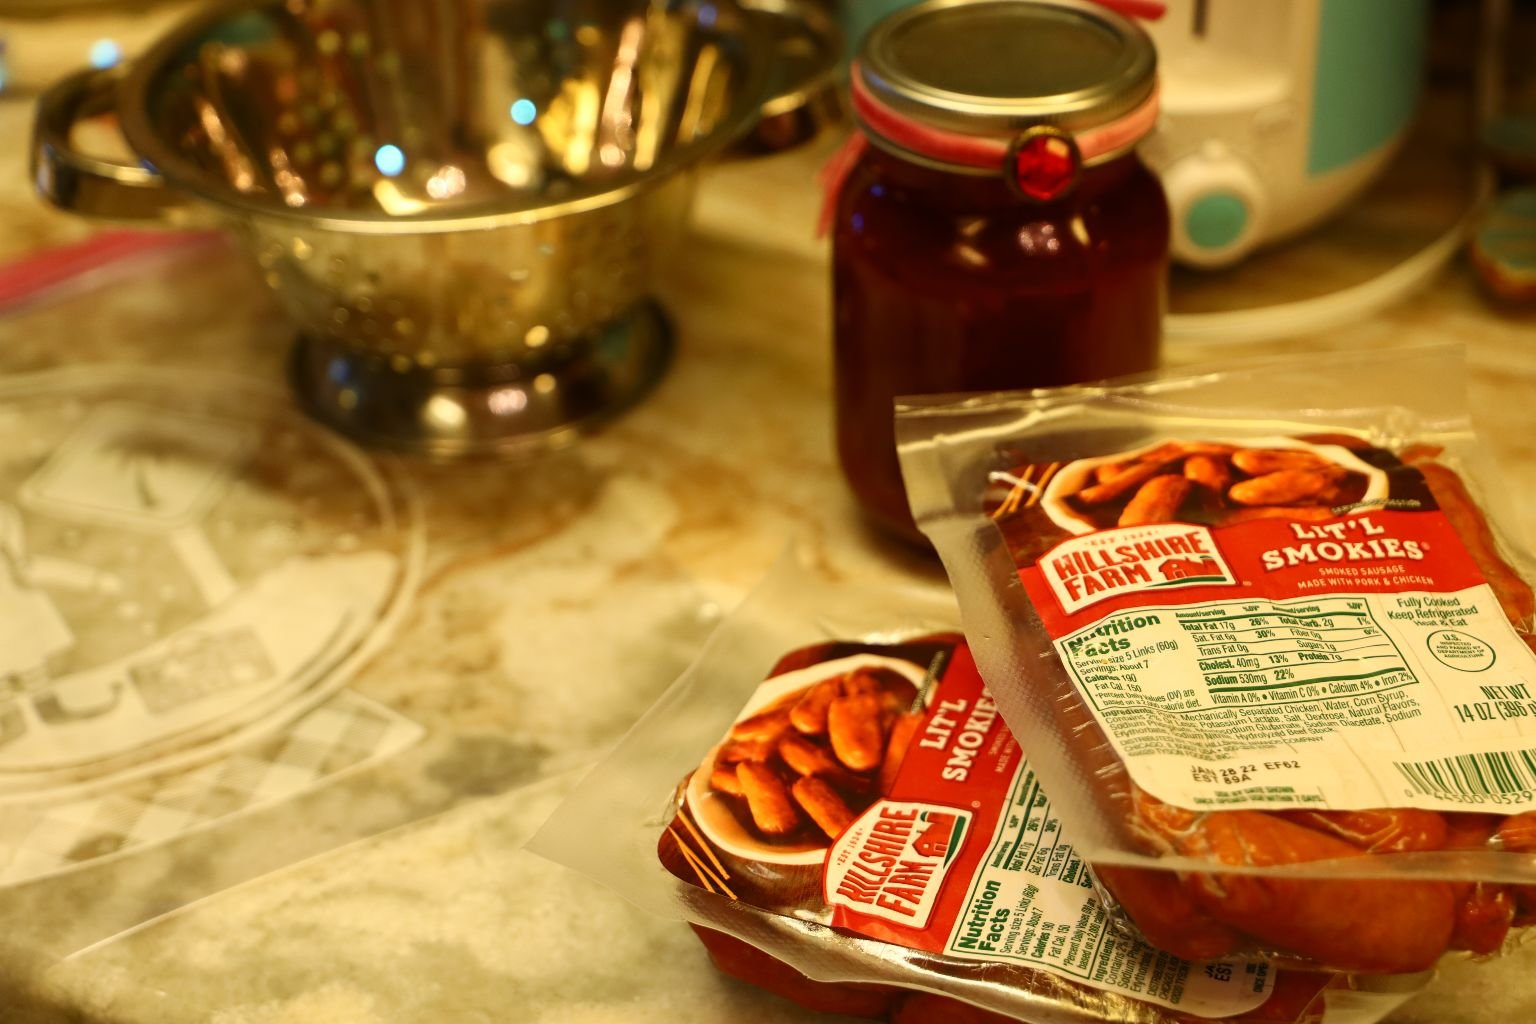
This recipe is easy and delicious. It only requires 2 ingredients!
Cocktail Sausages, AND Julie’s Classic Jezebel!
You just want to drain the cocktail sausages of any liquid in their packaging.
Then, place the cocktail sausages into a sturdy baggie and add enough of my Jezebel to cover the sausages.
Now, marinate in the baggie, in the refrigerator for about 2-3 days.
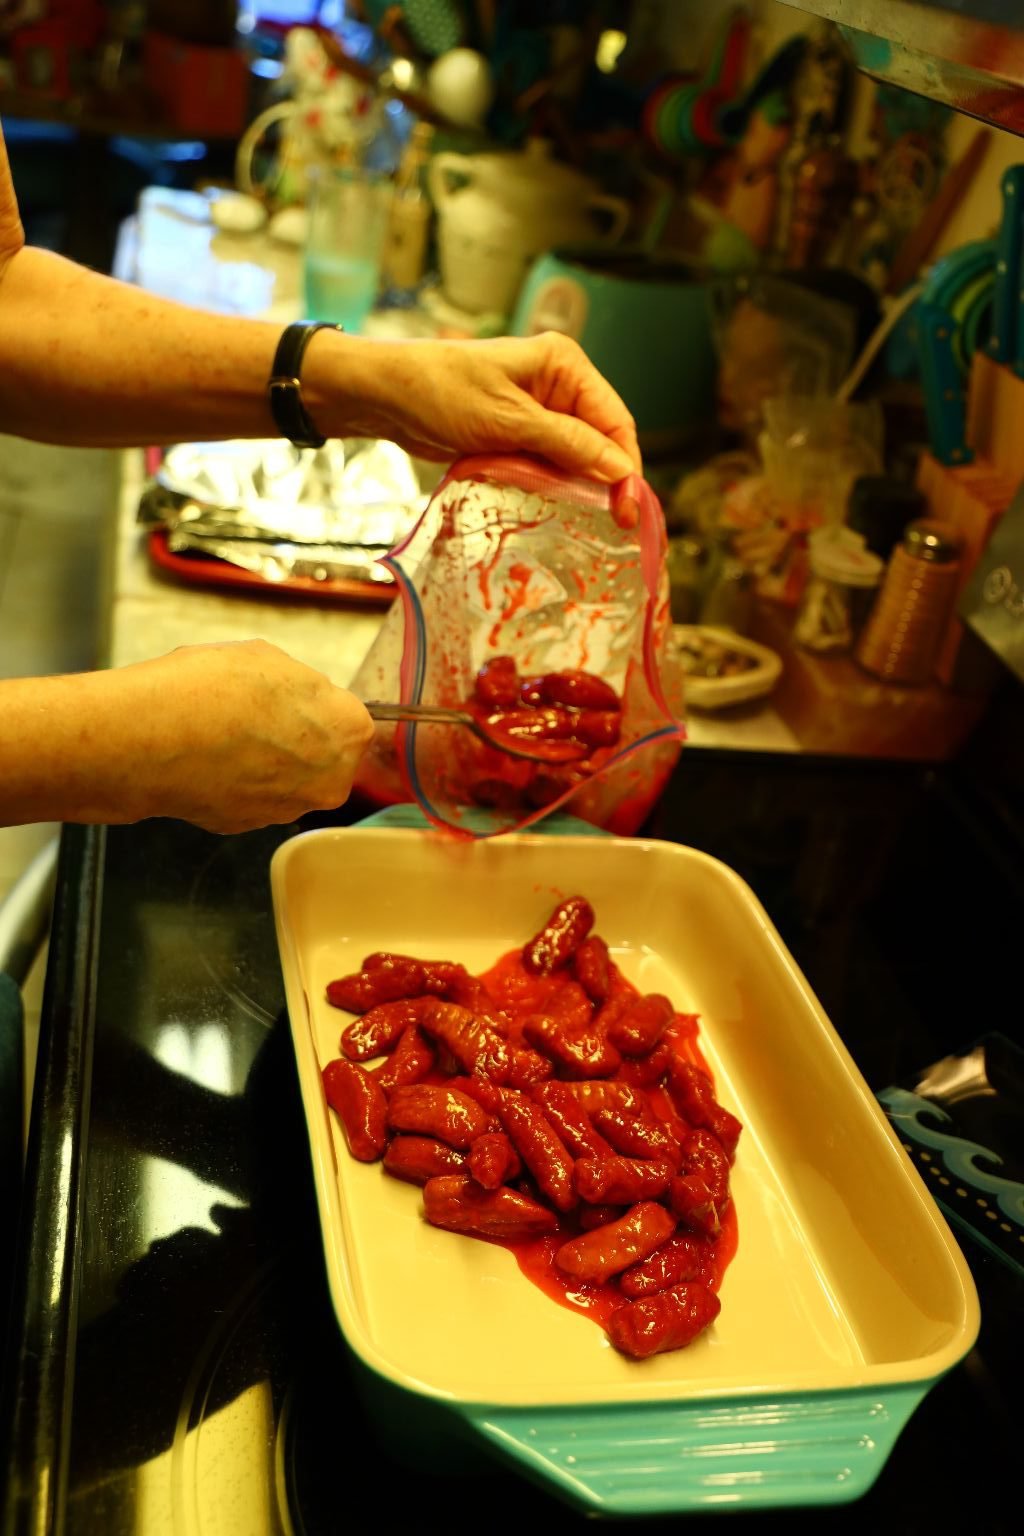
After that, it’s time to cook them.
Preheat oven to 400F and place the sausages into a baking dish.
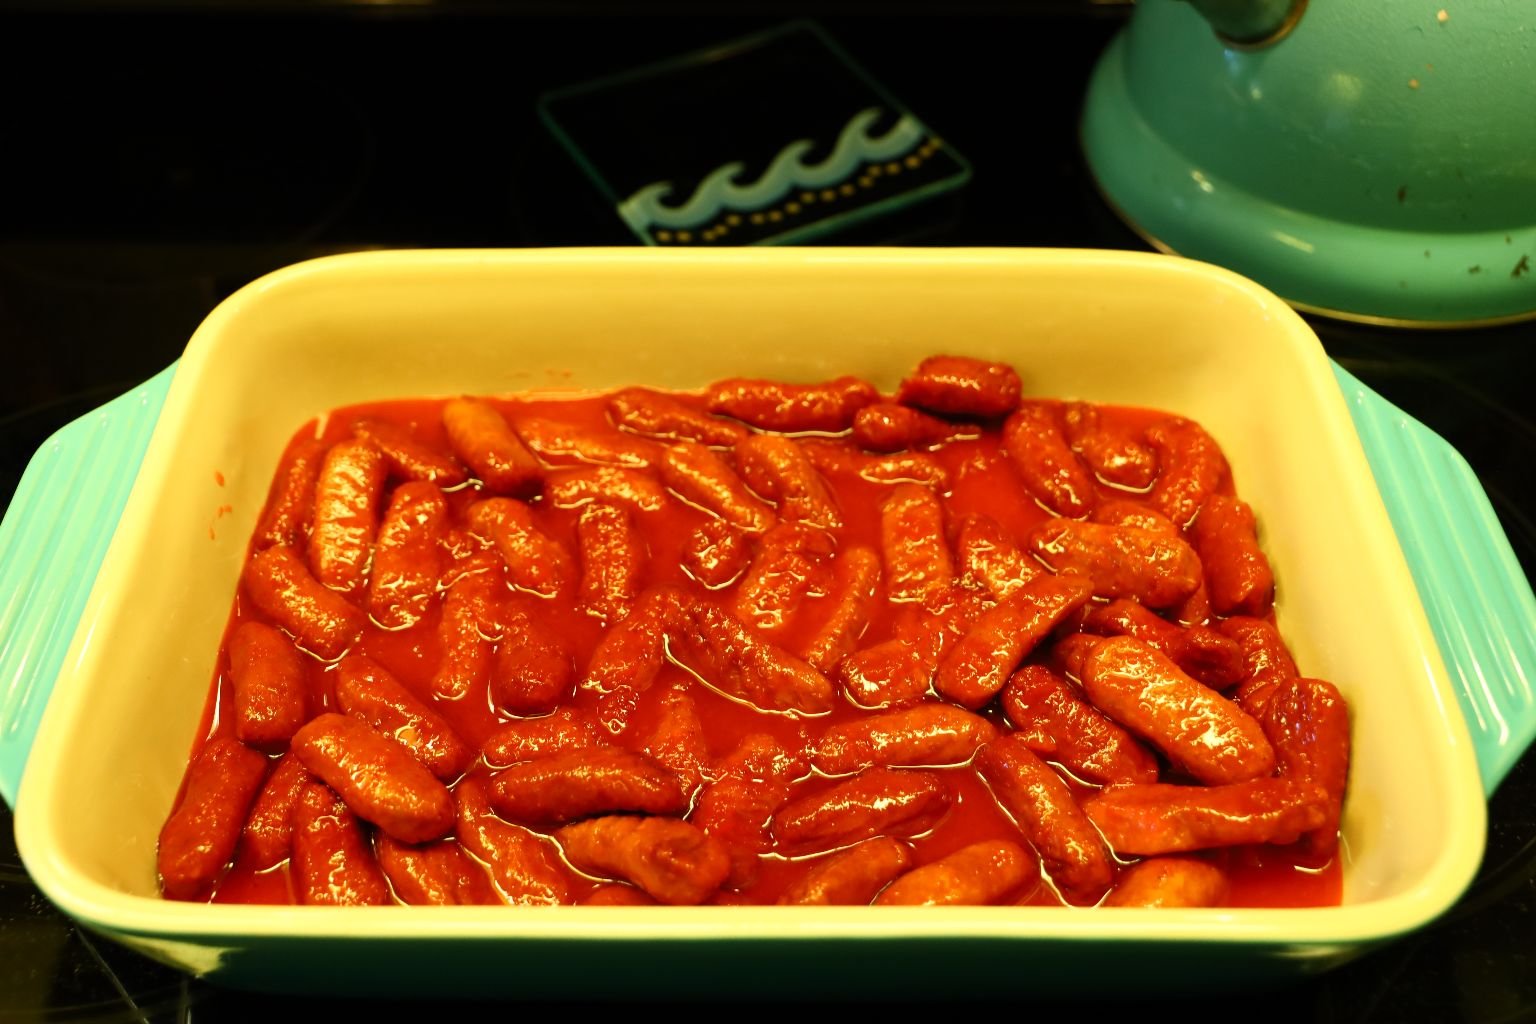
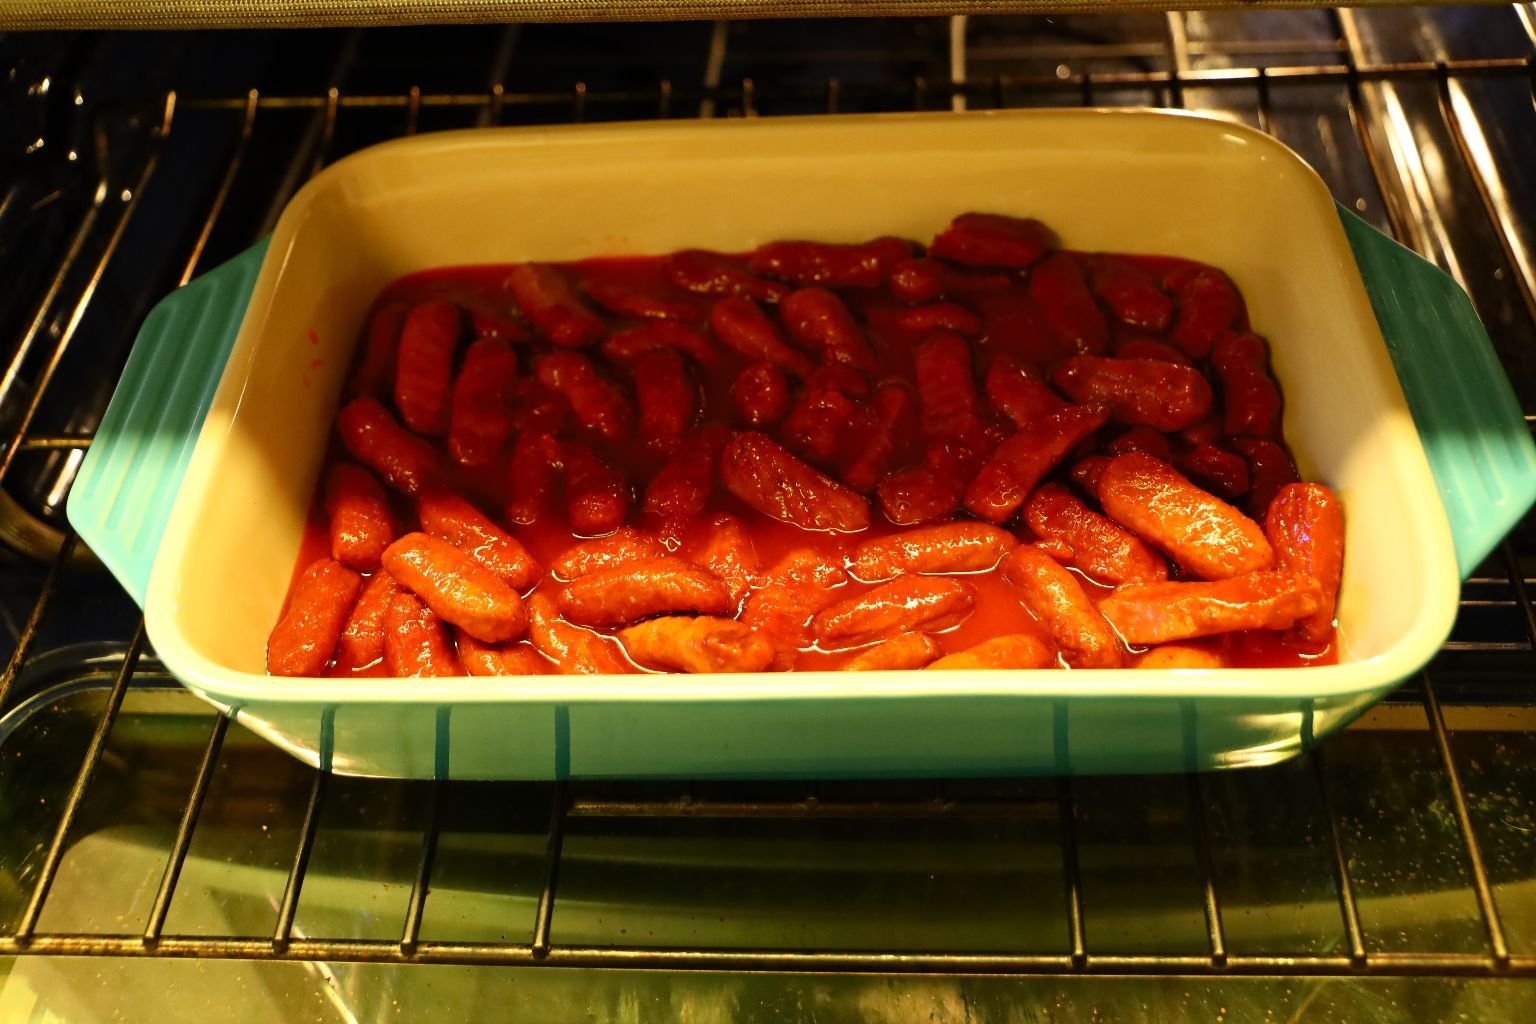
Place into the oven for about 30-40 minutes.
It really does depend on how your oven cooks. It also depends on how well you want the sausages cooked. We like them plumped and glazed a brownish color.
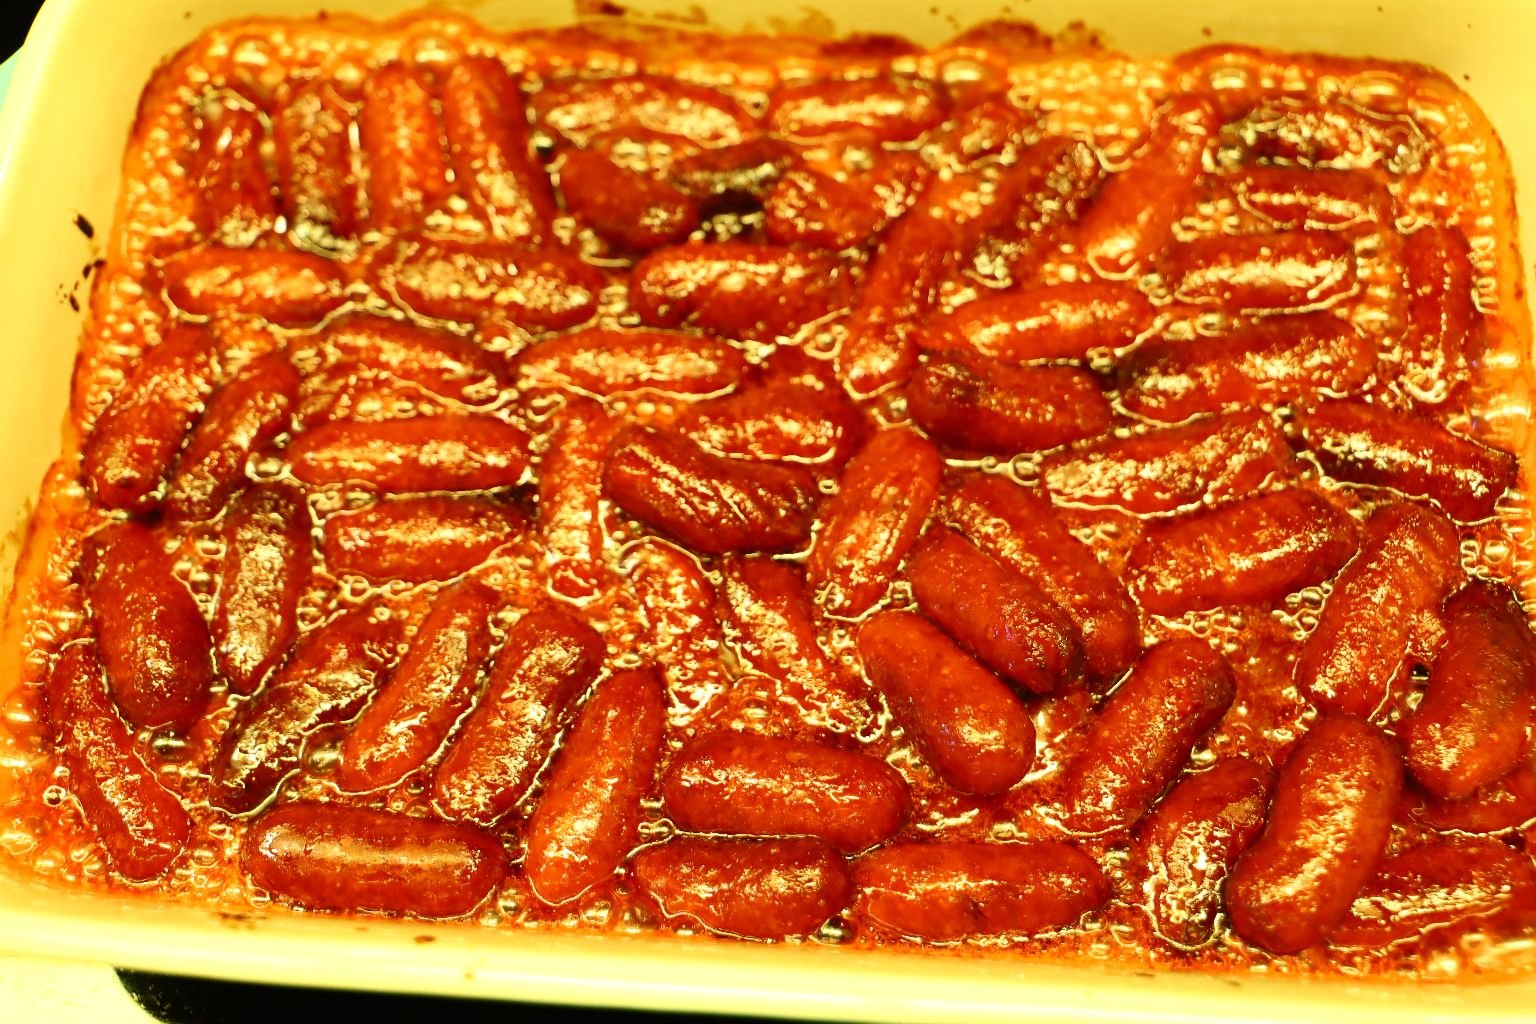
These are Perfect!
Decant into a lovely bowl and serve with some lovely cocktail picks.
—————————————————————

The Devil Made Me Do It Cheese Dip Spread w/ Julie’s Classic Jezebel Sauce
I am a big fan of anything cream cheesy that calls for crunch, spices, texture, and taste.
I do believe that I have found and created it here.
I also love that I am using our backyard red peppers and our herbs.
——————————————————————–

The Ingredients:
(This boils down to a matter of how much of this or that, that you may be interested in. I am just going to list a guide and you need to take it from there. Cooking is sometimes an experiment. Just taste as you go.)
2, 8 Ounce Cream Cheeses, softened
Chopped Onion
Tabasco Spicy Salt
Red Peppers Chopped, (also, reserve some to garnish.)
Whole Pistachios, or Chopped if you prefer.
And,
Julie’s Classic Jezebel Sauce
———————————————————

We are growing these peppers in our garden.
They aren’t hot, but they do have a little bit of heat to them, as we like.


In a mixing bowl place your softened Cream Cheeses.
And your Chopped Onions.


I then added some Pistachio Nuts, and some sliced Red Peppers.

I then decided that I wanted more.
As I said, this is up to personal tastes.
I also added some Tabasco Spicy Salt to taste.

I then needed a mold to place my Cheese Dip/Spread into.
The blue thing that you see above is the top of my butter dish.
I loved the shape of it and thought it would be great to create a cheese dip/spread into it.


I placed some Saran Wrap down into the mold first, and then I placed the Cheese Dip/Spread into the mold. I packed it down good and then I wrapped it up and placed it into the refrigerator for a day or two so that the ingredients could meld together. I also needed it to harden up.

This Tabasco Spicy Salt is Deliciously Perfect!
I would like to say that it is our secret ingredient here.

This was meant to be something romantic.
In bed, on the sheets, with wine, etc.

Eaten on a Cracker with the Cheese Spread and some of my Jezebel, with a sprinkling of Tabasco Spicy Salt.
Everything is Perfect!
——————————————————————–
Ham Steak With Forbidden Jezebel and Apples
——————————————————————
Our Baked White Acorn Squash

Roasted Acorn Squash seasoned with Pumpkin Spices.


Slice your Acorn Squash in half as shown.

Remove the seeds with a spoon or other device. You could bake the seeds separately if you wanted creating a great snack.


Line a baking sheet with some aluminum foil. Oil the skin side of the squash using some vegetable oil and a brush.


Turn the squash over and place 2 Tbsp. of butter in each cavity then add about 1 Tbsp. of your Pumpkin seasoning. (You can always just use the seasonal spices such as Cinnamon, Nutmeg, etc….
We just happened to have an excellent blend already on hand.

Roast the squash halves in a 400’F oven for about 5 min., then remove the squash and brush the butter and spice mixture over the top and inside of the squash. Then cook the squash for about another 25-30 min. or until tender. You can check this by piercing the squash with a knife. If the knife goes in easily, the squash is cooked.


Here I have removed the squash after the first 5 min. of cooking. You can see the butter melted nicely with the seasonings, making it easy to brush on.

Here is the finished product! 🙂
————————————————————————-


To cook your Ham Steak remove it from the plastic…

We used a cast iron skillet to cook it in while it is in the oven. Place some vegetable oil in the skillet and evenly coat it using a paper towel. Heat the skillet to medium high heat on your stove top. Heat your oven to 400’F.


Slice an apple of your choice into wedges as shown. Use a bit of lemon juice on the apple slices to prevent them from browning.


Pat the ham dry to help with the browning and when the skillet is smoking, place the steak in the pan as shown.

The ham should be sizzling from the heat.


Add your Forbidden Jezebel Sauce to the Steak…


and then add your Apple Slices around the Steak.
After About 5 Minutes….

Place the heated skillet into your oven for about 8 min. or until heated to your liking.


Here we removed the ham steak after 8 min. and then added more Jezebel sauce to the steak.


Now turn your broiler on to high and place your ham under it until browned to your liking.
It took about 3-4 min.
Jezebel Ham Steak and Jezebel Movie
———————————————————————
Pan Seared Chicken Breasts with Latin Jezebel Sauce
With Stuffed Jalapeno’s and Roasted Vegetables
———————————————————————-
———————————————————————

Ingredients:
1 Box Zatarain’s Yellow Rice
Chicken Broth – Enough to cover the rice by 1 inch
8 Small Cauliflower Florets
8 Small Broccoli Florets
6 Chicken Breasts
9 Heaping Tbsp. Julie’s Latin Jezebel Sauce
9 Large Carrots – Hasselback Sliced
13 Tomatillos – Sliced in half
2 Red Bell Peppers – Sliced in long strips
2 Orange Bell Peppers – Sliced in long strips
8 Jalapeno Peppers – Sliced in half
8 Red Chili Peppers – Sliced in half
2 Small Tabasco Peppers – Sliced in half (Or Bird’s Eye Peppers)
3 Key Limes – Sliced in half
3 Tbsp. Olive Oil
2 pkgs. Cream Cheese – Room Temperature
1 Tbsp. Chili Powder
1 Tbsp. Sazon Caliente Seasoning
10 Roasted Garlic Cloves
1 1/2 Tbsp. Chopped Chives
—————————————————————-


Using your rice cooker, pour in your Yellow Rice, Broccoli and Cauliflower heads then enough Chicken broth to cover the rice by 1 inch. This can be measured by using your index finger. The distance between the tip of your finger to your first knuckle is ~1 inch in length. Place the pot in your rice cooker, close the lid and turn it on.

Seasoned Skillets For the Chicken Breasts


Chop the ends off of your carrots then use a peeler to remove the outer skin of the carrot.

Our Tomatillos


Use a sharp knife to make the 1/8 inch slices 3/4 of the way through the carrot.


Here is a great shot of the Hasselback slices in the carrot… Nice job Julie! Place the sliced vegetables into a large roasting pan. Slice the Tomatillos in half and place them in the pan as well.


Slice the Bell Peppers in half, remove the seeds then slice them into 1/2 inch strips and place them in the pan.


Slice just the Jalapeno Peppers 1/3 side off and remove the seeds, but leave the stems on. Slicing it this way will allow room for the peppers to be stuffed with the Cream Cheese mixture.
————————————————————–
Making Our Cream Cheese Stuffing


Place your room temperature Cream Cheese into a medium sized bowl. If not at room temperature, let the Cream Cheese sit in the bowl until it is at room temperature.


Pictured are the peppers with the seeds removed. Add the thin pepper sides to the roasting pan. Slice the Key Limes in half and add them to the pan.


Slice your Tabasco Peppers (or Bird’s Eye Chili Peppers) into a fine chop.


Add the peppers to the Cream Cheese.
This will give it some excellent heat, but not too harsh.

Pictured are the Hasselback Sliced Carrots, the sliced Tomatillos, Whole Chili Peppers, Sliced sides of the Jalapeno Pepeprs, Red and Orange Bell Peppers, and sliced Key Limes.


Now For Our Spices

Add your Chili Powder and Sazon Seasonings to the room temperature Cream Cheese and Tabasco Peppers.


Our Roasted Garlic That We Roasted in Butter for 45 Minutes the Day Before


Now add your Roasted Garlic Cloves to the Cream Cheese mixture.


Then add your chopped Chives to the bowl.
We had some leftover from our garden already chopped and in our fridge.

Use a large fork to mix all the ingredients as shown.


When thoroughly mixed, use the fork to stuff the Jalapeno and Red Peppers.


————————————————————-


Add your Olive Oil to the roasting pan vegetables and…

use your hands to mix the vegetables in the oil.


—————————————————————————

Our Chicken Breasts
———————————————————————-


Our Vegetables Are Ready For The Oven
Place Into a Pre-Heated 400’F Oven to Cook for About 30 Minutes

———————————————————————–


Rinse, then dry your chicken breasts to remove any old blood or bone fragments. It is important that your chicken is dry as you don’t want to steam your chicken from the excess water.


Place about 2 Tbsp. of vegetable oil into each of your cast iron skillets and turn your heat to medium high. Once the oil is just smoking, add your chicken smooth (Presentation) side down and don’t move it. TIP: You always want to cook the presentation side first, as that is the side you will place up on the plate, because it looks the best.

You don’t want to move the chicken as you are beginning to get those grill marks, or a nice sear.

Here you can just see the raised grill sections on this particular skillet.


Now, turn the heat down to medium and simply let the meat cook.


Here you can see the beautiful color of the Jezebel sauce. The chicken will likely splatter, so be sure you use some type of lid or splatter screen.


After about 6-8 min. just lift up a section of one breast to see how far along the chicken has been cooked. Here you can see the great grill marks this type of pan will put on the chicken. Looking at the side of the breast, you can also begin to see the pink uncooked color of the chicken begin to turn white. Once the white gets to the half way point, you need to turn the chicken over.

Now, spoon some Jezebel sauce over the chicken as shown.


————————————————————-


—————————————————–


Do this over all of the breasts.

Place both your skillets into a 400’F pre-heated oven.


We did this in our upper oven, because it has the broiler feature which we will use later.
————————————————————-

When the vegetables are at the doneness you like, remove them from the oven.

Here you can see the stuffed peppers were just beginning to brown.


Remove your rice with Broccoli and Cauliflower and place it in a large bowl.


Transfer The Roasted Vegetables To The Serving Bowl
Here I am adding some of the Jezebel Sauce to the stuffed peppers.

Here I let the chicken breasts cook in the oven for about another 8 minutes. The breast should reach an internal temperature of ~160’F which you can check with your digital thermometer. Then to get that grilled look, I broiled them just until the chicken began to char.


Let the chicken rest for about 10 min. to let the juices return to the inside of the breast which will finish cooking the meat internally, bringing the internal temperature of the chicken to 165’F.


Our Roasted Vegetables and Rice With Vegetables

Our Chicken Is Ready

Lastly, add the chicken to the bowl.


Here, I am plating our wonderful meal.


———————————————————————-


I also spooned some of the pan juices over the meat and rice as our Jezebel Sauce is great on everything!

All the bright colors of this food made the plate look amazing!
I hope you enjoy these recipes as much as we did.
————————————————————-
Don’t Go Away Yet!
More Recipes For Y’all!
Our Roasted Bells, Onions, Peaches, and Cantaloupe
In Julie’s Georgia Peach Jeze-Bells Sauce
——————————————-

Because the base of my Georgia Peach Jeze-Bells Sauce recipe from above, has Bell Peppers and Peaches in it, I wanted to create a recipe that mirrored that. So, here it is! You can add or subtract whatever you like. This recipe is very easy and tasty.
The amounts are up to you. This is a roasted dish.
Ingredients:
Bell Peppers
(We used Red, Orange, and Yellow)
Onions (We used Yellow)
Peaches
(We used canned because fresh were not in season)
Scoops of Cantaloupe
And a nice dousing of Julie’s Georgia Peach Jeze-Bells Sauce
——————————————————–


Everything will be cut for a roasting pan so make the bites as large or as small as you like.
Here Gordon is slicing the Bell Peppers and then placing them into a bowl.

——————————————————————-


This is why I had Gordon do the slicing. The onions needed to be cut in such a way as not to fall apart too much. I wanted them in wedges and he can do a much better job of chopping than I can. 🙂


I wanted fresh peaches but none were to be found this time of year, so we opted for canned instead.
They worked out fine.

Into The Bowl They Go


I guess you can see that I also had Gordon to remove the seeds from the Cantaloupe for me and even scoop out the fruit. 🙂


Gordon Removing the Cantaloupe with a Melon Baller

With Everything in the Bowl, Time to Pour Over my Jezebel Sauce

Mix Together

Now place some Aluminum Foil on a Baking Sheet and use a Cooking Oil Spray to Grease.


Now Turn Out the Ingredients onto the Baking Sheet

Place Into a 350F Oven for 20 Minutes to Start

Like So


Then remove from the oven and stir around. If you notice there is a lot of liquid in the tray in the photo top left? It releases from the vegetables and fruit. So, just take over to the sink and pour some of it out.
Then, place back into the oven for an additional 15-20 minutes.


Now, It’s Ready
(If you like yours more charred then keep in the oven longer.)

Place Into a Lovely Bowl or Platter

————————————————————————
Glazing a Ham

Baked Ham With Julie’s Southern Georgia Peach Jeze-Bell’s Sauce
Here I am adding it to this delicious ham.


The ham that I am using here is already cooked through. What I want to do here is to glaze it with my Jeze-Bell Sauce. So, I placed the oven on 300F and when it came to temperature, I placed it in the oven. But first, I slathered it with my Jezebel Sauce.
I cooked this ham 30 minutes while continuing to glaze it with my sauce.
It looks delicious, doesn’t it?

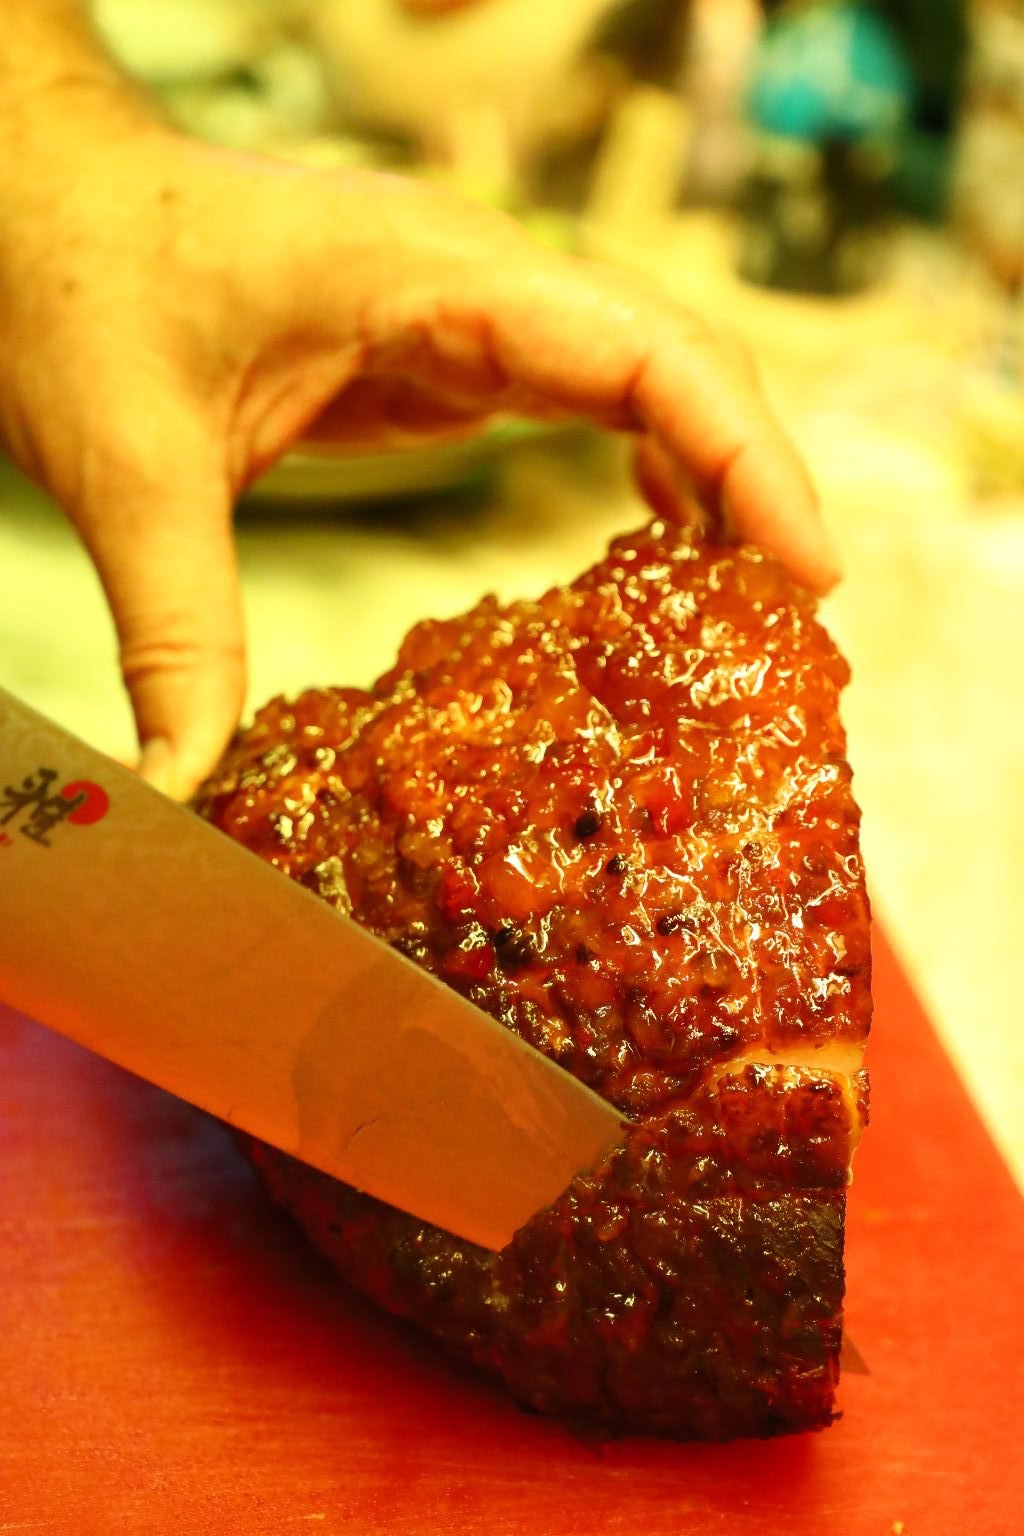
Here Gordon is Slicing it Once it is Cooled

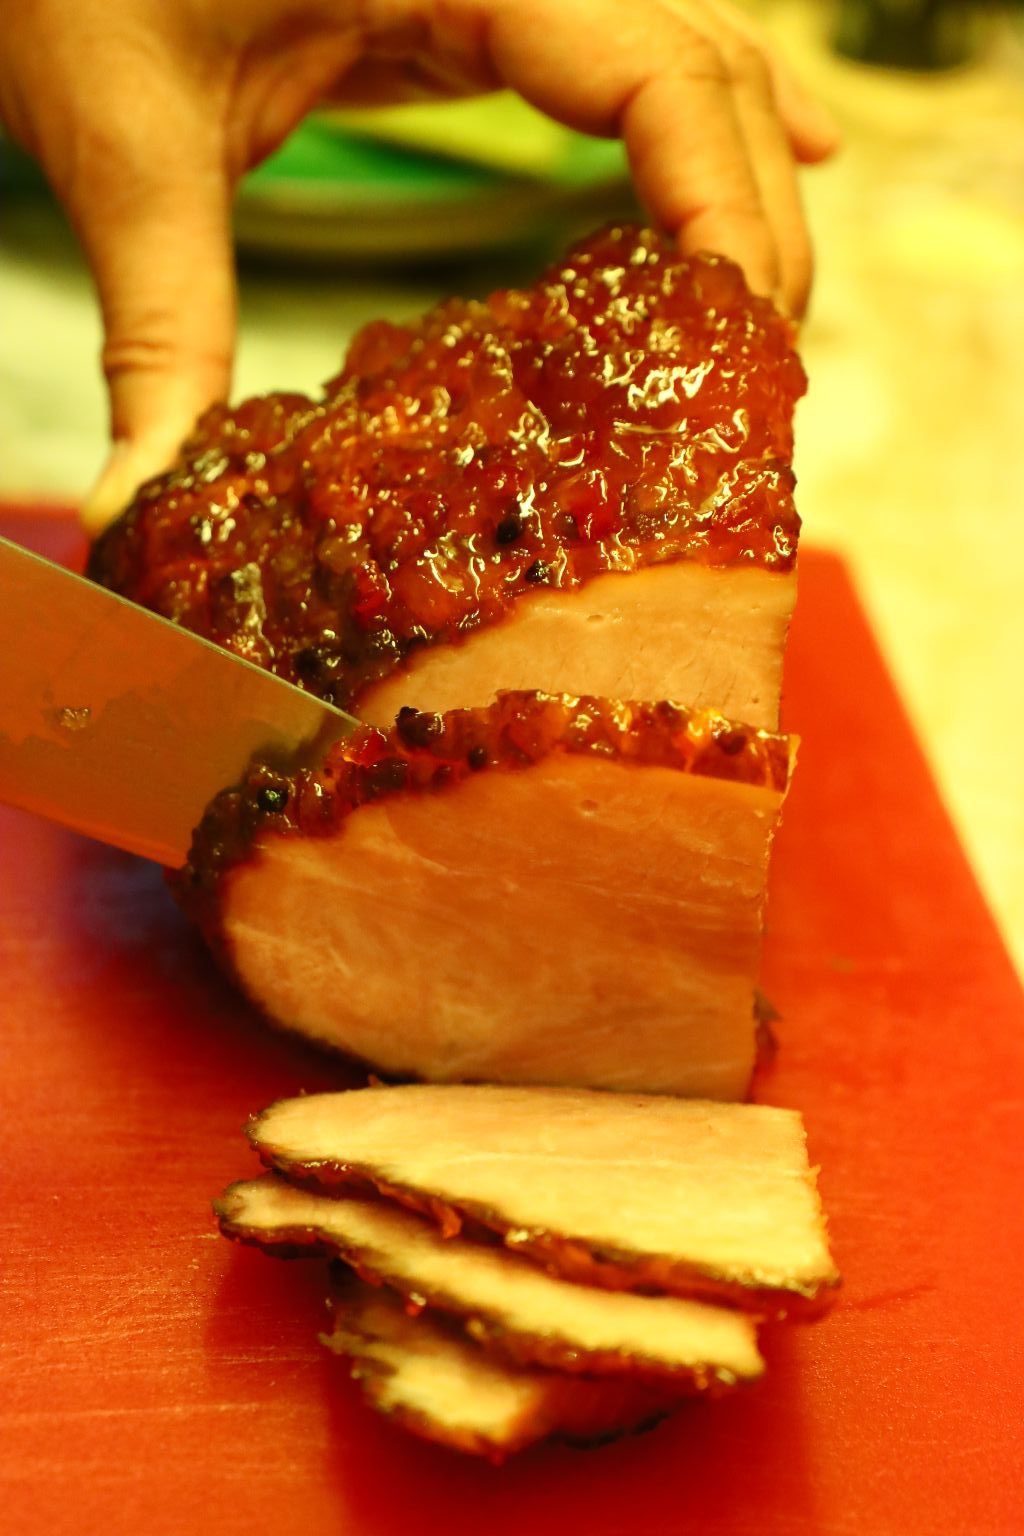
————————————————————————-

———————————————————–
Eat up y’all!
Julie and Gordon

Mele Kalikimaka, 2020 me ka Hou’oli Makahiki Hou! ———————————————– Our Tropical Hawaiian Cranberry Sauce Canning and Christmas While Undergoing Home Renovations We Still Managed to Have a Nice Kalikimaka All of my Poi Balls (I made them myself 23 years ago …

Spicy Hot Mexican Cranberries Regalos Comestibles (Edible Gifts) We made a similar Cranberry Sauce last year for our Feliz Navidad. Click Here For: Feliz Navidad a Casa Whann You can find the recipe for our 2019 Cranberries on that …
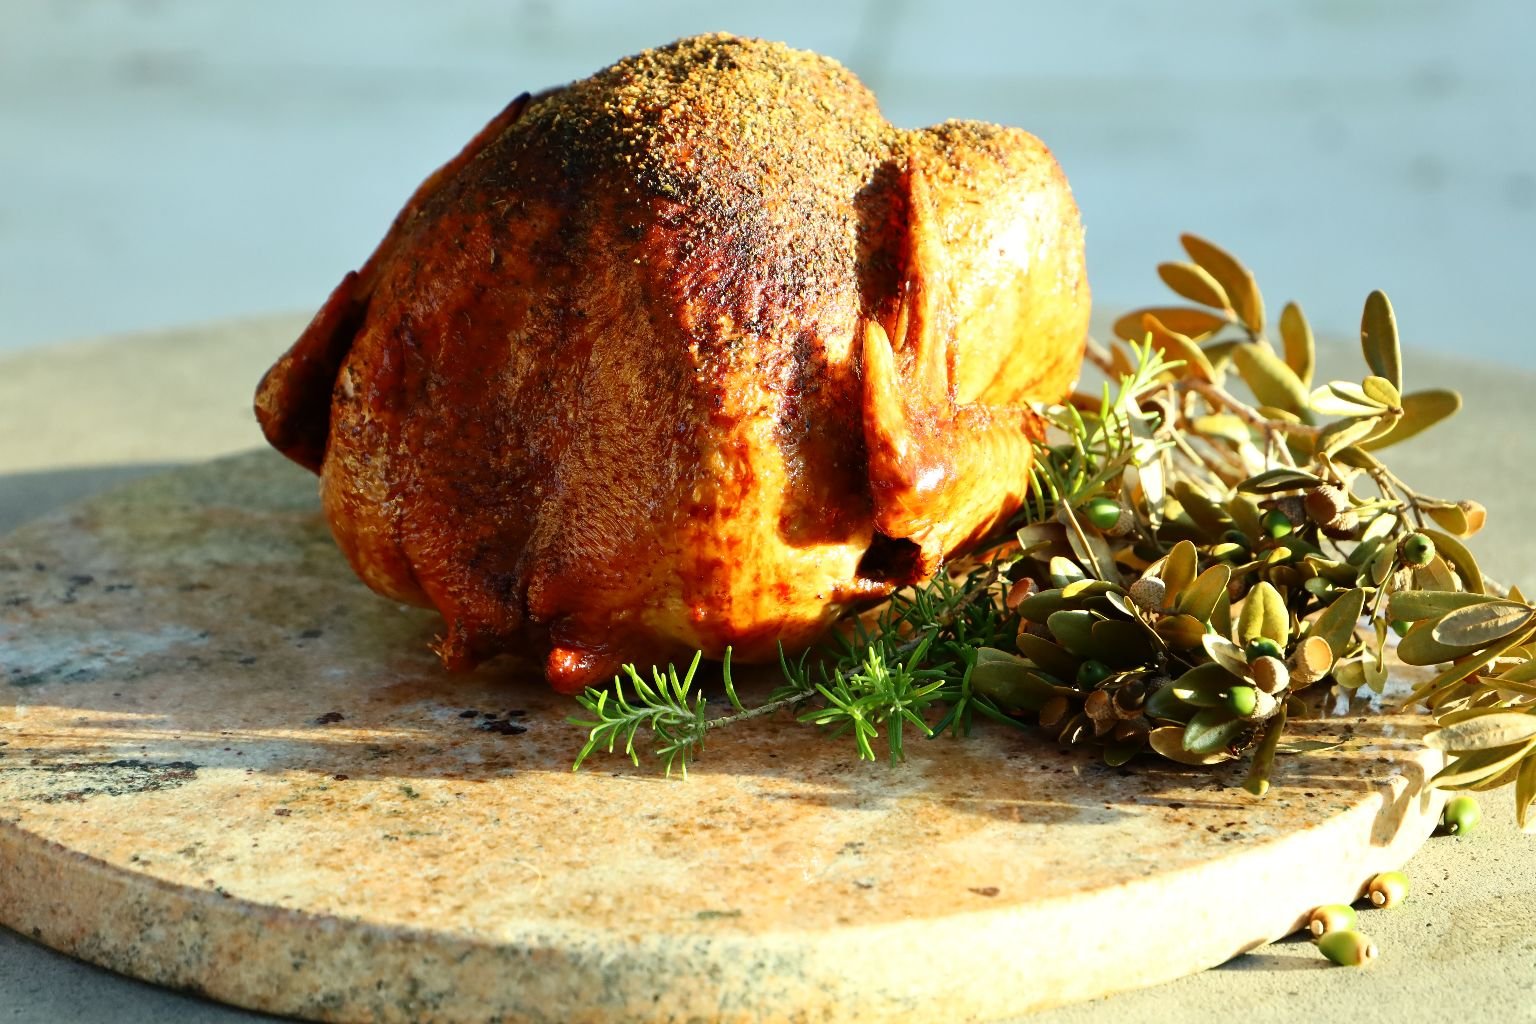
THANKSGRILLIN’
2020
Welcome to our Home Renovations Thanksgiving
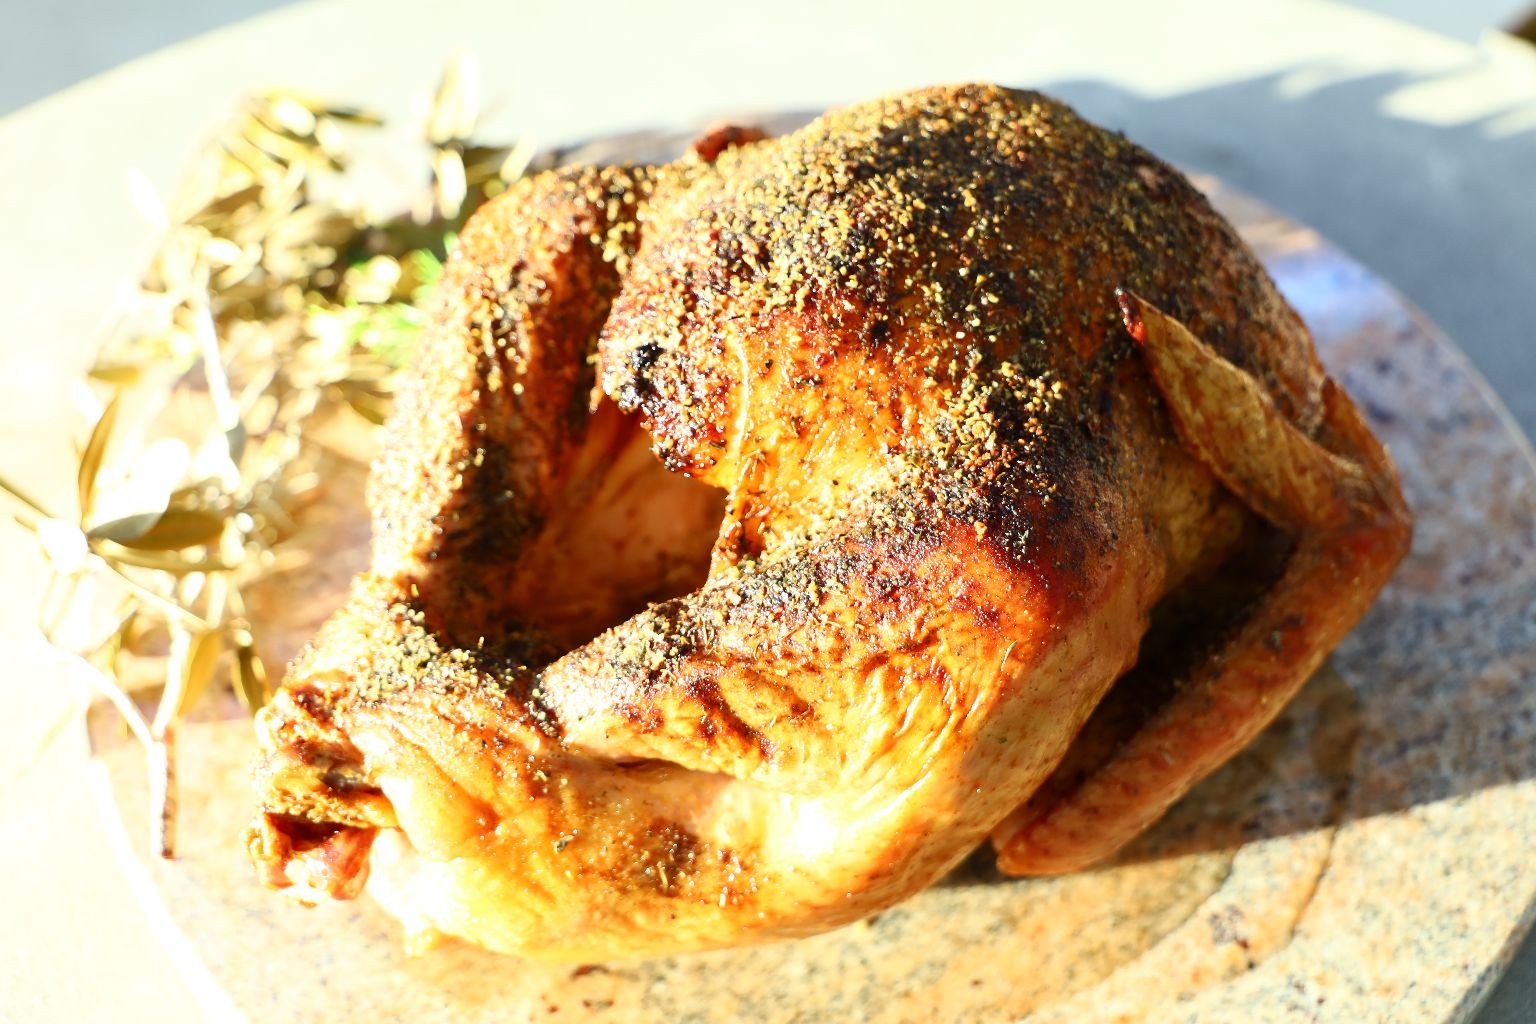
A.K.A. Our Thanksgiving During our Home Renovations
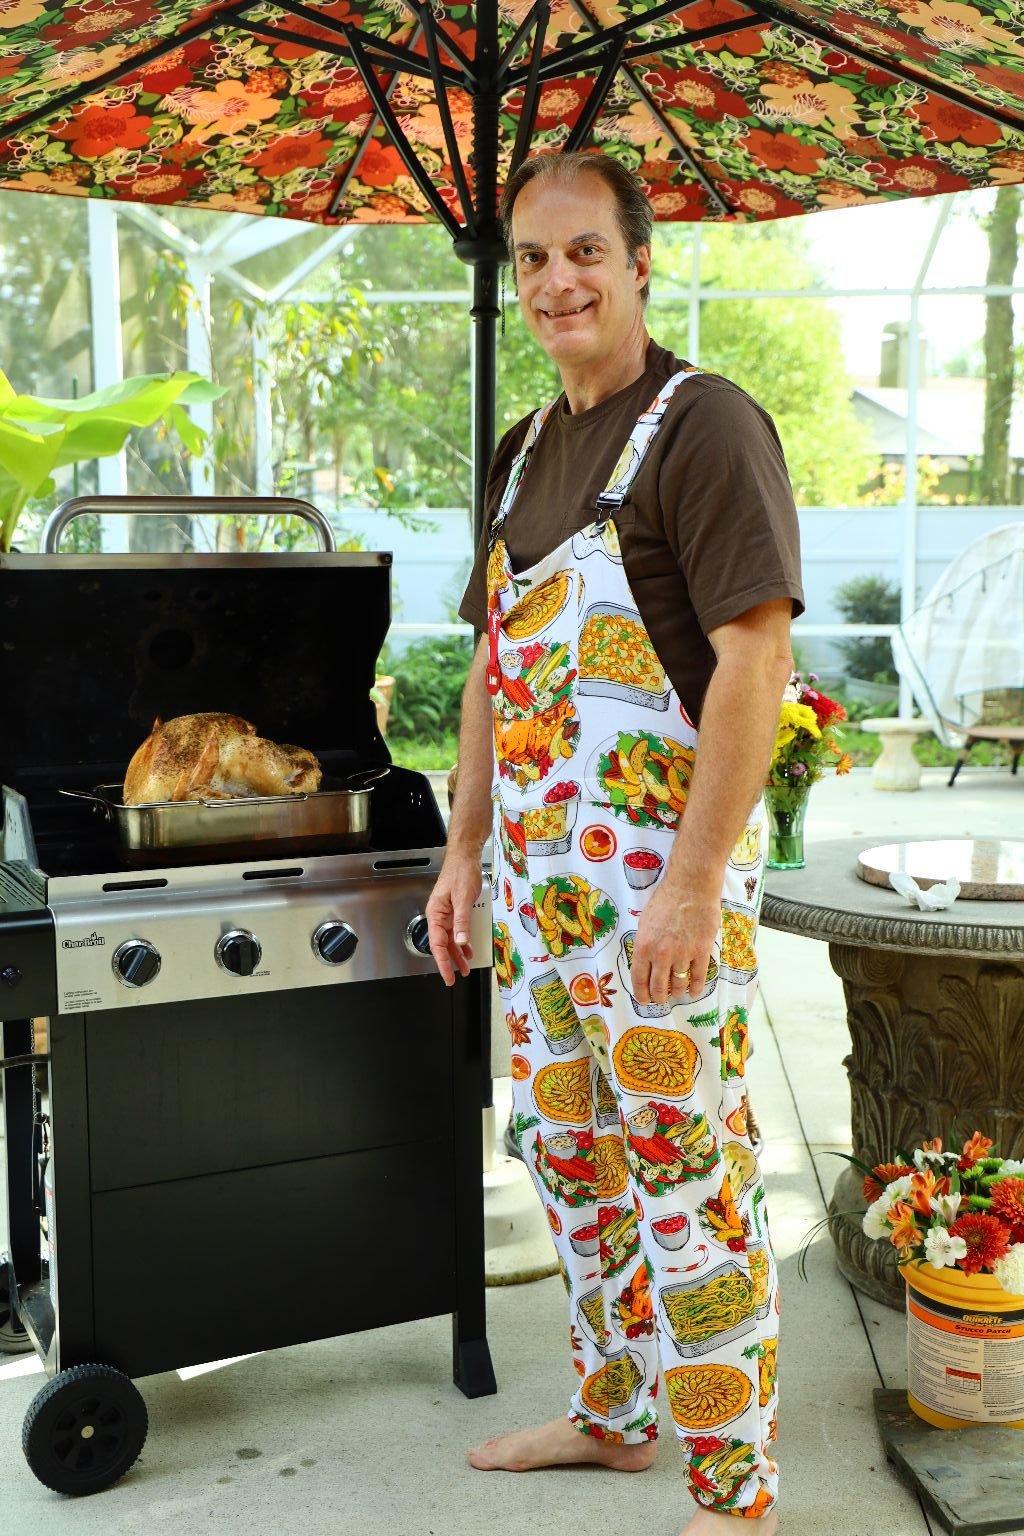
With our kitchen under construction, it fell to the outside grill to deliver us our turkey from evil. (Or something to that affect.)
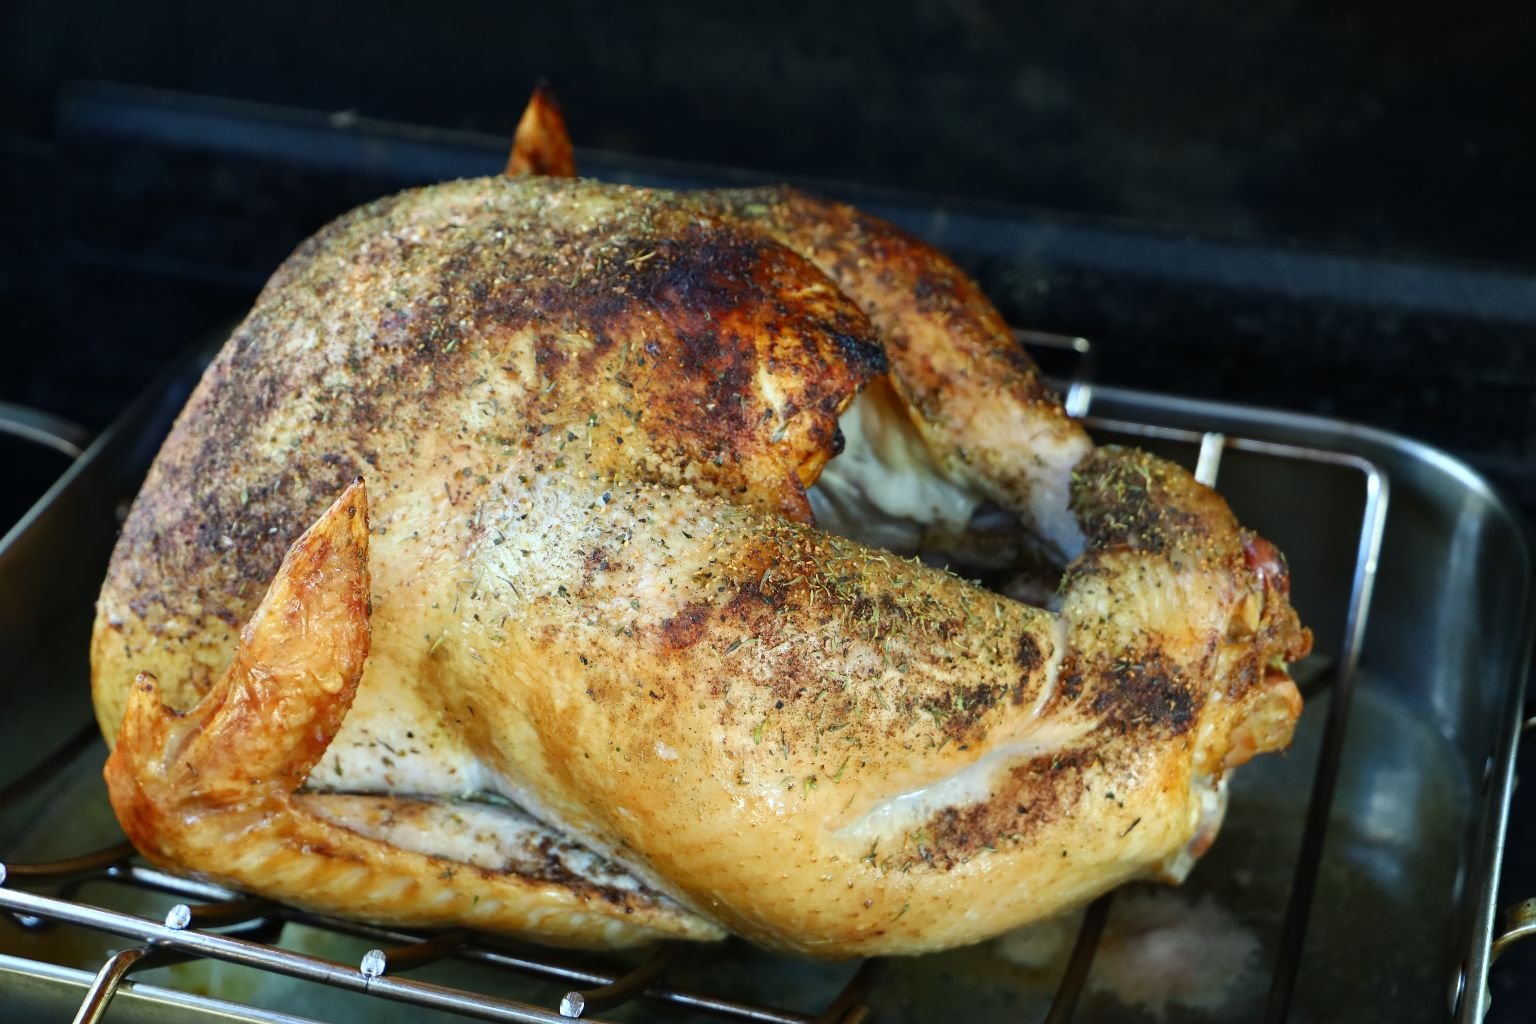
Check Out That Turkey!
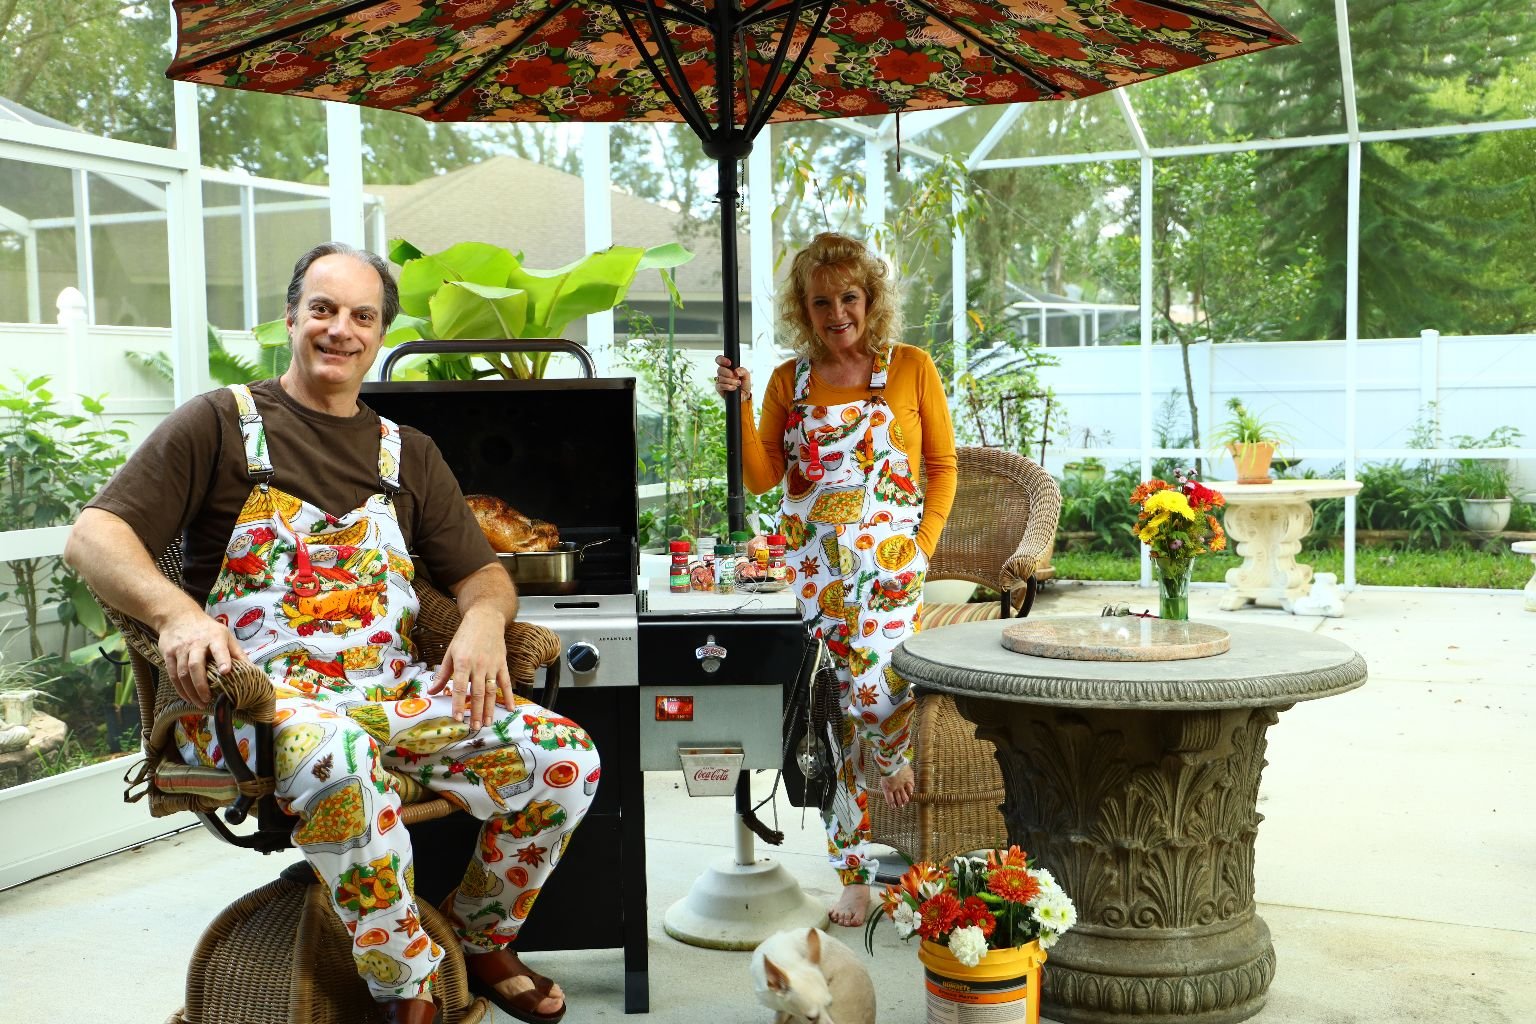
Check Out Our Matching Thanksgiving Pajamas
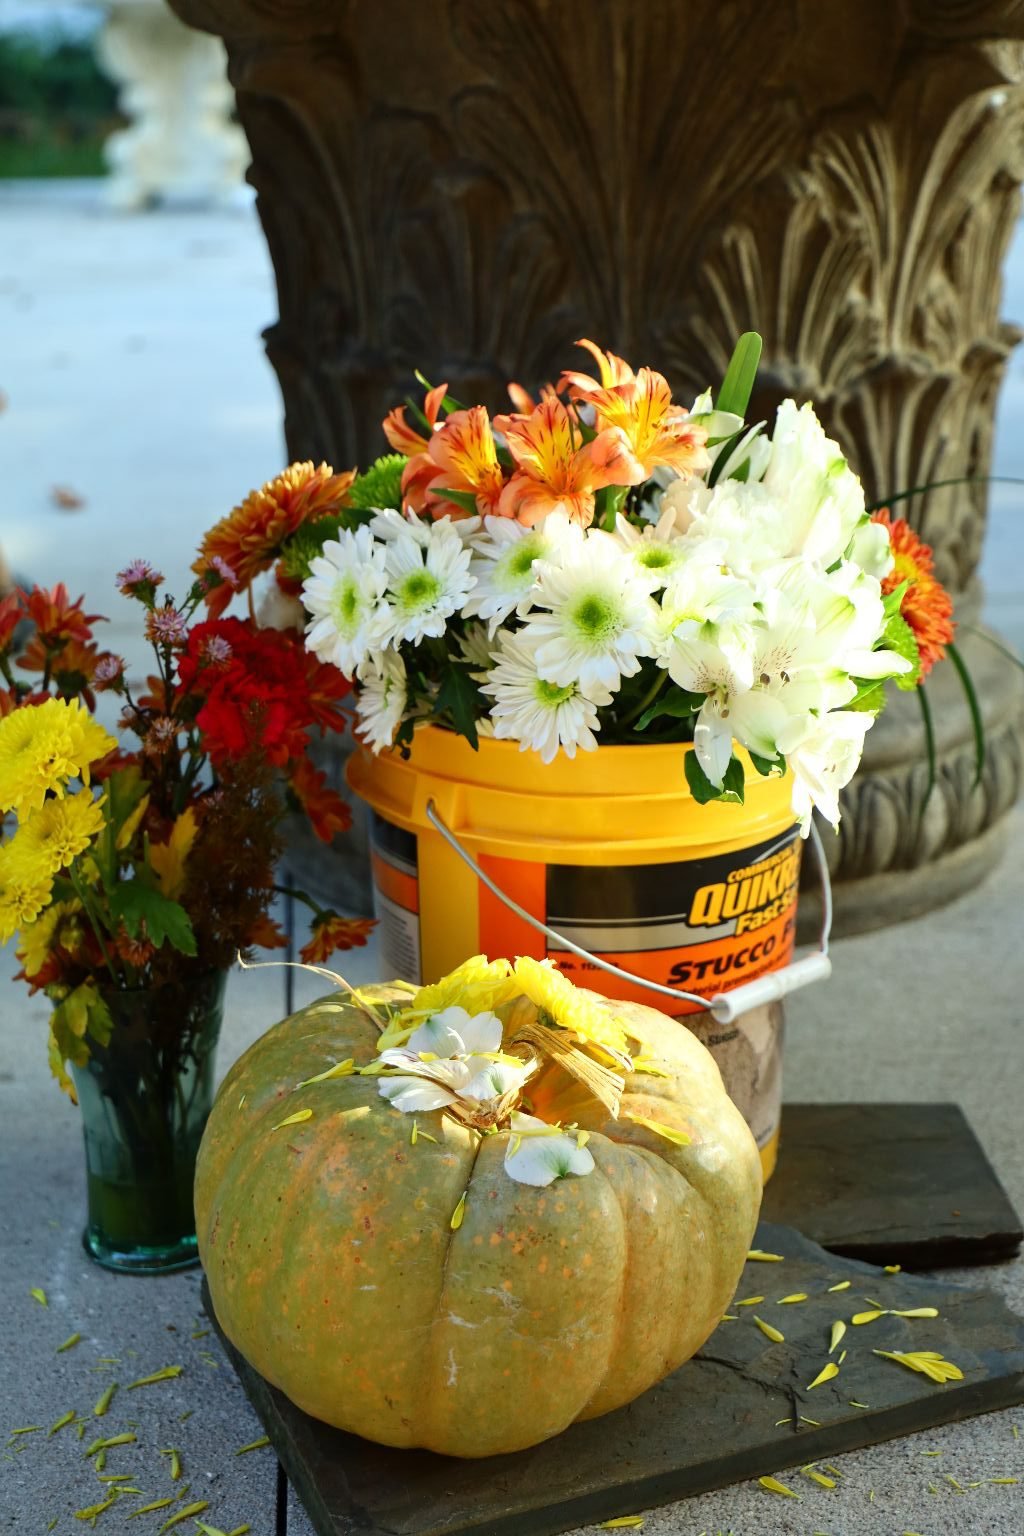
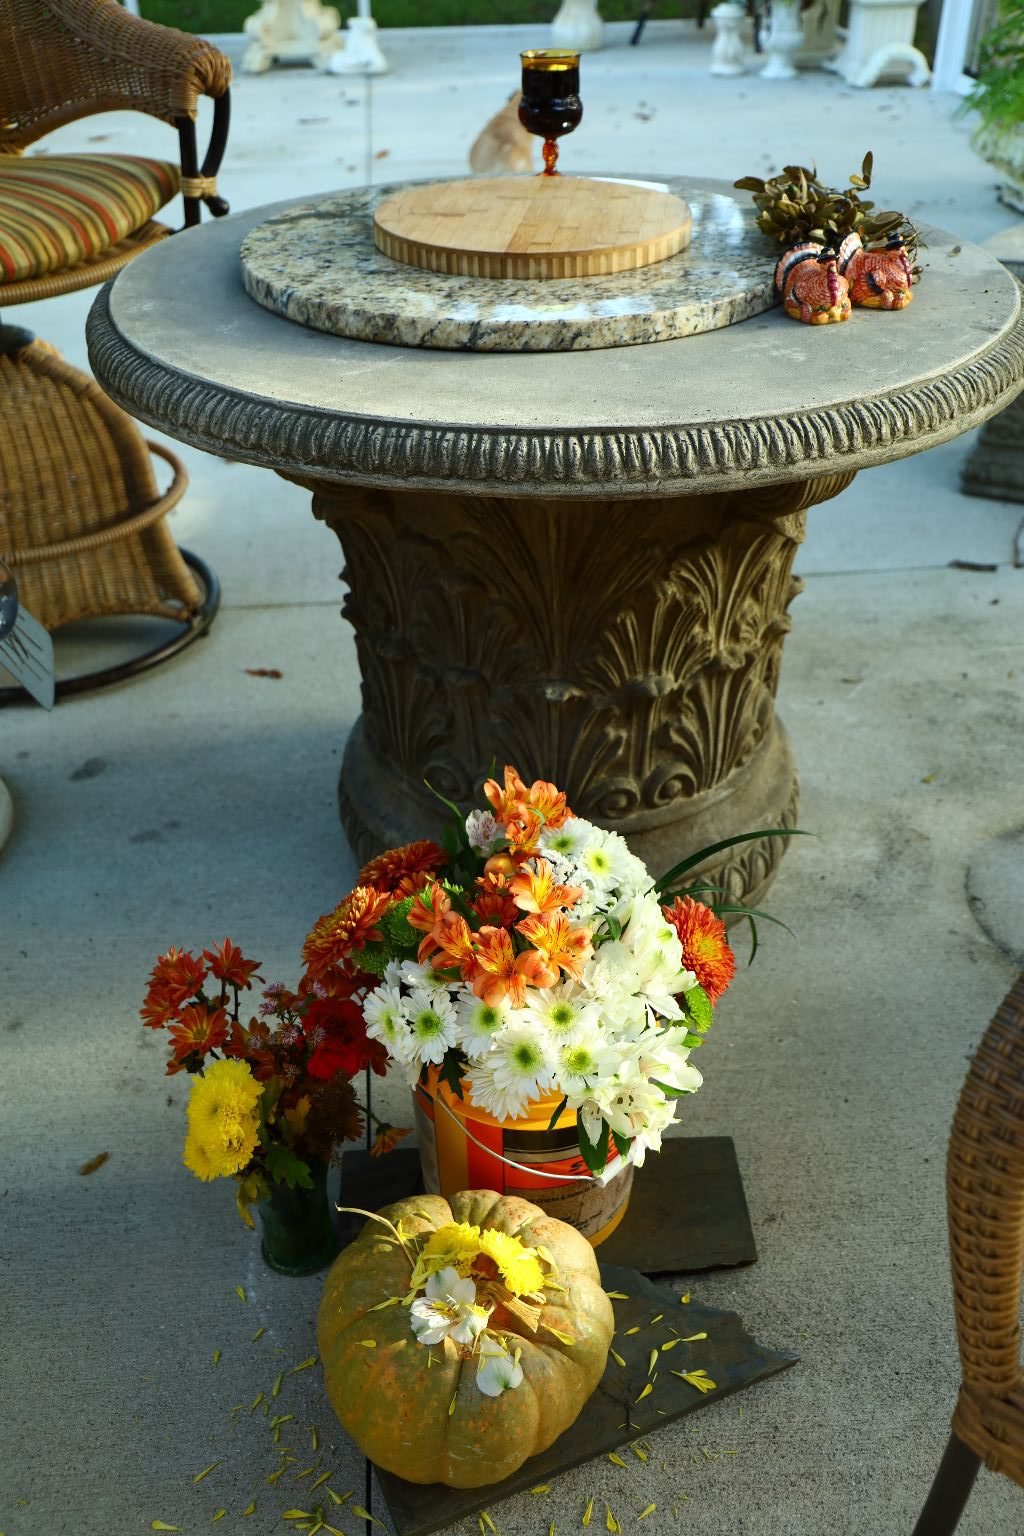
And Check Out The Vase I Used, A Bucket
—————————————————
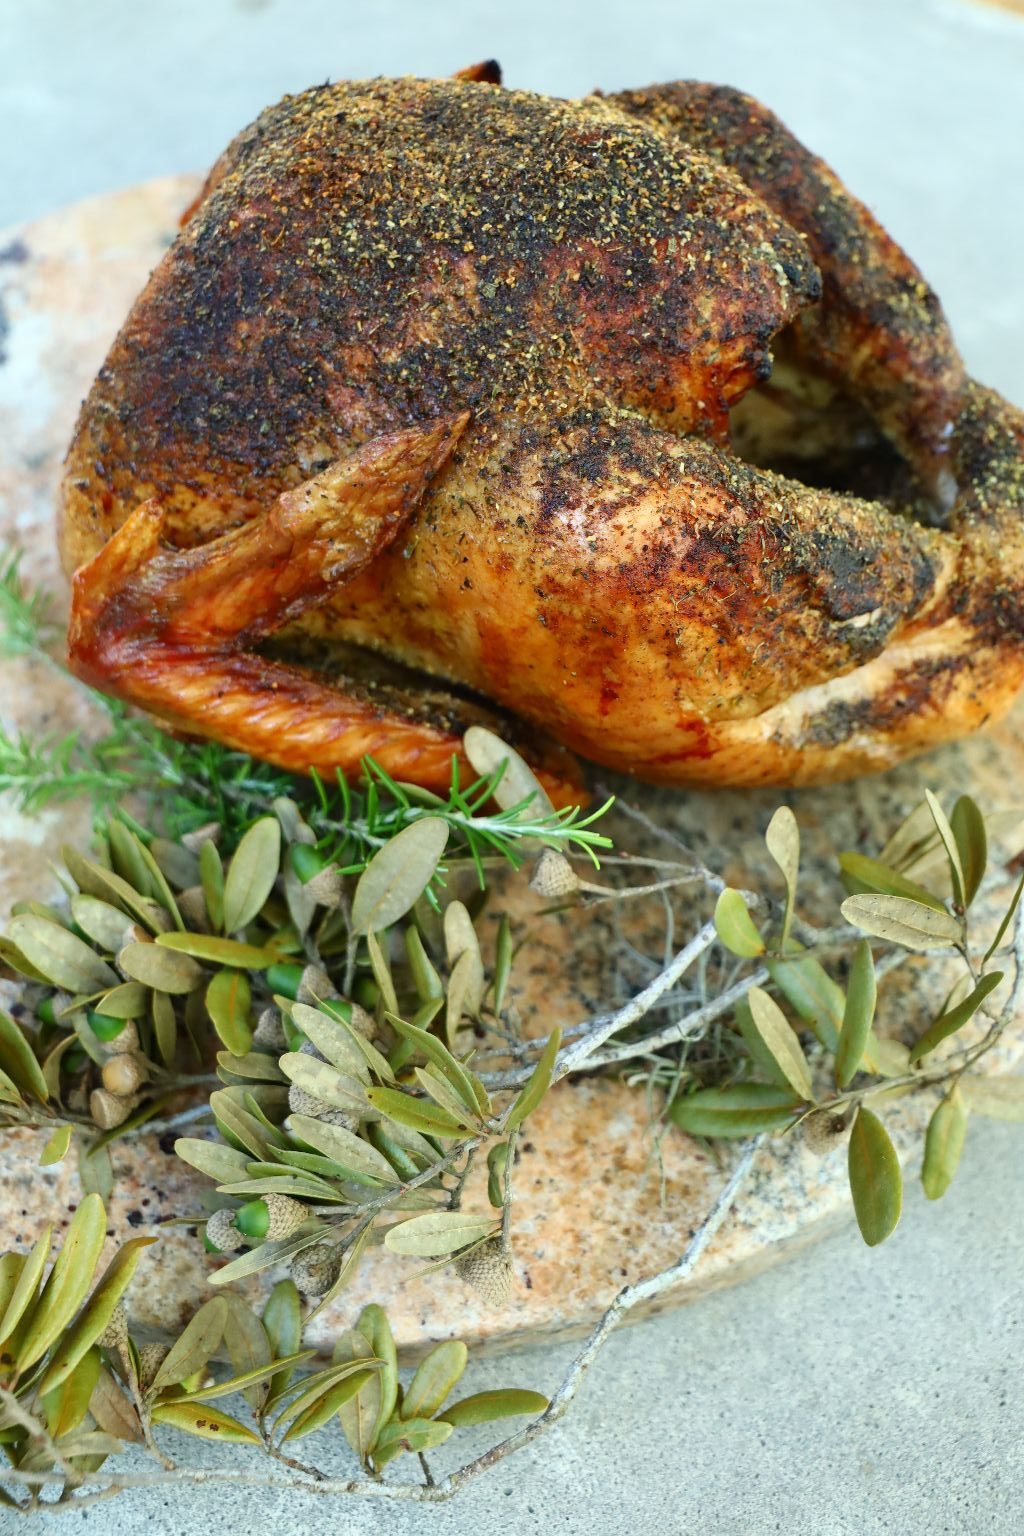
(Keep Reading for our Recipes)
—————————————————————–
We managed to fit in a lovely Thanksgiving in spite of our Home Renovations.
If you would like to take a look:
Click Here For: Our Home Renovations

———————————————————————————-
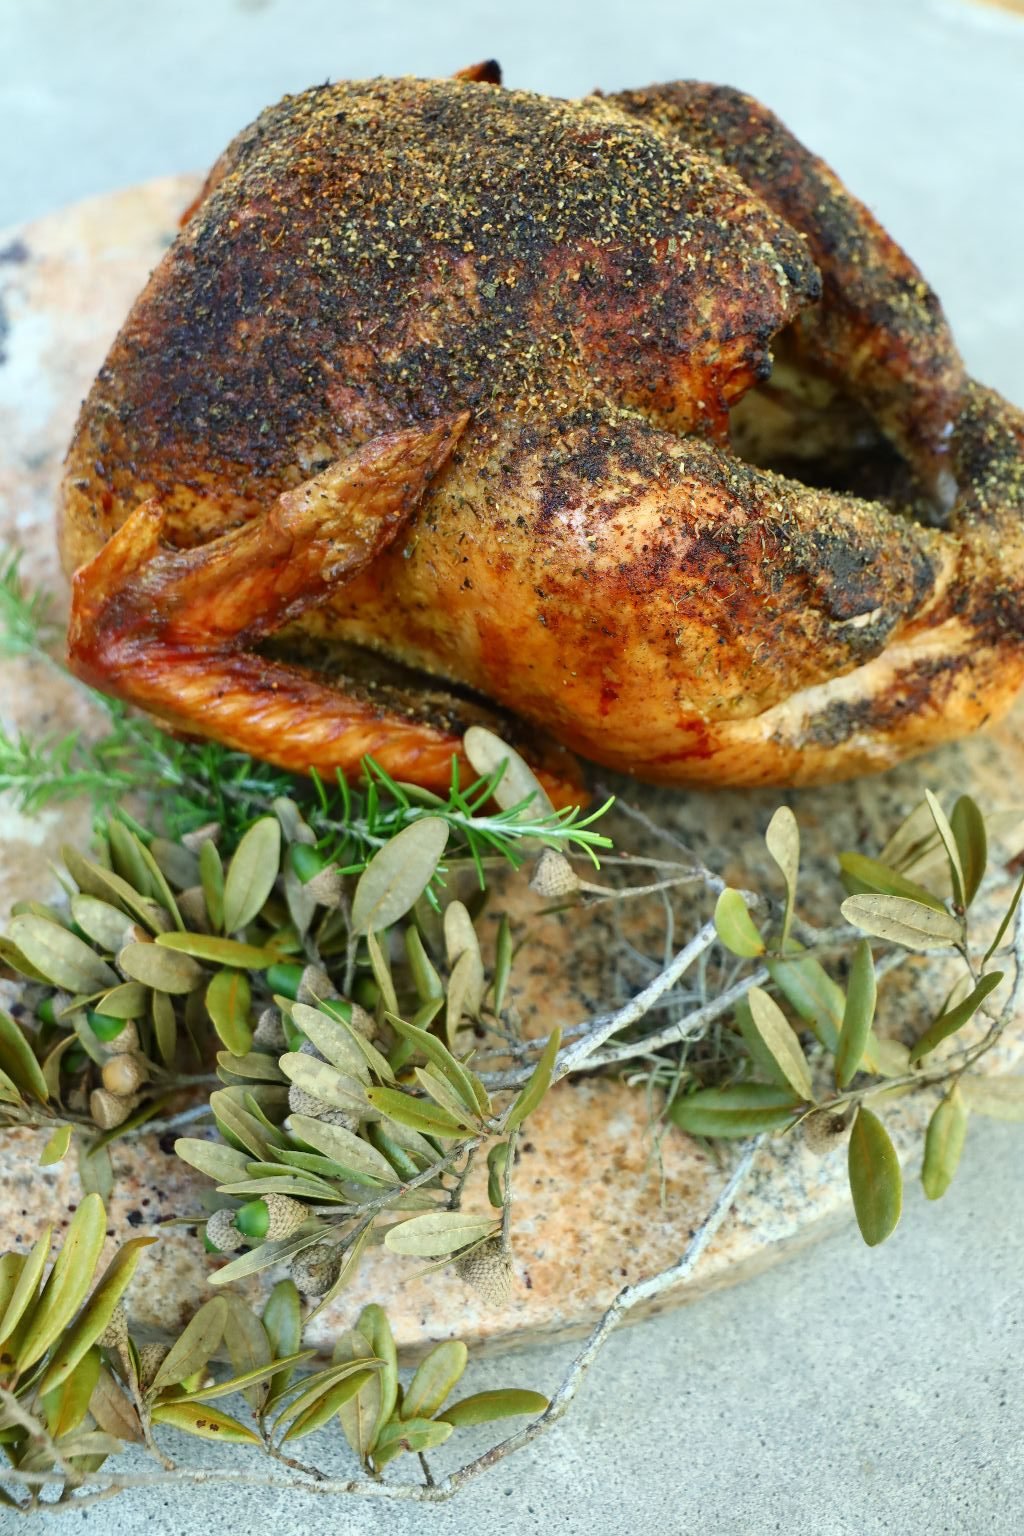
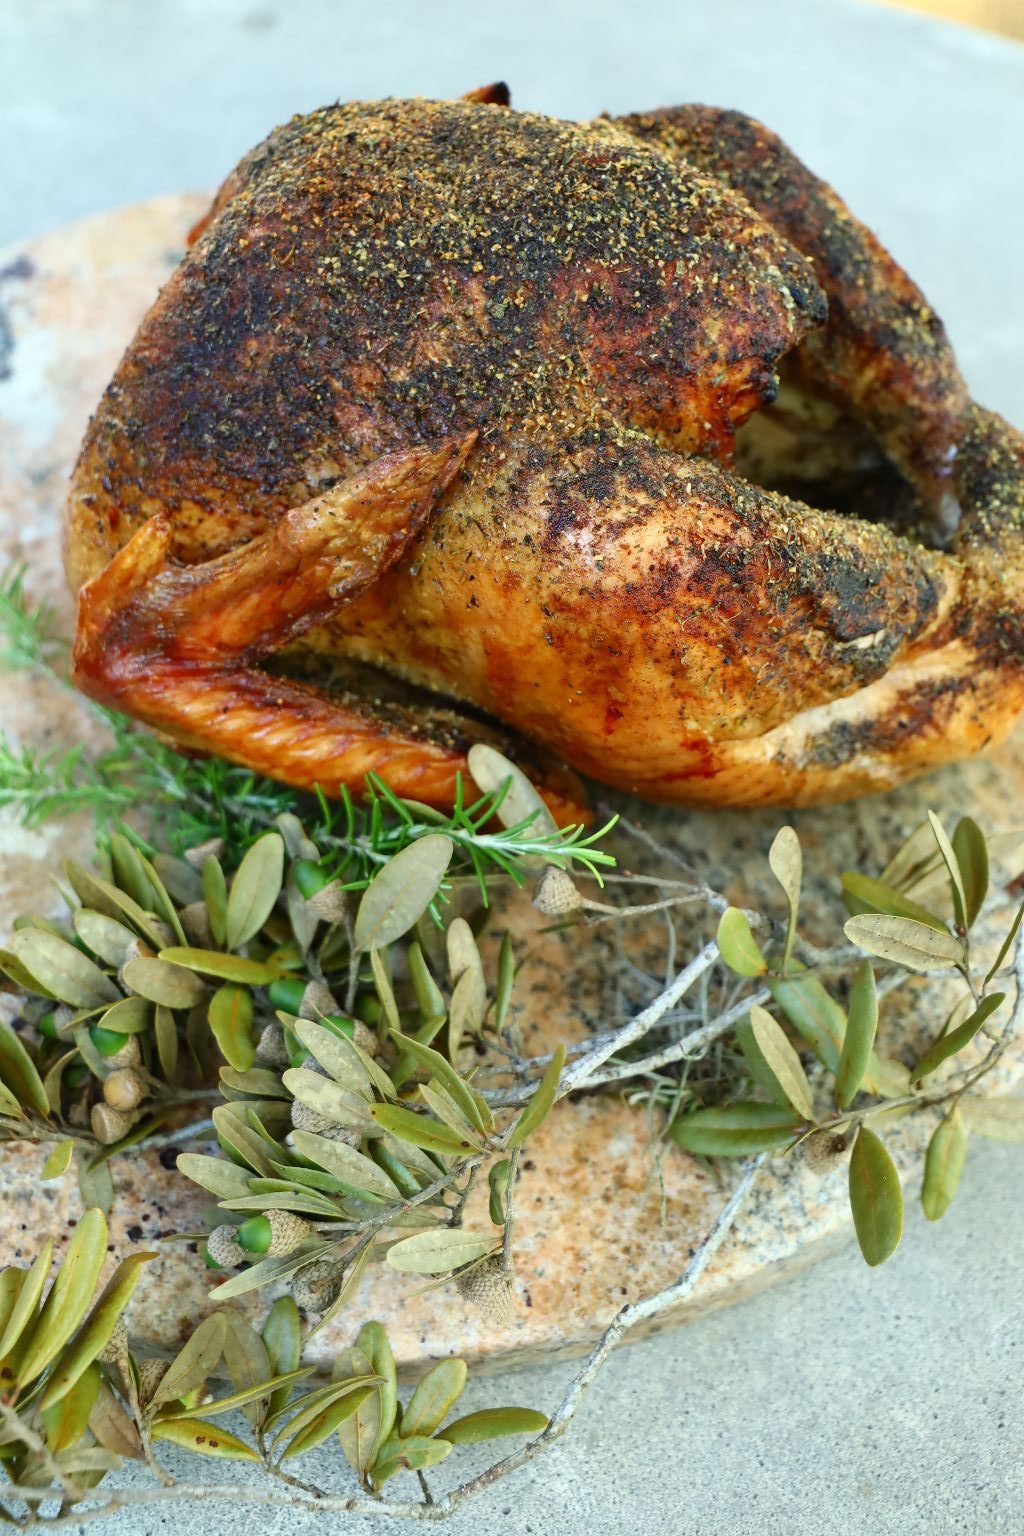
Our The Money Pit/Home Renovations Thanksgiving
We based this excellent Thanksgiving on the movie, The Money Pit.
(I realize this is probably the strangest Thanksgiving we’ve ever had, and you’ve ever seen, but here we go!)

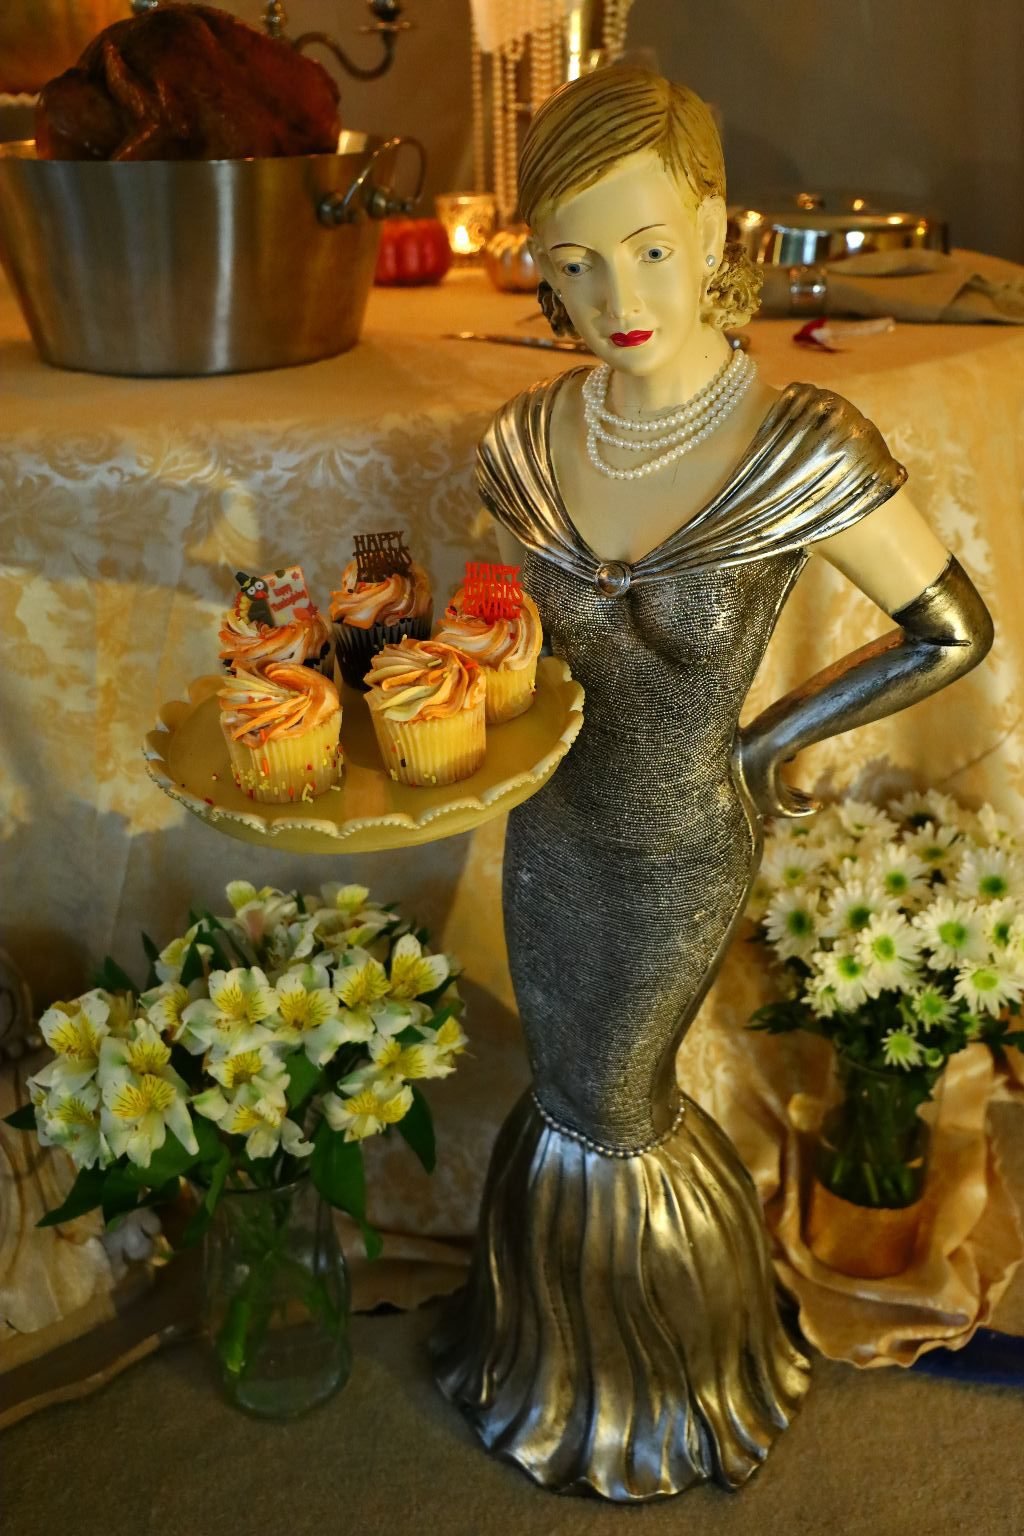
Mae Played a Very Important Role
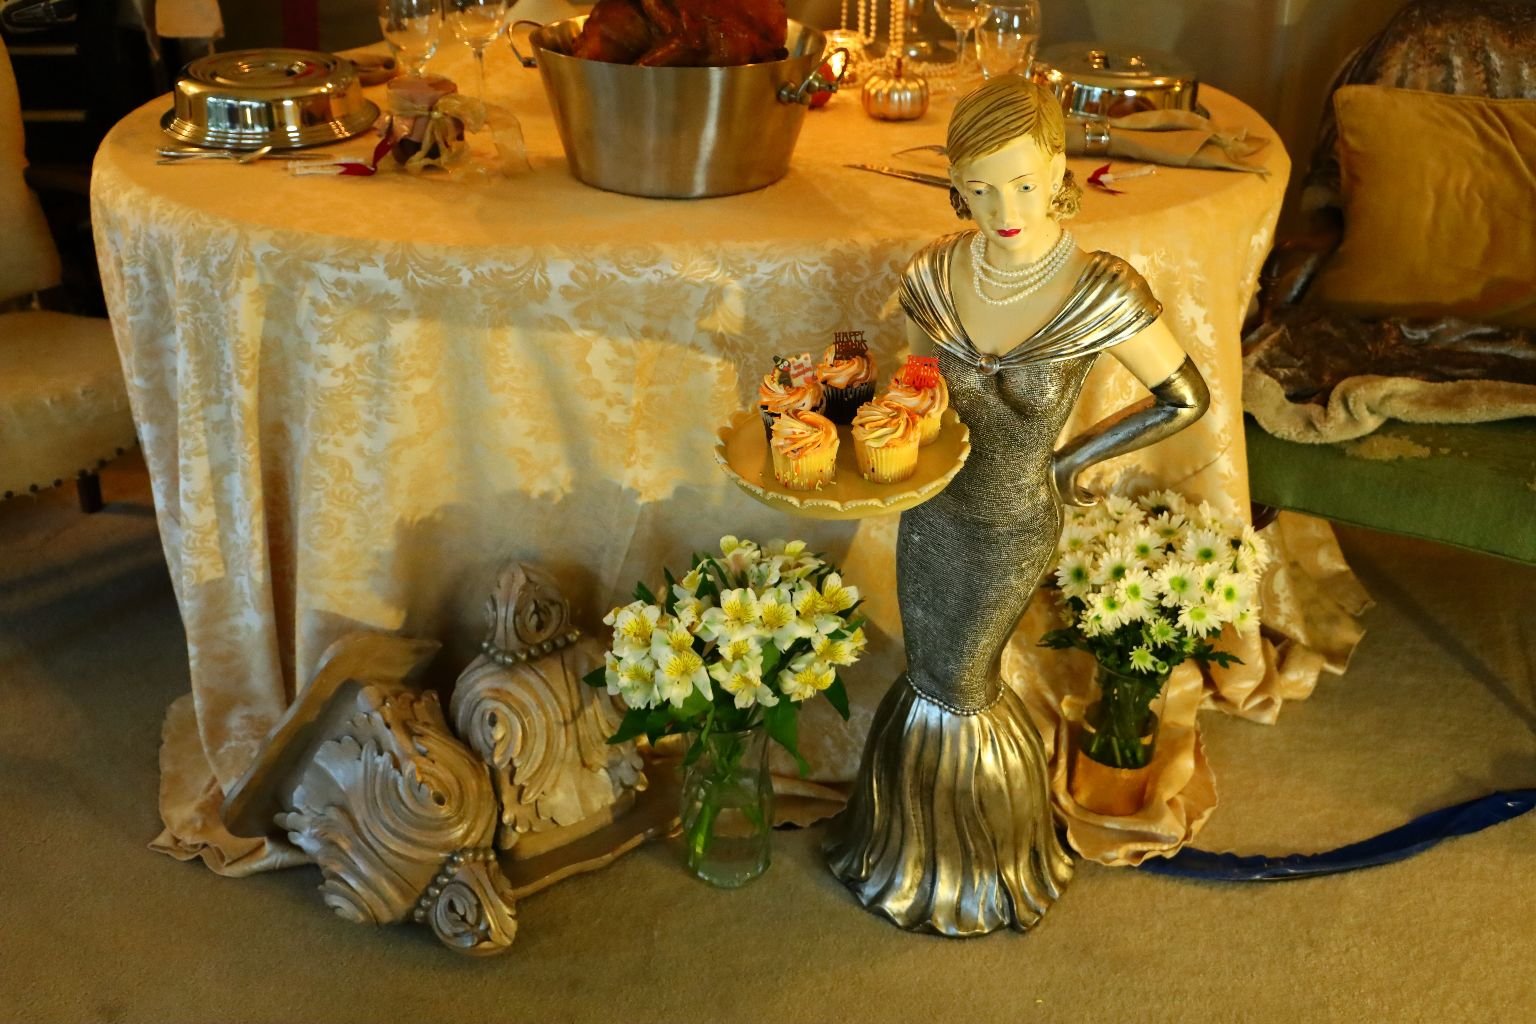
She Added a Bit of Glamour and Held our Cupcakes

Hi! Just Testing the Camera

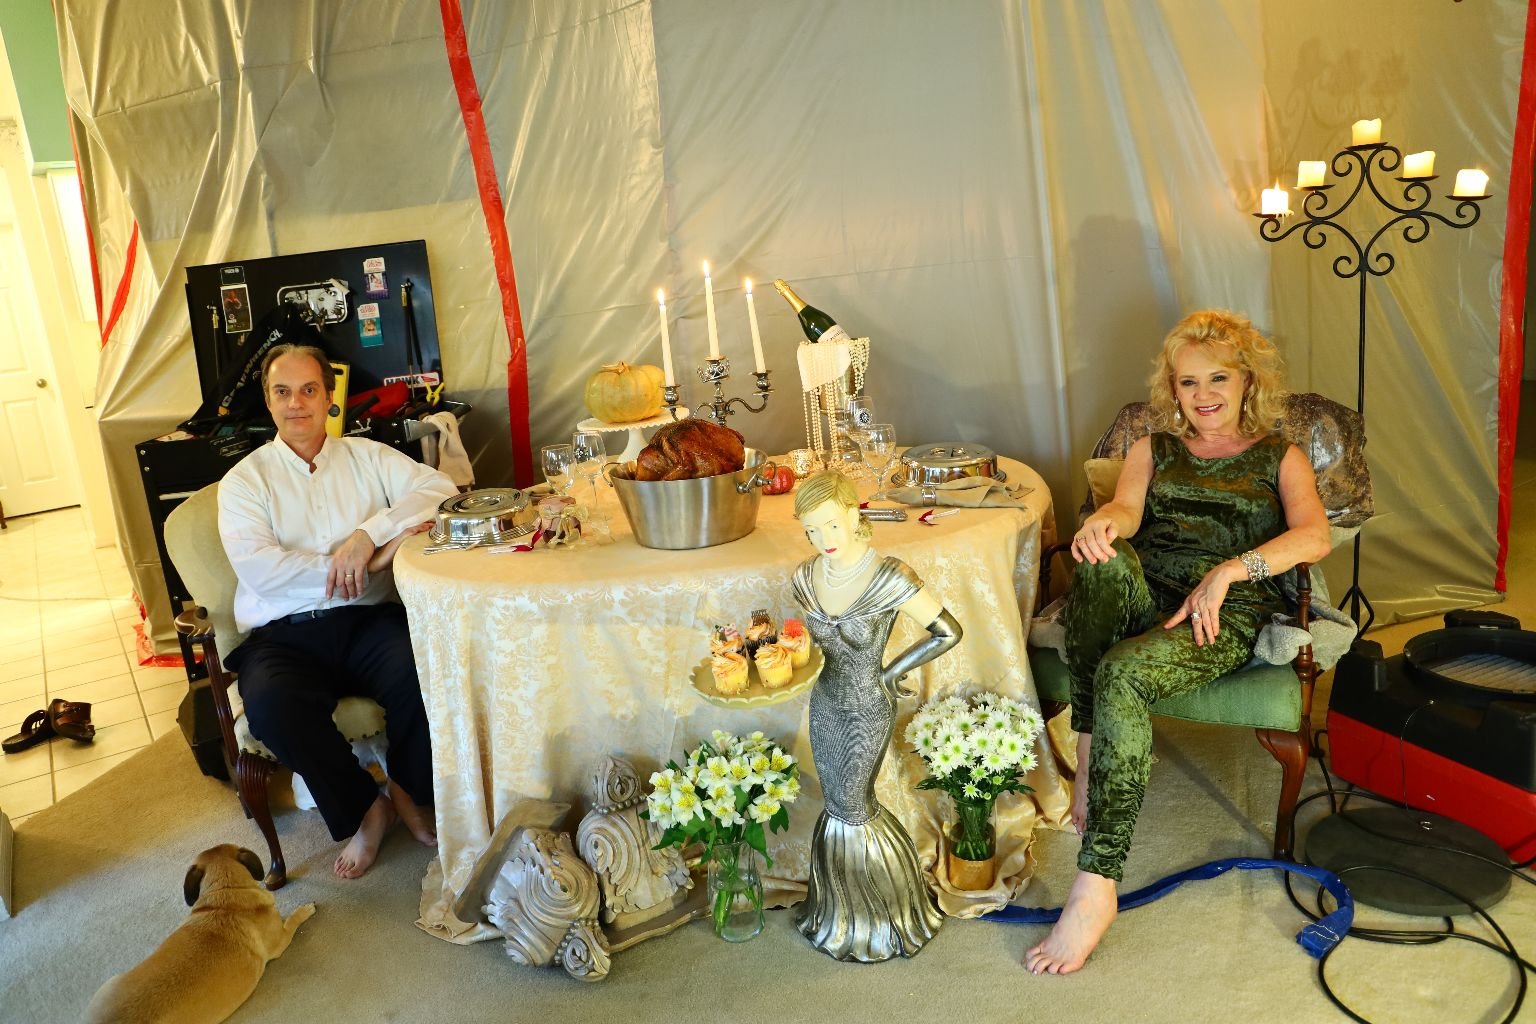
I Loved our “Formal” Thanksgiving Table
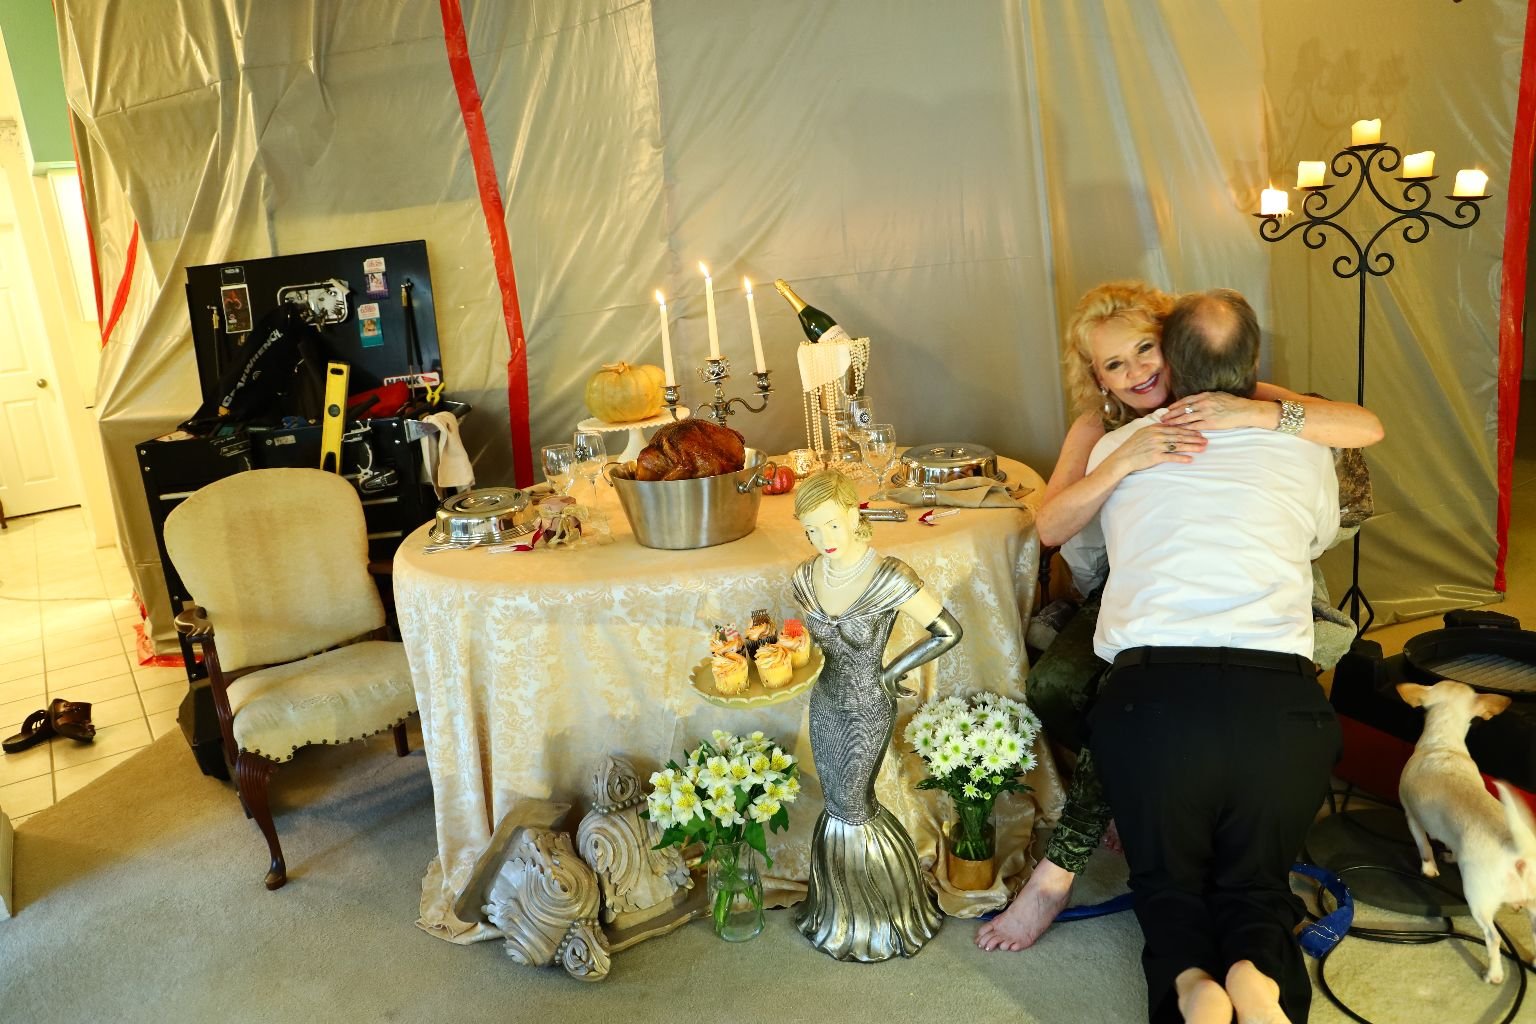

Ready to Dig into That Turkey
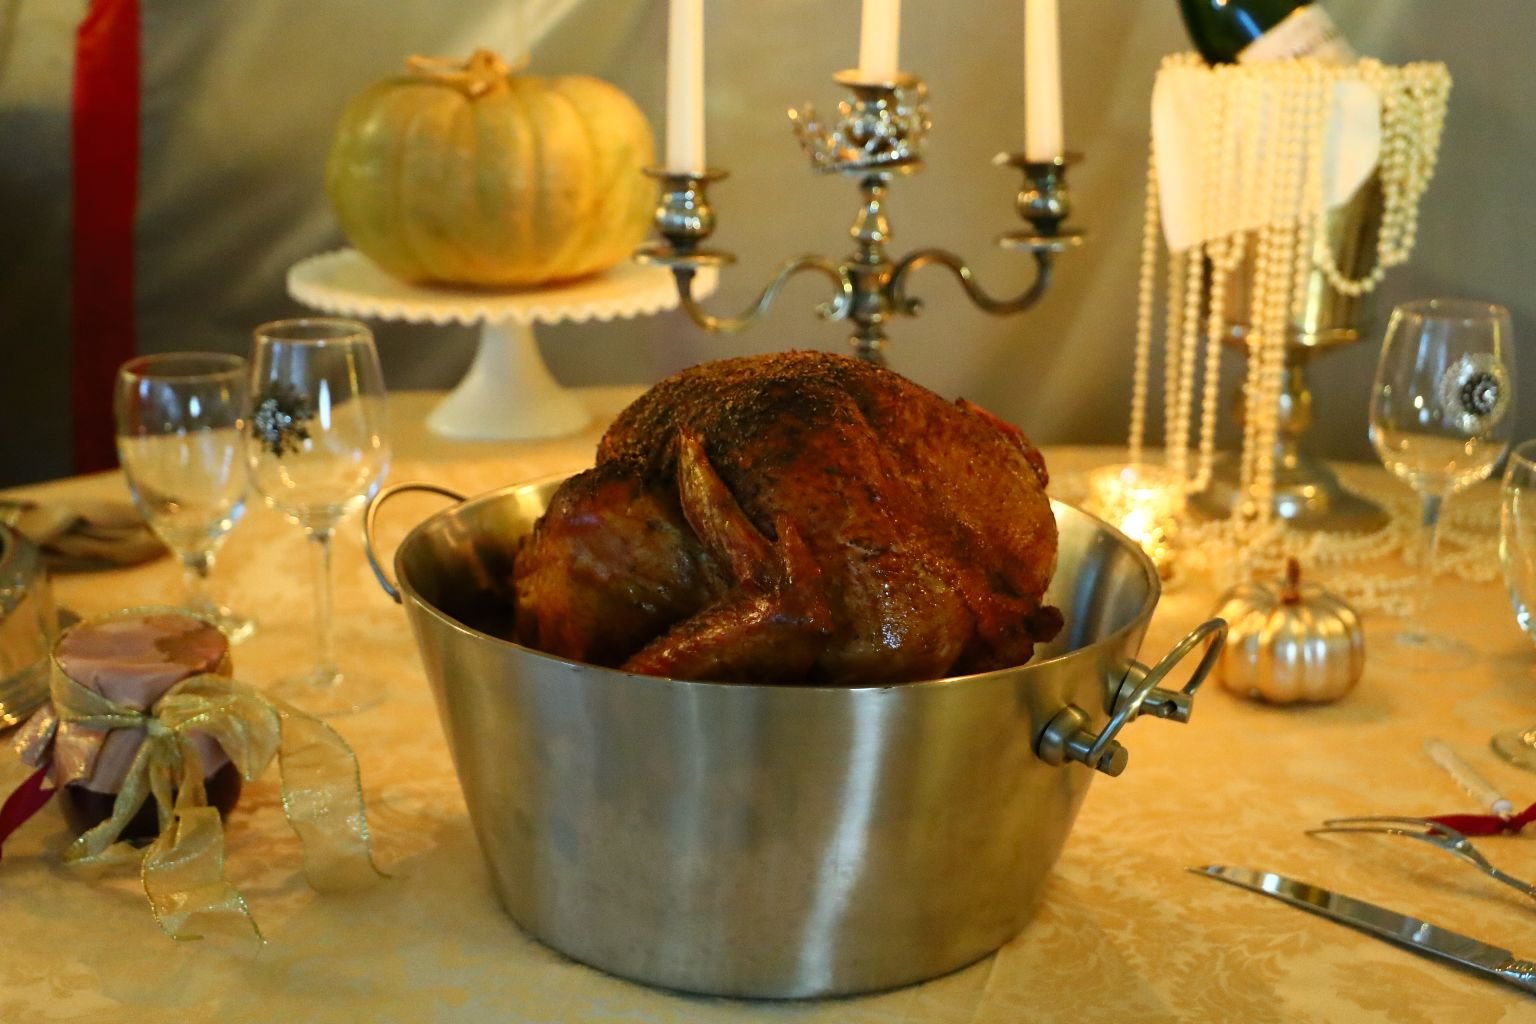
Turkey in a Bucket
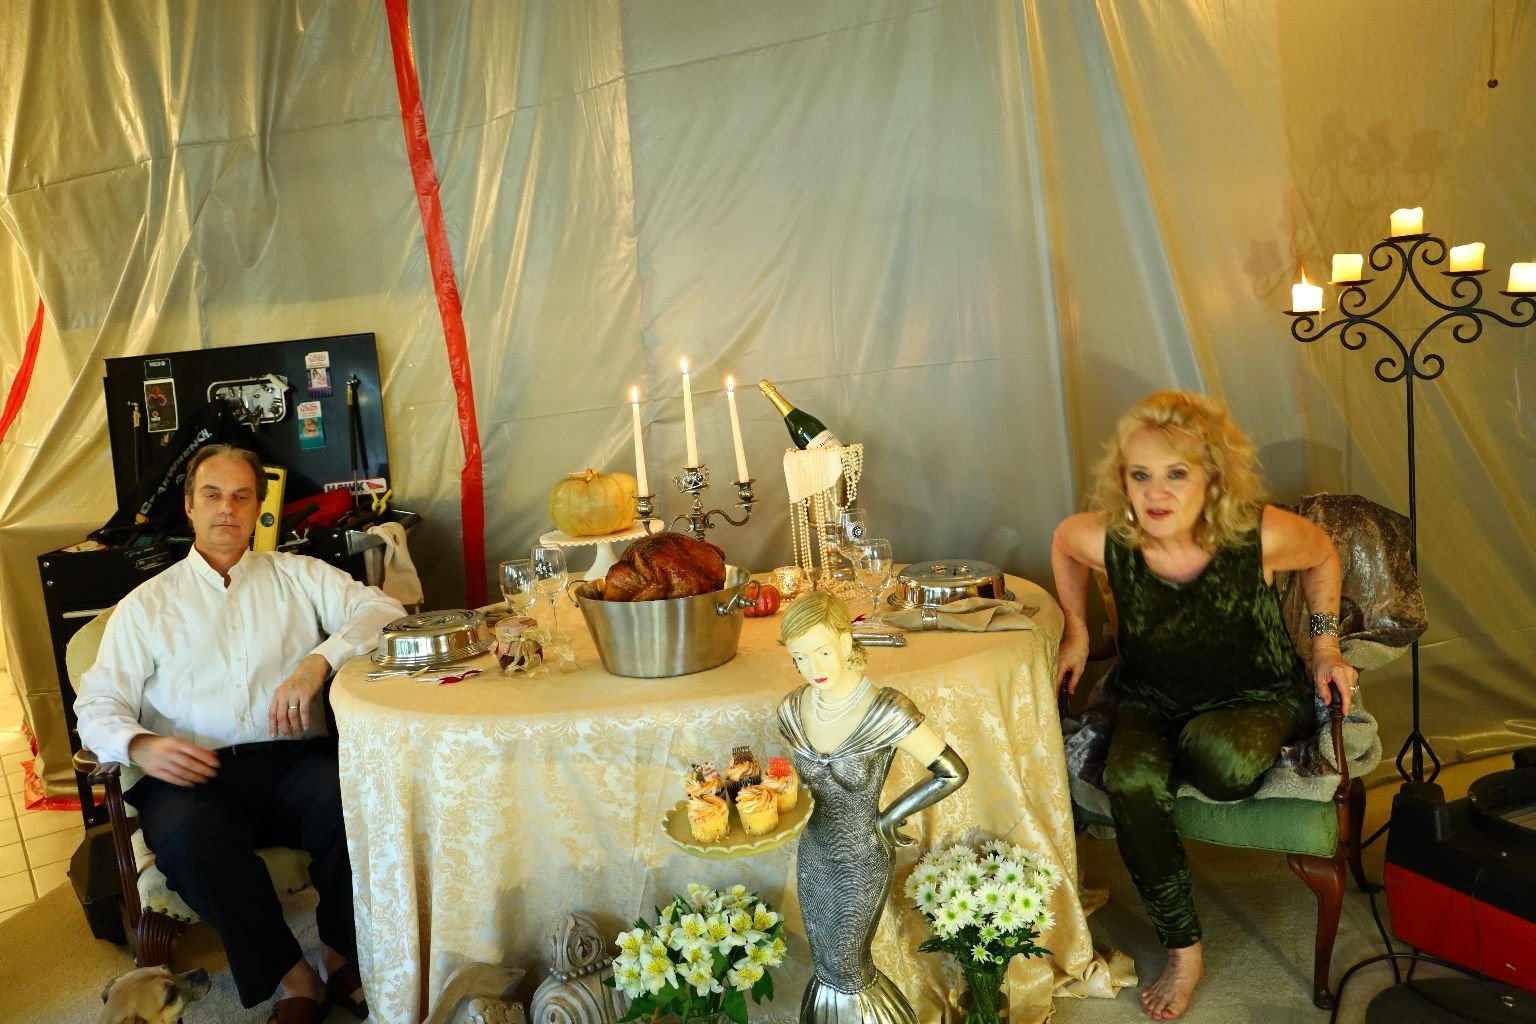
Just When You Think The Timer on the Camera Is Done
—————————————————————-
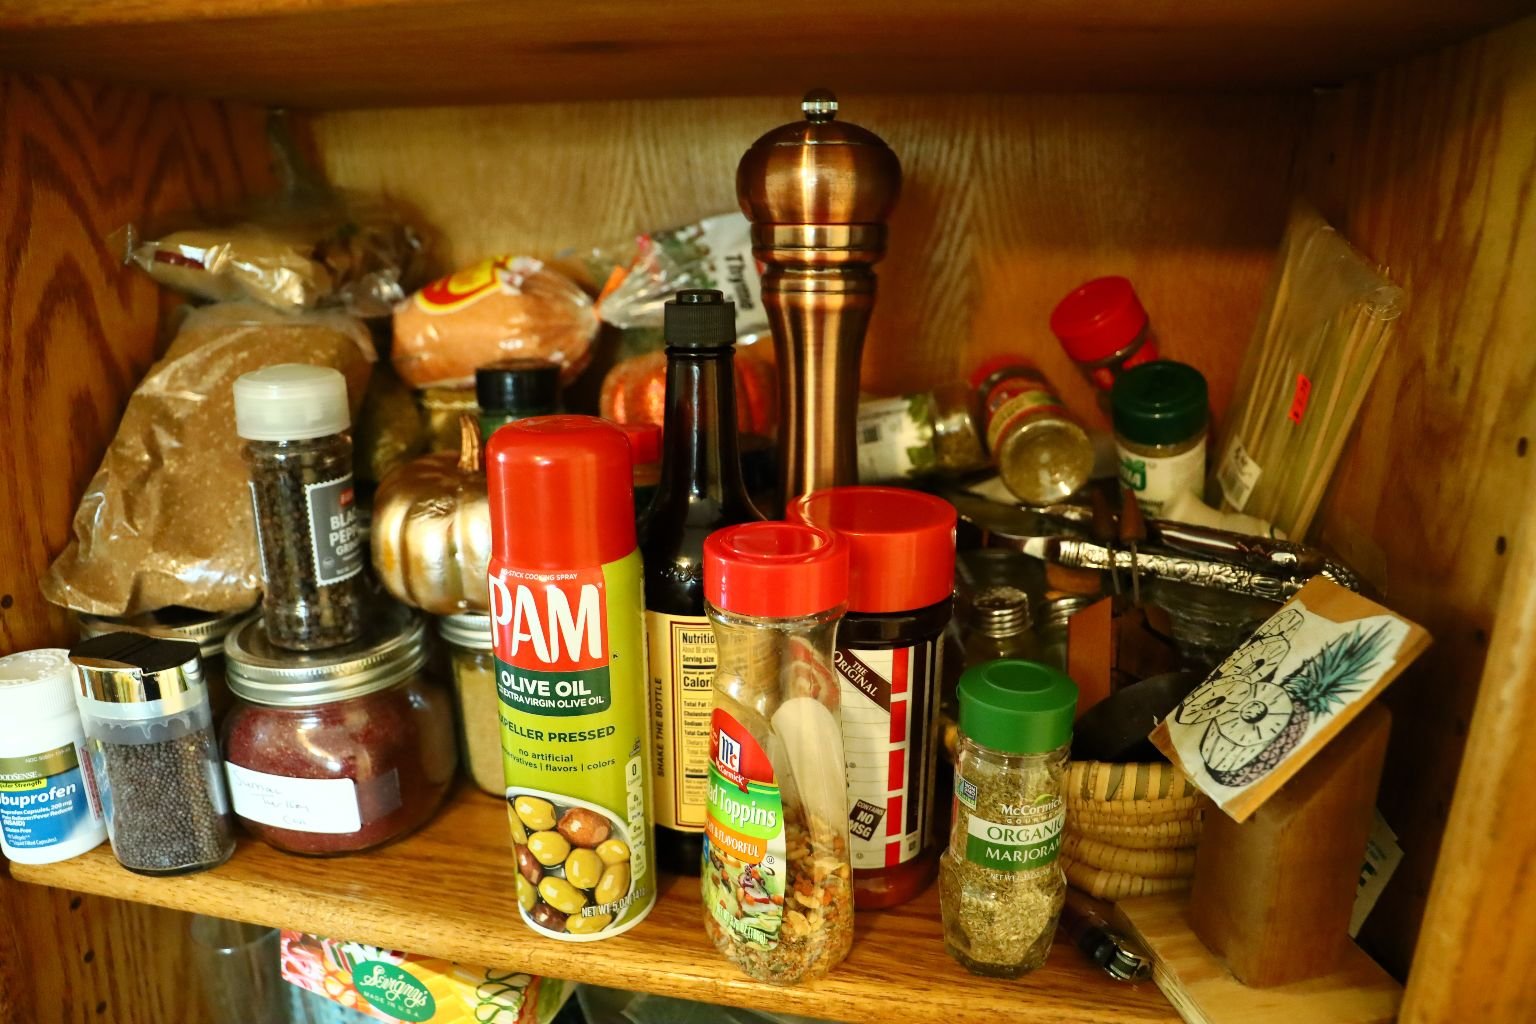
Our Den Bookcase Shelf Used For Storing our Thanksgiving Spices During our Reno
(At least we thought ahead on this one.) 🙂
——————————————————————
We may have cooked the turkey on Thanksgiving Day, but it wasn’t until that Saturday that we were able to have our Thanksgiving Dinner.
We wanted our Thanksgiving to be simple and easy.
We knew that we just wanted turkey sandwiches with the works!
So, Here We Go!
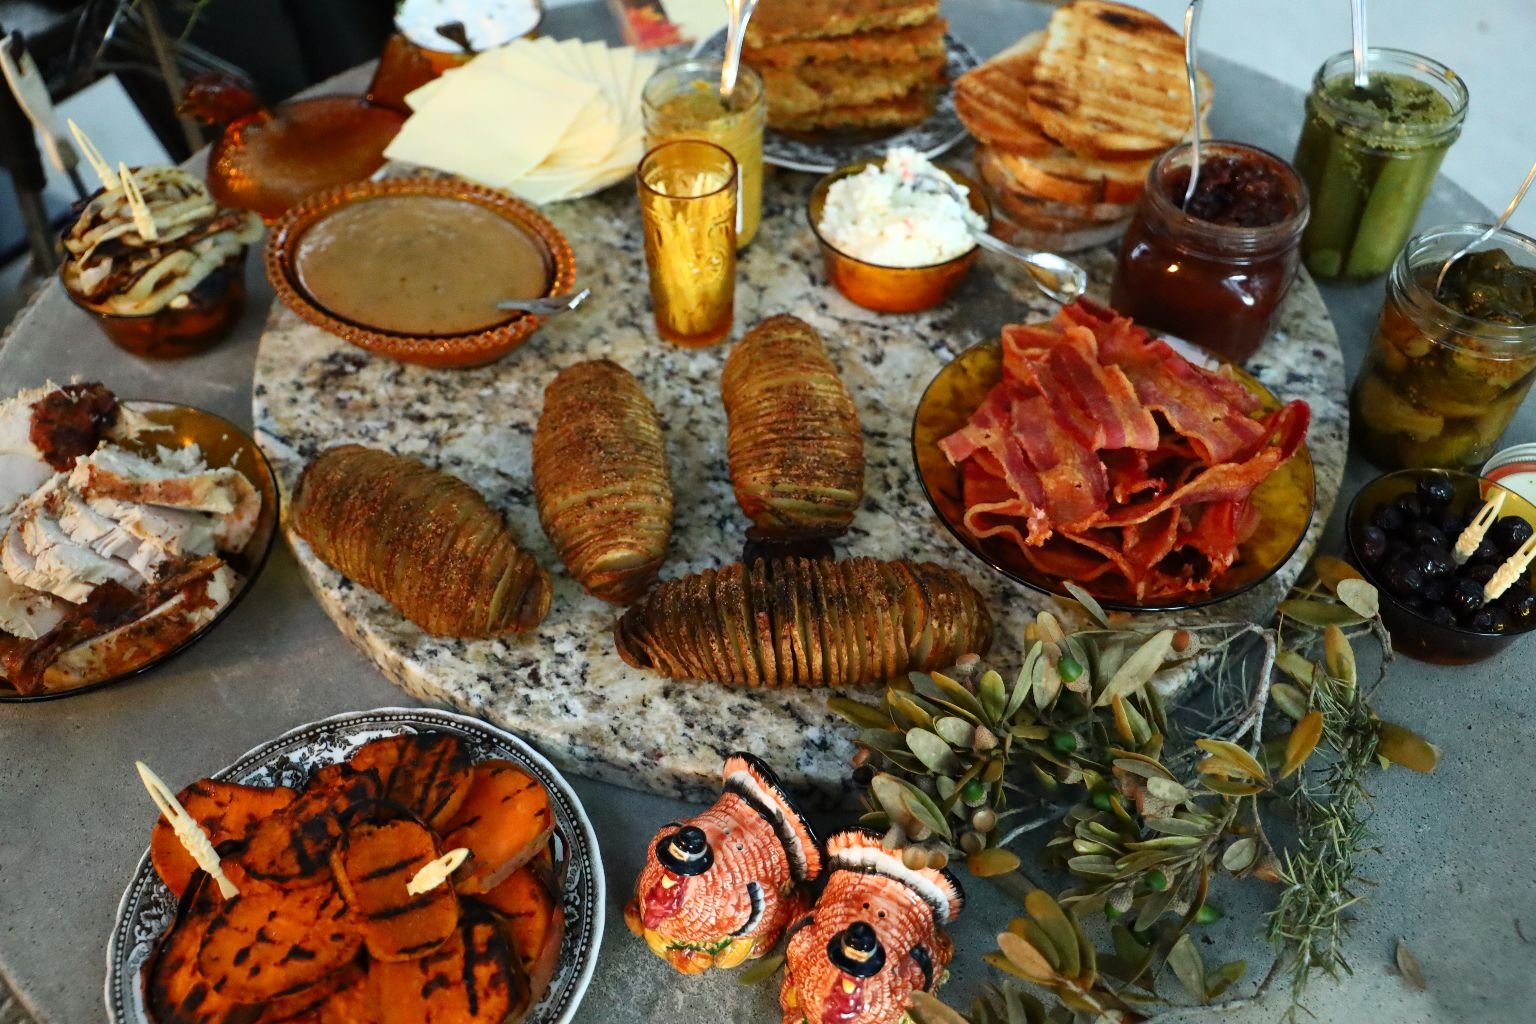
Our Thanksgiving Dinner consists of Turkey Sandwiches made on either Sour Dough Bread slices, or our Cornbread Dressing that we made into bread slices by spreading it out on a baking sheet and then baking it until done, then slicing it into sandwich sized bread, and then placed back into the oven to brown a little bit.
Like so:
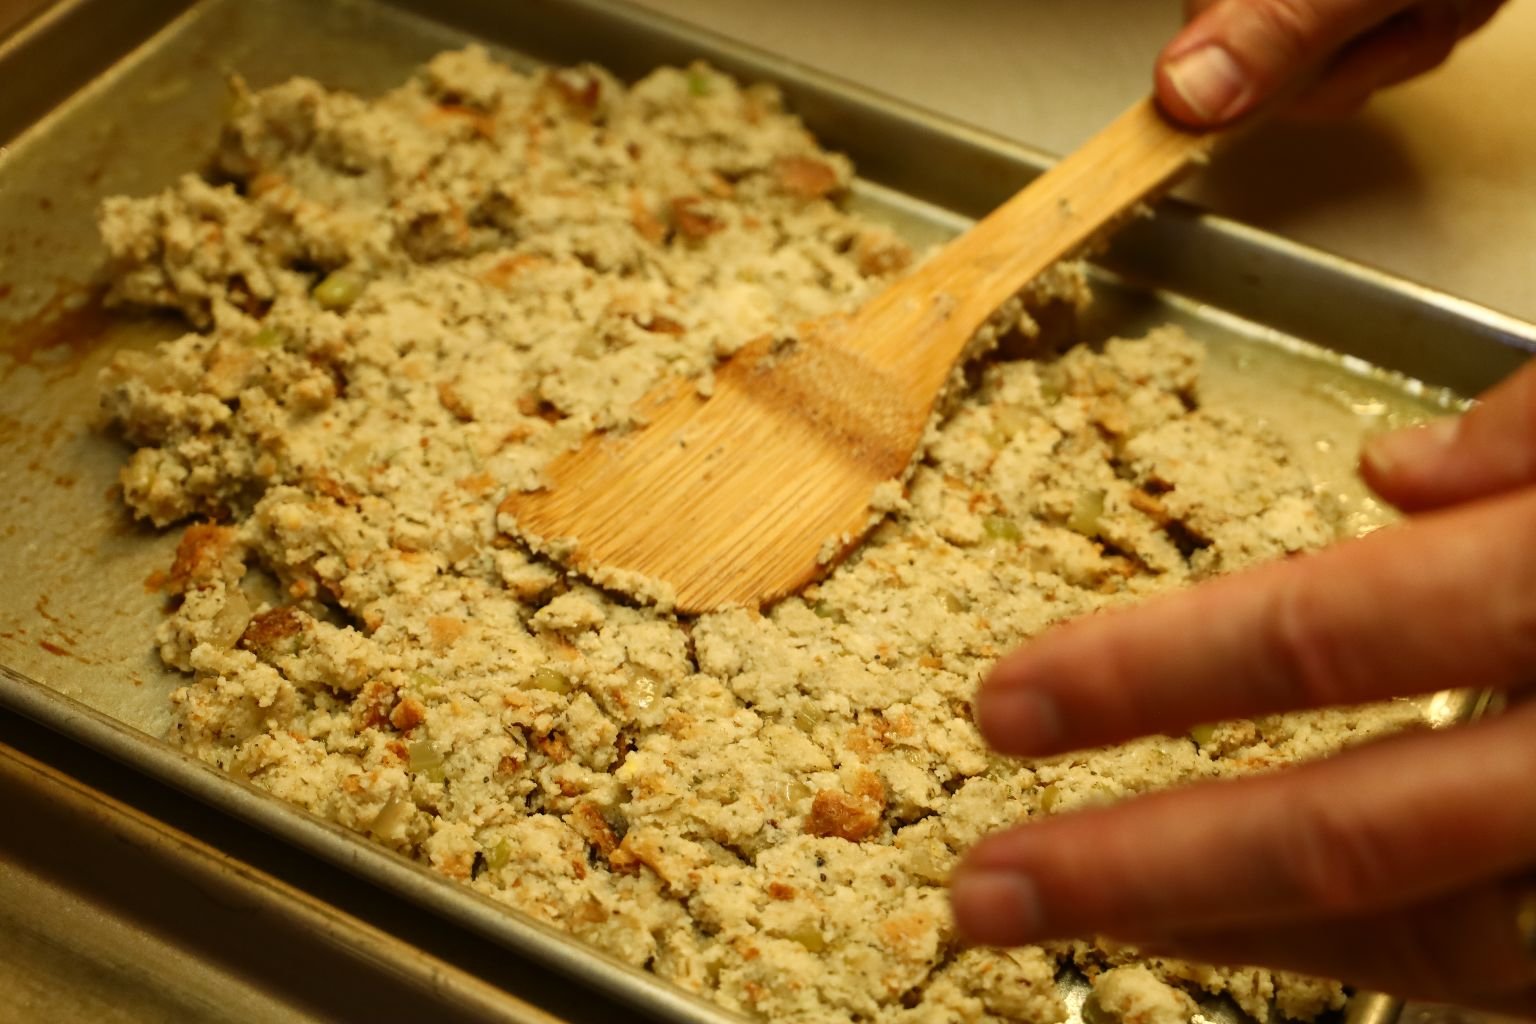
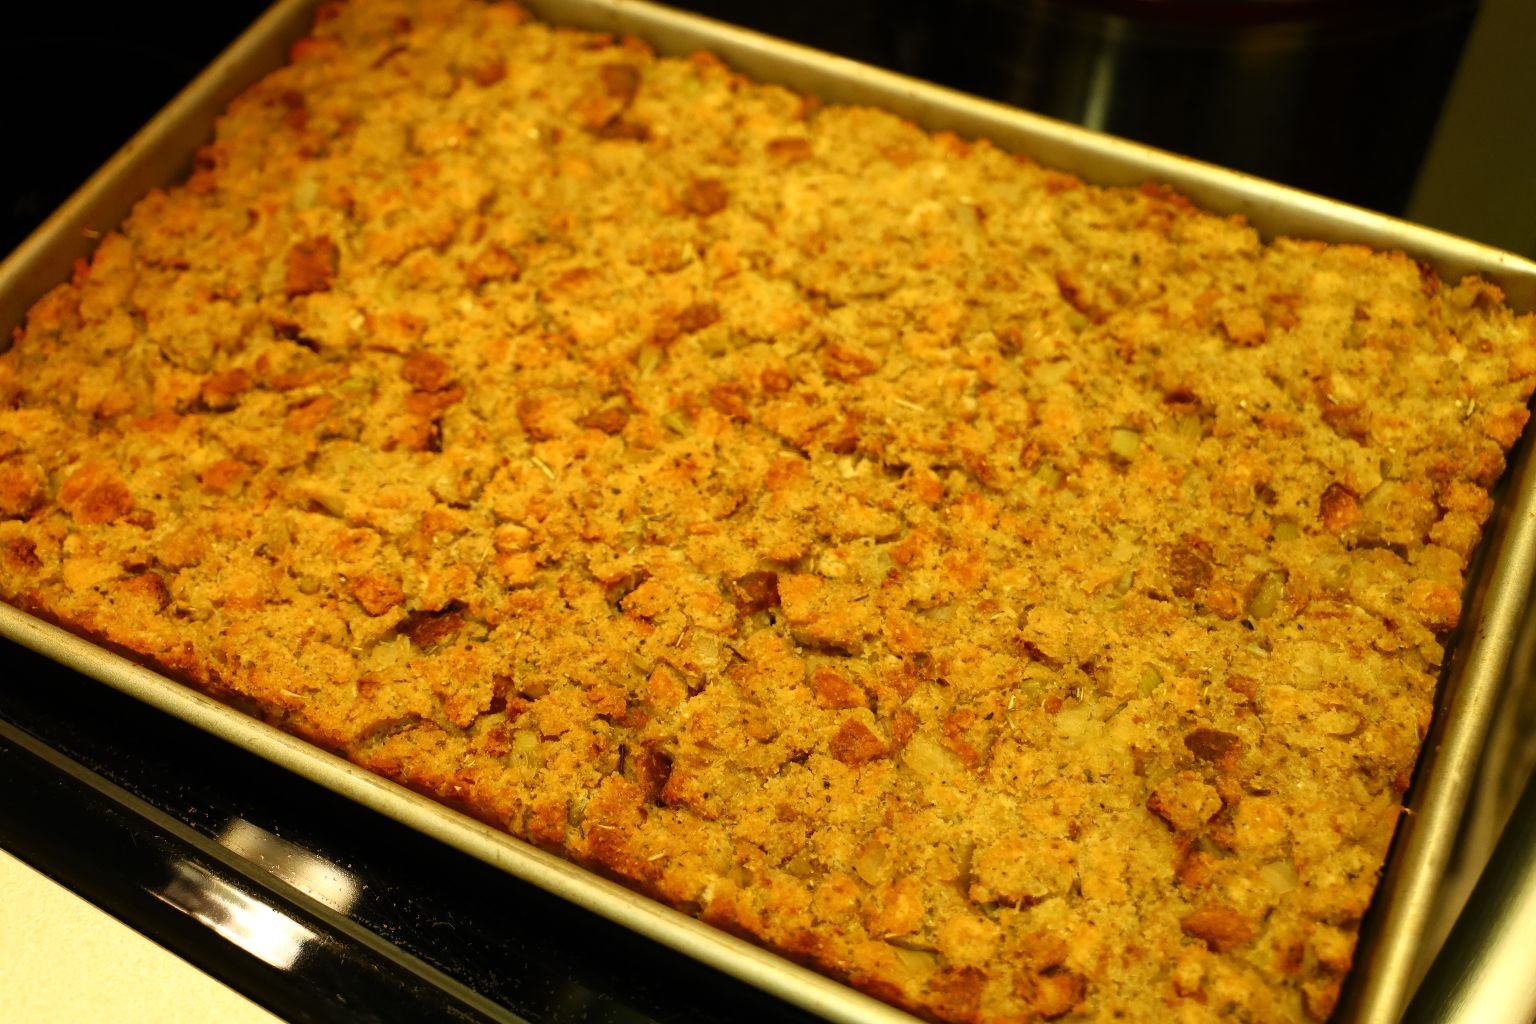
This is my Grandmother’s (Julie) Southern Cornbread Dressing
We simply spread it out onto a baking sheet that was sprayed with vegetable oil, and then baked it until it was done in a 350F oven for probably 25 -30 minutes.
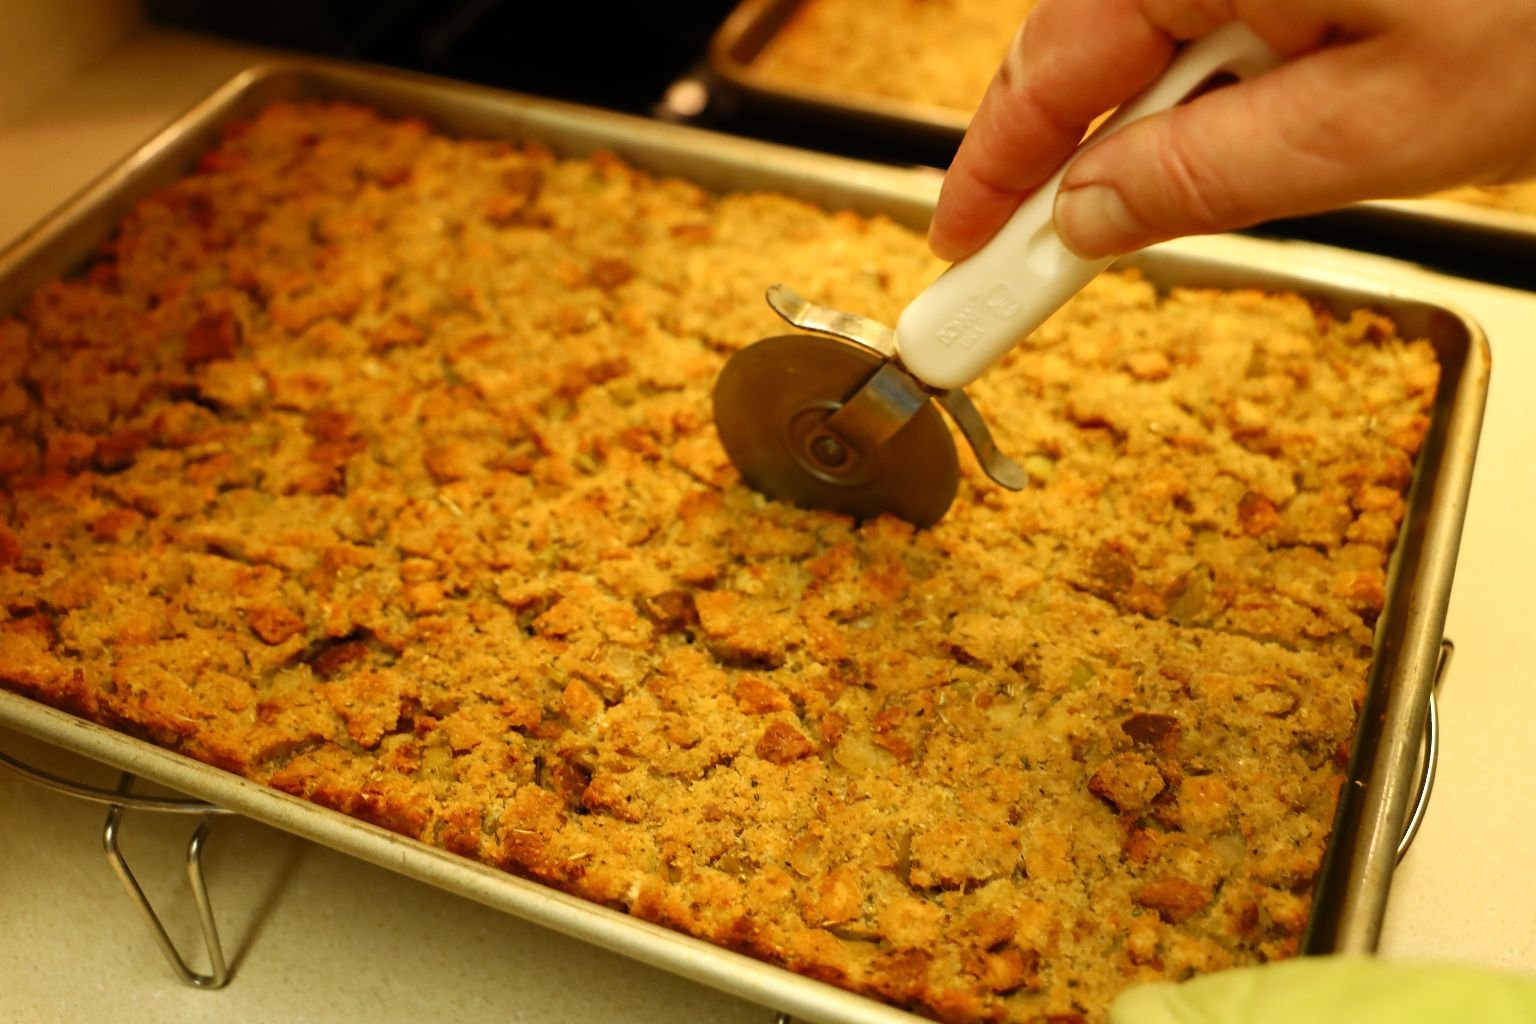

When done we then used a pizza cutter to cut the Dressing into bread sized slices. Then placed them onto a large baking sheet so that they could then toast up well enough to act as slices of bread in order to hold everything we were going to cram between those slices.
————————————————————
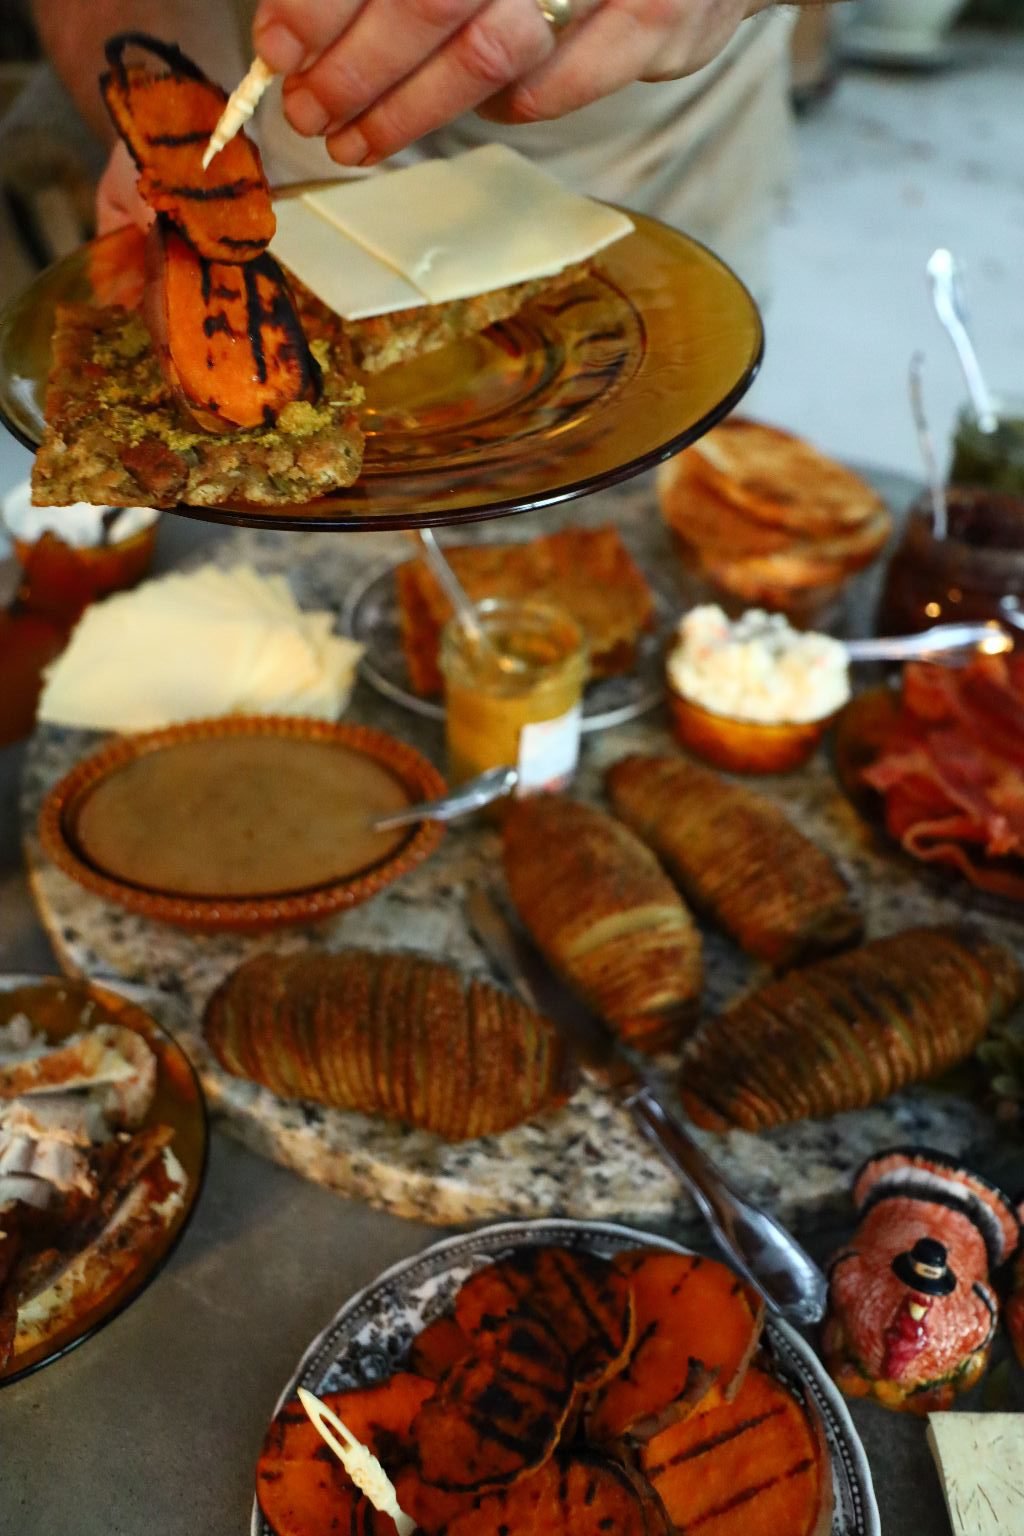
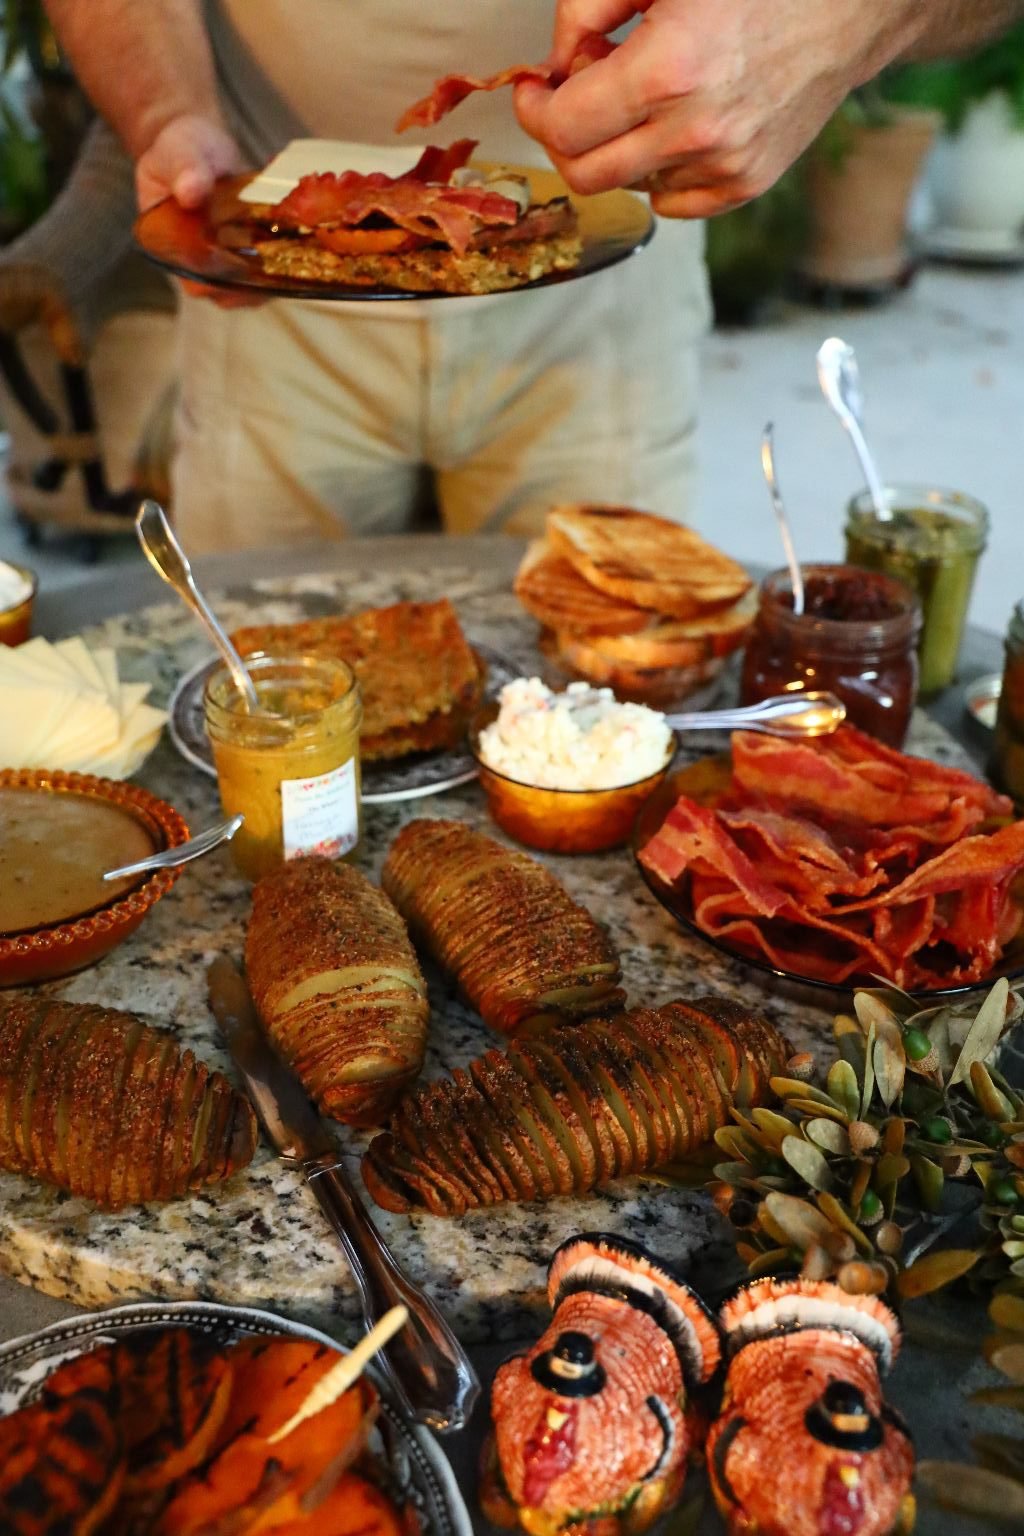
Here Gordon is fixing his sandwich using our Cornbread Dressing as the bread slices.
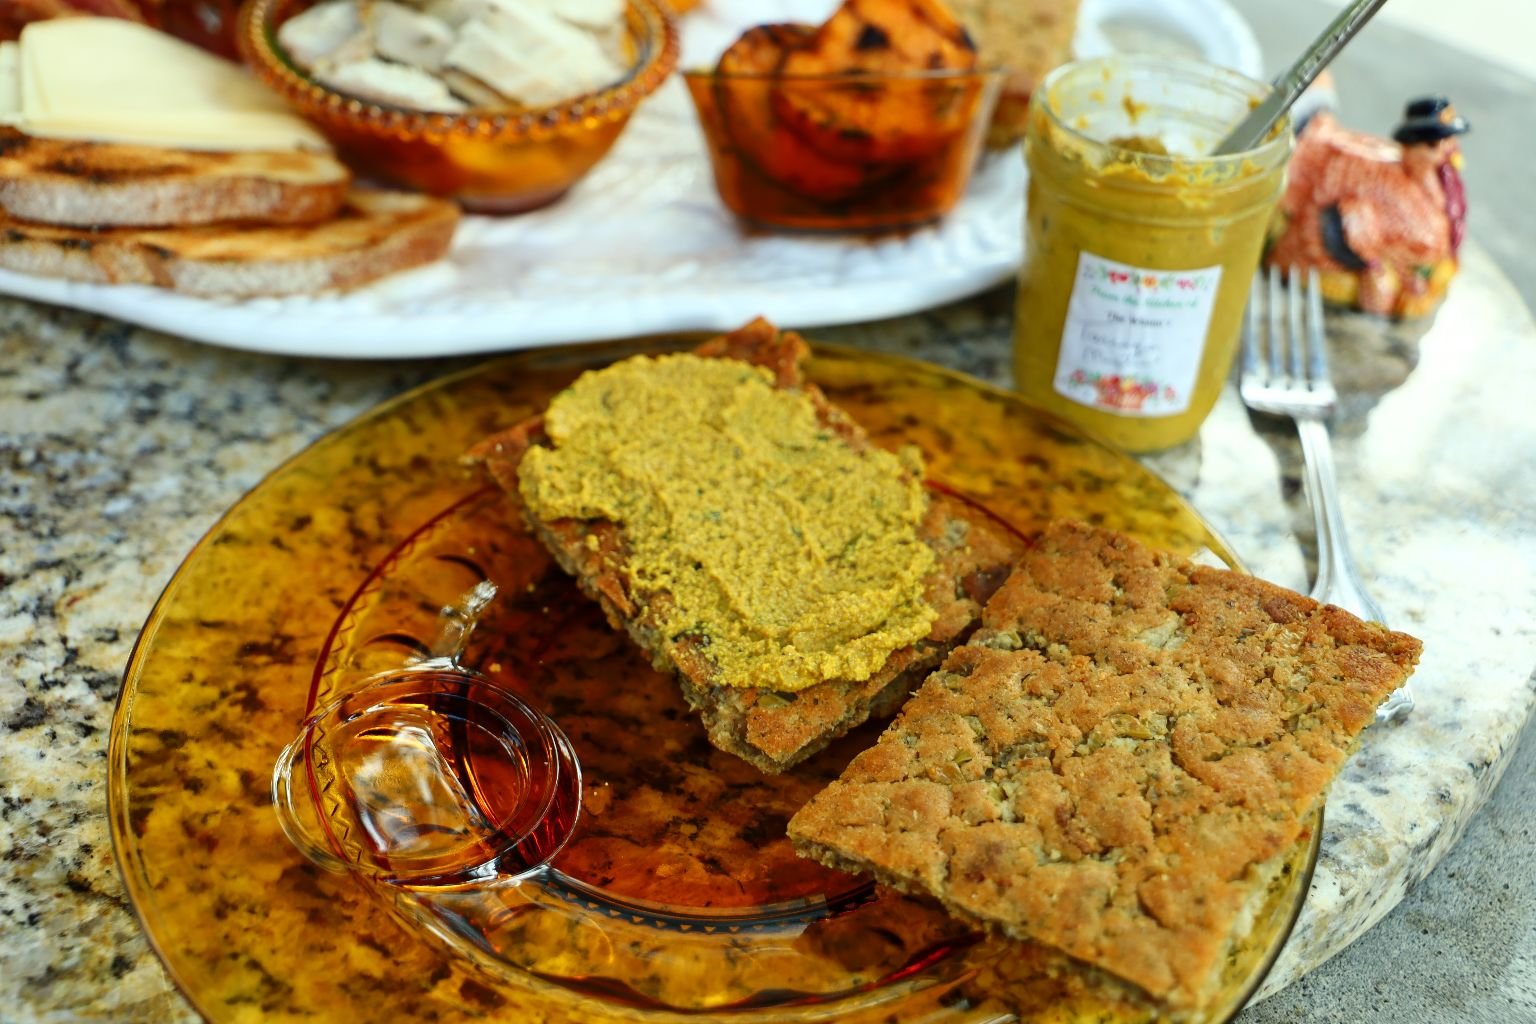
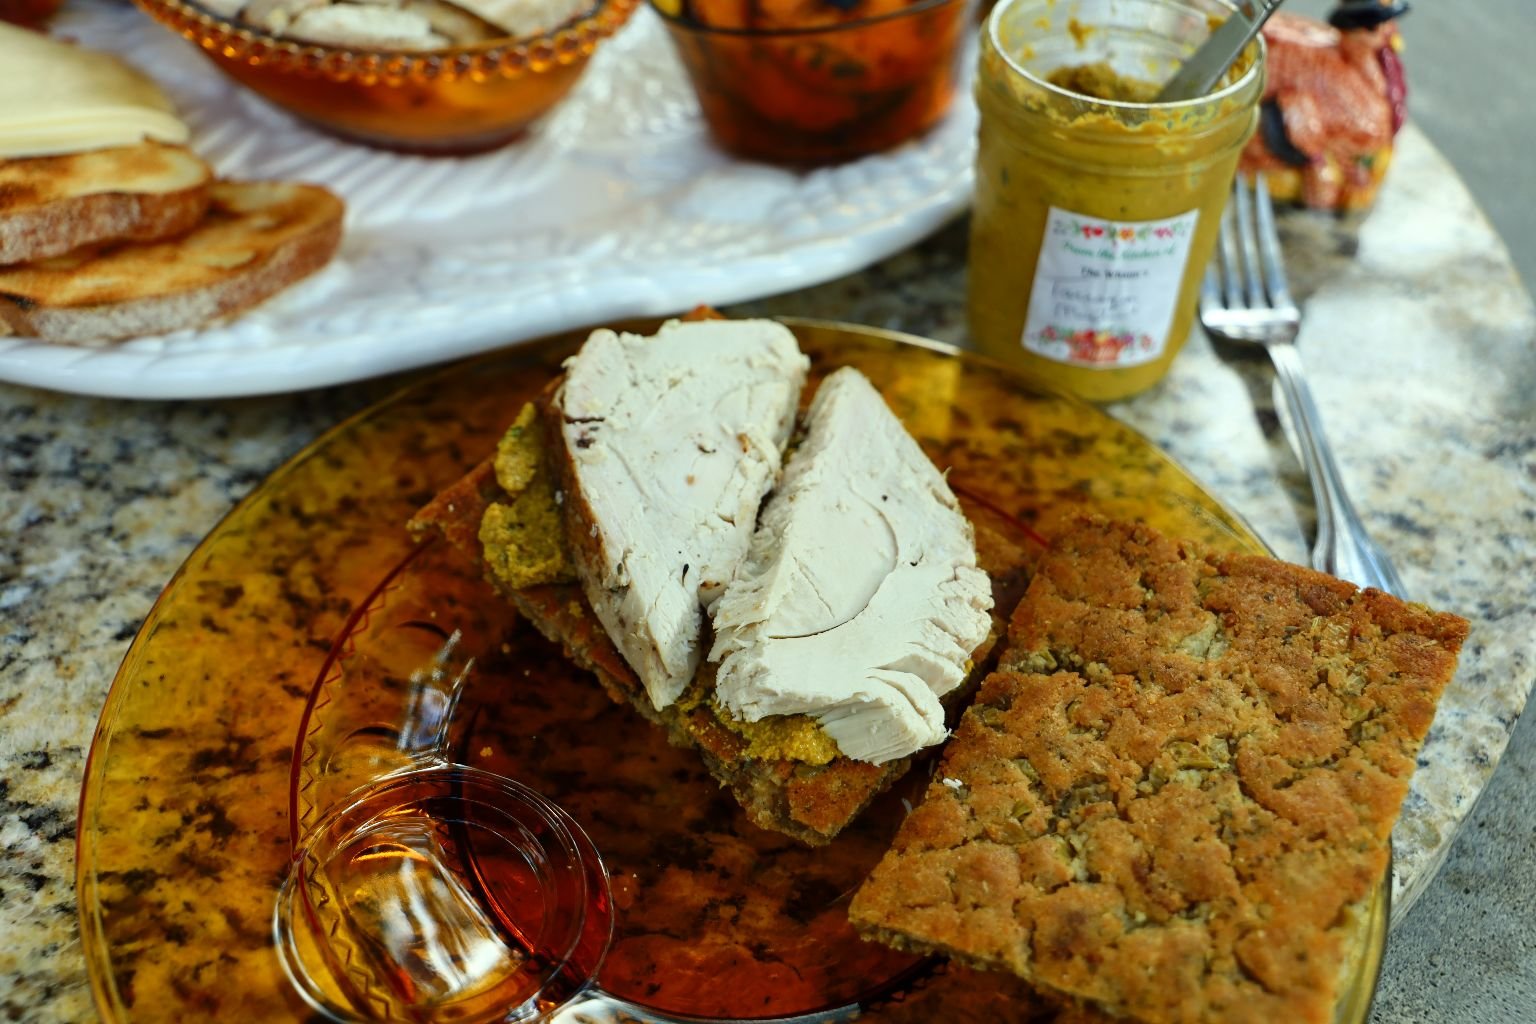
To build the sandwich Gordon first started with our homemade mustard.
Click Here For: Pork, Sausage, and Mustard
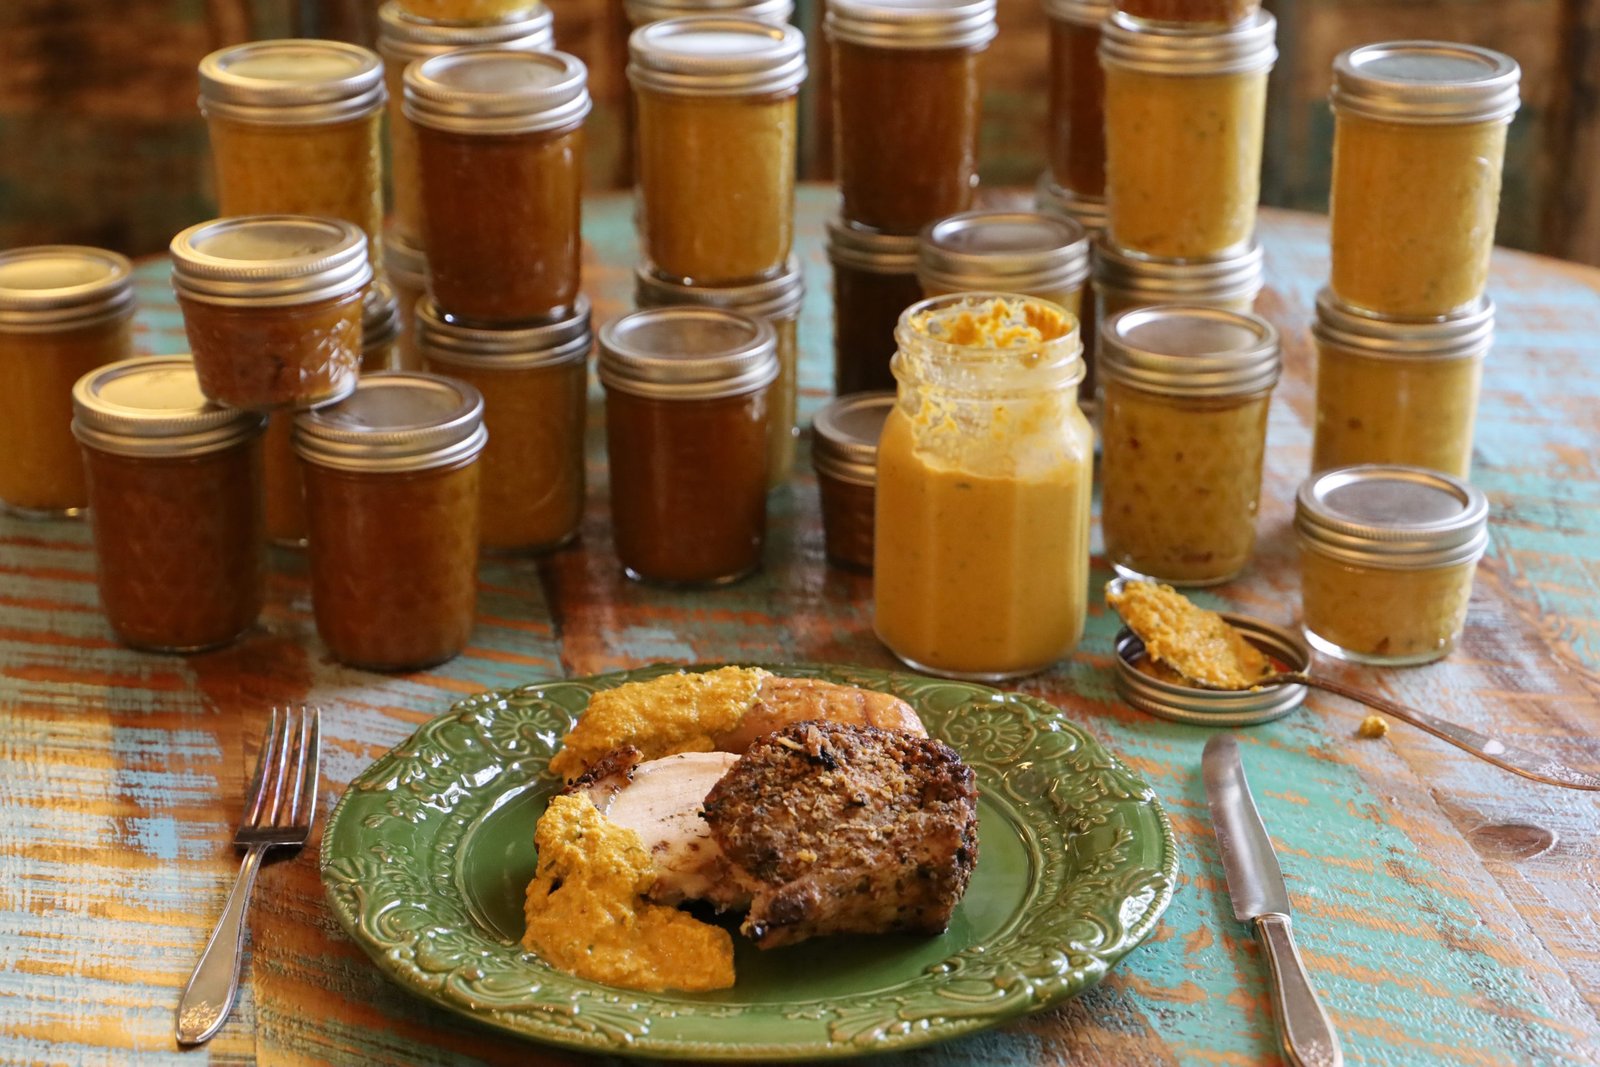
If you would like to see how to make our mustard’s.
——————————————————————-
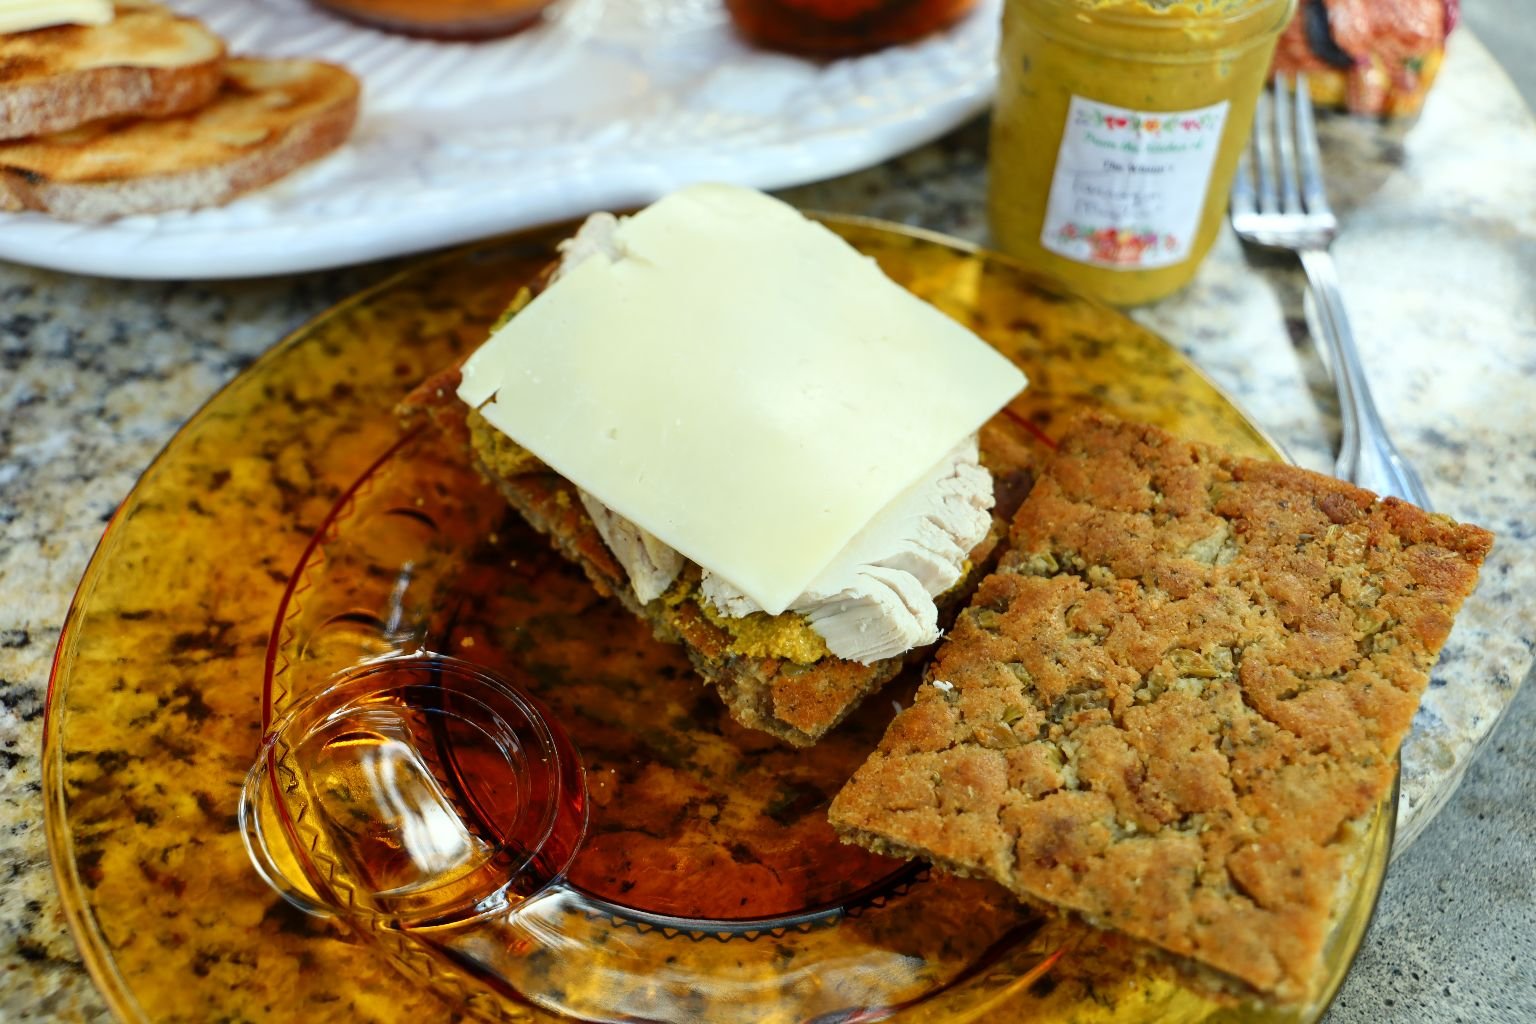
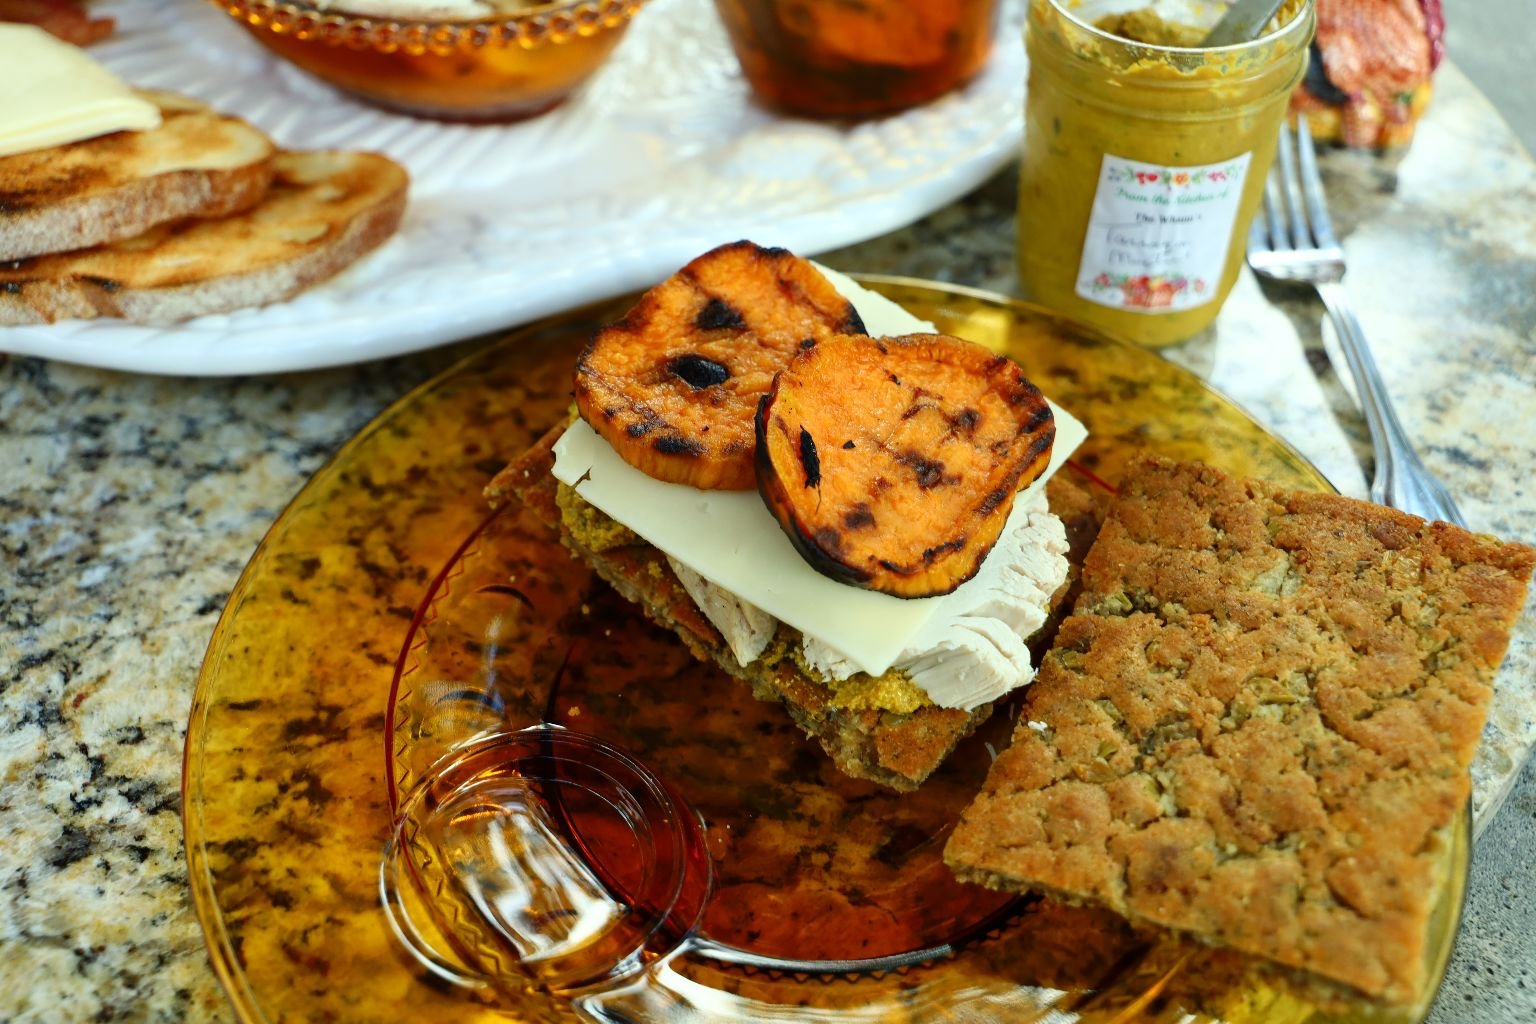
Gordon then Added some Turkey, Cheese Slices, and Grilled Sweet Potatoes
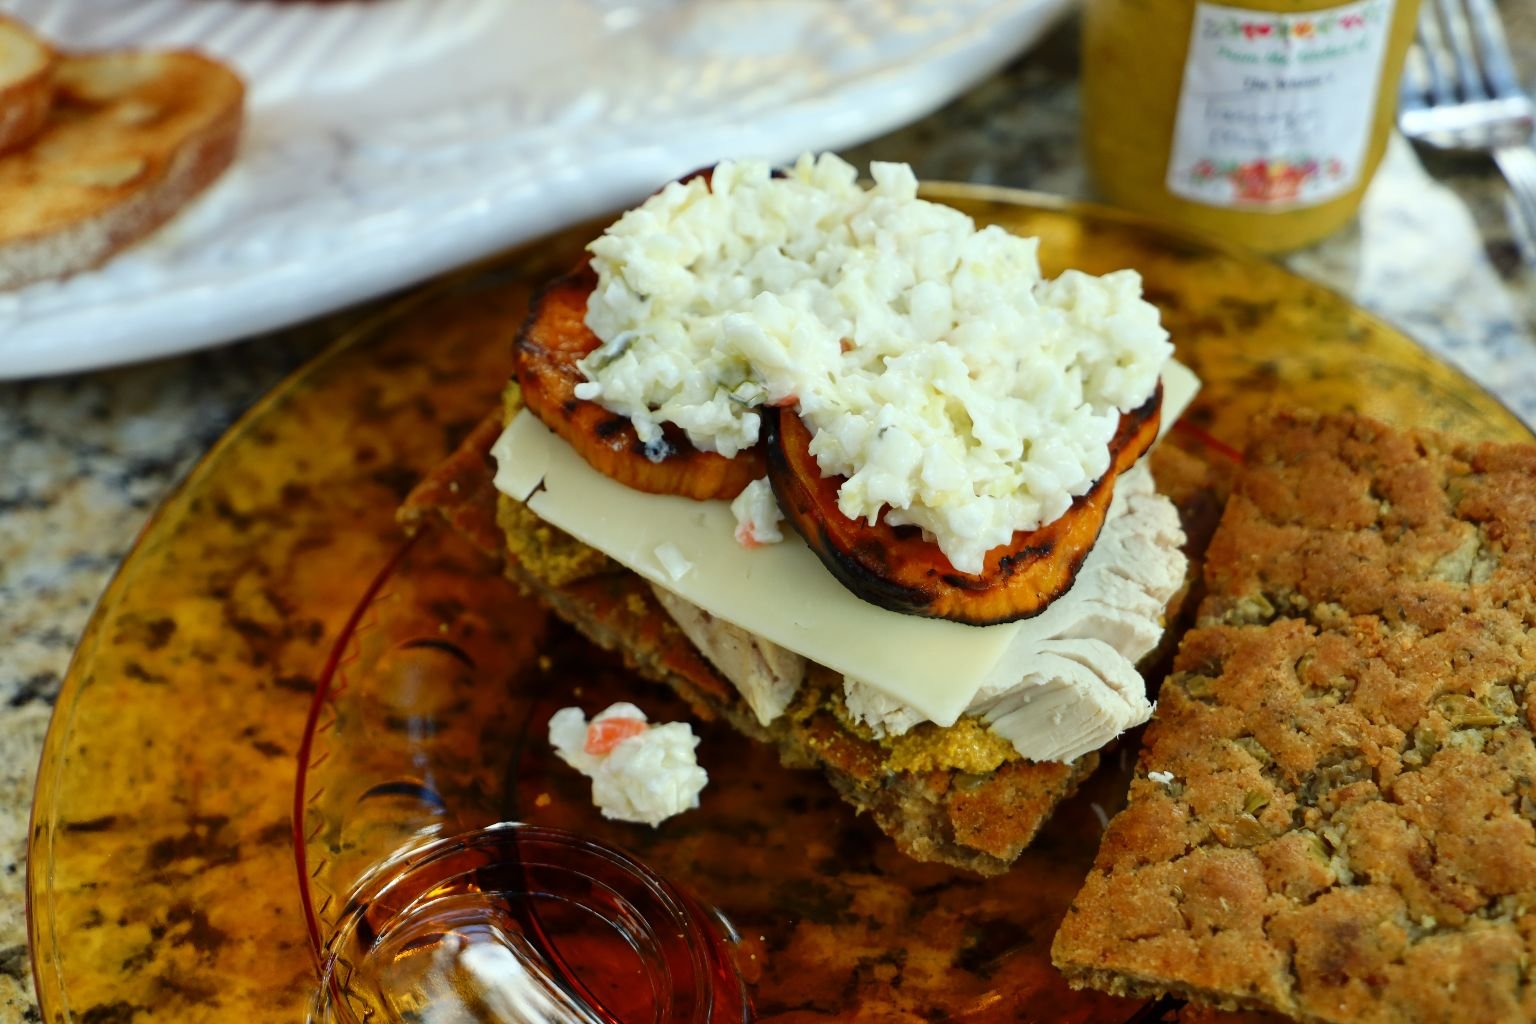
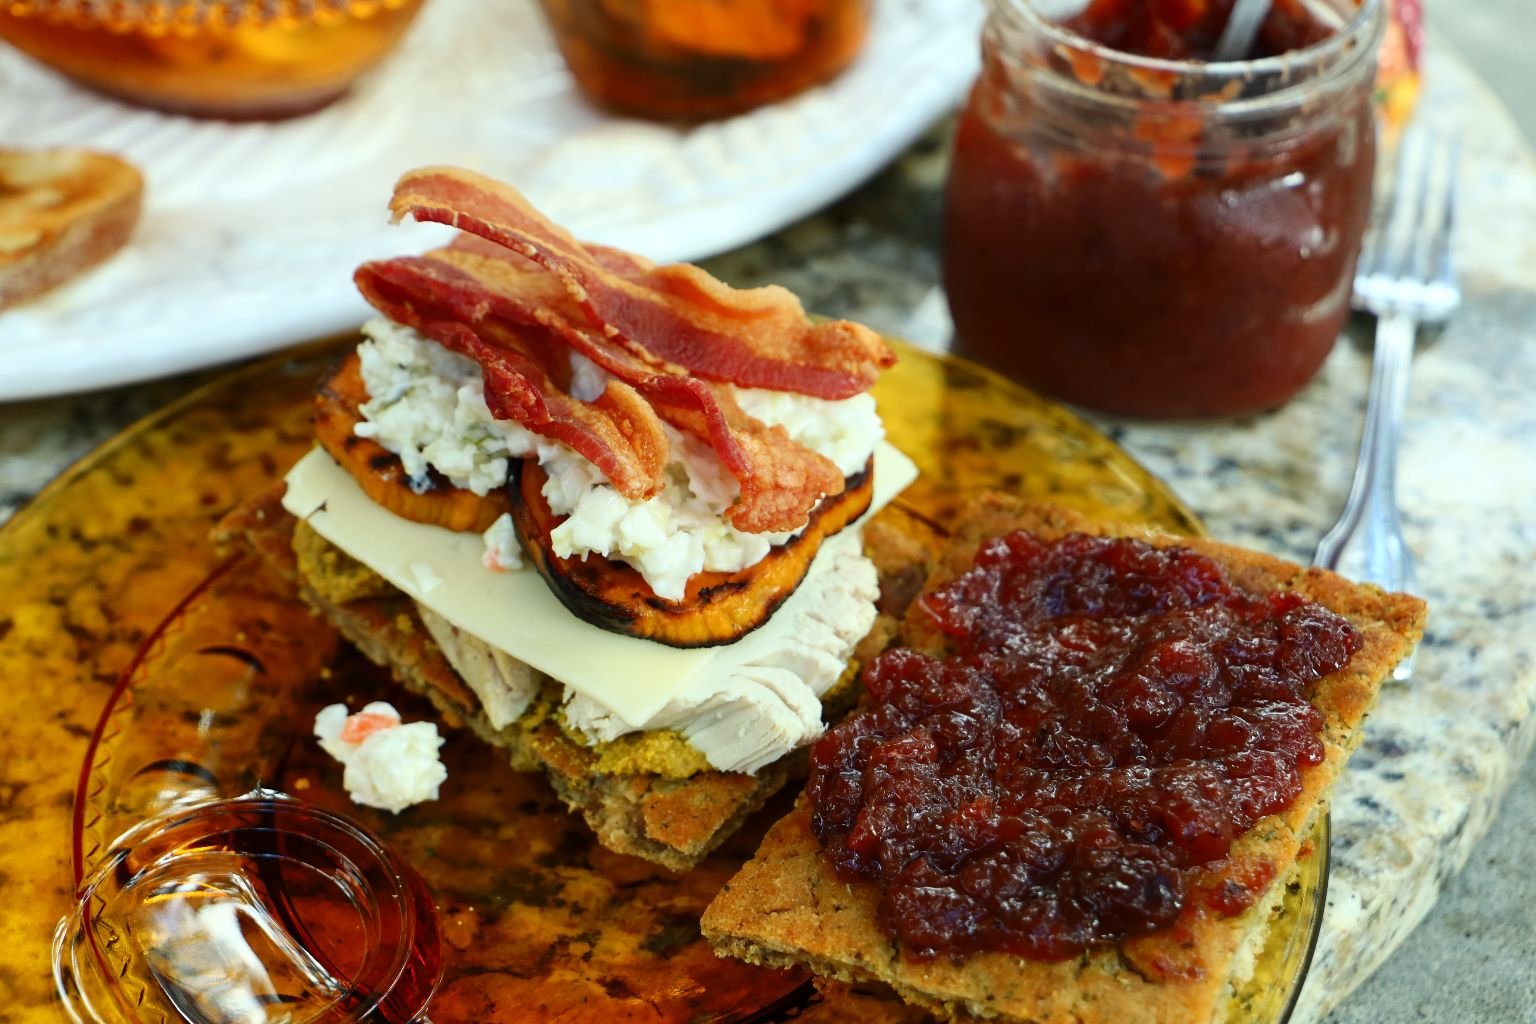
Then He Added Some Coleslaw, Bacon, and our Cranberry Sauce
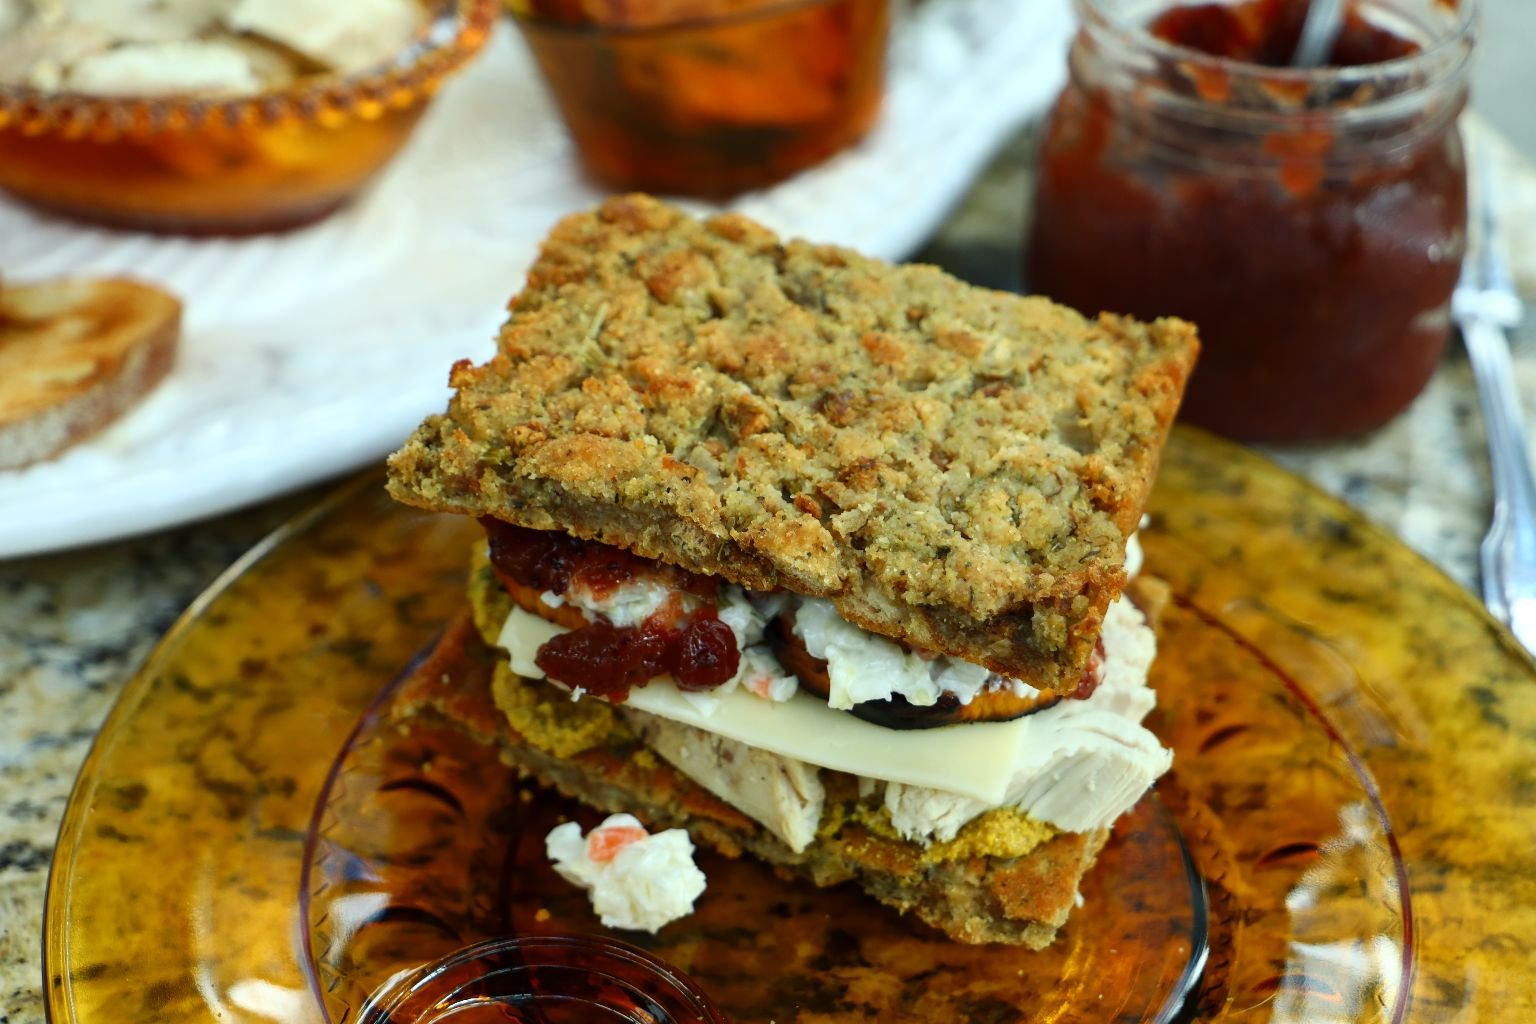
Viola!
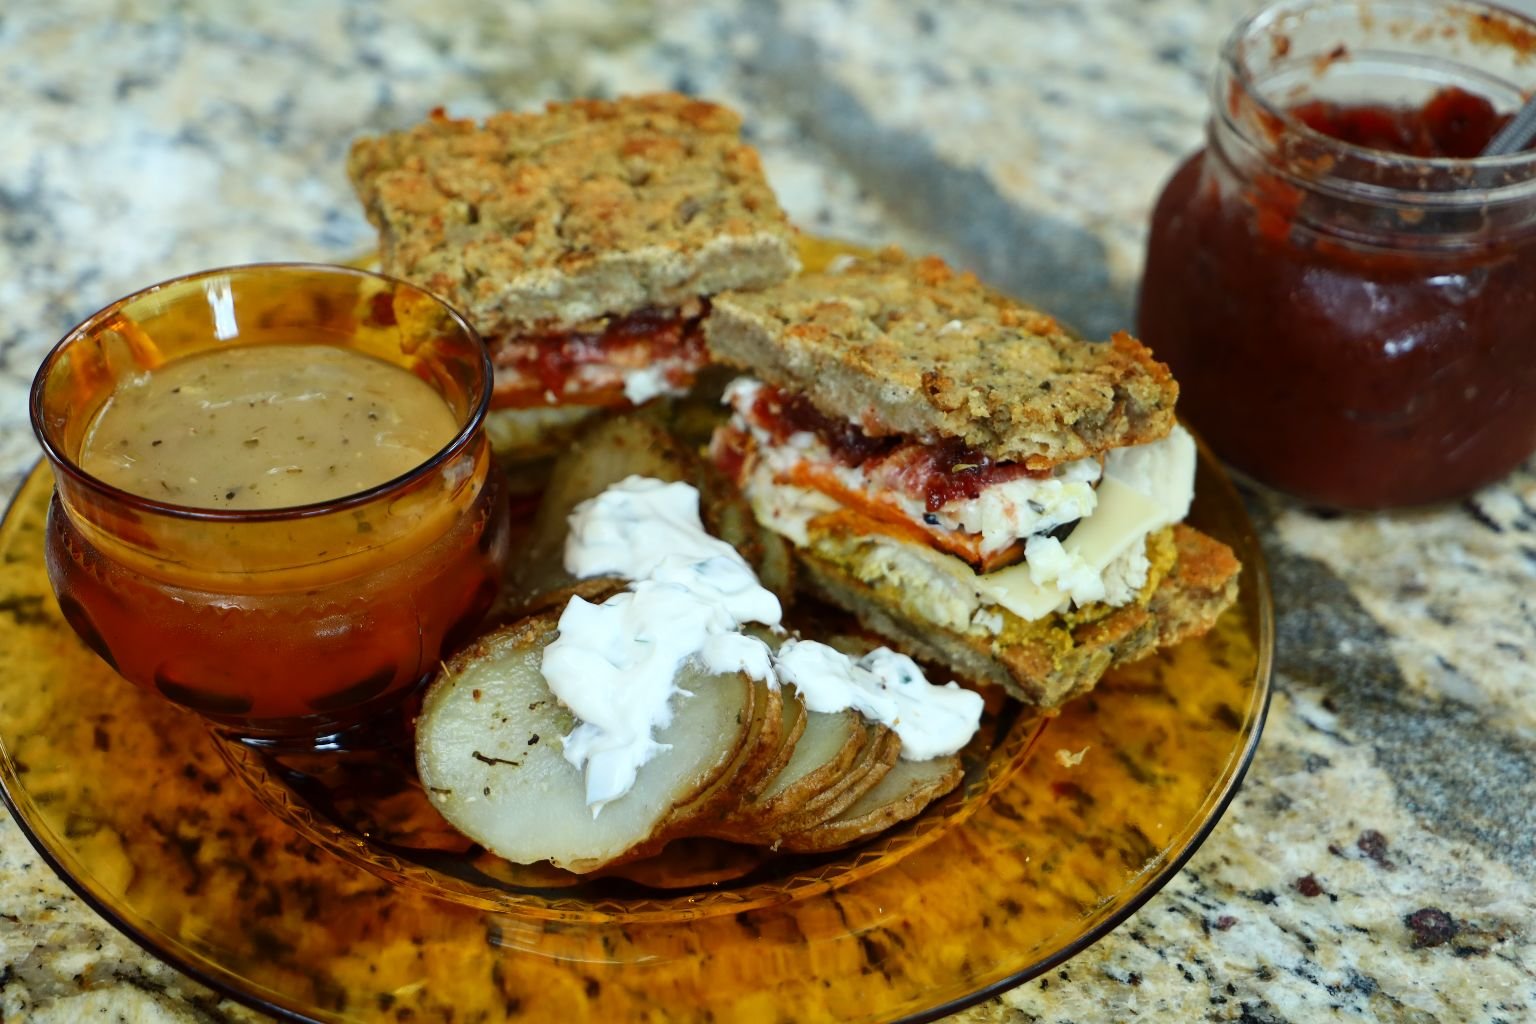
Thanksgiving Turkey, Bacon, our homemade Tarragon Mustard, White Cheddar Cheese slices, Grilled Yams, Grilled Onions, store bought Cole Slaw, and our last jar of homemade Florida Christmas Cranberry Sauce.
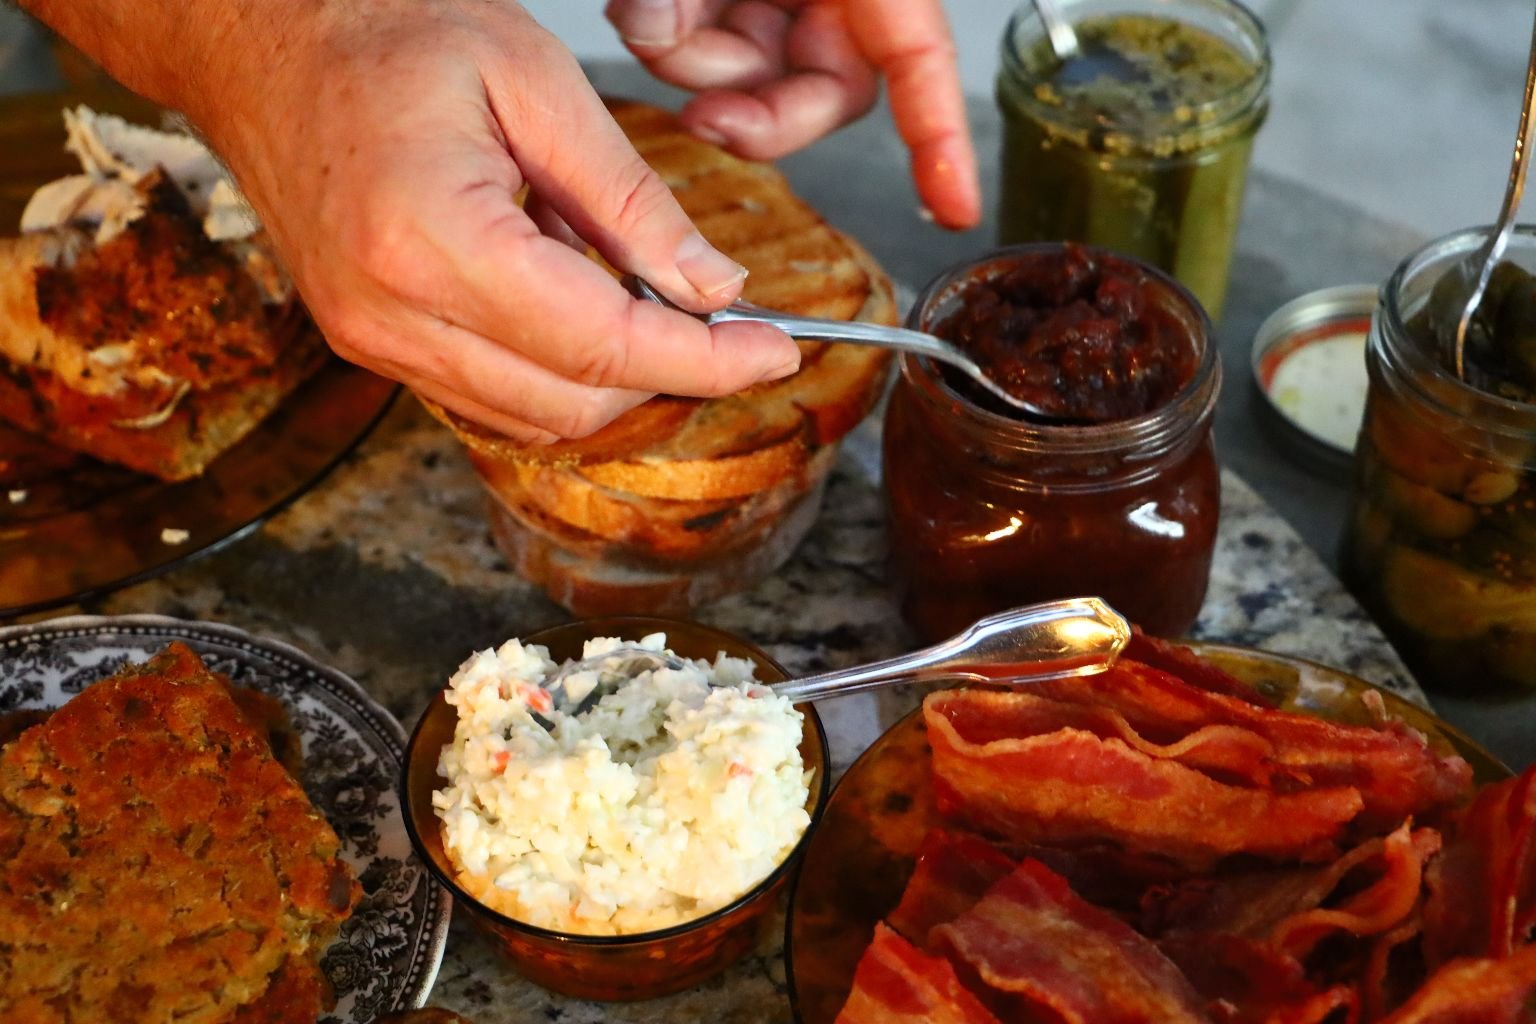
Gordon dolloping the last of our:
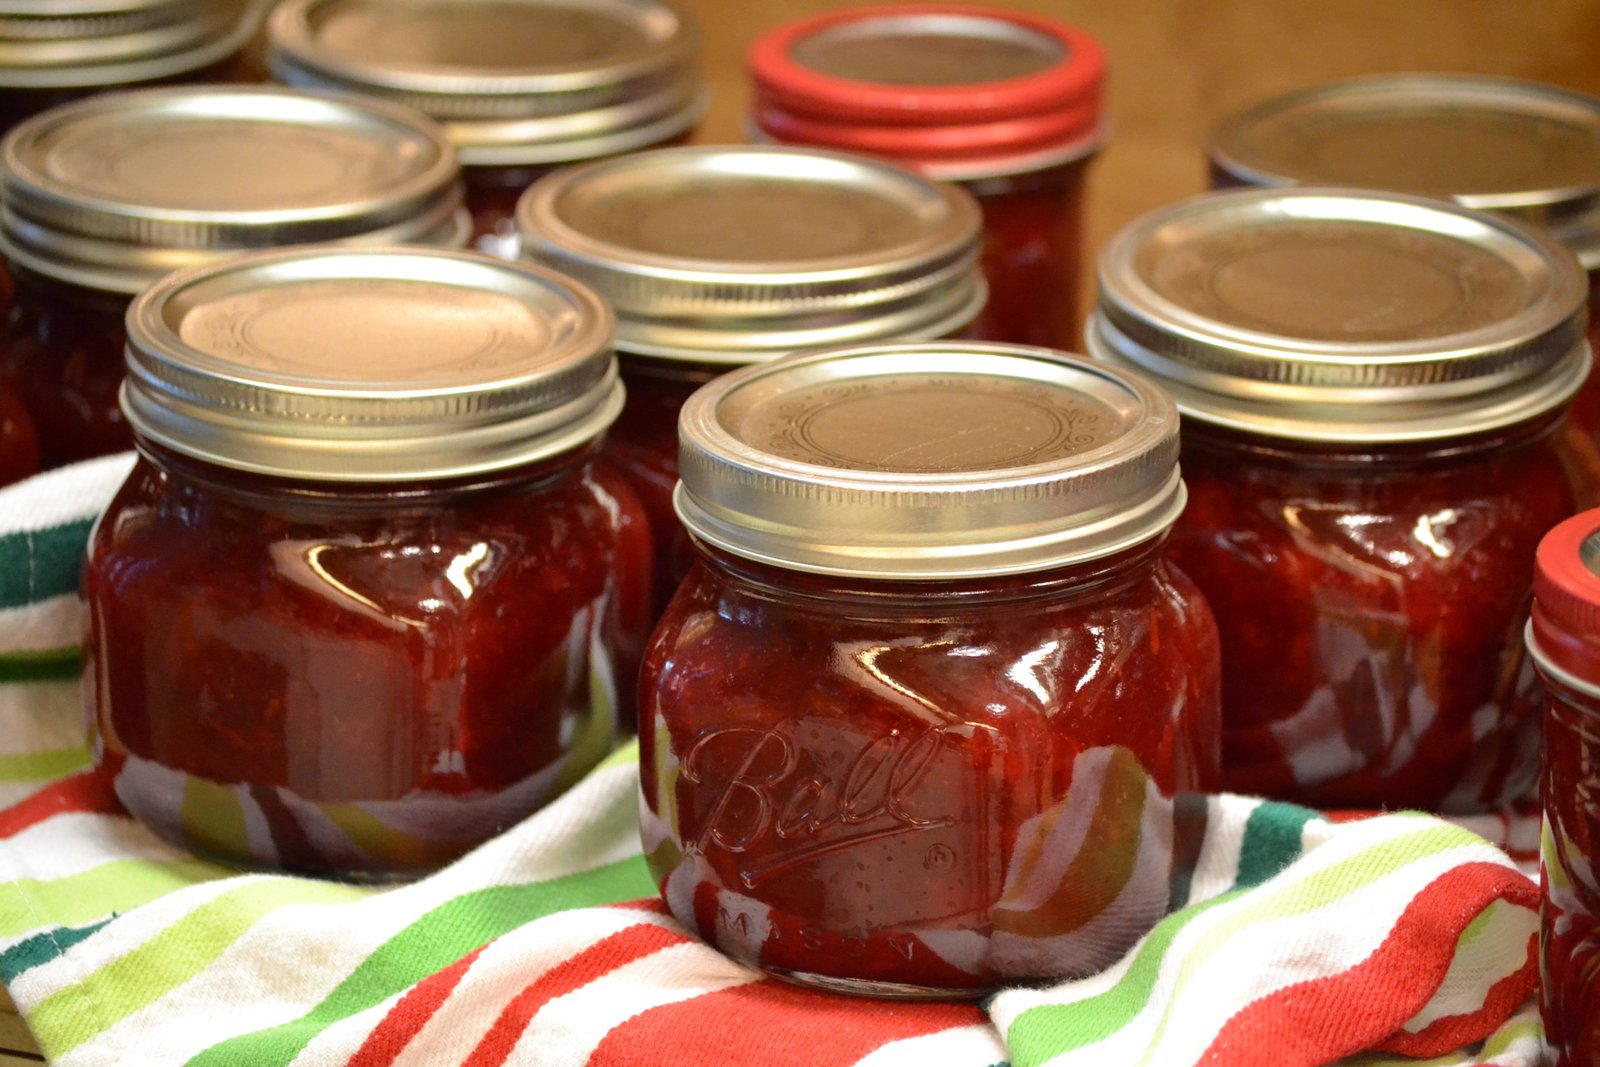
An Excellent Recipe if you care to take a Look
————————————————————–
Our Sides are the Hasselback Potatoes cut into medallions to resemble Potato Chips.
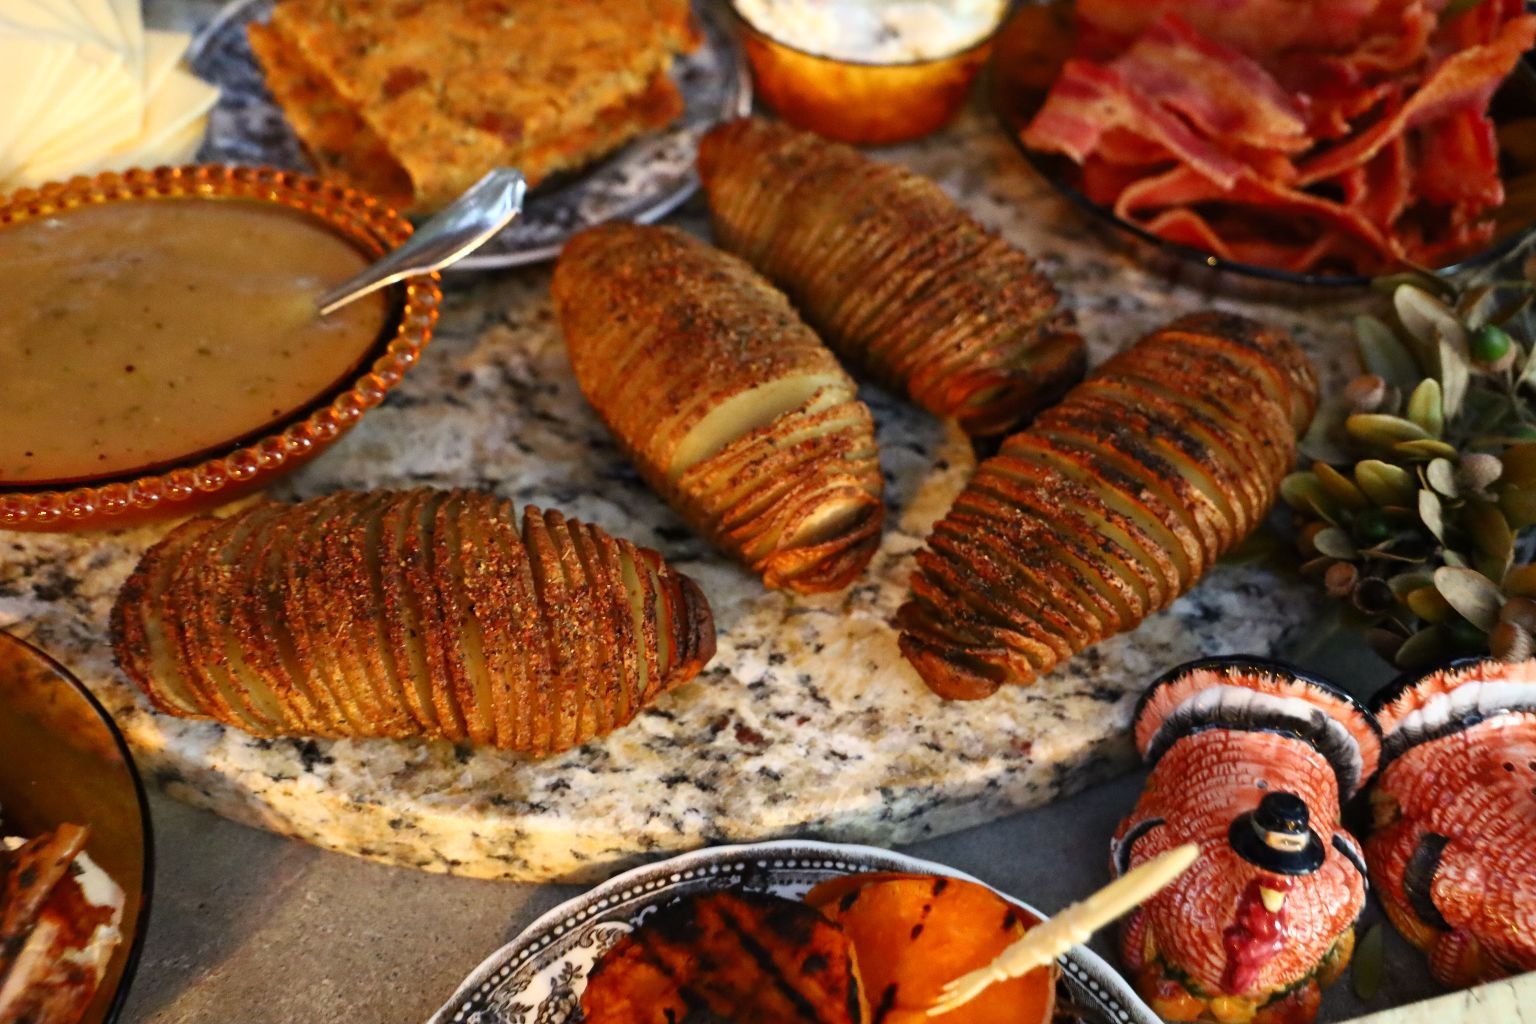
With a nice drizzle of Sour Cream and Chives.
Also, our homemade Dill Pickle slices and some store bought Salt Cured Olives.
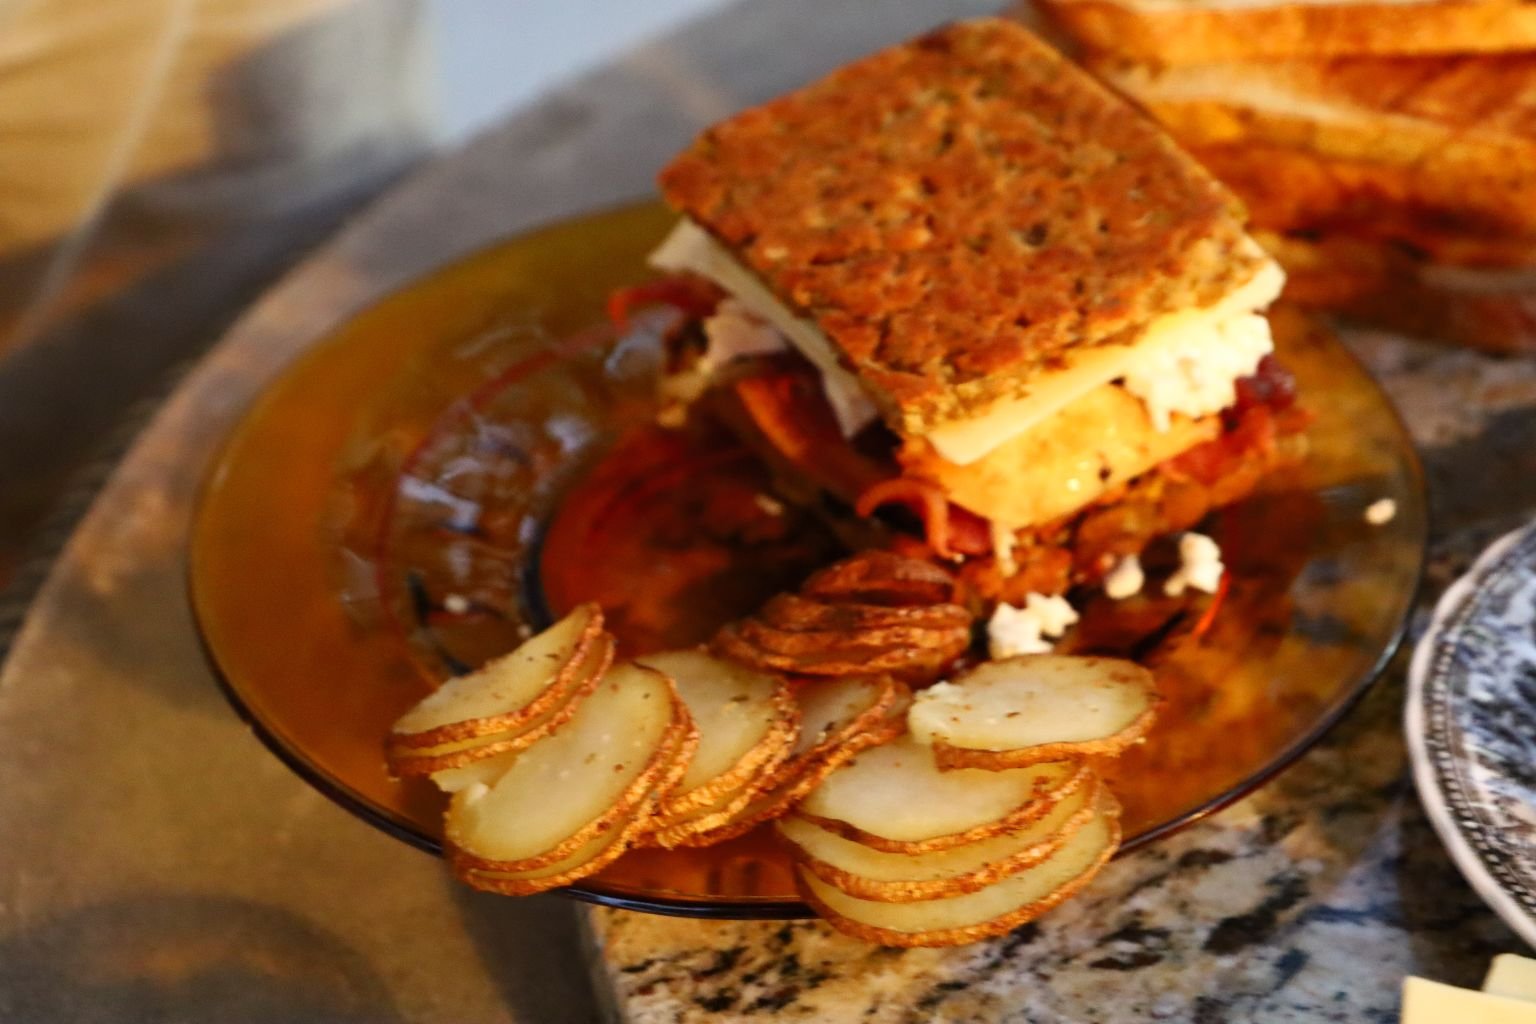
Gordon’s Dinner Plate
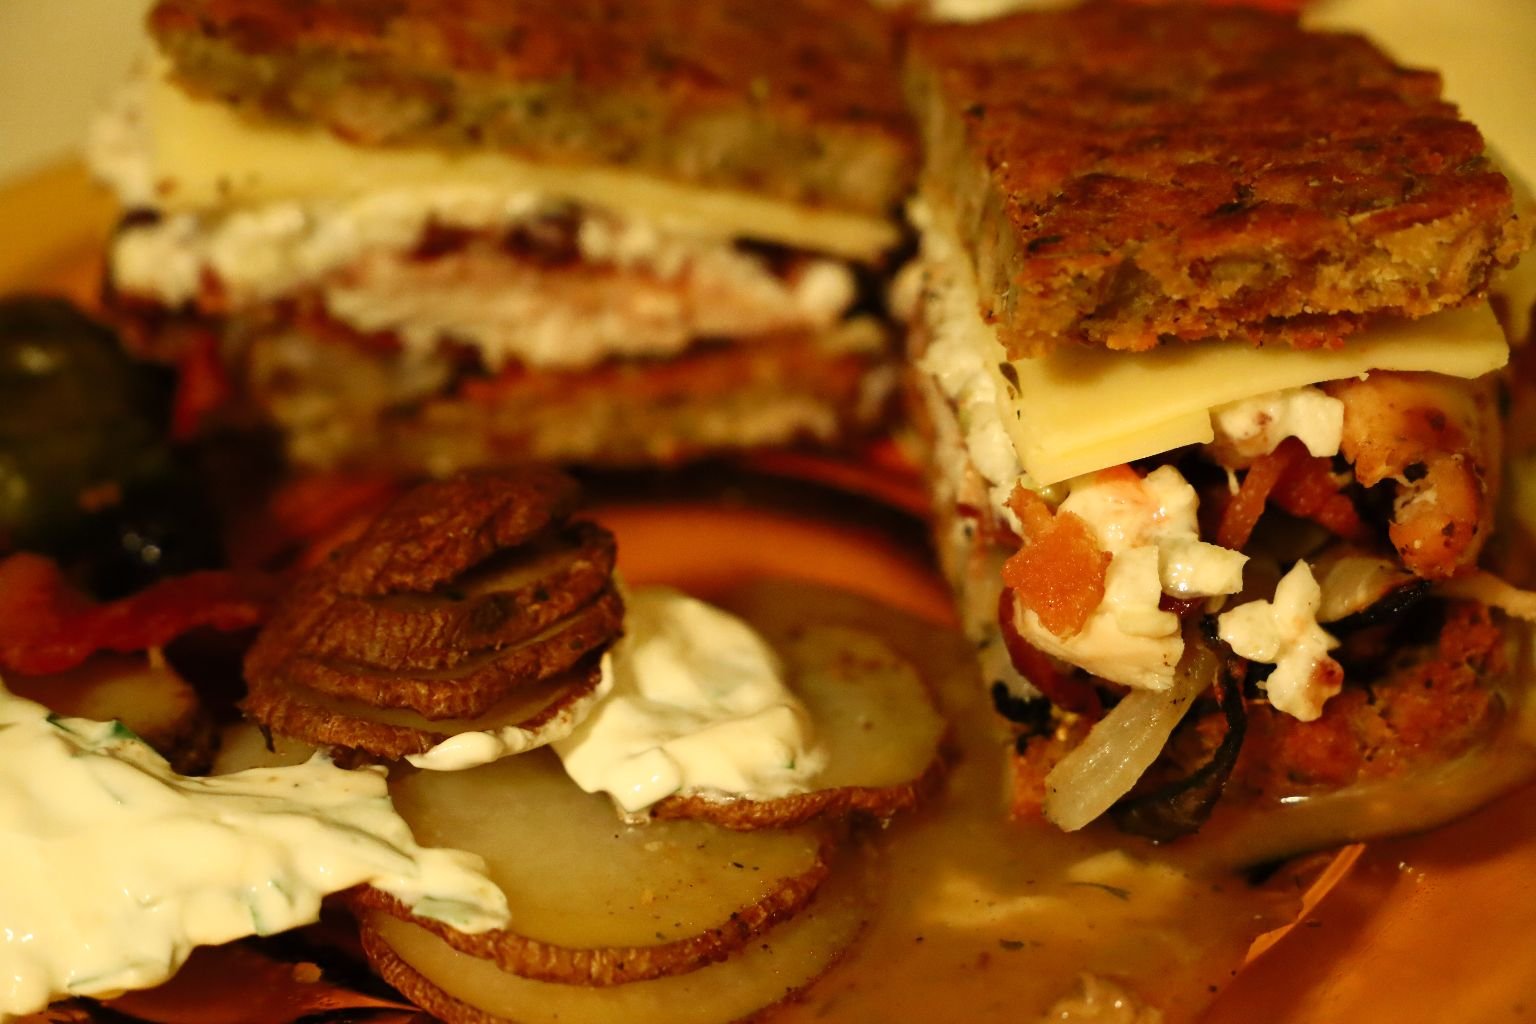
(Recipes Down Below)
———————————————————
There is Always Room for Leftovers
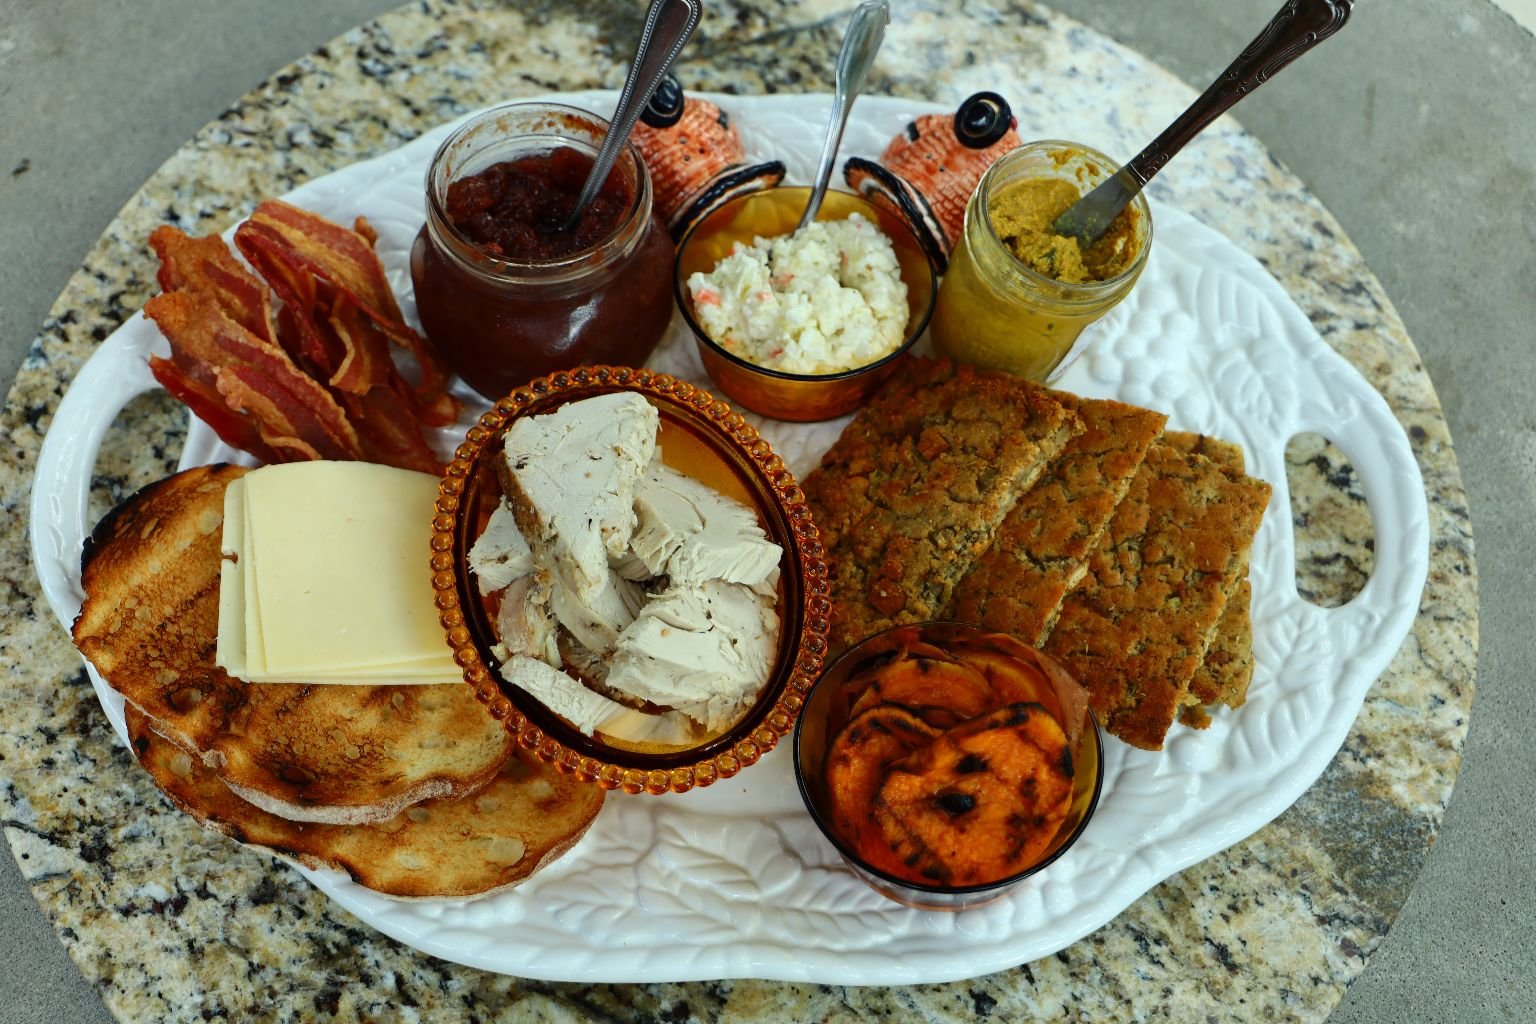
The Last Taste of Thanksgiving

Try dipping your sandwich into a side of gravy.
————————————————————————
Now Time For The Recipes
—————————————————————-
Making The Cornbread
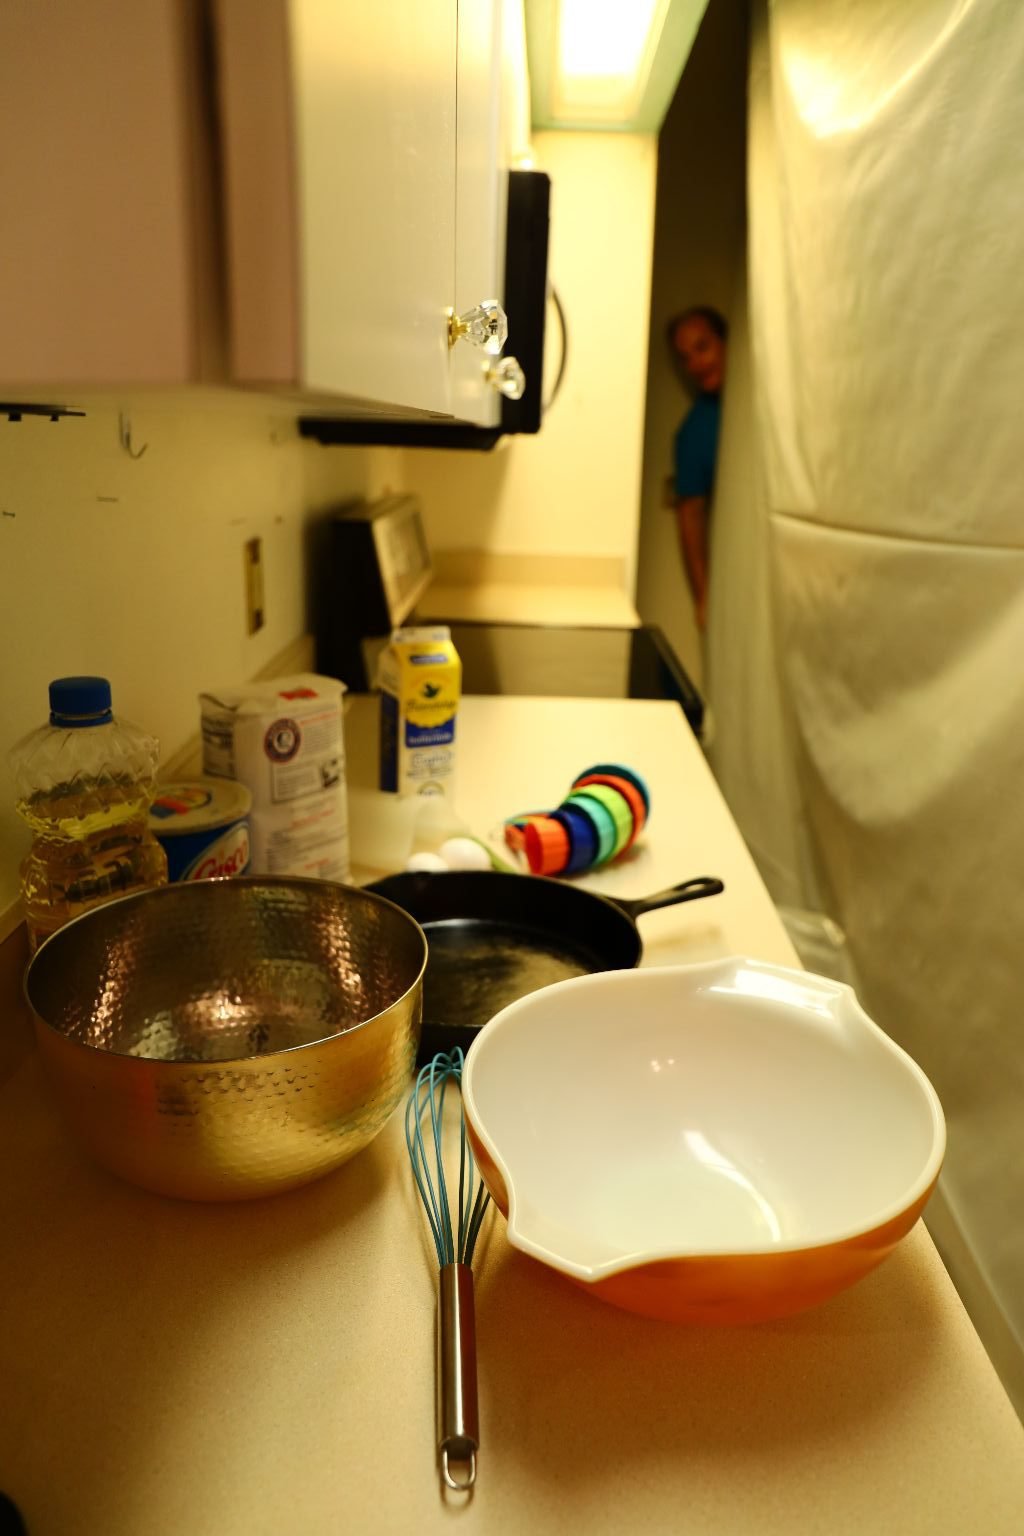
(See Gordon Peeking Around The Corner?) 🙂
The point of this isn’t to give you some unique recipe. It is to demonstrate to you how we had to make our cornbread during renovations. We probably did this on the day before Thanksgiving. Normally, I Julie, would have made it two days prior. But, we just had too much activity going on in this area that I couldn’t.
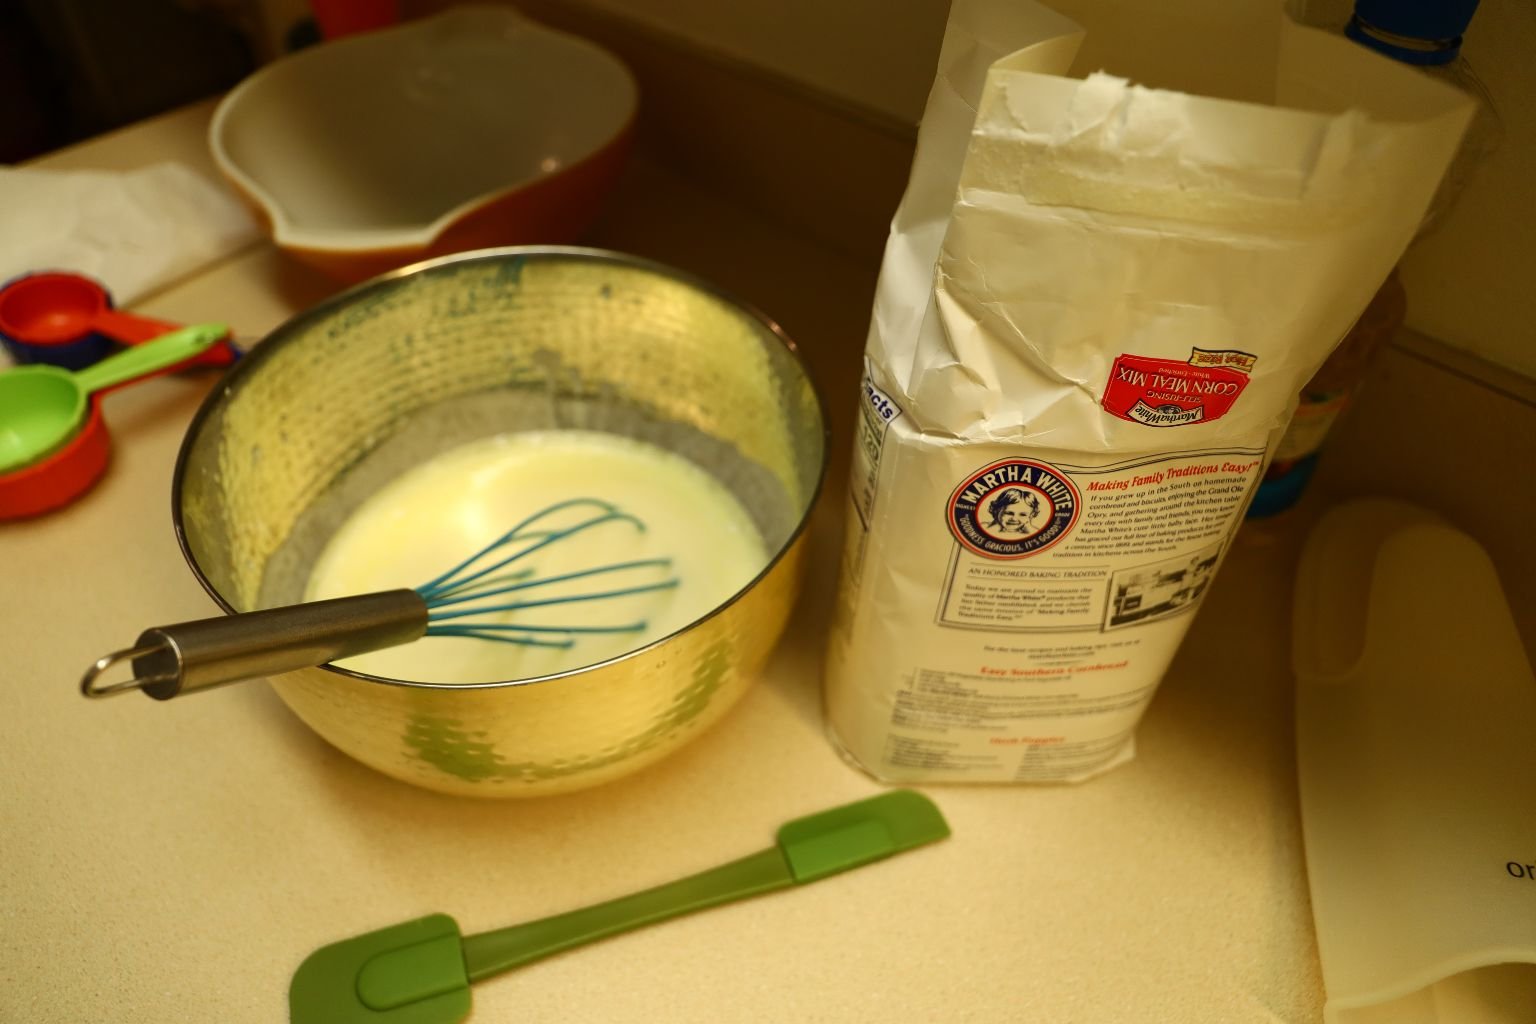
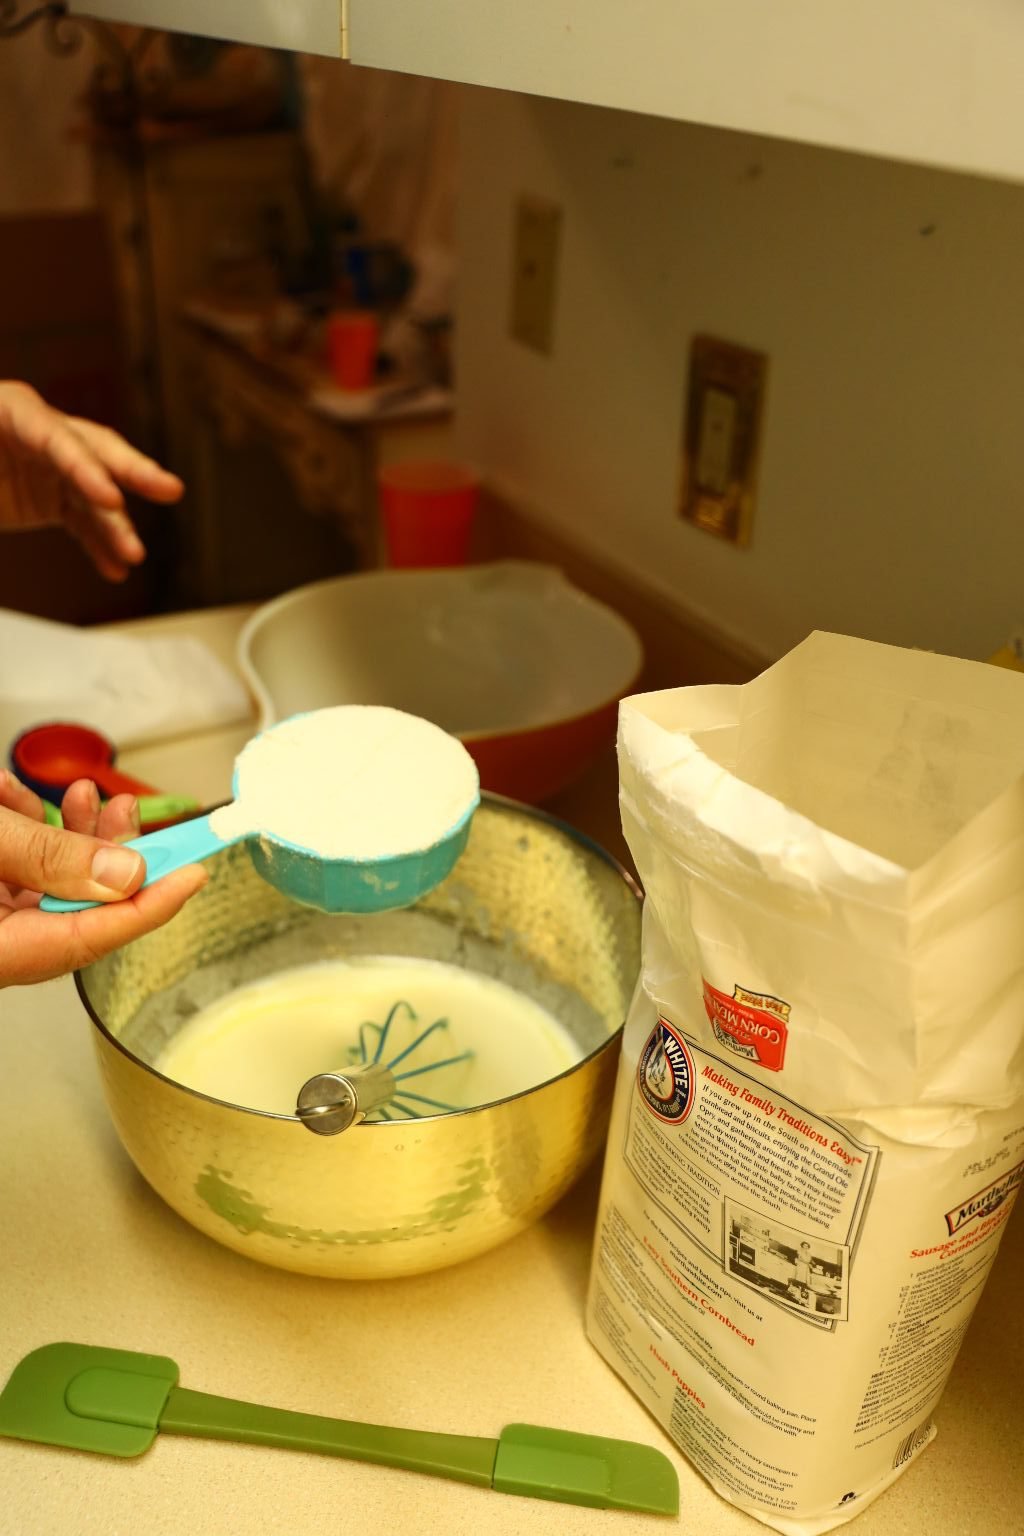
Here Gordon is Making our Cornbread
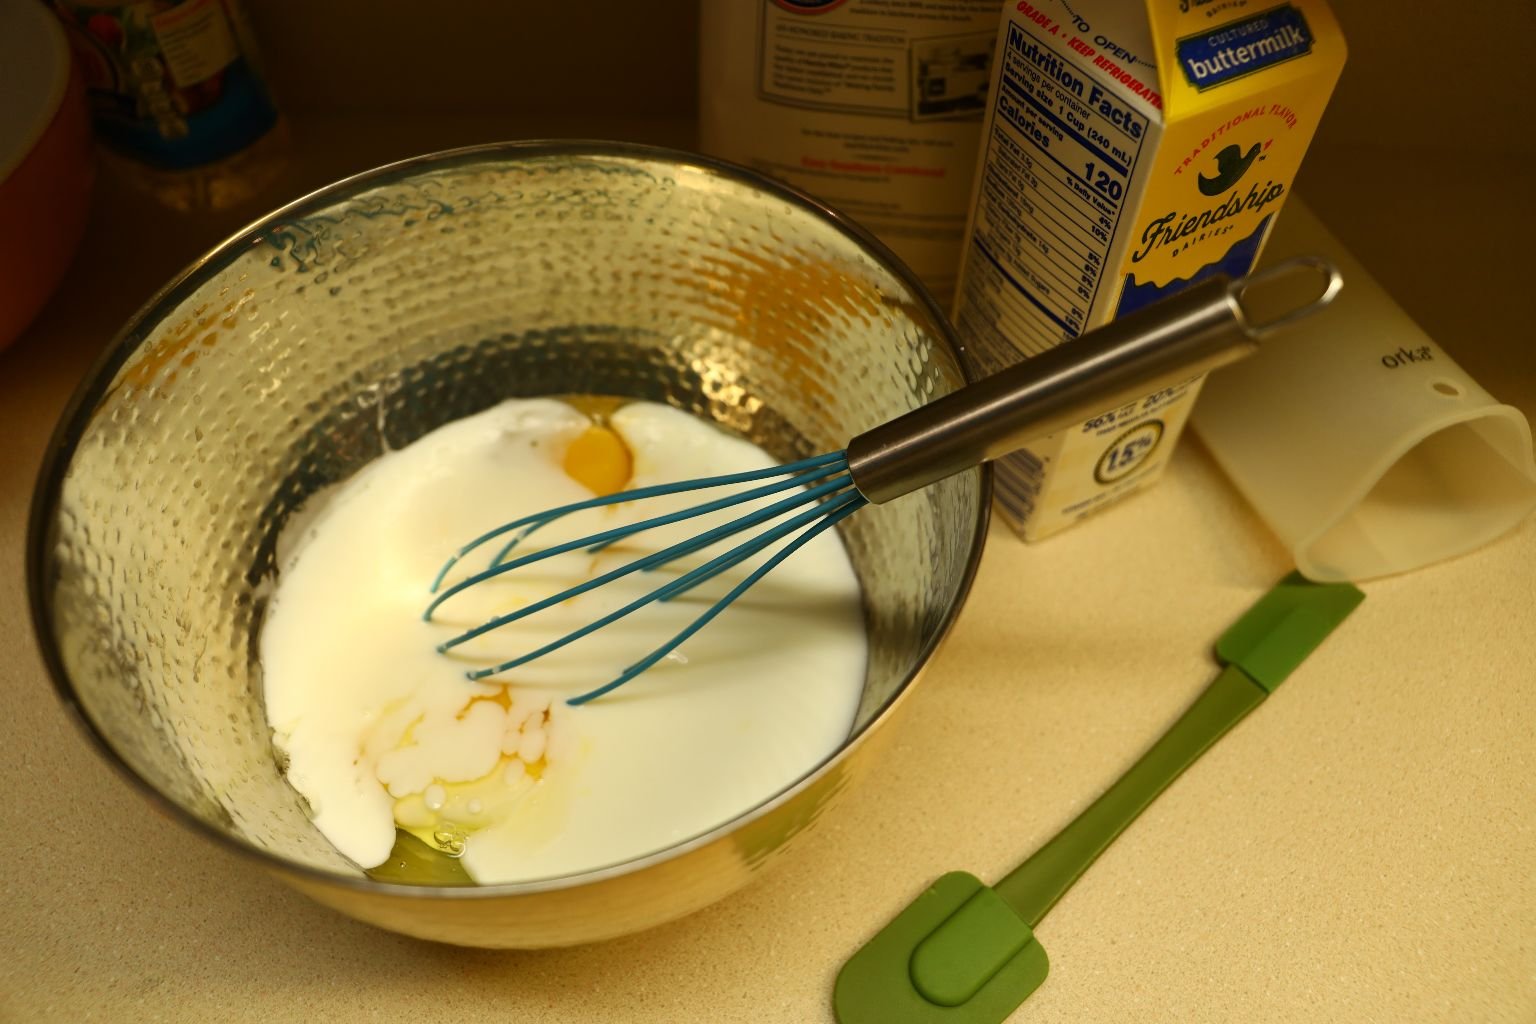
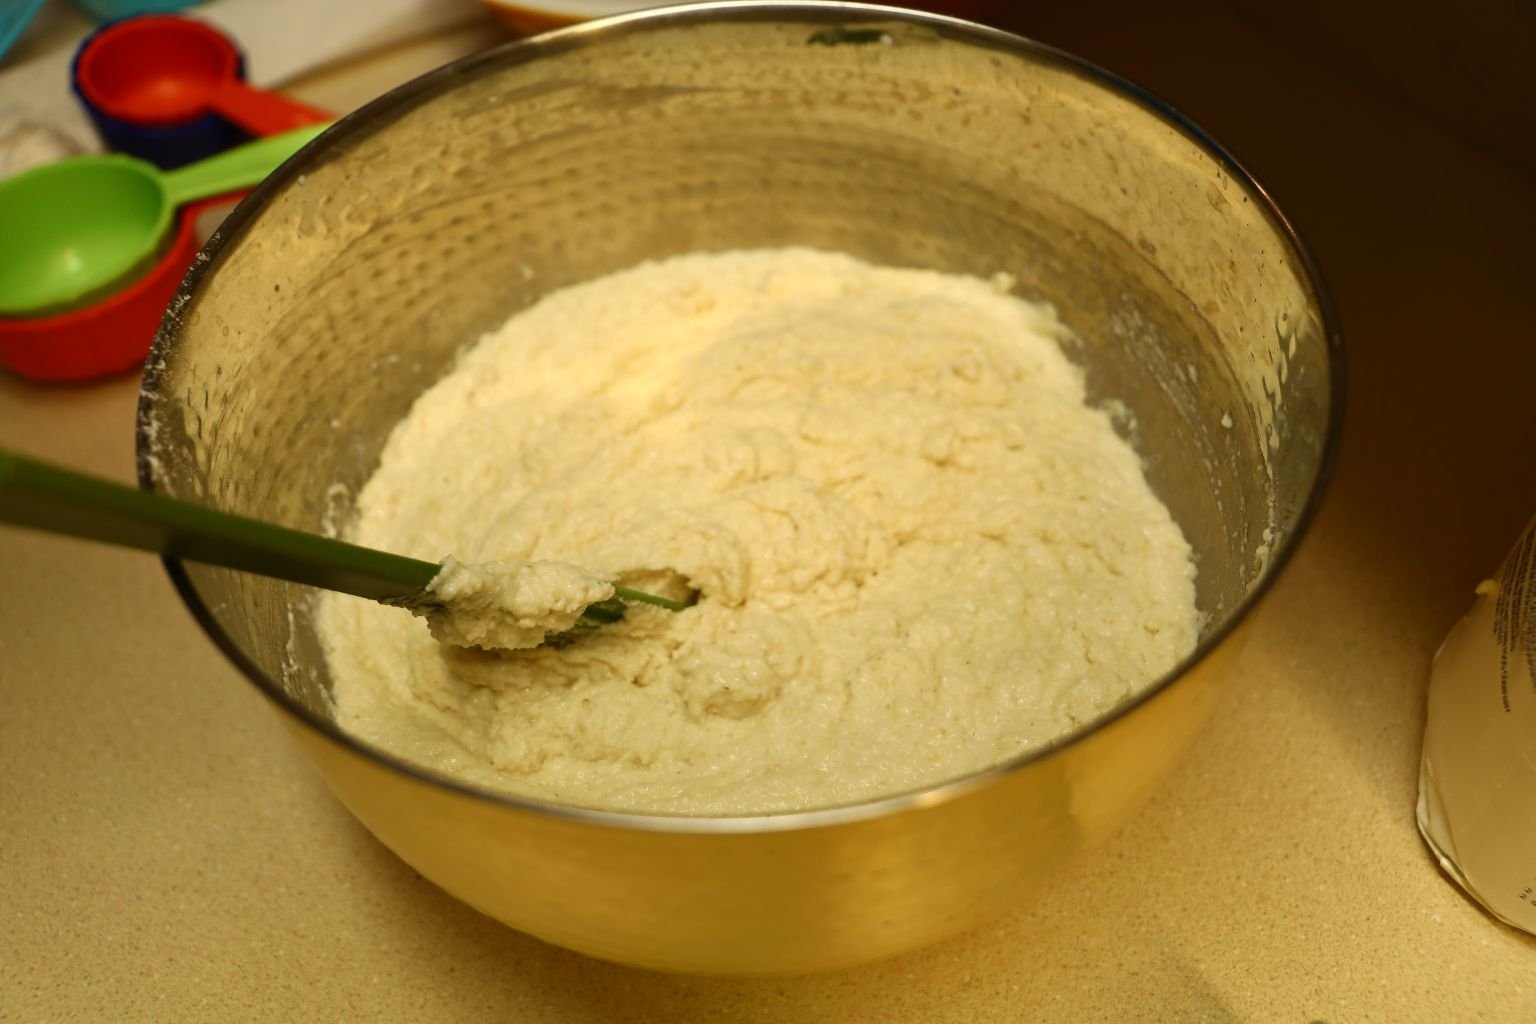
Honestly, the recipe is from a Martha White bag. It is delicious though. But, this is a great base for our Southern Cornbread Dressing.
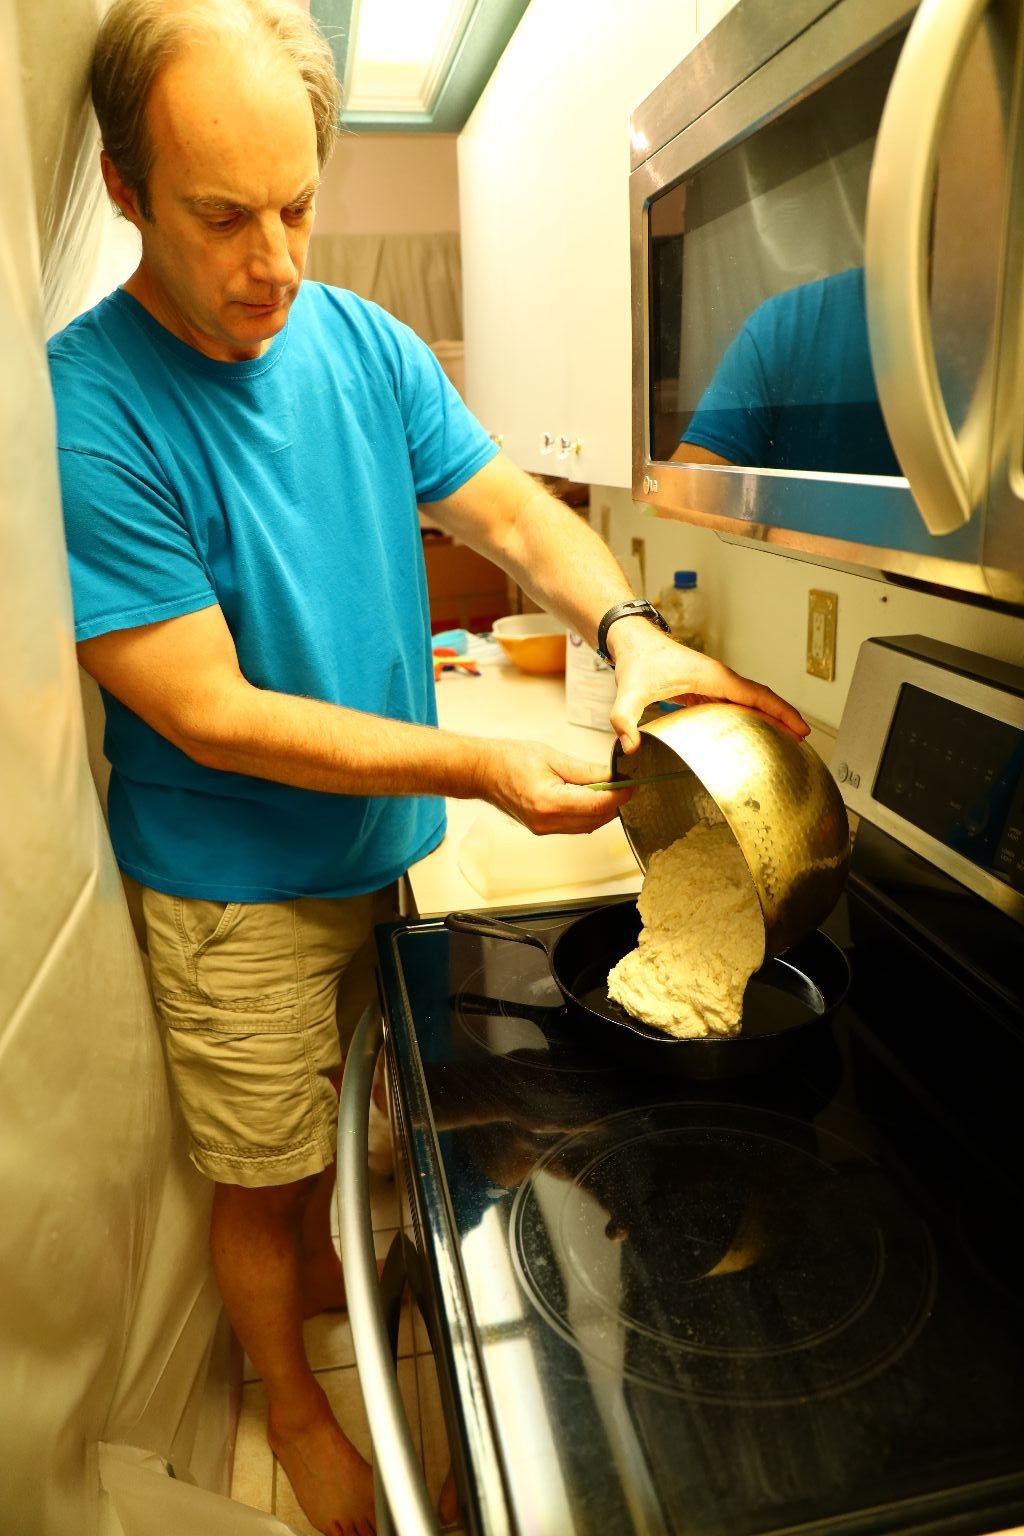
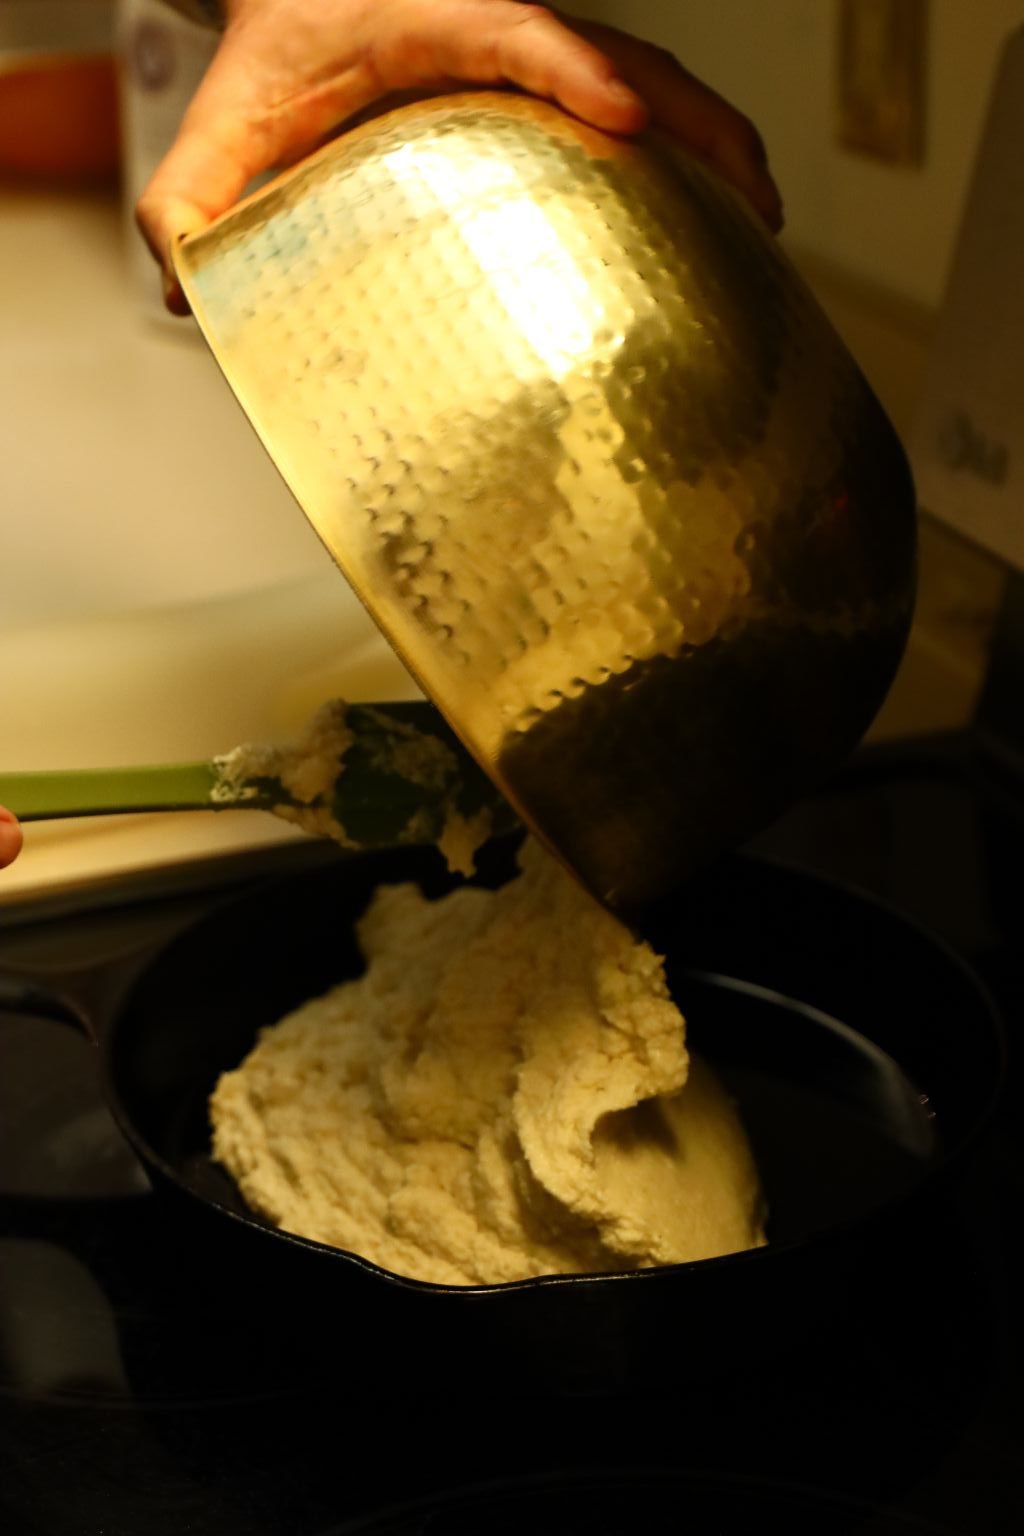
Here Gordon is placing the batter into our Cast Iron Skillet.
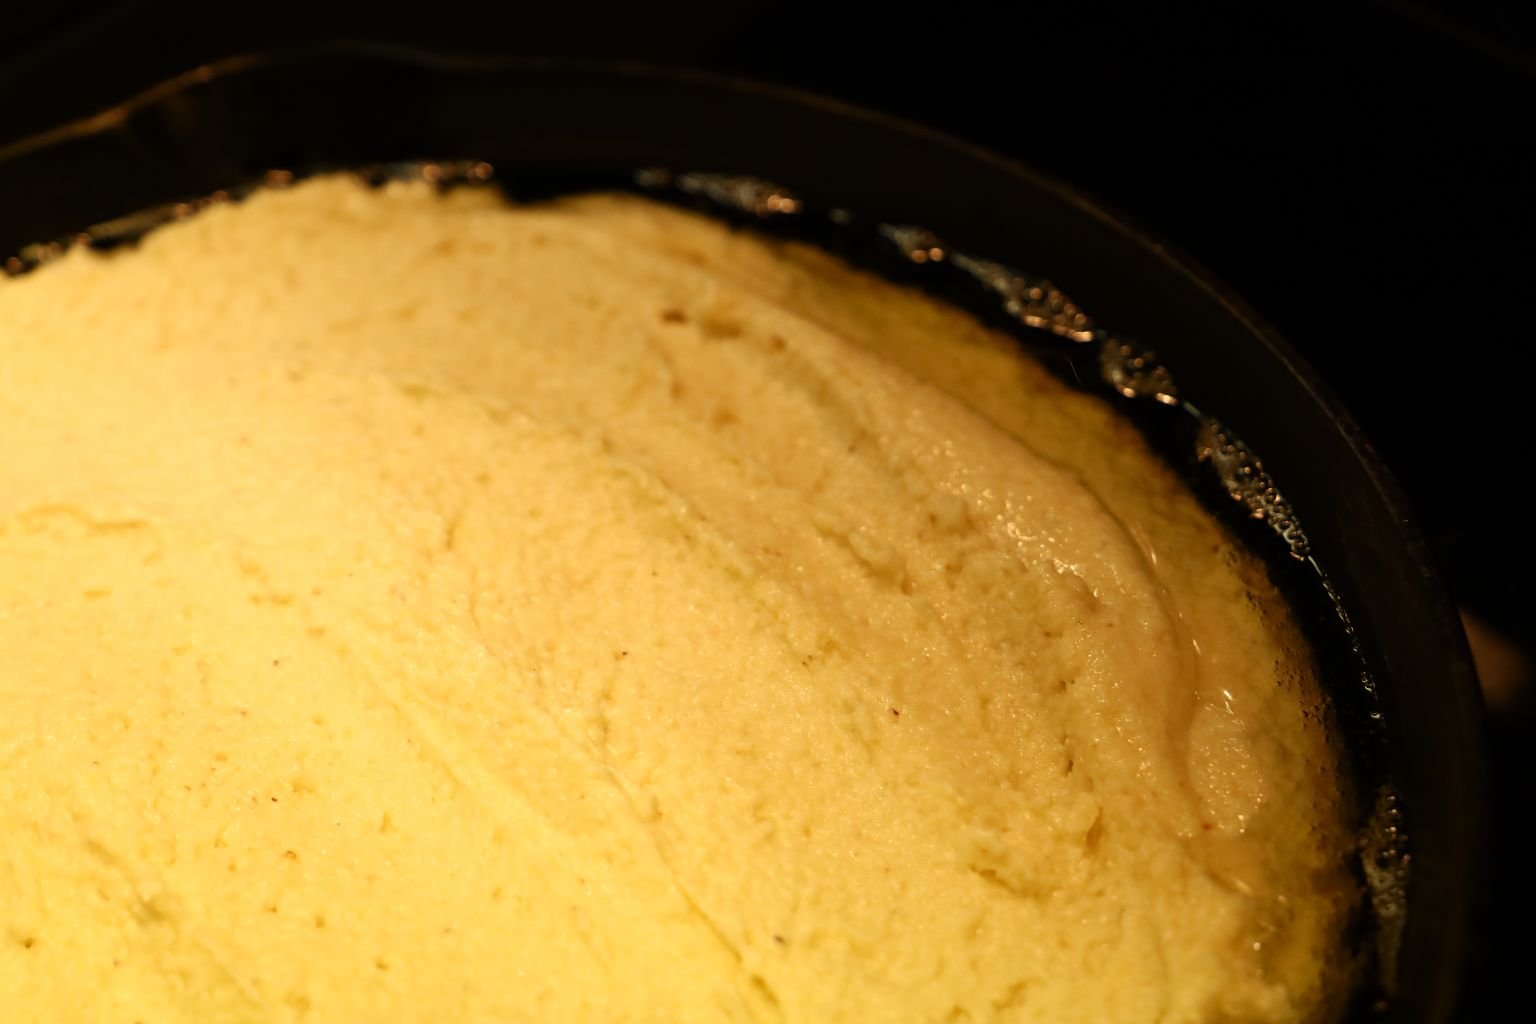
Now, Into The Oven To Bake
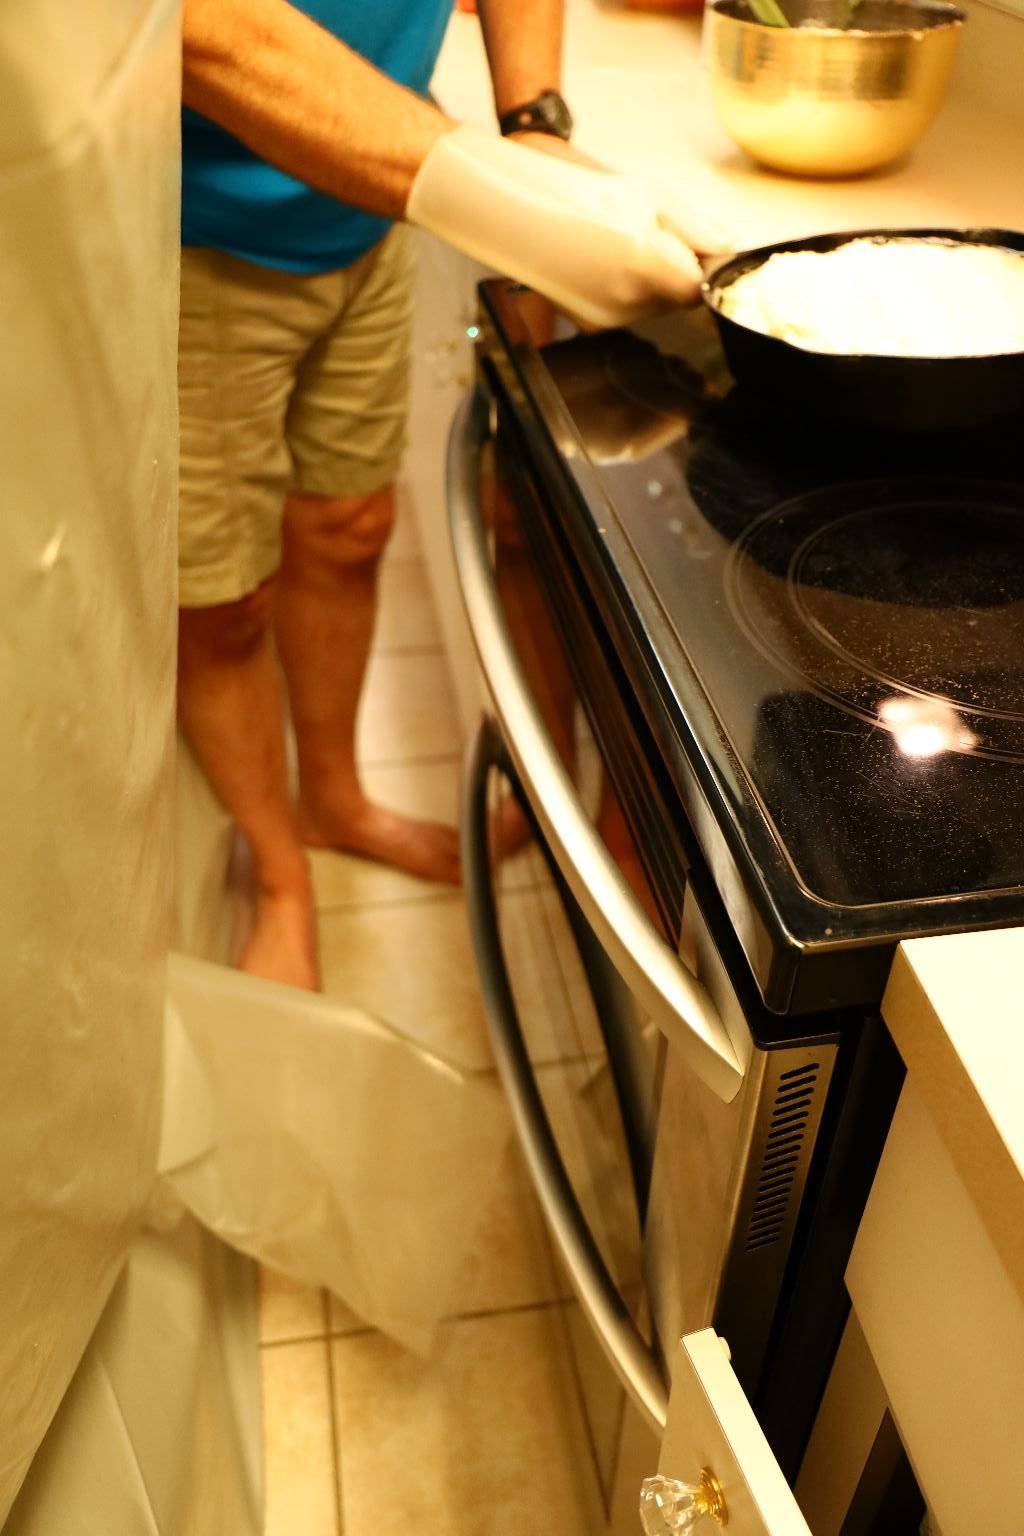
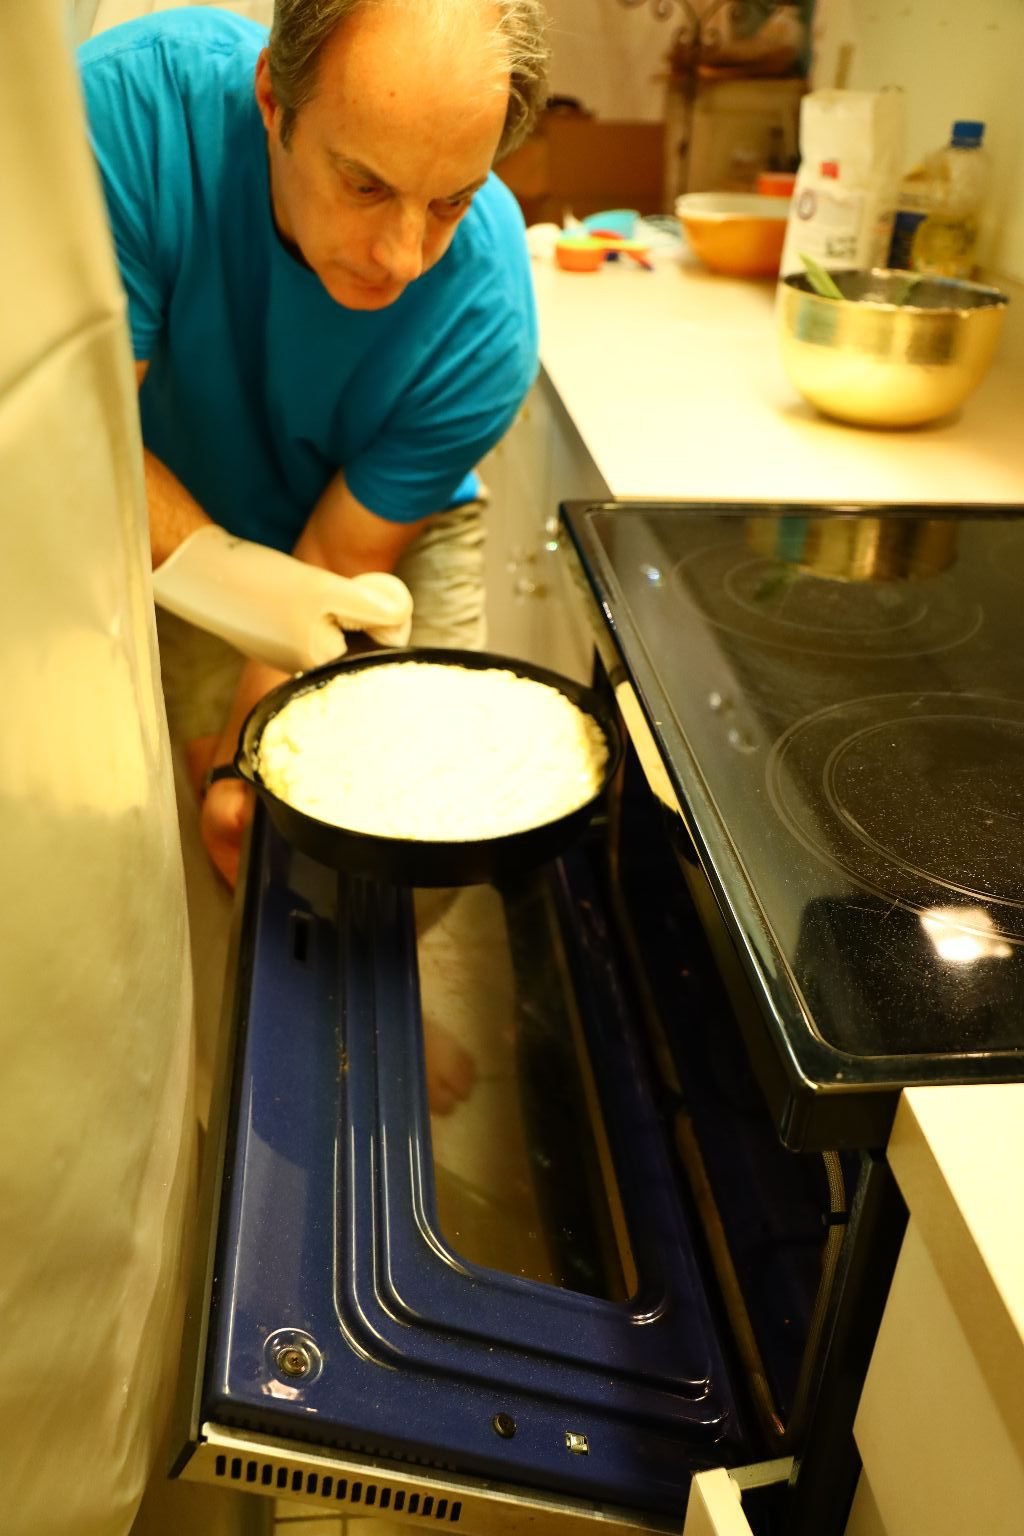
Just Following The Package Instructions
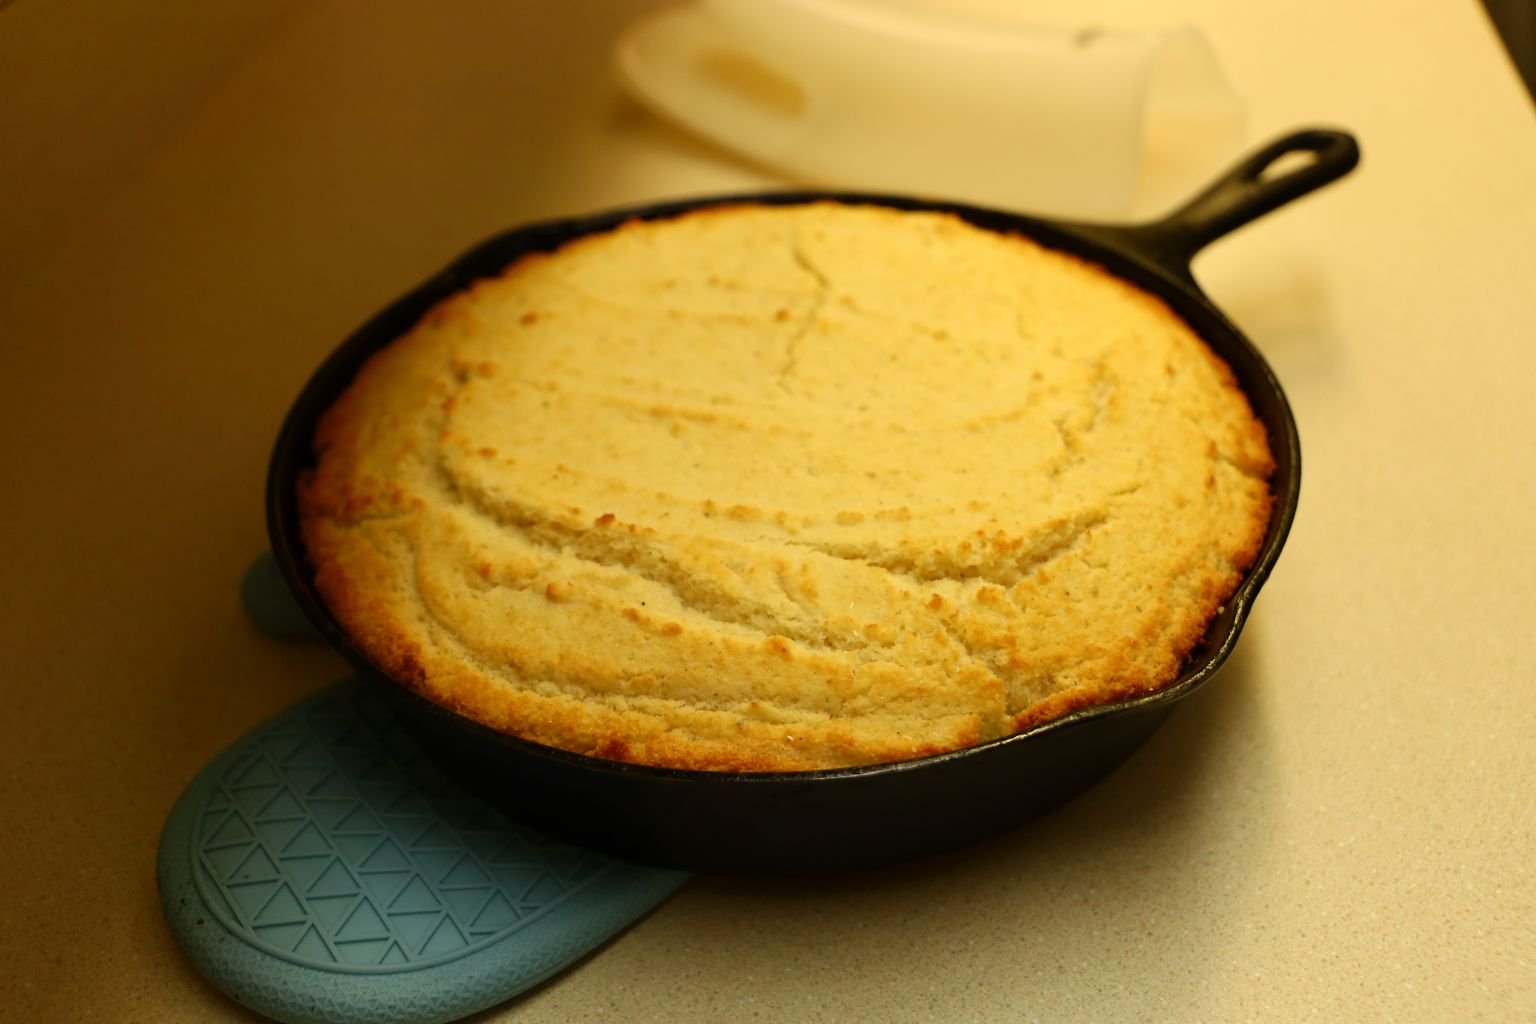
Out of the Oven and Cooling
I Julie, placed the cornbread into a bowl and am venting it with some Aluminum Foil. You want the Cornbread to dry out in order to make a great Cornbread Dressing. I have it vented on my desk that we moved into our bedroom for renovations. This is on a Wednesday evening.
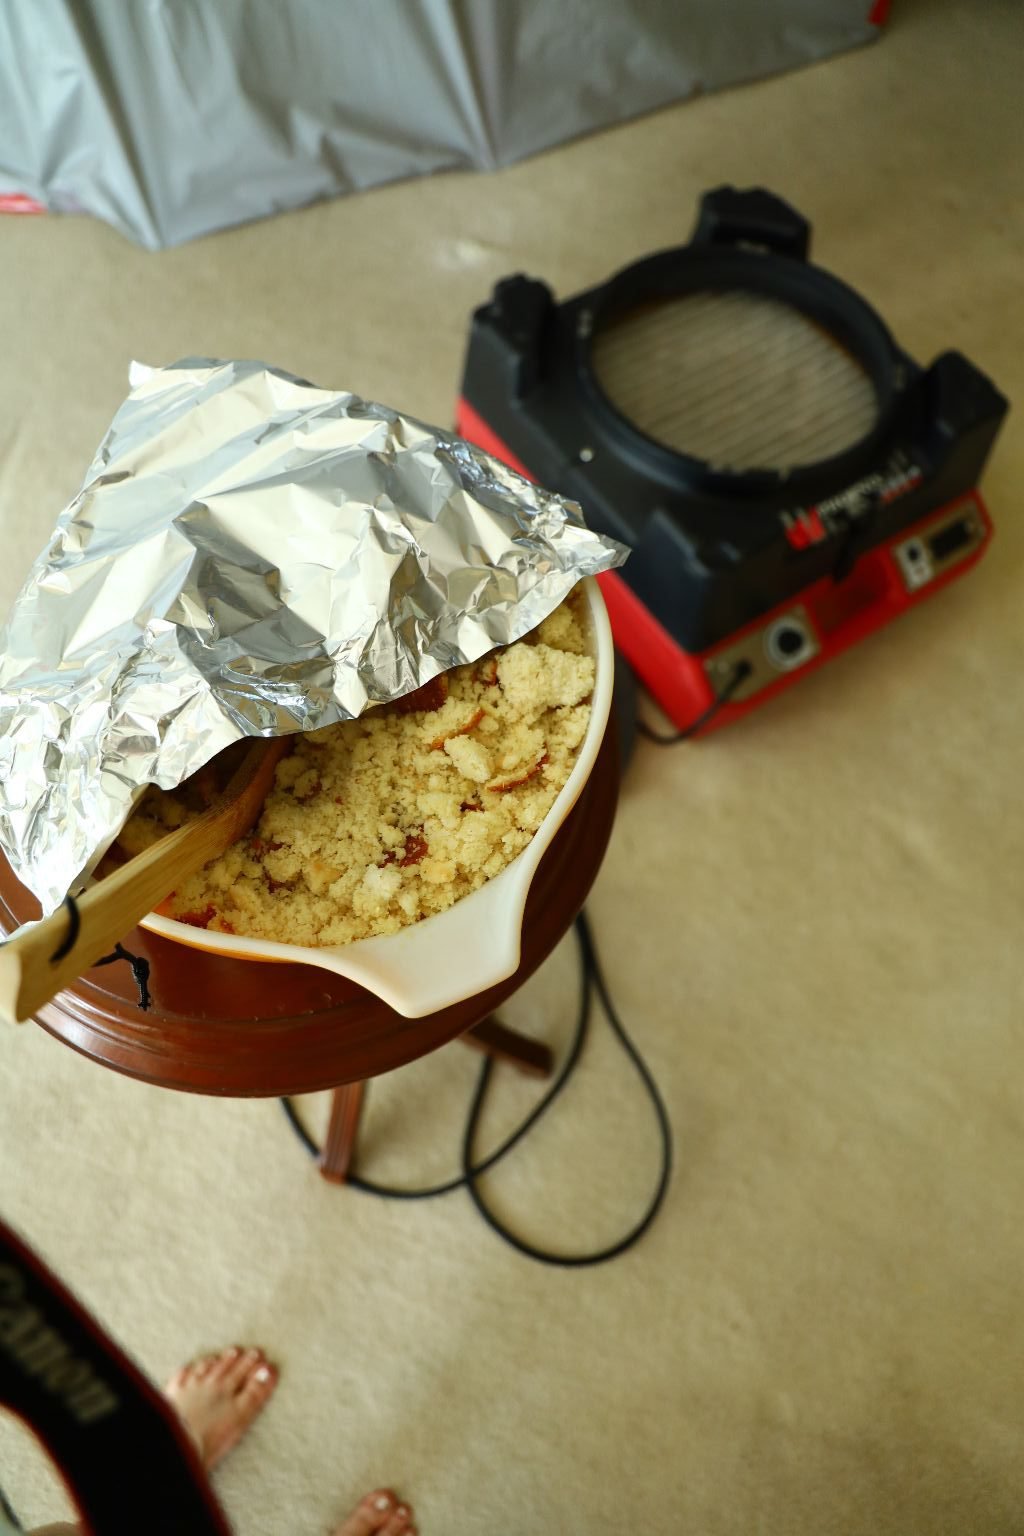
Cornbread and the Dehumidifier
This is Thursday, Thanksgiving Day
That red thing is a dehumidifier. It’s purpose is to suck the moisture out of the air to dry out our house because of all the moisture that we had due to our dishwasher leaking and ruining the kitchen walls and our living room carpet.
We could not have asked for a better way to dry out our cornbread. That is why we placed it beside the dehumidifier.
Genius, huh? 🙂
——————————————————————
Time to Cook the Turkey
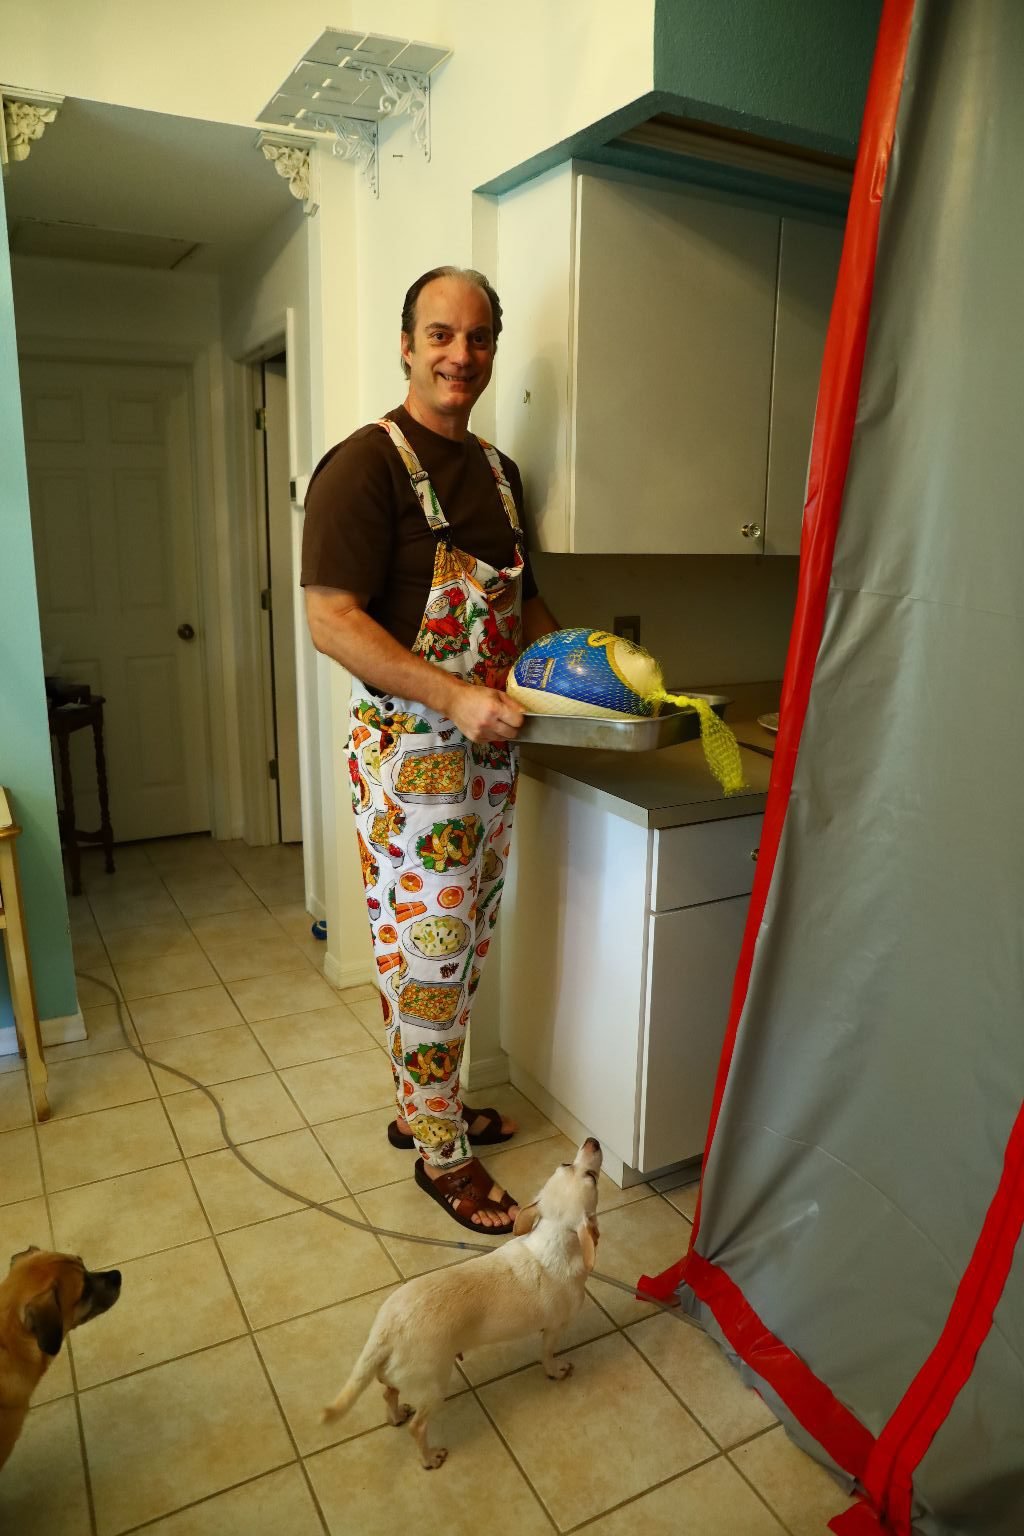
Even major renovations to our house due to a leaking dishwasher which leaked over a long period of time, won’t stop us from having our Thanksgiving. I even got dressed for the occasion with my Thanksgiving overall pajamas. 🙂
Be sure to thaw your Turkey in the refrigerator days ahead of time.
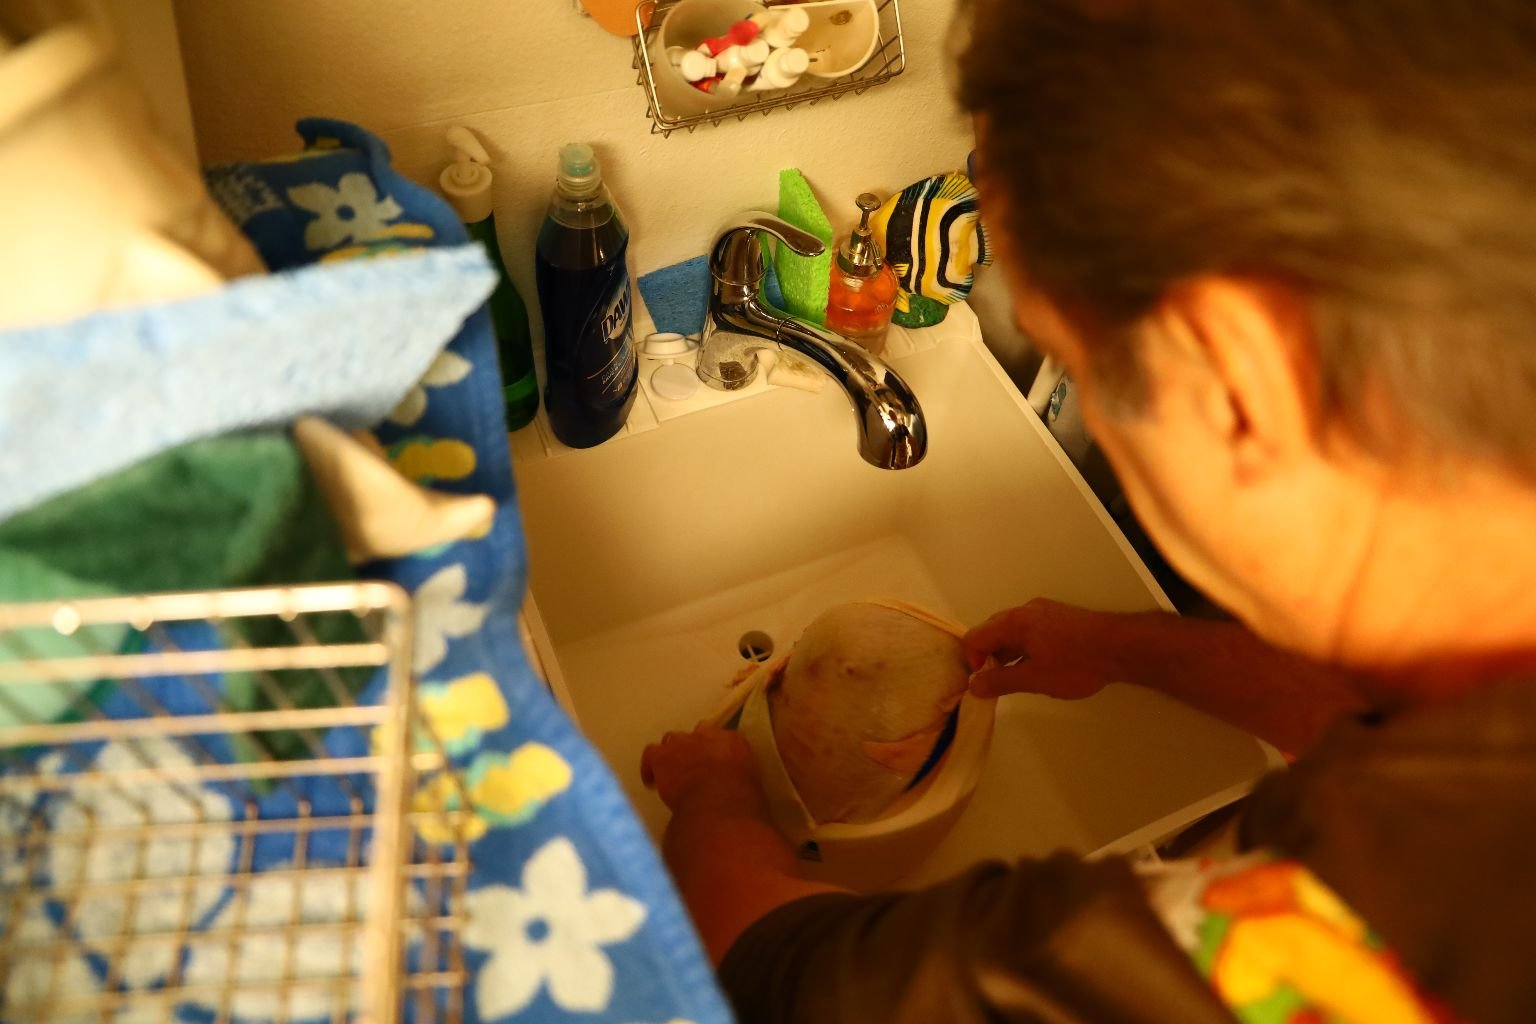
We Have No Kitchen Sink So We Are Using Our Laundry Room Sink
Wash the blood and any residual feathers off the turkey. Here you can see I am using our laundry room sink as we don’t have a kitchen sink.
This is Something of an Adventure

Drain the turkey well and be sure to remove the neck and giblets from the cavity. These can be used to make a giblet gravy or nice soup.
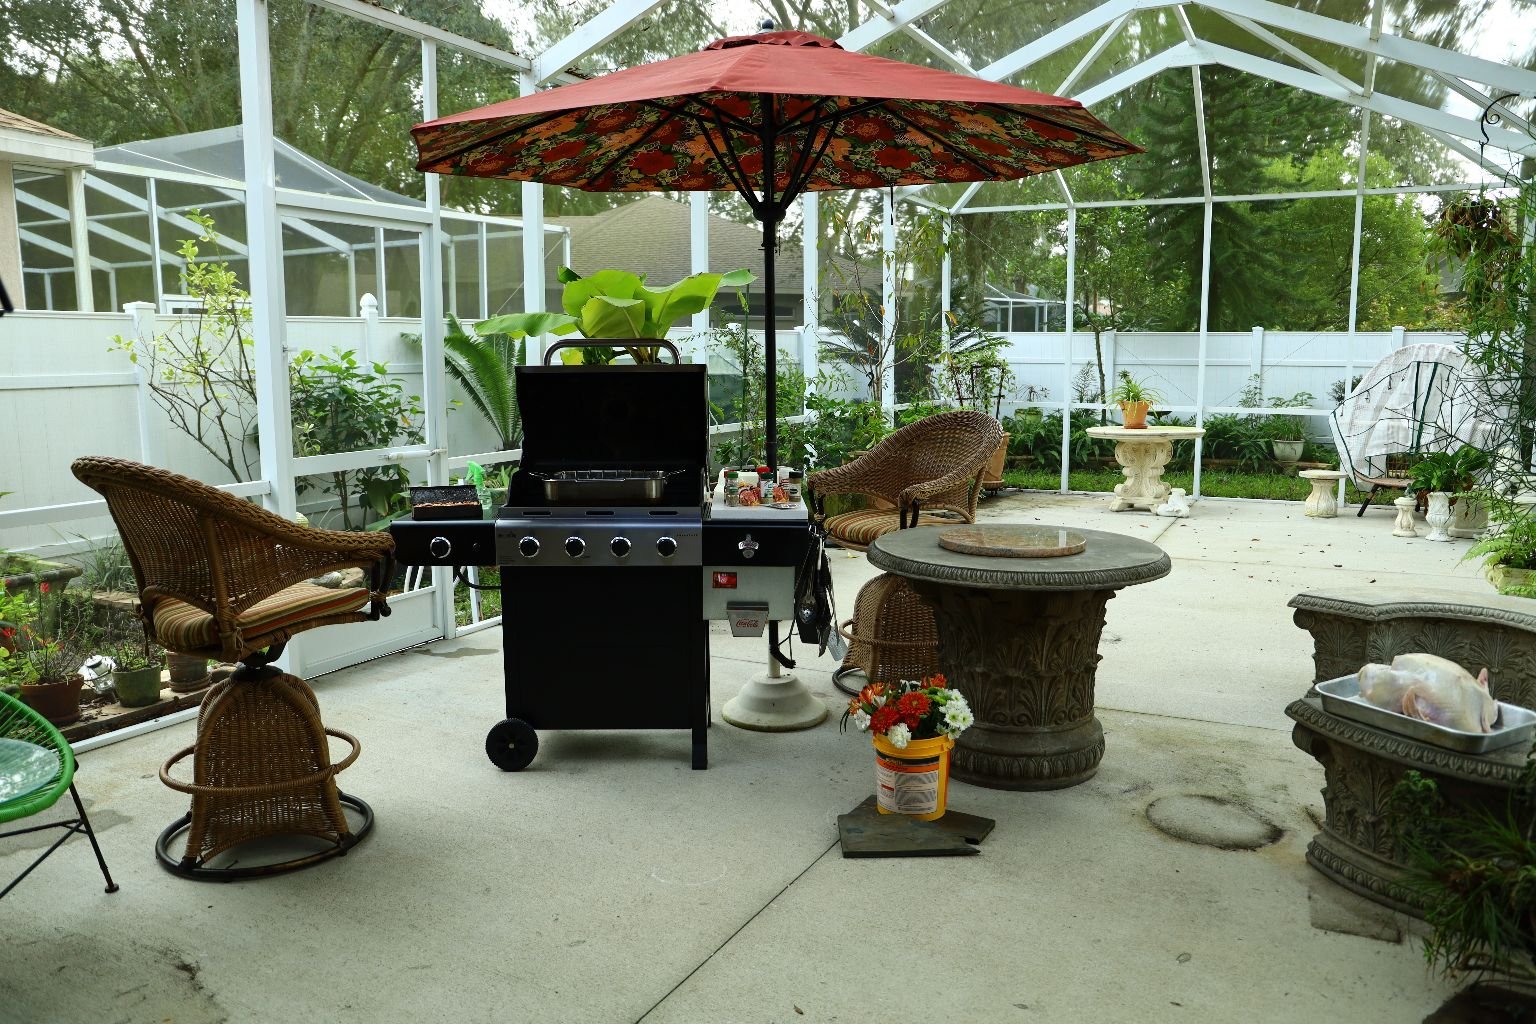
We Will Be Grilling The Turkey
Here is our setting outside on our screened lanai.
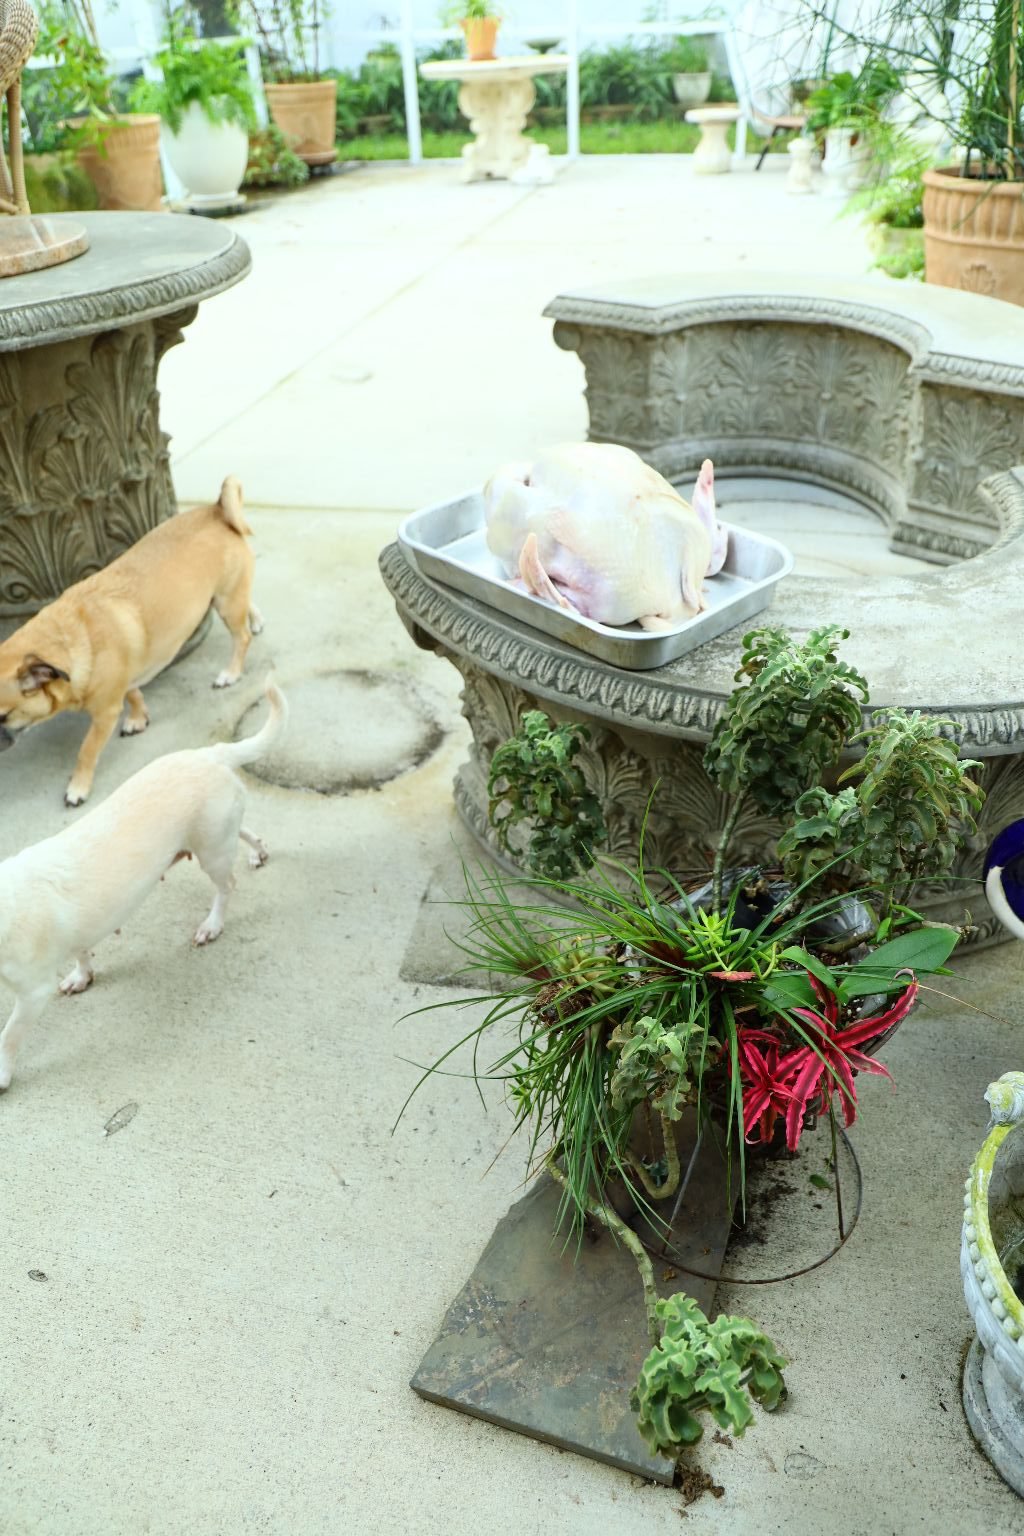
Pat the turkey with paper towels to ensure the skin will accept the oil and get nice and crispy.
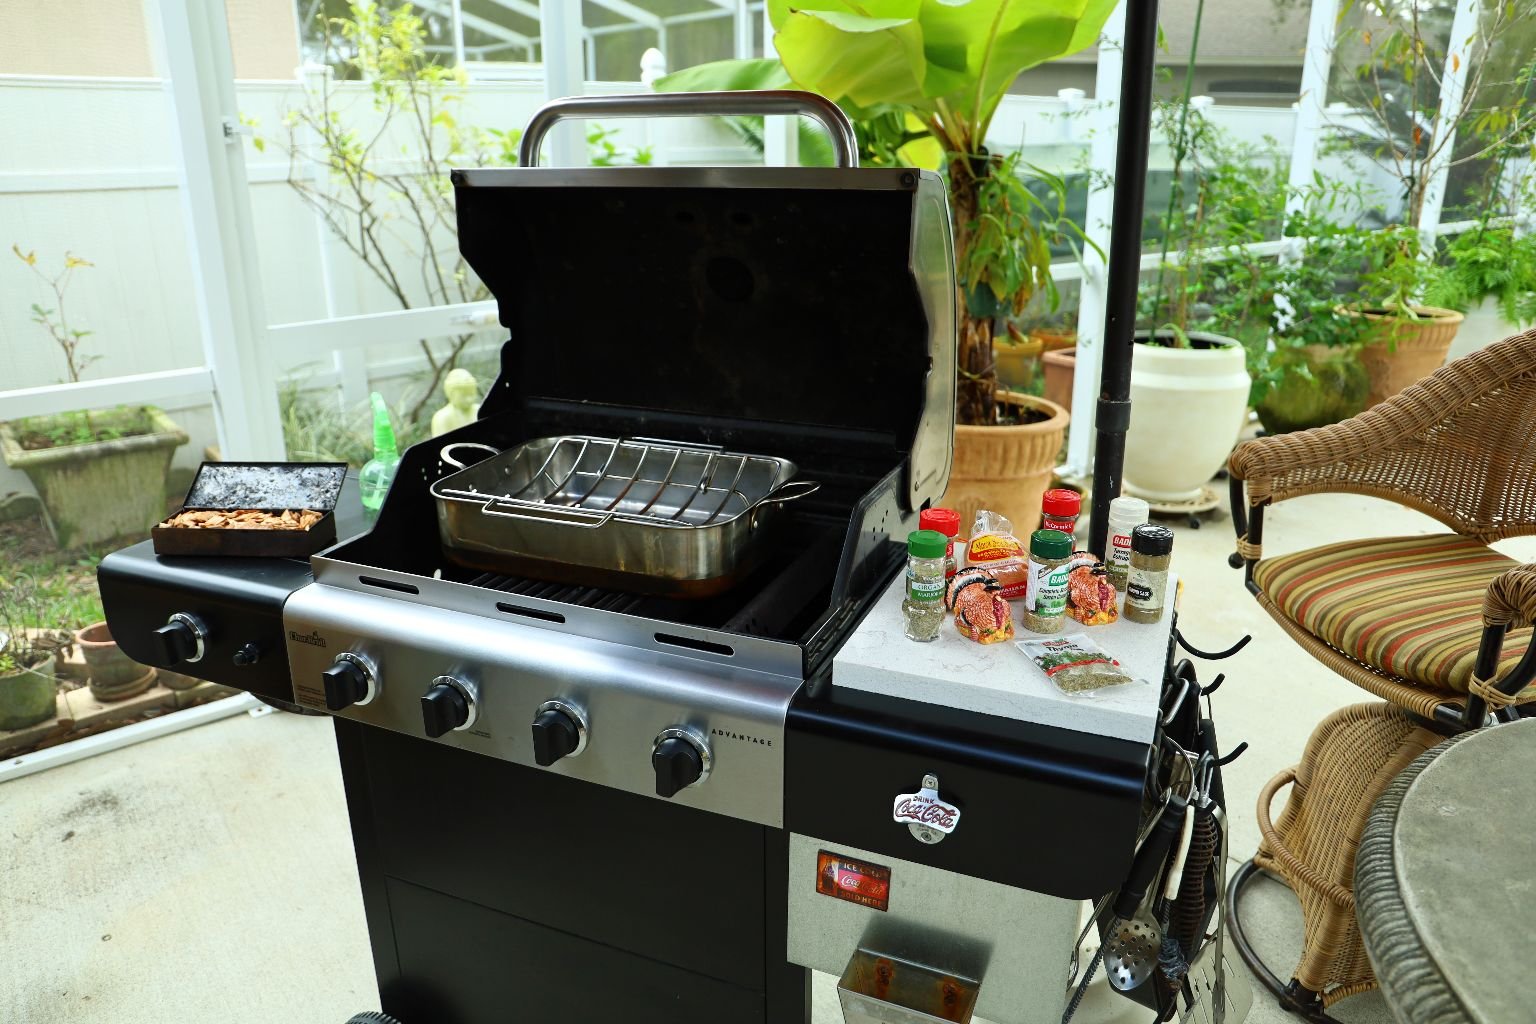
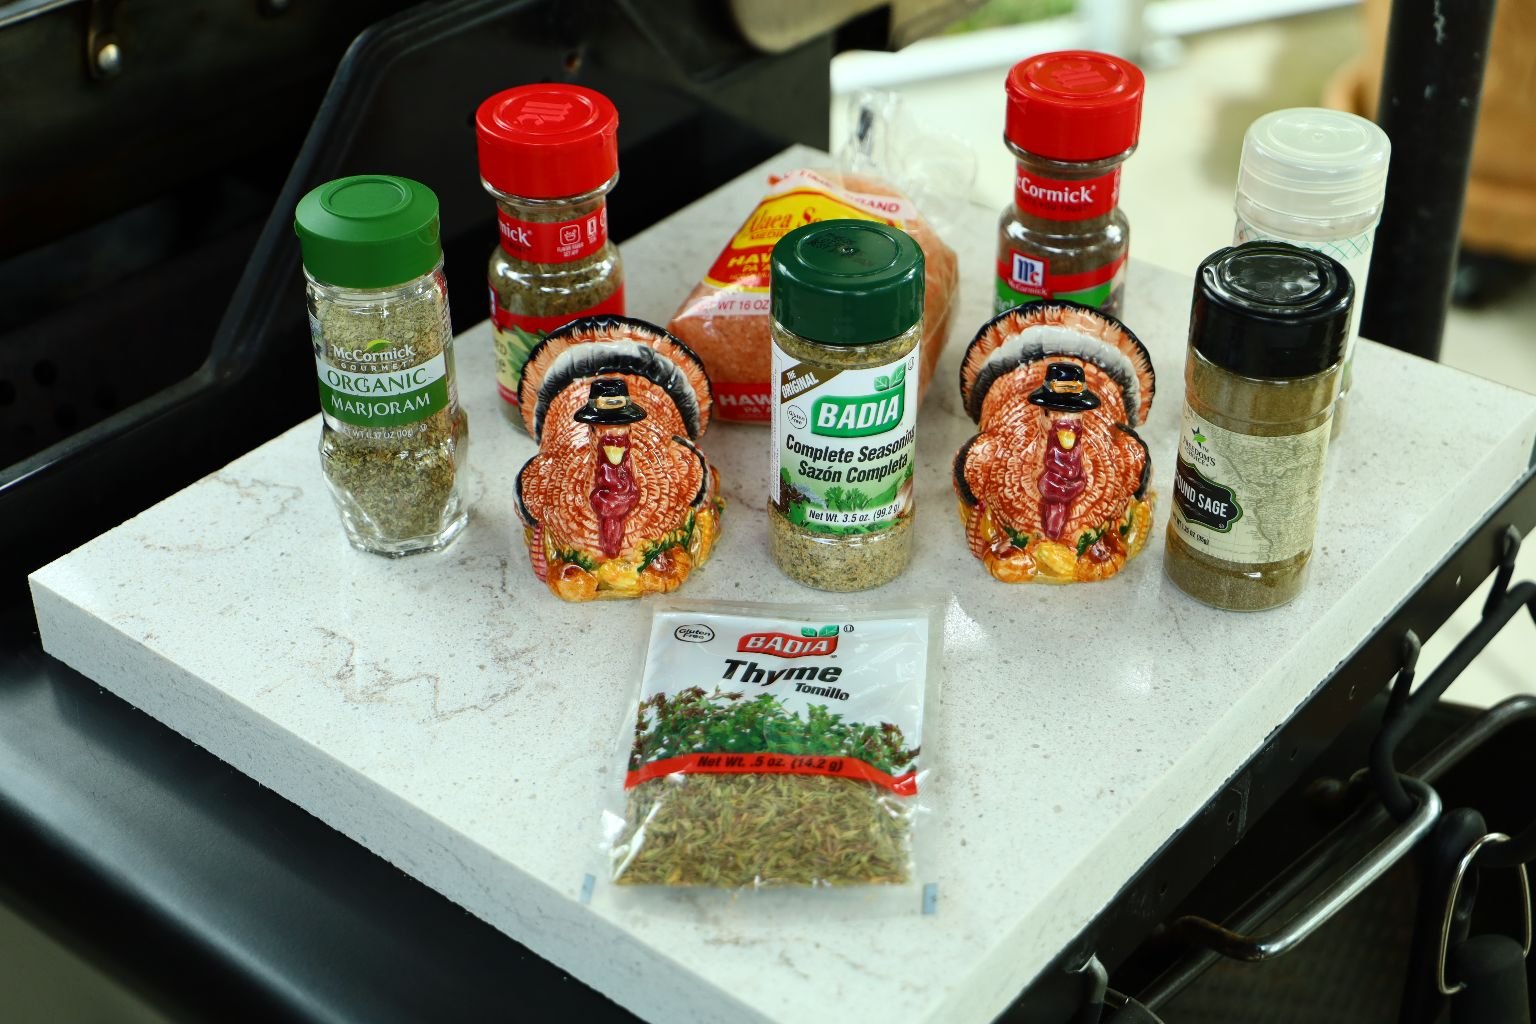
Pictured is the setup of my grill along with the smoking chips on the left and the spices to be used on the right.
———————————————————–
Ingredients:
~ 10 Lb. Butterball Turkey
~ 1/2 Cup Peanut Oil
~ 2 Tbsp. Thyme
~ 2 Tbsp. Ground Sage
~ 1 Tbsp. Hawaiian Alaea Sea Salt
~ 1 1/2 Tbsp. Sazon Complete Seasoning
~ 1 Tbsp. Black Garlic Powder
~ 1 Tbsp. Tarragon
~ 1 Tbsp. Onion Powder
Ground Pepper to taste
—————————————————————

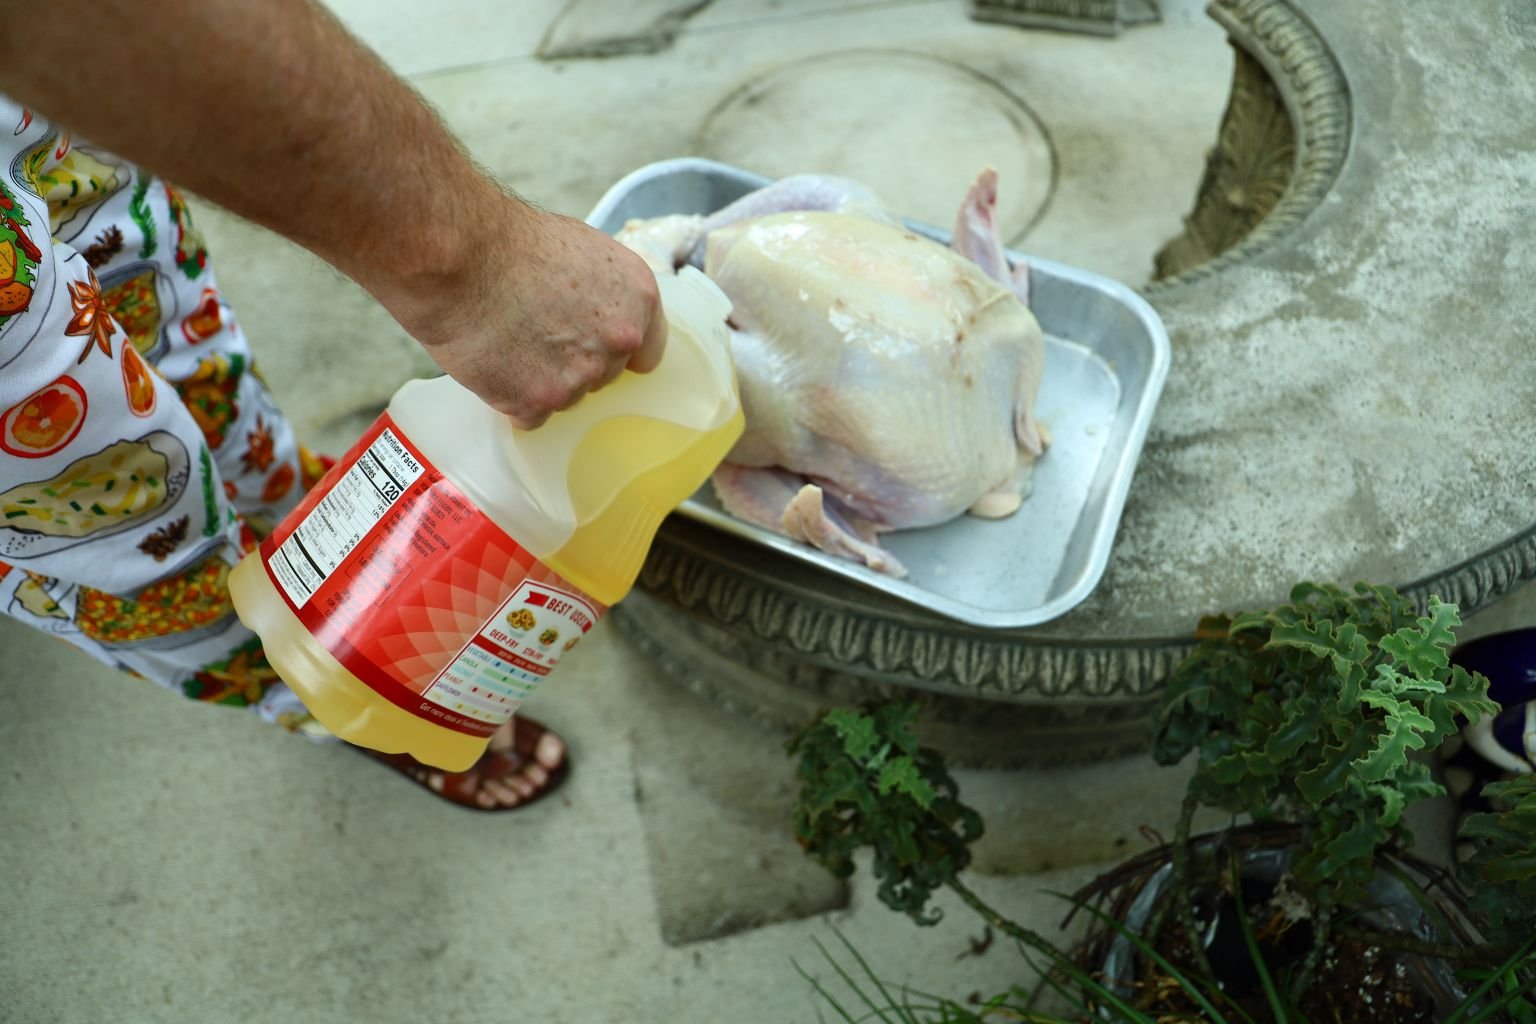
Place your turkey in a roasting pan and pour your Peanut oil over it as shown. Rub the oil all over the turkey’s skin to help it brown and become crispy.
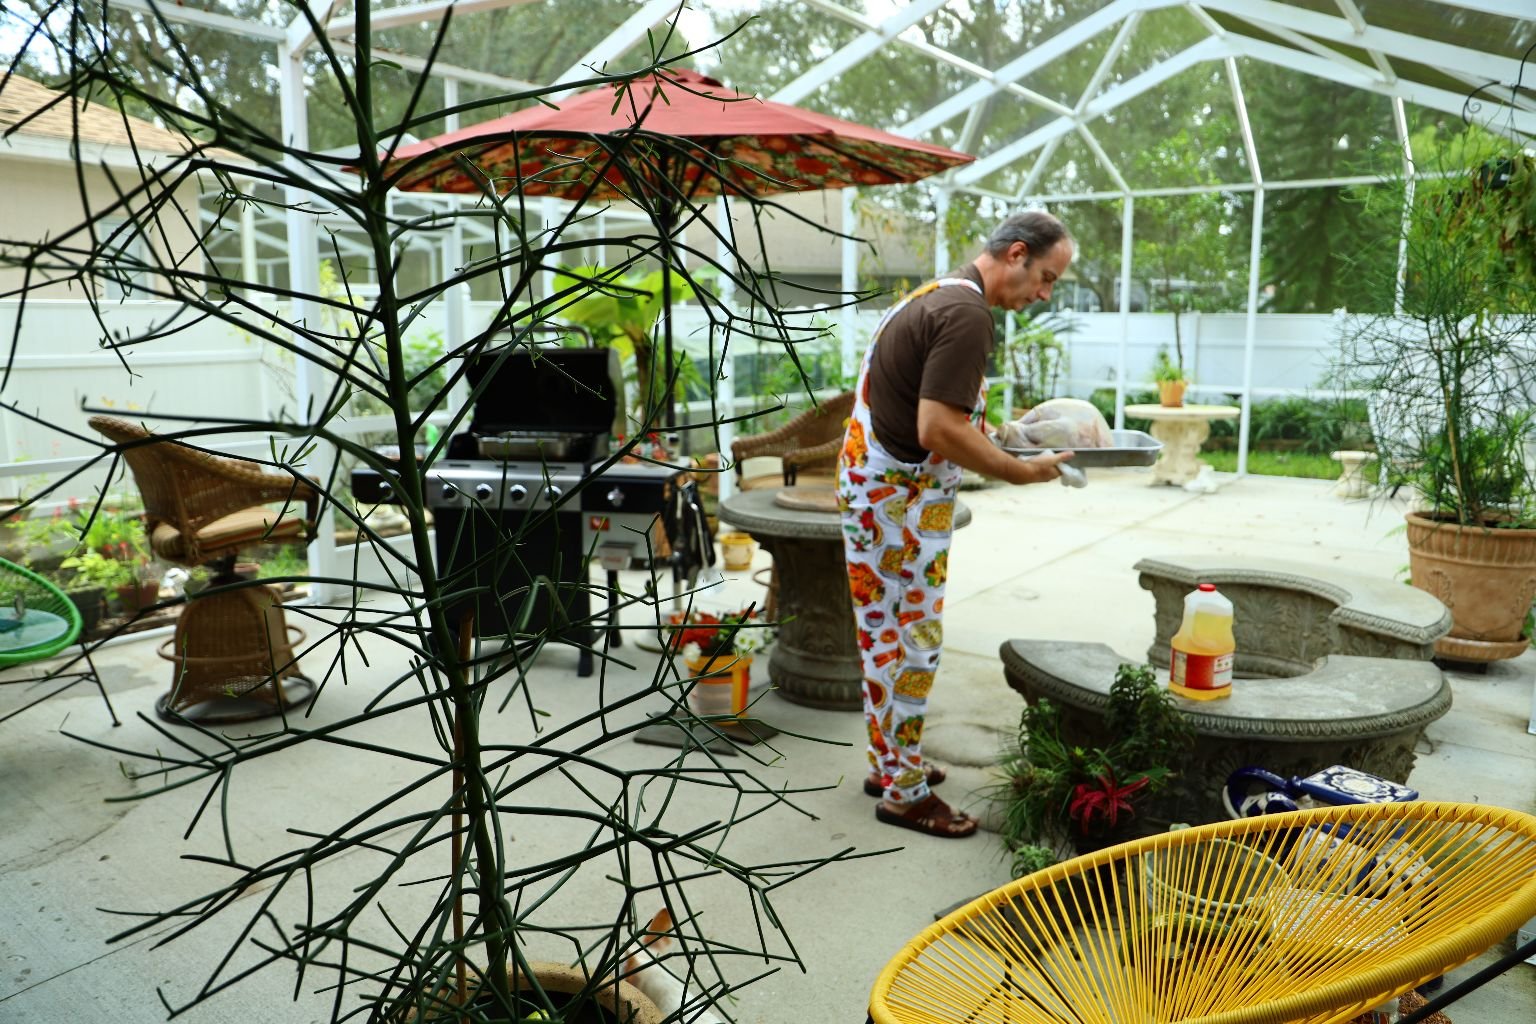
———————————————————————-
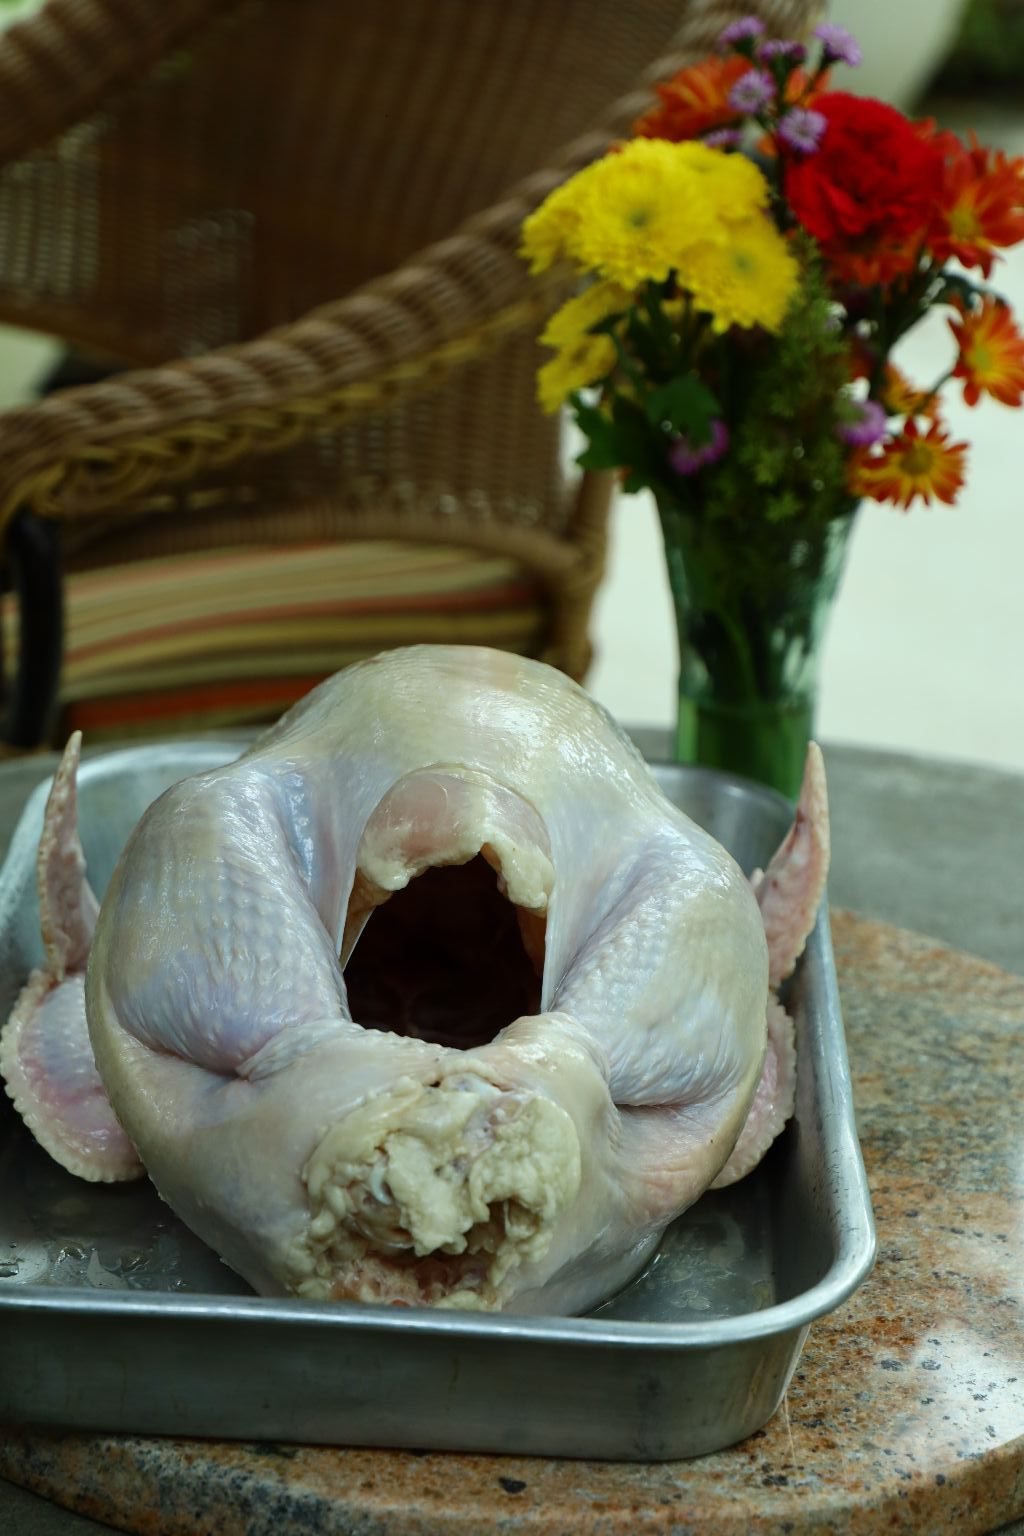
The Turkey….
The Flowers in a Bucket….
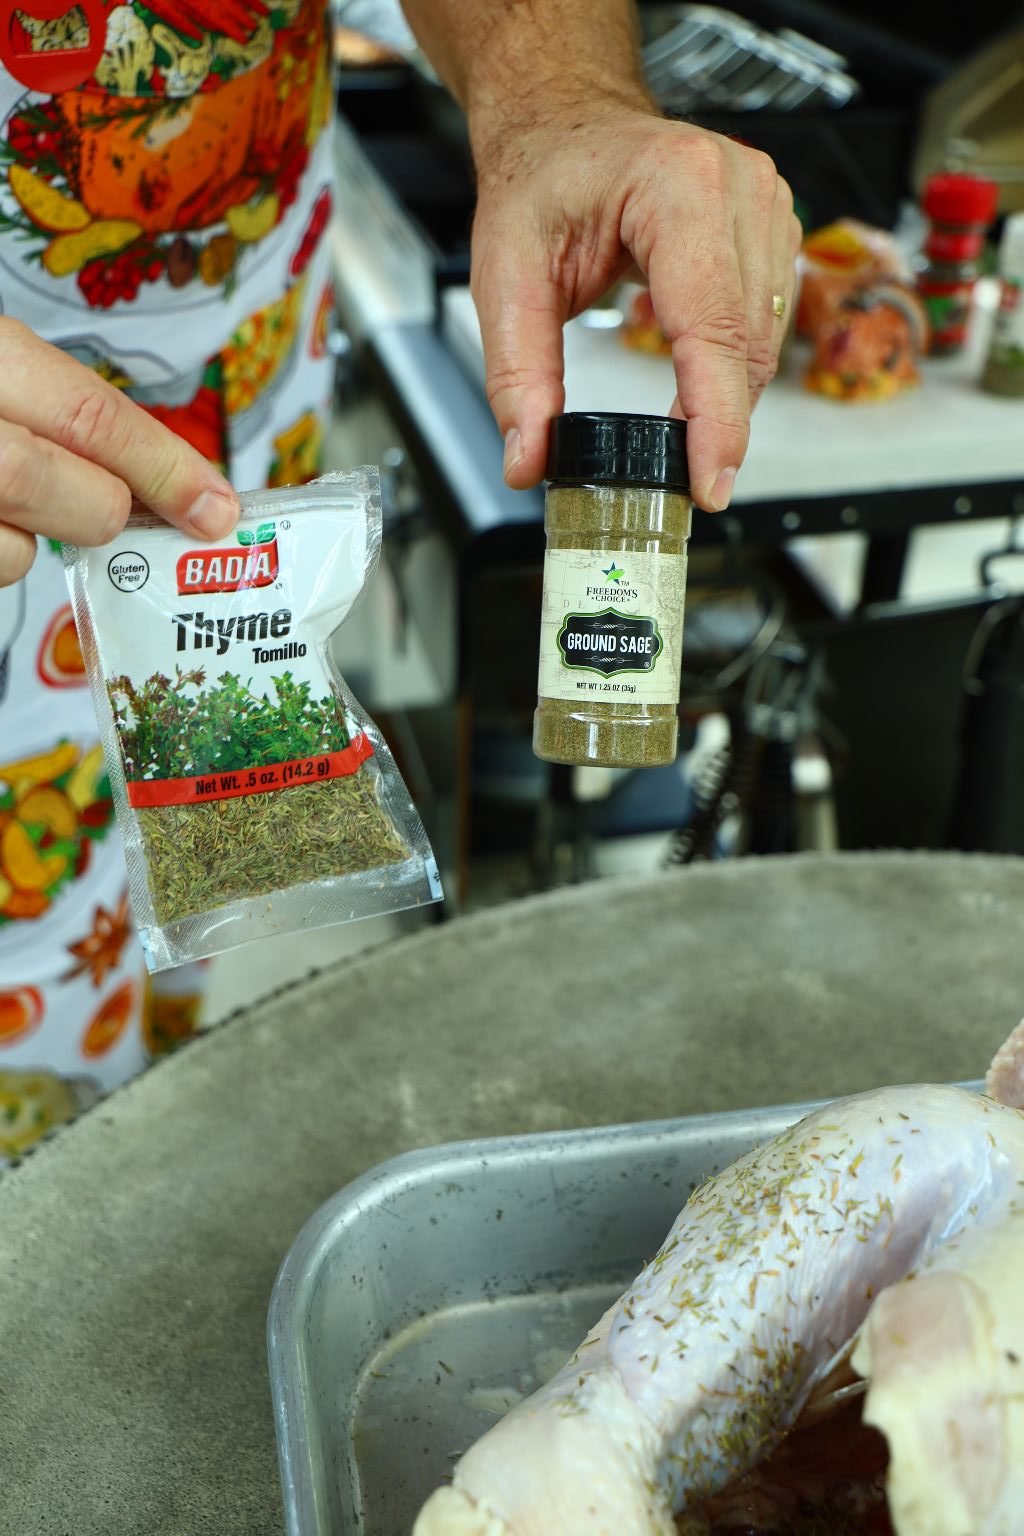
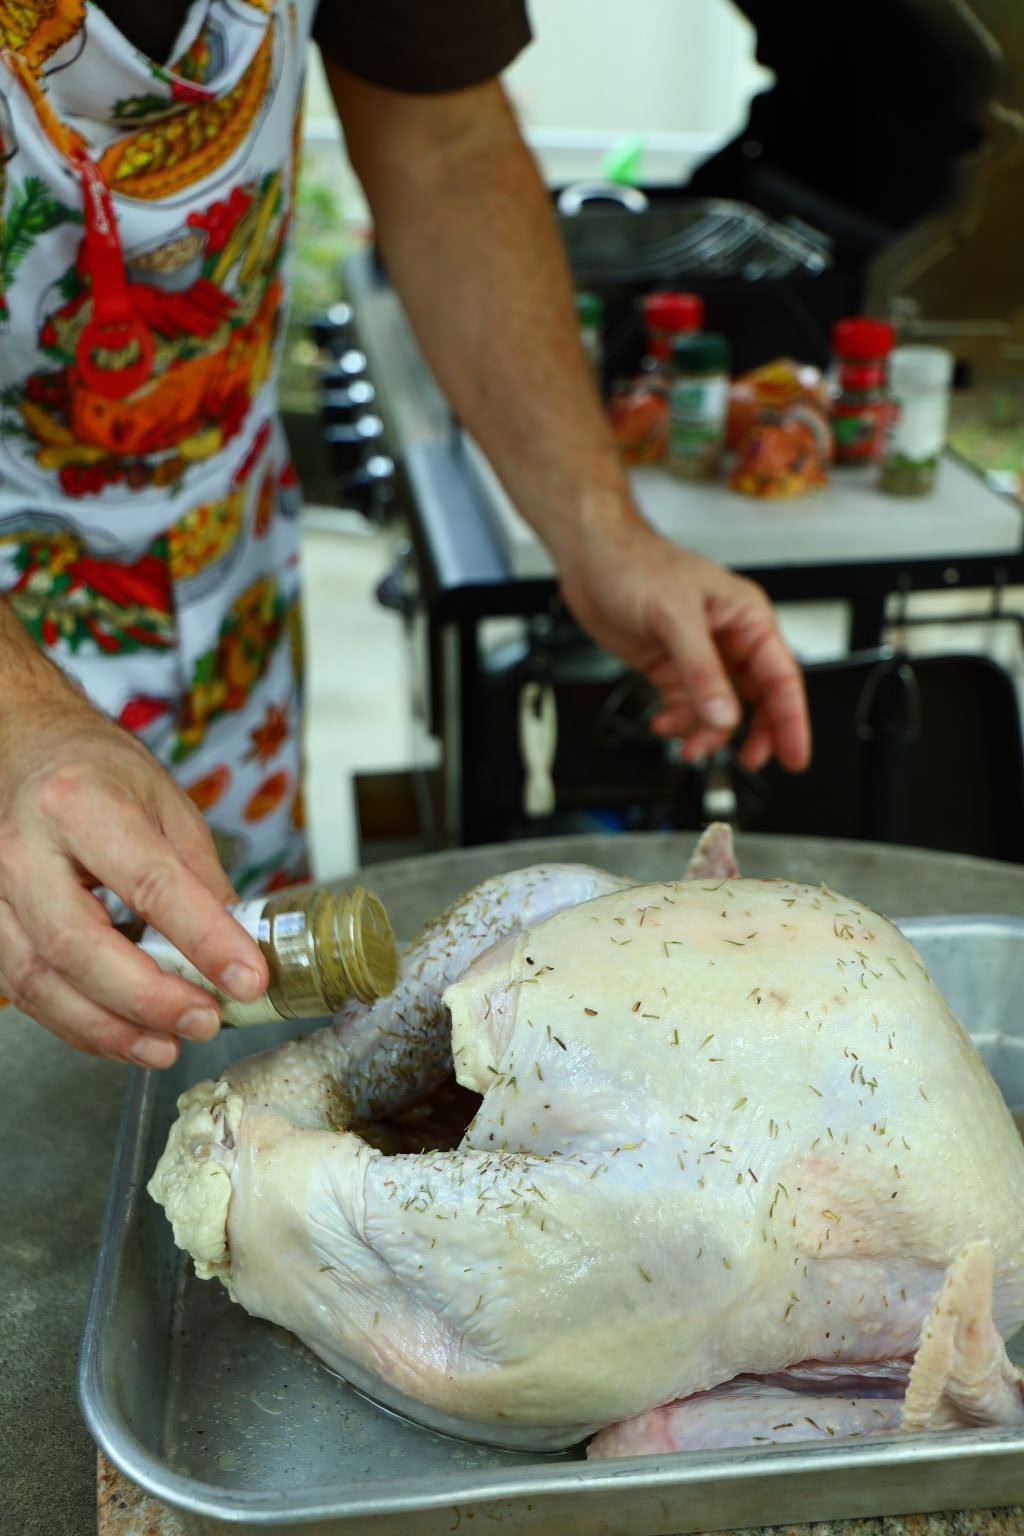
Here I am dousing the Thyme and Sage spices over the turkey and placing some in the cavity as well.

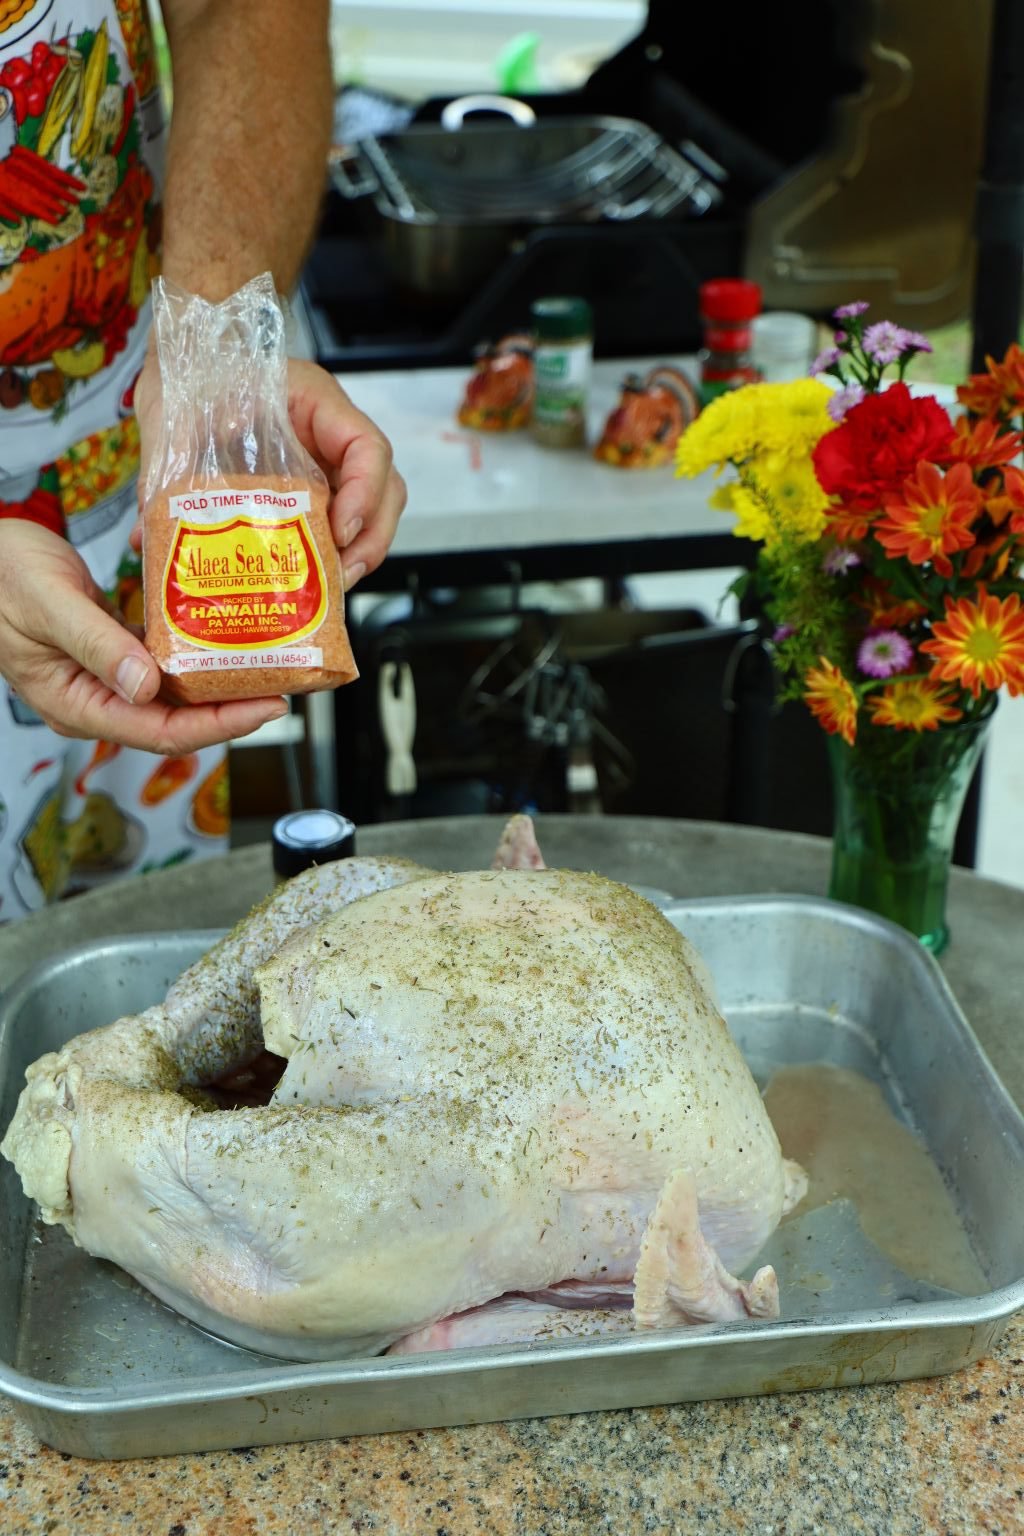
This is a great salt that has a light flavor. You don’t need much as the Sazon is also salty.
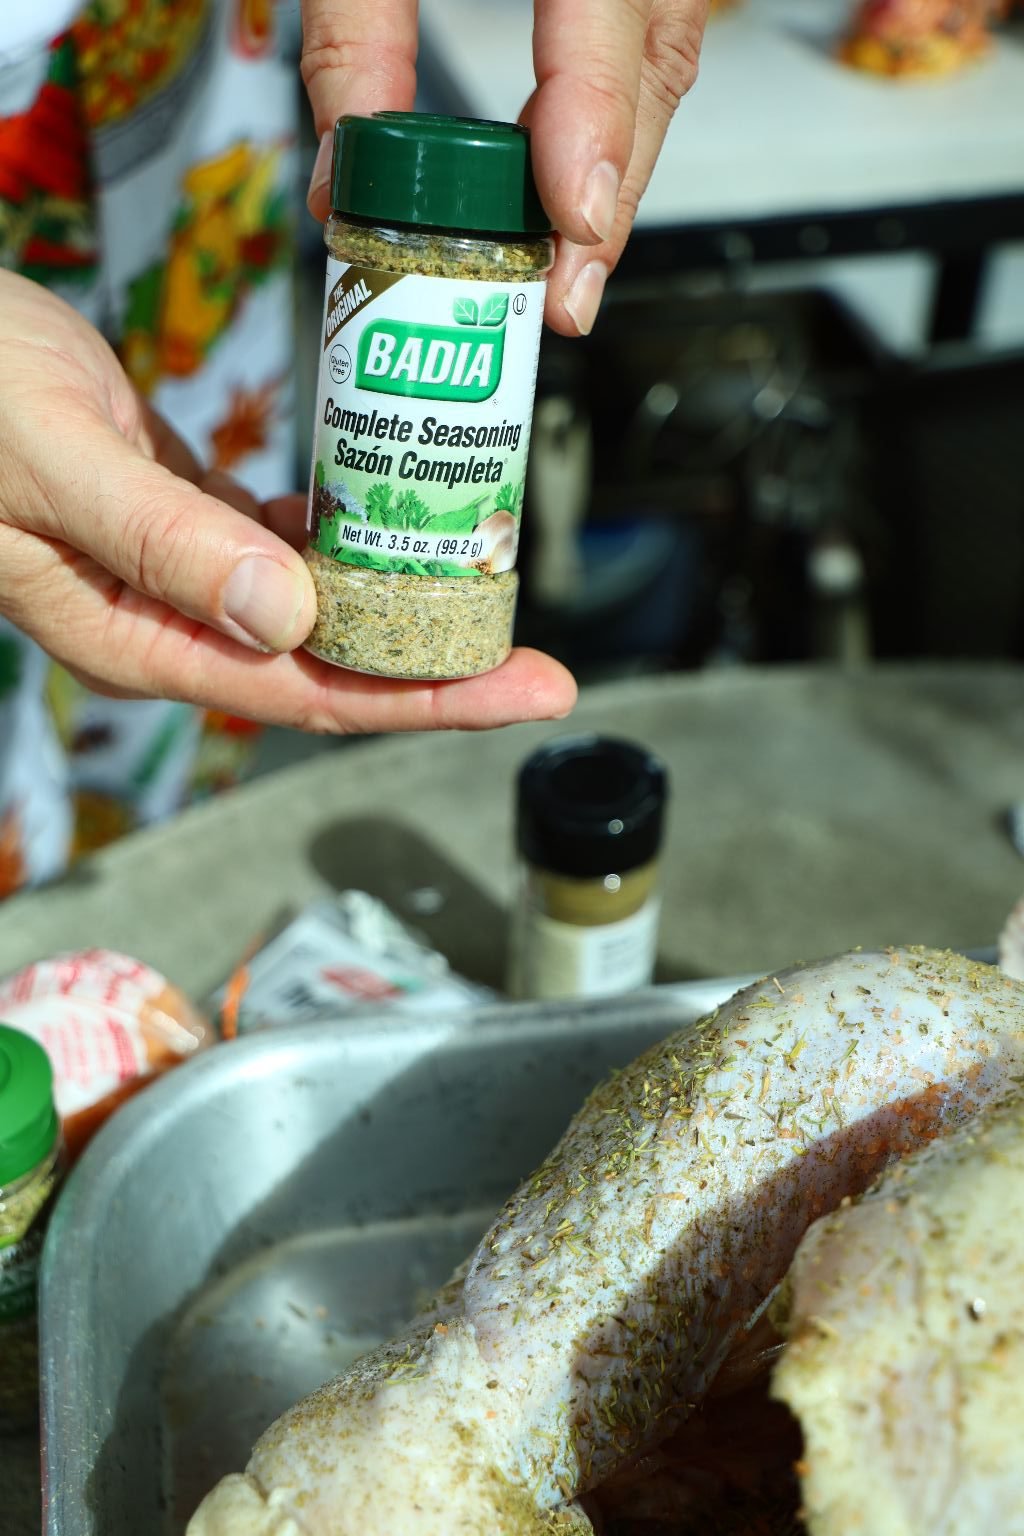
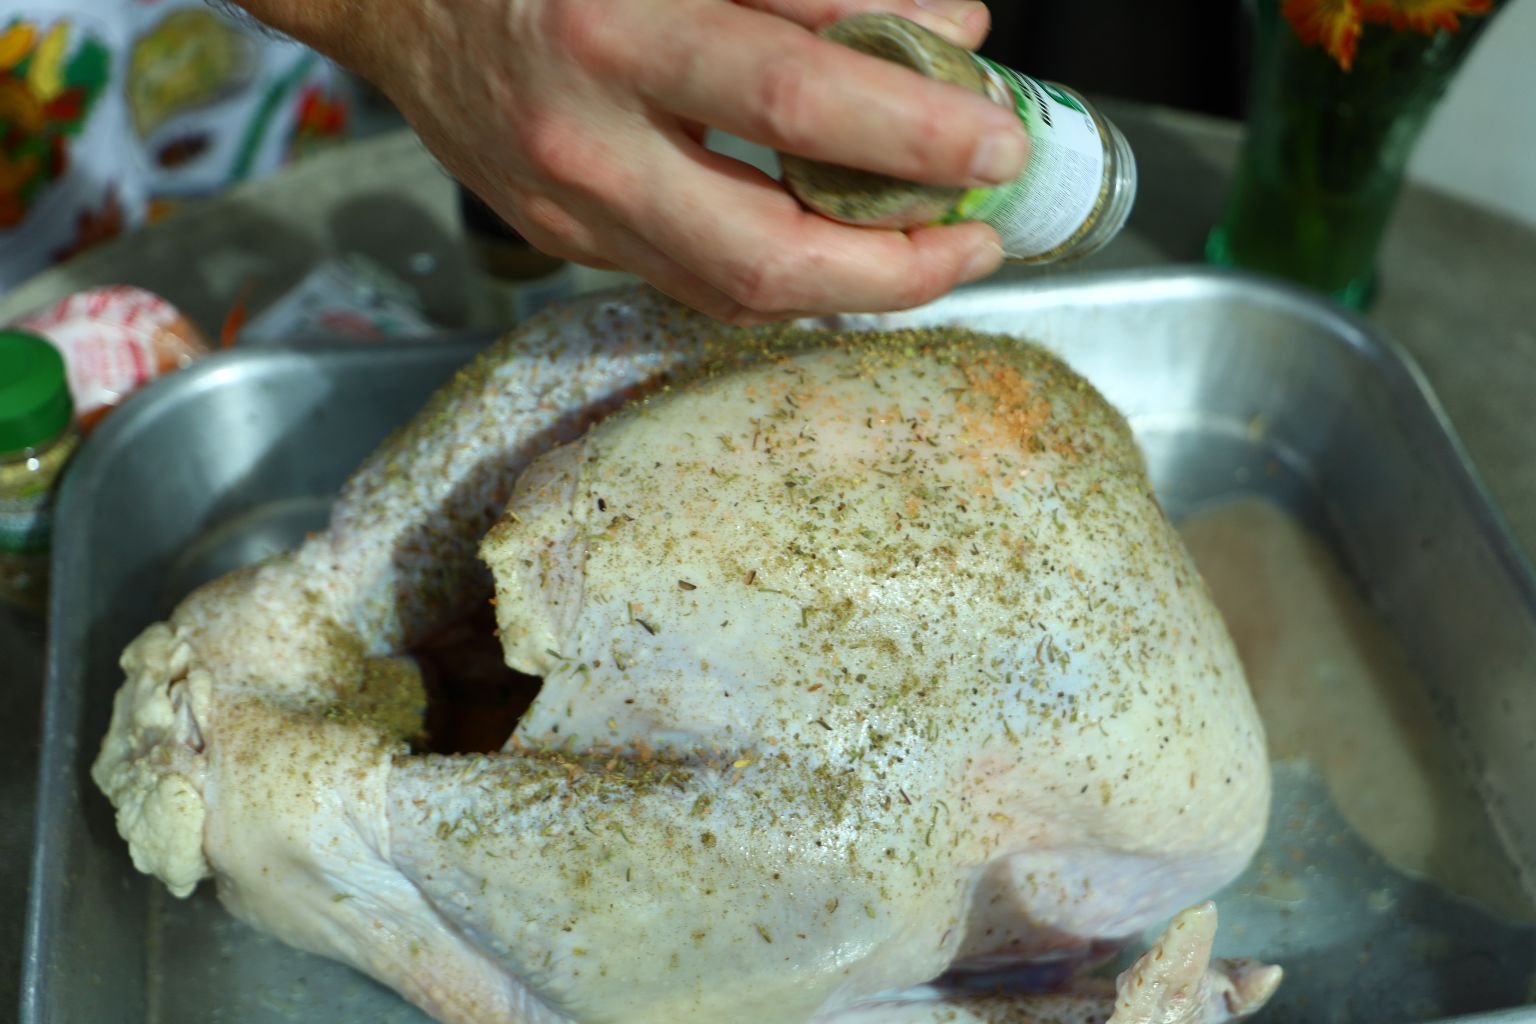
Sazon is a Spanish seasoning that has an herbaceous slightly salty unique flavor, which goes nicely with Turkey.
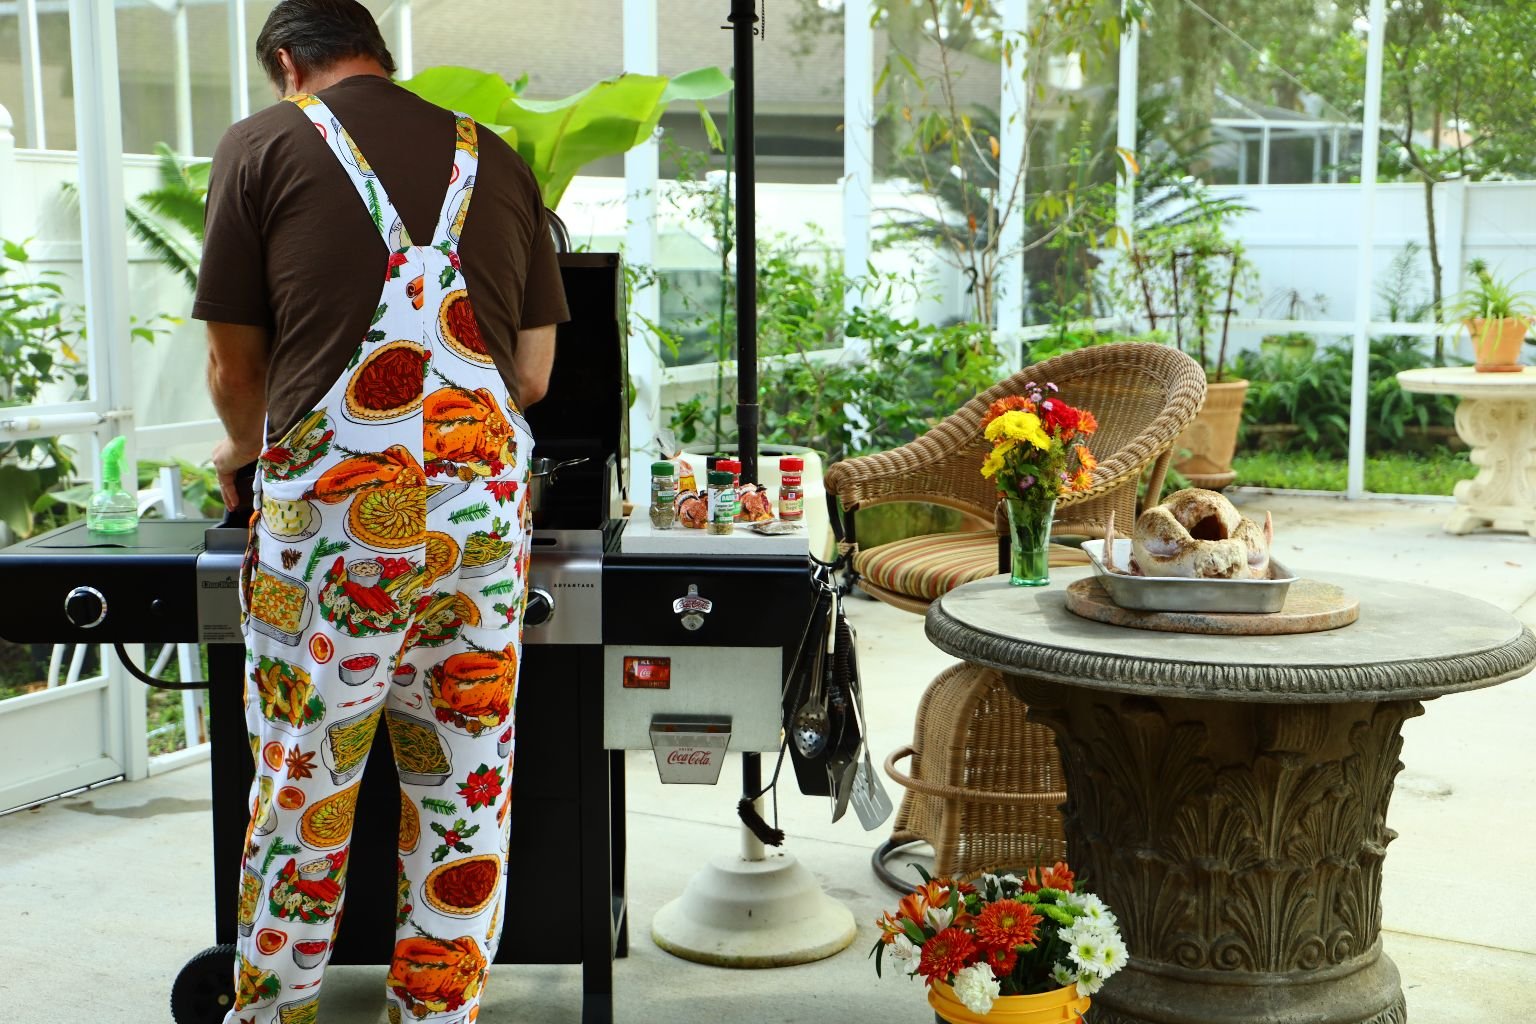
———————————————————————–

Gordon Ready To Get Started
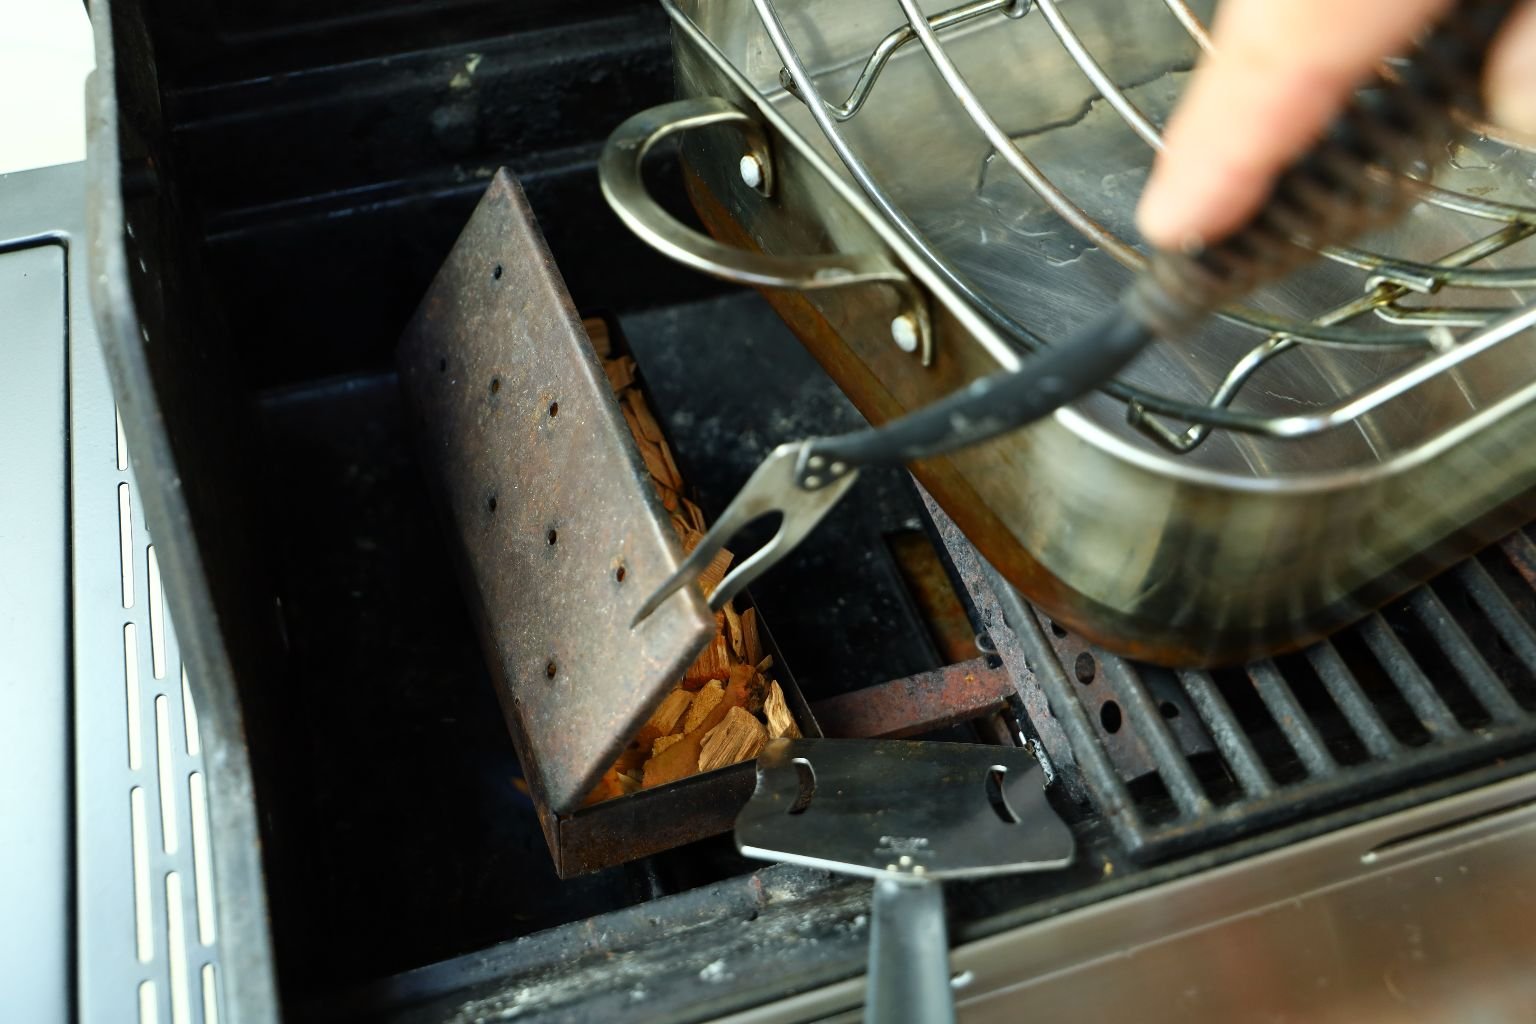
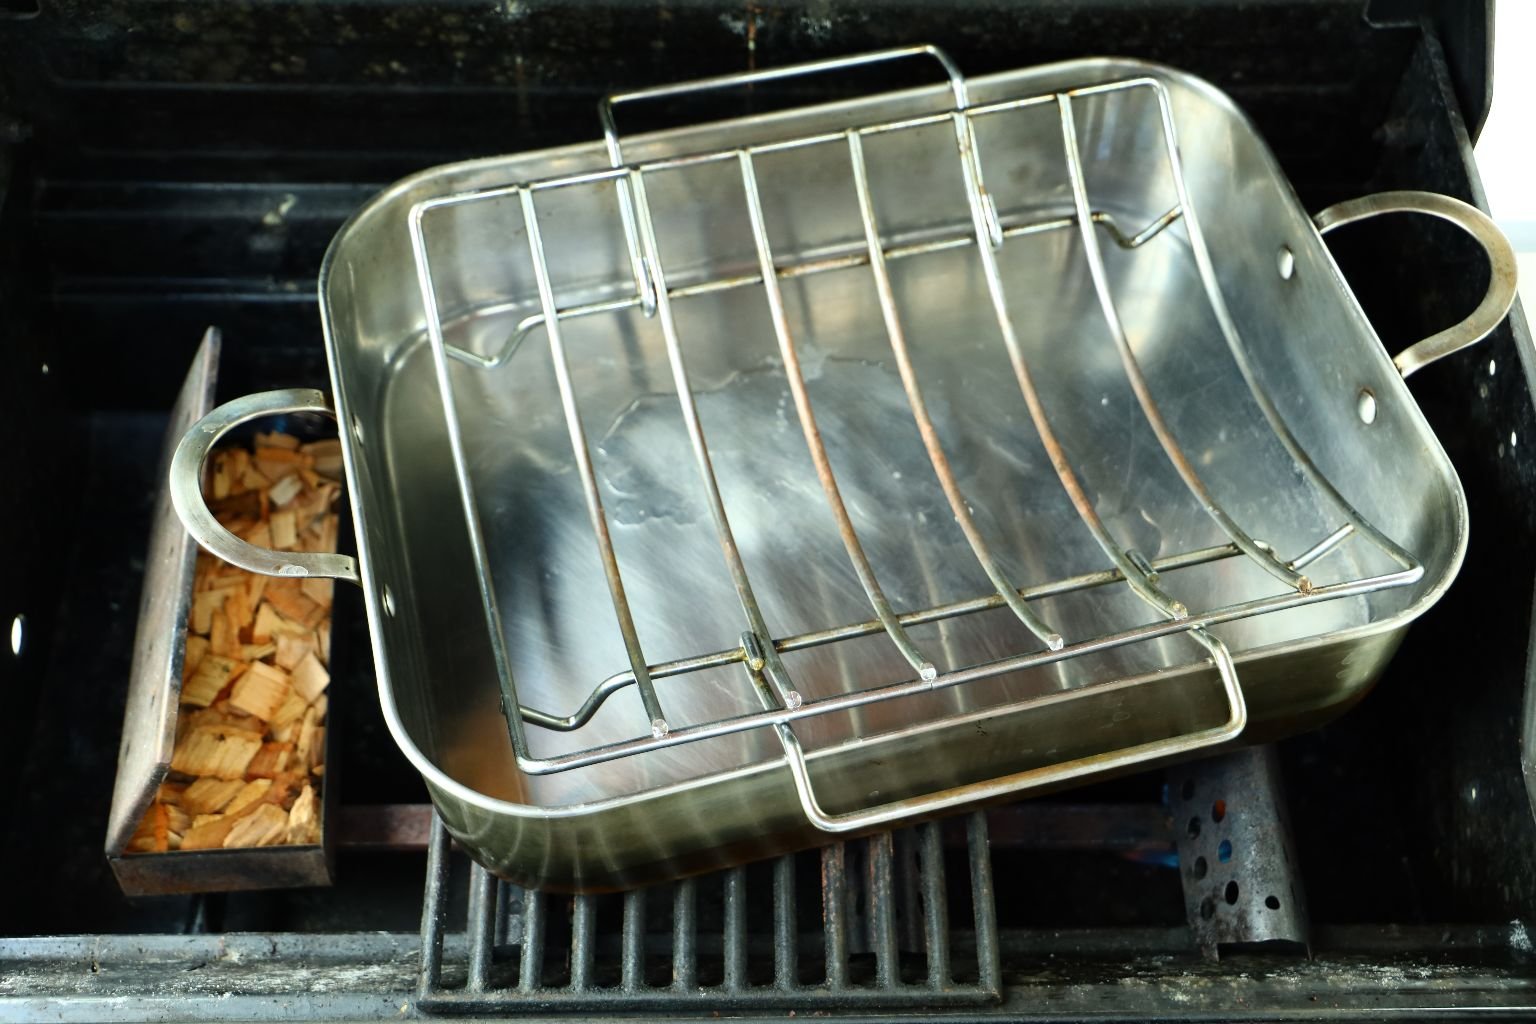
Here I am getting my Hickory wood chips ready using the side burner to heat the chips. I place the smoking box directly on the burner turning it to medium temperature. Once the chips start to smoke, I turn the temperature under the chips to low.
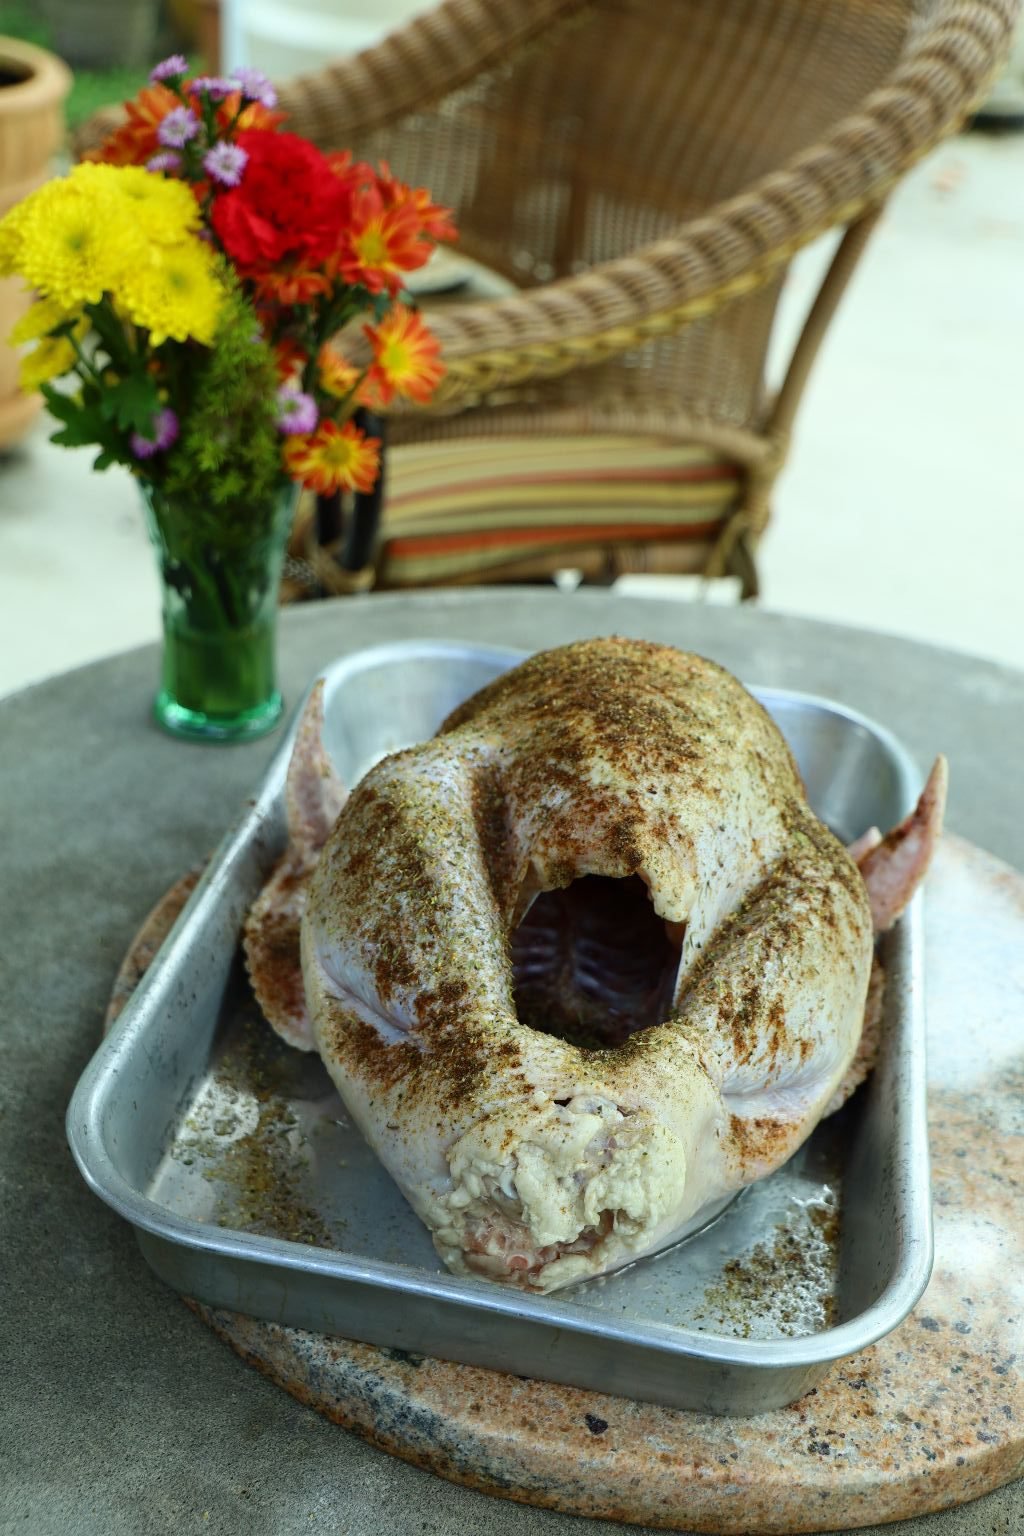
All Spiced and Ready for the Grill
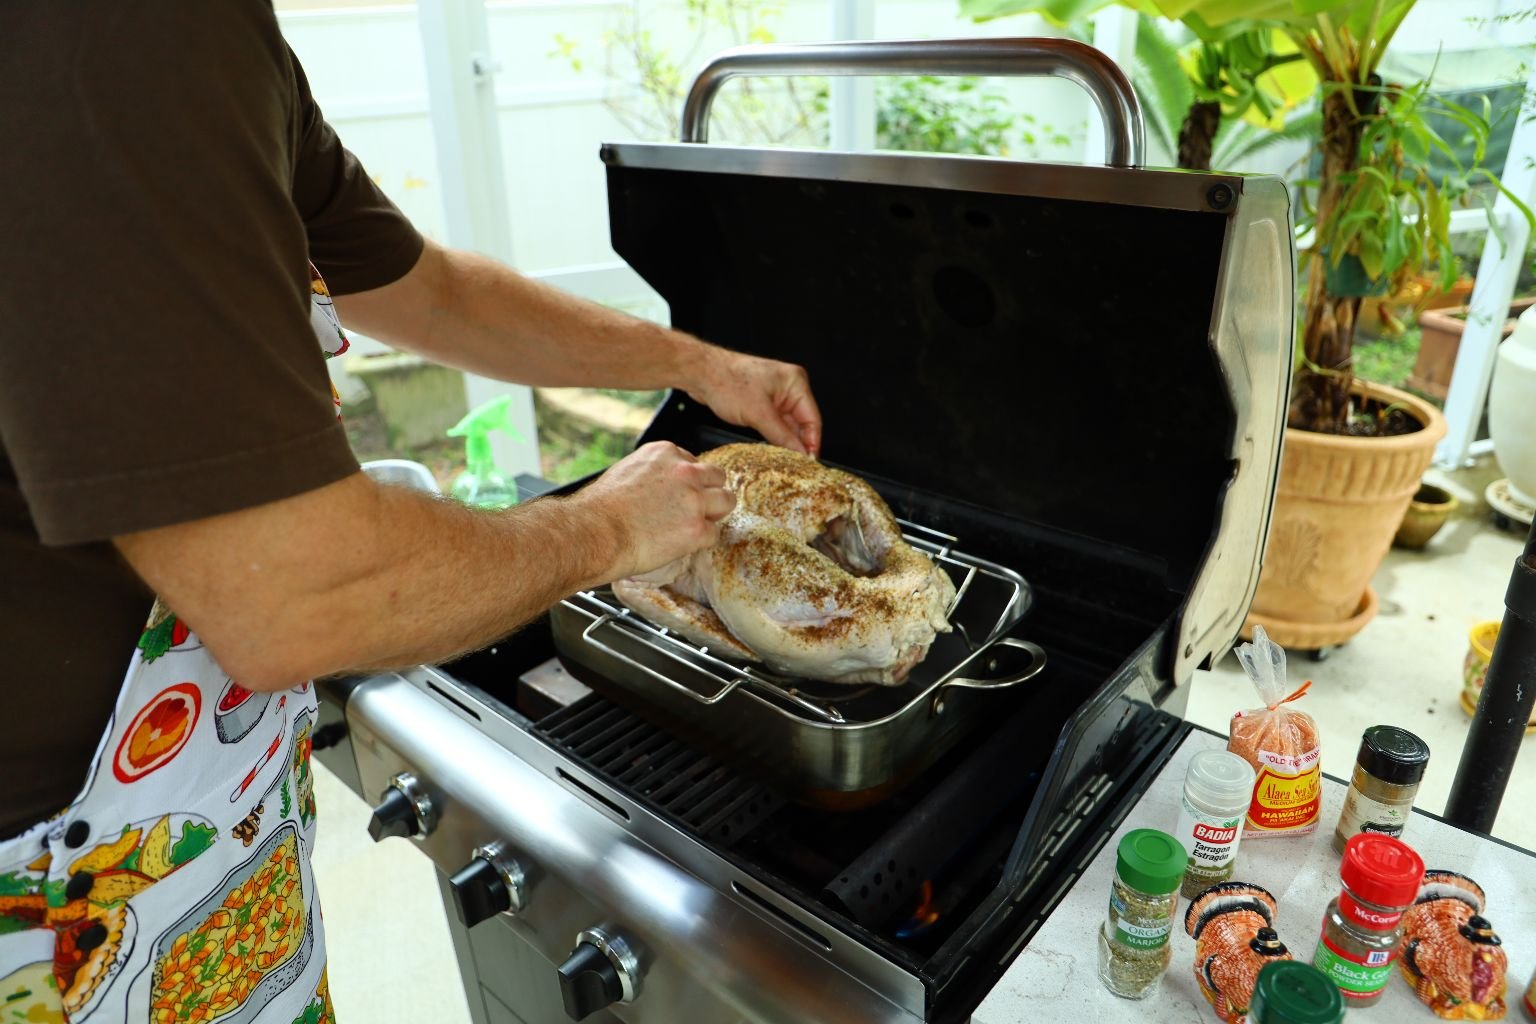
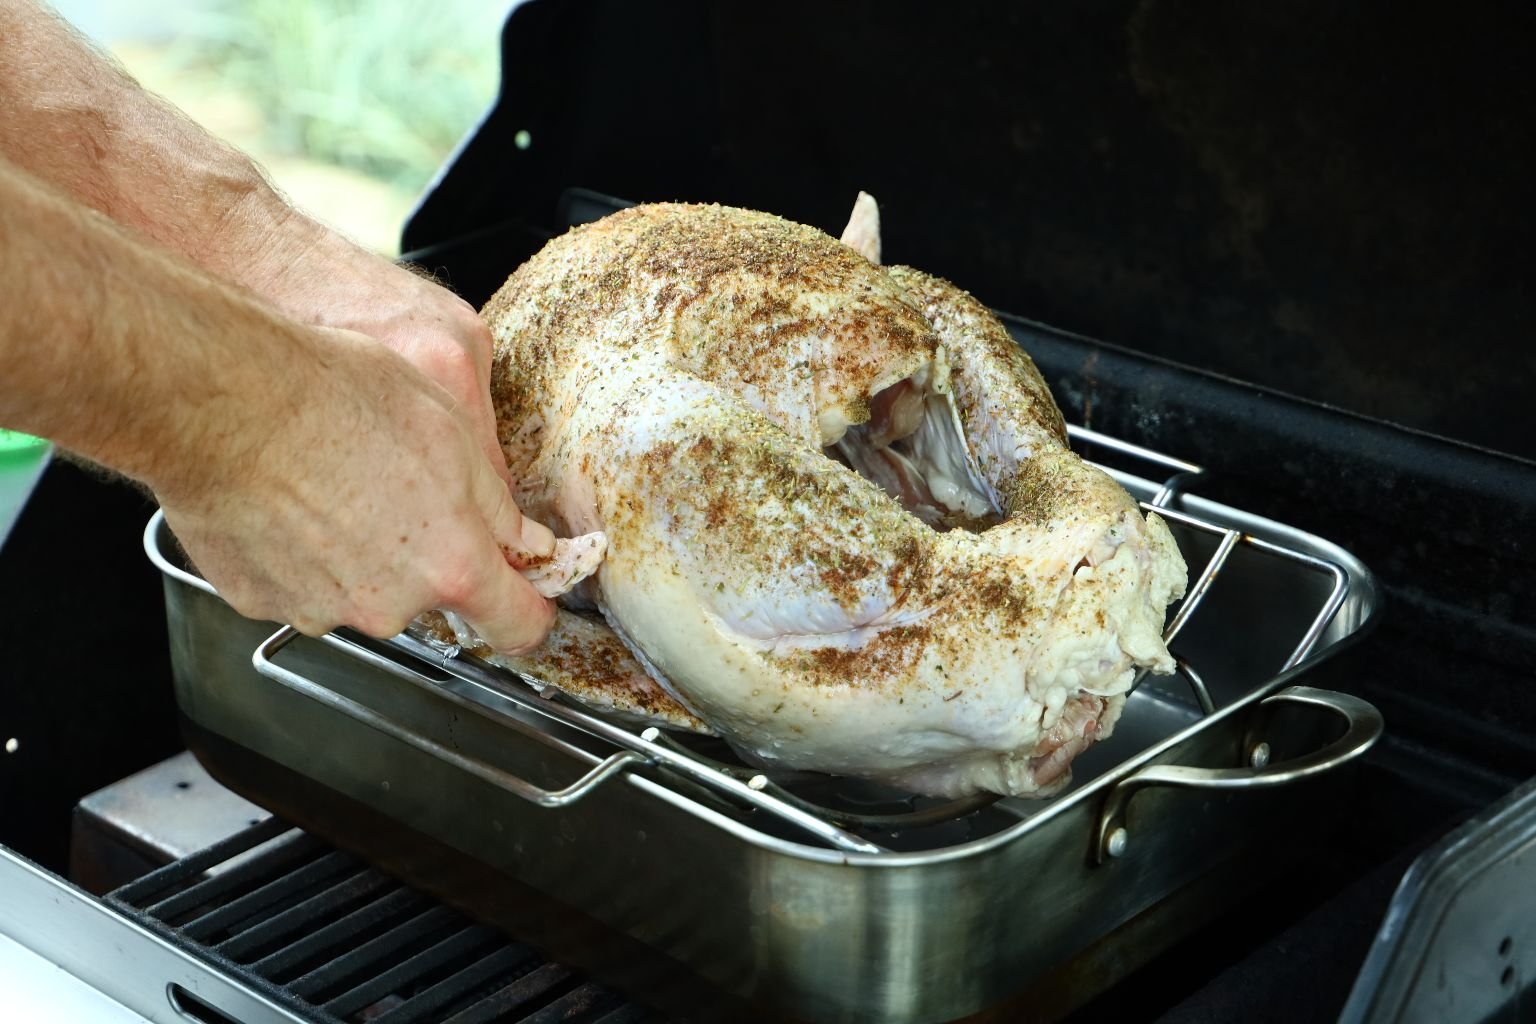
Now, place the rack in your roasting pan and place the turkey on top of the rack. Bend both wing tips behind the leg so they don’t burn. My particular grill has four burners. I turn the outside burners on medium and leave the middle burners off. Place a bit of water in the roasting pan, so the turkey drippings don’t burn.
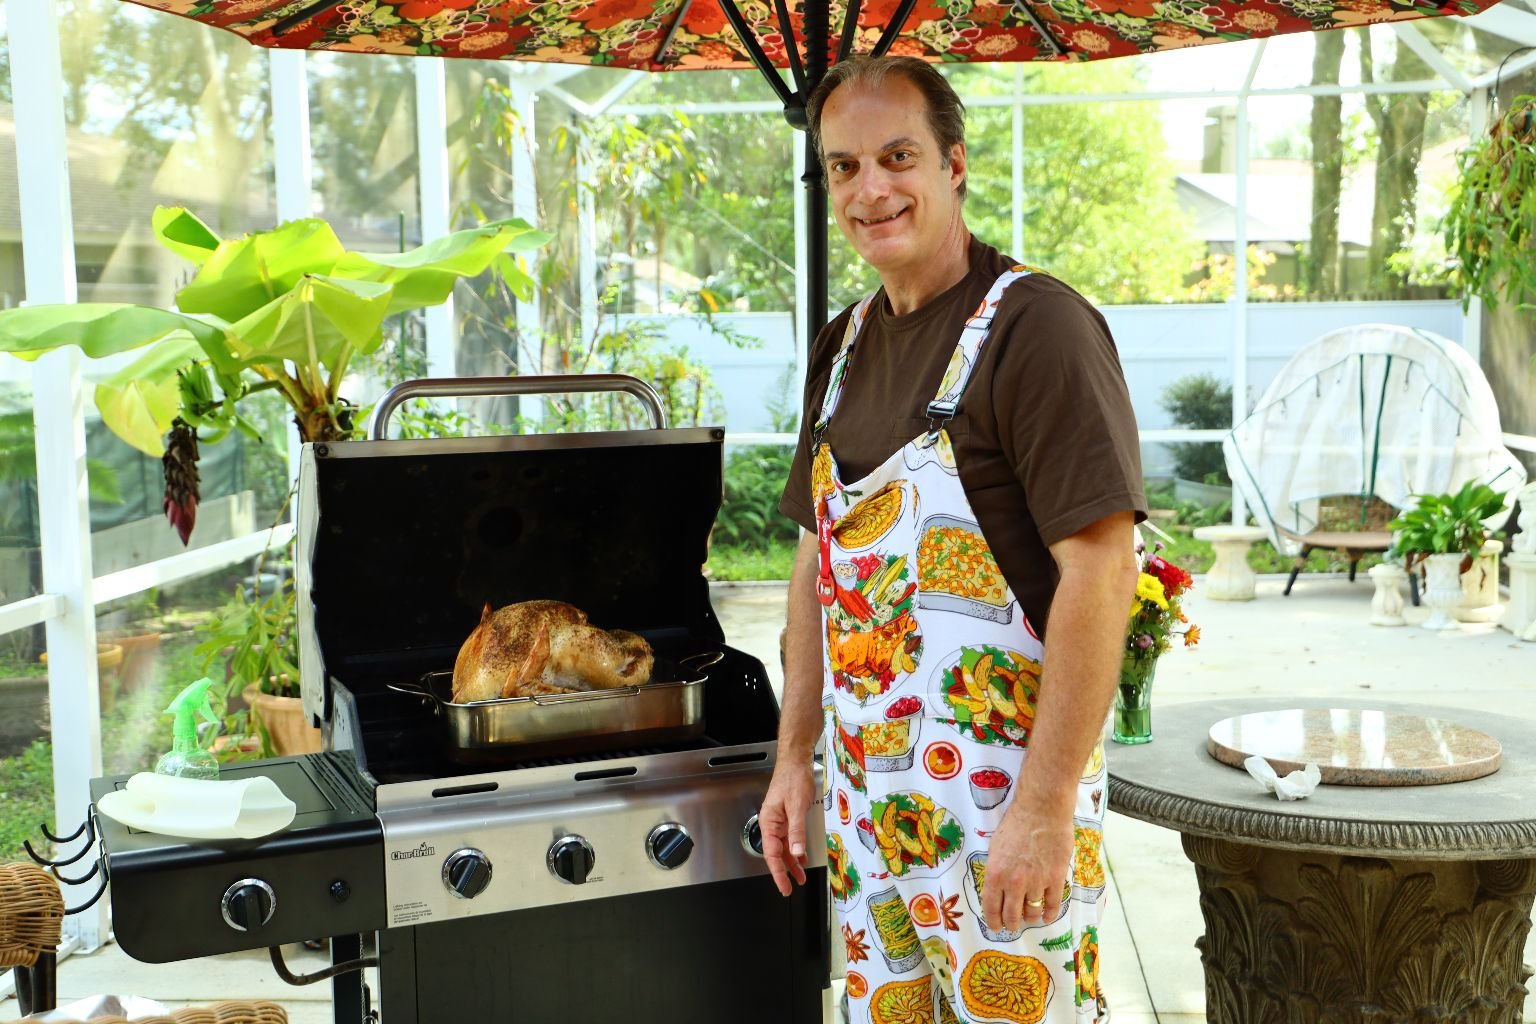
———————————————————————

Here you can see a wisp of smoke on the left as the turkey starts to brown.
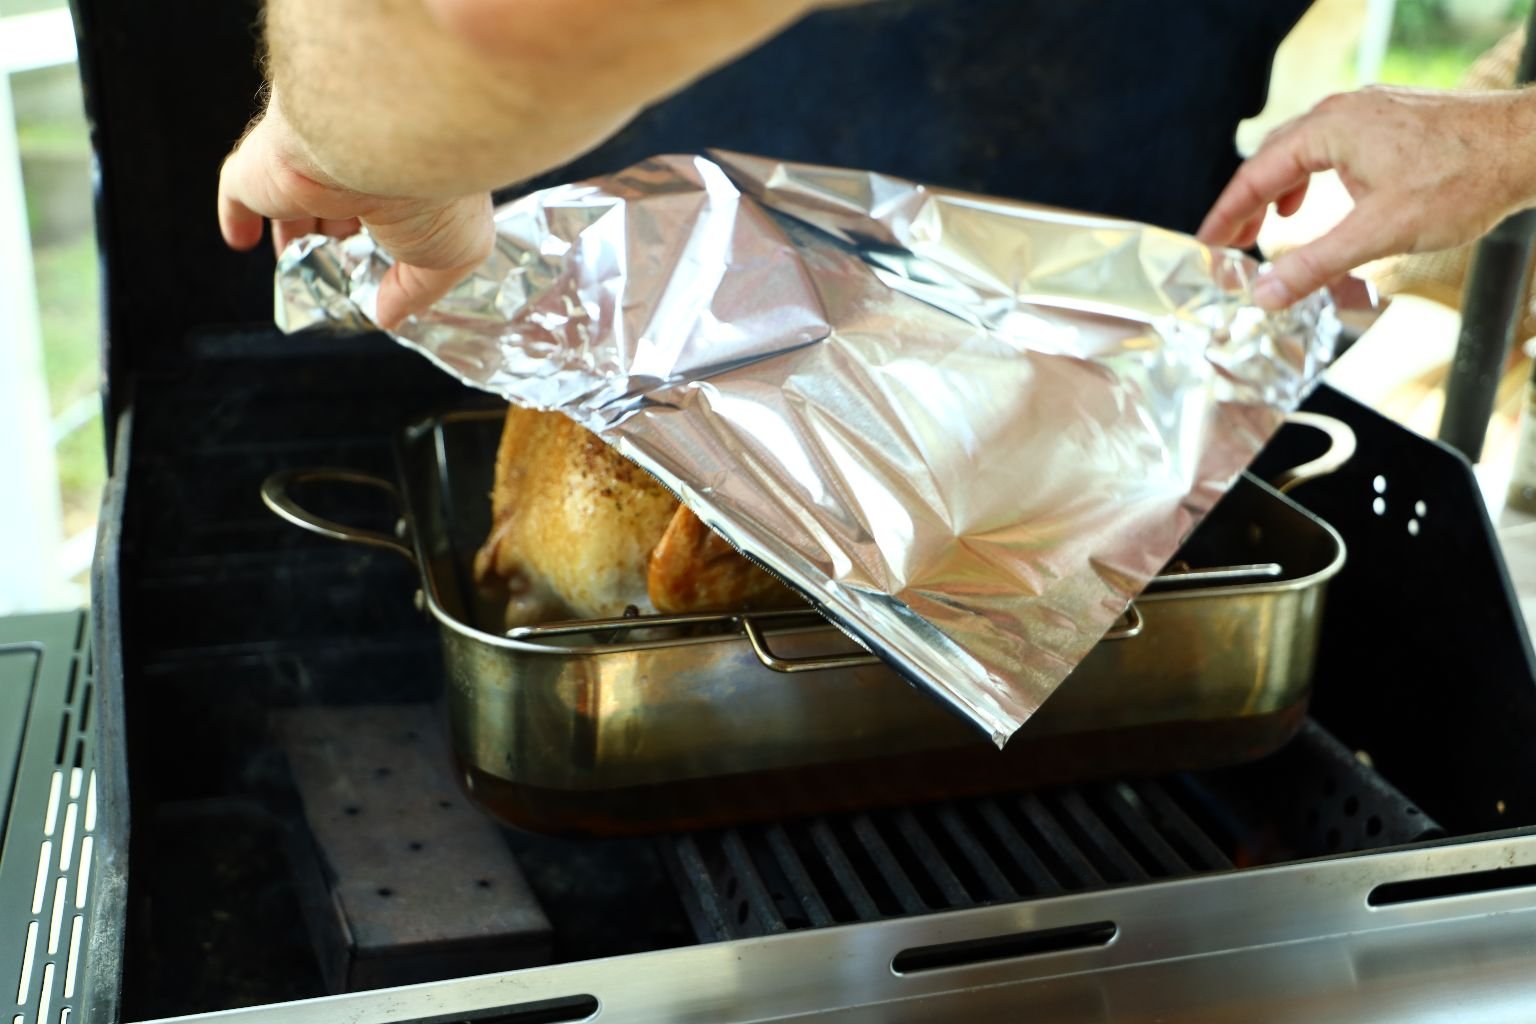
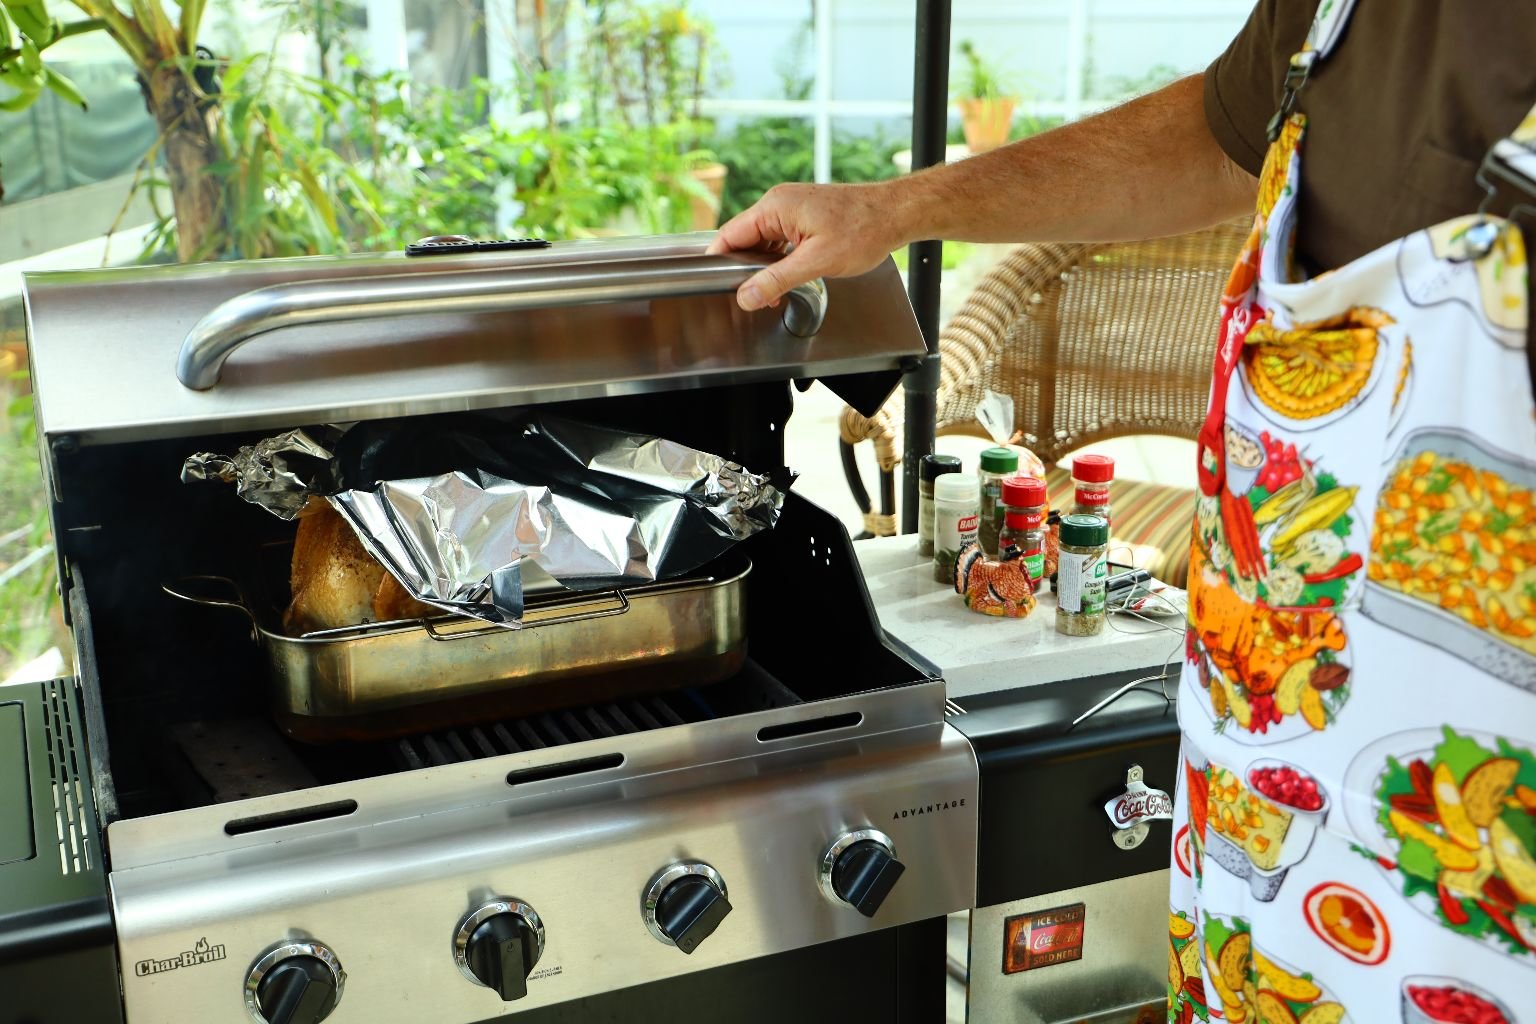
After about 2 hours, at this point I like to cover the turkey with aluminum foil, so it doesn’t brown too much.
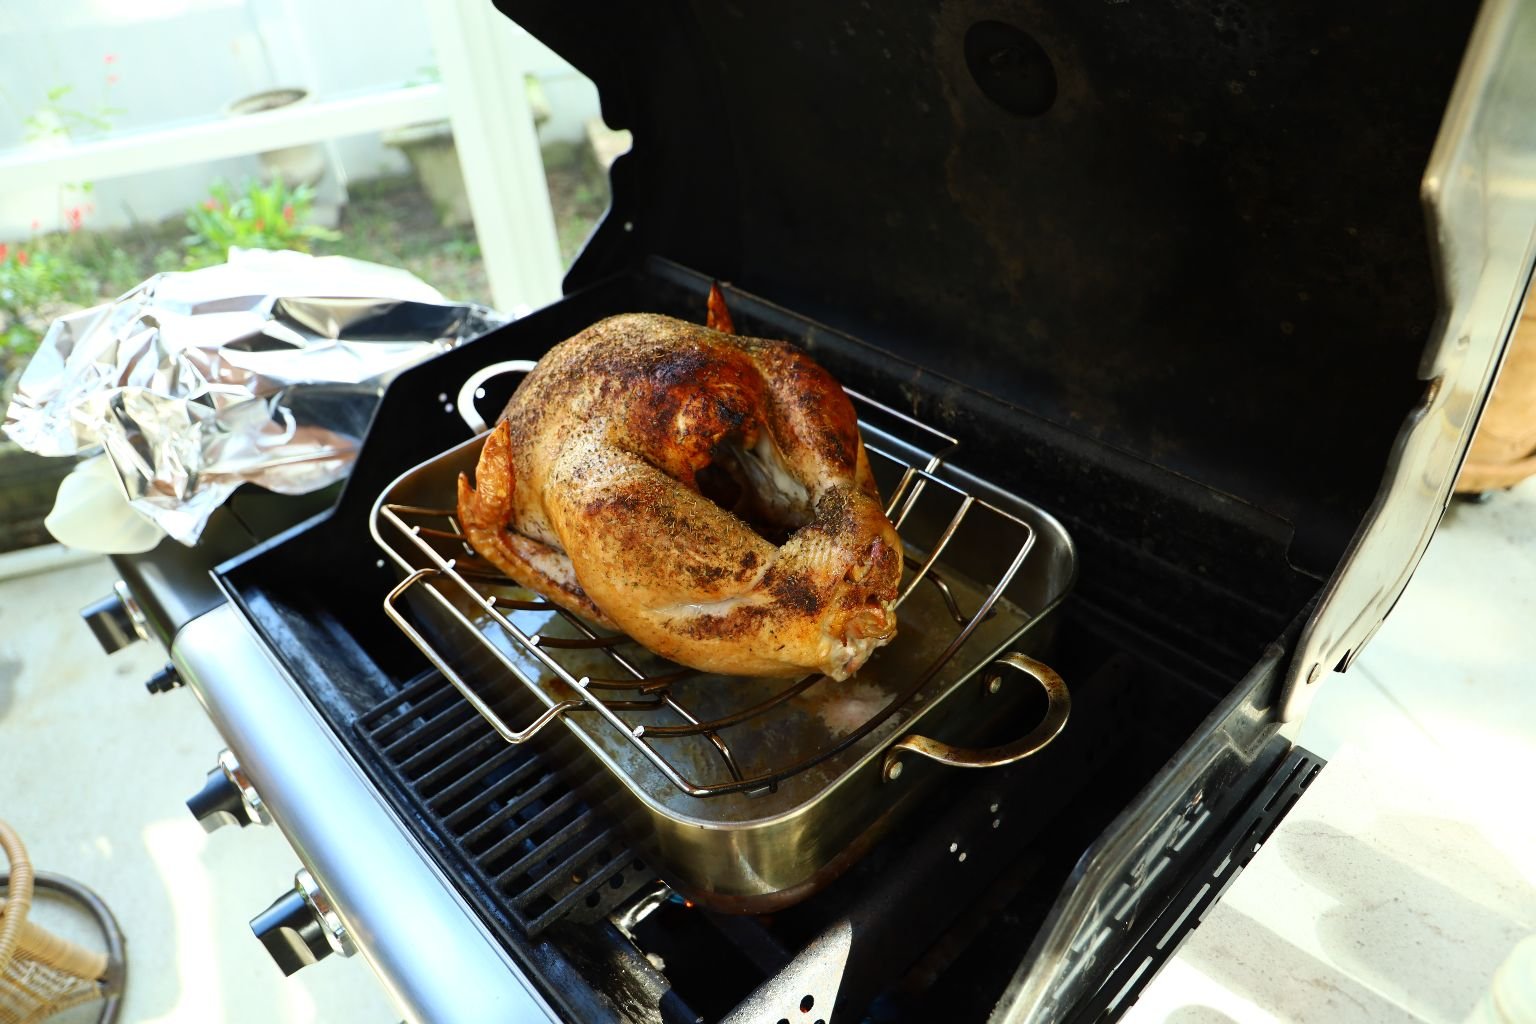
—————————————————————-
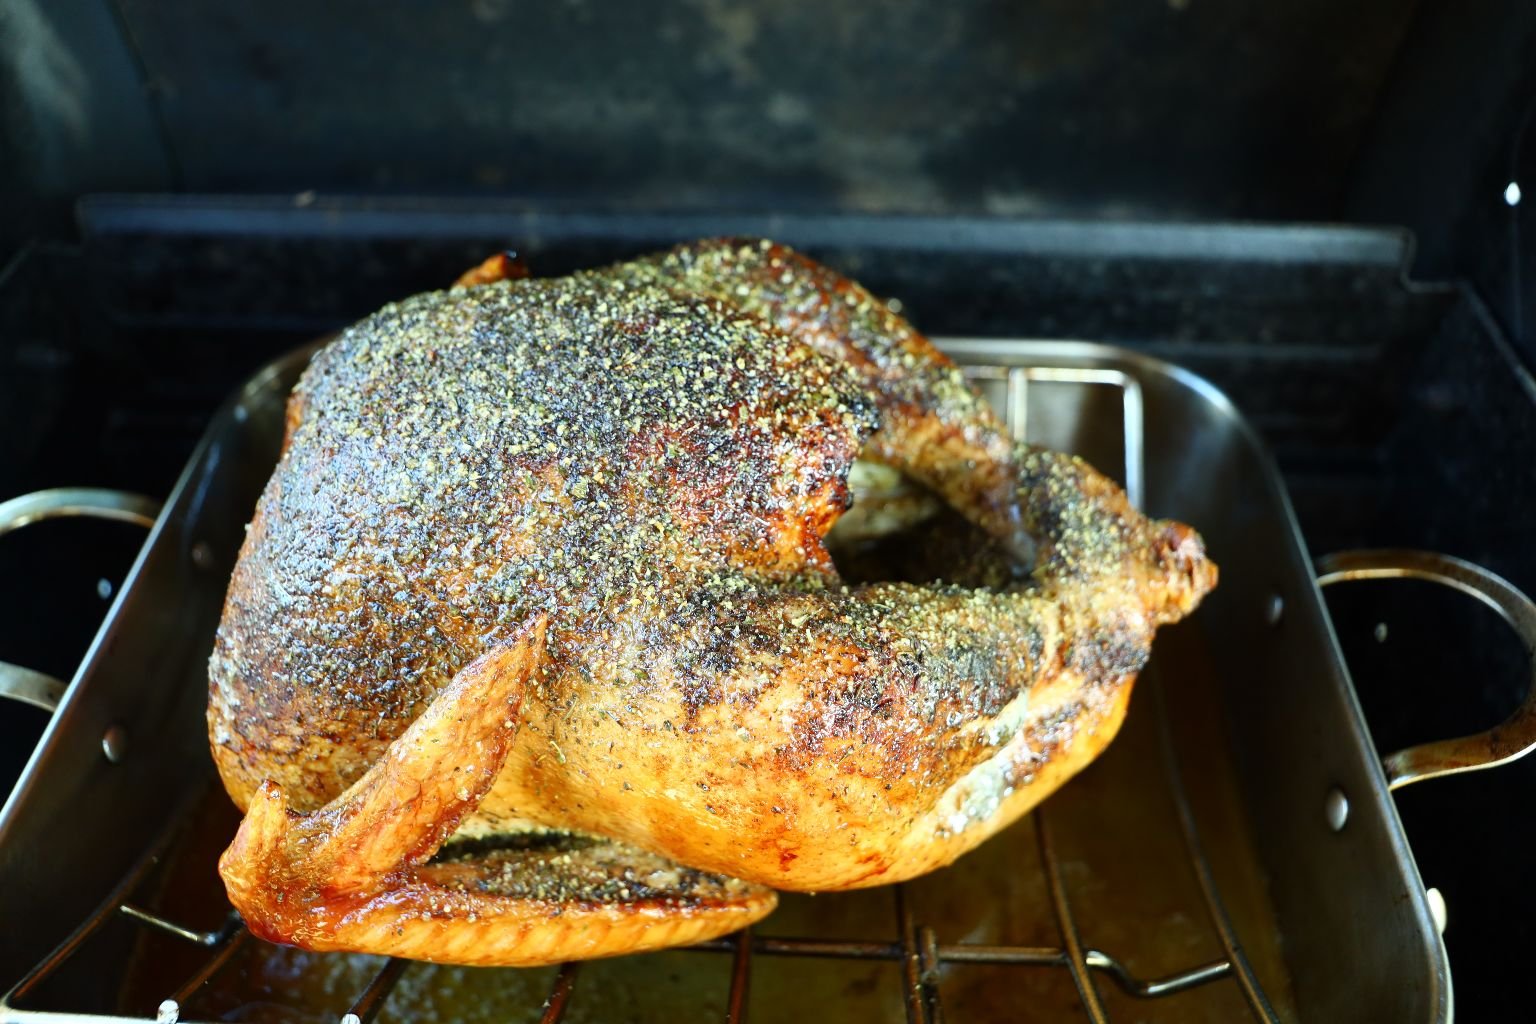
After about 3 hours of cooking you can see the turkey is getting there and looking good.
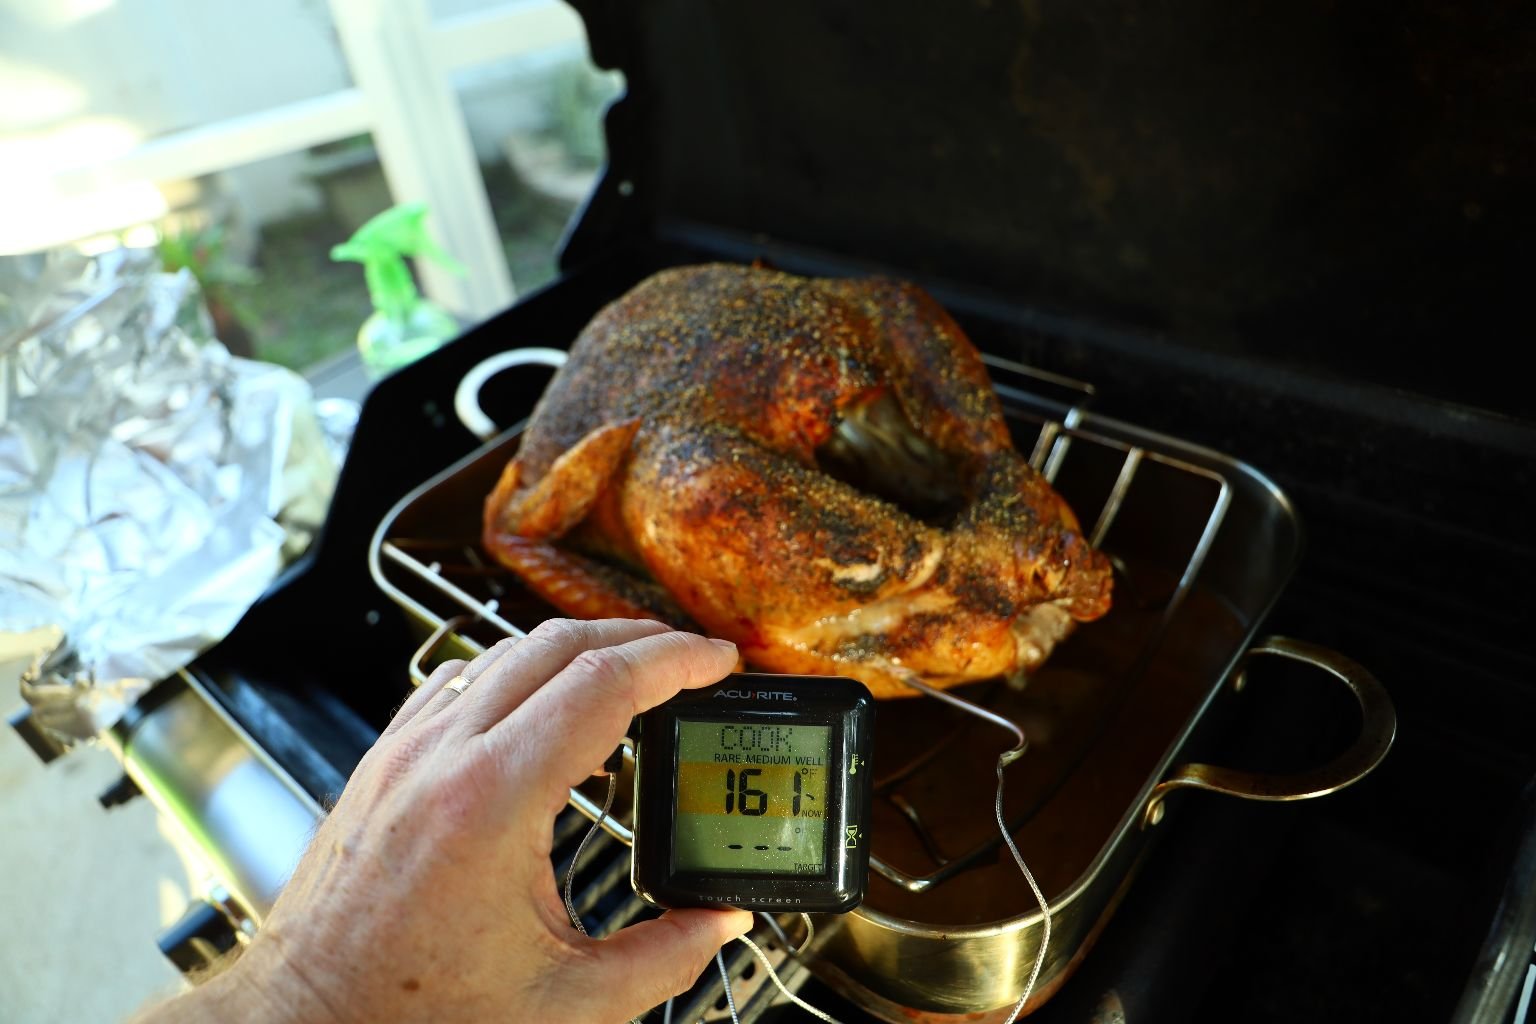
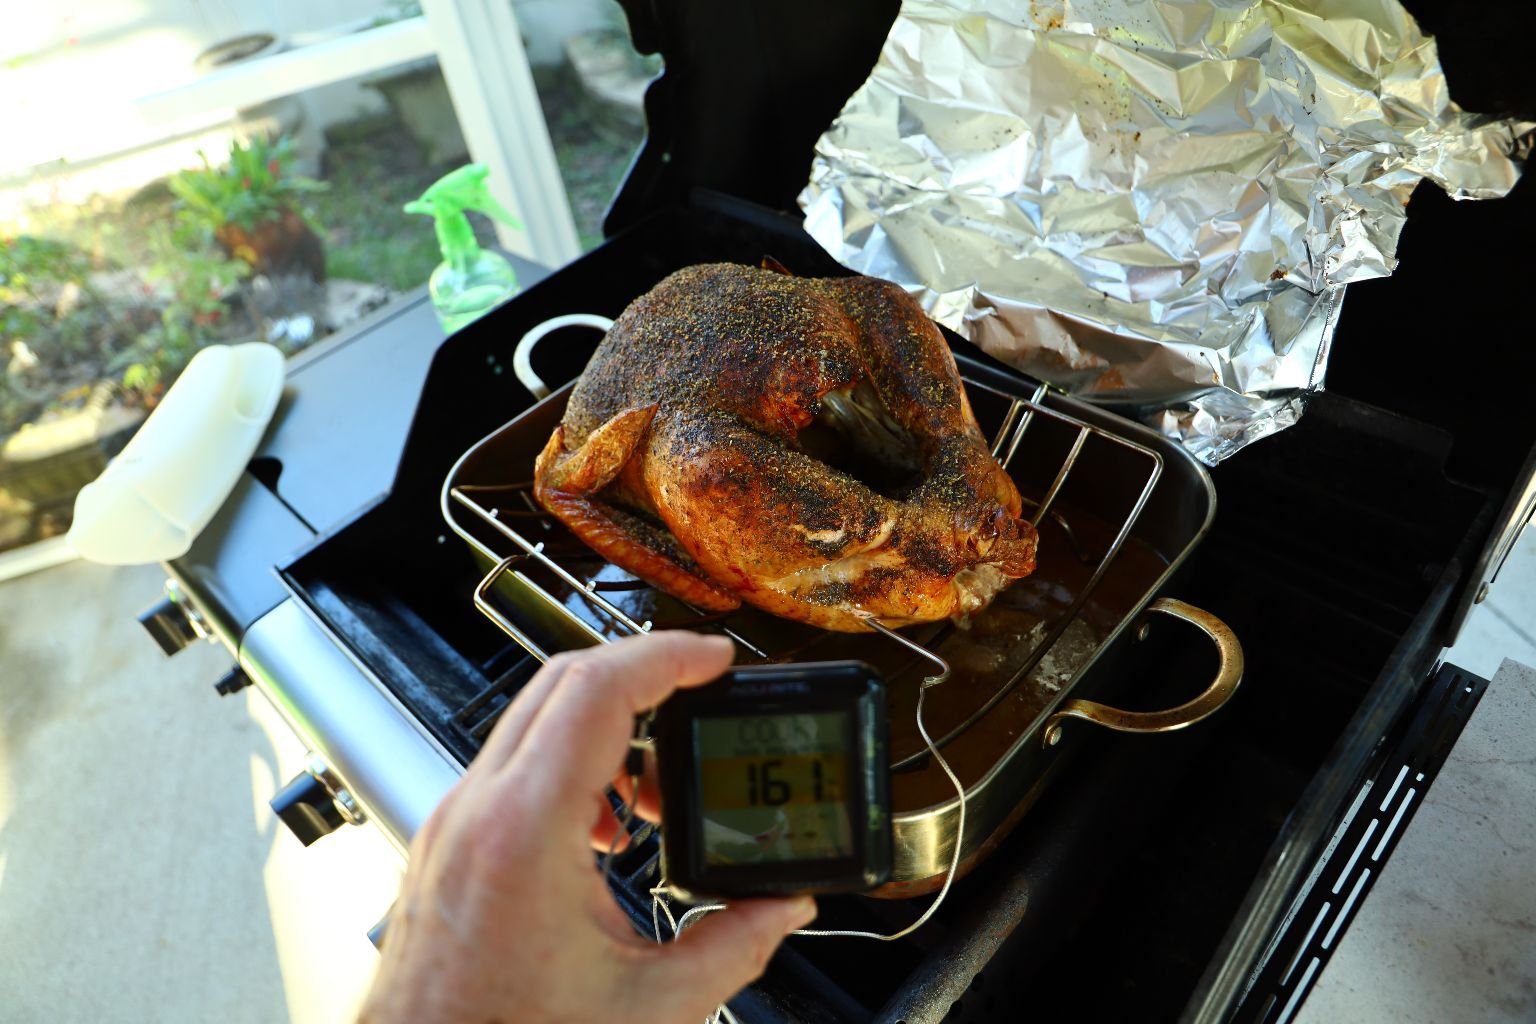
Cooking the turkey is NOT a timed event as many factors come into play. Your turkey is done when it reaches an internal temperature of 165’F in the thickest part of the thigh. This turkey cooked for around 4 hours and at the 3 1/2 hour point, I inserted my digital thermometer into the thigh being sure not to touch a bone. You can see the internal temperature is at 161’F… Perfect. I will now let the turkey rest for about 20 min. Doing this will allow the turkeys super heated external juices (The juices near the skin heated to about 300’F) to sink back into and distribute evenly into the internal meat, which will bring the internal temperature up at least 5-10’F to 165’F.

Here, Julie and I are enjoying a beautiful day outside on our lanai as the turkey is cooking. I love the smoke smell in the air.
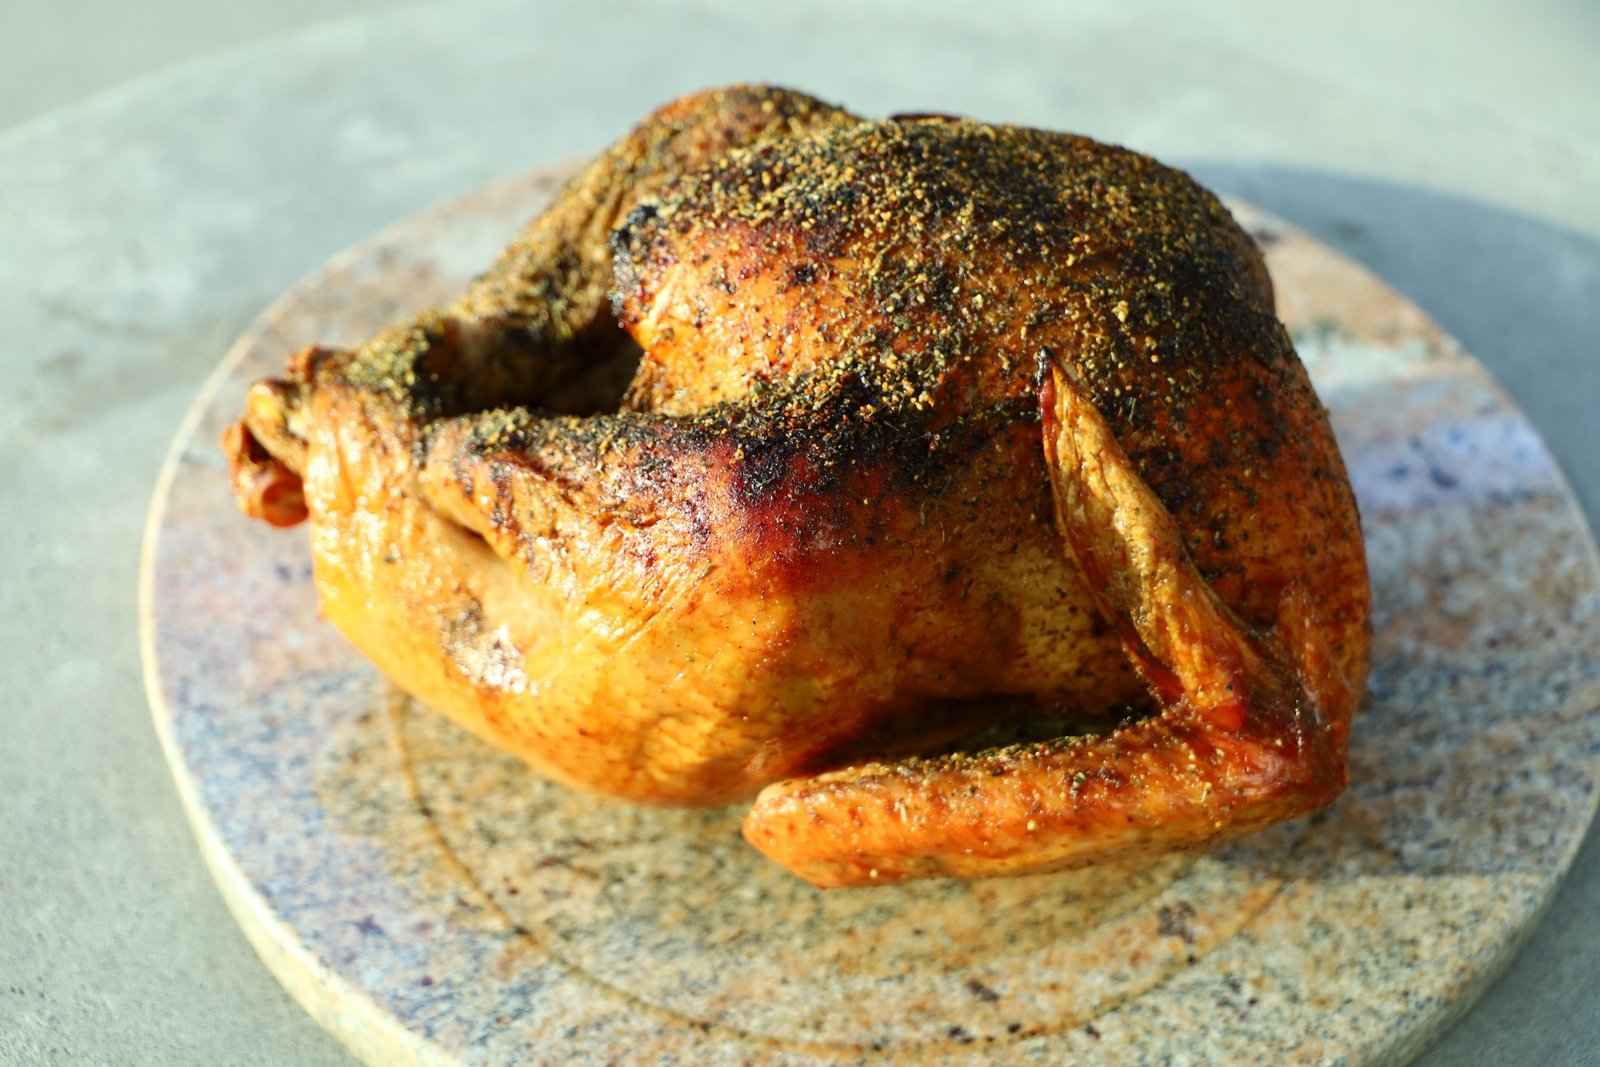
———————————————————————-
Cute Doggie Break

I’m pretty sure they are dog tired. 🙂
————————————————————-
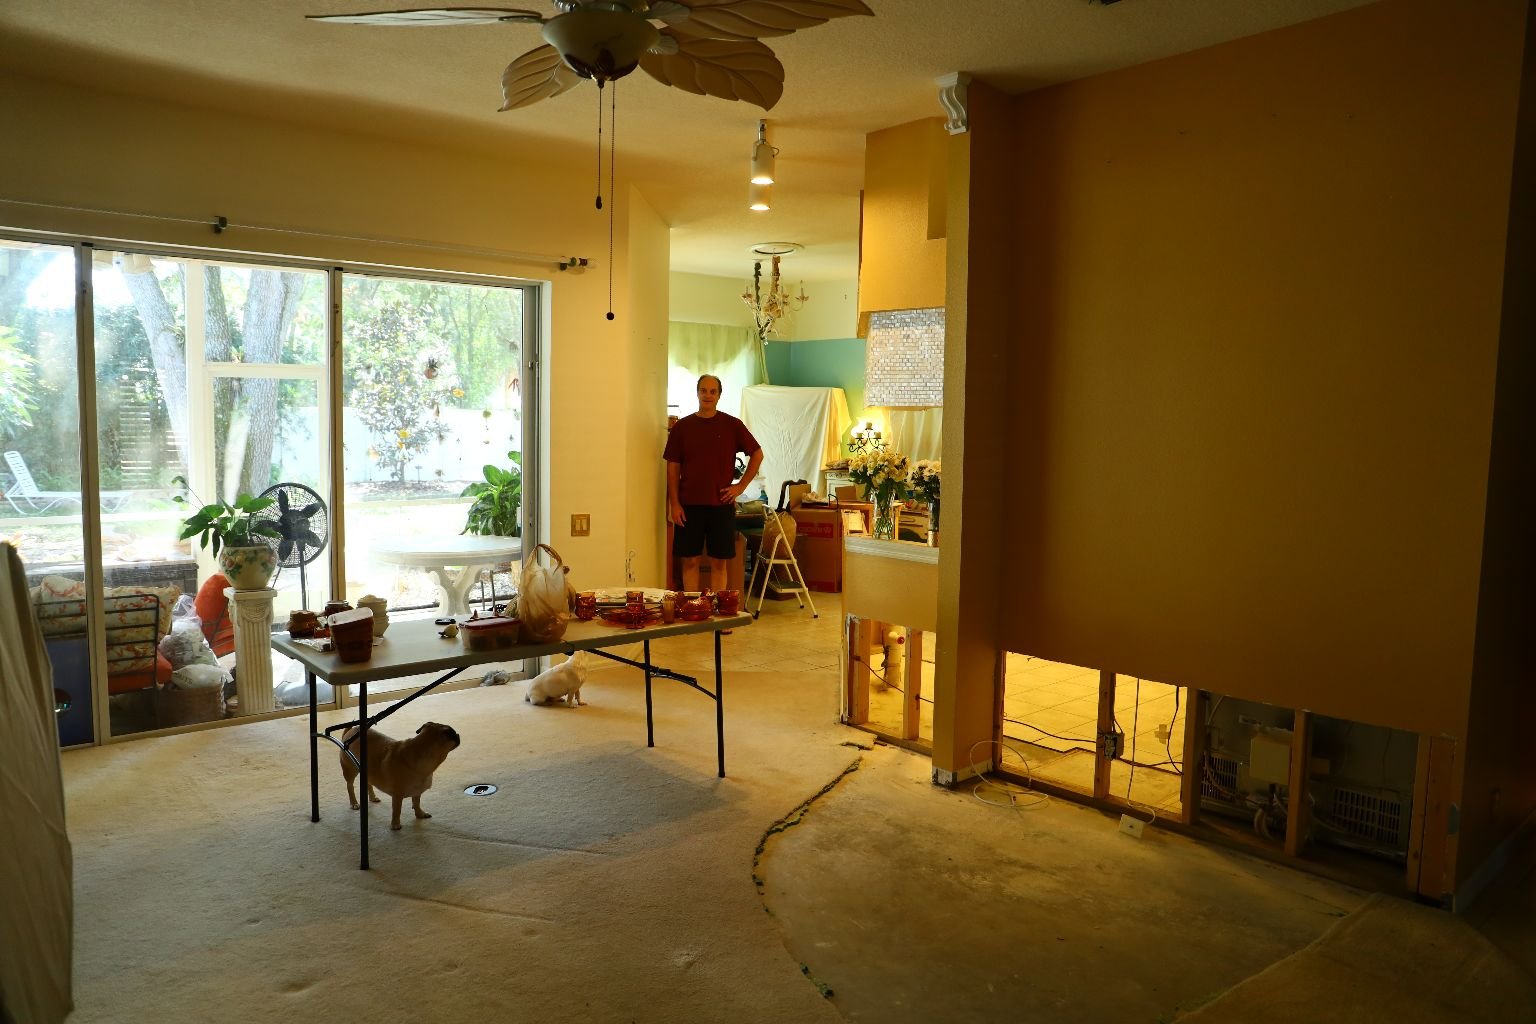
This is Saturday, after Thanksgiving Thursday.
Our renovation crew came on Friday, after Thanksgiving, and took down all the plastic dividers. Finally, we had more access to what kitchen that we had. Still no sink, or dishwasher, but just more room. They also removed all the dehumidifier’s.
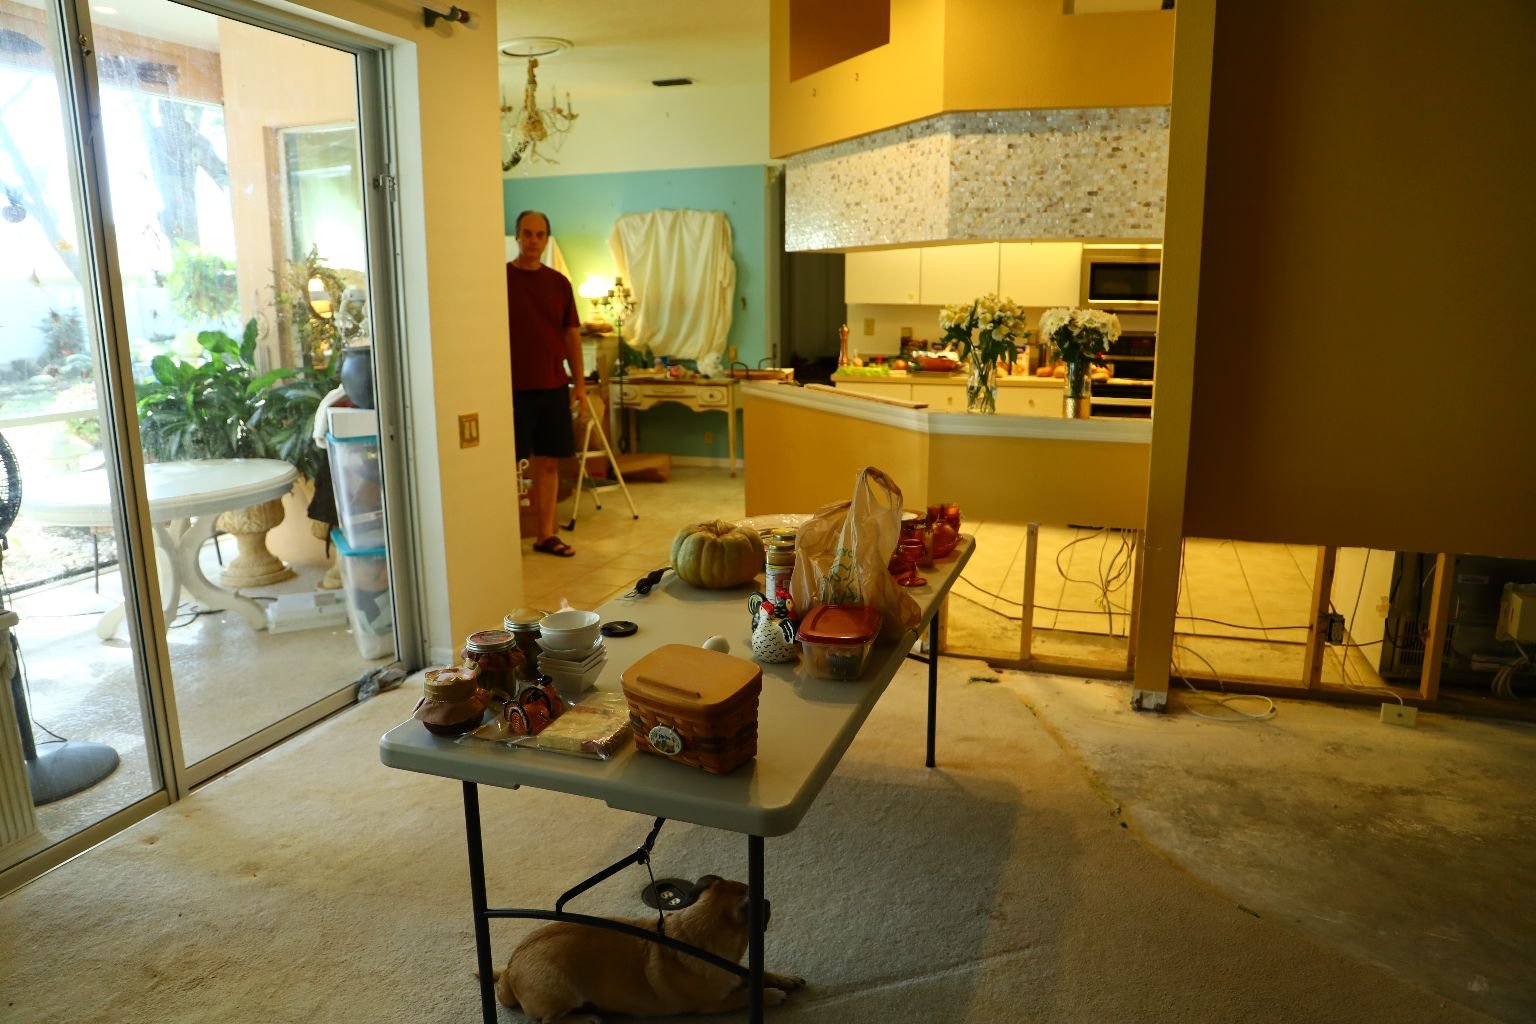
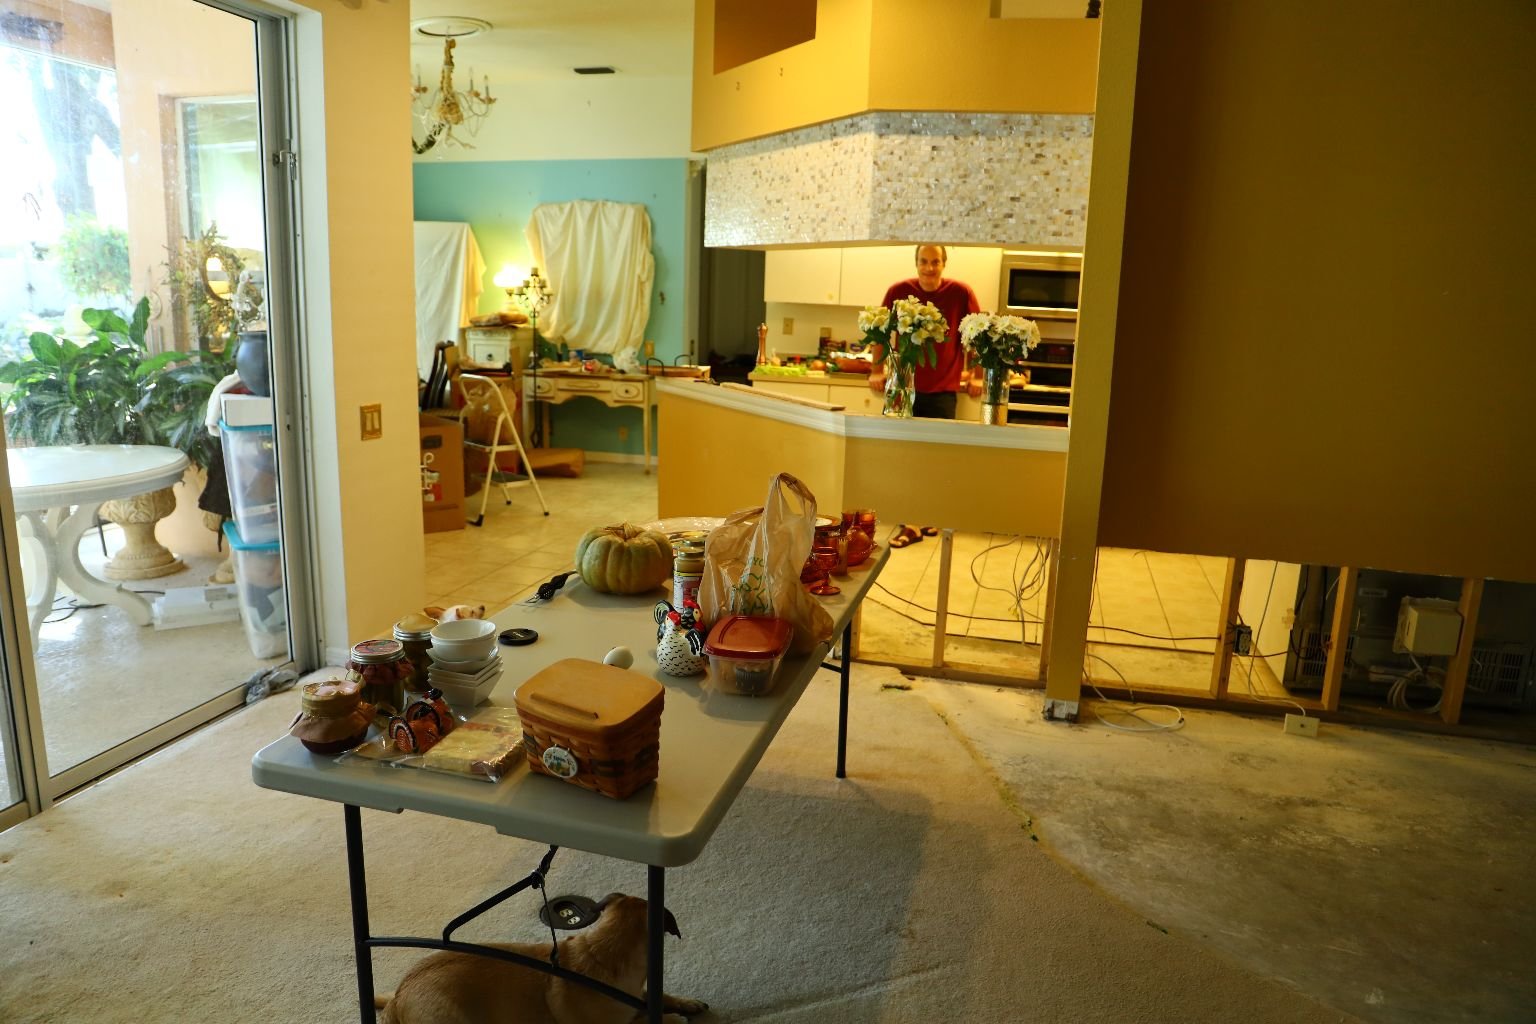
This finally gave us more room to maneuver around our kitchen.
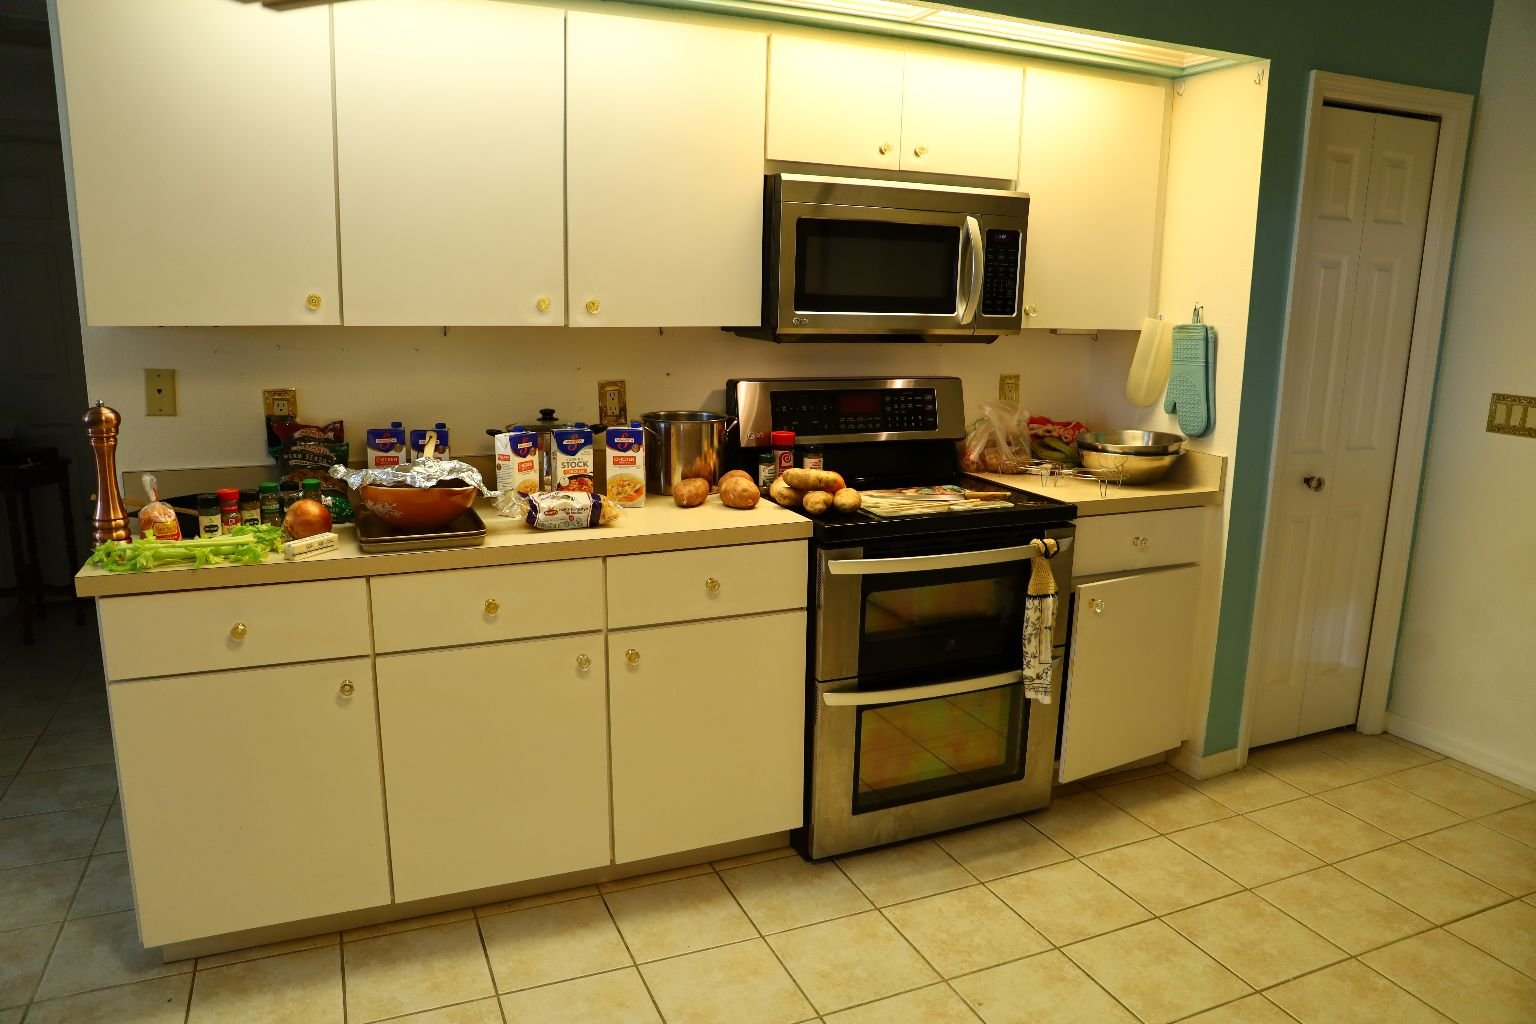
But, due to our home renovations, we may have cooked our turkey on Thanksgiving Day, but we didn’t actually eat our Thanksgiving Dinner until Saturday when we were able to better utilize our kitchen.
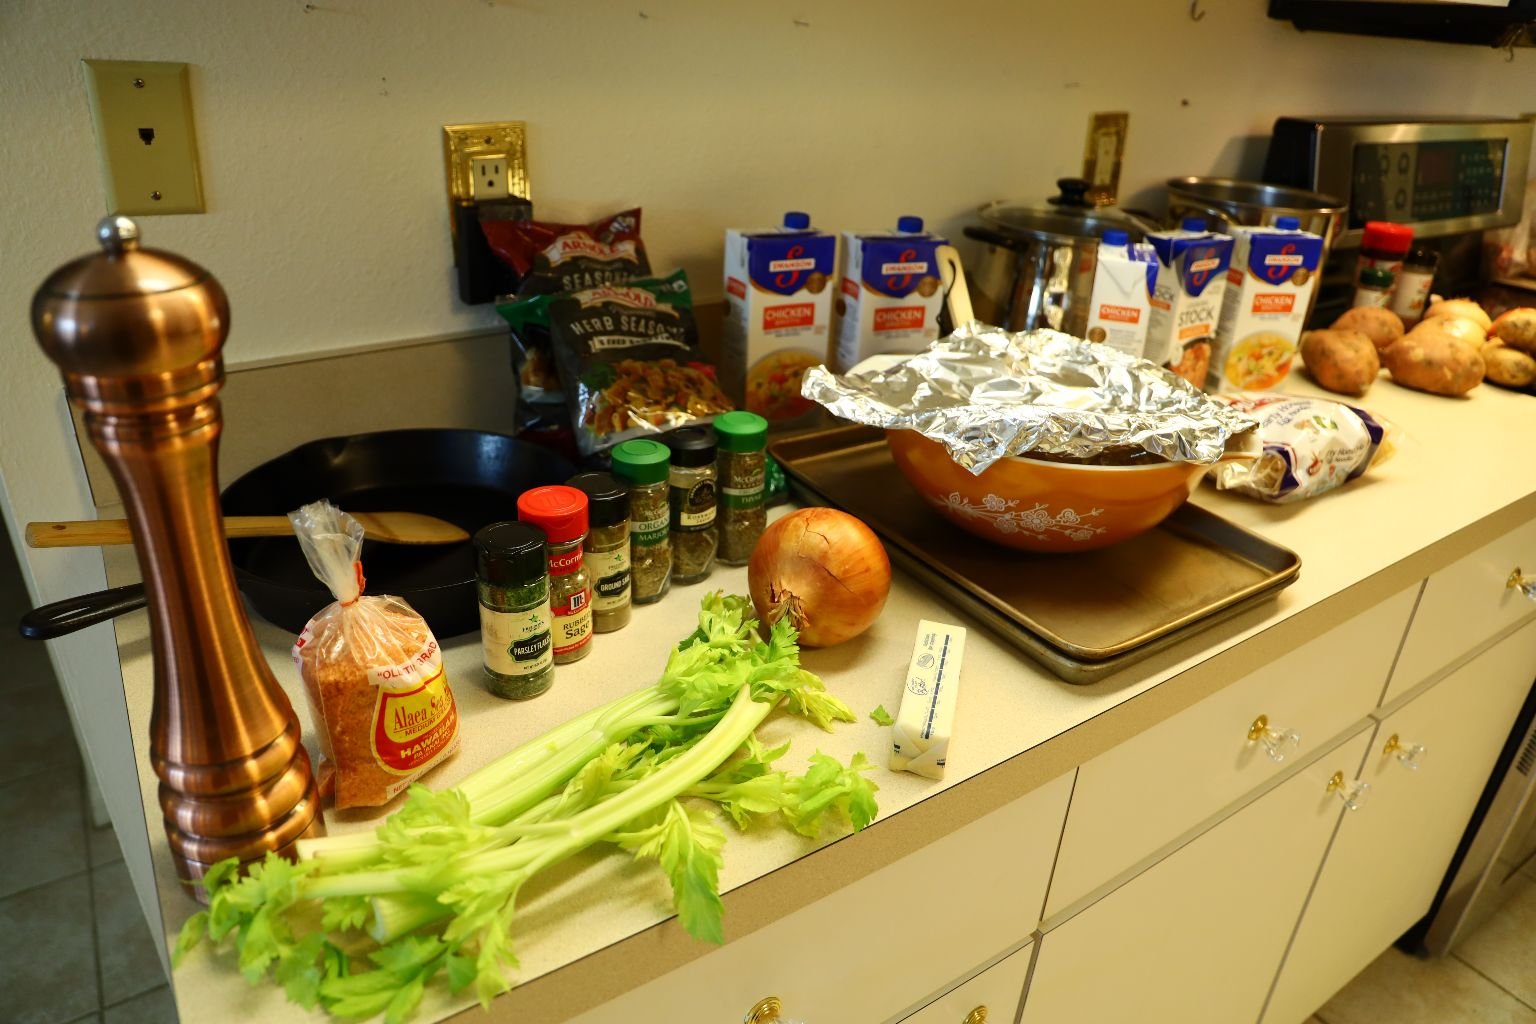
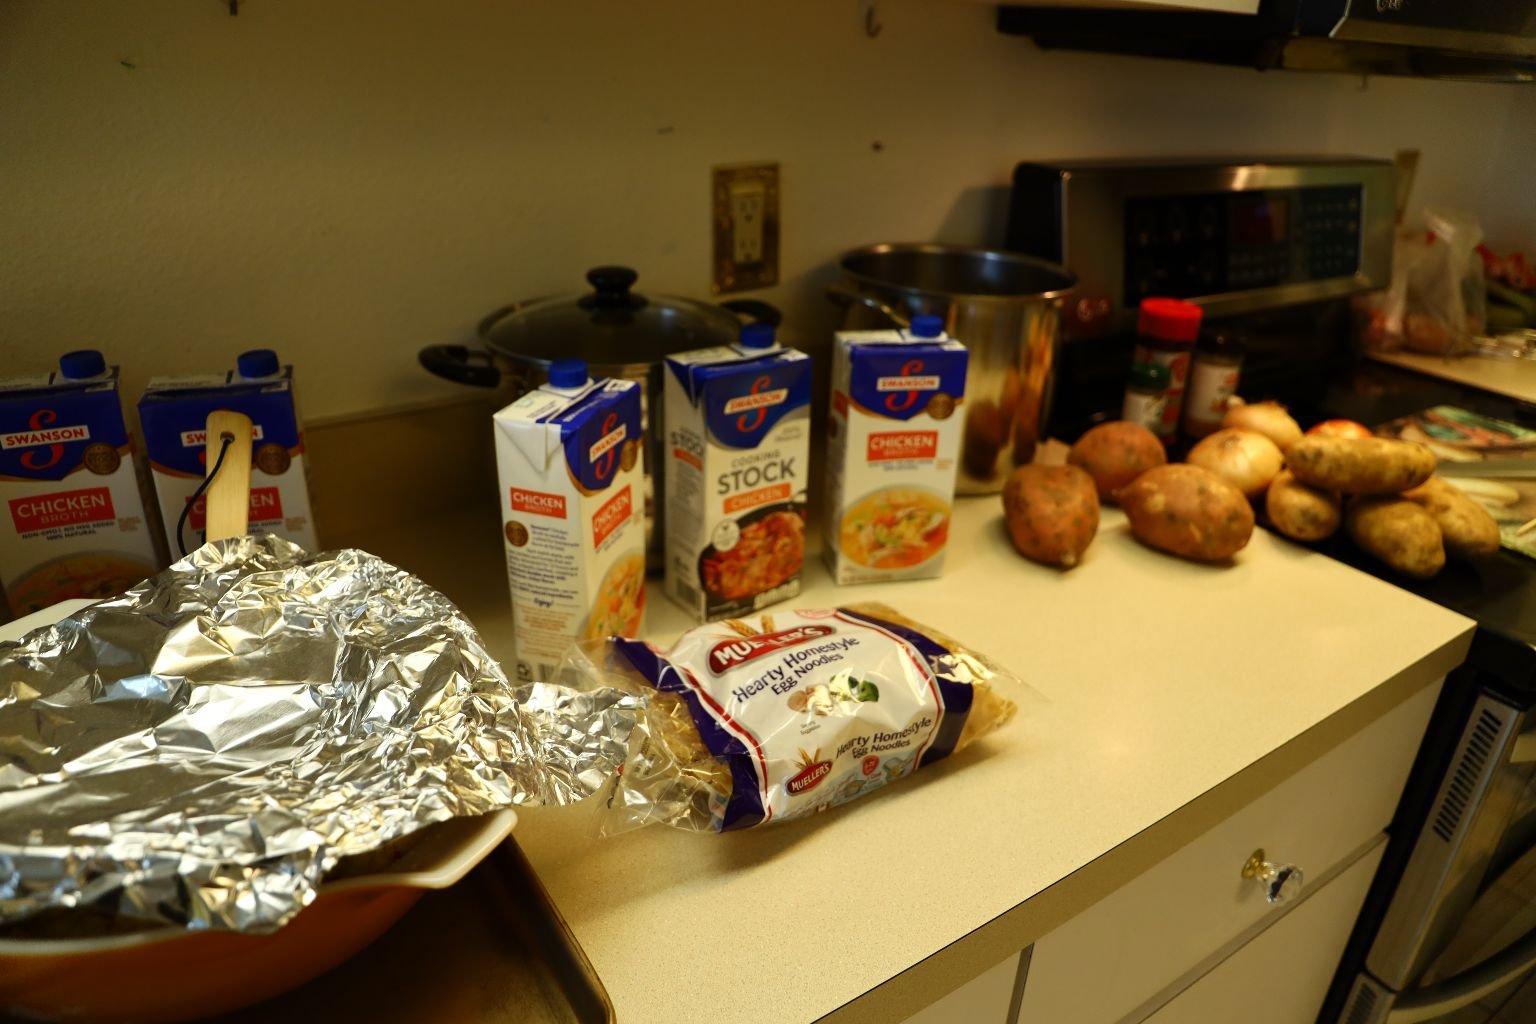
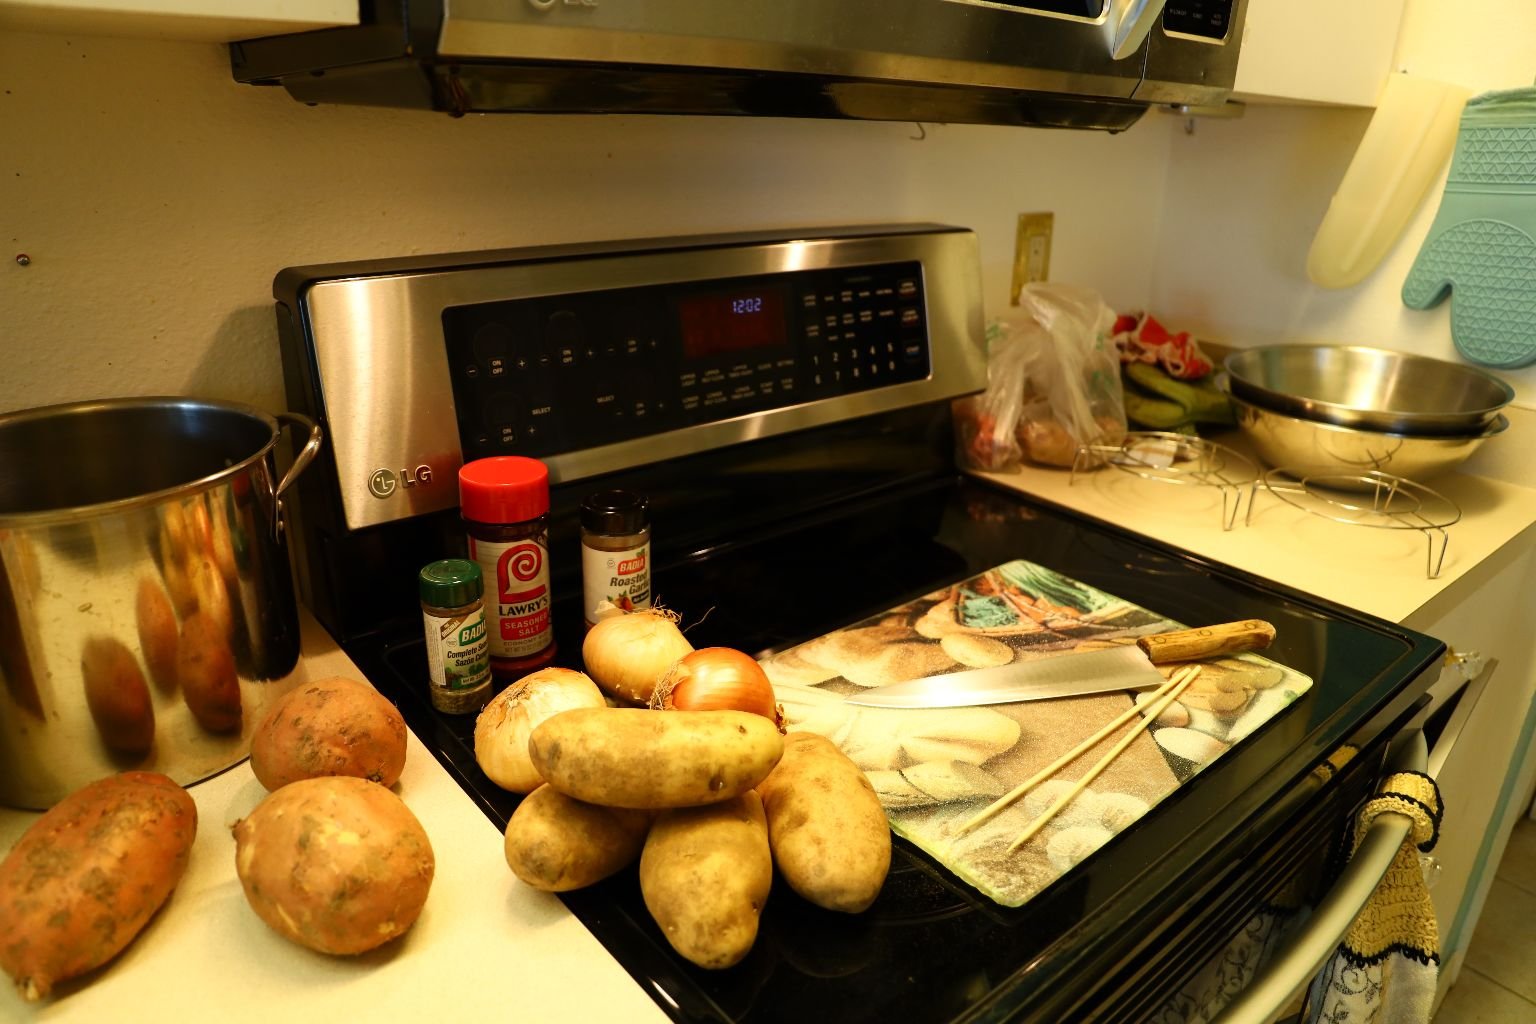
Here We Are Working on Our Thanksgiving Sides
——————————————————————–

Making My Grandmother’s Southern Cornbread Dressing
We have given this recipe on so many Thanksgiving and Christmas pages of ours that I am not going to re-write it here. But, you can now better see our kitchen.
Check Out Our New Island, Huh? 🙂
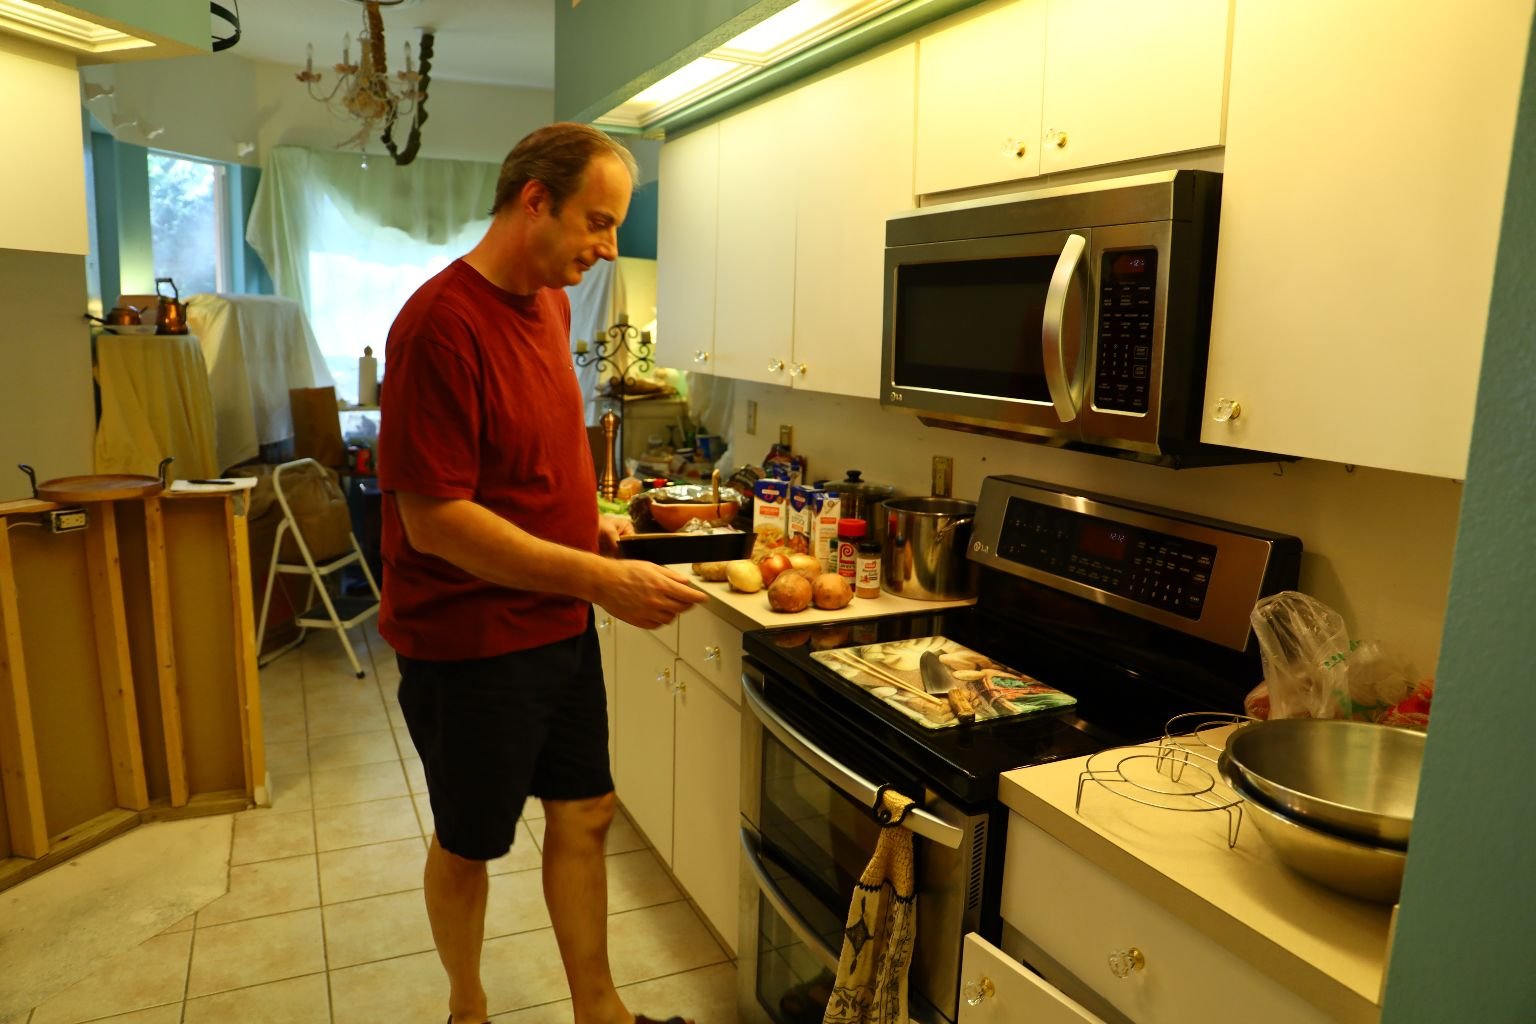
Gordon Cooking
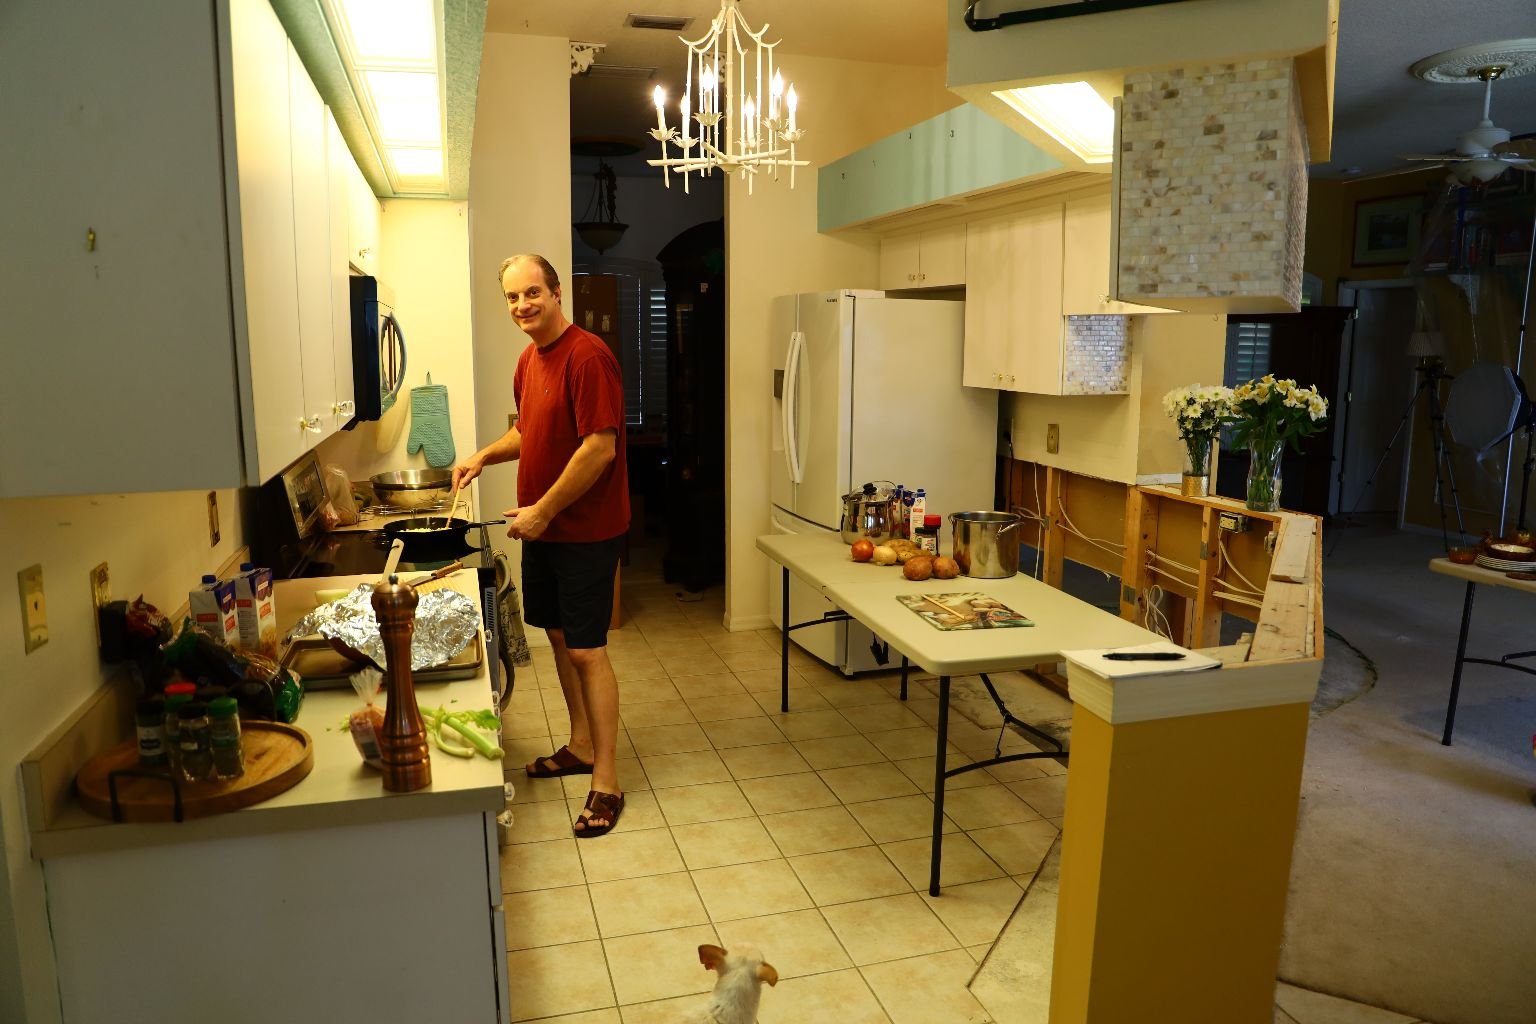
Making the Cornbread Dressing
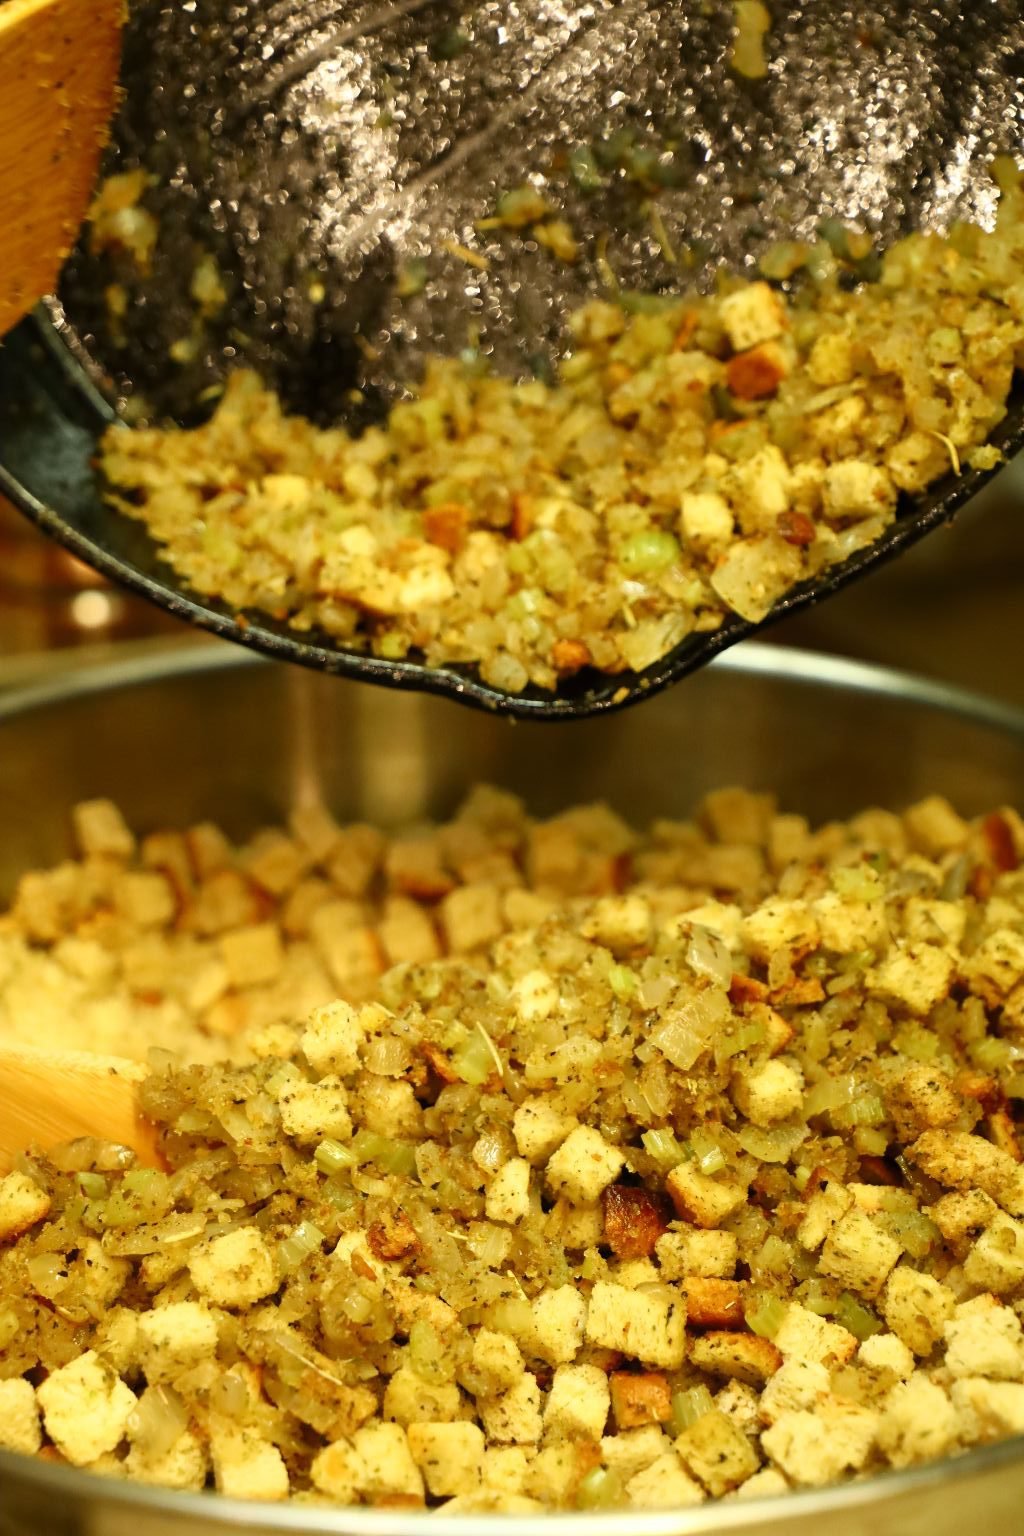
It’s Coming Together Nicely
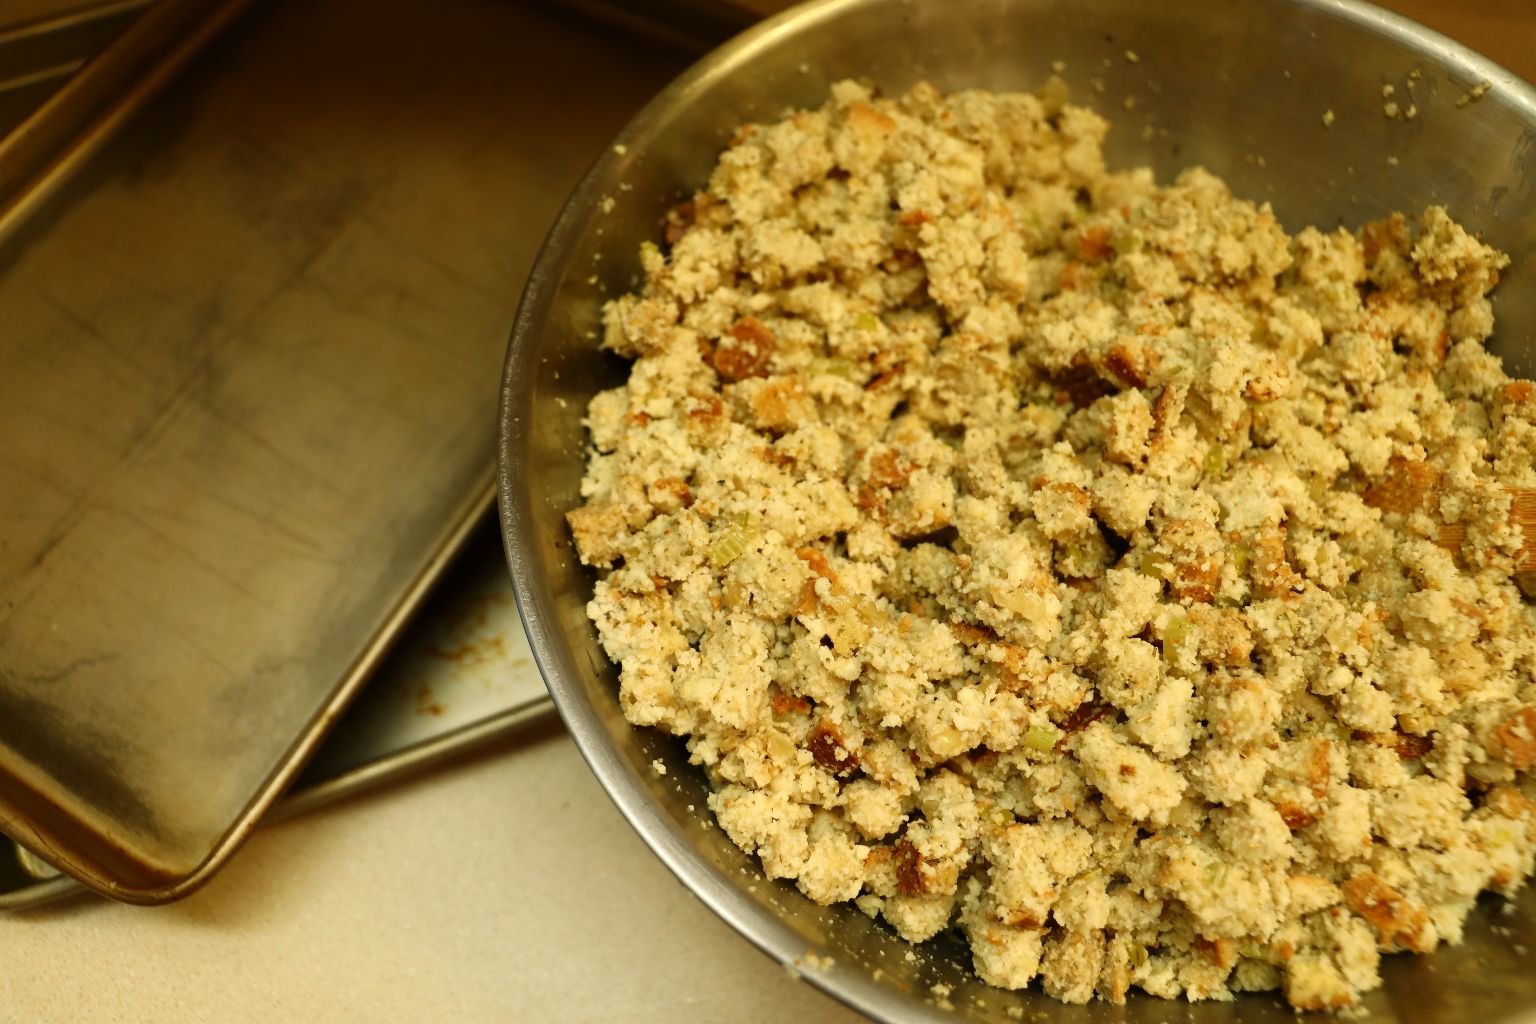
——————————————————————
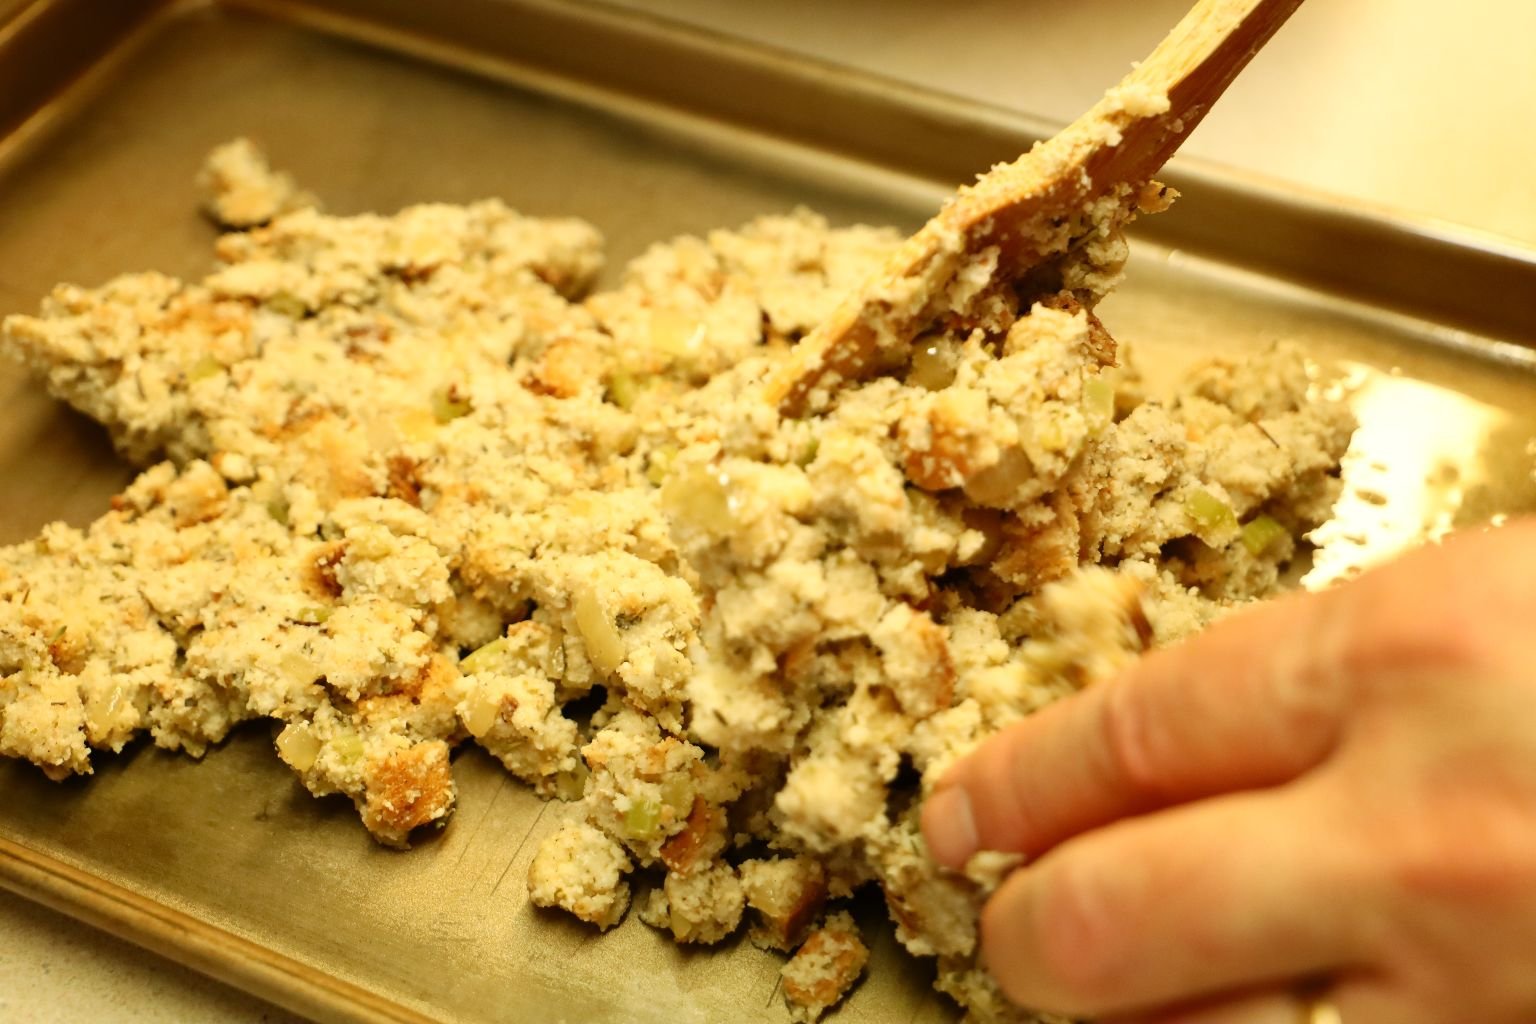
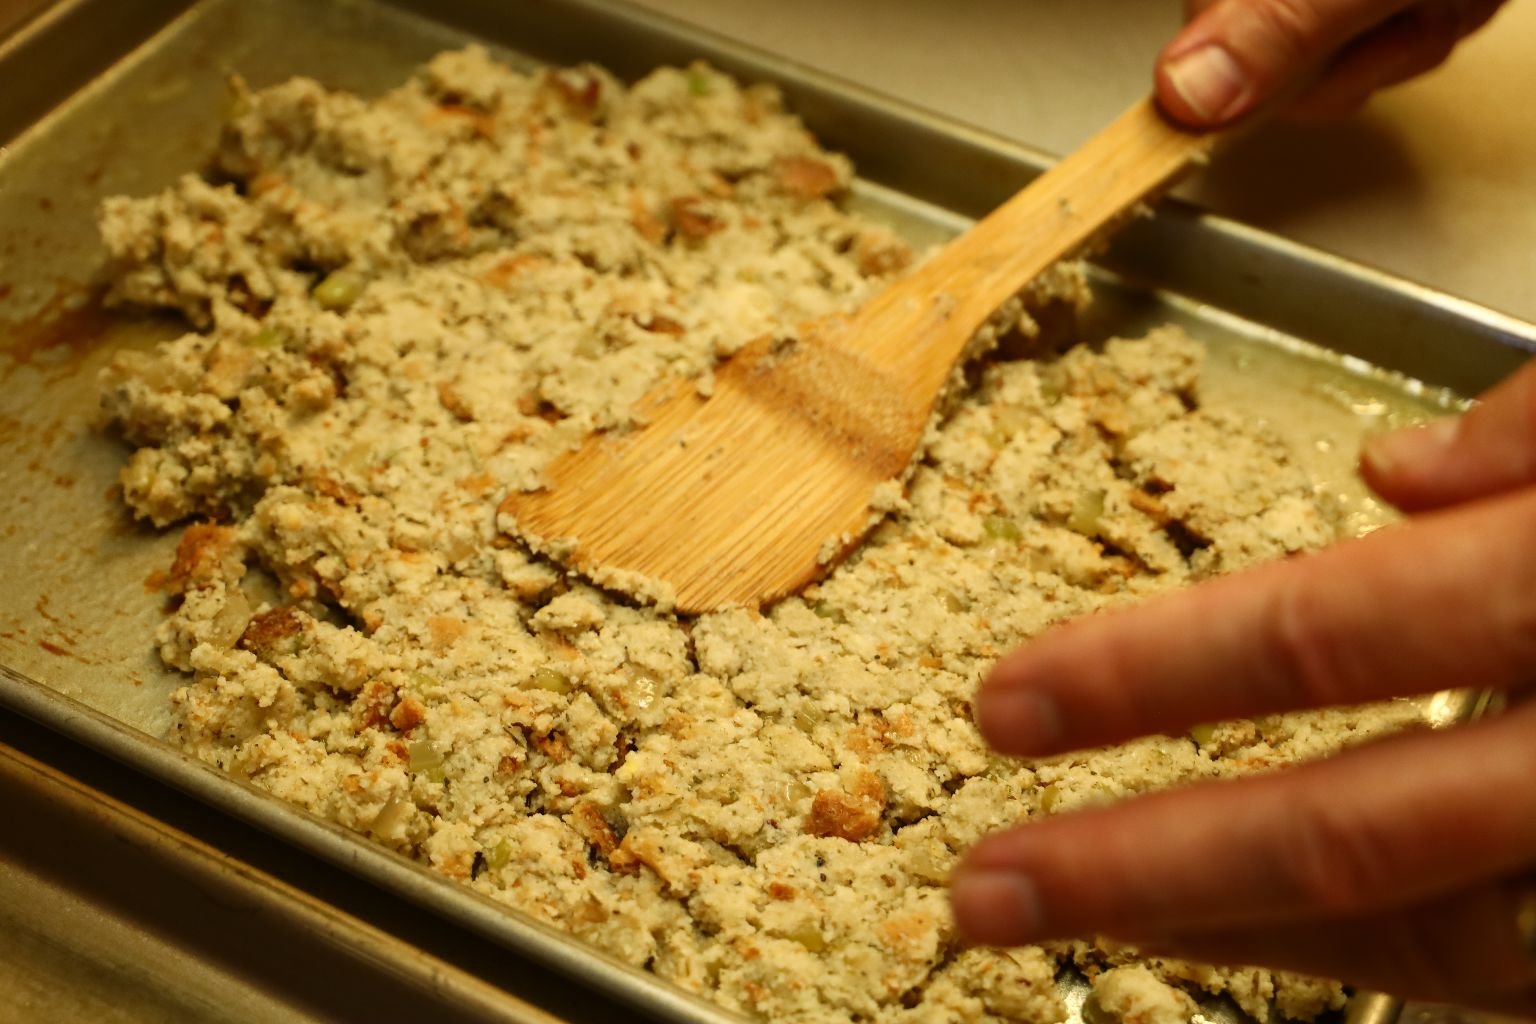
Here Gordon is Spreading our Cornbread Dressing Onto a Greased Sheet Pan
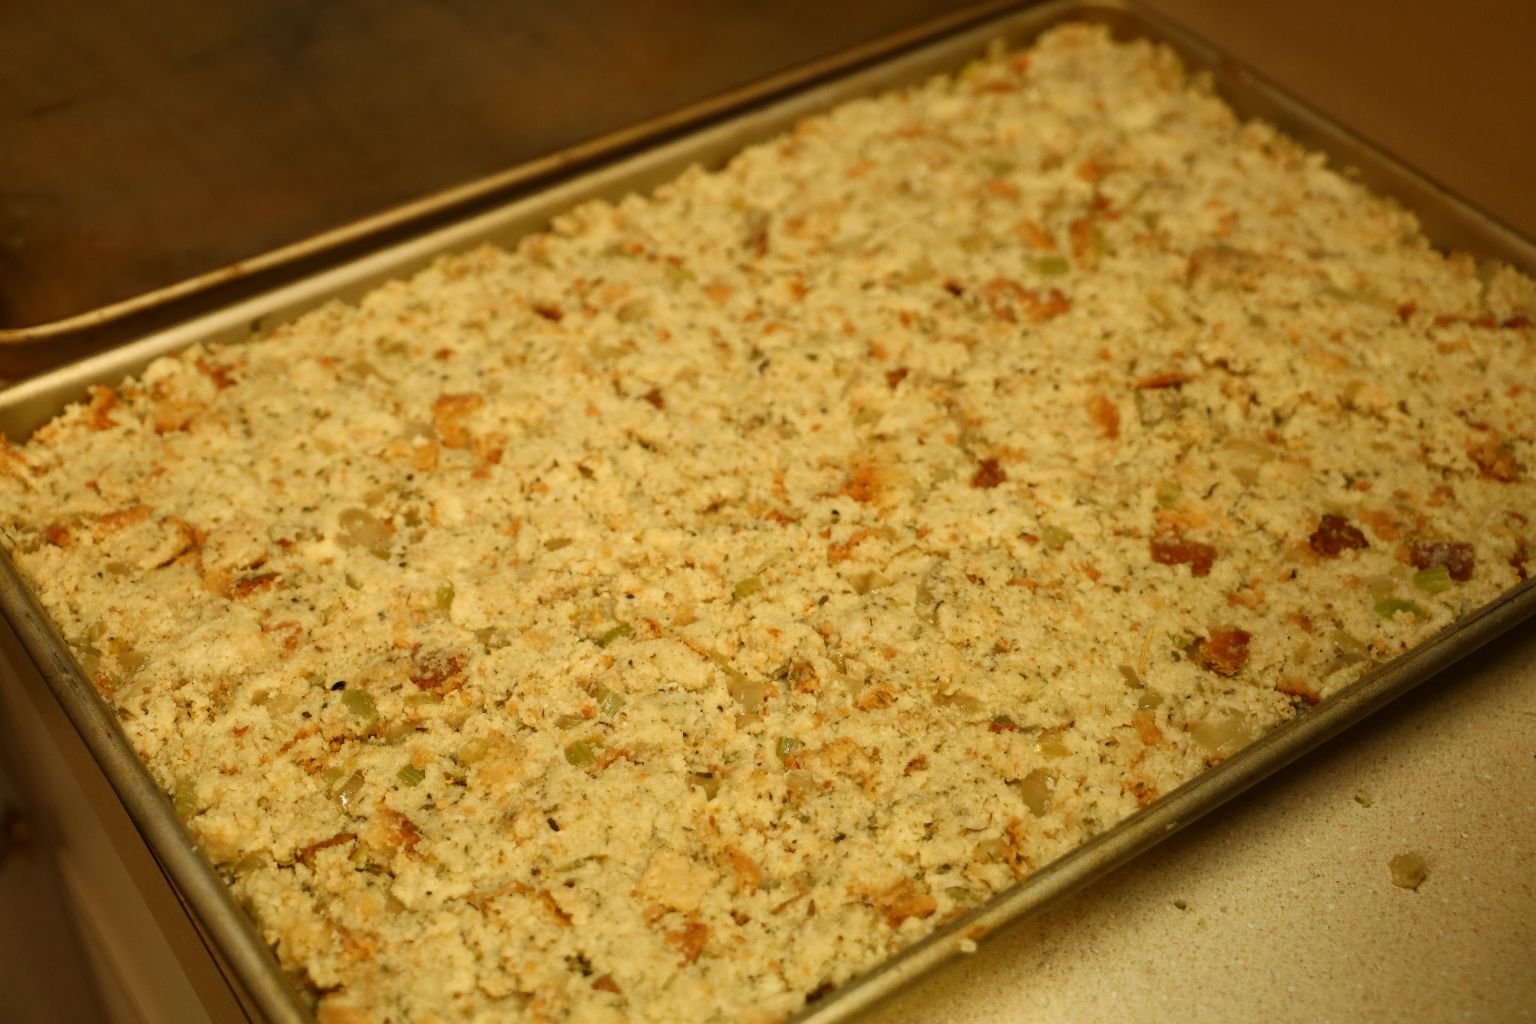
Now, we are going to cook it in a 350F oven for about 25 minutes, or so until done.
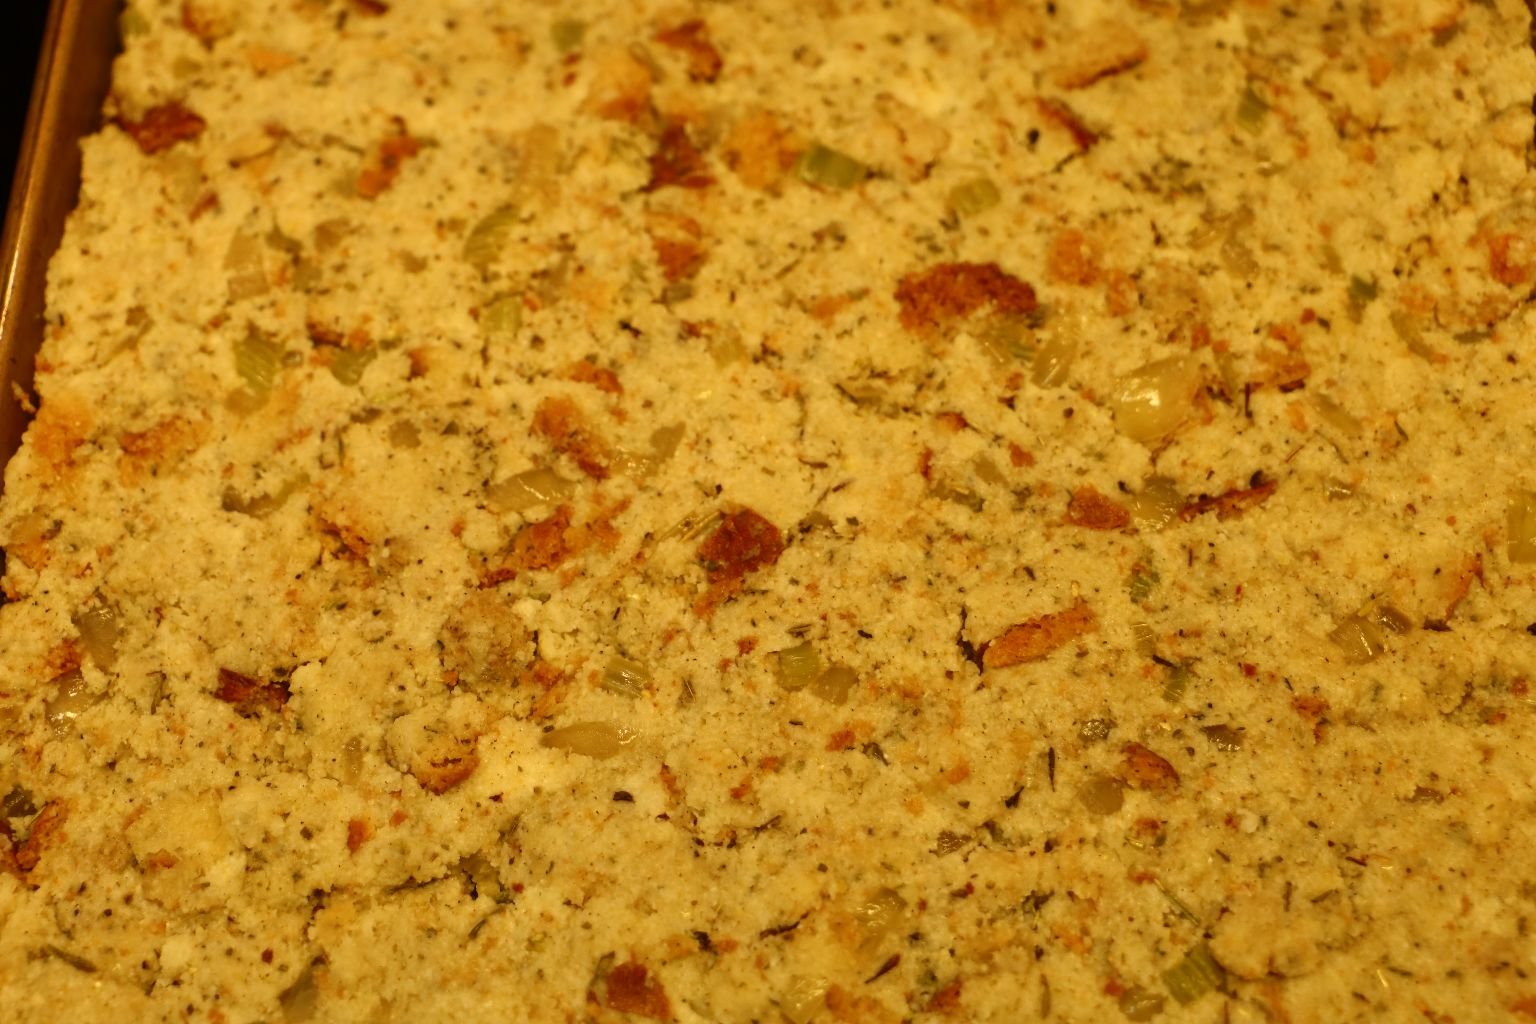
——————————————————————–
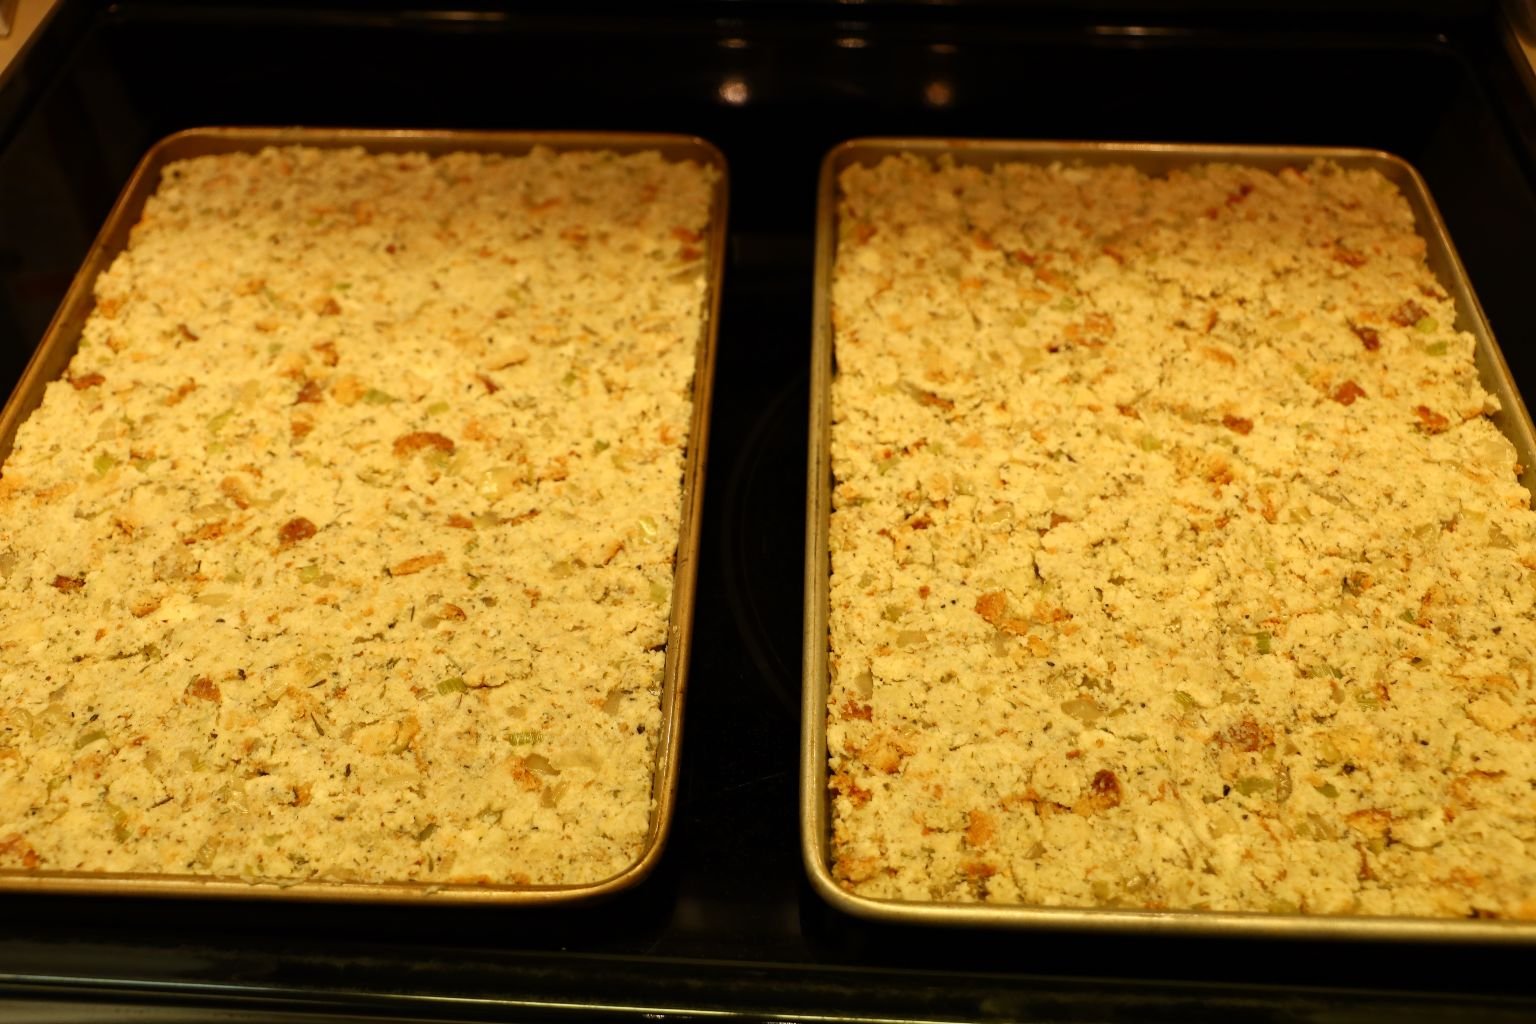
Into The Oven It Goes
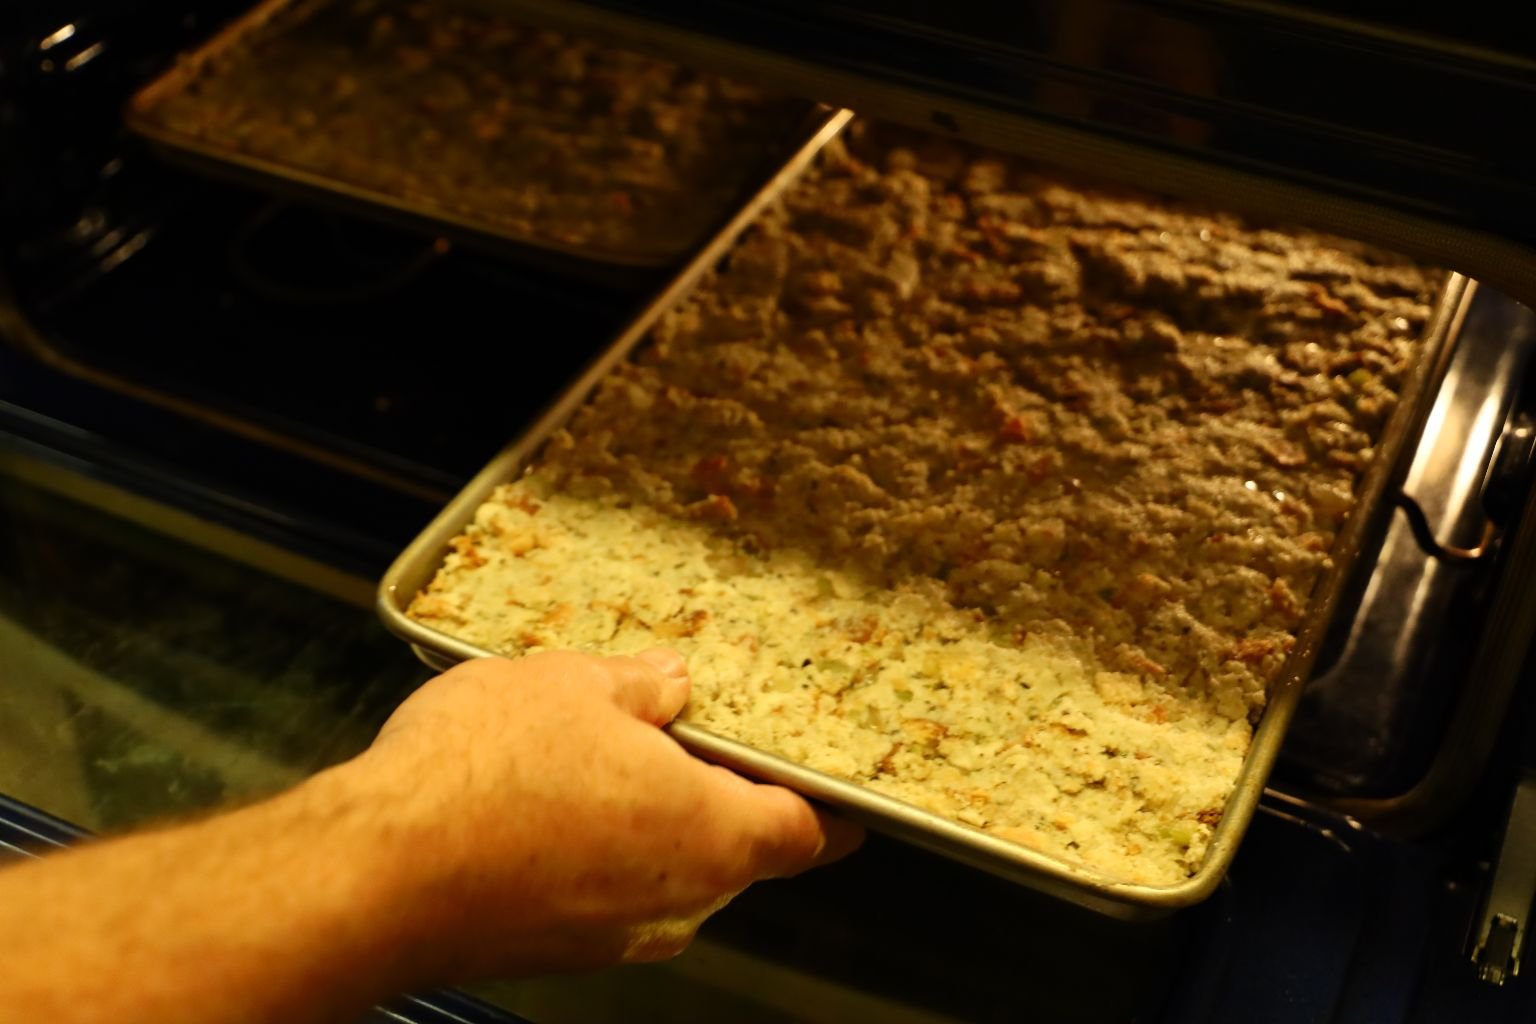
———————————————————————
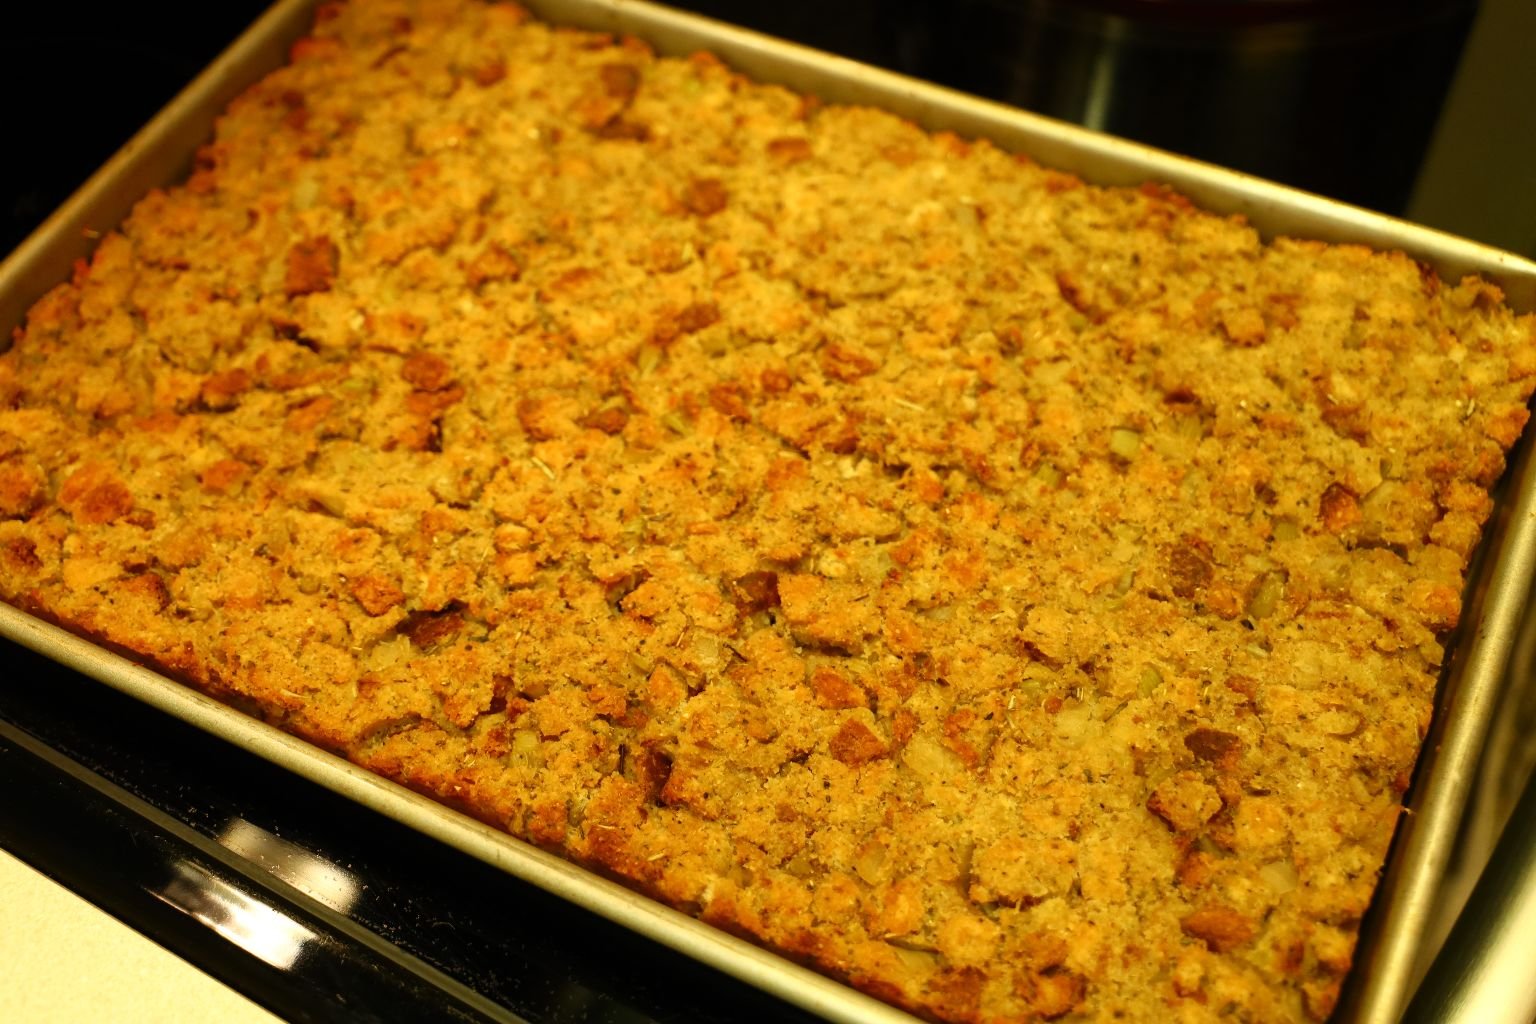
When done, remove from the oven and set aside to cool.
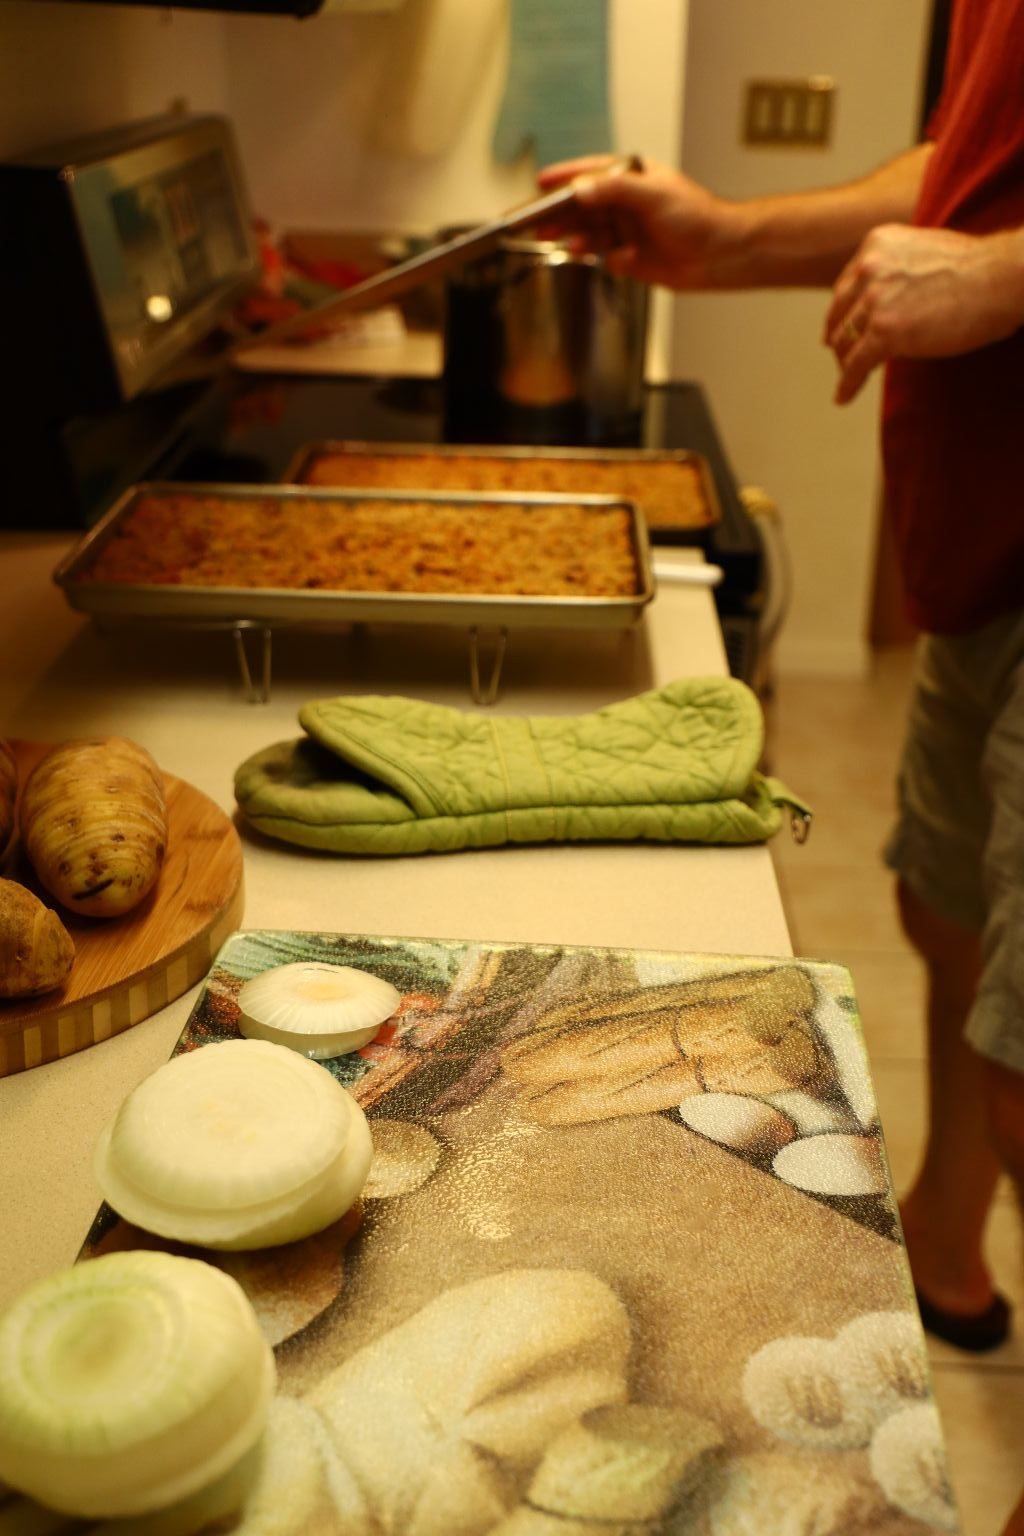
Getting Ready for Another Recipe
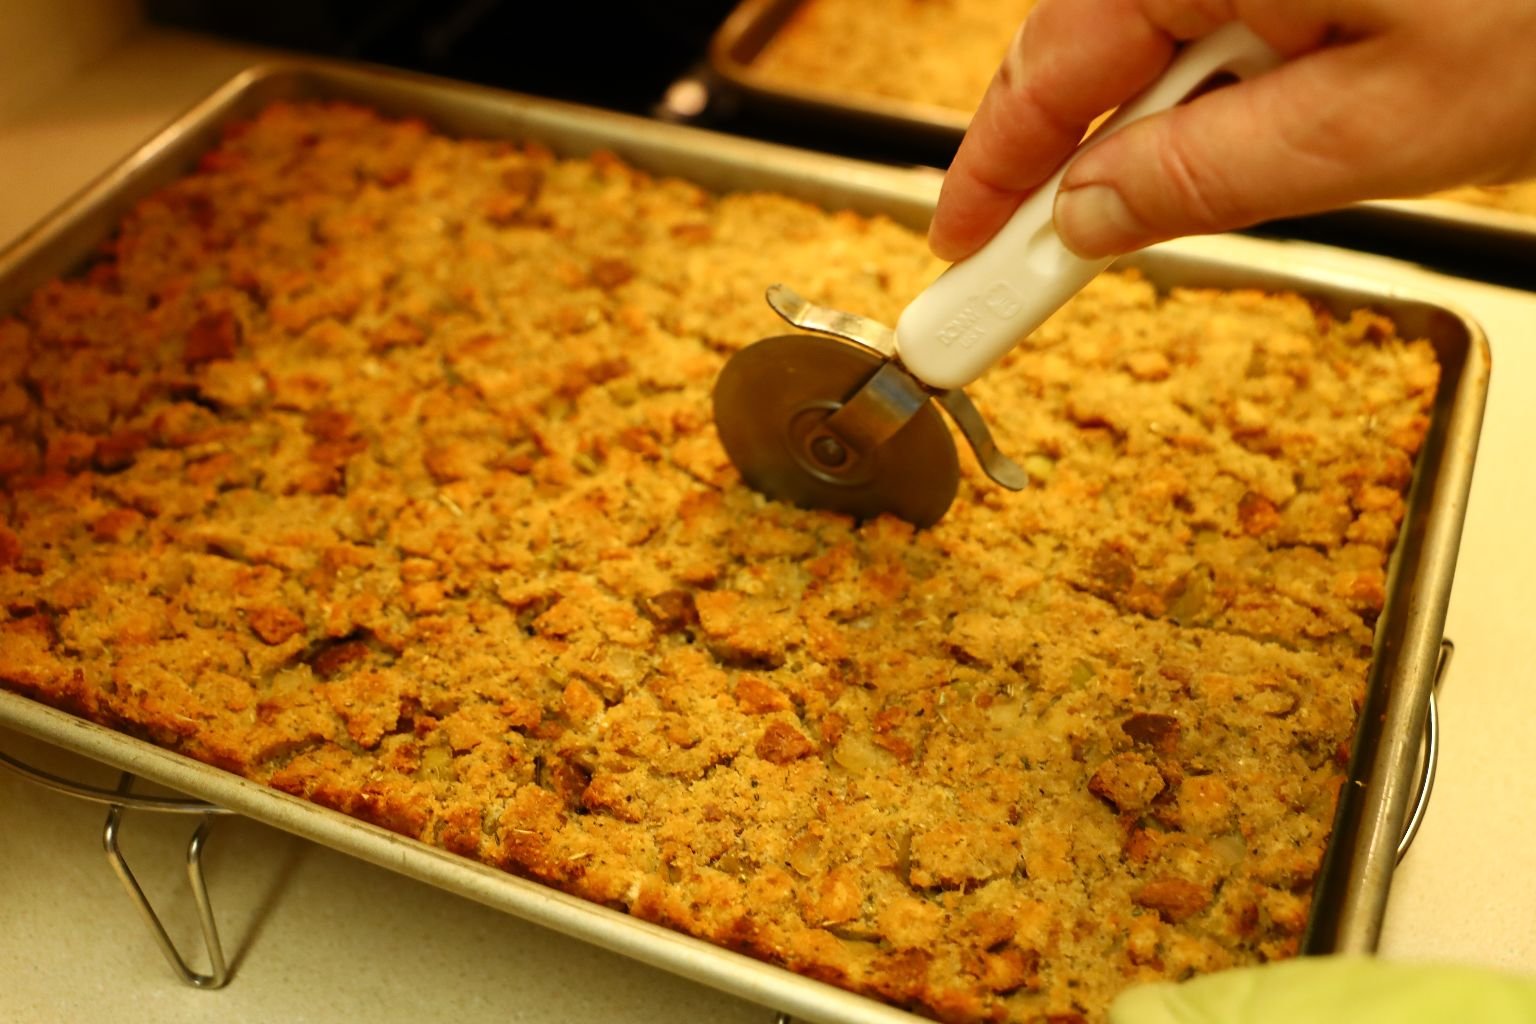
When Cooled, use a pizza cutter to make slices the size of bread slices.
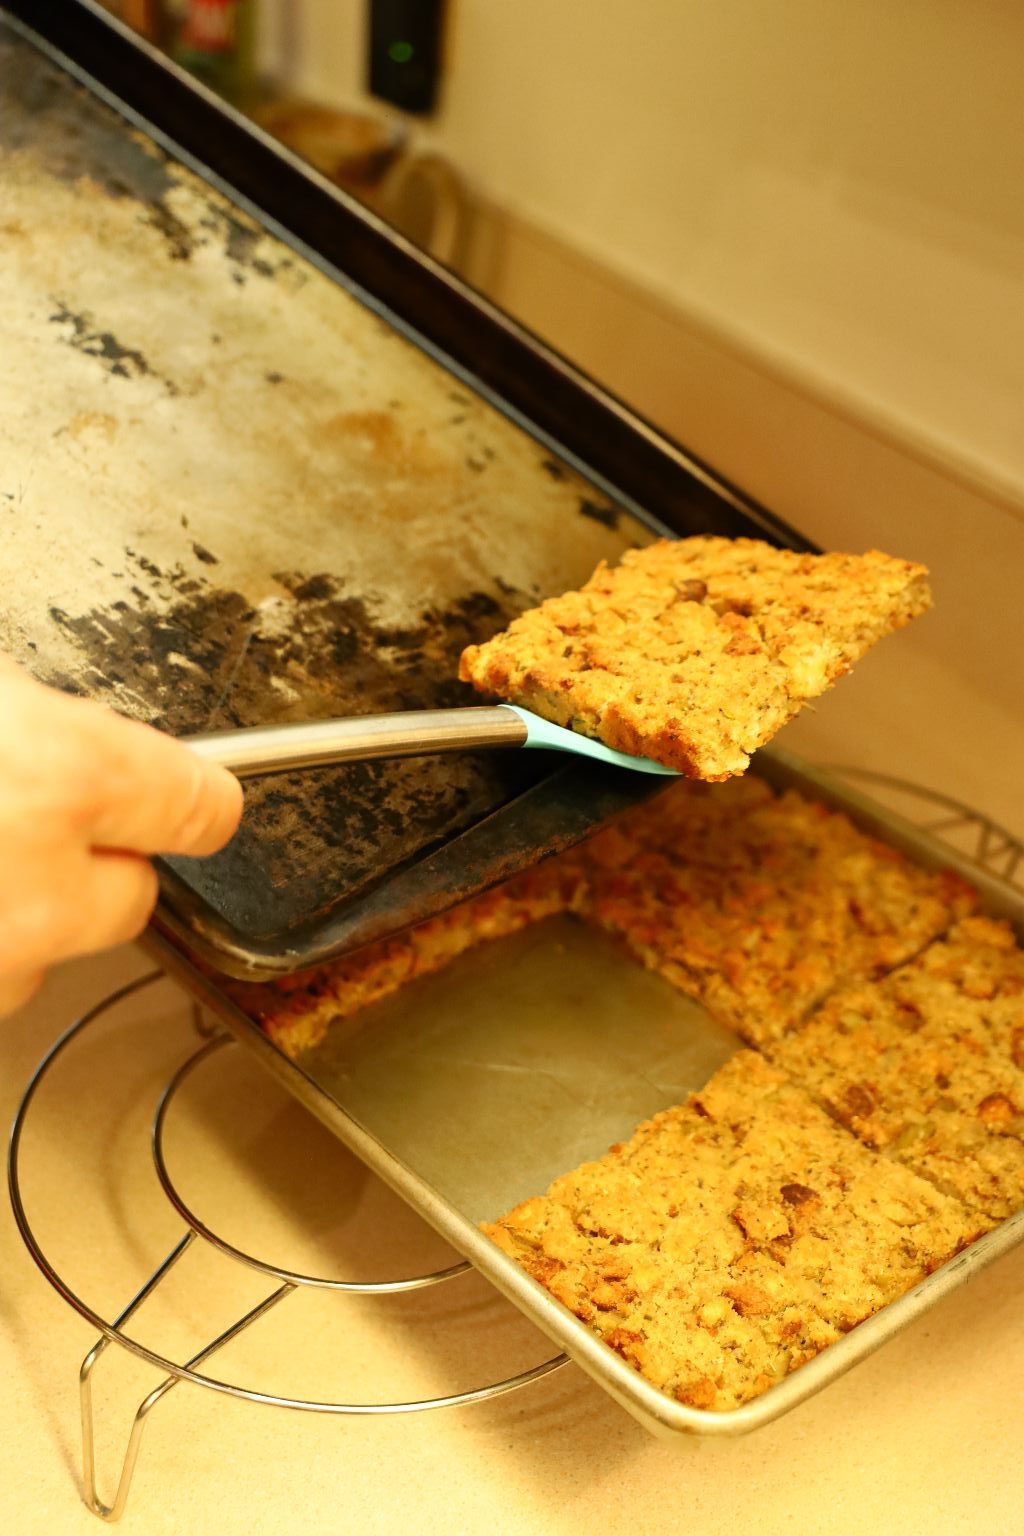
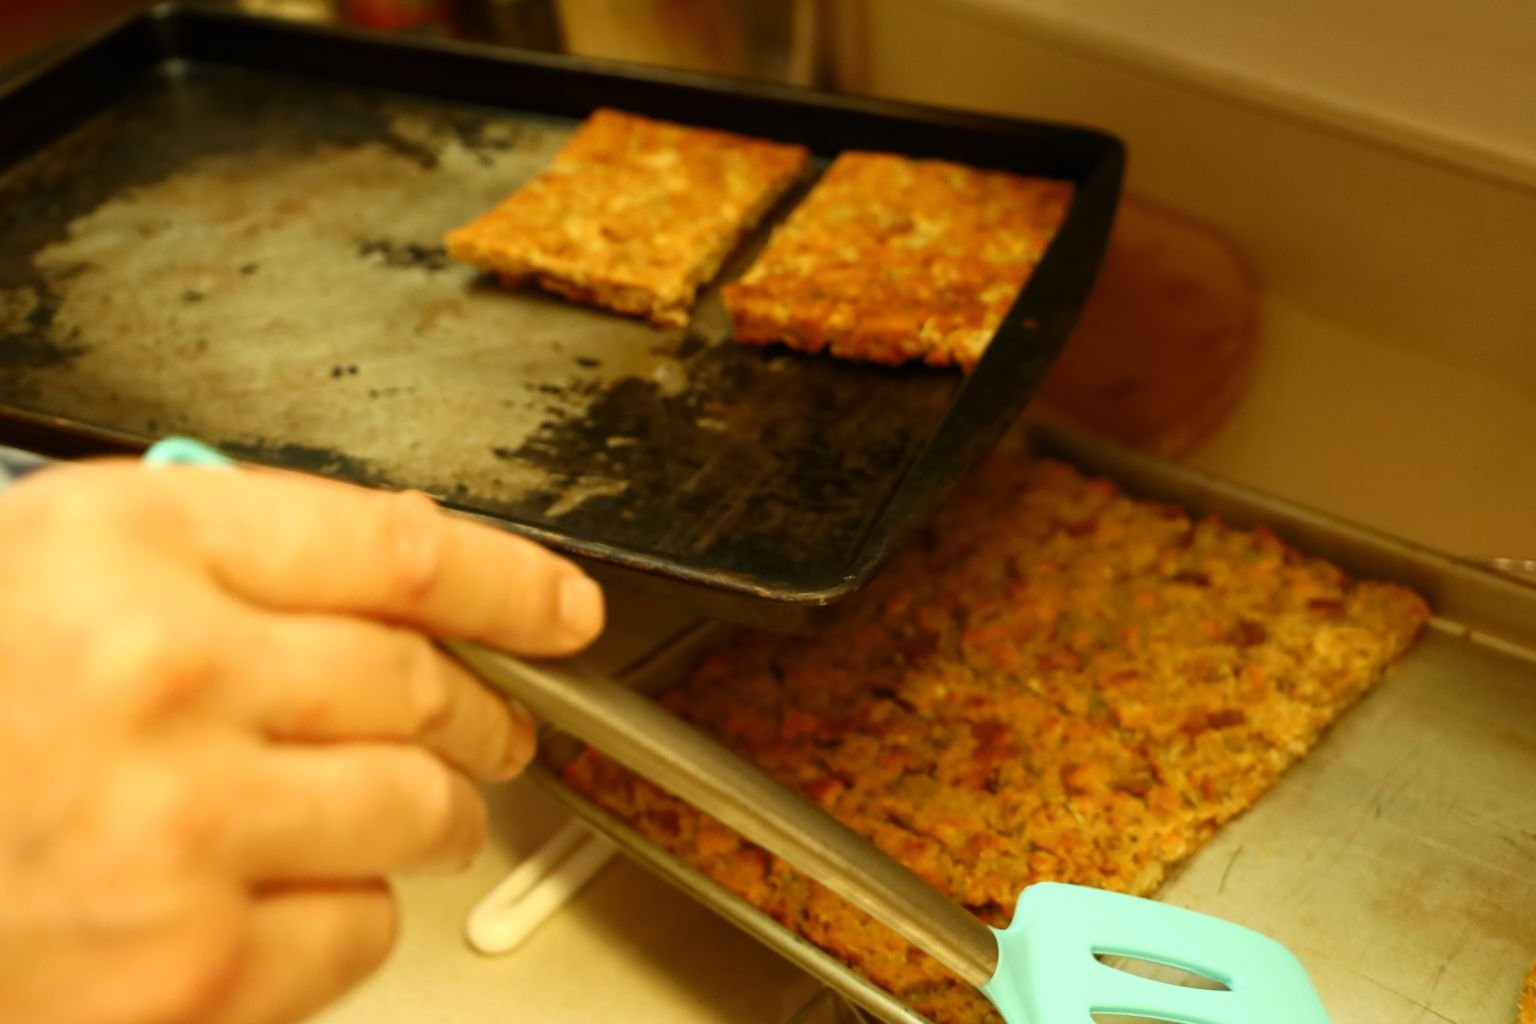
Then place the slices onto a larger baking sheet and then place back into the oven on 350F…..
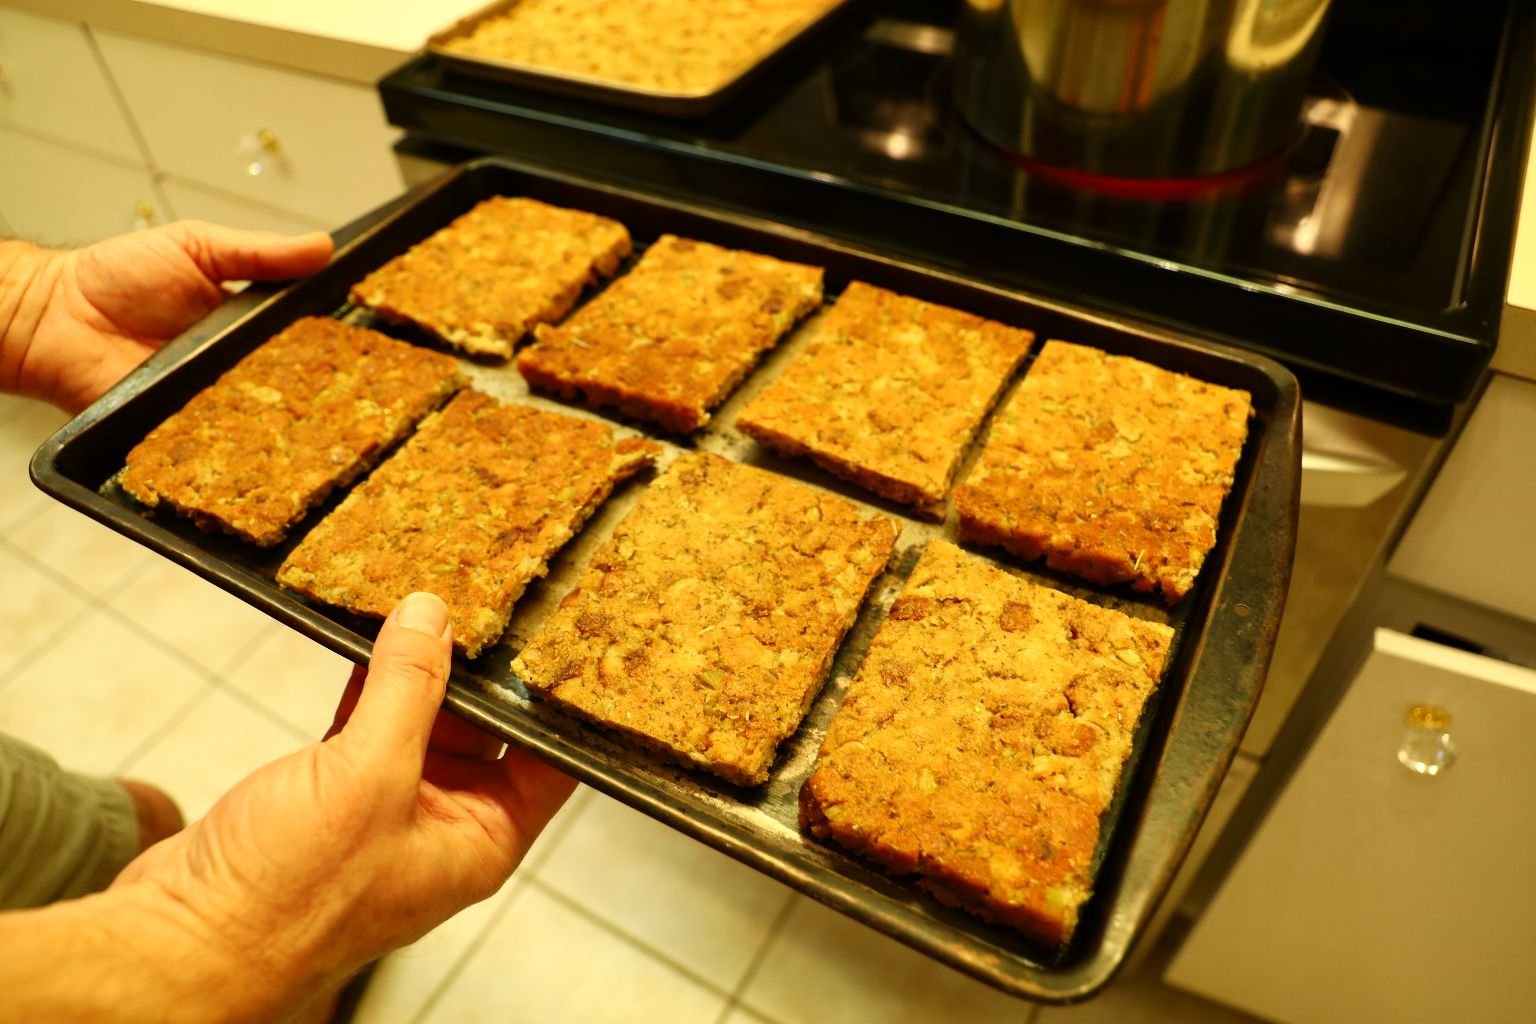
for about 10-15 minutes.
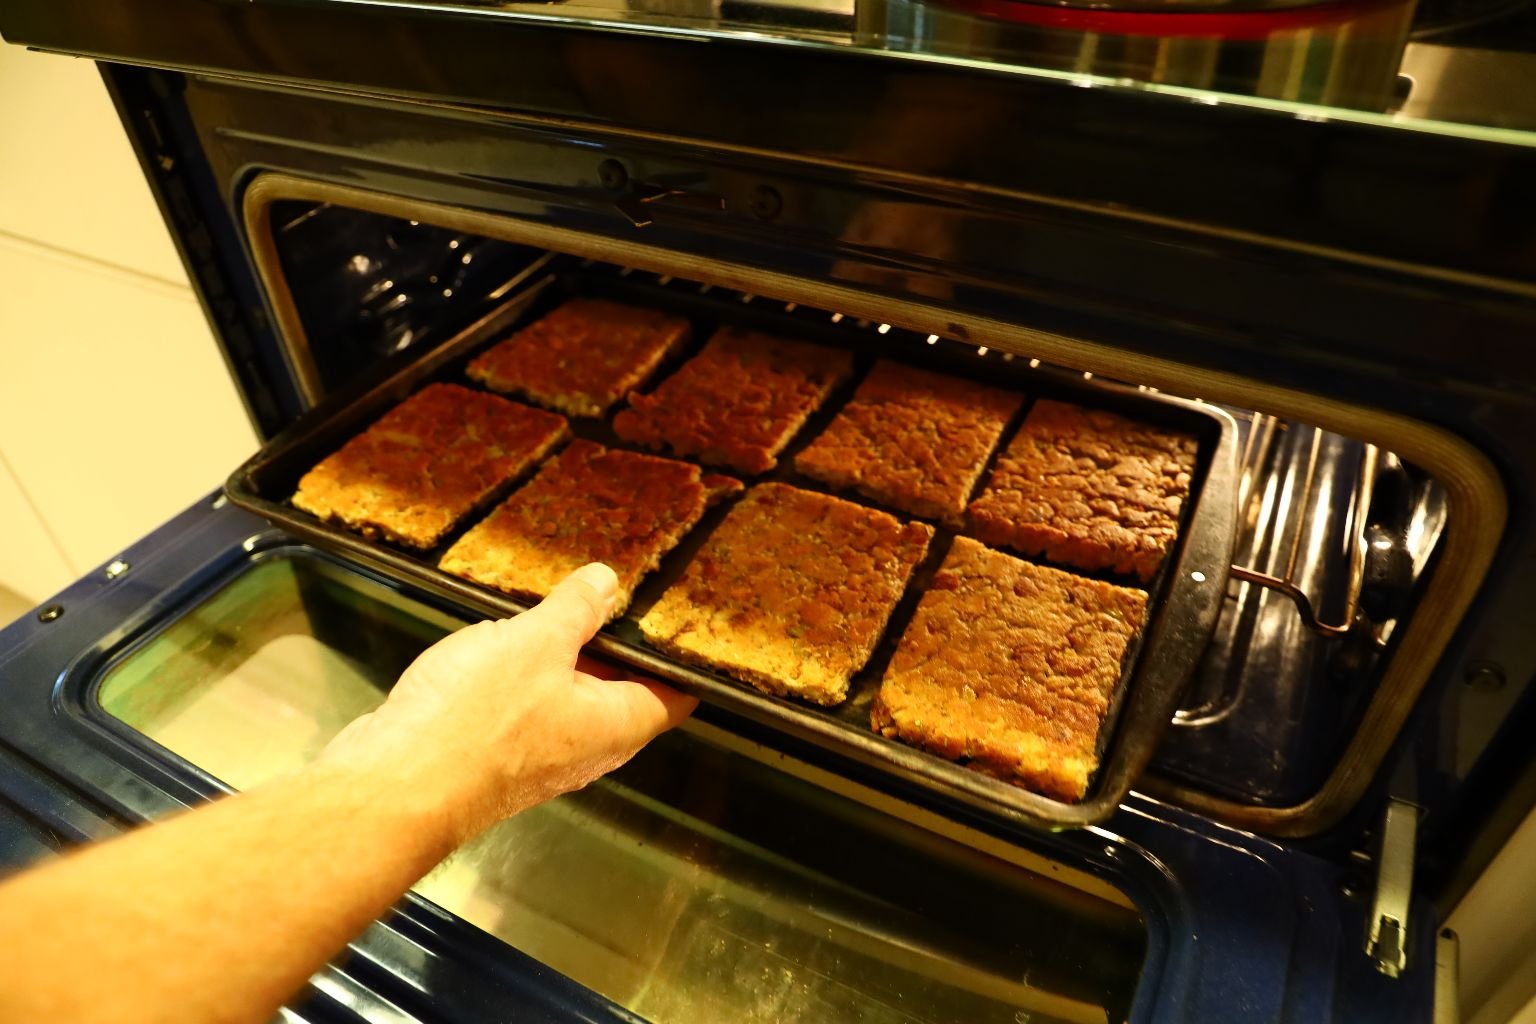
Like So…..
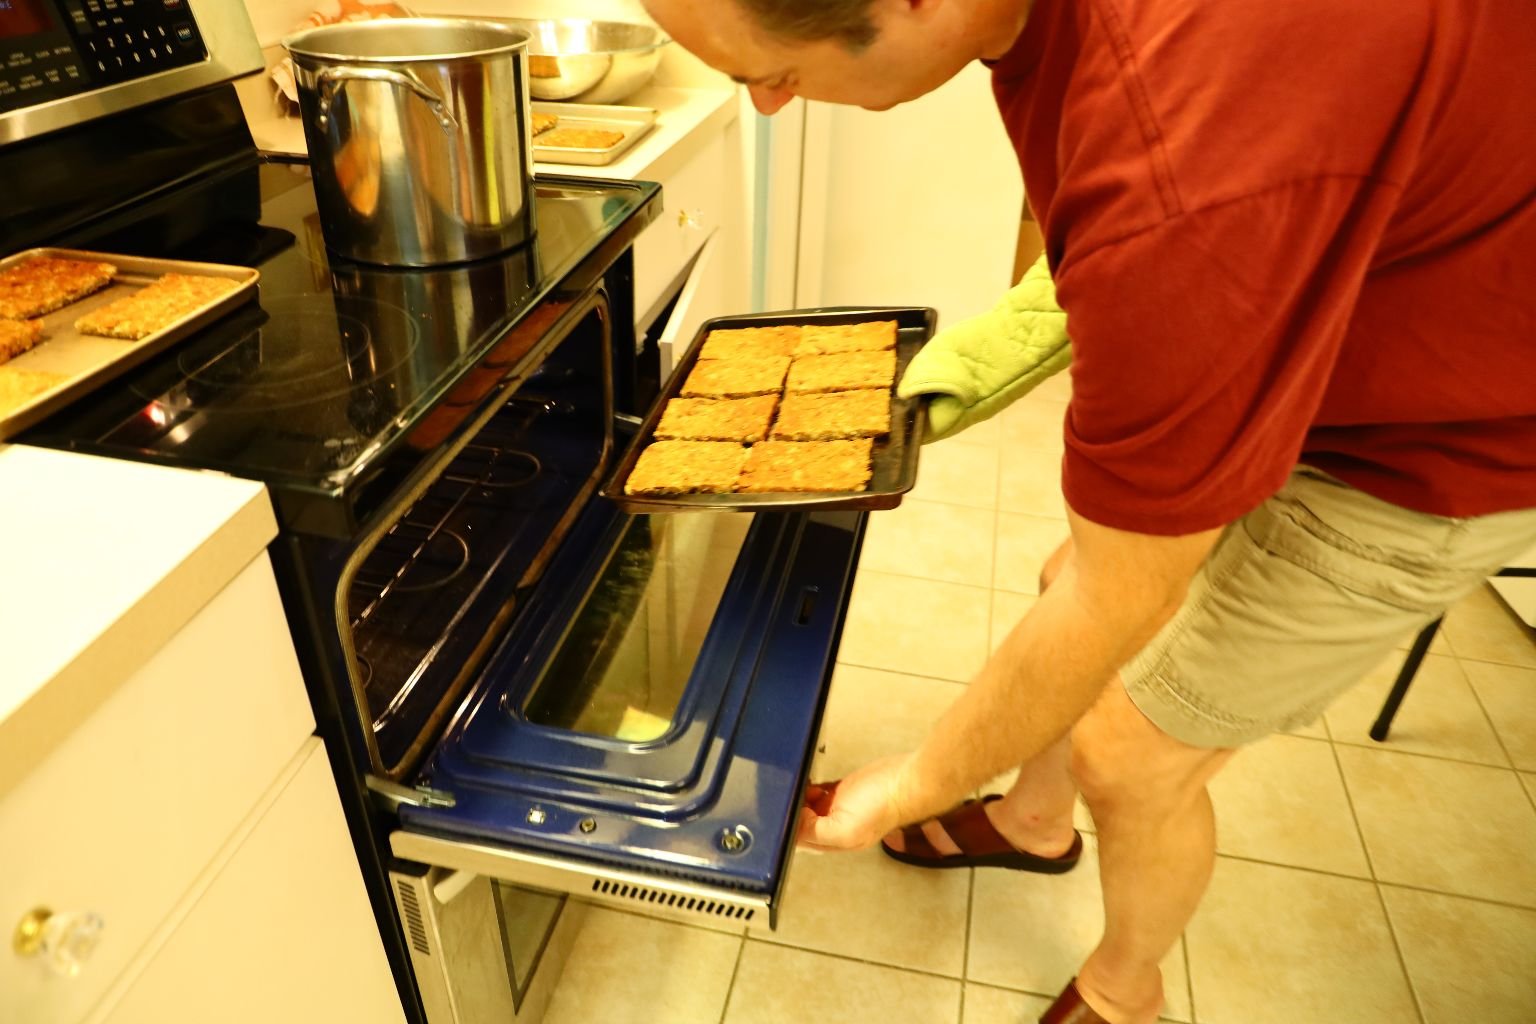
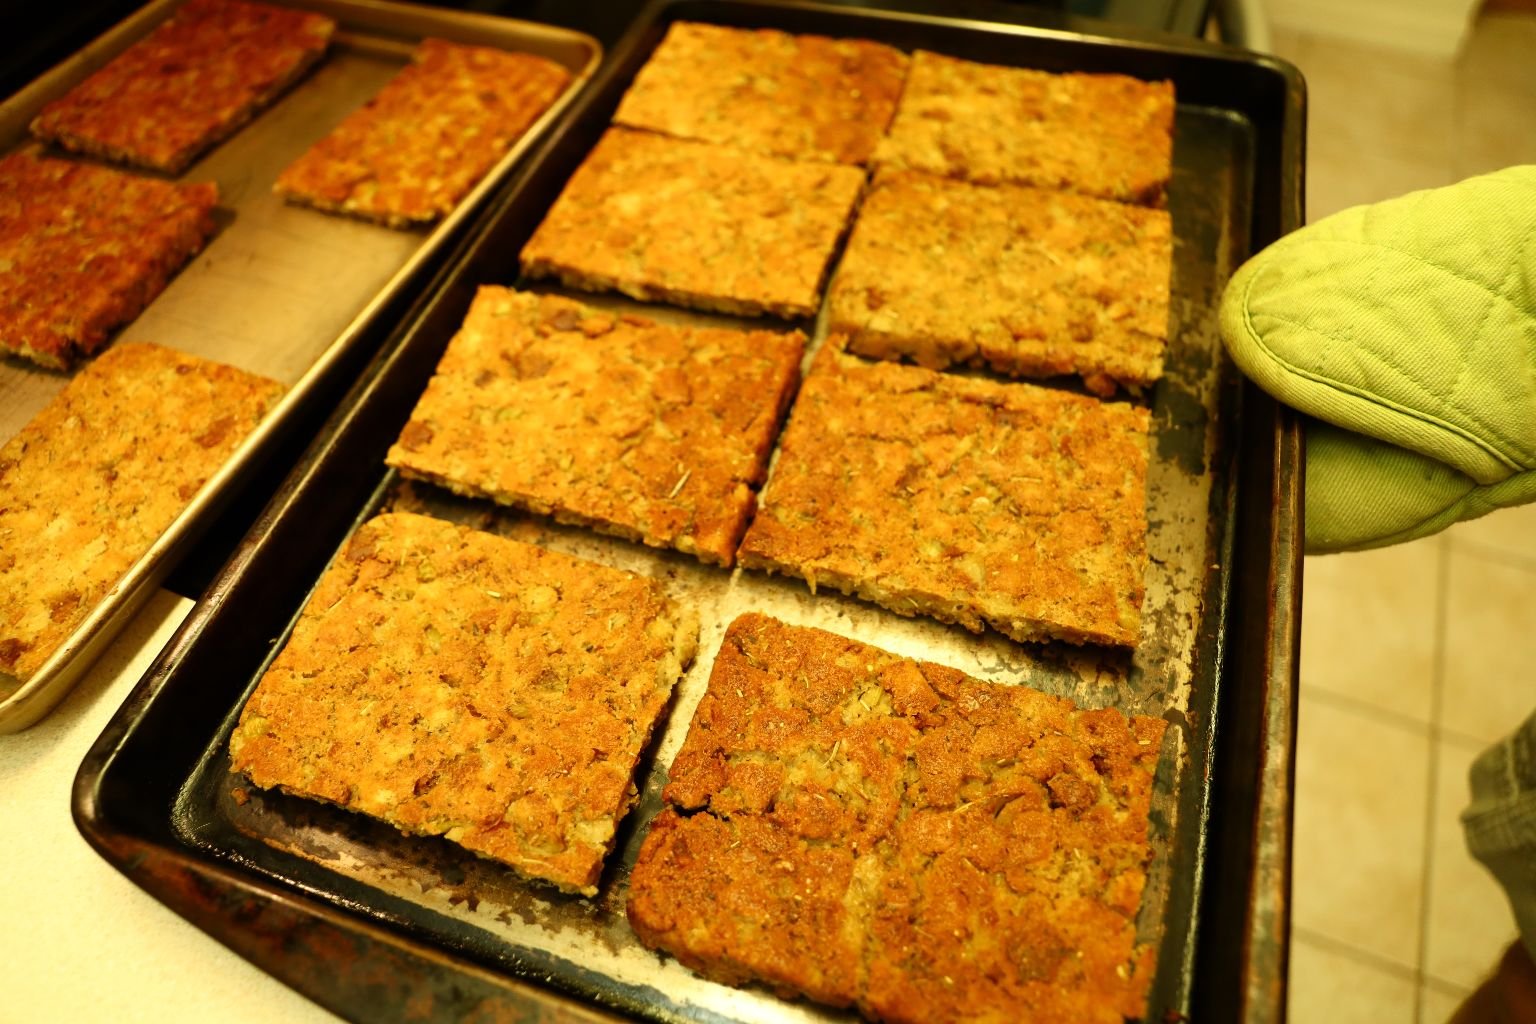
Now We Have Our Bread Slices
————————————————————

————————————————————-
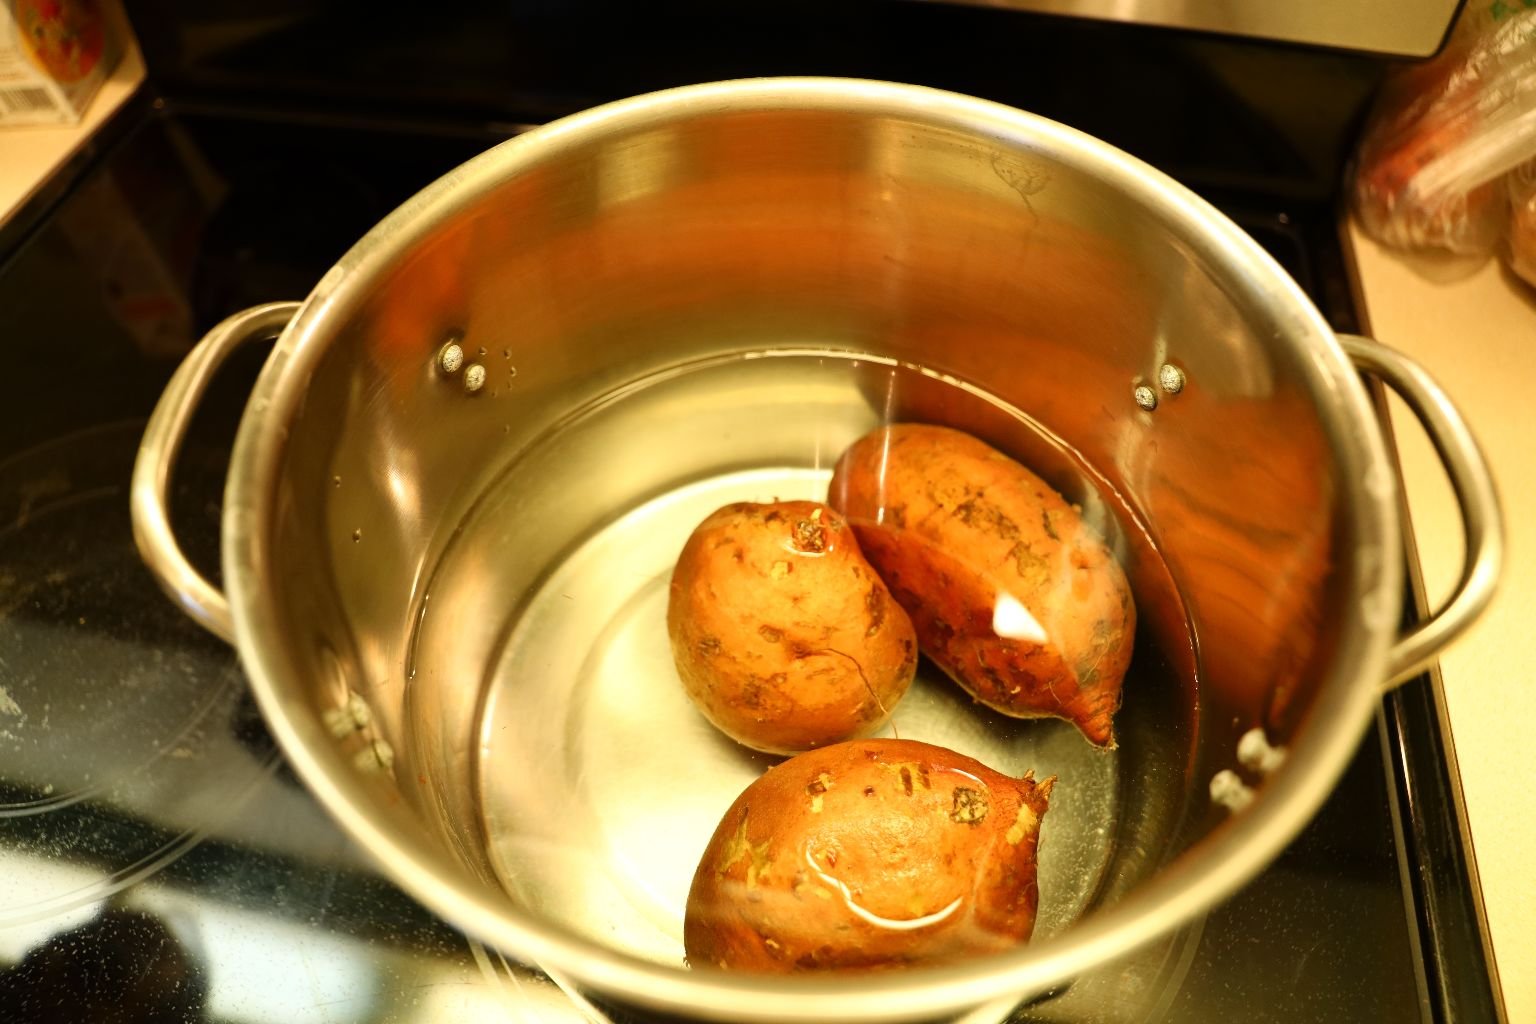
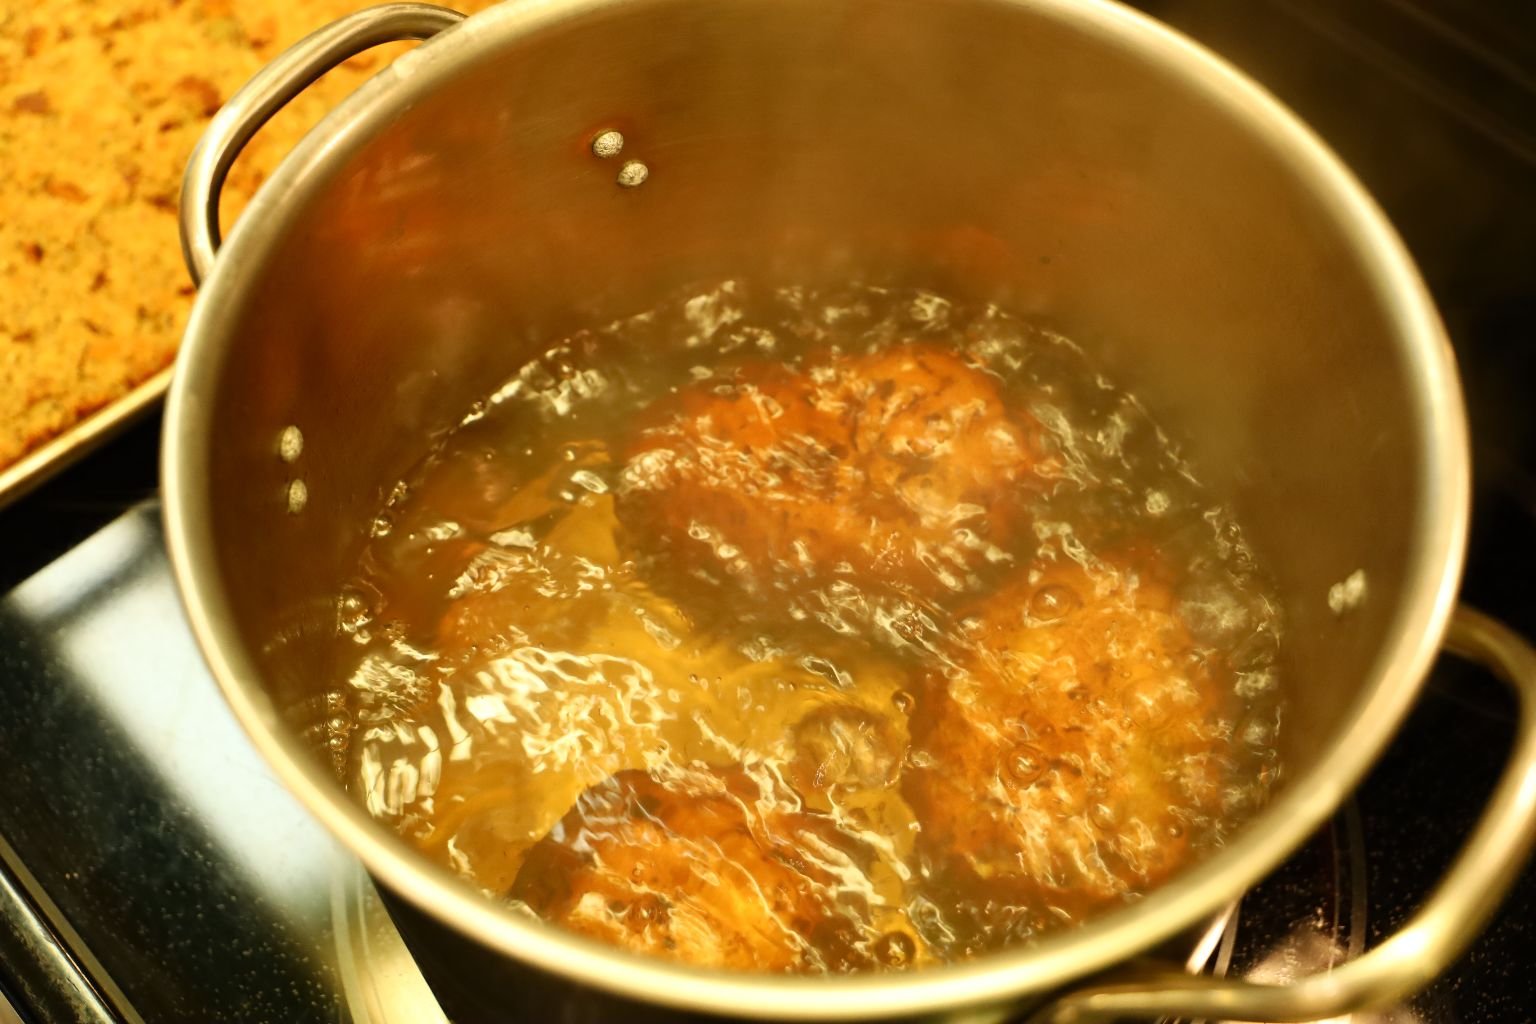
For our Sweet potatoes… we boiled three sweet potatoes for about 20 min. or until just softened.
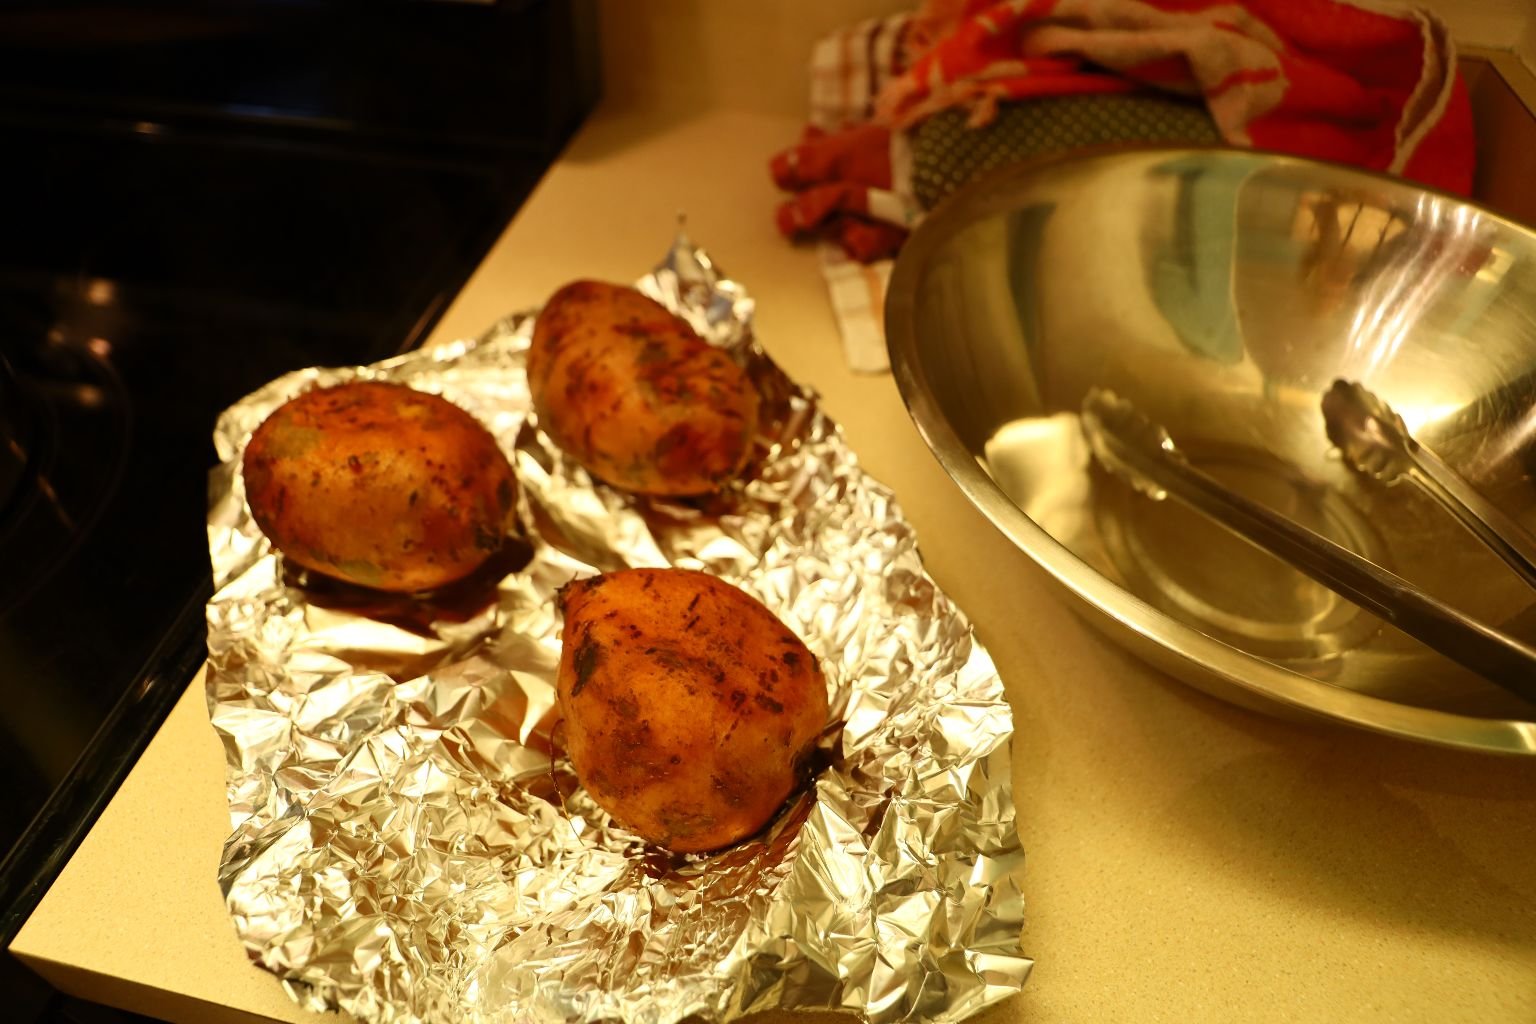
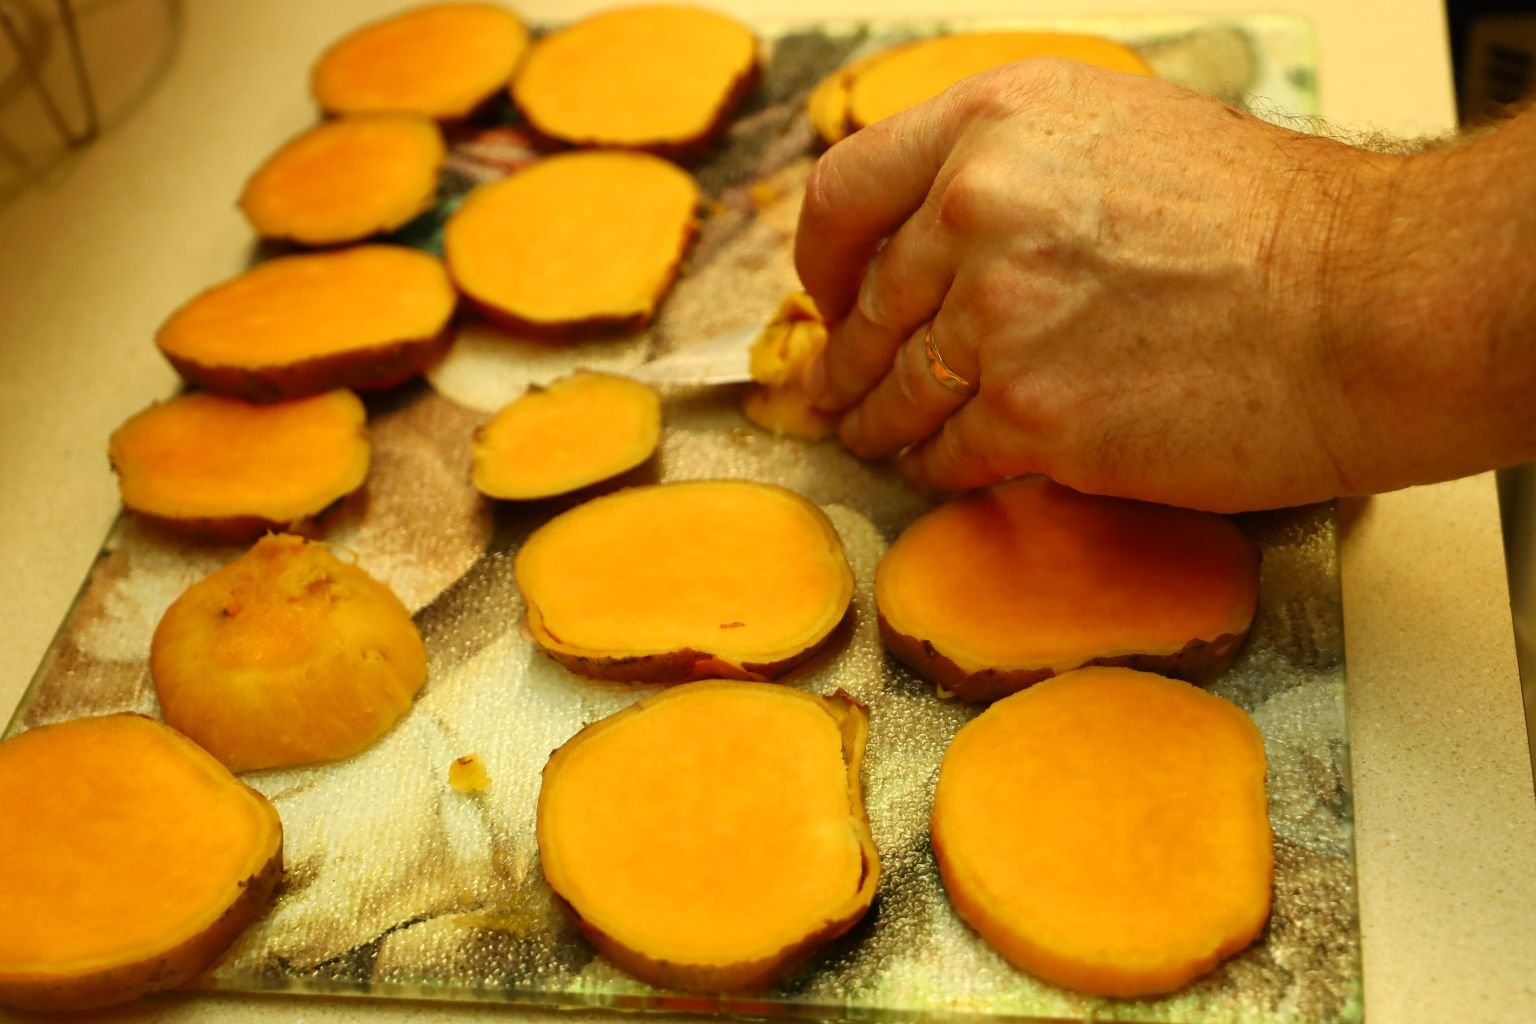
I removed them then sliced them into 1/2 inch thick slices.
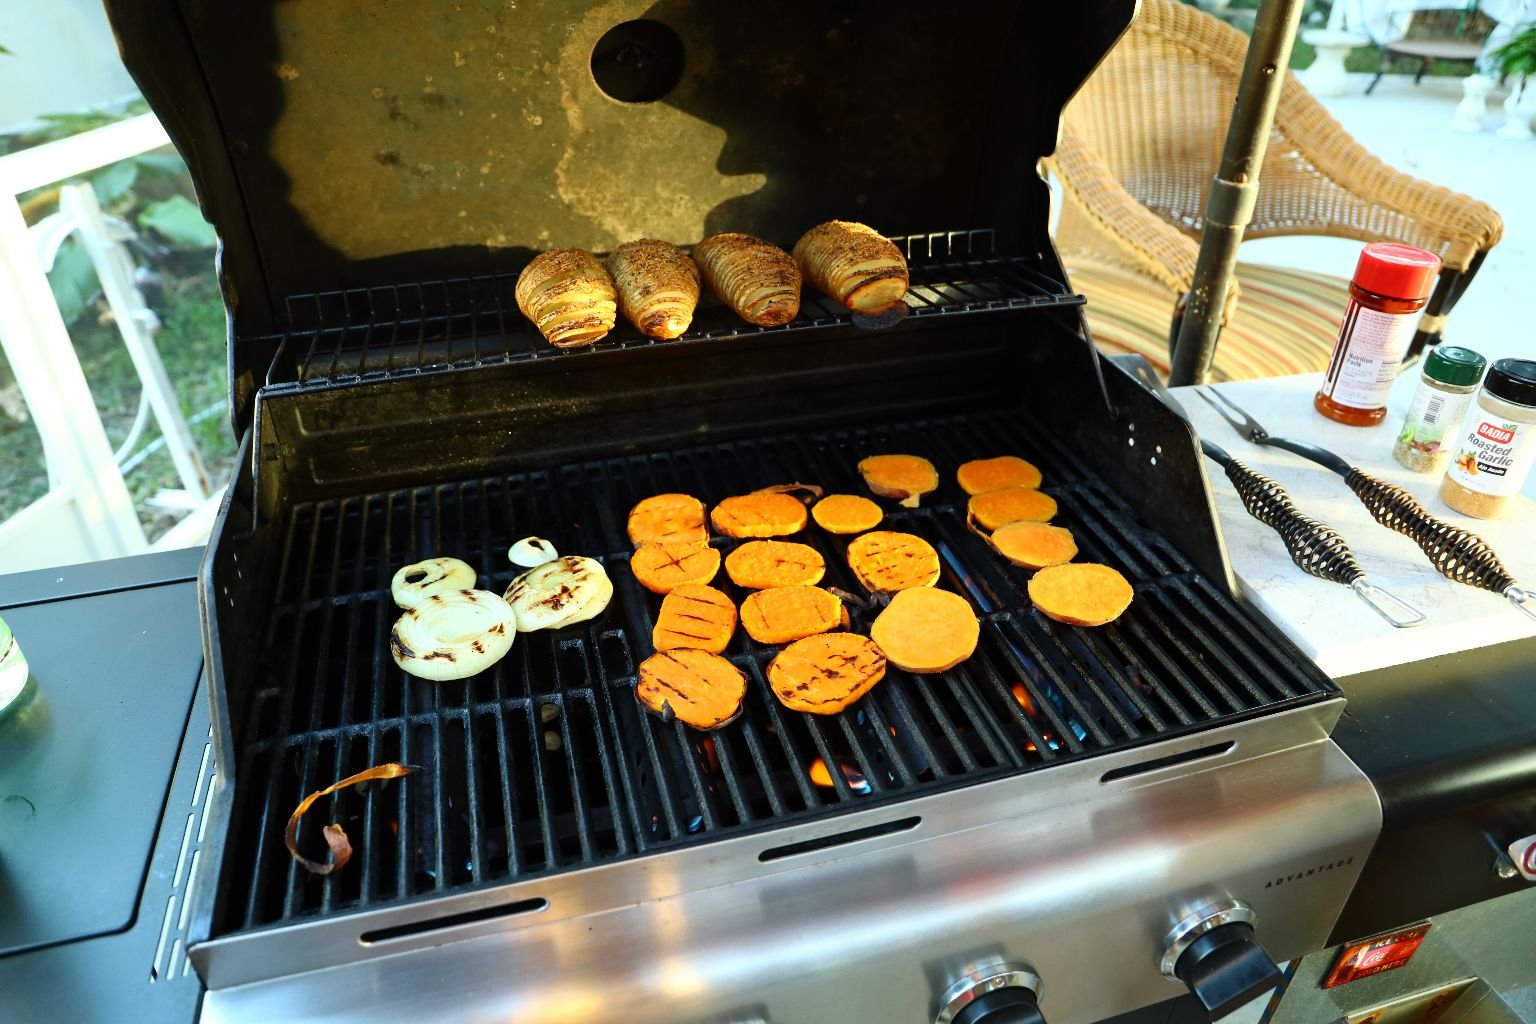
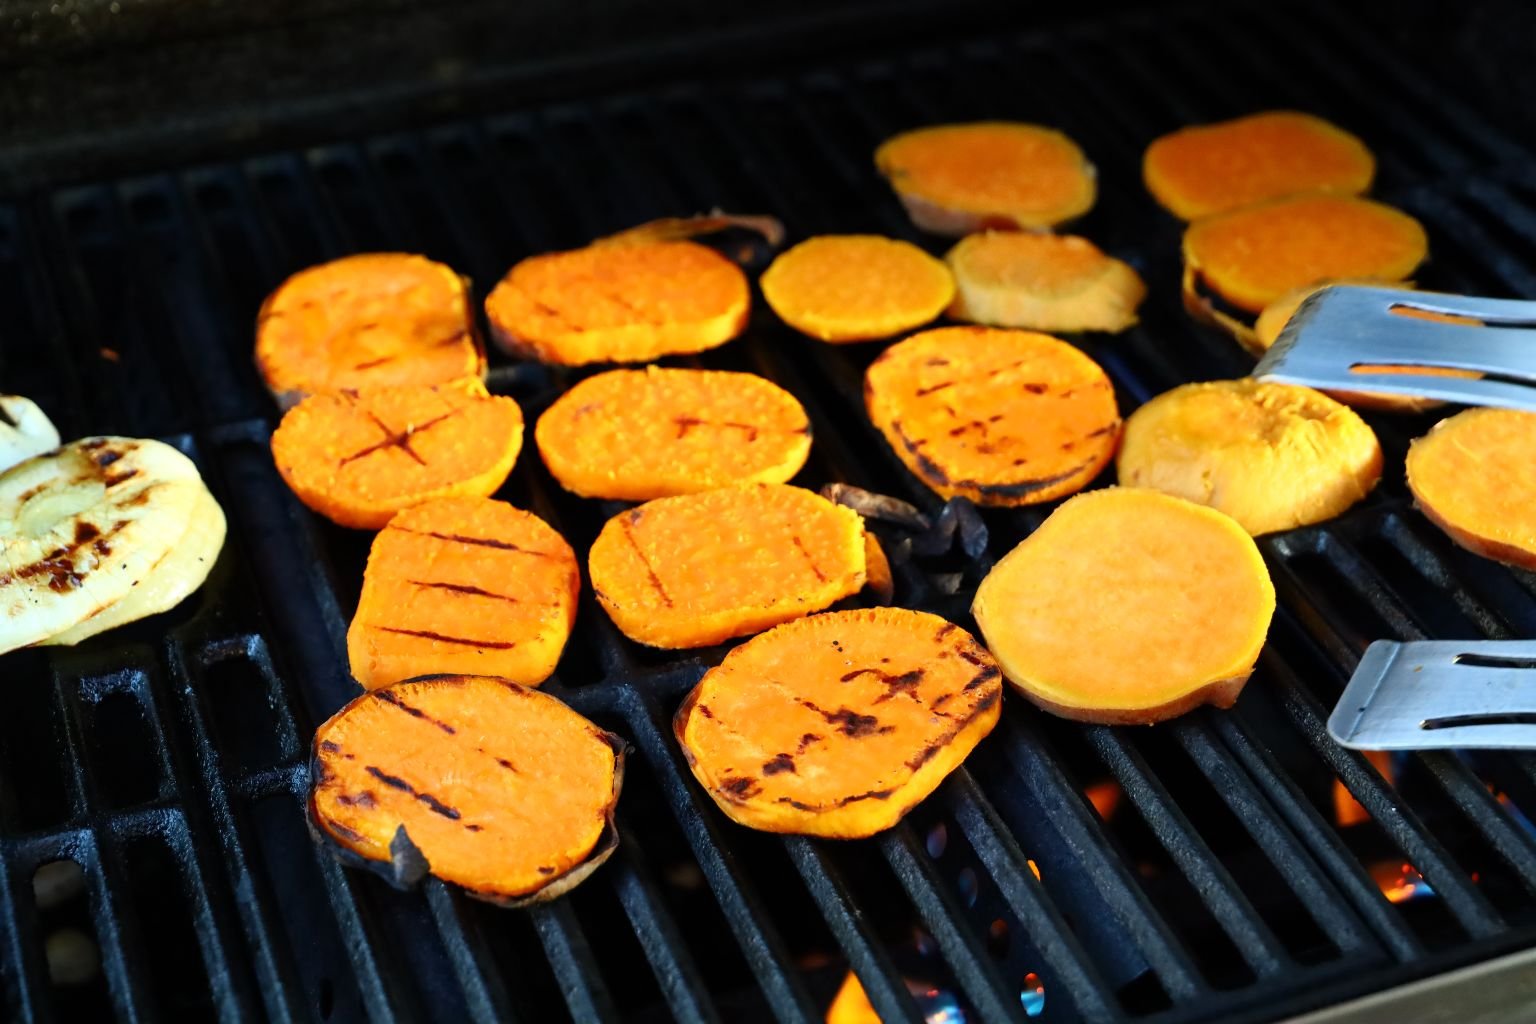
Grill the slices over medium temperature until cooked and softened.
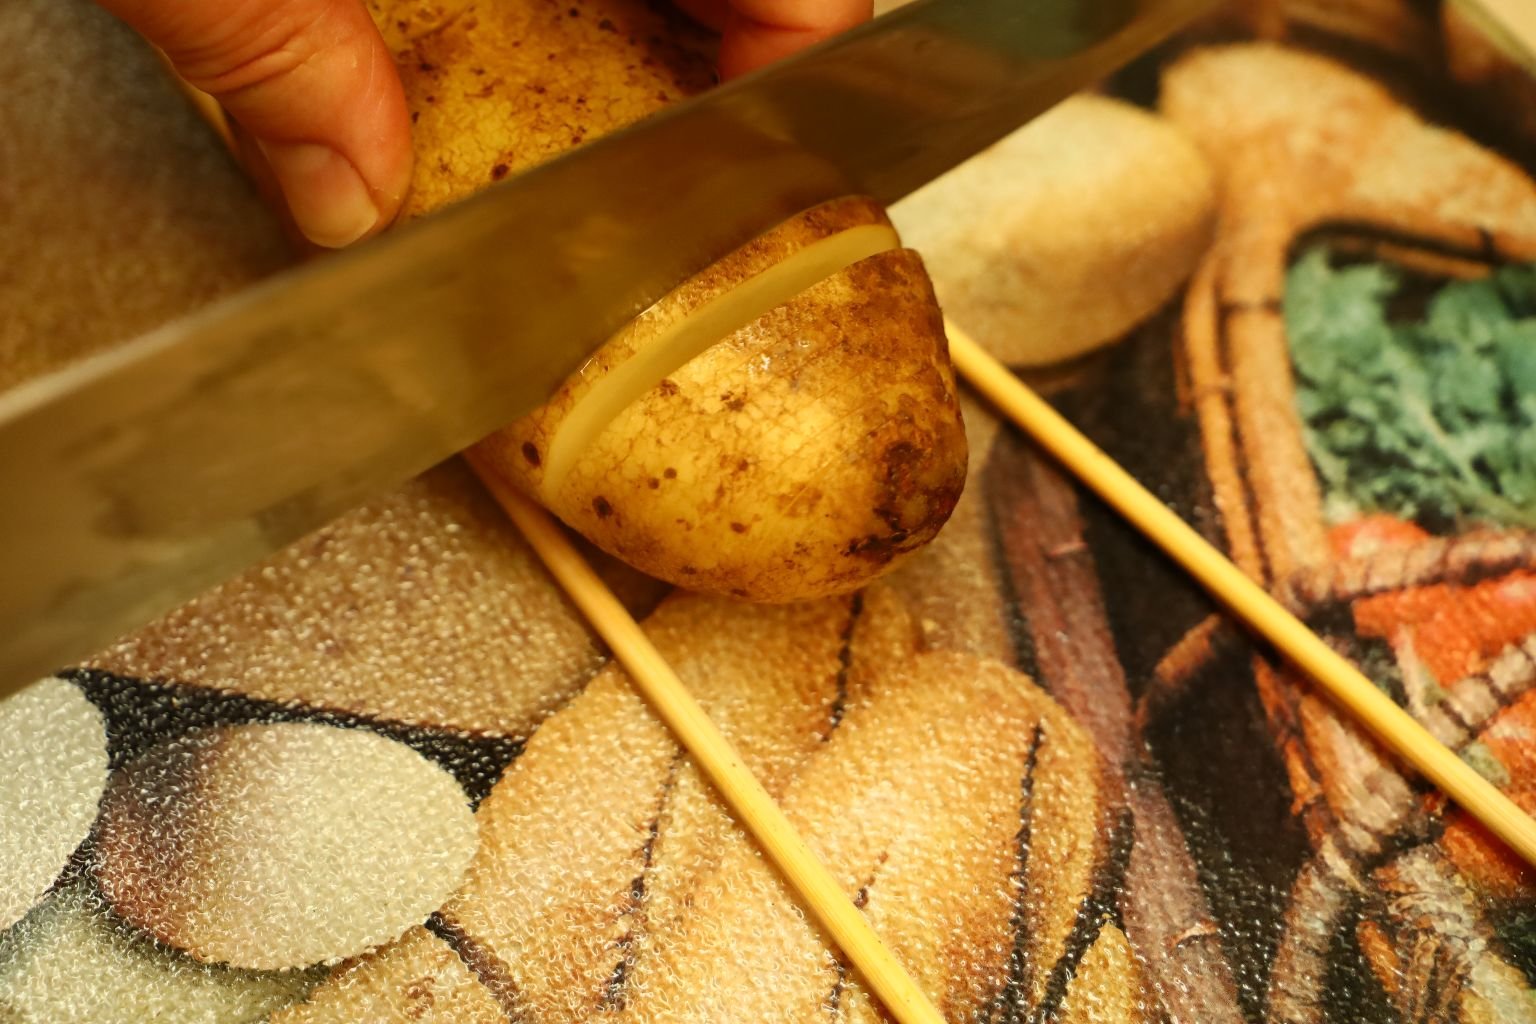
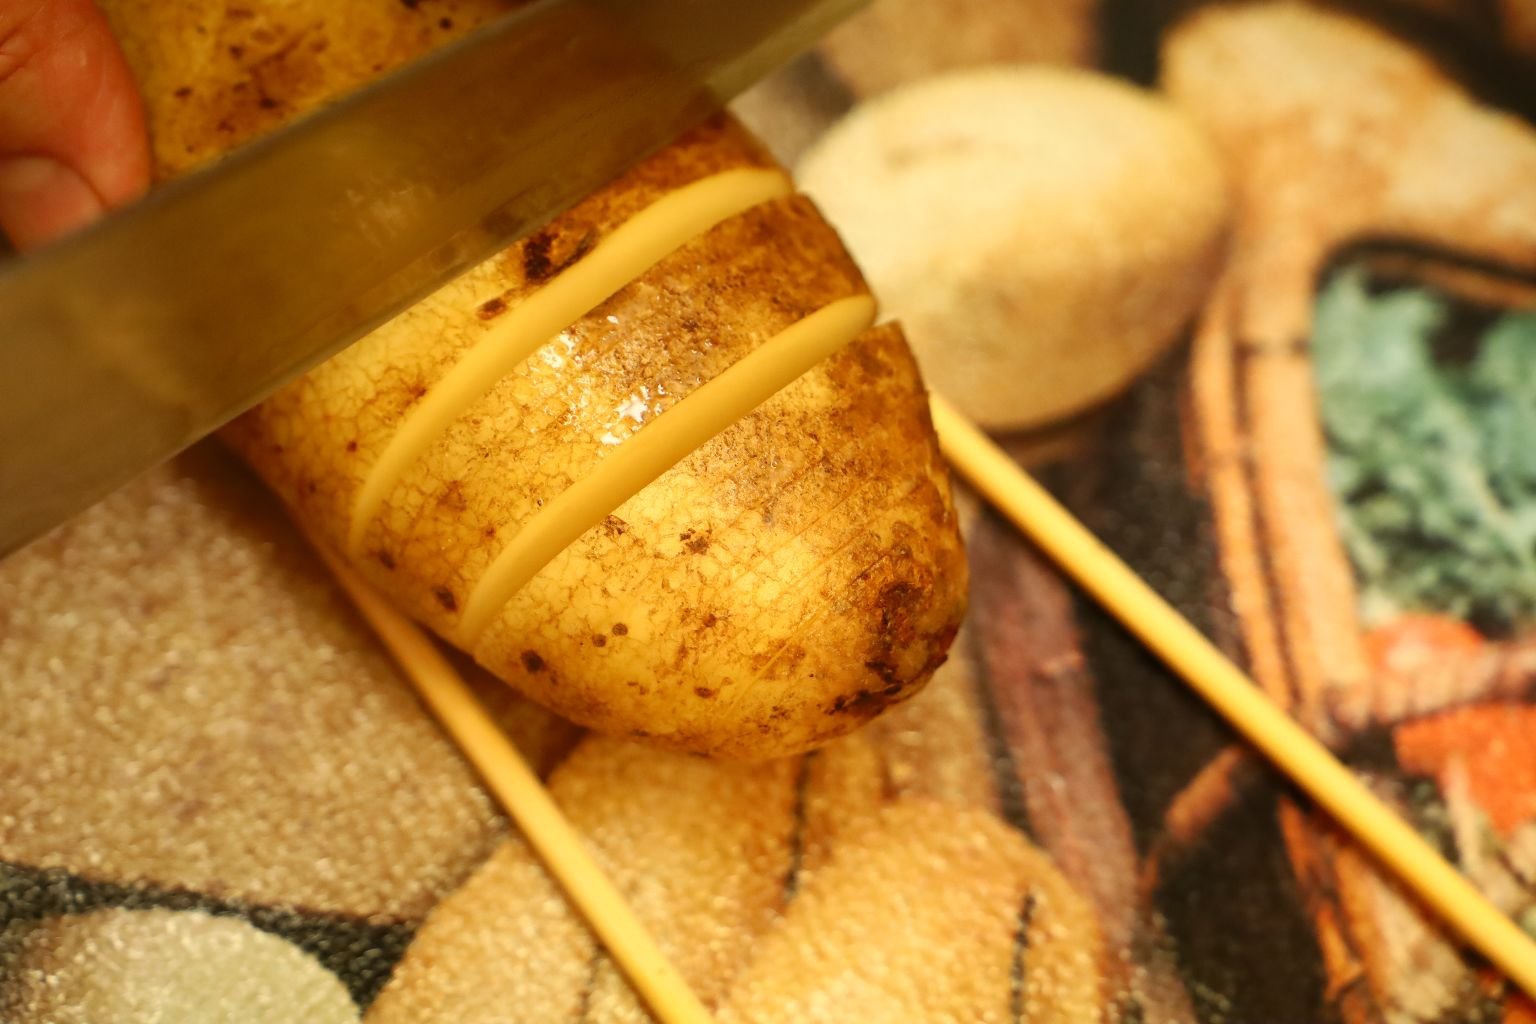
Hasselback Potatoes. Use two chopsticks placed on the sides of the potato, so your knife won’t slice all the way through the potato. Make your slices all the way down the potato and about 1/4 inch thick.
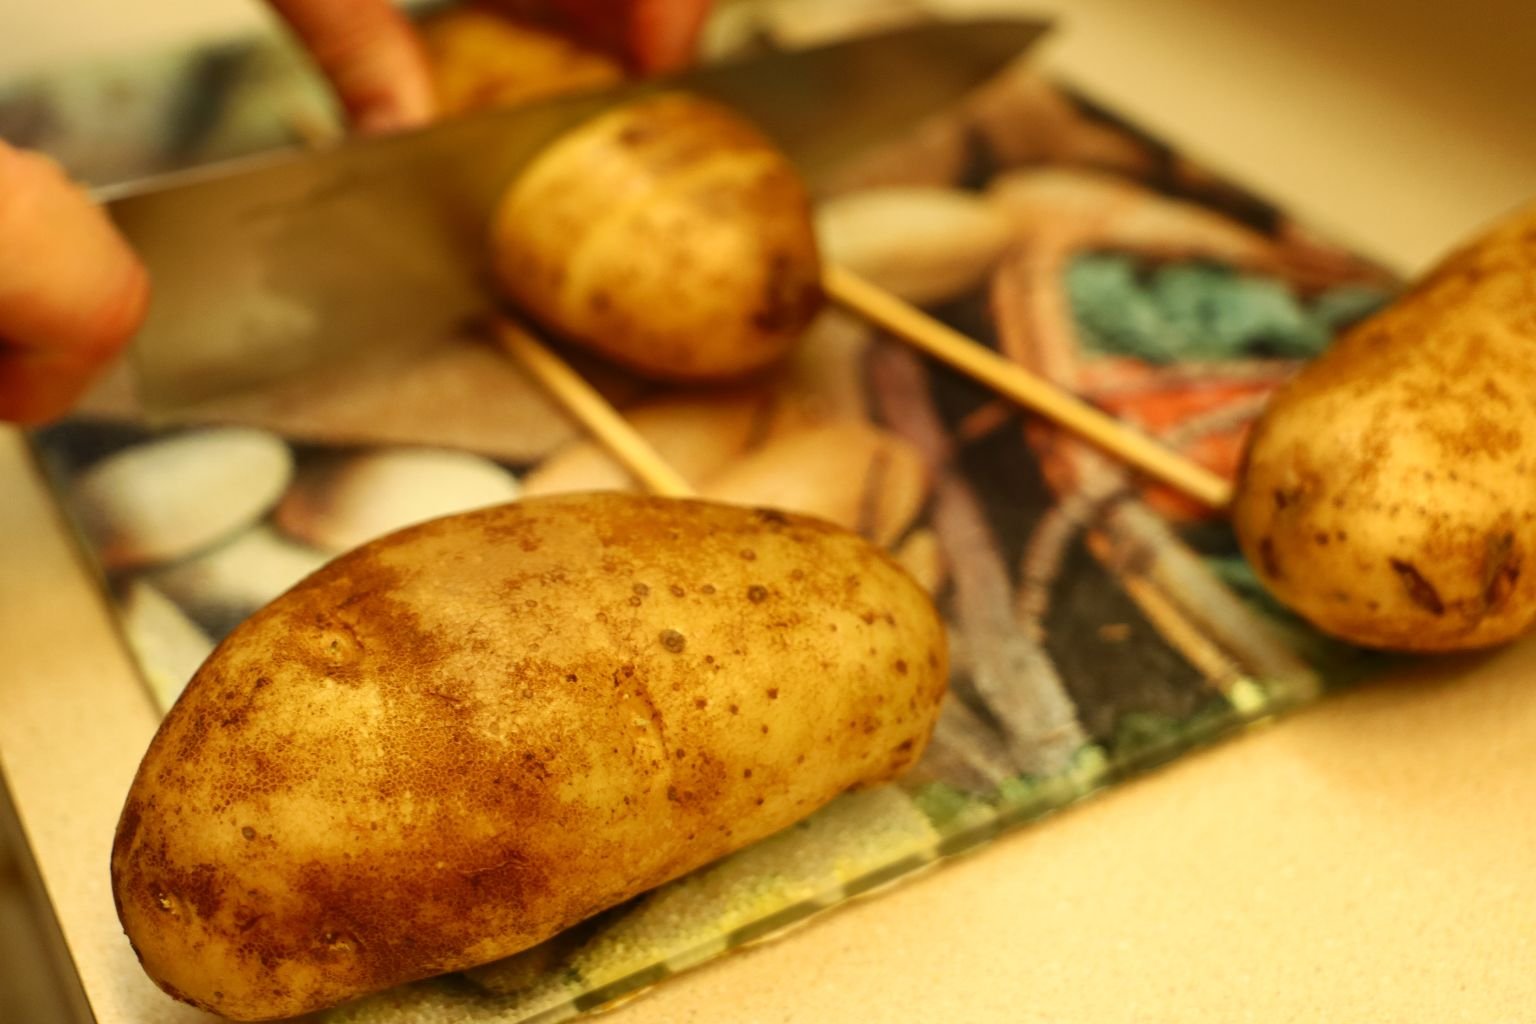
Here Gordon is Grilling Our Sides
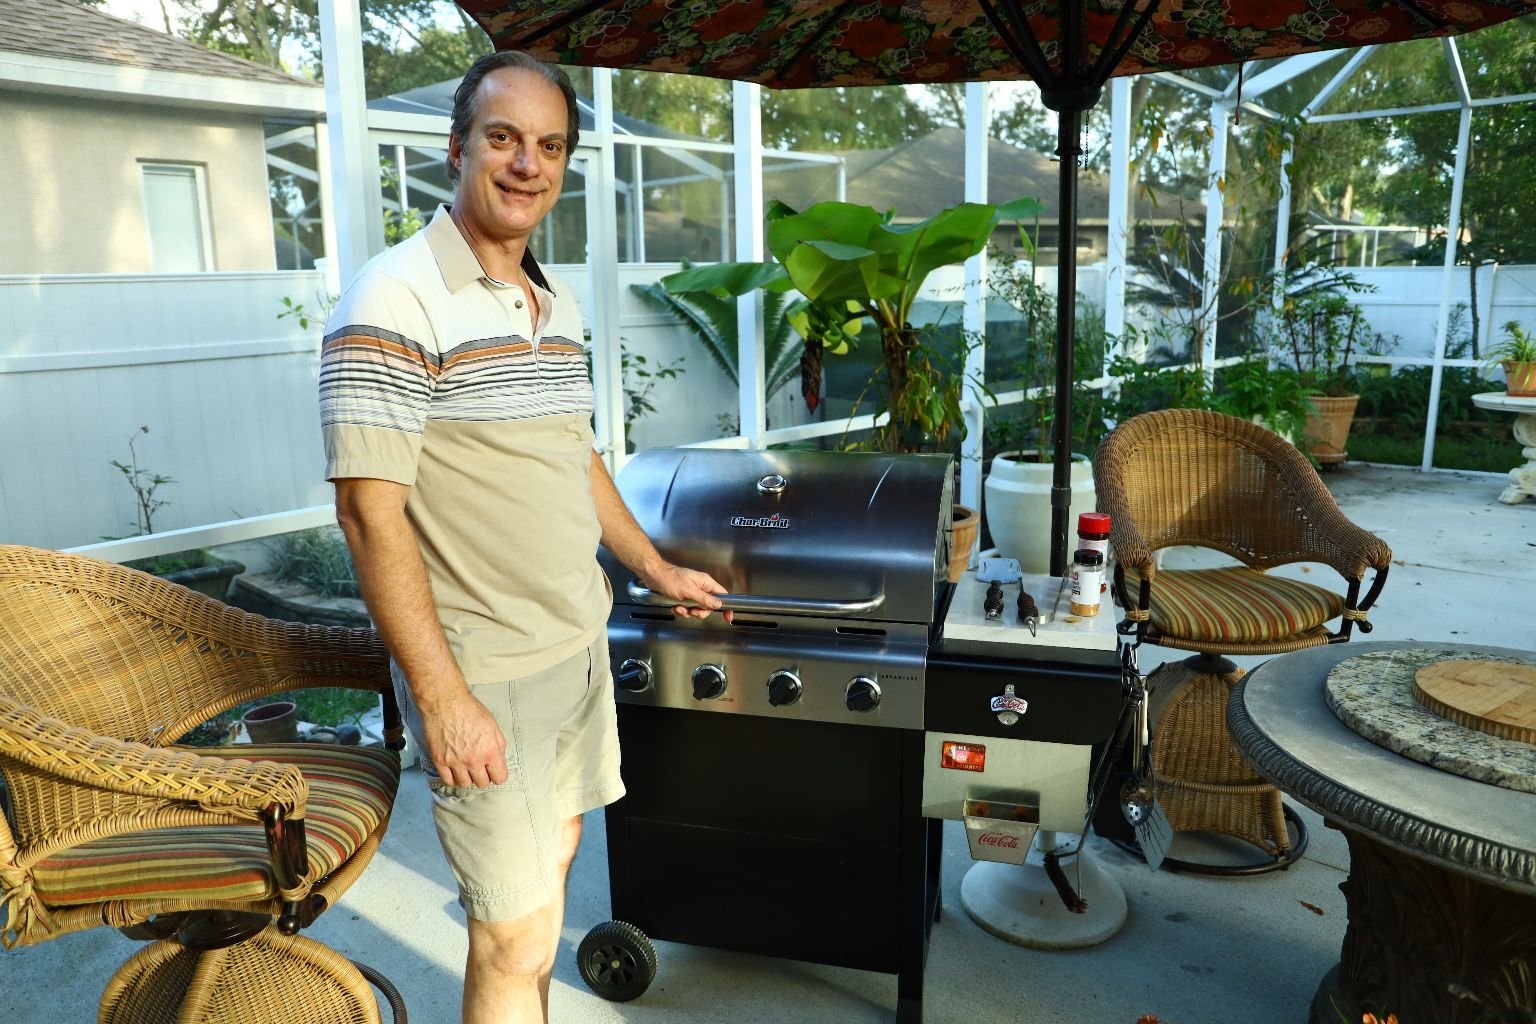
——————————————————————
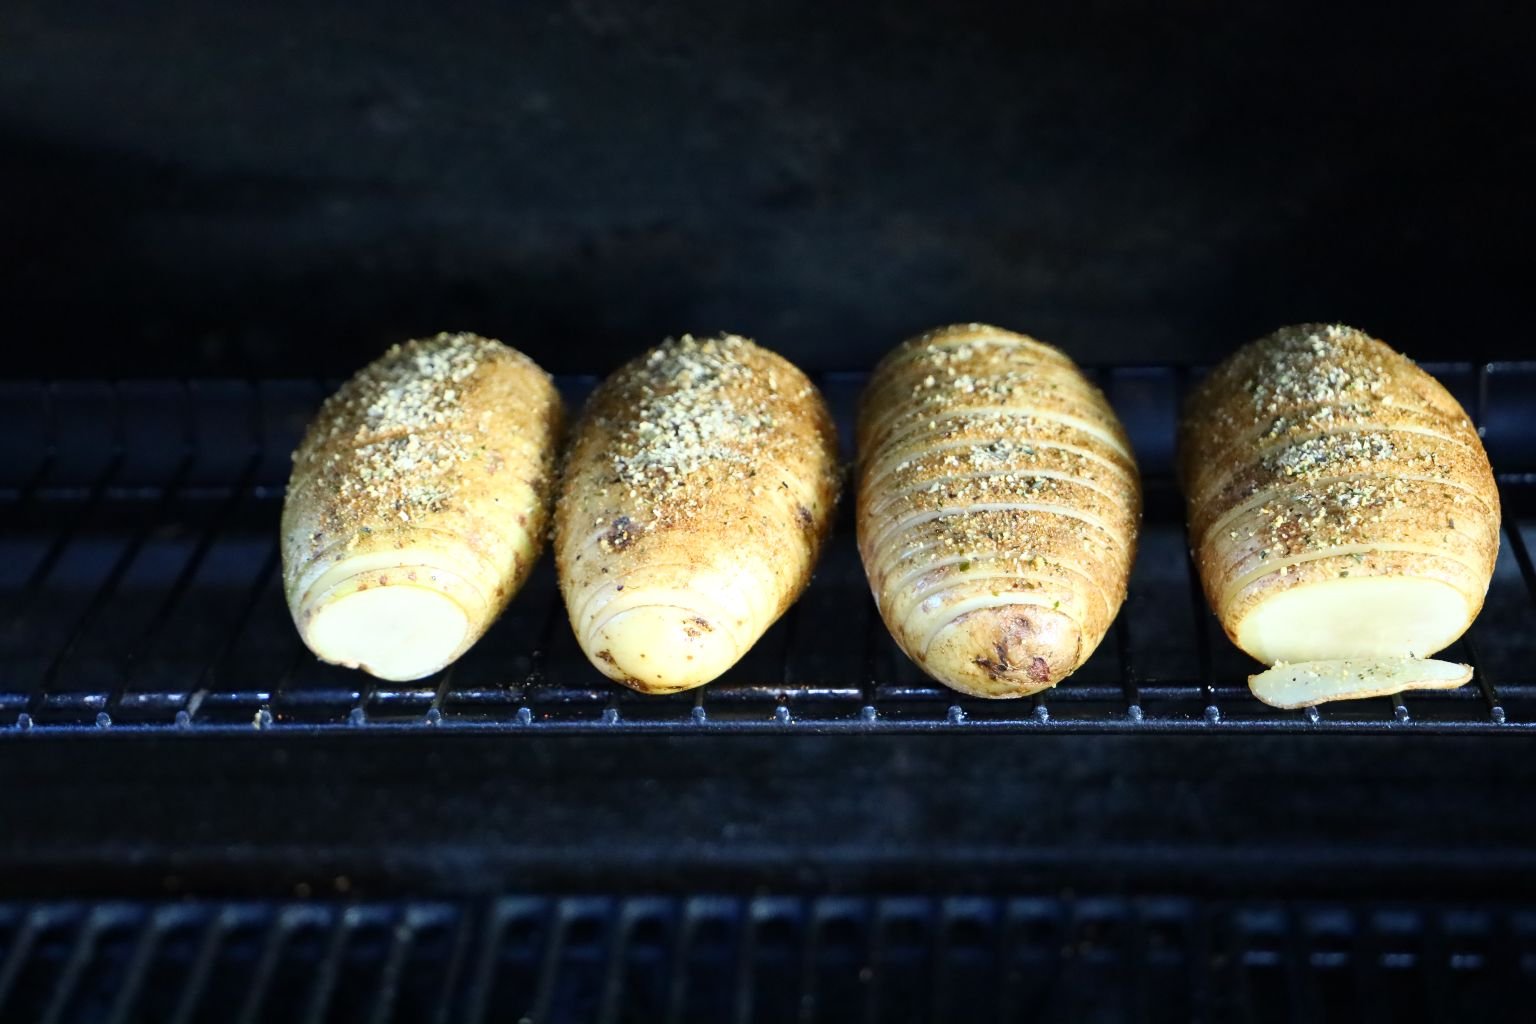
Add some salt and pepper to taste and using the upper rack of your grill, bake the potatoes until done. This will take about 45 min. depending upon the temperature of your grill.
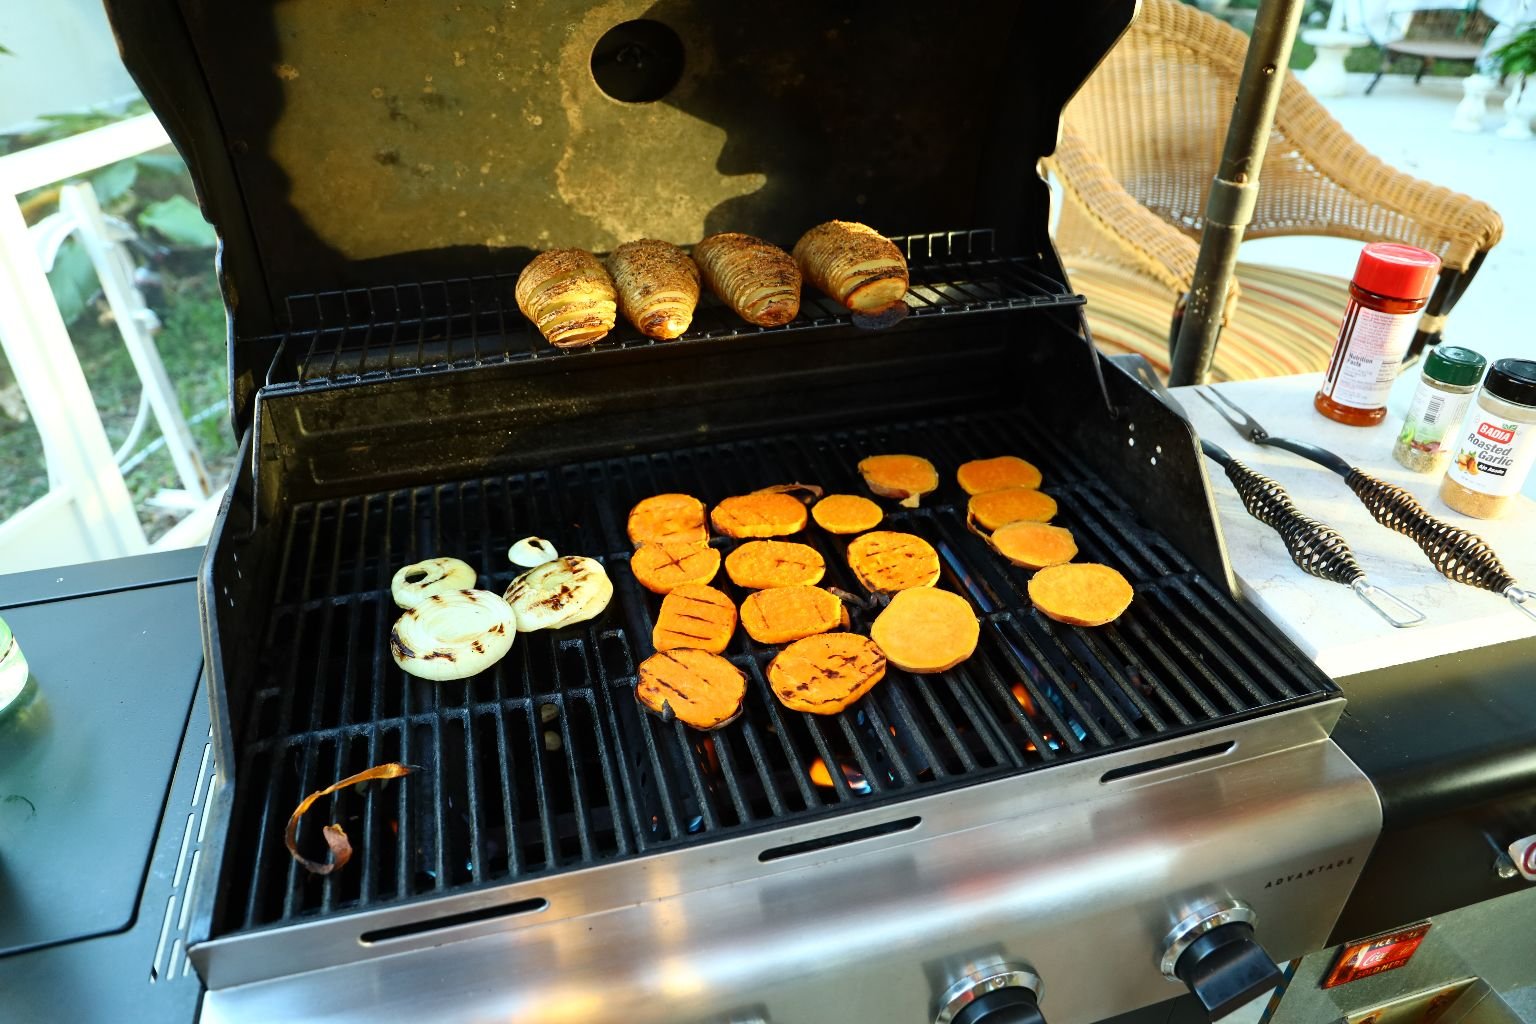
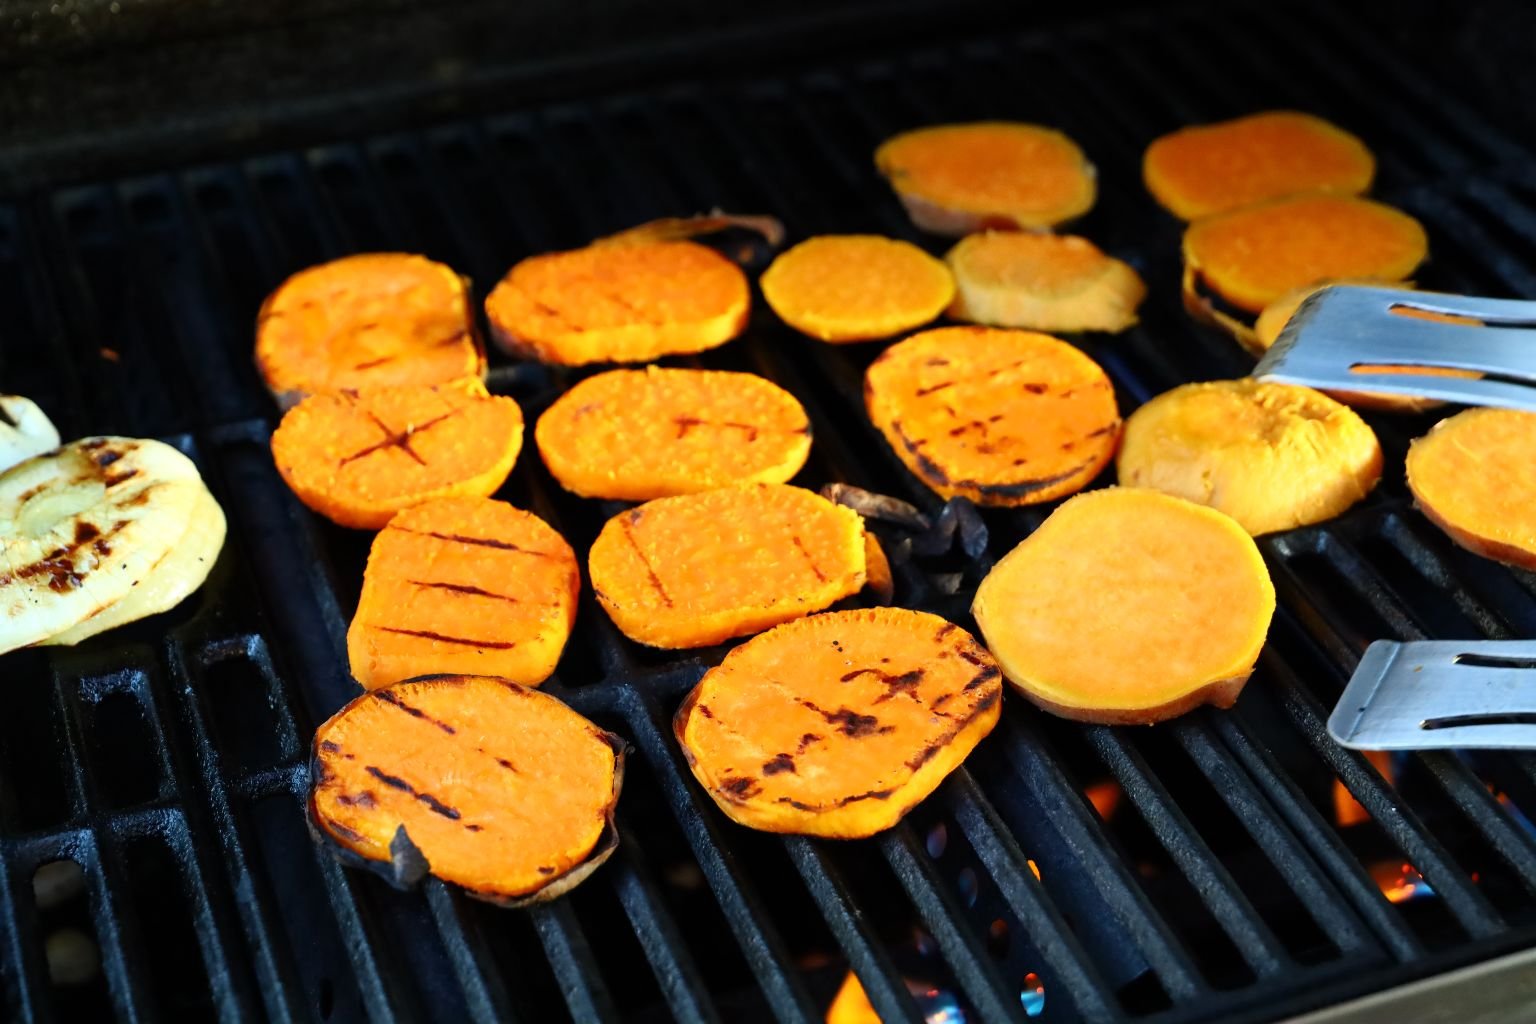
The Beautiful Sweet Potatoes Grilling
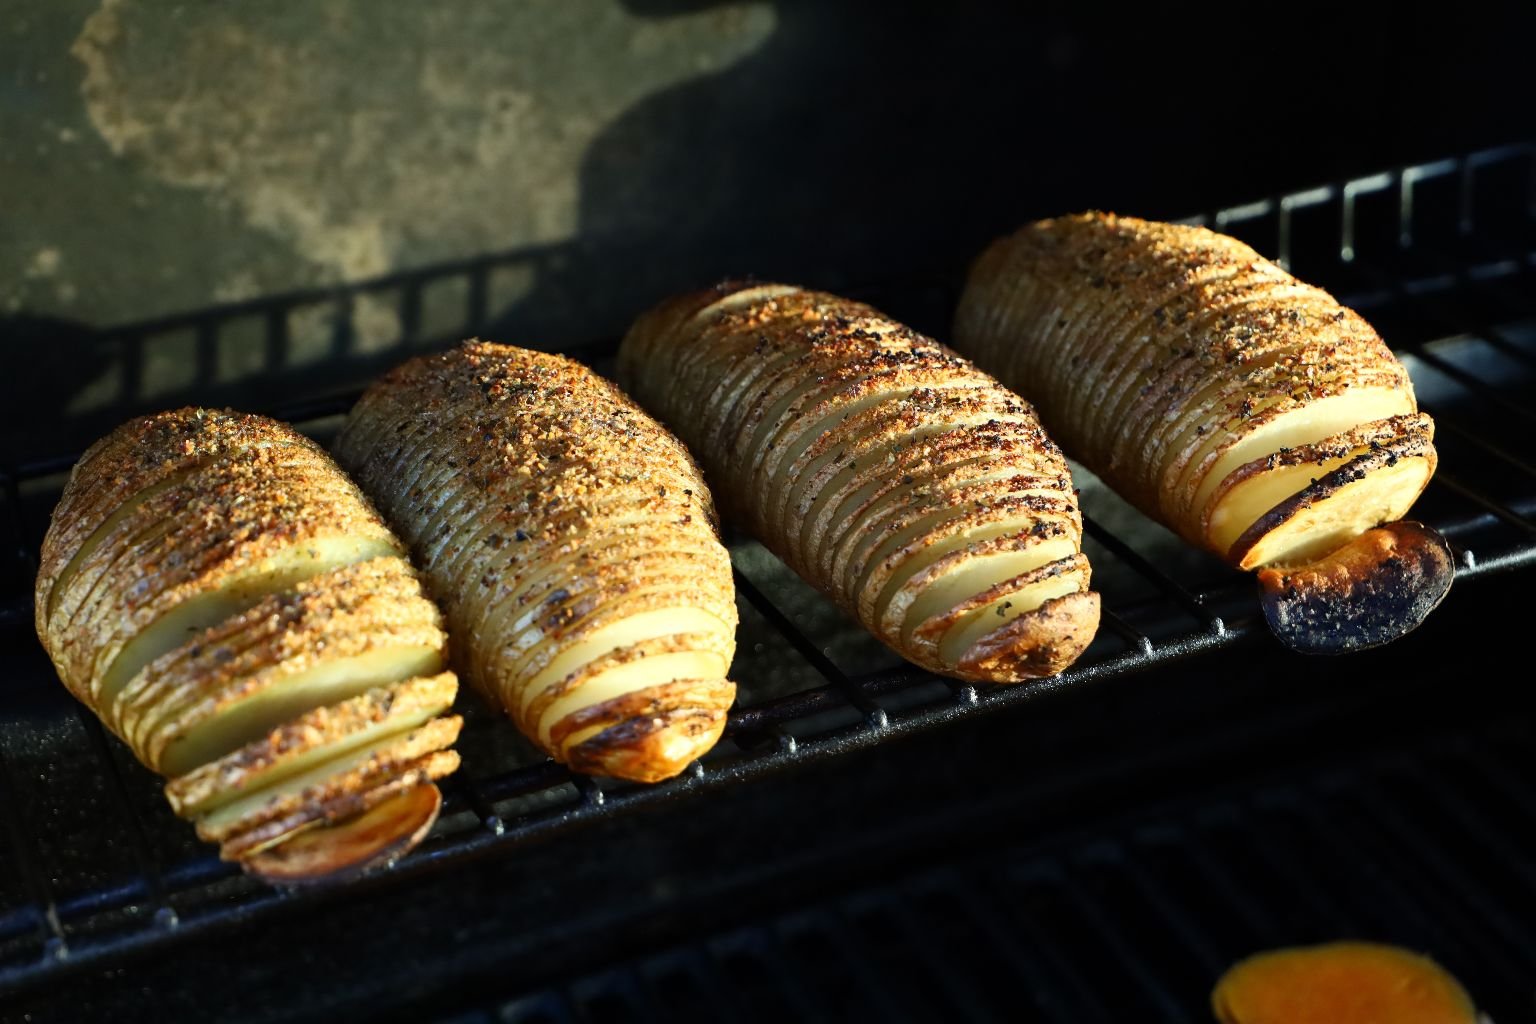
Here you can see the potatoes are crispy on the outside and tender on the inside.
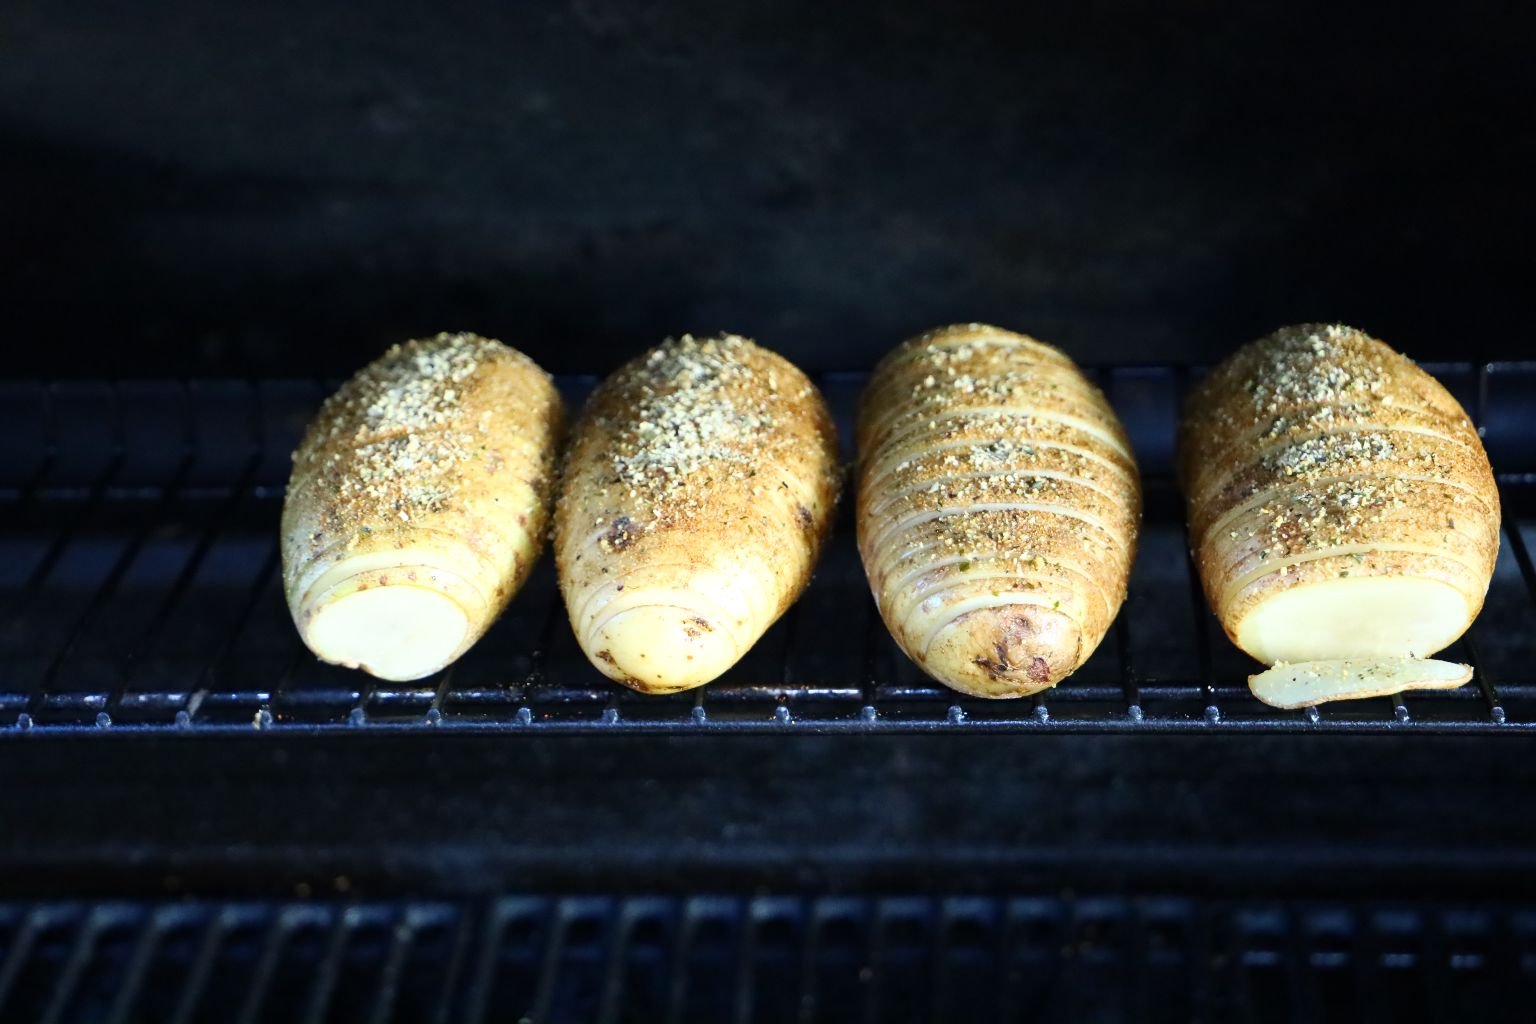
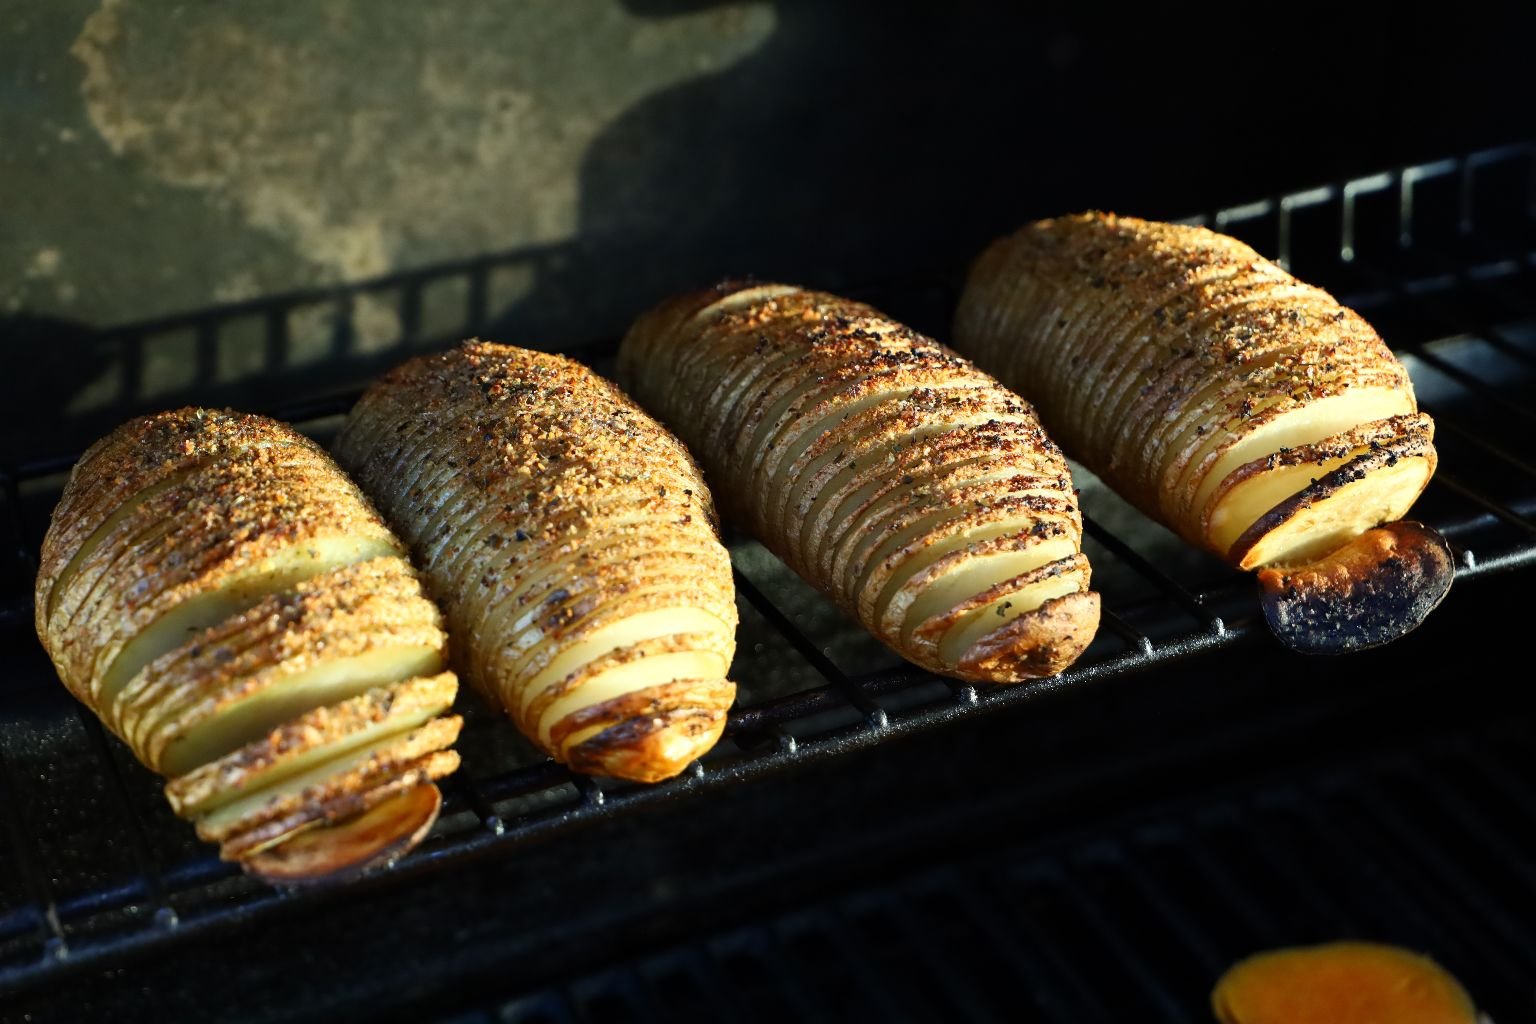
Here is the before and after shot… nice Julie!
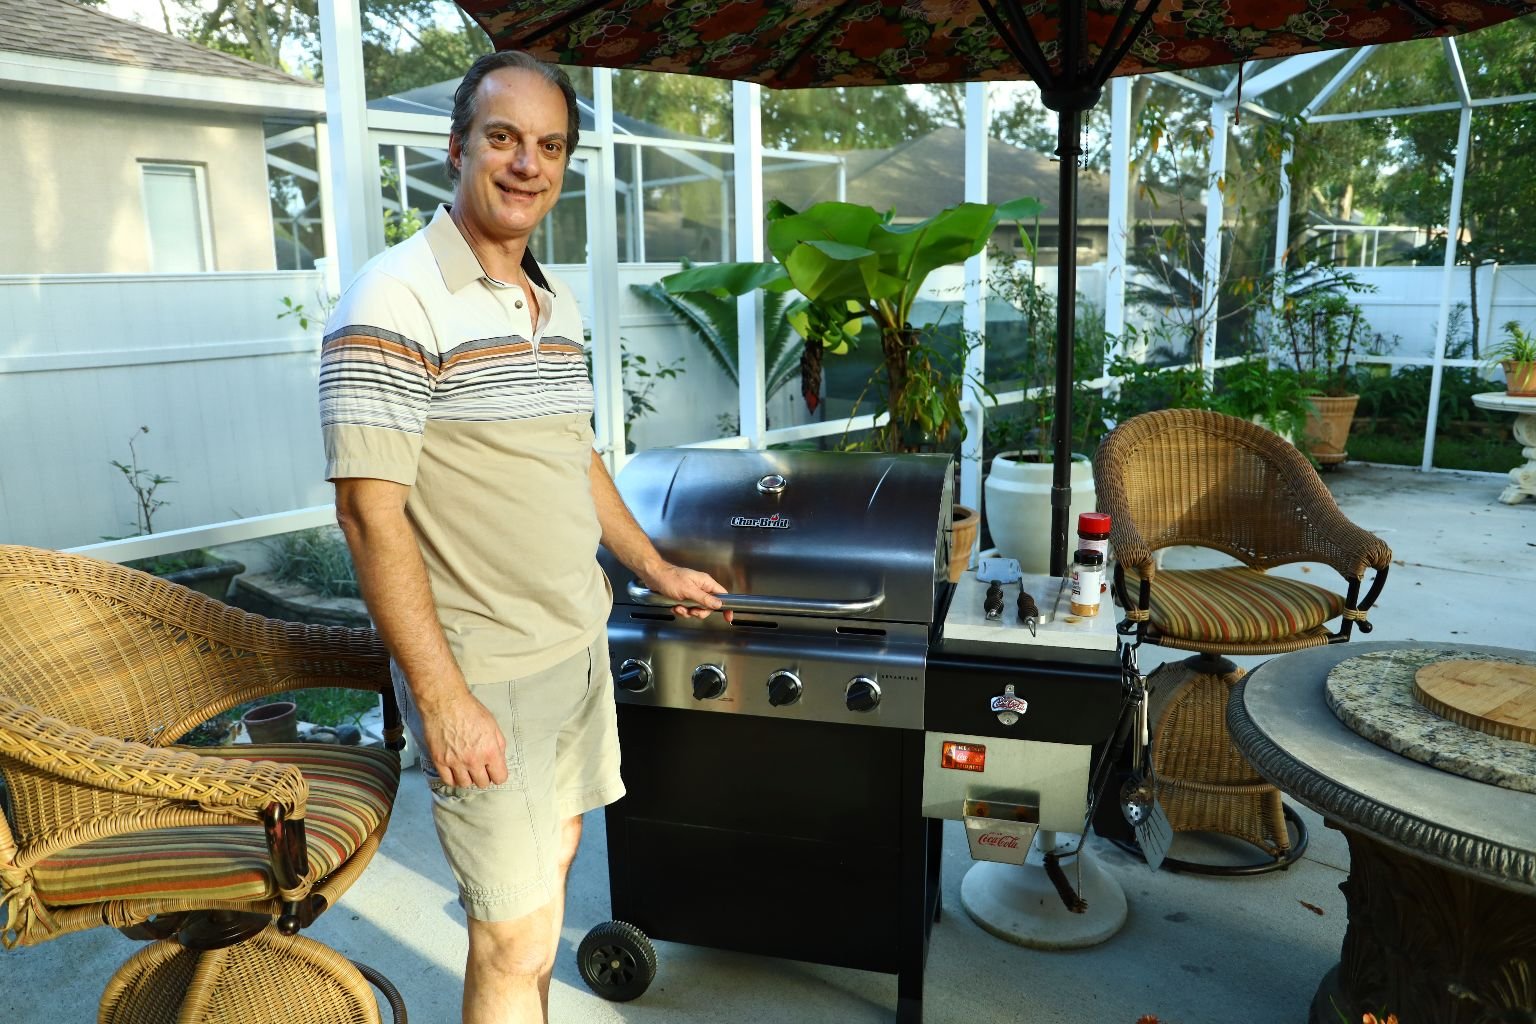
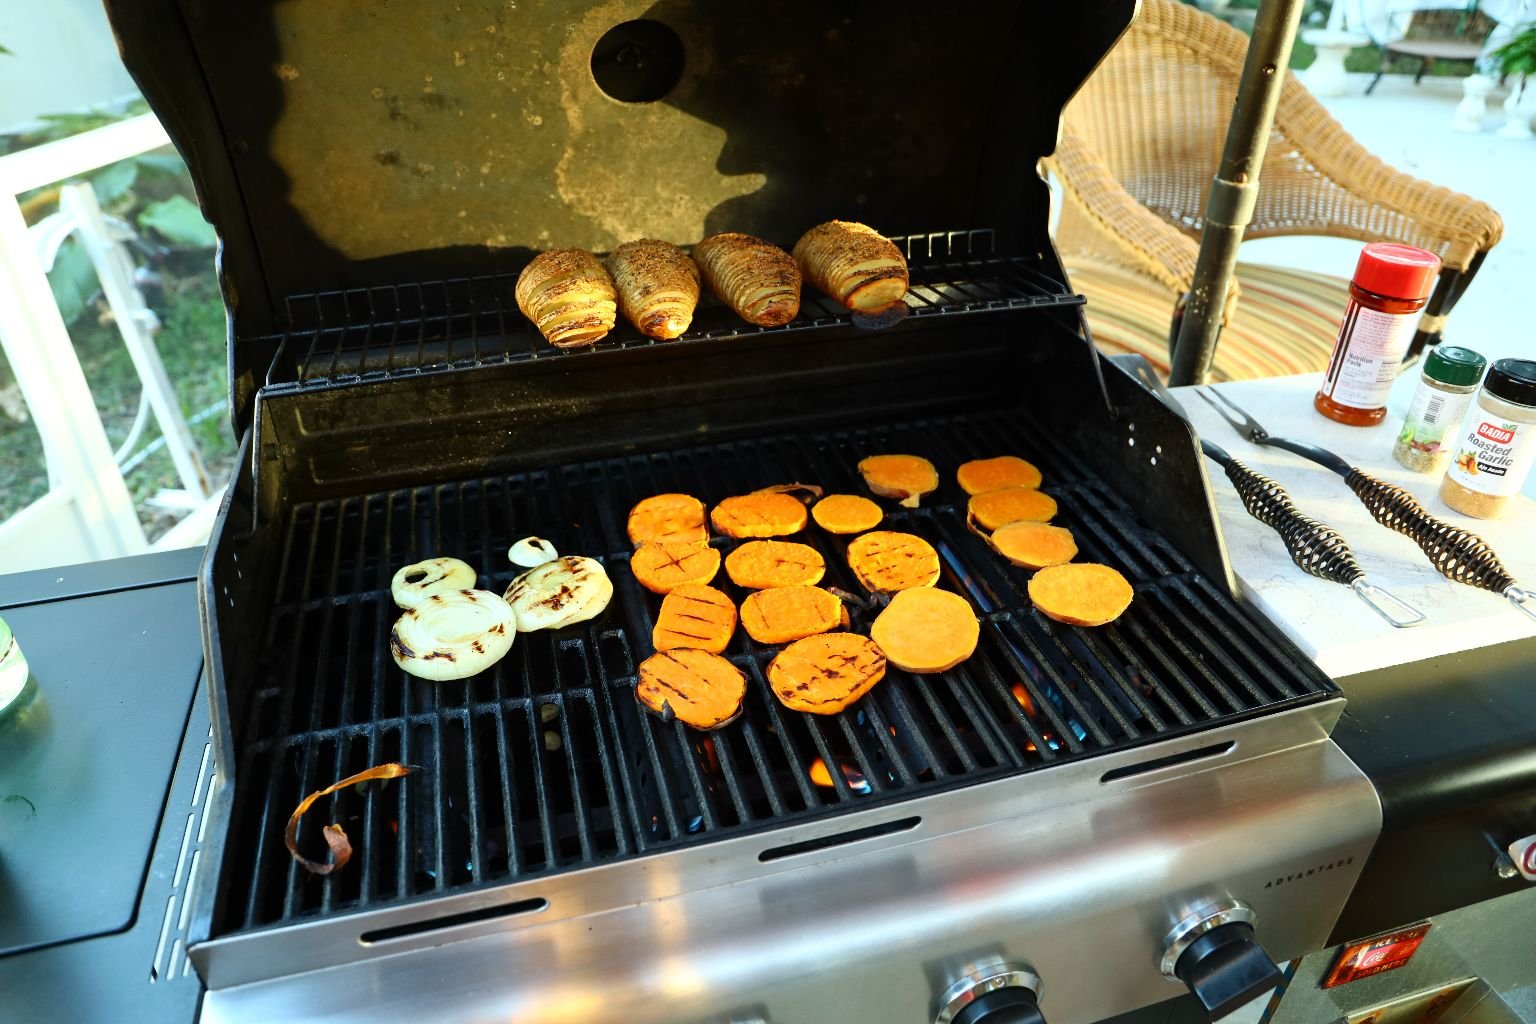
—————————————————————————–
Now It’s Just Time To Make The Sandwiches
————————————————————————-
———————————————————
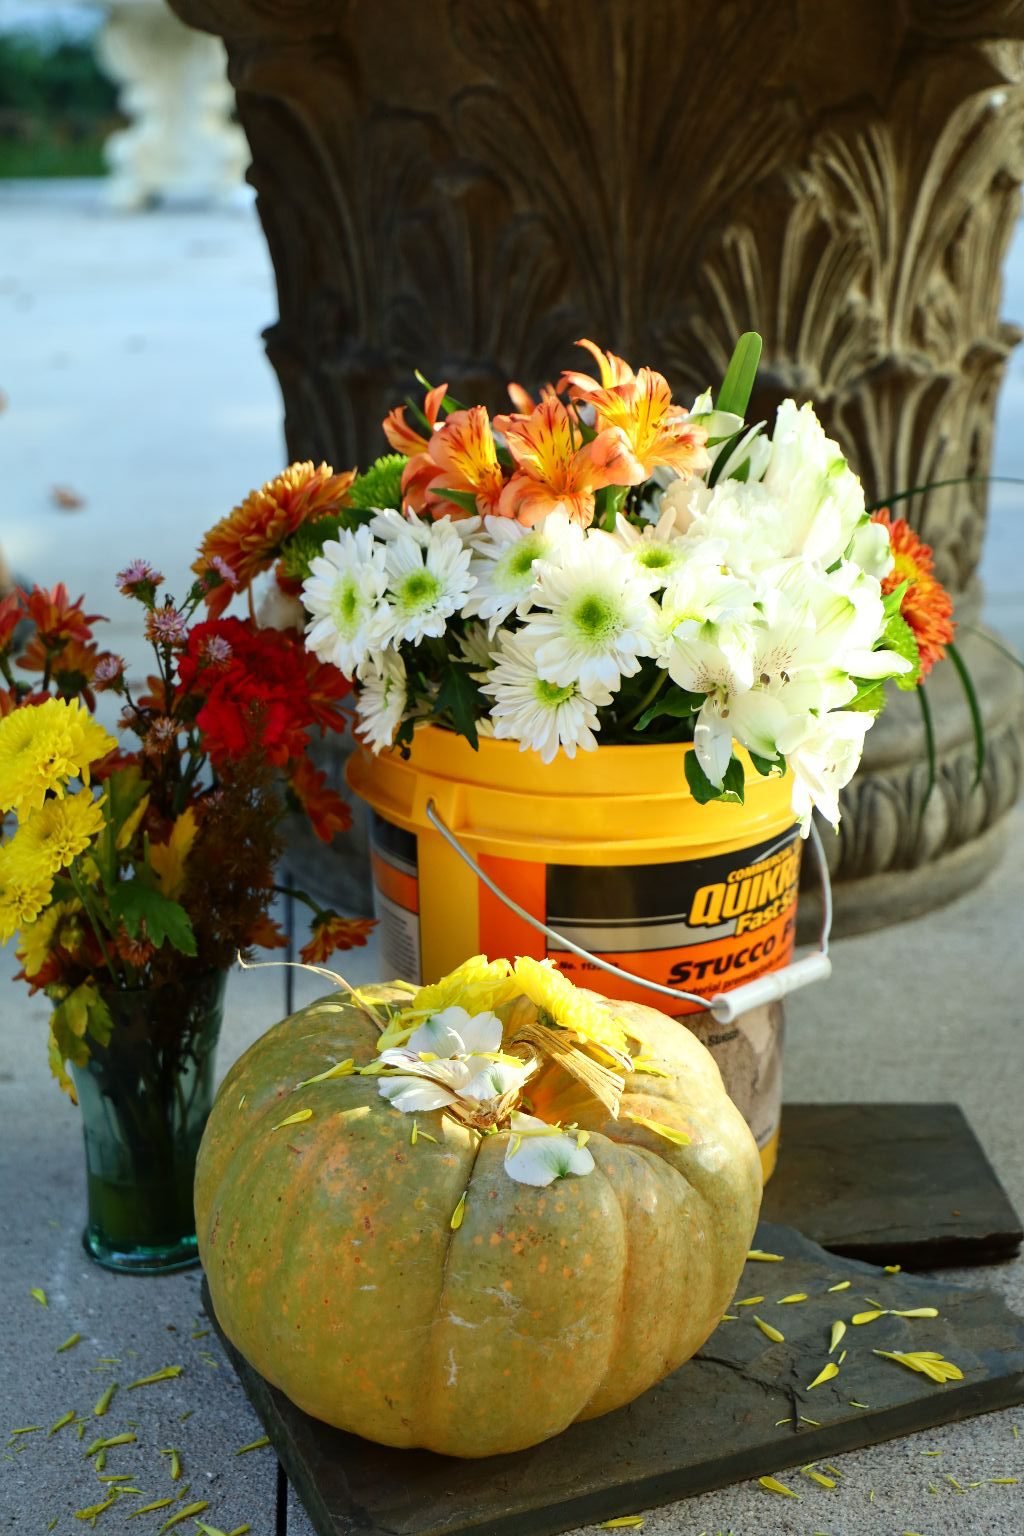
Decorations were simple. A pumpkin with some flowers in a bucket. 🙂
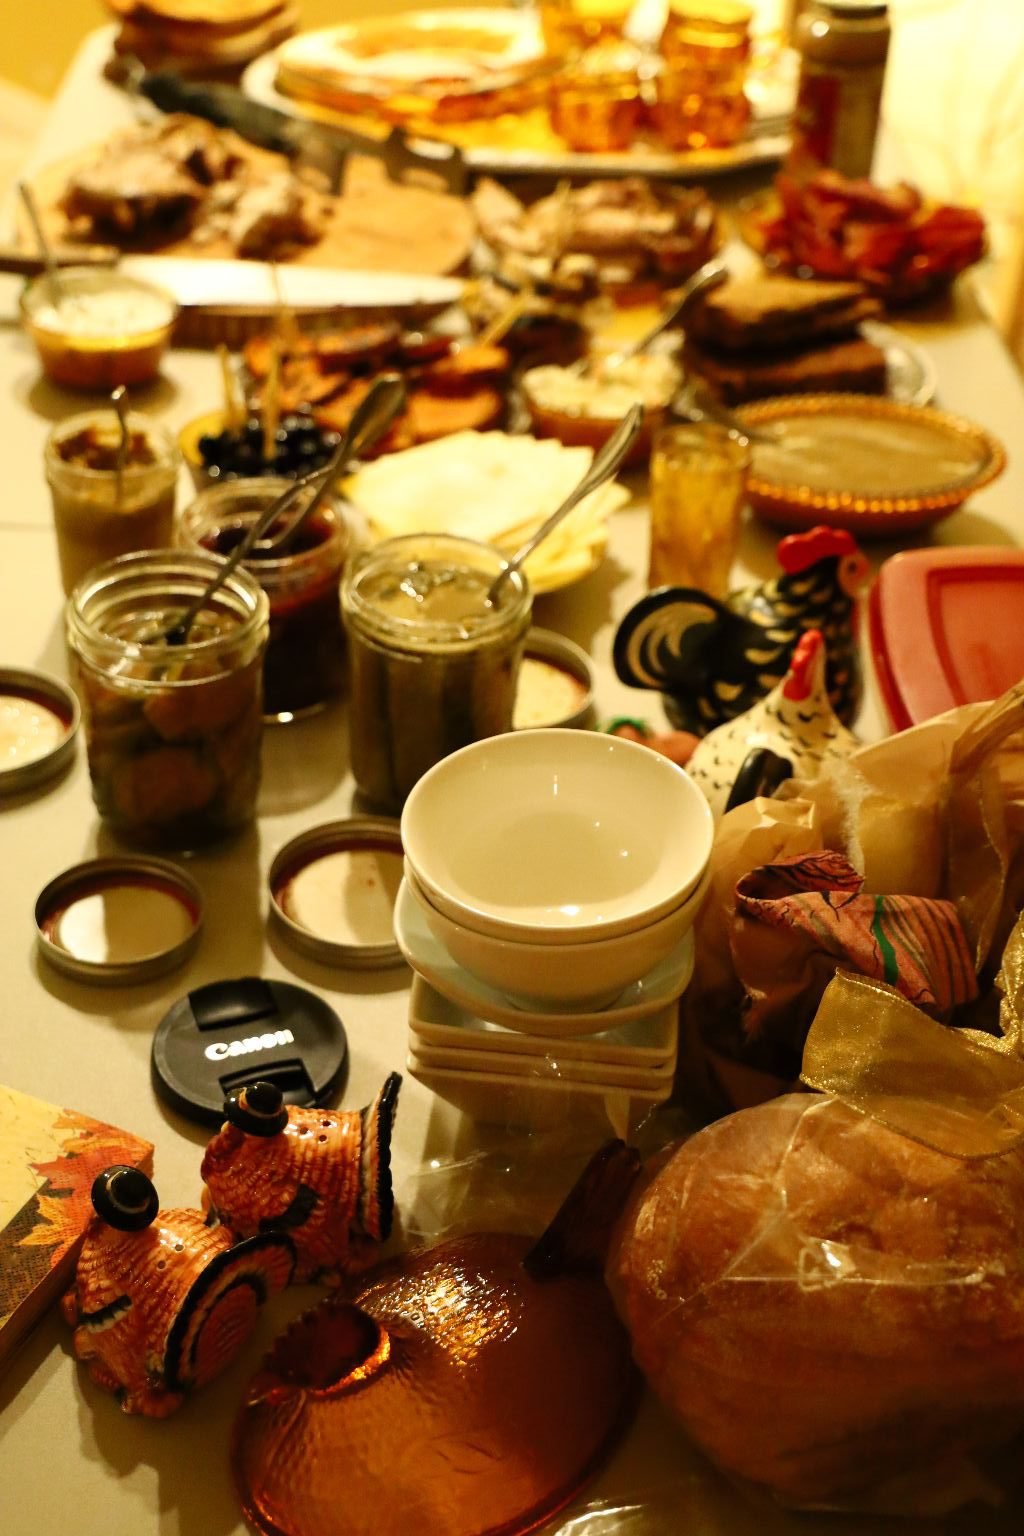
Putting all the food away was actually quite easy because dinner was easy.
We hope everyone had a lovely Thanksgiving!
Thanksgiving isn’t about some big and fancy dinner, it’s about you, and yours and whatever you have in store for it.
Julie and Gordon

Welcome to the Recipe for Julie’s Chicken Knot Pies Ready to go into the Oven I have always loved Turkey Pot pies and actually grew up eating quite a few of them. My mother wasn’t much of a cook, …


Julie’s Blackberry Pies

——————————————————————–

Served with Kool-Whip mixed with Blackberry Jam and Topped with Blackberries


Perhaps Eaten with The Cranky Bastard Blackberry Wine
————————————————————
When I think of a pie, Mother Goose always comes to mind:
—————————————————————-
Julie’s 4 and 20 Blackbirds Baked in a Pie

The Pie Ingredients
Ready Made Pie Crusts


I like to make things easy, and thawing out ready made pie crusts is one way that I do it. I find that they are a tasty shortcut. I just thaw them out until I am able to ply them easily from their aluminum pie pans without hopefully tearing the dough. And if I do happen to rip the dough I can always smoosh it back together with my fingers.


I first sprayed a little cooking oil spray into the bottom of my pie plates. I then placed my pie crusts down into my pie plates and used my fingers to mold the dough to the plates.


I then used a fork to punch holes into the dough so that it won’t bubble up.
Now set them aside for now.
————————————————————————-
Fresh Blackberries

Blackberries are in my blood.
I cannot tell you how many blackberries that I have picked off bushes throughout my life, especially my youth. But there were quite a few. Growing up in Georgia I went with my family on many a vacation, trip, visit, outing, weekend getaway, Sunday drive, etc. And on quite a few of those trips we would always come across wild blackberries growing on the sides of roads, hiking trails, camp sites, and even in our own backyards in some of the places that we lived. We always used whatever we had with us in order to collect them. Cups, bowls, napkins, hats, t-shirts…. and anything else we could find that would hold them.
We would then bring them home with us and my mother and step-father, usually the next day, would set to work baking a cobbler. They didn’t make many pies, and neither do I, they were more cobbler people. Same with me, except I don’t bake much of either anymore. But, when I saw these delicious and huge blackberries I knew that I wanted to bake a pie, or two. So, here is my recipe and I hope you enjoy it.
Julie
—————————————————————-
THE RECIPE
I would like to state and I am making 2 pies here but I will only list the ingredients for 1 pie.

Ingredients:
(To Make One Pie)
Ready Made Pie Crust
(Found in the freezer section of your grocery store.)
A Few Cups of Fresh Blackberries (Or as many as you like.)
1/3 Cup Granulated Sugar
1/4 Cup All Purpose Flour
1/2 t. Ground Cinnamon
Sugar Free Blackberry Jam (A few spoonfulls.)
Fresh Lime and Lemon Juice (A few Tablespoons.)
Zest of at least one Lemon or Lime
—————————————————-
Pie Topping:
Pre-made Pie Dough
(Found in the frozen food section of your grocery store.)
Some butter bits for the top of your pie.
———————————————————————–
This was fun, easy, and delicious.


You will need a mixing bowl.

Place the dry ingredients into the bowl…..


the Sugar, All Purpose Flour, and Ground Cinnamon

Whisk the Dry Ingredients Together


Now add as much Blackberry Jam as you like to the dry ingredients.

————————————————————————-


Now squeeze the juice of half a lemon or lime into the bowl…


Stir Together


Now add in as many Blackberries as you like to the mixture.


Stirring Together
—————————————————————–
350F Oven


In a 350F oven I am placing my pie crusts in to cook for about 5 minutes. I do this because I think the pie crusts won’t be as ‘doughy’ as I sometimes taste when I eat a pie. You can omit this stage if you like. This is just something that I prefer to do.

After 5 minutes I remove them from the oven.
—————————————————————————-

The Pie Filling Is Almost Ready to Place Into my Pie Plates

——————————————————————-


It’s at this point that I am adding the zest of a lemon.
You can also add more lime or lemon juice if you think it might need it.


Now Comes The Fun Creative Part

This is a ready made pie dough that you can buy in the frozen foods section of your grocery store. It comes in a long rectangle box that has about 2 of these inside of it. They come rolled up. I thawed one out and I am using a tool that I found in a drawer to cut out whatever shapes or patterns that I want. This will go on top of the pie. You can use whatever tools that you like. Cookie cutters, a knife, etc….


Scroll Down To See My Pie Patterns
(The rolling pin that you see in the photos above I didn’t need to use.
I just got it out in case that I would have to rework the dough.)
——————————————————————


Now It’s Time To Place the Mixture Into the Pie Plate

Make Sure You Get Every Delicious Drop!
————————————————————————


Spreading Everything Around in the Pie Plate


Here is where I had some fun in placing the designs that I made in pie dough.
Oh, and be sure to add a few pieces of butter to the top of your pie. Like I do above in photo right.

Microwave Selfie 🙂
————————————————————-
400F OVEN


I upped the oven to 400F and placed my pies inside to cook.

Place them onto a baking sheet.
————————————————————-


I cooked the pies for about 15 minutes to start.


I then removed them from the oven and covered each with foil and then placed them back into the oven to finish cooking for an additional 15-20 minutes.

Then I removed them from the oven to allow them to cool.
The total cooking time depends on your oven and perhaps how brown that you want your pie topping to be?
—————————————————————

When I was using that tool that I found in a drawer I loved the jagged edges of it and as I cut into the dough some of the extra pieces just looked like puzzle pieces to me. I think a future pie that I may do, I would want to place all over the top what looked like puzzle pieces.
Next time. 🙂

The pie came out so nice and clean. Not runny at all.
I credit that to the Blackberry Jam that I added.
———————————————————————–

As always, I like some sort of topping whether it be Sugar Free Cool-Whip or Ice Cream.


Here I placed some lemon juice into the jar of Blackberry Jam to loosen it up. I then placed a blob of the Jam in with some Cool-Whip and swirled it together.

Beautiful and Delicious!


Now Dollop Atop a Slice of Pie…

and add a Blackberry.
———————————————————

Julie Lancaster-Whann

Happy Thanksgiving or Feliz dia de Accion de Gracias My Corn Husk Dolls Our Mexican Inspired Roasted Chicken and Vegetables Because it was just going to be the two of us, Gordon and Myself for Thanksgiving this …

‘Tis The Season…. …For Making Delicious Edible Gifts Julie with Red Pearl Onions How About Pickling Some Purple Pearls? Actually, they are known as Red Pearl Onions, they just look Purple to me. I think they are beautiful. Who wouldn’t be …

Hi! Welcome!
So happy to have you here!
My name is Julie Lancaster-Whann and welcome to my:
The Pot Thickens… Musings of an Amateur Cook
So, what makes me an ‘Amateur?’ Easy! I don’t get paid!
And, because I don’t get paid you have every right to believe my words as being sincere because no one is paying me to sell you something.
I do not have a degree in the Culinary Arts like my husband, Gordon, but I do have a PHD in Life Experiences. I’ve pretty much been eating for the past 60 years. Well, there was that bout of anorexia that I had in high school where I was drop dead skinny gorgeous! (From lack of food.) But, that only lasted for a year or two. And there was that eating disorder I had that lasted a few decades.
I hope to make this blog post fun and informative and I hope you will tune in occasionally to see what I have to say.
So, kick your shoes off and pull up a chair. Wine is mandatory here btw, so fill that wine glass. If you don’t have a wine glass and are using some regular kitchen glass? OMG! Then go out and buy one! We have standards here, ya know!
Very sincerely,
Julie
—————————————————–

Me, with my Easy Bake Oven, age 5
What more proof do you need that I am qualified to blog about food?
I was also a Candy Cane aficionado for obvious reasons.
————————————————————
I have been wanting to start some sort of blog post about food and kitchen related/food related interests that I have. I never knew where to place in my website these things. Which is why I created this post. I am very excited to write about it here. I hope you are too. 🙂

One of my favorite pizza’s I buy from Sprout’s.
It’s an Italian Sausage.
——————————————————————

I Do Have A Thing For Italian

——————————————————————–

Everyone Needs An Aloe Plant

If you cook, or do crafts with hot glue, or you are exposed to the sun or any kind of activity that will cause you to burn, then you need an Aloe Plant. If you burn yourself while cooking just cut off a piece of the Aloe Plant and rub the salve over the burned area and it will immediately relieve the pain and start the healing process.
———————————————————-

A Pretty Jar of Bay Leaves
———————————————————-

Musings, and with Tea
—————————————————————-

This is MY Irish Pot of Gold!
————————————————————-
The WOK Thickens,

Musing of a… Oh, never mind!
————————————————————————-
Blog Post Musings Start Here

—————————————————————————————-
CURRENTLY MARINATING IN MERLOT
(Myself, not some recipe.)
————————————————————————

A Favorite!
—————————————————————————-
September 19, 2026
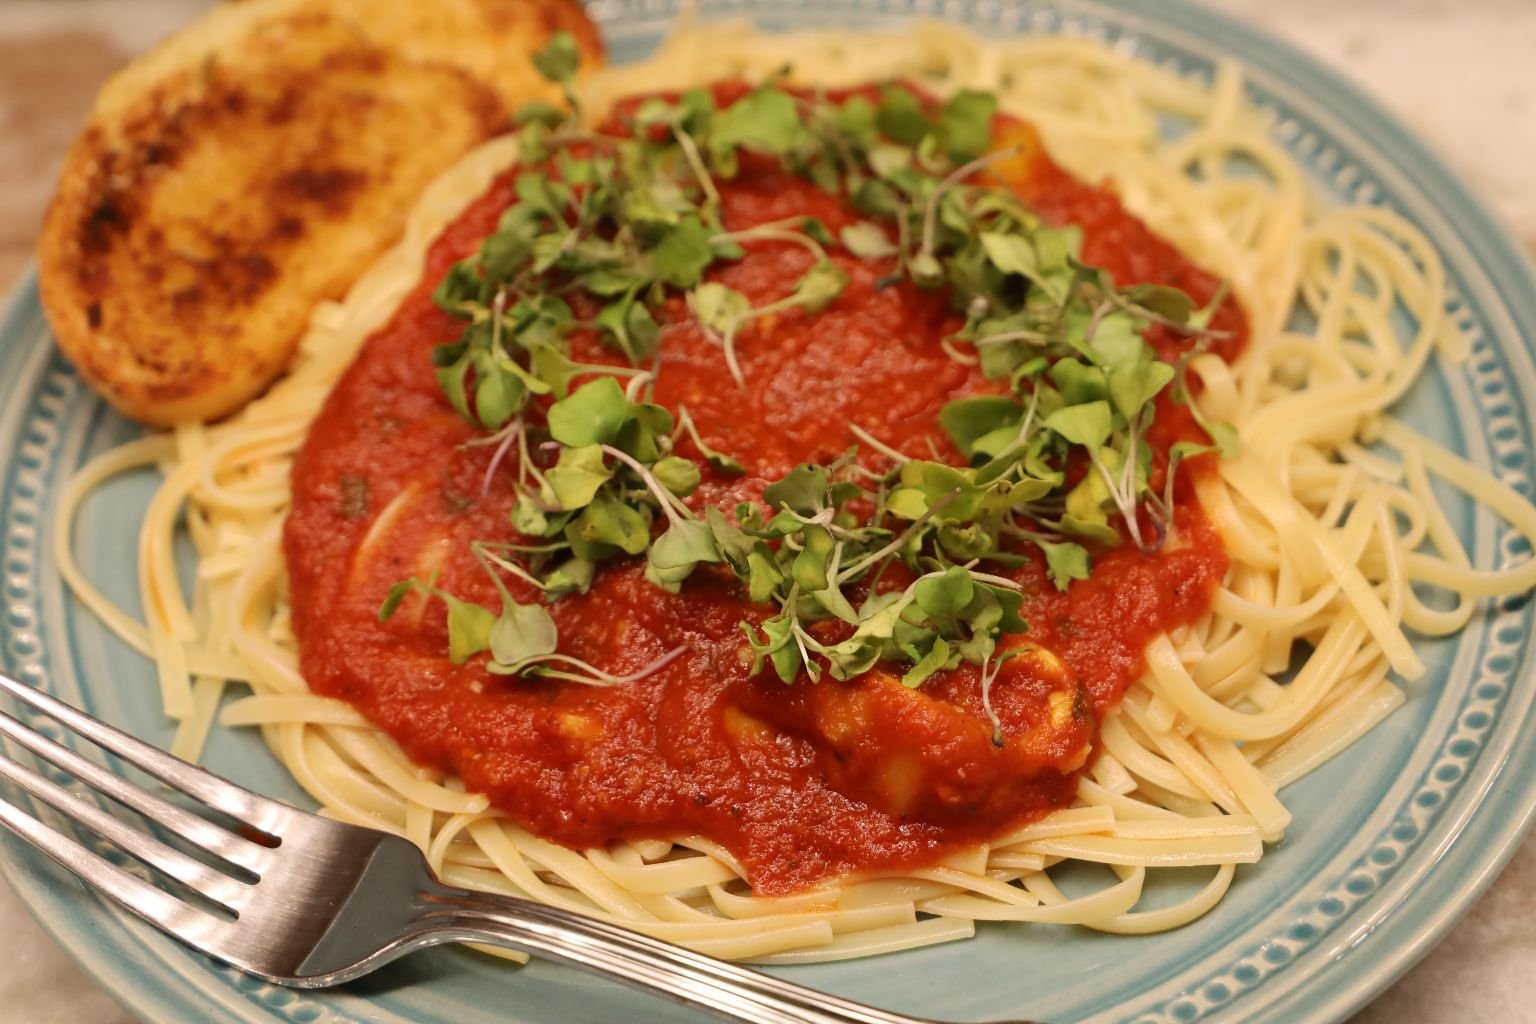
Yet Another Pot Of Red Sauce,
This Time With A Wreath Of Micro-Greens
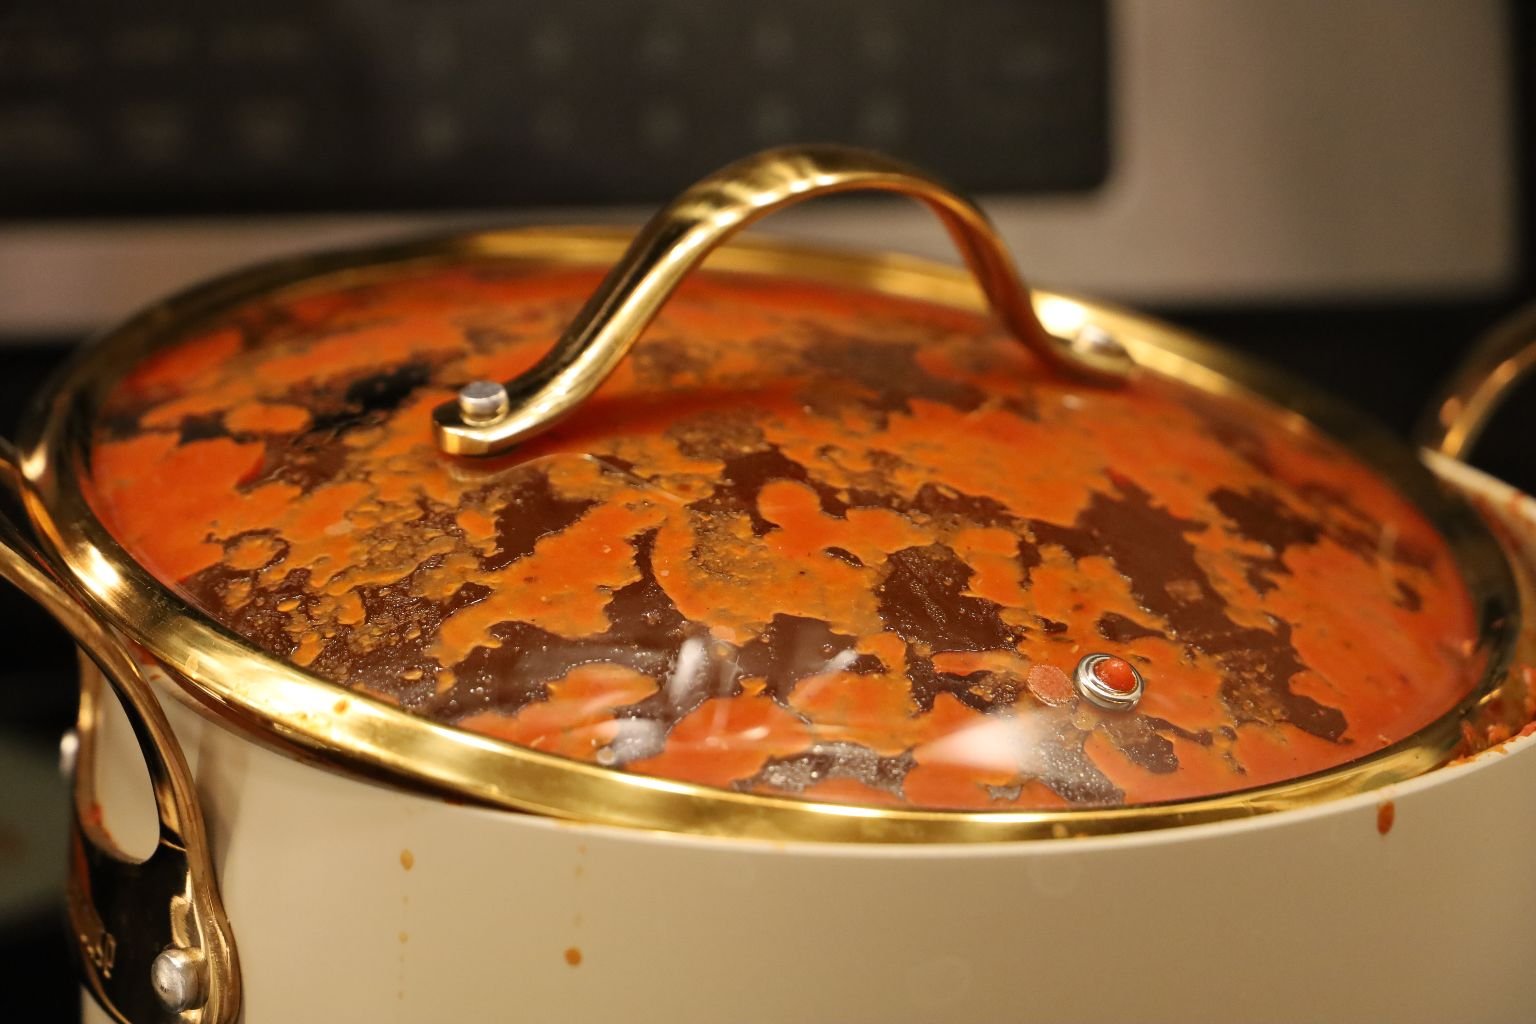
When The Pot Looks Like This…
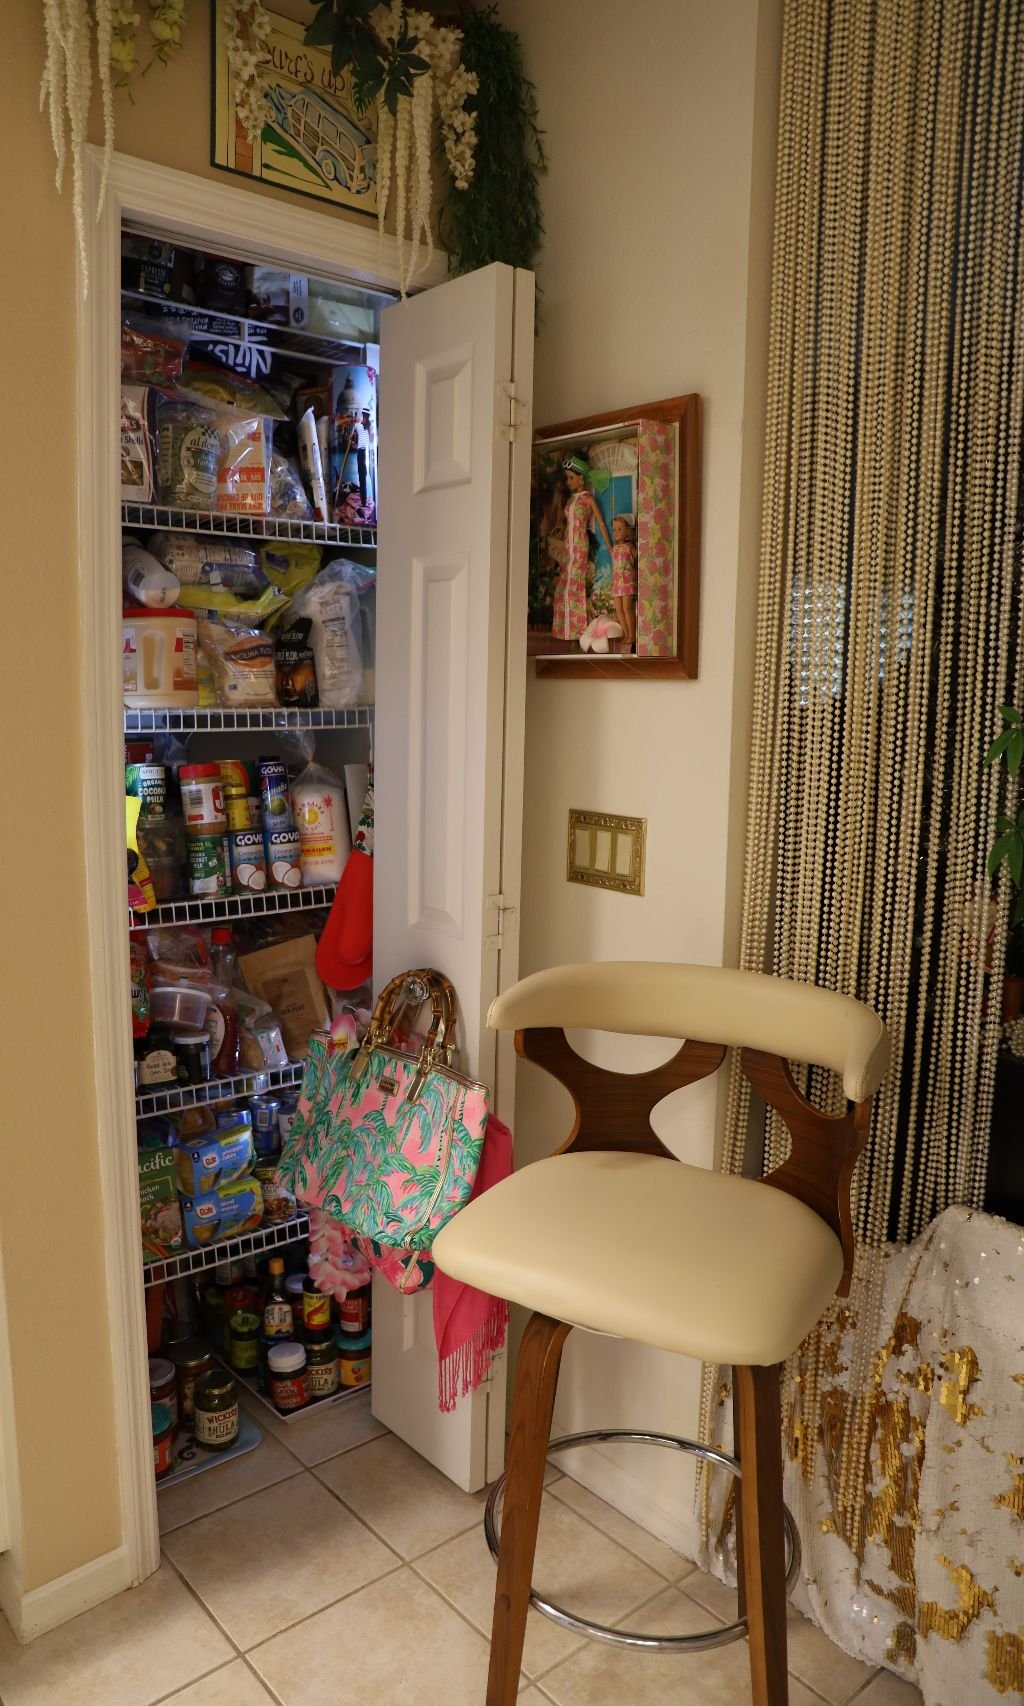
Cleaned Out Our Pantry And Installed Lights Inside
Makes It Easier To Find Things 🙂
—————————————————————————————
September 24, 2023
Spice Lab

Whenever Gordon works overseas he always gathers up, and sends home, the nicest spices, which we then incorporate into our family meals from recipes he learned over there. These spices pictured here, he sent a few years ago. I don’t think that I ever got around to really talking about them. But, I would then place them into jars to distribute to family and friends that were interested.

Homemade Authentic Hungarian Paprika


Gordon has the talent of making friends very easily. The homemade Paprika you see above was given to Gordon by a Hungarian man that he befriended overseas. His wife makes it, and happily sent Gordon some to then send to me. It was the best Paprika we have ever tasted!
Gordon is back overseas and I am expecting the same delicious spices as before. 🙂
Looking Forward To It!
Julie
————————————————————–
Ribs and Sausage Food Porn


What are Ribs without a good Sausage? 🙂
———————————————————————
September 23, 2023
First Day of Autumn
and…
Forgot to tell you that ‘Julie’s got a brand new appliance!’

For those of you that know me, I tend to shun modern day appliances. However, when I ruined my vintage mixer that my Grandmother bought for me, I was forced to buy a new one. Hence, what you see above. 🙂
—————————————————————————————
August 20, 2022

Cordon Bleu From the Frozen Section of the Grocery Store
Some of them are pretty good actually. Just bake according to the package instructions and then pair with some lovely sides and you have a very nice dinner. This one was memorable.


————————————————————————
CHILI
August 19, 2022
In going through my photo files, I discovered some lovely delicious foods thickening in pots and bowls that I just had to share.
Mostly involving CHILI! 🙂


We adore CHILI! We eat it often. It is always the same, but the toppings do vary.
Here we topped our bowls with Sour Cream, Sharp Cheddar Cheese, Spring Onions, and Potato Sticks.
———————————————————–


Chili over Baked Potatoes, and of course, Chili Dogs!
(Topped with Sour Cream left, and Slaw and Onions, right.)
————————————————————————–

Cornbread Topped Chili
(I’m sure I have these same photos somewhere on the website, but I wanted to group them all together here.
Just different ways to eat Chili.)

Cornbread and Chili is a Favorite!


To make this all you have to do is to cook a big pot of chili, whatever your recipe may be. Then, make a batch of cornbread, whatever your recipe may be. Now, place a bit of oil in the bottom of a cast-iron skillet, spoon in heaping fulls of chili half way up the skillet, and then pour over the cornbread batter.

Place into a 350F oven for about 35-40 minutes or so.
You want the cornbread cooked and a little brown on top.

The cornbread will rise a bit. But, how delicious!

You could even add a few Corn Chips if you like.
Perhaps even top with some Sour Cream of Cheddar Cheese.
——————————————————–

Chili Yet Another Way

Here I made a nice pot of Chili, placed it into a casserole dish, topped it with a browned Baguette and some Cheddar Cheese, and then baked it in the oven for cheese to melt.


It was actually quite easy, and tasty!


I only broiled the bread on one side.

————————————————————————-


I placed the browned side of the baguette face down over the chili and then topped it with some cheese.
Then, I placed it onto a 350F oven for about 15 – 20 minutes until it was a bit brown and the cheese was melted.


Just Look How Delicious!
———————————————————————–
CHEETOS, Mac N’ Cheese

I just wanted to say that we tried it, and we liked it!
————————————————————————
July 12, 2022

Sometimes, it takes the pot FOREVER to thicken.
In which case, pull up a stool, pour a glass of wine, and just go with it.


————————————————————————
Found My Vintage Coupons


During the 1980/90’s I was the most organized person in the world. Look at my little scissors that I kept in my little coupon file which I always had access to, and would carry around whenever I would go shopping. (The color of the scissors and file even match.) 🙂
It was fun looking at the old coupons.
————————————————————–
December 25, 2021
Vesele Vanoce!
(Merry Christmas in Czech)

This is my brother’s Christmas tree in Ireland. Isn’t it beautiful? He lives here with his partner Sabina and their daughter Vivien. This is their home.

——————————————————————-


I Love Sabina’s Decorating, Especially All The Hearts Everywhere
(People that see hearts everywhere are the nicest people to know.) 🙂


Sabina is originally from The Czech Republic and it is the Slavic tradition to eat fish on the 24th. Normally Carp or Fresh Water Fish. But, for my brother and his Irish/American children, Kate and Lola, Sabina will make an exception and cook Salmon. The Slavic big day of celebrating is the 24th., not the 25th., like it is here in America.

The Wine Glasses are for Everyone, but the Wine Is Not

Vivien, Kate, Lola and Johnny Christmas Eve
Salmon, Potato Salad, etc.
According to my brother the Slavic’s have more in common ‘food wise’ with American’s, than we do with the British. I’m thinking about having a Slavic Christmas next December 24, 2022. Sounds nice, doesn’t it?

Nollaig Shona Dhuit!,
Merry Christmas in Ireland
————————————————————-
November 12, 2021
Frozen Baked Ziti

Happiness is cleaning out your garage freezer in order to make room for a Thanksgiving turkey, only to find a treasure of Baked Ziti at the very bottom. Eating this gave us the room we needed. 🙂 We baked it and gave half to our son and his girlfriend. Happiness is also sharing.

Add Fresh Herbs, and Really Good Bread

————————————————————
August 4, 2021
Inherited some Goodies

A Vintage Capital Building, Washington, D.C. Commemorative Plate
(PINK and GREEN)
Gordon flew up to see his parents in Chesapeake, Virginia early in July. His parents were moving into an Independent Living Facility Apartment and moving out of their home. They were also downsizing and getting rid of quite a few of their possessions. The plate above is a gift to me from my mother-in-law. It is old, and it features the Capital Building. I do have to say that had 1/6 not happened then I would gladly except the plate and then stash it into my China cabinet with no after thoughts whatsoever. But, since 1/6 I’m now appreciating the plate more than I would have and I have it sitting out to look at and enjoy. I guess I’m much more appreciative of it than I would have been normally.
——————————————————

Antique Kitchen Torture Gadgets
We were just told these once belonged to Gordon’s Maternal Grandparents
We can only assume that these were for perhaps smooshing potatoes, or perhaps the contraption in the back is a giant garlic press? 🙂 Either way, we are very happy to own them.

Cutlery in All Shapes and Sizes
My mother-in-law also sent our way all of these antique, vintage, and modern cutlery. Interestingly enough, there was only ONE knife among all these spoons and forks.
This will be great for our website projects that we do so I am very excited to have all of this. Props! I also love that they belonged to my In-Laws. I love the passing down of family treasures.

Gordon Came Back With Many Boxes of Treasures
Here I am unpacking some of the goodies.
———————————————————–
Our Favorite Box So Far…


GR. Mutter, is Gordon’s Mother, (GR. Mutter = Grandmother),
and Frederick Alderfer is Gordon’s Grandfather, Norman Frederick Alderfer. These cook booklets are from his side of the family.

Antique Cookbook Booklets and Pamplets
Some of these are over a century.
Most are around 1924, and 1933, 1935. So very exciting!

1919
I LOVE this! You know it was hand typed by a secretary and not printed in mass.
———————————————————
Food and Recipe Diary


I asked my Mother-In-Law who’s ‘Food and Recipe Diary’ this was and she didn’t know? But it does belong to someone on her side of the family.


I absolutely love deciphering these recipes from 90 years ago. 🙂

This Contraption Belonged to Gordon’s Parents, a Clam and Oyster Shucker.

I ADORE All These Handwritten Recipes!
With Magnifying Glass in Hand, and my Cup of Tea, I am Ready to Decipher These Recipes.
One thing that I wanted from my Mother-In-Law was a cup and saucer that she would pick out for me. I didn’t care what it looked like. I didn’t care how expensive or special that it was. I just wanted one that she wanted me to have. We haven’t always gotten along, although I do have to say that I appreciate her more in my 60’s than I ever did in my 20, 30, 40, or 50. She is sharp as a tack! And a very interesting person. I suppose that I am just not as judgemental as I once was. I’m also more tolerant. My Mother-In-Law is a very special person. I’m finally starting to appreciate her. Oh, she can offend people left and right, she isn’t perfect by any means. However, I am starting to understand her and that softens all the edges.
The Pot Thickens,
Julie
—————————————————————————
March 24, 2021

I like my Chili so thick that I can eat it with a fork. 🙂
————————————————————-
March 23, 2021
Cute Story
After my grandmother’s funeral in 2000 and we were all back at the First Christian Church in Rome, Georgia for the pot luck lunch in her honor, one of the ladies that I’ve known most of my life, Jane Slickman, asked me if she could take a plate home for her husband George?
I told her “Yes, of course”, and I turned to walk away. That’s when I turned back around and I said to her, “What if I had said no?” Then Jane looked at me with a straight face and said, “Then I would have waited for you to turn your head and fixed him a plate anyway.”
I miss those ladies, 🙂
Julie
—————————————————————–
March 22, 2021
Nothing puts a smile on my lips as much as money does.
Oh, and a big pot of chili.

Especially on a cool Florida day.
So, the pot thickens…. yummm…..


Especially served over our Grilled Cabbage Slaw

————————————————————
February 9, 2021
Death By Pantry
(A Real Fear)
Our kitchen pantry is a scary place. It’s so packed full that we can’t find anything unless we just start to take it all out of the closet, which most of the time we don’t want to do. If given the choice between finding chopped green peppers, or a can of tomato paste, I would rather just go out and buy what I need before searching through the pantry.
Whenever I make a shopping list for some staple ingredients Gordon will always ask, “Did you check the pantry?”
I will then usually look at him with horror on my face and lie and say, “Yes. But I couldn’t find any in the pantry.”
That’s when Gordon will look at me and say, “No you didn’t. You didn’t look in the pantry. You just made that up.”
I will then pretend to hold my head in shame and admit to the lie and that is when Gordon will dive into the pantry looking for said items in order to save some money at the grocery store.
You see, this is how I get him to look through the pantry so that I don’t have to. 🙂
He will usually emerge with an AHA! I found it!
Only to hear me say when I look at the cans, “EXPIRED. EXPIRED. EXPIRED.”
(Keep scrolling for one of our favorite commercials.) 🙂

We Also Have Death By Ladder Fears
(There are always ladders, everywhere!)

The shelves are collapsing onto each other. I just know that one day I will open the pantry door only to have all the cans rain down on me, knocking me unconscious. Gordon then comes home from work later in the day to find my lifeless body lying on the floor surrounded by expired foods. That will probably be what upsets him the most. 🙁
One of our favorite commercials. 🙂
Expired! Expired! Expired!
—————————————————————————
February 9, 2021

Julie’s Democratically Elected Pasta Bowl
———————————————————
I also have this I Voted Pasta Salad recipe below:
Not to confuse you but I have 2 different pasta recipes here.

I added some of our Tabasco Peppers from our garden to this one.
——————————————————————————

To Be Eaten Cold From the Fridge

I VOTED

A Nice Light Lunch
—————————————————————————
Julie’s Democratically Elected Pasta Bowl


We VOTED! It was Delicious!

It Even Tastes Good Cold
————————————————————————-

The White House
Summer 2001, I Took These Photos

The Capital
We lived on Ft. Meade, in Maryland for about 4 years in the early 2000’s. We were located between Baltimore and Washington, D.C. I really did enjoy living there because of all the history and museums, different cultures, foods, restaurants…..
We sent our kids to Chess Camp and not sports camp’s like small town America does. I am also happy that we had the privilege of living there before 9/11 when we were able to roam around without all the constraints that we have now. Of course, we were also living there after 9/11.
We lived there during the end of the Bill Clinton Presidency, and the first few years of George W. Bush.
Therefore, in honor of the new Joseph R. Biden Jr. Presidency, I present to you….
Julie’s Democratically Elected Pasta Bowl

This was all my creation and creativity by simply raiding the pantry and the fridge.


Top with Grated Parmesano-Reggiano
And it all started with this bag of Democratic Pasta,


and the Inauguration of this Democratically Elected President and Vice-President,
Joseph R. Biden Jr. and Kamala Harris
————————————————————————————
My Ingredients:
(I cannot give you precise ingredients as I just eyeballed everything and used as much of this or that that appeals to my personal tastes.)
14 oz. Democratic Pasta Shapes
1/2 lb. Linguine Pasta
6-8 Sweet Peppers (Deseeded and Sliced into Rings and Baked in the Oven.)
8 oz. Turkey Sausage (Sliced into rings and fried in Olive Oil, or not.) 🙂
Jars of Goodness Nearing Their Expiration Dates:
Sun Dried Tomatoes in Olive Oil
De-pitted Kalamata Olives
Grilled Artichoke Hearts in Olive Oil
Roasted Red Bell Peppers in Olive Oil
Artichoke Bruschetta
Sun Dried Tomato Pesto
——————————————————————–
And Olive Oil for Cooking


—————————————————————–


The first thing I did was to turn the oven on to 350F.
I then started slicing my Sweet Peppers into rings and careful not to have too many seeds in them.

I placed them into a bowl and poured a little bit of Olive Oil over top of them just to coat.

When the oven came up to Temperature….

I placed all the sliced Sweet Peppers onto a baking sheet lined with aluminum foil.


I ended up baking these for near to 30 minutes, removing them every 8-10 minutes to stir them around a bit.

When Done Set Aside
(I did not season these peppers other than with Olive Oil because I am going to be adding so many flavors to this Pasta Bowl that I didn’t think I needed to.)
———————————————————————-


Slicing up Our Turkey Sausage into Rounds


This Turkey Sausage is so sweet and delicious on it’s own and I could have left it as it was, but I wanted to fry it all up because I was afraid it would be a bit too mushy if I didn’t.
I just added some Olive Oil to the frying pan and let the slices brown up on a medium high heat.

When Done I Let Them Cool and Then Sliced Then into Quarters
———————————————————————-


Time To Boil The Pasta
Use 2 different pots because you are boiling 2 different pastas that will require 2 different cooking times.


Boil to Al Dente and then Drain into Colander’s

——————————————————————————-


Now It’s Time To Add Our Pasta’s To a Large Bowl

Now I Added The Oven Roasted Sweet Peppers
(The Olive Oil coated peppers are helping me to coat my pasta as I stir it so it doesn’t stick together.)
————————————————————————–


Time To Add a Little From Each Jar
Most every ingredient you see above in the jars is marinating in olive oil. I didn’t want my salad bowl to be so oily so I drained the ingredients of the olive oil first before I placed them on top of my pastas.

Pick and Choose What You Want and How Much You Want of It.


Adding My Fried Turkey Sausage and Mixing All Together
Top With Some Grated Cheese

When Gordon came home from work I told him that I had made dinner and to tell me what he thinks about it?
What he liked the most about this pasta bowl was that he tasted 3 different bites of it and each one tasted different from the other. In one bite he is getting sun dried tomatoes and artichoke with the pasta. And in another bite he is getting the roasted peppers and a Kalamata olive with the pasta. And in another bite he is getting the pesto covered pasta with a bite of fried turkey sausage.
This will be on repeat. We voted and it is decided! 🙂
—————————————————————
Julie’s I VOTED Pasta Salad
Great Eaten Cold and Perhaps with a Side of Bread
I VOTED!

This was pretty easy. I just used items from the fridge and pantry.
Just cook your pasta until al dente, then drain and place into a bowl.
Now add whatever ingredients you like. Here I added some sliced Baby Cucumber, Feta Cheese, crumbled, some Cream Cheese Stuffed Red Peppers, and an Olive Oil Salad Dressing.

My I Voted Pasta Salad along with some nice butter bread with some Roasted Garlic, Sun Dried Tomatoes in Olive Oil, chunks of Feta Cheese, and some Red Peppers…..
A Nice Tasty Afternoon Pasta Salad
—————————————————————————-
October 29, 2020
The Pot Thickens…. Again!


——————————————————

November 22, 2020

Nigella Lawson, ‘Cook, Eat, Repeat’

The many ‘Post It’s’ are just because those areas just feel so familiar.
——————————————————–
Cook, eat, repeat, cook, eat, repeat, cook, eat, repeat……

The British cook, Nigella Lawson, has just released her 12th. book, Cook, Eat, Repeat. She lives in London, England and her new book did just debut on October 29, 2020 in the United Kingdom. Her book will not be released here in the states until April 2021. She is someone that I have followed since the early 2000’s from when I first discovered her on The Style Network from when we were living in Maryland. That is also when I discovered Rachel Ashwell and her Shabby Chic T.V. shows as well. I’ve been a fan of both women since then.

My Nigella Collection
(My Rachel Ashwell Collection is just to the left on this shelf.)
As you can see I have every one of her books and most of her video’s. When my friend Trish was living she would send me the New Zealand magazines and sometimes Nigella was in them. I also have those above as well. I do happen to love Nigella’s Christmas episode’s the best. The photography/cinematography is excellent! Her Christmas episode’s are very high quality. (All the episode’s are.) I also love the music. Music really does make a show. (One of my favorite movies is Twilight. Only because of the music. You take the music away and I could care less.) Editing is also everything and whoever edits deserves great credit as well. Nigella herself also deserves tremendous credit as these are her show’s that she stars in.
My favorite cookbook of hers is her Nigella Christmas. It’s just so beautiful and festive. Some of the recipe’s just get you very excited to make them and to share with others. I know that we have in the past. She has a recipe for excellent Bourbon Ribs and we adore her Drunken Devil’s on Horseback each year.
But, I do have to say that this particular cookbook, Cook, Eat, Repeat, just has a different feel to it than her last ones. First of all, the title, Cook, Eat, Repeat summons up to me something very easy, fun, and childlike. Something Dr. Seuss would come up with. But yet it isn’t anything he would come up with. And then there is the ‘A for Anchovy’ chapter which comes first. That also summons up a child like book, yet when you read the chapter, there is nothing childlike about it. I have never heard anyone describe their love of anchovy’s the way that she does and all that I can think is that if I ever come back as a fish, PLEASE do not have me be an anchovy! Nigella would eat me! I want to be an unappetizing fish just so that I can have some sort of a life in the sea without fear of being eaten.
I also came to realize that she loves food way more than me. And also, way more than I will ever.
But, I suppose that is what makes her the expert.
You know, I am not qualified to judge her cookbook as some expert, other than to give my personal opinion on it. I am not a trained chef, or book writer critic. My husband is the one with the culinary degree. I cannot dare to tell you what ingredients go best with this food, or that. I can only offer up my opinion of the foods themselves that are being presented to me. Would I choose to cook them? Do they taste how I would like? Are they easy/hard enough that I am capable of making them? That is about all that I am qualified to write about here.
I will start with this:

Cook, Eat, Repeat
Blue, White, Black and with Touches of Pink

And what is this?
When you open the book, this is what you see: this has no rhyme or reason for being in this book. The color scheme of the book is Blue, White, Black and with touches of Pink. Where does this bold red and green pattern come into play right when you open the cover of the book? In the front and in the back?
Grab a Magnifying Glass! This is Cryptology! If you look very closely you will see lots of lower case “n” and upper case “J”. I can only assume that the lower case “n” is for Nigella. But who is the upper case “J” that she see’s herself second fiddle to? That is the question? The flipping and flopping of the letters is key to this being cryptology. Take a look for yourselves.
Perhaps I should enlist one of the last remaining Native American Code Talkers to decipher it? 🙂
————————————————————
I would like to say that everyone has the right to name their book, or their website whatever they want. I believe there is an audience for everyone whether that audience be 2 million or 2 hundred. But when I first heard that Nigella’s new cookbook would be named ‘Cook, Eat, Repeat’ I didn’t like it. It kind of sounded beneath her. But I suppose that is her life and her mantra, Cook, Eat, Repeat as she insists. It does conjure up that rhyme I first heard a few years ago of these two people in this boat, Pete and Repeat. Pete and Repeat were in a boat. Pete fell out, who’s left? Repeat. O.K., Pete and Repeat were in a boat, Pete fell out, who’s left? Repeat…… I guess you get the picture. 🙂
She also has a Defense of Brown Food Chapter and I can only ask, ‘Why should anyone have to defend brown food? Don’t most people love steak? Hamburger? Roast Beef? Stews? Or are they in some “Red” category that no one told me about? We may not eat Red Meat ourselves anymore but we do recognize that many people do love all the brown food/red meat dishes that are out there.
————————————————————–
Cook, Eat, Repeat, does have a mood to it. You can tell is was mostly written during lockdown in London. It just has that feel to it. But, I don’t mean a bad feel to it. But there is a mood and a feeling that went along with it. Similarly to all of us having a mood that has affected us during this Covid 19 era. (Although truth be told we had a blast in lockdown!) 🙂
————————————————————-
Although I haven’t finished reading the book yet it does offer up more recipes than you realize. Not all of them come with photos and are not necessarily written in the format of most recipe’s. A lot of the recipes she just writes out in sentences. (I too have been known to do that occasionally in my own website.)
Her T.V. series that goes with the release of her book is airing on one of the BBC channels in the UK, and from what I’ve read some of her audience has been critical of a few of her dishes.

Nigella’s Banana Skin Curry
I like the idea of no food waste in making this recipe. Although this isn’t new to do, she was criticized for adding old banana peels to a curry and making it sound good. This is the future of food. There won’t be enough for everyone to eat so there will be no food waste. It’s actually something our future generations will be struggling with. So, recipes like this are a good idea.
A few years ago on the BBC Food Twitter they had posted how they had deep fried the skins that were peeled from potatoes and found a useful way to eat them without throwing them away. Those kinds of ideas are needed.

Nigella Buttering Toast
Ms. Lawson was also criticized for showing her audience how she butters her toast. One layer of butter when the toast is nice and hot so the butter melts, then topped with another layer of butter. People just didn’t know what to think about that and started saying things like ‘next she’ll be teaching us how to boil water.’
I believe that Nigella is misunderstood at times like these. I think that she just wants to teach her audience how to get the maximum taste out of food, even something as simple as buttering bread.
I myself can give you instructions on how to open a jar lid because sometimes that is a difficult thing to do. For example, if trying to open a jar lid seems impossible then just shake the jar around so that the air isn’t at the top anymore, creating a vacuum. Then try opening it. These are just hints and tips. That’s all. Oh, and do not try that with any sort of carbonated drink btw.
—————————————————————
Although Nigella isn’t very popular over here in the states, she is popular in Europe and Australasia. Although I do believe that pockets of America are familiar with her and enjoy whatever she has to present. My wish would be for her to do something different. Her show is always the same format in the same sort of kitchen. I would love to see her doing something different yet still maintaining the quality that does come from her and her shows. I just don’t know what that different format would be? That is something for her to figure out. She is 60. Not that there is anything in the world wrong with that but you don’t usually tend to grow an audience at 60.
What you do hope to do is to maintain the audience that you have had for years to bring them along on the journey with you. Someone like me. Someone that has been there from the beginning.
I will say that this cookbook is more for a sophisticated audience and not your average American. Not that she should dumb herself down to appeal to the average, but maintain that intelligence and bring your audience up to your level. I believe we need more of that in all areas, not just cook books and cooking shows. Having said that, her vocabulary will leave most people behind and confused.
So, am I enjoying the book? Well, I find parts of it very interesting. Is there anything that I would be interested in cooking? Perhaps the Black Treacle (Molasses) Sausages, the Vegan Gingerbread, (I have a ton of Ginger that I need use up and was thinking about making lots of Gingerbread/Gingerbread cookies/etc. for this year), the Brown Butter Colcannon looks good too. Just to name a few.
Would I recommend the book to an American audience? No, it would be over their heads and most of the food they would not be interested in eating. But, as I said above, there is an audience for everyone whether that audience be 2 million people or 2 hundred people.
I know that I don’t cater my website to the average person. It’s funny but my Indian guys that protect and work on the technical side of my website were trying to give me hints and tips on appealing to more people and one way they wanted me to do that is to not post as many photos when we do recipes. I told them that that is just my way and I don’t want to do it differently. You see, they are under the impression that I am trying to appeal to a large audience and that I want to grow some business, etc. I don’t! Although it would be nice to have reader’s to donate money here and there to help us keep the sight going, that just never happened. (We had to remove the Paypal button on the website because it kept getting hacked but that didn’t matter because no one ever donated money anyway.)
But, if I were to pick up some sponsor of our website the first thing they would probably tell me is to delete all my blogs in order to make my sight less personal and more professional. Deleting all that would be like deleting myself. Because here in America once you take money you lose your voice. You are then beholden to whoever has the money. That is just how it was in my family growing up. My step-father always threw in my face that because he was paying that I had to do what he said. The person who pays is always in charge. I’ve heard that my whole life. Which is why I like my website just as it is. Because I am beholden to no one. And that is how it should be for all of us.
Julie
——————————————————————
September 20, 2020
The Pot Thickens…. LITERALLY!

I couldn’t not post a recipe of ours cooked in a pot that was literally thickening without posting it here……

Thus, The Pot Thickens

This is a delicious Drunken Clam Chowder that Gordon and I created starring some Clam and Corn Fritters with an accent of Fried Clams topped with Bacon.

Clam and Corn Fritters


We created this Drunken Clam Chowder for our Family Guy Halloween post, in honor of The Drunken Clam.

The recipe will be on our Family Guy Halloween post.
But until then, The Pot Thickens…..
————————————————————–
August 2, 2020
SALADS

I love salads!
They are healthy, delicious, beautiful, crunchy, everything that I love about good food.

I love the alien looking Romanesco.

Salads are also very filling to me.
I’m not one of these ‘salad with dinner’ kind of person.
I am a’ Salad FOR Dinner’ kind of person.

I also love eating a variety of lettuce leaves.
The more the merrier.

——————————————————–

Toasting some Pine Nuts….

Adding Hard Boiled Eggs and my favorite Manchego Cheese….


And lots of croutons. My weakness. These are Pumpernickel croutons.


But my biggest weakness is in the creamy salad dressings. Oil and Vinegar just doesn’t cut it for me. Sometimes it does when I am in an herby Italian kind of mood. But most of the time I prefer the richer salad dressings. I discovered this one and now it is a favorite.

My new favorite salad dressing.
I had to get this image online because we ate ours so quickly I never got to photograph the jar.
————————————————————–

Whether in a bowl or a plate, I am so there!
————————————————————-

🙂
————————————————————
Spaghetti and Meatballs

Our Beautiful Basil from our Herb Garden

Fresh Herbs for Dinner


Gordon’s Spaghetti Dinner on the Left, Mine on the Right
Eaten with our new favorite vegetarian meatballs.

I like to share products that we come across and enjoy. We don’t eat red meat but we decided to try these and we love them! Looks like now we can have meatballs with our spaghetti.

My Happy Dinner Plate
——————————————————————–
July 21, 2020

Cheese Stuffed Pepperoncini
I love sharing delicious food products that I come across.
It was before July 4th. and I was looking for pickle/relish foods that we had not tried before when these cheese stuffed pepperoncini popped up on the screen when I was ordering online. That red jar looked delicious so I ordered one. I was so hooked! So was Gordon! So was Brodie! That’s when the next time I did our grocery shopping online I ordered several more. They are excellent to eat with our favorite roasted garlic/Feta Cheese/Italian rustic bread/sundried tomatoes/ etc. A great addition to any time you would eat a pickle. The oil is very hot and but so nice that I would love to fry and egg in that oil, or marinate some Feta Cheese in the oil to be eaten with some great chewy bread.
Our new favorite super-duper delicious food!

They taste great with a sandwich too:

p.s. We love sending food items that we come across to people that we love for Christmas. And sort of introduce them to it. Most people that we know are only interested in food for Christmas. This will make a nice addition. Time to stock up!
————————————————————————
June 26, 2020

The Baconator, A Love Affair
My Baconator, not it’s real name, was purchased by me last year from an old favorite restaurant of mine in Tennessee through the mail. It is a lovely piece of pottery, handmade by artisan’s from the area of Pigeon Forge. I love it and we use it quite often.

The Old Mill Restaurant
Pigeon Forge, Tennessee
The Baconator, and many other pottery and food items can be purchased here. This is one of my most favorite restaurants in the south for good southern cooking. Whenever I go I always order the Corn Chowder with Corn Fritters.

Dollywood
as in Dolly Parton’s, Dollywood
(This is from the mid 90’s when Dollywood wasn’t as grand as it is now and every employee in the park was related to Dolly Parton. I even went to high school in Sevierville with a few Parton’s. It’s a big family.)

Me on the water ride.
We were visiting friends in Sevierville and we went to Dollywood one day.

That is little Veronica and I’m holding little Brodie.
I thought that since I was talking about the pottery and The Old Mill that I would post a few old photos.

I love making bacon in this thing. I just drape the bacon all around it and place it into the microwave. The cooking time depends on your microwave and the thickness of the bacon you are cooking. My pottery also came with no instructions. Typical on the south, we’re just supposed to know these things. Well, I managed and all of us love it!

Potato Skins with Butter, Cheeses, and BACON!
🙂
—————————————————–
June 5, 2020
Bowls and Platters

These Remind me of St. Augustine, Florida

Gordon Brought ALL of These From Overseas
————————————————————
June 2, 2020
“Is There Something Wrong With Your Food?”
Me: “No. It’s Just How I Eat.”
I suppose that I should have named this post ‘The Pot Thickens…. Musing of an Amateur Cook and Eater, but I didn’t so….. I guess I just won’t worry about it then. However, I would like to share with you something that I have heard quite often throughout my life where my eating is concerned. “Is there something wrong with your food?” And my answer is always, “No. It’s just how I eat.”
I am a picky eater. Not so much in what I eat, but how I eat it.
3. Although Mackenzie seemed horrified when she saw me spreading peanut butter on potato chips, it is something I do quite often. Peanut butter is my most favorite food in the entire world and I pretty much put it on many things. Not just potato chips. Although my favorite chip flavor that goes with peanut butter, is barbeque. My mother would buy the largest tub of peanut butter when we were growing up. It had to have been a good 5 pound bucket. We would go through that 5 pound bucket in one week. It was the cheapest brand of peanut butter too. JFG was it’s name. But, it was so cheap because it was real peanut butter and not loaded with sugar like all the other brands were.
4. I only like to eat green bananas. I will choke down a yellow one when I have to because I do get foot and leg cramps if I don’t eat one everyday. But I am a happy camper when I sit down to eat my green banana. (I started this habit in Hawaii. I think because we had a banana tree in our backyard and all the bananas would go ripe at once. All 60 of them! So, I would try and eat as many as I could so that none went to waste so I started feasting on the green ones.)
5. If given the choice of having something perfectly prepared for me to eat, or having it be a little charred, I’ll choose the charred one any day of the week. You know, just like Mom used to make.
6. I will NOT eat a runny egg! Because they are gross. When Gordon cooks me eggs if there is the least bit of “creamy” to them then I won’t eat them. I also boil my eggs when making deviled eggs until they are powder. Perfectly delicious powder. 🙂
7. I don’t eat red meat.
8. I mainly eat with a fork because I prefer to slide food into my mouth. I hate using a spoon unless it is for soup. I just don’t like the thought of inserting that spoon into my mouth and grasping it. When I do use a spoon it’s mainly just to pour soup in my mouth and not embrace it the way so many people do.
9. I tend to eat Top Ramen noodle soup uncooked. We picked up that habit in Hawaii. When the local children need a snack their mother’s will just give them one of the noodle packets and they eat it while they play outside. So do I. 🙂
10. Whenever we make mashed potatoes I always make sure we have green peas with them because I love it when they touch and I get peas stuck in my potatoes. But not too many peas. I prefer a ratio of 3/4 potatoes and 1/4 peas. That’s important.
11. I use two coffee mugs every morning. I will not drink my two cups of coffee out of the same mug in the mornings. I prefer a fresh mug.
12. Soda just tastes better when you drink it out of plastic as opposed to glass. Therefore, I won’t drink a soda if I don’t have a plastic glass to drink it out of.
13. I wash my hands about 100 times a day which is why I rarely get sick. (However during a highly contagious pandemic I don’t have as much control over my health right now as I would like.)
14. I only like melted chocolate or creamy chocolate. I don’t like hard chocolate and will pass a hard chocolate bar up in a second.
15. Gordon “alleges” that I am like a roach when eating fried chicken. I just pick all around the outside of it and leave the inside alone.
16. I only drink red wine and I only drink it with a straw. Me, Brodie and Mackenzie do that. That way our teeth stay white and not stained. And I only drink wine from a wine glass. Brodie and Mackenzie aren’t as picky as me. Gordon doesn’t drink much wine. He tends to stick to beer.
17. I LOVE Captain Crunch’s Peanut Butter Cereal and have since I first tasted it when I was about 9.
18. I LOVE SPAM!!!!!! (FRIED, OF COURSE)!
19. I have a love/hate relationship with mayonnaise. I rarely put it on a sandwich because to me it’s gross. But, I do put it in my Deviled Eggs, Potato Salads, Macaroni Salads, etc. (It’s because when we were young my step-brother knew mayonnaise grossed me out so he would put it on a knife and lick it off as if he were some mercenary out in the jungle and had just killed an enemy, then licking their blood off the knife.) So you see, I have no choice but to hate it! He also used to mix Mayonnaise with Peanut Butter. Thank God he didn’t ruin peanut butter for me!
20. I hate cracklin’. My step-father grew up poor in Texas and they would put cracklin’ in cornbread so he would have my mother do it occasionally. And when they did I would not eat it. I don’t like gnawing on food, much less a piece of fat.
21. I LOVE SALTINE CRACKERS!!!
22. If I get hungry during the day but I don’t want to really eat something big then I will eat a fork full of peanut butter and that will satisfy my appetite until dinner.
23. I also chew funny. I found out last year from my dentist that my mouth is deformed. That actually explains a lot. I’ve always had dentists to get frustrated with me when they wanted me to bite down so they could try and fit a crown, or take x-rays, only to get upset with me because things didn’t line up like they should. Therefore they blamed me for not doing it right. Finally, I found a dentist that realized the problem and now works with me instead of against me when these things come up.
Well, I guess this is all for now. If I think of something else I will list it here. If you are just as weird as I am then obviously you are not alone. 🙂
Julie
———————————————————–
June 1, 2020
Make Ahead To Freeze

When the Coronavirus Pandemic was heading our way and we were entering into a lockdown as a society I worried about what would happen to our food supply. Will there be enough eggs? Milk? Butter? Meats?

It was at that time that I started baking for breakfast!
I just felt that I needed to make ahead breakfast foods to freeze for a later date. Little quiche’s. Perhaps with some sausage, spinach and cheeses. So, I did! I’m still keeping them frozen, for now.
———————————————————
MAY 31, 2020
Brodie’s Foods

Our Son Brodie, The Amateur Cook

Brodie Recreating and Even Exceeding Gordon’s Teriyaki Chicken Recipe


Brodie Making Gordon’s Hawaiian Potatoes
—————————————————-

Brodie and his Girlfriend Mackenzie Recreated This Ultimate Tots Recipe From one of their Favorite Restaurants.

Brodie and Mackenzie’s Fried Steak
————————————————

Brodie Making Carbonara


This is probably his most favorite food he likes to eat and cook.


This was so delicious!
———————————————————-

Mackenzie and Brodie Recreating a Favorite Pasta Salad Recipe

Brodie in the Kitchen and Me in the Background on my Computer

Brodie Did an Excellent Job on This Pasta Salad

——————————————————-

OMG! THE Best Banana Pancakes!
————————————————

And Lastly, Brodie and Mackenzie’s Italian Chicken
These are but a few of their many delicious recipes!
The reason that I am posting these delicious foods that my son and his girlfriend are making, is because they are so very talented and creative where food is concerned. Their foods are delicious! But, It really is up to them to write down all these recipes. I have enough to do with all that Gordon and I have going on.
But what I wanted to point out to you is that Brodie can watch a video on Youtube on how to cook something and then he can cook it in the exact same way as the chef in the video, Brodie can also expand on that recipe making it into something better, and Brodie can make it look good all at the same time.
Mackenzie has also really grown creatively and the two of them make such a great team. Just like Gordon and I complement each other in our creativity.
These two really do have a food future. I hope they expand on it and do something with it. Perhaps some day I will write down their recipes. But in the meantime, I’ve got plenty to do as it is.
I do love that Brodie seems to understand the importance of carrying on our recipes.
——————————————————-

Chopsticks Mandatory


Fried Noodles

Cascade of Noodles

Click Here For: Whann Way Aloha

Just scroll down this post until you come to our noodle recipe. It really is good and you can add whatever you like to it. It is up to your own personal tastes. That’s how all recipe’s should be.
———————————————–
May 30, 2020
My Expired Casserole
Last May, 2019, I was going through our food pantry to try and clean it out and get rid of some expired foods. BTW: They didn’t used to put expiration dates on food. Maybe they did for dairy and butcher products, but not for anything else. It was more of a judgement call by the cooks preparing the foods.
So, as I was tossing all these food products into the trash and looking at all that money we spent on food being thrown away and wasted, I decided to try and cook with some of them just to see. After all, how does anyone know the exact date that the food product is no good? Do they consult a crystal ball?
I had some leftover rotisserie chicken and some steamed broccoli so I decided to throw together a casserole using some of my expired foods. Not anything that had been expired for longer than a few days and even a few months.

Although you cannot see in the photo above, I cooked a box of Stove Top Stuffing and then when it was done I placed it in the bottom of the greased casserole dish above. I then tore my leftover Rotisserie Chicken into pieces and placed on top of the stuffing mixture. I then placed the broccoli flowerettes on top of the chicken. In the meantime, I cooked up two expired Pasta Dinner’s in cheese sauce and when done I poured them over the top of my casserole.

It Looks Good, Huh?
I baked the casserole for about 25 minutes in a 350F oven.
Then I sprinkled some expired Durkee Onions over top and placed the casserole back into the oven for an additional 5 minutes just to brown the topping.

It was actually quite delicious!
Perhaps we should just use our own judgement when it comes to the foods in our pantry and when it’s time to throw them out and not just rely on some dated stamp.
(P.S. In this era of Covid 19 I’m not so sure we should be throwing food out willy nilly. No one knows when they may lose their job and thus their income. Perhaps eating something expired is better than eating nothing at all.)
——————————————————–
Because I believe my computer spy’s on me……
I heard my son tossing items into the trash can from the pantry and I immediately asked, “Whadyah doing?” He replied, “It’s expired.” I then asked, “What’s expired?” Brodie: “These cans of soup.” Me: “Put them back.” Brodie: “But they are expired!” Me: “Put them back anyway.”
The very next day this article pops up on my computer for me to read.
THE FOOD EXPIRATION DATES YOU SHOULD ACTUALLY FOLLOW
https://www.nytimes.com/article/expiration-dates-coronavirus.html?utm_source=pocket-newtab
Don’t tell me someone’s not listening!
Just think twice before you start throwing food away. Especially in this climate. I don’t want anyone to be hungry.
Julie
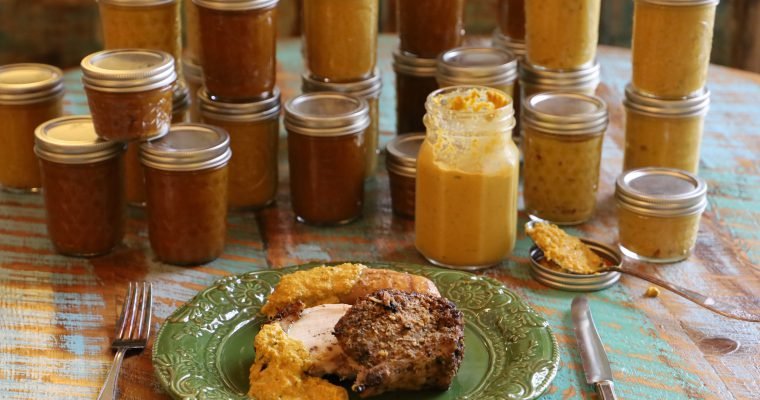
Welcome to Pork, Sausage and Mustard From the Kitchen of……. Gordon and Julie Today, we will be making MUSTARD, and lots of it! At this writing we are in the middle of a pandemic, the Coronavirus/Covid 19. Gordon and I decided …
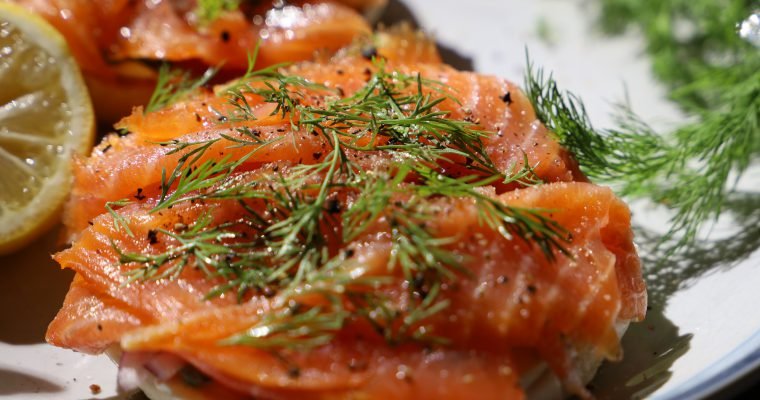
Good Morning Welcome to Breakfast with Brodie and Mackenzie We have a few menu items you might enjoy. ———————————————————- Bagel and Lox Ingredients: One Bagel (I use the Everything or Egg style bagels.) Smoked Salmon (I use Fresh Market’s Nova …


Onion Soup Topped with Toasted Bread and Melted Crusty Cheese
(Pork Tenderloins and Grilled Asparagus compliments of Gordon.
Recipe write up at the bottom of this post.)


We would like to introduce to you our son Brodie and his girlfriend Mackenzie.
They are the new cooking dynamic duo in our family that have discovered the joys of cooking and trying new foods while discovering the talents and creativity that they never knew existed inside of them. They have certainly been a ‘shot in the arm’ for Gordon and myself as their foods differ from ours and they are becoming something of an inspiration to us as they like to try and recreate some of their favorite foods they eat in restaurants, as well as to create new dishes on their own.
Of course Brodie having grown up with a culinary father has been something of an inspiration to him. And as his mother I do have to brag that Brodie’s Teriyaki Chicken has surpassed Gordon’s in taste and texture. But isn’t that the mark of a great teacher when the student goes on to surpass you? But shh… let’s not tell Gordon quite yet. 🙂
And Mackenzie is quite creative on her own. She has just discovered by taste, the ingredients needed in a recent recipe she and Brodie were working on from a restaurant they would frequent.
This post represents their debut as a cooking couple.
We are very happy to have them join our website and we hope that you will give their recipes a try.
See you in the Kitchen,
Julie and Gordon
—————————————————————–
Here they recreated an Onion Soup.
They have also started a new blog post on breakfasts, something they are quite good at. If you would like to take a look….
Click Here For: Breakfast with Brodie and Mackenzie

——————————————————-
ONION SOUP

The Smell is Magnificent!

These Ramekin’s are Perfect for the Soup
(Gordon and Brodie had actually gone out shopping at a thrift store that morning and found them for this food project.)

The Broiled Sourdough

Right Out of the Oven
————————————————————–
Ingredients:
1 Red Onion, sliced
1 Vidalia Onion, sliced
1 White Onion, sliced
6 Shallots, sliced
Purple Pearl Onions, about 12 in a package, sliced
Cipollini Onions, package count was 9, sliced
Butter/Margarine, 1 stick
Beef Stock, 8 Cups
Olive Oil (about 4 T.)
Fresh Thyme, a few sprigs
Bay Leaves, 2-3
Salt
———————————————-
1 Cup Port Wine
1 Cup Madeira Wine
1 Cup Sherry Wine
BREAD, any of your choice.
————————————————————

Slicing the Onions and Adding them to a Large Bowl.

———————————————————-


Mackenzie and Brodie Chopping, and Cooking Down the Onions
After slicing the Red, Vidalia and White Onions, they added them to this cast iron pot. But first they placed about 4 T. of Butter and 2 glugs of Olive Oil on a Medium Heat.
—————————————————————

Shallots to be Chopped

Sliced Shallots Added to a Pot with some Butter (1-2 T.) and Olive Oil to Soften on Medium Heat in a separate pot.

Pour the original pot of cooked down onions into a colander in order to drain the liquid from the pot.


The extra liquid that is removed will be reserved for later use. Now the onions need to caramelize in the pot to create the brown color. You will be adding the onion juice later to the soup. Try a spoonful or two as the juice is quite tasty. Continue to cook down/caramelize the onions to the doneness your prefer, which will give them even more great flavor.

When browned to your liking, add One Cup Port, and One Cup Madeira and One Cup Sherry to the original pot of onions.

Reduce by half for around 2 hours and add the Cippolini and Pearls Onions about an hour into reducing.

Cipollini and Purple Pearl Onions

Test your knife skills by slicing all the onions evenly. The varied onion within this recipe, give the soup a well balanced and rounded flavor.


Adding your sliced Cipollini and Purple Pearl Onions to the main pot of onions and then add the Beef Broth, about 8 cups which is 2, 32 ounce containers.

—————————————————————-

Stir the soup well and continue to cook over high heat to slightly tenderize the Cipollini and Purple Pearl Onions. The varying textures of the onions will give the soup a little bite.

Add a little Thyme, Bay Leaves, and Salt, and bring it all to a boil, then reduce the heat and let it simmer for 10 min.
————————————————————

To make the crostini, coat the crostini slices lightly in butter and toast in a cast iron skillet over low to medium heat. Make them nice and crispy.
Ladle the soup into a bowl or a crock as shown, which is ideal for French Onion Soup.
—————————————————–
Place the Crostini slices directly on top of the Soup.

————————————————————–


Mackenzie, Hand grated Gruyere,
and some Manchego.

Pile It ON!

Melt the cheese using the broiler until the cheese browns and forms a crust.

Be careful it’s piping hot!

———————————————————-


On the left are three previously three inch thick marinated pork tenderloins which were grilled using the following simple steps. Light your grill and place three burners on high for ~five minutes. Remove the tenderloins from their packages, turn the grill down to medium and place on the grill, one on top of each burner. After five minutes of grilling, turn the tenderloin onto it’s opposite side and grill for another five minutes. Once that five minutes has passed, turn the tenderloin over to a third side previously not grilled. When completed, move all three tenderloins to a part of the grill which has no heat underneath it, place it down on a side not yet grilled. If needed, turn off one of the burners to provide room for all three tenderloins. Let them sit without flame underneath them for yes, another five min. Now, when done, remove the tenderloins and let them rest for at least 10-15 min. to allow the juices to return to the center of the meat, creating a juicy cut of meat.
On the right are our grilled asparagus. This is easily done by first placing a cooling rack on the grill so as not to allow the asparagus from falling through. It is difficult to see in the photo above but it is a black rack placed on the grill and then the asparagus is placed on top of it.
To prepare the asparagus for the grill, place them on a sheet pan, then douse with a good helping of olive oil and a good sprinkling of lemon pepper. Mix all the ingredients around well then place and your pre-heated medium high grill. Grill the asparagus for ~ eight minutes, then turn over and grill for another eight minutes.
NOTE: Due to the size and thickness of the asparagus some may need to be removed sooner, or cooked longer than others.
Remove and eat!


A Perfect Accompaniment to Brodie and Mackenzie’s Onion Soup
———————————————————


Spooky and Sparky
(Waiting for scraps to fall off the table and making our lives a little better.) 🙂

Black and White Pearls Our Very Elegant Pickled Pearl Onions and Balsamic Pearls How About An Elegant Edible Gift? Welcome to The Recipe, Gordon and Julie ——————————————————————- Be Sure To Also Check Out Our: Pickled Purple Pearls Also Check Out Our: …