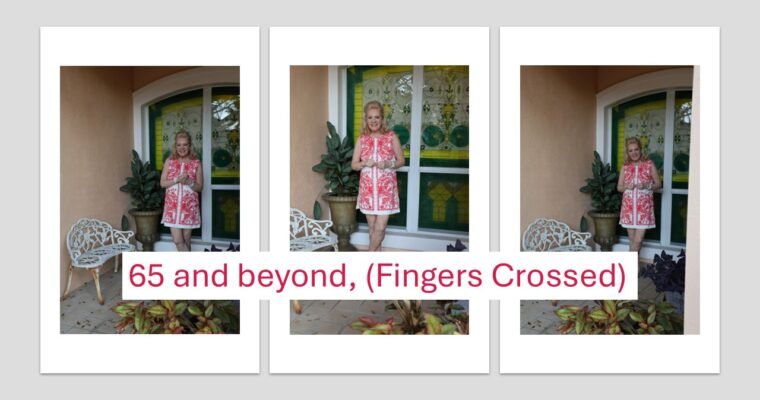
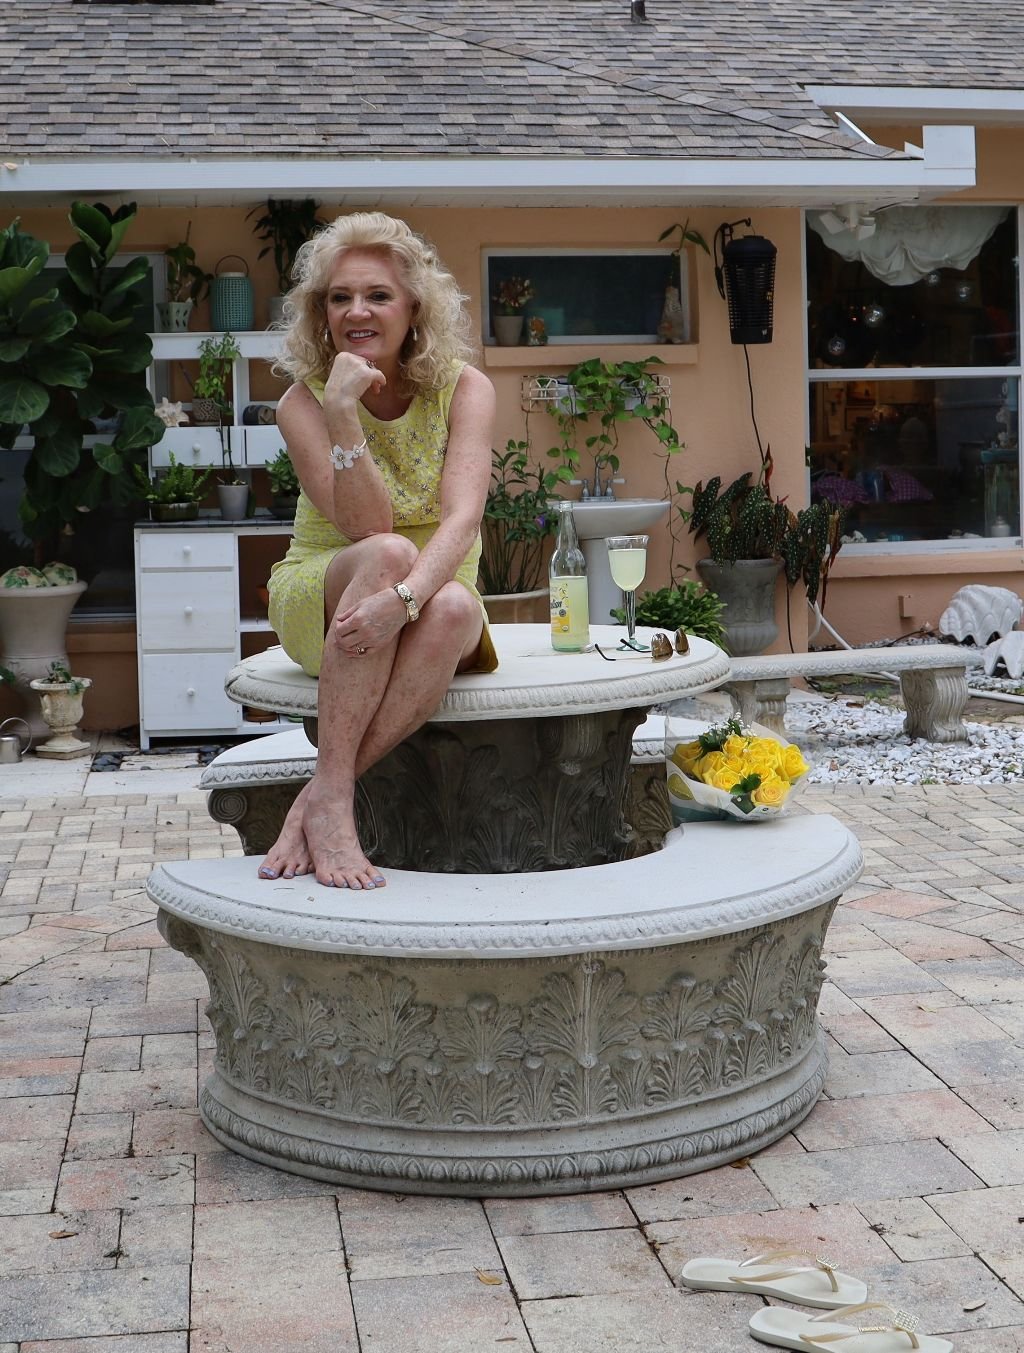
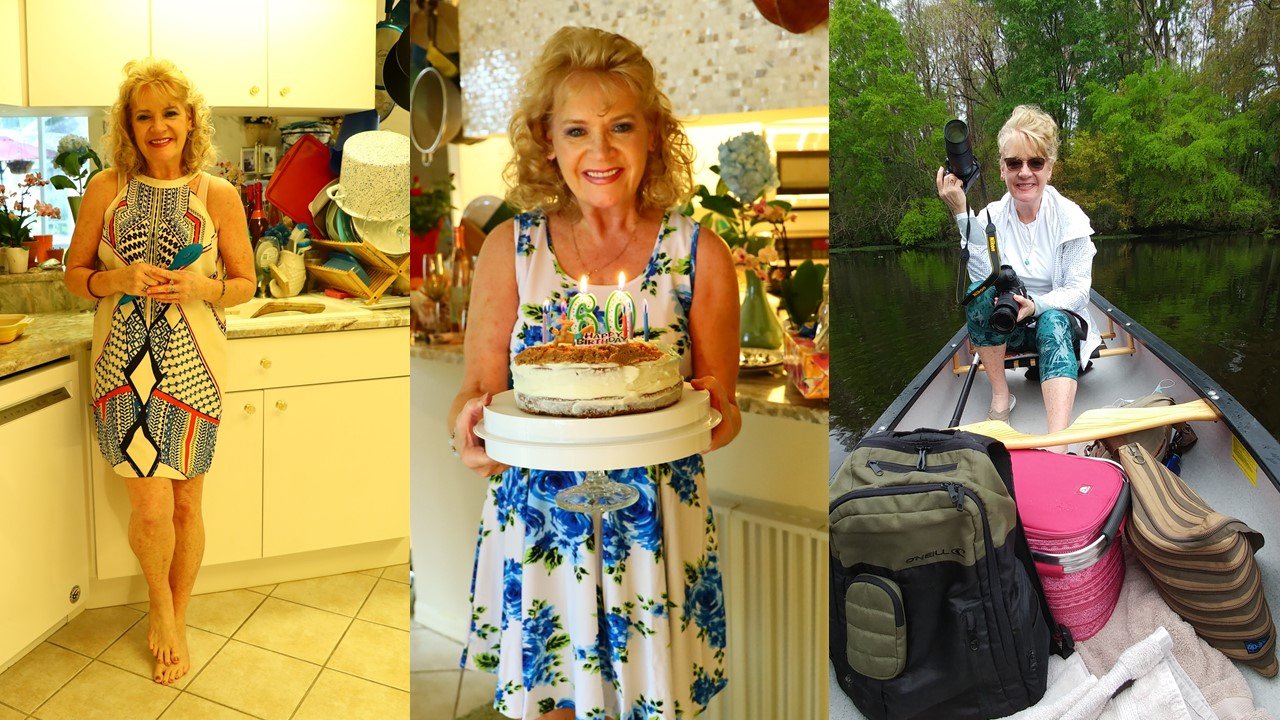
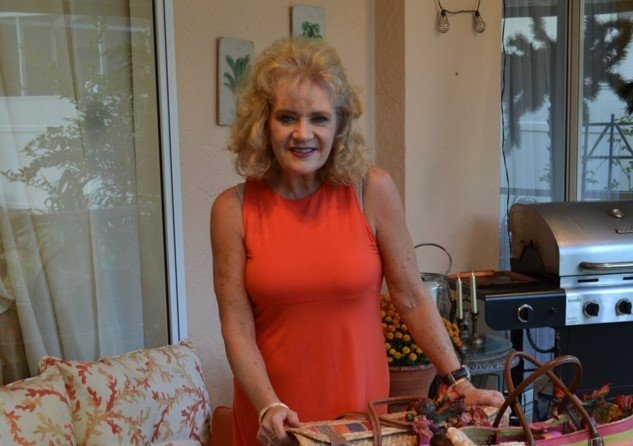
Welcome to My Sixty’s
Currently Aging to Perfection
(Or Rotting and Disintegrating? But I swear this to you, as long as there are moisturizers and Loreal Superior Performance Medium Blonde, I will always be here for you.) 🙂
When I look at myself in the mirror, I see that this is what I am supposed to look like. My entire life has been leading up to this. Being born, growing up, adolescence, adulthood, middle age, and now my senior years. I have arrived! Now it’s time to put all the pain of growing up and maturing behind me and just enjoy what time I have left. I am hoping that this is MY time. My time to shine!
Julie Lancaster-Whann
———————————————————-
I turned 60 on February 13, 2021

60!


Happy 60th. Birthday to ME!
————————————————————-
It is very easy to look in the mirror and see all the growing pains. The scars of growing up. My C-Section scar from where they removed my daughter when she was born. The scars on my knees of every bicycle/skate board accident that I ever had when I would fall down and scar my knees bloody. Every brown spot on my body from growing up in the sun whether it be in Georgia in my youth, or Florida and Hawaii in my adulthood.
Just like in an autopsy, everything on my body tells the story of my life. I wear every scar as a badge of honor that tells my story.
I have no desire to erase the history of my life by having some face lift, or laser treatment to remove my sun spots that represent every fun day I ever had in the sun. As long as they aren’t skin cancer then I am o.k. with them. They aren’t beautiful but they represent my story. And my story isn’t always very beautiful either.
I have no earthly idea what to expect from my sixty’s? Will they be nifty? Sensational? Or will I just be surviving them? I have no idea! But, I will find out, won’t I?
I will do my best to make them the best years of my life.
Julie Lancaster-Whann
—————————————————————–


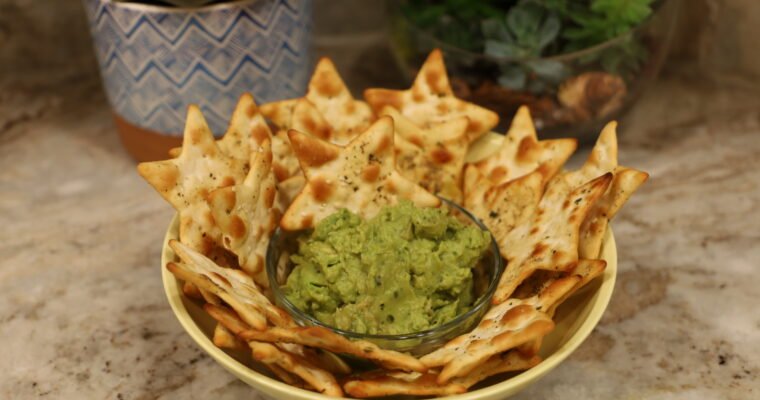
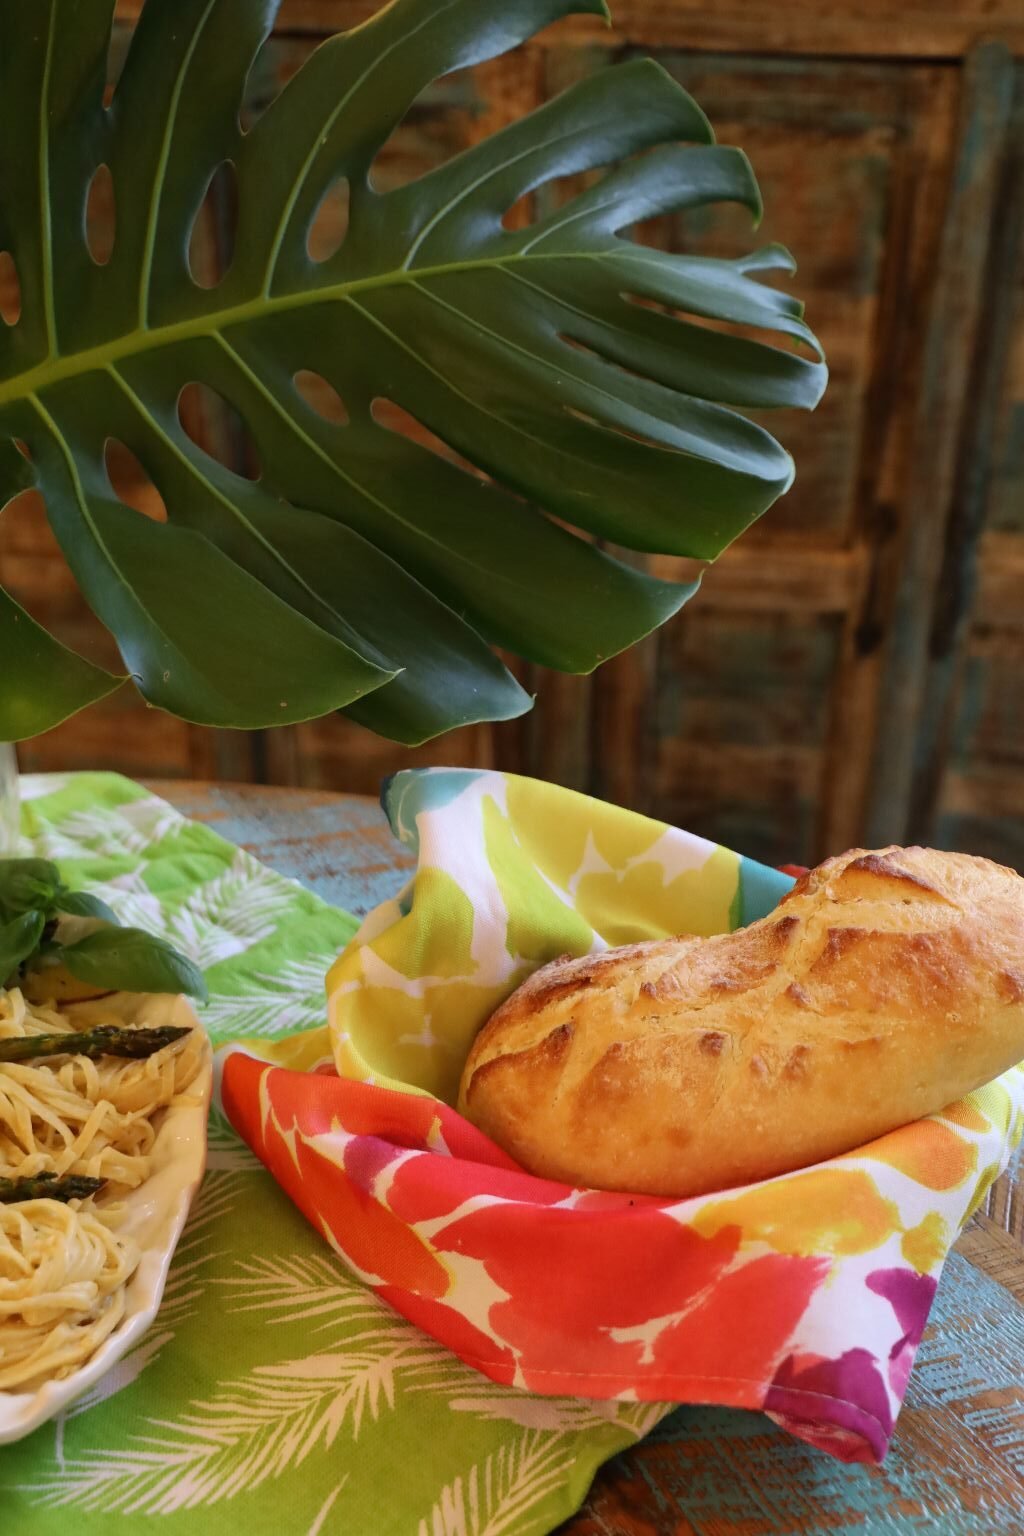
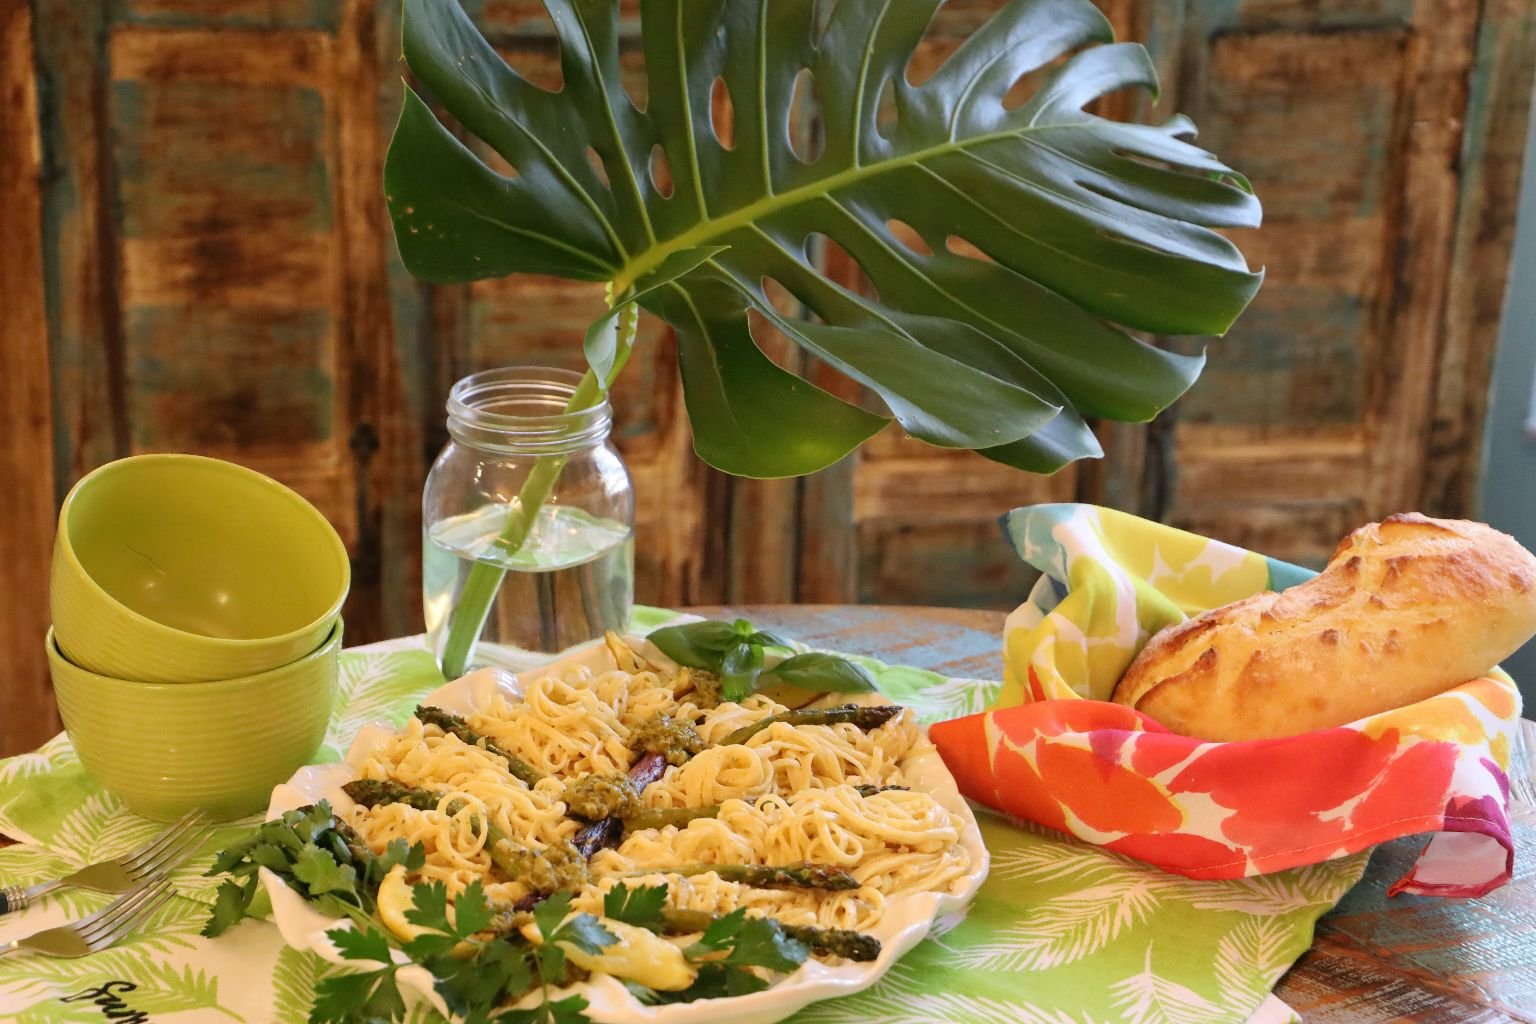
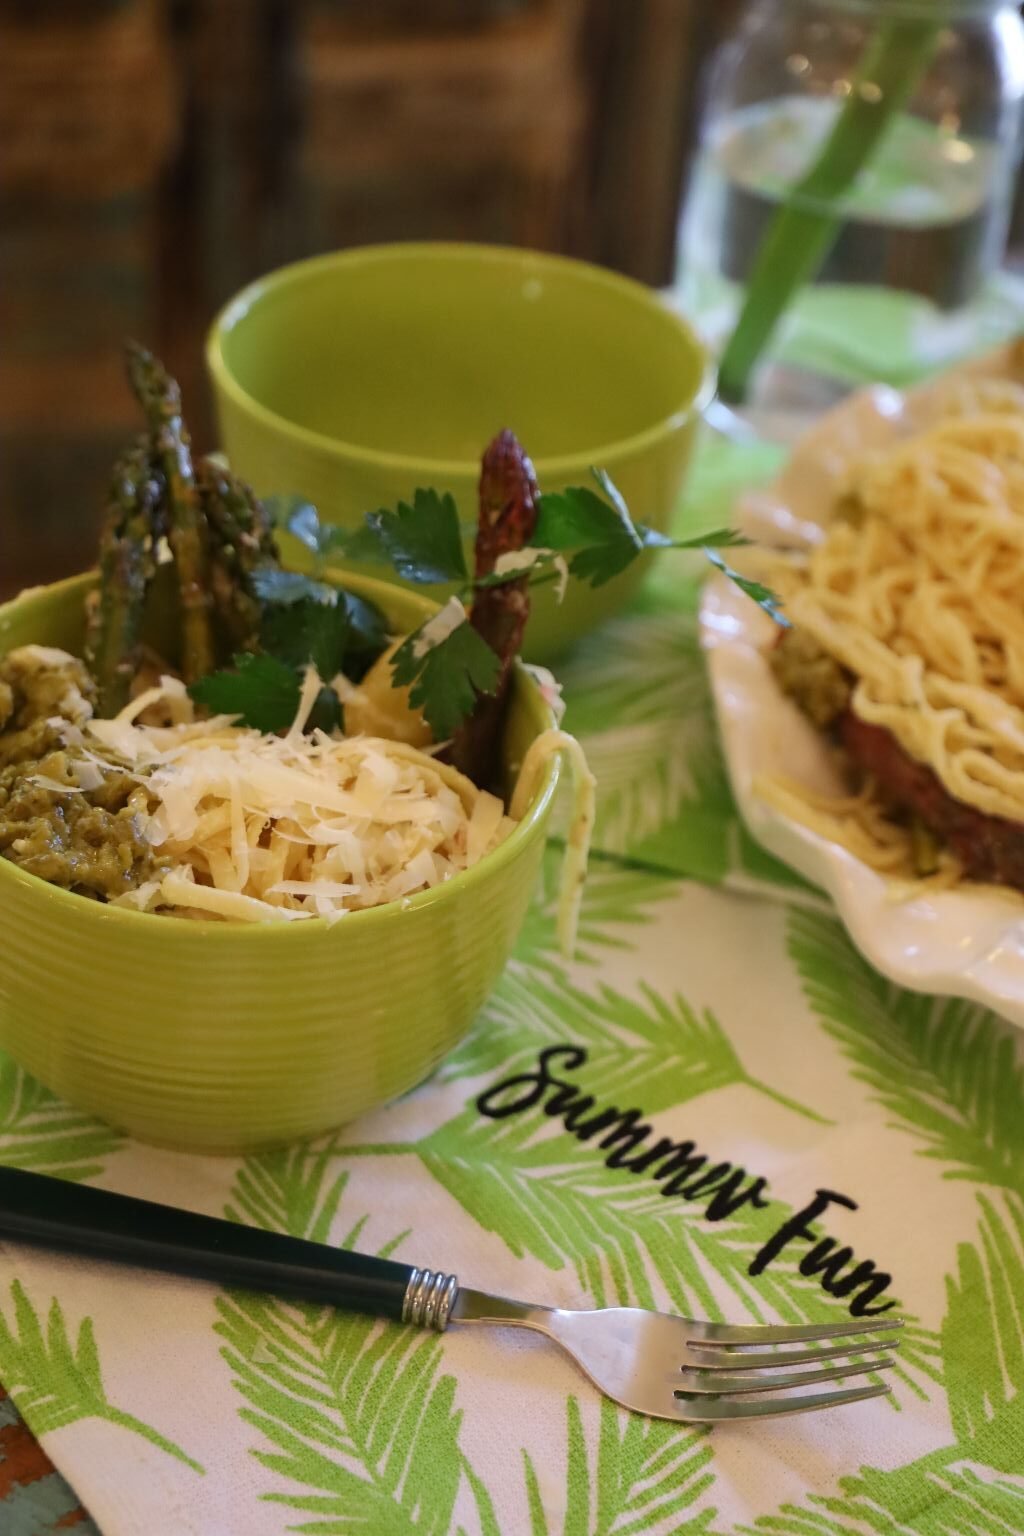
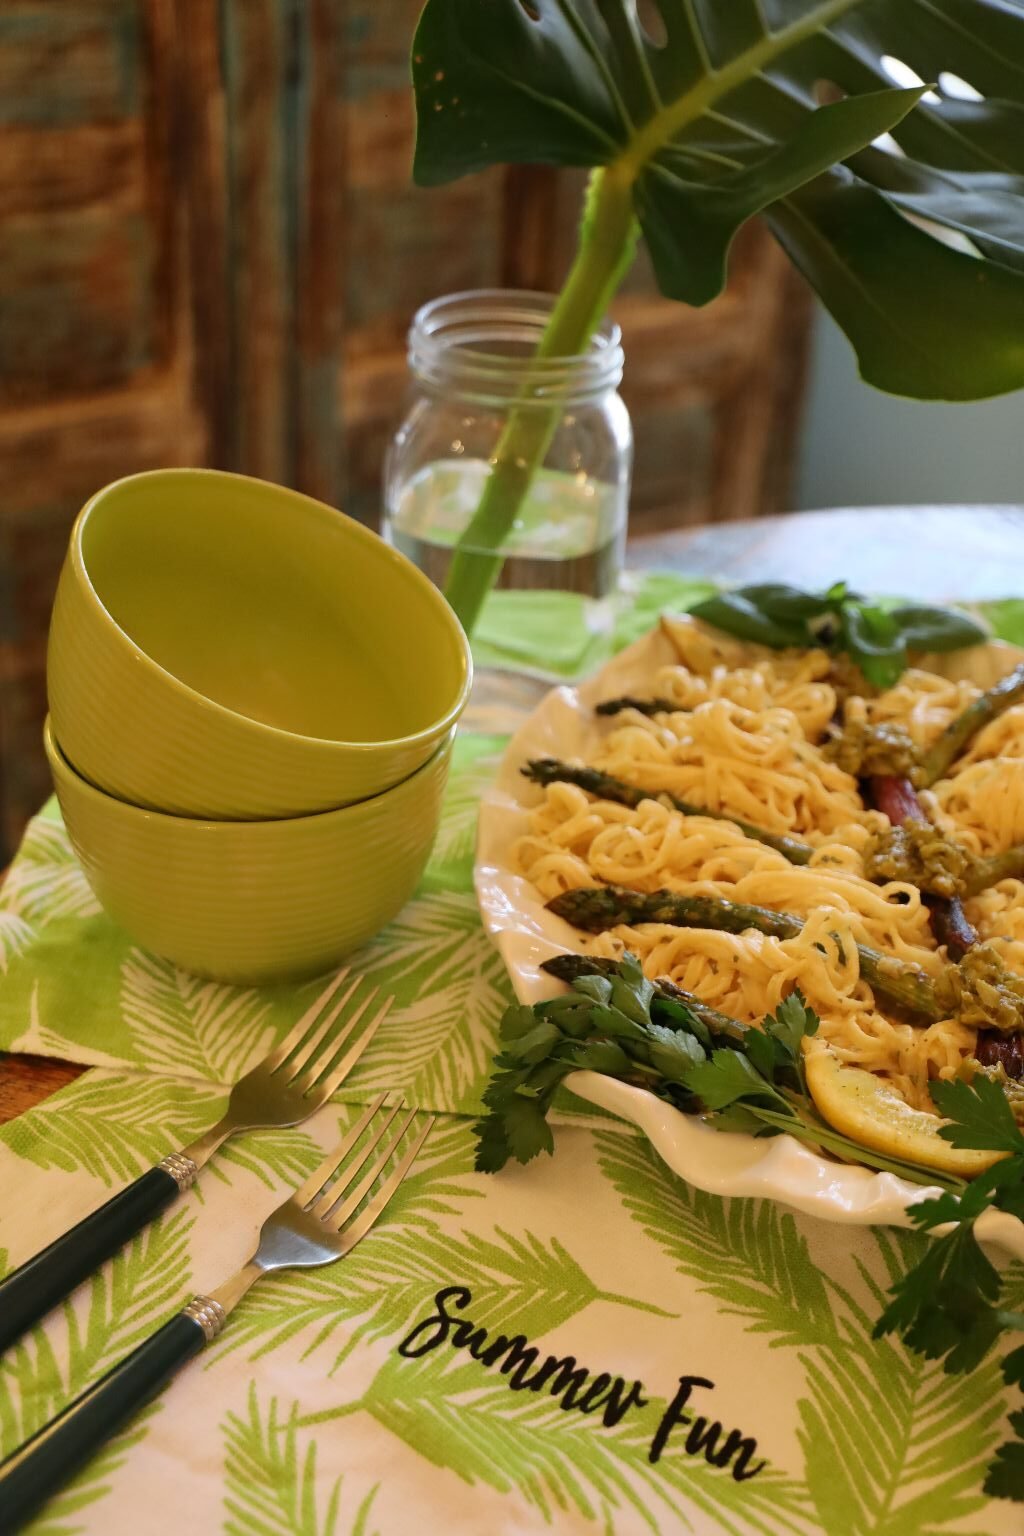
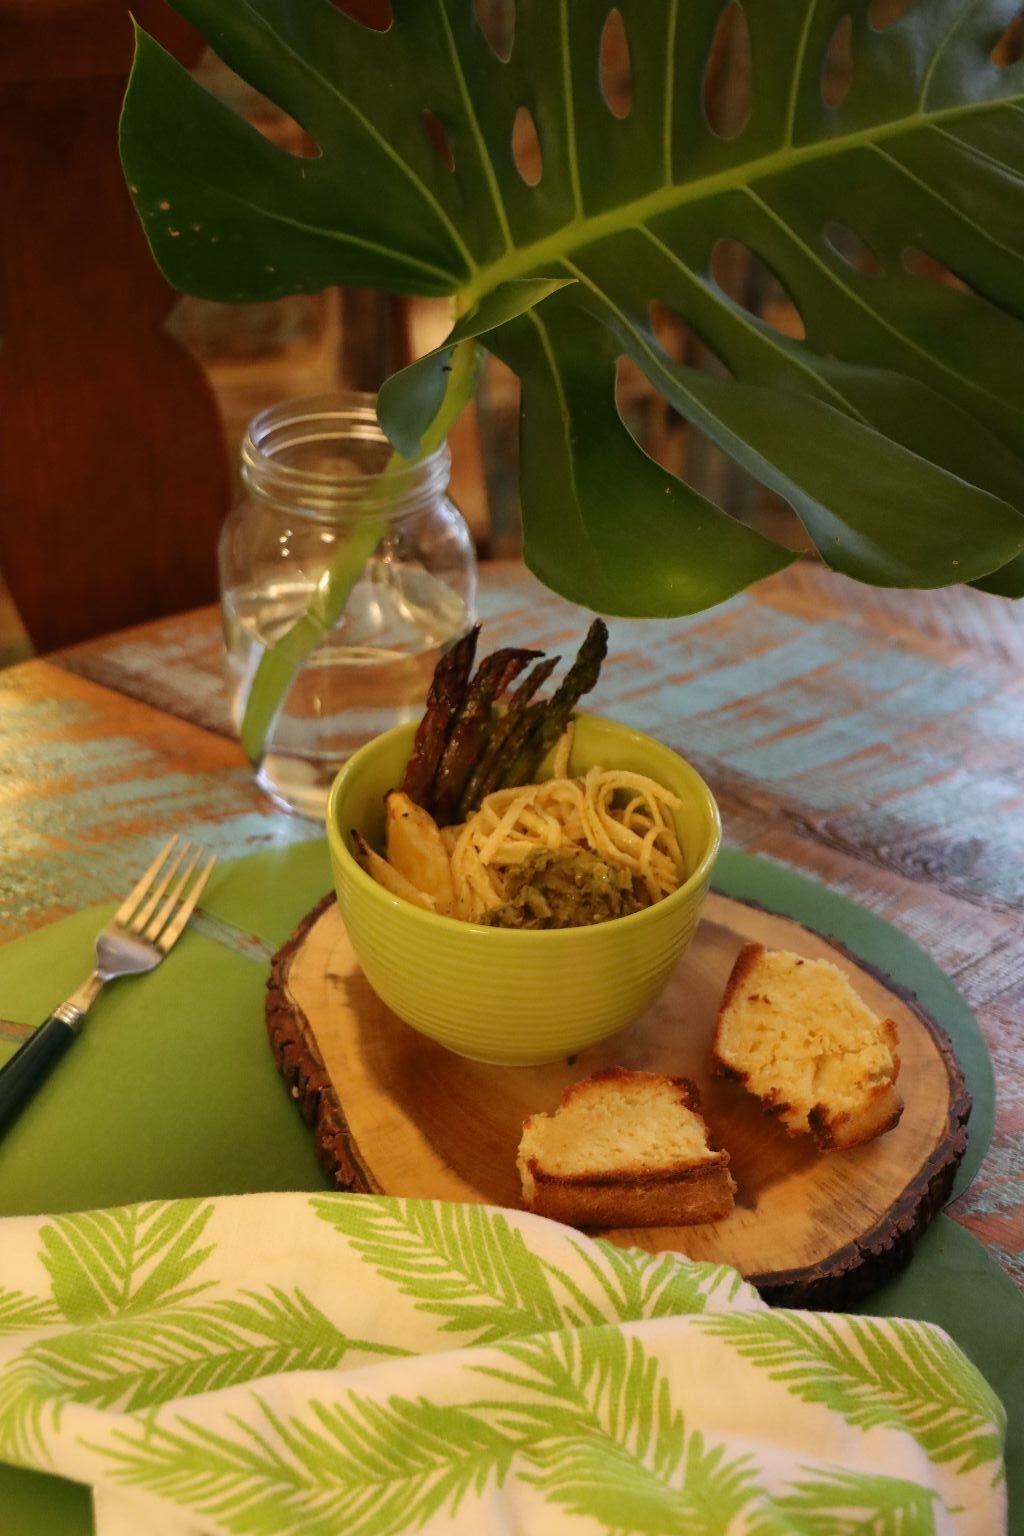
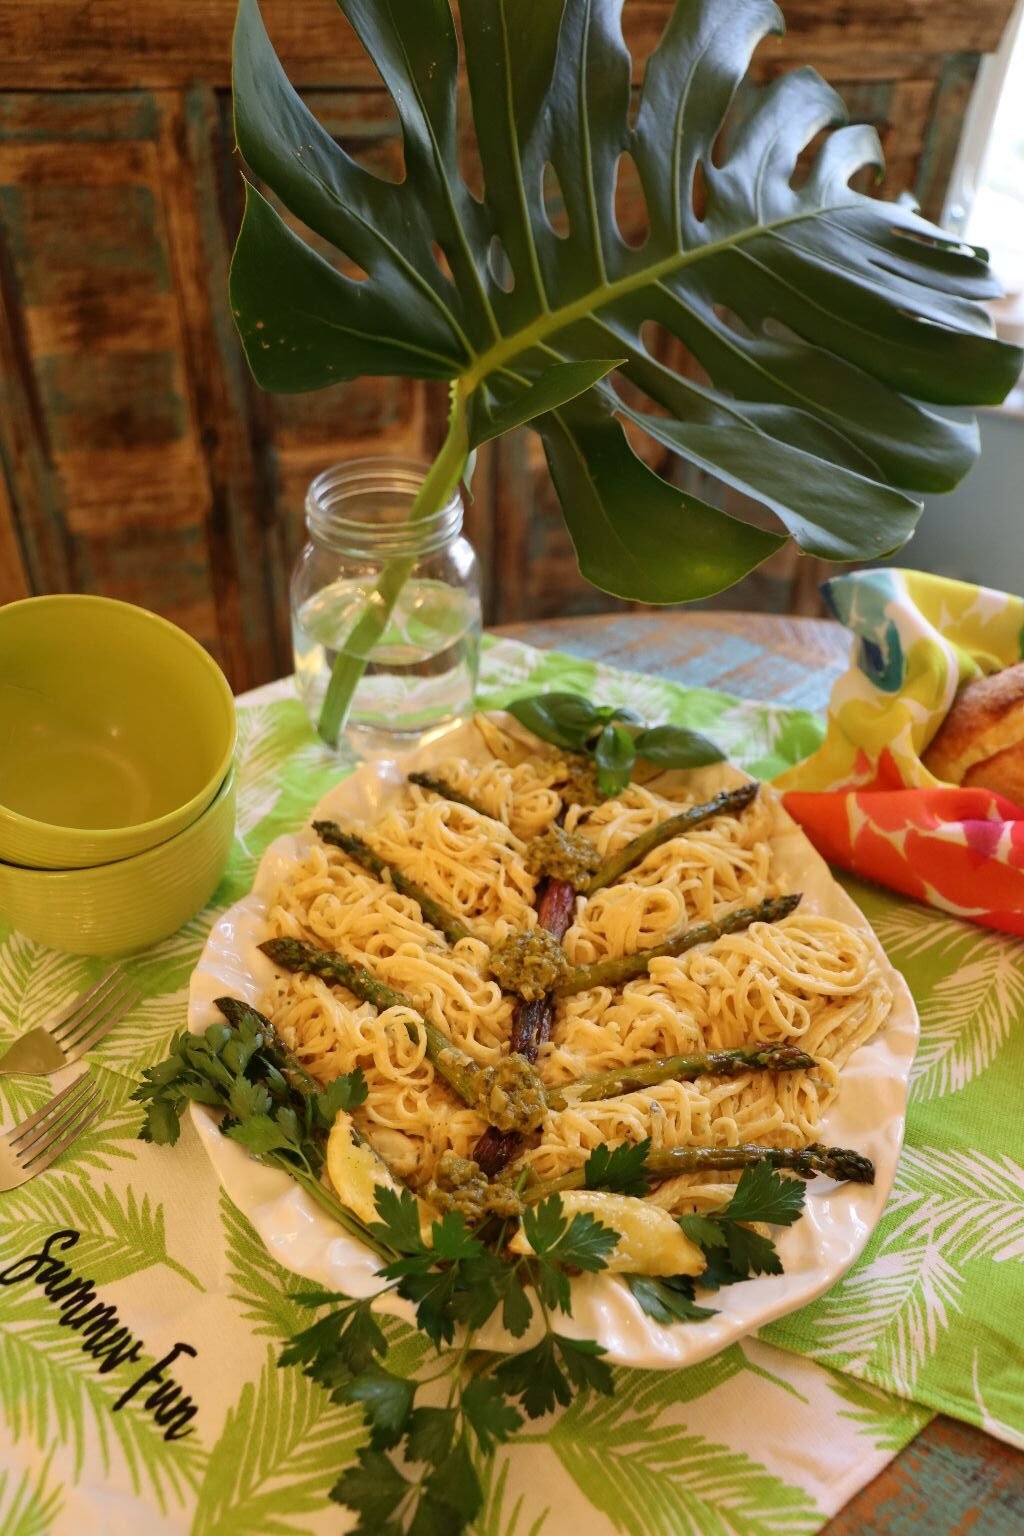
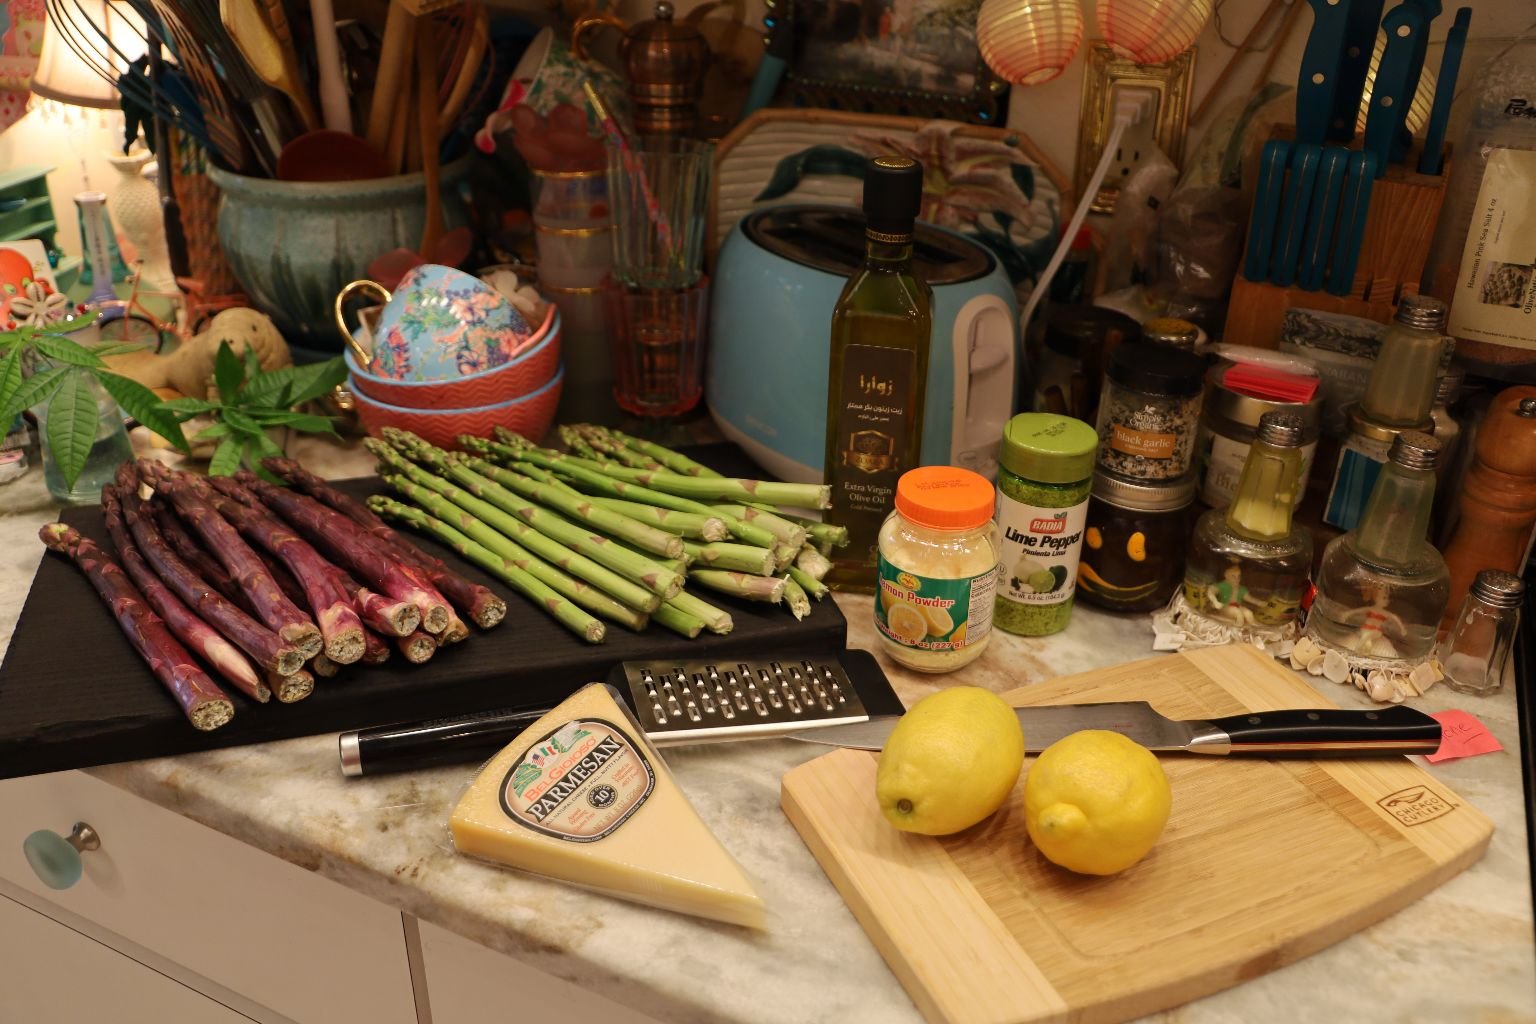
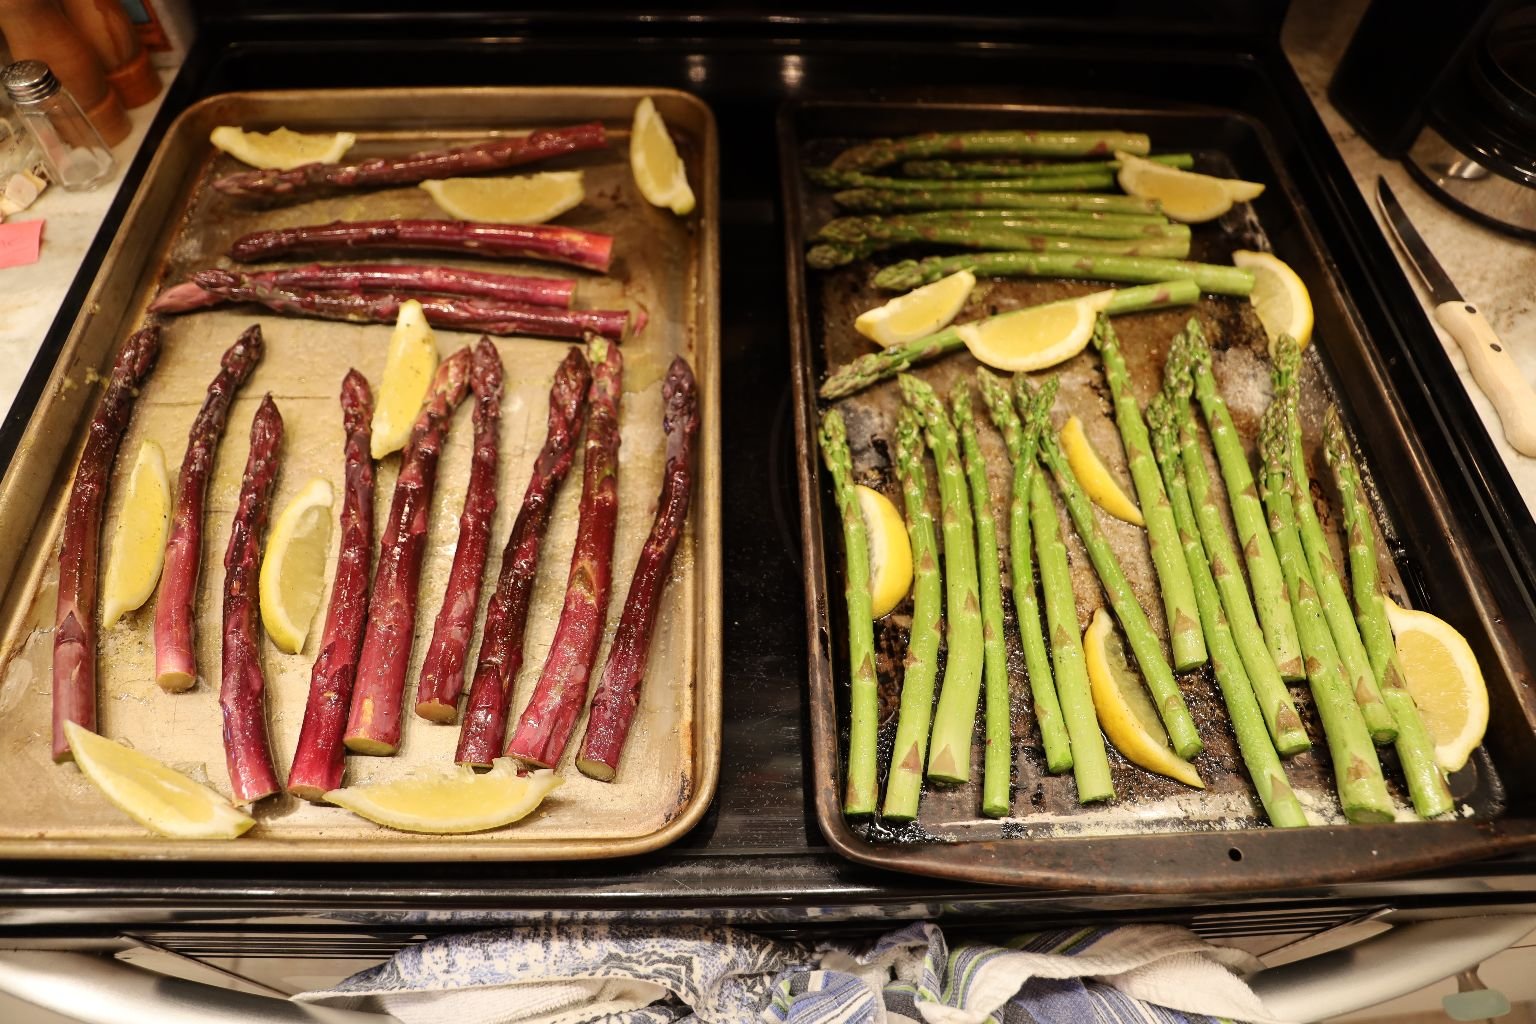
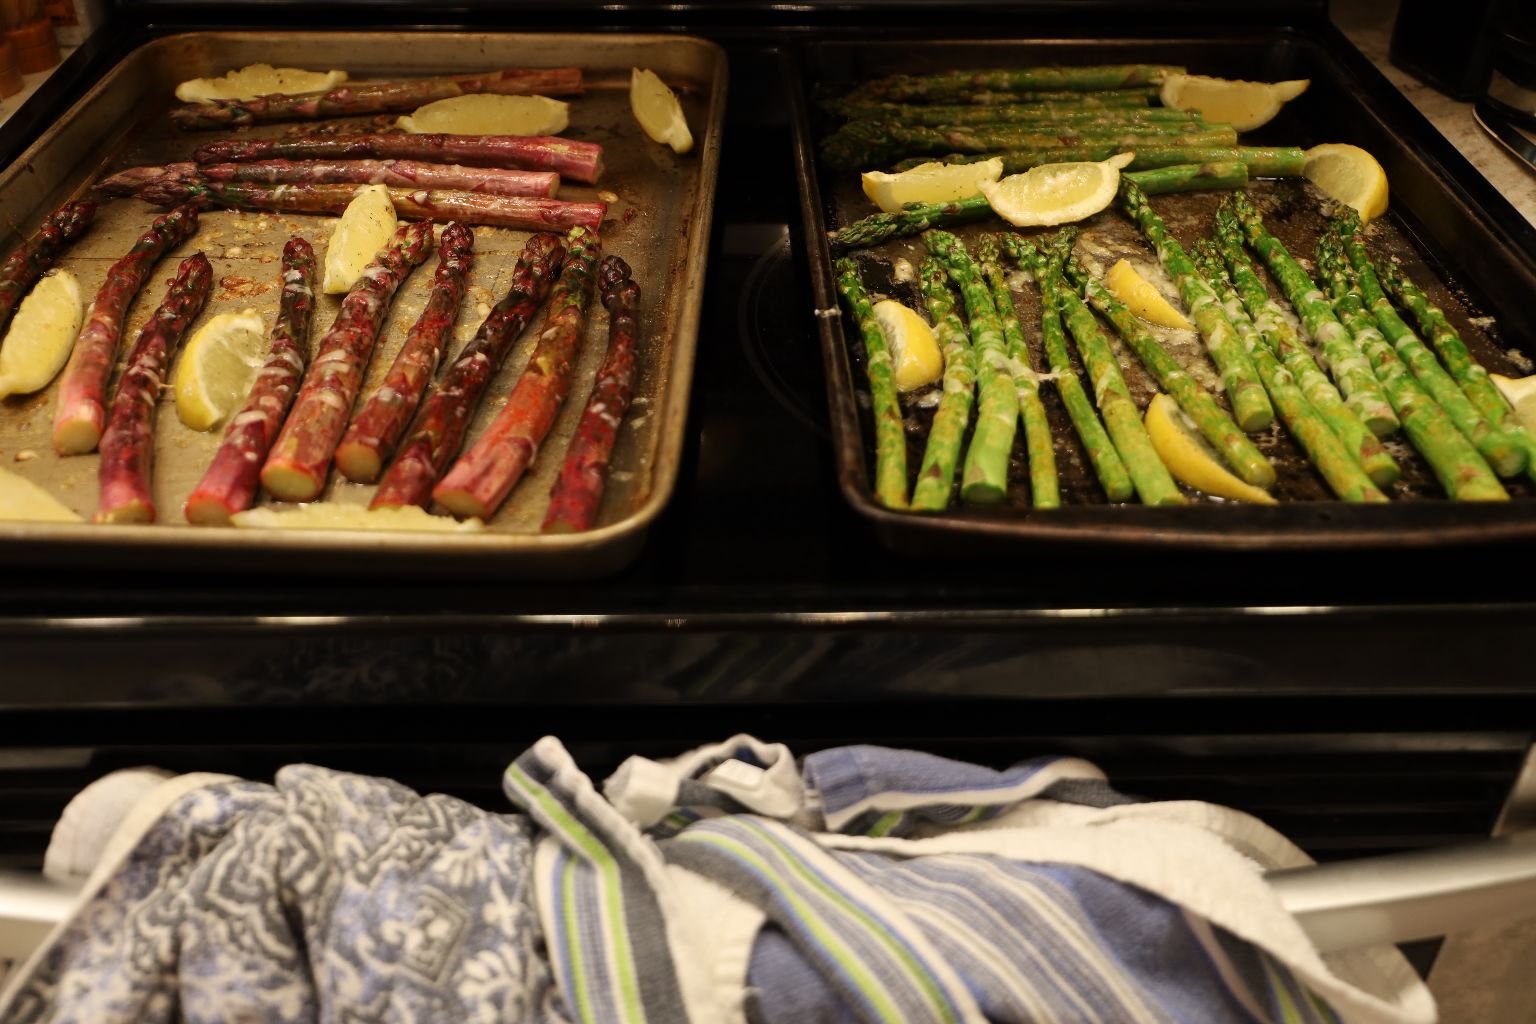
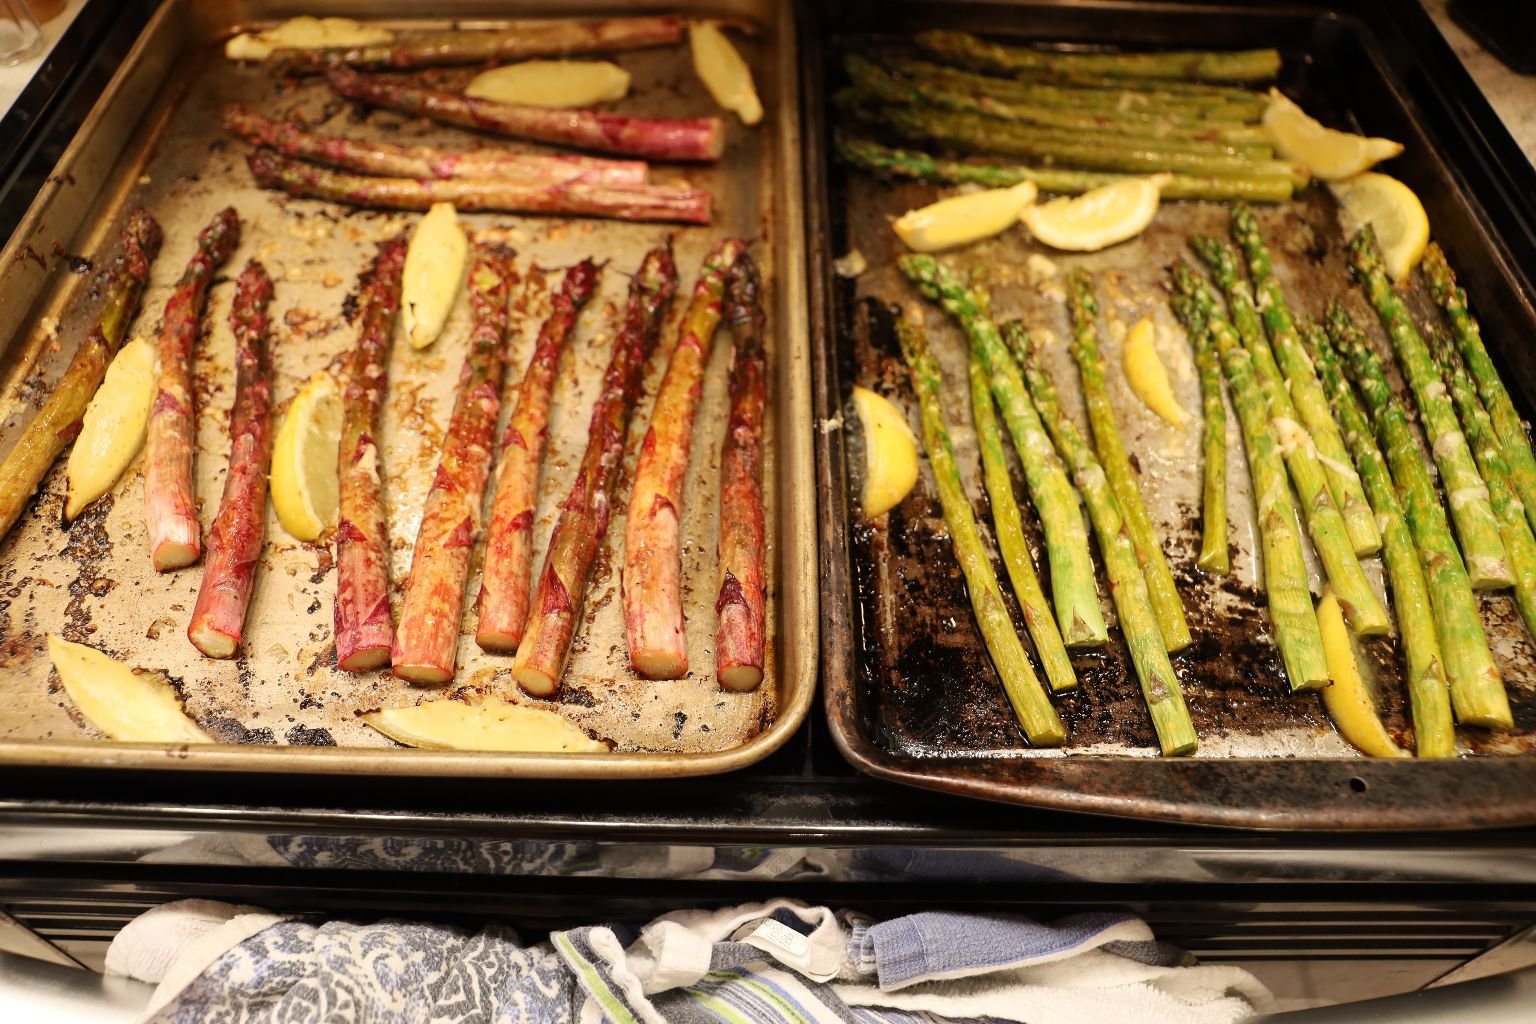
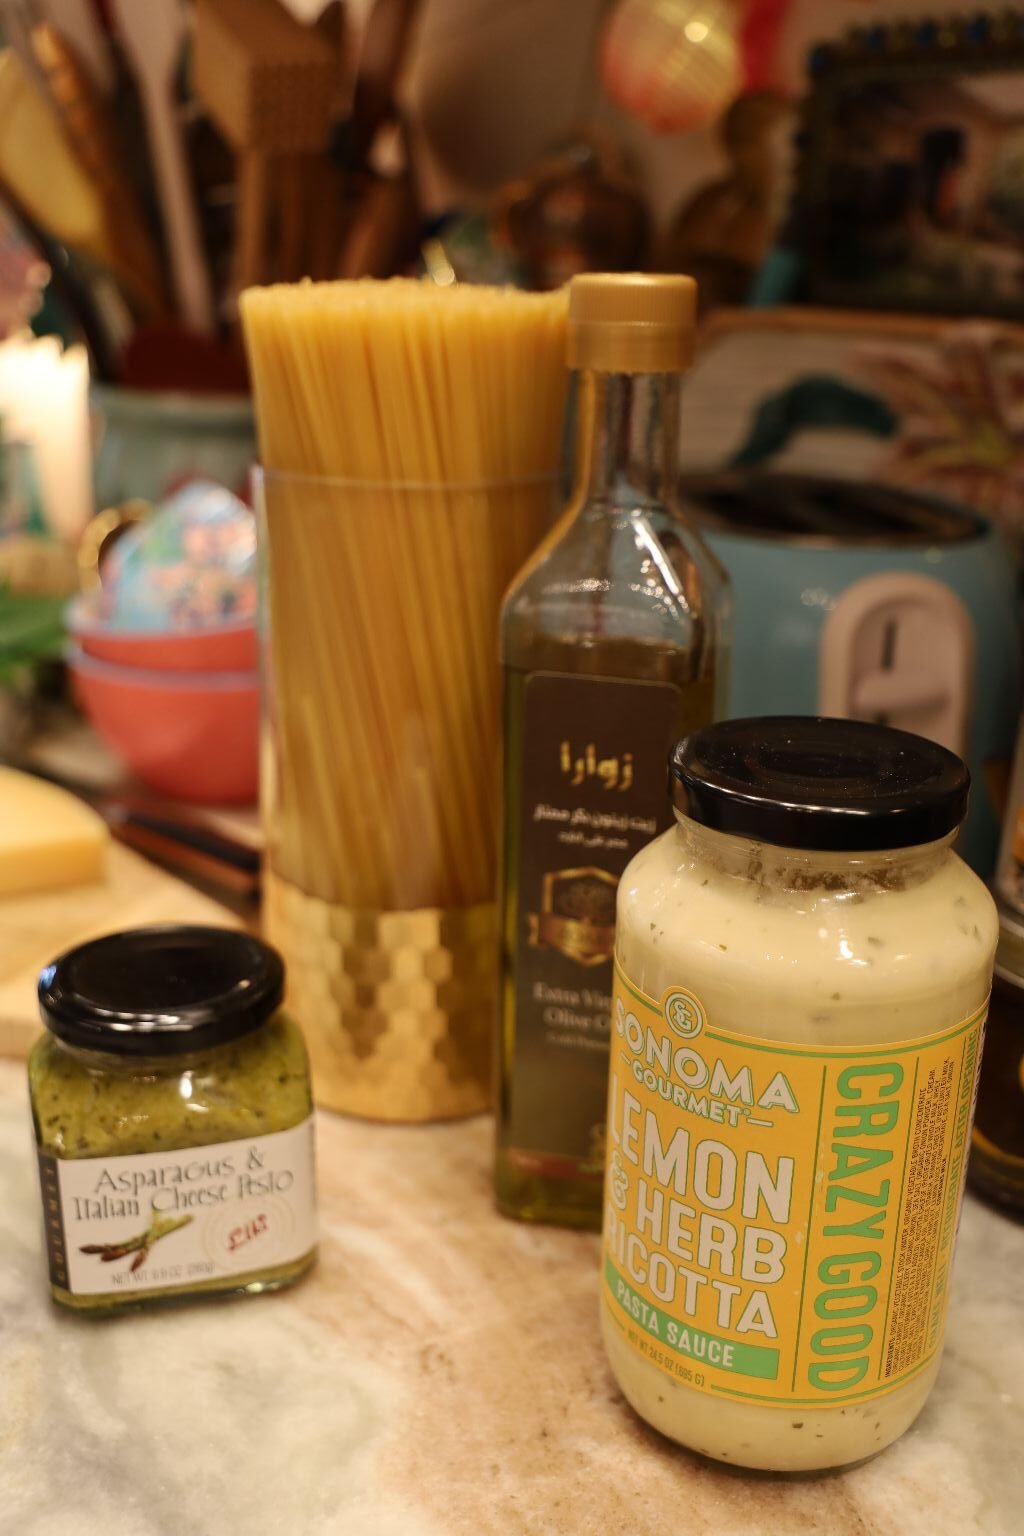
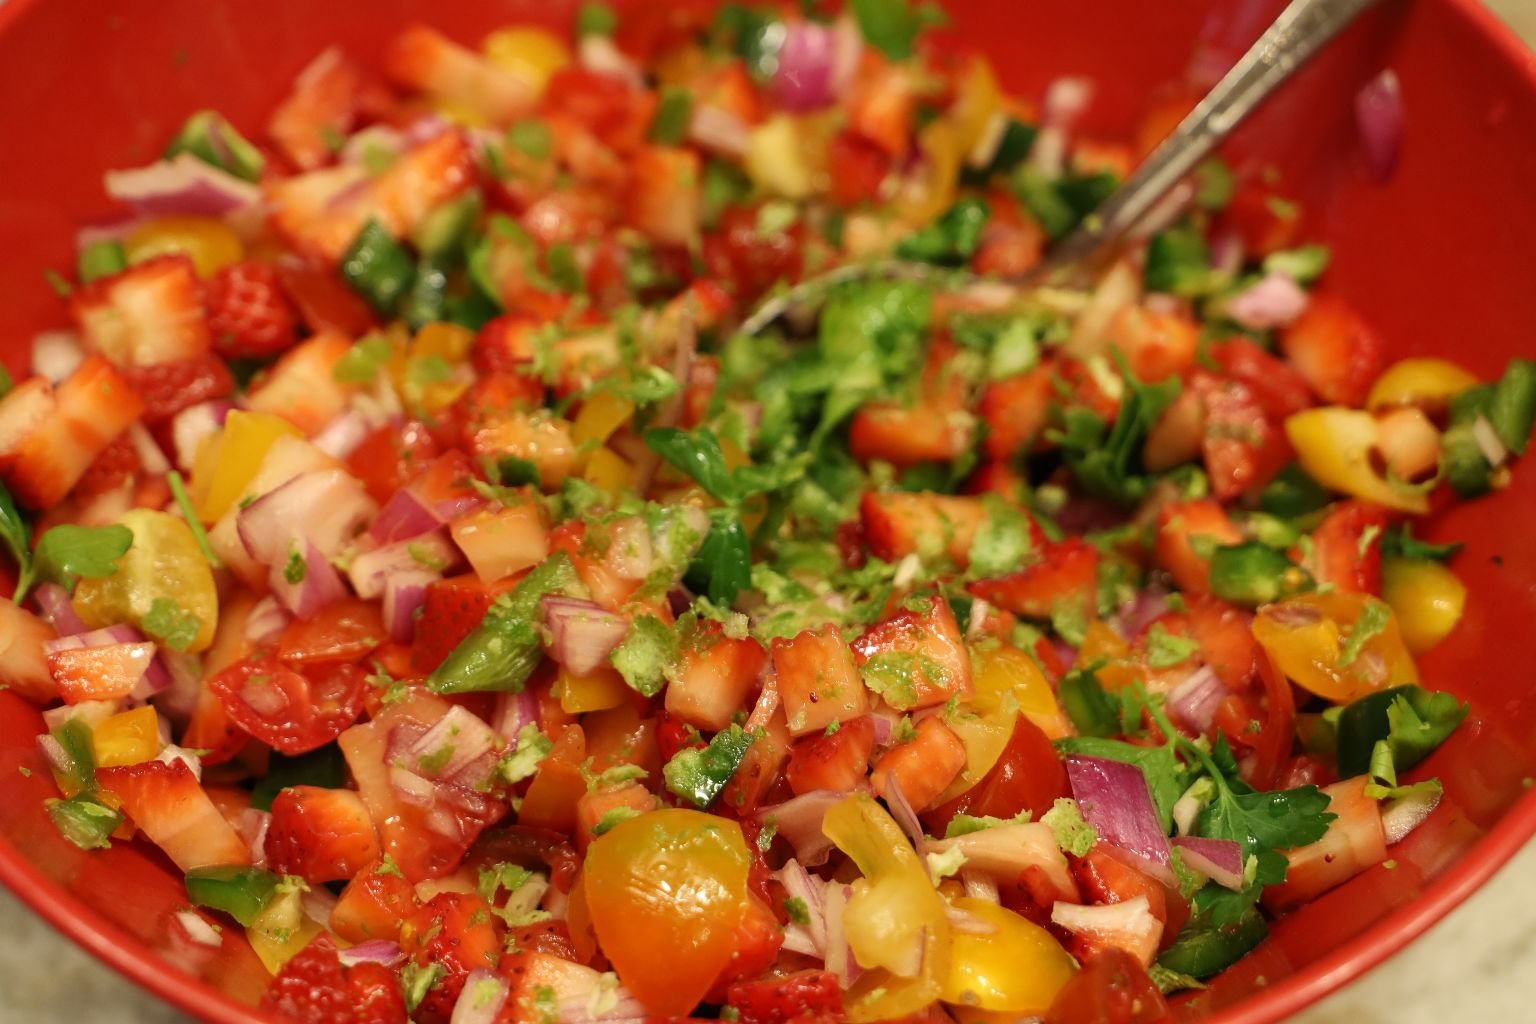
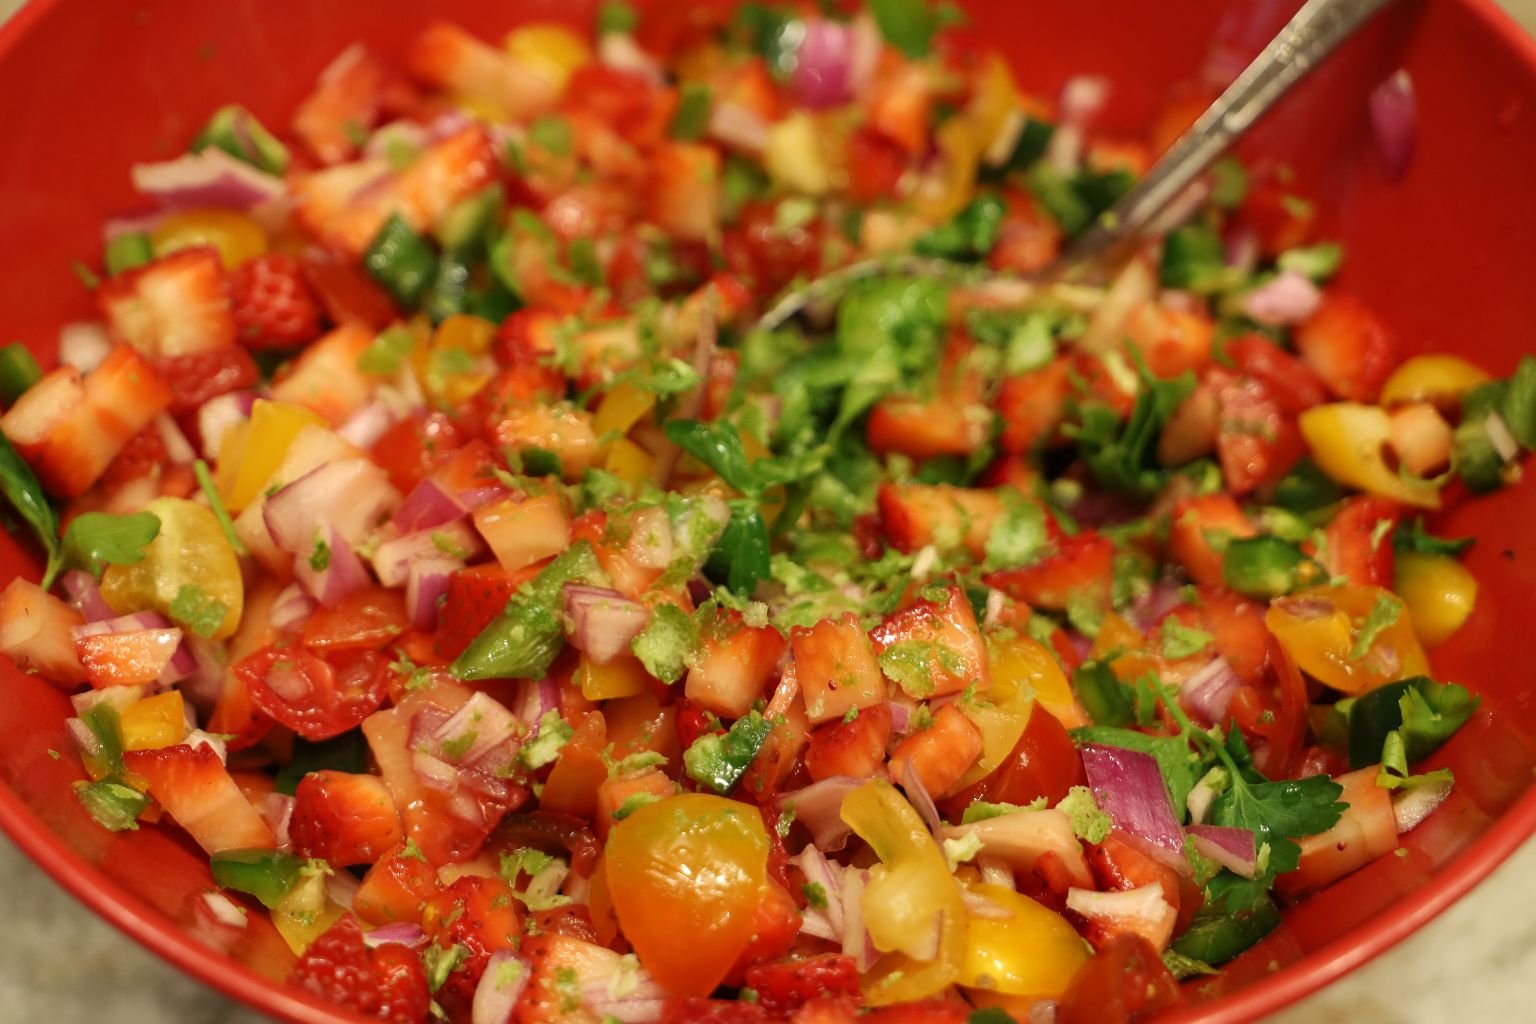
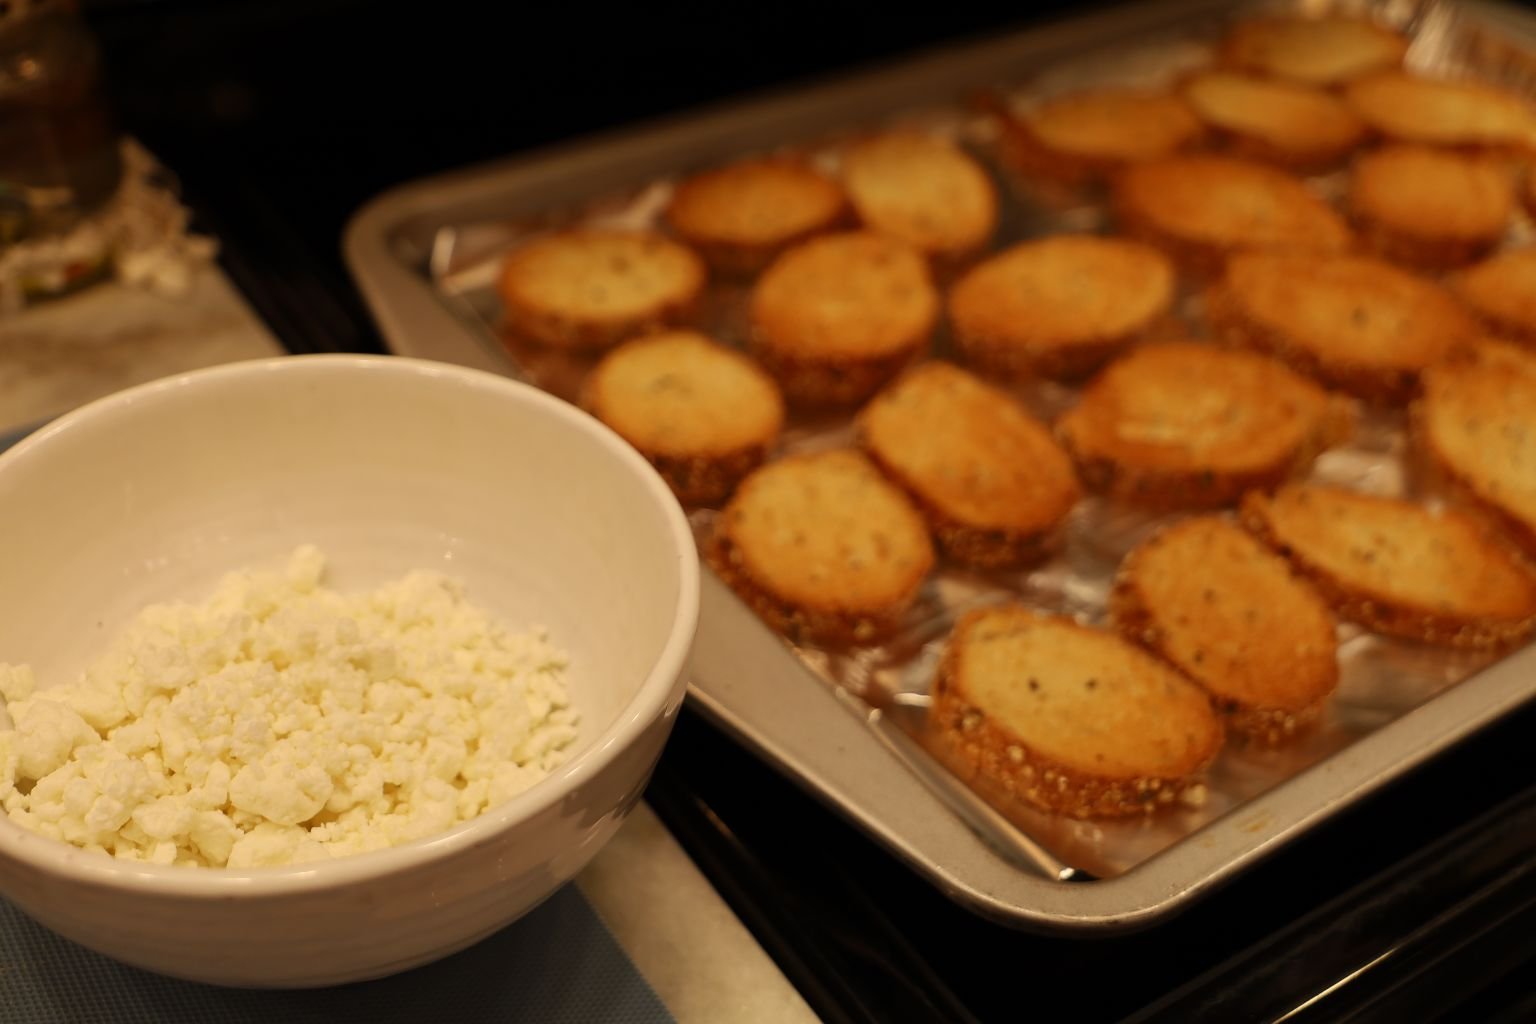
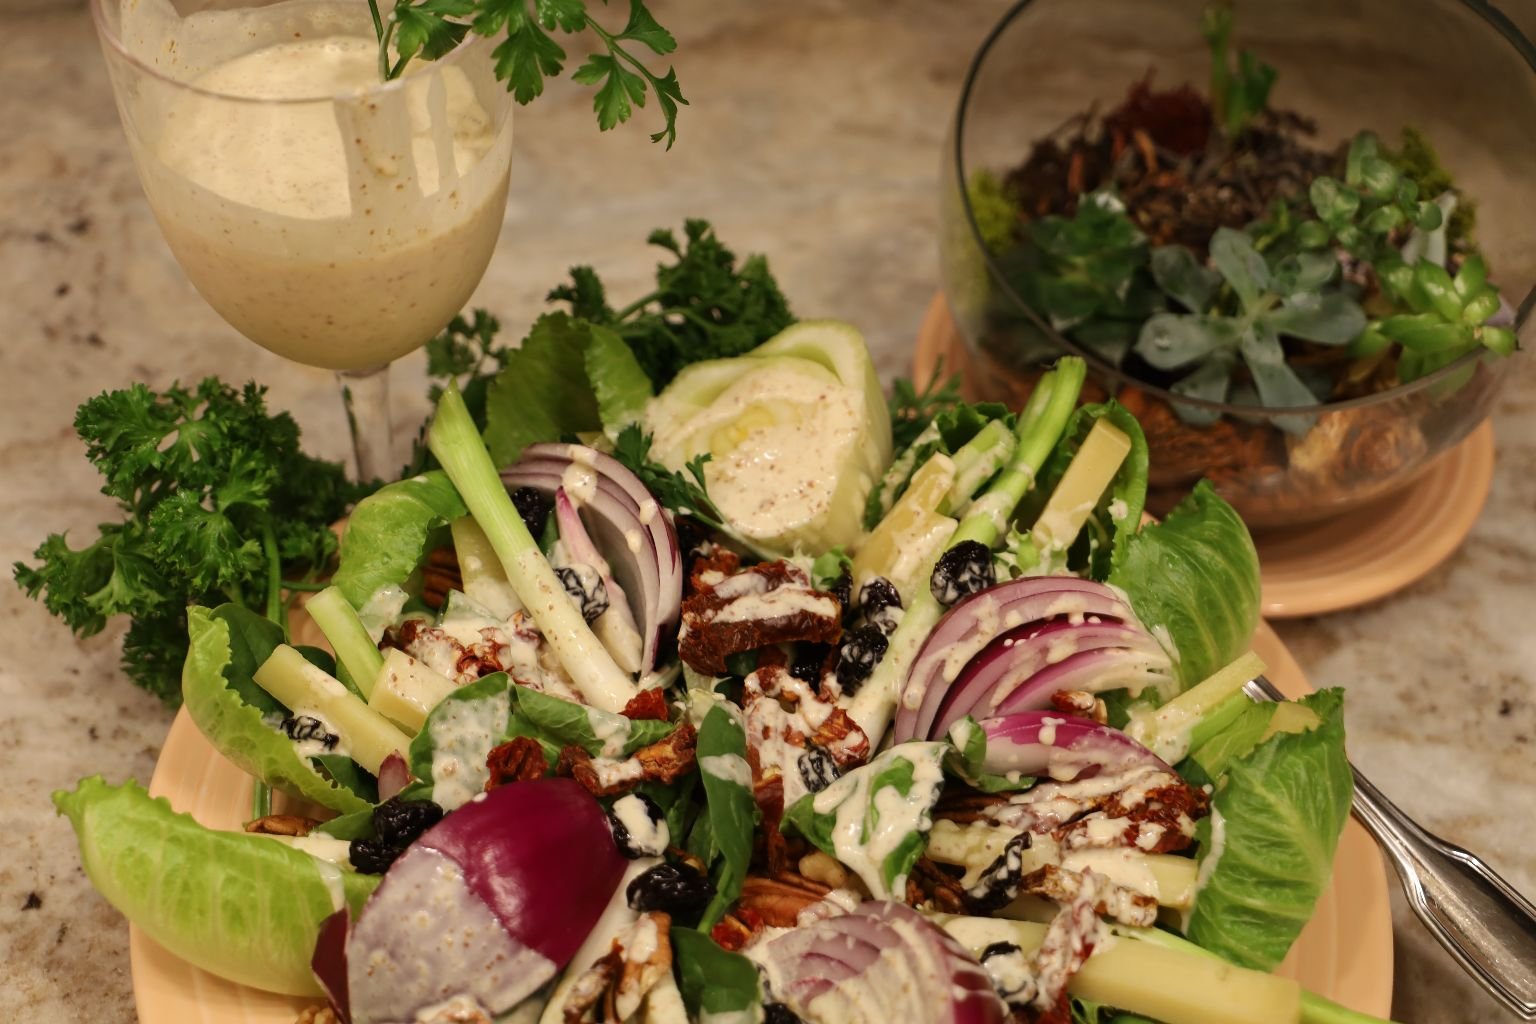
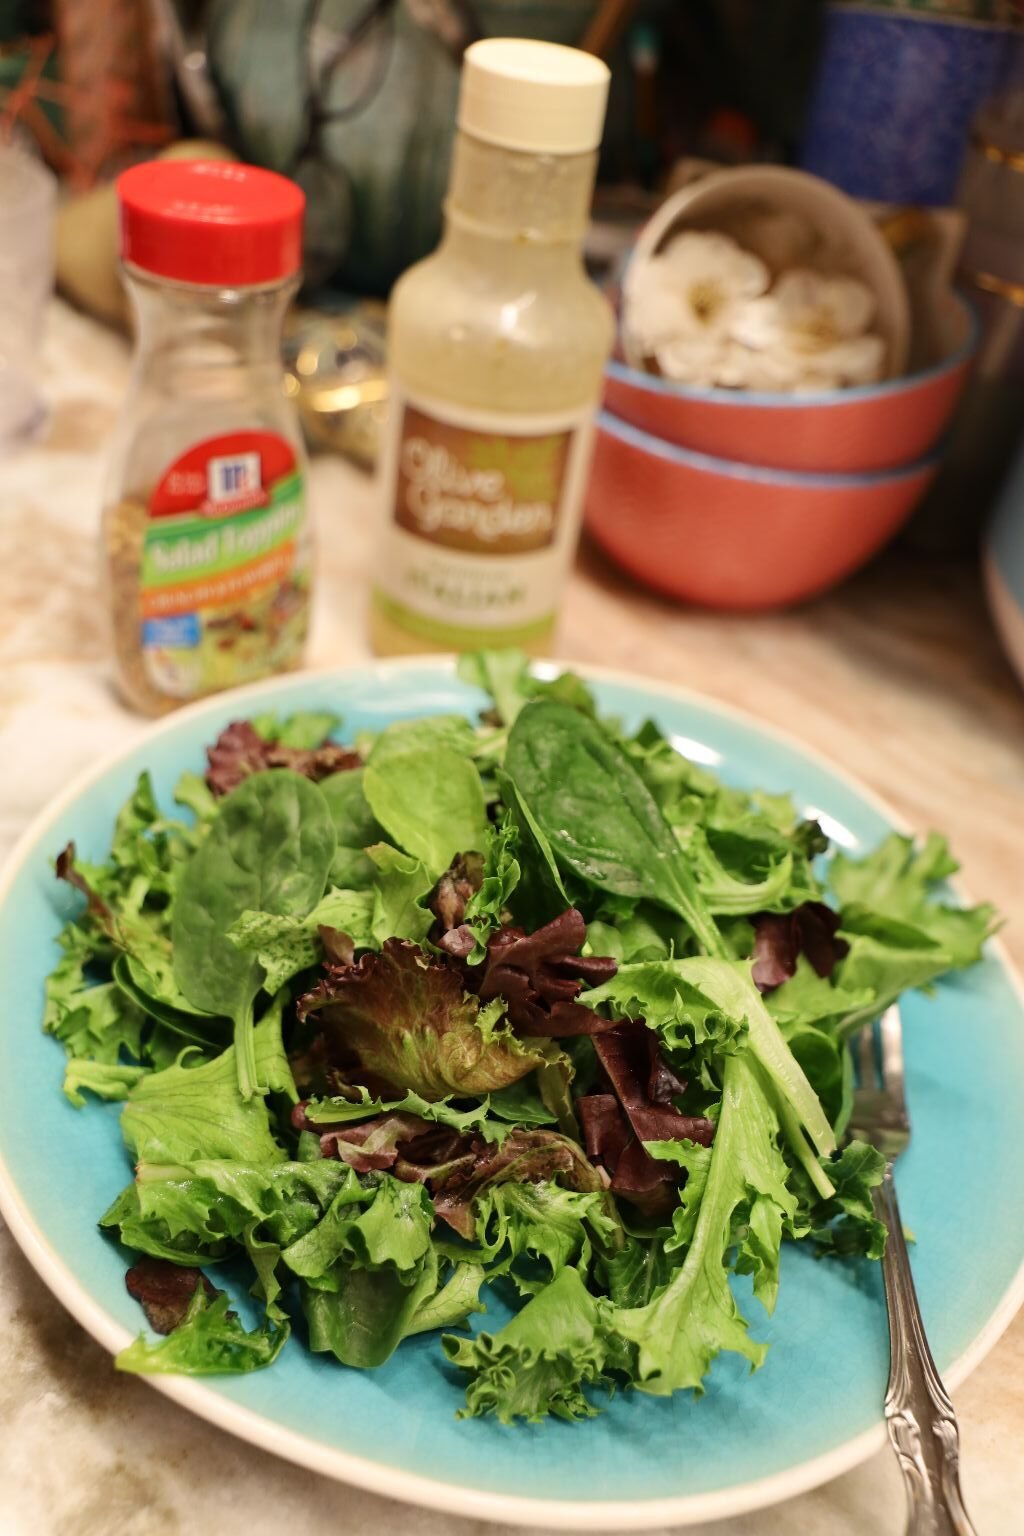
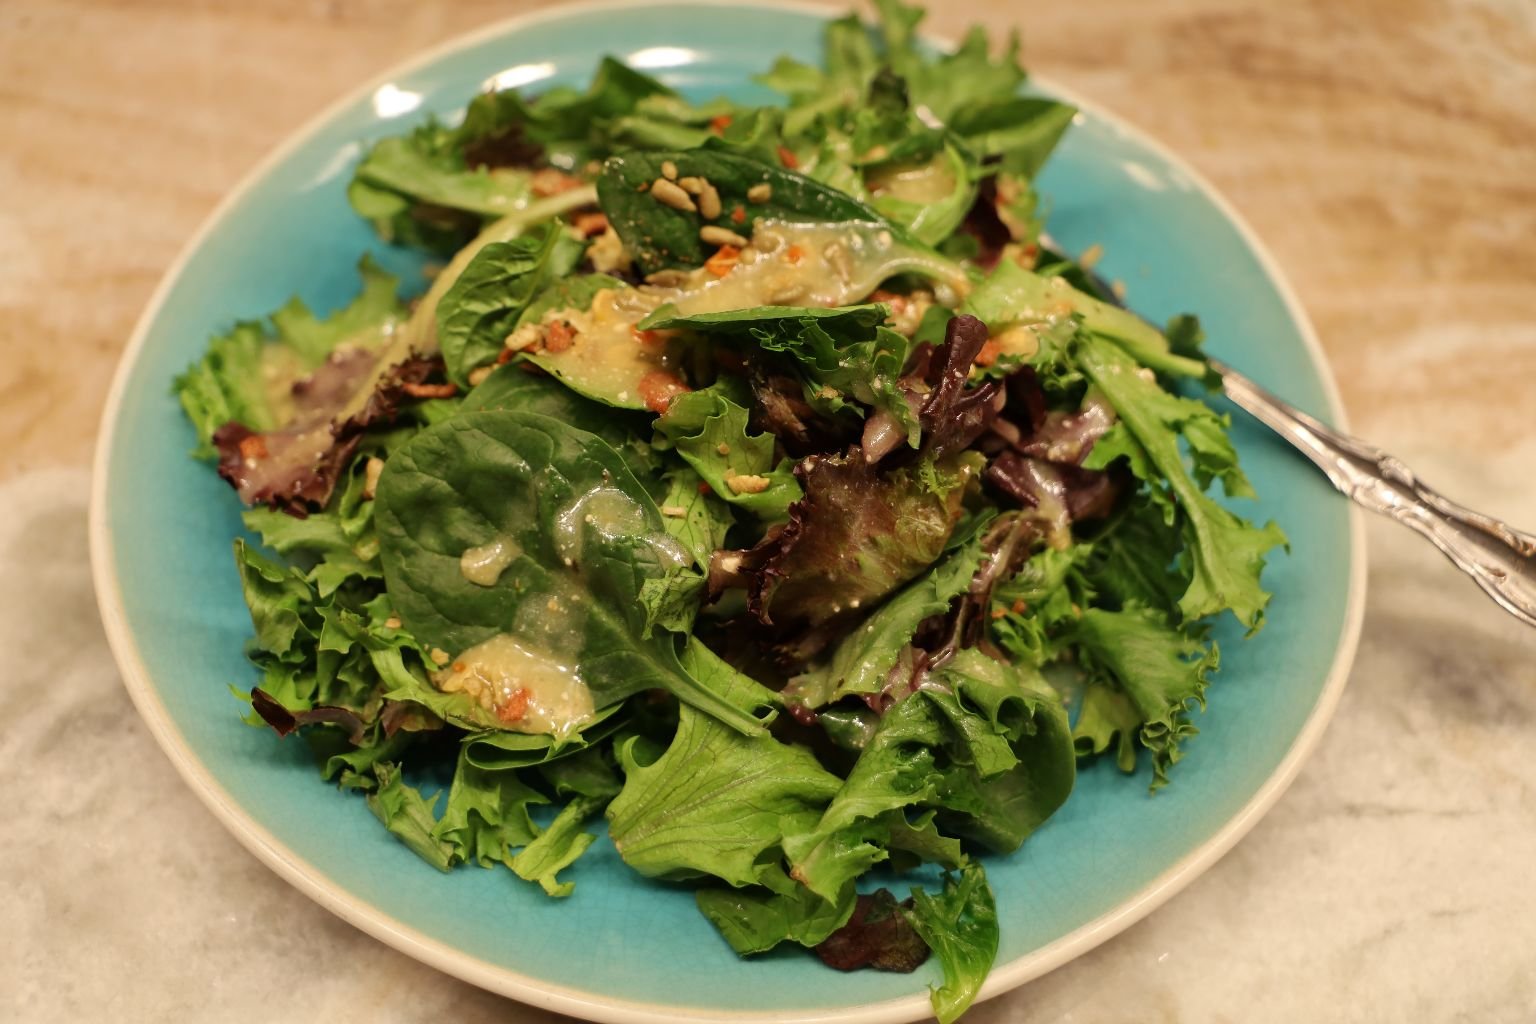
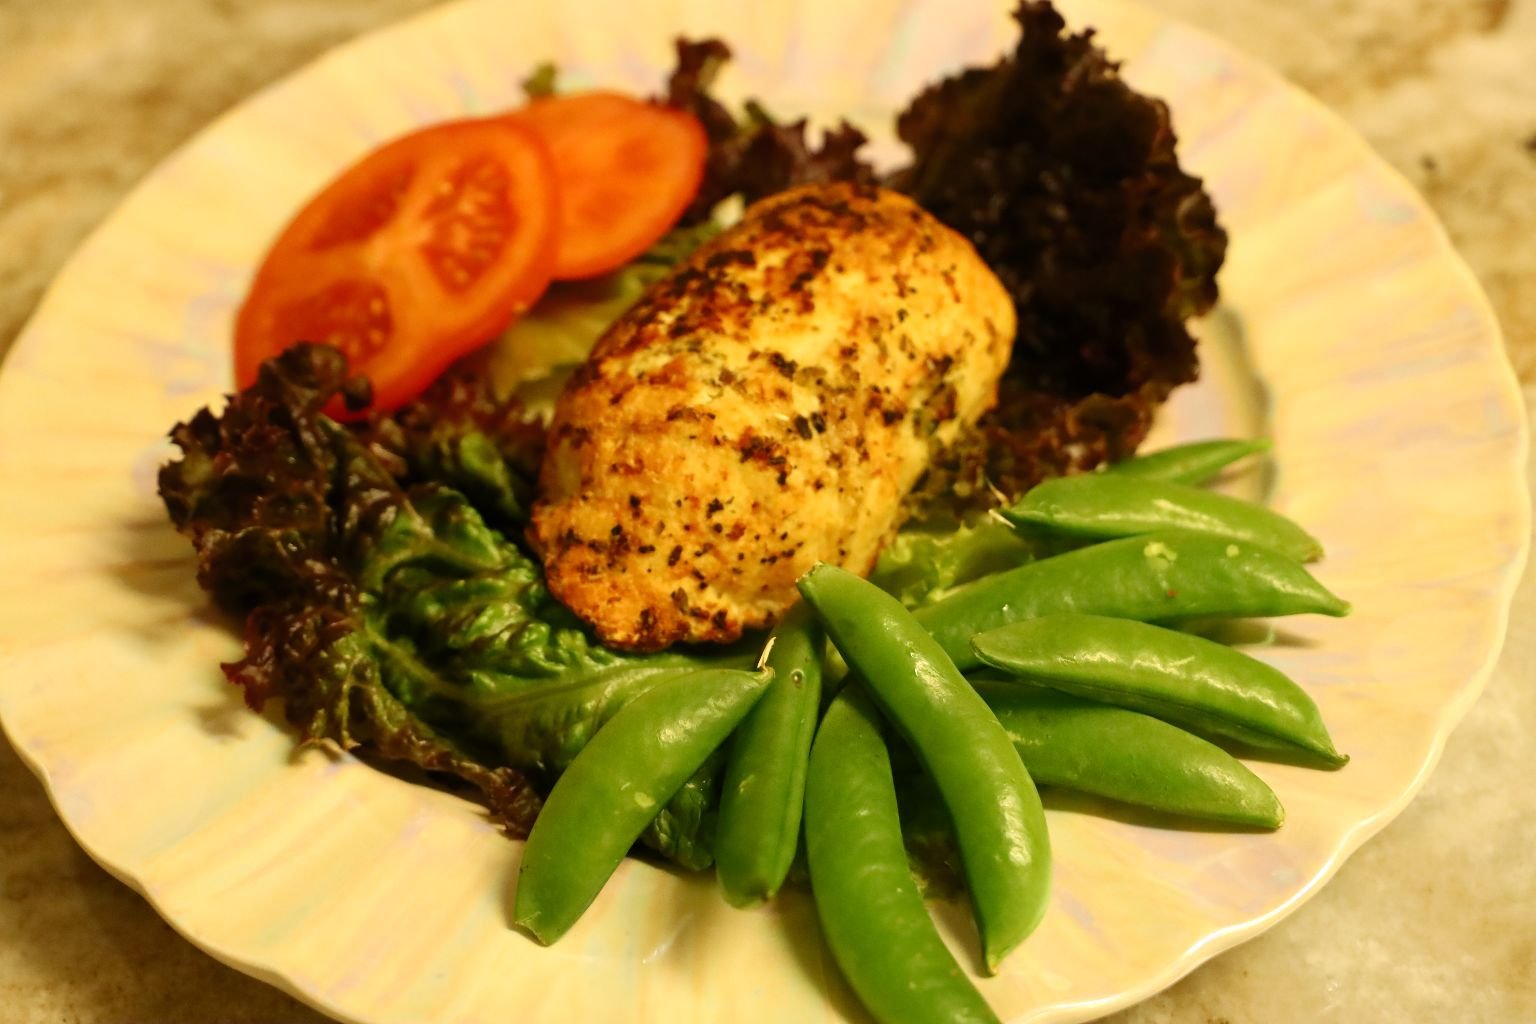
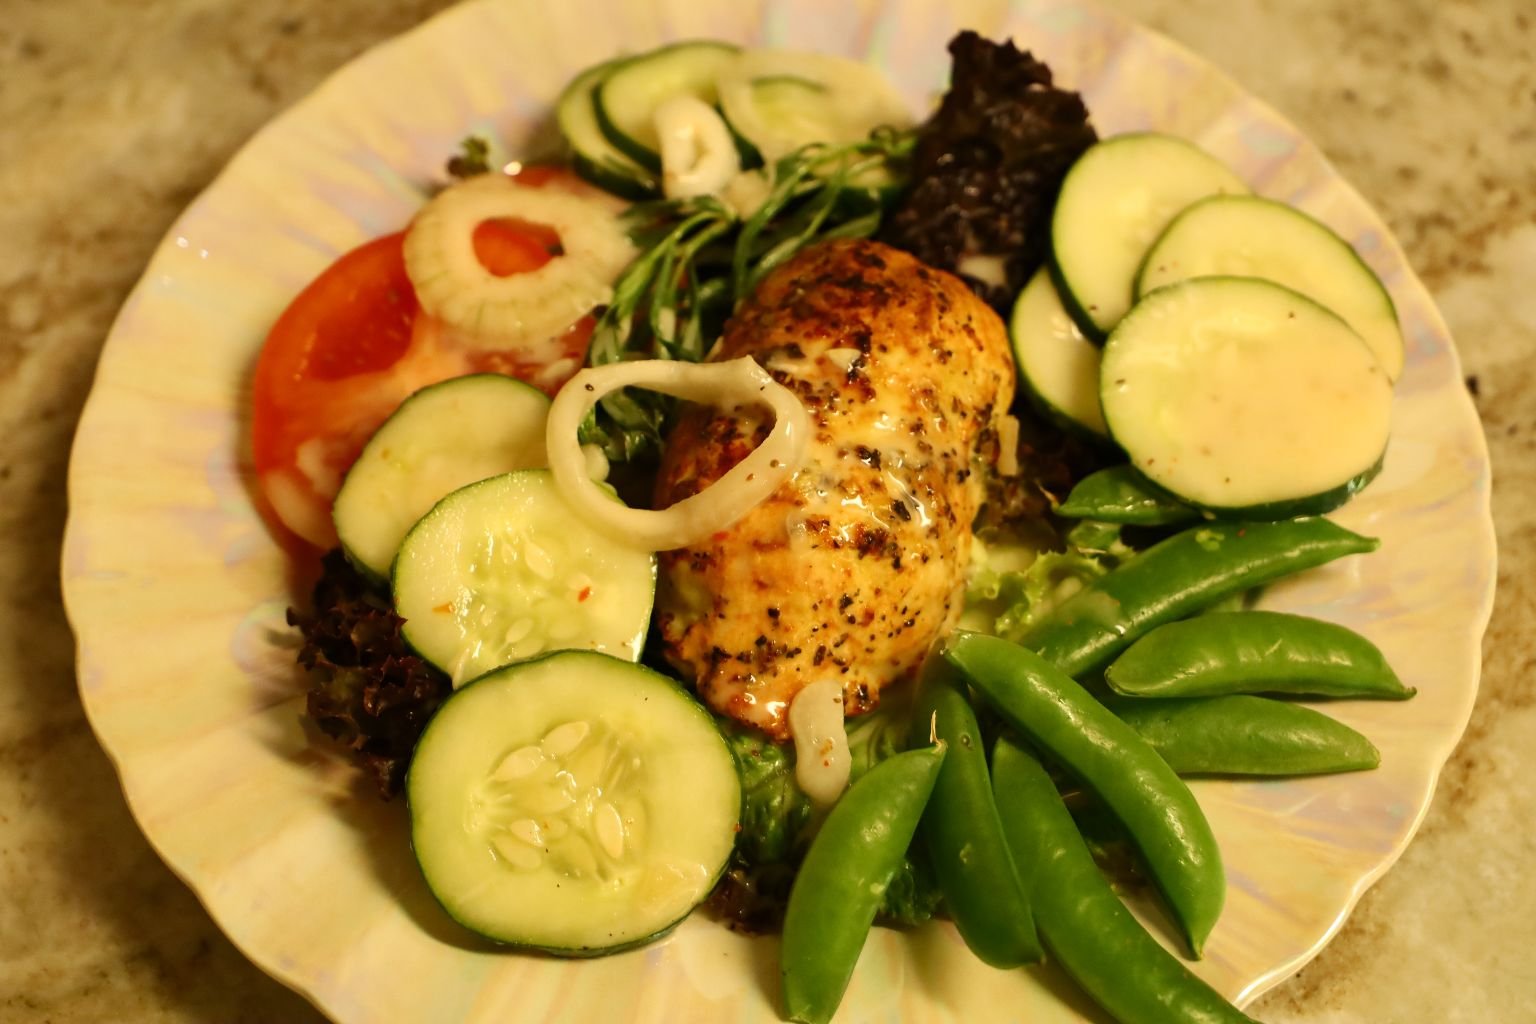
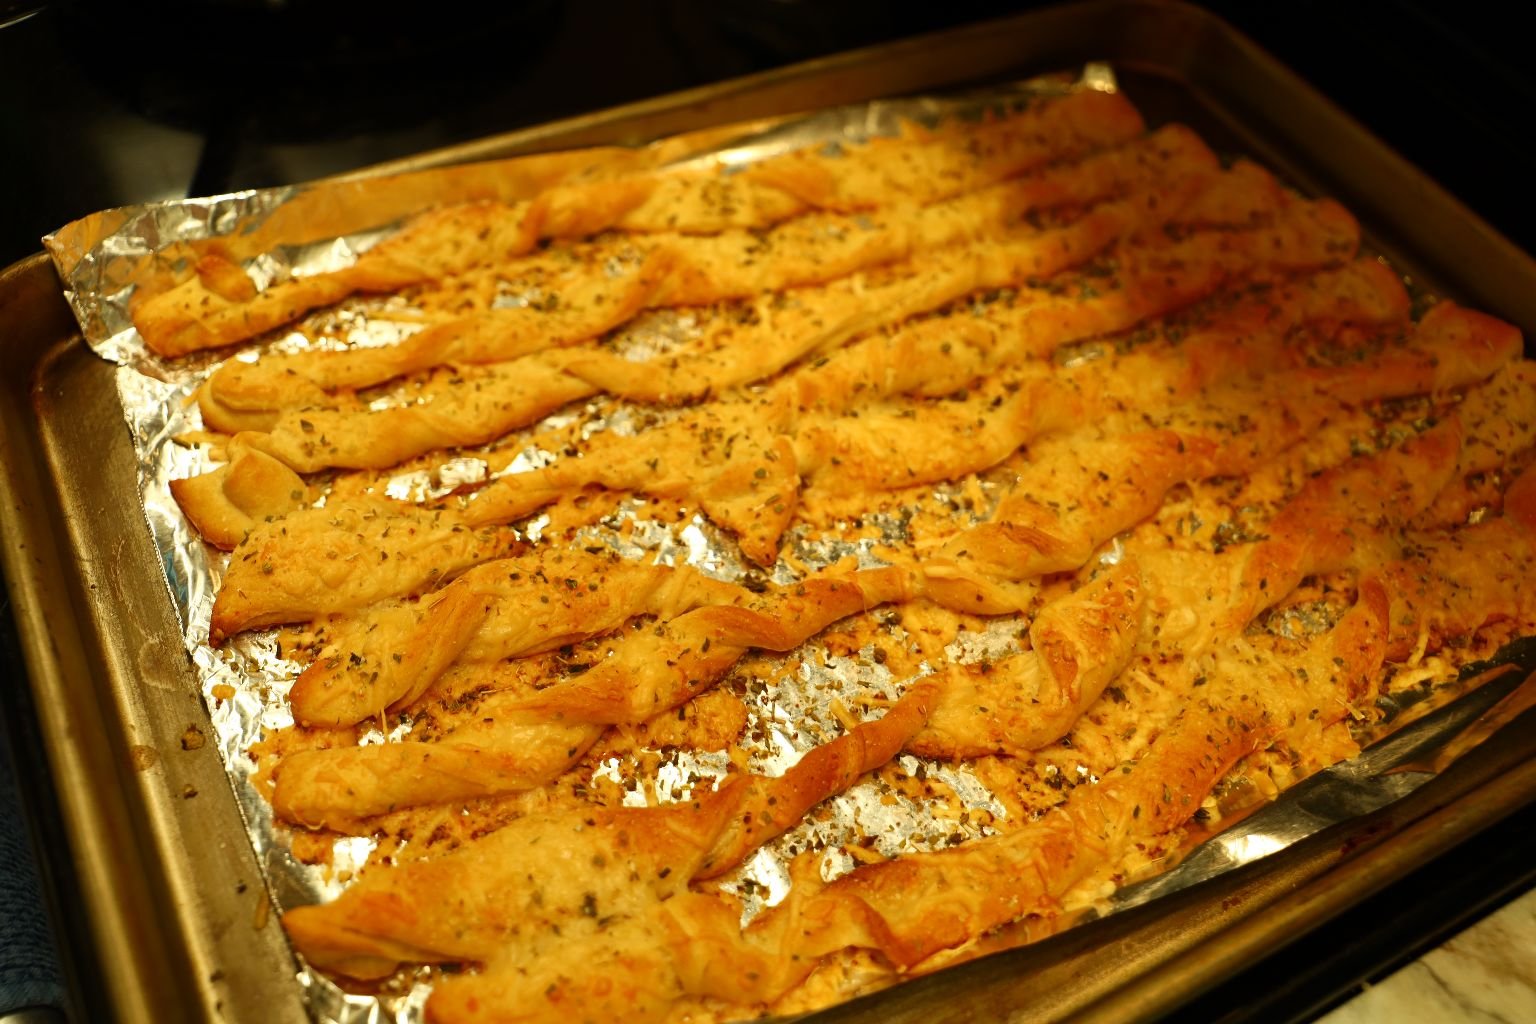
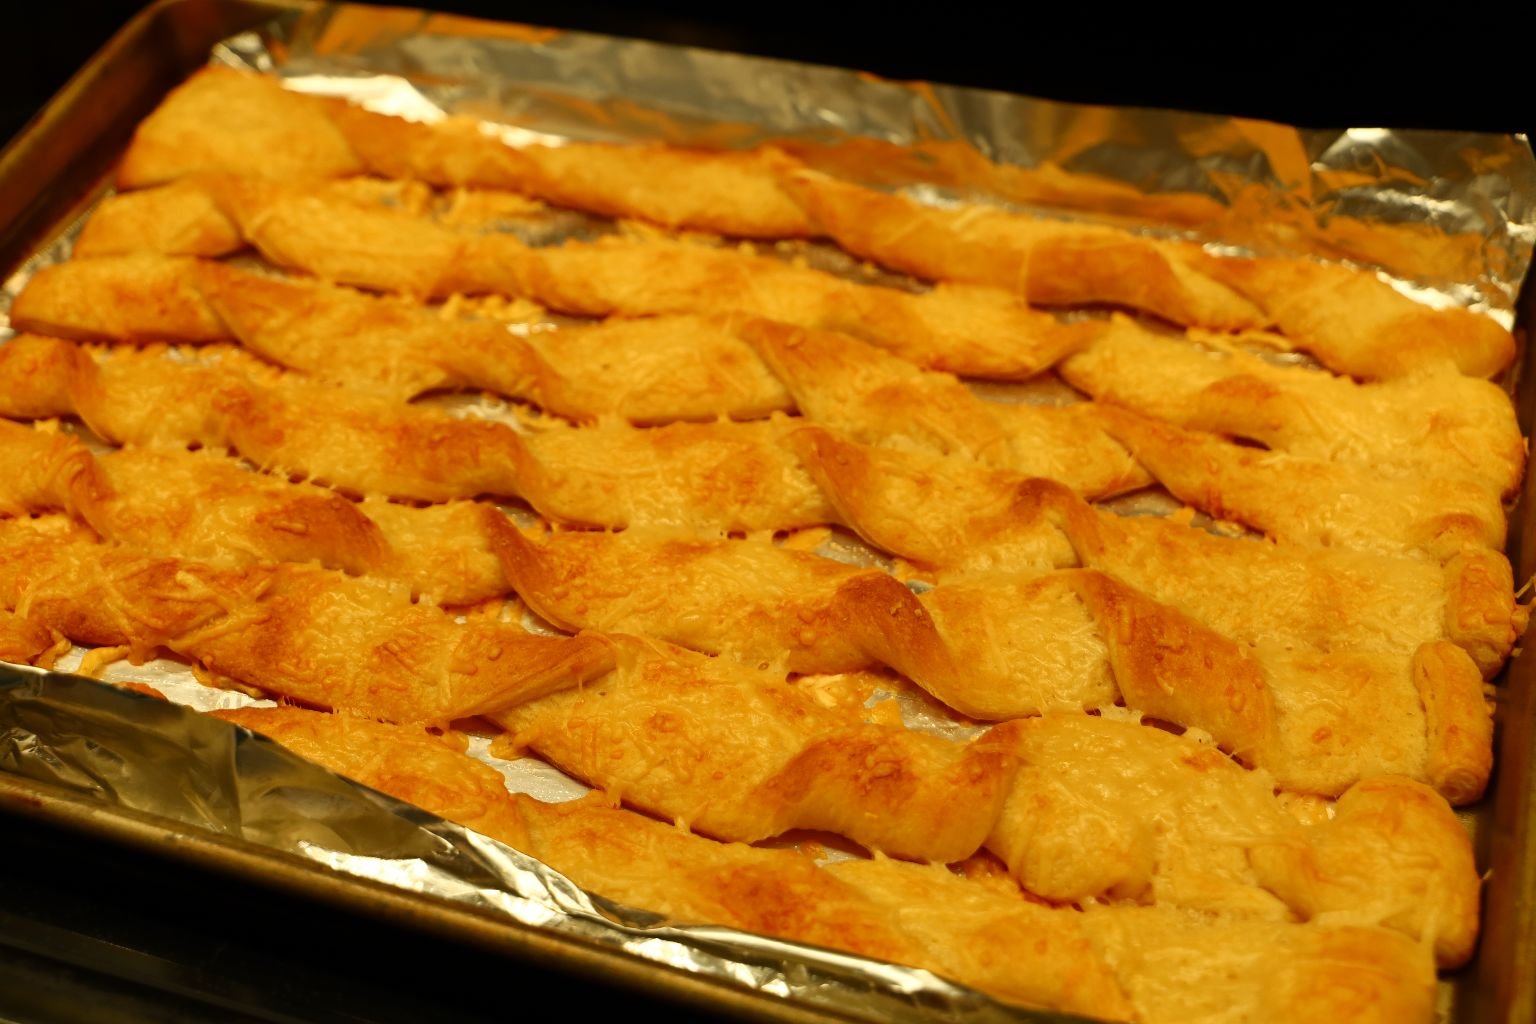
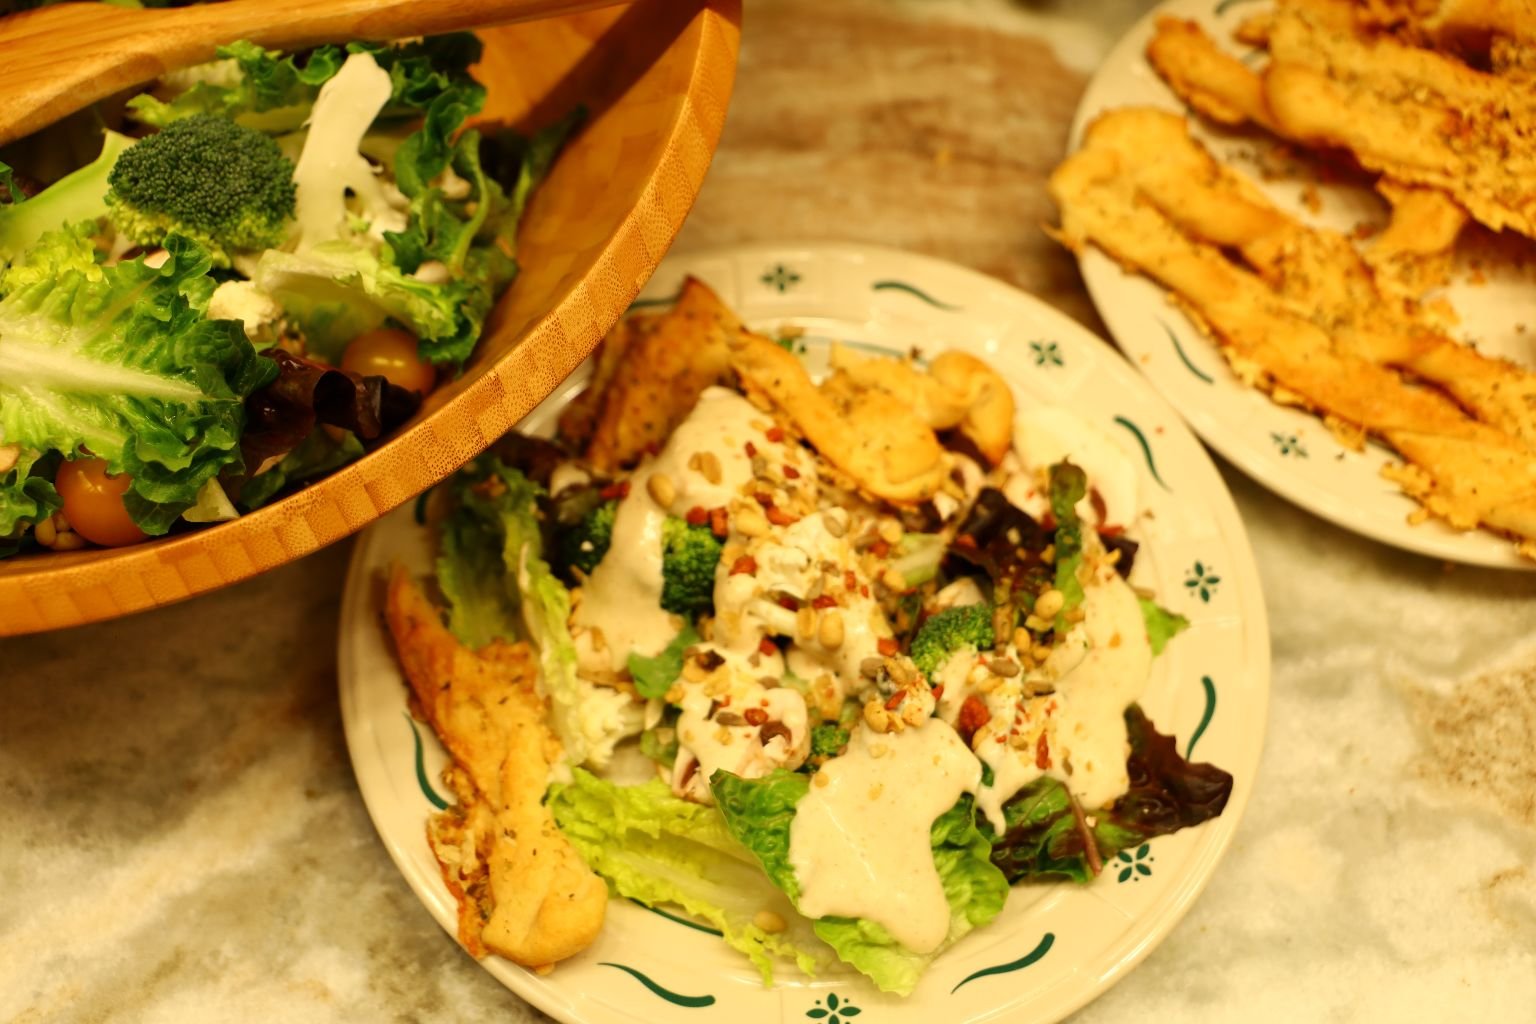
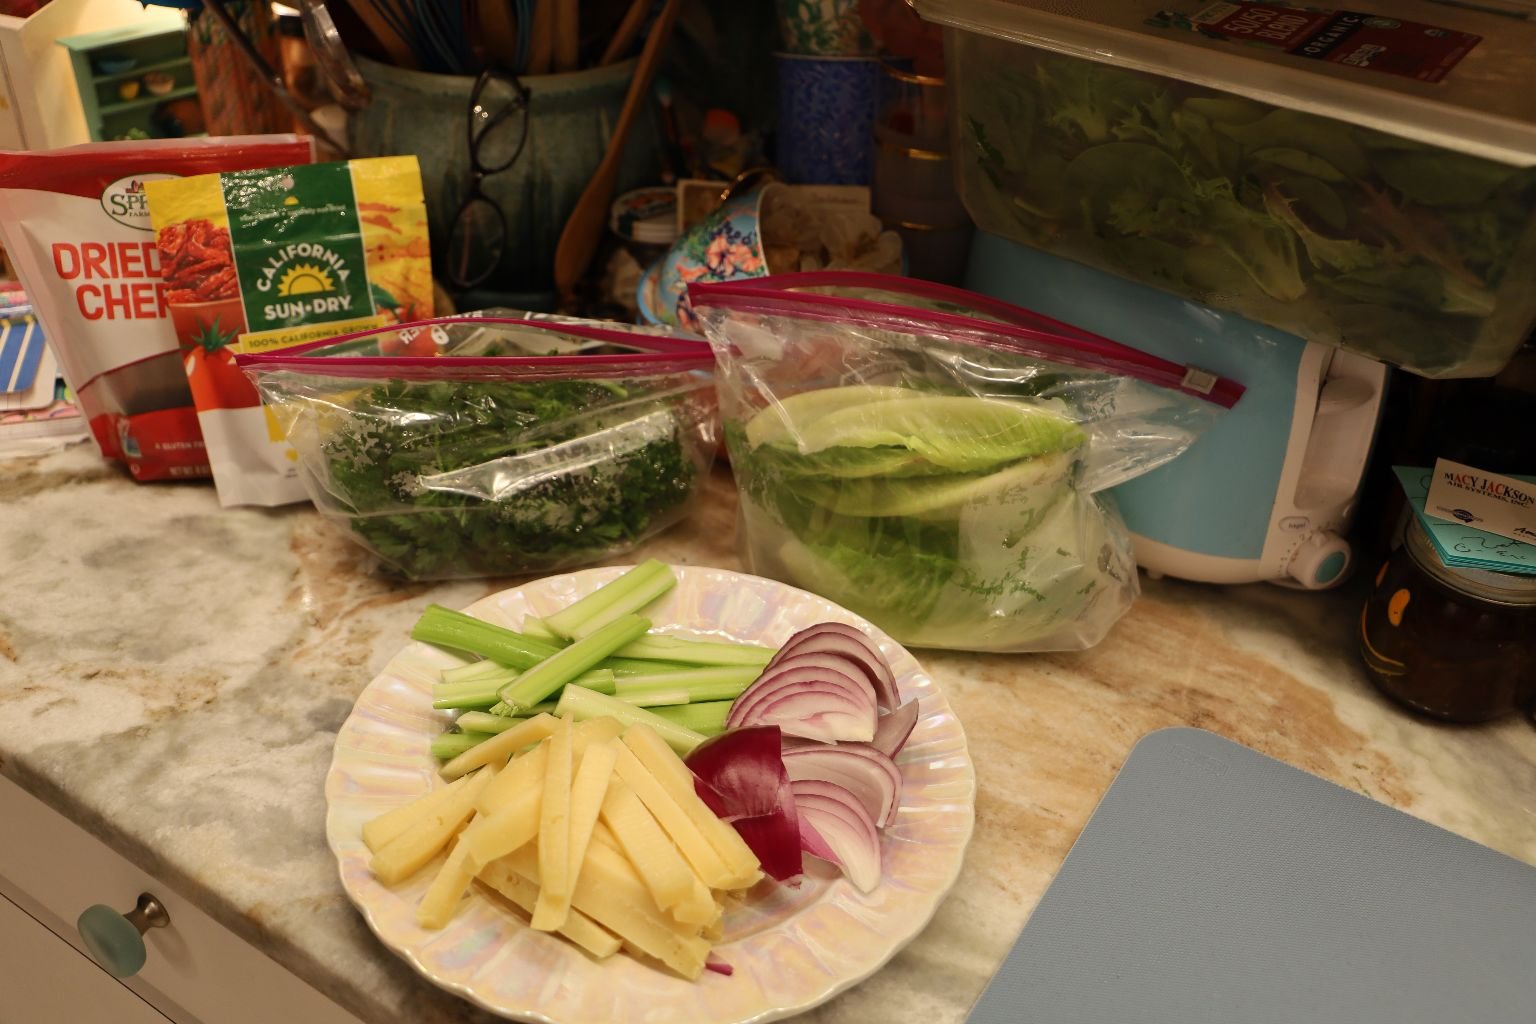
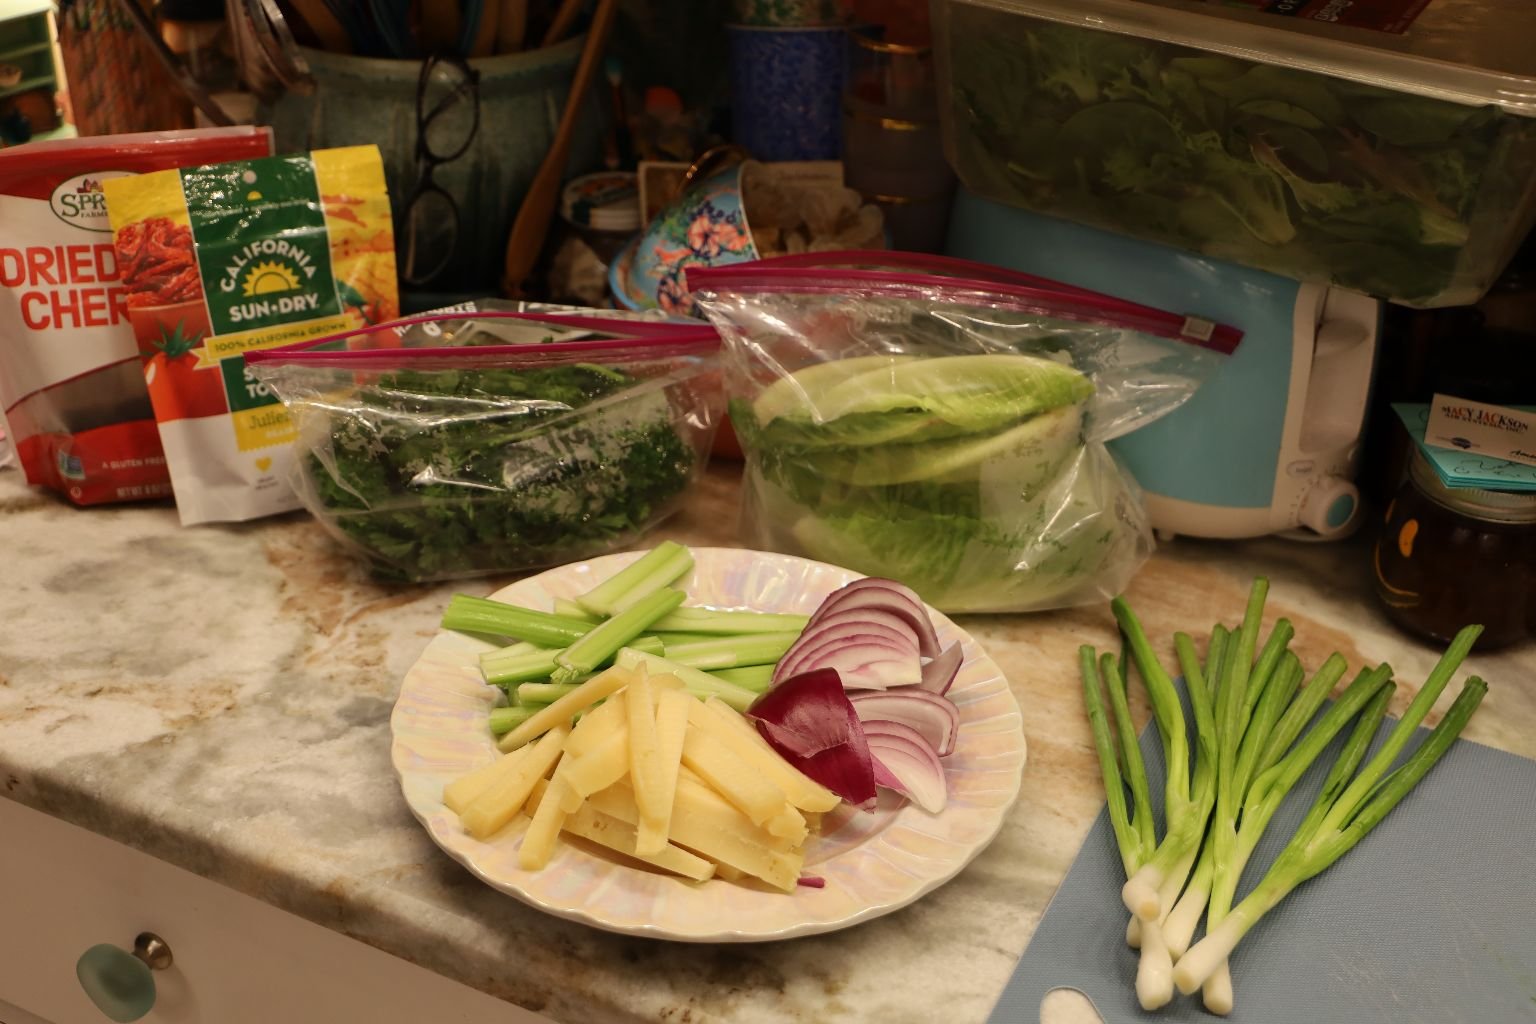
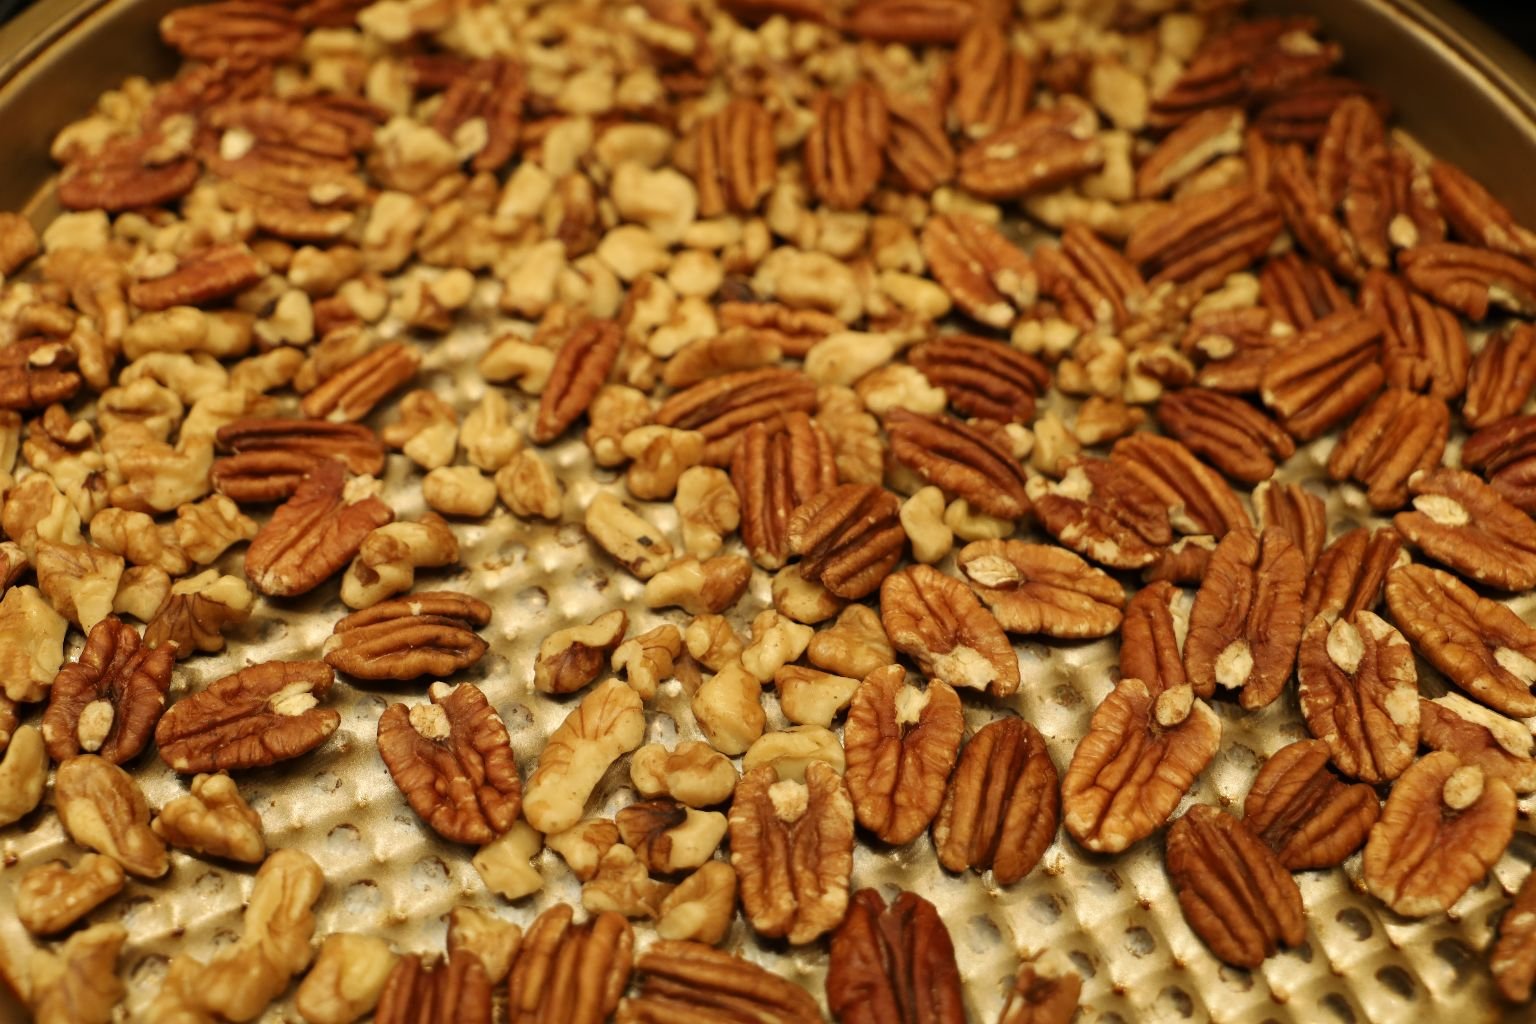
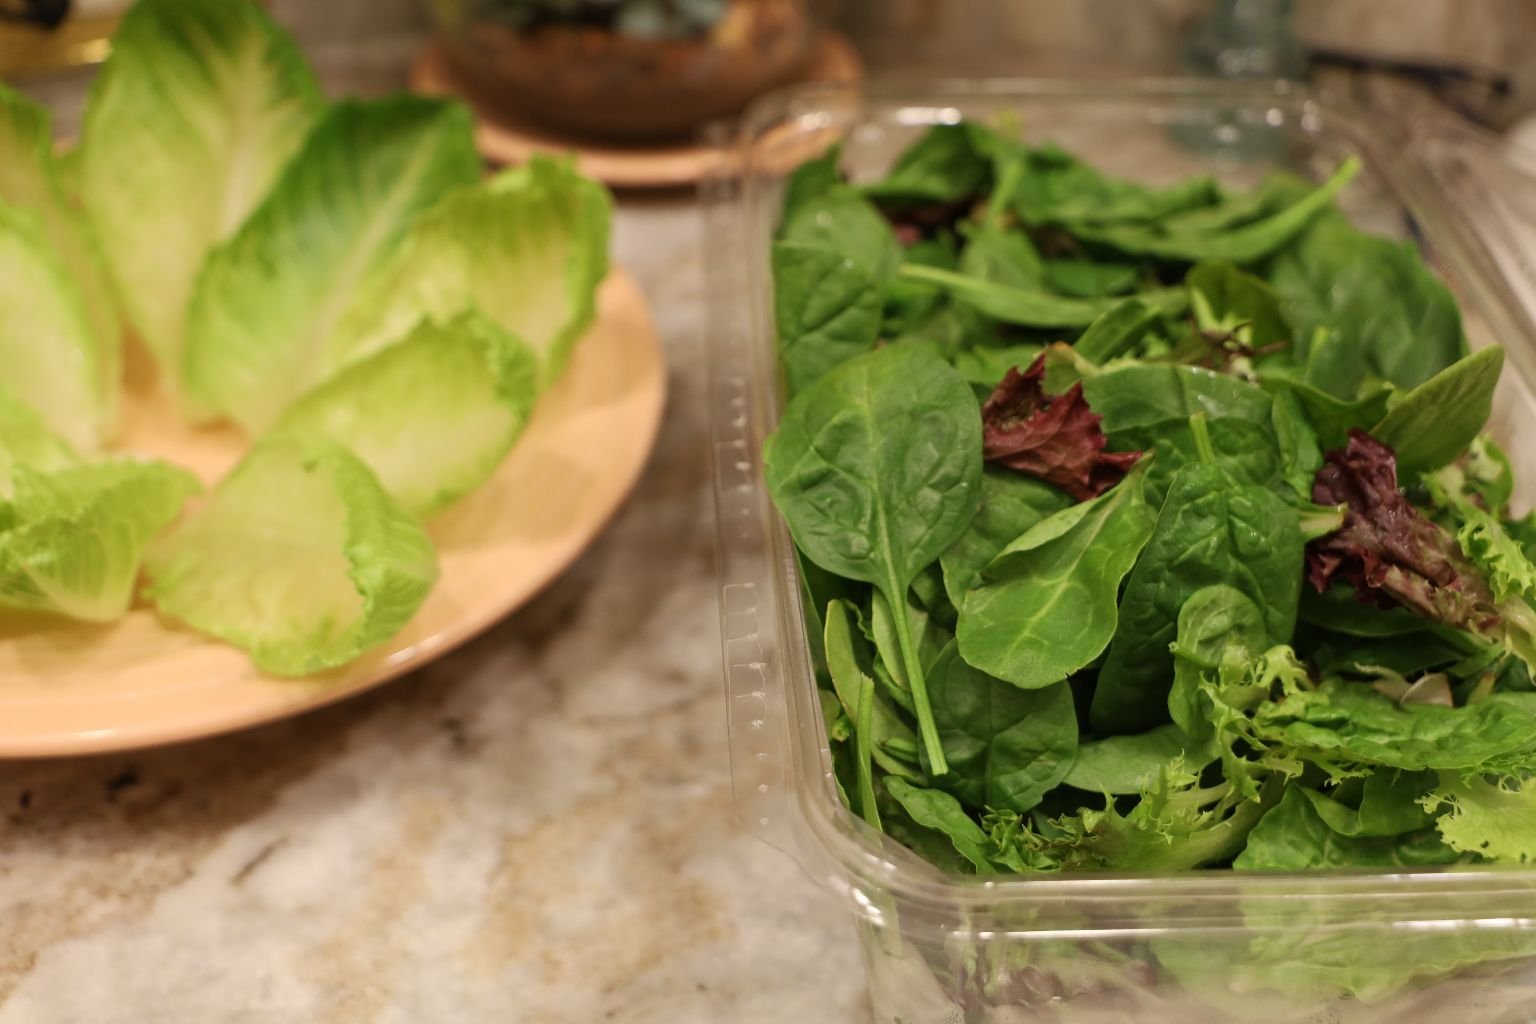
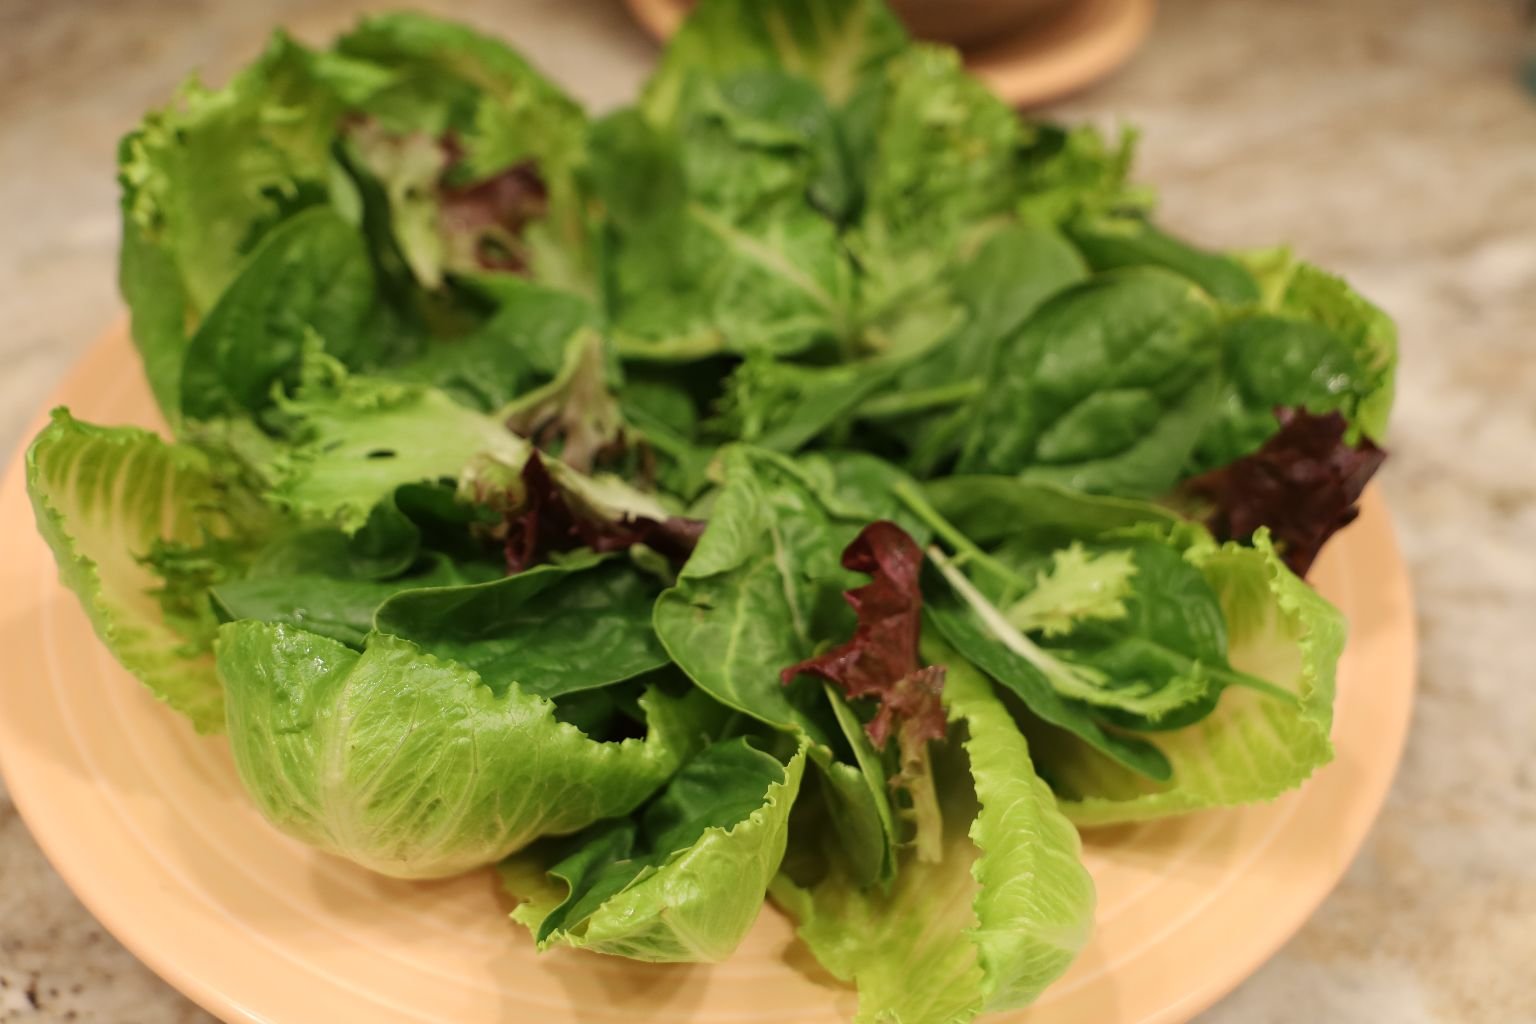
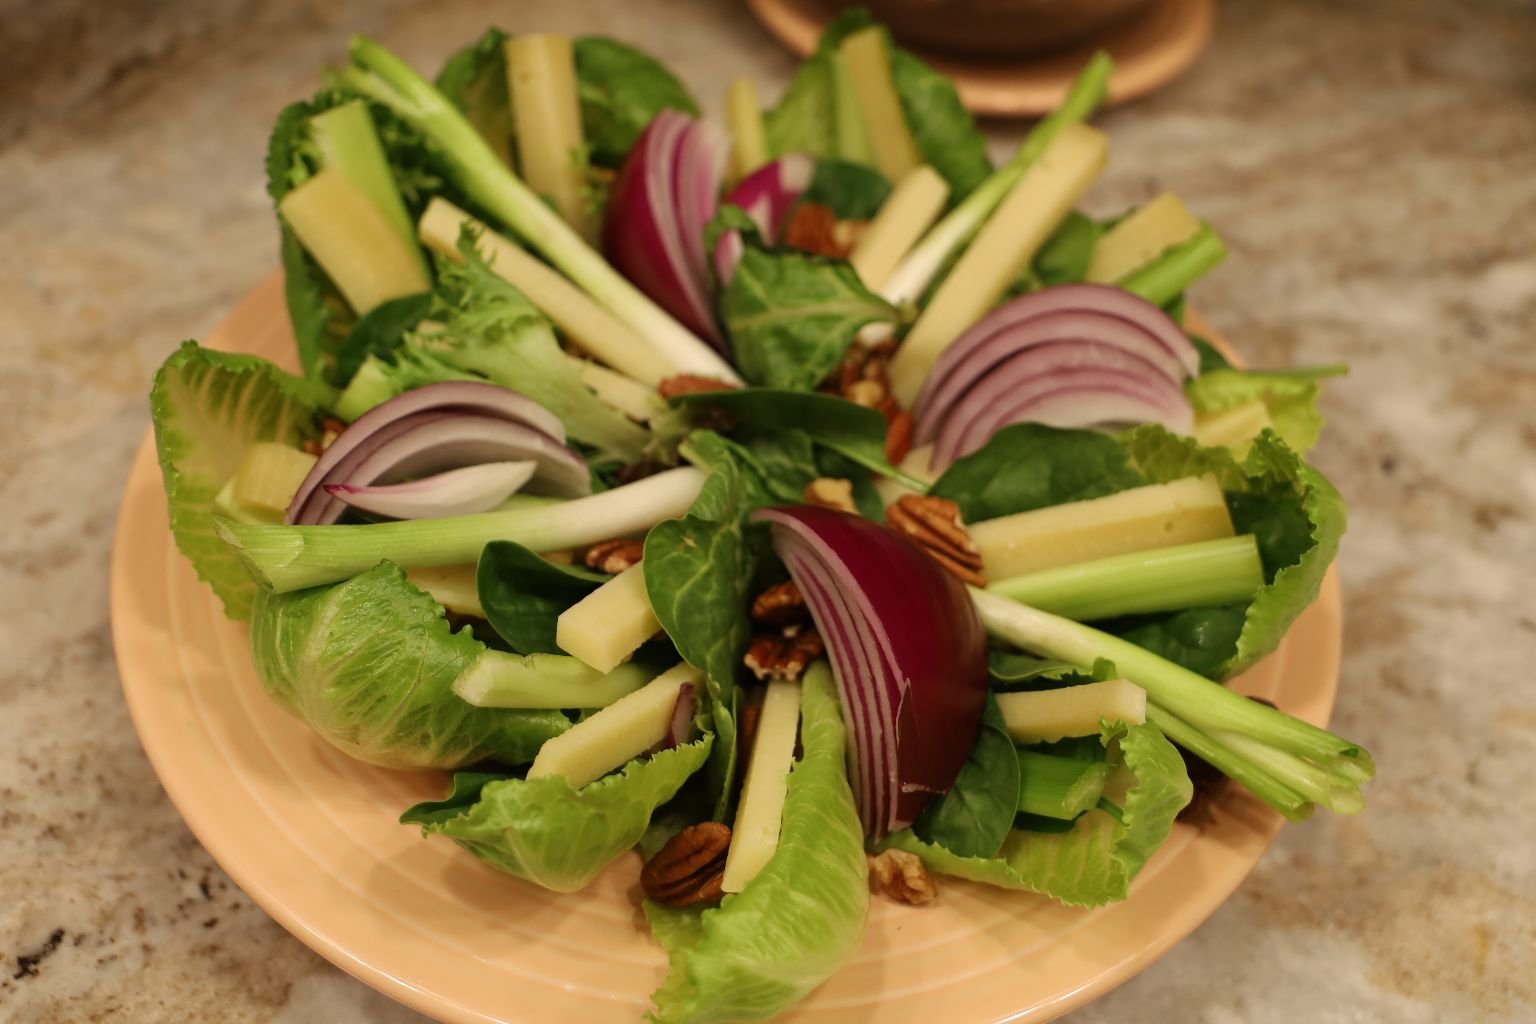
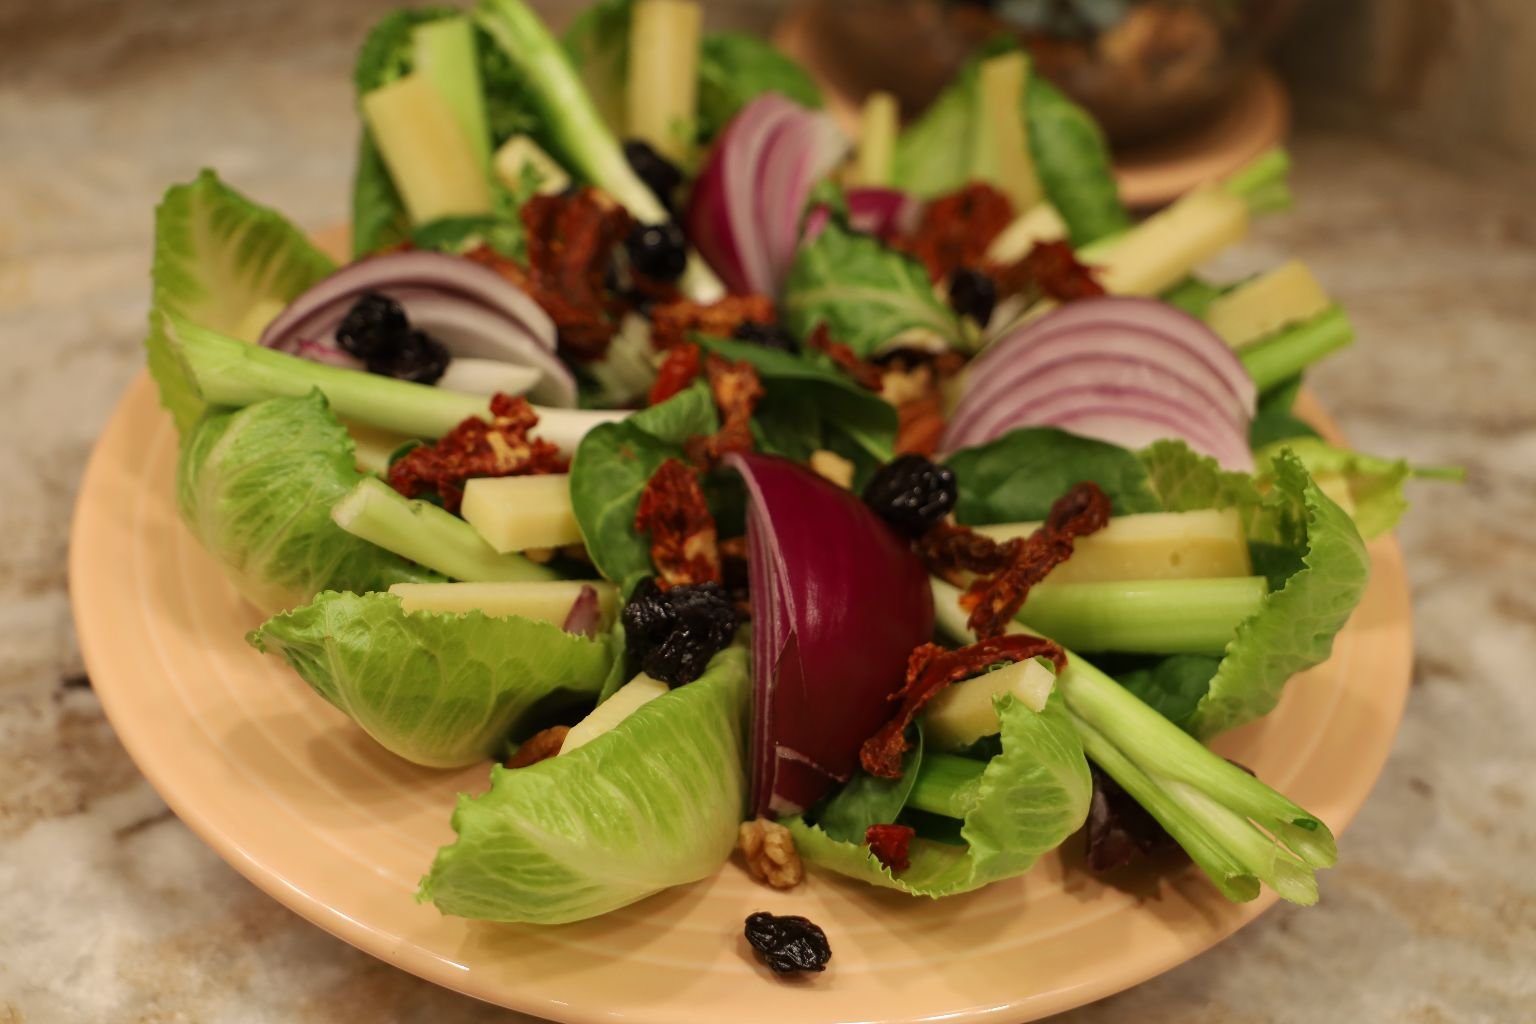
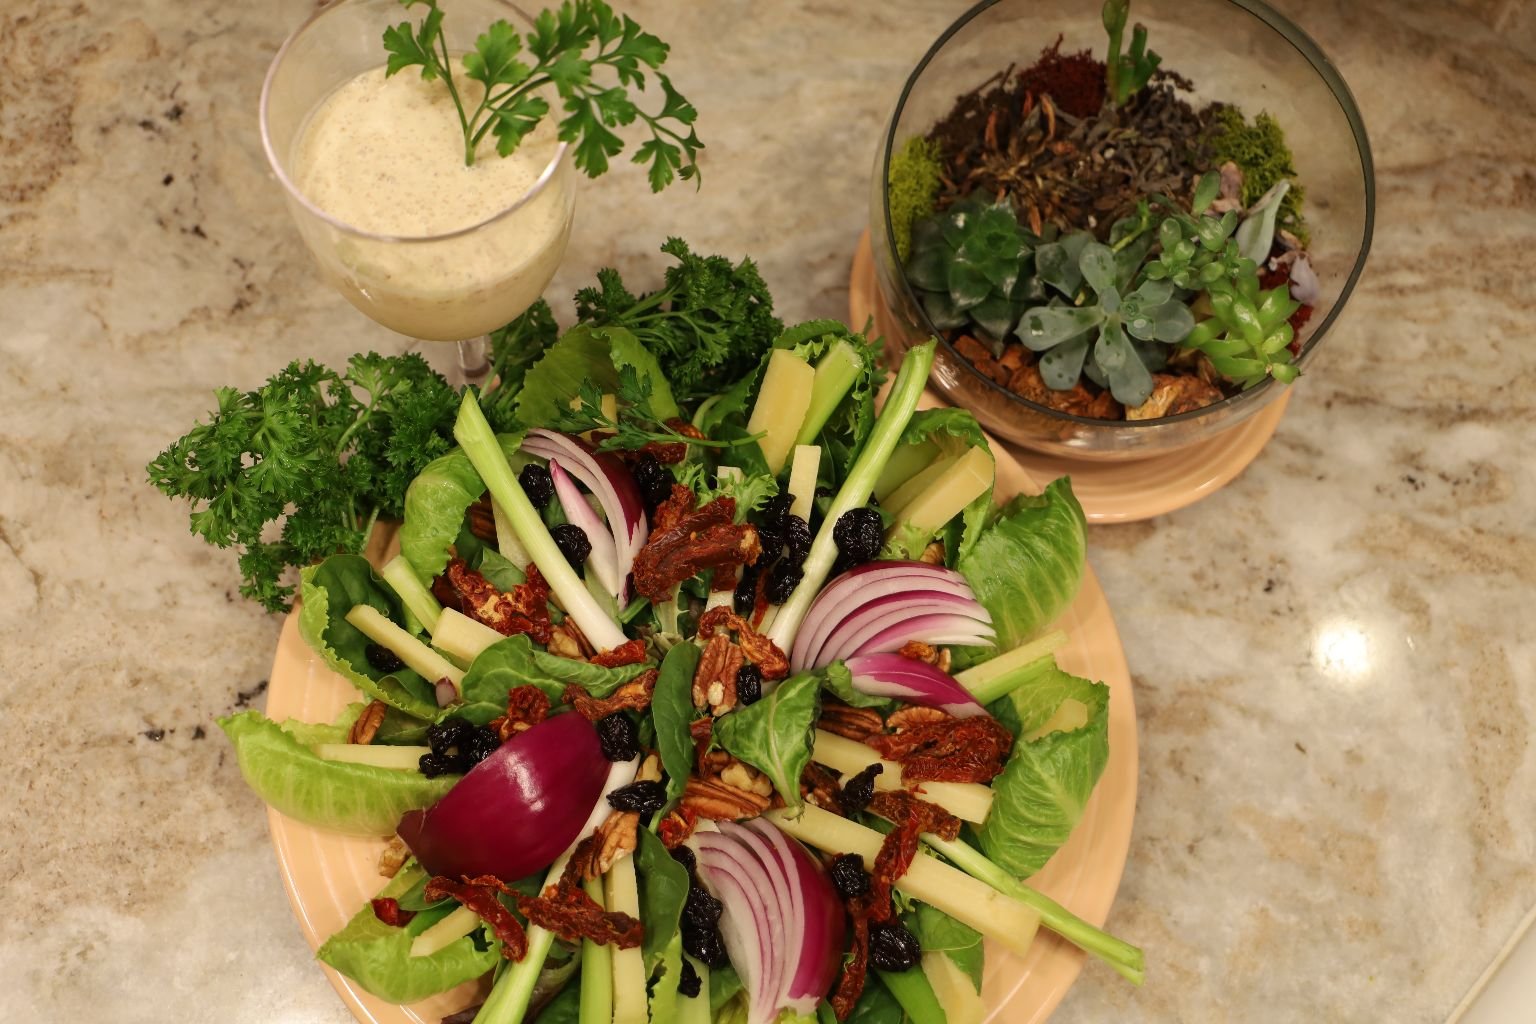
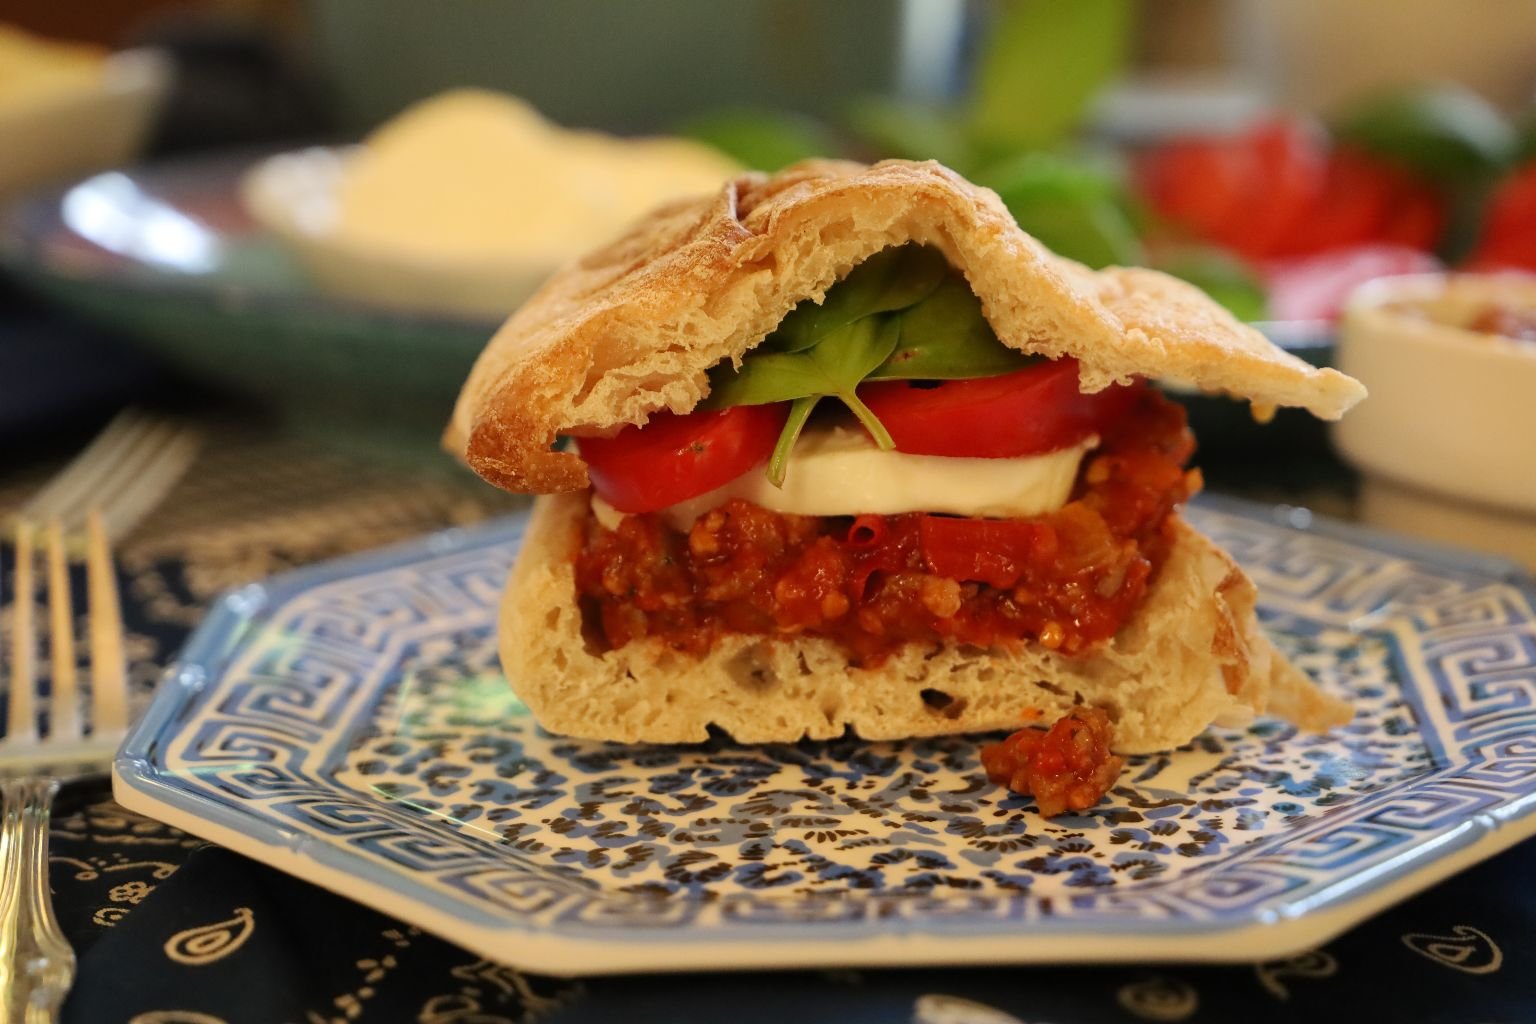
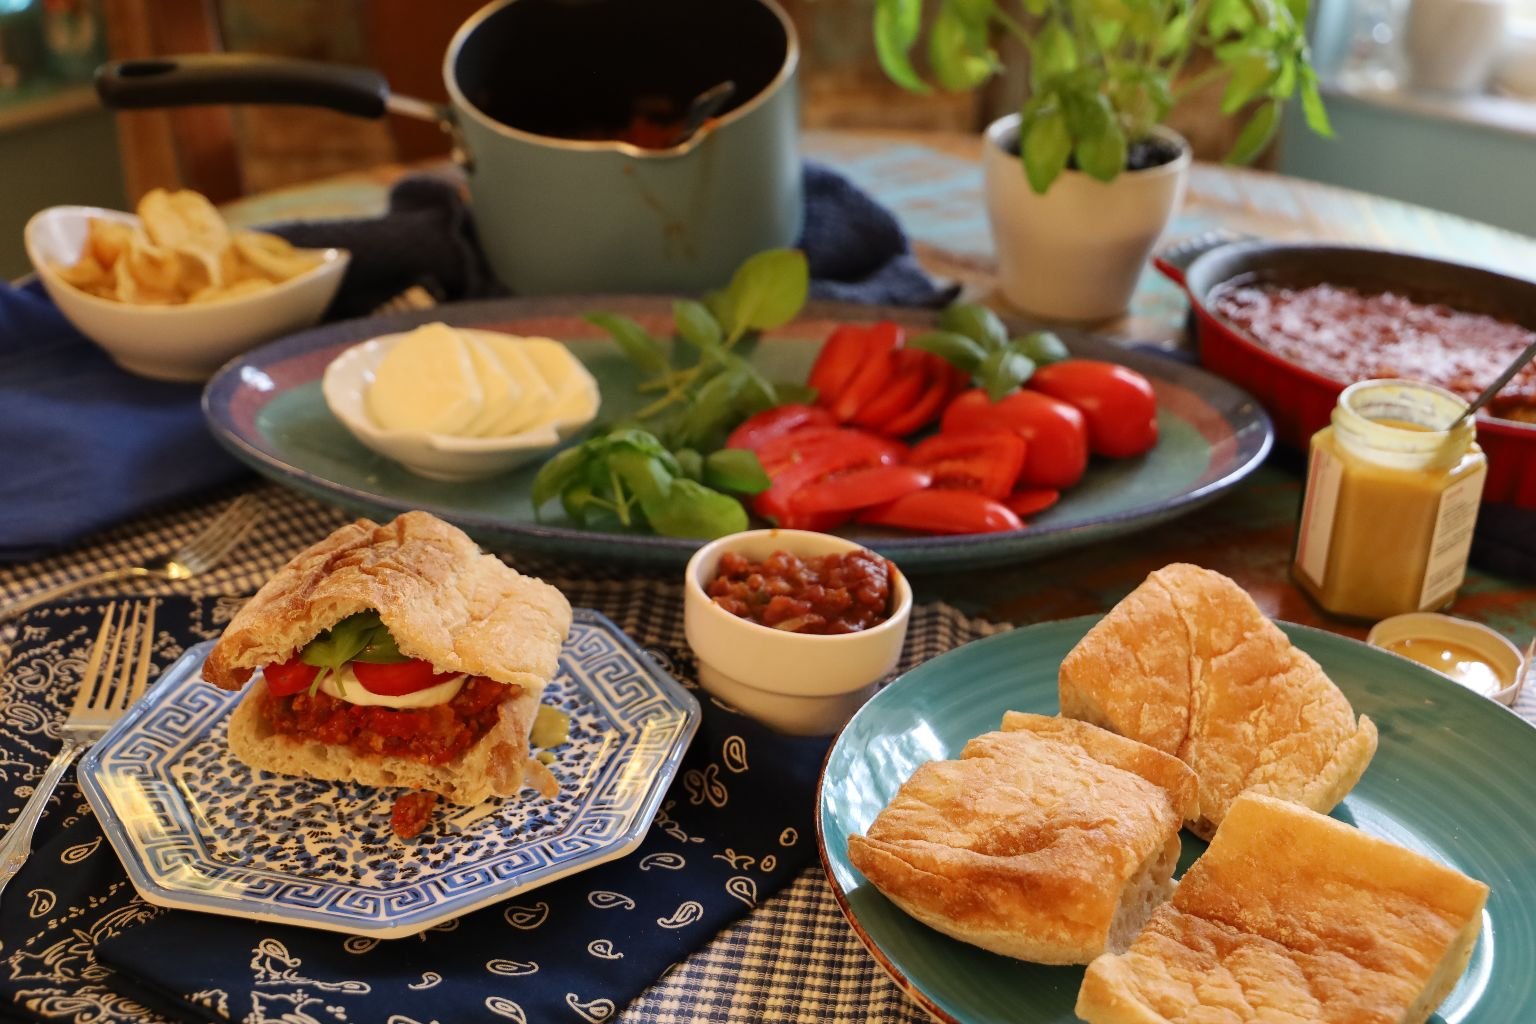
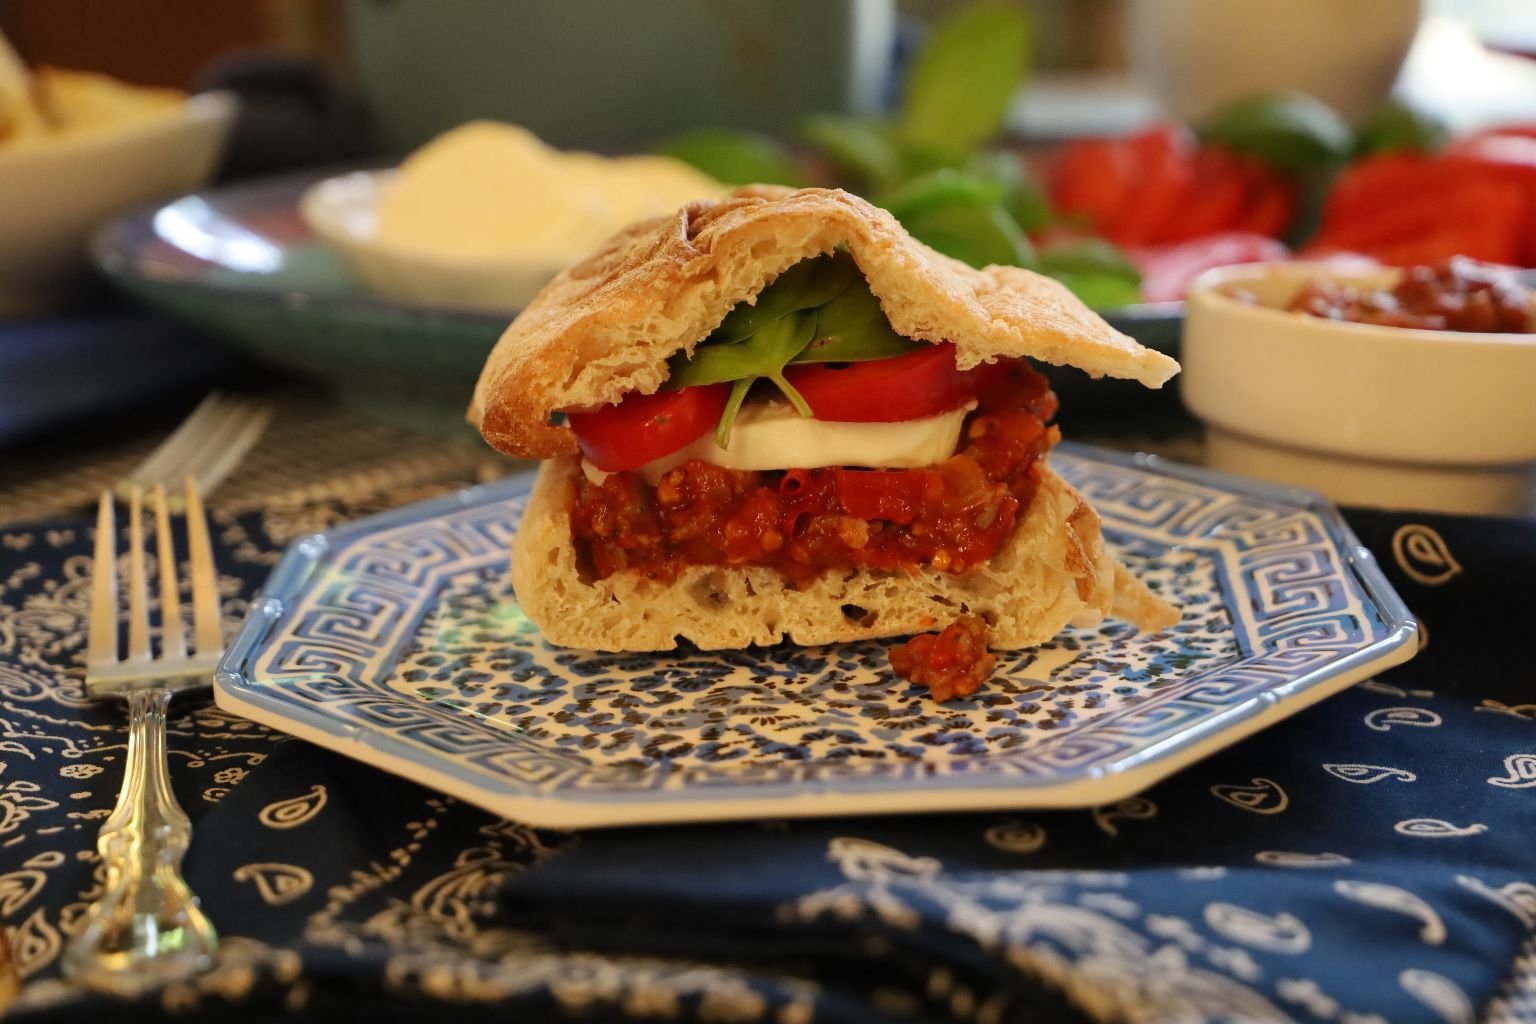
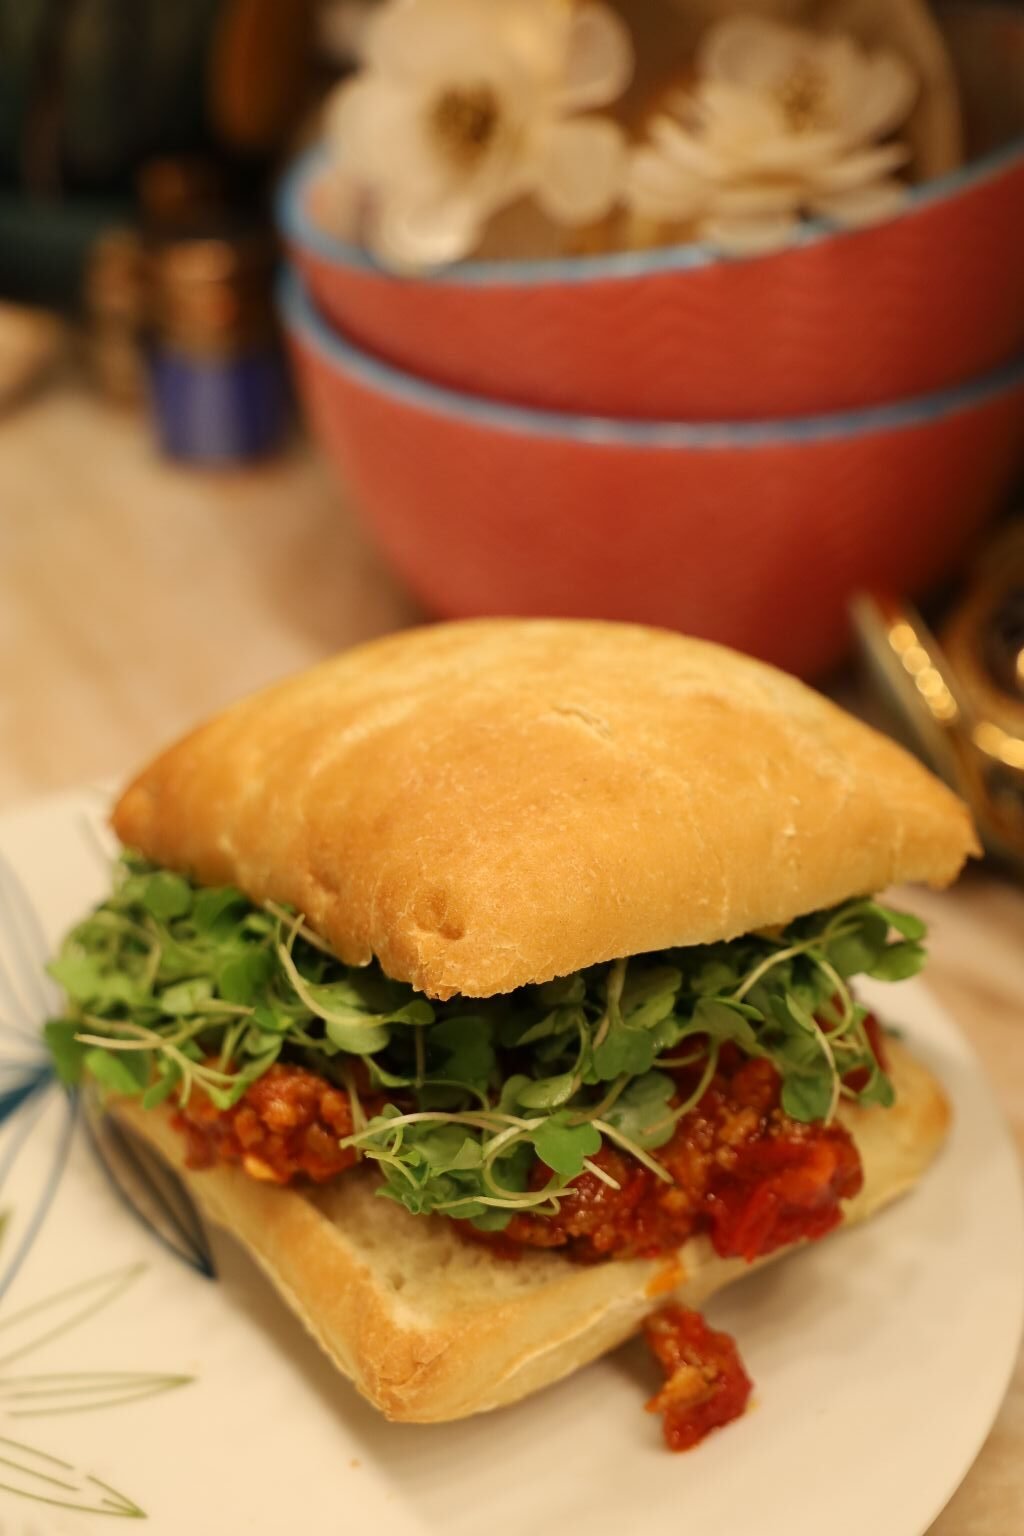
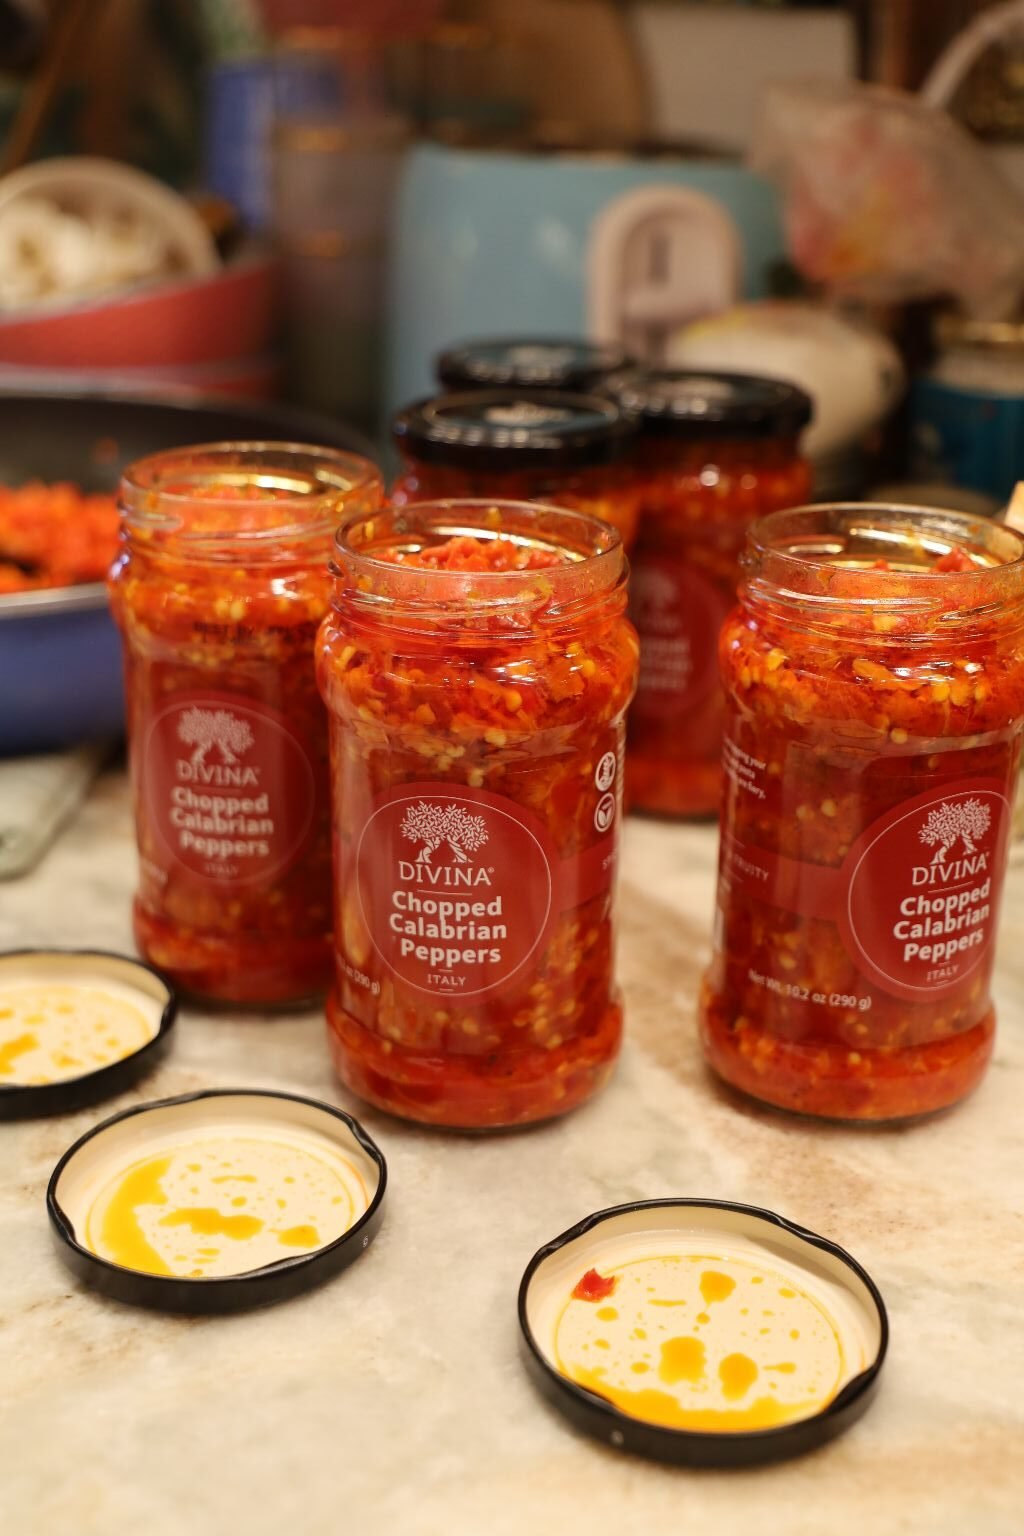
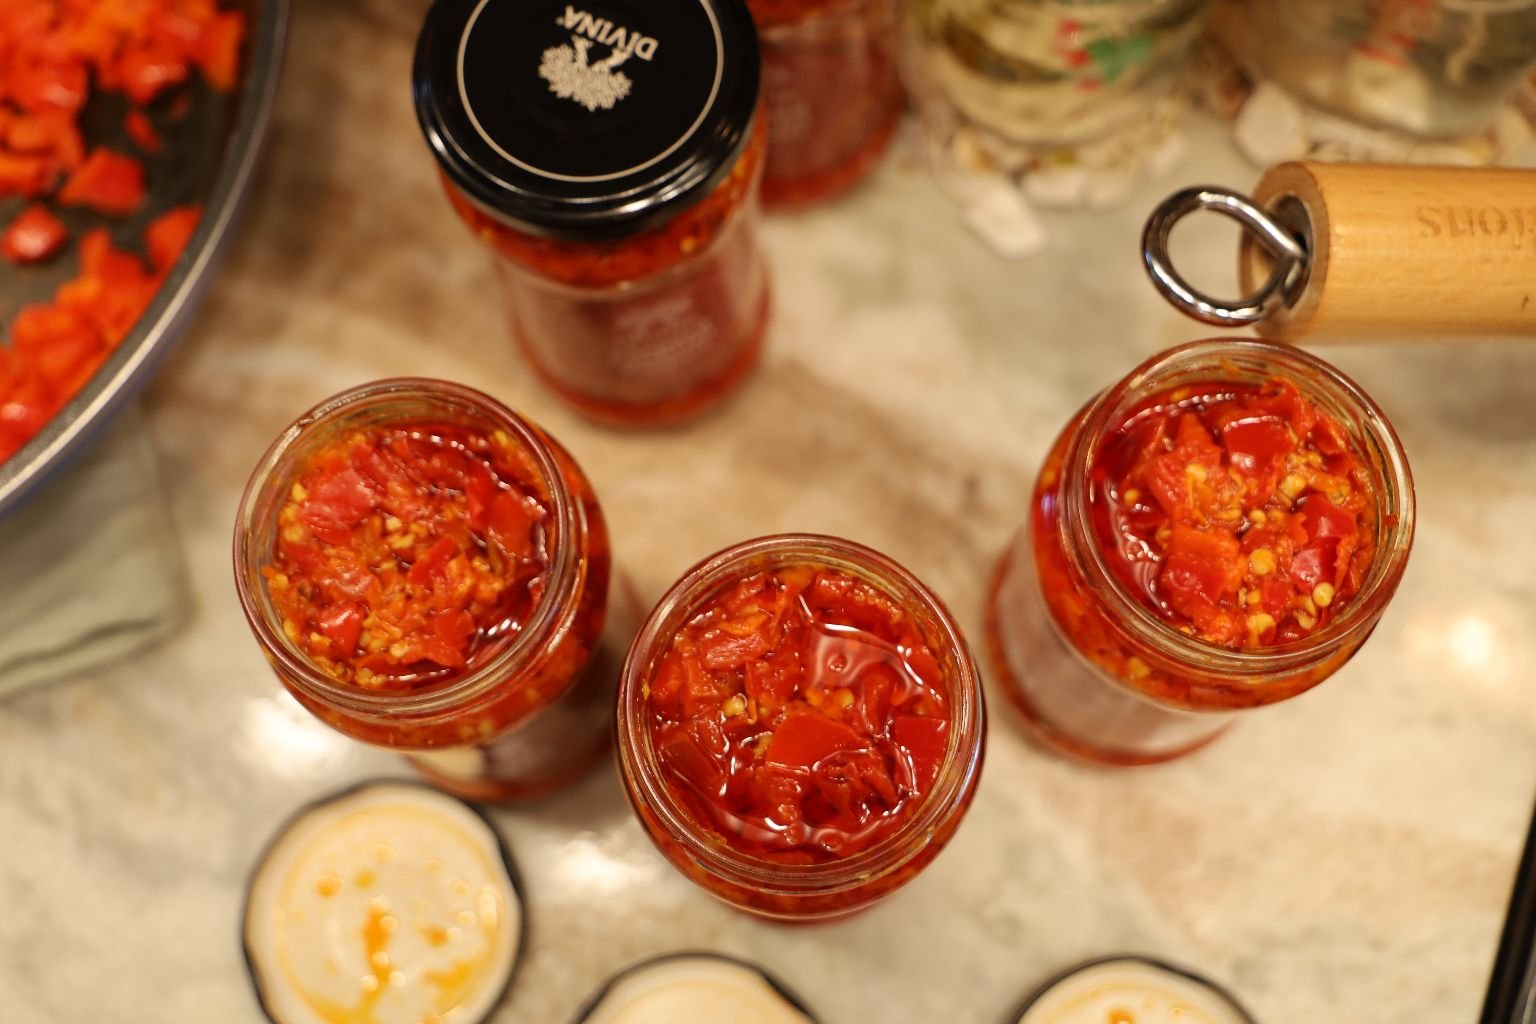
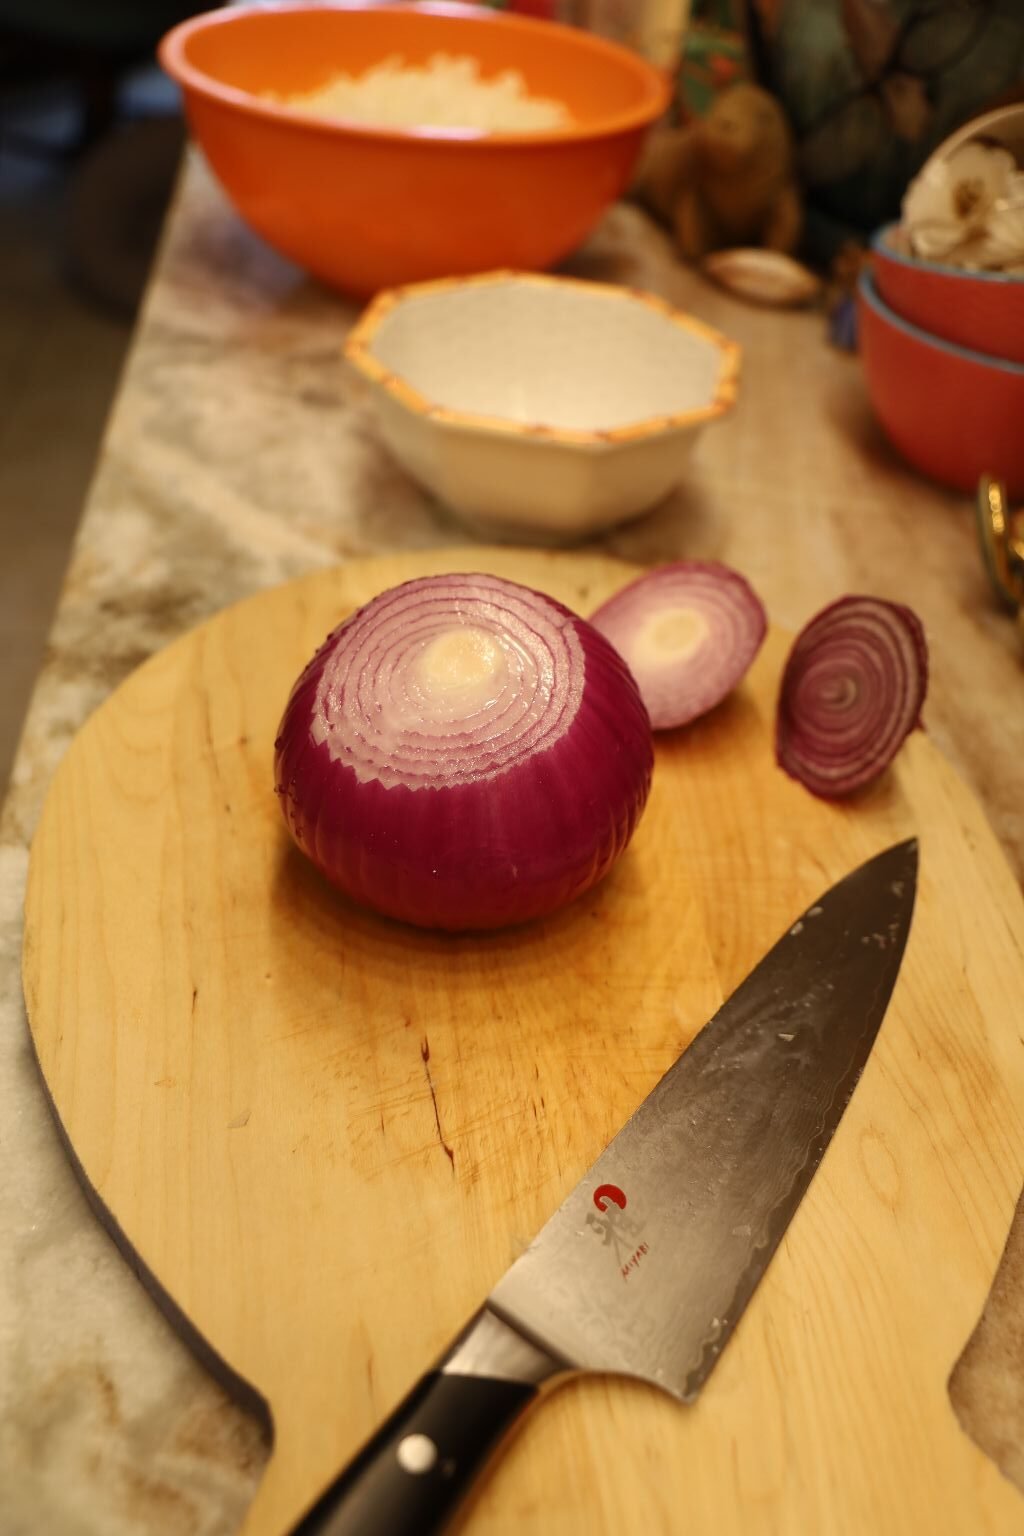
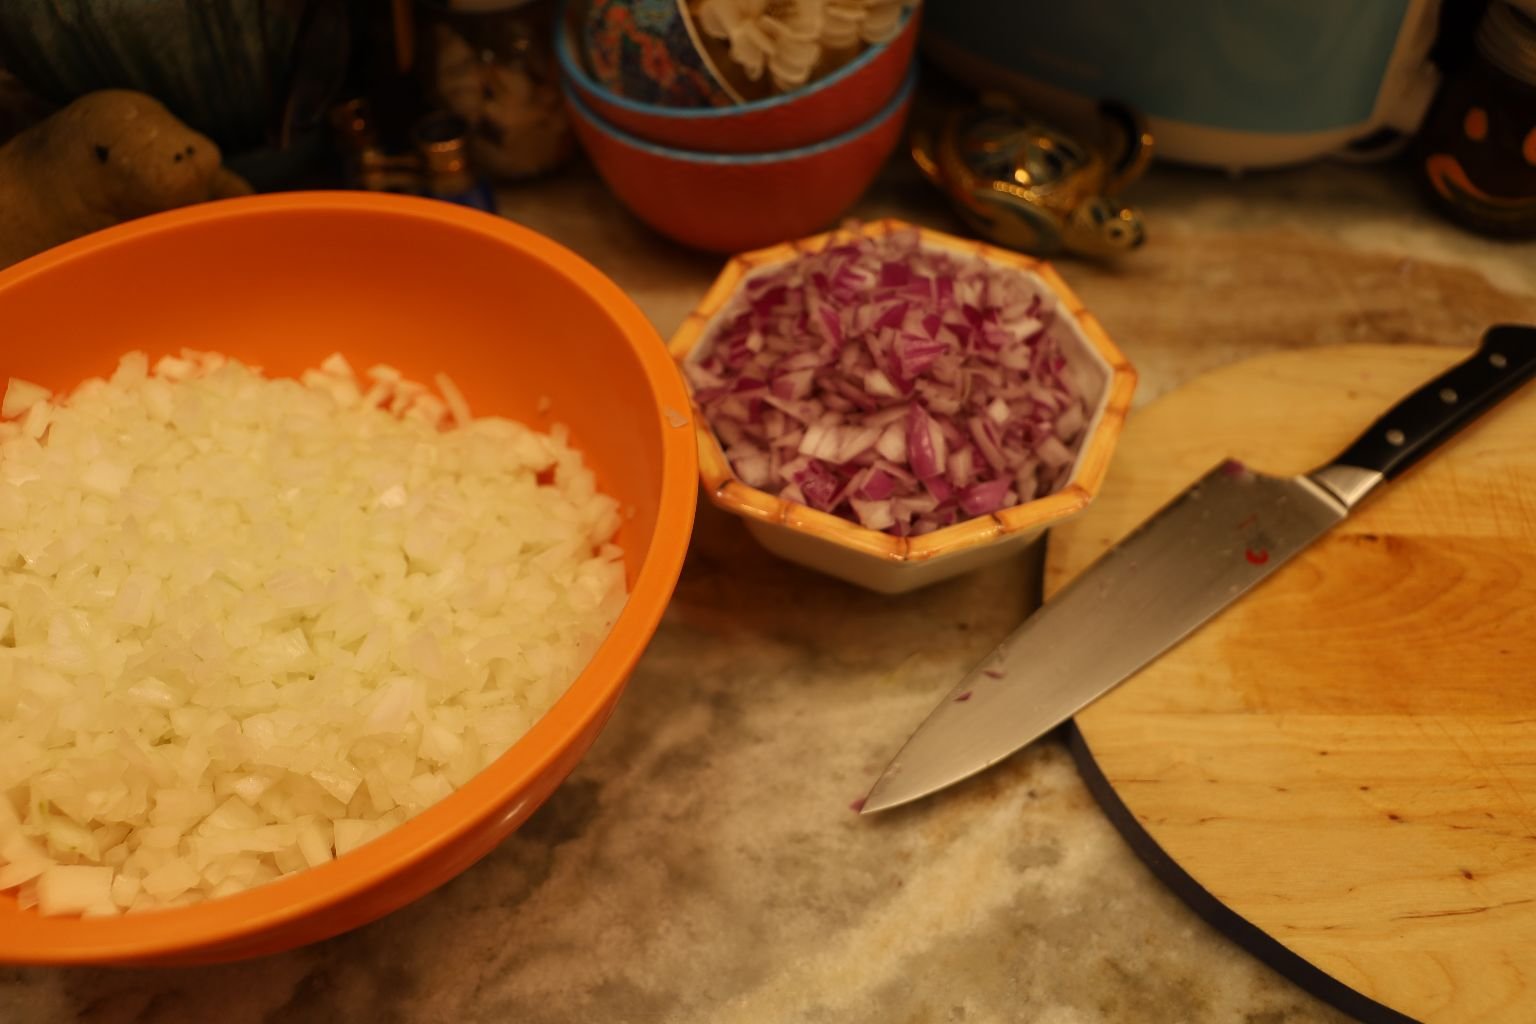
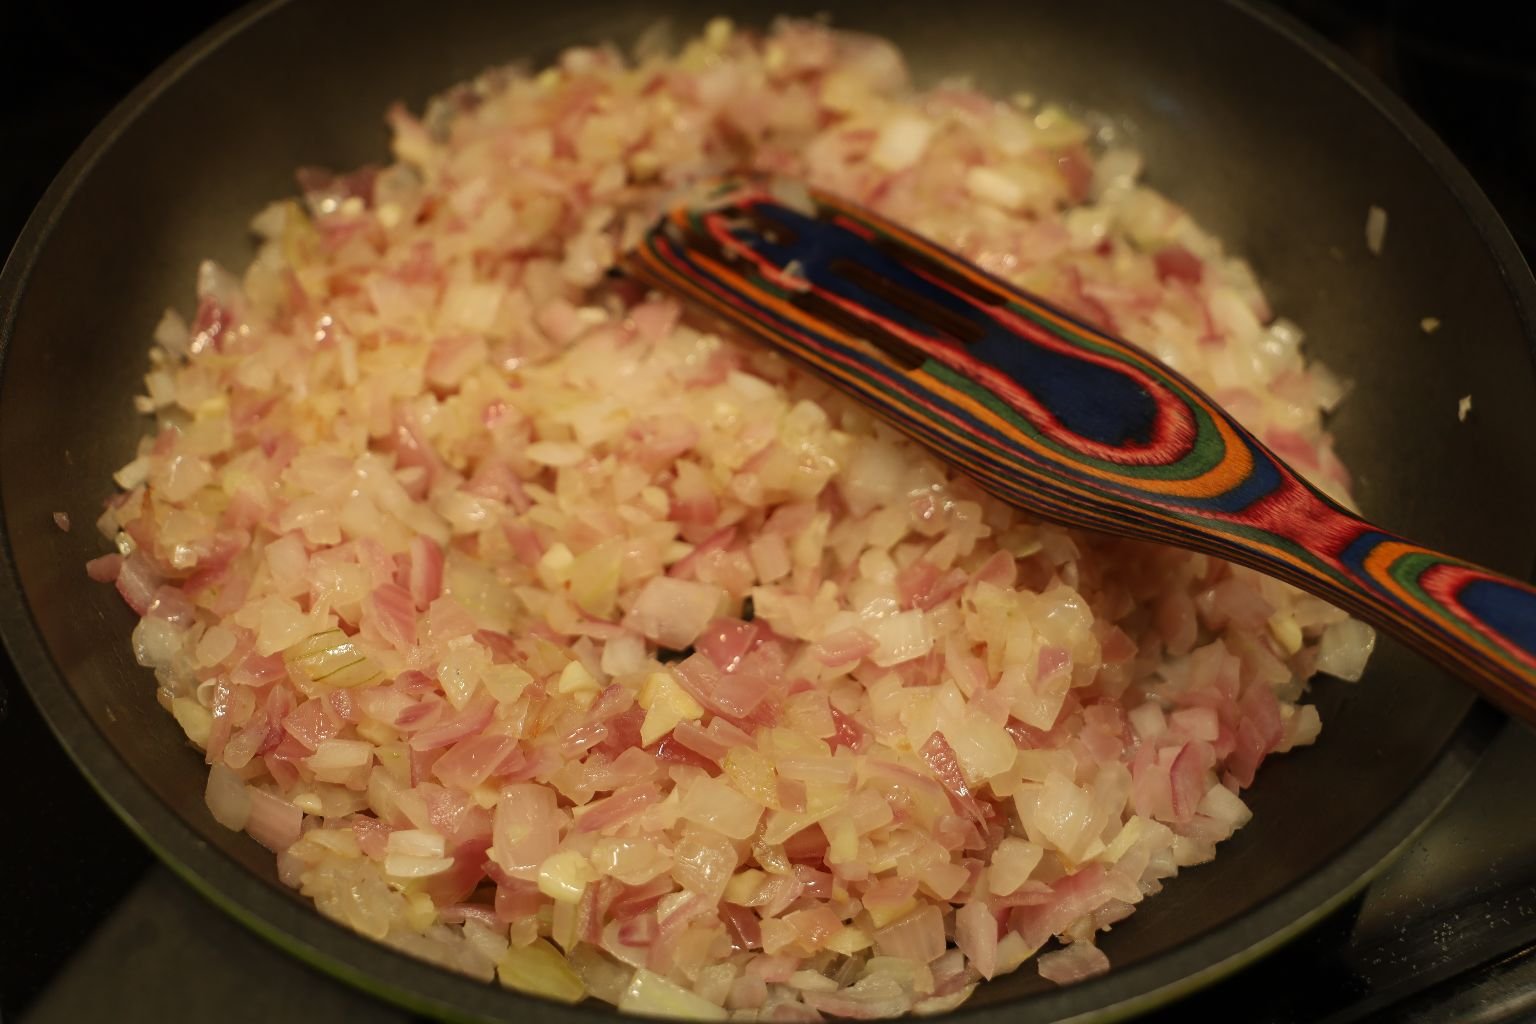
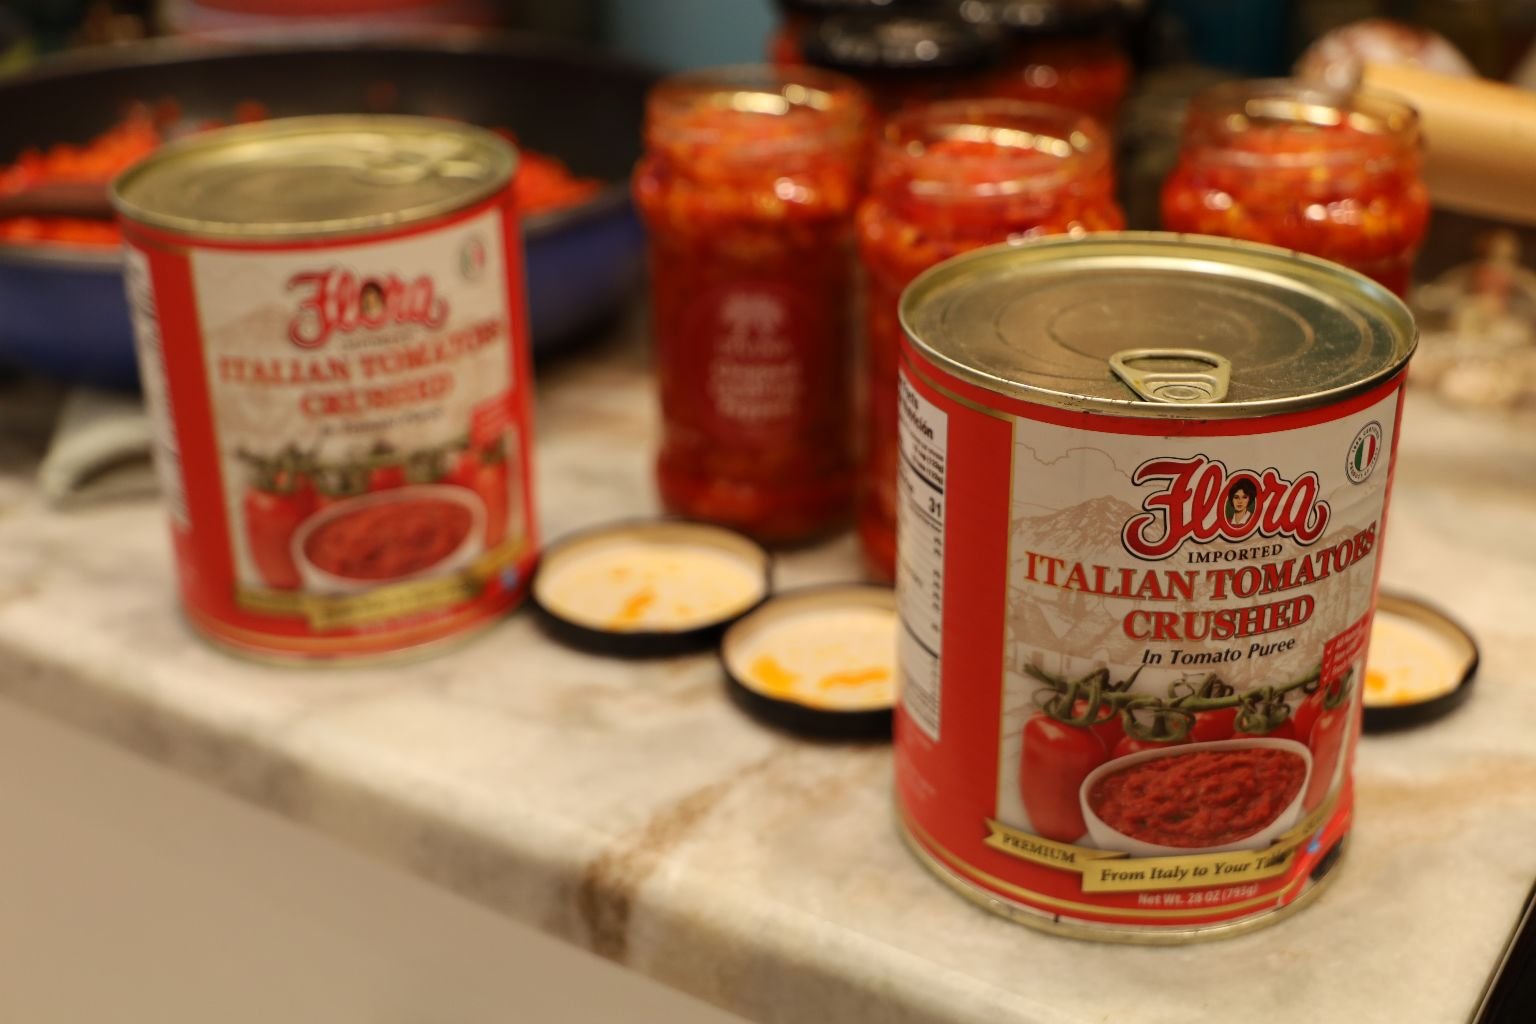
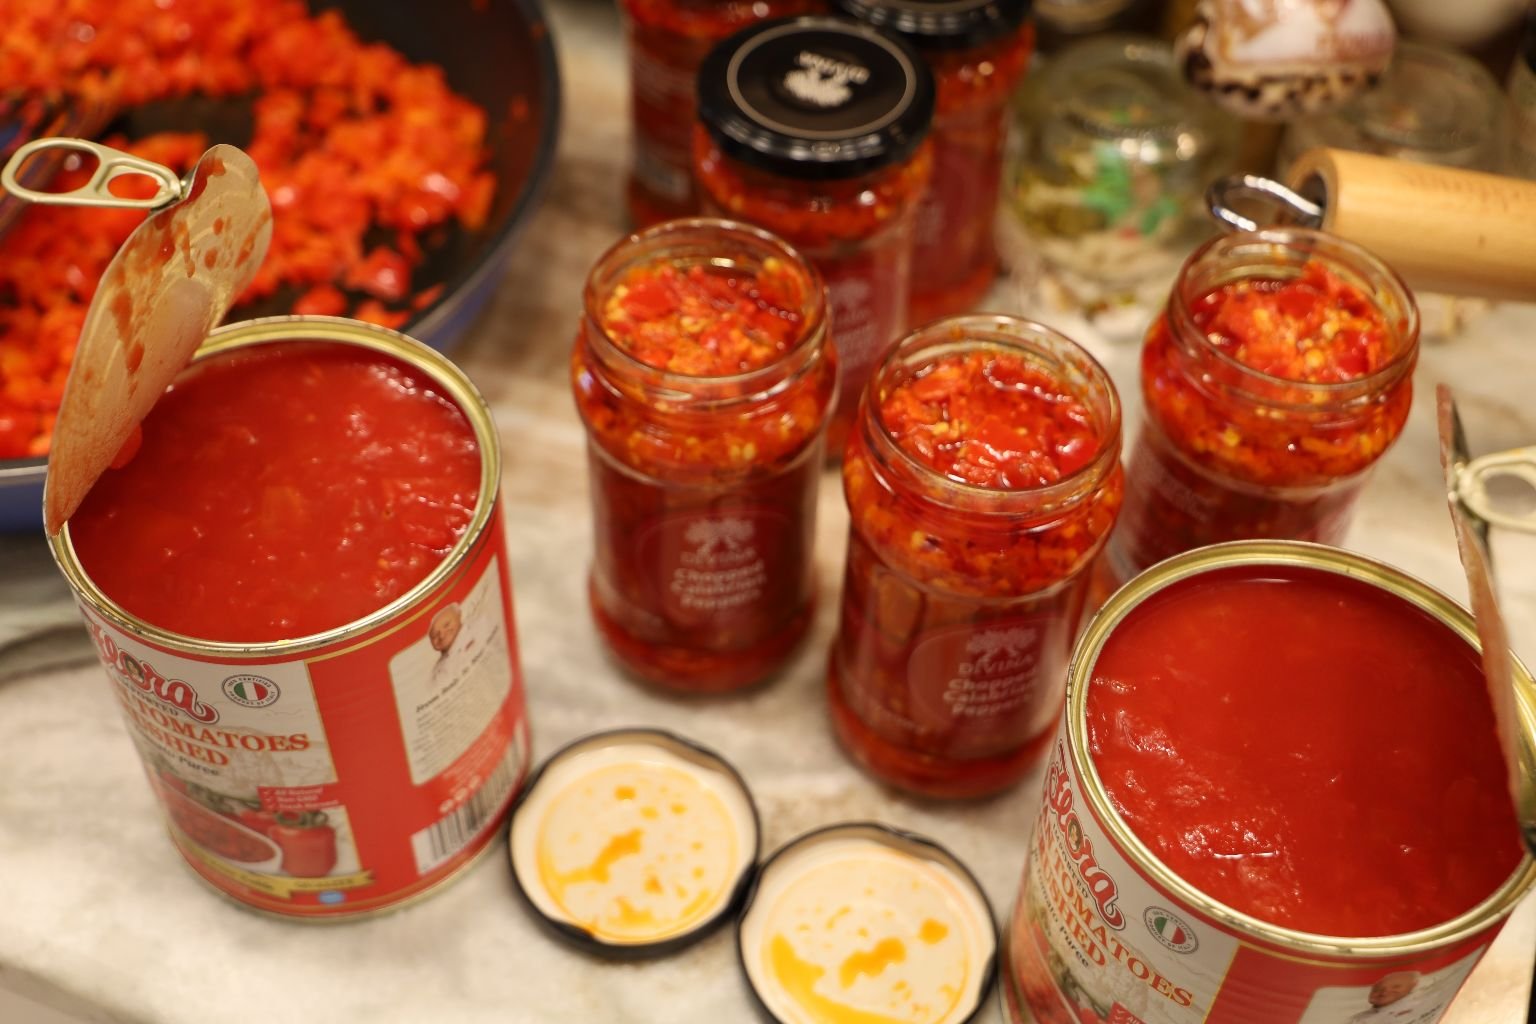
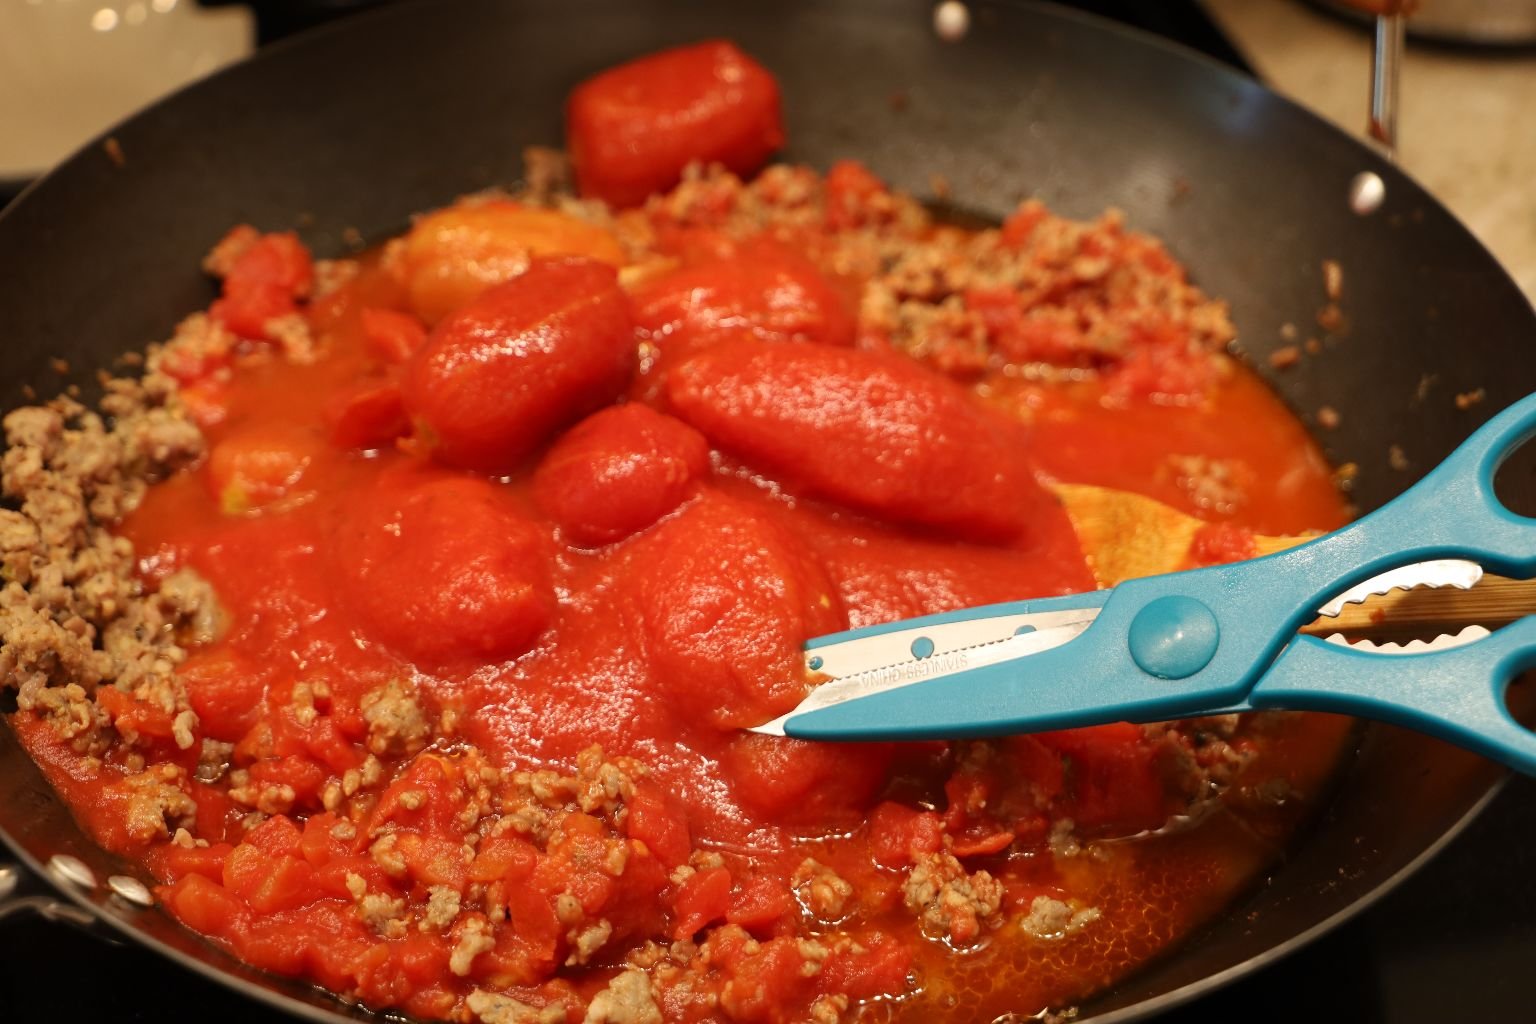
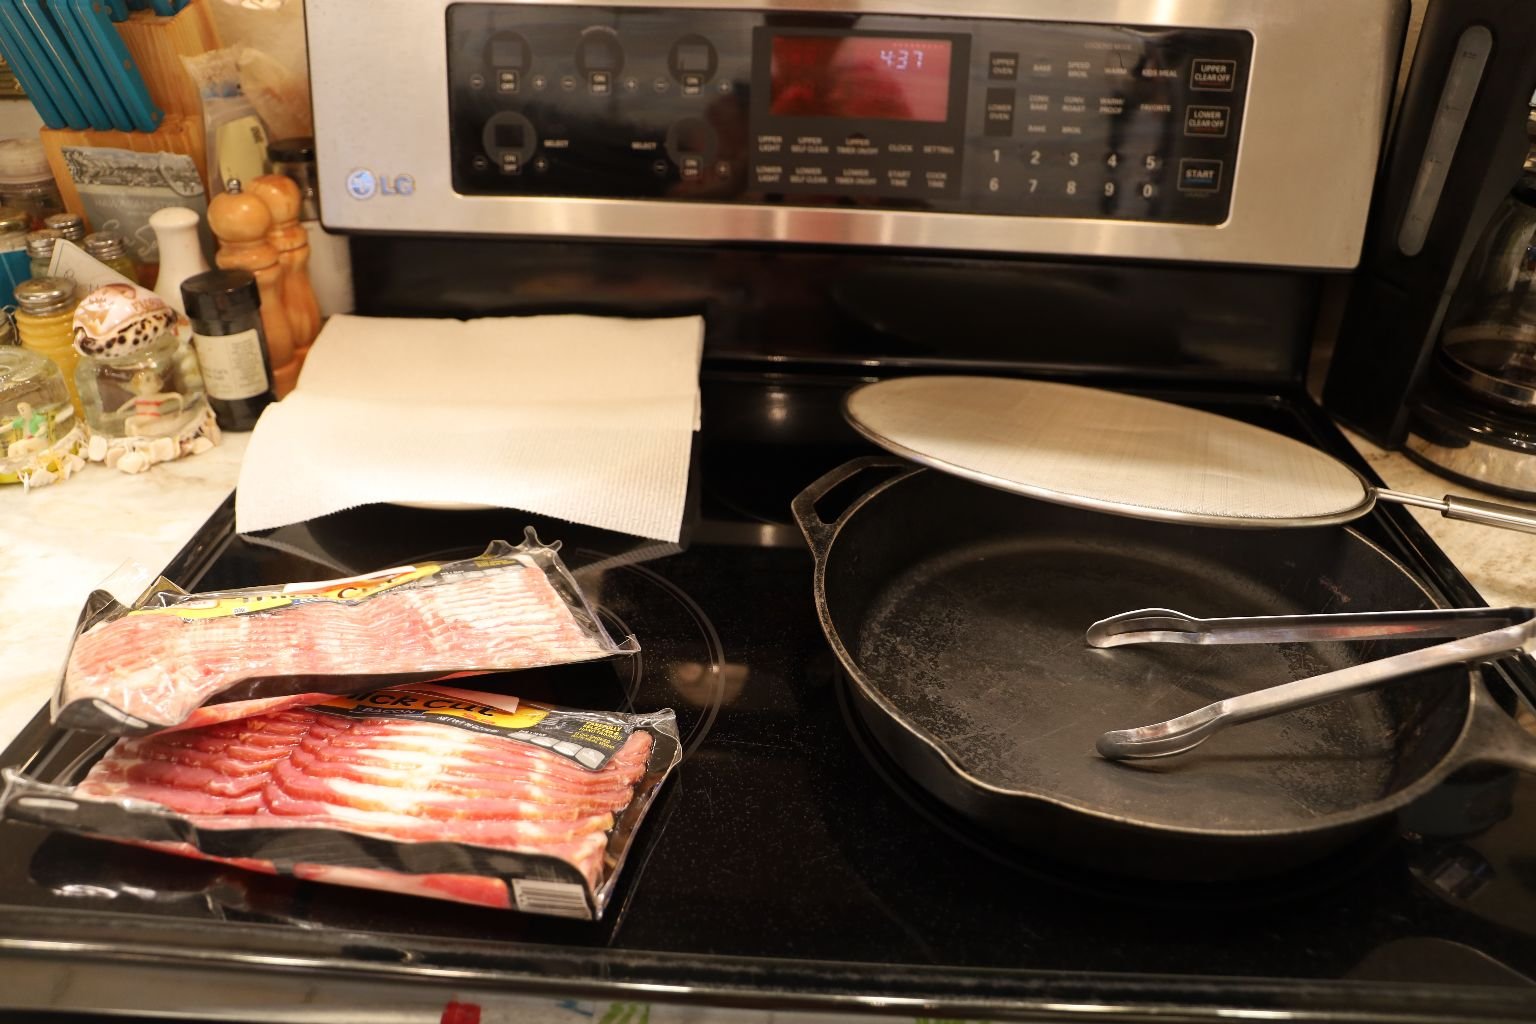
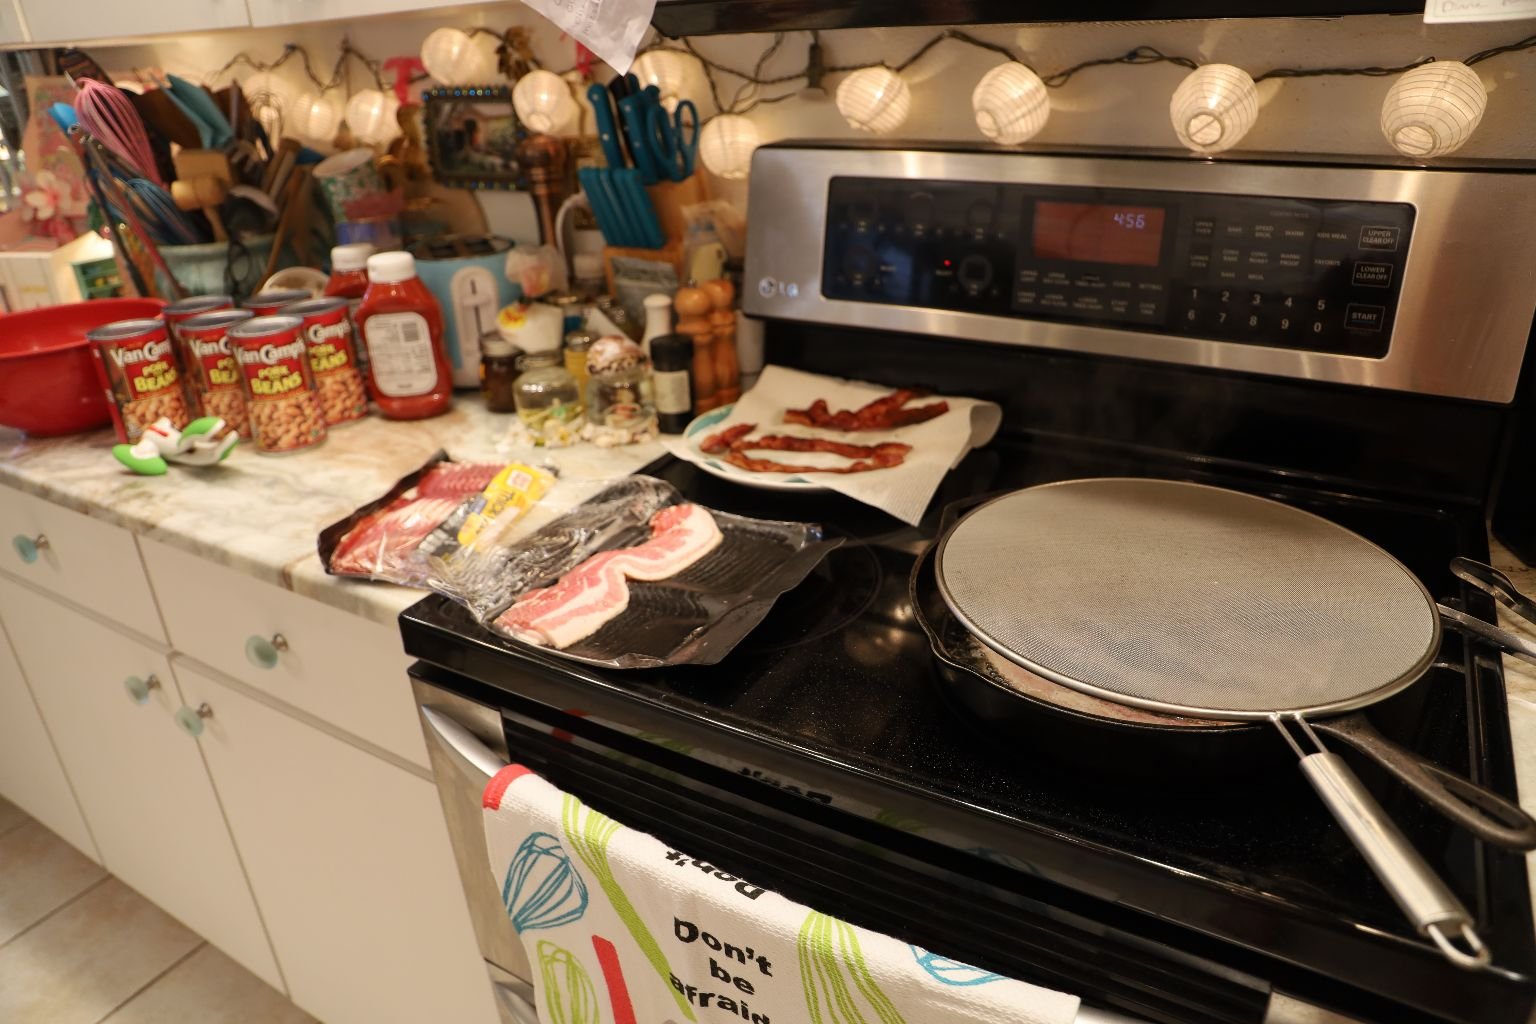
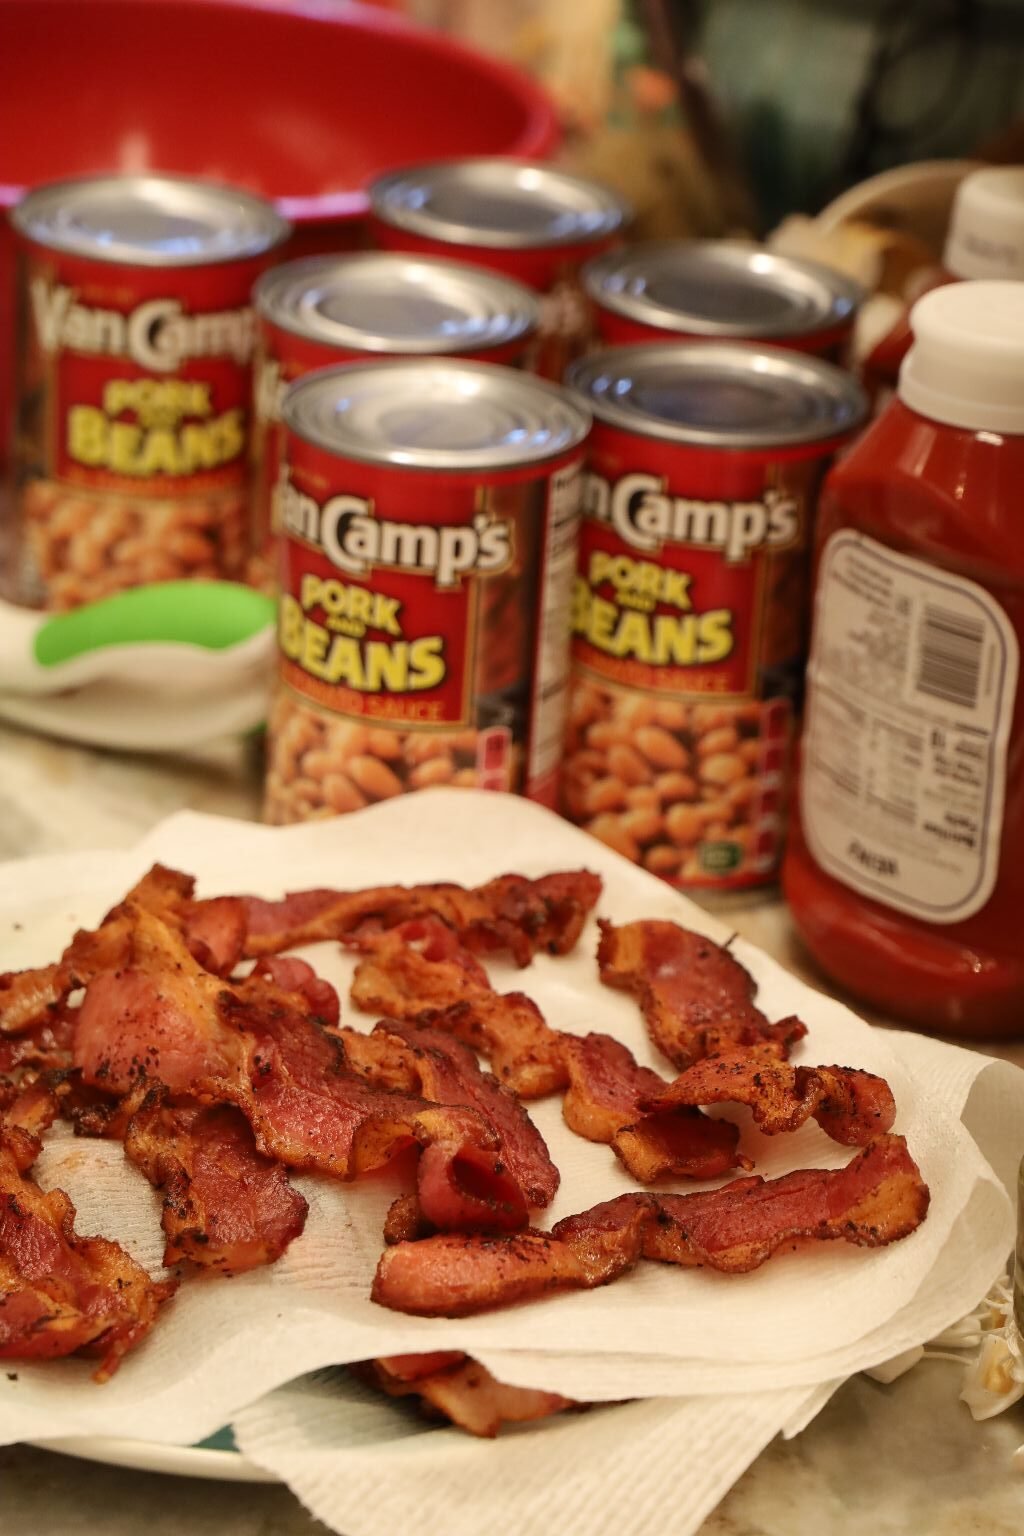
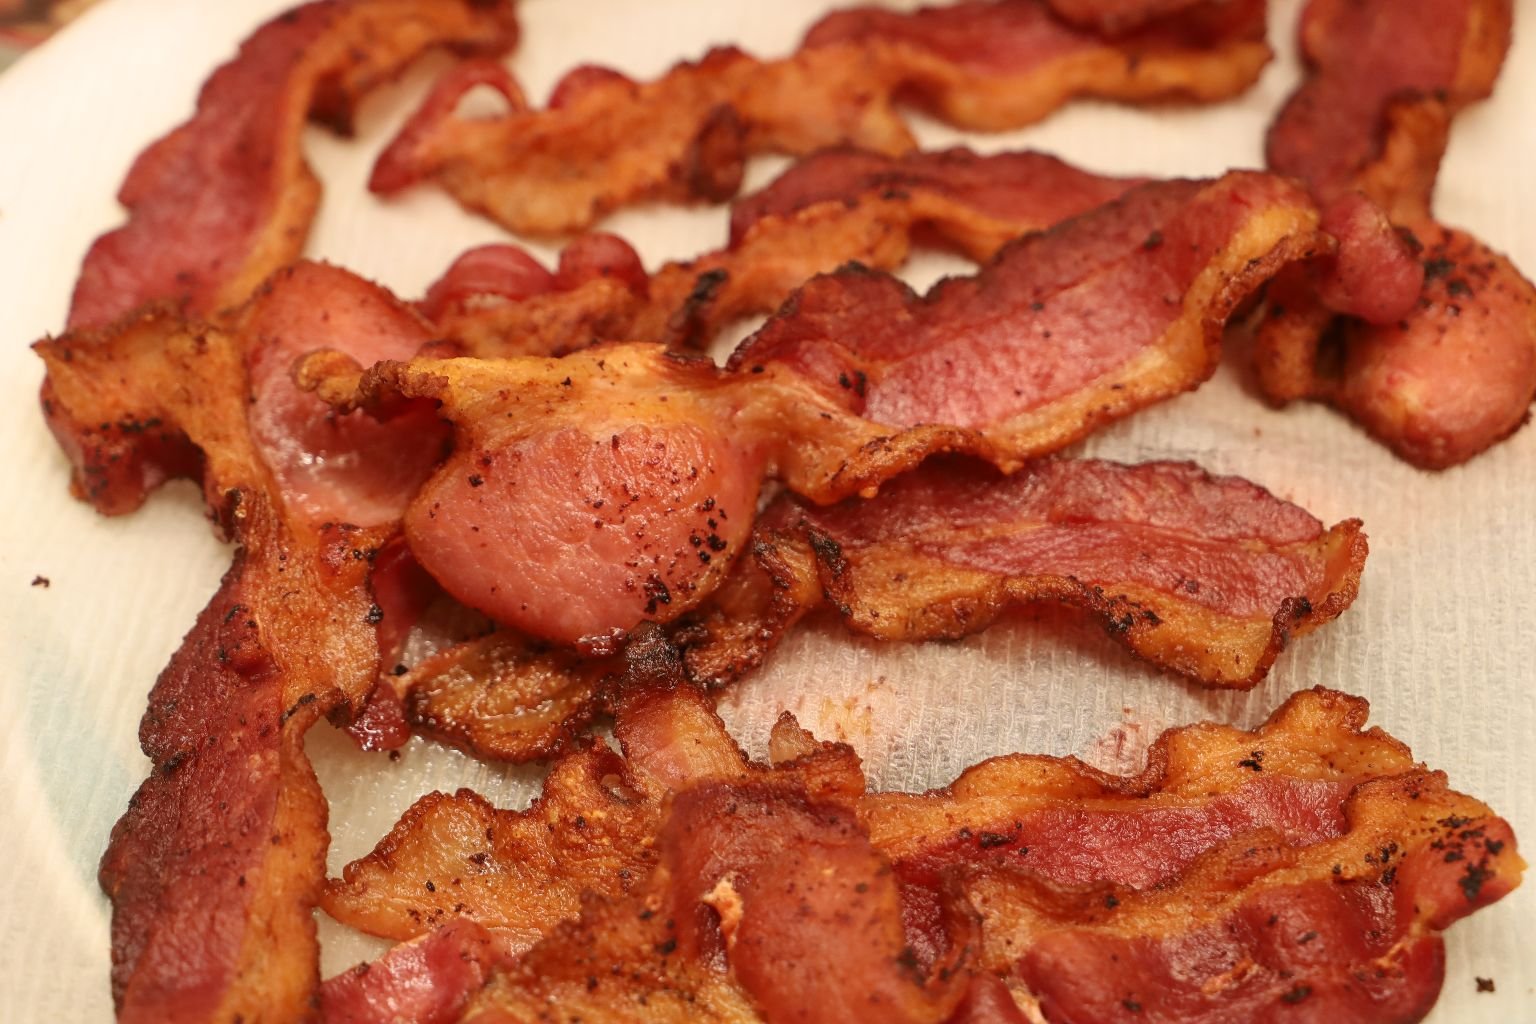
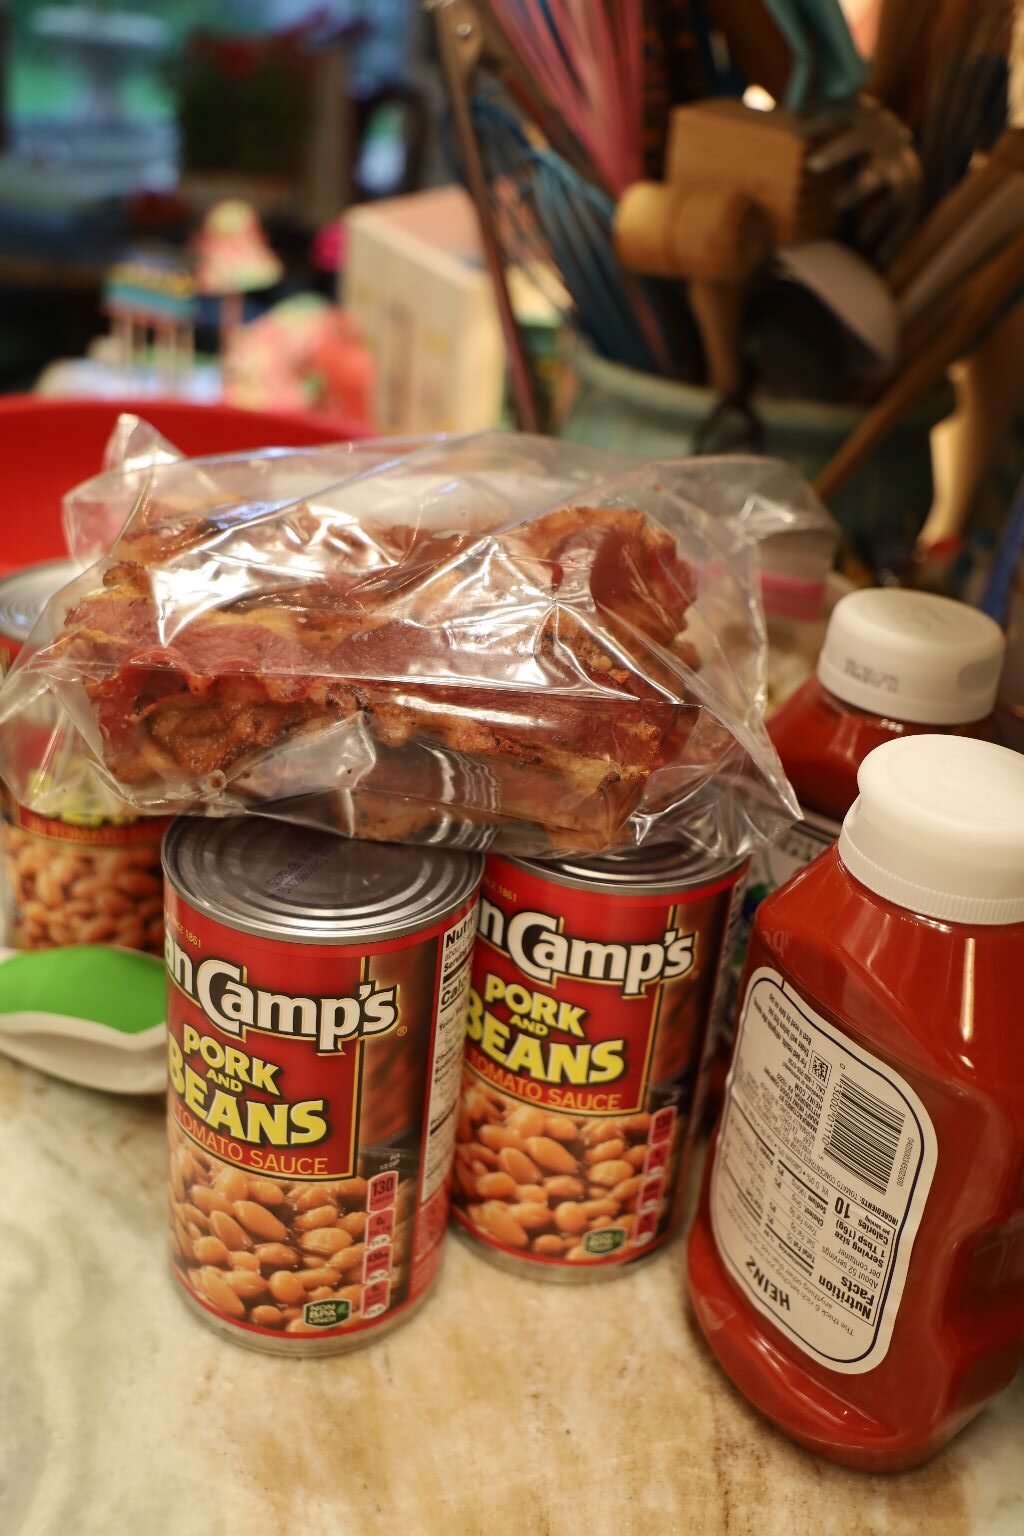
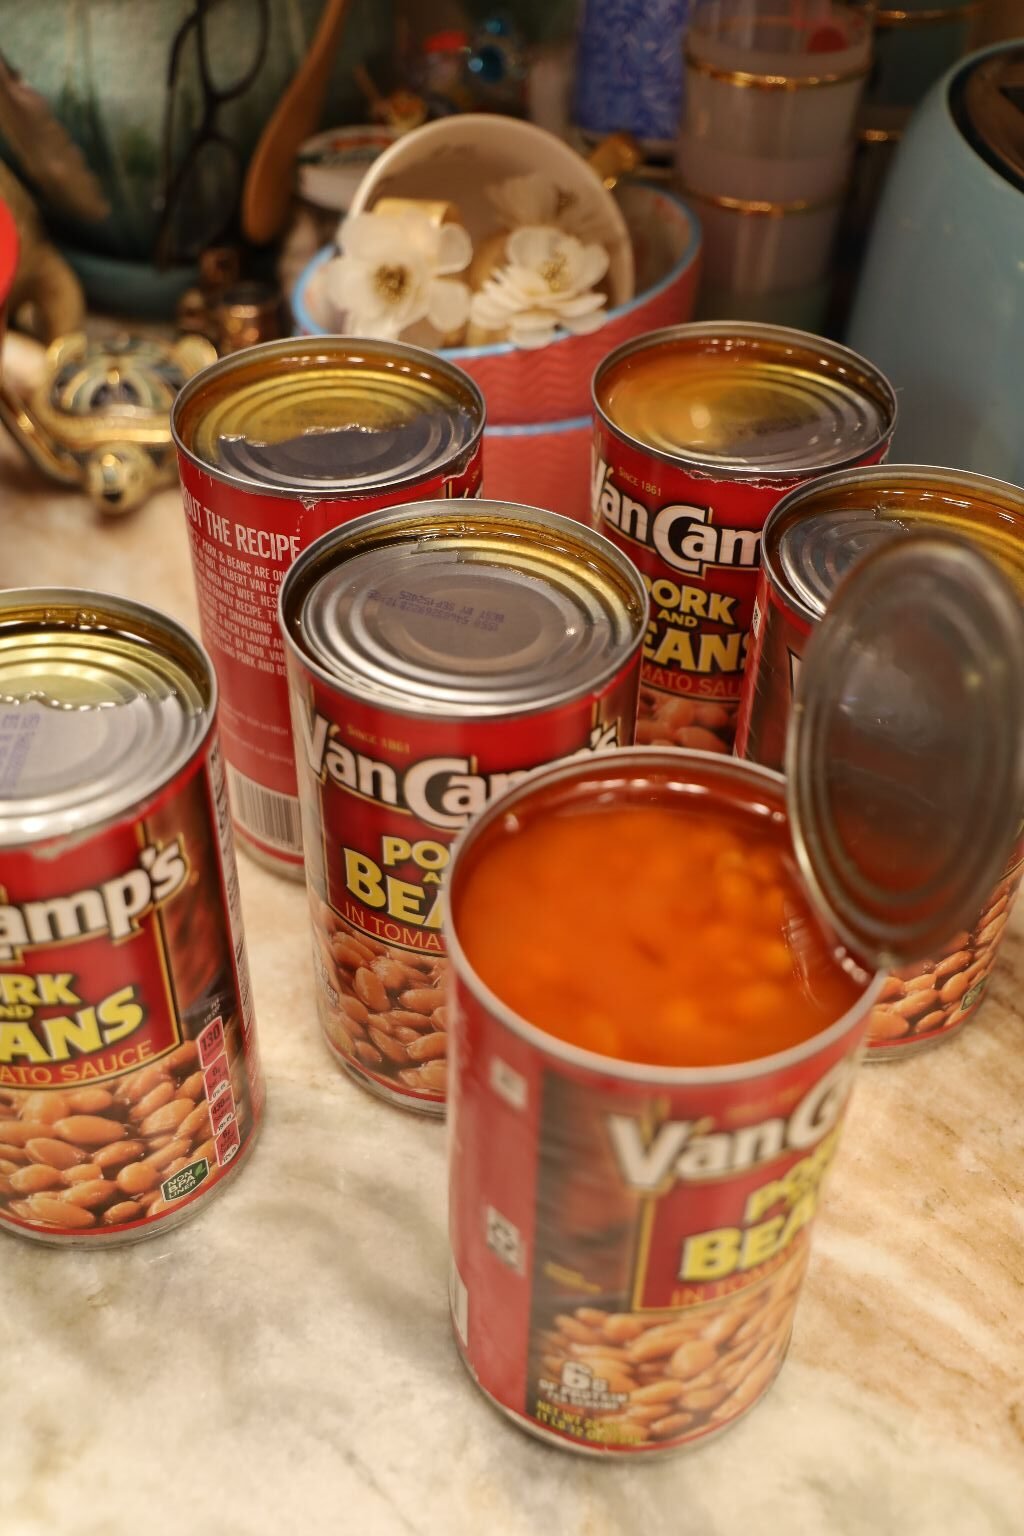
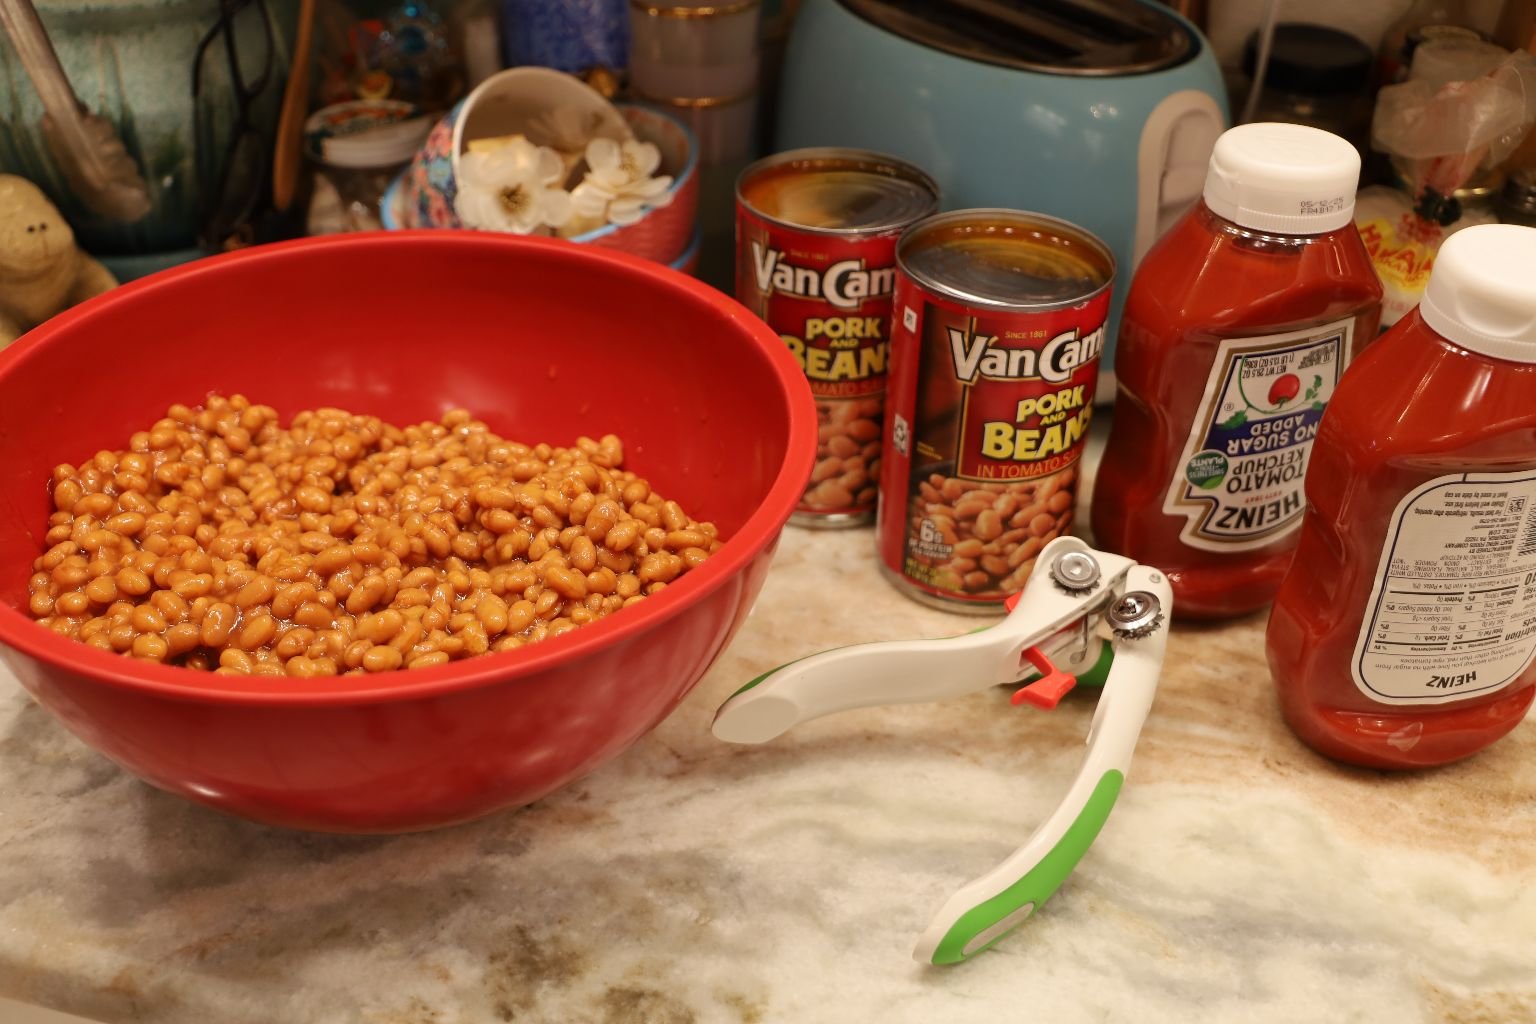
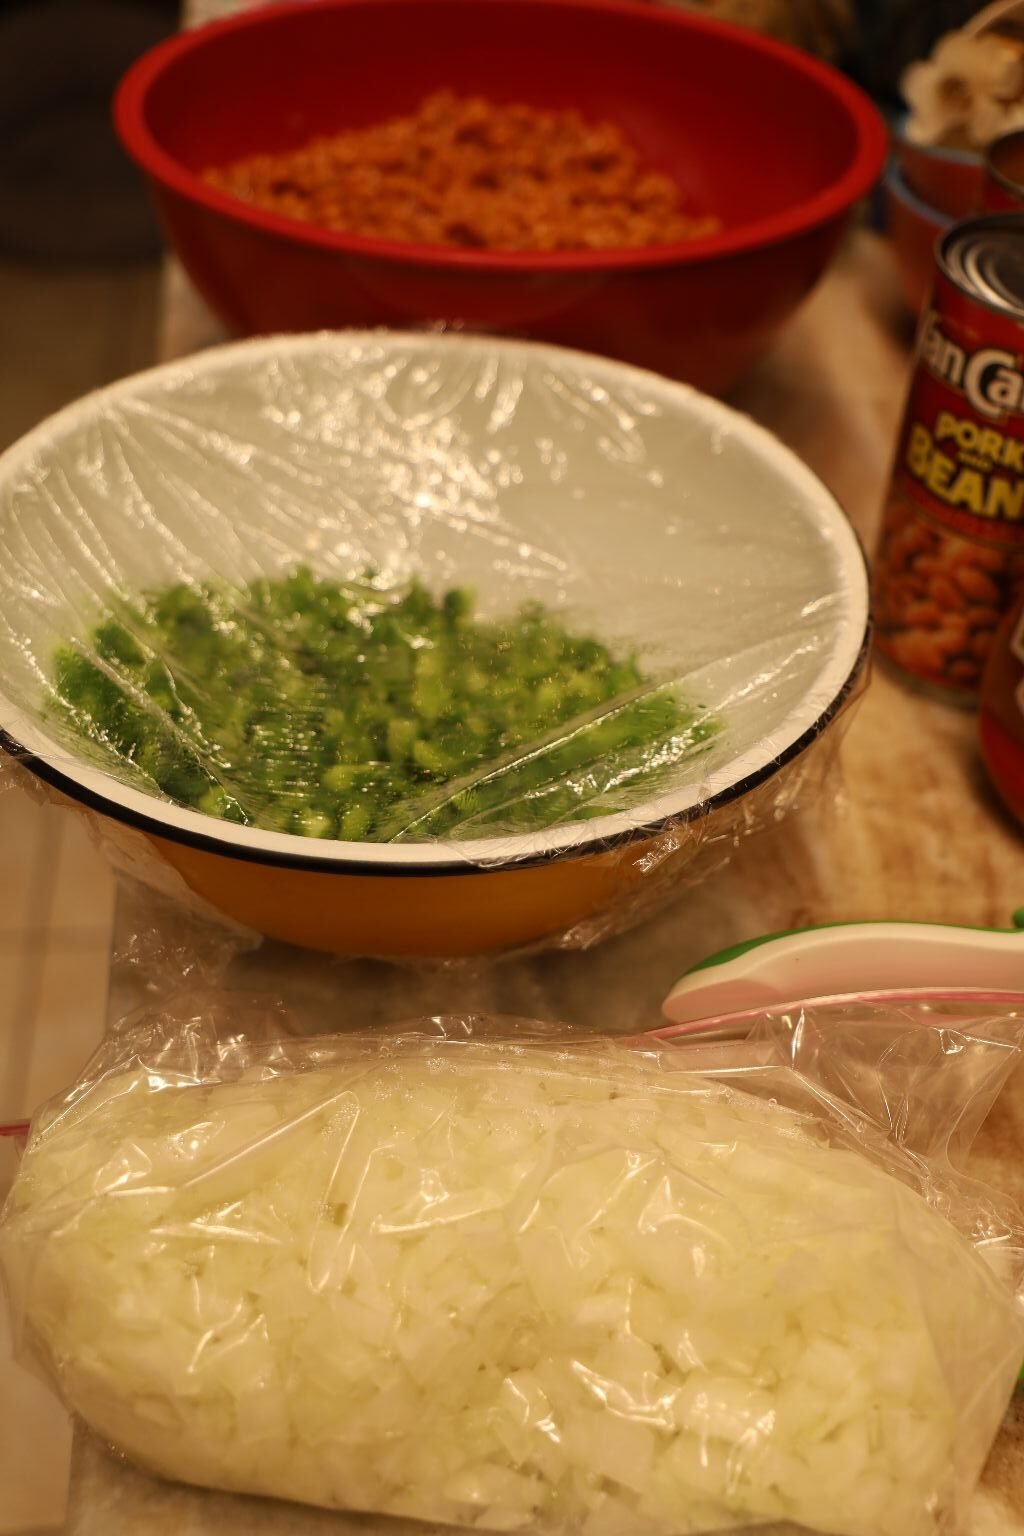
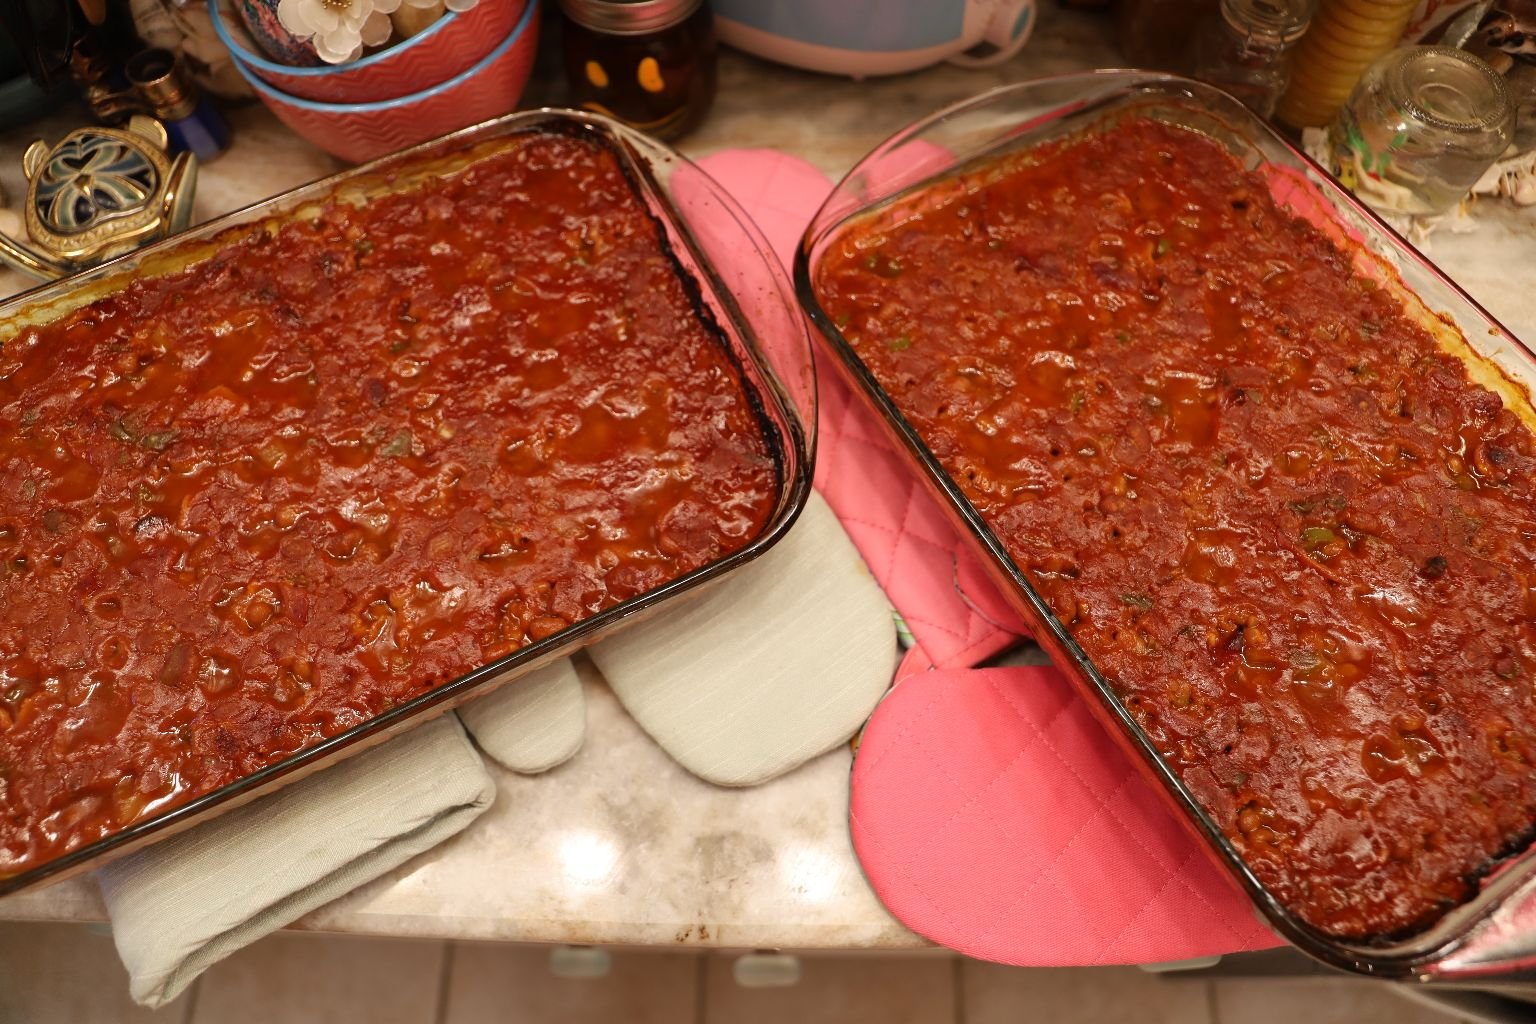
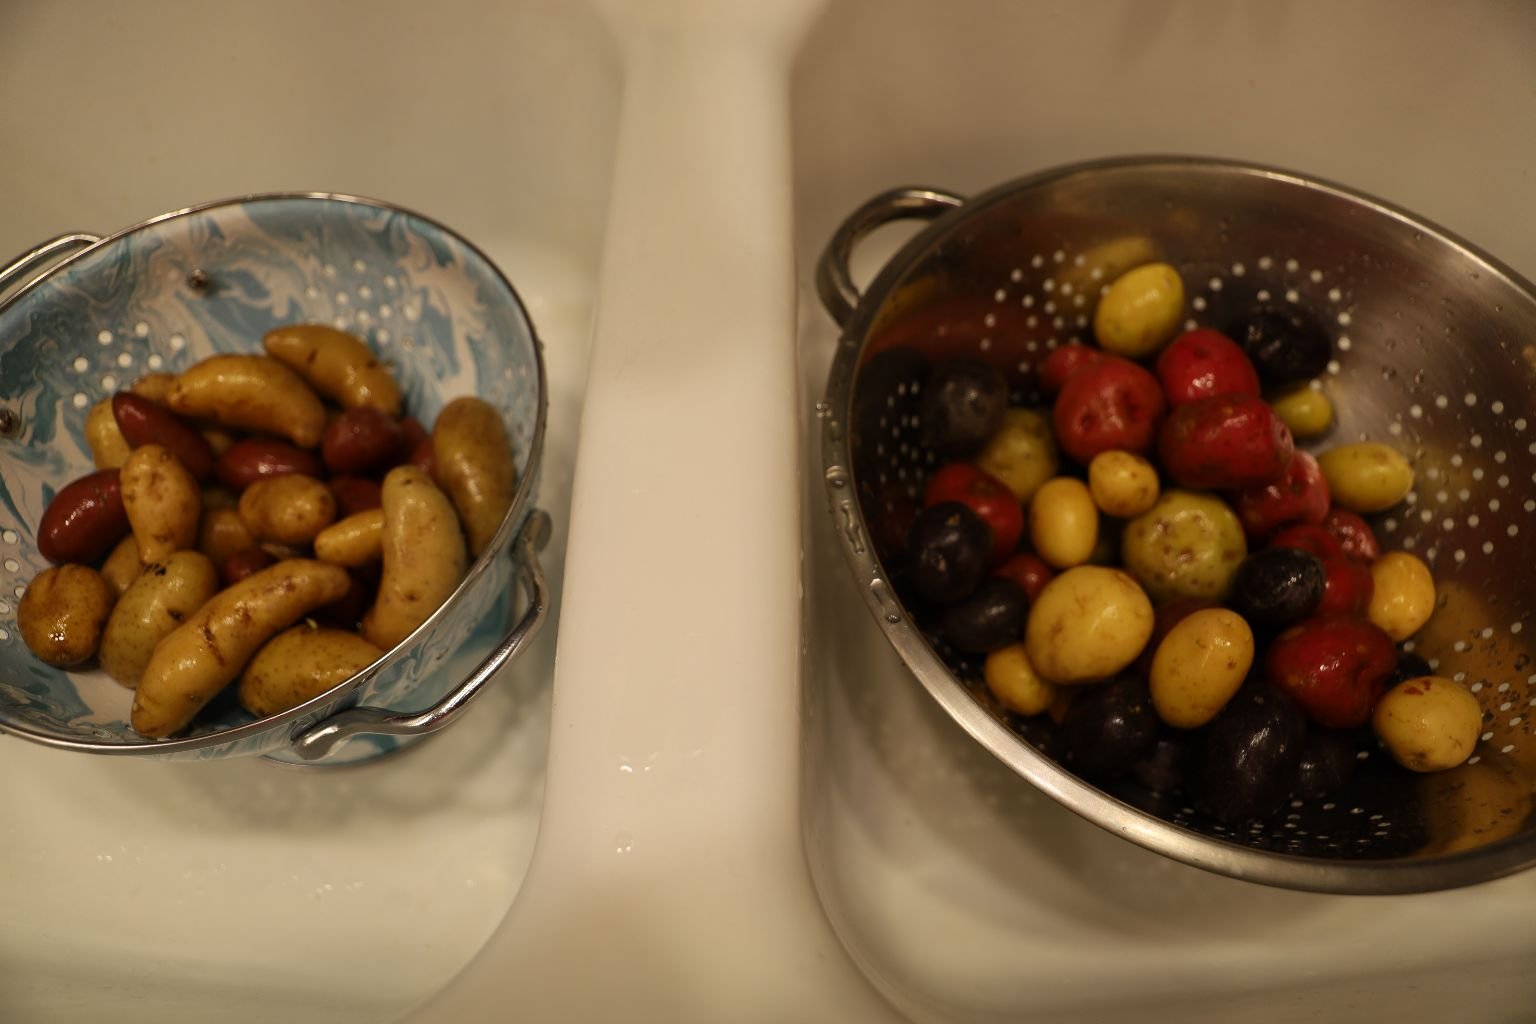
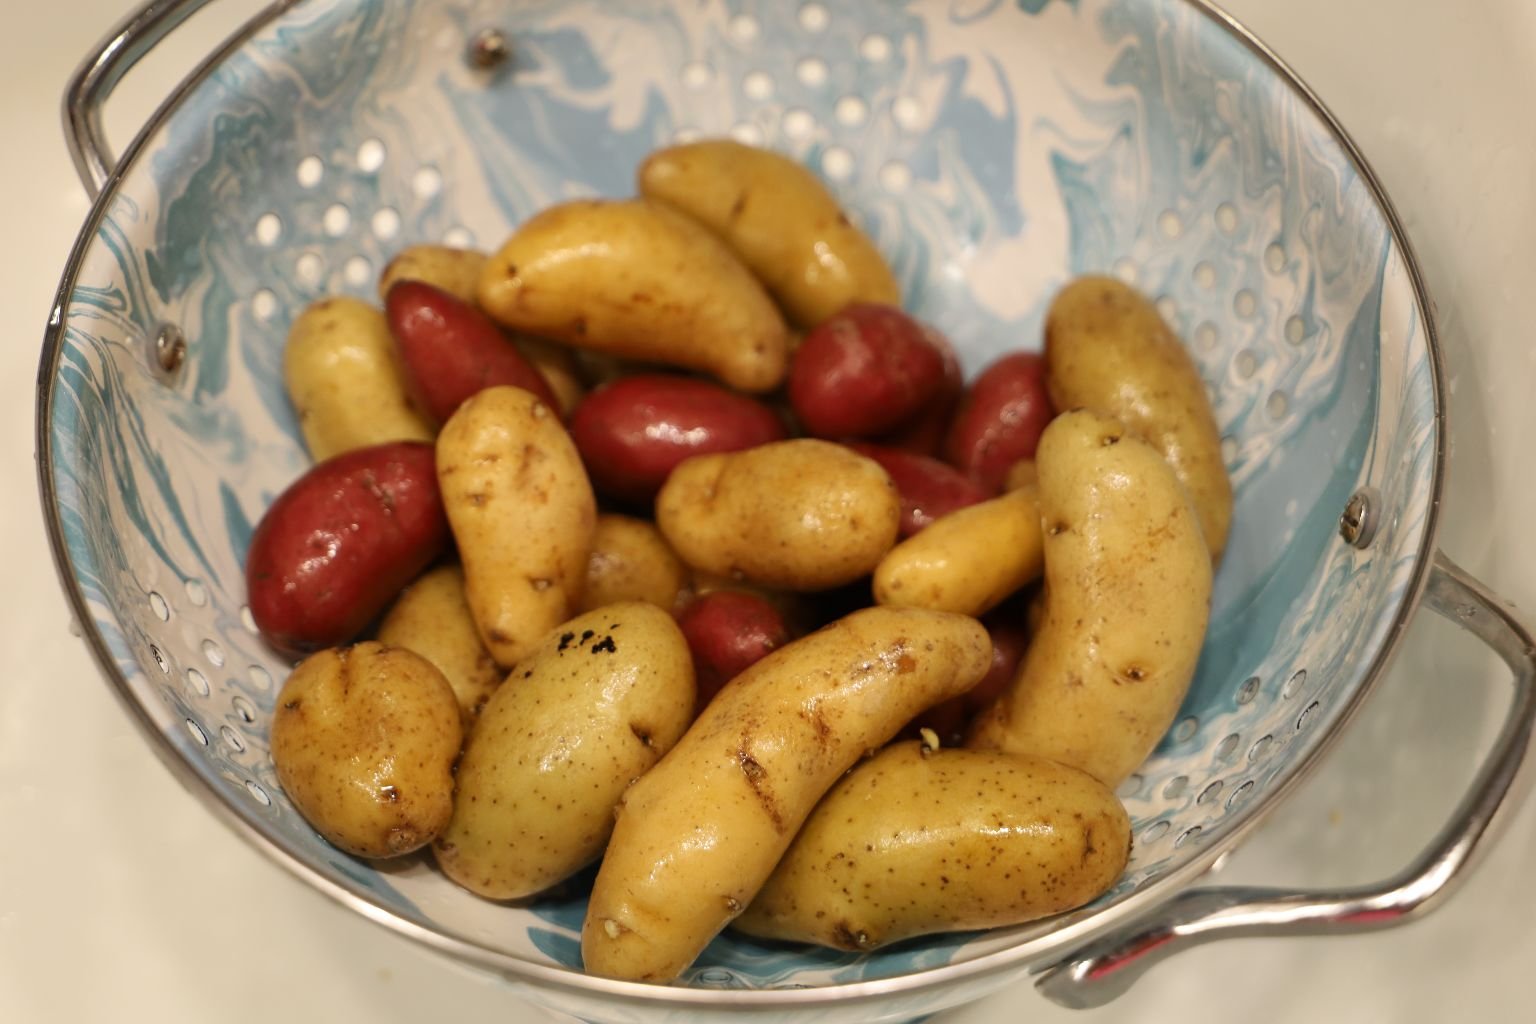
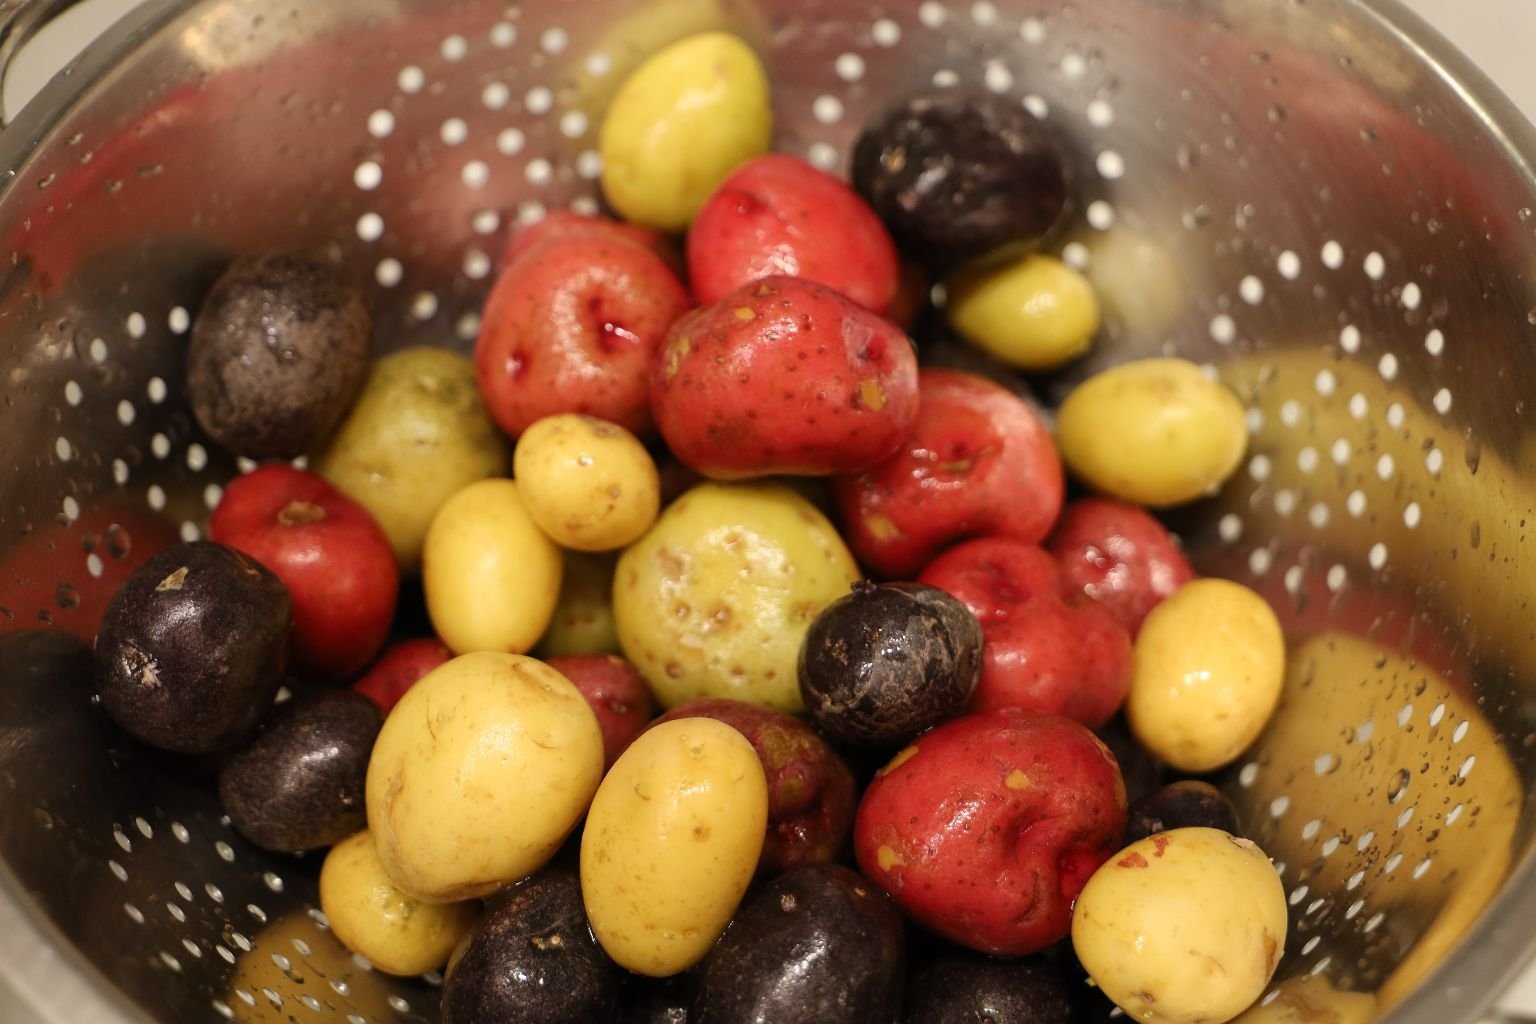
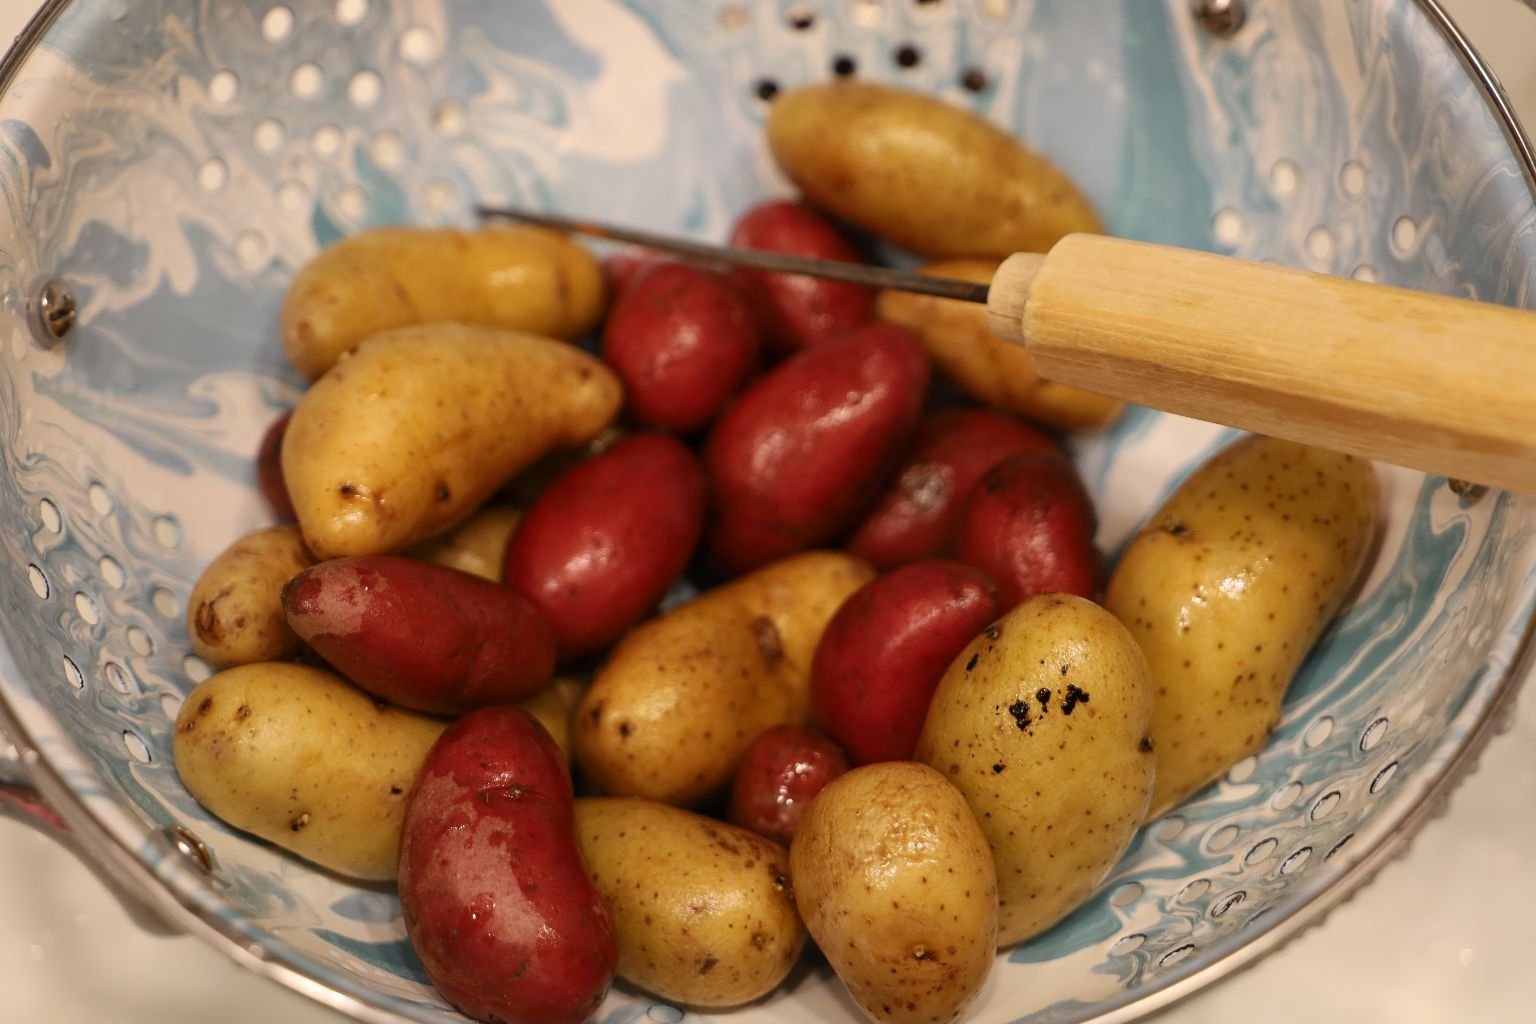
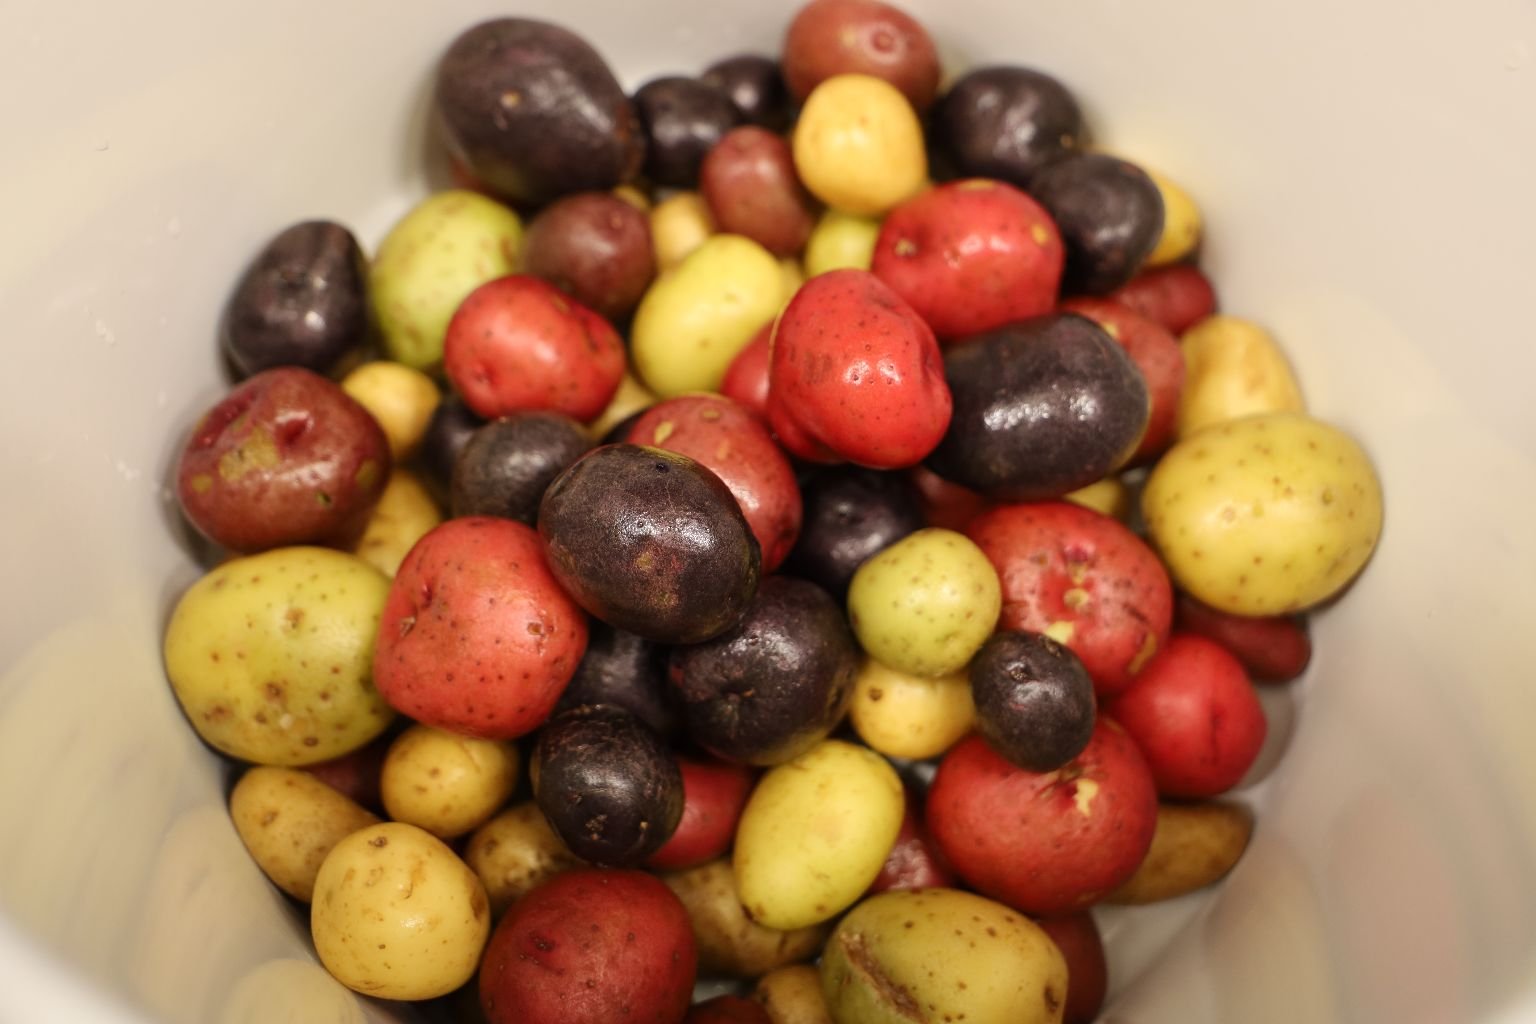
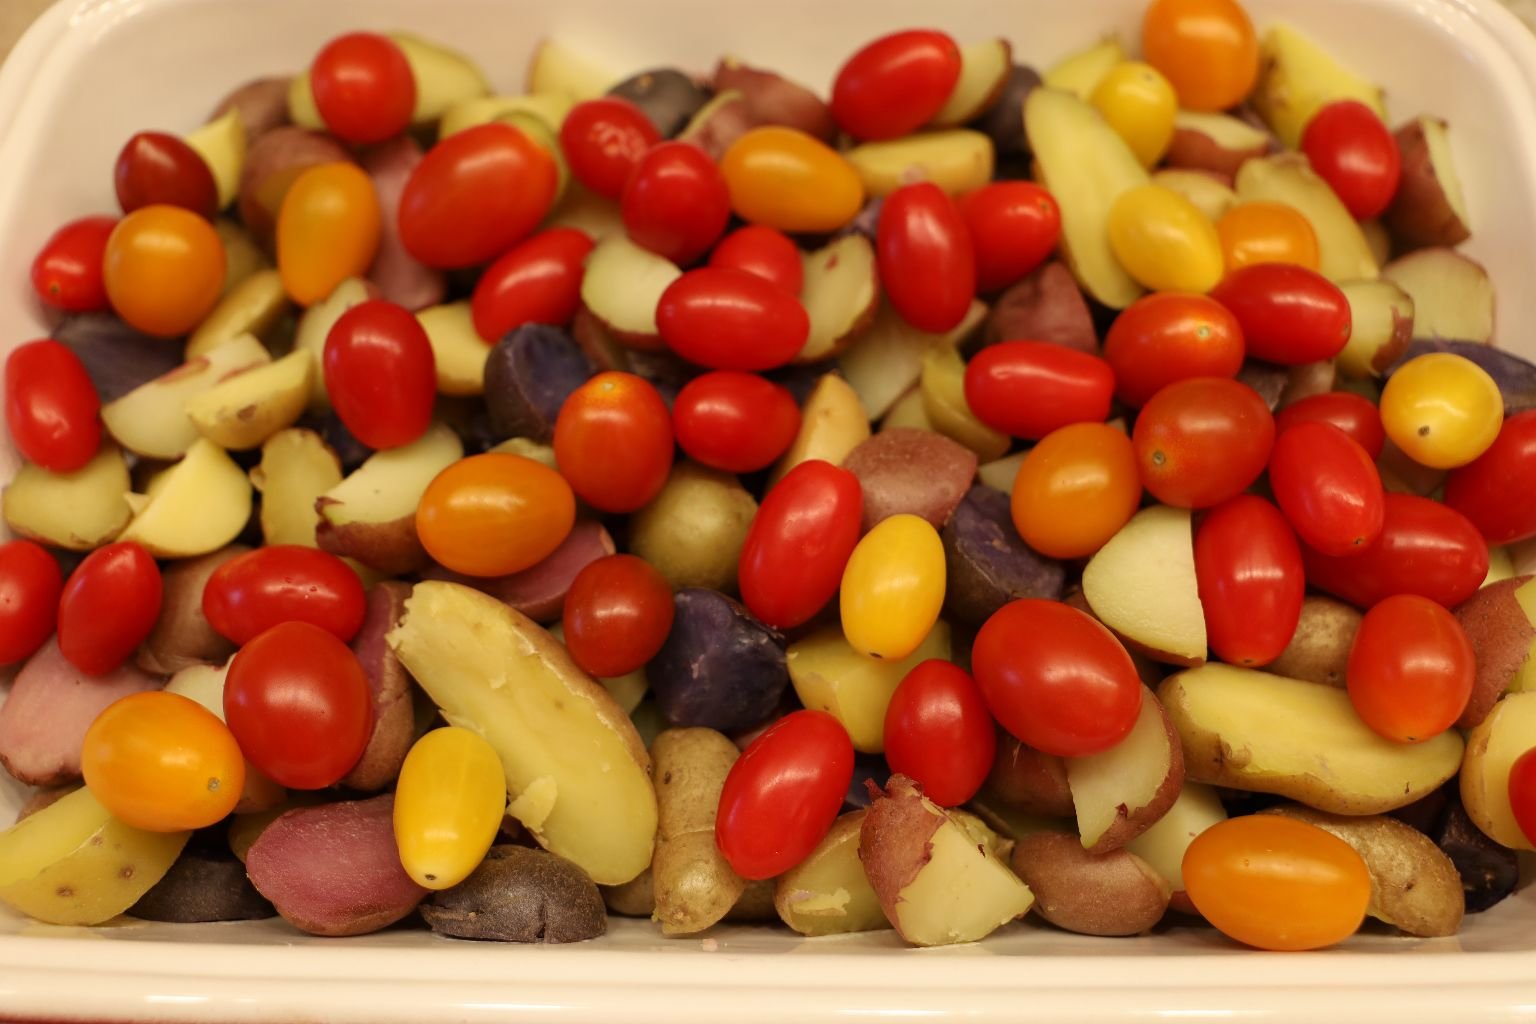
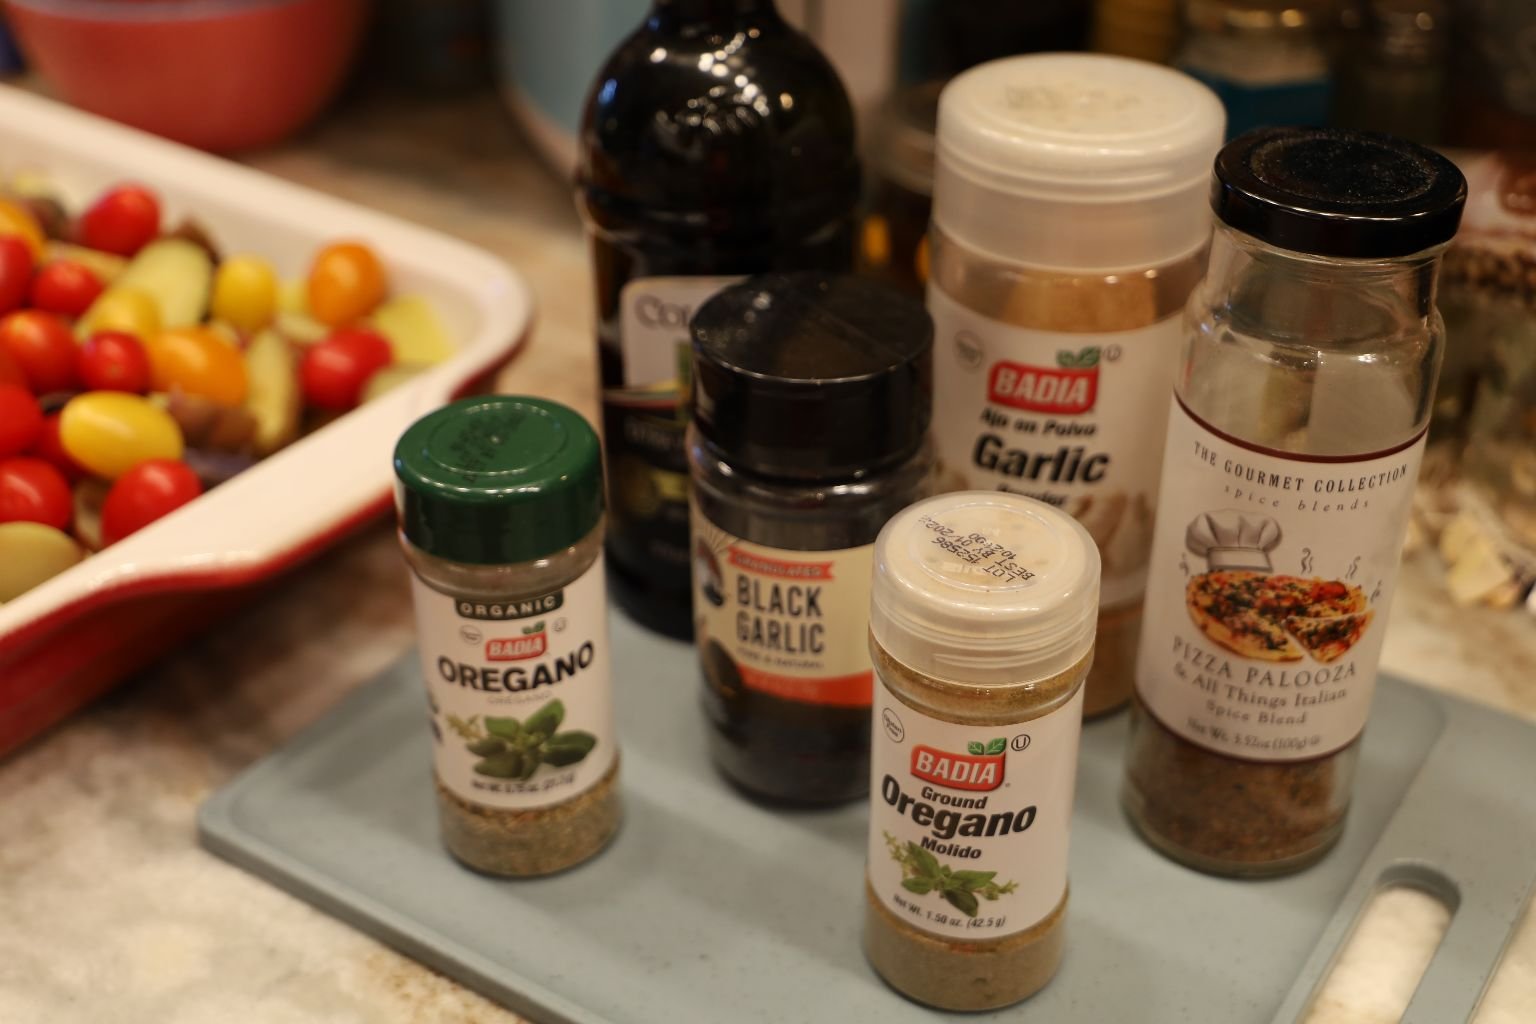
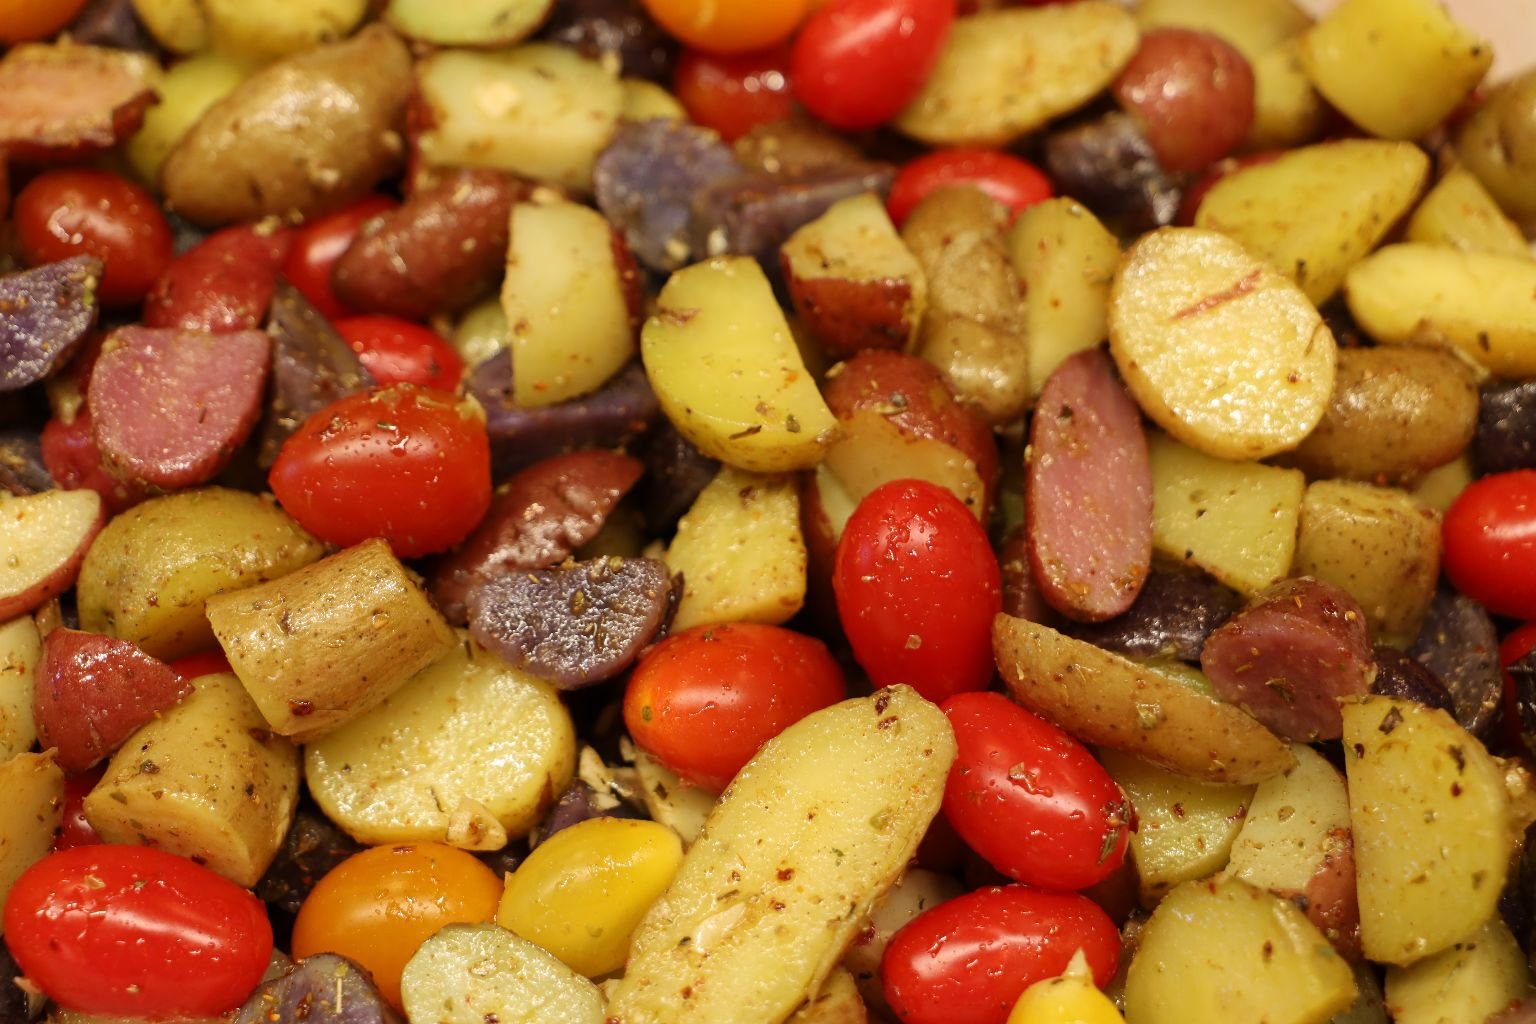
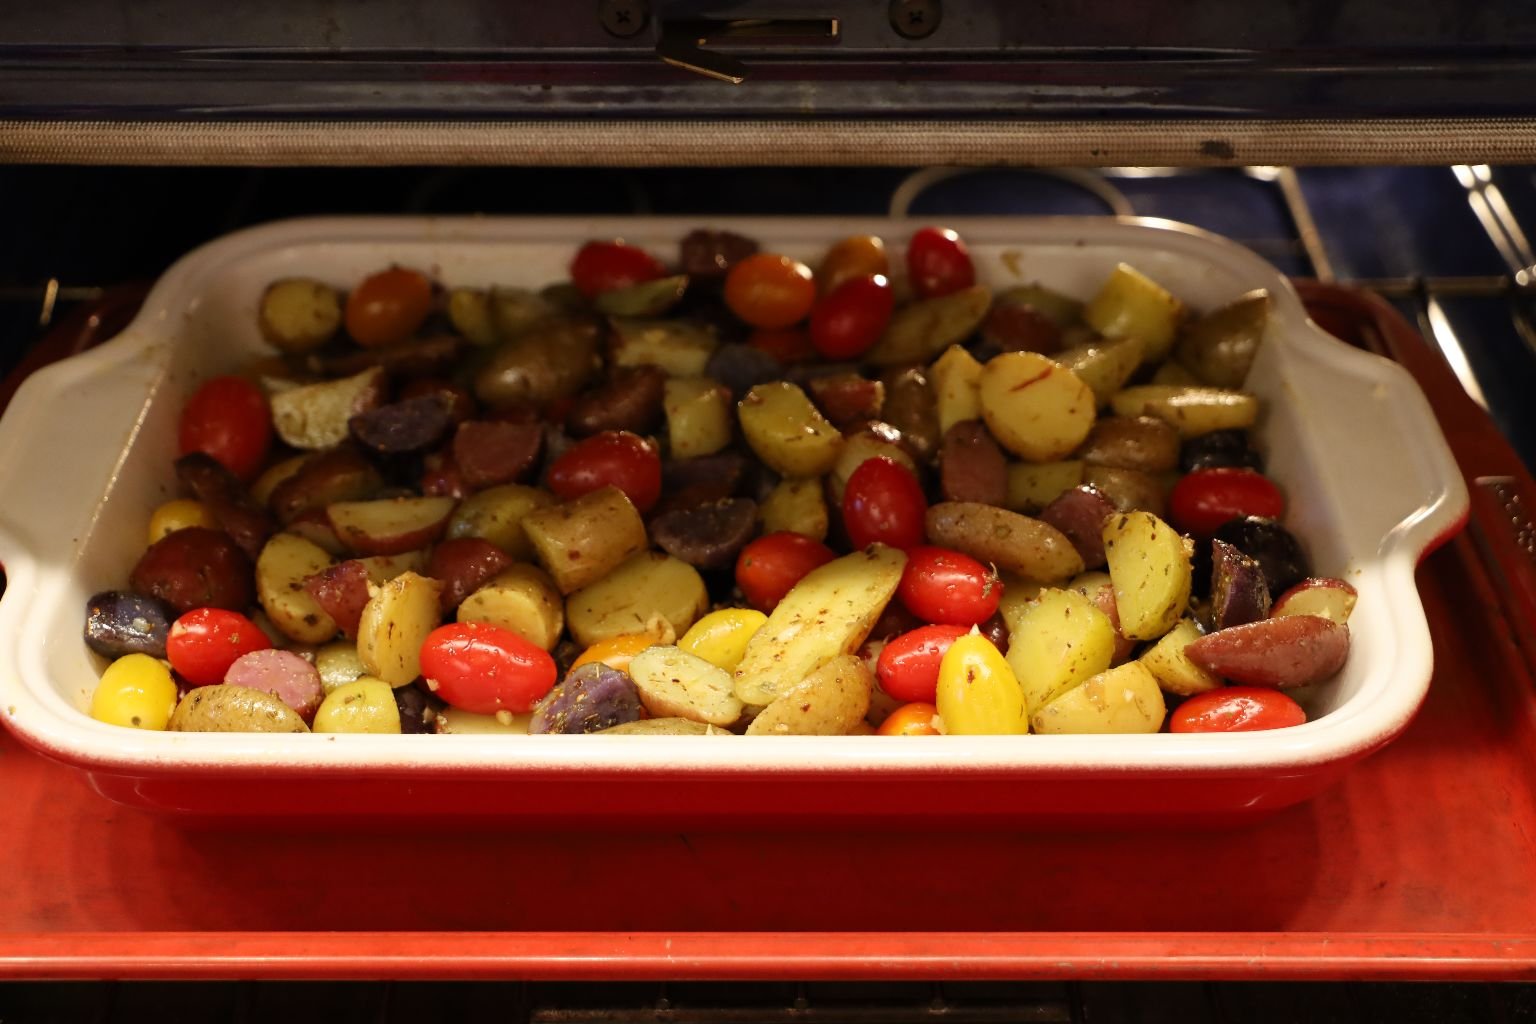
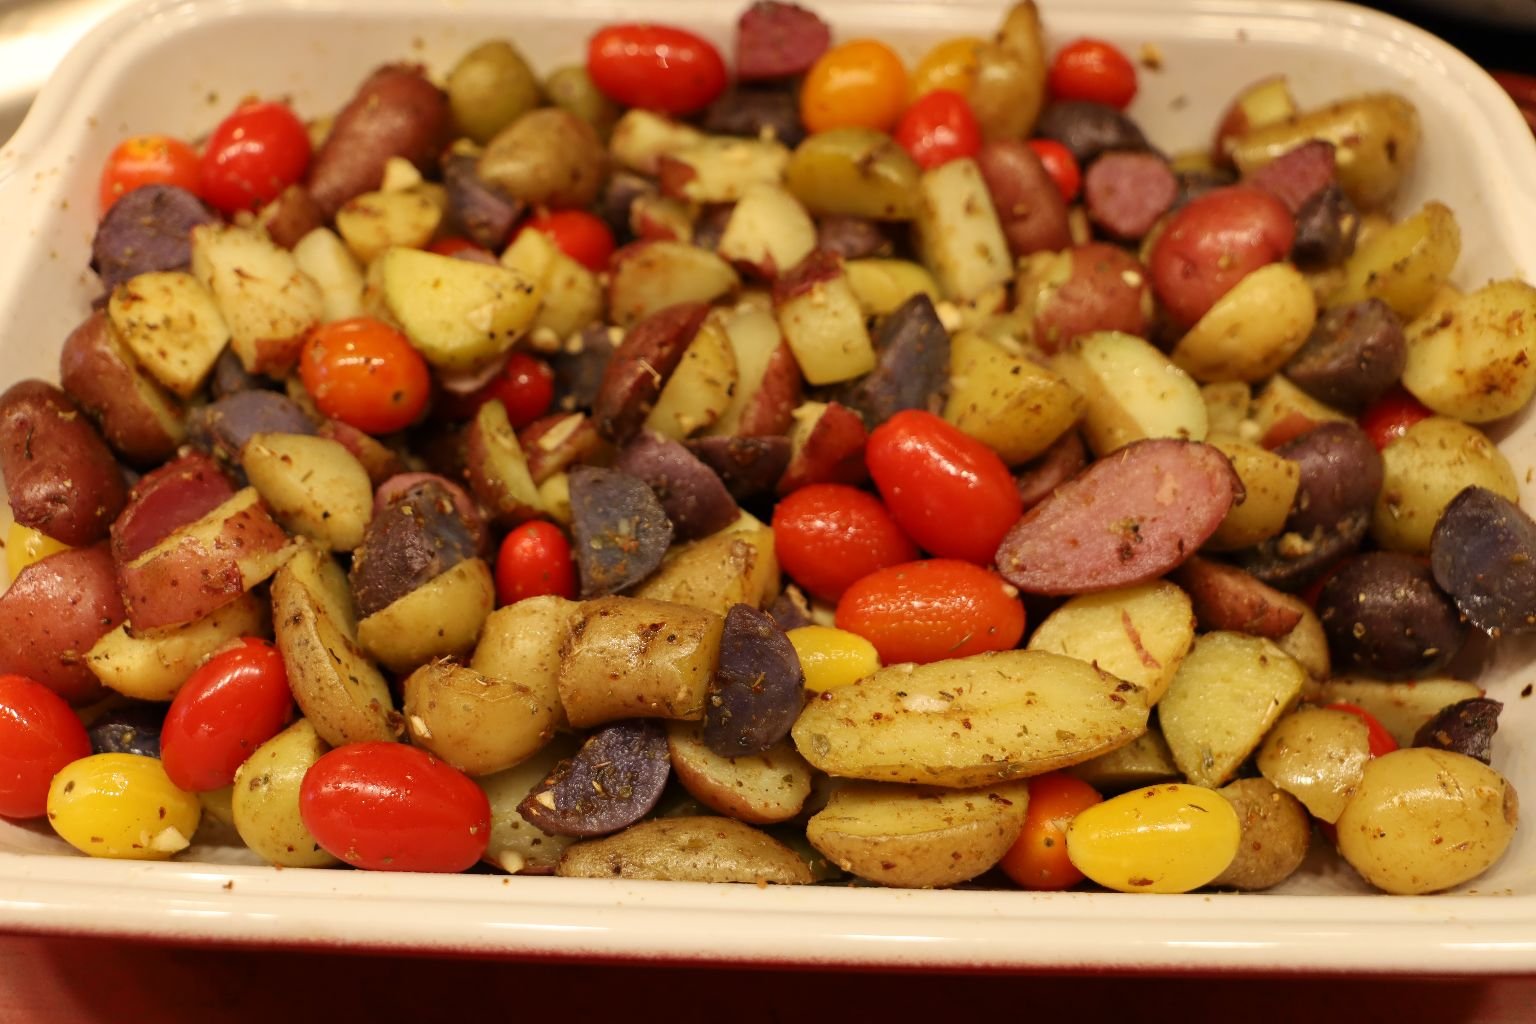
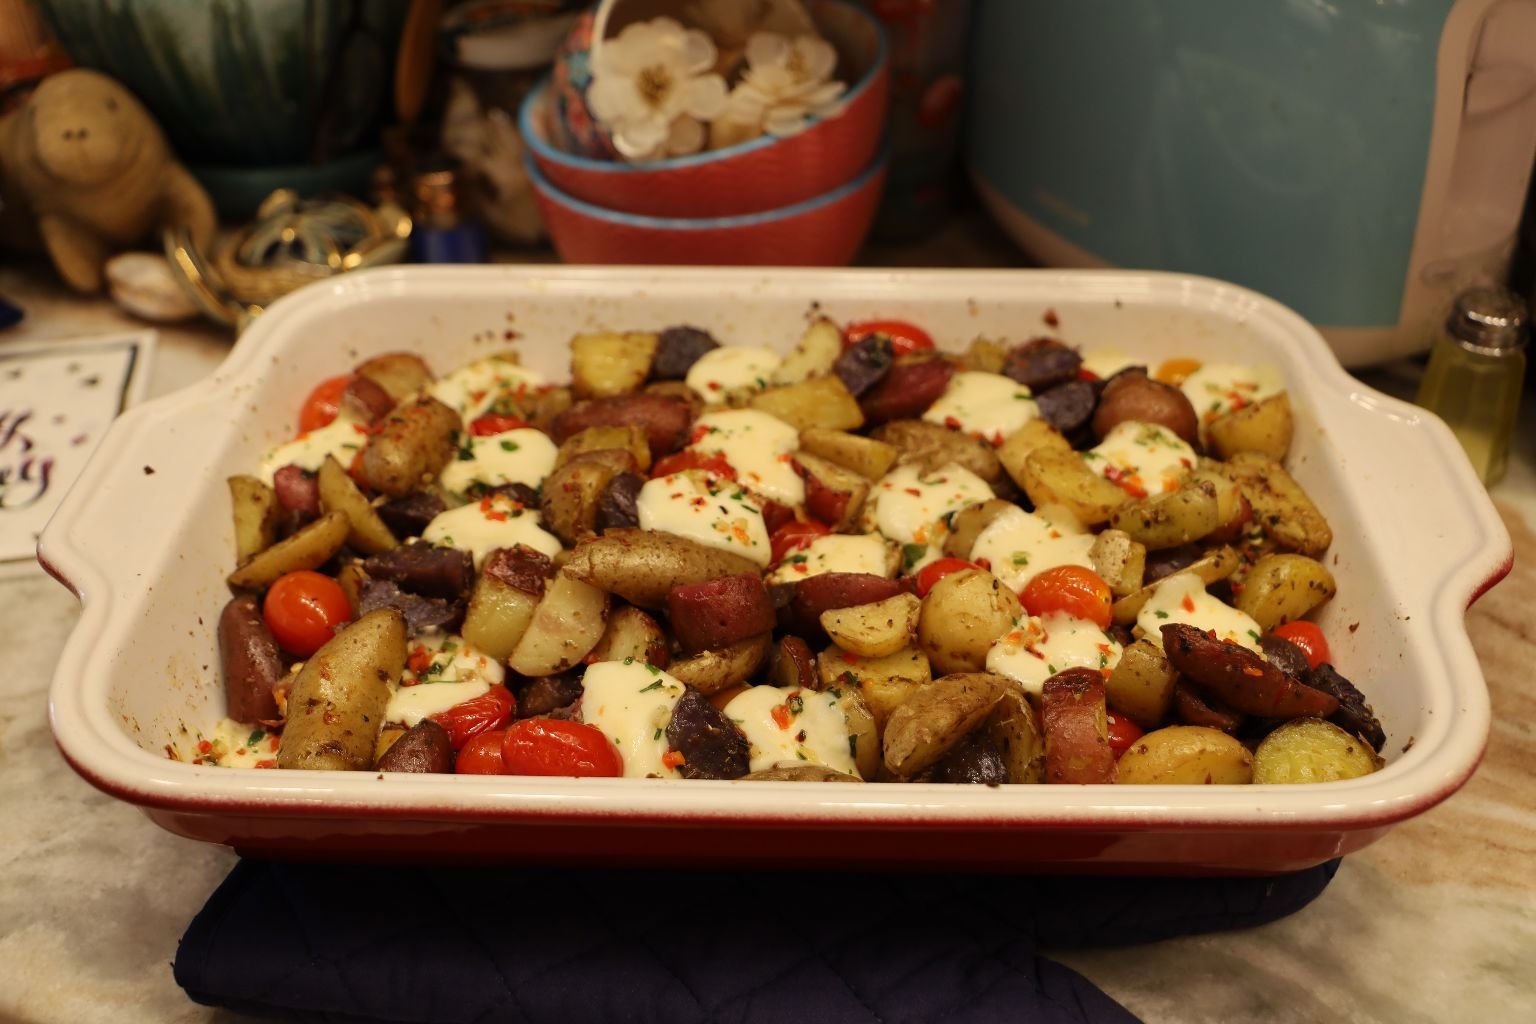
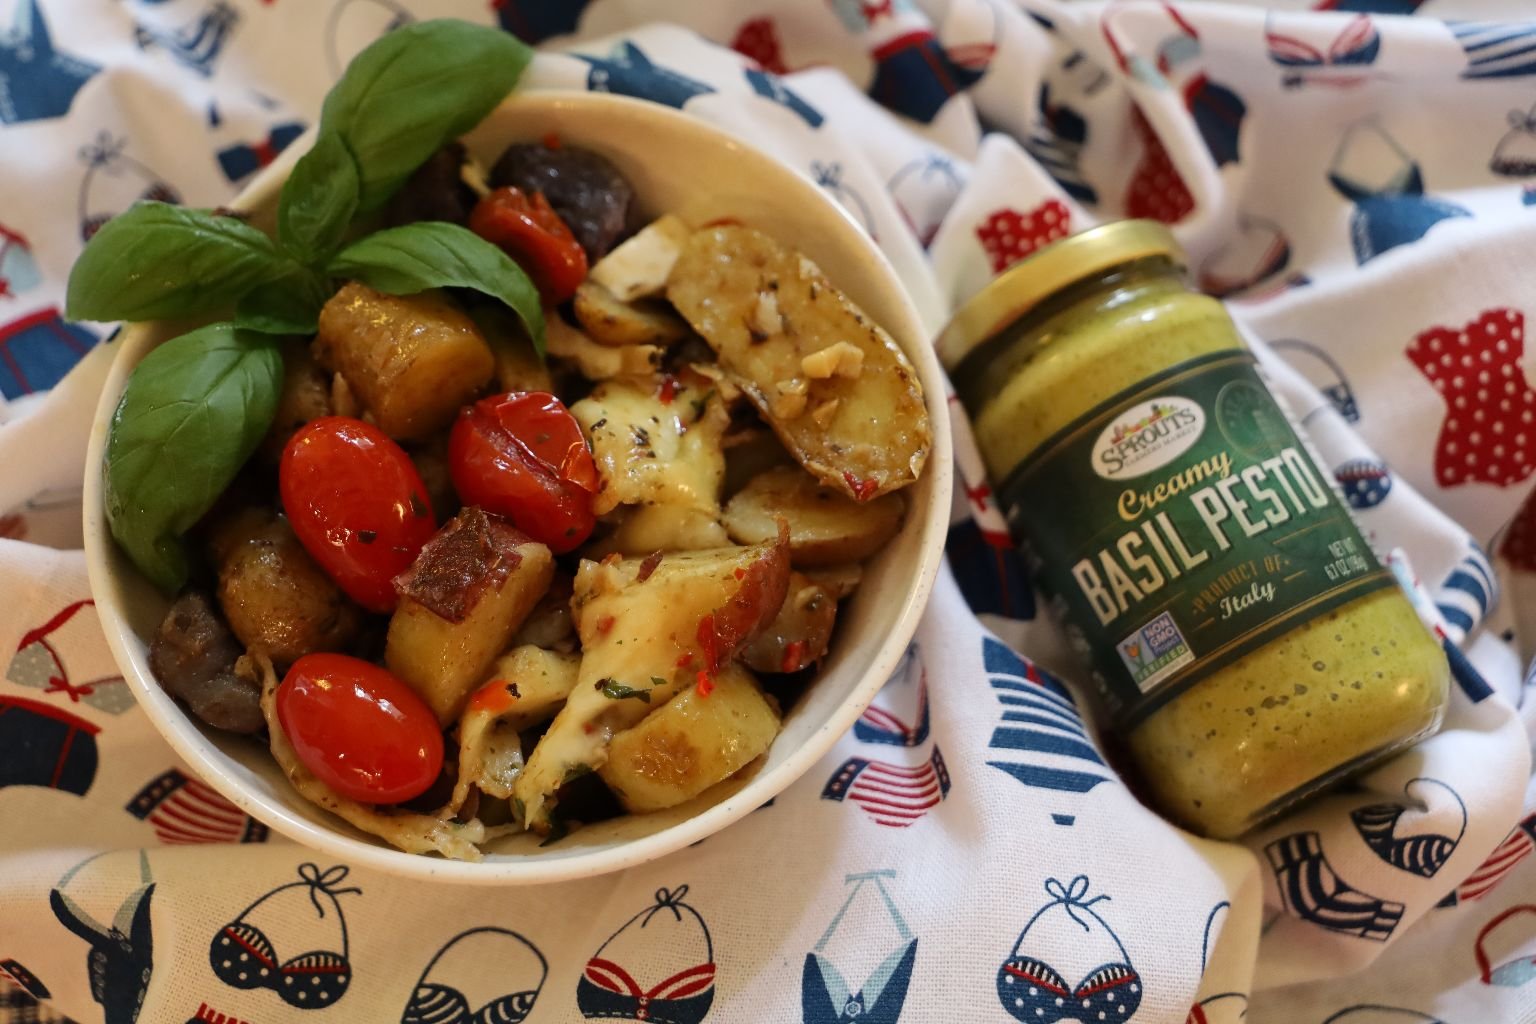
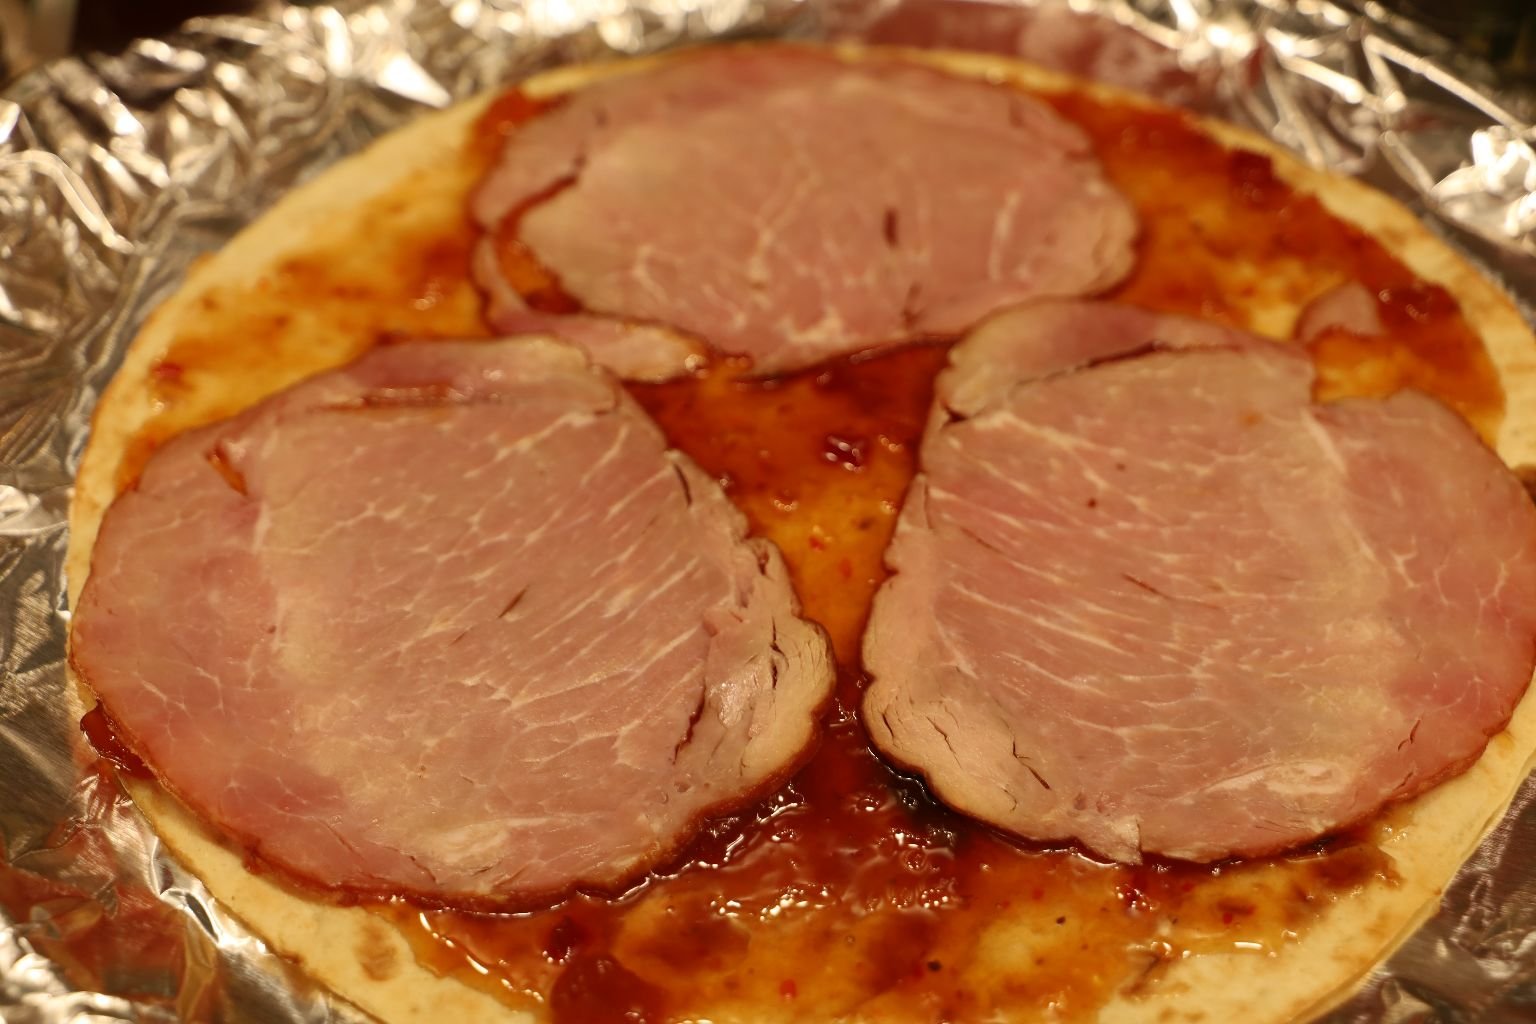
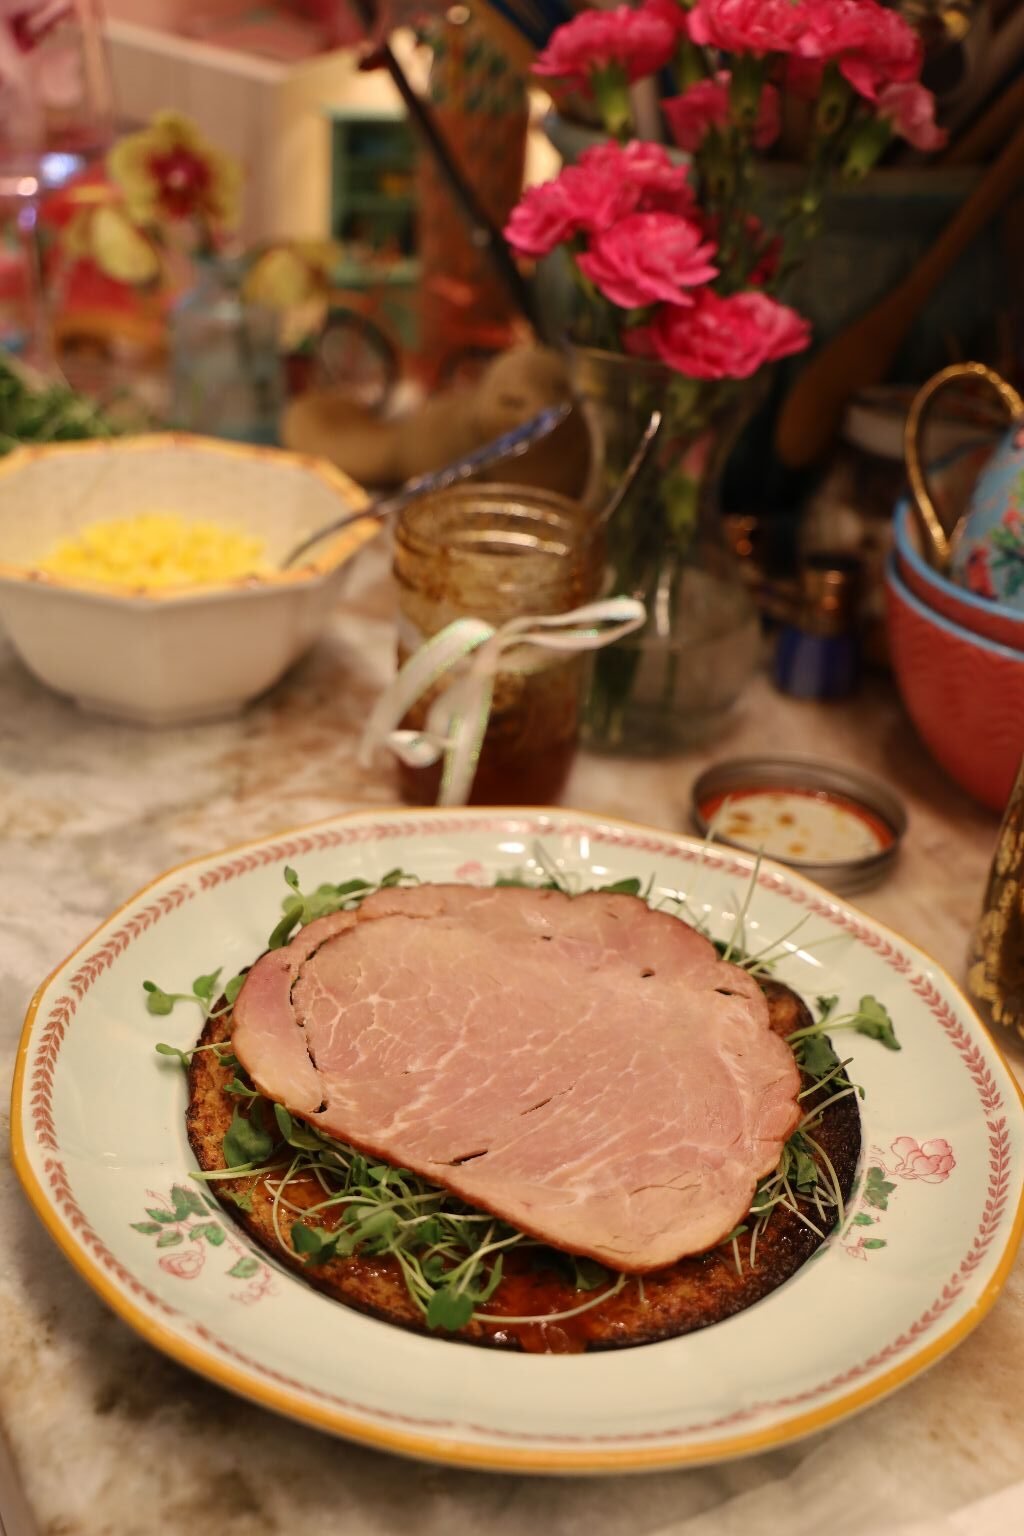
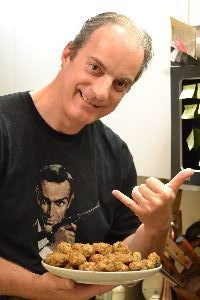
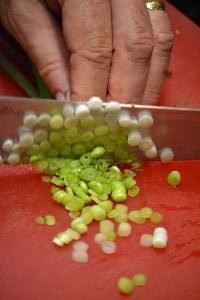
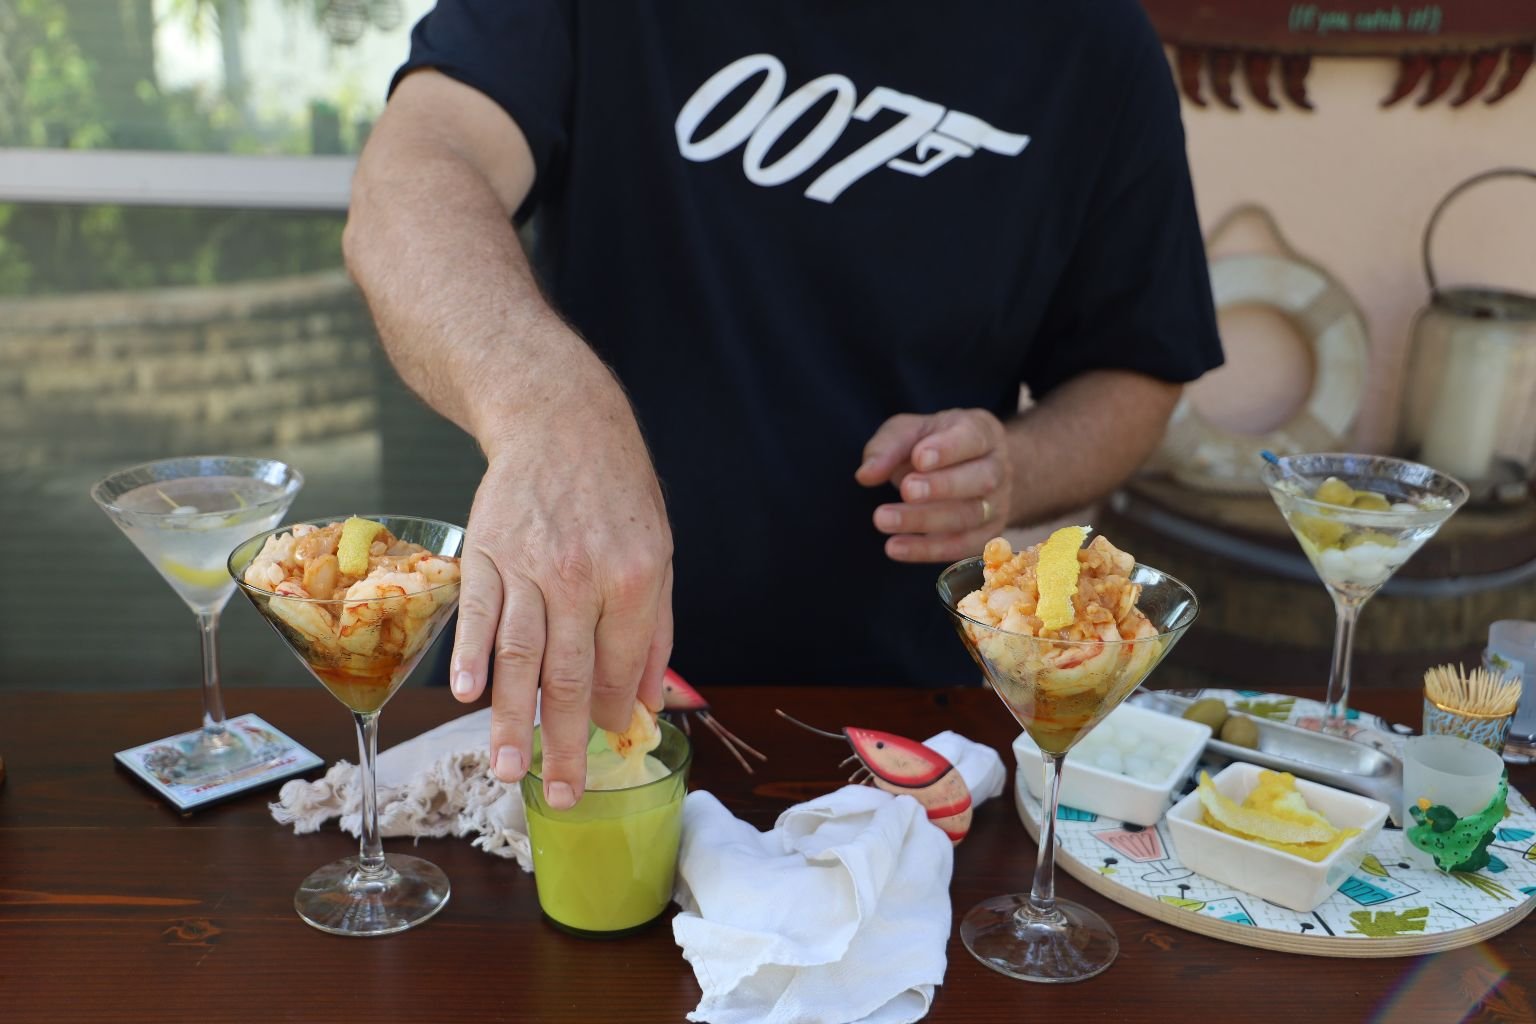
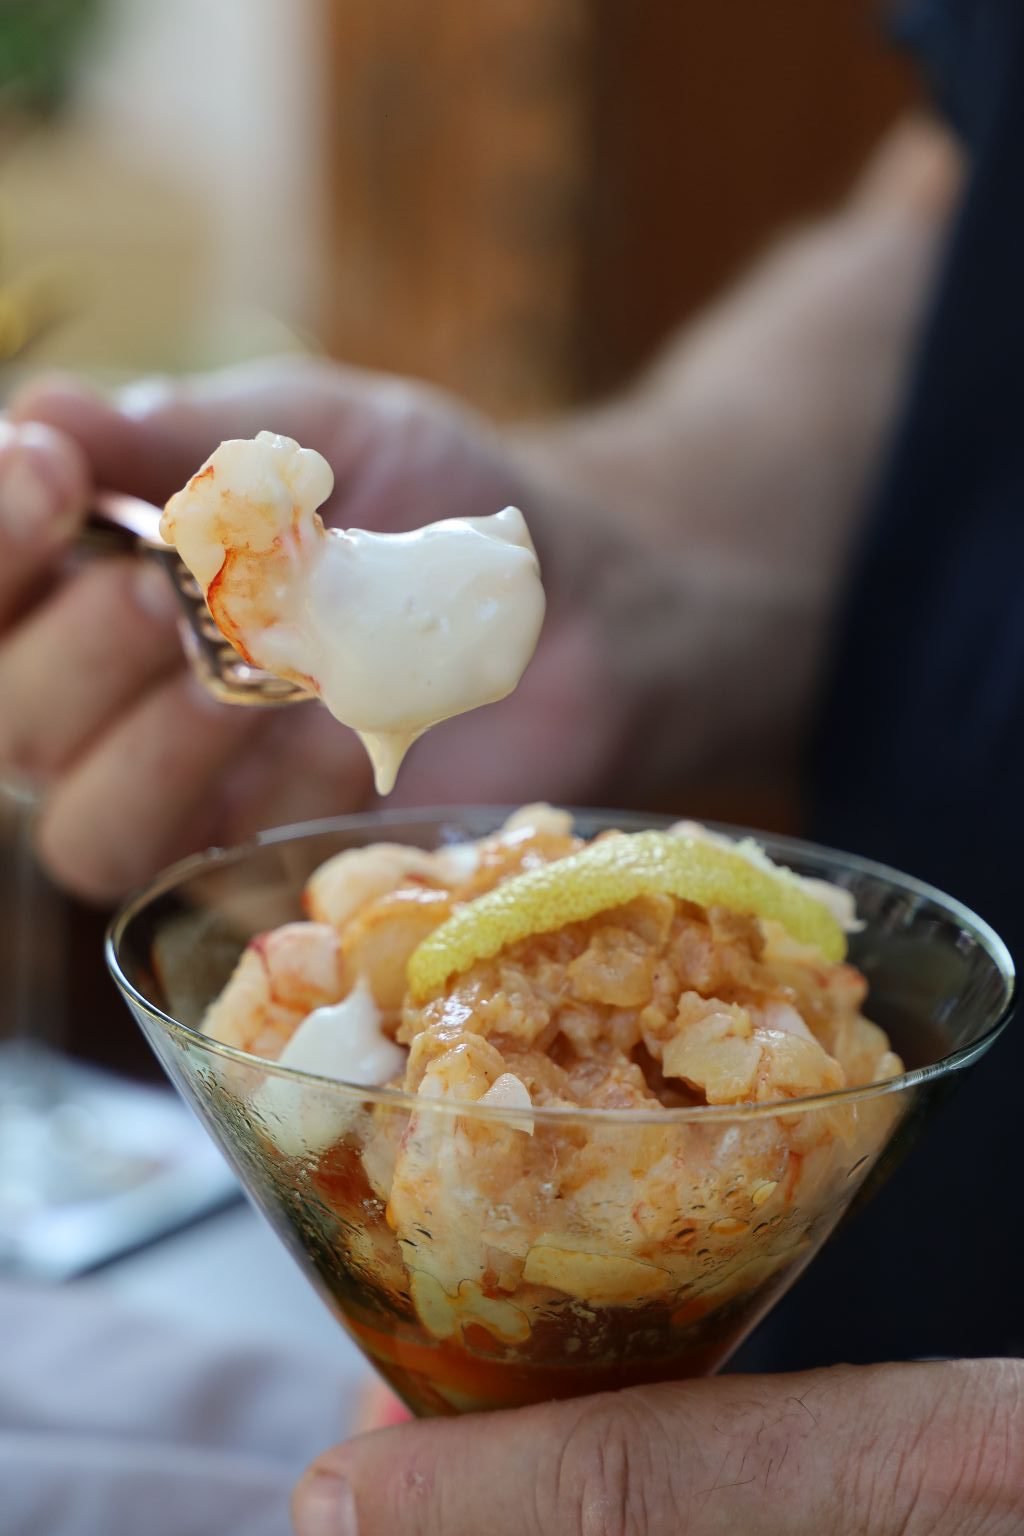
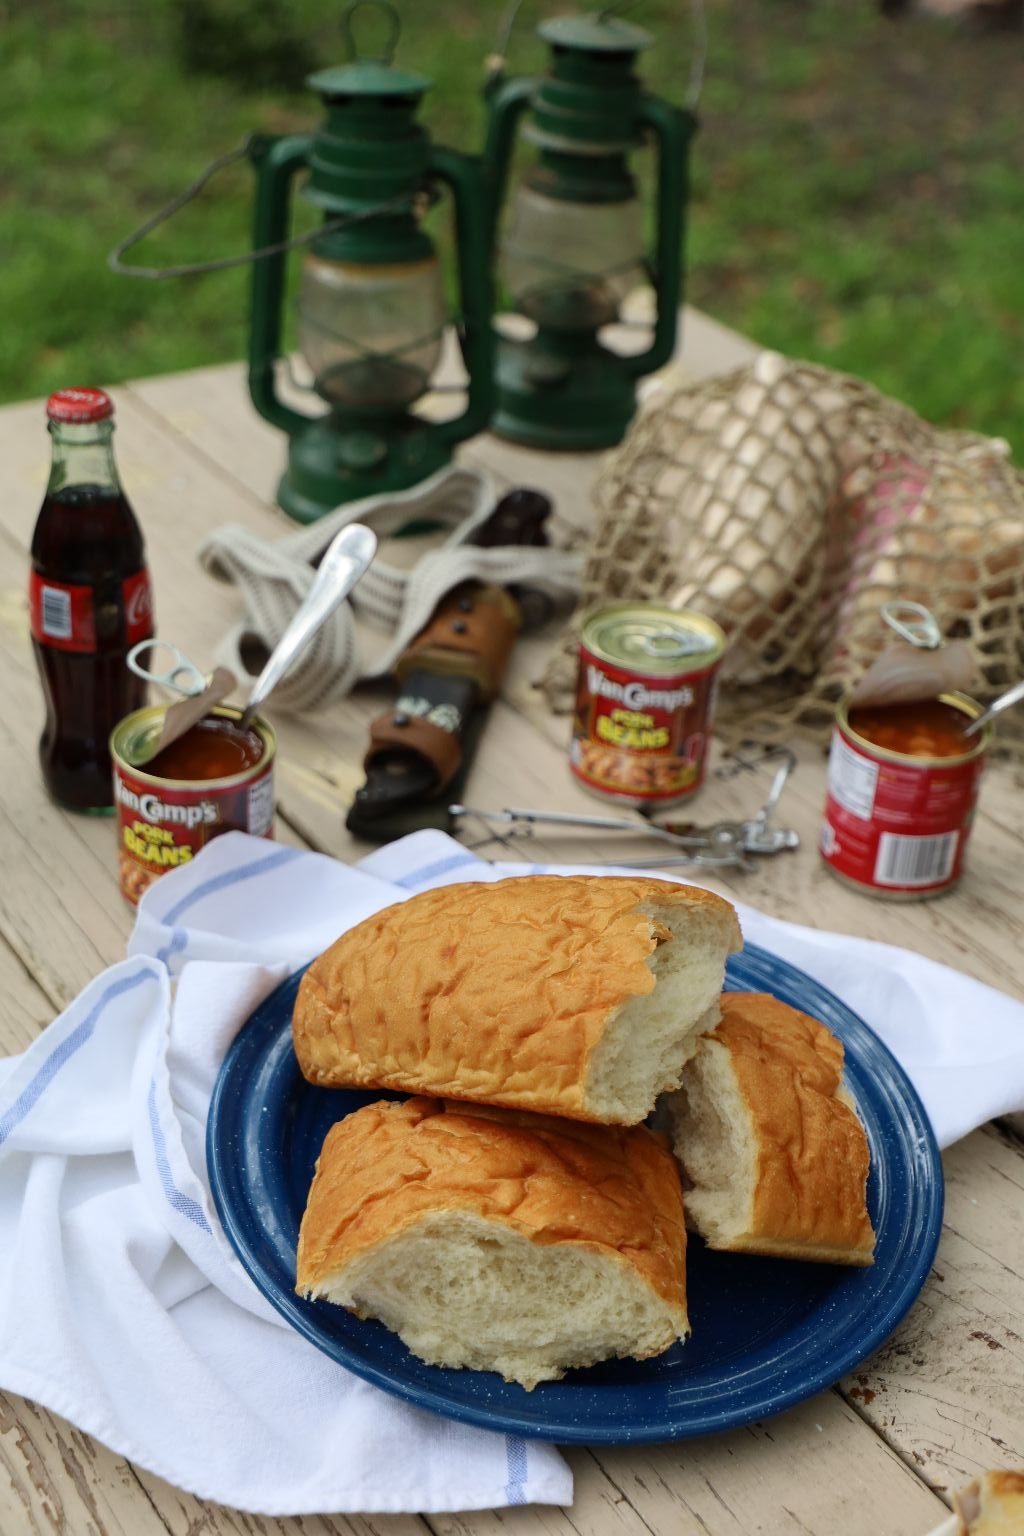
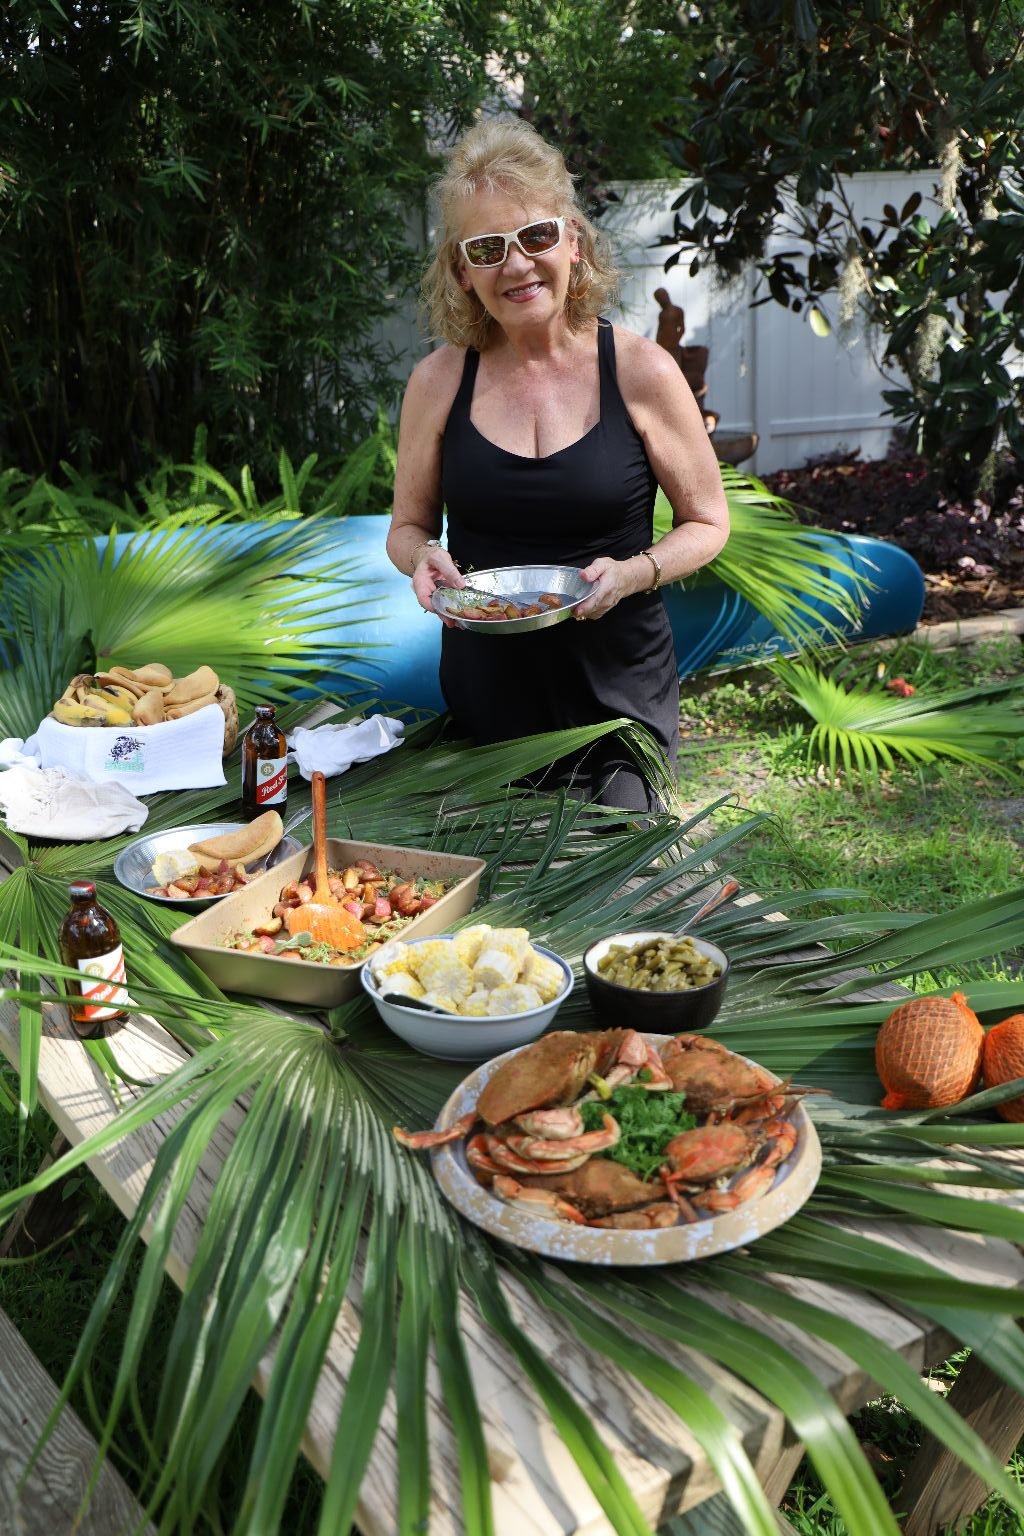
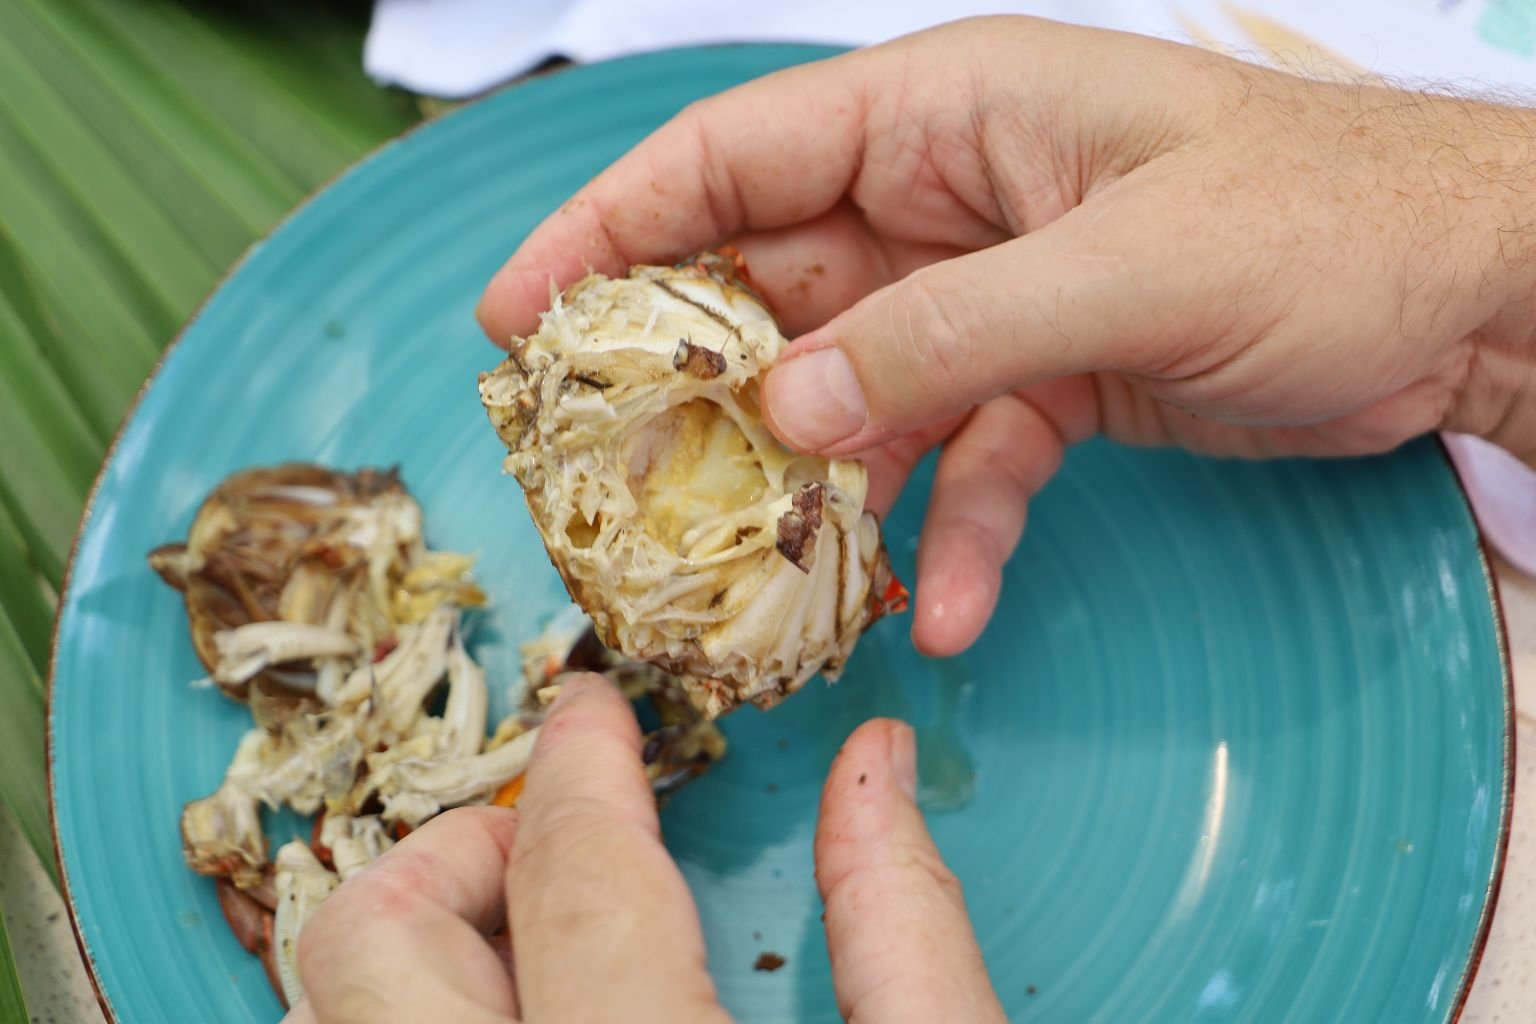
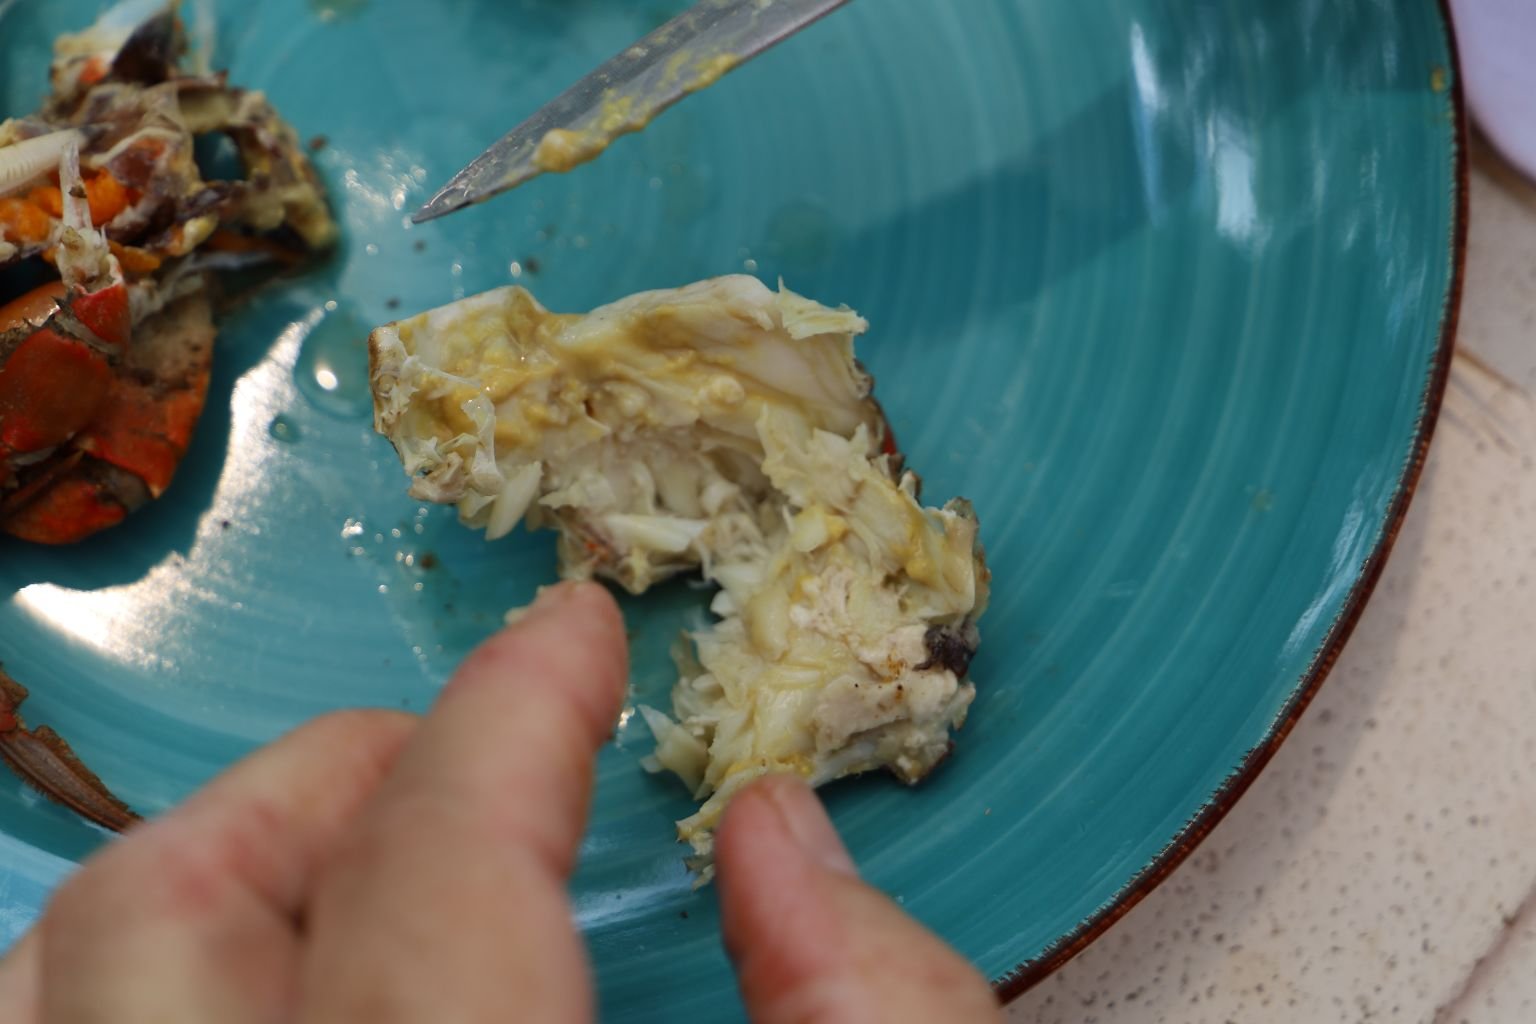
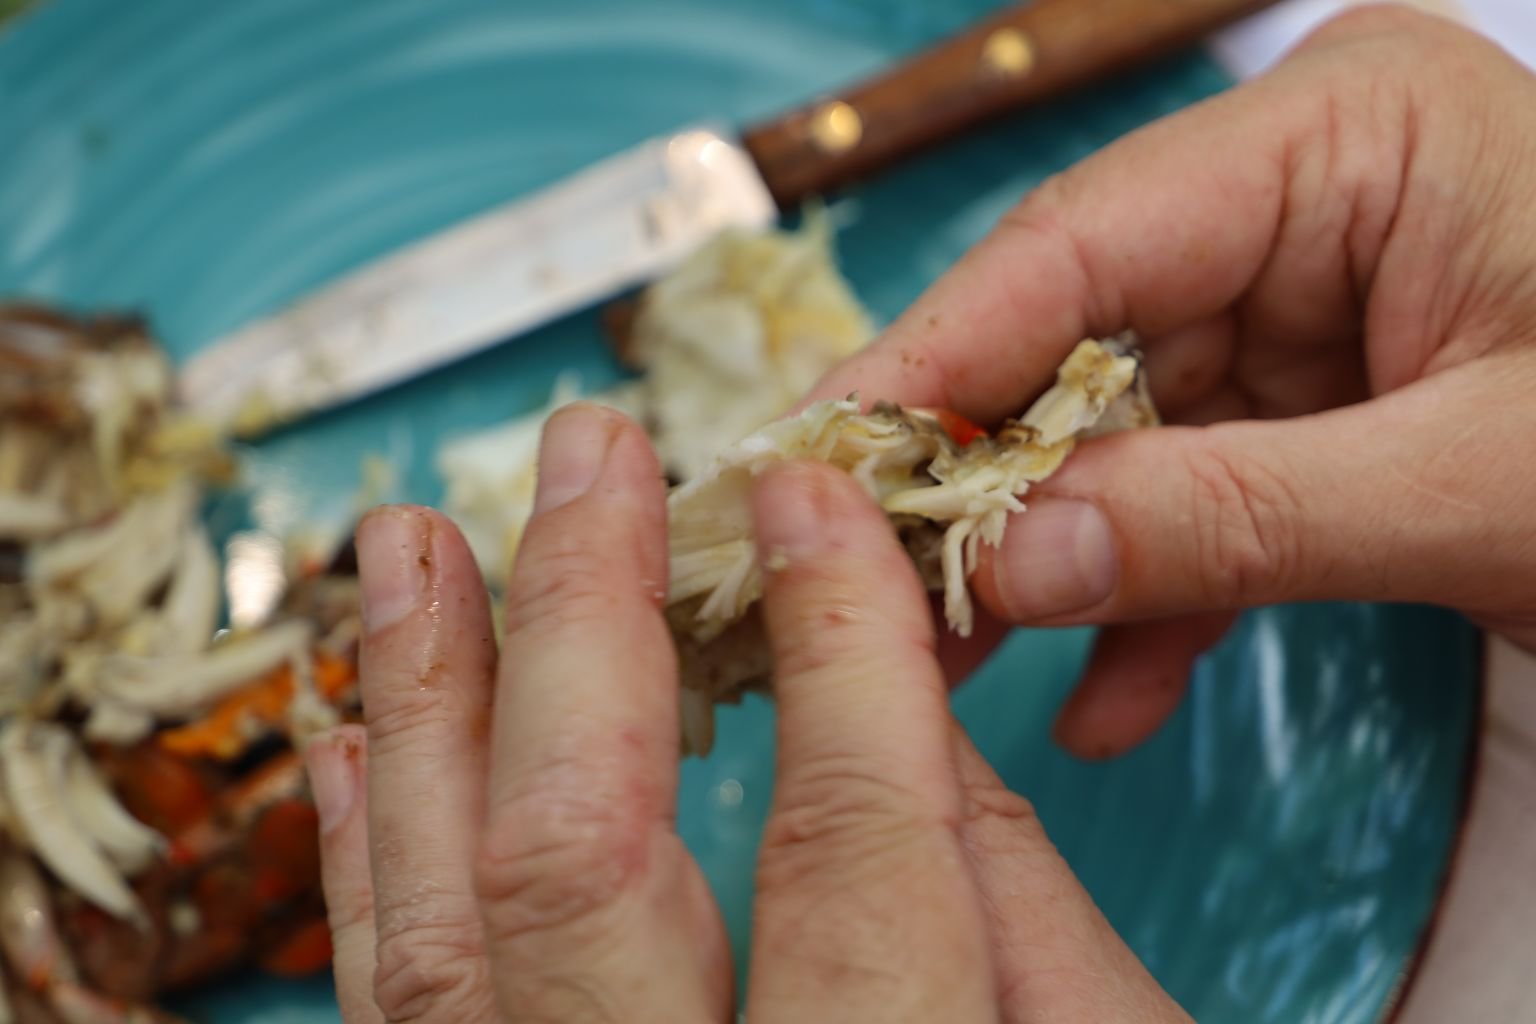
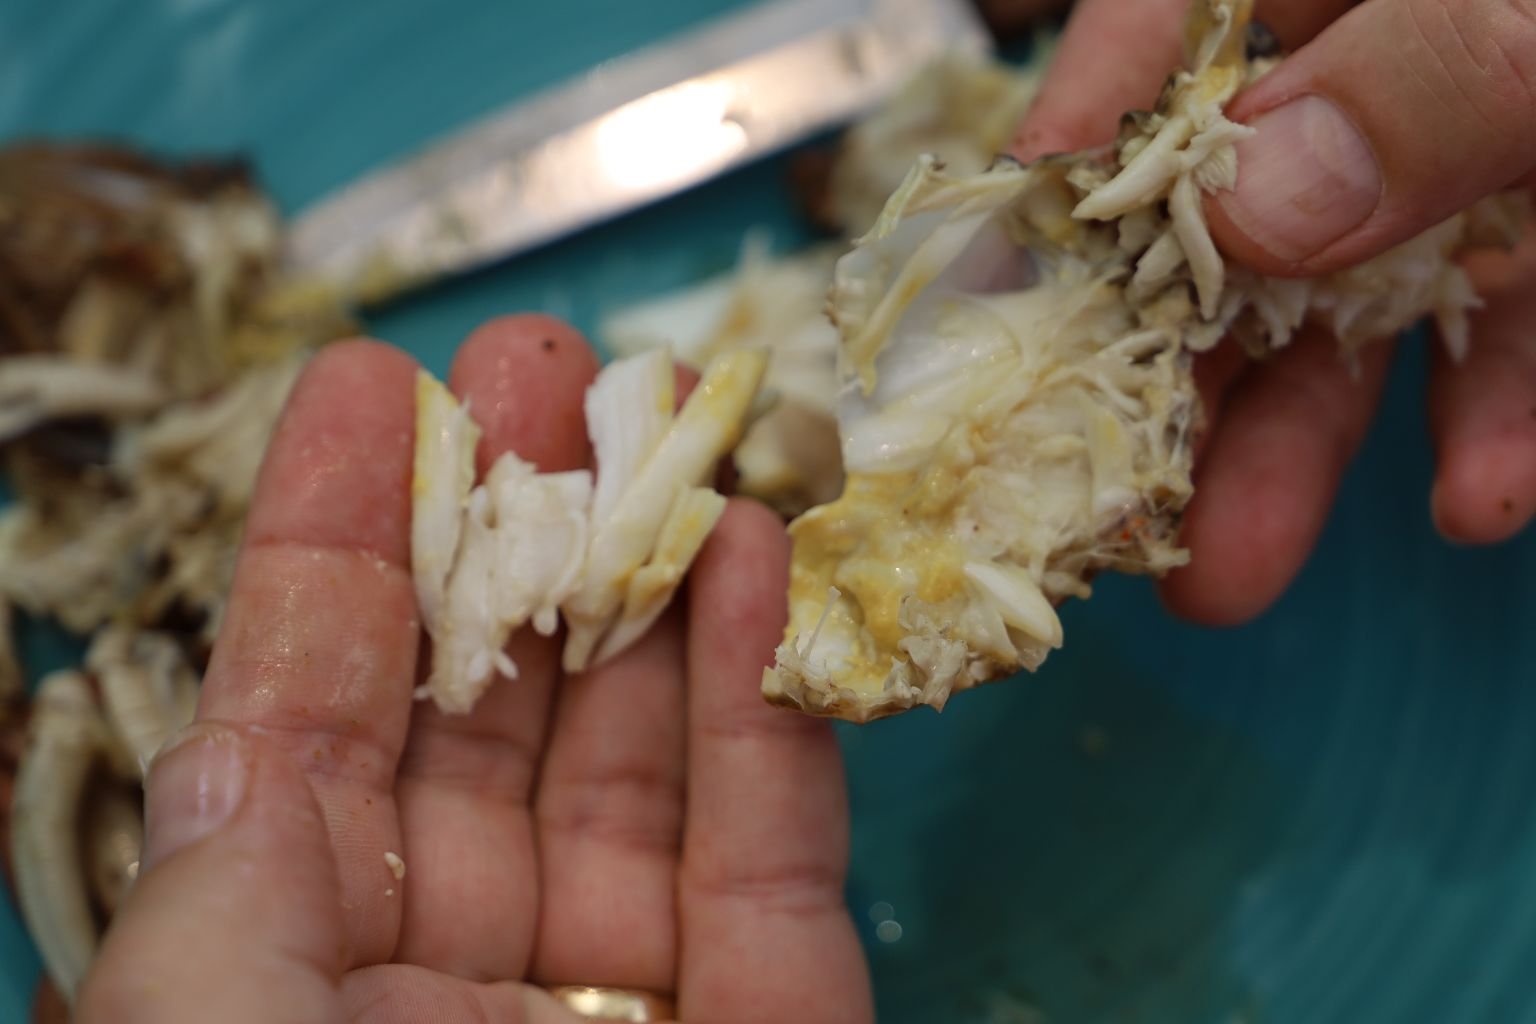
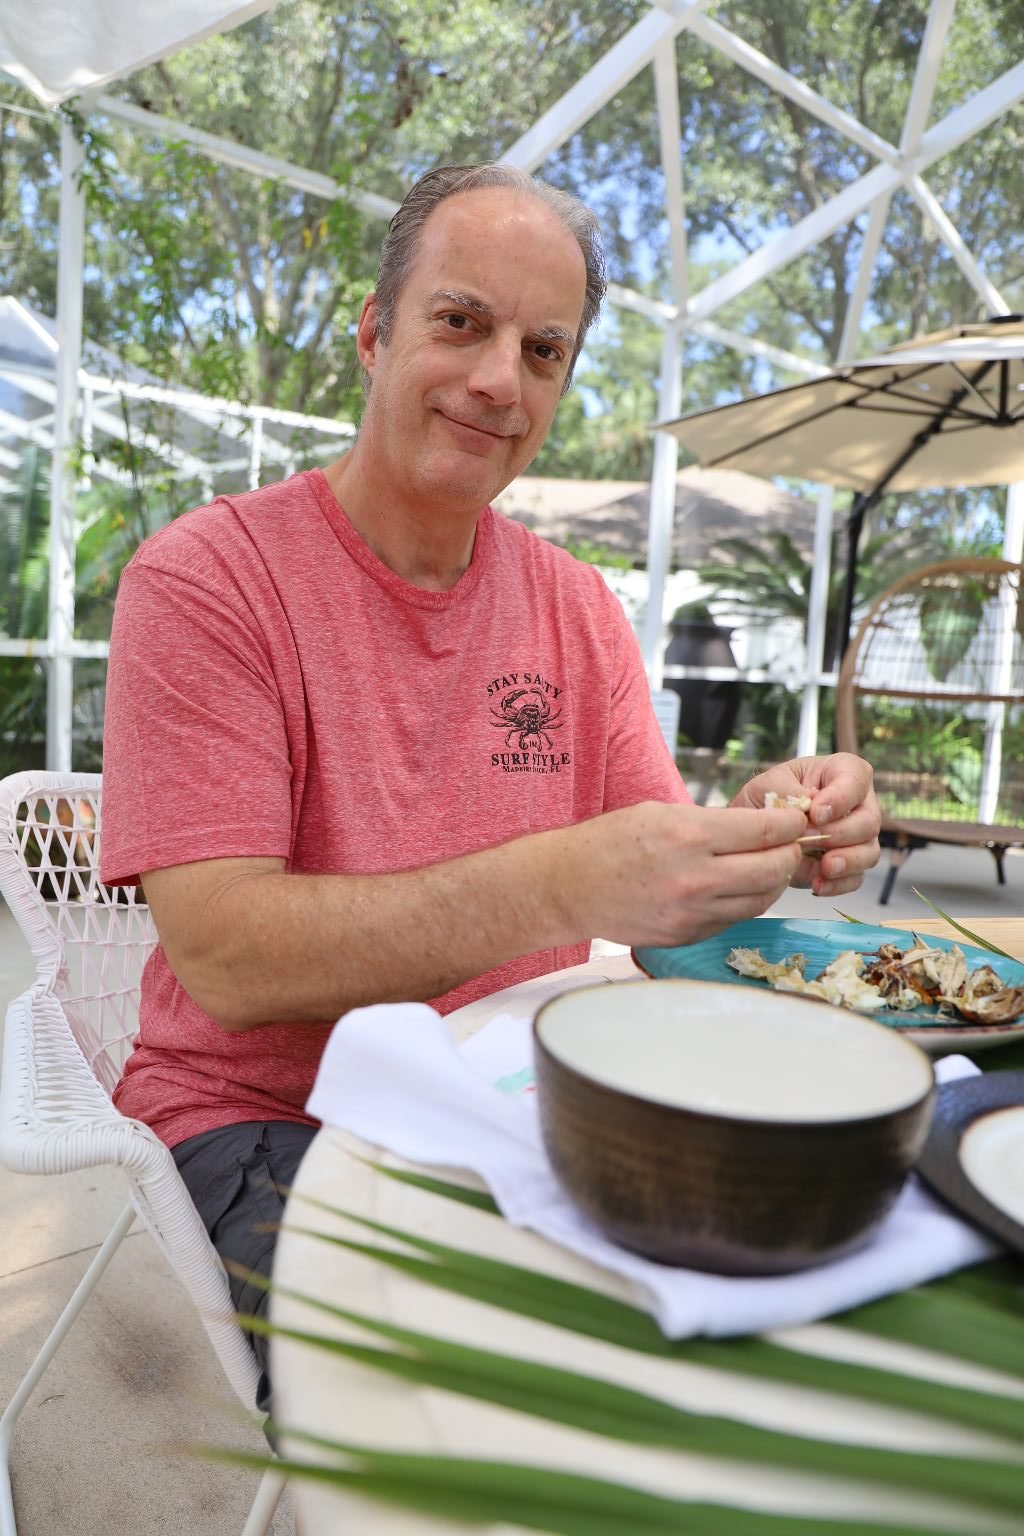
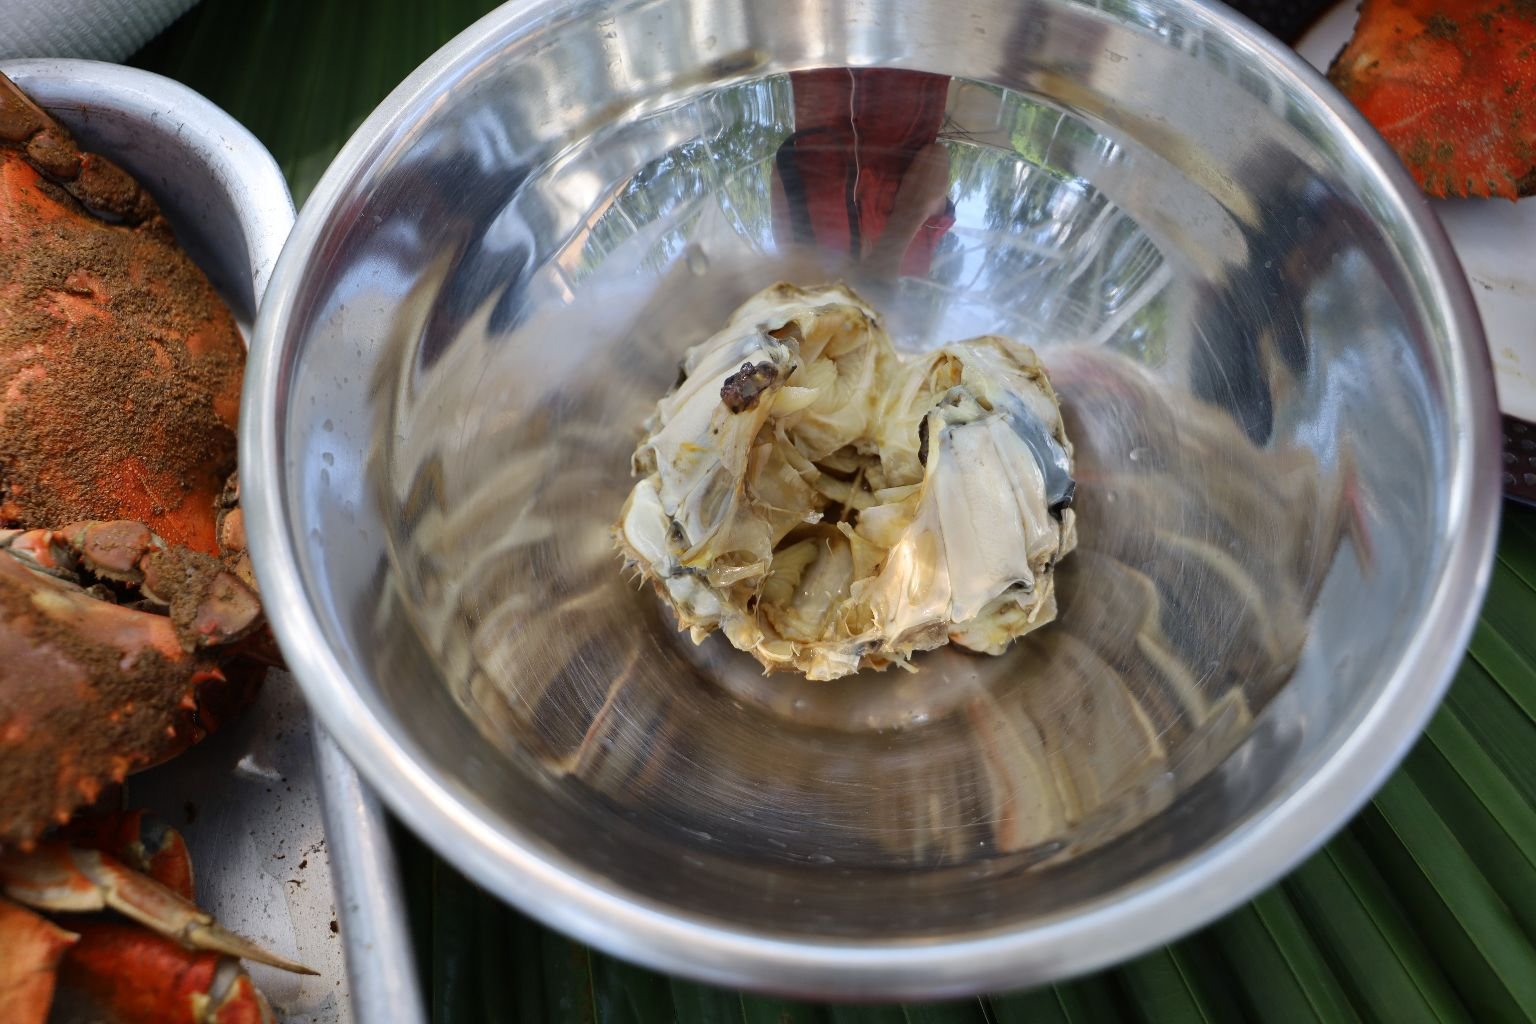
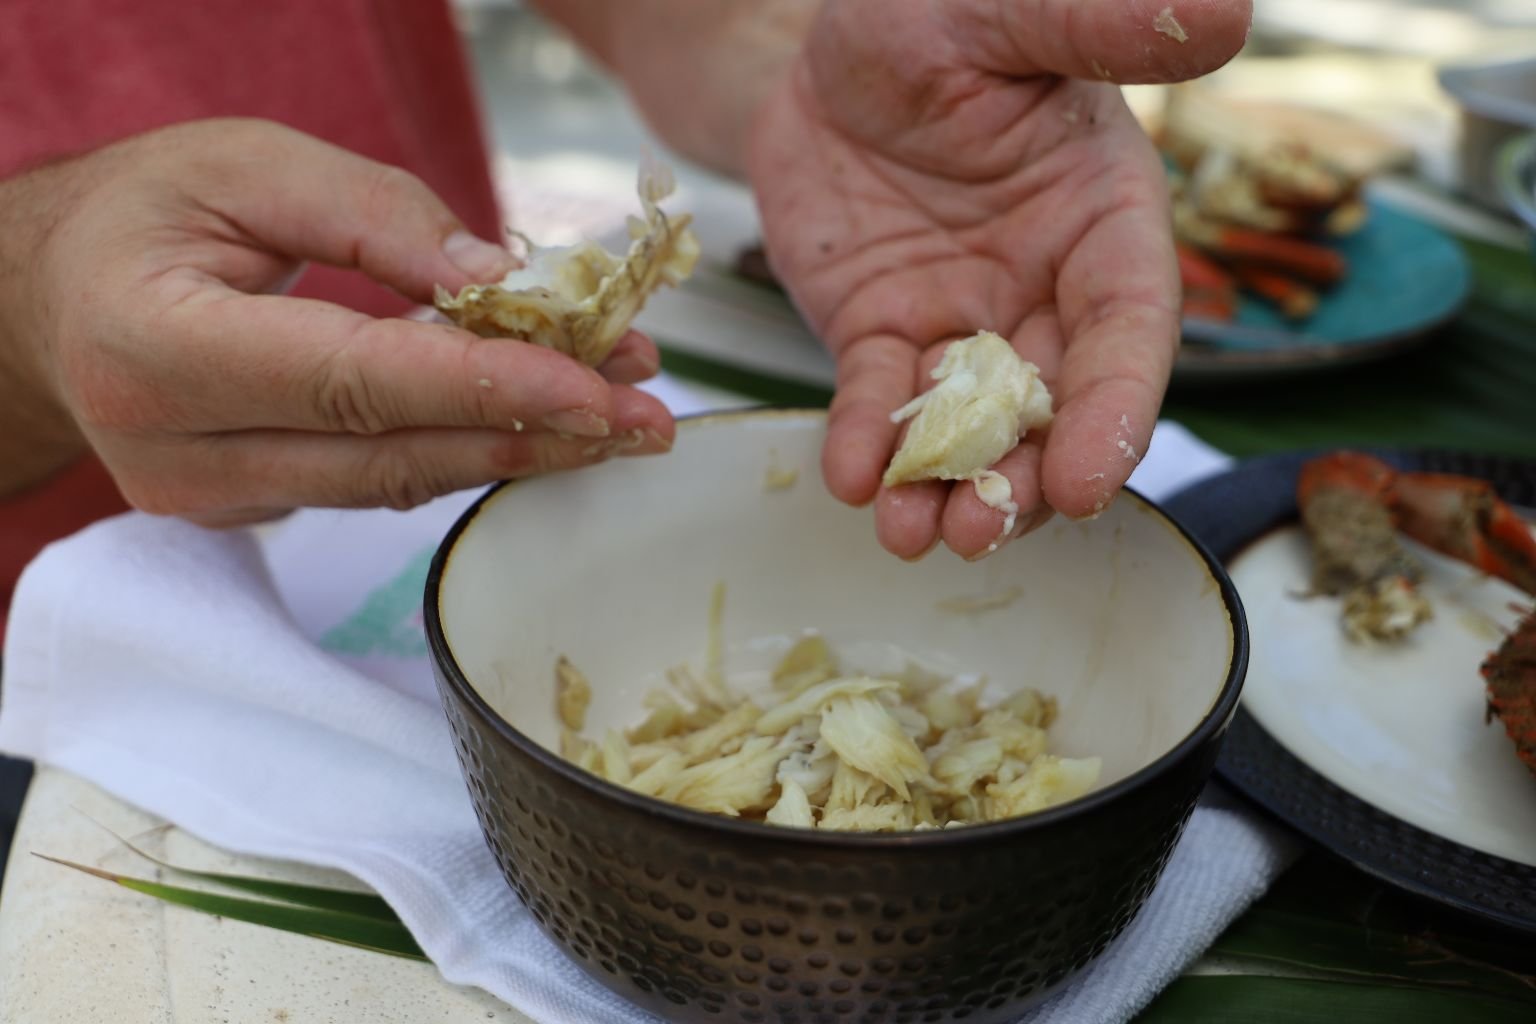
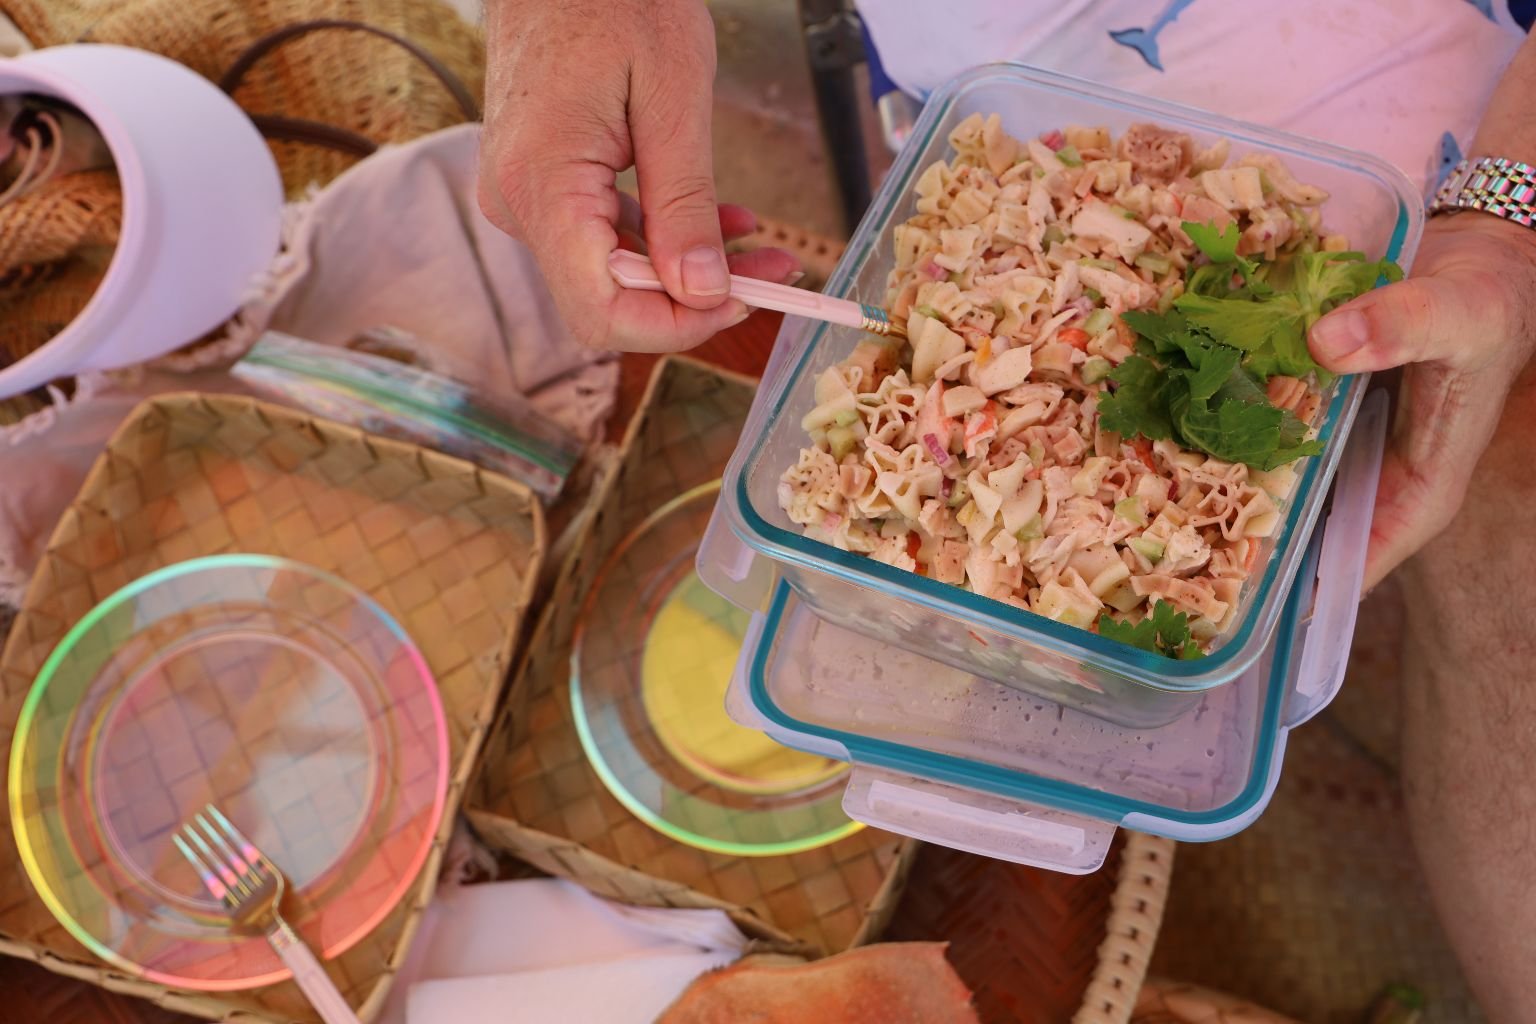
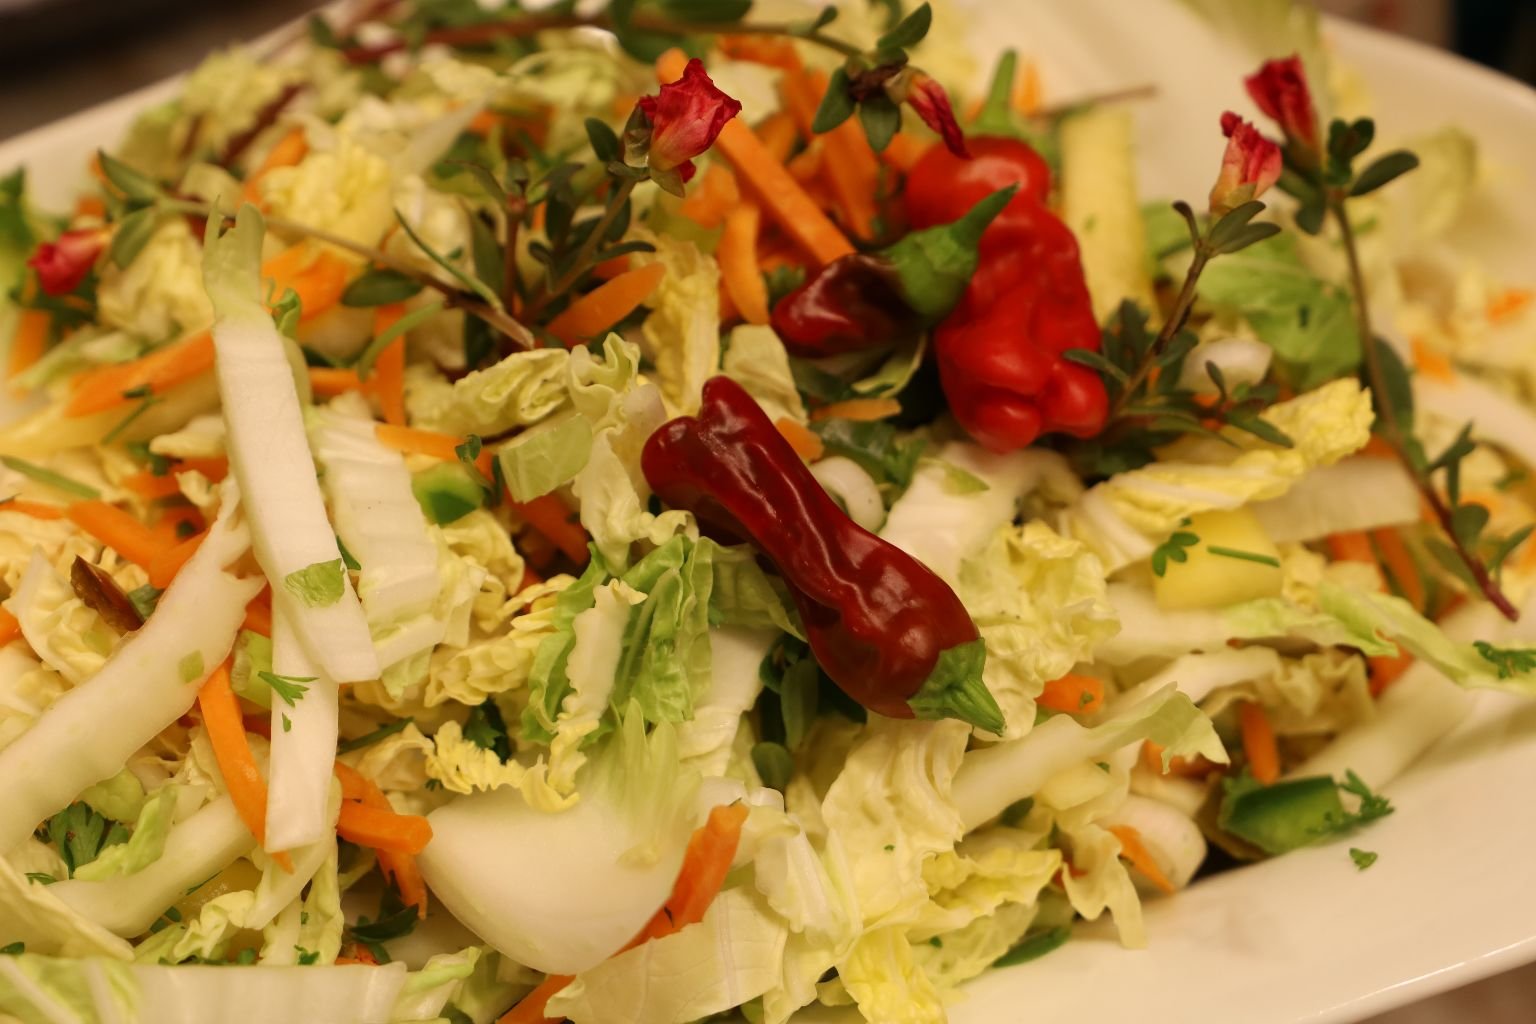
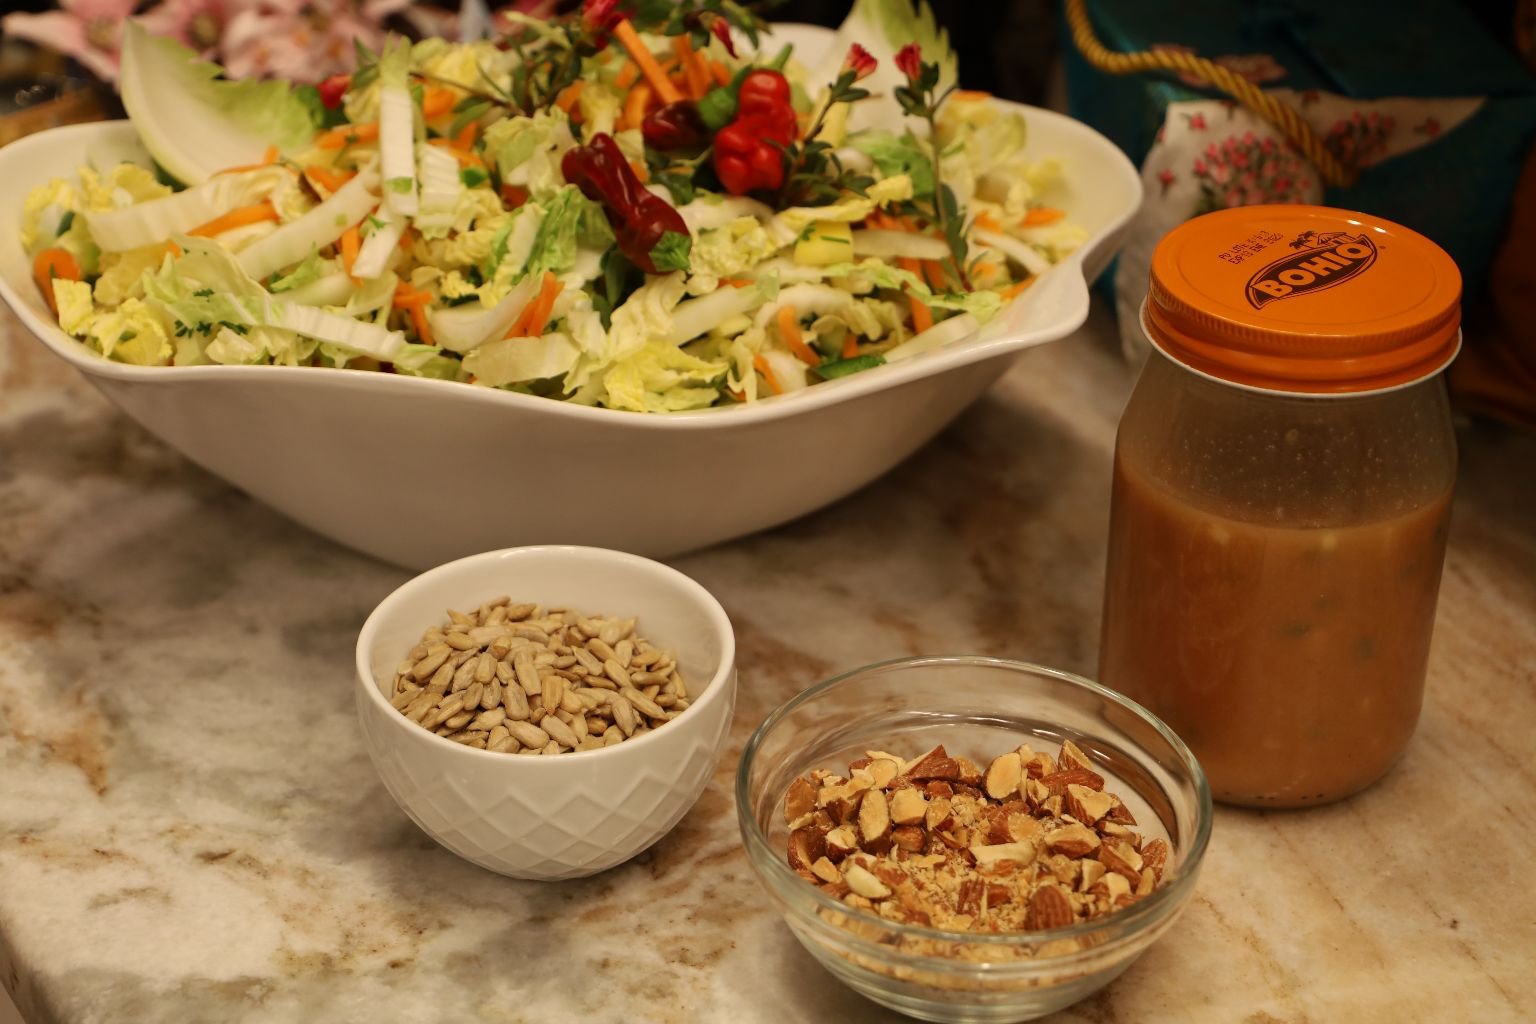
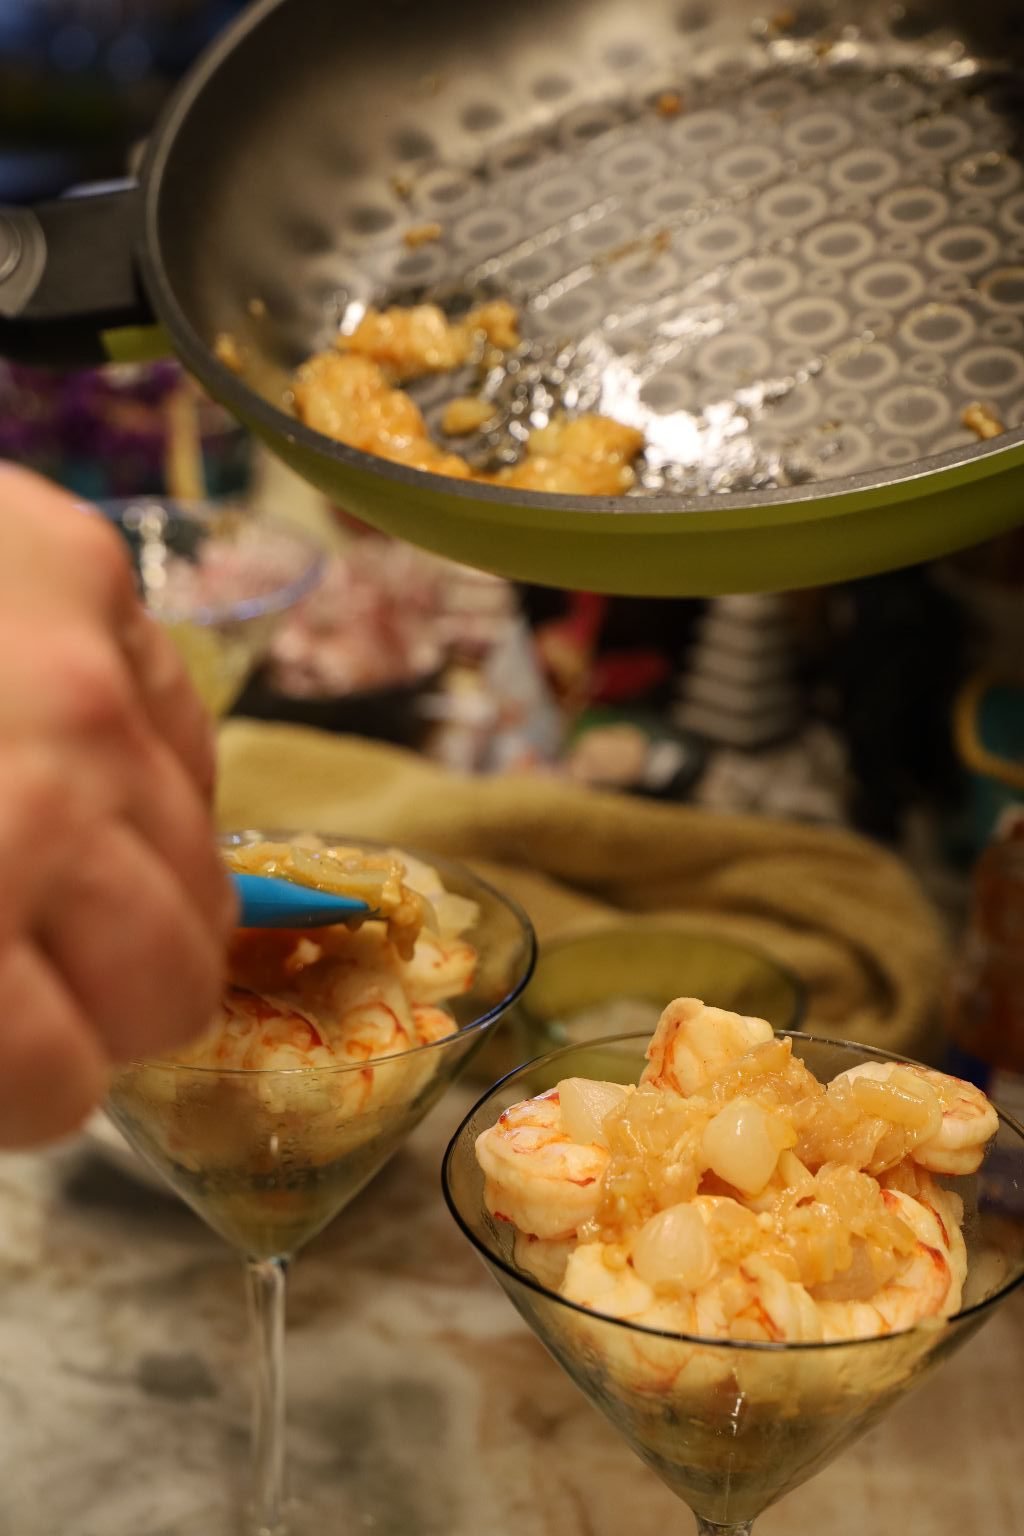
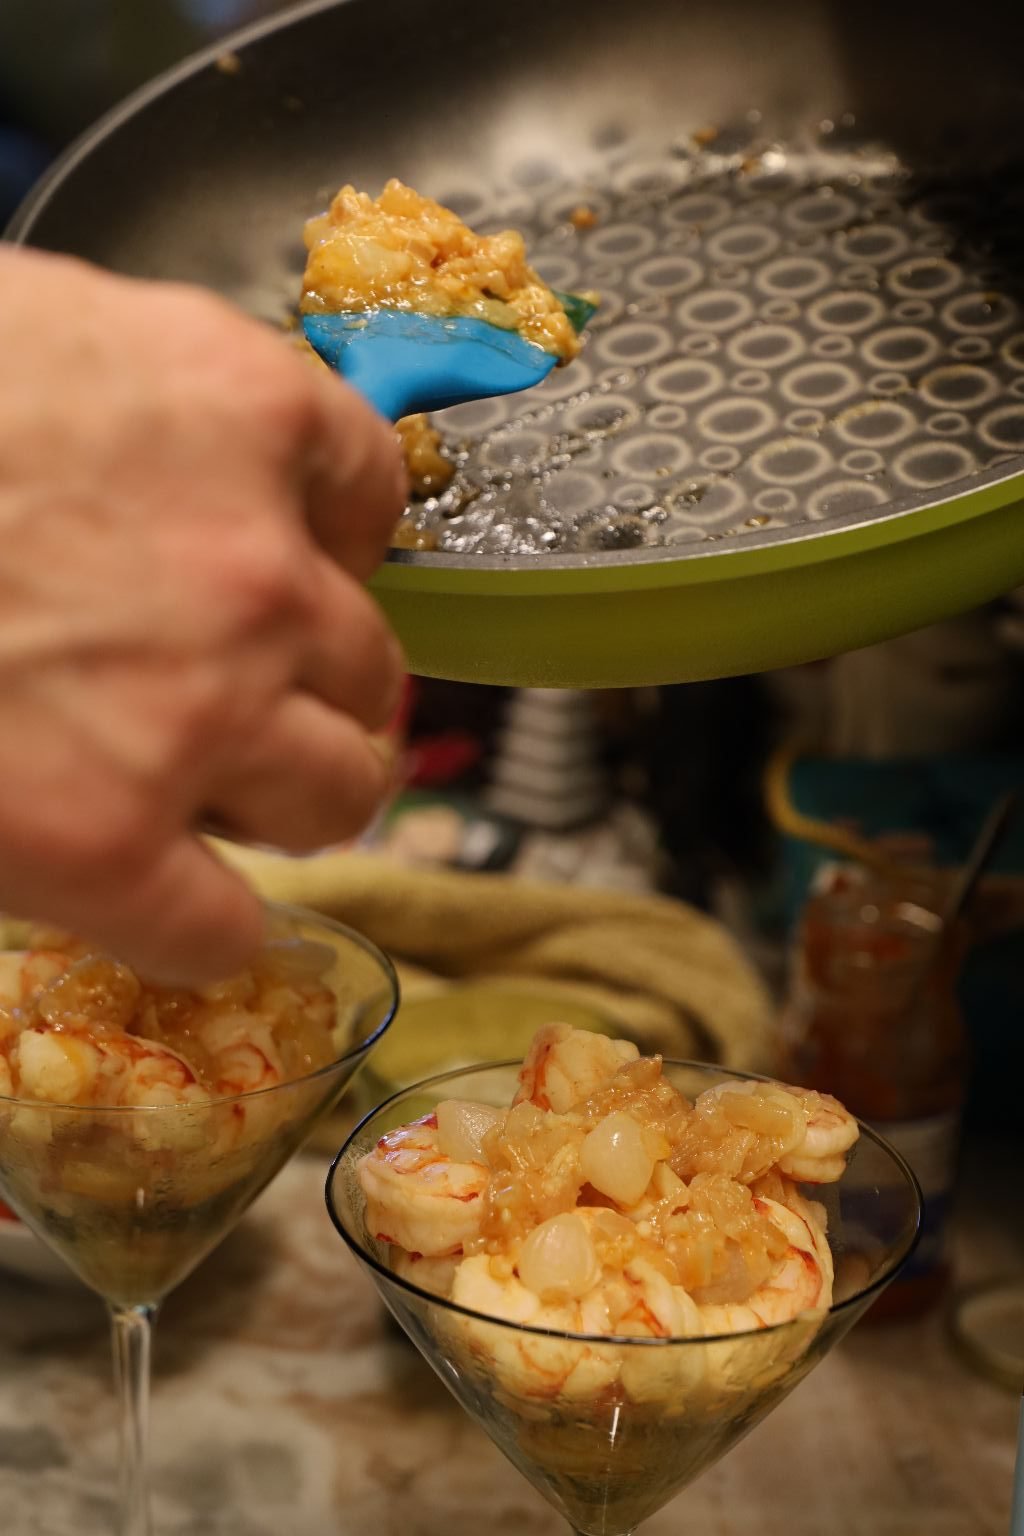
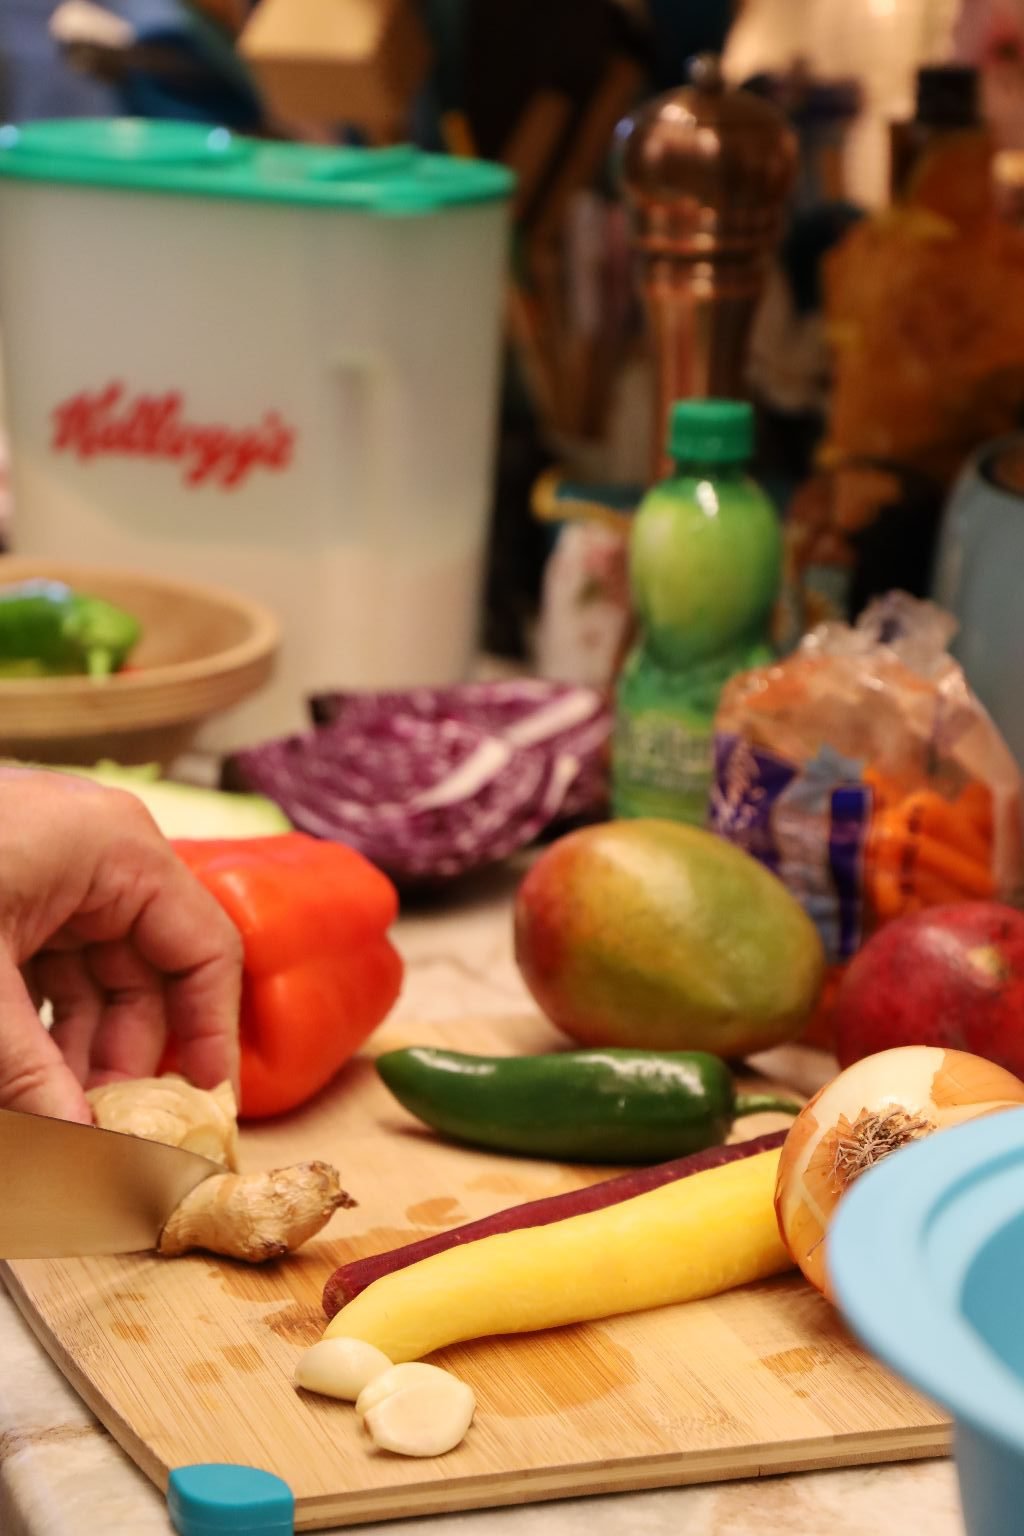
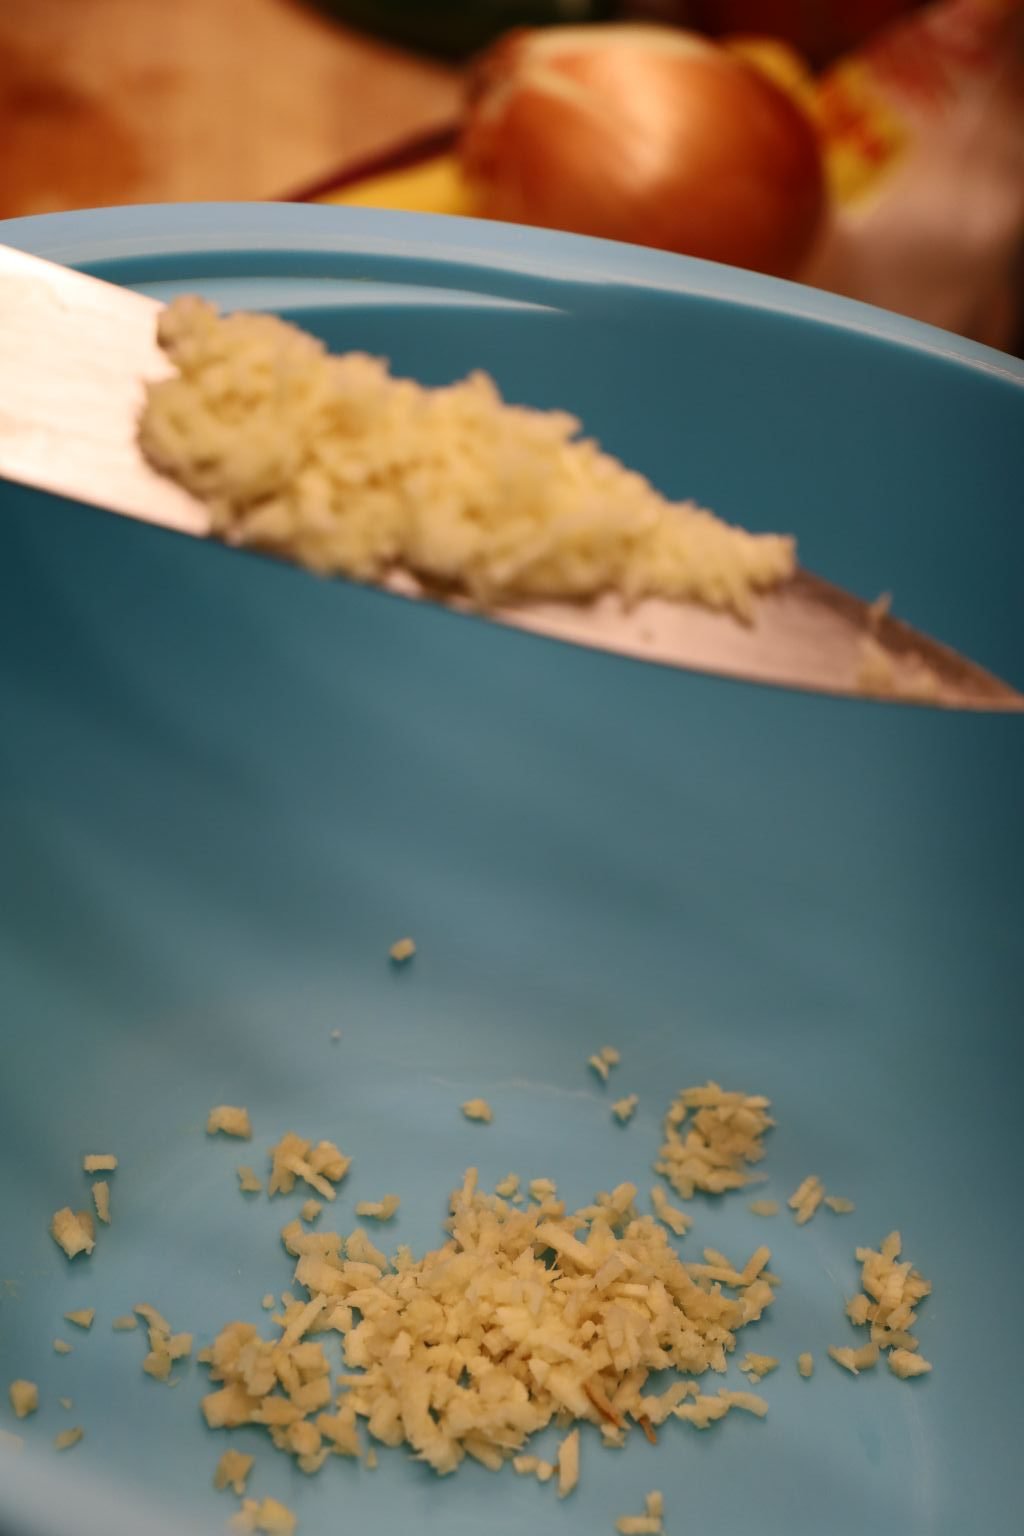
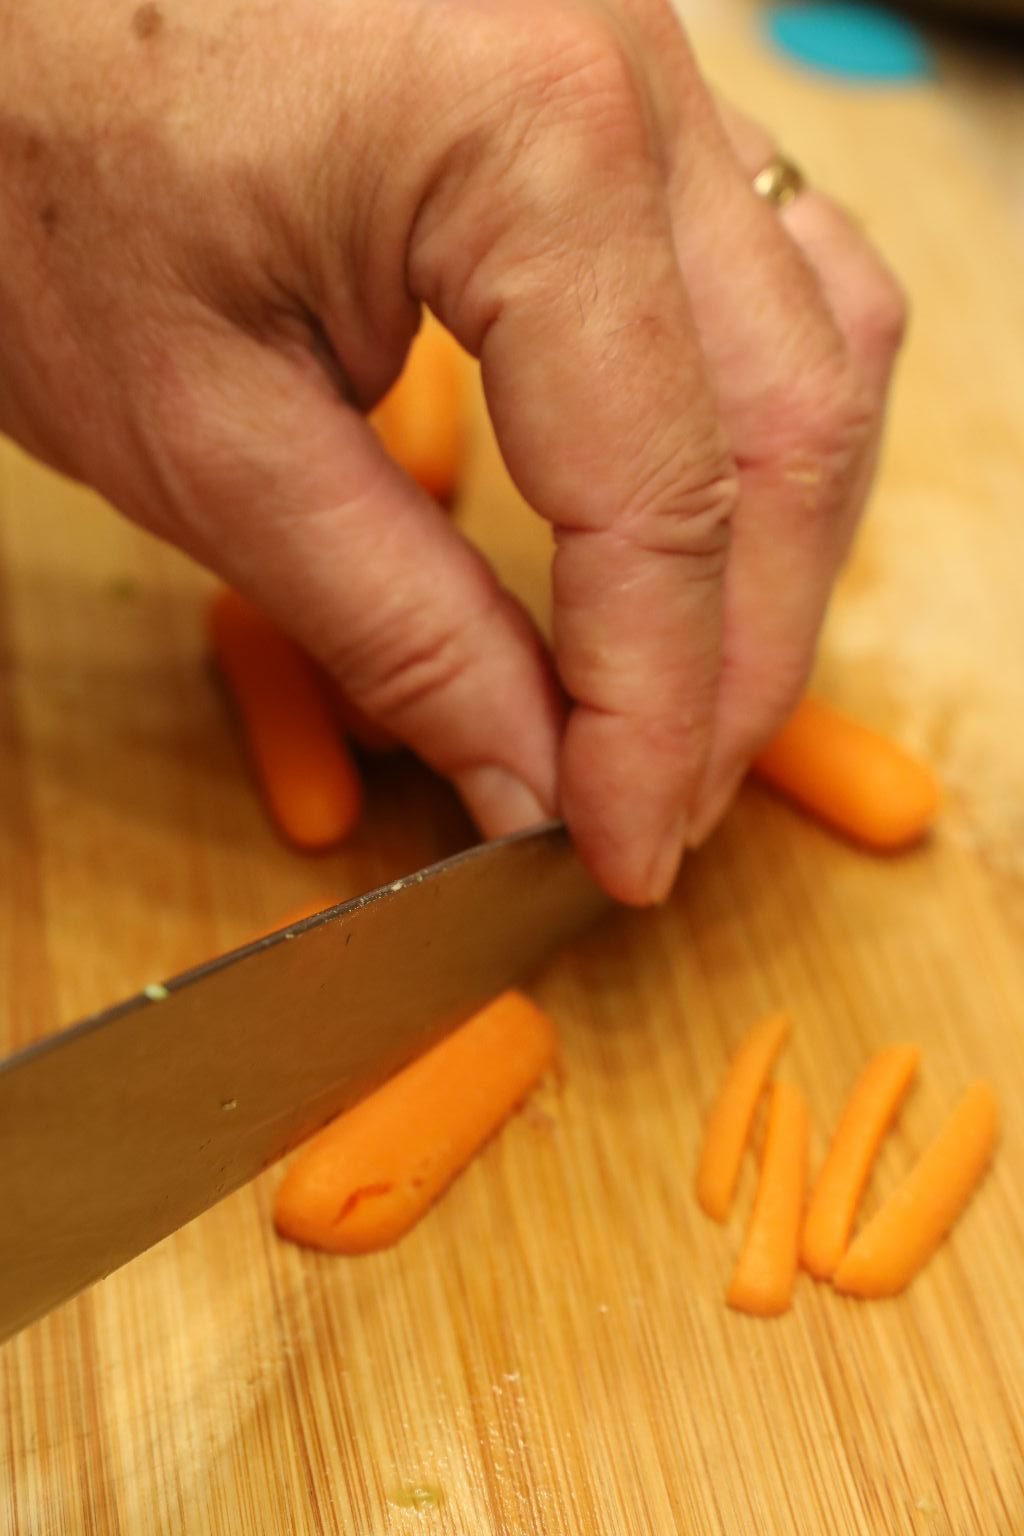
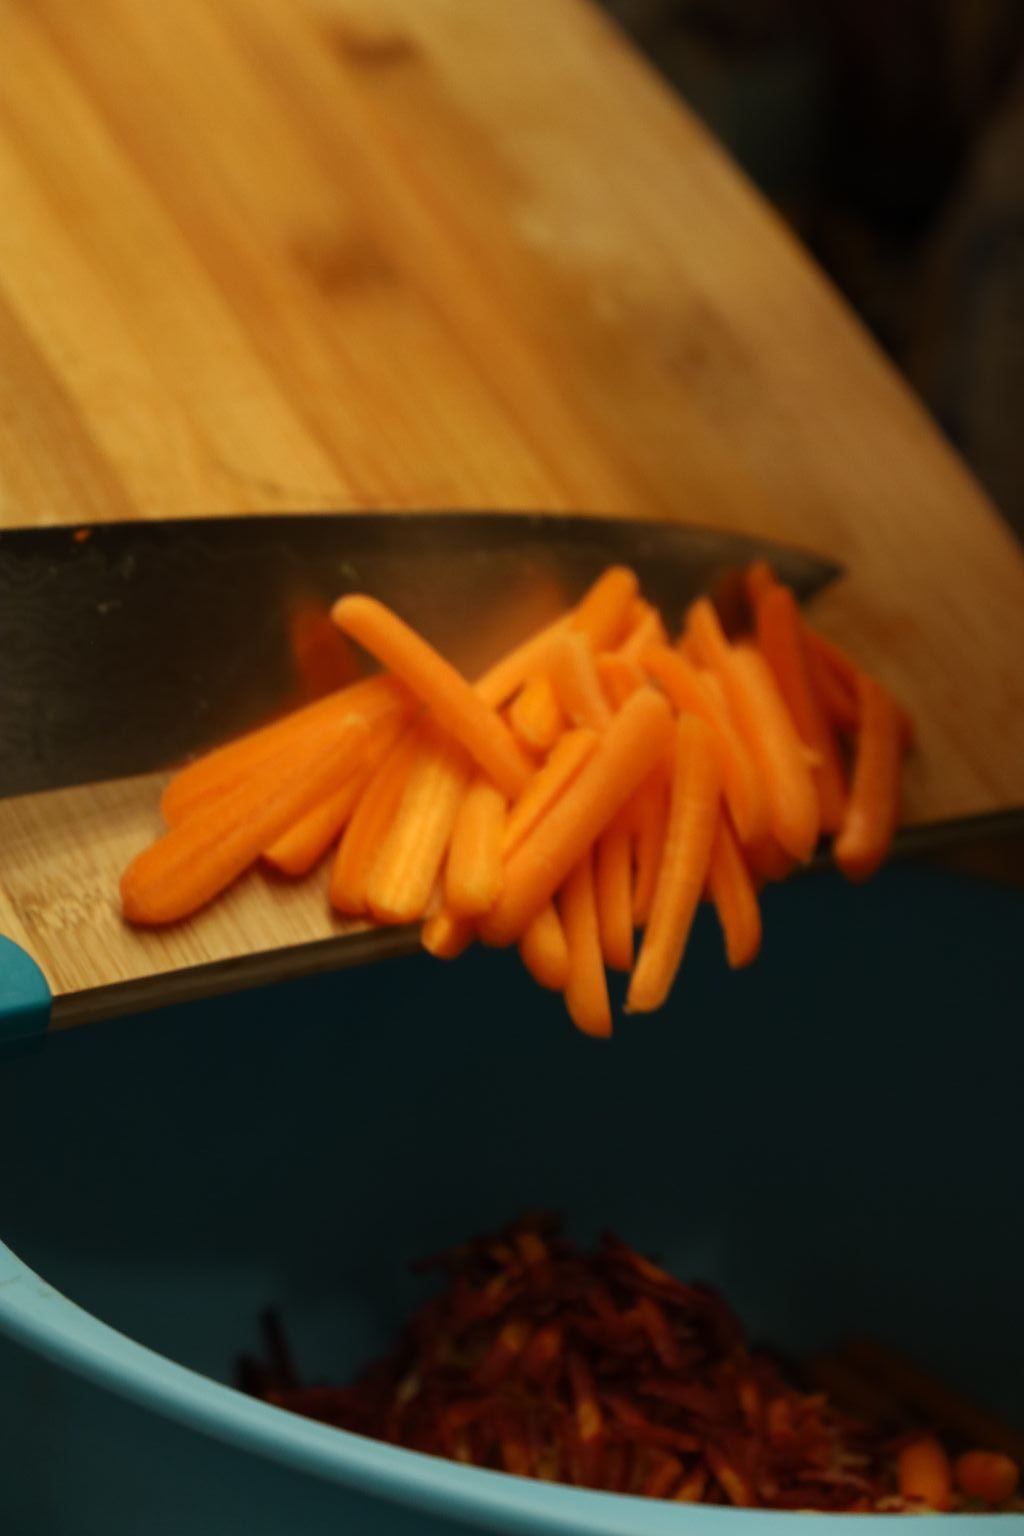
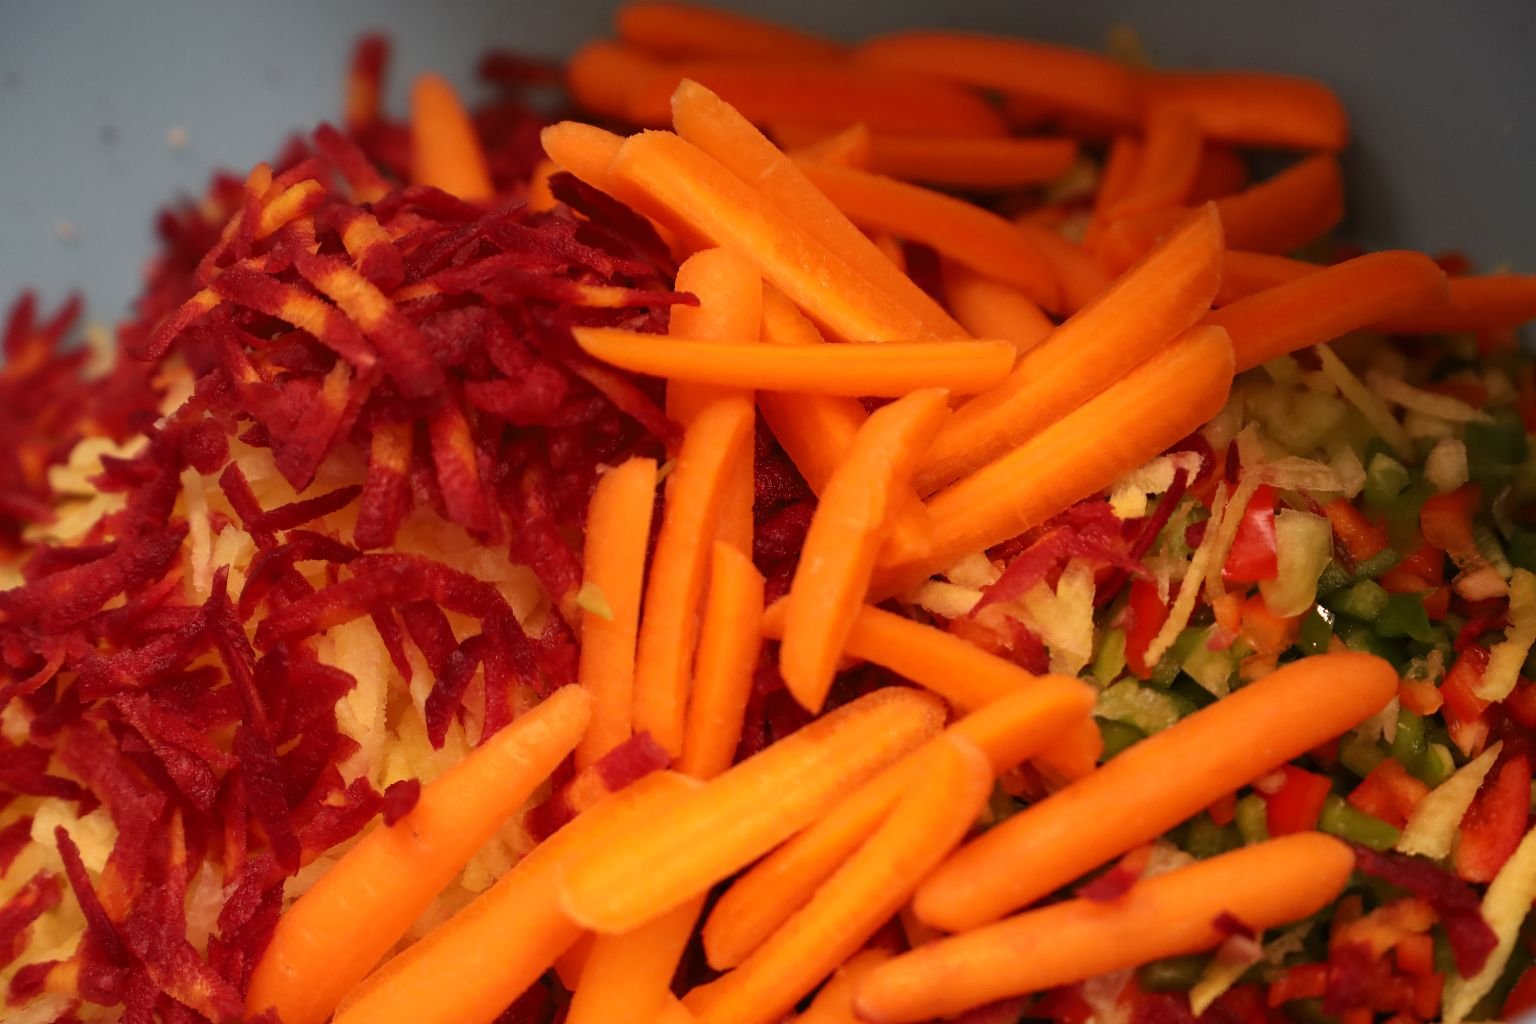
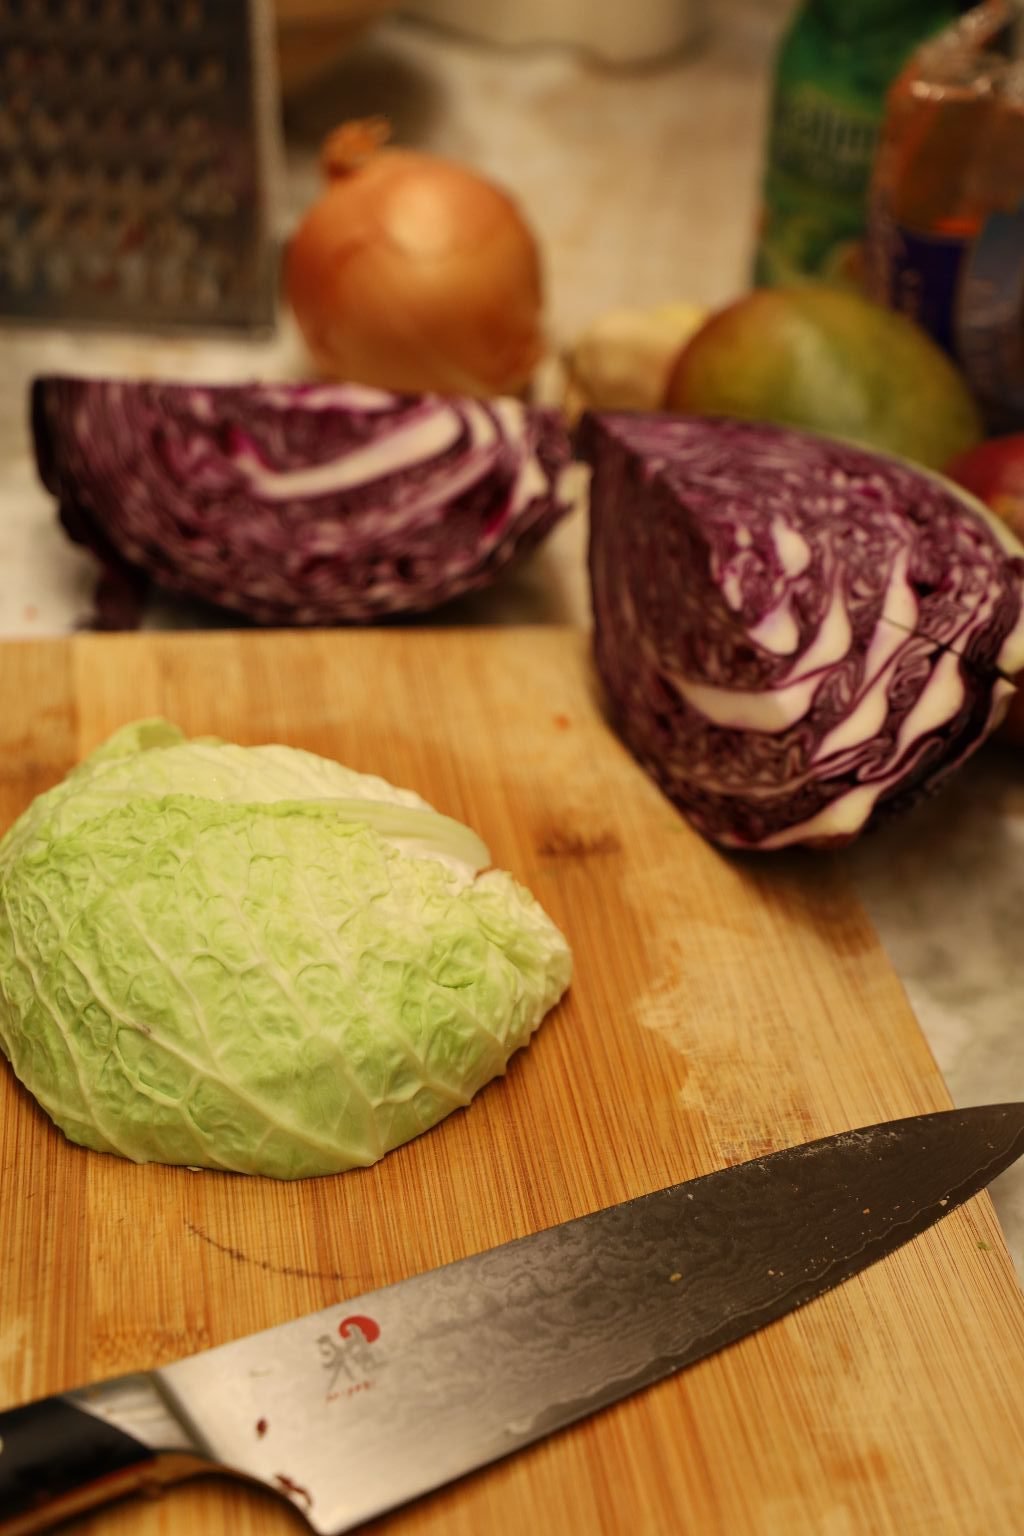
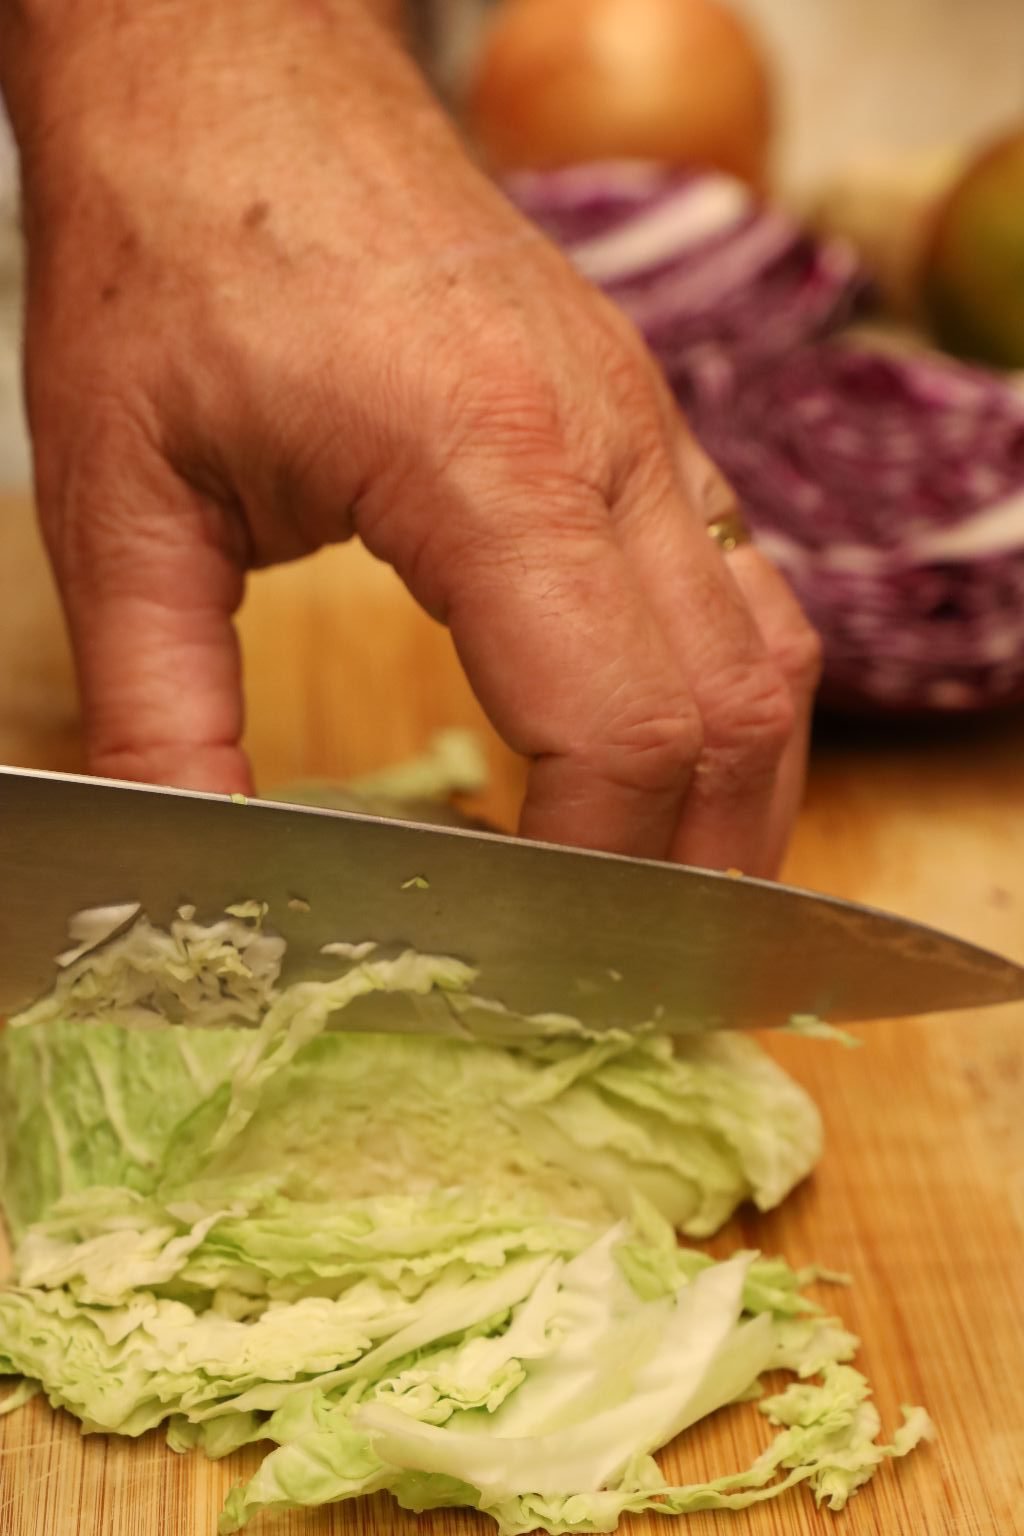
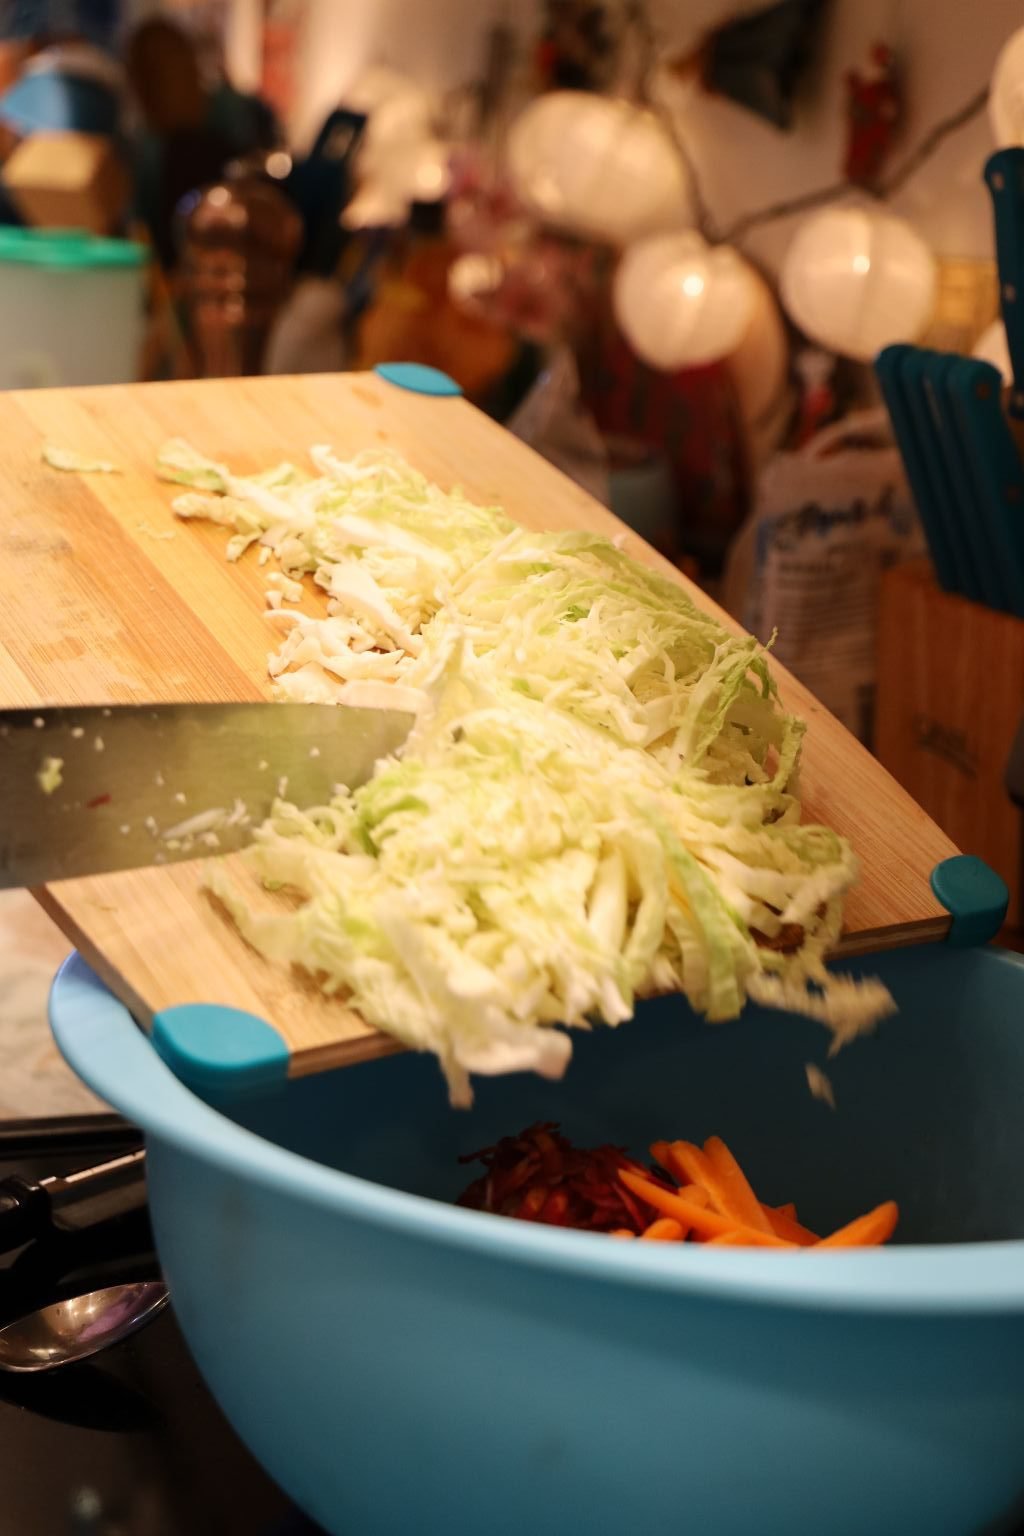
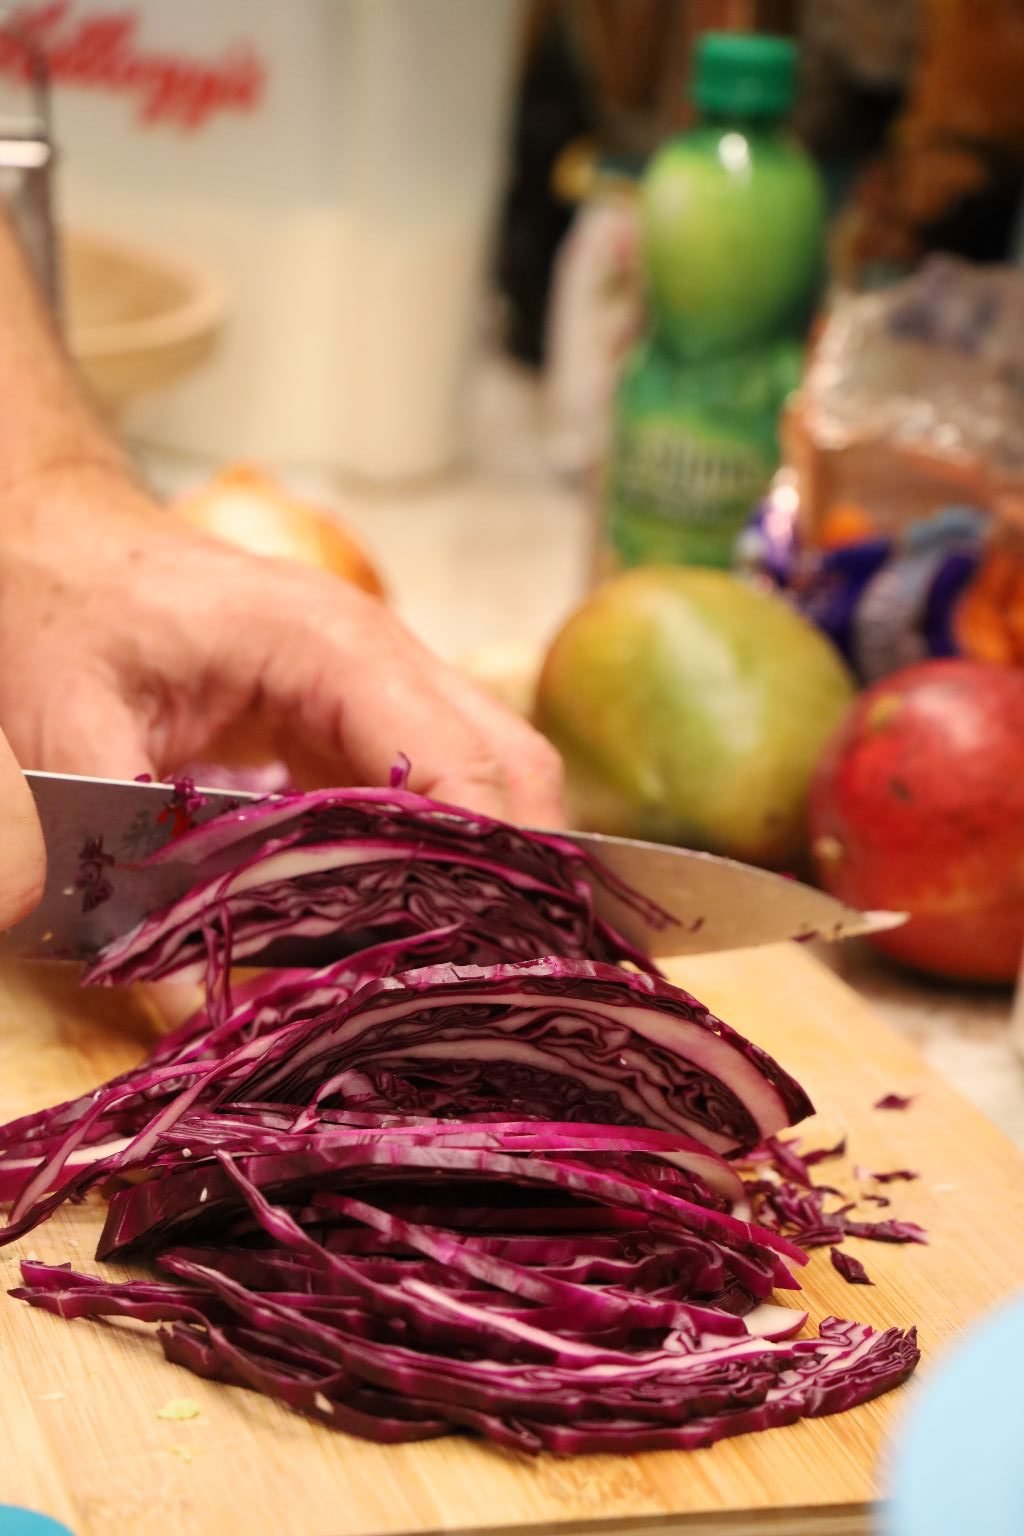
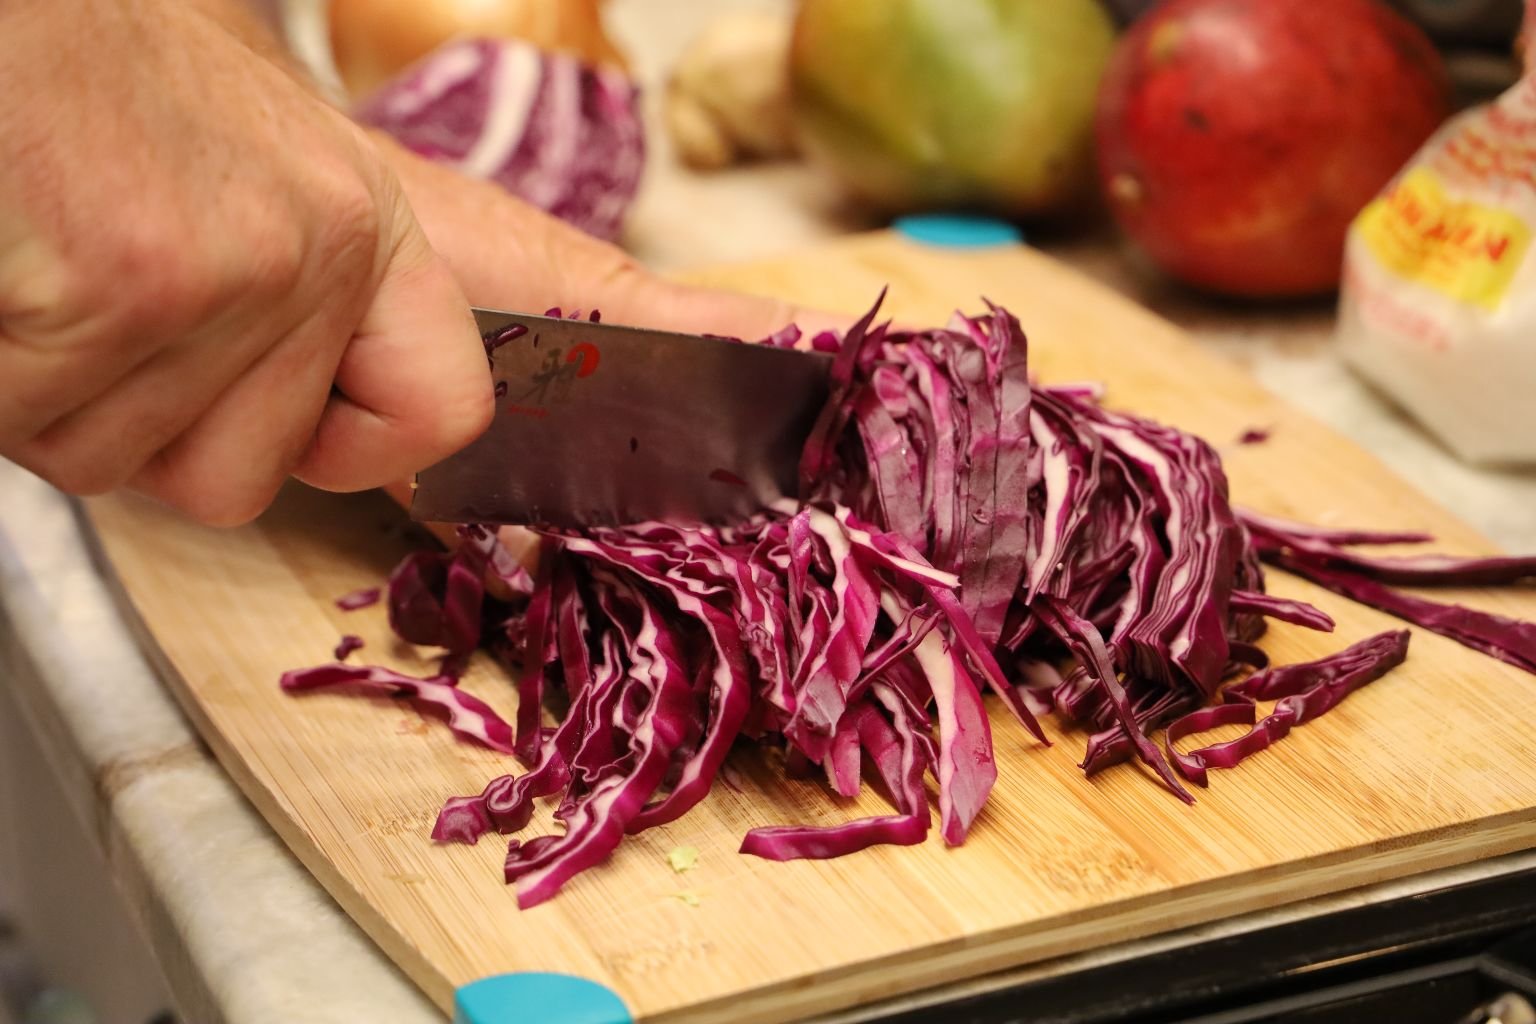
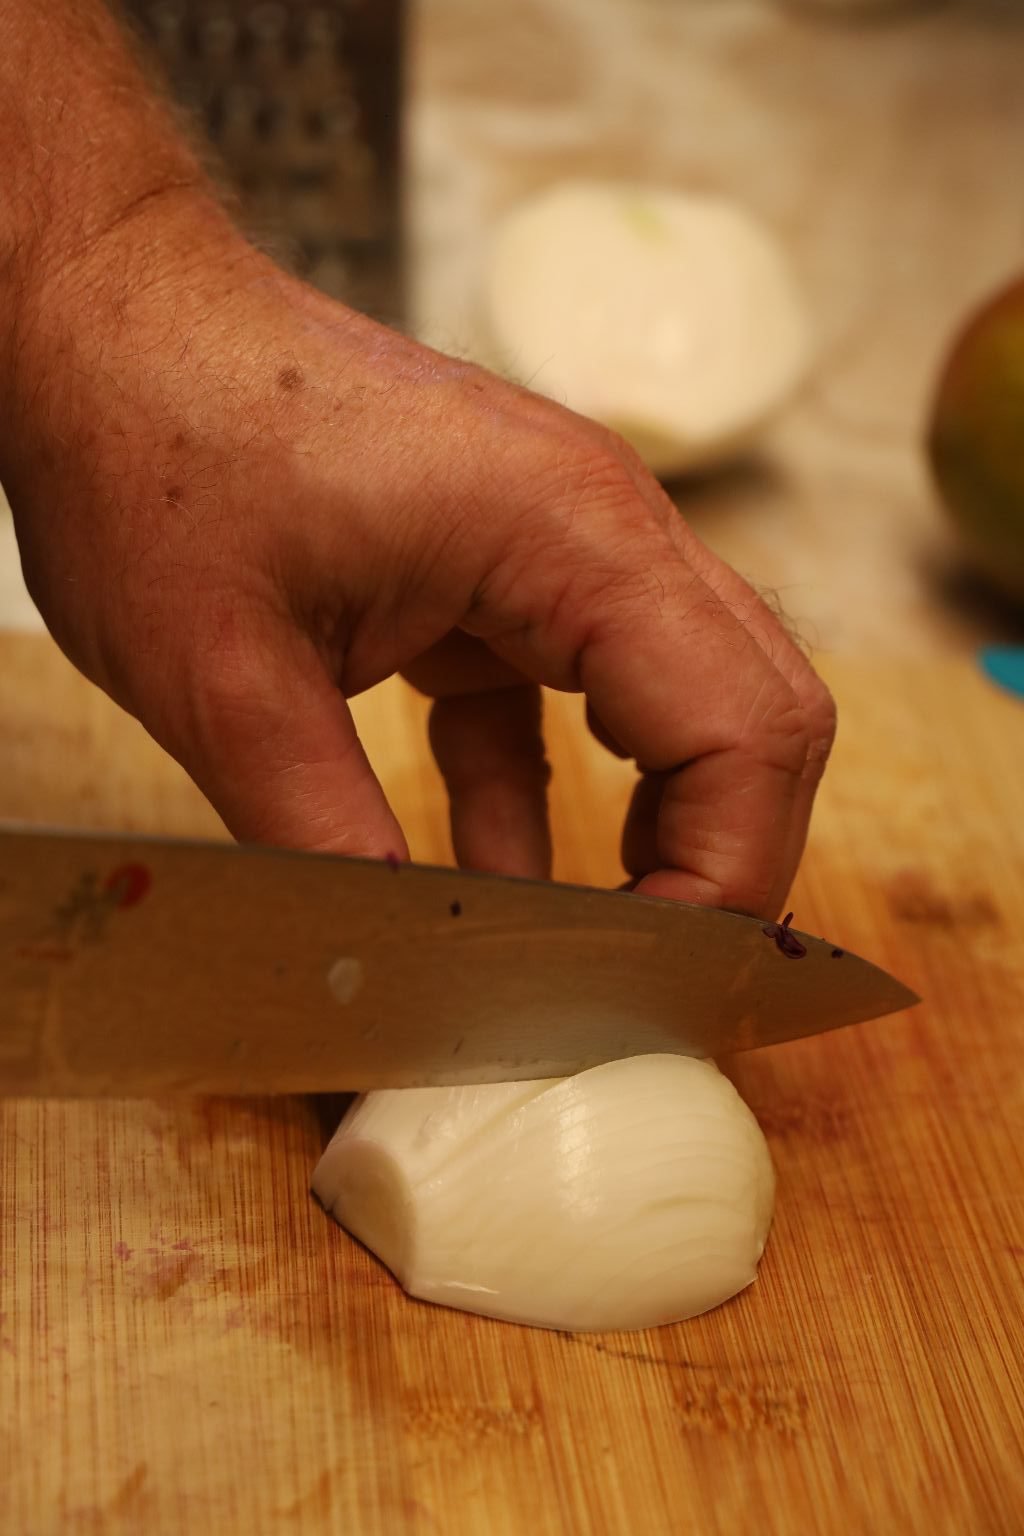
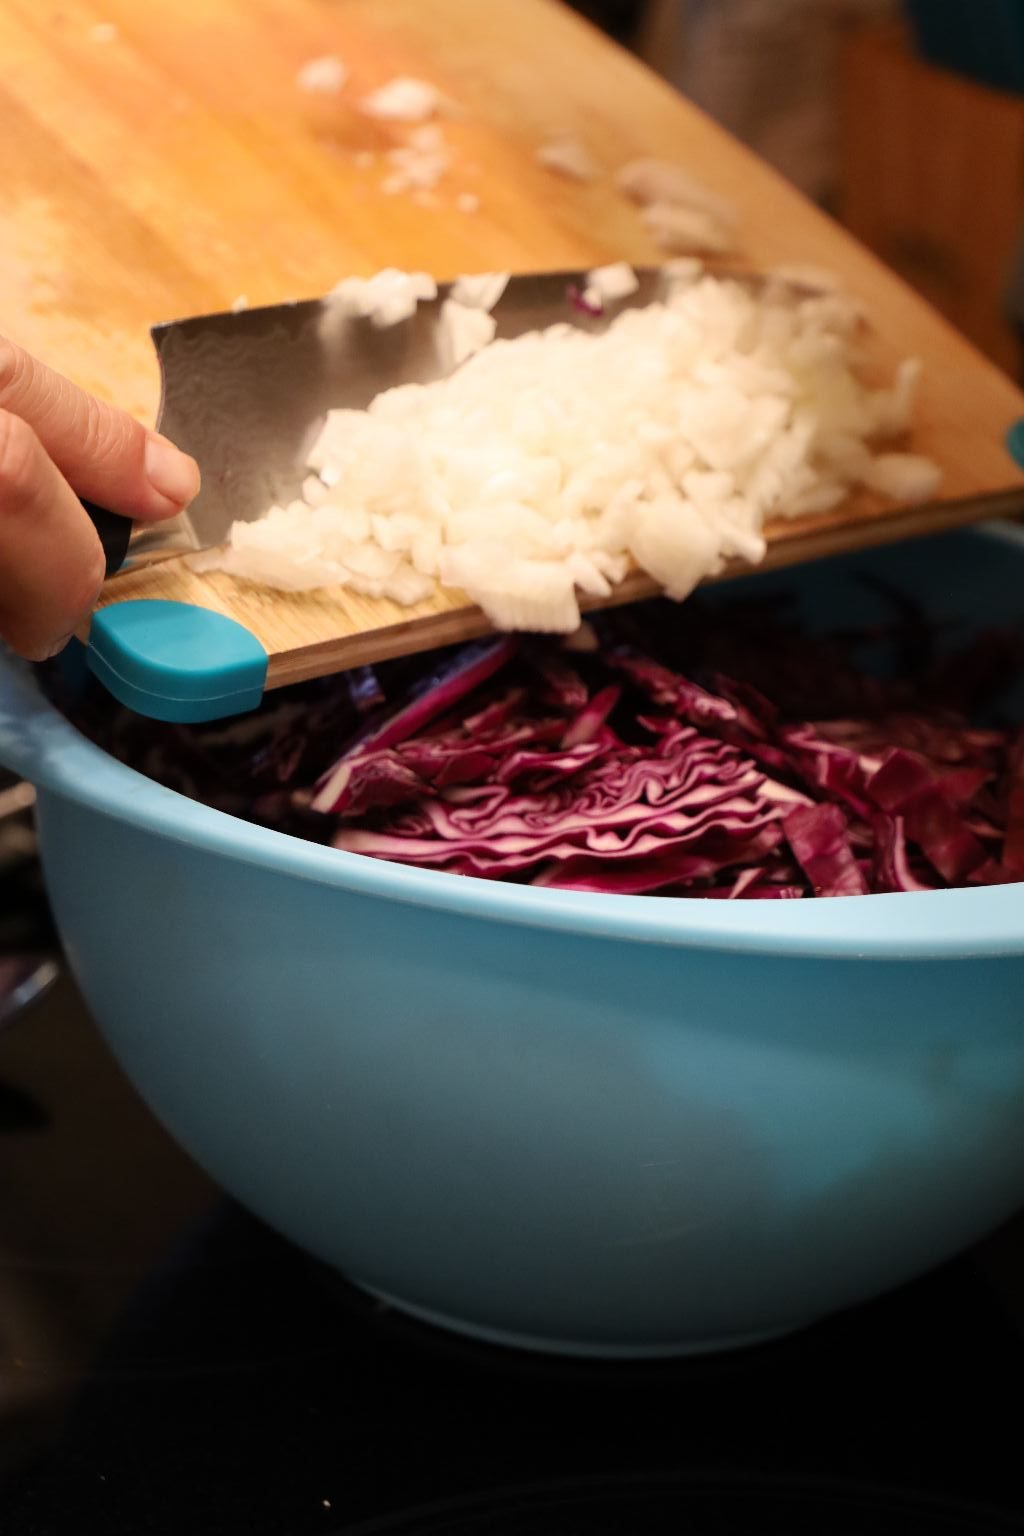
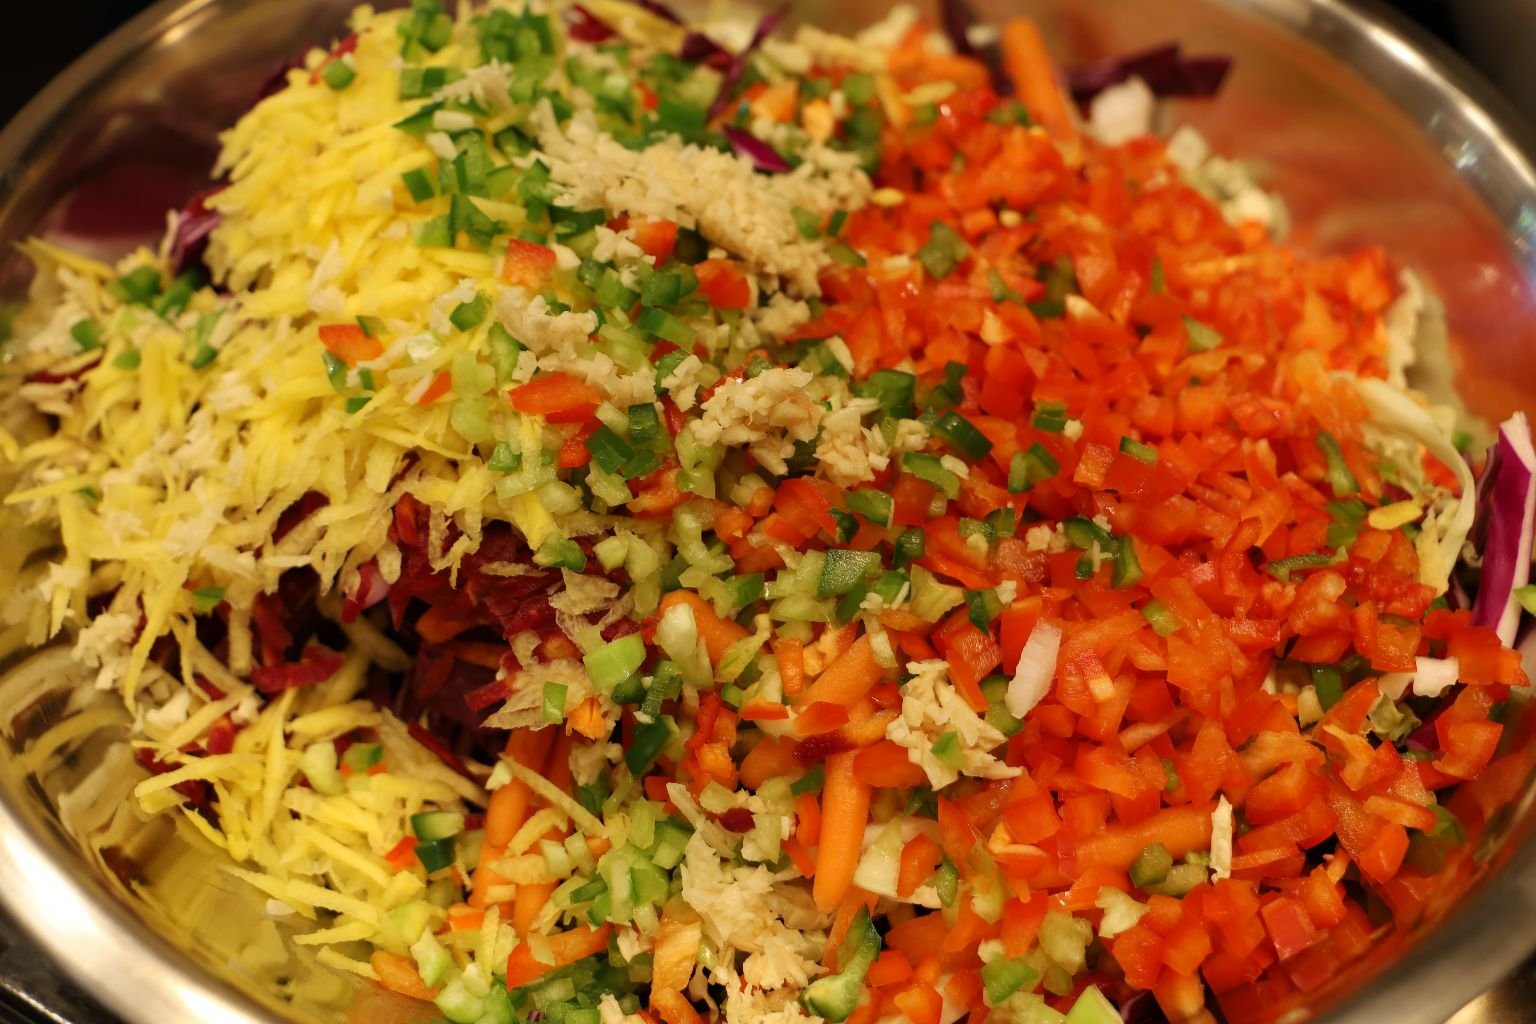
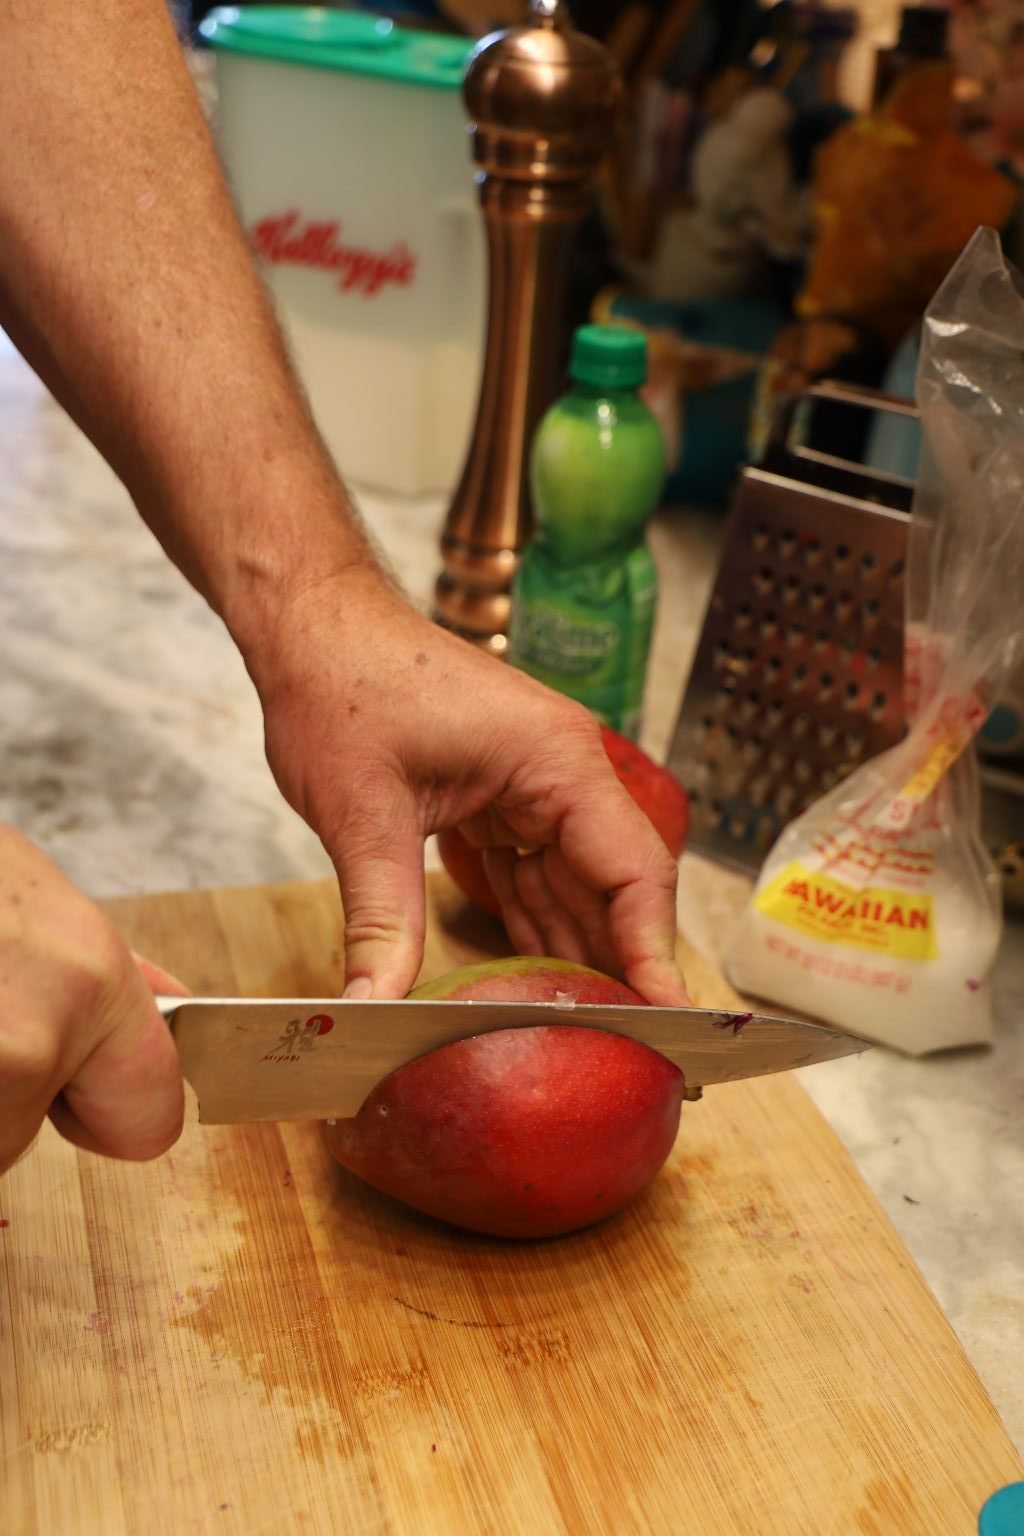
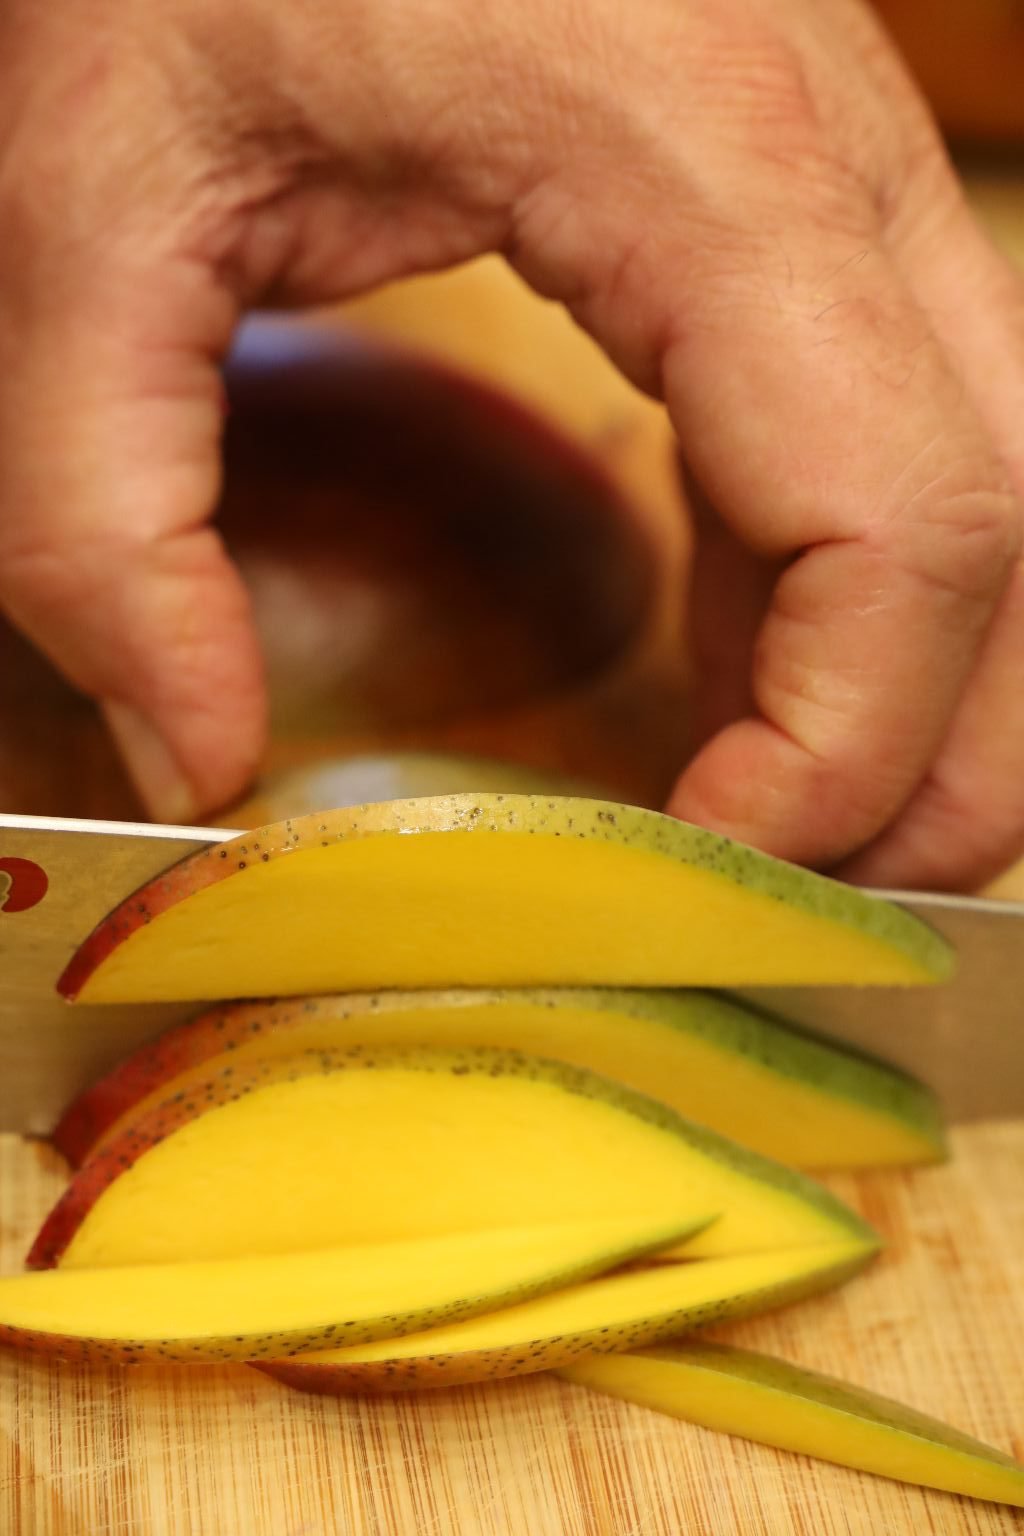
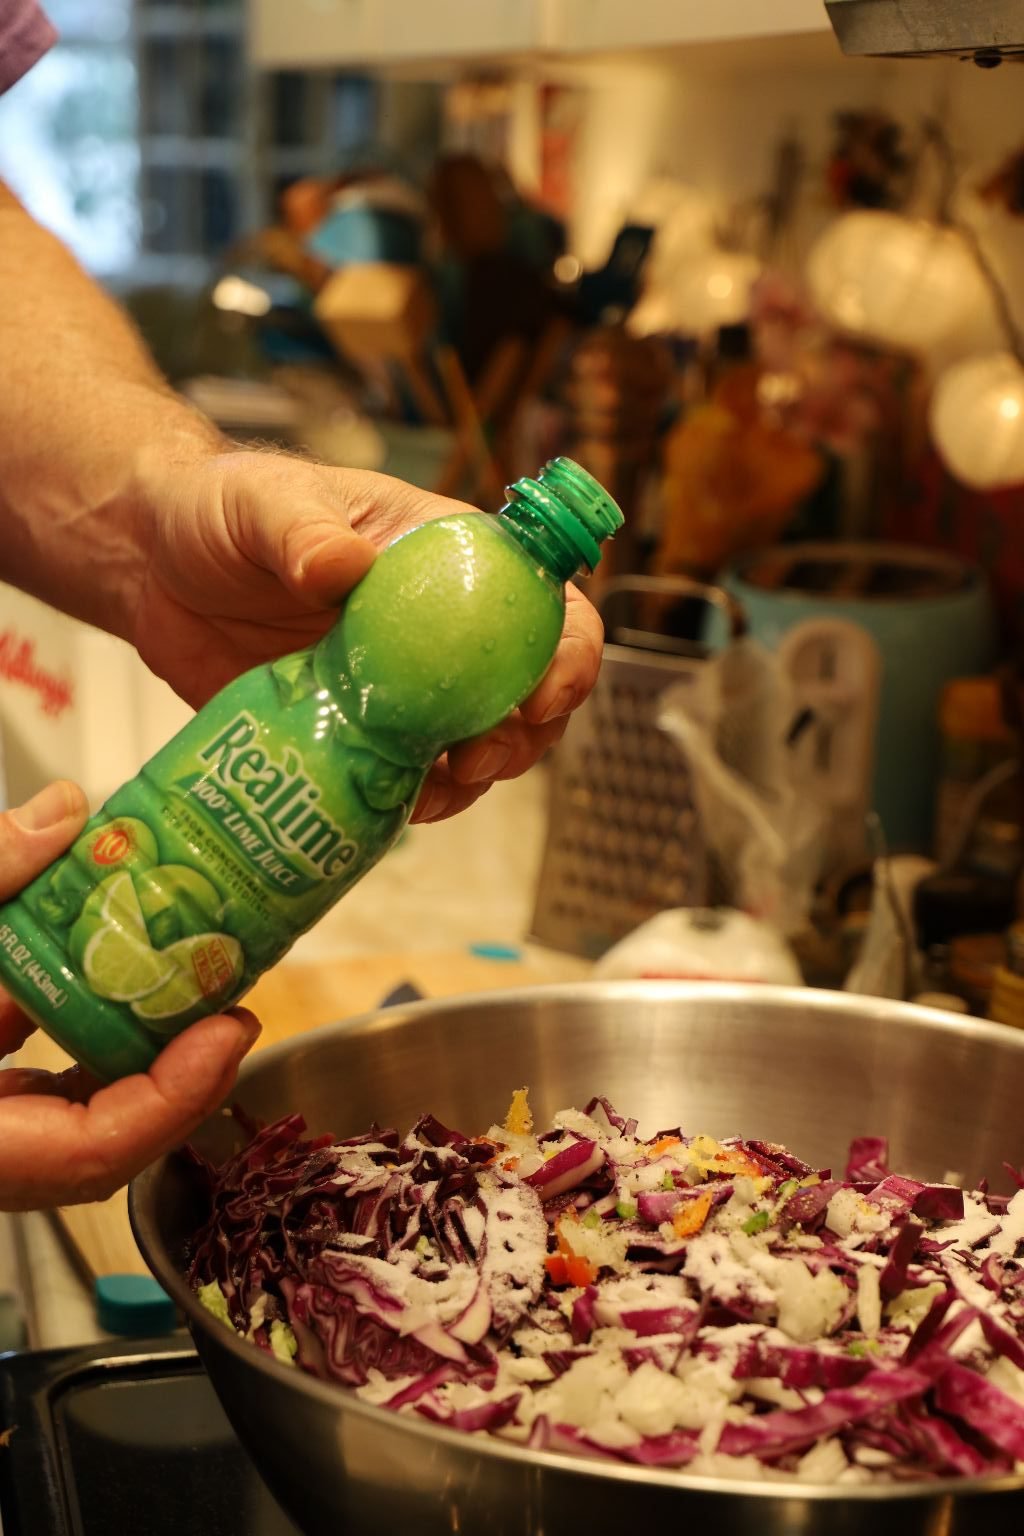
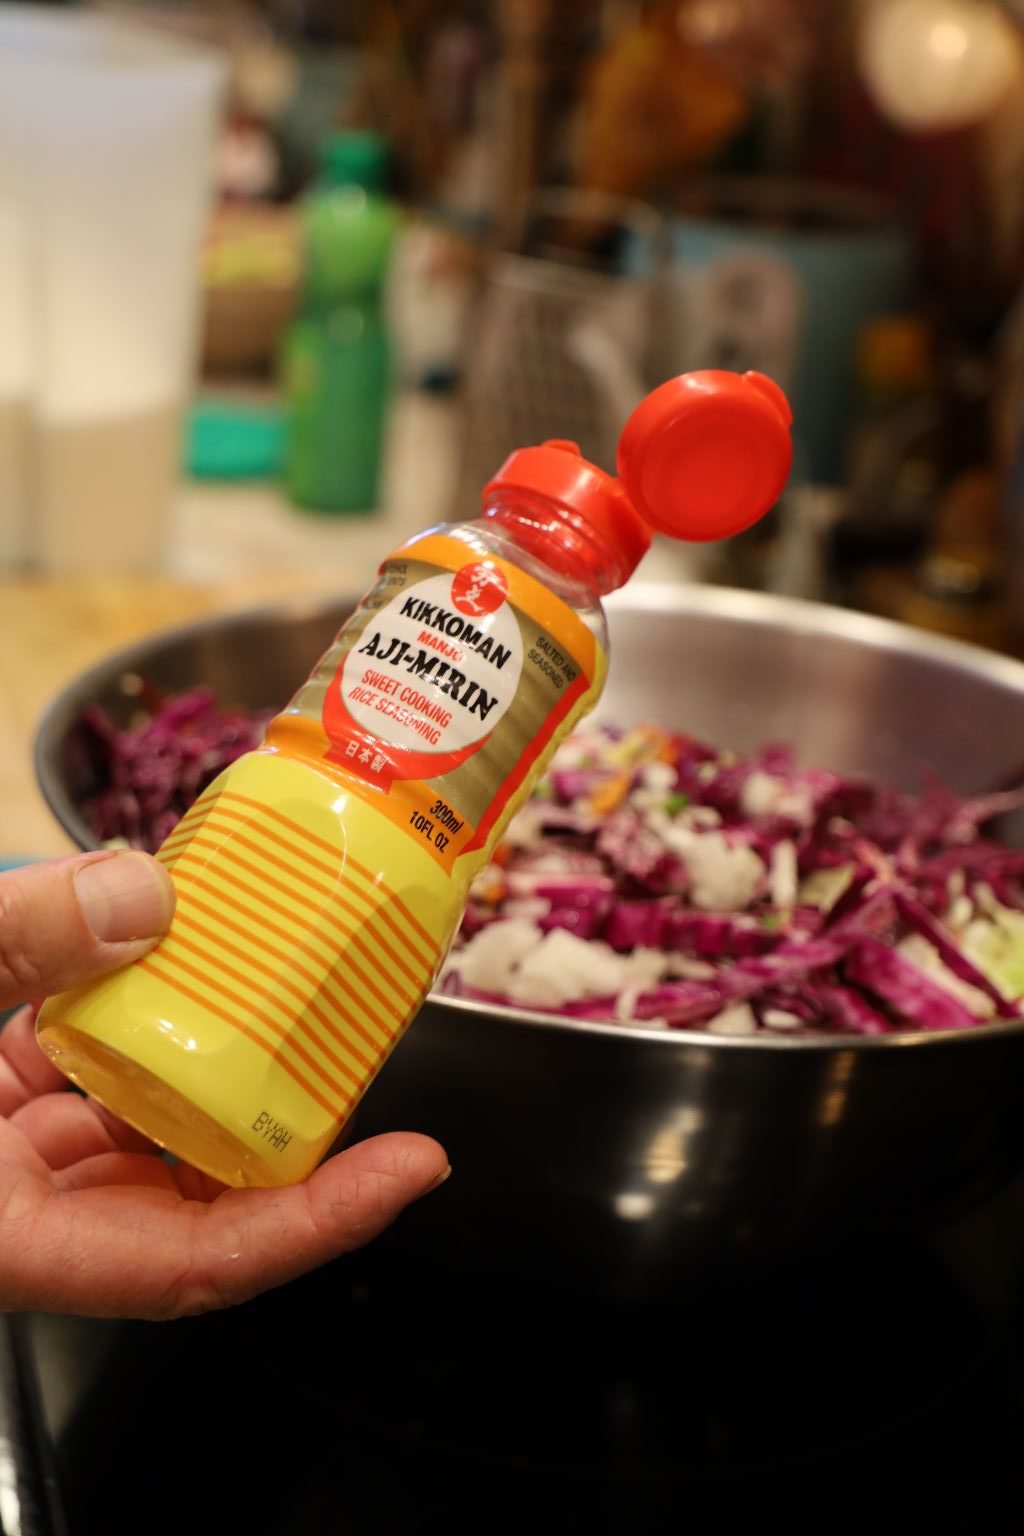
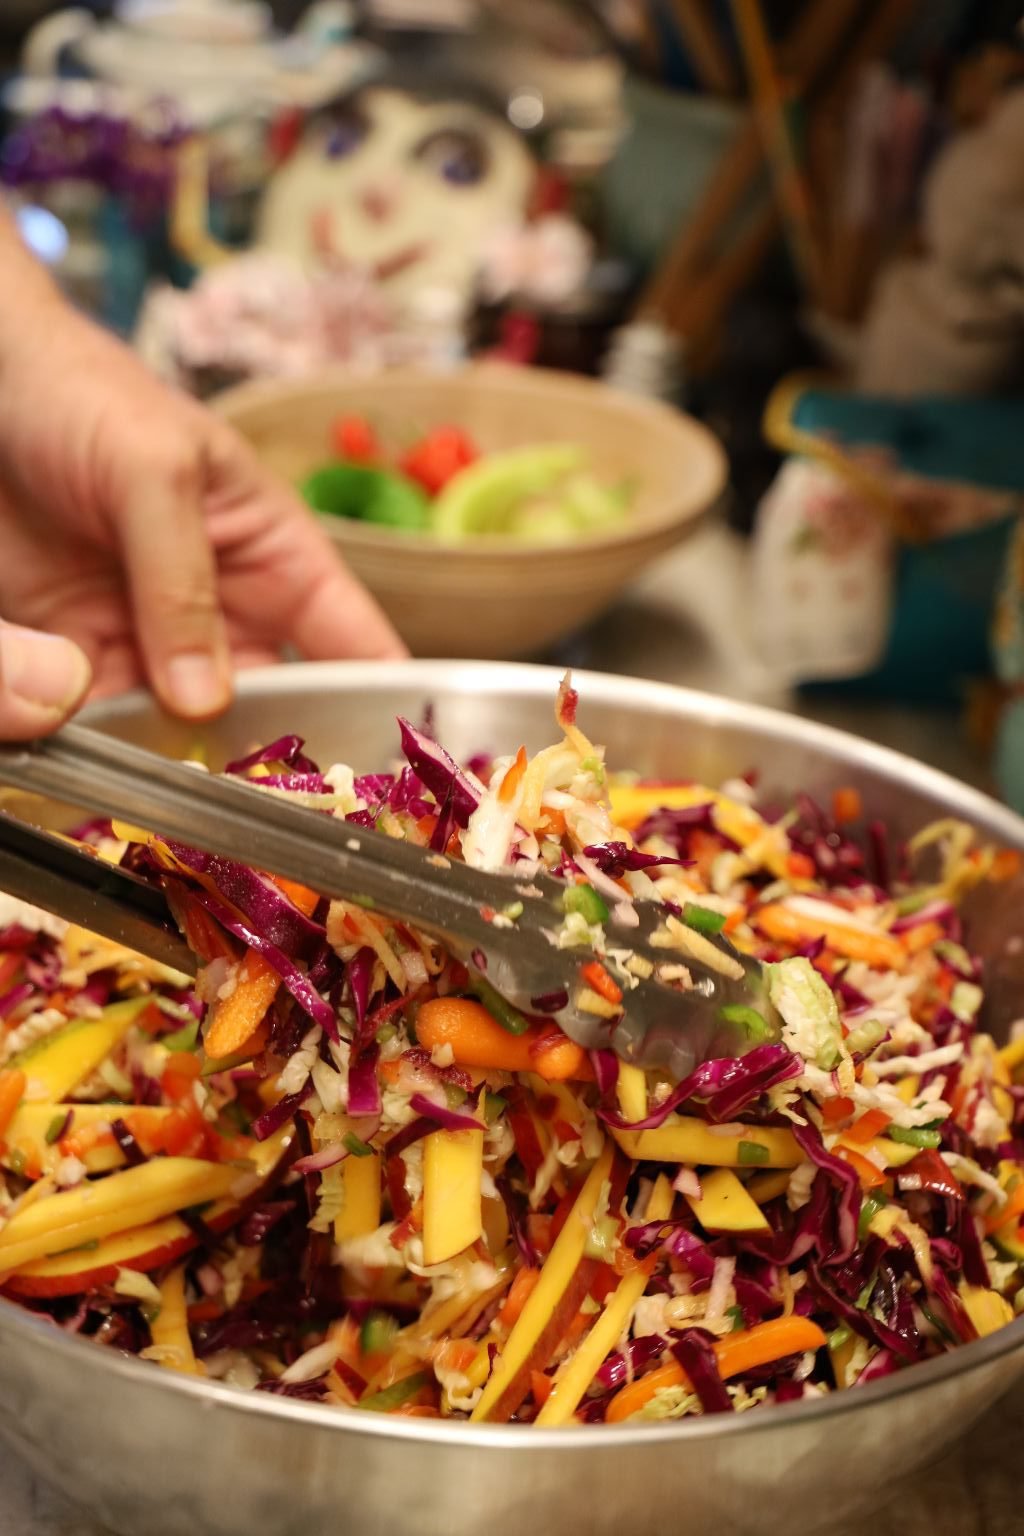
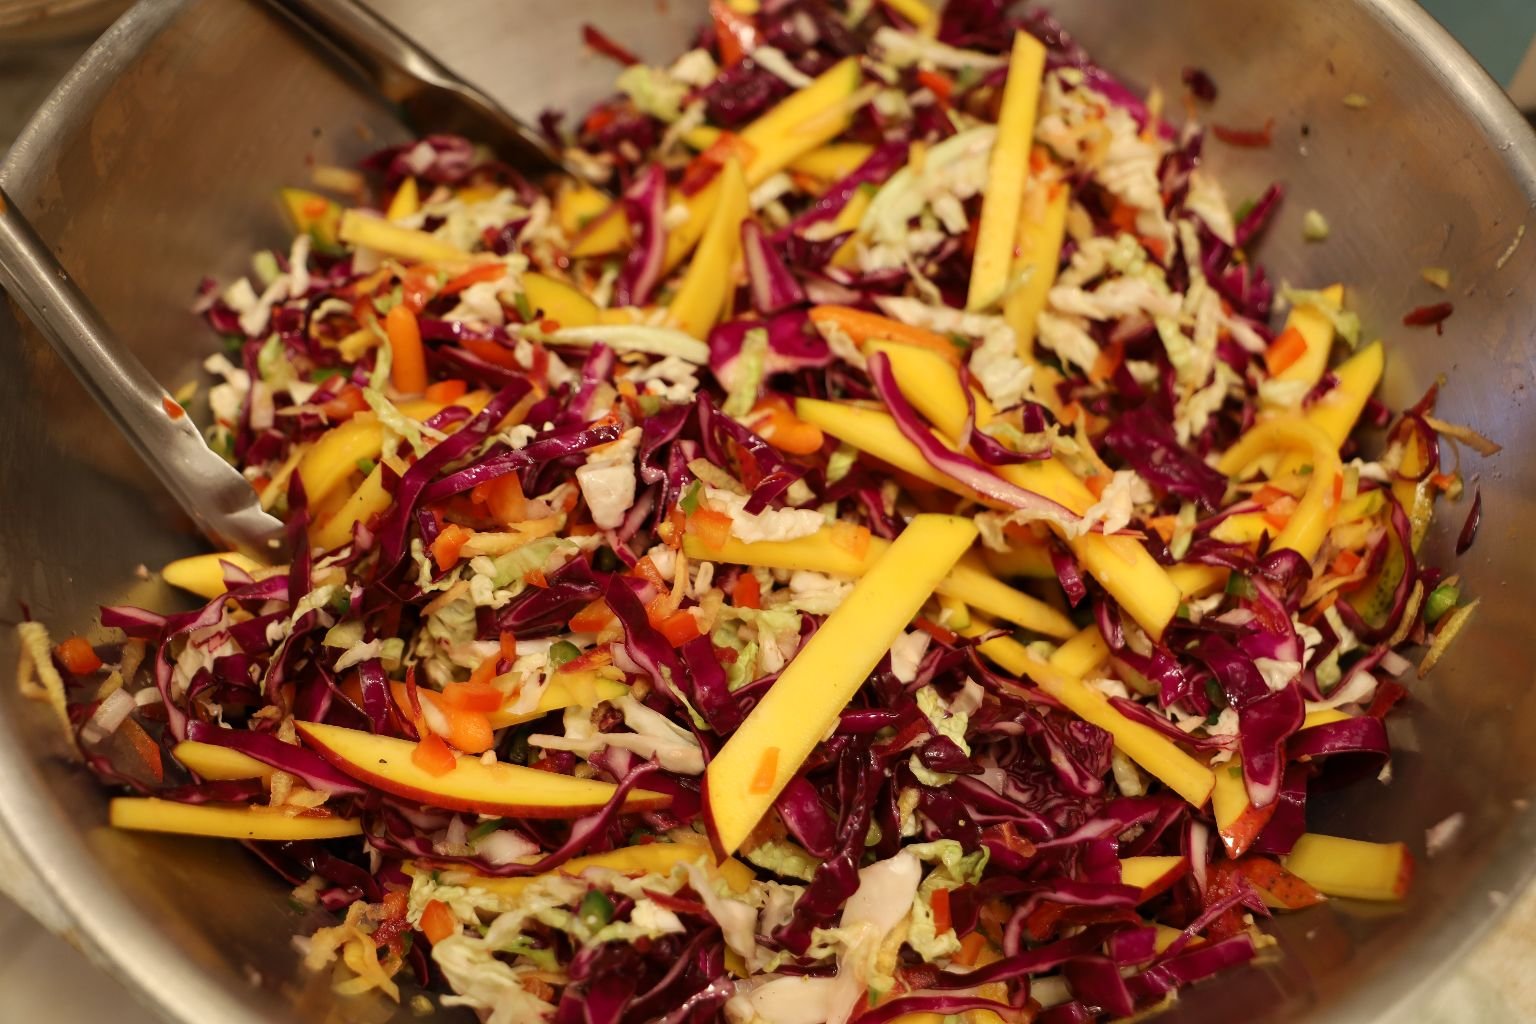
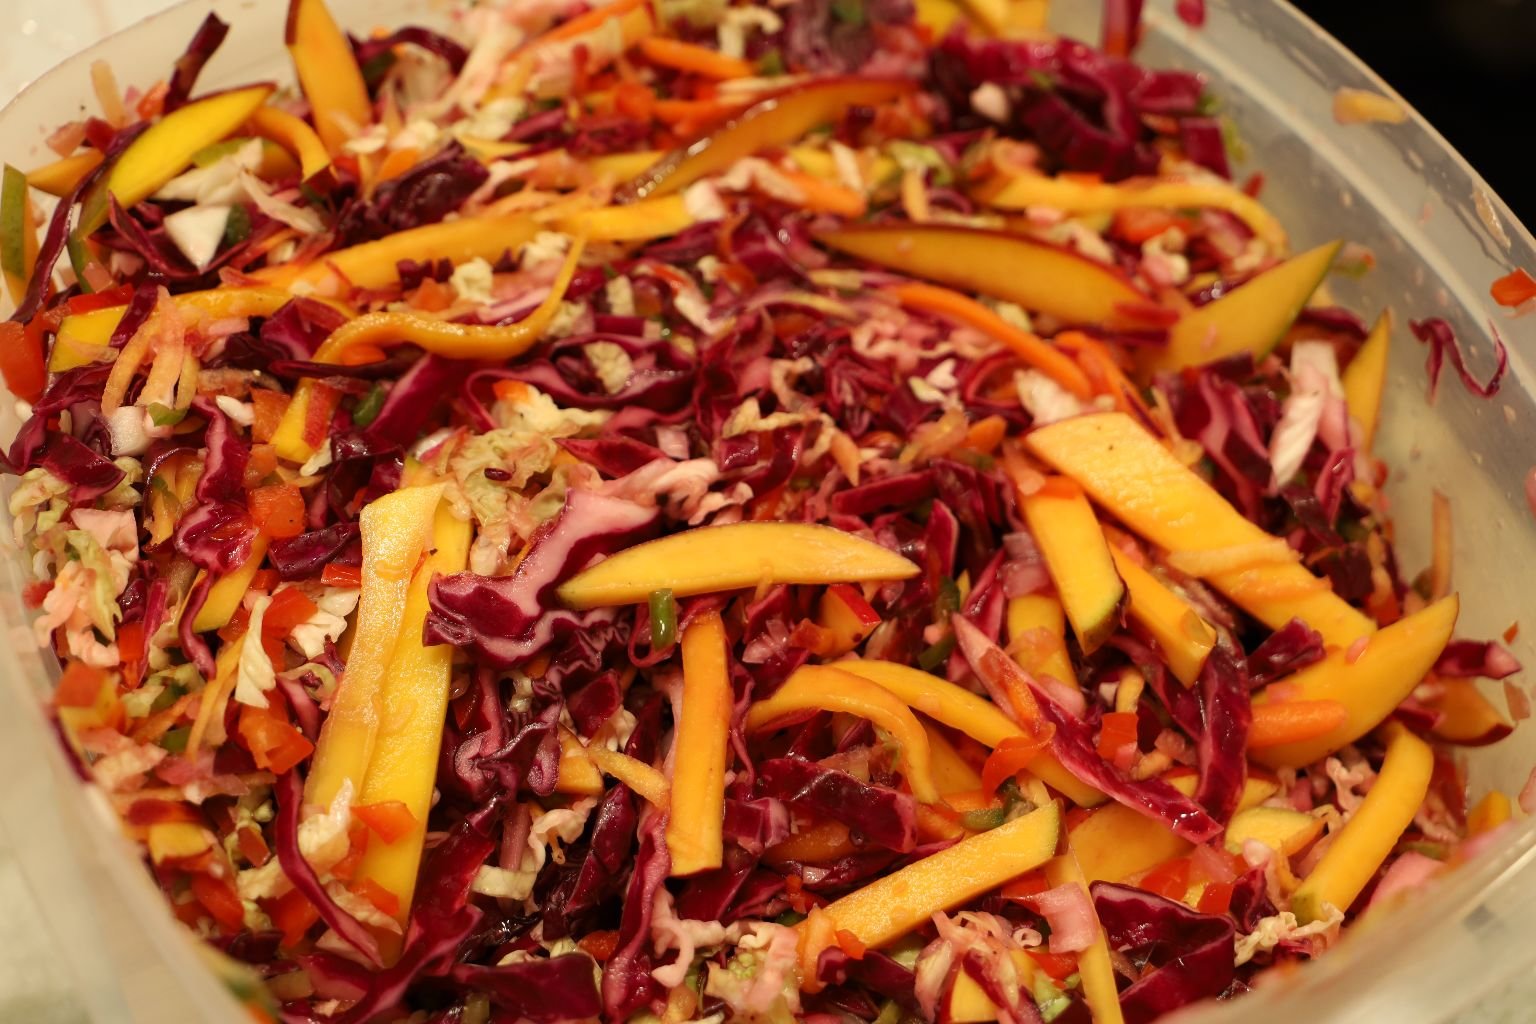
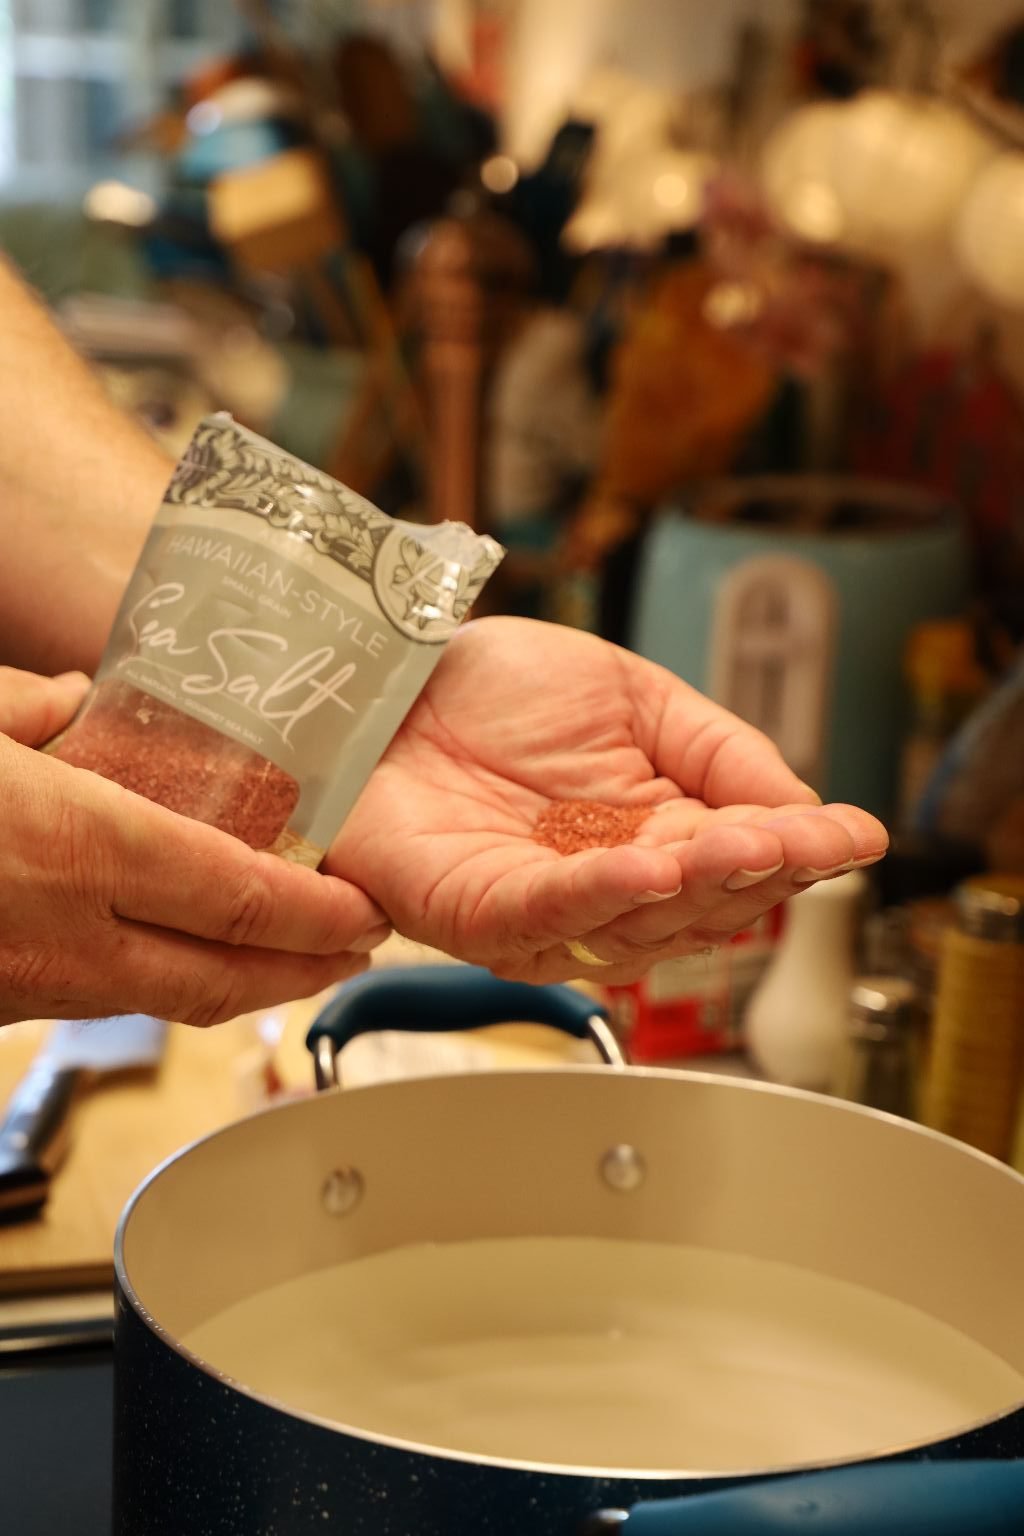
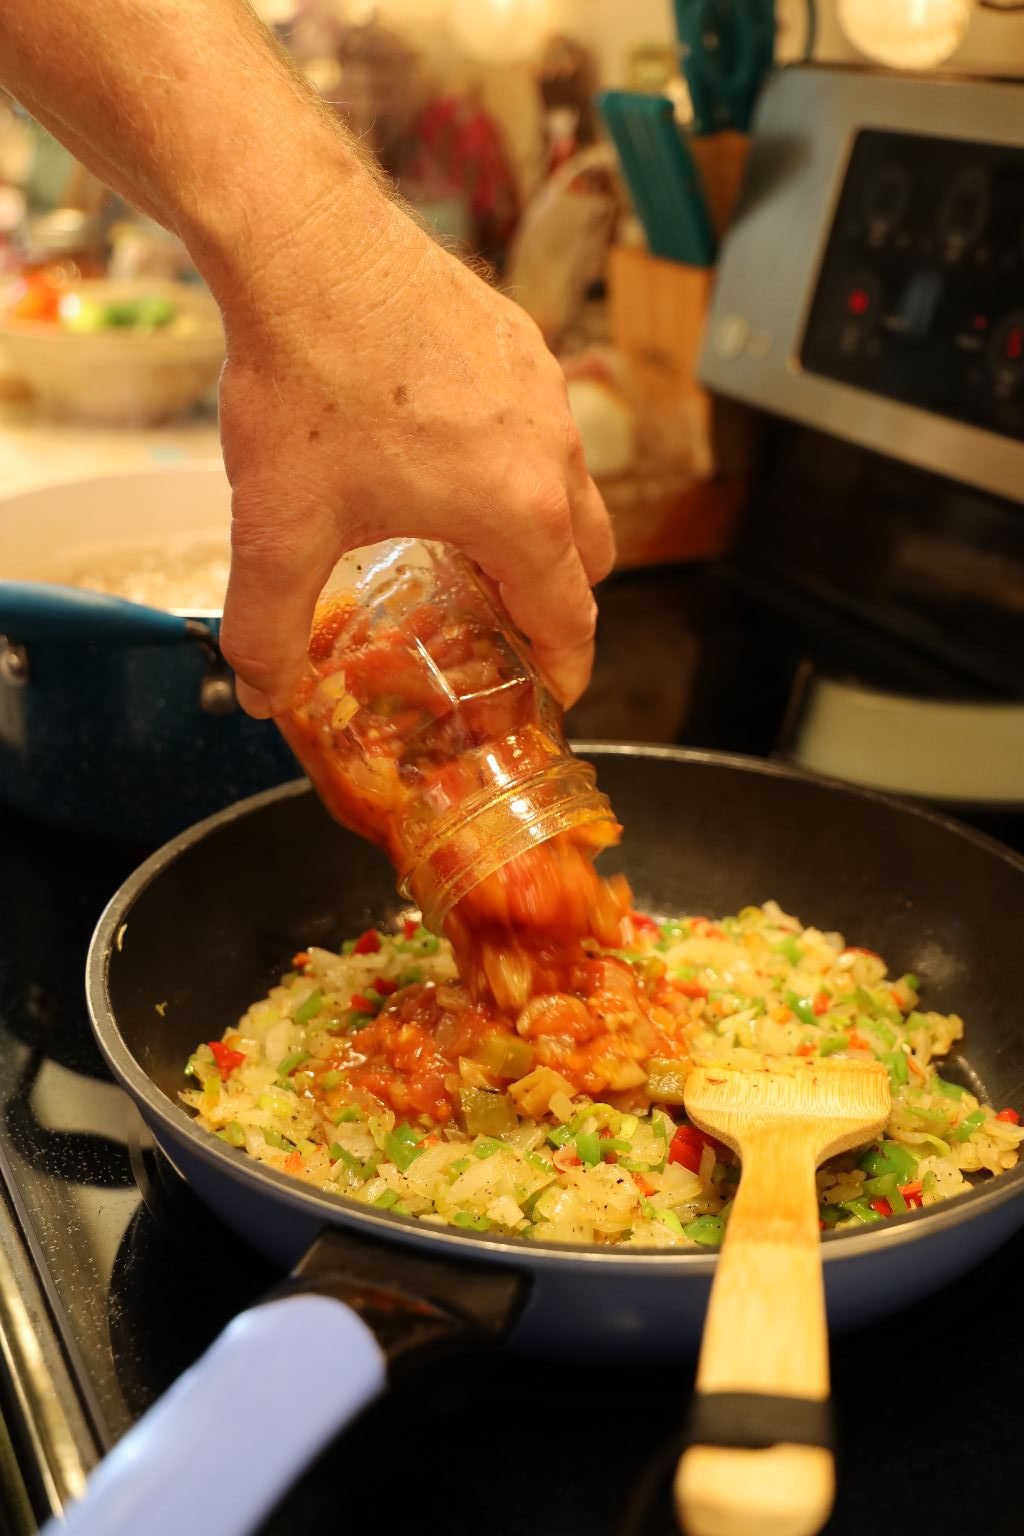
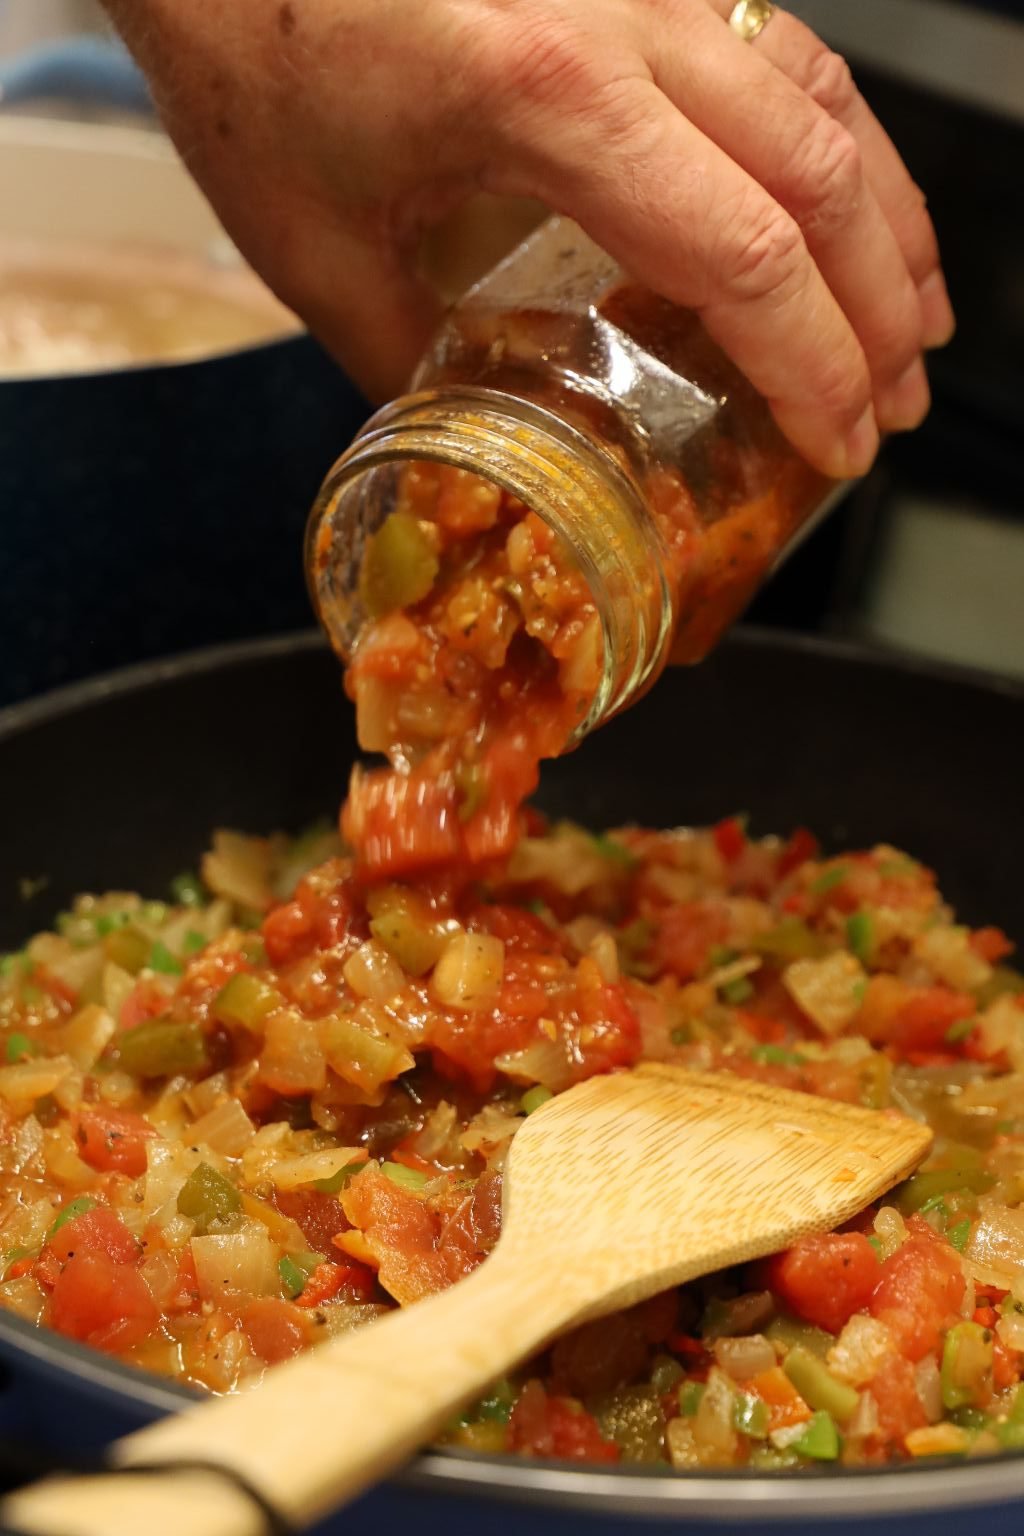
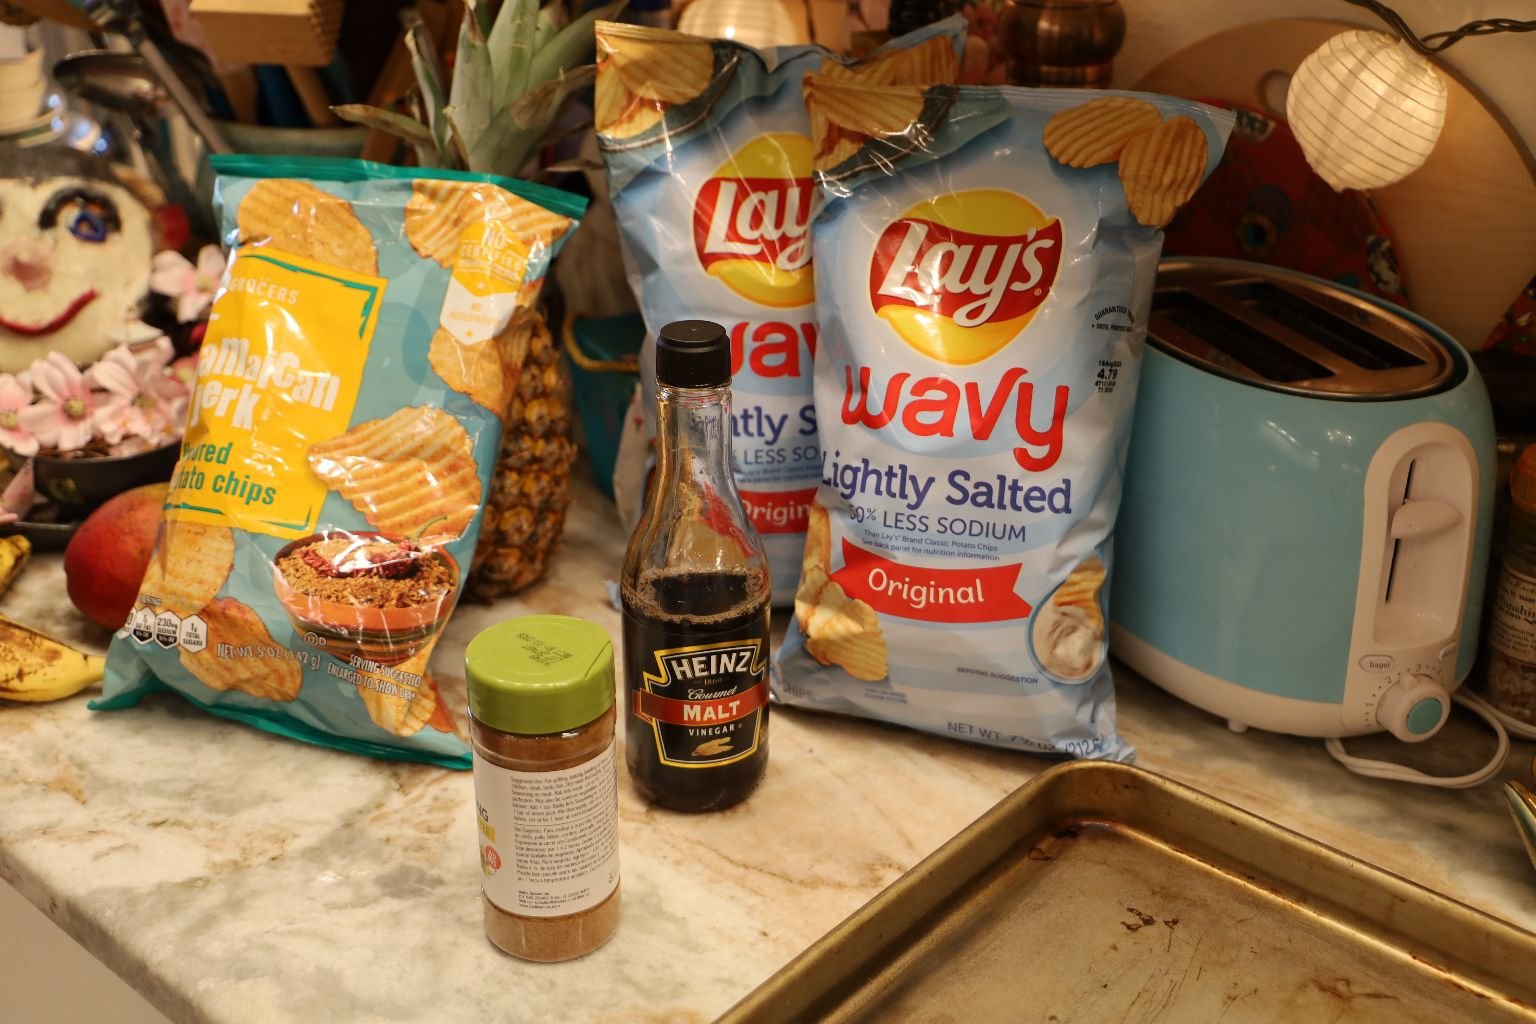
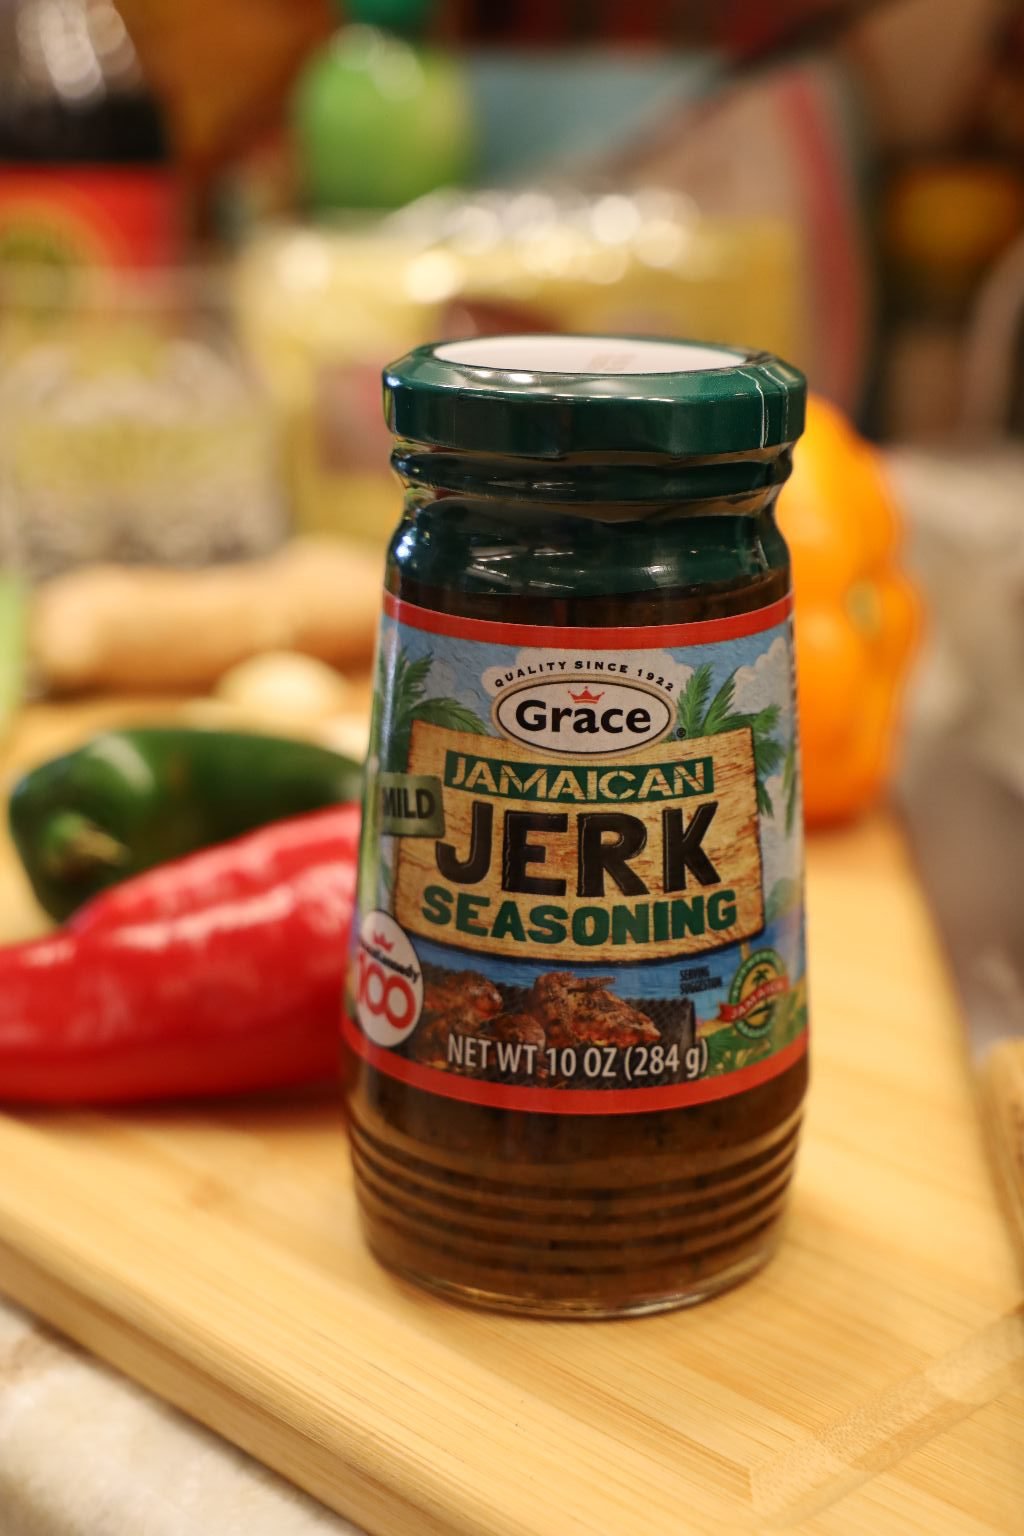
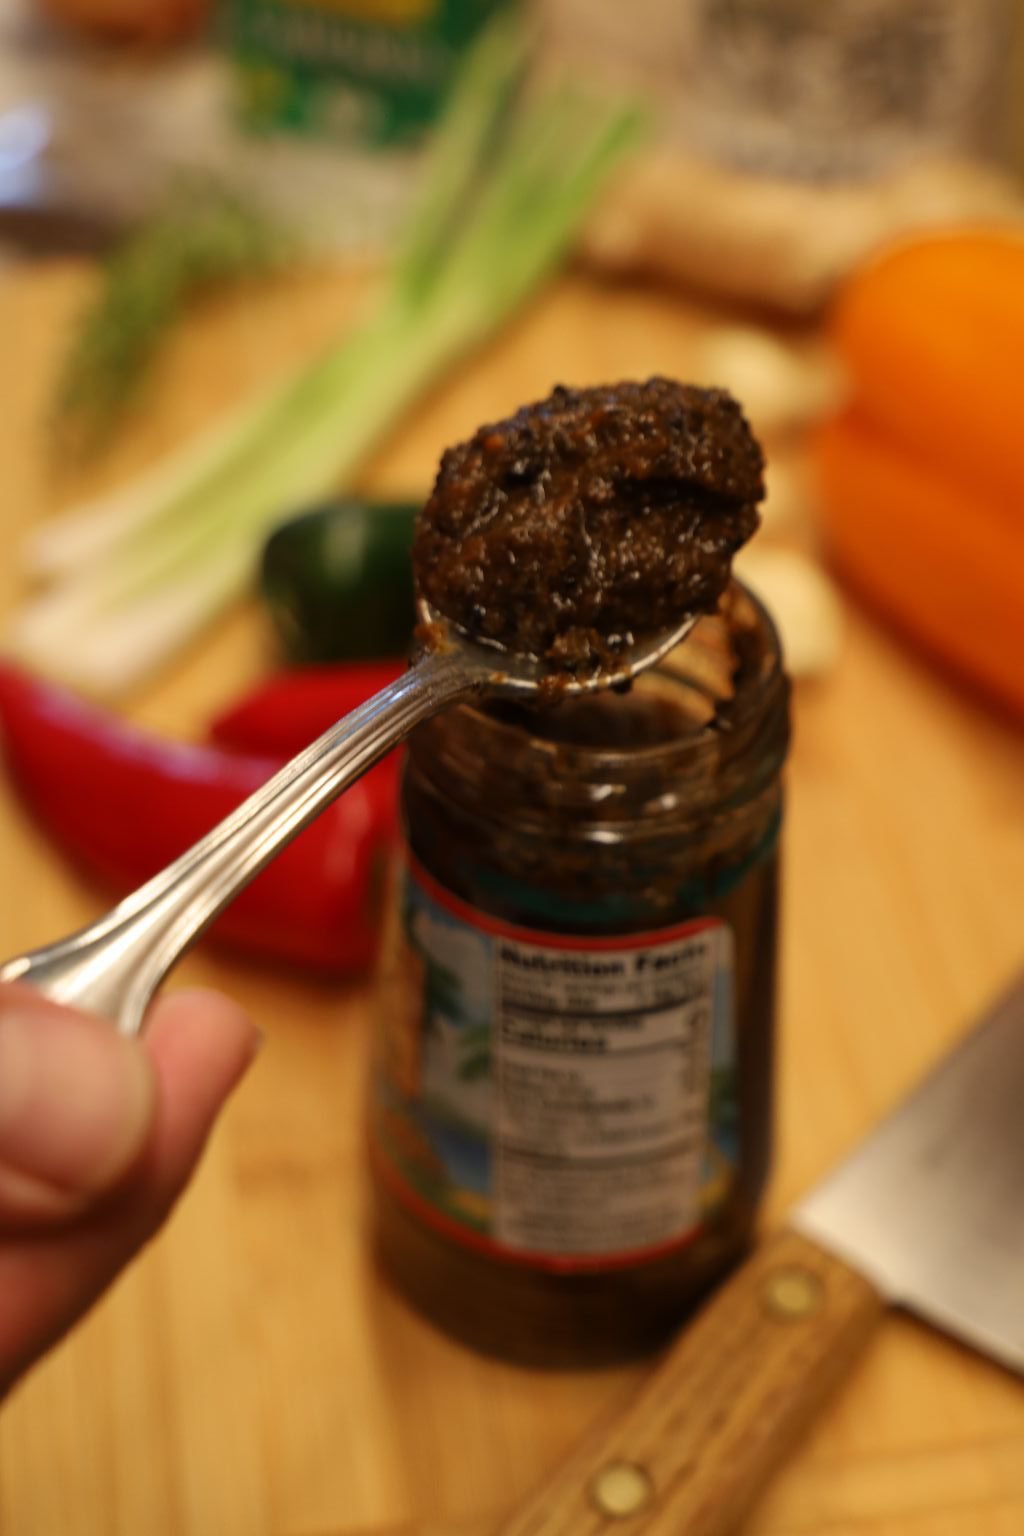
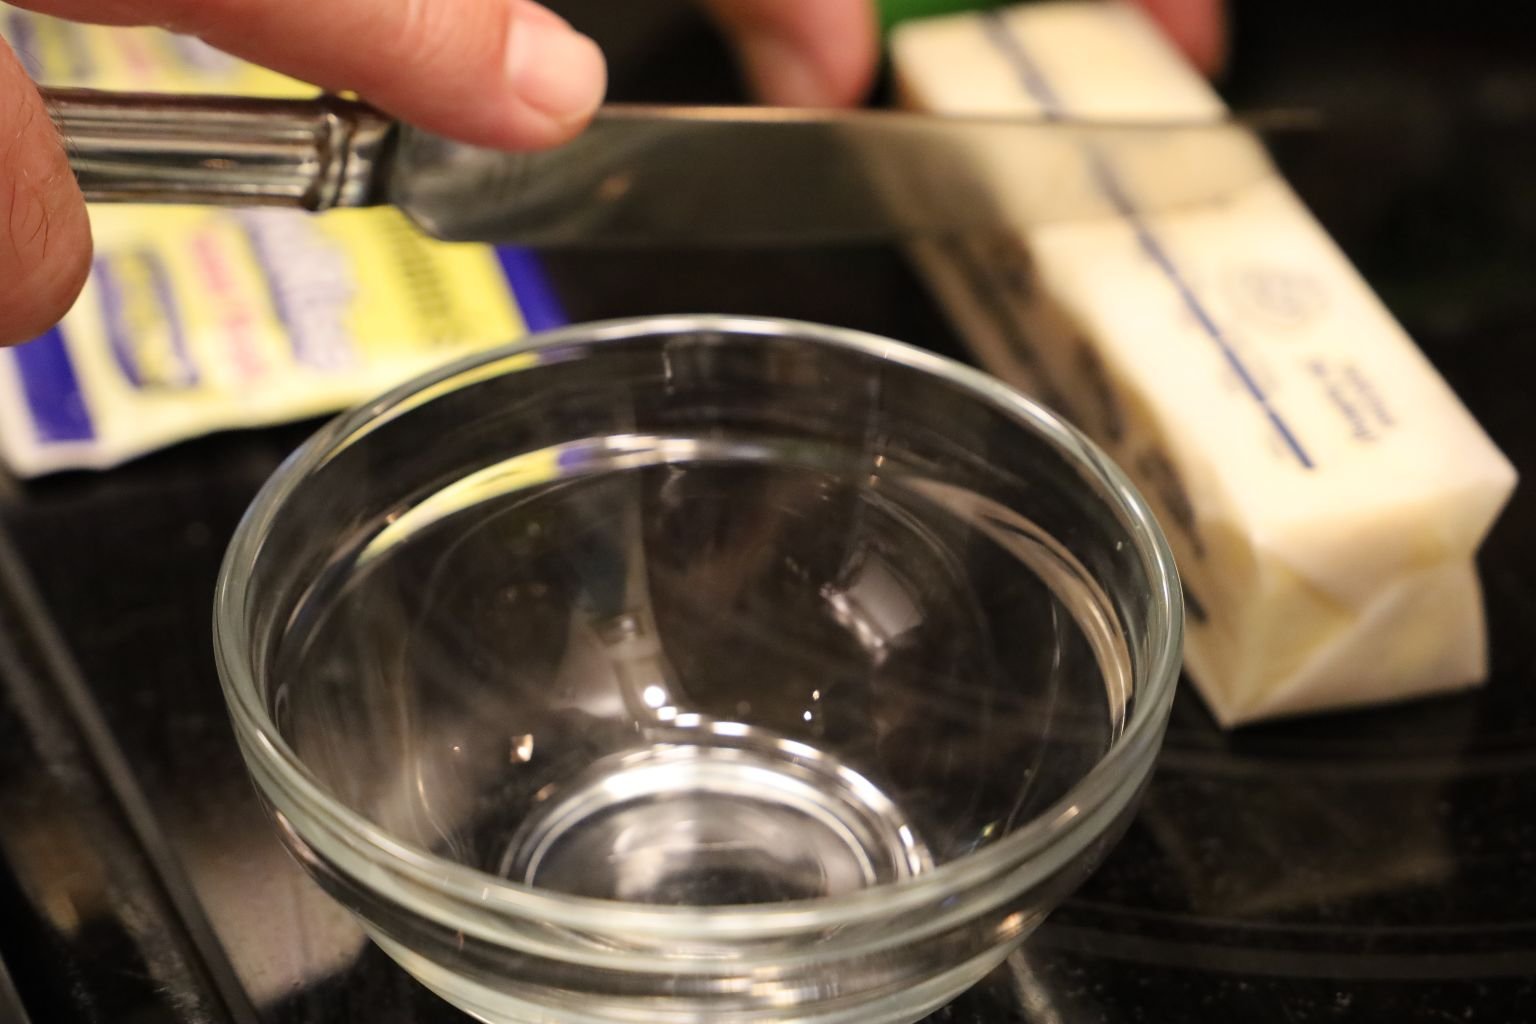
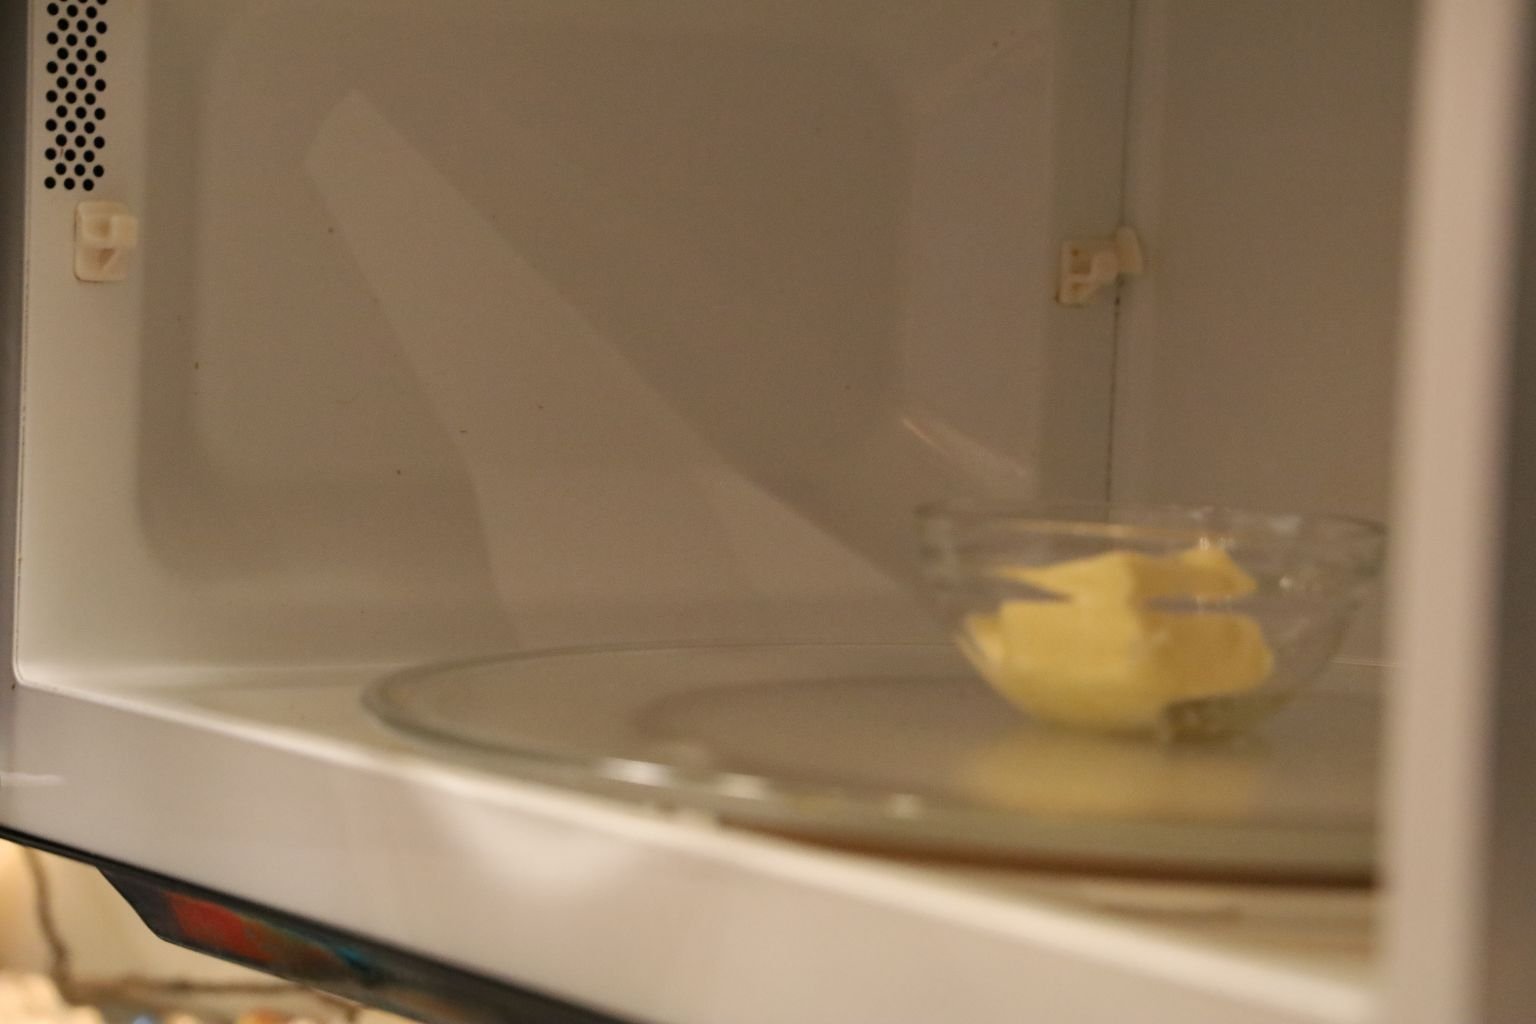
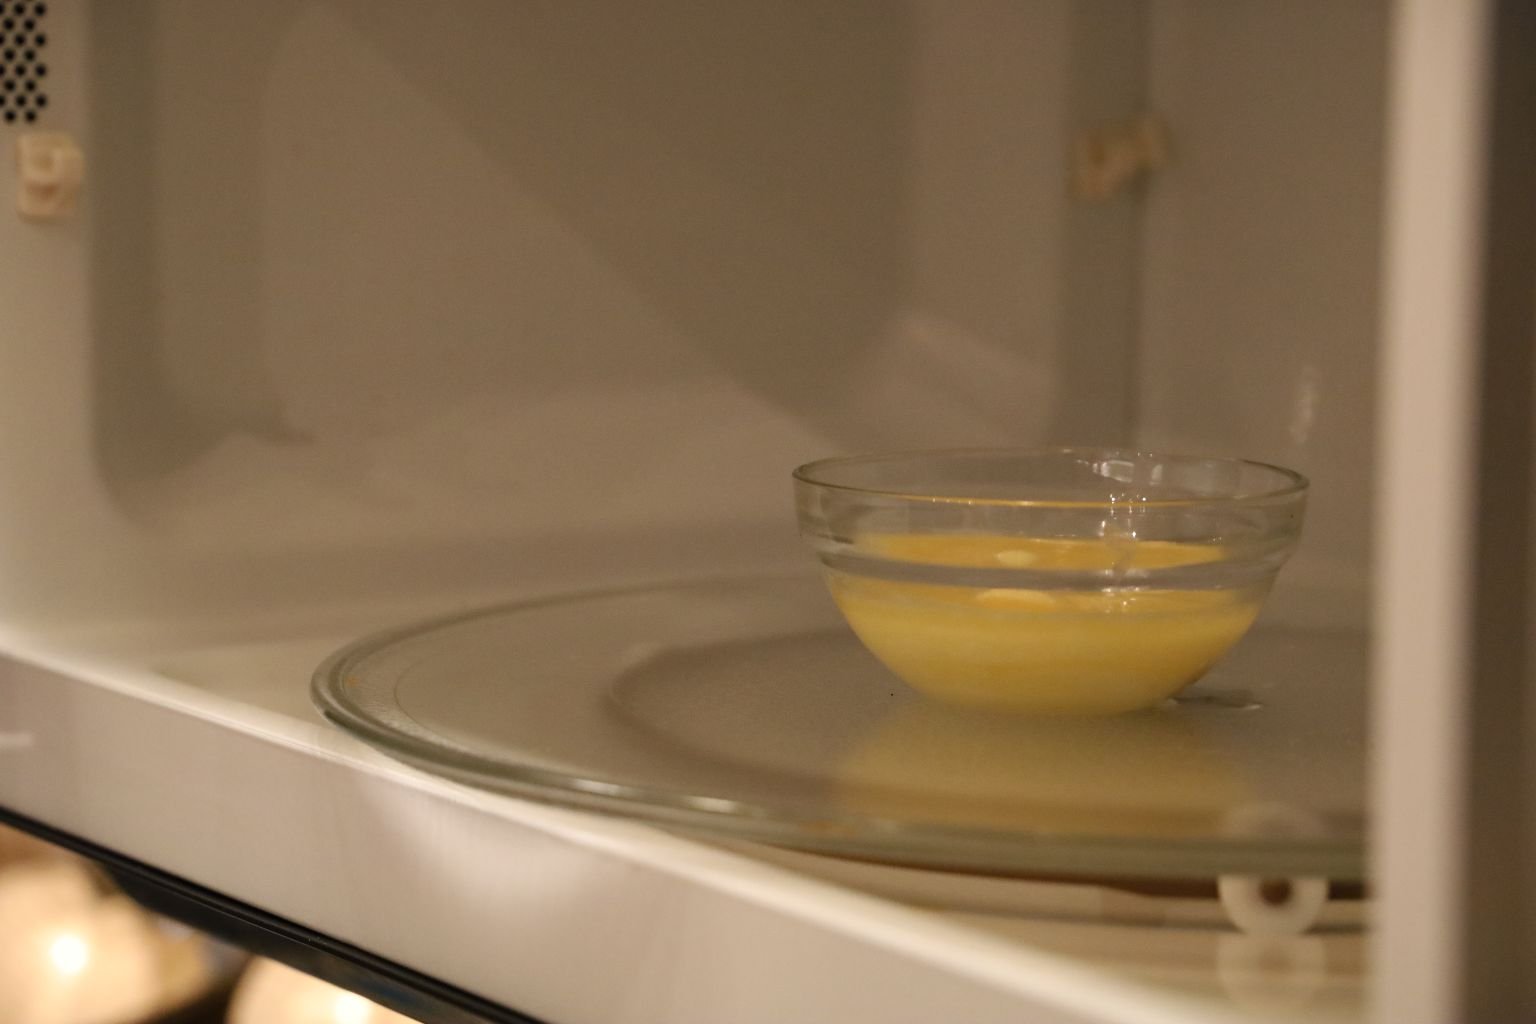
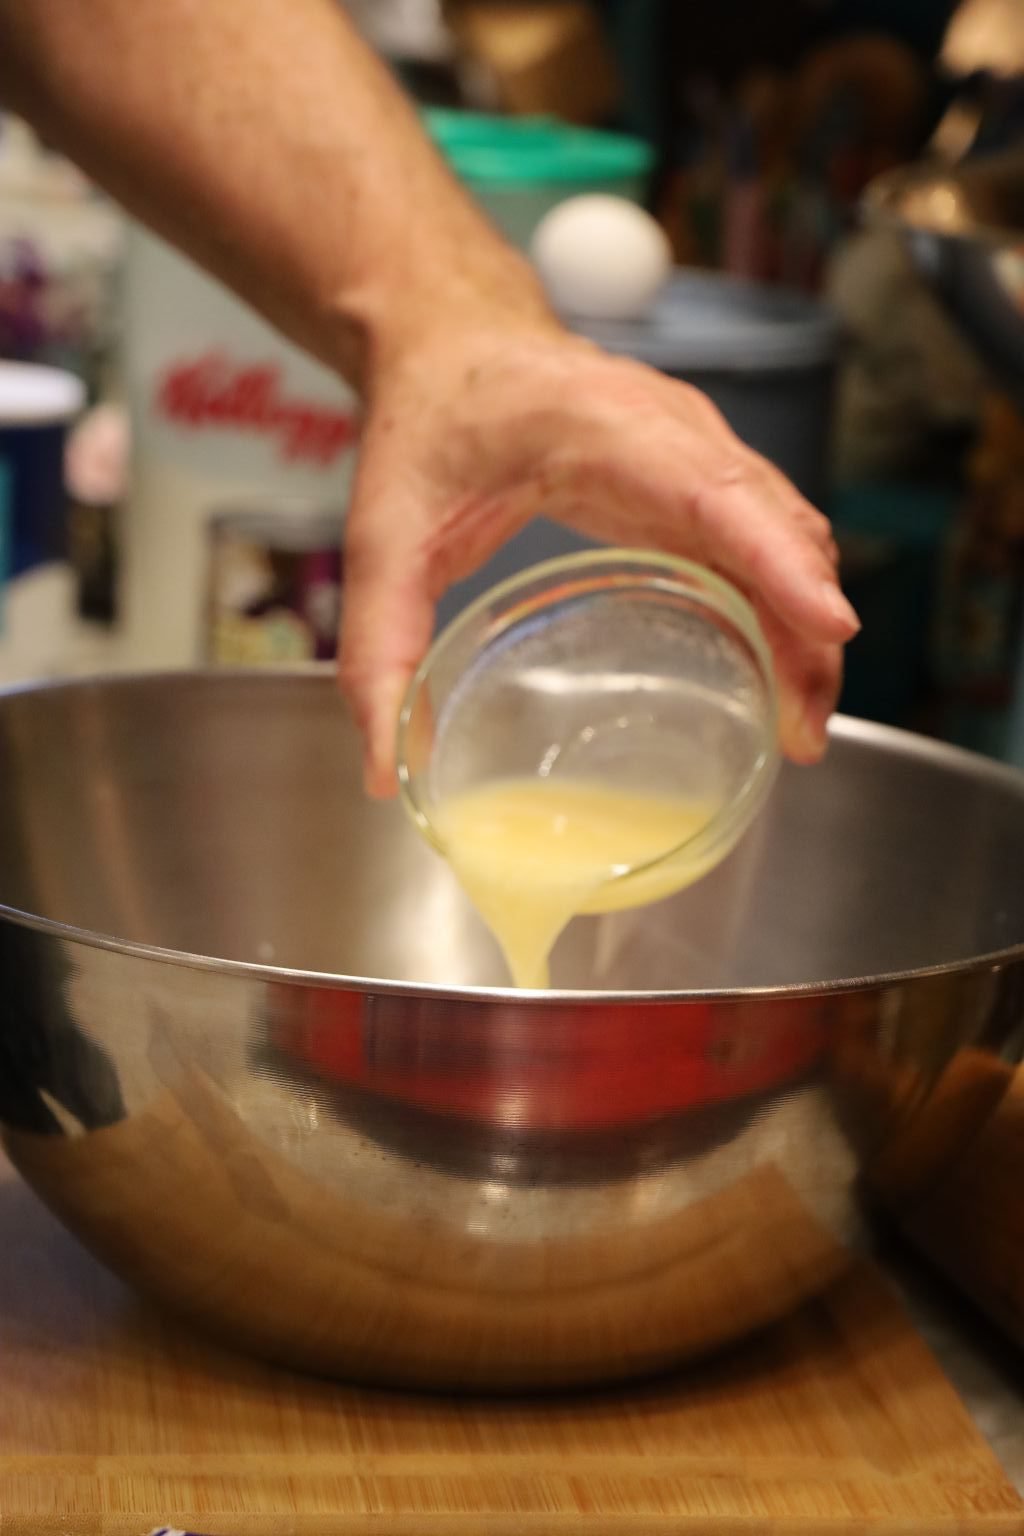
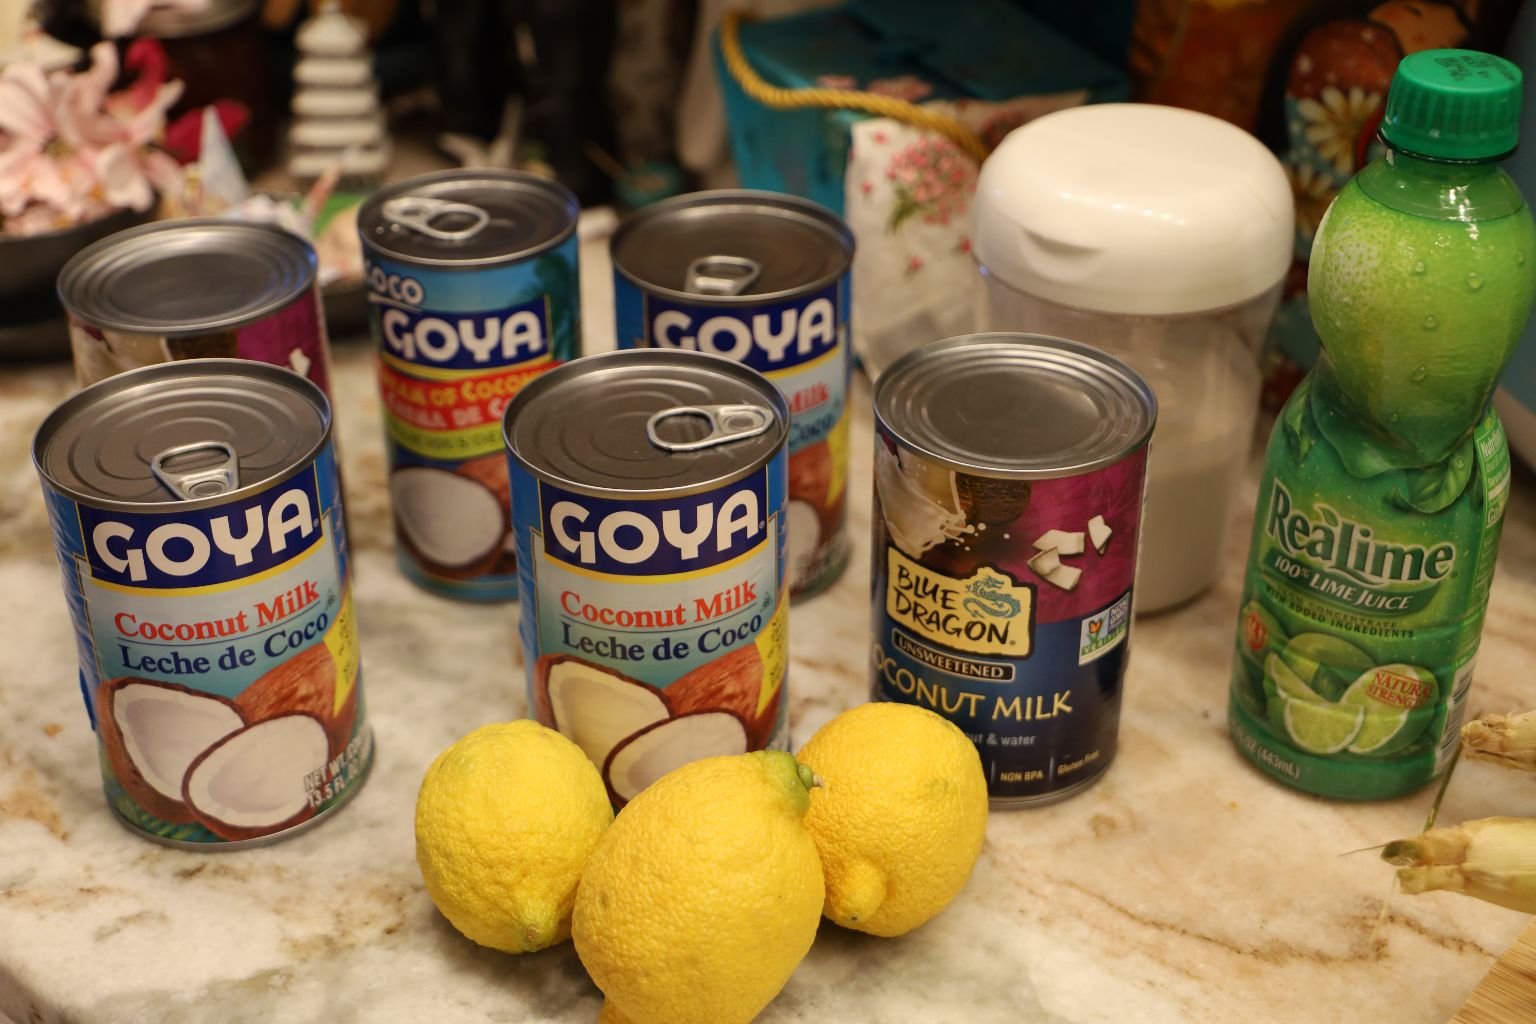
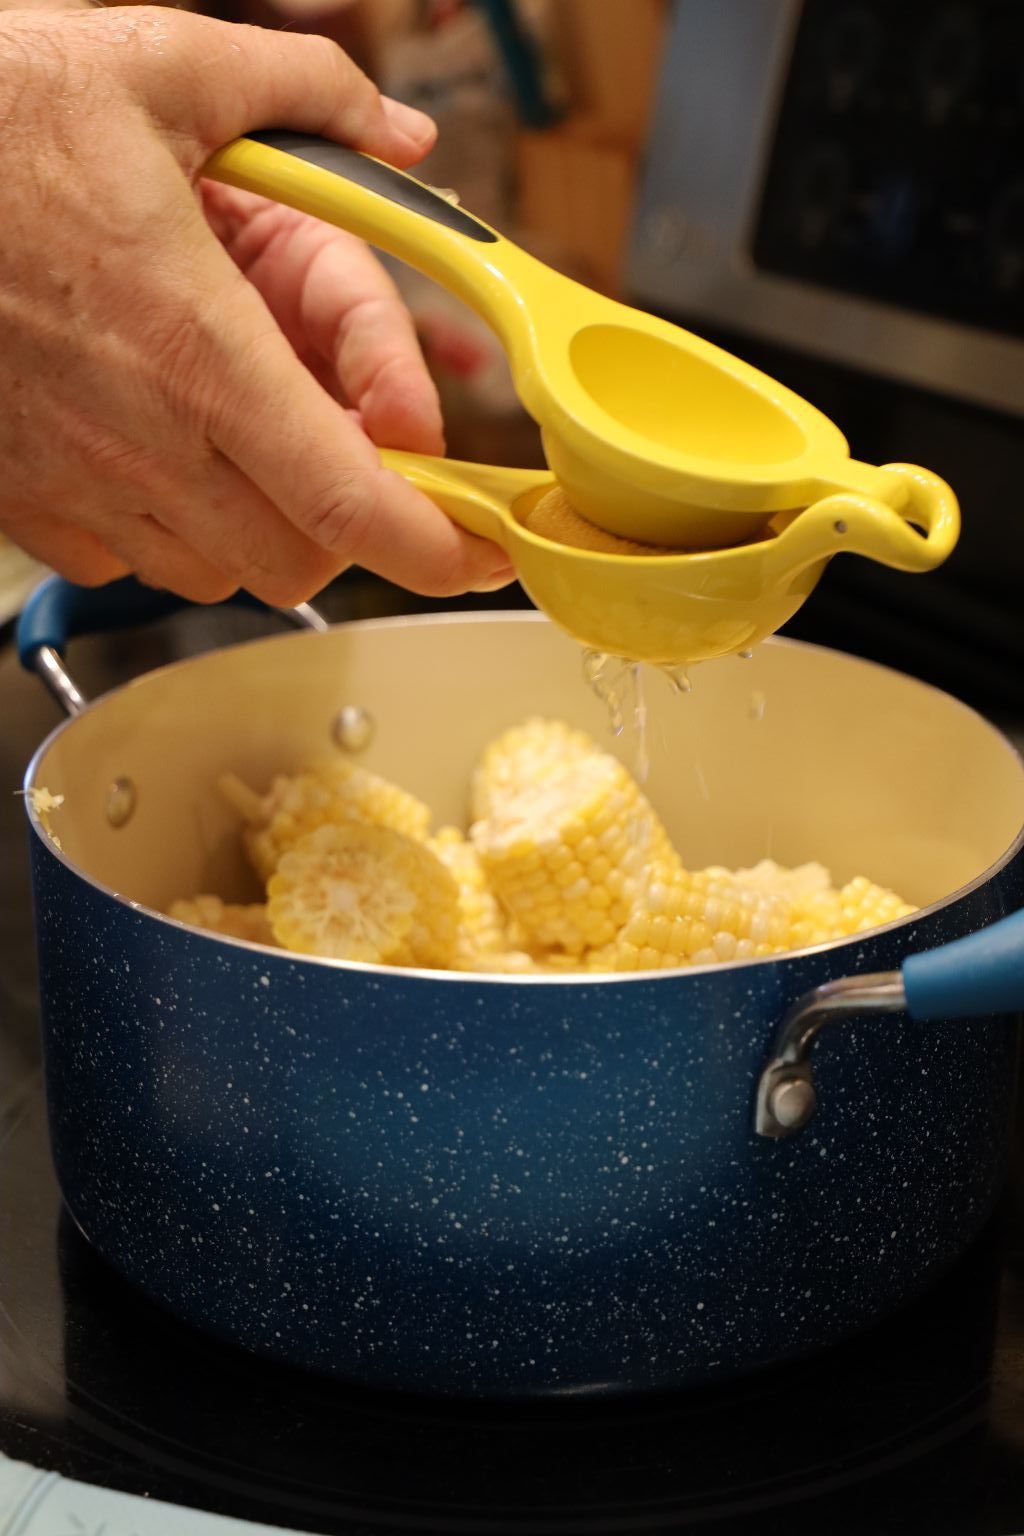
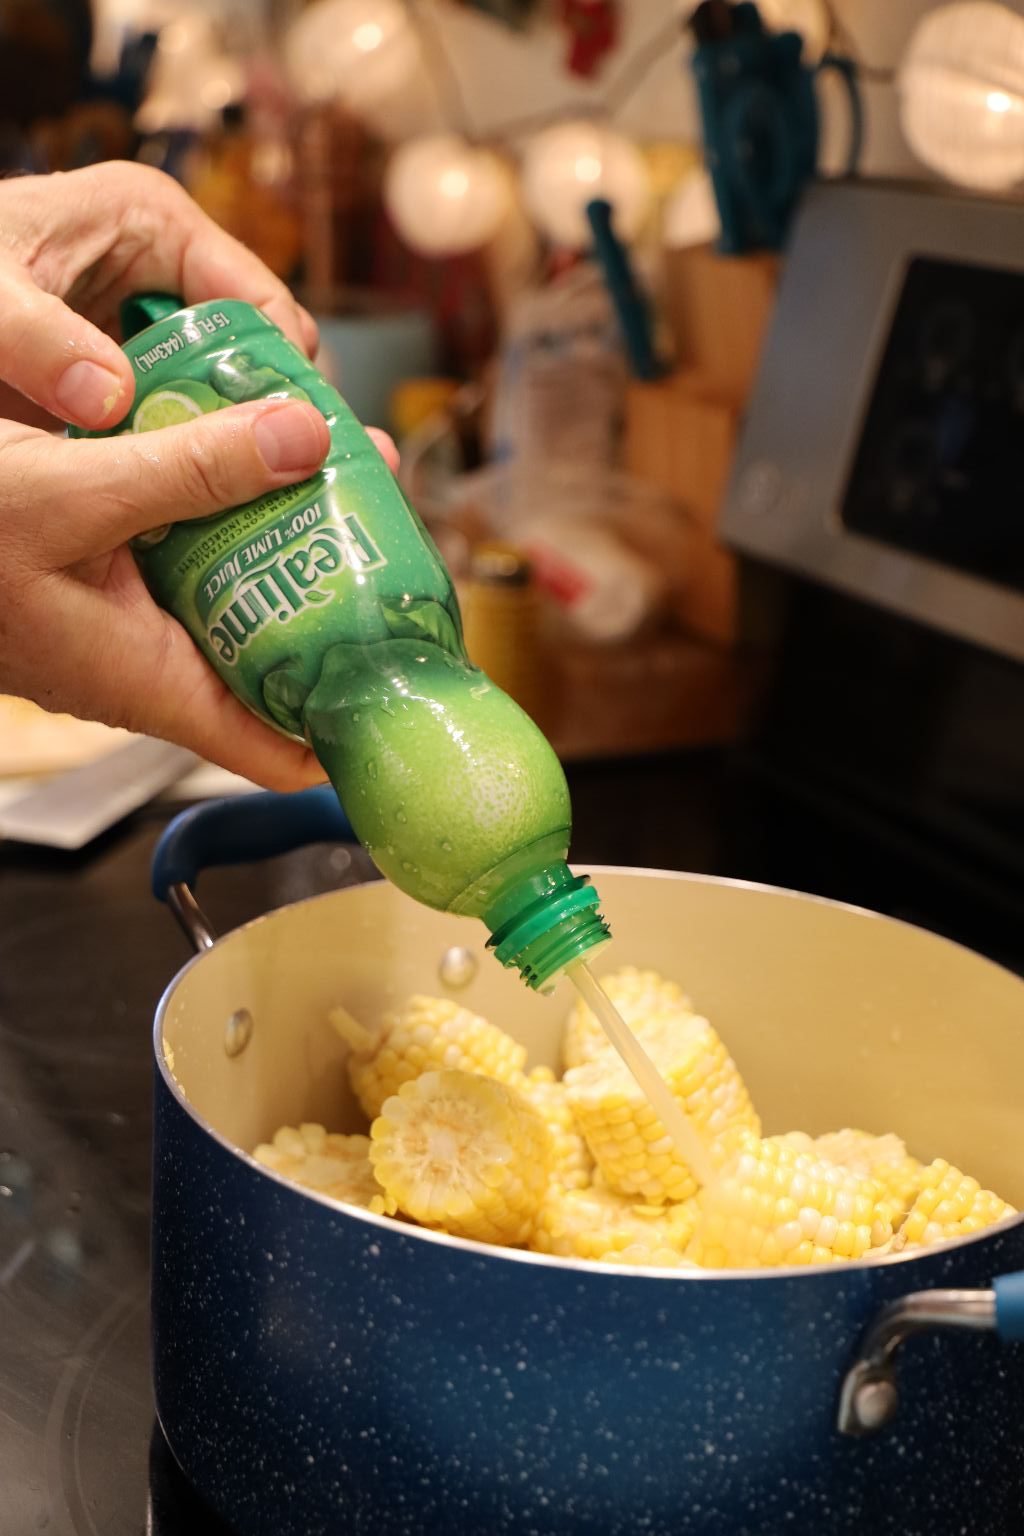
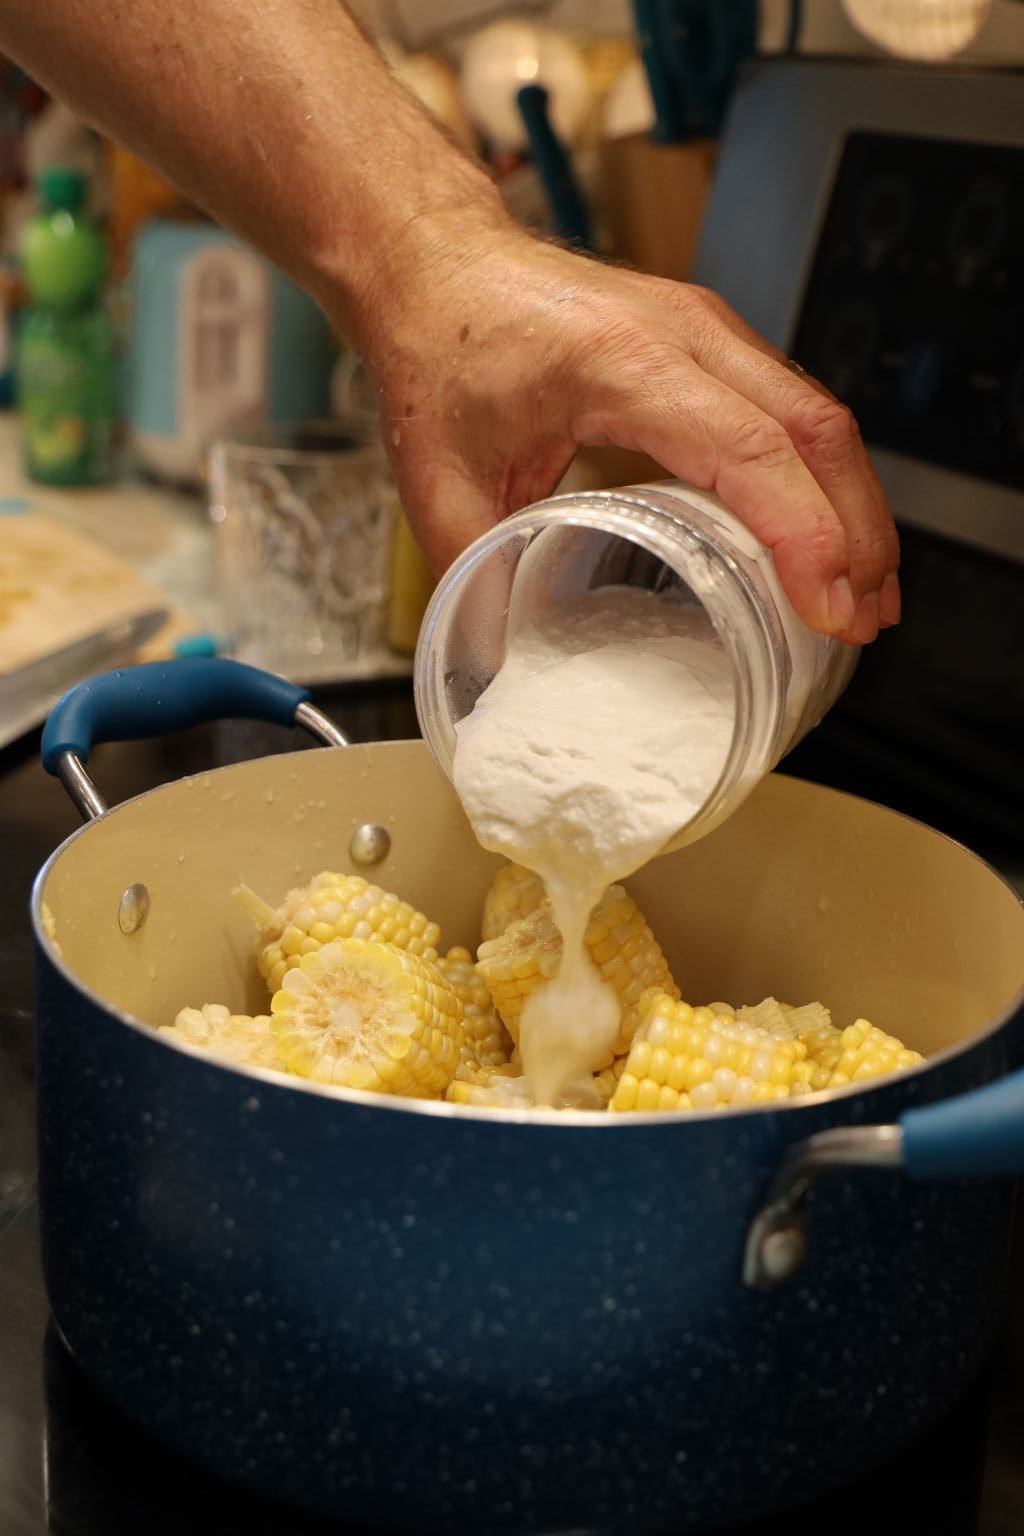
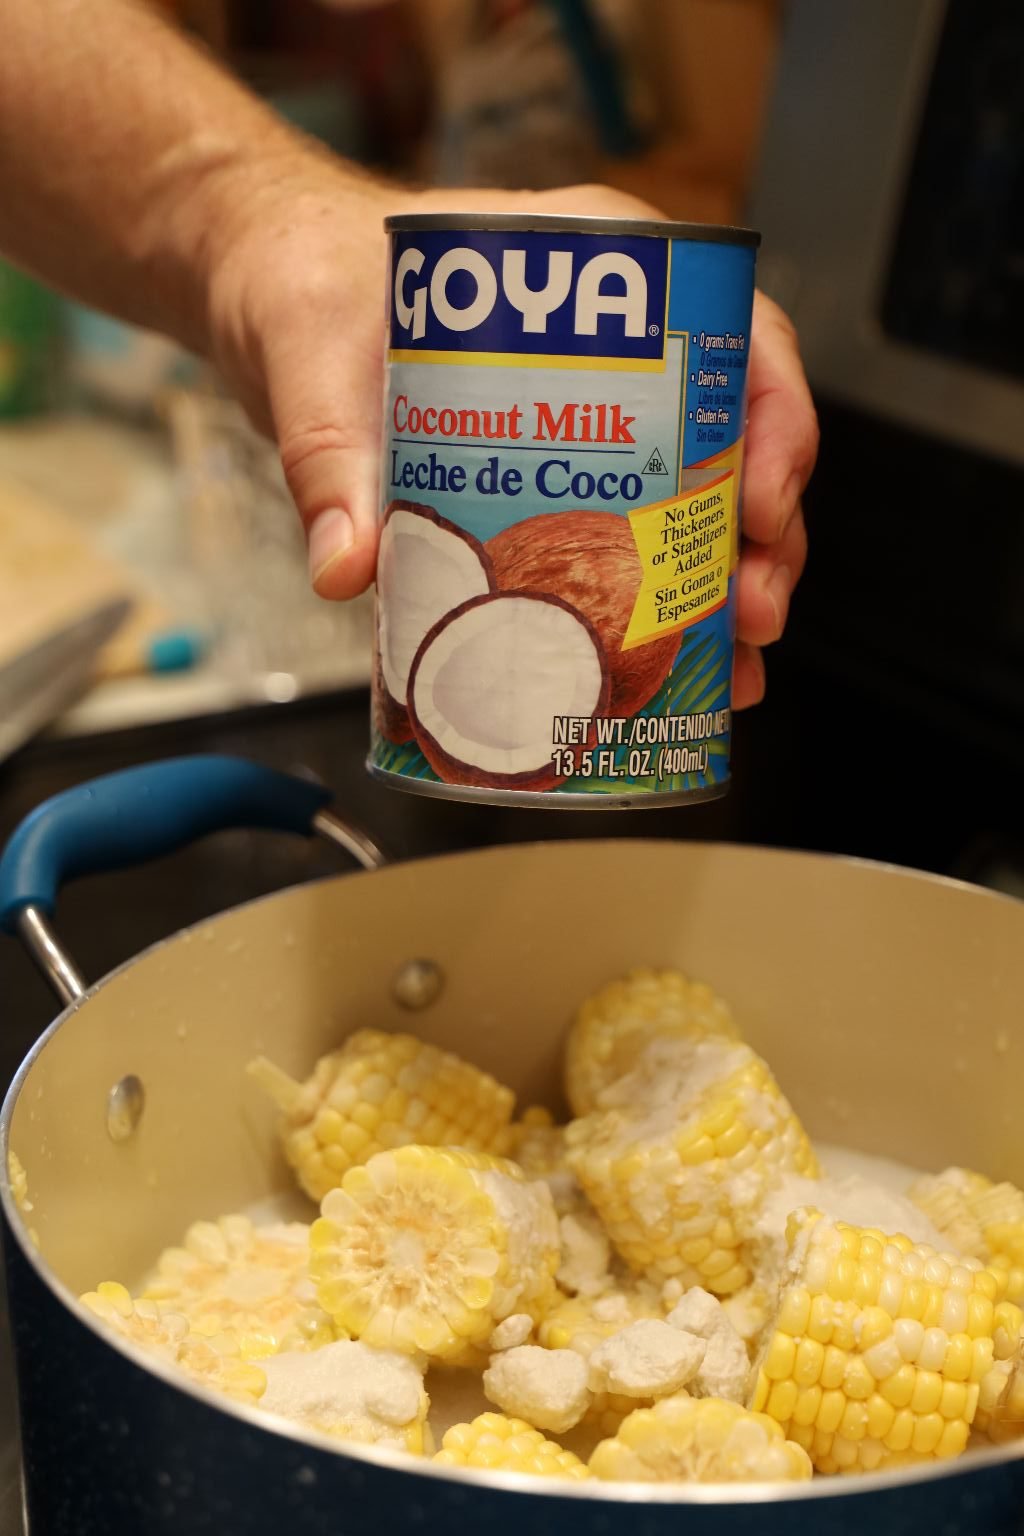
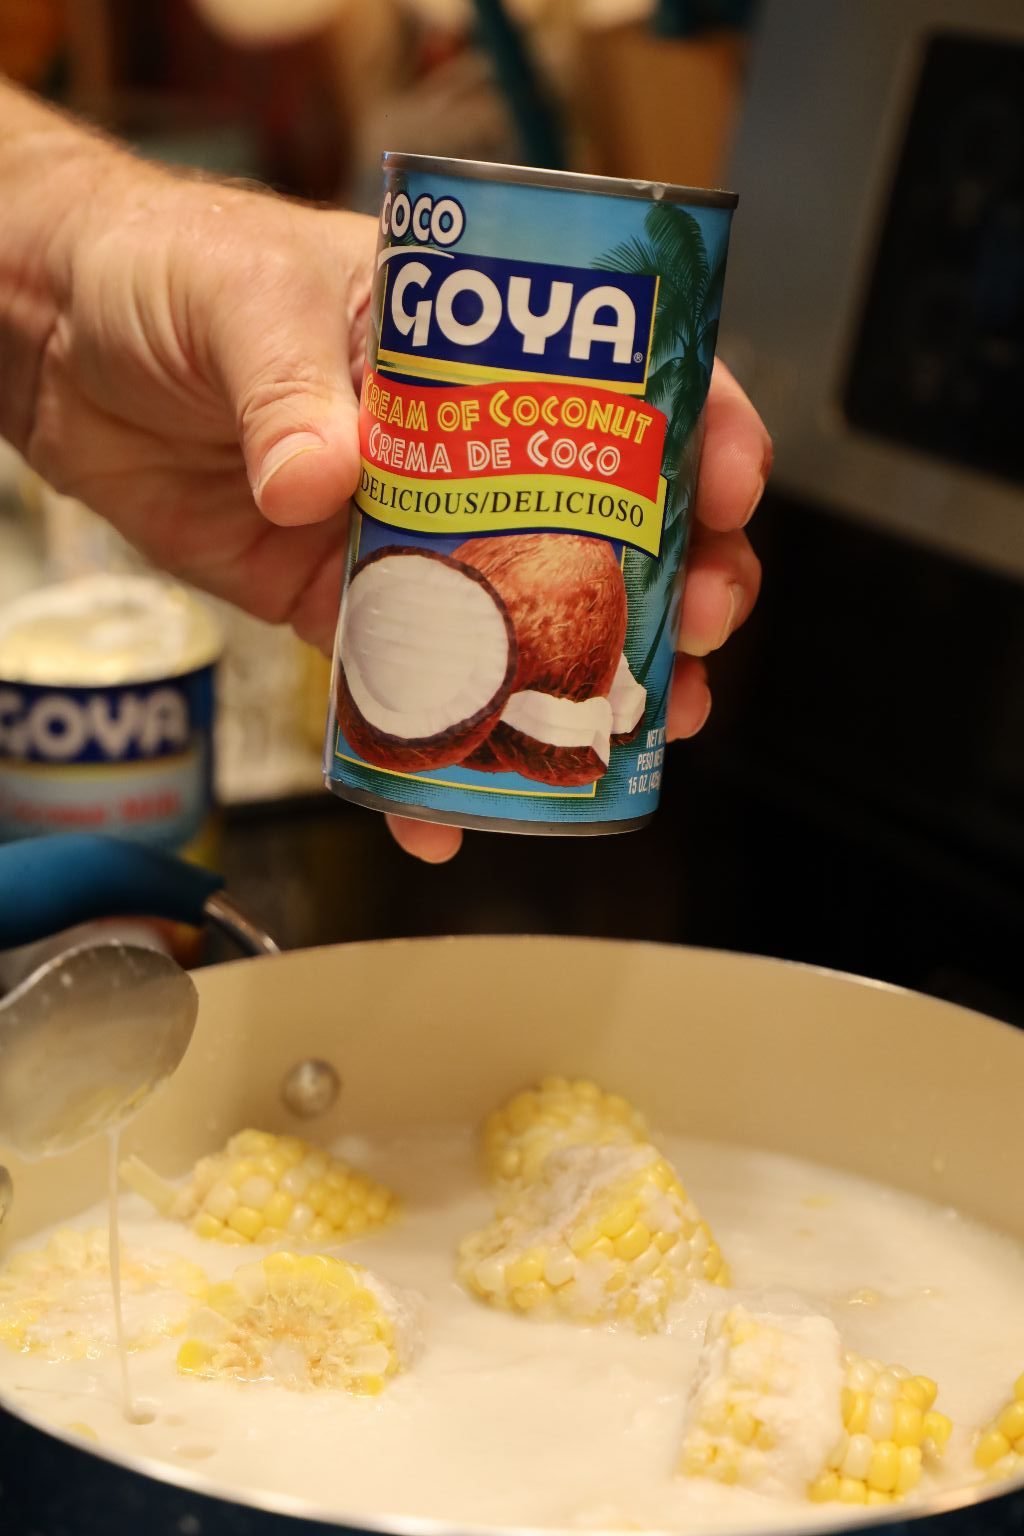
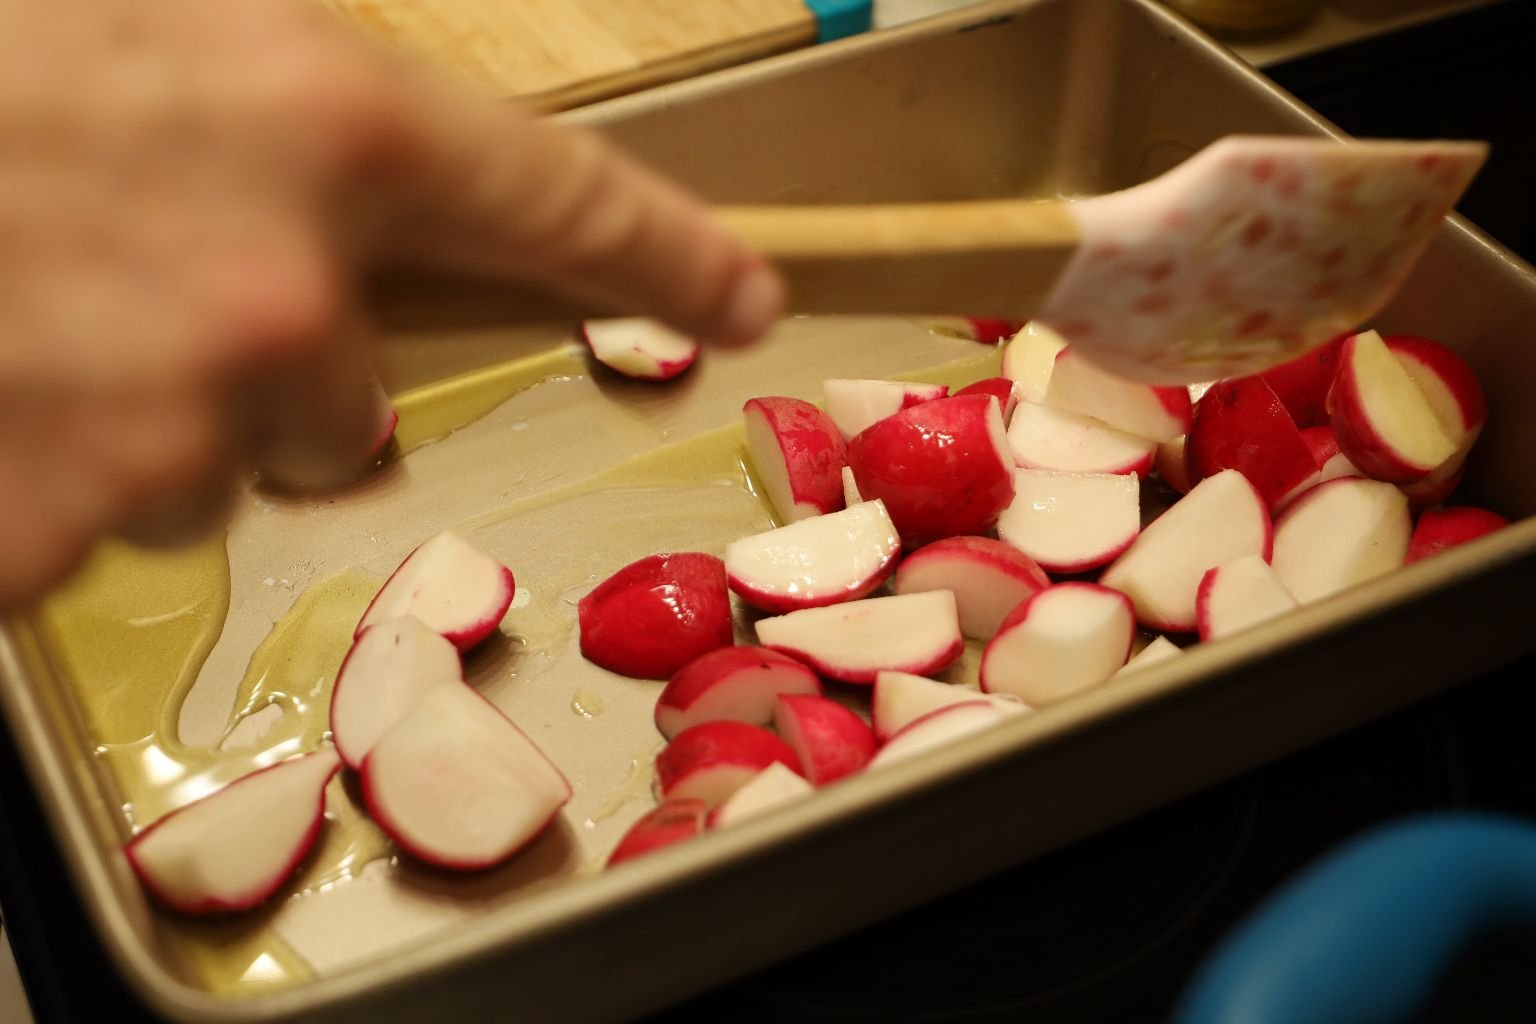
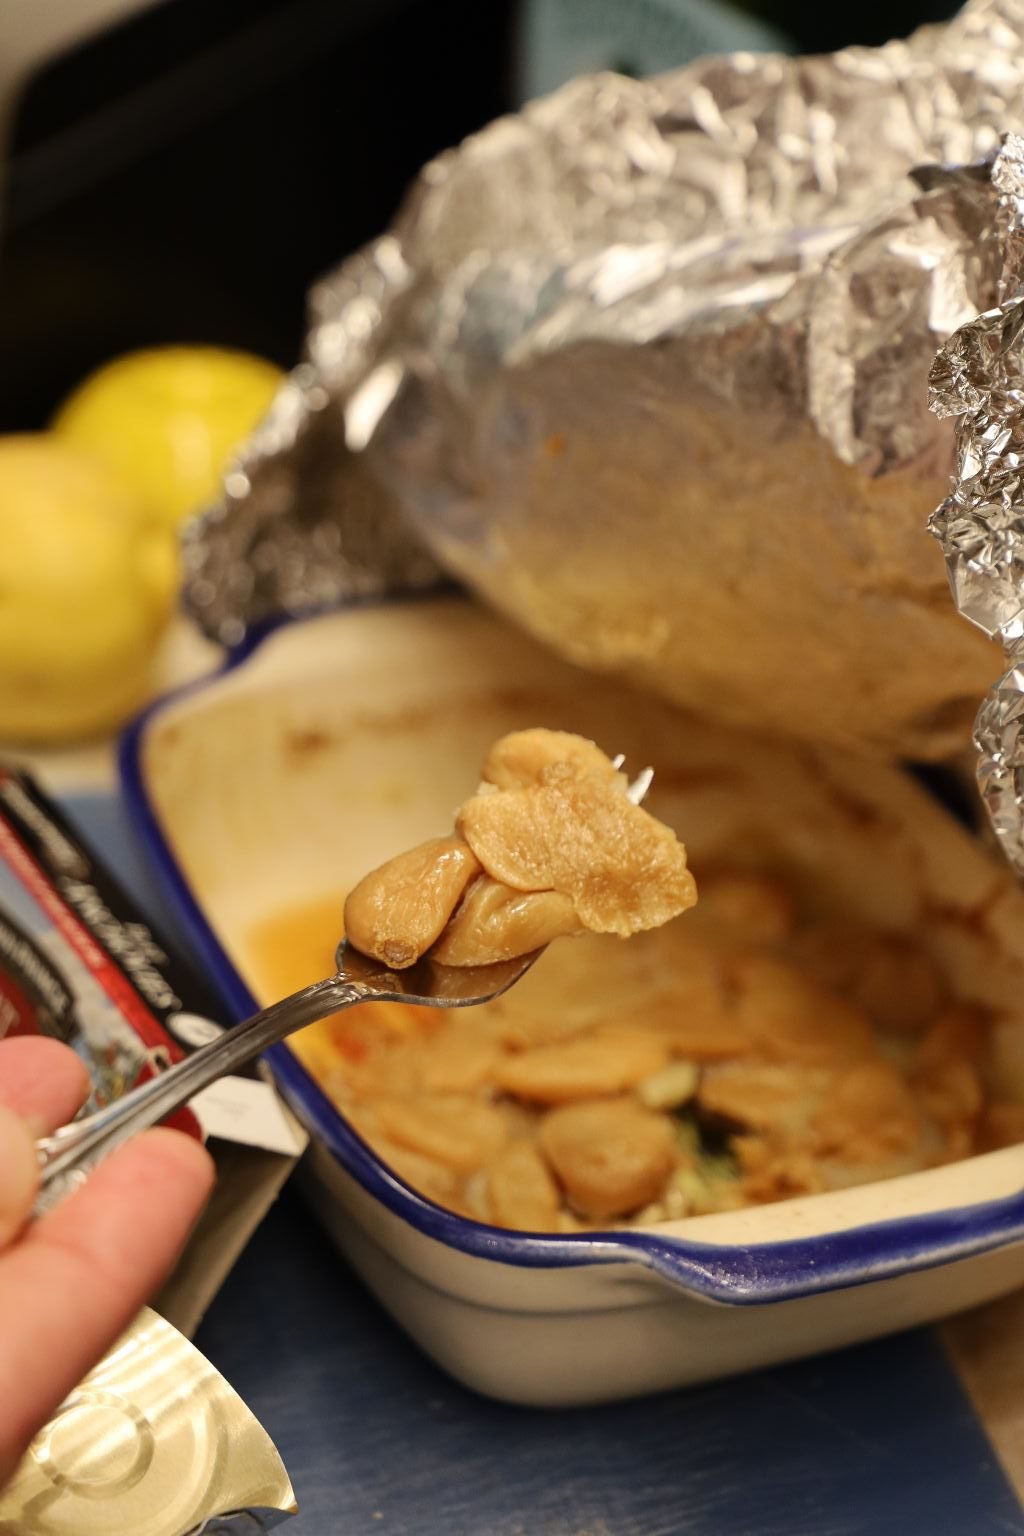
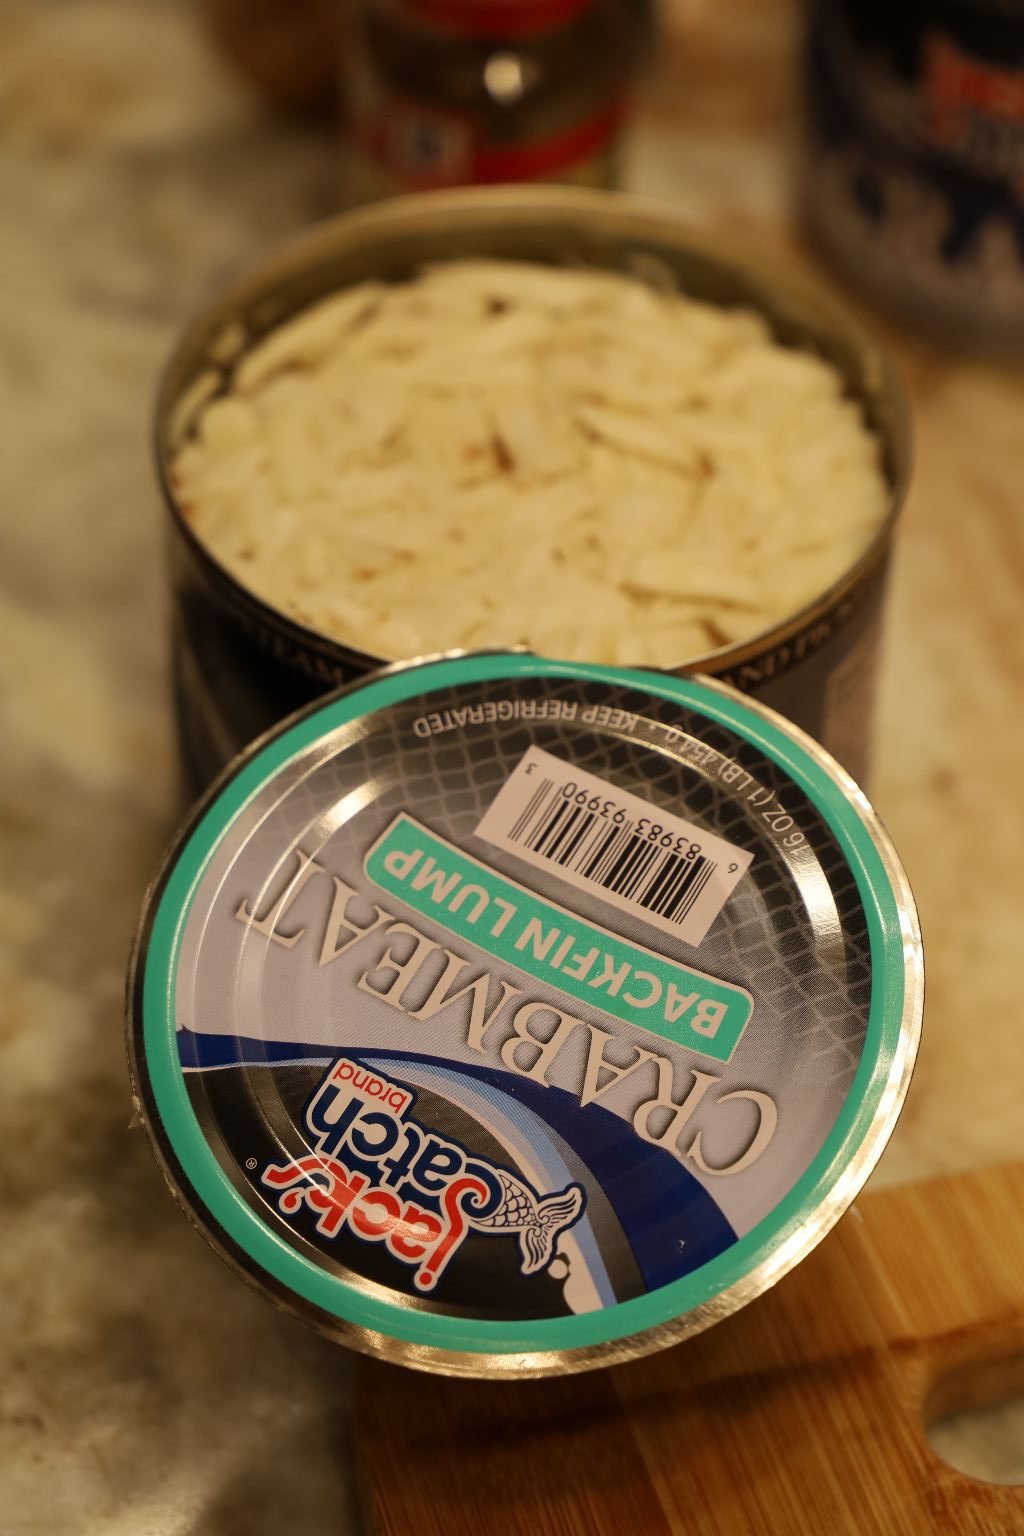
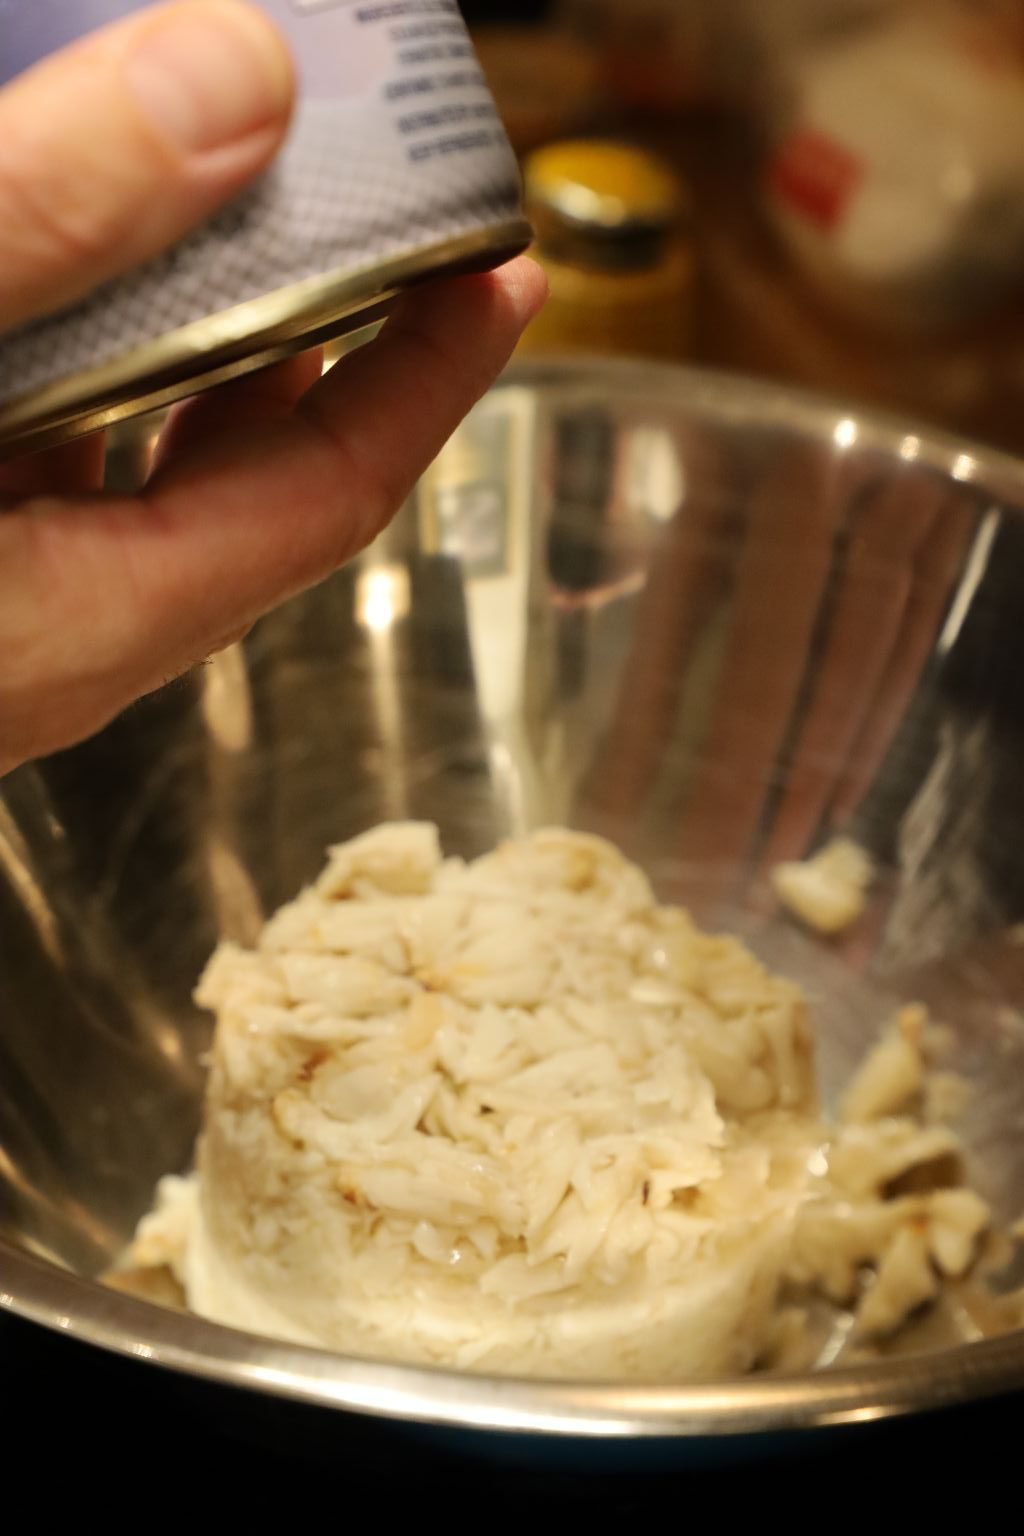
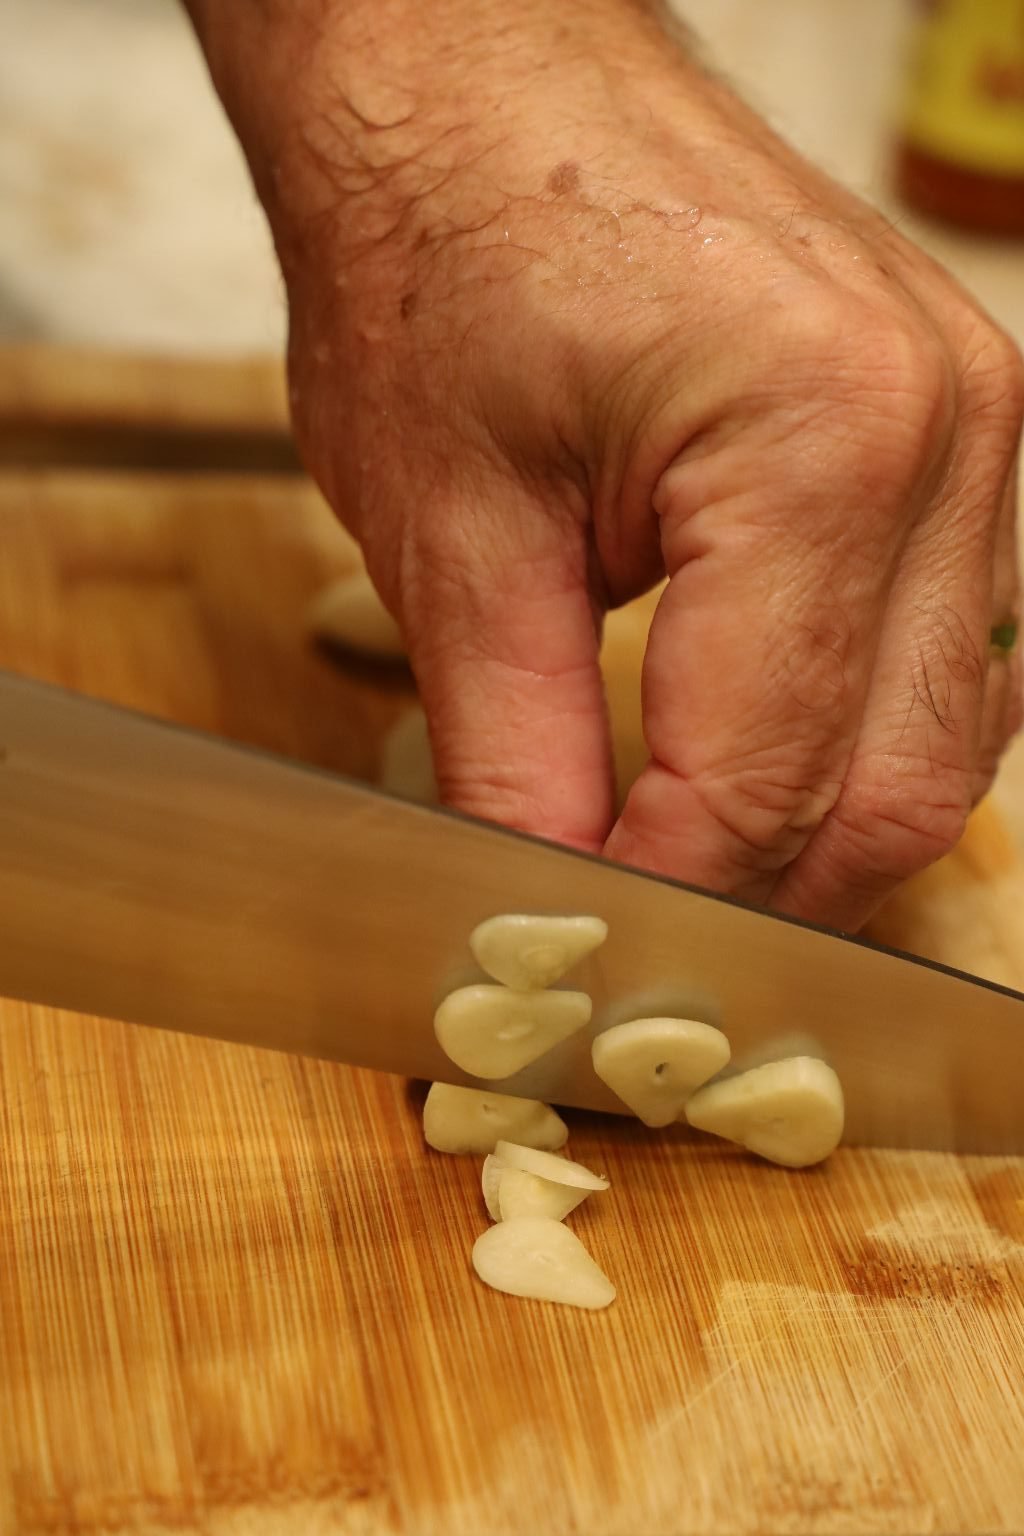
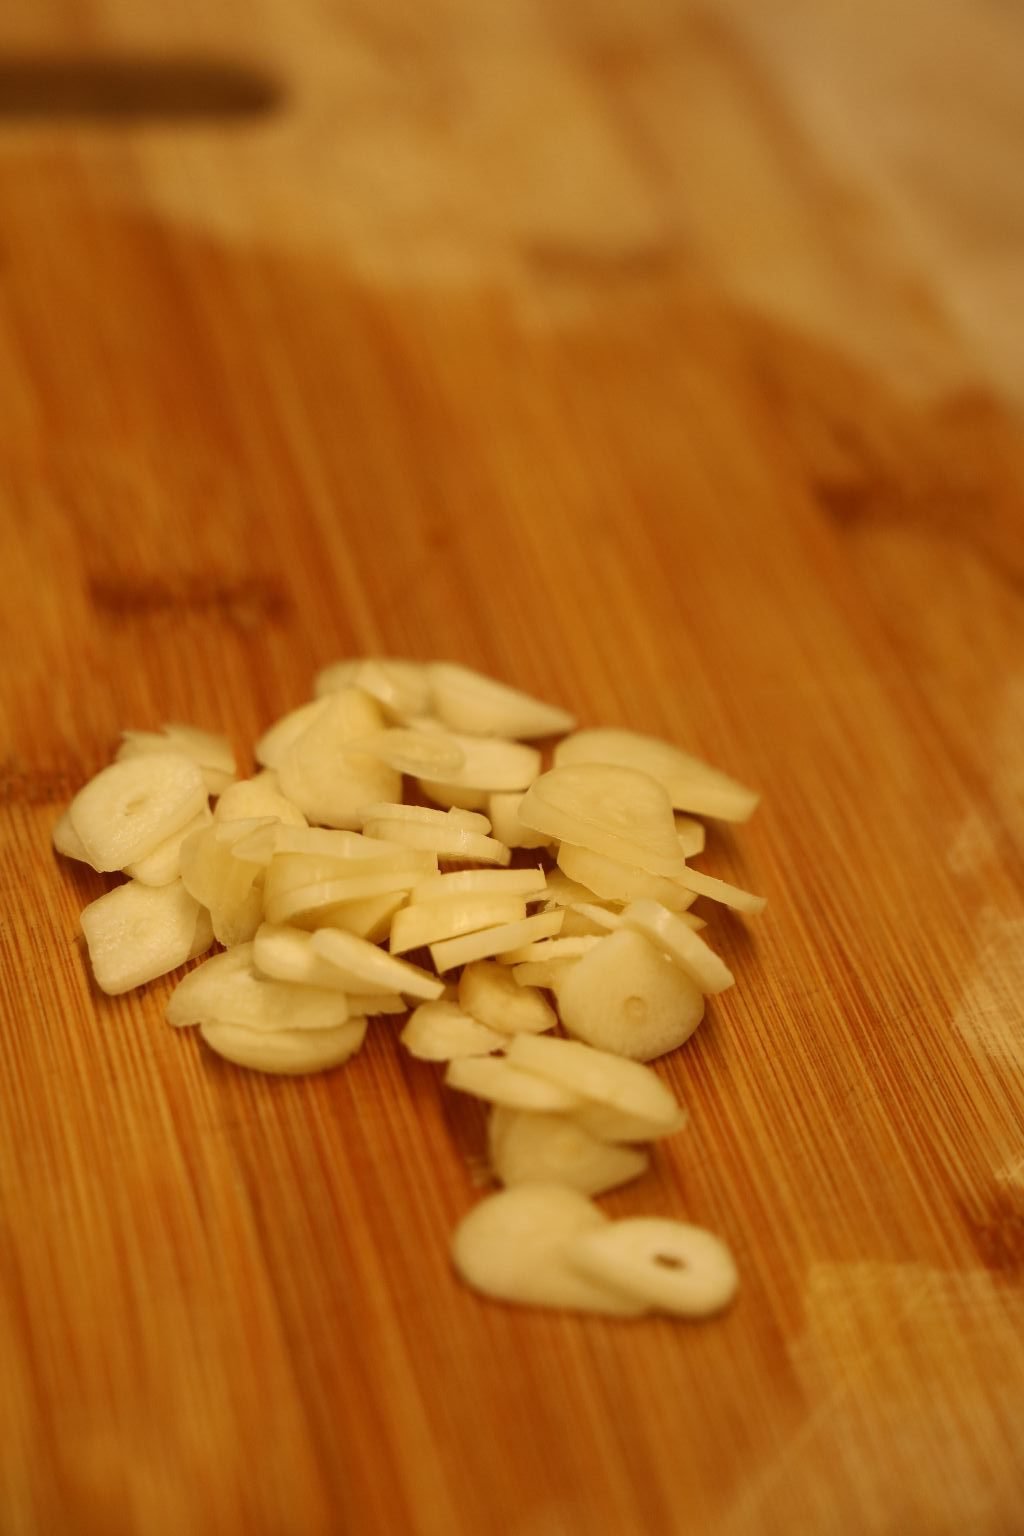
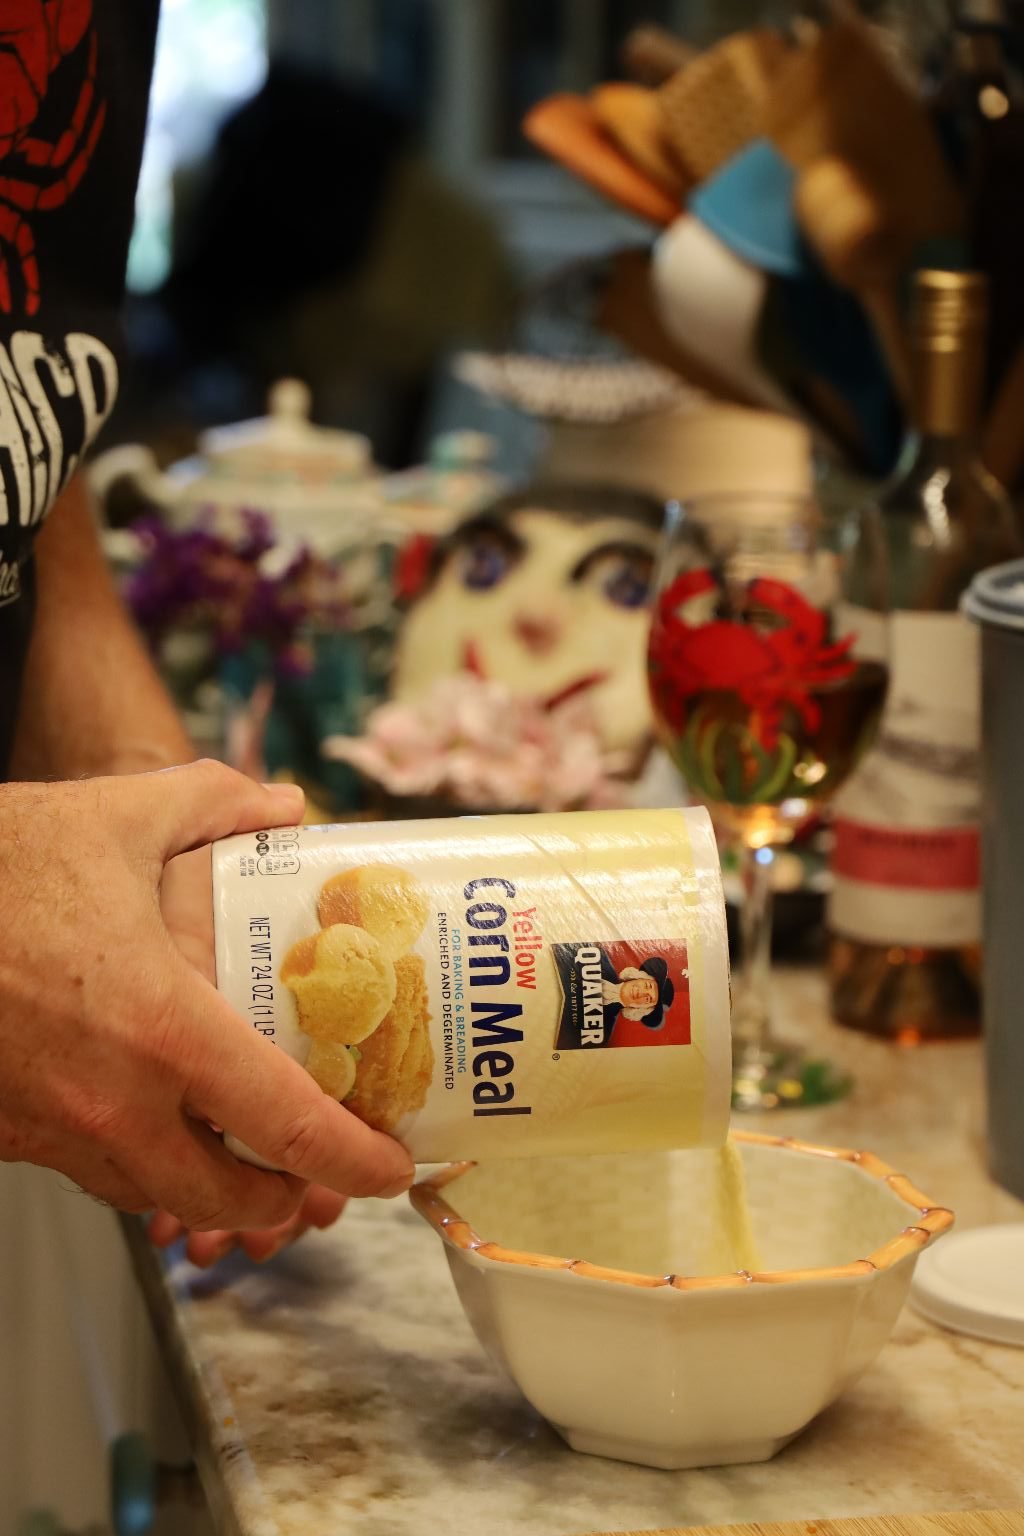
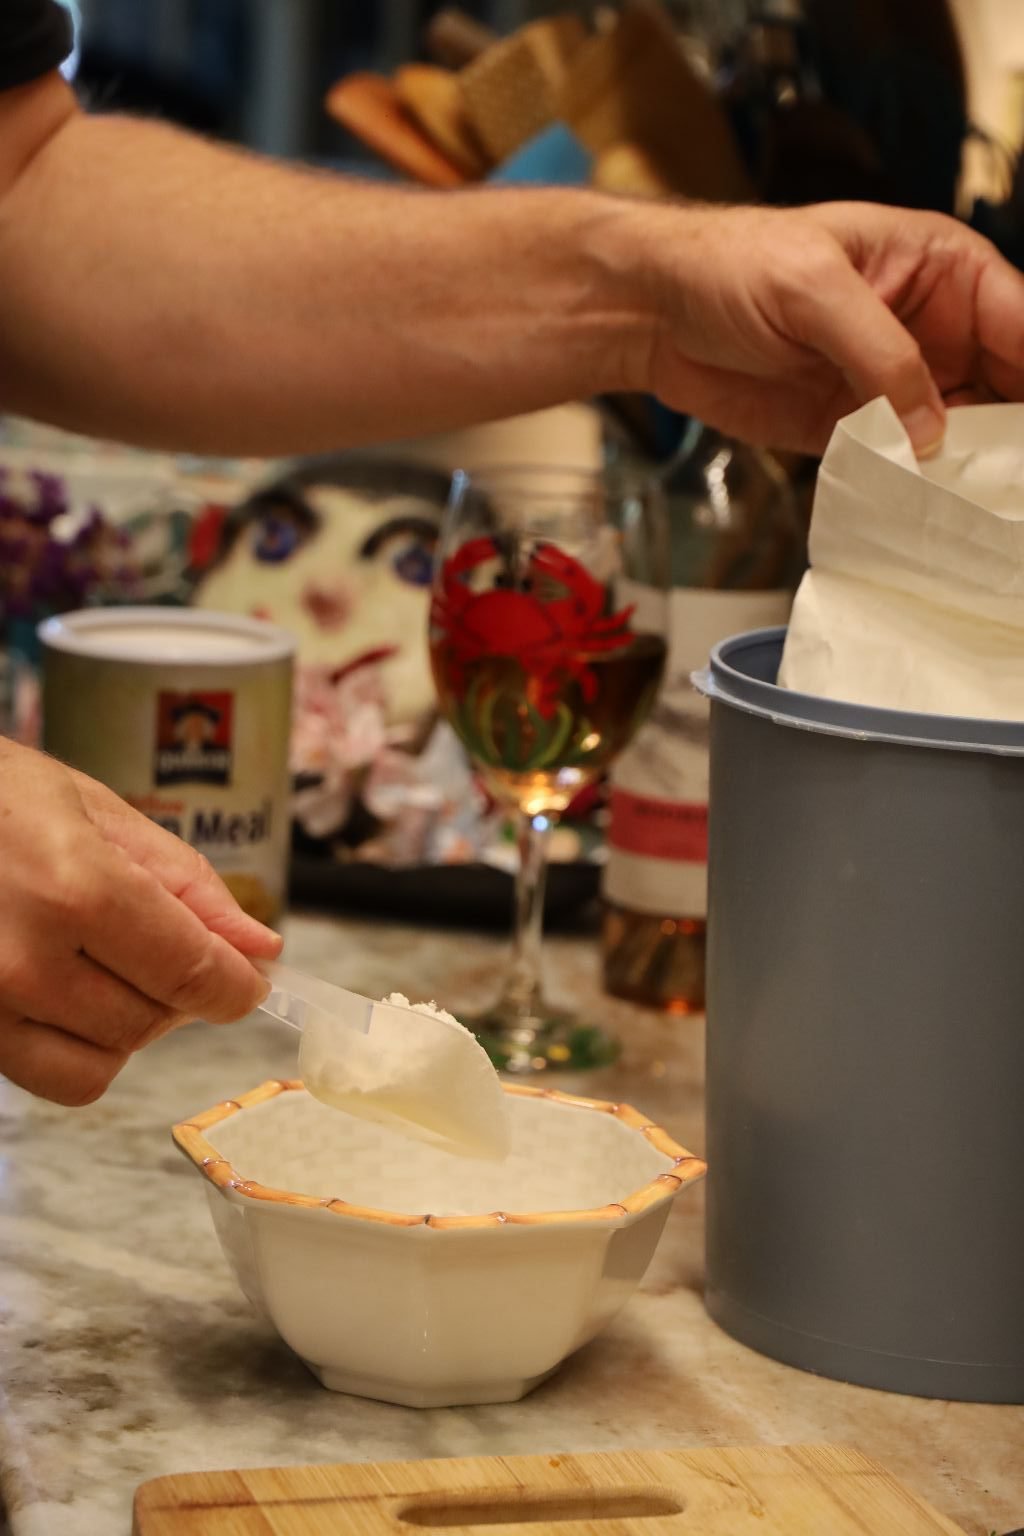
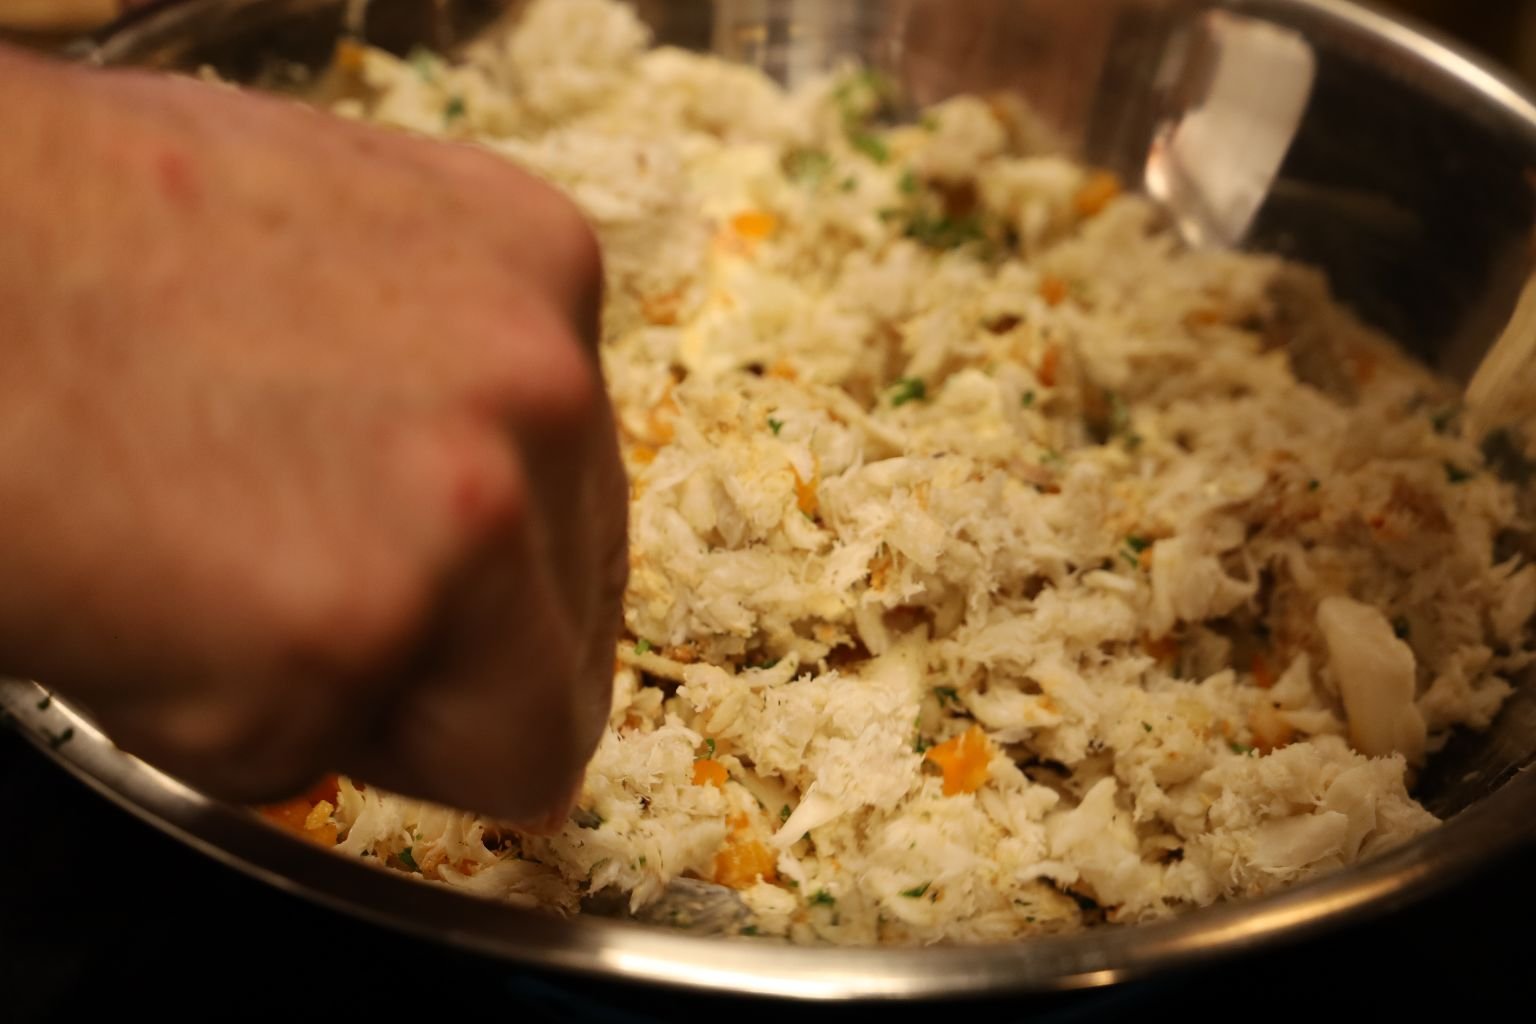
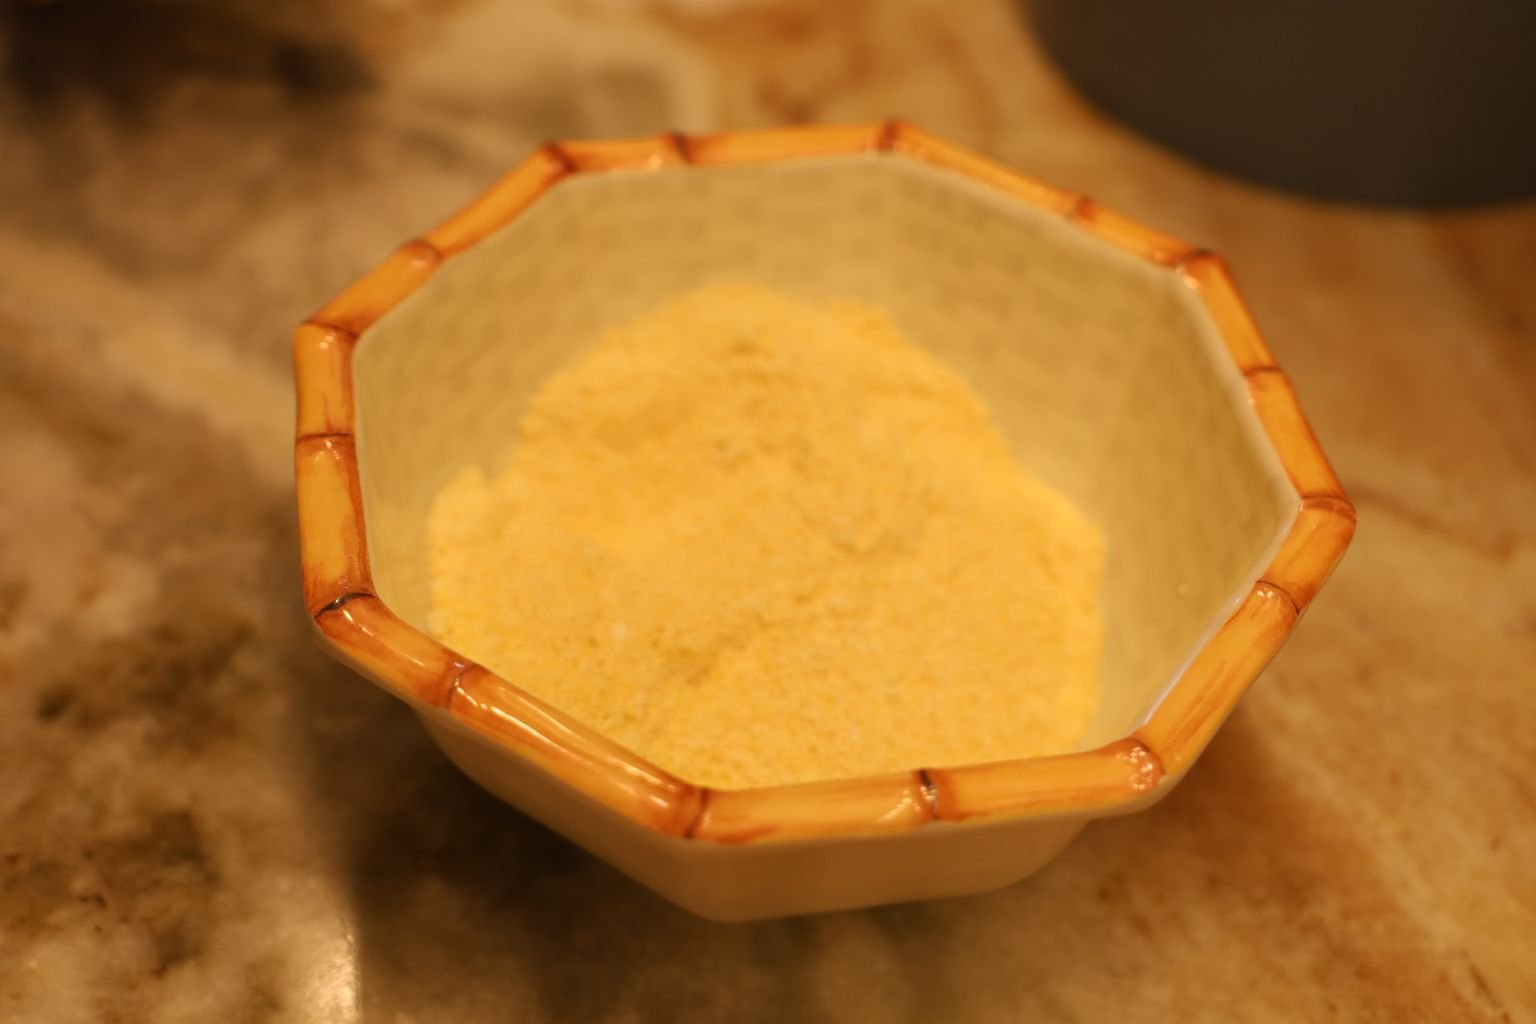
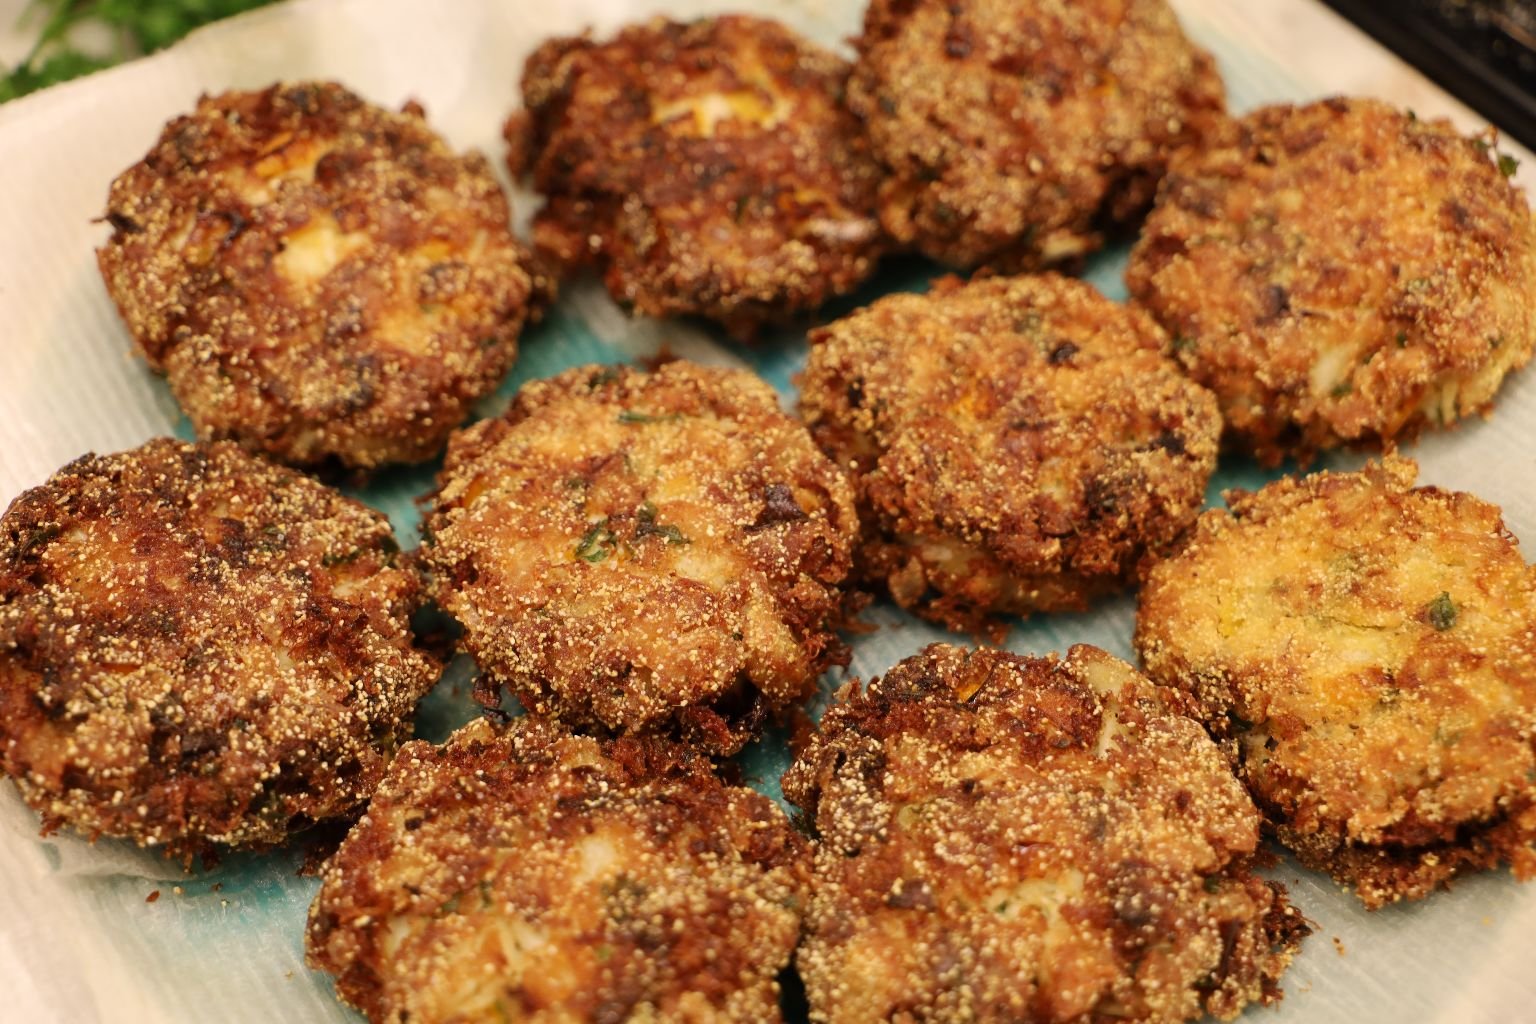
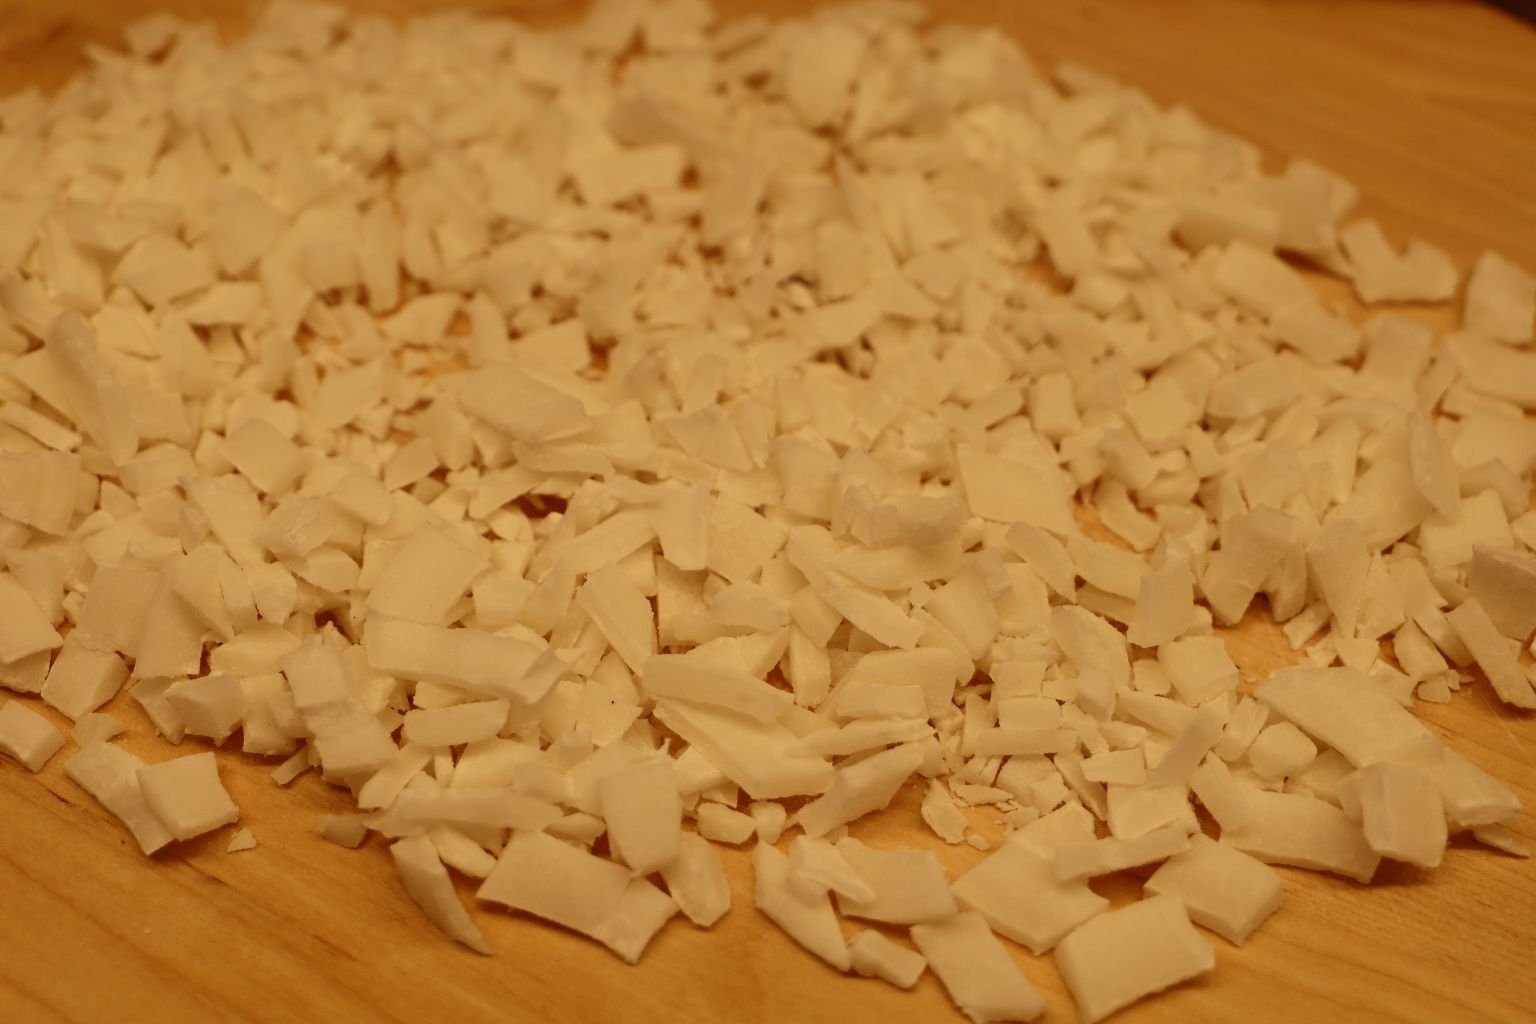
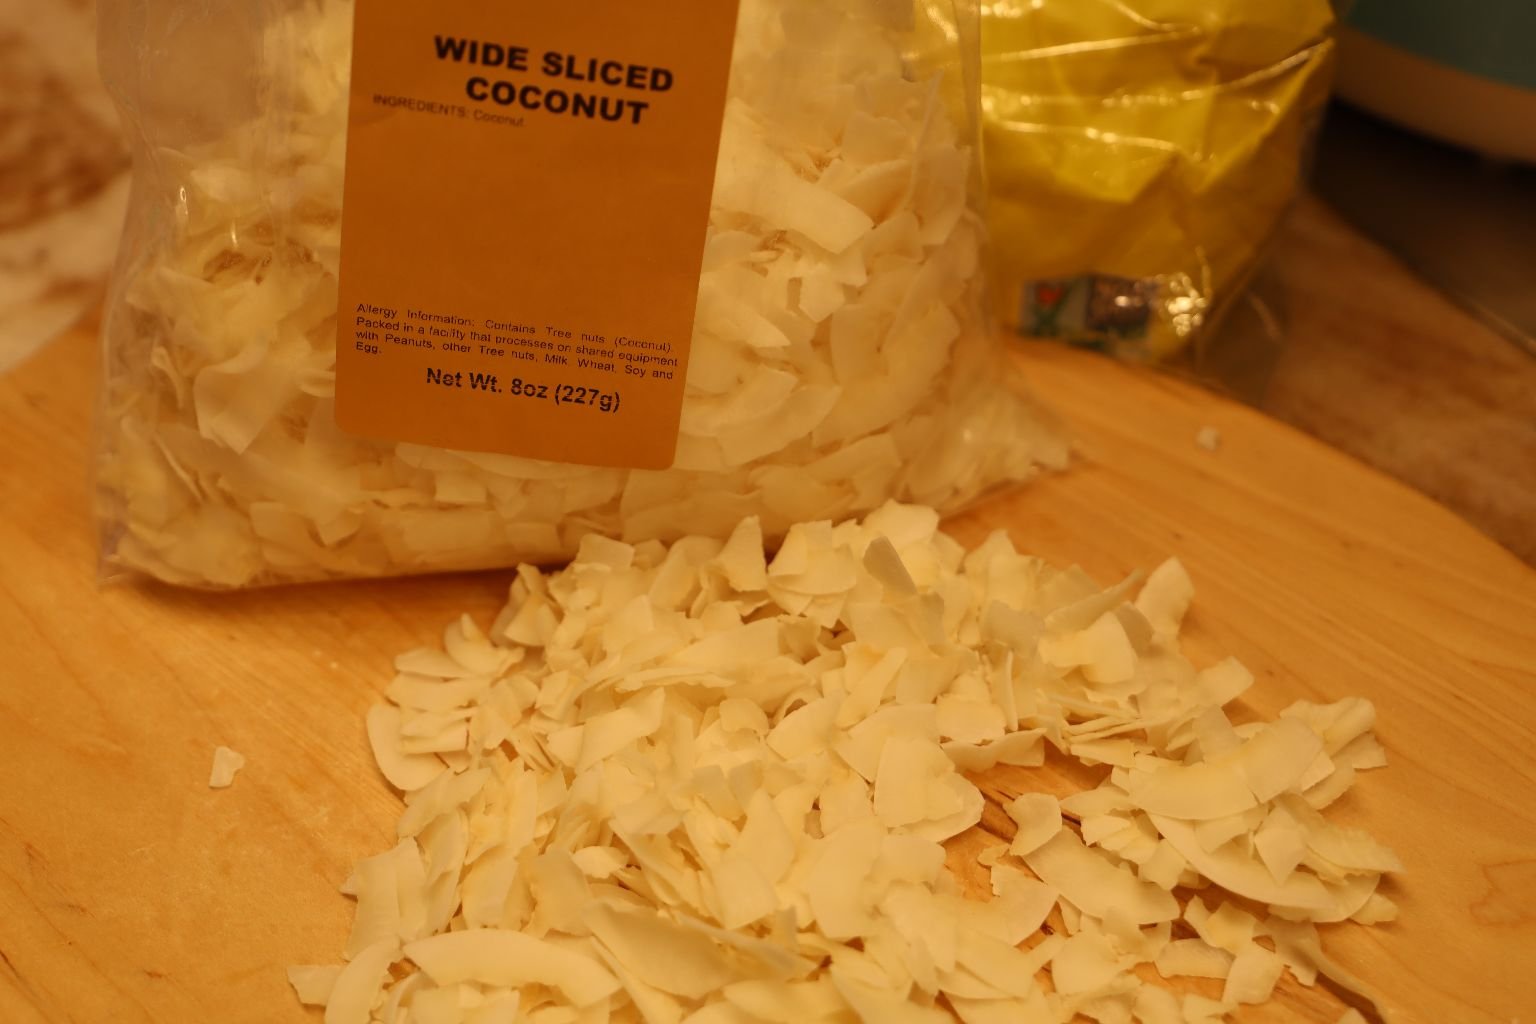
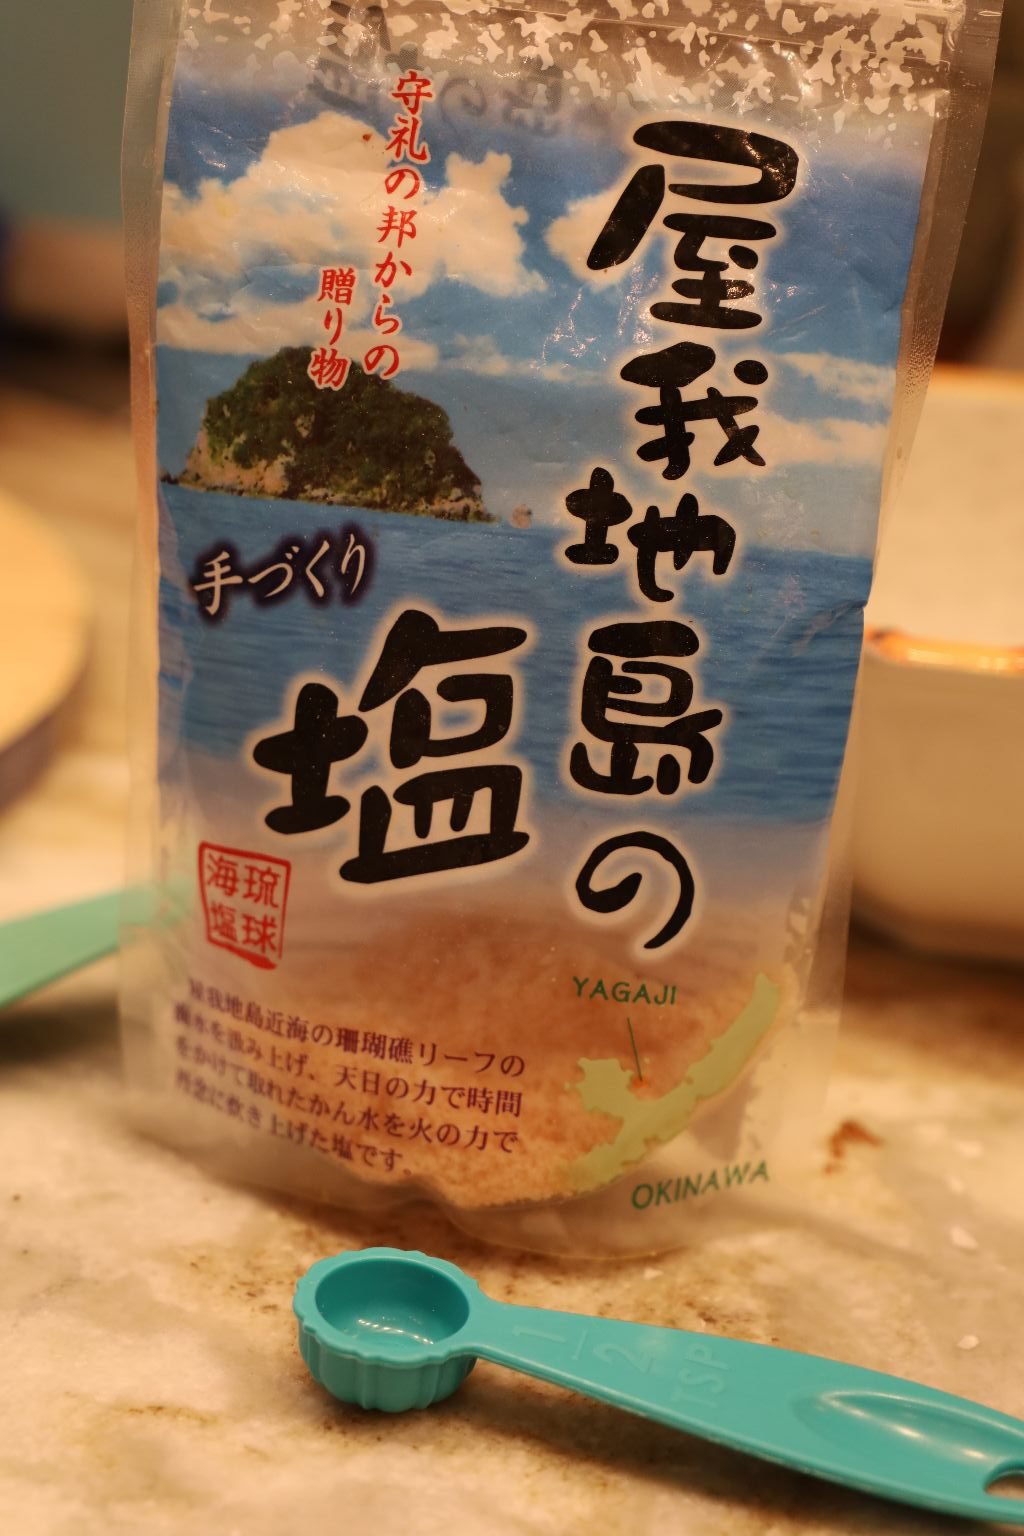
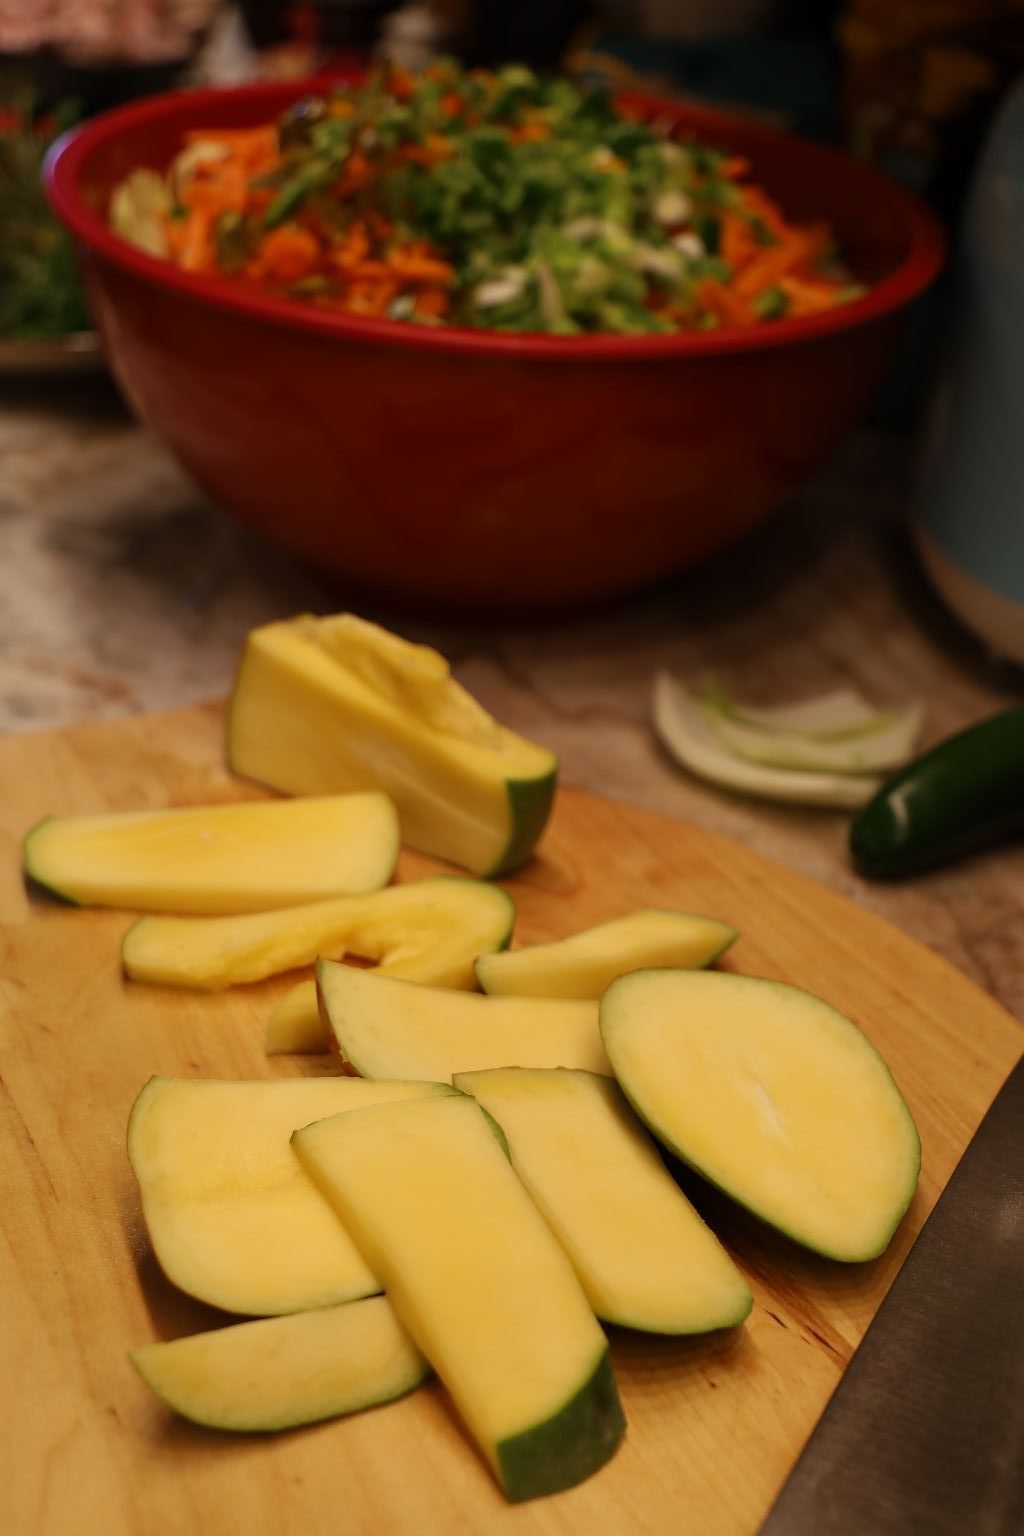
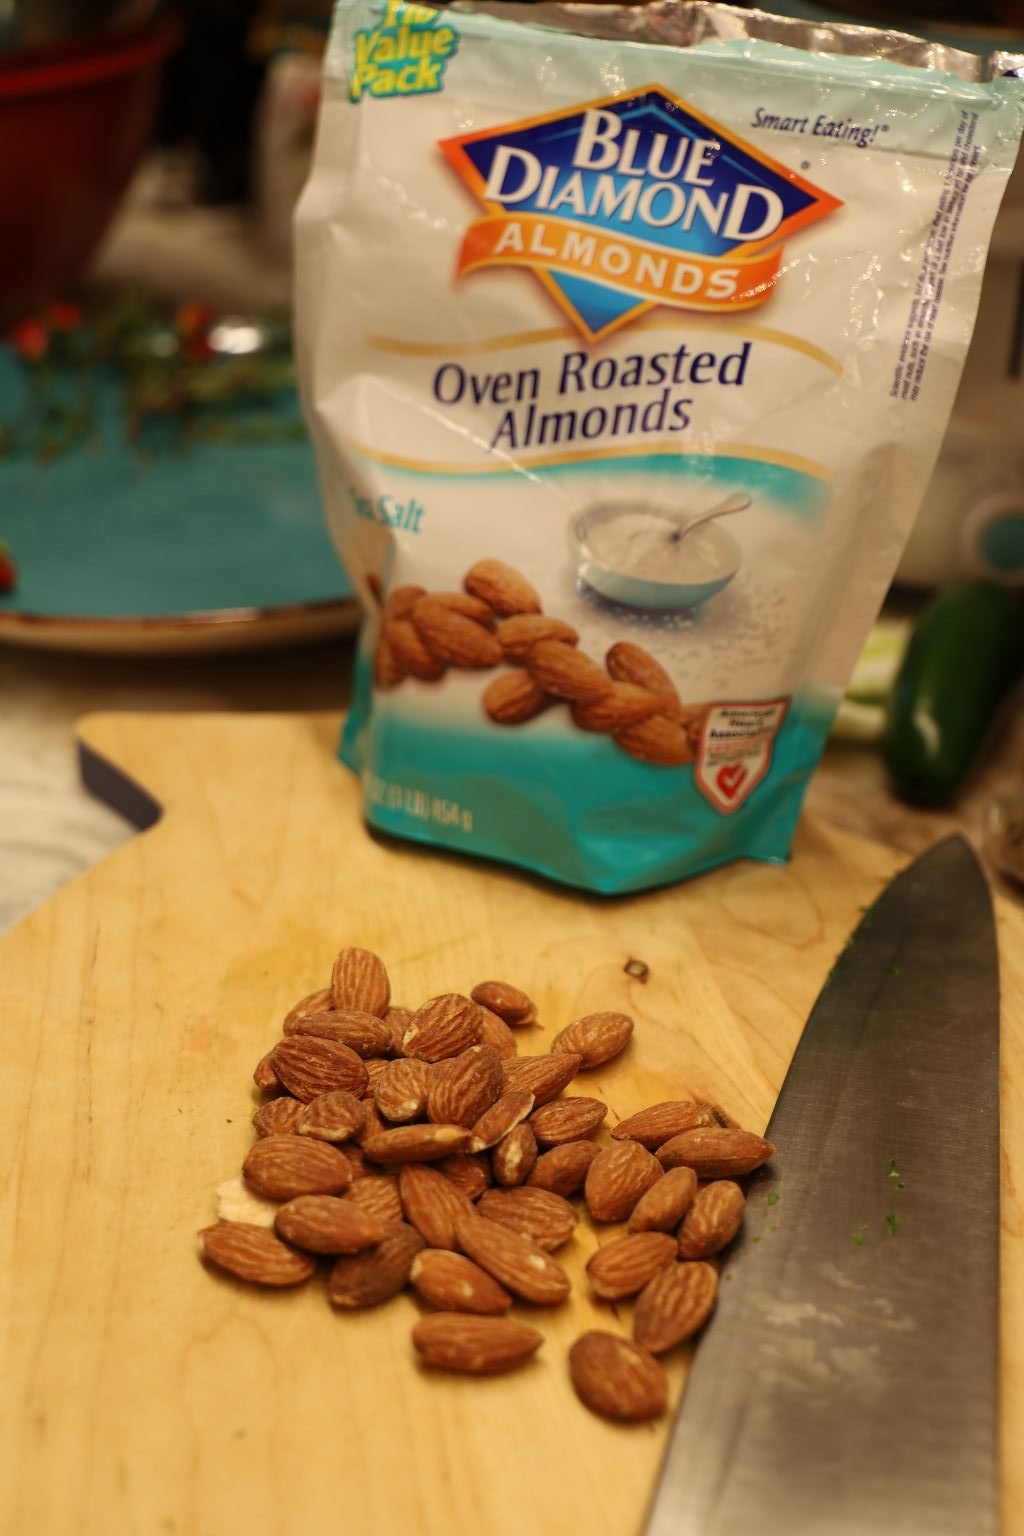
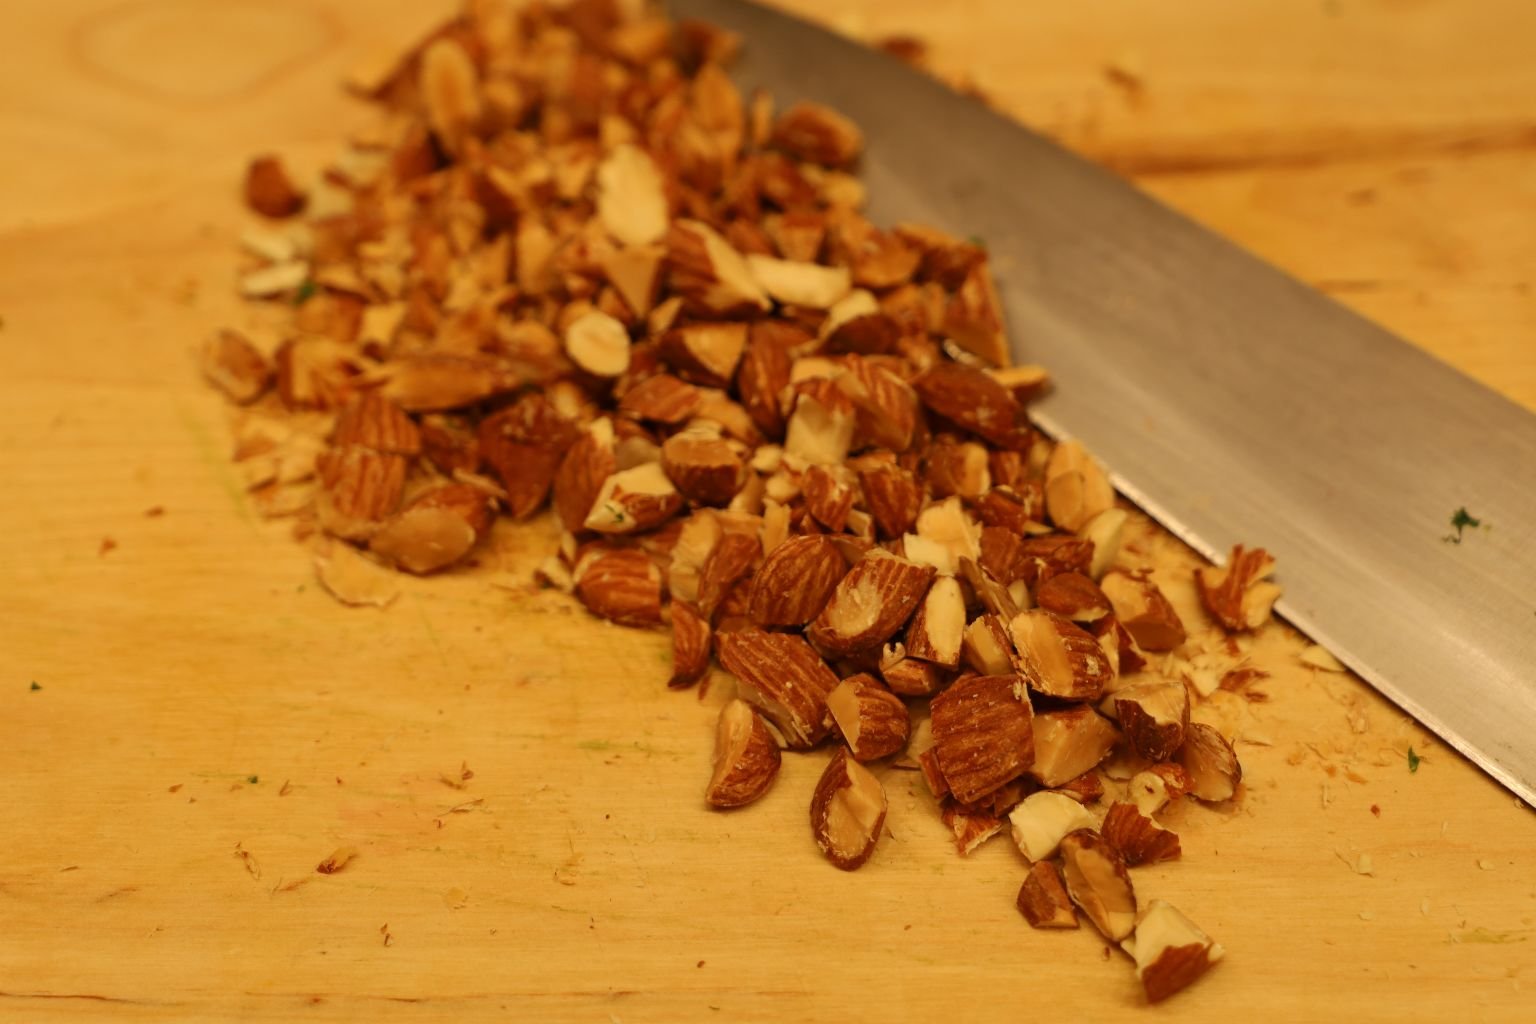
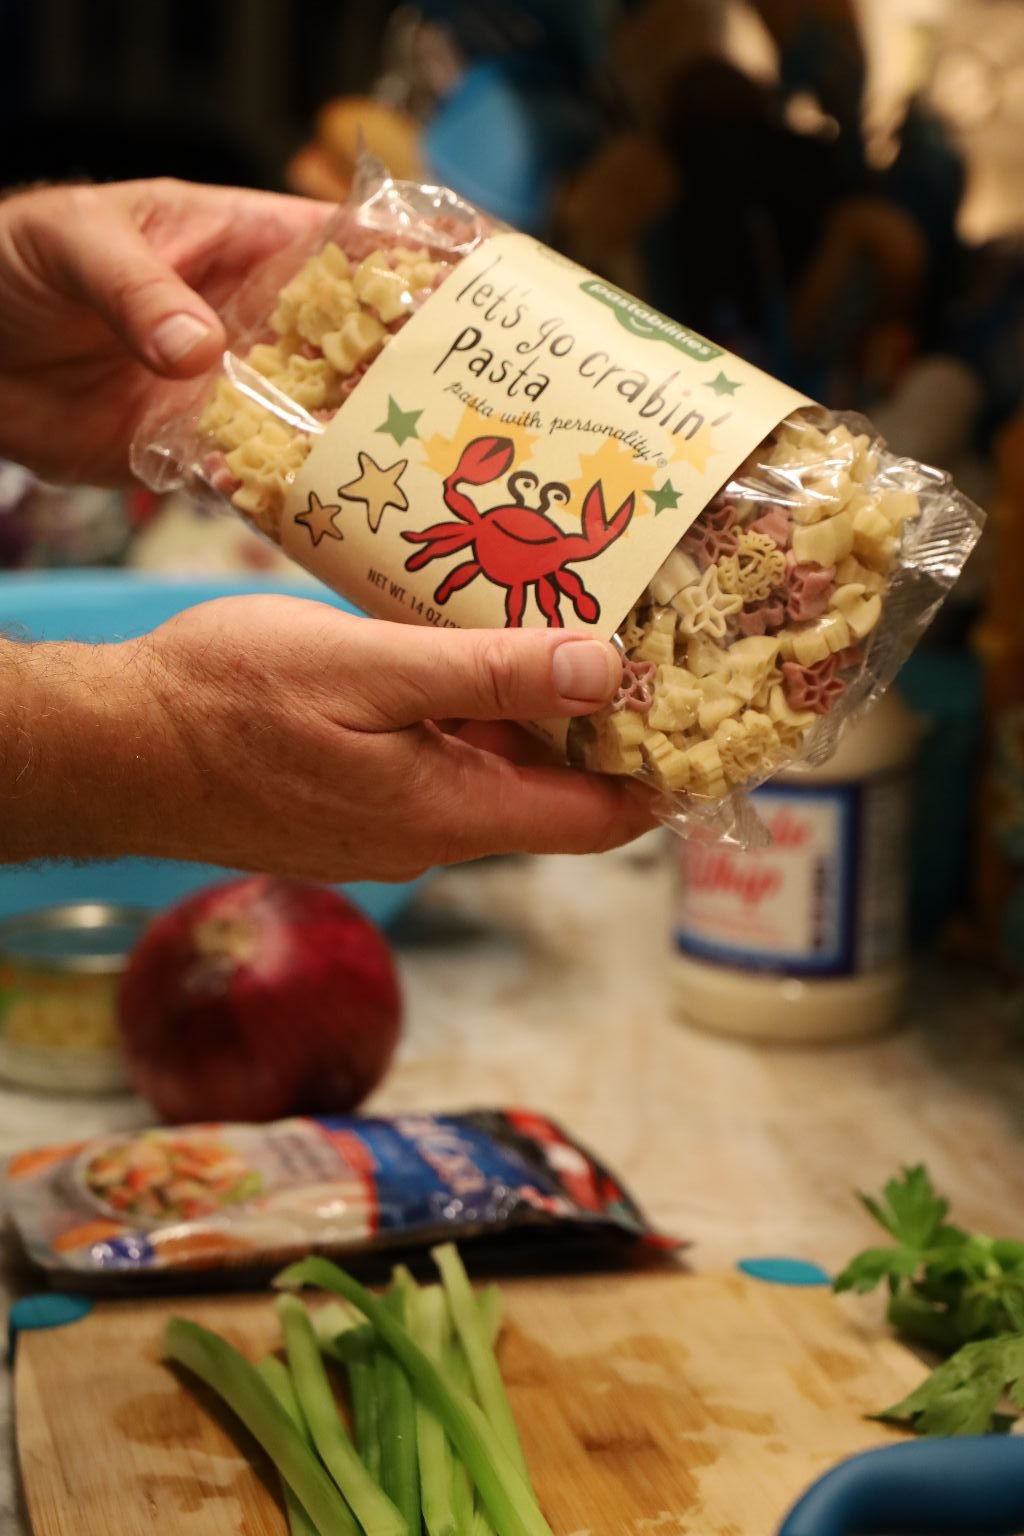
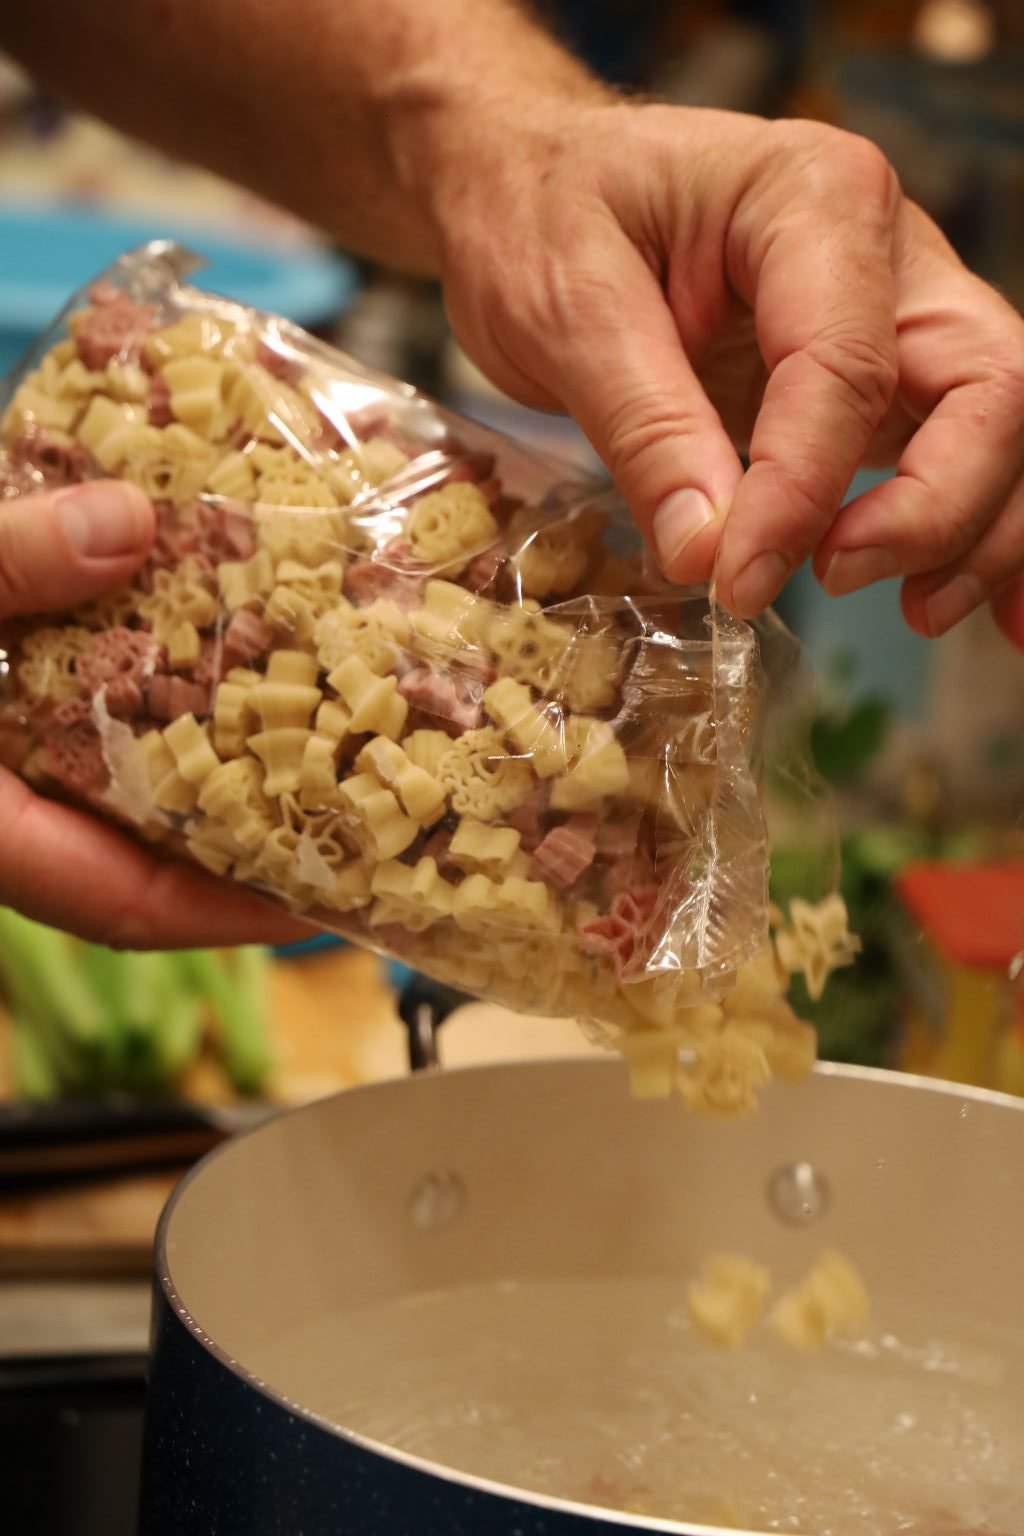
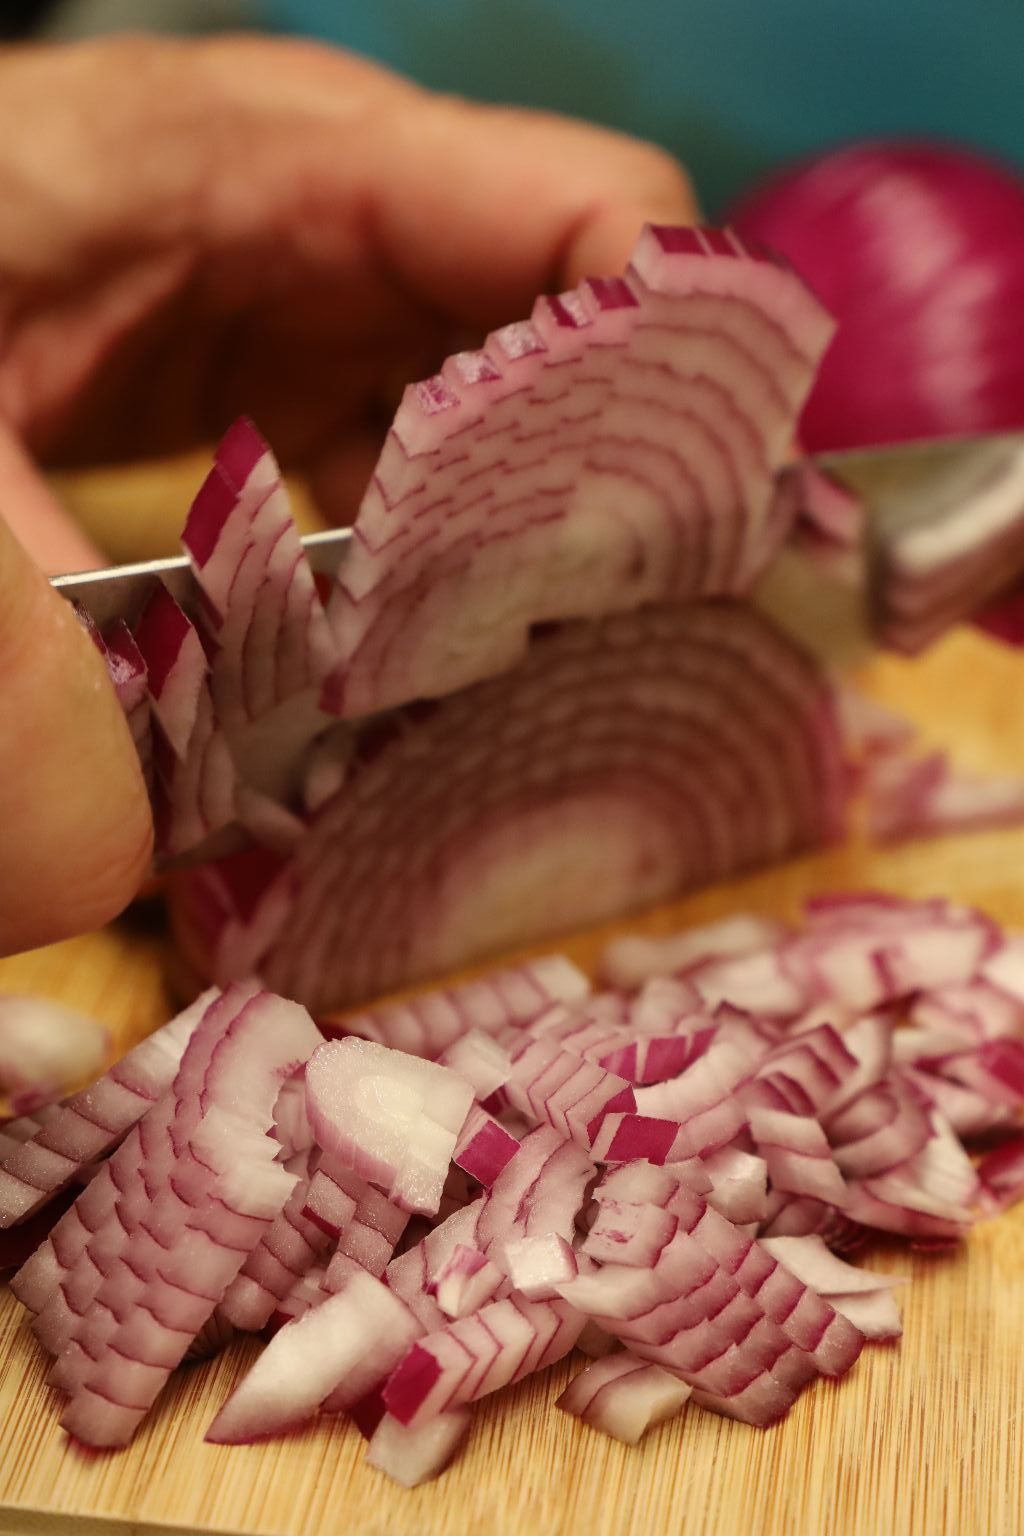
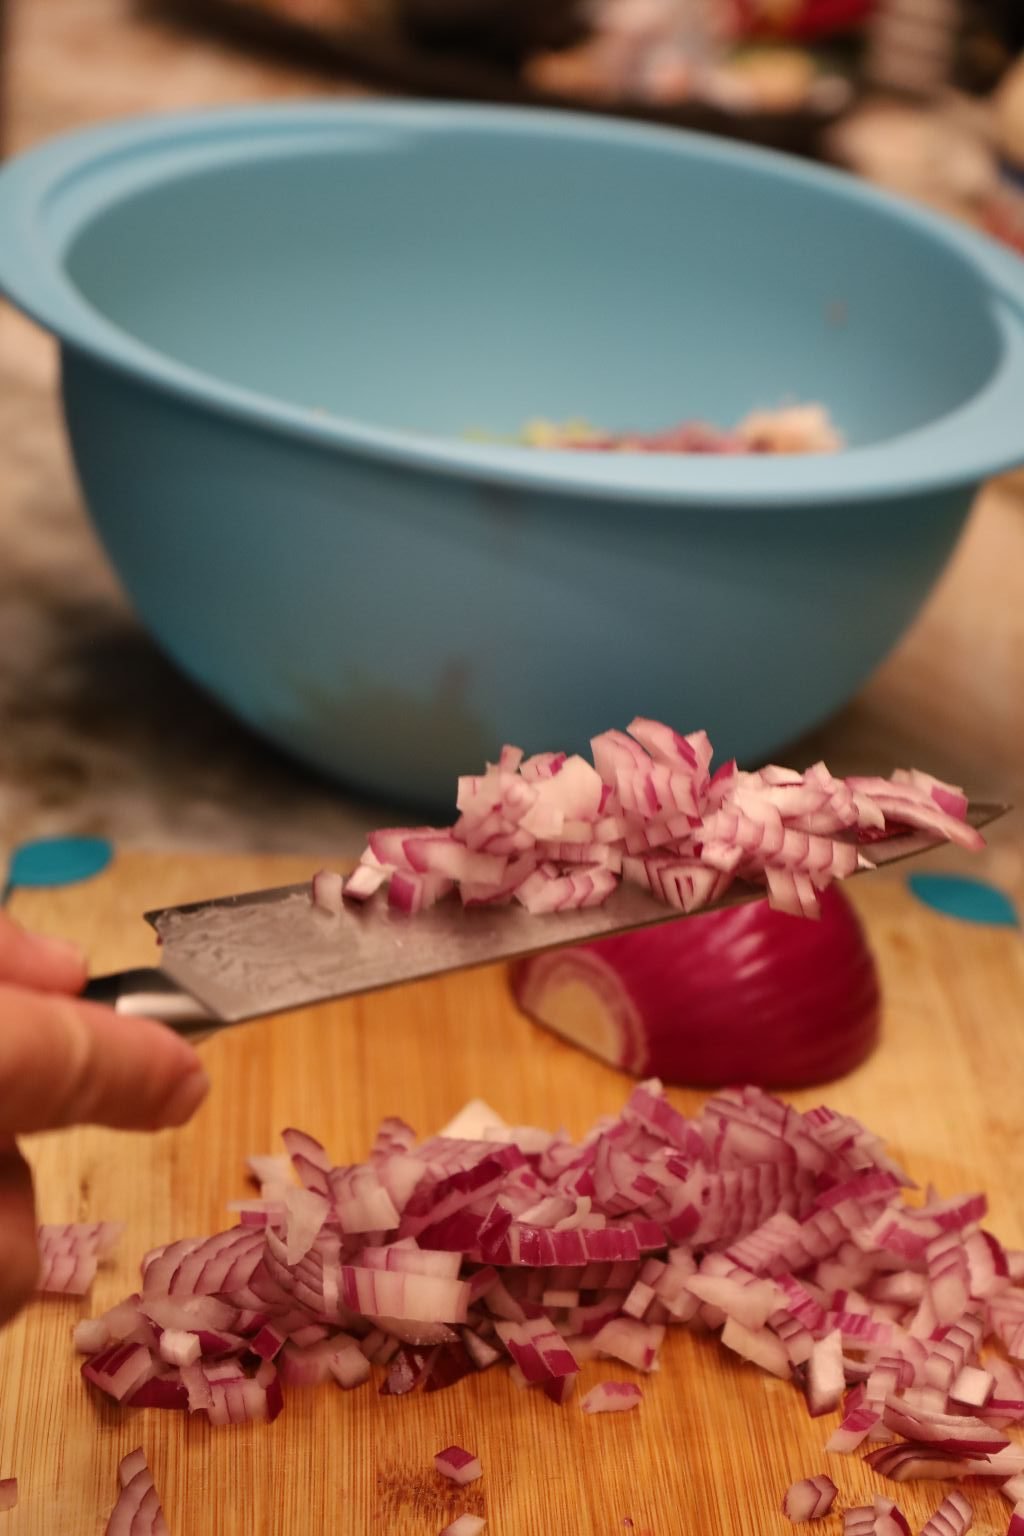
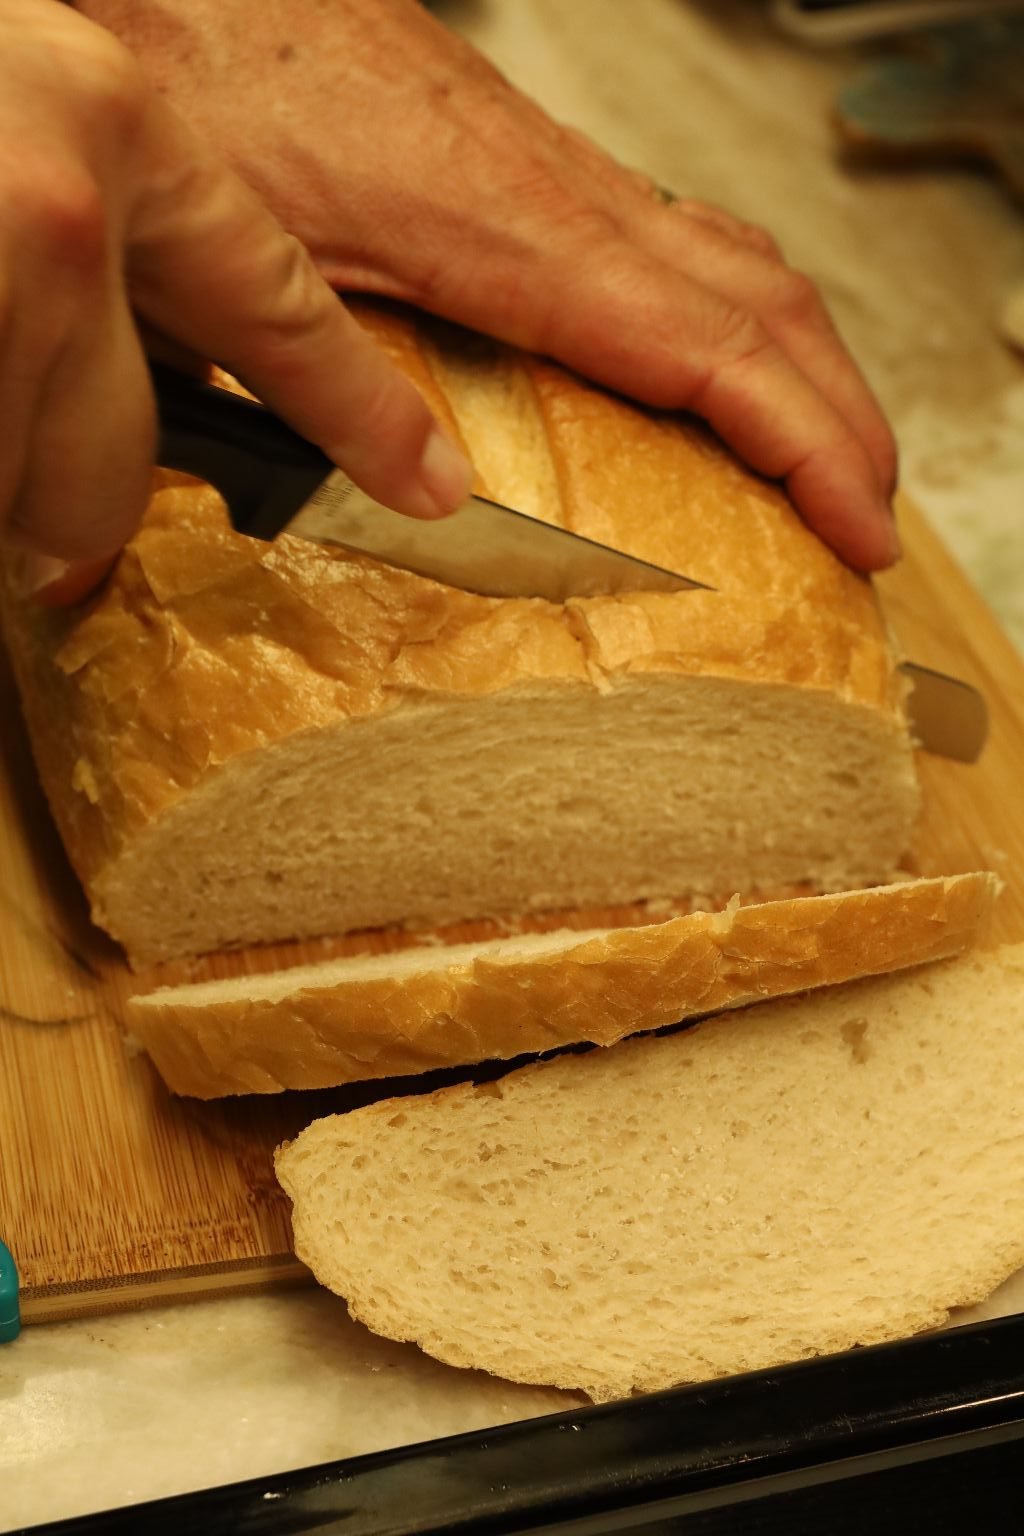
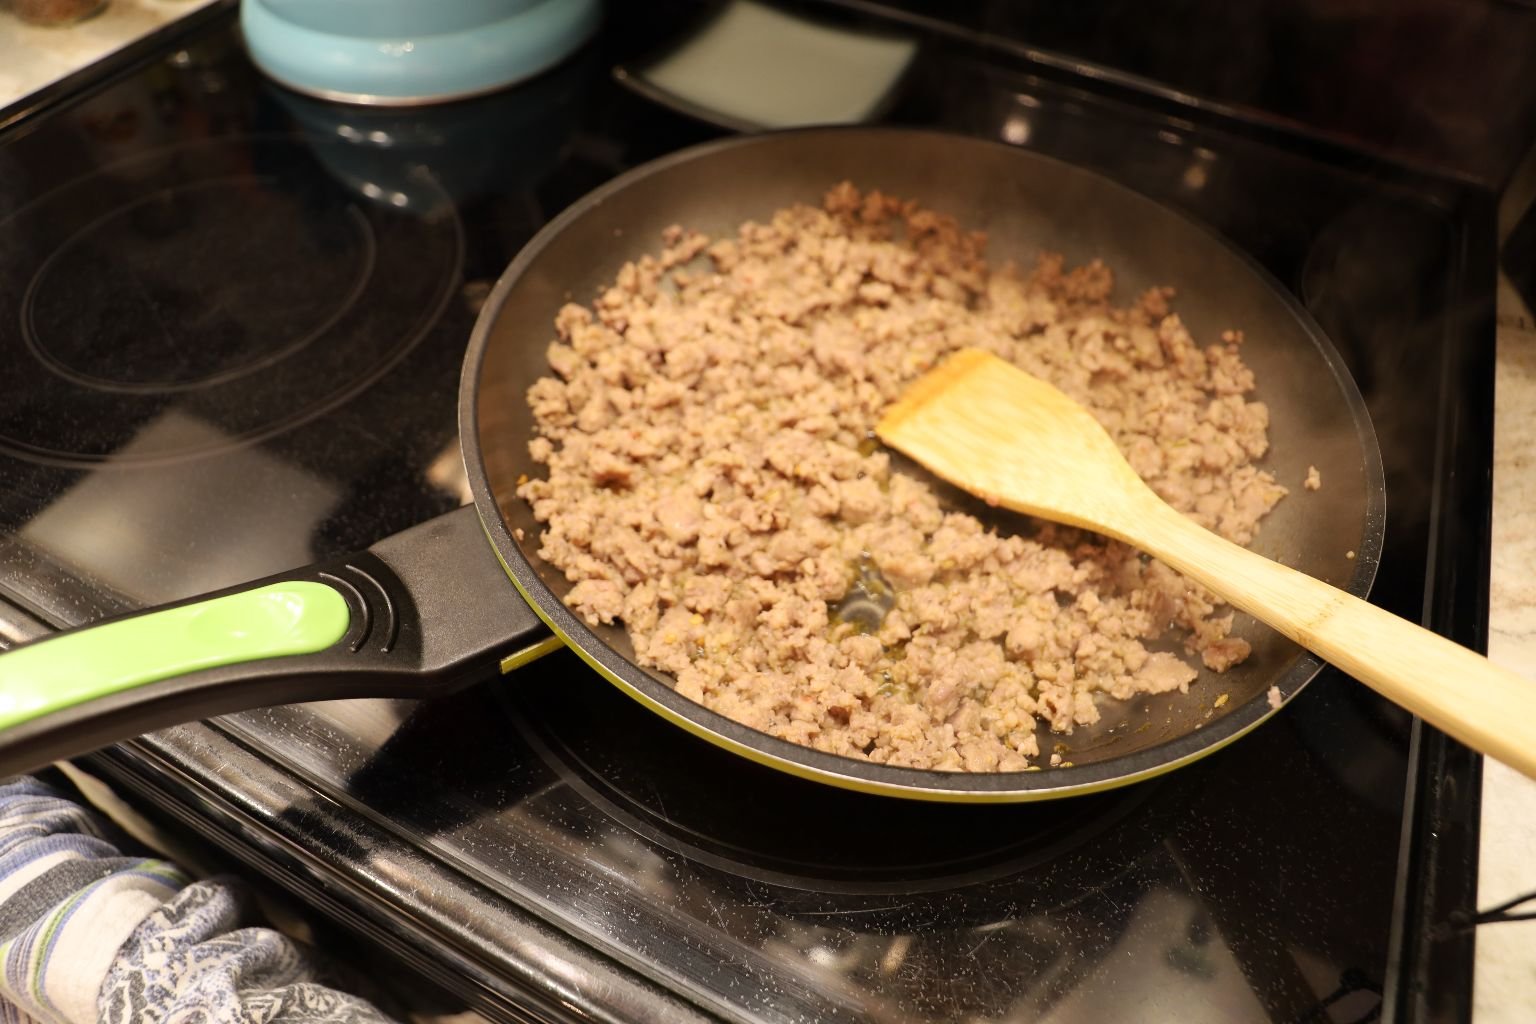
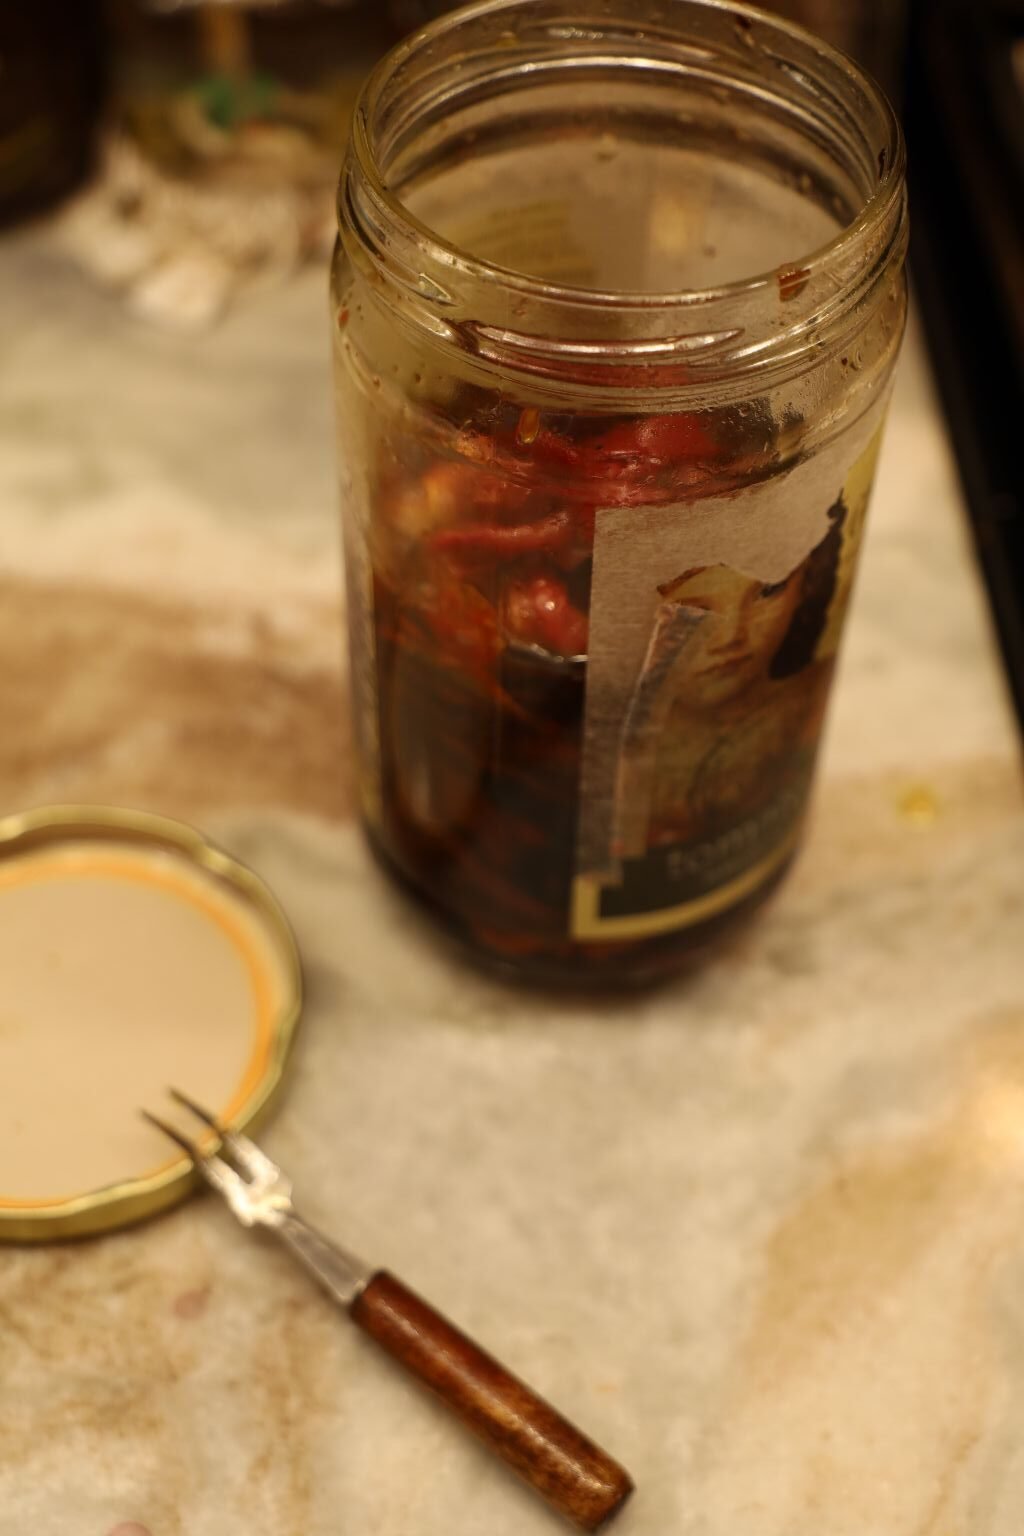
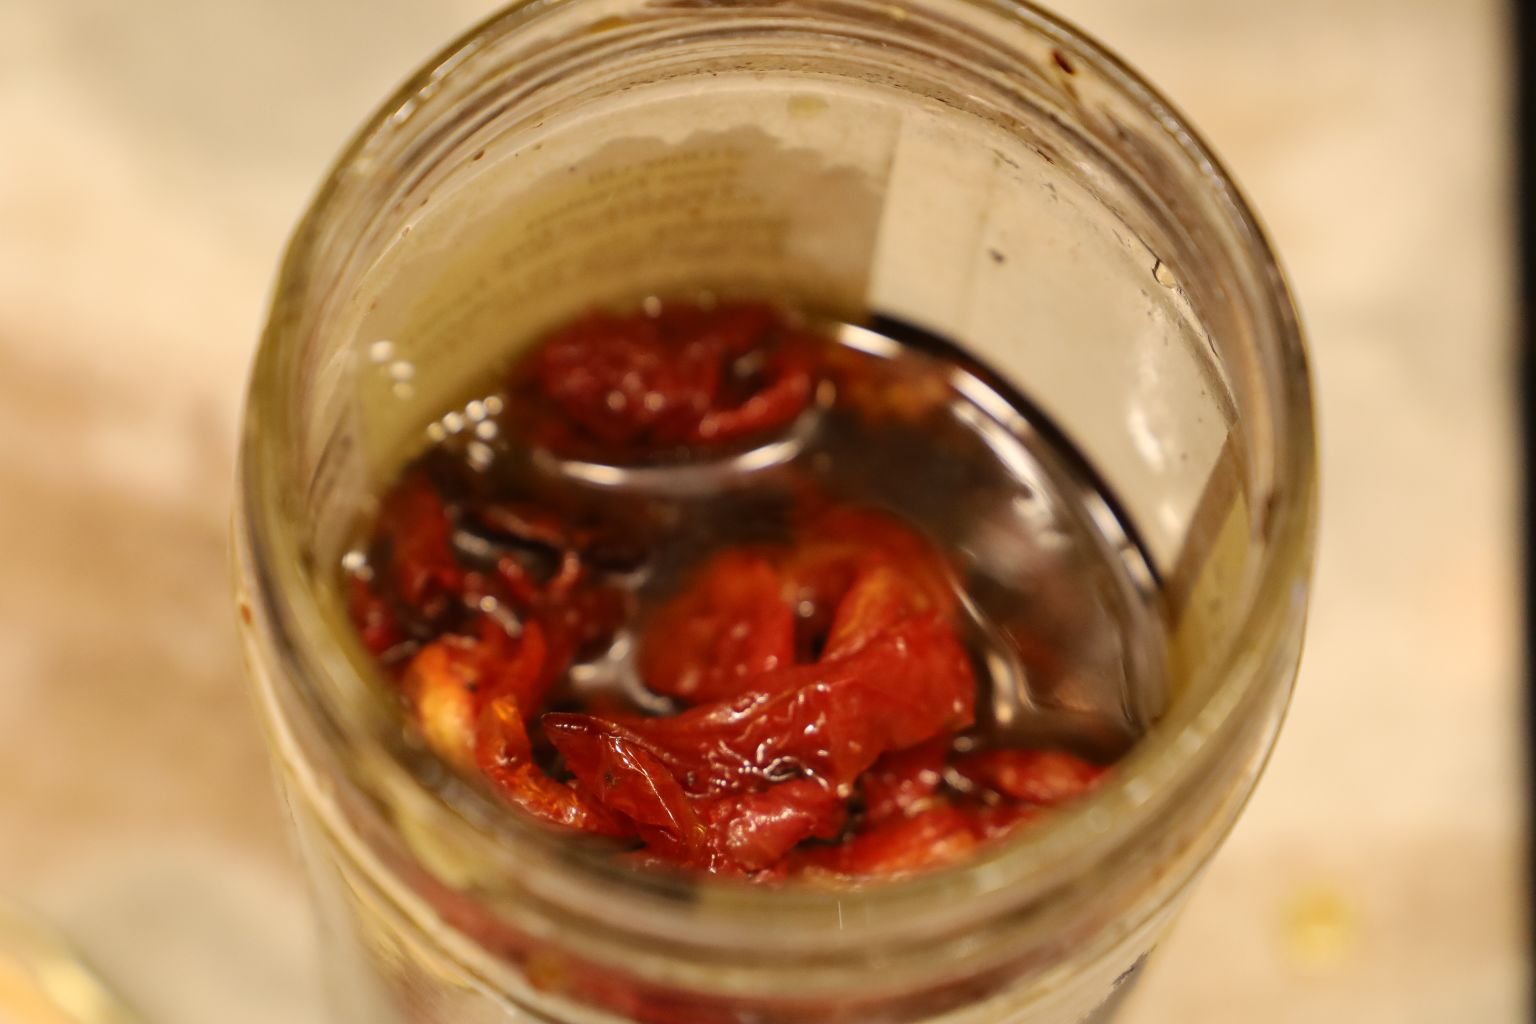
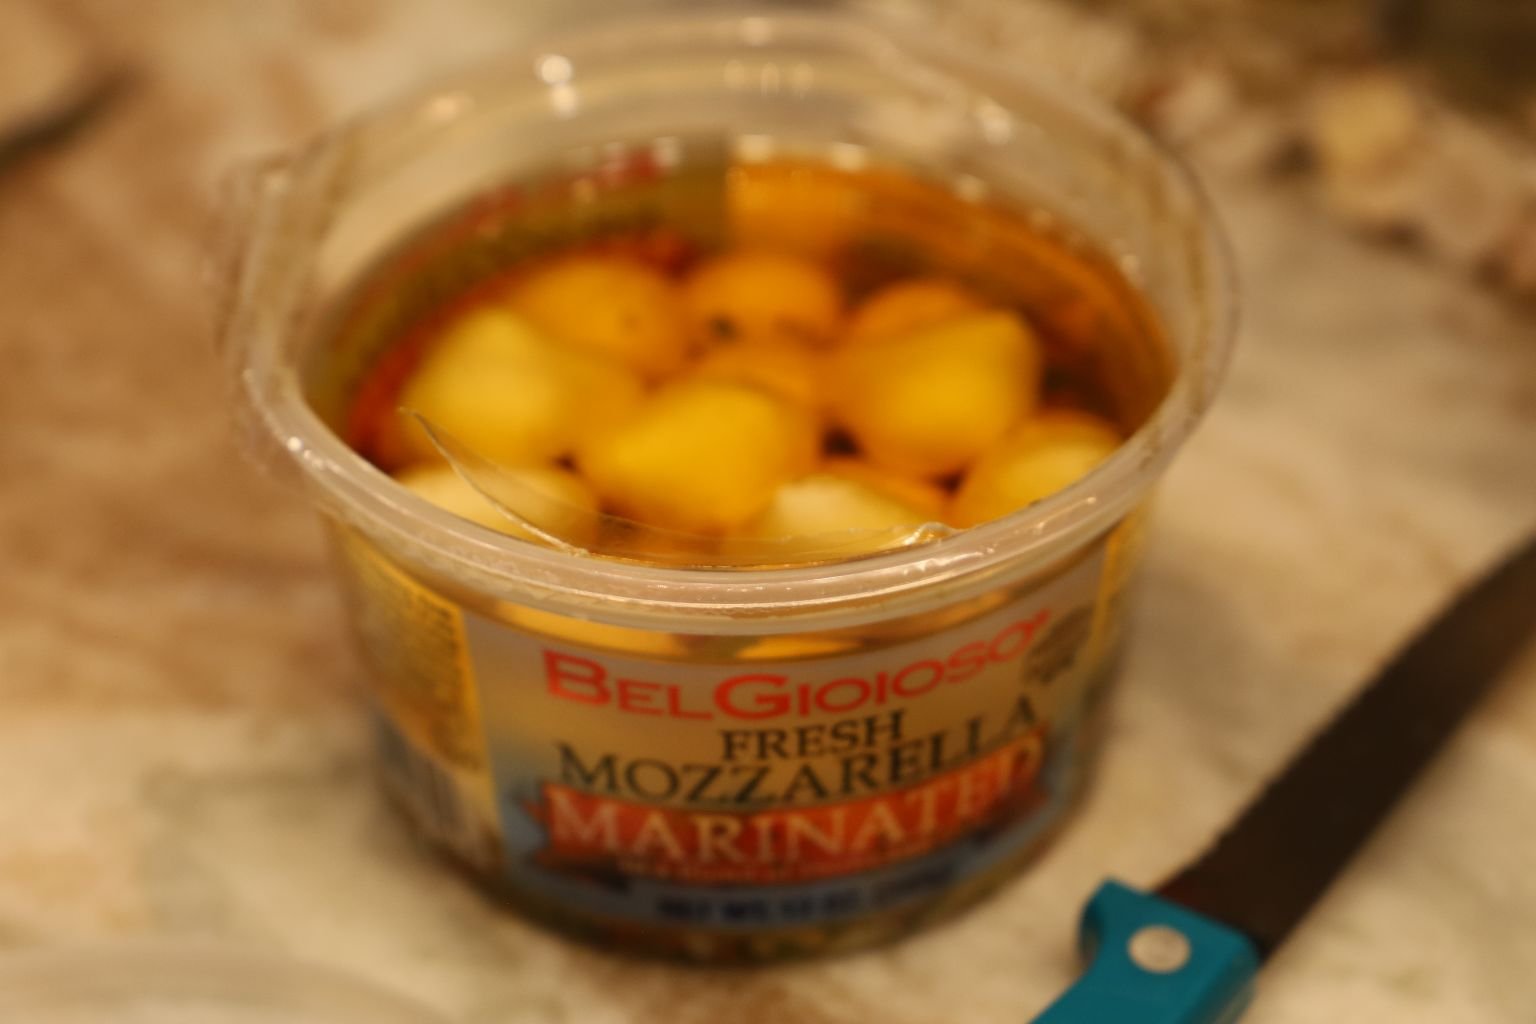
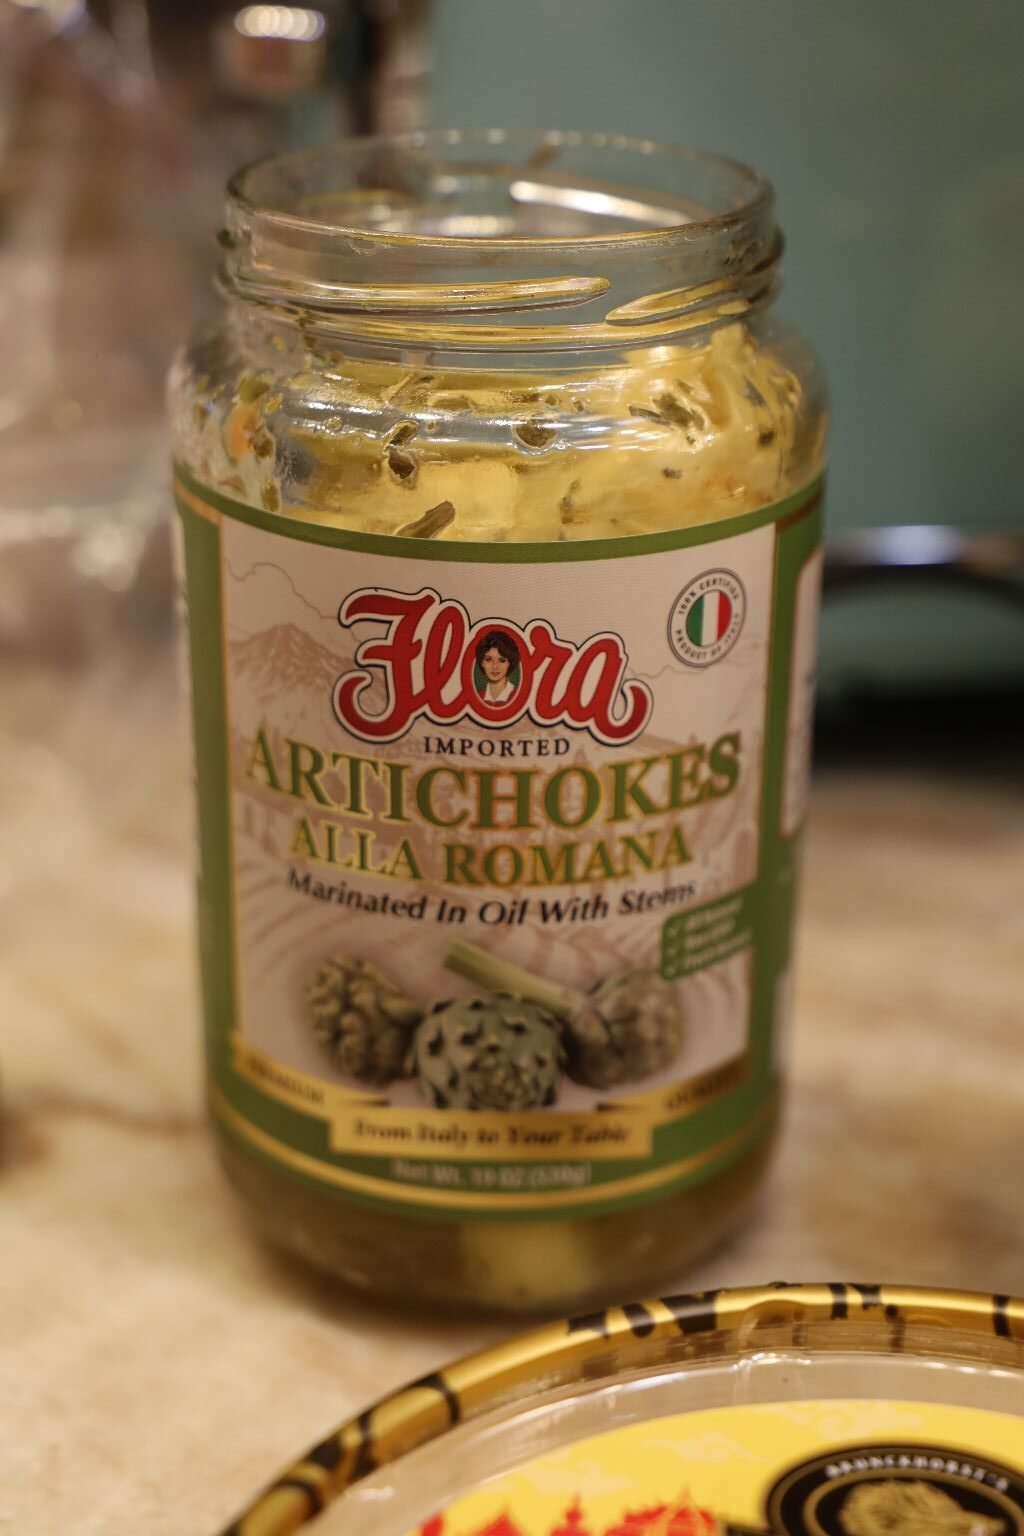
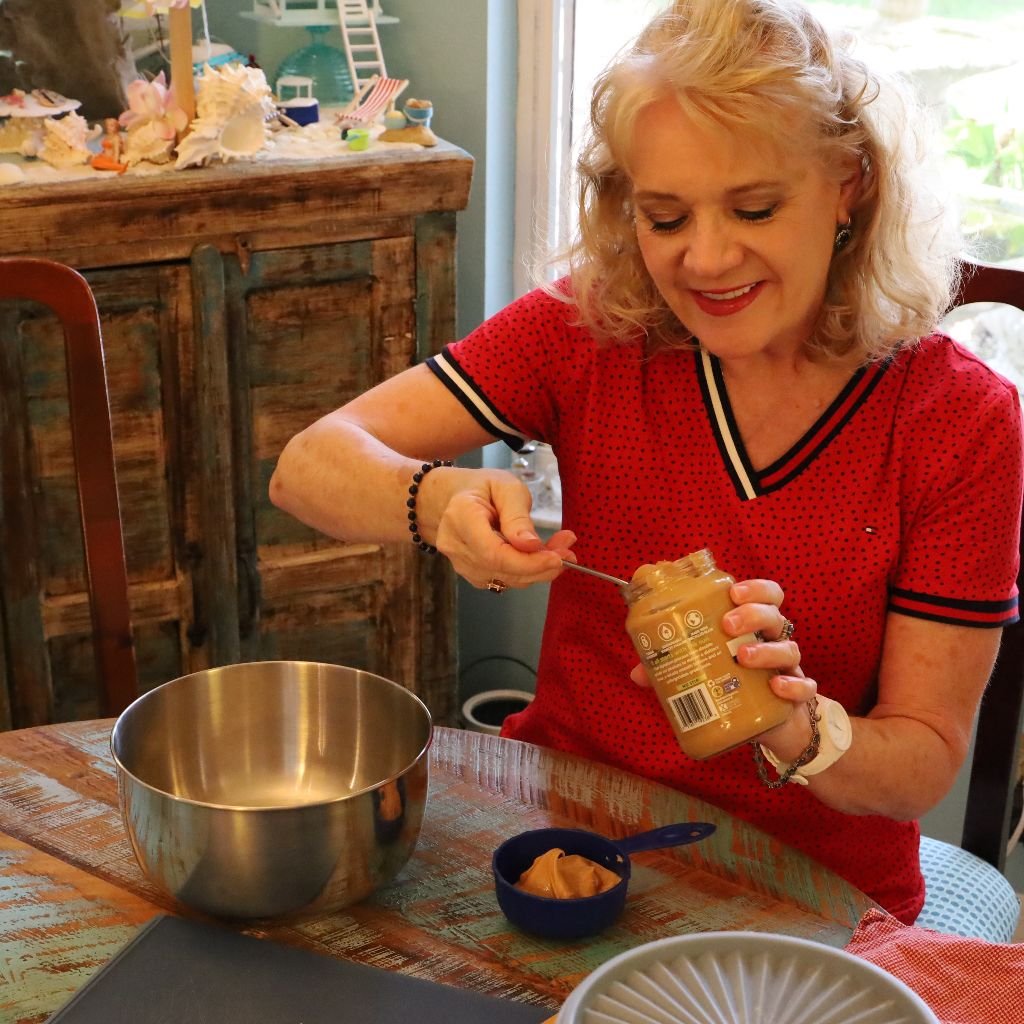
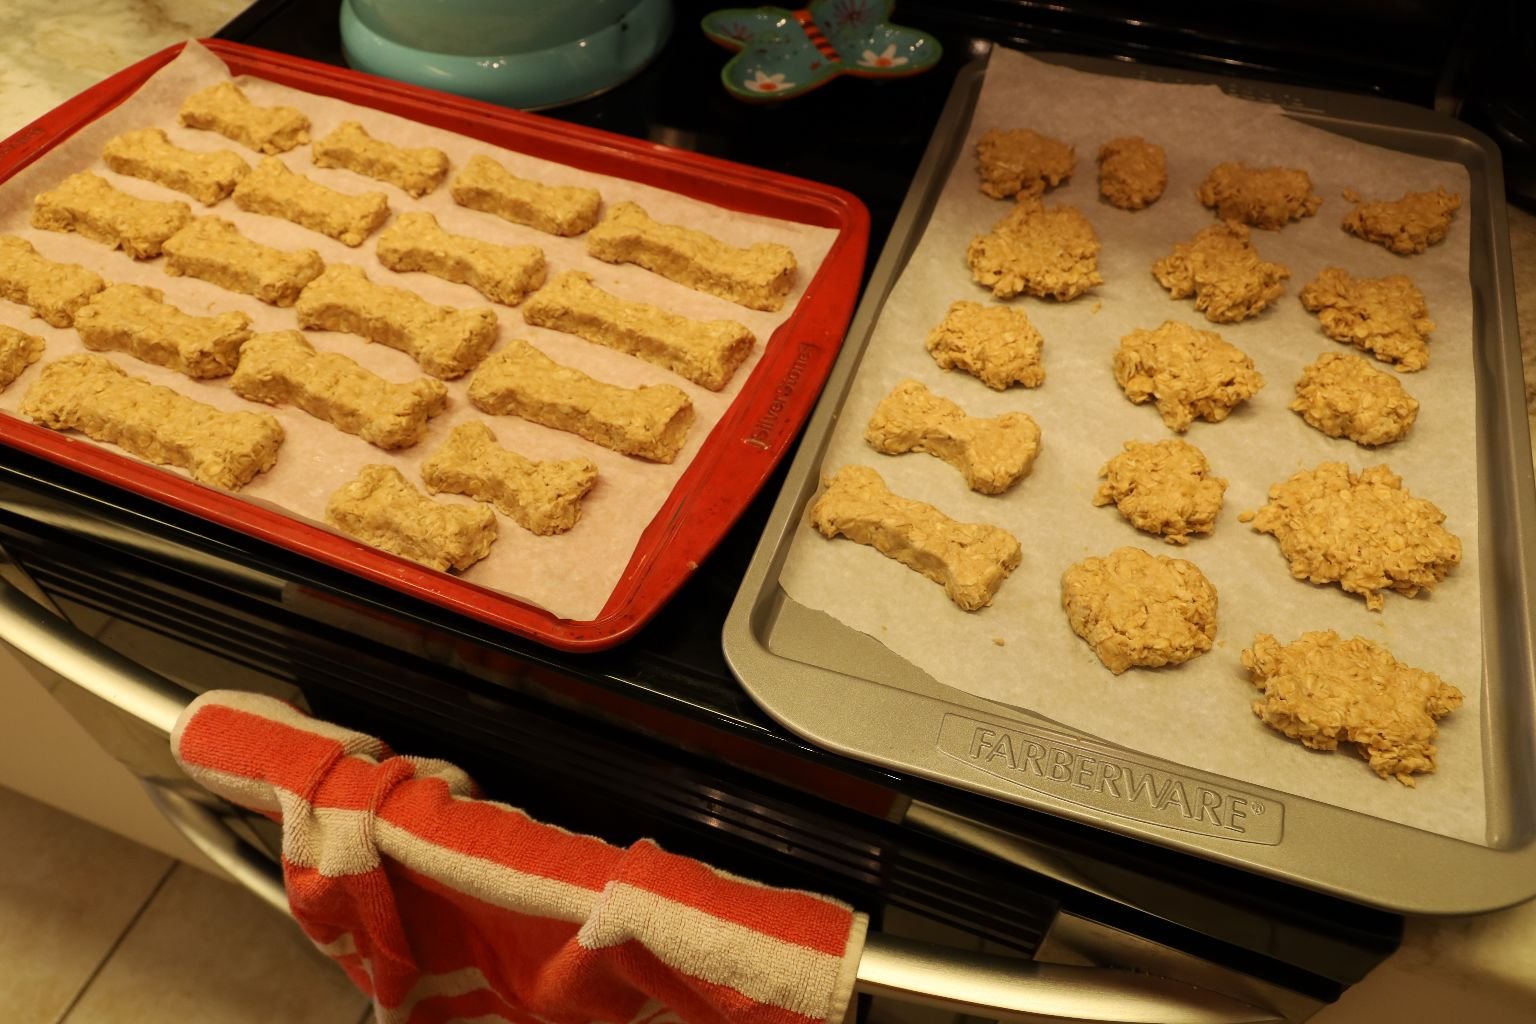
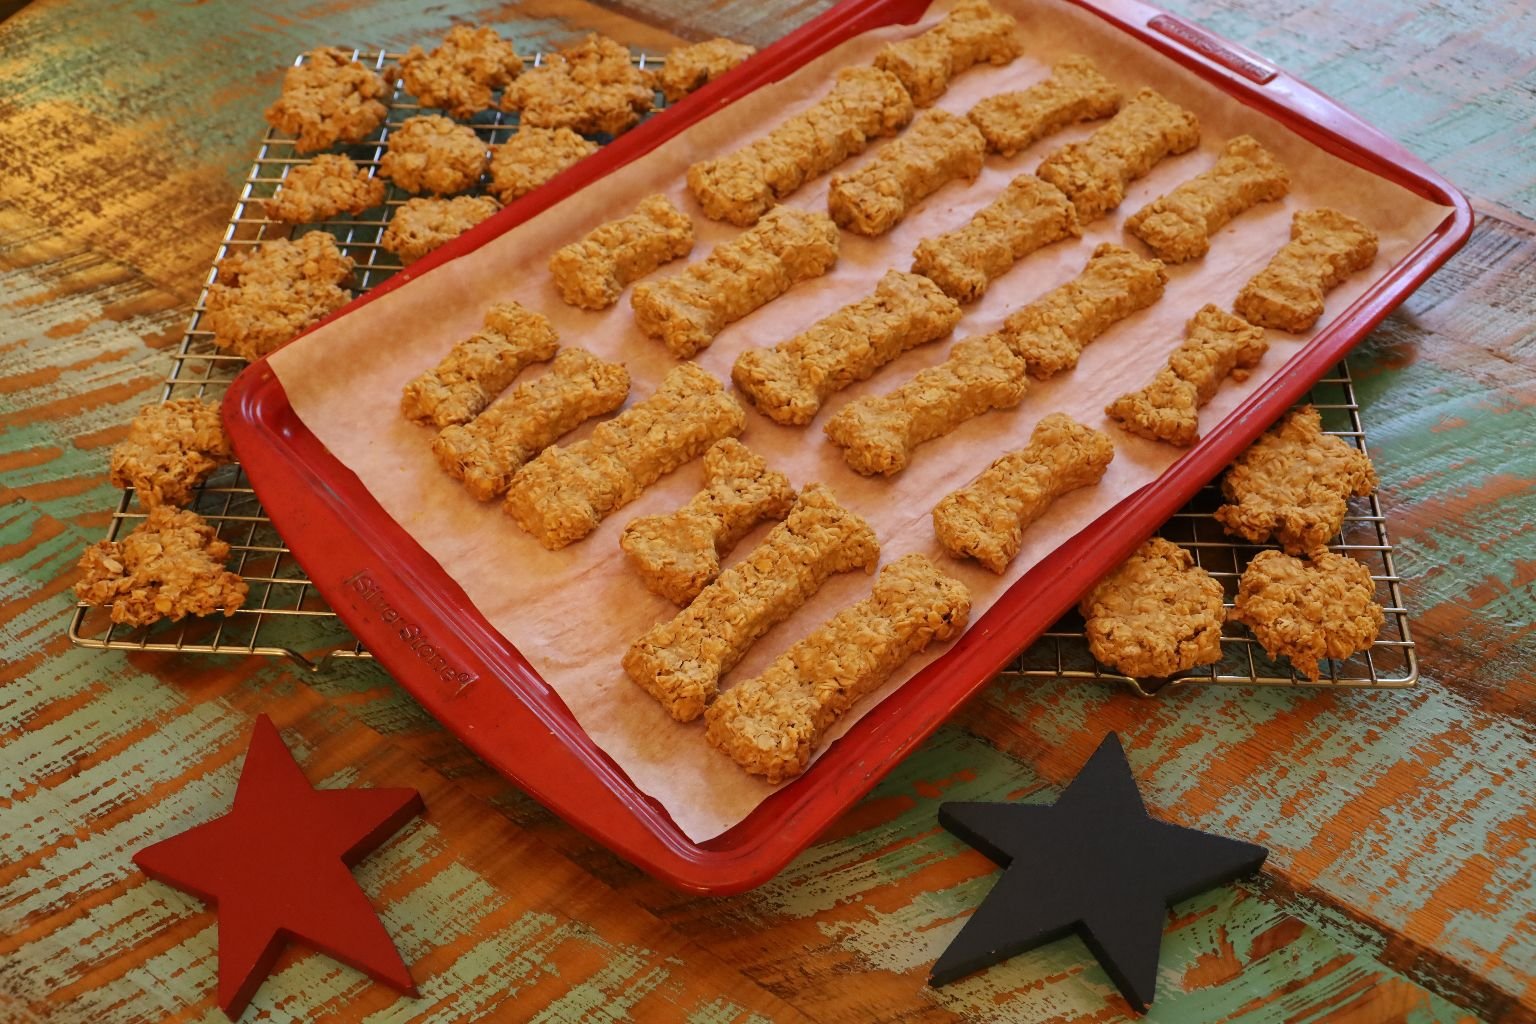
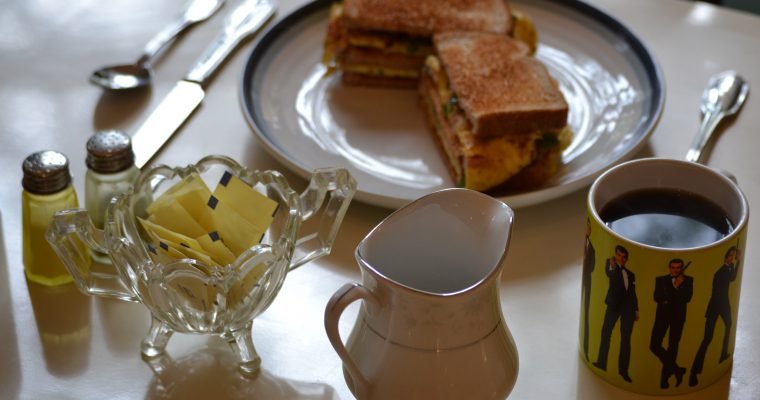
And we need to eat a lot more of this in our 60’s. 🙂
———————————————————-
If you would like to follow my 50’s:
Click Here For My: Nifty Fifties
AND,
My Nifty 50’s and 60’s Skincare

—————————————————-
——————————————————————————–
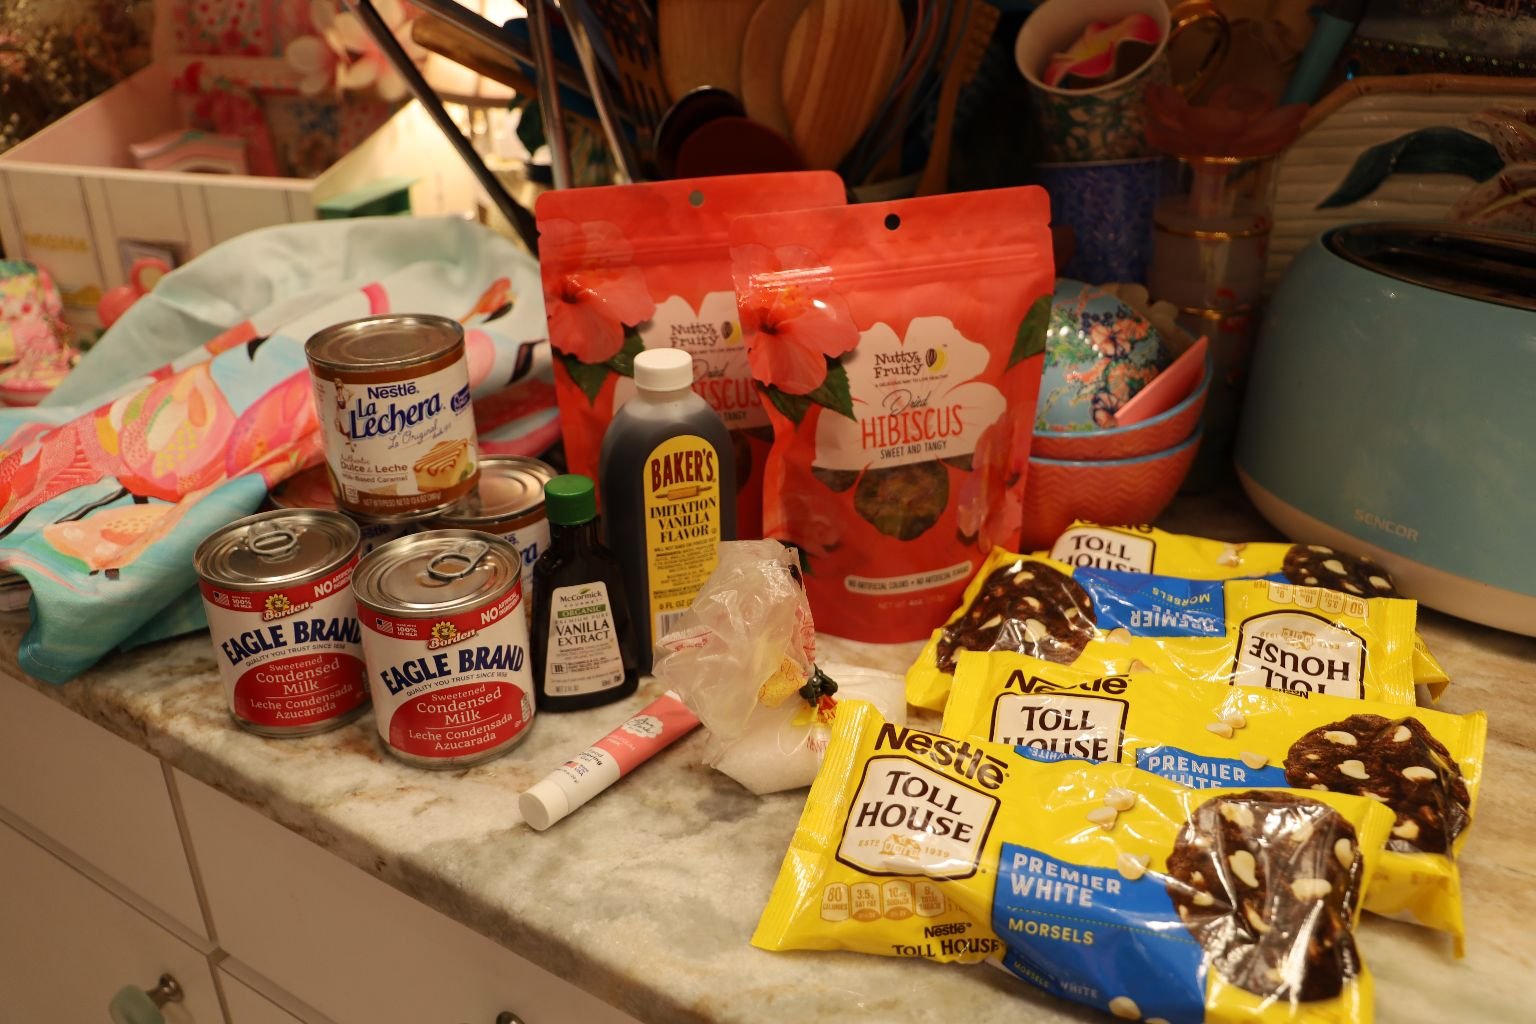
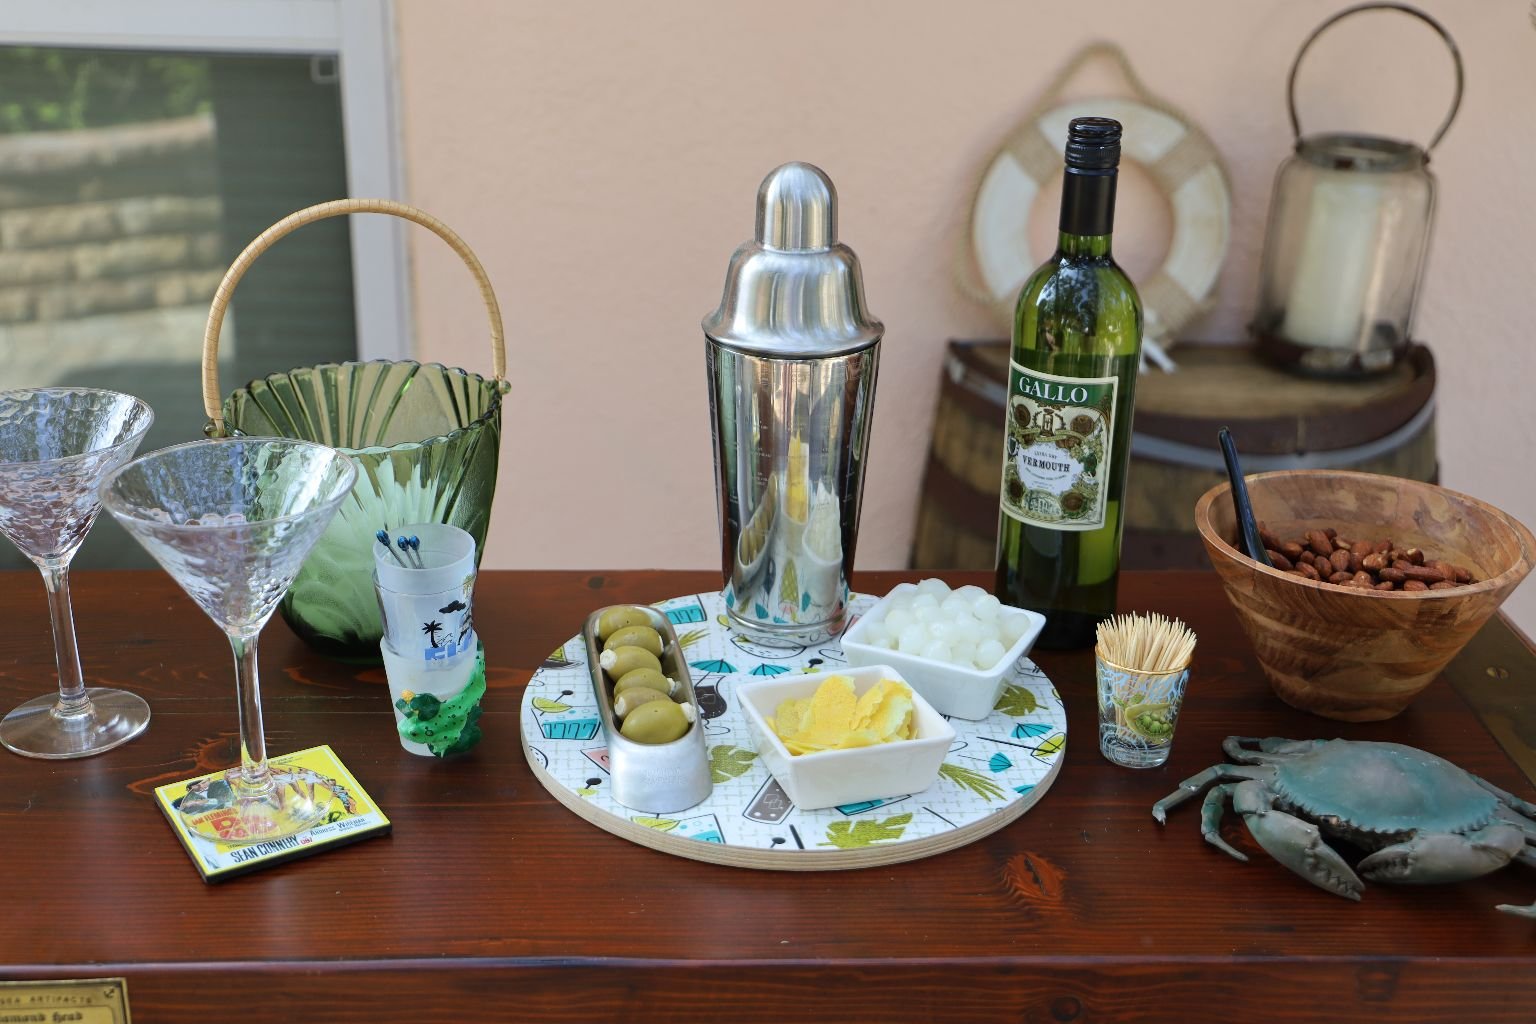
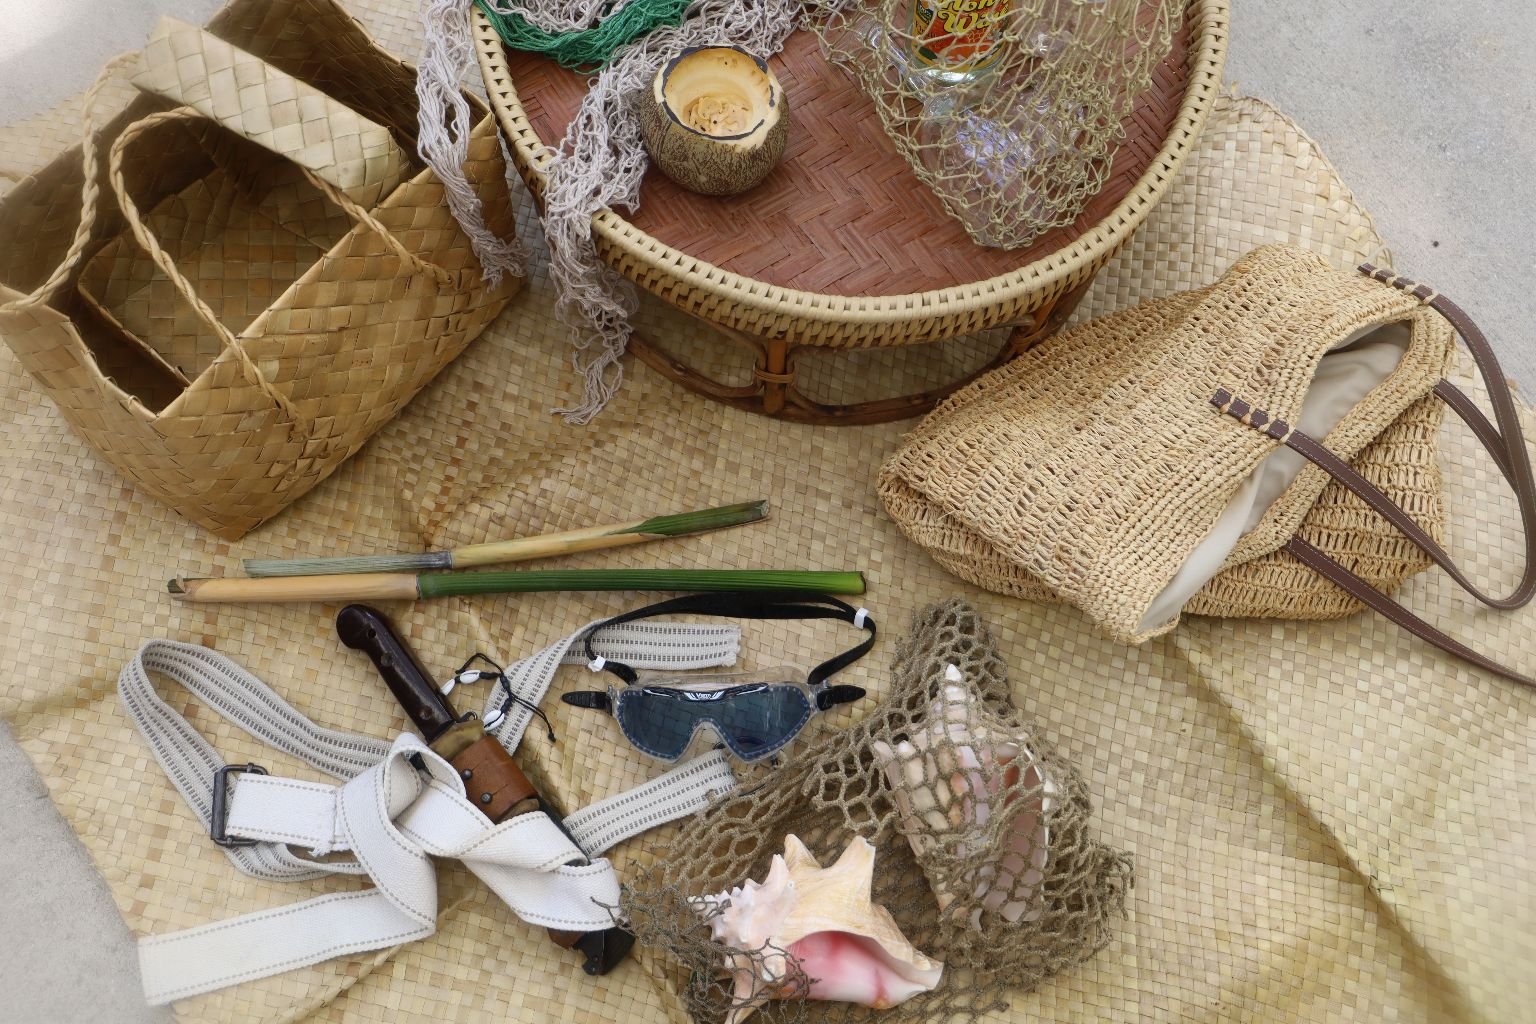
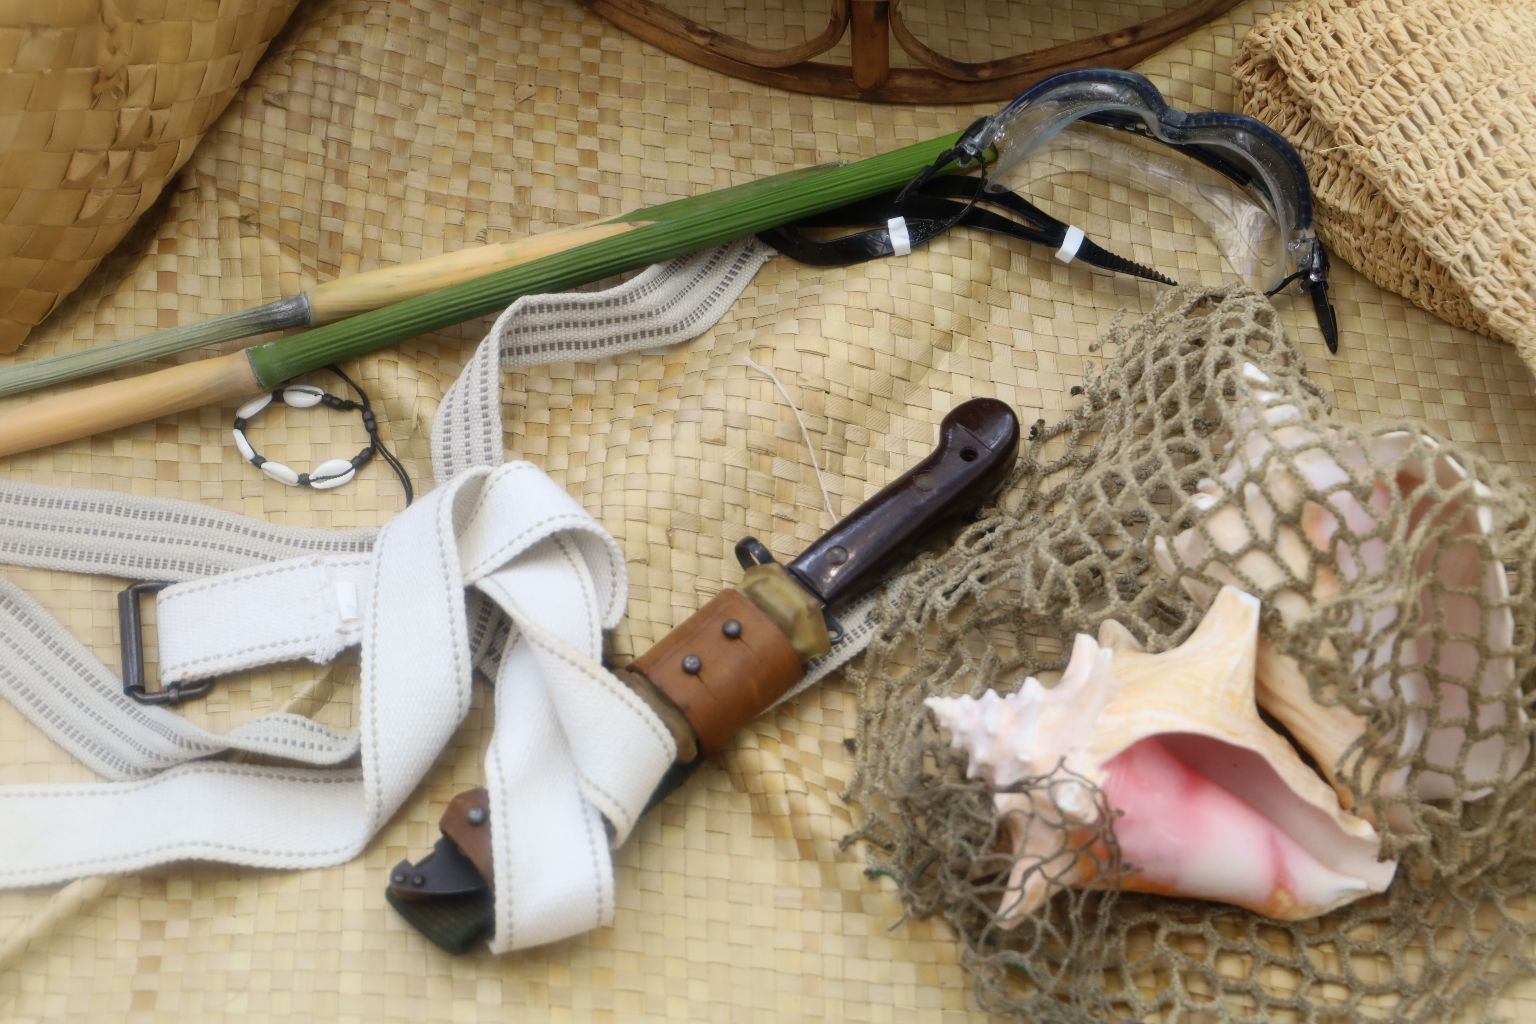
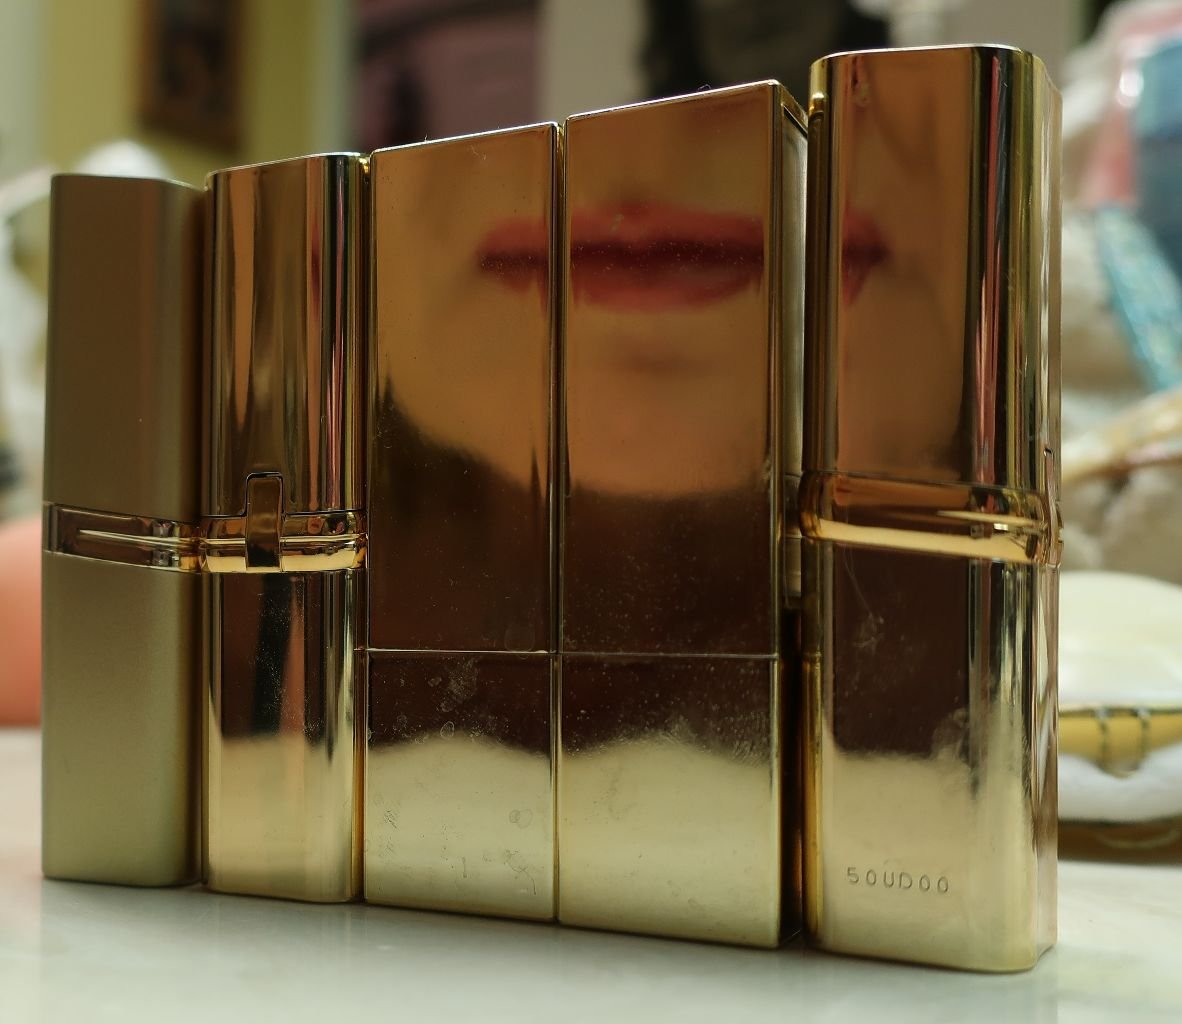
Loving the Organized GOLD!


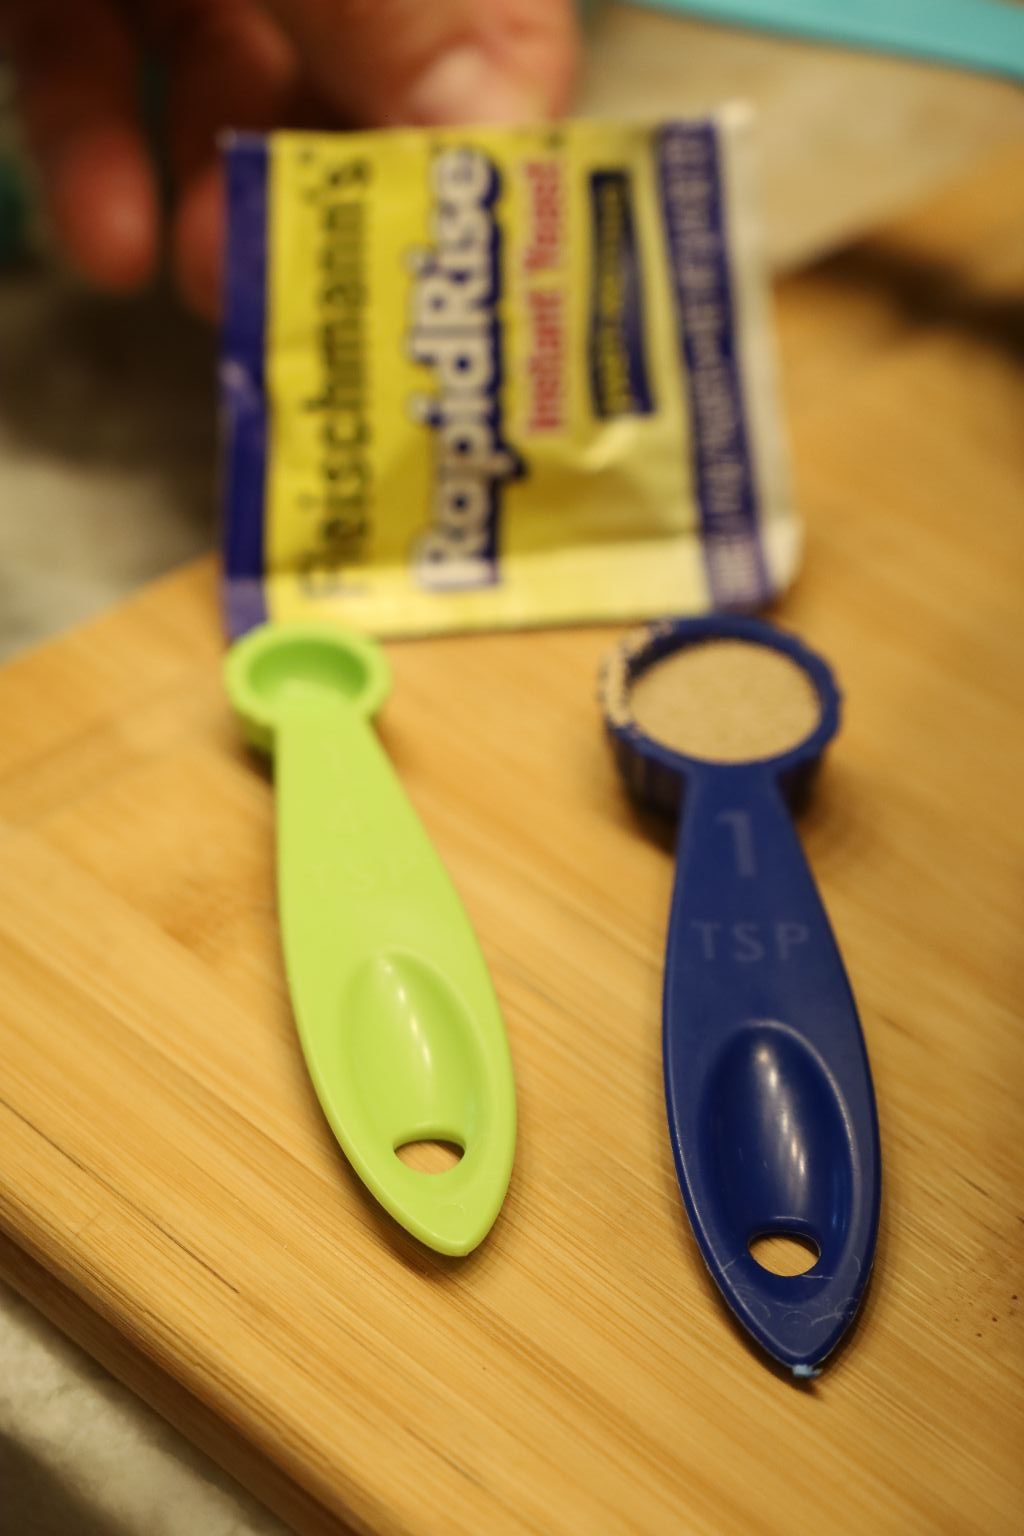
Accessories That I Always Have With Me
———————————————————

————————————
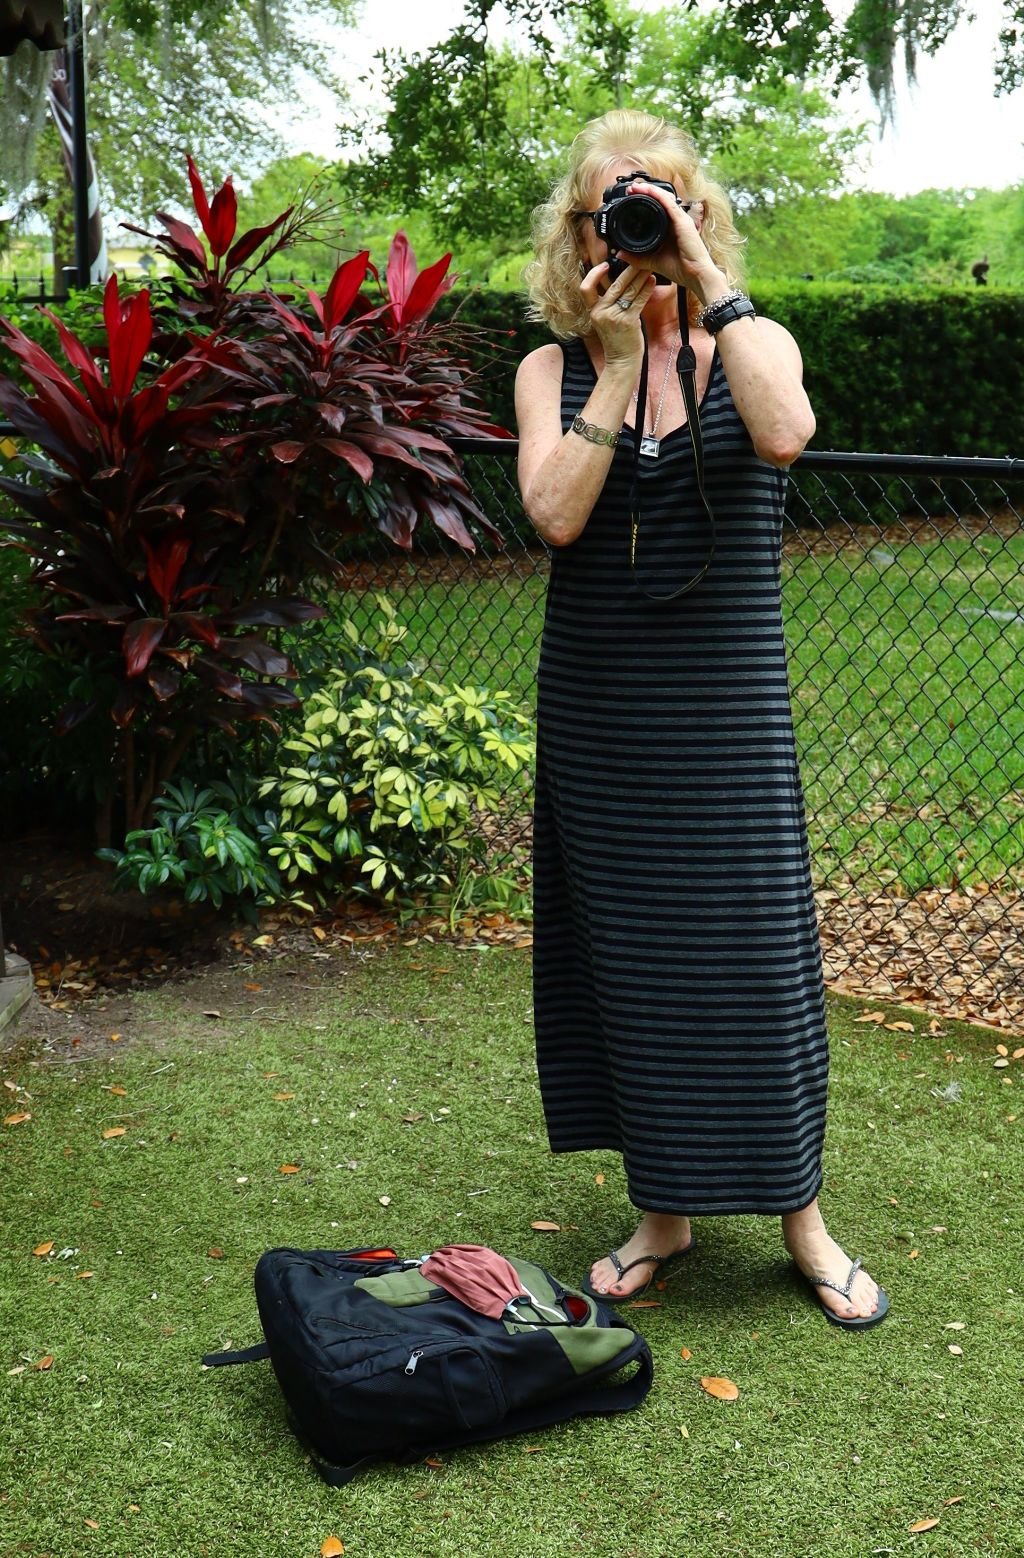
I.C.U.
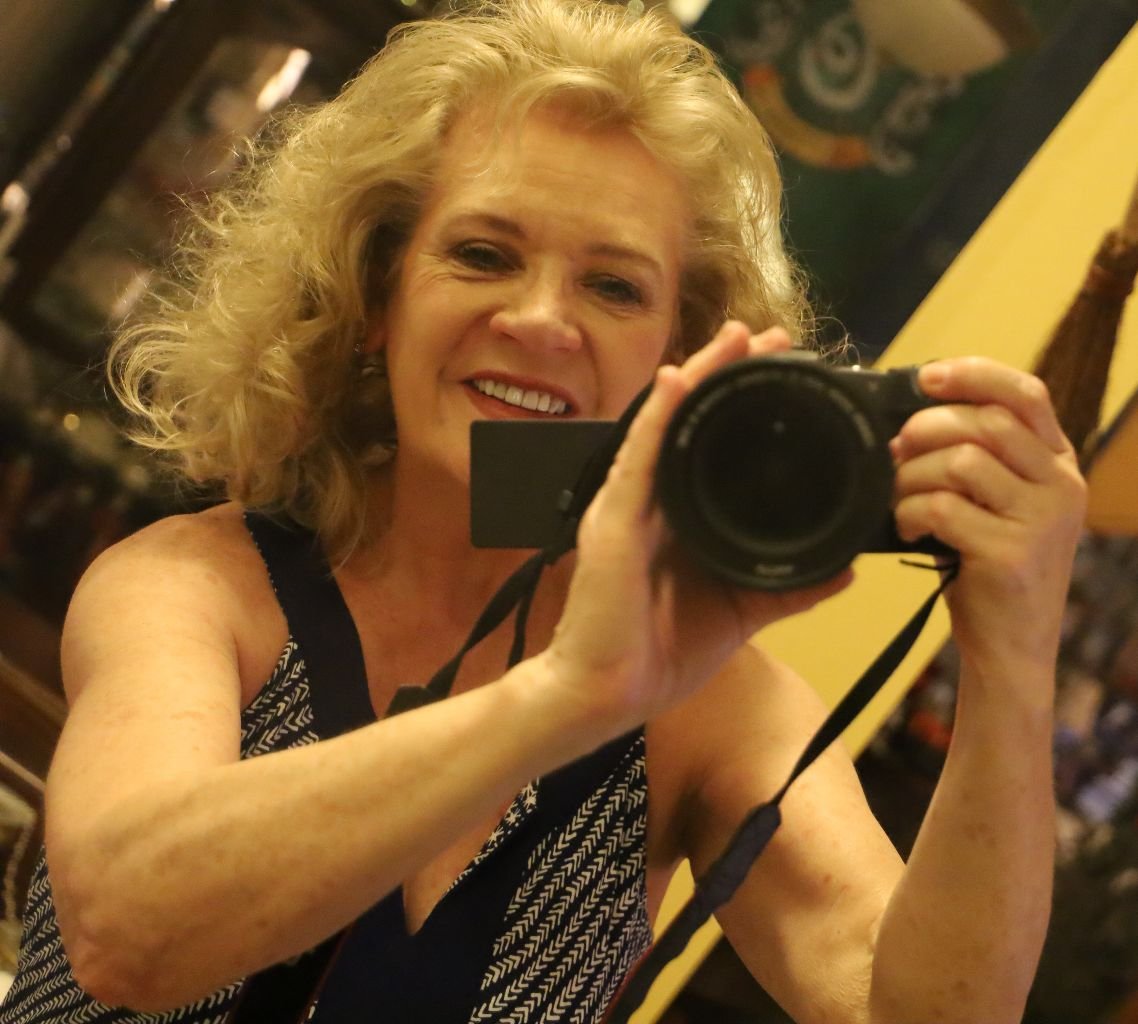
(Photography is a fun and rewarding hobby of mine.)
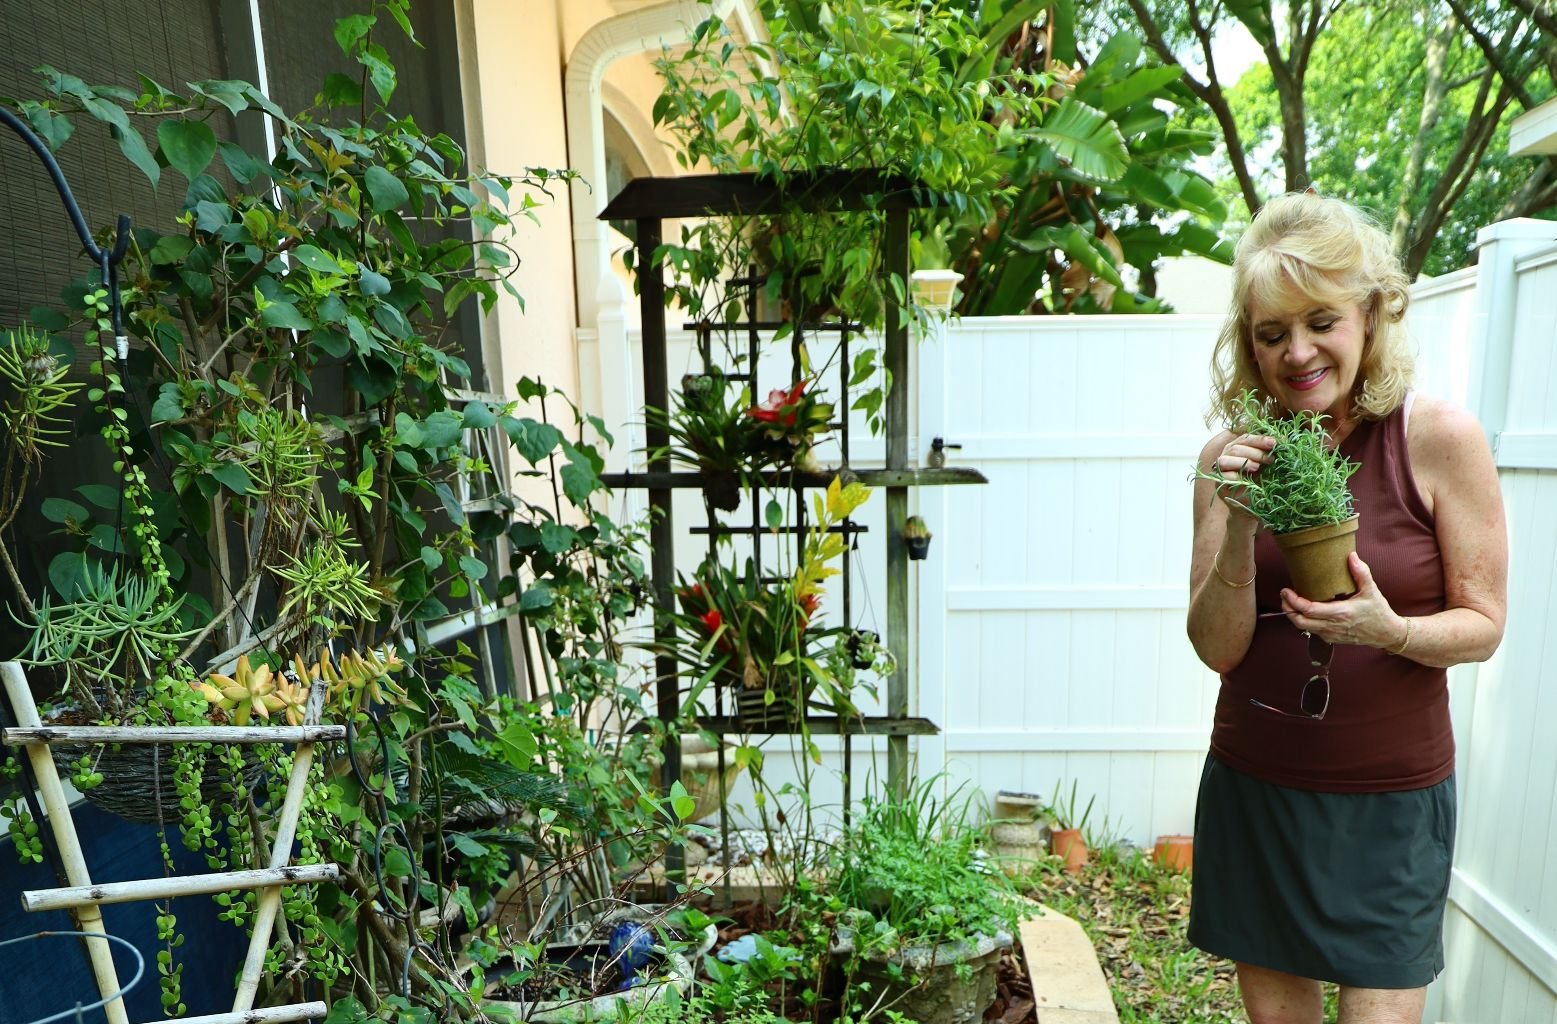
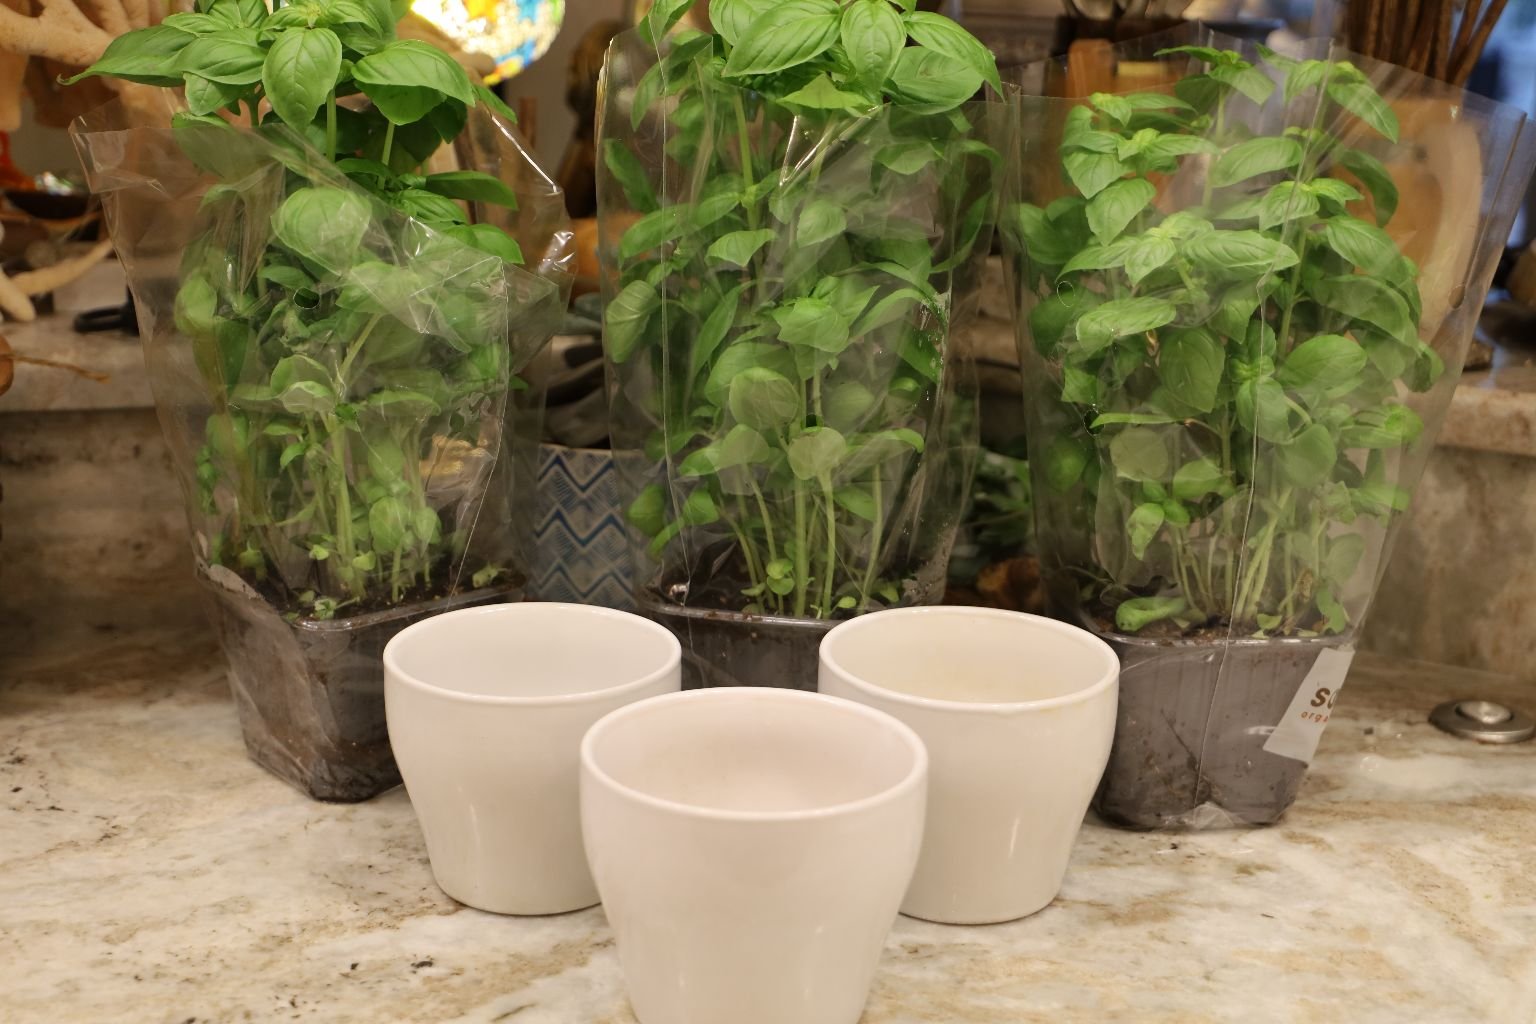
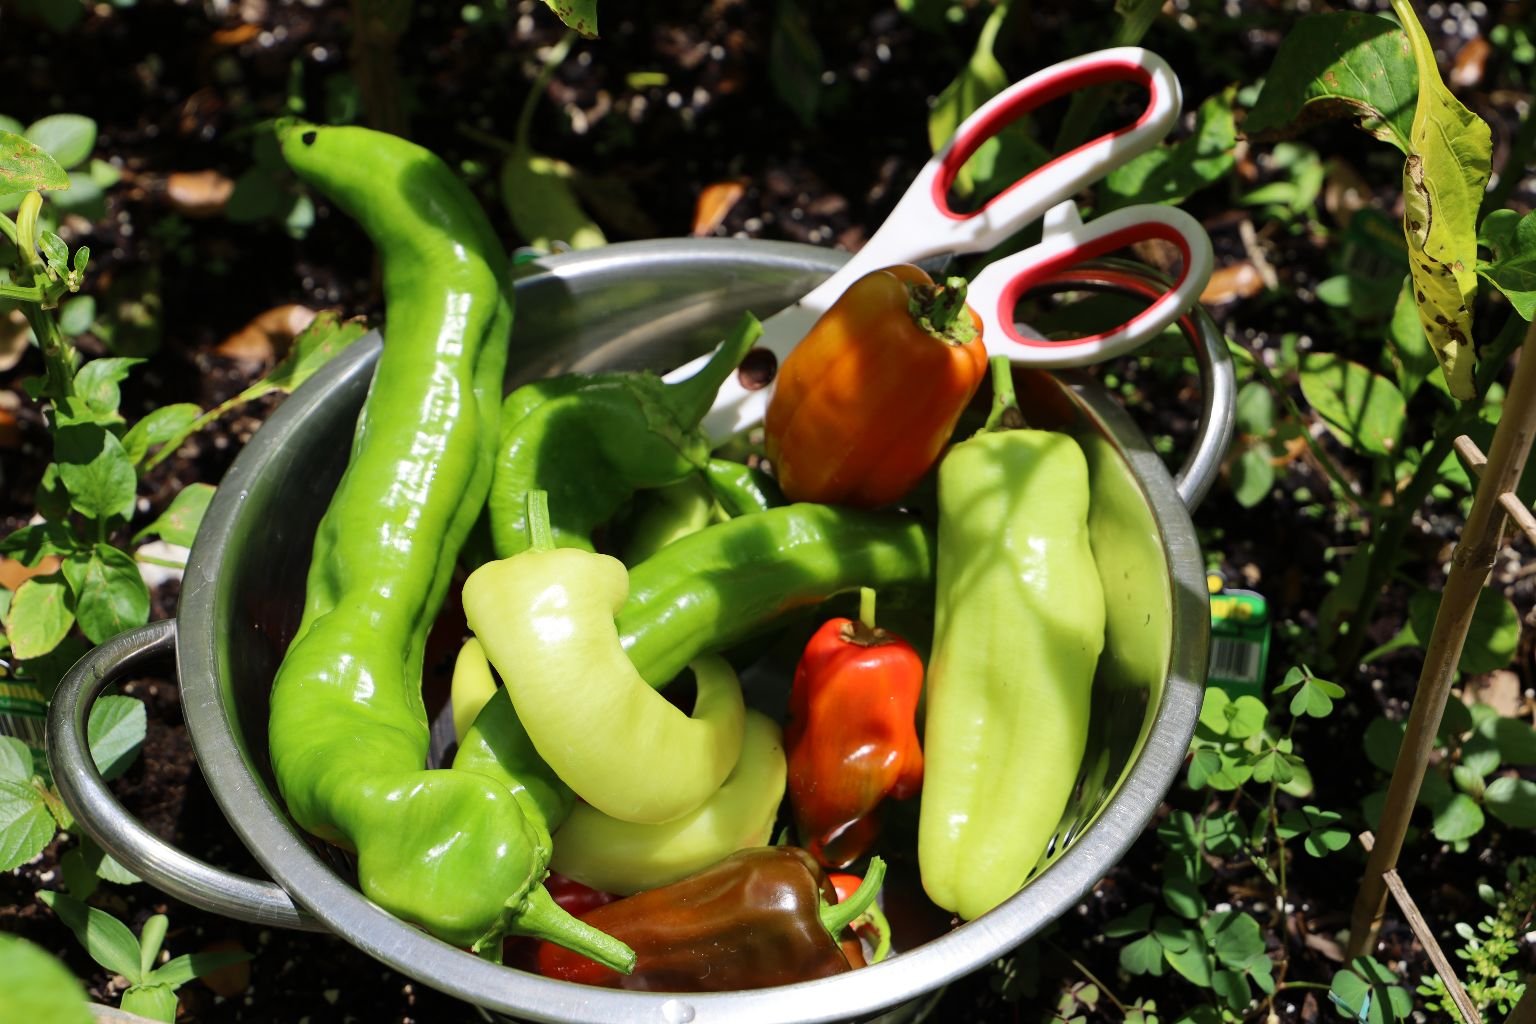
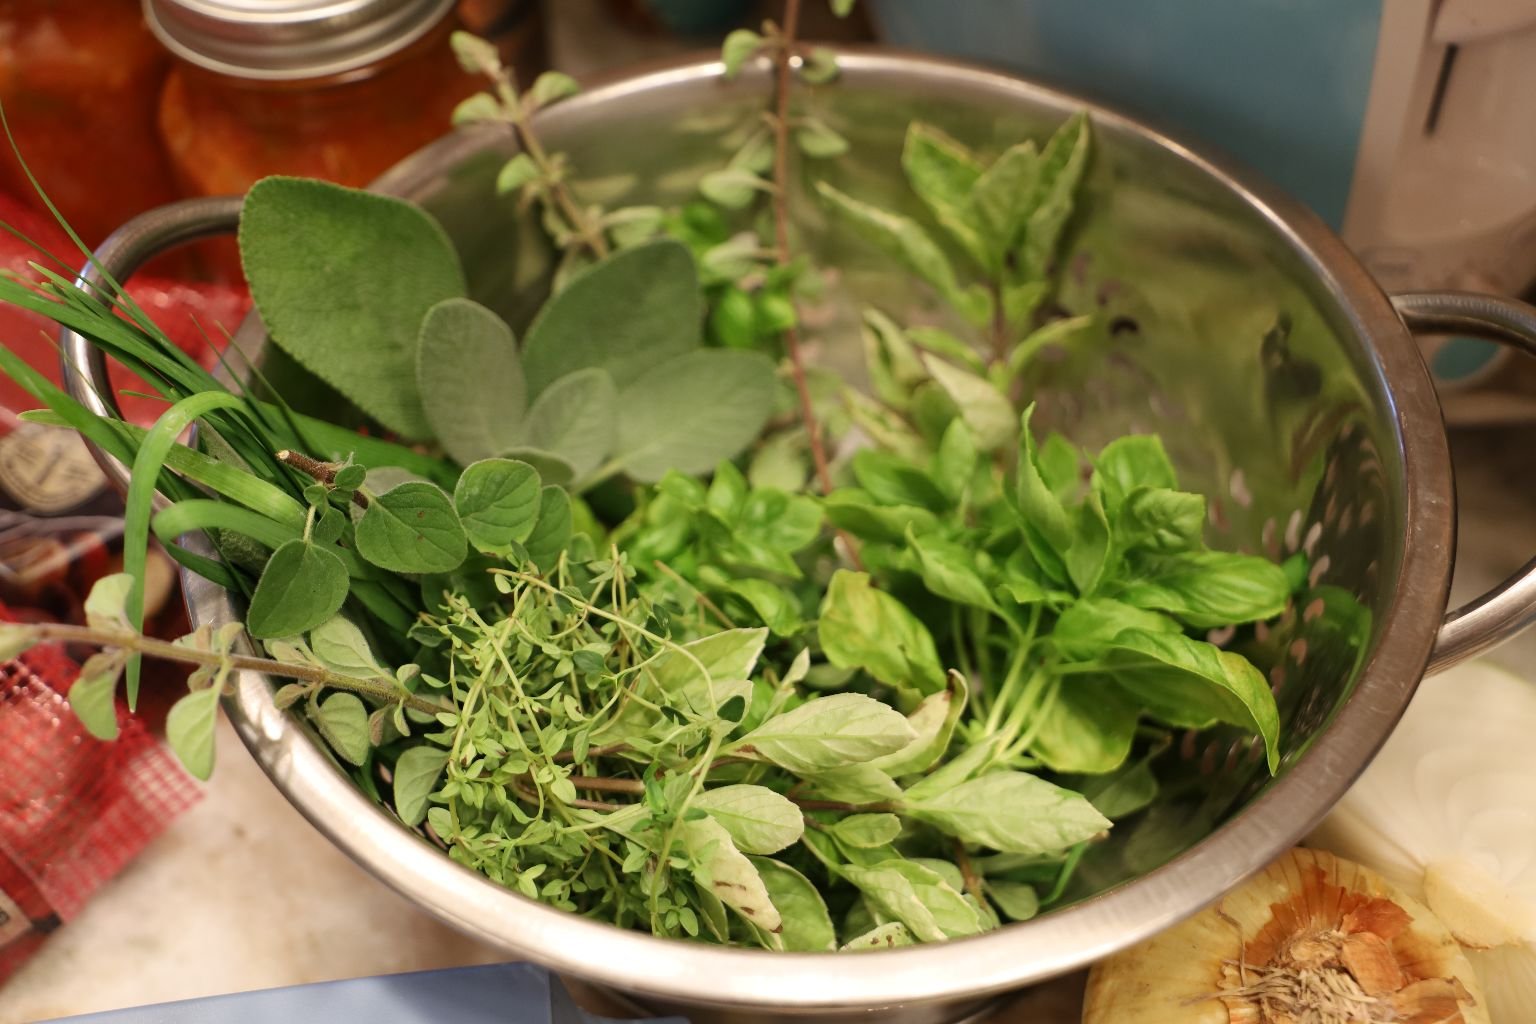
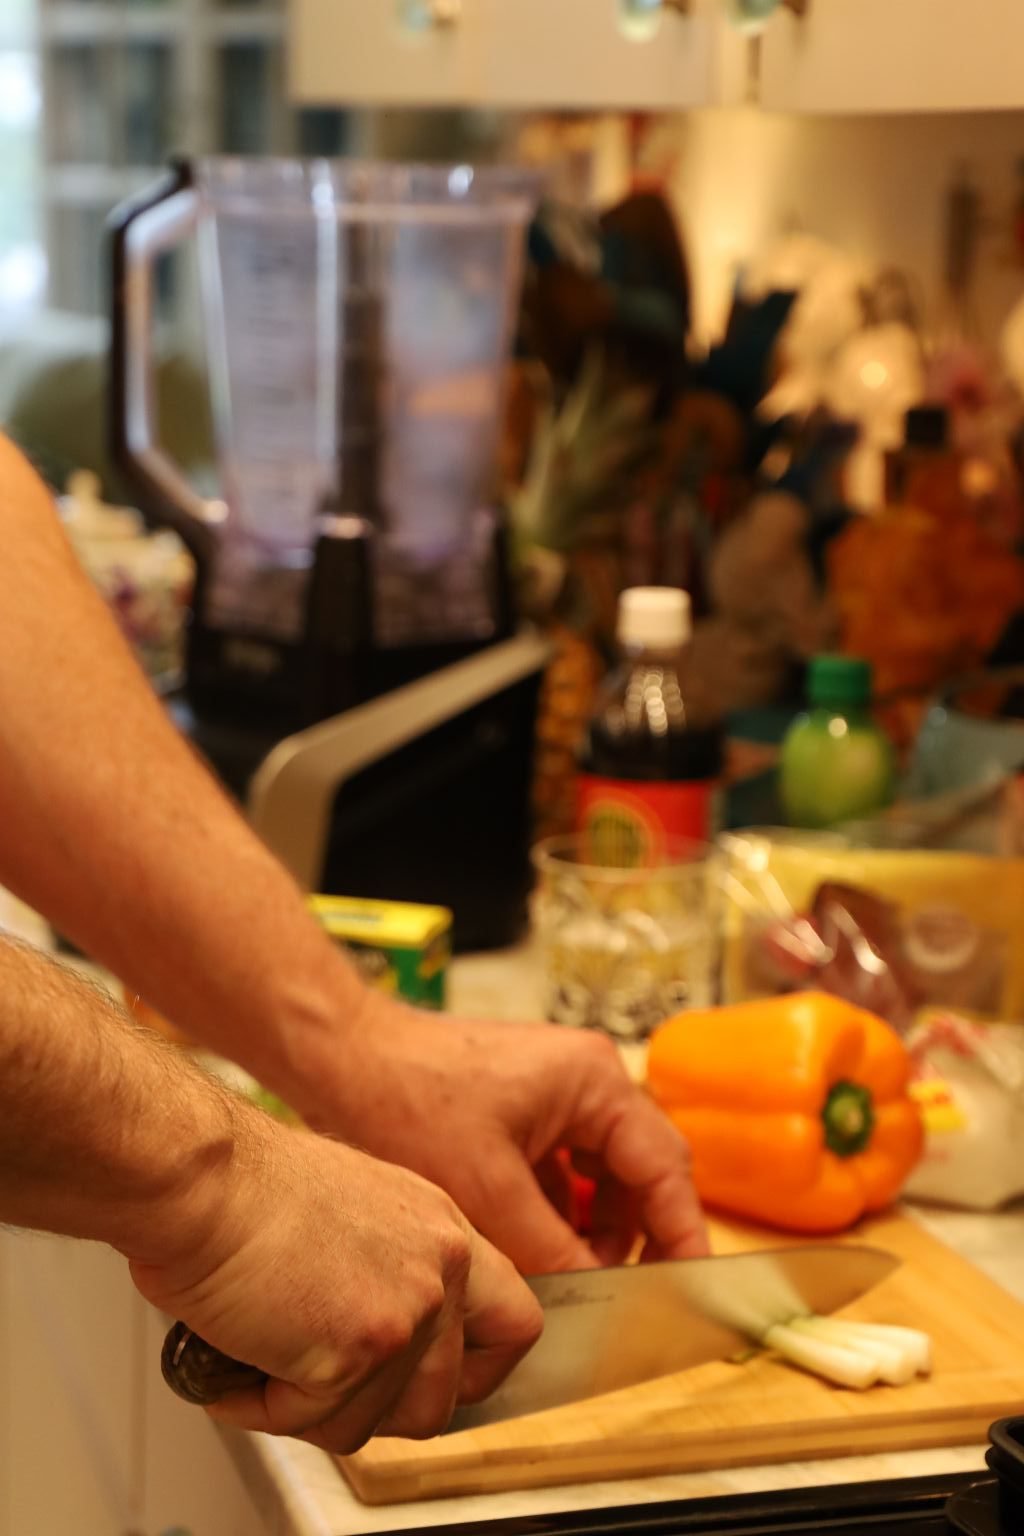
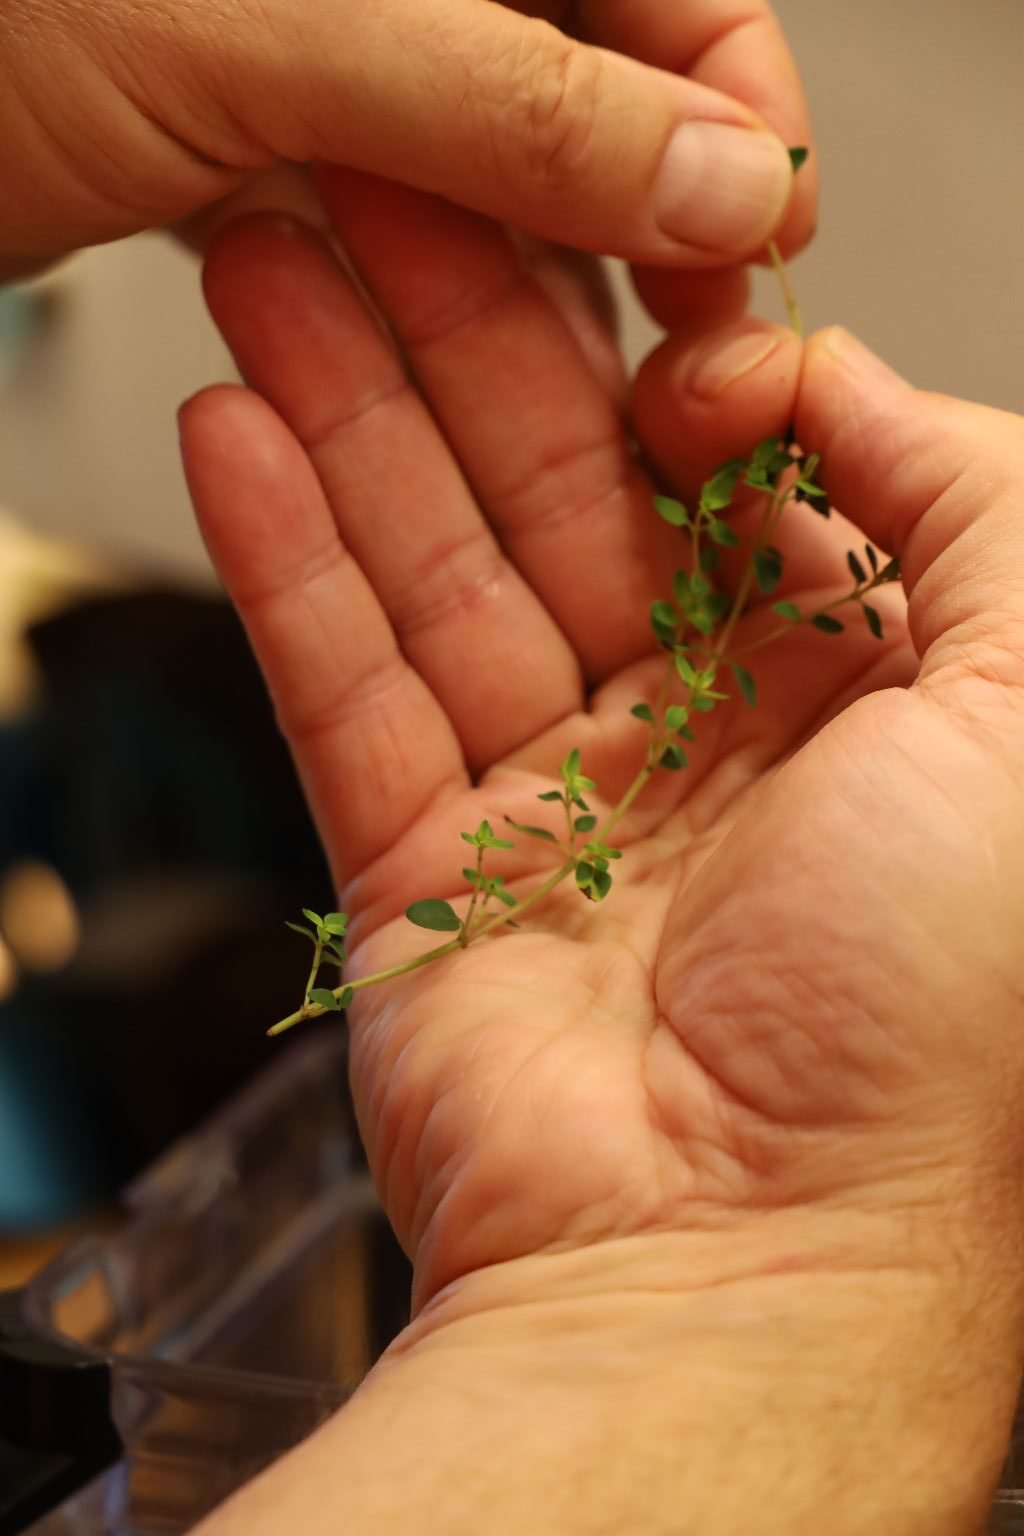
My Herb Garden is Therapy to Me
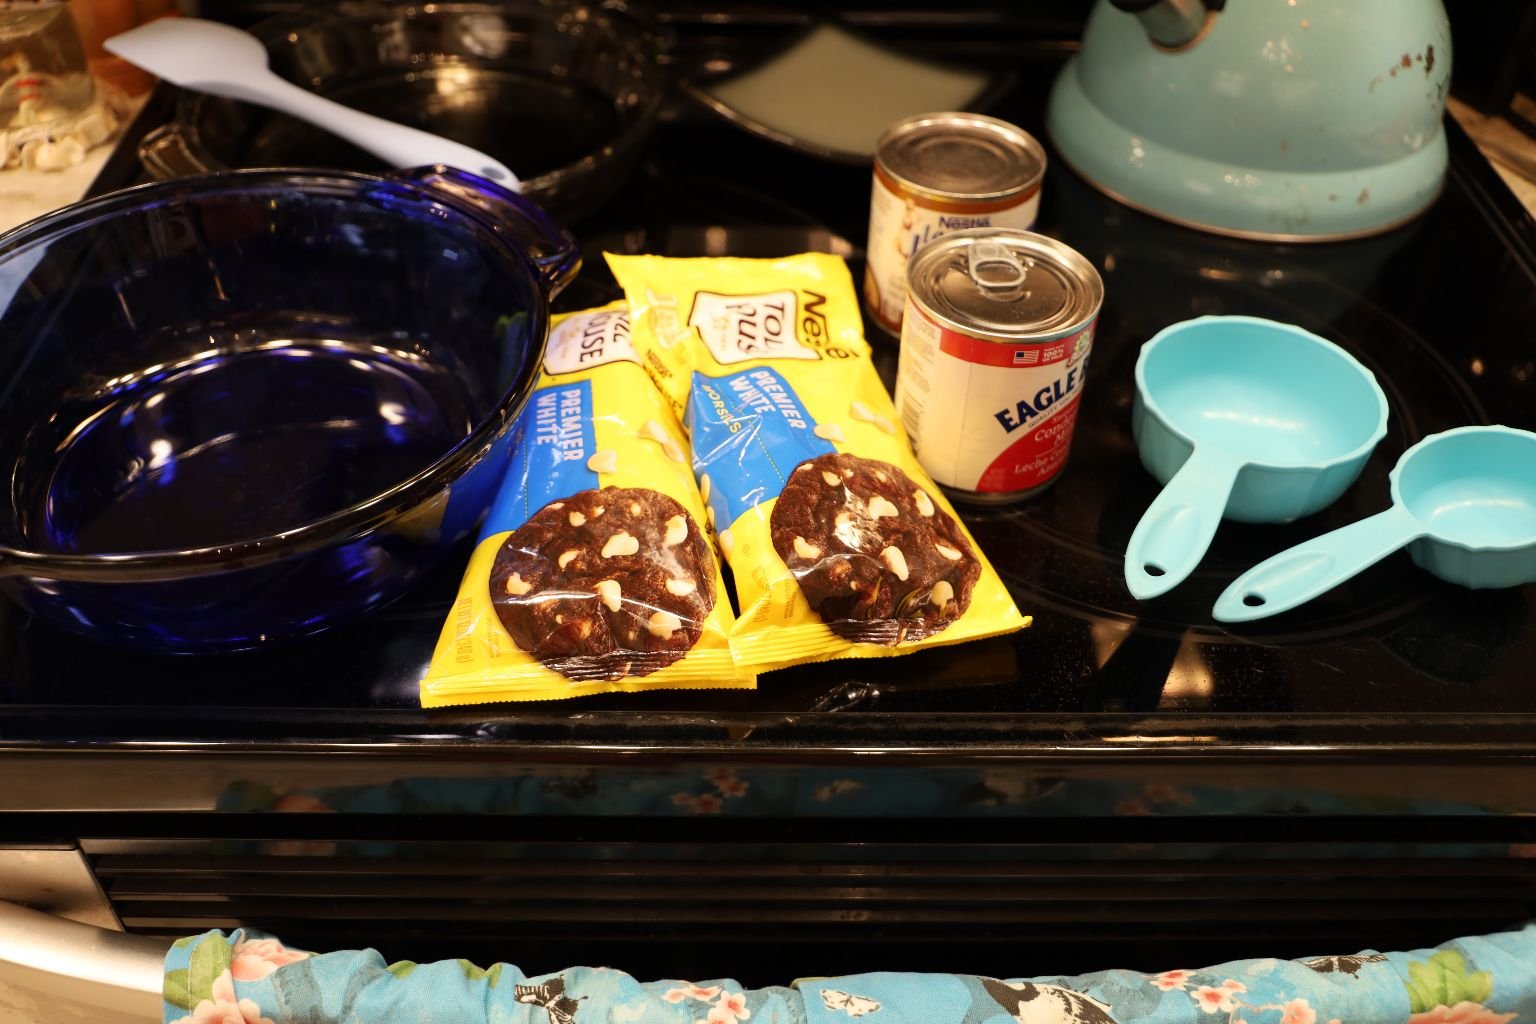
So, Let’s Get Started.
——————————————————————
Blog Entries Start Here

Blogging With Julie
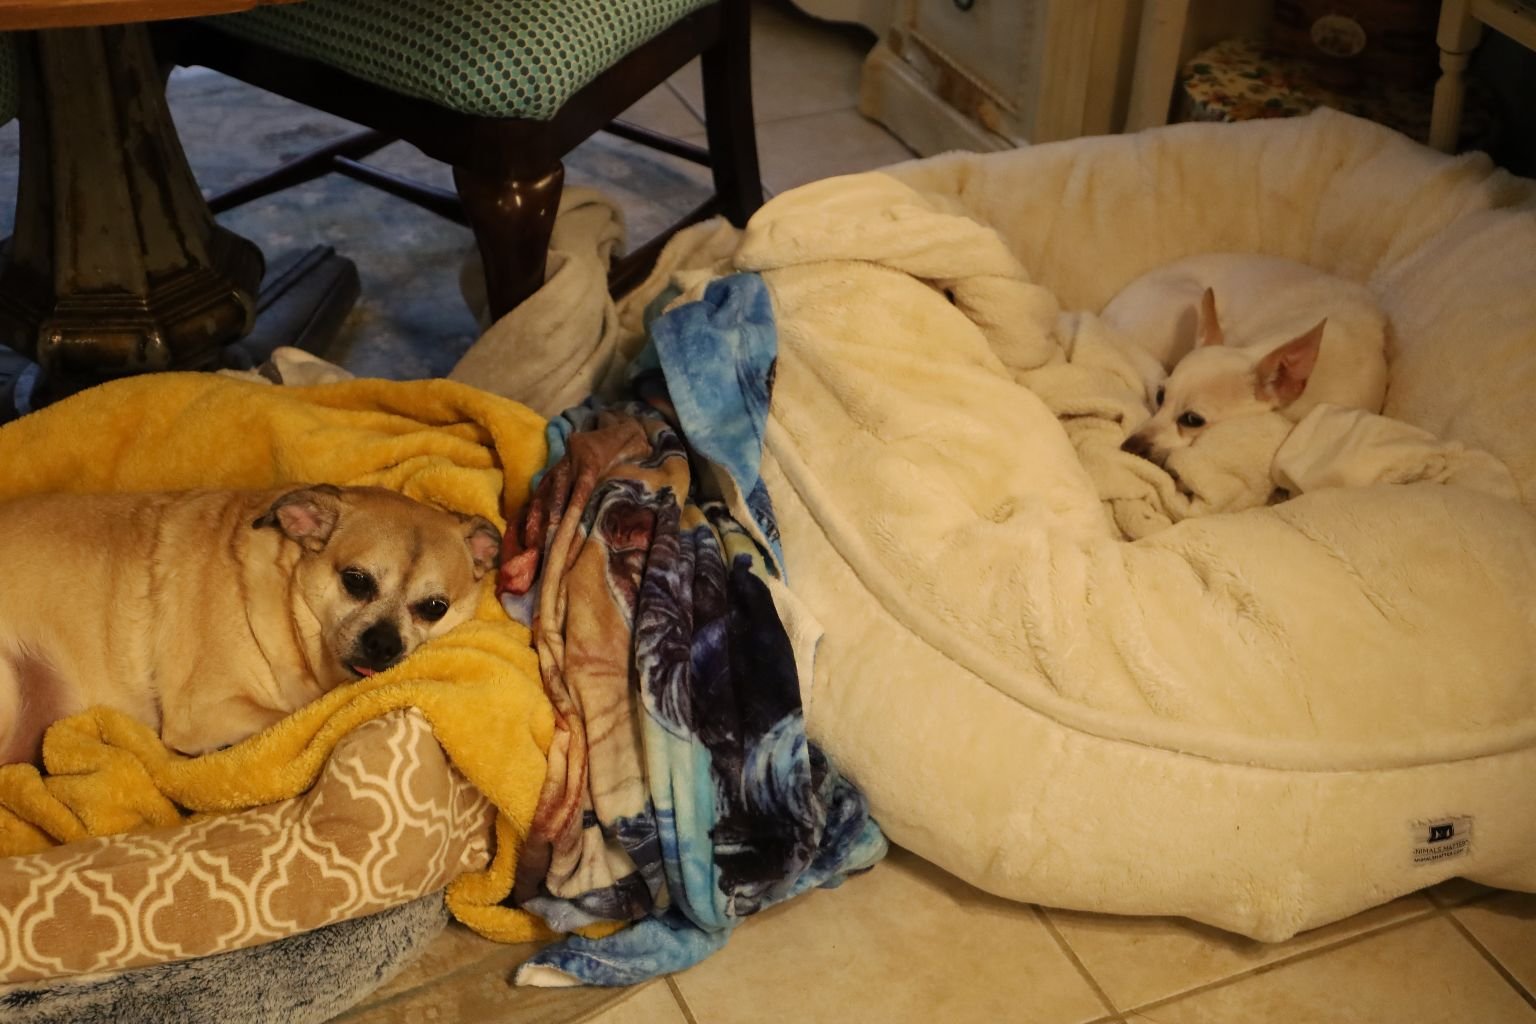
(Sparky and Spooky, always by my side.)
——————————————————————-
January 5, 2026
November Cataract Surgeries
This will probably be my last blog entry on this page. I turn 65 in February and I will start a new 60’s website page then. This one is a bit too heavy as it is. It will actually be a good time to start a new 60’s blog when I do turn 65. Finishing out the 60’s, Part 2! (If I’m lucky, I get a Part 2.)

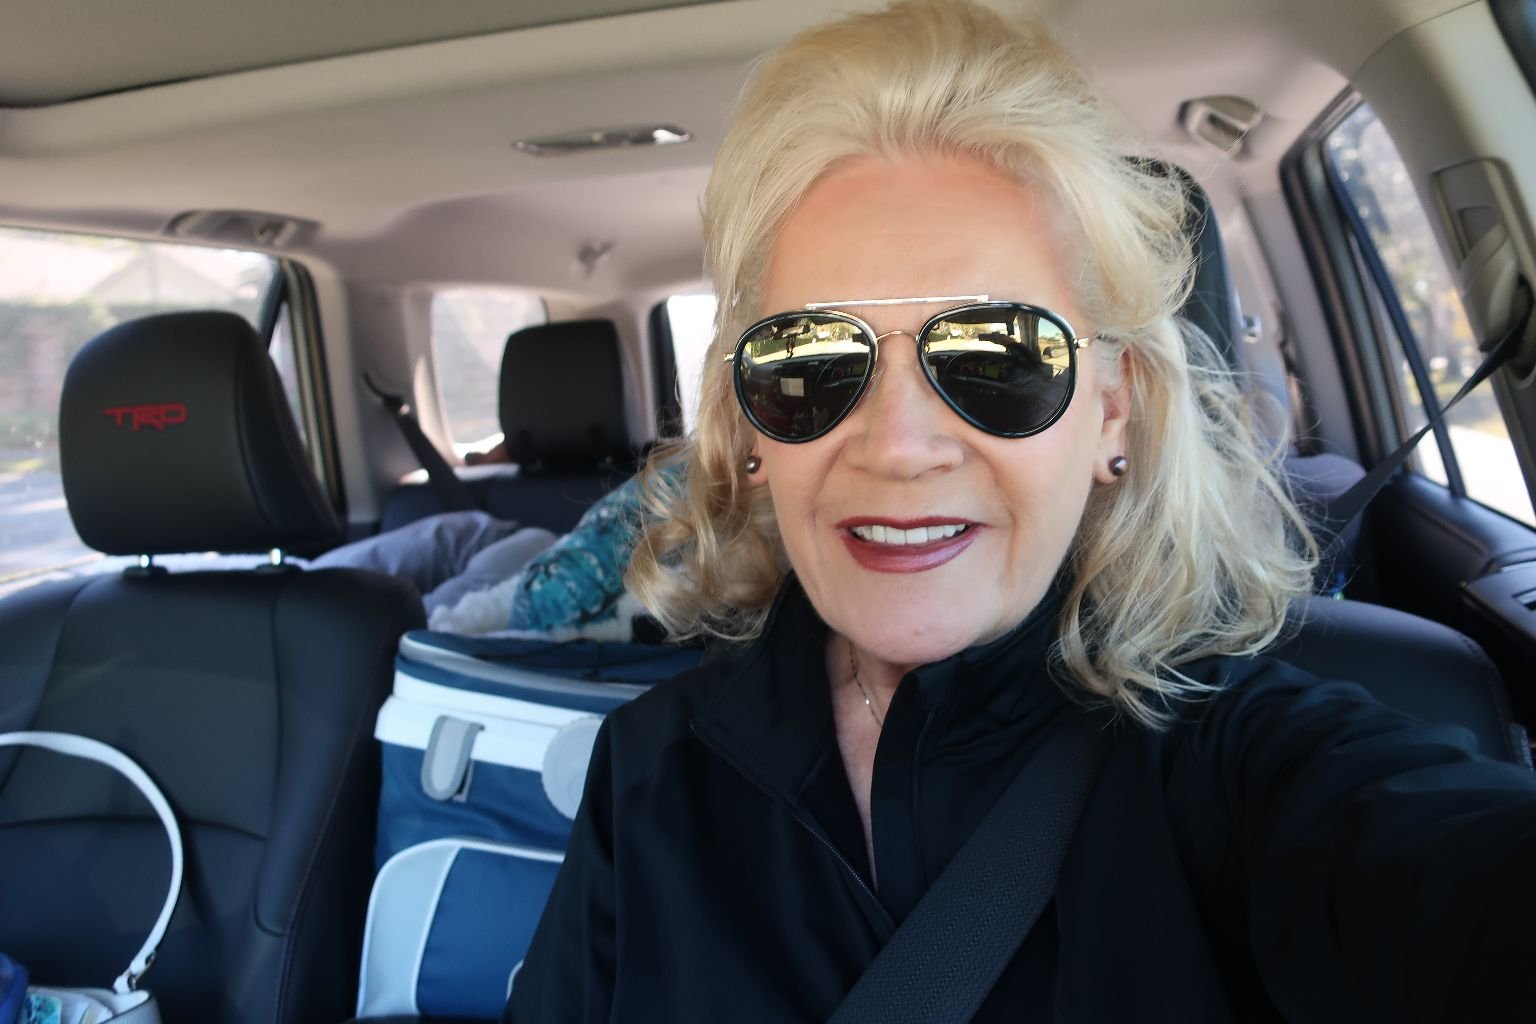
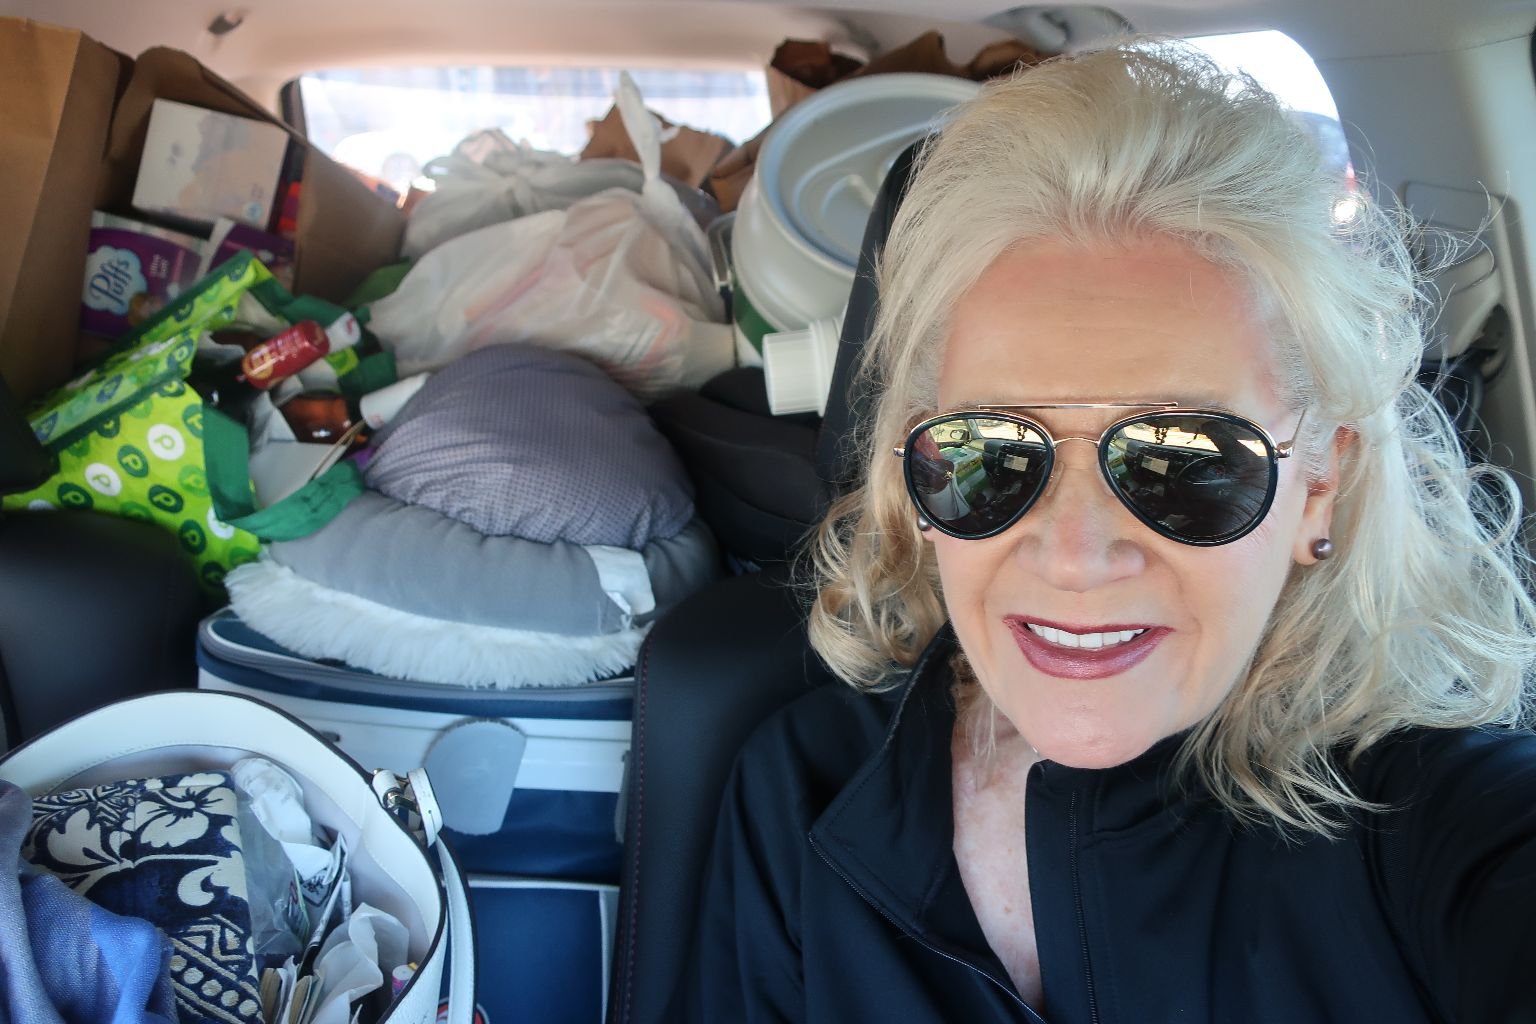
A Selfie After Both of my Eye Surgeries
It was back in August that my vision suddenly started going bad. I was a bit surprised seeing as how my vision really never changed much over the past 5 years prior. It was as if I was suddenly having to look through a dirty window all the time. I immediately called the military eye doctor for an appointment. I was told that they didn’t have an eye doctor at this time and that it would be a few months before a new one was hired. I then panicked! (Like I do when I get bad news.) That is when I called a more local eye doctor for an appointment at one of those big department store like businesses where they have tons of eye glasses for you to choose from with doctors in the back of the building. I got an appointment and showed up knowing full well that I most likely had cataracts, yet hoping it was just a case of needing a new eye glass prescription.
The doctor I saw dilated my eyes and determined that I had cataracts, and recommended a cataract medical facility to help me.
I hate it when they dilate your eyes. I asked them if I could safely drive home, and they told me, yes. Well, after my appointment I could barely see. I got into my car dreading the drive home. It was then that a delivery truck pulled in back of me, preventing me from leaving. Instead of feeling upset by this, I viewed it as a blessing in disguise. He blocked me in for a good 25 minutes. I was fine with it! When he came back he had this smirk on his face when he looked at me as if he had the pleasure of screwing over this old white woman. Little did he realize that I was fine with it! 🙂
When I did leave and was on my way home, I don’t even know how I got home? I was following shapes and colors. I had a death grip on the steering wheel with my foot hovering over the brake at any time one of those “shapes” crept up on me.
As it is, I had impaired vision, now throw in cataracts, then add the dilation. There was no way in hell that I should have been driving a car! Once I did make it home, which was a miracle in itself, it was hours until my vision straightened out.
The following day I contacted the cataract surgery center and made an appointment. This was in early October. I knew to show up with no make up on, especially no eye make up. They did a series of tests on my eyes, even dilating them. I have never had so many eye drops placed in my eyes in my entire life!
I met my doctor that would be doing the surgery. I really did like her. I think she liked me too.
After all the tests I made an appointment for early November for my first eye surgery, and paid the money required. With my insurance paying most of it, my portion I had to pay was around $1,500.00 per eye. They do your strong eye first.
I did have to place the Refresh Eye Drops in my eyes 4 times a day prior to my surgery. I had to do this for weeks!

Cataract Eye Surgery Appointment, October 31, 2025
Halloween
Gordon Home To Help Me
Gordon had come home in mid-October from working overseas. He was only home for about 2 weeks. I was very happy he was here for this particular appointment because they dilated my eyes and I was happy that I didn’t have to drive home by myself. We did run to pick up my prescriptions from a local pharmacy that didn’t take our military insurance. You see, MacDill AFB would not acknowledge that the doctor put in the order for me. The doctor put in the order 3 times! They even showed us in the computer that they did. I desperately needed those eye drops for my before/after surgery. However, MacDill said they never received it from the doctor, so therefore, they were not about to fill it, so we had to go to a pharmacy near us and pay FULL PRICE!! Had MacDill done their job it would have been free for us. We had to pay around $600.00 dollars, 3 times for the eye drops, so that equals about $1,800.00.
Now, here is the kicker. When you have a cyber-stalker that gets into your accounts, your medical records, your doctor’s offices, etc. was this a MacDill error? Or was it done on purpose by my cyber-stalker P.G., that can get into any computer he wants to? This is what I live with. And this was a big “fuck you” to me.
Oh, and I lost my Zultanite Tennis Bracelet, most likely in the pharmacy parking lot when we had to pick up my prescriptions. Gordon was more upset about it than I was. But as I pointed out to him, it was free. So….. He has since picked me up another free one that he’ll be bringing home this February. (He has great contacts overseas.) 🙂
———————————————————————————————–
Gordon ended up leaving to fly back overseas a day before my first surgery. That’s just how it worked out.
Veronica and Isabelle ended up taking me to my first surgery. She had to take the day off.
My first surgery went really well. My eyesight was very blurry for the first 4 days and then all of a sudden it was as if a miracle happened and I could see clearly again! It was wonderful! (That’s when I noticed all the dust on my furniture that I hadn’t seen before.) 🙂
The thing about that first eye surgery is that you cannot lift anything over 20 pounds for weeks, and you cannot bend over to retrieve things. Funny, because I spend my entire life going up and down, and up and down about 50 times a day on a regular basis. I had to stop that.
I did continue to keep Isabelle throughout my recovery, I just couldn’t lift her up anymore. I had to change her diaper on the floor, instead of on the table. She had to learn to climb in and out of her crib because I couldn’t lift her. I placed the dogs little stepping stool thing inside her crib, and I would guide her as she would get herself out.
She was such a trooper! I was so proud of her!
——————————————————————————————–
My second Cataract Surgery was in mid-November. Once again, Veronica had to take the day off to be with me. I was so grateful that I had her to help me.
That eye surgery really didn’t go as well as the first one did. They had a hard time clamping that thing over my eye, it caused stress. They had to cut some of my eyelashes off.
I just remember being very quiet and taking it all in. My vision in that eye has been a bit “erratic” since then. It still is sometimes. The second surgery didn’t go as well as the first one did. I now have to make an appointment with the original doctor that discovered the cataracts in order to round this all out.
———————————————————————————————

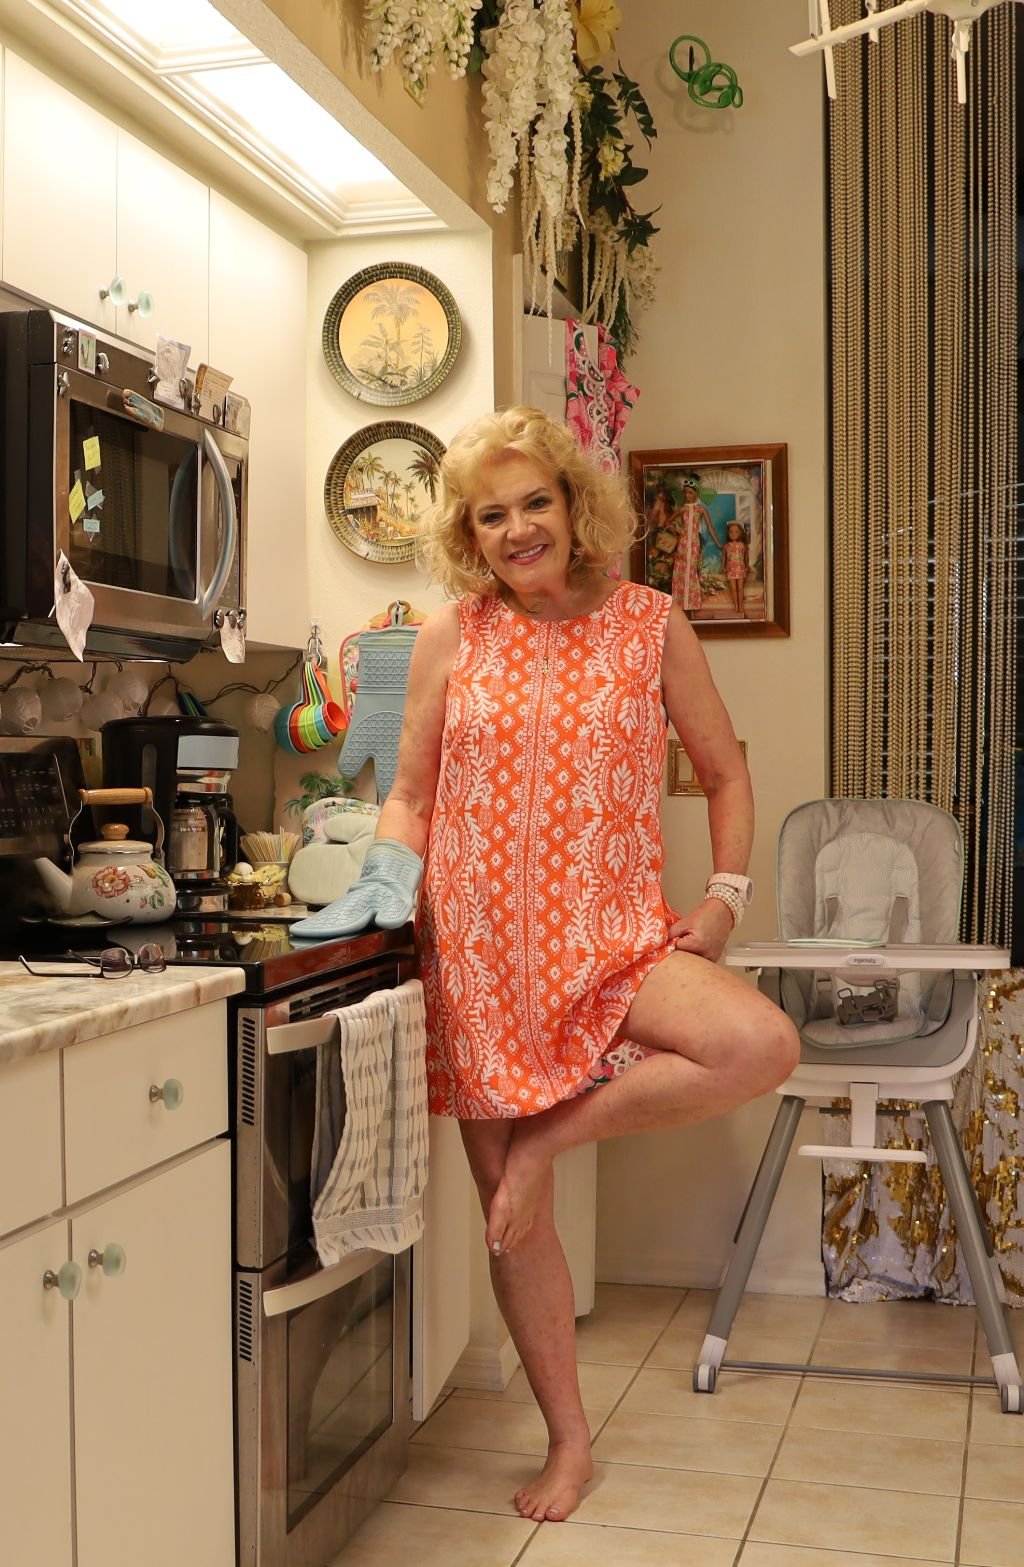
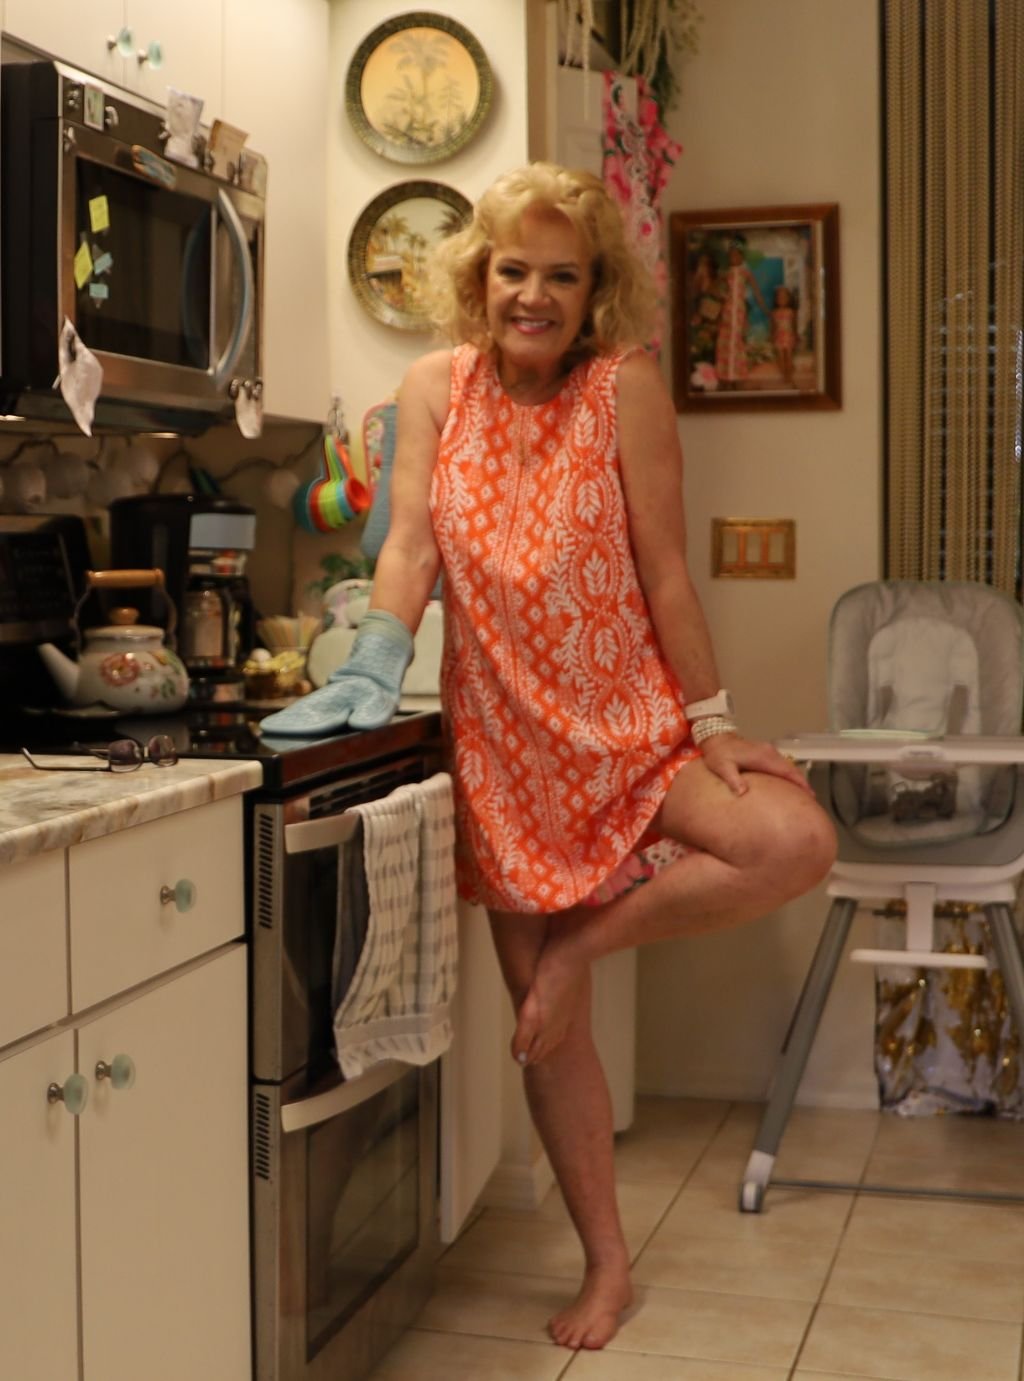
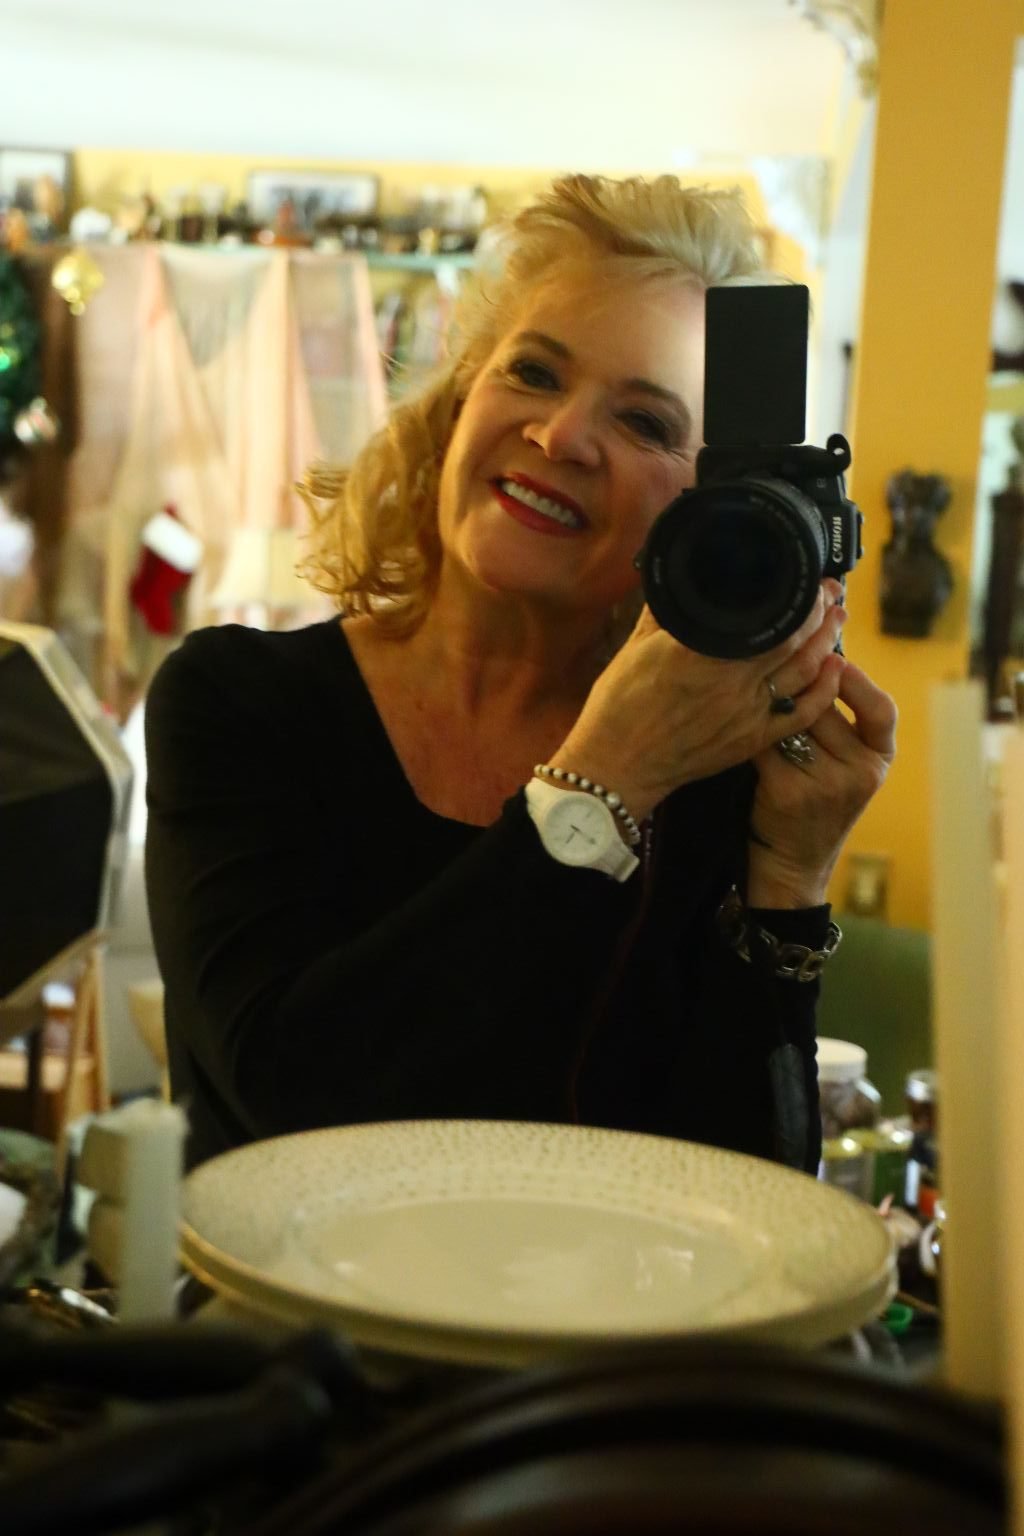
A December, 2025 Kitchen Nook Selfie
It’s funny but I found out that my brother Johnny in Ireland had Cataract Surgery on one eye this past November. What a coincidence that both of us had Cataract Surgery in the same month without ever telling each other? I am 8 years older than he is.
When I initially discovered that I had Cataracts, I was upset about it. I was thinking that I was just too young for this kind of thing. But now, I’m happy I got them when I did. I turn 65 in February and I have no idea what Medicare will be like. I think it was probably a good thing that this happened prior to. At least I have this out of the way. I no longer need glasses, but I do need readers when I use my computer or read books and magazines or any kind of close up instructions.
You know, it’s all about maintenance now, as we age.
——————————————————————————————–
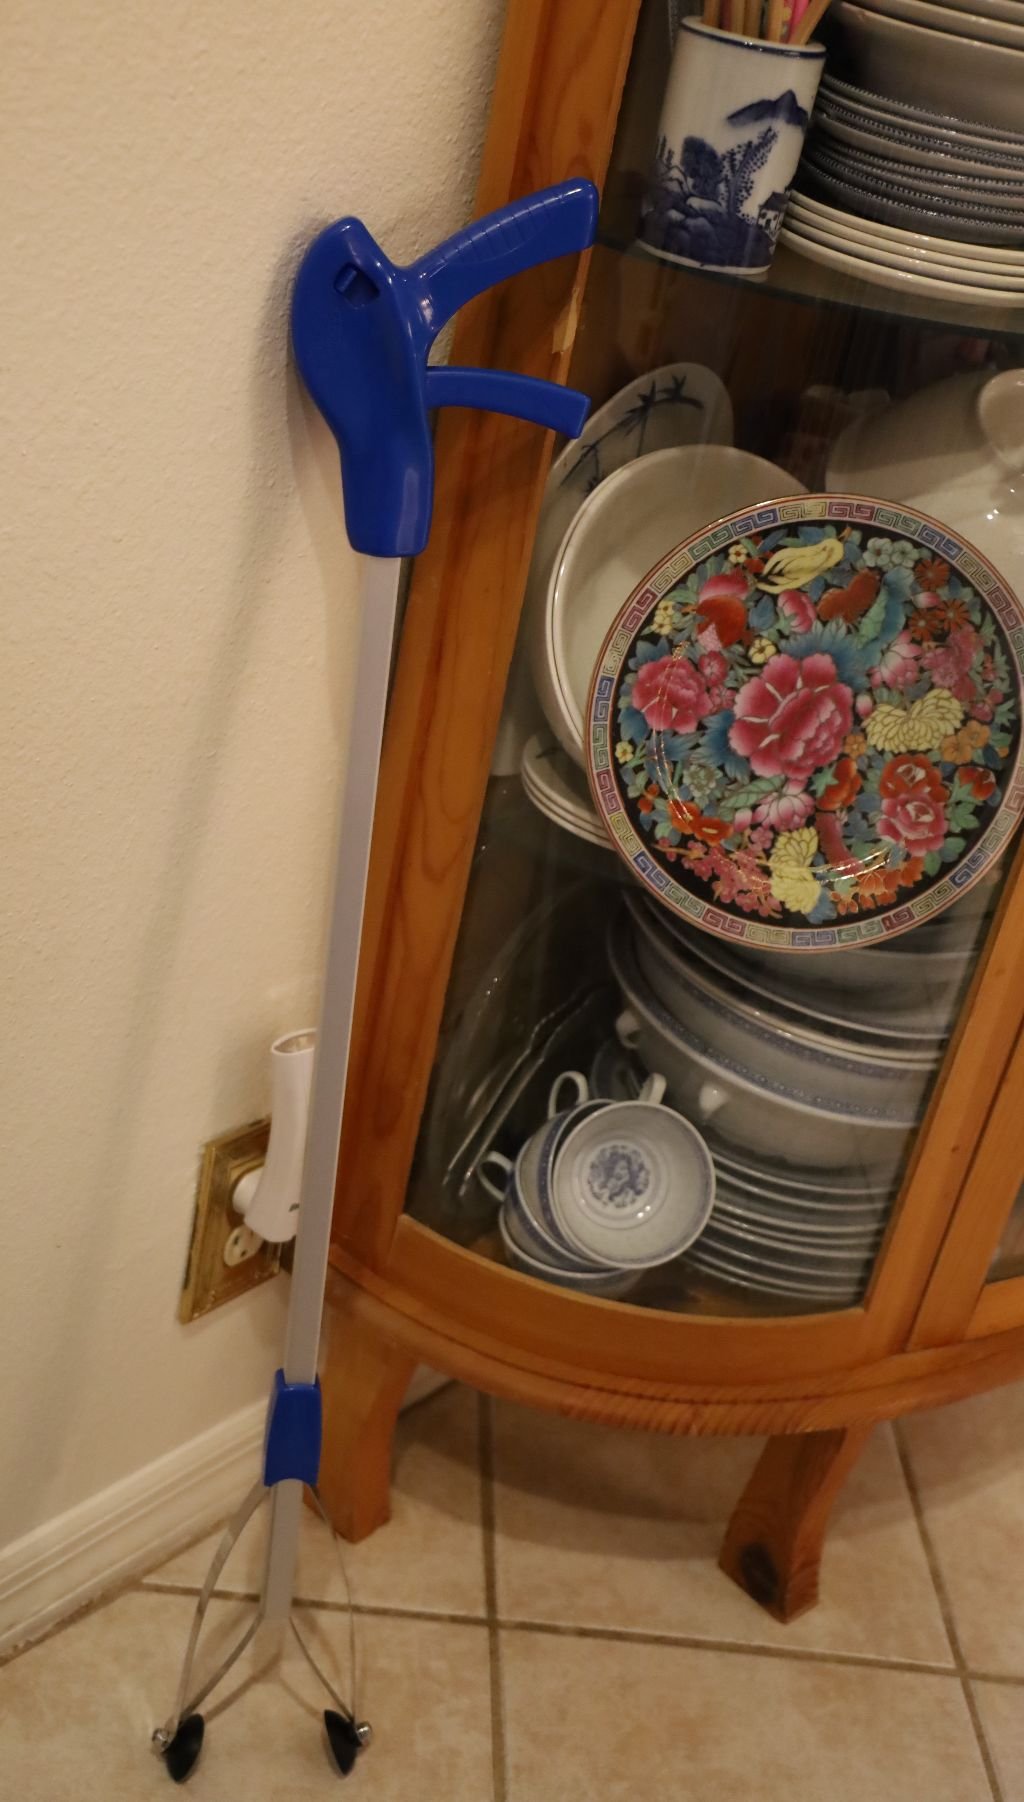
See That Gadget Above?
I highly recommend that to anyone having Cataract Surgery. Actually, I recommend it to everyone in general! I could pick up a single Cheerio with that thing!
Because we aren’t supposed to bend over to pick up anything after our surgery, this was perfect for all that I had to pick up where Isabelle was concerned. Even the dogs with their toys.
Because both of my surgeries were in November, I really did end up taking a lot of time off. I viewed it as my recovery. I don’t think I wore make-up for a good 6 weeks. And, I was fine with that. I rested when I felt like it. I worked when I felt like it. When I did work, it was very light.
I did it. I got through it. I am glad this chapter is over for me.
Julie
P.S. I’m just glad I saved all my Reading Glasses from years ago! 🙂
———————————————————————————
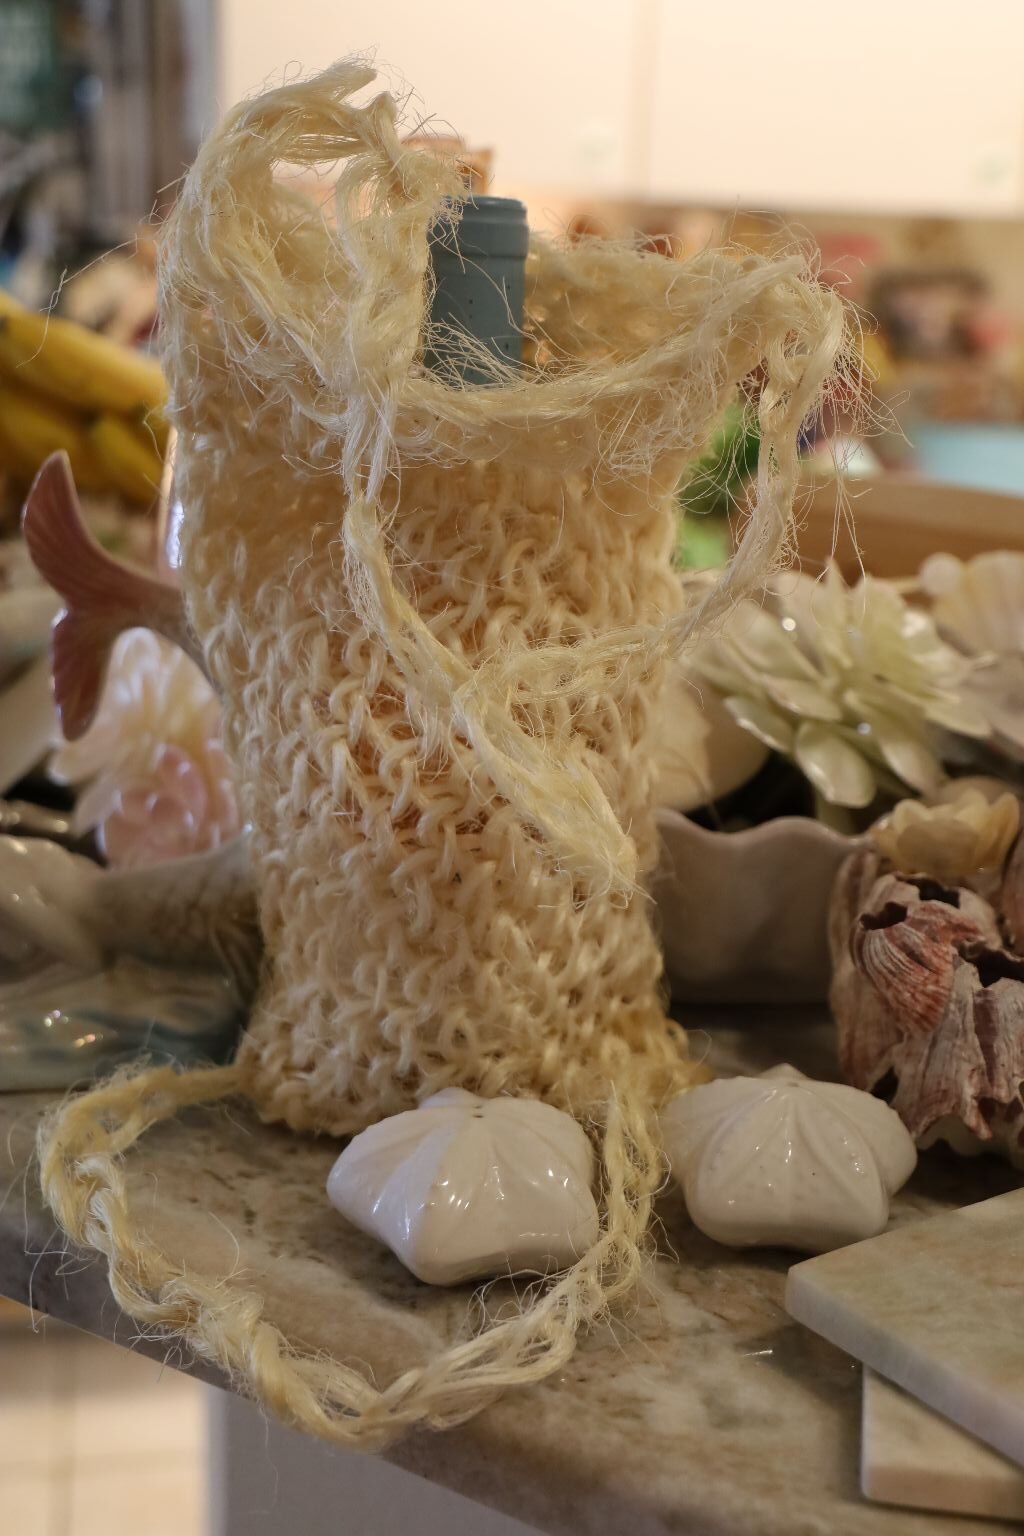
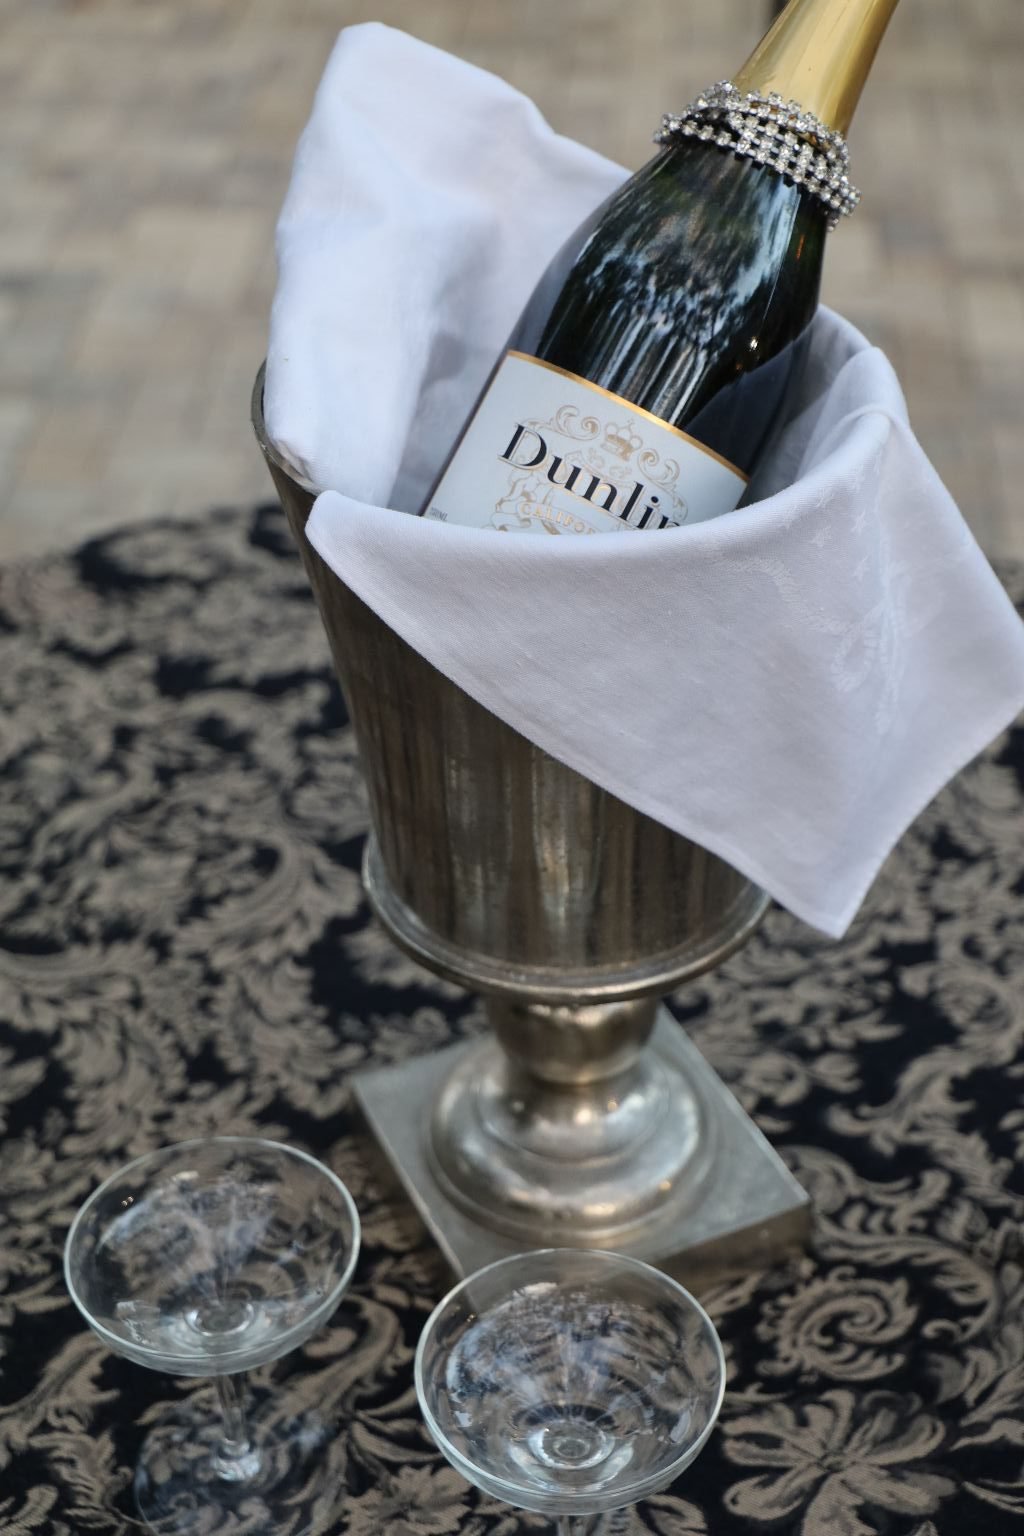
You know you are an Wino when your husband gives you a loofah and you automatically think it’s a wine bag.
WOW! What a cute wine bag! Thanks! 🙂 (I’m using it as a wine bag, just so you know.)


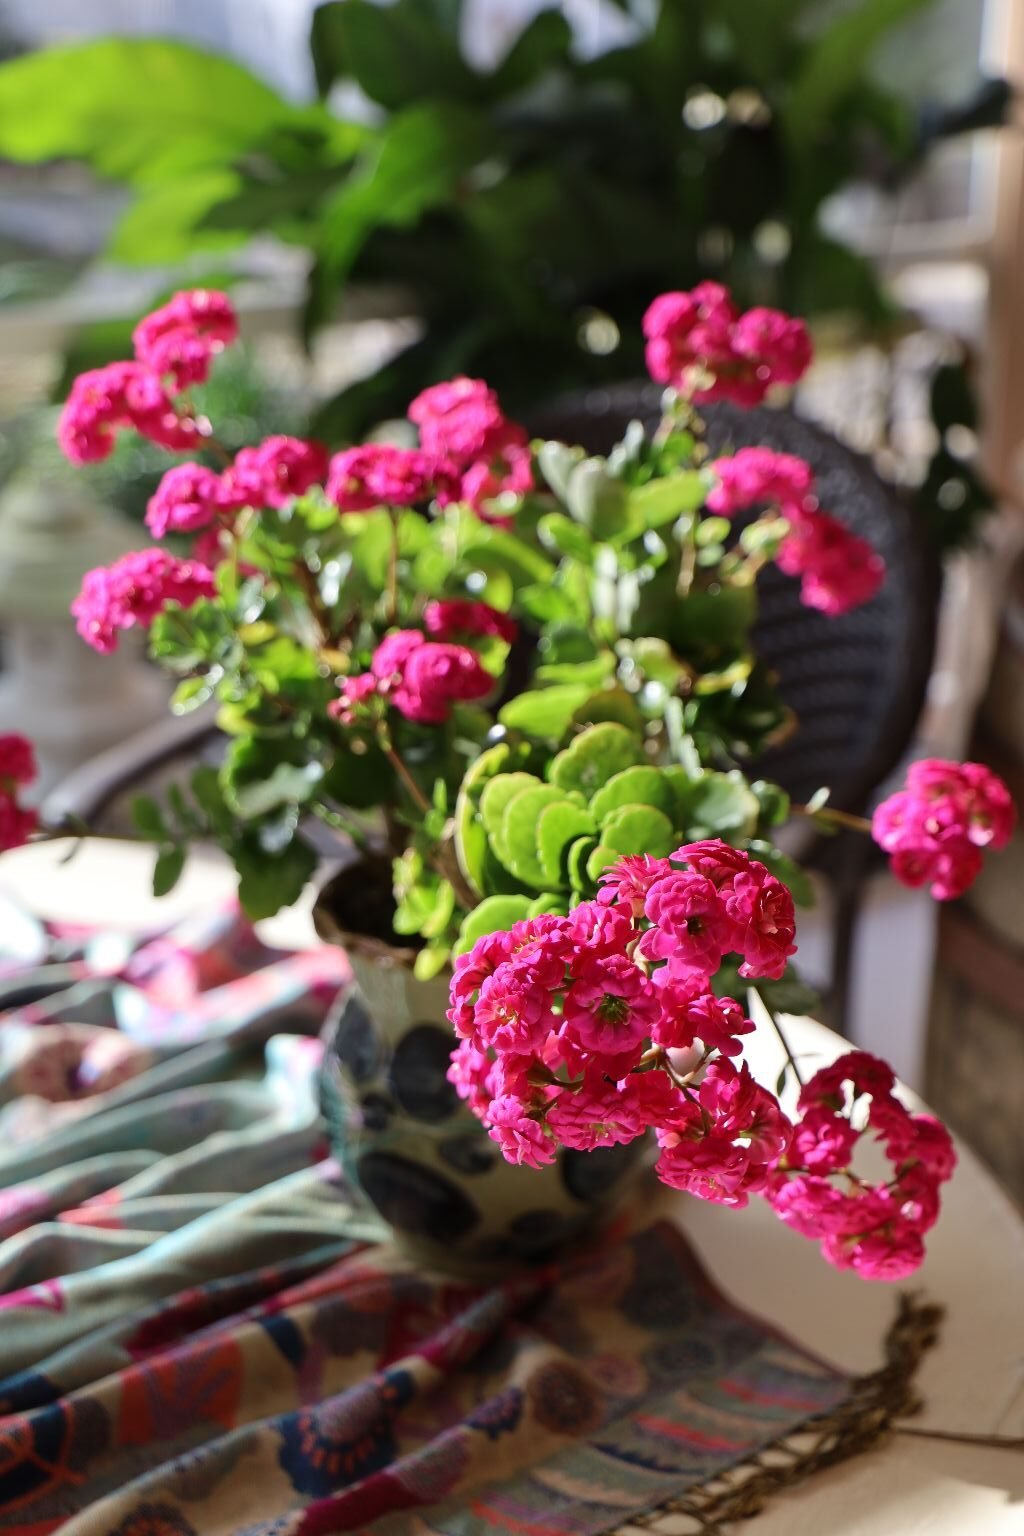
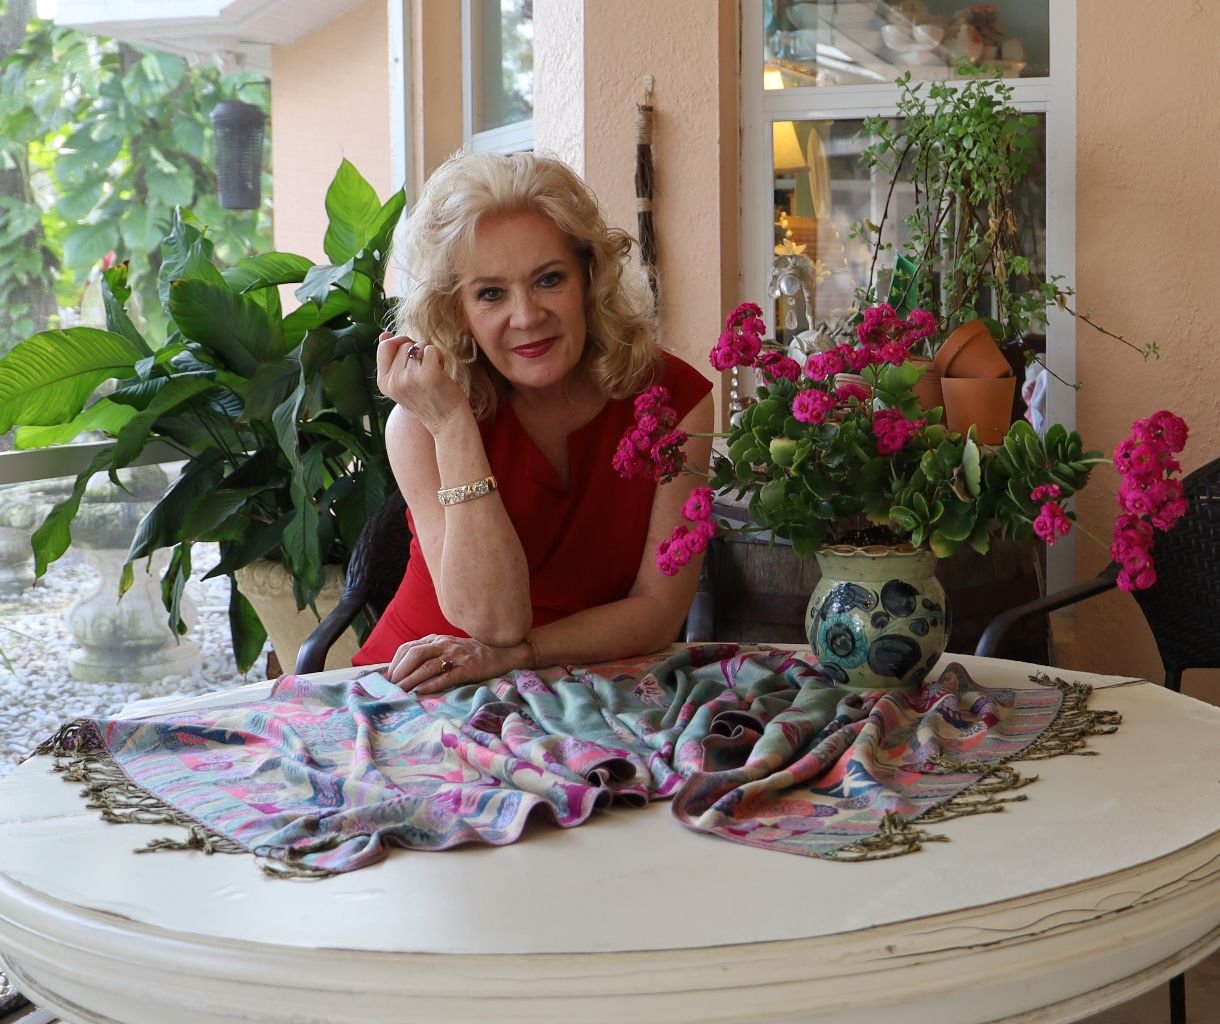
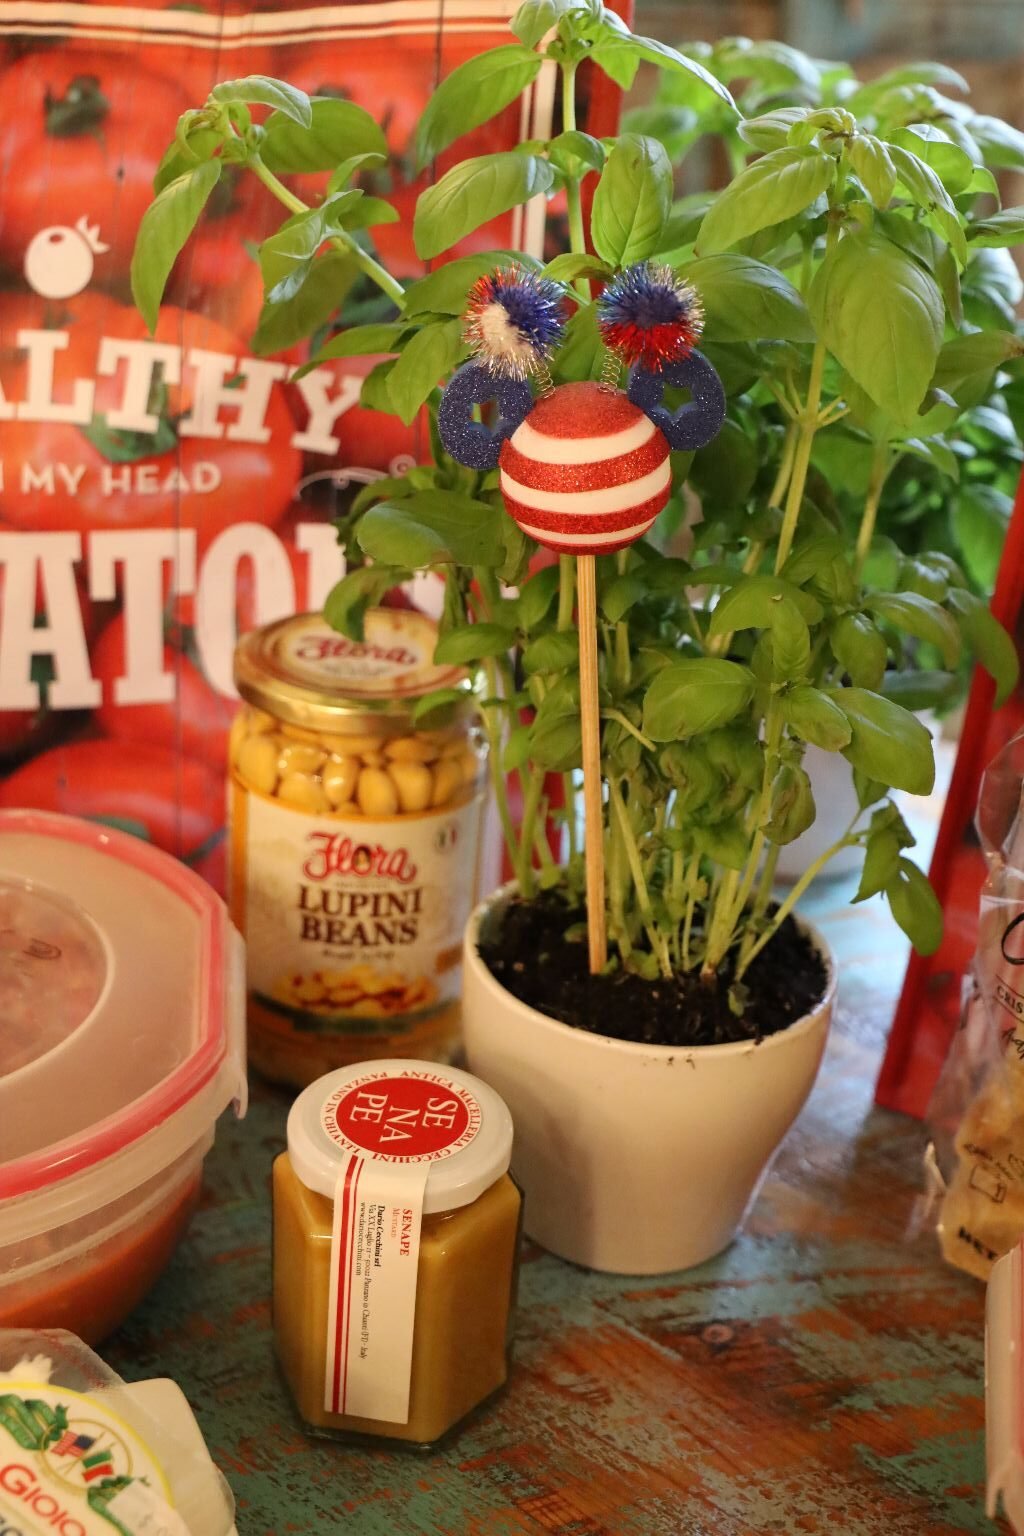
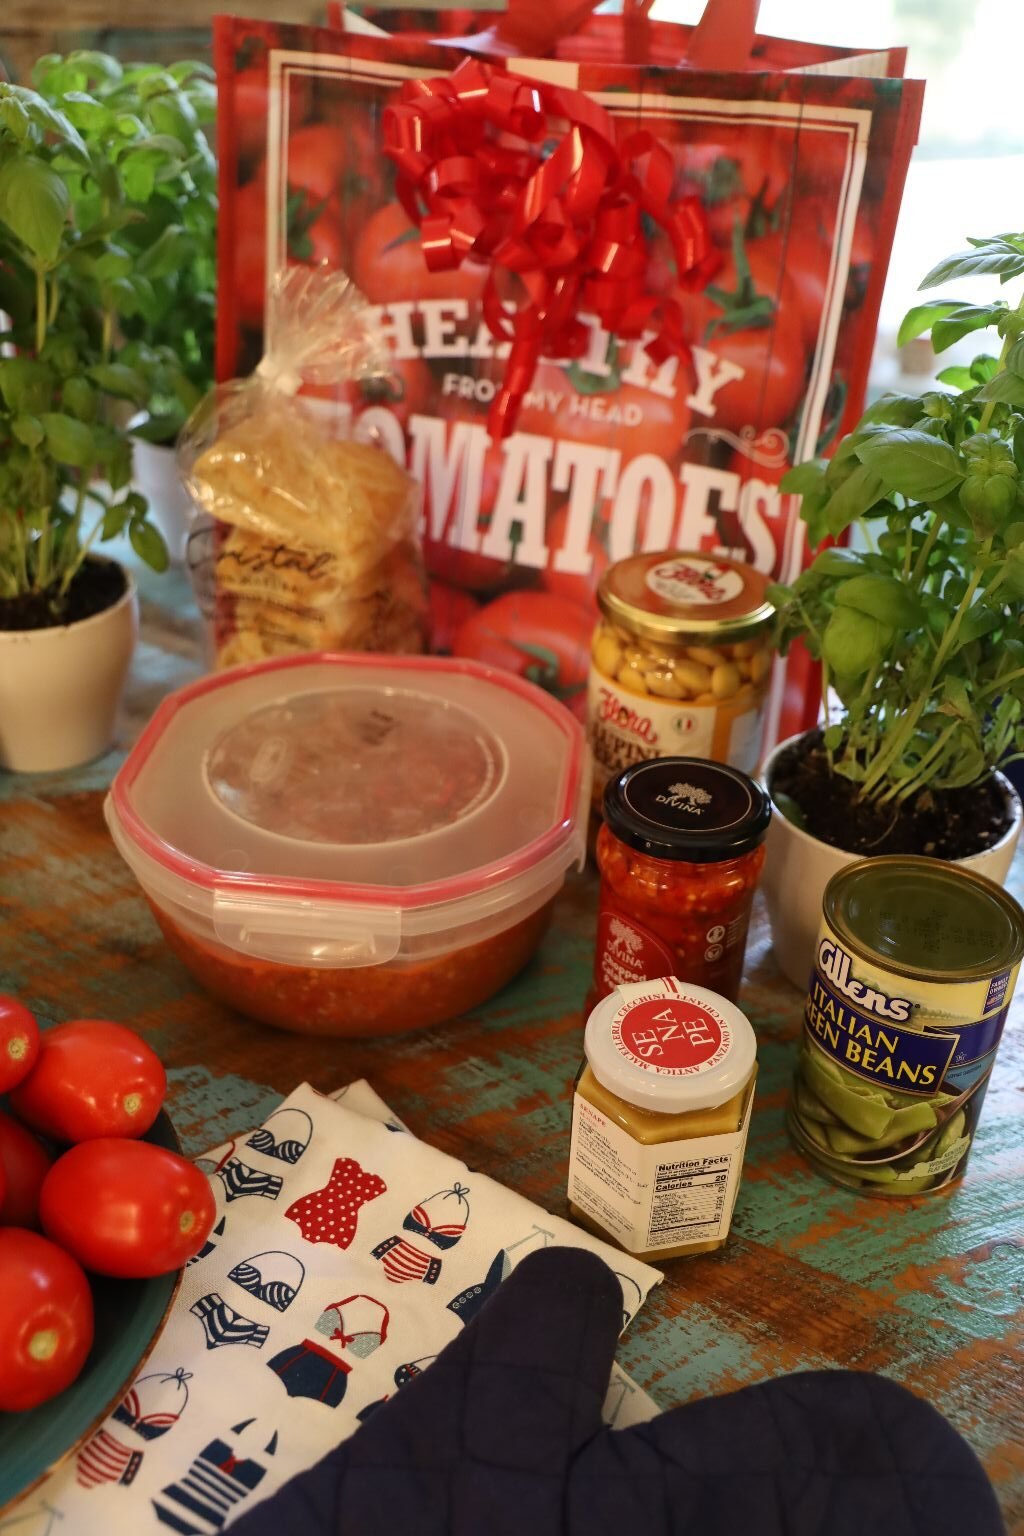
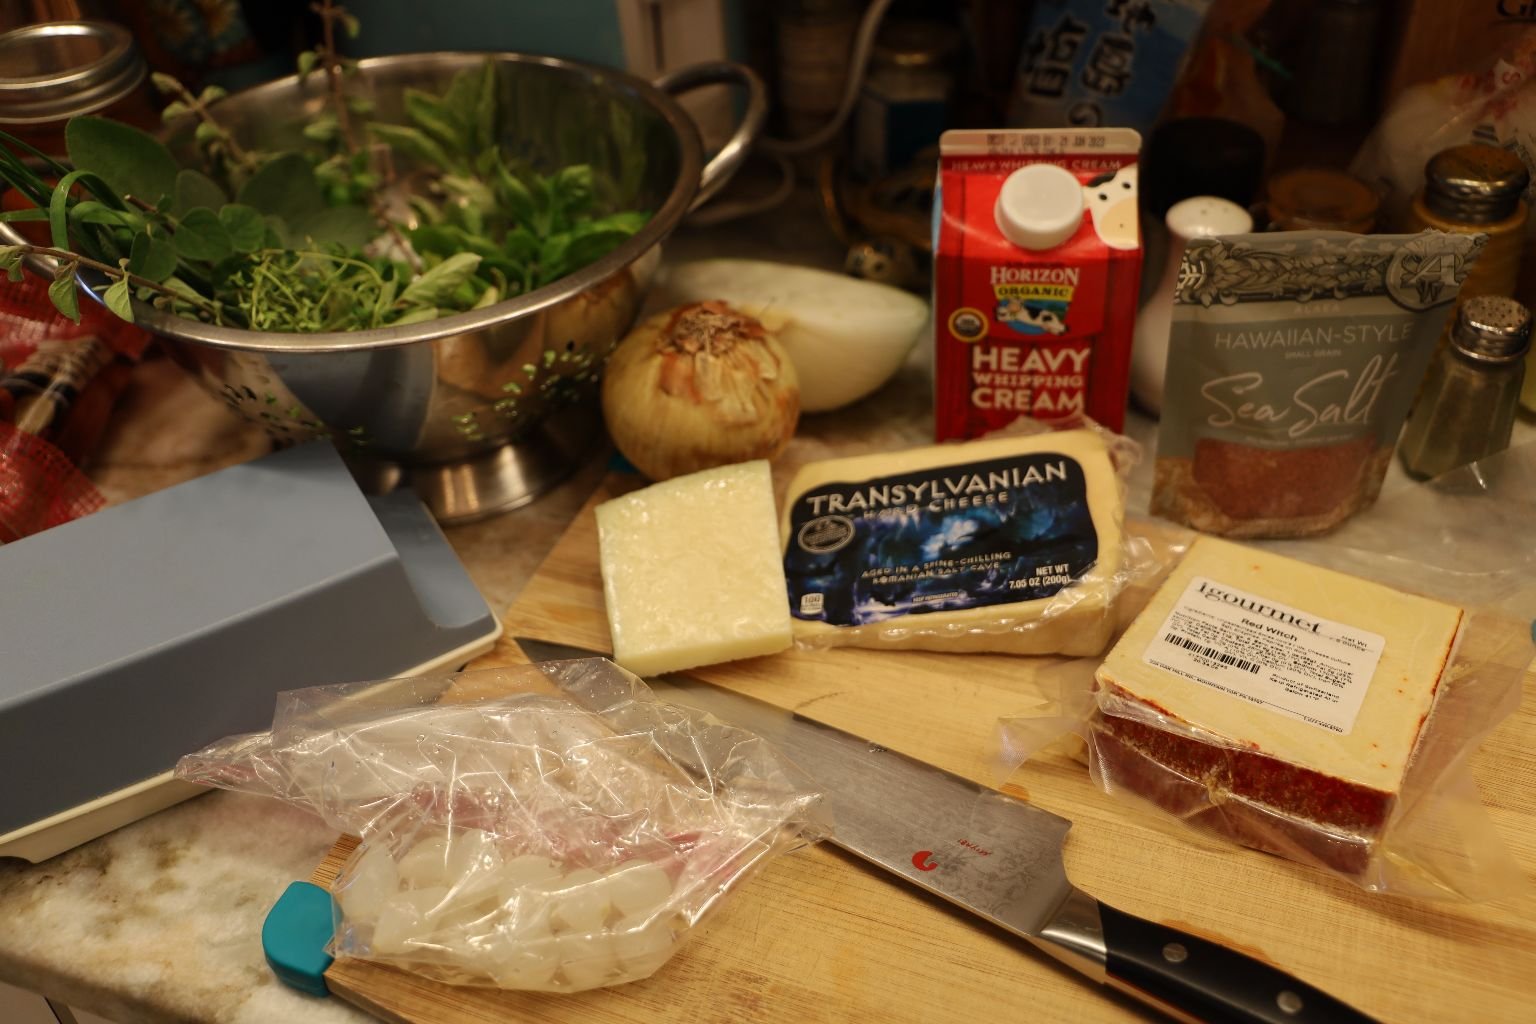
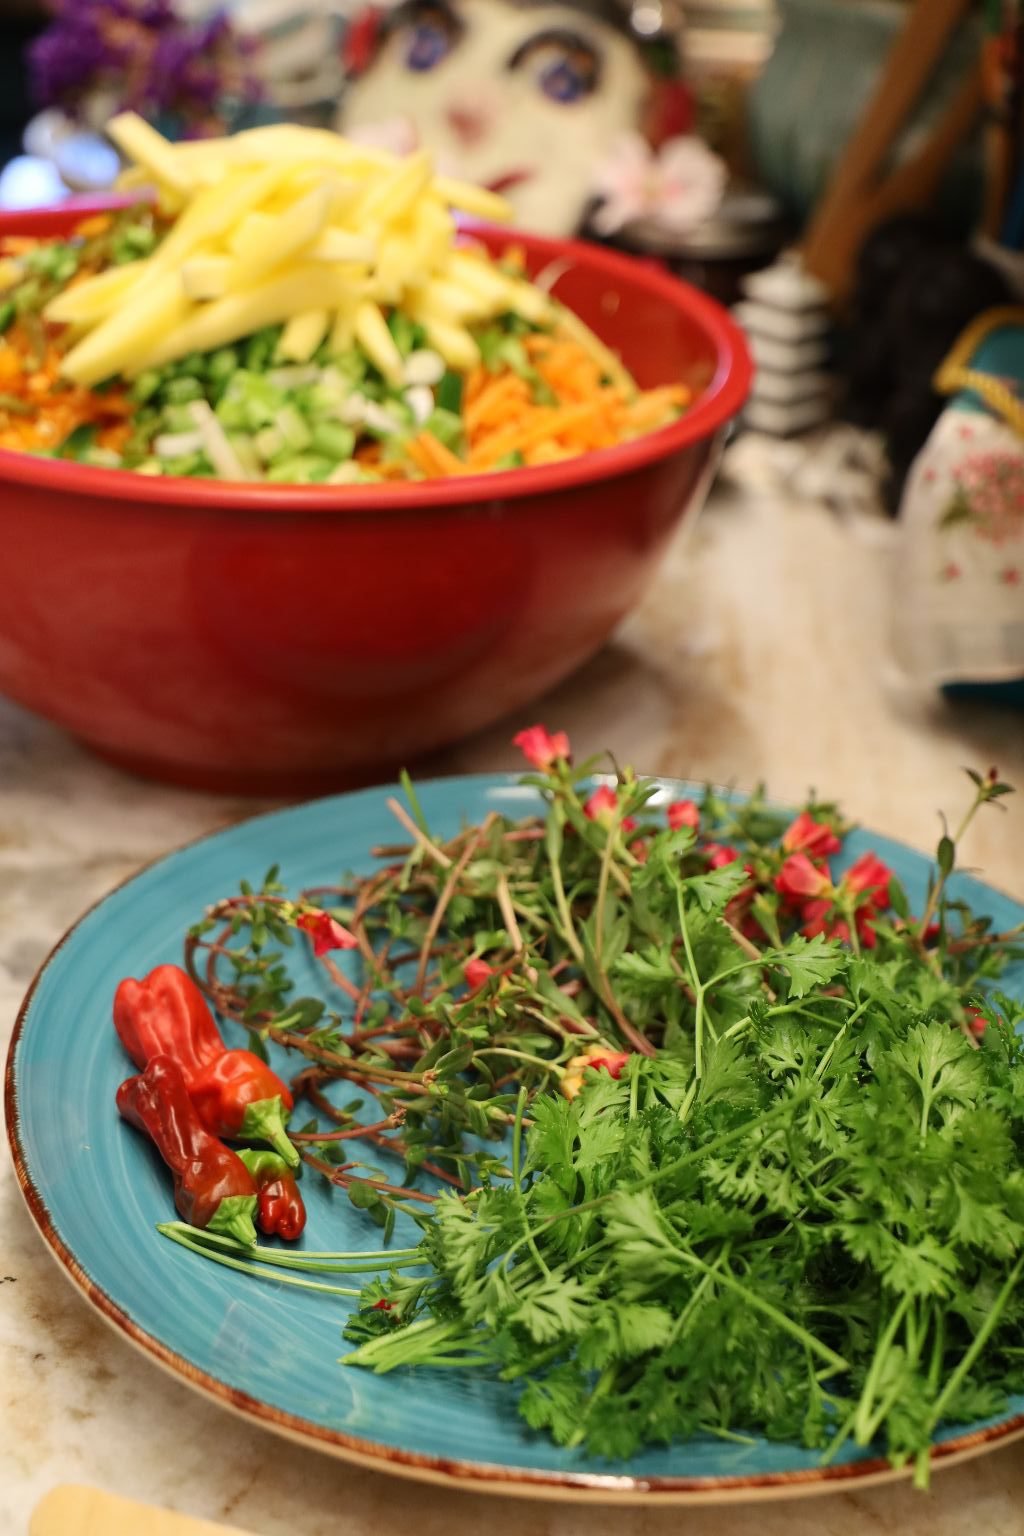
My favorite thing to do when I am grocery shopping, and what makes me happy is when I buy herbs and flowers. Cheap flowers. I am not a fancy flower kind of person. Oh, they are so beautiful! But, most of the time they just don’t fit in with my lifestyle. I’m fine with a simple daisy, and not some expensive rose.
——————————————————————————————-
July 8, 2025
Refresh Eye Drops

Last year when I went to my eye doctor for an exam, I was told that my vision hadn’t changed much in the past 2 years, which was the last time I was there. But, he did notice that my eyes were dry. I had noticed that every day in the afternoon that my eyes became very itchy. He prescribed Refresh Eye Drops. So, I bought them from the Commissary. He told me to use them about 3-4 times a day. I don’t. 90% of the time I only use them in the morning after my shower. Sometimes, I have had itchy eyes in the afternoon and I have used them then as well. Honestly, when I do, It’s like I just took a shower!
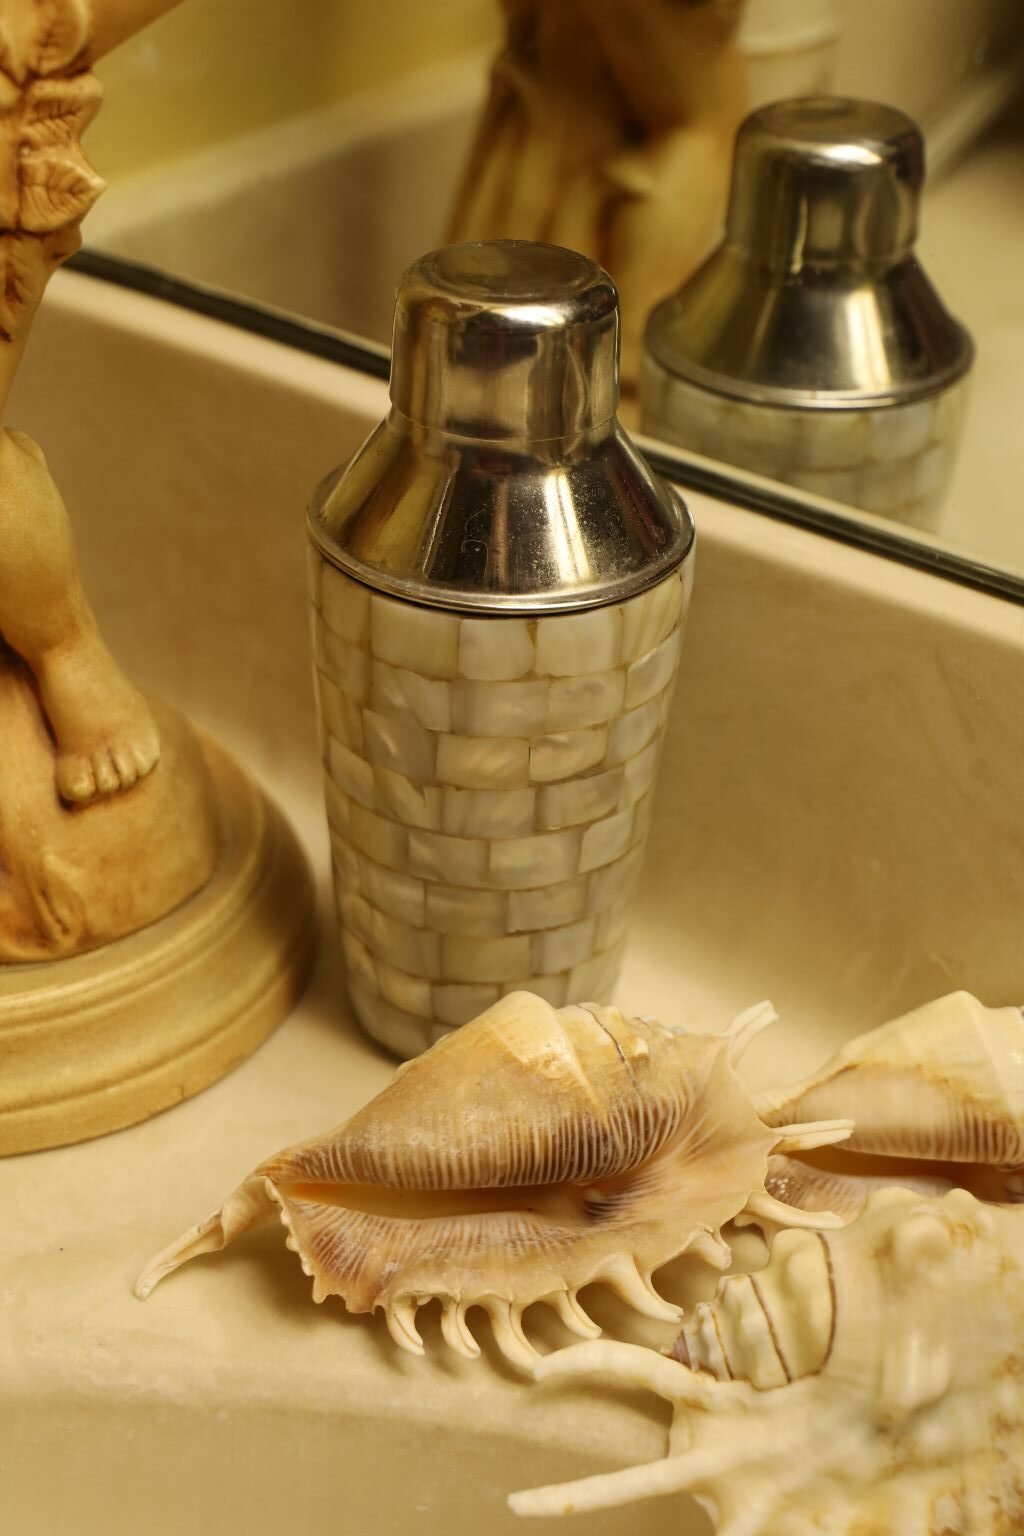
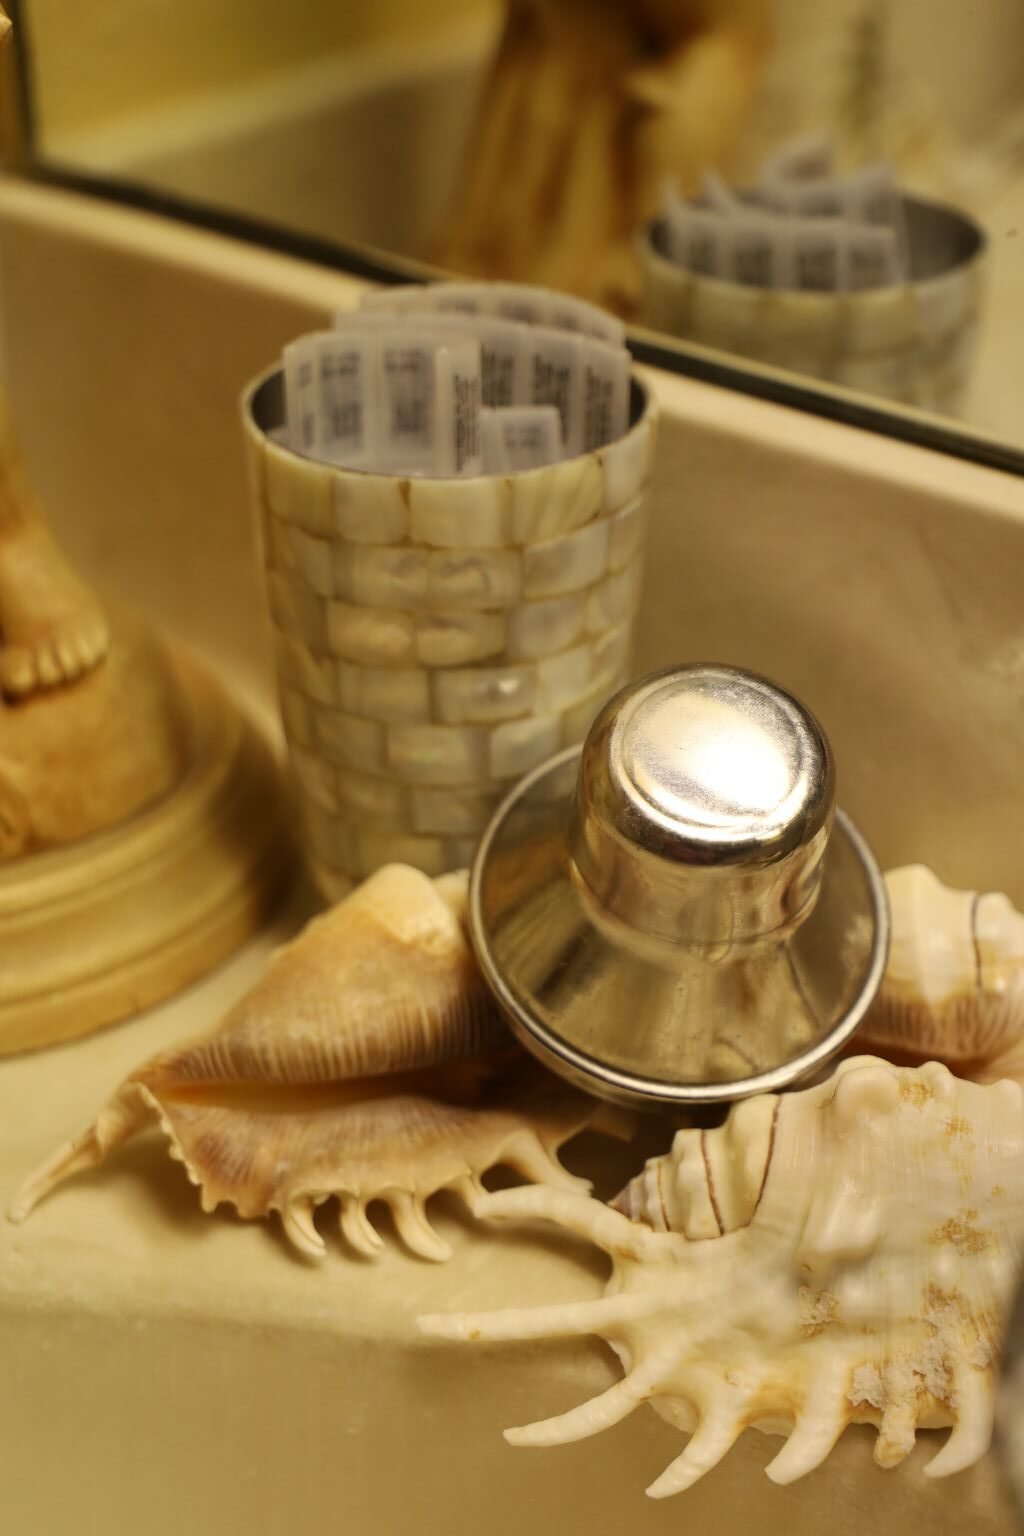
I hide them here in my mini cocktail shaker in the bathroom.
I highly recommend them!
Julie
———————————————————————————————————
July 7, 2025
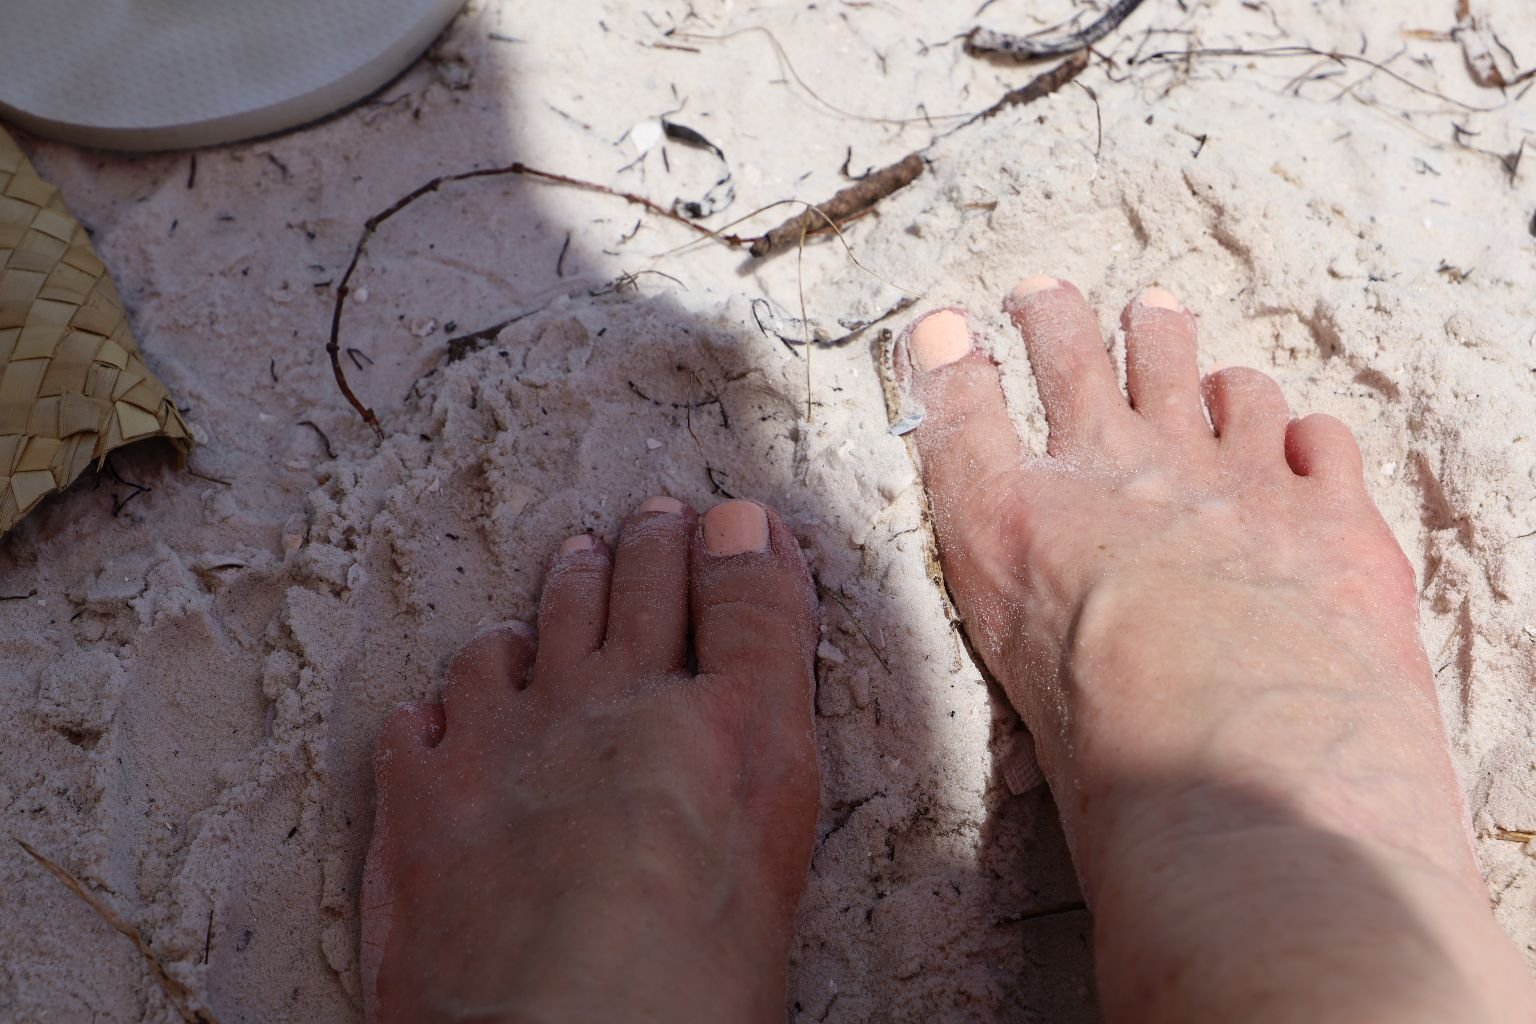
I Have Planters Fasciitis
(I also have lovely Greek Feet) 🙂
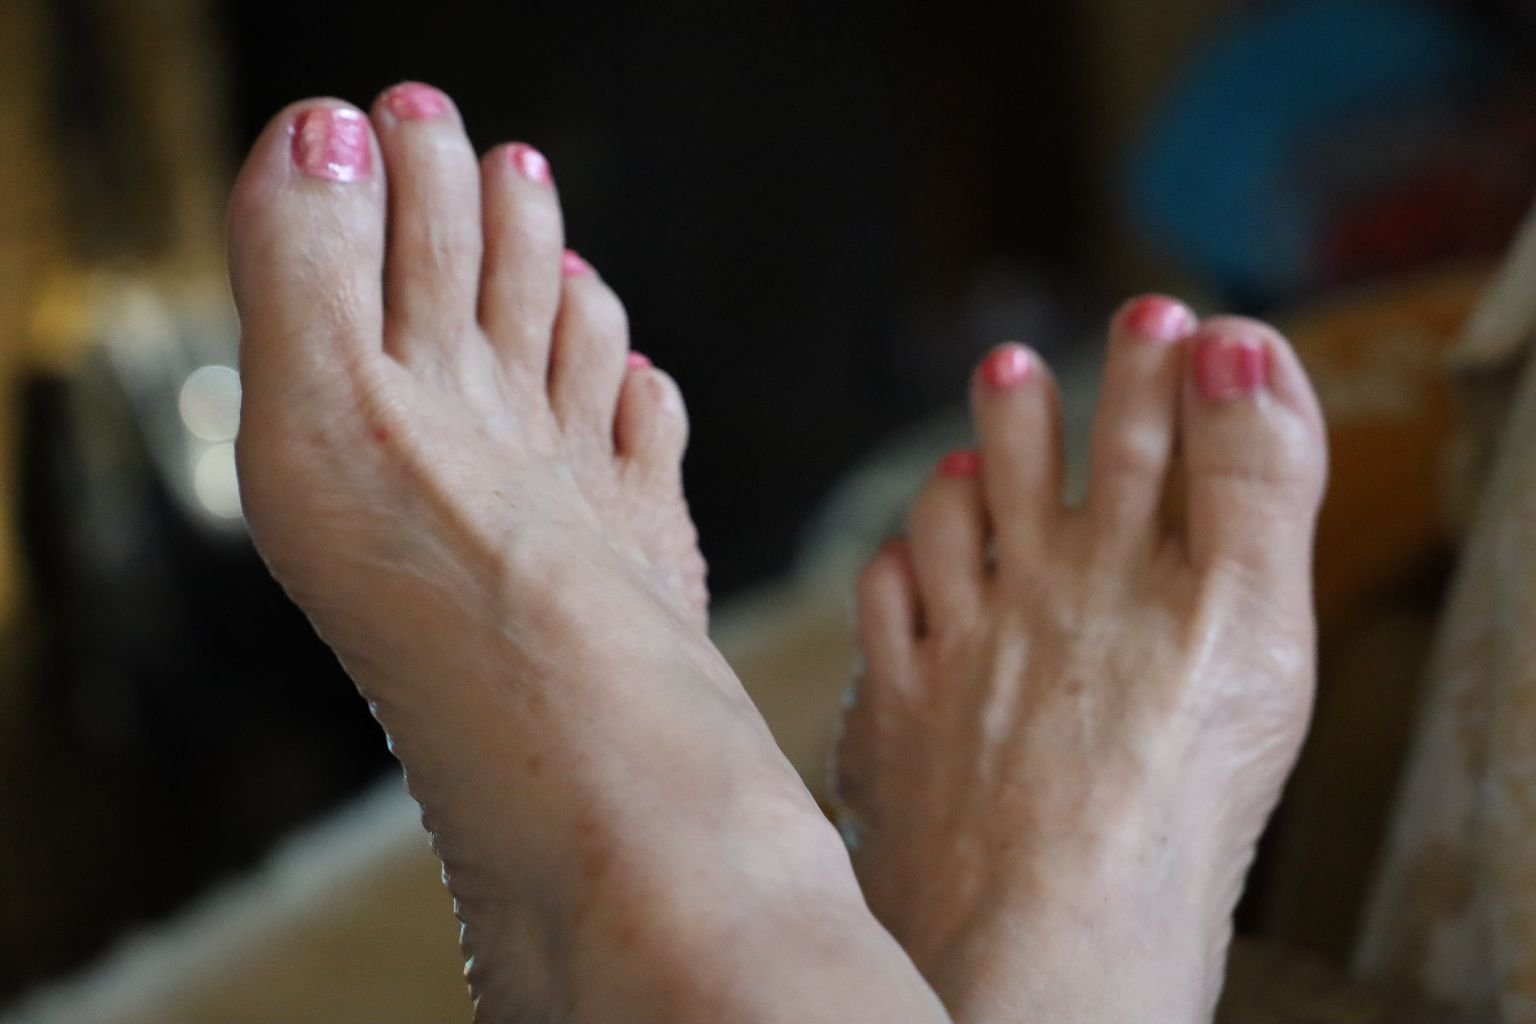
Notice my left foot, which happens to be on the right?
Notice how my 2nd. and 3rd. toes have that space between them?
That has to do with my Planter’s Foot. That’s what I call it anyway.
It was about a year and a half ago that I was laying down on the couch, and suddenly got up, and started walking towards the kitchen. My left foot felt strange. It felt like something was stuck to the bottom of my foot! On the ball of it. I immediately reached down and felt underneath my foot. Nothing! I felt nothing! I then continued walking. But, I felt as if something was stuck to it. I then sat down and examined my foot. It looked fine. I did notice 2 of my toes with a space between them. I had no control over them. I couldn’t make them go back to the way they were.
Planter’s Fasciitis is characterized by pain and inflammation in the planter fascia, a thick band of tissue that runs along the bottom of the foot connecting the heel to the toes. The causes are in some cases, the types of shoes, overuse, and types of walking surfaces. (I took that from Google.) It was at that time that I was overusing my feet by jumping over baby blankets barefoot, that I had on the floor, filled with lots of toys and books. Doing lots of barefoot dancing around in the living room with Isabelle as we watched Bluey on T.V.
I did call my doctor. He told me that it is most like Planter’s Fasciitis. He immediately went into telling me about special shoes to buy.
My response, ‘Shoes! I hate shoes! I don’t want to wear some special shoes.’
At this point my foot wasn’t painful, it just felt funny. It was never really painful.
So, I pretty much powered through it and continued on with my life. Even my busy treadmill life. Well….. I ended up really overworking my foot and it became very sore. It was at that point that I was limping!
It was one day when I went to the grocery stores around me, instead of driving into the base in Tampa to shopping at the Commissary, that I was getting out of my car in a large parking lot and I realized that I was limping into the store. Normally, I have this fast brisk pace that I walk, yet now I’m slowly limping. I suddenly realized that I am a perfect target for a mugging. I’m 63/64, a senior citizen, alone, and limping. I then felt very uncomfortable. Scared even! I hurried into the store gripping my purse in front of me, protecting it from any would-be purse snatchers.
It was at that time that I also quit shopping at businesses where I didn’t feel safe in their parking lots. As I age I notice those things. I feel safer in some parking lots than I do others. I think as we age we need to take those things into account.
My foot eventually got better. Is it cured? I don’t think entirely. But, I have been able to walk as if nothing is wrong now for the past year. I wear flip flops. If I go somewhere that I need to do a lot of walking then I wear tennis shoes with gel inserts. I also haven’t gotten back on the treadmill in a while hoping that I can start that up again without further injury to my foot.
——————————————————————————————
I haven’t mentioned my condition until now because I wanted to see how everything is turning out.
Well, this is how it’s turning out.
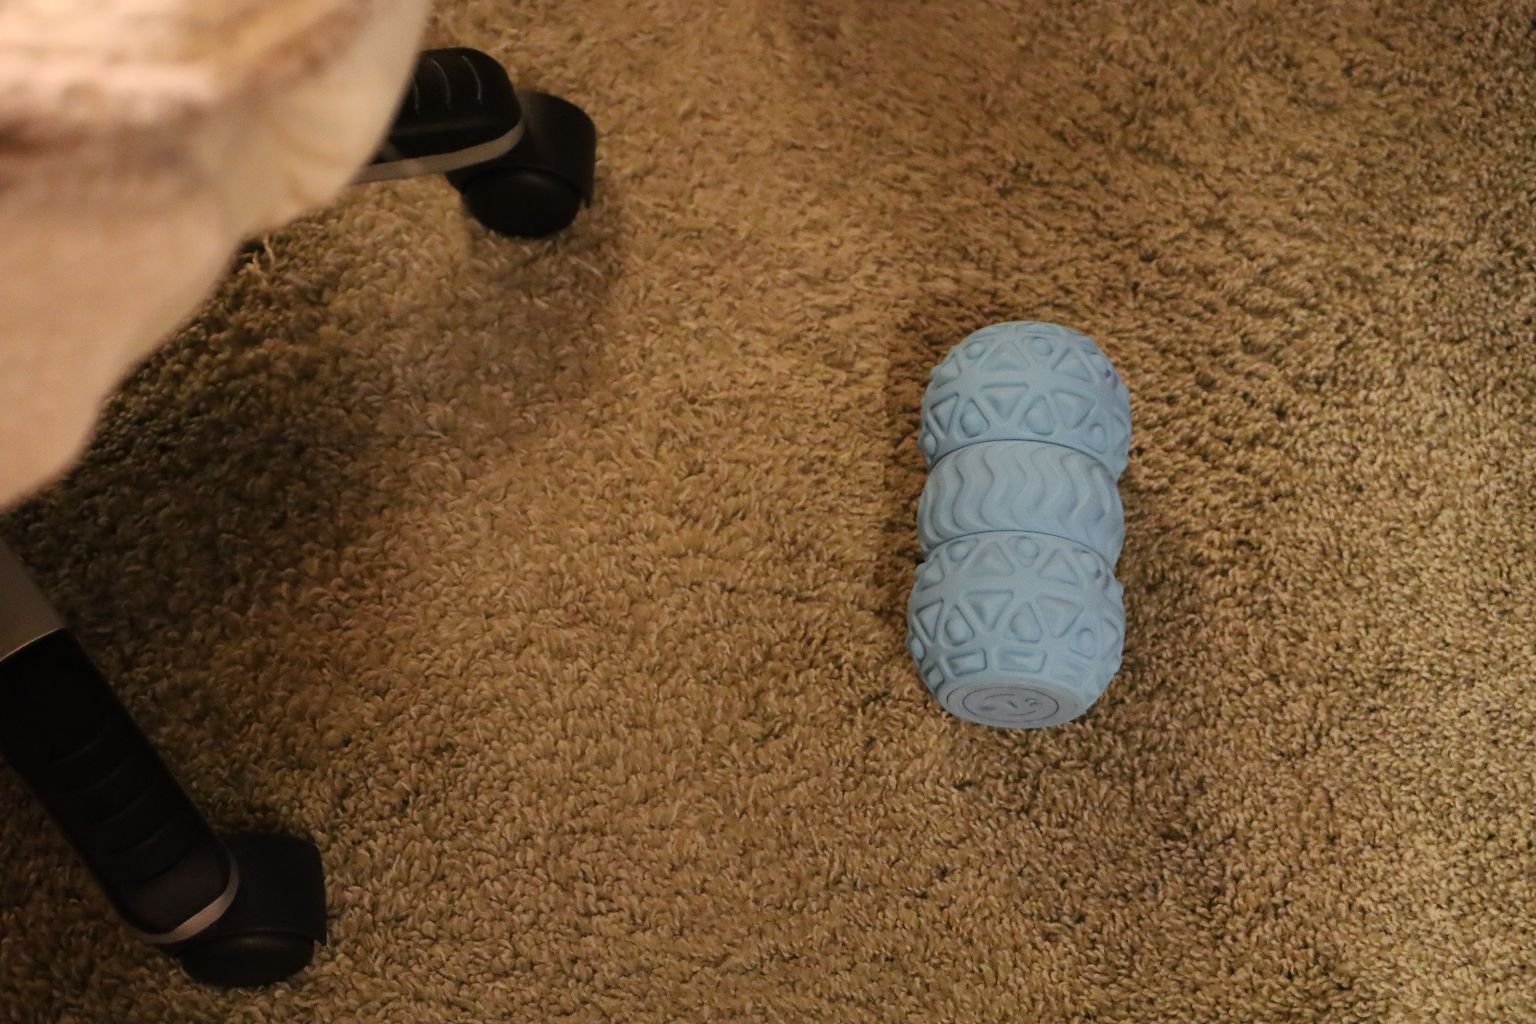
I do use a series of Foot Massagers
What you see above, that blue thing. It vibrates and sometimes I run my foot over it while I’m on the computer.


I adore this foot massager as it has rollers that massage my feet perfectly, it even has a heat setting.
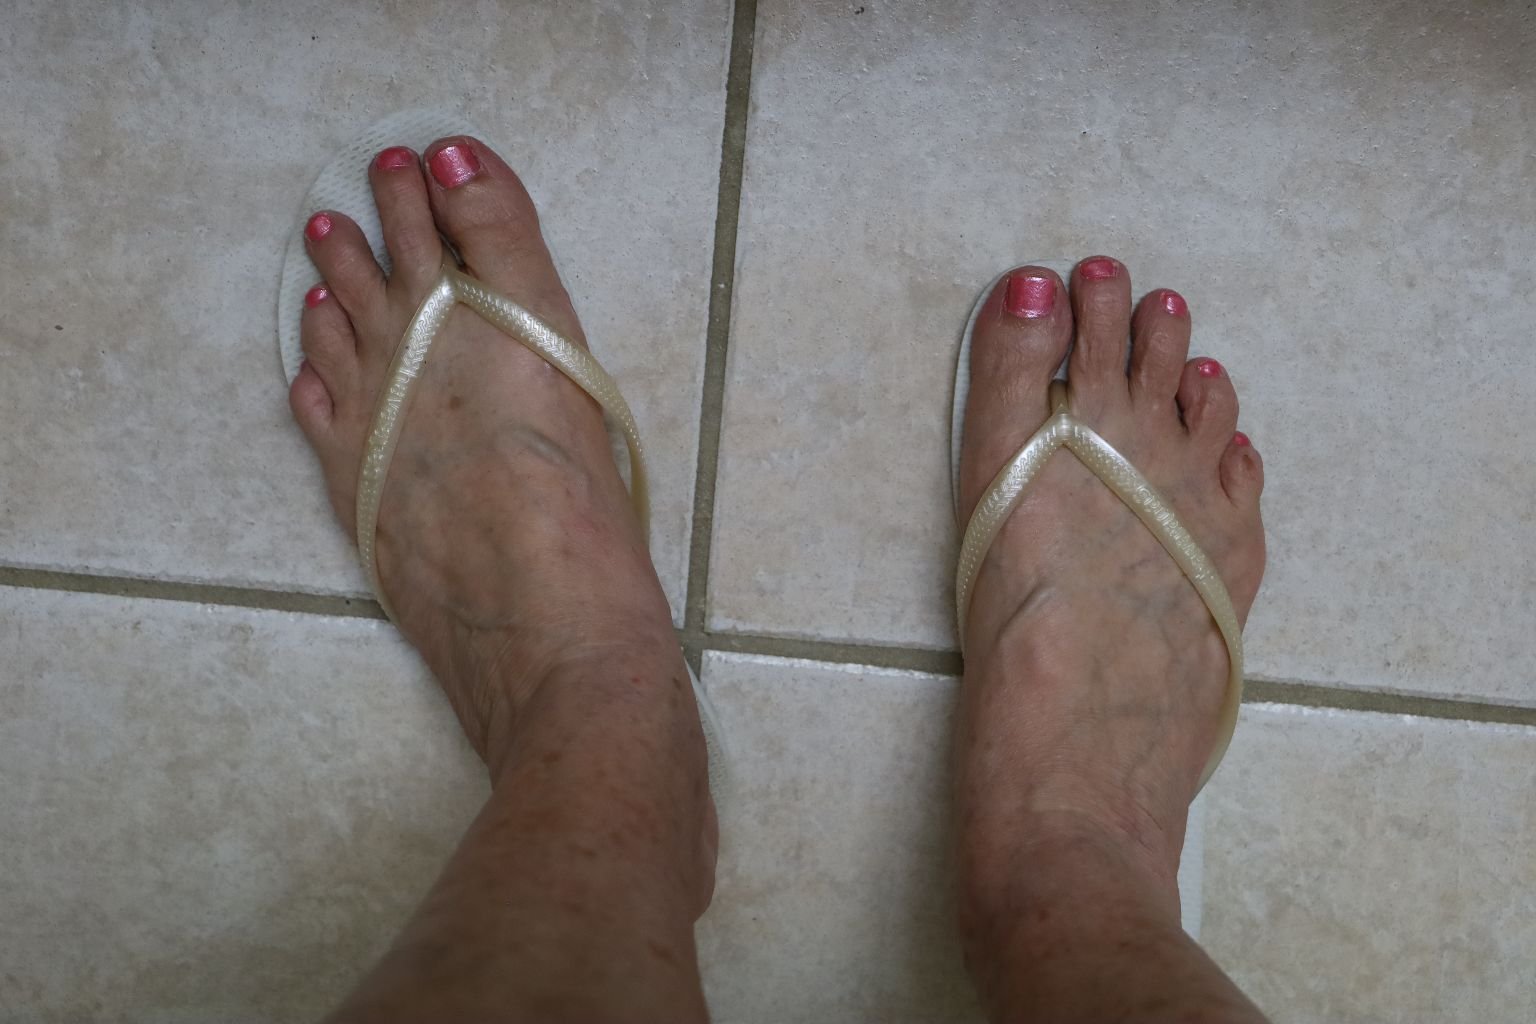
In my daily life I only wear flip flops. They suit me. They aren’t adding injury. I have been walking with a brisk pace for the past year, even with the Planter’s Foot. I have not suffered any pain since that time I overworked my foot and was limping.
The only symptom I still have of the Planter’s Foot is the space between my toes.
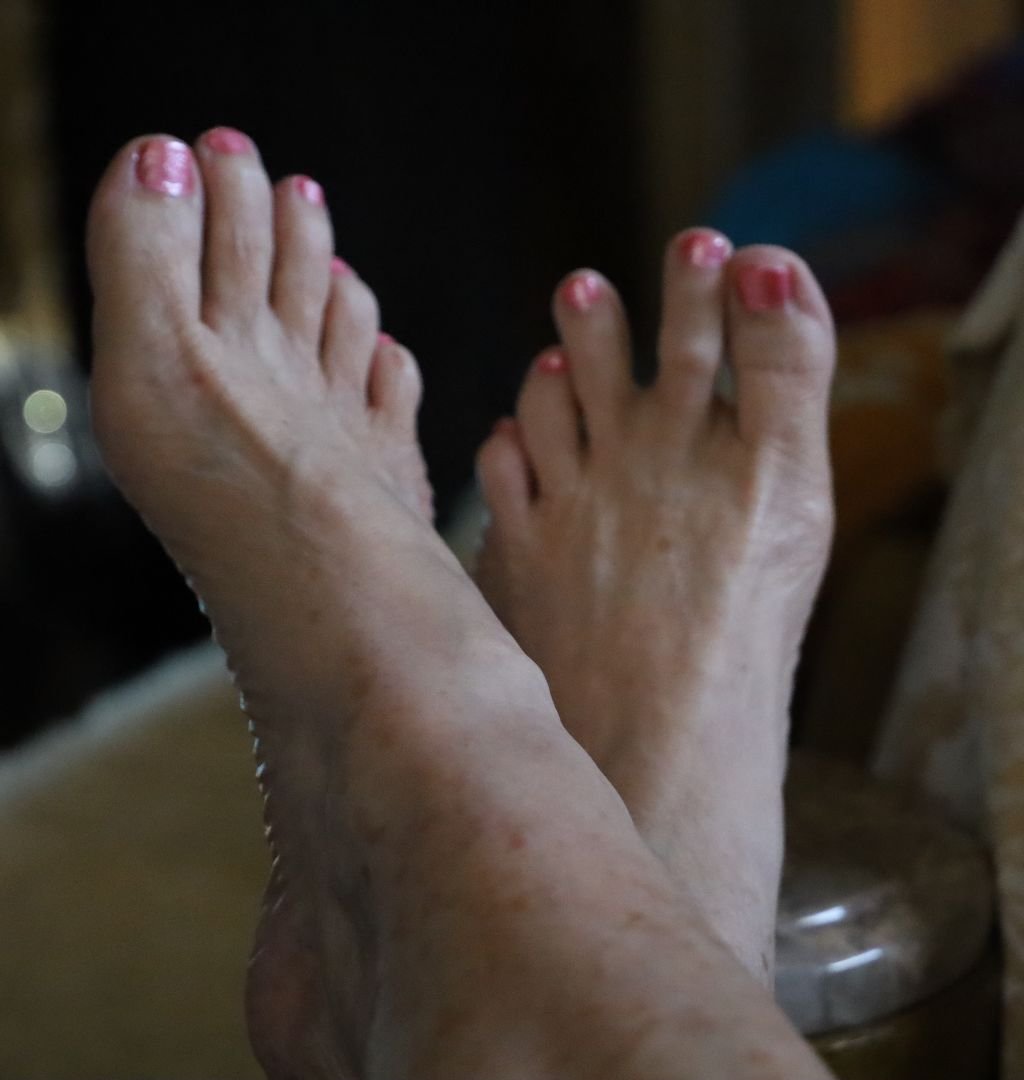
The Toes on my Left Foot are Giving the Peace Sign 🙂
I’ll take this over something more serious. I am aging.
I’m guessing there will be a lot more of these signs of aging in my future.
Julie
——————————————————————————————
March 15, 2025
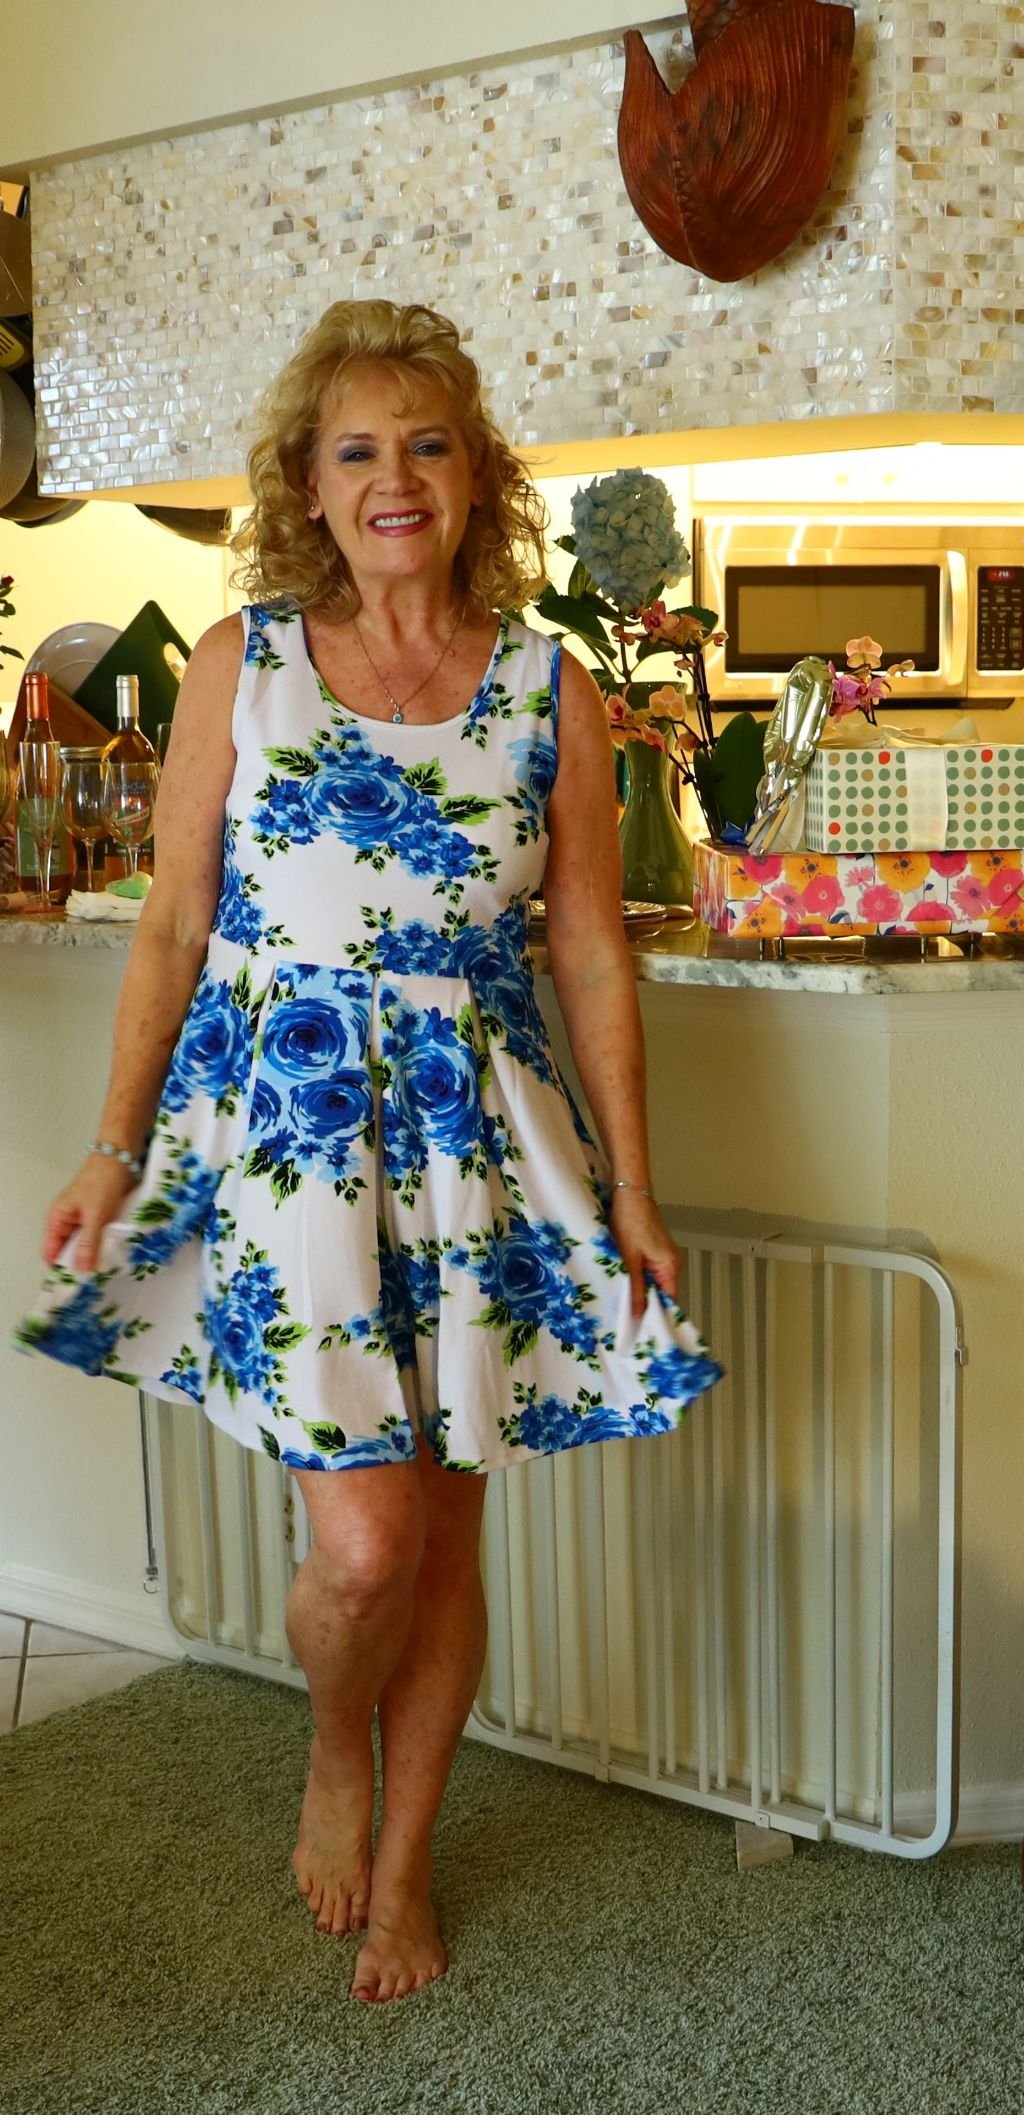
I Turned 64 on February 13, 2025

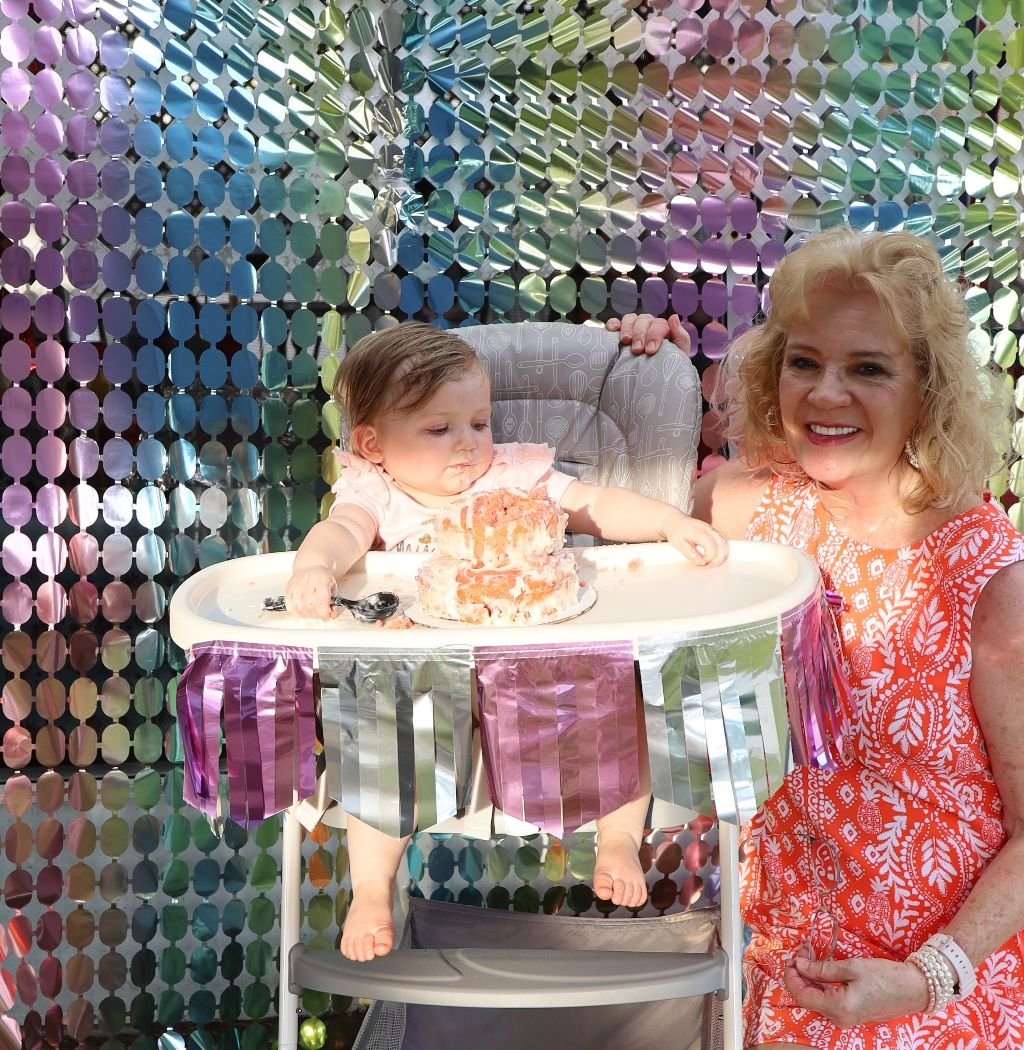
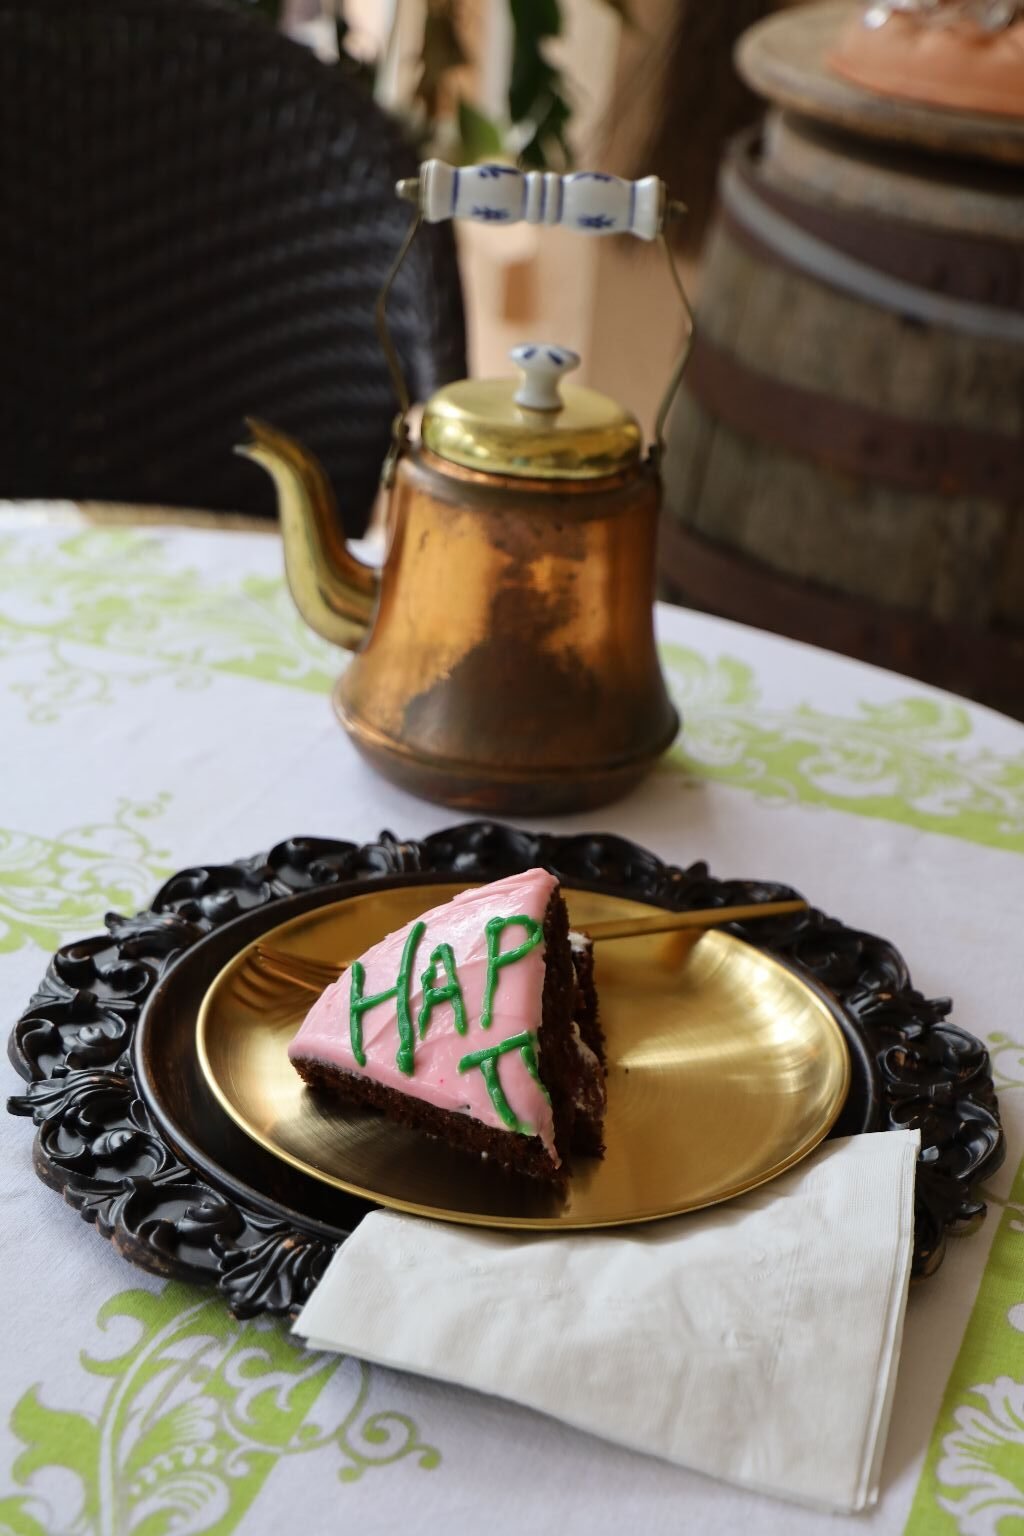
I Wanted a Harry Potter Cake with the Mum Spelled out. Not Mom as we say in America, but Mum.
The Mum is what they say in the U.K. when referring to their Mom’s, but I wanted the Mum because of the T.V. Australian T.V. show Bluey, where they refer to their Mom as Mum. Isabelle’s favorite show.
The reason I wanted a Harry Potter cake is because Harry Potter got me through Thanksgiving, Christmas, New Year’s, The Inauguration, and my Birthday. I’ve been a bit down since Election 2024 when Trump won. Harry Potter got me through it all. Not Harry Potter the character, but the entire series with all of the characters combined. I even did a Harry Potter Christmas. We all enjoyed it immensely.

Flowers and Isabelle Art

I LOVE MY Cake!

Isabelle Helped Me Celebrate
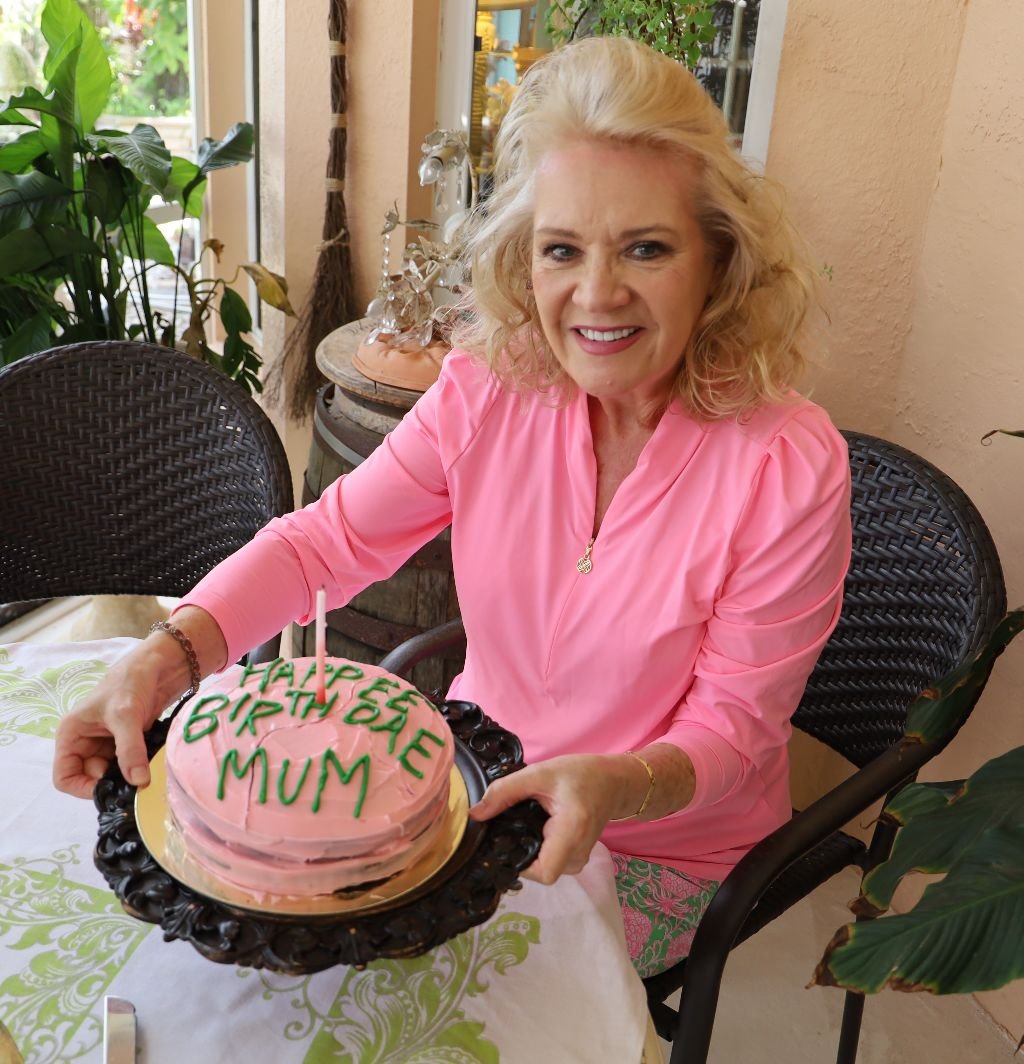
MUM!
————————————————————————————–
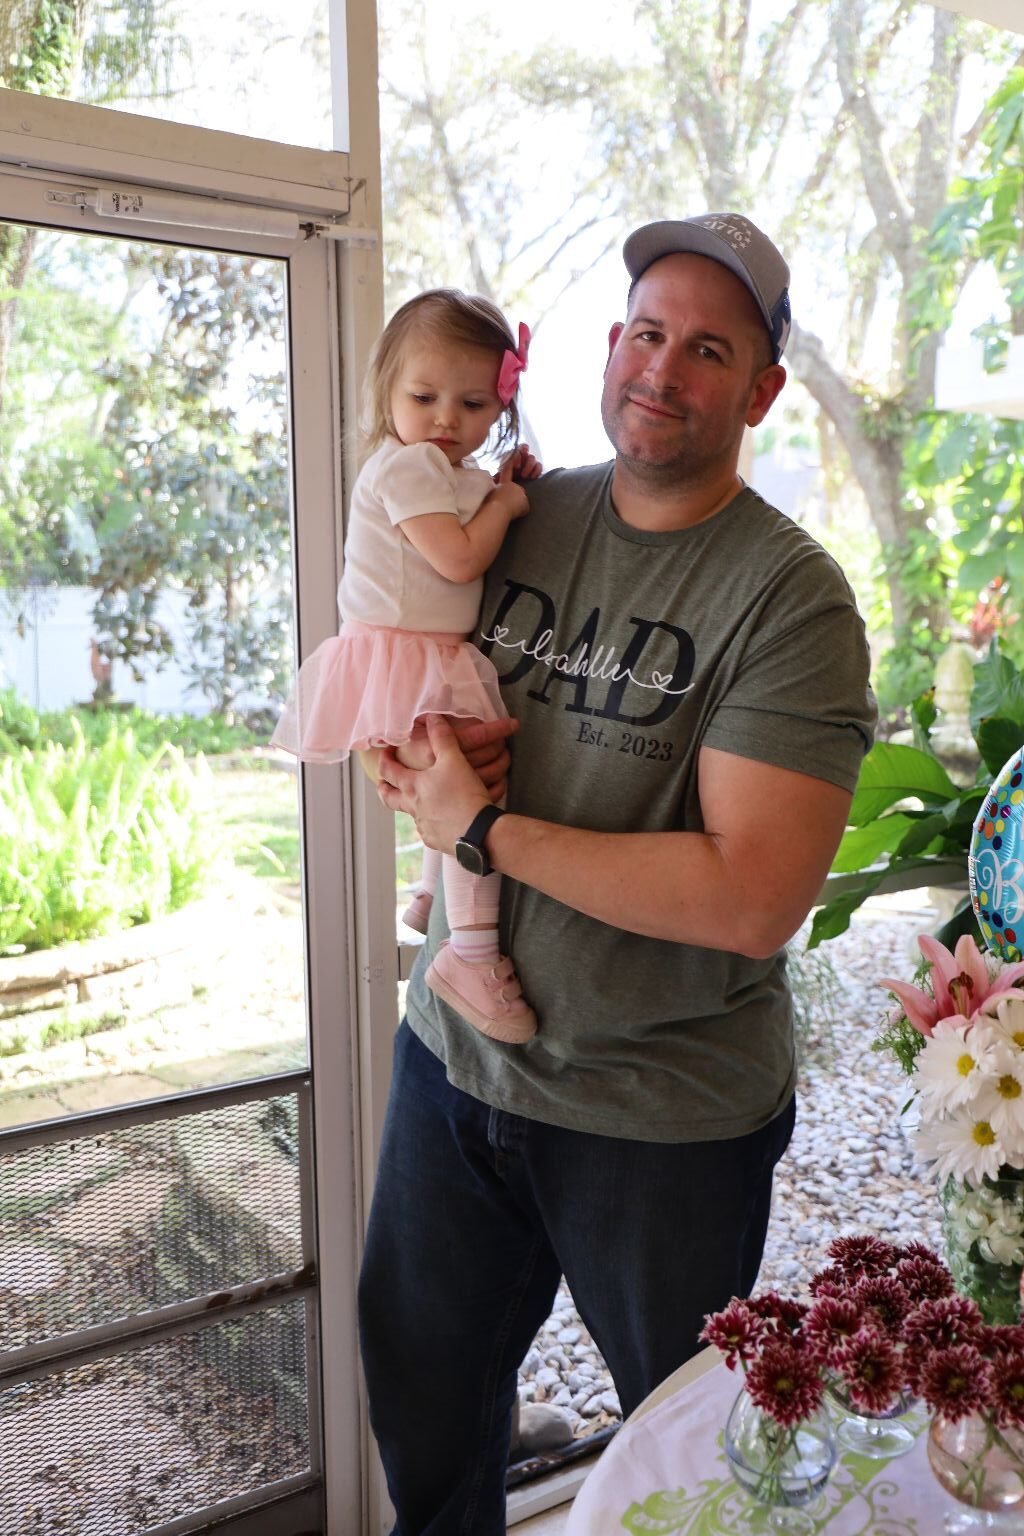


Isabelle and her Parents, Veronica and Brian 🙂
———————————————————————————

Isabelle With Her Bluey Sidewalk Chalk
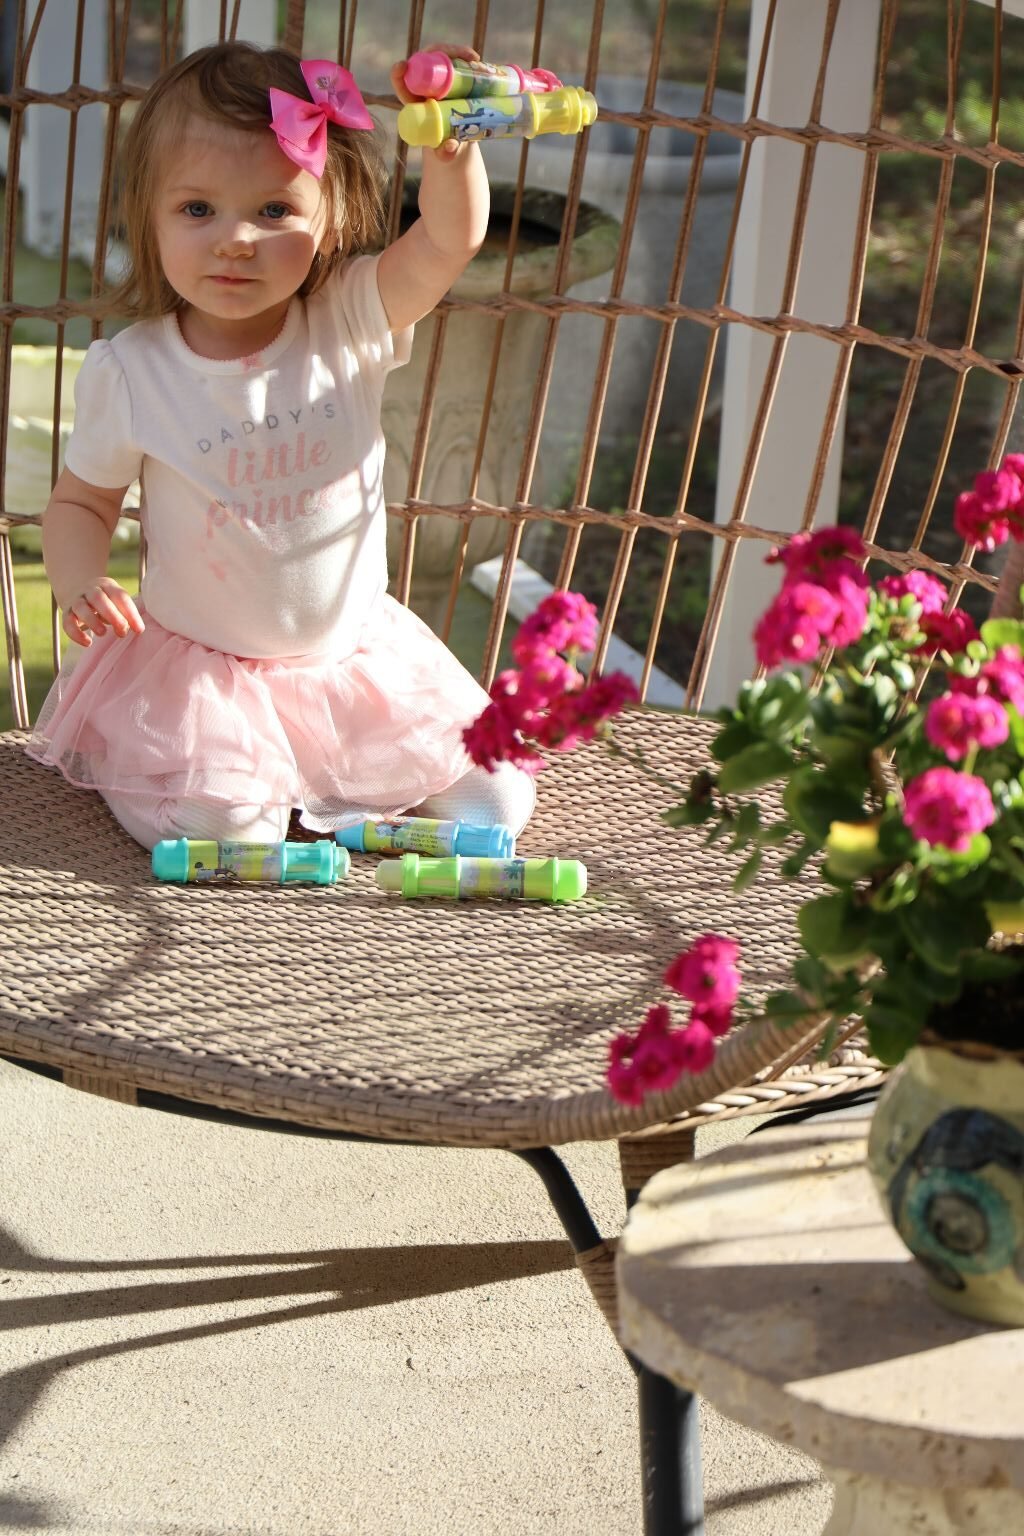
Future Artist, It’s In Her Blood
Her Mom Is An Artist


——————————————————————————-
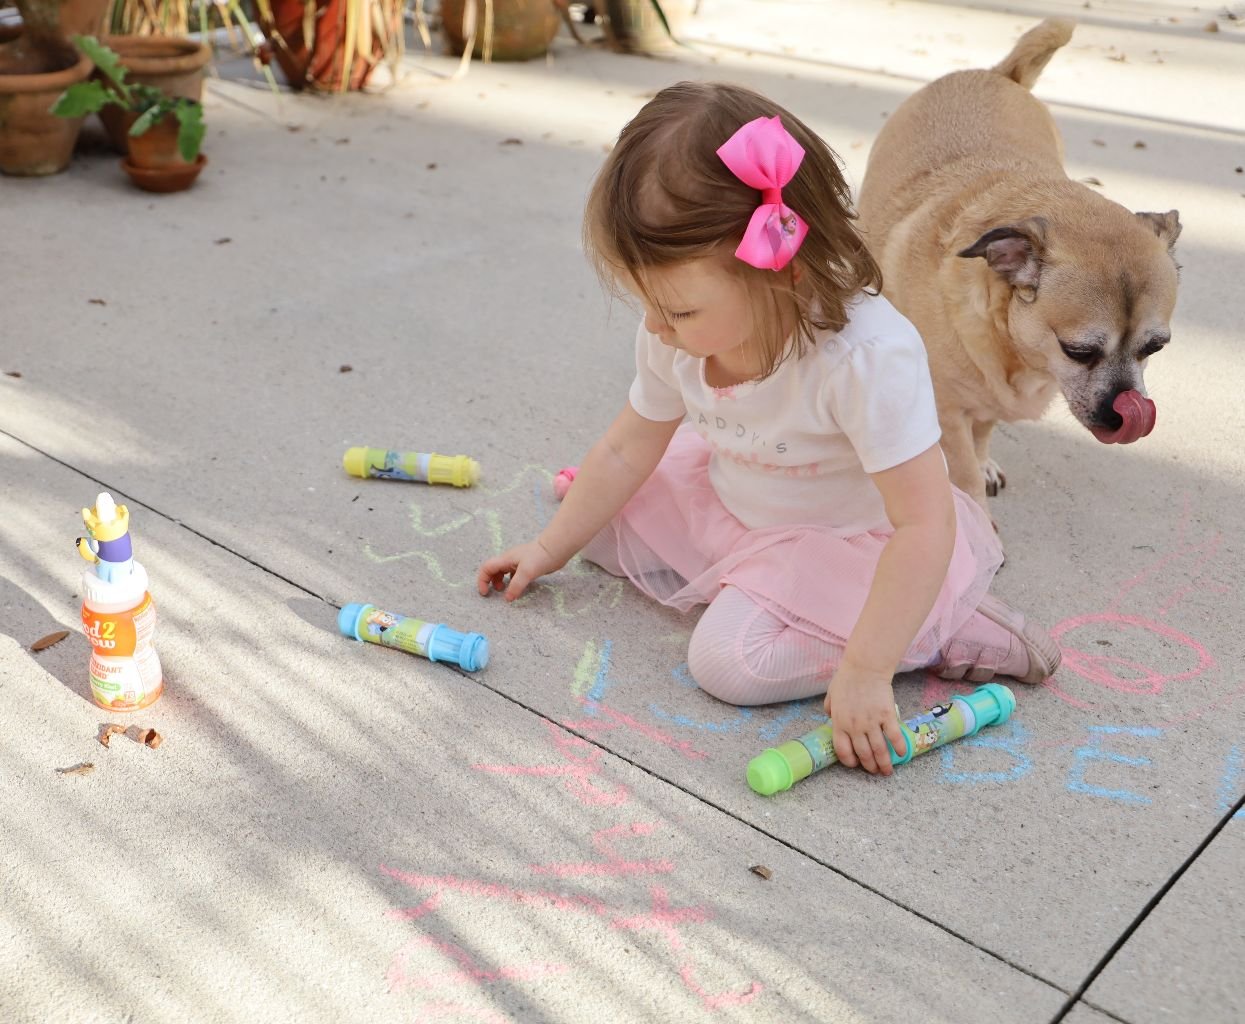
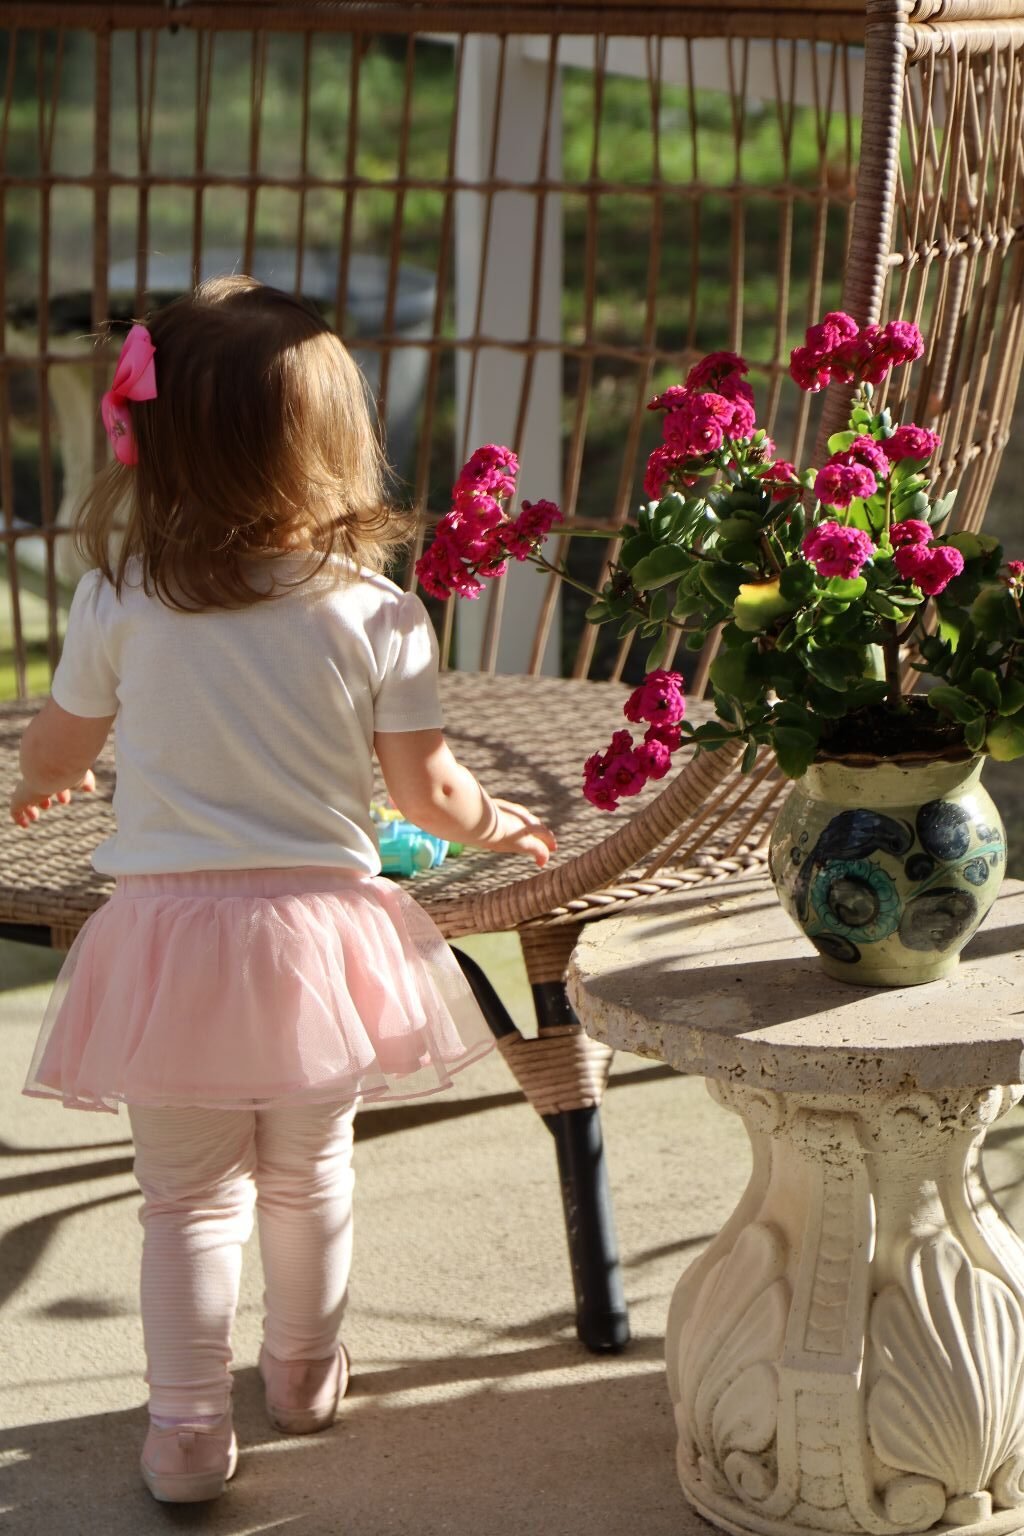
Drawing Tutu a Pretty Picture
———————————————————————————–

I don’t know what 64 has in store for me.
What with our failed American healthcare system I may not even make it to 65.

Tutu and Peanuku, (I Live For Her)
My heart doctor originally from Syria fled the country with his family once Trump got elected. The heart doctor I saw that replaced him forgot me in the exam room. Dr. Muhammed. After I waited 45 minutes he came into the room, turned the computer on, then received a phone call and left me in the exam room alone with the computer on. Then, he never came back. I heard him go into the exam room beside me and start to see that patient. Had I not left the room and gone to the front desk I might have been locked in the building for the night! I kid you not! I informed the two people left in the office building what happened to me. They were very sympathetic. But…..
The bottom line is that I was invisible and I was forgotten. My doctor from Syria cared about me. Dr. Muhammed didn’t. So yeah, let’s deport those foreign doctors that care about us and put into place those that don’t. Oh, don’t be fooled by the Dr. Muhammed name. He was a very handsome man fluent in English. As in he has lived here his whole life and most likely was born here. But, my impression of him is not very favorable.
As I see it, each and every one of us is going to be responsible for our own health. We cannot count on this healthcare system to look after us. Our American diet is designed to create ill health so that we are reliant on a ‘for profit’ healthcare system, where we go into debt just to survive. We need to educate ourselves, eat healthy, exercise, and do what all we can to survive all that is to come. We truly are on our own.
At least I’ve made it to 64.
Happy Birthday to Me,
Julie
——————————————————————————
February 10, 2025
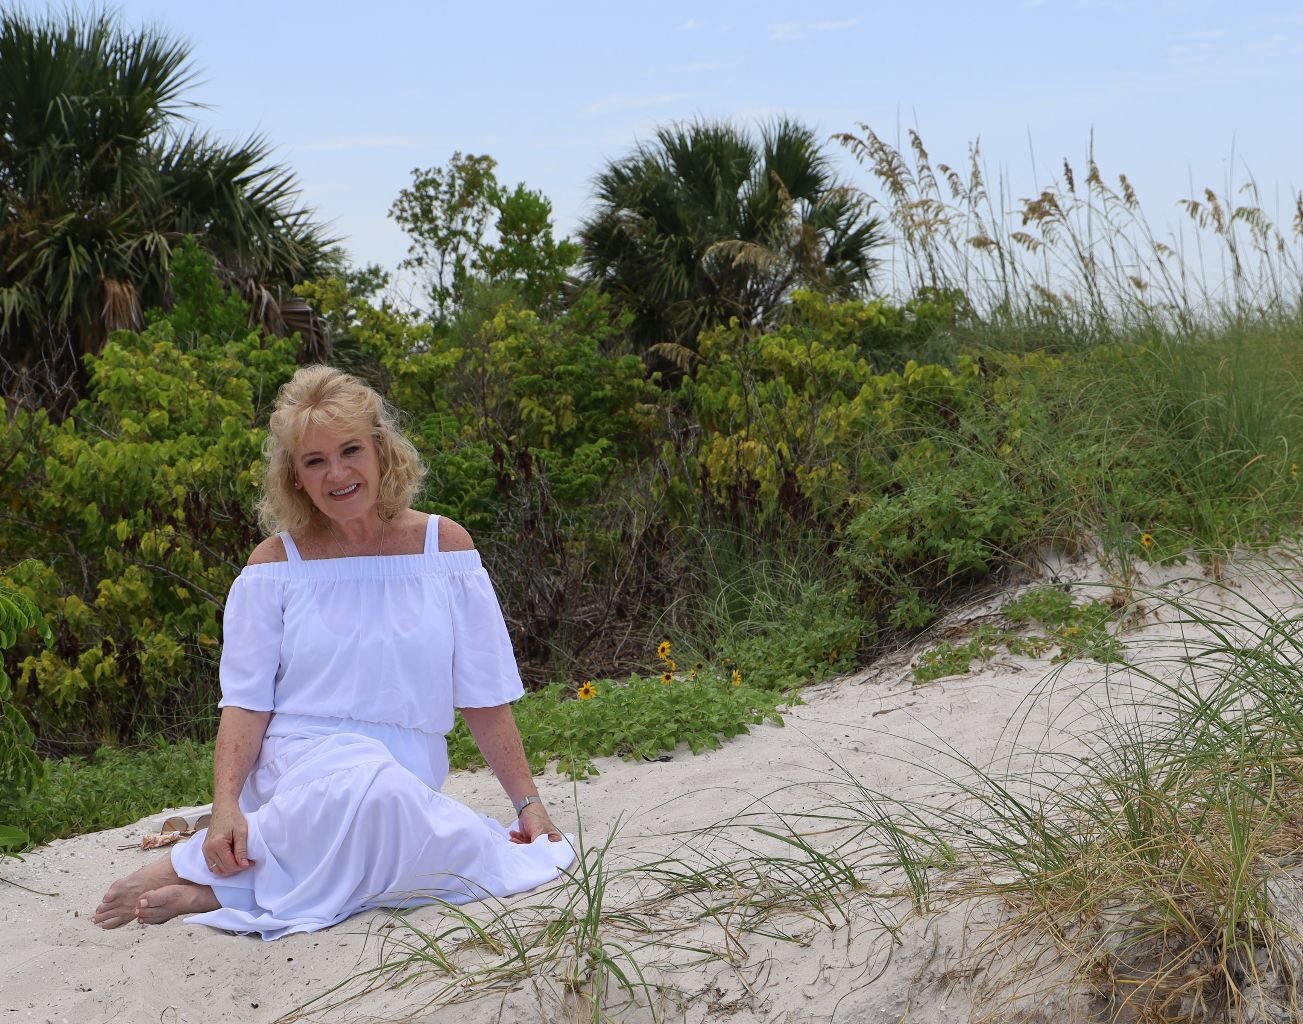
This is Me at 63, Almost 64
The older we get the uglier we are on the outside, but the happier we are on the inside.
At least that’s my story.
——————————————————————-
Comparing Myself To Others
I am very sad to say that whenever I come across anyone around my age I can’t help but compare myself to them. I don’t do it on purpose. I know that there are many factors that determine how well we age. Our DNA plays a major role, also our diet and our health. How well we may, or may not have taken care of ourselves from youth on.
I do come across people that I will find out they are younger than me, and I am sometimes immediately shocked. My insides are saying, ‘What? YOU are younger than ME?’
I believe that I need to be kinder in my thoughts where that is concerned. Oh, I never say anything to the person whom I see as not looking very well, but I do think it. I really don’t want to think it anymore.
No one younger than you sees you as young. Only those older than you.
Oh, there is that occasional person that will see you and acknowledge that you look good for your age. But most will never see it.
I like getting older. I am a much happier person now than I ever was in my life. I think it’s because I am ageing. I will be 64 on February, 13th. and I can’t wait! O.K., birthday cake plays a major role in my loving birthday’s, but so does my Grand-Daughter Isabelle.
I just want to be old enough to put her before me, and young enough to keep up with her.
If someone were to ask me why I am a youthful 64 year old, my answer would be, “Immaturity.” Too stubborn to age, willingly. 🙂
It’s actually quite freeing to age. People don’t expect you to be this perfect person. After all, you are an old lady. 🙂
At the end of the day, it really has never mattered to me what people think about me. I have always liked myself, even when there were times that no one liked me.
It all boils down to how you feel about yourself.
As it is, I live in my head.
Julie
—————————————————————————–
November 11, 2024
MOOD

Today is Veteran’s Day. Gordon is a vet. Today we honor all of those that came before us and risked their lives, some died, lots of them bled just to give us the freedoms that we just freely gave away to Trump on November 5th. for him to destroy. Yeah. I’m having a hard time with these election results. I ended up having an extra day off today. I keep my granddaughter about 3-5 days a week. I was originally supposed to keep her today but Veronica then informed me that I didn’t have to as Brian got the day off. As much as I love her, I also needed this day to myself. You see, I’m still grieving. I’m not just grieving for me and my family, I’ve grieving for everyone. Americans and the rest of the world.
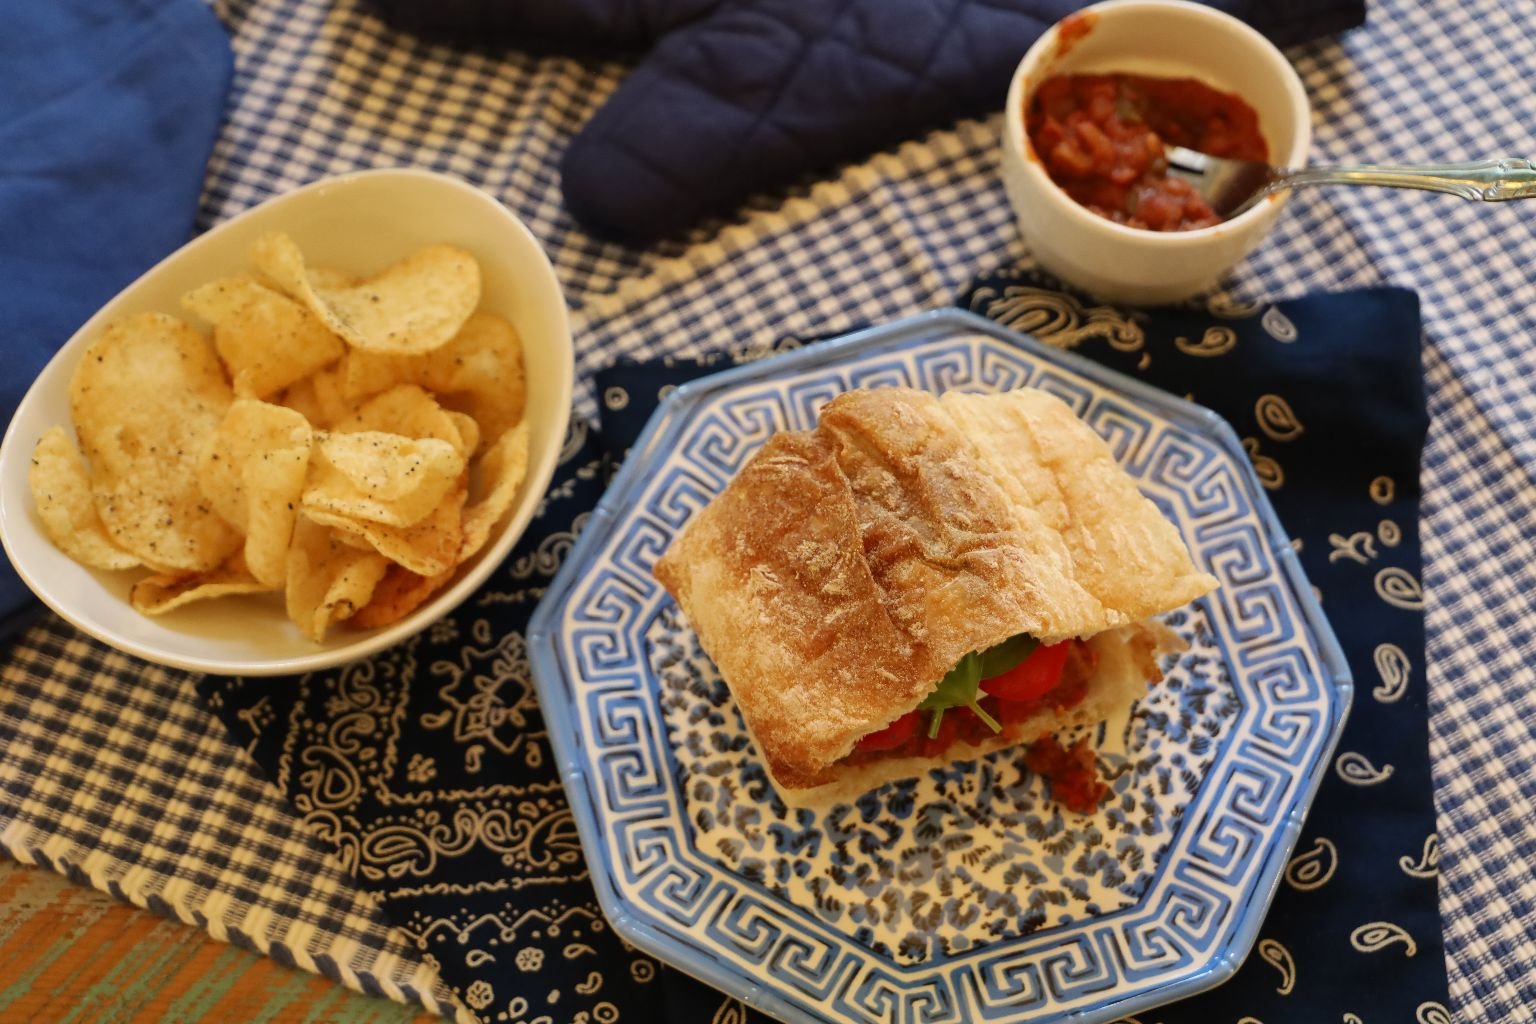
I won’t be celebrating Thanksgiving this year. Gordon is back overseas now so it would be me doing everything myself, and I just don’t feel like it. It’s not that I’m not thankful, I just don’t have the energy to dedicate to the holiday, so if I do anything at all it will be something very simple like a T.V. dinner or a turkey sandwich. I don’t even know if I will be doing anything for Christmas this year. Usually, I already have my holiday plans, but not this year.
I guess that what I am trying to say to all of you is that if we don’t feel like doing it, then let’s not. I understand that if you have small children that you really do need to make the effort. I will do something nice for my granddaughter, and I have a nice idea of gifts that I will be giving everyone, I just don’t know if my home will reflect what all we used to do in the past.
We all grieve differently. Oh, we may go through the same stages of grief, but some of us may take longer than others. I’m going to go at my own pace, and not someone else’s.
Julie
——————————————————————–
November 7, 2024
How The Next Few Years Will Affect ALL of Us

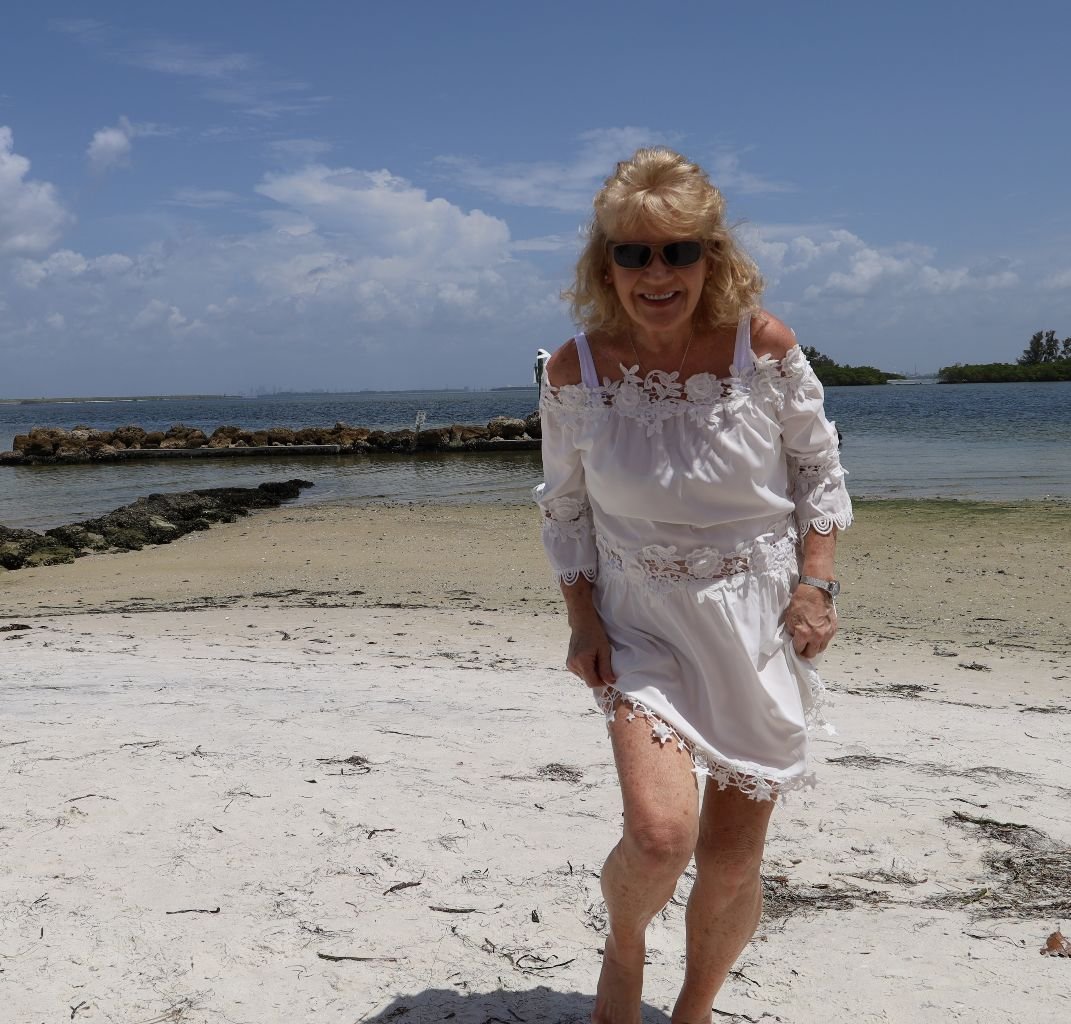
This is ME at 63!
I’ve been meaning to update my 60’s for awhile now but I’ve been busy doing other things, or working on other website pages. However, I can’t get all of this out of my head unless I write it all down. It becomes a distraction and I don’t wish to be distracted. There are many things I want to get to. I decided to write all of this here instead of my personal blog because all of this is going to affect my 60’s in a very negative way. My 60’s blog isn’t just about my physical health, it’s also about my mental health. Therefore, I wanted to place it here. Know that every American will be affected negatively by the new administration coming into power come January 2025.
Once I get this out of my system then I will be blogging here once again about any ailments I have, or will have. You know, the fun topics. But for now, I want to write about this.
I’ve Been Trying to Save my Fellow Americans Since 9/11
(Not from the terrorists, I figure a good National Security can do that, but from Republicans themselves.)
And as you can see, I have failed miserably.
————————————————————————–
Time to Grieve, along with Self Love and Care
I’ve been up since 4:00 this morning. Today I kept my granddaughter so I got up early to shower and be ready when she arrives. Today was a short day to keep her.

Isabelle, A.K.A. Baby Pierre 🙂
Her dad will pick her up after 10:00 a.m. and then I have the rest of the day to myself. I don’t keep her everyday, but I do keep her a good 3-5 days a week. Some days are short, some days are long.

Baby Pierre with her Toys
I’m just happy that I have this block of time to myself right now as I really do need it. I don’t keep her again until Monday. That gives me until then to be sad, grieve, lick my wounds, eat some nice comforting foods, and just do whatever is necessary to heal myself. Not totally, but to have it all sink in and form my survival plan.

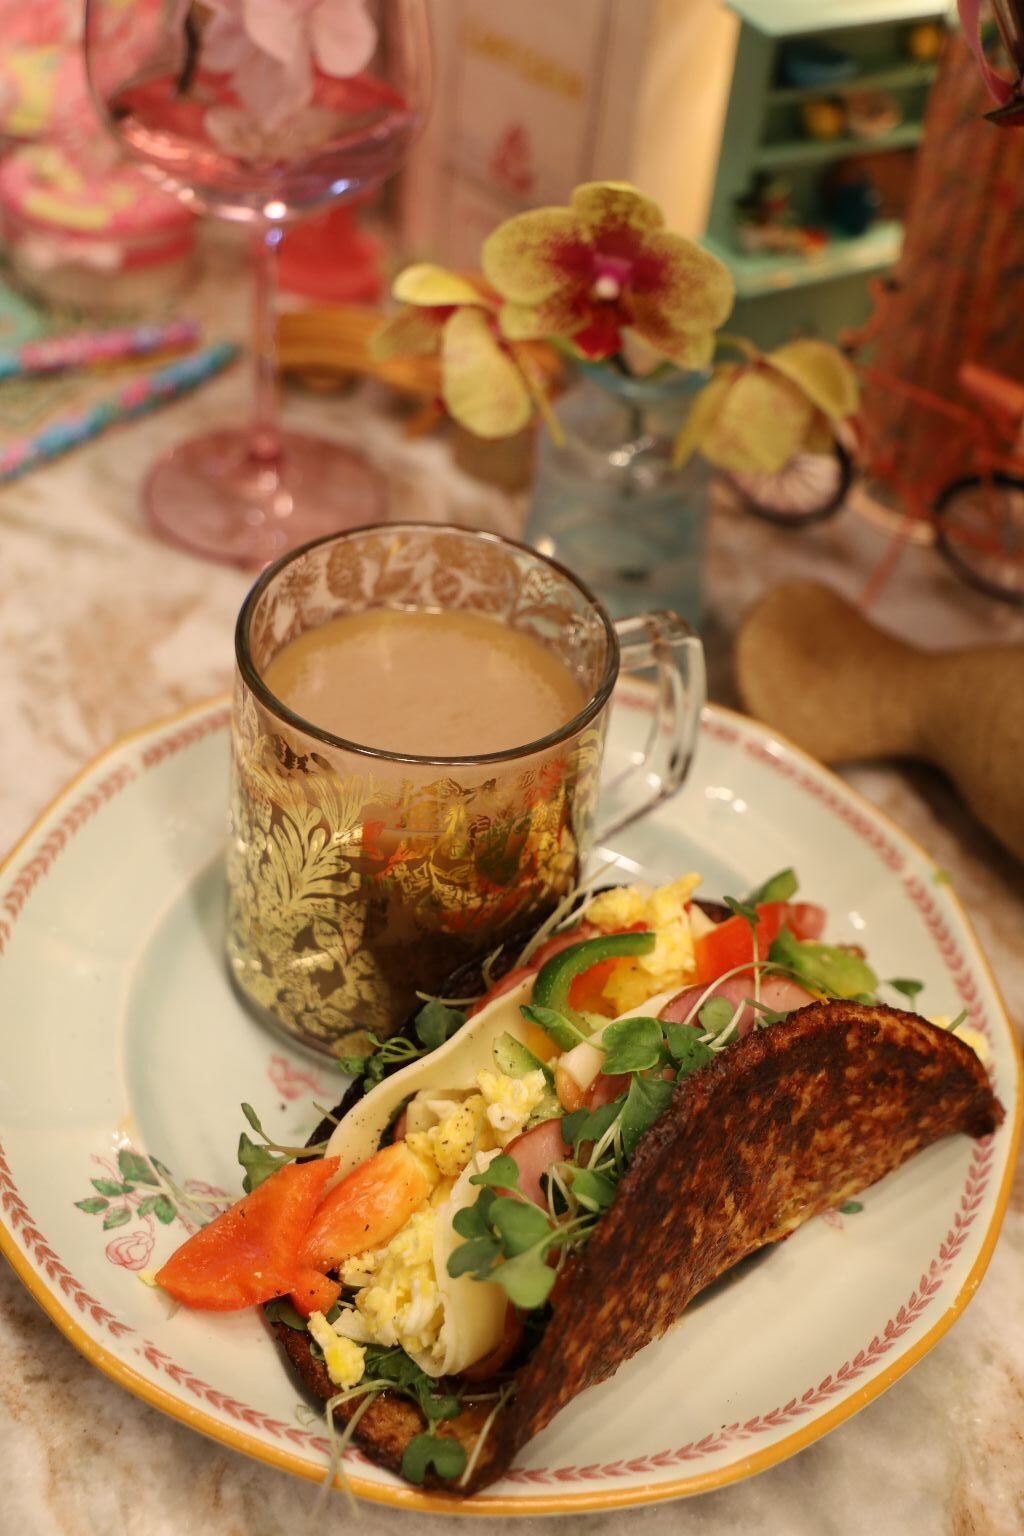
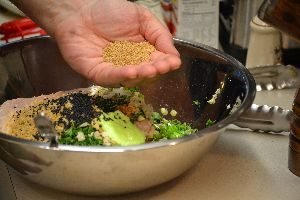
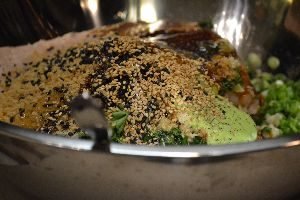
My Second Breakfast
(Small Broccoli Quiche from SPROUTS with my Broccoli Greens)
In need of some comfort food. Because I get up so early on those days that I keep Isabelle, by 6:00 a.m. I am hungry and in need of something in my stomach. I will generally eat a bite or two of something after I give Isabelle a bottle and put her down for her very early morning nap. I then take a nap too, but when we do get up a few hours later we are hungry for a real breakfast. Today, this was mine!
I’m also doing some things around the house, but I’m mainly just taking it easy. If the dishes don’t get done, or the laundry isn’t totally ready, it really doesn’t matter right now. The priority for today, tomorrow, Saturday, and Sunday, is ME!
————————————————————————
It’s Truly Over
I’m not licking my wounds because the political party that I supported lost. This isn’t the Super Bowl and my team didn’t win. EVERYONE lost on November 5th. Even the republican voters themselves. They just don’t know it yet. White people generally don’t suffer too many consequences when it comes to politcs, it’s usually black, brown, and poor whites. But now, the chickens are coming home to roost for EVERYONE!
When I mention above about how I’ve been trying to save my country since 9/11, I’m referring to the policies of the republican party, I’m referring to the incompetence that enabled that day to even happen? Did you know that not ONE person has been held accountable for the largest terrorist attack on our nation? NOT ONE! What the republicans did was to spread the blame around so that no one would be held accountable. Condoleeza Rice should have been fired. She wasn’t. Not only that, but all of that happened under a George W. Bush Administration. Yet, no one ever seemed to blame him, (except the families of the victims and those of us that know all the facts.)
If you were to come home and find all of your children dead but the babysitter is still alive, don’t you want to know what happened? Or are you just going to shrug your shoulders and say, ‘well, we can’t bring them back, time to move on.?’ Are you going to allow the babysitter to talk you out of having autopsy’s done on the dead children to find out what happened to them? Are you going to allow the babysitter to thwart any investigation into the matter? And, will you be hiring the babysitter again to perhaps sit your dogs? If you are a republican, then the answer is YES!
I’m not interested in getting into all of that. But, 9/11 changed me forever. I woke up that day, while most of my fellow American’s fell asleep, and they haven’t really woken up since. Oh, they do stir occasionally, yawn, open their eyes, stretch their arms, babble something about the time, and then fall right back to sleep.
Such Is The American Way
When Kamala Harris gave her speech yesterday to her supporters, admitting the concession to Trump, she said something rather unbelievable. She told her supporters to keep fighting, to never give up. Sorry people, but the time to fight is now before Trump is ‘anointed.’ Once in there, then it is truly over for all of us. So, this is how Democracy dies. It isn’t killed, it’s handed over freely. This time, it is being handed over by the Democrats to the Republicans. (You’d think they’d be a little hesitant?)
———————————————————————————————
Trump Will Never Leave Office Until He Dies
(Even then, he will appoint a successor.)
White middle/upper middle class people just never seem to suffer the same consequences as black/brown/ and poor whites. It’s because they have more privilege than the rest. They either have a good education, a good paying job, or something to sell if things go badly for them, stocks to cash in to help them out, or they have connections they use to give them that leg up on everyone else during tough times. All of that is about to change. And I am here to tell you how and why….
American Seniors
For those senior citizens that didn’t lose their homes during the Bush/Cheney years due to catastrophic medical costs, or those seniors that haven’t had to get those reverse mortgages just to stay afloat and in their homes, well, your Social Security is about to be slashed, or done away with totally. That’s right. No more money for you old people! So, what’s your plan? Did you manage to save a lot during your life? Did your husband leave you behind a small fortune? Or, do you have things that you can sell to get you through until you die? Perhaps you have a child with a spare room that can take in grandma? A mother-in-law suite would be great, wouldn’t it? With your own bathroom? I certainly hope that you will have some money set aside to help with the rent and food costs? Oh, and what about those medical bills? Are you a diabetic? As I recall insulin used to be around $200.00 until those nasty democrats put a cap on it and made it no more than $35.00. (Don’t you just hate those democrats!)
I hope you are prepared for all those dirty looks your son or daughter’s spouses will be giving you for ‘free loading’ off of them. (We are talking about white republican’s after all.)
Oh, and just a reminder, your children/grand-children will be having it hard too, so don’t expect any luxuries there. They won’t be able to take off from work to get you to your doctor appointments. They will also need every penny they make to get through.
———————————————————————————
The Middle Aged
So, you’ve managed to buy your ‘sort of’ Dream Home! Wow! What a great life you and your wife and your children are going to have there. With the extra bedroom you can create your MAN CAVE. Bit screen T.V., giant comfy couch, gaming system! WOW!….
But wait!….. Ring, ring… Ring, ring…
Phone call from mom and dad. They can’t afford to live on their own with the Social Security cuts. They want to know if they can live with us here? What do we tell them? Can’t they go and live with your sister? I know she has a small apartment, but they can make it work. I want my MAN CAVE!!! (Again, we are talking about republican’s.)
So, now you are forced to take in your mother/father/or both in order to help them out. Otherwise, they are homeless.
The stress is enormous. 4 adults and 3 children all living under the same roof.
(Although that used to be the norm in the 40’s, 50’s, and 60’s, they were more tolerant than the average American is now. America has since turned into a nation of selfish hot heads. So, good luck in the ‘family’ environment.)
Paycheck to Paycheck
Oh, there won’t be any saving money. Everything you buy from abroad, which is a lot, is about to cost you about 40% more. You see, Trump’s Tariffs. That means that all those business’s that import from other countries are having to pay more, therefore, they are passing their extra costs onto YOU. After all, they need to make huge profits, ya know?
The Average Family Will Pay Around $4,000.00 Extra A Year
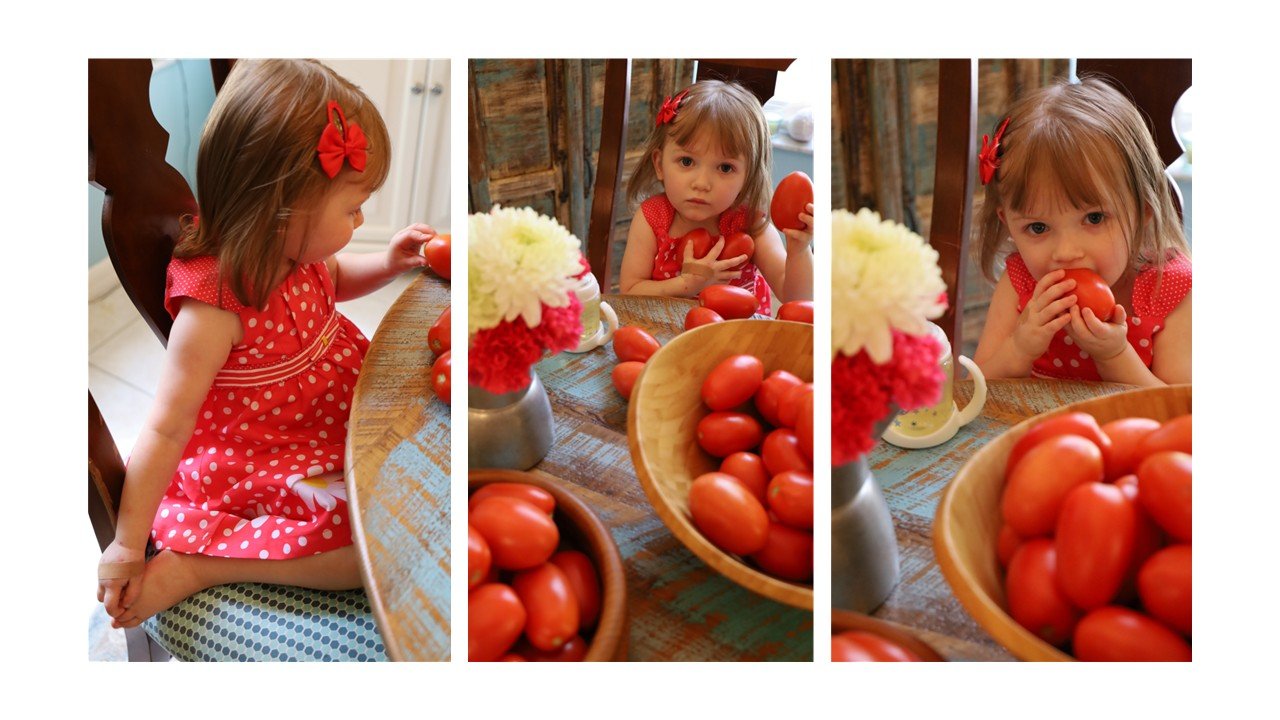
Also, expect to pay more for your Fruits and Vegetables. A simple tomato may end up costing you $8.00! Why? Well, we don’t have all those brown illegal rapist immigrants anymore over here taking your job away? And, exactly when did all those white republican’s ever work the fields picking vegetables? Who knew?
Trump has promised that there will be immigrant deportations on day 1 of his Presidency. Imagine driving to work and seeing armed guards with large groups of brown people in them. They are worried, scared, their children are crying, they are being herded onto buses…. you are pleased. After all, those damn rapists are finally getting their due. Good, you think.
The news is filled with all the stories. Oh, a watered down version of them anyway, after all we won’t have a free press anymore. It will be the Trump News Network. Our Great Leader will address the nation every evening with his accounts of how he is keeping us all safe, whether we like it or not. WHEW!
The bills are adding up. Everything costs much more. You parents are no help as they are old and can’t get jobs themselves. But, they do try and help out around the house when they feel good enough to help. Your mom is doing some cooking and cleaning up, and your dad is mowing the yard while you are having to work extra hours. Life just isn’t enjoyable anymore. It’s just all work, work, and work.
Then something terrible happens…..
What with Daylight Savings Time it’s now dark when the kids have to catch the bus on their way to school. That particular day two of your children were sick because RFK JR. is the ‘Health Czar’ and doesn’t believe in vaccinations, so your 11 year old daughter has to walk to the bus by herself. A car of men see her and hone in. Two men jump out of the car and grab her, throwing her into the trunk. They then drive off to a secluded location and rape her. They left her for dead on the side of the road, but she was found by passerby’s who called the police and she was taken to a local hospital. The hospital alerted the family who were so relieved! The family rushed to the hospital to be by her side. So happy that they have their baby girl back again. However, they are informed by the hospital staff that she will be monitored for a pregnancy. Everyone is stunned! NO! She can’t be pregnant! She’s just a child!!! That doesn’t matter, we have no abortion laws so therefore she must give birth to her baby.
I Will Stop There…
But, I will say this. If the child is forced to give birth then the new grandmother, or the great-grandmother will be forced to care for that child, or the child is put up for adoption. However, the orphanages are full of unwanted children as it is, and must send the baby to another states orphanage.
Or, consider this…..
A young married woman is raped and it results in a pregnancy? How is her new marriage going to work out? There are no abortions, how will that marriage work out as the new wife’s stomach keeps getting larger and larger? Is that marriage going to last? Or is that husband going to resent the fact that another man impregnated his wife?
In This America Rapist Get To Choose The Mothers of Their Children
So, why is it that republican men and women can never see that all of this is possible?
Because they just don’t think any of this can happen to them….until it DOES!
THEN, they wake up! But, there won’t be an Obama to save the day like in 2008, or 2012.
NO! There is a Trump for the rest of our lives. Or a Trump appointed successor.
————————————————————
I would like to add something else. Trump has said that he will kick out all those welfare recipients from their housing. Are you prepared to see thousands of homeless people on the streets? Men, women, children, toddlers, babies? Are you o.k. with that? They will be dirty and begging. They will be hungry, sad, mistreated, abused. You o.k. with that? Because if you are a republican, then the answer is yes!
Oh, and let’s not forget all the new homeless animals that will be everywhere. Stray dogs and cats. But, don’t worry, according to Trump the immigrants will be eating them, so….
Your Children Will Be Scarred
Imagine being at school one day when a group of armed military storm in and round up some of your children’s classmates? Perhaps even their friends? Or simply that sweet girl Maria from math class? Your children will hear their screams and their cries of terror. Your children will see their fear. Your children will have nightmares over what they witness at school. Unless they are republicans in which case they probably don’t give a damn.
Perhaps they don’t even come for children. What if they come for your young teacher? Never to be seen again?
Is everyone o.k. with that? I guess if you’re republicans.
—————————————————————————
I heard on Morning Joe this morning how the democrats need to do some sort of soul searching to find out where they went wrong in loosing this presidential election. Seriously Joe? The democrats have to do some soul searching? What would you like for them to become? Bully’s? Criminals? Rapists? Liar’s? When did the good ones need to do some soul searching? My country really is fucked up! But, there is nothing more I can do. And you know what I’ve discovered? They aren’t worth saving!
Julie
p.s. It’s time to delete those accounts. You know what I mean. Do it!
——————————————————————————-
August 3, 2024
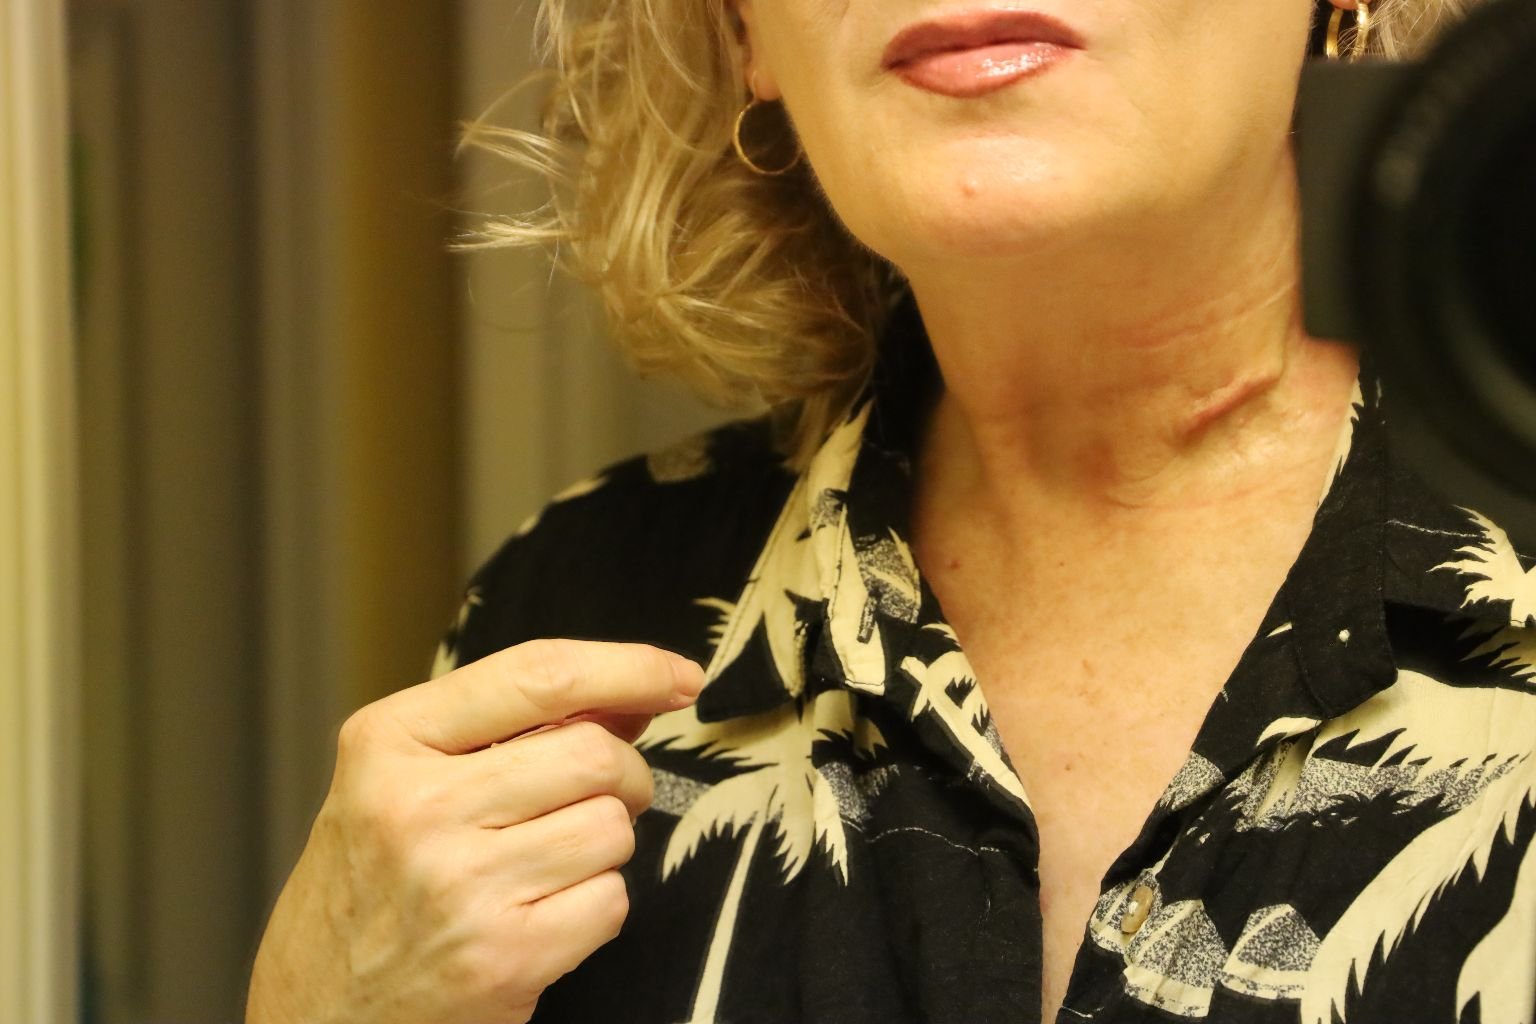
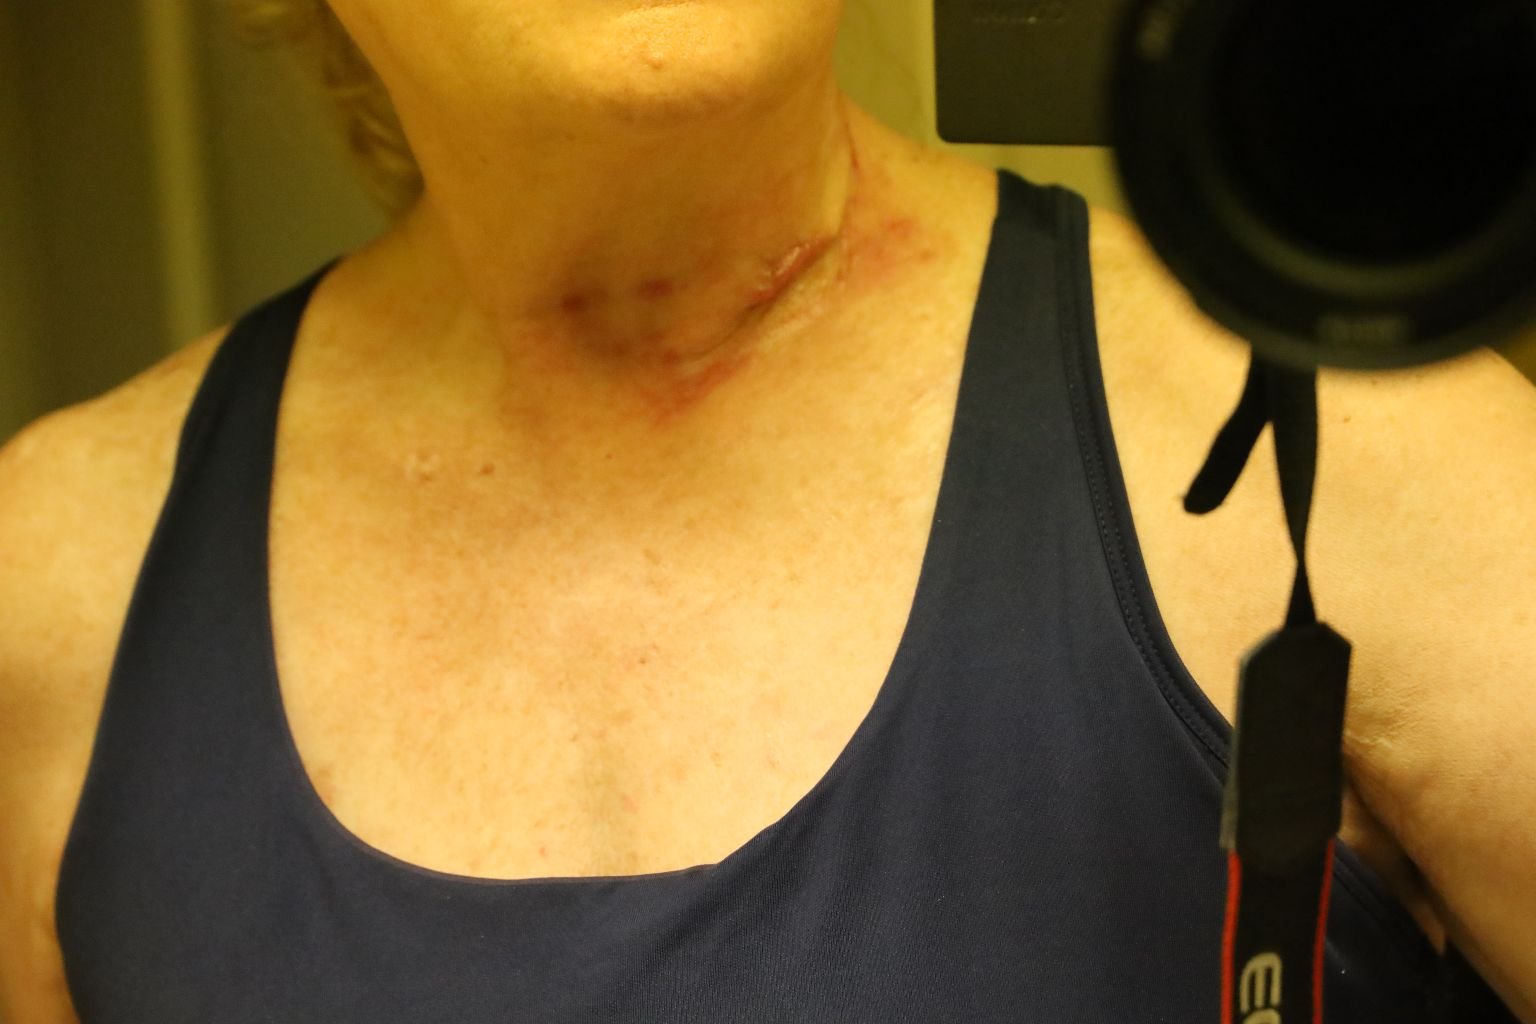
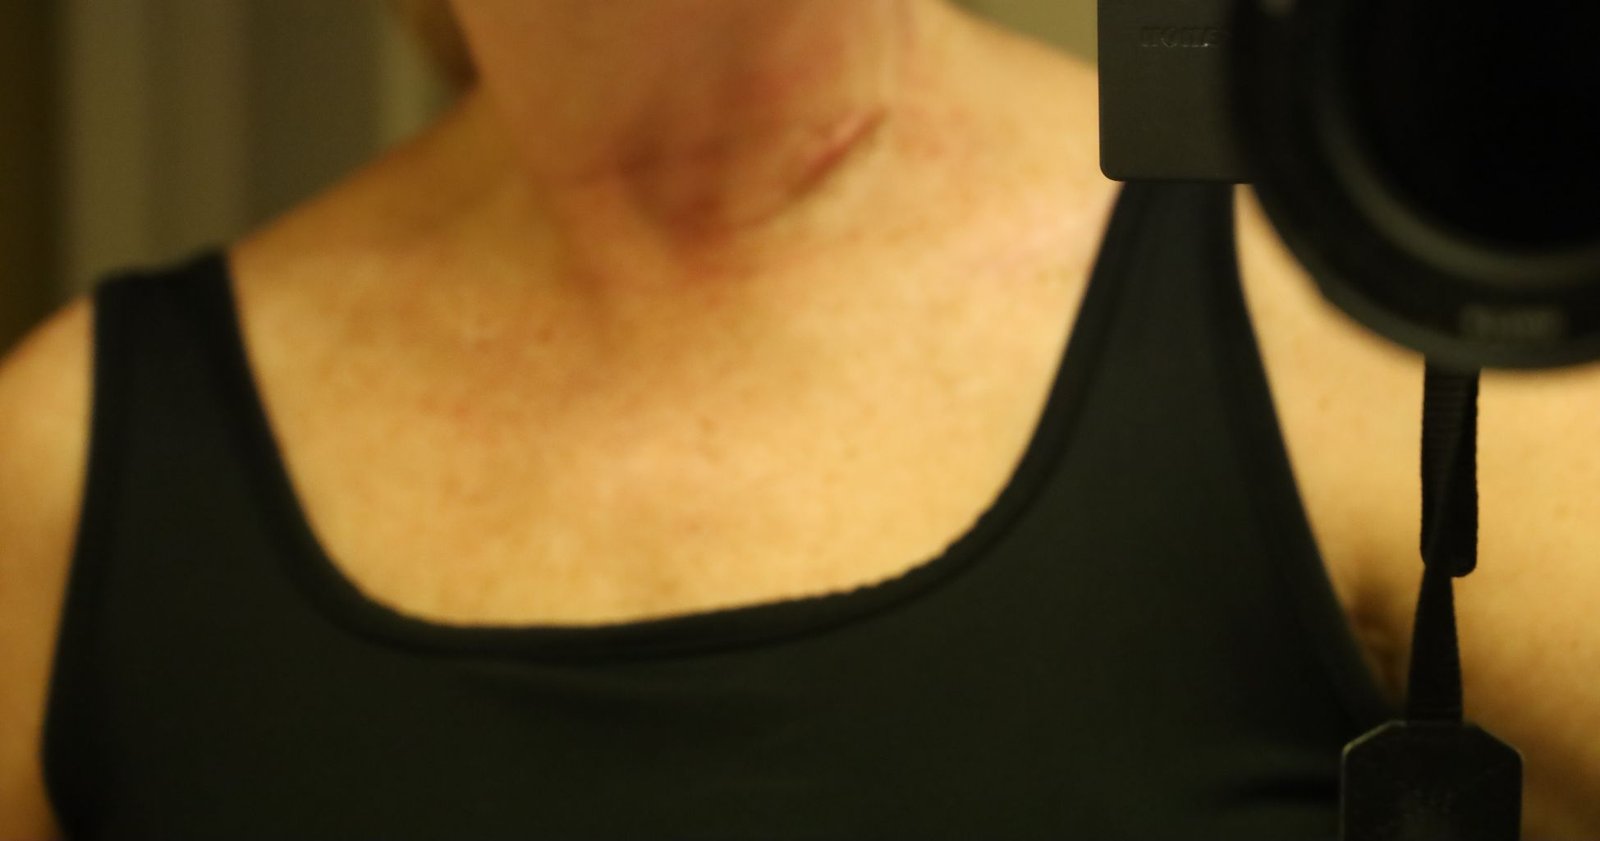
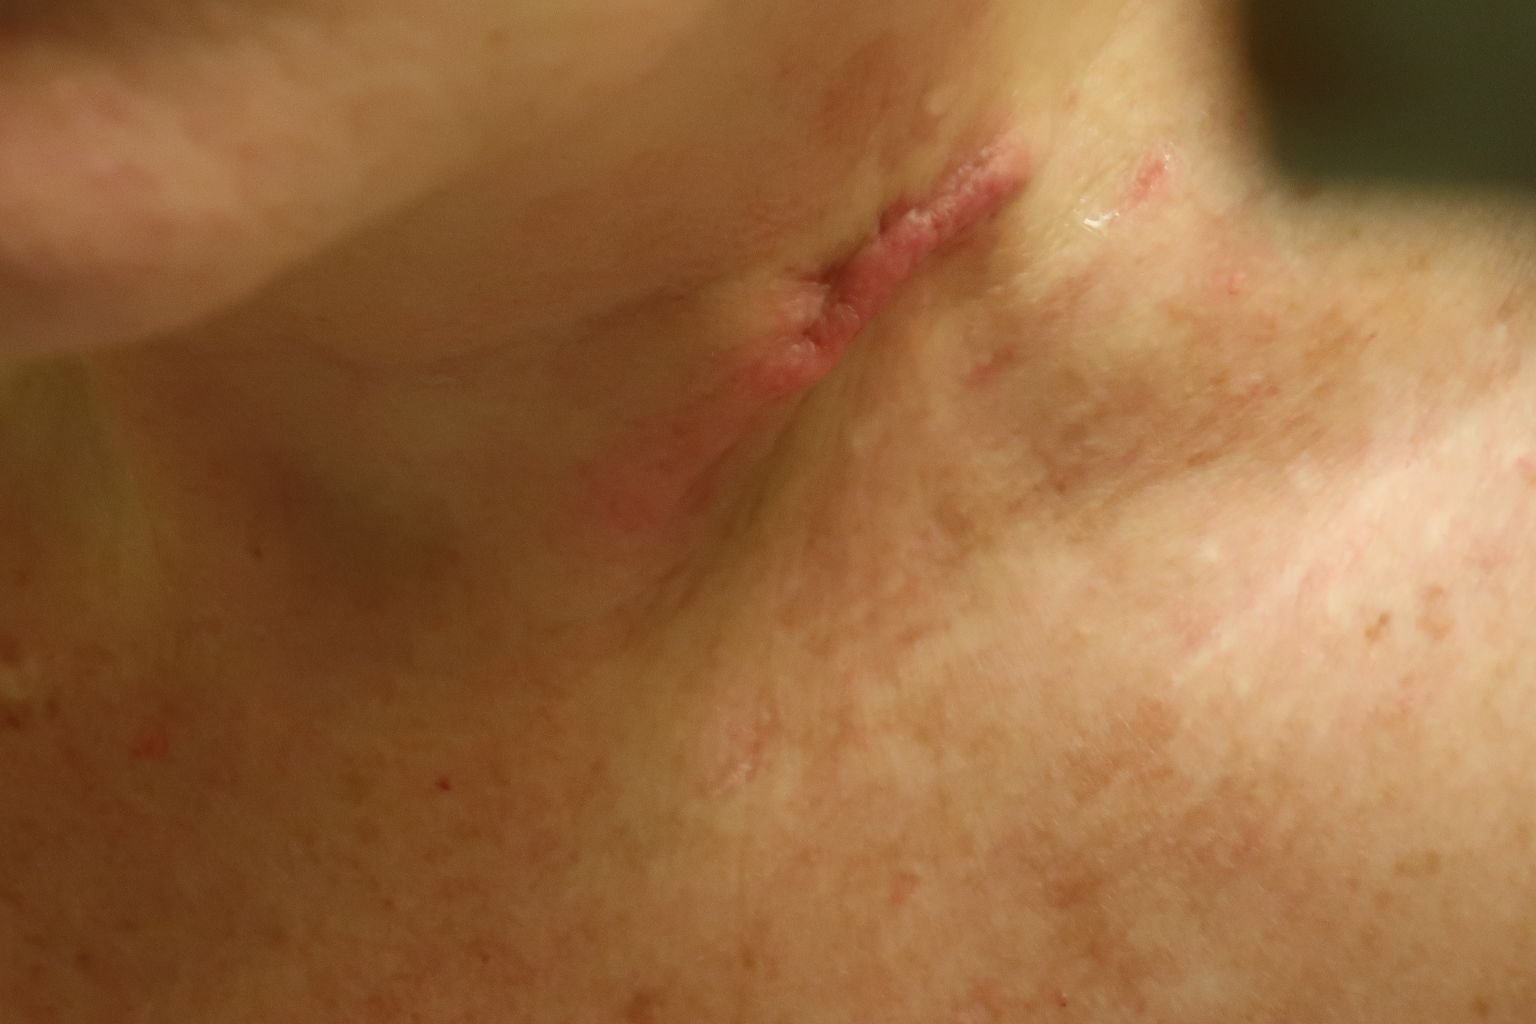
Update on Skin Cancer Neck Wound
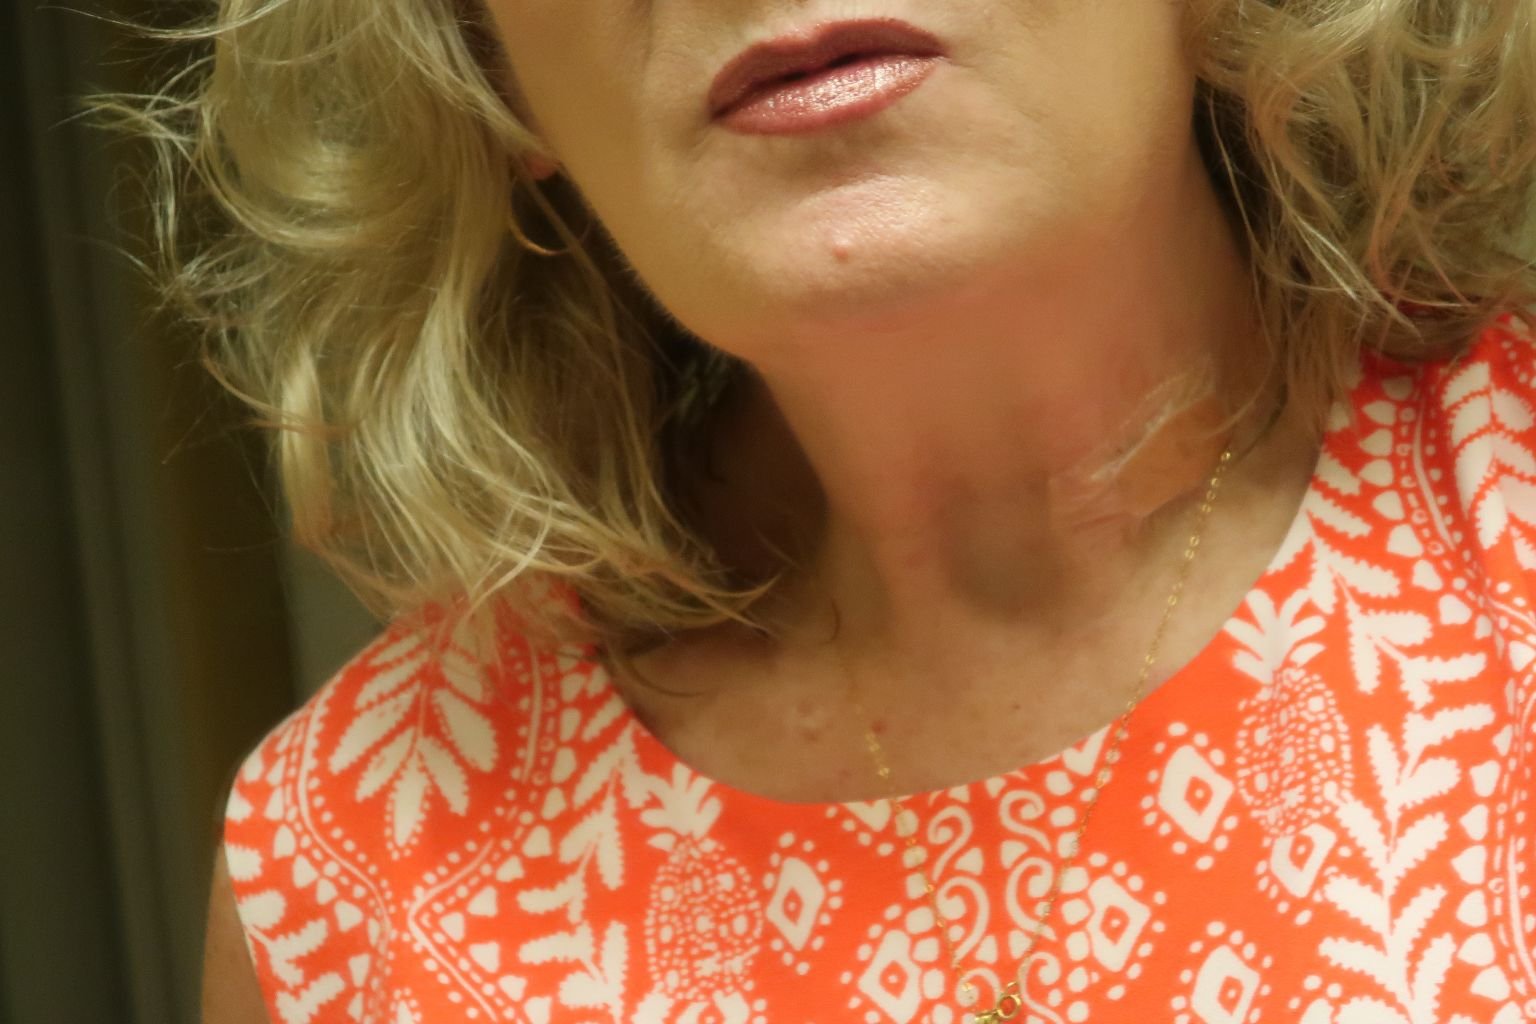
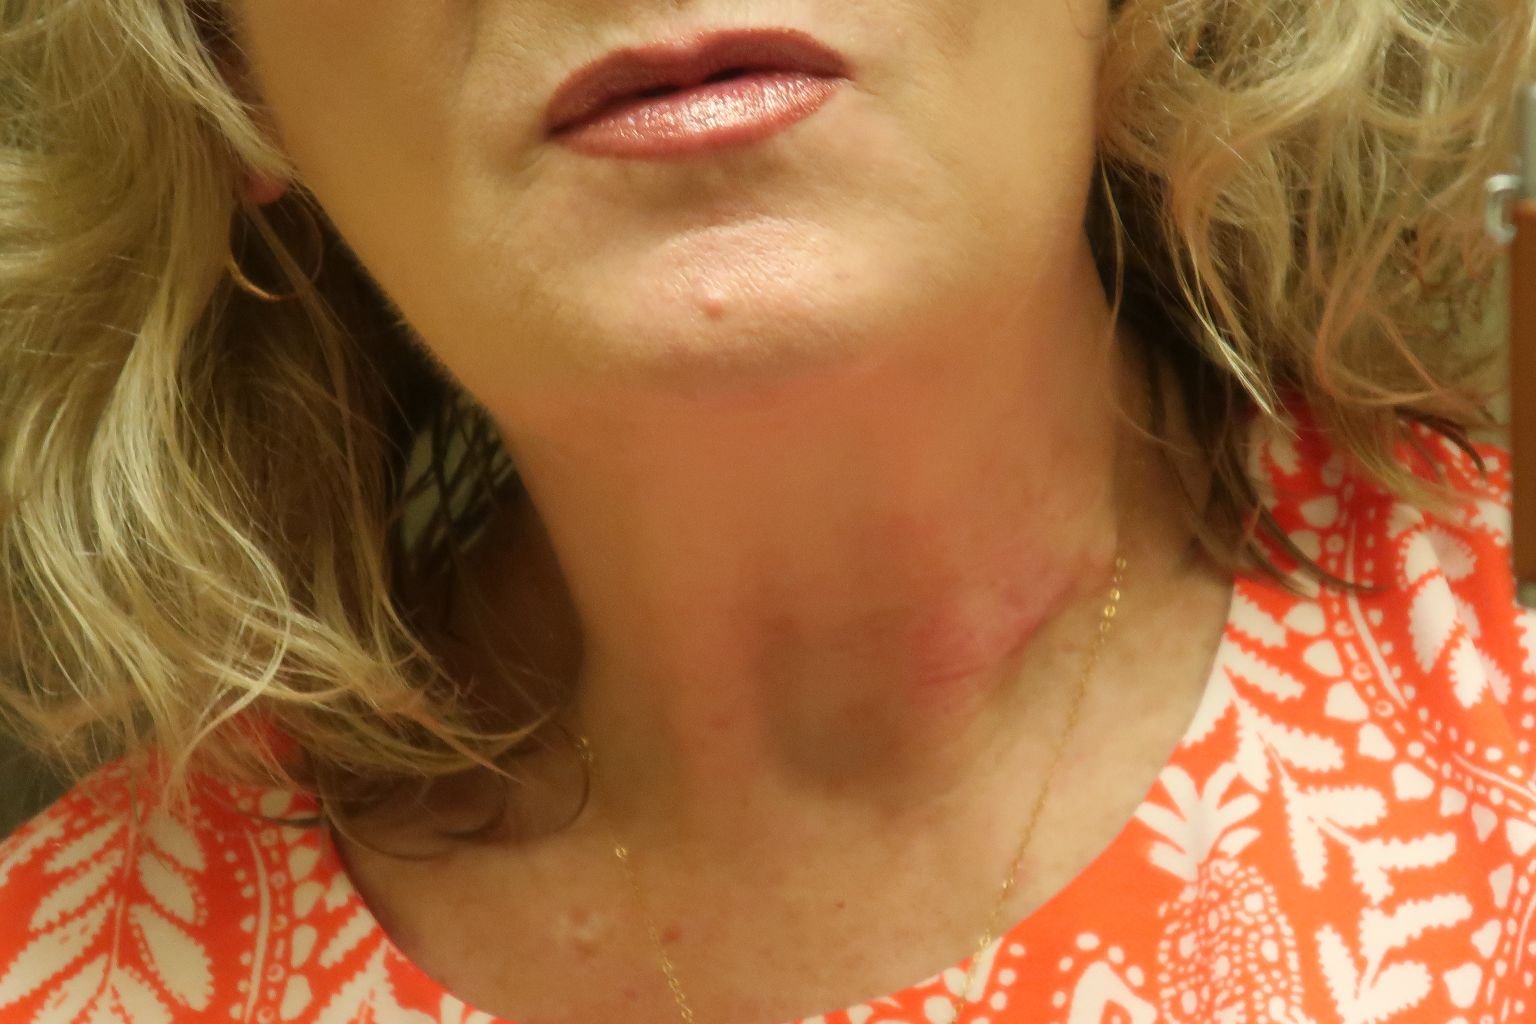
10 Week Update
The photo at left shows me with a bandaid on my neck. I don’t really need it, but I do use one when I go out because the wound is still unattractive. The photo at right, shows you the wound as it is now. It is getting smaller and healing nicely. It will just take some time before it smooths out and is no longer that worm looking thing on my neck. At least I no longer need those large bandages, and a simple bandaid will do. 🙂
Julie
———————————————————————–
July 11, 2024
8 Week Update On My Skin Cancer On My Neck
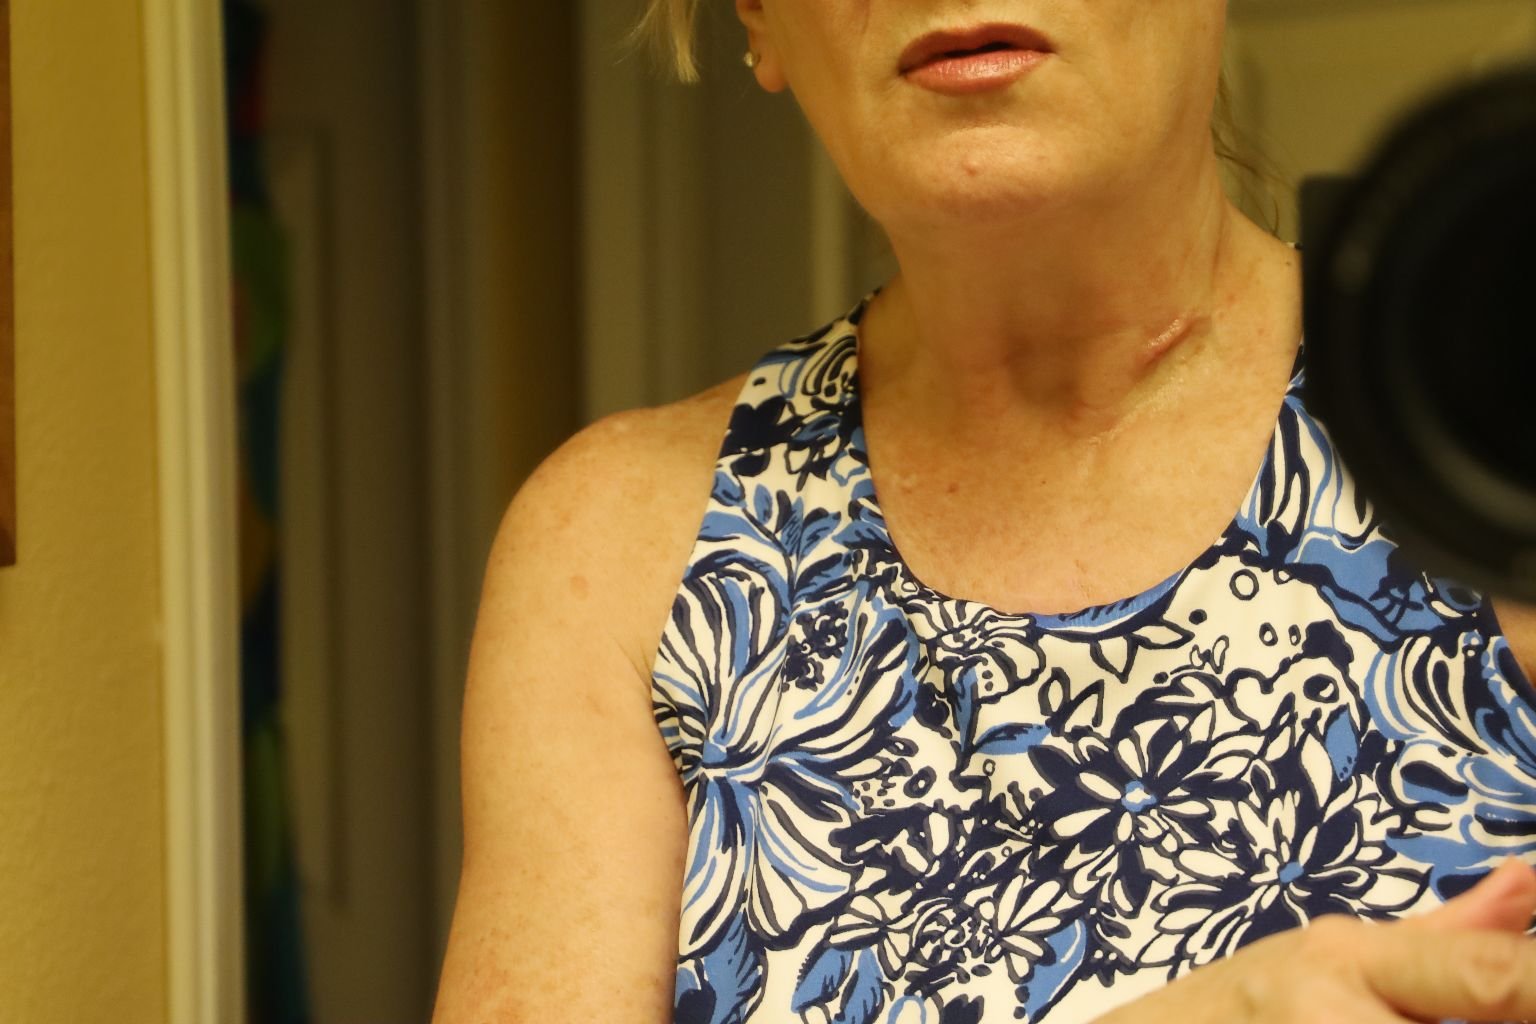

(No Make-up Day)
I don’t believe the lighting is too good here. But, my wound is getting better. Next time I will shine a flashlight on it so that you can see it better. But, I am still allergic to the glue on the bandages.
———————————————————————-
June 15, 2024
One Month Wound Check


See that white bandage left? That bandage that I asked for meant that the doctor I saw considered the wound check visit a ‘new visit,’ and charged me for it, along with my insurance company. The wound check is just that. Which means all is paid for they are just evaluating my wound. When I removed the bandage so that they could look at it, I asked if they could give me another to place on my neck as I would be doing some shopping and errands and I didn’t want my yucky neck exposed.
That prompted my doctor to see this as a new visit and charged me $37.00 for that bandage. Not to mention the several hundred they charged my insurance company. I no longer have respect for the woman that stitched my neck up. I will also be requesting a different doctor in the future.
I never complain to them, I just never go back.
My neck is healing nicely. I realize that it looks like my neck is sticking it’s tongue out at people. The doctor stitched it up, so that it will settle down. Had they stitched it flat, the wound would sink in. This way it won’t. It does take some time for it to settle. I’ll keep you posted.
——————————————————————–
June 4, 2024
My Skin Cancer Wound is Healing

Lucky You! You Get 2 Yummy Photos!
It’s been about 3 weeks since the procedure. One reason is still looks a bit bad is because I had just ripped off the bandage before I took this photo. I am allergic to the glue on these bandage tapes. Therefore, you see all this redness.
I have tried some of the ‘organic’ kind, but they don’t stick very well. I pretty much need those bandages that are causing the allergic reaction just because they work.
I am my Grand-Daughter’s main care giver so I need it covered so that she won’t poke it or even be exposed to it. I also keep it covered when I go out and about so that no one has to look at it. 🙂 However, when I am at home alone, I cover it with Vaseline and leave it bare without a bandage.
I will get a ‘wound check’ in the next week or two from my Dermatologist. The redness goes away when I leave it uncovered, but it comes back immediately when I use the bandages.
My Catch 22!
I’m sure some of you are wondering why I would even show these very personal photos?
Answer: Because these kinds of things don’t bother me. I’m not trying to gross you out, I’m just giving you an insight into what it could be like for you, or someone you know and care about.
I was raised in a medical family where my step-father would show us the kidney stones that he removed from a patient that day. They were beautiful! We passed them around at the dinner table and looked at them with fascination. I guess that’s the reaction that I hope to get from you?
Julie
—————————————————————
May 31, 2024
Shopping Around For Bandages

If you are familiar with my Skin Cancer Neck Diagnosis, then you know that wearing a bandage around my neck is important for the healing process. I write about my Skin Cancer below….
Keeping a moist bandage with Vaseline on it, keeping my wound covered, will greatly help in the healing process so that my wound will smooth out around my neck, and not sink in causing it to look unattractive.
However, it turned out that I was allergic to the glue in the tape of both brands of bandages that I was using.

————————————————————————-
So, I went shopping.
(See Bandages in my sink in photo above.)
I bought most everything that I could get my hands on. I need to wear a bandage when I am out and about. I also need to wear a bandage when I keep my Grand-Daughter Isabelle, but other than that, I don’t bother to wear one while I am at home. In order to heal the skin around my neck, I do need to keep it moist with Vaseline.
—————————————————————————
May 26, 2024
You can see that I’m allergic to the glue in the bandages I’ve been using in the photo above.
You can see the redness all around my neck.
—————————————————————————
May 29, 2024

Through experimentation, I think I’ve found my bandage that I can wear without it breaking me out and making me even more miserable. Because, after all, the wound isn’t just the problem. It’s also the irritation, rash, discomfort, and itching from the allergic reaction.
I’m wearing bandages when I go out in public, or when I am watching my Grand-Daughter.
Wound today, May 31, 2024
It’s looking better, but it does take time.
When I am at home I wear the kind of clothing that you see me wear above. I also keep my hair back in a pony tail in order to keep it away from my wound. I then smather the entire area with Vaseline so that it gets the moistness that it needs, without the irritation from the bandages.
I’ll keep track of it and let you know how things turn out. Oh, and most important, I am sleeping on towels so as not to get any of the Vaseline on my bedding. So far, it’s working out just fine.
Julie
——————————————————————–
May 16, 2024
Everything is Changing, Everyone is New
(Hopefully, For the Better.)

And No, I Didn’t Try and Slit my own Throat
(No make up in the photo above left, just lipstick.)

All Bandaged Up!
Bandages for my Wound
(The waterproof are especially helpful for our humid Florida heat. They are sweat proof, humid proof, and waterproof.)
Earlier this week I went to have a Basel Cell Skin Cancer removed from my neck. It was discovered at a bi-yearly skin check recently.
I have my skin checked twice a year. Sometimes a suspicious area is discovered and a scraping will be taken and sent off to a lab for analysis. Most of the time everything is fine. But, sometimes it isn’t. This was one of those times. I have had Basel Cell skin cancer in the past in another area. Basel Cell is the most manageable of all the skin cancers. All they have to do is to make sure they carve out all of it, so as to not leave any behind. In the past they also found a Squamous Skin Cancer and they removed all of it. I have never had Melanoma, that is the most dangerous of skin cancers. Which is why I go for my bi-yearly skin checks in order to stay on top of my skin health.
I grew up in the south long before sunscreen. I spent many months outside playing in the sun, running around barefoot, I got sunburned, I freckled, I tanned. Then, once I got married to Gordon we moved to Florida. More sunburn, freckling, and tanning. Then we moved to Hawaii. More sunburn, freckling, and tanning. The beach was my life. And it shows too!
Now, ever since 2003 we are back in Florida. Sunscreen has been a part of my life since my late 20’s. I wish I had started using it sooner, but I was using it sooner than a lot of people that were still tanning with baby oil on their skin. (I have never done that!)
I also raised my children on sunscreen as to protect themselves. Luckily, they have been regular users their entire lives.
When I was growing up my mother would allow me to get sunburnt so as to teach me a lesson. When I was about 7 or 8 I got so sunburnt that my mother had to take me to the emergency room in Dahlonega, Georgia and have my back bandaged up. I had been to the Dahlonega City Pool for 2 days straight all day with no lotions or clothing protection. I was in so much pain but I was made to get dressed and go to some outdoor cookout party with my parents where I was so miserable and in so much pain I just laid down on some bench crying the entire time. I think it must have been out of embarressment that my parents finally took me to get medical attention.
Oh, and don’t think my mother was just some ignorant woman, she was a Medical Technologist with a 4 year college degree. And my step-father was the town doctor! So, they basically took me to HIS Emergency Room Hospital!
—————————————————————————-
Tending to My Wound
Twice a day I clean my wound with an anti-bacterial soap and water. I then pat it dry and apply a generous amount of Vaseline to my wound. And then place a bandage over it. You do NOT want it to air dry. It will sink in and become some yucky looking scar. You want to keep it moist as it heals. Therefore, I am doing my best to care for my wound so that it heals nicely. It is on my neck and I don’t want some ugly scar.
Did I Just Get a Mini Neck Lift?
The Dermatologist that removed my skin cancer is new and she is from India. I knew she would be good because Indians are very good with the body. They make great Coroners. Also, the Dermatologist that discovered my skin cancer is also new at the clinic where I go. New medical professionals for me to get used to. Luckily, I liked both of them, including the woman assisting the Indian Dermatologist removing my skin cancer.
I do wonder though, if I actually also got a free neck lift? After all, isn’t this the basic concept of a “facelift?” They make an incision, cut out some skin, stitch it up, and viola! A new neck! 🙂 We’ll see, right?
——————————————————————————–
My Heart Health

My Bleeding Heart Plant
About a month ago I had a CT Scan of my heart. My daughter Veronica went with me. I didn’t want to go by myself. It was in an area of Tampa that I wasn’t familiar with, and at a time of day that had huge traffic. Veronica knows that area so I just wanted her with me. Gordon is working overseas so I am more reliant on my daughter, son-in-law, and son Brodie.
I wasn’t worried about the procedure, I was just worried about finding the location and arriving on time in all that Tampa afternoon traffic. Having Veronica drive me just made me feel better. Sometimes we just need a support system of someone we trust to be with us. 🙂
Everything went fine and I had a follow up appointment with my heart doctor for the results, and for the treadmill stress test I had taken 6 weeks prior.
Turns out, I HAVE THE ARTERIES OF A 20 YEAR OLD!!!!!
(Bragging rights!)
But wait! There is bad news here…..
MY LIVER IS FATTY!
Probably from the amount of wine I drink, so…… I have to cut back.
That’s O.K. I can manage that. And I am! One glass a night now! 🙂
Depression may be setting in soon. I will let you know. 🙂
————————————————————————-
All joking aside, I tell you these things about my health, and show you ugly photos of my skin cancers in the hopes that it will encourage you to keep up with your 60’s health.
When my heart doctor called me in through the waiting room for my appointment, I held the door for this very decrepit woman who needed to use the restroom. She was short, overweight, and using a walker. She just looked so old and in ill health.
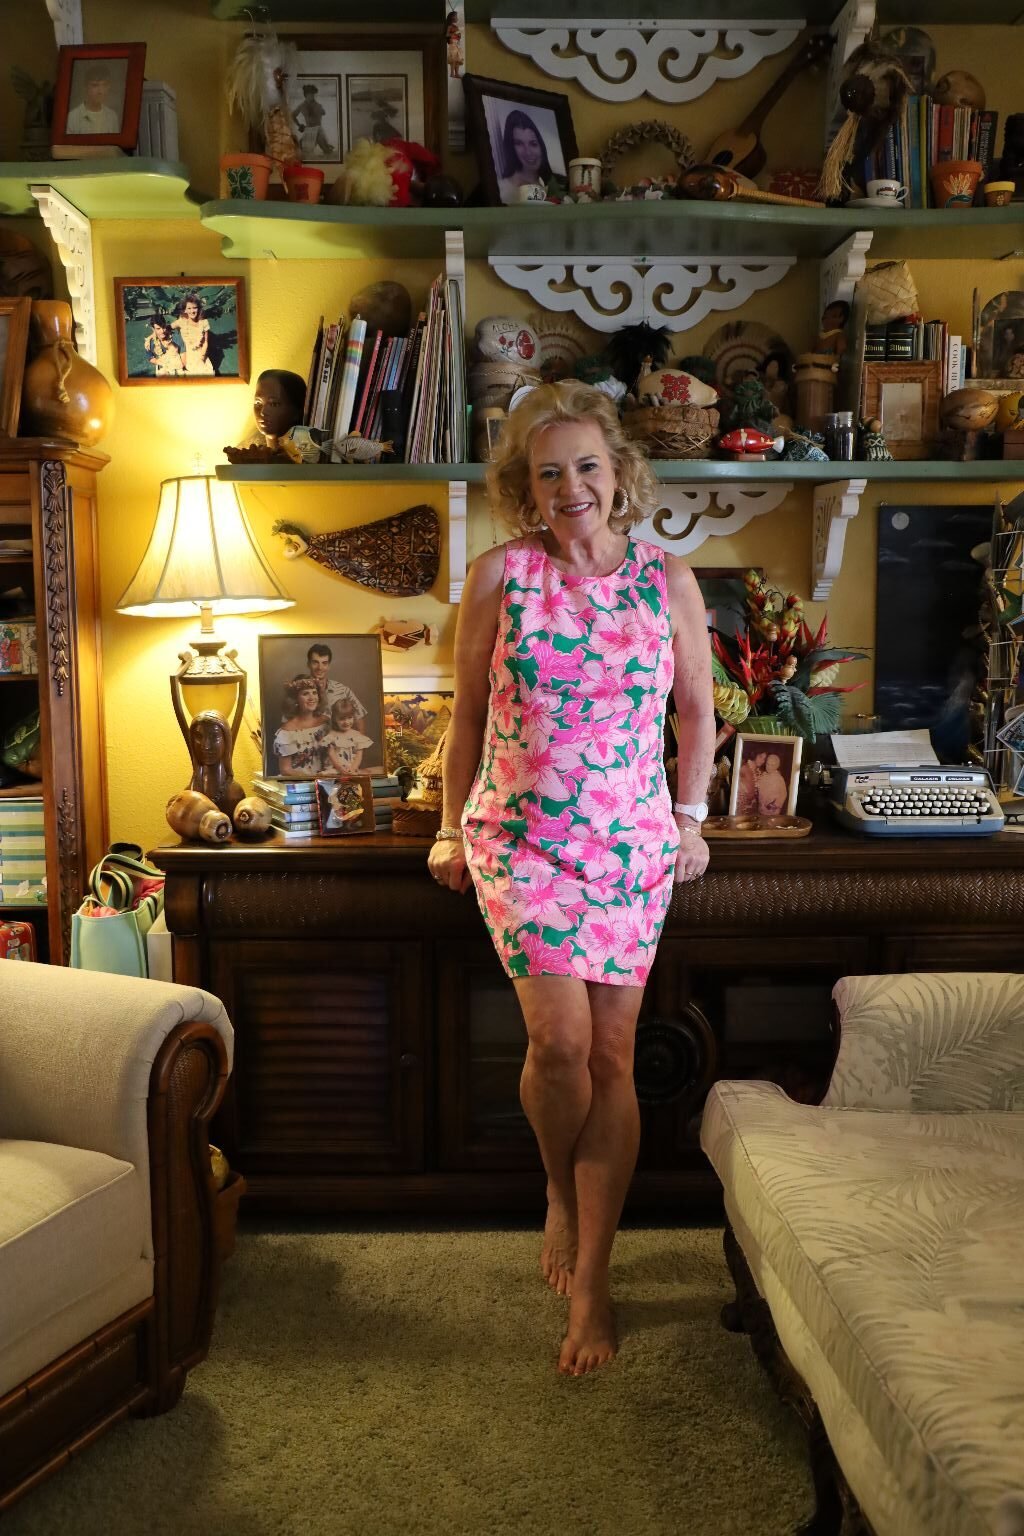
After my appointment, when I was leaving, I encountered that same woman. She commented on the dress I was wearing. She said that she liked it and asked about it? I told her that it was a Lilly Pulitzer, a former Palm Beach, Florida designer, known for her shift dresses from the 1960’s. She then said, “Oh, that is before my time.” I then said inside my head, “Aren’t you like 80?” Seriously, I am older than her?
I suddenly felt like a 30 something young woman and wanted to immediately go out and eat a bunch of bacon!
I then realized that the reason my arteries are that of a 20 year old are because I don’t do those things!
Know this, just because my arteries are young, I still have health issues. I am working on those. Because I want to live and be around for my children and grandchildren. Plus, I have a TON of blogging to still do! I’m not done yet!
Take Care of Yourselves!
Julie
———————————————————————
March, 2024
You Know You’re Getting Old When You Buy Your First Caftan Like Dress..
(And You Like It!)


I am not one for wearing “tents,” but I do love this dress.
My fashion sense has changed over the past few years once I discovered Lilly Pulitzer.
A Palm Beach designer.

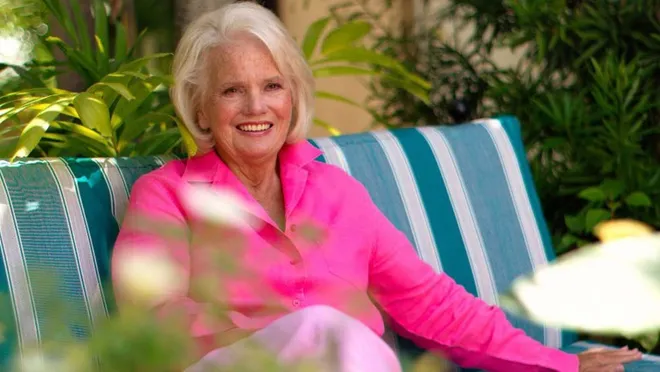
Lilly Pulitzer
Born November 10, 1941

I LOVE Her Shoppe!
She did die on April 7, 2013, (I think that’s the day my step-father died), but someone is continuing her legacy and doing a nice job of it. She was 81 years old upon her death. I love all the clothing and accessories. I even read not too long ago that there are Floridians that hang her vintage dresses around their homes. I love all the colors and prints!
—————————————————————-

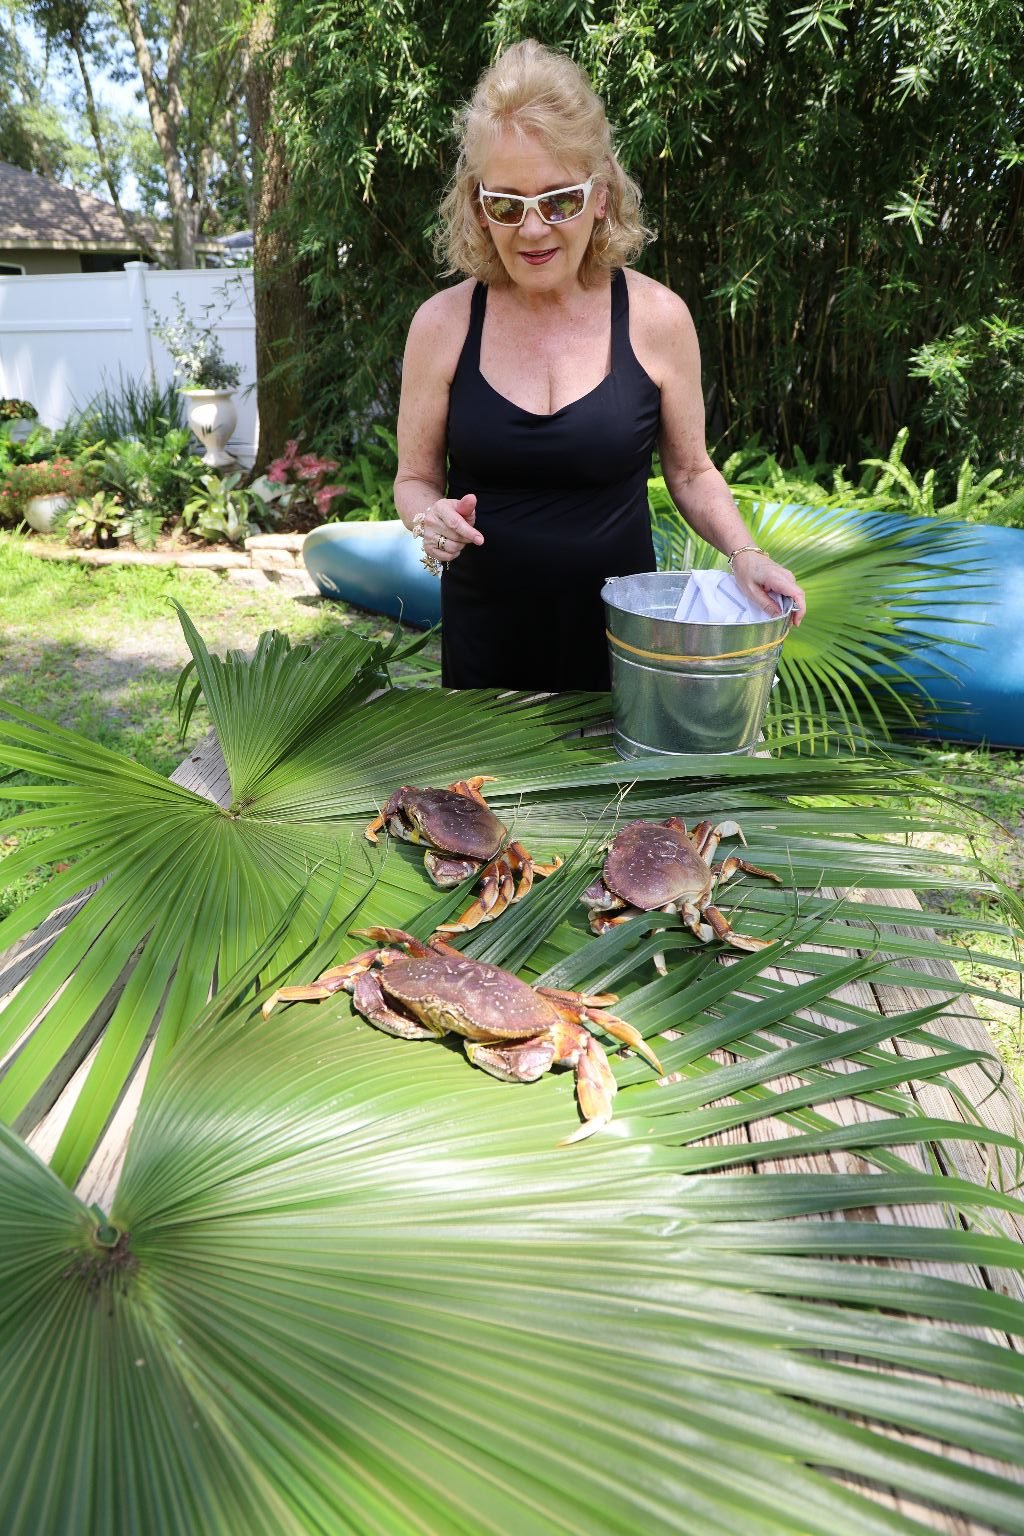
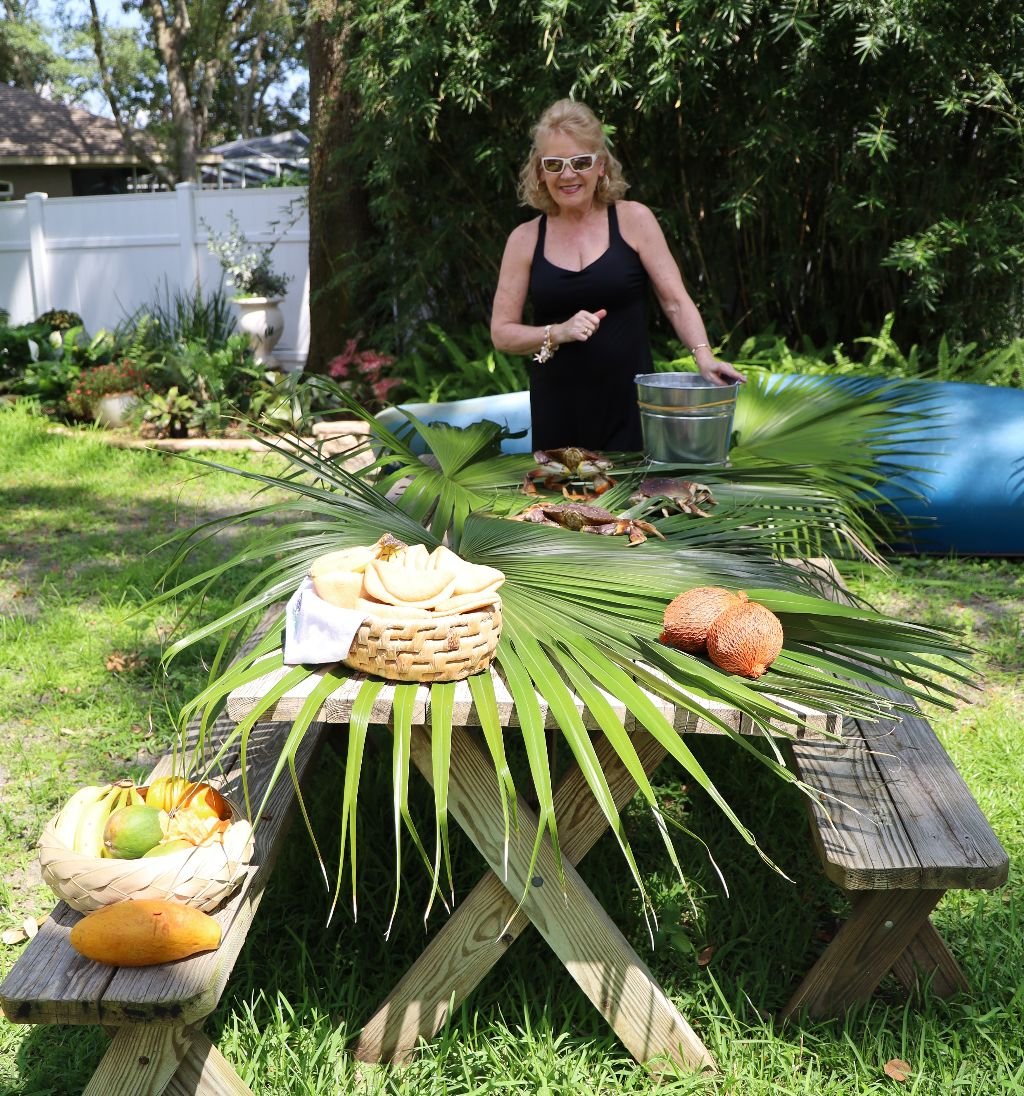
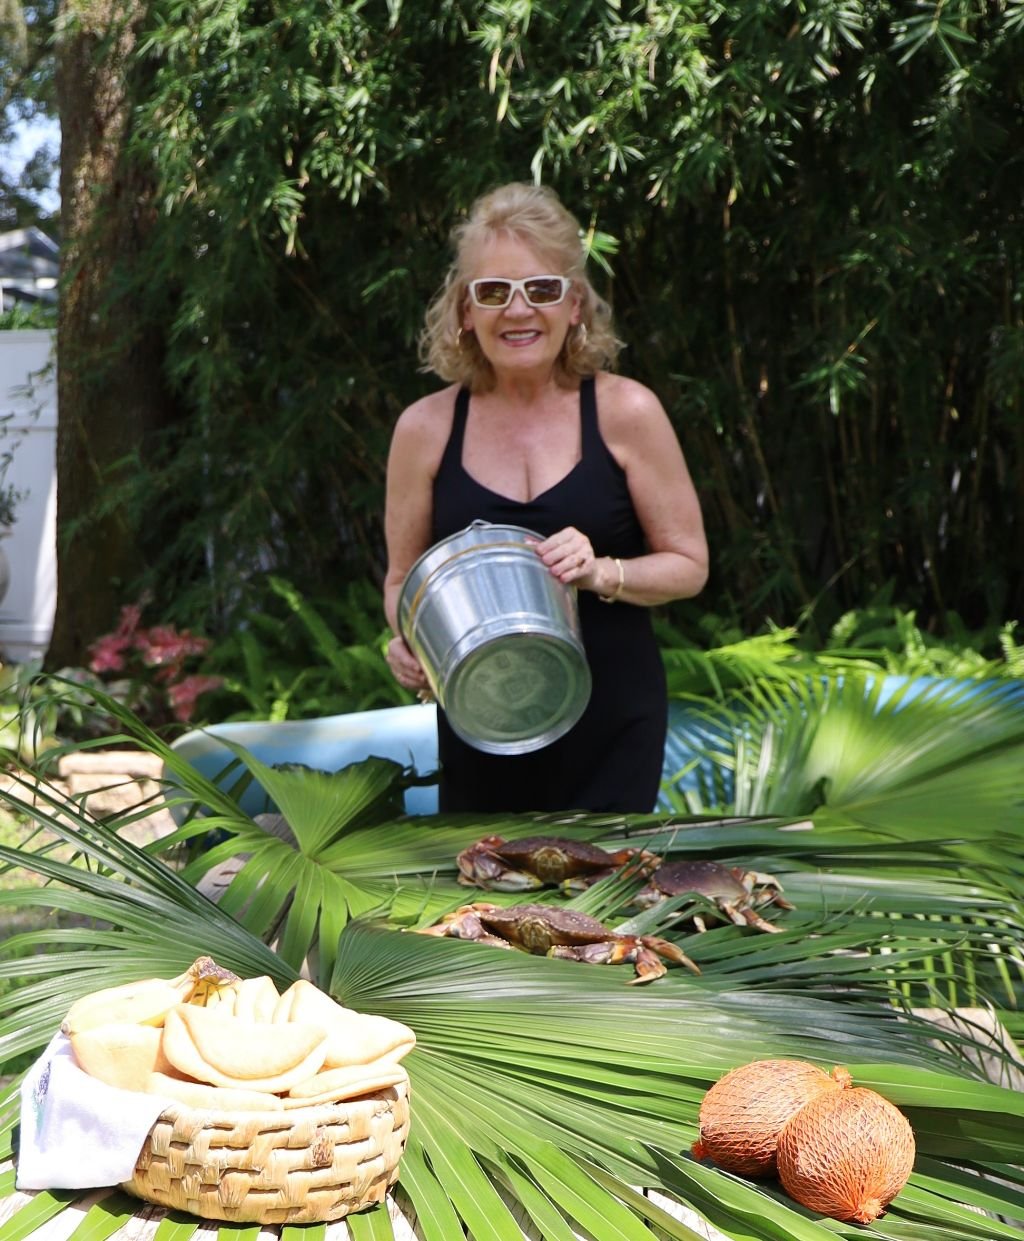
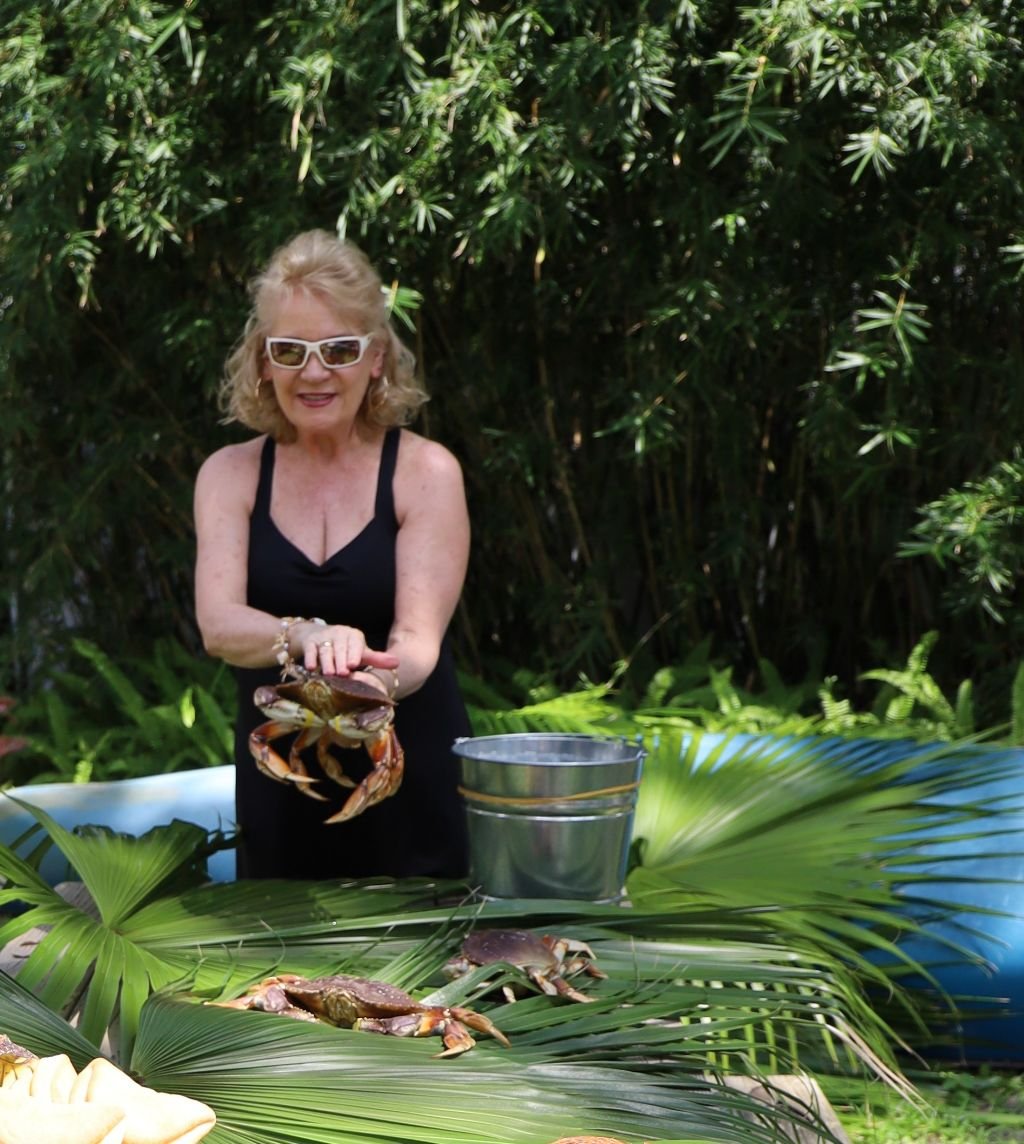
If you happened to find yourself strolling along Palm Beach’s tony Worth Avenue on a warm day in the mid-1950s, it wouldn’t be unusual to encounter a small rhesus monkey. The monkey (Goony, as he was known) would likely be perched on the shoulder of a young, barefoot woman named Lillian McKim Pulitzer, who—despite what her dirty toes and unkempt hair might imply—was a local Palm Beach socialite with a privileged pedigree.

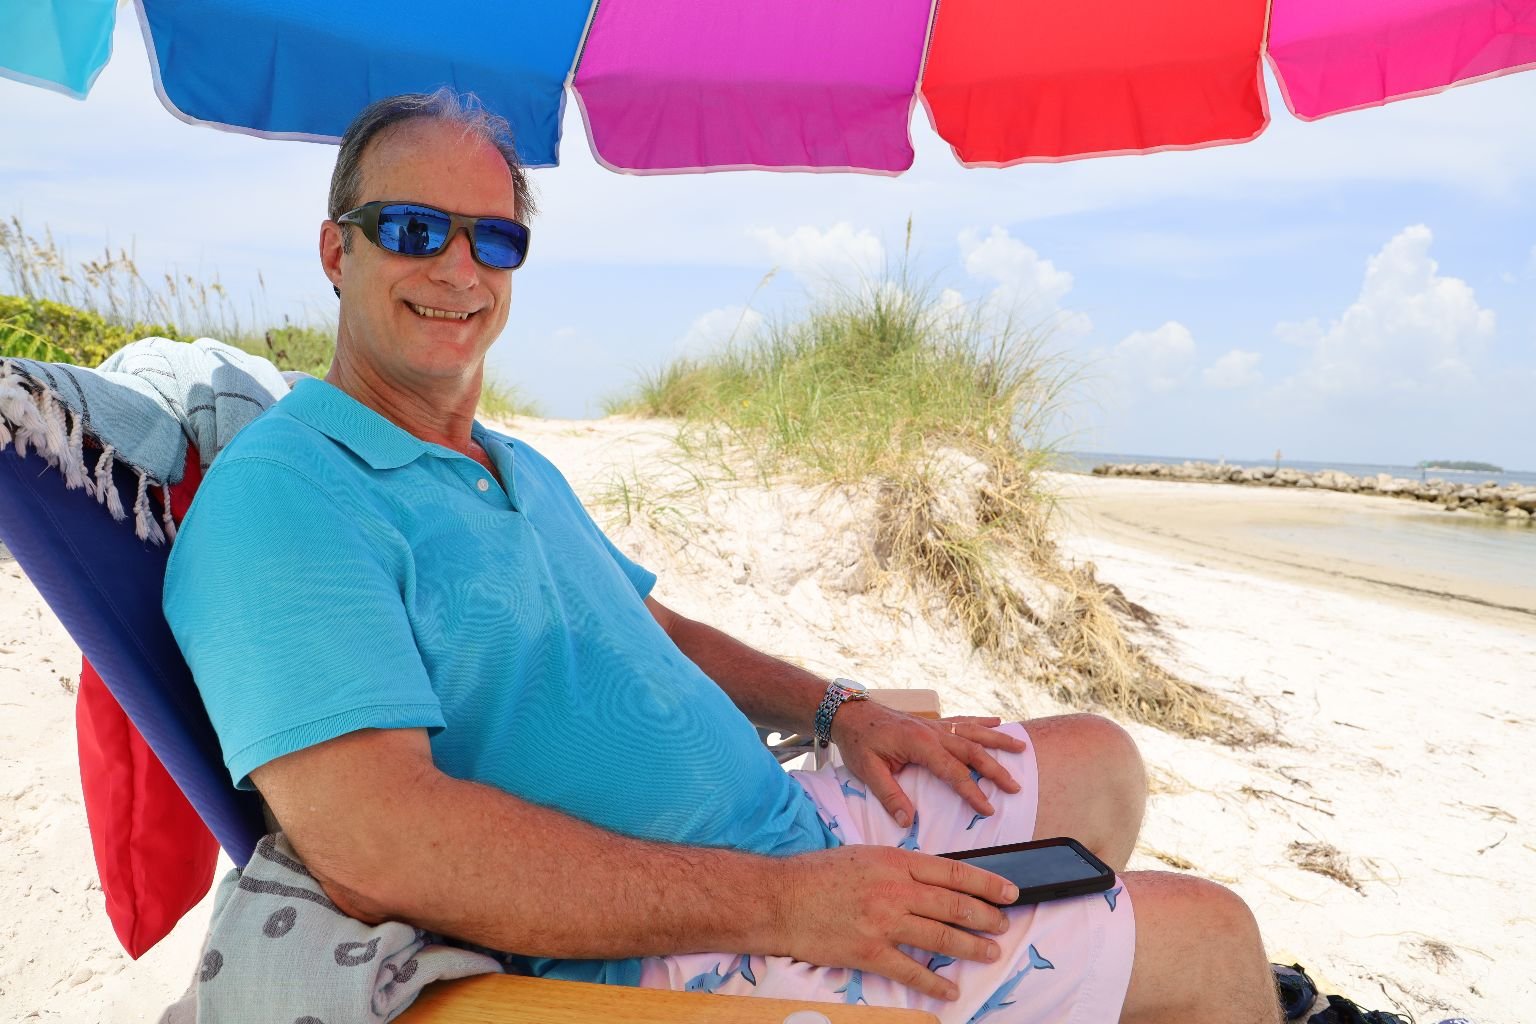
Lilly with her First Husband. Herbert Pulitzer
(I love this picnic! I would have done the same thing with the coconuts. The more I learn about this woman, the more I see her as a soul sister.)
As Taken From:
History of Lilly Pulitzer
For many people, the name Lilly Pulitzer conjures up images of an affluent, prim-and-proper woman on her way to the beach; not a free-spirited bohemian who loved martinis, loathed underwear (she rarely wore it), and toted her pet monkey around town. But Lilly Pulitzer had a penchant for surprising people, and the story of how she launched her namesake brand is no different: it began in the confines of a psychiatric hospital.

Lilly, 1961
(This is the year I was born. I have a feeling I would have liked her.)
The year was 1958 and Pulitzer, a just-married heiress and new mom, felt she was on the verge of a nervous breakdown. (“In hindsight, I think it was really and truly postpartum [depression],” Lilly’s daughter Liza said in a phone interview.)

Not knowing what was wrong with her, Lilly did what any wealthy twenty-something would do—she checked herself into a mental health facility. (“In the old days, we used to call it Bloomingdale’s,” she joked.) “I had never had a responsibility in my life,” she said in a 1994 W magazine interview. “I couldn’t button my shoes or do my own pigtails…All I had ever had to do was get to my tennis lesson or ride my pony.”
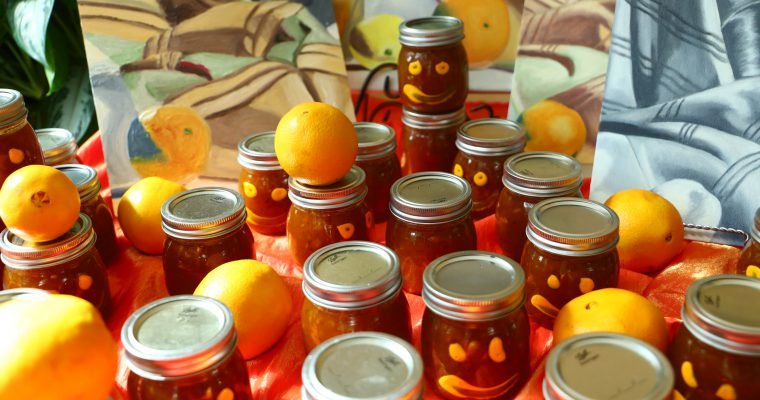
Pulitzer spent several months in treatment and eventually received a startling diagnosis from the doctor. “There’s nothing the matter with you,” she recalled the physician saying. “You just need something to do.” And so, she decided to open a juice stand.
As the story goes, Lilly thought up her now-iconic shift dress while squeezing oranges from her husband’s orchard. The design would be printed to hide the juice stains, thick enough to go commando, and unfitted, to keep comfortable and cool in the Florida heat.

Lilly Pulitzer Exiting a Plane, Key West, Florida, 1963
(I LOVE this photo! That is my style!)
She asked a seamstress to create a sample, and before long, she was out of the juice business and into the dress business. “I asked my husband if we could put a few of my dresses in [his fruit shop], about 12 or 15,” Lilly told the Palm Beach Post in 1964. “He said ‘No—80!’ I said, ‘You’re out of your mind.'”
But they were an instant hit, even before Lilly developed a partnership with Key West Hand Prints, a screen-printing shop, which would become essential in establishing Lilly Pulitzer’s iconic vibrant aesthetic.

Jackie Kennedy Onassis Wearing a Lilly Pulitzer Dress in Italy
“The first Lillys were made from fabrics I’d buy in the dime stores in West Palm Beach,” she said in a 1971 interview in the Palm Beach Post. “We were a real shock to everyone. People thought the Lilly dress was a fad that would last about two years…We just picked up steam and kept going.”
The clothes sold because they were unlike anything else on the market.
“They were the antithesis of what most women were wearing at the time. In the late ‘50s, early ‘60s, women were corseting themselves to fit the clothes. They were wearing heavily constructed longline bras, panty girdles, full slips, stockings, stiletto heels—it was that Mad Men look, and Lilly would have none of that,” said Steven Stolman, who not only curated the brand’s 50th Anniversary Retrospective, and worked on the revival collection of Lilly Pulitzer in the ‘90s, but also had a personal friendship with the woman
herself. (Stolman is a regular contributor to TownandCountryMag.com).
“Remember, Lilly was not a little lady. She had a big personality, a huge heart, and an appetite for life. She loved good food and she loved a good cocktail,” he said.
Key to the success of the business was Lilly’s network of society women, both in Palm Beach and back in New York, but none of whom influenced the brand’s popularity quite like Jackie Kennedy.
After the first lady was photographed in Capri wearing a polka-dot Lilly Pulitzer shift in 1962, the business “took off like a zingo,” to quote the dressmaker herself. And by February of 1963, Lilly was the one being featured in magazines; the popularity of her clothes, which by that point were being sold in boutiques nationwide, had warranted her a Life spread of her own.
————————————————————————-

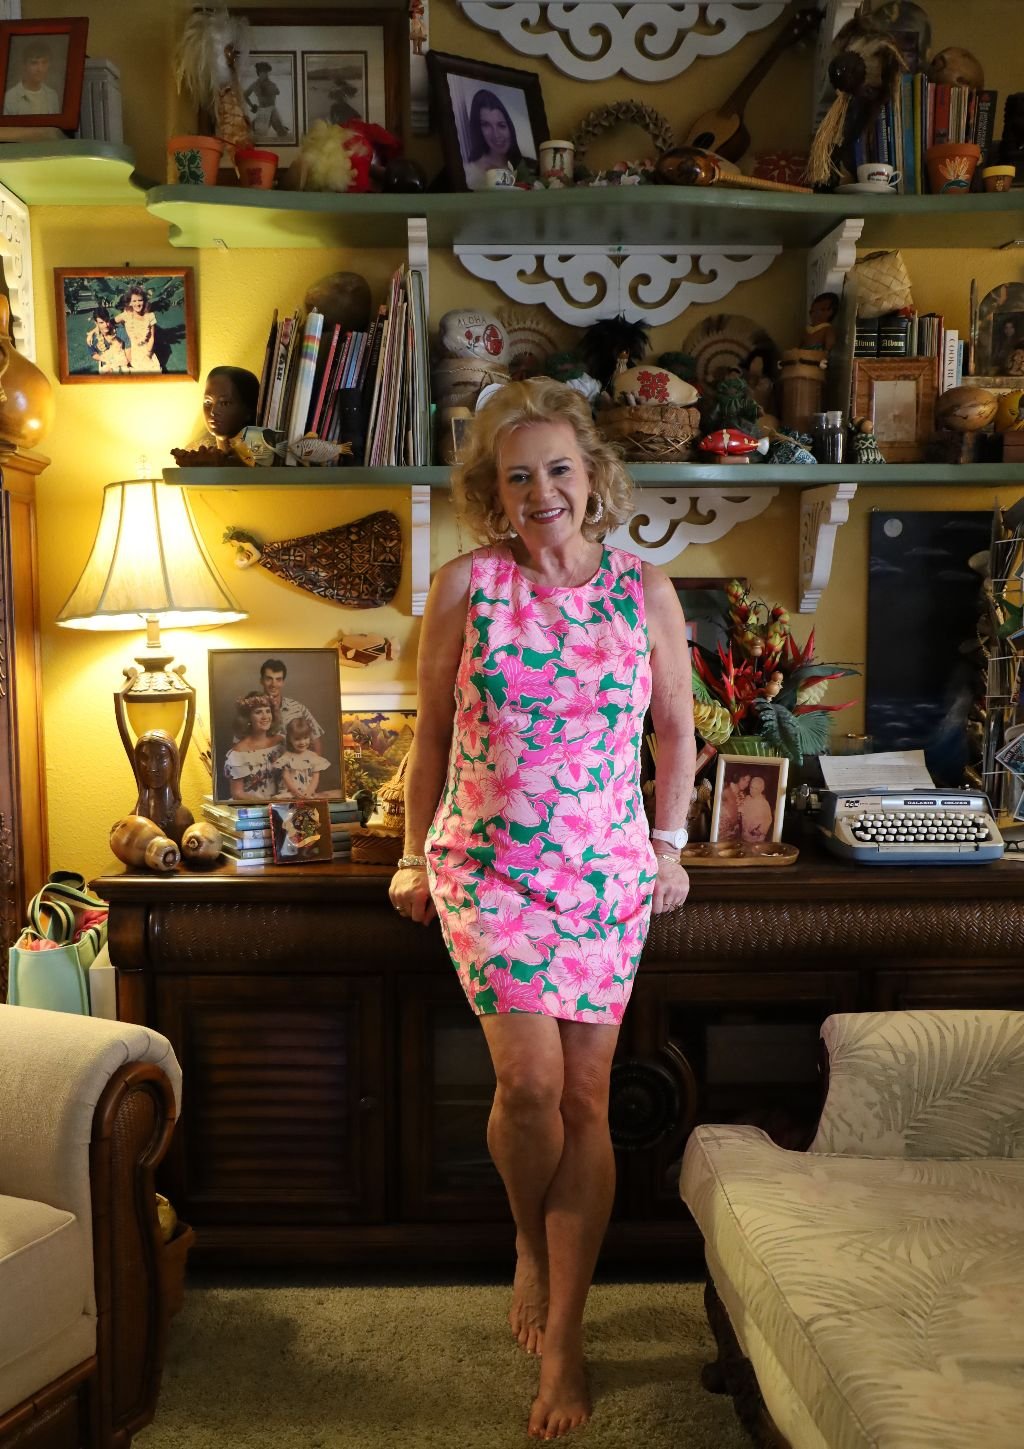
Me, Wearing One of Many of My Lilly Pulitzer Dresses
I just wanted to say that I really do like her. Not just her clothing. She was a unique personality. I never knew she went around BAREFOOT, but hearing that just solidified my admiration of her.
I do shop her website and buy her clothing. What I love the most about it all are the loud colors. There was a time when I was so wearing so much black and all these dark colors. When I discovered her clothing I found myself wearing so many beautiful and loud colors. Bright and happy shades. It’s as if I wasn’t invisible anymore. I was suddenly seen, and admired.
I can’t tell you how many times I get compliments on her clothing that I wear. Just today I received a compliment. I have people that tell me they love the dress I’m wearing as I pass them by with my shopping cart, both men and women! I can be out at a restaurant and I will receive a compliment from the staff, or guests sitting at nearby tables. The clothing is truly magnificent!
All the colors also give a lift to my mood. Oh, the ‘Little Black Dress’ will always rule but, for all those other occasions, I like wearing color, many colors sometimes.
You know, I’ve been coming to Florida my entire life, probably having seen her clothing many times, I just didn’t connect it to her. Perhaps somewhere in the back of my mind I associate some of my happy Florida memories with some of her vintage clothing? Or the lovely ladies I saw wearing her dresses? Perhaps even my own Grandmother?
Either way, her clothing makes me happy. I will continue to wear her.
Thanks Lilly.
I would have loved to have known you.
I think we would have liked each other, seeing as how we have so much in common. You are an inspiration. RIP.
Julie
————————————————————————-
February, 2024

Turning 63

February 13th., 2024, My Birthday
I feel as if I am at an Alcoholic’s Anonymous Meeting and I’m making a confession.
‘Hello, my name is Julie and I’m 63. I’ve been 63 now for a few hours. It’s been a rough journey but I’m still alive to tell my tale.’ 🙂
—————————————————————————

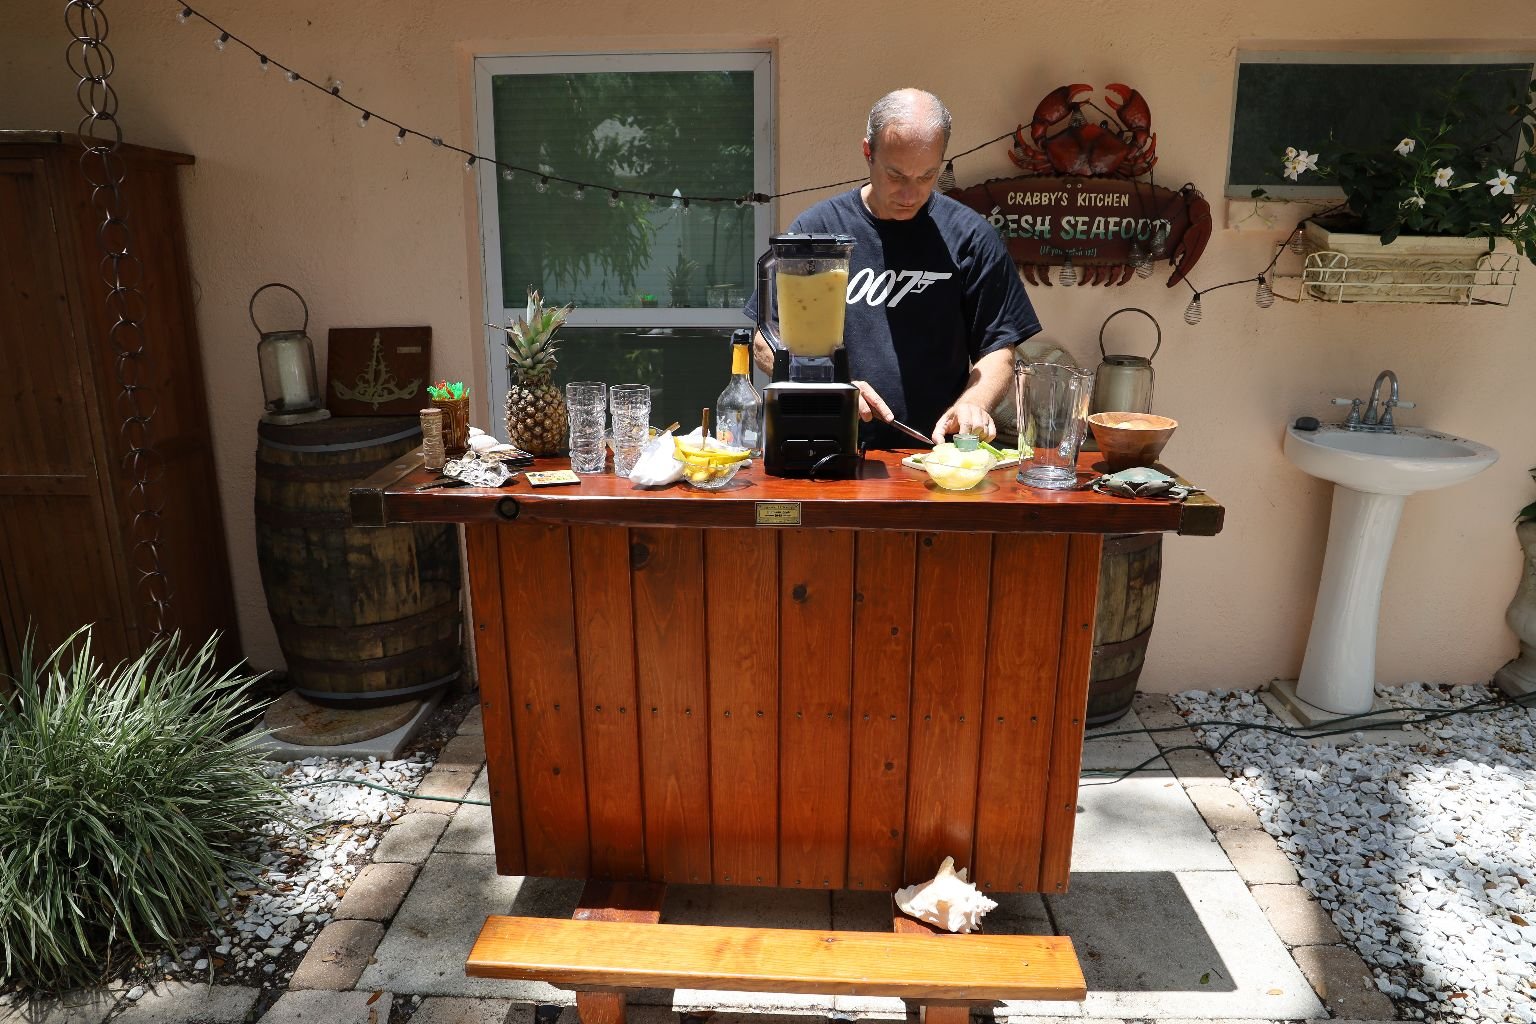
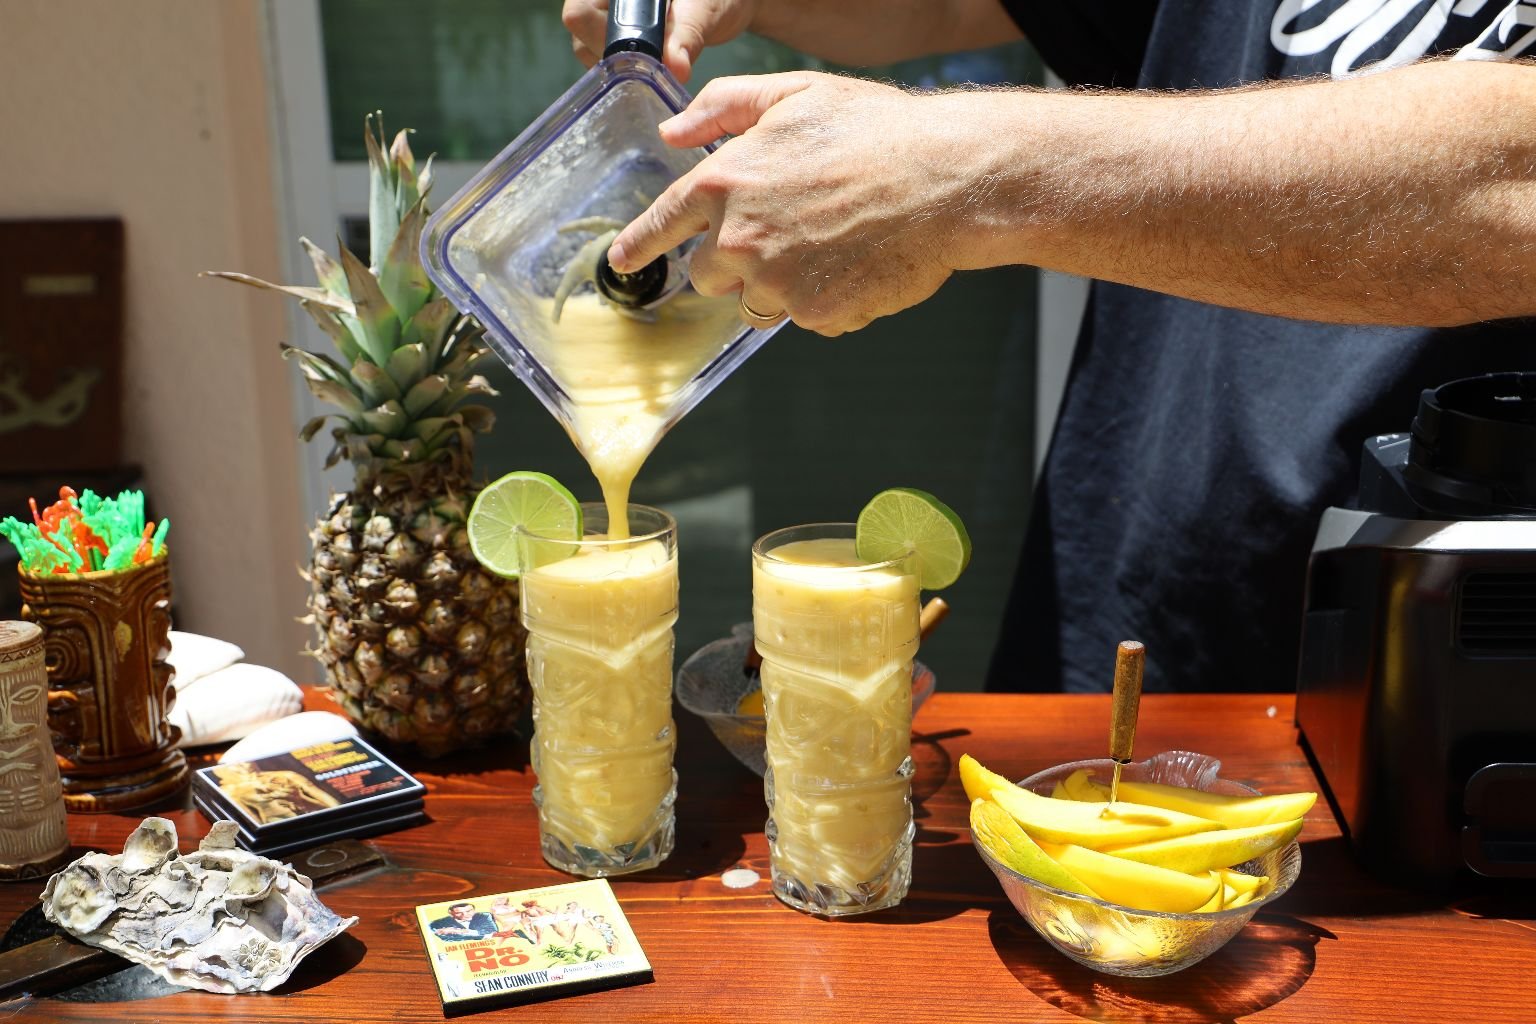
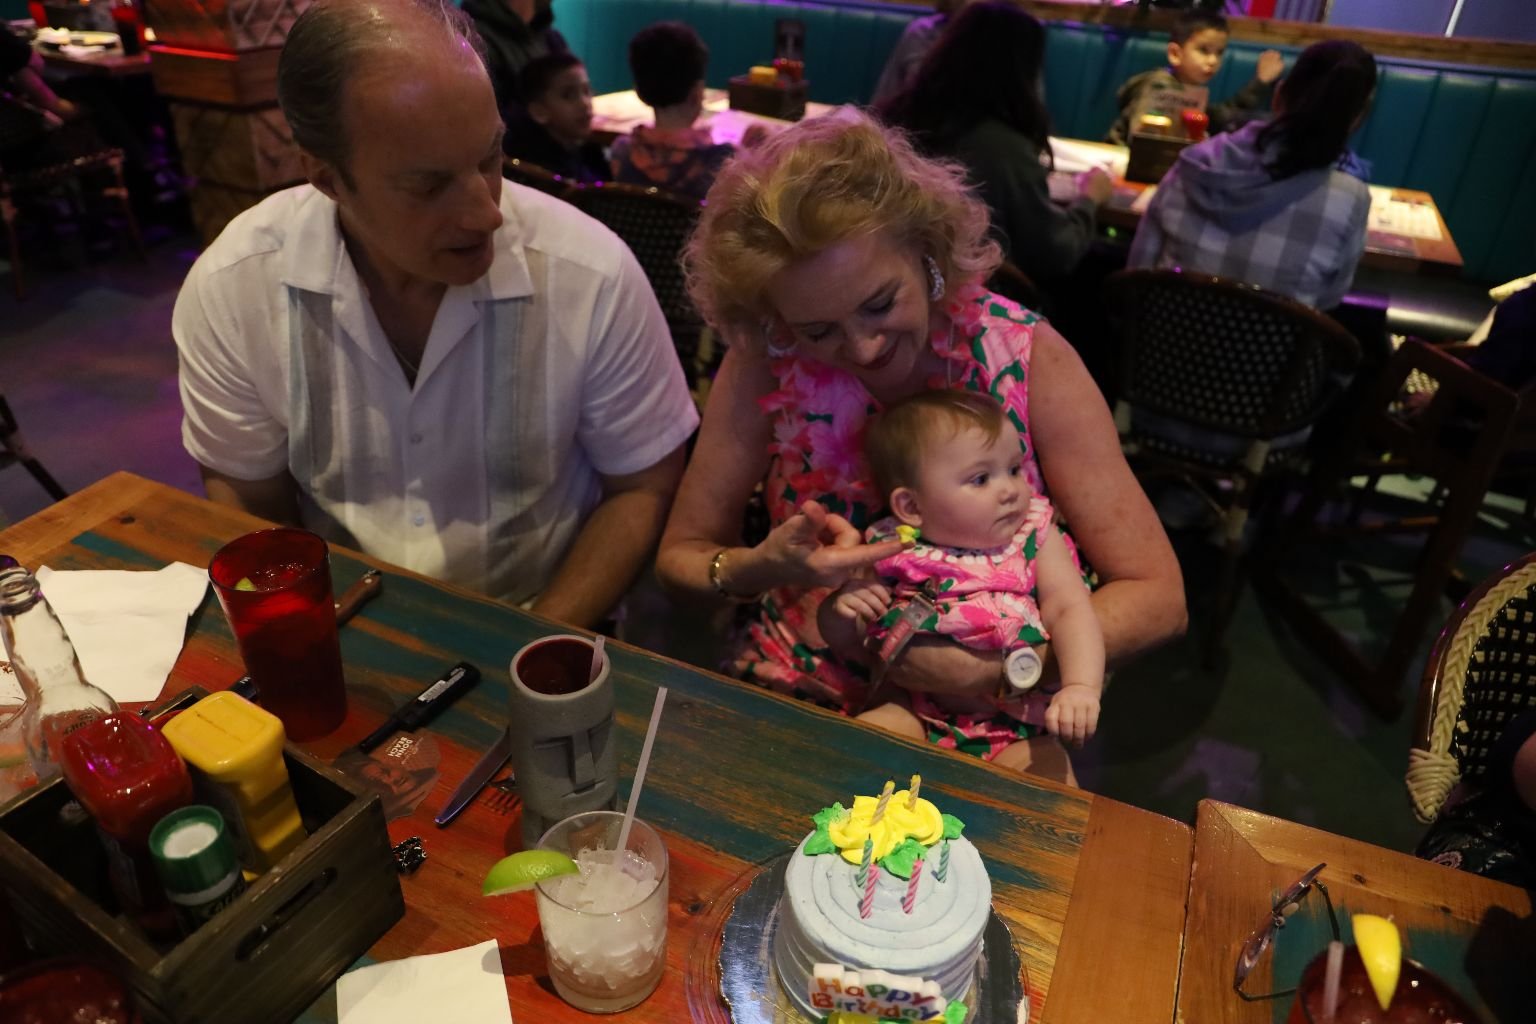
My Birthday Dinner

Tiki Docks
(I wanted an Aloha Birthday.)
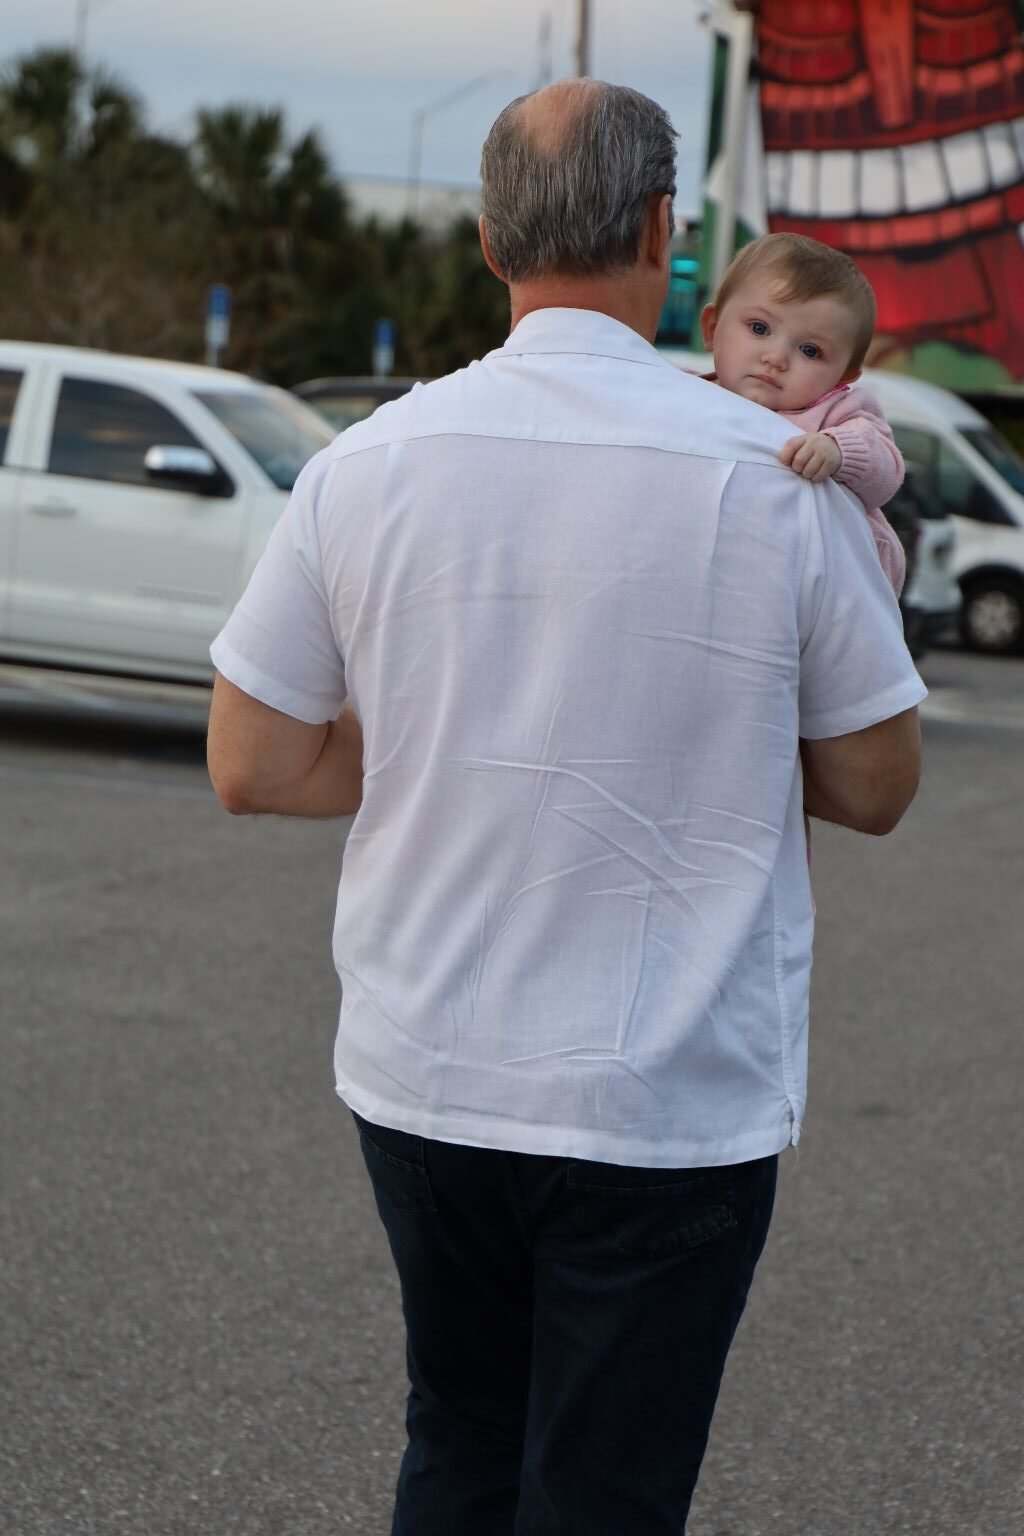
Gordon Carrying Isabelle

Brodie and Mackenzie
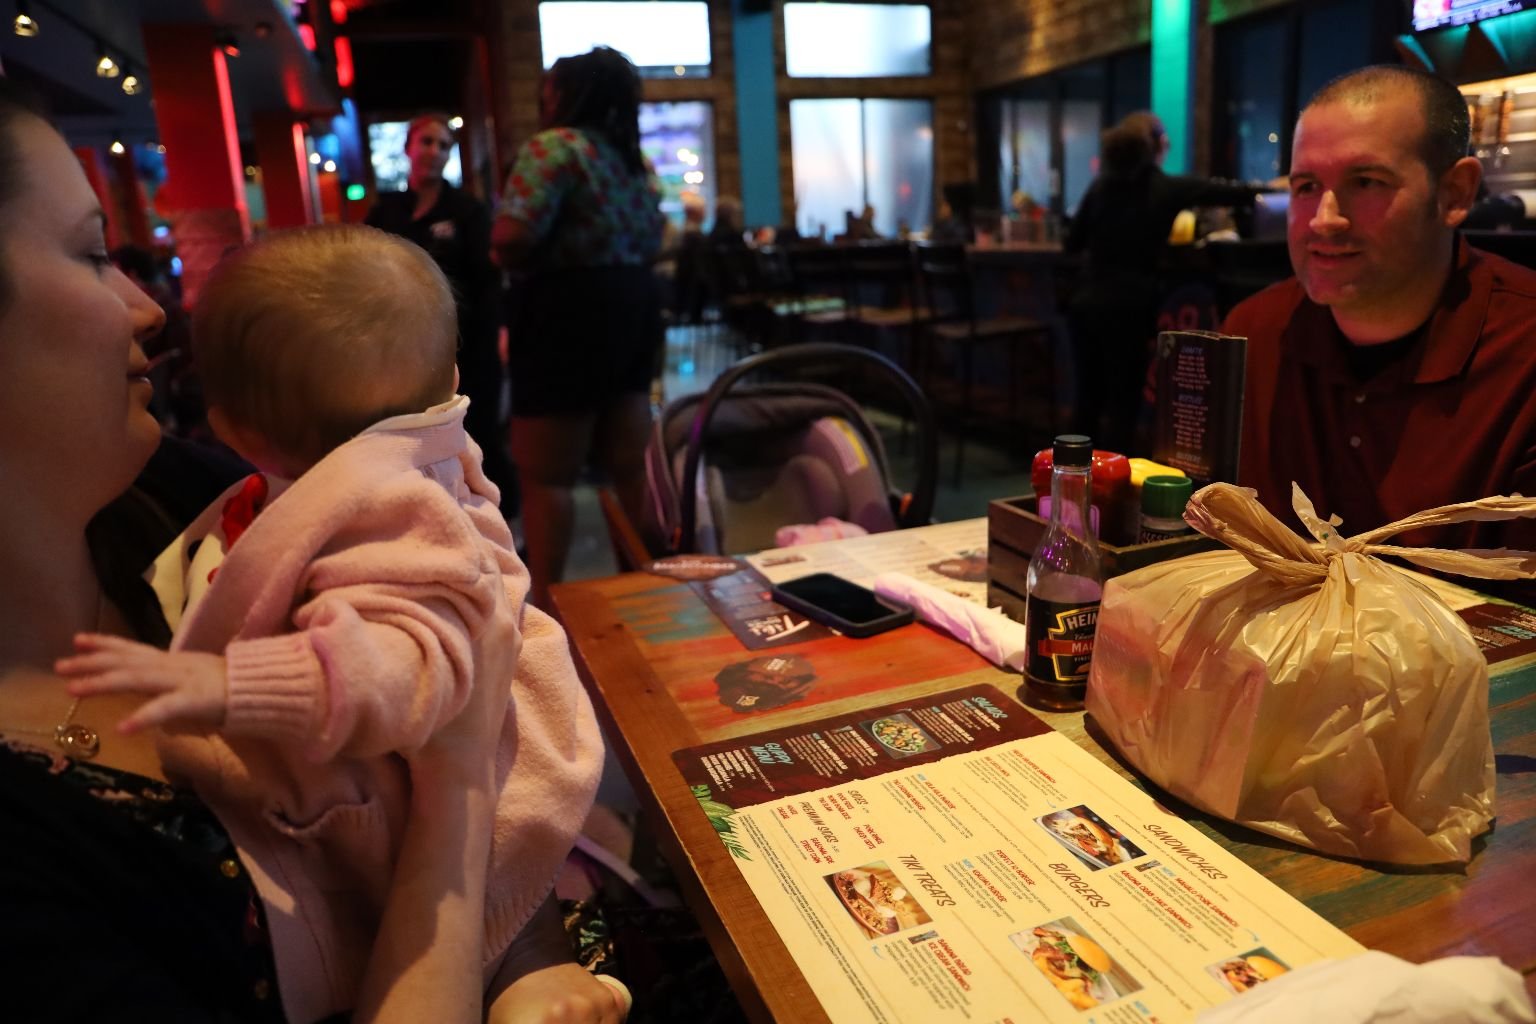
Veronica, Isabelle, and Brian

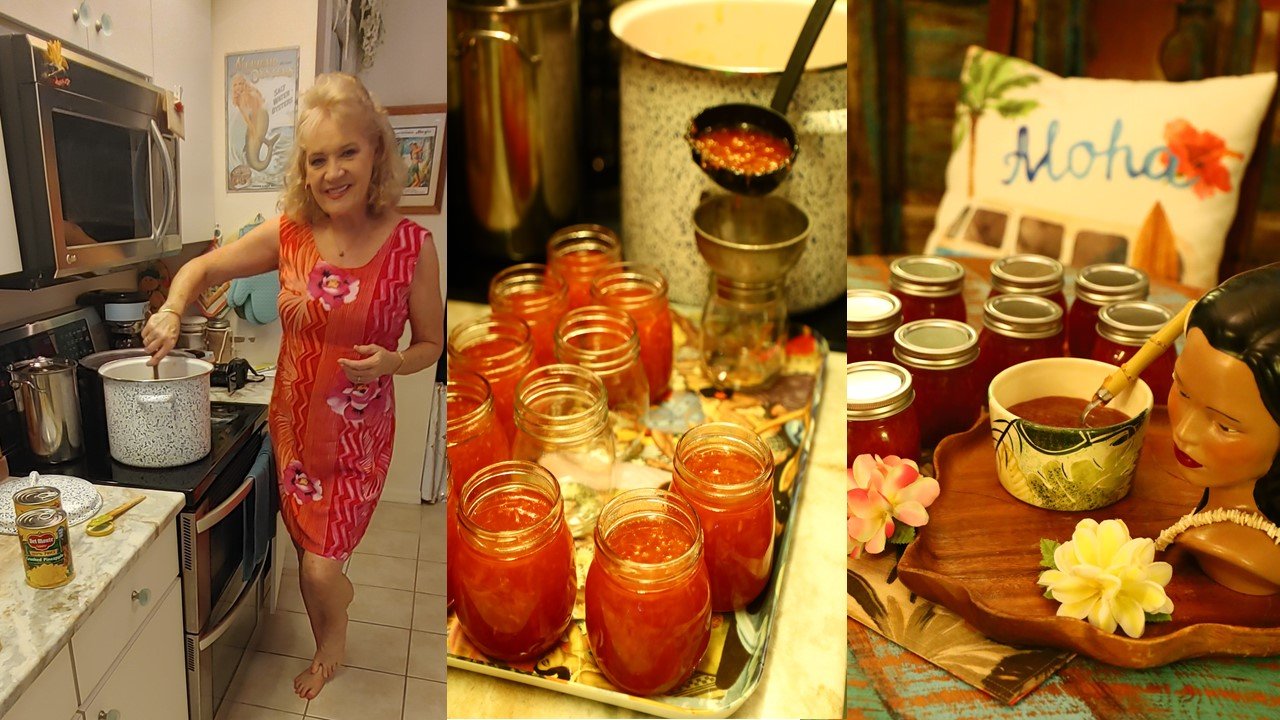
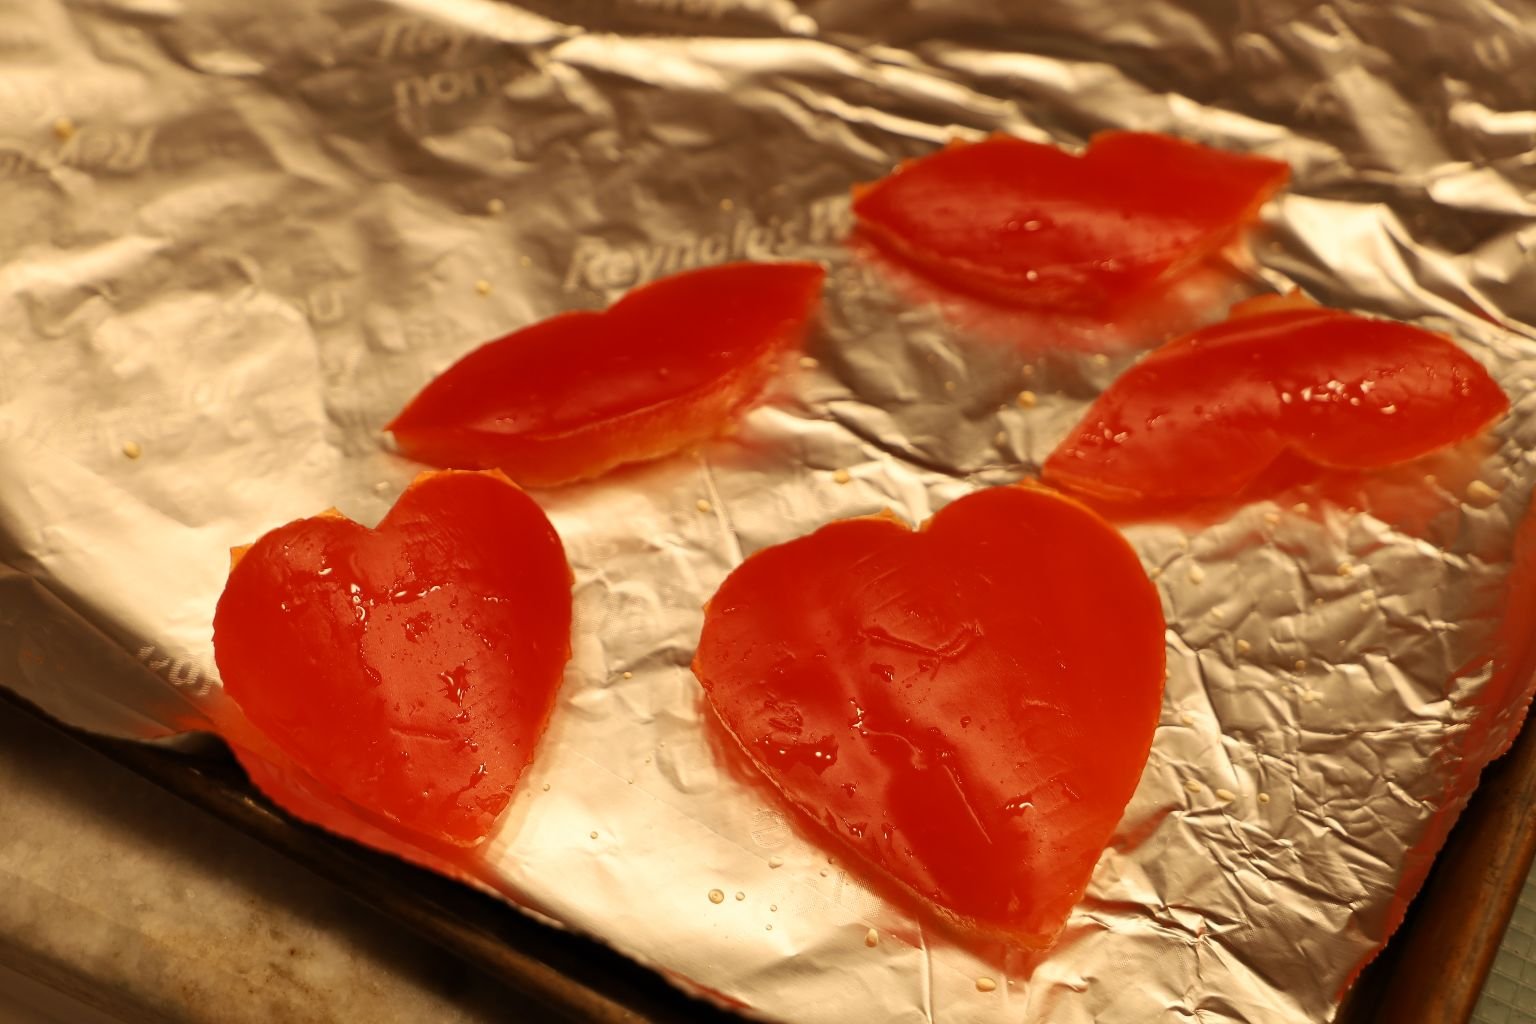
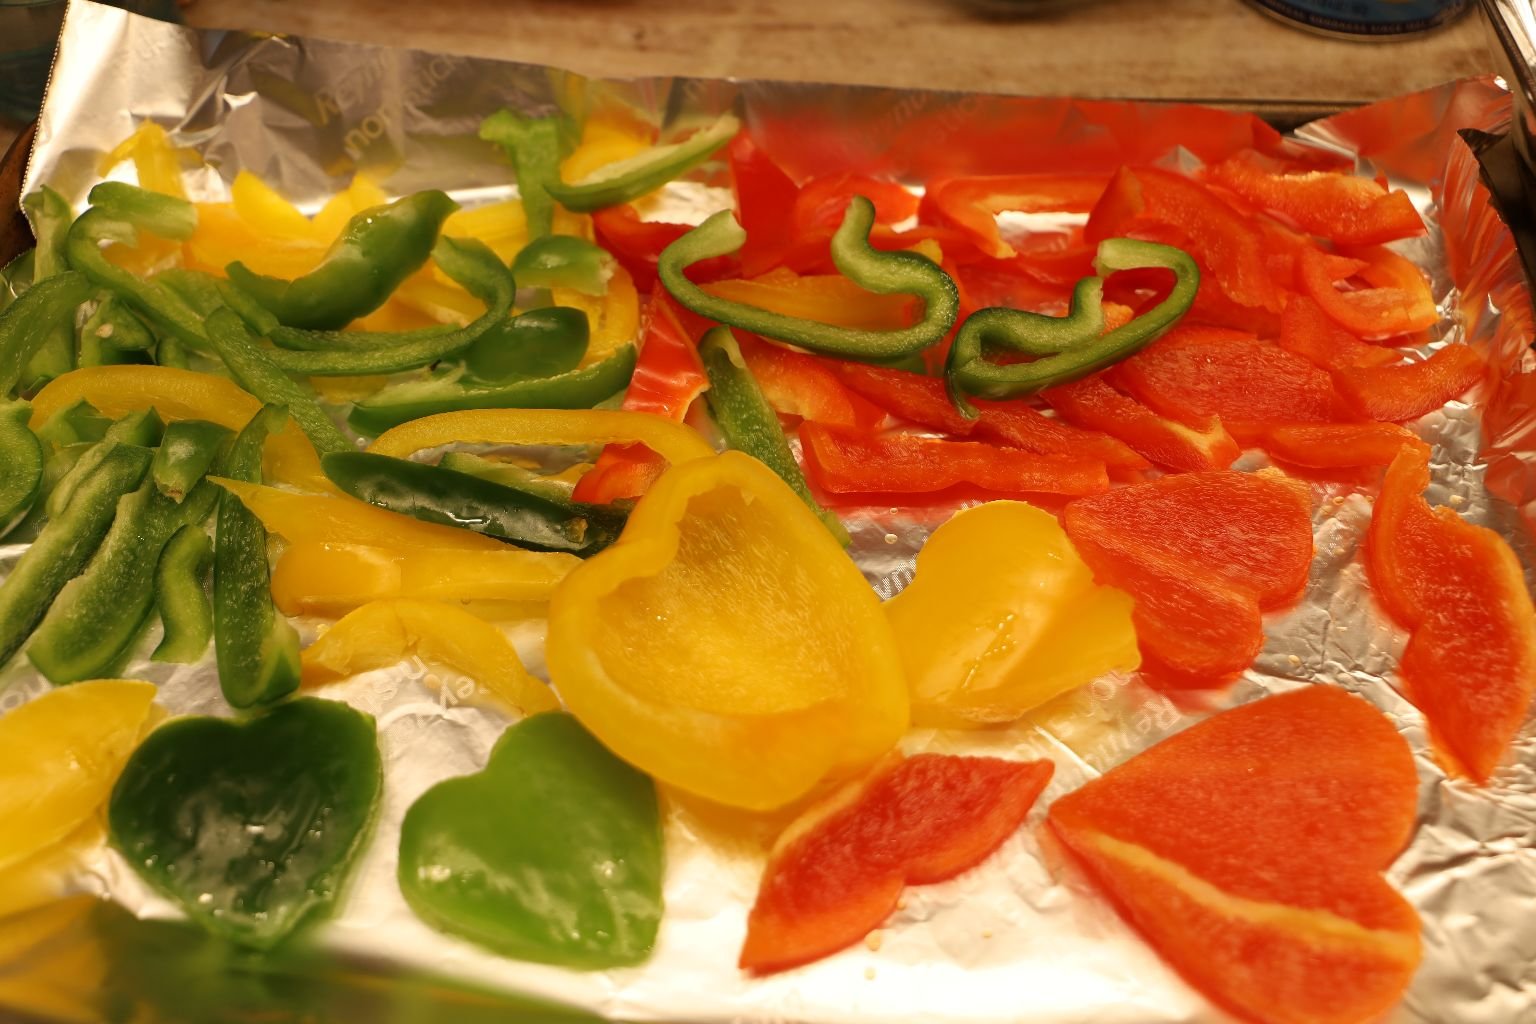
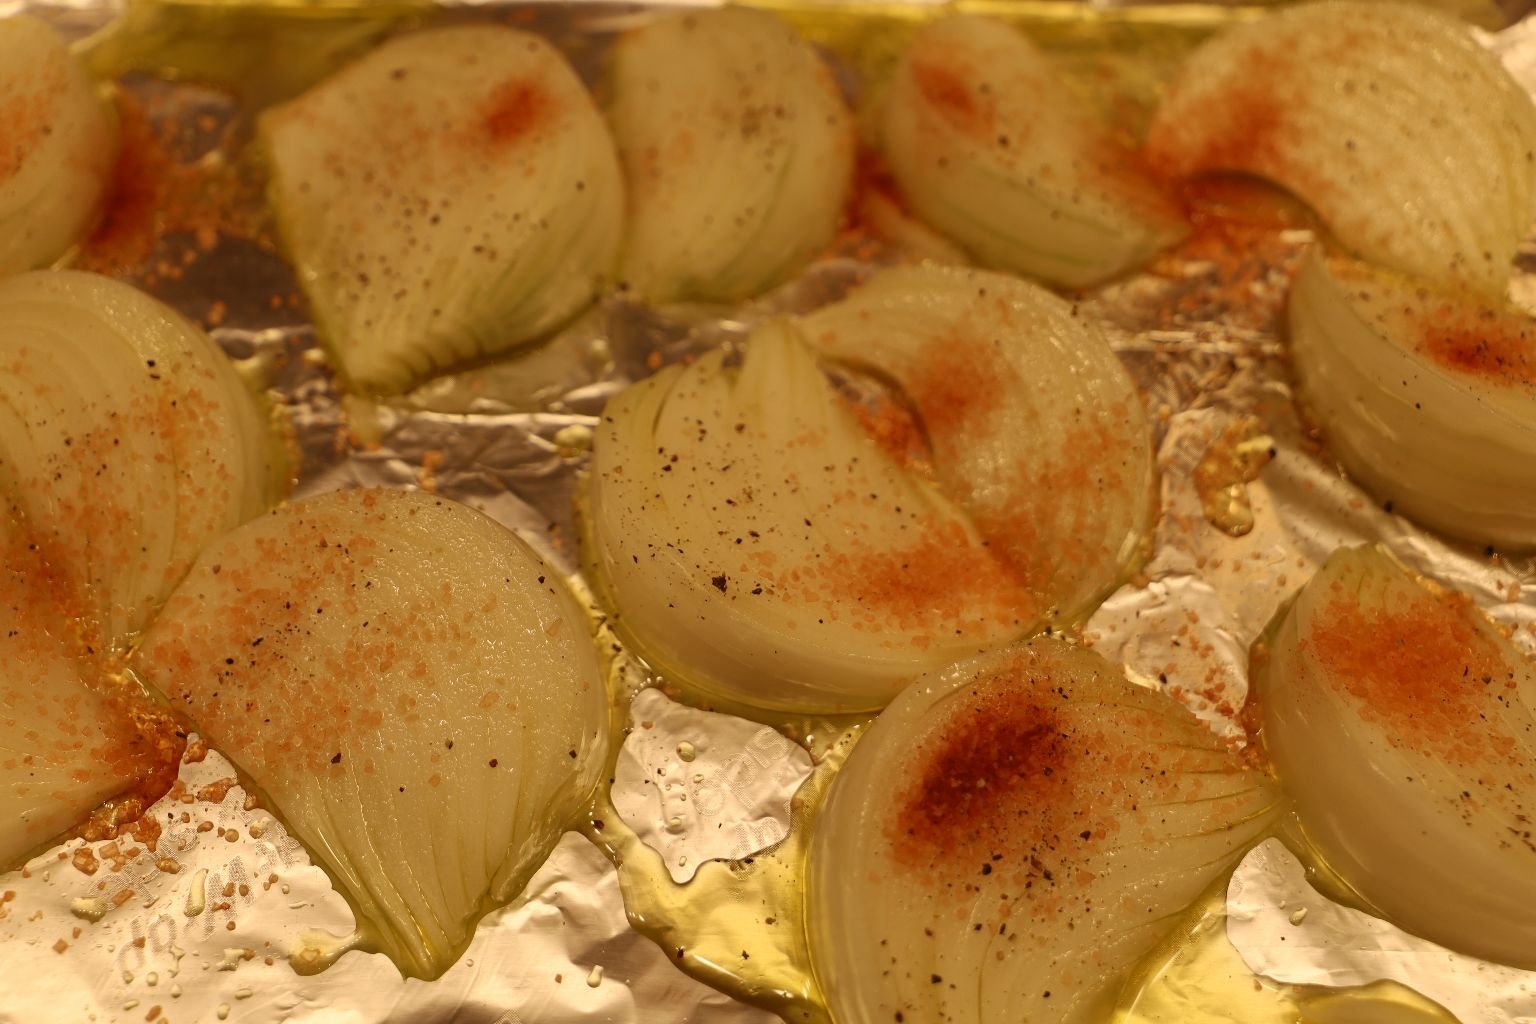
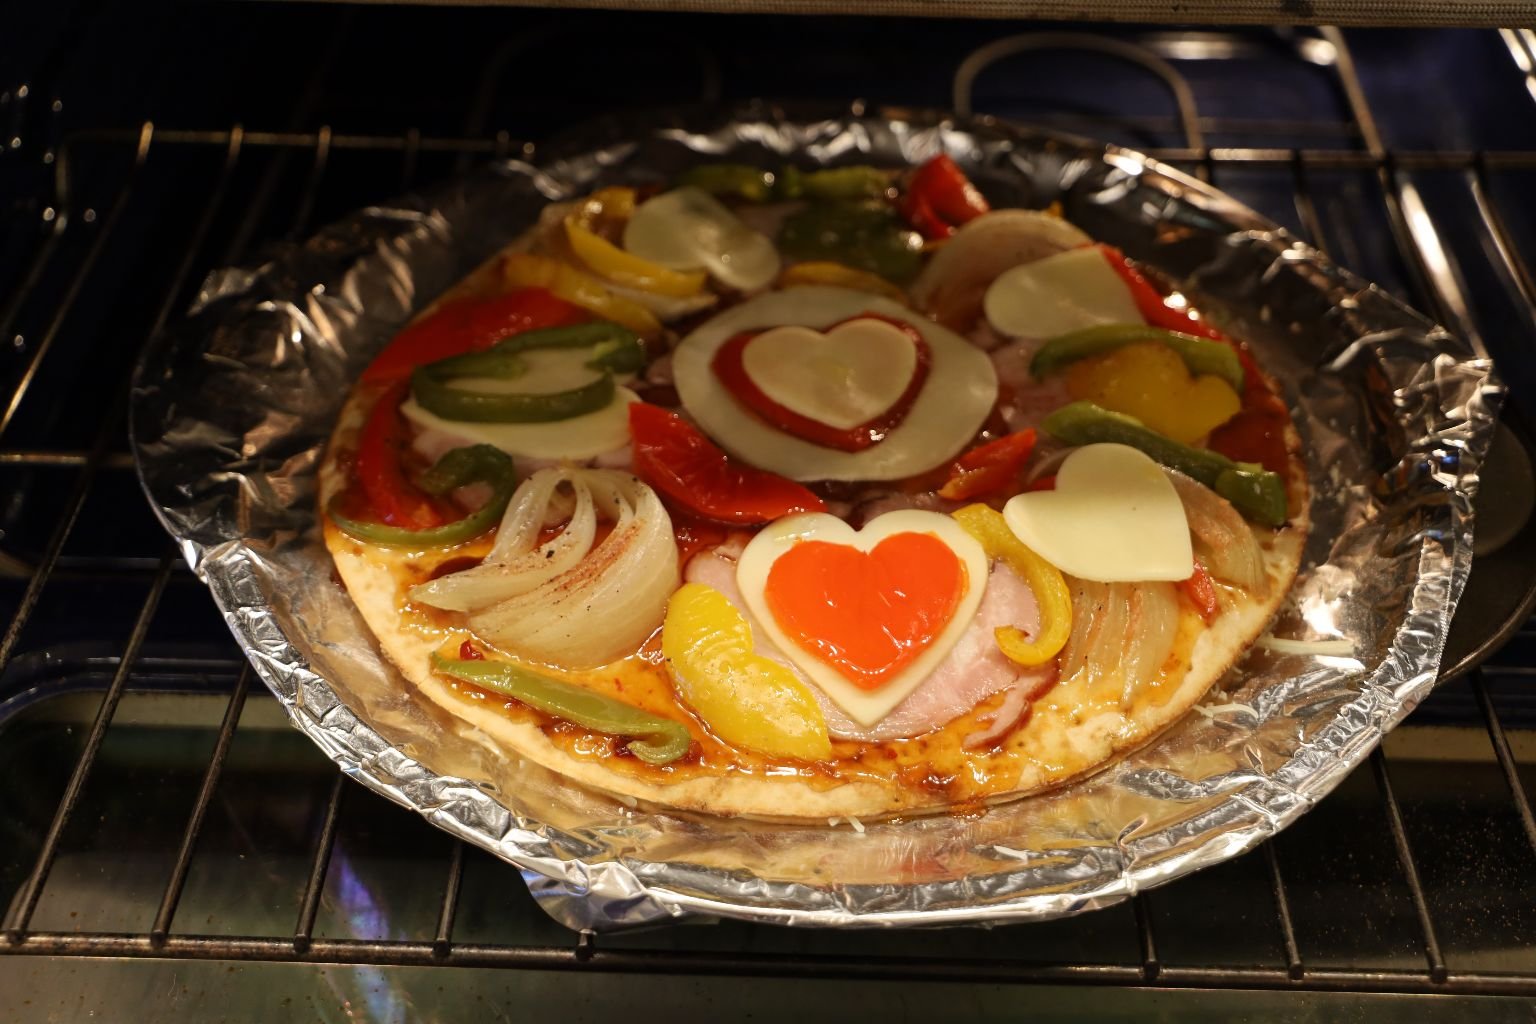
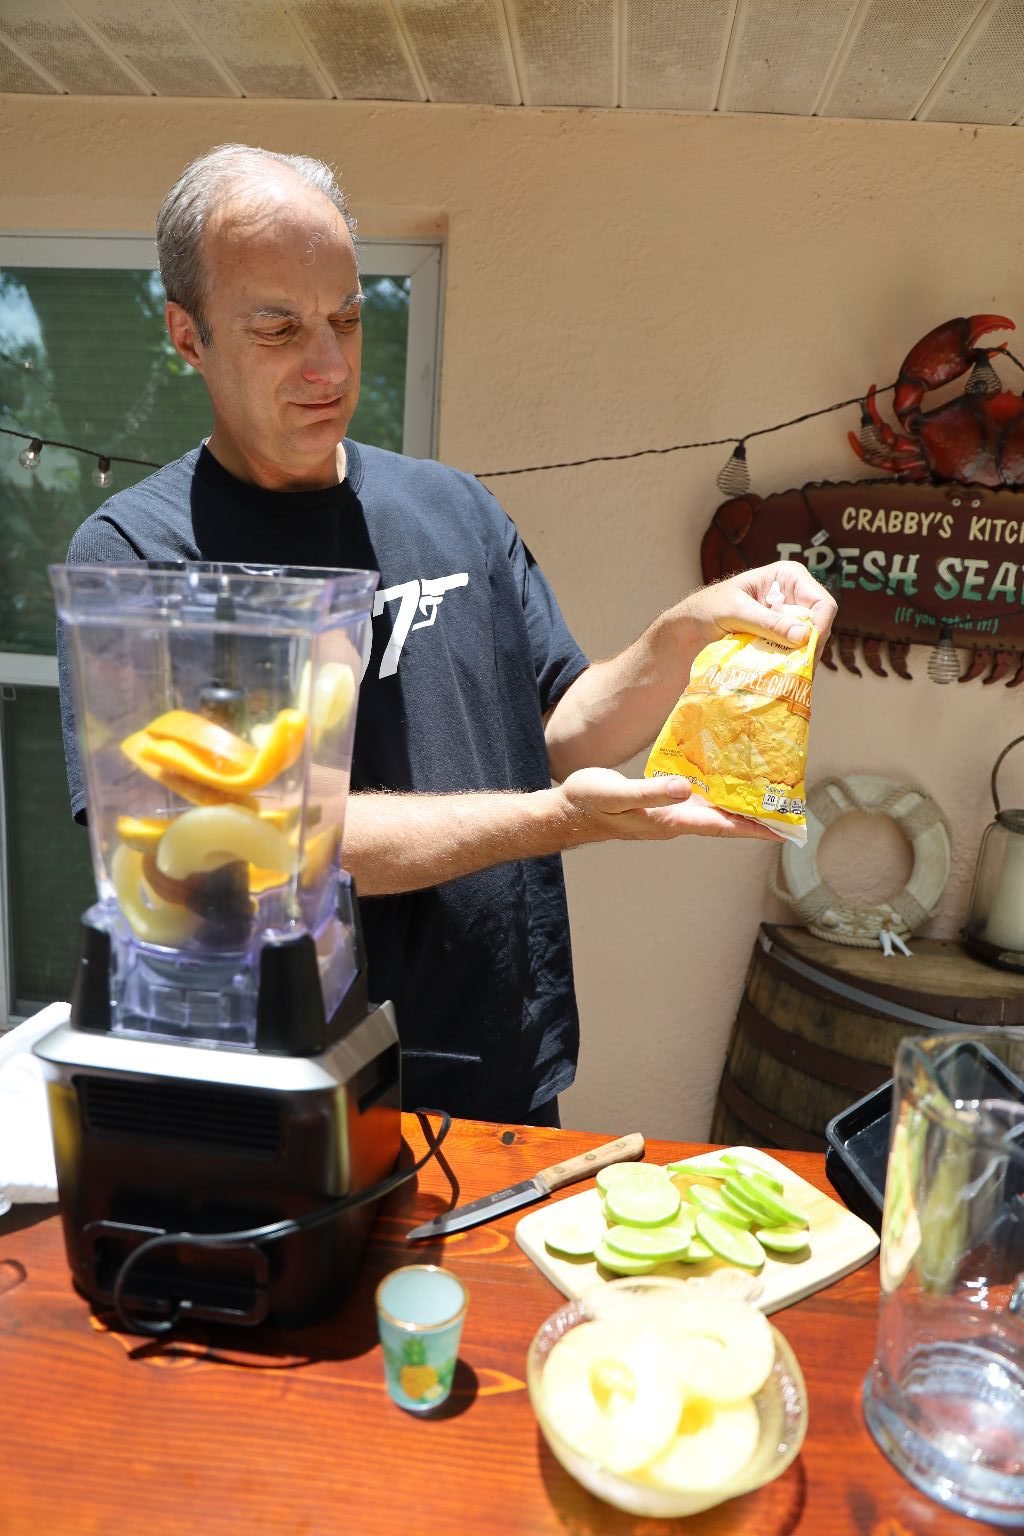
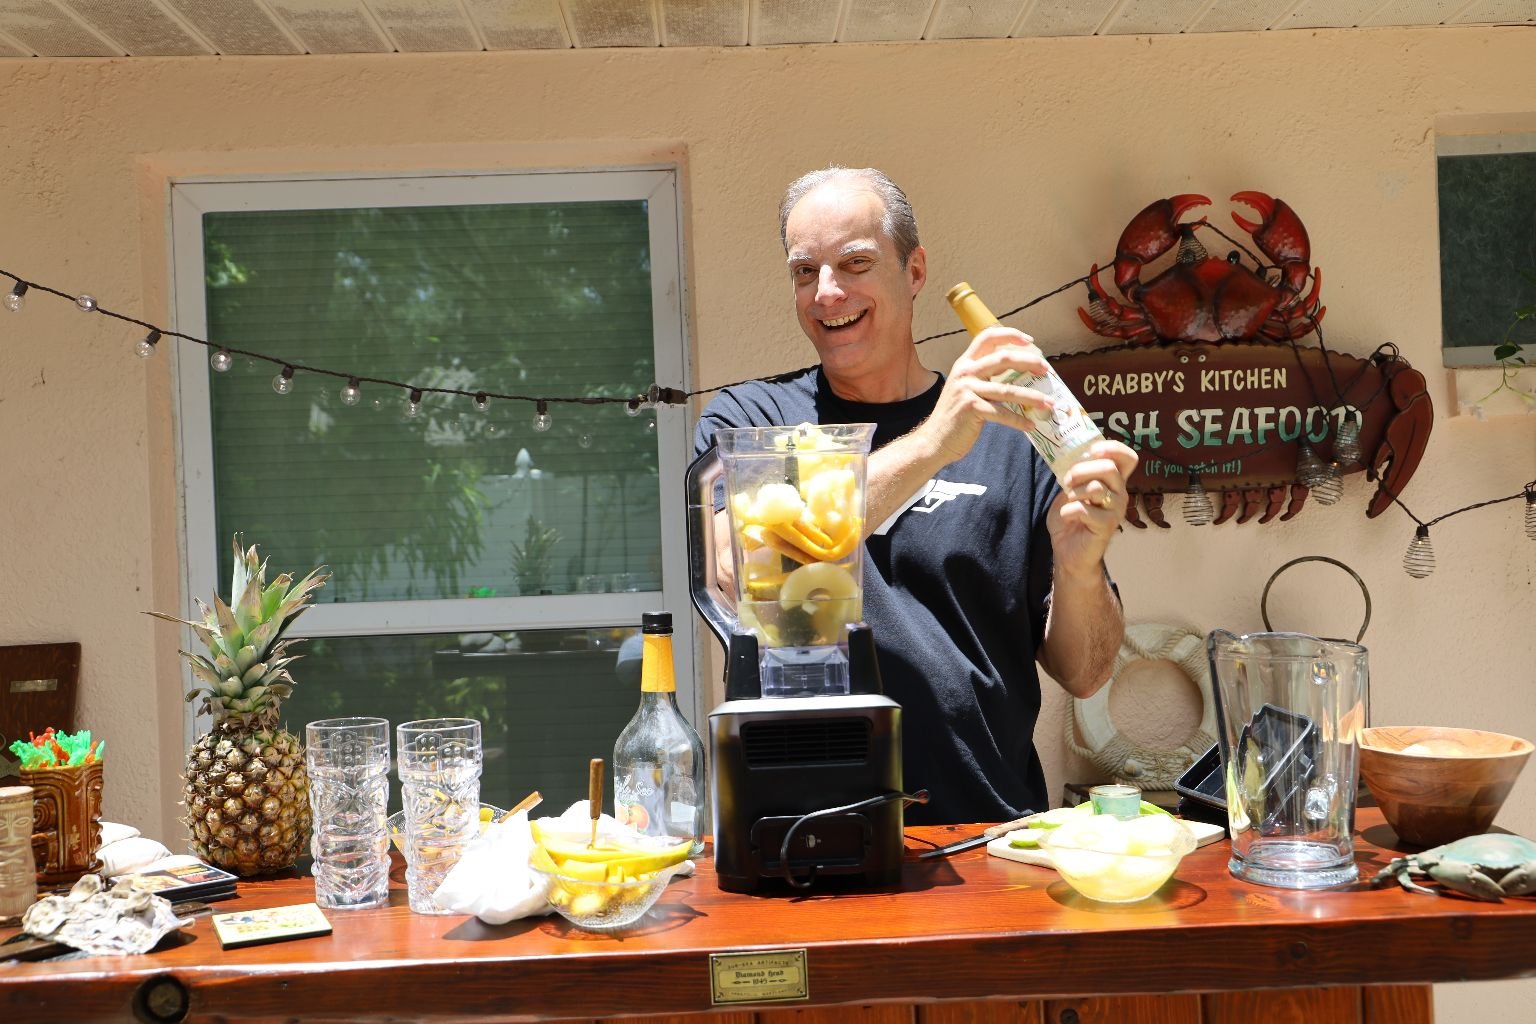
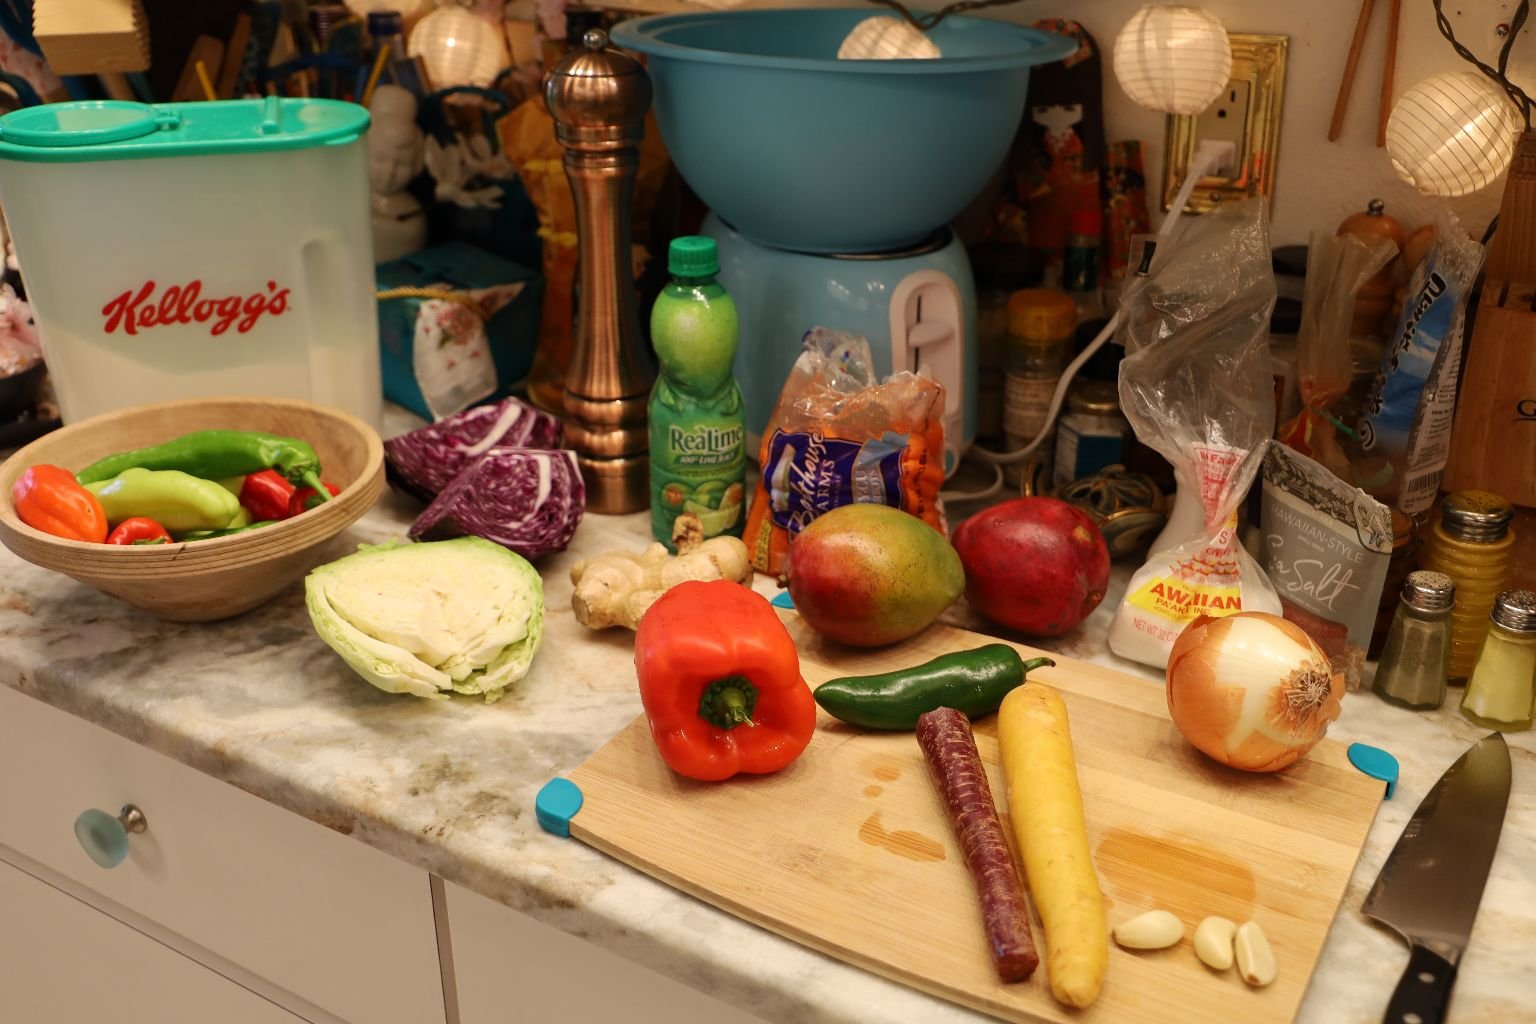
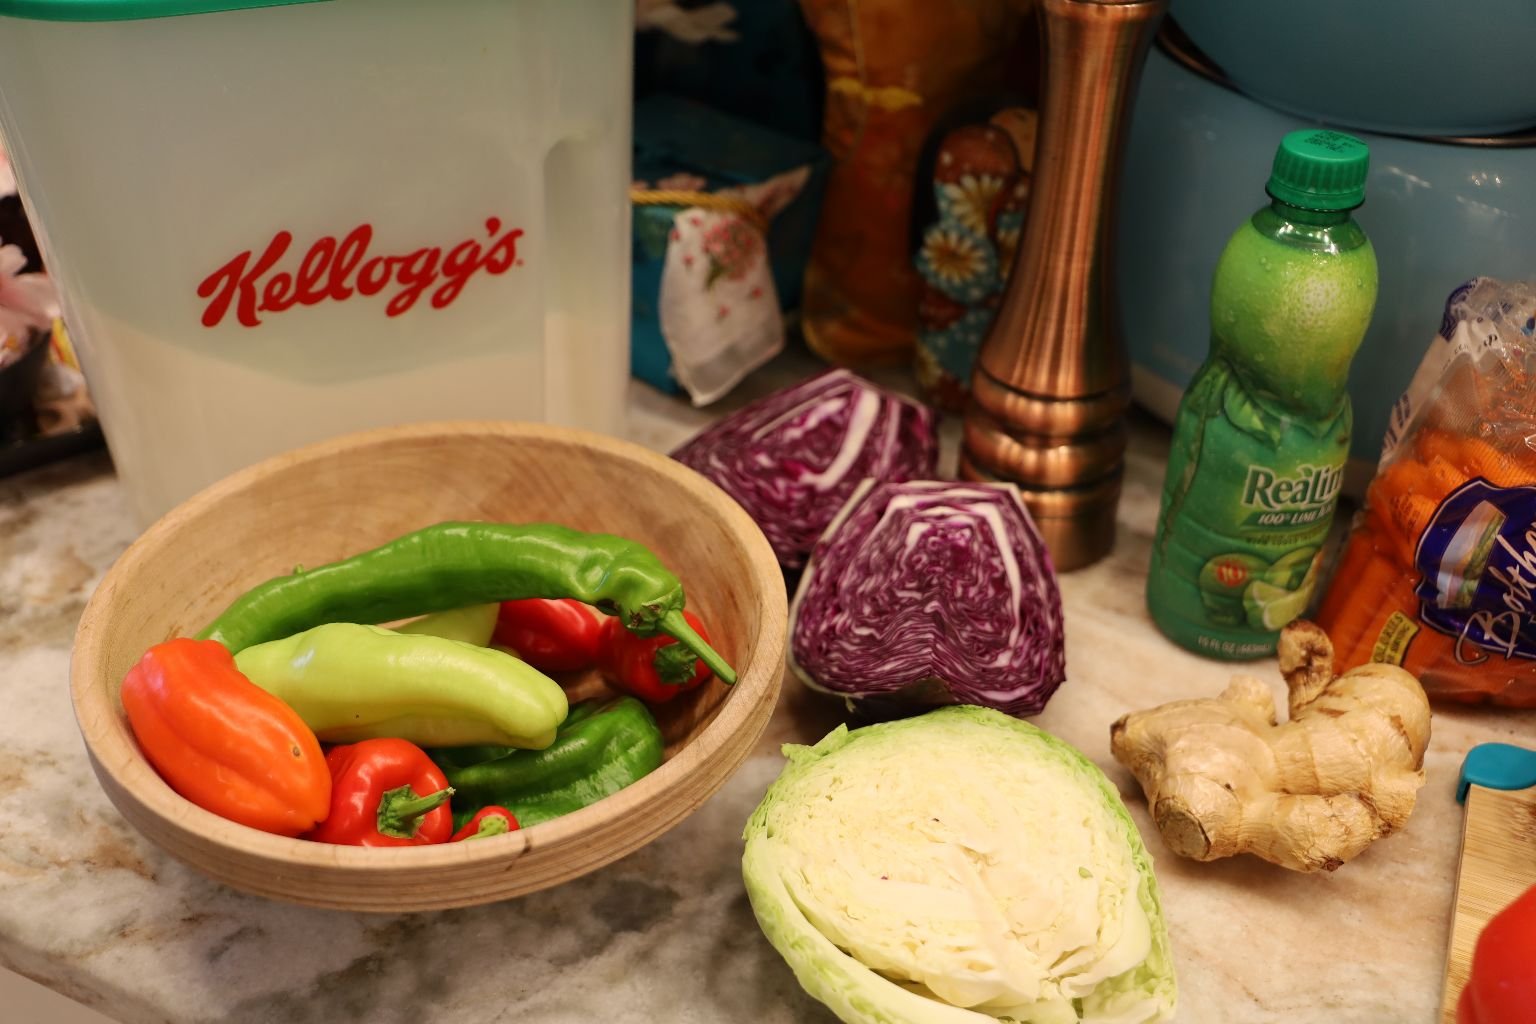
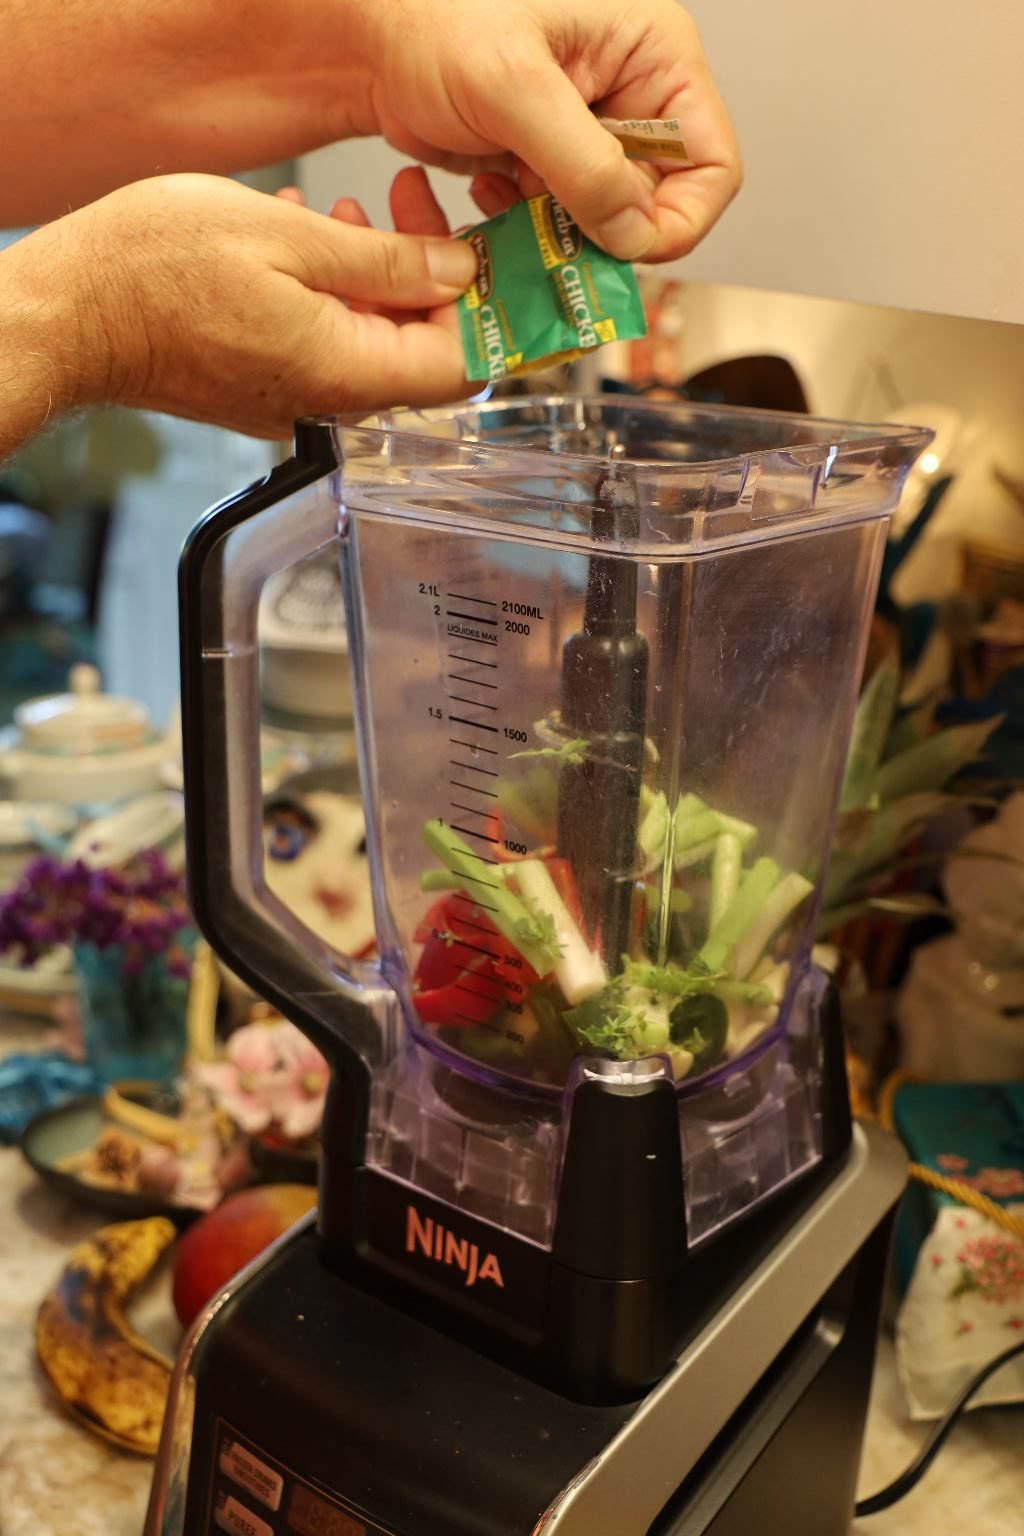
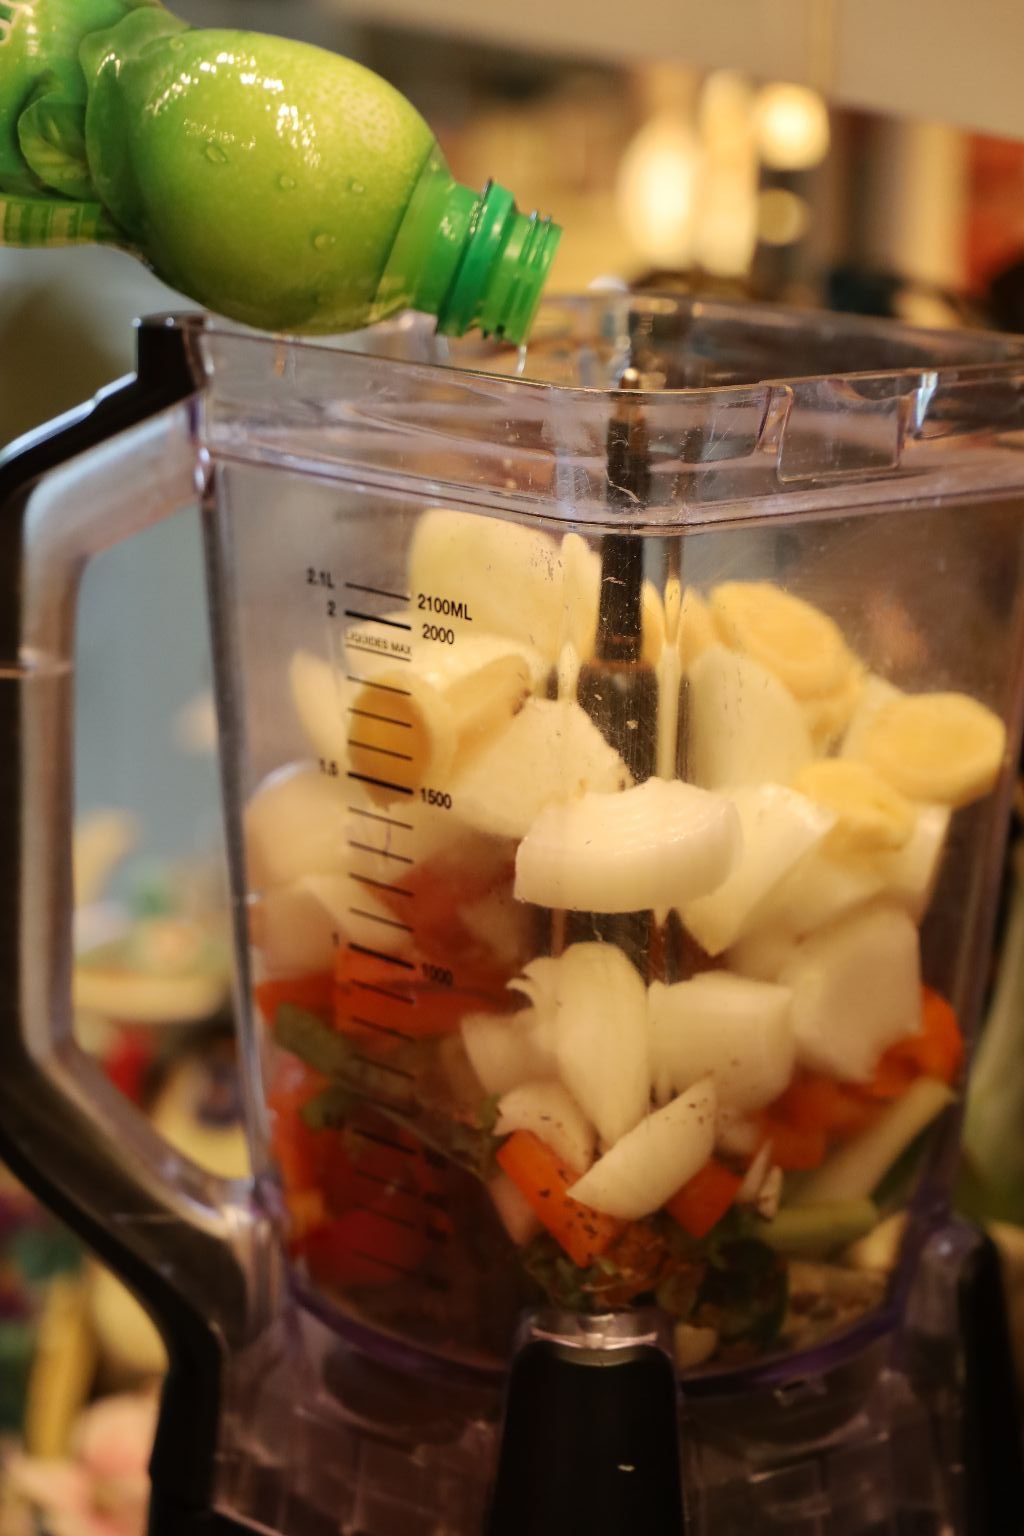
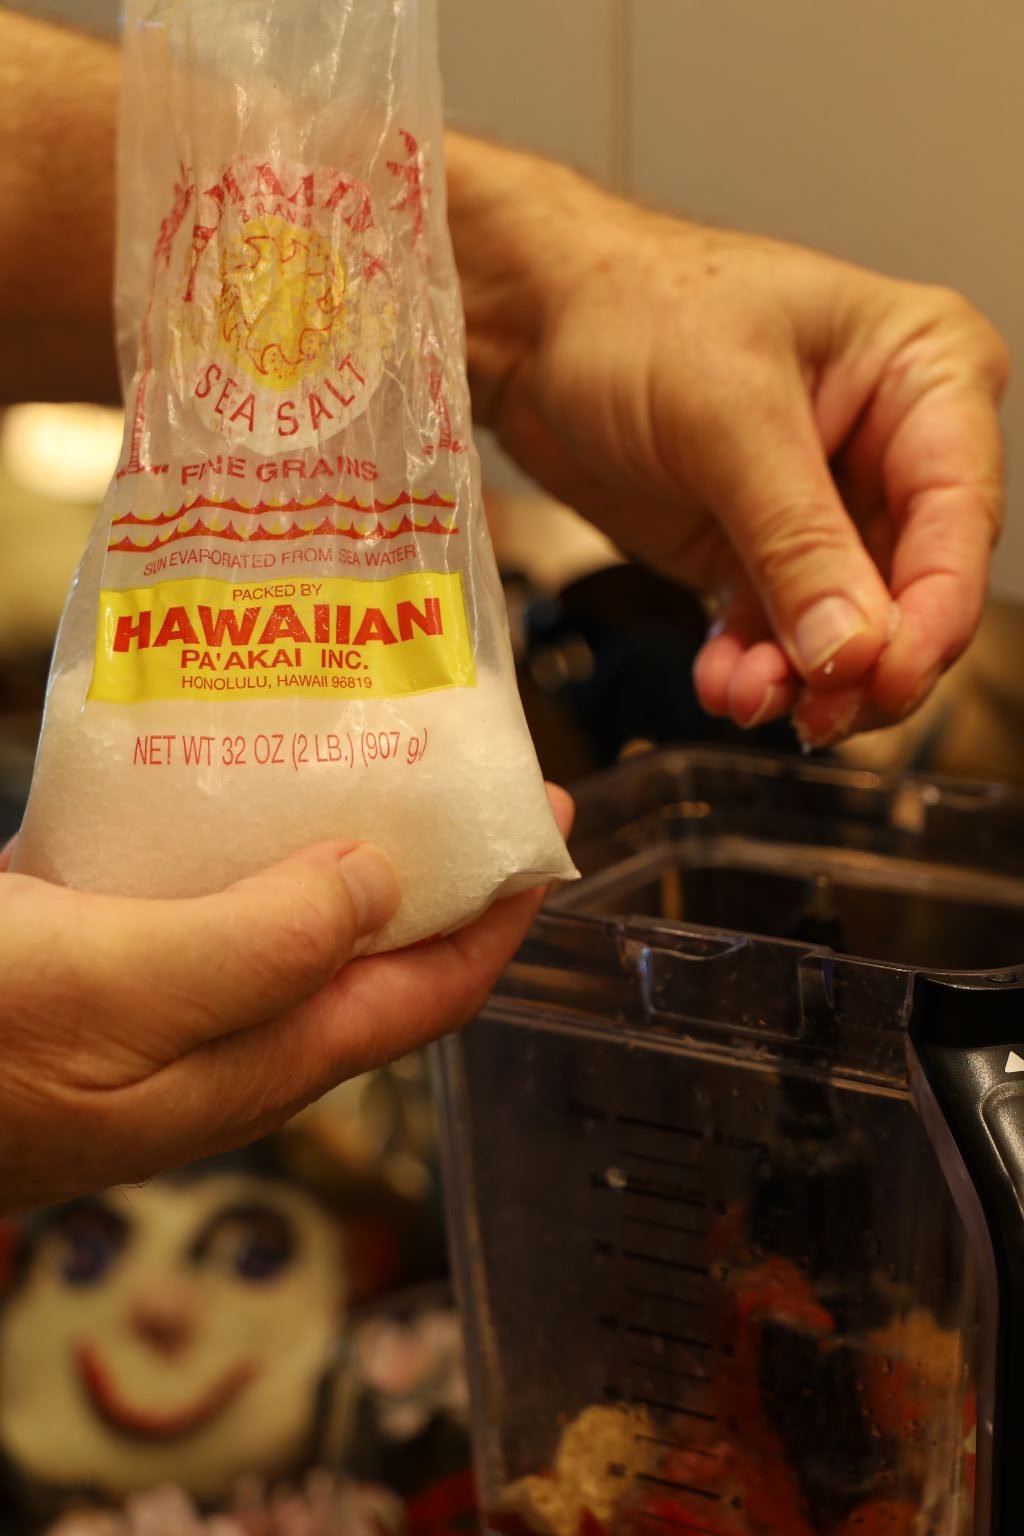
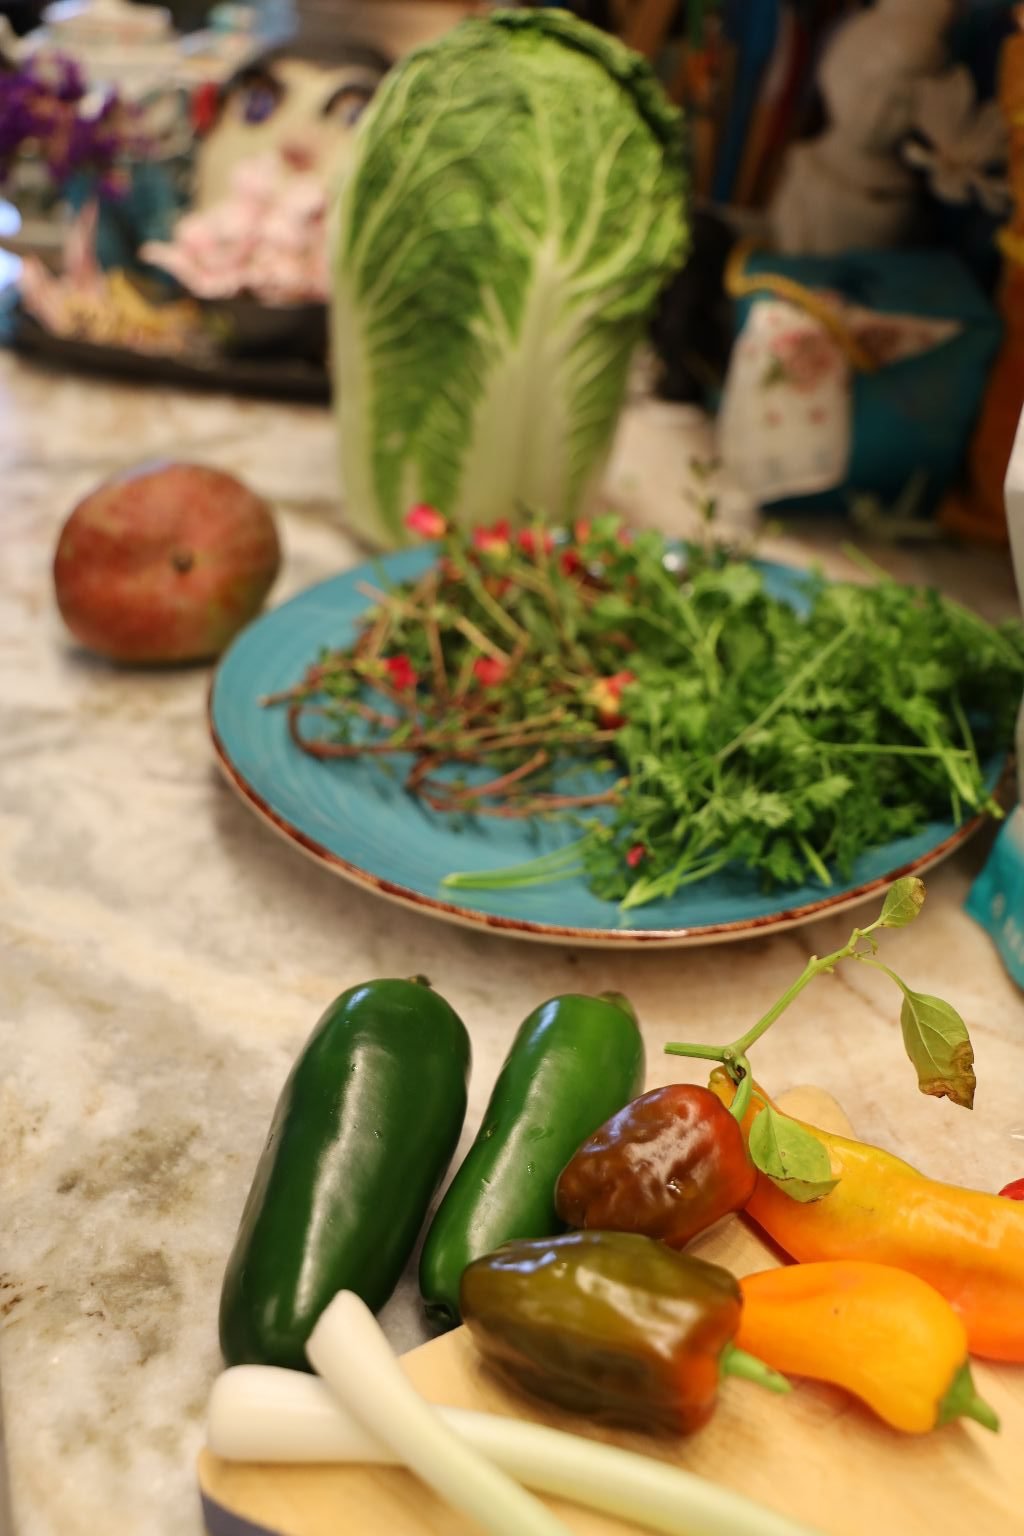
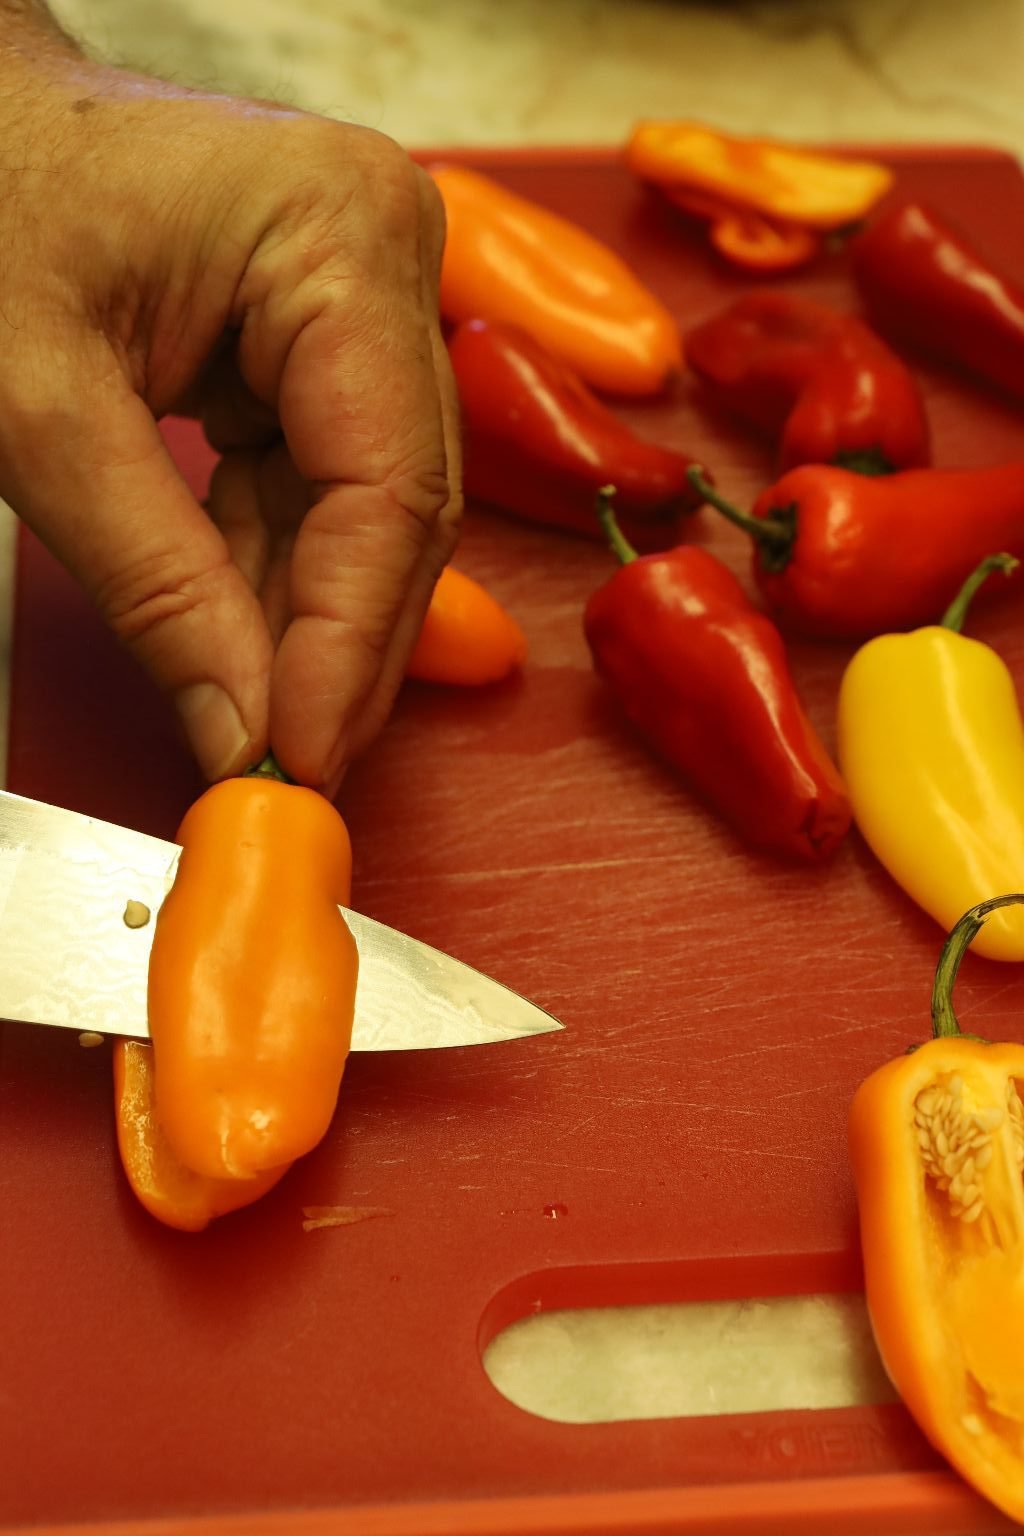
Isabelle, Being Entertained by her Dancing Fruit and Vegetables
(I have a problem with this but, I’ll get to that in the future.)


My Tiki Docks Cocktail, The Painkiller
(In my Lovely Souvenir Cup.)
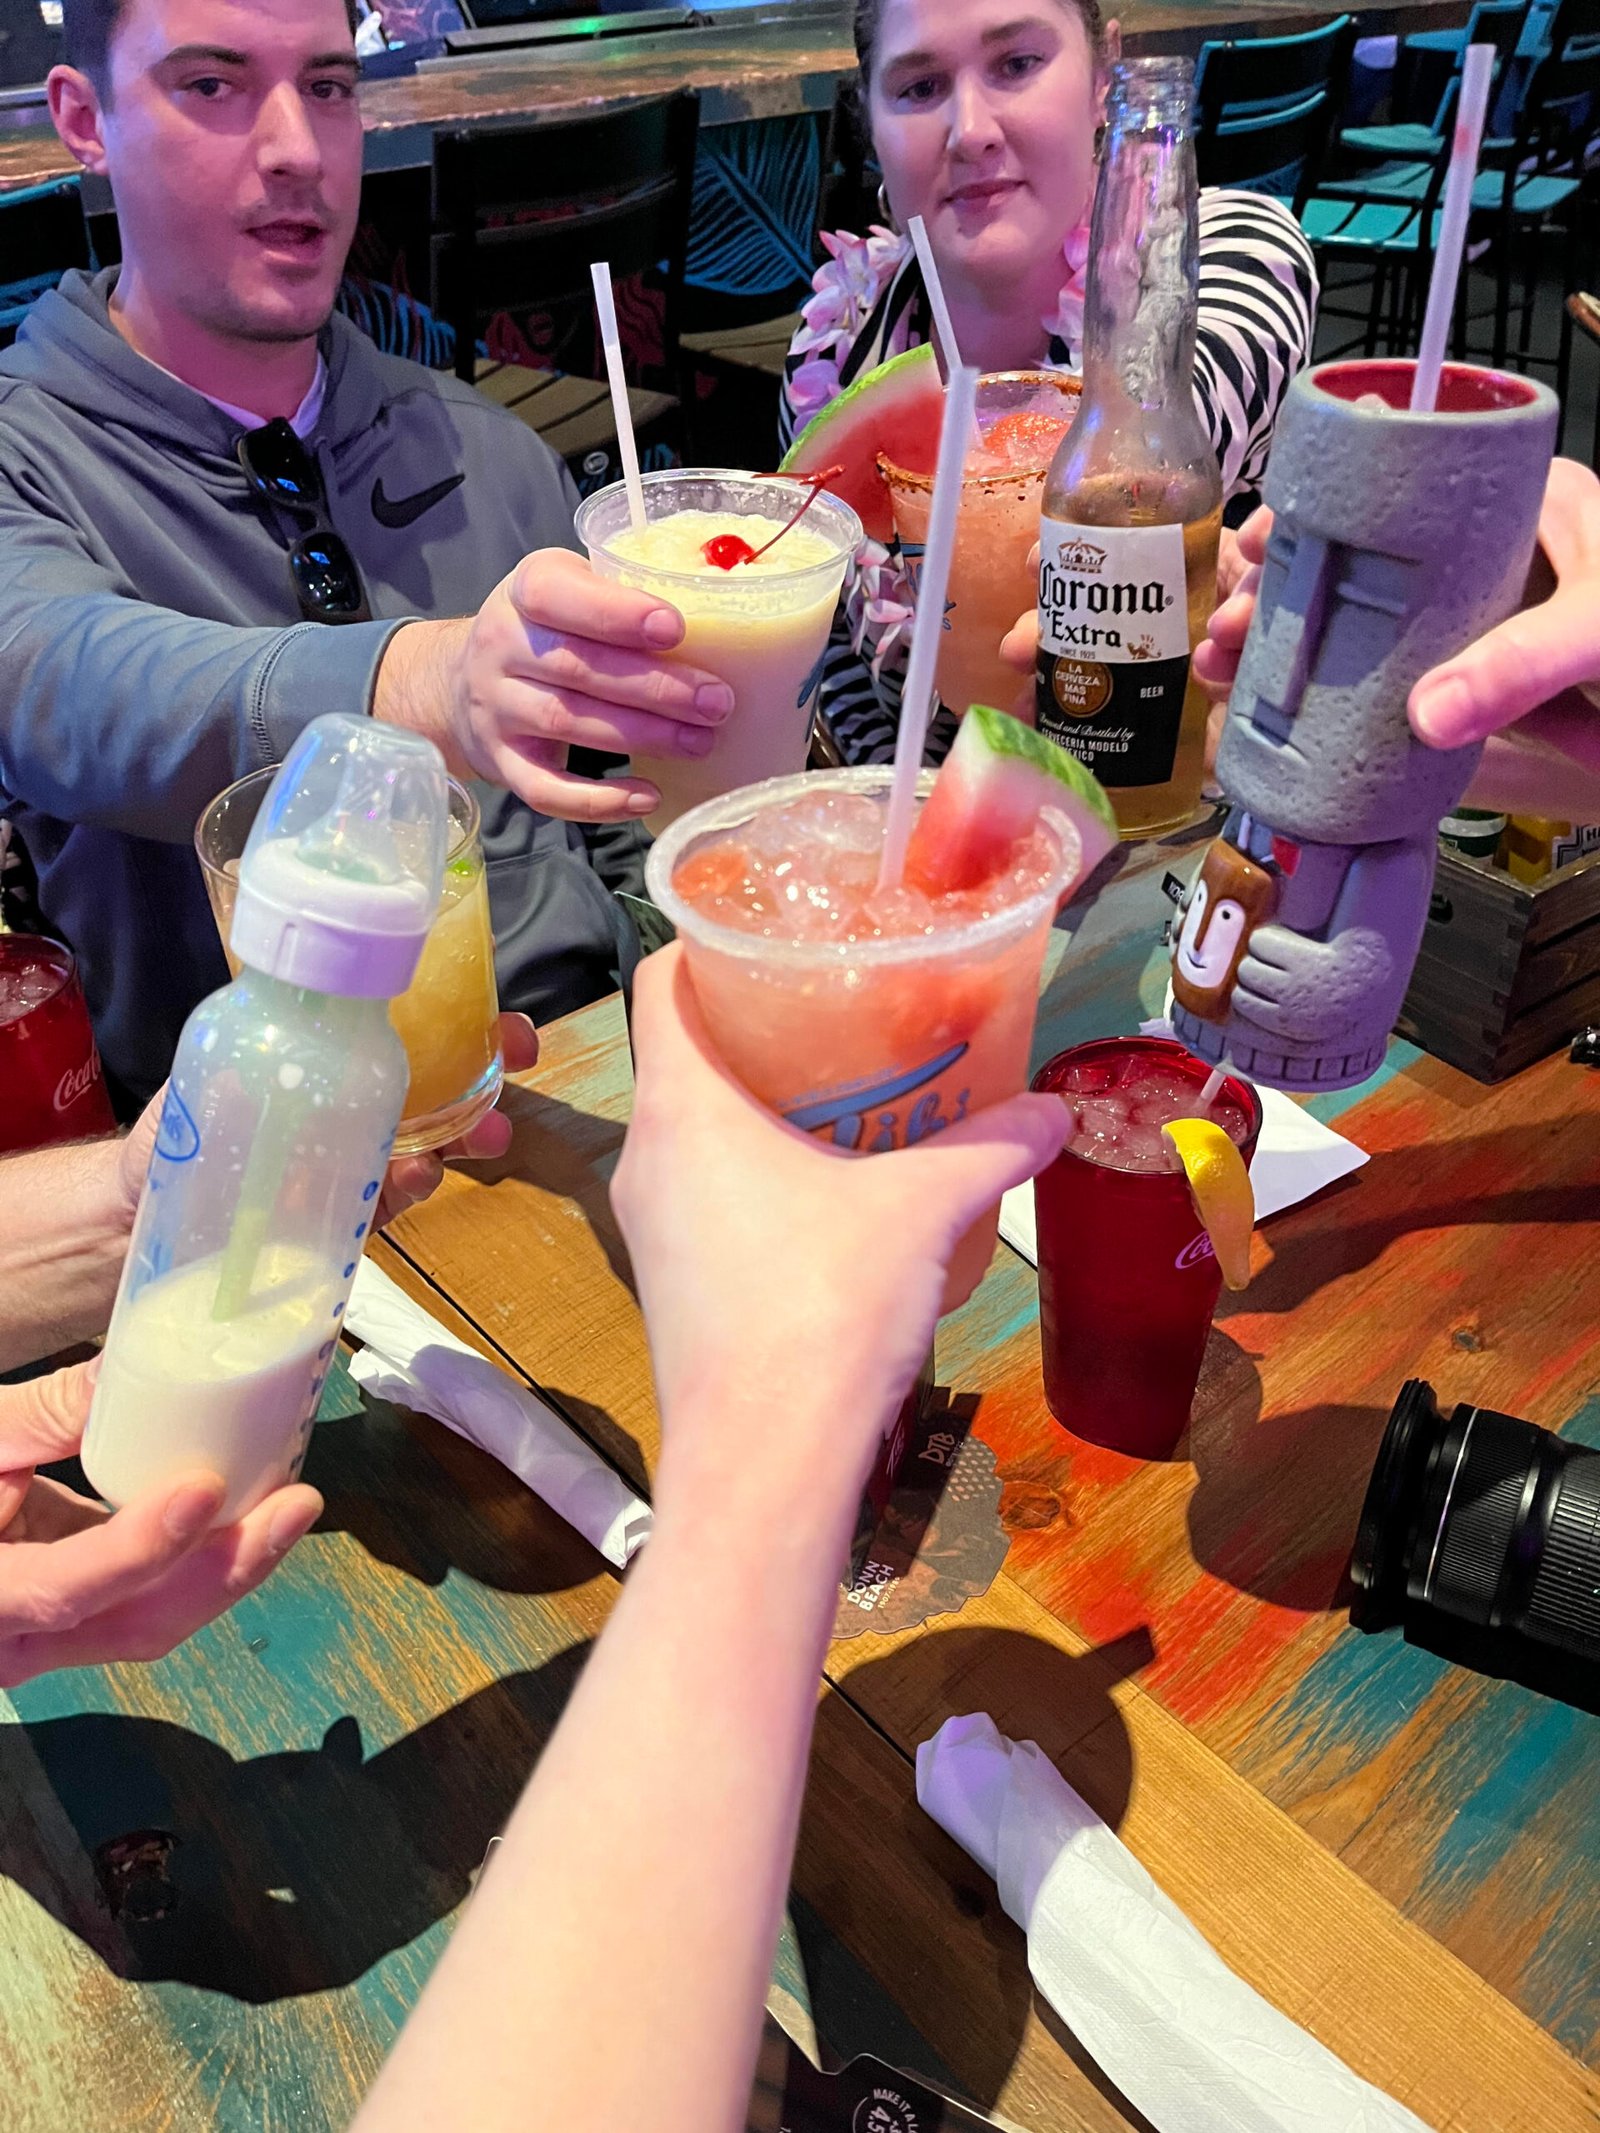
Cheers!
—————————————————————–
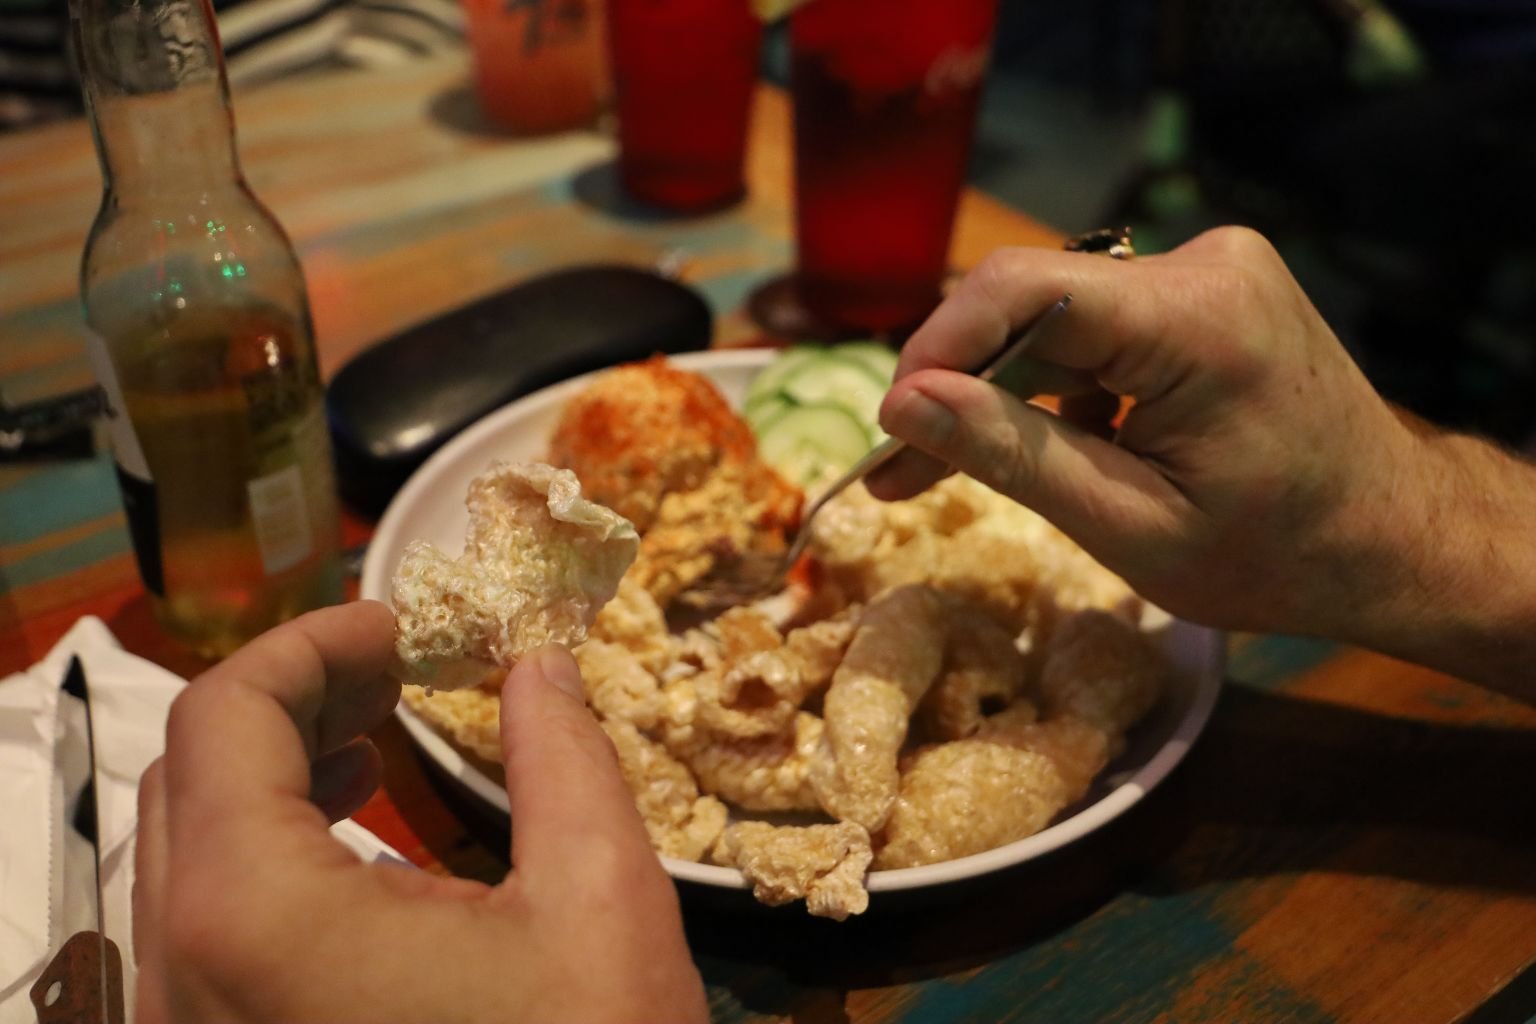
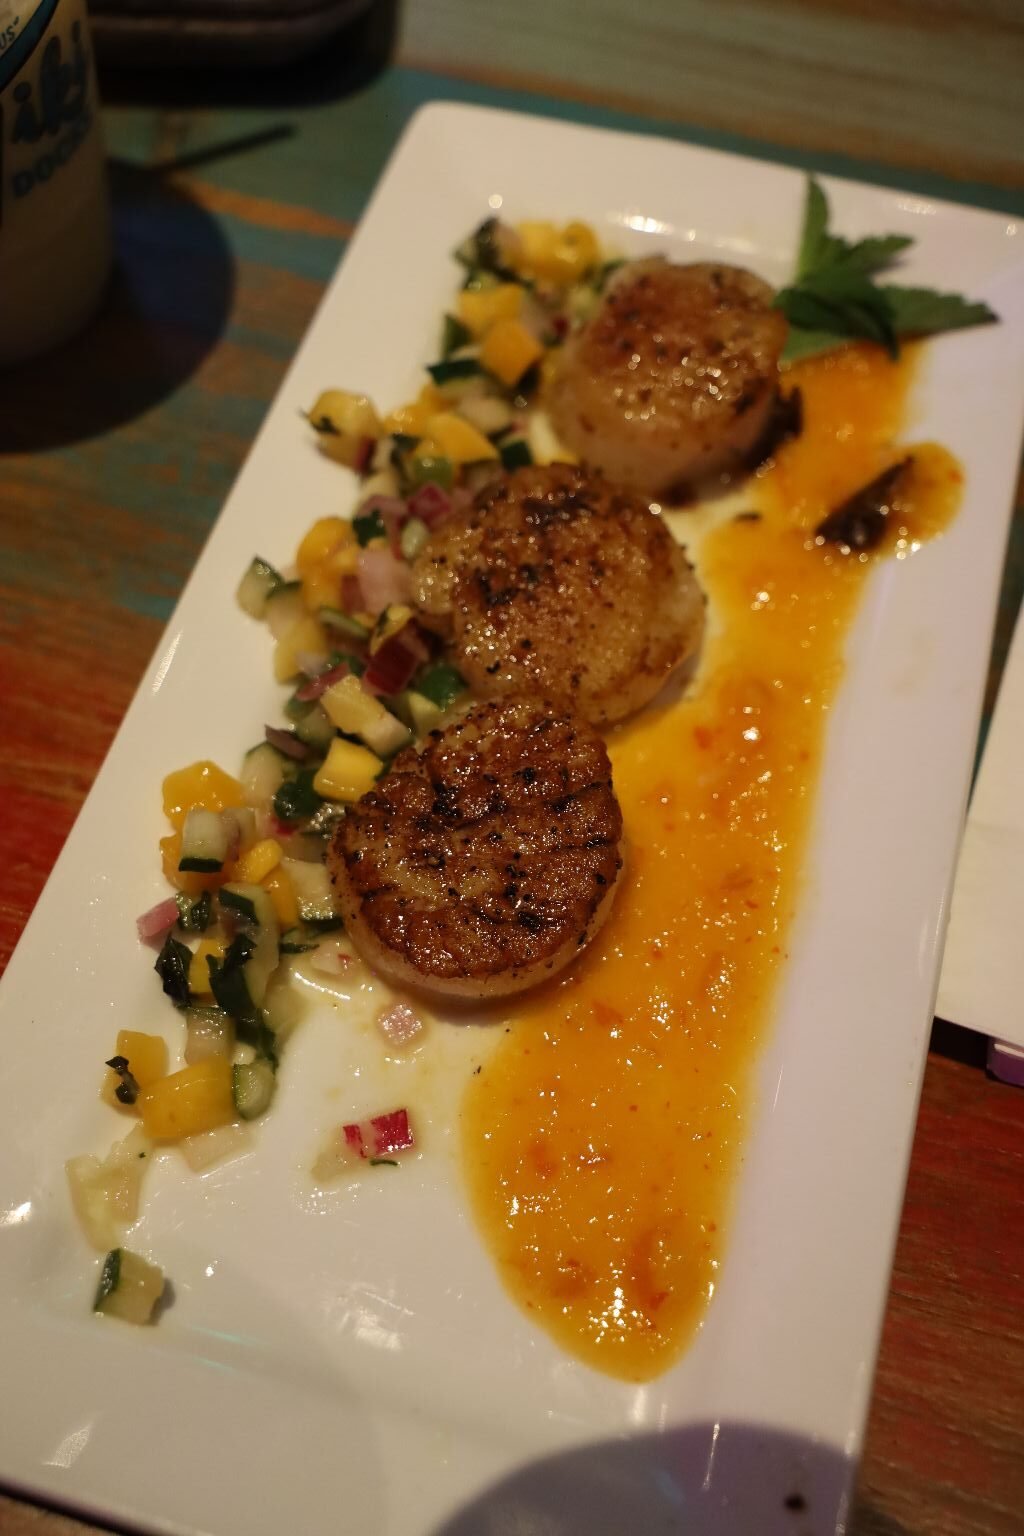
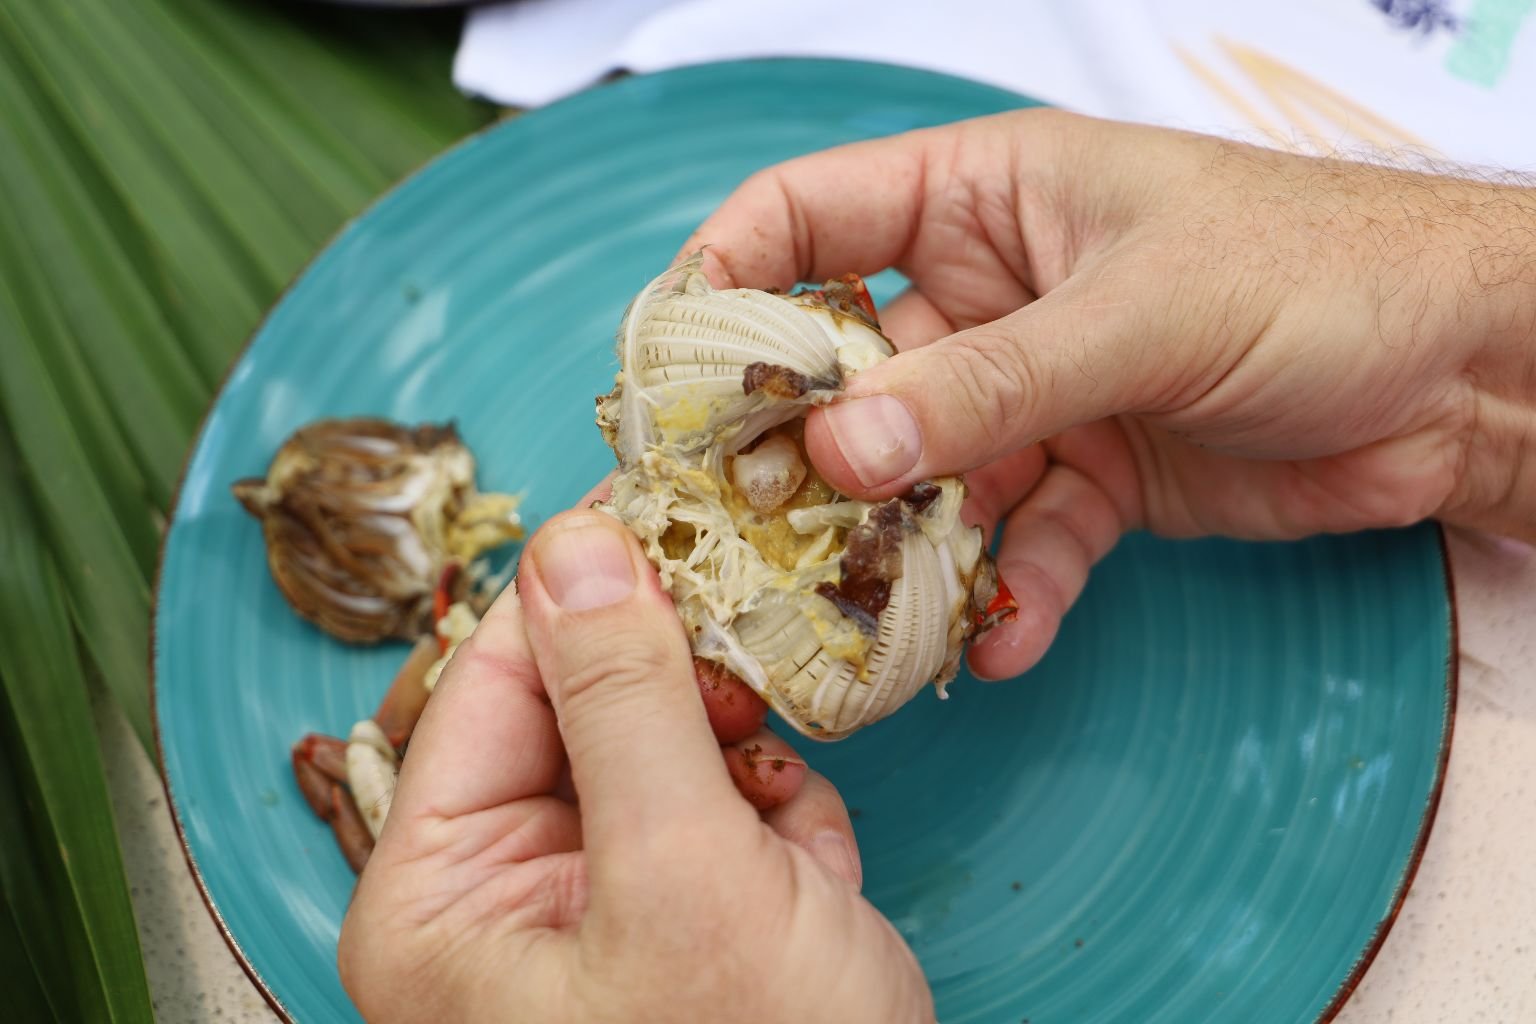
Our Appetizers Before Dinner
Fish Spread on Pork Rinds (This was GOOD!)
Scallops
Pork Nachos (Ours are Better.)

—————————————————————————–
Veronica and Gordon’s Shrimp Tacos


————————————————————

My Coconut Shrimp and Fries
(I should have photographed them before I added all the Ketchup.) 🙂

Mackenzie’s Shrimp Ceviche

Brian’s Pulled Pork and Fries
And, I believe that Brodie also ordered Scallops for Himself.
———————————————————————-
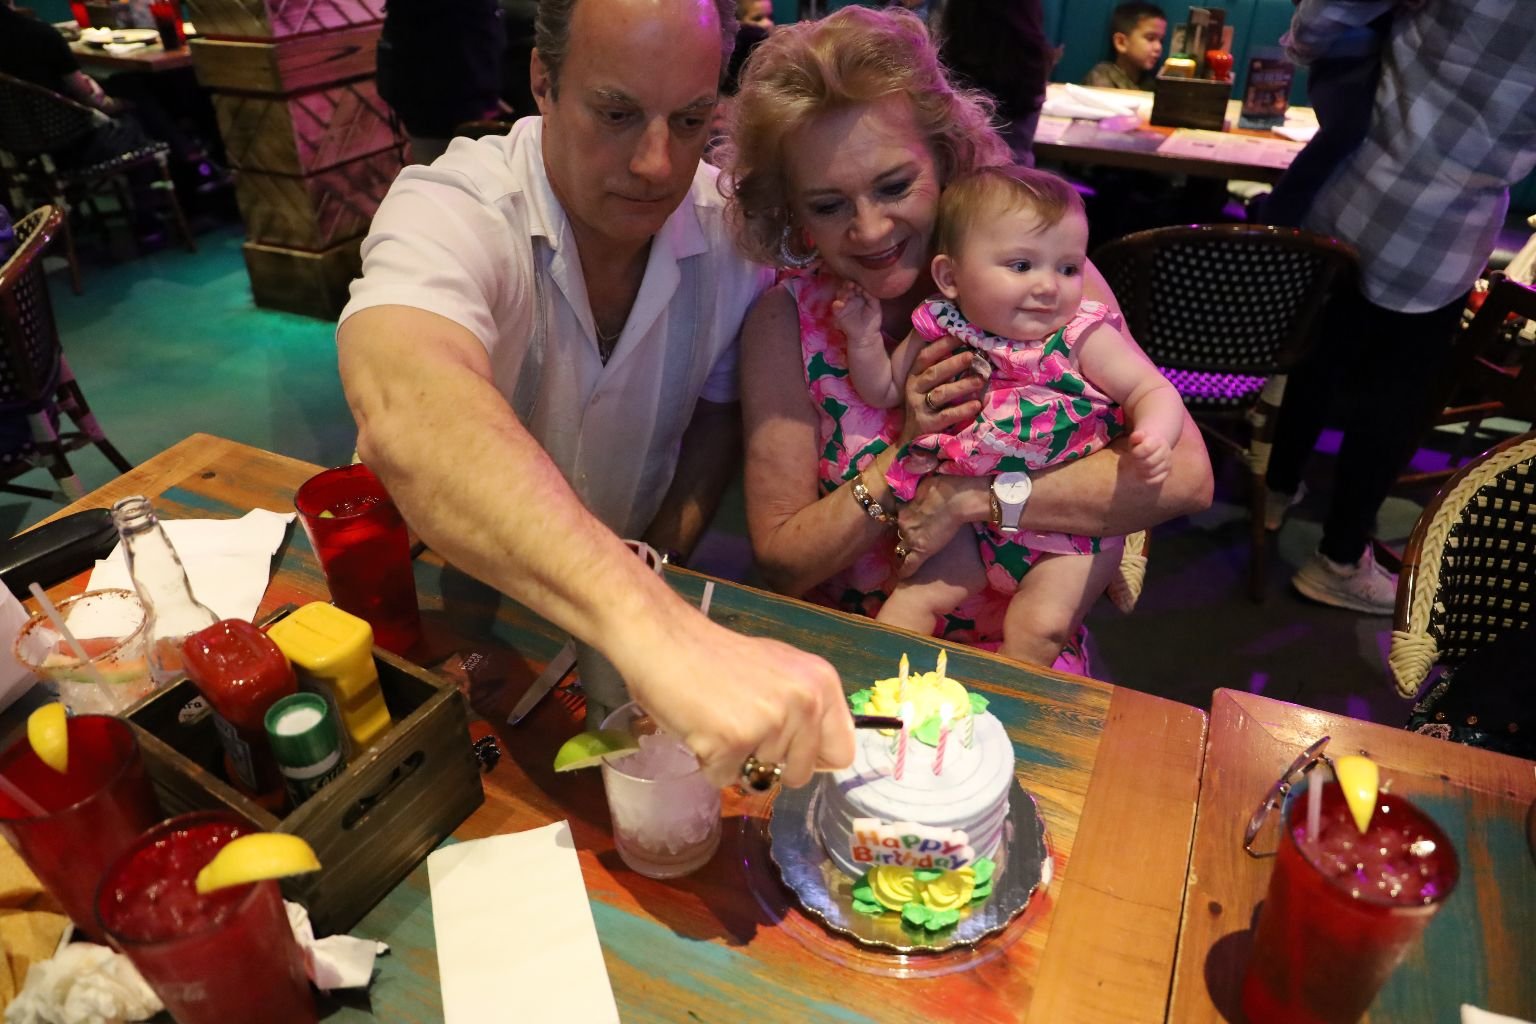

Gordon Lighting My Birthday Candles
I wanted my birthday cake to be Isabelle’s first taste of Sugar. It was!

Gordon, Gettin’ Some Sugar 🙂
We all met up at Tiki Docks for my birthday. We all have Hawaii on our minds right now. The reason will be revealed in the future. Although, to be honest, Hawaii is always on my mind. Hawaii is like the greatest love I have ever had, but lost. The memories are beautiful, exciting, seductive, obsessive, and heart warming. They say that it takes most people 6 months to get over leaving a place. It took us 2 years to get over leaving Hawaii, and even then I’m not sure we are over it. It sometimes hurts to think about Hawaii. In the same way it hurts to talk about the greatest love you have ever had in your life, and then lost. Kind of like going from riches to rags. I miss the riches!
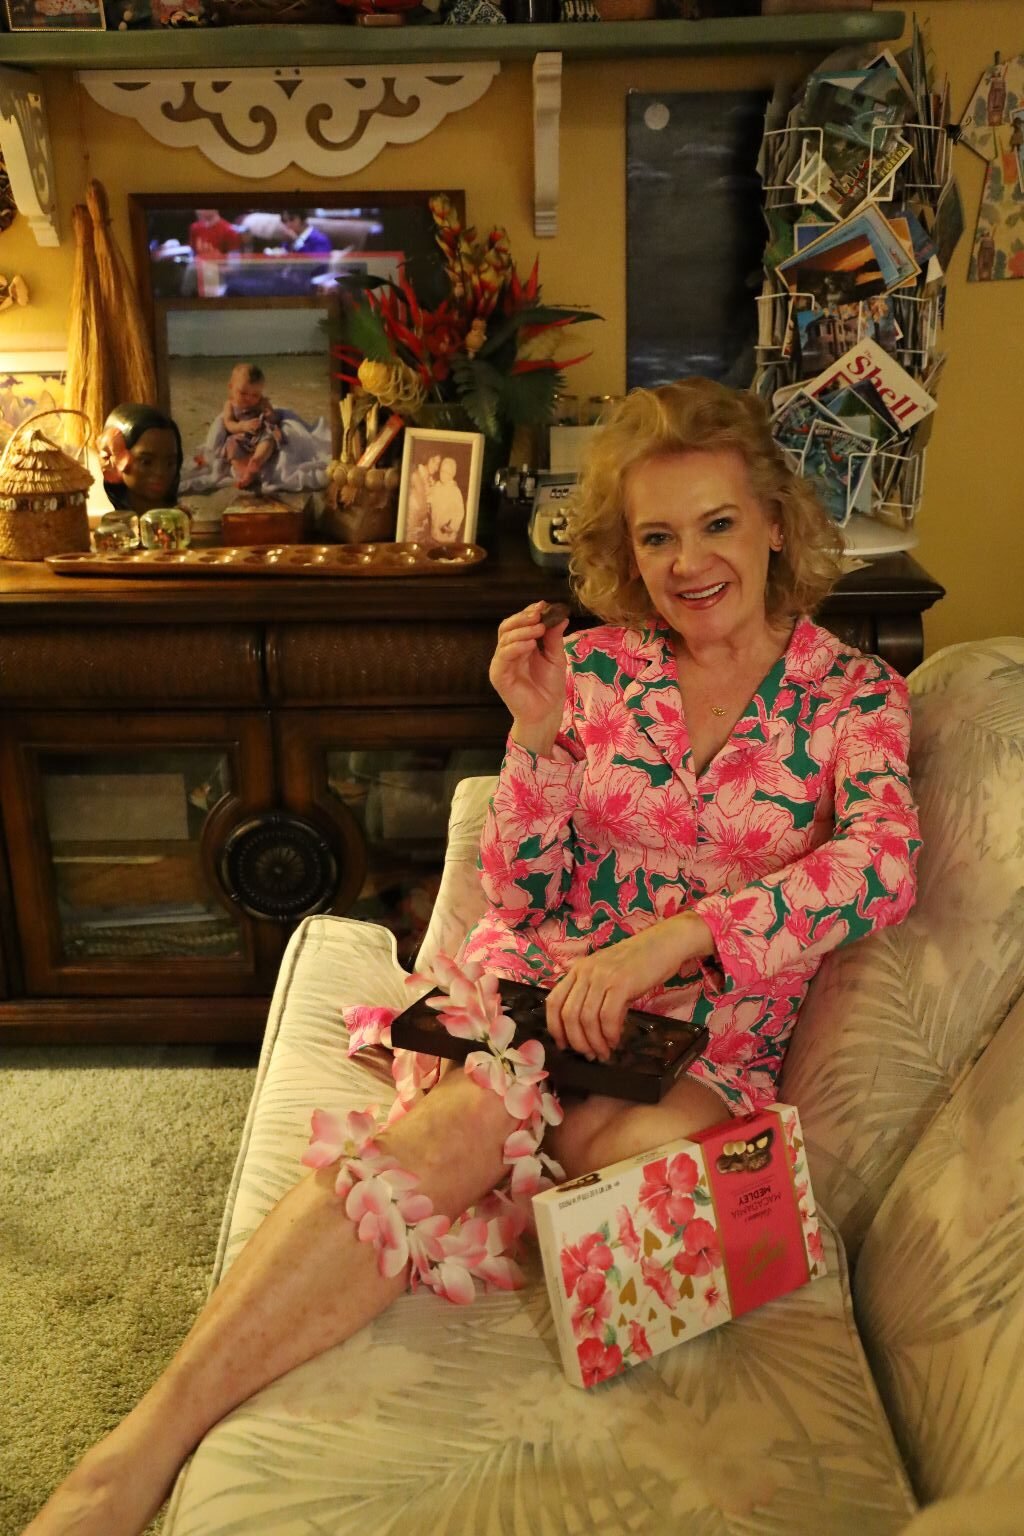
Back Home:
Late Night Snack of Hawaiian Chocolate Macadamia Nuts
——————————————————–
Thoughts On Turning 63
To be perfectly honest, this is all new for me.
On the one hand, I am so much happier on the inside being 63, yet uglier on the outside, being 63.
Most days I don’t fix myself up. I am my Grand-Daughters main care giver so there are many days of no make up and styled hair. There is stringy wet hair that she tends to pull, and a very plain looking me, while wearing big glasses that she loves to look at the reflections they pick up. Comfortable clothing, not frumpy is a must, but comfy.
I’m not here to tell you how wonderful it is being 63, that will depend on your own health.
And I think that if I didn’t have a website I would probably feel so much better about taking photos of myself at 63. Being in the spotlight, whether large or small, seems to come with some responsibility, and some angst as well.
Some days when I feel so wonderful about myself, I’ve just gotten out of the shower with wet stringy hair, put on nice comfy pajamas, no make up, no hair styled, just wearing a color that looks good on me and I feel so beautiful! However, if you were to take a photo, I’m not sure I would actually be beautiful. Why can’t feeling beautiful, be beautiful? I ask you?
Why does everything have to be so visual?
I want to age gracefully. I do not want to photo shop my pictures. To me that is such a waste of time. Not posting how you really look is deceitful. If you feel the need to disguise how you really look then just put someone else’s photo as your Avatar. Just sayin’.
I just want my photos that I post on this website to be honest. Not airbrushed, or photo shopped. I may not always be beautiful enough, but I do want my photos to be honest enough.
Julie
P.S. I will say this about Tiki Docks, they didn’t have a good Hawaii menu, they had a Florida version of a Hawaii menu. I would have loved some Mahi-Mahi, Ahi Tuna, etc. It just wasn’t to be here. But, the company was wonderful!
—————————————————————————————
jANUARY 21, 2024
lEARNING tO lOVE mY aLARM cLOCK
fIRST OF ALL, i lOVE gROUNDHOG dAY!
iT IS ACTUALLY PLAYING IN THE BACKGROUND RIGHT NOW AS i WRITE THIS. iT IS A FAVORITE MOVIE OF MINE. 🙂
i CHOSE THIS aLARM cLOCK AS IT REPRESENTS HOW i FEEL EVERY TIME MY ALARM GOES OFF EARLY IN THE MORNING.
i WOULD LIKE TO CONFESS SOMETHING TO YOU. wHENEVER MY ALARM CLOCK GOES OFF EARLY IN THE MORNING i HAVE ptsd. rEALLY!
i DON’T THINK THAT ANYONE LOVES IT WHEN THEIR ALARM GOES OFF EARLY IN THE MORNING. bUT FOR ME, IT BRINGS ME BACK TO MY YOUTH IN GETTING UP EARLY TO GET READY FOR SCHOOL, WHERE i WAS BULLIED HORRIBLY, aND, IT TAKES ME BACK TO MY DAYS OF WORKING JOBS WHERE i WAS VERY UNWANTED AND UNHAPPY.
sO, WHEN MY ALARM GOES OFF IT MAKES ME VERY SAD. i’M NOT JUST SAD TO BE GETTING UP EARLY, i’M SAD AT ALL THE UNHAPPY MEMORIES THAT IT BRINGS FLOODING BACK TO ME. tHAT IS THE ptsd!
hOWEVER, IF YOU REALLY THINK ABOUT IT, OUR ALARM CLOCKS ARE ONLY DOING WHAT WE TELL THEM TOO, WHAT WE ASK THEM TO DO?
aND, ALTHOUGH WE MAY NOT BE LOOKING FORWARD TO THE DAY IT IS AWAKENING US UP TO, IT IS WAKING US UP TO PREPARE FOR THAT DAY.
sOMETIMES WE NEED THAT PREPARATION. oUR ALARM CLOCK GIVES US THAT.
aLTHOUGH i STILL HATE IT WHEN MY ALARM CLOCK GOES OFF EARLY IN THE MORNING, i AM MORE APPRECIATIVE OF IT THAN i WAS. i AM COMING TO VIEW IT AS A FRIEND, NOT AN ENEMY. iT DOES TAKE SOME WORK TO SEE IT THAT WAY. bUT, AS i SEE IT, i DO HAVE THE TIME.
i DO HAVE TO ADMIT THAT MY FAVORITE DAYS ARE THOSE WHERE i DON’T HAVE TO SET AN ALARM. lIKE TOMORROW MORNING. oR THE WEEKENDS. dAYS WHERE i CAN SLEEP IN UNTIL i DECIDE WHEN TO GET UP.
fOR THOSE DAYS WHEN i DON’T HAVE THAT OPTION. i THANK MY ALRAM CLOCK FOR GETTING ME UP TO PREPARE ME FOR THE DAY AHEAD.
jULIE
————————————————————————–
September 14, 2023
THE DENTIST
For the first time in 4 years I had a dental appointment today. I am embarrassed to admit that I haven’t seen my dentist in 4 years, not since the pandemic started. I have pretty good teeth and gums. I take very good care of my mouth. However, it is unrealistic to think that I don’t need a dentist ever. Of course, I do. I have just been a bit paranoid about Covid. I have never had it. One reason, because I avoid places like the dentist. It is the one place where we can’t wear a mask, and we are vulnerable to the people that we are around.
With Gordon working overseas now for the foreseeable future, I especially don’t want to encounter any sort of illness that I will then have to take care of on my own.
It looks as if I don’t have any dental issues other than a good deep cleaning, as in numbing me up in order to do so, AND, only being able to do half of my mouth at a time. So, two appointments to get the job done. I’m dreading it, but I will do what is necessary to keep me healthy.
I did notice something at my dentist’s office while I was there today. Things just seemed different. I recognized a lot of the same people. Some were new, but plenty were still there from years ago. Although everyone was professional, there just seemed to be a ‘cloud’ hovering over head. A sadness that wasn’t there before. I really don’t know why? Just an observation and a feeling on my part. My favorite dental hygienist, Rhonda (not her real name), was especially different. Not as friendly, not as happy, she even implied that she was looking for another job. To tell you the truth, she was the main reason I loved going there. She and I would watch The Price is Right on the exam room T.V. and laugh about jokes from Saturday Night Live.
It’s sad how things change. People change. I’ll still continue to go there. I like the place. I’m just noticing a difference in people’s behavior. Perhaps this is a reflection on what is going on out there in our country. It’s the working class that will be affected by whatever our politician’s come up with. Whether good, or bad.
Julie
P.S. You need to go to the dentist whether you want to or not. We just need to get through it. Our mouth health is just as important as our body health. We can do it! Just make the appointments, show up, and deal with it. 🙂
—————————————————————————
September 8, 2023
Christie Brinkley and the ‘No Filter’

I tried to copy the original photo that she posted months ago and entitled, No Filter. I couldn’t manage to copy it in order to post it here, but I do have these lovely photos of her. It was a few months ago that Christie posted a photo of herself in New York, in her car, that she had entitled ‘No Filter.’
She then received a barrage of criticism into her looks. Some people were quite cruel. All that I can say is, we should all be so lucky as to look like her in our late 60’s!
I believe where Christie went wrong was to advertise that she was using a “No Filter.” I think when you do that, you are implying that all of your past photos had a filter, thus inviting scrutiny. I’m sure that it is very easy to invite scrutiny into your life without even wanting it. The press is always there to pounce on celebrities.
But, as we age we tend to grow into a new and different person. Our clothing sense does change and become different. Perhaps a bit more conservative, but that’s o.k. Our hairstyles change as well. Not as elaborate as they once were. Easier hairstyles to meet our more casual lifestyle as we age.
The next time Christie is condemned for not being perfect, then I would just breathe a sigh of relief that she has the life that she does. Why care what some average mind thinks about her?
She is a very good person. Most of the time she is aware of her influence on the public, And most of the time she tones it down when she needs to. Some times she does forget that, but, we can forgive her because she is a nice person.
More Power To Her!
Julie
——————————————————————————————
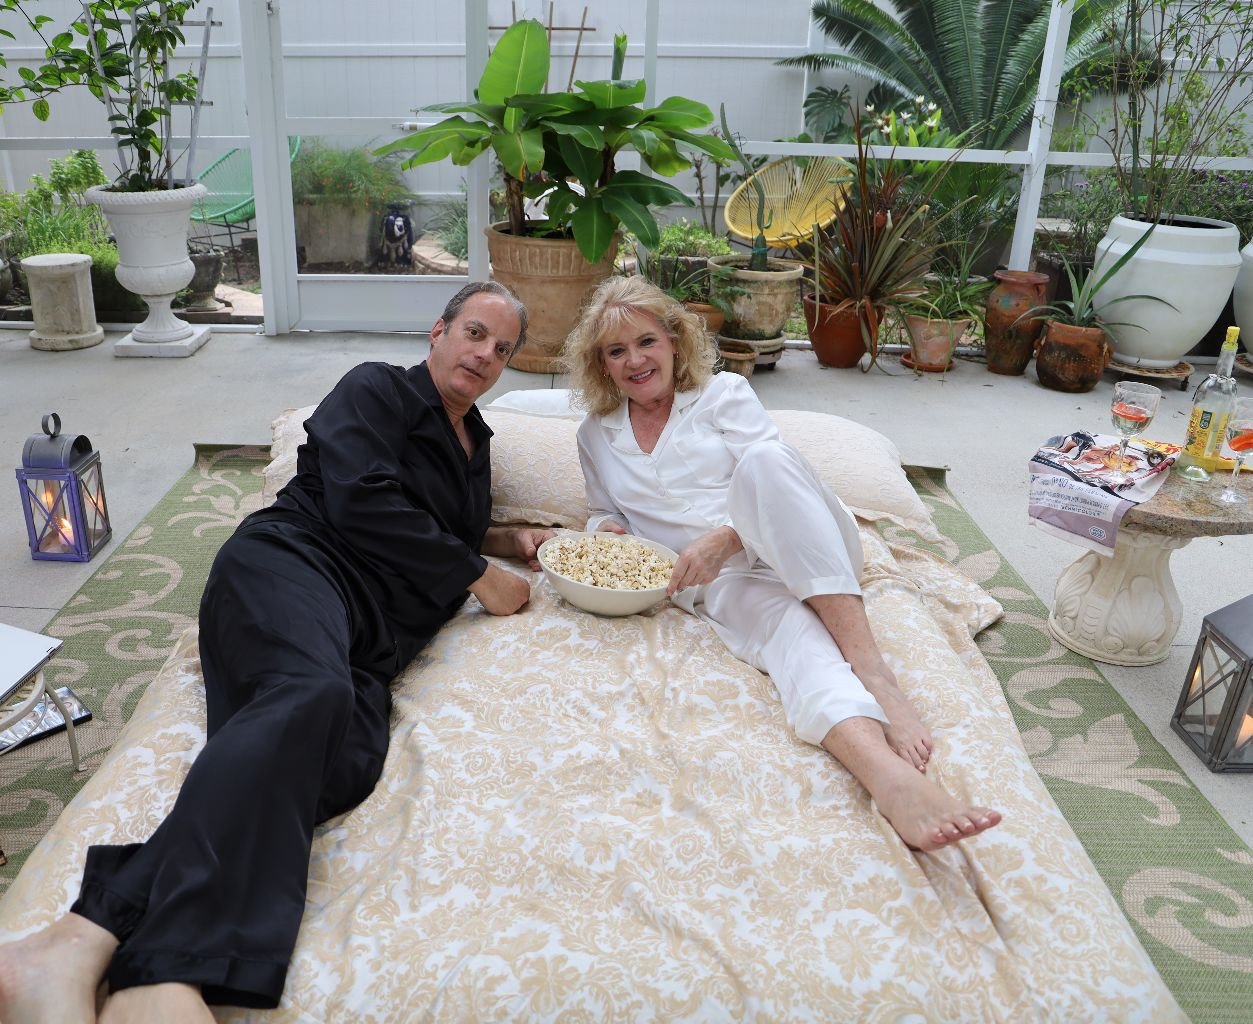
September 8, 2023
Pajama Comfort


One thing that I absolutely love, are comfortable pajamas!
I especially love a Sunday where I can get out of the shower, and put on a pair of comfy cozy pajamas for the day.
Invest in something that you love and is comfortable. I love attractive, yet comfy. This is our day to veg!
Julie
——————————————————————
March, 2023
I Am Being Left Behind
I just got a phone call today cancelling my doctor appointment with my family care physician for this Friday. He rescheduled me for the end of the month. This was an important appointment for me because I have not seen my bloodwork results in over a year. The last blood work I did was at my old clinic and that appointment was cancelled on me at the last minute just when I was supposed to find out the results for that blood work. Which is why I left that clinic because they had a habit of cancelling on me and I needed more reliable healthcare. I just had my blood work done last week and I was anxious to find out these results as I am a borderline diabetic, otherwise known as a pre-diabetic.
At the end of 2022 when I was supposed to take the heart stress tests at my cardiologist’s office, I was in that office for hours past my appointment time. As it was, I was in a weakened state with no breakfast or coffee so as not to interfere with the results. I was supposed to get on the treadmill. At one point they did come out to the waiting room to let me know that the patient in front of me was having trouble and I would be seen eventually. I honestly tried to stay alert and awake for another 40 minutes later, but I just couldn’t. So, I left! I let the office know, but I just felt as if I was being neglected. I also realized that most every appointment I have there, I am kept waiting long past my appointment time while I see so many others being seen before me. Sometimes I wonder if that is done intentionally?
I did have my mammogram and pap smear on Valentine’s Day of this year. 🙂
That all went smoothly and I’ve already gotten the results back and they were good!
I made the appointments specifically for Valentine’s Day because I couldn’t think of anything better that I could do for myself.
I would like to say that I did have a follow up with my cardiologist and saw another doctor instead and he said that everything looked good. I don’t go back for a year. I am just trying to catch up with my health. I feel as if I am doing my part but the so-called healthcare professionals aren’t. Sometimes I feel like I am on my own, all alone in the world to just squeak by until I drop dead one day. I have an unborn grandchild that I need to be healthy for. Our son-in-law Brian just lost his mother to a heart attack, she was 61. I am 62. My granddaughter deserves a grandmother, and it is going to be me. Treadmill, treadmill, treadmill….. 🙂
Julie
——————————————————————————
February 13, 2023
Happy Birthday to ME!


62!

————————————————————————-
September 24, 2022
My Cardiologist
For those that are regular readers of my many blogs I have on this website, then you know that I see a Cardiologist.
My heart is fine, as far as I know, but I do have a family history of both of my parents sides where heart attacks are prevalent.
Therefore, I do see my heart doctor every 6 months for a check up, and every few years for the heart stress tests.
—————————————————————-
It was over a month ago while I was waiting to see my doctor in the exam room when I suddenly heard steps coming down the hallway. They weren’t the soft shuffle of orthopedic shoes from old doctor Blank, (although I am probably older than ‘old doctor Blank’), they were the steps of stiletto heels. Confident stiletto heels! Judging by the length of the steps of the person walking down the hallway, I would say it is a tall woman with long legs. Also, judging by the weight of the steps and the sound resonating, I can tell she is a beautiful woman. How do I know this? Those steps taken were of confidence! Those steps were not steps, they were struts! Someone that confident walking down the hallway, strutting, is obviously gorgeous! The last time I heard the strutting of confident stiletto’s was on a runway when I was modeling in my youth.
Suddenly, there was a knock on the door. I then said, “Come in.” That was when the door suddenly opened as if by magic. Standing there was a tall woman, wearing a lab coat over her skirt, and wearing stiletto heels. She was Latina. Her hair was blowing! Why the hell is her hair blowing? I then realized the A/C had kicked in and the fan in the ceiling was aimed towards her. O.k., whew!
She then entered the room….
ALLOOOOOW, How are Jew??
She was gorgeous!
Yes, My doctor is Sophia Vergara…
Tall, slim, wavy brown hair down to her waist, perfectly coiffed. She told me her name, but I can’t remember it? She told me that my usual doctor, old doctor Blank, who is probably younger than me, was at the hospital with a patient and she was seeing his patients today. She then asked me the usual questions that I get asked every 6 months at my appointments. You know, the standard, have you had any chest pains, or hospitalizations since my last appointment?
I told her no.
She then realized that she had forgotten her STEEEETHOSCOOOOPE, and left the room to get it.
It was while she was gone that I looked down at my flip flops on my feet. My eyes then moved up to my new colorful Lily Pulitzer skort that I was wearing, and a black cap sleeve t-shirt. When I got ready that day I thought I looked kind of cute…. until about 5 minutes ago. 🙁
When she came back in I told her that I didn’t realize I would be seeing Sofia Vergara today.
She then threw her head back and burst out laughing with this very loud booming, yet charming laugh. She had a huge smile. Her hair flew back as she laughed, then fell back into perfect place. Yep, you guessed it, she has Disney Princess Hair! 🙁
She then told me that all of her patients call her Sophia.
Patients? She has patients?
I wanted to ask her if her patients were still alive? I mean, how many have died of a heart attack BECAUSE she is their doctor?
Not only did she look like Sophia Vergara, she also sounded like her. She must have read my mind because she then went on to explain that even though Sophia Vergara is from Columbia, and she is from Puerto Rico, that when they speak English they sound the same. She also told me that the Colombian people speaking their native language sounds as if they are singing. I thought that was a beautiful thing to say. She also told me that when she speaks Spanish that she sounds very rough.
The appointment went well and she ordered my heart stress tests. But, it was as I was leaving and in the waiting area for my next appointments that I realized that I could pick every pocket in this room and no one would notice! Everyone would be looking at her! Even though there are cameras here, even the security watching wouldn’t notice a thing because they were be looking at her!
I then thought that if I could just convince her to go the supermarket with me and ask someone about this jar of Peeeekkkkeelllllssss, that a large crowd would gather around her and I could wipe out every cash register there!
We Could Be RICH!!!!
It was then that I realized, why am I contemplating a life of crime? It was a nice little fantasy that I had for about 5 minutes. I then reluctantly came back to Earth, (although I know damn well we could pull it off!) Wink. Wink..
After spending some time with my doctor, Sofia Vergara, I then totally understand what it must have been like on the set of Modern Family to be Claire?
—————————————————————-
I did go for my Treadmill Stress Tests a few weeks later, but after being neglected in the waiting room for hours I decided to reschedule and just leave and go home. I could barely keep my head up and my eyes awake. I didn’t have much sleep the night before and I wasn’t allowed caffeine before I take the test, so being in a weakened state I decided to leave.
There have been many days that I have been left waiting in the large waiting room without being called. I can’t tell you how many times I see everyone in that waiting room being called back, while I’m still sitting there. I have even asked a time or two if I have been forgotten?
You are probably wondering why I still go? I have looked into leaving and seeing another Cardiologist, but I figure they all probably know each other and I’ll just get blacklisted at the next location, and thus get the same treatment. Therefore, I just take a book or two and try and occupy myself during the wait. I’ve also decided that I will give them an adequate amount of time and if I’m not seen then I will leave. Thus, they won’t get paid. I have discovered that people are different now. Not as professional as when I was growing up. Also, people just seem to be more selfish and petty, vindictive, etc…
—————————————————————–
I Fell In Love With My Heart
I did go for my Echocardiogram last week. Interestingly enough, I was seen fairly quickly that time. Not that that is what I want? I just want to be seen in a reasonable amount of time and not kept waiting for 2 1/2 hours at a time, every time.
The Echocardiogram is when they take an ultrasound of your heart. Kind of like when you are pregnant and they do a scan to see your baby?
The woman that did my scan was very professional, something I greatly appreciate, but she must have weighed over 300 pounds. Why is it so many health care industry workers are so obese? If anyone should understand how deadly that is, you would think that they would? I especially thought that the woman doing my scan, who looks at how hard hearts work every day, that she above all people should understand the importance of loosing weight?
As I lay there on the exam table and she placed the monitor on my heart and I could see it so clearly, I was enthralled! It looked so beautiful! I realize that sounds so ridiculous for me to say, but I just fell in love with it. My heart was just so busy and working so hard that I was grateful. Grateful to that little organ that is working so hard for me. I just wanted it to take a break from all that hard work and rest. Then I realized that I would die if it took some time off! It just gave me a greater appreciation for it, that’s all.
You know, just because someone dies of cancer, or diabetes, or an accidental death, or even a murder or suicide, in the end we all die of the exact same thing, our hearts stop beating.
Maybe all of us should fall in love with our hearts? 🙂
Julie
p.s. Next month I go for my Treadmill Stress Tests and then I see my doctor to get the results of the tests. I’m assuming everything will be good, but you never know? I’ll let you know.
—————————————————————-
April 5, 2022

Colonoscopy Day, April 6th.
——————————————————-
Colonoscopy Prep, April 4th. and 5th. (ugh!)
Although I have blogged about my last two colonoscopy’s, you now get to hear about my third.
Lucky you!
My first one was at age 52. That prep went fairly smoothly and even the surgery went nicely. Except that I am prone to polyps, so my doctor recommended that I have a second one at age 55. I did. Everything went fine, except I was sick during the “prep.” Nothing wrong, just sick from sucking down yucky broth and drinking all that crap that they have you drink. You know, that Magnesium Citrate. Yuck! I don’t care how much lemon they put in it, it’s gross.
At this writing I am 61. I was supposed to get my 3rd. colonoscopy at age 60, but because of the pandemic I kept putting it off until I felt better about it. Now, I’ve decided it’s time. I hope that by postponing it for a year that I didn’t make a mistake. But, in these times I believe that we need to weigh the odds and make calculated decisions based on many things that are going on around us.
I’m seeing a different doctor for this colonoscopy. You see, the doctor that did my last 2 was always shoving this last form to be signed in my face when I am in the operating room. I didn’t have my glasses to read it. I think that’s why they do it. It’s probably a form exonerating him and his staff from killing me if they do so. The fact that they would slip it in right before my surgery made me no longer trust him or want anything to do with him. I also woke up from my last colonoscopy hearing him yell horribly at his staff. I don’t know what that was about, but when they noticed I was awake they all quickly shut up.
Tomorrow will be a new doctor and staff, and if they shove some paper in my face as I am in the operating room without my glasses then I will loudly protest and we will just see what happens.
My Liquid Diet

This is a much better “Prep Diet” than I have had before. In the past I was only allowed water, white grape or cranberry juice, and broth. But, this diet gives me coffee, sugar, jello, sodas, popsicles, etc.
Even though I have the thing memorized, I do keep consulting it just to see if I missed something. For example, cheddar biscuits, or pancakes? I just keep expecting those foods to appear. One can hope.
My Last Meal (April 3rd.)

Fried Chicken, Italian Green Beans, and Cheddar Biscuits
These green beans are the closest that I can find to my grandmother’s pressure cooker green beans. They are pretty good. Hers were just better.
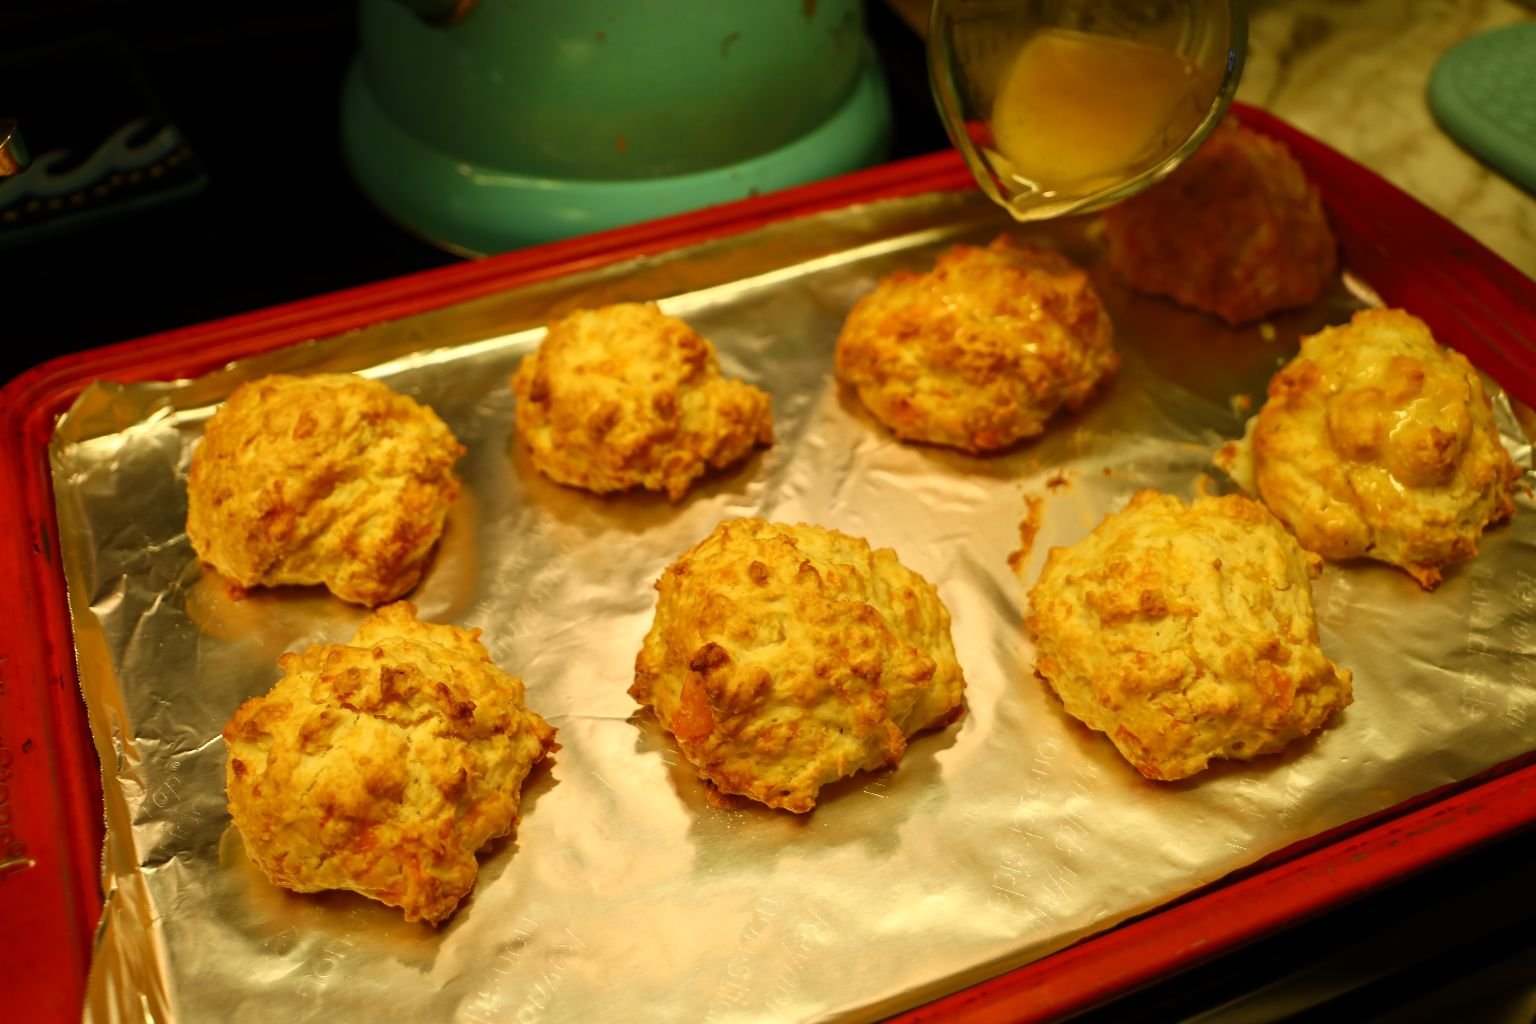
I always put some thought into my last meal before a colonoscopy. After all, it really could be my last meal. Anytime any of us has surgery and we are put to sleep we always run the chance that we may not wake up from it. Therefore, I wanted my old southern favorites.
My Last Meal at Noon on April 4th.

A Repeat of the Night Before
———————————————————–
Afternoon of April 5th.
It’s time for me to start drinking my second bottle of Magnesium Citrate. I’m choking it down. It’s very sour and it kind of makes me sick. I am then supposed to chase it with 10 ounces of a clear liquid. I am to do this 3 times today. My stomach is so huge from all this liquid that I easily look 7 months pregnant.
I am chasing it with a green Jolly Rancher’s candy.
————————————————————-

Green Jello
I do like that I can have green Jello. So far, this has been breakfast and lunch. It will probably be dinner too. I do love slurping it between my teeth. Good thing I am alone.
———————————————-
Gordon just called. He is on his way home from work, and looking for me some other popsicle’s besides green and orange. Fingers crossed that he is successful!!!!!
(After today I don’t think I’m going to eat the color green for a long while.)
To Be Continued…..
April 7, 2022
I wanted to continue where I left off.

Straining the Noodles out of the Chicken Soup
I do have to say that this colonoscopy prep was my worst so far. I thought the schedule was a bit screwed up. As in at what times you are supposed to do this and that. They had me drinking that Magnesium Citrate at 12:00, 2:00, and 4:00 p.m. Then, they had me take 4 Dulcolax at 7:00 p.m. (Of course I was going to be up all night, if you know what I mean?)
(Am I the only one that flosses after eating Jello?)
I would have preferred to have taken the laxatives earlier in the day so that I could have had a good night’s sleep the night before my surgery. But NO! I must have gotten out of bed and headed to the bathroom a good 8 times before 2:30 a.m. THAT, was when I really got sick!
I am sorry that I am about to get graphic, but I also want to explain to you what all I went through. Perhaps, it may help you in some way with your experience.
Well, it was 2:30 a.m. and I headed for the bathroom, once more. As I was sitting on the Throne of Whann, I suddenly started to feel funny, as in strange. I broke out in this terrible sweat! I was hot as hell! My entire body was wet with sweat! It was then that I imagined that this is how I am going to go? On the toilet, just like Elvis. Gordon is going to wake up tomorrow only to find my dead body, face down on the floor, and butt upwards. The last image in Gordon’s head of me is going to be THAT!
It was then that I screamed for Gordon!!!!
He came running into the bathroom! He asked me what was wrong? I then told him that I am going to die unless I get some water in my dehydrated body! Gordon then said, “No. You can’t drink anything after midnight.” I then informed him of the instructions on the list for those that take important medications. According to the instructions they are allowed to take their meds right before surgery. Exactly how do you think they are supposed to take them without drinking any water? By shoving them up their noses?? No! They get water! And if THEY get water, I get water!!! GET ME WATER!!!!
So, needless to say, I got a little bit of water. He also gave me a washcloth that he had doused in cold water and I placed it all over my face, neck, and chest. That cooled me down. I also had him to lay a big towel on the bed for me to lay on, and not get my sweaty wet body on the sheets. I also used an old blanket to cover me with so that I wouldn’t ruin our bedding.
Oh, and I was also nauseous. But, there was nothing to throw up, so….
—————————————————
After all that drama I was able to get to sleep for a few hours. When my alarm went off the next morning, I got up and showered. I didn’t drink any water, BUT, I did rinse my mouth out with water just to keep it moist. I didn’t swallow, I just spit it out in the sink. I did this up until it was time to leave for my appointment. I would also dip my finger into a glass of water and place it into my mouth. Just a little bit of moistness.
I was able to get ready and we did leave the house and headed out where we needed to go for my appointment. From then on it really was smooth sailing. We arrived at the surgery center, checked in, and waited to be called back. I was very impressed with everyone that I encountered. When I was signing the paperwork I did tell the girl that I am not signing anything while I am in the operating room. So, therefore, I want all paperwork here in front of me now. She said that there is no paperwork other than what is here. And that they would never do that to any patient. I then felt better that there would be no surprises from that point on. 🙂
It was when I was wheeled into the operating room and I met all the nurses that one of the nurses was asking some weird questions to the other nurses. What letter comes before _urse? Is it curse? Purse? What can it be?
As I am just laying there, I wondered if she was doing a crossword puzzle? The other nurses joined in with great relish. They were all wracking their brains over what could be that letter? There was also very nice music in the operating room. It was a bit jazzy. I liked it. I do know from my step-father being a surgeon that they have fun in the operating room. It isn’t as dramatic as the old medical shows would dictate on T.V. There is levity. They do laugh. It was then that one of the nurses suddenly realized that the _urse, was NURSE!
Kind of alarming that the Nurses never figured out until a long time later that the word they were trying to figure out was the word NURSE?
Well, things went well for me. They did find one polyp that they removed. According to them it doesn’t look like cancer. But, I will find out eventually as they did send it off.
It was on our way home from my colonoscopy that we hit up 3 fast food restaurants.

I pretty much got fried chicken, fried chicken, and fried chicken!
Hey! Death by Fried Chicken? Really isn’t such a curse. It’s my heritage.
All for now!
Julie
————————————————————–
March 4, 2022
Referrals, Where Do I Even Begin?
Because Gordon is a retired Navy Chief, 20 years in the military, we have very good health insurance. However, it was during the pandemic that our once great top of the line medication’s and insurance were suddenly reduced to generic pills and creams. Gone was my top of the line Dexilent, to some generic pills that are supposed to do the same to help my heartburn. My $1,200.00 foam to kill pre-cancer on my chest is no longer, but replaced with a generic cream that is supposed to do the same. (I hope so.) I’m using it now.
As it was, it was hard enough making medical appointments. I can’t just call some foot doctor and make an appointment for a foot ailment of mine. Oh no, in the past I had to make an appointment with my family practitioner to get the referrals so that can make the various appointments. That was hard enough. But now, we have to make an appointment with our family practitioner, ask for the referrals, and now they are sent up to our insurance company for them to APPROVE! APPROVE!? Can You Believe It?
They now need to be approved? It’s as if they just assume that I love to have a Colonoscopy? Damn!, I want 2 of them a year! Not to mention that Mammography! I LOVE having my boobs smooshed in a machine! Oh! And! You know that yearly Pap Smear of mine? Make that 2 a year! Yeah! Love ’em! I so love that vaginal scrape!
This is what we are up against right now. I have a pre-cancer on my back that needs to be cut out soon. I also have a Colonoscopy that needs to happen in the next month, as I am prone to polyps. Yet, who knows? I am at the mercy of generic people to do what they need to do in order to make this happen. Are they competent? Or, are they losers? I guess I will see.
The very sad thing is that this should be basic health care for us. We are pretty healthy people as it is. It’s just maintenance. I just feel as if I am at the mercy of a system that is not in my favor. I’ll let you know the rest…..
Julie
—————————————————————-
On February 13, 2022
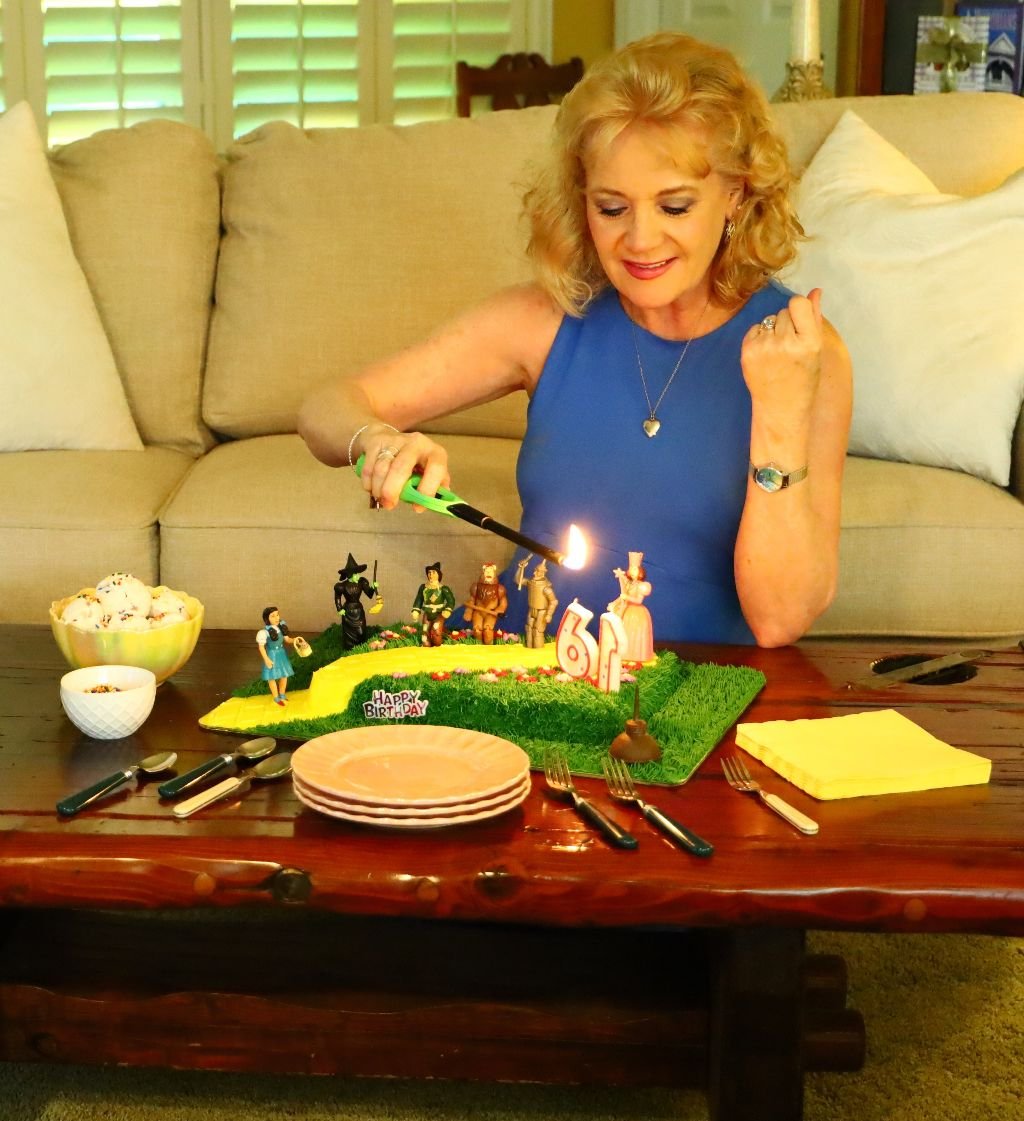
I Just Turned 61!
———————————————————-
January 21, 2022

I Have a Rash Underneath My Eye
Your first thought is probably, ‘Gee Julie, why in the world do we care about your eye rash?’
Well, I’m gonna tell ya, smarty pants.
Right now I am just ‘surviving.’
I have had itching underneath the eyelashes on my right eye now for about 2 months. The first month I just had the itching, then some red bumps appeared after that. I knew that I needed to have it seen so I waited until my family practice appointment which I had a few weeks ago. The Nurse Practitioner that I saw sort of blew me off about it. She even said that giving me an antibiotic isn’t worth it for that small of a rash. She then recommend an ointment for me to use to apply to it. I asked her to give me a brand name that I can go and purchase? She wracked her brain trying to think of something and that is when she suggested Neosporin Ointment. I am very familiar with Neosporin as it is a staple in our house. I also believe that it was originally an ointment used for dog wounds. My late step-father, being the retired surgeon that he was, would tell us about things like that.
So, without even reading my Neosporin Ointment tube, I came home and applied some of the ointment to the bumps underneath my eye. It was about 30 minutes later that some of the ointment drifted into my eye and I got concerned about it. That’s when I did my reading and found out that it cannot get into the eye. And, not to use it around the eye. So, I flushed my eye to get it out and then called Gordon who was on his way home from work and asked him to stop into a drug store on his way home and find an ointment for me that can go around the eye.
(I’m mad at myself for just taking the word of this Nurse Practitioner, and not doing the research myself. Never assume these “experts” know what they are talking about.)”
I have sort of just self-diagnosed the rash around my eye as Eczema.
I have never had Eczema before so this is new for me. My mother and brothers have always had Eczema around their eyes but I was always spared that problem. Until now.
I do have an appointment with my Dermatologist in a few weeks. Shannon will take care of me. I’ll just deal with my eye rash until then. In the meantime, Gordon found an ointment for me that is for the eyes. It needs to be a sterile ointment. Gordon had to go to a few drug stores before he was able to find something. I always told him about how people from India are excellent where the body is concerned. They make excellent Coroner’s. So, when Gordon saw a man from India behind the Pharmaceutical counter he approached that man and he recommended the ointment.
Turns out, it does take away the itching and it does feel better, but my rash is still there.
I need medical attention, but I did not get what I needed from my Family Practice at my last appointment so I am going to just suffer through with this until I see my Dermatologist soon.
This is the American healthcare system, broken as it is.
Seeking help from our professionals doesn’t mean that you will receive it.
Julie
p.s. This ointment must emit some sort of vapor that fogs up the middle of my computer glasses on my right eye. I get that foggy spot in that same area no matter which pair of glasses I wear. Interesting.
————————————————————-
January 11, 2022
New Glasses and My Health

In December of 2021 Gordon and I finally made appointments for our eye exams and new glasses. Covid kept us away. It had been 3 1/2 years since our last appointment. Seeing as how they opened a new optical facility on the military base in Tampa, and had a large assortment of glasses, we decided to go there for our eye health.
Turns out my eye’s hadn’t changed that much in 3 1/2 years, much to my satisfaction. But, none the less, I picked out a new pair of frames with my new prescription. I also took in an additional 3 pairs of my old glasses to have the new prescription placed in them. I also brought in a pair of glasses to be made into computer glasses. You see, I don’t use my regular glasses when I am online. I don’t like the Progressive Lenses getting in my way of viewing the computer screen. Therefore, in the past I would always wear a pair of reading glasses. Except that I have different vision in each eye. One eye is a 3 and the other eye is a 4.5. I have astigmatism in one eye. I do love my new computer glasses, but I’m not so crazy about the new lenses in my old glasses, or my new pair I picked out. They just don’t turn as dark as my old ones used to. I like having the transition lenses that are sunglasses when I am outside, and regular glasses when I am inside. Therefore, I will be taking them back to be made to be darker when necessary.
Now that it is January I do get to pick out a new pair with my insurance so I am going to try and get a nice pair of prescription sunglasses. We do go kayaking and canoeing so an outdoor pair will be very nice.
———————————————
My Labs
It was back in September 2021 that I had my labs done and they were not good. I weighed 155 on their scale. (I actually think that my accurate weight was more like 158. I had diarrhea the day before and I was empty, if you know what I mean.) So, I was actually thrilled to hear their scale register me at 155, I figured it would be more like 160.
I was told that if I didn’t make some changes in my weight and diet that I would be a diabetic. Therefore, I decided to make some changes. I started choking down that Fish Oil everyday, (lemon flavor my ass!) I also started taking a pill to help control my sugar levels. I also cut out my morning bagel, potato chips, Doritos, and potatoes. I also started eating less. Although, I don’t eat a whole lot as it is.
I was originally scheduled at the end of December to see my family practice nurse practitioner but my appointment was cancelled because she had Covid. I didn’t know that at the time. It was about a week later when I went in for my rescheduled appointment that she told me she had Covid the week of New Year’s. She told me that her entire family had it. Her husband, son, parents, nieces, nephews, etc. The thing is I’m not surprised to hear it. She was very careless when I first met her a year ago when she carelessly whipped off her mask after me telling her I had only had the 1 shot so far. I was really surprised that she just took my word for it. She didn’t even know me. She was new at my clinic and that was our first meeting. I really like her. I’m glad she is o.k. but she did say that even though she was fully vaxxed and boosted that Covid really kicked her ass.
I went into my appointment expecting to hear the worst about my latest labs. Although interestingly enough I was in a great mood that day and I kept chastising myself for it. After all, consciously I assumed I’d hear bad news and subconsciously I think I knew I would hear good news. Well, subconscious won!
I did weigh in at 152. A weight loss of 3 pounds (officially) although I think I probably lost a good 6 pounds.
I was thrilled to hear that everything was better! My triglycerides were good, my sugar was good, my kidney’s are registering at a 95 even though a good kidney is at a 60. I thought it was funny when they remarked that I must drink a lot of water for my kidney’s to be so perfect. (Right. Try Ginger Ale and Red Wine!) Water? Honestly!
My cholesterol was down, but still higher than it should be. Still working on that one.
Making changes does work! I knew that they did but I have gotten lazy over the past few years. I no longer want to do that. At this writing I have so much to do around my home that I really need to focus on that. Putting Christmas away, bringing down from the attic the rest of the Christmas that we haven’t gone through and sorting it all out and giving it away to Veronica and Brodie. Also, we have old furniture up there that we need to get rid of. Either by donating or selling. Probably donating because it’s just easier.
I may not be on my treadmill right now but I am very busy and active around my home. An active lifestyle isn’t always about exercising, it’s also about just constantly being in motion. I want to get some of these projects and work done around our house so that I can actively get back on my treadmill. Right now I am working on my diet and getting our house back in order. And dare I say it? Downsizing! 🙁
I also have about 5 referrals for medical that I need to take care of in the next few months. As far as I know everything is fine with me for now. My referral appointments will give me more insight into my health. After all, we are running a marathon.
Julie
———————————————————————-
December 30, 2021
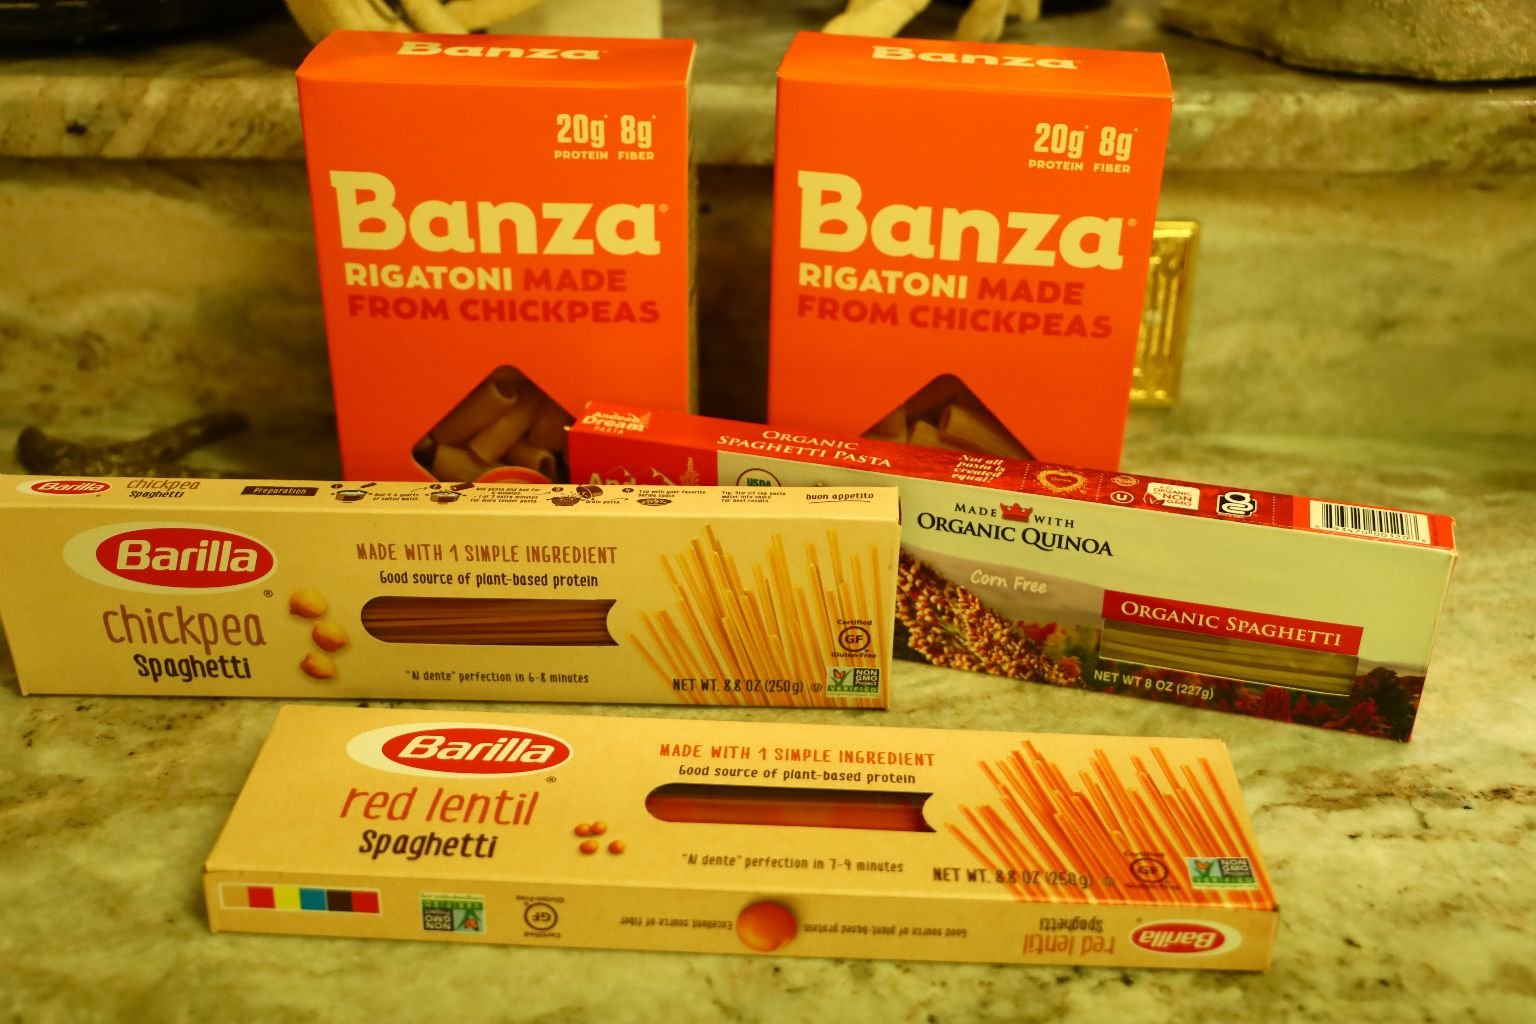
Trying to Incorporate More Healthy Pasta Into My Life
I’ll be giving more of a healthy food update to this post soon. But for now, I’m trying to change my old eating habits and incorporate healthier foods.
————————————————————
December 29, 2021
Ageing, Or Just Letting Go?
I really debated about writing this because I am about to use a woman as my example for this blog posting because she is the perfect example of what I have been looking for in showing the difference between ageing and letting oneself go. I guess you could say that I am about to “fat shame” someone. I realize that is a taboo in our society, and it should be, but I’m hoping that by doing this I am perhaps helping other women to consider loosing some weight themselves and becoming healthier as we age. As well as to give myself encouragement to keep going in my own struggles.
The woman’s name is Greta Scacchi and she is 61 years old. I myself will be 61 in about a month and a half. I’m using her as the example because she is in her 60’s.
I saw an article in a U.K. tabloid. Your first question probably is, ‘why am I reading a tabloid?’ This particular tabloid gives us more information on what goes on in our own country than our news outlets do here in America, so to answer your question. That’s why.
Just to give you an example. When the Parkland shooting took place on Valentine’s Day 2018, our news wasn’t giving any official number of dead. I read about the 17 dead in that tabloid HOURS before our news was reporting the tragic number. Why? Don’t know? But, I now turn to them as an additional source of information as they have a track record of being fairly accurate in our own country reporting.
The photo I saw of Ms. Scacchi was a tabloid photo. Obviously, she wasn’t posing for it. But, she was in a public place and she chose to wear that swimsuit out in public. It’s not like she was in her backyard when the paparazzi chose to intrude on her privacy. I’m sure she knew she would be photographed especially since she was with her daughter who is a celebrity in her own right and was married to Sean Penn.
For those of you that may not know of her, she was an actress in the 80’s and 90’s probably most known for her role in Presumed Innocent with Harrison Ford.
—————————————————————-
Greta always had this very unique look about her. She wasn’t the typical average beauty. She had this spectacular exotic intelligent uniqueness to her. She stood out. She was sexy in a suit. She was sexy without trying to be sexy. Everything about her was unique. Which is one reason why when I first saw photos of her months ago having really looked as if she had just let herself go, I was shocked. This once beautiful woman now resembled someone that I would see at the DMV (Department of Motor Vehicles) wearing sweatpants with house shoes, there to renew her driver’s license.
The reason that I am pointing out that this isn’t ageing is because it was her explanation about how she looked. She chalked it all up to ageing.
It is true that as we age our metabolism does slow down and we tend to put on a little weight. But, we also don’t need as much food as we used to. It’s not like we are still growing. It’s also o.k. to skip a meal occasionally, it won’t hurt us. I think food is more of our enemy as we age and not our friend. Changing our diet as we age is key. I myself am in the process of changing that. Is it hard? No. But, it’s also not easy either.
I also do not know what health issues that Ms. Sacacchi has going on in her life at this time. Perhaps that could explain the weight gain.
Oh, and just to be clear, this isn’t about how we need to get Greta a plastic surgeon STAT! This is about real ageing, and how we age will determine our health and happiness as we spend our remaining years.
I would like to try and enjoy what time I have left and not have to spend it dealing with major health issues.
No matter what health issues or problems that we all have, keeping our weight down is really important. Fat also acts as an incubator for cancer. We all know how cancer is becoming a part of our lives whether we are young or old. But, there does come a time when we have to take control of our health and become more responsible where it is concerned. Loosing weight is key. Eating better is key. Excercising is key.
When I look at Greta I see someone with “good bones.” The expression is usually reserved for an old house that is in need of fixing up, but that is how I see her. A once grand mansion that just needs a bit of work here and there to bring back that beauty that it once had. Just by loosing a bit of weight and excercising and choosing clothing that is more flattering to our ageing figures can make all the difference in the world. Sometimes we just need to care enough to do something about it. I sometimes get into a rut and sometimes it’s hard to get out of. But, I try and most of the time I succeed.
I really don’t mean to offend anyone with this post, especially Ms. Scacchi. I’m sure that she will never hear of any of this. After all, I think she has far more important things to do than to read my blog about her. (More power to her.) 🙂
Whether or not she looses any weight or not, she will always be that very unique beauty from the 80’s and 90’s that I remember her to be.
Julie
—————————————————————–
December 9, 2021
I Start With The Worst and Go From There
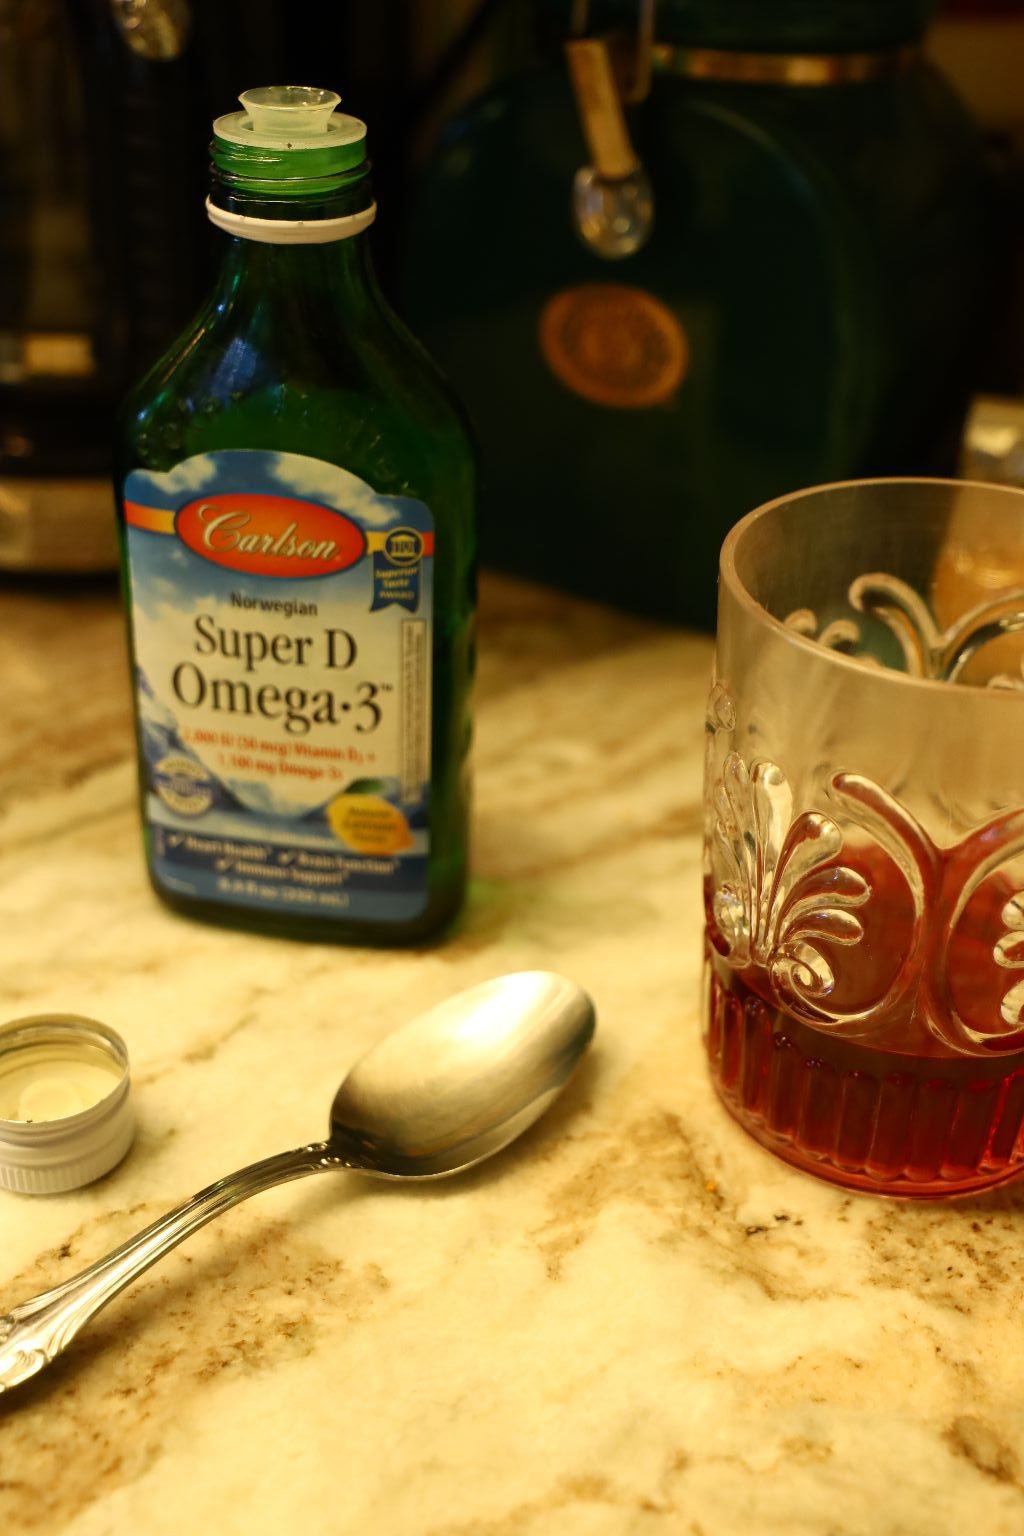
Fish Oil
I have dabbled in fish oil now for the past few years. Usually, I would remove the cap from the bottle of the pill form of it and hold it in my hand ready to place the GIANT pill into my mouth, only to be disgusted and place it back into the bottle. It’s just so damn big!
However, now that I am 60 I can no longer “entertain” the idea of perhaps dabbling in it, and now I actually have to go through with it and choke it down.
I did find this bottle of fish oil at Sprout’s and purchased it. It promises the taste of lemon. (Yeah, right.)
Well, I choke down the spoonful while holding my breath. (You can’t taste it as much when you hold your breath.) The bottle is a bit pricey. It was $28.00. But, my health is worth it. I am trying to think of something that I can make with it and add the lemon tasting fish oil into a recipe but, until that happens, I just choke it down while that song from Mary Poppins goes off inside my head, ‘Just a Spoonful of Sugar Helps the Medicine go Down.’

MY GUMMIES!!!!!
And now for the highlight of my day.
And again, I start with the worst and go to the best. GOLI! I HATE it! But, I take one a day.
Then, I savor the flavor of my little gummy orange Vitamin C.
Followed by a pill to help me control my sugar.
Now, I save the best for last…..
Digestive Advantage Gummy!!! Yeah!!!
It’s the little things…. 🙂
Julie
———————————————————
December 7, 2021
Treadmill, Treadmill, Treadmill

(Always Posing) 🙂 Sorry, can’t help it.
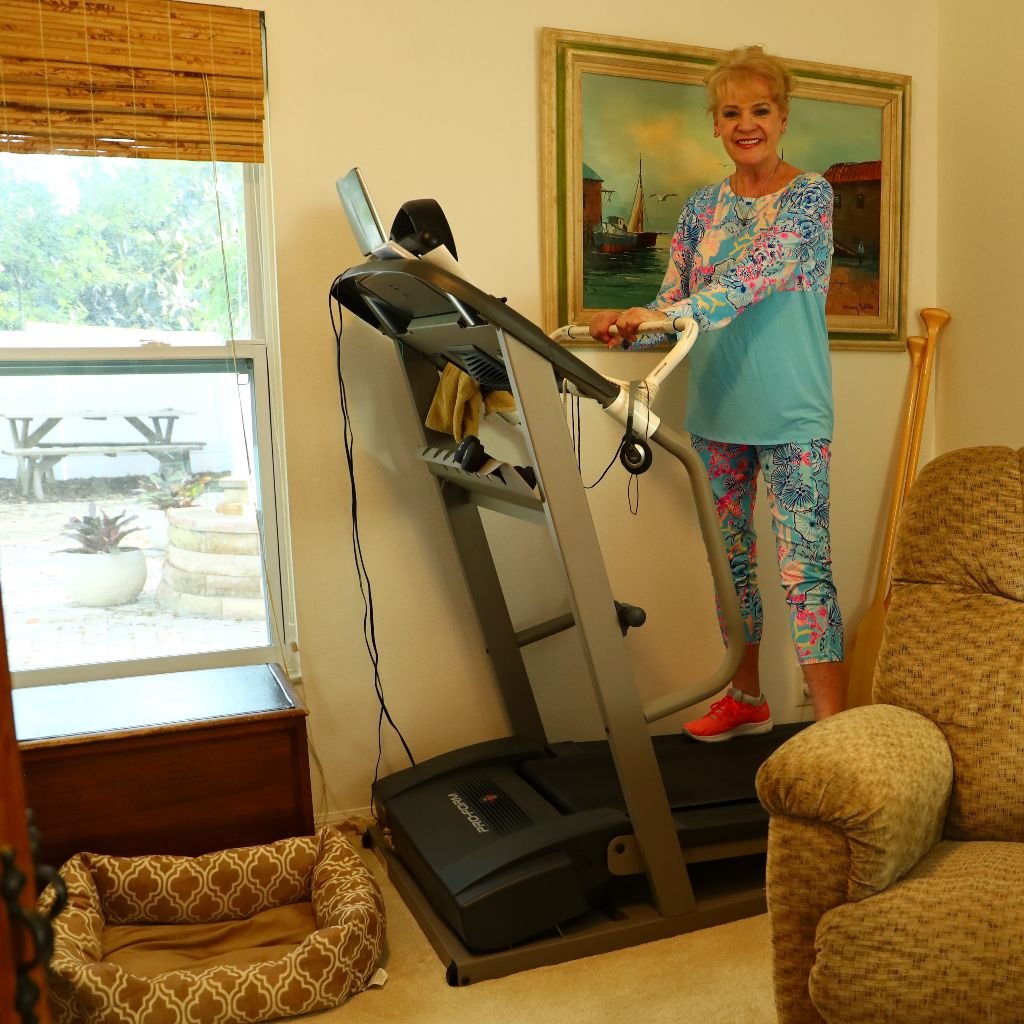
You know, I am not the ‘jumping up and down in some exercise class at the gym’ kind of person.
I’m also not some pilates kind of person. (I can probably do like ONE sit up.) BUT, I can walk and I’ve been kind of a pro at it since I was about 9 months old. Therefore, walking it is!
If every person walked every day there would be NO Type 2 Diabetes.
So, WALK!
My recommendation is that since we live in a dangerous country, buy a treadmill so that it’s safely in your own home. People disappear all the time while out for a walk, even when they have a dog with them, so, walk in the safety of your own home. I do have to say that I believe the future is being in our own homes. Yet connecting to others virtually. Working from home, exercising from home, virtual school, etc.
I used to know this woman in Canada that wouldn’t go the gym unless her hair was colored and she looked great. I tried to convince her to buy her own treadmill, that way she could use it whenever she wanted and it didn’t matter what her hair looked like. Well, she wasn’t interested. So, I guess her physical heath depends on whether her roots are showing or not.
I don’t like being at the mercy of some gym membership. Or, heaven forbid, if my roots are showing and I’m too afraid to go to the gym. I like being independent. I like being in control of my life. I enjoy walking. I also do a lot of thinking while I am on the treadmill and I solve a hell of a lot of problems that way. If I so desire there is a large screen T.V. for me, which I normally forgo. I also have a mini DVD player with headphones that I can use if I please. But, most of the time I am just enjoying the time that I have with myself on the treadmill.
Julie
p.s. I also drink a ton of water while I walk. Another bonus.
—————————————————————
December 6, 2021
It’s The Little Contacts That Lift Us
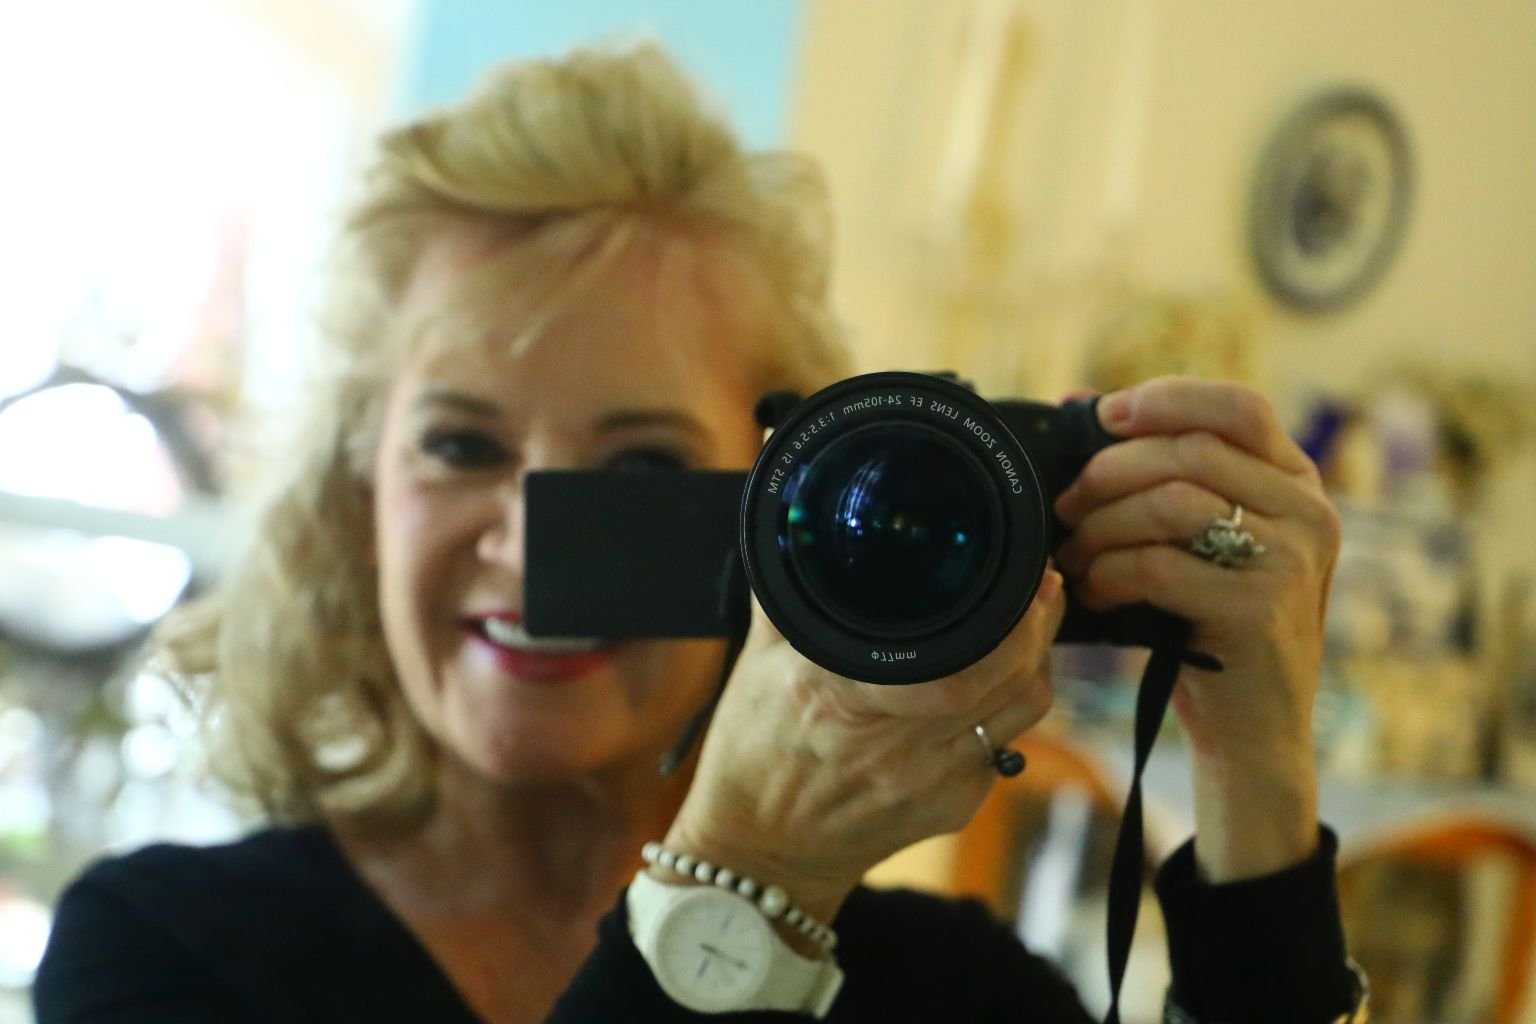

Sixty Selfies
I am a news and political junkie. I can’t help it, I am from a long line of political scientists and intellectuals. I keep up with what is going on nationally. Oh, I can’t tell you crap about what is going on locally. However, I can name almost all of our Representatives in Congress, Senate and of course, The Supreme Court. Which is probably why I am always a bit down. When you read all of that on a daily basis it does get to you. I have however, discovered that the day to day contact with average people to be very uplifting.
On Friday Gordon and I had appointments for our eye exams and to get new glasses on the military base. It had been 3 1/2 years since we had last had our appointments. The pandemic kept us away. However, we did have our appointments and I discovered that my eyes hadn’t changed that much, neither had Gordon’s. We both had our eyes dilated, which was interesting driving home. I also picked out a new pair of glasses while my eyes were dilated. So, that will be interesting when I pick them up in a few weeks. Who knows what I picked out?
I also had the lenses replaced in some of my old glasses. But, it was while we were at our eye exams and choosing new glasses that we had the chance to interact with the people there. Everyone was very nice and helpful. They were pleasant to talk to. Extremely helpful. They went out of their way for us. And I did tell them how much that I did appreciate them. But, what they gave me just in being nice and helpful was a boost that I needed in my daily life. Reading the news as closely as we do can cause us to feel very isolated and lonely and a bit sad. So, being in contact with strangers on a daily basis I think, helps us to appreciate and understand that there are good people out there that care about the same things that I care about. I need to know that.
I always said that the less I know about someone, the more I like them.
Well, I still think so, but, who says that I need to know all the deep stuff about anyone? Just the day to day niceness is all that I need to care about. It does give us a boost. Sometimes a much needed boost.
I know that I am very appreciative to those that are very helpful and nice to me, and I let them know that.
So should you,
Julie
————————————————
(I have removed photos here for copyright purposes.)
November 9, 2021
The (Senior) Women Around My Age
(That I Adore, and Admire)
At this writing I am 60 and going through changes relating to that. I think that I look pretty good to be 60, judging by other people that I see as being younger/older than me. I’ve never had any work done. I also think that is obvious and I shouldn’t even have to say that. I do think that living in Florida has something to do with my being more limber and spry. After all, the warmer climate does contribute to us not having those aches and pains that other seniors do in colder climates. Also, because I am living in Florida I am on the younger side of being a senior so there are so many other people older than me living down here that I am not so invisible that other seniors go through while living in other states.
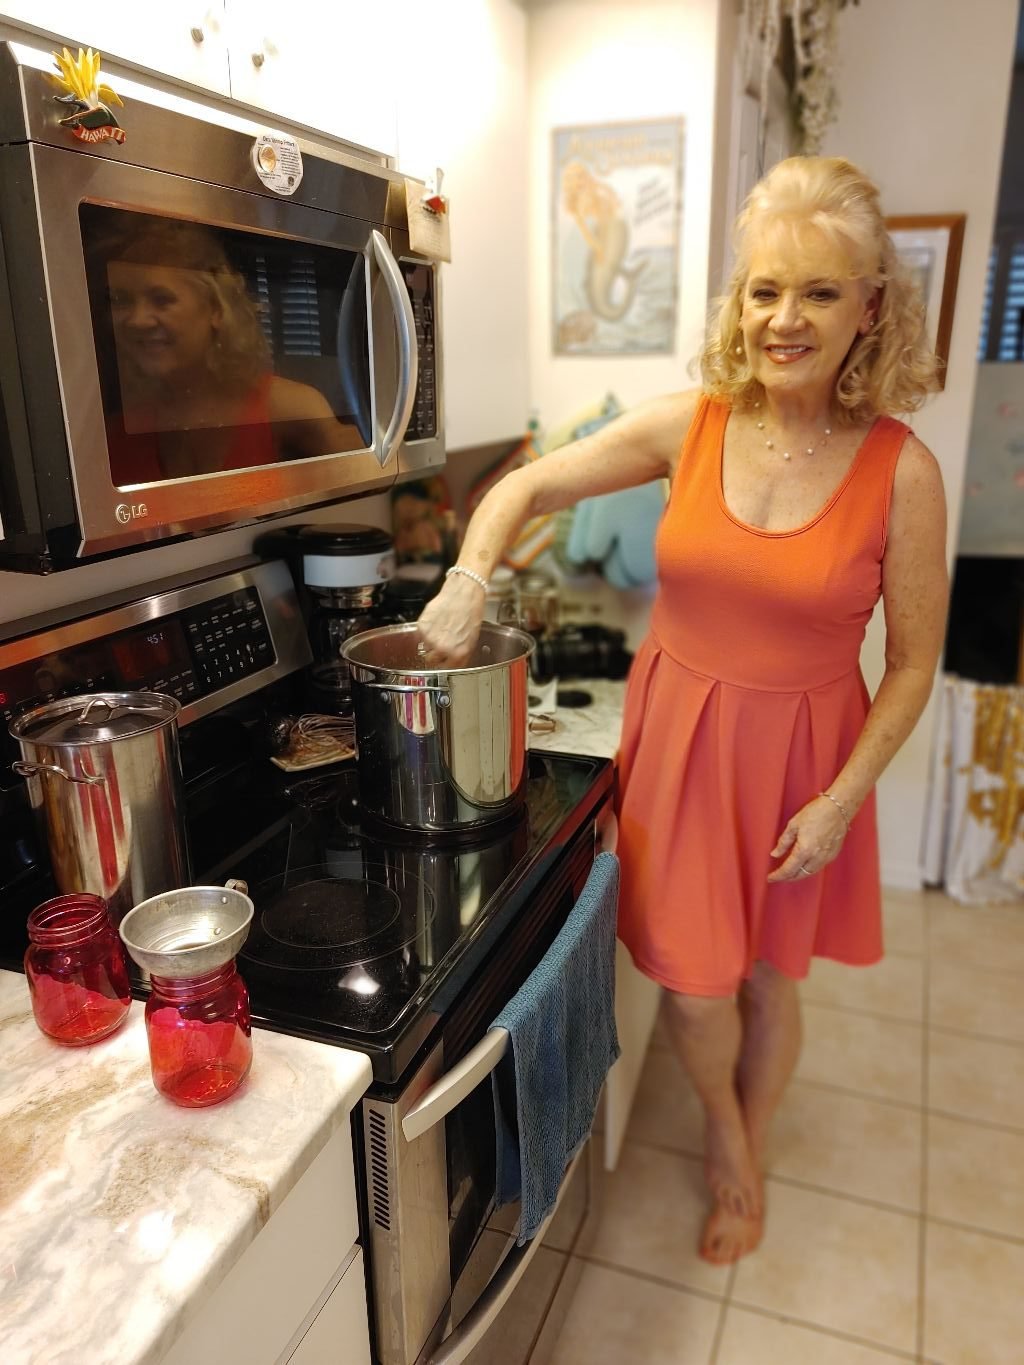
Me, Cooking in My Kitchen
As someone who comes from a modeling background (in my youth) I can relate to someone like Paulina Porizkova.
When you are known for the way that you look then that plays a big role in who you are. I was modeling as young as 17 so people that knew me then expect me to look a certain way now. Models like Paulina have been high profile models for way longer than I ever was and they are expected to look even better than I do.
Beautiful Paulina, age 56
Paulina has been very open and honest about aging. I loved her TedTalk.
Paulina and her then husband, Ric Ocasek and their sons, Johnathon and Oliver
Paulina pretty much goes over her upbringing here so there is no need for me to add to any of her history.
—————————————————————————-
I will say about Paulina that she is known as the “Crying Lady” on Instagram. Although I refer to her as the “Naked Lady” as she is always taking her clothes off. I do admit that it does make this Georgia Southern Belle a bit uncomfortable but I just chalk it up to shrugging my shoulders and saying, “She is from Europe, ya know?” As if they all go around taking their clothes off over there.
Paulina’s Instagram:
https://www.instagram.com/paulinaporizkov/?hl=en
I have to admit that sometimes I think “The Crying Lady” on Instagram is nuts and other times I think she is brilliant. I know that she does appeal to a segment of any population in any country out there. I’m sure there are many people that cry and are unhappy, they just hide it whereas she shares it. I’m sure that does help many people in her same boat.
According to her she was not treated very well in her marriage which led to their separation and their impending divorce before her husband died from cancer. He then cut herself and his 2 oldest children out of his Will but when he did that he was taking in her money and saying it was his. Therefore she got nothing which wasn’t right. She has since sued and was given a settlement from the Will. Good! I hope she made out well.
I like her! I want her to be well and happy. I hope she does meet someone special someday that will appreciate her, and love her, and give her everything that she deserves. As in respect and consideration. She is a beautiful woman and a nice person. She still has quite a bit to contribute in life. I love that she does crochet. I can do all those old crafts as well because I was raised to do them by the ladies of leisure that I knew growing up in the south.
I also think that Paulina wants to have something very good and special in her life while she can. She is a very loyal person and that loyalty that she had in her marriage to Ric Ocasek wasn’t the fairy tale that she wanted and deserved so she wants to find that in her life before she dies. Someone to be in her forever home with her. I wish her well, but if she doesn’t find someone special it’s only because he’s not out there for her. But, still try and enjoy life. For all we know this is all that we get.
————————————————————————-
Christie Brinkley
I Love Christie’s New Casual Hairstyle
Christie. Where do I even begin to talk about her? I have looked at that pretty smile on that pretty face since I was a teenager. At this writing she is either 67 or 68, I forget, but, she is still that pretty super model that we all know and love. Christie is also single and I don’t think she is by choice. She isn’t the reason her marriages ended. It was the men she married that screwed up badly. Christie has even said that she would slow her life down a bit if she were to meet someone.
I do love Christie’s attitude towards life. She is very positive, upbeat, active, energetic, etc… I’m sure she could outdo me with her energy any day of the week. I love that she has such a close relationship with her children and their partners in life.

Jack, Sailor, Christie, Alexa, and Nina (Jack’s girlfriend)
I also like that she doesn’t hang around with a bunch of old models from her past. She seems to have real friendships with real people. (No offense to any past models on that one.) It’s just that I see Christie as being raised in a very loving functional home and she doesn’t need all the drama that those of us raised in dysfunctional homes have. That’s all.
I too adore my children and their partner’s they have chosen in life and Gordon and I are very supportive of them and include them in our lives as often as they will let us.
I don’t believe that I need to go into some biography of hers because we all know her well. I do believe that she would love to have some partner in life but the fact that she doesn’t isn’t stopping her from enjoying the life that she has. That is how we all should be. Take an important lesson from Christie and just enjoy the life you have whether or not there is someone special in it with you, or not.
Christie’s Instagram:
https://www.instagram.com/christiebrinkley/?hl=en
—————————————————————————
Jane Seymour
I adore Jane! Always have! She was just one of those actresses that had the ability to be quite strong and vulnerable at the same time. In every part she played you were always rooting for her and supporting her. You knew she was good and deserving. Not just on film but also in real life.
She is also someone that has had a few divorces in her life, just like Christie. I also don’t think they were Jane’s fault. She, like Christie, just married the wrong kind of person. They wanted forever marriages, that just wasn’t what the men they married wanted.
I do love Jane’s attitude towards life. It is a lot like Christie’s. They just make the best of it and constantly go forward. That is all that any of us can do?
Jane does put other people before herself. Her children, grandchildren, ……
She is a drop-dead gorgeous woman of 70!
She should probably start a website depicting the Sensational 70’s that she certainly is!
What I loved the most about Jane was how she would reach out to her husband’s ex-wives and be friendly towards them. After all, in some cases they would be co-parenting and Jane took that role very seriously. She wanted to make everyone comfortable. Whether or not the relationships were ideal, she at least tried which is a lot more than most do.
————————————————————–
Jane does have a companion, his name is David Green
I do not think for one minute that David is the love of Jane’s life, but, I do see him as being a very important person in Jane’s life. He allows her to shine and be the star while he happily supports her. I think he’s just happy to go along for the ride. Jane has her sisters that I believe are very supportive. She just also has the ability to make friends and to keep those friends throughout her life. I admire her tremendously! She is special!
It was Jackie Kennedy that said, “The first time you marry for love, the second for money, and the third for companionship.”
Jackie Kennedy didn’t marry a third time but she did have a very loyal companion until her death.
I see that being Jane’s life.
That saying also does apply to my own mother. She married my biological father, her high school sweetheart for love, then she married my step-father the doctor, and now she is living with a man that she has known her entire life from childhood. So, I guess that rule also applies to my own mother.
Visit Jane on her Instagram:
https://www.instagram.com/janeseymour/?hl=en
AND,
https://www.janeseymour.com/
———————————————————————–
Nigella Lawson
I have adored Nigella since about 2001 when I first saw her on the Style Network when we were living in Maryland.
I believe she is now on her 12th. cookbook and fixing to go on tour for it. Cook, Eat, Repeat is her current cookbook. The cookbook did debut on October 29, 2020, over a year ago. I don’t know that much about cookbook’s or the tour’s they go on to promote them but it seems as if going on a cookbook tour over 1 year after the cookbook is debuted wouldn’t be so lucrative. But, what do I know?
Nigella is 61 at this writing. 62 on January 6th. 2022.
I believe that she has a fairly decent U.K. following. They seem to adore her. I just find it hard to believe that her tour will be very successful. All of her diehard fans have probably already bought the book. I have watched a few of her speaking engagements and although I’m sure her fans find it nice to see her in person, the interview questions, (which she screens ahead of time) are very fluff. ‘What would your last meal be? And, ‘What food do you absolutely despise?’ Or something to that affect. (The answer is green bell peppers. She has also stated that the only people that should be allowed to eat them are Hungarian’s.) And how would she even know how to answer that question unless she had tasted every food in the world?
Asking about her children is off limits which I think is a bit harsh. I mean, we don’t want their addresses and phone numbers, we would just like to know what they are up to? How are they doing? She did start out with them on her first T.V. shows so we’ve seen them since they were little and are curious about them. When I run into someone that I haven’t seen in awhile I always ask about their children. Not because I want salacious details on their activities, I’m just curious as to how they are doing and what they are up to?
To me, you need to grow your audience as you age because they are dying off or have moved on. Nigella is a very attractive woman who could steal the limelight a bit more than she does by using her wardrobe to help enhance her appearance, and not just her intelligence. Nigella always seems to wear the same old thing. Black baggie pants, black shirt or turtleneck sweater, white blazer, and white tennis shoes. It’s not like she is poor or something like that. She chooses to wear the same old thing. (In my opinion) In order to appeal to a new audience and to grow that audience, you need to appeal to them. Wearing the same old thing doesn’t cut it. After a while people start to wonder if it smells or something.
It’s not just her wardrobe. Her audience is ageing. I wish that she would reinvent her T.V. show. It is very high quality but again, in order to stay relevant you do revamp yourself. Something she doesn’t ever do. I realize that I myself don’t do much to appeal and grow my audience on this website but you also don’t see me going on a tour for it. The tour is about making money.
I am curious as to how her book tour goes? Perhaps it will be very successful! I don’t know the mindset of the average European to judge at this time. The fact that she is going on tour and venue’s are booked does indicate an interest in her.
Regardless, she is still very relevant and I do enjoy hearing all that she is up to.
Good luck to you Nigella!
Nigella Lawson Instagram:
https://www.instagram.com/nigellalawson/?hl=en
AND,
https://www.nigella.com/
———————————————————————-
Giada De Laurentiis
https://www.instagram.com/giadadelaurentiis/?hl=en
Who doesn’t love Giada? So cute and petite.
A trained Chef that looks like she only sucks down broth every meal. (Oh, I’m just jealous, that’s all.) 🙂
Giada barely made my list, only because she is 51. I didn’t want to include anyone younger than 50. She is also the youngest on my list. I’m pretty sure that everyone knows Giada so I’m not going to go into any lengthy biography. She was born in Rome, Italy while I was born in Rome, Georgia. (We could be twins!) Actually, the two Rome’s are sister cities. They are Romans, and so are we. Giada is divorced from her first husband Todd Thompson. They have a daughter together named Jade. Interestingly enough, Giada means Jade in Italian. So, they are both named Giada and Jade at the same time. Cool, huh?
Giada is of course from that famous De Laurentiis family from Italy. Her grandfather was famed director Dino De Laurentiis. Also, other family members are in the show business industry in many forms, such as producers, actors, etc. Her mother Veronica De Laurentiis is an actress. Interestingly enough, I named my daughter Veronica. It isn’t a name that you hear all that often.
I believe that Giada had something of a tough upbringing here in America when she first moved over. She couldn’t speak English and I can only imagine the bullying that she endured. She did go on to be trained at Paris’s Le Cordon Bleu and had quite an impressive start before starting her T.V. shows.
I envy her from coming from such a large and interesting family. I can imagine them as the loudest table in every restaurant with lots of laughter and the clinking of glasses. I also envy Giada as belonging in two different countries and being comfortable in both. America and Italy. One country that houses her past and family history with it’s beauty and success, and the other housing her present and future.
Giada always seems to be having a book coming out or a new T.V. show in the works. It does help in your success when you come from such an important film industry family. They may help get her to the top, but her talent has kept her there.
I love her Aunt Raffy! I wish I had one. I love it when they bicker. They are so cute together. Aunt Raffy obviously adores Giada but she is also very honest with her and doesn’t tell her what she wants to hear. That is the best aunt there is.
Giada with Raffaella De Laurentiis
Giada also has a boyfriend Shane Farley. I don’t know if they are engaged at this writing, I just know that he is in her life. I loved that he was helping to film her show during the pandemic. There were cameras set up in her kitchen filming while he hand carried a camera. I liked that.
https://www.giadadelaurentiis.com/
Giada’s Website Link
Giada and Shane
————————————————————-
It was back in the spring or summer when I was in this “mood” one day and looking at Instagram when I saw yet another recipe that Giada had posted which consisted of a white pasta, red tomato, and something green, and that is when I made a comment about it. I told her that all her food looks alike. The basics of Italian food are white pasta, lots of red tomatoes, and always something green like parsley. That’s just Italian food. And Italian food is delicious regardless of that. But, I think I angered some of her fans because my notifications starting going up in numbers. I don’t read them, btw.

I took a photo of this about an hour ago to show you that I don’t read my notifications on Instagram. I have read them in the past, a few years ago, but I stopped because they really weren’t important to me and by reading them I am allowing their comments about me into my life and I wasn’t going to give them that power. So, I no longer read them. And to tell you the truth I don’t even know what all that means? I guess the image of a person means a comment left by someone but I don’t even know what the little house means. Home, I guess?
But, the point is that it doesn’t matter. Likes, re-Tweets, Follows, none of that matters. If 100 people disagree with me that doesn’t mean that my comments are wrong, it just means 100 people disagree with me. I am not the kind of person that needs validation. I’m also not the kind of person that reads instructions, but that’s a story for another day.
The truth of the matter is that when you look at Giada’s website’s food, the colors are all bright and beautiful yet very similar. Perhaps using the same camera, or the same set, or similar platters, plates, cutlery,background etc…. all of that contributes to it’s overall look. That’s why I said what I did. What I said, I’m sure, was unwanted critique. And before I go I would like to offer up one more. Giada has admitted as much that she will under cook a chicken because it looks better in pictures that way. I believe that the chicken should be cooked to it’s doneness and photographed as such so that the average person knows what their chicken is actually supposed to look like and not believe that their chicken is overdone when comparing photos.
Having said that know that all the comments on my website have been disabled so don’t waste your time writing me. I only had them disabled because of the amount of SPAM I was getting, as in comments that were thousands of words long. But, I like no comments. I’m freer to say what I want without having to deal with any haters.
Giada’s website is stunningly beautiful regardless. And her food is delicious.
————————————————————-
Why I Wrote About These Women
The women I write about here are successful, mature, attractive, and just nice examples of women around my age that I believe have very full lives. No matter what any of them may be going through personally, if anything at all, they just seem to continue to strive to be the best they can, not only on the outside but the inside as well.
I know that having reached the age of 60 this year that I am noticing changes in myself that are new. I’m sure the pandemic had something to do with it as well. But, it just seems like there are so many challenges that we women are facing now that our mother’s and grandmother’s just didn’t. Life is just more complicated. And I guess I am just wondering how women around my age are handling things themselves?
Some of the women I mention above are in relationships, while other’s aren’t. It does seem like the pool of decent eligible mature men has dried up out there. I find myself thinking about death more now that I’m 60. I’ve wondered if I myself would even consider dating if Gordon were to die before me and I was young enough to even want to date again. (The answer is NO btw.) I don’t think that I would. I enjoy being alone too much. I would just much rather occupy my time with dogs, children and perhaps grand-children. I have told Gordon that if I die before him to go ahead and remarry. I would be o.k. with it. My only stipulation would be that he choose someone good because she would be the grandmother to my grandchildren. And I love my unborn grandchildren more than any jealousy that I would have towards another woman. (And besides, I would be dead so what would I care?) 🙂 Although if she is 25 I will haunt his ass!
I am post-menopausal and thrilled by it! I’m not one to mourn the loss of child-bearing years. However, menopause itself certainly had it’s challenges. I refer to them as my “ugly” years. I put on weight, I was a sweaty mess, always miserable…. you get the picture. But having all that behind me has been wonderful! It’s funny but whenever I open up an old purse, or piece of luggage, or clean out a bathroom cabinet, I always seem to find the old maxi-pads or tampons. I keep passing them to my daughter whenever I find them and she’s amazed by just how many I had stashed everywhere.
I was driving on to the base one day when the gate guards decided to do a random search of my car and when one guy reached underneath the passenger seat (looking for a gun), he pulled out a giant ziplock baggie of maxi-pads. I then lit up like a Christmas tree and said, “Oh, I’d forgotten about them! Thanks for finding them.” He just looked embarrassed and put them back. I then told him that maxi-pads are the most dangerous thing you will find in my car and then I asked him if he wanted to keep searching? He said no and then they let me continue on to the base.
It’s amazing how the older we get the less we care about those things. I can remember being with my mother when I was in high school at the grocery store and she was buying me tampons and how devastated that I was because I knew the bag boy bagging up our grocery’s. Oh the horror!!! 🙂
Well, I suppose that I just wanted to let you know that I have my good days and my not so good days. Being an Empath, I pick up on so much unhappiness out there that sometimes I just can’t block it all out. I worry about the direction our country is going in. I worry about my children. I worry about Gordon’s and my health. Not just physically but mentally. I want us to be of sound mind as we age and enter into the last phase of our lives healthy. I can always do more towards that, we all can. Treadmill, diet, no sugar, cut back on carbs…
And for my news, my tests are indicating diabetes. I have until January to loose 15 pounds and take these meds to help control my sugar. If I can straighten all of this out by then, great! If I can’t? Well, 🙁
I do hope that everyone above is doing better than me in that department. I do wish you all health and happiness. And I hope you will be around for a very long time.
Julie
————————————————————
July 13, 2021
Just Catching Up
As you may have read in my blog posts below I have been doing my best to catch up on all my doctor appointments that I slacked off on because of the pandemic. In some cases I hadn’t seen certain doctors in a year, to a year and a half, to two years.
One of my doctor’s, my heart doctor, I saw about a month ago. I usually go about every 6 months. My heart is fine but I do have a family history on both sides of my family with heart disease. Therefore I qualify through my insurance for the bi-yearly visits. I got an EKG and everything is fine. I really just go for a check up, just a wellness visit. I was happy to hear that I am fine. Nothing really changed for my health during the pandemic. I was worried what with my age that not seeing my doctor’s on a regular basis would hurt me but it turns out that it didn’t.
I will say this. I have had some pain in my hands a few times this year and that is new. One morning I woke up a few months ago and it was as if I had injured both of my hands. That is what it felt like. And as the day progressed by noon the pain in my left hand had disappeared. Then about an hour or so later the pain in my right hand disappeared. The pain didn’t come back until a few weeks ago in my left hand and it hurt for about 2 days. I decided to purchase some Aspercreme and the second I did the pain went away and it hasn’t come back. I’m sure it will but these are the first signs for me that I am aging and here come the aches and pains. 🙁
———————————————————–
As usual, I sometimes post photos of some of the food that I eat to share with you.

I LOVE SPAGHETTI!!!
To me it is the most perfect meal. It satisfies all of my tastes and senses.
Whenever I make it, I make a big batch to last for several meals during a week.

I also ADORE BREAD!
I filled this loaf with butter, Parmesan Cheese, and our Herbs


Here are mine and Gordon’s plates.
The meatballs are meatless and from Sprouts.
We also load everything with our garden herbs.

Red Wine is also a big hit with us.
The Reds are also loaded with antioxidants which are very healthy for us. Also, seniors that drink around 8 glasses of alcohol per week are less likely to break a bone when they fall down. Something to think about in our old age. 🙂 Because once we do break a bone, our health tends to deteriorate from thereon.
———————————————————————–
My New Favorite Pizza

Dr. Oetker Virtuoso Thin and Crispy Crust Pizza
Mozzarella and Pesto
This is a new favorite pizza of mine. I love to add some of our homemade pesto, or some jarred pesto, and some cheese stuffed peppers along with some Manchego Cheese and a drizzle of the very hot and spicy oil from the jar. Also some of our fresh Basil.
———————————————————–

Another Great Salad

Here we cut up a small baguette and spread butter on the slices and then topped with a garlic cheese and baked for about 8 minutes on 350F, and then broiled it until it got a bit browned.

A Great Salad and Bread Stick
————————————————————-
May 27, 2021
A Great and Easy Dinner

Broccoli Stuffed Chicken Breasts
In the past I have featured a few foods that I eat at 60 just to give you an idea and perhaps influence you to eat something similar. It’s important for us to try and maintain a more slender frame in our later years. We don’t need foods to help us grow anymore. We need foods to sustain us and give us healthy poops. Sorry, but it’s true. We need to eat foods that will go through us and not linger around inside of us, that is when cancer can occur. Also, fat acts as an incubator to cancer so perhaps it’s time for us to shed a few pounds. It also won’t hurt us to skip a meal occasionally. We’ll be fine.


The Broccoli Stuffed Chicken Breasts that you see above are the size of my fist, which is a good portion size for meats. Remember that. The Chicken is from when I joined Nutri-System over a year ago. I was only a member for a few months and still have a ton of the foods in our freezer. Every now and then Gordon and I will dig something out from my Nutri-System collection and we will eat it. However, you can find chicken breasts like the ones we have above in the freezer section of your grocery stores. We always doctor ours up as in adding more spices, or herbs… here Gordon broiled them to give them that great finish.
We also always have fresh lettuce and veggies in our refrigerator so creating a nice salad can be fast and easy. Here our salad bin extras helped to make this meal even more healthy and fun to eat. Drizzle a nice dressing over top and you have a very tasty dinner. Just a suggestion…. 🙂
Julie
——————————————————
May 26, 2021
The Dentist
It was during the Pandemic, probably around this time last year that a company took over the company that Gordon works for. Not much actually changed except some of our insurance through them. Gordon did get a small raise from this company which was much appreciated. 🙂 Yet the insurance for our Eye and Dental did change.
I didn’t think that it would be any big deal. We just had different insurance, that’s all. Well, now that we are getting back out there with our medical needs we called our family dentist the other day to make our appointments for our usual cleanings, X-ray’s, etc. We also both have chipped teeth. Yes! We are hillbilly’s! Actually, mine chipped off a few months ago. You can’t even tell given the angle of it. I can smile big and you won’t even notice it. But, one of my veneer front chipped off. Gordon’s tooth chipped off the other day. Again, it isn’t noticeable when he smiles. BUT STILL, we do need a dentist.
I have a very healthy mouth only because I work very hard at it. Gordon and Veronica have very healthy mouths and they don’t even have to try. Veronica will be 34 in July and she has NEVER had a cavity! It’s just hereditary that they have healthy mouths. Brodie, took after my side of the family and in order for us to have healthy teeth and gums we have to work at it.
Anyway, I had called my regular dentist that I have seen for the past few years and have spent a lot of money there btw. I had made mine and Gordon’s appointments and told them of our new insurance. It was 2 days later that one of the girls called me to tell me that they aren’t in our insurance “network” and that is a problem. I didn’t understand why it would be a problem? We just changed insurance companies, other than that things should be the same? Yet NO, NOT really!
We contacted our NEW Dental Insurance Company to find out more and we were told that because they are not in our “network” that we would have to pay a higher copay. Instead of our usual $25.00 we would have to pay $50.00. Well, o.k., we can do that. Not such a big deal. BUT, we then found out that we would need to pay them in full, up front. They would then submit the paperwork and we would receive a check from our insurance company reimbursing us for the services. O.k, we can do that. But THEN, we found out that they have the ability to charge us as much as they want to and our insurance company will only reimburse us a certain amount and no more. So, if our dentist charges us 1,000.00 for work done and our insurance will only reimburse us $500.00 then we are out $500.00. That is NOT o.k.
So, we now have to find a new dentist that is in our “network.”
The thing that I do know from having a surgeon as a step-father and my working in his offices in two locations, in two states, as I was growing up is that a dentist or a doctor can charge whatever they want. They don’t have to charge an arm and a leg unless they want to. I saw my step-father erase $350,000.00 from his books that patients owned him that never paid. He didn’t have to do that. He did it because he knew what it was like to grow up poor and he had a sympathy for those people and he didn’t want to send the bill collectors after them. He always said that it is the people that don’t have the money that pay him, and the people that do have the money don’t.
My step-father may have been extremely abusive to me, but he was good to a lot of other people. That just wasn’t the man that I knew. I knew the monster while everyone else knew the kind person. I will always give him credit for the good he did to other people. I just didn’t know that person. I do recognize that other people did though.
So, my dentist whom I have been very loyal to for years will not agree not to charge me an arm and a leg for my dental procedures in the future so therefore I am saying goodbye and am forced to find another dentist. You know, I had very healthy teeth and rarely saw the dentist. I mostly saw the dental hygienist whom I adored. Having a good relationship with who does your teeth is important.
Gordon immediately got online and was looking up dentists in our network. The first one he came to was a woman with an uneven haircut. As am Empath I was paying particular attention as I can read people in photographs. I saw her and instantly disliked her. First of all, I have never gotten along with anyone with an uneven haircut. As I told Gordon, “She is a Karen and I am not going to her.” He then pulled up a middle aged man with a giant beer gut and told me that his office isn’t far from where we live. I told Gordon that I didn’t like him but show me his office anyway. The photo depicted several pick up trucks were parked outside his office. NO! I am not going to some MAGA Dentist! Go to the next one on the list…..
He then showed me a photo of an African-American woman in her late 30’s or early 40’s. Her credentials were educated. I didn’t pick up anything negative about her in her photo. Now show me where she is located. Turns out in a nice progressive area. And every car out front in the photo is a 4 door sedan. DONE! She is our new dentist! We just need to call and make our appointments.
Being an Empath is a Gift, and a Curse. In times like these it is a Gift.
Julie
P.S. Right now I feel as if we are just surviving.
—————————————————————-
May 18, 2021
Still Working Outside
My Medical Appointments
And,
Indulging in a Bit of Gossip


What you don’t know is that in the photo at left was taken 1 second before I suddenly fell backwards for no reason whatsoever and hit my head on the table that is behind me that you cannot see, I also skint my arm in the process, photo right.
Post Menopausal Clumsiness
It’s as if I am 12 all over again and tripping over my very long toes and bloodying up my knees. I’m going through adolescence all over again and now my head and elbow hurt because of it. But I’m tough and I will get through it. I’m hoping there is some ending to this clumsiness other than death.
————————————————–
Medical Appointments Update
I write way down below about how I am maneuvering our healthcare system all over again except as a newbie. Most of my medical doctors retired during the pandemic so I was left with pretty much starting over in trying to find good quality care in a system that is still broken. So, today I finally got my wellness checkups for my Pap Smear/Pelvic Exam and my Mammogram. My new nurse practitioner whom I met for the first time back in March at my Family Practice recommended this place. It was a very nice elaborate clinic, brand new, and a large building. It was a woman’s health clinic. I liked that. It is just for women.
I was kind of nervous as I haven’t had these much needed appointments in 2 years. When I was set to have all this done last year the pandemic hit and I went underground. Now that I am emerging I am trying to get back into the swing of things where my healthcare and just life in general is concerned.
I am not used to big and elaborate, I am used to small and intimate. I grew up in small towns my entire life and my step-father was a country doctor that made house calls so that is what I am used to and I tend to gravitate towards the small clinics and shun the large ones. I just feel as if I am going to get lost in them. Metaphorically, and literally. To be perfectly honest, I couldn’t figure out how to make the elevator work. Really! There were these big black buttons all along the front before you enter the elevator yet the button to make it work was this small silver button with a light in the center. I felt so stupid. Besides, my mind doesn’t work to initiate the simple things in life, my mind sees through all the noise to find that small hidden clue that most people miss. I was once at a restaurant and I couldn’t figure out how to use the salt shaker grinder. I was so embarrassed and the people that I was dining with were looking at me as if I were stupid but later on that night we were playing a memory game and I beat them all 3 times. I then regained a bit of dignity from that one. 🙂
I will say that the OBGYN part of the building was very efficient. Everyone was perfect. They said the right things, they were very organized, Oh! it is now required in the state of Florida to sign a statement saying that you are aware you are there to get a Pap Smear. I guess it’s not enough that I made an appointment FOR a Pap Smear for that to be obvious?
This is the Ron DeSantis Administration, our governor, inserting himself in women’s healthcare. Just where white men love to be. I will say this about something my right-wing wacko step-brother said a few decades ago. He was talking about women and he said that women are just the hosts that carry the men’s seeds. So, this has been going on awhile. It’s just coming to full fruition now. Especially now with Roe v Wade at risk and right-wing men feeling emboldened.
While I was sitting in the exam room waiting for my doctor to come in I noticed the rubber glove boxes on a shelf on the wall and how the Small box was full, the Medium box was half empty, and the LARGE box barely had any left. I then knew that my doctor most likely had large hands and that doesn’t bode well for a Pap and Pelvic Exam. Just sayin.’ 🙁
They had me watch a 4 minute video before my appointment on how we can’t sue them if they maim or kill us and we need to just go into mediation. Also, our spouse and children can’t sue them either because our signature prevents that.
Just another day in the American healthcare system.
————————————————————
Mammogram
Right after my Pap and Pelvis Exam appointment on the 3rd. floor, I entered the elevator to take me down to the 1st. floor, after learning how to maneuver the elevator successfully. 🙂
I liked the people in the mammogram department. They were just less robotic and extremely friendly but not in a fake way. It is a bit humiliating to be exposing yourself and have someone touching your breasts and manipulating them into various positions in that machine to have the much needed photos taken of them. But, I have never had a bad mammogram experience other than just the discomfort of the process. I will say this, when we were living in Hawaii and I would go to the Air Force military hospital for my Pap Smear there would be a Magnum P.I. poster on the wall above us and that is what we would look at during the proceeger. I get the humor, but it can be construed as very inappropriate. After all, there are teenagers that have Pap Smear’s that would be looking at that poster and that is when it is a bit inappropriate.
Bottom line: Everything went well. I am very happy to have these two big appointments behind me and now I am just awaiting the results. My test results always tend to be on the healthy side but as I age you never know, do ya?
Gordon drove me to my appointments and afterwards we did a bit of shopping. Found some great things and then grabbed a late lunch to take home and eat. I then took a nice nap because I was very anxious about my appointments the night before and didn’t get as much sleep as I needed. That is also something new with me. Anxiety. Once I was rested I put my hair up and hit the garden.
——————————————————————-

I found what I wanted to put into the last vacant pot in my herb garden, Lemon Balm. 🙂
——————————————————-

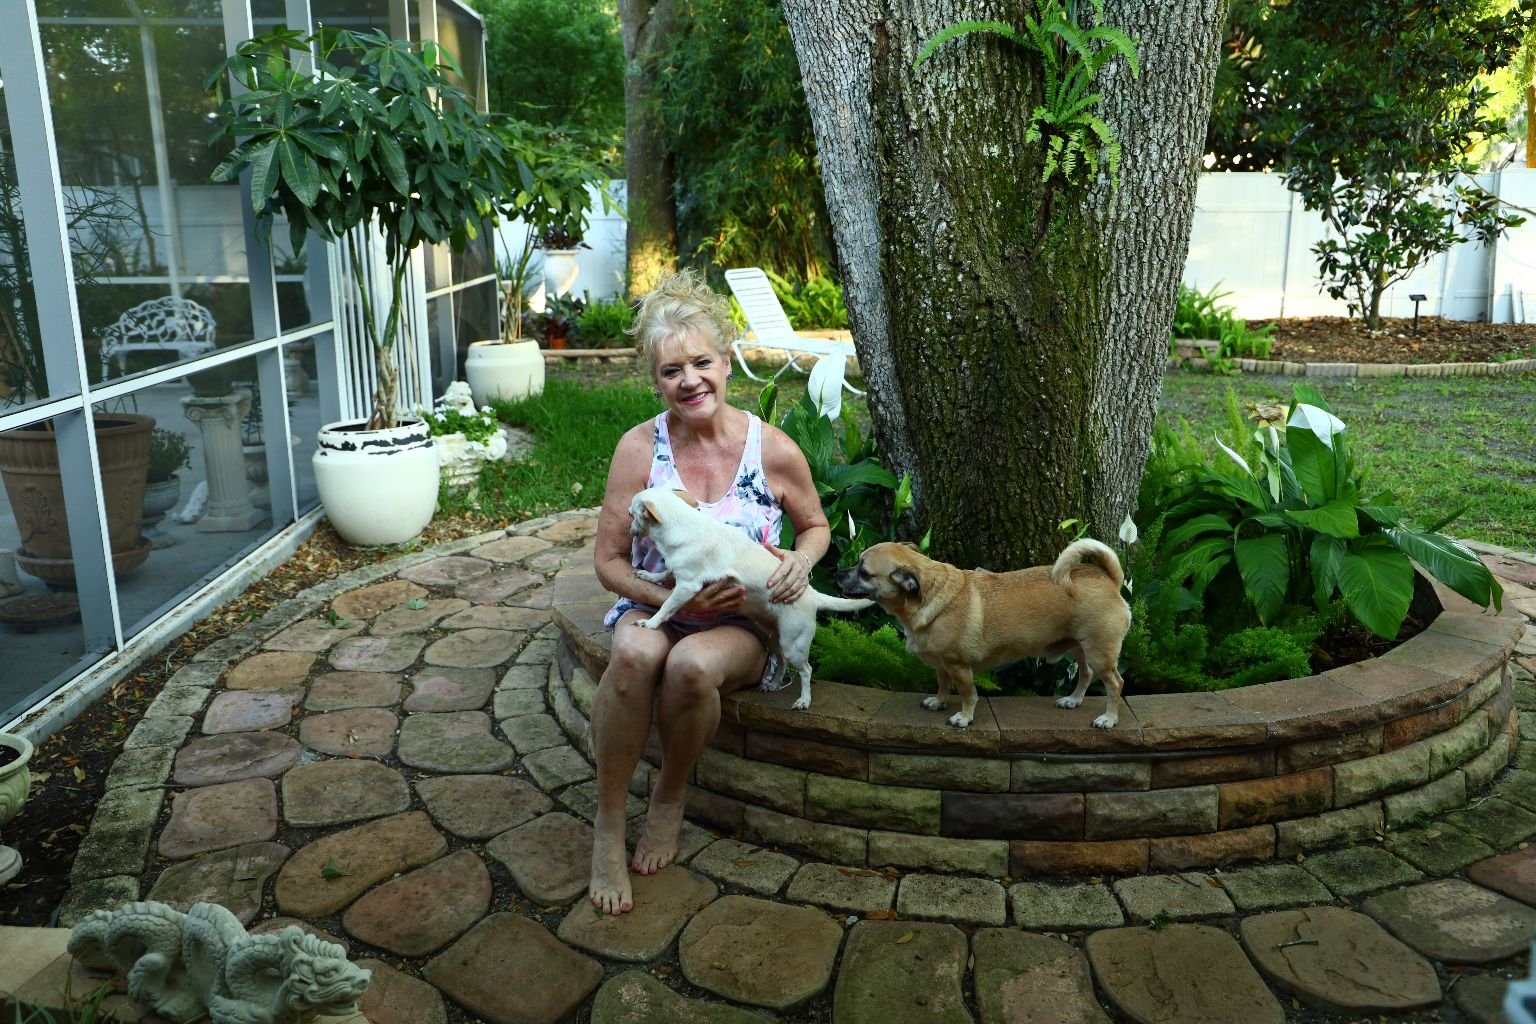
I did finish the new plantings of our round retaining wall.
————————————————————————
A Bit of Gossip
Because I mention Chrissy Tiegan below I do feel obligated to say something about the ‘cancel culture’ surrounding her. I do defend her below when I talk of how the trolls drove her off Twitter. She was a good voice for the under privileged that I hate is silenced. And now she is even further silenced. I really didn’t know of her past comments to people like Courtney Stodden that are quite harsh. Telling a 16 year old girl to kill herself is quite horrible. She should apologize and should have never said such a horrible thing. I remember Courtney Stodden at that time and to me she was a young train wreck. The difference between me and Ms. Tiegan is that I kept my mouth shut and she didn’t.
Also, something that Ms. Tiegan said when she was 9 years old is being used against her. That is ridiculous! There needs to be a line drawn where something someone said at that young age should not be used against them.
You know, to get to the top of the super model spectrum is not an easy achievement and given my modeling and pageant background I can tell you that the kind girls don’t get that far. The mean girls do. Chrissy Tiegan probably did say some horrible things about other girls to get as far as she has but I also recognize that she became a better person as she grew and matured. Now karma is catching up to her and she is having a hard time because of it. She has been given such an excellent teachable moment. She can either use it to a good advantage, or not. That is up to her. But I do see good in her and I hope she comes back and continues to be a voice to the voiceless that she does recognize.
TTYL….
Julie
—————————————————————–
May 11, 2021
Social Media/Anti-Social Media, and Tawny “Julie” Kitaen
We all hear every now and again how social media is ruining lives. I do believe that had I grown up in this era of social media it would have harmed me emotionally way worse than I had it, and I had it bad! As many of my readers know I grew up moving around a lot and was the new kid in school 9 times in 12 years. Being the new kid in school that many times meant that people never had a problem showing me their worst selves. And oddly enough that pattern has continued throughout my life. For some reason people have never minded showing me their worst possible selves?
I have also had a love/hate relationship with the telephone my entire life as well. Although at this writing it is only in the “hate” relationship. The telephone was a means of communicating to my friends and boyfriends, but it was also the weapon of the mean girls when I was growing up. Now it’s just the weapon of spam and con artists, which is why I cringe every time it rings and I rarely budge when it does. If someone I know starts talking then I meander over to the phone and pick it up if they are in the process of leaving a message.
When our neighbor Lesia lived next door to us she would always have her cell phone and beeper strapped to her body, while carrying her house phone in her hand as she would walk her dog. I used to ask her why she carried all her electronics with her and she said that she didn’t want to miss a call or a page. I then told her that I don’t live my life at the beckon call of others. They can just call and leave a message and I will get back to them when I have the time. She then looked at me as if something was “wrong” with me. 🙂
In my youth I was one of those people that worried all the time about what people thought of me, and if they liked me, and I worried when I had disappointed them. Those days are gone because I eventually realized that they were never worth my time to begin with and sometimes I kick myself for ever believing that they were?
The telephone was invented to help people communicate with each other and then the mean girls took it over and turned it into a weapon. Just like everything that is invented for good is then turned into something bad. Social Media comes to mind. It may have been started as a good way to connect to each other but was then taken over by trolls as a way to hurt and harm people.
——————————————————
Most things are invented or created or developed in order to help you, but then the bad people take it over and use it against you.
———————————————————
My Website
I never viewed my website as an interactive tool. I always viewed it as my way telling my story to whomever is interested. Kind of like a diary whether it be through food, or holidays, or how-to’s, or our history, crafts, or even my personal blogs. I never saw it as a tool to communicate with other’s. I used to have comments on my website and I welcomed them whether they be positive or negative as long as they were constructive. However, the majority of my comments were nothing more than spam, as in someone leaving a comment that is thousands of words long. So, when a comment would come in that is thousands of words long, I would have to scroll alllllllllll the way down to the bottom of the comment before I could delete it. And I did this about 7 times a day to several of these comments a day. The comments were nothing more than gibberish as it was. Just spam intended to clog up my website. I put up with this for a few years and I then told my website security company to just disable my comments. They really did object for a few weeks before they finally did it, but I kept insisting that they do it. I have not regretted it since.
Although I would love to hear “real” comments from “real” people, that is just no longer an option thanks to the bad guys taking over my comments with their spam.
But, I can communicate to you and you can receive my communications, we just can’t communicate with each other personally. That’s the social/anti-social aspect of my website.
———————————————————-
The Social Media that I Use
I mainly use Twitter. I am however signed up for Facebook and Instagram. I just don’t really use either of them. To me, Facebook was about connecting to our past and I don’t really care much for any of them. And Instagram to me is more of a mean girl bully forum. I do follow some very interesting people on Instagram and I will certainly give my share of likes and even a comment here and there but I really don’t care if they interact with me. I am only interested in what the people that I follow post, period.
I have never posted anything on Instagram.
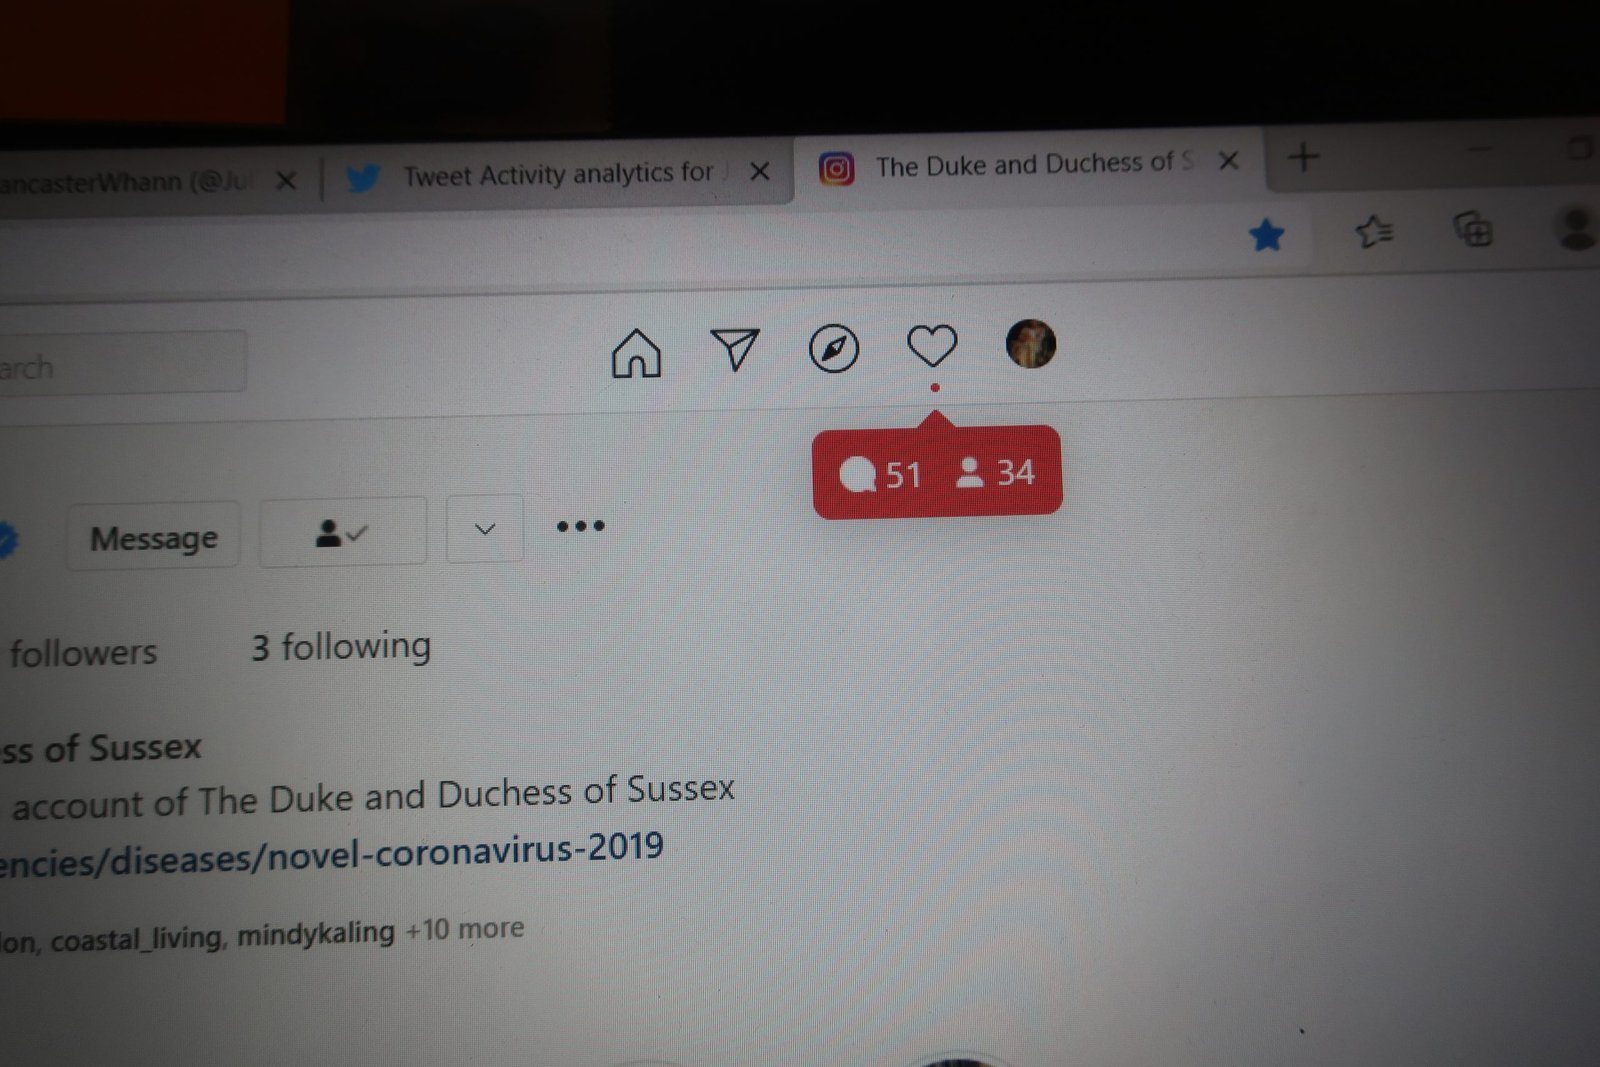
Instagram Notifications that I have never checked in over a year.
In the past when I did check my Instagram notifications they were always mostly negative so I decided to quit checking them. I have never posted anything on Instagram but I do follow people that do, and I do “like” many things as well as leave a comment here and there. I just figure their loyal followers will occasionally read what I post and not the recipient of the post. I am o.k. with that.
Twitter
I am active on Twitter and I do read my notifications that I receive. I just tend to like that crowd better than the other social media forums. I have come across some very nice people through Twitter and I do like connecting to them.
———————————————————-
The Trolls
For those of you that aren’t regular readers of my website I have had a cyber-stalker for almost 3 decades. We know who he is. He is my husband Gordon’s former best friend. His name is Paul Gray. My brother Johnny one day referred to Paul as a troll that harasses me when he was talking to a group of people. I then corrected my brother Johnny with this explanation: “To me, a troll is someone who stands outside your house yelling and screaming at you. You can close your drapes or blinds so that you don’t have to look at them. You can even turn the volume up on your T.V. so that you don’t have to hear them. But, Paul is inside our house. That is what I put up with. So to refer to him as a troll is downplaying just how serious my situation is.”
Everyone knows Chrissy Tiegen? She left Twitter due to the amount of trolls that harassed her? When I read that she left because of that the first thing that I thought was why did you leave? Why not just NOT read your comments? Why do you have to? Who cares what anyone says about you? Your true fans only care about what you post. Just continue to post, that is all anyone cares about?
Well, she left. And the next thing that I thought of is that she let the trolls win! But, I then realized that is not what happened. She left because she had a life to go to. She is married to John Legend. They have two great kids together. She has a few cookbooks underneath her belt. She is a former model. She has a family that loves her and she is opening a restaurant. She left because she had a life to go to. The trolls may have run her off but she ran to a great life whereas the trolls are still there because they have no life to go to other than to try and make people as miserable as they are.
I just wish that instead of her leaving Twitter that she had found a balance between being social/anti-social in her Twitter account. Why not hire someone to sort through the crap so that she didn’t have to?
We all need to find a way to still use social media but do it in a safer way? What works for me may not work for you. I suppose we are all figuring this out as we go.

One of my Mother’s Day gifts from Veronica
When I saw this it was perfect for me! My daughter does know me. And at first I thought it was a dig at my anti-social behavior but then I wondered if it also has the meaning of that I would just rather be with the rest of the mermaids and not with the people? I should ask her? 🙂
I write above about how people have never had a problem showing me their worst selves. Perhaps had I not known those experiences then I would be more social? I guess we’ll never know? But, through my anti-social behavior I have come to know myself very well. I like myself. I’ve also learned that the average person out there is nothing special. Average is neither smart nor dumb, and the majority out there is average. I don’t think I’m missing out on much by being a person that only surrounds herself with people that I love and can trust and rely on. Besides, I think the future is isolation. But, why not create your own oasis in your environment? Consider it your ‘all inclusive resort’ right in your own home. At the end of the day we are responsible for our own happiness and we can either take on that responsibility, or leave it up to others. I’m too much of a control freak to leave something as important as my happiness to someone else. 🙂
—————————————————————
Tawny Kitaen
Tawny was born Julie Kitaen on August 5, 1961, and died on May 7, 2021. She was an actress most known for her role in Bachelor Party with Tom Hanks. I liked that movie and thought it was really cute. The movie came out in 1984. Tawny was 59 at her death just 3 months shy of her 60th. birthday. Which actually confirms to me the importance of my holding my birthday cake in my photo at the very top of this page. I knew turning 60 was a milestone for me that other’s may not achieve, Tawny included.
Tawny’s most famous role was in her then husband David Coverdale of the band Whitesnake, video Here I Go Again, while doing gymnastics on the hoods of two cars parked close together. One of them was her husband’s.
Whitesnake, Here I Go Again
To me this is one of the most famous music video’s of all time. It had everything in it. A great song, a great band, a great video format, and the beautiful Tawny Kitaen.
You can’t help but be captivated by her beauty. That big smile with those gorgeous dimples. Her slender figure that she had no problem maneuvering into those gymnast moves, which is what she used to be. Her graceful movements and that magnificent head of hair. Tawny was the total package and I don’t think that video would have been as successful if not for her contribution. She was the icing on the cake. She also had a very unique look to her. In this day and age everyone seems to look alike to me. I like those who are different.
Her marriage to David Coverdale only last about 2 years. I remember that he once said in an interview that she just one day left and never told him why she was leaving him? And to this day he never knew why? I also saw him in an interview where he had won some award and was giving credit to her as one of the reasons he did win that award.
She is also in this video. I do love this song and can listen to it over and over again. Whitesnake did create some excellent songs and music video’s. They were talented musicians.
I did write to Tawny on Twitter a few years ago complimenting her on the video, Here I Go Again and explaining to her that no one will ever rival it and to be proud of it. She not only liked what I said but even wrote back some nice words.
I was following her on Instagram but I decided to just unfollow her about a year ago as it was hard for me to continue to watch the train wreck that she had become. (In my opinion.) Some of the photos she would post looked as if she had a mattress in her walk in closet where she would writhe around in her underwear taking selfies of her bloated self. I hope that her family has since removed some of those photos.
I know that she had a troubled life. I believe she was an unstable person. Two divorces, arrested for battering her 2nd. husband with her shoe. She one day got mad at someone who took the parking spot she wanted so she keyed their car, etc. etc…..
Although she may have been 59 on the outside I think that in her mind she was still that young 25 year old. She aged on the outside but never really grew up on the inside.
I don’t want to think about the troubled 59 year old. I just wish she had made it to 60. I think we are in a pretty exclusive club. I would much rather remember her as the beautiful girl doing cartwheels on top of the cars to that Whitesnake video.
RIP Julie “Tawny” Kitaen
Julie
—————————————————————-
April 27, 2021
Grow Something, Anything

(Or at least nurture something that is growing.)
I started this herb garden a few years ago. It was nice to have this part of our backyard sectioned off just for me and my project. My project, to inject more fresh herbs into our diet.
Julie’s Herb Garden

This is my first herb garden.
——————————————————————–
This is my Second Herb Garden
Julie’s New Herb Garden

—————————————————————————-
And this is my continuing Herb Garden

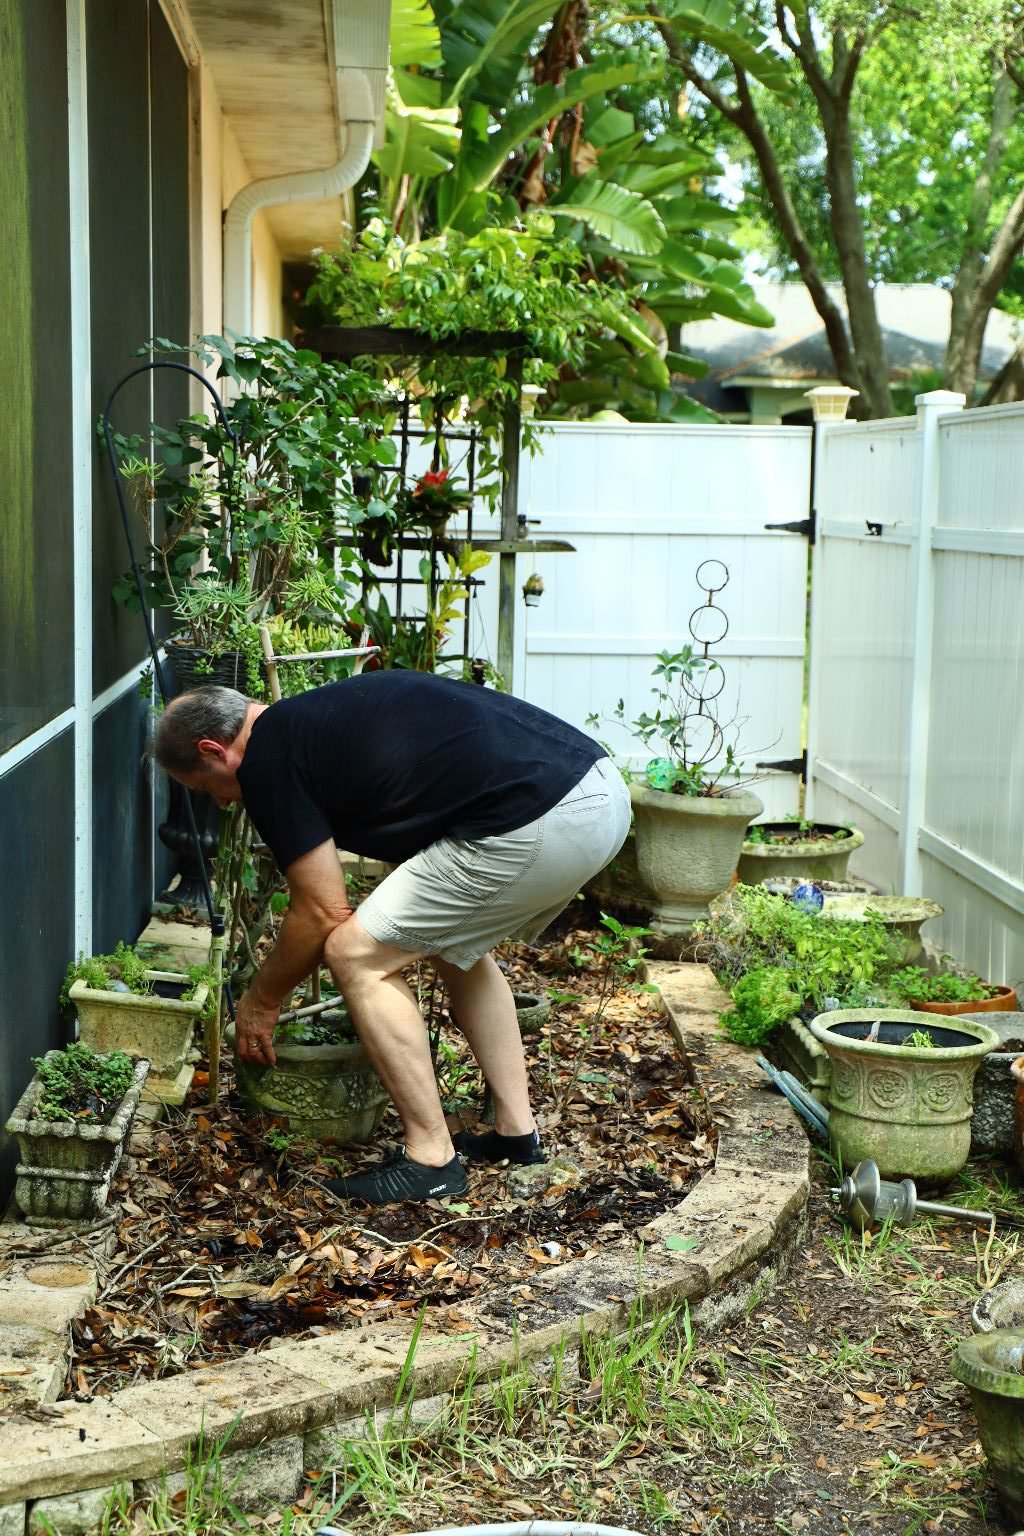
Gordon Helping With The Hard Work

Every two years we have to clean the herb garden bed out and prepare it for the new year.
You can see how messy it is here. It usually collects a lot of dead leaves and sticks and some mold that needs to be cleaned off.
————————————————————–
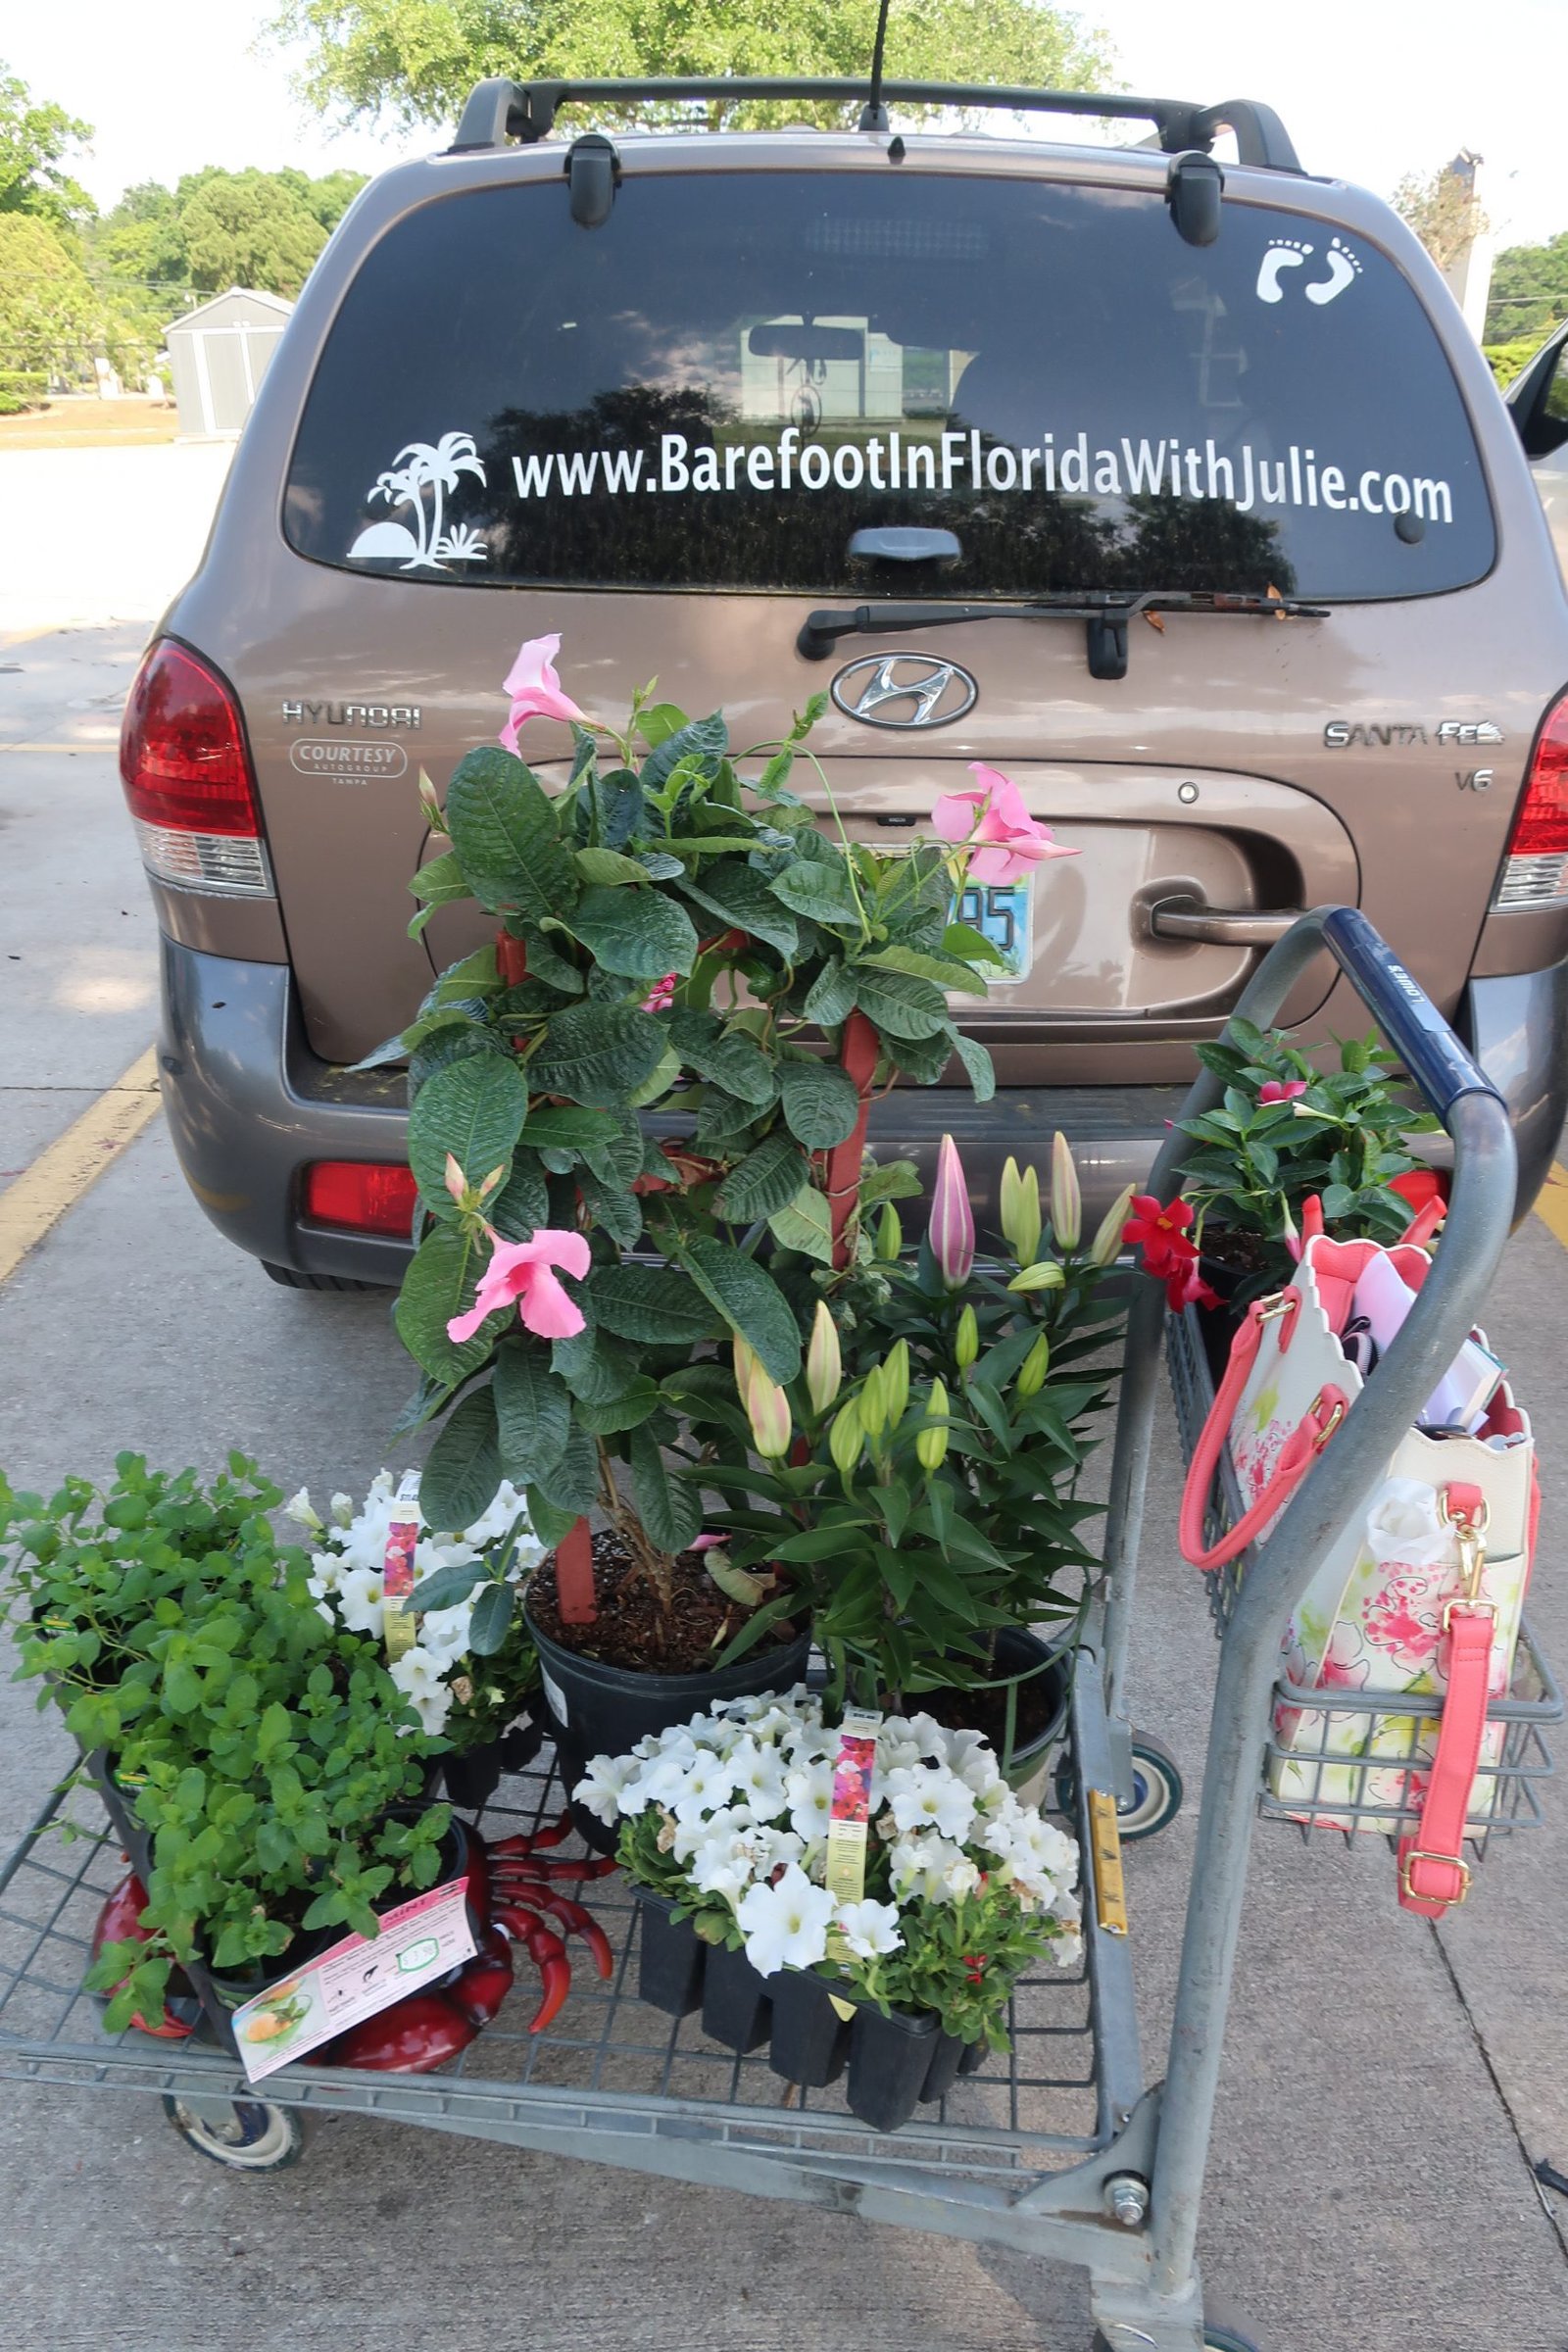
Now It’s Time To Start Buying Up the Flowers and Herbs
(One of many carts btw.)
I always have herbs that last through the year, we do live in Florida after all. But, some I always need to replenish because we either eat them faster than we can grown them, or they just get too old that I want fresh new growth. Our Rosemary comes to mind. It is a very sturdy herb but it turns into long spiny sticks and no longer looks very good.
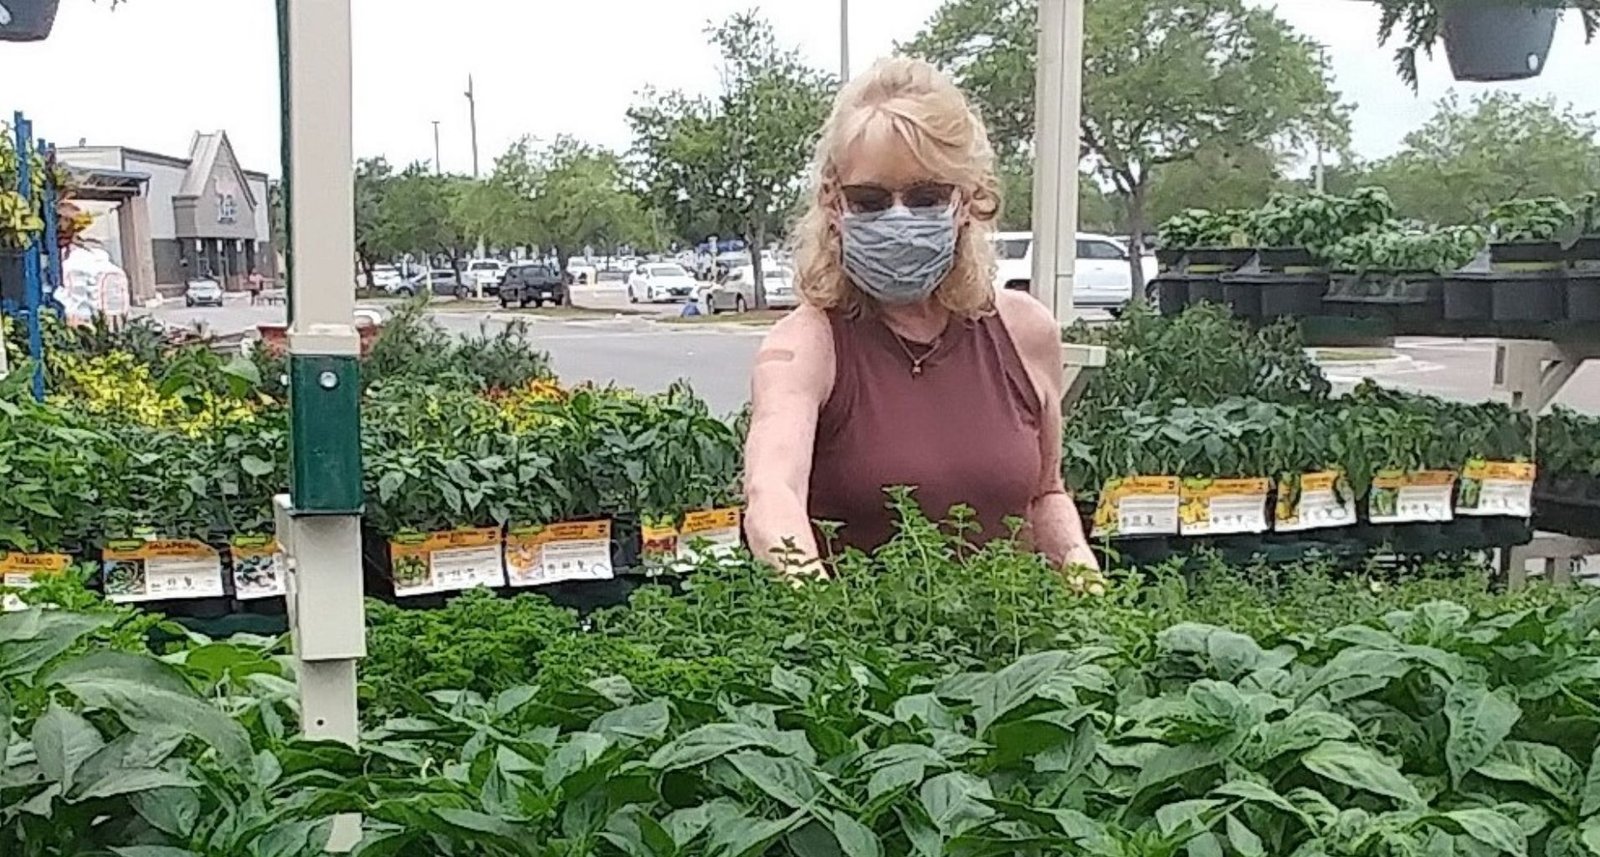
I can always buy our favorites at places like Lowe’s but some more exotic herbs I like to order from online.

Gordon and Myself Picking out our Favorites

—————————————————————-

Excited to Get Started

————————————————————-

You can see my now cleaned out Herb Garden ready for me to start planting.

This is Thai Cilantro that I am Replanting

It’s Always a Fun Dirty Job
—————————————————————-

How Pretty and Green
I like a mixture of Herbs and Flowering Plants

You can also see the fresh layer of Wood Chips in the Border Bed
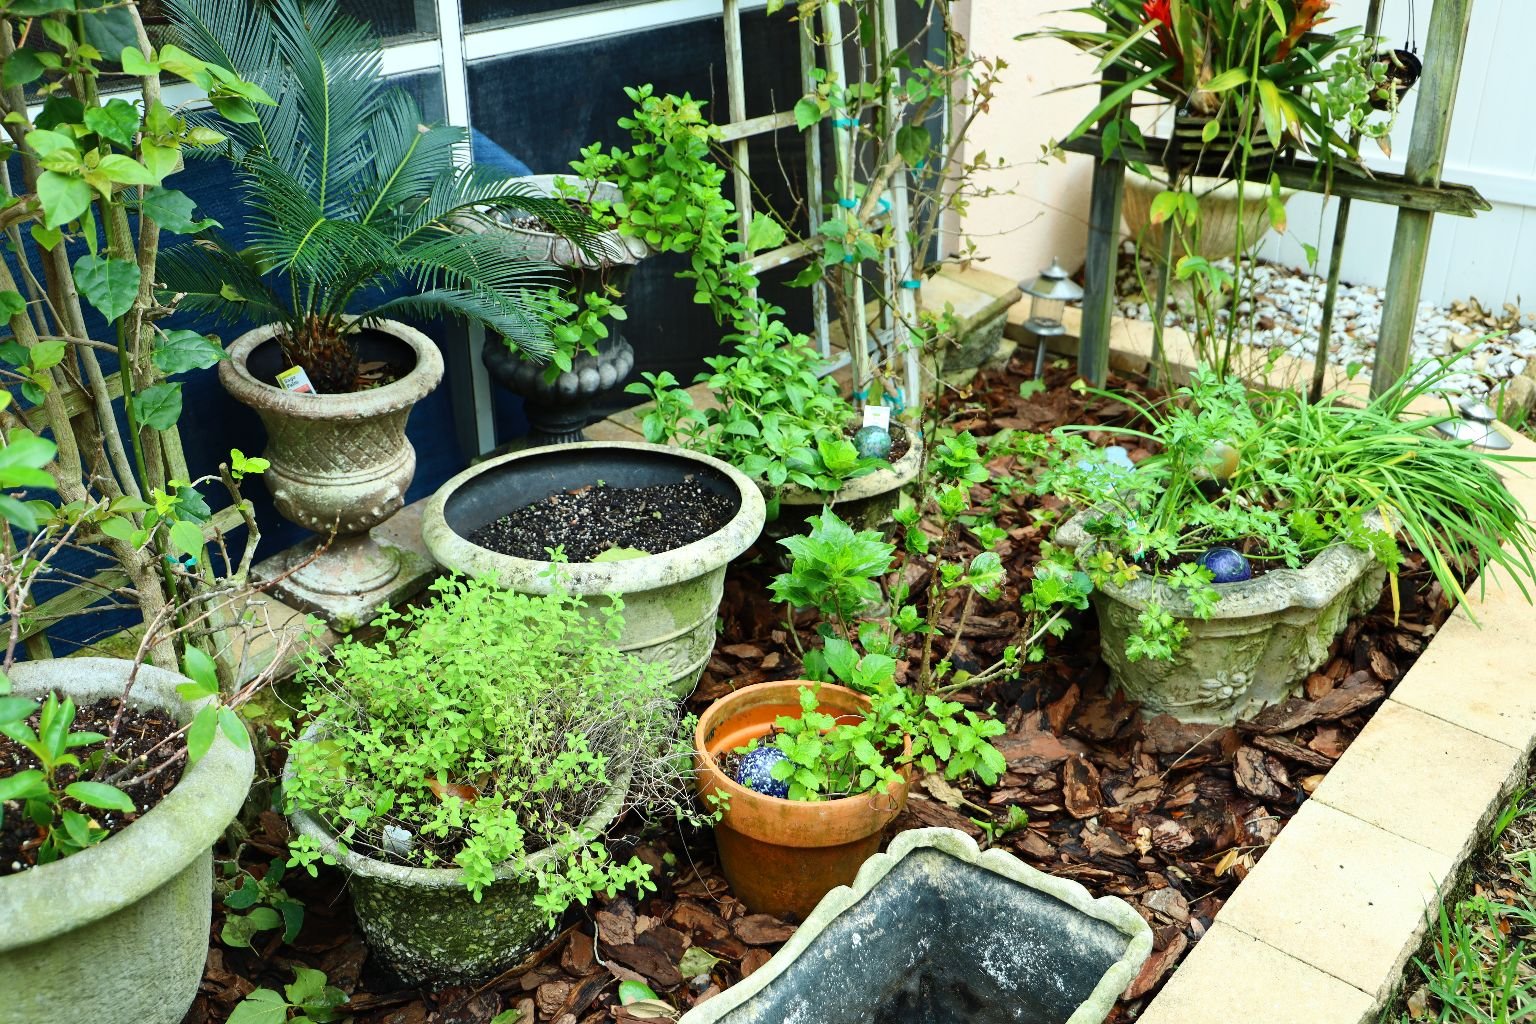
Obviously I’m not finished yet as I do have some empty pots.
I’m trying to decide what I want to put in them?
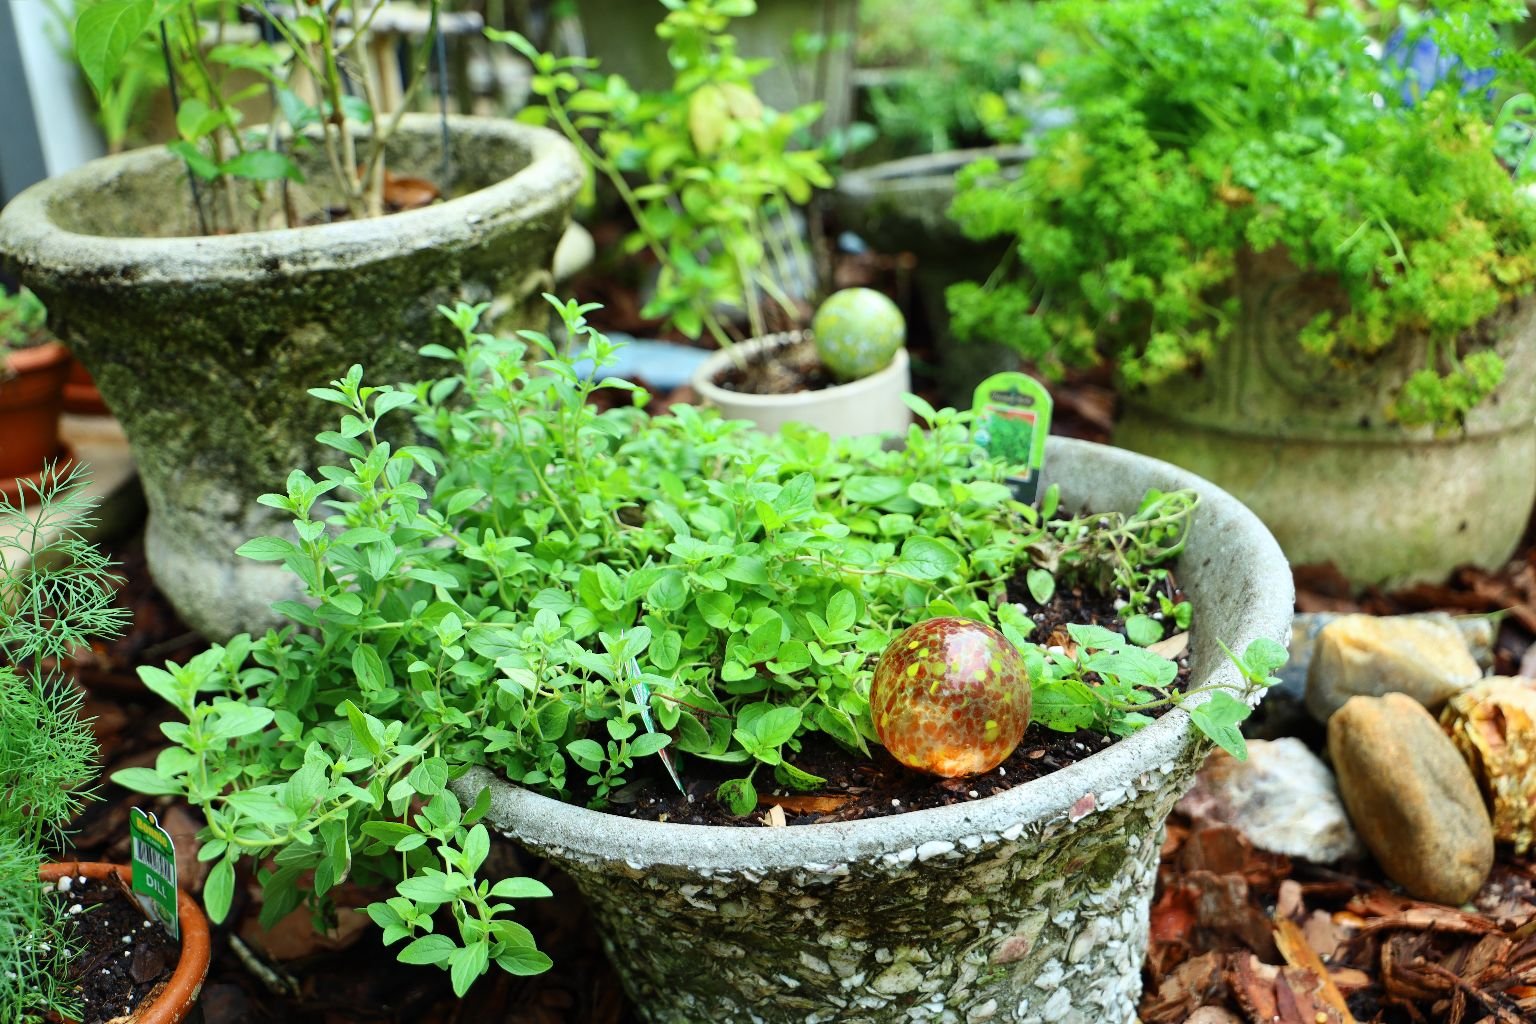

The reason that I keep things a bit elevated and in pots is because I live in a neighborhood where many people will use those cancer causing lawn treatments. And although we never have, our neighbors have done so in the past and when it rains we will get the run off from their yards which means those chemicals drift into our property. Sometimes it takes decades to get those toxins out of the soil. Therefore, by bringing in organic soil and keeping everything elevated I am hopefully keeping our herbs safe from those pesticides and carcinogines.

I have a new goal that everyday I figure out how to incorporate fresh herbs into our foods. Sometimes it’s not easy. I mean herbs don’t exactly go with a peanut butter sandwich? 🙂
Can’t Wait to Fill These

New Rosemary

I love my Dirty Pots
To the right, Dill. To the left, my String of Pearls.
Thai Basil, Thai Buddah

Purple and Green Basil with Sparky

My Wild Garlic
————————————————-
Do not be deterred from beginning your own Herb Garden simply because you don’t have some large plot of land to get started on. You could have a few pots sitting in your windowsill’s. It doesn’t have to be big or elaborate. It can be simple and productive.
Here we have two hanging baskets of Mint on our Lanai.


Mint to the Left, and Mint to the Right
So, get started. The benefits of growing something that contributes positively to your health and your life also contribute to the peacefulness of your soul. The two are connected. You can thank me later. 🙂
Julie
—————————————————————
April 20, 2021

Fried Rice and Veggie Egg Rolls
I just like posting the kinds of foods I do eat.
Many nights I eat light and not heavy.
ALSO,
We have a new Grand-Dog!

Meet Hank 🙂
Do you know how important animals are in our lives?
If you don’t then I feel very sorry for you. If you do then I needn’t speak another word about it.
———————————————————–
April 18, 2021
It’s Common Knowledge That I Hate My Hair!
I do write about it below. It is also common knowledge that I prefer a perm to my natural straight hair. It is mainly because of the volume that a perm gives me that my flat straight hair doesn’t. (I am from the deep south where big hair rules the day. Look, it’s in my DNA so just accept it.)
But, it was while Gordon was working overseas and I was relaxing on the Lazy Boy chair watching T.V. and using this thingy to massage my head…

The Head Massage Thingy
…that is when I went into the bathroom and WOWEE!!! LOOK AT MY HAIR! The Volume! I knew then that I was probably the envy of every limp haired girl from the south at that very moment if they could just see my hair. I was a HAIR GOD! I then looked down at the head massage thingy as if it were the equivalent of Thor’s Hammer, Wonder Woman’s Bracelets, Nancy Drew’s Magnifying Glass… well, you know what I mean. My hair looked wonderful! Beautiful! I could have gotten a job at Hooter’s as a waitress and beat out all those young girls with my hair alone!
It was at that moment that I knew the head massage thingy will be a part of my grooming process until I can safely get a perm once this pandemic is over with. This tool pretty much lifts your hair from underneath. I don’t just use it to to lift up and down. I use it to swirl around and around. I do close my eyes so that one of the prongs doesn’t blind me. (Highly recommended.)
But this tool lifts your hair and gives you volume and then you can style your hair how you like.
I will say that I have better volume when I have something of a perm still left in my hair. But, until that time, this tool does help with what I have.

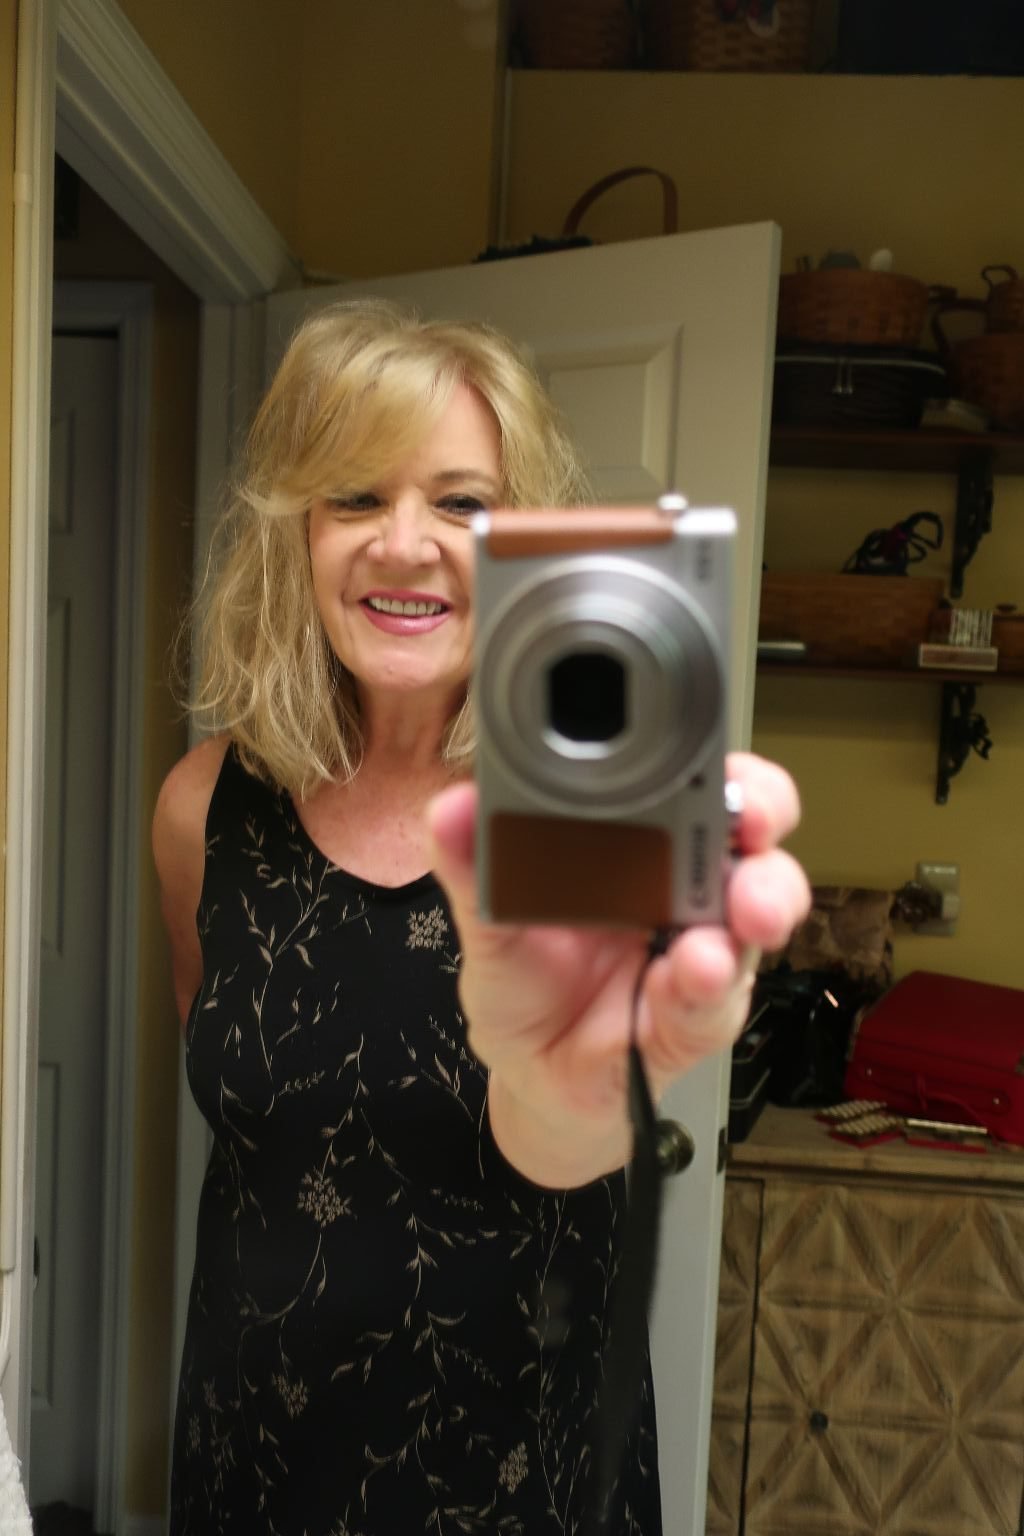
Adding Volume, Added Volume

Finished Hair
(With a Curling Iron and Hair Spray)
Oh, and the dress above is what I call a house dress. I always wear old dresses like this when I apply my make up and fix my hair so that I don’t get all that stuff on my clothing I will be wearing out that day. I usually get face powder and hair spray all over my clothes.
Just a tip from me.
From one steel magnolia to another.
Julie
P.S. I do believe that Dolly Parton would be supportive of my big hair triumphs and attempts.
God bless her!
——————————————————–
April 17, 2021
2nd. Shot Yesterday!

Covid Vaccine
(Raymond James Stadium)

I was getting my cell phone camera set up and I didn’t even know that I had taken this photo of me. 🙂
The look in my eyes is… I don’t even know? Dread? Anticipation? But, I find it interesting.
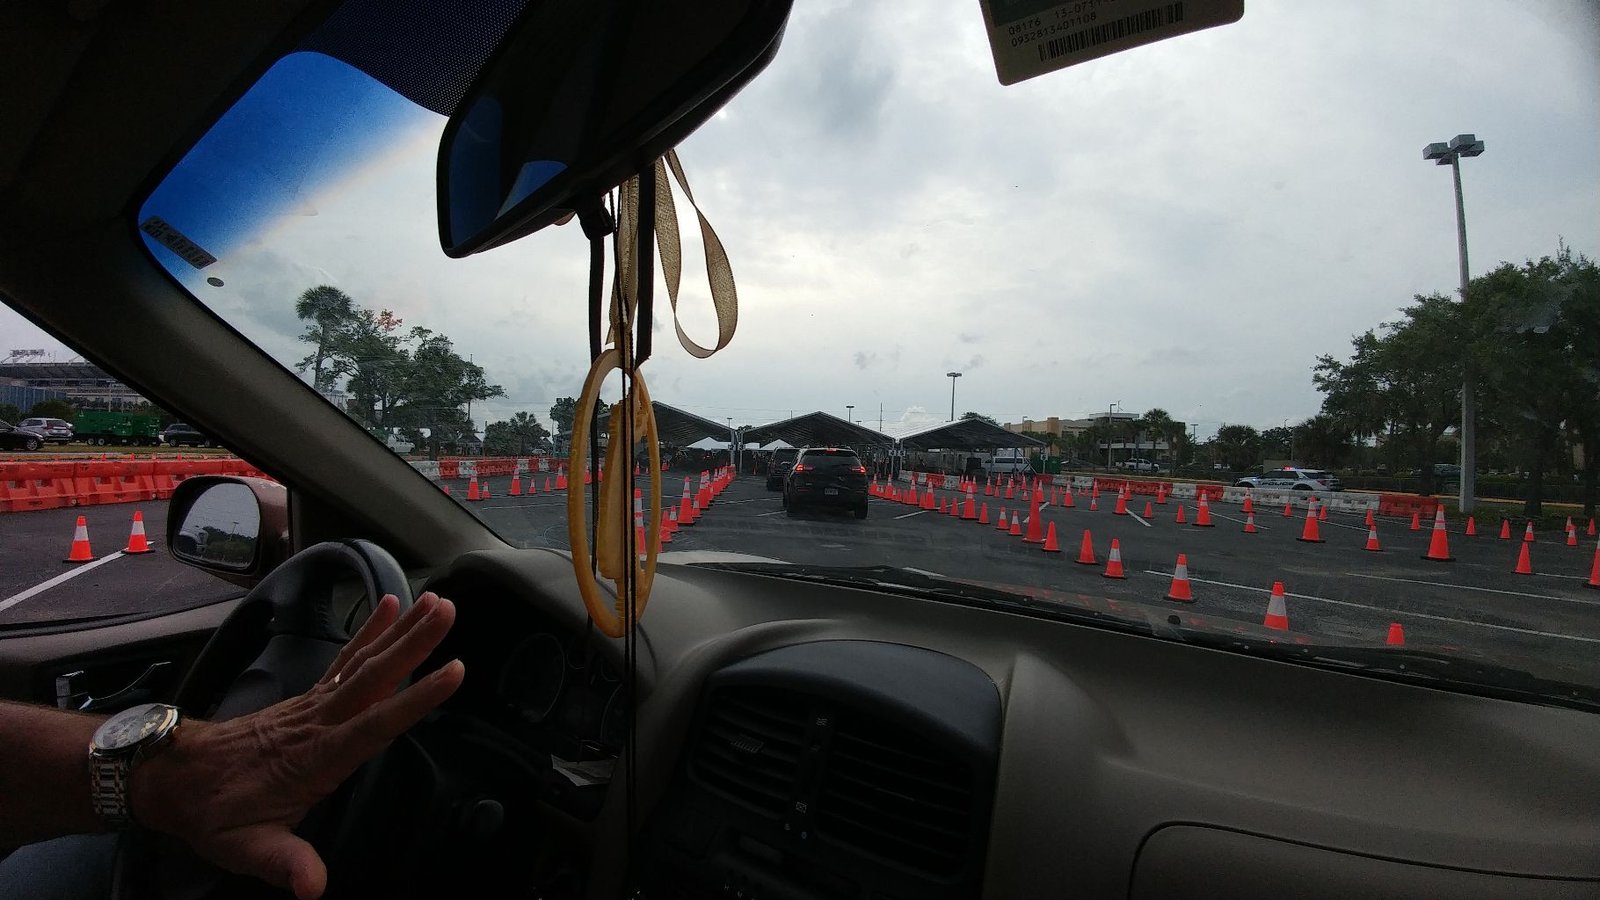
Driving Through the Cones
As you can see there is hardly anyone here at 5:30 p.m. on a Friday evening.
That’s Red State Florida for you!
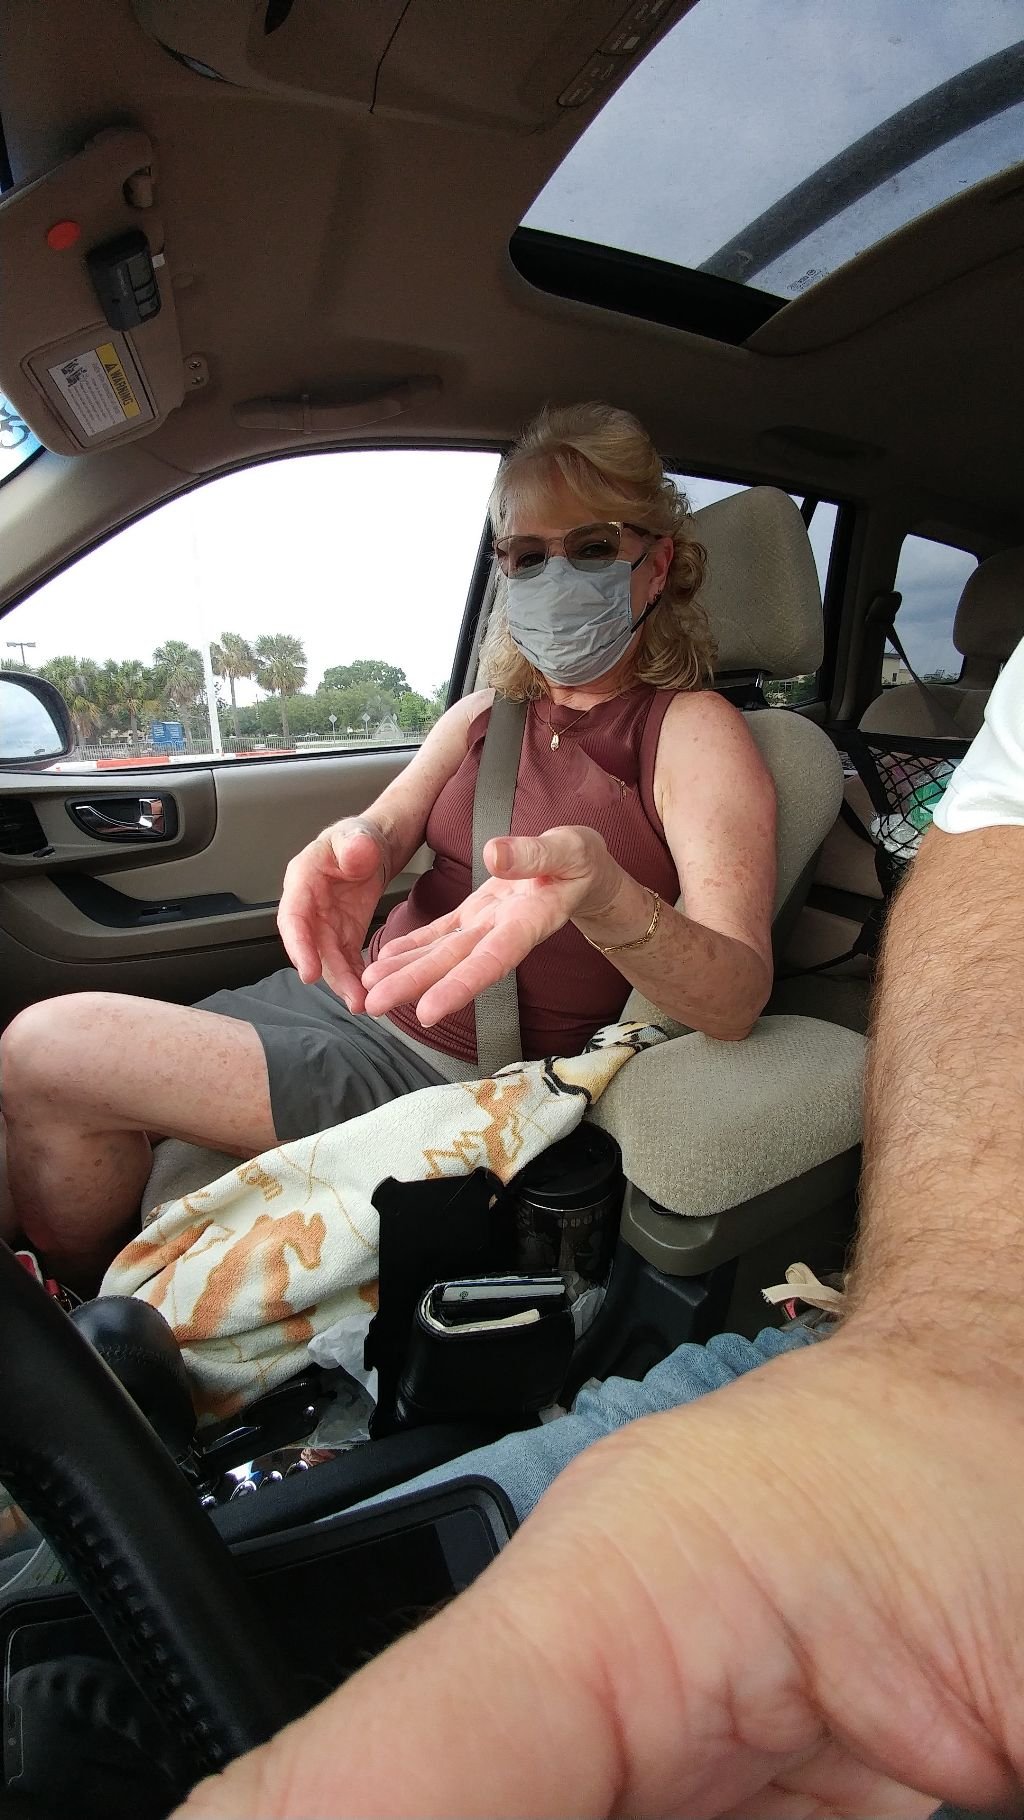
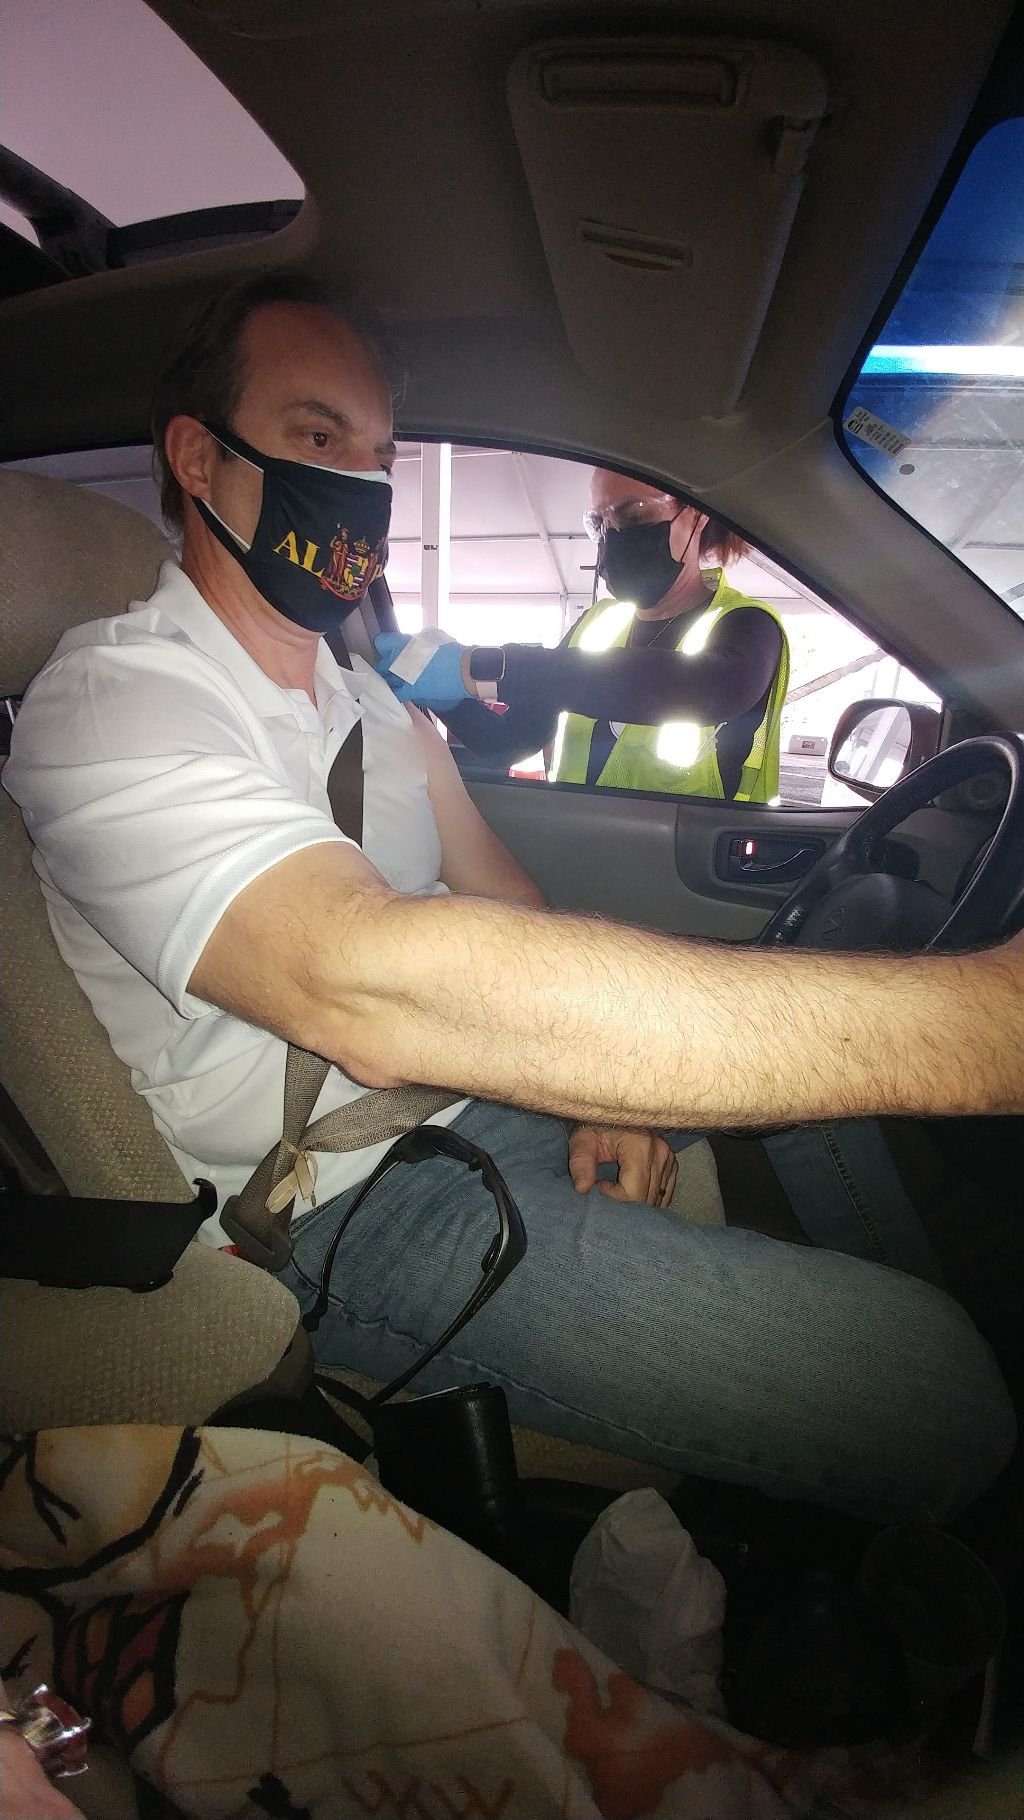
We got the Fizer shot both times and our only side effects have been a sore arm for about 24 hours and then it goes away. That’s it. Now whatever lingering things that have yet to be determined, have yet to be determined. But, we are fully vaccinated….for now. 🙂
————————————————————–
April 14, 2021
Health Issues Verses Health Problems
(April 17, 2021 Update: When I write below what I live for I failed to mention that I live for my husband and children and animals as well. I didn’t mention them because that is just a given. Oh, course I live for them.)
I believe that when I write below about trying to get an appointment since last March 2020 I am misleading you. I do wish to clarify. What I meant was that all of my doctor appointments were due last March/April 2020. But, the pandemic changed all that. I cancelled all of my appointments and I decided to wait and see how things would go. I knew that putting my important medical appointments off was a risk, but I also knew that attending them was a risk as well. I don’t know that there was a right answer. I was making decisions based on my instincts and logic. But, as time went by I saw that cloth masks did make a difference in the spread of Covid 19. I also learned that we can interact as long as we take precautions.
I did start my current health activism in late February of 2021. It is now mid April and I have yet to have my much needed appointments. They will come in May. It is because I needed the referrals to then see my much needed health specialists. That is our American health care system. But, I do have those appointments and I will show up to those appointments and then deal with whatever issues that I have to deal with. But, for now I am fine. As far as I know. 🙂
————————————————————
Health Issues Verses Health Problems
To give you an example:
A health issue is something that you have to deal with to stave off a health problem.
A few years ago I injured my back. It caused sciatic nerve pain from my right buttock down to my calf. It was a shooting pain that I had never experienced before. It was horrible! It was painful! I hated it!
I looked online to try and read up on it. That is when I diagnosed myself but I was shocked by the treatment. Opiods! What? I am not taking those brain altering drugs! I will live with the pain before I ever become addicted to those things! But, I did notice that there are exercises that I can do to help me stave off that pain. So, every morning before I get out of bed I do those exercises and I haven’t had any pain now for almost a year.
That is a health issue. I found a way to control it and it isn’t a health problem. Understand?
If you have the same problem as me I would like to tell you how I deal with it. When I wake up in the morning, before I get out of bed, I like to stretch out my back and legs. How I do that is to bring my knees up to my chest until my knees are pressing against my boobs. It sometimes takes a while before I can do that. I am 60 and as we age out bodies become stiffer. Not as flexible as they once were. So, as I lay on my back I am bringing my knees closer, and closer to my chest, stretching my back as I go. I hold it there for a minute or so, then I release it, then I bring it back. Once I have done that I will then place my left leg straight, and take my left arm to grab my right leg and bring it around to my left side, stretching it. I can feel the stretch all down my right leg. The stretching. Then I do the same thing to the other side. Laying my right leg straight and stretching it out. I like that I am doing this in my bed. It is a more age friendly stretch than doing it on the hard floor. For all I know I may injure myself and I won’t be able to get off the floor. Did I mention that I am 60?
I may look fairly young but I do have a 60 year old body. And I do respect it. 🙂
——————————————————————
I am also a borderline diabetic. That means that I have a health issue. The moment I am diagnosed as a diabetic, then I have a health problem.
So, right now I have health issues that I am dealing with. I am hoping to stave off health problems by eating better, exercising, and stretching. What I do at age 60 will determine whether I make it to age 70. And I don’t just want to make it there, I want a nice quality of life when I get there.
We will talk about that in another post. But, we do need to take responsibility for our own health and not just rely on some outdated system to get us where we need to go.
Also, those people that have something to live for do tend to outlive those that don’t.
So, what is it that I live for? I plan on outliving all the bullies. I am determined to get to a point in my life where all the bullies are gone and I am left standing. I am determined to know what peace is. I can only know that when the bullies are gone. I will outlive them. I am determined.
Julie
——————————————————————-
April 5, 2021
FINALLY! Had My Doctor Appointment
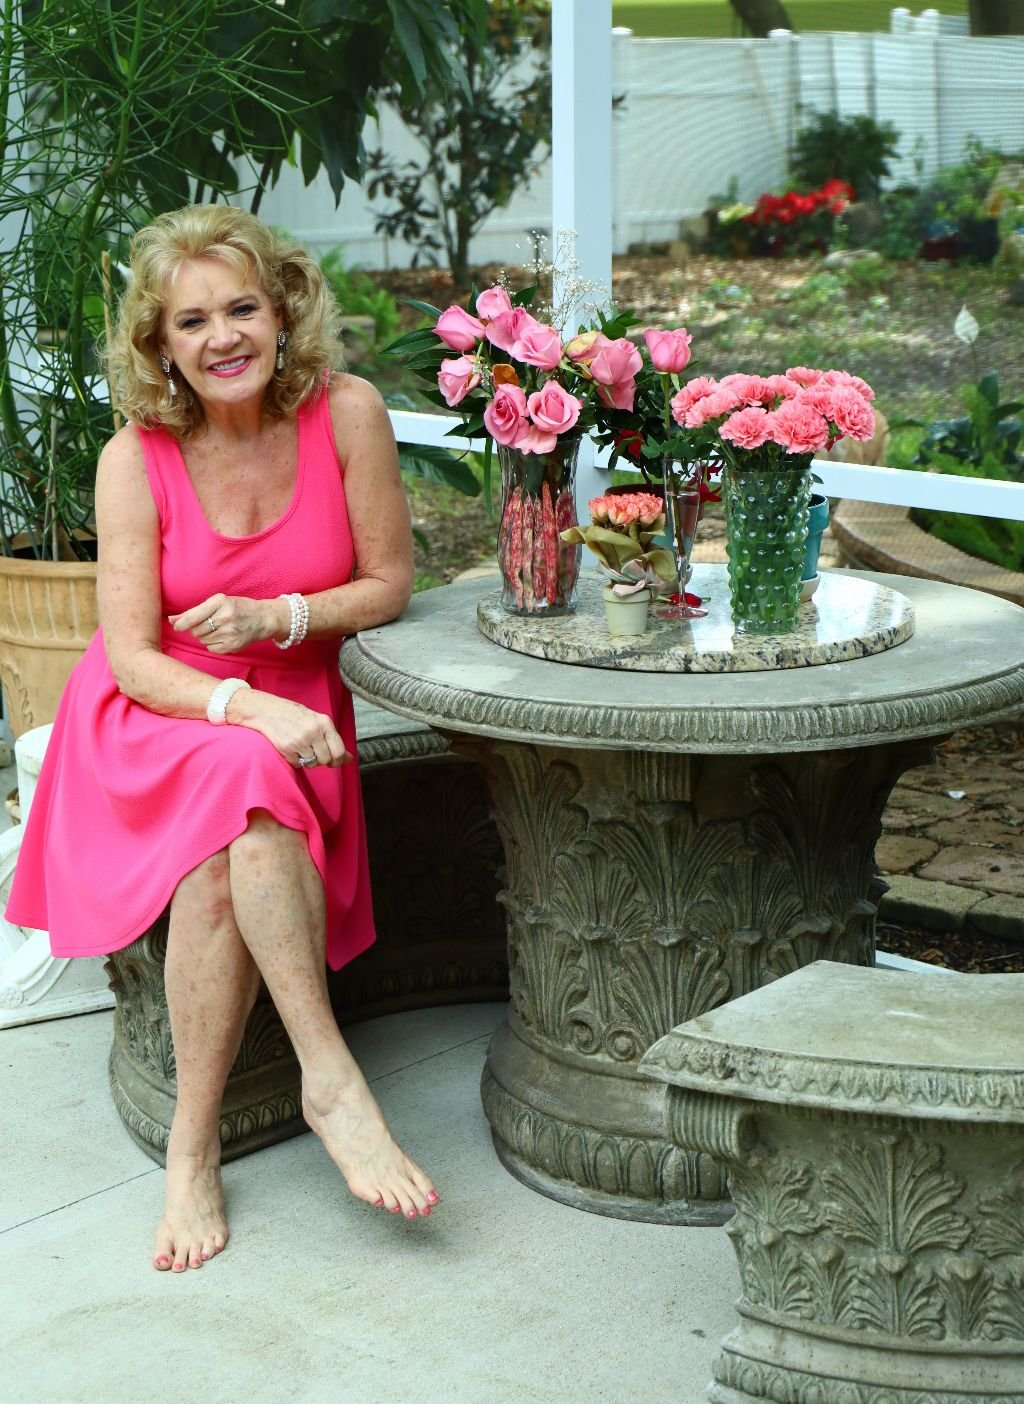
Julie, Easter 2021
Me, Easter, and with our backyard construction site in the background. Yuck!
I write below about how I have been desperate for a doctor appointment from since the pandemic first started, but because of staff shortages, doctor’s quitting my clinic, many doctor and nurse retirements…. I have not been able to get an appointment. Well, last week I finally got my appointment. It was supposed to be with the new female doctor who would be taking over our clinic, but, she is not confirmed yet and is still a “floater” so, I saw the new Nurse Practitioner.
The way our insurance works is we go to see our family doctor/nurse practitioner who will then give us a referral to other doctor’s to address whatever medical needs that we may have. They are pretty much a Middle Man. I cannot just call up and get an appointment for a mammogram. I have to see my family doctor or nurse first, and then they issue me a referral and only then can I get an appointment for a mammogram. I can’t even call where I receive my mammogram to make and appointment before I get my referral and just bring it with me to my appointment. Oh, NO! So, just think about that. If I need a mammogram I have to time it so that I can see my family doctor and get the referral weeks before my appointment in order for me to make the appointment about 3 weeks prior to my appointment, in order to receive my mammogram on time. As in the same time every year. Understand? I know. It’s complicated.
Our American healthcare system is broken, and has been for a few decades, but I had figured out a way to maneuver a broken system so that I could receive quality care from all angles. However, because of the pandemic, and so many medical retirements and departures, not to mention that my insurance has now decided to get all cheap on me, I am unfortunately back to square ONE in trying to work this broken system.
When I met my new nurse practitioner I liked her immediately. She was nice, and funny, and very friendly, not that I particularly care about those things. I just want someone competent and thorough.
I told her that both Gordon and I had received the first dose of the vaccine. It was then that she ripped her mask off, and told me that she was vaccinated so she wasn’t worried about being around me now.
O.K., alarming! I just met her. She doesn’t know me at all and yet she is just going to take my word for it? And, if she is going to just take my word for it then how many other people’s word has she just taken at face value when she meets them? My point is, how cavalier of her to not be more cautious! That in itself is very alarming to me of her carelessness during a pandemic.
I didn’t say anything to her about how alarmed I was with her behavior, but I was glad I was double masked in the same room with her.
She then put in my referrals for the mammogram, a pap smear, and my heart doctor. I am just awaiting them to arrive in the snail mail now so that I can then call for my appointments.
And Oddly enough I just got a call today from our pharmacy leaving a message to pick up my prescription. What prescription? News to me! Guess I’ll call them tomorrow to find out what that is about?
But, in the meantime, I am awaiting my referrals in the snail mail so that I can then call for my appointments that will probably be given me 3-4 weeks from now.
Right now I think I am just surviving.
Julie
————————————————————–
March 29, 2021

My Hair
(Tupperware for my Hair Color, Kitchen Baster to Color my Roots, and Hair Scissors.)
When my gray comes in I look very tired and old. I see my mother’s tired eyes when I look at myself.
Not something I like to see.
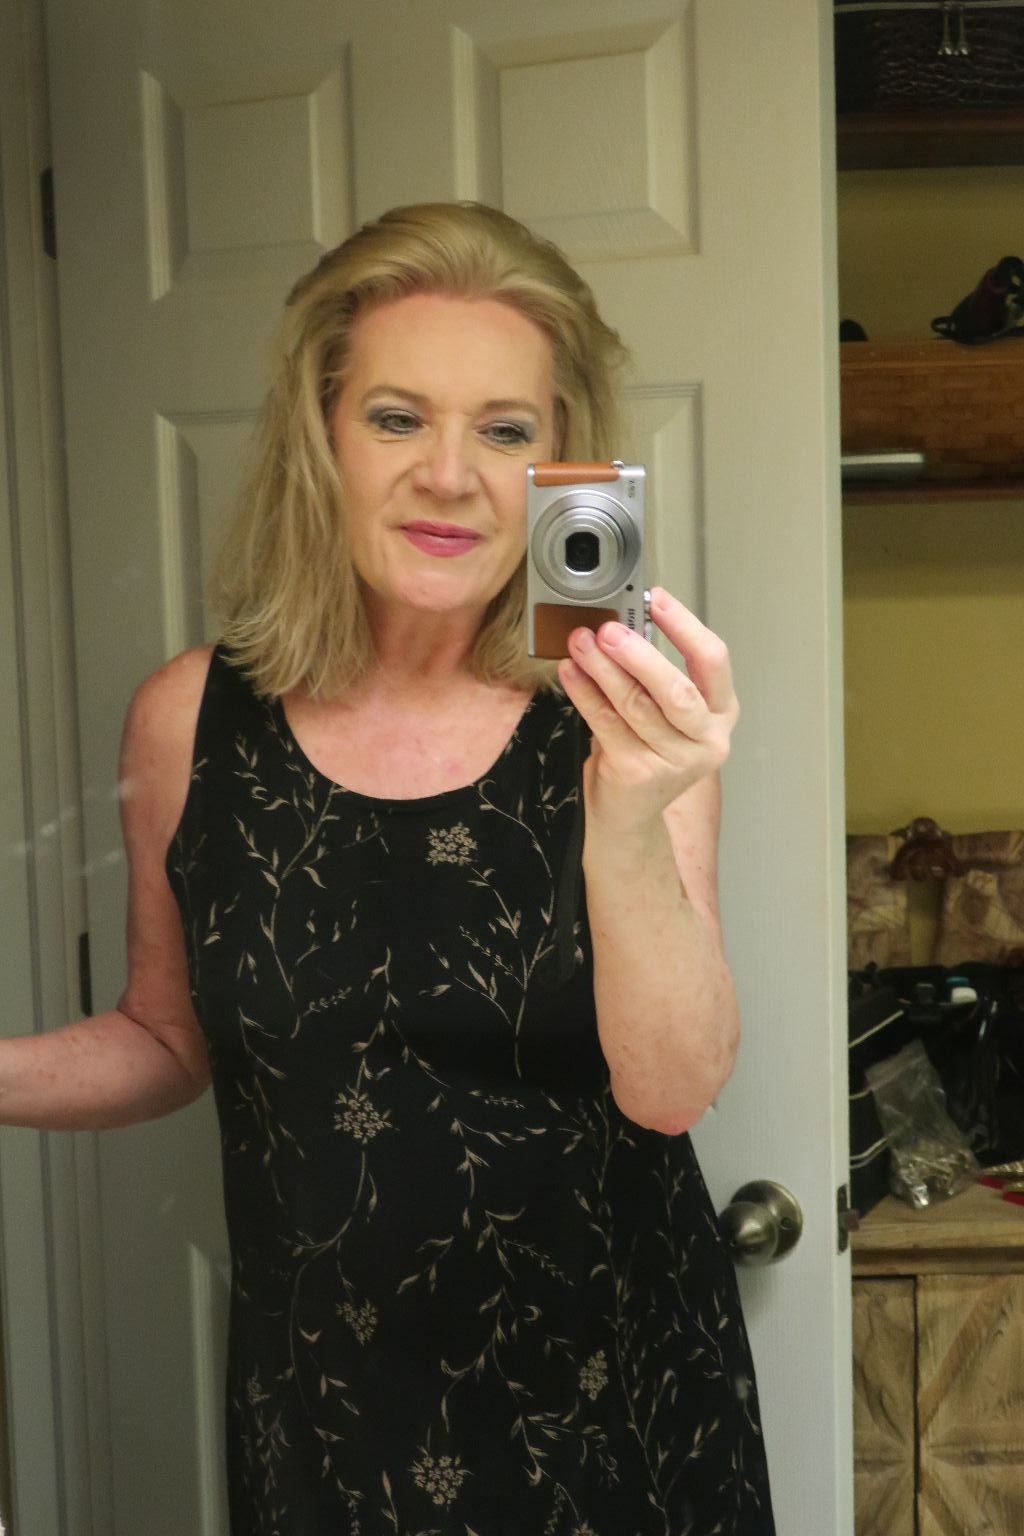

My Hair, Straight as a Board
(My hair holds water. I can wash my hair at 8:00 a.m. and it is still damp at 3:00 p.m.)
When the Pandemic first hit in March of 2020 I was really surprised how helpless so many women were when it came to a lack of caring for their hair as we were all in lockdown. All the whining and moaning because they couldn’t get to their hair stylist or beautician, or whatever they call the people that do their hair? OMG! My roots! My brown hair is showing! My gray is showing! All I could think of is, my goodness, how helpless all these women are?
I am no hairstylist, but I have been tending to my hair now for several decades. I can color my hair, I can cut and trim my hair, I can even add layers to my hair. The only thing I cannot do is to PERM MY HAIR.
So, how do I know how to tend to my hair? It’s because I have been watching everyone that has ever cut/trimmed/styled my hair for the past few decades. Instead of reading a magazine I am paying attention.
To me the atmosphere of a beauty shop is hell! The gossip, the insults… I can’t tell you how many times I have sat in that chair when a client would leave a salon only to hear the insults hurled about her when she only has one foot out of the door. I even spoke up to the ladies in the salon that I can only imagine what you say about me when I leave….
You should have seen the looks on their faces when I said that. 🙂
It’s as though their secrets have been exposed!
As an Empath a beauty shop environment is a toxic environment. I only go when I have to. Other than that, I don’t.
I have needed a perm since December 2019 but I no longer wanted to go to the person that I have been seeing since 2004 because I no longer trusted her. I will not reveal her name or where she works but I have come to believe that she was putting something into my perm when she would give it to me in order to ‘fry my hair.’ I think she has been doing that for a few years now. Whenever I would get an appointment it was always in the afternoon when it was just she and I in that beauty shop. Also, she, as the office manager quit ordering my Paul Mitchell Awapuhi Mist, BUT, she said that she would pick it up for me at the Beauty Supply Store as a favor to me. I paid her for the items and even a little extra for gas money for the items she purchased for me. When I started using them my hair started coming out in clumps. When I quit using the products and started ordering from the company itself I received quality products. I believe that she was putting some sort of chemical in them to make my hair fall out. I still have the bottles. I always keep the evidence.
So, what motive does she have to ruin my hair? Resentment.
First of all, there is no motive for crazy. People do what they do because it is in them to do it. Secondly, from the time I first started seeing her as my hair stylist, her life has gotten steadily worse, while my life has gotten steadily better. She is a devout Catholic and she knows that I am not a religious person. And, from what I know about religious people is that when they deem someone a heathen or a pagan then they see it as their duty to destroy that person in their god’s name.
One day I witnessed a woman that pretty much saved Gerda’s (not her real name), skin when it came to her job. She had gone out of her way to help her and fix a major computer problem that Gerda was having with her job. After the woman left the shop Gerda was thanking god for helping her to fix the problem. I then asked why she didn’t thank the woman that did all that work to help her? Gerda then said that because she didn’t help her, god did. Everything comes from god. I then asked if all the large tips I give her come from god as well? She said yes. I then told her that I don’t think that god wants me to tip you so large anymore. He just told me not to. 🙂
I was simply trying to prove a point. Yet, is it possible to prove a point with a person like her? I think not. She has been indoctrinated since birth into believing what she does and there is no educating her. All that I can do is to move on to someone else to do my hair once I feel safe as this Pandemic continues. But, until then, I am not totally helpless with my hair. There are zero curls left but I will just manage until the time comes when I can find someone new in my area of Florida. Hopefully a sane person.
Not holding my breath on that one!
Julie
—————————————————————
March 28, 2021
THE SHOT
First dose down, one more to go!

When our Governor lowered the age from 65 to 60 on March 15th. to get the shot, that is when Gordon and I started looking around for places where I could get it. Our medical clinic said they were trying to get it so that they can administer it to their patients. The local grocery stores were expected to get the shots with an appointment only but the details were still being worked out. That is when Gordon went online and we found a place at Raymond James Stadium. You have to live in the same county, and have proof of residency so Gordon signed us both up. They were also giving the shots to 50 and over. Gordon is 4 years younger than me so we were thrilled that we could both get the shot together.
So, we made the appointment online and got a call the following day confirming our appointment and asking us some questions about our health. We answered them. We were also given instructions on what to do the day of the shot. Just things like, ‘don’t show up any earlier than 15 minutes prior to your appointment,’ that kind of thing.
When our son Brodie’s girlfriend Mackenzie’s mother got her shot back in February, she had to wait in her car for 5 hours so we didn’t know how long we would have to wait. Turns out we were there a total of 30 -35 minutes the entire time. There were lots of workers and not that many cars in front of us.
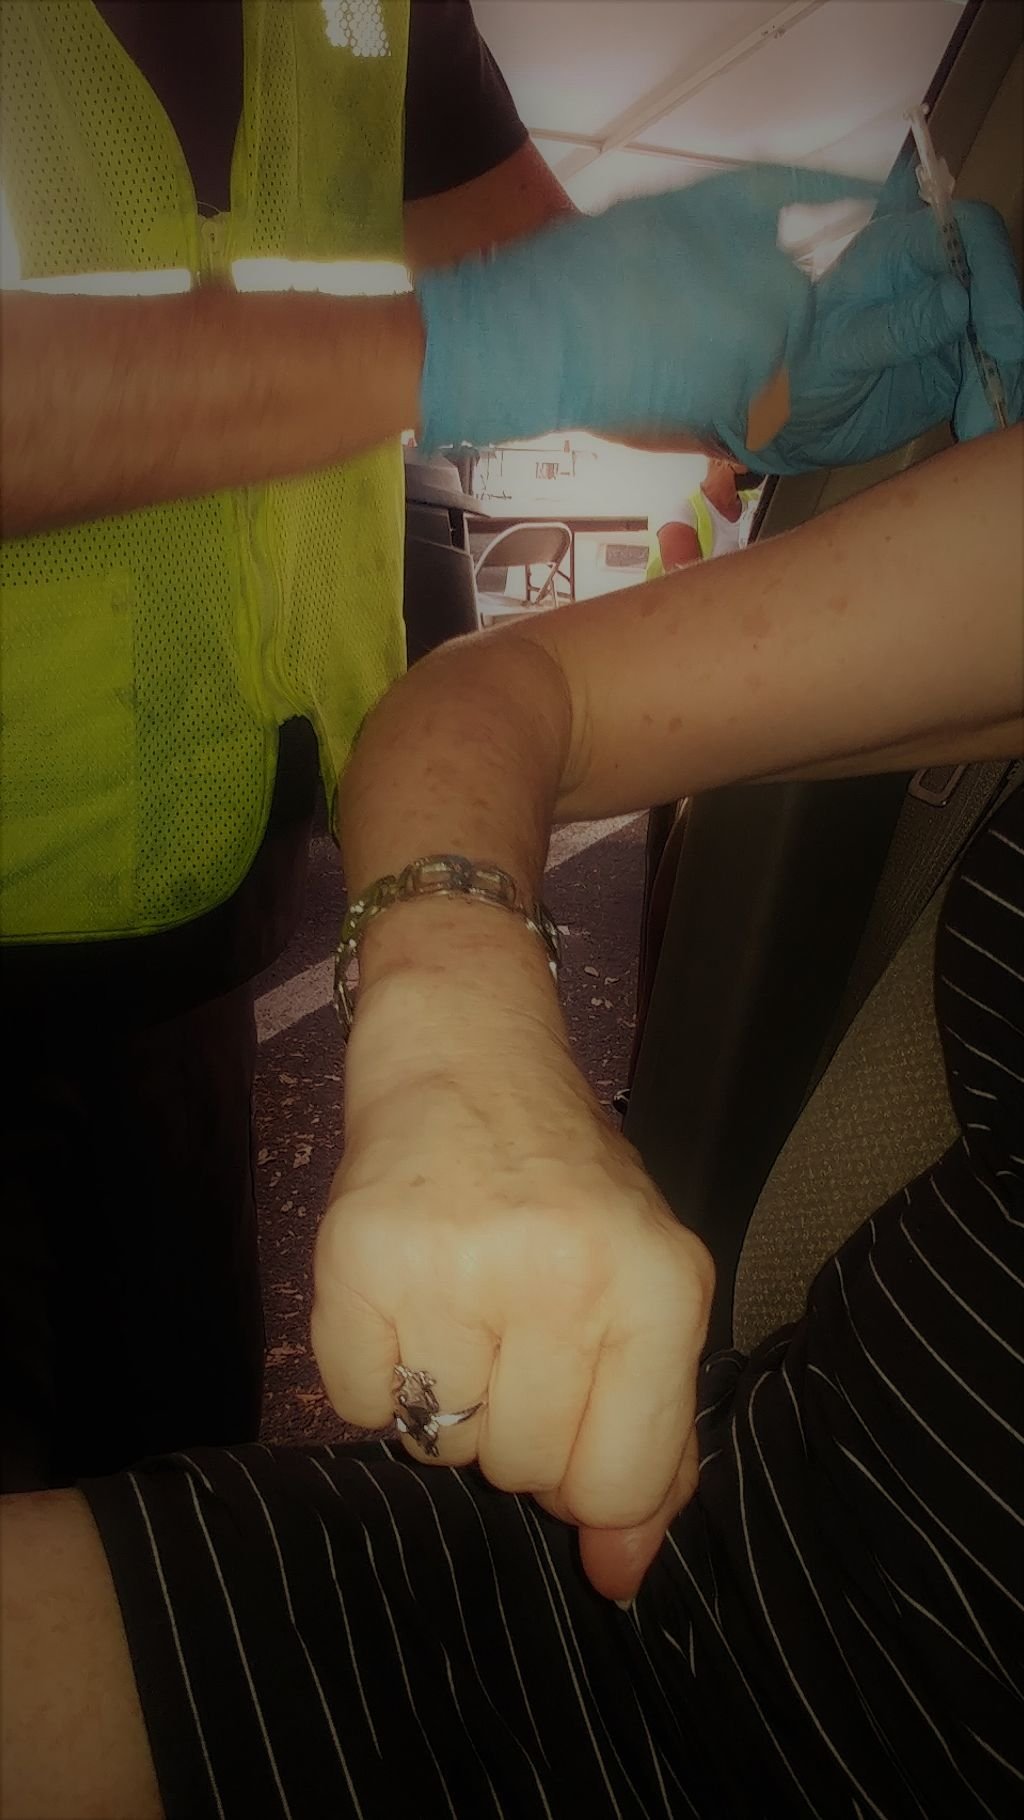

I told Gordon to take a photo of me getting the shot. Well, there is my arm getting the shot. Which reminds me of the time back in 1986 when we were at Sea World and I got to pet a dolphin, I was so thrilled! He just swam up to me and had his head out of the water wanting me to touch him. I motioned for Gordon to take a picture. He did. I couldn’t wait to get the film developed! I was so excited when I got the pictures back…. and that is when I saw it. He got my ARM petting the dolphin. The point is, that could have been anyone’s arm. I wanted ME and the dolphin. Looks like things haven’t changed much.
Julie
P.S. We both woke up with sore arms from that shot but nothing else, so far. Finger’s crossed! 🙂
————————————————————–
March 29, 2021
I just wanted to let you know that our arms feel so much better the second day than they did the first. Just letting you know that both Gordon and myself are fine with no side affects. Looking forward to our second shot. 🙂
————————————————————
Our Foods of Late

We are a big fan of Naan Pizza’s because they are a great way to use up a few things in your refrigerator. The Naan is a nice base and then you just go from there with whatever toppings you may want.
For example, the pizza above is Gordon’s and he spread a Hummus down first, then added some of our Cheeses, Sun Dried Tomatoes, Marinated Artichoke Hearts, etc. and just cooked it in the oven to heat things up and melt the cheese and then he has a tasty dinner.


Before and After
These little Naan’s are mine. Cheeses, Mushrooms, Sun Dried Tomatoes, Peso, and a few Spices. I like these for lunches. Quick and easy. Ready made, just microwave for about 25 seconds.
———————————————————-
We’re Also Still Eating Our Chili
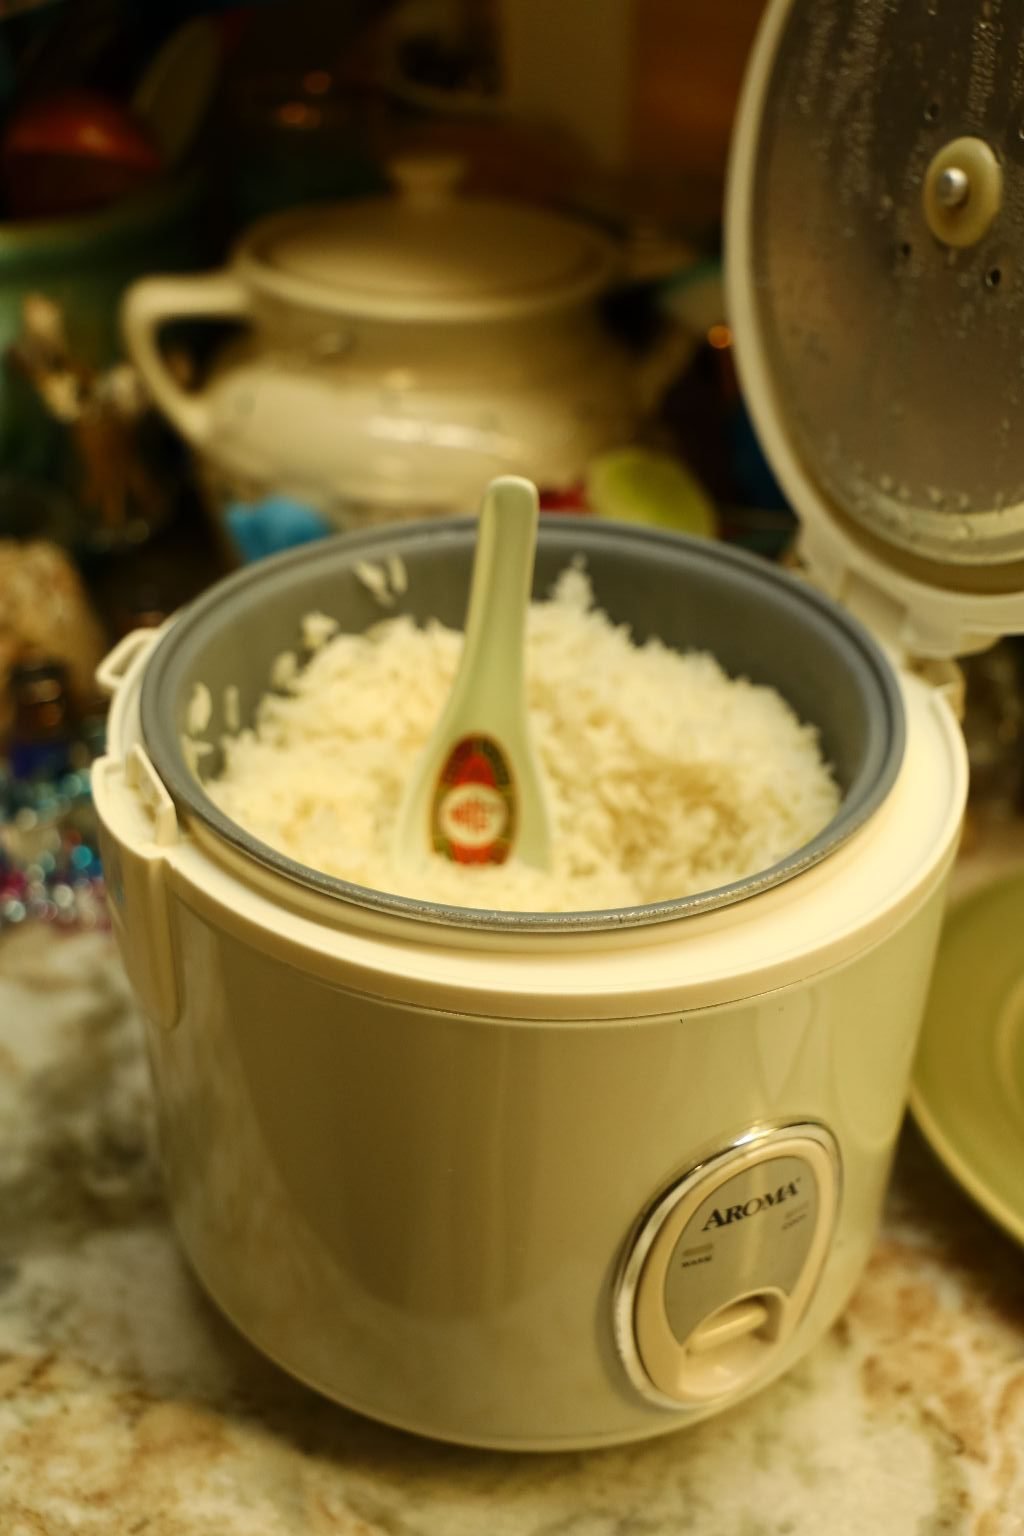

Cooked White Rice and Chili with Cheese and Crackers = Hawaiian Chili Cheese Rice
We love making a big pot of Chili because of the many ways we can eat it and have it taste differently each time. For example. Chili over Rice, Chili over Spaghetti, Chili over Corn Chips, Chili over French Fries, Chili over Slaw, oh and a Chili Dog.
———————————————————————
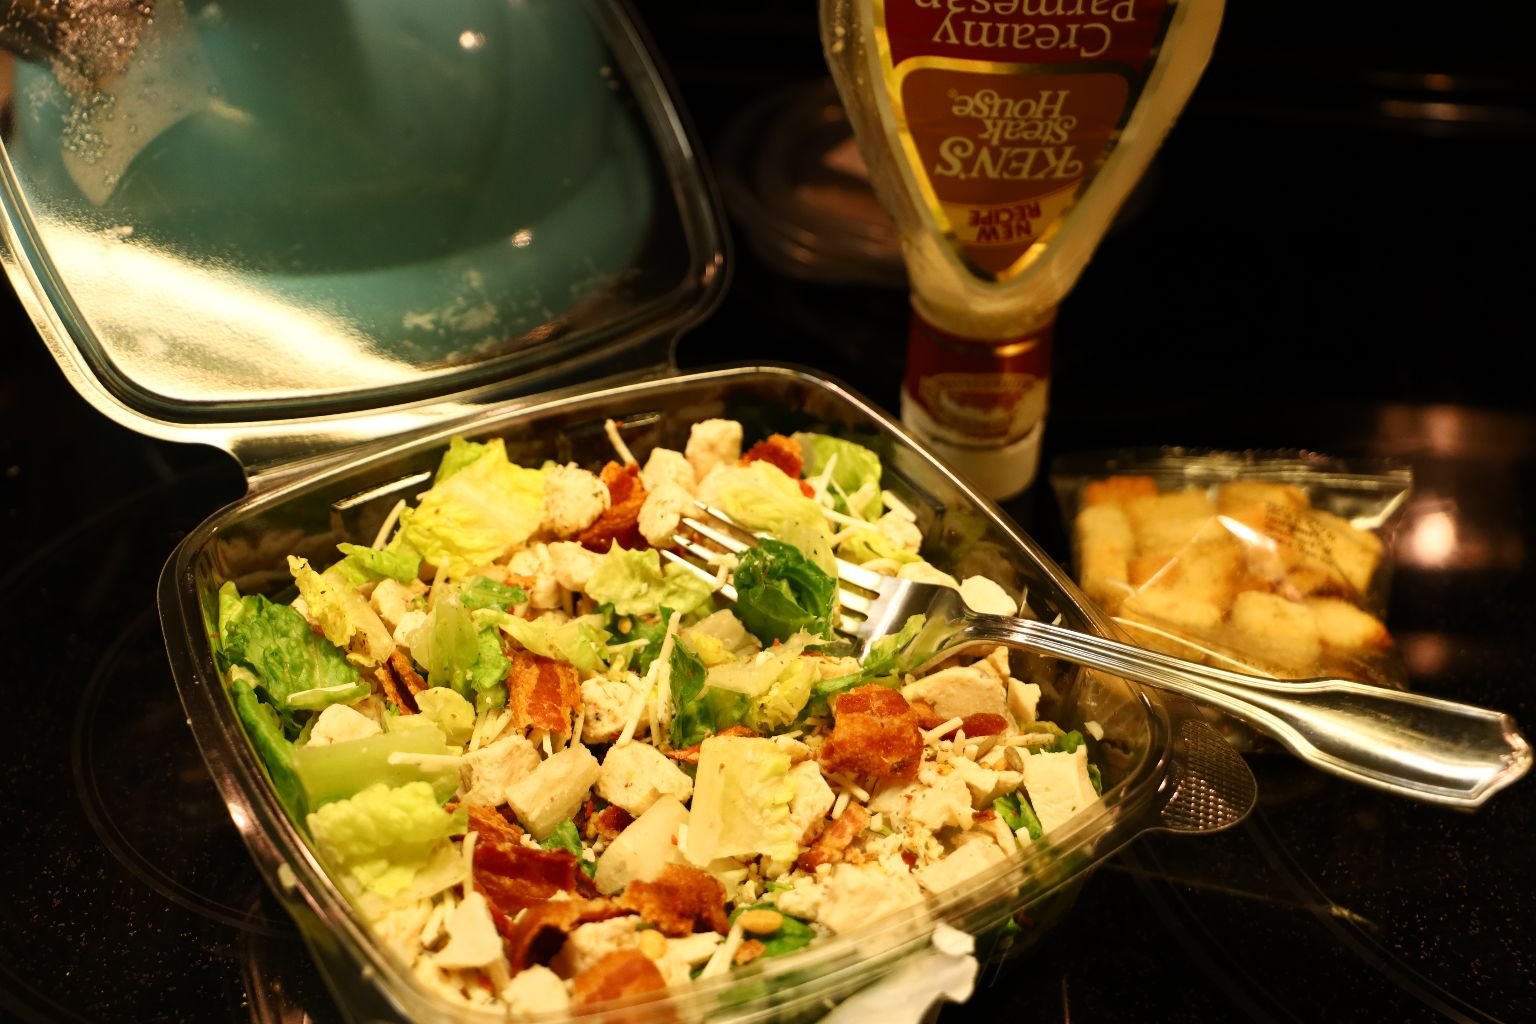
Grocery Store Bought Salad w/ Chicken and a Sprinkling of Bacon
w/ Parmesan Dressing
This salad can feed me a good 2 meals with lots of leftovers that I pass on to Gordon to finish.
We are currently trying to eat a bit better while also eating up the food that is already in our refrigerator. For example, I did add a sprinkling of our leftover bacon on top of my “healthy” salad.
I am not about to go cold turkey from eating rich, to eating light overnight. I am trying to incorporate the foods in the fridge with our healthier eating as well. I don’t want food to go to waste.
—————————————————————————–
I LOVE GARLIC!!!!
Roasted Garlic

If you know me at all, then you know that I LOVE Roasted Garlic!
All that I do is to turn on the oven to 400F. I then add as many garlic cloves as I like to a small baking dish. I then add as many pats of butter to that dish, cover with foil, and then place into the oven for about 20 minutes. I do cook this garlic for about an hour but removing from the oven every 20 minutes to stir together until nice and done. I love it nice and tan/brown and caramelized.
——————————————————————
I can pretty much eat this about 3 meals a week. However, I noticed in one of my cookbooks where they were frying garlic and I decided that I wanted to try that.


I pretty much told Gordon that this is what I want and he went to work creating it for me. I knew that I wanted to try fried garlic, but I wanted it to have some spice and crispness to it. Which was not mentioned in the cookbook I got the idea from.
Gordon sliced the garlic and then added some olive oil to a pan…..


He then added some Italian Pizza Spices to the oil….
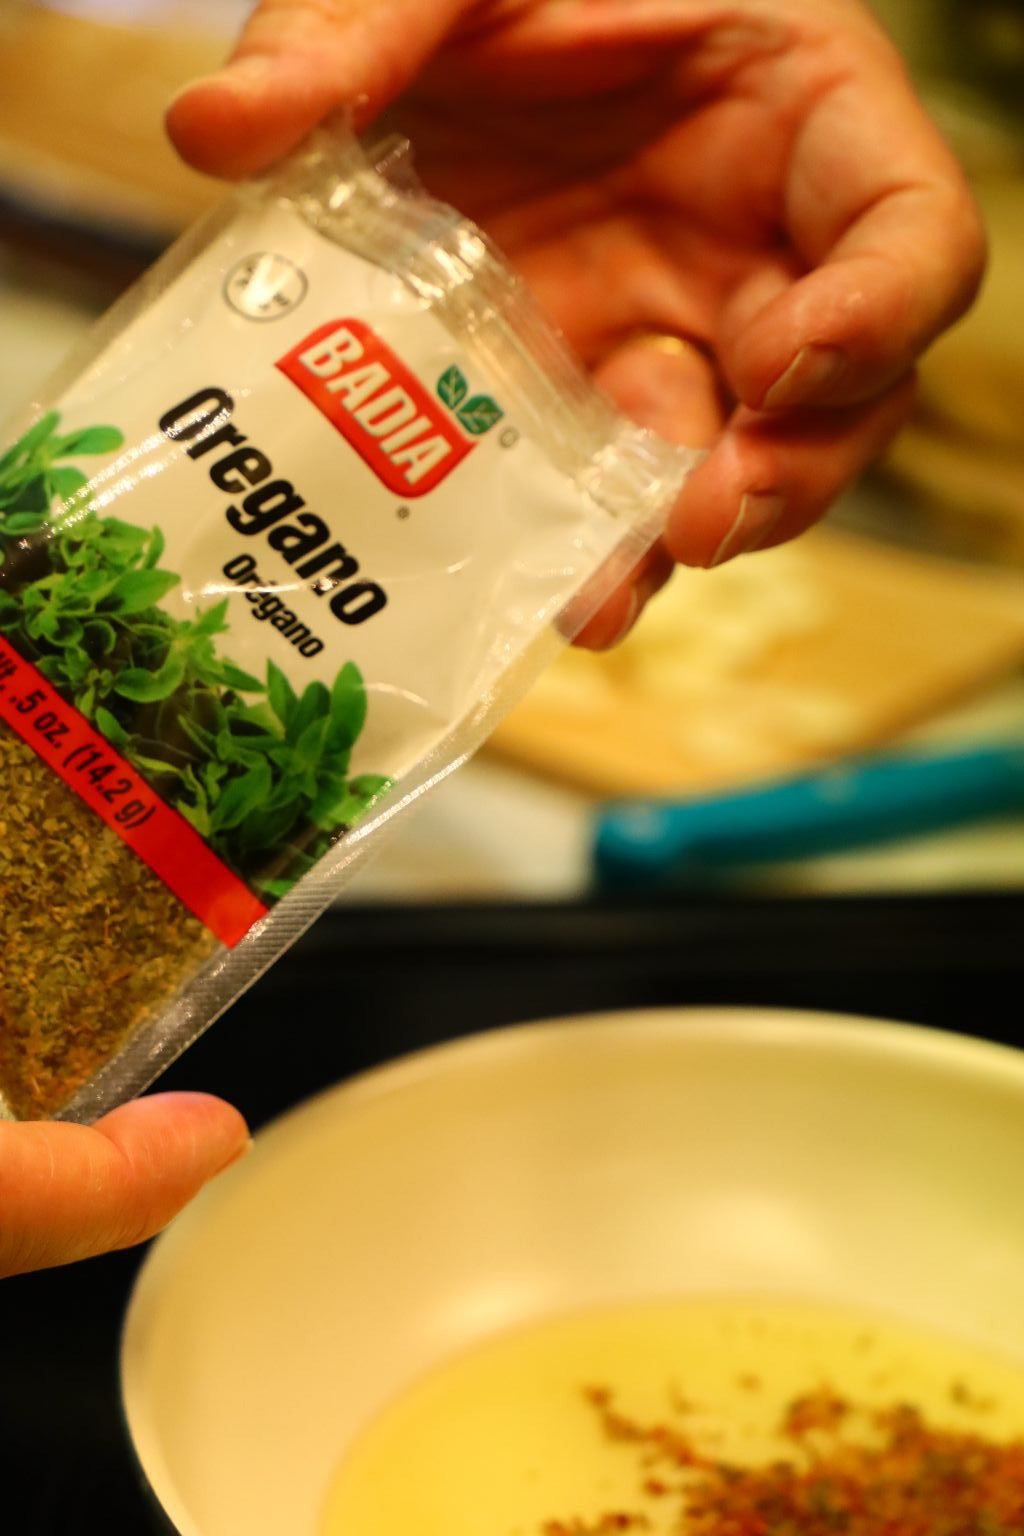

Then, some dried oregano…..

Now add the chopped garlic to a medium-low heat in a saucepan to cook.

Cooking Away, You Want It To Cook, Not Burn


Simmer Away on the Stove for About 10 Minutes, While Stirring
——————————————————————

Our Italian Appetizers

This is also a favorite meal for me:
Sun Dried Tomatoes, Feta Cheese, Pesto, Marinated Artichoke Hearts, Cheese Stuffed Peppers, Bruschetta, Roasted Garlic, and now Fried Garlic, along with some Toasted sliced Sour Dough Bread with a drizzling of Olive Oil.

———————————————————————–

Gordon’s Italian Appetizer Plate
We do so love all the little tasty apps. 🙂
————————————————————–
March 25, 2021
Socially Distance Shopping

Gordon With The Binoculars
I was shopping around for Mackenzie something special for her upcoming birthday and I wanted Gordon’s opinion. We are socially distancing because he had surgery and you just never know…..
So, I wanted his opinion on which one to buy out of 3?
He helped me decide by using the binoculars to view each item on the computer. 🙂
Between the two of us, I think we nailed this one! 🙂
———————————————————————–
The best Naan Pizza I’ve Ever Eaten


Julie’s Naan Hummus, Green Gouda Pesto Cheese, Mozzarella, Pesto, Mushrooms, Sundried Tomatoes with a drizzle of the Olive Oil, and a sprinkling of Garlic Salt, LEFT.
Right: My cute little Mini Me Naan that I had for lunch today.

——————————————————————-

This is Gordon’s Pizza, same as mine, except he added some Marinated Artichoke Hearts to top his.
——————————————————————–
I’ll get to all this in a minute, but…..

Brodie and Mackenzie’s Mushroom Tartlet
(Mackenzie’s parents recipe.)
Last night Brodie sent us this photo of what he and Mackenzie were eating last night. Apparently the recipe is from Mackenzie’s parents. Looks delicious? Doesn’t it?
Seeing as how great minds think alike I decided to post our pizza’s. I’ll try and find out the recipe for the Mushroom Tartlet, but in the meantime I can give you the recipe for our Naan Pizza’s.
———————————————————
As I have been writing about, my cholesterol is high and I need to lower it so I am becoming more aware of what I put in my mouth. We all pretty much slacked off this past year due to the Coronavirus, and I need to return to my past behaviors that were far more healthy than I have been of late. The Naan Pizza’s that we made above are a good example of being able to eat healthy and have that great taste to go along with it.
Our Socially Distanced Naan Pesto Pizza’s

I told Gordon that I wanted the larger Naan and the medium sized Naan so that we can make pizza’s with them. The larger Naan is great for dinner, but the medium sized Naan is great for lunch.
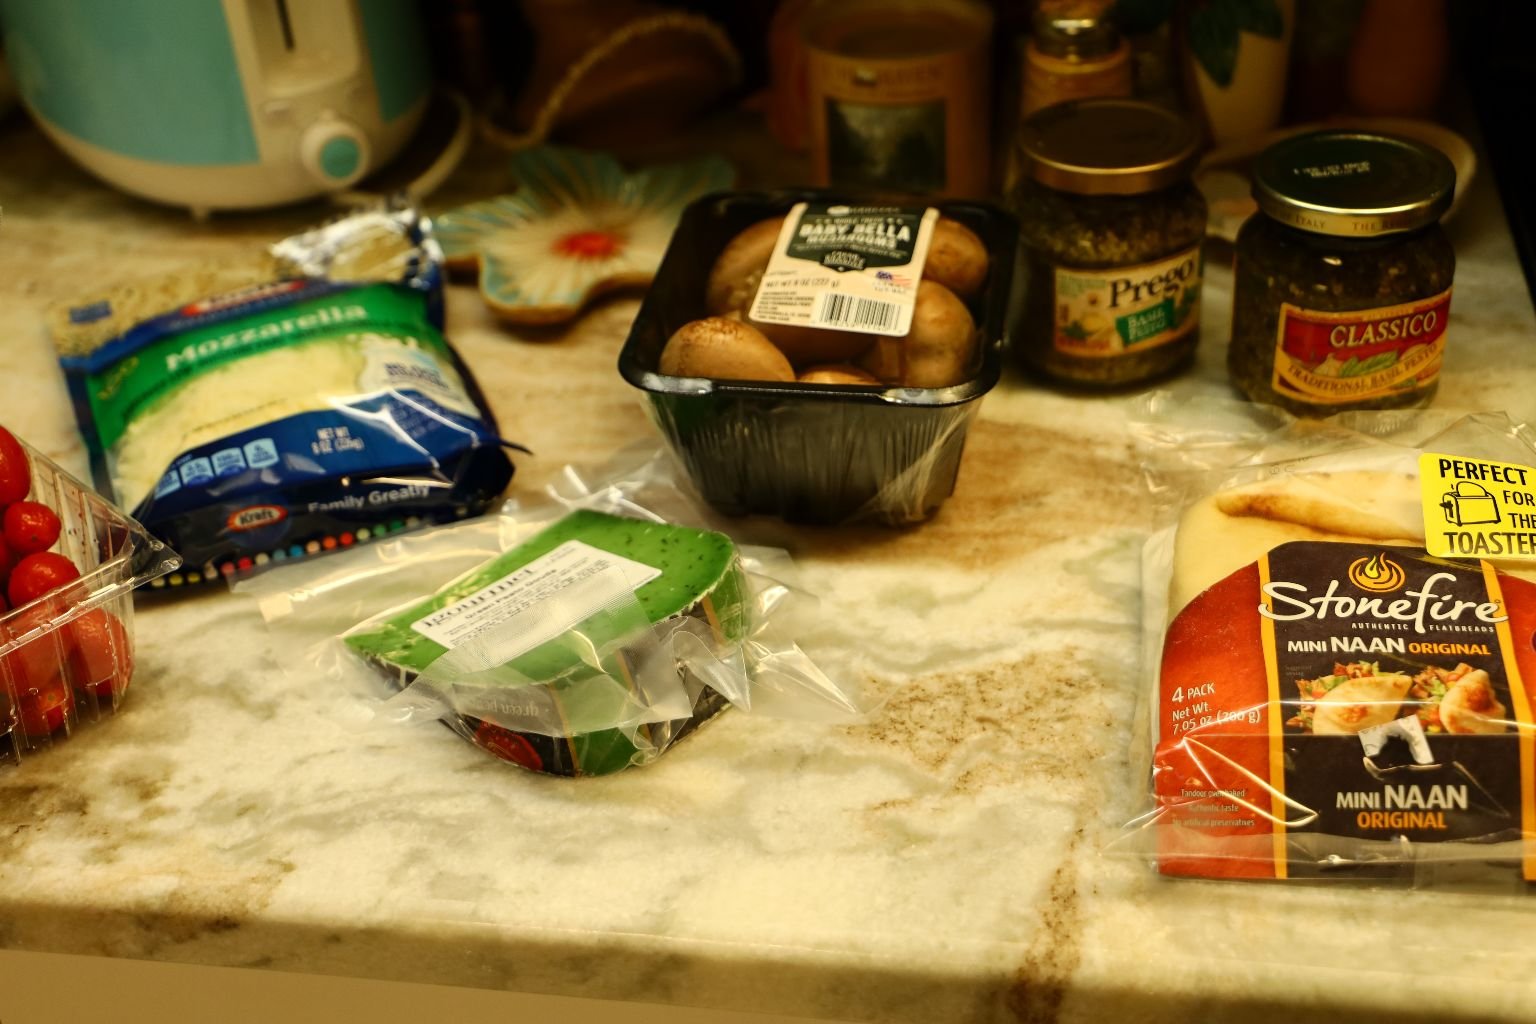

I wanted to use up the cheeses that we already had, along with some pesto.
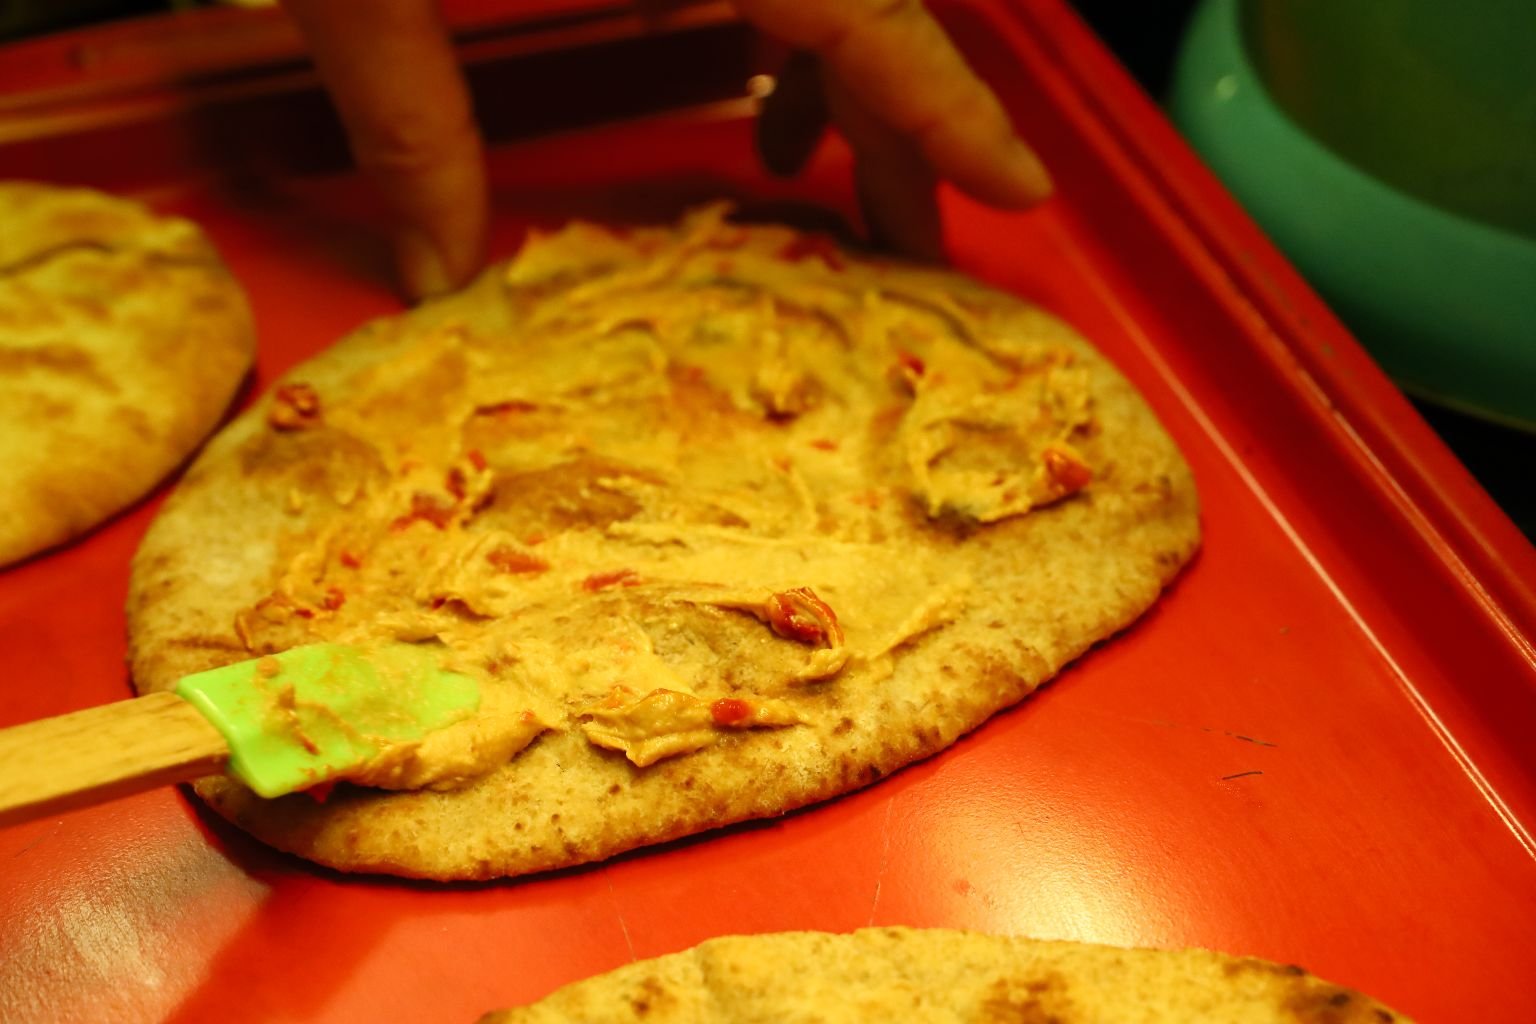

The first thing that Gordon did was to turn the oven on 400F and place the Naan in the oven to cook for 5 minutes on the bottom side of the Naan. Now, it is ready for the toppings.
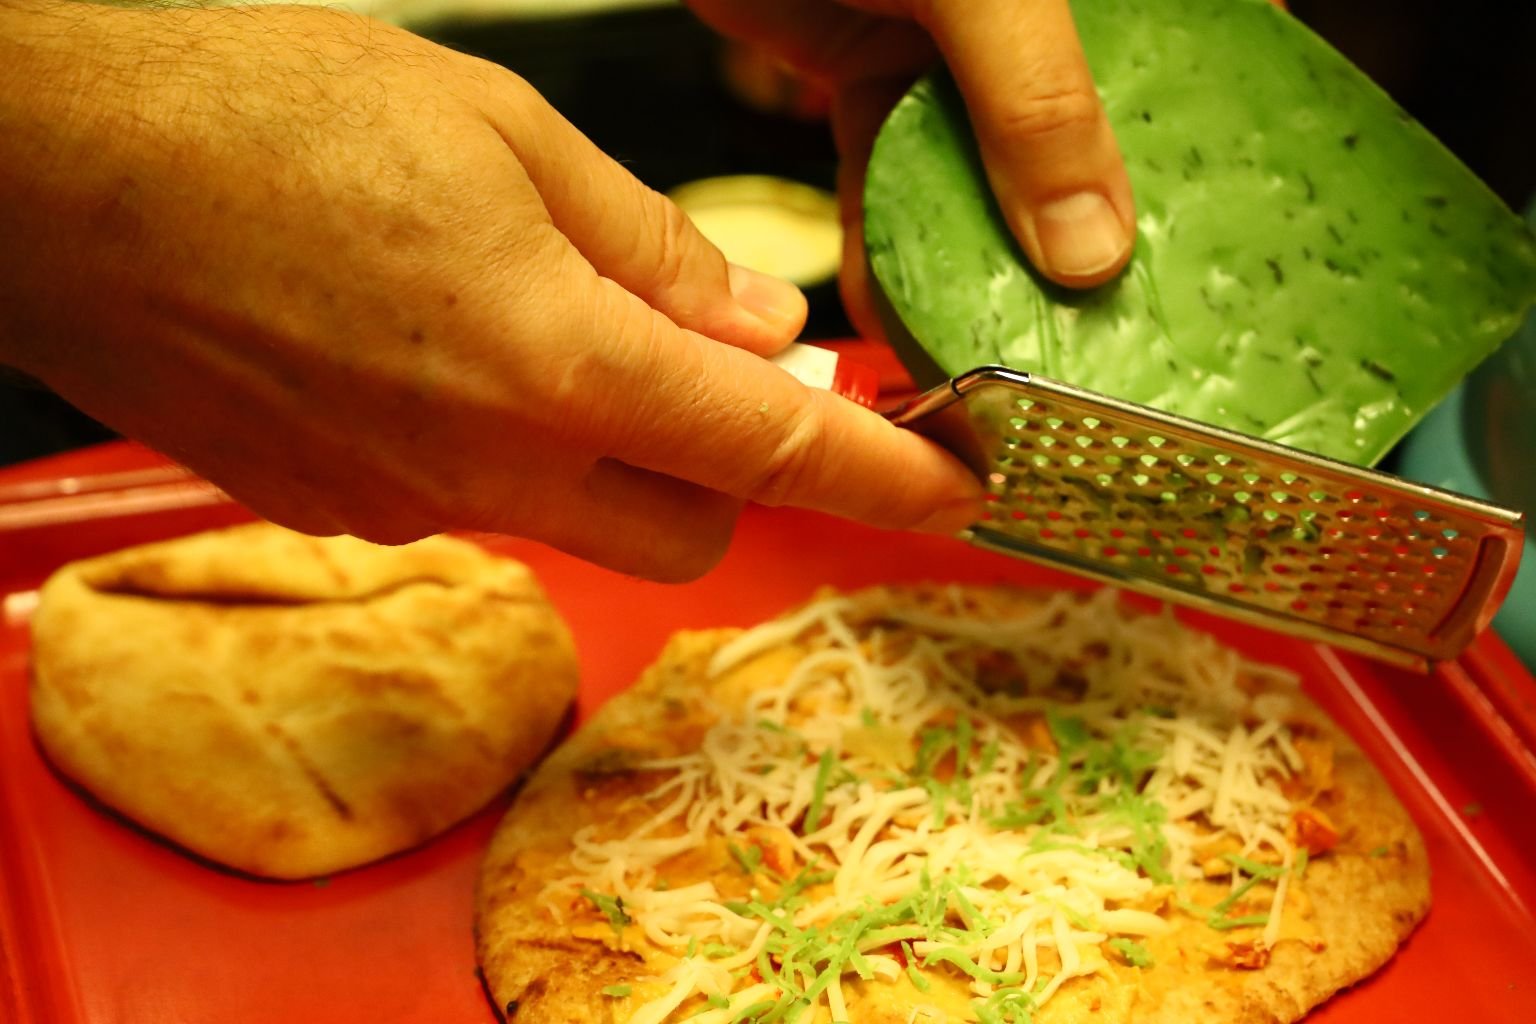

I told Gordon that I wanted a thin layer of my Red Pepper Hummus on the Naan. I then wanted some mozzarella and some grated Pesto Gouda on top.

Followed by a few blobs of Pesto.


Next, some sliced Mushrooms with a drizzle of the Olive Oil from the marinated Sundried Tomatoes.

As well as a few Sundried Tomatoes on my pizza.
Now, it’s time for a sprinkling of Garlic Salt and then placed into the oven for about 8 minutes until done.
Perfection at it’s best!
———————————————————————–

The End
——————————————————————
March 24, 2021
My Fast Food Indulgence of Late
I just wanted to address the irony of my doing my best to stay away from Gordon since his surgery out of a precaution that he may have picked up Covid while he was there in order for me to be healthy, and my indulgence of Burger King and McDonald’s of late. I know, I’m a hypocrite! 🙂 BUT, sometimes we need to feed those indulgences because although they may be harmful to my body, they do tend to soothe my soul.
And, although this is no excuse for my indulgence, I hurt my big toe and ruined my pedicure, while we were visiting with Brodie and Mackenzie last Saturday. I didn’t see the step up in their garage and I rammed my toe into it. It sent me flying through the air while holding a pretty potted plant. Luckily, me and the plant slammed into their washer and dryer that prevented my fall from being worse than it could have been. I was wearing flip flops. Had I been wearing shoes then I do recognize that I wouldn’t have hurt my toe. Yet another irony for Julie Barefoot.
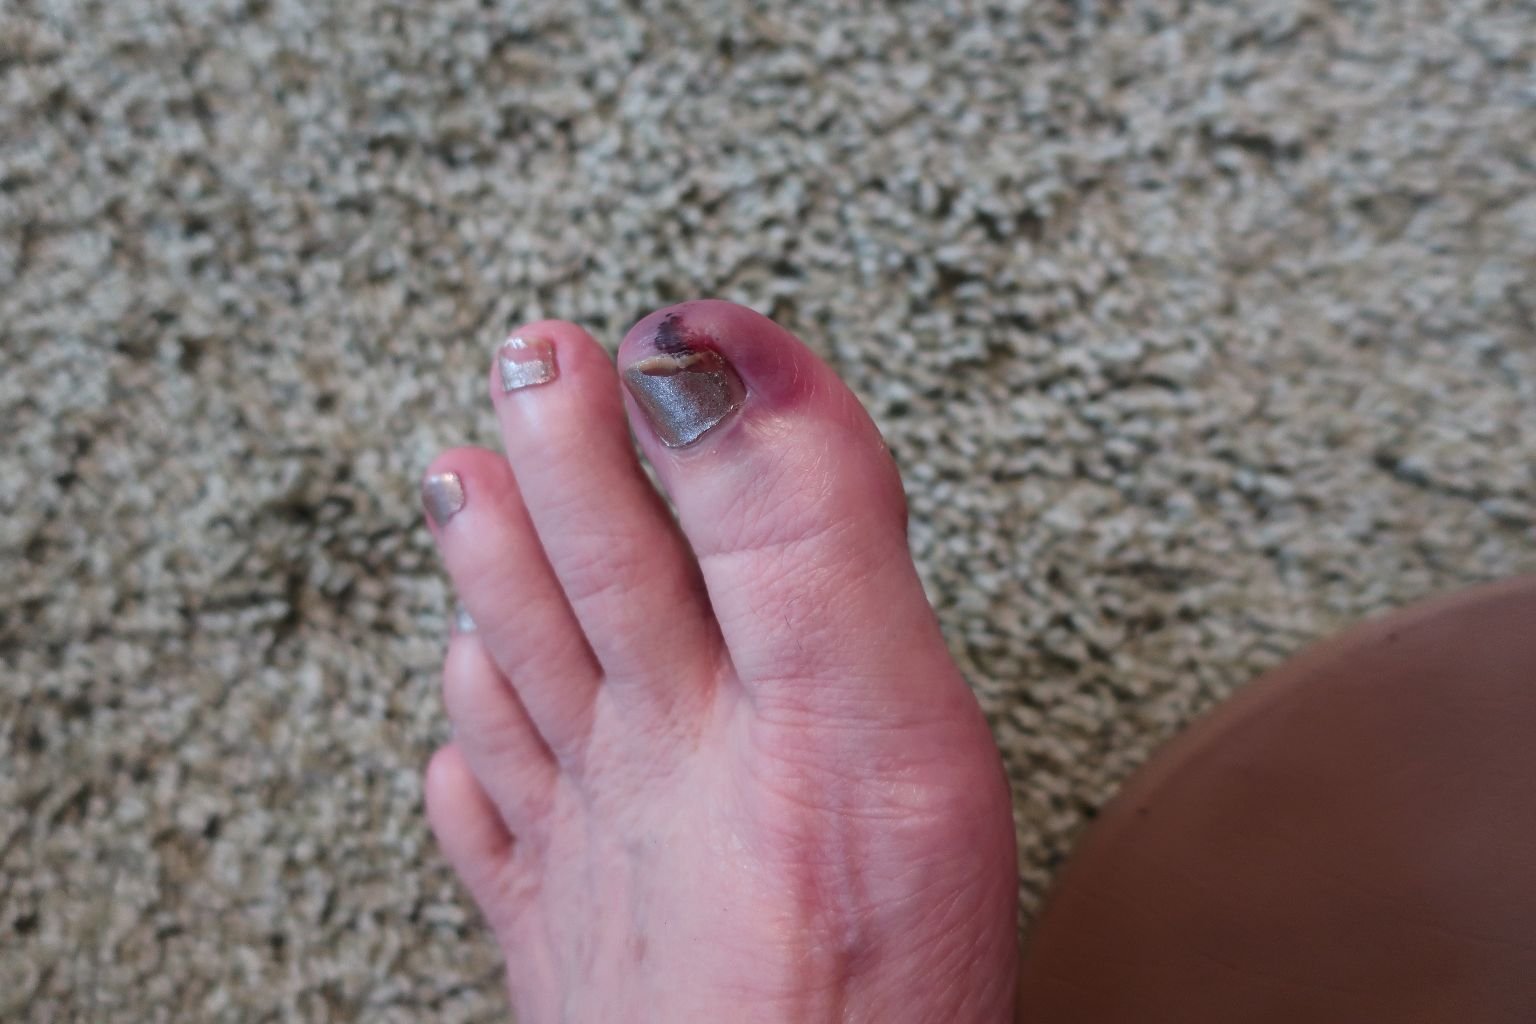
Julie’s Gnarly Toe
The good news is that because of this I cannot wear any tennis shoes in order to get on the treadmill. So, why is that good news? Because Gordon is isolating in the den where the treadmill is so instead of my resenting the fact that I can’t get in there to get on the treadmill, I can’t use it anyway because of my toe.
As far as my diet is concerned, I’ve gotten the fast food urges out of me and now it’s back to eating better food. The pandemic has contributed to throwing me off my game and I need to return to my old ways in order to be a healthier person in my 60’s. I promise I’ll do better. 🙂
Julie
—————————————————
March 23, 2021
Isolating Gordon
I write below about how Gordon had surgery yesterday and because of that we are trying to Covid distance ourselves from each other as a precaution.
The fact that Gordon was unconscious during surgery is why we are isolating away from each other for a few weeks. He was not in control while he was in surgery and recovery so therefore I am assuming that he is infected with Covid and I am treating him as such. For MY health and safety.
———————————————————–
I speak below of how Gordon spends most of the day in our den working from home, watching T.V., reading books, and relaxing and recovering from his surgery. But, when it comes to sleeping, he is sleeping on our new sofa bed in our living room.

Our New Sofa Bed
The door you see above the bed is our bedroom where I have it all to myself until after Gordon’s isolation period. Gordon did say that our new sofa bed is very comfortable. That’s good to know.
————————————————–
We were both so disappointed in our McDonald’s lunch yesterday after Gordon’s surgery because they were sold out of breakfast sausage biscuits, so Gordon ran to the drive through of McDonald’s AND Burger King for their breakfast sausage biscuits this morning. Seeing as how he won’t be cooking breakfast all week he bought us sausage biscuits to heat up for breakfast for a few days. Just something quick, tasty and easy for the microwave.

Burger King and McDonald’s


Burger King And McDonald’s

Burger King And McDonald’s 🙂

Eating on my Lap at my Computer
Right now we are doing what we can to keep me virus free and healthy. In this day and age that is the meaning of trying to stay healthy. I just wanted to note that Gordon has not been diagnosed as having Covid 19. We are just living as if he has it in order to keep me safe and healthy. You never know.
These are precautions that we are taking. Perhaps you should as well. If you are in our similar circumstances.
Julie
———————————————————
March 22, 2021
Gordon Had Surgery Today
(Barely)
It was on March 12th. exactly when I was writing the blog post below this one that the phone rang and Gordon answered it. It was from our family practitioner’s office with news for Gordon of his labs that he had taken a few days ago. They were calling to tell him how wonderful he is and how his cholesterol is perfect, his sugar is perfect, his triglicerides are perfect. Blah, blah, blah…..yeah, yeah, yeah….
Funny how I always ask to have my labs sent to me in the mail and I never receive them but Gordon gets a phone call! WooOOooo…….. He then asked them to mail him his labs to our home address. I was also waving my arms in the air signaling to him to have them to send me mine as well. And of course they did! After all their boy Gordon requested it! I can ask till the cows come home but NO, I don’t get my labs sent to me, much less a phone call telling me how wonderful that I am.
So, I got my labs in the mail about a week later. I am only going to give you my sugar level results, 120. But, I am going to withhold my cholesterol and triglicerides. Hey, I have to have some secrets. And besides, they are high!
About my sugar: I am supposed to be under 100 in order to be “normal.” However, there was a time when it used to be that you had to be under 150. Then 130. Now 100. So, if you get an older doctor then he/she will not be as alarmed with a number of 120 like mine. But, if you get a younger doctor then they are alarmed by it.
The only reason I am telling you what my sugar level is, is because I have told you that I am a borderline diabetic. My labs state that I am Pre-Diabetic. Is there is difference? To me, a borderline diabetic means that you can go either way, but to be determined to be Pre-Diabetic tells me that I am destined to be a diabetic. This is why I need to speak to a doctor and not just diagnose myself through Google.
I am the kind of person that sees and fears the worst. If I were to read the symptoms of Ebola then I’m pretty sure I could convince myself that I have it. Which is why I need a professional to set me straight and address my fears.
I am still waiting for my family care physician appointment which comes at the end of the month.
Gordon however, was able to see a floating physician a few weeks ago at his appointment, that was able to diagnose his problem and refer him to a surgeon and schedule his surgery, which was today. And although this blog is not supposed to be about him, I will bring him into this as this is also about my health as well.
It was about a month ago that Gordon had an ingrown hair to become festered and turned into a giant zit on his stomach. It was huge! He was able to get an appointment to see a doctor. (Of course, he did.) And the doctor recommended surgery to have it removed. He was also told that it is probably the size of a tennis ball underneath his skin. O.k., gross.
So, today was the day! Surgery Day!!!!
We both got up early. Gordon had been fasting since last night so he was ready to get this surgery over with. We had also made arrangements for Gordon to spend most of every day in the den after his surgery and just sleep on the pull out sofa bed at night in the living room once I go to bed so that he doesn’t infect me with whatever he may have picked up at that surgery center. Which btw: that surgery center is the largest in all of America. I loved the place! Parking was great! Dropping off and picking up was easy. Hey, I’m into all that.
What with Covid being still a threat and Gordon undergoing surgery where he would be rendered unconscious and not in control, I was worried that he may pick up something and then pass it on to me. So, prior to his surgery we started making plans for Gordon to spend most of the day in the den where he can work from home, watch t.v., read, and relax on the Lazy Boy Chair. But, when it came to sleeping, he would sleep on the pull out sofa bed in our living room. I could then retreat to our bedroom when it came time to going to bed to watch T.V. and to just isolate myself at night away from him just out of a precaution.
We had our last meal, last night. Blackened Grouper Cheeks Po’ Boys with our leftover Grilled Cabbage Slaw. They were magnificent and Gordon said that they were one of the best foods he has ever eaten. We always like to plan for a last meal, just in case.
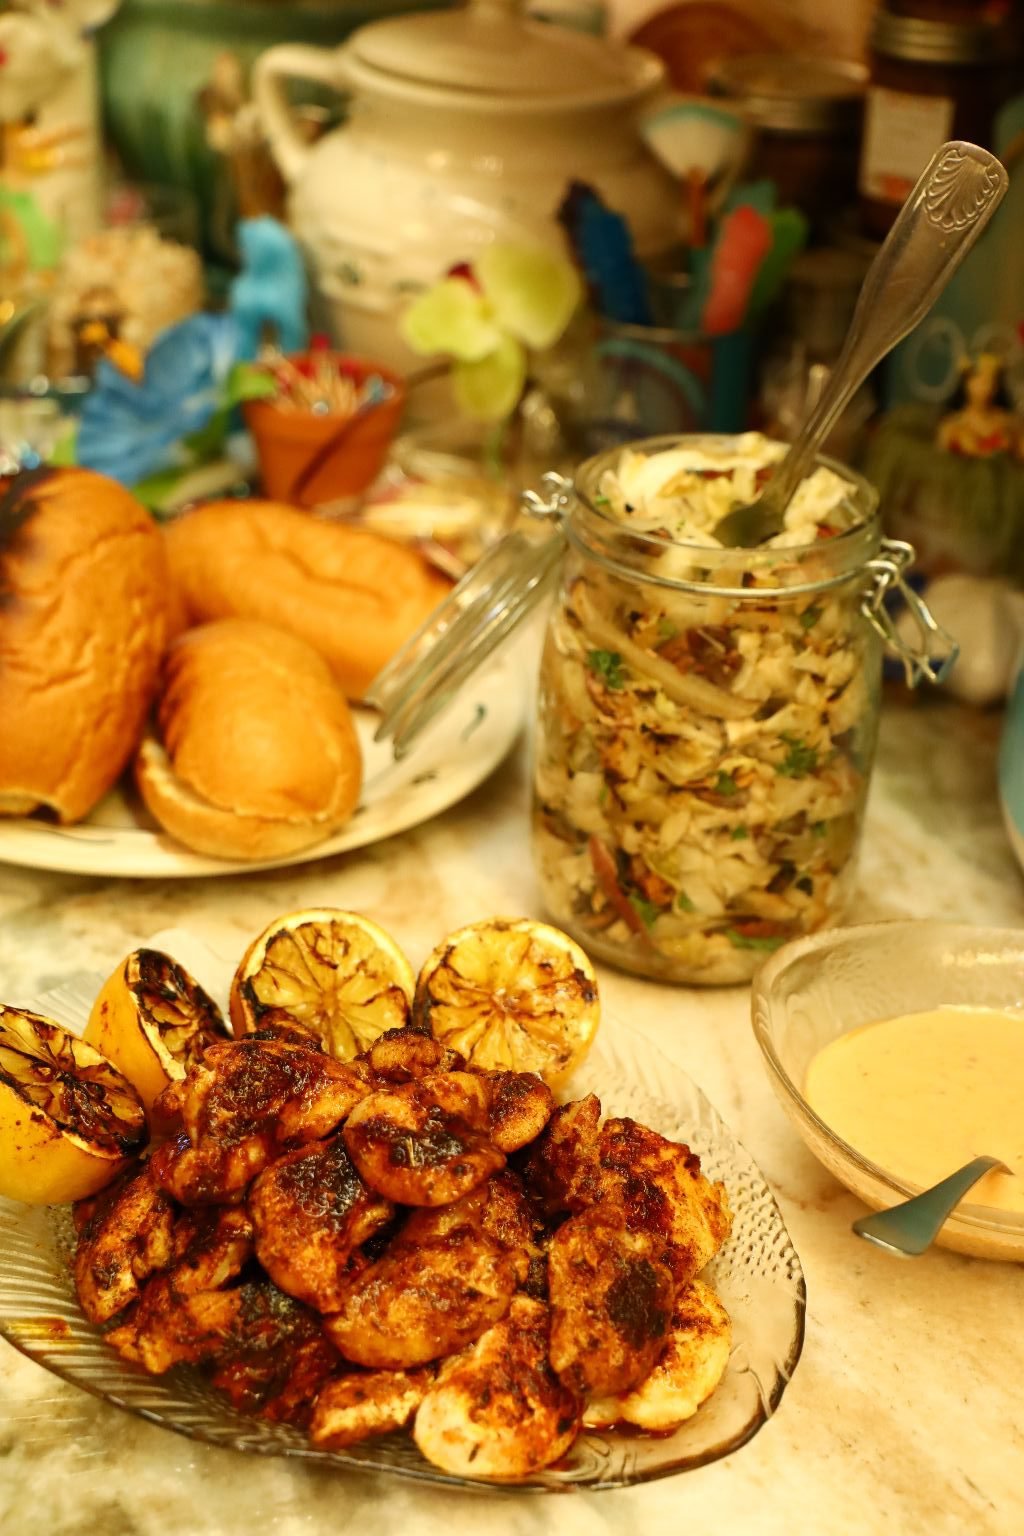

Our Blackened Grouper Cheeks Po’ Boys Sandwiches


They were Superb!
—————————————————————————
When it comes to surgery, anytime that they put you under, you always stand the chance that you may never wake up. So, we like to prepare something special to eat for dinner, and to visit with our kids just in case things don’t go the way they should. I believe in saying goodbye. 🙂
It was as we were preparing to leave the house this morning for the surgery center that we get a call from someone at the surgeon’s office telling us that Gordon may not have his surgery today because although the surgery has been approved, our insurance company has not signed the paperwork for the surgery. The woman that called Gordon also told him that she is having a hard time getting our insurance company on the phone to officially approve it! That’s when Gordon started dialing our insurance company to see if he could get the ball rolling. He did get through. That is when he put his surgeon’s office personnel that he had on his cell phone, next to our insurance agent that he had on our home phone. He pretty much put the two phones together so that they could talk and work it all out. They did. After 35 minutes of stupid conversation. Turns out that all it took was to replace an L with an M in the code to approve the surgery. Is this not ridiculous? Or what?
So, after a hell of a lot of stress and worry, the surgery paperwork was signed and approved so off we go to the surgery center. I dropped Gordon off and he went inside. I drove home. I was not about to stay. He’s a big boy and he can get through this on his own. I also don’t want to expose myself to any unnecessary atmosphere. If you know what I mean?
I came home and I made my Chili!


I wanted to make a big pot of something comforting, mainly for me. I knew that Gordon wouldn’t be cooking for a good week so I wanted to make something that I could very easily heat up and eat. Something that I enjoyed. Something comforting. Hence, CHILI!
I also knew that Gordon would enjoy it as long as he could eat something as hearty as this.


I Topped our Grilled Cabbage Slaw with our Chili.
Perfect!

Chili Cheese Slaw (Something New.)
———————————————————————–

———————————————————————-
Gordon’s surgery was at noon. I got a call around 12:35 that he was out of surgery and in recovery. I was told to pick him up within about 45 minutes. I did. I left my chili to continue to cook on the stove top on a very low heat. I was able to pick him up and everything went according to plan. He was famished and we decided to run by our favorite McDonald’s for our usual breakfast sandwiches that they are supposed to have available all day long. Only to be told that they don’t have any more Sausage Biscuits or Egg McMuffin’s available. Yuck! Therefore, we had to order from the regular menu, which we normally don’t care for.

I ordered a yucky Spicy Chicken Sandwich with Fries. Gordon ordered a few burritos and a spicy chicken sandwich. This was nothing that we wanted. But we were stressed and a bit famished so we dove right in, and dove right in!
———————————————————————–
Gordon is home and is safe. He is well. But, we just need to make sure that we both are well by staying away from each other for awhile. Just in case. So happy his surgery went well. So happy that he is doing good.
Julie
——————————————————————-
March 12, 2021
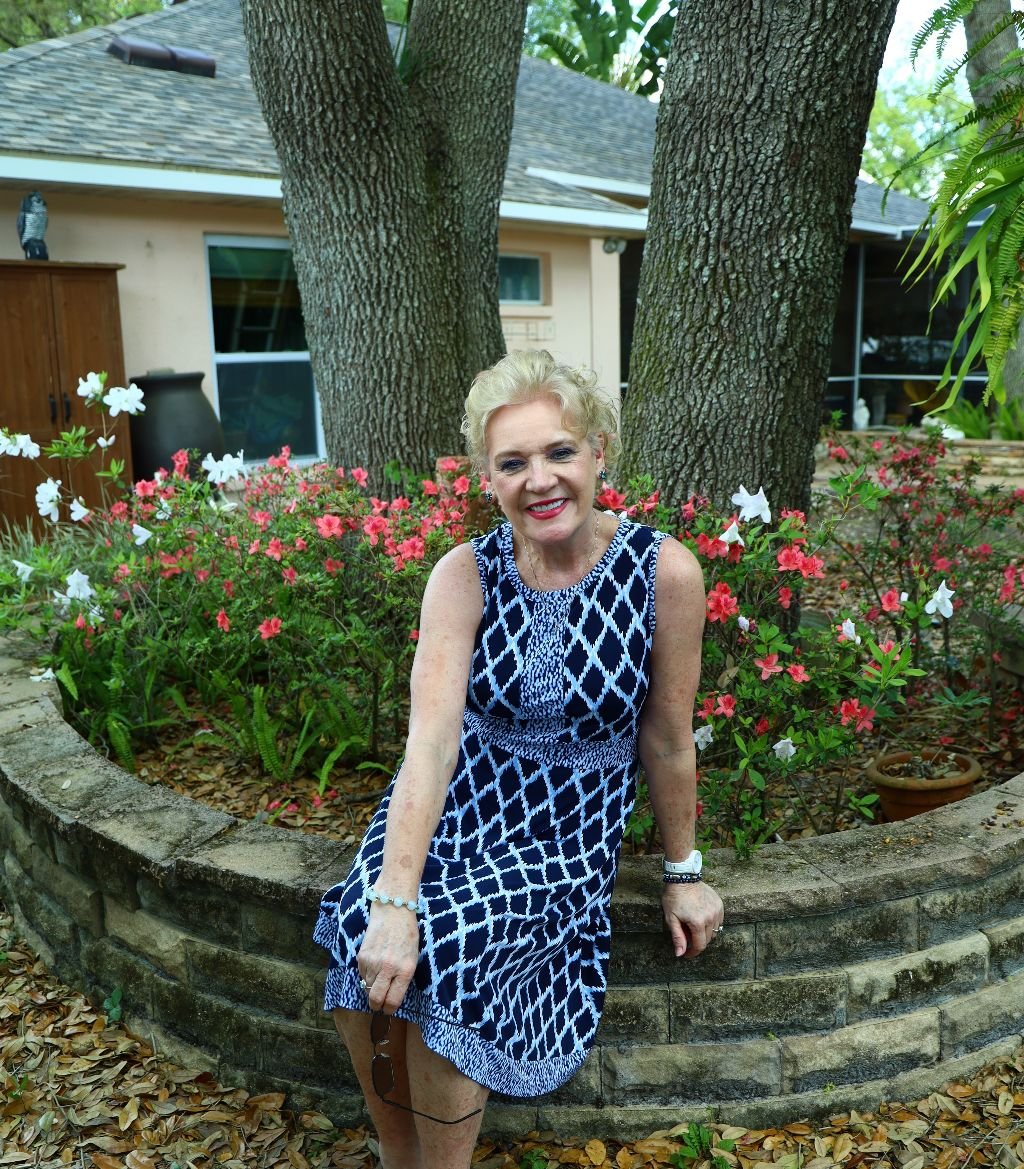
Surviving and Fearful of Falling Between the Cracks
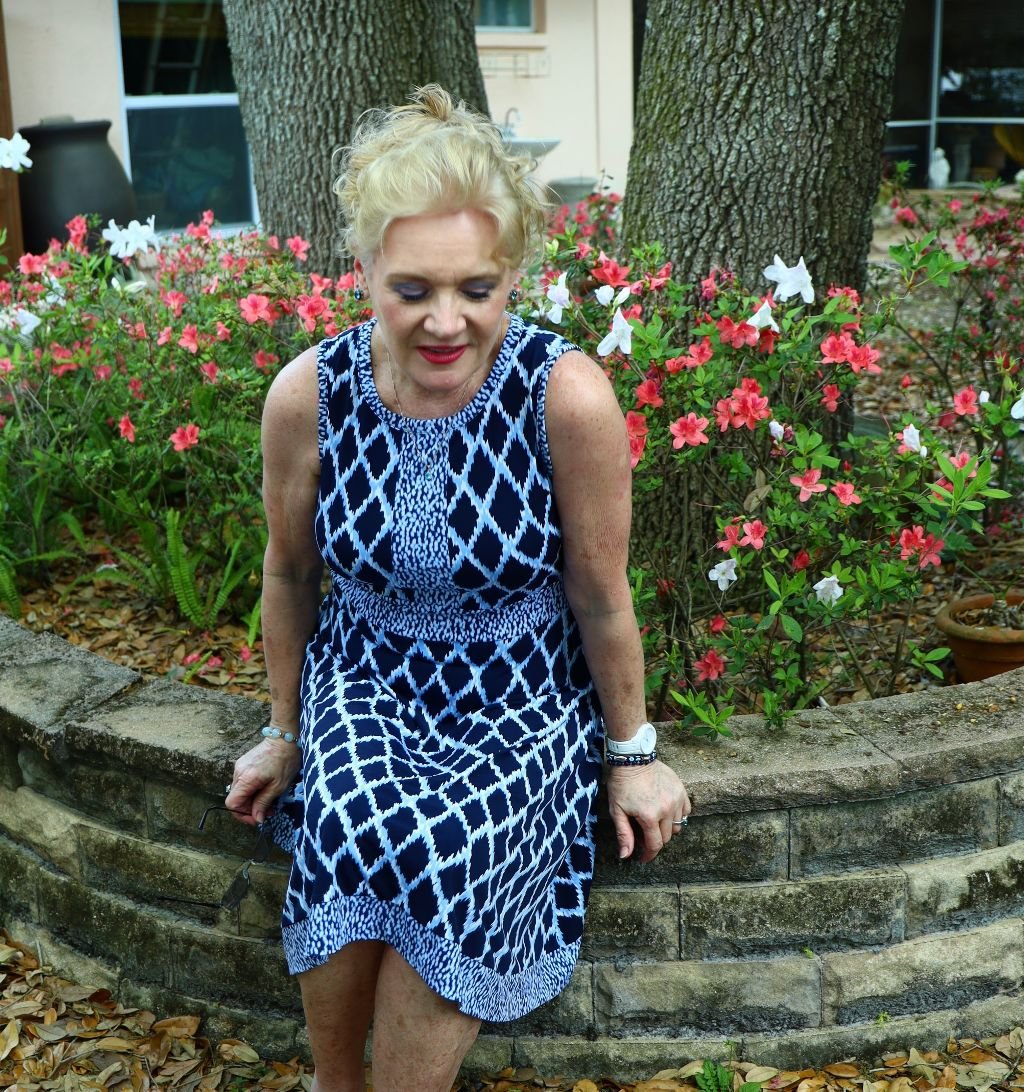
It was on March 9, 2020 (last year) that I hesitantly left the house for my family practitioner’s office to get my labs done. I, as everyone else in America and around the world, was keeping close tabs on the Corona Virus that was sweeping the world and had started to invade my own country.
I of course, had fasted the night before and that morning so that nothing I ate or drank would taint the results of my tests. I showed up for my appointment and purposely sat as far away from people as I could. When my name was called I went into the room where a woman took 3 vials of blood from me and then asked me to give a urine sample. I did. (I don’t mean to brag but I have never had a problem giving a urine sample. I can empty my bladder and then one minute later give you all the sample you need.) 🙂 Oversharing, as usual.
—————————————————-
Oh, and I would like to mention how shocked that I was to see these magazines in the waiting room.


I did file a complaint at how disgusted that I was to see these magazines in our waiting room. Am I the only one that understands the purpose of a gun is to kill someone or something? And how they do not belong in any medical office where the purpose of my even being there is to be healthy? Hey, why not just have pamphlet’s laying around about how to commit suicide at a suicide prevention office? Or better yet, why not have child porn information laying around in the office of pediatrician’s?
Moving on….
———————————————————————-
The following week was my doctor appointment with Lisa, my nurse practitioner. I preferred meeting with her as she was very familiar with my health history and I liked and trusted her. And besides, Dr. Patel had left and that put Dr. Horcrux (not his real name) in charge at the clinic and I despised him. That explained all the gun magazines in the office when they put him in charge.
I preferred to see Lisa because In my experience it’s the women that seem to care more about your health than the men. I also believe them to be more thorough. I also liked that it’s the women that would give me the bad news on my cholesterol but they would also give me the good news in other areas where I had improved, such as my sugar level. But, the male’s that I would see in the past never told me what I was doing right, only what I was doing wrong. I always felt like such a failure when I would leave their offices. The women gave me the truth, good and bad, but they also gave me the encouragement to continue doing well in areas where I was. They also might have given me bad news about my cholesterol but they also pointed out to me that even though it is still high it is down 30 points from last time. This is news that I need to hear which is why I preferred seeing Lisa instead of the male doctors. But, instead of making that appointment I ended up cancelling it because I was very afraid of the Corona Virus and it was on March 9, 2020 that I went into a self imposed lockdown. Every appointment that I had came due in March and April of last year. I ended up cancelling every single one of them. My dentist, my dermatologist, my mammogram, my heart doctor, and my pap smear appointment. All of my 6 month and 1 year appointments were due at that time and I was cancelling all of them and not knowing when I would be making them again.
That was a year ago. And now here I am trying to get back into the swing of things only to feel as if I am falling between the cracks of a society that has changed so much since I left it. Almost a month ago I went into my clinic to have my labs done. I was surprised to find out that both Lisa and Dr. Horcrux had retired and a new doctor had taken over the clinic. I didn’t care about Dr. Horcrux but I was sad to hear that Lisa was gone. The thing is they were both young so I was surprised to hear about their retirements. The good news is that there were no gun magazines sitting in that office. There weren’t any magazines at all, just pamphlets on health. I suppose magazines were removed because they just pass germs back and forth.
Everything went well with my labs (although I haven’t gotten any results back), and I had my appointment to see my new doctor a few weeks later. I was able to get a referral to see my dermatologist earlier this week, but they weren’t going to issue me any more referrals until I saw my new doctor. So, on Tuesday I get a phone call from my clinic telling me that they have to cancel my appointment the following day because my new doctor suddenly resigned and they needed to find a new one. Wow. Just wow. They did give me an appointment for later on in the month with some kind of doctor, probably a floater, but I’ll take it! So, my healthcare has been put on hold until I see this new doctor later on in the month and there is nothing that I can do but wait.
——————————————————–
I did get to see my favorite dermatologist this week. I hadn’t been in a year and a half. That is pretty bad for me because I usually see her every 6 months. However, I had a good check up. She did freeze about 12 – 15 tiny spots on my body to remove them. It was like being stung by 12 – 15 bees one after the other. It was quite painful. And the pain didn’t just go away immediately. It took quite a while for it to.
Even though I had to go through all that it was a good check up. That’s good! Seeing as how I have lived a life in the sun. I did tell her about how I’m a bit worried about what kind of doctor I may get because everyone seems to either quitting or retiring. That is when she started telling me that is happening quite a bit around here in our area. Wonder why? Doesn’t exactly give me much faith right now. I will wait for my new appointment with some doctor later on in the month and then I will decide then if I need to go elsewhere for my healthcare. I just feel so helpless right now that everything is being put on hold until I find someone to provide me with care. First we are all helpless where the Covid 19 virus is concerned and now this.
I just don’t want to fall between the cracks. So, right now I think I am just surviving.
Julie