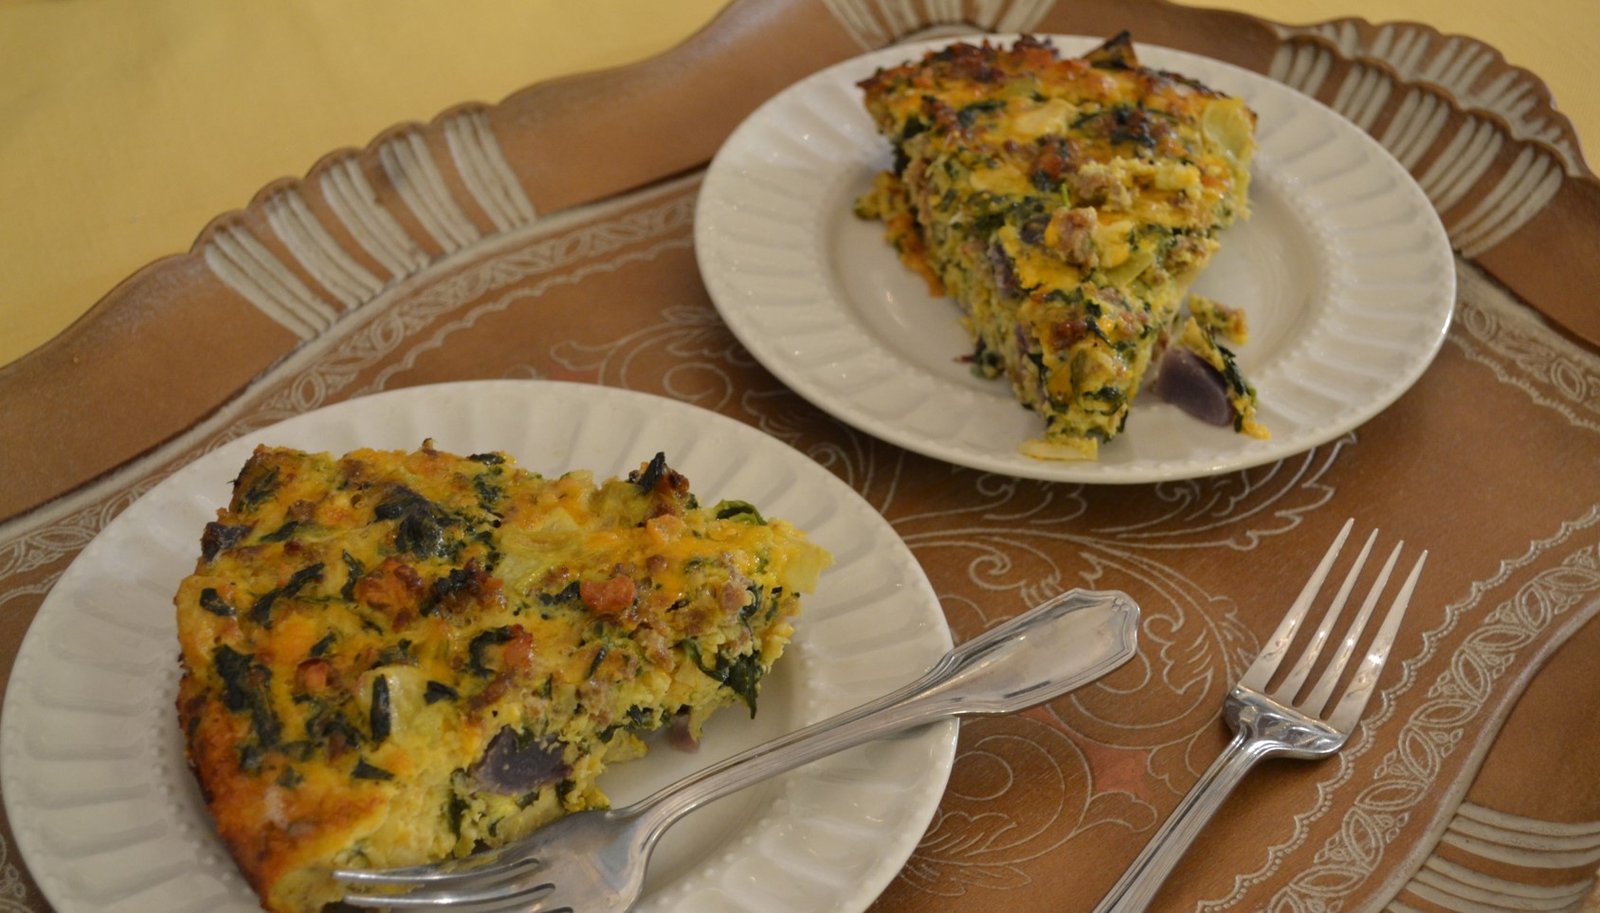
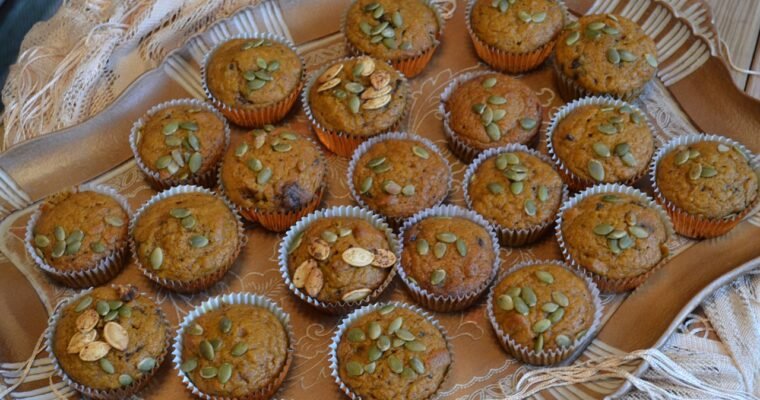
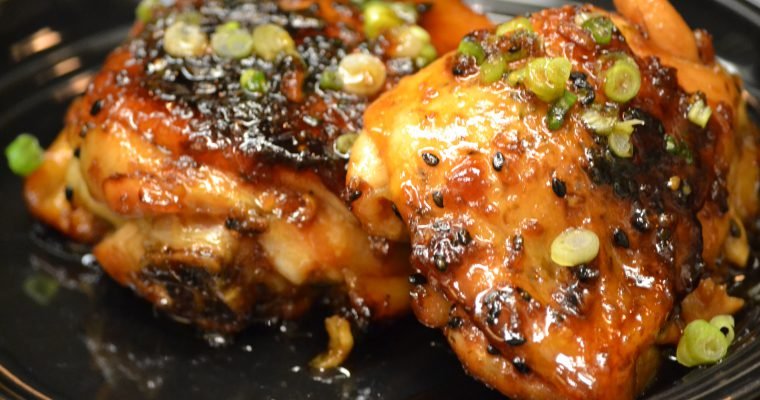
More Autumn Pasta To Enjoy
UNDER CONSTRUCTION

Life in sunny Florida... shoes optional

Bowl a Comfort Dirty Rice/Spanish Rice With Fried Kielbasa Sausage A Meal In Itself —————————————————————————- Dirty Dawgs I keep my Granddaughter anywhere between 2 and 5 days a week. We tend to do a lot of coloring and drawing, and plenty …
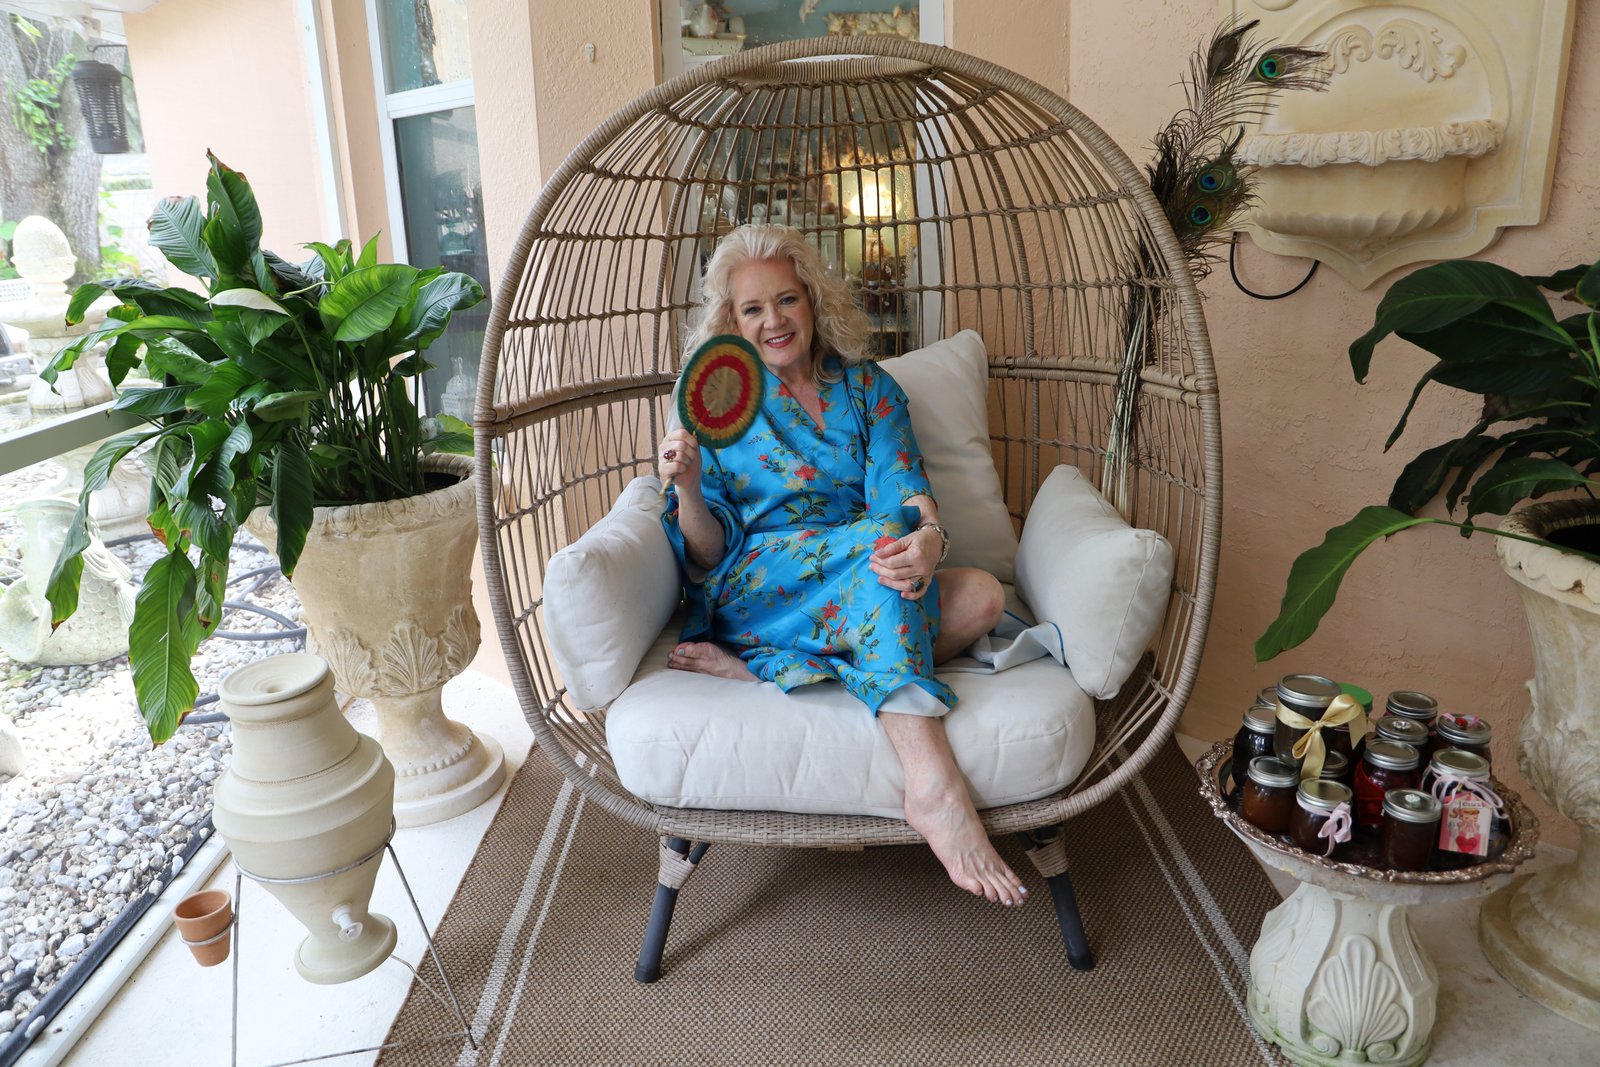
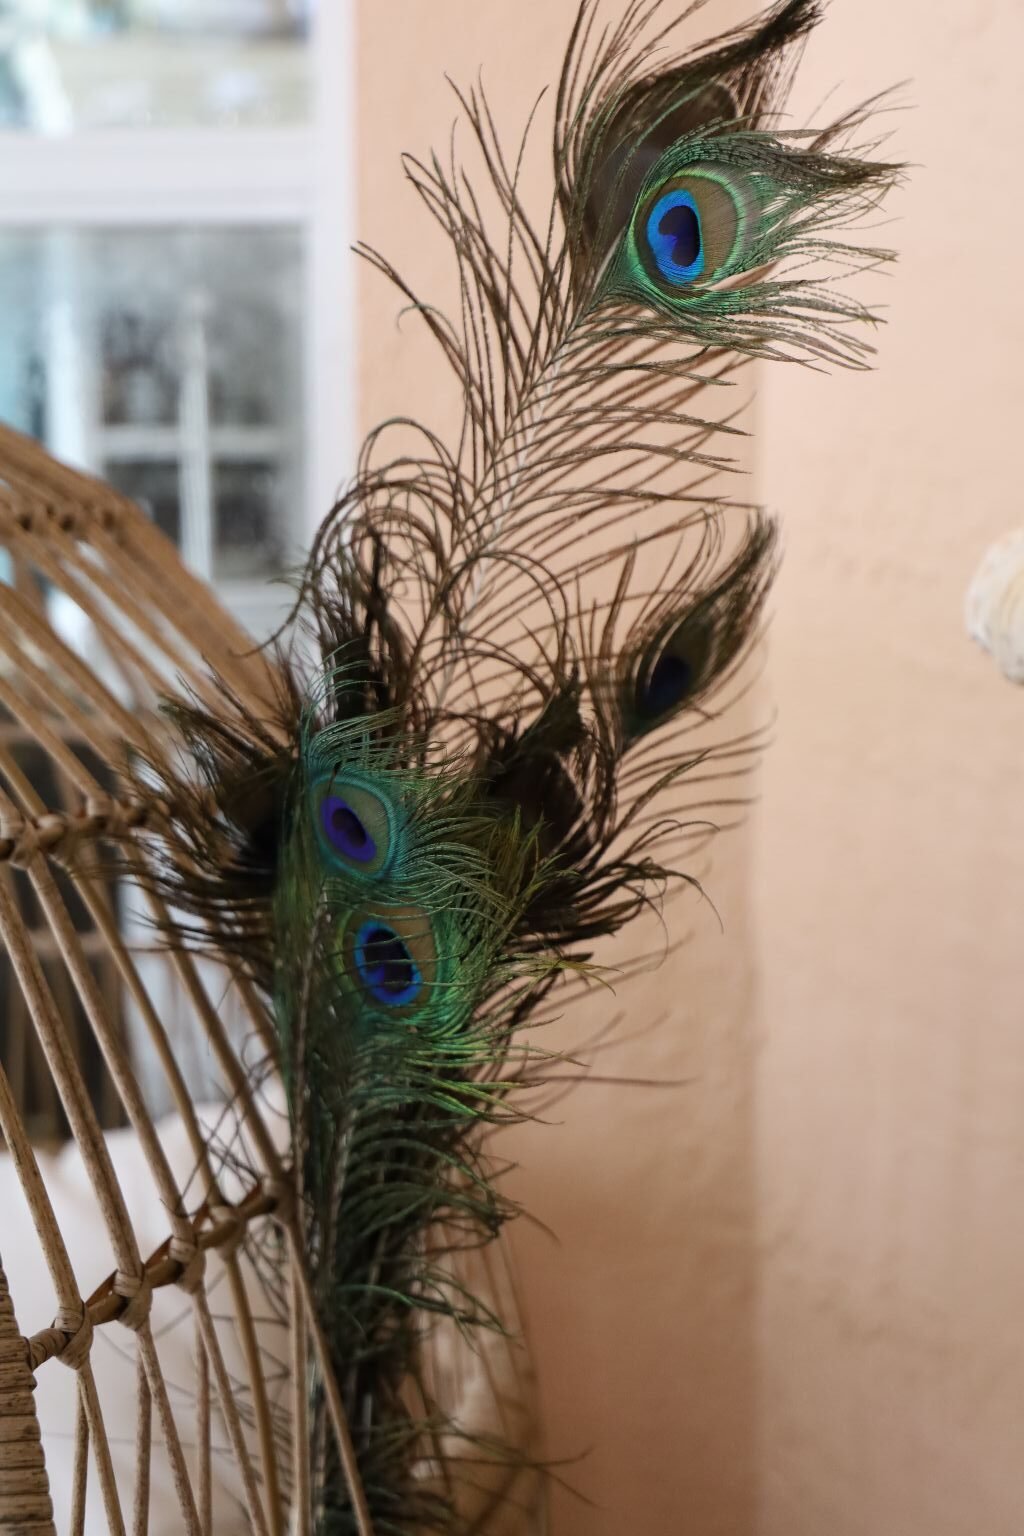
Peacock Feathers For Luck
I was born in Georgia and lived throughout the south during my upbringing. The South is also known as The Bible Belt. The South has a very large religious community that comprises of many different Churches. Baptists, Methodists, Presbyterians, Church of God, Church of Christ, Pentecostal Holiness, and a few others…. We were Disciples of Christ, which is what Ronald Reagan was, btw.
Although my family and the people we knew were more liberal than the average Southerner. We learned about other religions at church but in an educational way, and not in a ‘they will all burn in hell because they aren’t like us’ way. I was certainly exposed to the Evangelical’s and their beliefs. One thing that they would warn you about were the “Jezebels” of the world. It was just in the culture.
When I went off to college I was warned to ‘Stay away from the bitches and the whores.’ Although no one in my family ever said that to me… well, my Grandmother would always tell me to stay away from the Floozies and the Flossie Mae’s, it was just the culture of the South. (I’m not excusing it, just explaining it.) Although if anyone I knew was a Flossie Mae it was my Grandmother. That woman could sashay!
But, when I did go off to college and I did interact with the other girls there, I found that the people that I liked the most were the bitches and the whore’s. The bitches weren’t bitchy, they just stood up for themselves. They were intelligent and spoke out when it was important to do so. And the whores, well, they never judged you. They would even look out for you when you would go out with them while the Evangelical girls would just as soon dump you on the side of the road than deal with you. Also, the gay guys that I went to college with, it was a private fashion college in Charlotte, North Carolina, they were the best friends you could ever have. You could go out with them at night and they would look out for you. And the best giggles you will ever have in your life were with the gay guys!
The hypocrisy of the South is that they created a “Jezebel Sauce” that they serve at various religious functions. Whether it is a Church Suppah, a Church Picnic, a Church Wedding….. Oh, and it is the number #1 condiment in the state of conservative Mississippi.

Which brings me to all of my Jezebel’s…..
I adore each and every one of you!
Which Is Why I Created You!
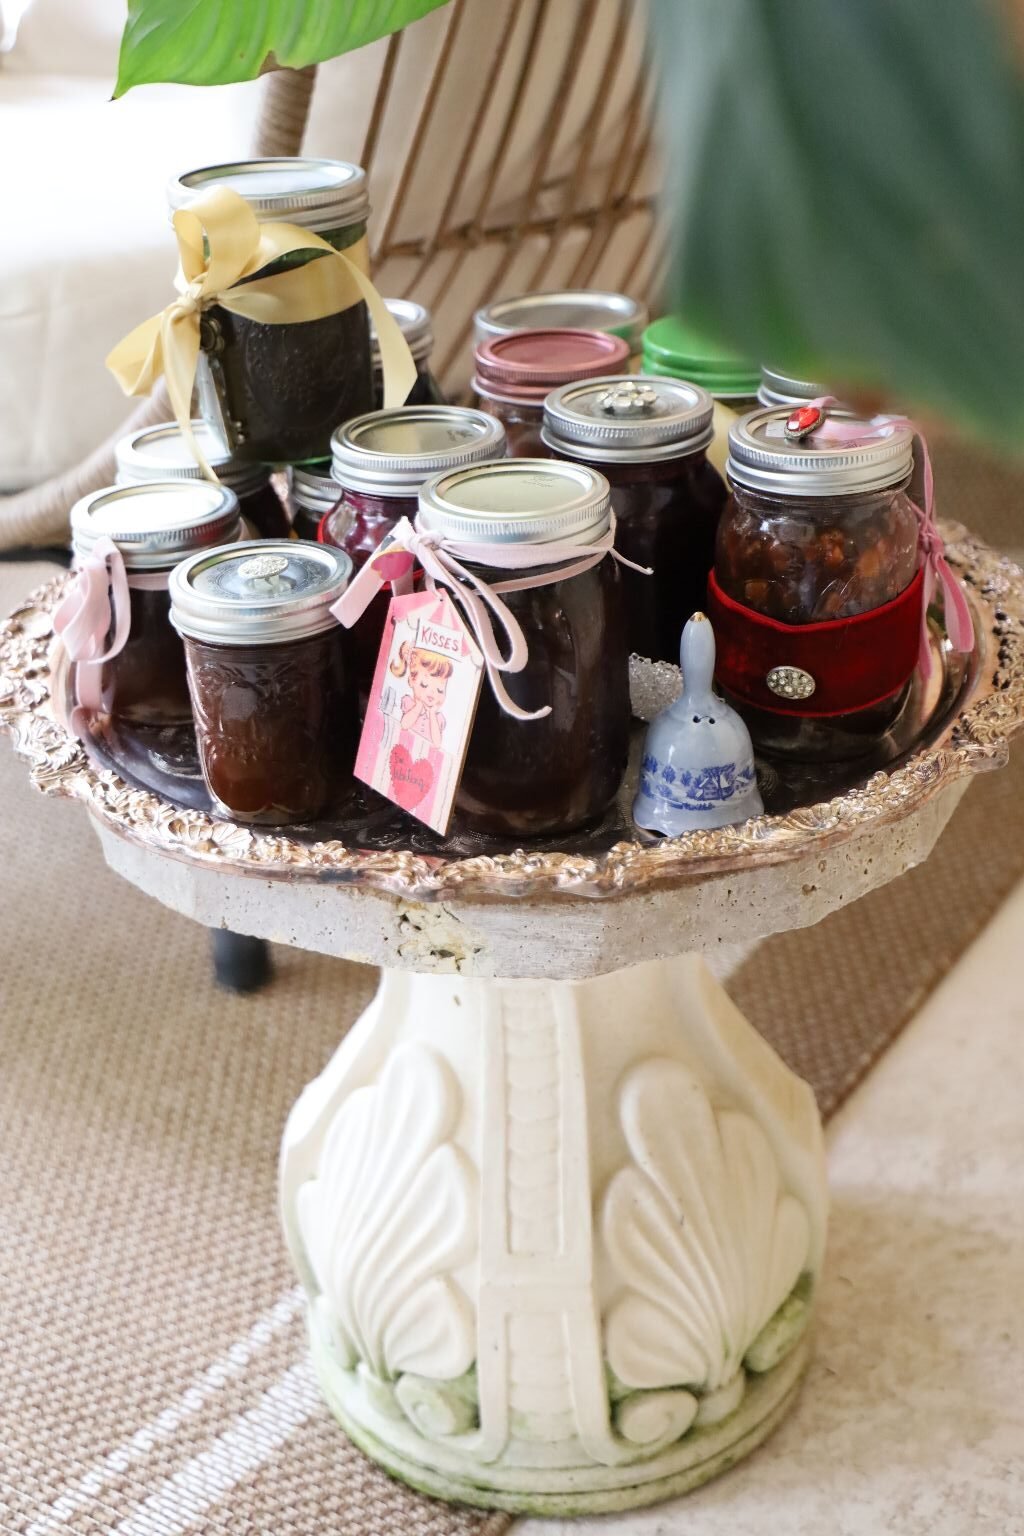
The Jezebel’s Of This World Have The Biggest Hearts…
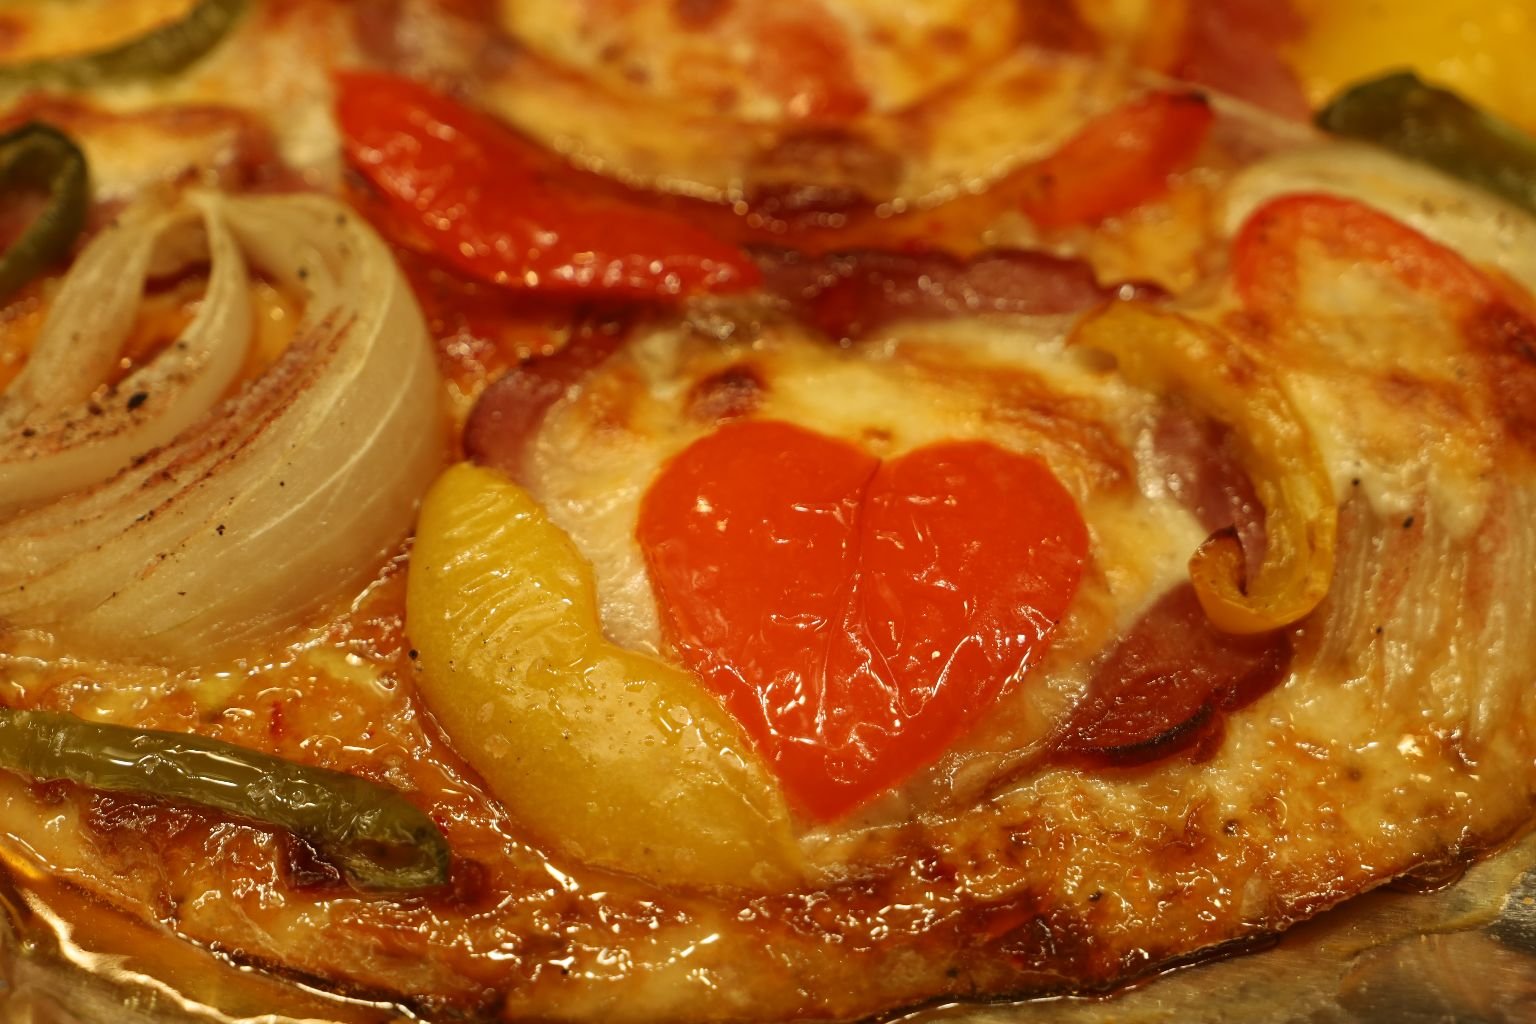
Which Is Why I Love You All!
Julie

p.s. Coming Christmas 2026,
A Naughty Christmas Jezebel For Underneath The Tree 🙂
—————————————————————————————-
Click Here For: Julie’s Jezebel Sauce
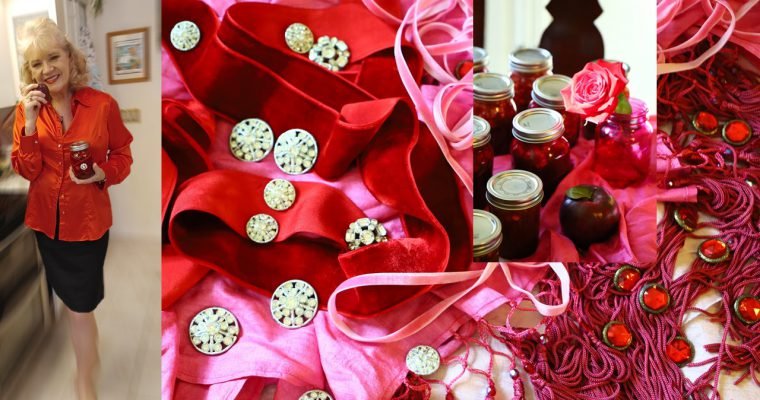
Our Jezebels On This Page:

The Forbidden Jezebel
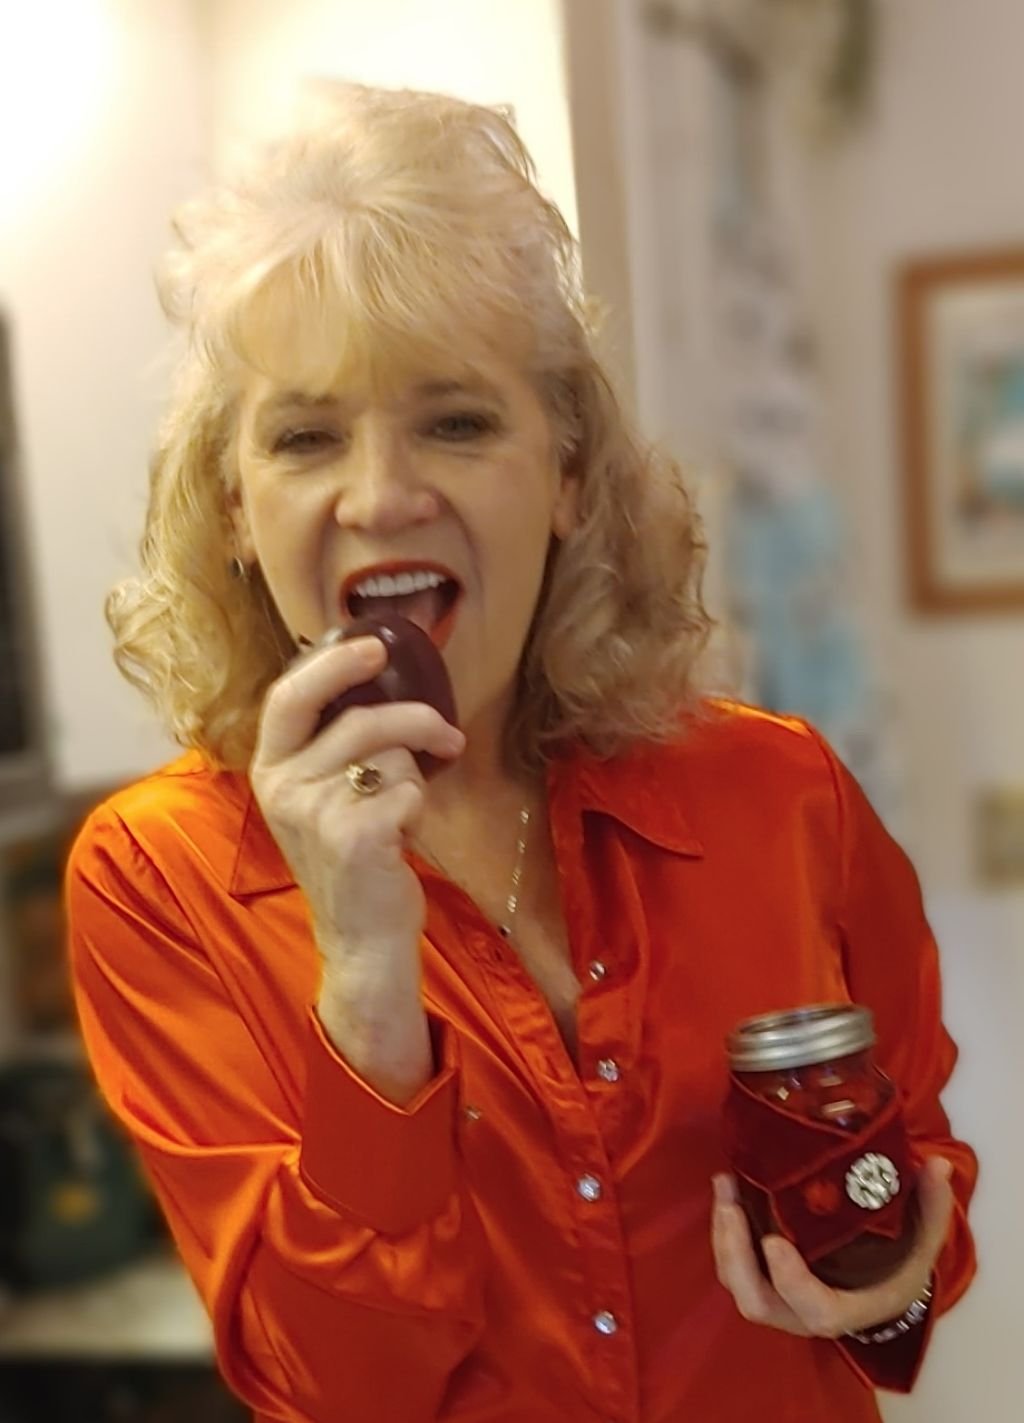
With Apples
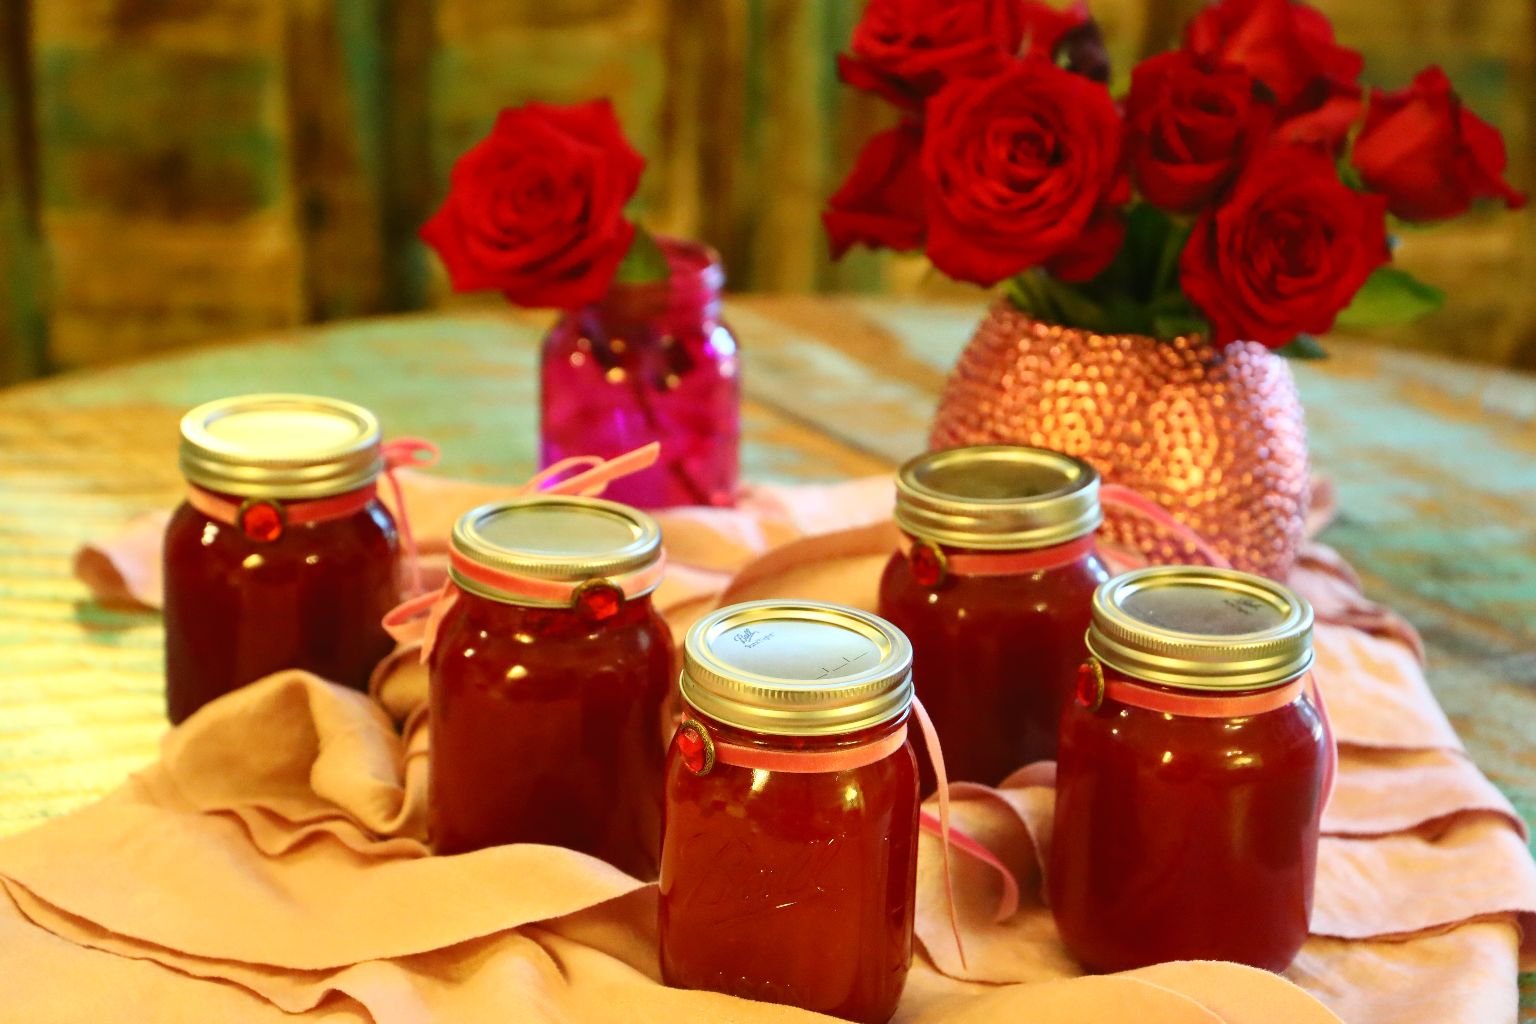
The Classic Jezebel (My Twist)
—————————————————————————-
The Latin Jezebel
(With Guava Shells and Jalapeno Peppers)
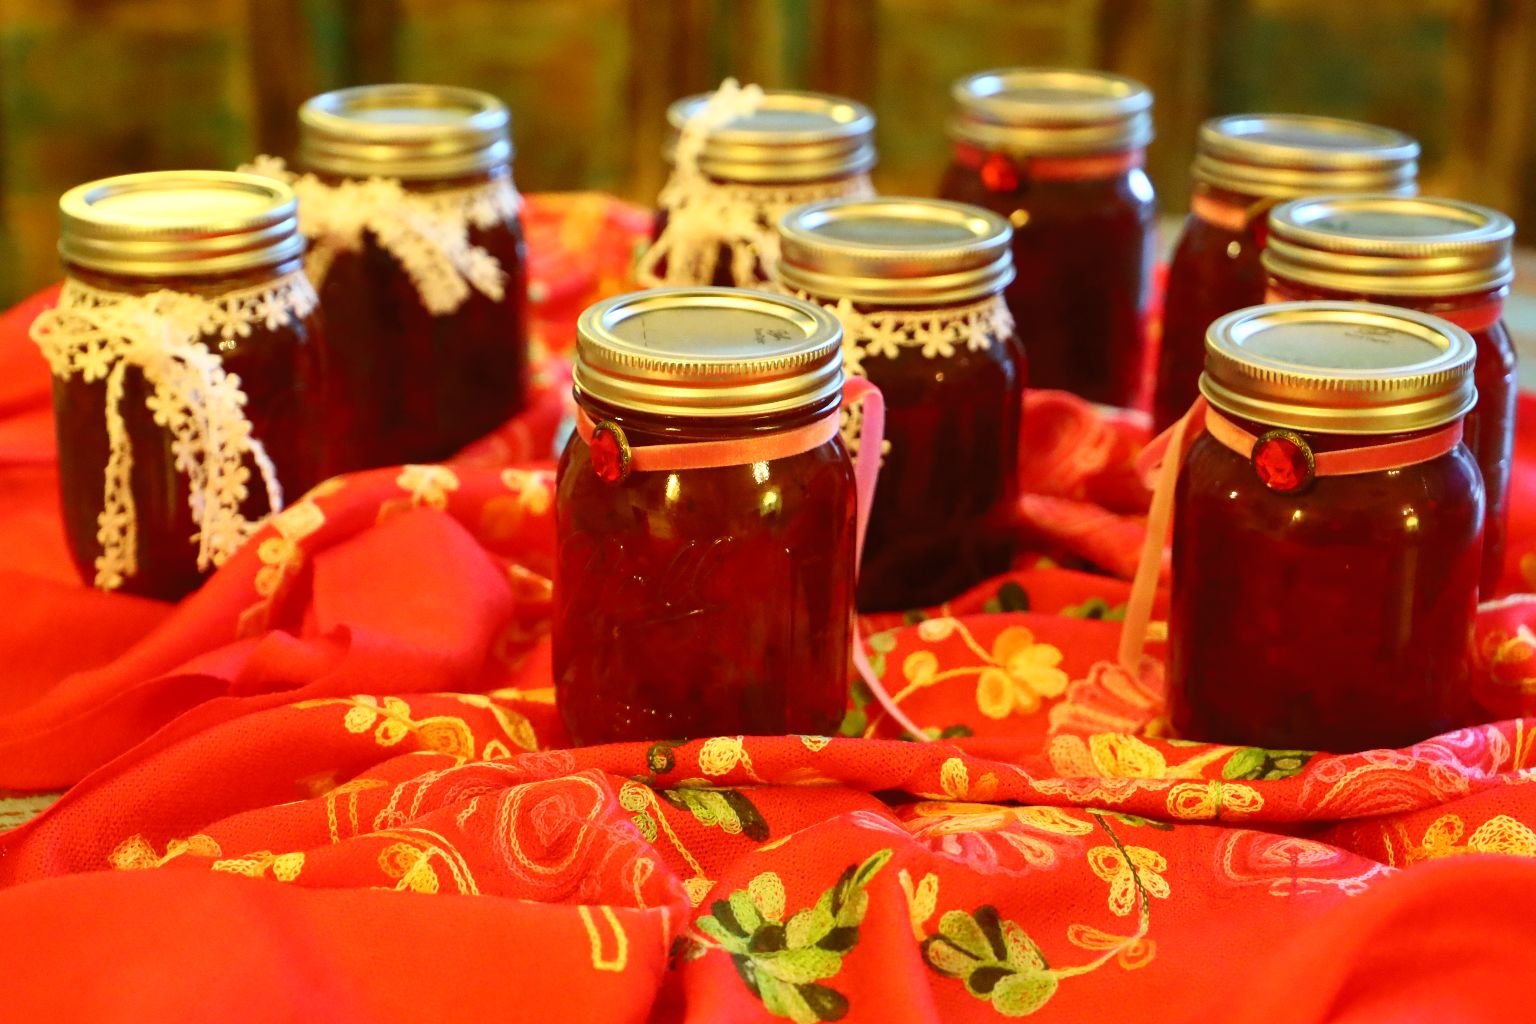
—————————————————————————–
And My:

Georgia Peach Jeze-Bells
—————————————————————————–
I Also Created An:
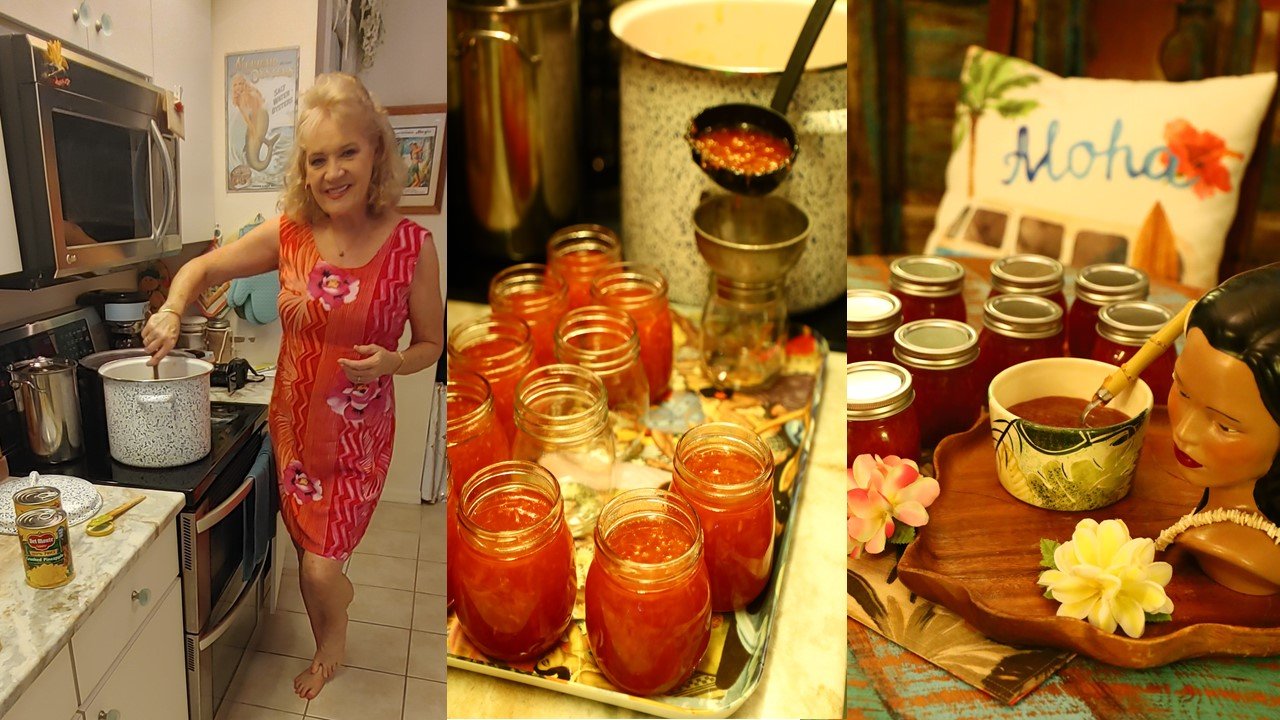
Based On Our Love Of Hawaii
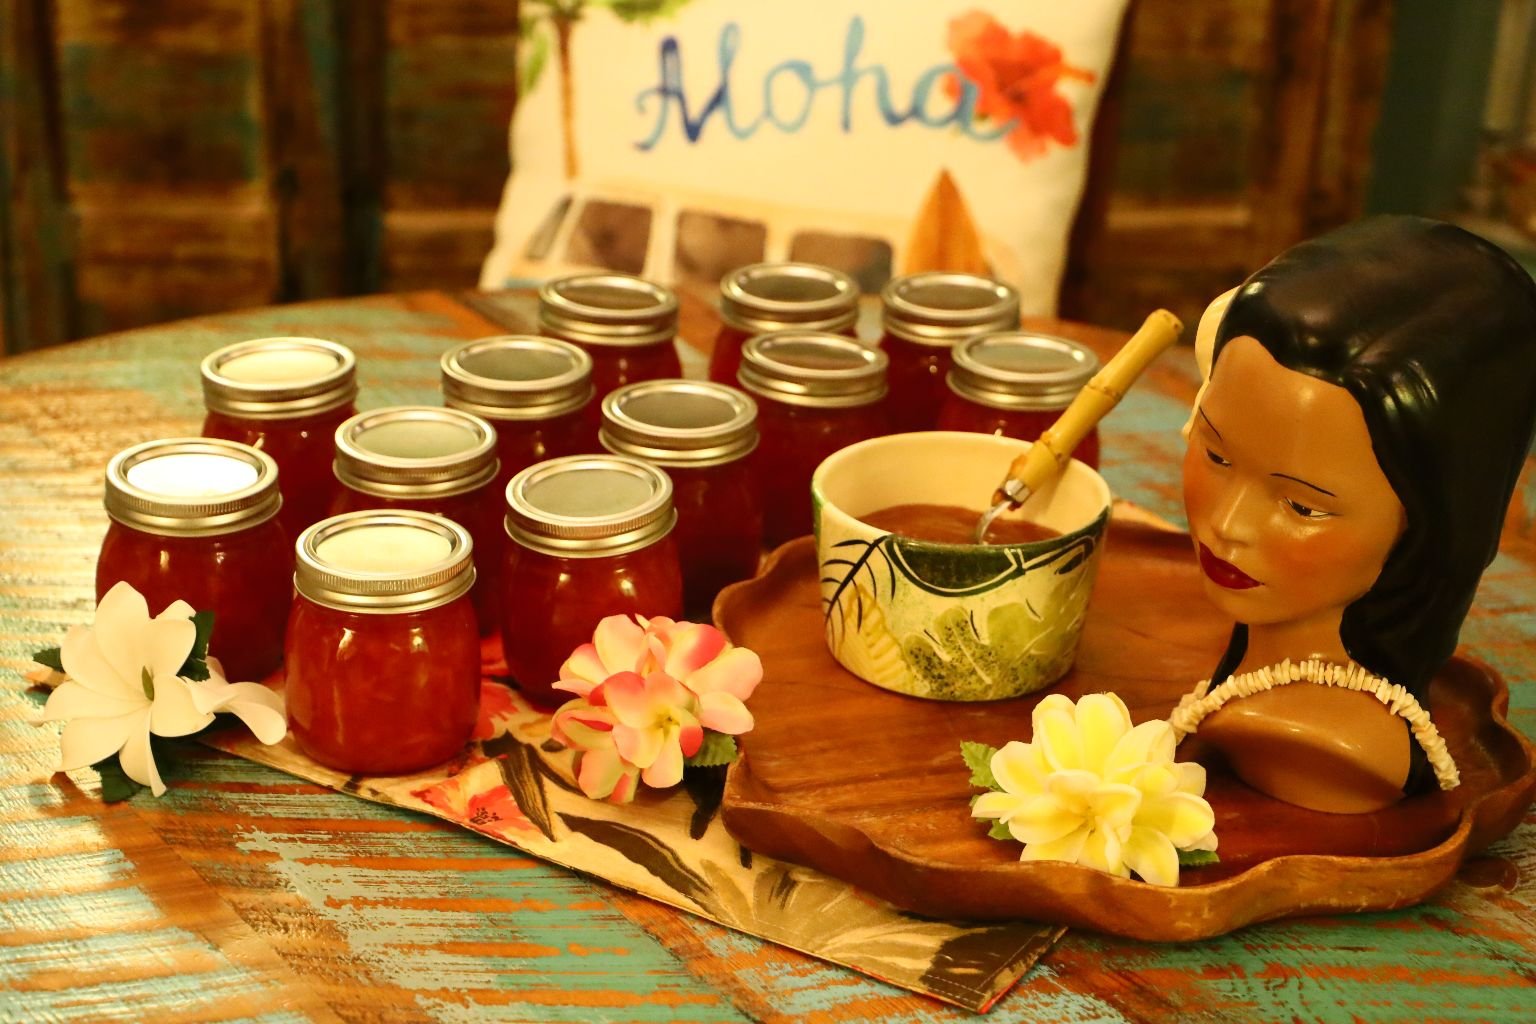
——————————————————————
AND,
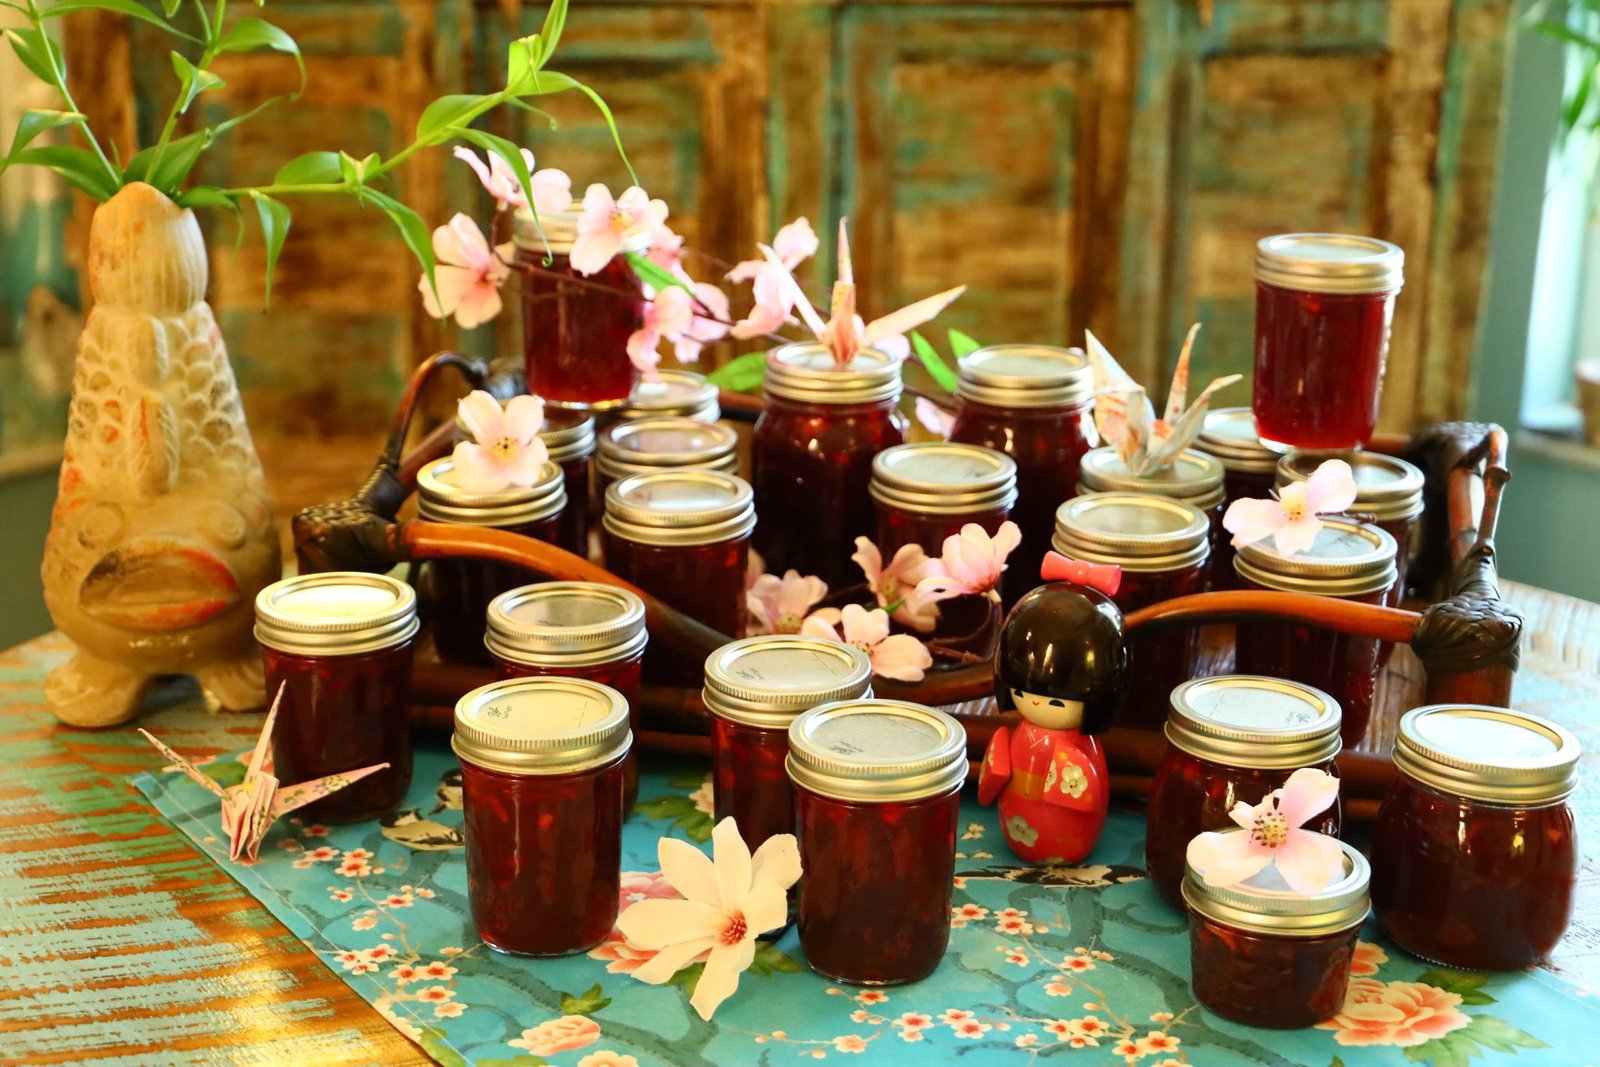
Again, Based On Our Love Of Hawaii And The Asian Cultures
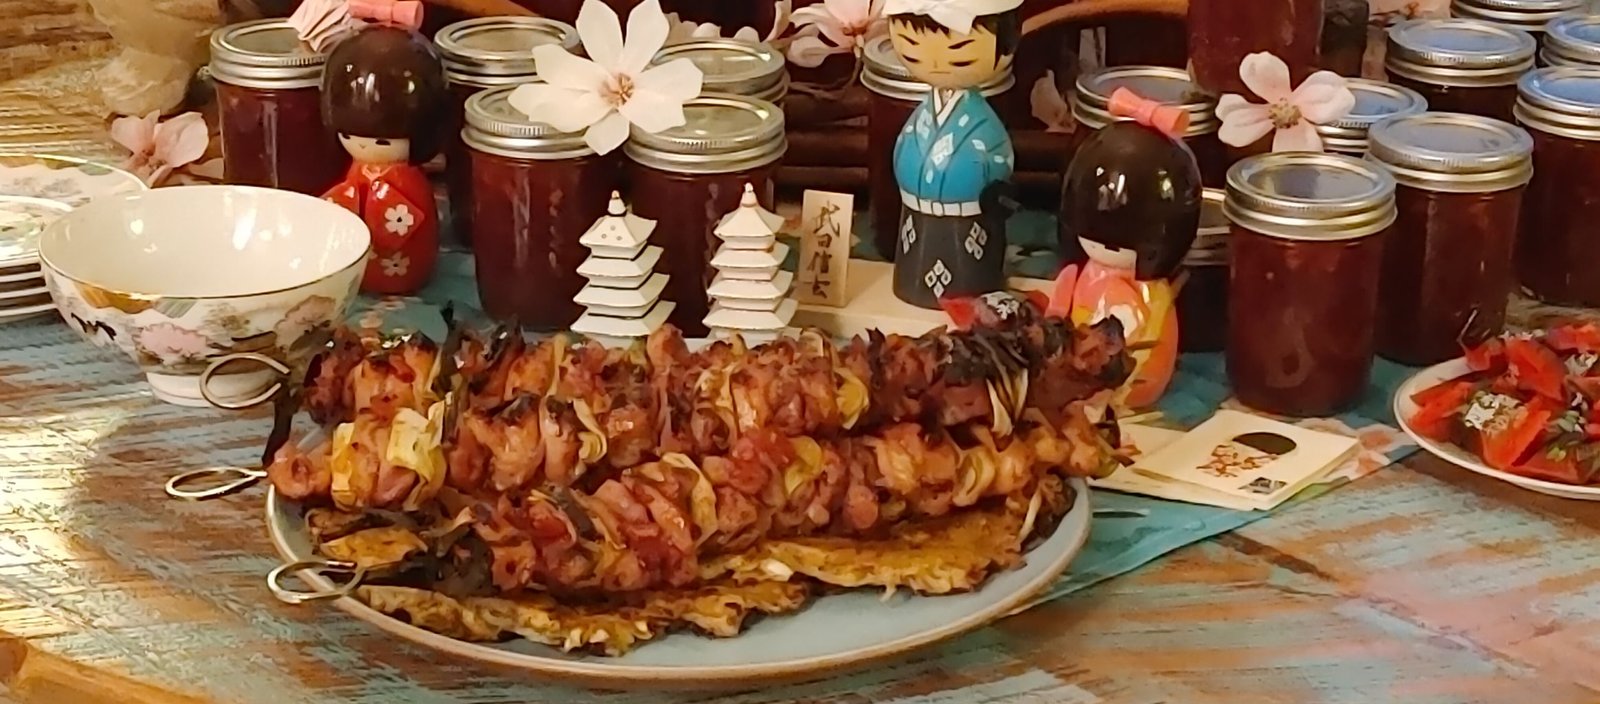
—————————————————————————————-
AND,
An Old Florida Jezebel (Sauce)
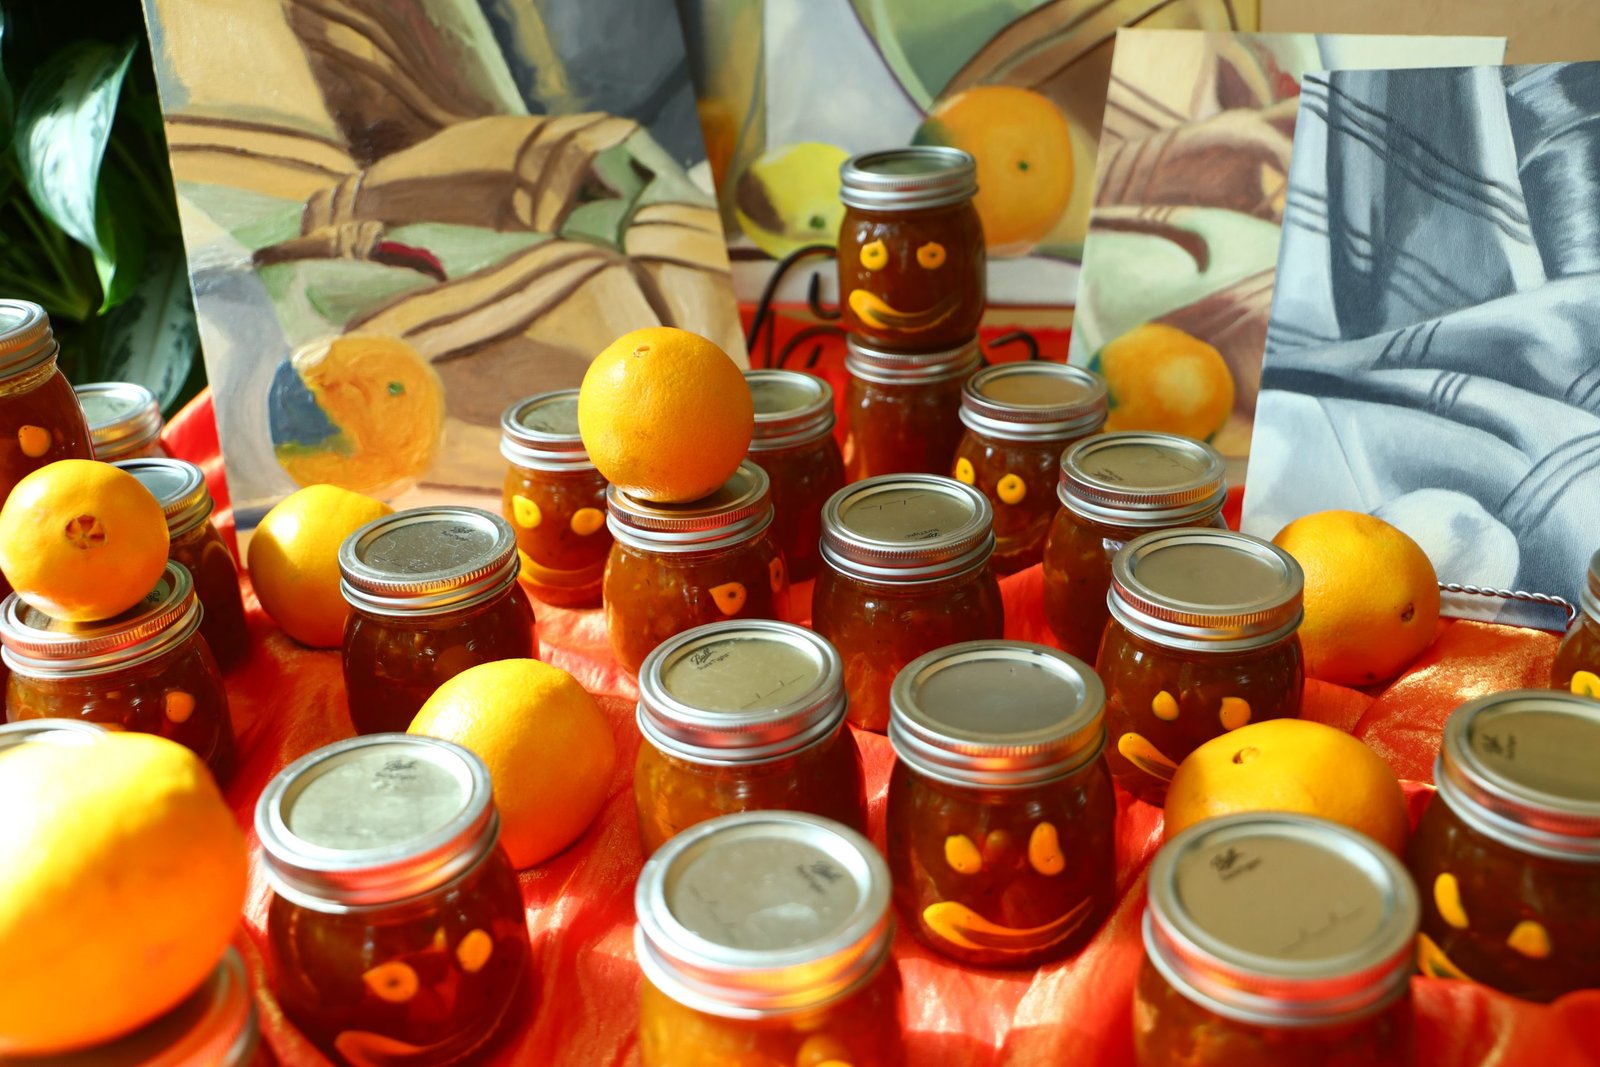
Based On My Love Of Old Florida

————————————————————————-
I ALSO CREATED,
One HOT Jezebel for Breakfast (Sauce, That is.)

AND,
Click Here For: More of Julie’s Jezebel Recipes to Enjoy
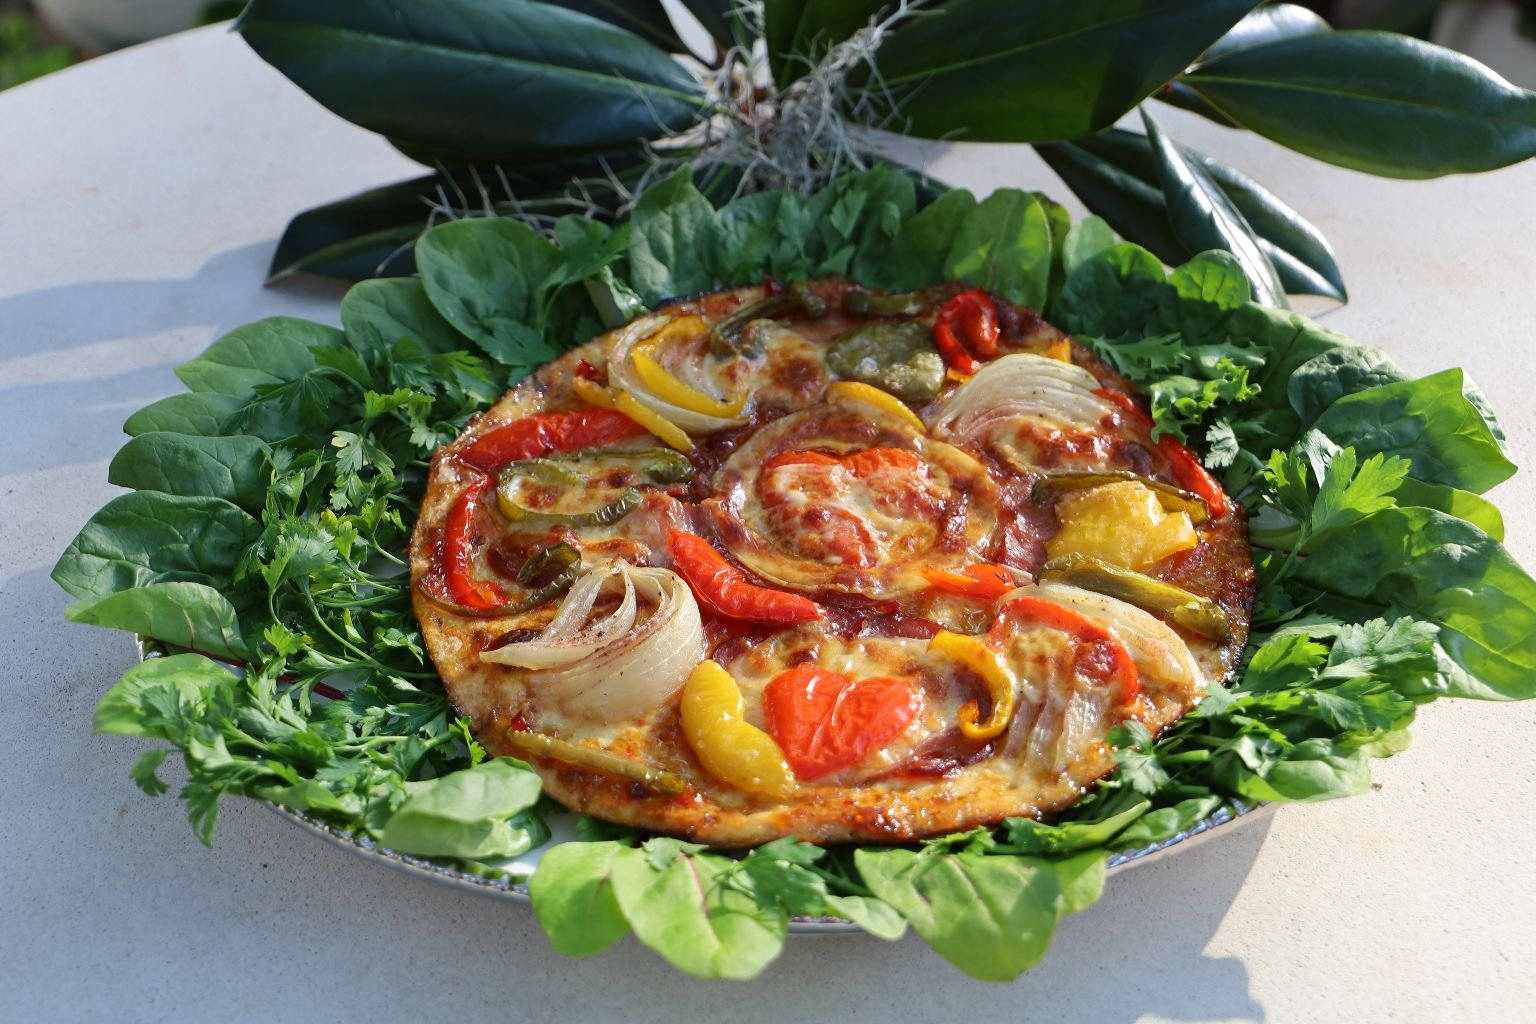
I Needed An Additional Page To Place Some Extra Jezebel Recipes
————————————————————————-
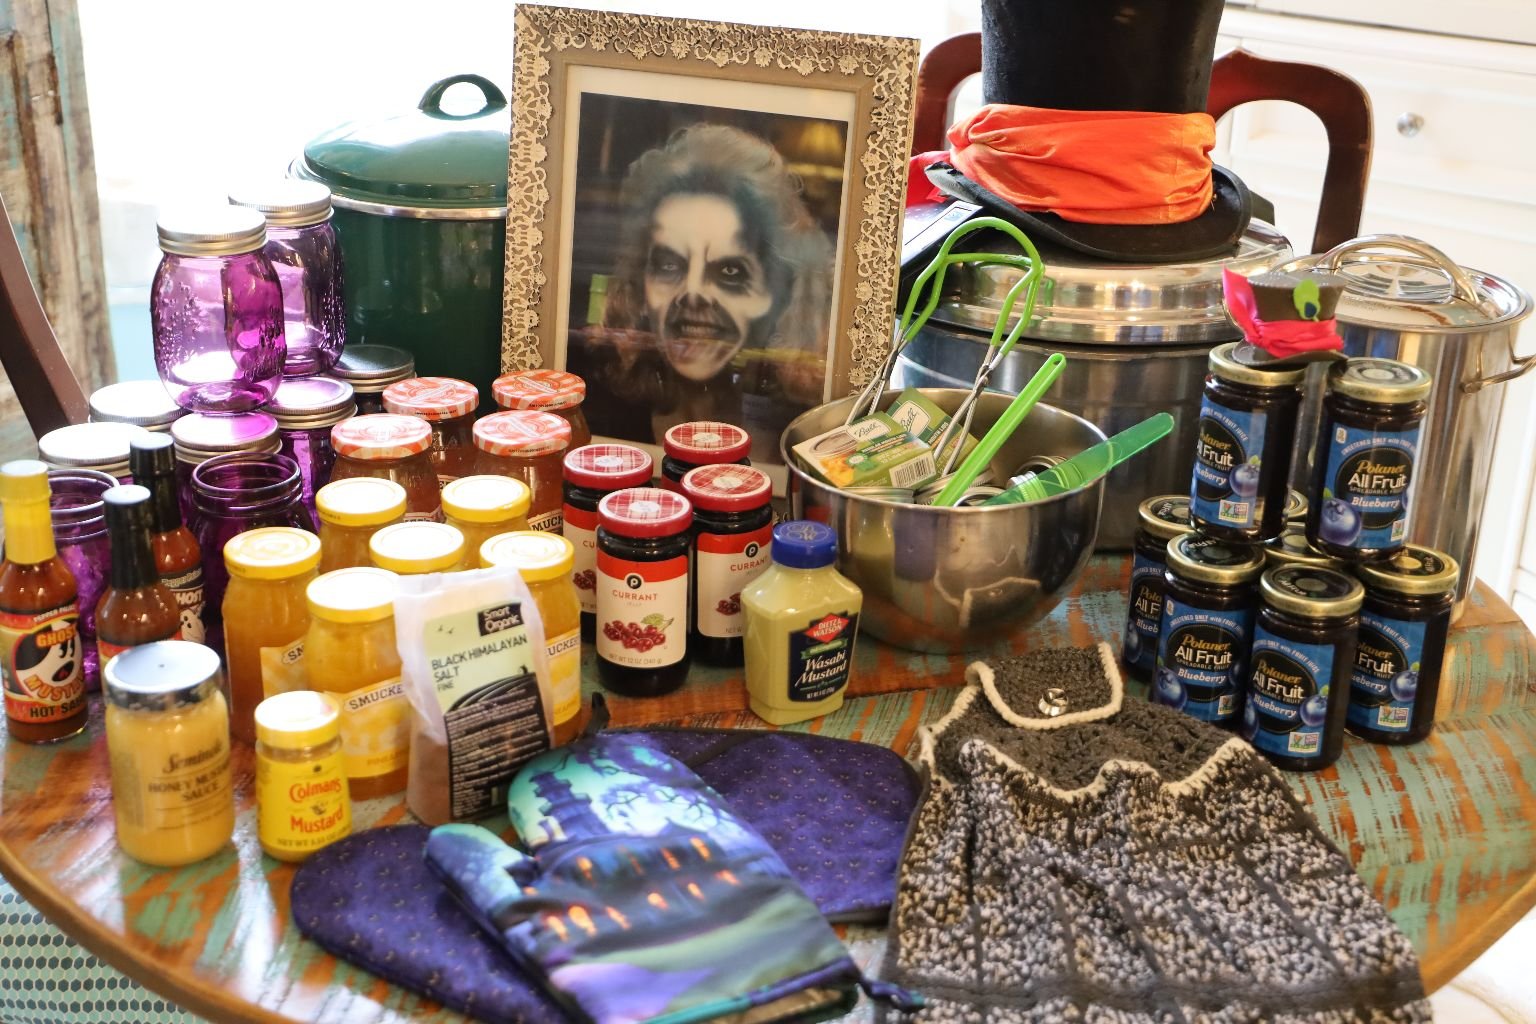
I Even Created A Halloween Jezebel:
A Haunted Jezebel, Together With A Haunted Mansion Halloween Repast

———————————————————————
AND,
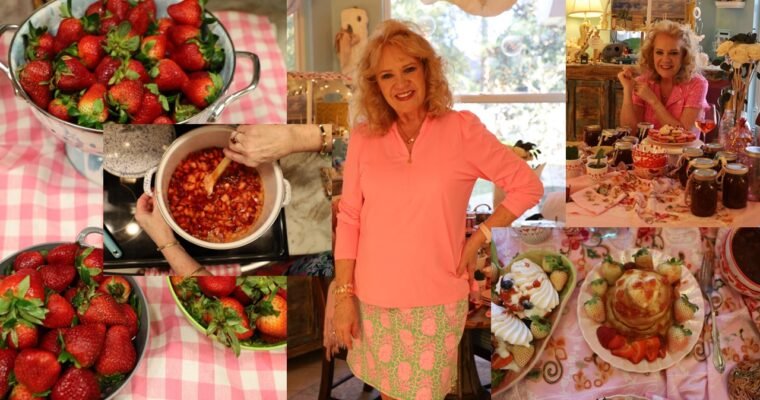
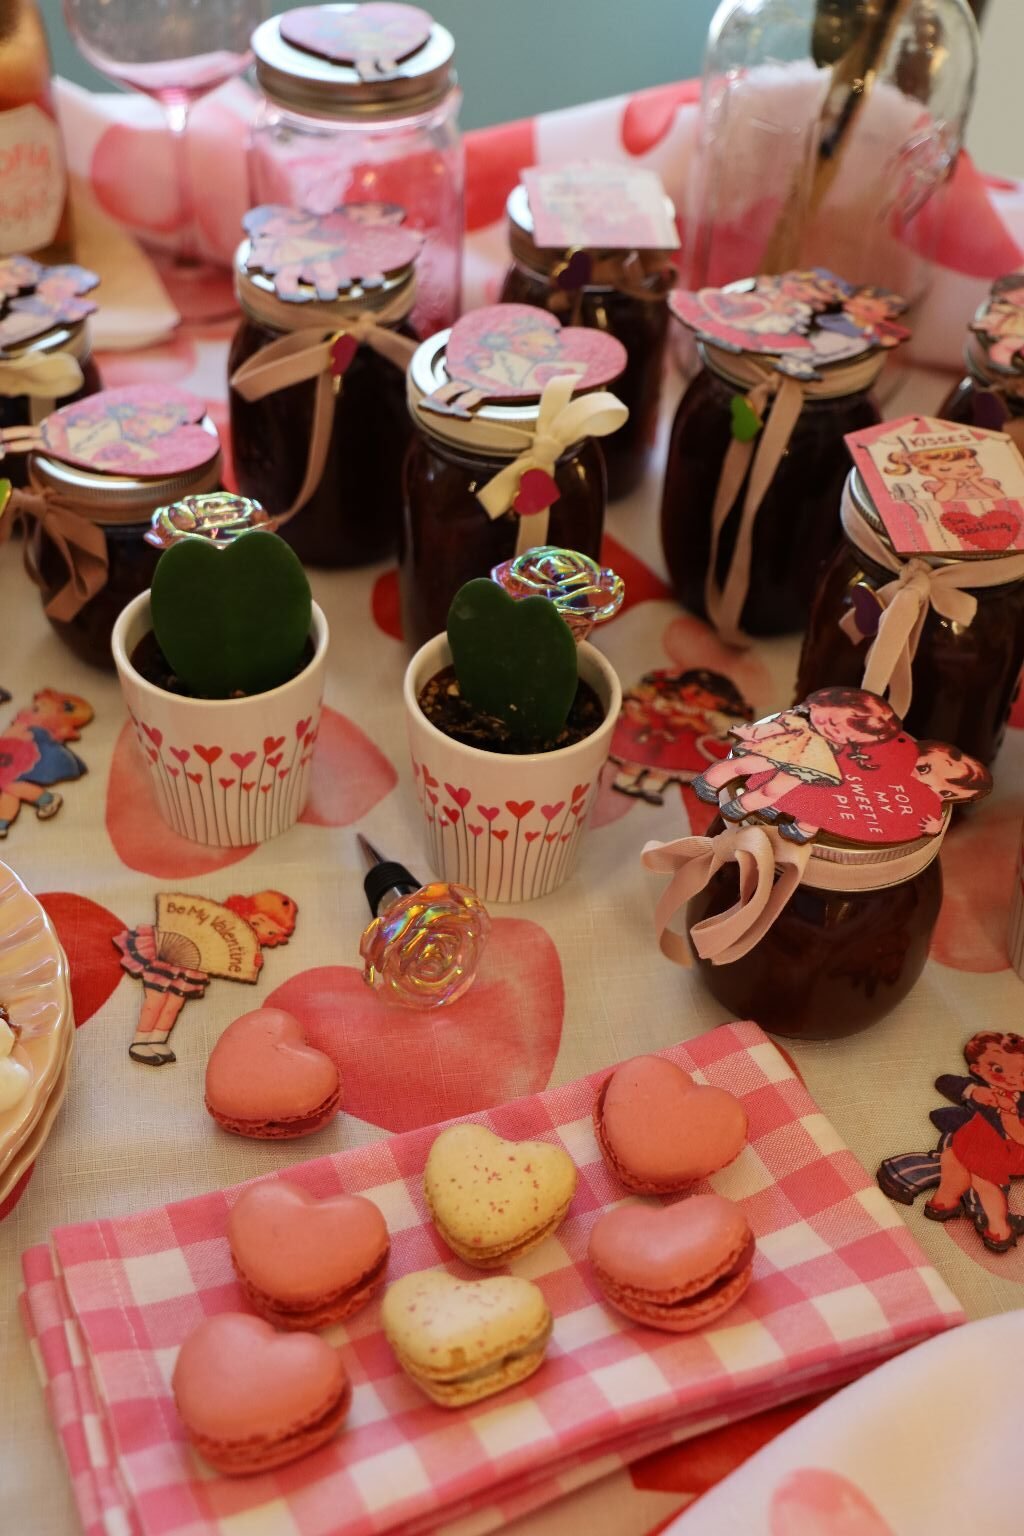
I LOVE Valentine’s Day!
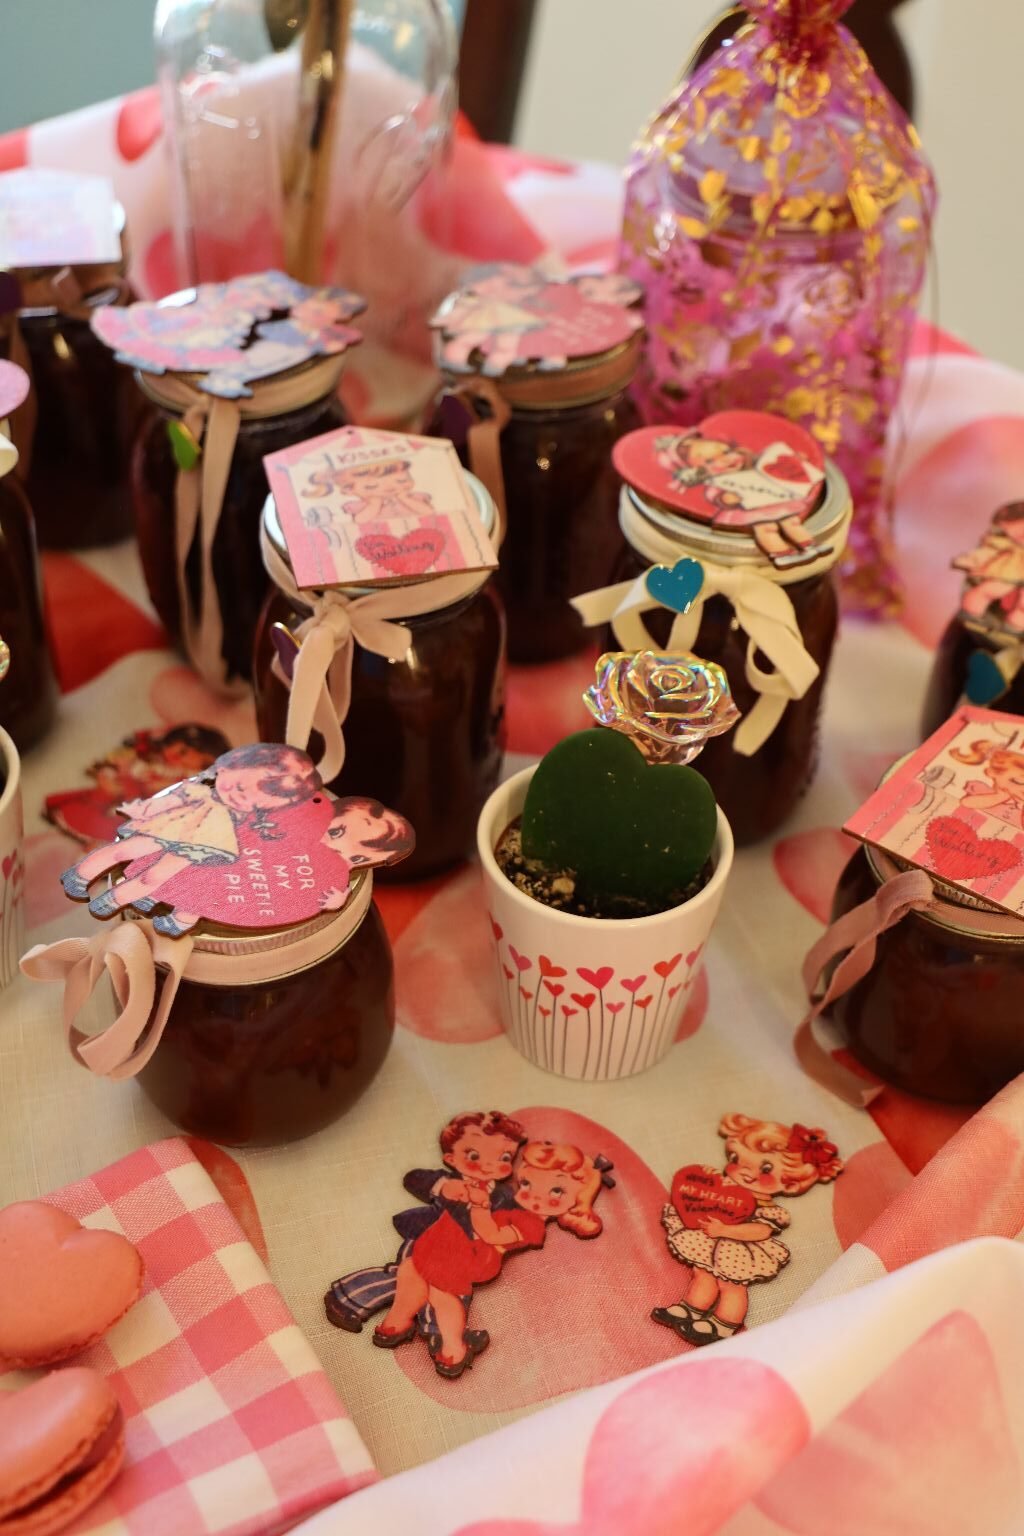
————————————————————————————–
ALSO,
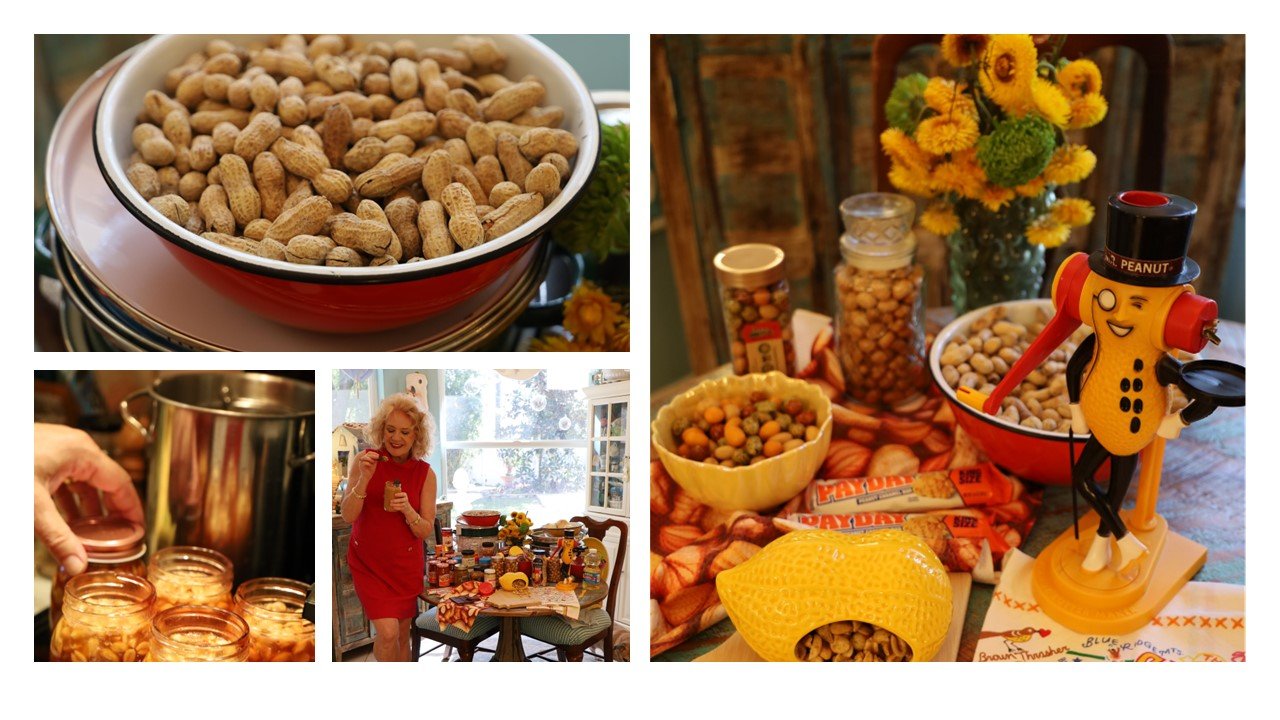
Based On My Home State Of Georgia
——————————————————————————
AND,
A Nancy Drew Mystery ._ _ _ /./_ _.././_… ././. _.. Sauce
(Because I love Nancy Drew and Morse Code)

Click Here For: A Nancy Drew Mystery ._ _ _ /./_ _.././_… ././. _..Sauce
I would like to add that Nancy Drew was no ._ _ _ /./_ _.././_… ././. _.. .
I cannot even bring myself to say the word ._ _ _ /./_ _.././_… ././. _.. beside her name, which is why I got the idea to put the name in Morse Code.
The reason I created a ._ _ _ /./_ _.././_… ././. _.. sauce for Nancy Drew is because I wanted to create some sort of sauce in her honor. She was very worldly. She traveled the world with her father Caron Drew, and her friends Bess and George. Nancy knew people from all over the world and also knew and respected their cultures. She was mature beyond her young years. She had encountered many a villain, been knocked unconscious, and had to use her wits about her to escape.
—————————————————————————————

I Love Every Single One Of You!
Julie Jezebel
—————————————————————
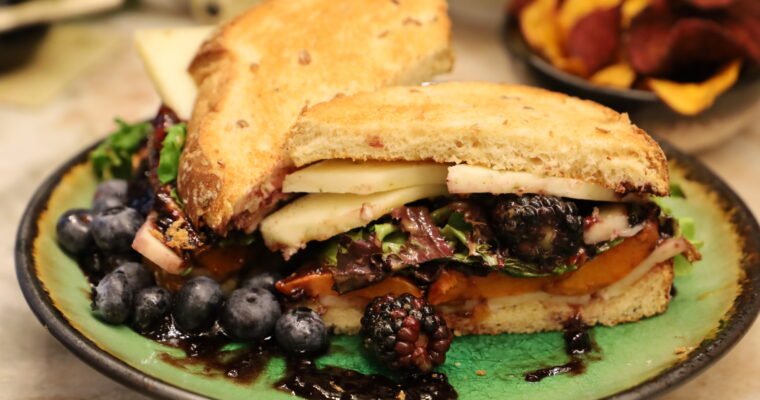
Yet Another Sandwich Page! WELCOME We eat a lot of sandwiches. Although we have sandwiches all over our website, whether they be interspersed with other recipe pages, or having their own website pages, here is yet another one I created. WE LOVE …
A Nancy Drew Mystery ._ _ _ /./_ _.././_… ././. _.. Sauce (Because I love Nancy Drew and Morse Code) UNDER CONSTRUCTION I would like to say that Nancy Drew was no ._ _ _ /./_ _.././_… ././. _.. . I cannot even …
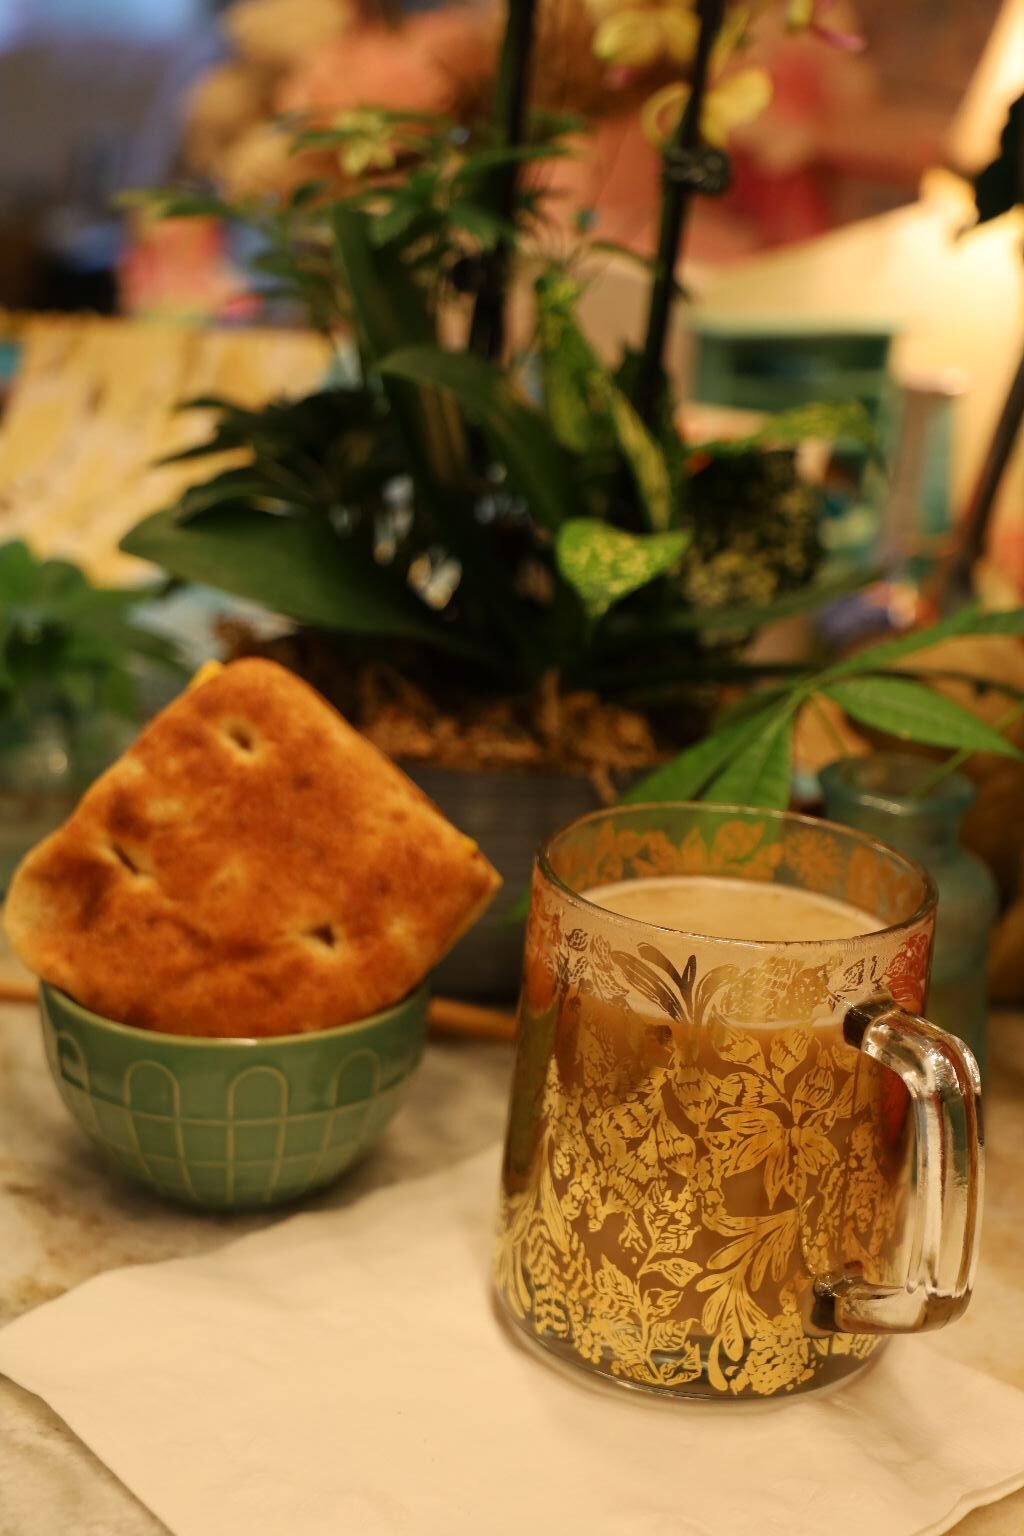
Buongiorno
(Good Morning)
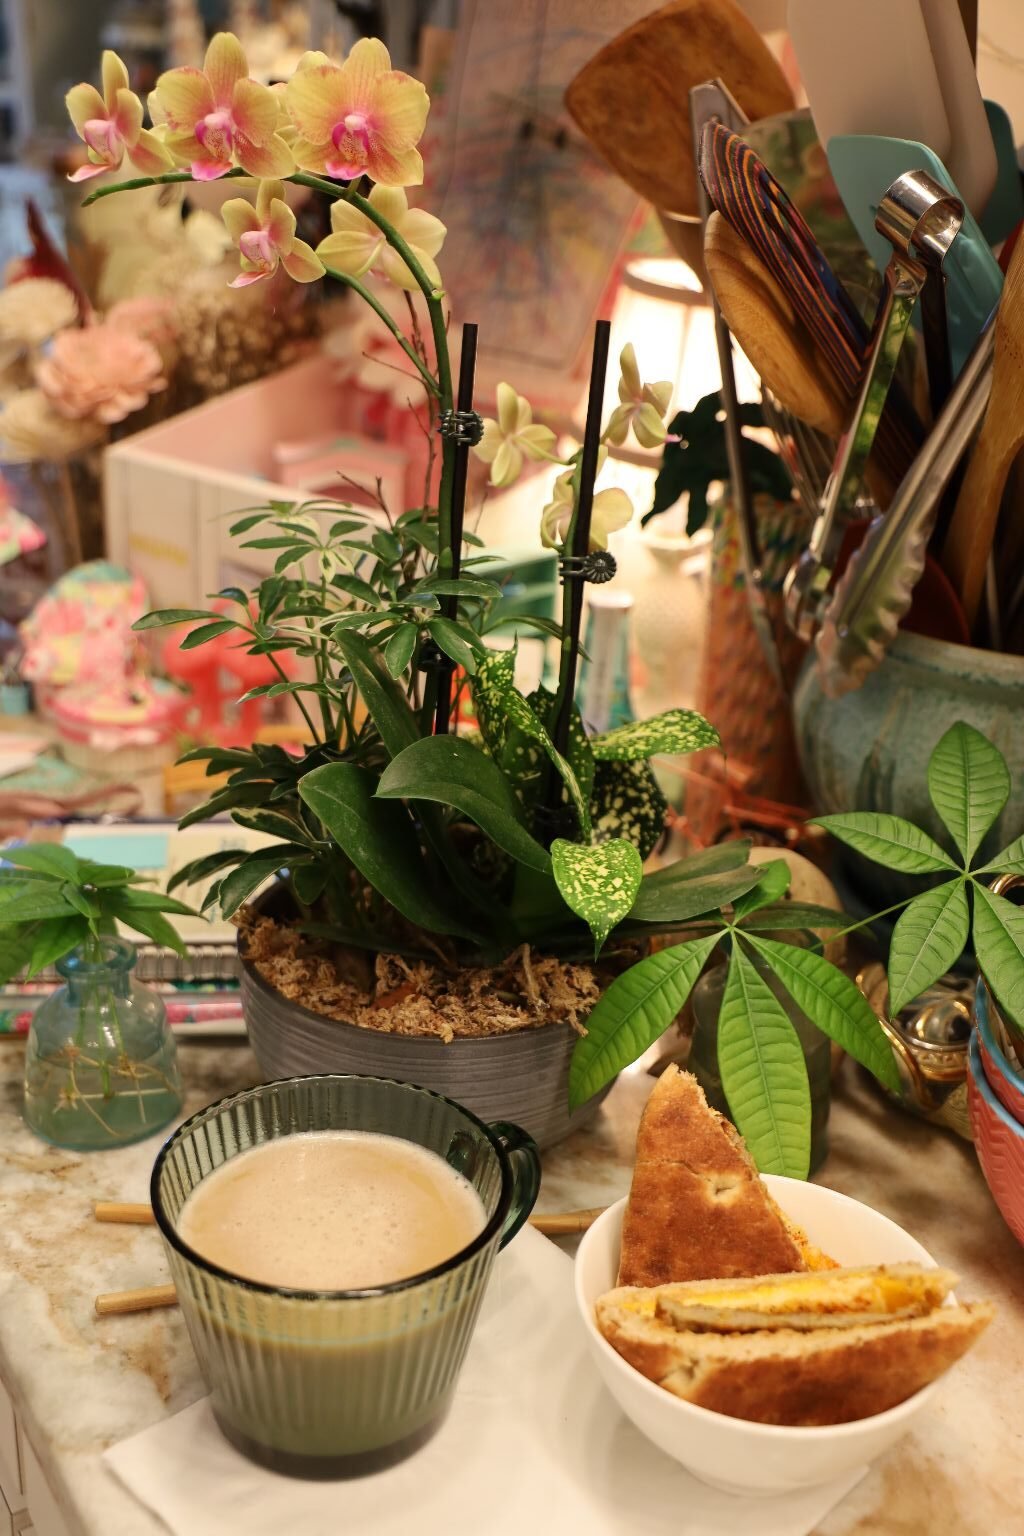
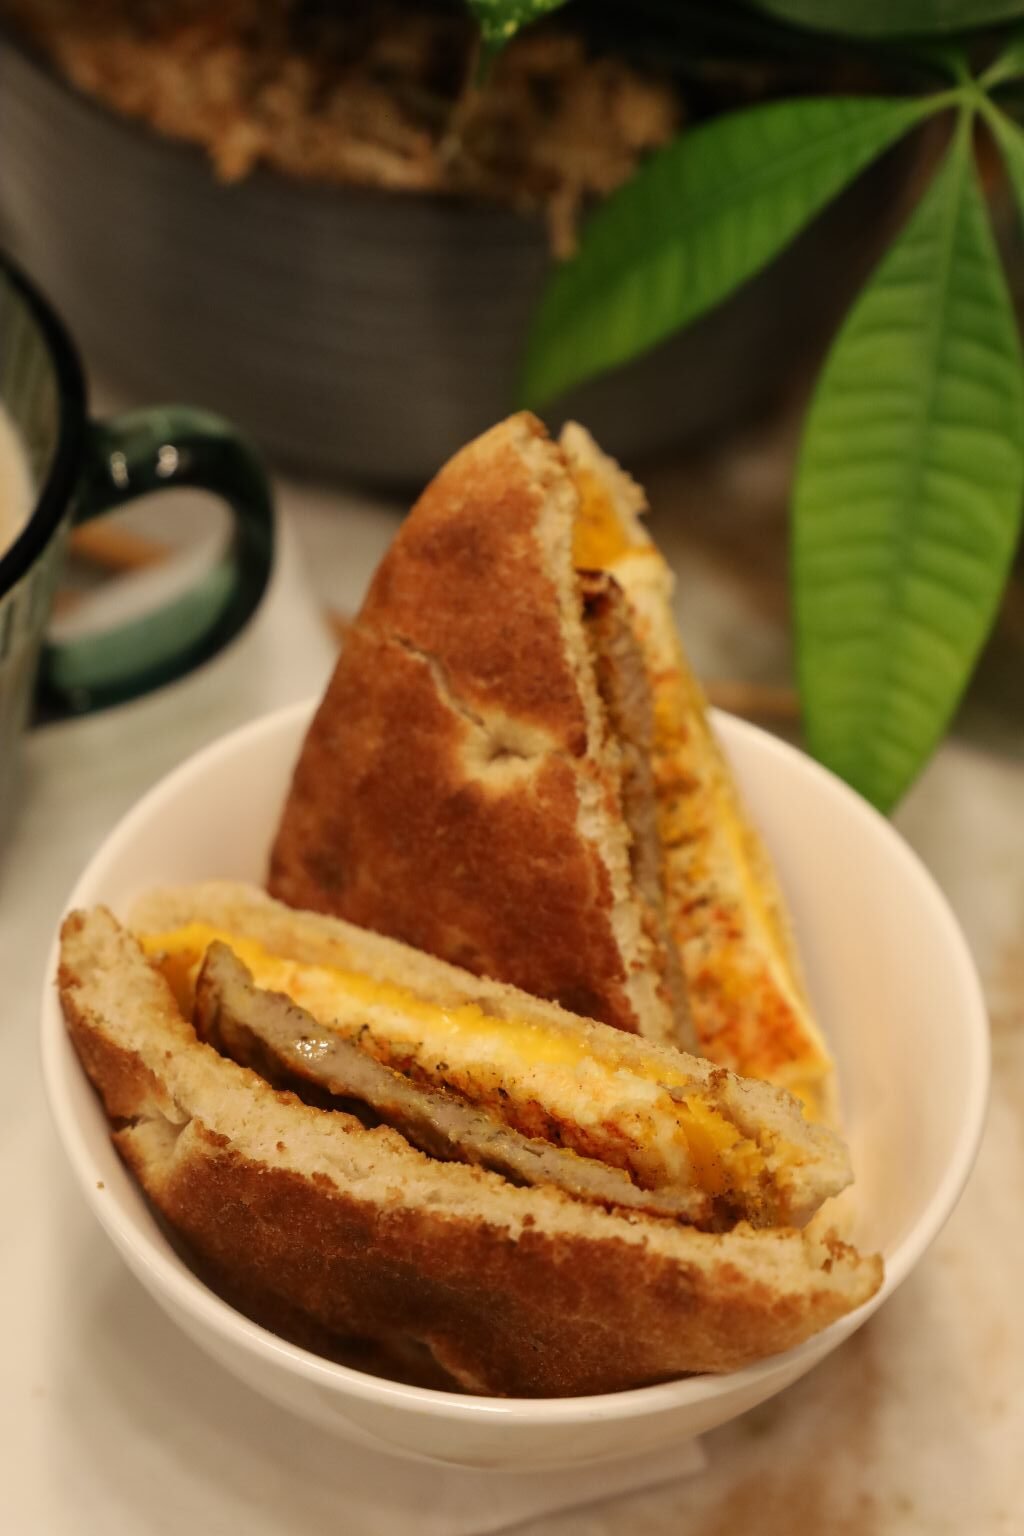
What a Great Day to Have a Cafe and a Breakfast Sangwitch
(The breakfast sandwich that you see above is something I picked up in the frozen foods section of the grocery store. It is a Turkey Sausage, Egg Whites, Cheese, and Ciabatta Bread breakfast. I simply cook the Egg Whites and Turkey Sausage in the oven on 400F for about 15 minutes. Flipping them over half way through, AND, hiding the Egg Whites underneath Aluminum Foil so that it doesn’t brown. I also toast the Ciabatta Bread in the Toaster to brown. I then add a sweet Italian Mustard, some Salt, Freshly Ground Black Pepper, and Turmeric to the Egg Whites. Put the sandwich together, add some coffee, and I then have the best breakfast!)
——————————————————————————————-
Another Great Breakfast Sandwich
I Based This On The Breakfast Sangwitch Above
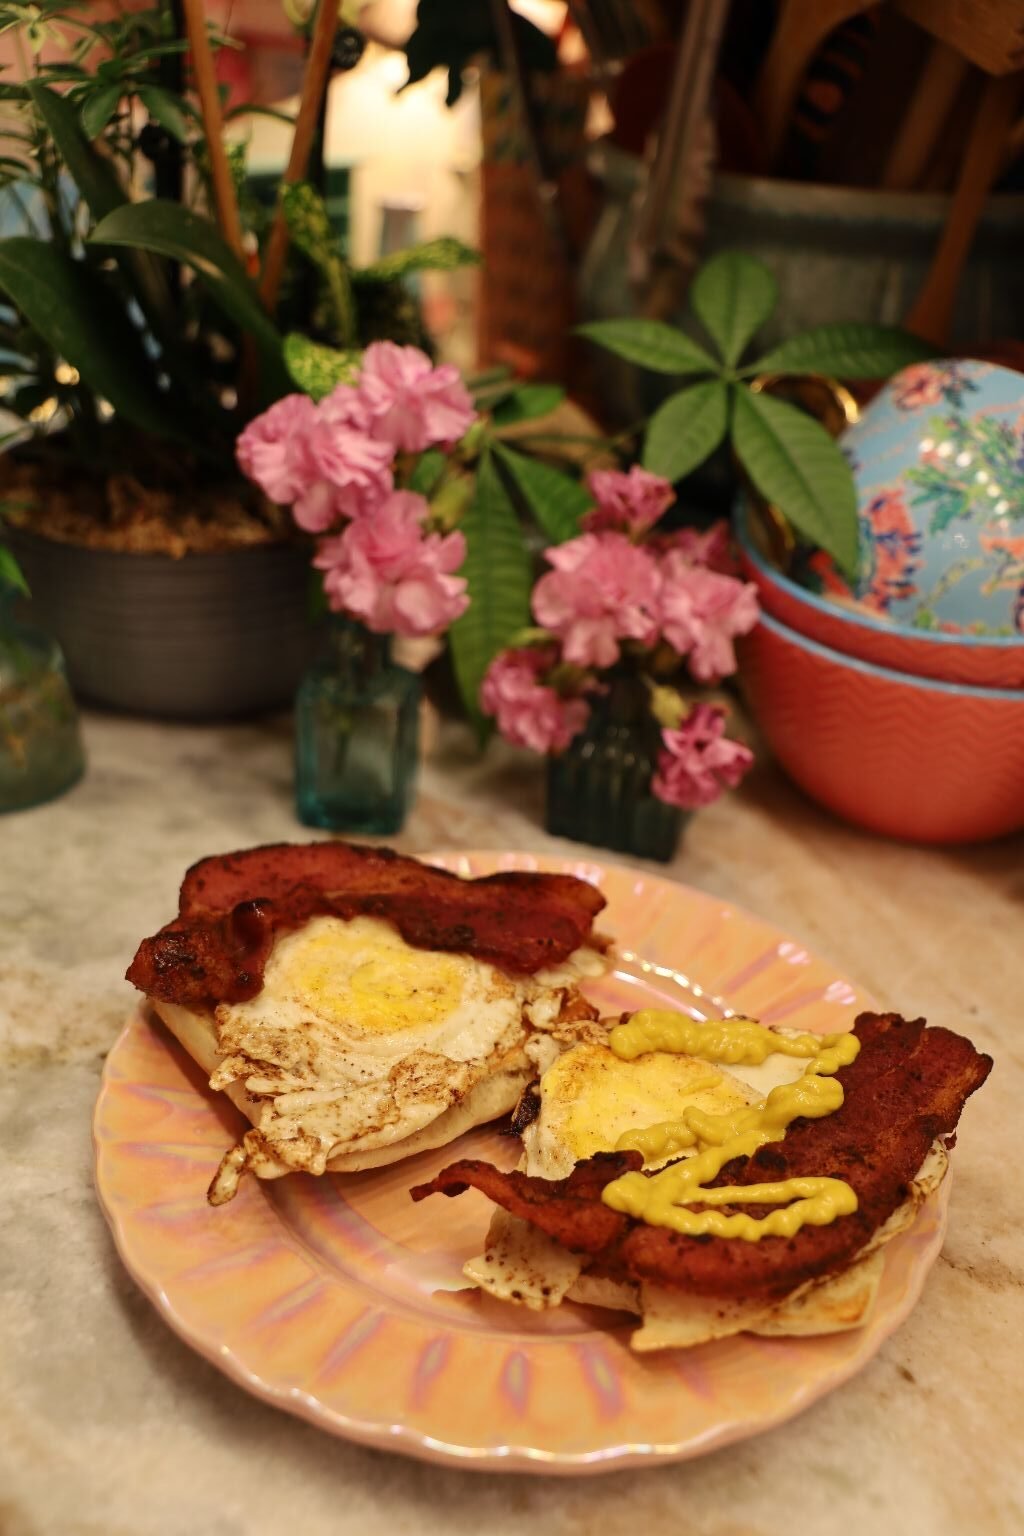
Toasted Ciabatta Bread, Fried Eggs, Bacon, And Mustard
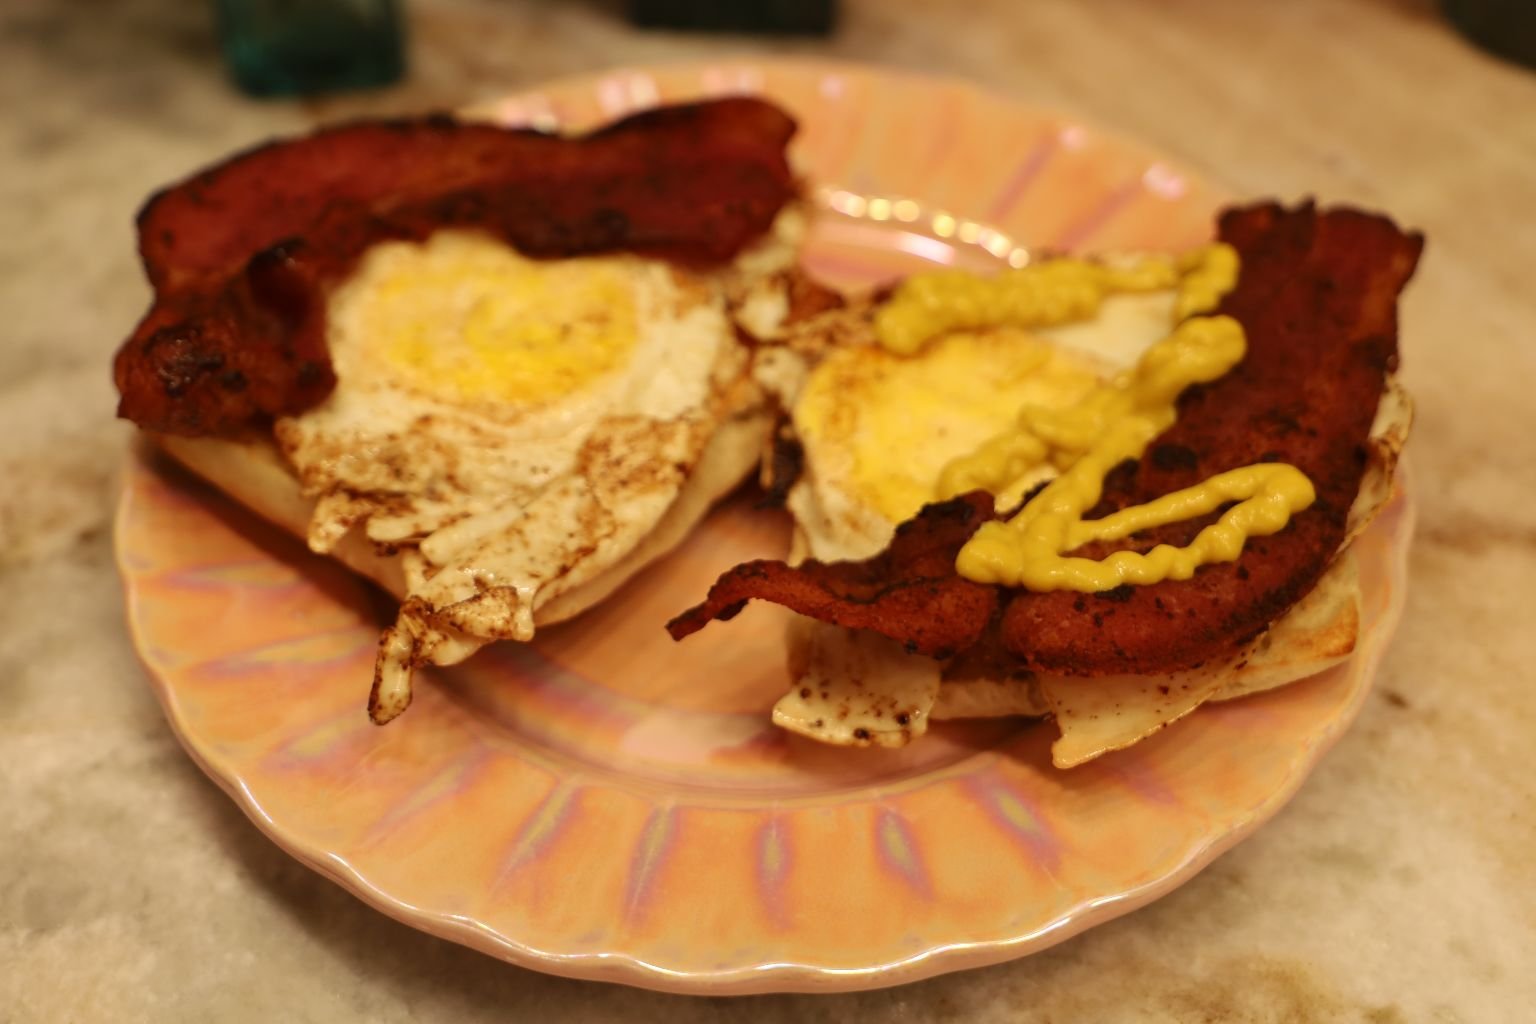
You Can Make This Italian By Using A Pancetta, Italian Cheeses, Italian Mustard, etc.
—————————————————————————————————
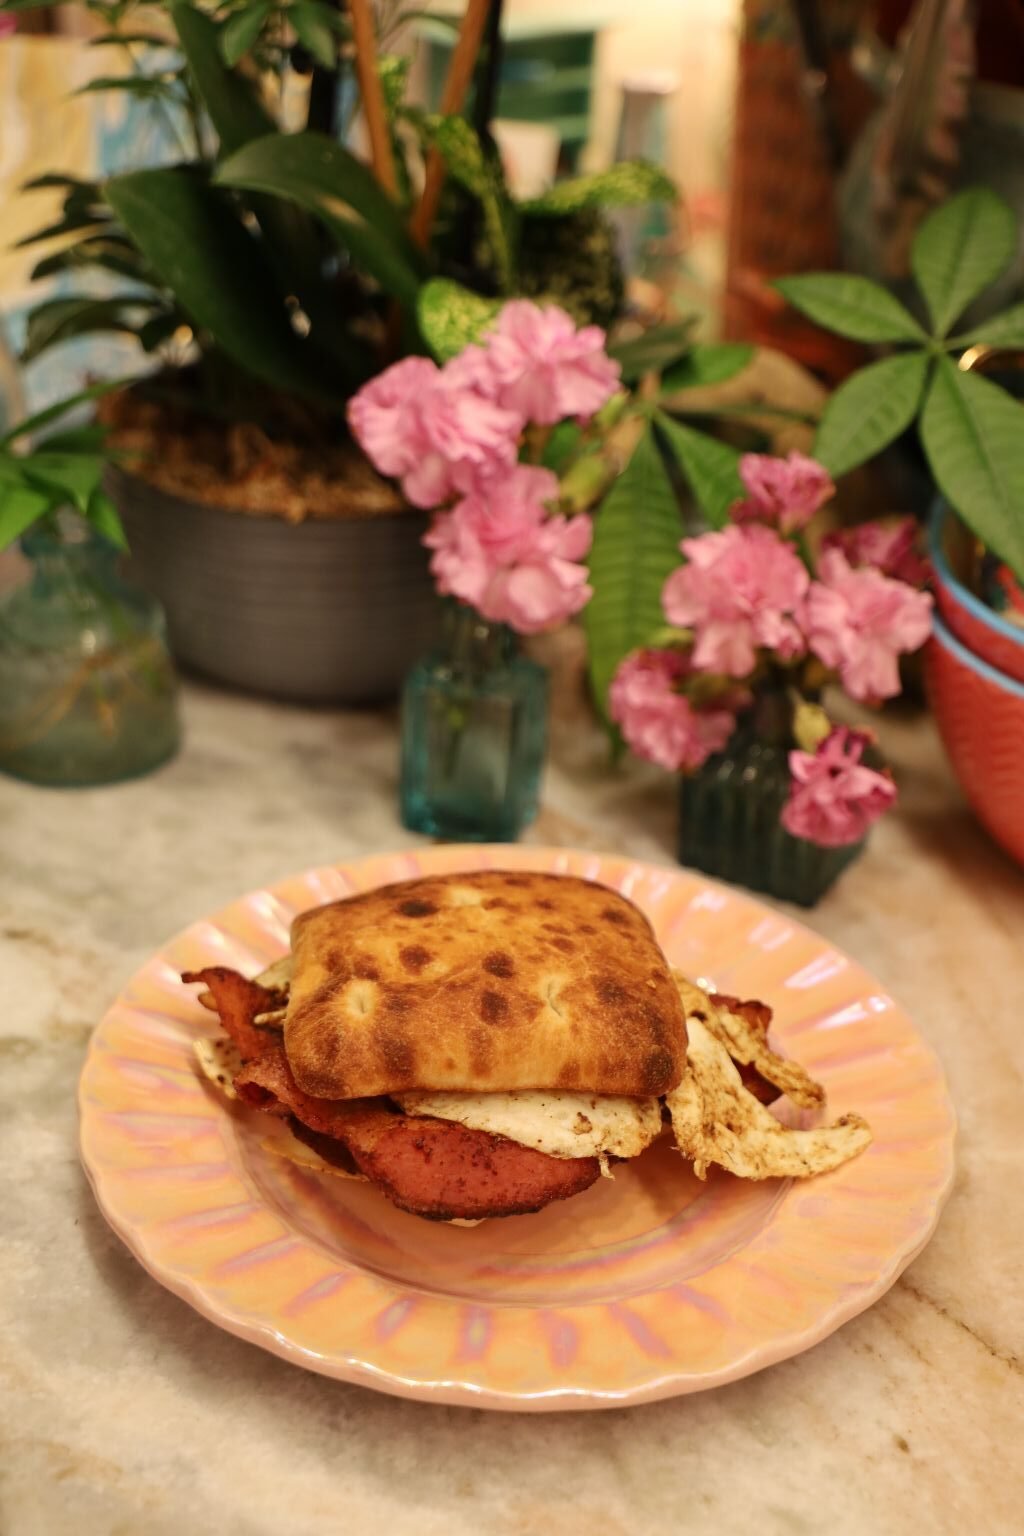
A Delicious Morning Breakfast

Easy To Go, If So….
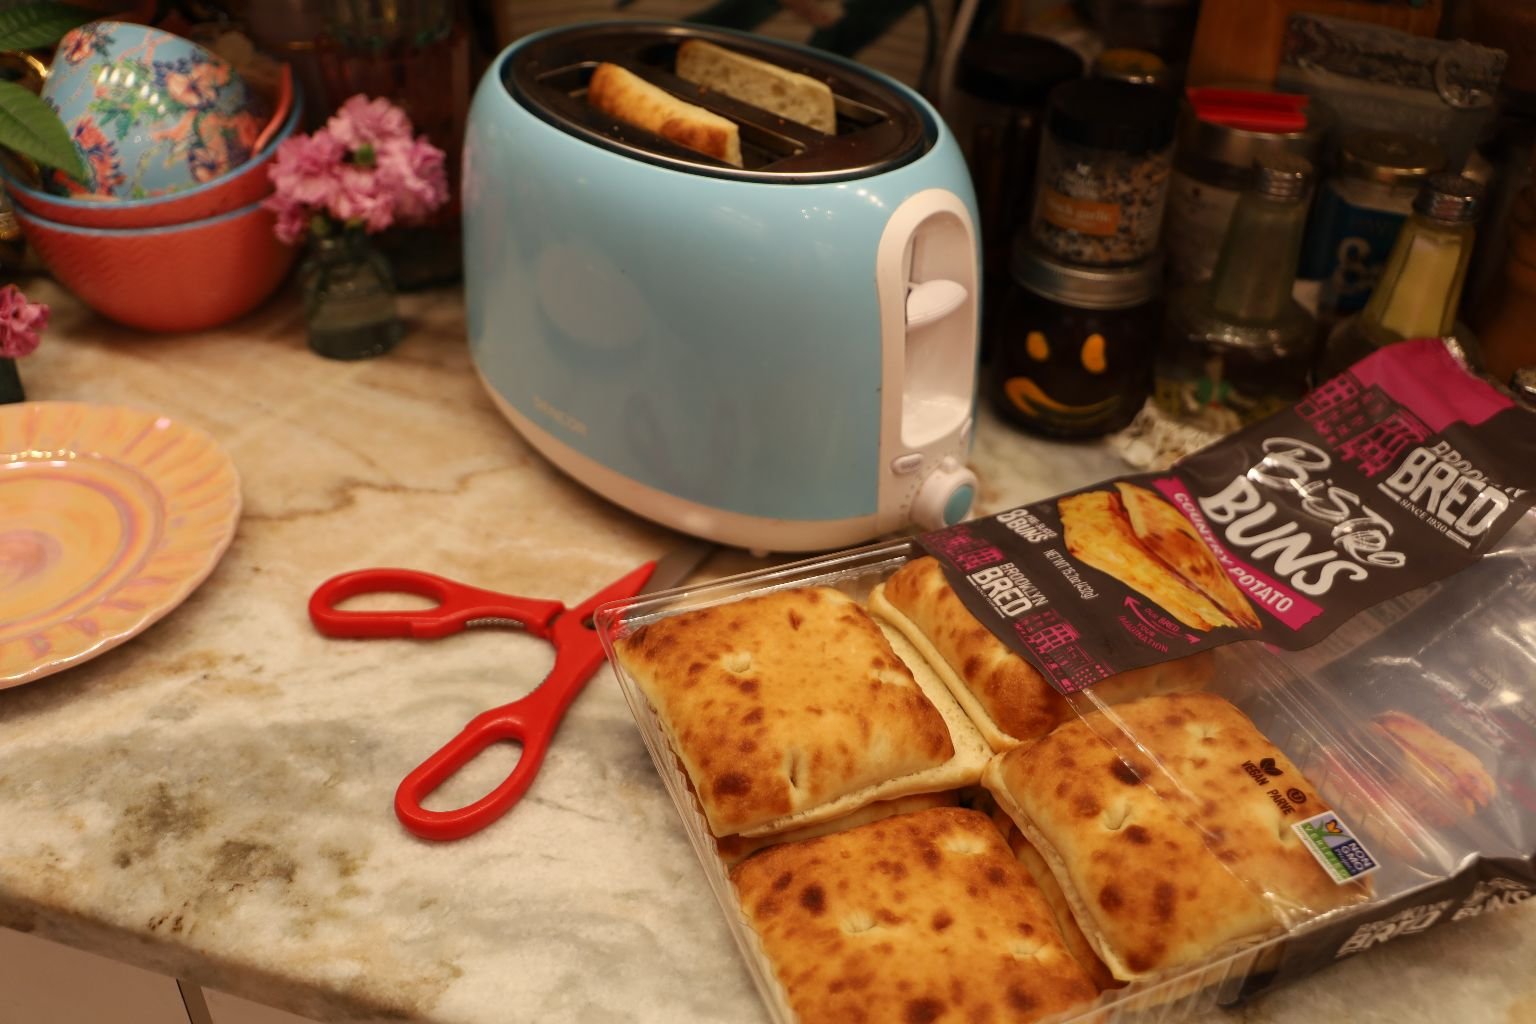
I realize that it is very convenient to buy the ready made Breakfast Sandwiches at the Grocery Store, but it is also quite easy to make your own.
——————————————————————————————
I would like to state that we have many Italian Sandwiches throughout our website. I decided to start a new website page as all of my other ones were becoming too heavy in content. I created these Sangwitches myself and I wanted to share them with you. I hope you enjoy!
There is just something about an Italian Sangwitch that is so satisfying and tastes so much better than other sandwiches.
Julie
—————————————————————————————-
Sangwitches:
As I understand it, it is common for first generation Italian and Spanish speakers, trying to approximate the combination of sounds which don’t exist in their native languages. The closest sound in their phonic inventory is a G, hence the S-A-N-G Witches. I like it!
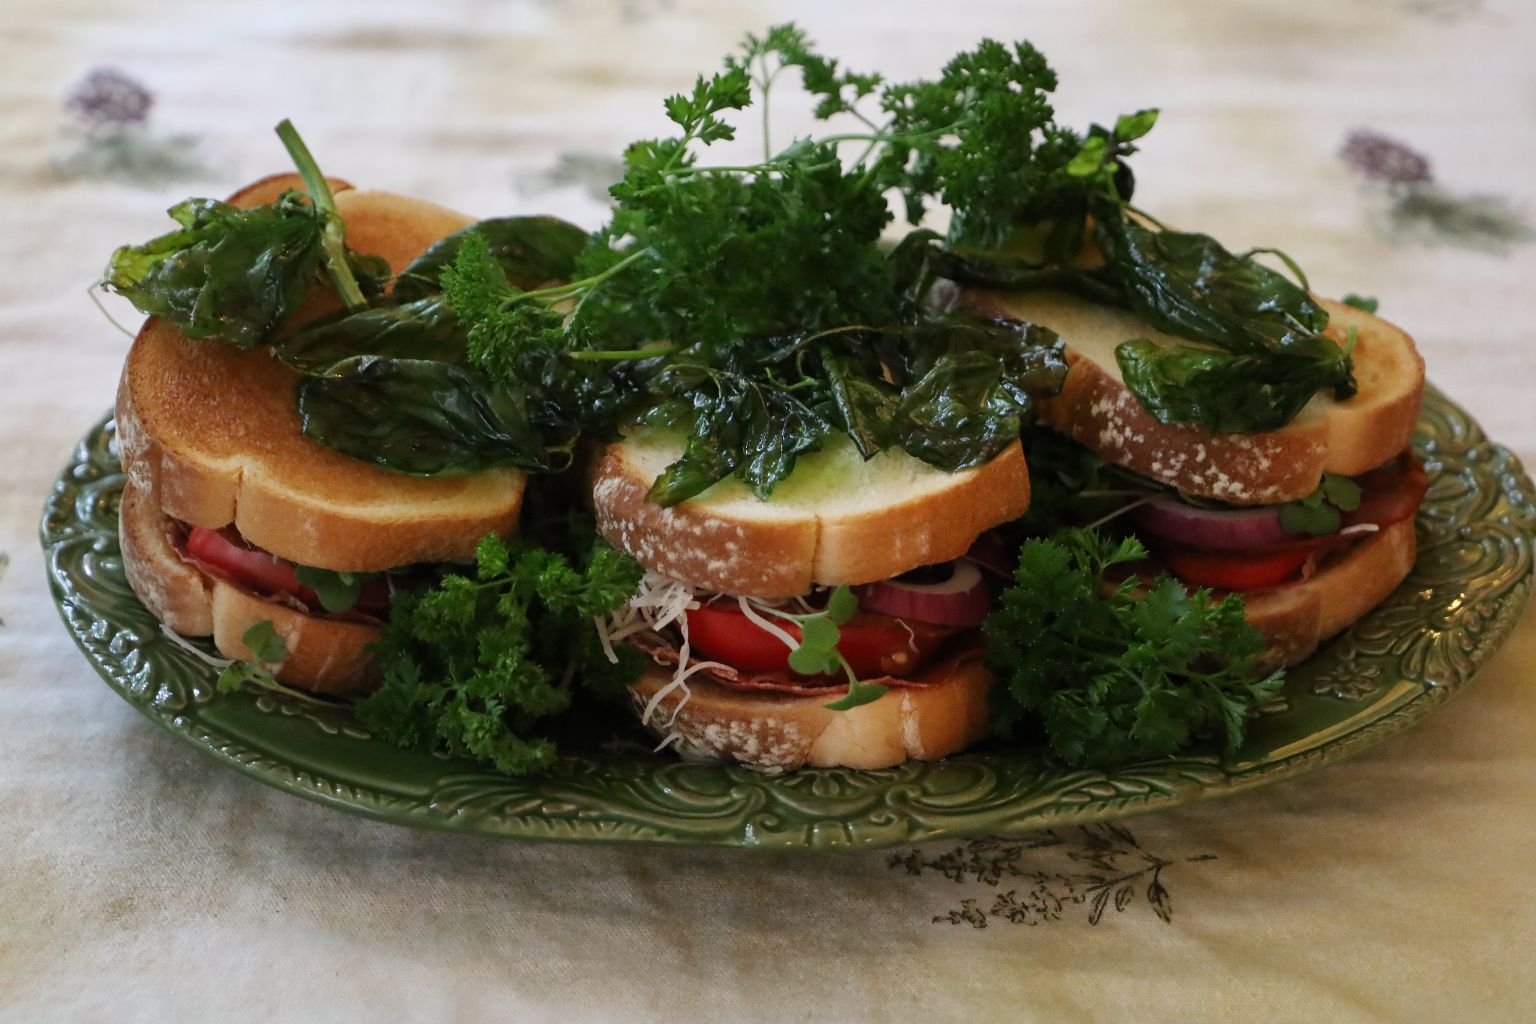
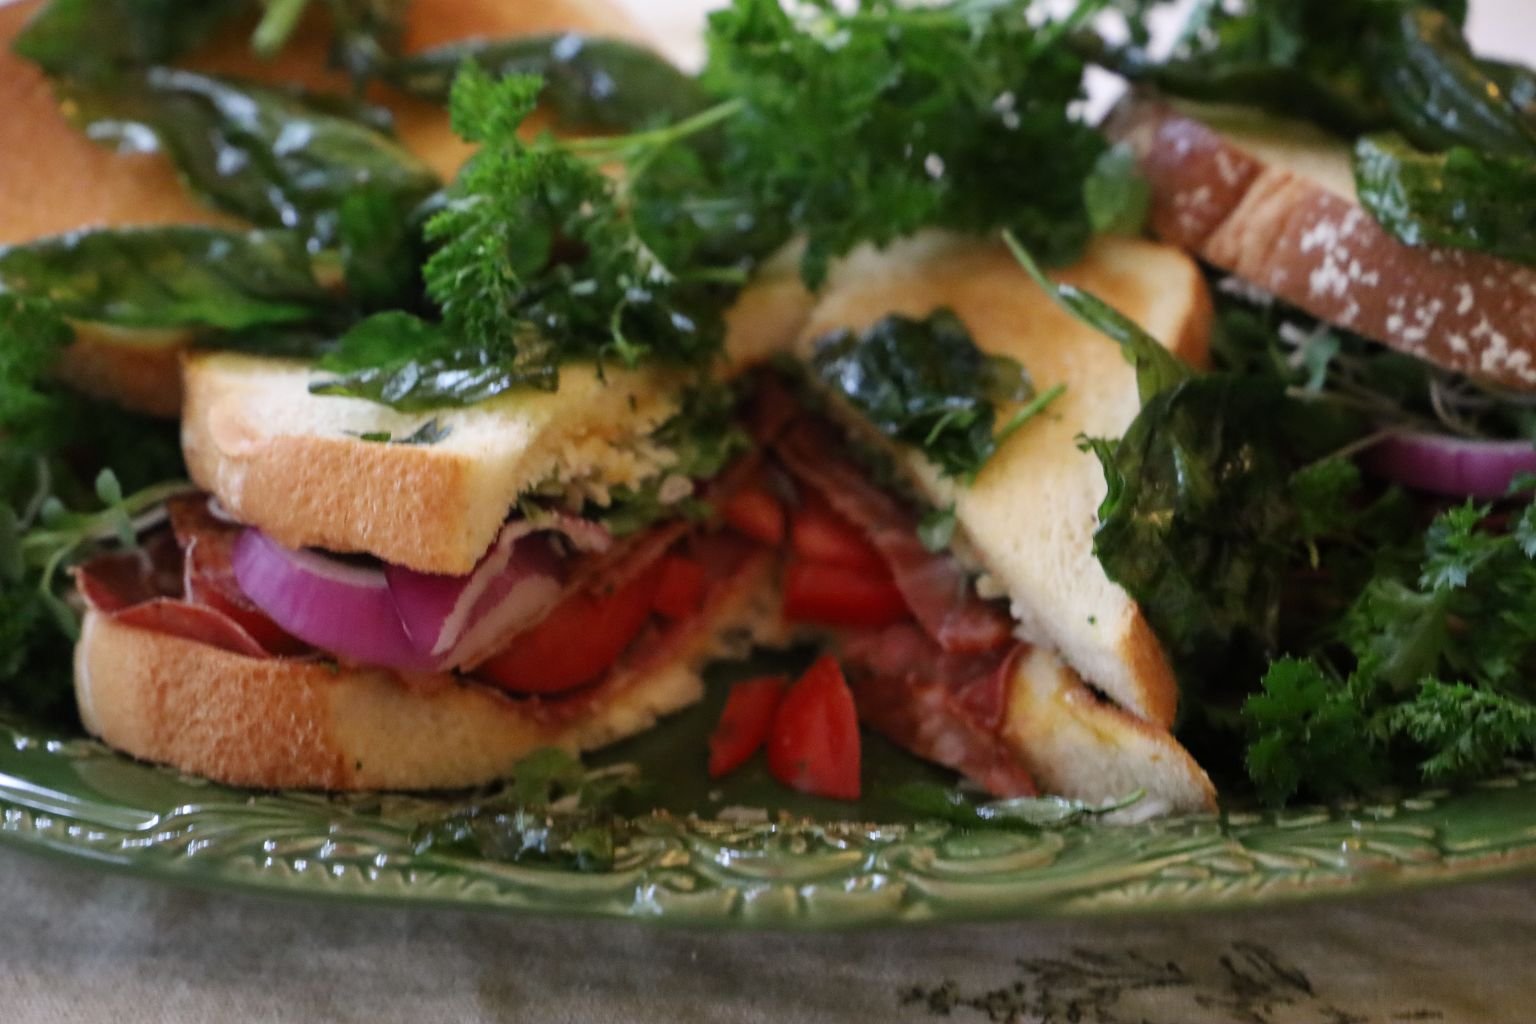
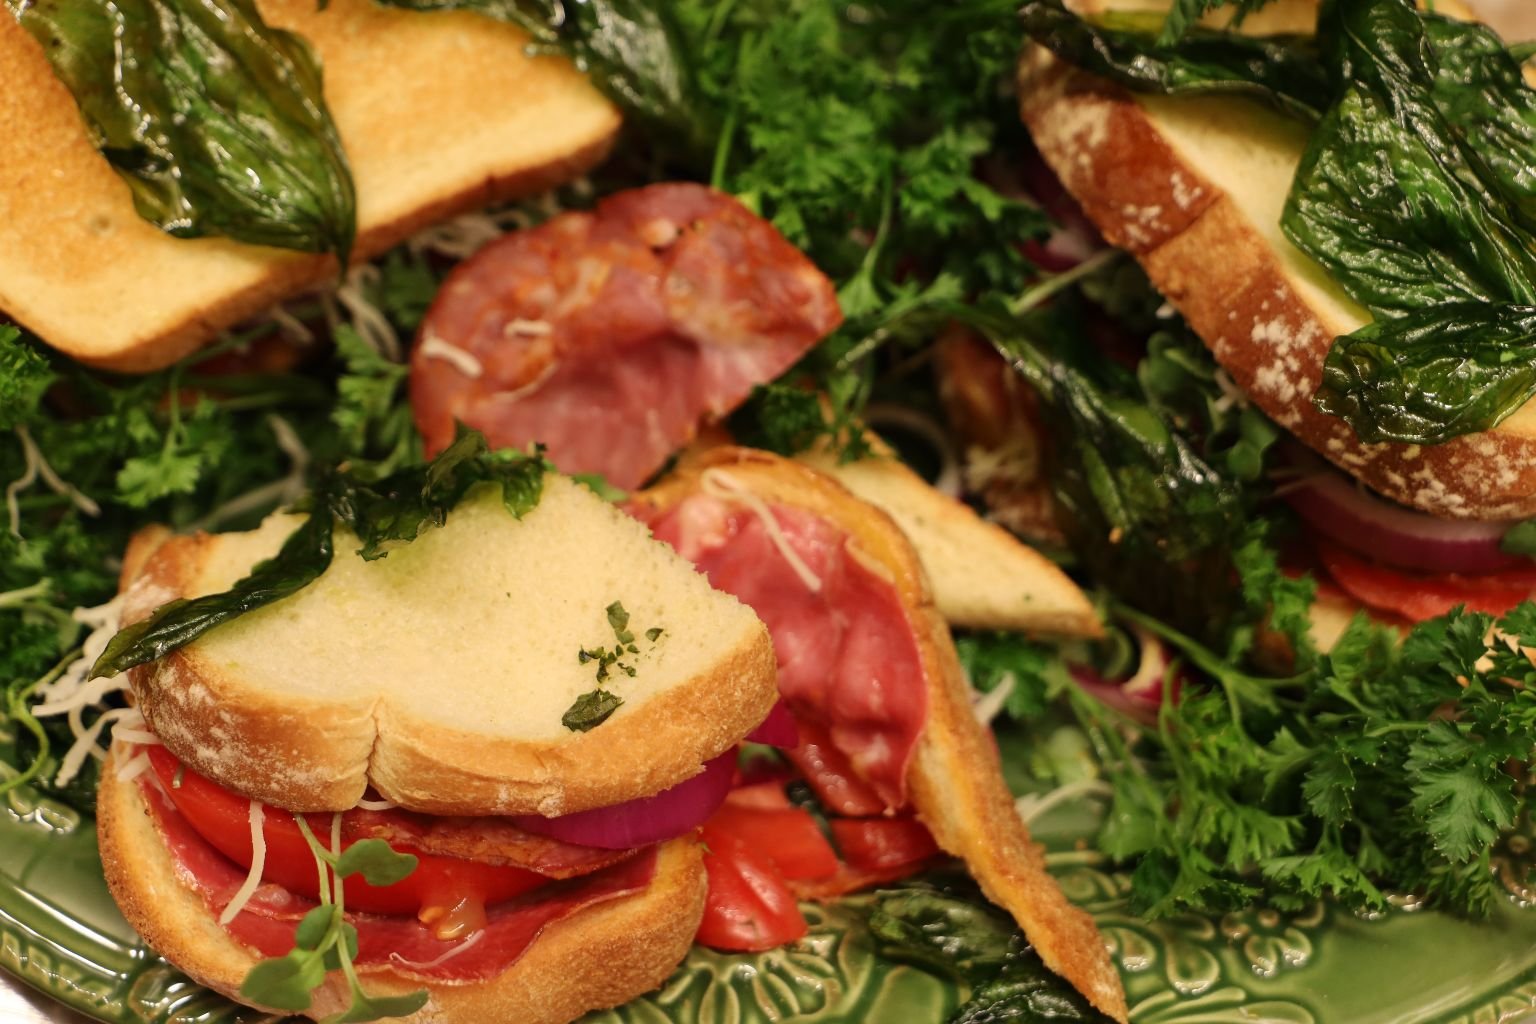
Julie’s Dueling Copa-Cola Hams Sangwitch
w/ Fried Basil
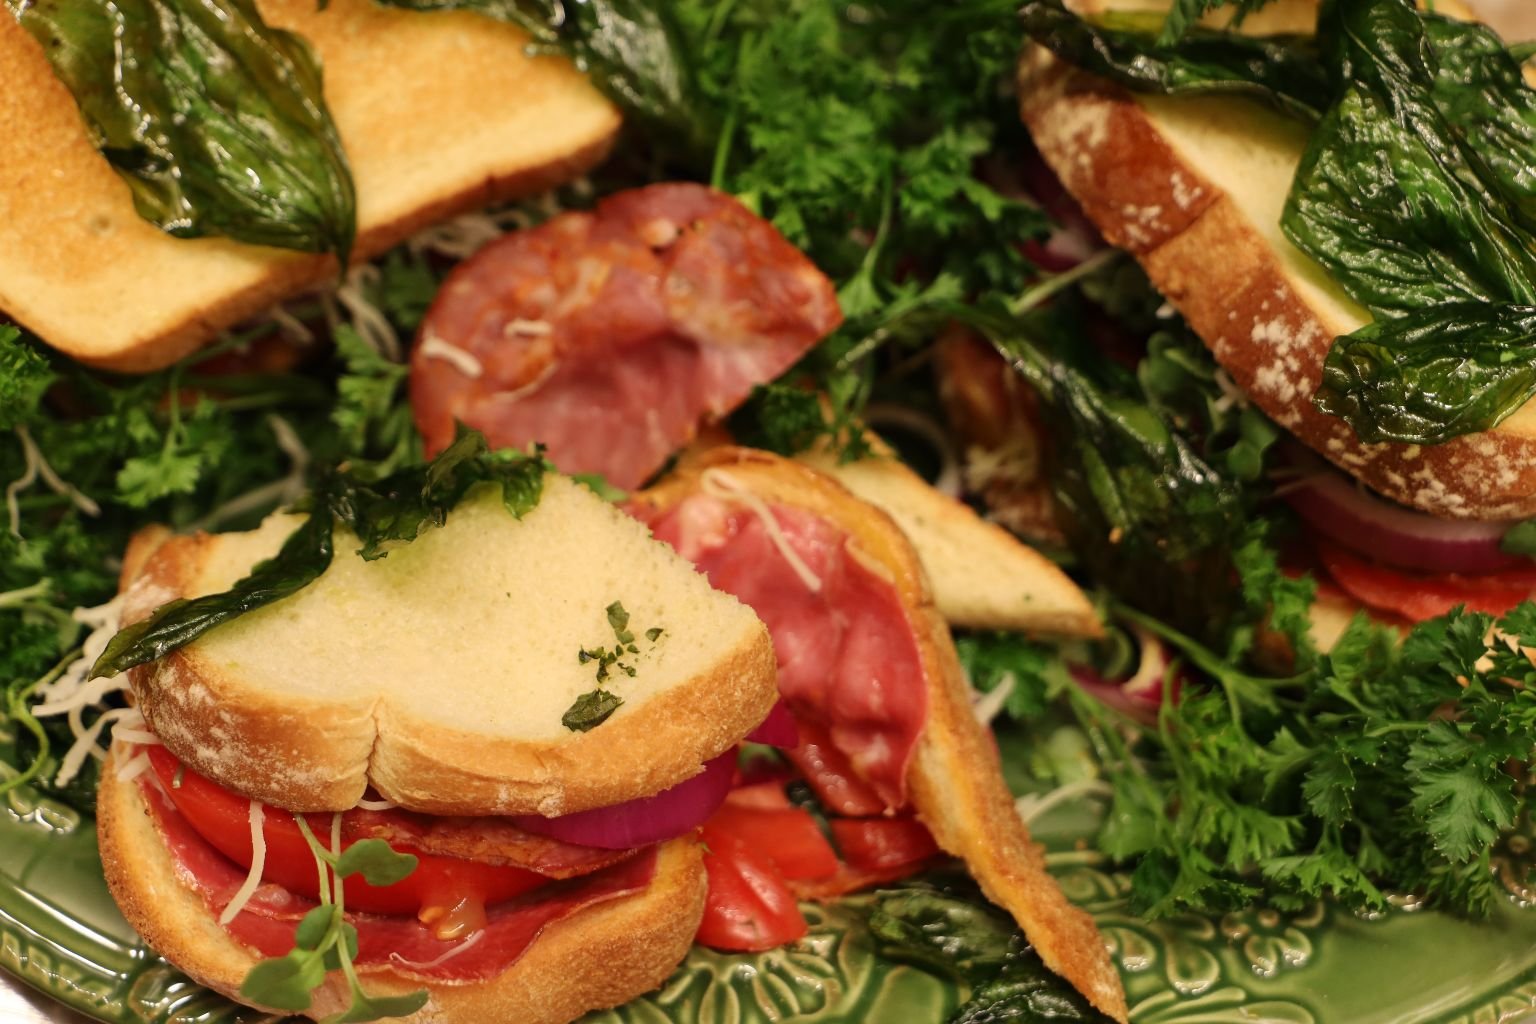
(Recipe Down Below)
————————————————————————————-
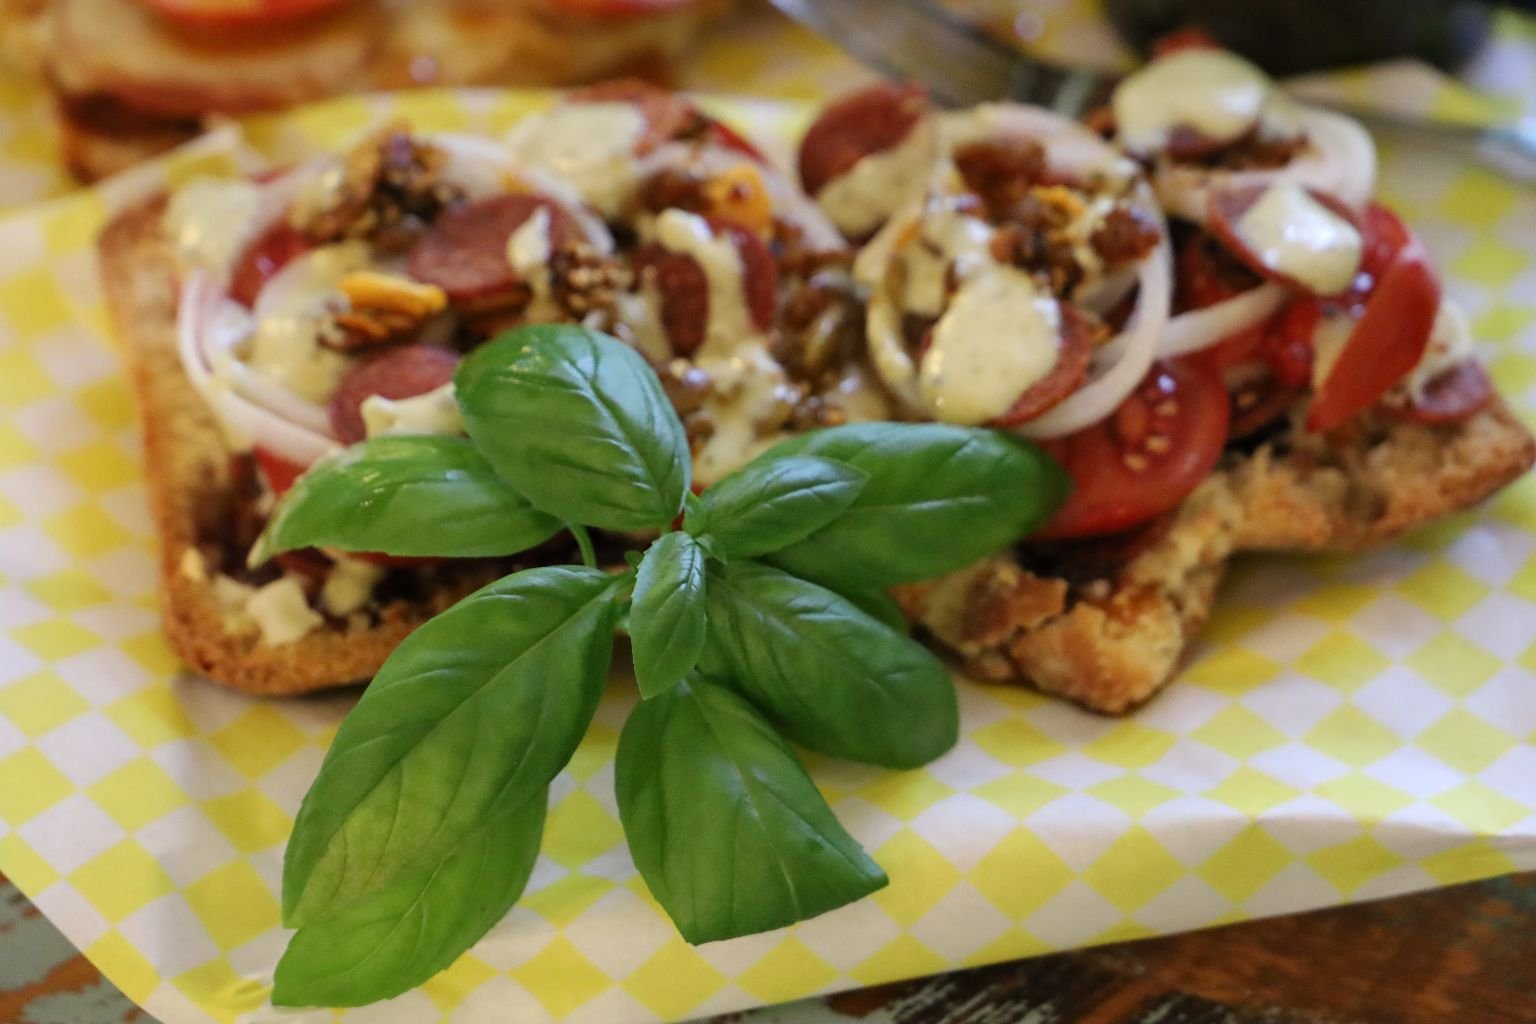
My Italian, and Mexican Open Faced Sangwitches


(Recipes Down Below)
———————————————————————————

Italian Sausage Potato Open-Faced Sangwitch
(Recipe Down Below)
————————————————————————————————
Another Version of our Chicken Parm Sangwitch
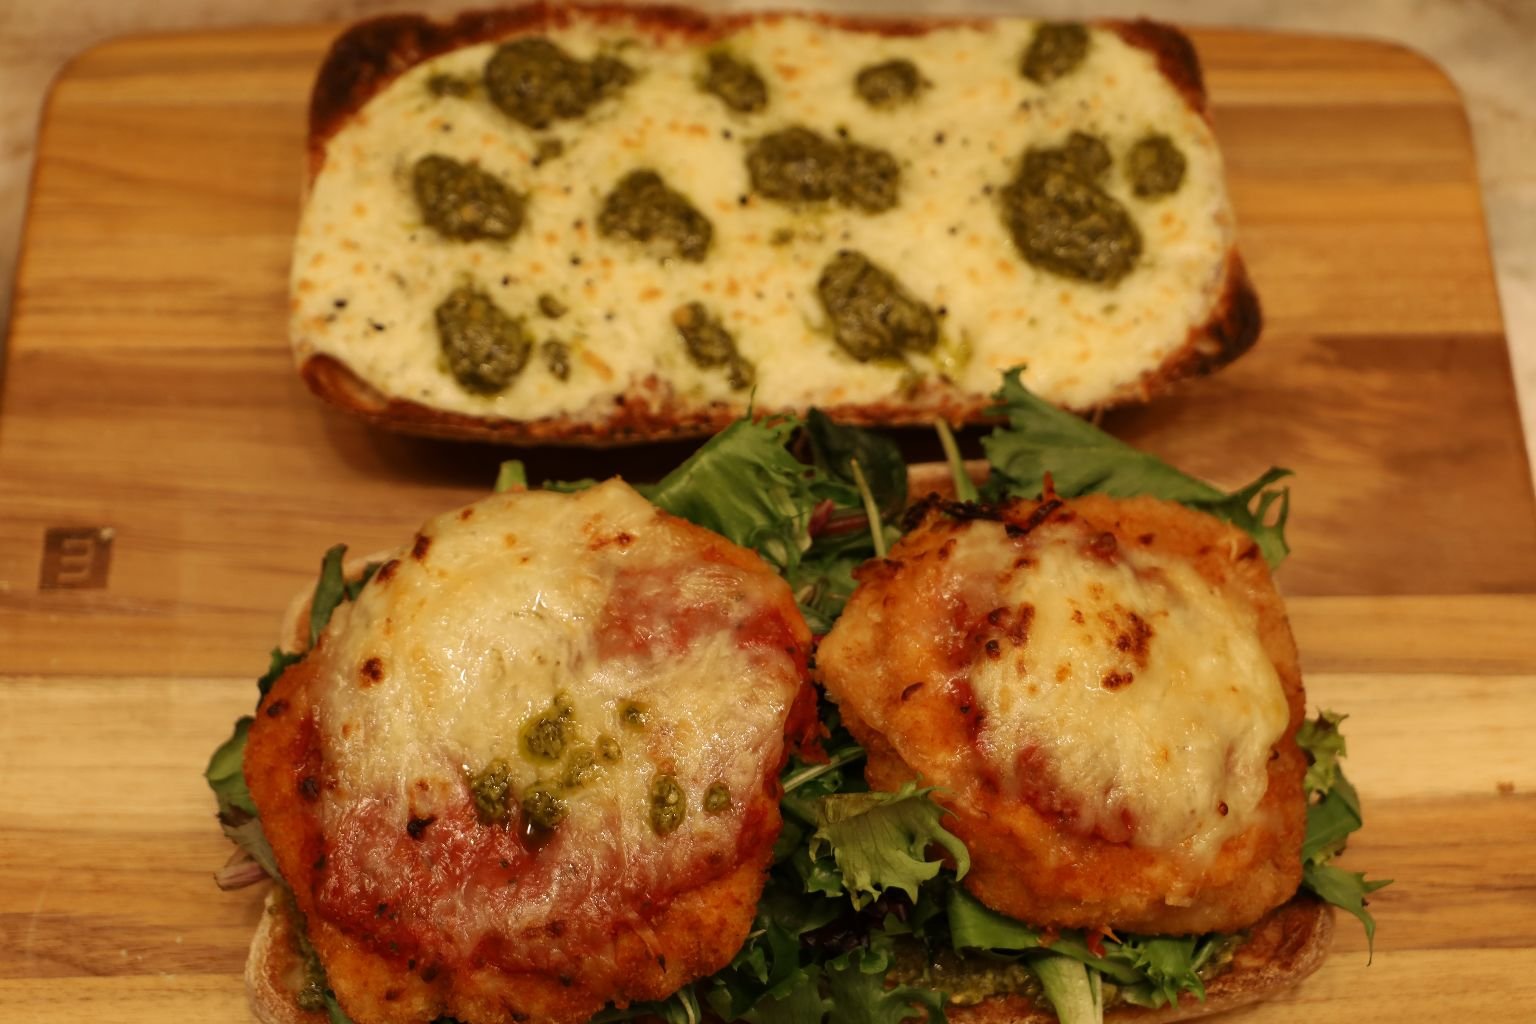
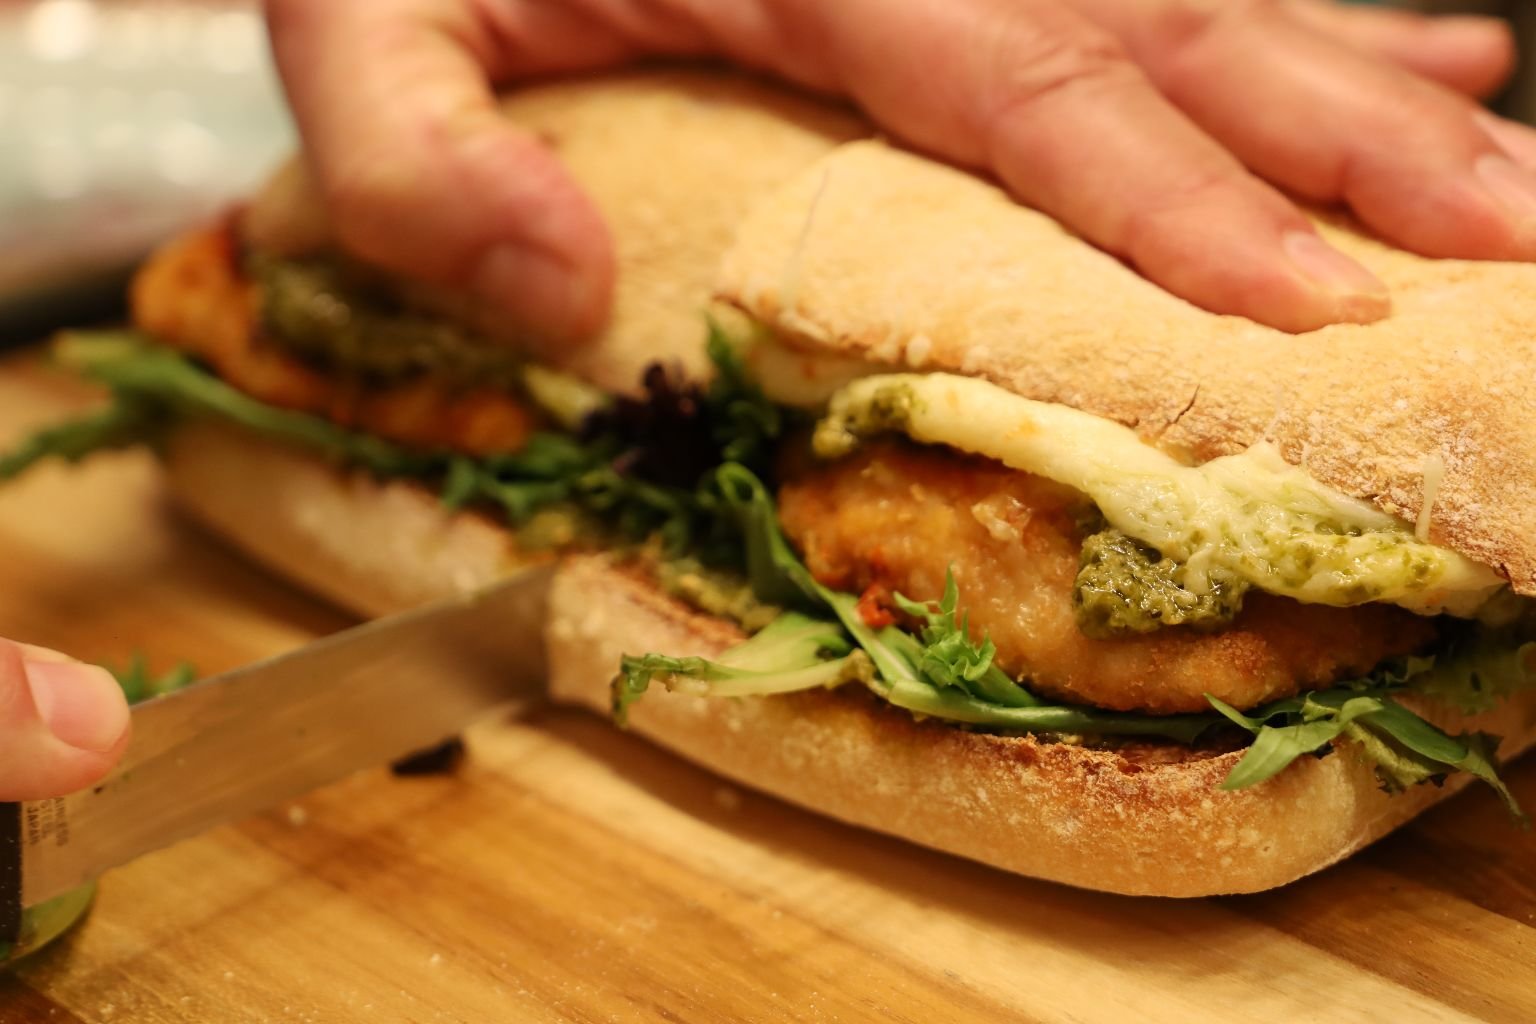
(Recipe Down Below)
——————————————————————————————-
Frying Basil In Olive Oil
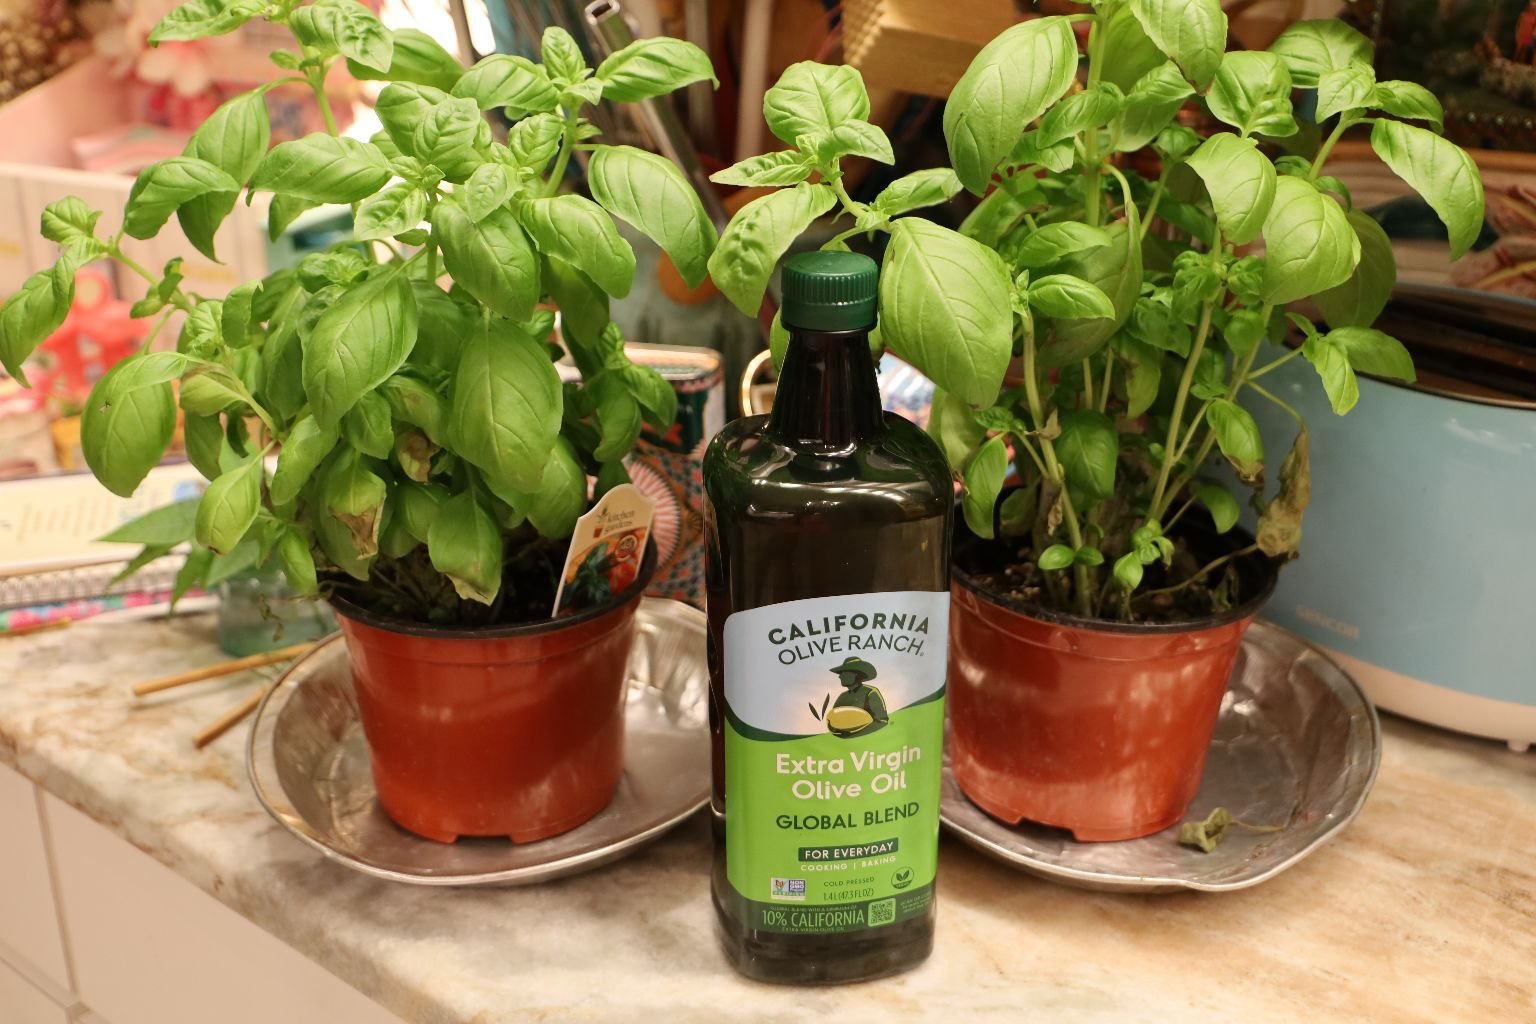
This was quite easy.
You just want to place some Olive Oil into a sturdy frying pan, bring up to a Medium Heat, then add some of your Basil Leaves to the Oil.
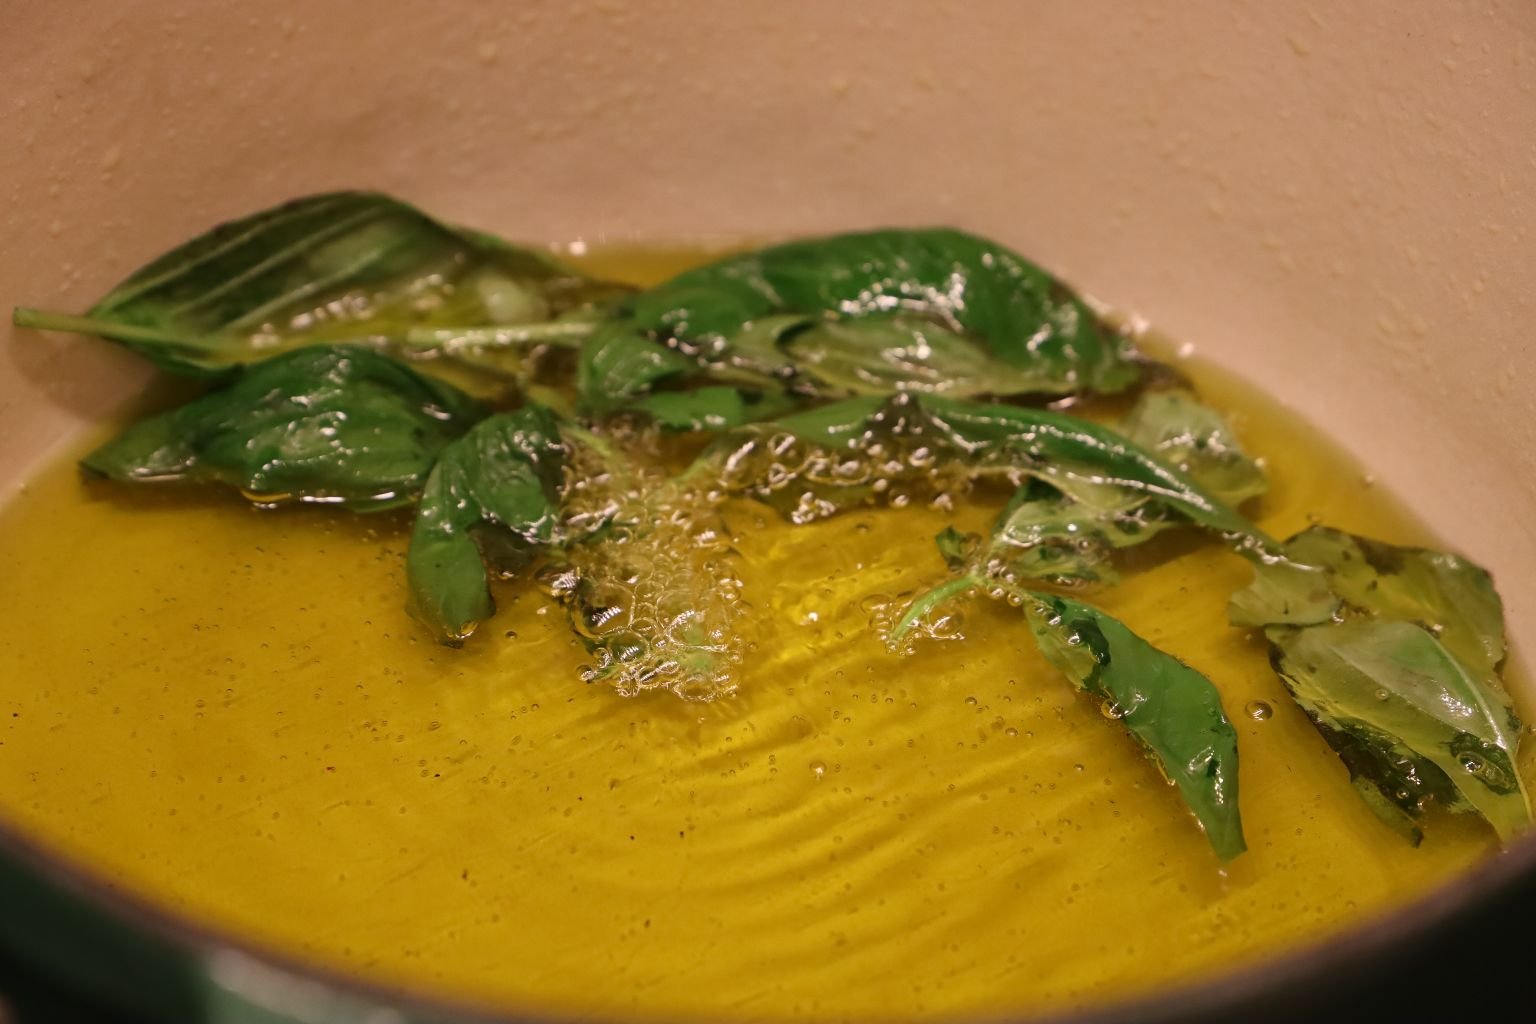
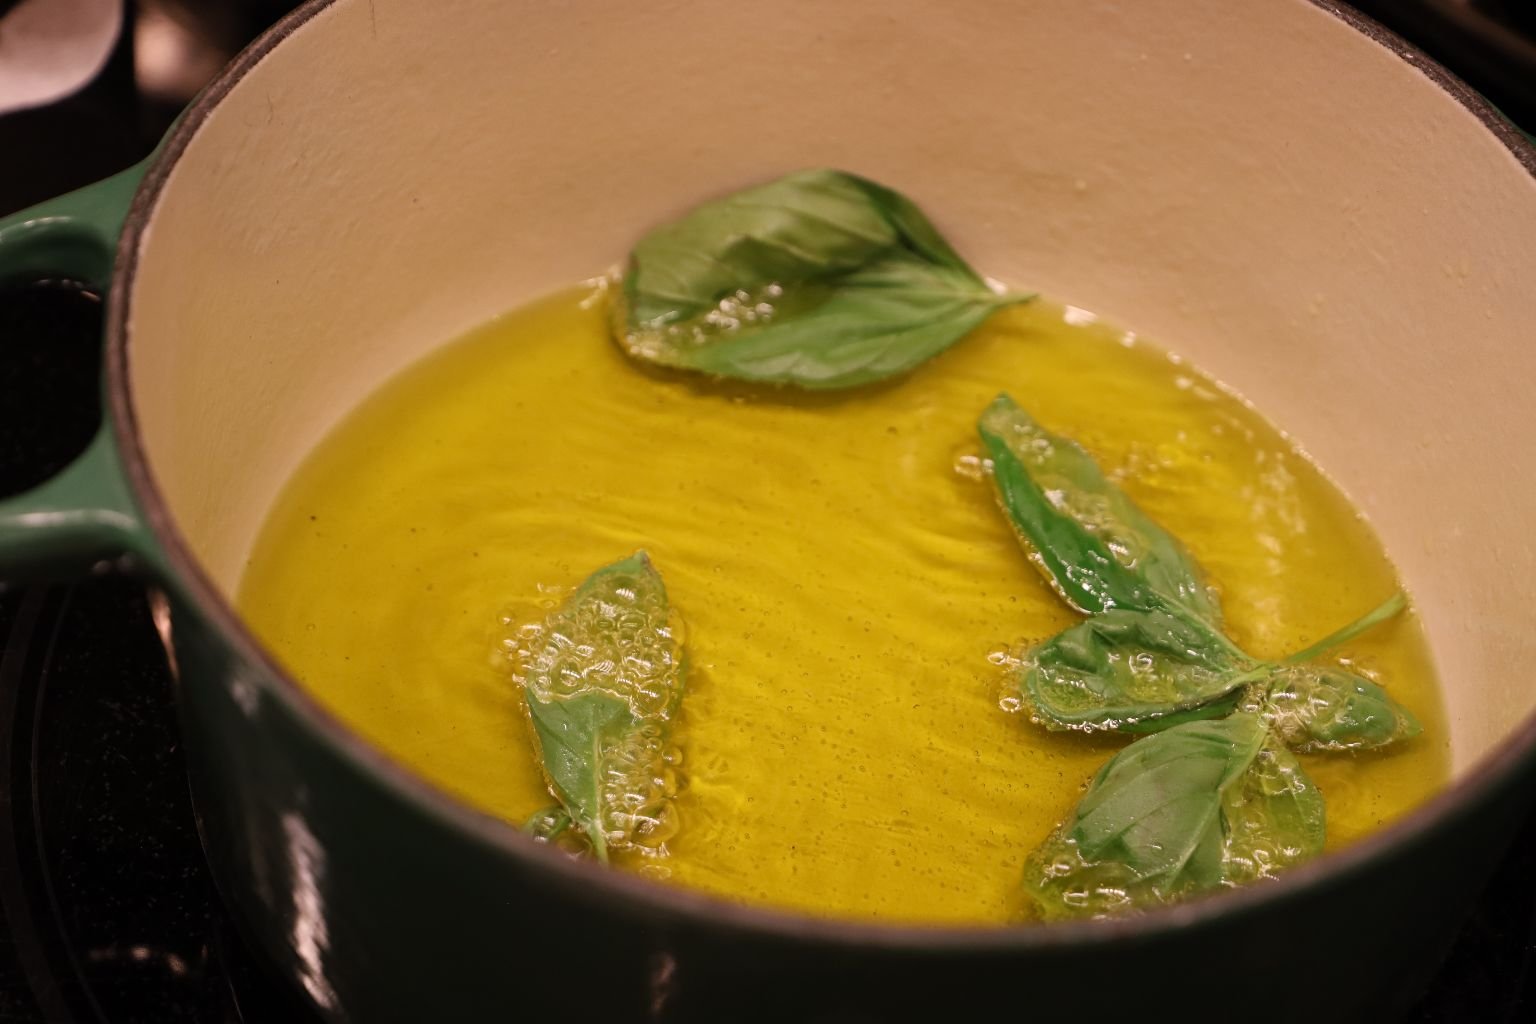
You just want them to cook a minute or two, flipping them over.
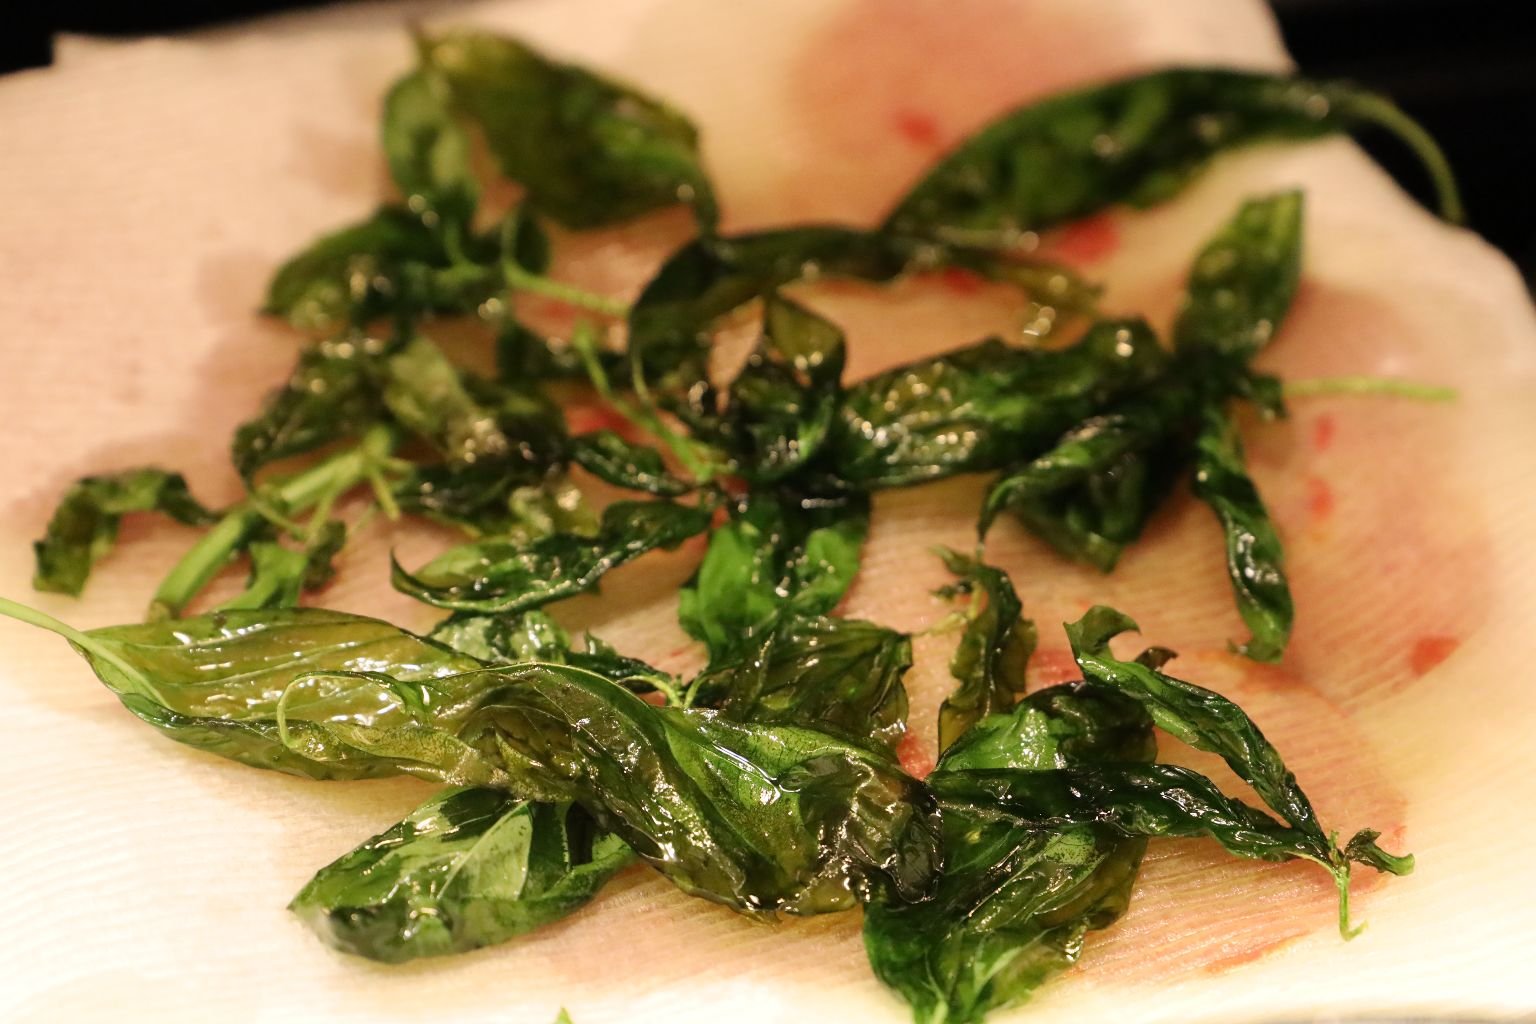
Drain onto a Paper Towel
—————————————————————————————–
Ricette Starts Here
————————————————————————————–
Julie’s Dueling Copa-Cola Hams Sangwitch
w/ Fried Basil
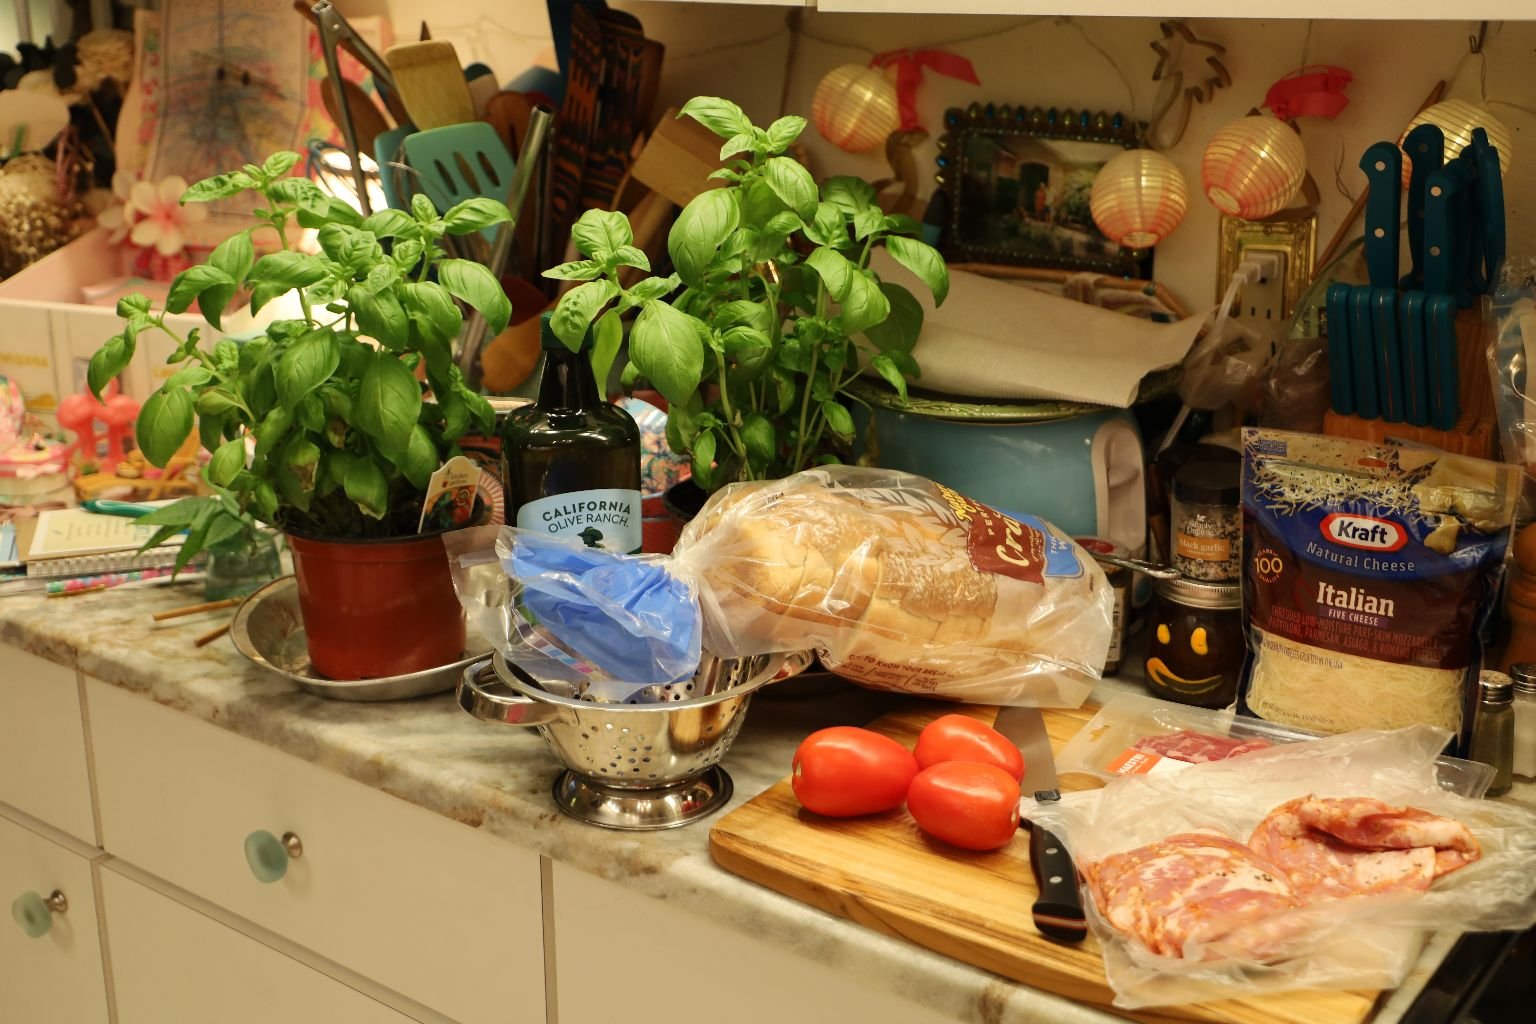
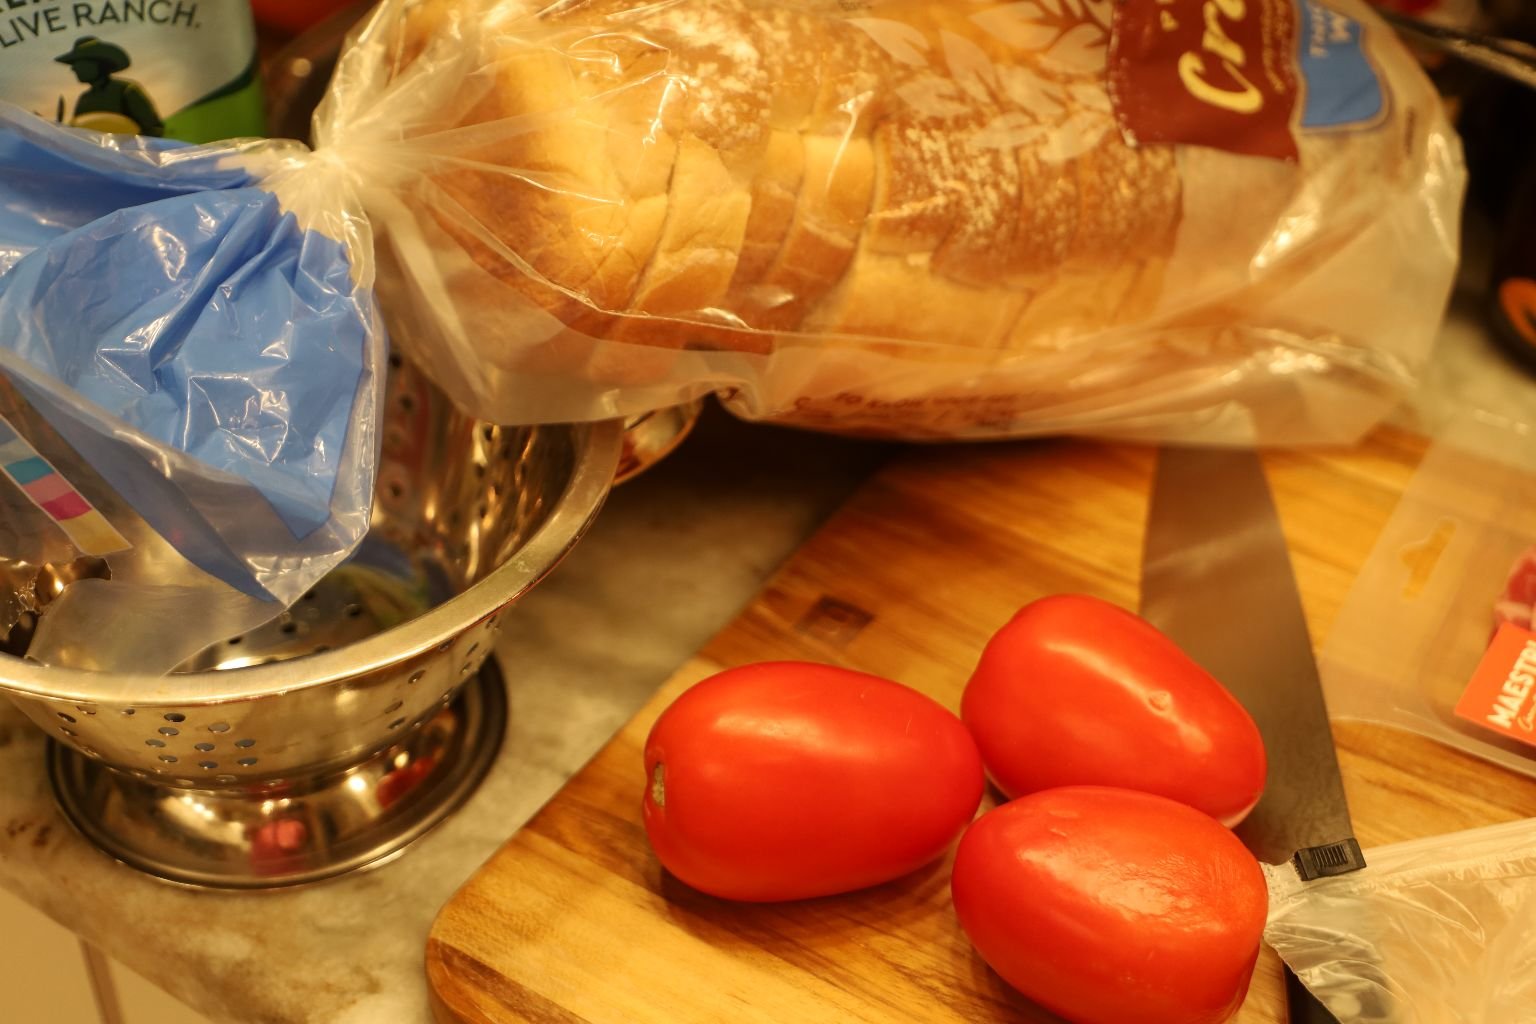
Ingredients:
2 Different Kinds of Copa-Cola Ham (One Hot and One Dry Cured Shoulder Butt),
Ham Fried, As Much As You Like
Thick Cut Loaf Bread, Any That You Like
Sliced Roma Tomatoes, I Used 3
Red Onion, Sliced Into Rings
Italian Shredded Cheese
Micro-Greens
Sweet Italian Mustard
Fresh Basil Fried In Olive Oil
Olive Oil For Frying
Fresh Parsley, Optional
———————————————————————————–
Frying My Copa-Cola Ham
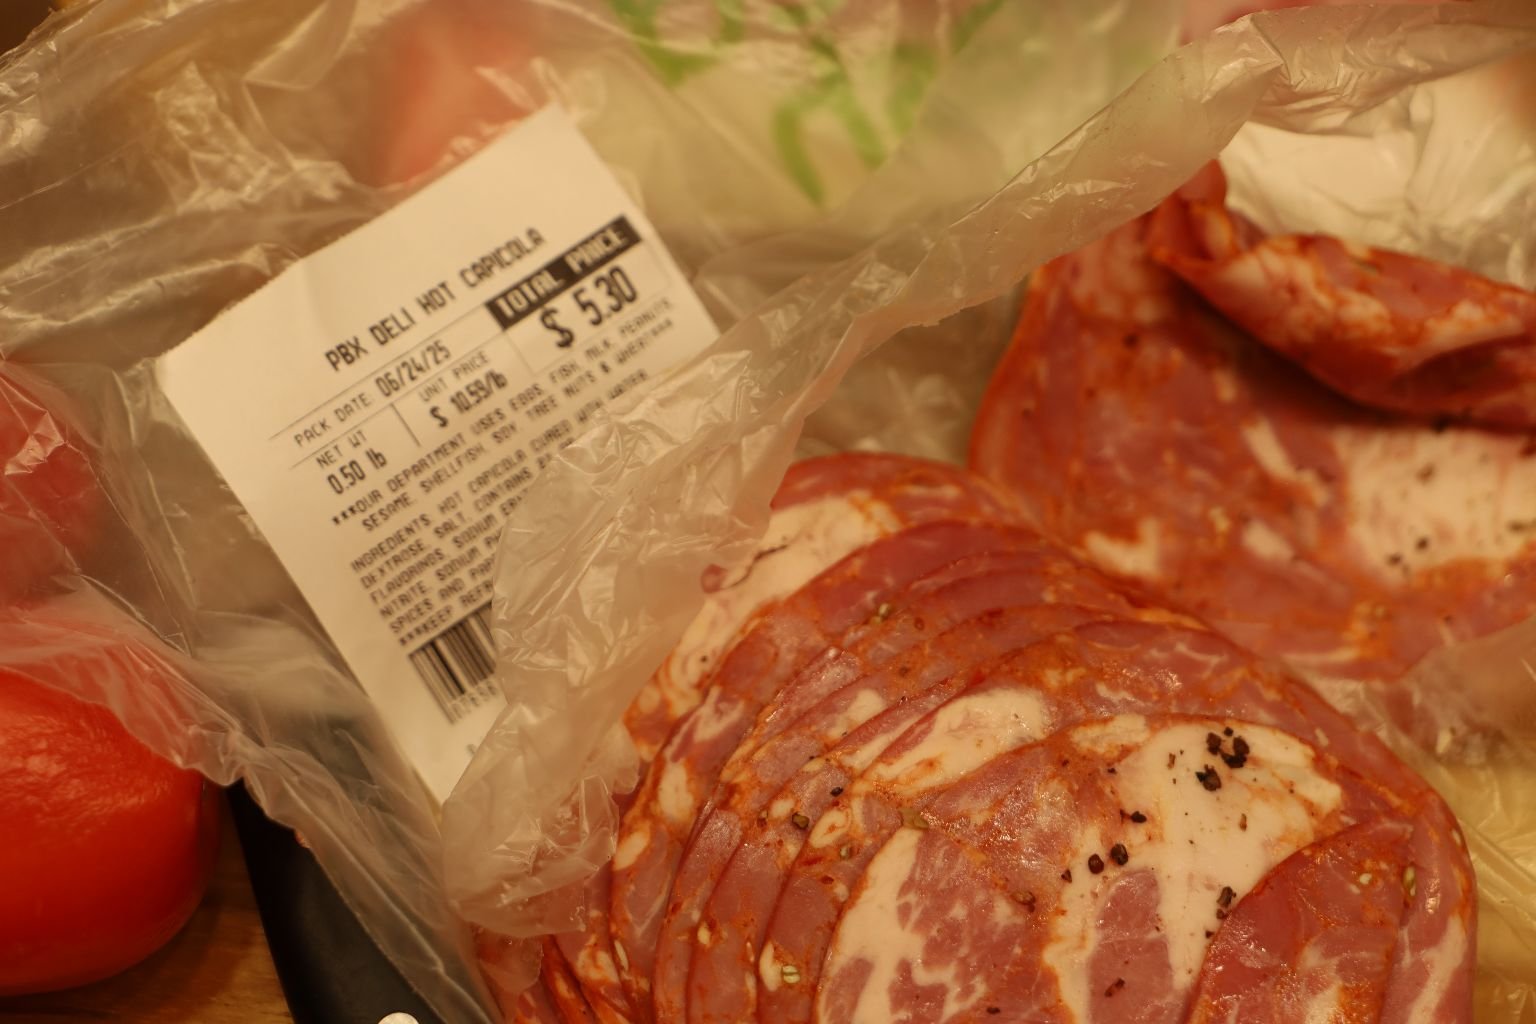
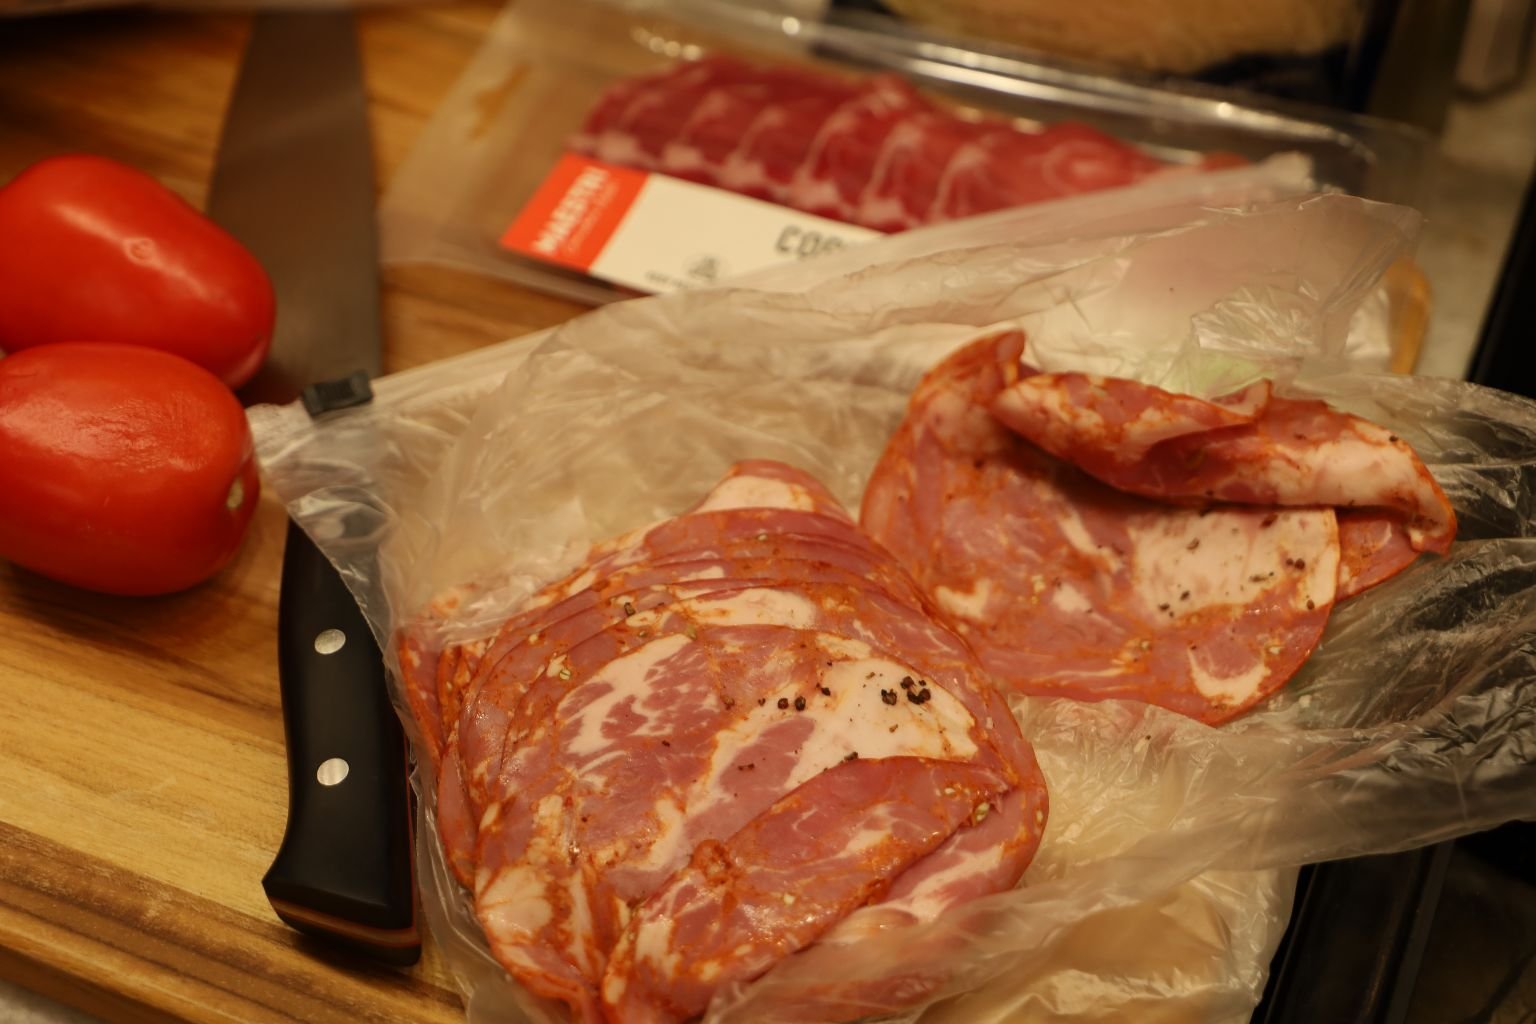
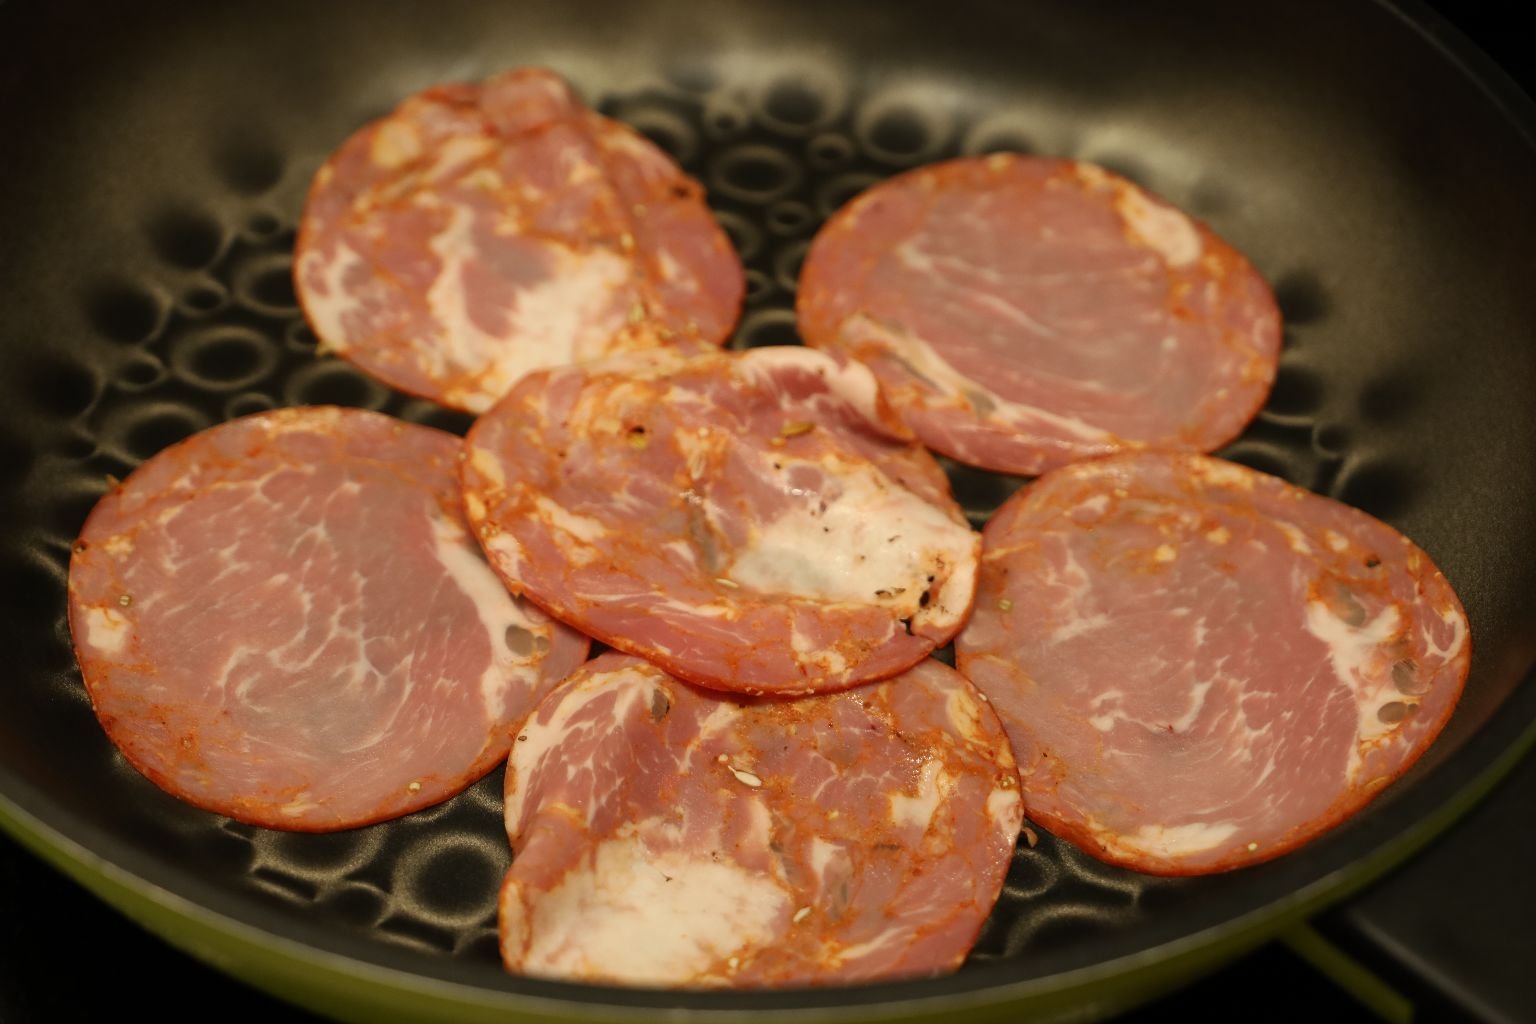
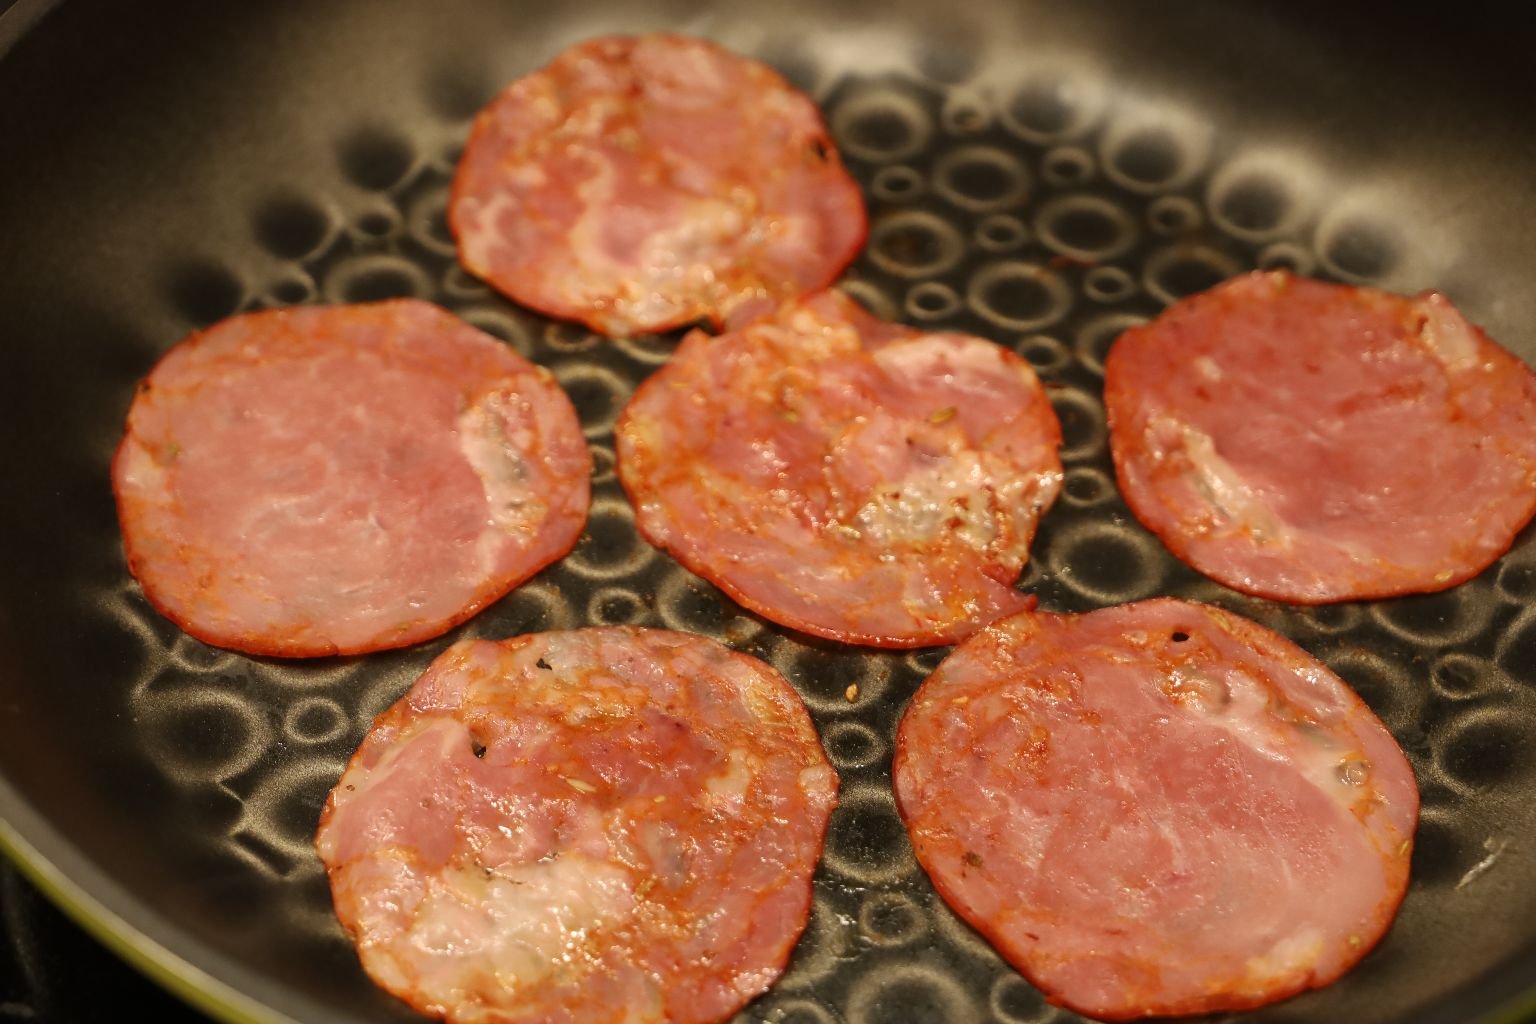
I’m using a Non-Stick Pan to Fry Them on a Medium Heat
If I feel I need some fat, then I will drizzle some EVOO in the pan to help with that.
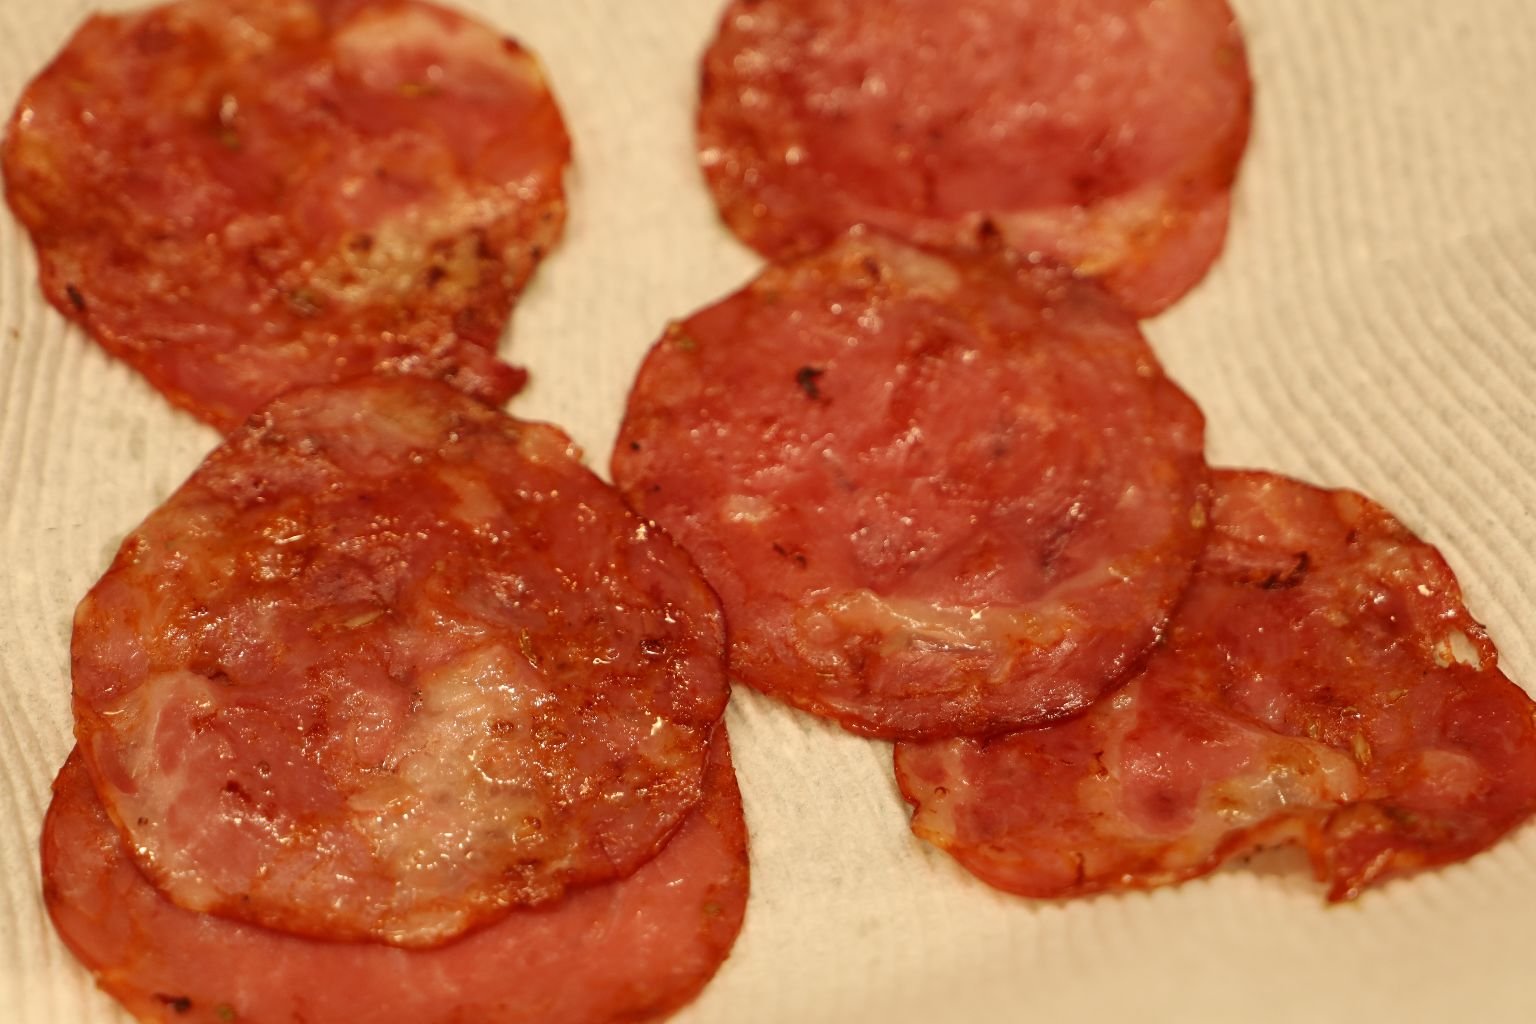
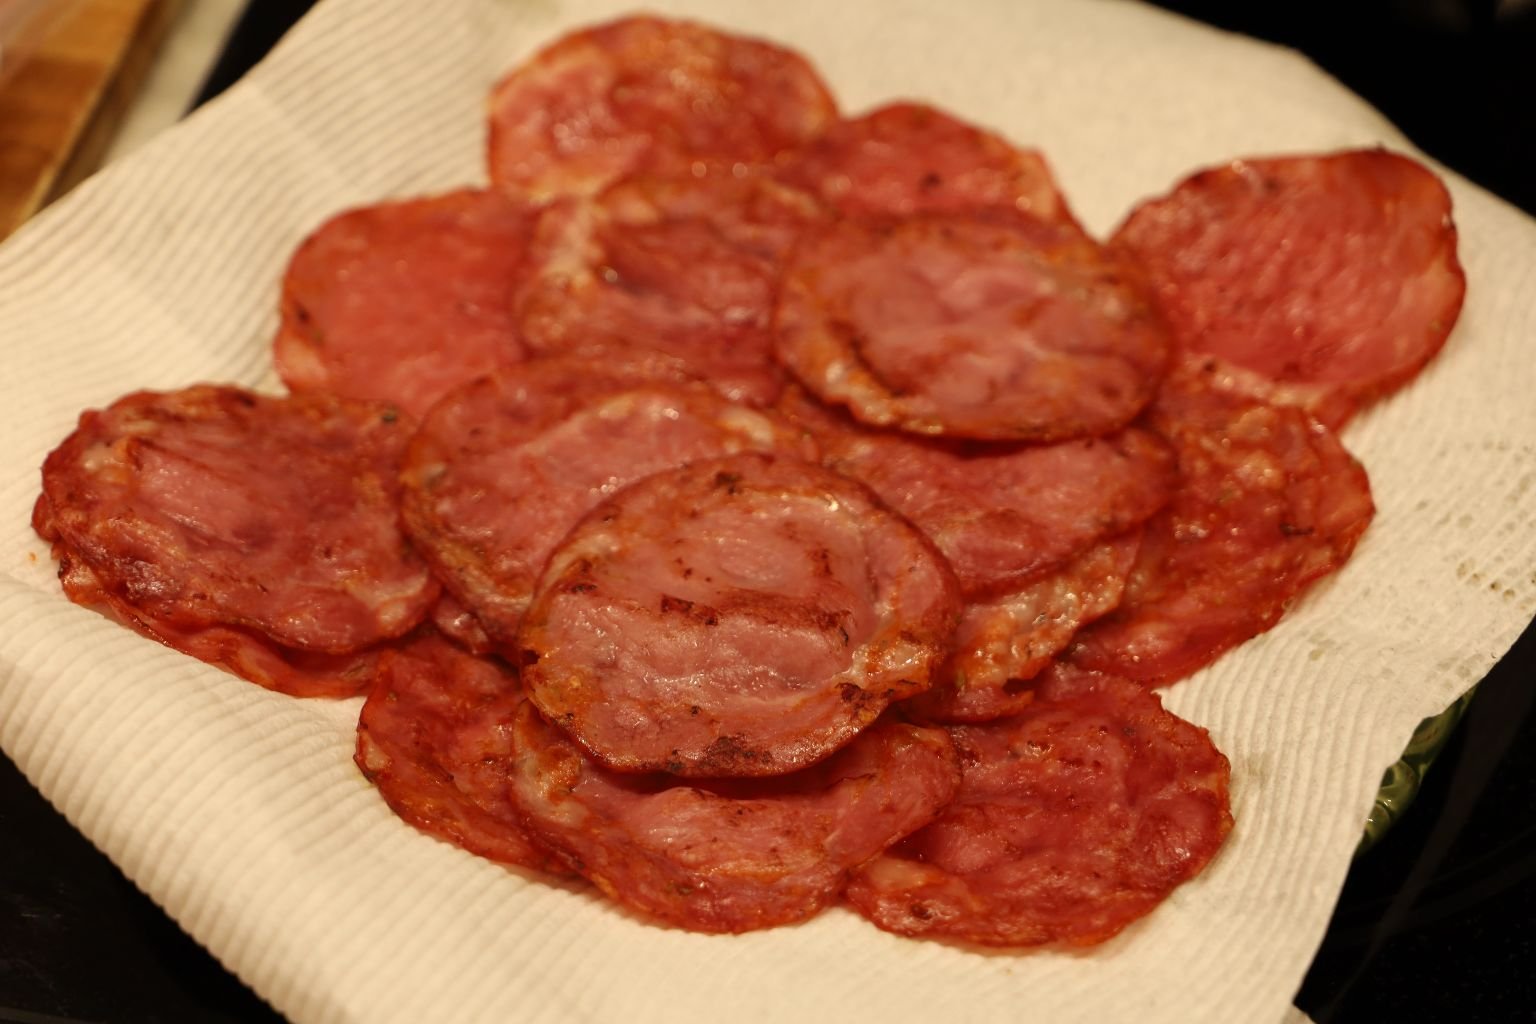
Drain Onto Paper Towels
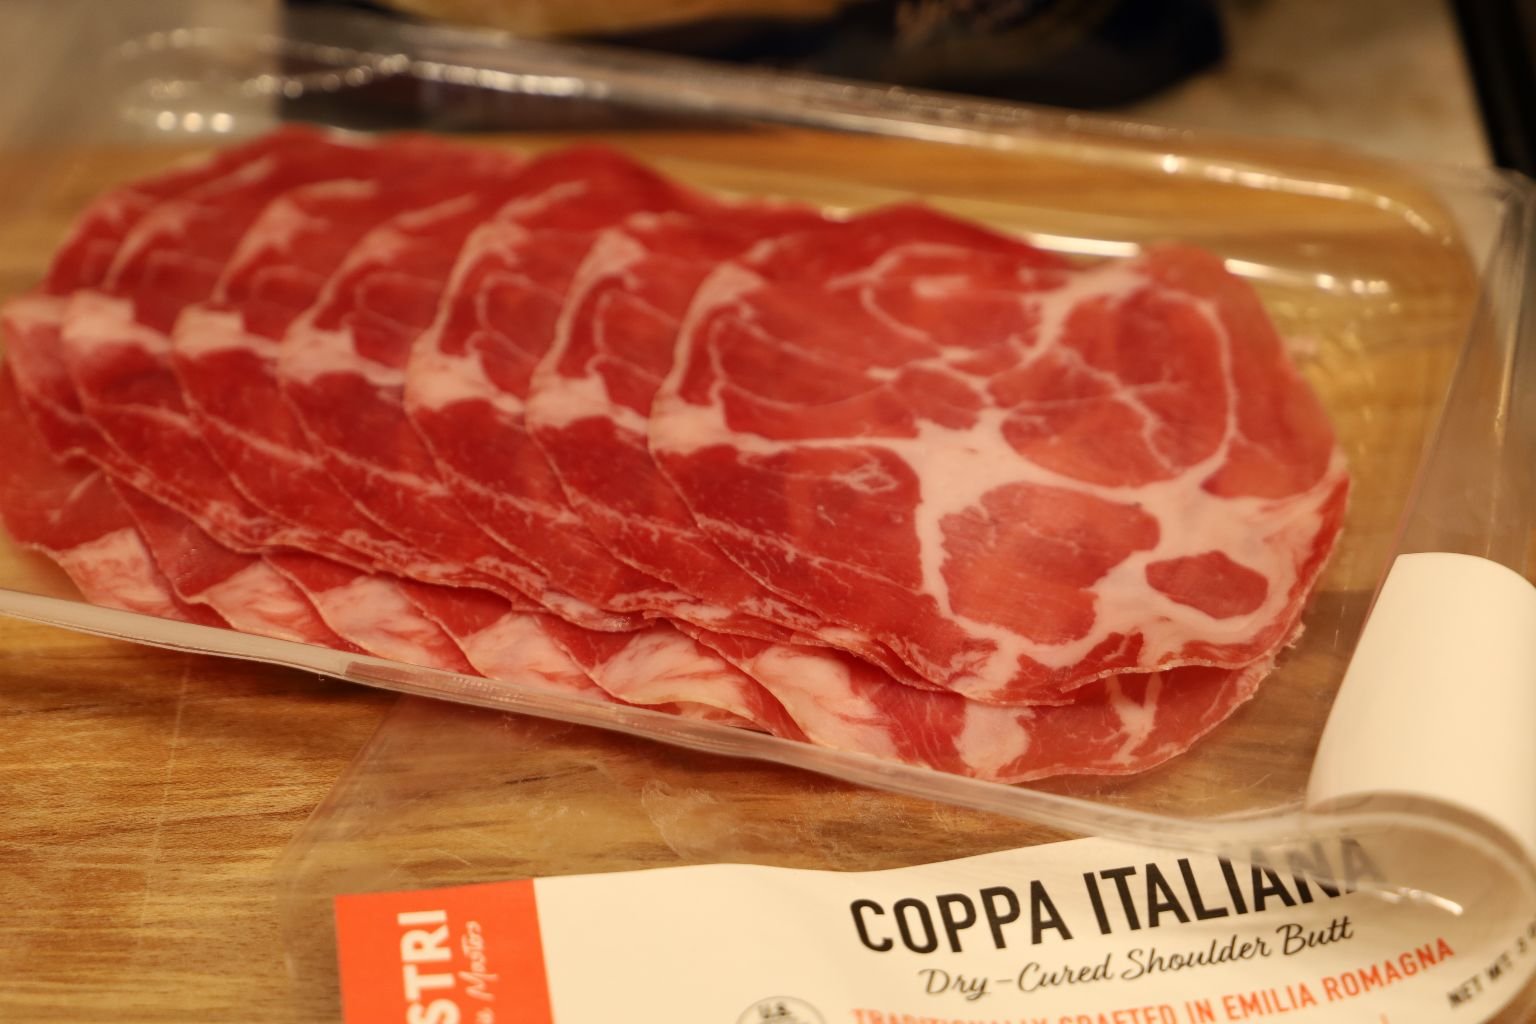
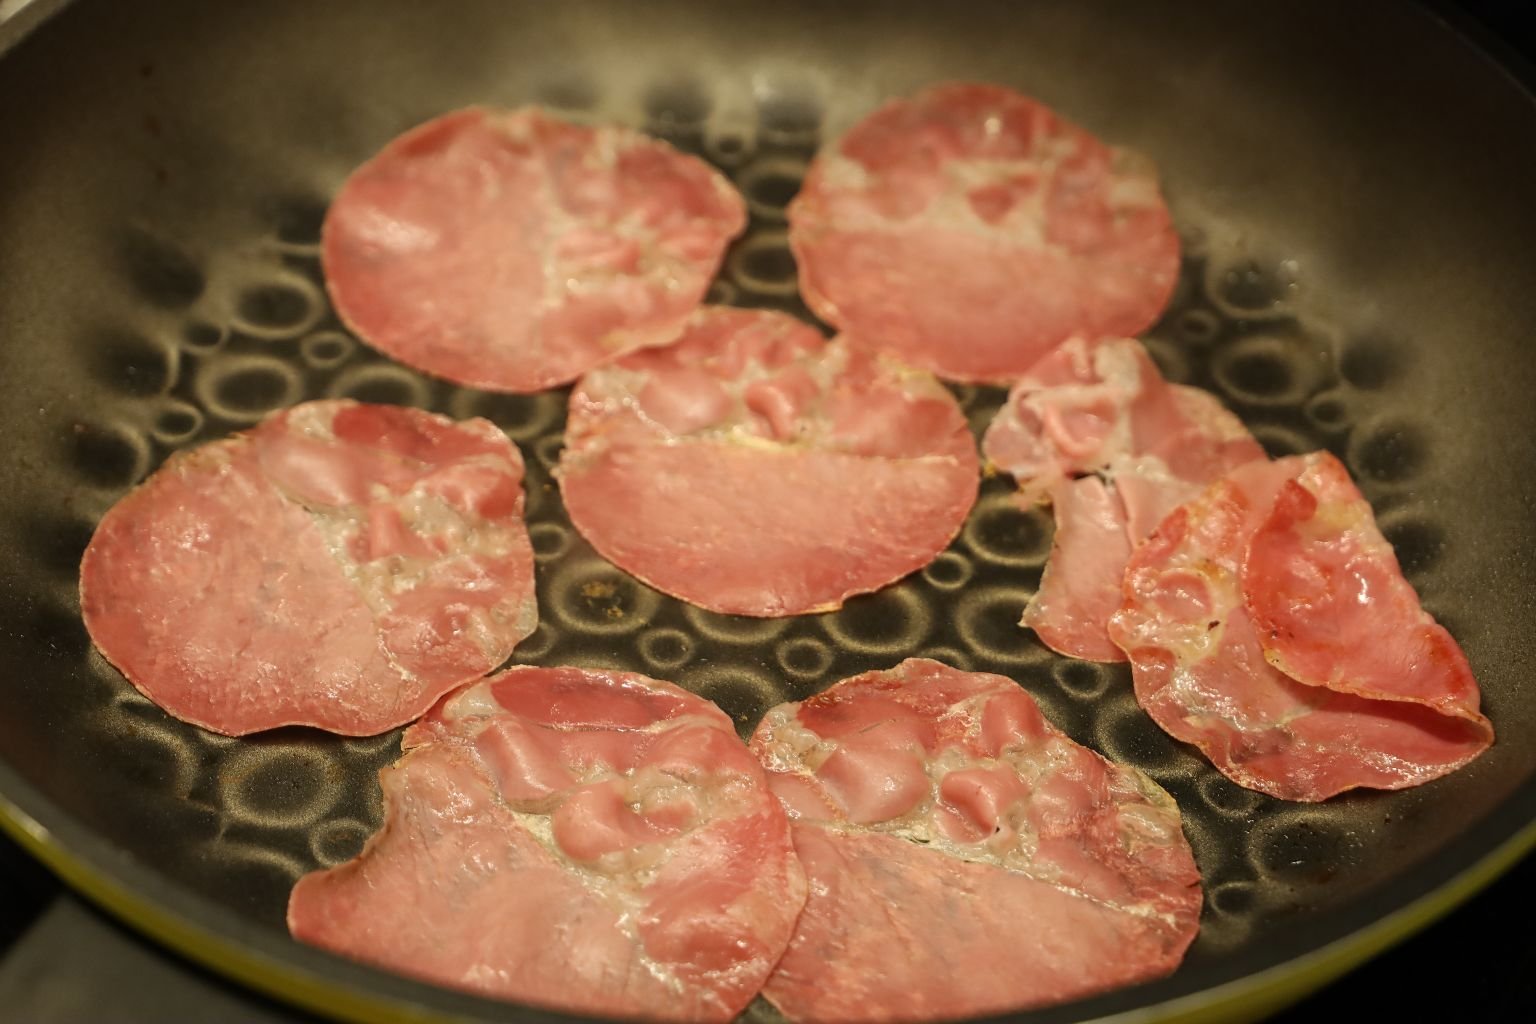
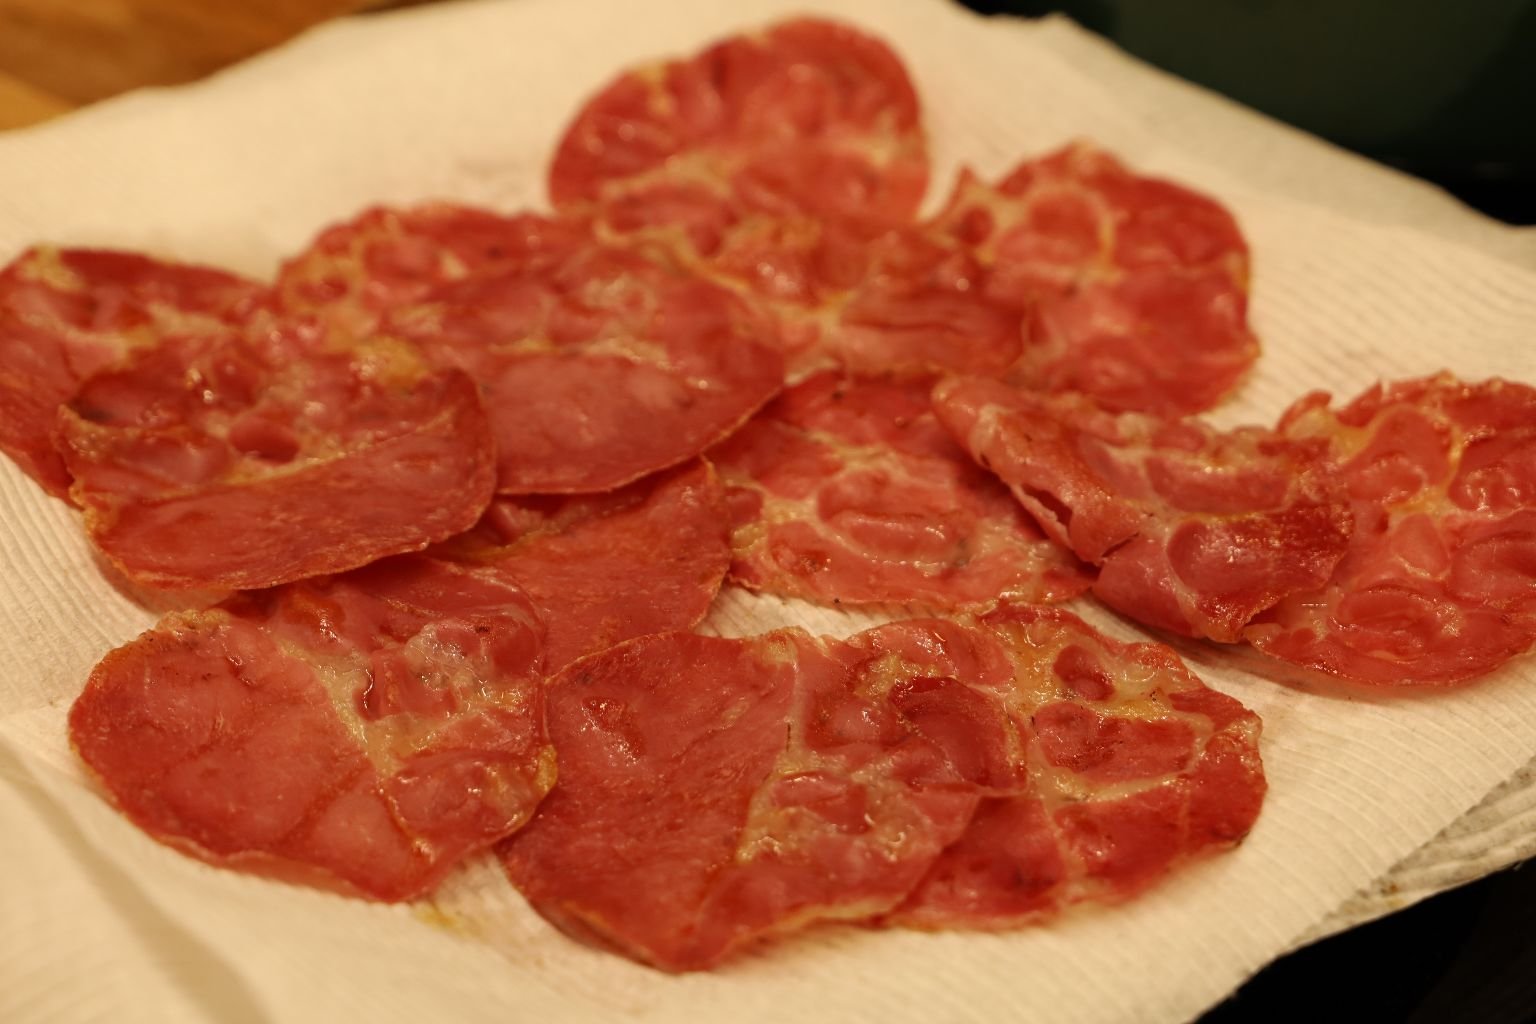
I Just Wanted To Crisp Them All Up
———————————————————————————————-
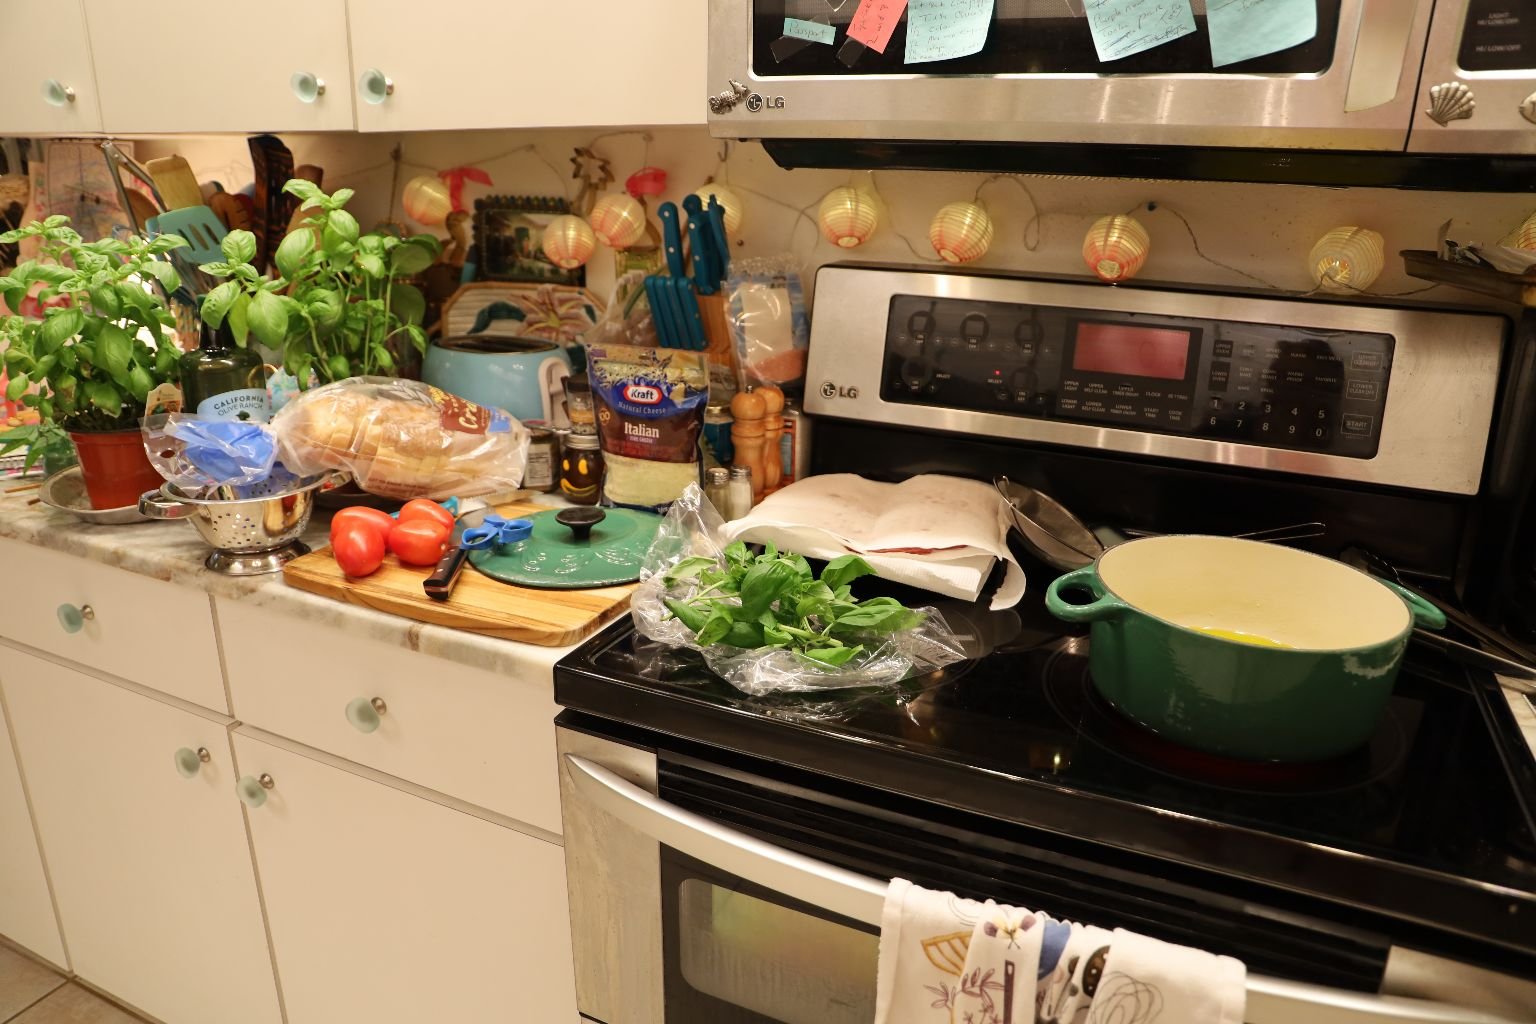
Frying My Fresh Basil Leaves…
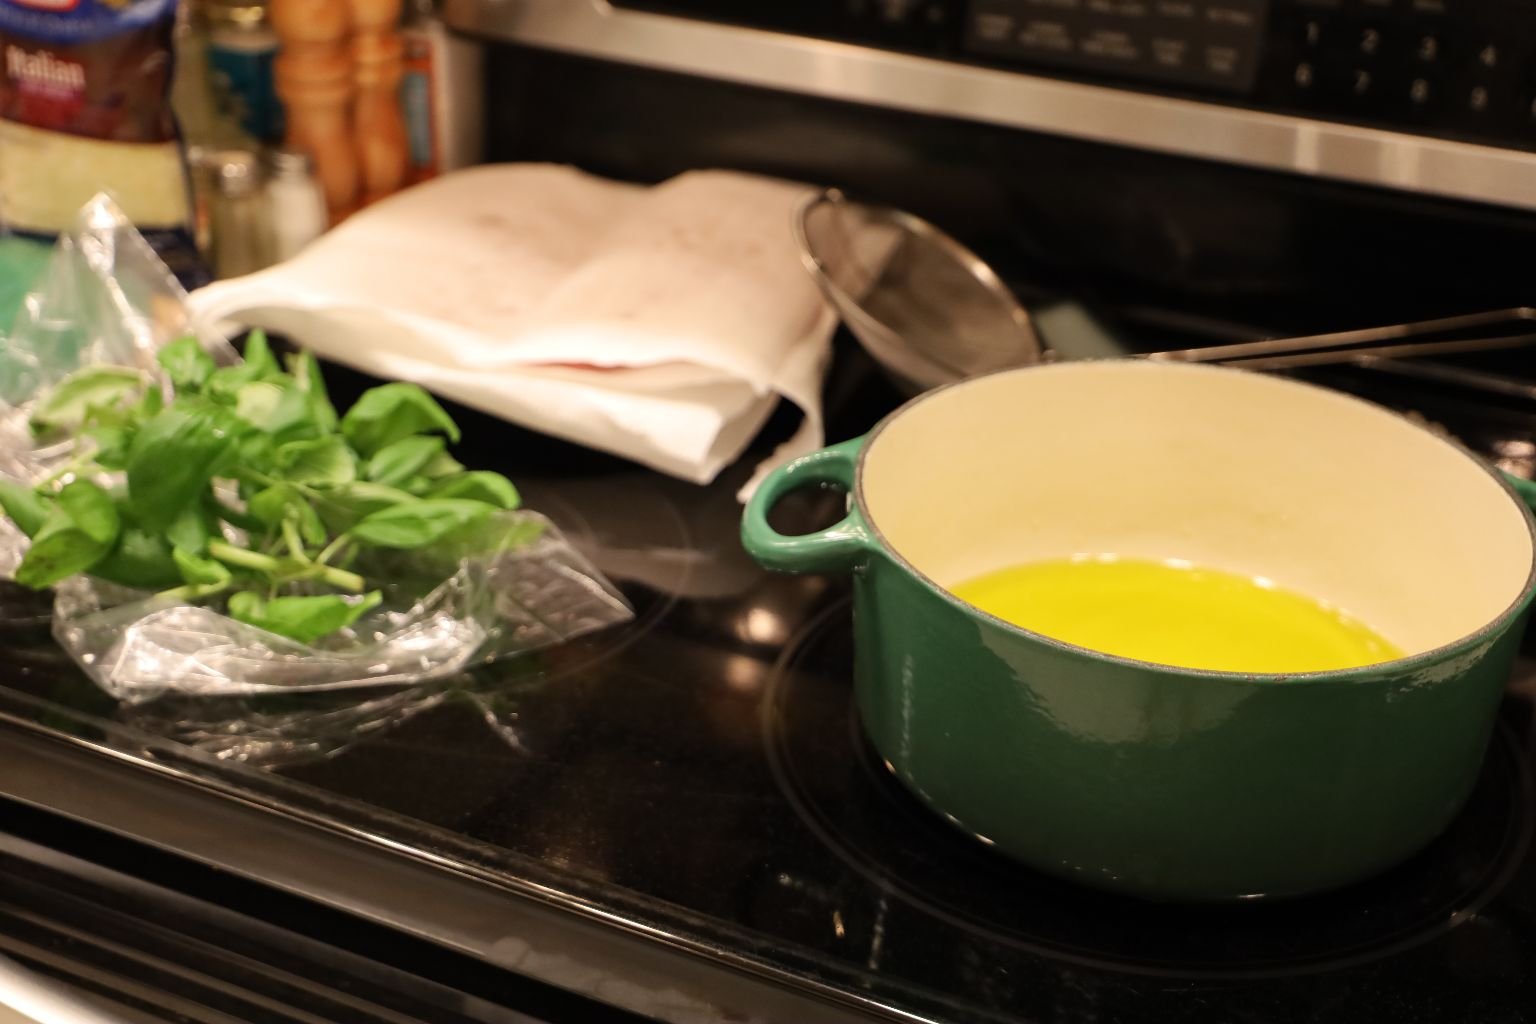
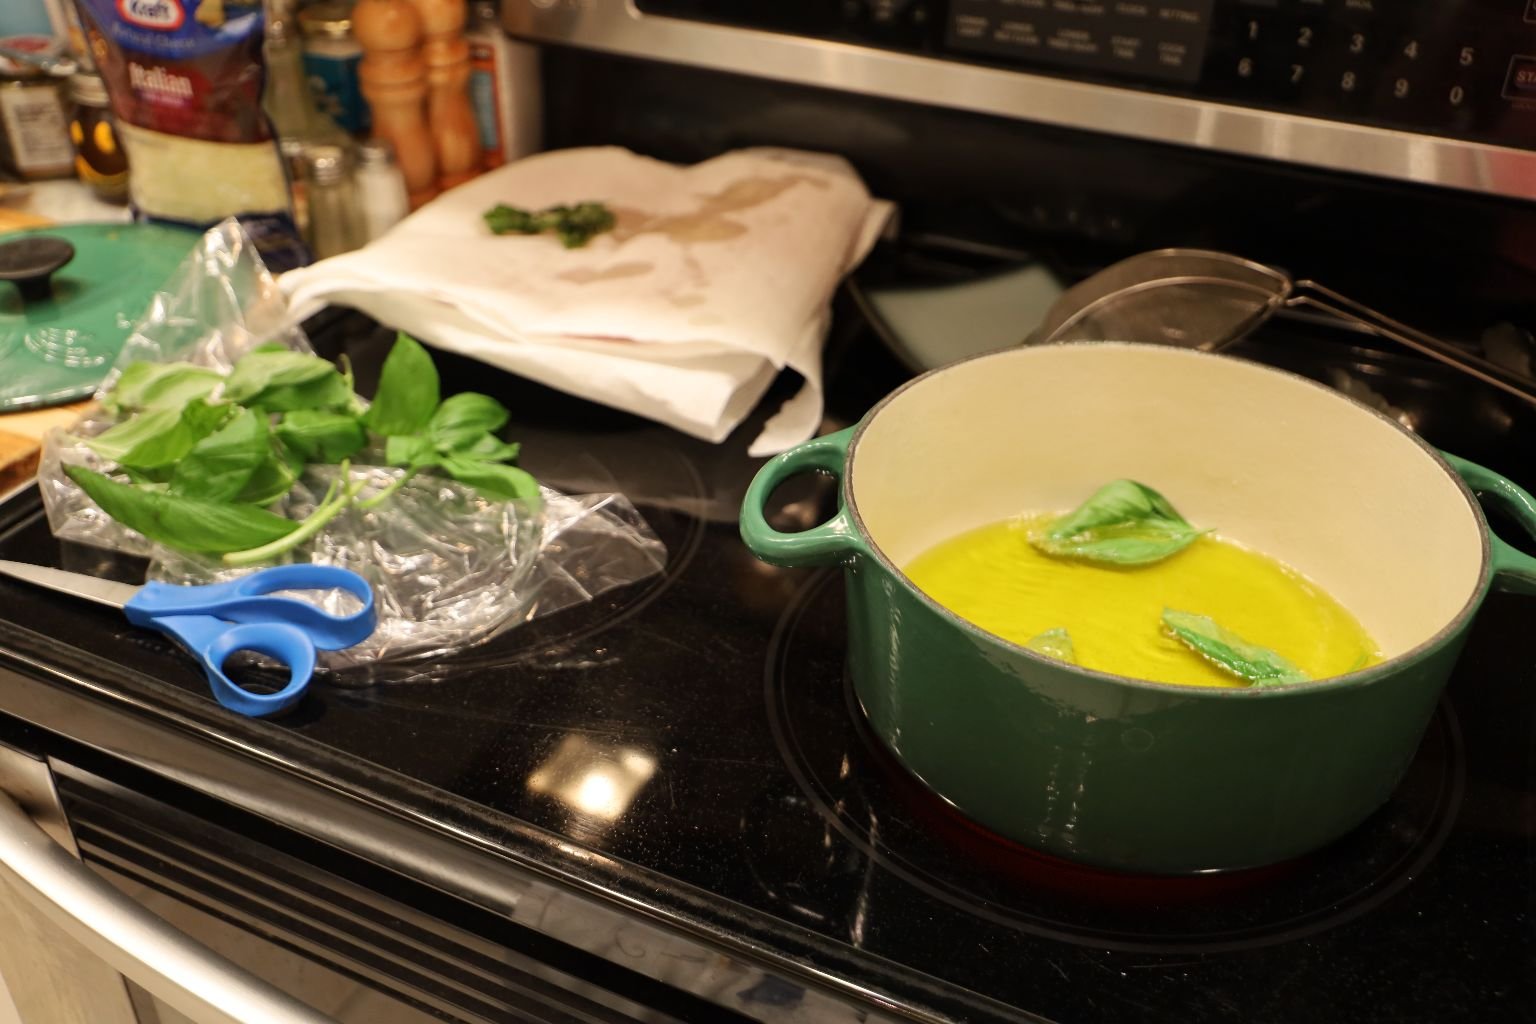
I do talk about this above, so I will skip this step here.
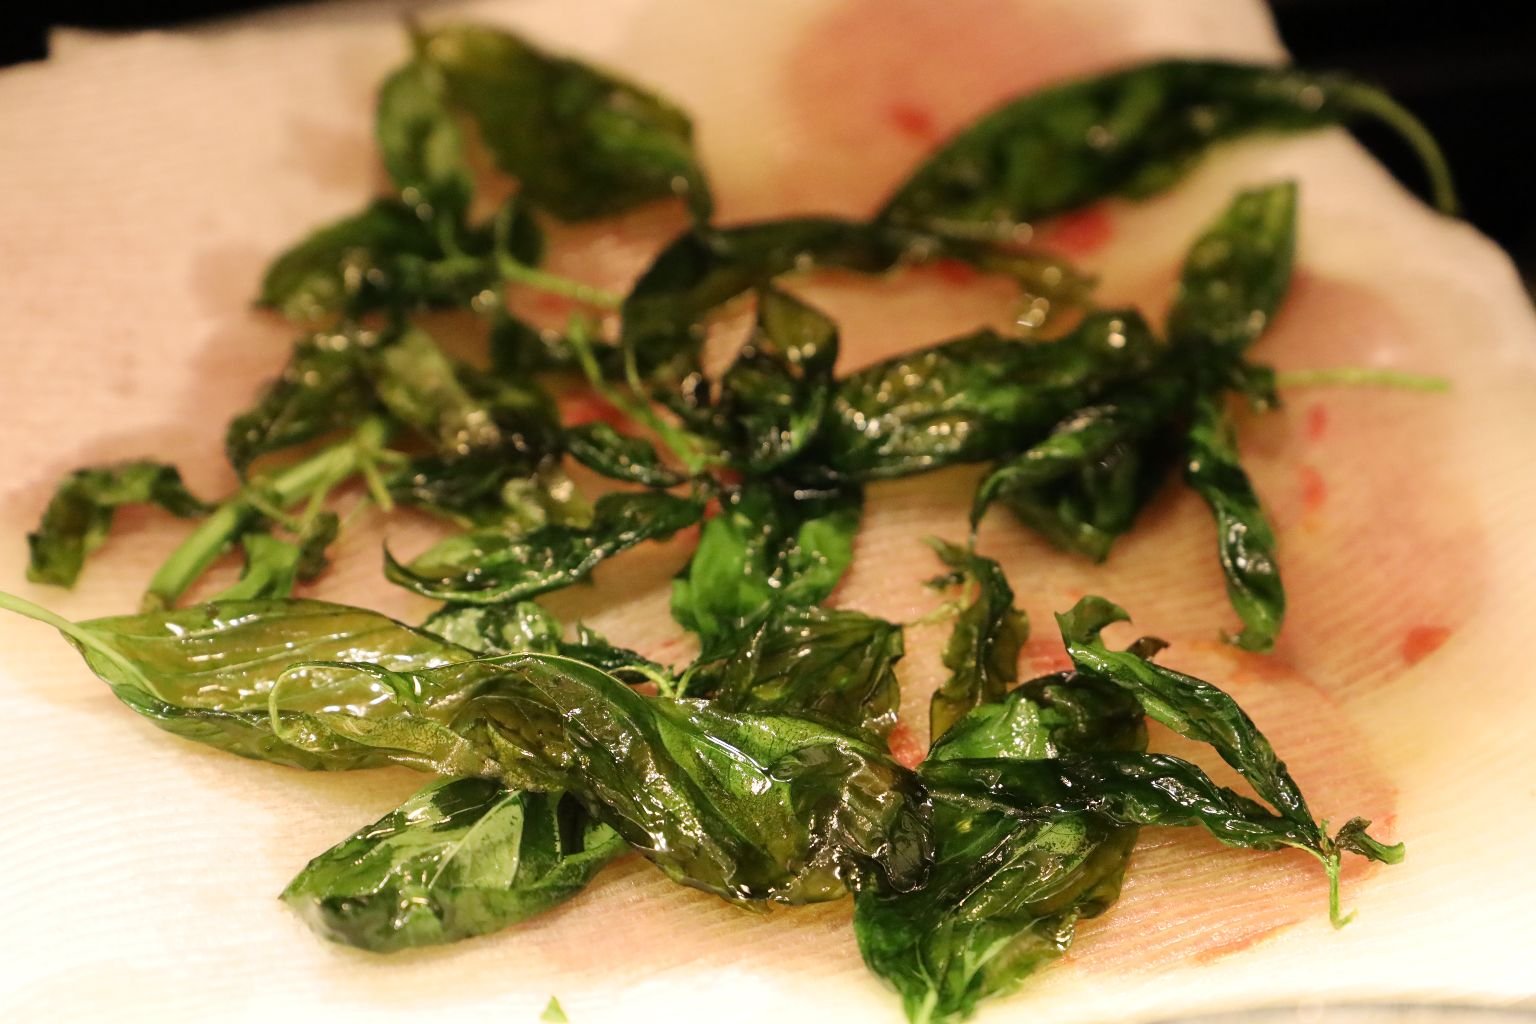
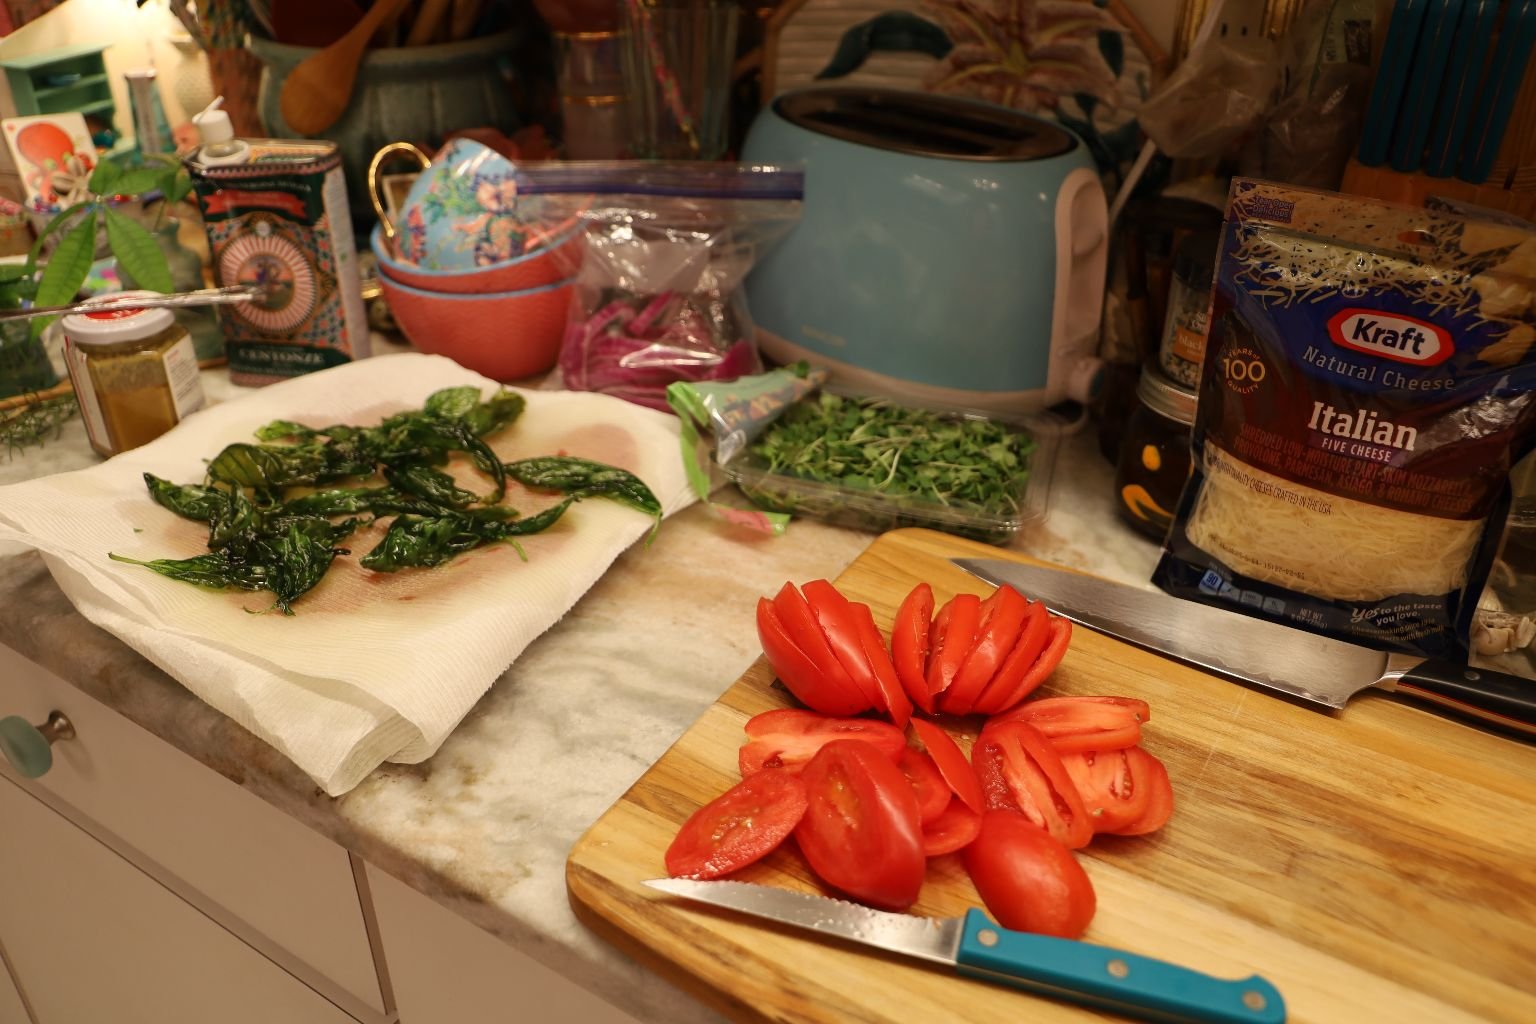
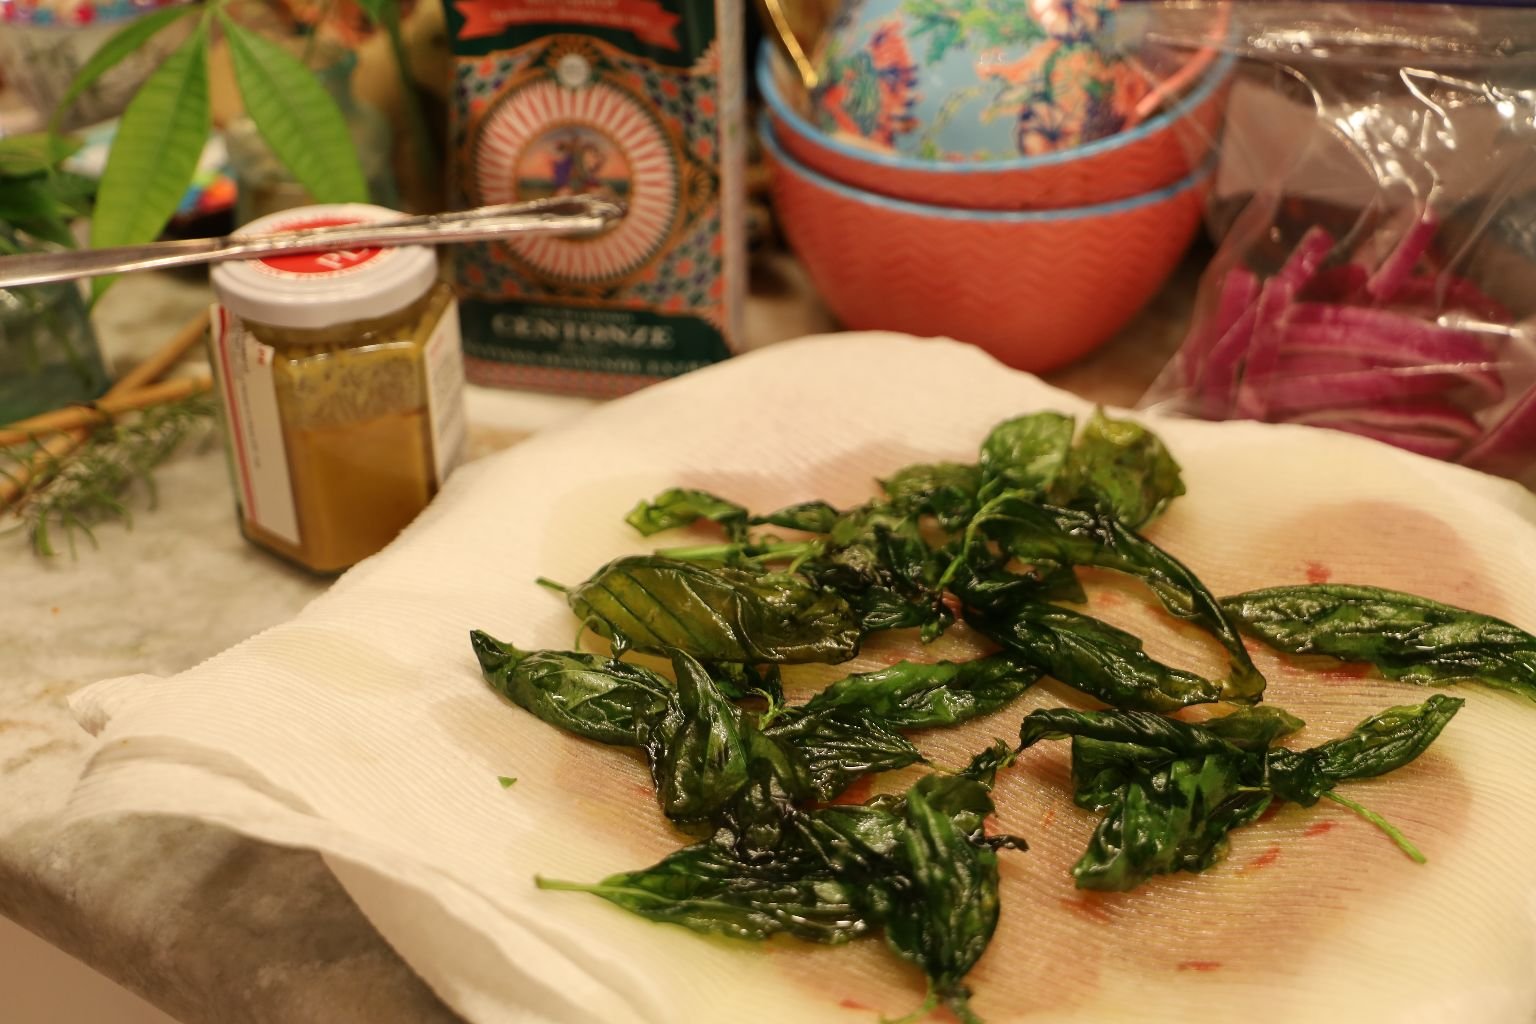
Just be sure to place your Basil Leaves onto Paper Towels to Drain
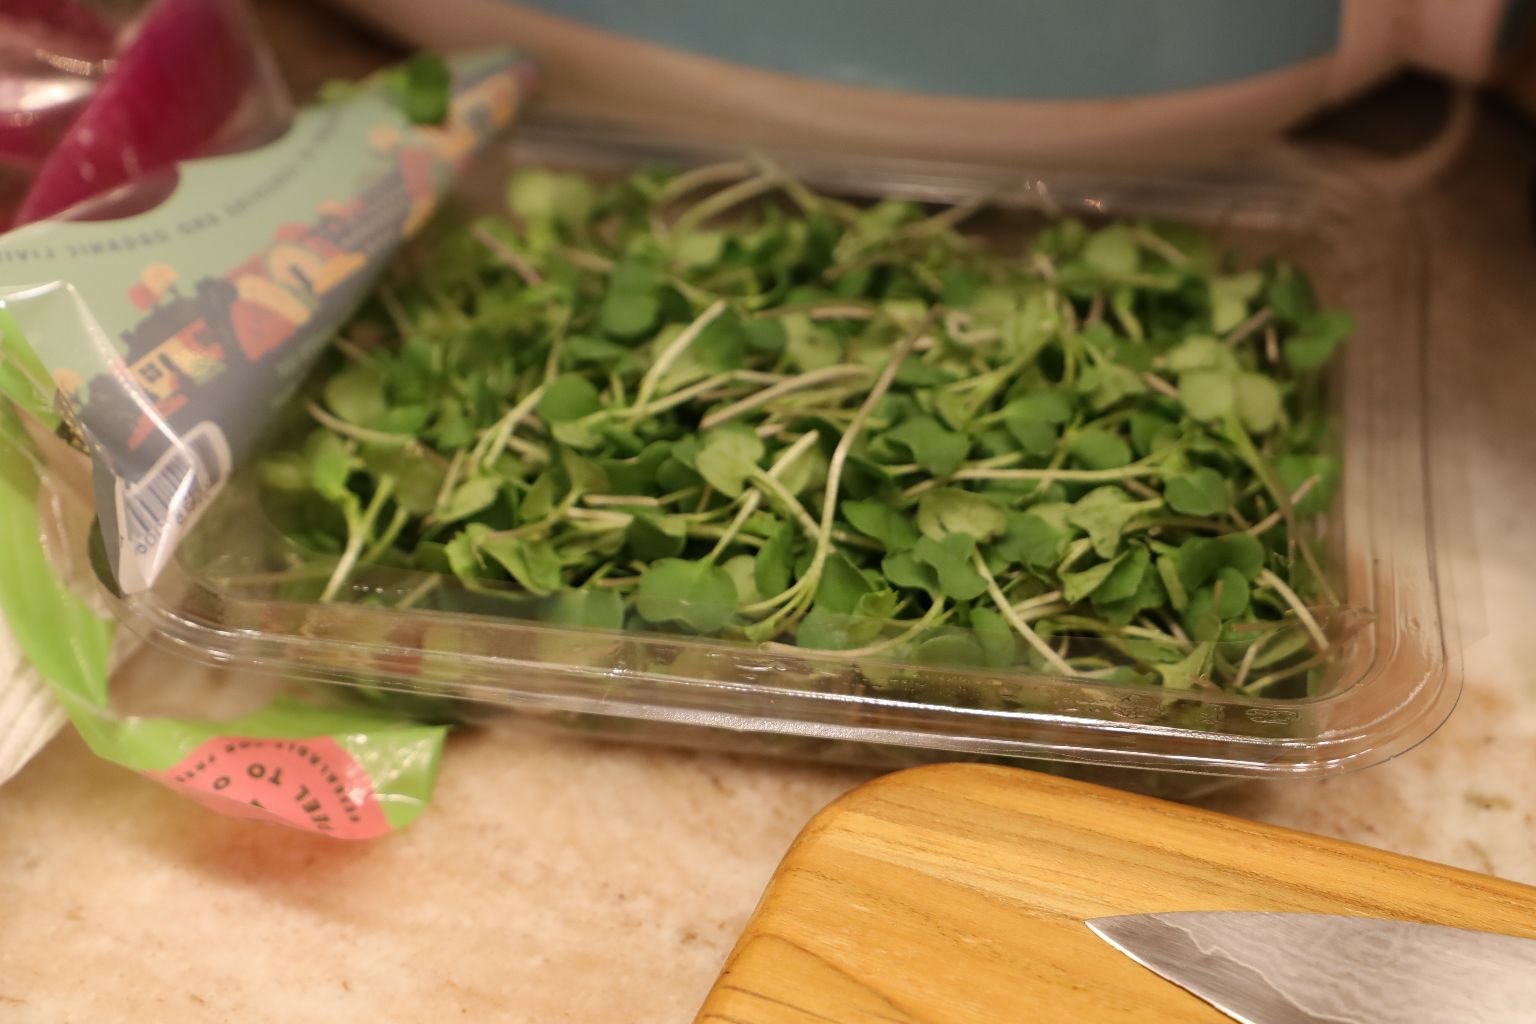
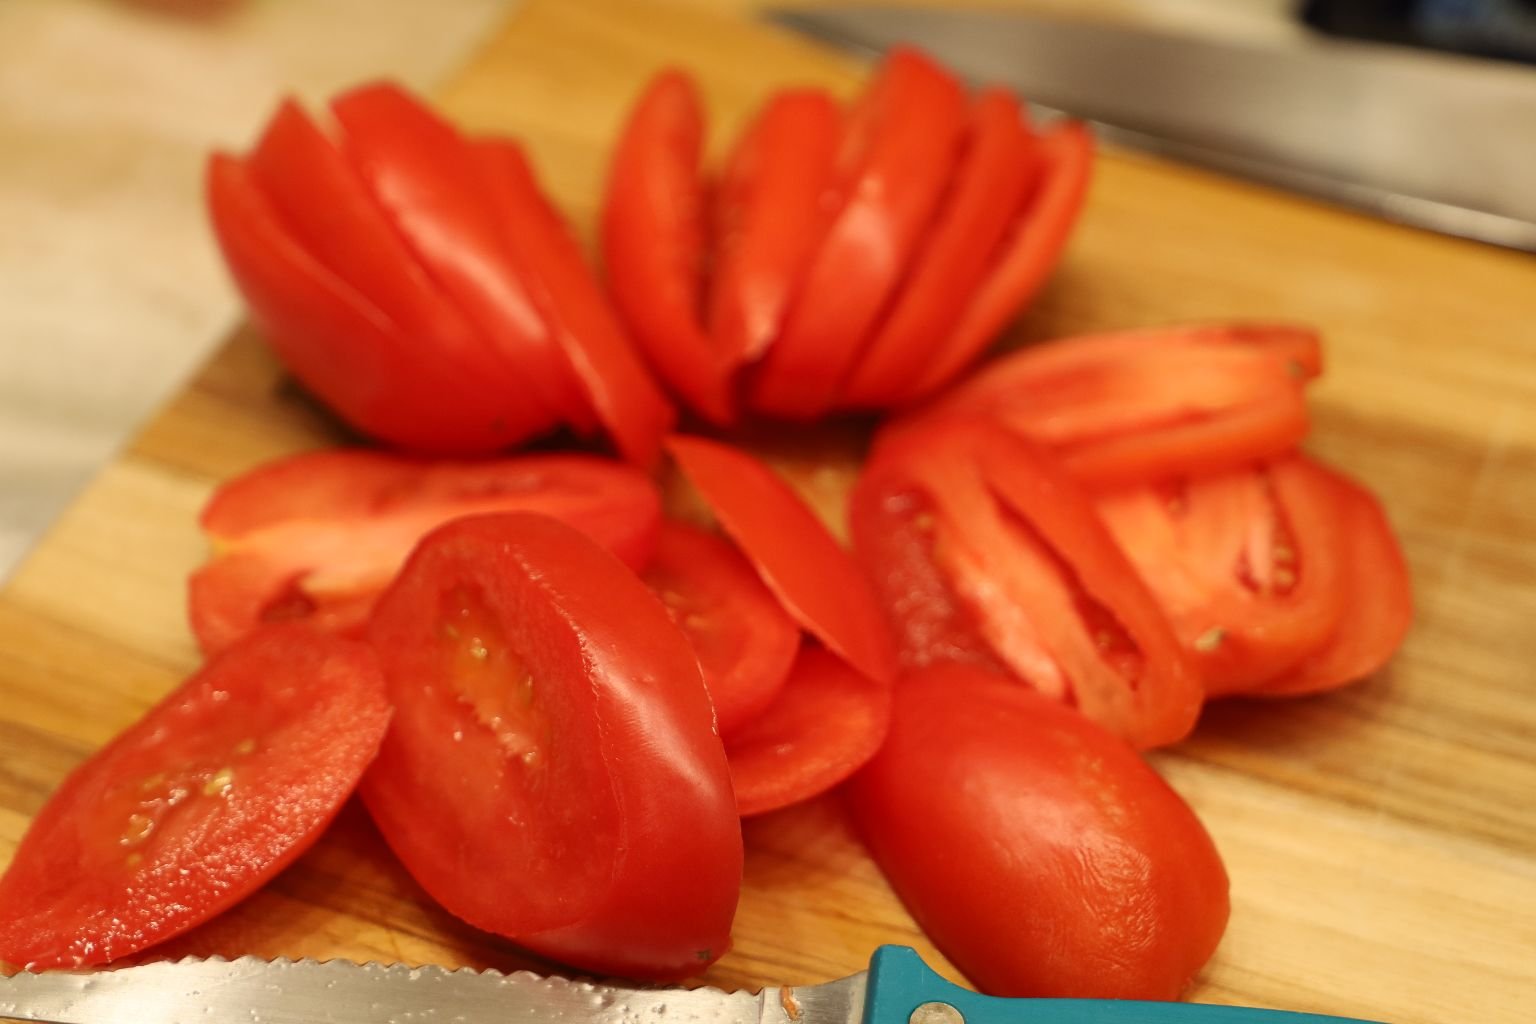
Micro-Greens, and Sliced Roma Tomatoes
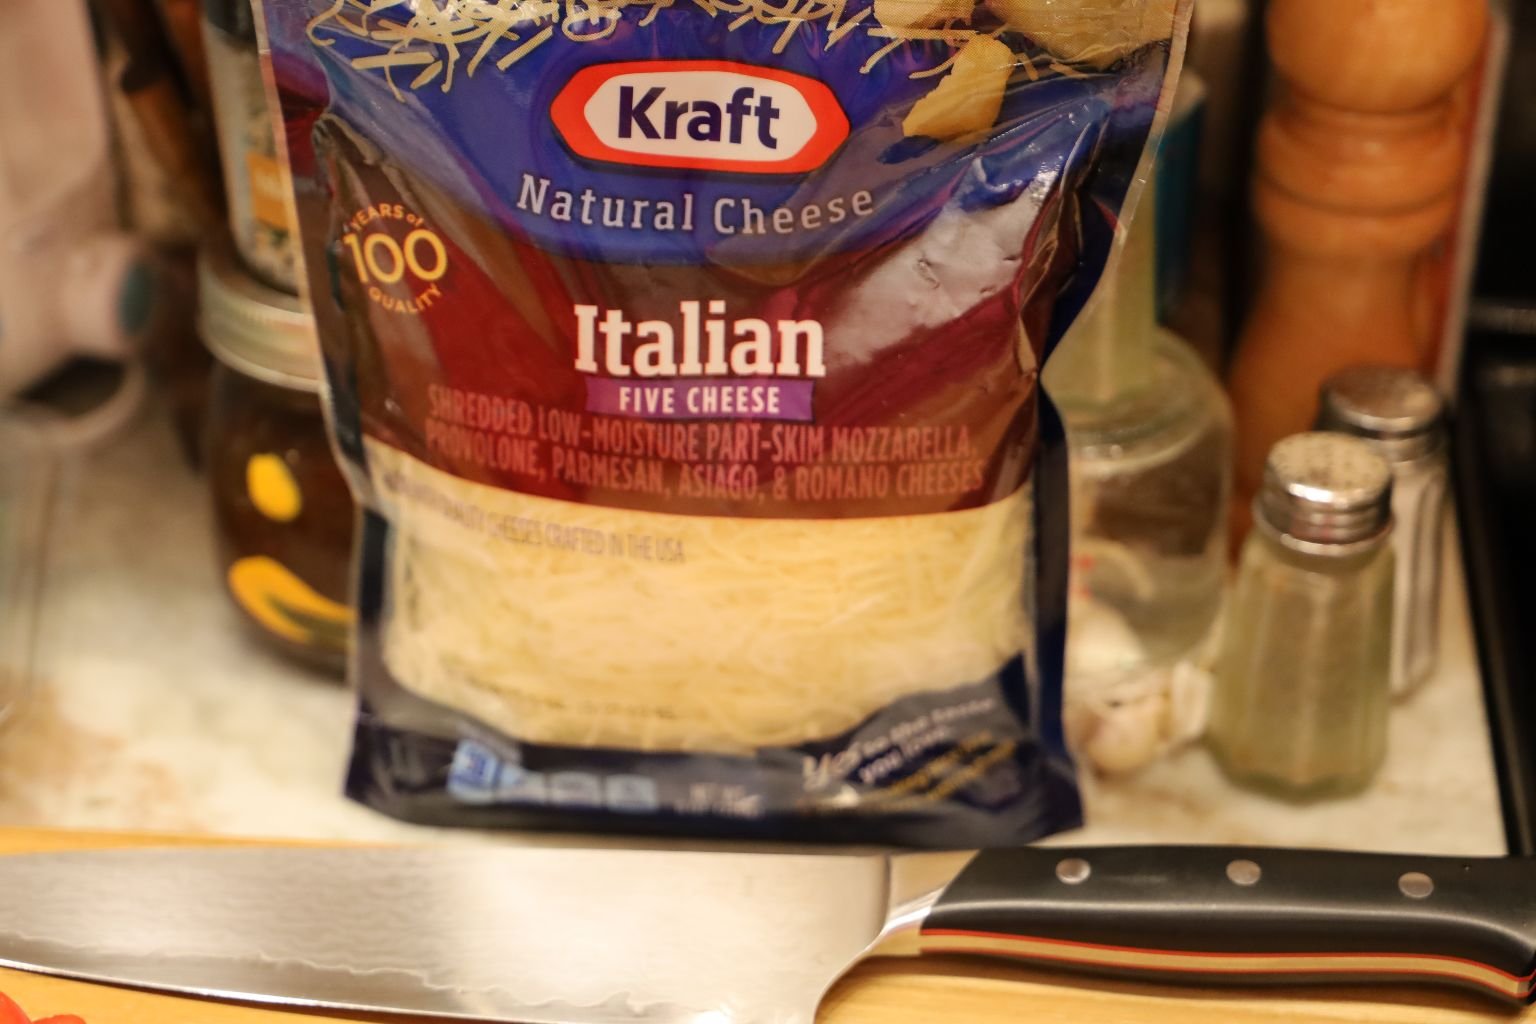
My Italian Shredded Cheese
——————————————————————————————
Toasting My Sandwich Bread
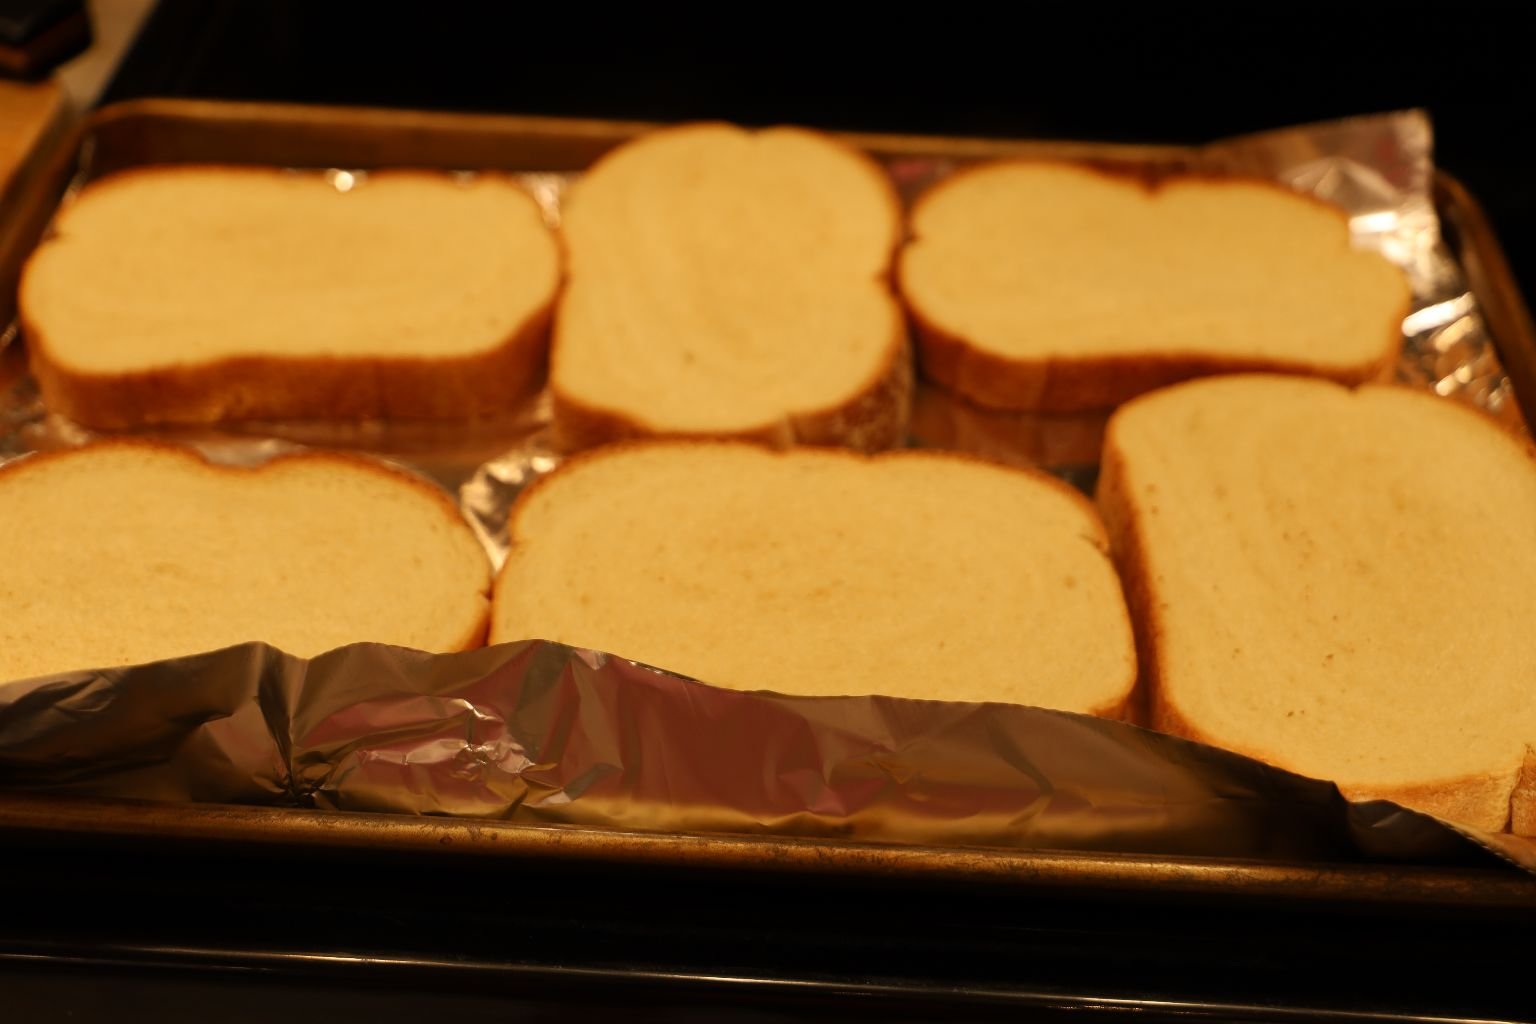
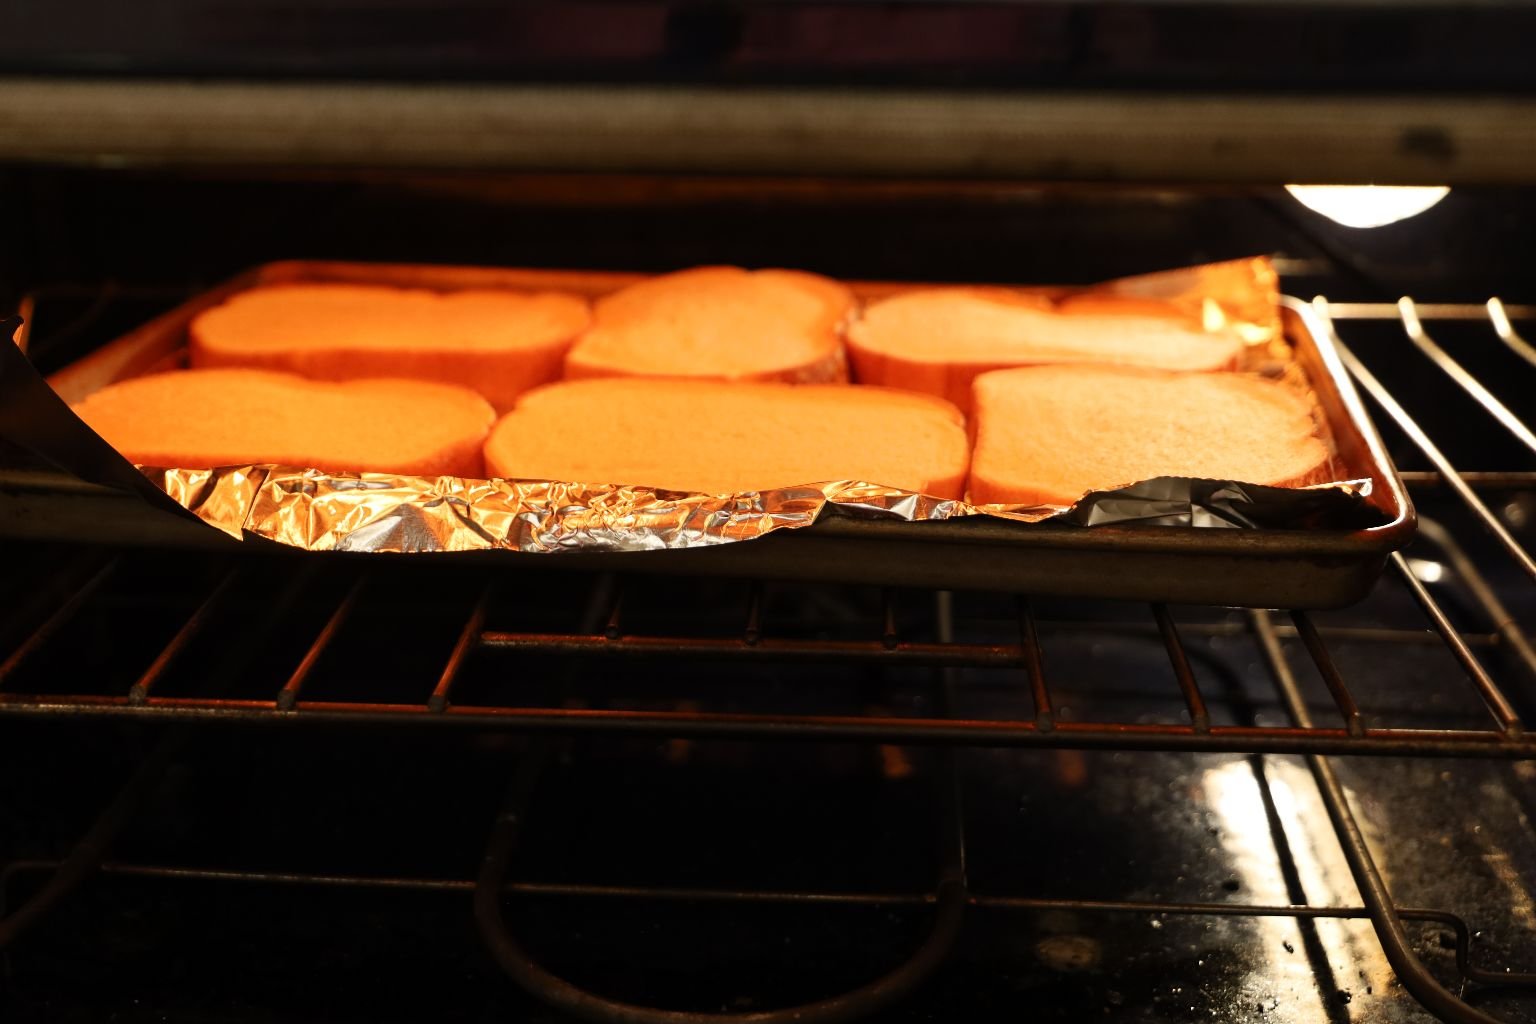
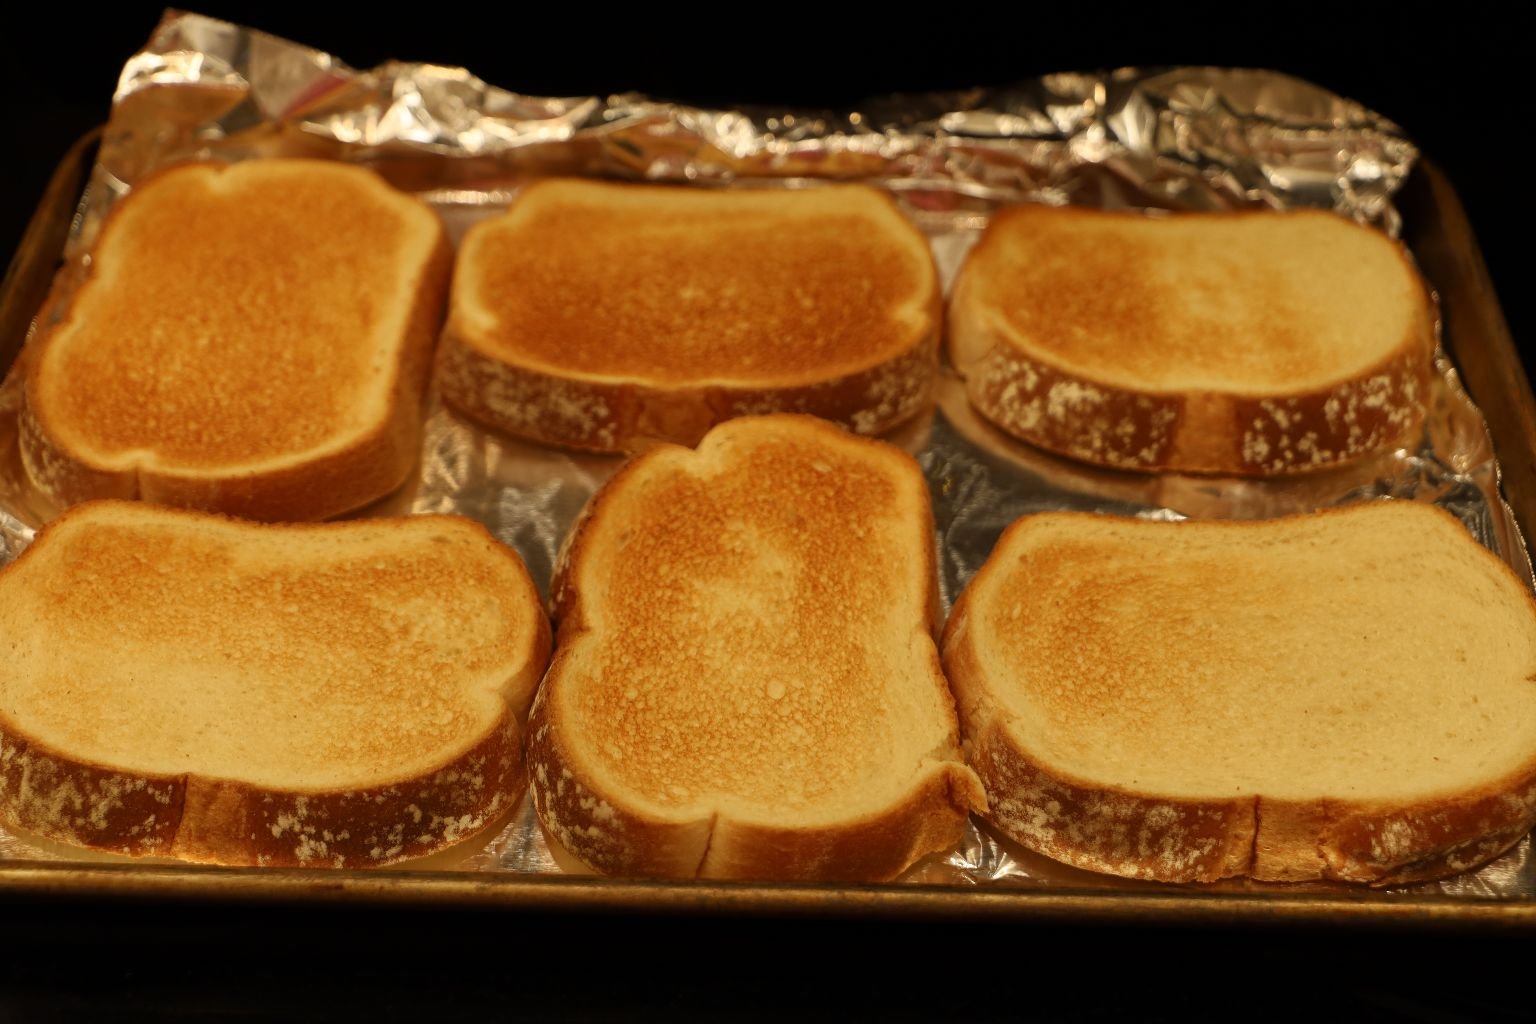
I Simply Placed The Bread Slices Onto A Baking Sheet And Broiled Them Until Toasted..
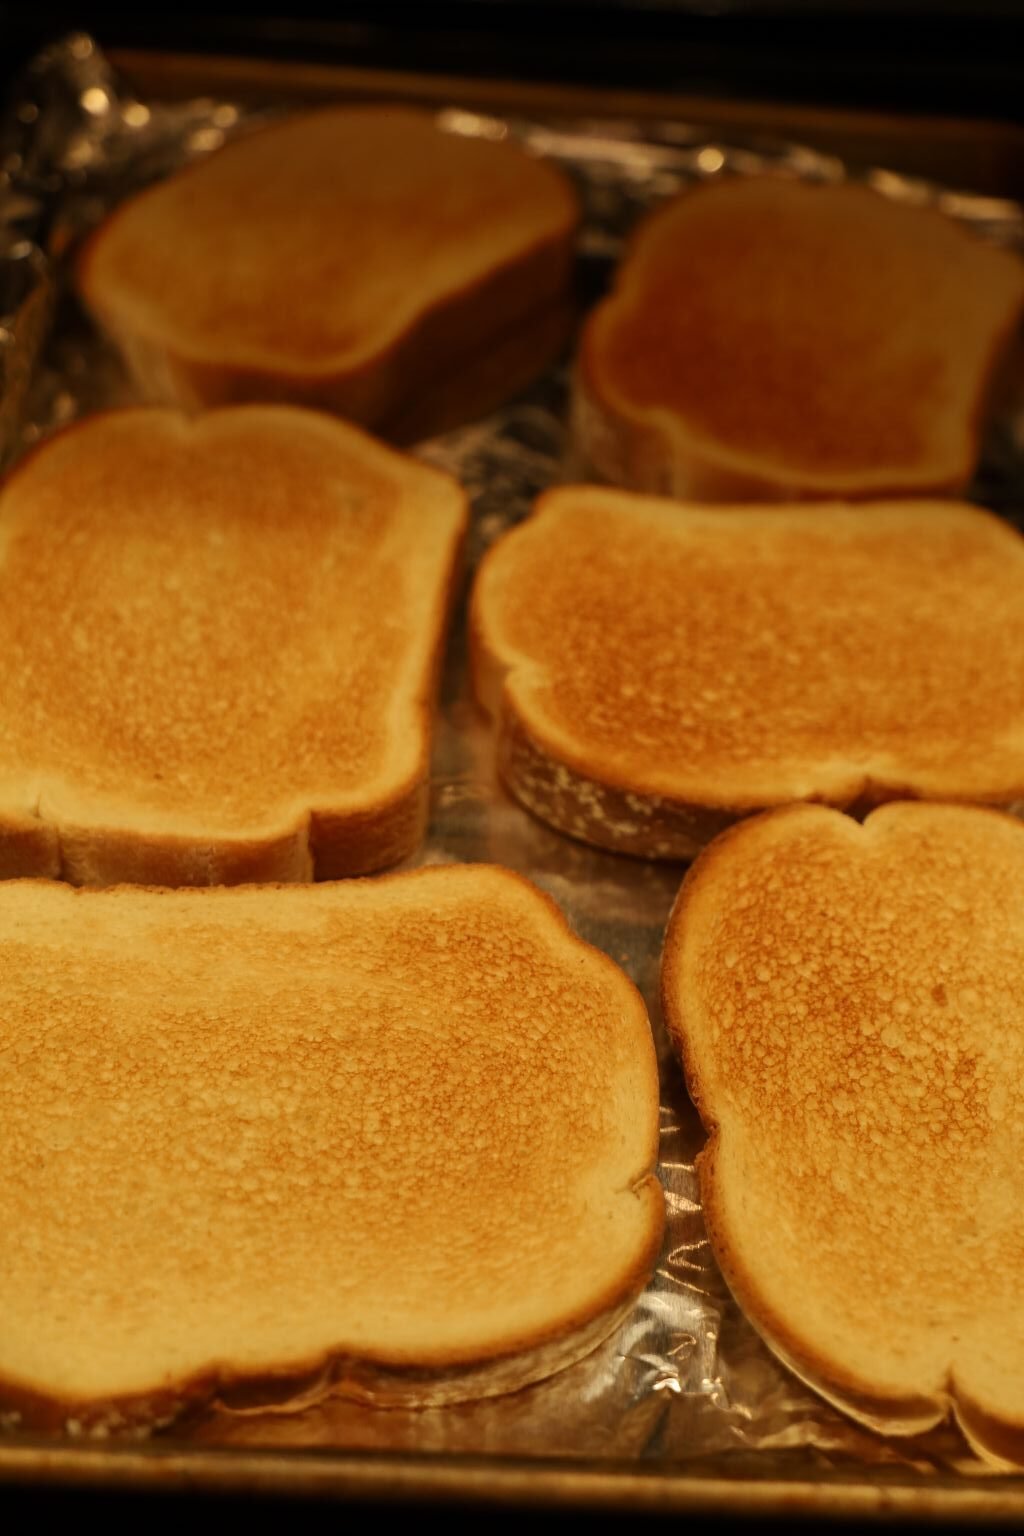
Like so…
————————————————————————————————-
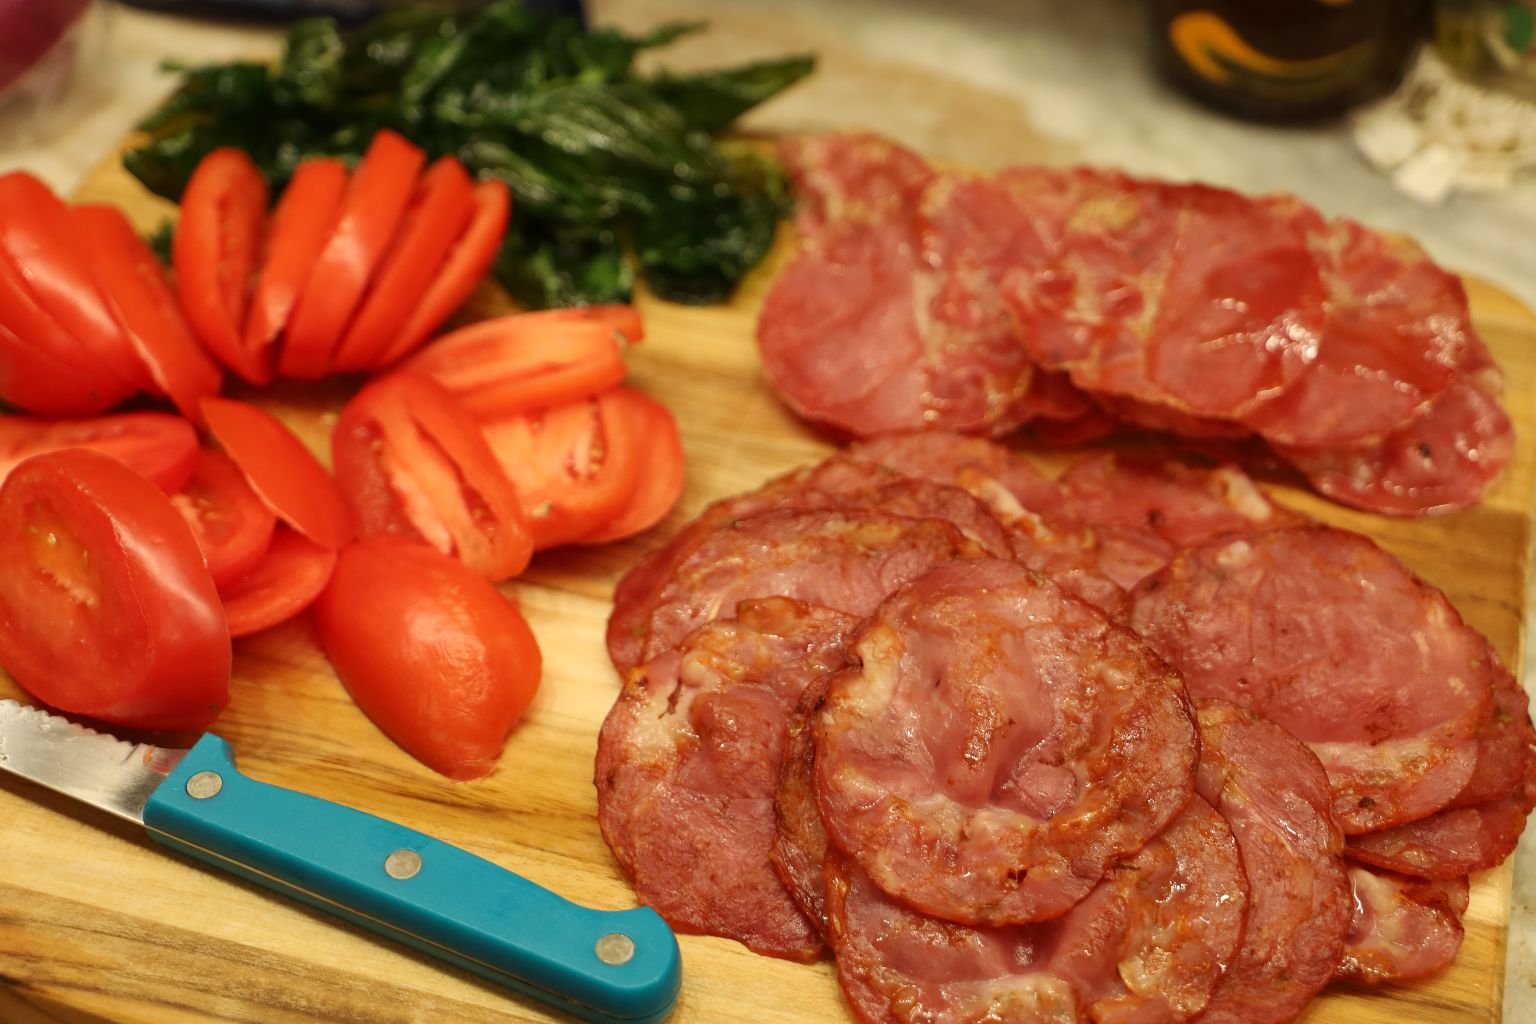
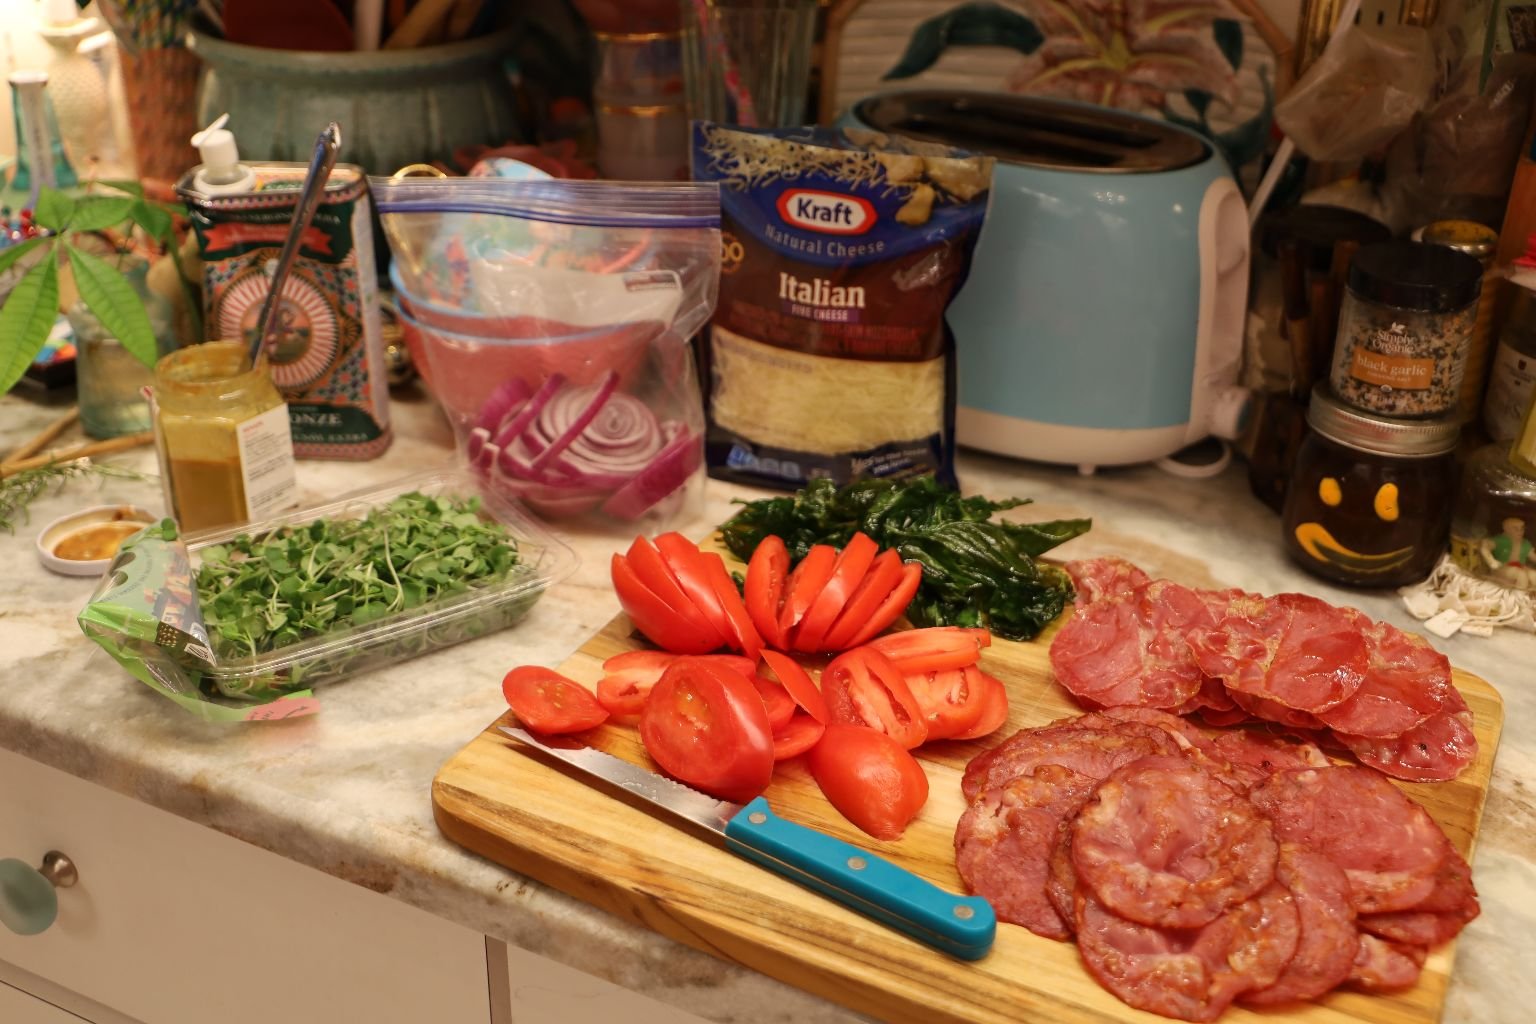
Time To Start To Assemble My Sangwitches
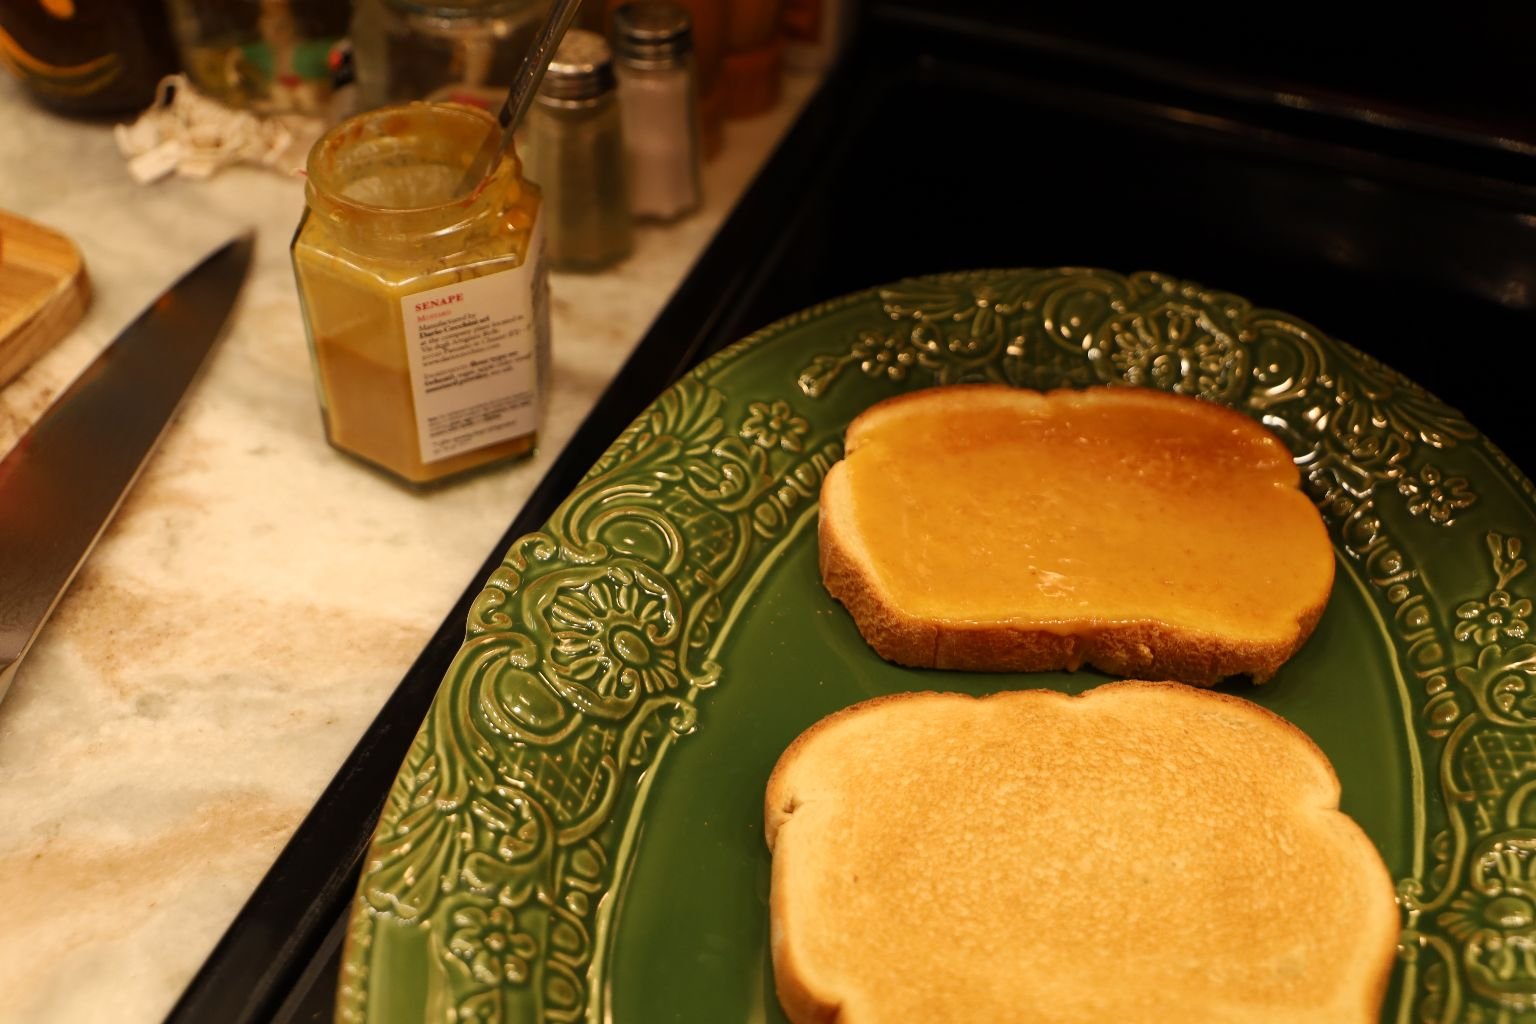
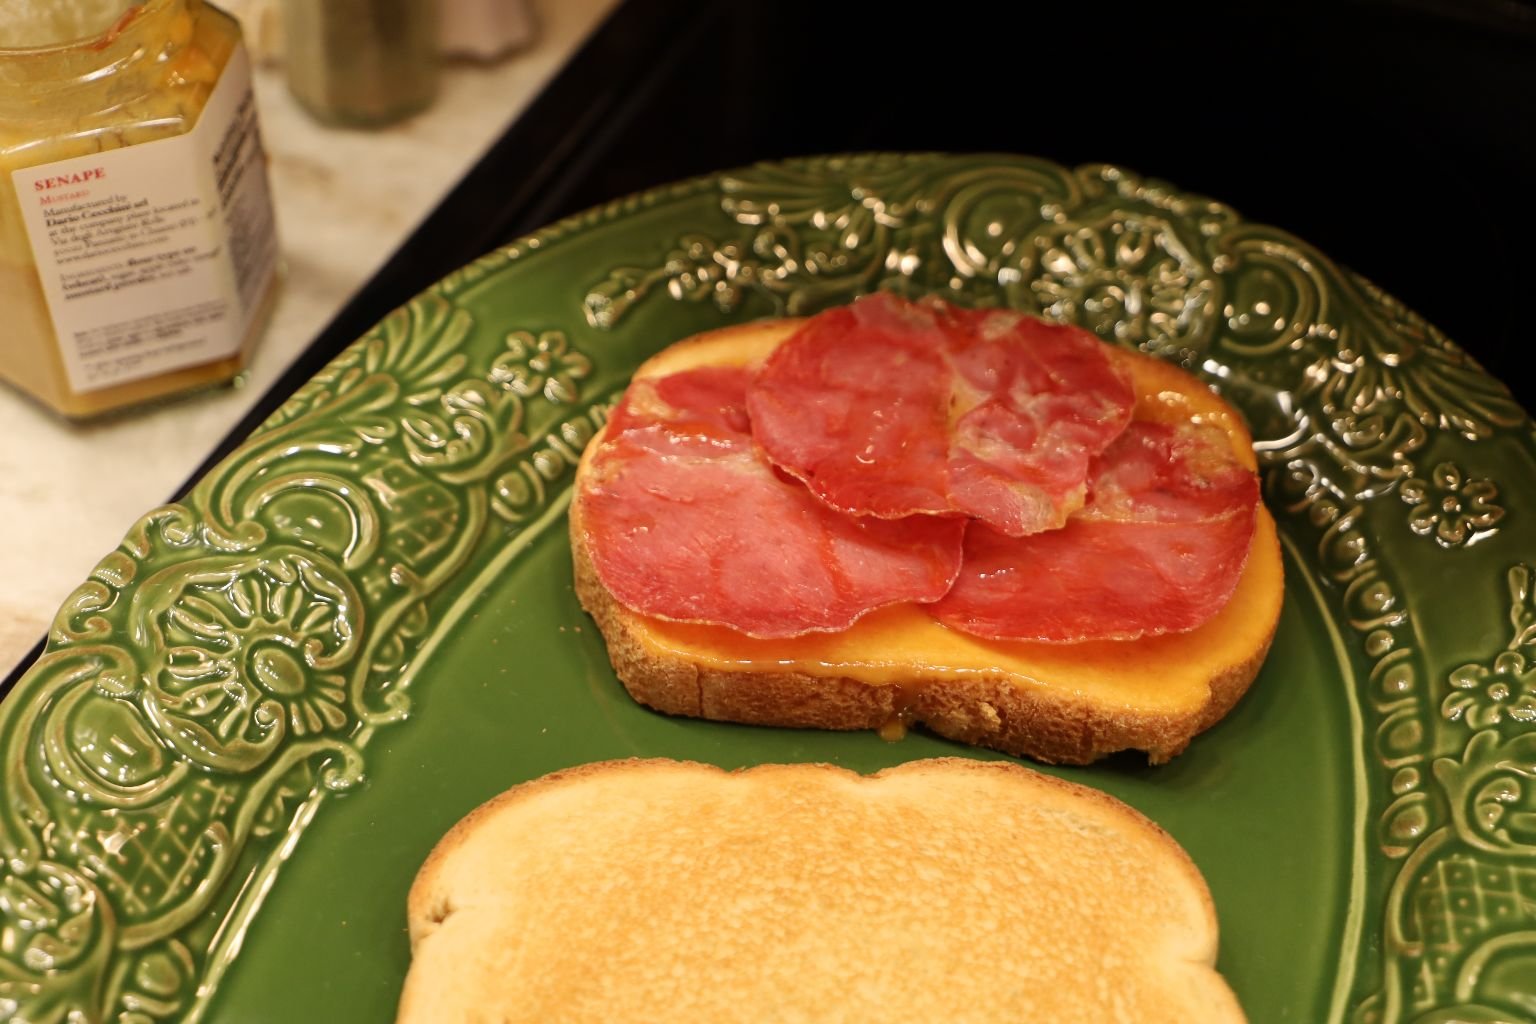
My Sweet Italian Mustard, My Dry Cured Shoulder Butt Copa-Cola…
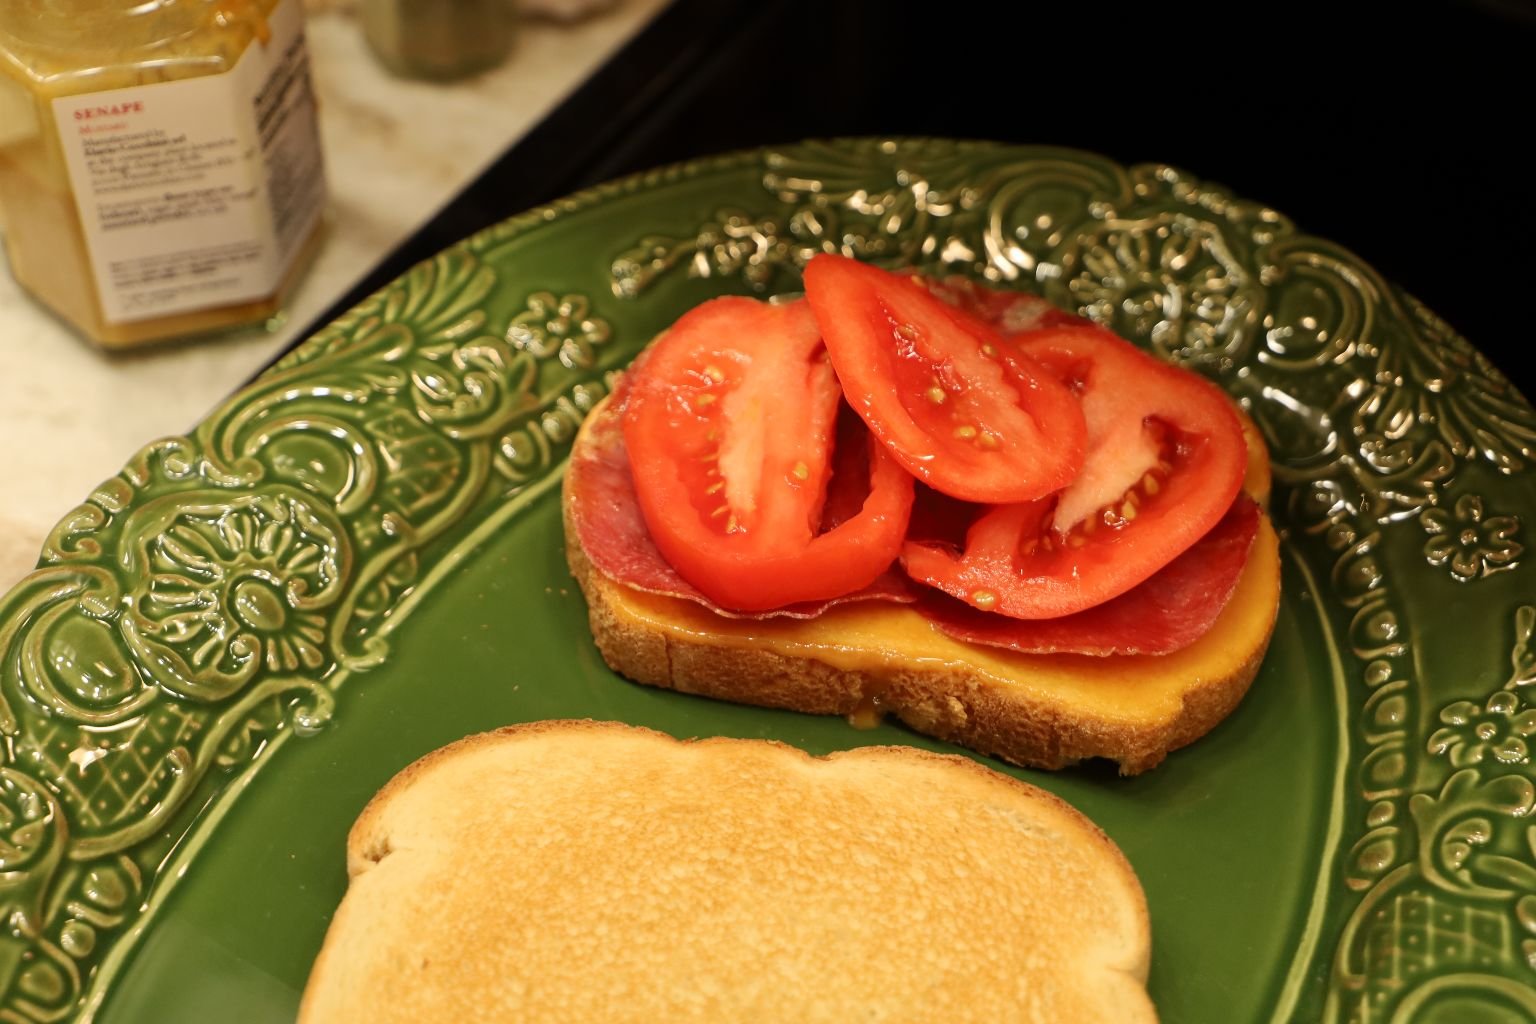
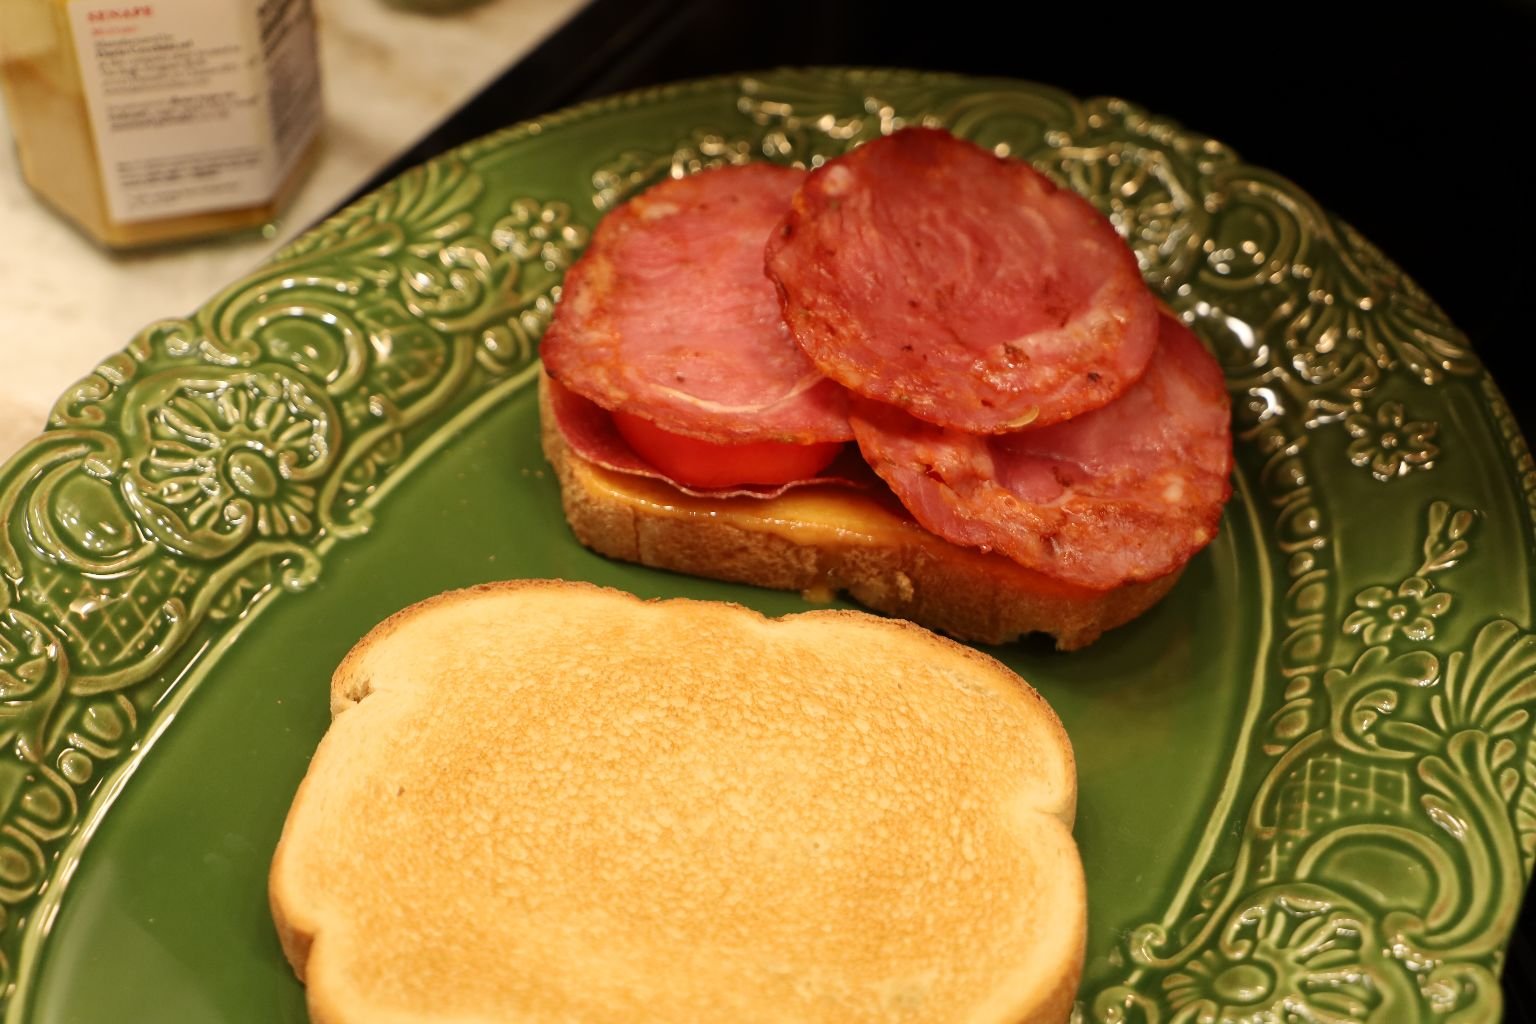
Roma Tomatoes and Hot Copa-Cola Ham…
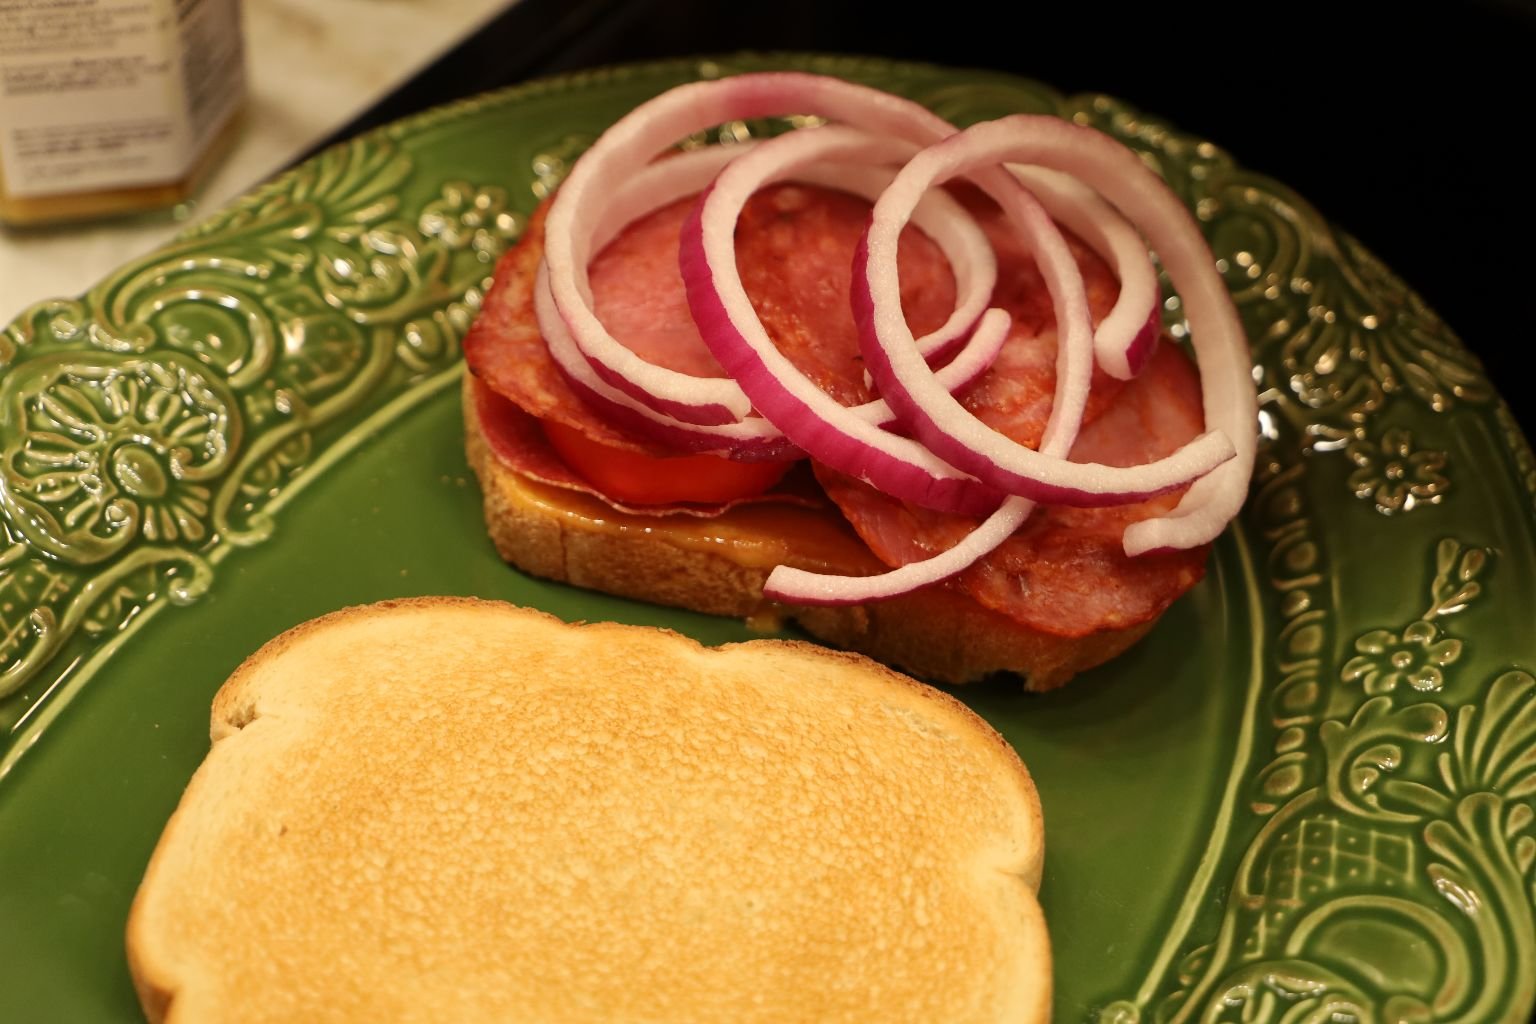
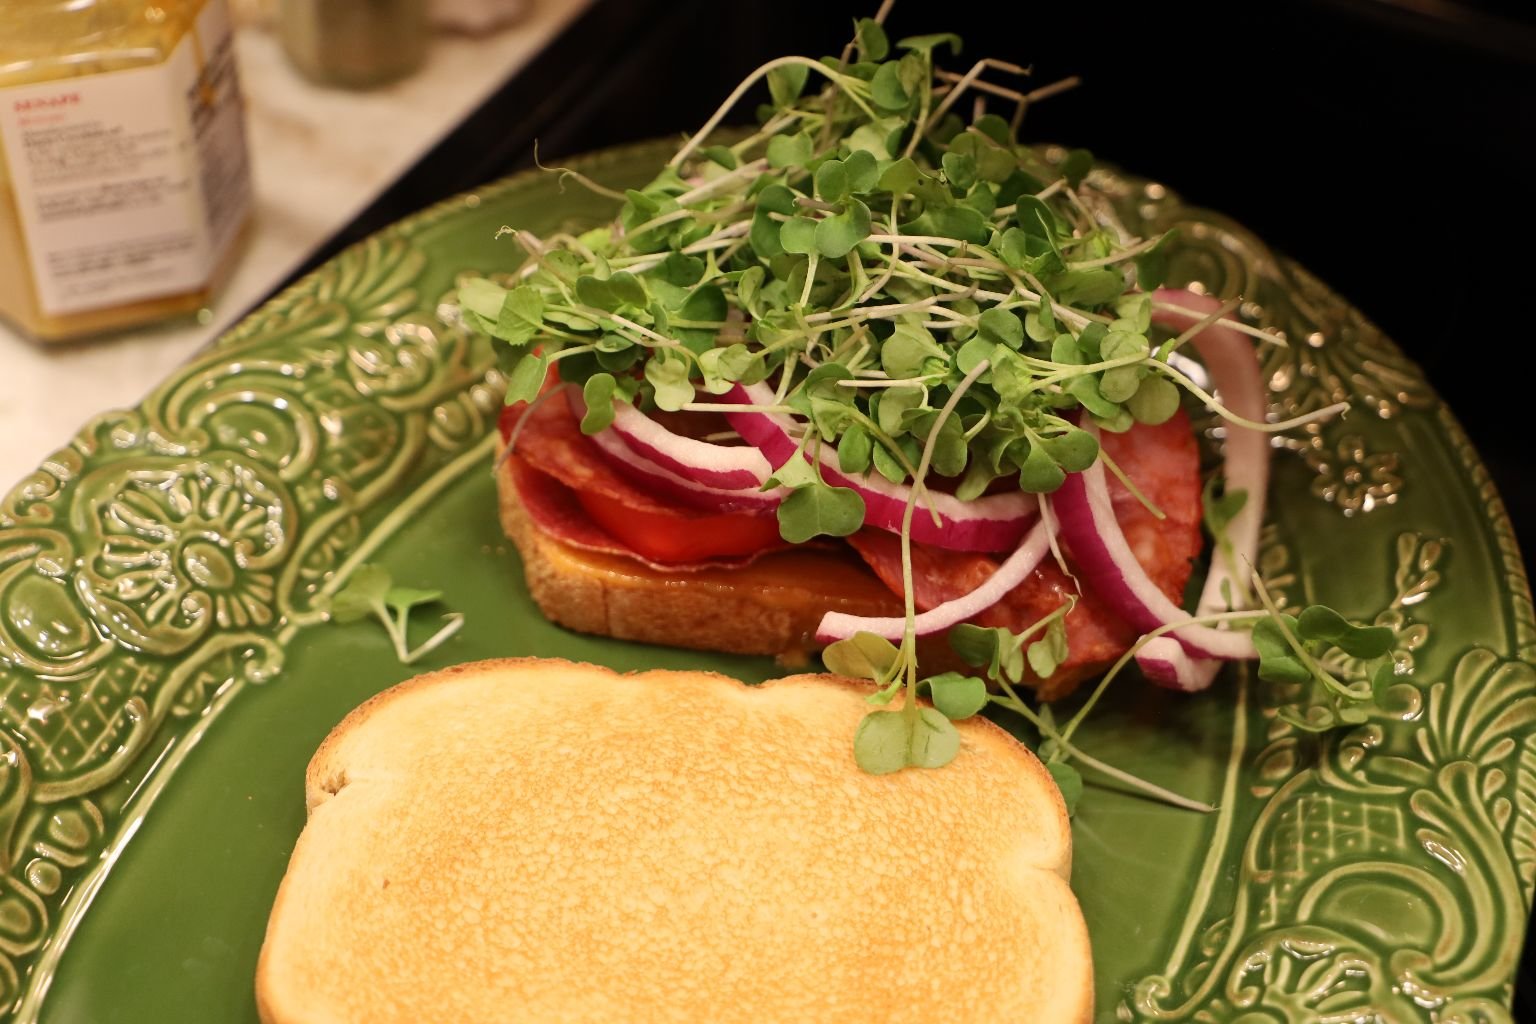
Red Onion Rings, Micro-Greens
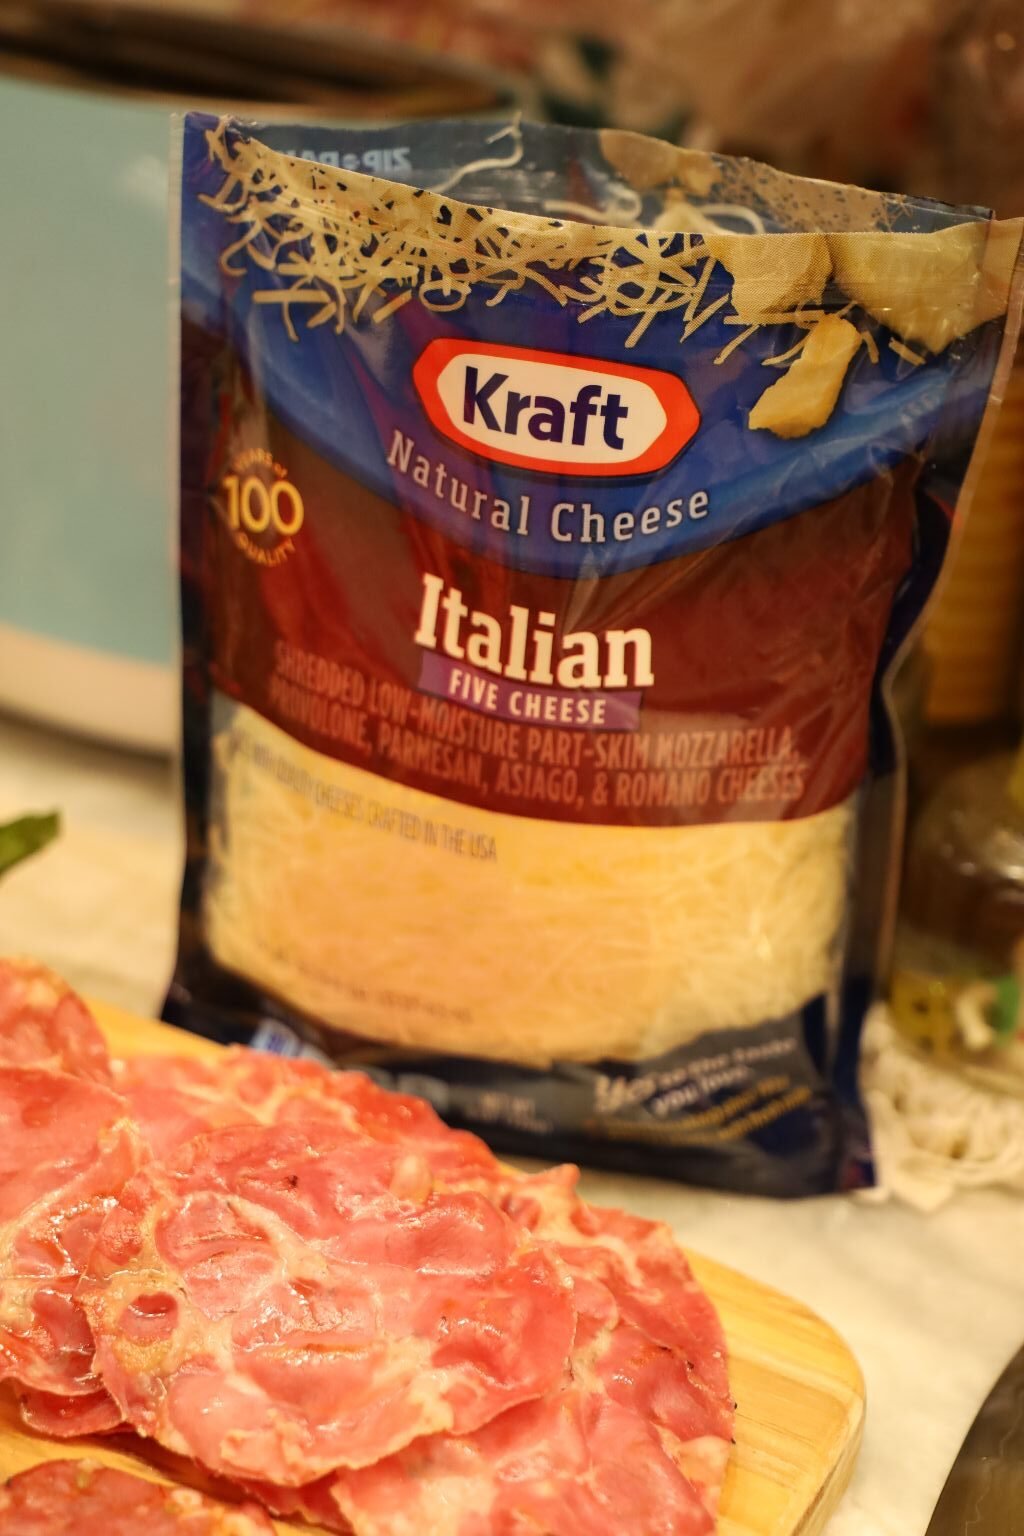
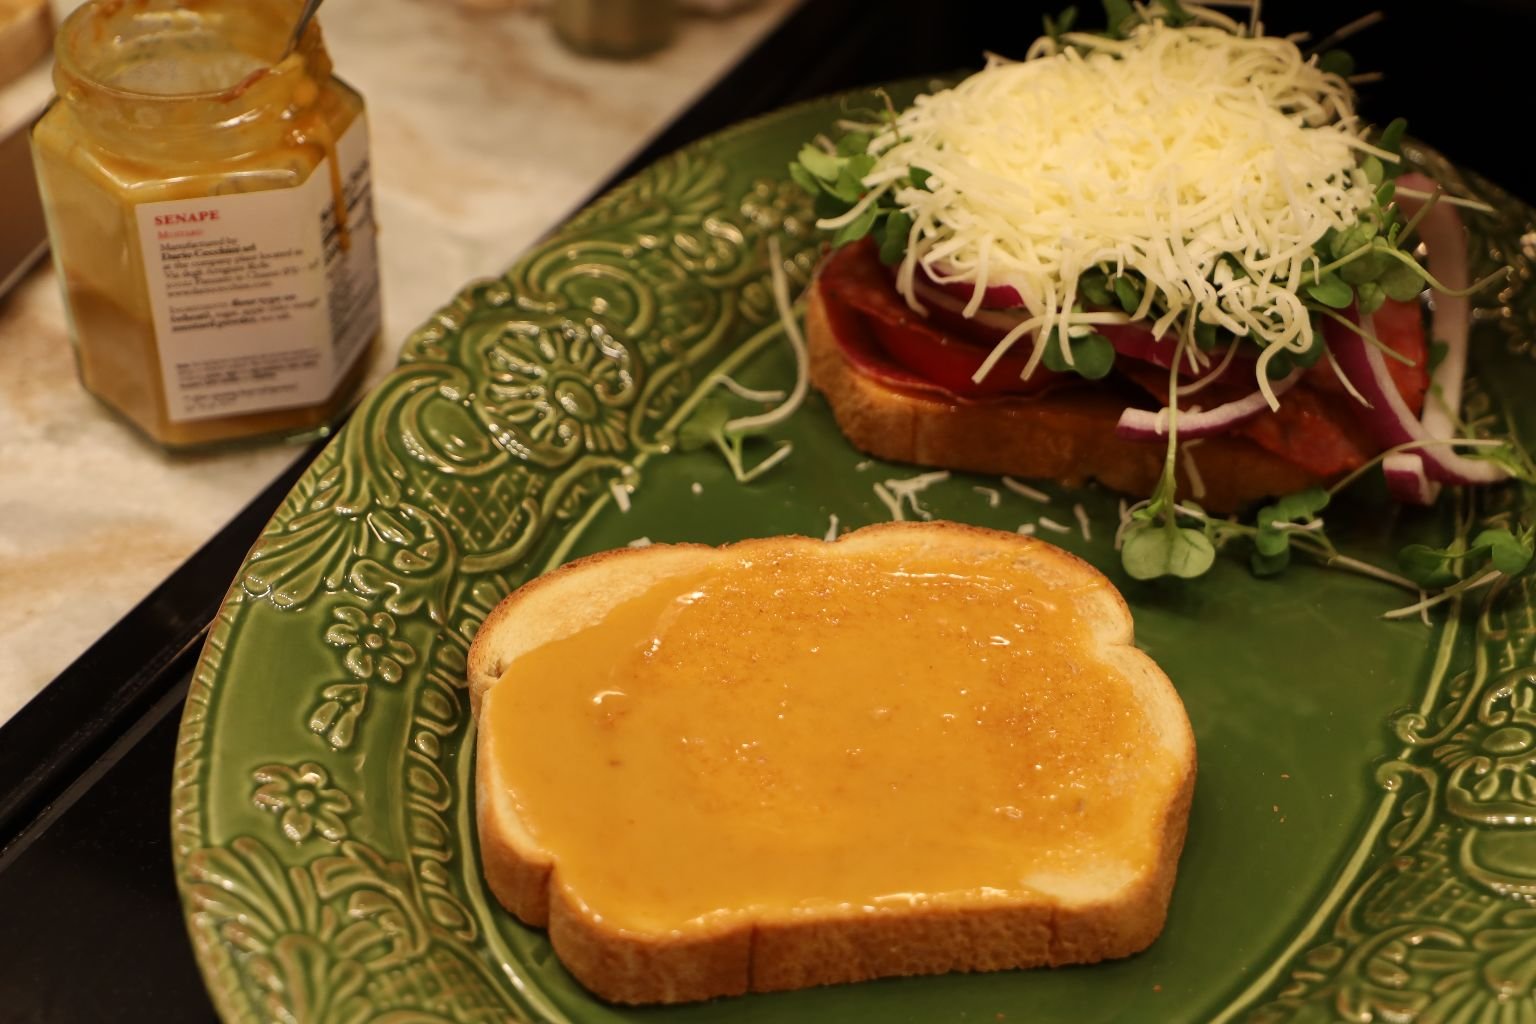
Italian Cheese
————————————————————————————-
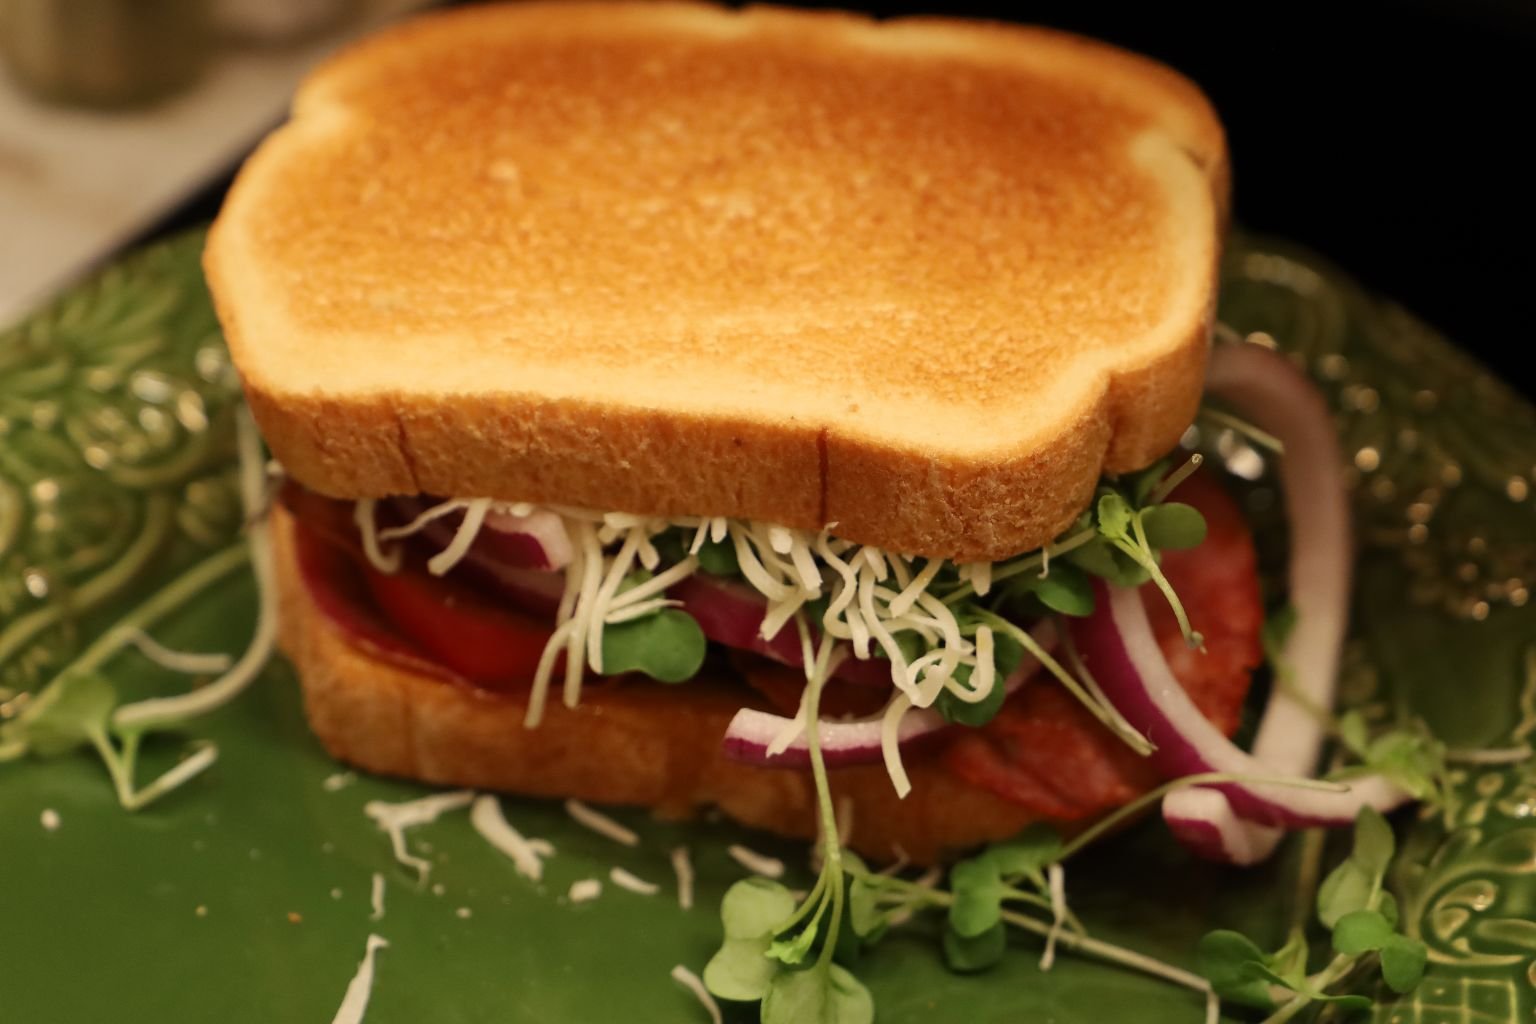
Put The Sandwich Together, Slice In Half, Or Third’s
Top With Fried Basil, and Fresh Parsley
————————————————————————————–
My Italian, and Mexican Open Faced Sangwitches
—————————————————————————————
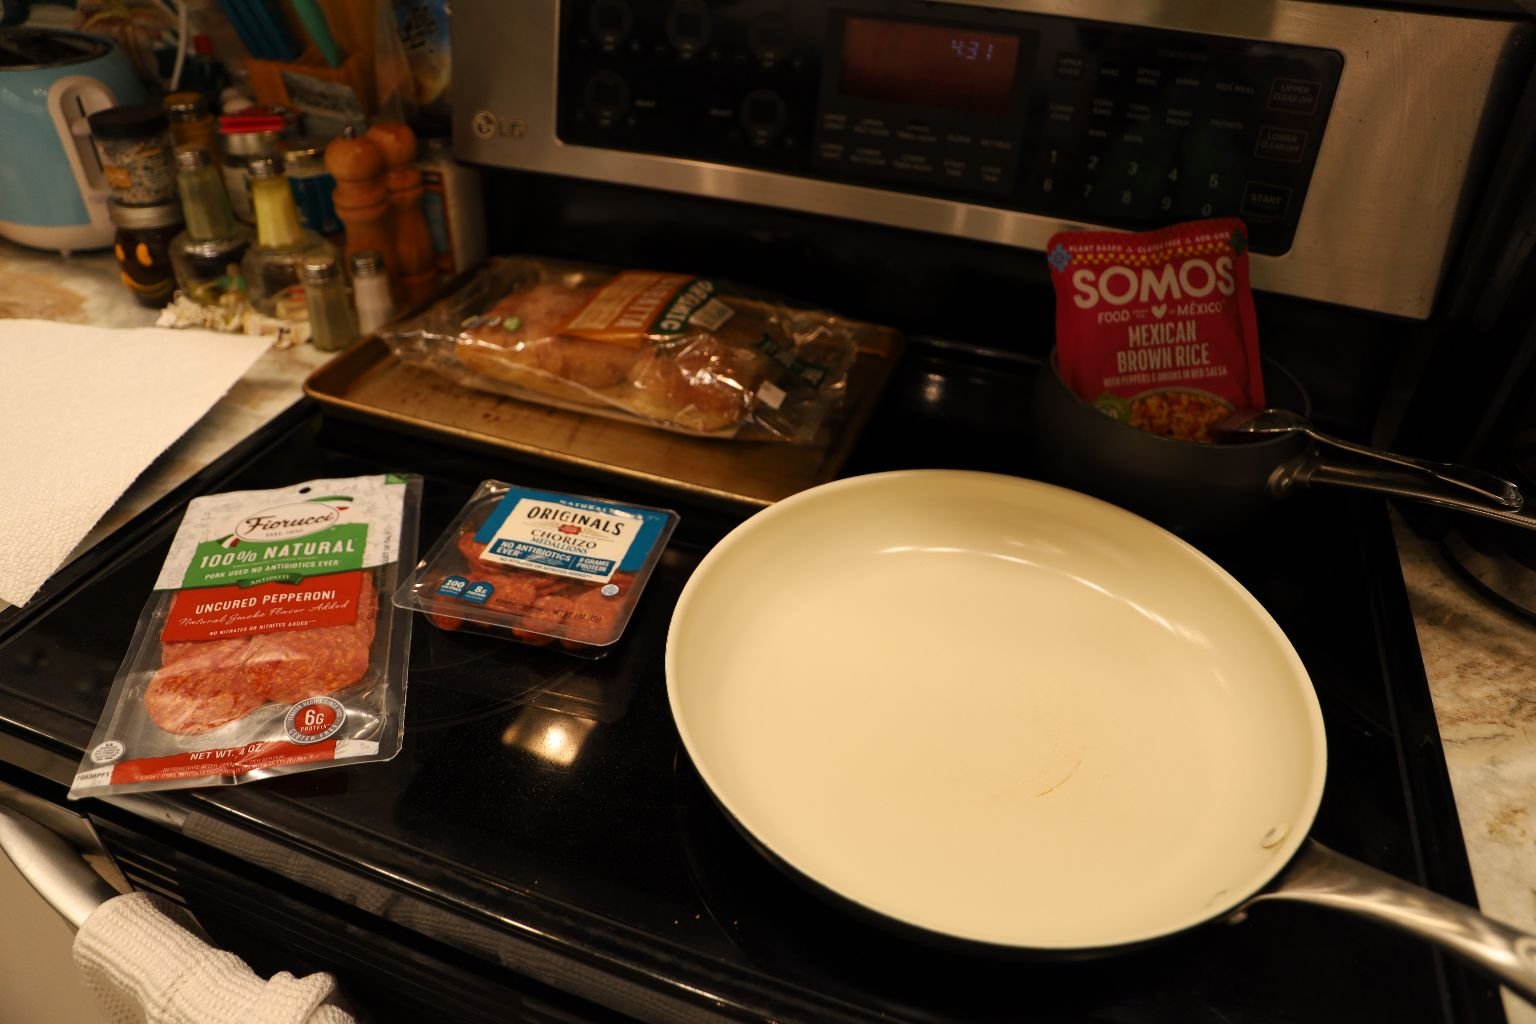
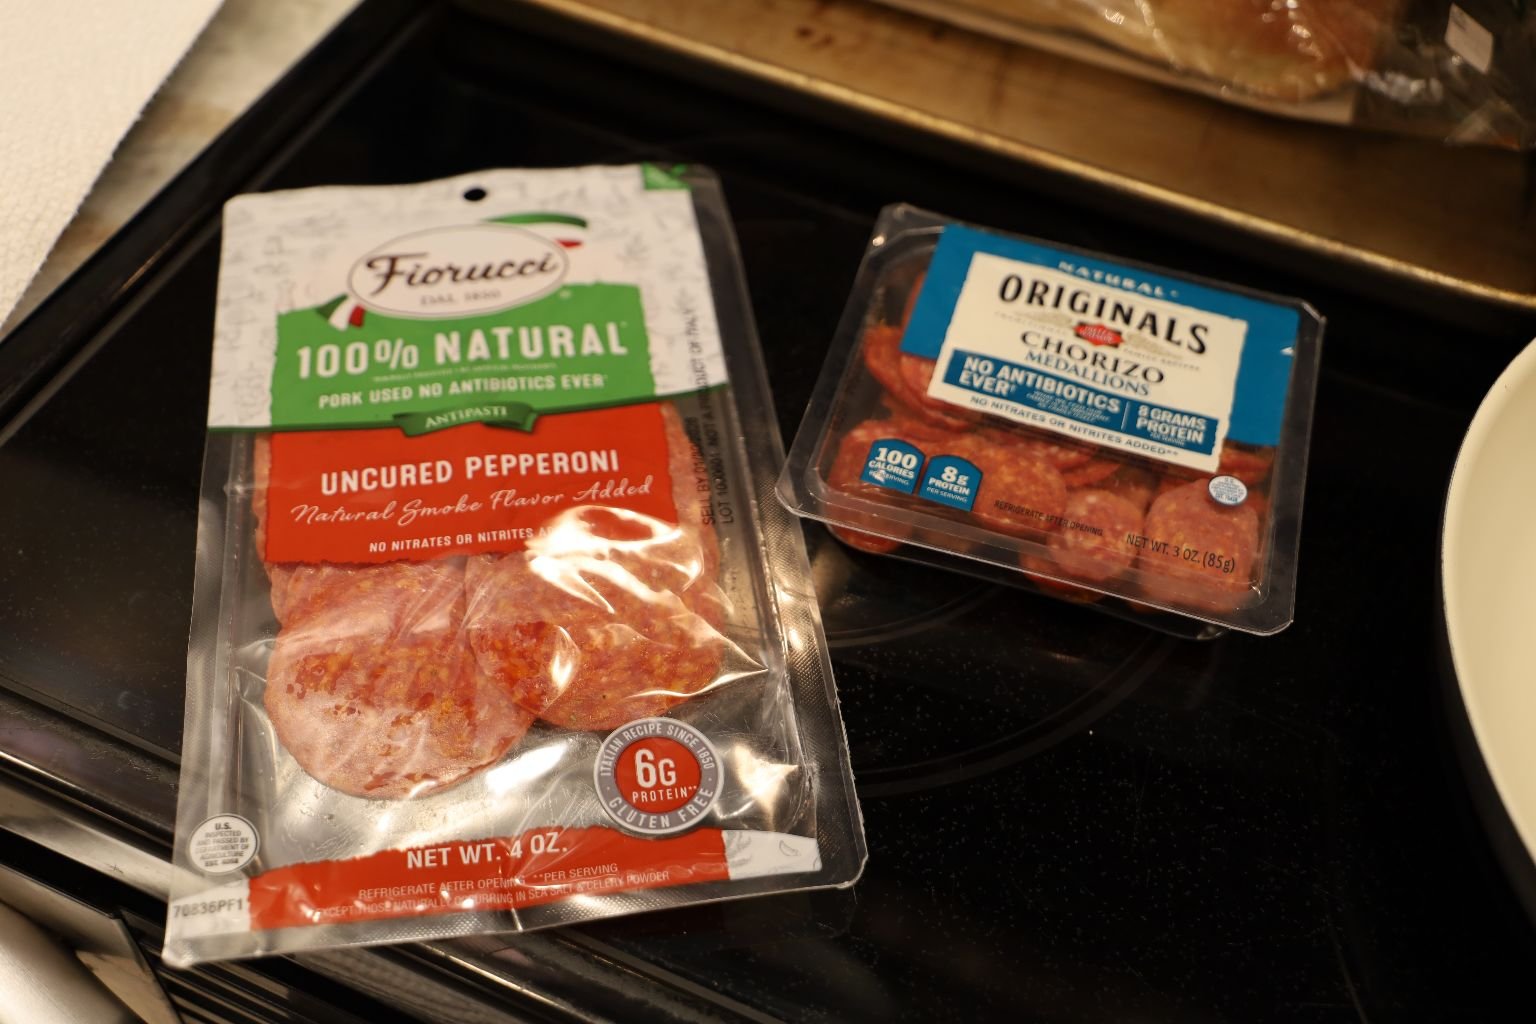
Ingredients:
(I am giving you all of the ingredients for both sandwiches here. I’m not keeping the Mexican ingredients separated from the Italian ingredients. I do explain in the write up below which ingredients go with which sandwich.)
————————————————————————–
Ciabatta Loaf
Uncured Pepperoni, as much as you like, fried.
Chorizo, as much as you like, fried.
Tomatoes: Campari and Roma, sliced.
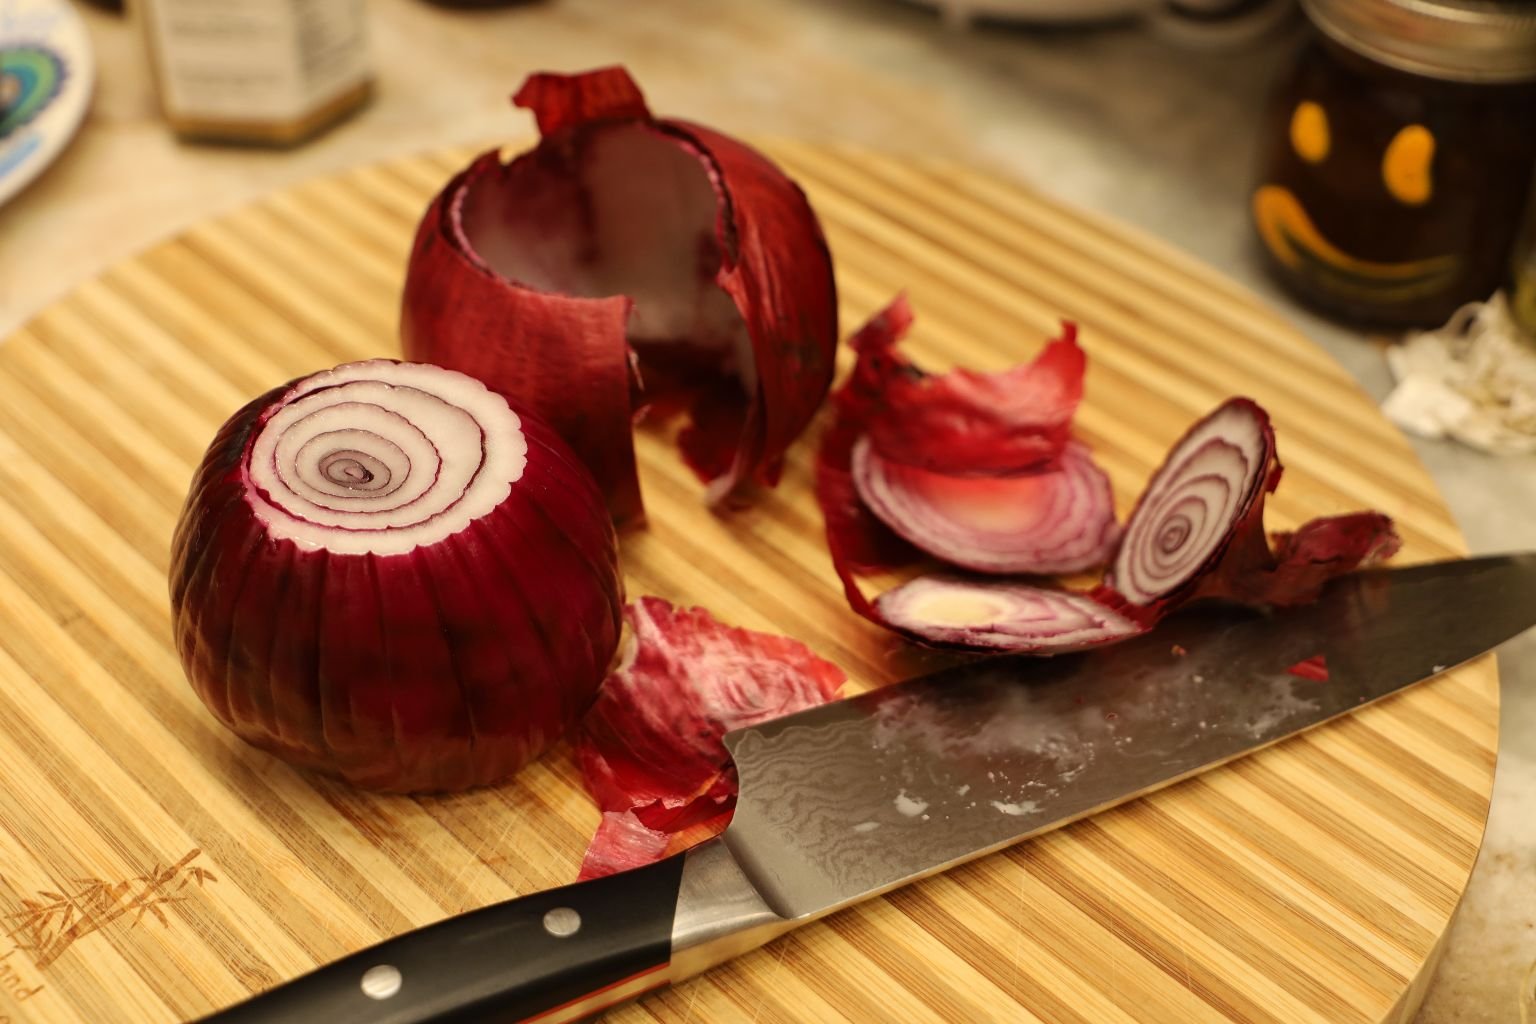
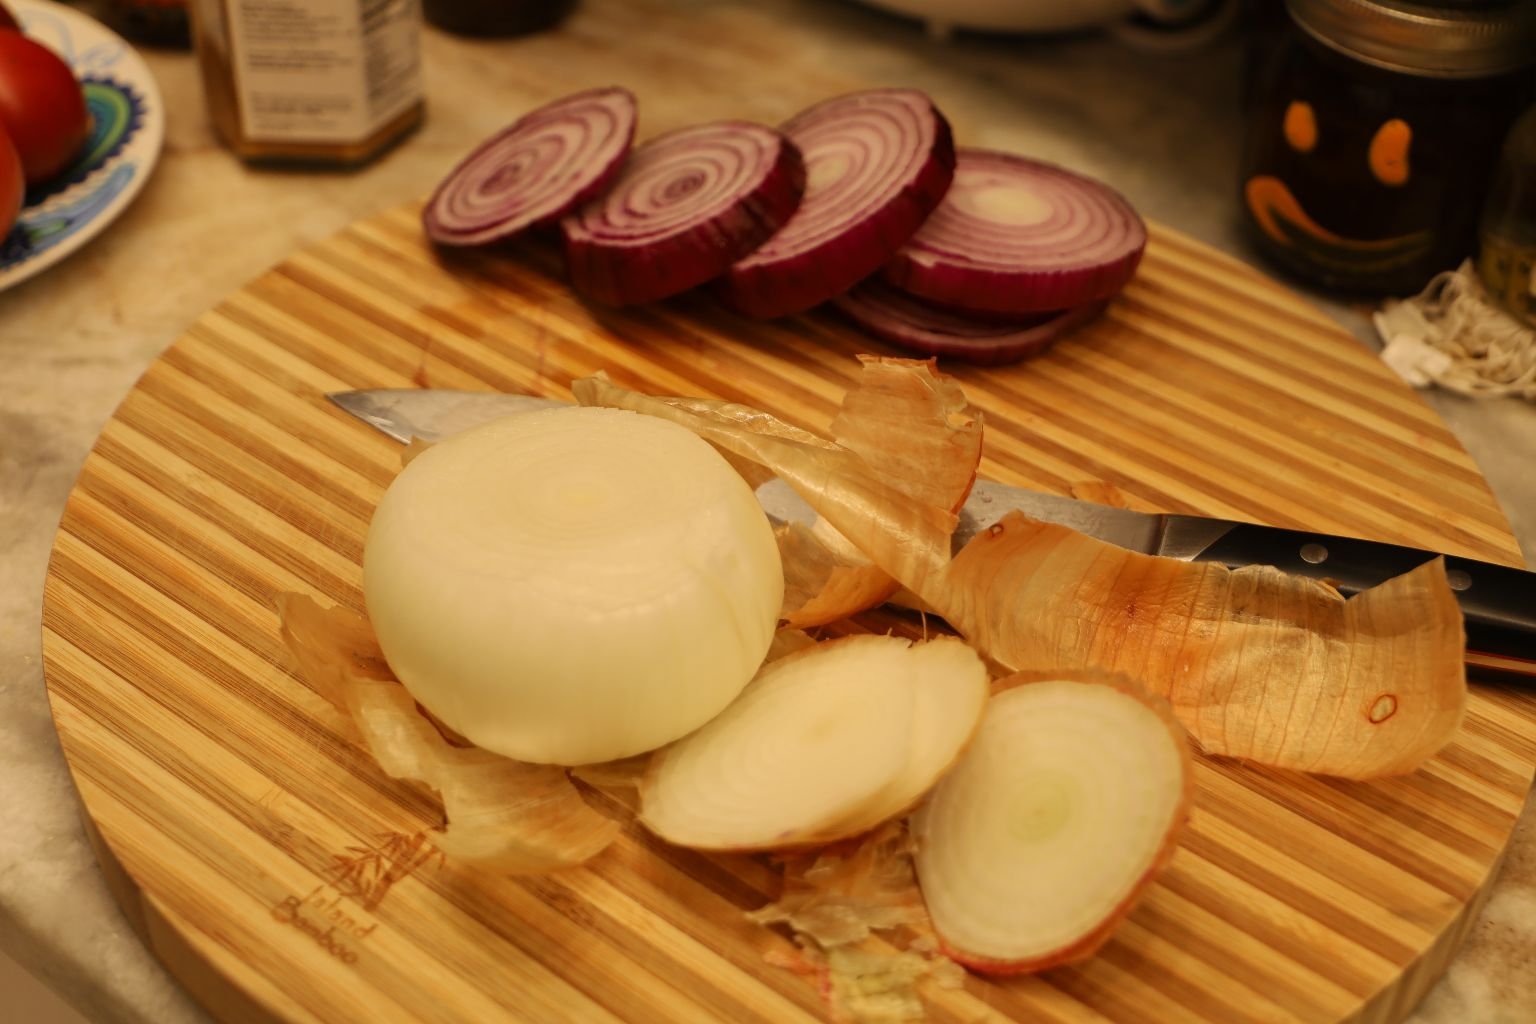
Onions: Red and White, sliced.
Sundried Tomato Pesto
————————————————————————–
Also, I used one of:
Our Spicy Hot Mexican Cranberry Sauce’s

Click Here For: Spicy Hot Mexican Cranberries For The Recipe
———————————————————————
Cheese: Queso Fresco and Provolone, as many as you like.
Sweet Italian Mustard
Flat-Leaf Parsley
Mexican Chili Crisp
Cilantro Lime Salsa Cremosa
Fresh Basil
———————————————————————————-
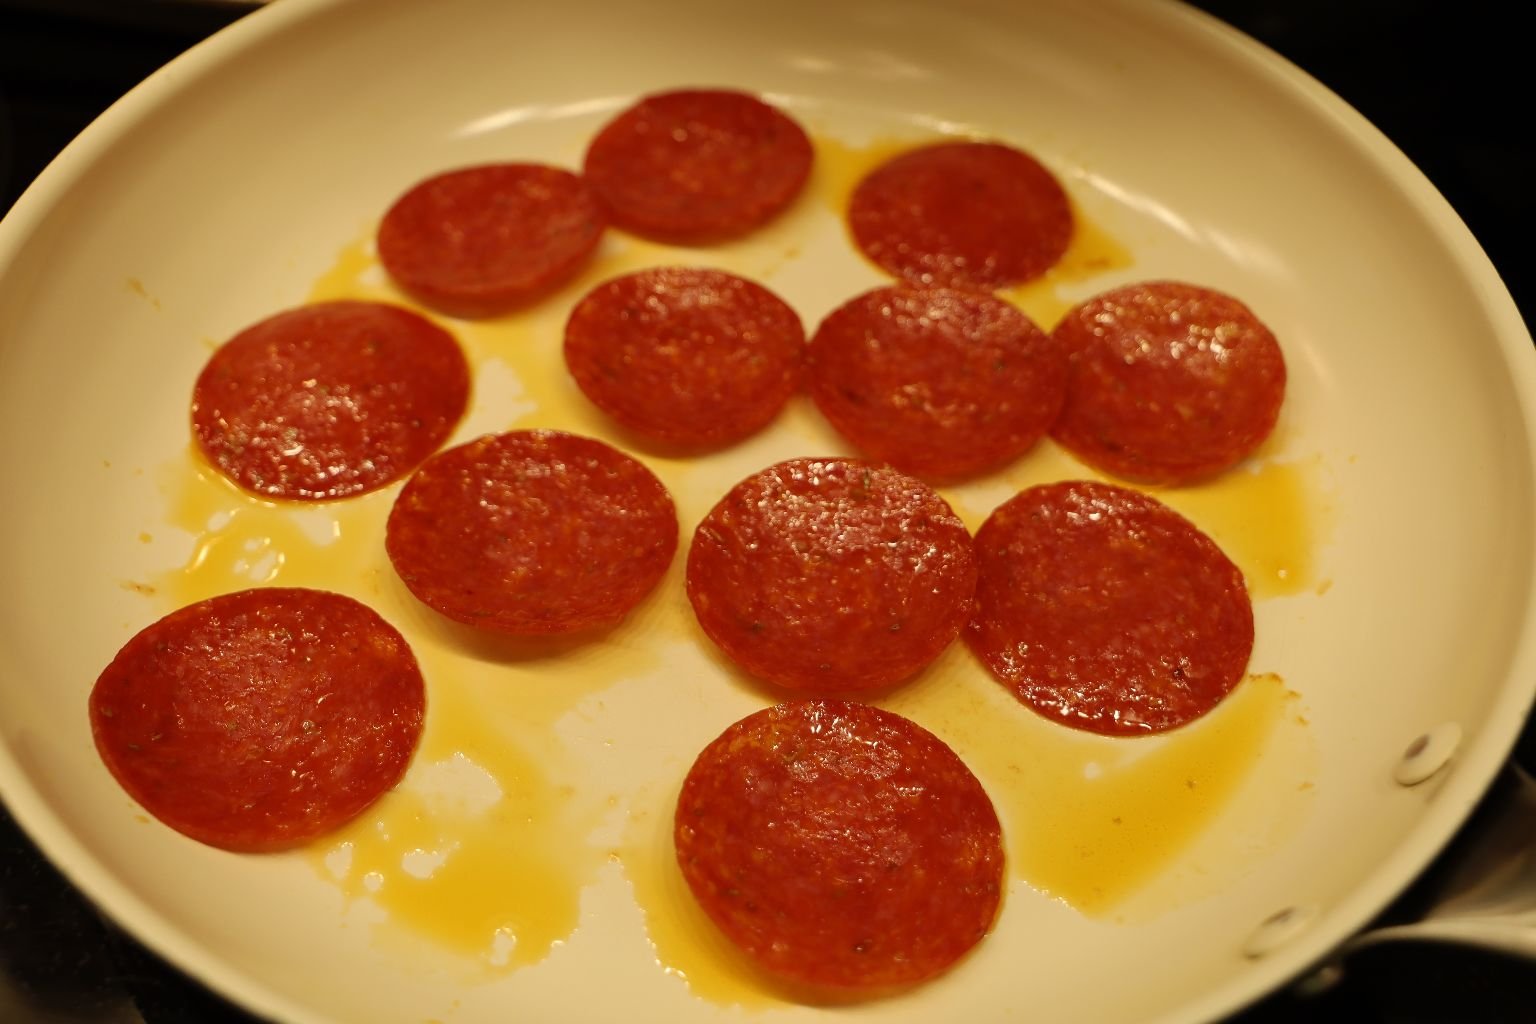
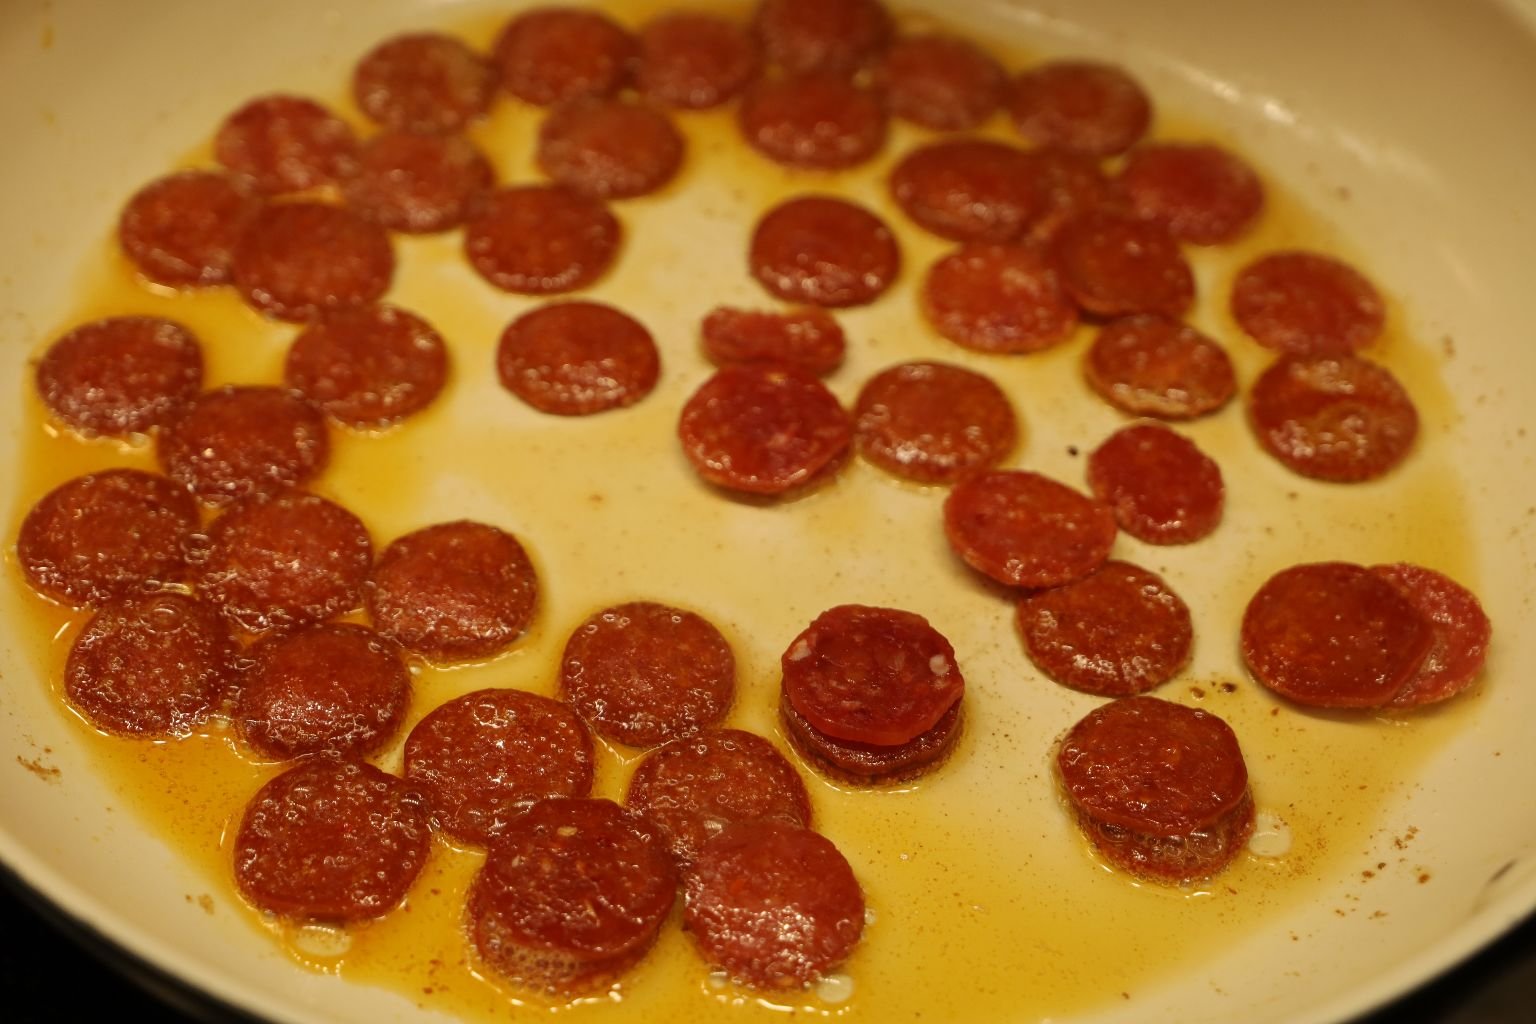
The first thing that I did was to fry the Uncured Pepperoni and the Chorizo on a Medium Heat just to brown them.
Because they are so greasy you needn’t add any oil to the pans.
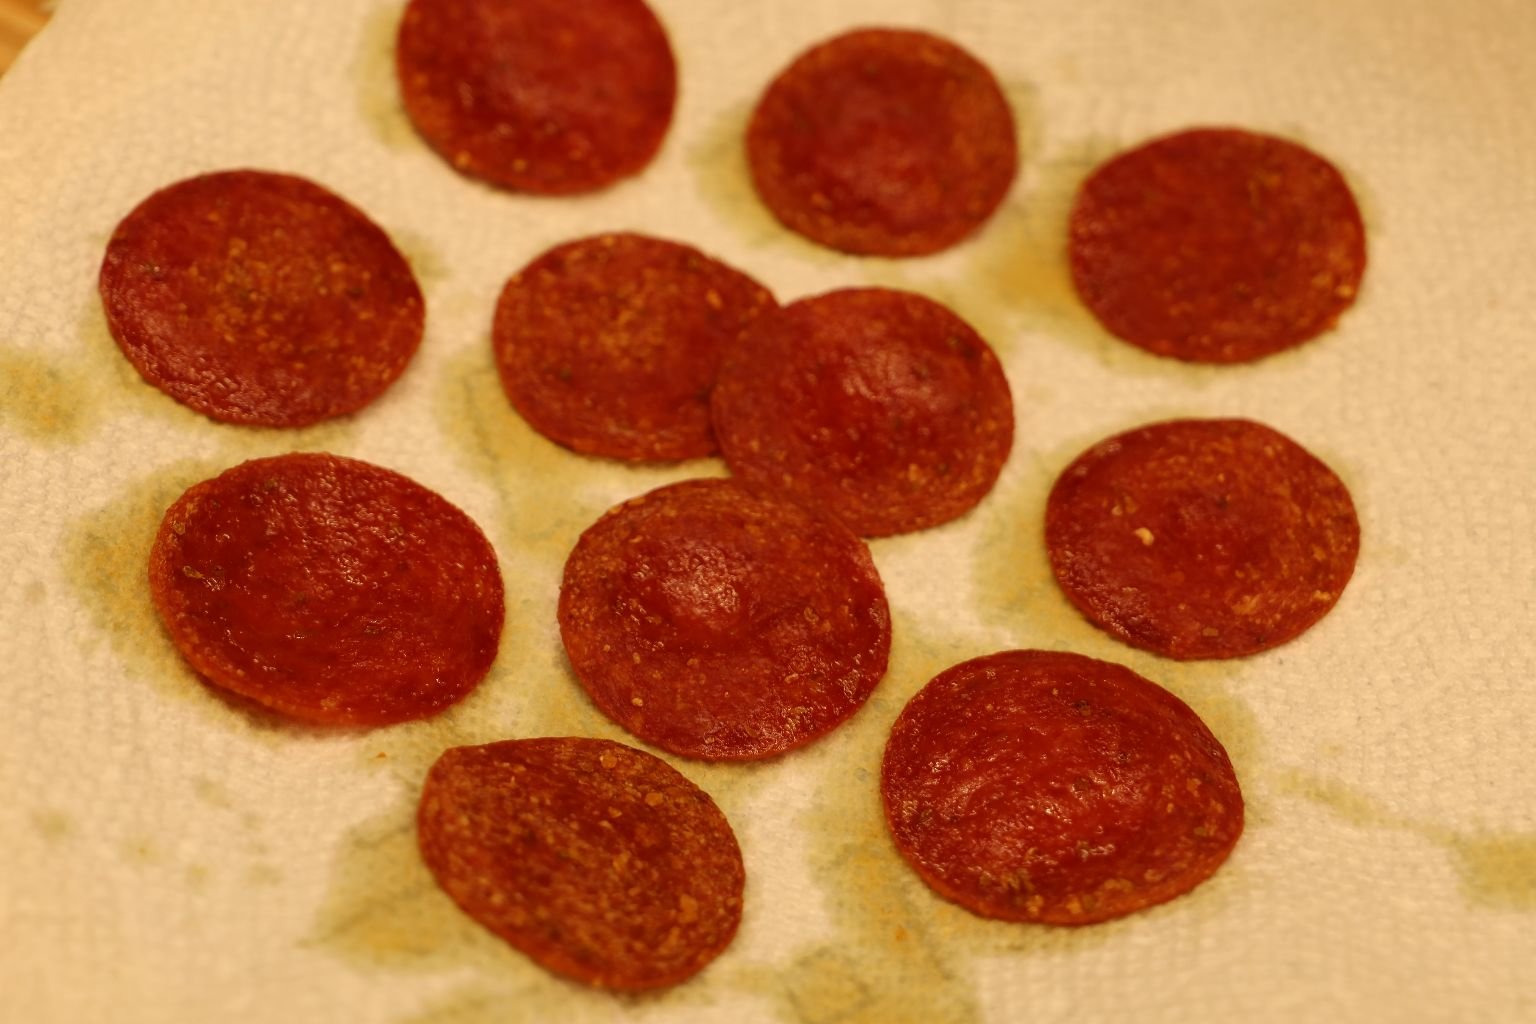
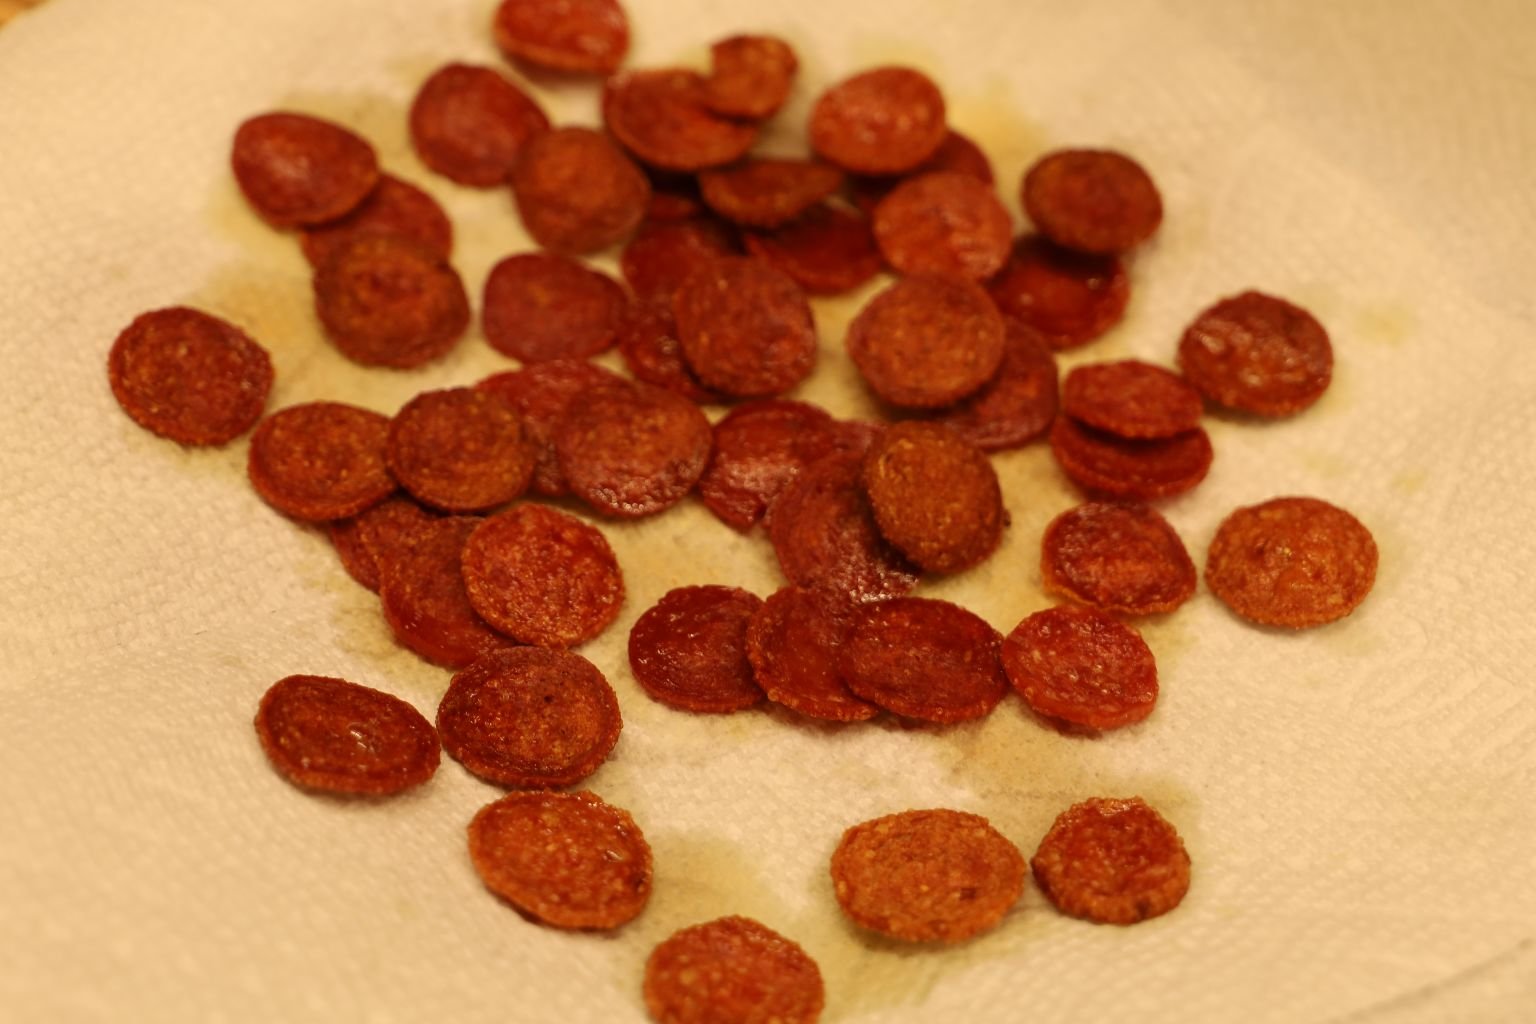
Place the finished Pepperoni and Chorizo onto paper towels to absorb the grease.
————————————————————————–
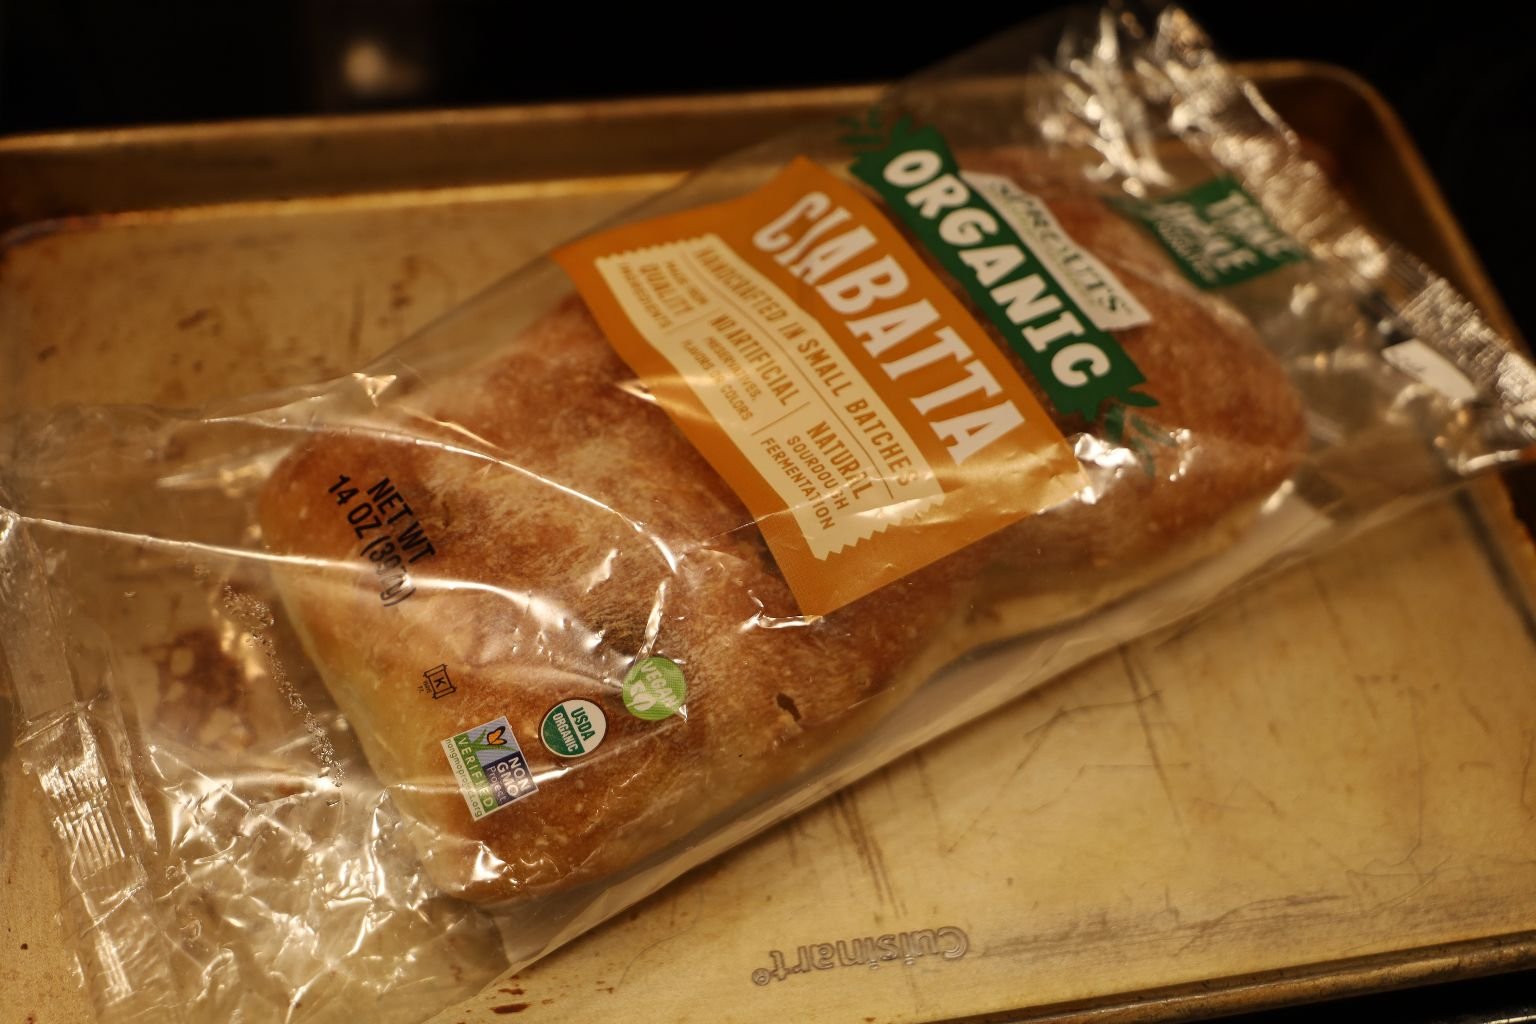
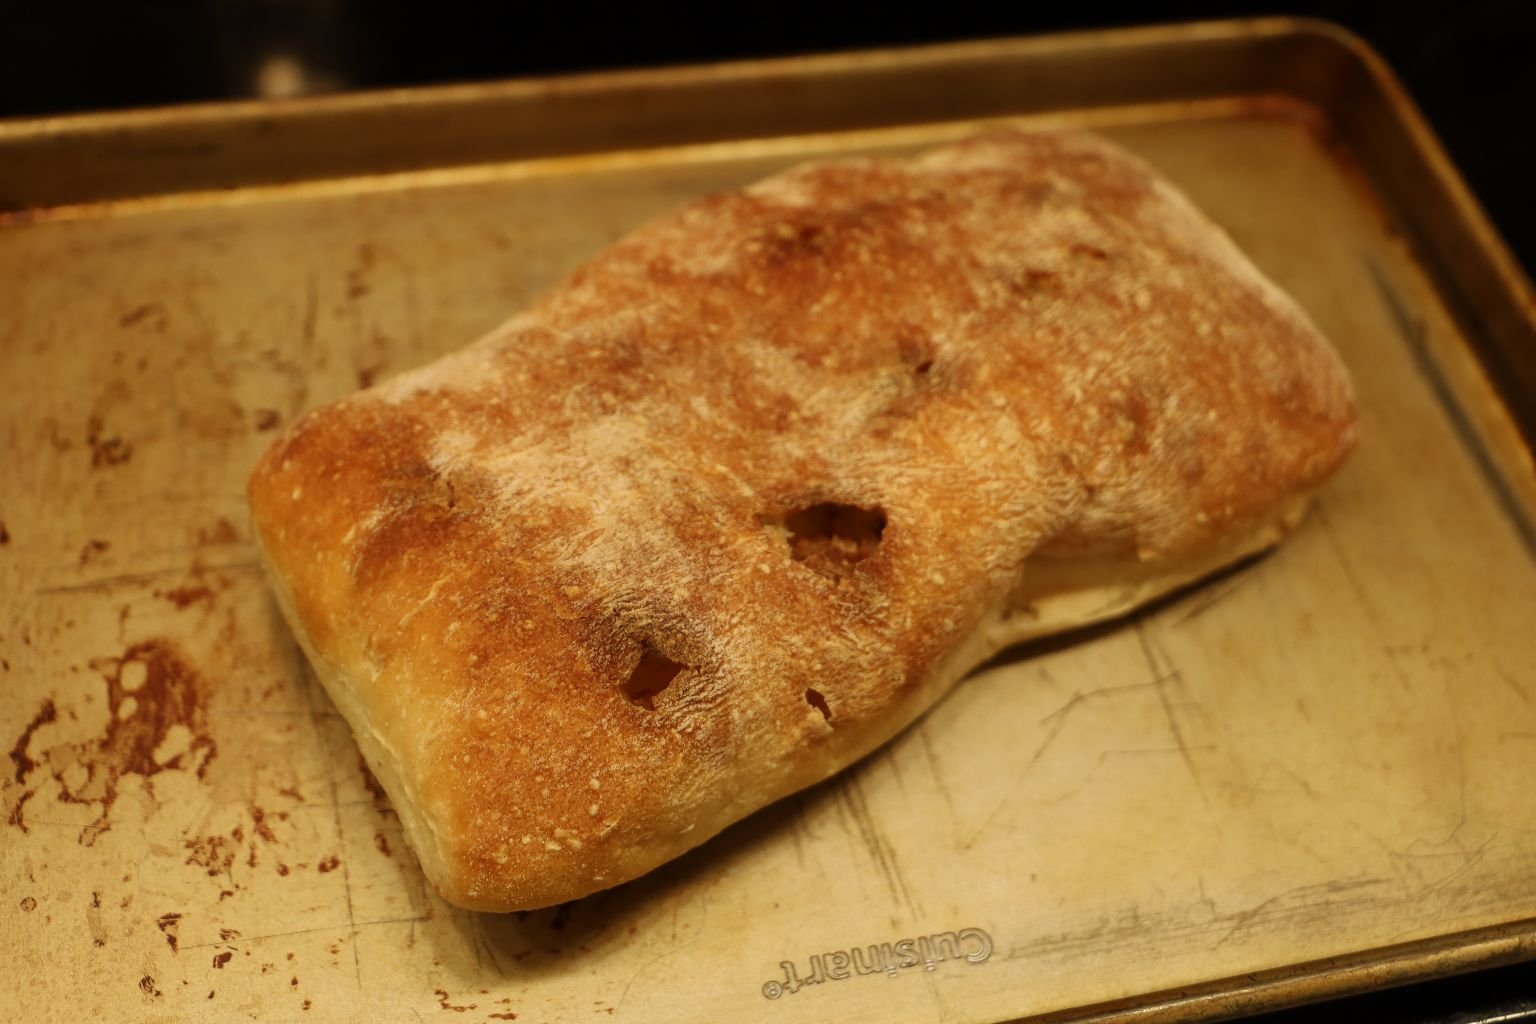
Although you can use any bread that you like, I already had this one so Ciabatta it is!
—————————————————————————-
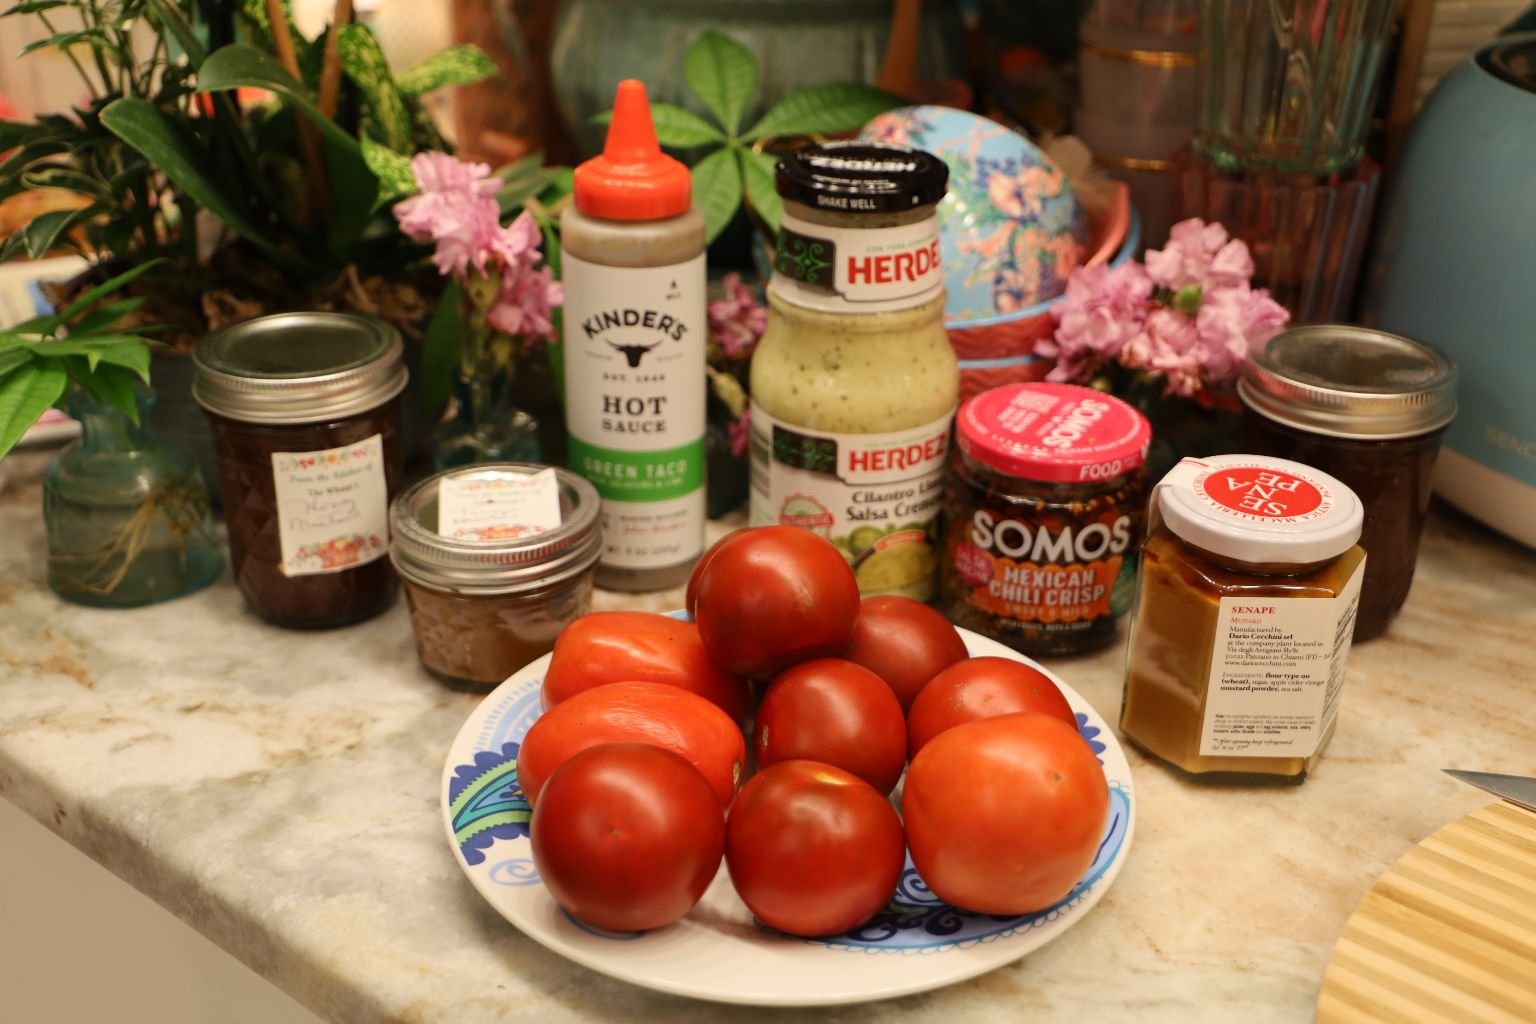
I have a few products pictured above on the far left that I did not end up using.
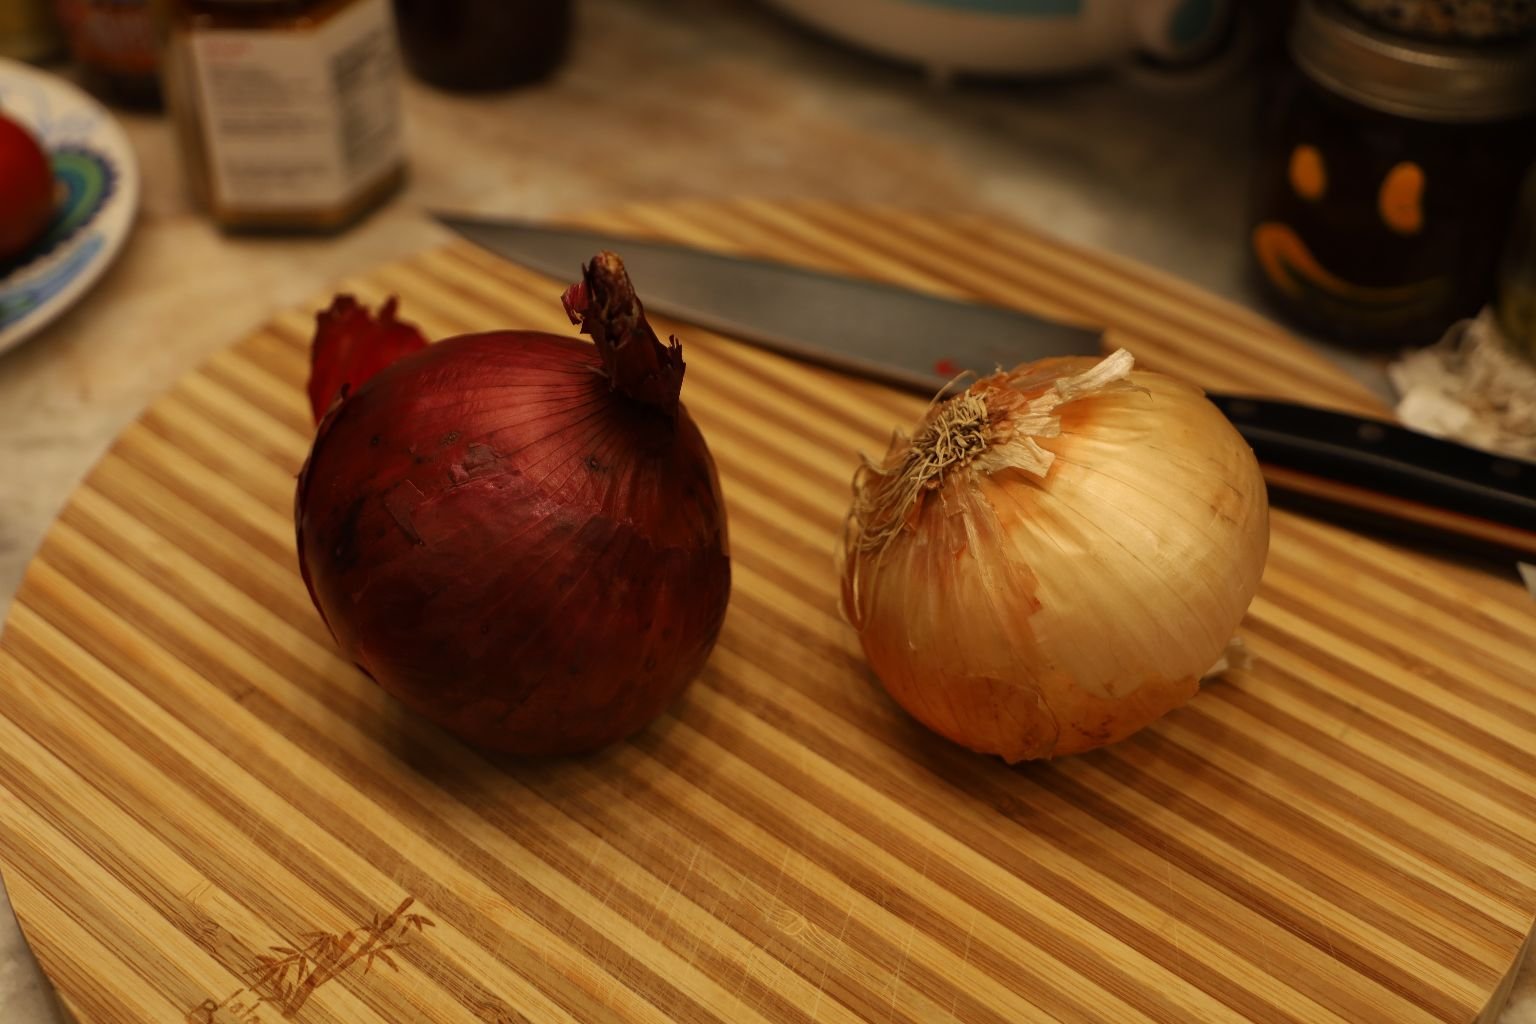
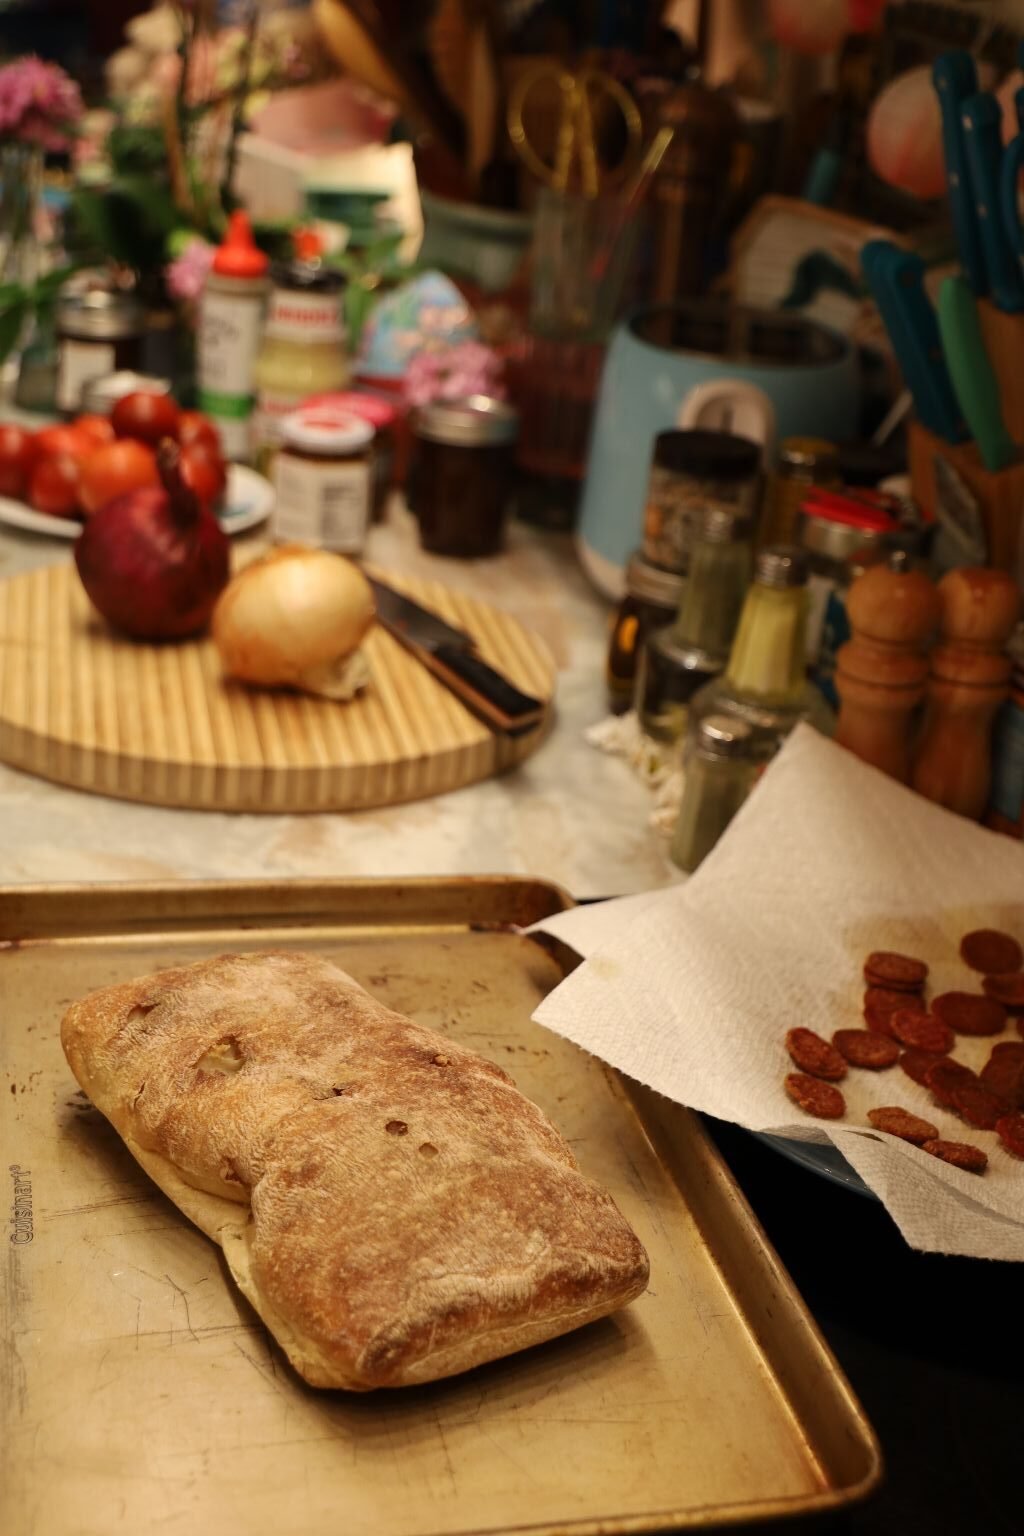
Chopping My Onions
—————————————————————————————
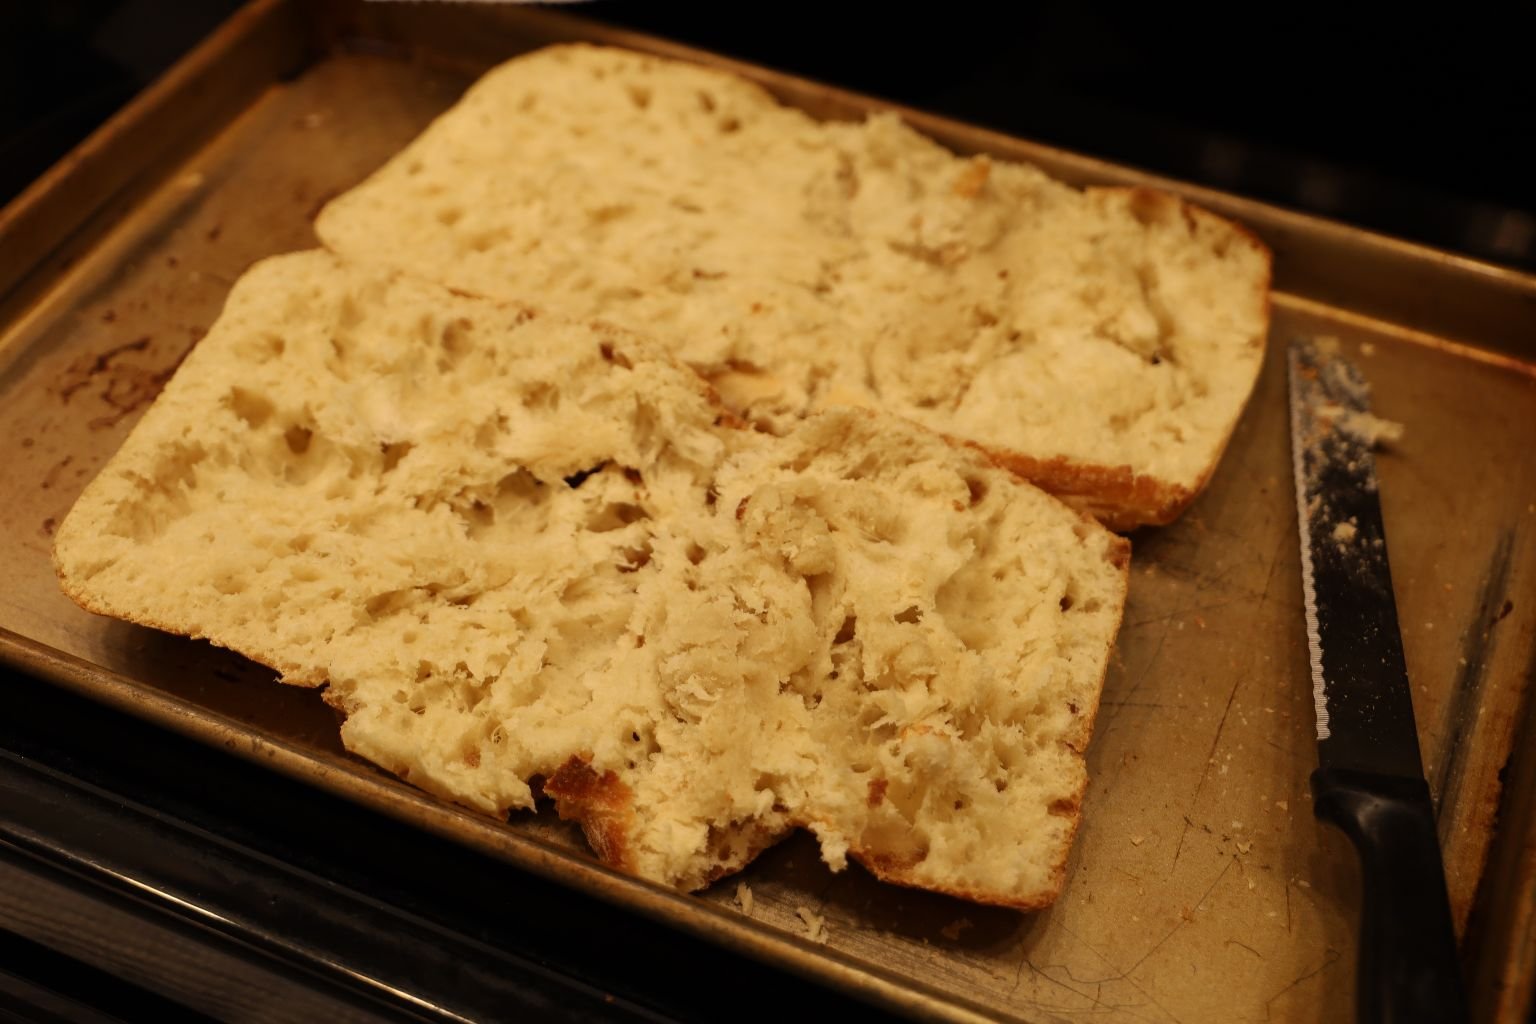
On A Baking Sheet Slice Your Bread In Half Horizontally
————————————————————————————
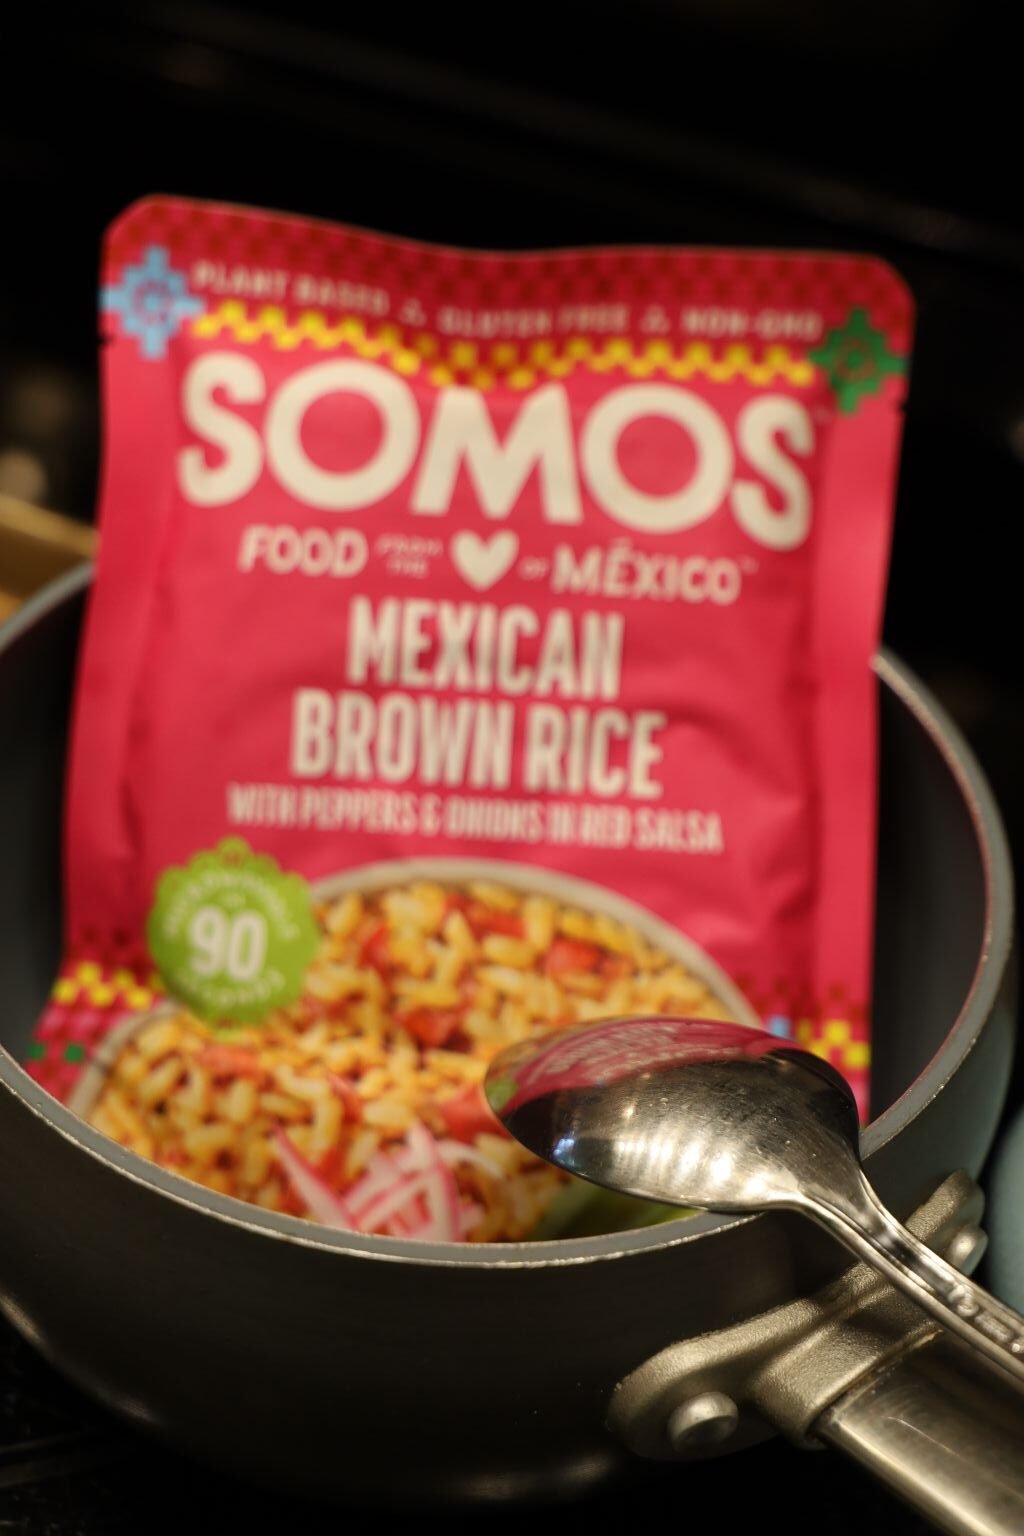
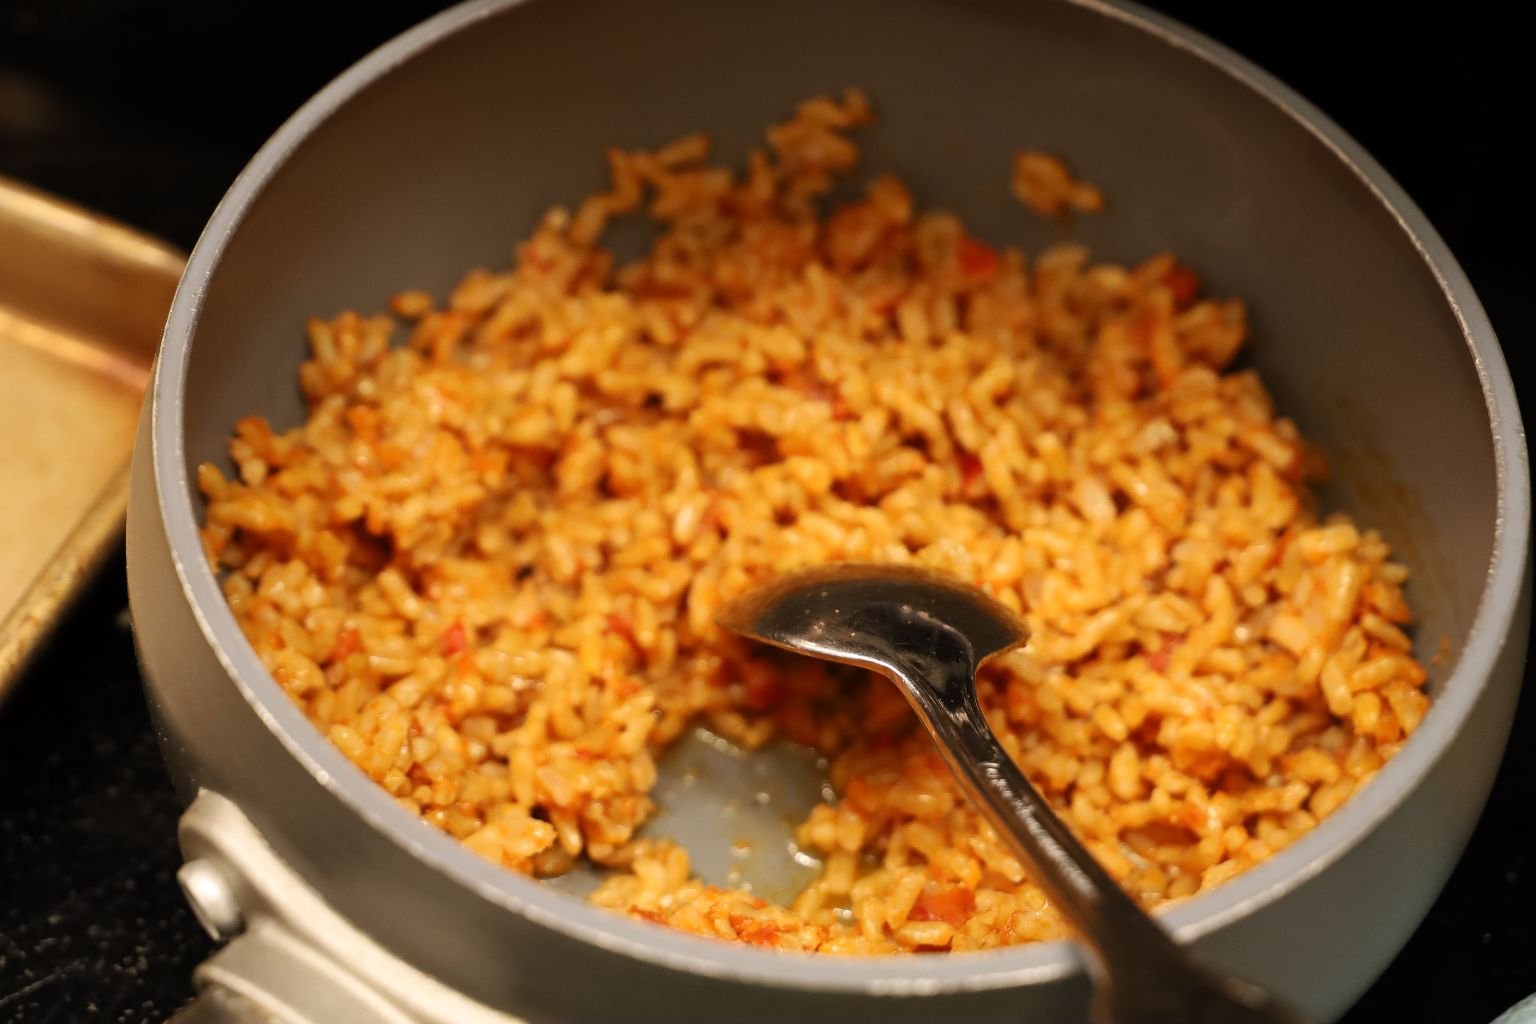
Just Warming It Up
I’m planning on having this Rice as a side with the Mexican Sandwich.
——————————————————————————-
Time To Make Our Sangwitches
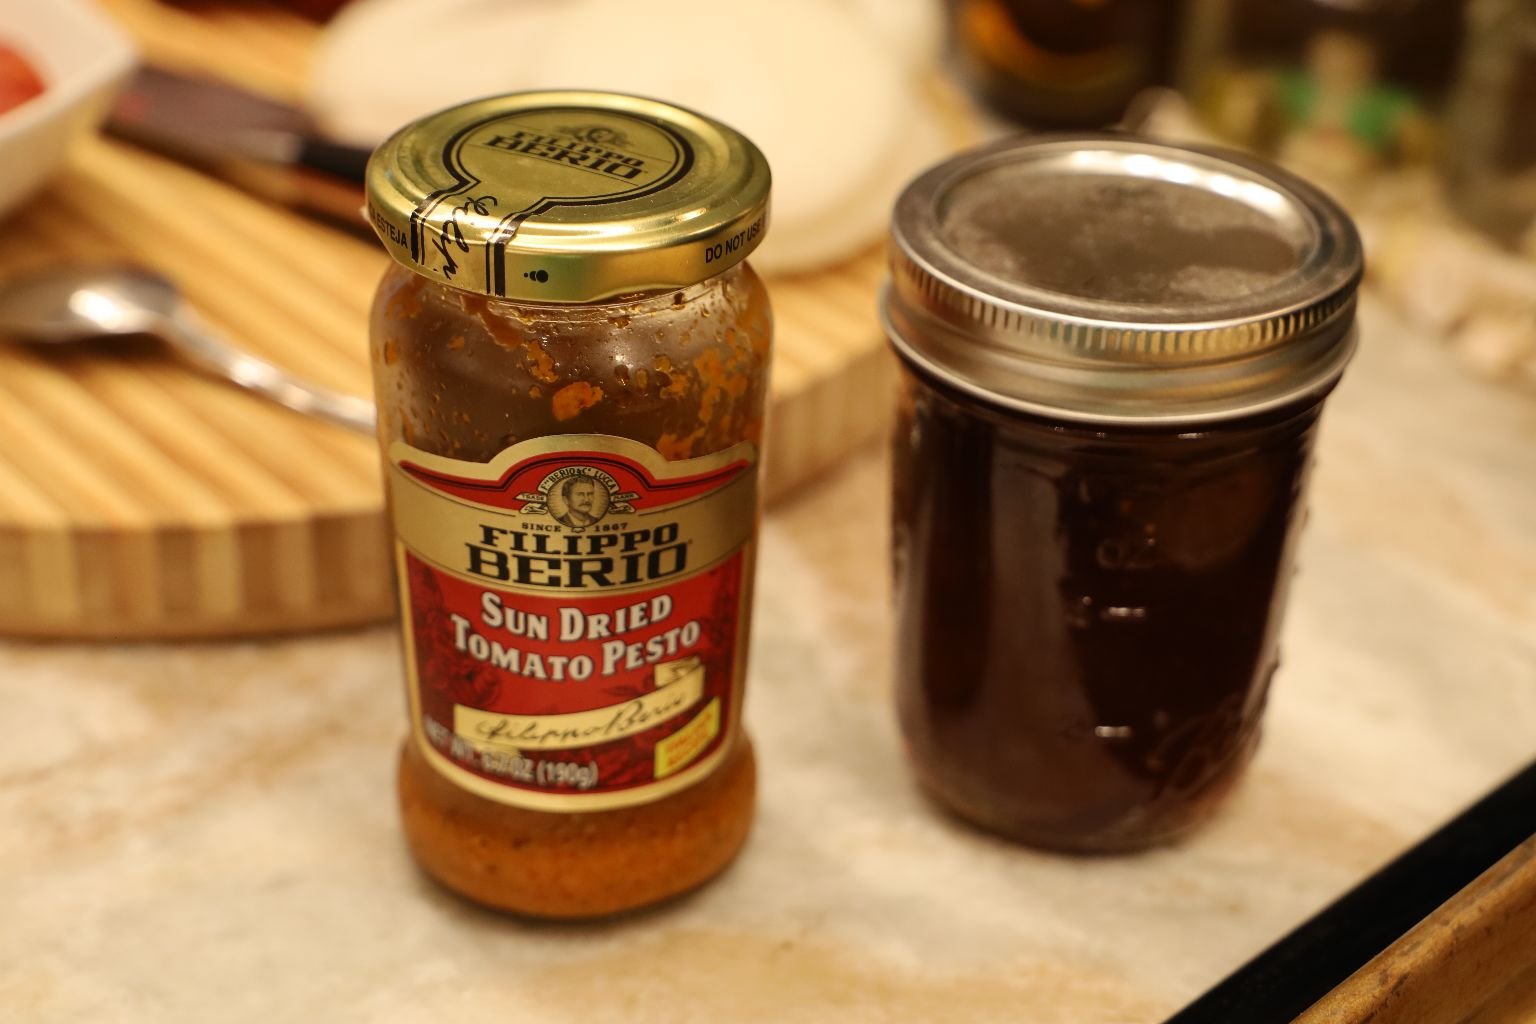
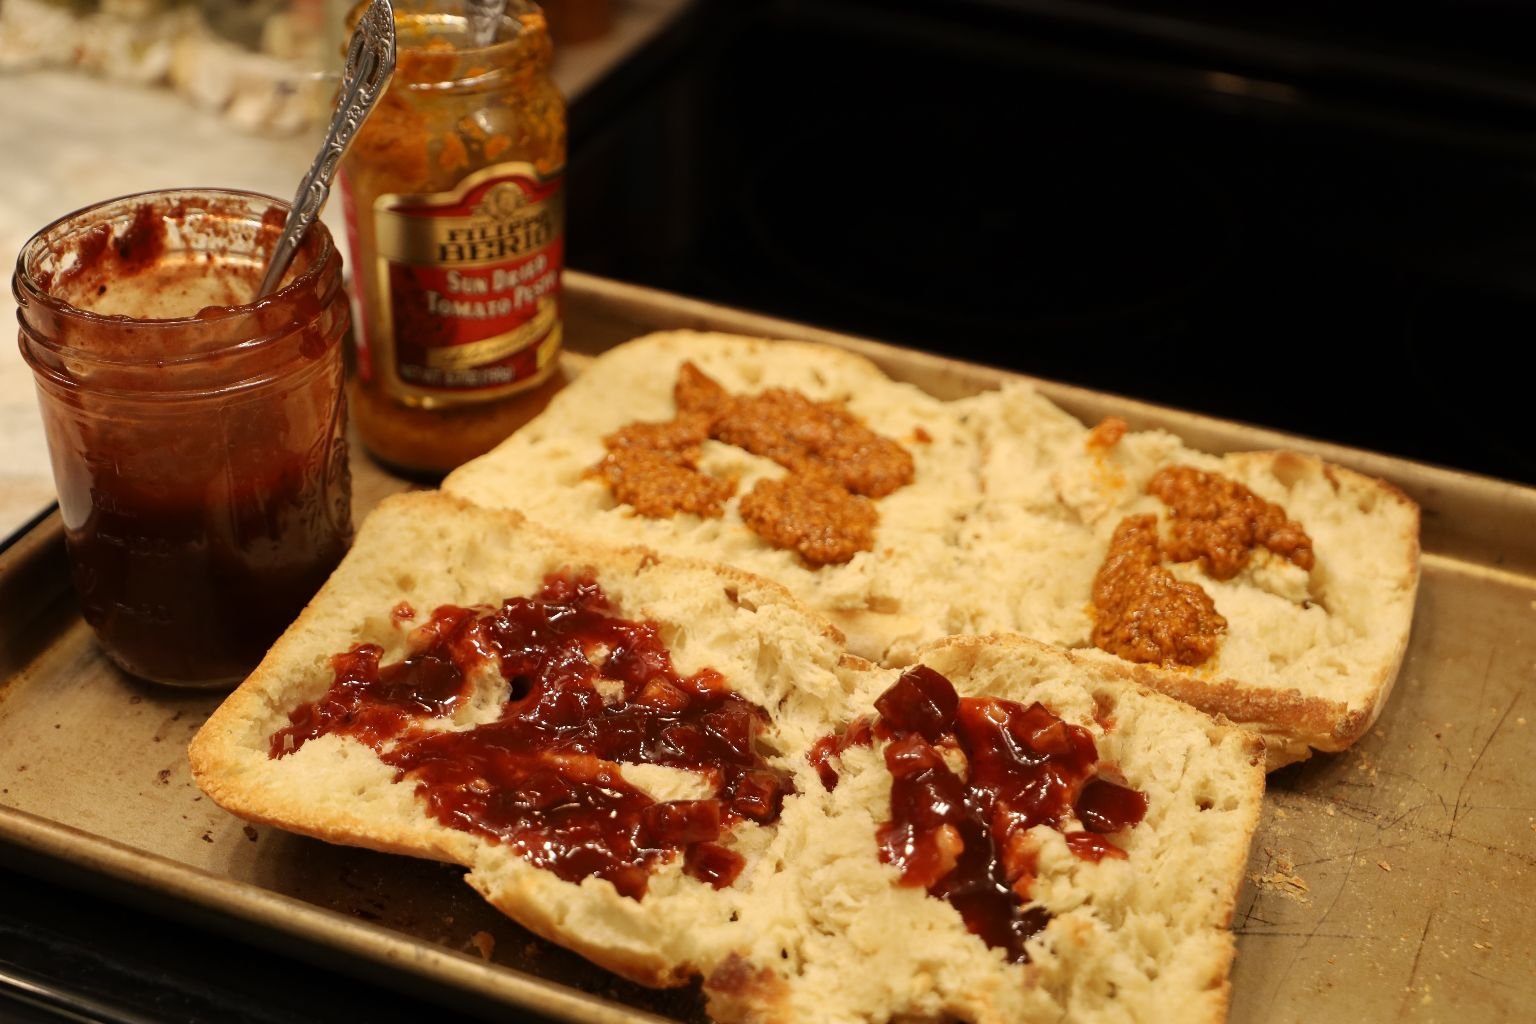
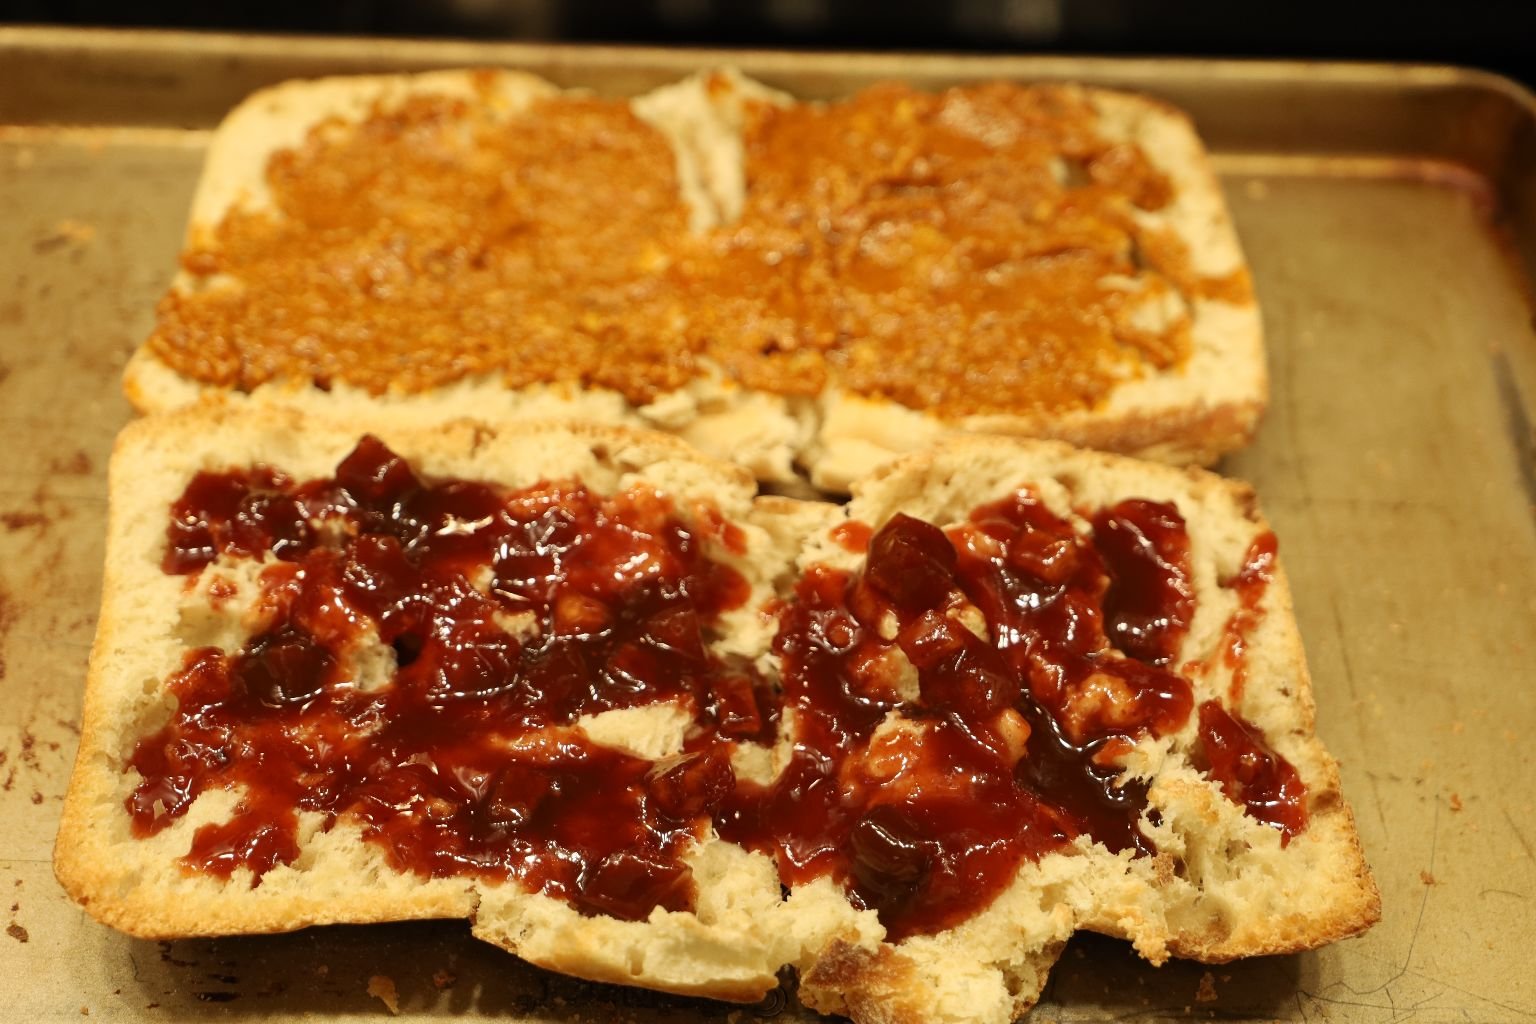
On one slice of the Ciabatta I am spreading our Mexican Cranberry Sauce, and on the other slice of the Ciabatta I am spreading the Sundried Tomato Pesto.
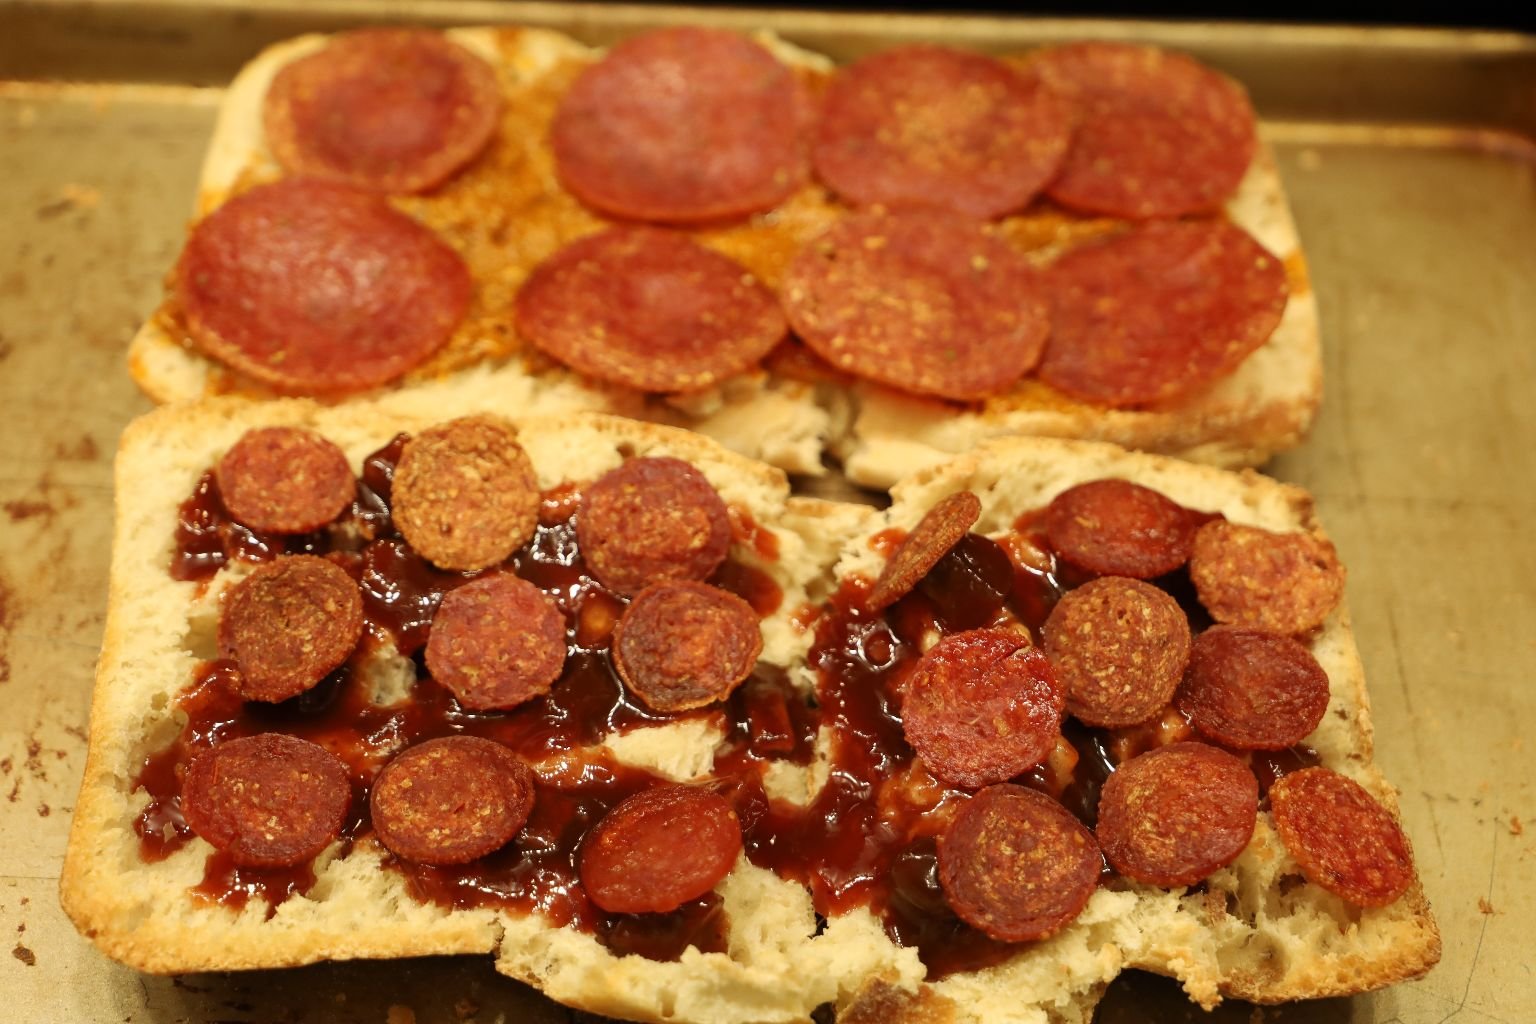
Now I Am Adding The Uncured Pepperoni To The Sundried Tomato Pesto, and the Chorizo to the Mexican Cranberry Sauce.
—————————————————————————————
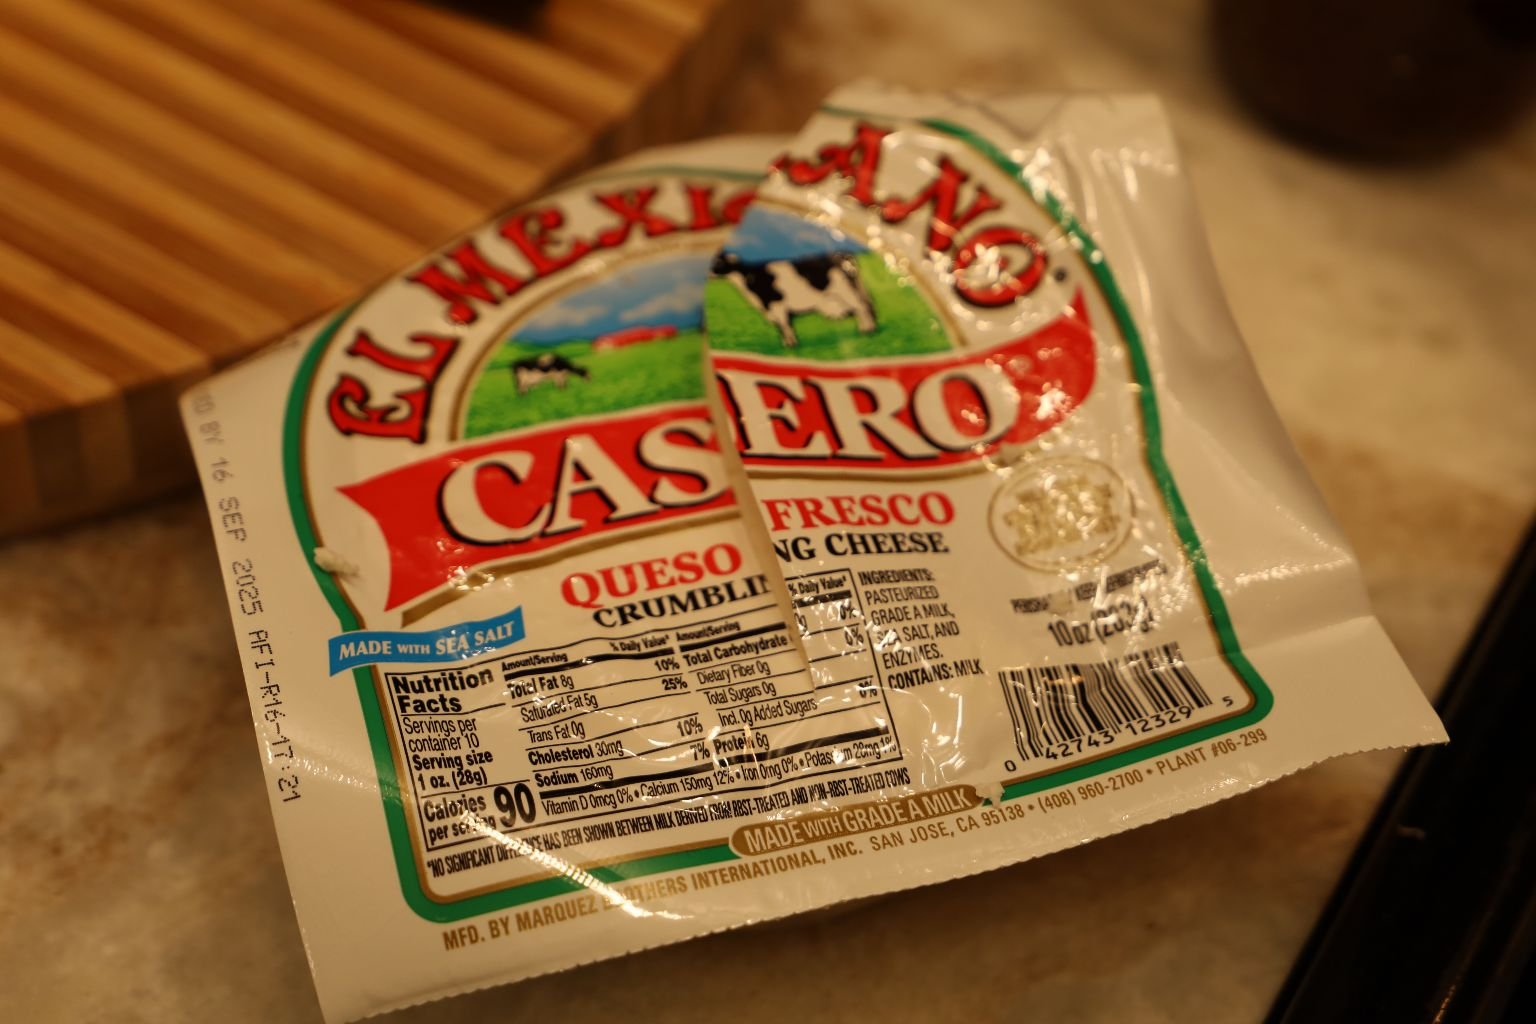
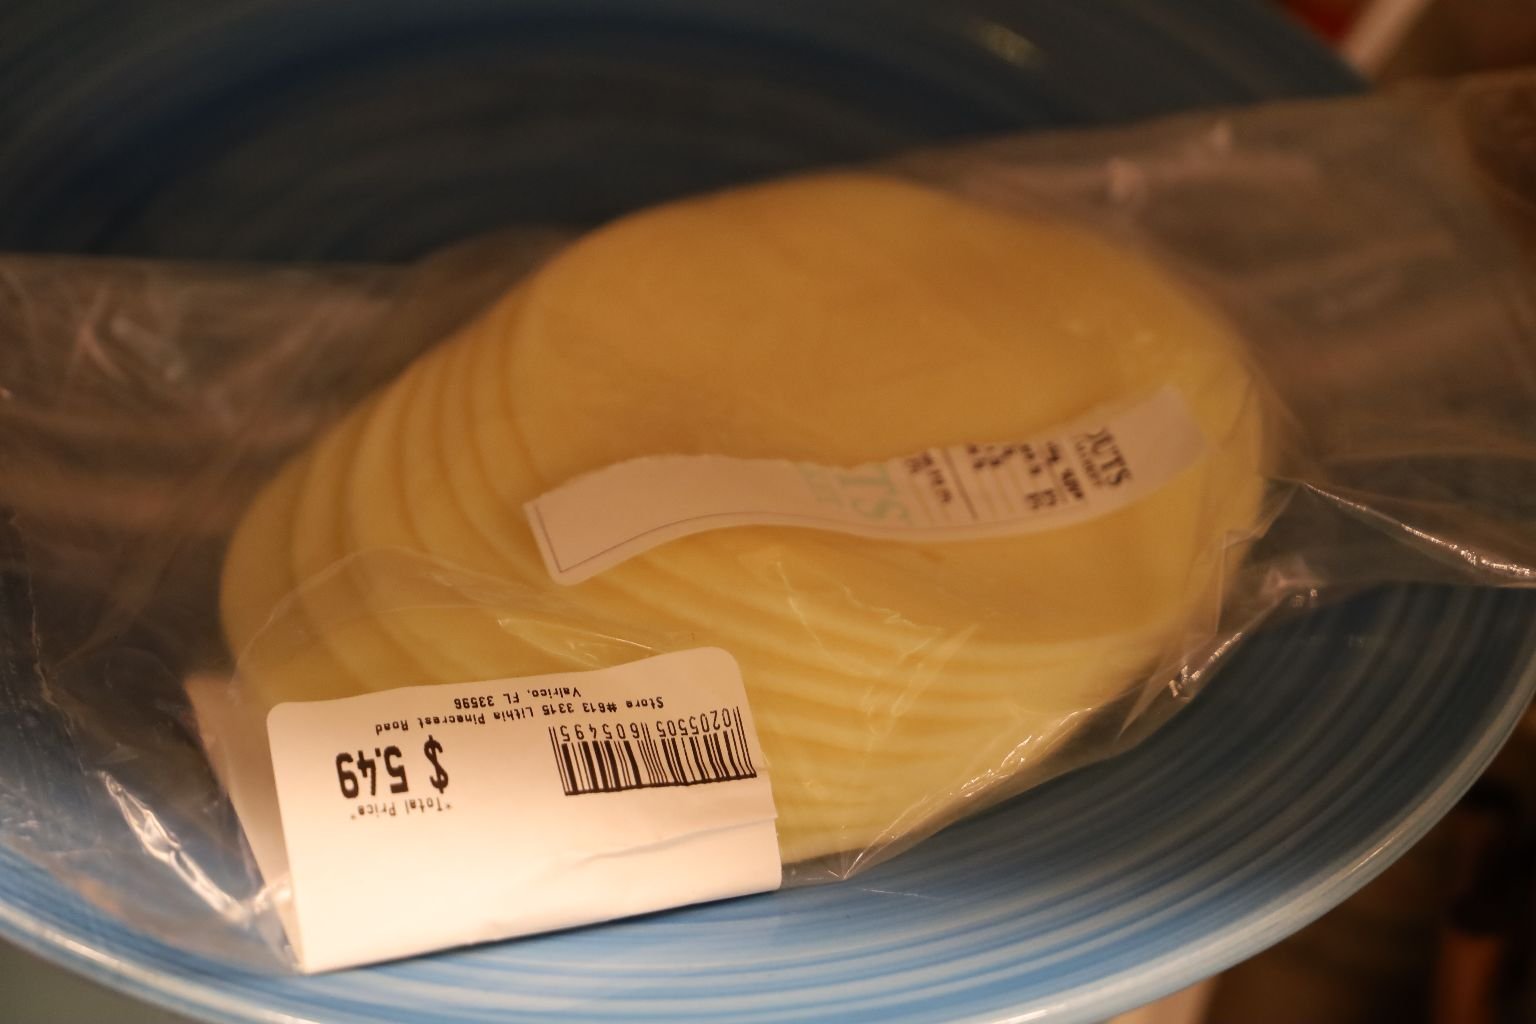
Queso Fresco and Provolone
Preheat Your Oven To 350F
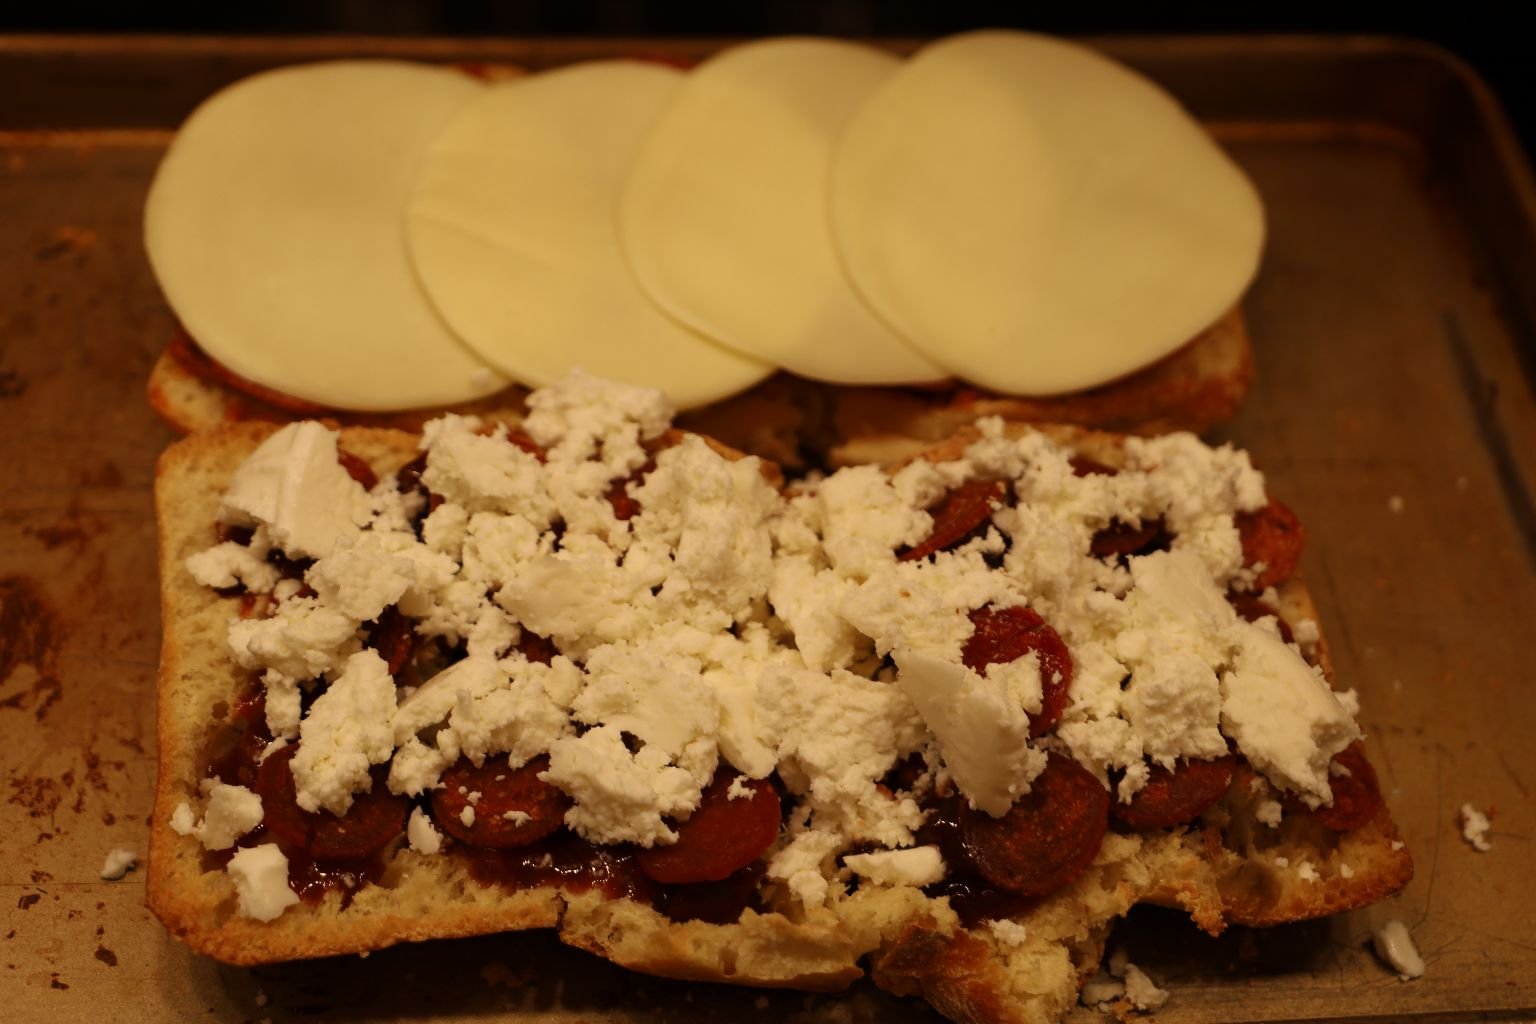
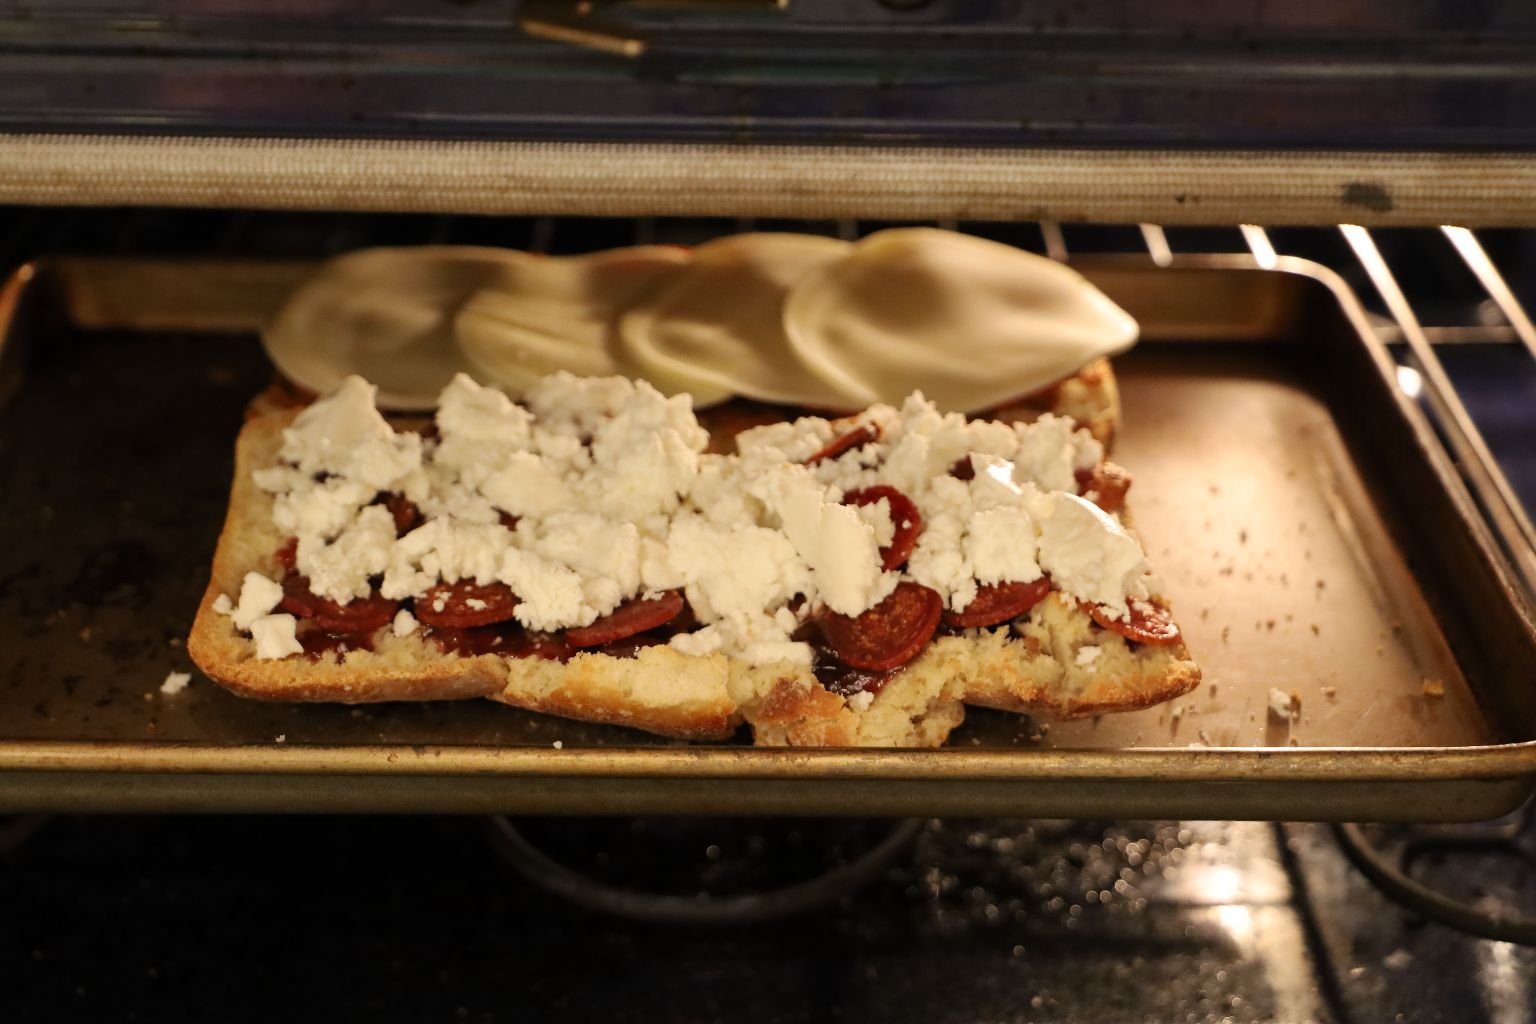
Place the Queso Fresco on top of the Chorizo, and the Provolone on top of the Uncured Pepperoni.
Place into the Oven for About 8 Minutes or so. You just want to Melt the Cheeses.
—————————————————————————–
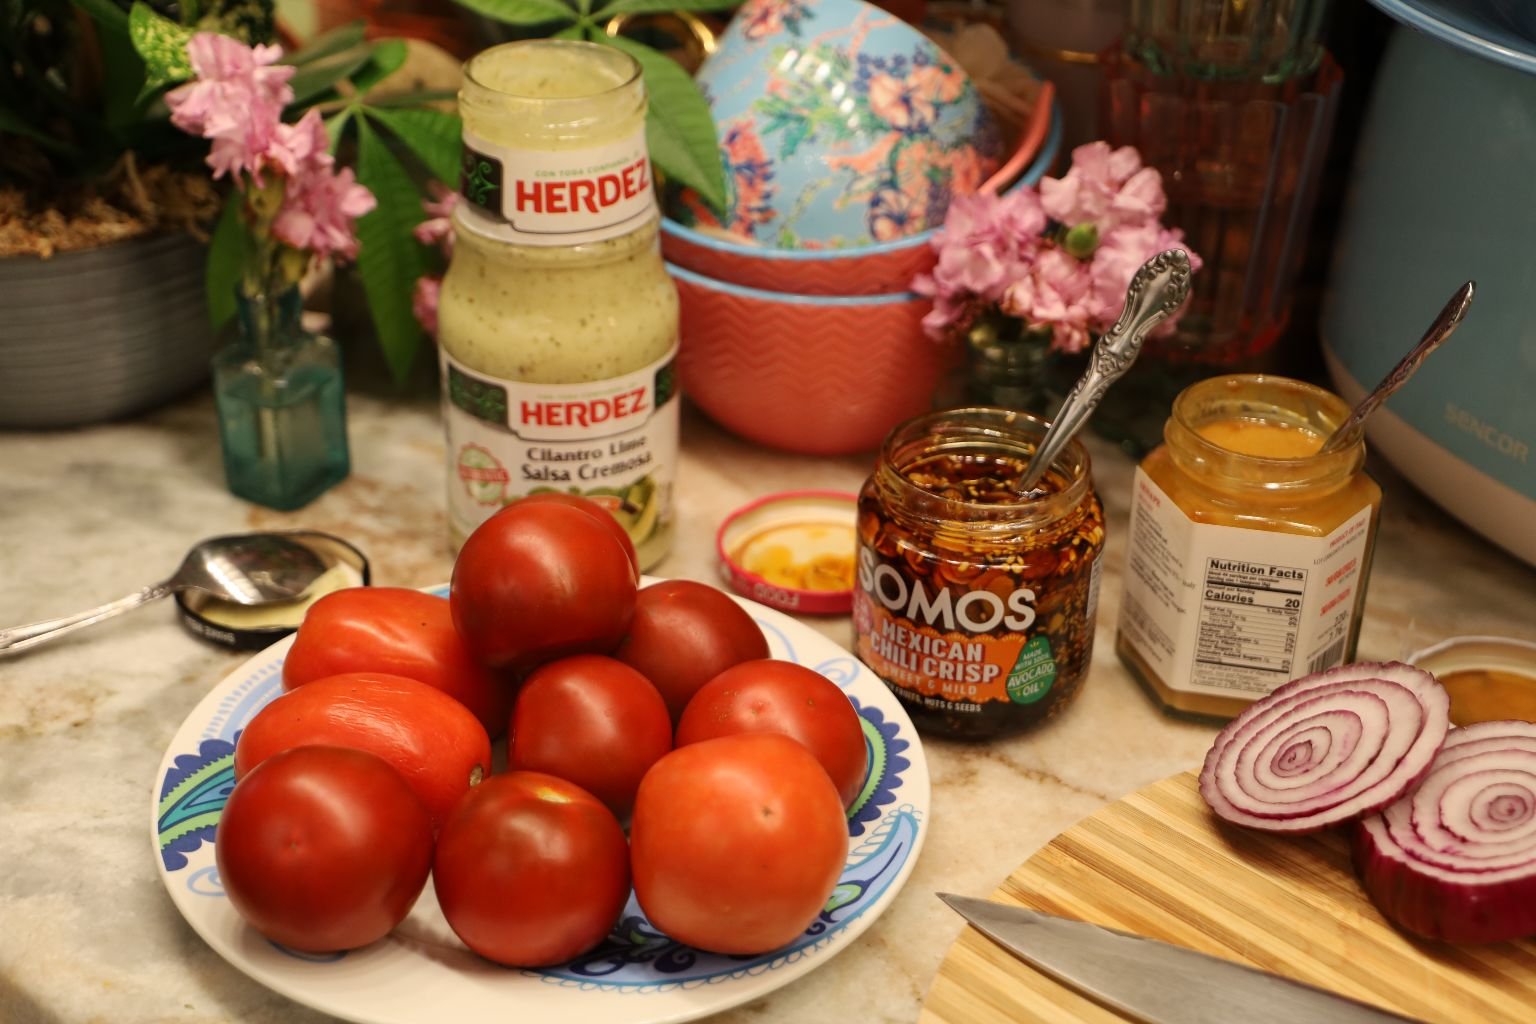
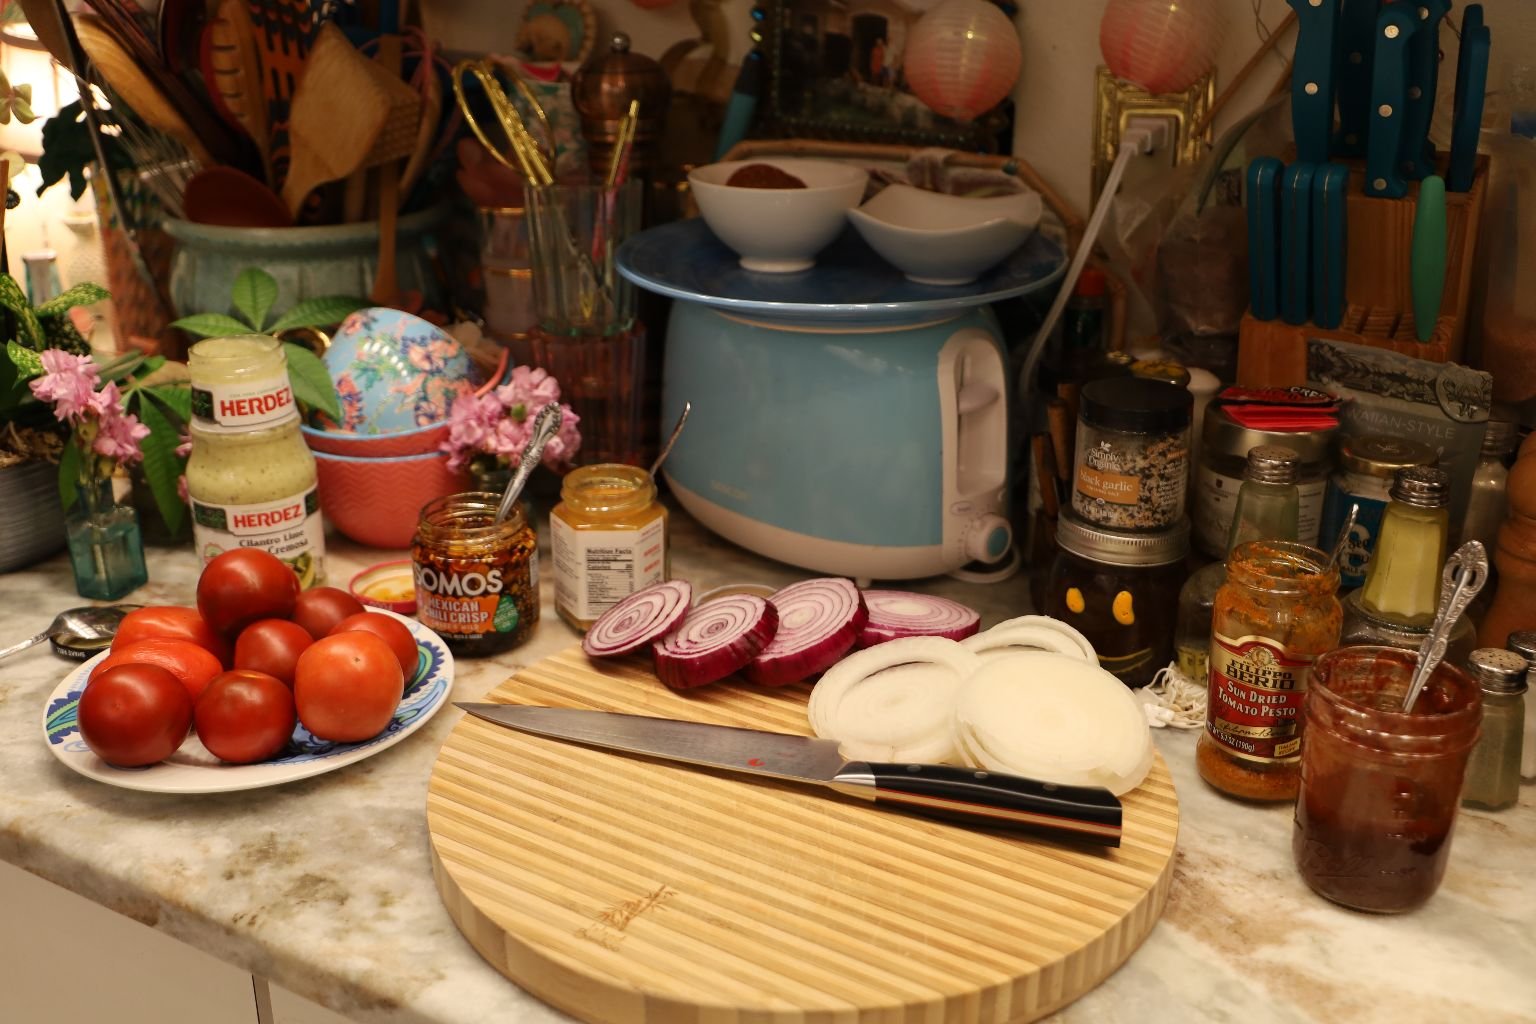
Time To Slice The Tomatoes
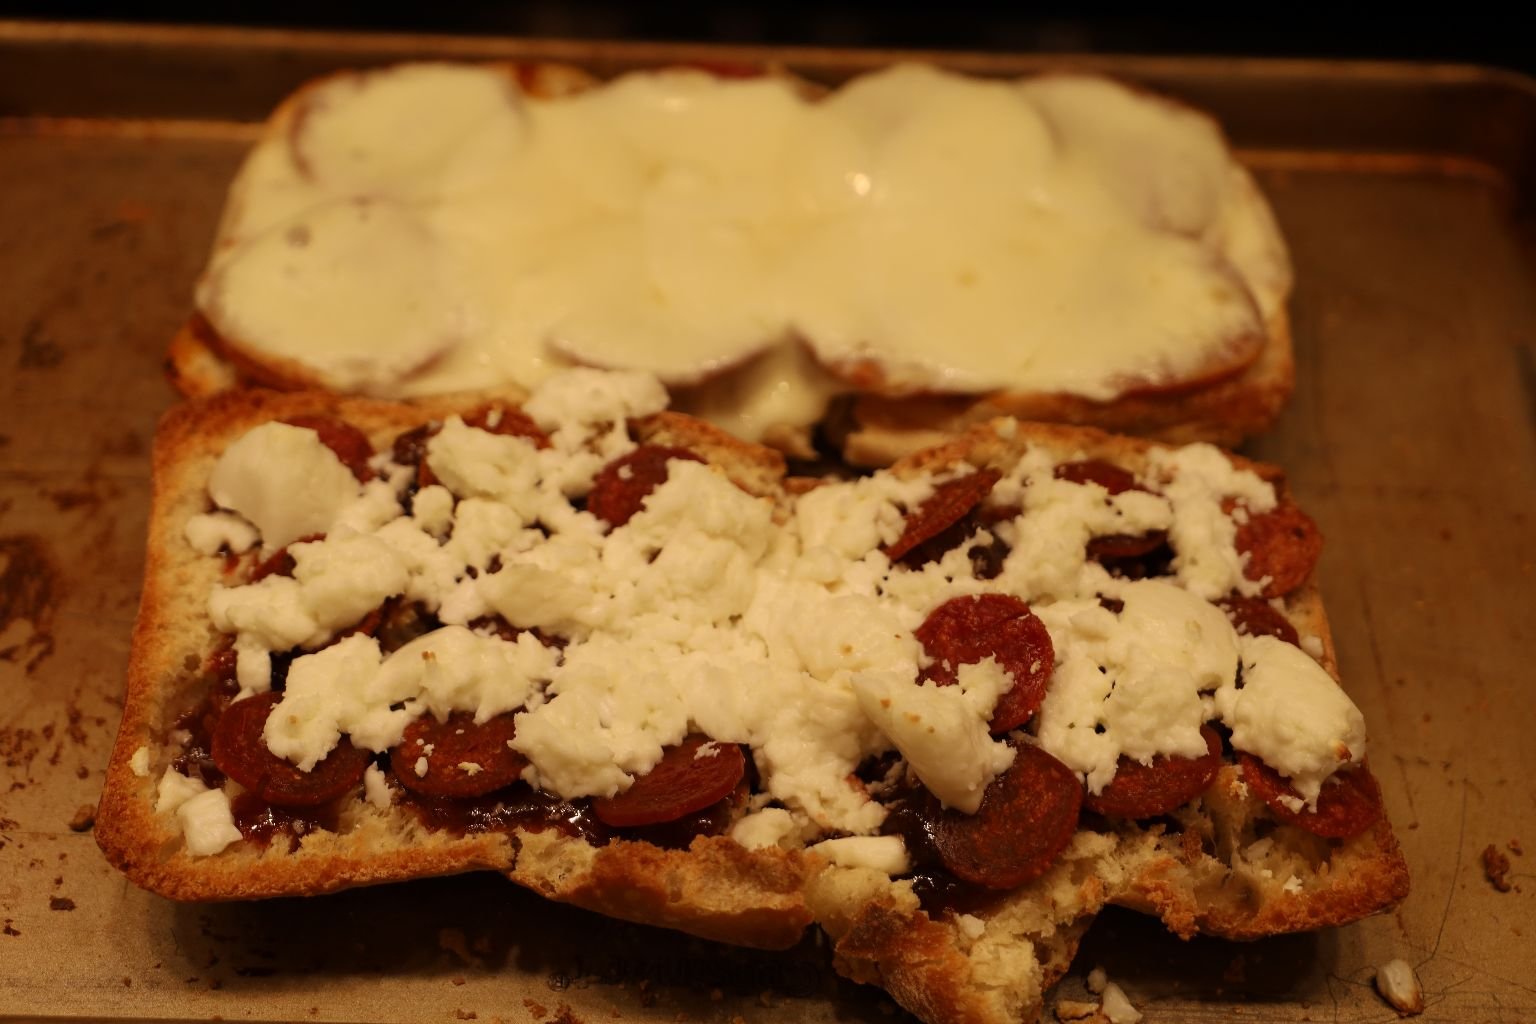
Remove the Sandwich from the Oven
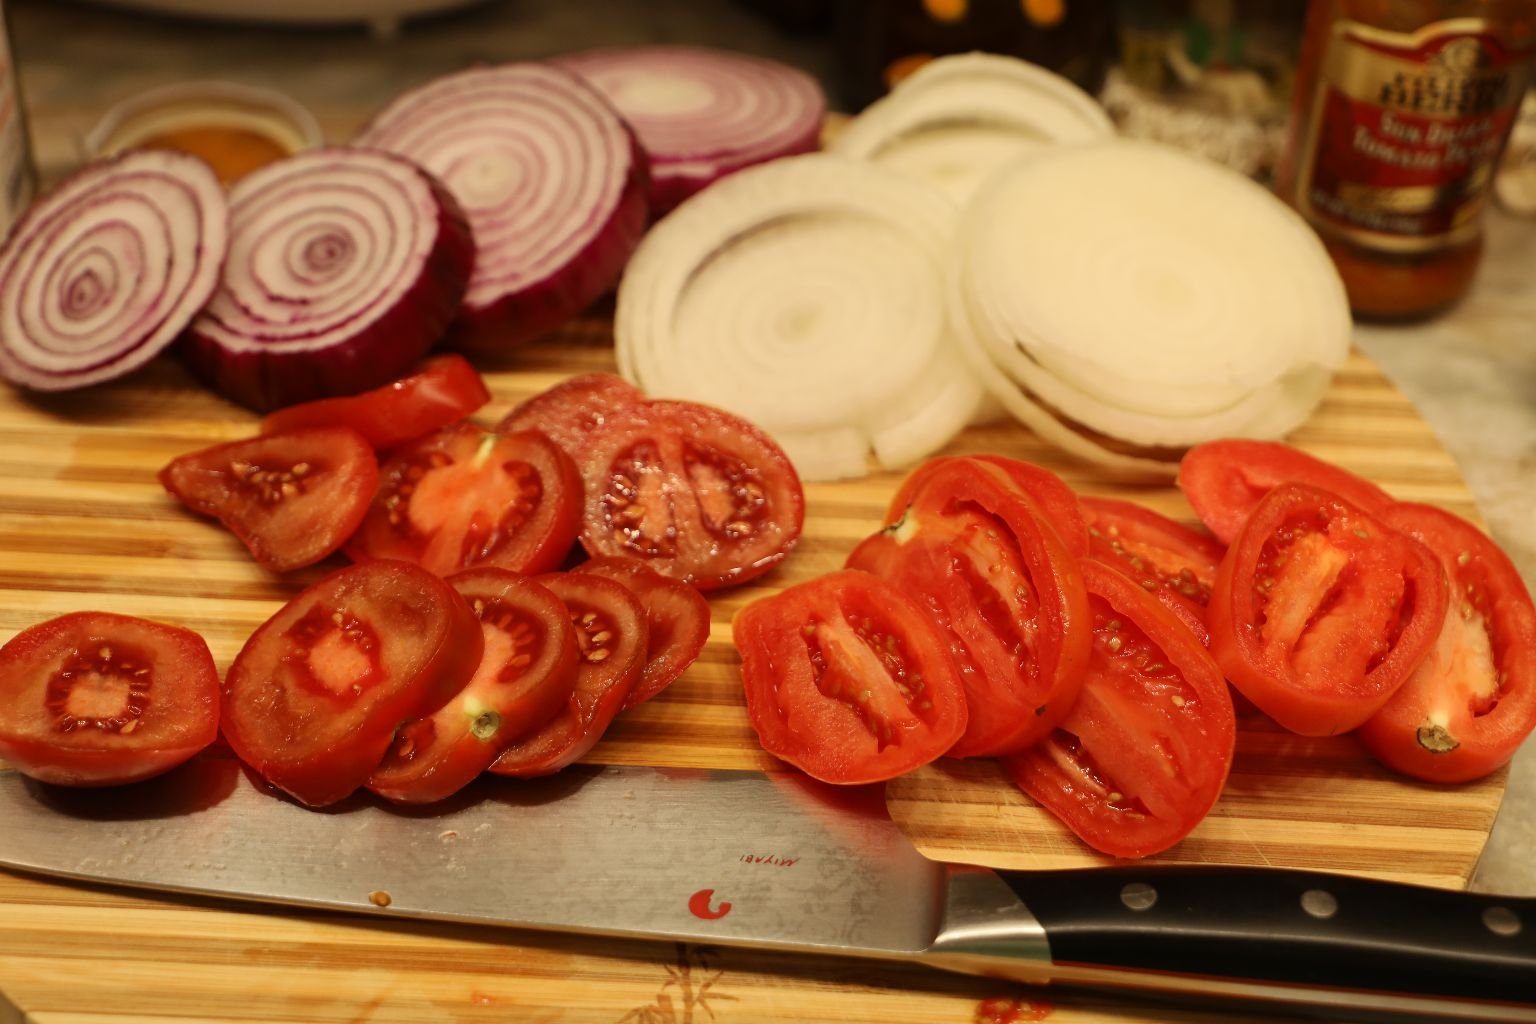
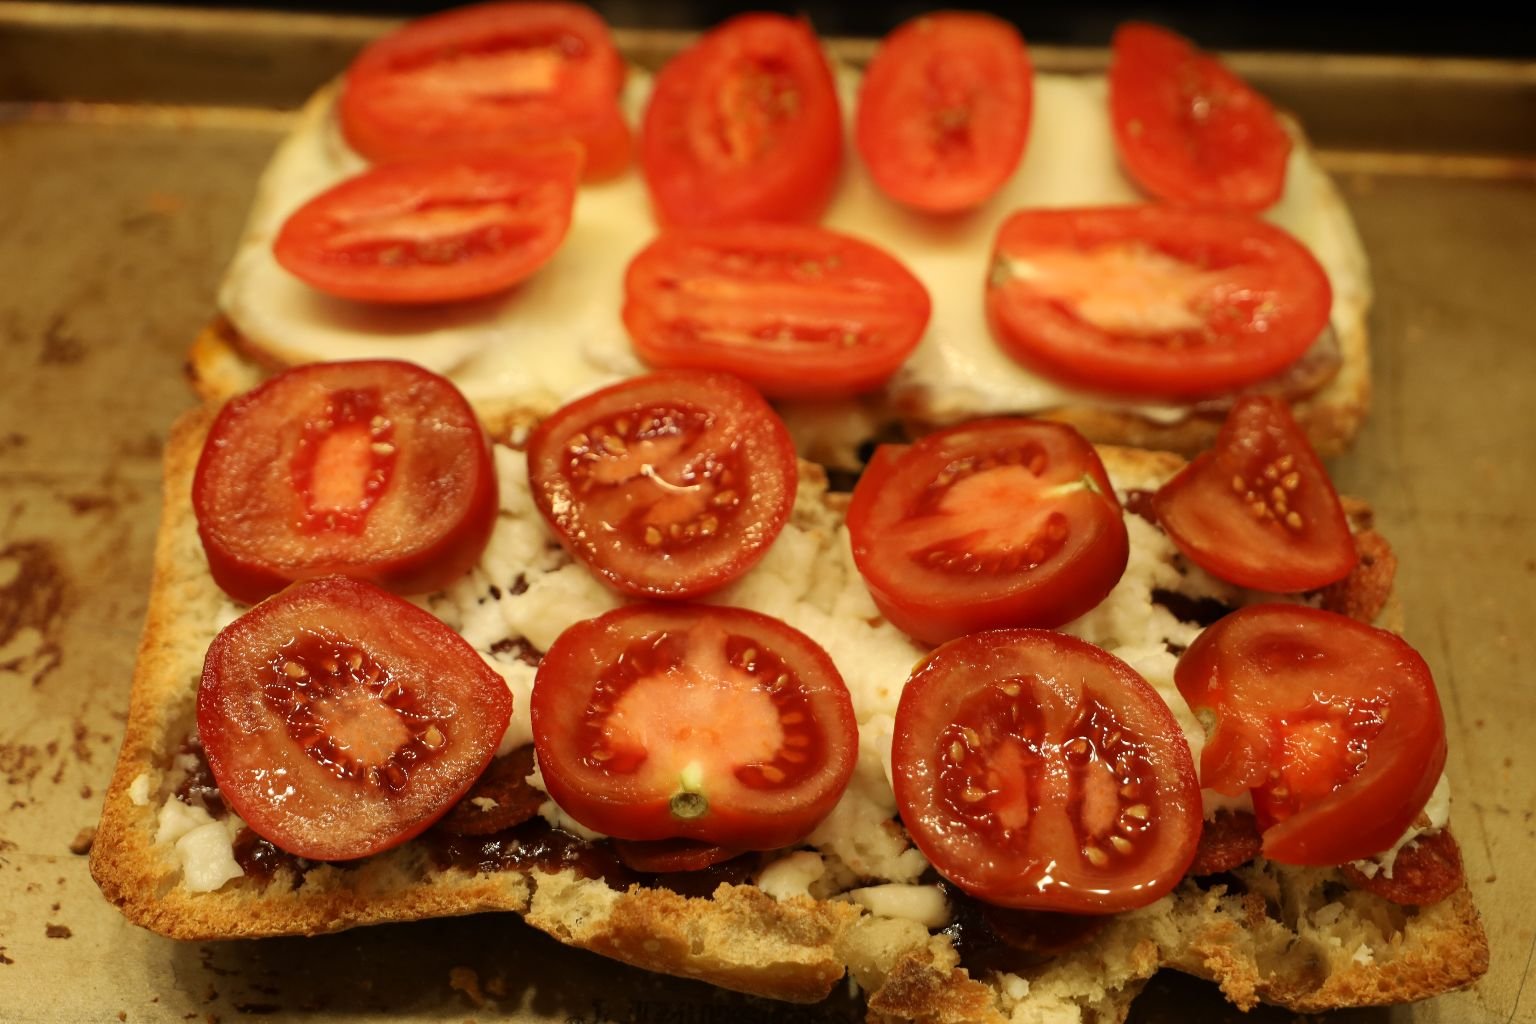
Now Place the Roma Tomatoes and Red Onion on top of the Provolone,
and the Campari Tomatoes and White Onion on top of the Queso Fresco.
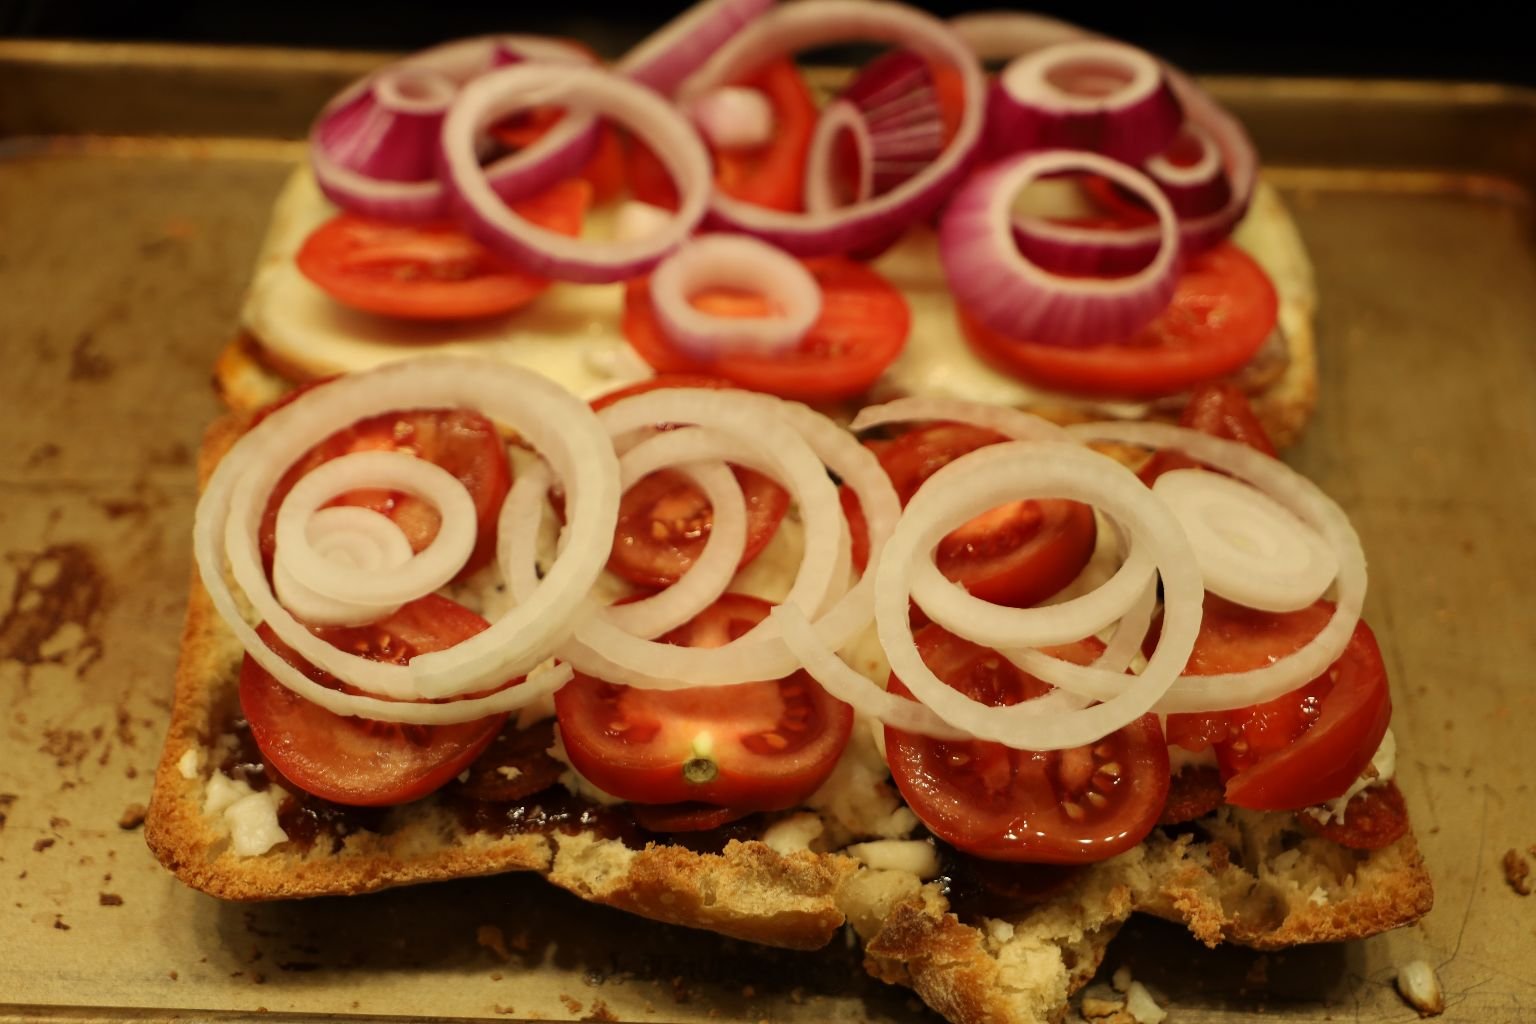
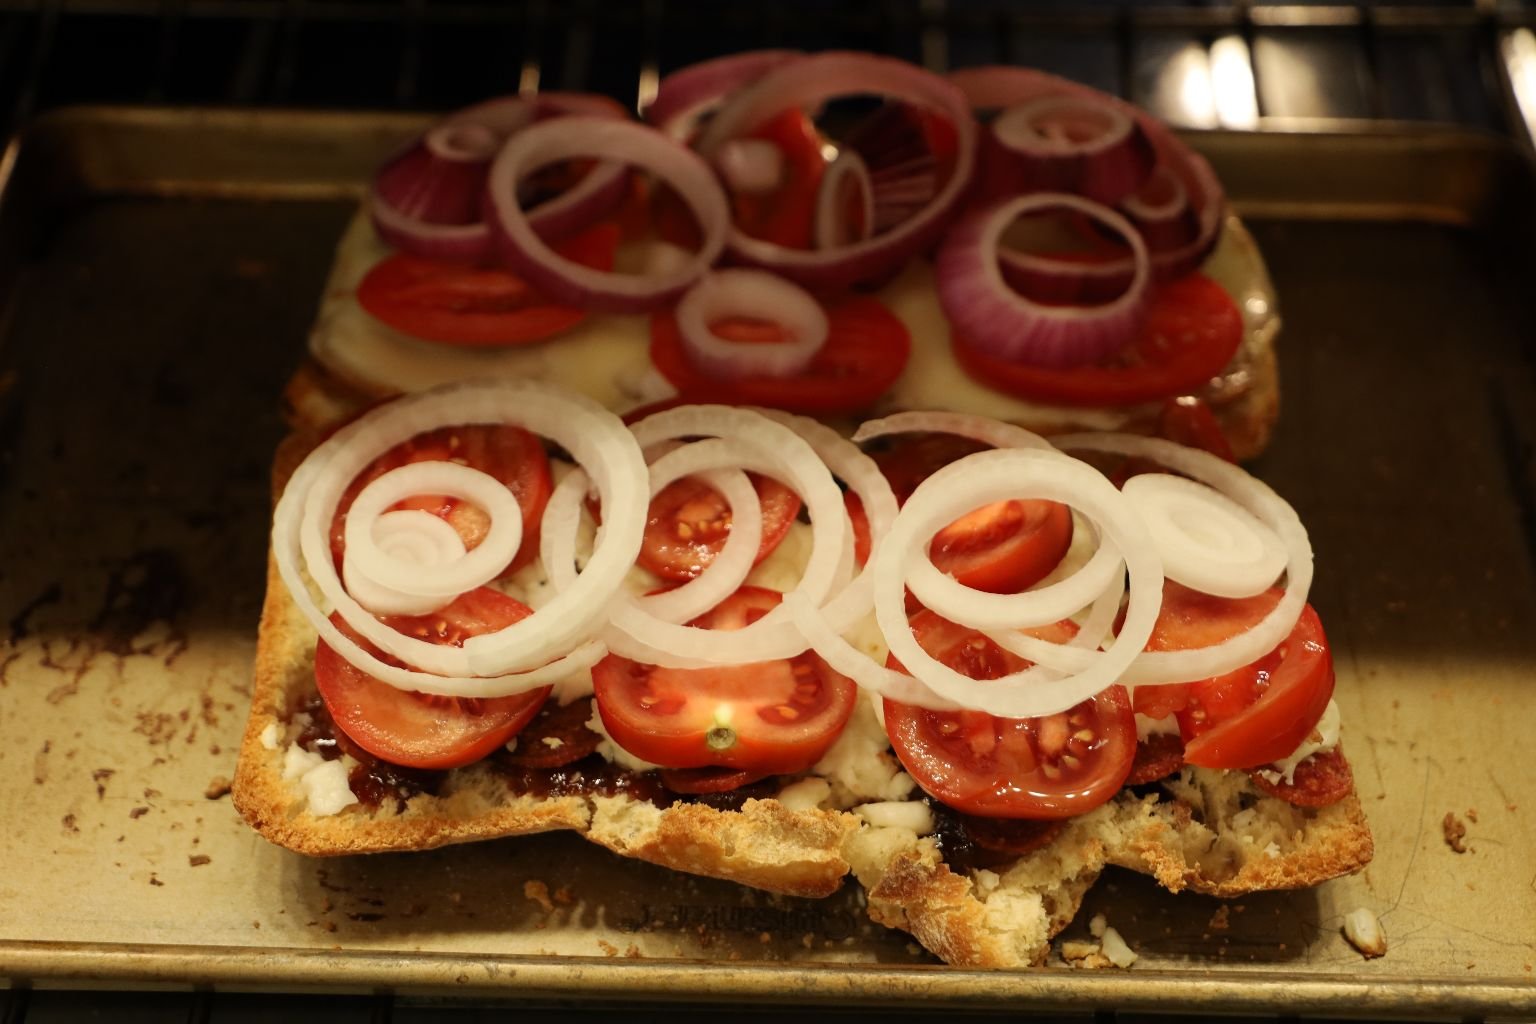
Now Place Them Back Into The Oven For About 5 Minutes To Heat Everything
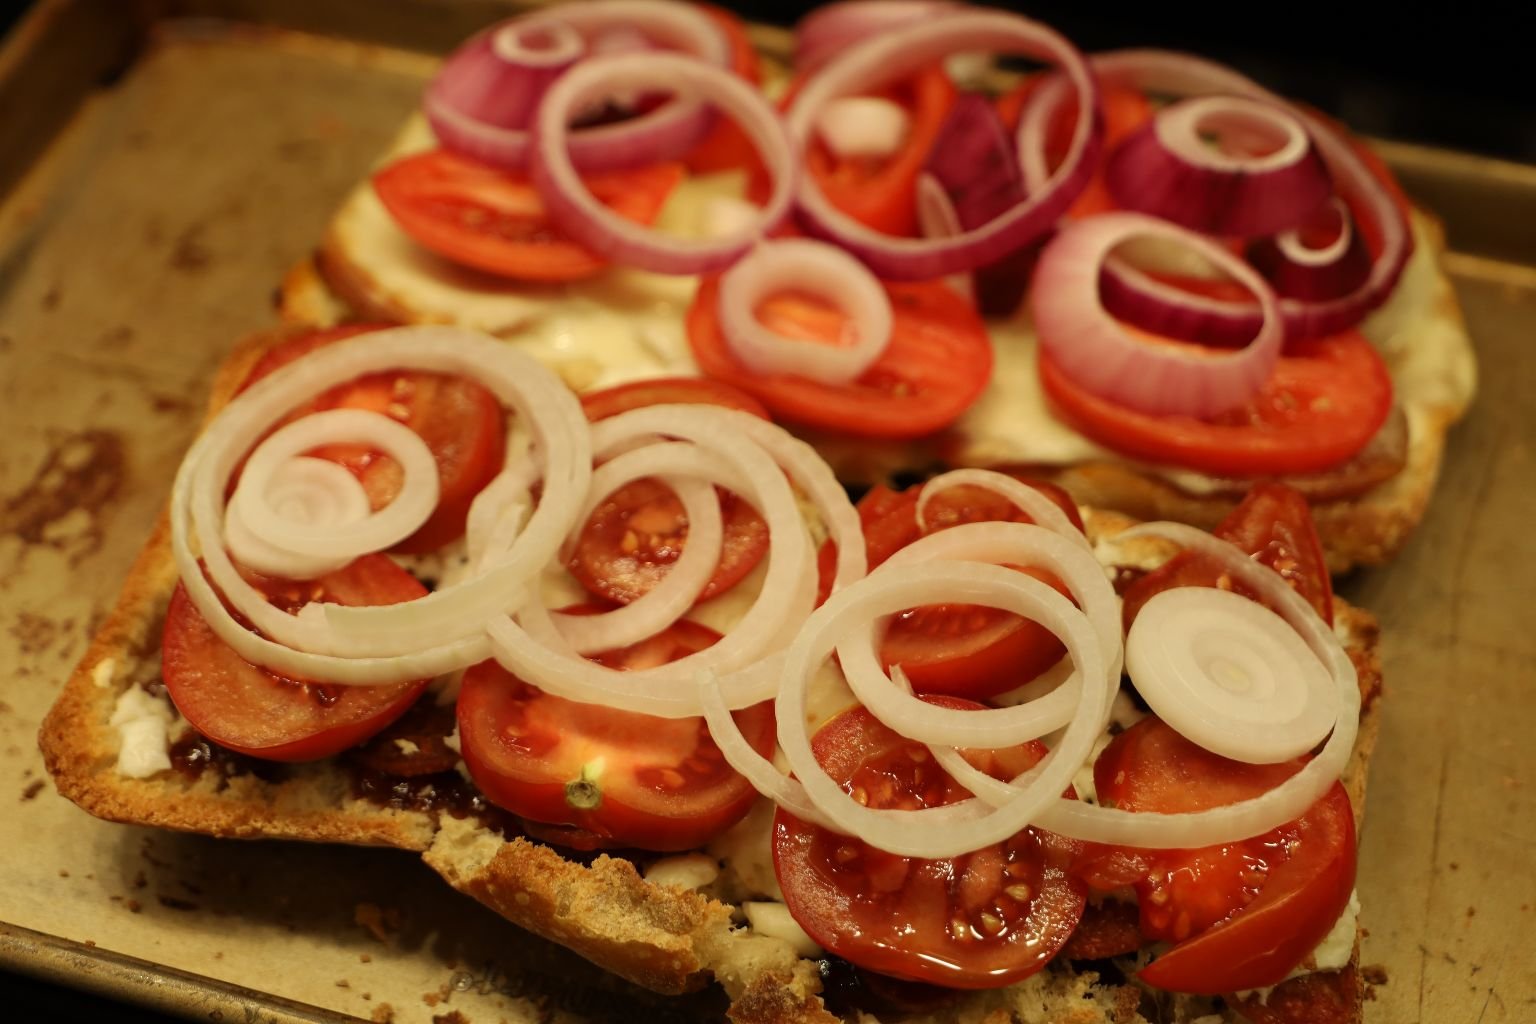
Remove From The Oven
—————————————————————————————
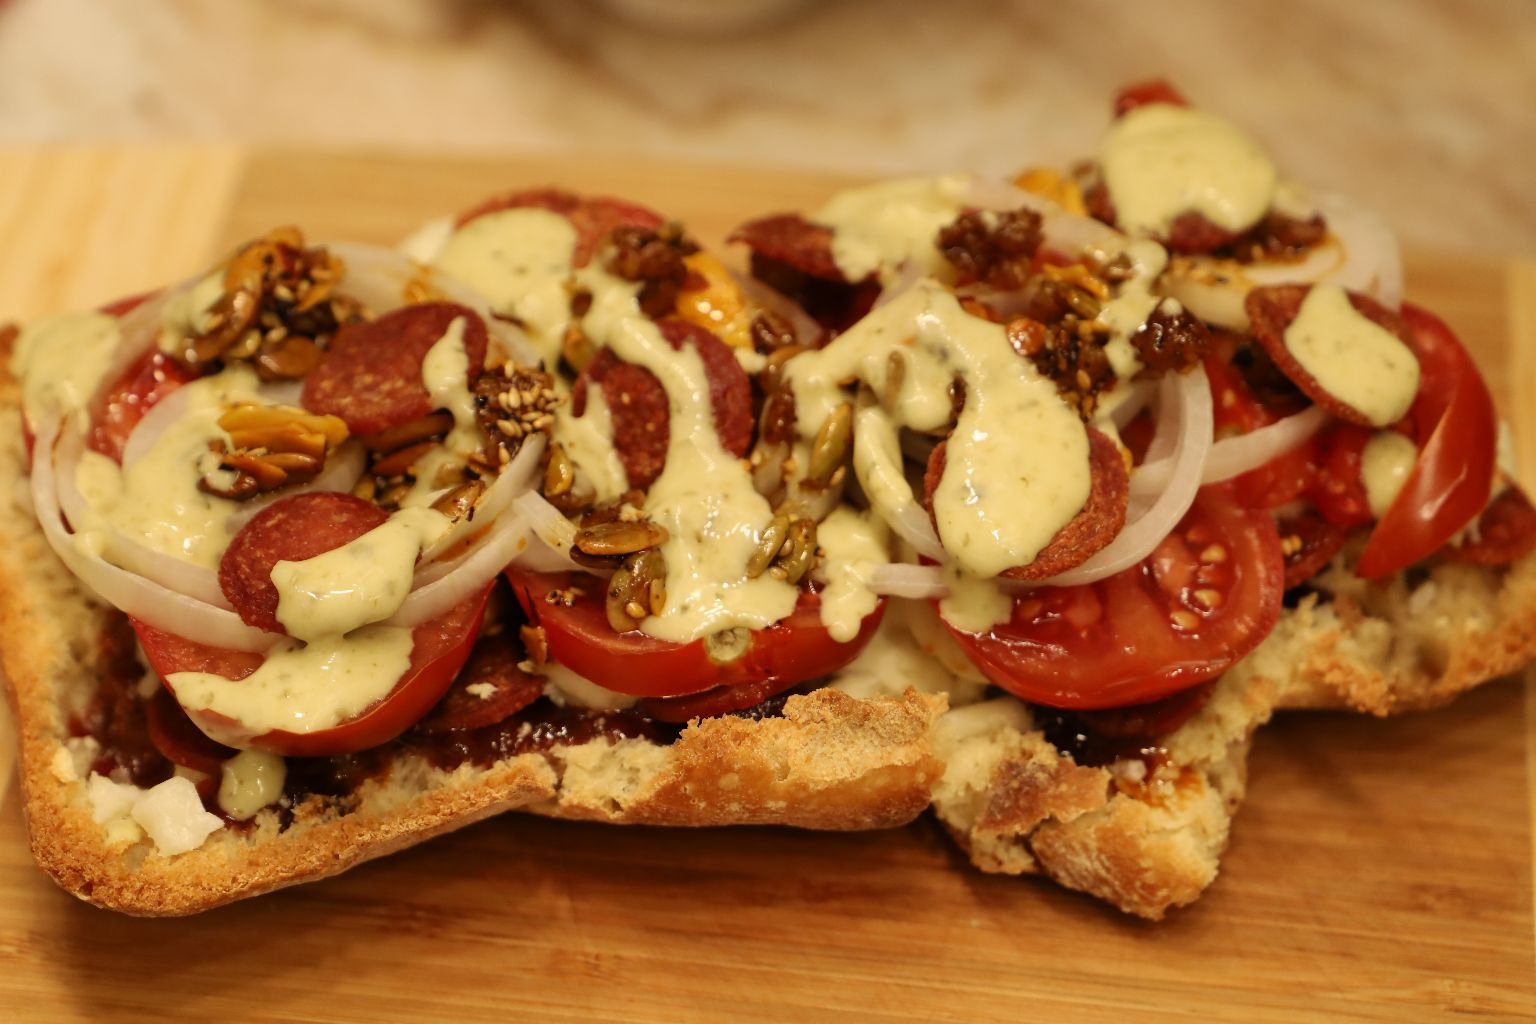
The Italian Half…
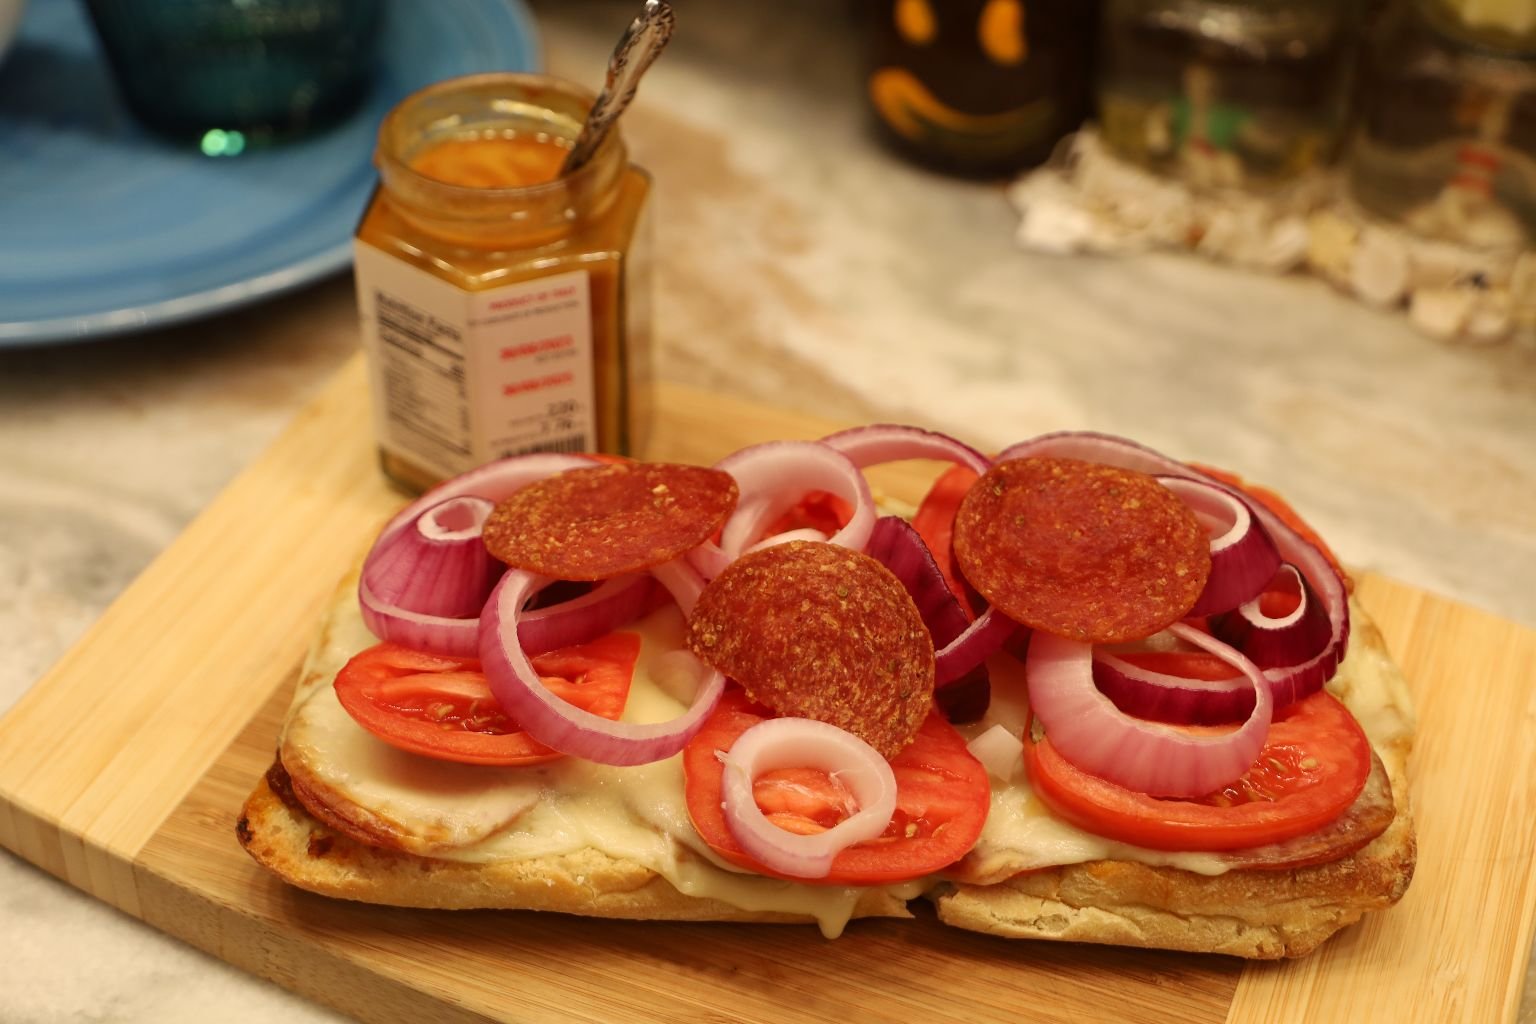
I’m Adding Some Flat-Leaf Parsley And A Sweet Italian Mustard


—————————————————————————–
The Mexican Half…
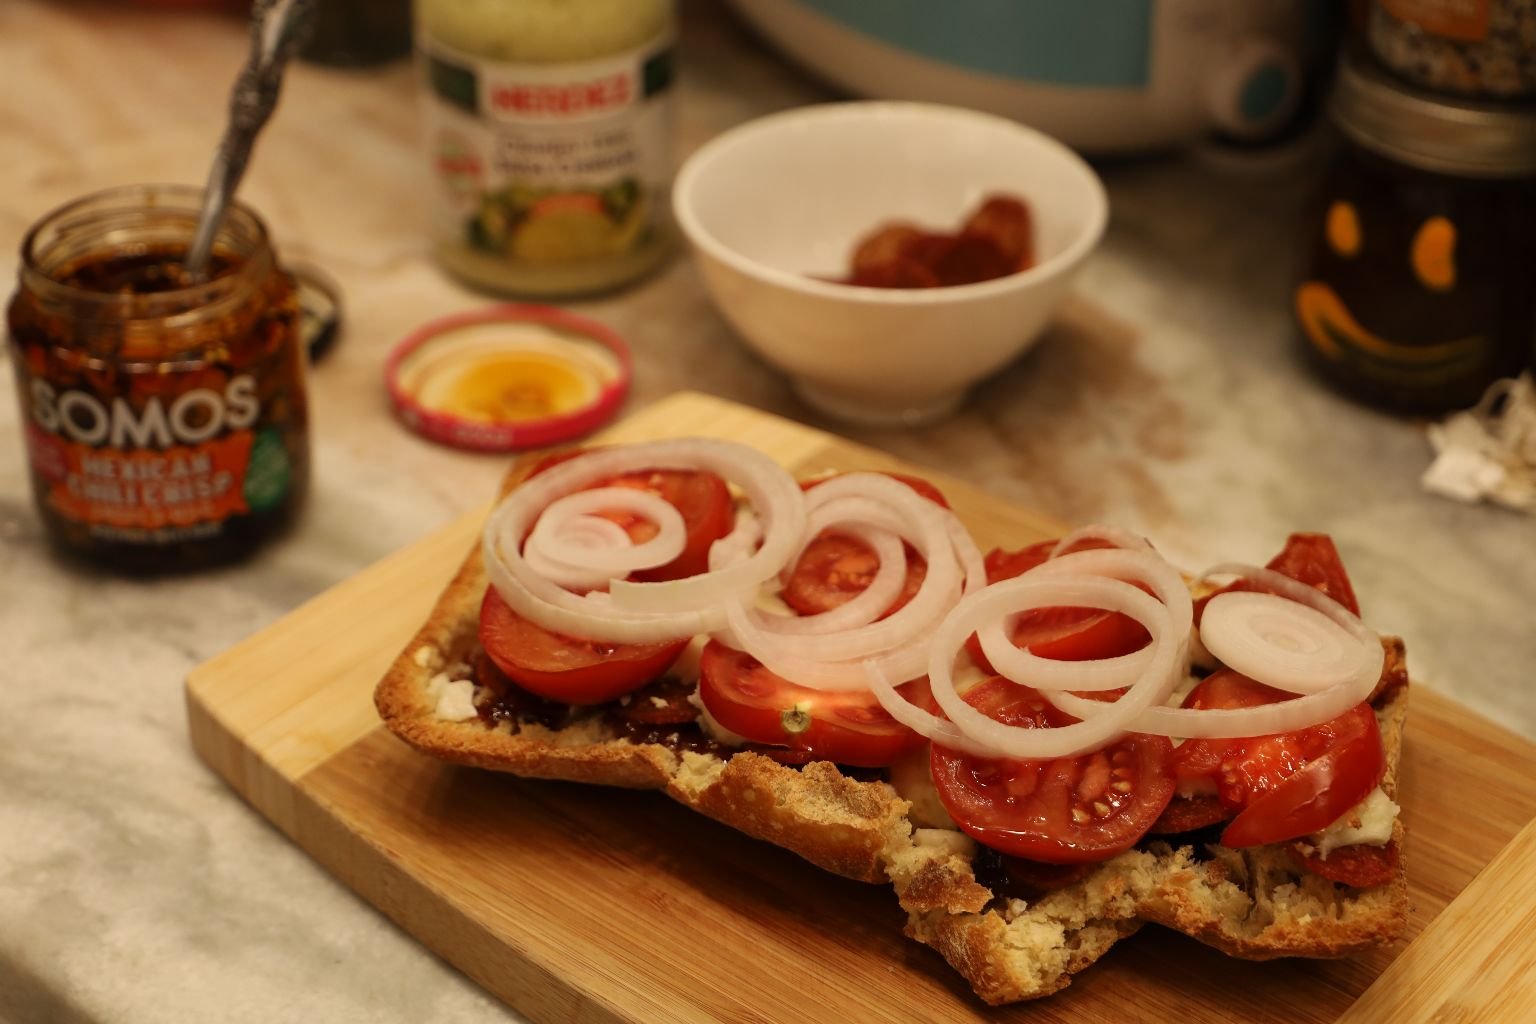
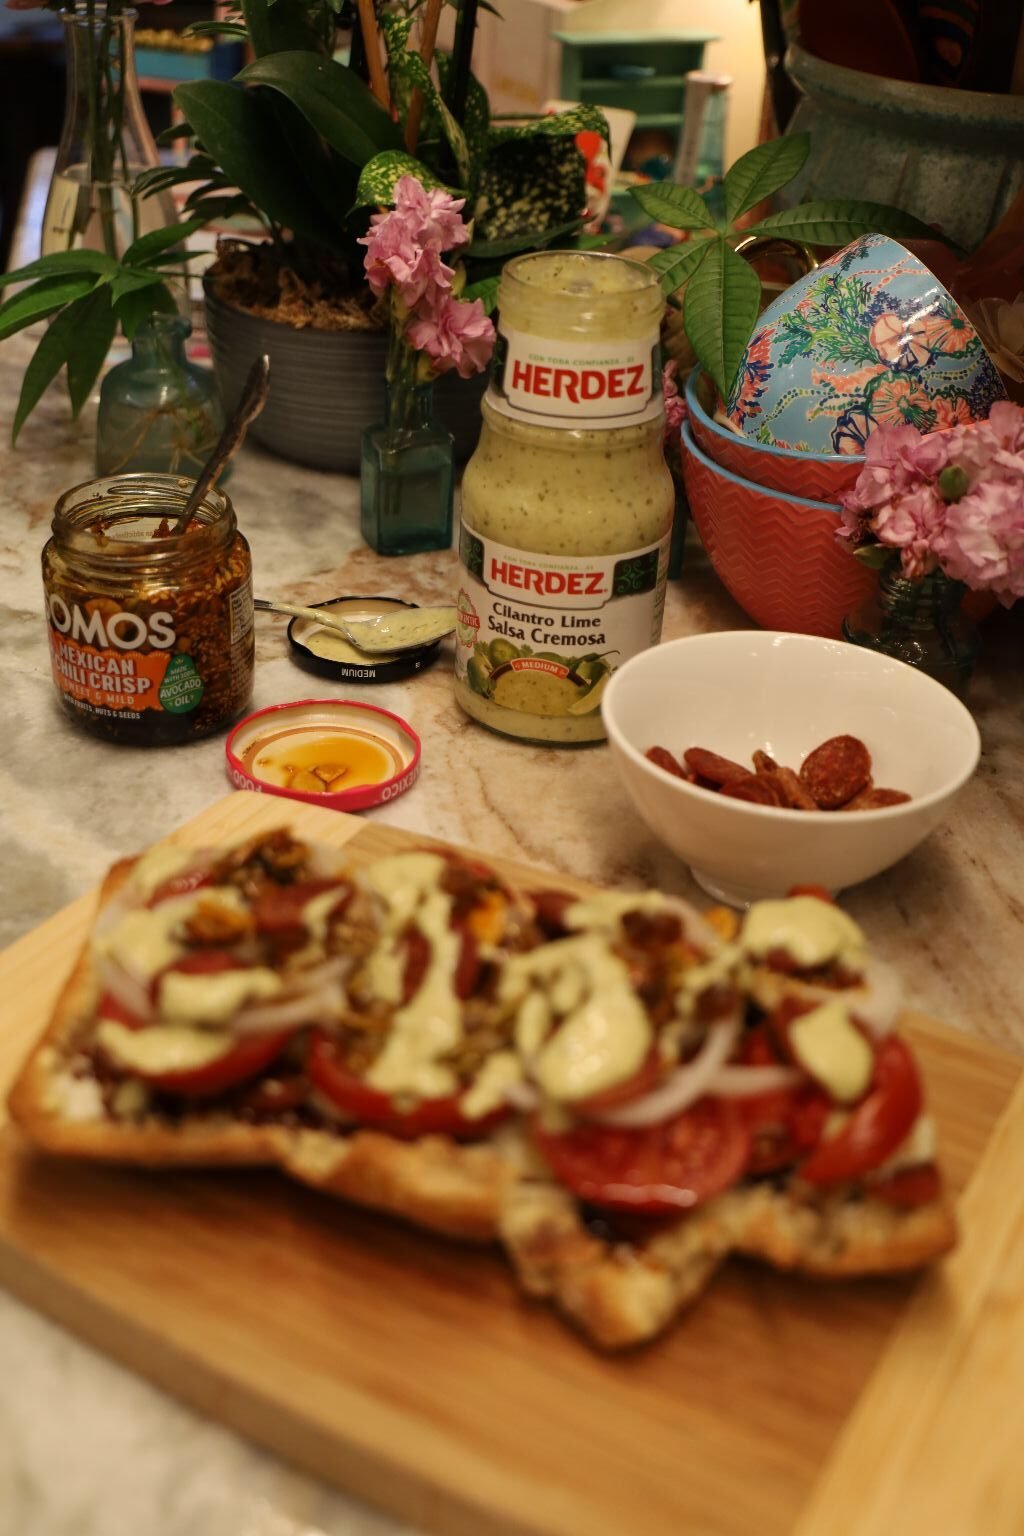
Drizzling The Mexican Chili Crisp And The Cilantro Lime Salsa Cremosa Over Top
———————————————————————————–
The Finished Results
Both Were Very Delicious!
Basil Added The Touch Of Class 🙂
—————————————————————————————————
Italian Sausage Potato Open-Faced Sangwitch
(I didn’t really know on which of my Italian website pages to put this. Mainly because I really didn’t know what it was that I had created? Was it a casserole? Was it a sandwich? I really didn’t know? But, I decided to put it here because to me it could be an open-faced sandwich eaten with a fork.)
————————————————————————–
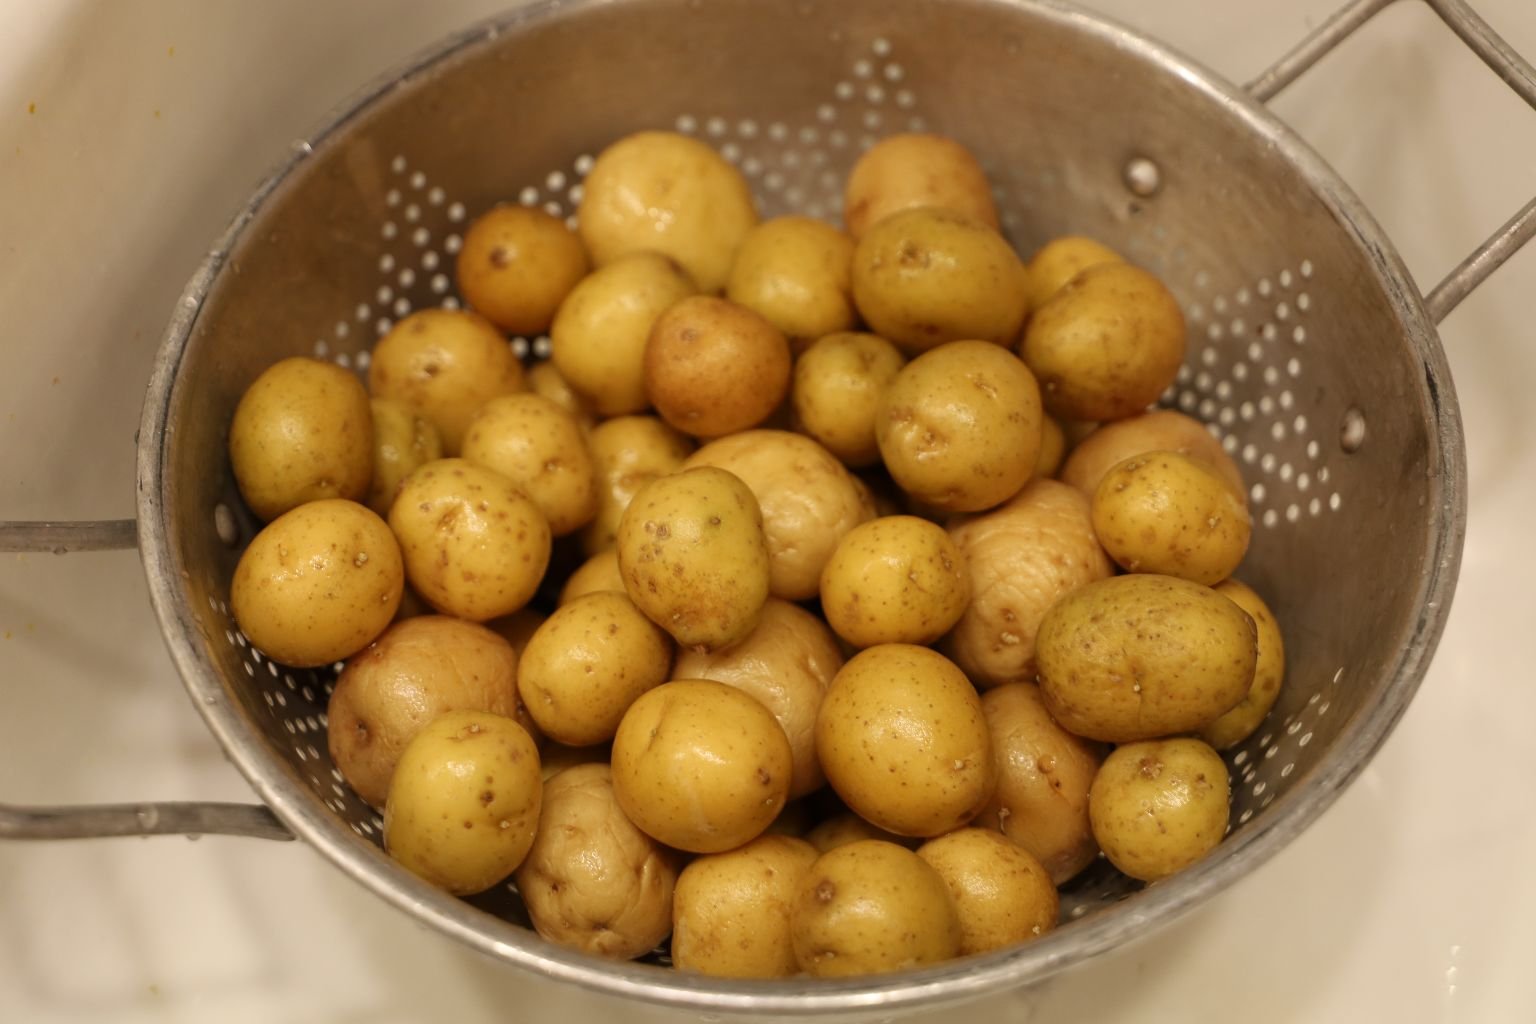
This Sangwitch was born because I wanted to use up these Golden Potatoes.
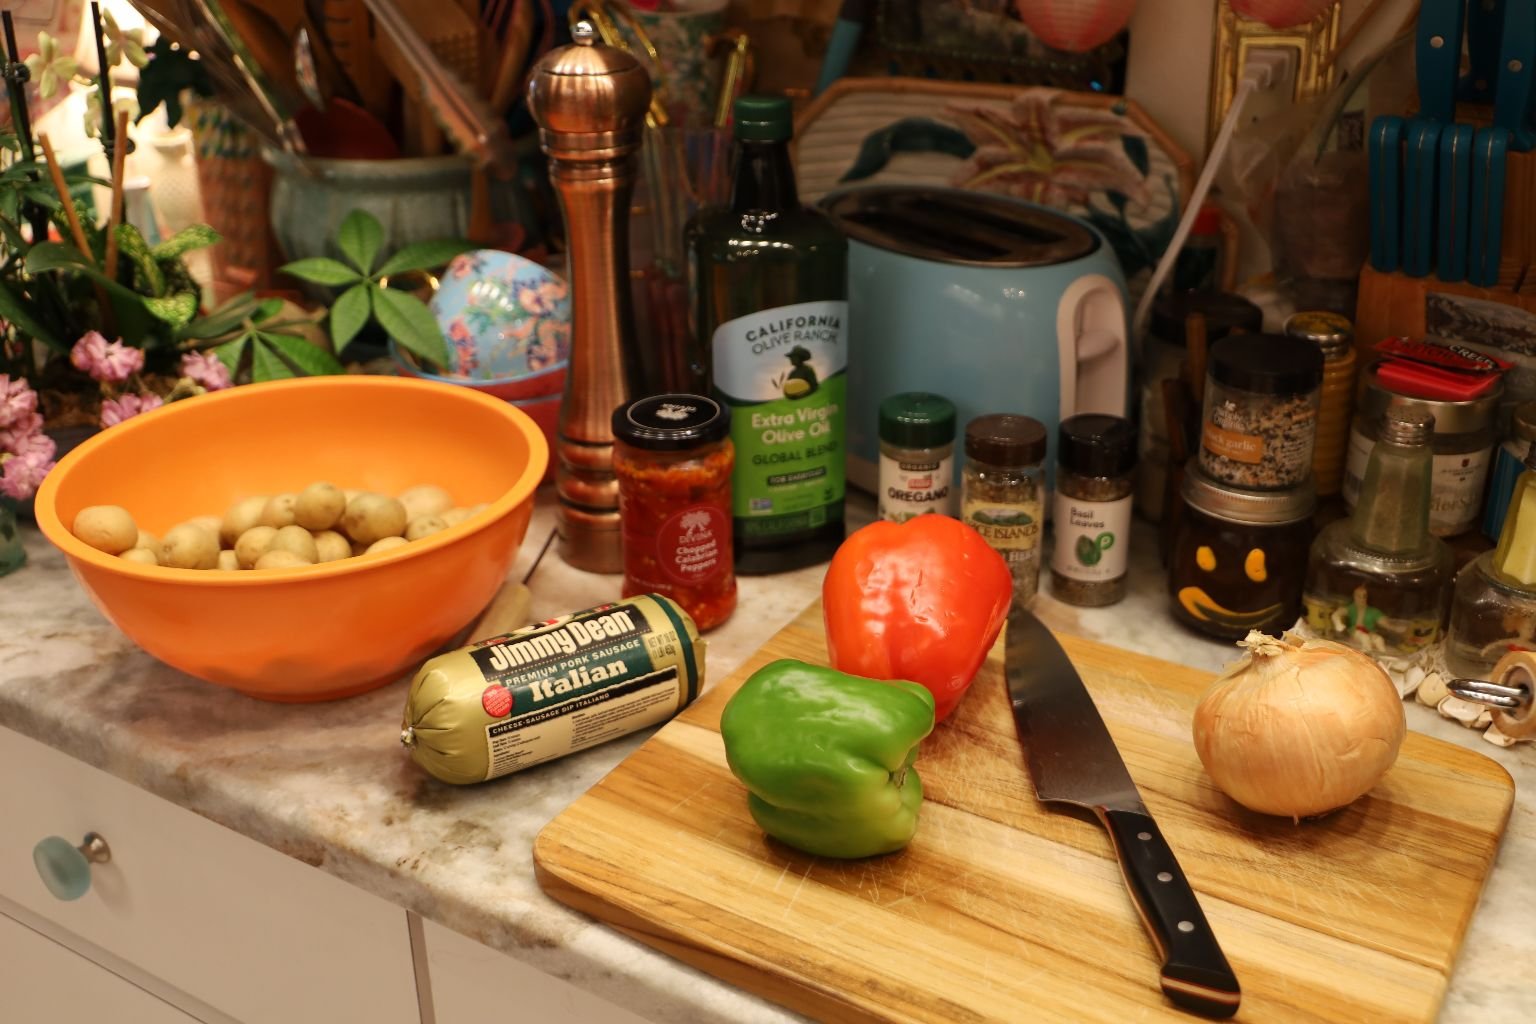
Ingredients:
Potatoes, Probably Around A Pound Or So
Jimmy Dean Italian Sausage, I Believe It To Be 16 Ounces, Browned
Olive Oil For Cooking
1 Medium Onion, Chopped
I Green Bell Pepper, Chopped
1 Red Bell Pepper, Chopped
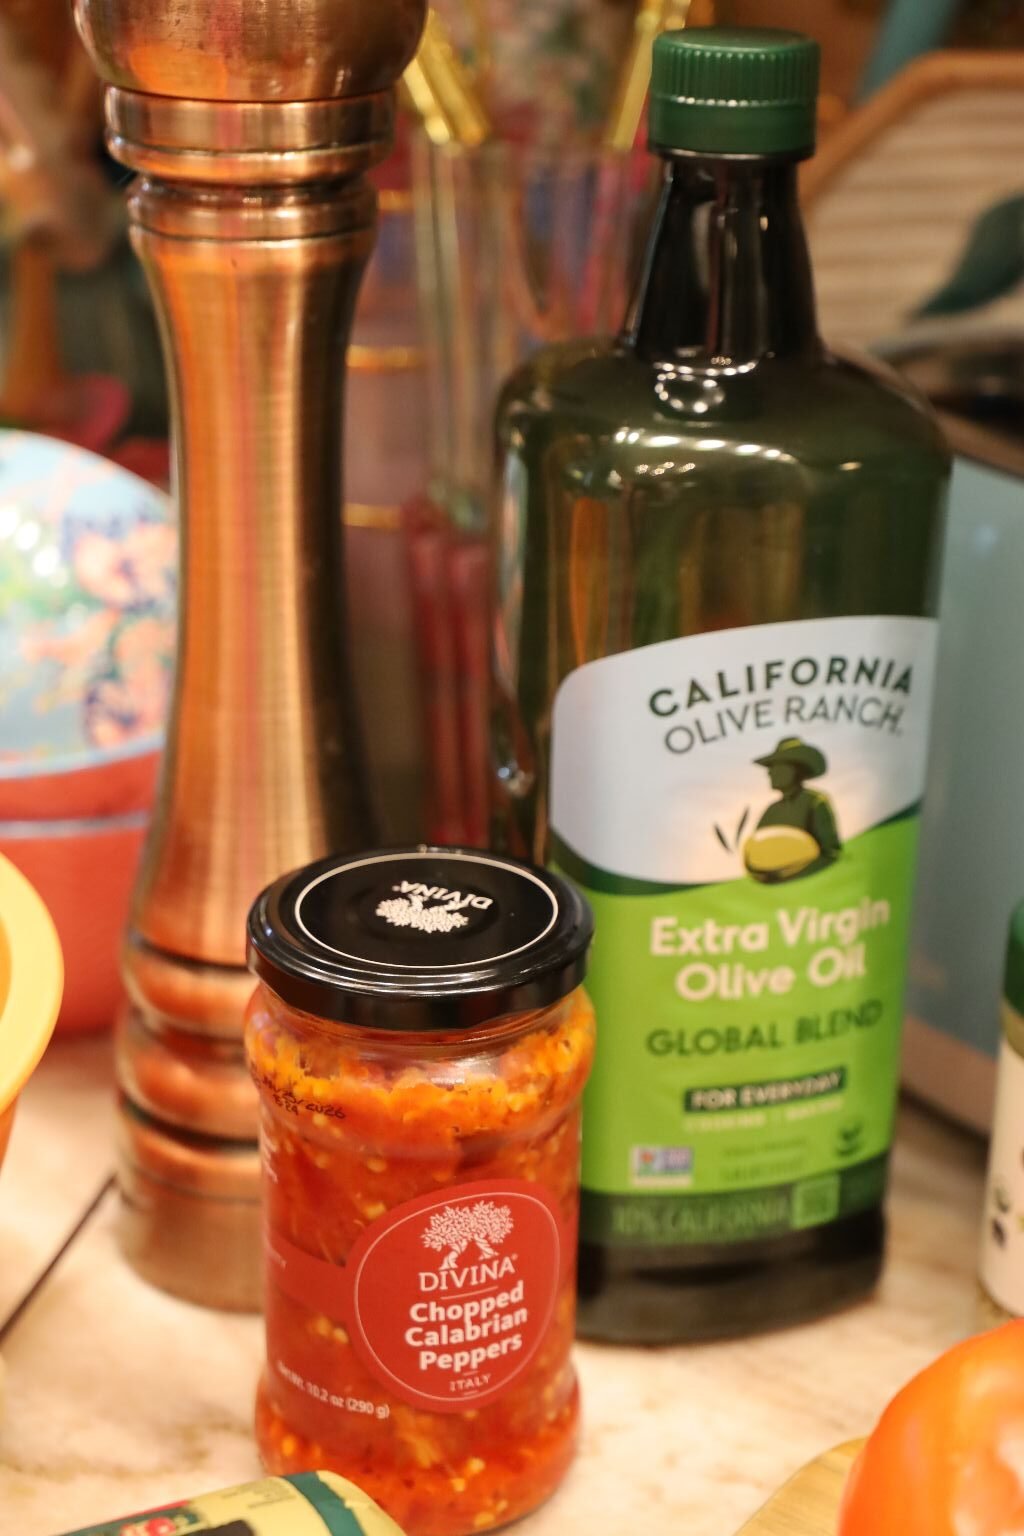
Calabrian Peppers, About A Teaspoon Full
Freshly Ground Black Pepper To Taste
1/4 t. Dried Basil
1/4 t. Dried Oregano
1/4 t. Dried Italian Seasoning
Slices Of Mozzarella Cheese, As Many As You Like, To Melt
1 Baguette
Top With Shredded Italian Cheeses
————————————————————————————————-
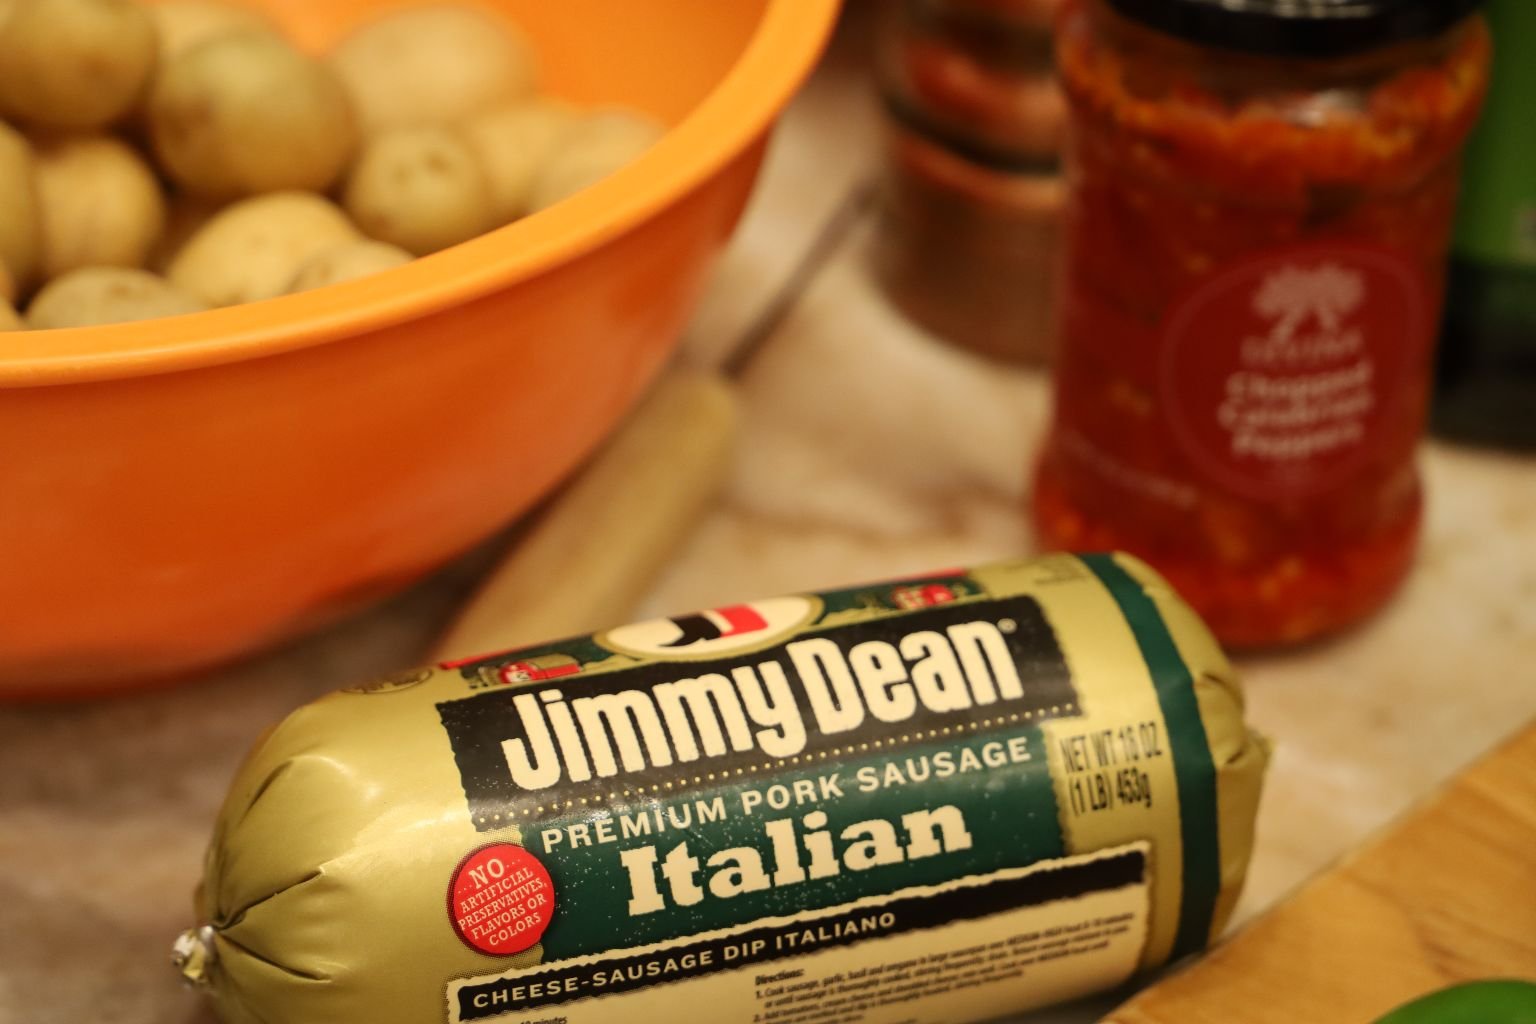
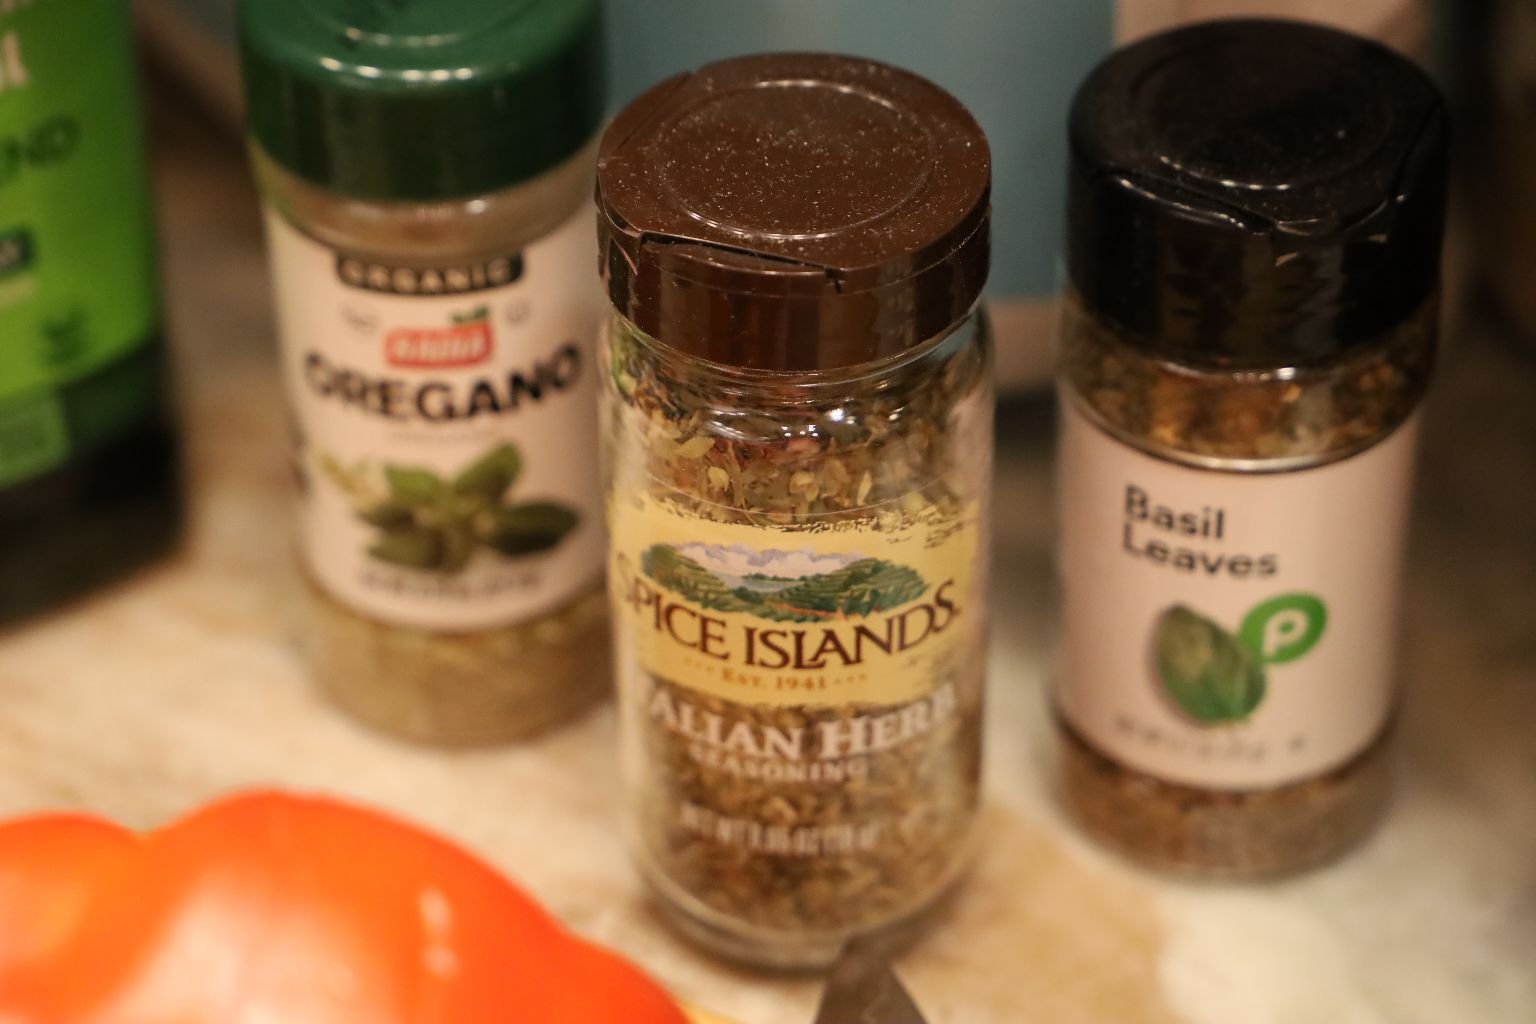
————————————————————————————
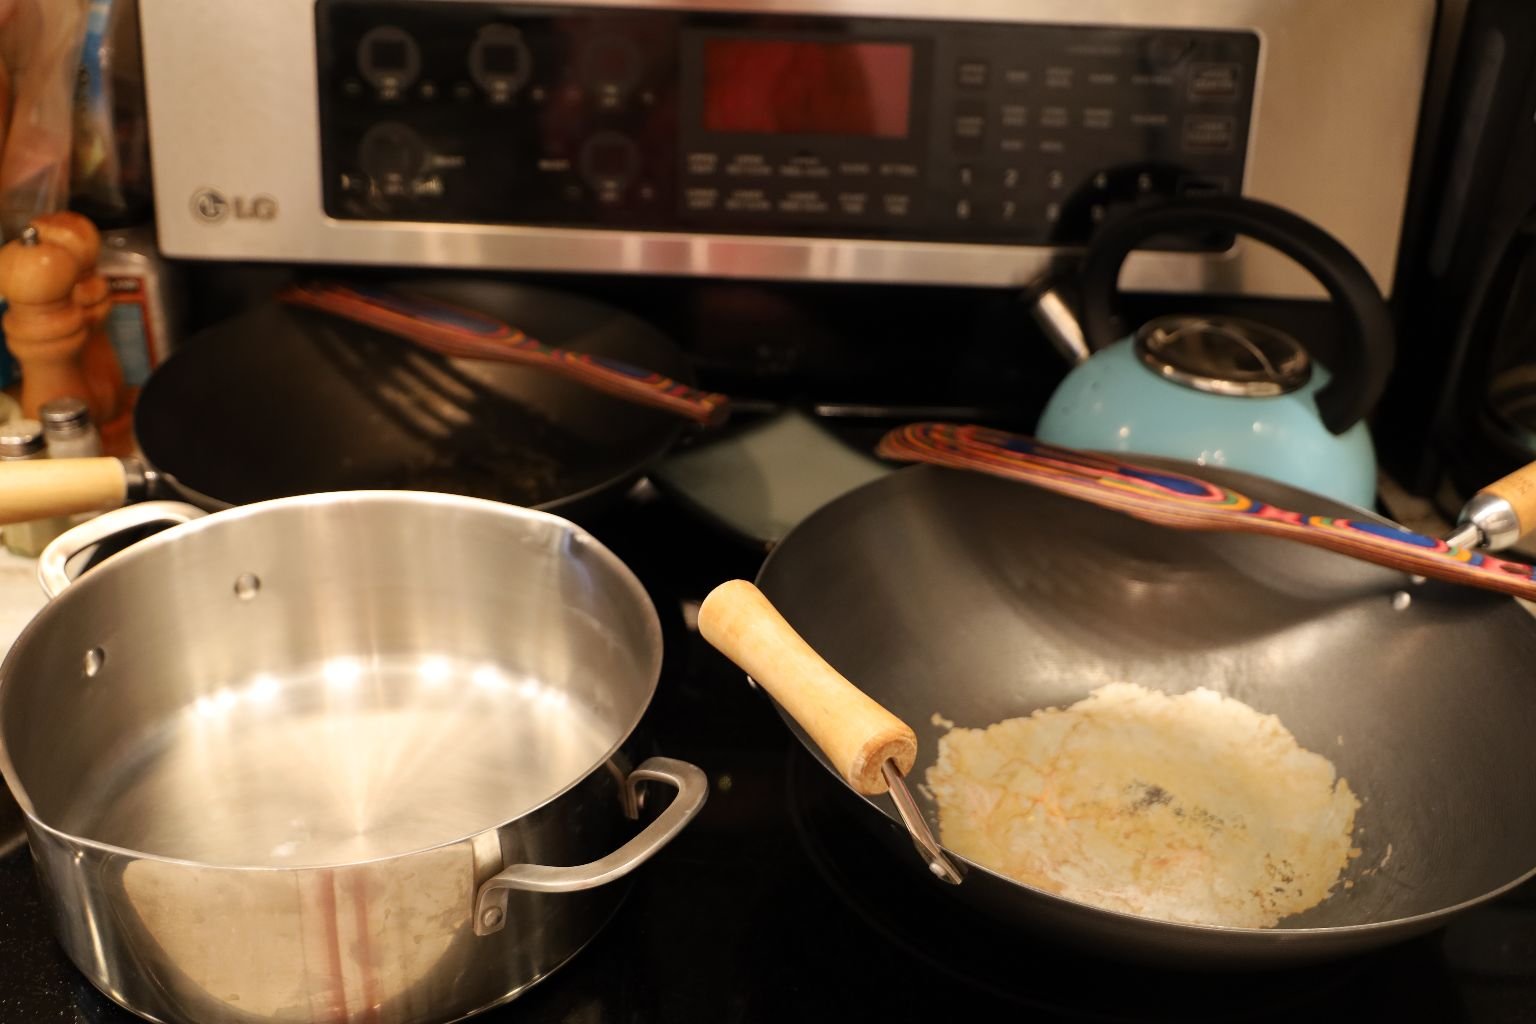
I’m using a Pot to boil the Potatoes, and a Wok to cook it all in.
Fill a Pot with Water and bring up to a Boil.
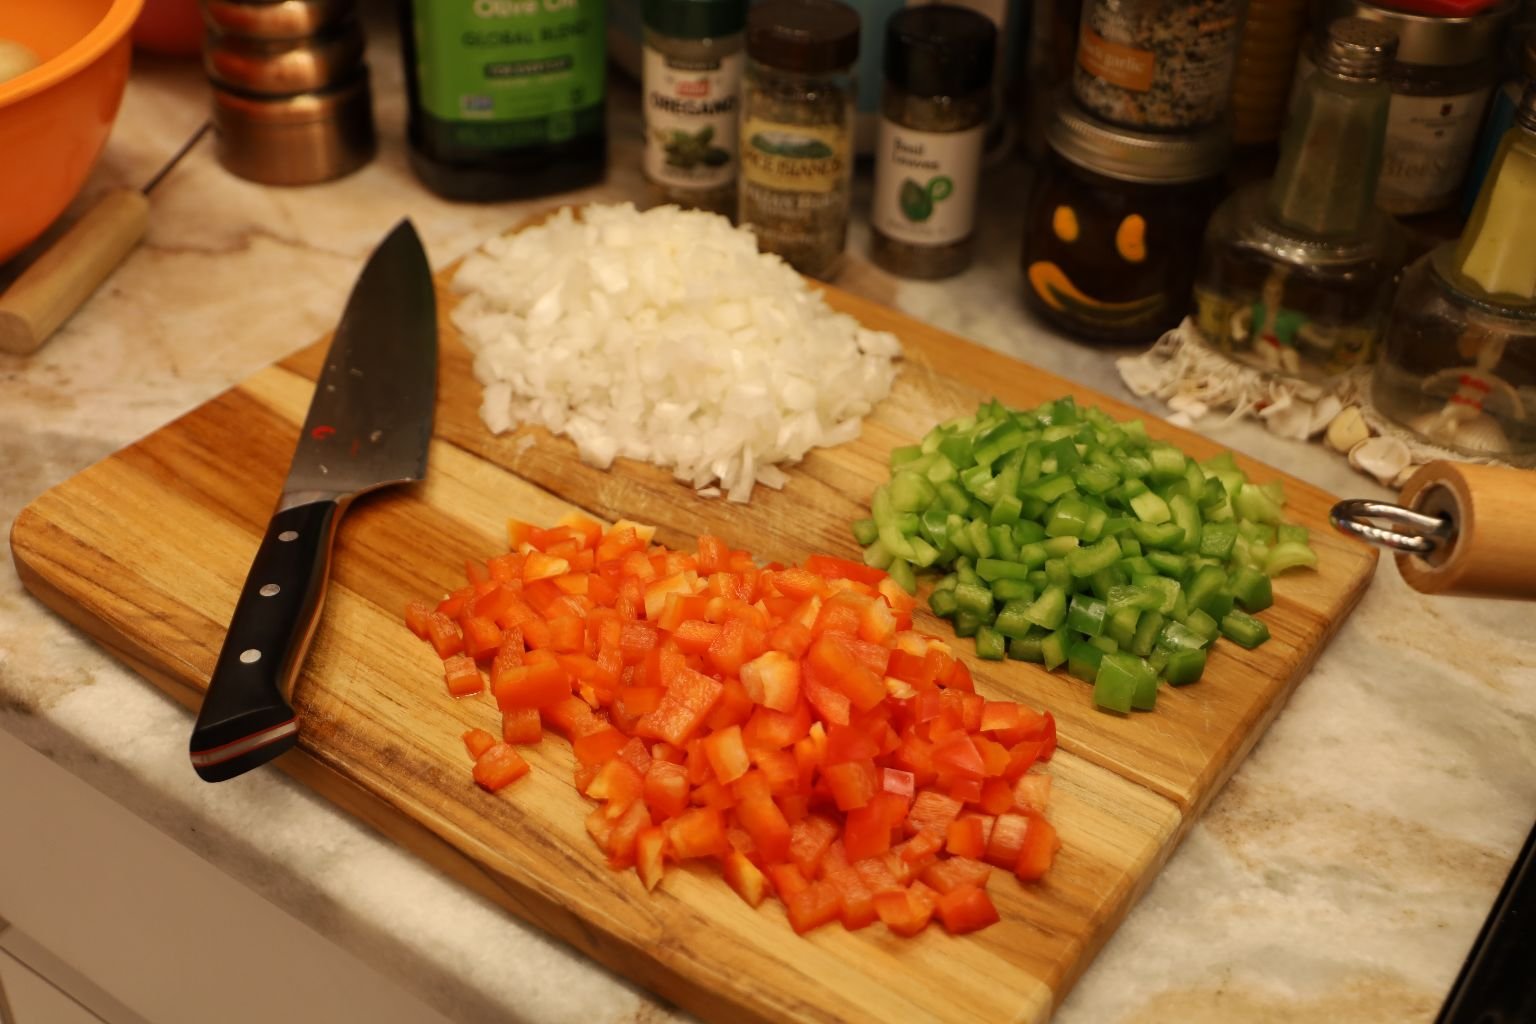
The first thing I did was to chop my Onion, Green Bell Pepper, and Red Bell Pepper.
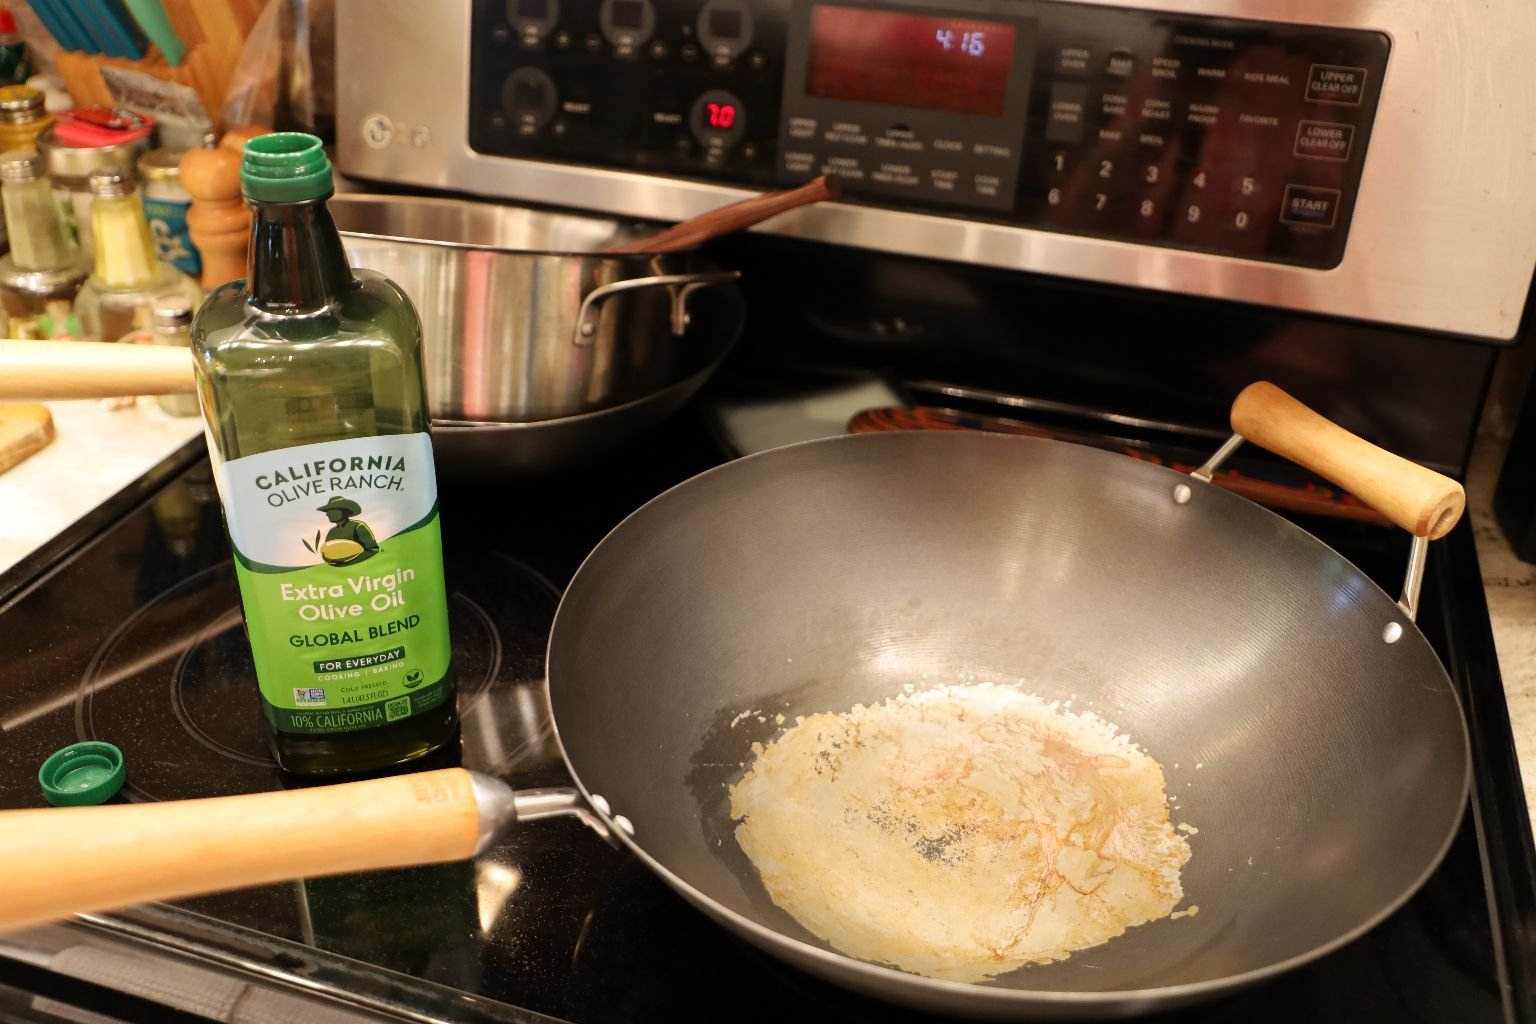
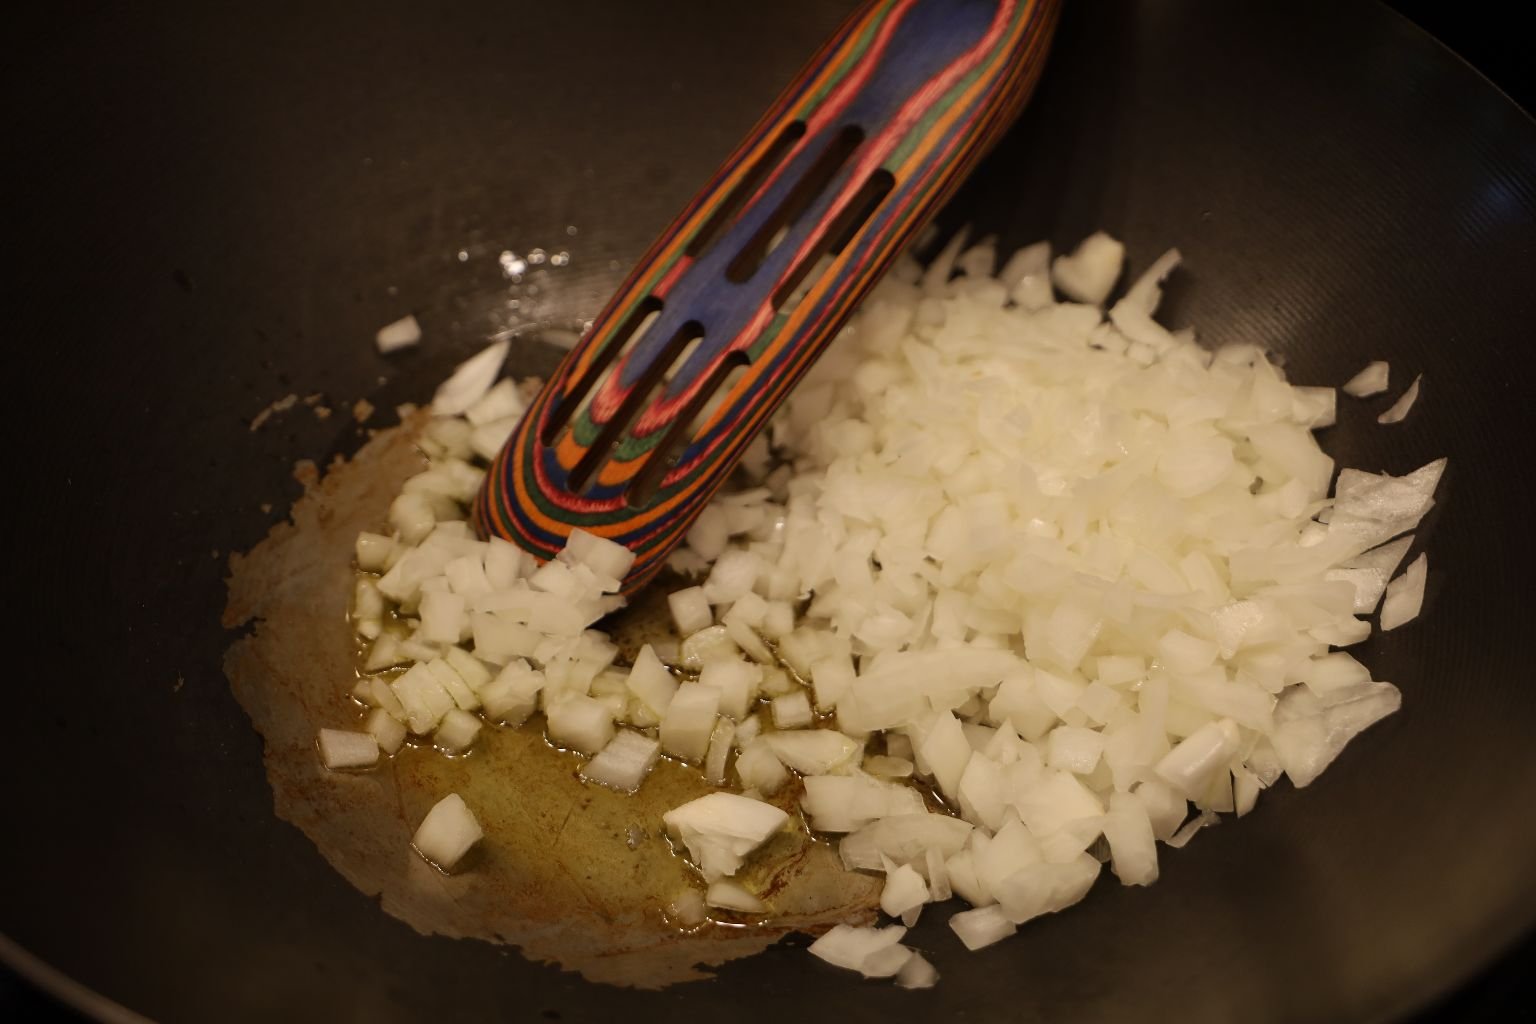
I brought the temperature up to a Medium-High heat on my Wok to Saute the Onion.
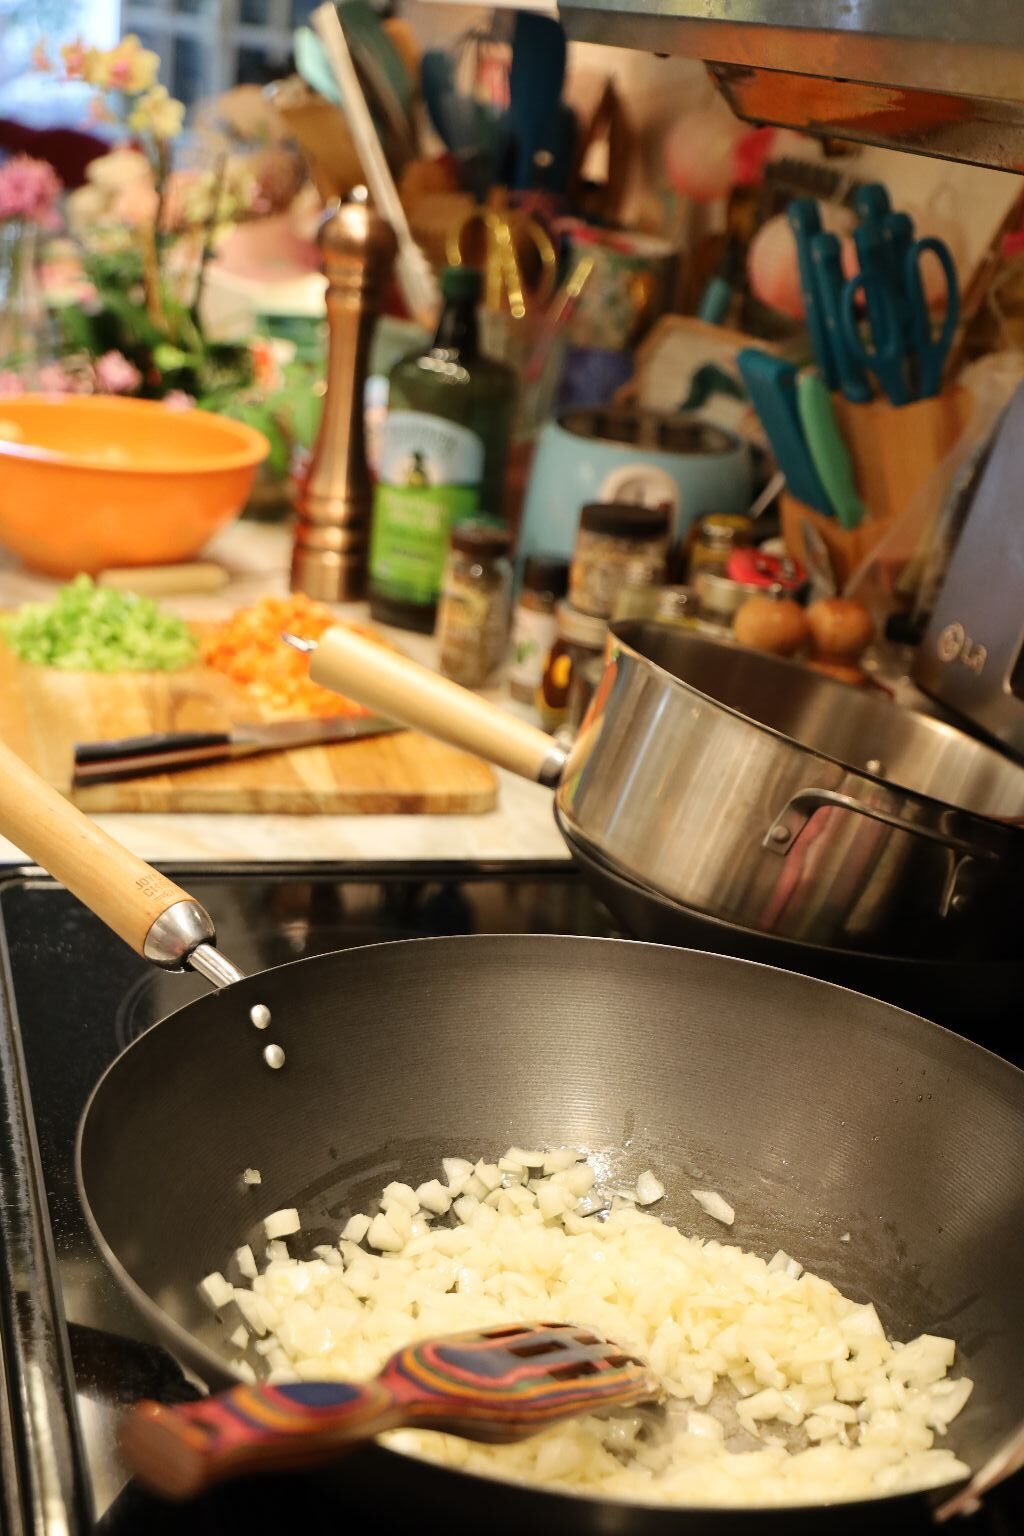
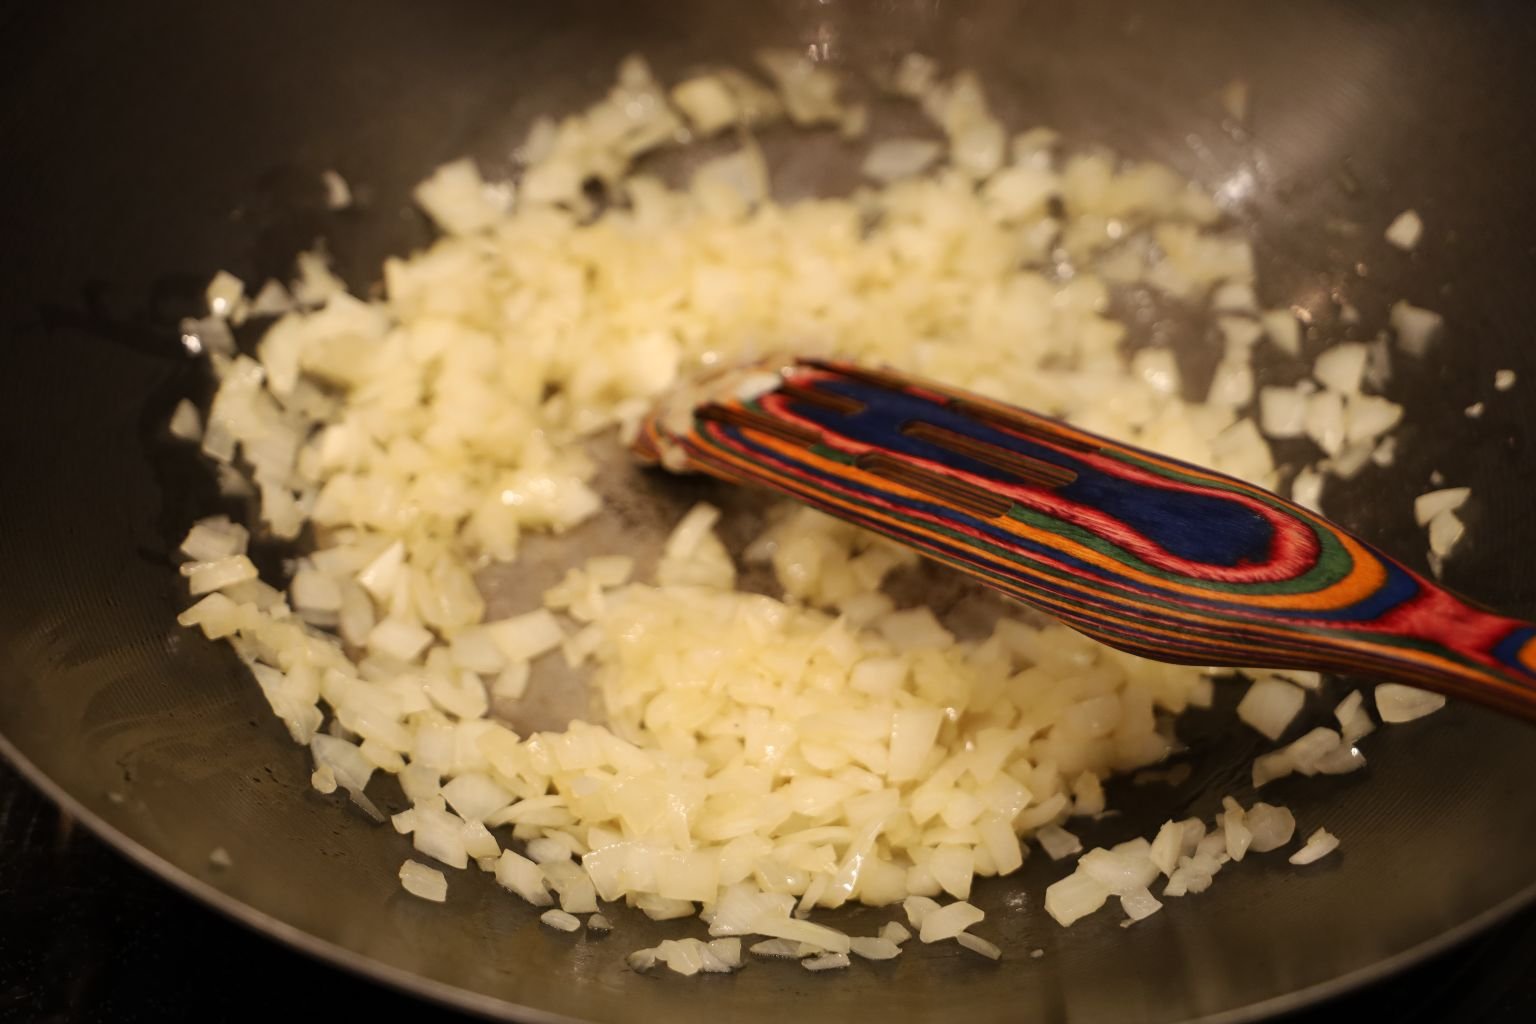
Once the Onion has softened, about 5 minutes…..
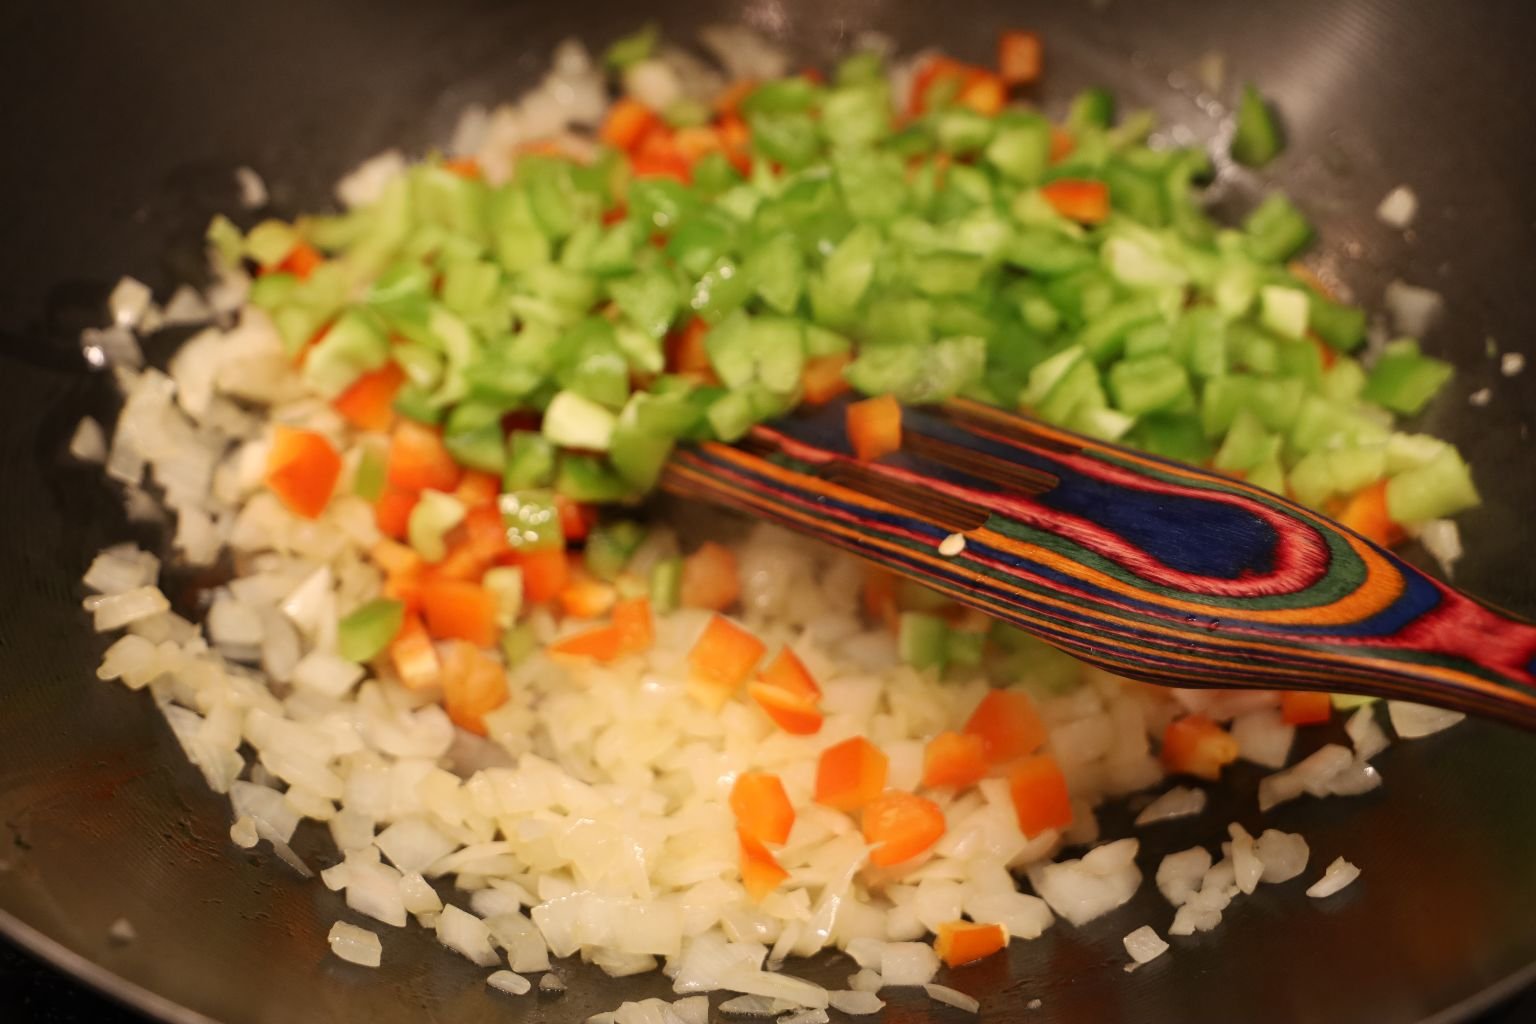
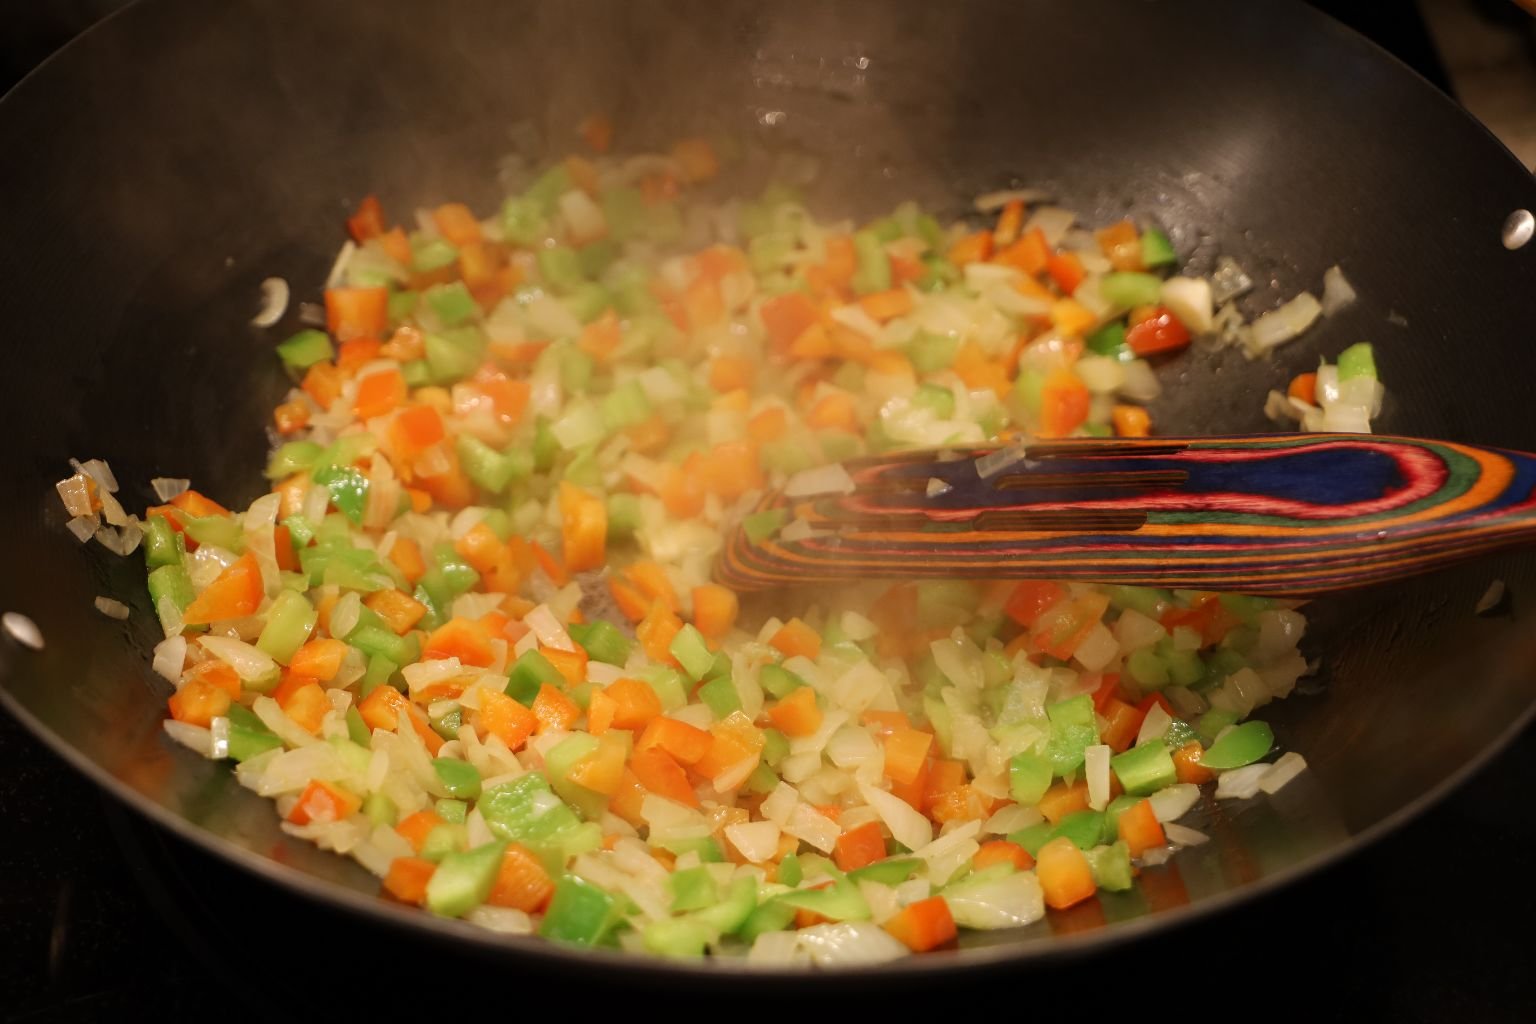
Then add the Green and Red Bell Peppers, Chopped…
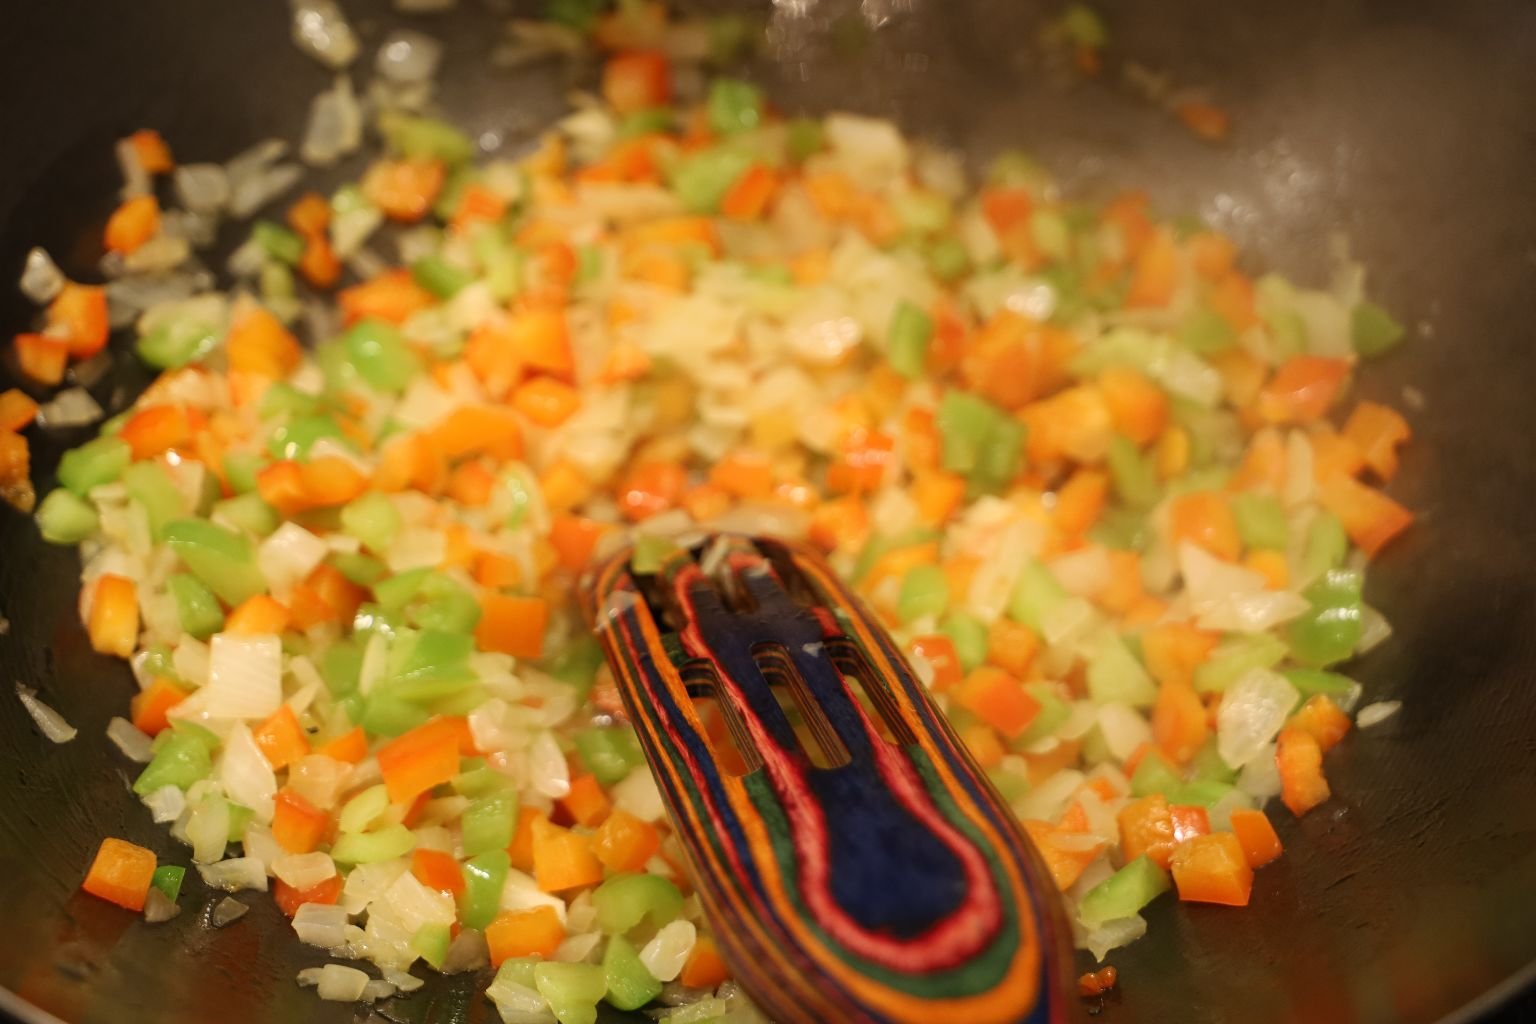
Allow The To Soften As Well, Stirring Often
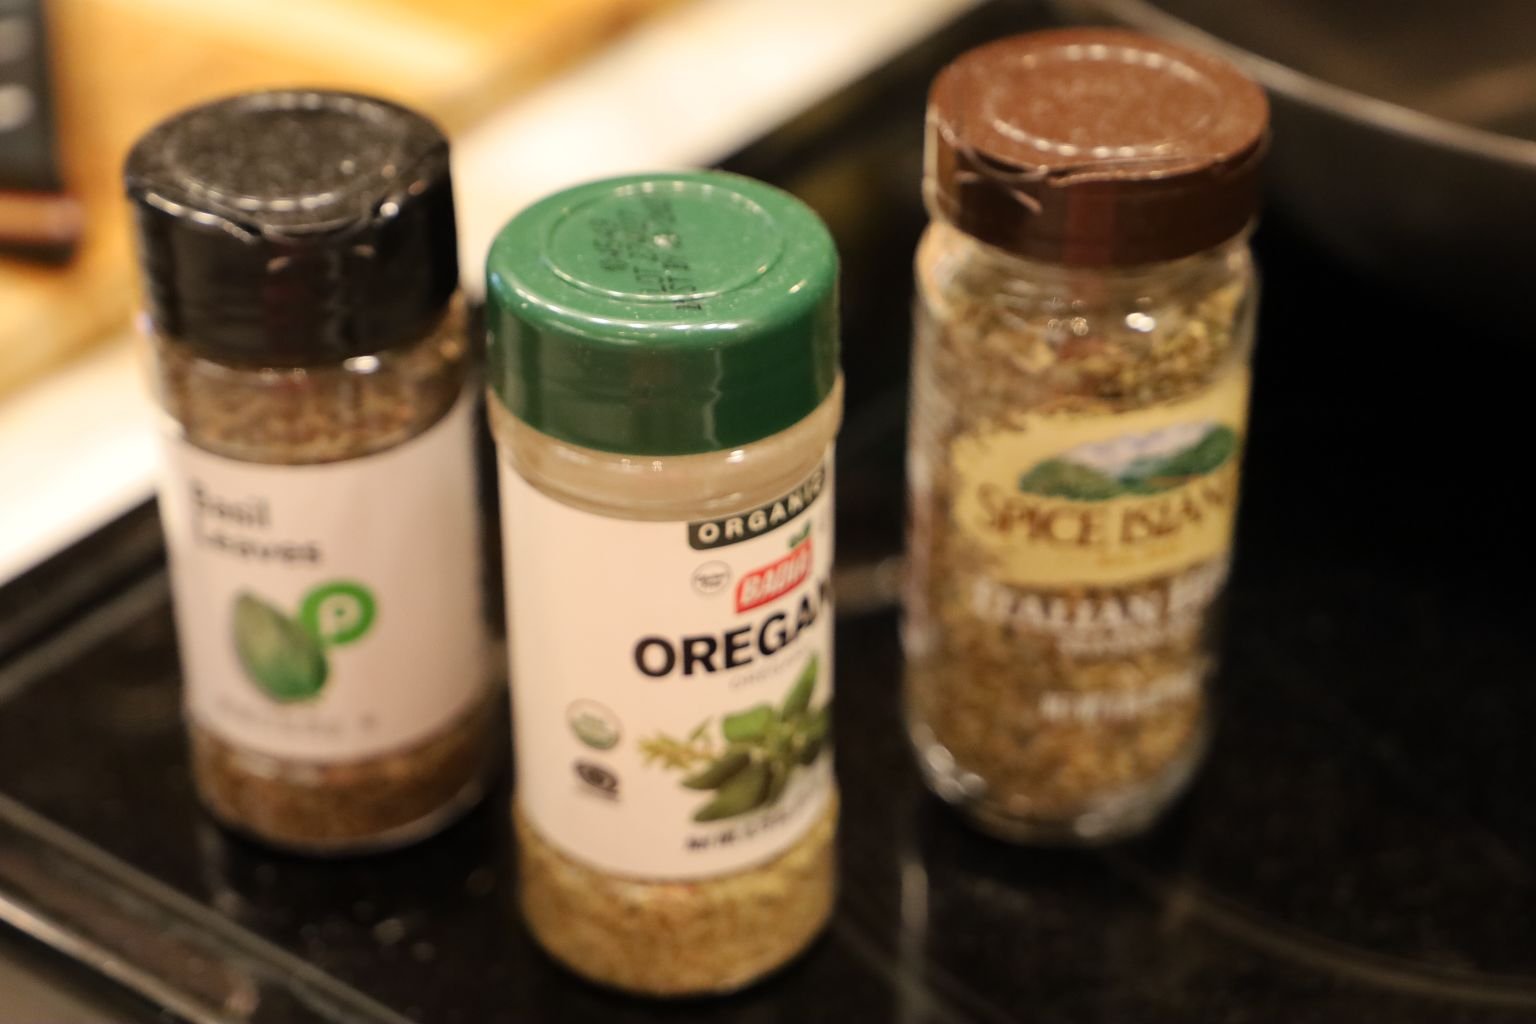
Once the Bell Peppers and Onion have softened it’s time to add our dry Spices.
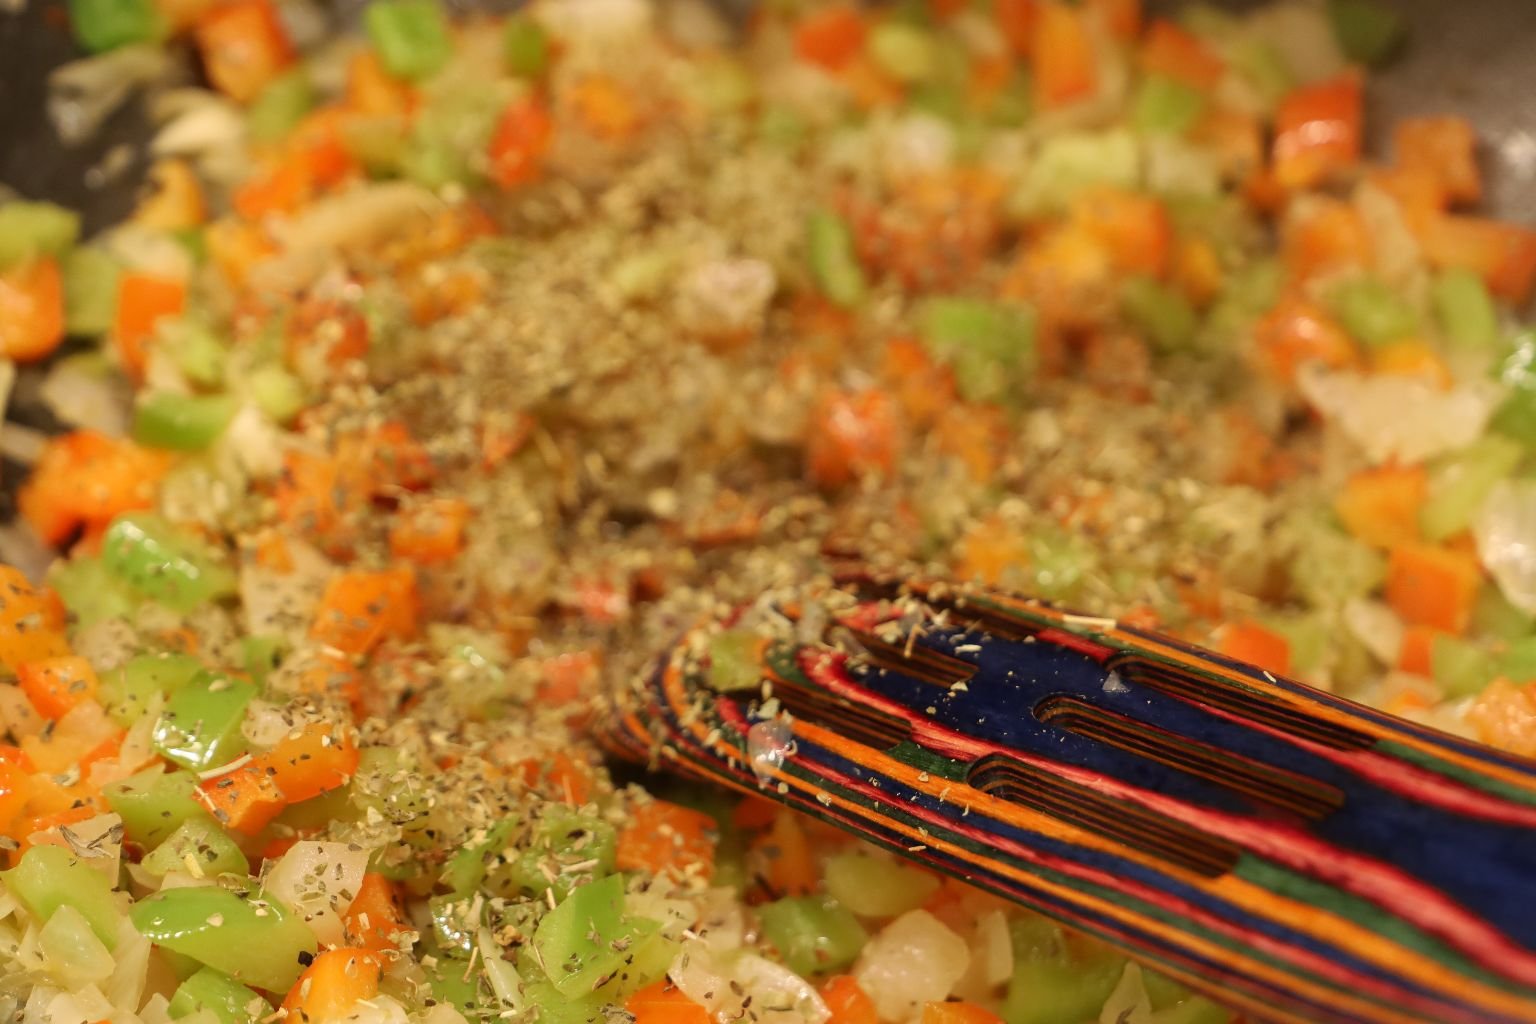
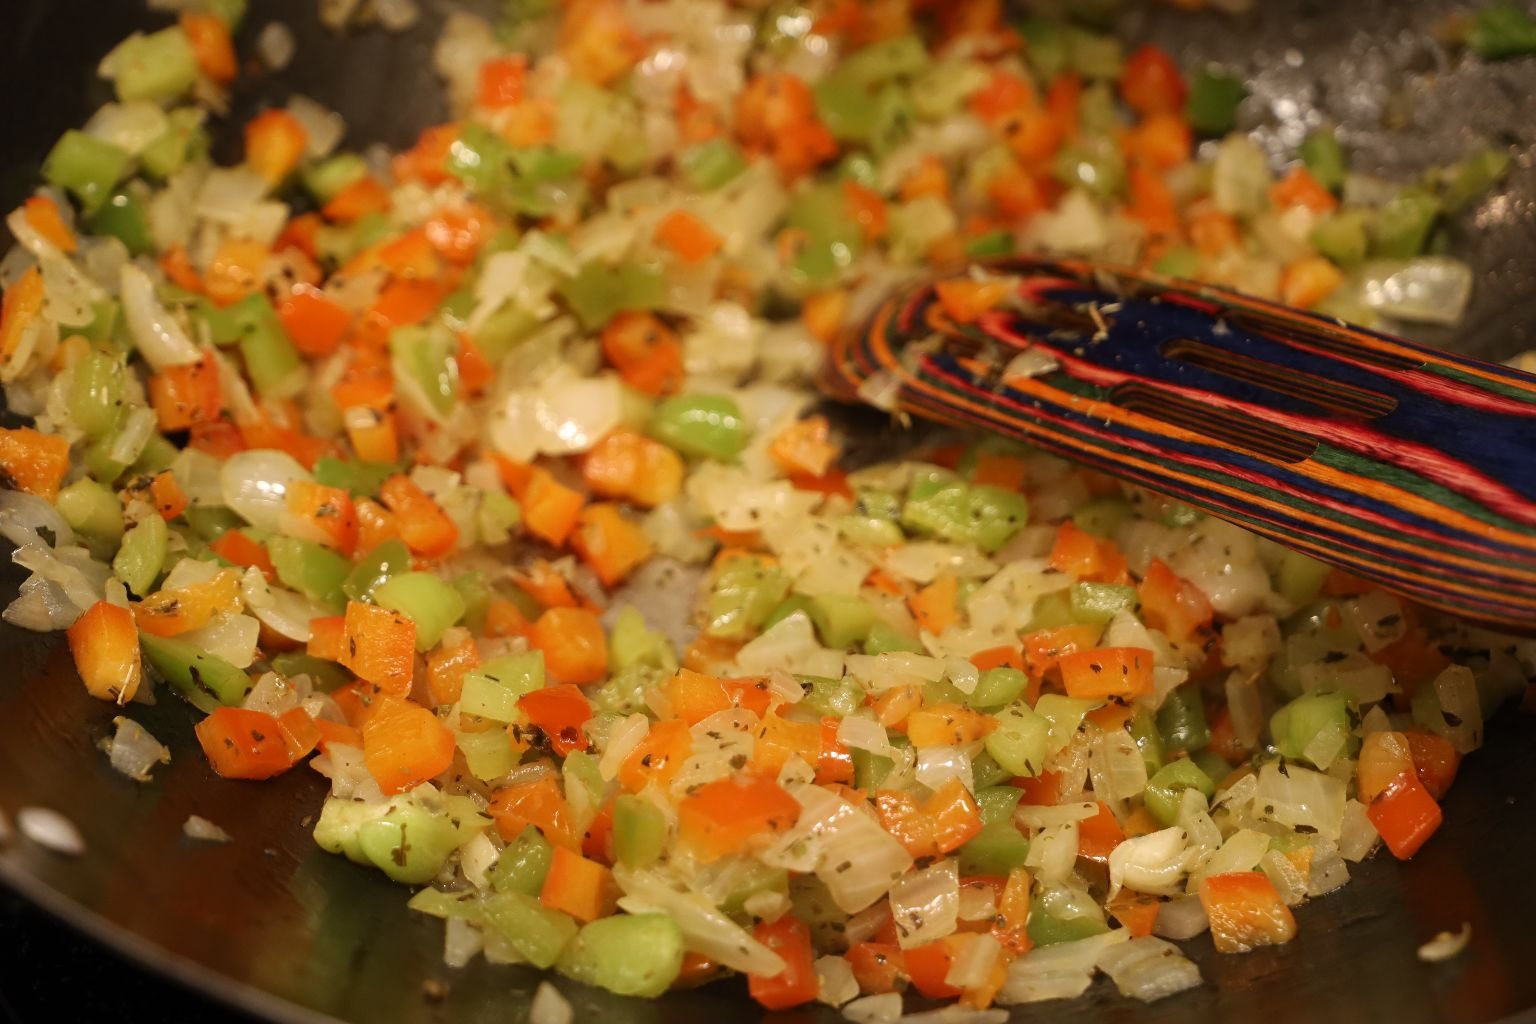
Add What You Like, A Few Dashes Of Each Is Fine
—————————————————————————————
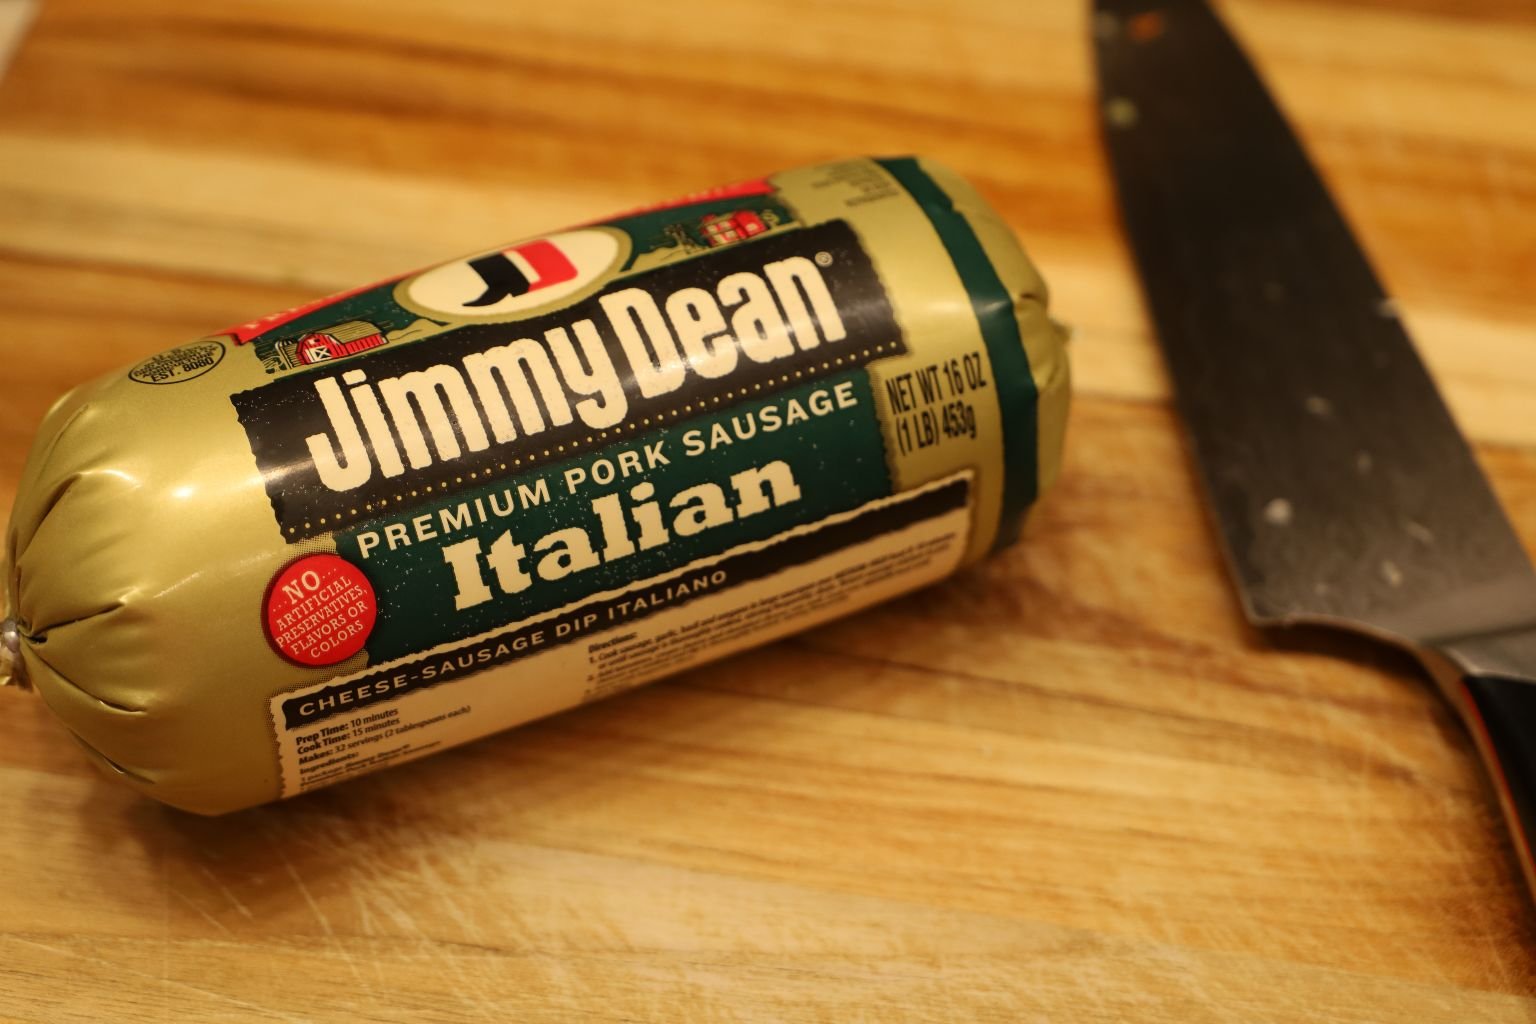
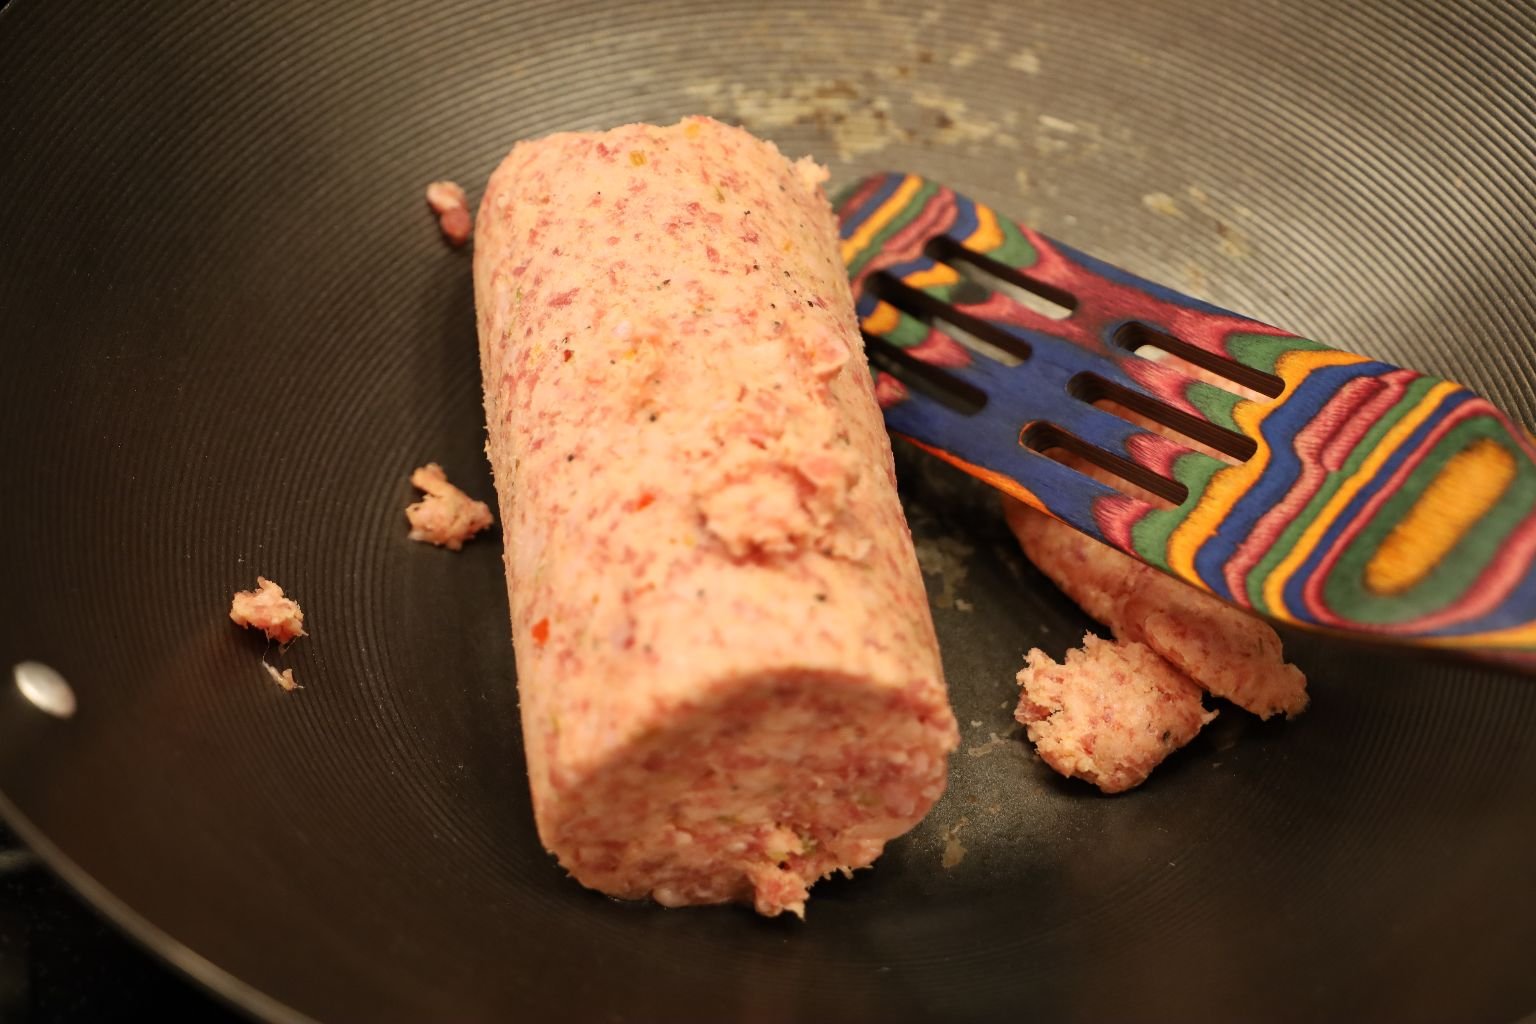
In Another Wok I Am Browning My Italian Sausage On A Medium-High Heat…
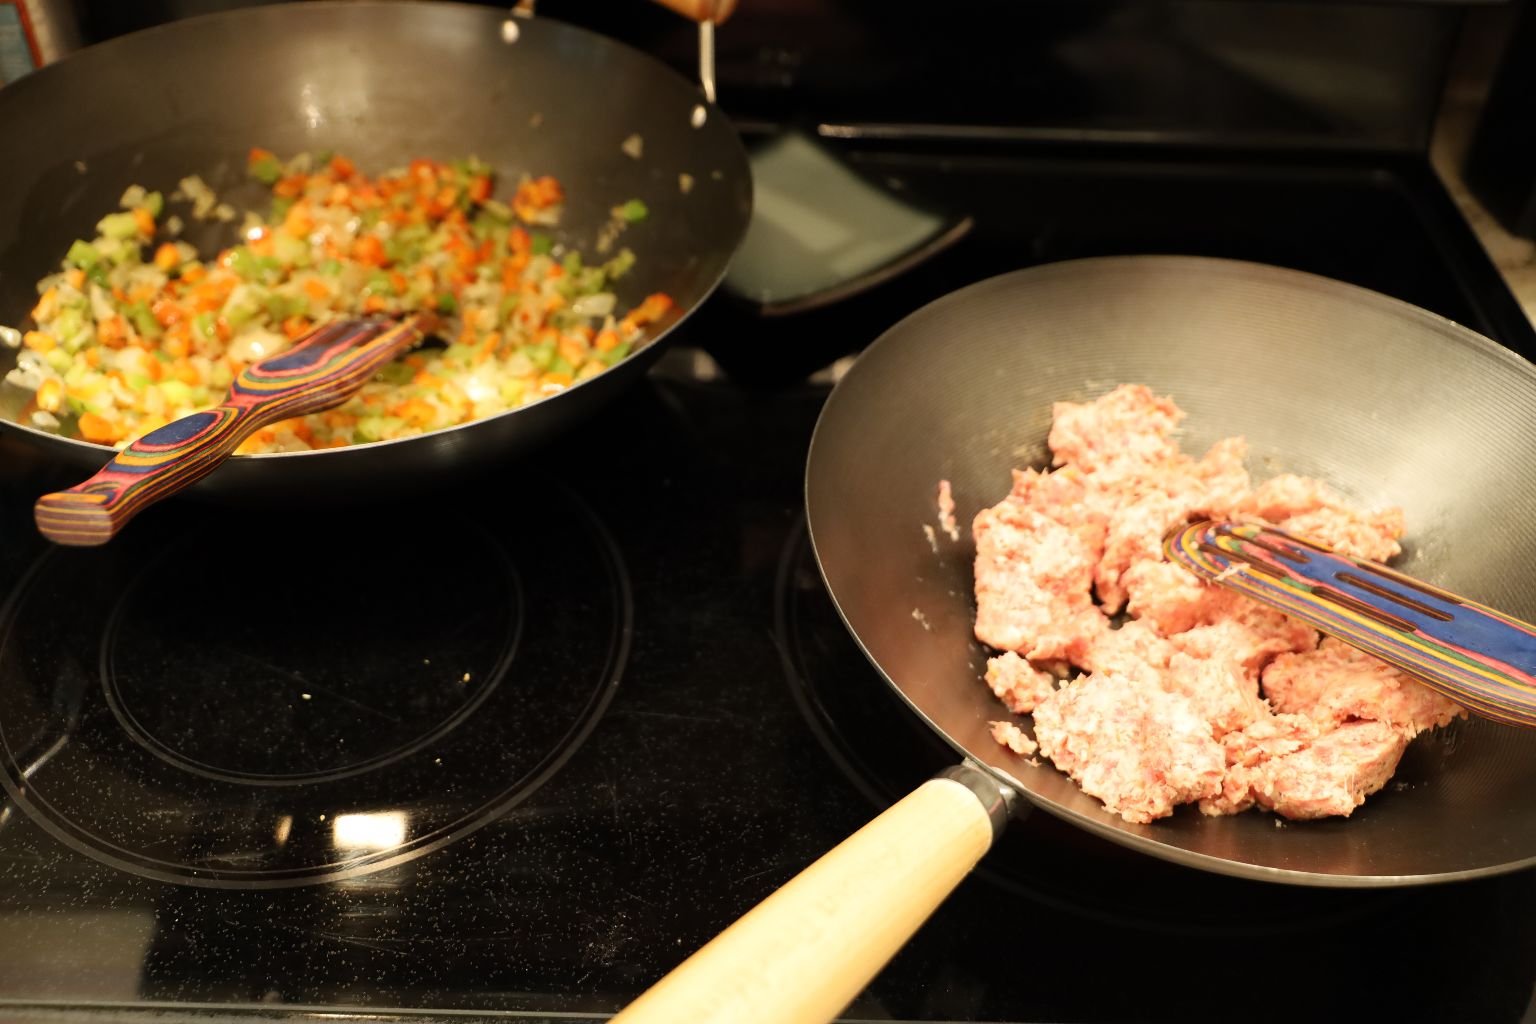
Stirring Constantly While Breaking Up The Sausage
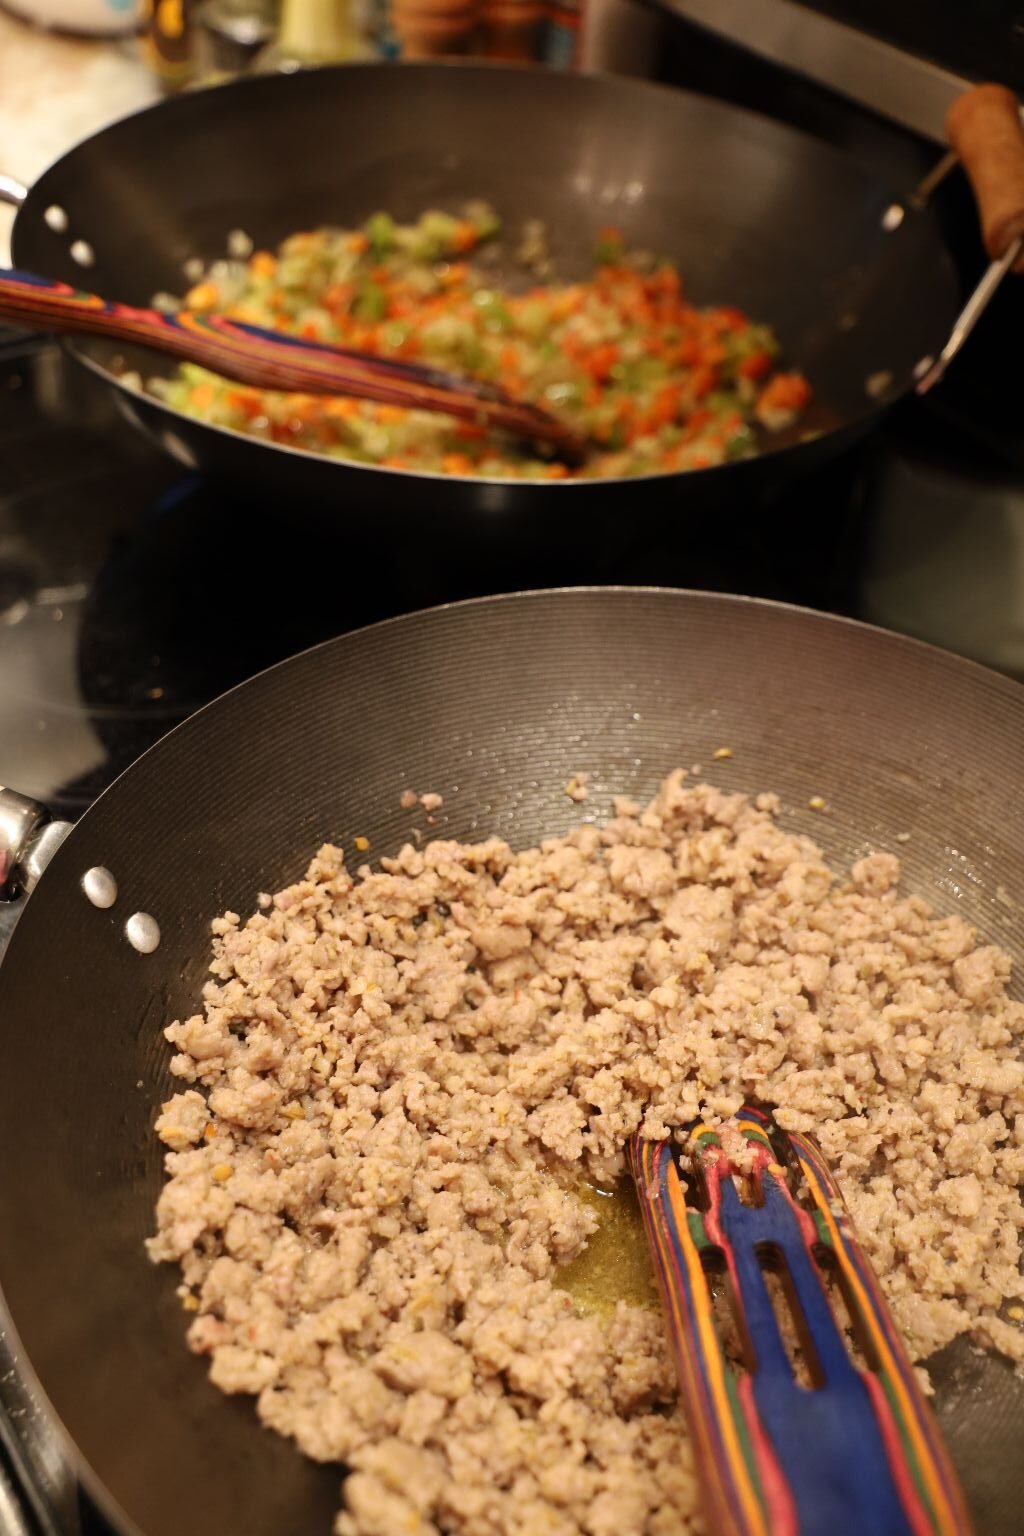
When Browned It Is Done!
At This Point You Can Drain The Grease, I Kept It In For Flavor
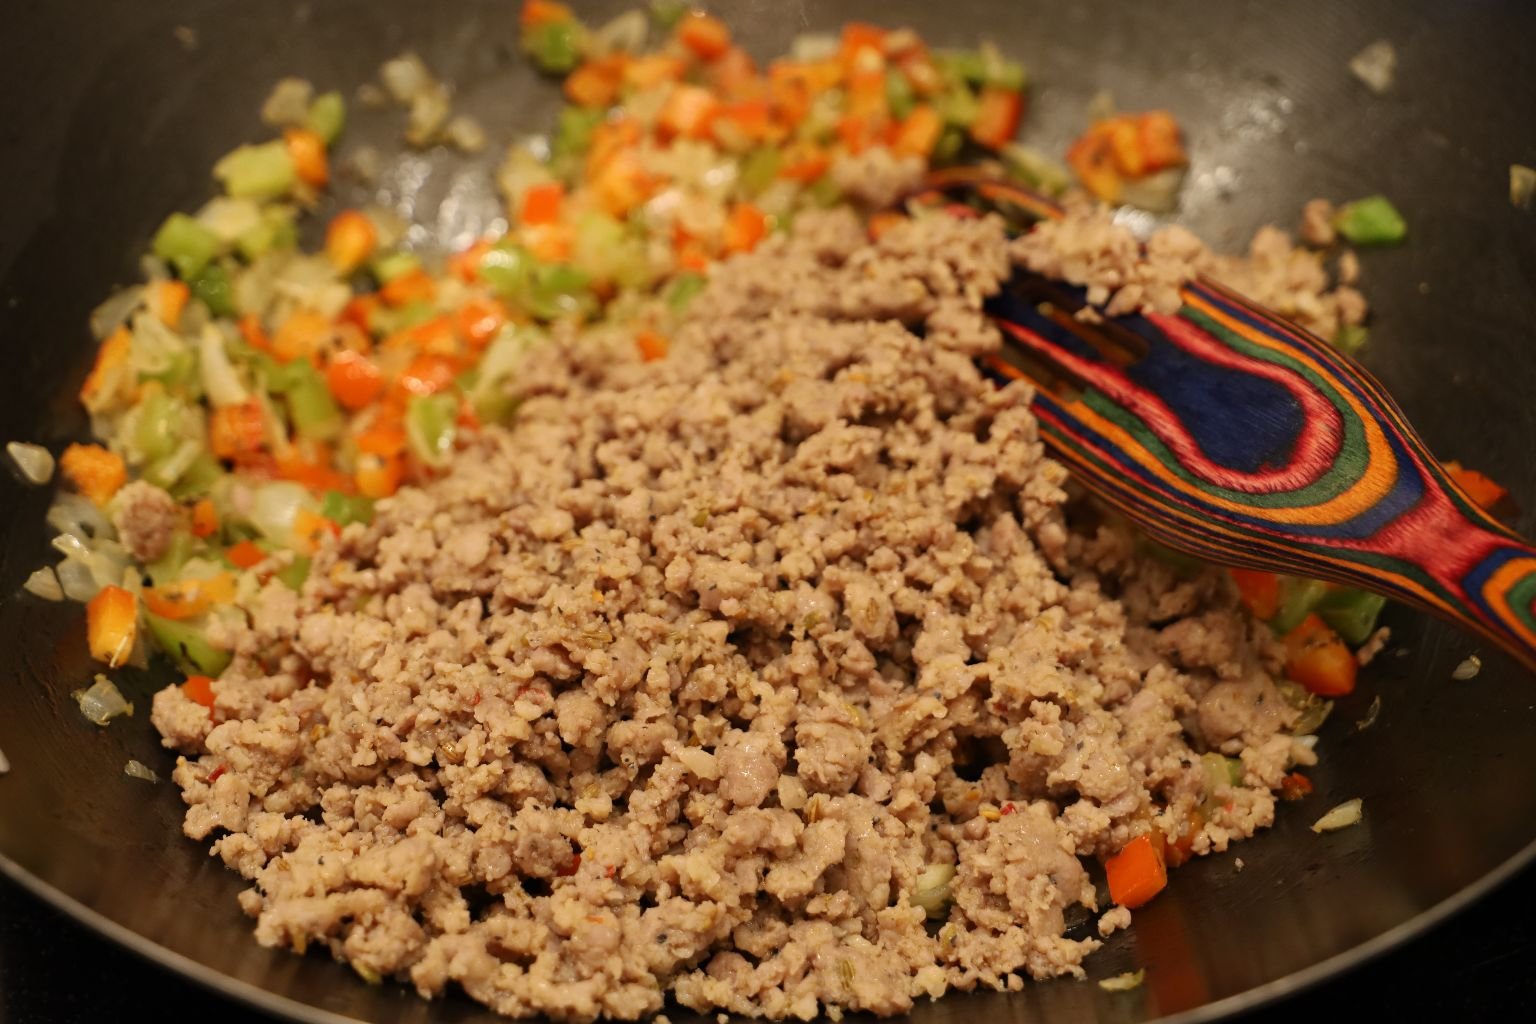
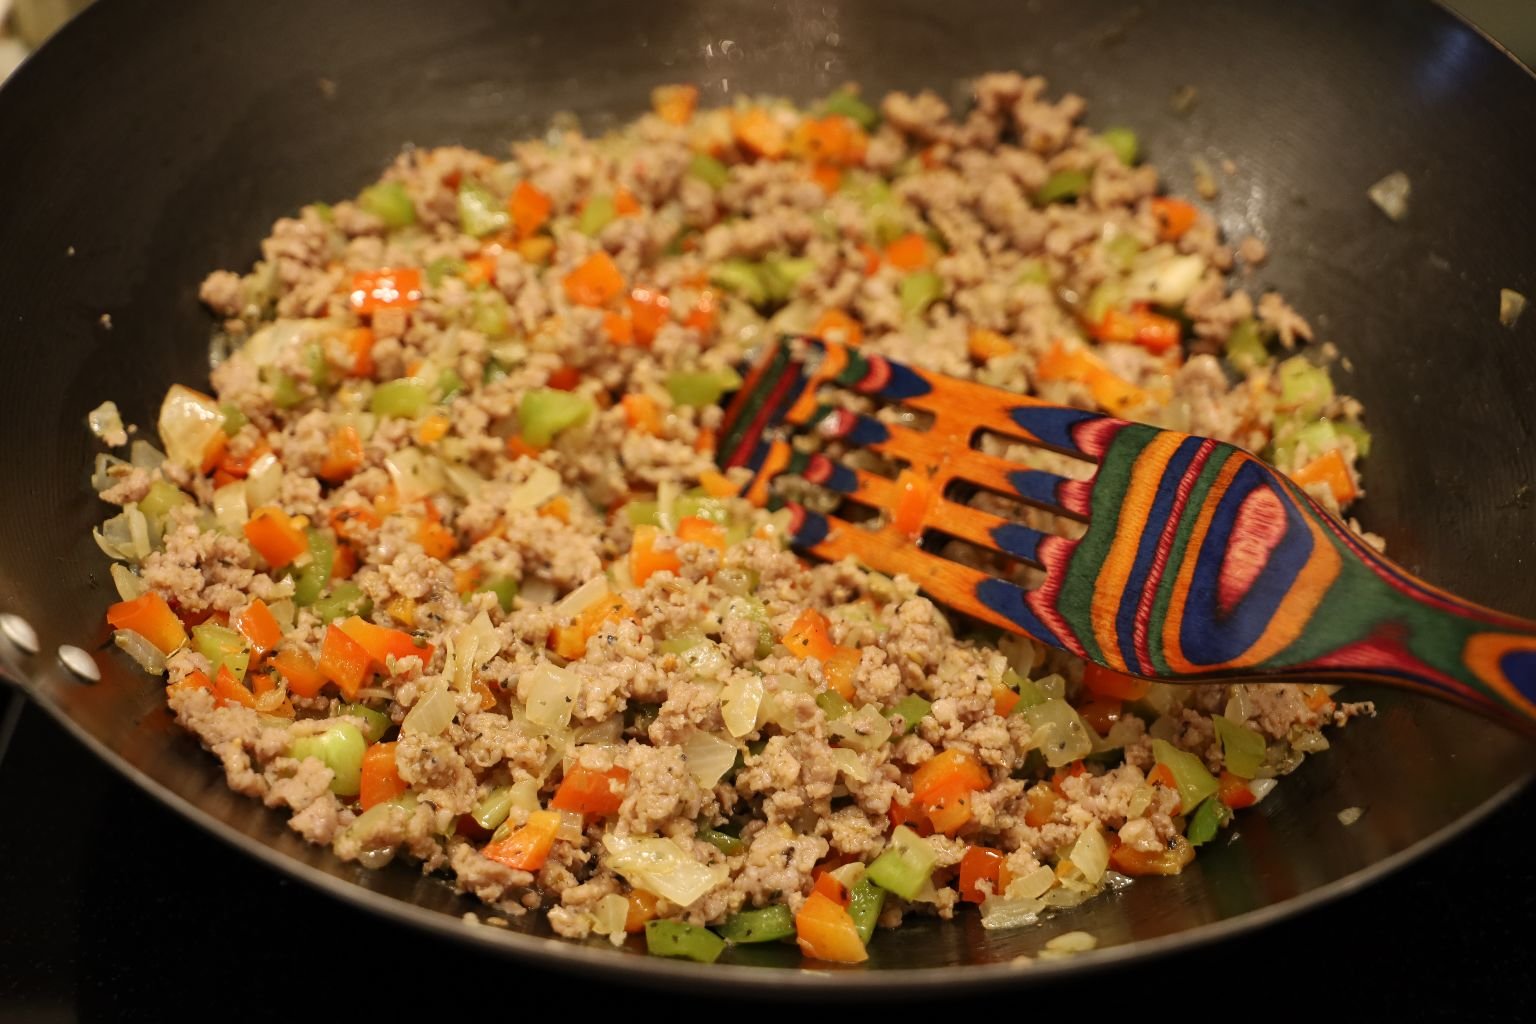
Combining My Veggies And Sausage Together In One Wok
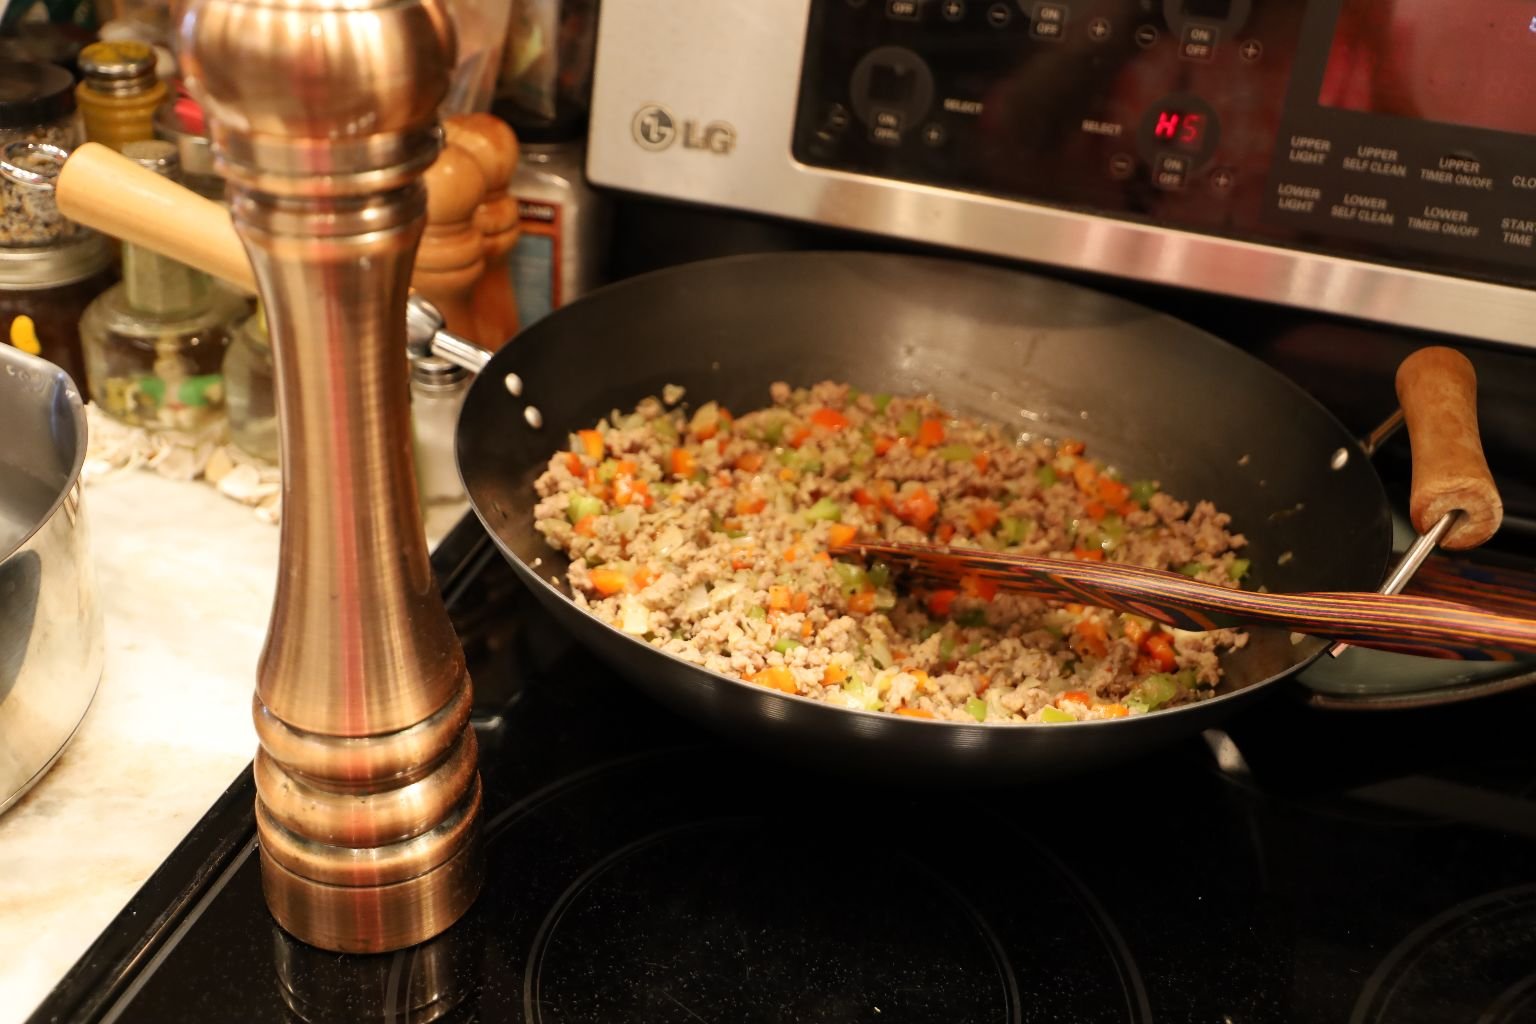
Adding Some Freshly Ground Black Pepper To Taste
———————————————————————————————
Now For The Potatoes
The First Thing I Did Was To Wash And Clean My Potatoes
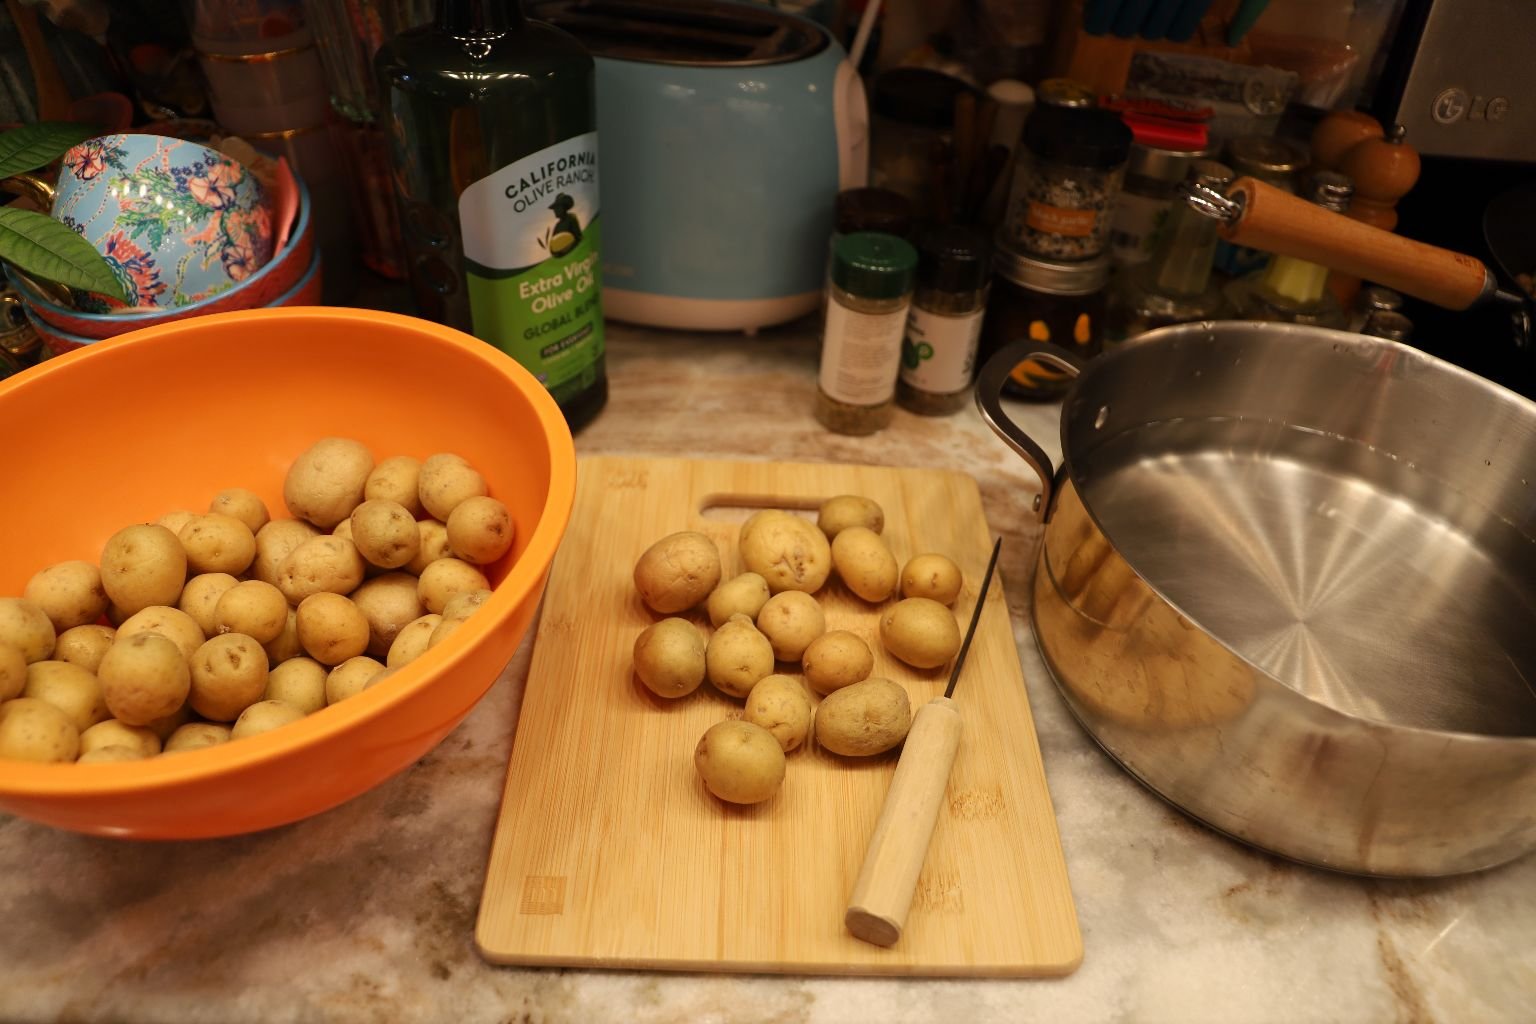
I filled a Pot up with Water, Poked Holes Into My Potatoes With An Ice Pick
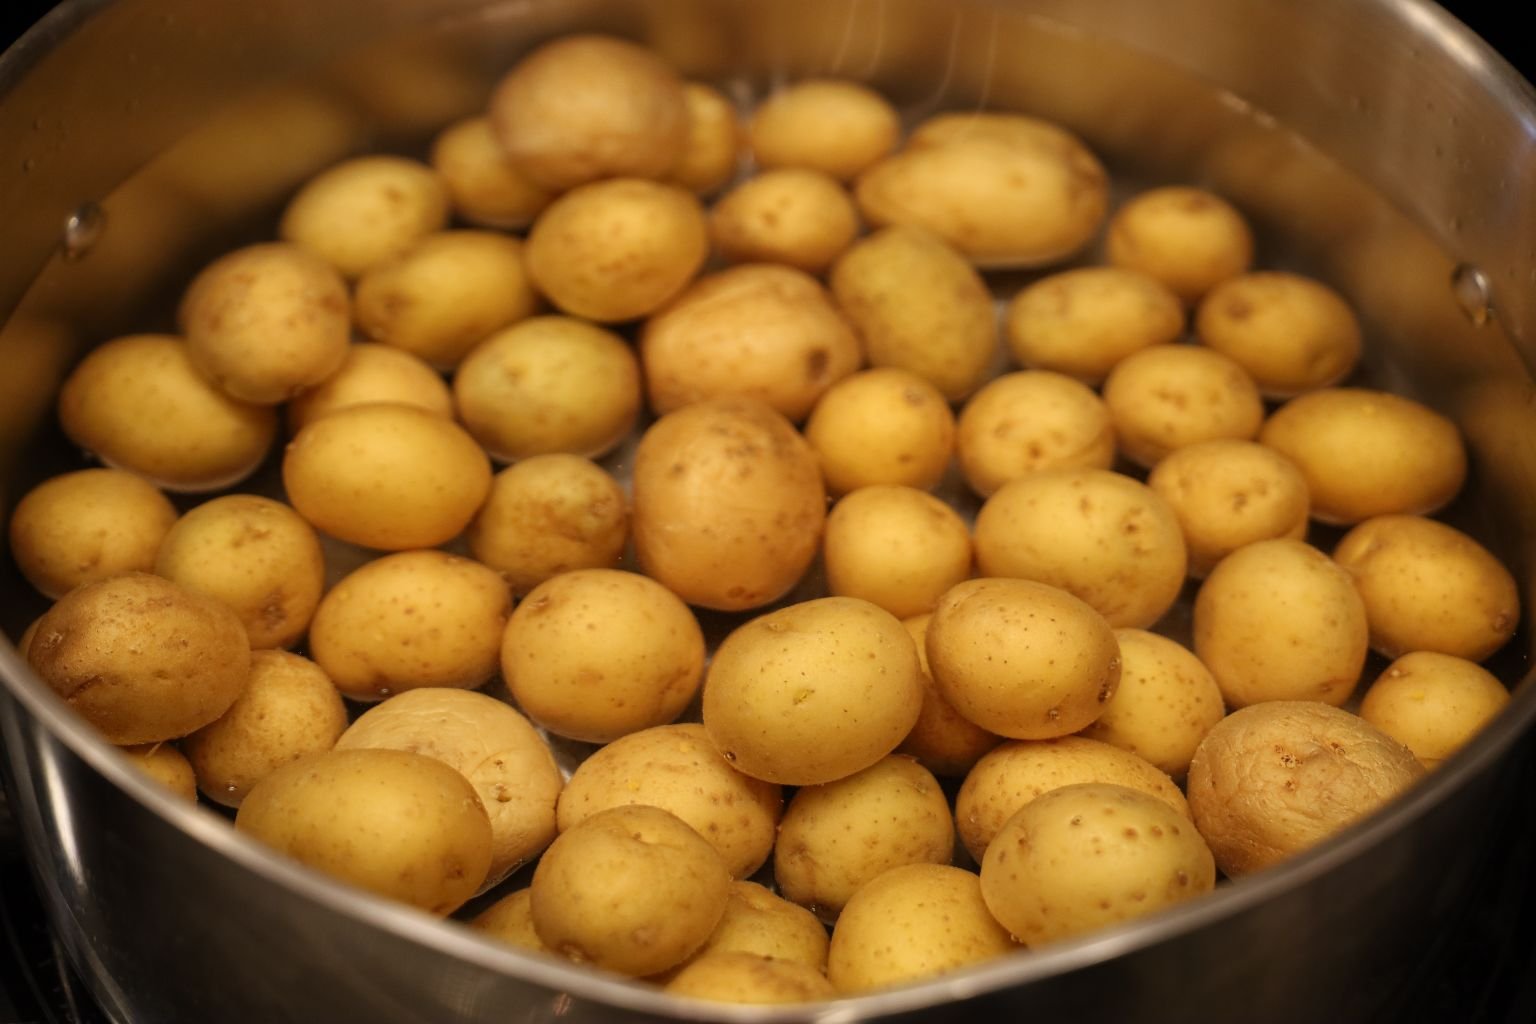
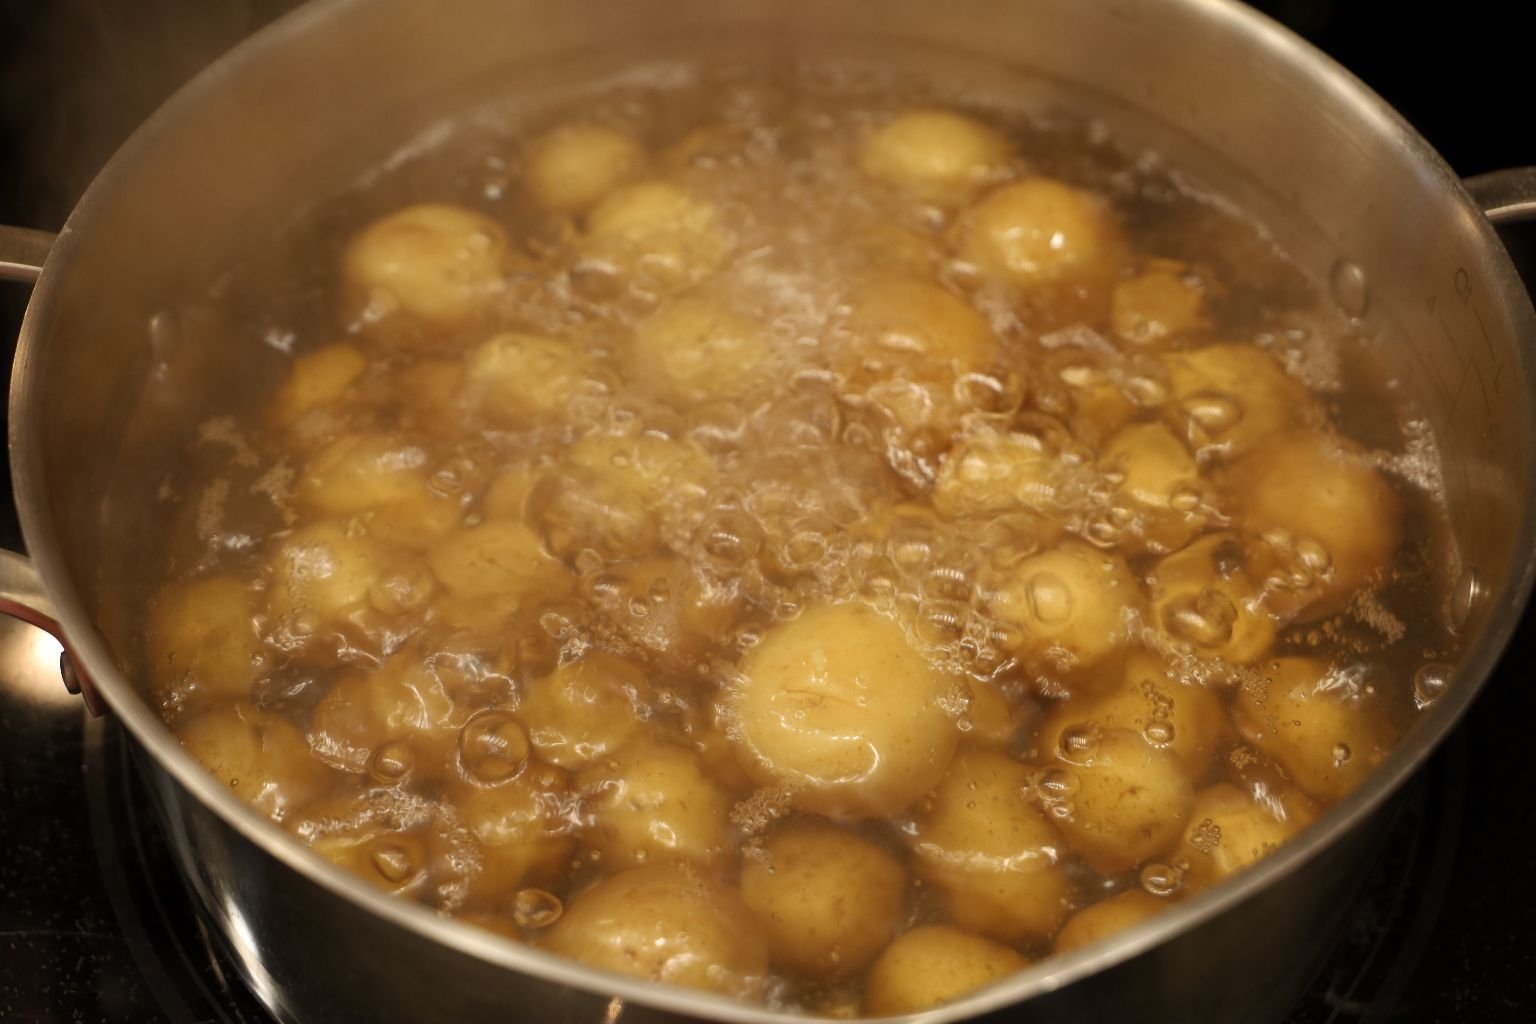
Turned The Burner Onto a High Heat And Allowed Them To Boil
(You can tell they are ready when you can easily insert a fork into them. When ready drain the potatoes and set them aside.)
—————————————————————————————–
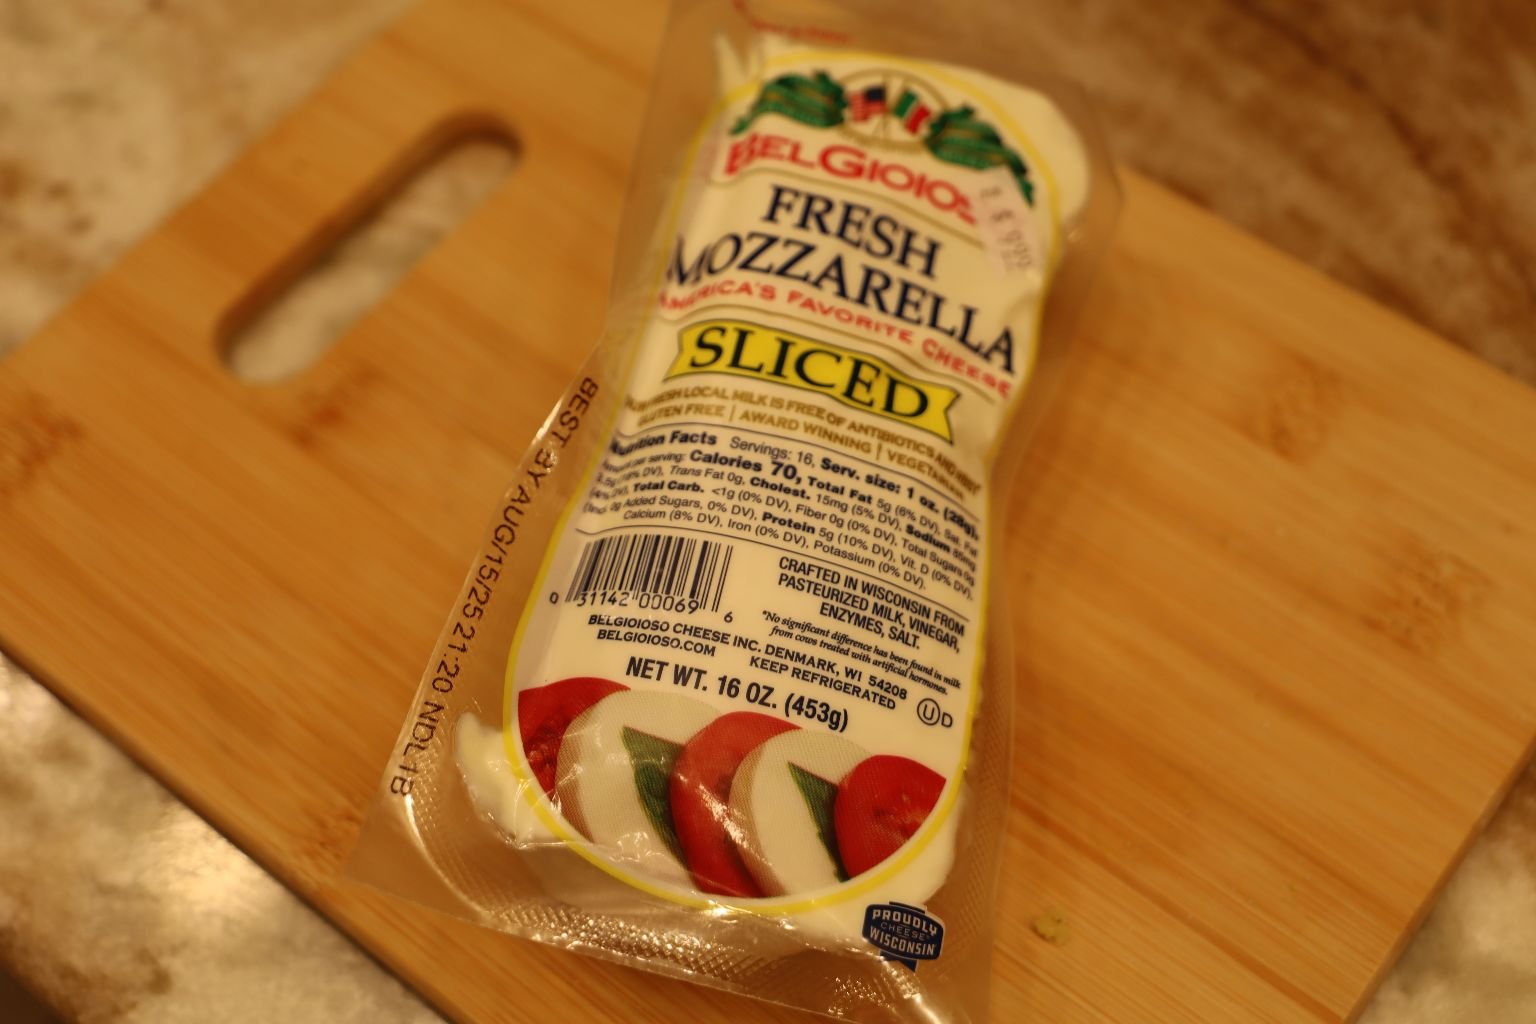
My Fresh Mozzarella Cheese, SLICED!
——————————————————————————————-
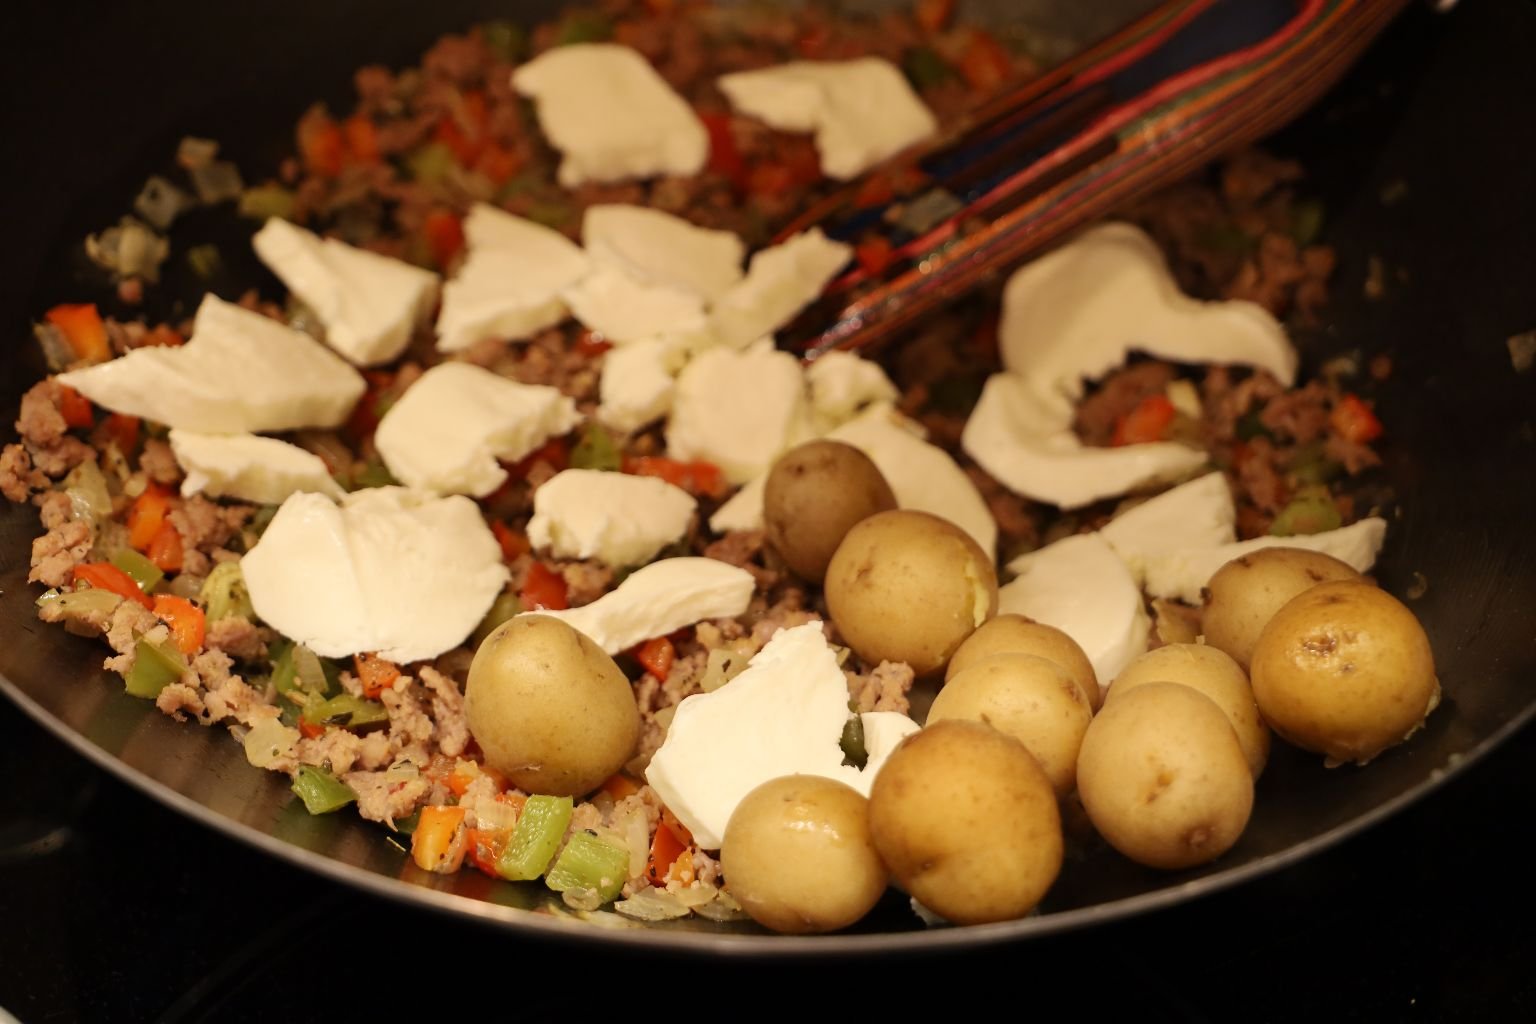
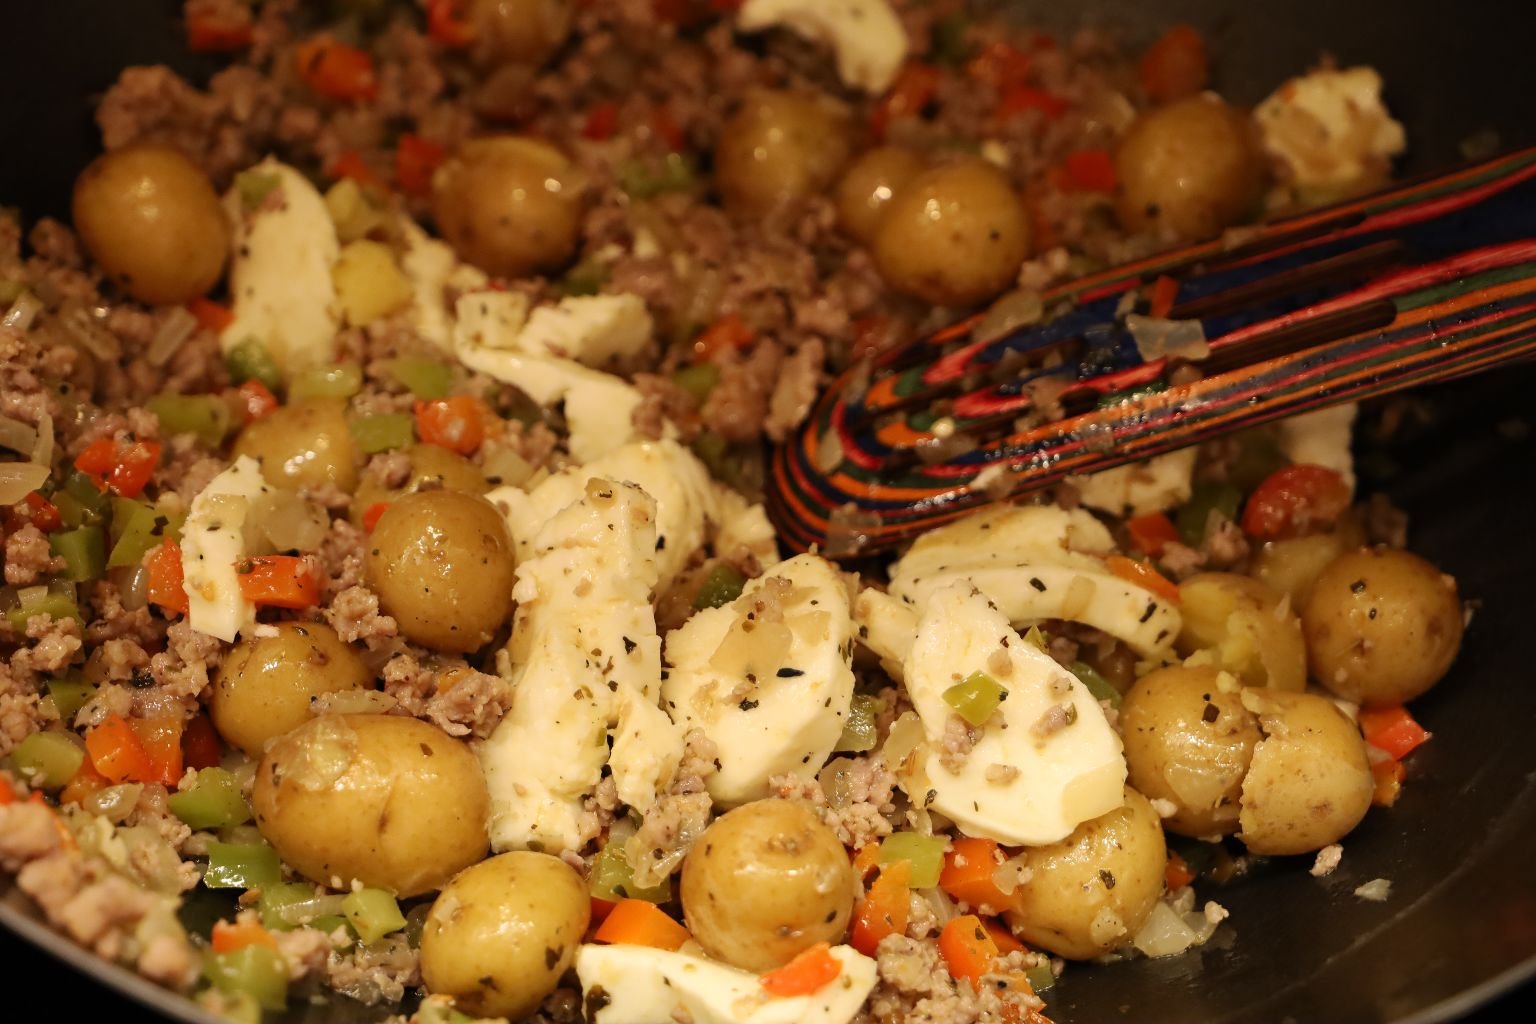
I Added My Boiled Potatoes And Mozzarella Slices To My Wok
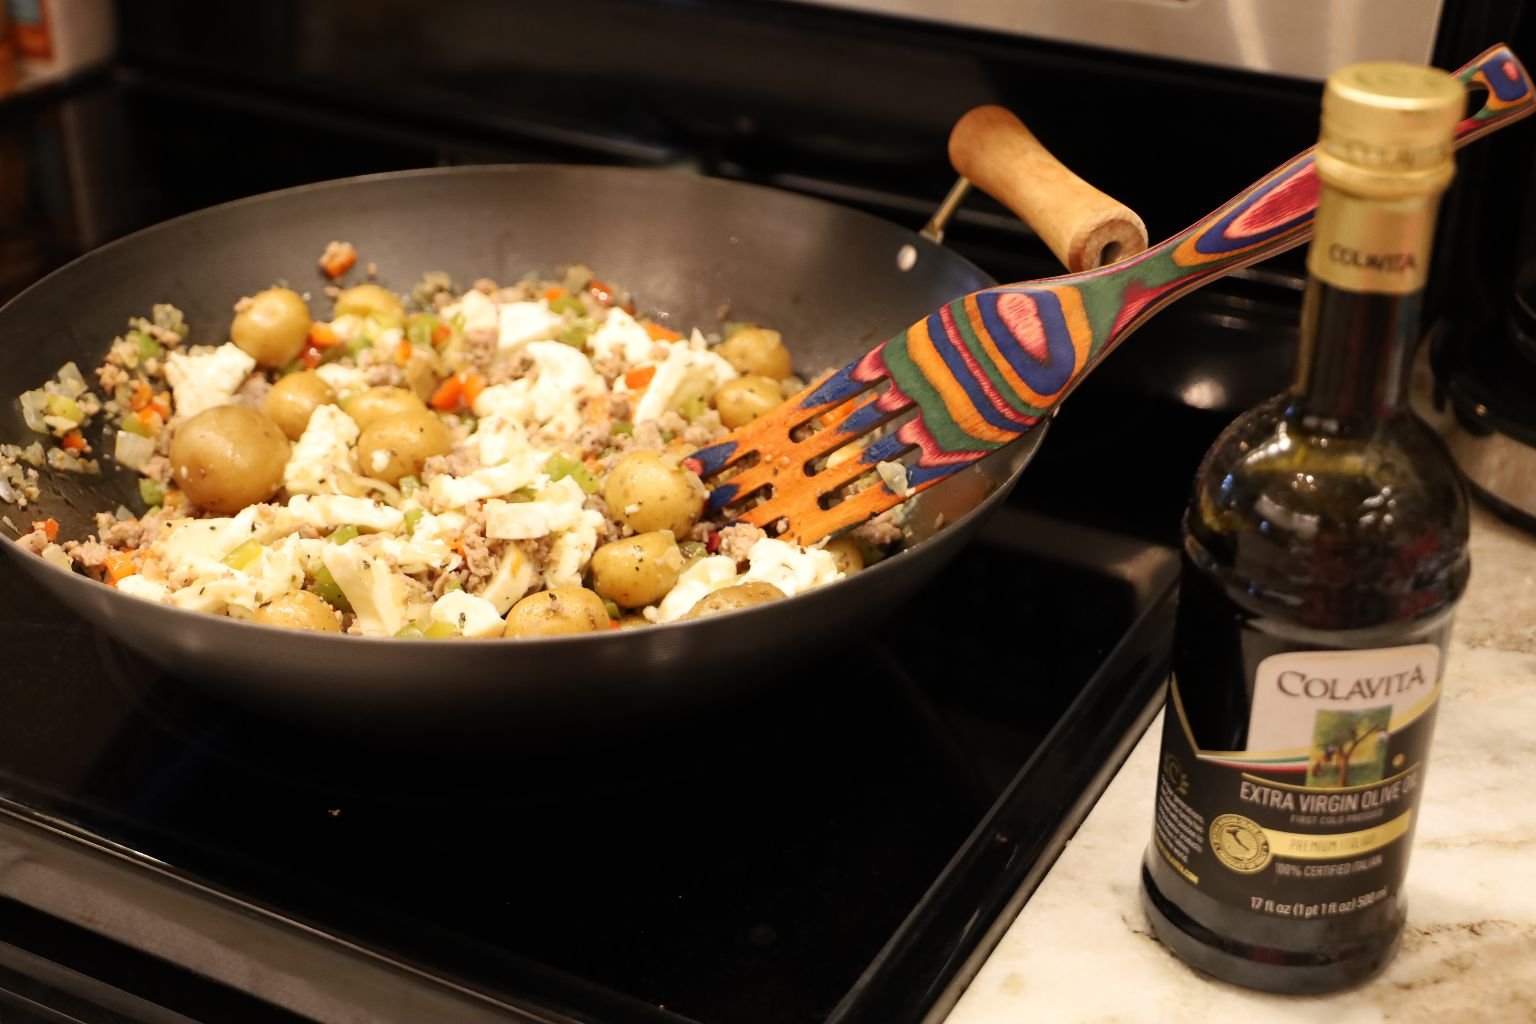
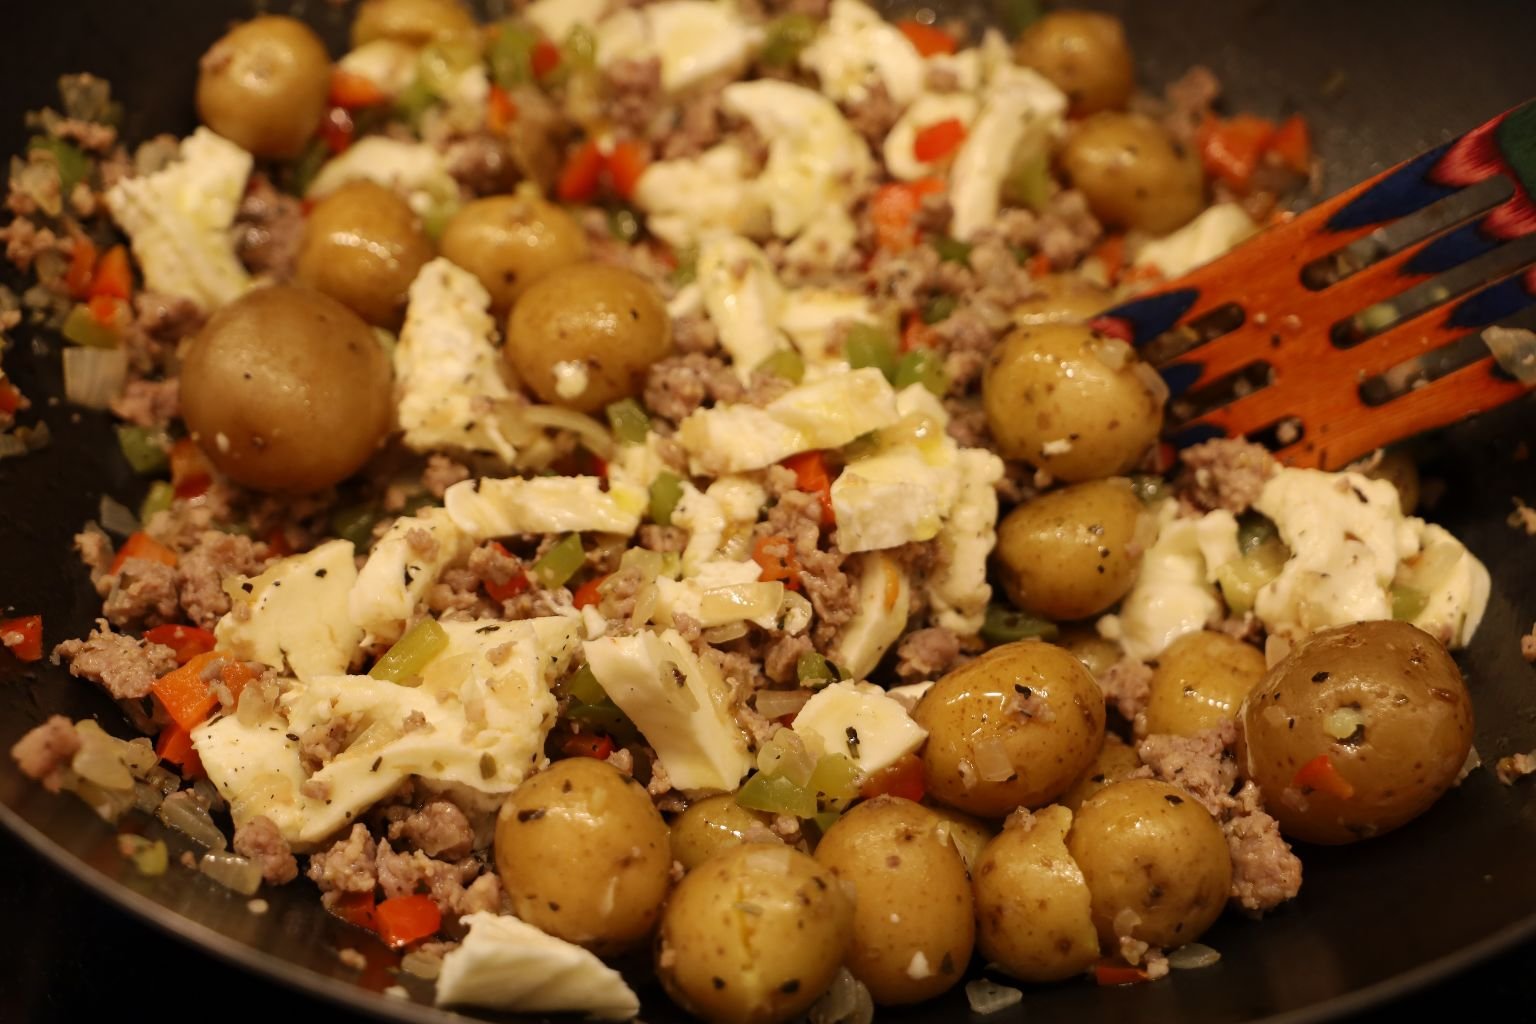
Drizzled Some EVOO Over Top, And Allowed To Simmer Away…
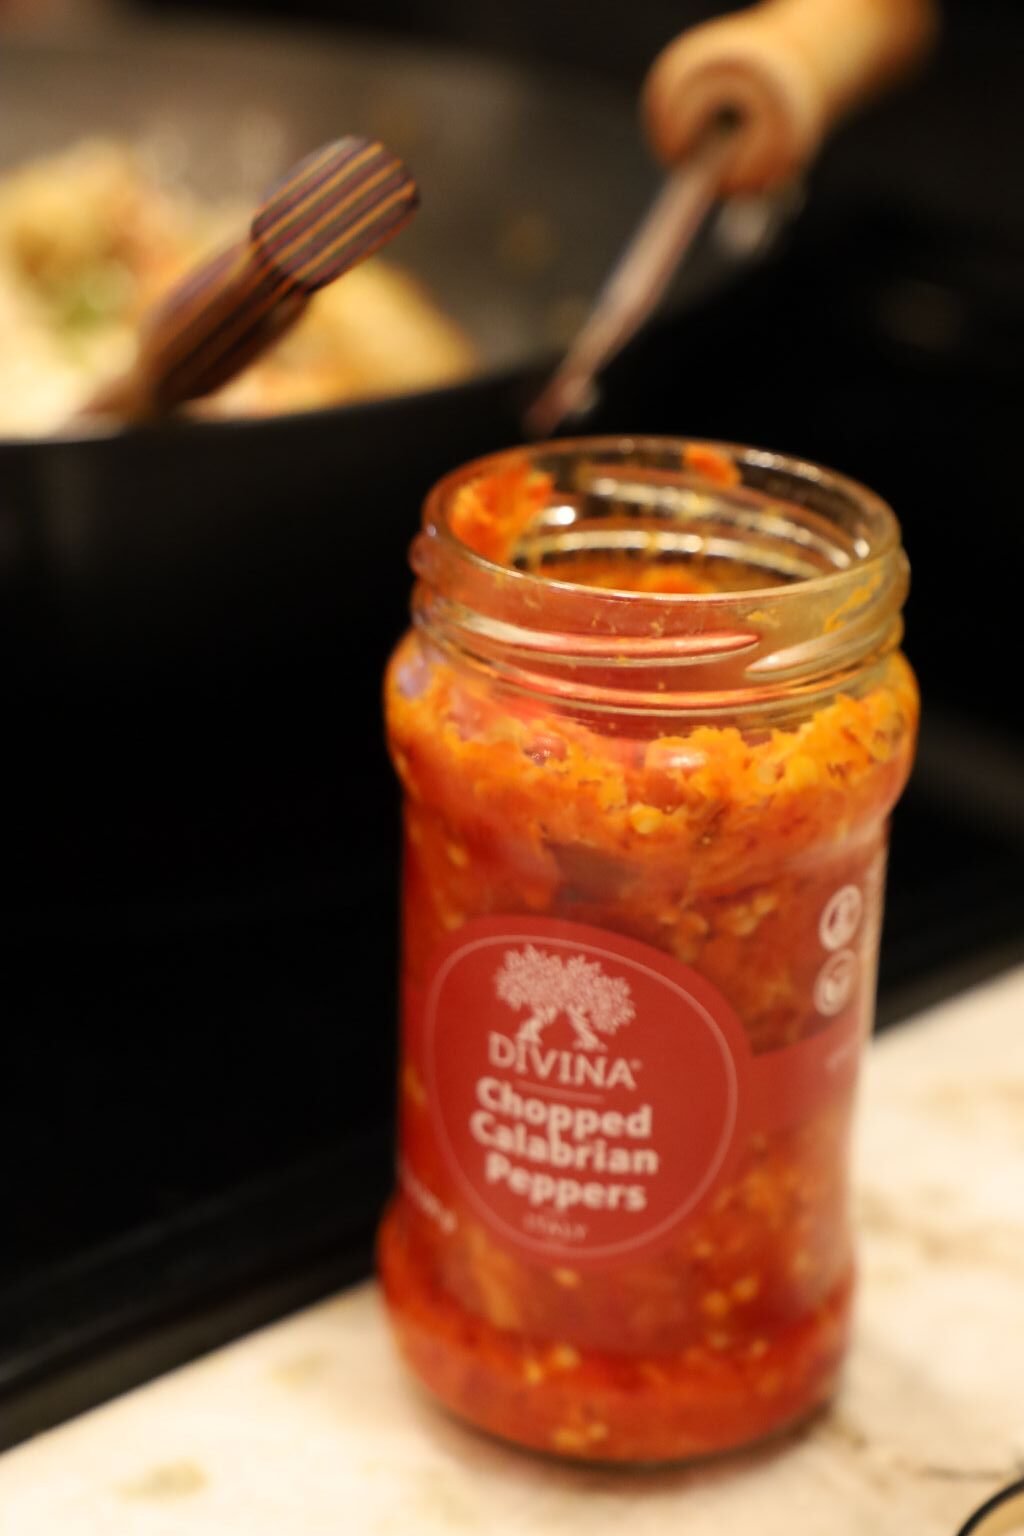
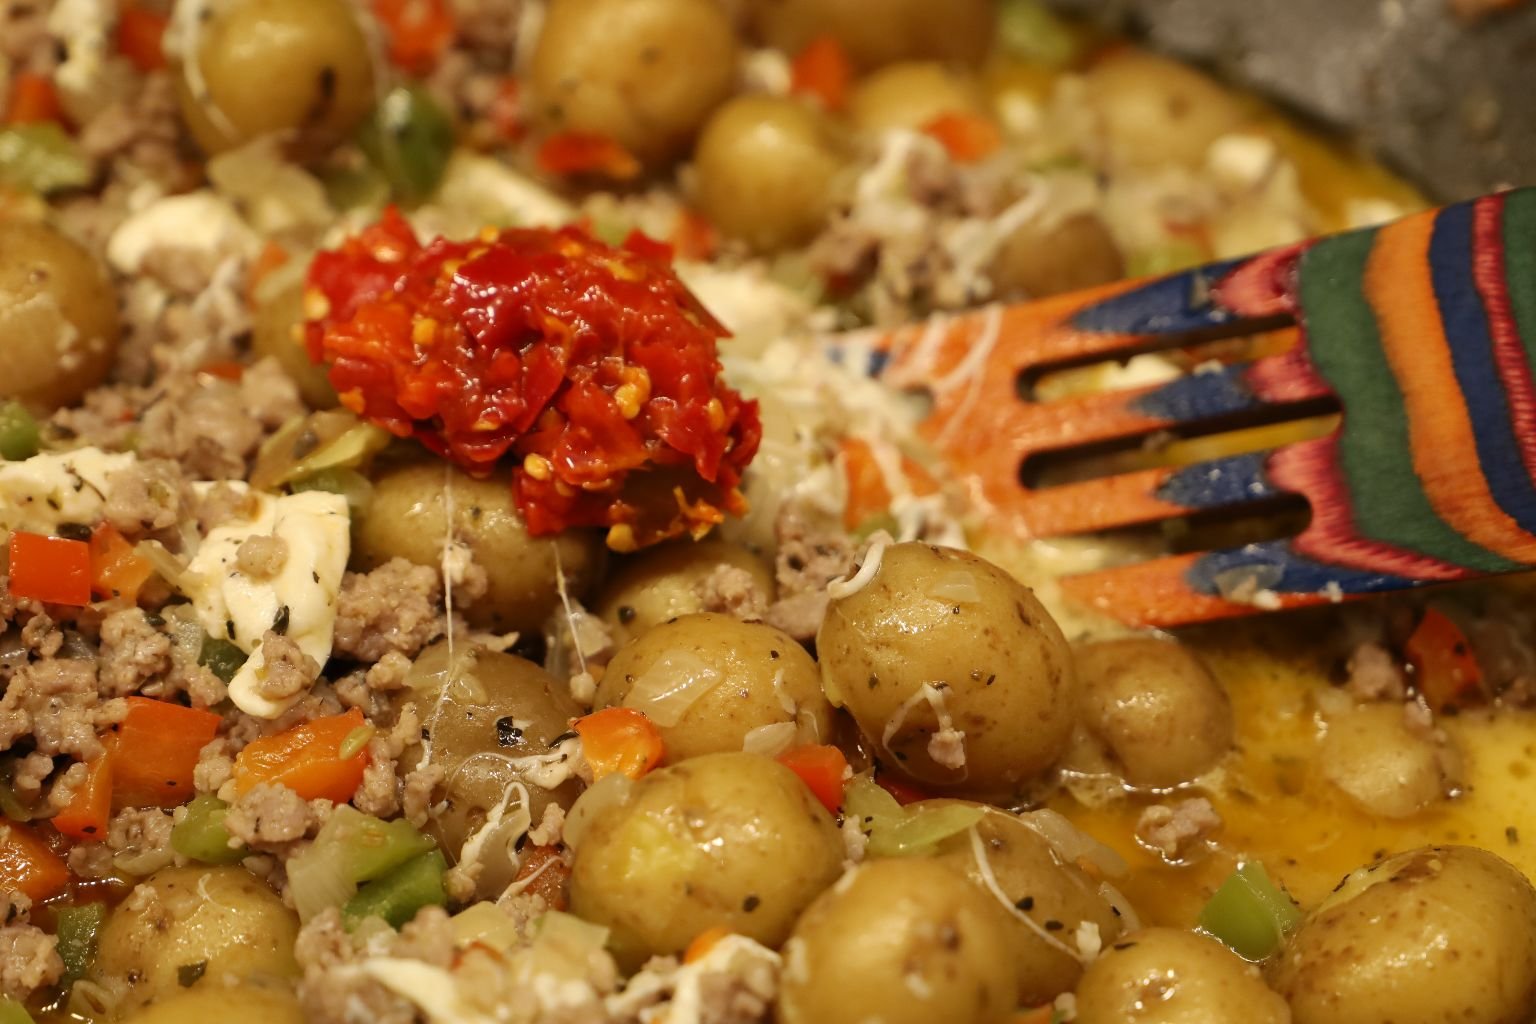
Now For The HEAT!!!!
A Spoonful of Chopped Calabrian Peppers
—————————————————————————————-
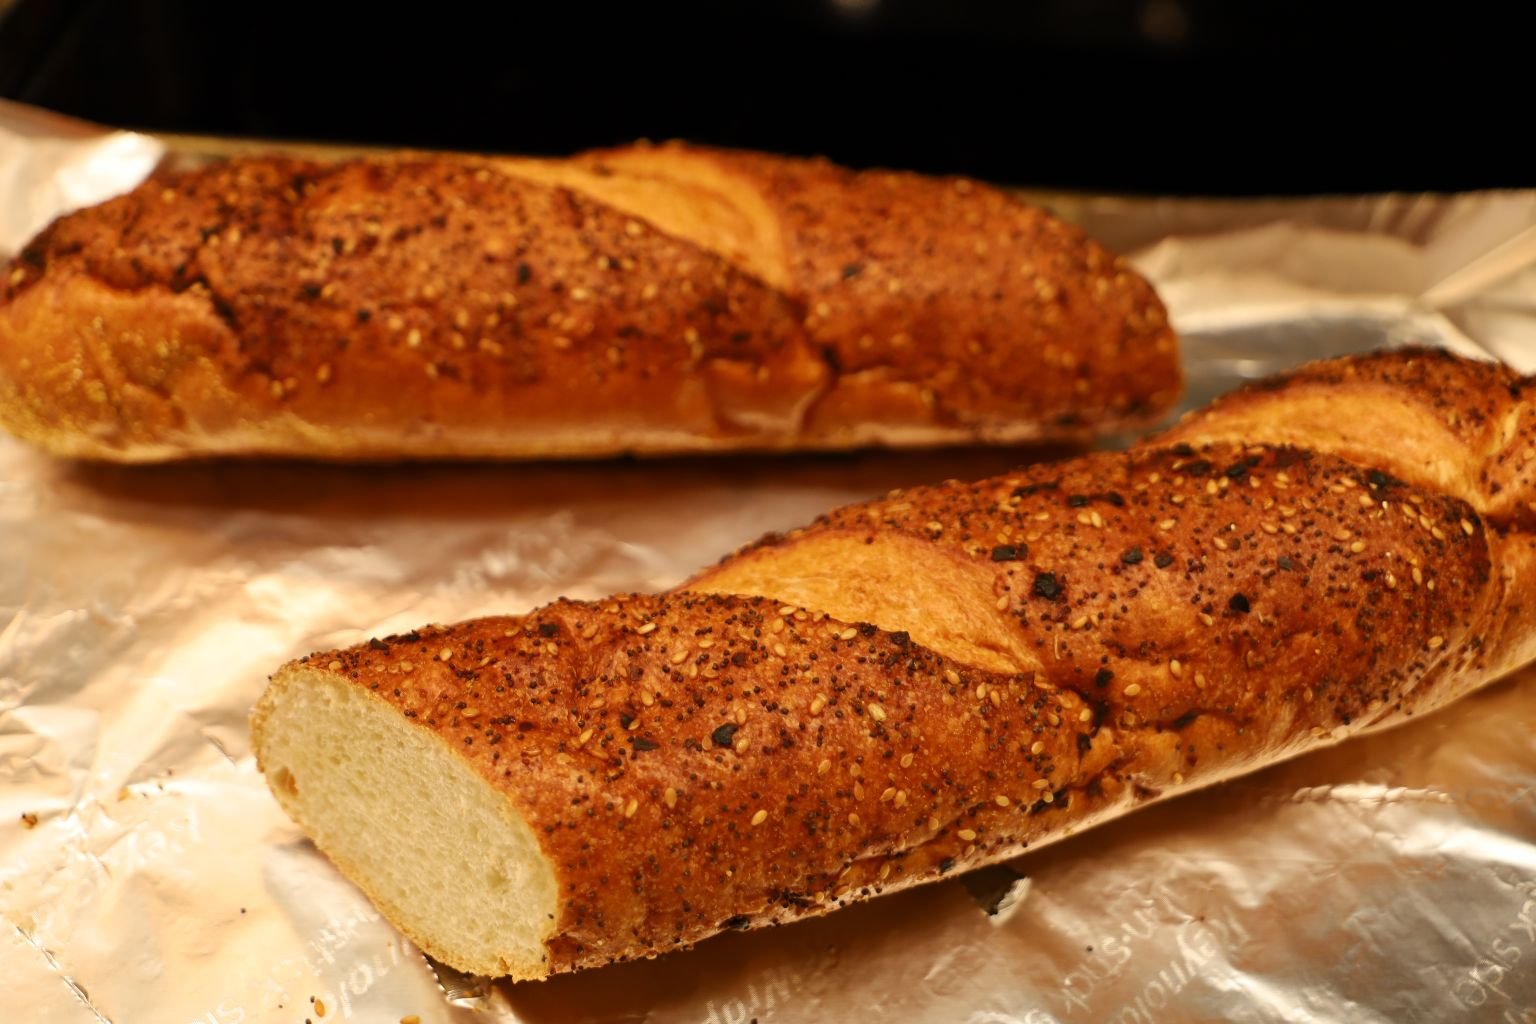
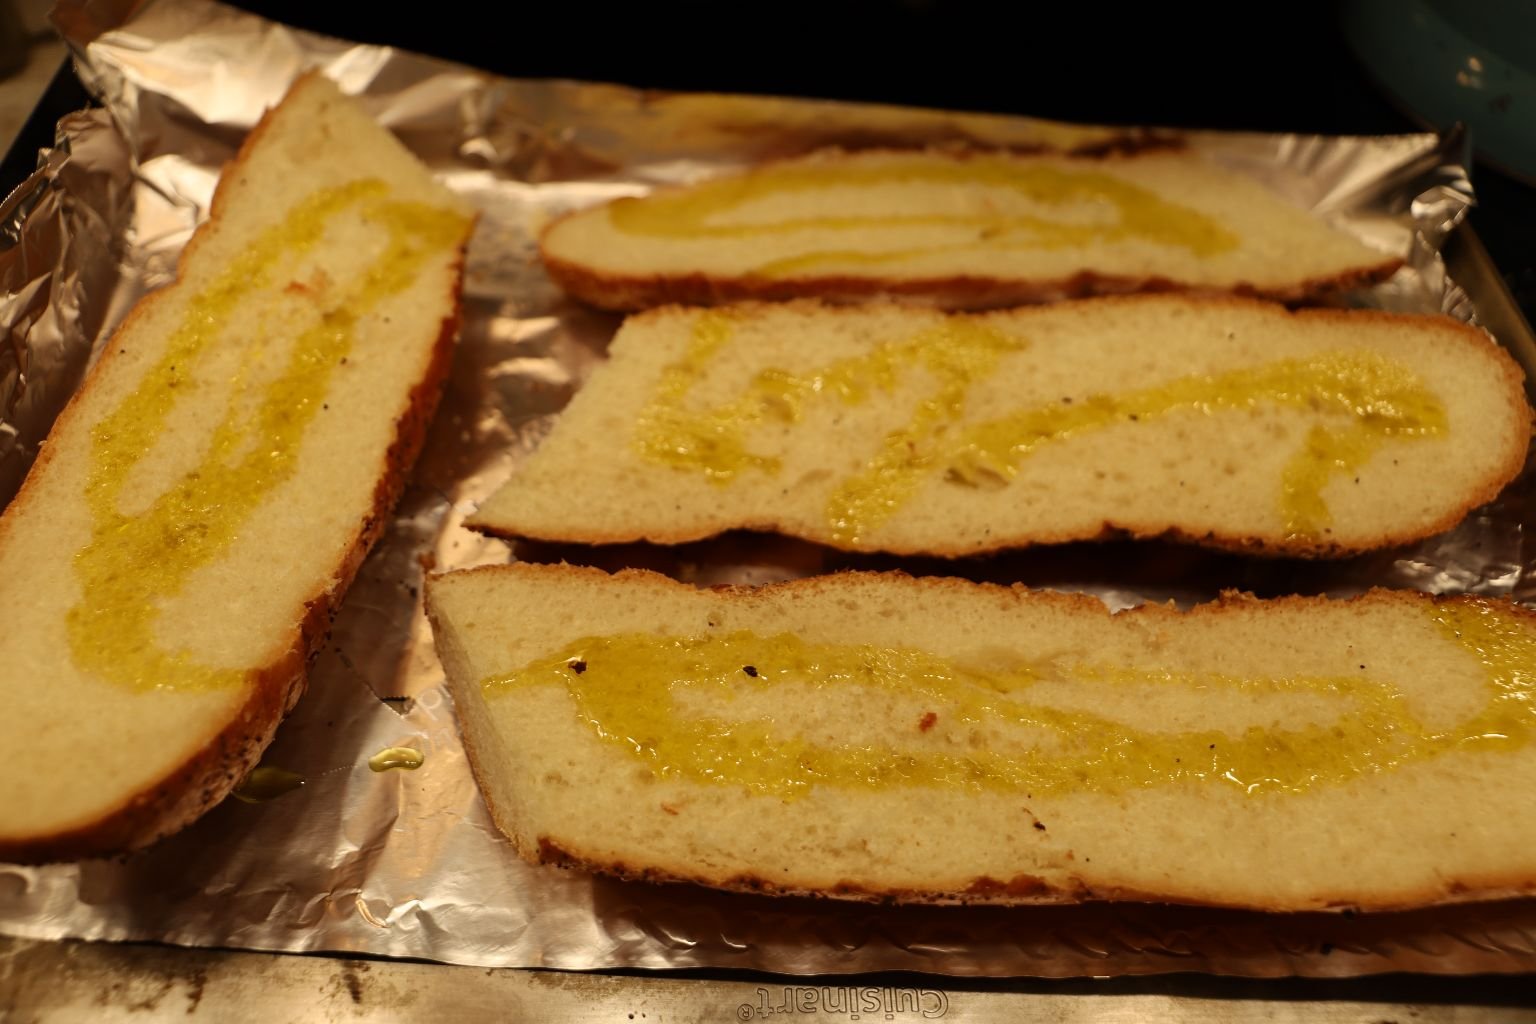
Time To Prepare The Baguette
Turn the oven on 350F, place your sliced in half lengthwise baguette down on an Aluminum Foil lined Baking Sheet
Drizzle With Olive Oil
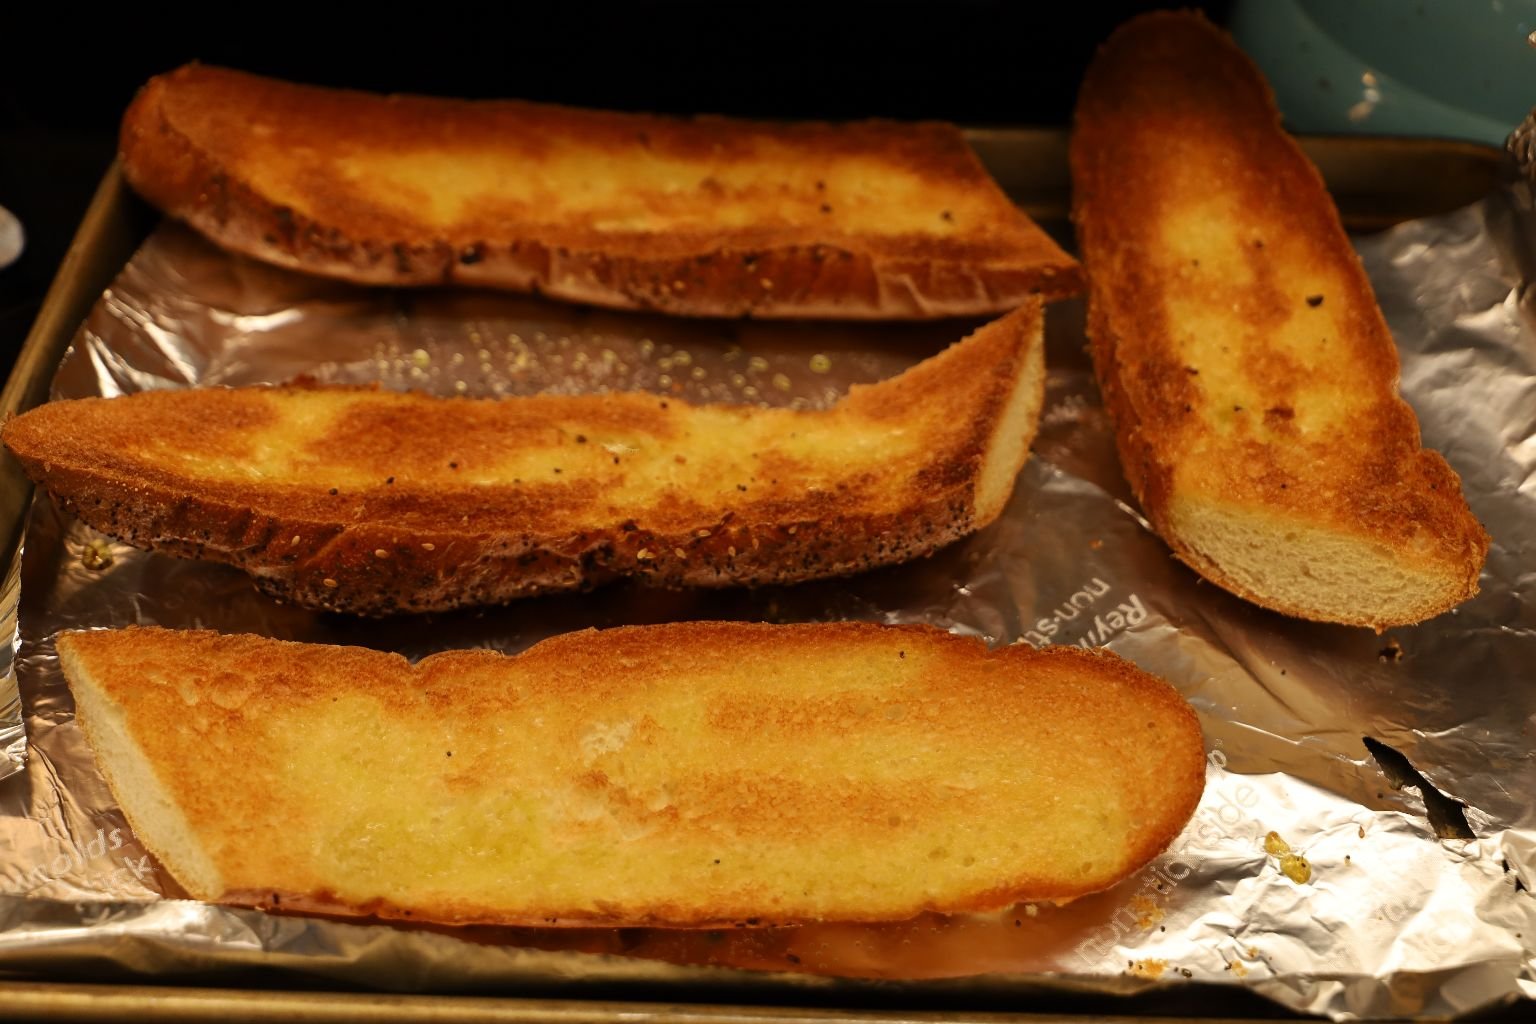
After 8 Minutes Turn Off The Oven And Turn On The Broiler
Cook Until Browned
——————————————————————————-
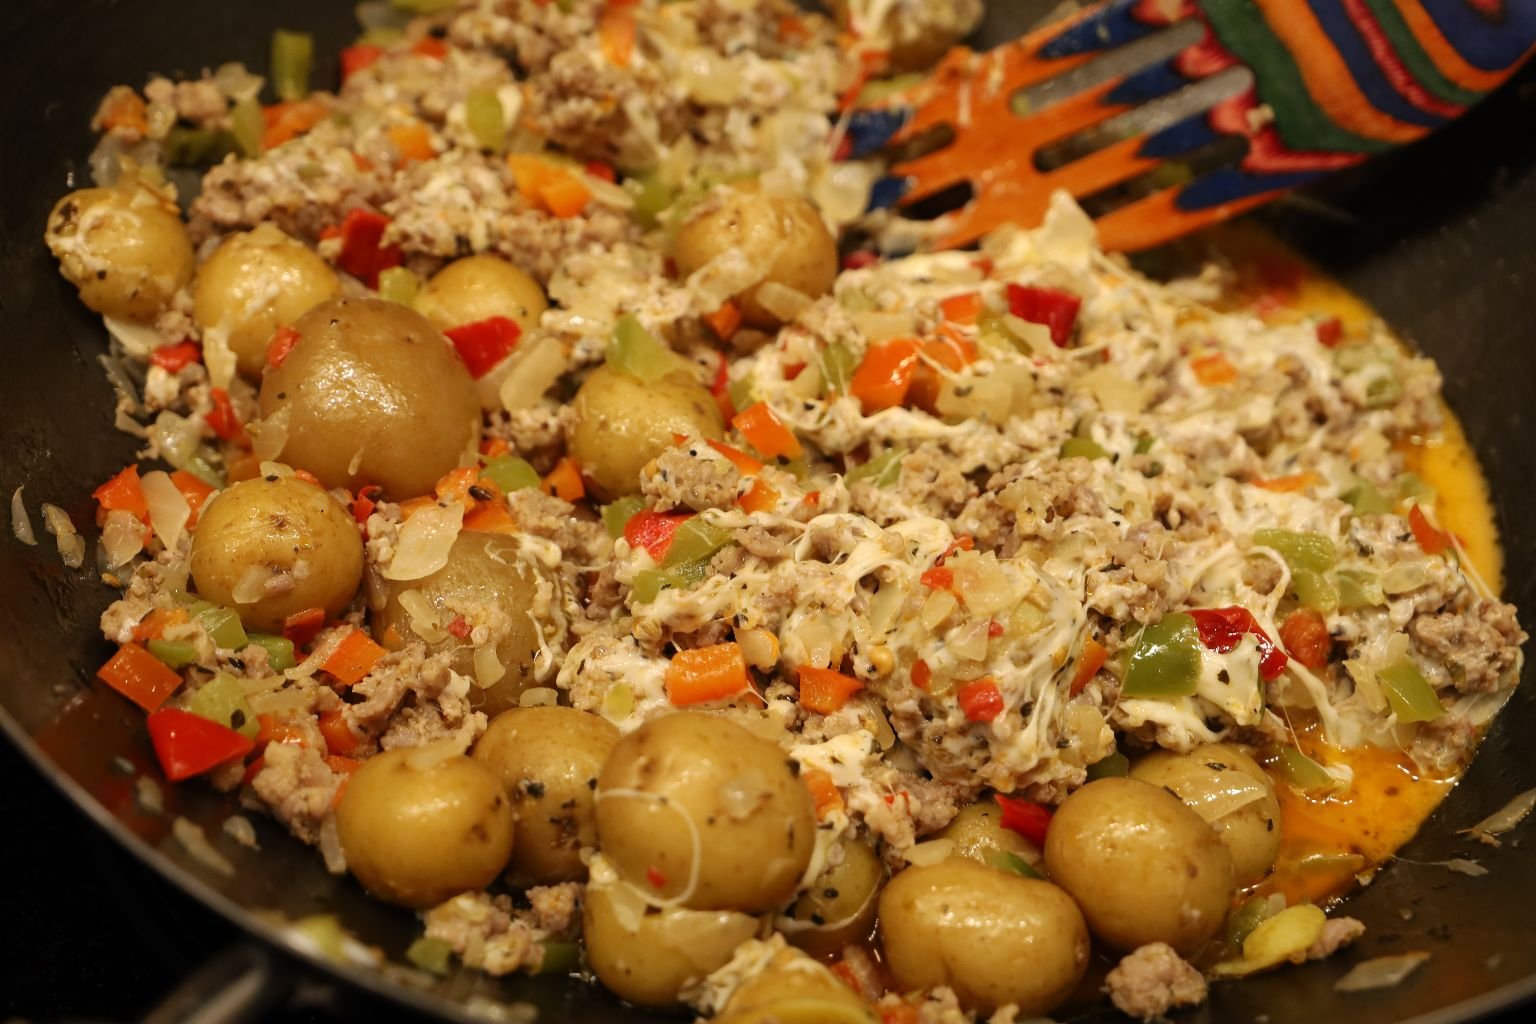
Time To Spoon Over The Browned Baguette
Top With Some Shredded Italian Cheese Along With Some Fresh Basil
Eat With A Fork 🙂
————————————————————————————
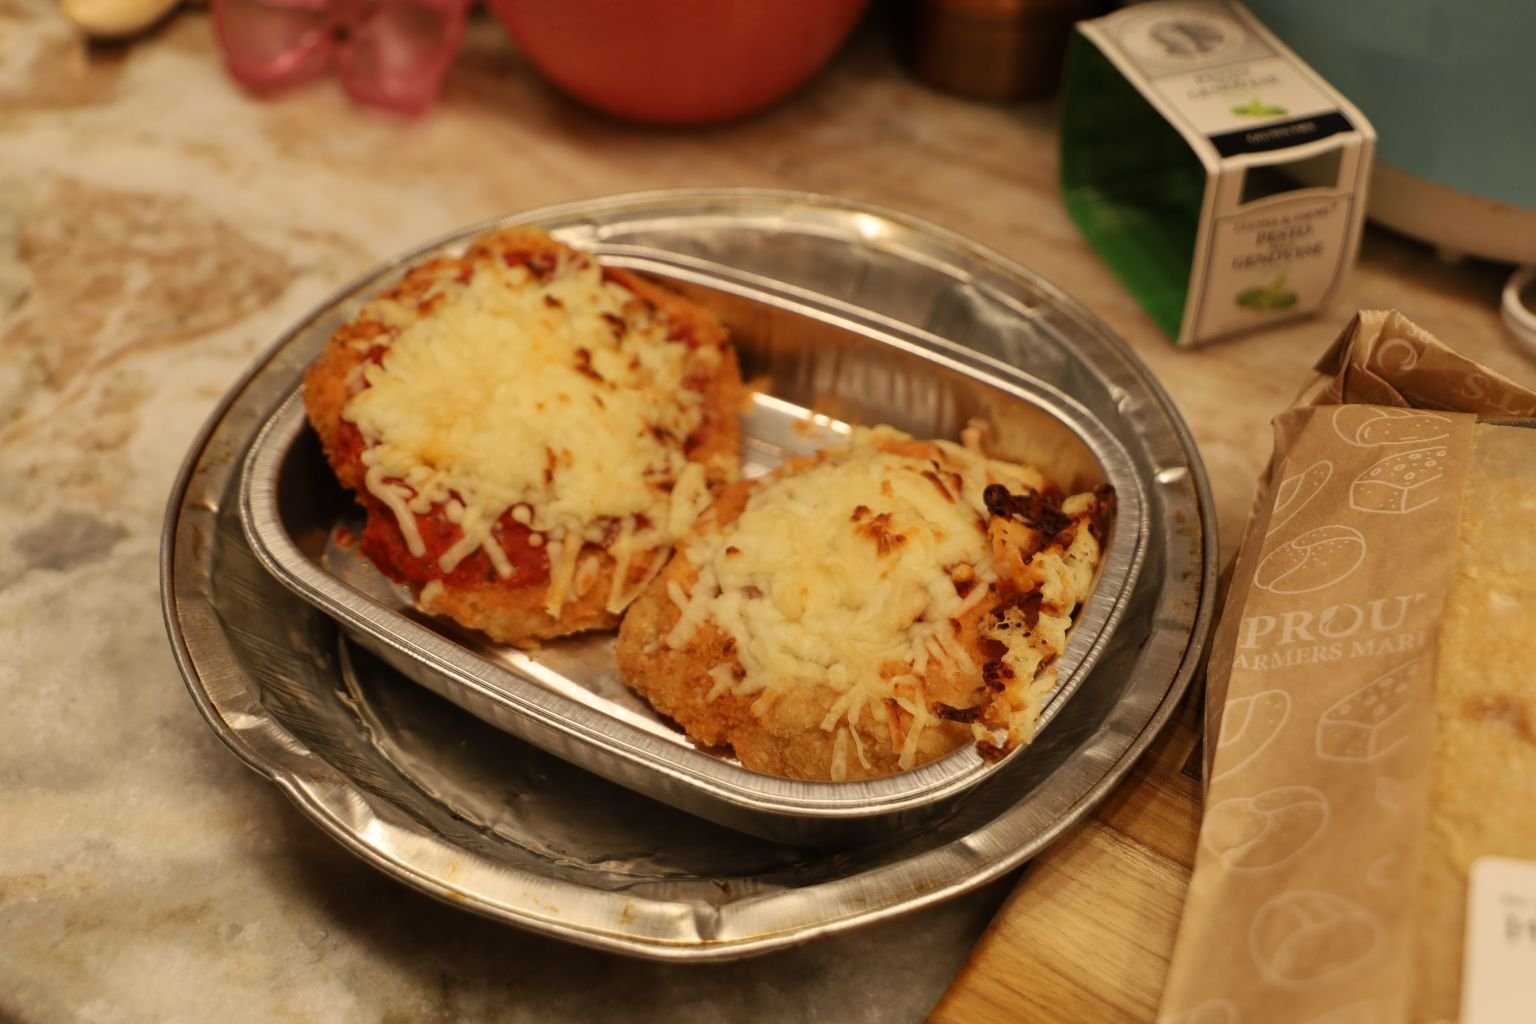
Another Version of our Chicken Parm Sangwitch
We Have A Few Versions Of This Sandwich On Our Website, Here Is Just Another Tasty One
————————————————————————————————-
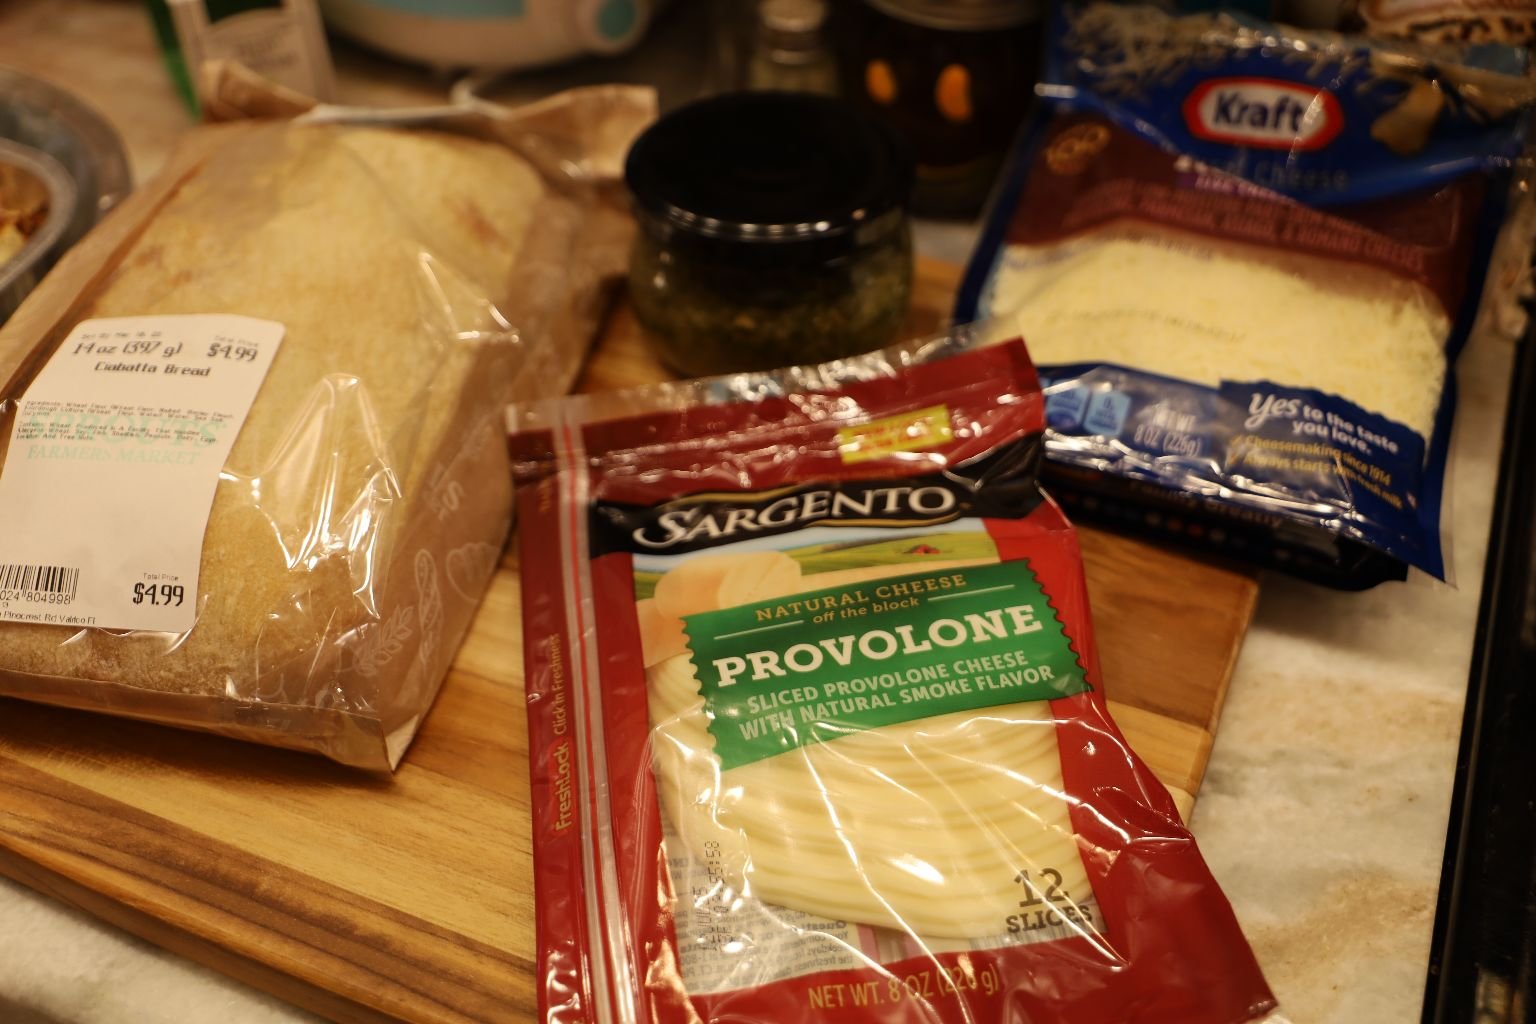
Ingredients:
Ready Made Chicken Parmesan (From Sprouts)
Ciabatta Bread
Basil Pesto
Provolone Cheese Slices
Italian Shredded Cheese
Artisan Lettuce, Any You Desire
Sweet Italian Mustard
Black Garlic Finishing Salt
———————————————————————————
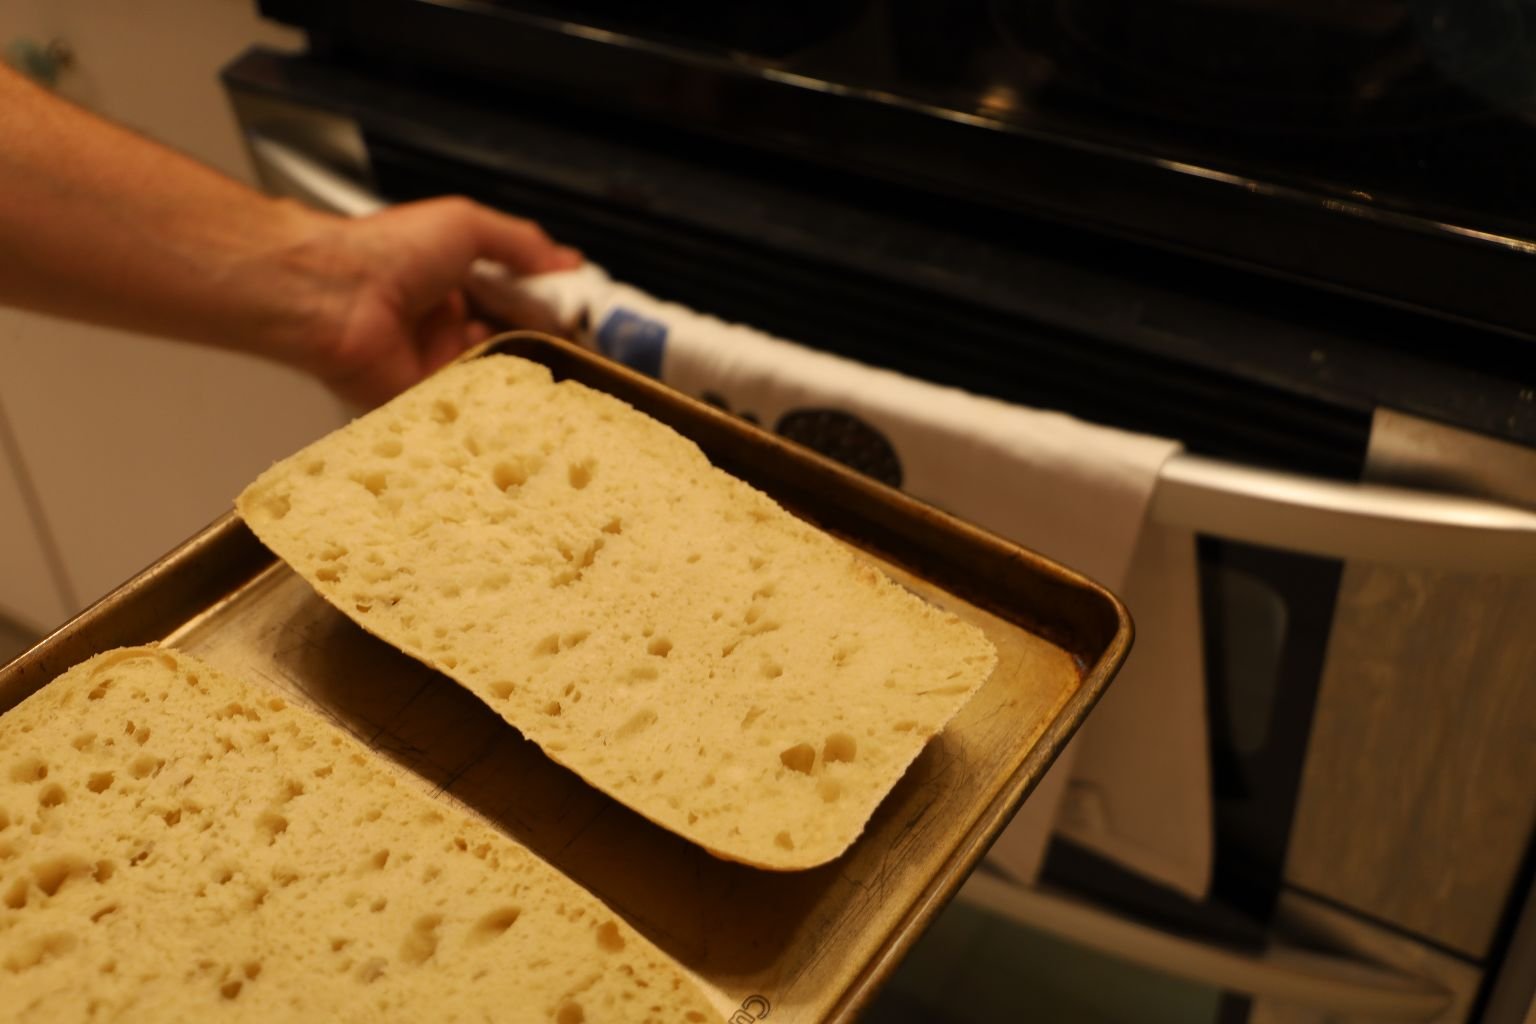
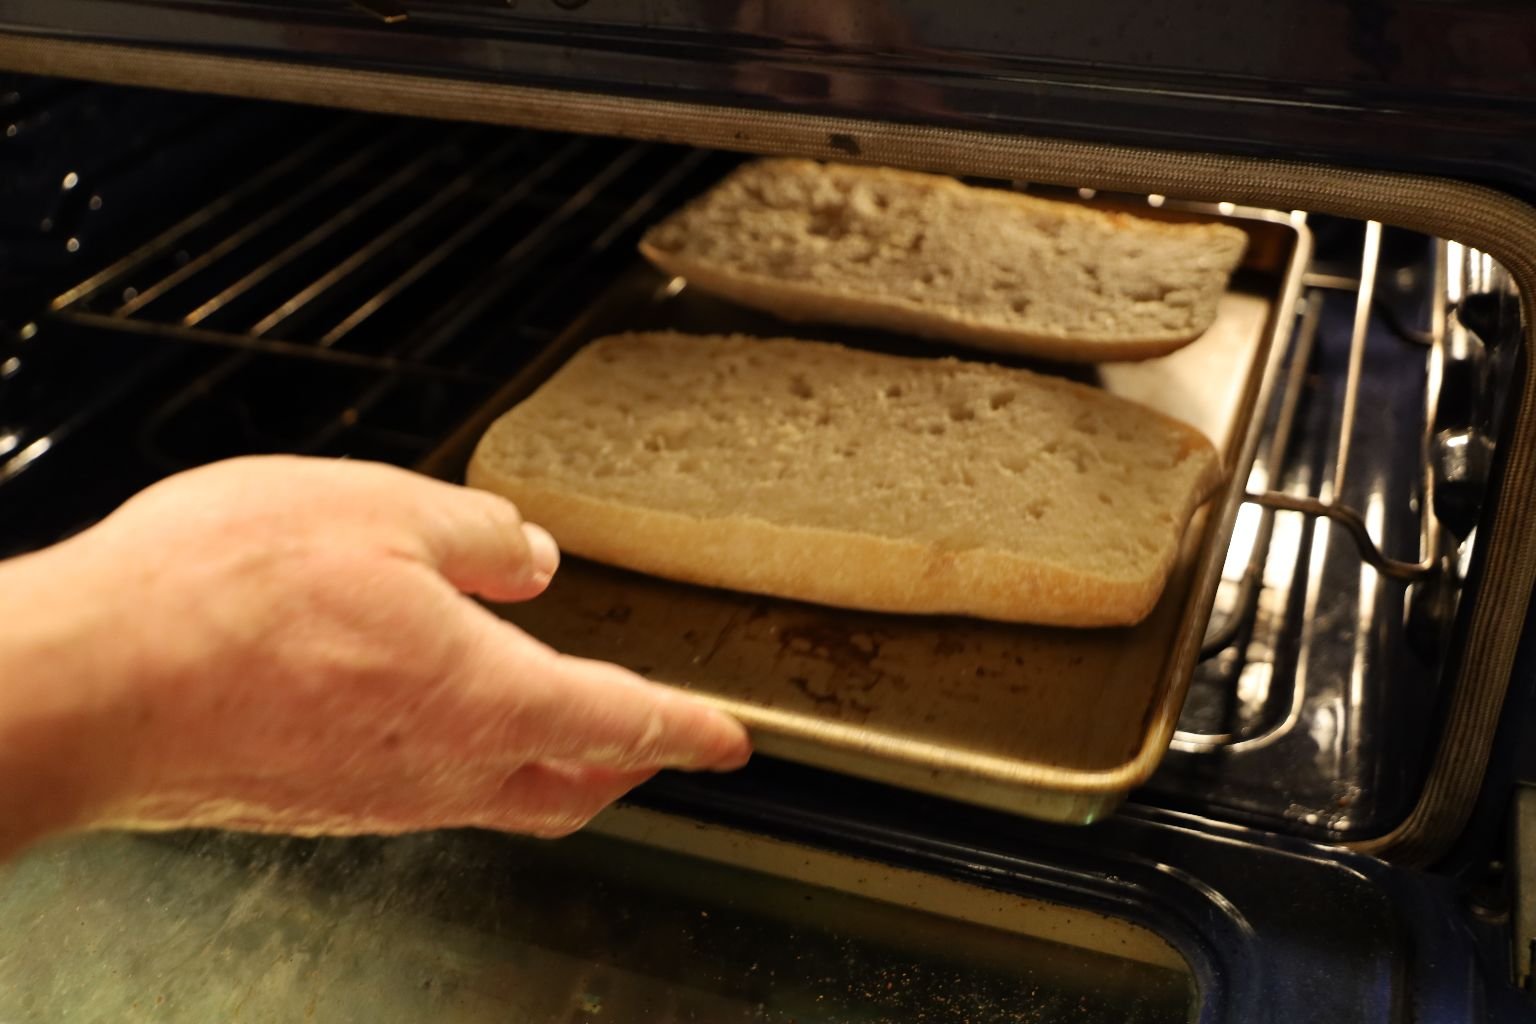
Pre-Heat Your Oven To 350F
Place Your Ciabatta Bread In For About 8 Minutes
————————————————————————————
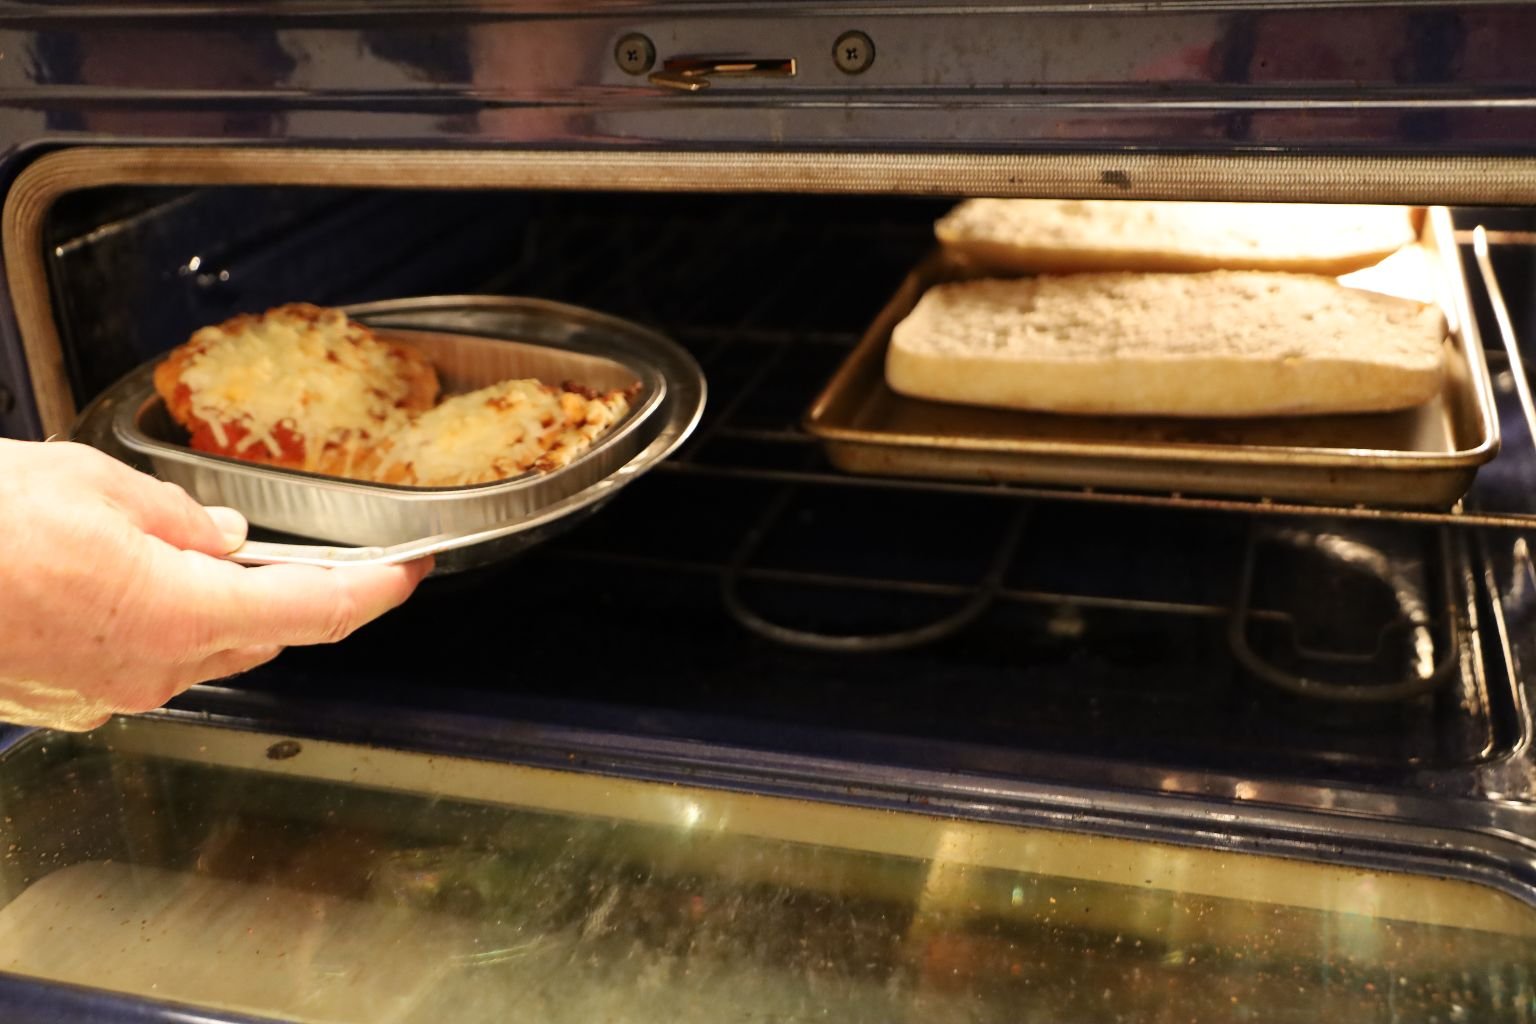
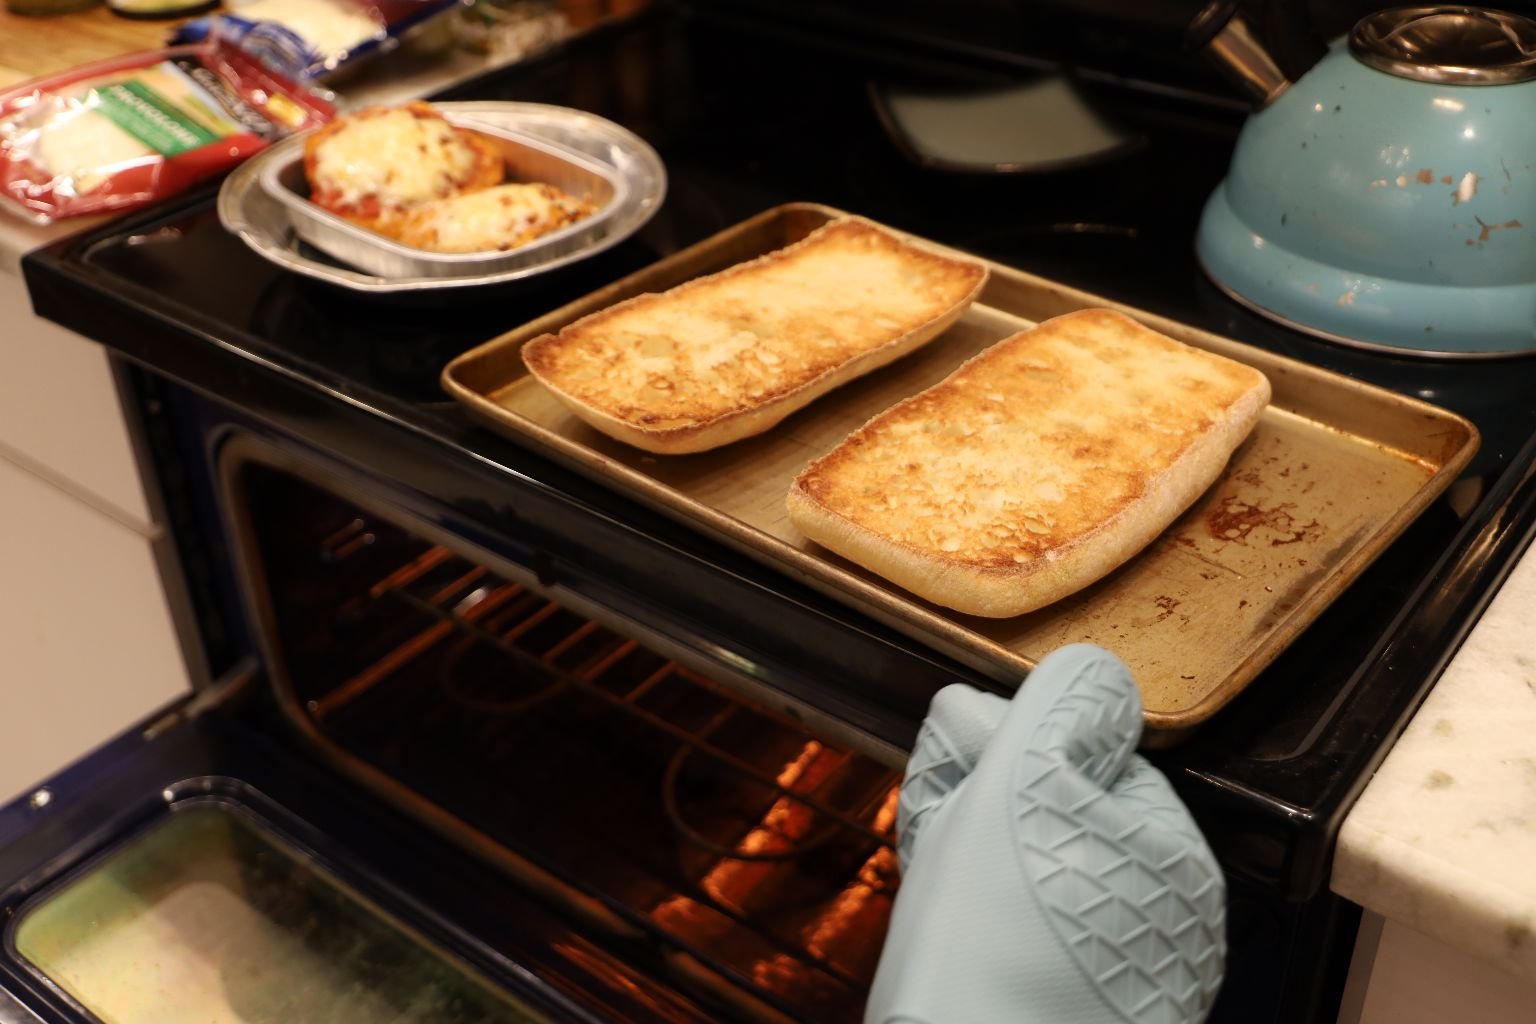
Also, Warming Up Our Chicken Parmesan,
Chicken Parm Ready, Ciabatta Bread Toasted
You can turn the Broiler on to brown your Ciabatta Bread.
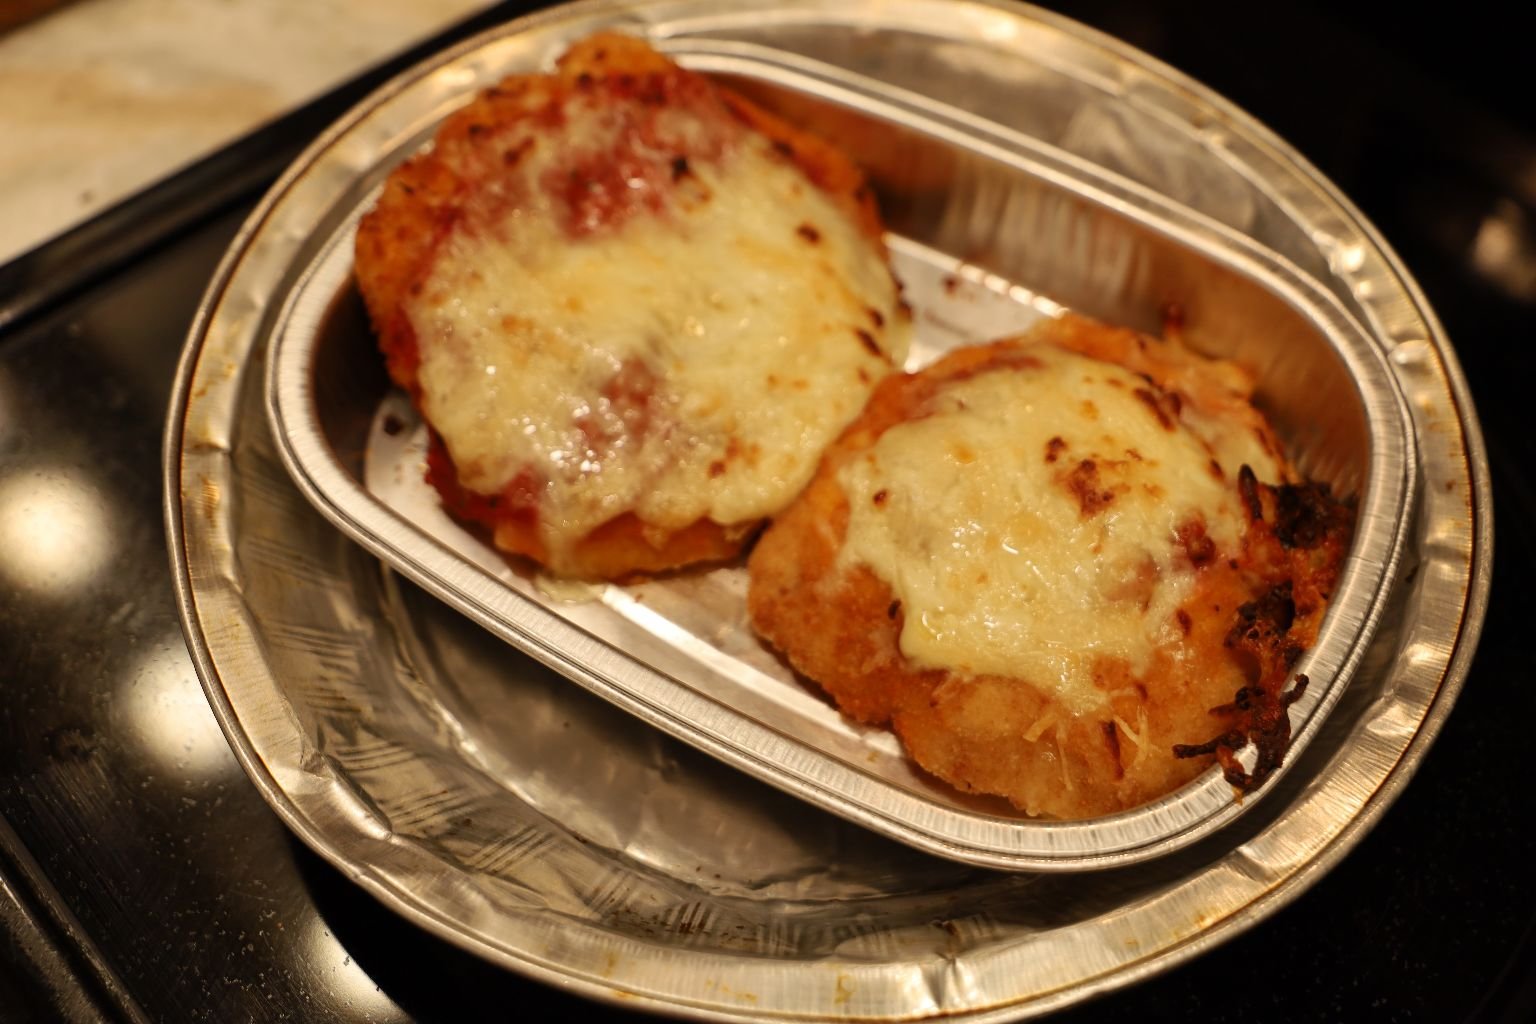
Chicken Parm, Nice and Hot!
——————————————————————————–
Time To Assemble The Sandwich
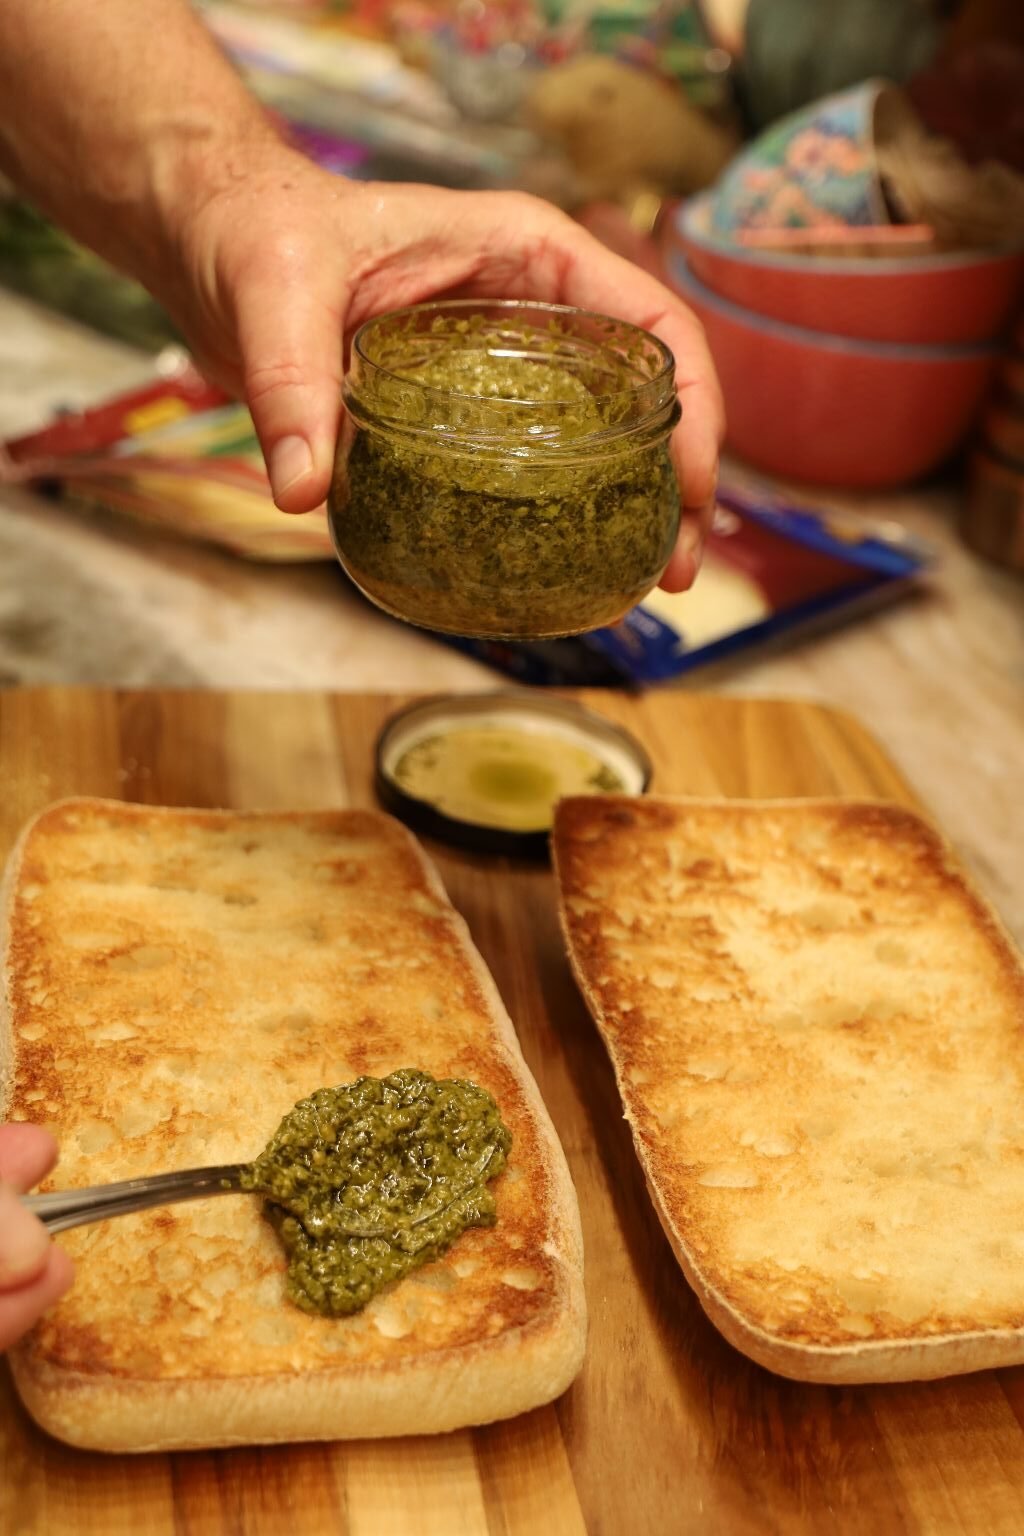
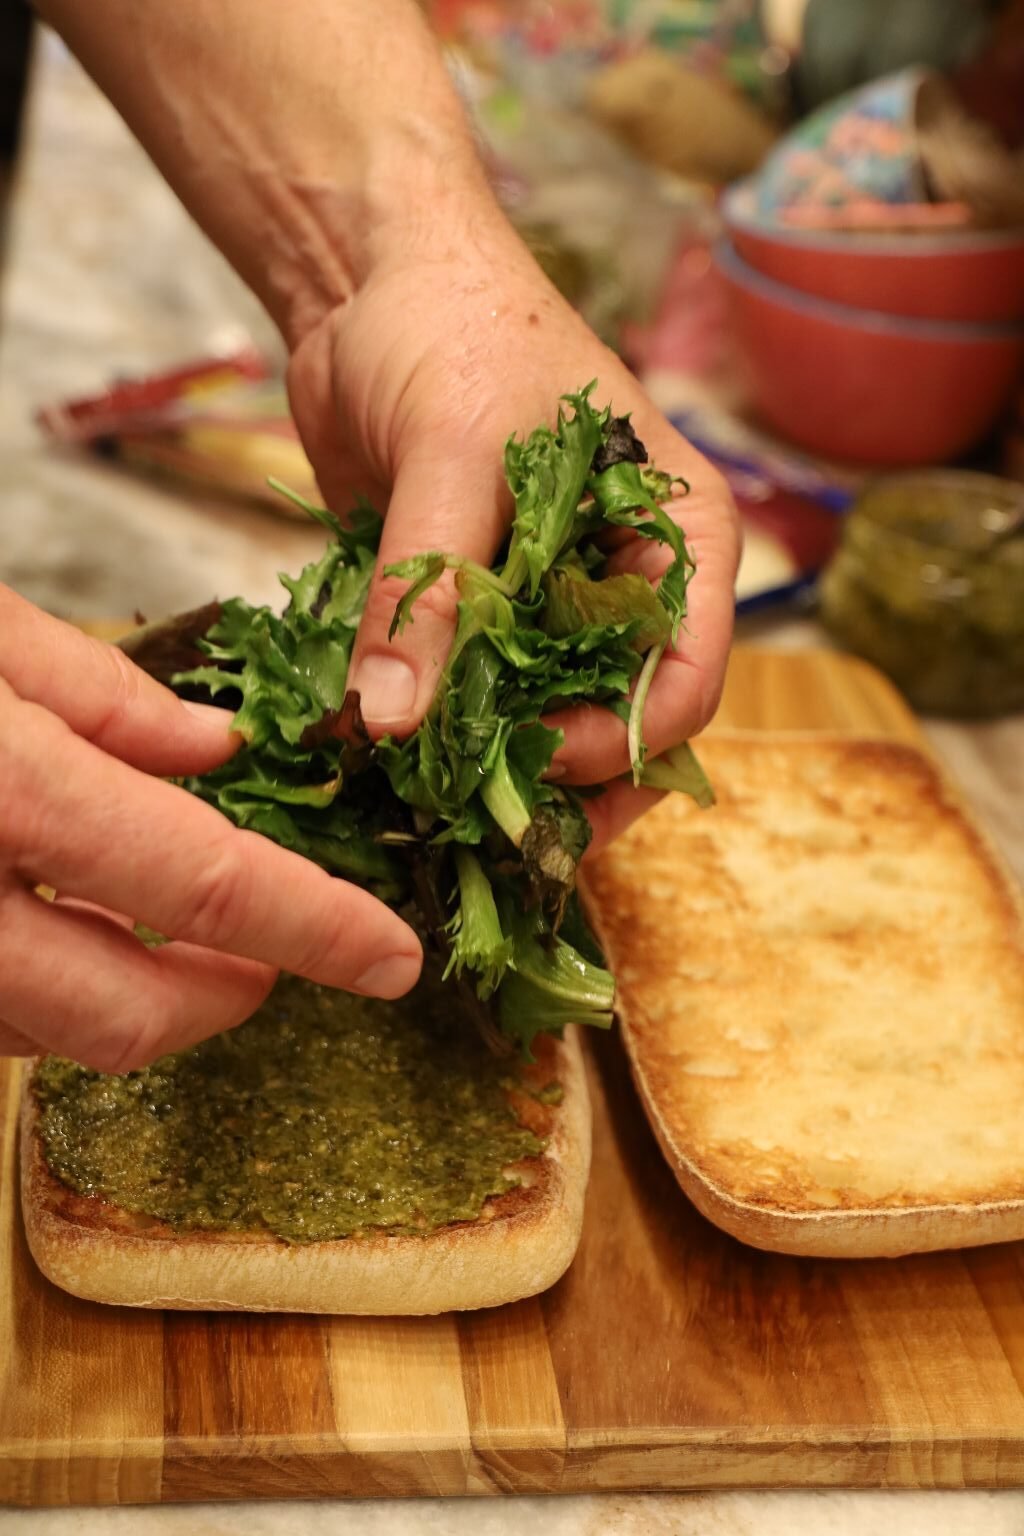
Spreading The Basil Pesto Onto One Half, Then Placing The Artisan Greens On Top…
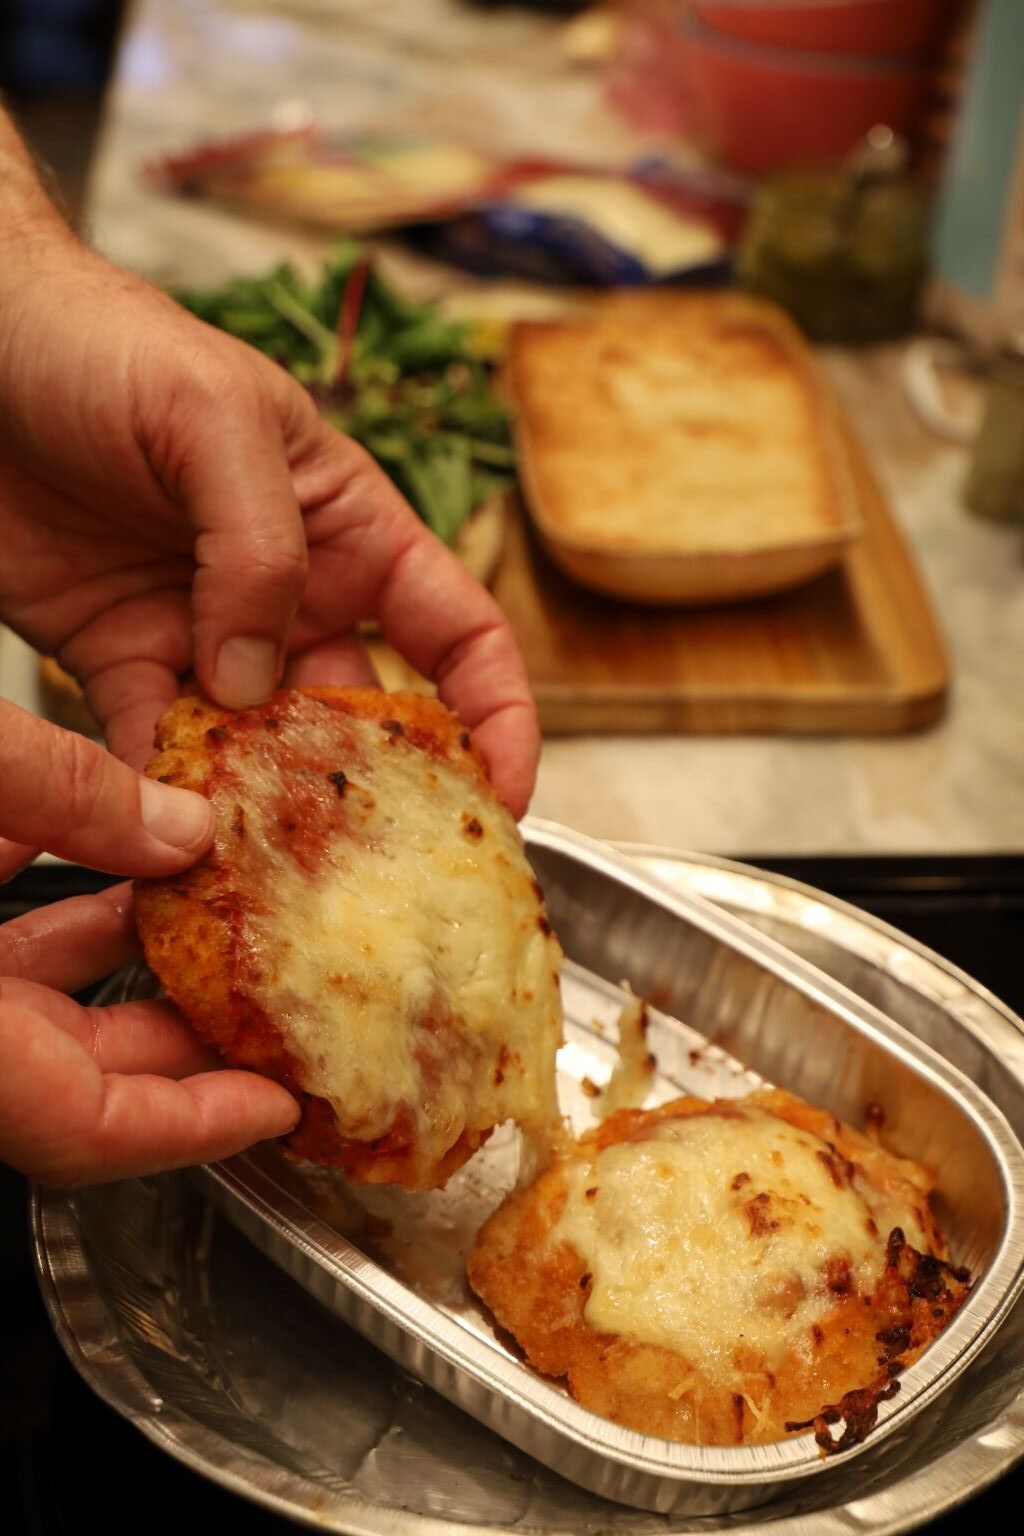
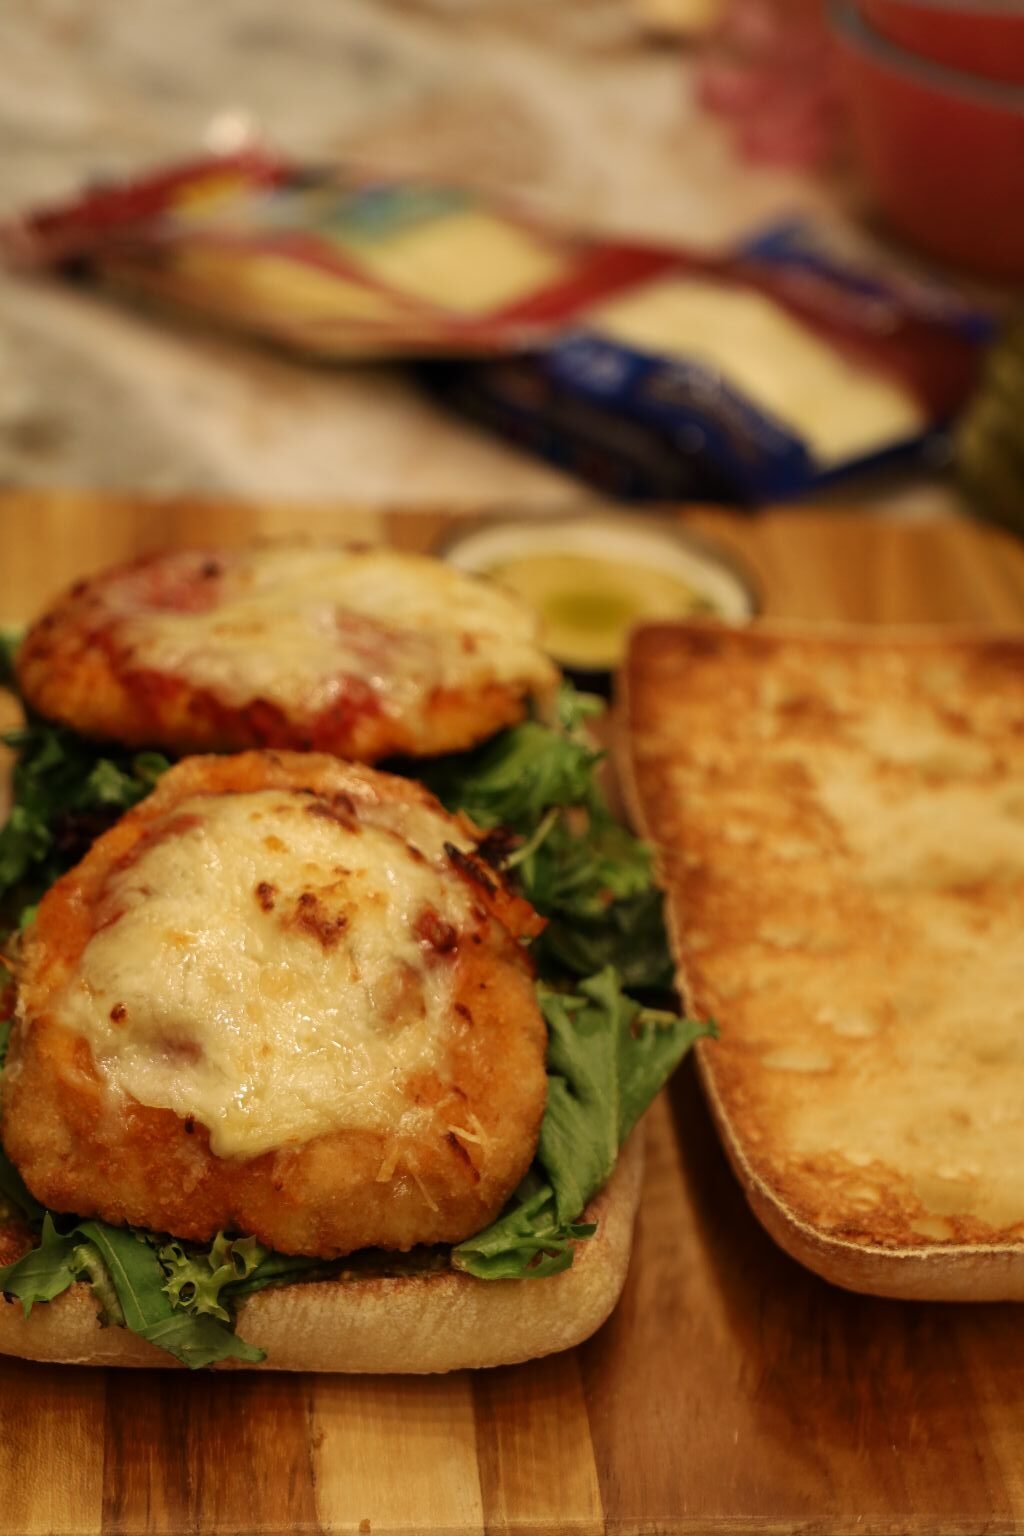
Now Place The Chicken Parm Patties On Top Of The Lettuce…
———————————————————————————-
On The Other Half…..
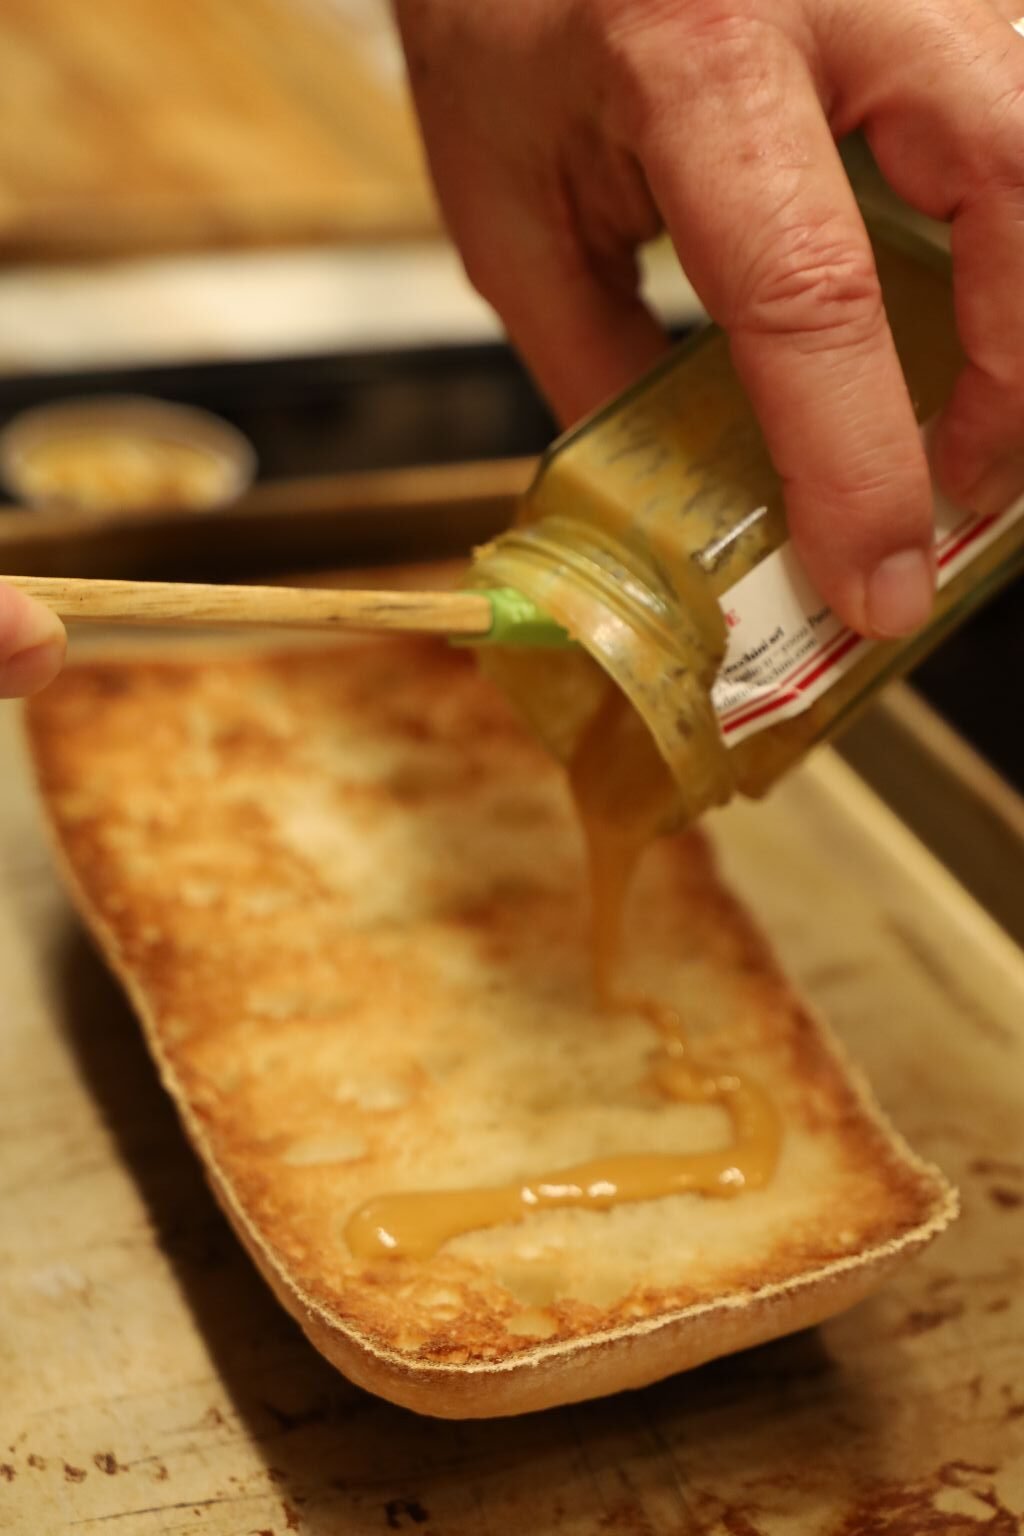
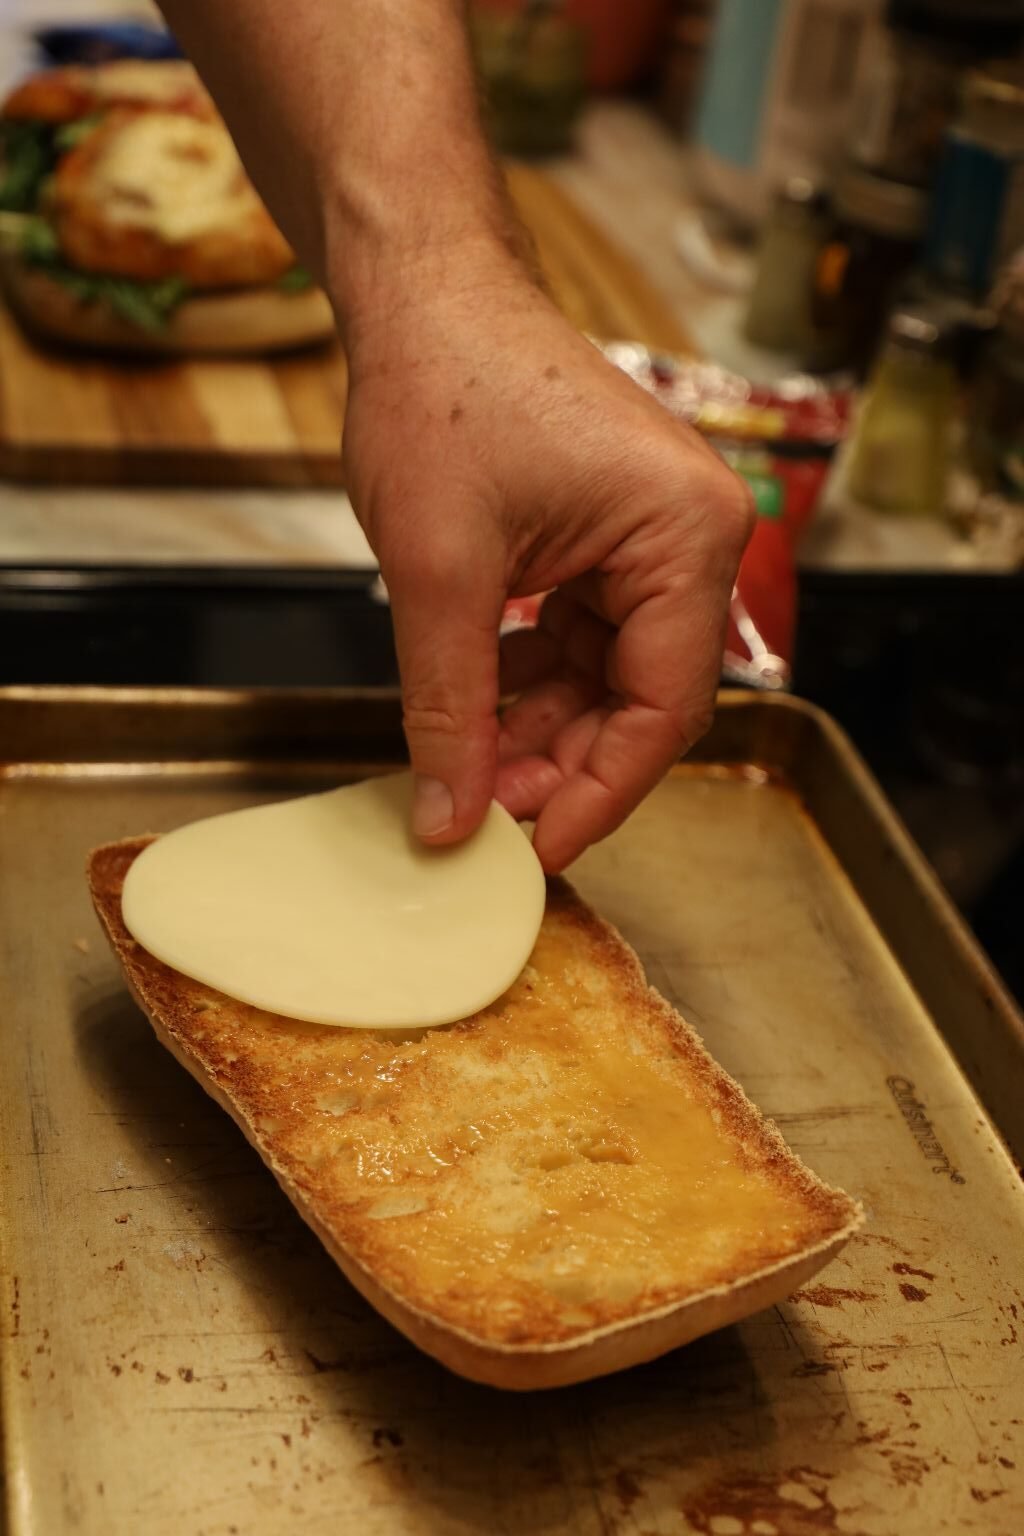
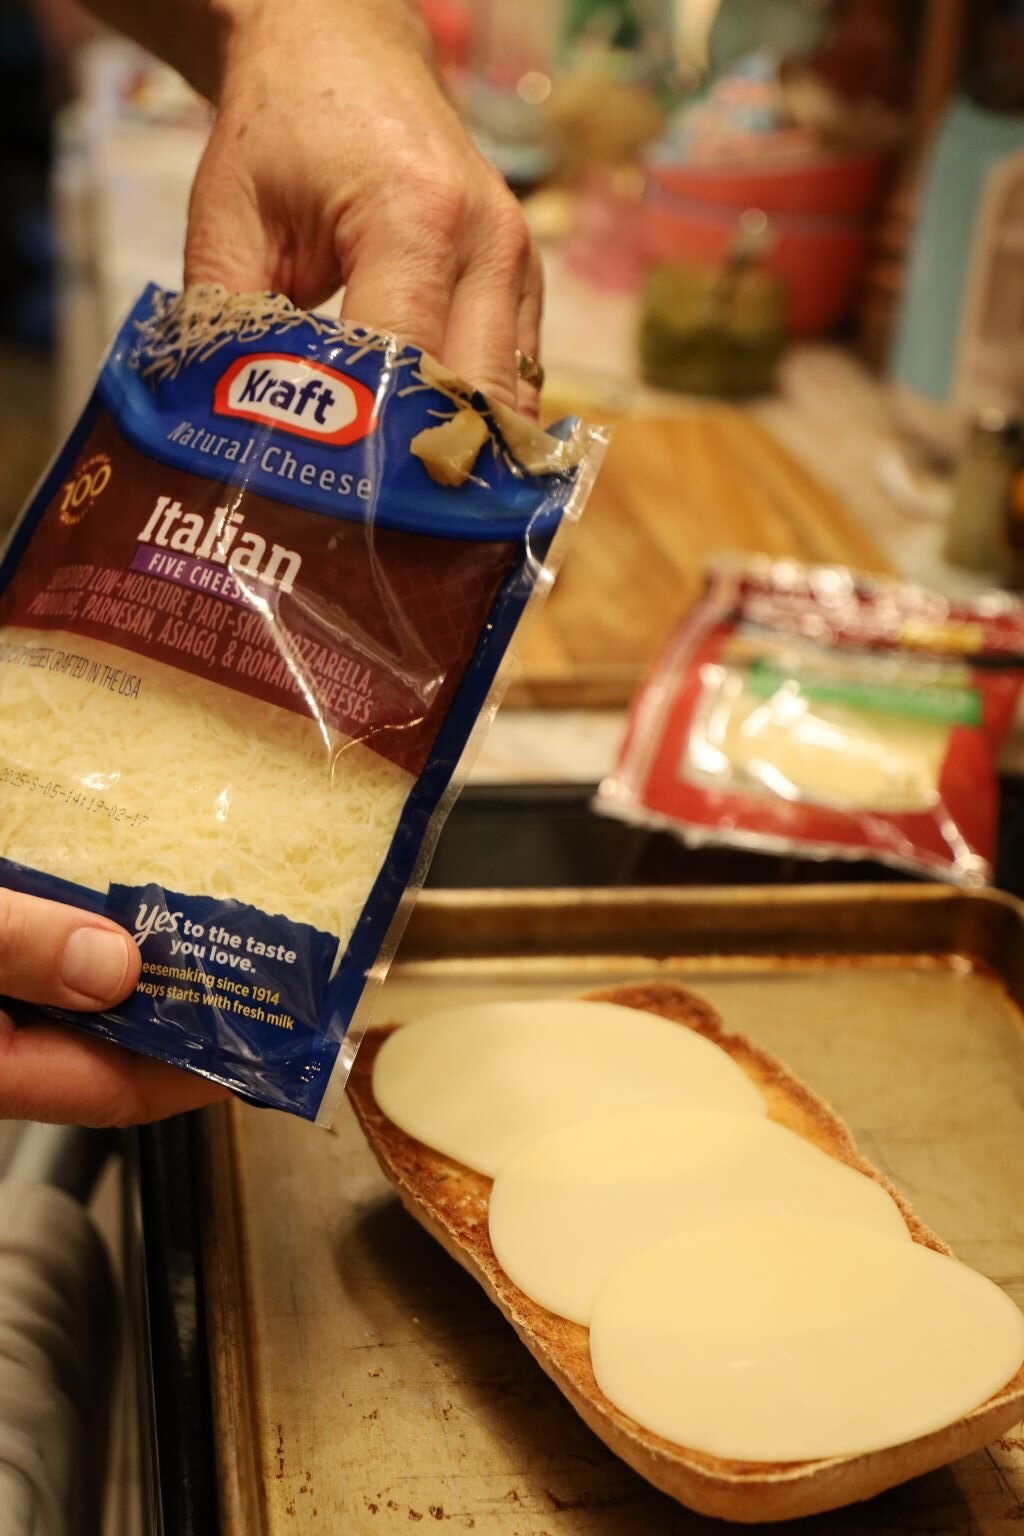
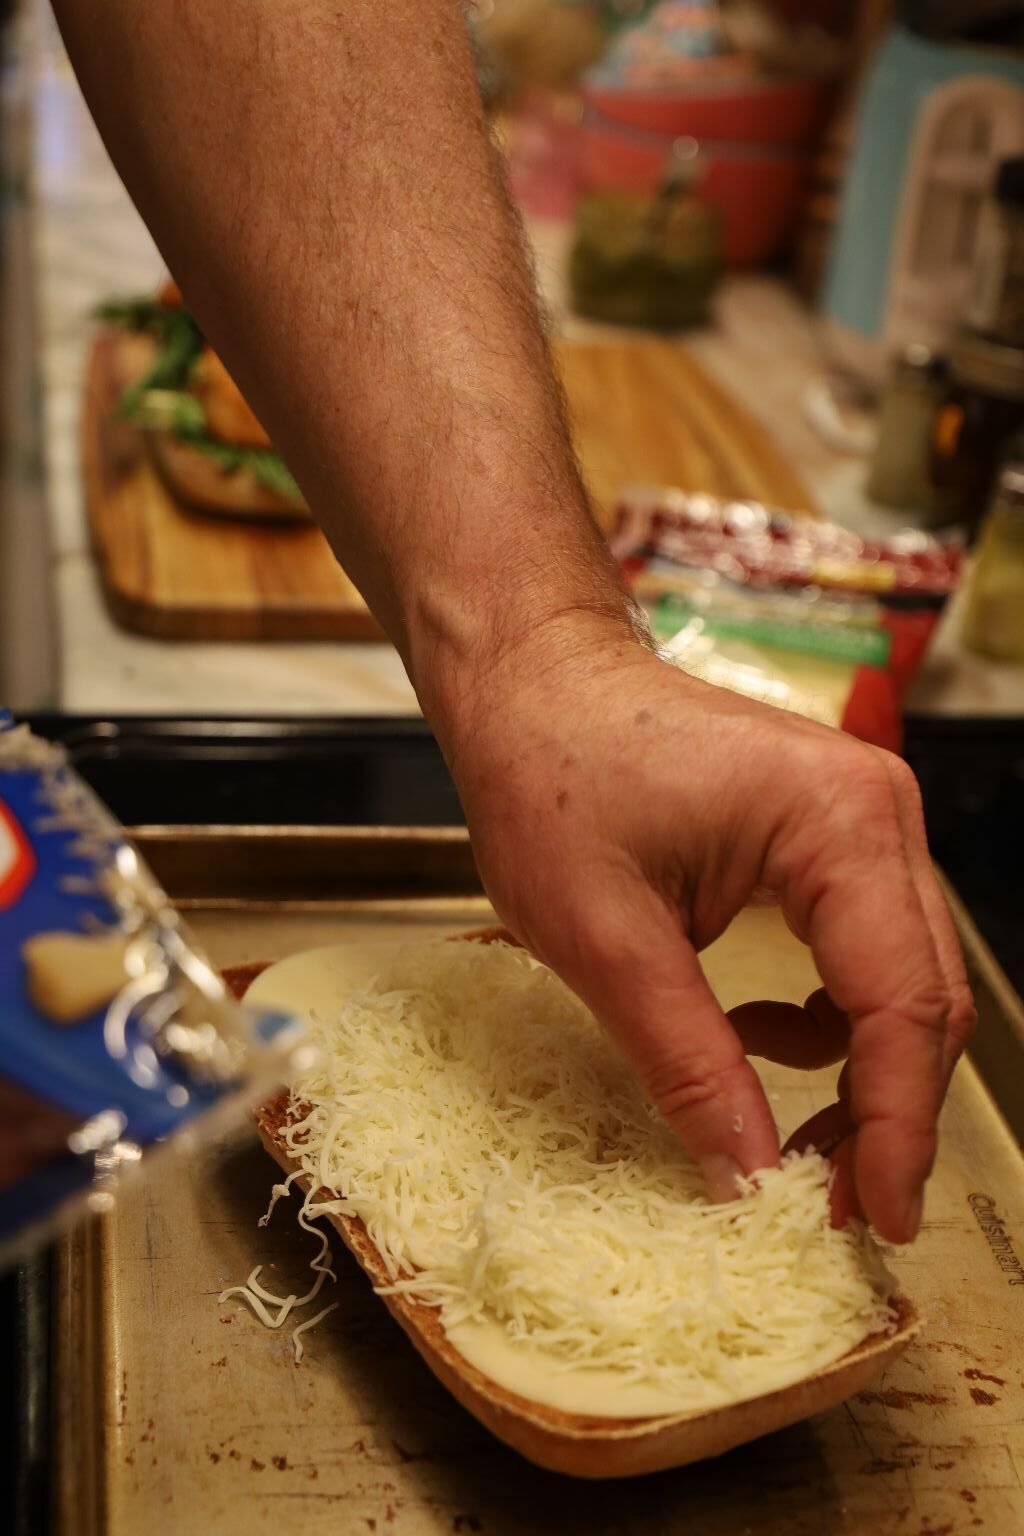
Sweet Italian Mustard, Provolone Slices, and Shredded Italian Cheese
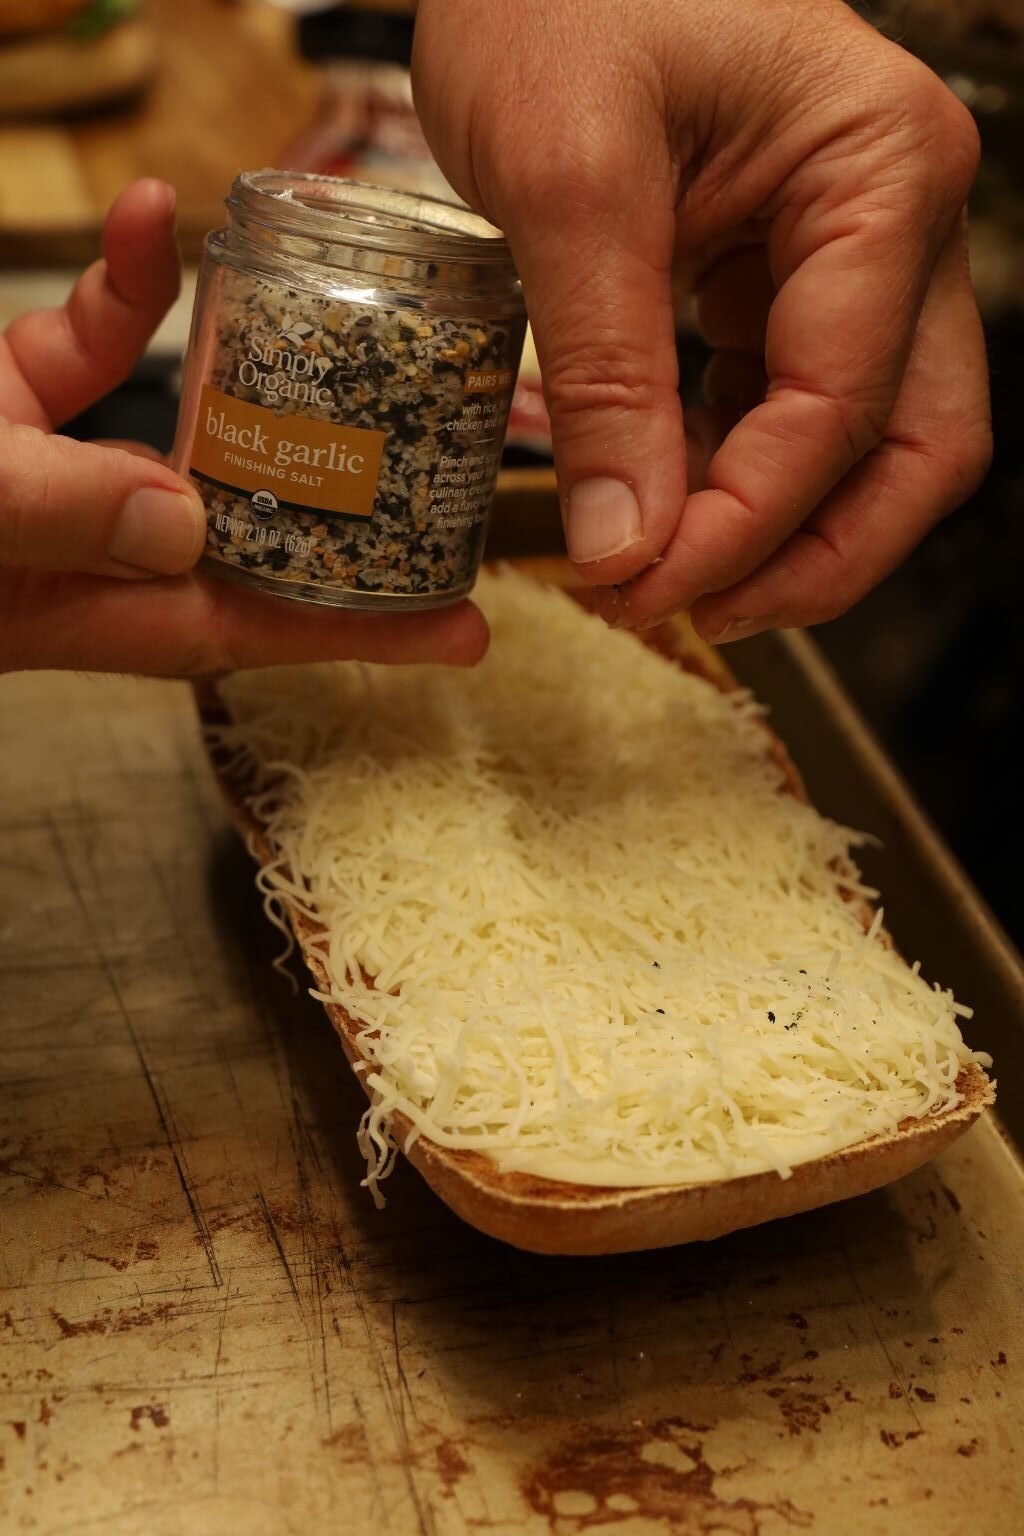
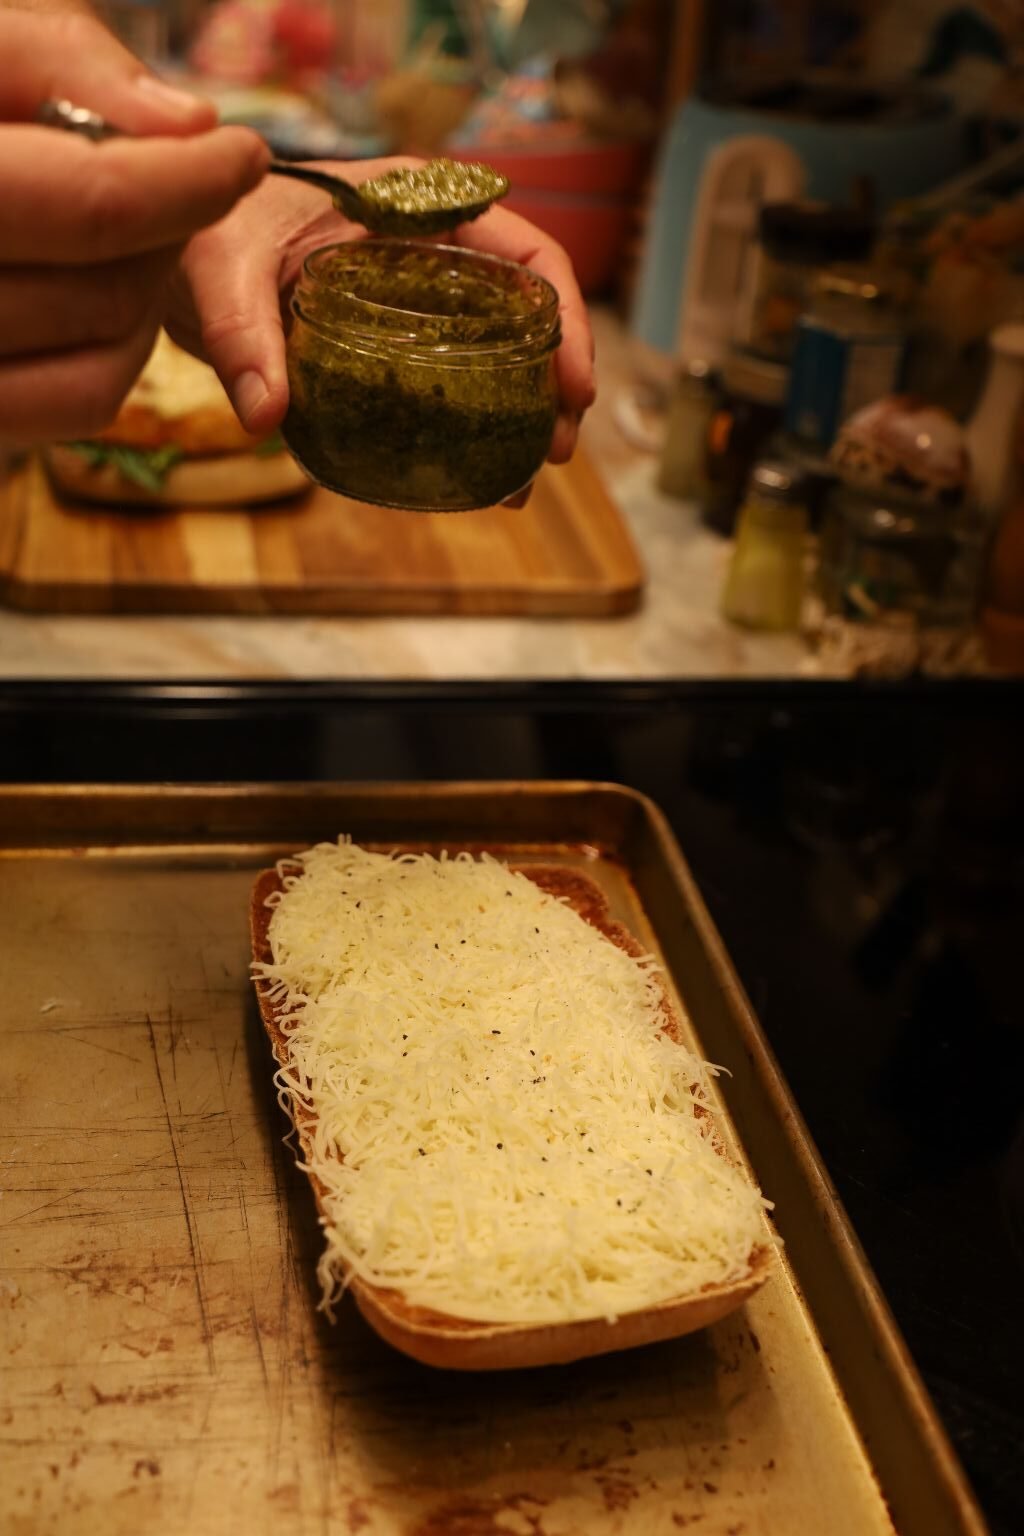
Adding Some Black Garlic Finishing Salt, And Some Basil Pesto…
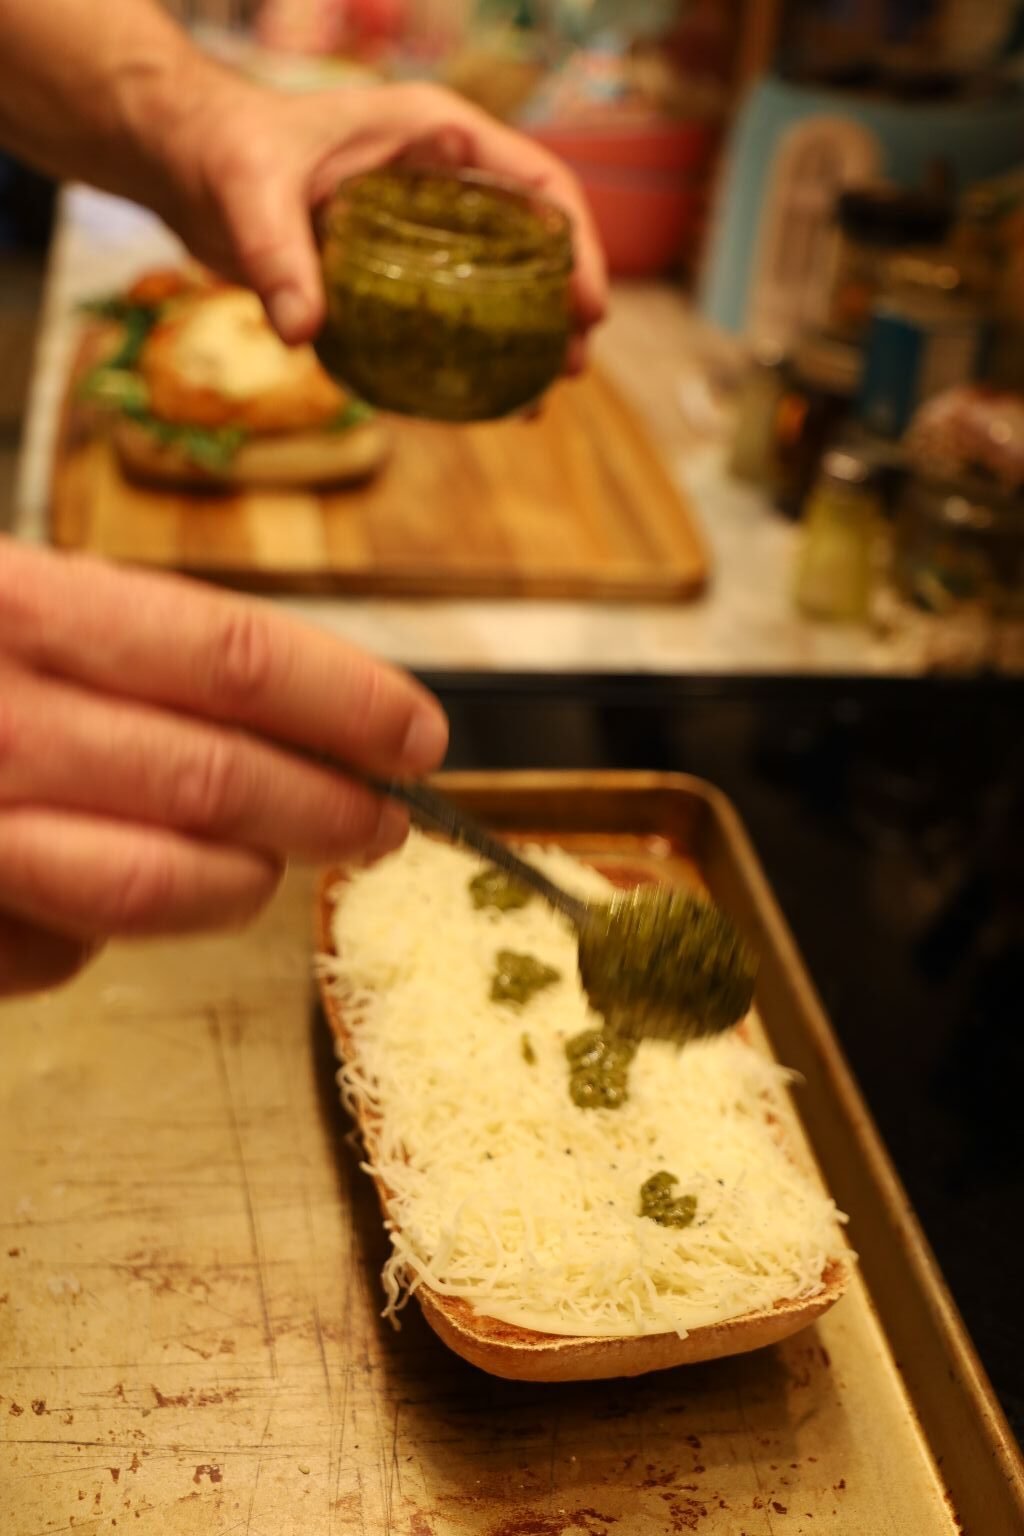
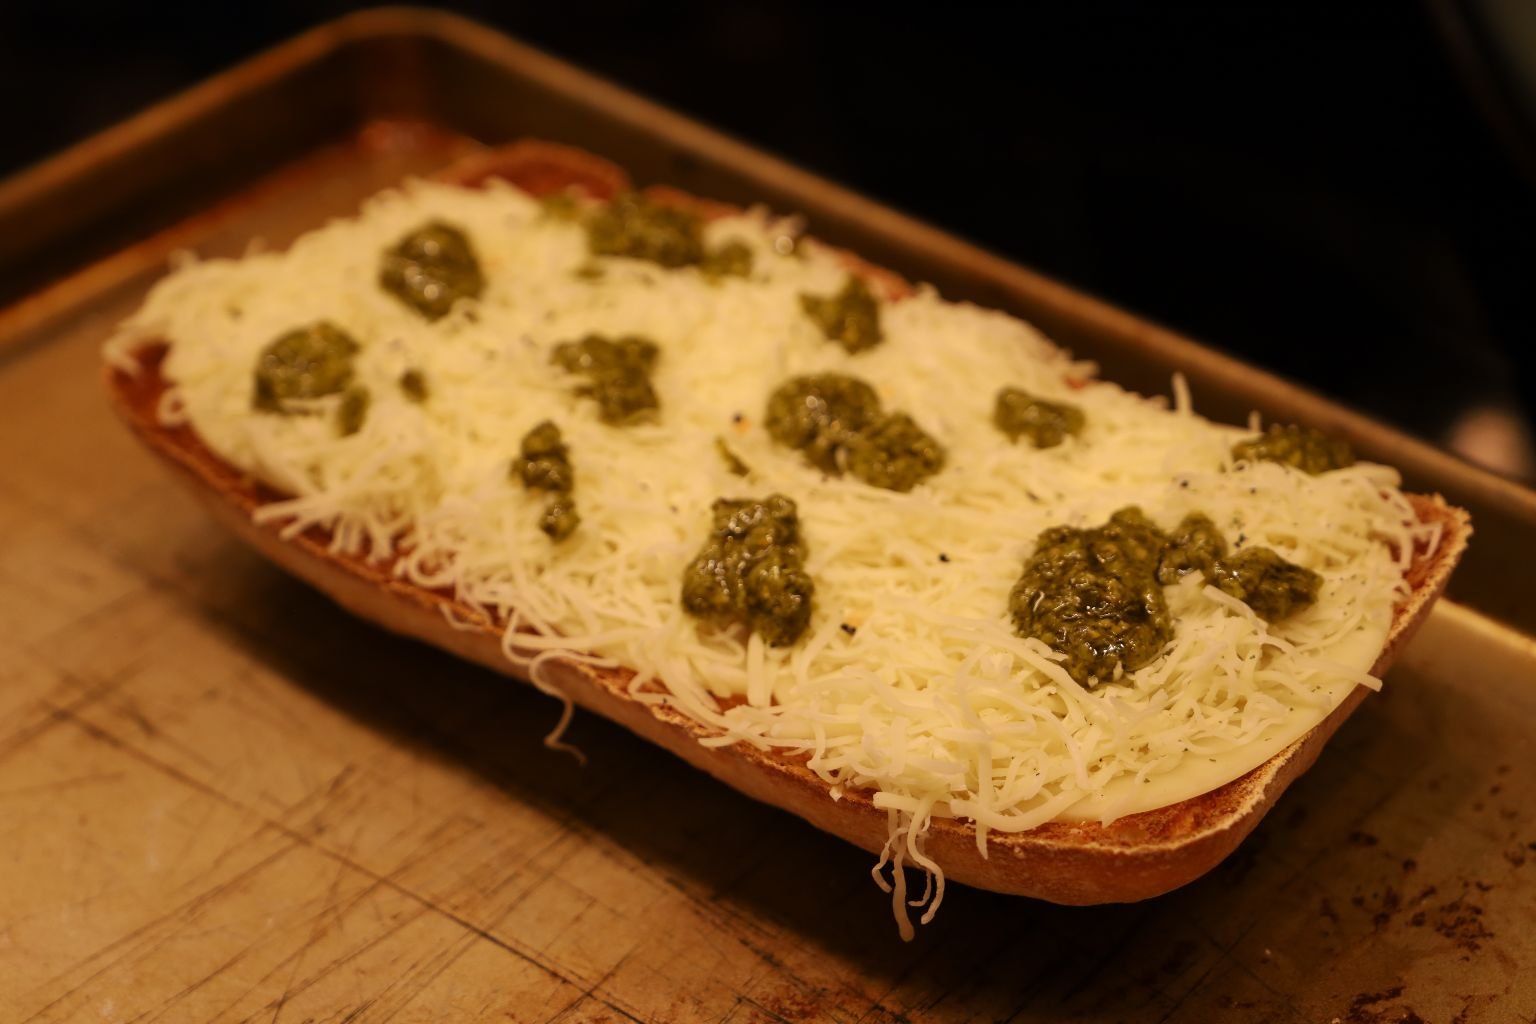
————————————————————————–
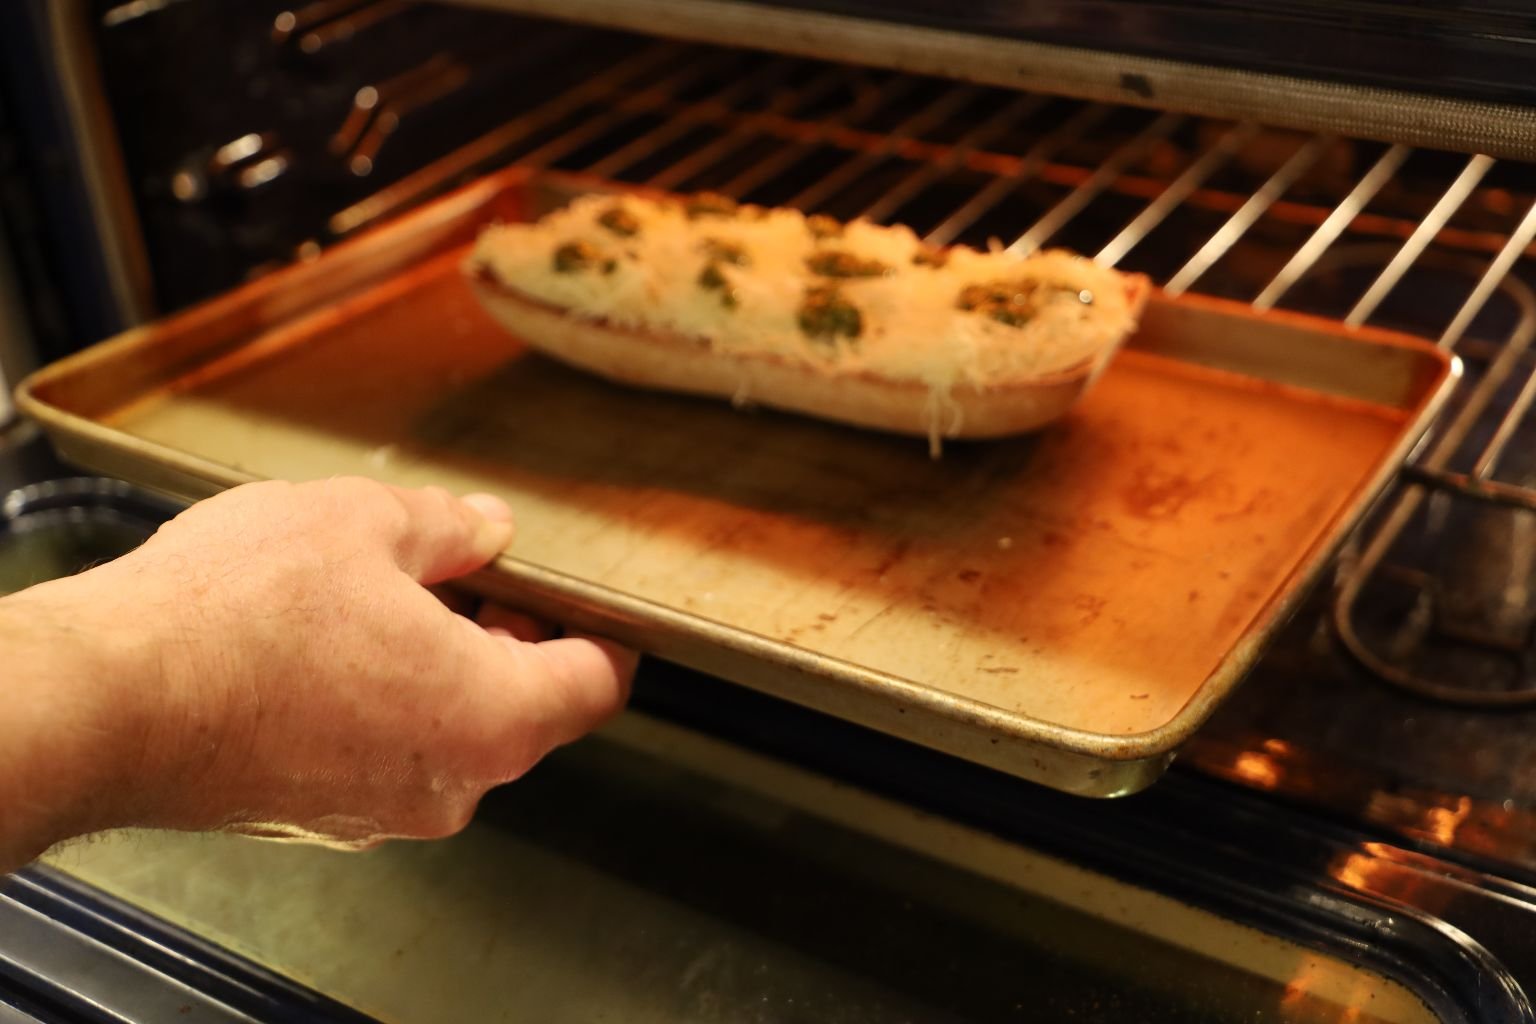
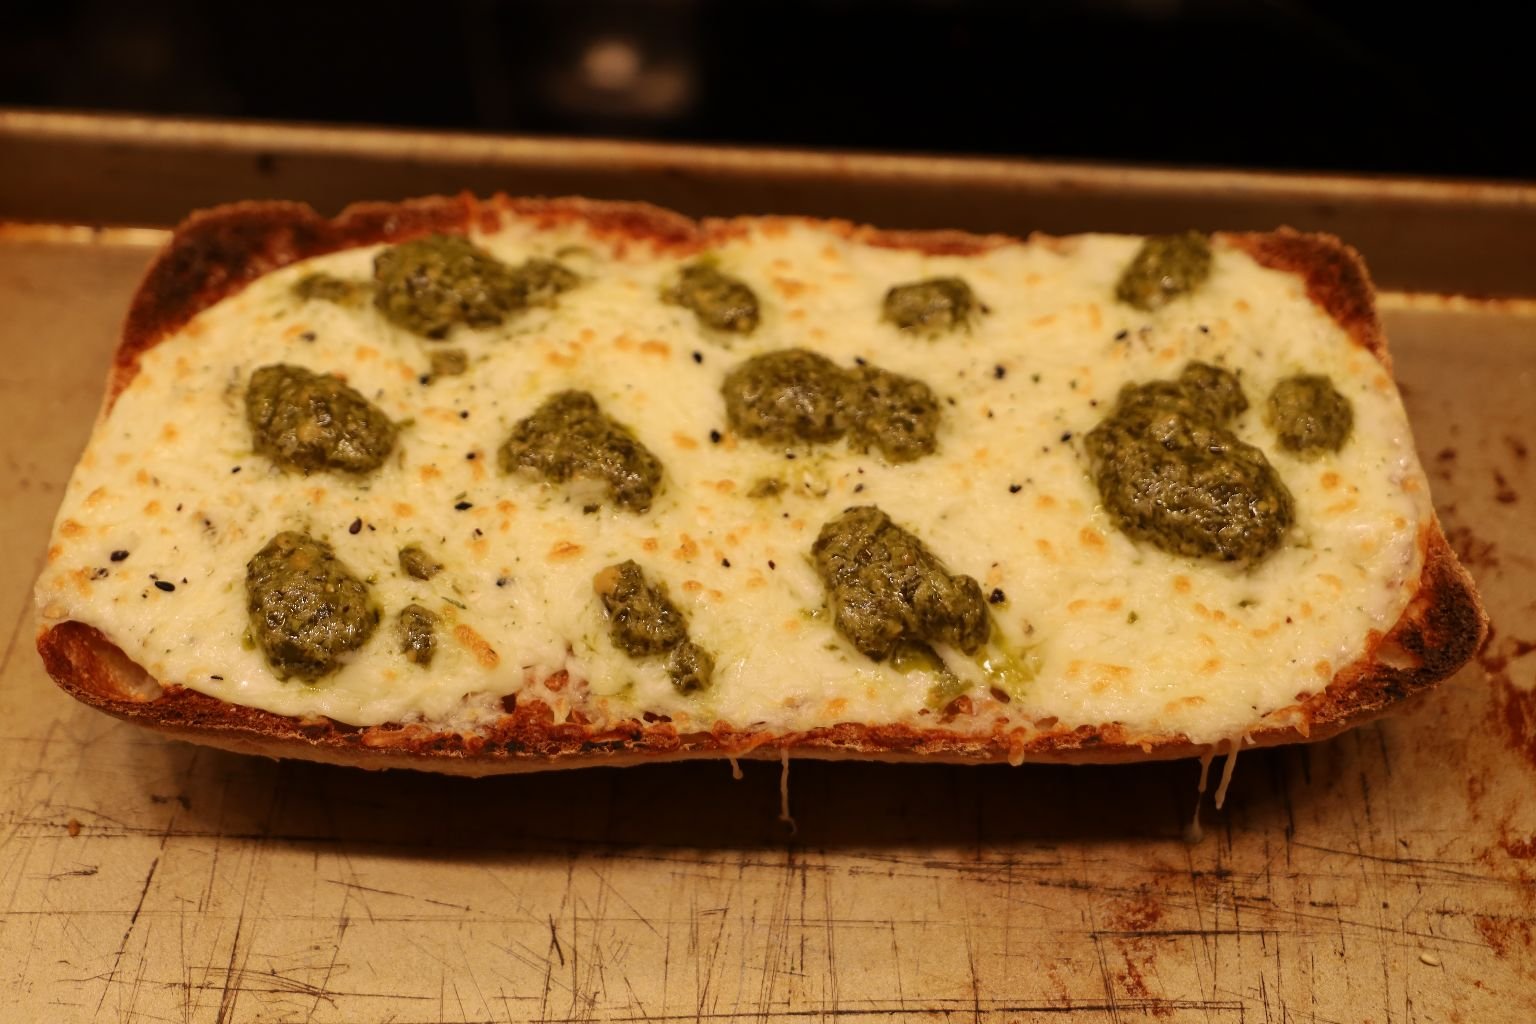
Place The Cheesy Half With The Basil Pesto Into The 350F Oven To Melt The Cheese…
——————————————————————-
When All Is Ready…
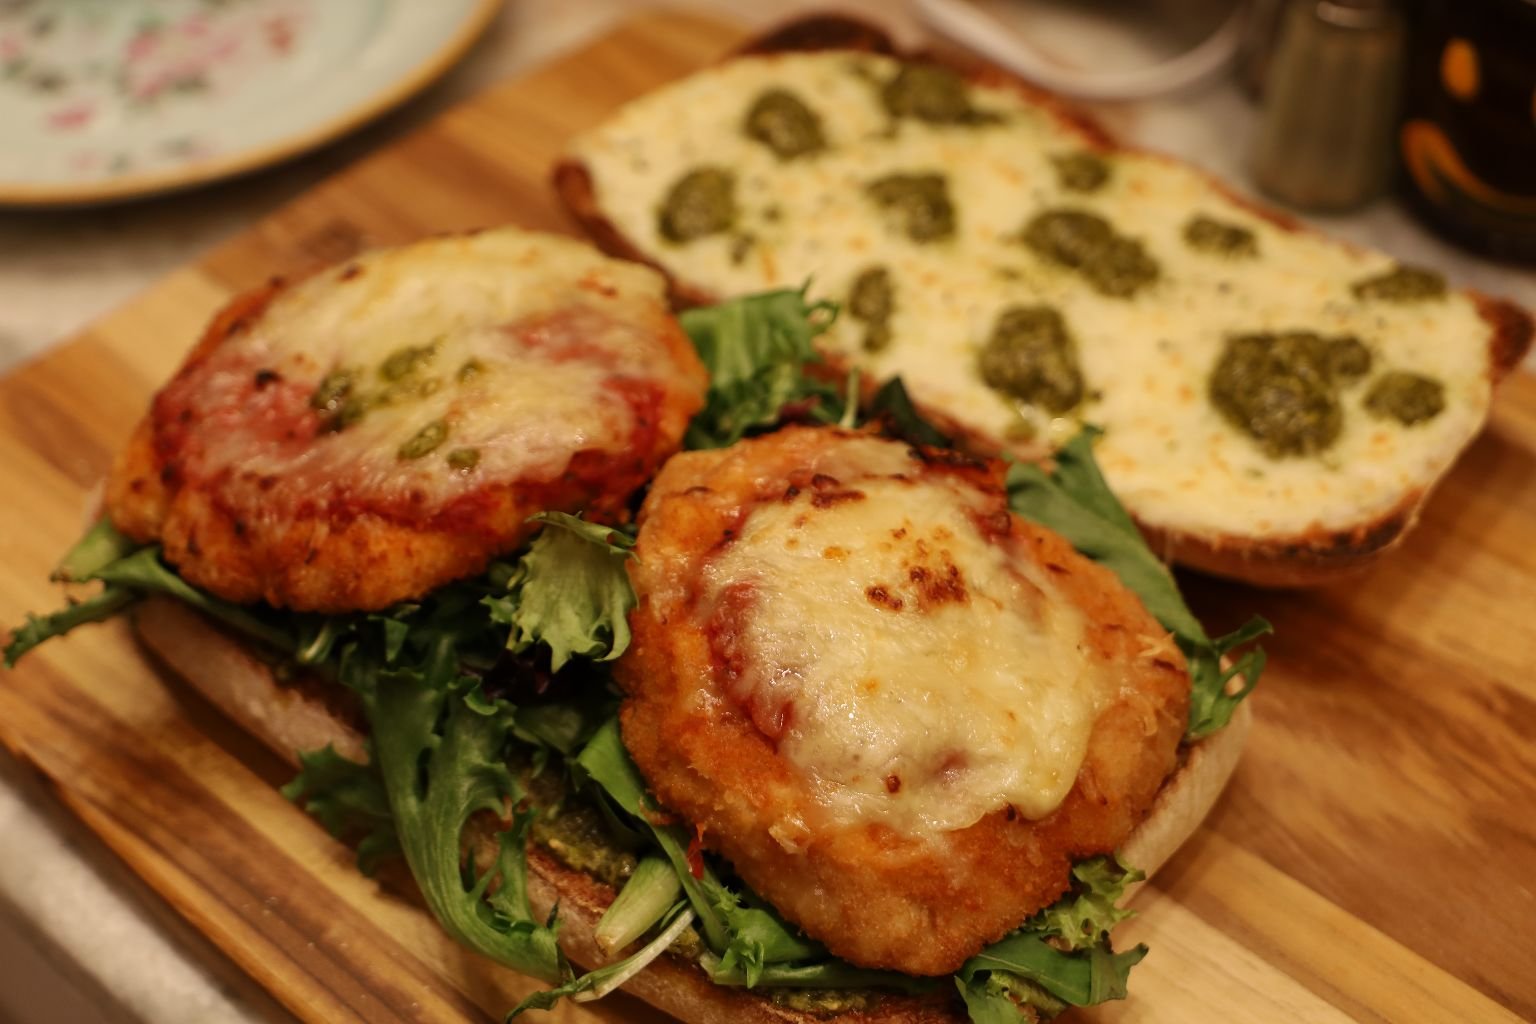
Combine The Two Halves…
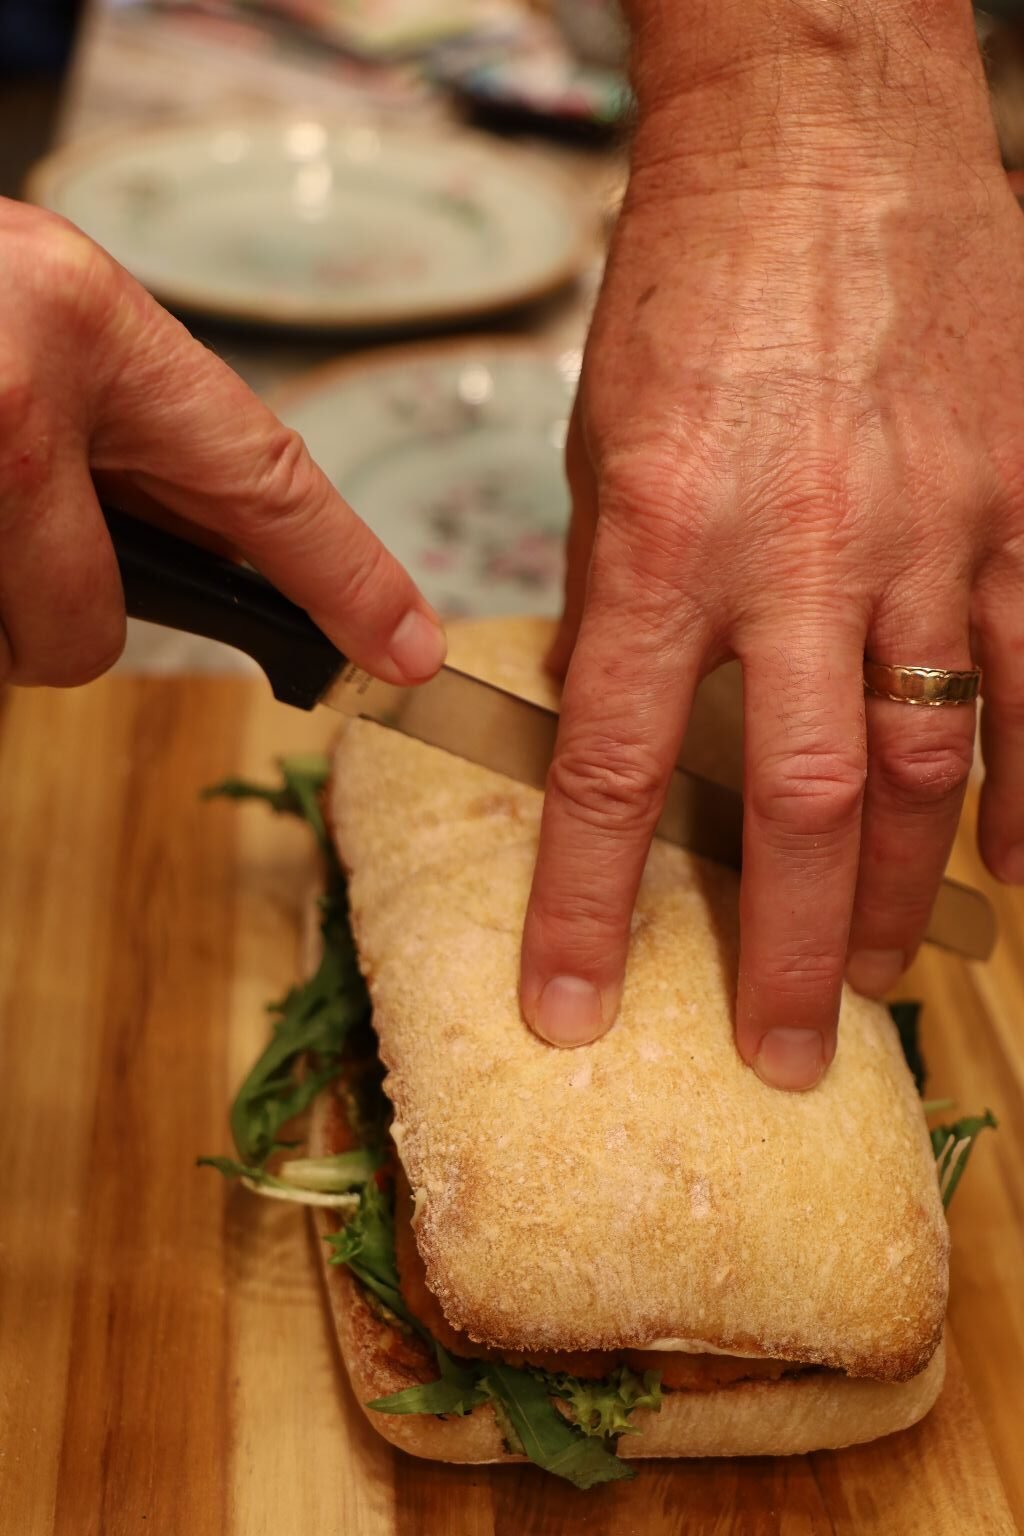
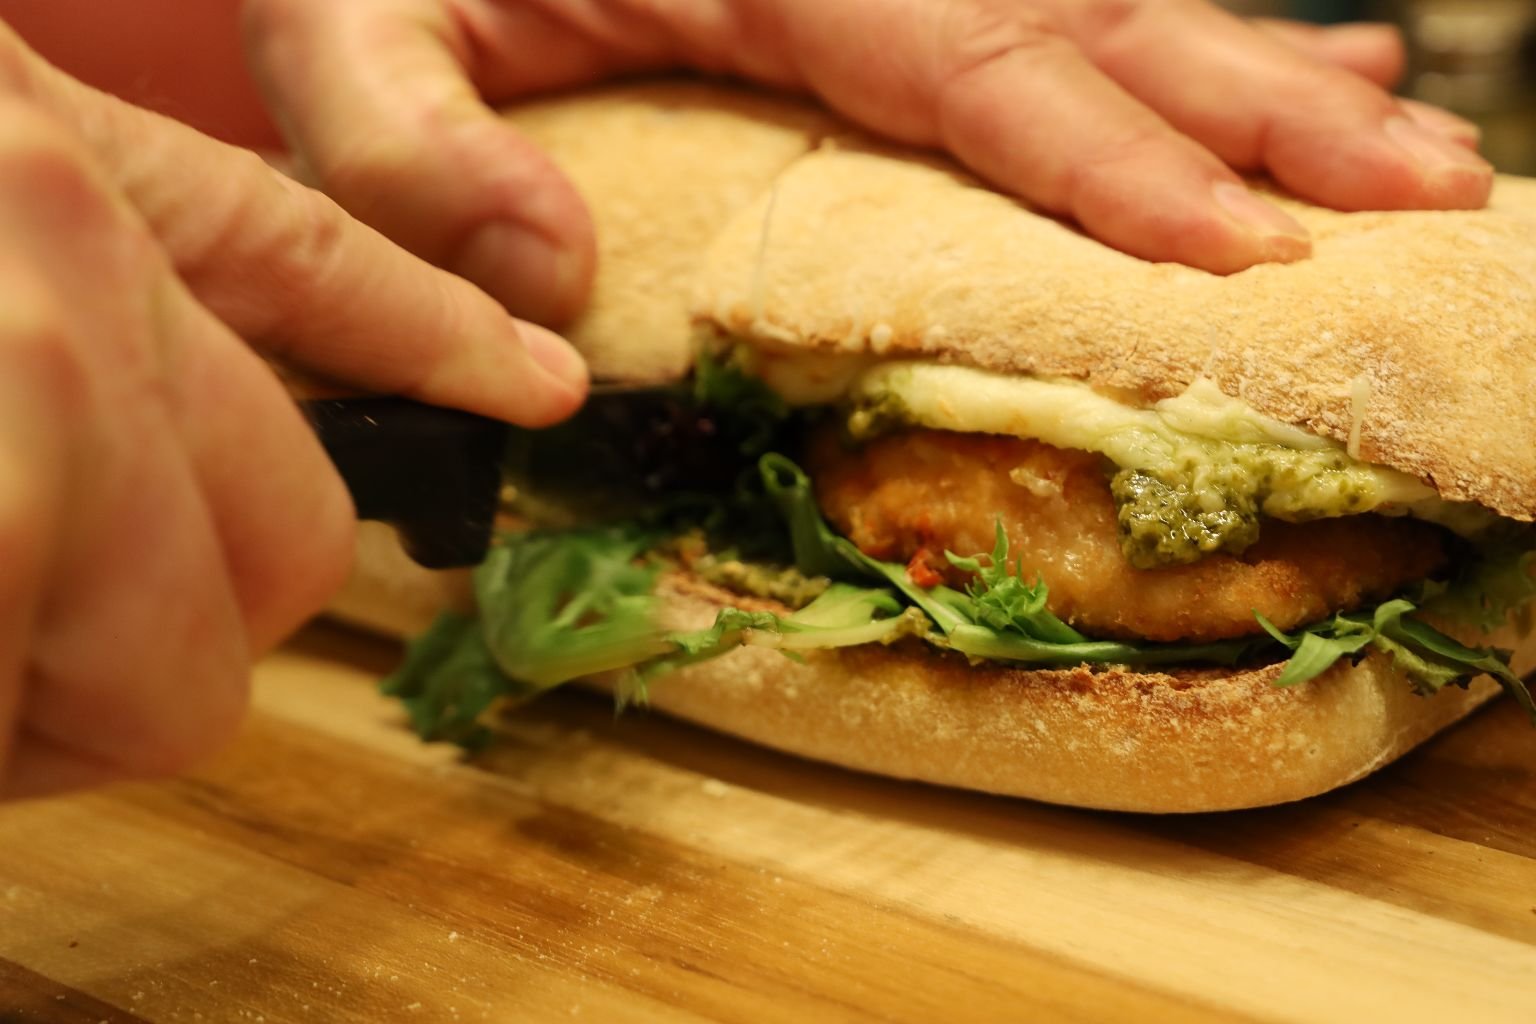
Slice In Two…
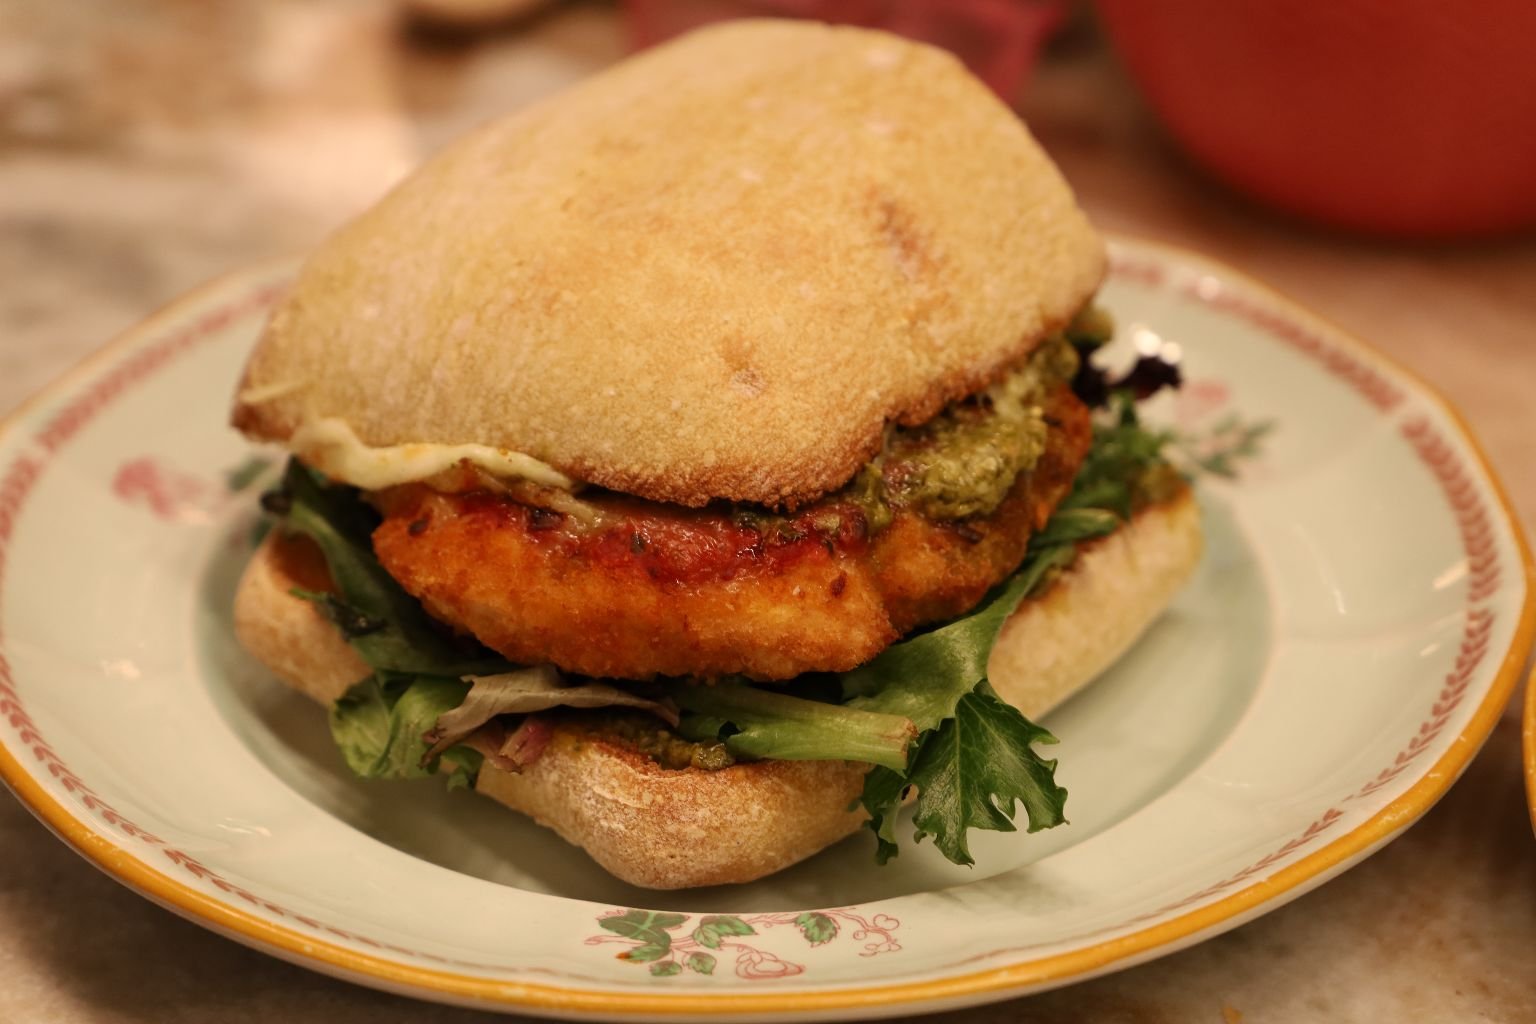
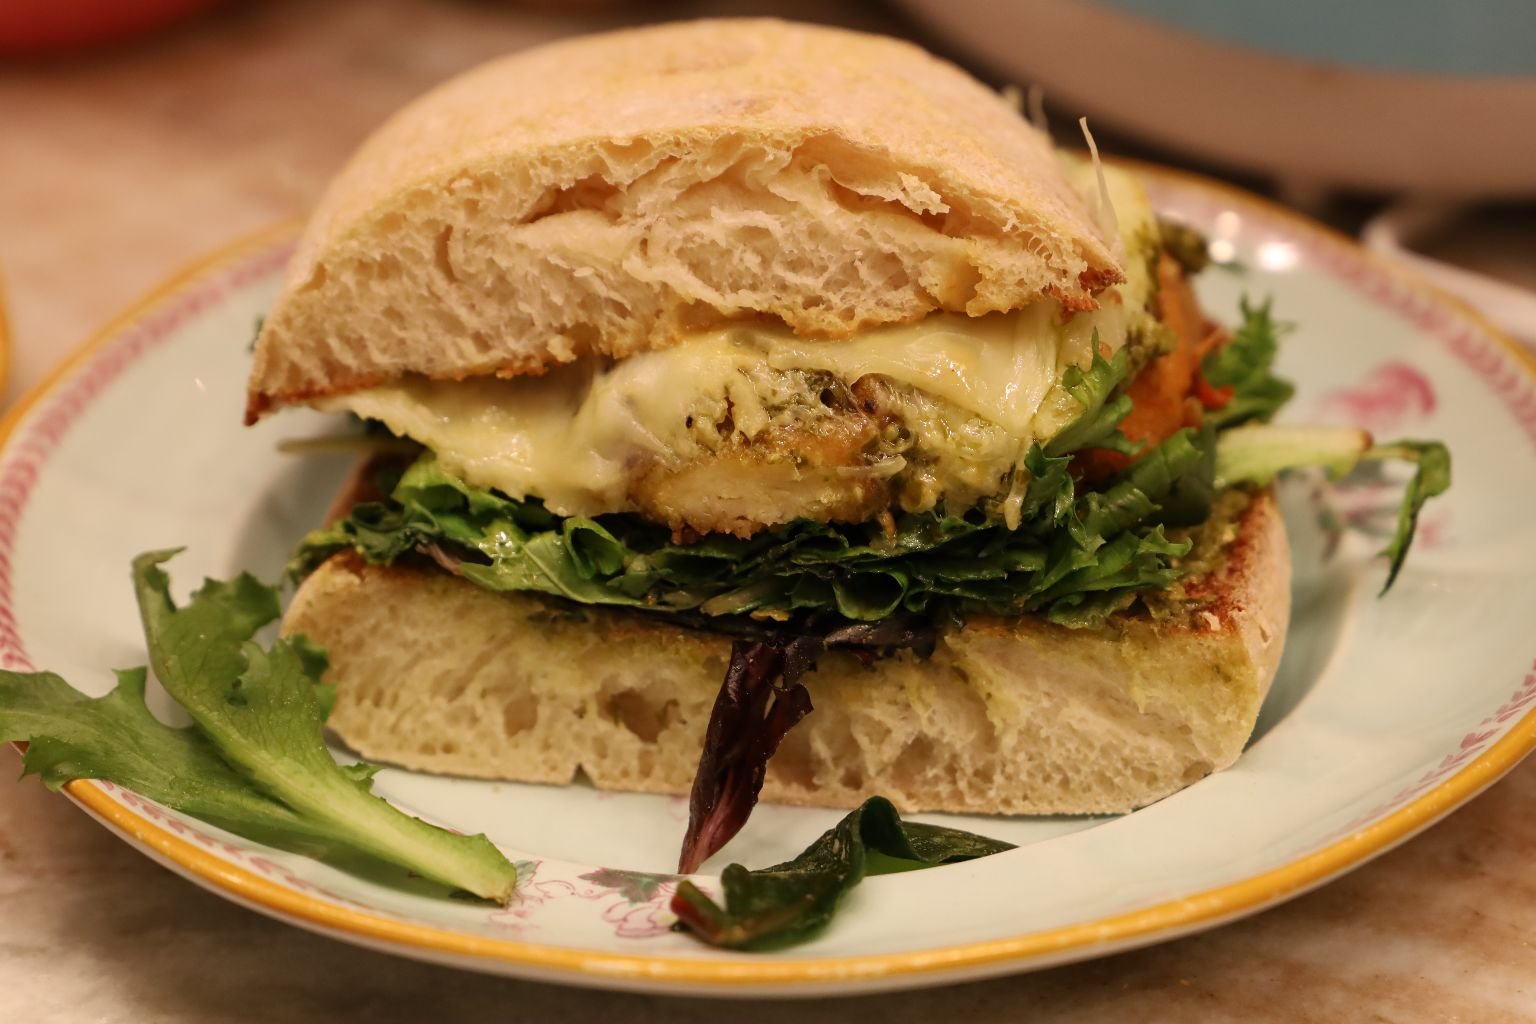
Enjoy!!!
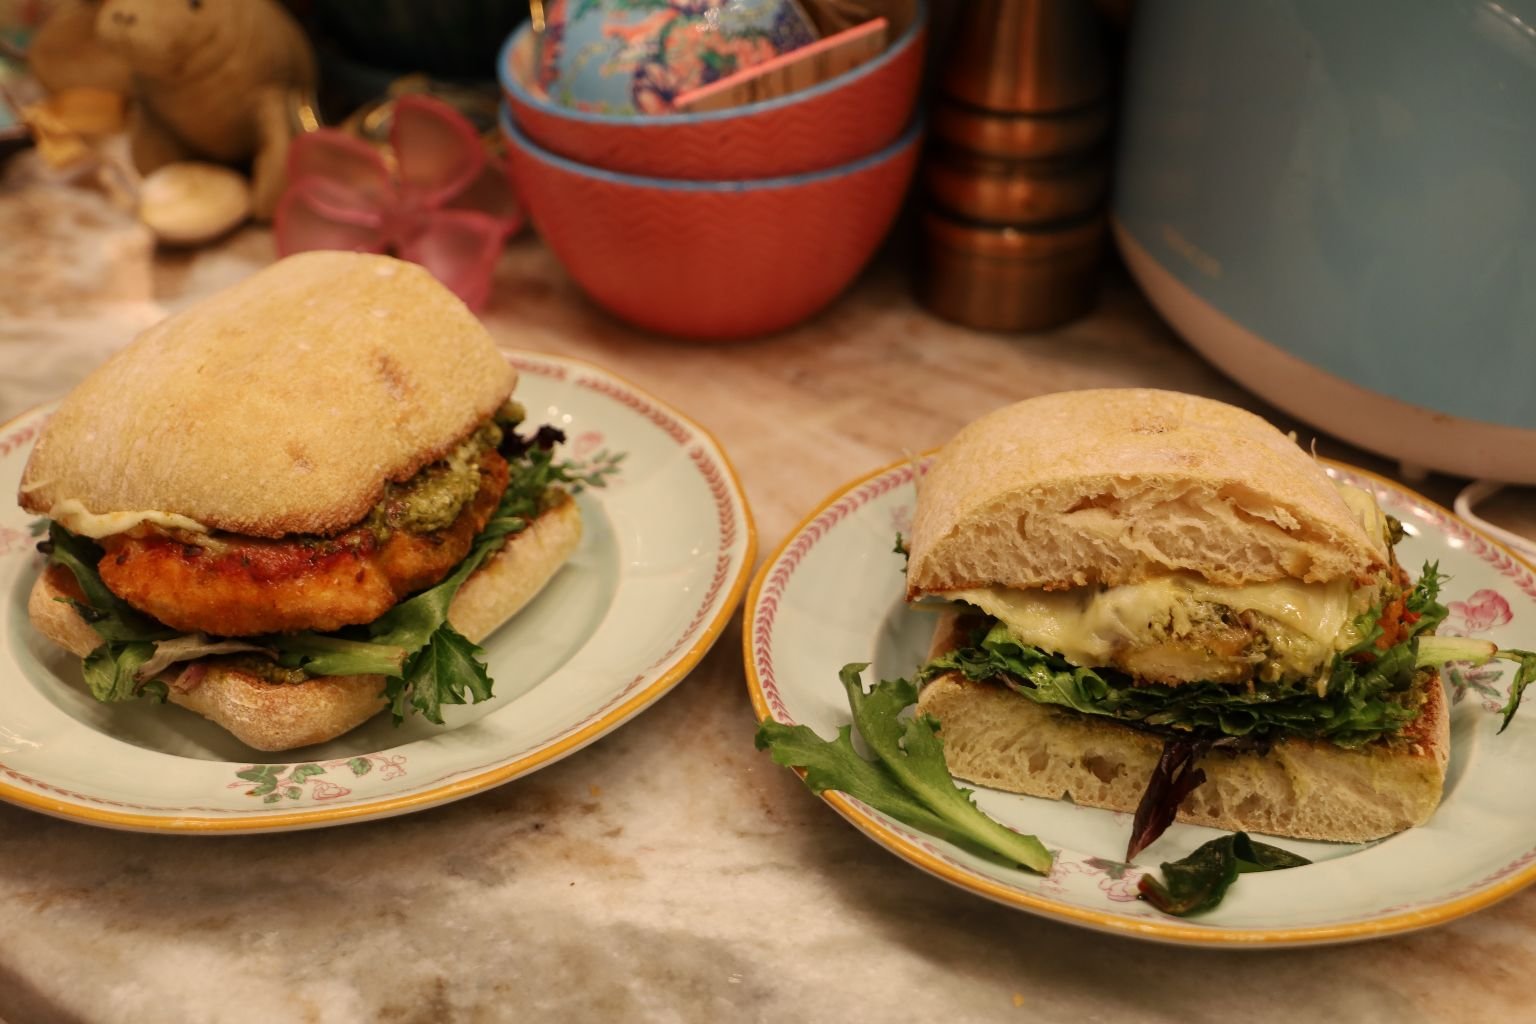
Life is a Sangwitch! 🙂
———————————————————————————————————
Buon Appetito!
Julie and Gordon
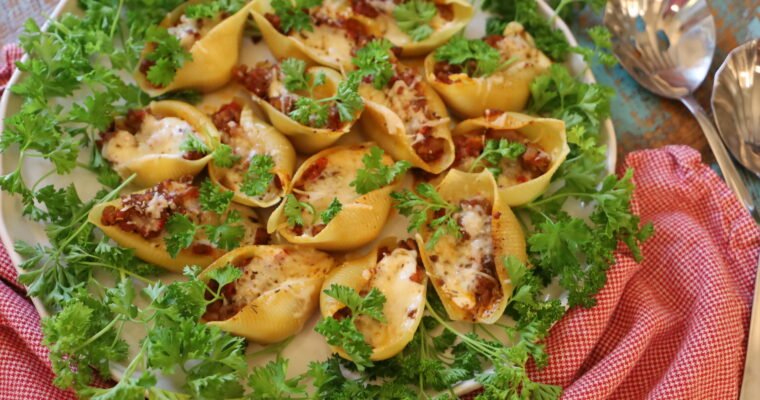
Welcome To That’s Amore Italian… That’s Amore (Love) My Stuffed Meaty Cheesy Shells With Cheeses, Spices, And Lots Of Herbs Or A Few Shells On A Bed Of Salad Greens And Cheeses ———————————————————————————————– When I think of Italian Food I …

On February 13th., 2026 I Turned 65 Gordon and I ‘Out and About’ on My Birthday 65 Feels Pretty Good —————————————————————————————— When I Turned 60 I Started this Website Page: Sixty’s, (Sensational or Surviving?), We’ll See, Right? (If you would like …

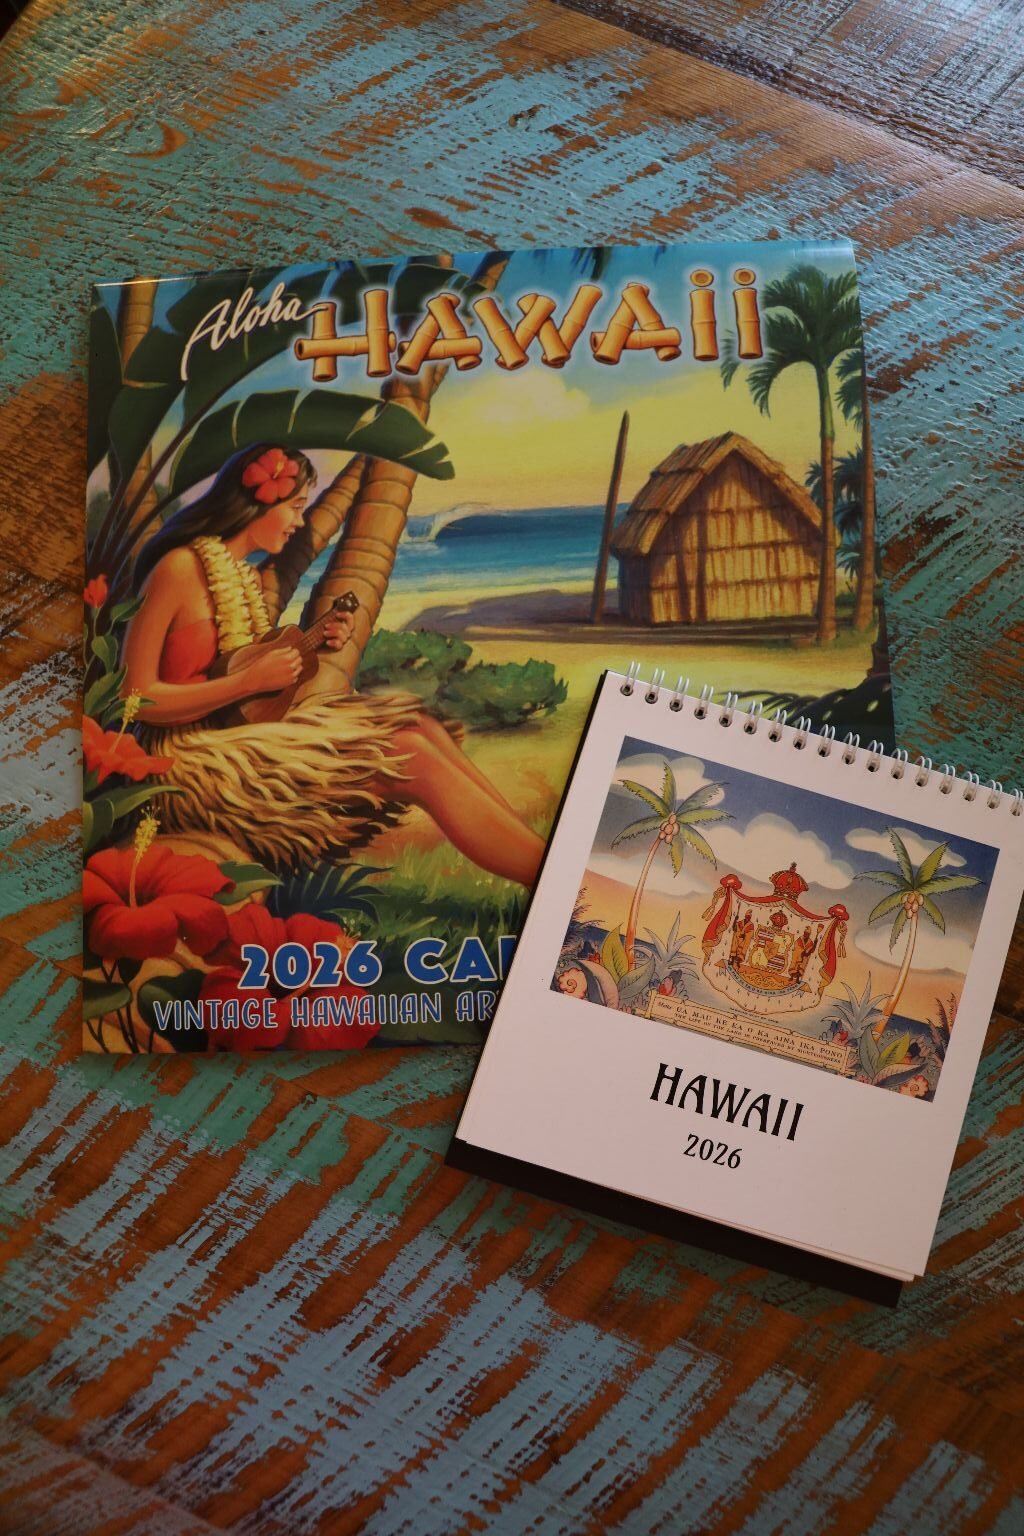
2026

A Morning Aloha
(Hawaiian Kona Coffee)
——————————————————————————————

Brodie In Our Backyard Plumeria Tree in Ewa Beach, 1996
————————————————————————————-


E Komo Mai
Welcome to My Aloha Julie Barefoot 2026 ‘Puke Punaewele (Blog)

Ready for 2026
This year will be a more eventful one from in the past few years. Traditionally we are home bodies as it is, but with Gordon working overseas for the past few years, and with me keeping the home fires burning, I am also my Grand-Daughter’s main caregiver. I don’t really have a lot of free time anymore. Especially when it comes to working on my websites.
You will find out as I take you along with me, and my Ohana throughout the year, what we have in store.
We lived in Hawai’i for 13 glorious years. Hawai’i means a lot to us. Both of our children were born there.
My Grand-Daughter Isabelle calls me Tutu, the Hawaiian word for Grandmother.
I sometimes call her Peanuku, (Peanut) because when we first saw the scan of her before she was born she looked exactly like a Peanut.
————————————————————————————–
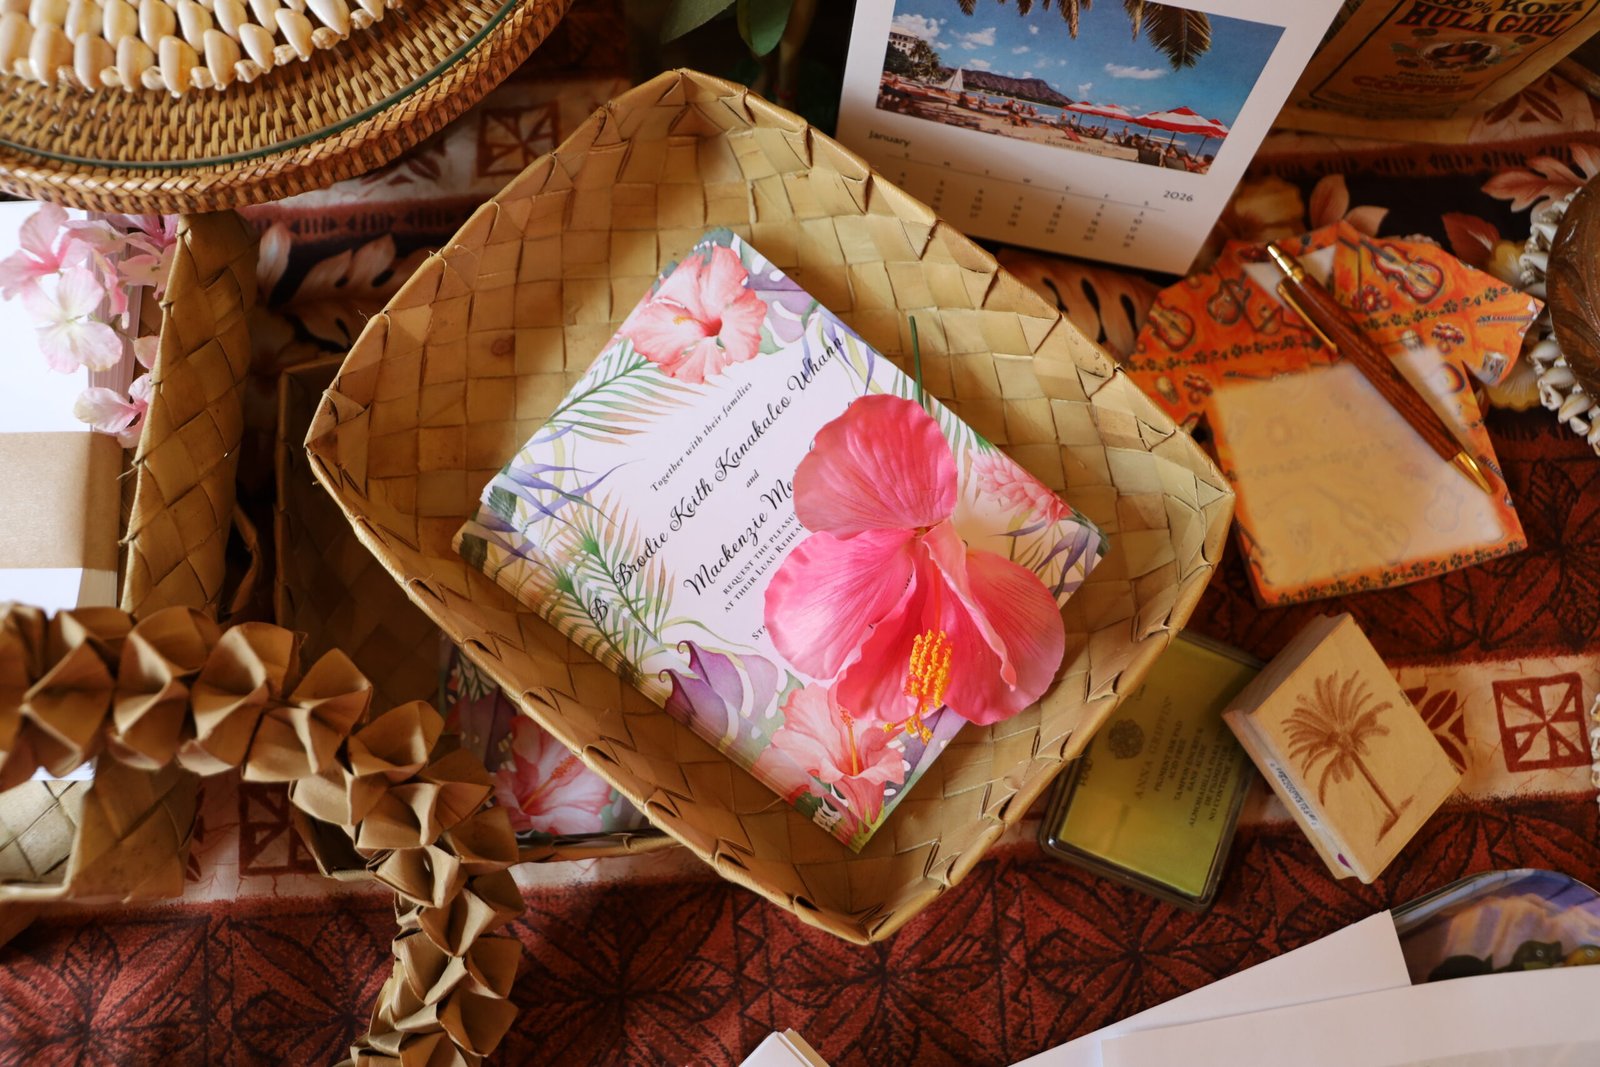
This year our son Brodie Keith Kanakaleo Whann will be getting married in Hawai’i on the North Shore to his betrothed Mackenzie Meers Parish.
Click Here For: Mother of the Groom

We are all looking forward to it! Going back to Hawai’i, visiting our old stomping grounds. Brushing up on my Hawaiian Pidgeon, Da Kine! Eating our old Plate Lunches, and Shave Ice. Eating at Duke’s. Visiting The Aloha Flea Market at The Aloha Stadium. Visiting the Arizona Memorial Museum, and the site of the U.S.S. Arizona, perhaps if Gordon’s former ship is docked we can get a tour and show Veronica, Brian and Isabelle the ship itself.
We have a huge Luau planed in Waikiki before the wedding, hosted by us. I’ve been buying gifts for the occasion.
Click Here For: Whann Way Hawaiian Luau
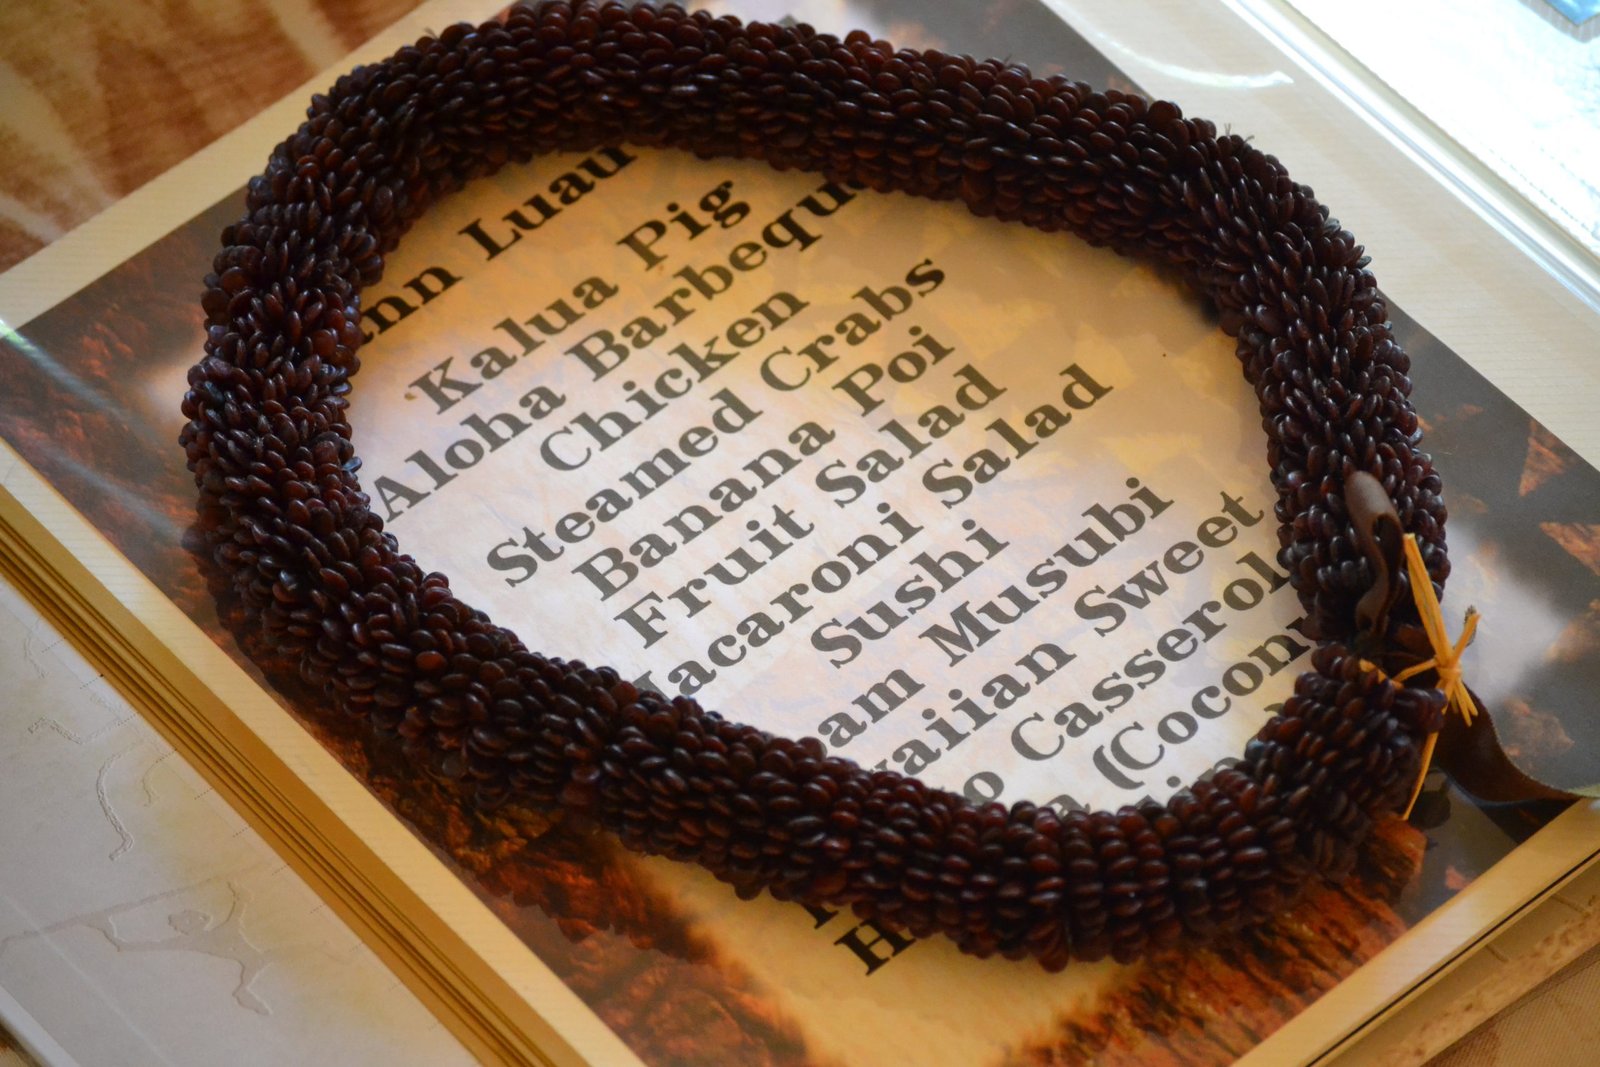
I will blog more about that as it approaches. But for now, I am reliving the memories we created in Hawaii, and brushing up on my Hawaiian phrases that we will use while there. Especially when it comes to Wedding Toasts and Speeches.
A Hui Hou Kakou (Until We Meet Again),
Julie Barefoot
(Julie Lancaster-Whann)
—————————————————————————————
Click Here For: E Komo Mai To The Wedding Rehearsal Dinner Luau
——————————————————————————————–
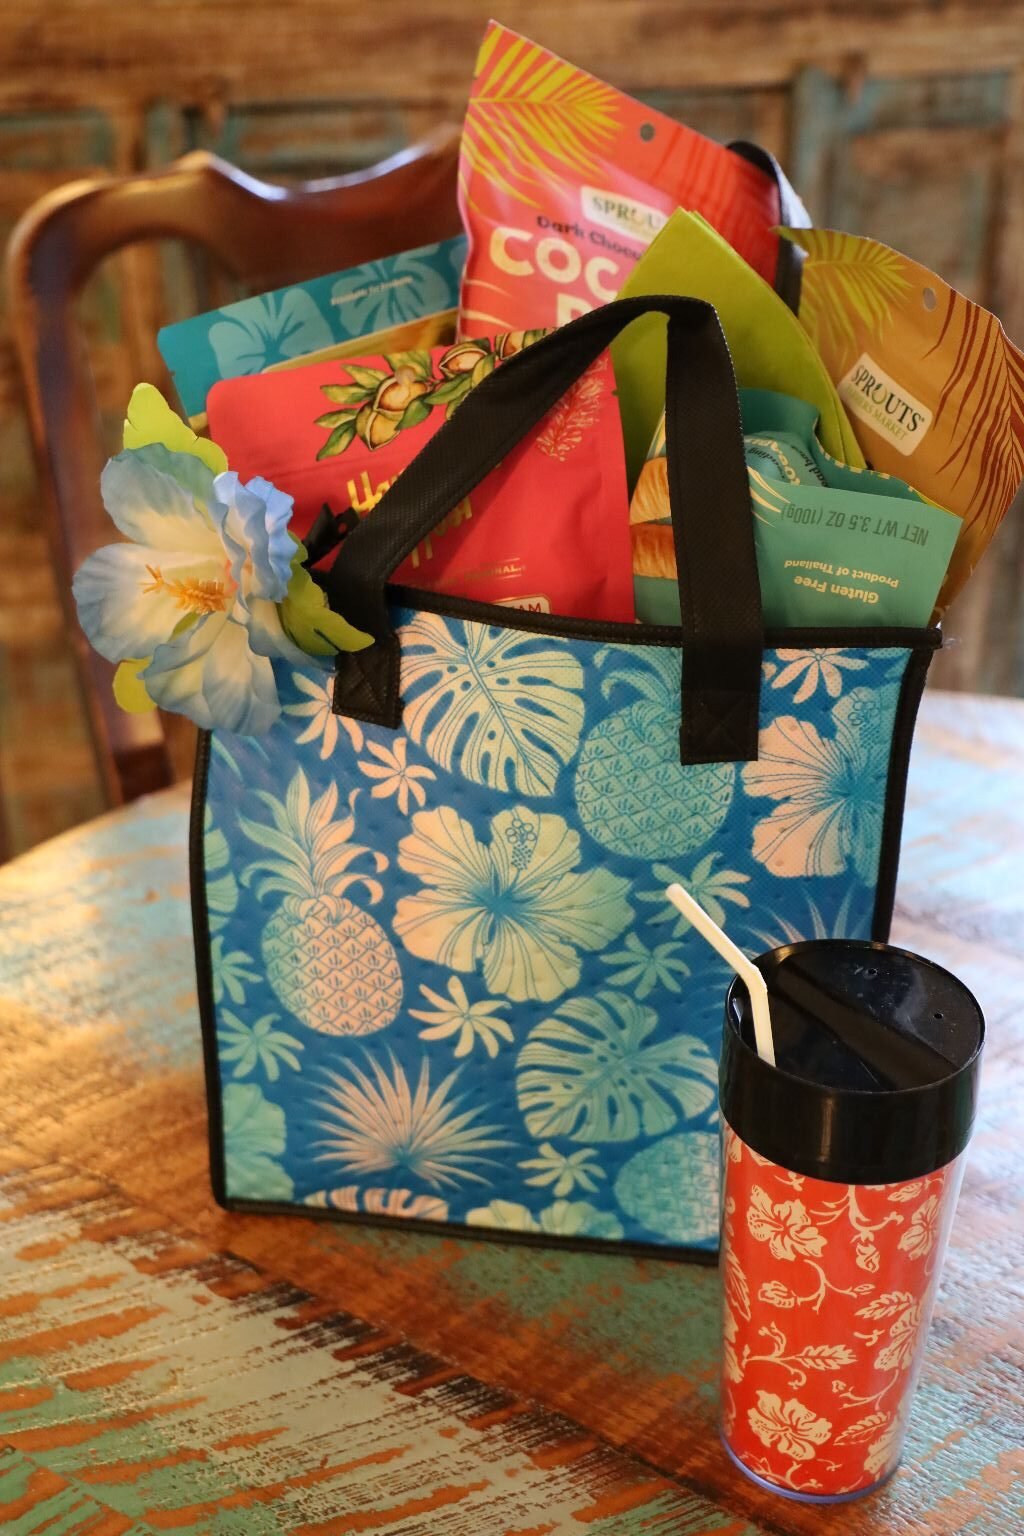
Favorite Snacks
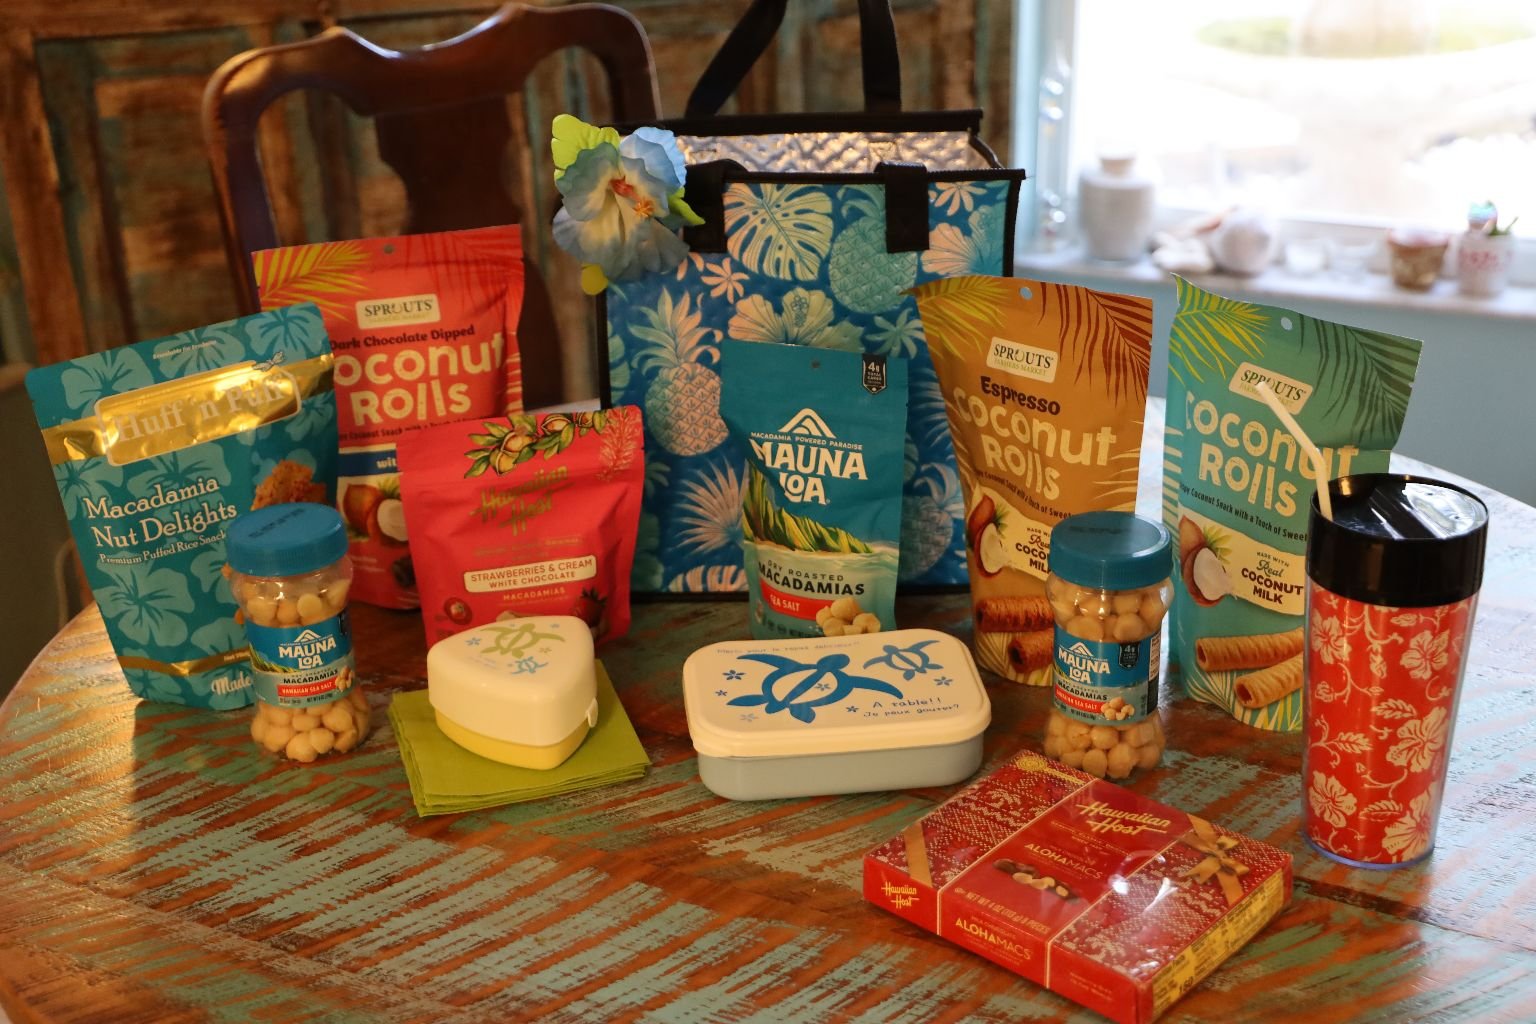
We Take Hawaii With Us Everyday, Sometimes Even Out The Door 🙂
—————————————————————————-
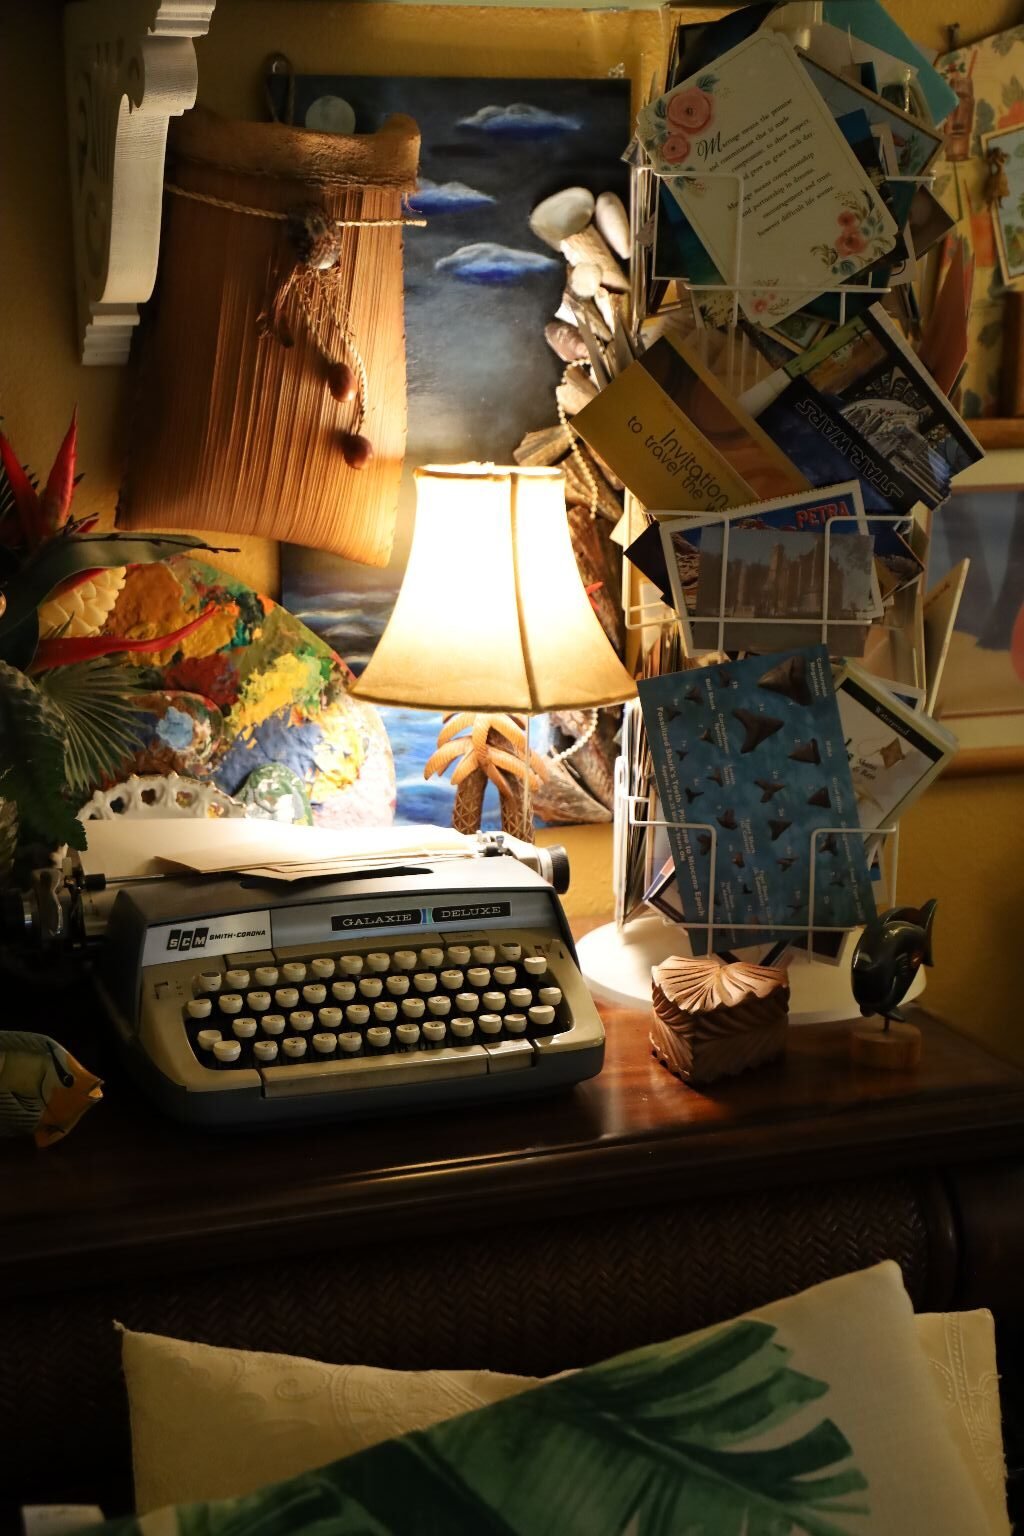

The Original Blogging Key Board
————————————————————————————-
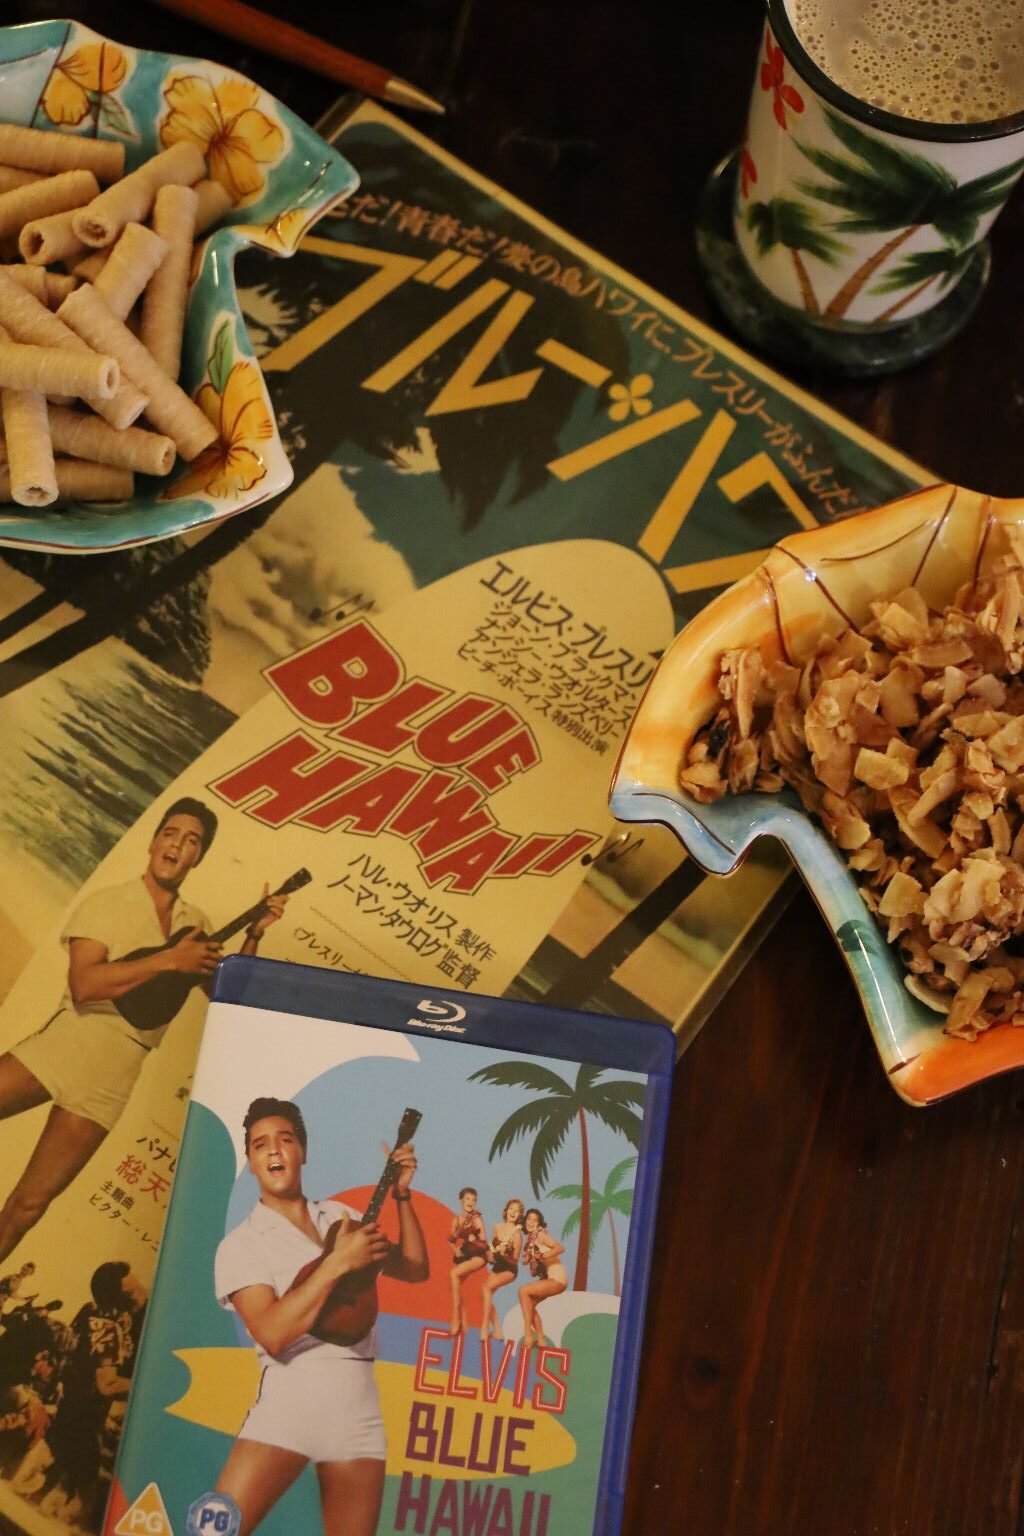
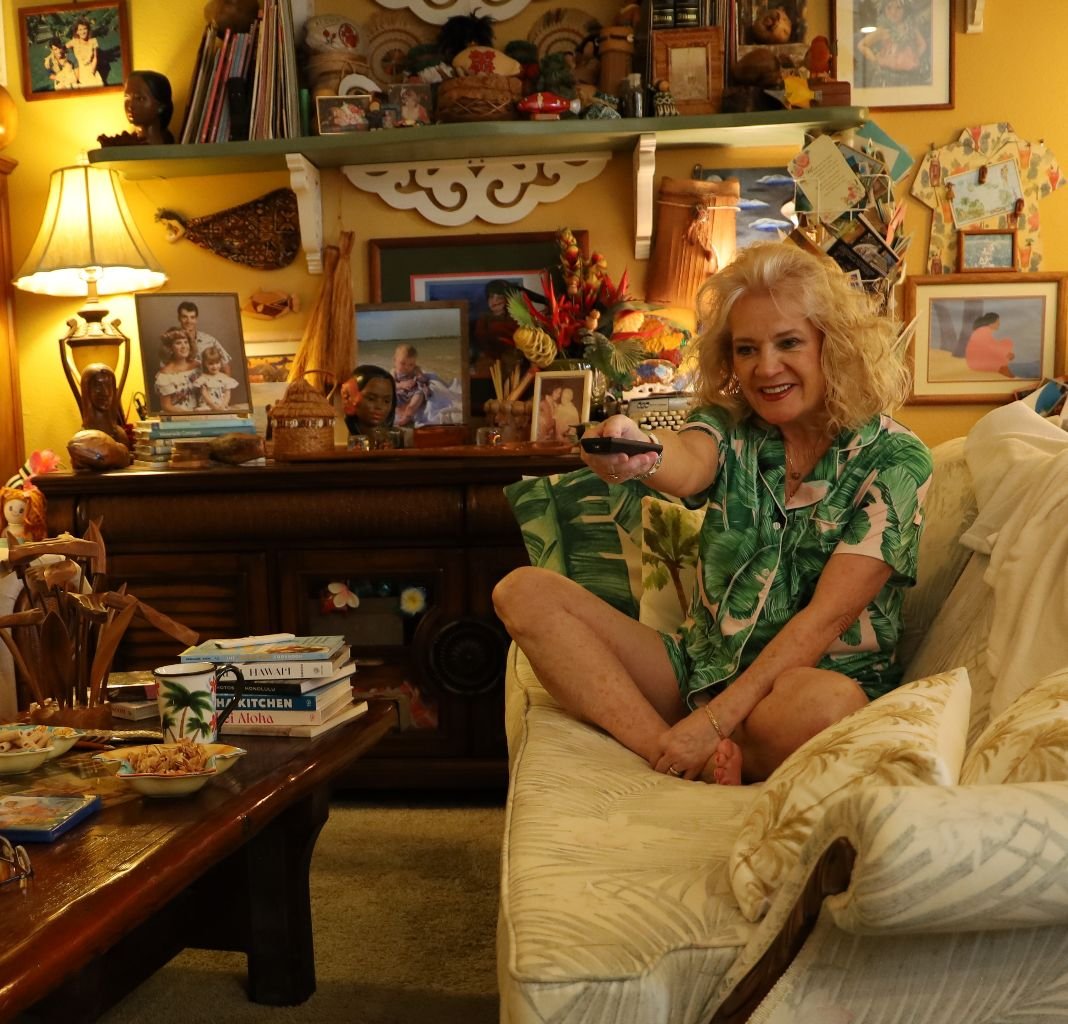
Time To Watch Blue Hawaii
—————————————————————————————-
Also, Check Out A Few Of Our Hawaiian Website Pages:

Click Here For: Blue Hawaiians and Huli Huli Chicken
AND,

Click Here For: Huli Huli Julie Caesar
—————————————————————————————-
A Flower In My Hair

I’ve written about this before on my website, but I would also like to write it here again:
When my family moved to Rockingham, North Carolina, 1978, the summer before my senior year in high school, I wore a flower in my hair every day. I was laughed at. Made fun of. And made to feel as if there was something wrong with me. But when I became an adult, got married, Gordon and I moved to Hawaii for his military career. I noticed that all the women in Hawaii would wear a flower in their hair every day. I knew then that there was never anything wrong with me, I was just living in the wrong place. 🙂
Aloha,
Kulii (Julie)
———————————————————————————–
I Also Created A Few New Recipes With Hawaii In Mind, To debut Here:
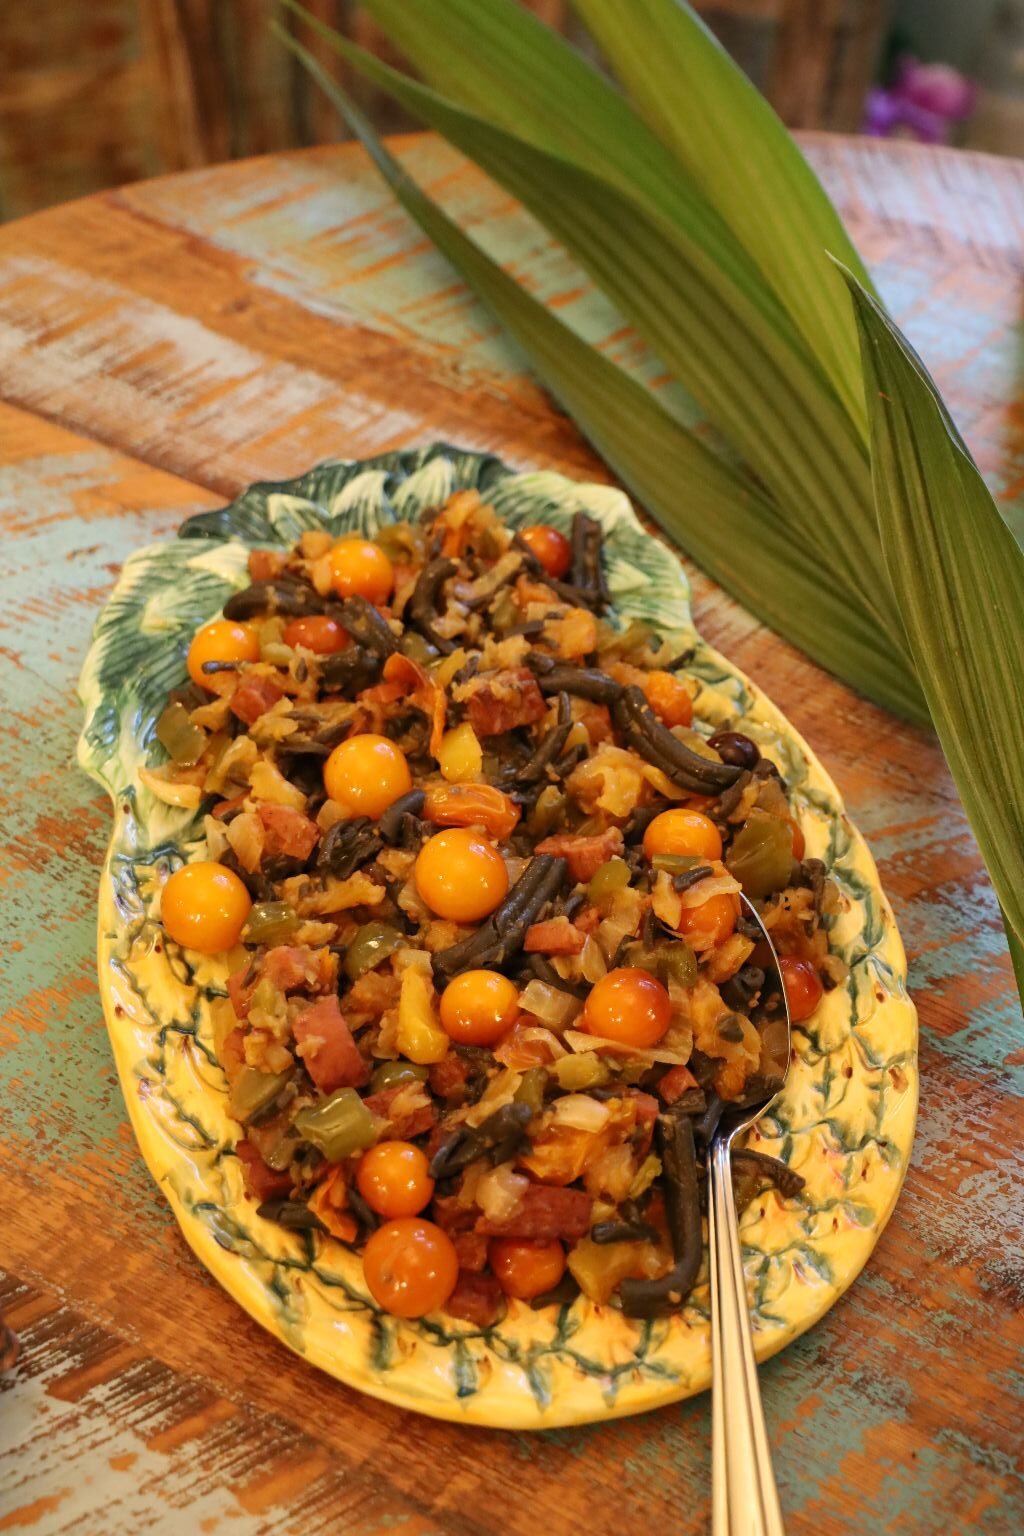
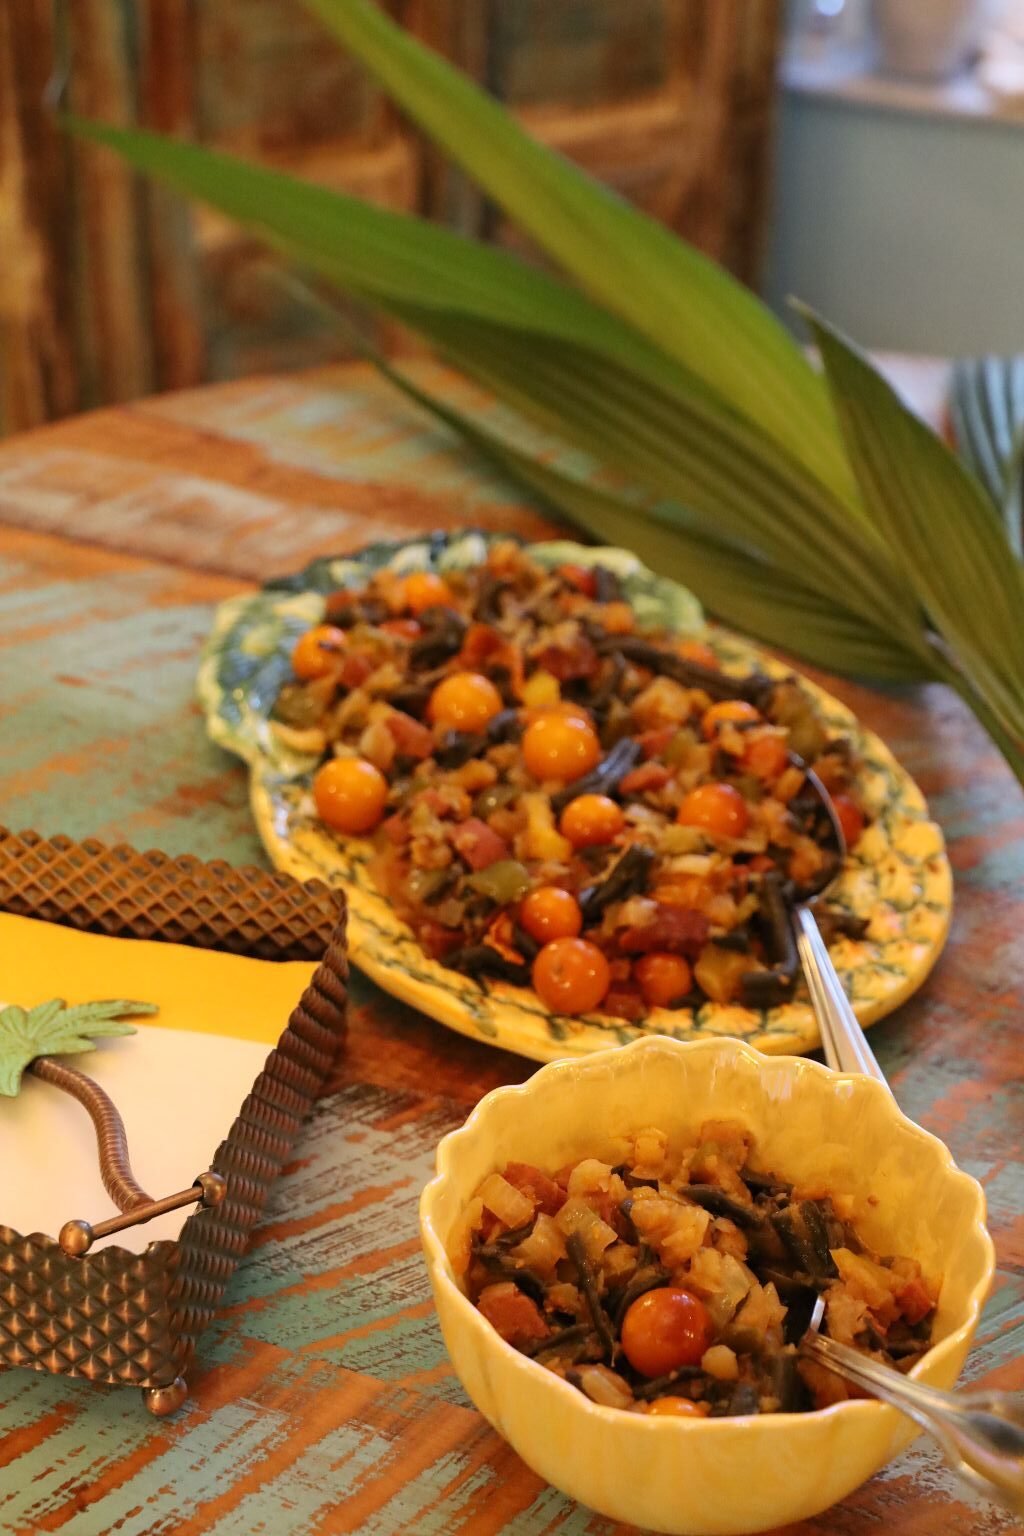
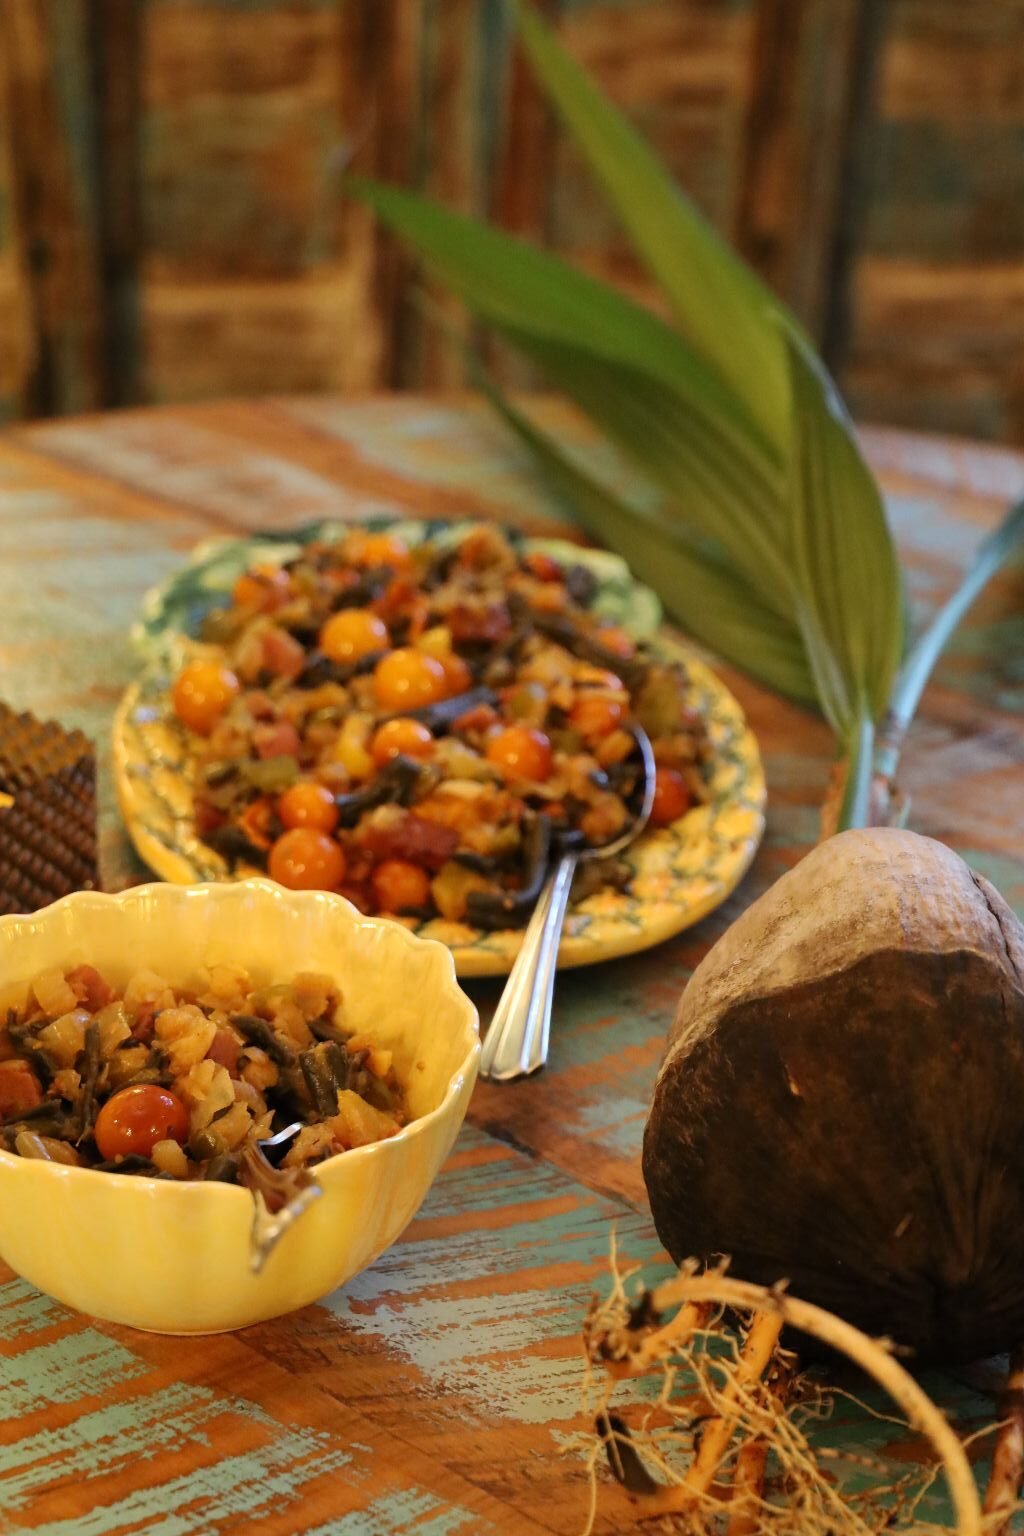
Kulii’s Teriyaki Spam and Pineapple ‘Ai Pu Ana
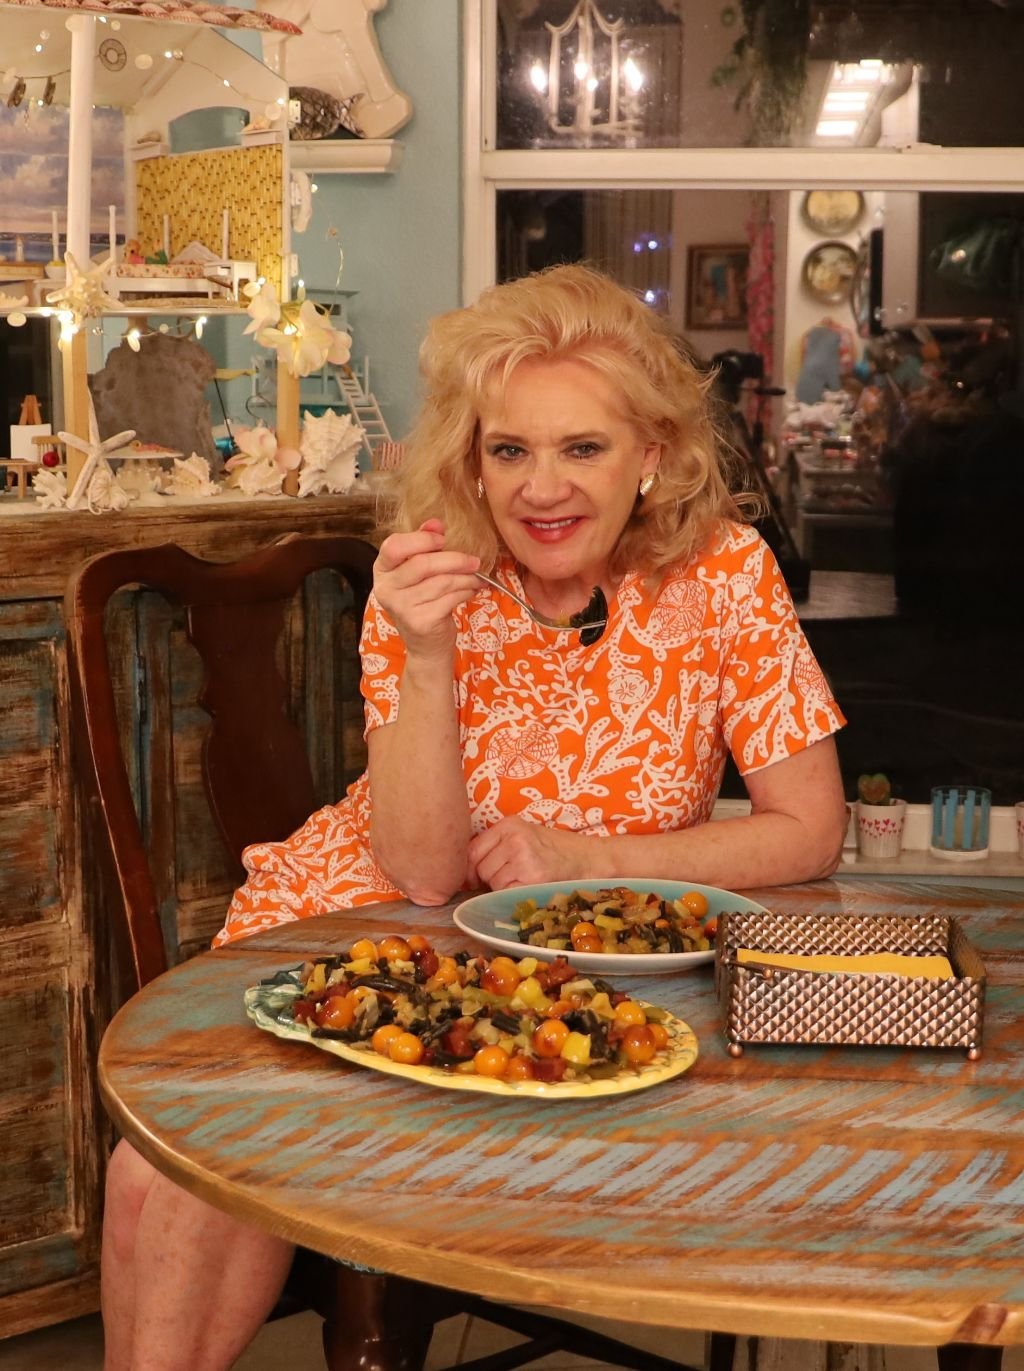
(Julie’s Teriyaki Spam and Pineapple Casserole)
AND,
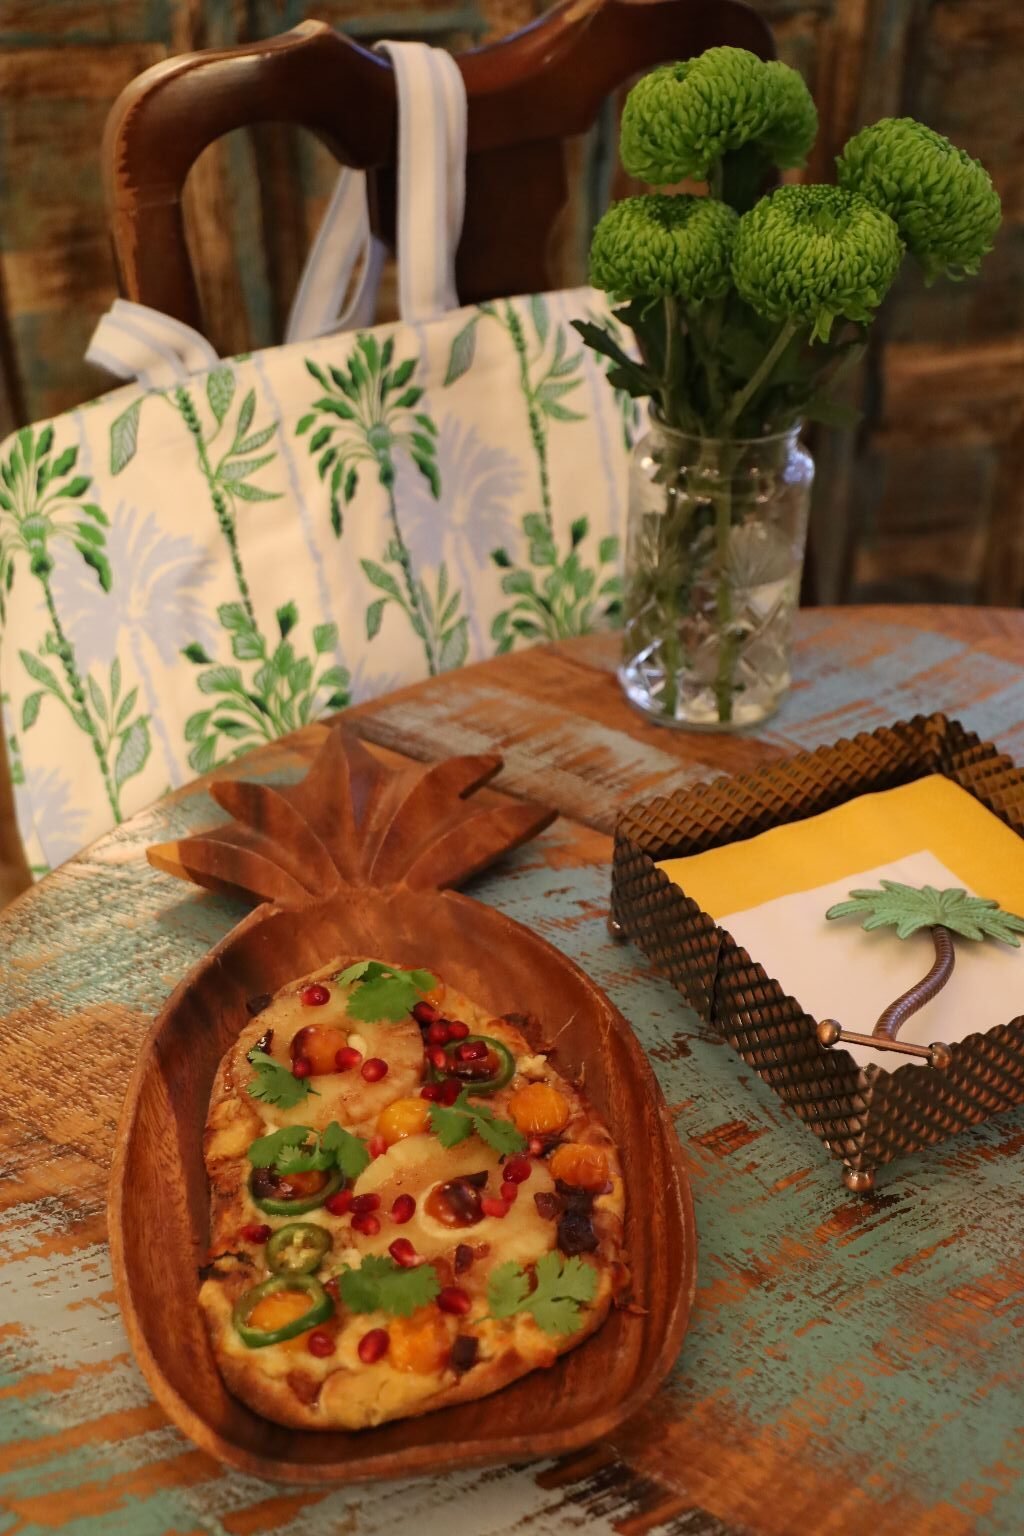

My Tropical Naan’s


If I were to create a Christmas Pizza, this would be it. 🙂
(Recipes Down Below)
——————————————————————————————

Hawai’i has always meant a great deal to us. I cannot explain our connection to the state.
I have a closer connection to Hawai’i than I do Georgia, the state I was born into.
With an open mind, you will see the Garden of Eden, Beautiful Brown Angels Singing, Dancing, Ceremony, Spirituality, Music, Drums, History, Cultures Living Together, Working Together, Farming Together, Cooking Together, Celebrating Together, and Sharing With Each Other.
I look forward to bringing to you all that we will encounter on our trip back to paradise.

———————————————————————
Blog Posts Start Here
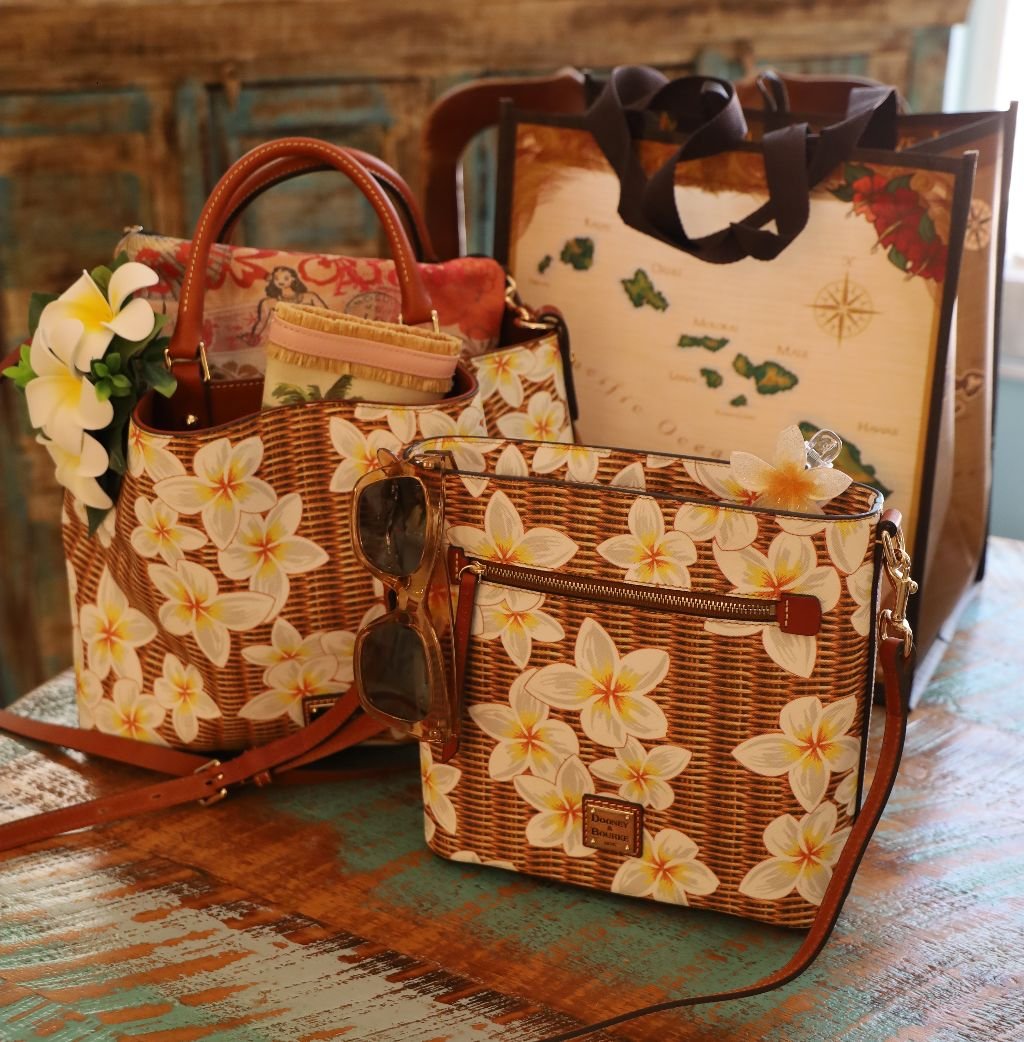
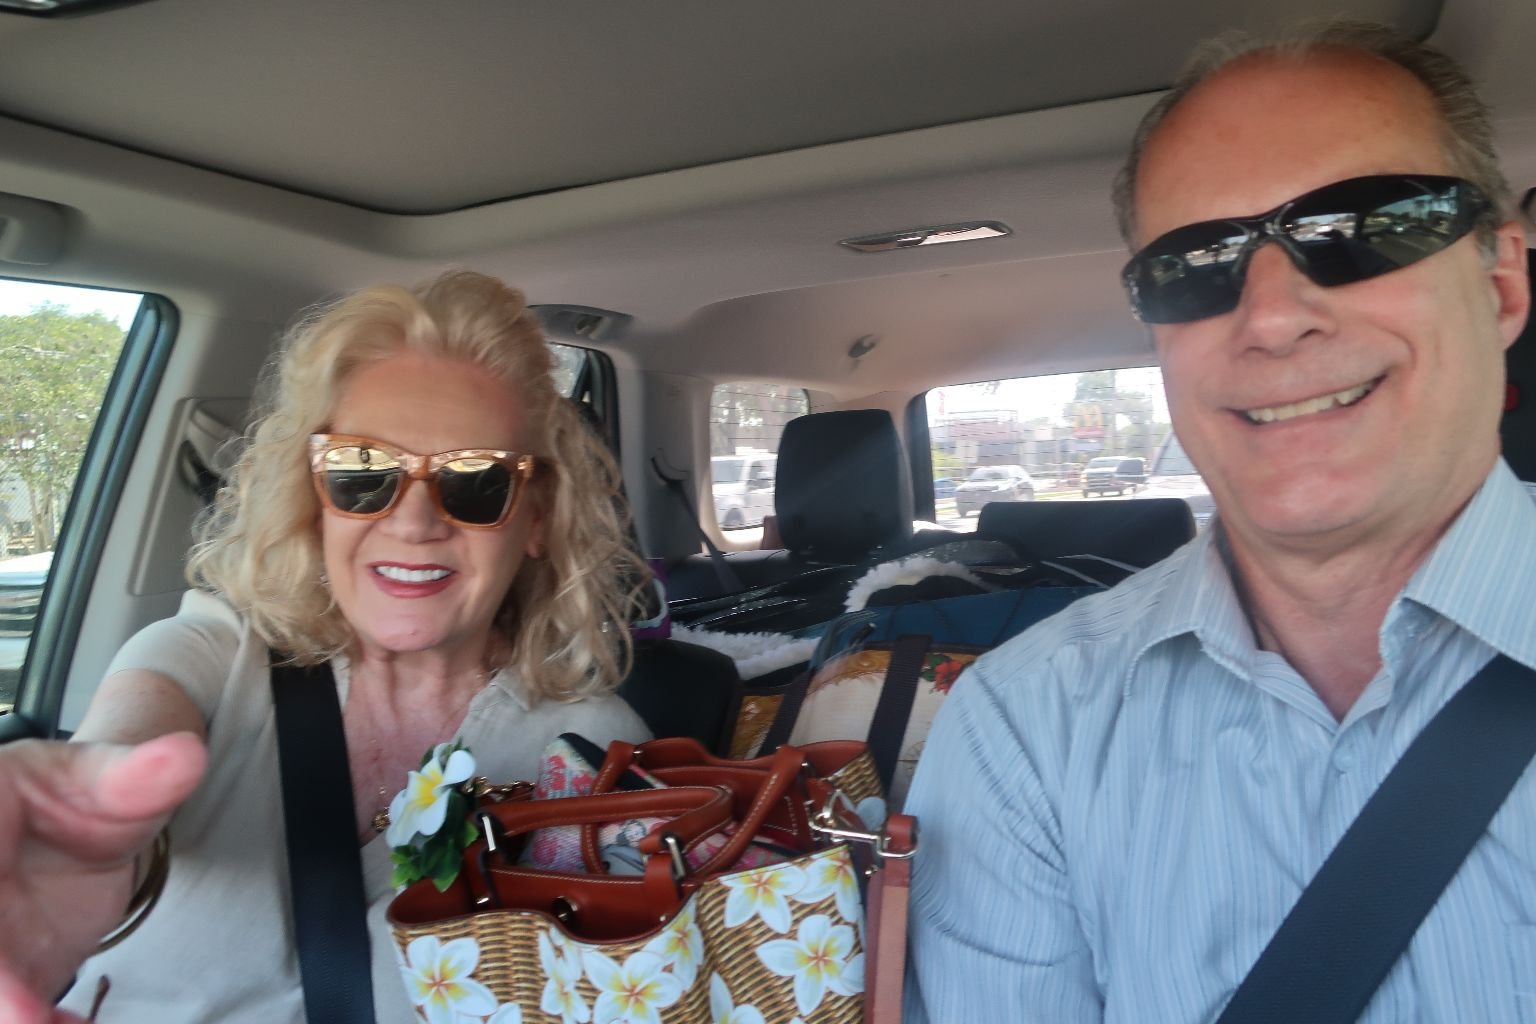
Out And About
———————————————————————————————
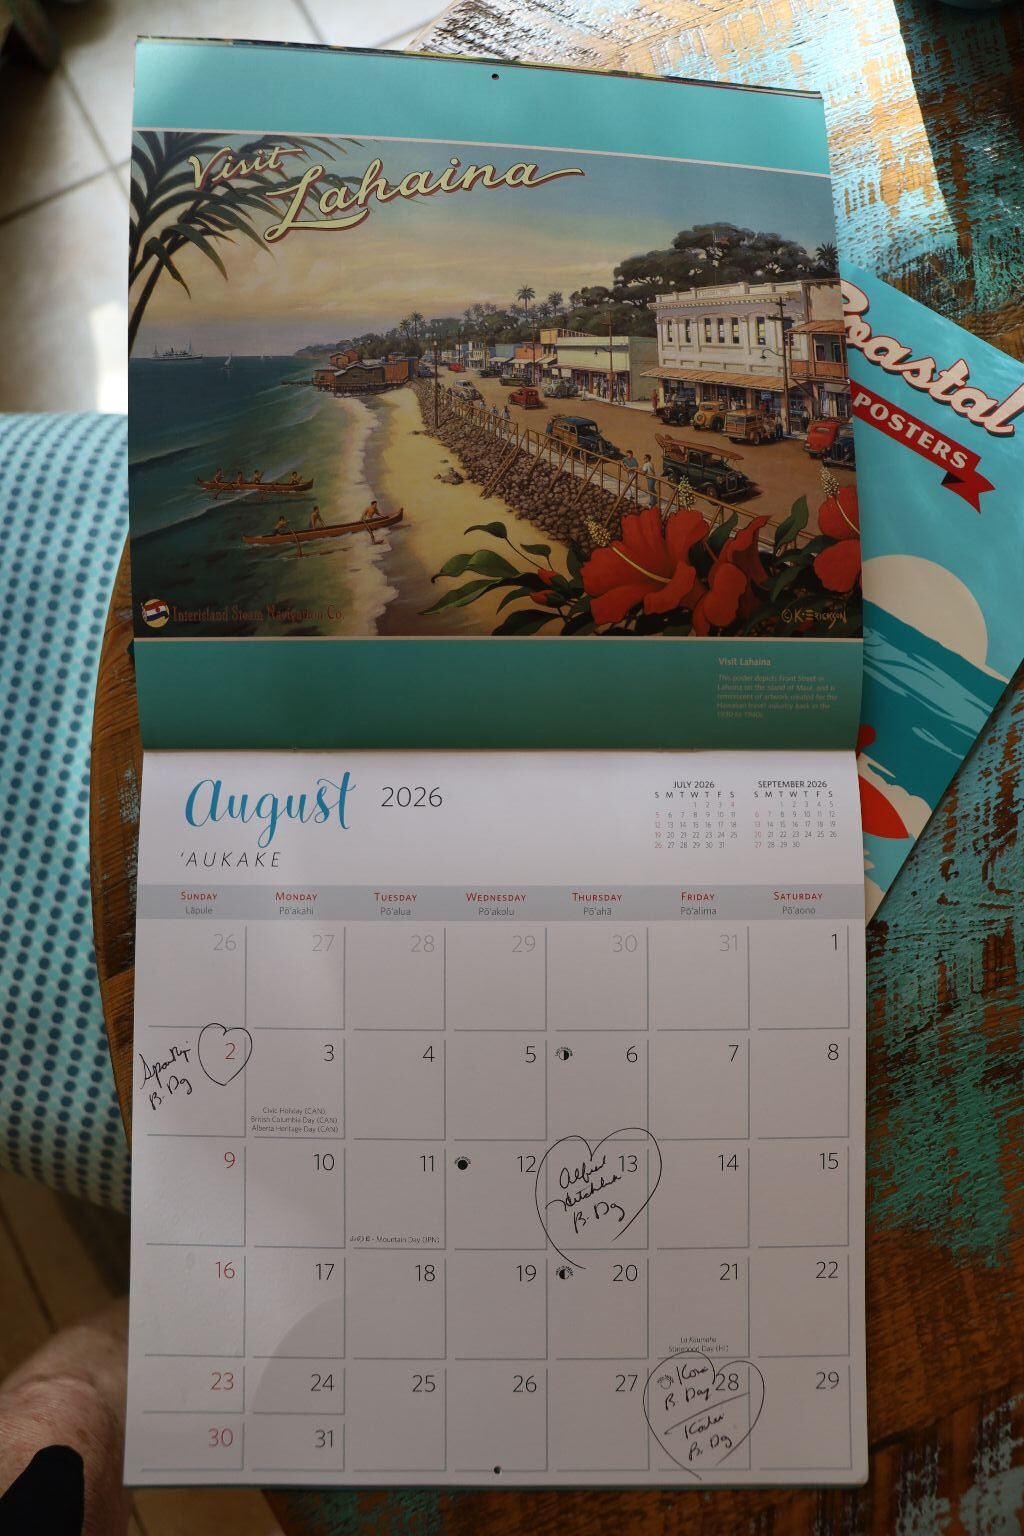
August, 2026
—————————————————————————————
August 18, 2026
Catching Up

Out And About Today In Gordon’s Jeep
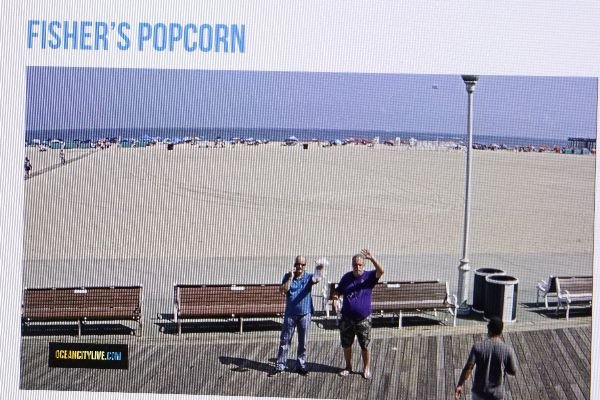
Gordon and Jeff in Ocean City, Maryland
Fisher’s Popcorn’s Boardwalk Cam
(We love Fisher’s Popcorn!)
Gordon’s mother died a few months ago. She and her son Jeff lived in an assisted living facility in Virginia. That is Jeff on the right waving. Gordon and Jeff’s father Milton had died a few years previous. As with all deaths there is an estate to settle. Gordon and Jeff’s sister Heather had been up to Virginia a few times doing quite a bit to help Jeff get settled into a new place, and to supervise things to be auctioned off, donated, and distributed out to family members. The process is still going on. It is a lot of work.
Milton and Sarajane had traveled the world over many times during their 60 + years together. They were collectors of many things. Gordon’s mother grew up in wealth. This is her at age 16 coming out debutante photo. She grew up in a family where there were “servants.” At least on her grandparents side growing up in Pennsylvania. I believe her grandfather was a politician. She had a very interesting life, but she was a very complicated person.
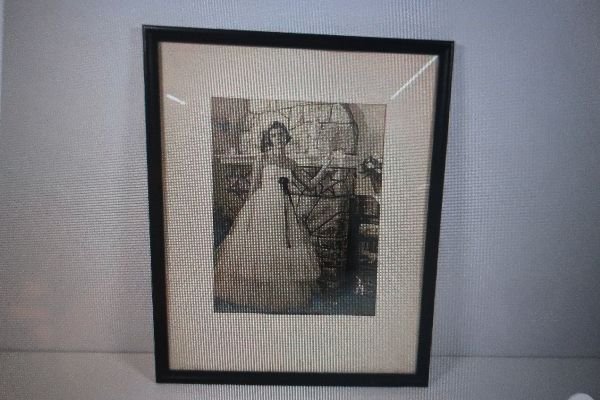
Sarajane Alderfer
I do have to admit that she could be very harsh, hostile, and unreasonable. She refused to acknowledge our son Brodie’s spelling to his name, saying that the ‘ie’ was the feminine, and not the ‘y’ that is masculine. My ancestry is Scottish so I named him after the Scottish spelling which is Brodie, not Brody. So, whenever I would get mad at her I would write her name, Sara Jane, and not the correct spelling of Sarajane.
She hated that! 🙂 Yeah, don’t mess with the Daughter’s -In-Law.
But, who doesn’t have issues with their Mother-In-Law?
—————————————————————————-
At this writing we have online auctions that are shown around the world. We are currently on our second block of auctions. I think there will be a third coming up after these end. It is bitter sweet for Gordon and I’m sure Heather and Jeff as well, seeing their childhood and family heirlooms being auctioned off. But, we can’t keep it all!
Gordon has been up in Virginia for over a week now, and should be home in about 3 days. We traded cars because mine can haul more weight than his Jeep can. He will be renting a U-Haul trailer to attach to my car, and bringing down here some of the family heirlooms to be stored in a storage unit. We have plans for those items which I will reveal in the future. But for now, we are working on collecting enough items to stock a house. 🙂
————————————————————————————–

Finding Ways To Accent My Things With Hawaiian Pareo’s and Shell Lei’s
Still All About Hawaii!
———————————————————————————-
Big Girl Bed, No More Crib
As many of you know, I am my granddaughter’s main care giver.
When she is dropped off very early in the mornings, because our sleep has been interrupted, she and I will take our nice long naps.

The couch is covered with my plush items. 🙂
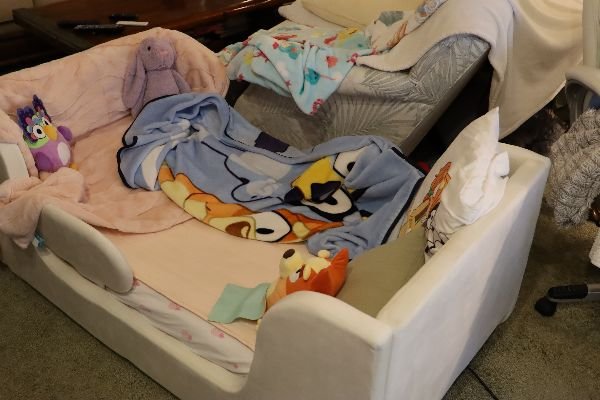
Isabelle now has a Big Girl Bed that she loves! In our living room! 🙂
You know, we live in our living room. I sleep in here with her on those mornings when I keep her. I sleep overnight with Gordon in mine and Gordon’s bedroom. I pretty much sleep everywhere! 🙂 Comfy cozy covers abound! I do love naps!
Julie
————————————————————————————-
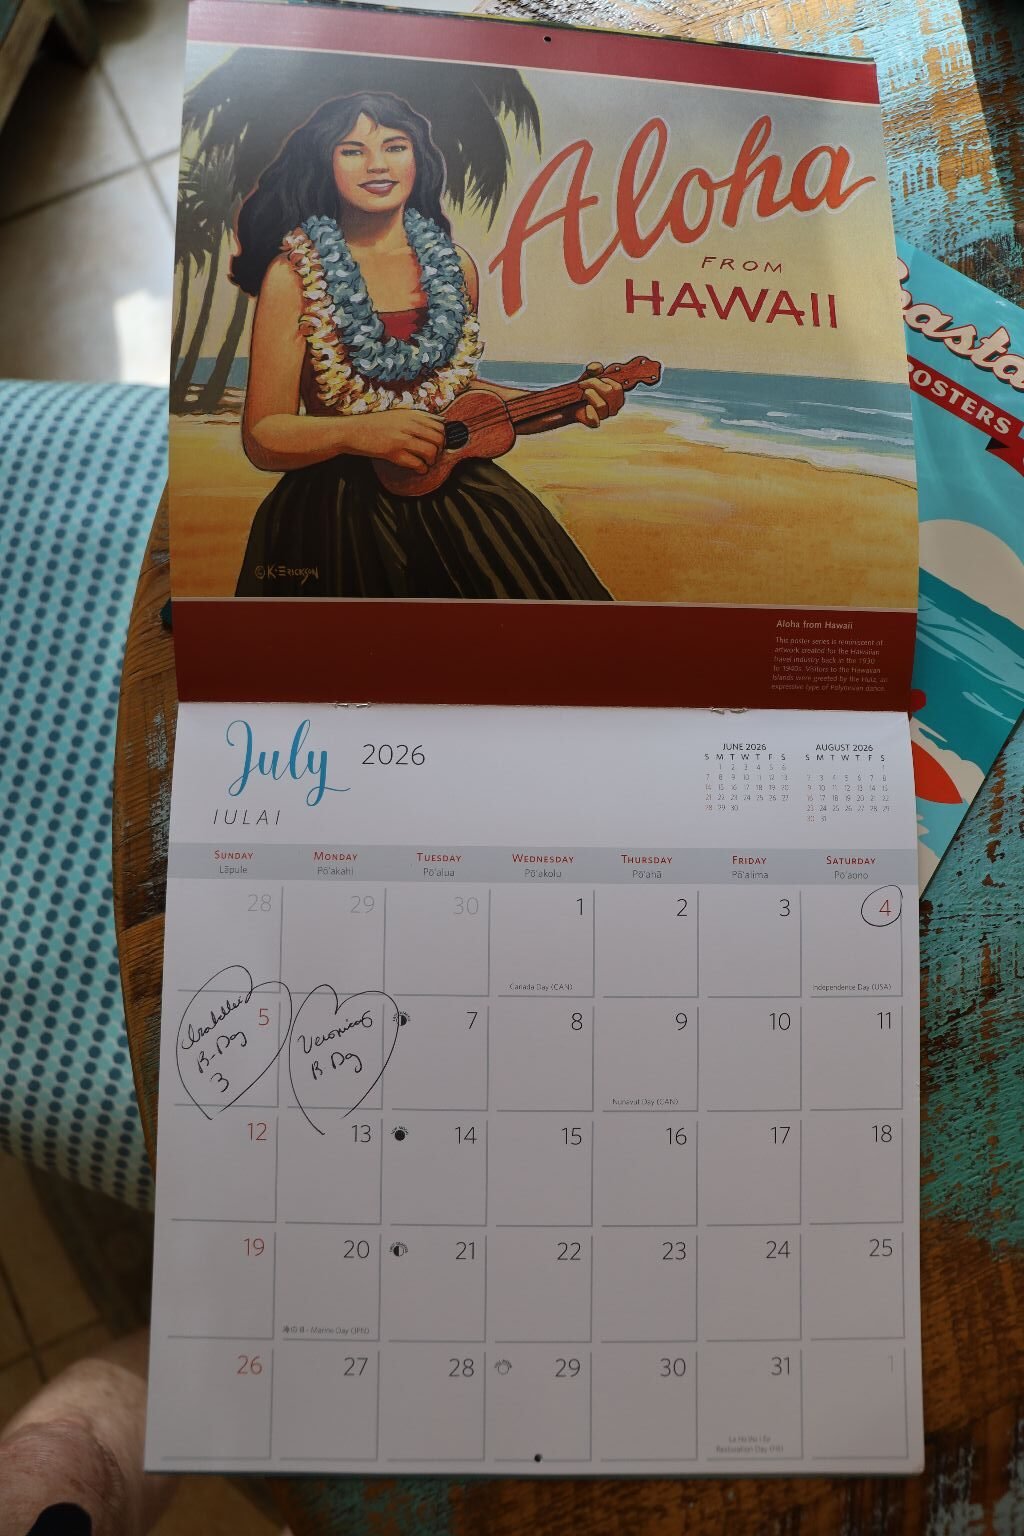
July, 2026
——————————————————————————————
July 13-16, 2026
Belated July 4th. Thoughts

Isabelle Wearing My Lilly Pulitzer Free Gift Cap With Purchase, I Gifted It To Her 🙂
The photo above, I took on July 2nd.. We had hired tree trimmers for the day and they were on a lunch break when we took the dogs outside. Isabelle instantly ran to the ladder, I grabbed my camera and I believe snapped one of the cutest natural pictures of her ever taken. 🙂
I also gifted her that cute outfit. 🙂
Gordon had taken the day off to supervise the tree trimming. (I didn’t want to do it as I was busy keeping Isabelle inside.) It had been 3 years since the last time we had our trees trimmed.
Just more Florida home ownership responsibilities. We live very close in proximity to our neighbors so we need to be aware when our tree branches start to hang close to their roofs, etc. The guys we hired were the best we had ever hired before! They were professional and worth almost all of the close to $4,000.00 that we paid them. The neighbors were even happy with them as they cleaned up every leaf that fell into their yards as well.
I suppose that no one really cares about tree trimmers so I will move on.
This past July 4th. was our country’s 250th. Birthday! I can remember back in 1976 celebrating our 200th. Birthday. We were living in Tennessee at the time. Even though I was a child of 15, I knew that it was something to be proud of. However, just 50 years later things are so much different in my country than 1976 ever was.
I really don’t want to go into all the details of that. (I would be writing a novel if I did.) However, there just seemed to be this depression that did hang over the holiday. A lot of the past enthusiasm was gone. The fireworks were not as much. The pride gone. The confidence gone. The arrogance gone. The day was just sort of a quiet day of reflection. At least for us it was.
Oh, I did post our past July 4th. Independence Day Celebratory website pages on the Homepage of the website, and even on social media. But you do that for your little ones. We have Isabelle here and she needs to understand that it is something to celebrate. Luckily for her, her parents are big on fireworks and a big 4th. party with lots of family and food. Brian has lots of his family over where they shoot off fireworks and party into the night. But Gordon and I were more subdued. Instead of the usual this and that, I wanted to focus on my favorite state, Hawaii.
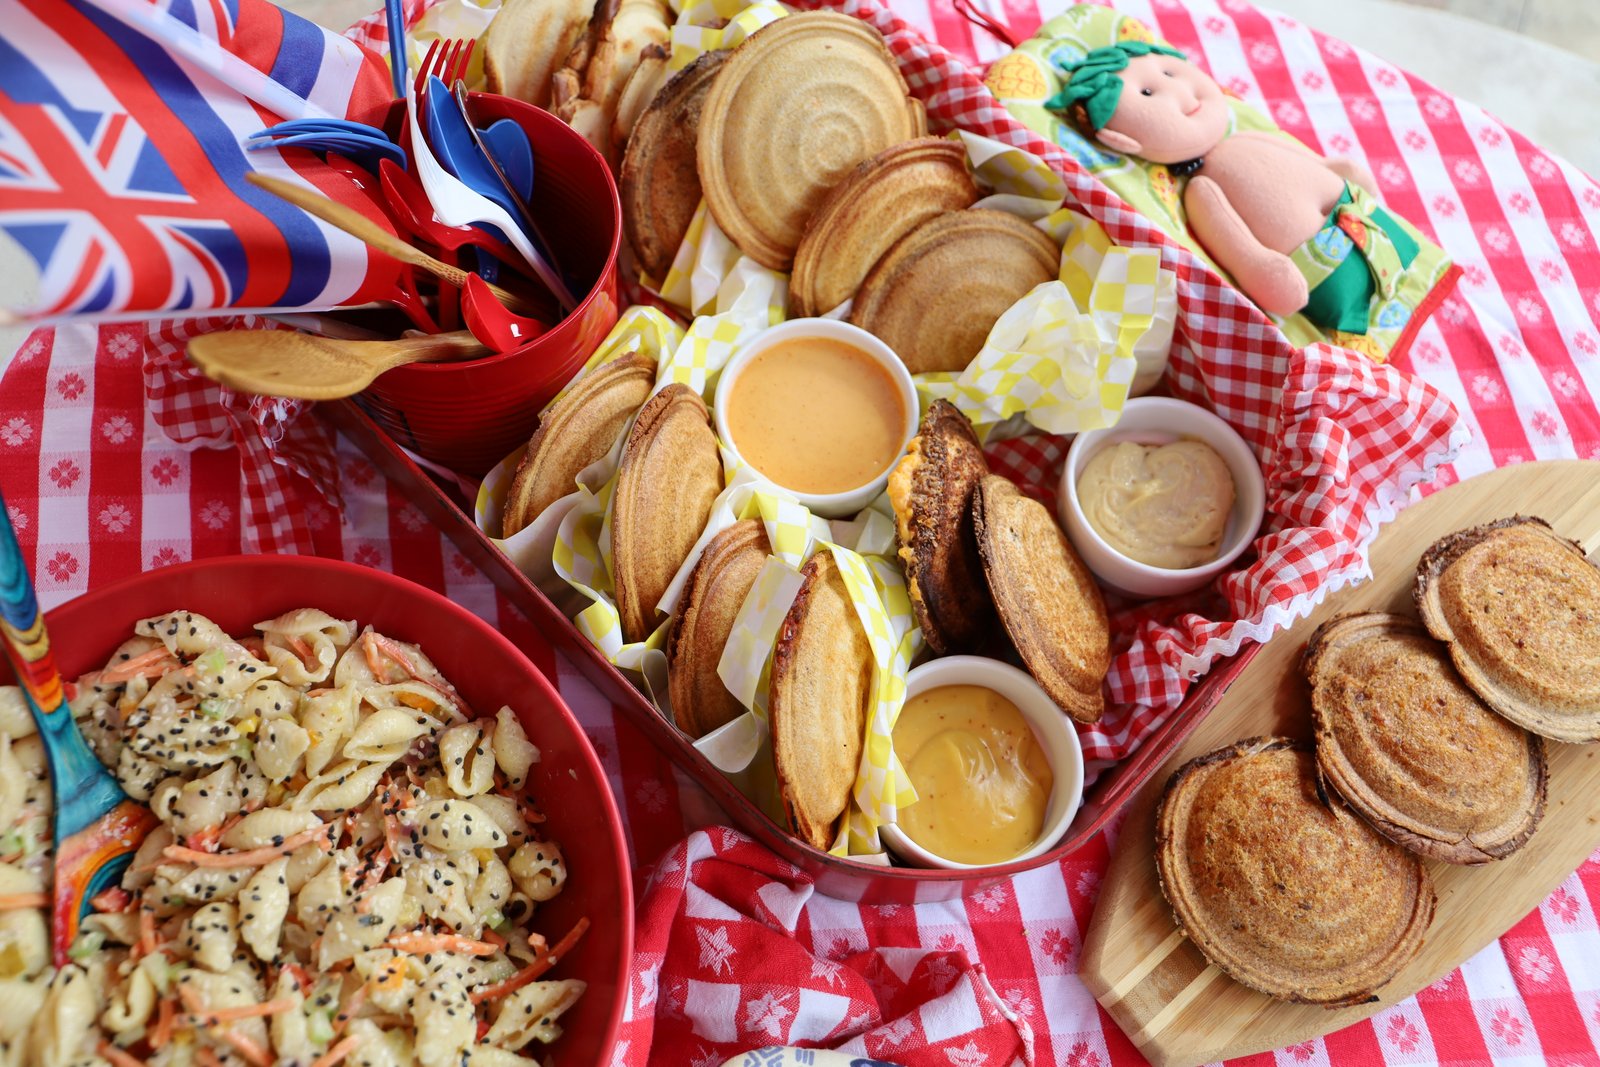
1950’s-60’s Maui County Fair Flying Saucers
I didn’t want our usual July 4th. foods, and with all the talk of State Fair’s in D.C., I wanted to put my focus on our favorite State, Hawaii. I did my research and discovered that Hawaii would make these great grilled cheese sandwiches back in the day. The tool used to make them goes back to the 1940’s. I didn’t want to make grilled cheese sandwiches, but I did want to make some Sloppy Joe’s, or in our case, Sloppy Whann’s. 🙂
It’s funny but I was looking through my Instagram feed and I came across an account that I didn’t even follow, located in Hawaii that actually said, “Don’t make us your 4th. of July Celebration.”
That was exactly what I did!
I certainly didn’t mean any disrespect. I was honoring the state. Hawaii was the state that meant the most to me. Although Hawaii didn’t become a state until August, 1959.
Celebrating this past 250 Birthday while our country is currently being dismantled from within, is a bit like celebrating a wedding anniversary while simultaneously filing for divorce. It’s all so dysfunctional now.
My hope is that the right people are able to correct course and get us going in the correct direction without too much interference. But, we’ll see.
For now though life goes on, and so do we.
We did make it to 250 though. And I appreciate those who sacrificed so that we could get this far. 🙂
Julie
———————————————————————————
June, 2026
————————————————————————————
June 22, 2026
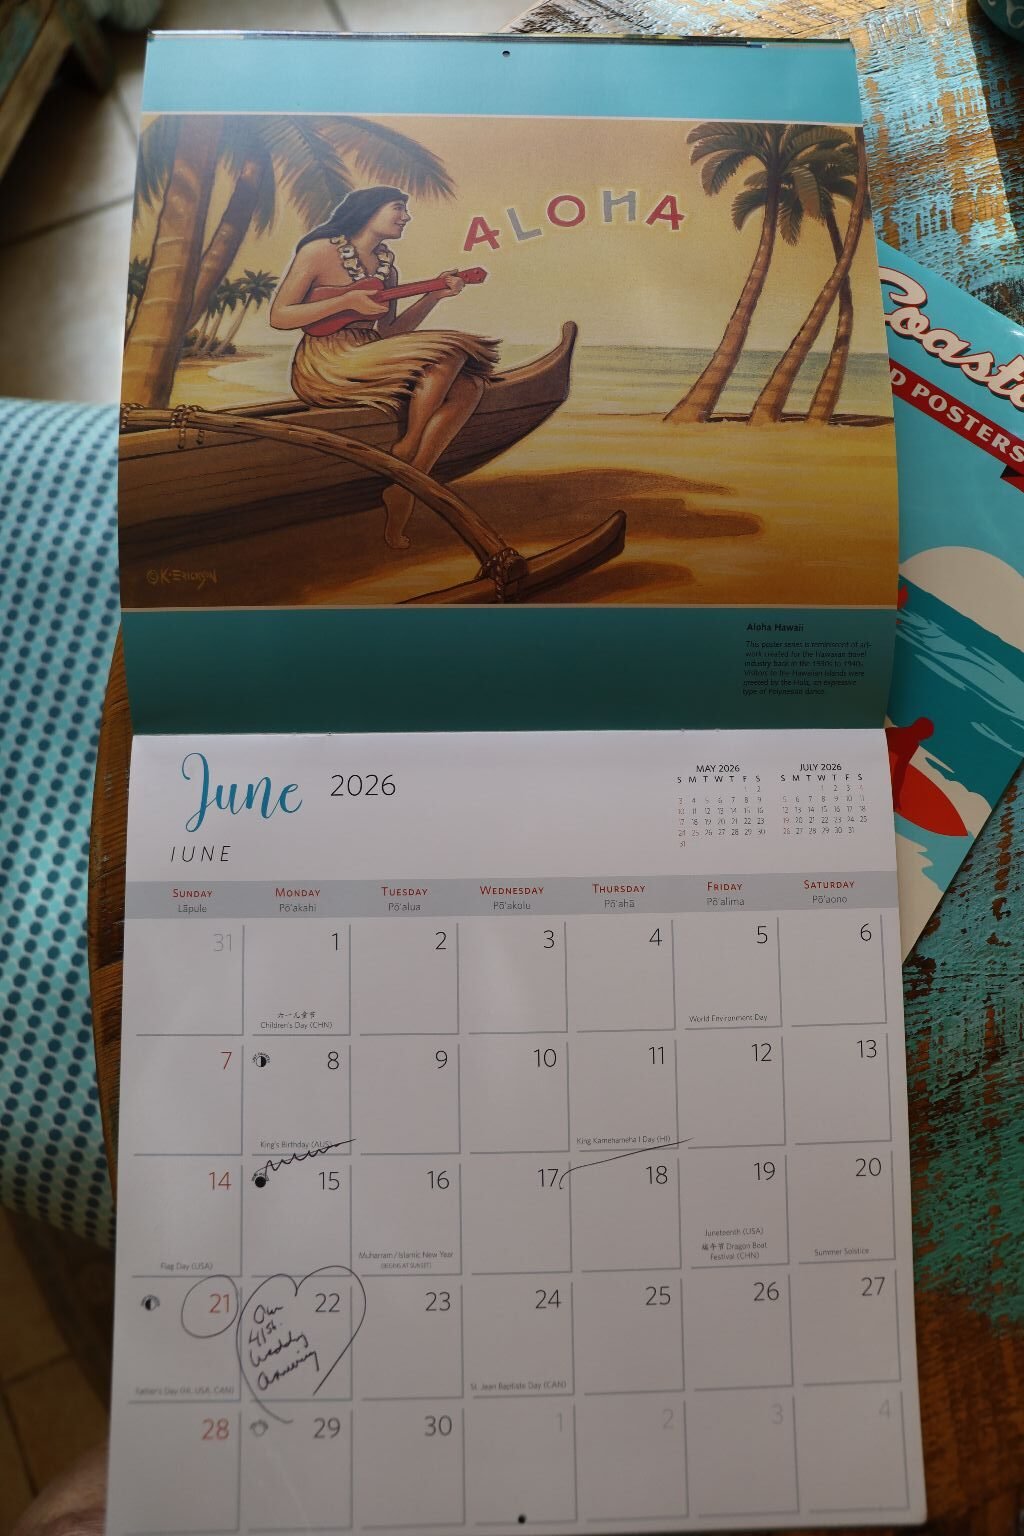
Today Is Our 41st. Wedding Anniversary

On Our Wedding Day, 1985
Driving Into The Future In Gordon’s First Jeep (Blue)


2026, Driving Into The Sunset In His New Jeep (Tan)
—————————————————————————————–
June 22, 2026
Update On Justin’s Death
Brodie went to Mississippi for the funeral. He told us it took 9 Pallbearers to carry him. Justin was a very big man. I think he wore a size 22 shoe, that should give you an idea of just how tall he was. Brodie told us that because he was so large that the coffin had to be lowered into the ground by hand. I know it was very sad for all. Brodie, Jason and Justin were the best of friends since they were all 14. We will miss Justin. He was part of our family for decades.

RIP Justin
——————————————————————————————
June 14, 2026
We’ve Had Two Deaths This Month
I have been searching through my millions of photos trying to find a nice one of Brodie’s friend Justin, and Gordon’s mother, Sarajane. I must have about 12 external harddrives. I can’t find what I am looking for where Justin is concerned. And it just dawned on me where I can find a nice photo of me and Sarajane in Hawaii. (See below.)
Both of them have passed away earlier this month, two days apart.
Justin apparently fainted on a job site at work and died from heat stroke.
And Gordon’s mother died while in the hospital. I think she died from sheer unhappiness. She had an appetite while in the hospital, but she wanted to be fed. Nurses don’t do that anymore. You either feed yourself, get a loved one to do it for you, or you do without. Our fabulous American health care system not working yet again.
———————————————————————————-

(Me, with my mother-in-law, Sarajane Whann 1988, in Hawaii with our wrist lei’s.)

It was earlier this year that Sarajane’s assisted living facility apartment had a fire in the attic and the sprinkler’s went off throughout the building. Gordon’s sister Heather called me to tell me about it. Sarajane and her son Jeff had to move out of their apartment and into another apartment in another building on the grounds. All of their things were put into storage, and they were told they wouldn’t be back into their apartment for a good 6 months. I believe that is the catalyst that escalated her death. She loved her things. She had beautiful things that she loved looking at and enjoying them all. I think that had the flooding not happened that she could have lived another couple of years. I can just see her doing her counted cross stitch while sitting on her comfy chair. She has a Baby Grand Piano and would play for the other residents during the holidays on the piano in the restaurant dining room.
My mother-in-law and I were not close. She had never really liked me. But, the older that I have become, the more understanding I have become. Over the past years I no longer held any grudges towards her. The past no longer bothered me. I learned that it was never personal. It was just her.
I have asked for one or two of her counted cross stitch pieces. Or even a painting or two that she herself had painted. I would love to proudly own them.
I think that if we are lucky that we age wisely. We evolve into people that are more understanding, even if it doesn’t benefit us personally.
I will say this about Sarajane, she was a very interesting person.
RIP Sarjane,
Julie
See, I told you long ago that you can’t take everything with you when you’re gone. 🙂 I miss you though!
————————————————————————————–
June 14, 2026
Jeep Shopping and Vintage Florida


Doing Some Nostalgic Souvenir Browsing
With Gordon home permanently from working overseas we needed another automobile for him. He’s been talking about buying a Jeep for years now, but he wanted a used one and in the colors that he wanted, which are sometimes hard to find. So, he contacted a bunch of dealerships within a range of about 200 miles from us until someone gave us the call that they had found what he wanted. This was the day we drove to Ocala to take a look at one.
We ended up having to make two trips up to buy the Jeep. This was our first one.


THE One!
———————————————————————————————–

It was while we were on our way back home that I spotted this from the highway.
I knew I wanted to stop in and shop around for some homemade jams and jelly’s from local sellers, and perhaps buy a big bag of Oranges etc.
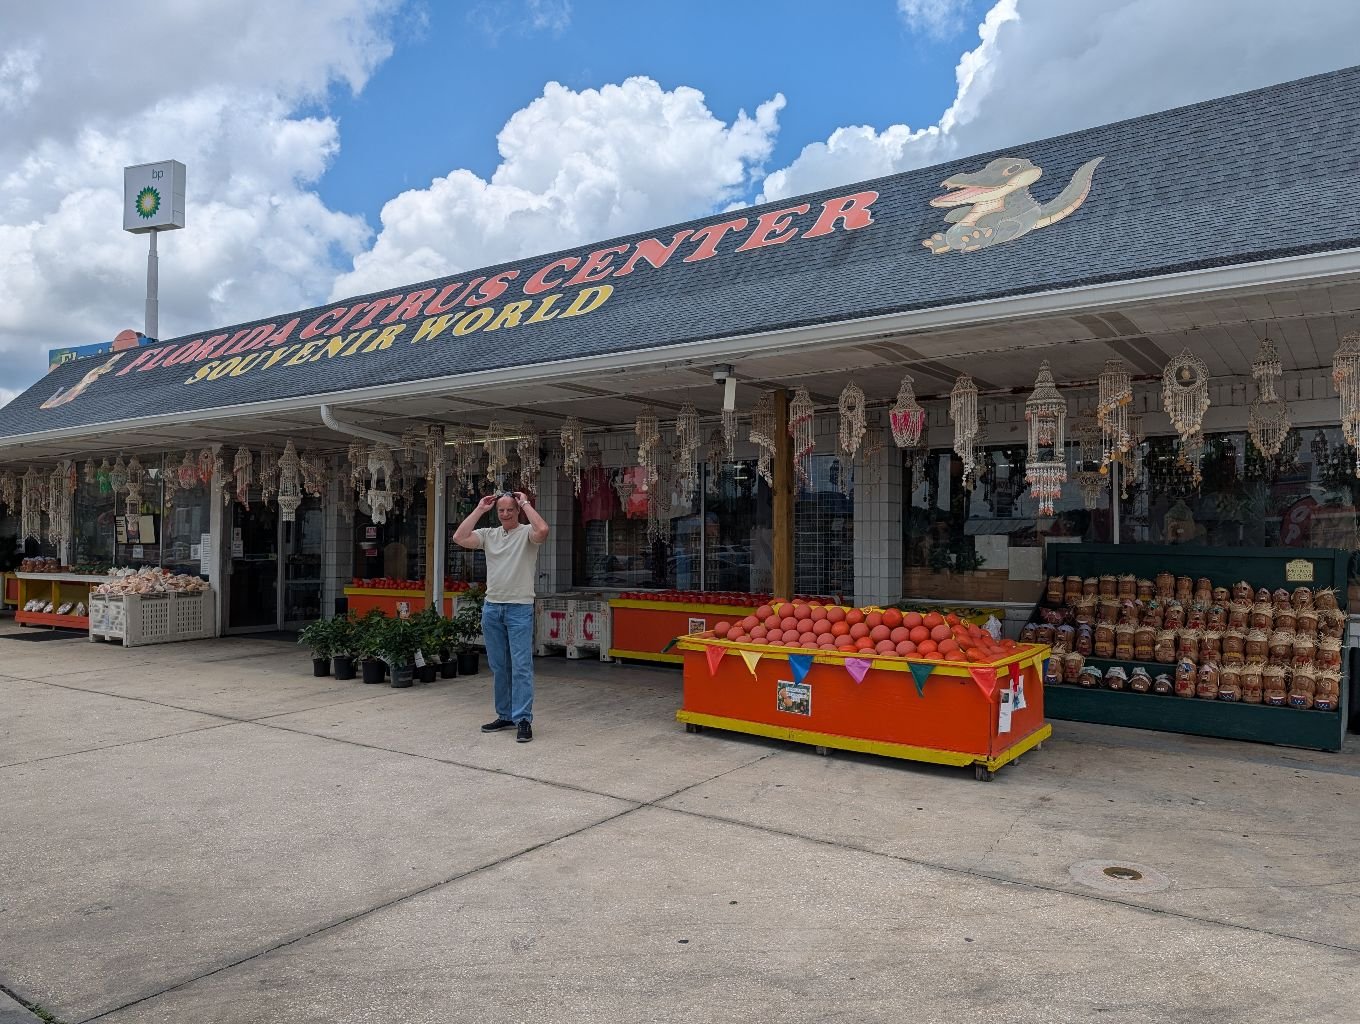
Gordon Out Front
I love the nostalgia of these old Florida souvenir shops beside the highways.
They remind me of my childhood and our many trips down to Florida when I was growing up.
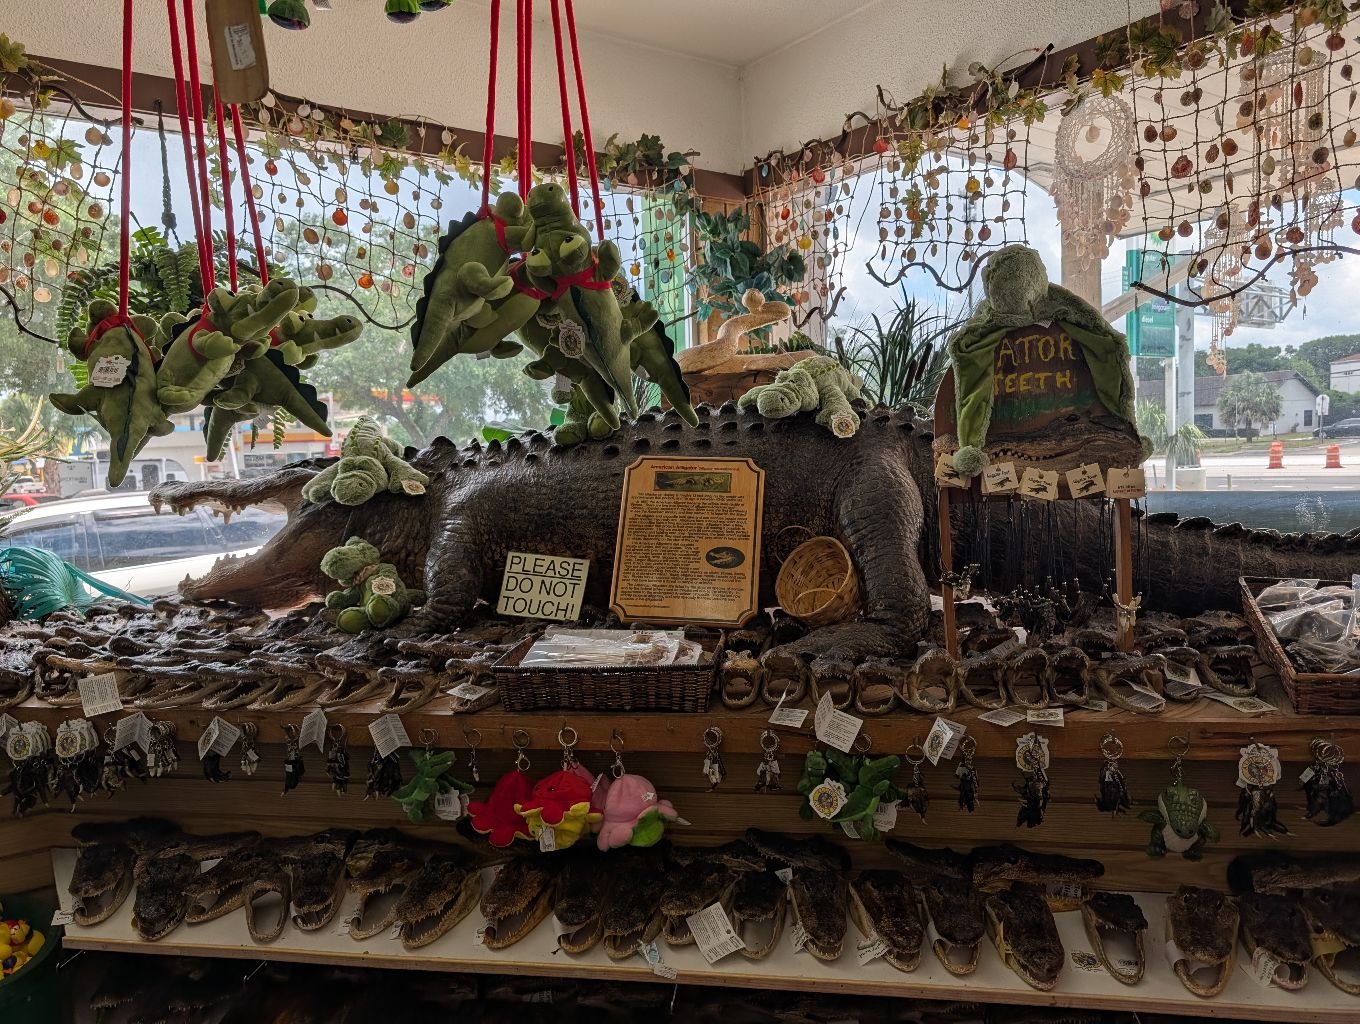
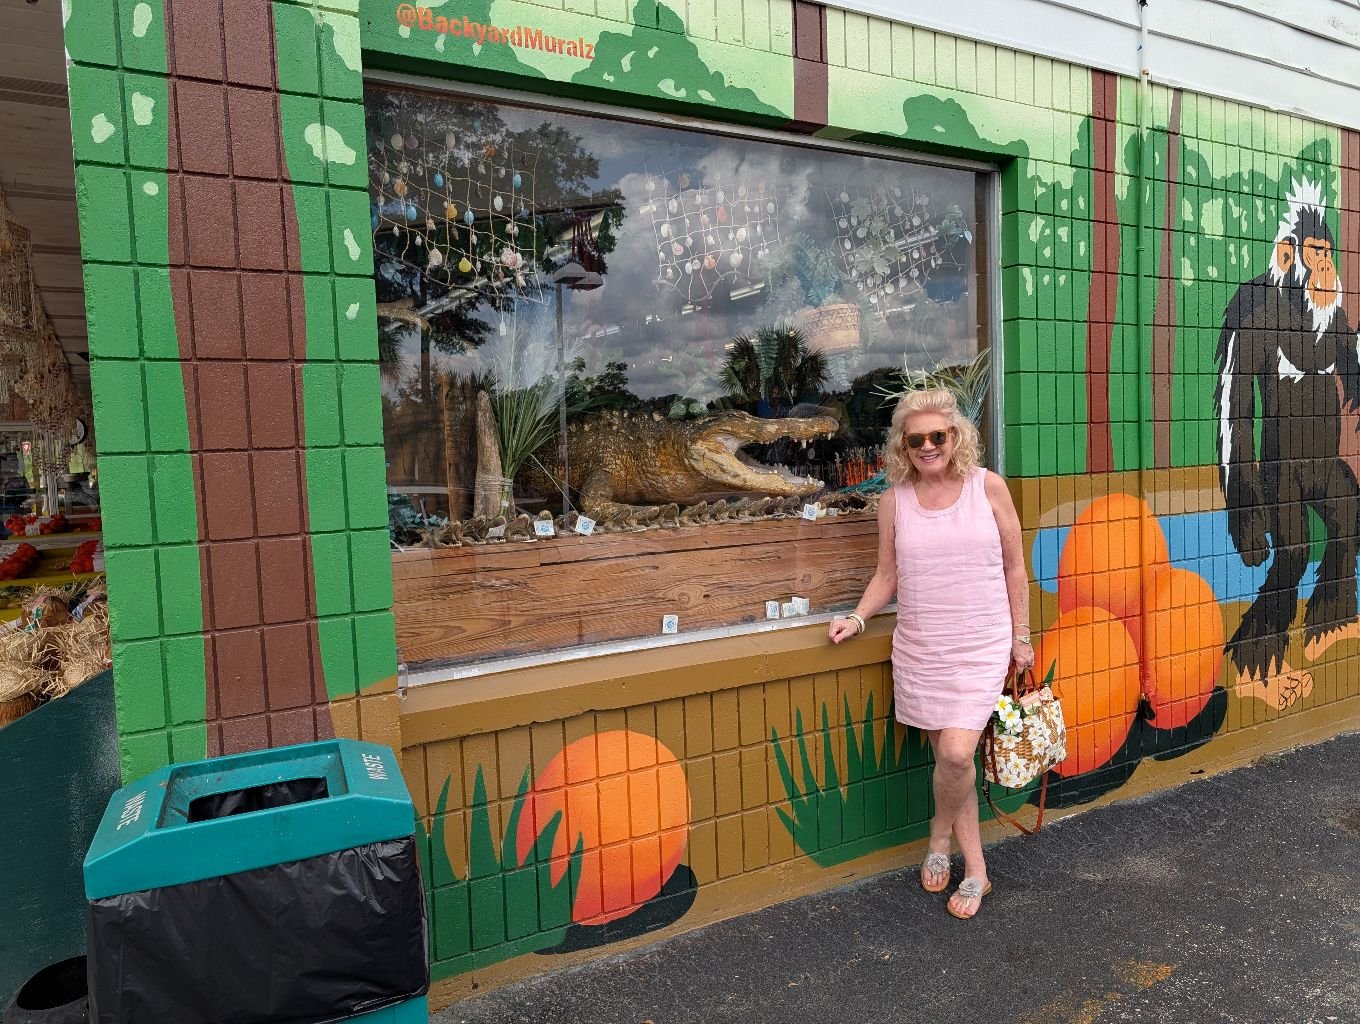
THIS is what I don’t love about Florida. To me this is like collecting scalps.
The alligator feet are cut off and used as backscratchers.
The heads are cut off as trophy’s to be placed so that they can be admired by other very scary people that I will never want to know in my lifetime.

The large alligator in the window was stuffed and placed there.

They did have these two cuties in a tank. It was a pretty large tank too.
They do have room to roam around quite a bit. (Bright side.)
We once knew a family in Georgia that had a Cayman in a small fish tank. The poor thing couldn’t move. It was like that for years. Finally it died one day. I didn’t blame it, it never had a life anyway. And why this family thought that was a good idea to do that to that animal is just beyond me?
This store was also selling what looked like baby sharks in jars in some blue liquid. I know the name of it but I don’t know how to spell it so I will just keep typing… (getting lazy in my old age.) Actually, at this writing I am recovering from a very bad cold and I’m still not feeling very well. I don’t get sick that often as it is. The last time I was sick was October, 2023, and prior to that January 2019. But, when I do get sick I tend to GET SICK!
—————————————————————————————
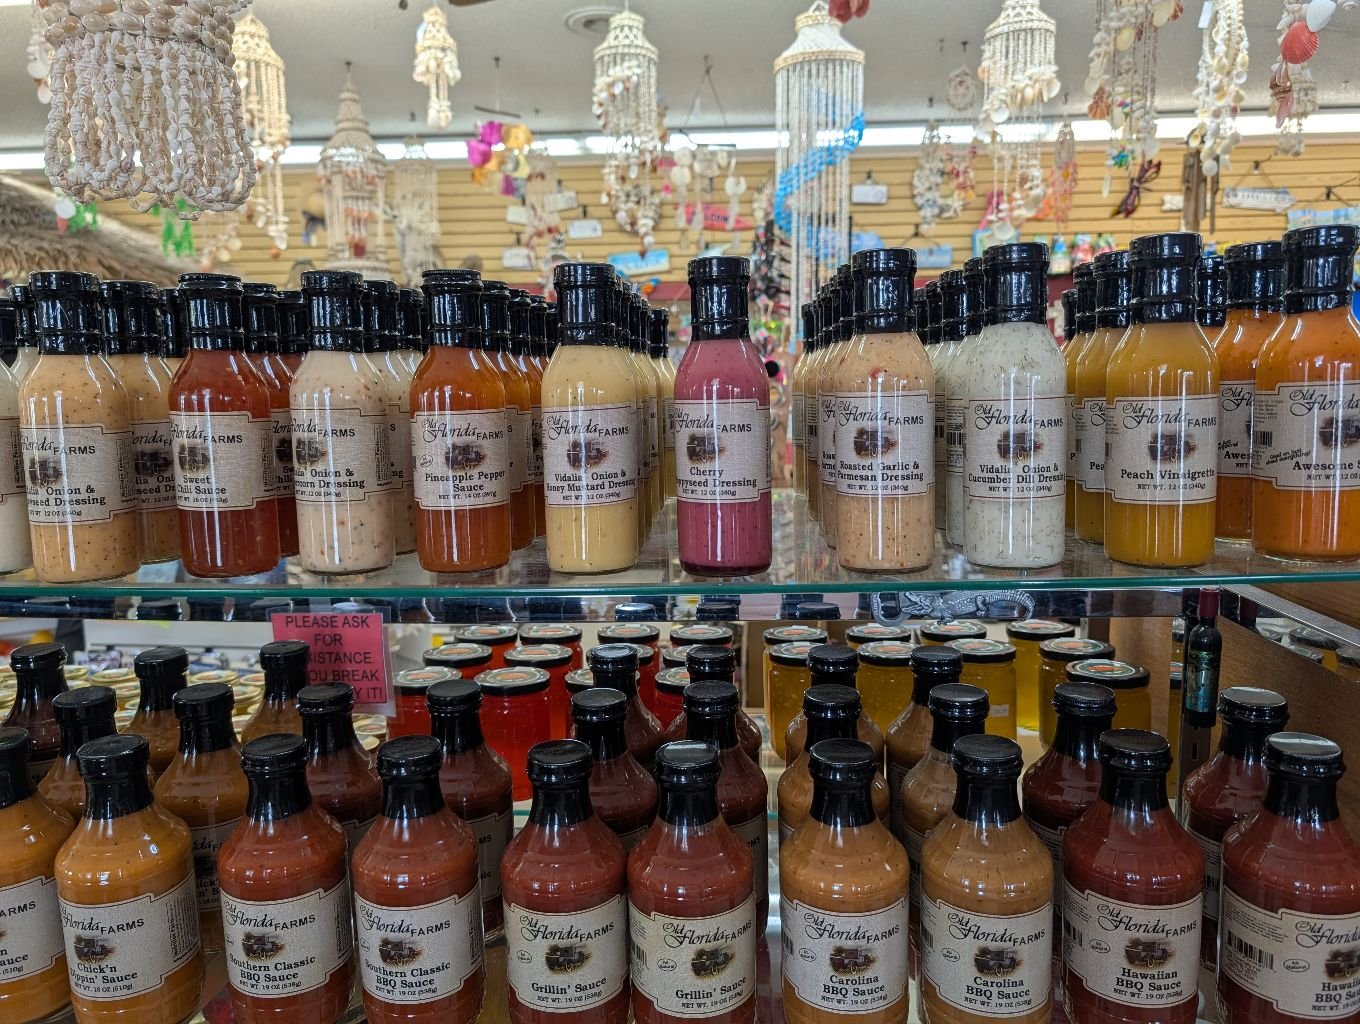
We did find lots of goodies and made several purchases.
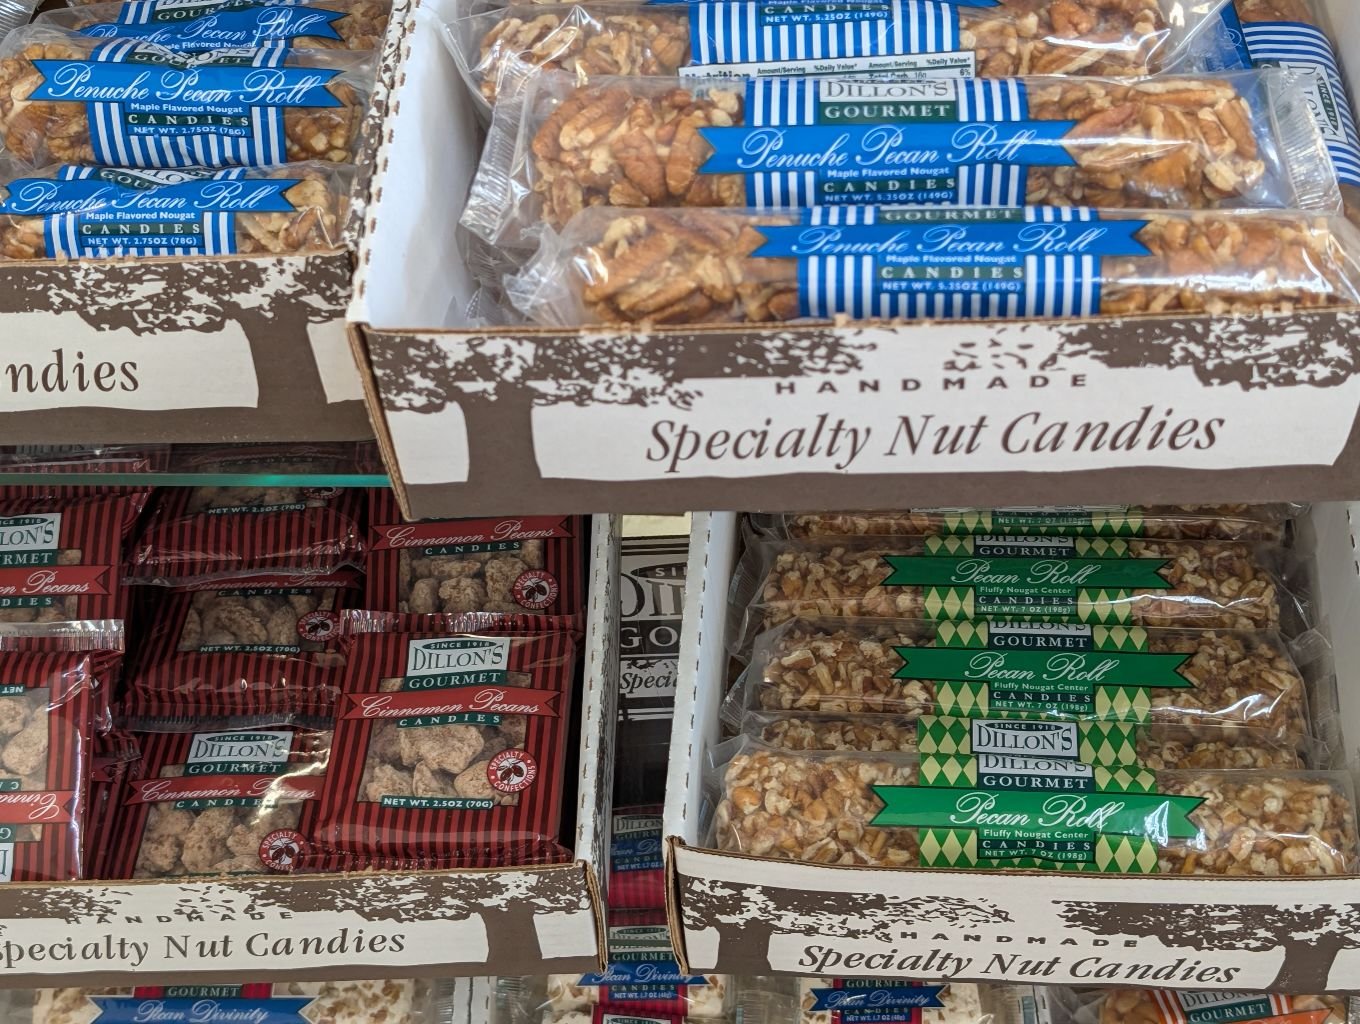
The Pecan Log, or Pecan Roll
(THIS is my Childhood!)
It wouldn’t be Florida without getting one of these!
A soft tasty nougat rolled in chopped pecans.
——————————————————————————————
The Love Bugs Were Out In Force!
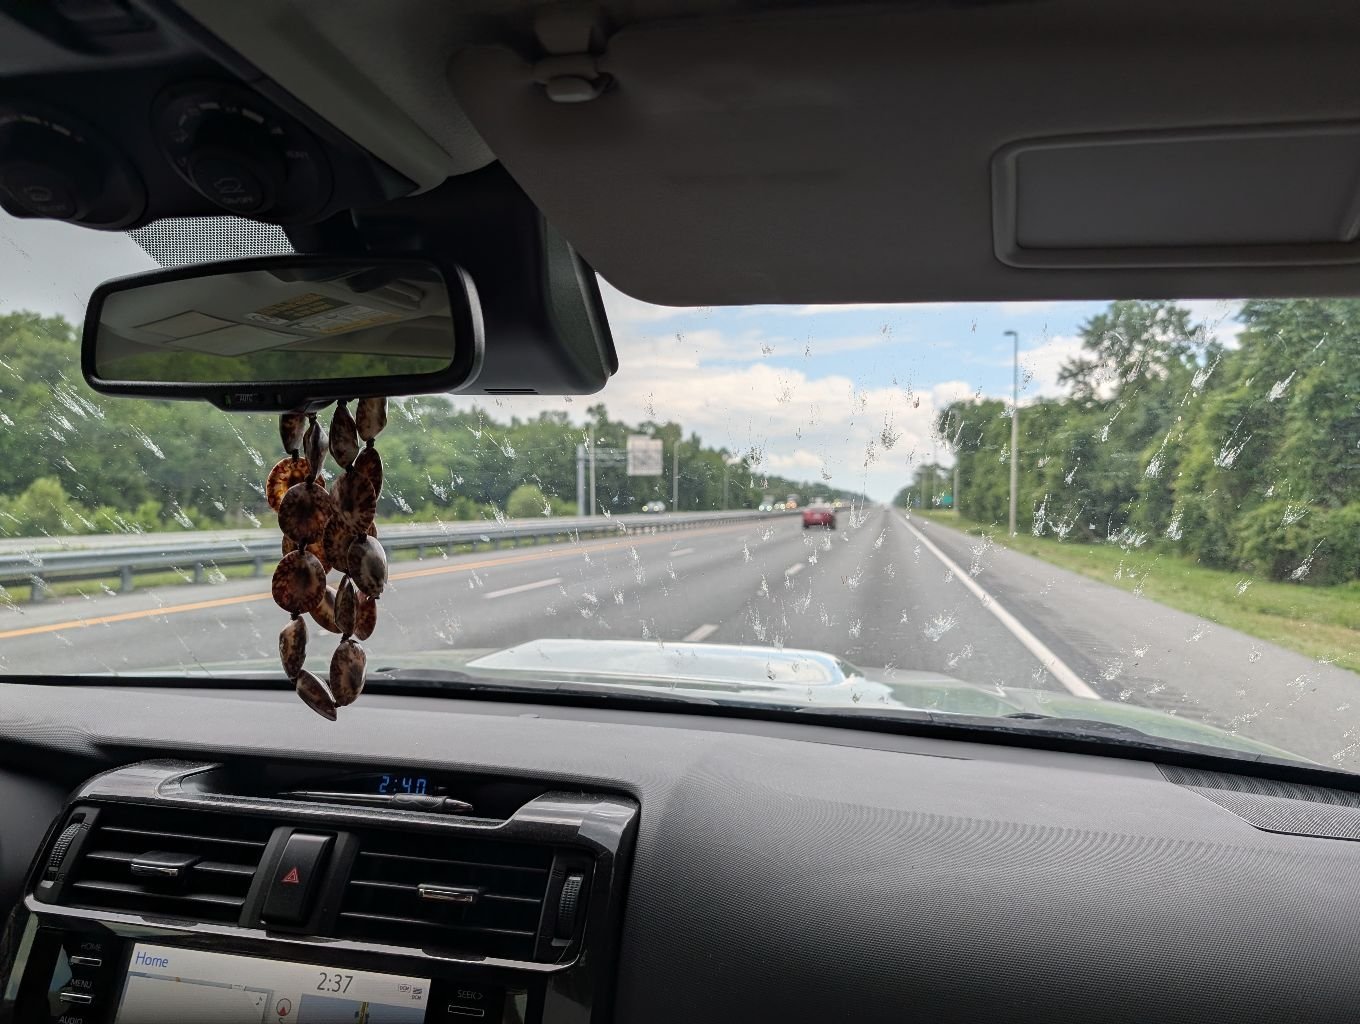
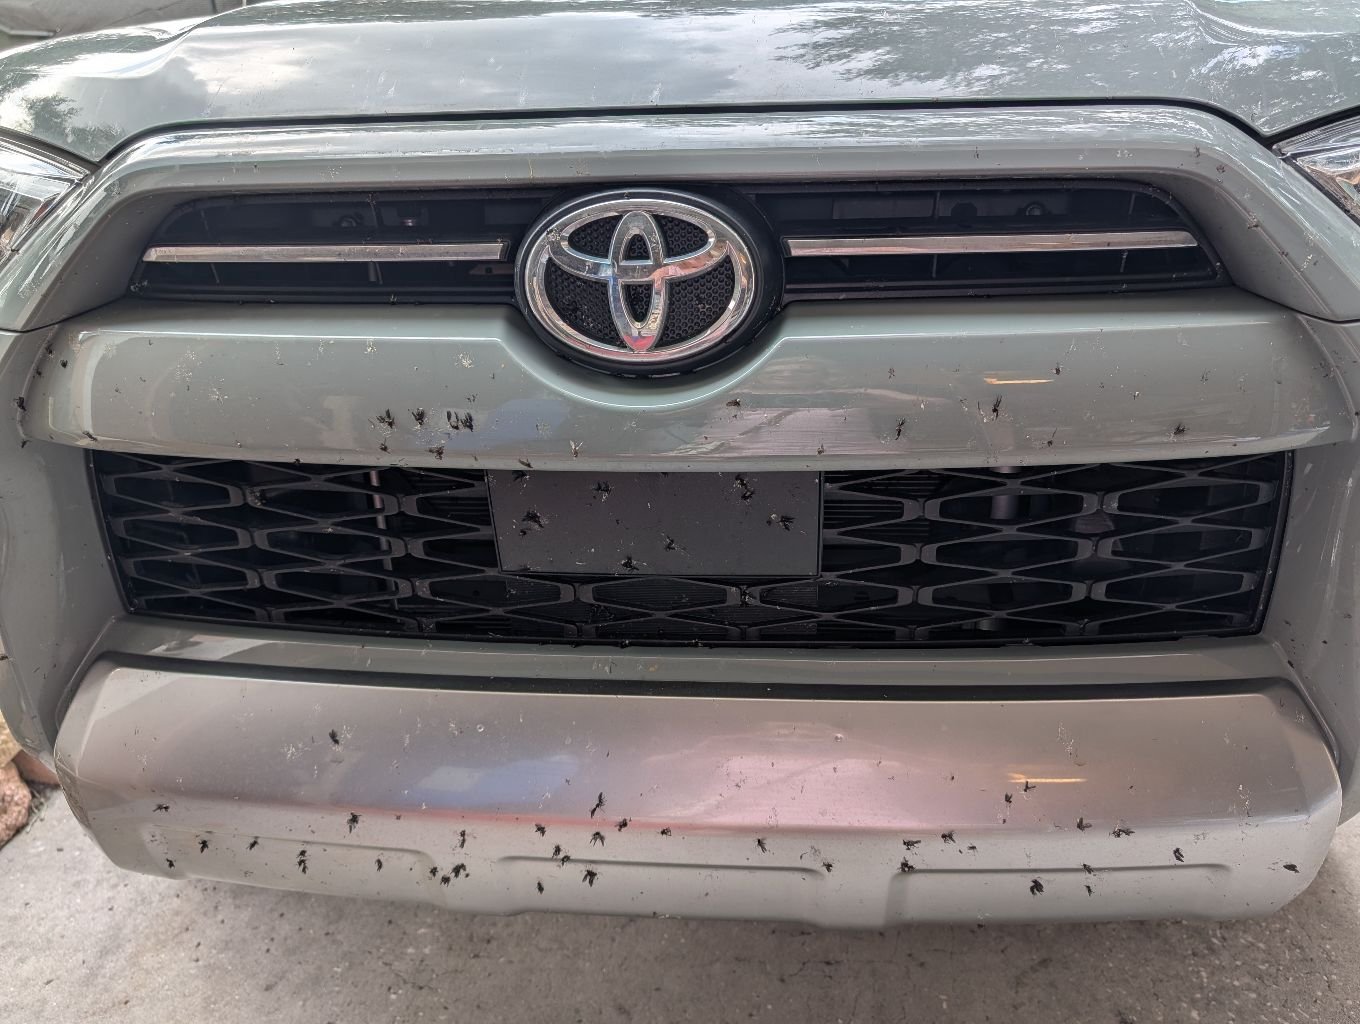
It’s just not Florida without Love Bugs splat all over your car and windshield.
———————————————————————————–
Gordon Got DUCKED!
And he got Ducked by his daughter, son-in-law and granddaughter. 🙂


It’s a Jeep thing. It seems like it is quite common among Jeep owner’s to place a rubber duck onto someone else’s Jeep. I know that when we are riding down the road that other Jeep owner’s will wave or honk their horns. It’s as if he’s joined a really cool club, or a dangerous cult. I’m still not sure which? But if all they do is worship rubber ducks then I’m O.K. with it. 🙂

When Gordon bought the Jeep it didn’t have any step to get into it. He ordered these and put them on with the help of our son-in-law, Brian. I know that I was always ‘spread eagle’ in just climbing in and out of it. Especially in my short Lilly Pulitzer dresses. (Not the prettiest site at 65.) But now I can jump in and out without so much as a peep. 🙂

—————————————————————————————————-
With it just being the two of us now we decided to get rid of my old Santa Fe. It’s about 20 years old. I haven’t owned many cars in my life. I’ve never been that kind of person that has to drive the flashiest or most expensive. As I saw it there was never really anyone I ever wanted to impress in that way. It’s funny but we just assumed that she wouldn’t start up as we haven’t driven her in over two years. So, when the tow truck guy arrived he suggested we try and start it. IT STARTED RIGHT UP!! I was happy. I saw it as a sign that the old girl is ready to move on where she can be appreciated in her old age by a veteran. Yes, we donated the car. I told Gordon to try and scrape off the website name from the back window. He did, but you could still read it. The sun had burned it into the windshield.
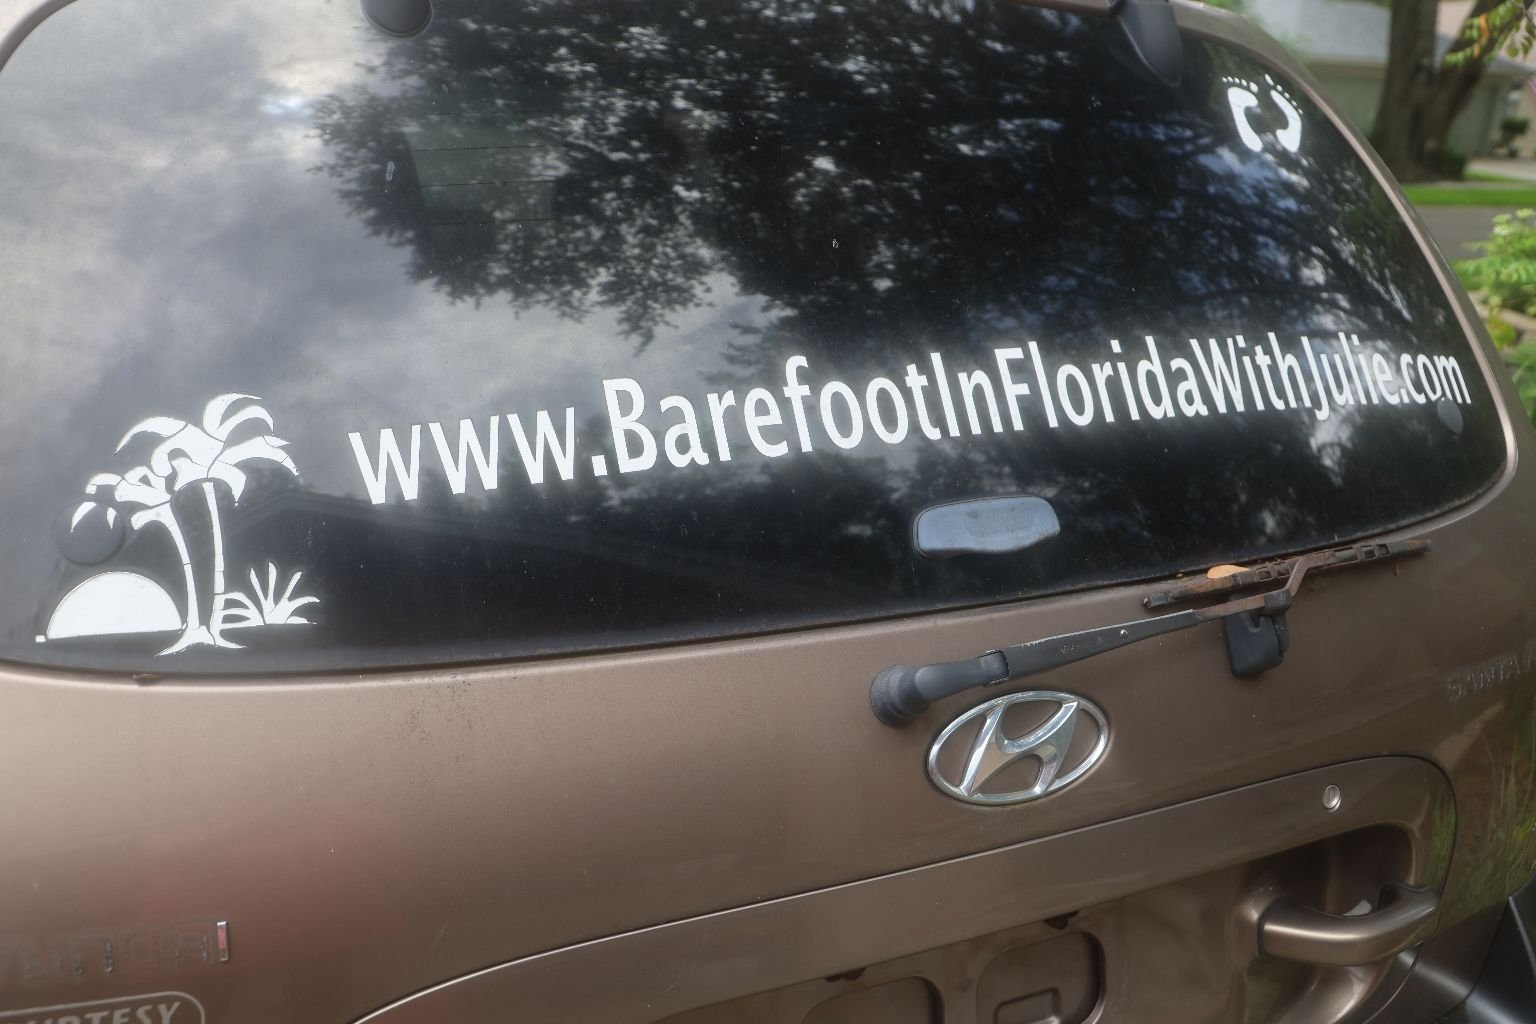
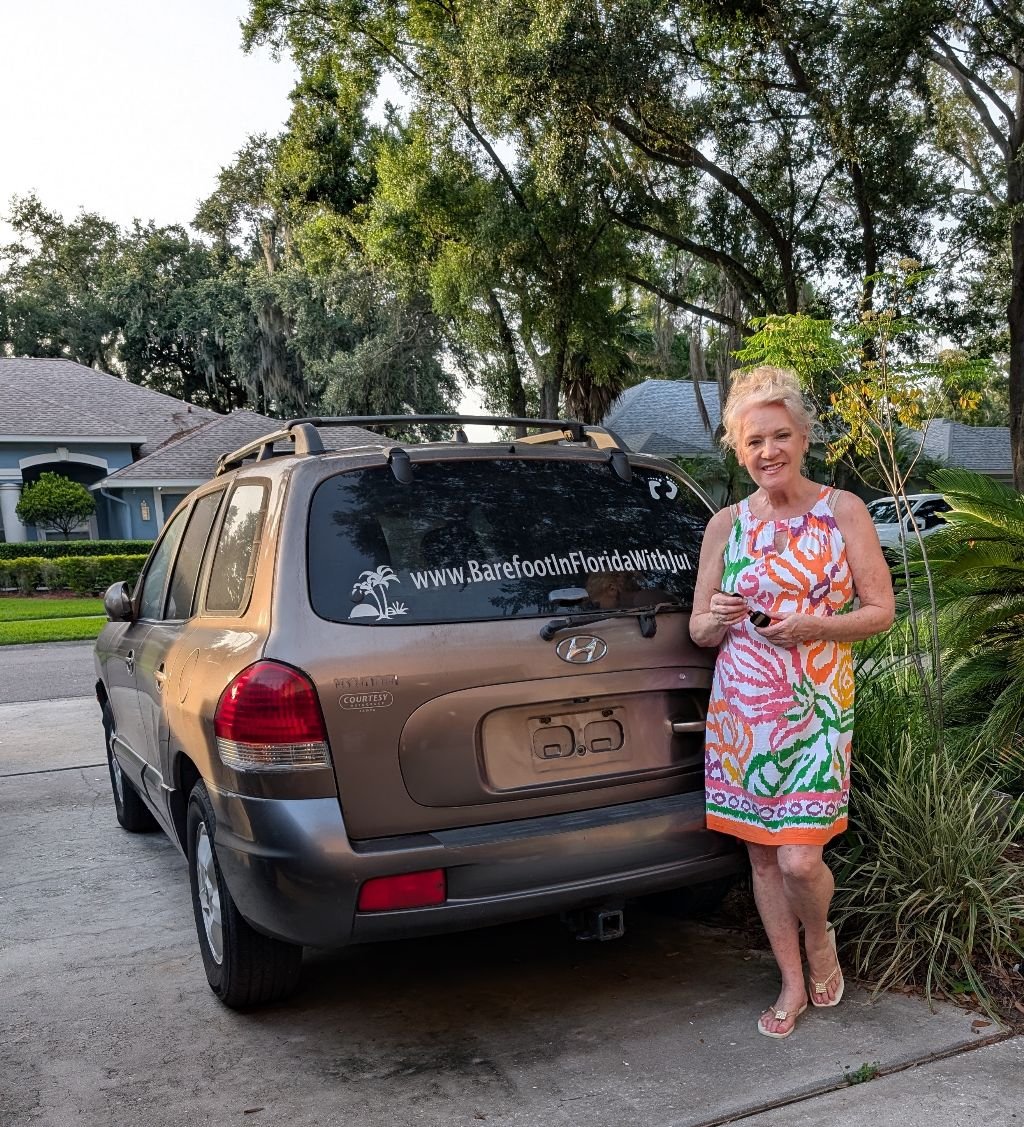
I hope she makes someone very happy.
Julie
————————————————————————————-
June 4, 2026
Creating A Nice Hawaii Bathroom
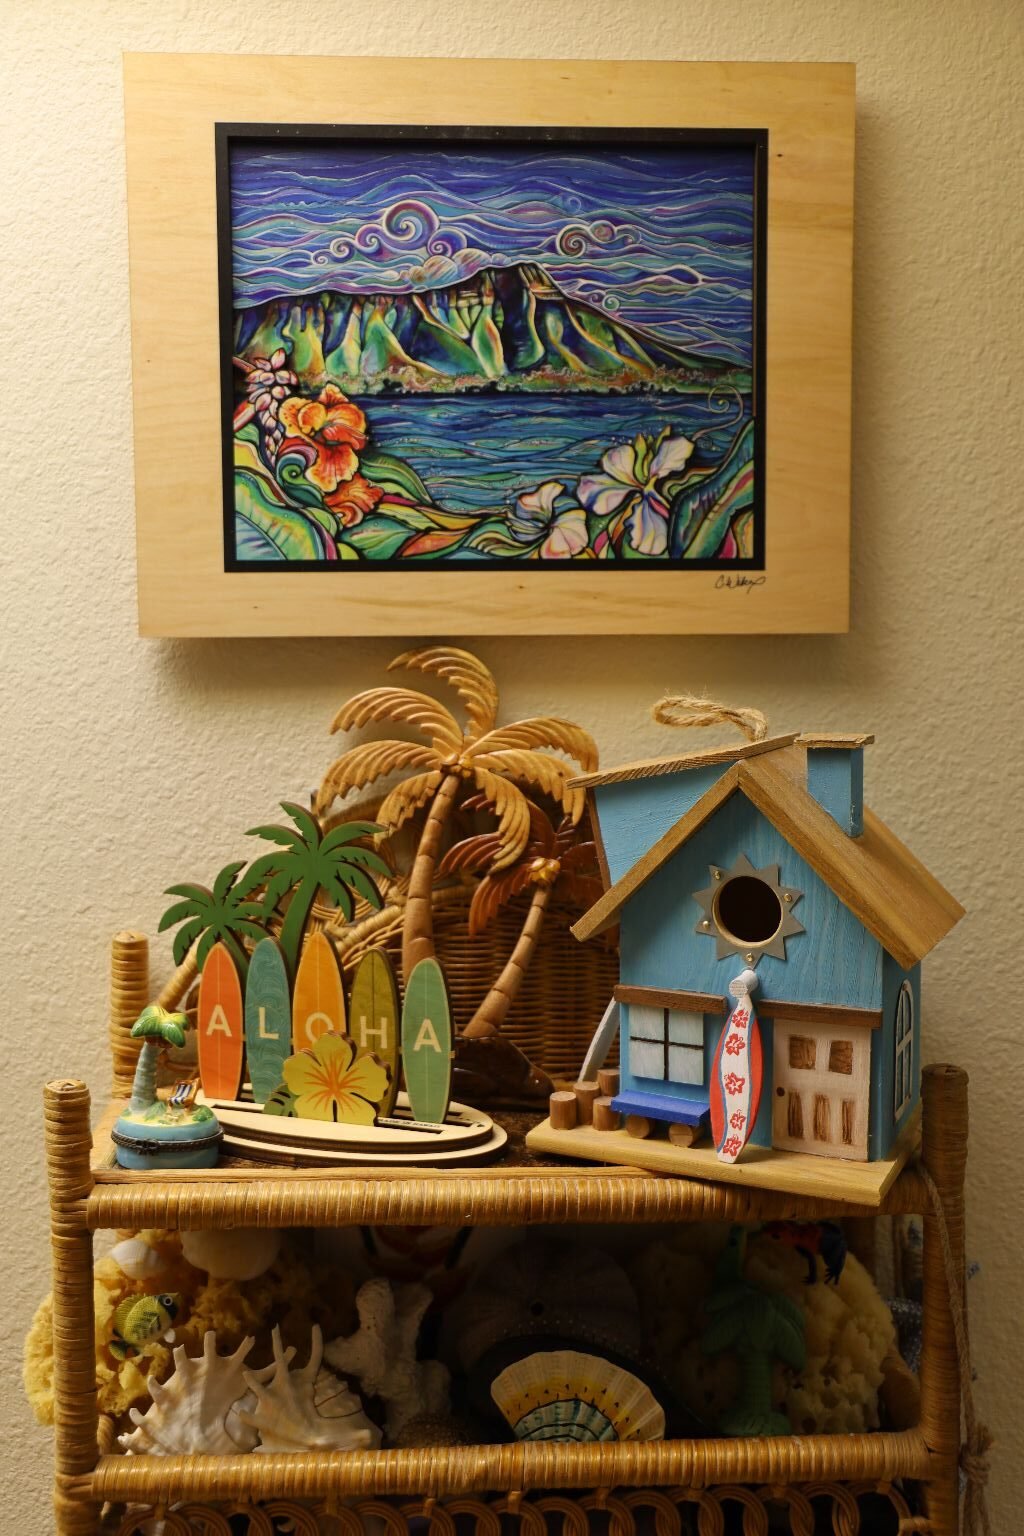
Diamond Head, the Wooden Aloha Surfboards
The Blue Hawaiian Hut Birdhouse on the right was painted by Veronica years ago.
Our small guest bathroom had gotten stale. We hadn’t done much to it in years. Although it is not a big space, I did want to freshen it up.
Our recent Hawaii visit had given me so much inspiration. We had found a shop at Ala Moana called CocoNene. They had the nicest wooden items. Gordon and I fell in love with so many things in their store. We did buy a few while we were there, and then ordered a few more things once we got back home.
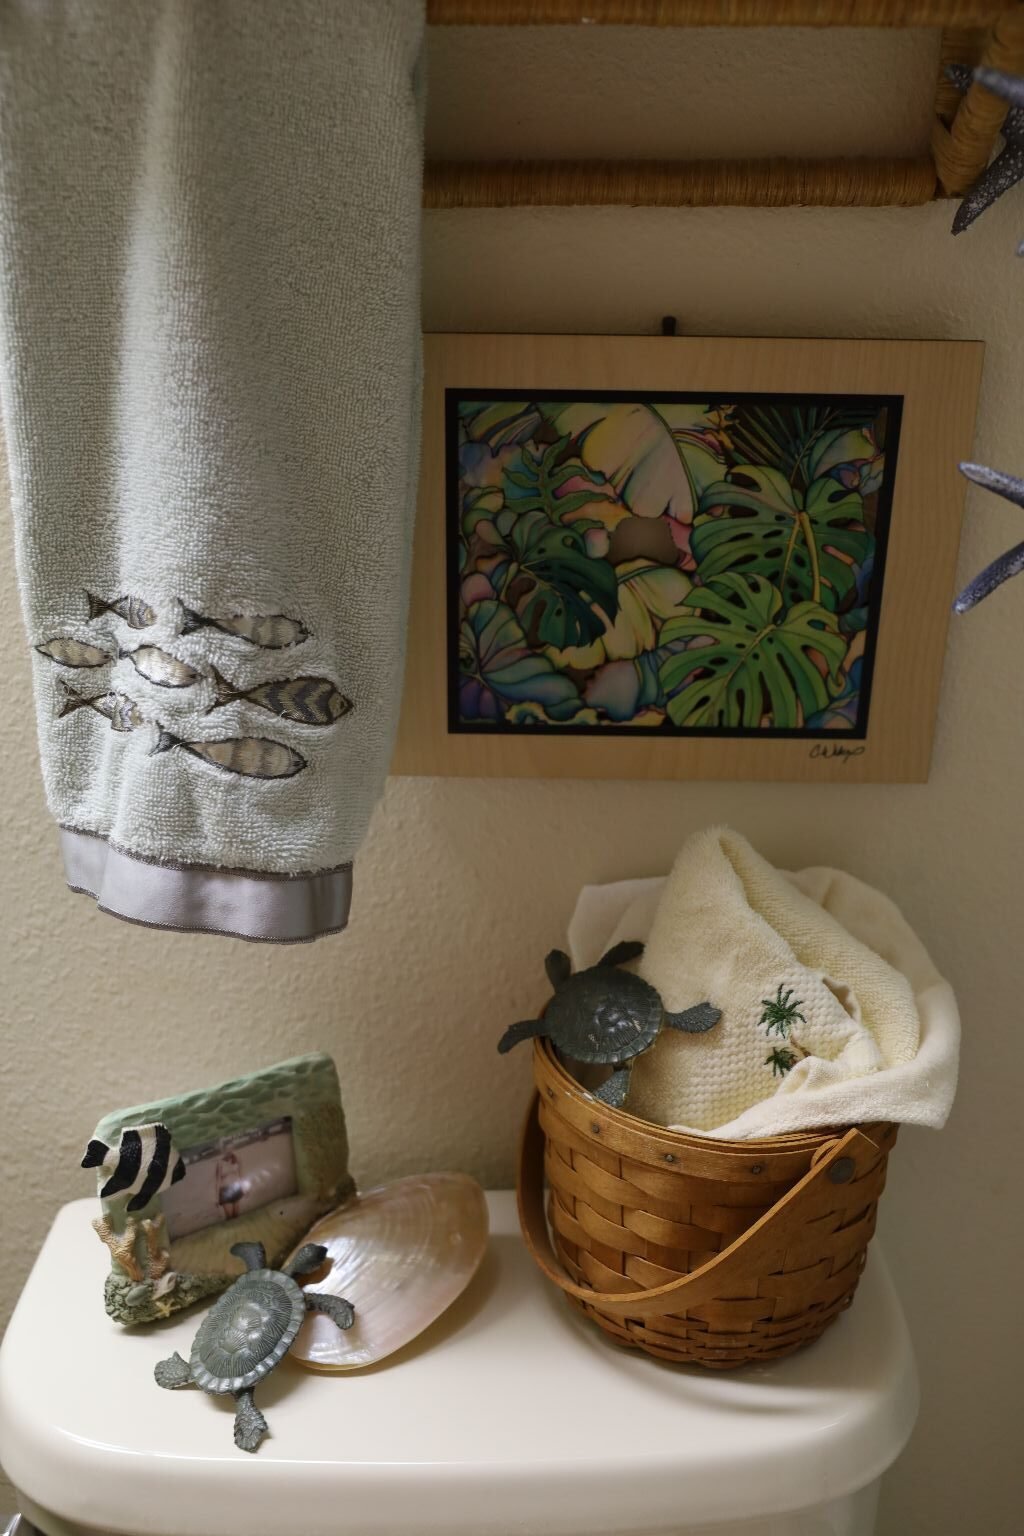
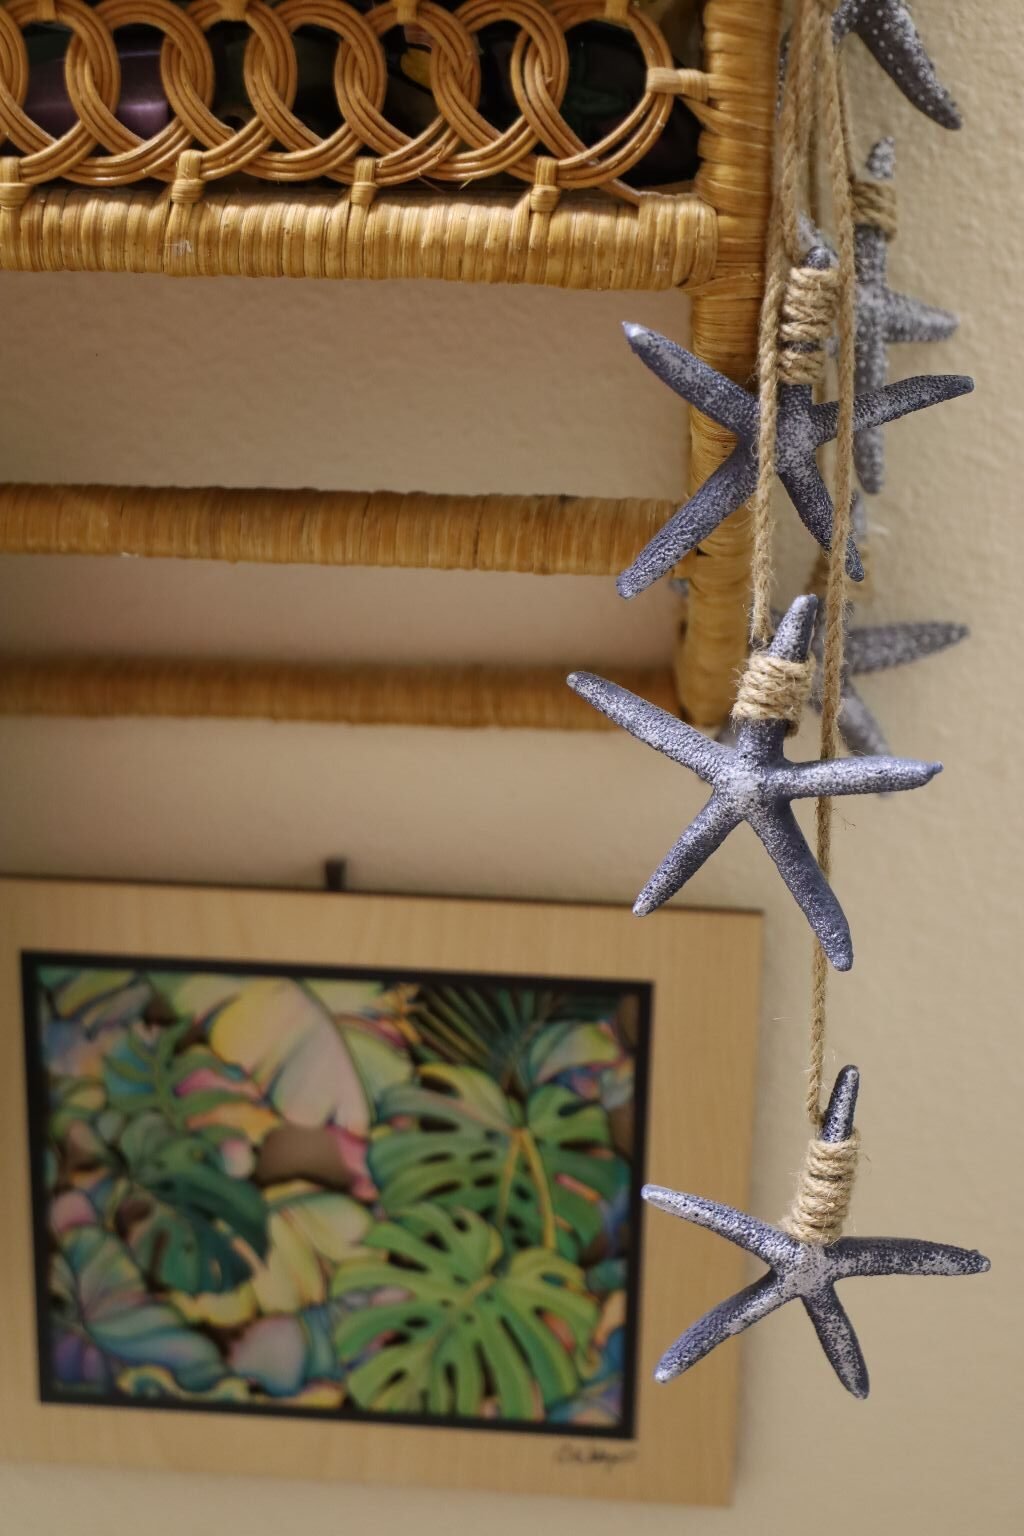
The Starfish to the right was a gift from Veronica years ago as well. The Fish picture frame was a gift from a friend of Veronica’s when she was 3 and we were living in Honolulu. The cute fish towel is something we bought years ago. And, the Monstera Ferns in the wooden picture are from CocoNene as well.
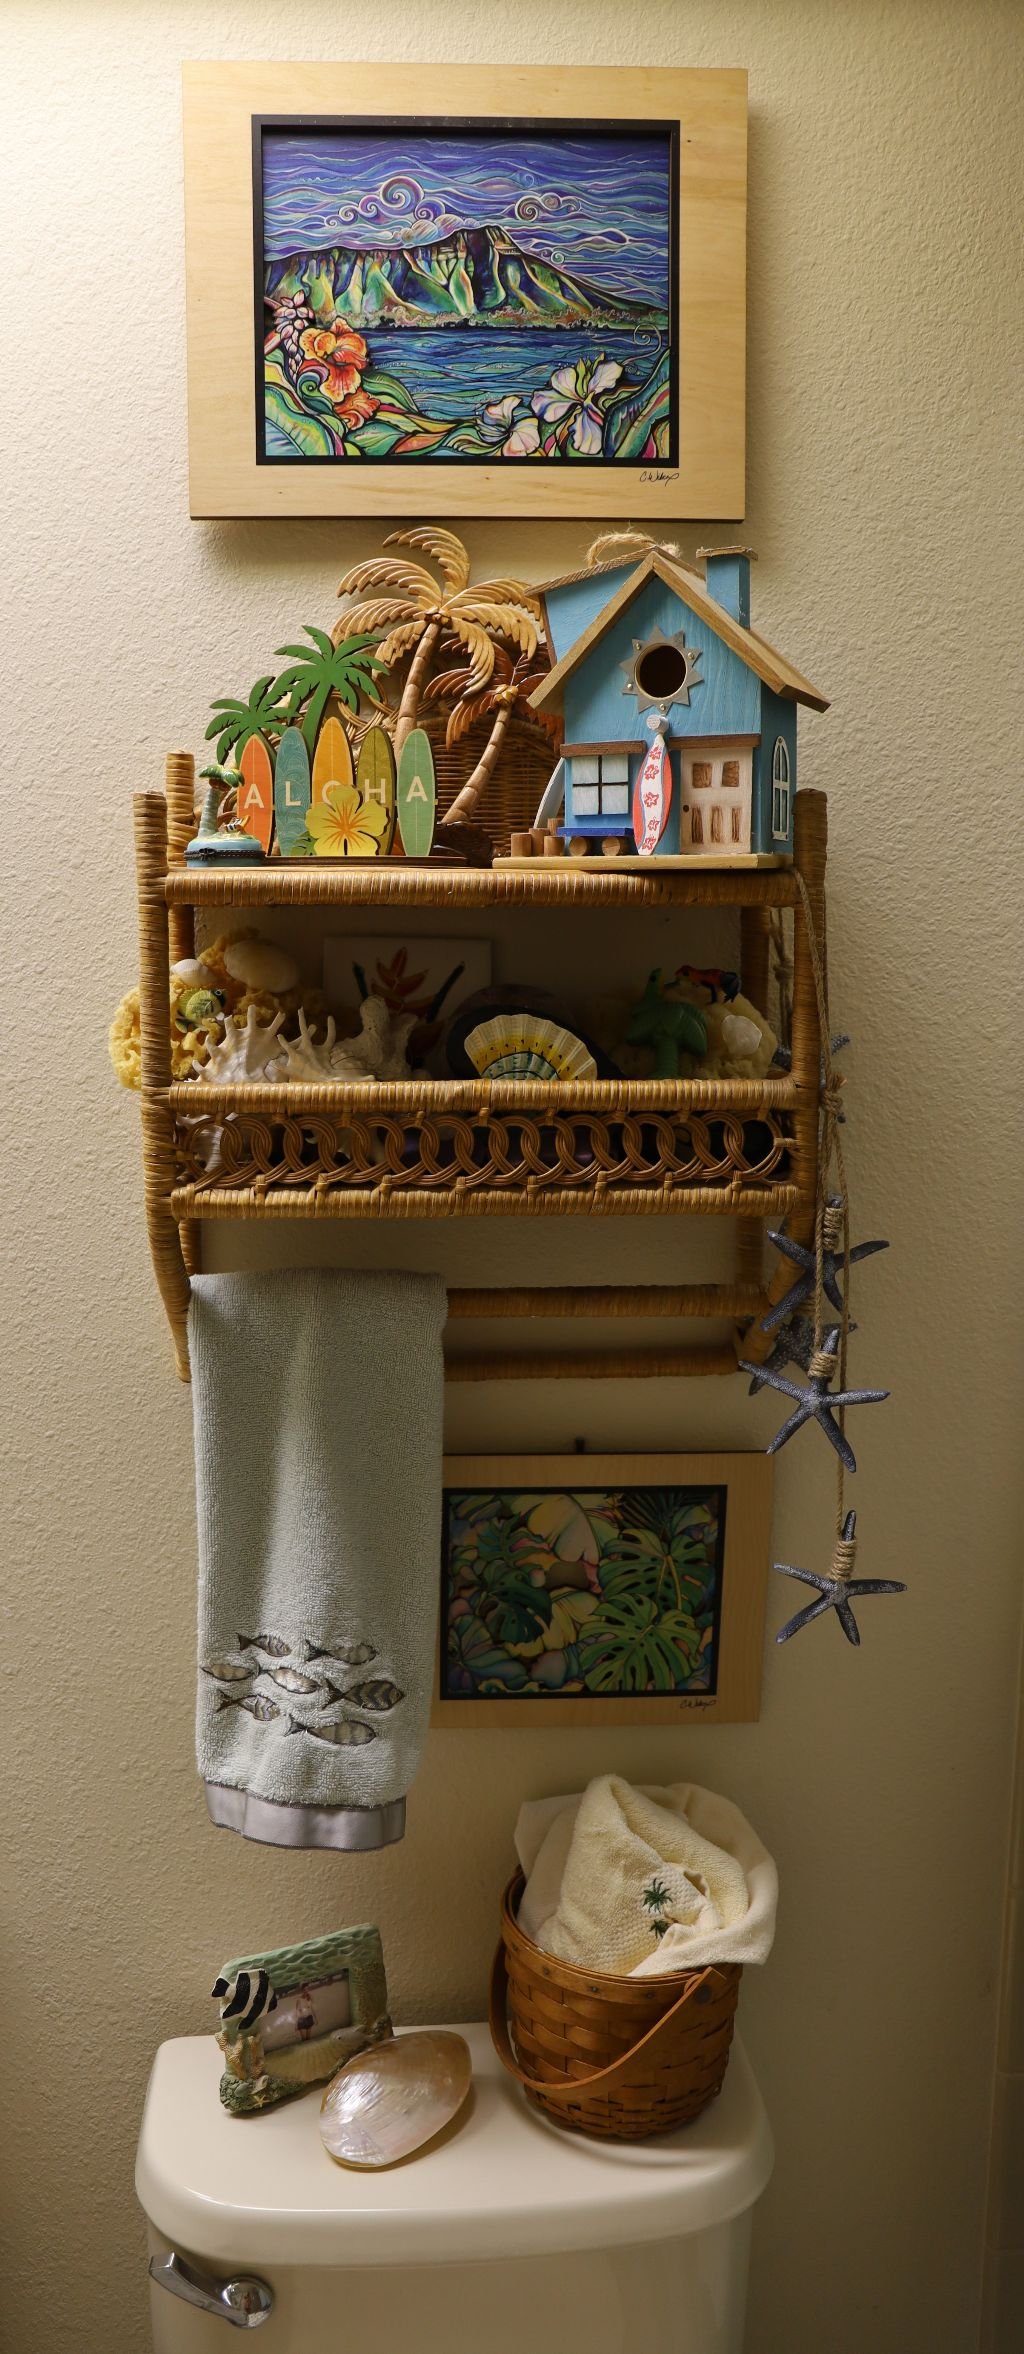
Happy With This Very Simple Space In The Guest Bathroom
It’s Personal,
Julie
——————————————————————————————-
May, 2026
——————————————————————————
May 24, 2026
Time For Talk Story
Let Me Tell You A Story About Karma
There once was a woman that lived in a neighborhood in Florida. She kept to herself and minded her own business but that never seemed to matter to some arrogant trouble makers that were her neighbors. (Or as my grandmother would have called them. They are a bunch of spoons because they love to stir up trouble.) These particular neighbors loved to bother her and try and make her miserable. I won’t go into all the details, but this woman was an observer of the behaviors of her neighbors. One thing she noticed was that the families that were harassing her were of a certain mindset. It was important for them to look good to others. Oh, and they had the nicest homes, the nicest lawns, the nicest cars, and wore the nicest clothes, while carrying the nicest handbags, all just part of the disguise. All those pretty things were to distract from their true selves. For you see, they showed the woman they were abusing exactly who they really are.
As time passed the woman may not have liked being abused by them, but she knew that karma would come along and get them eventually. The Universe has a way of doing that. You see, in their efforts to look good on the outside, they employed companies to make their grass extra green and beautiful. Killing the Dandelions that the bees needed to pollinate. Every 3rd. bite of food that we eat was pollinated by a bee. Once the bees are gone, we are gone. But to these people it didn’t matter, they just wanted the nicest yard in the neighborhood. Gotta keep up with those Jones’. Whoever they are?
These pesticides that are used to accomplish this are killing the bees, and the other important wildlife that helps to keep us healthy and safe. I’ve noticed that my frogs haven’t lay any eggs in the past few years in our fountains. As ugly as the fountains may look, I knew that we needed the frogs so that our ecosystem would thrive and be healthy. I would even feed them lettuce so that they wouldn’t cannibalize each other. When the hurricane’s were coming we covered them up and protected them so that they would make it through the storms. Did you also know that when a tree is cut down and is nothing left but a stump that the other trees will feed that stump through an underground network so that the stump will still live? Did you also know that our planet has a heartbeat? Probably not, because who cares about science, huh? Science is truth whether you believe in it or not.
All that matters to these kinds of people are that they look good on the outside. HOA’s even encourage this, as most HOA leadership are of a certain political party that don’t care about the environment, and love to make everyone look the same as them. Houses must be painted approved colors, lawns must be perfectly green and attractive, no weeds, even though some weeds help our ecosystem. Not caring that those chemicals used to make everything look nice and green are giving dogs cancer of the mouth, and children that play on those lawns are getting cancer as well.
Which brings me to my point. Almost every week these neighbors in the neighborhood employ housekeeping services. Breast cancer is in their futures. So, how would I know that? I’ll tell you.
It was about 15 years ago that all these women out in California were getting breast cancer. The only thing they had in common was that they all had their homes professionally cleaned on a weekly basis. The kinds of cleaning products that were being used caused cancer. When we clean our house we use Bar Keeper’s Friend along with some elbow grease, and some bleach products that have been around for a long time. We don’t breathe in those cancer causing chemicals like so many others do. Now there are so many products on the market that are dangerous to use. Yet, they are also perfectly legal.
It’s those products that professional housekeepers use. Most of the women who clean homes professionally are Spanish speaking. (Not that there is anything wrong with that but stay with me.) These women tend to be small in stature and probably have a few houses to get to each day. Their employer most likely wants them to finish each house as quickly as possible and move on to the next. That means that there is no time for them to use safe products like Bar Keeper’s Friend. That will require a lot of elbow grease from these women and they will take longer to finish cleaning and may be late to the next house on their list because of irate people that employ them don’t like waiting around. So, they spray on the highly industrialized stuff that will dissolve the messes so that all they have to do is then wipe it all up and leave.
The toxic chemicals aren’t just being used in the bathrooms, also the kitchen and other places in the home. And what with everyone wanting the ‘open concept’ home so that they can be just like everyone else, family’s can be sitting in their living rooms watching T.V. while breathing in the chemicals just a few feet away from the kitchen.
If you are thinking that those things only happened in California, wrong, things may start in California but then they spread to the rest of the country quickly. California being a progressive state, for good and bad reasons, is just where something will start. However, California being a blue state will then ban the toxic stuff once they discover it, while the red states will green light the toxic because they can’t disappoint their corporate donors. Living in a red state is like maneuvering through a daily mine field. If you don’t keep up with everything, then you lose.
When Bill Clinton was President he empowered the FDA to protect the American people. If a product was toxic and a business didn’t remove that product from it’s shelves then the FDA had the power to close that business. But, then along came W. who removed that power from the FDA and made it so that businesses could decide on their own whether they wanted to remove the toxic products from their shelves. One morning while W. was President I read online how the Sara Lee Bread was being recalled due to metals from their factory in China. I then drove to the Commissary on base where I saw all this Sara Lee Bread in the front of the store with a $1.00 price along with a $1.00 off coupon. Pretty much FREE. Free toxic bread! I saw a woman with 3 young children happily loading her cart with this bread. I went over to her and told her that this is the recalled bread from China that has metal in it. I wanted to help her. She just looked at me as if I were crazy. Well, I tried.
Well, Getting Back To Karma
This woman that was being abused by her nasty neighbors observed all this and knew what was coming their way. She had two choices, she could either tell these rotten people and help them, although it probably wouldn’t go very far. (Remember the woman above with the bread?) Or, she could just sit back and let karma do all the work for her. So, if this were truly a good decent woman then would she try and tell them just to clear her conscience?
She Is. She Is Telling Them Right Now.
Julie
P.S. That doesn’t mean that she ever wants to have anything to do with them again. After all, they showed her their true selves years ago.
——————————————————————————————–
May 1, 2026
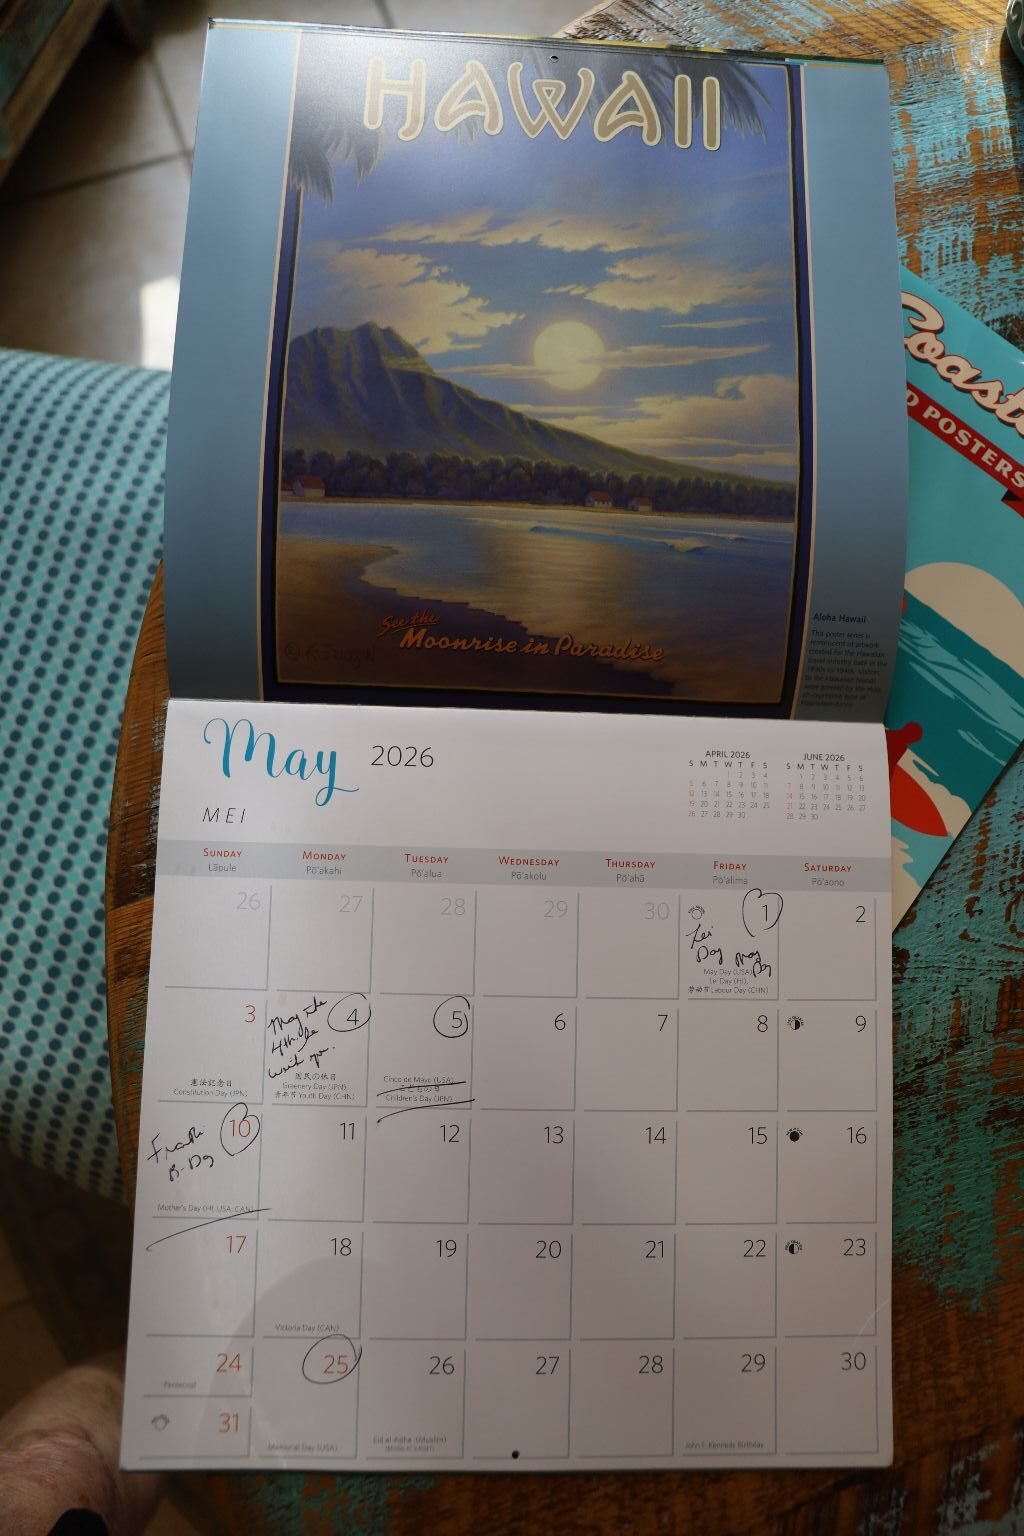
May Day Is Lei Day

Happy Lei Day!
———————————————————————————————–
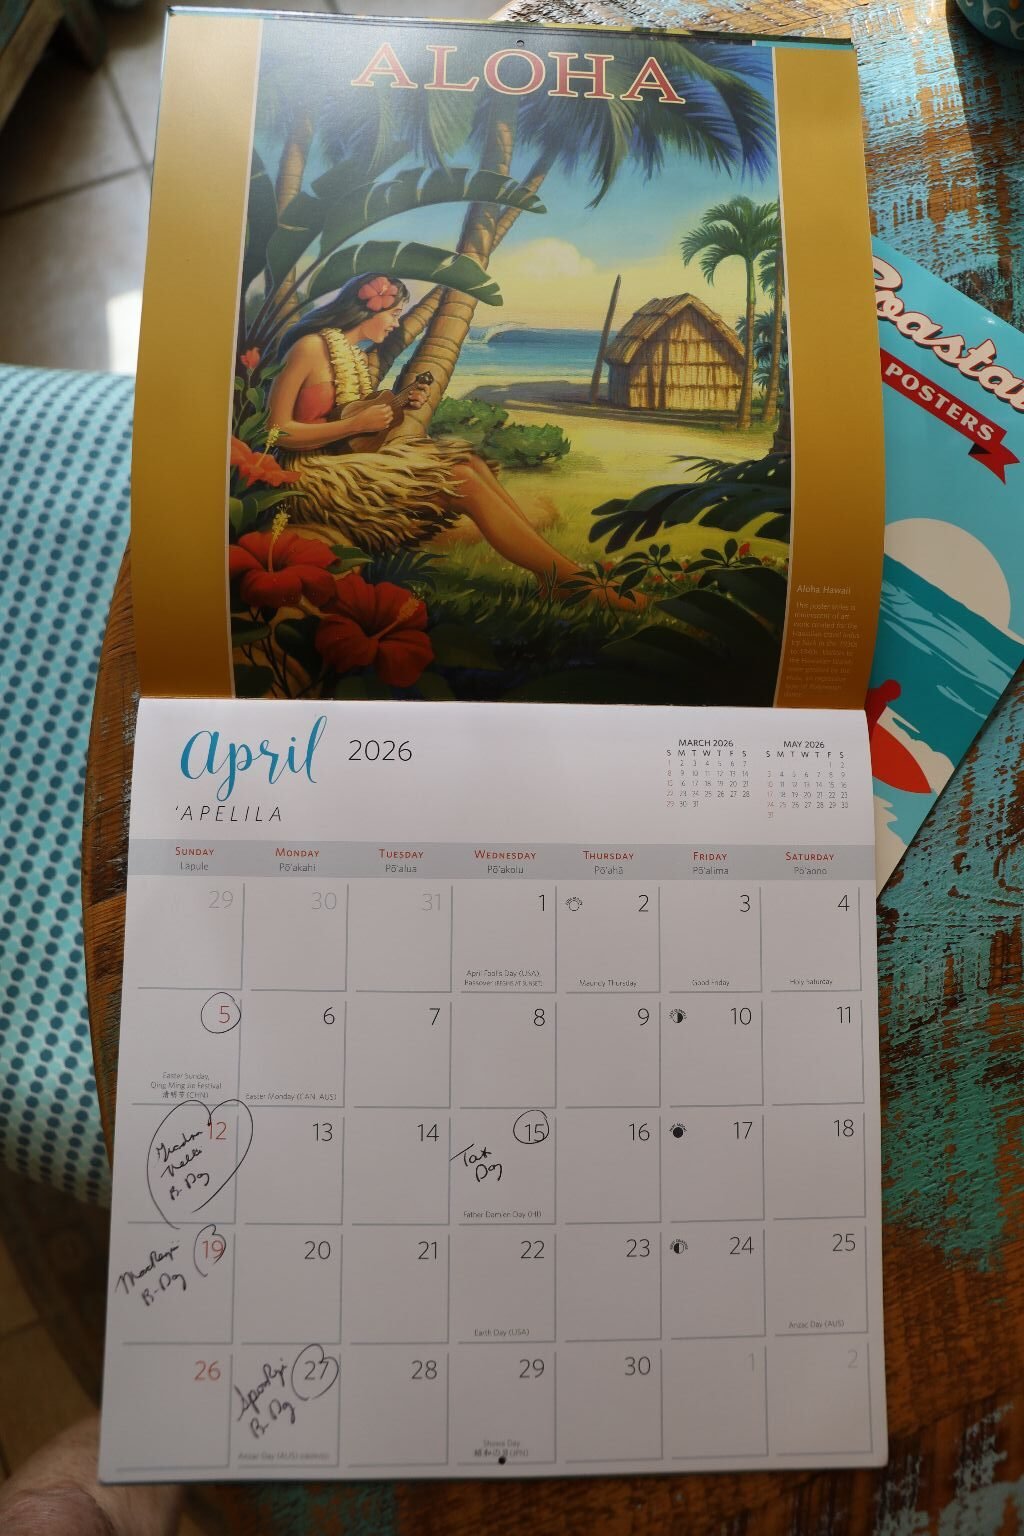
April, 2026
—————————————————————————
April 20, 2026
Renovation Aloha

https://www.hgtv.com/shows/renovation-aloha

Meet The Kalama’s, Kamohai and Tristyn
Renovation Aloha debuted on HGTV on February 20, 2024. Although Gordon and I haven’t seen every episode, we’ve seen enough to know that we love this show! We’ve been watching for over a year now. Whenever there is a Renovation Aloha marathon on HGTV we always get excited!! 🙂
We love the show because they take usually old run down homes in Hawaii and make them beautiful. They always incorporate something original from the home into their design. We love the reveals! They are stunning! We can usually recognize some of the Hawaiian artists they use in their staging. This talented couple is inspirational! I cannot use enough exclamation marks as I write this. !!!! 🙂
There are a lot of homes in Hawaii that look as if they are unique ‘shacks.’ When we left the island in 1999 the average home cost about 450 thousand. And their version of average, is our version of below average. It is extremely expensive to live there which is why you will see families living together. As in ageing parents, children and their spouses with their own children, and in some cases aunties and uncles. Only then could they all afford a descent home to live in. Also, no one owns the land. You may buy a house on land, but you won’t own the land. At least that is how it was on Oahu when we left. I do think The Big Island is different. We did know a local woman that owned land on The Big Island but it was covered in lava from the volcano oozing.
Watching the talent that is revealed through these two remarkable people is sometimes awe inspiring. In many cases they will take a ‘treasure’ they find from the home and alter it in a very unique and special way, and then regift it back to the owner that sold them the house. Also, Kamohai’s father is a spiritual leader who blesses the house once it is finished and ready to be placed on the market. It’s just that added Hawaiian Spirituality that just makes you feel good.
Well, I have probably bragged enough on this family. They brought us back to HGTV. I hadn’t watched HGTV in years prior to discovering the Kalama’s. Oh, and Kalama means Torch, or Flaming Torch in Hawaiian. And they are certainly lights that we love to follow.
Aloha and Mahalo,
Julie
—————————————————————————
April 19, 2026
Still Unpacking, Still Putting Things Away, Still Eating Off Paper Plates,
And Drinking Out Of Disposable Cups, and Coffee Cups

Just An Average Day With Isabelle
Stickers All Over My Legs
(I usually leave them on even after she has left for the day.
I collect the mail from the street while wearing them too.) 🙂
Ever since we got back from Hawaii we have been very “chill.” Taking our sweet time with getting back into the swing of things. Oh, we do what we have to when we have to do it, but everything else has taken a backseat. What with major events going on at the moment, Gordon is now home for good as it is no longer safe to work overseas. We had planned on him perhaps coming back here later on this year, and perhaps going back the following year for another two years, but now things are so up in the air that plans have had to be altered. It looks like he is home for the foreseeable future. He did just get another job here doing what he does. He’ll just do it here and not over there. But now gone is all that hazard pay. 🙁 But, we would much rather have Gordon home safe and sound now.
Both Gordon and myself have at least one suitcase each that we haven’t unpacked from Hawaii yet. We’ve just been doing other things. I think we took “Hawaiian Time” too serious. There is EST, MT, PST, HST, and Hawaiian Time, or Island Time. The locals of Hawaii are on their own time and they get to things when they get to things. 🙂 I know that it frustrated Mackenzie’s mother when it came to the wedding planning. It actually wasn’t until the Sunday before the wedding that was scheduled for that Friday, did the Wedding Planner get back to her. Yeah, they cut things very close but that is just who they are. I will say that I did warn her. 🙂 But, as far as anyone could tell the wedding went off without a hitch. It was beautiful! I did thank the wedding planner when I met her and told her that she did a great job.
I’m still working on the other Hawaiian website pages of our trip there. It has been a lot of fun to recount it all.
At this writing I am still working on them. Although I have gotten a few done.
————————————————————————————
Happy Birthday Mackenzie
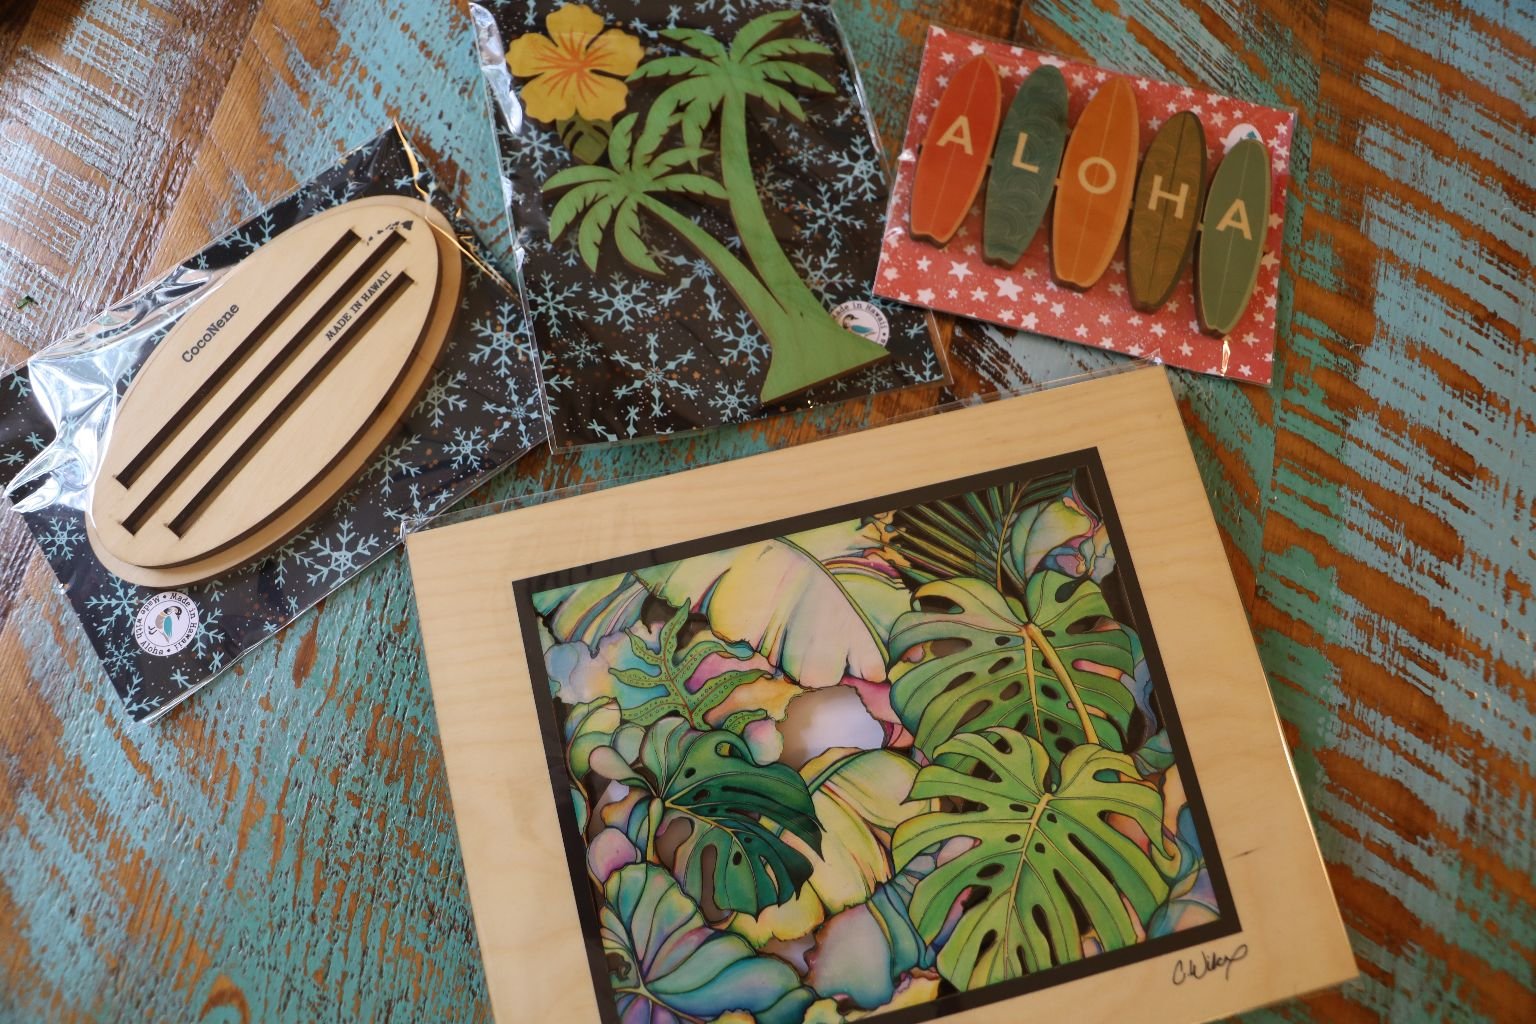
Today is Mackenzie’s Birthday, April 19th.

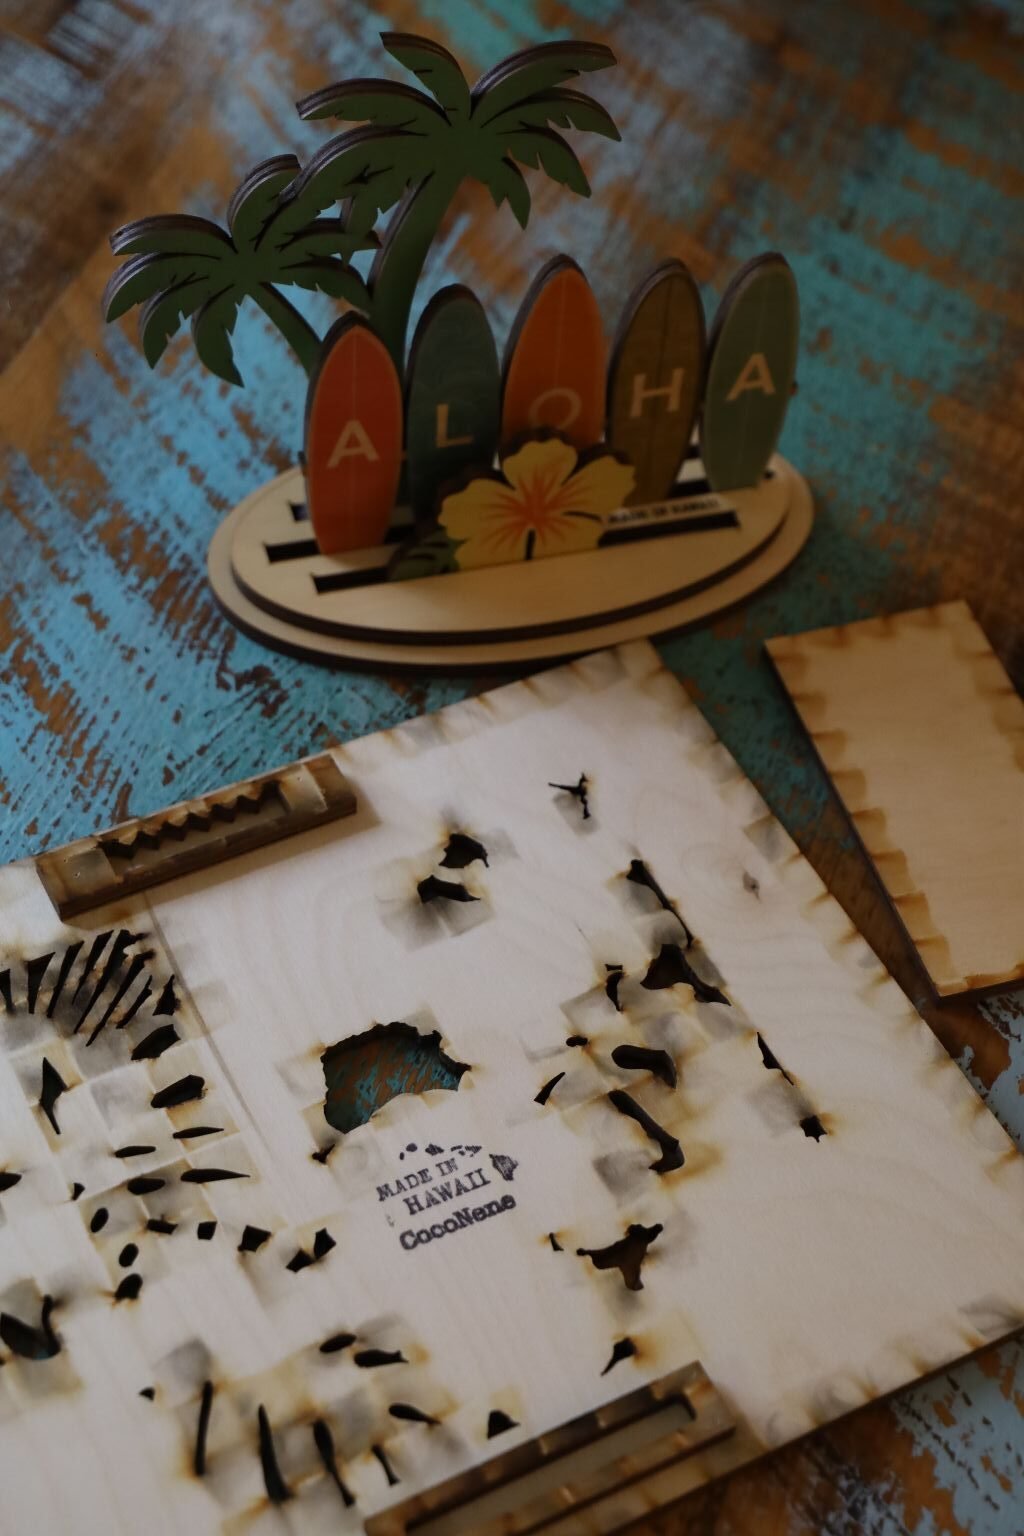
Here Are A Few Gifts I Sent Her
I Purchased Them From CocoNene
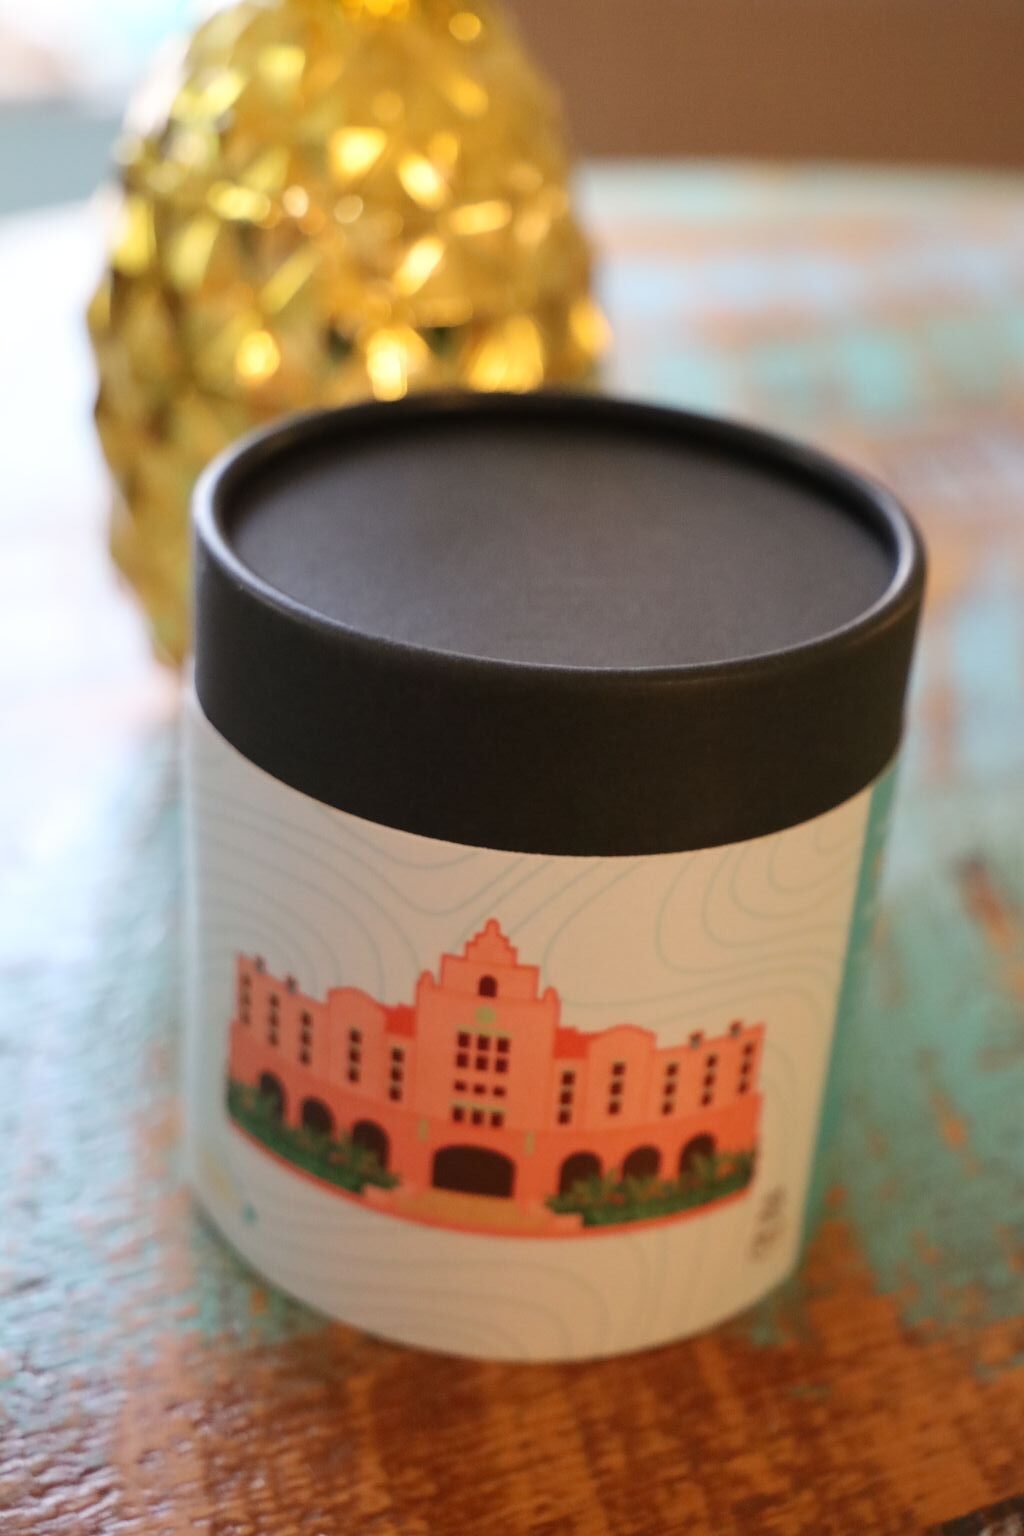
The Royal Hawaiian Hotel Wooden Puzzle
Brodie and Mackenzie stayed at The Royal Hawaiian for about a week when they first arrived on the island. I saw that CocoNene had a wooden puzzle of the hotel and thought I would include it with the other gifts.
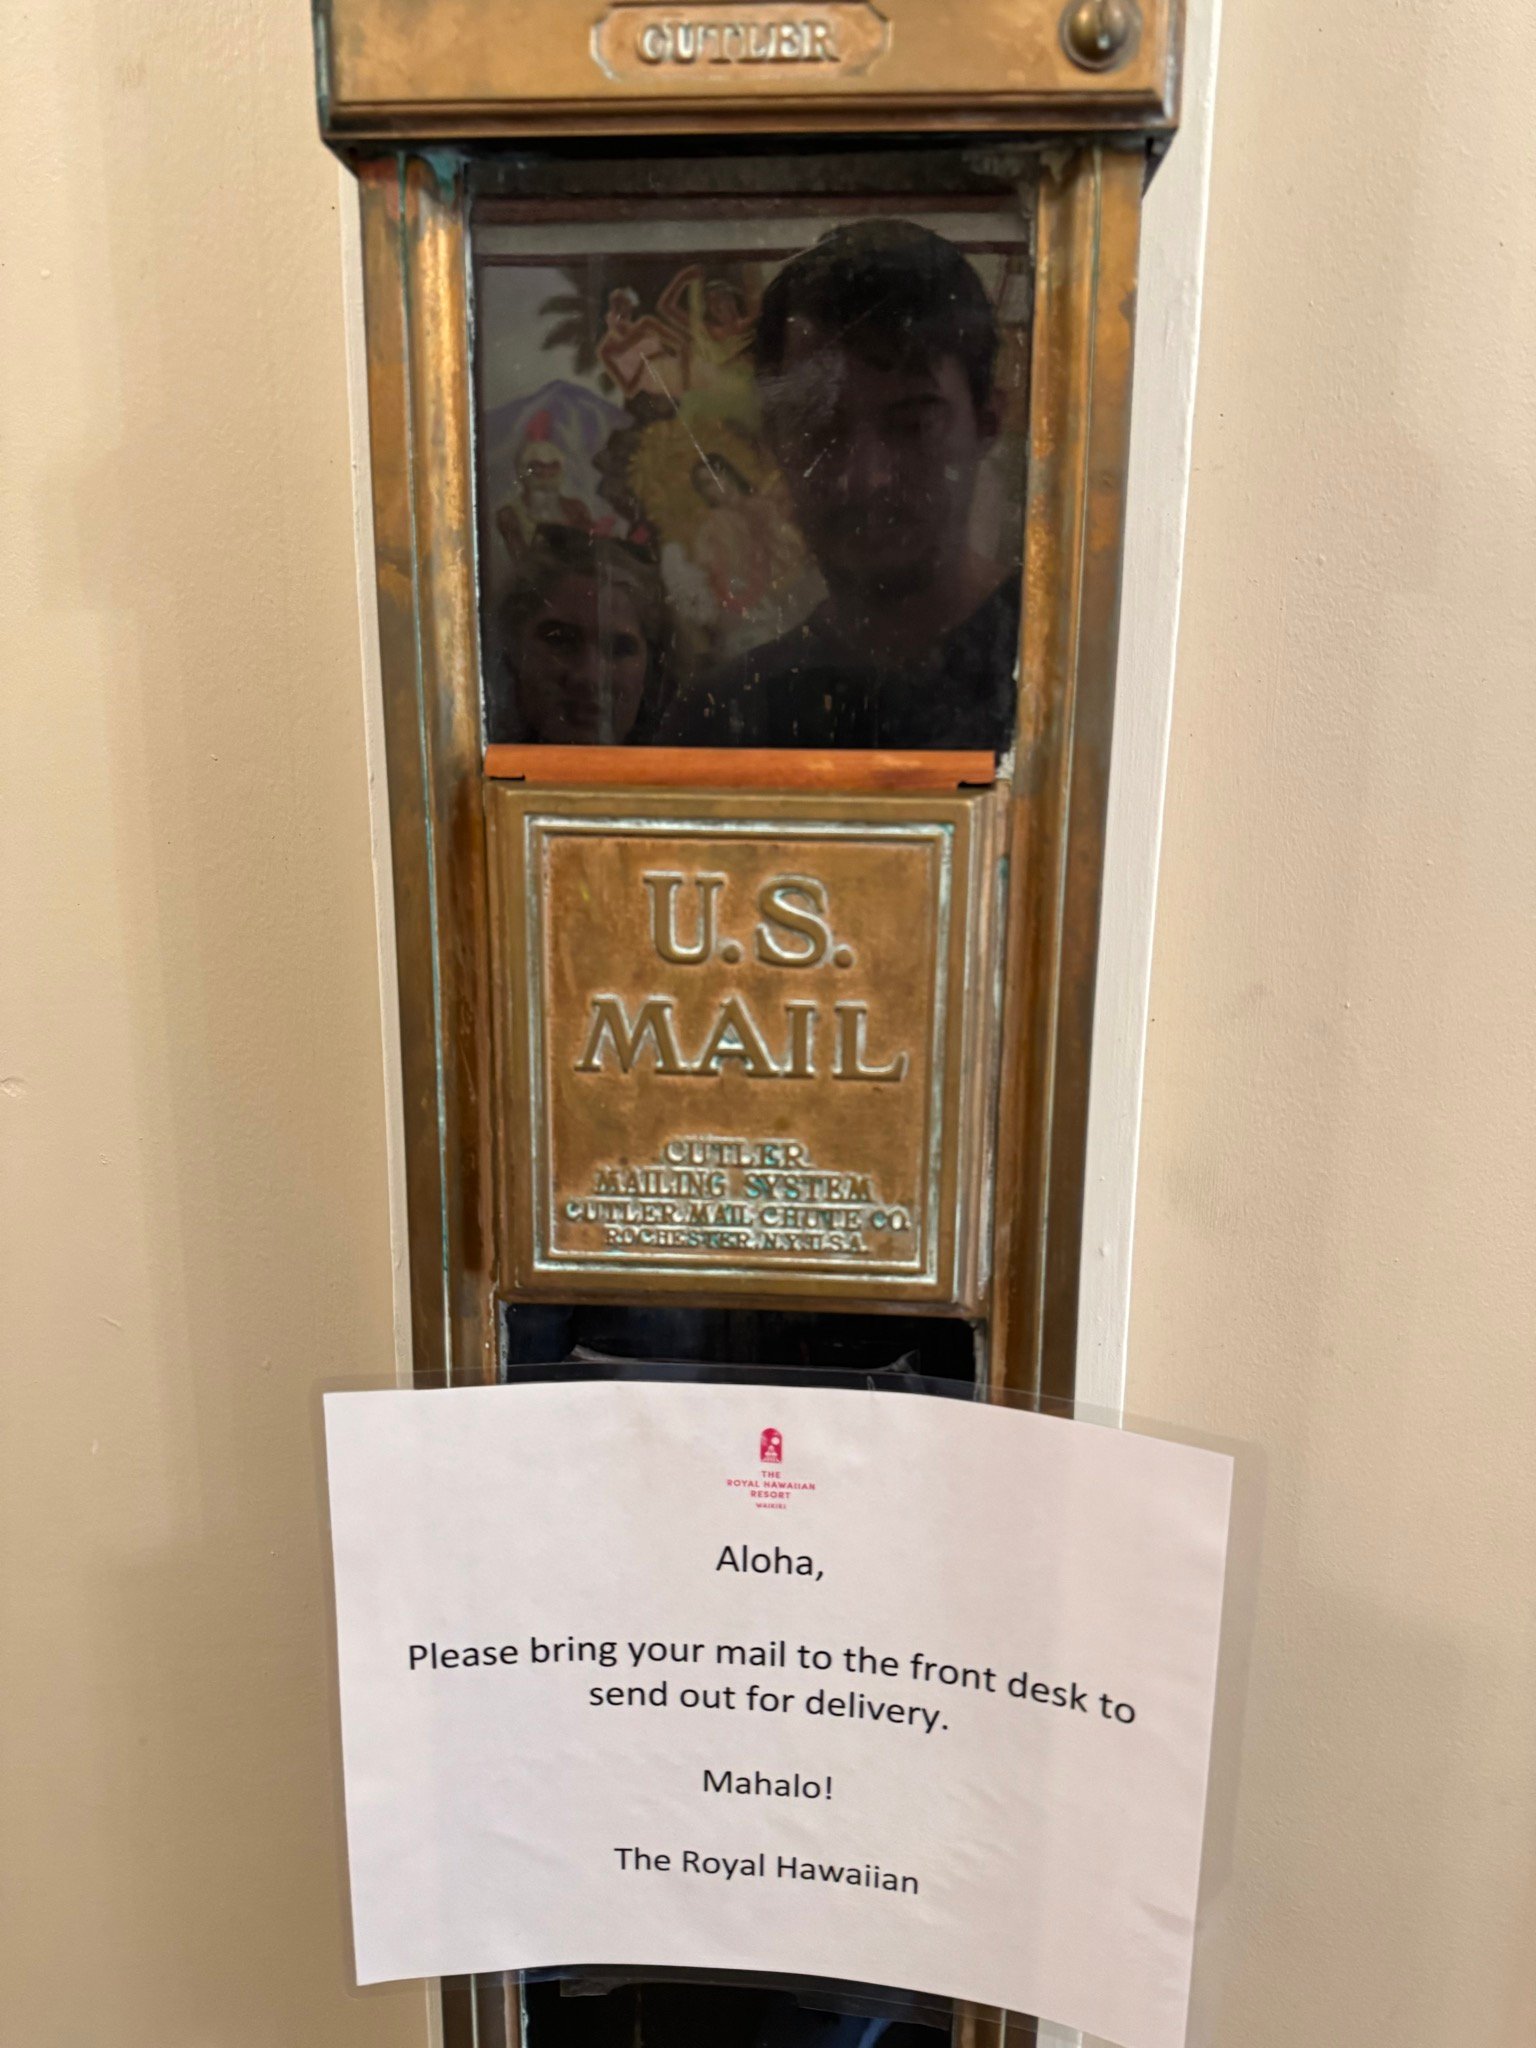
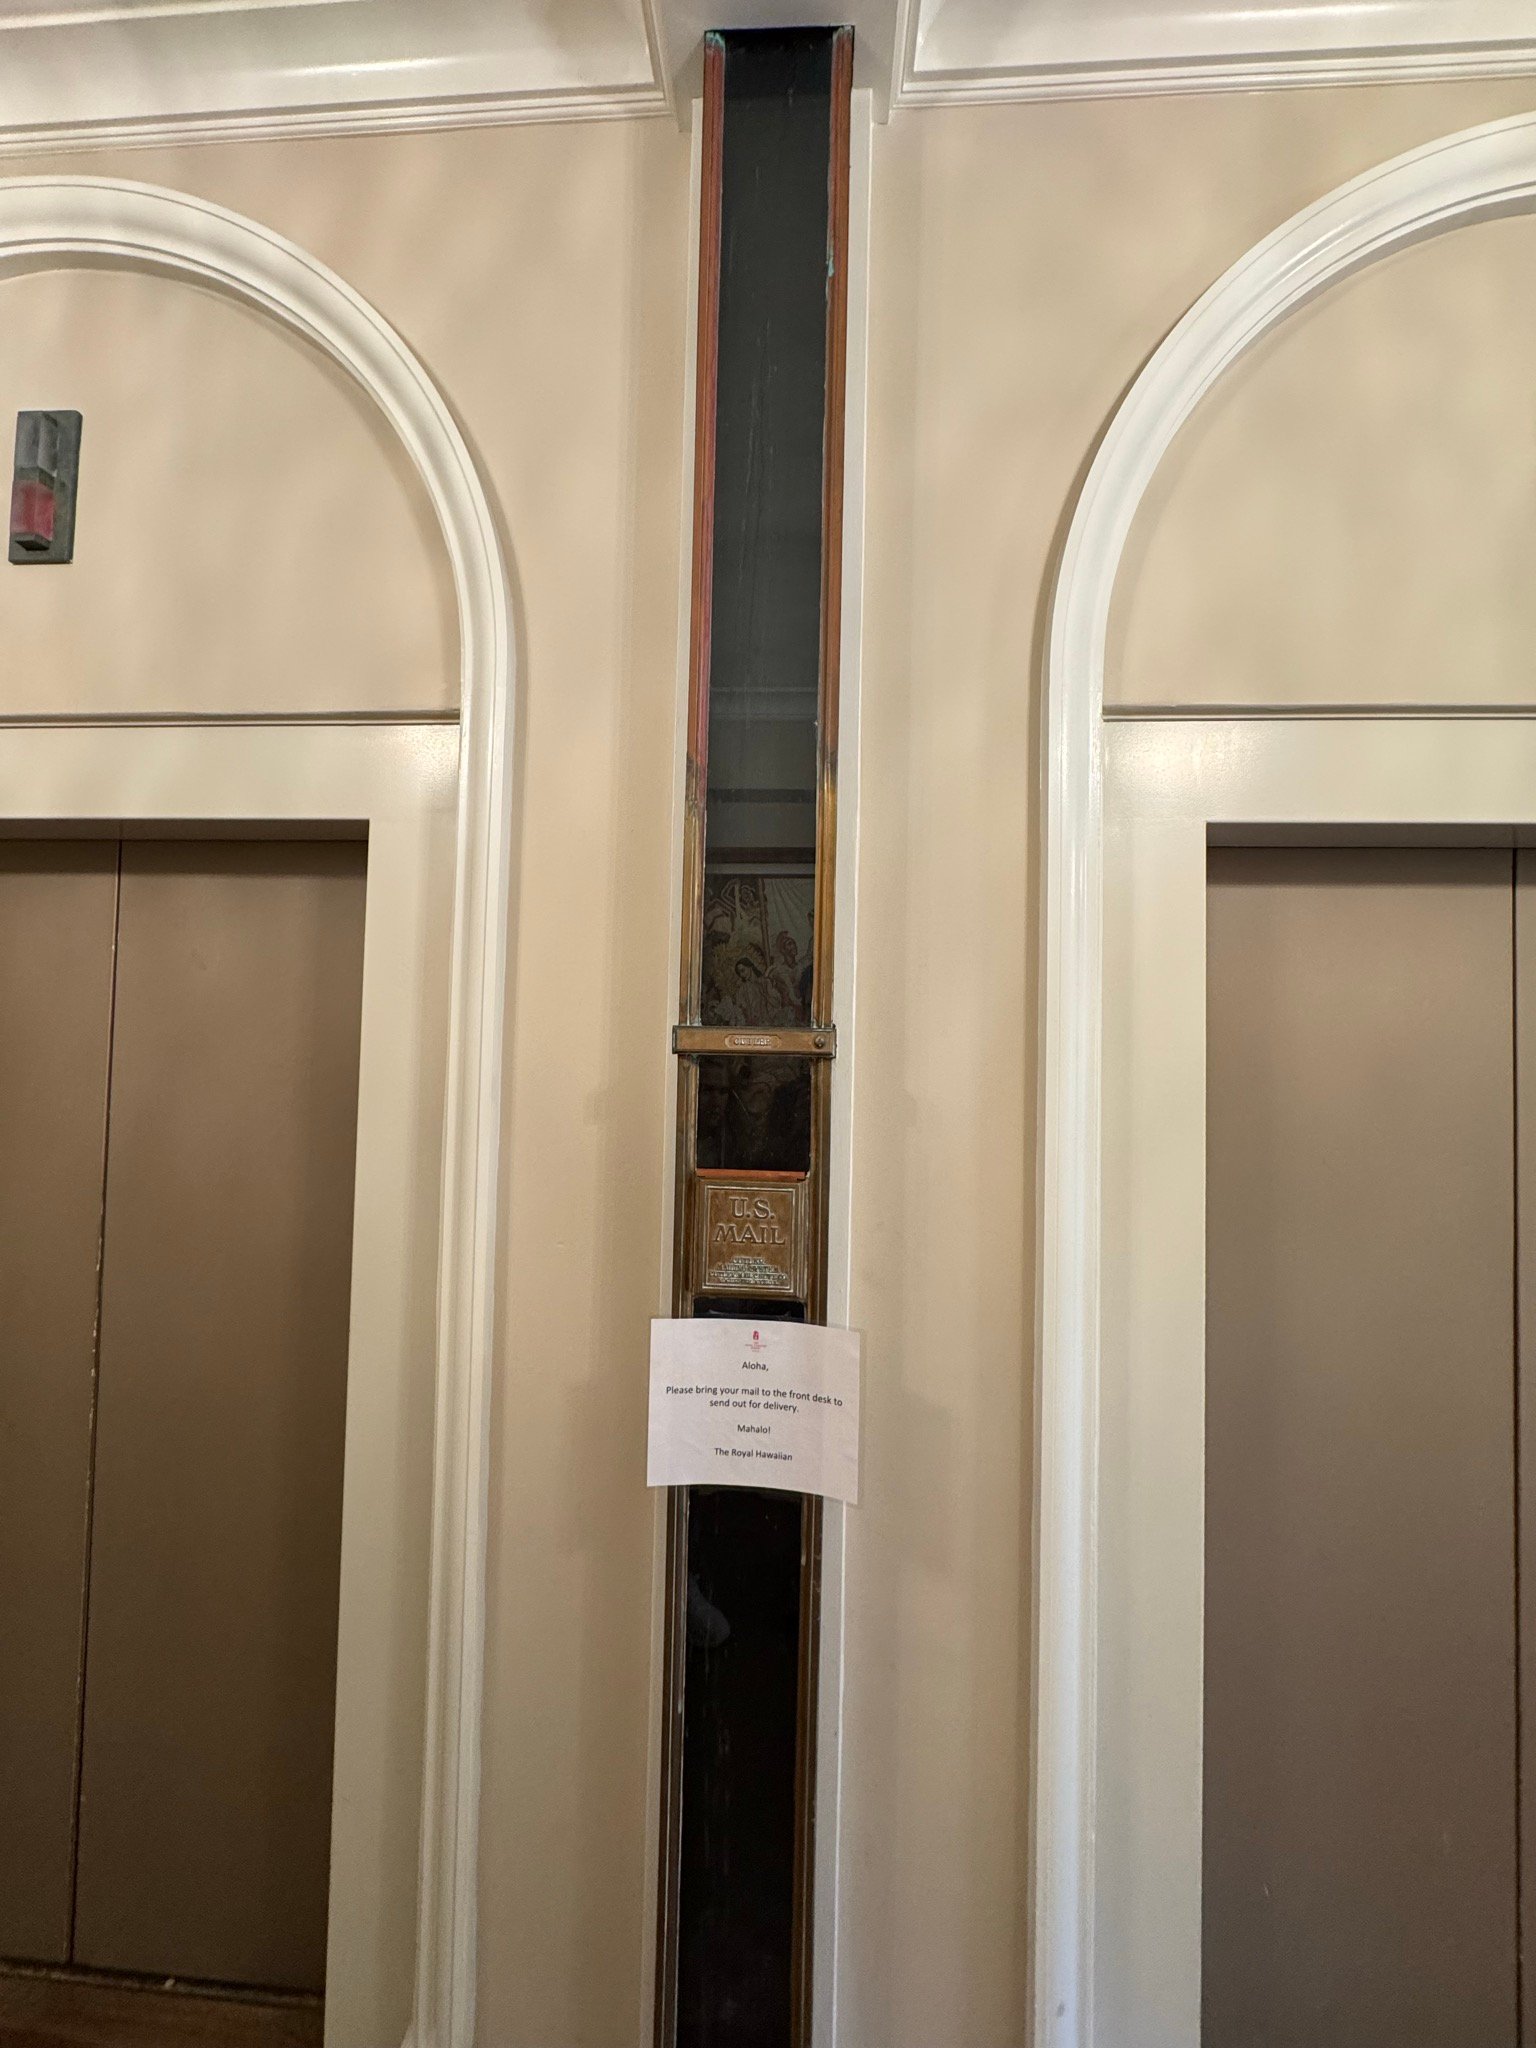
The U.S. Mail at The Royal Hawaiian Hotel
(Brodie Enjoyed This)
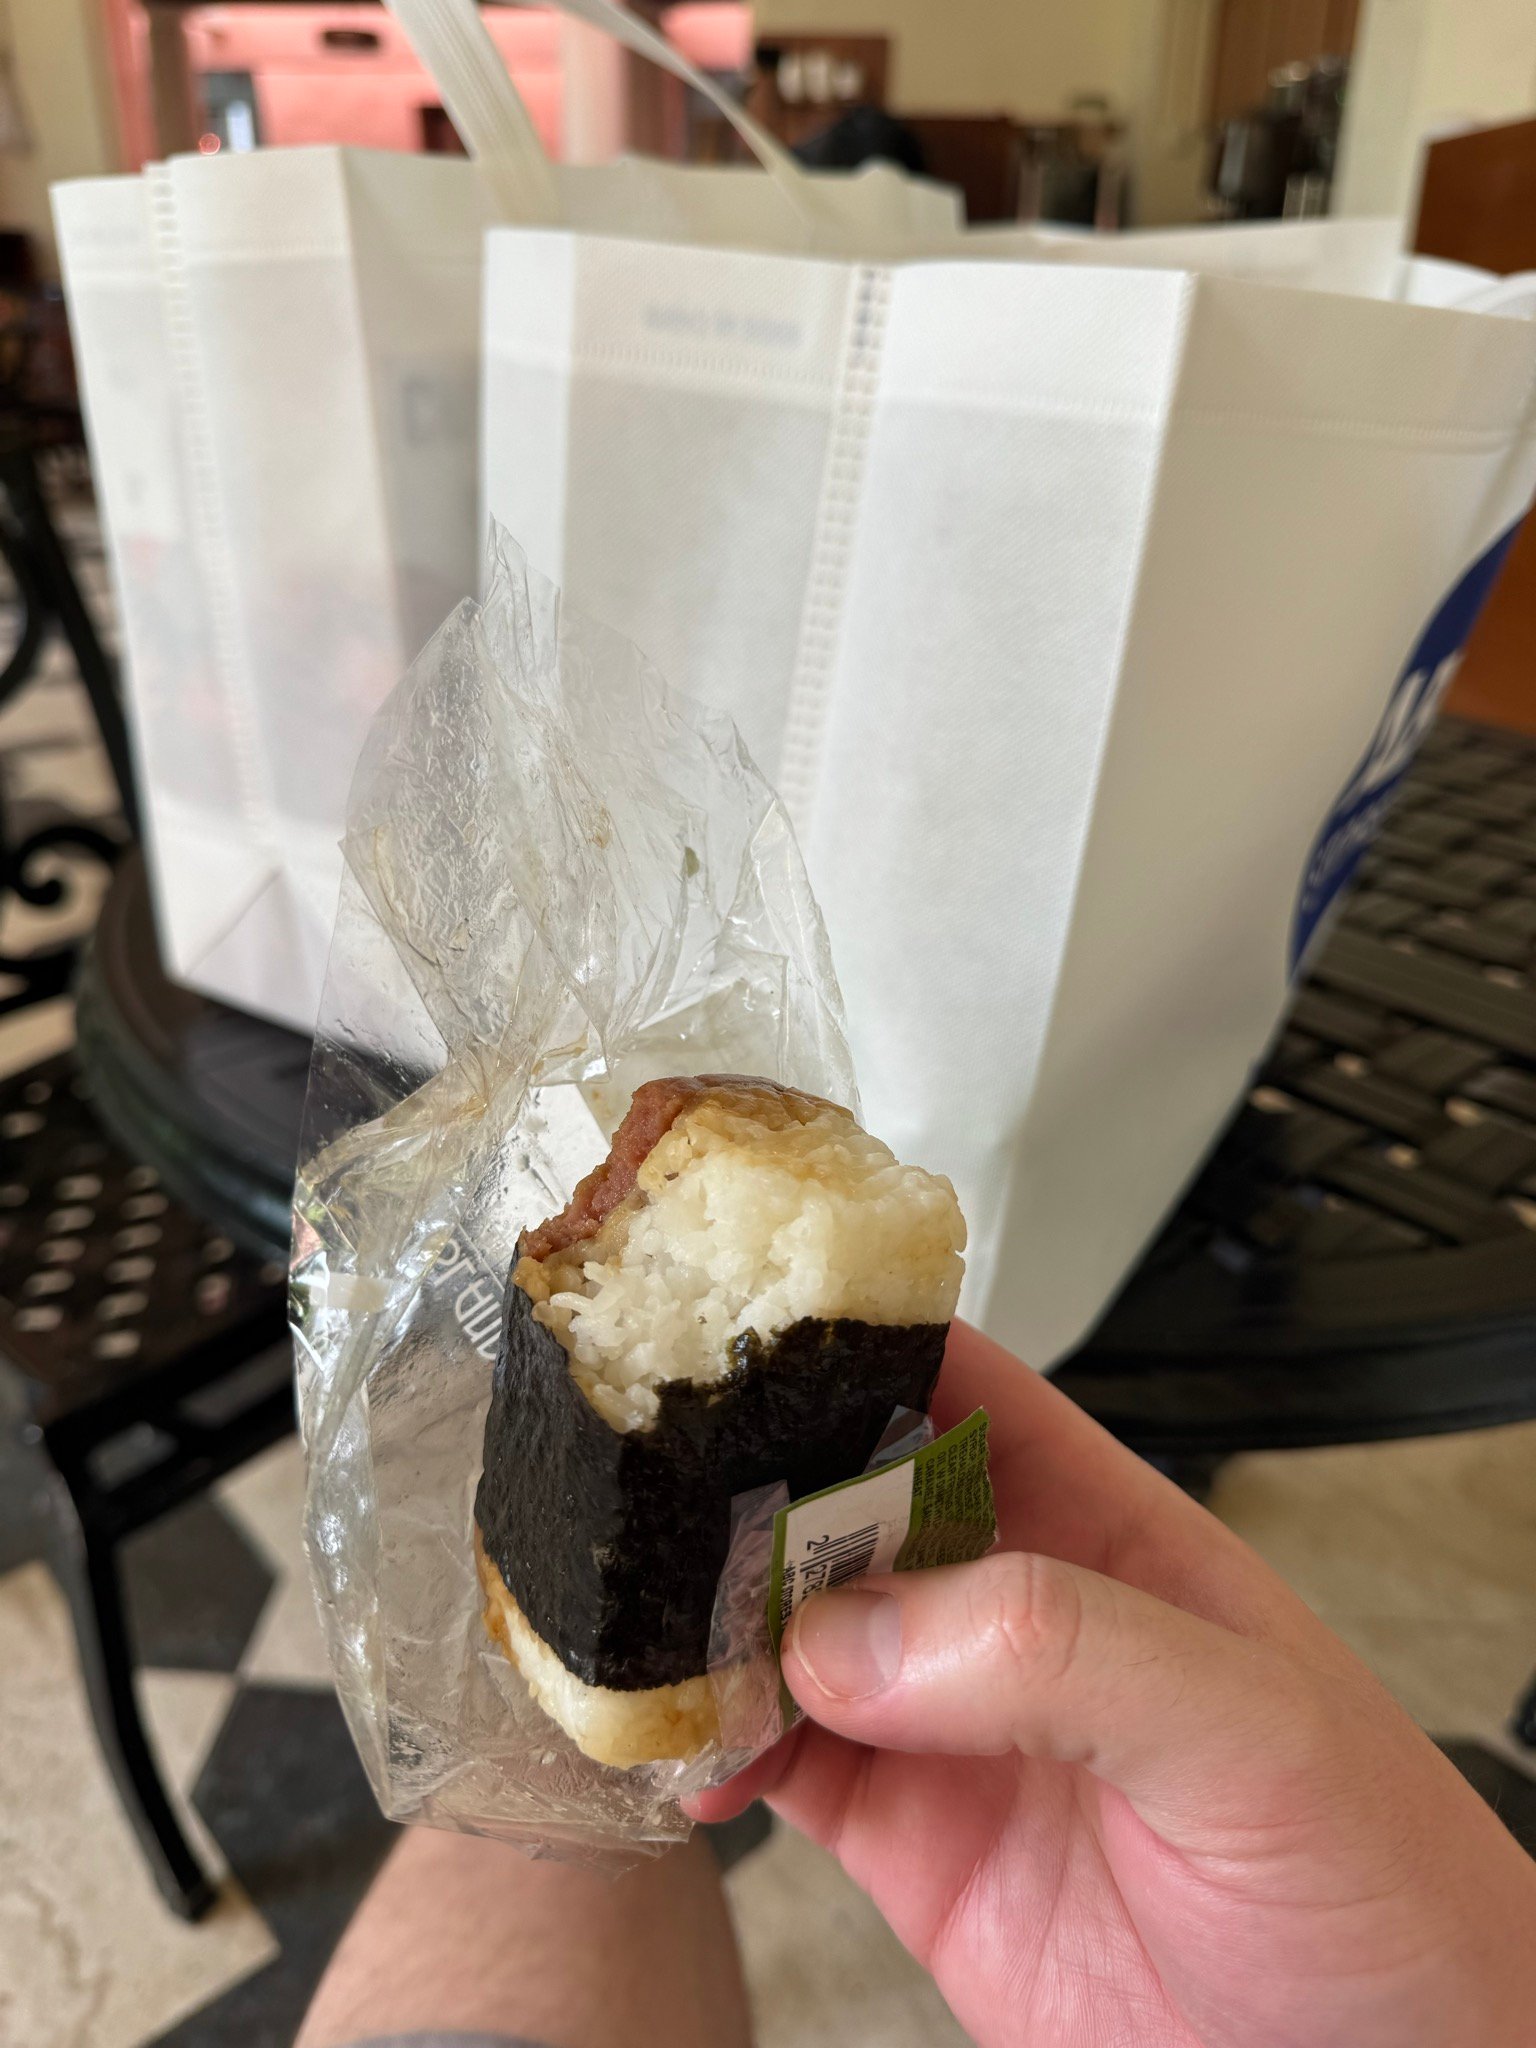
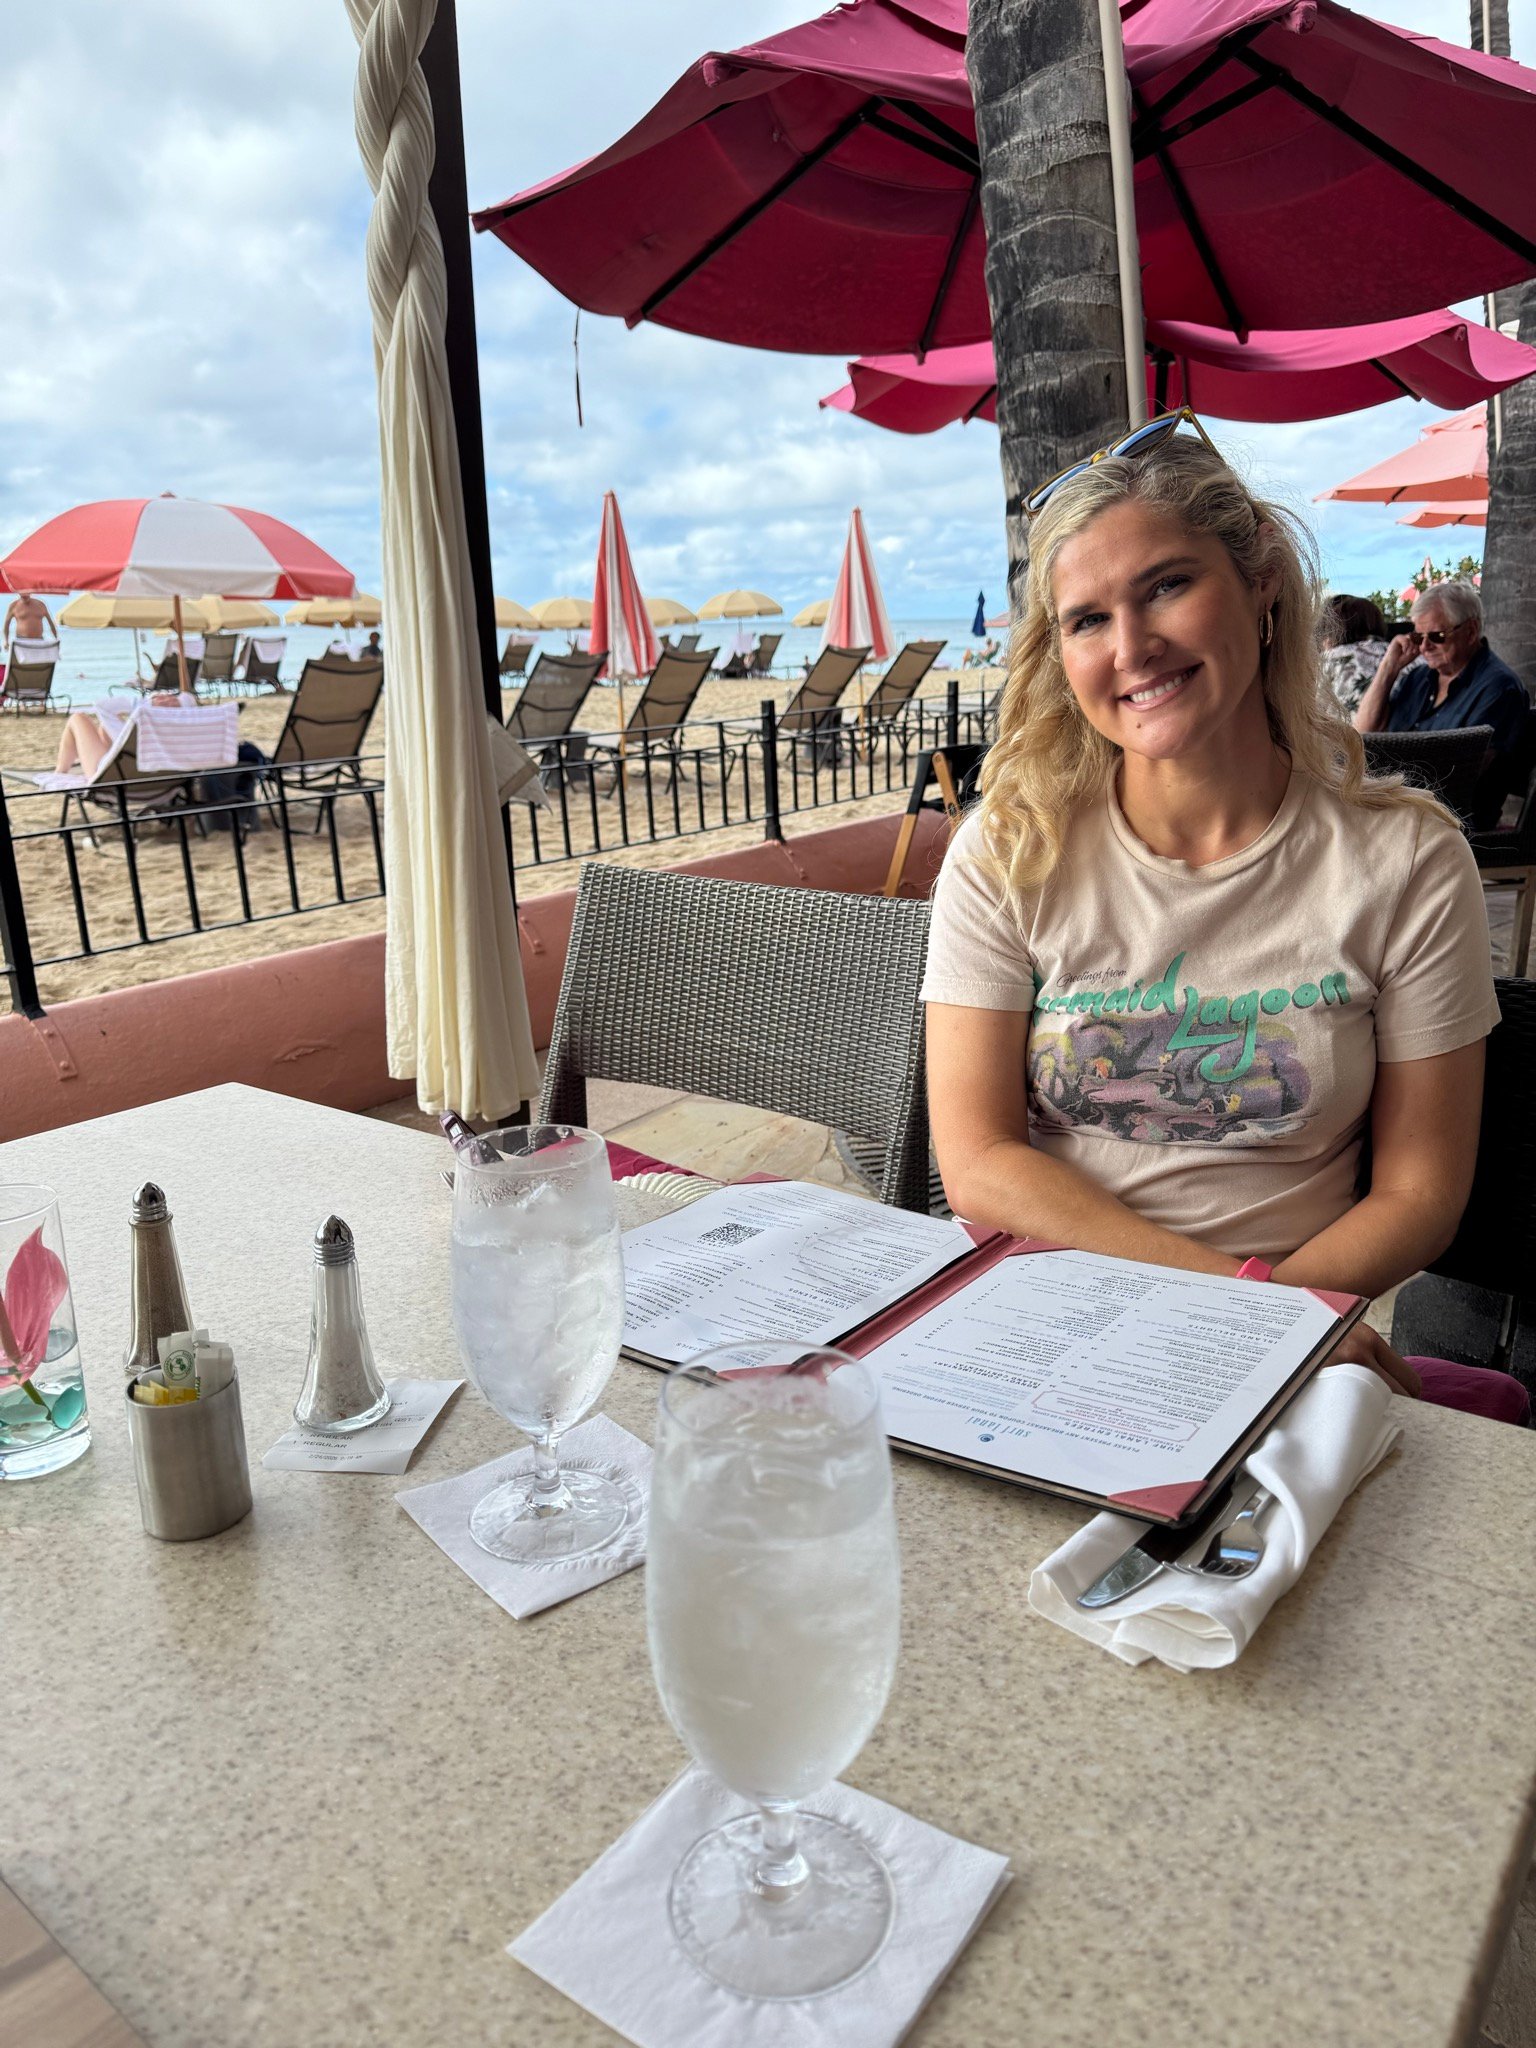
Spam Musubi, and Eating at their Hotel

Royal Hawaiian View, Diamond Head
———————————————————————————————–

Brodie and Mackenzie, Diamond Head in the Background
—————————————————————————————————-
COASTERS! GET YOUR COASTERS!!!
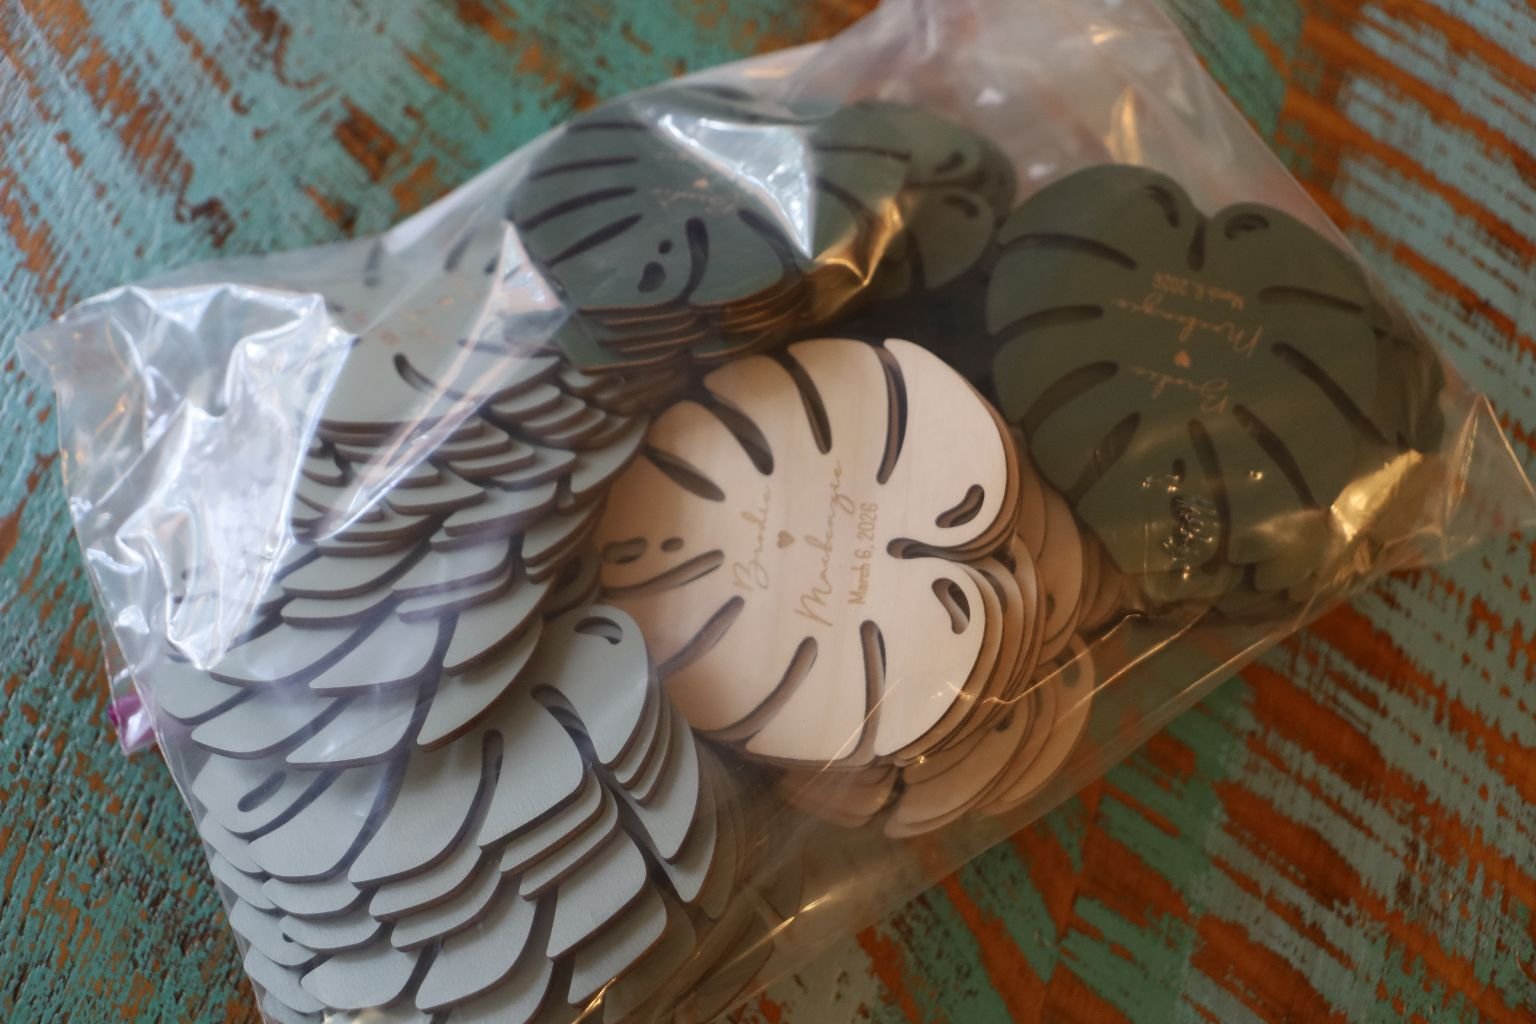
I also mailed Brodie and Mackenzie the extra coasters that I had made as party favors at the Rehearsal Dinner Luau to pass out to all. We couldn’t take all of the coasters as they would be too heavy in our luggage.
I am embarrassed to say that I bought too many. I honestly didn’t know how to order them and wrote in the wrong amounts. But, as I see it, Brodie and Mackenzie either have ‘coasters for life,’ or excellent ornaments for their 2026 Kalikimaka Tree. 🙂
—————————————————————————————-
CocoNene For US!

It was while we were shopping at Ala Moana Shopping Center for a dress for me to wear to the wedding, that we discovered CocoNene. We were instantly smitten! The wooden art, the artists, the beauty of all of the creations! We loved it all! That is when we did do some shopping. We also did some shopping once we got back home and visited their website.
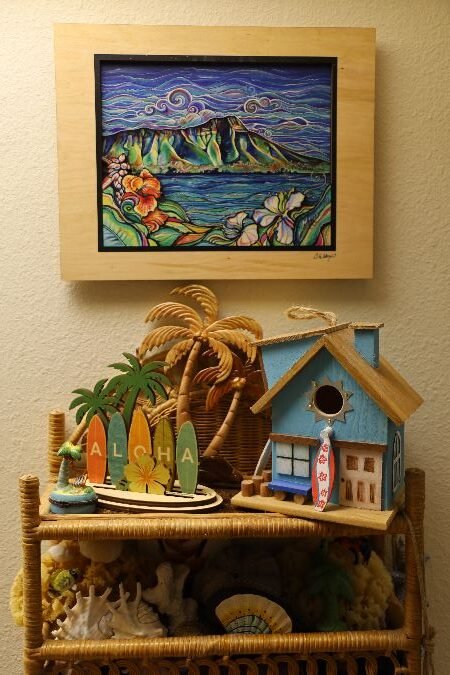
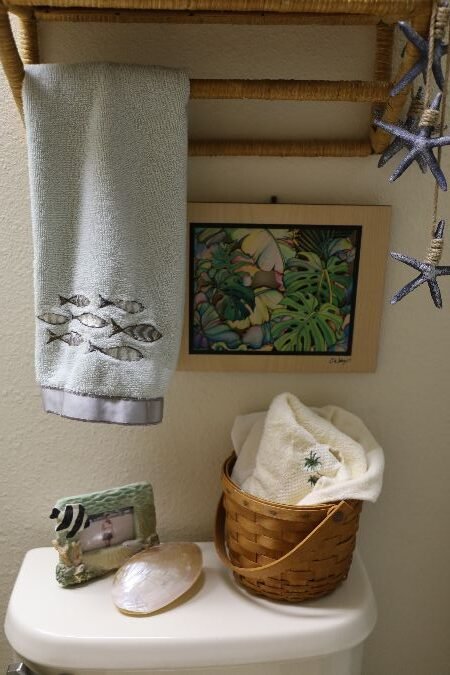
I Am Redoing The Guest Bathroom Here
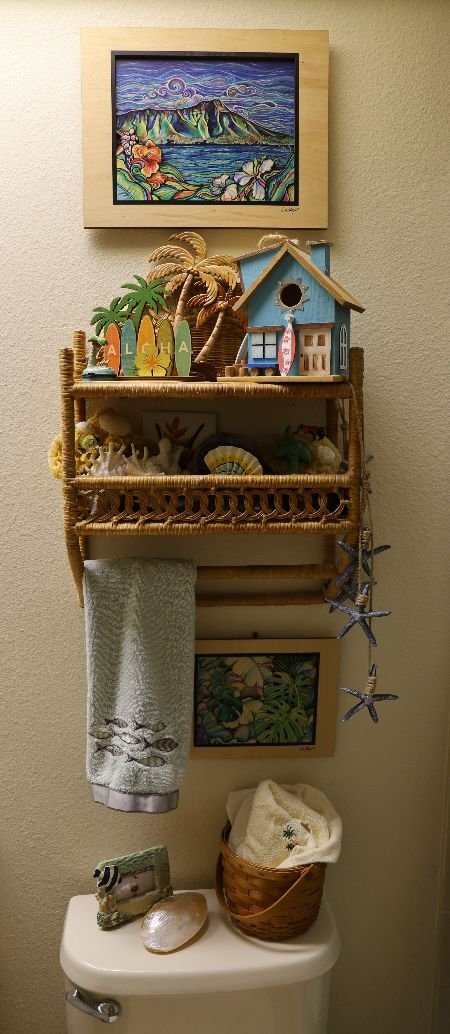
Ever since my nasty neighbors started harassing me, I do all my bathing and skin care in the guest bathroom.
I was very happy to recreate it into this lovely Hawaiian sanctuary.
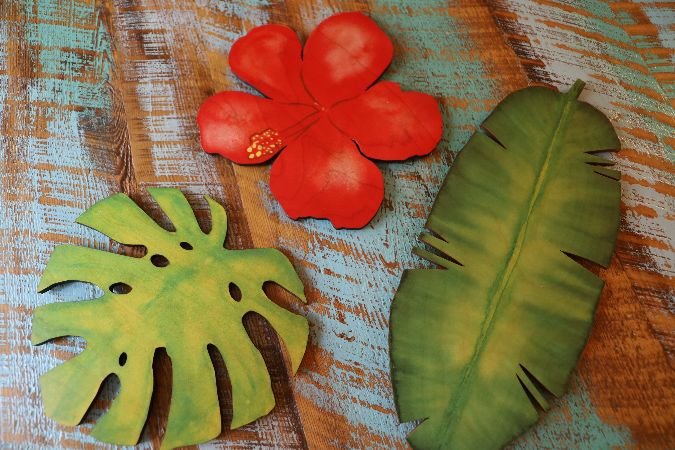
Here are some of my CocoNene Trivets! Love them!
Kulii
—————————————————————————————-
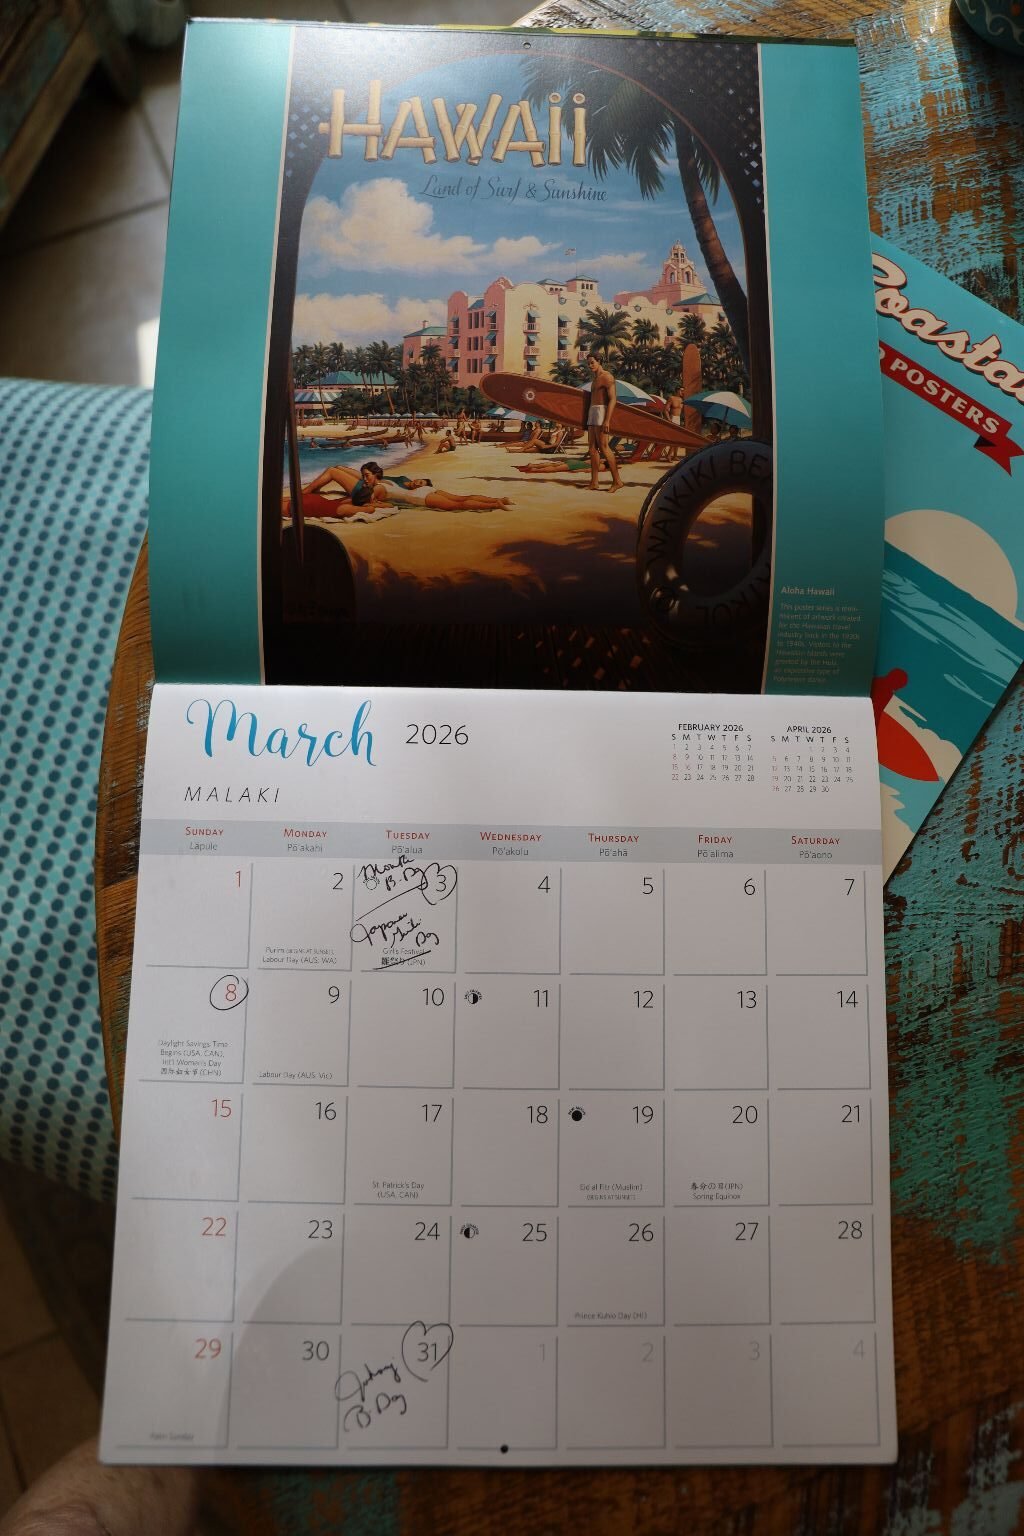
March, 2026
———————————————————–
March 28, 2026

Back From Aloha, Banyan Tree, Hale Koa Hotel, Waikiki
It’s been awhile since I’ve blogged. We have had a lot going on in our lives. Gordon came home from working overseas in February. He got home before my birthday. Because he came in late at night our son-in-law Brian picked him up from the airport. Interestingly enough he flew over the country everyone is talking about right now.
It was less than a week after he got home that where he works overseas was evacuated. Gordon was on the phone trying to find his stuff. It was all sent to another state’s base here on the mainland. It wasn’t until we got to Hawaii on the 28th. of February and saw the news that I knew why they were evacuated to begin with. Gordon took leave to come home before all hell broke loose. Happy he was here already.
Yes, we were in Hawaii and had just checked into our room and turned on the news. That’s when we saw what was going on. It just seemed so bizarre to be on vacation while all hell is breaking loose. I do write about our vacation in other website pages on our website. The vacation was much needed by both of us! We did have a nice time in spite of everything going on in the world.
You see, our son Brodie married his long-time girlfriend Mackenzie on the North Shore of Oahu, Hawaii on March 6th.. 🙂
We were in Hawaii almost 2 weeks. We put our dogs into a kennel during that time. I just knew they would be mad at us when we came back for them once we got home. I was right, they were.
You know on videos online you’ll see these dogs running happily into their owner’s arms after having not seen them for awhile? I kind of thought that would happen. Nope! They just looked at us like, ‘You left us.’ Me, ‘I know, but we came back for you.’ Dogs, ‘You left us.’ Me, Yes, but Brodie got married to Mackenzie in Hawaii and we couldn’t take you with us, so we put you in a fun camp for Spring Break. Yeah!!!’
Dogs, ‘You left us.’ And they then proceeded to urine on the living room carpet. So, yeah, there was that. 🙁
——————————————————————————
We got back home a few weeks ago. So many things had changed on the island. In a way I hate that we went back. I liked remembering it the way that we left it in 1999. There were some negative changes on the island, as well as some positive. It does look like we made it out from the island just in time. Our last full day there was spent with it raining, and having dumped a good 33 inches of rain overnight on us! Our hotel lost power for 8 hours until it was restored. We weren’t planning on doing very much that last full day because we did a lot of laundry and packing. We also put together 3 boxes to mail to our house of goodies we bought over there. Gordon ran those to the post office while I kept Isabelle in our room. Veronica and Brian had gone to the North Shore to tour the Jurassic Park tourist area. Luckily I had brought coloring books and crayons for Isabelle, along with some Bluey story books. Plus, Veronica had left behind her tablet with some movies for Isabelle. And as always, I had some great local snacks. (Guava, Ube, and Coconut Shortbread Cookies.)
Luckily for us our flight was scheduled to depart in a window between storms the following day. Also, we got out of there and back home without the back log of flight departures due to not funding our TSA Agents. We did really feel for them. Having to work those long and hard hours with no pay. The ones that we encountered were very professional and working so hard.
And let’s not forget the additional amounts of rain that fell on the islands after we left. I do appreciate that we got out just in time. But, we also can’t help but feel for the local’s left to deal with that devastation.
——————————————————————————-
Since we’ve been back home, and at this writing, I still have 2 suitcases to unpack and put away, I also have the 3 boxes we mailed home to really deal with. Not to mention we still have some Christmas to put away. That’s right. Some Christmas is still up. AND, I am even leaving up other Christmas things in our dining room, just because. I’m doing that because we really don’t know Gordon’s schedule or where he will be working in the near future? This week he attended a school to help with his job, and he is going into the base, but they really don’t have anything permanent for him, or others in his situation right now, so things are kind of iffy. Will he be here? Will he be sent back overseas somewhere? We just don’t know?
We are also down to only 1 car. We weren’t expecting him here now so therefore he needs it. And because things are so iffy, we don’t know if we need to buy another car now, or wait until later on? We do still have the Santa Fe that is dead, and sits in our driveway. We will need to have that one towed away and traded for whatever Jeep Gordon wants to buy either now, or in the future.
Living with so much uncertainty seems to be The American Way right now.
But, right now all we can do is to deal with things as they come. It’s spring here and that means we need to get on the ball and hire our yard guys to deal with the massive amount of leaves in our yard. Pull up all those dead things that died during our many frosts we had back in February. Taxes are due April 15th. While Gordon is here he needs to take care of all those doctor appointments that he needs to catch up, (bone spurs.) And, we just need to get things organized and packed away in the attic here in the house.
I am dying to create so many things from all the inspiration of Hawaii and the Islands. I am also very happy to catch up with my website. I’ve enjoyed finishing up old website pages from the past, along with new one’s I’m creating. We’re eating off paper plates and cups because I really don’t want to deal with dishes right now. I even lost about 6-10 pounds in Hawaii that I am afraid I will put back on just because we are grabbing a lot of take out at this time. 🙁
Oh, well, Doing the best I can,
Julie
———————————————————————————-
February, 2026
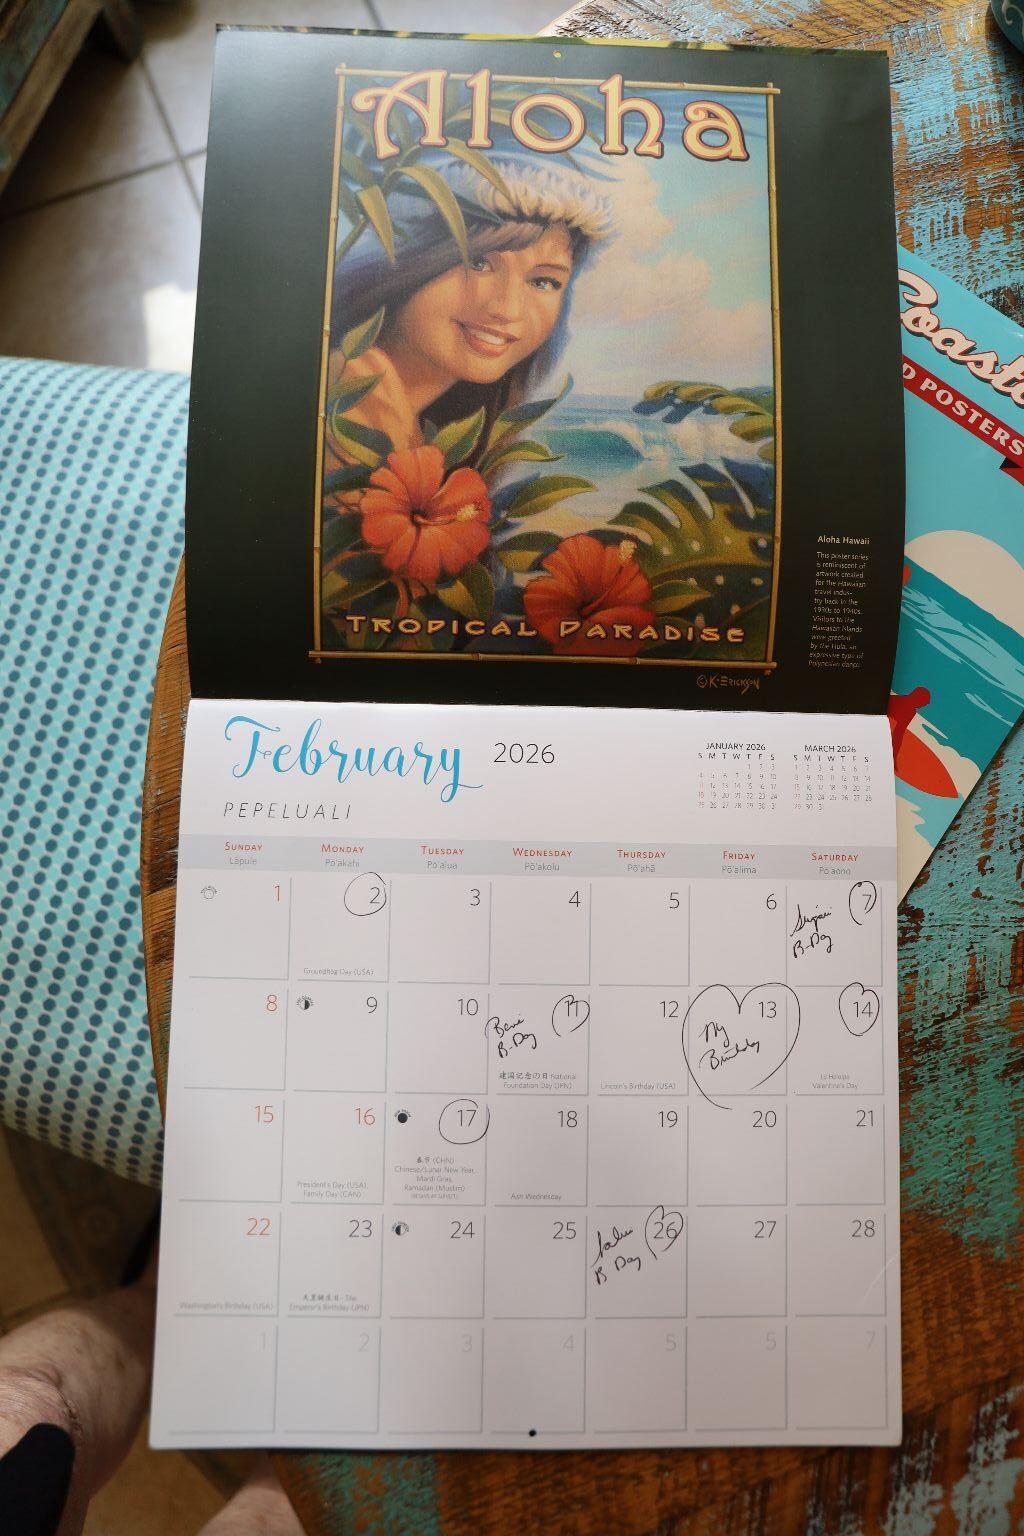
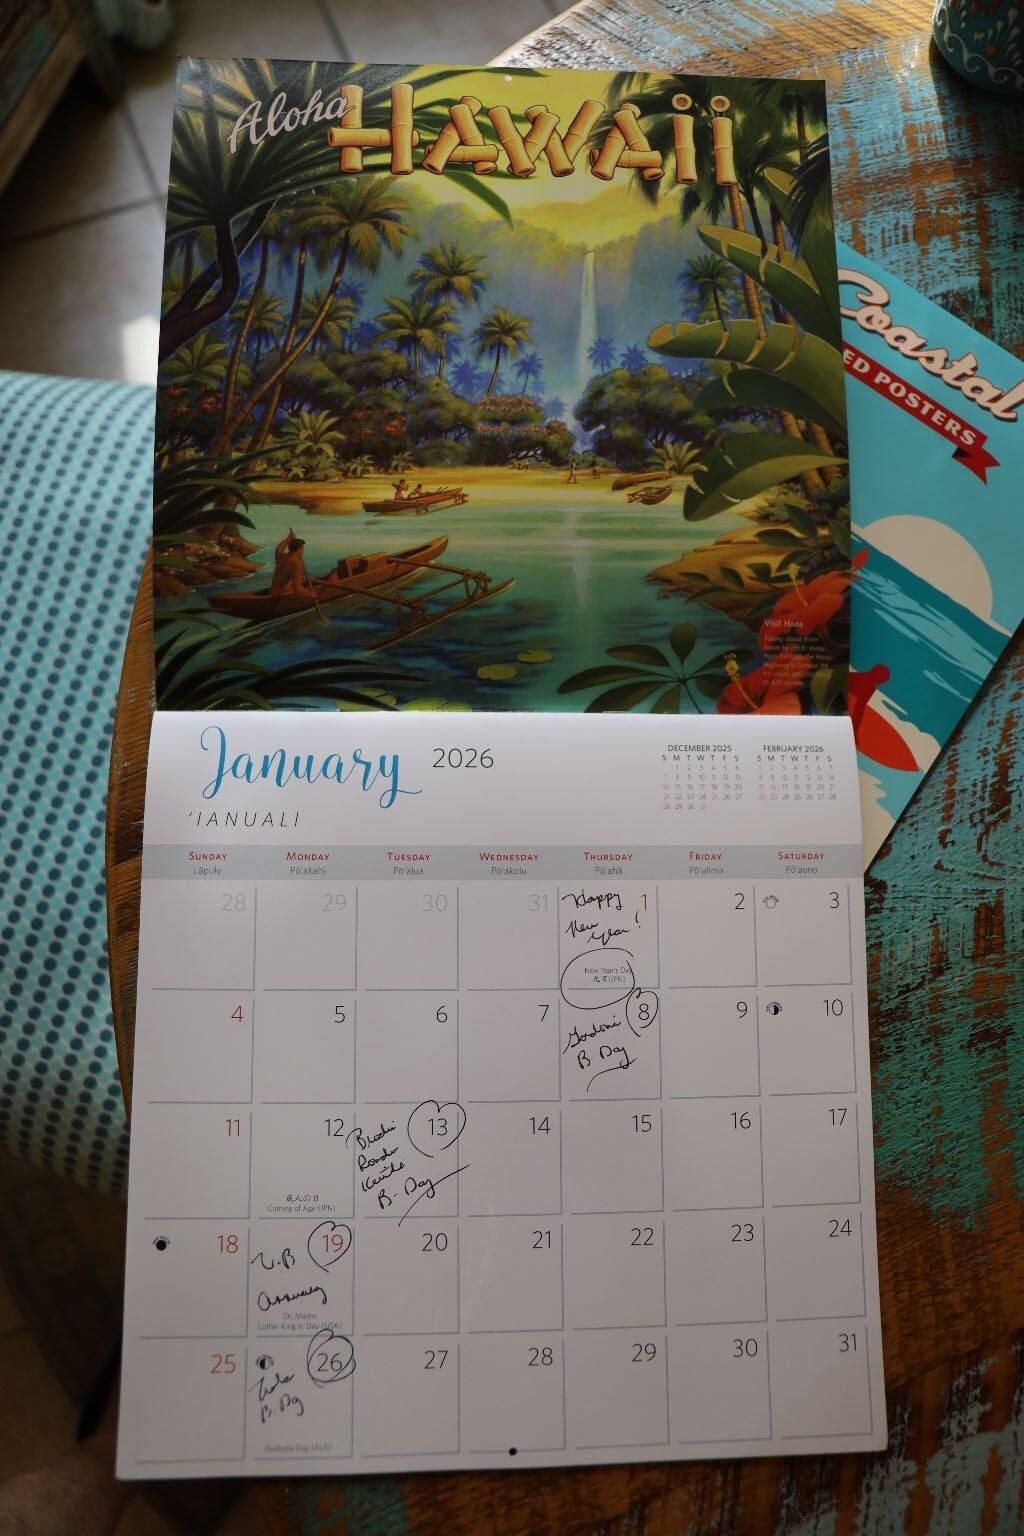
February, 2026 has 4 Mondays, 4 Tuesdays, 4 Wednesdays, 4 Thursdays, 4 Fridays, 4 Saturdays, and 4 Sundays.
Also, my birthday this year will be on Friday the 13th. 🙂
———————————————————————————–
February 13, 2026
Turning 65
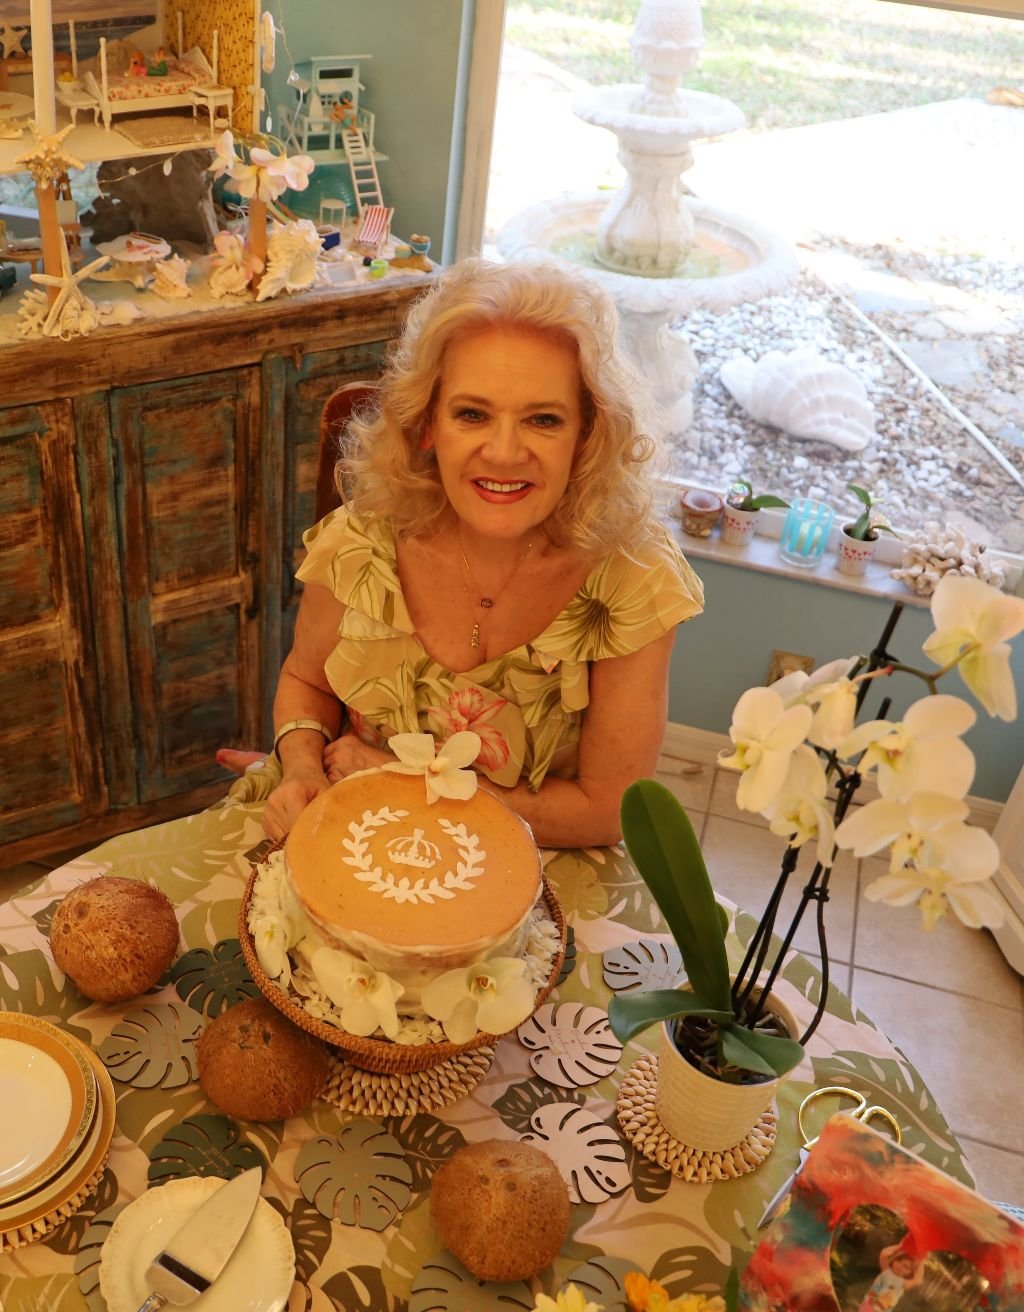
It’s so hard to believe that I am now 65, but yet it also isn’t.
I can remember the lyrics to songs that I sang when I was 6, 7, 8, years old, etc. I was even singing some of them the other day.
So far 65 feels pretty good!
We tried signing me up for Medicare but because Gordon is younger than me, and still working, I don’t quality yet.
I wish that I knew when I was younger what I know today. Because I never would have cared what others thought of me. Ageing comes with this badass shield that protects you from the arrows others throw at you. They just deflect off of it. It’s really nice actually. Sometimes I feel like Wonder Woman with her Bracelets that reflect bullets. I think that I learned who to care about and who not to.
We are currently living in very hard times and it breaks my heart the amount of indifference that some people have about it all.
I can’t change anyone’s feelings and I no longer care to try. I just want to enjoy my life right now and the people that I love the most. I’m not out to save anyone, they are on their own. I’m done trying. I do feel for those vulnerable people who are suffering.
—————————————————————————————————
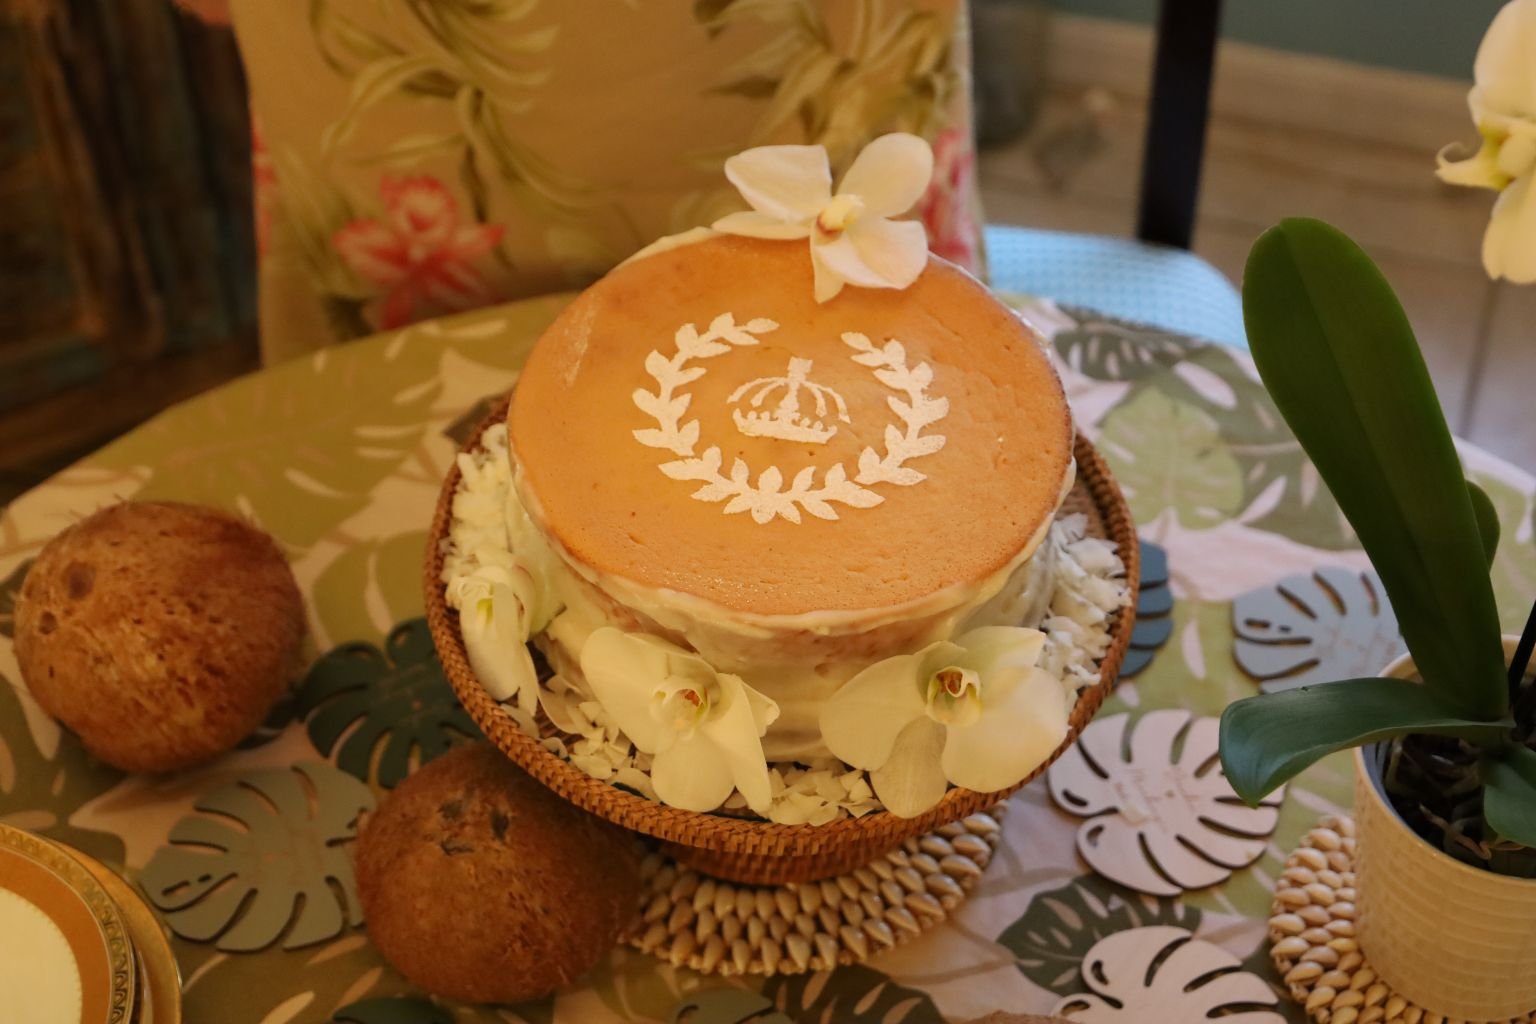
My Haupia Birthday Cake with Haupia Frosting

The Hawaiian Royal Crown was an old stencil that I bought back in the early 90’s when I was stenciling coconuts to sell at Craft Fair’s.
The older that I get the more proud of myself that I am. I am letting go of what I cannot control and protecting all that I can, while I can. I think it’s what we leave behind that says a lot about who we are. I want to leave behind great children, and a wonderful granddaughter.
I don’t know what 66 will be like, but I do think that 65 will be pretty terrific!
Aloha, and Mahalo Nui Loa,
Julie Barefoot
————————————————————————————
January, 2026
——————————————————————————
January 31, 2026

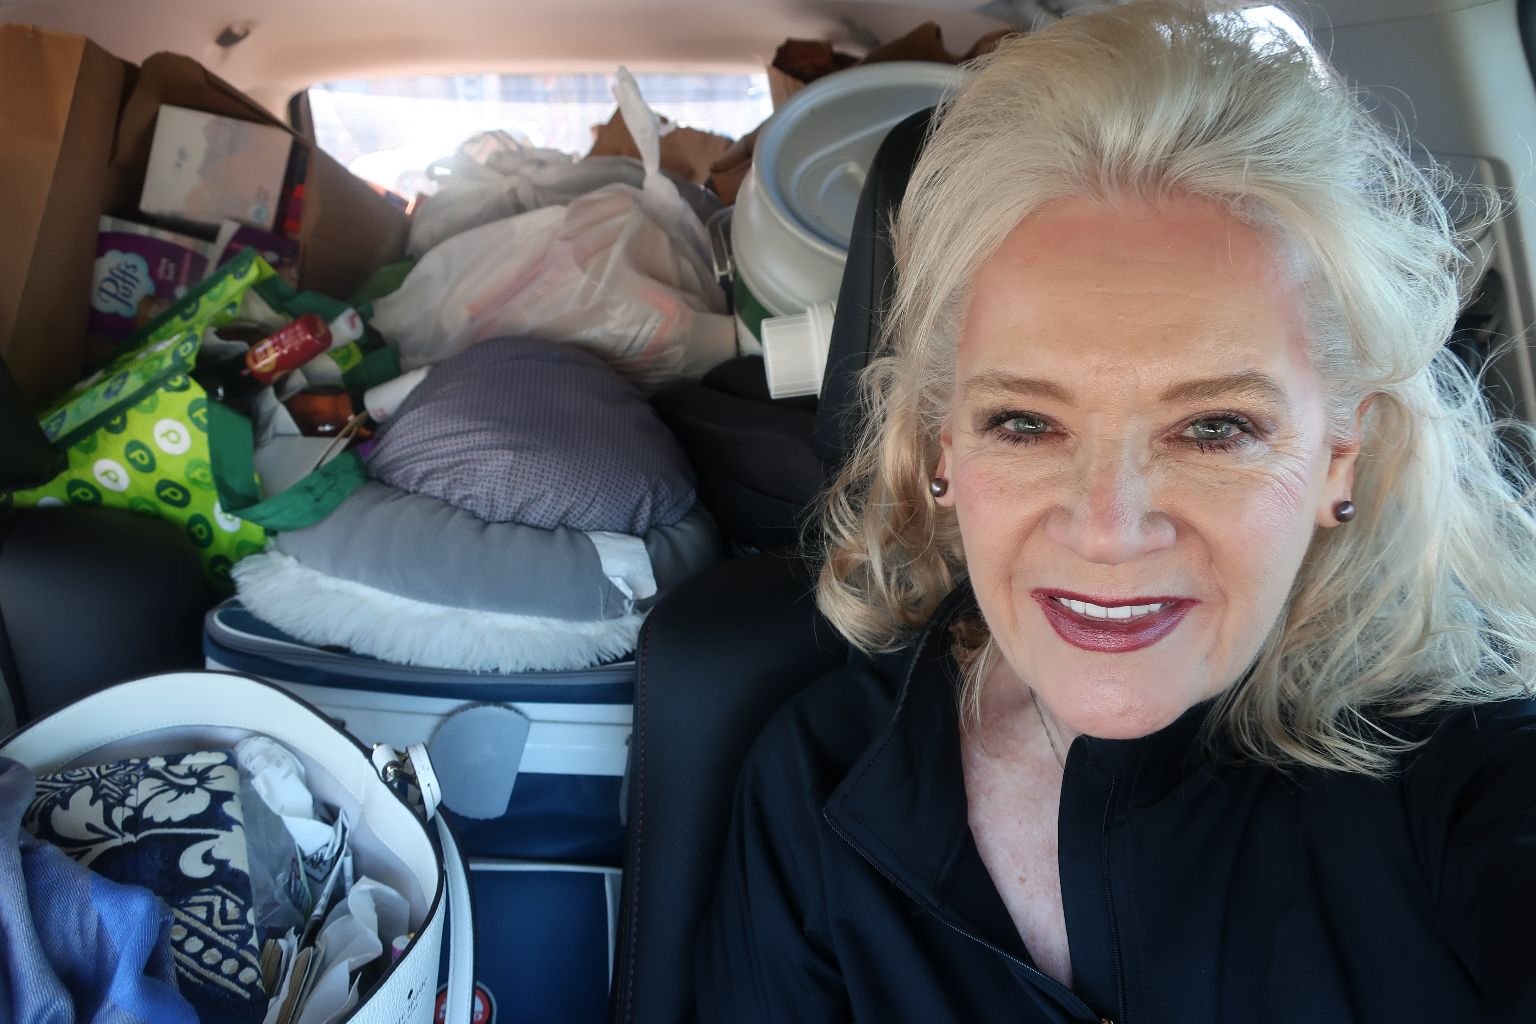
Before, On My Way
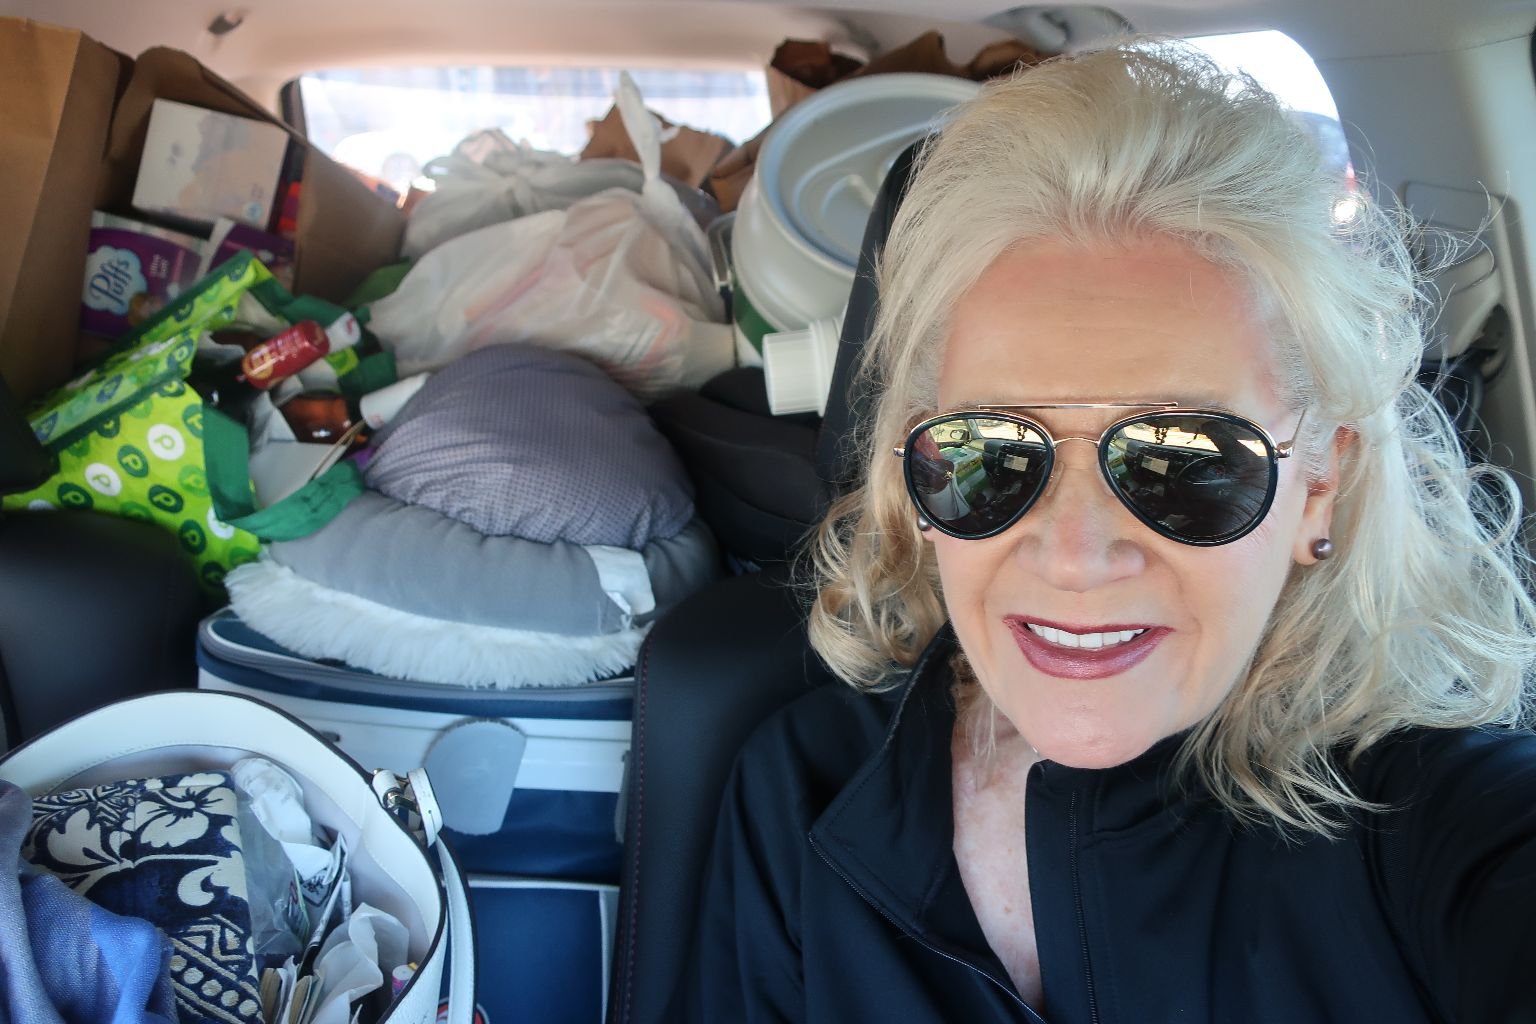
After, On My Way Home
I realize that I do tend to post photos of myself in the car going somewhere, but if I didn’t there wouldn’t be many photos to post.
I wanted to write something today, January 31st., before February arrived.
I am looking forward to February, there will be a lot going on. All good! I just kind of wanted to get January out of the way.
In the photos above you can definitely see my white hair. It’s not really grey, it’s white. I colored it about a month ago and you would never know it to look at me. My hair grows very fast, annoyingly so. Also, I’m wondering if my white hair just isn’t taking the color anymore? When I have make-up on and my hair styled nicely then the white hair looks good on me. However, when I don’t have make-up on and I have it back in a pony tail, I just look old, sad, and tired. I’m just not ready to look like I belong on some revamped version of The Golden Girls. I also want my face to reflect how I feel. I don’t like looking tired when I’m not. I also don’t like looking sad when I’m not.
———————————————————————————-
The photos above I took on Thursday. I drove into the Air Force Base to do some much needed shopping. I hadn’t been in a long time. I was low on all my supplies. I spent so much money at the Commissary, but brought home barely anything to eat. 🙂
I wanted to tell you what I observed while on the base:
I tend to only buy gas when I am on the base. I feel much safer buying it there. I always hear about how people who buy their gas around here are always getting their cards scanned by criminals while at these large gas station business’s. So I do tend to fill up when I am on the base.
I then went to the Exchange hoping to find some things for Isabelle, and to just look around and see if there was anything else I wanted to buy? The children’s section, which is normally packed full of a large assortment of so many things, just looked very ‘thin.’ I bought her some crocks to wear here at my house, they cost $25.00. They normally would have cost under $5.00. There were no Bluey clothes, which in the past there were racks of them. I did find a few clothes for her, but nothing along the line of what I am used to finding and buying for her. In the toy and book sections, they were very thin as well. Hardly anything Bluey or really anything at all. Not many toys at all, not many books at all. I was very disappointed.
The women’s clothing section which is usually packed full, as in an entire length of the store area, but was very thinned out. I did come across some black pants that were ‘Made In Jordon.’ I have never seen anything ‘Made In Jordon’ in the Exchange in my life! And I look at those kinds of things. They were priced normally for $97.00 and I got them for the Exchange price of $72.00, but just a month ago those pants would have been around $38.00, in line with how the other items would be priced. This is a big indication of how things are going for the military families who depend on the Exchange and Commissary for affordable prices because most military families live from paycheck to paycheck as it is.
The Commissary items were also priced higher than normal. I can only assume that these are the Trump Tarif’s taking effect.
The funny thing is that most of your white military are republican’s.
———————————————————————————–
Life In America Now
Hillary Clinton did say about getting our reproductive rights back would take generations. It will. Also, what we are all going through now will take decades to undo and restore. It took 10 years to recover from the George W. Bush Recession. It will take longer to recover from what we are going through now. And there is nothing we can do about it. Oh, we can protest, and we should, but when this disastrous regime is gone, it will take a long time to rebuild, as in decades or even generations.
I don’t know how bad things will get, I just know it will be bad. But in the meantime, I want to enjoy life when I can, eat, drink and be merry when it is important to do so. If I can’t buy anything new for myself for years then I will b o.k. I am only worried about Isabelle as she is a growing little girl that will need things as she grows.
We have a lot to look forward to in the next few months. For all I know this will be the only life I get and I want to spend what time I have left having some joy and not so much sorrow as we see right now in our country. Sometimes we just cannot ignore the sorrow, but we can deal with it our own unique way. I like how the artists out there are dealing with the current tragedy’s. They paint pictures of the fallen, whether on canvas or on sand at the beach. They sing, they write songs, like Bruce Springsteen. Things may be bad but I feel as if I am in good company. No matter what happens next. I really don’t feel alone. In a weird way I kind of feel like someone I don’t even know has my back. 🙂
——————————————————————————–
My Log Blog Documenting Stalking and Harassment From My Neighbor
I Did An Update
——————————————————————————————-
There are always good things in bad times. You just need to look for them. I think my upbringing of being the new kid in school as often as I was, and enduring the abuse from my parents for decades, has actually helped me in these times to deal with everything that is going on. I learned to survive it all. It wasn’t easy, but I did it!
If I can do it anybody can! But for now, we all do have each other. 🙂
Thank you for being my Cyber Spirit Friends,
Julie
——————————————————————————-
January 24, 2026
Doing The Best I Can


(Having some Cold, COLD, weather here in Florida.)
I want to blog but in some ways I don’t know what to say, yet I know I want to say something.

We are all going through so many trying times right now. I see the ending, I just don’t know when the ending will be? Or how horrific it will all be in the end? Everything runs it’s course. The more evil, the sooner the ending. Evil will always eventually burn itself out, or will be snuffed out, but not before it has done terrible damage to those that don’t deserve it. And there will be many damaged human beings from all of this.
It’s difficult to keep this blog all positive and happy when I am surrounded by so much unhappiness in my country right now. It also seems a bit insensitive to try and ignore it all. Trust me, I may not write about it, but I cry about it every single day.
——————————————————————————–

However, it was last February 12, 2025 that Brodie and Mackenzie took me into Sarasota, Florida for the day to be at their ‘Save The Date’ photo shoot. They then treated me to a great lunch at The Columbia Restaurant. It was in the car ride to Sarasota that I told them about a scene in Harry Potter and the Deathly Hallows Part 1, where Harry and Ginny were discussing Bill and Fleur’s upcoming nuptials.

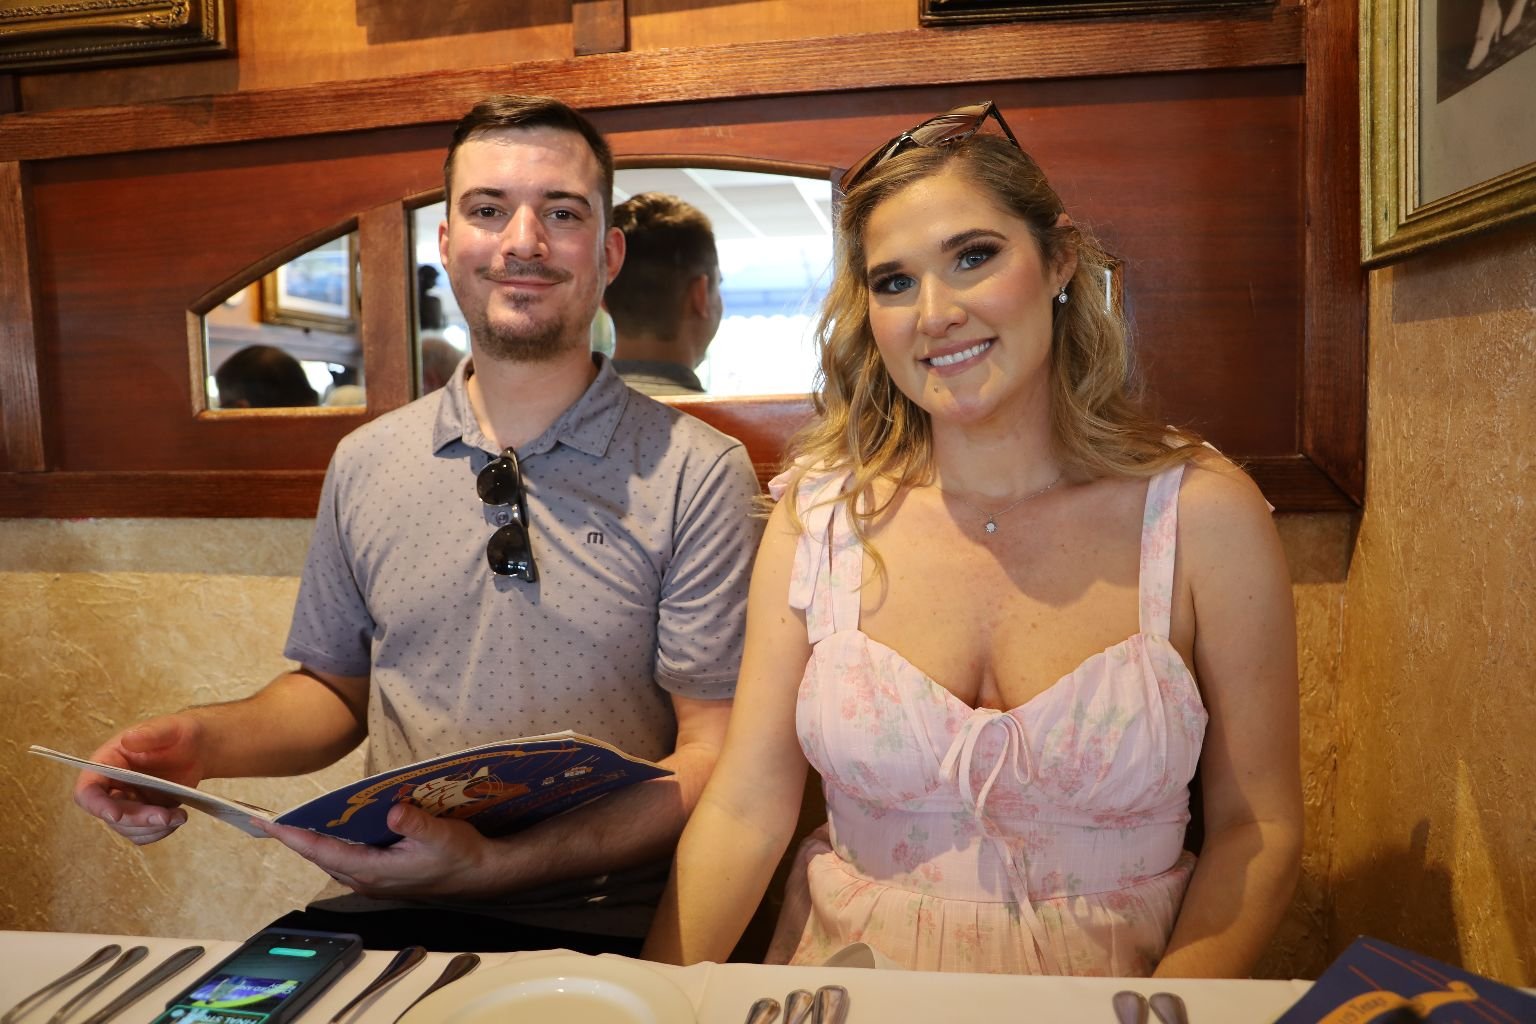
Ginny said something to the effect of, ‘It seems ridiculous to be having a wedding at this time.’ And Harry said something to the effect, ‘If you think about it, it is a perfect time for a wedding.’
I immediately knew what he meant by that. And it reminded me of something gay activist Dan Savage once said about the AIDS Epidemic:
‘We would bury our loved ones in the morning, grieve in the afternoon, and dance at night. It was the dance that got us through.’
—————————————————————————
We all need something wonderful to celebrate. That is what Brodie and Mackenzie’s upcoming wedding will mean to a lot of us. I told them about what I write above because I didn’t want them at any time to regret getting married in such harsh times. Sometimes that special celebration during harsh times is exactly what we all need.
————————————————————————————
On a Personal Note:
Gordon will be coming home from working overseas in less than 3 weeks. 🙂
I am doing my best to get the house back in order for when he comes home. Not that it is in terrible condition, it’s just that because I keep Isabelle a few days a week, and have 2 dirty dogs in the house, this is more of a daycare/dog kennel than it is an organized house.
I now have many irons in the fire and I am just trying to do the best I can.
I no longer have the energy that I once had when it comes to dealing with people. Sometimes I feel like a failure. That emotion comes from all the years my mother would chastise me for not being perfect. For not having a lot of energy to do what she thought I should be doing. I’ve come to realize that I need to give myself some slack. I did the best that I could given the abuse that I had to endure. I’ve grown tremendously from those early years. I enjoy my own company, pursuing my own interests. Yes, I am looking forward to Gordon coming home. We are a team, and I will be delegating many responsibilities his way. 🙂 Luckily, he doesn’t mind those kinds of things. Also, we have many fun things planned for both of us to enjoy. 🙂
————————————————————————————
However, we do live in times where the people that surround us are not that great. I read today about a senior citizen male here in Florida was arrested for a DUI. He insisted that he didn’t drink and drive because he only drank at the stop lights. How do any of us reason with someone who thinks that way? That is the MAGA mind. There is no reasoning with them. All that you can do, is to stay away from them because they are just too dangerous to know. As much as I want to help people at this time, there will come a time when it will be every man for themselves. A person can only do so much.
Sorry to be so dark but we are living in dark times.
Trying to shine a little bit of light!
Julie
—————————————————————————————–
January 8, 2026
Happy Birthday Gordon
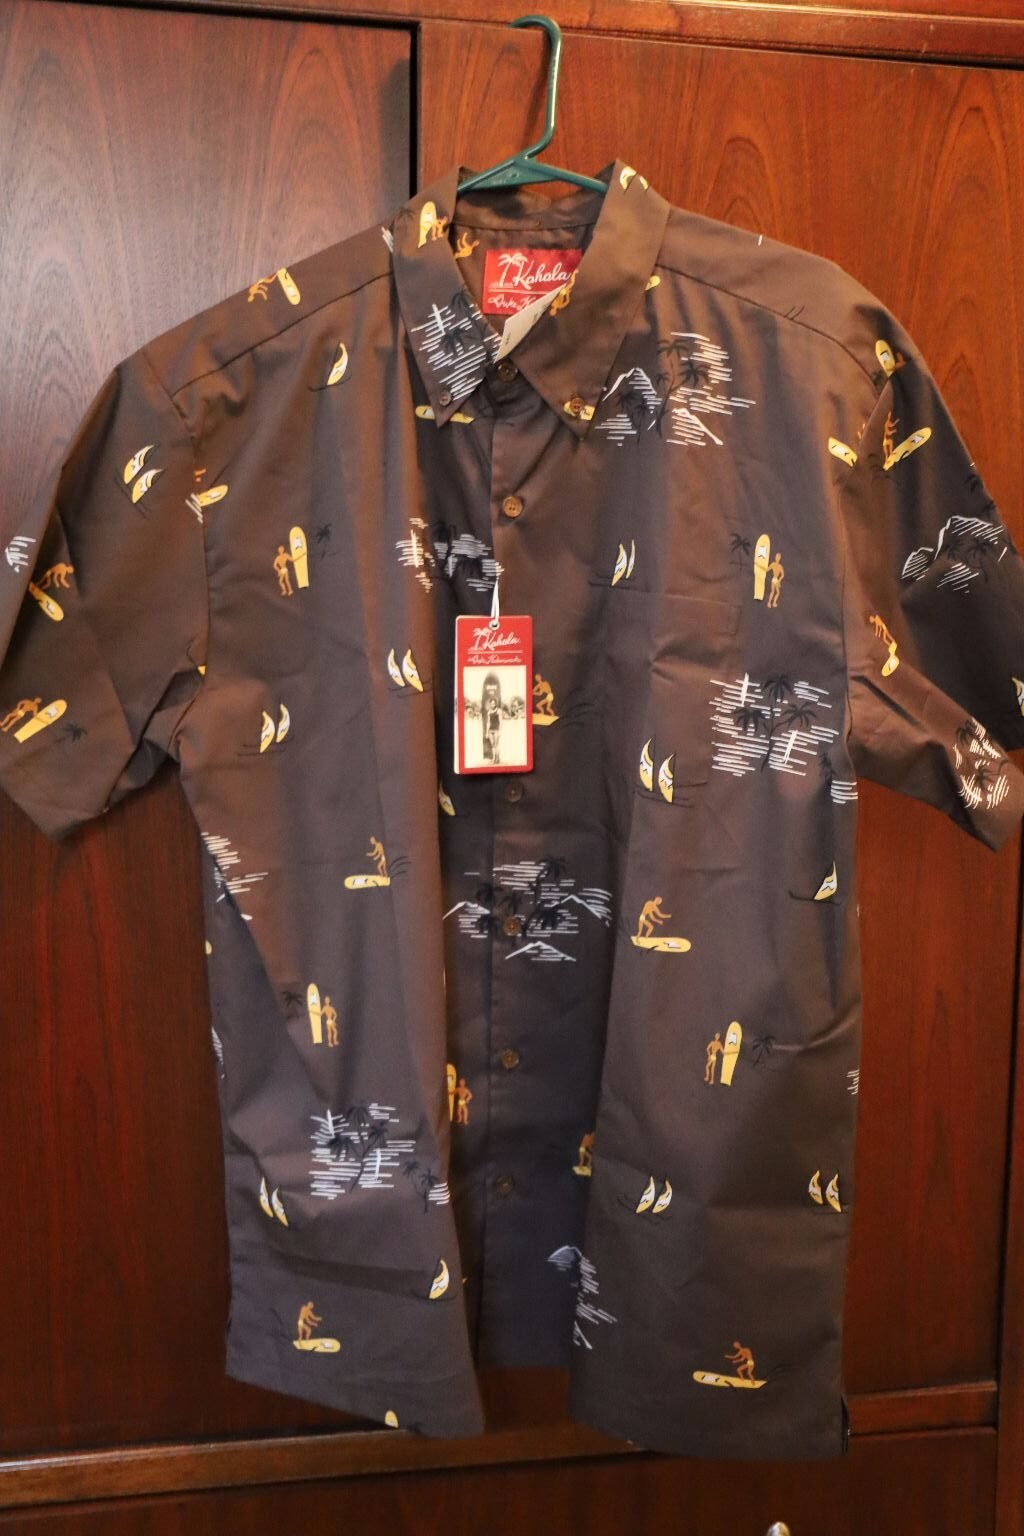
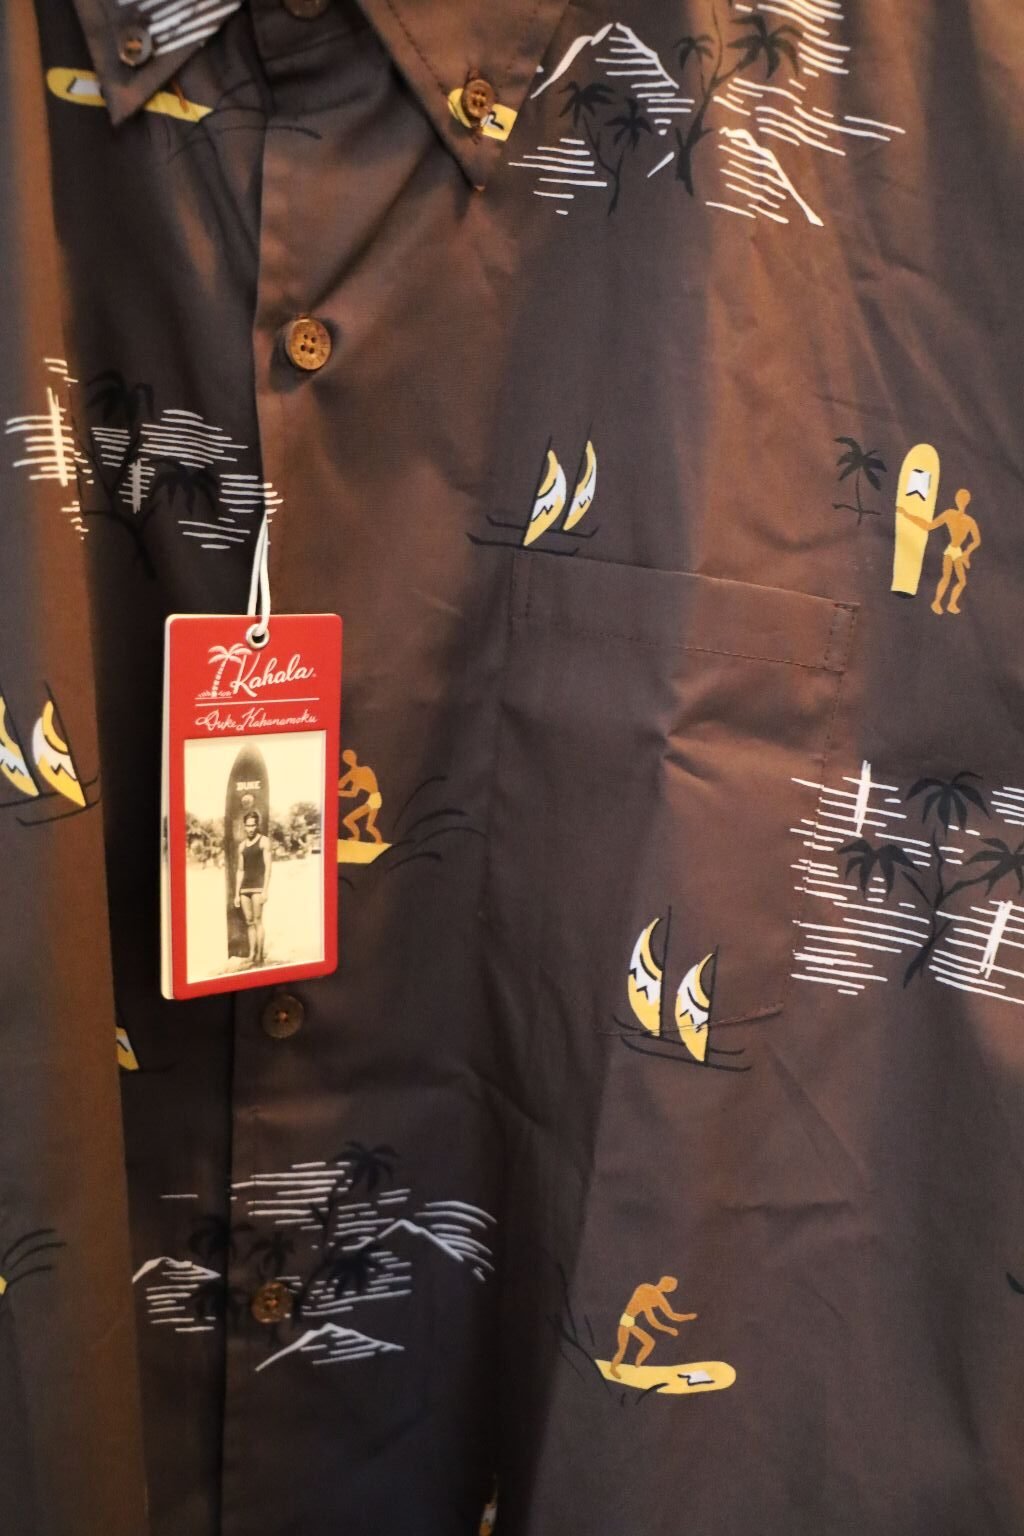
Because we have a Hawaiian Wedding to plan, and all that comes with that, I started buying Gordon some Hawaiian shirts for the occasions where he will need to wear them. I didn’t want to send them to him overseas, that was pointless, so I started photographing them in our bedroom, sent them to him one in each email, and he “opened” his Christmas gifts on Christmas Day that way.
But, I did save the Duke shirt for his birthday!
He will be opening this today!
Duke Kahanamoku
Duke Paoa Kahinu Mokoe Hulikohola Kahanamoku
He is THE famous Hawai’i surfer, famous for riding a wave 1 mile on a 16 foot wooden board with no fins. He is legend in Hawaii.
This shirt is THE BOMB for Gordon!
———————————————————————————————————-
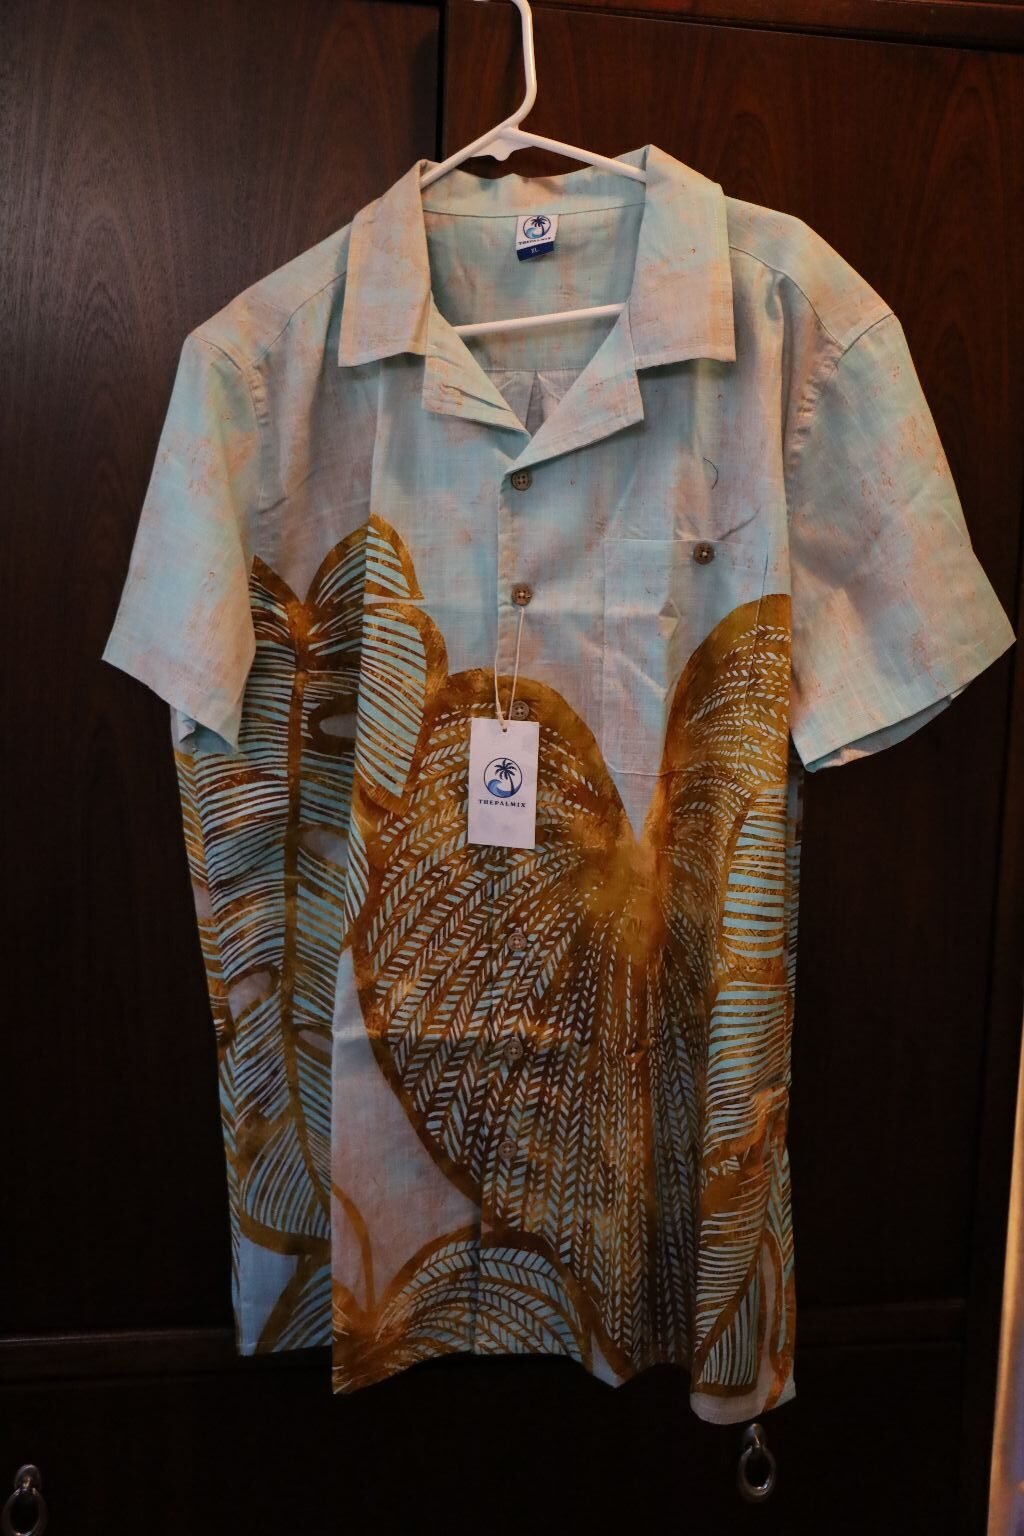
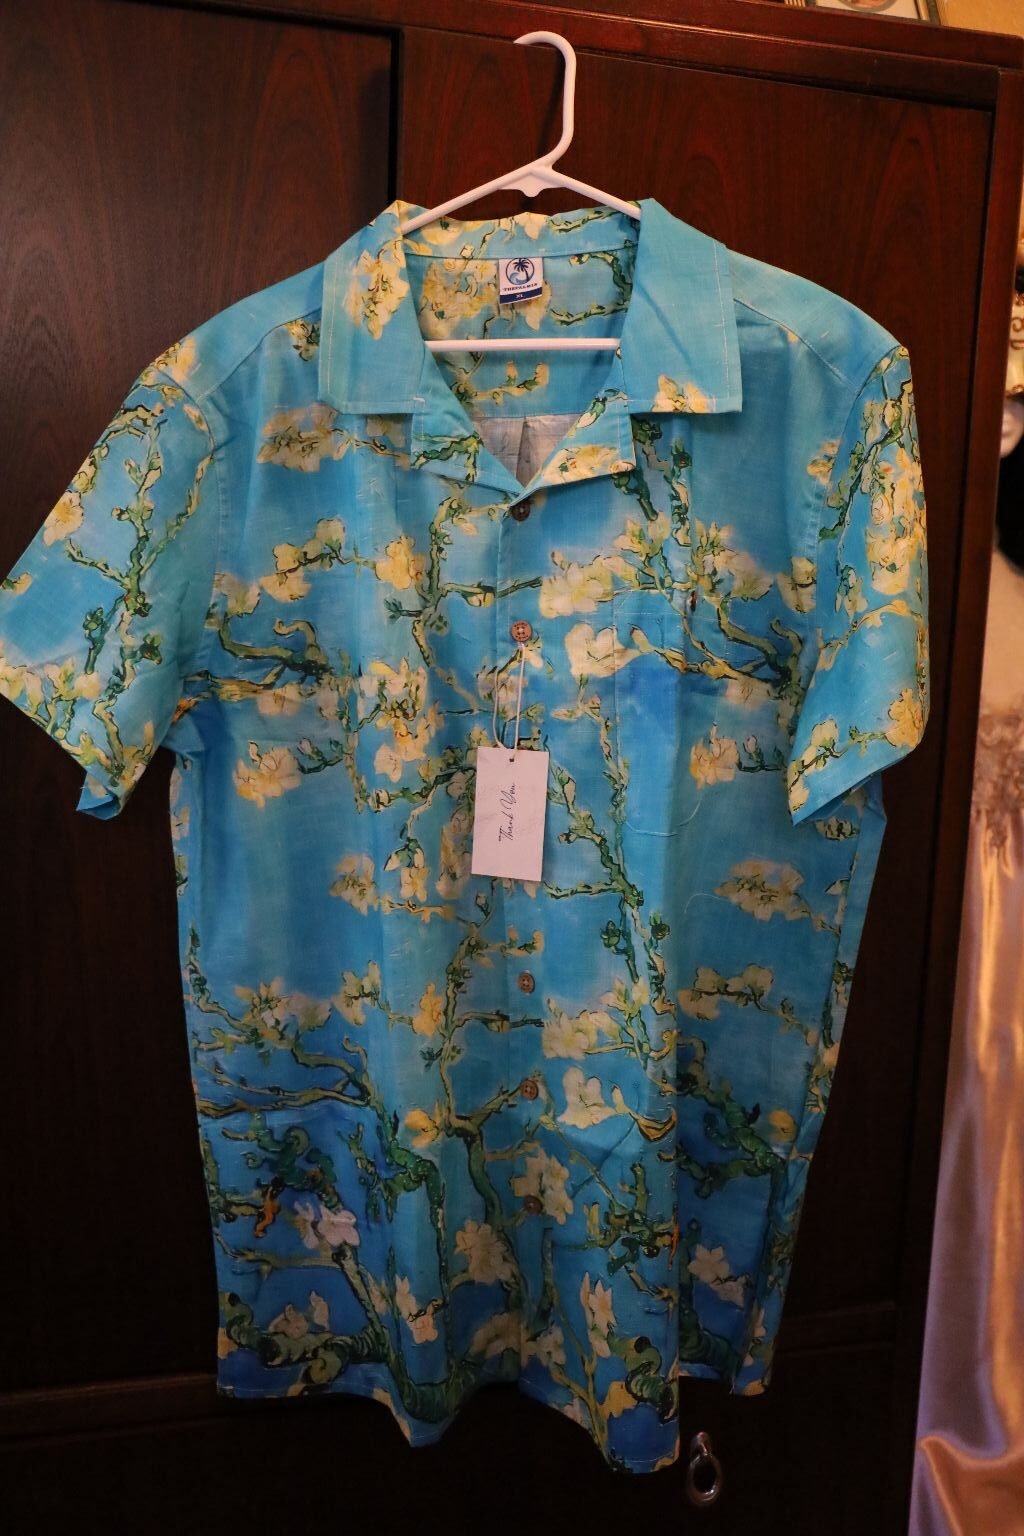
I also bought him some Asian themed shirts because Hawaii does have a large Asian population and we will be going into China Town, and hopefully eating at Masaharu Morimoto’s restaurant in Waikiki.
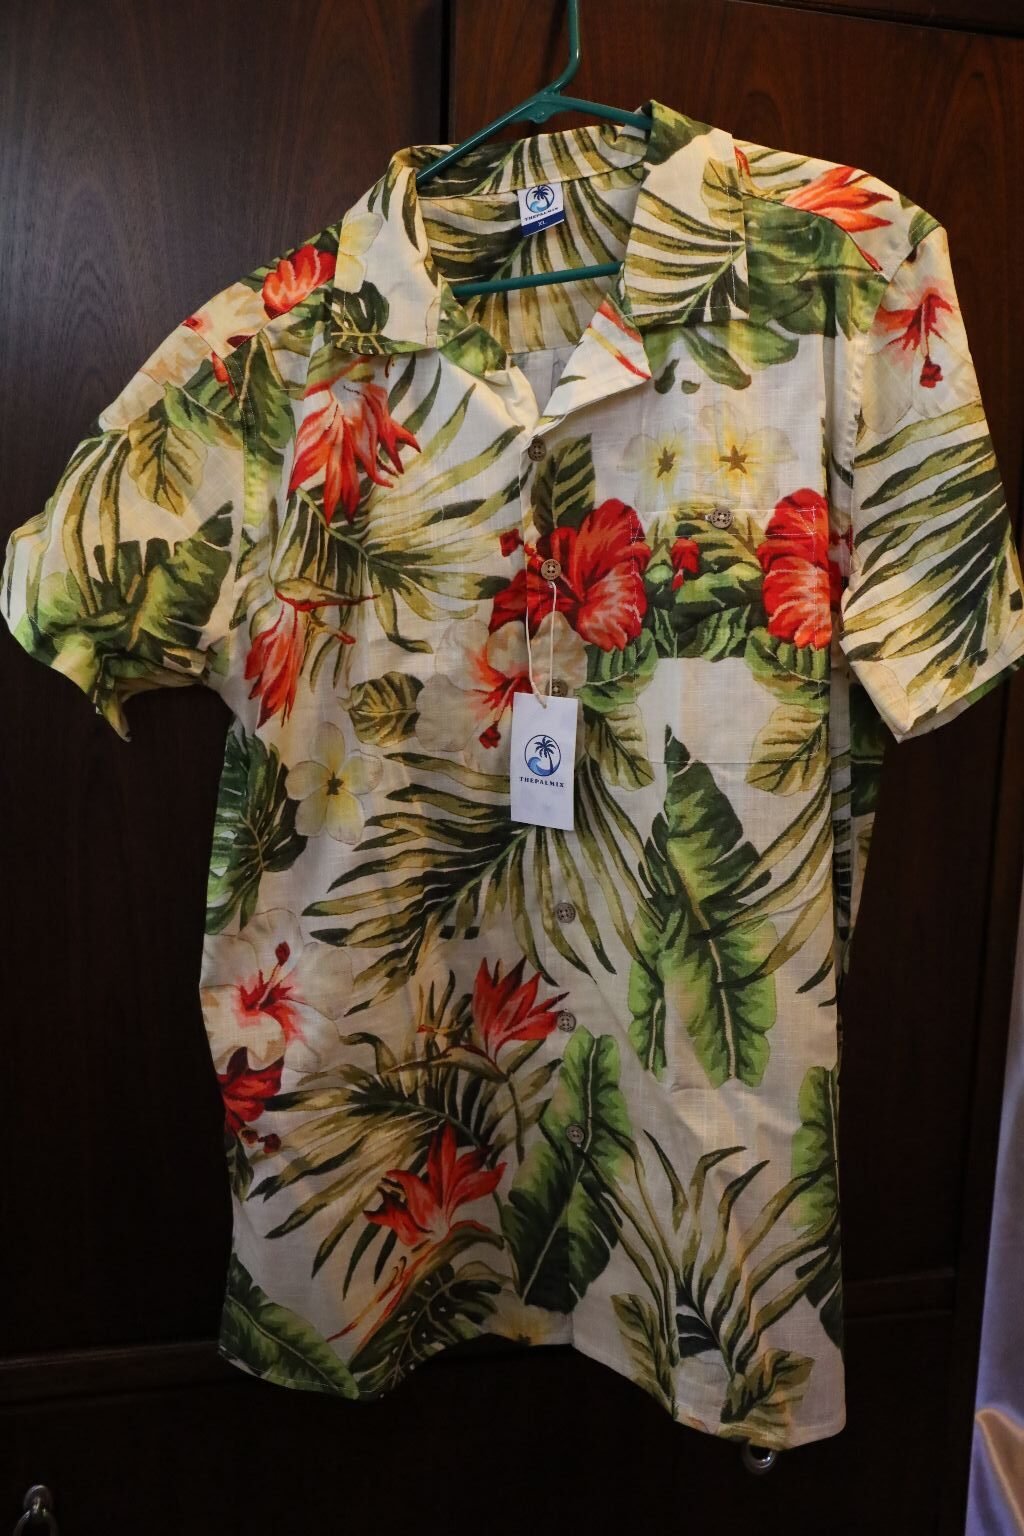
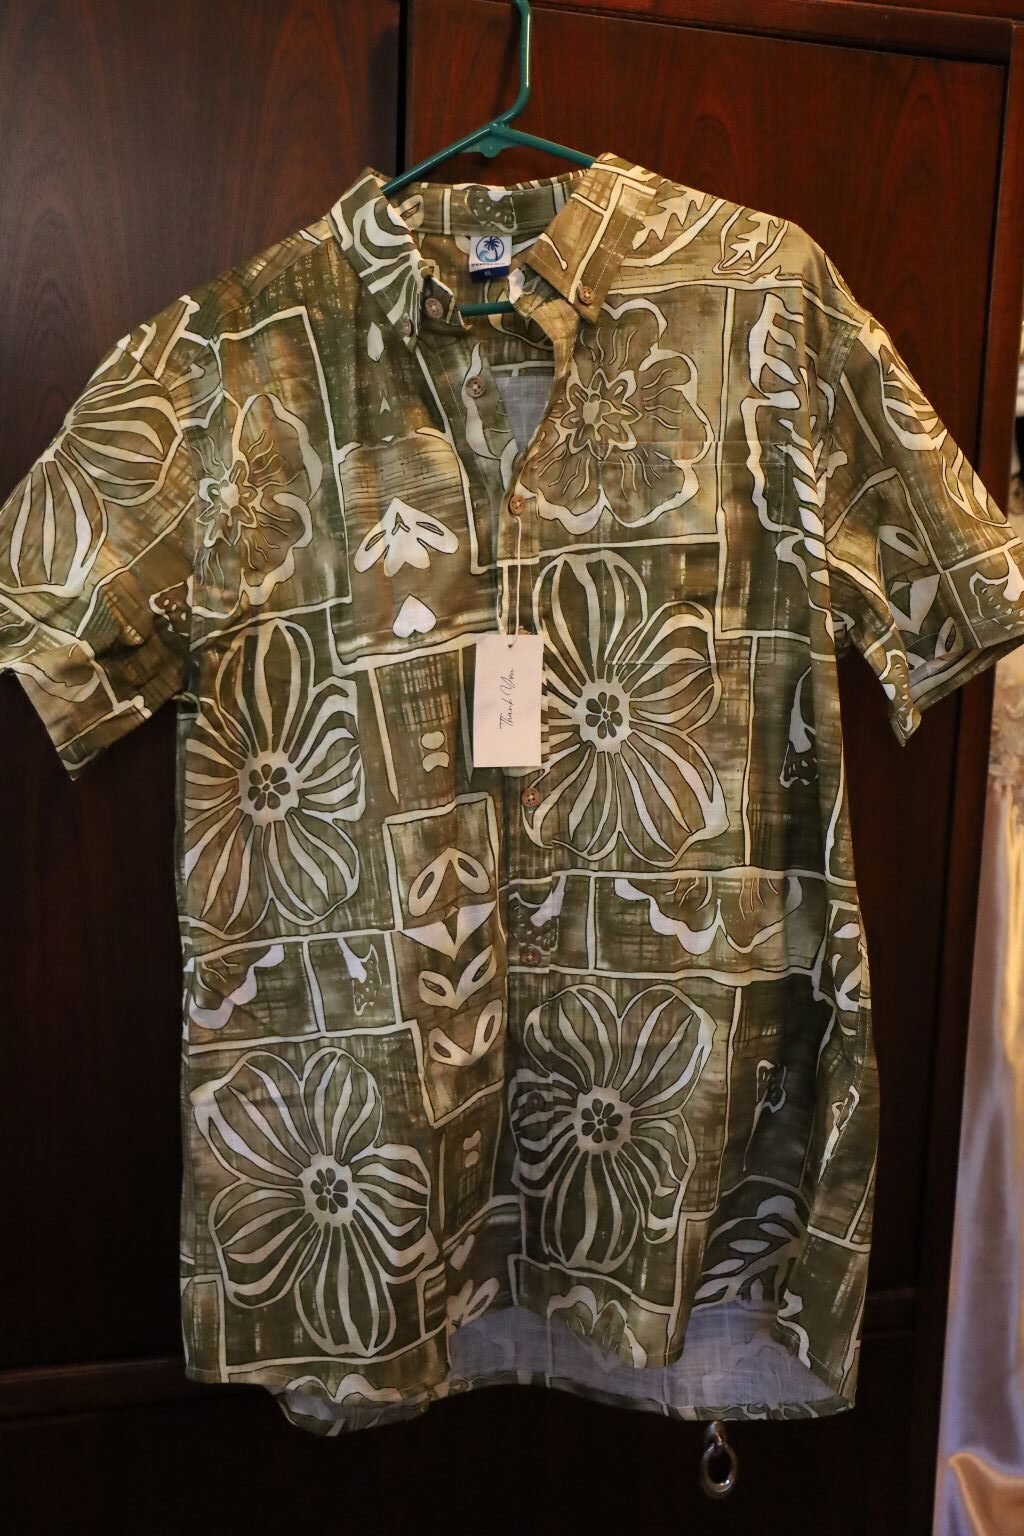
The Aloha Shirt on the left looks a bit Christmassy, and the shirt on the right is perfect for everyday.
I have had a lot of fun shopping and planning for our big trip. Hawaii is a Democrat state and we are looking forward to just being around all the diversity and like minded people. There are no billboards in Hawaii, they are outlawed. Not so when traveling to my home state of Georgia. I always know I’m home when I see all The Jesus, Lawyers, and Porn Billboards. Yeah, that’s Christian Georgia for ya. Home, Sweet, Home! 🙂
Aloha for now,
Julie
————————————————————————
The Recipes Start Here
—————————————————————————————-
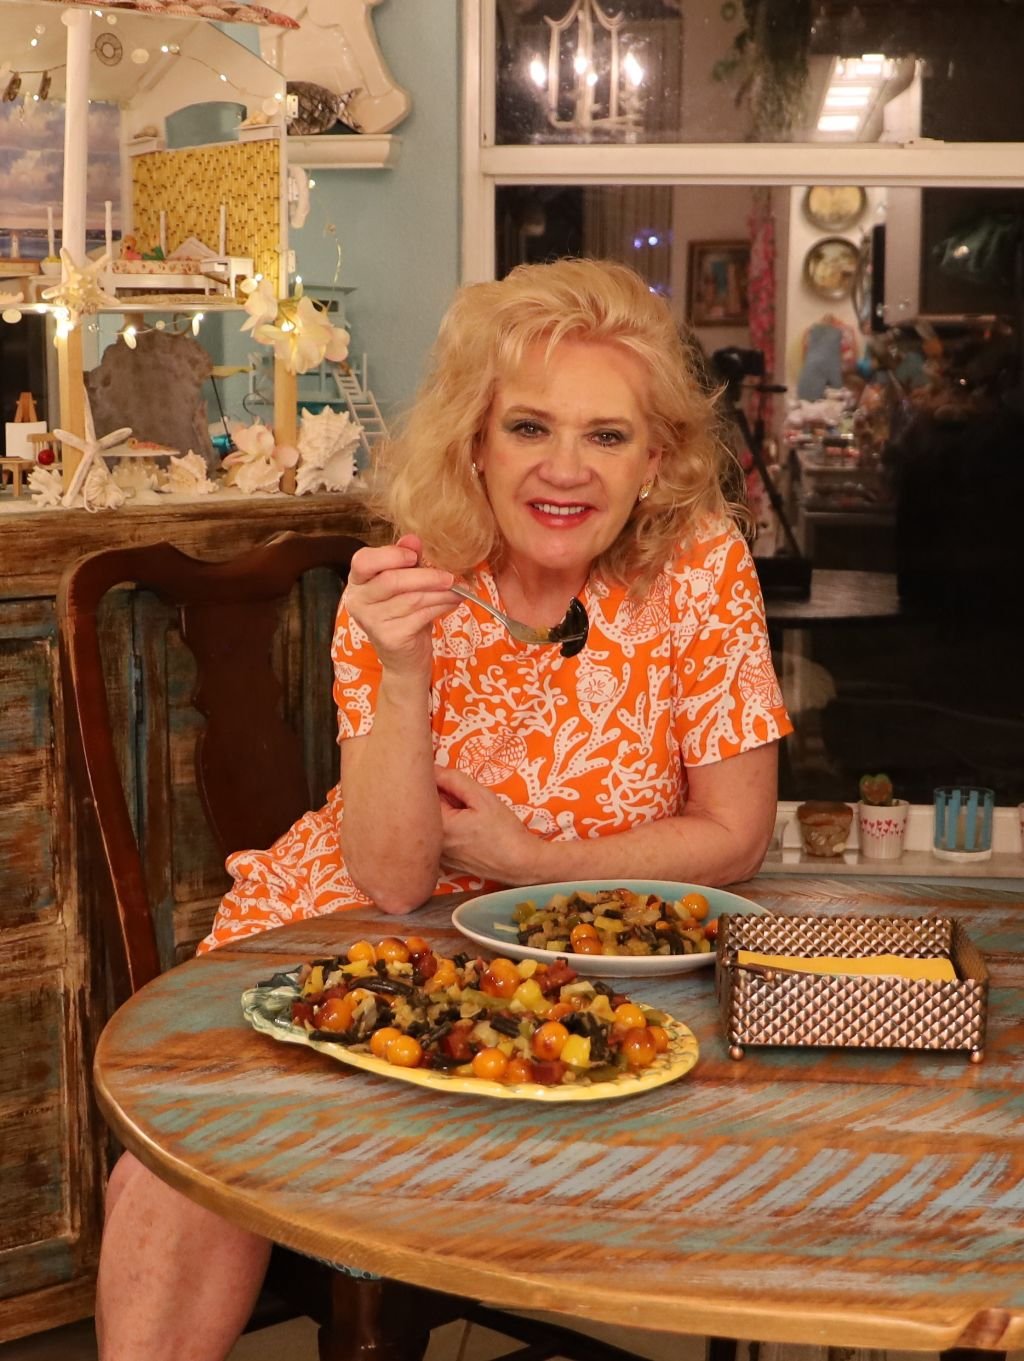
Kulii’s Teriyaki Spam and Pineapple ‘Ai Pu Ana
(Julie’s Teriyaki Spam and Pineapple Casserole)
——————————————————————————————–
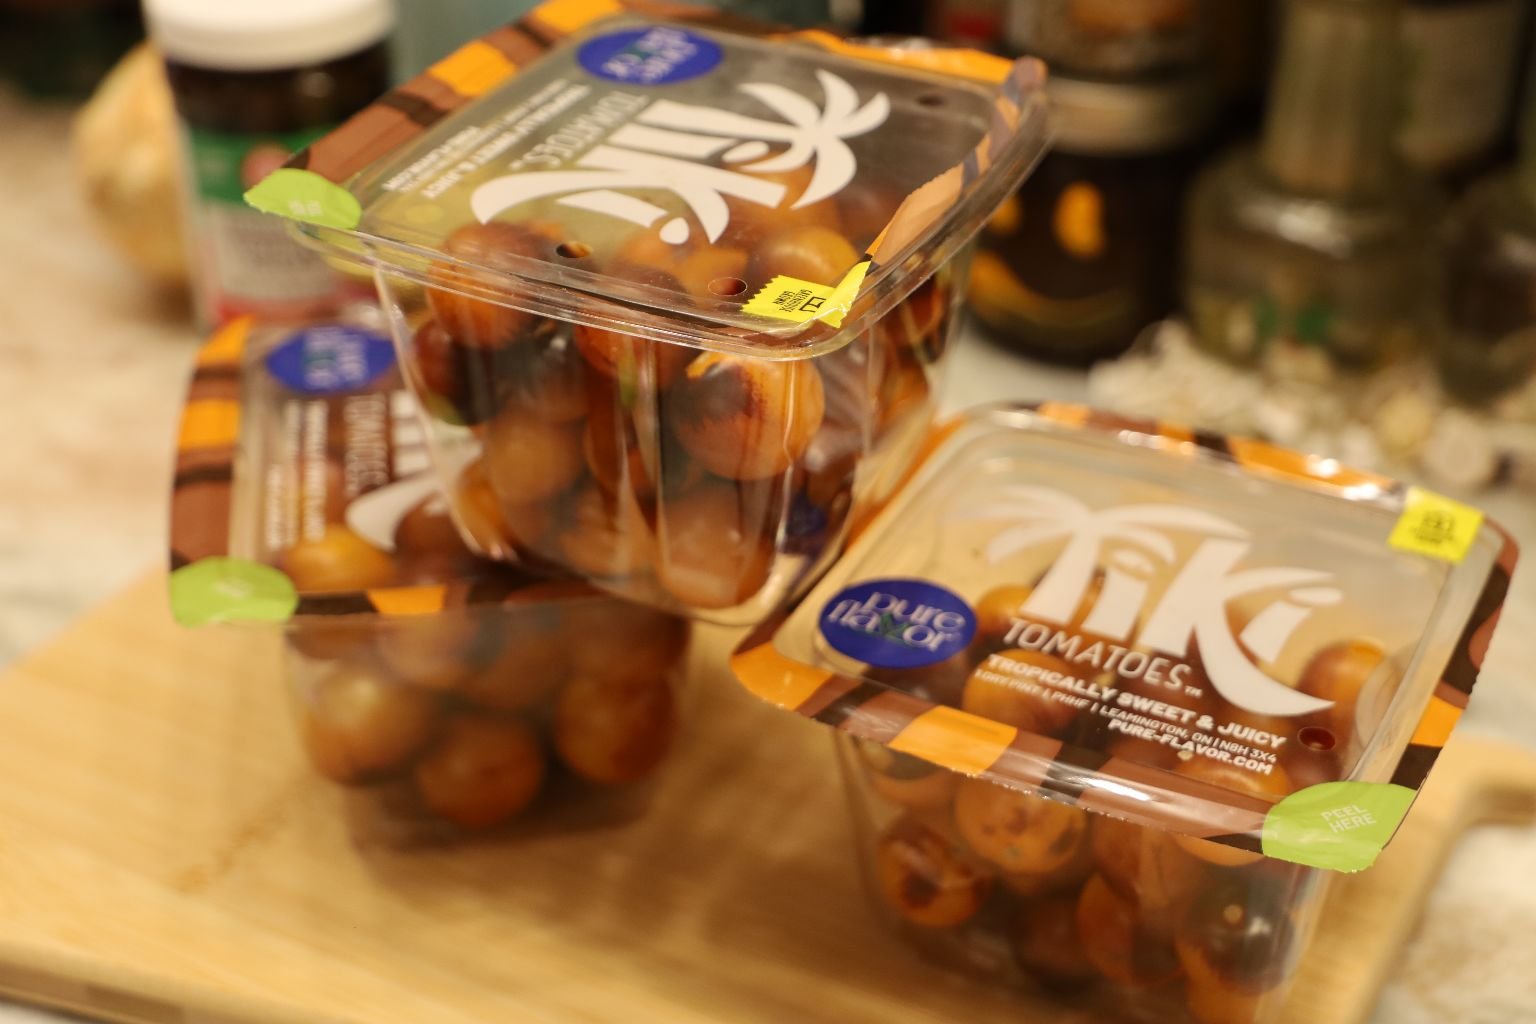
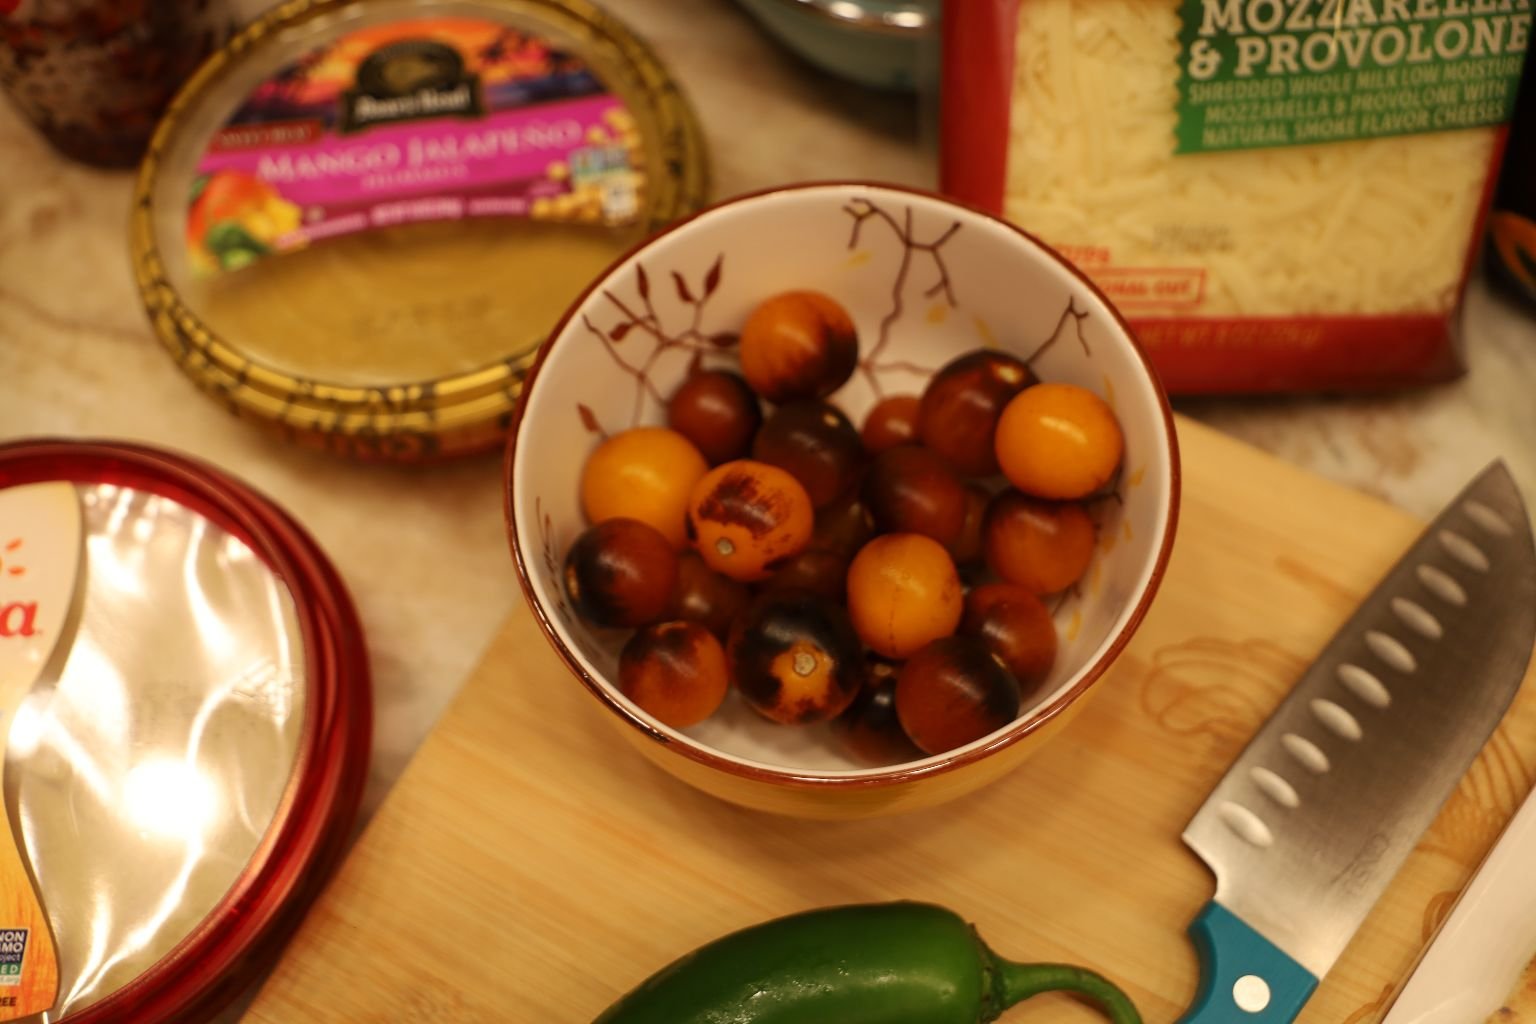
Tiki Tomatoes
This entire recipe was born out of my finding these beauties at the grocery store.
I was actually excited and giddy when placing them into my shopping cart!
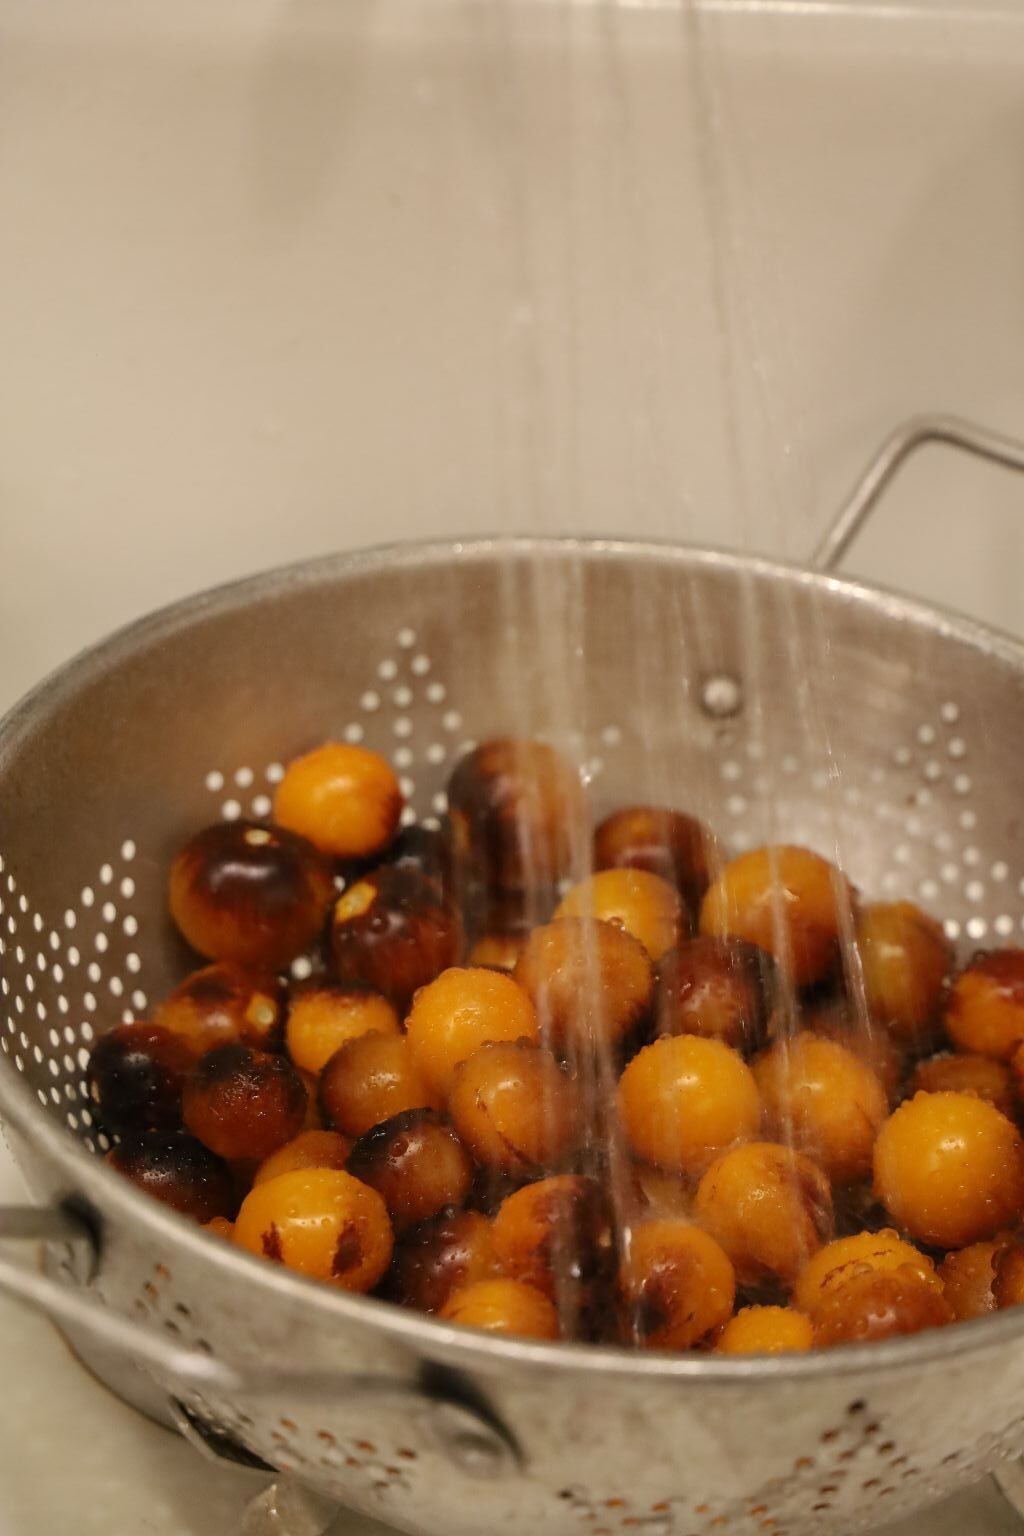
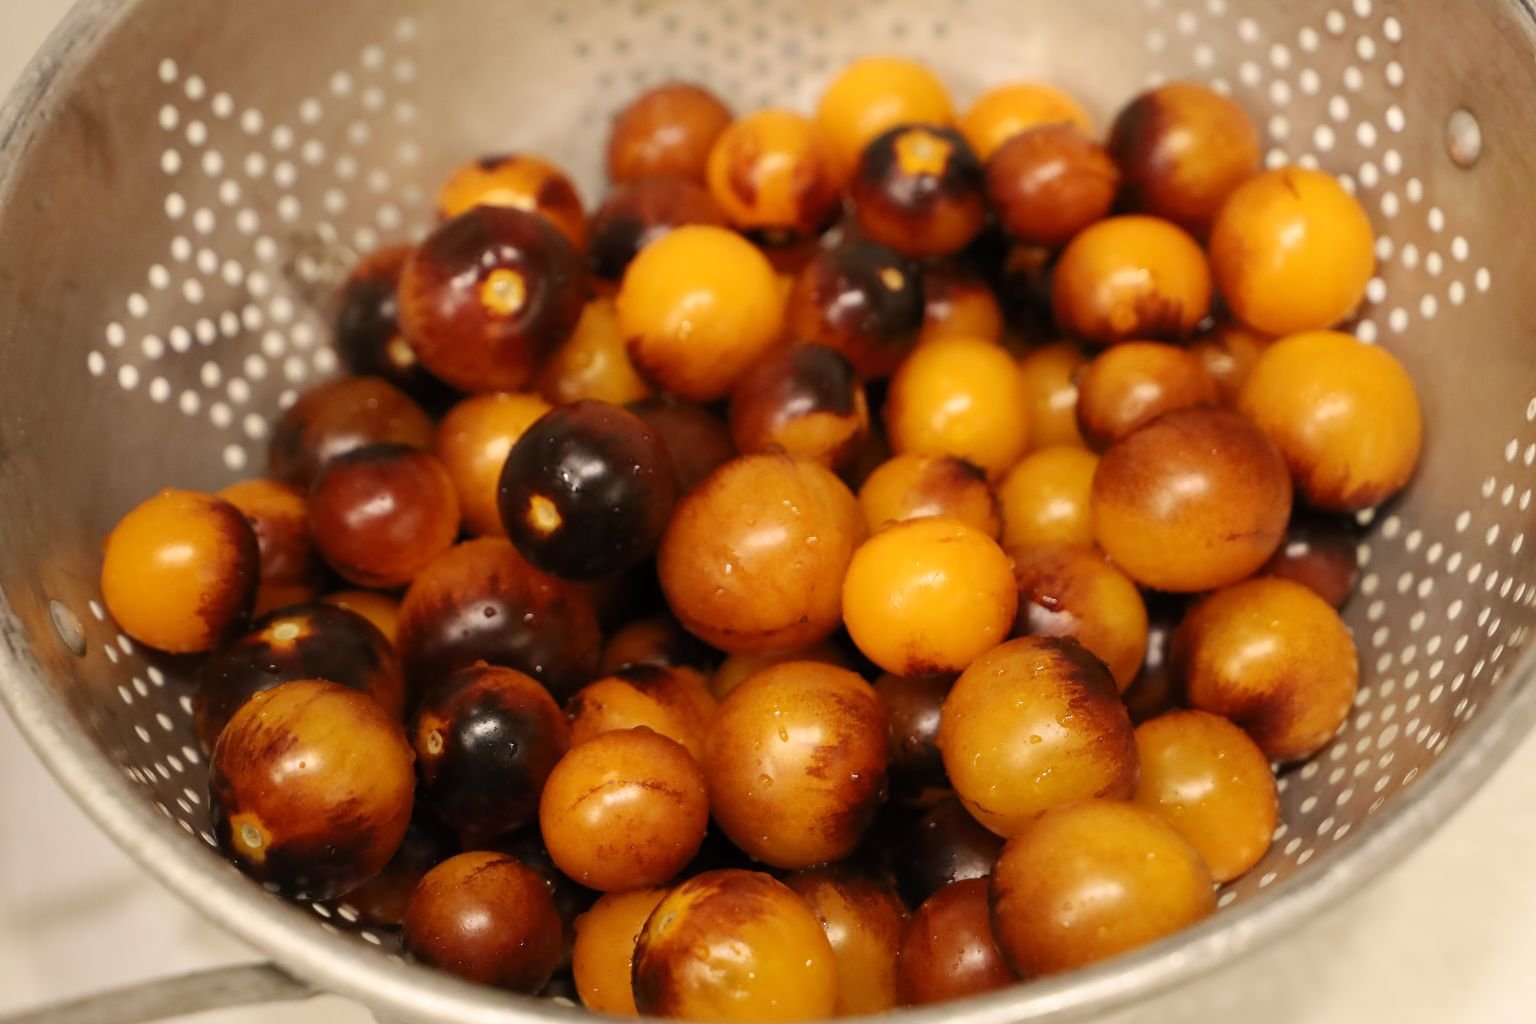
Look How Beautiful They Are!
———————————————————————————————-
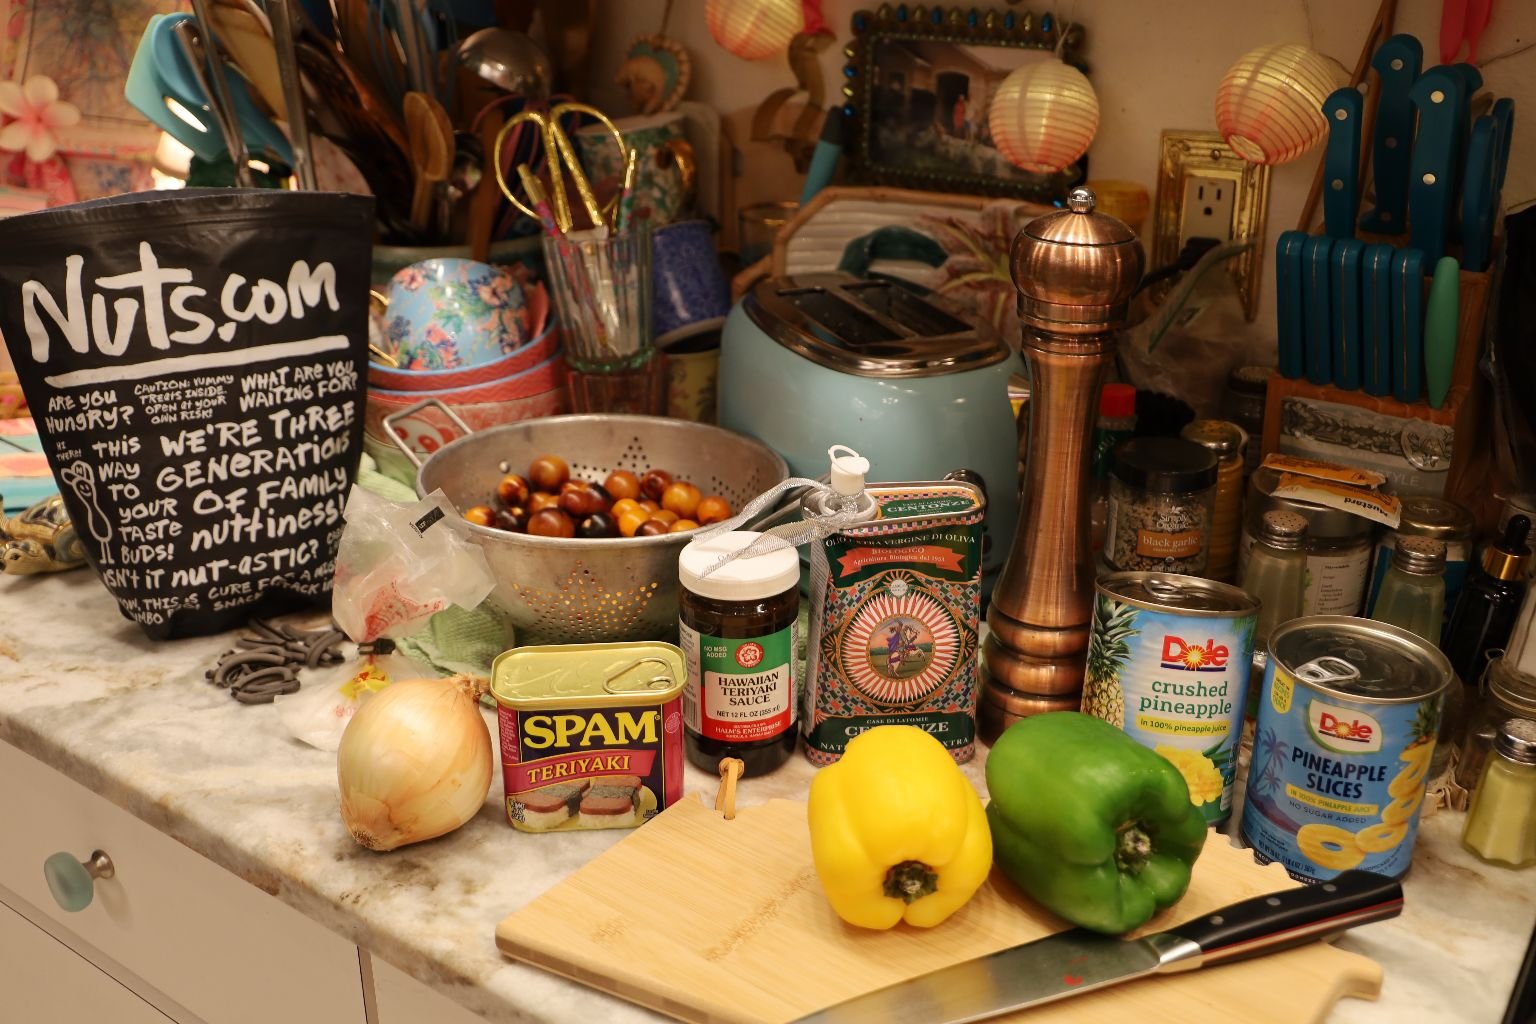
Ingredients:
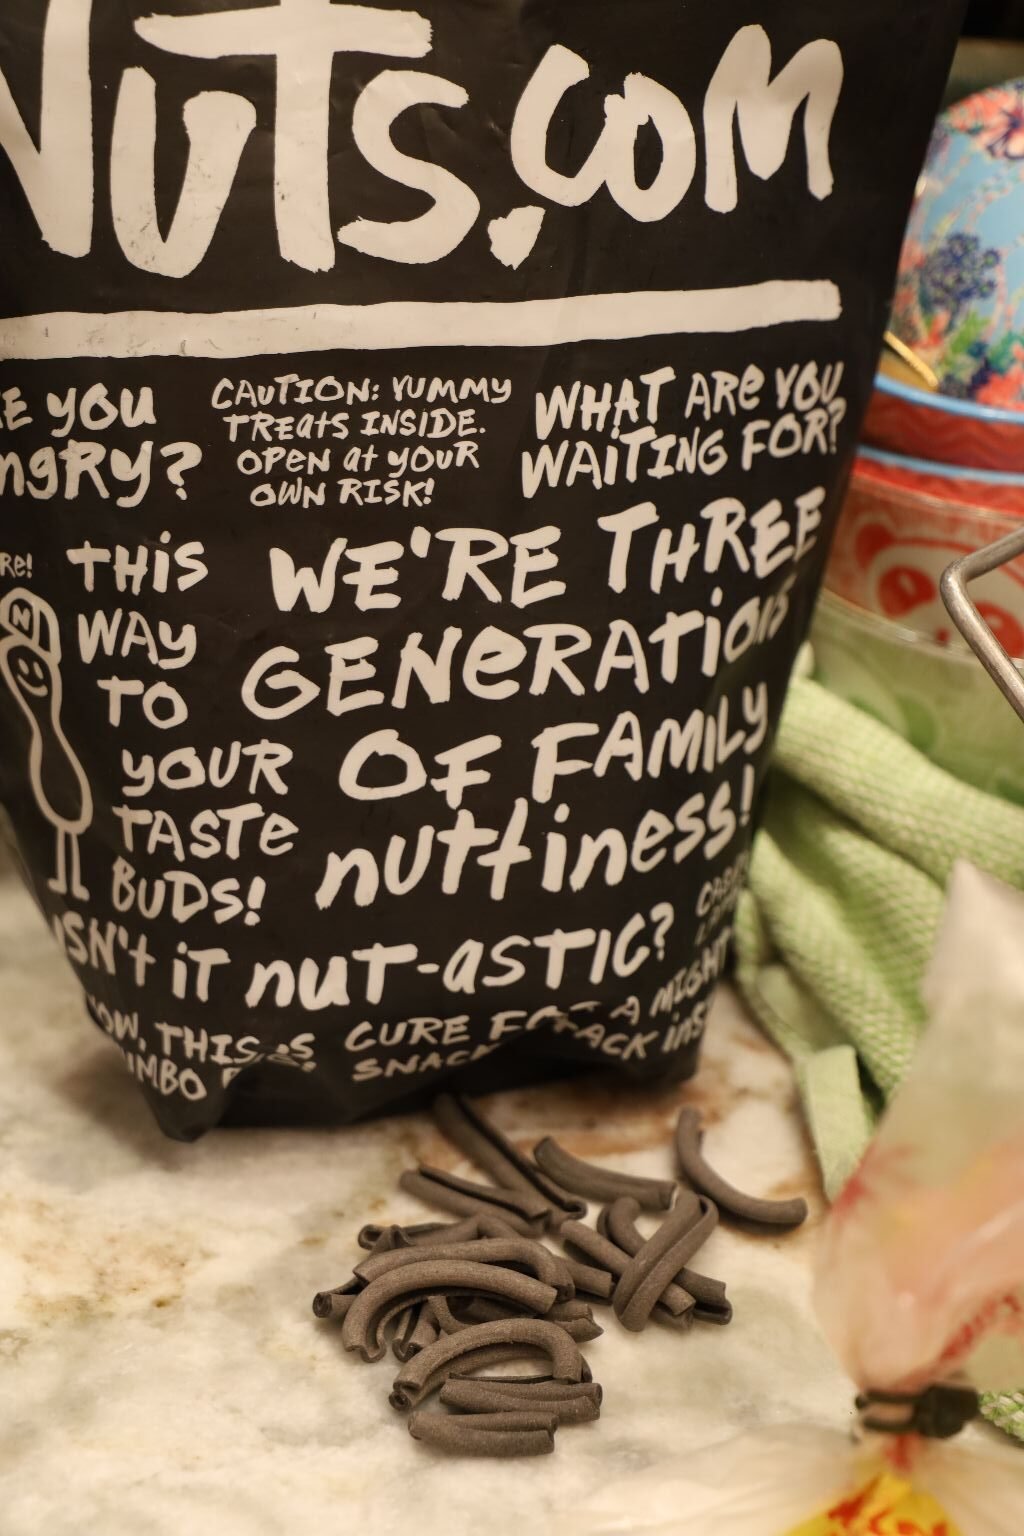
Squid Ink Pasta
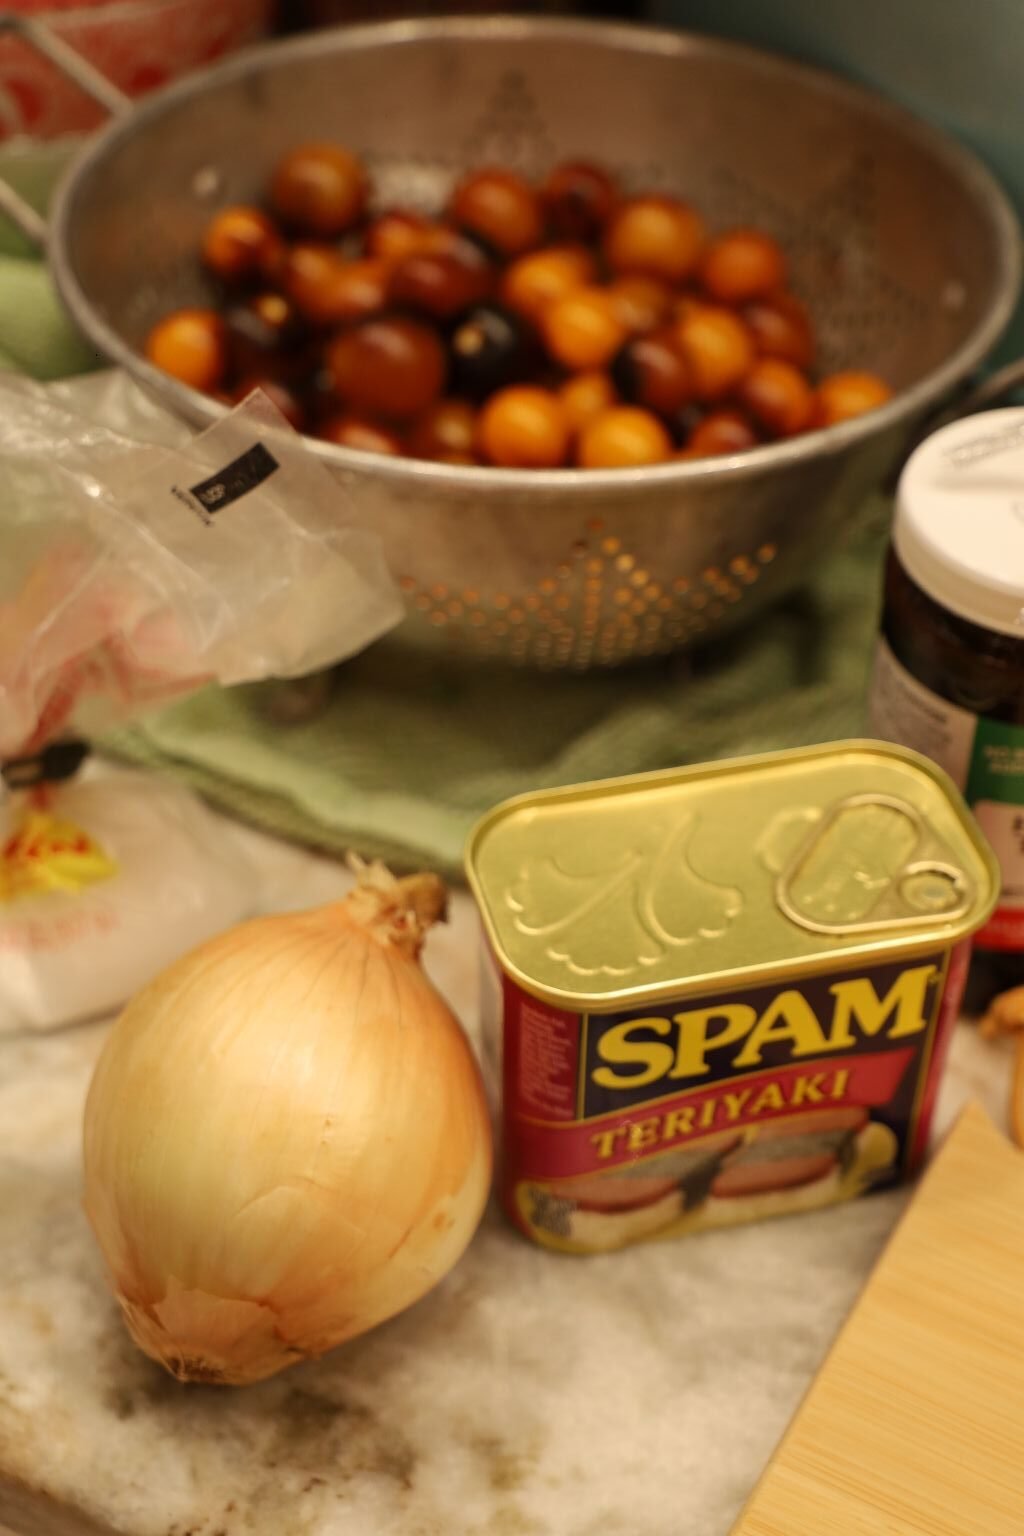
Tiki Tomatoes
1 Can Teriyaki SPAM, Fried in Chunks
1 Medium Onion, Chopped
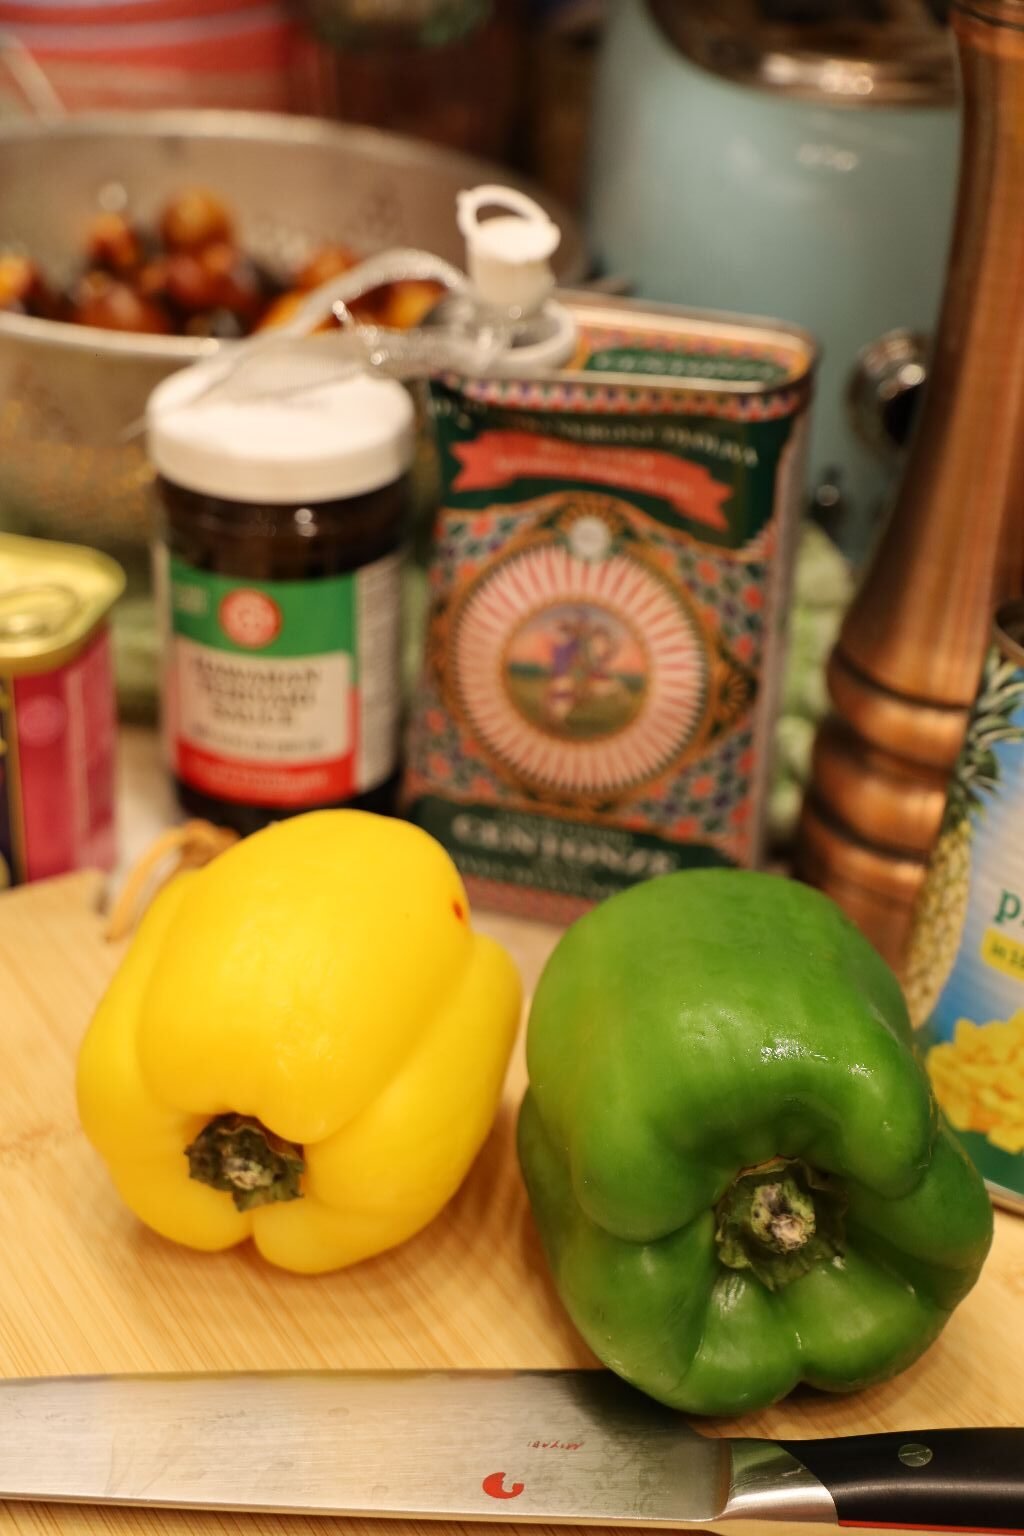
1 Green Bell Pepper, Chopped
1 Yellow Bell Pepper, Chopped
1 Can Crushed Pineapple, Drained
Extra Virgin Olive Oil
Hawaiian Sea Salt
Freshly Ground Black Pepper
Hawaiian Teriyaki Sauce, To Taste
—————————————————————————–
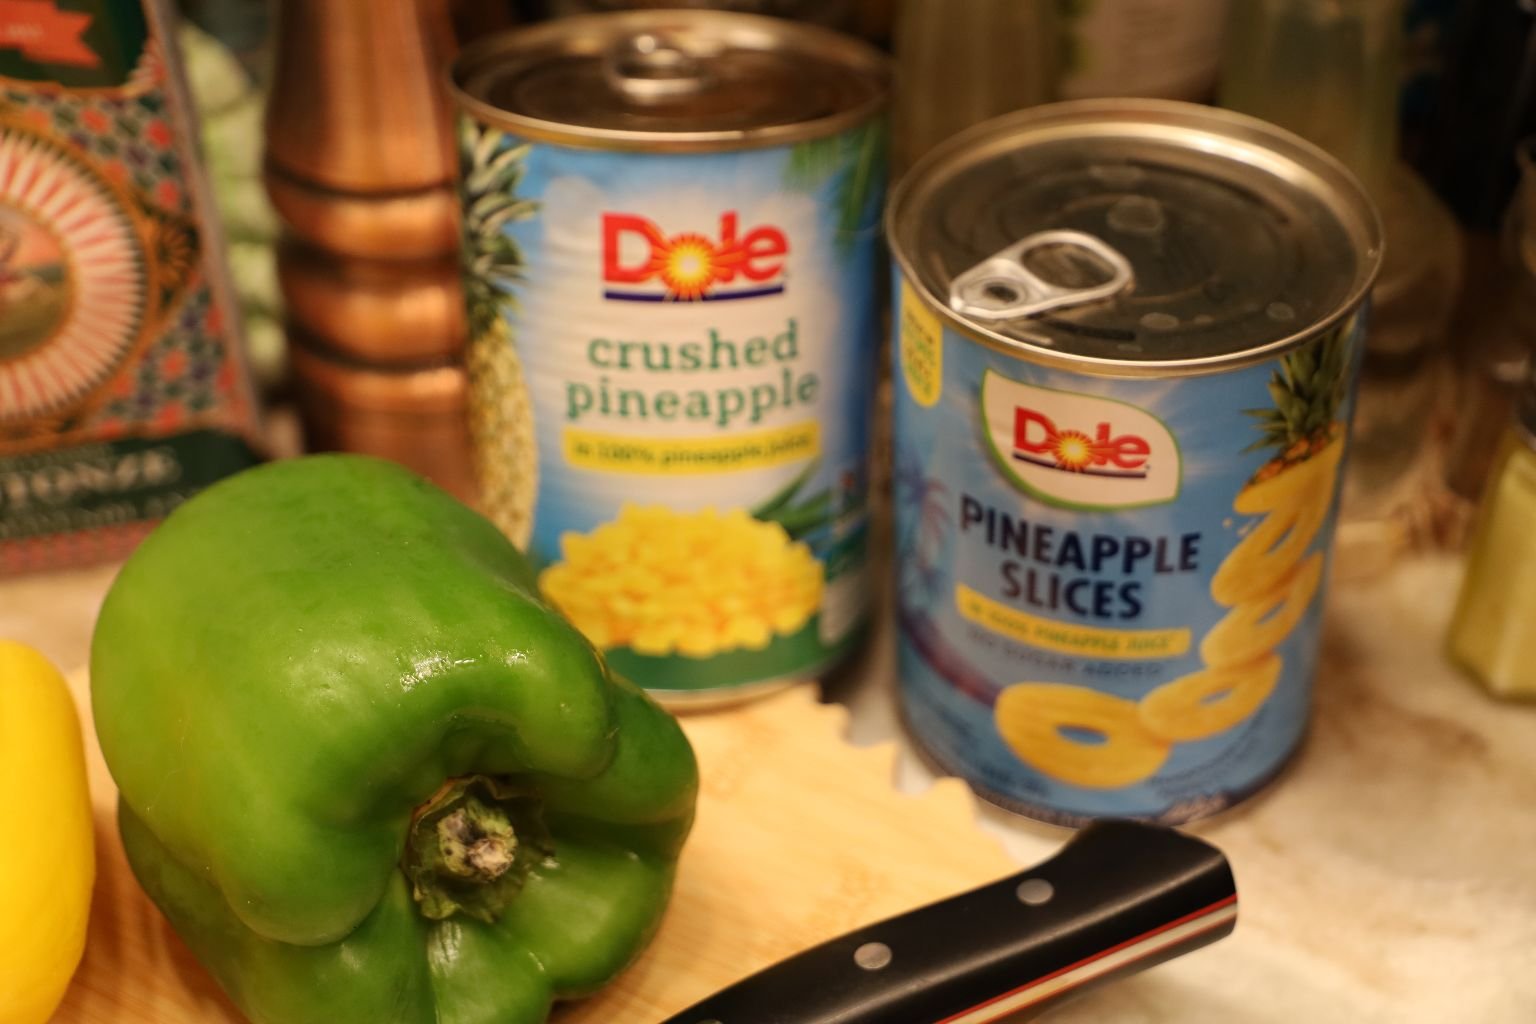
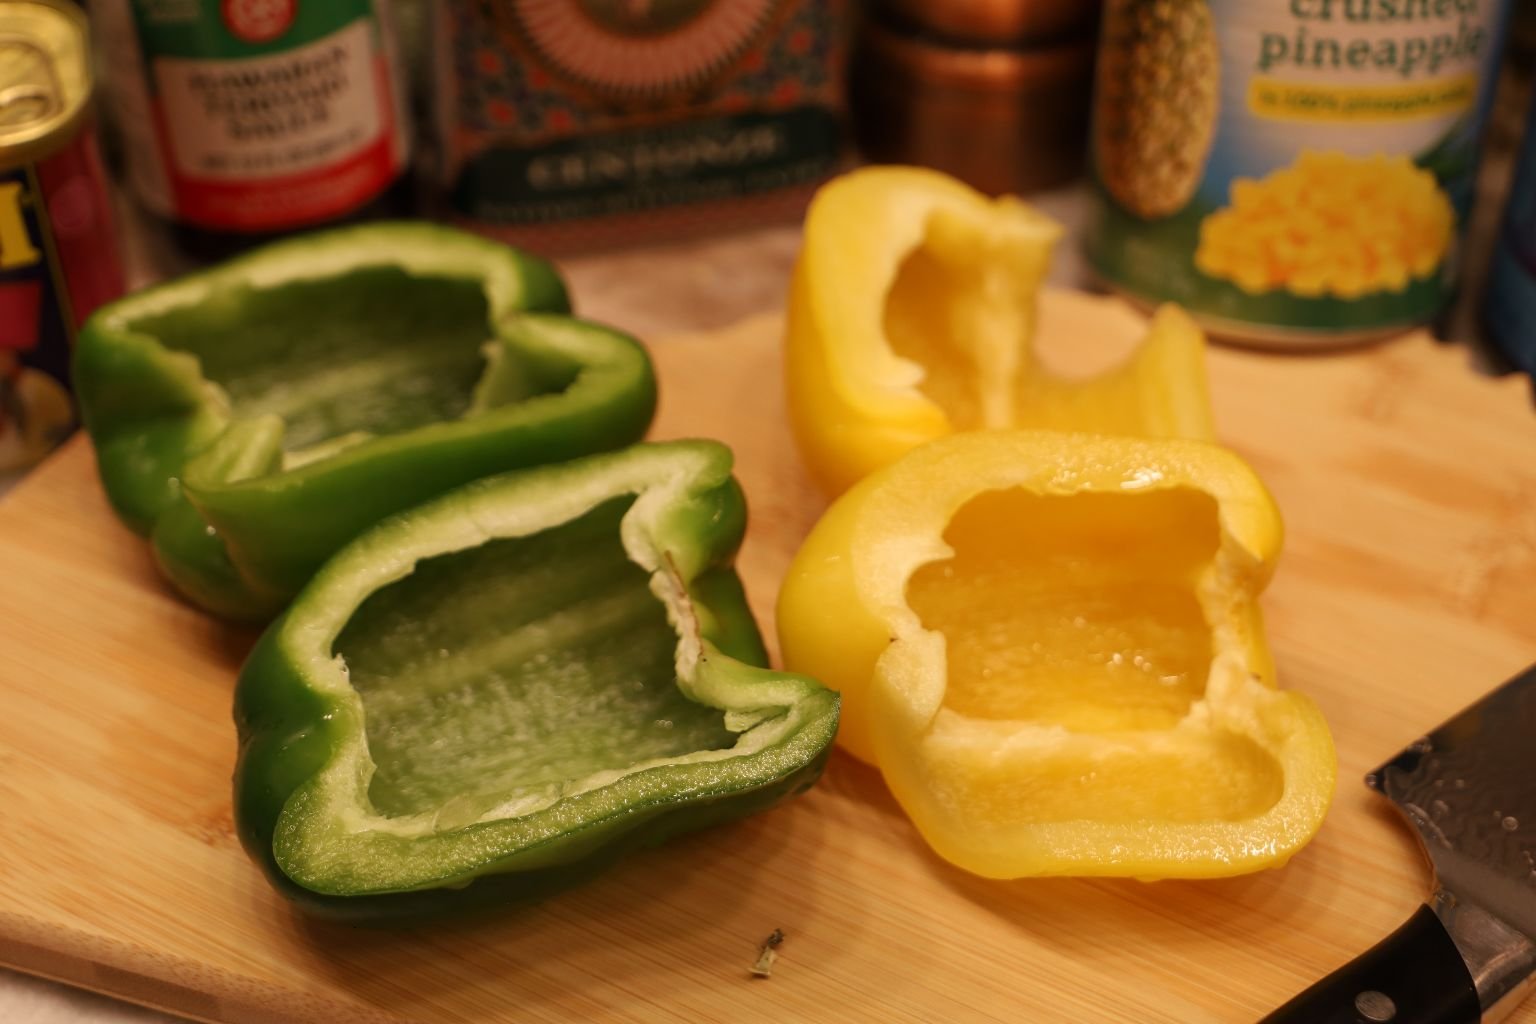
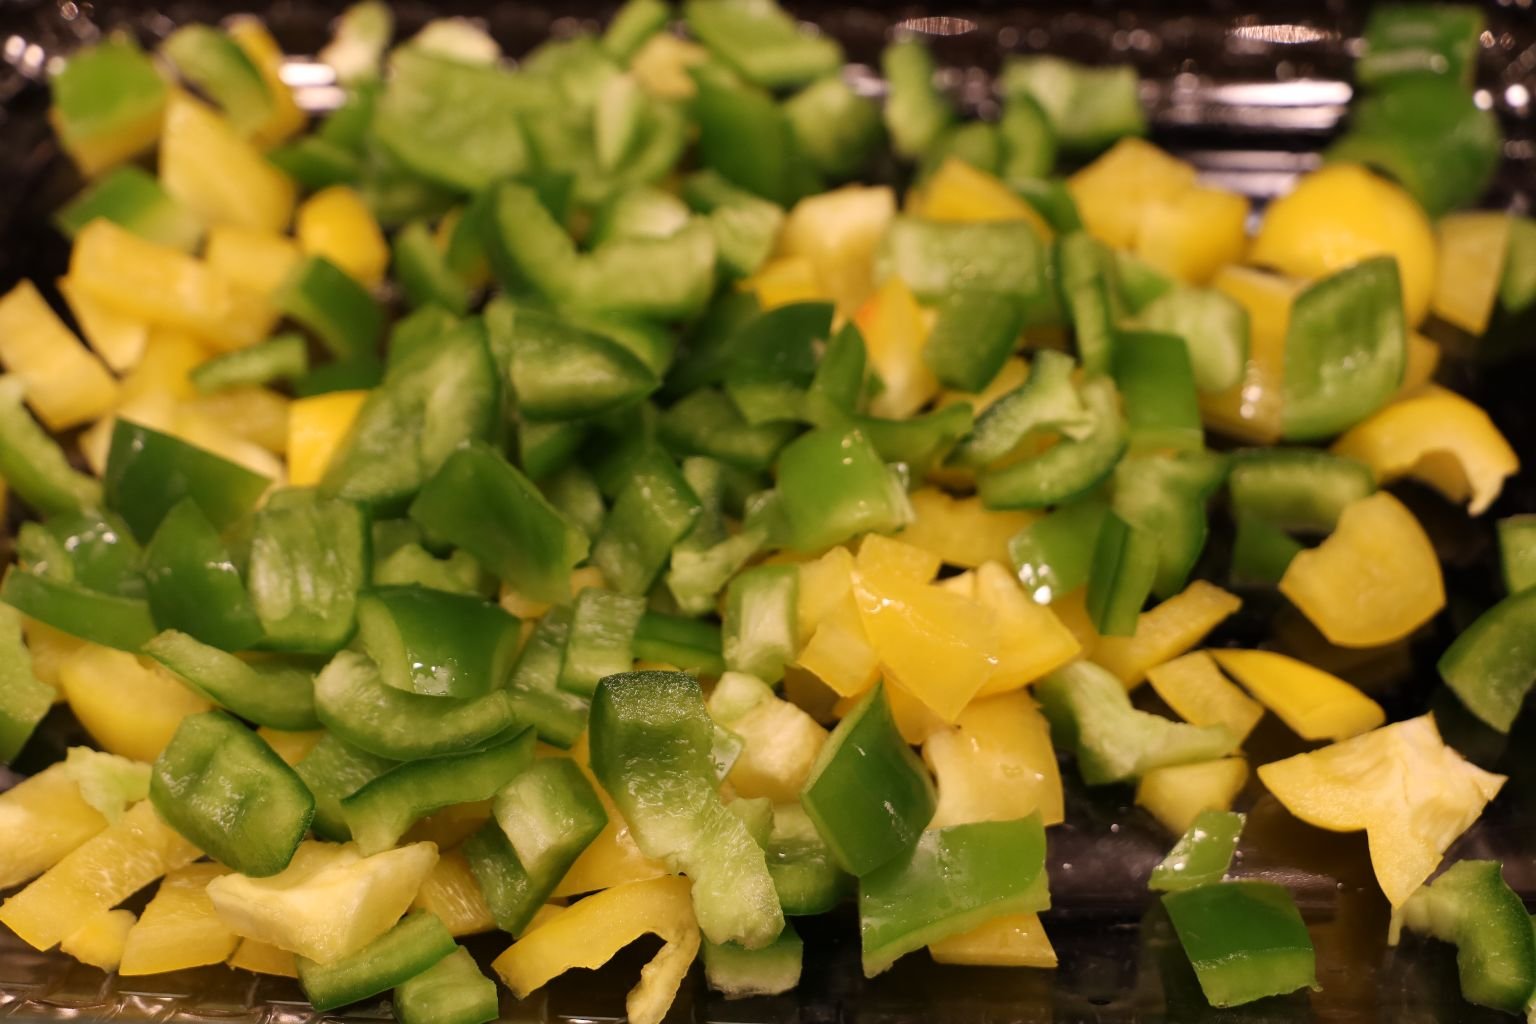
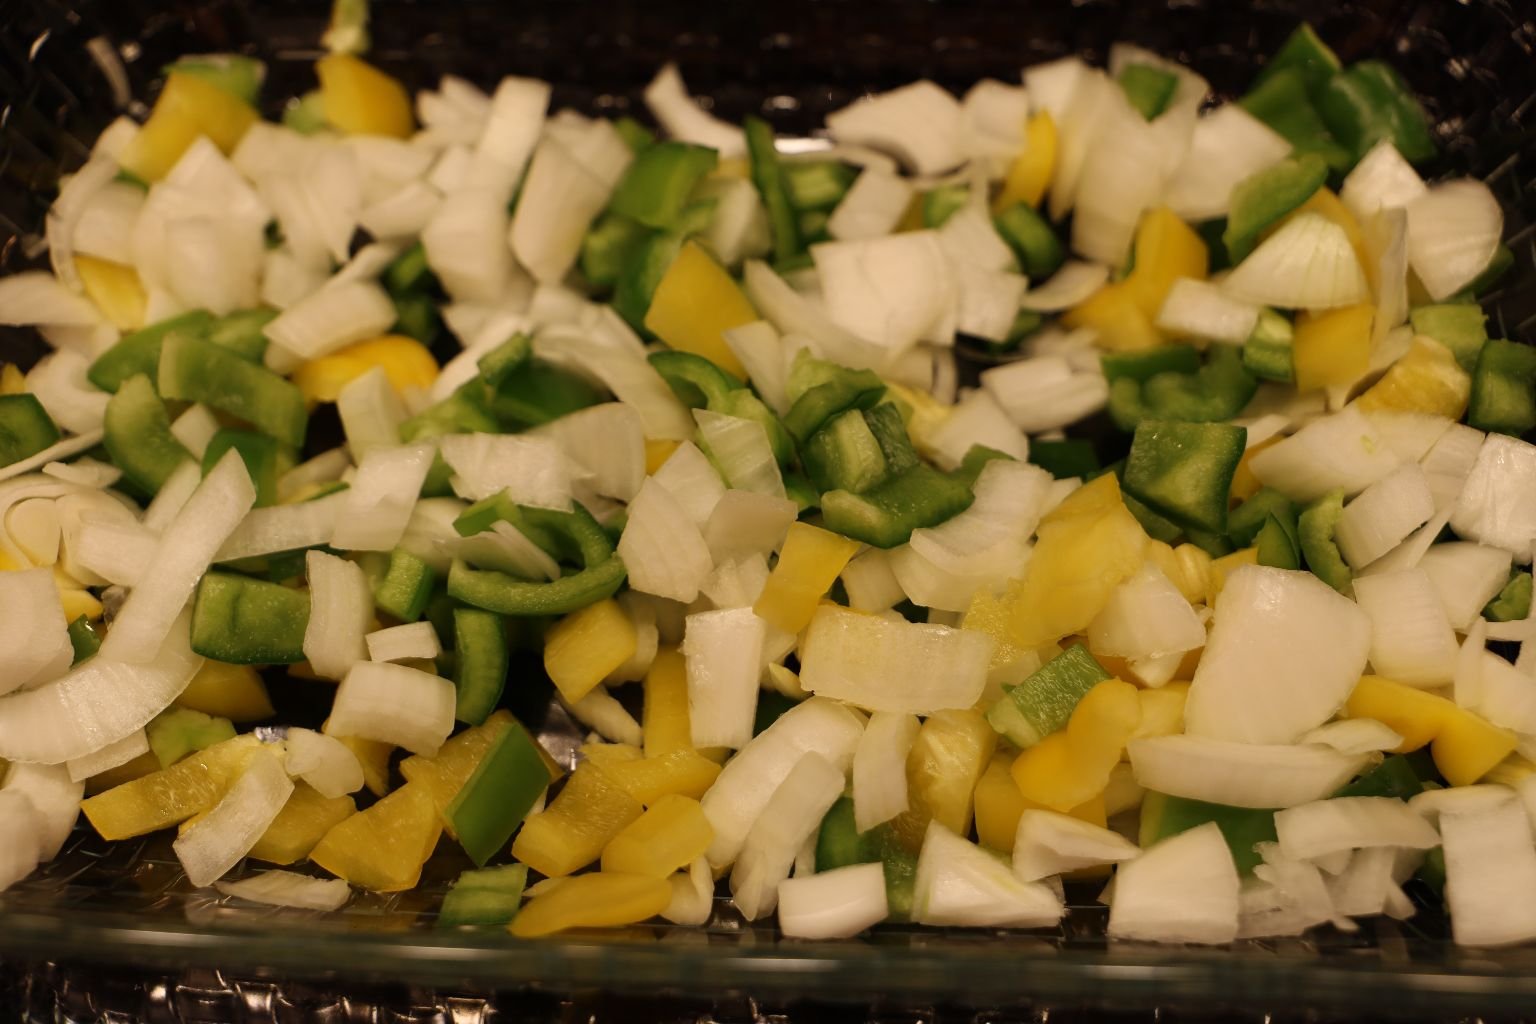
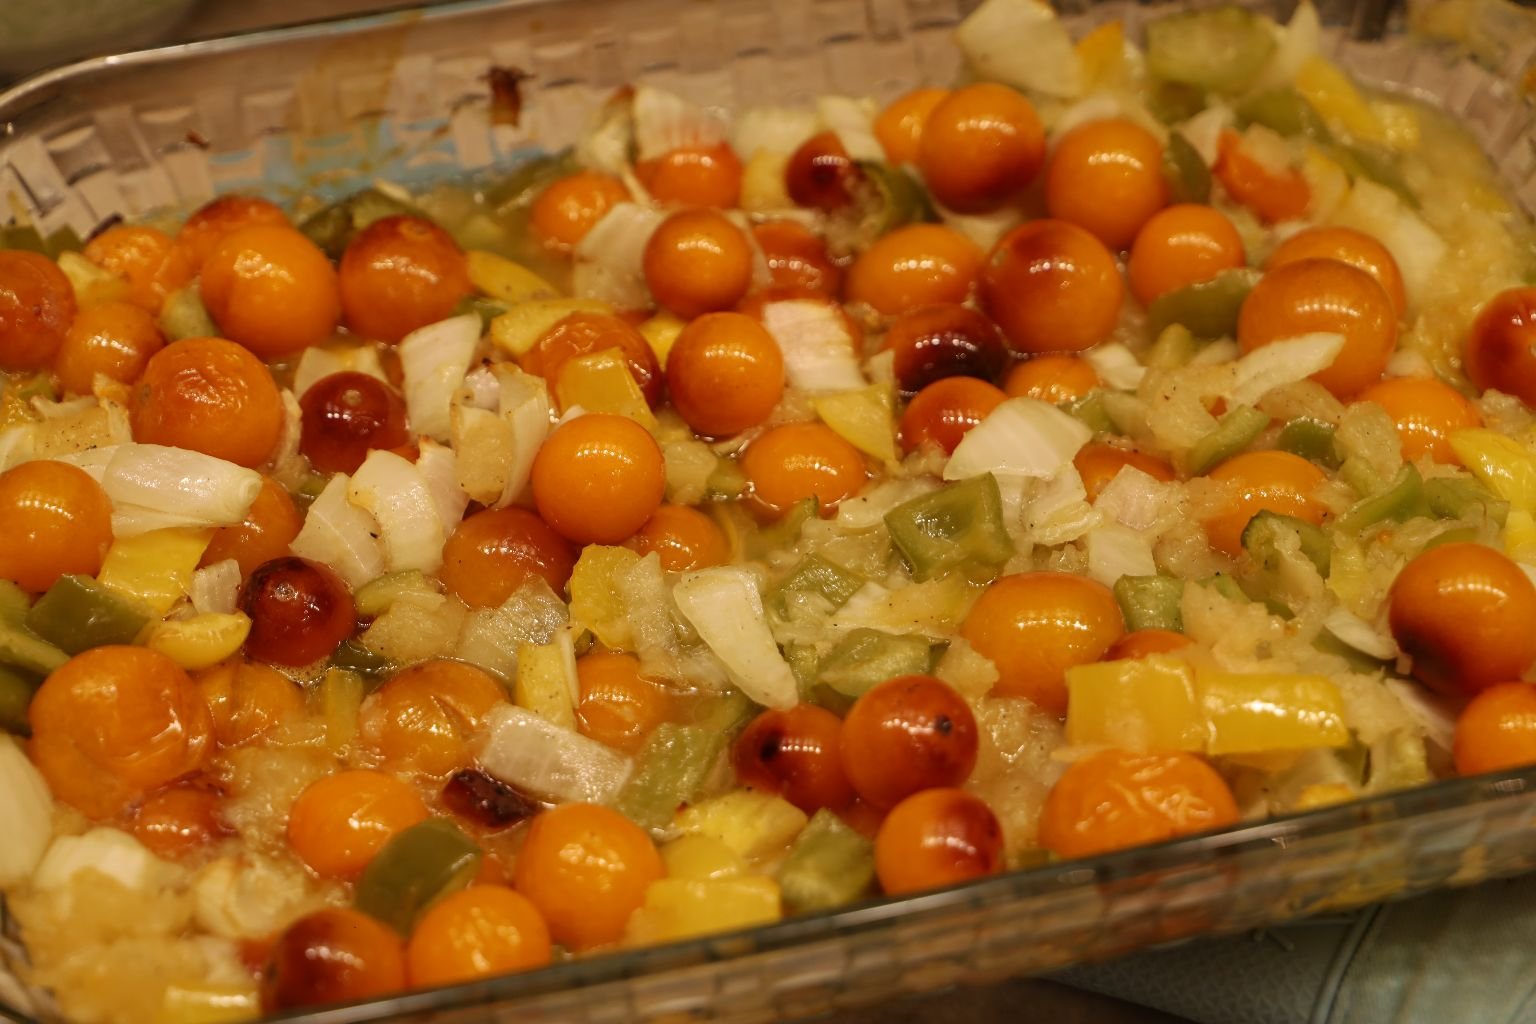
In a Casserole Dish I placed my chopped Green and Yellow Bell Peppers, as much as I liked.
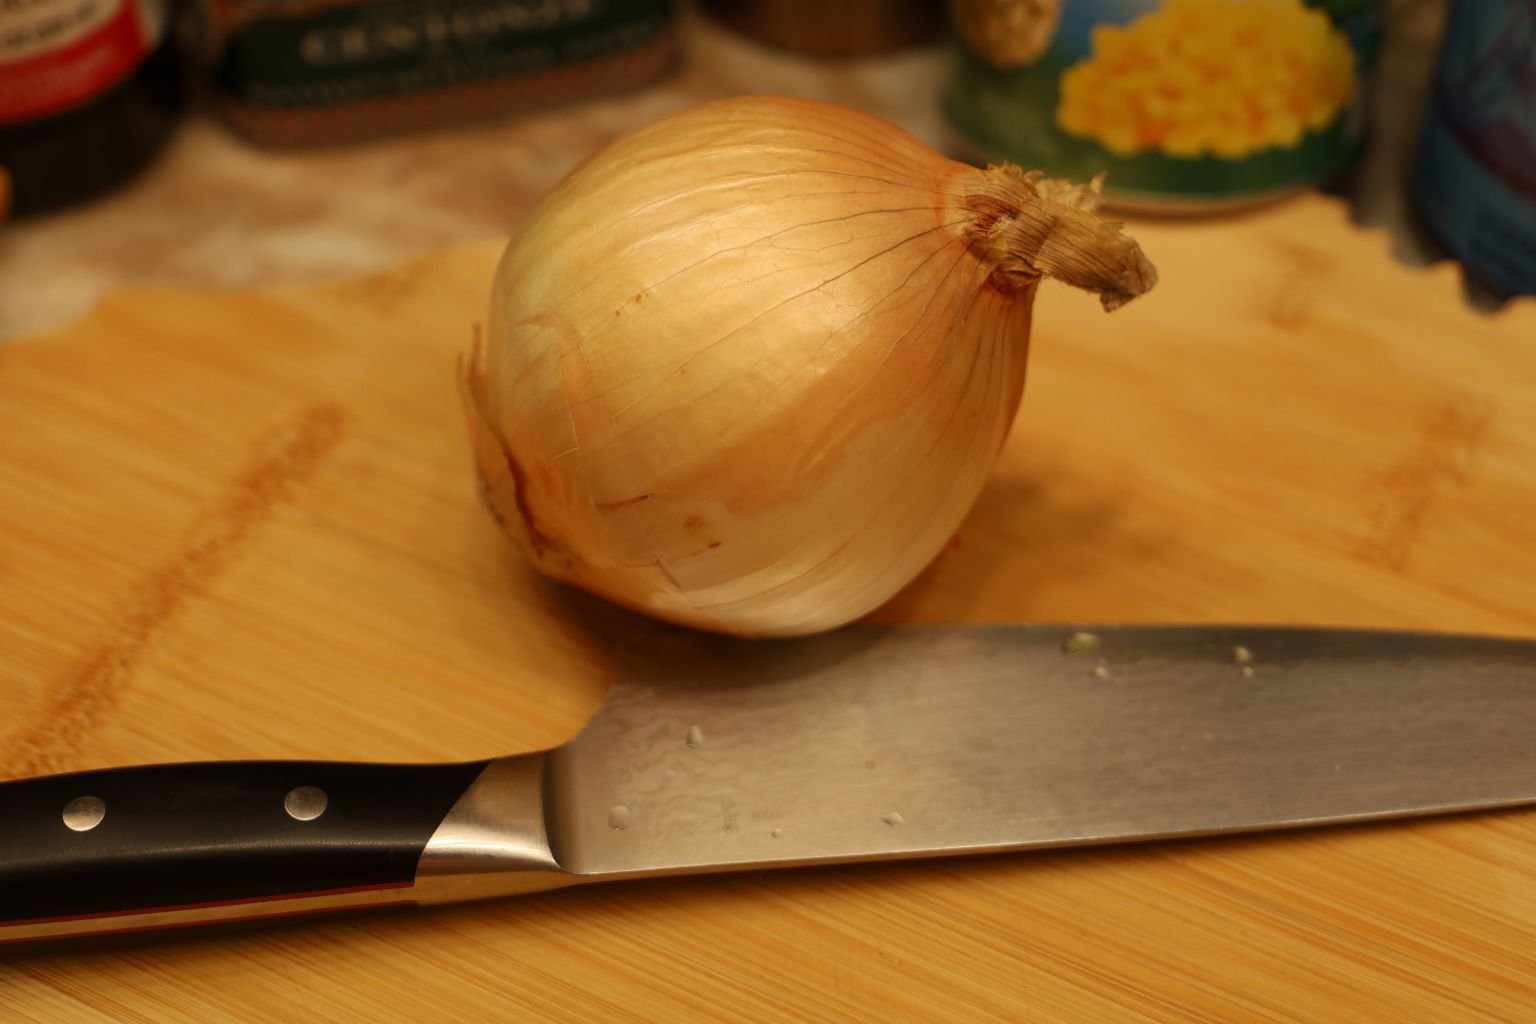
I then chopped Medium Onion into Chunks, as much as I liked.
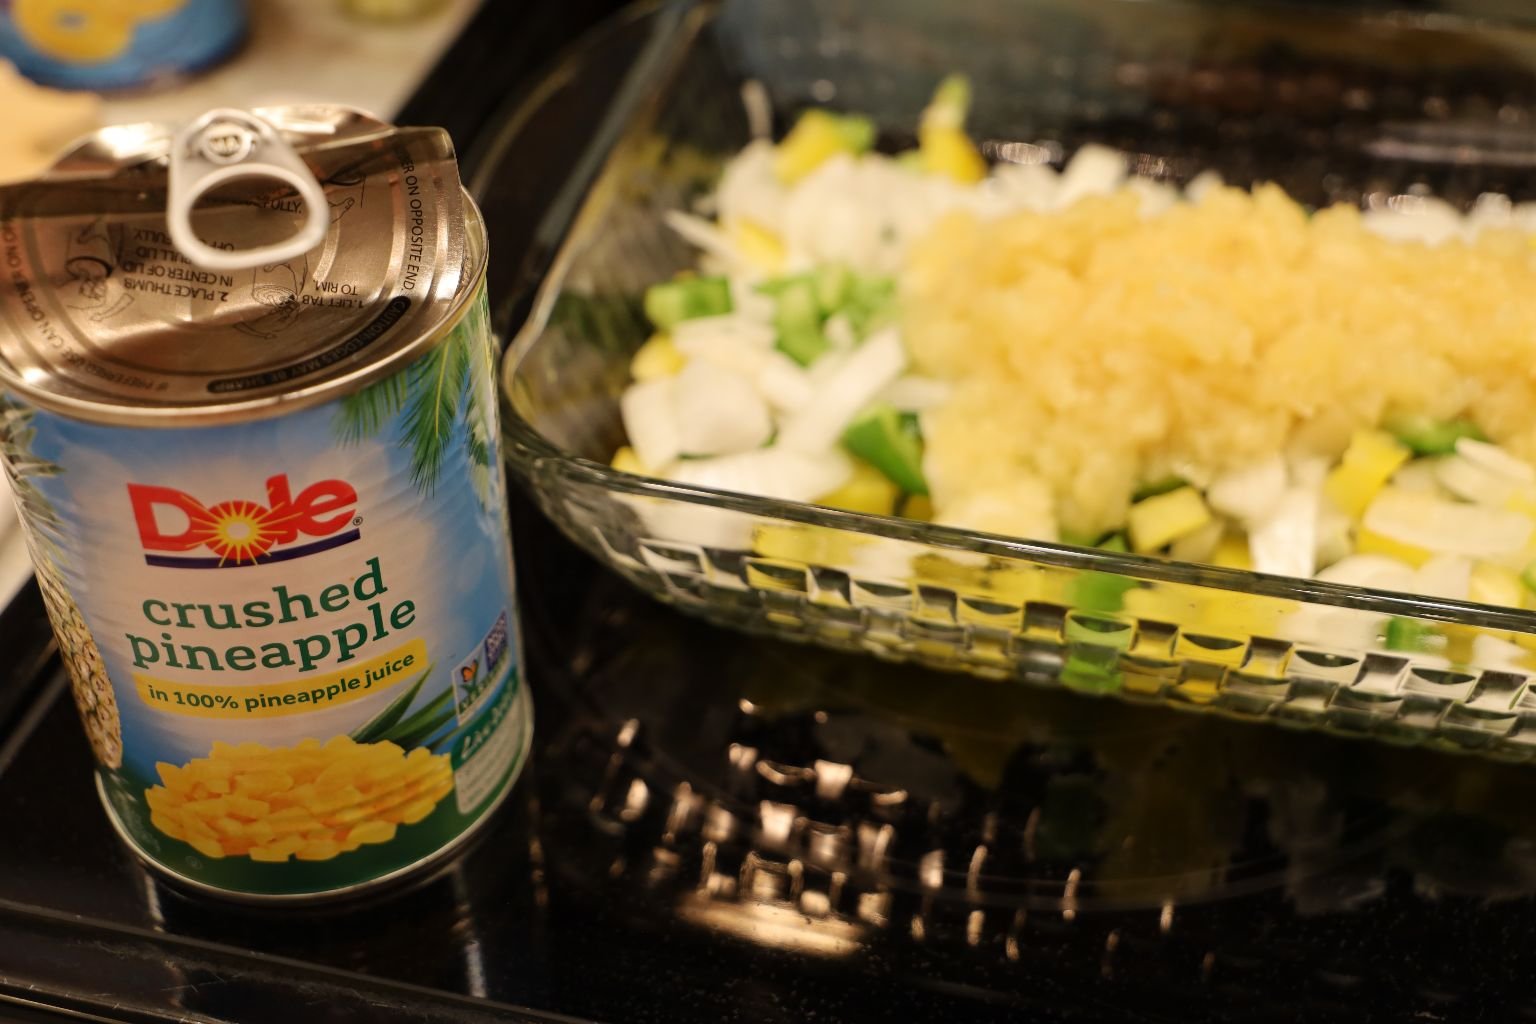
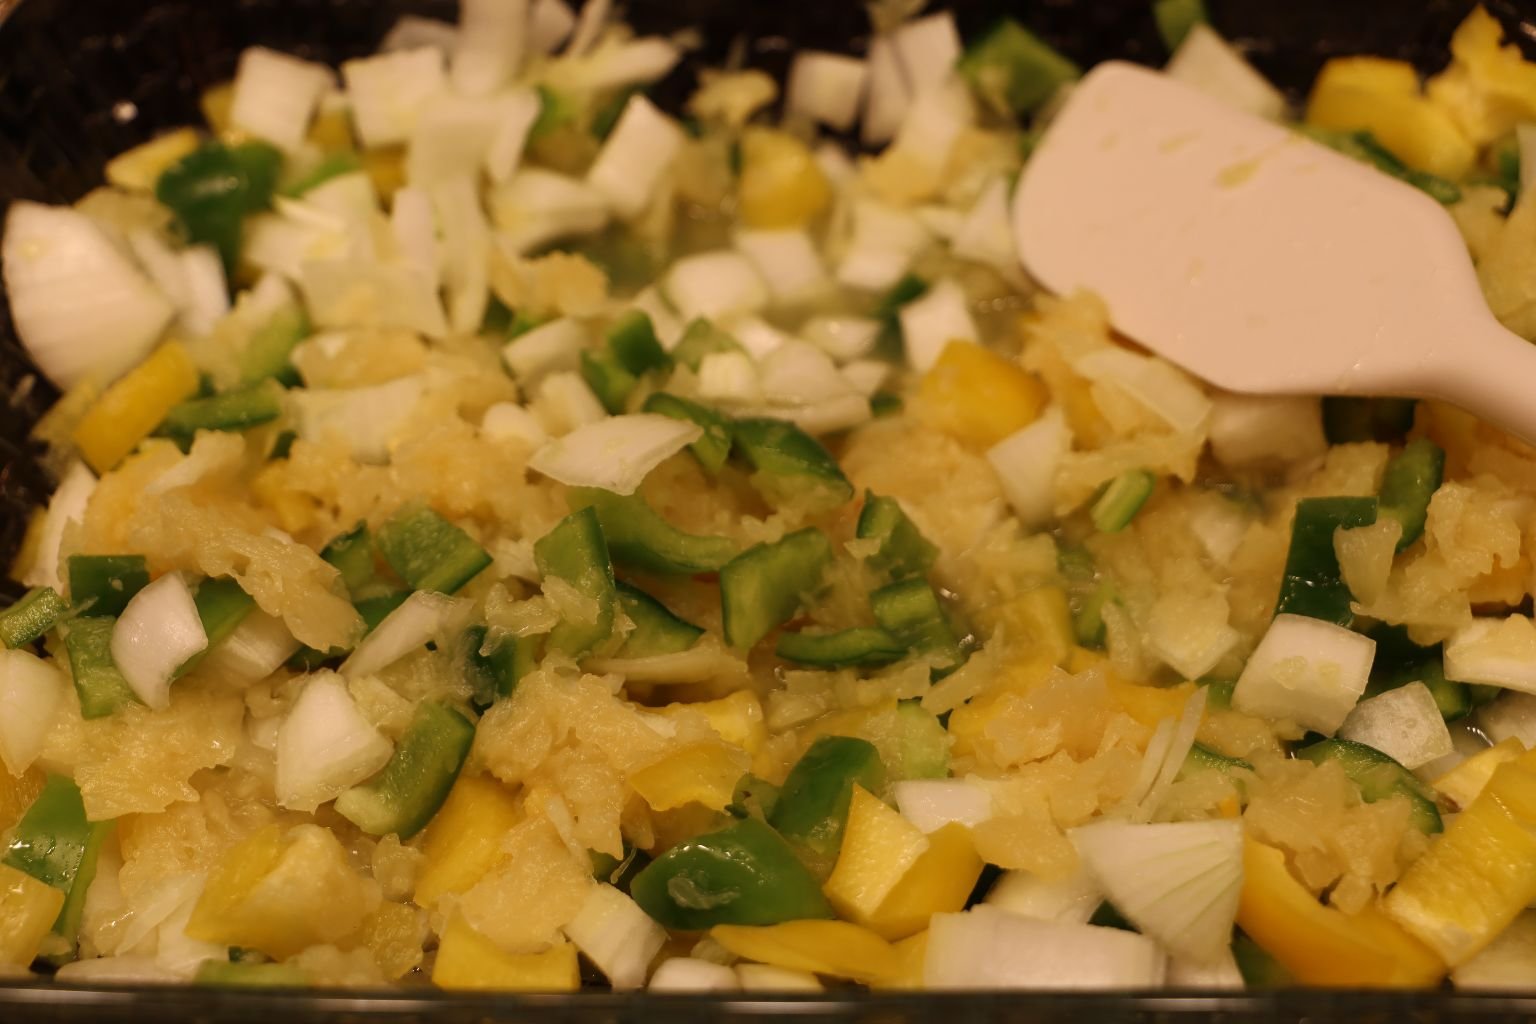
I Then Added The Entire Can of Crushed Pineapple, Drained.
———————————————————————————
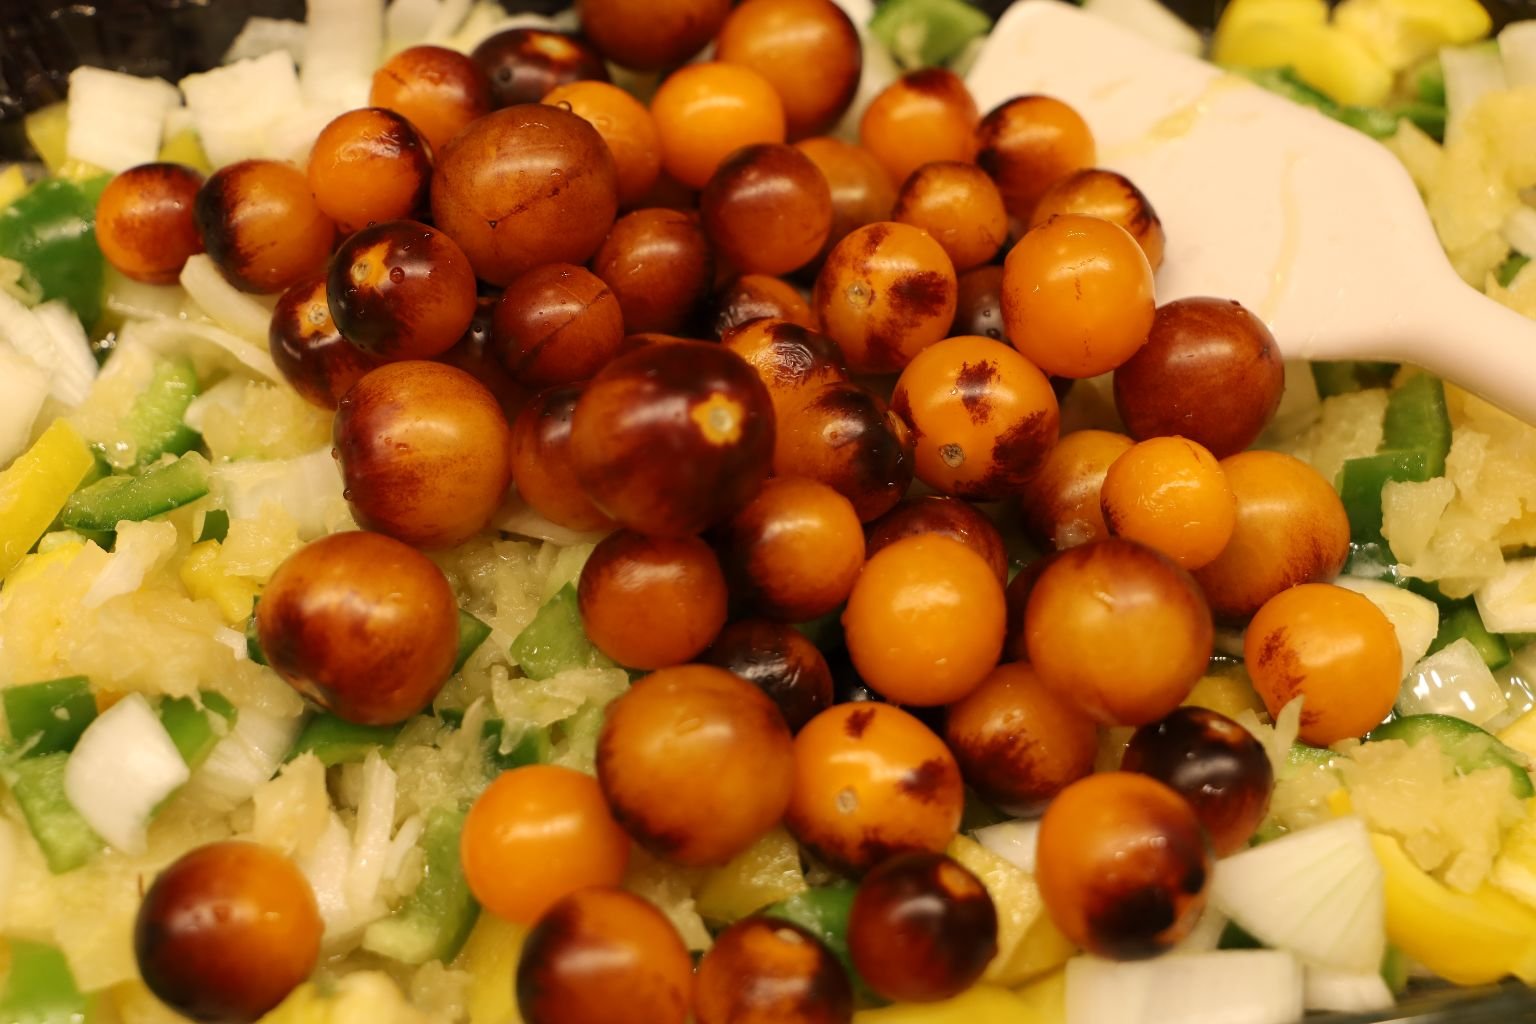
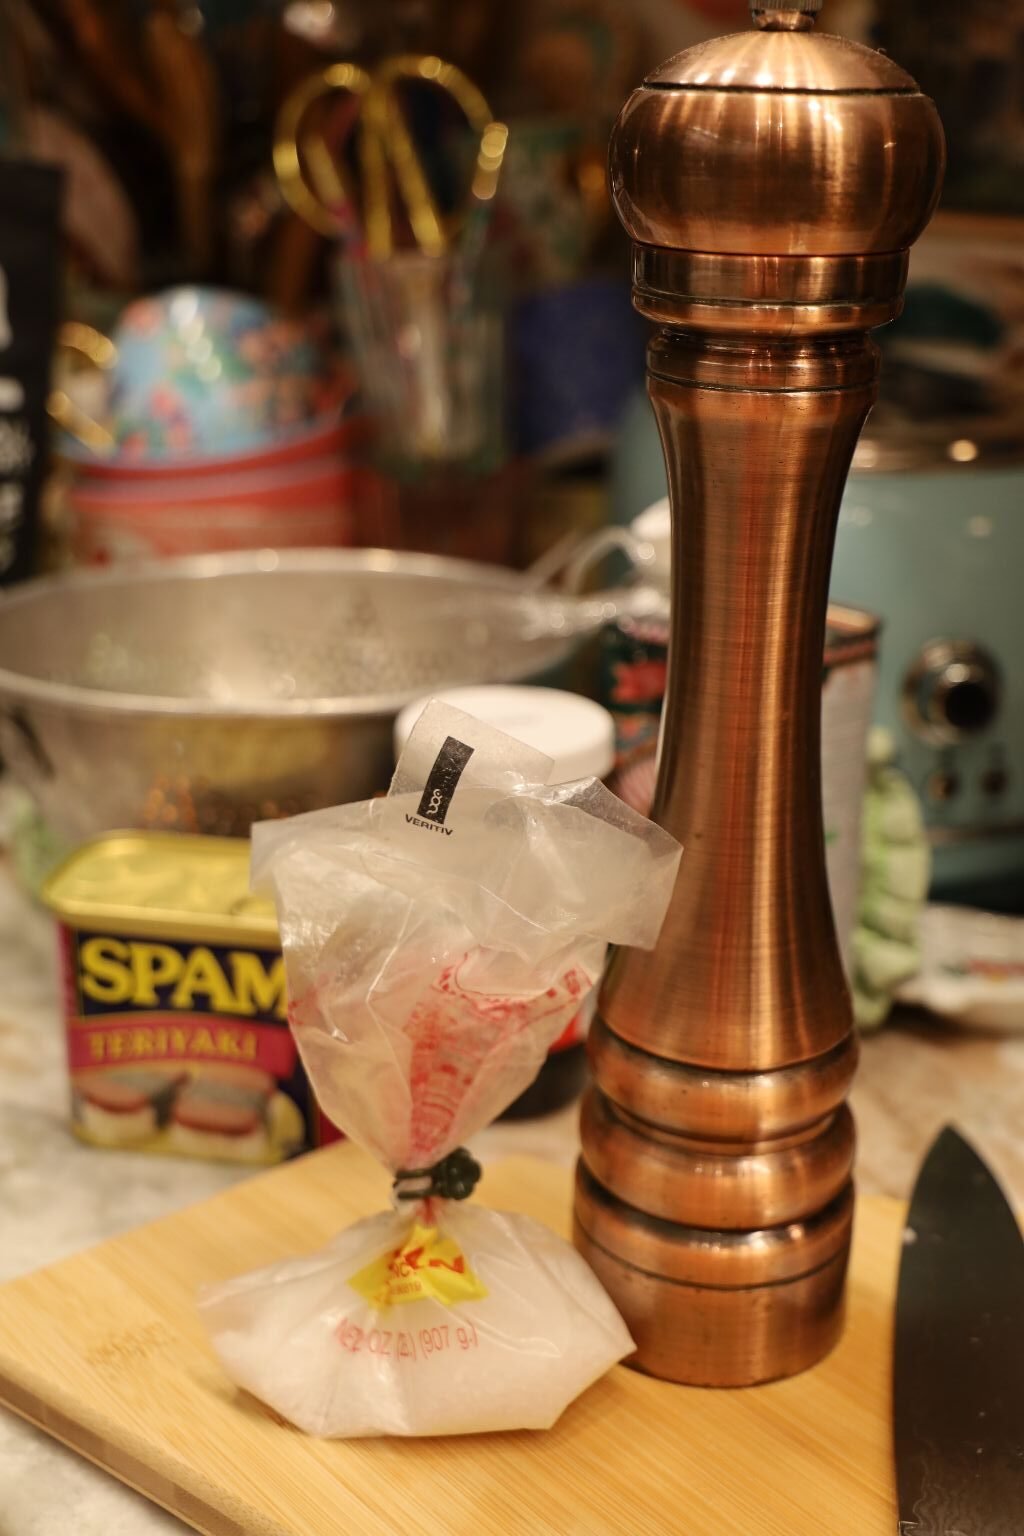
I Then Added My Tomatoes To The Dish, Drizzled Some EVOO Overtop, and Added a Sprinkling of Hawaiian Sea Salt and Freshly Ground Black Pepper.
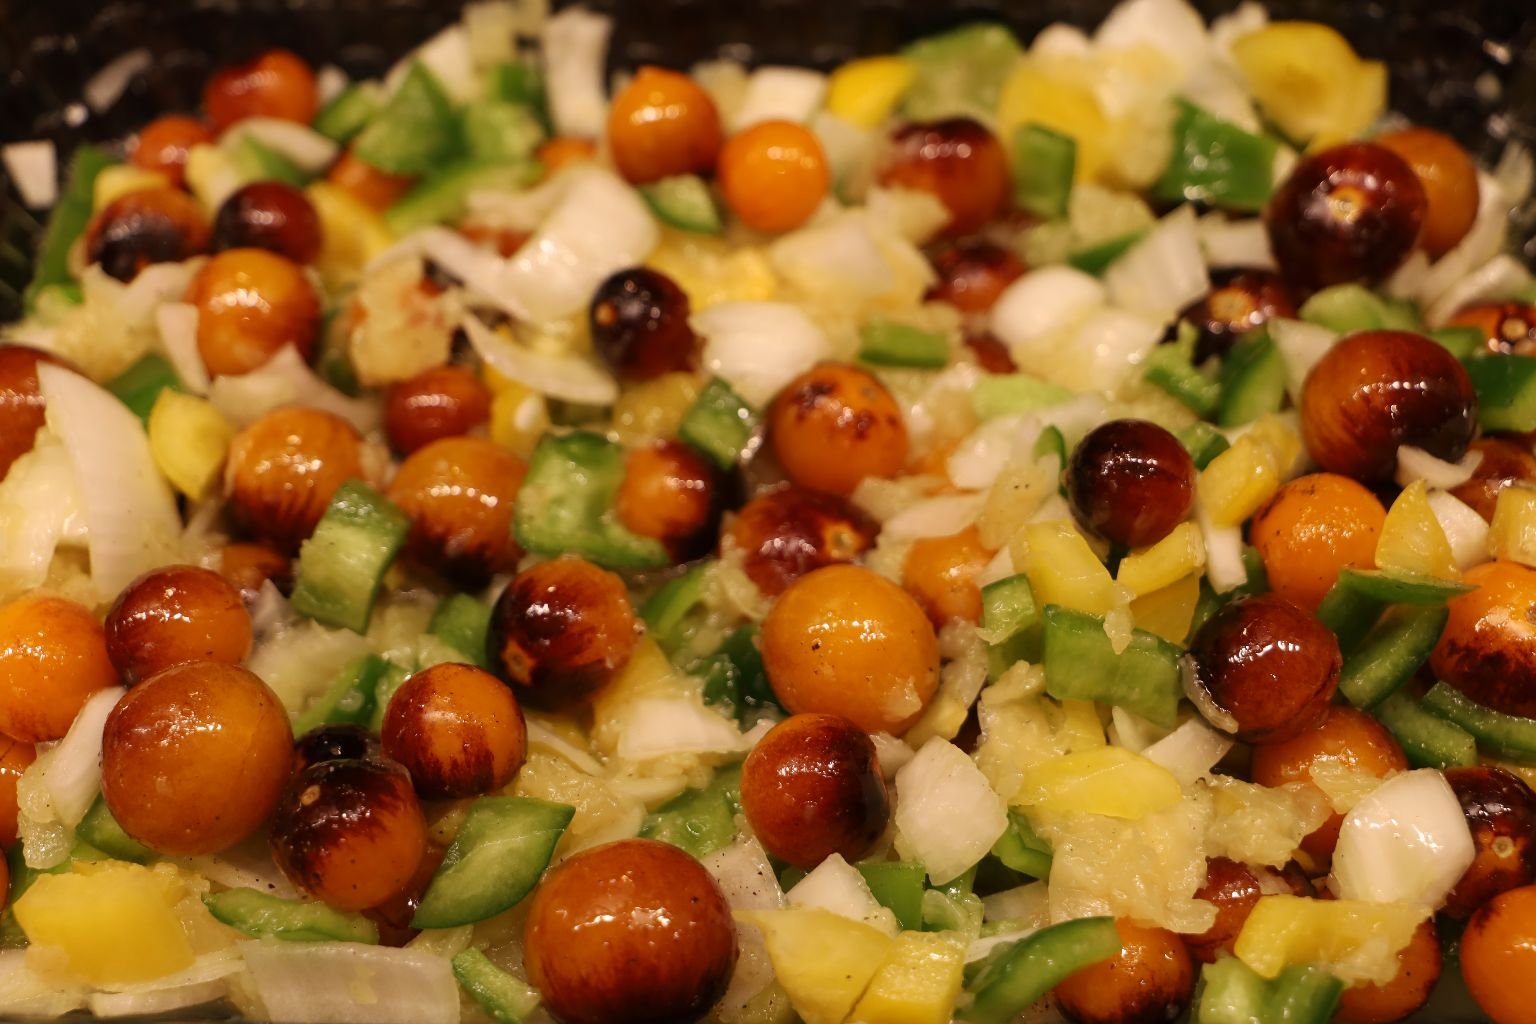
Mix Together and Then Place Into a 350F Oven…
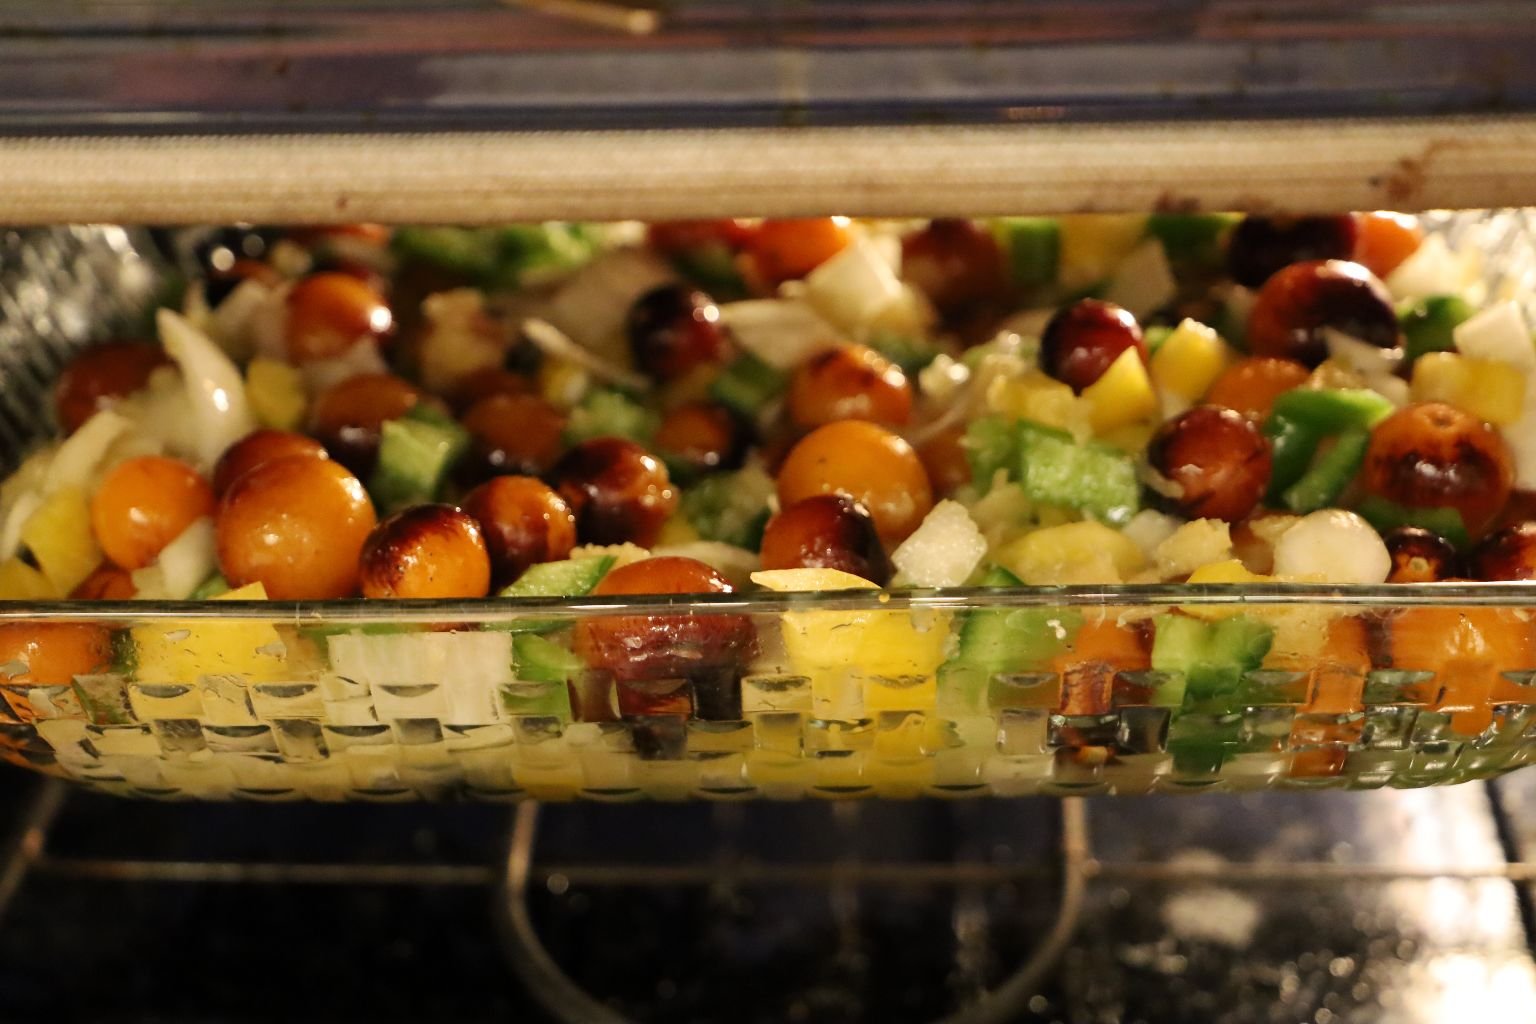
You Will Bake For About 20-30 Minutes Depending On Your Oven.
Have a Watchful Eye!
You just want all of the ingredients to have softened. And not be so crunchy.
———————————————————————————————-
Meanwhile….
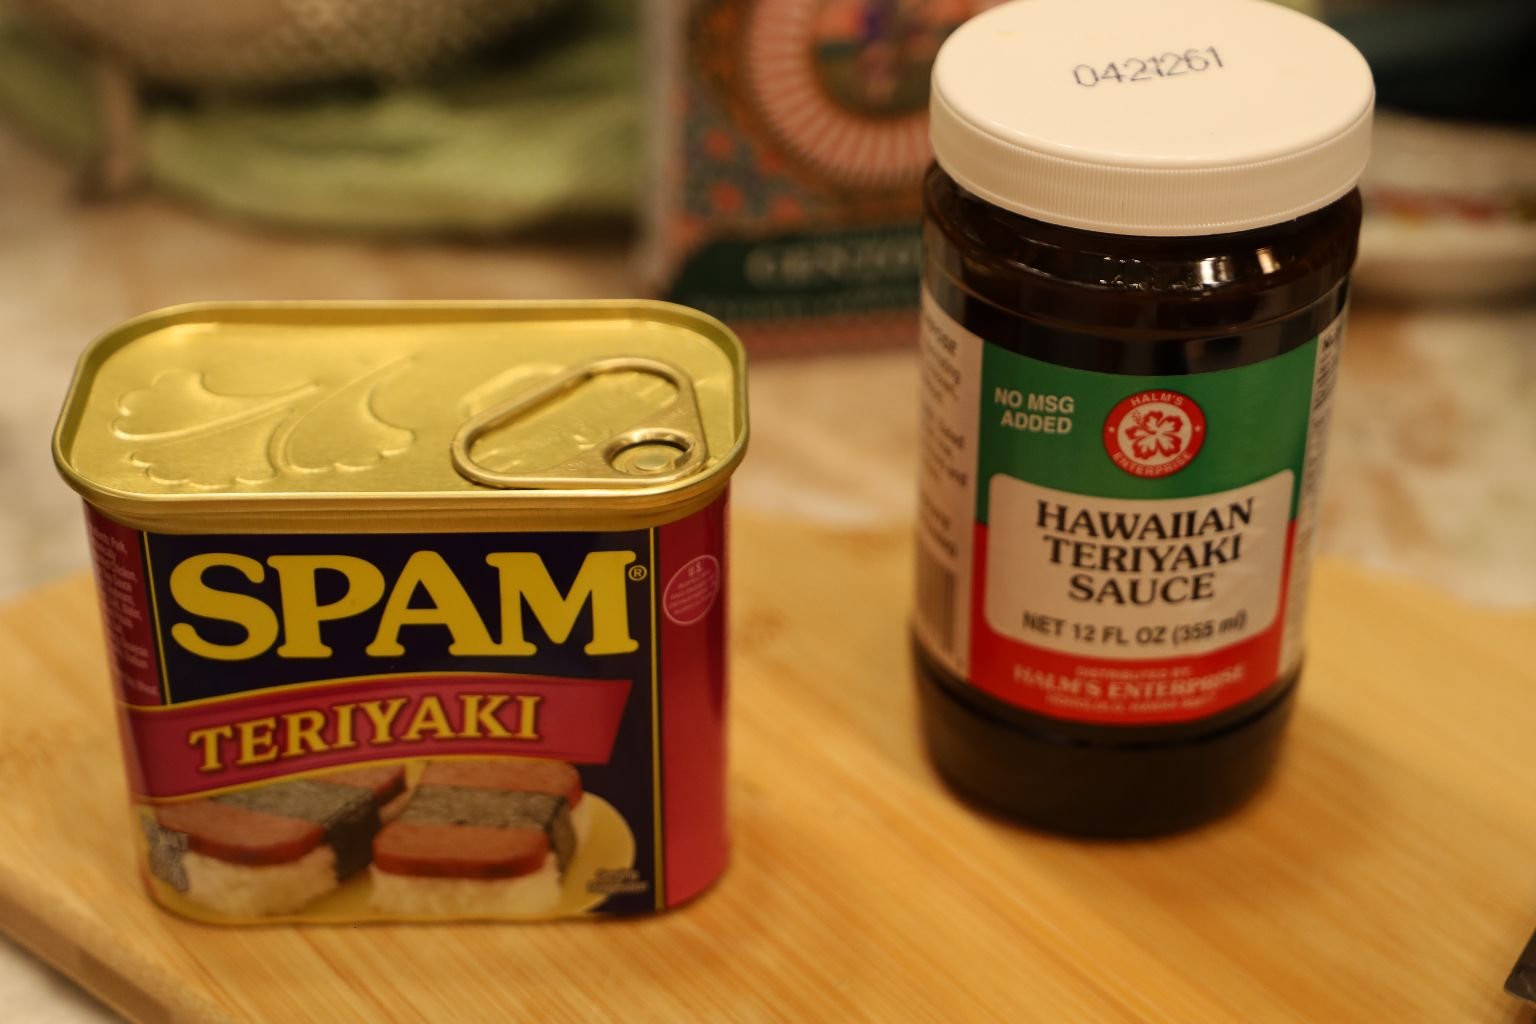
Teriyaki SPAM and Hawaiian Teriyaki Sauce
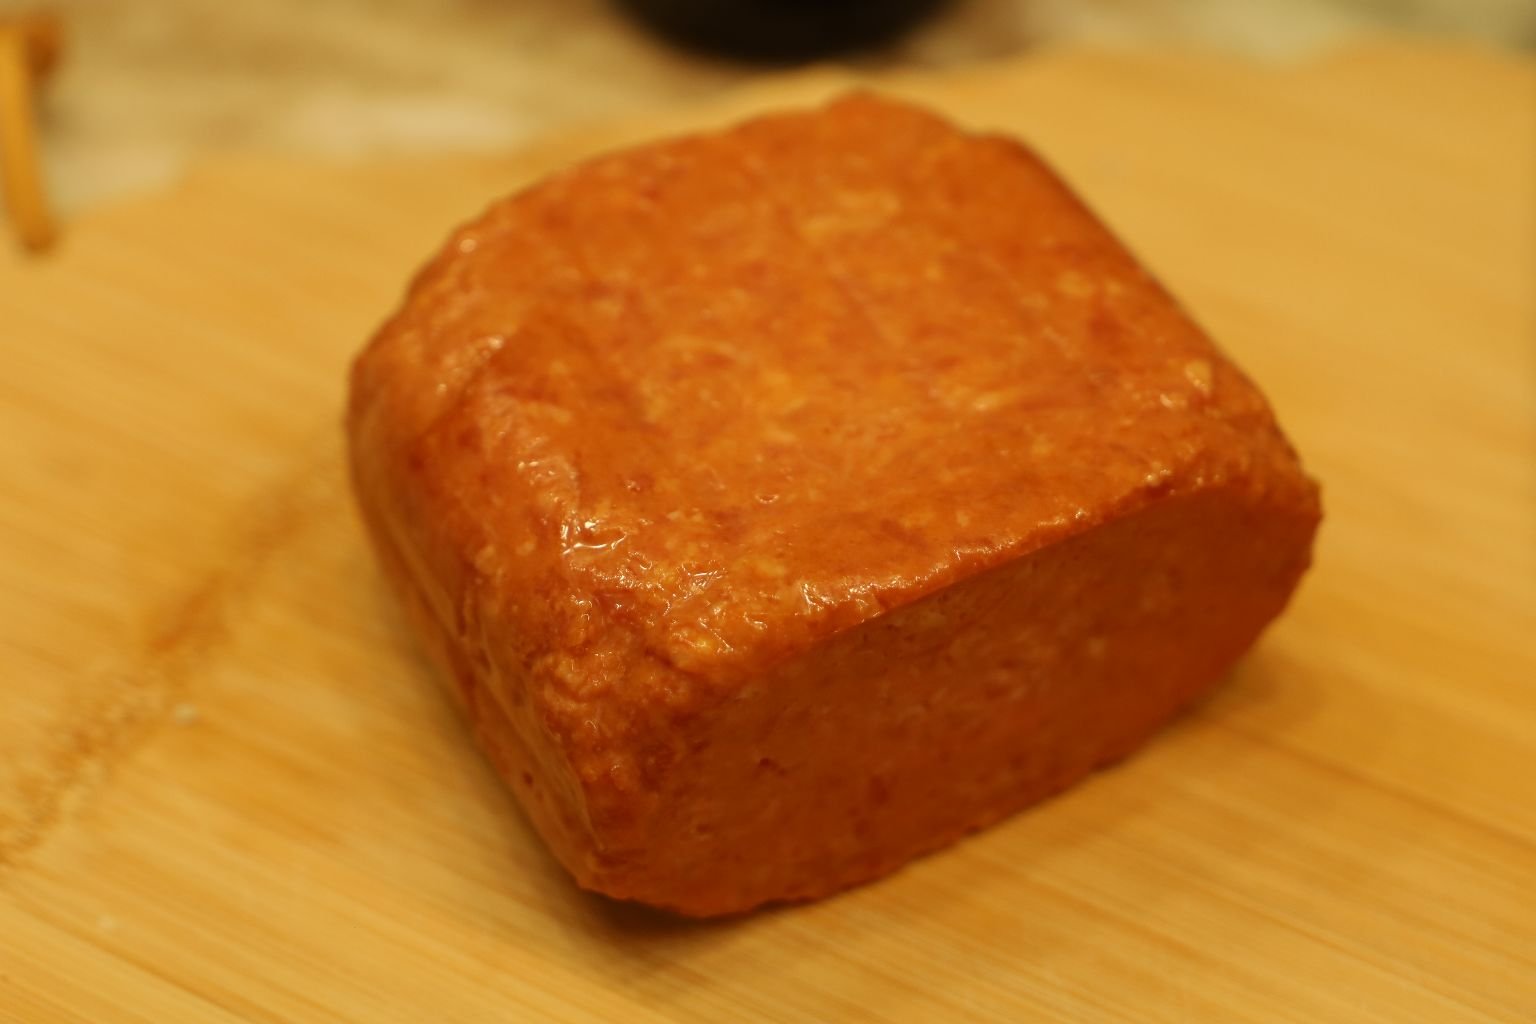
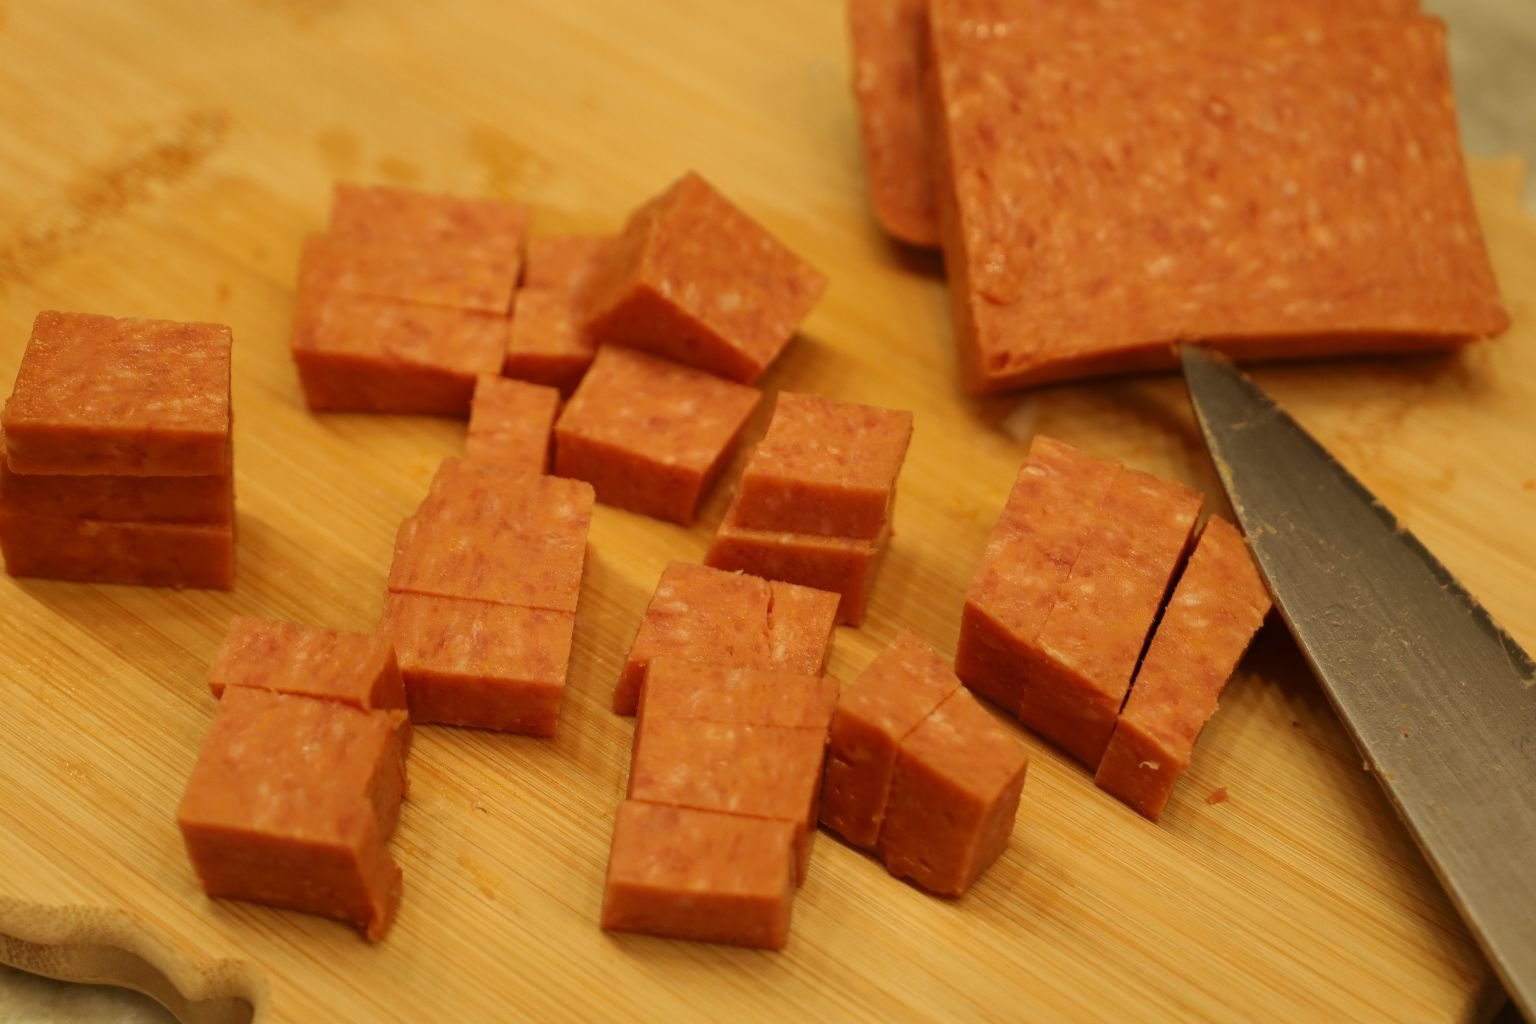
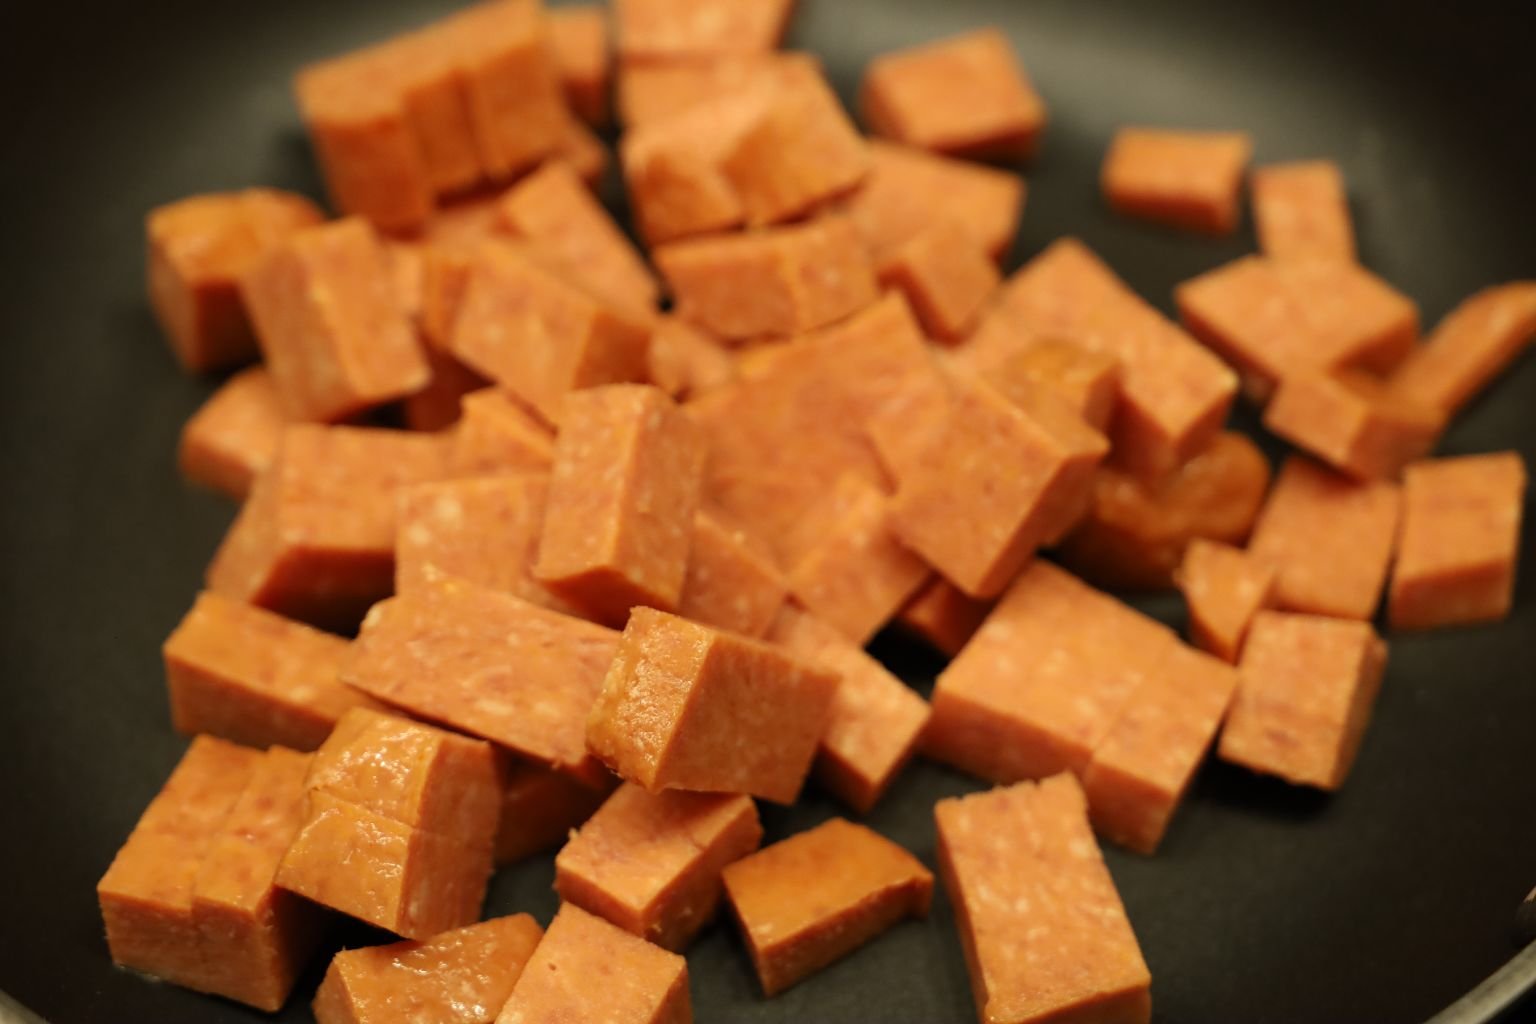
In a Medium Pan on a Medium Heat, Place Your SPAM that you have Cut into Chunks
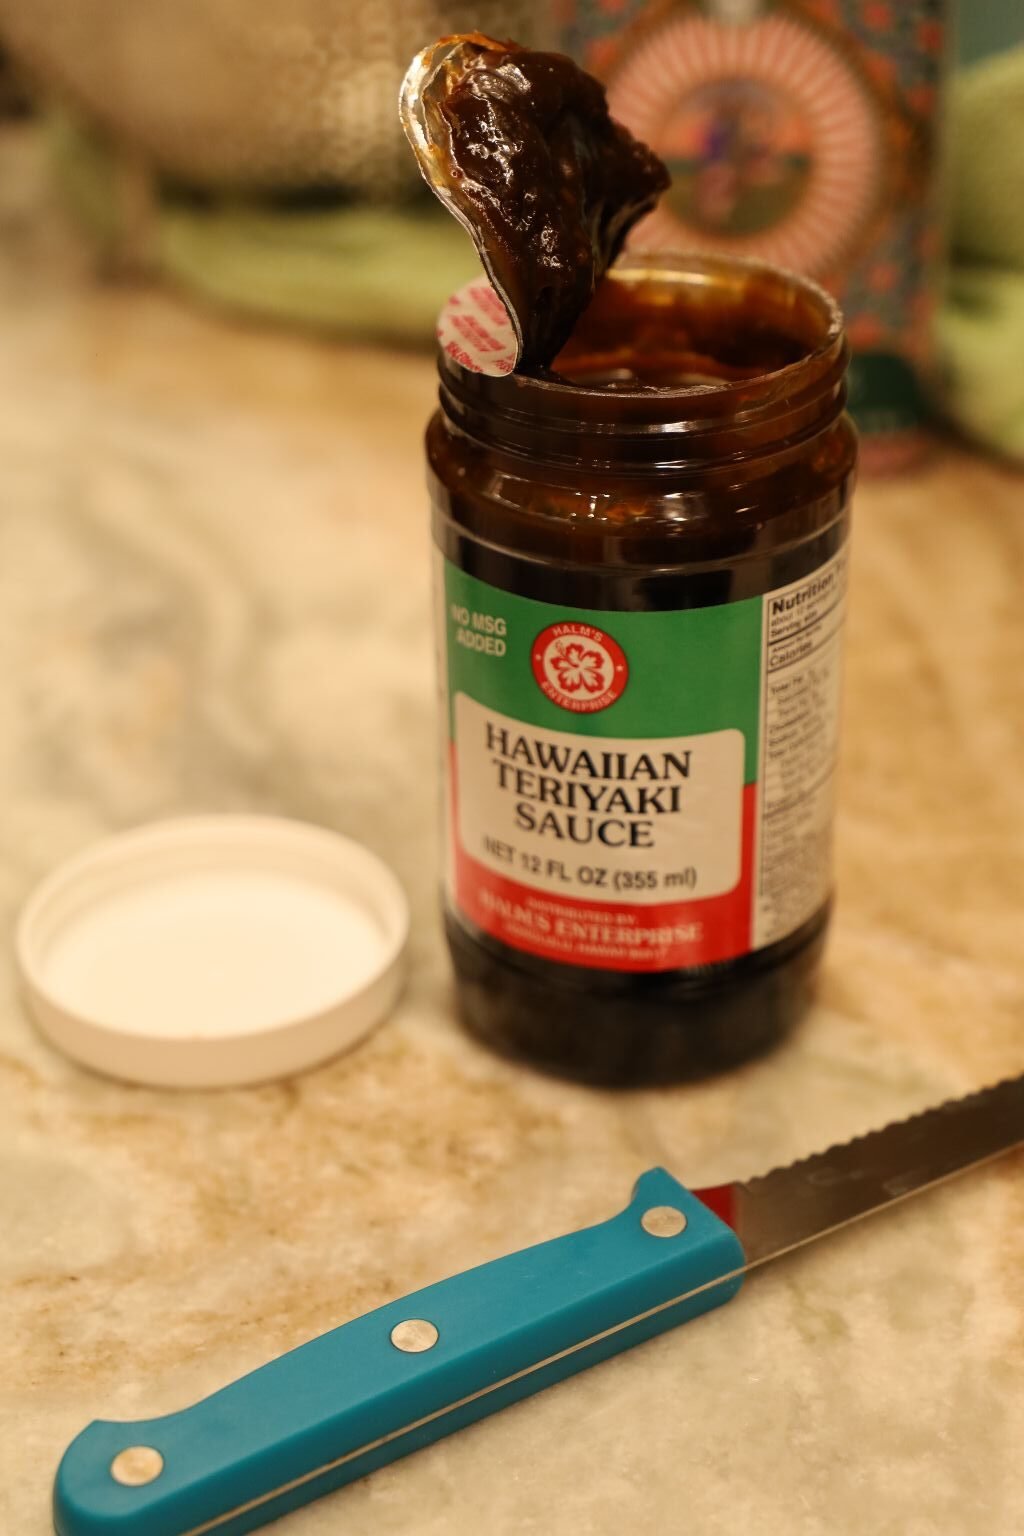
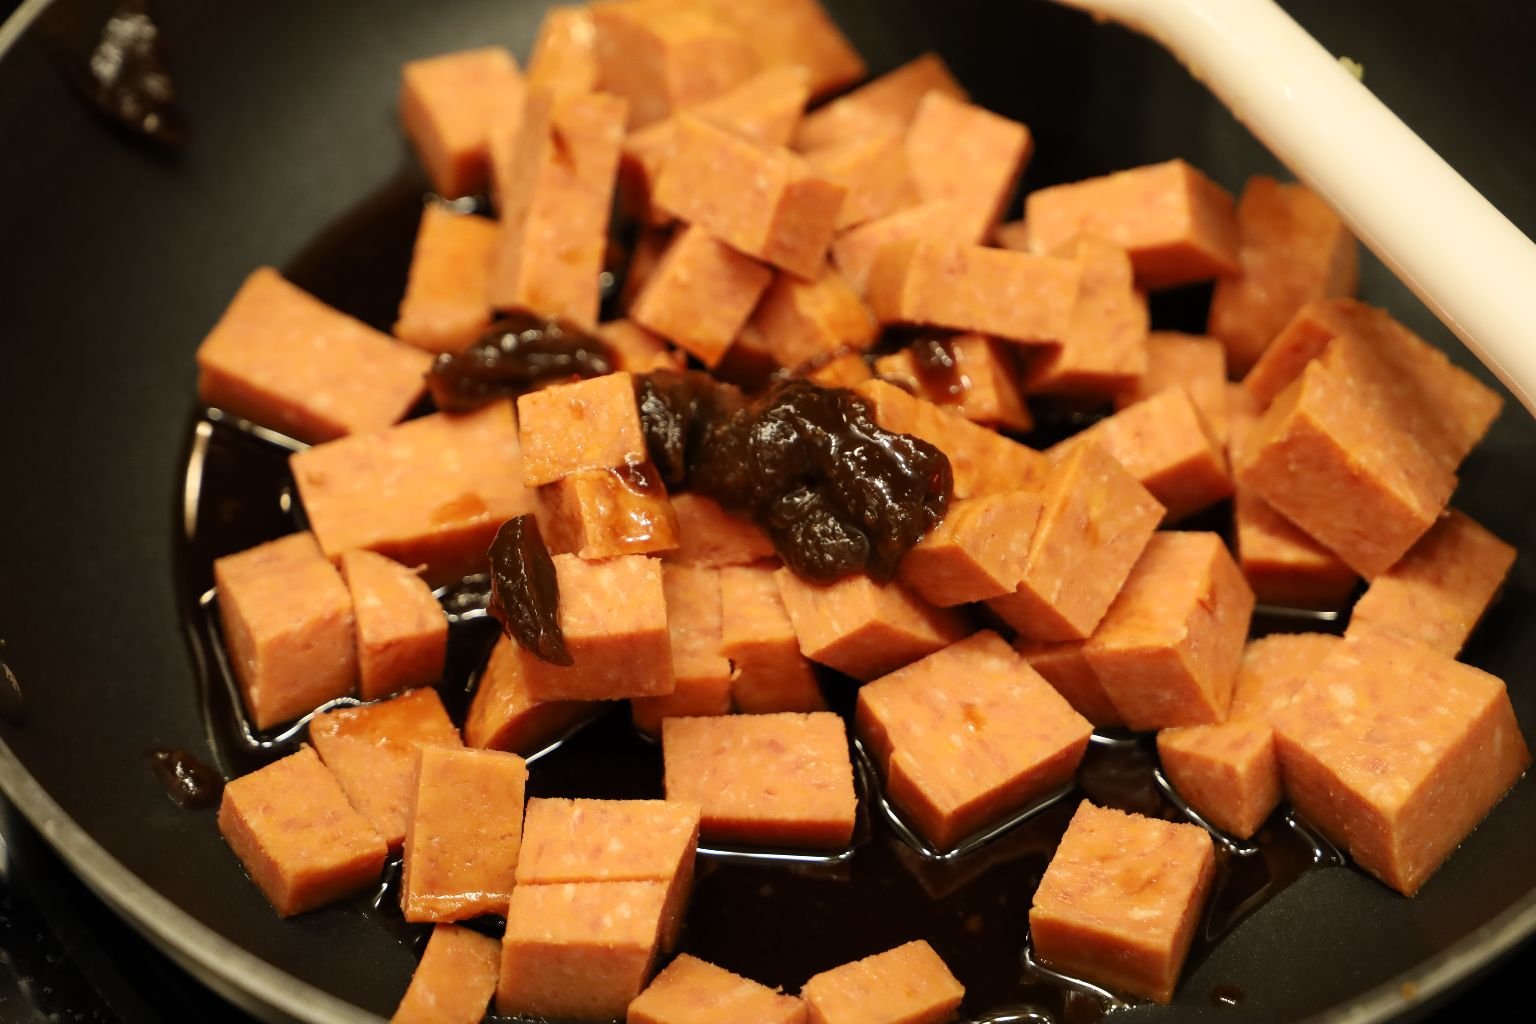
Now Place Some of the Hawaiian Teriyaki Sauce Into The Pan
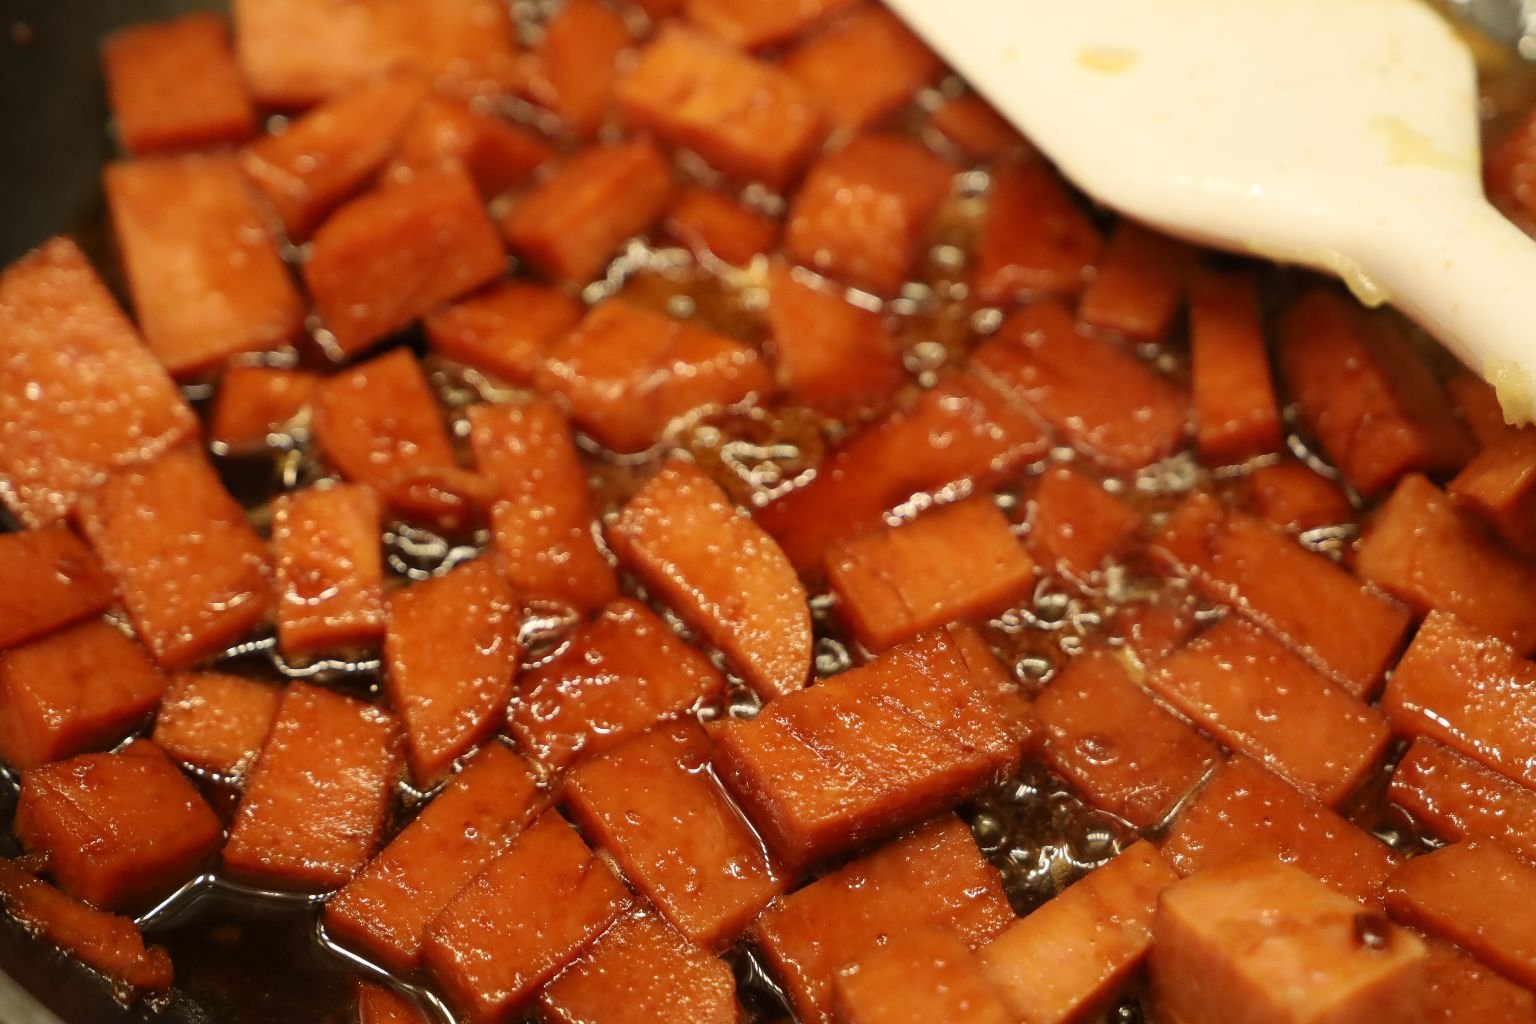
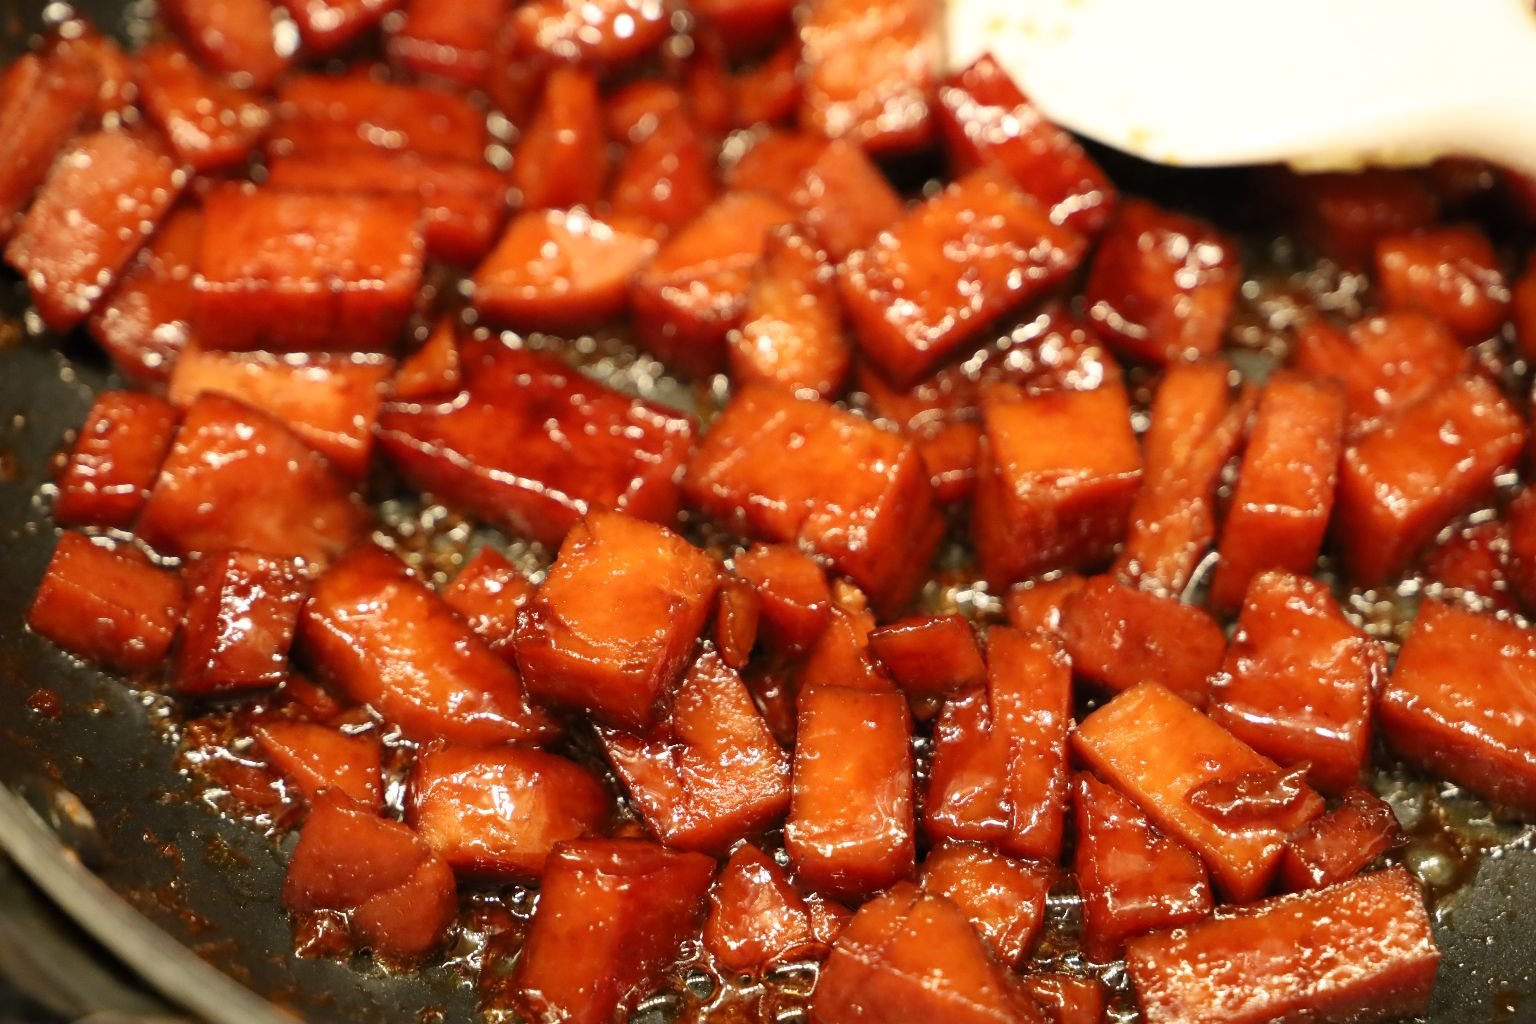
Cook on that Medium to Low Heat, Stirring Continuously, Until Caramelized.
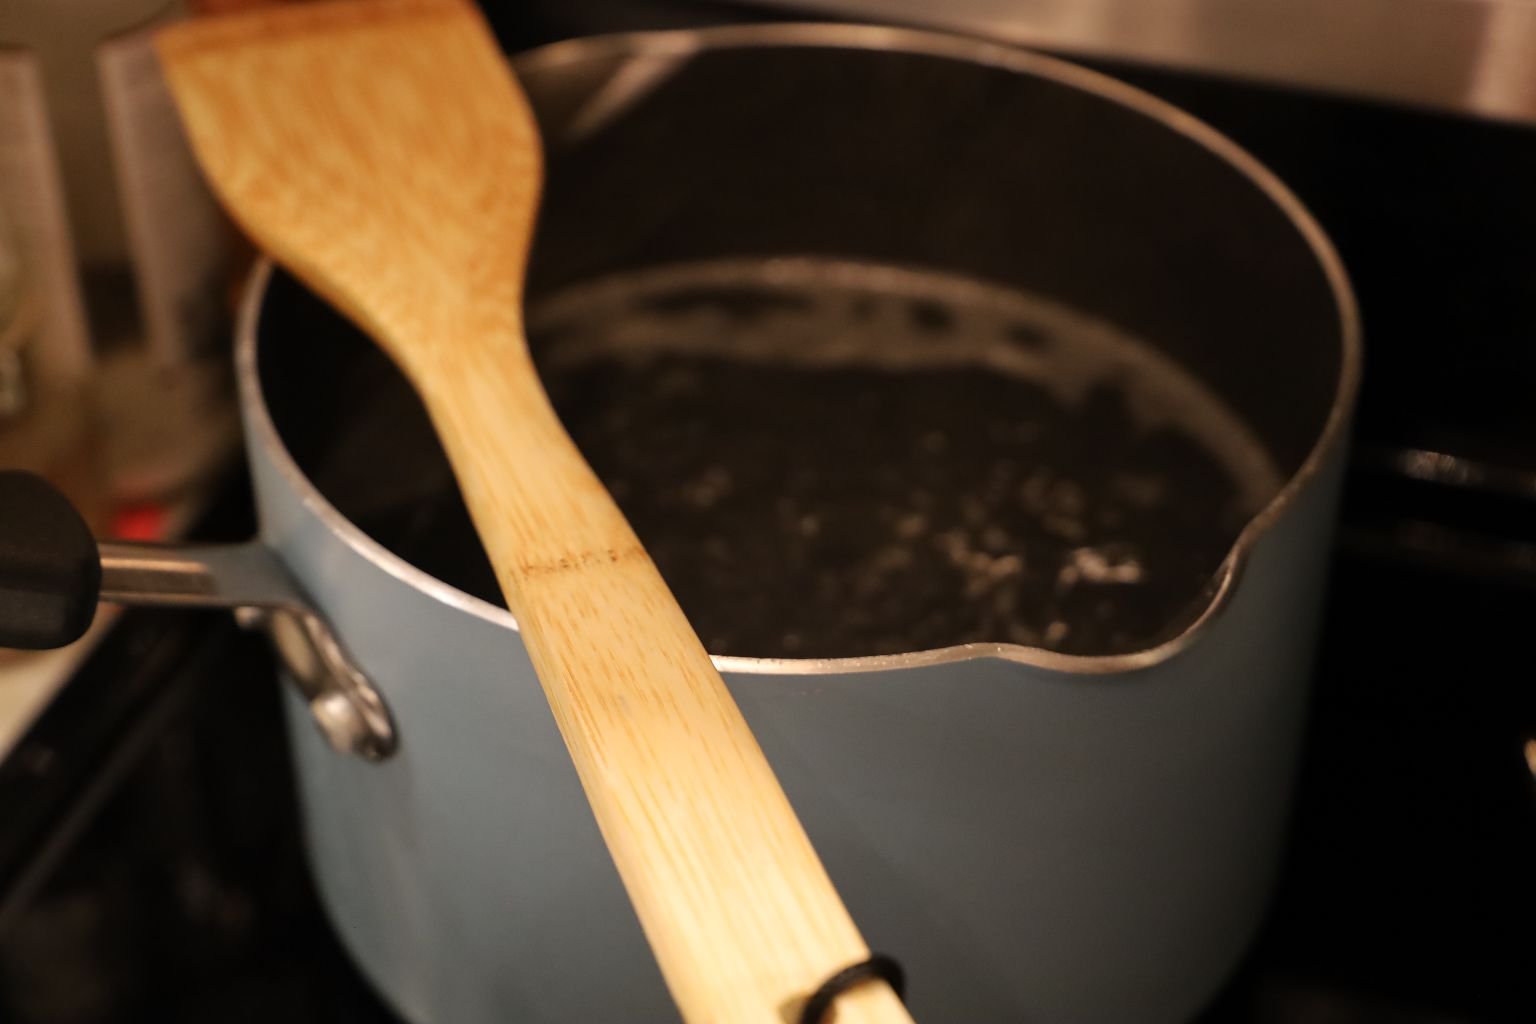
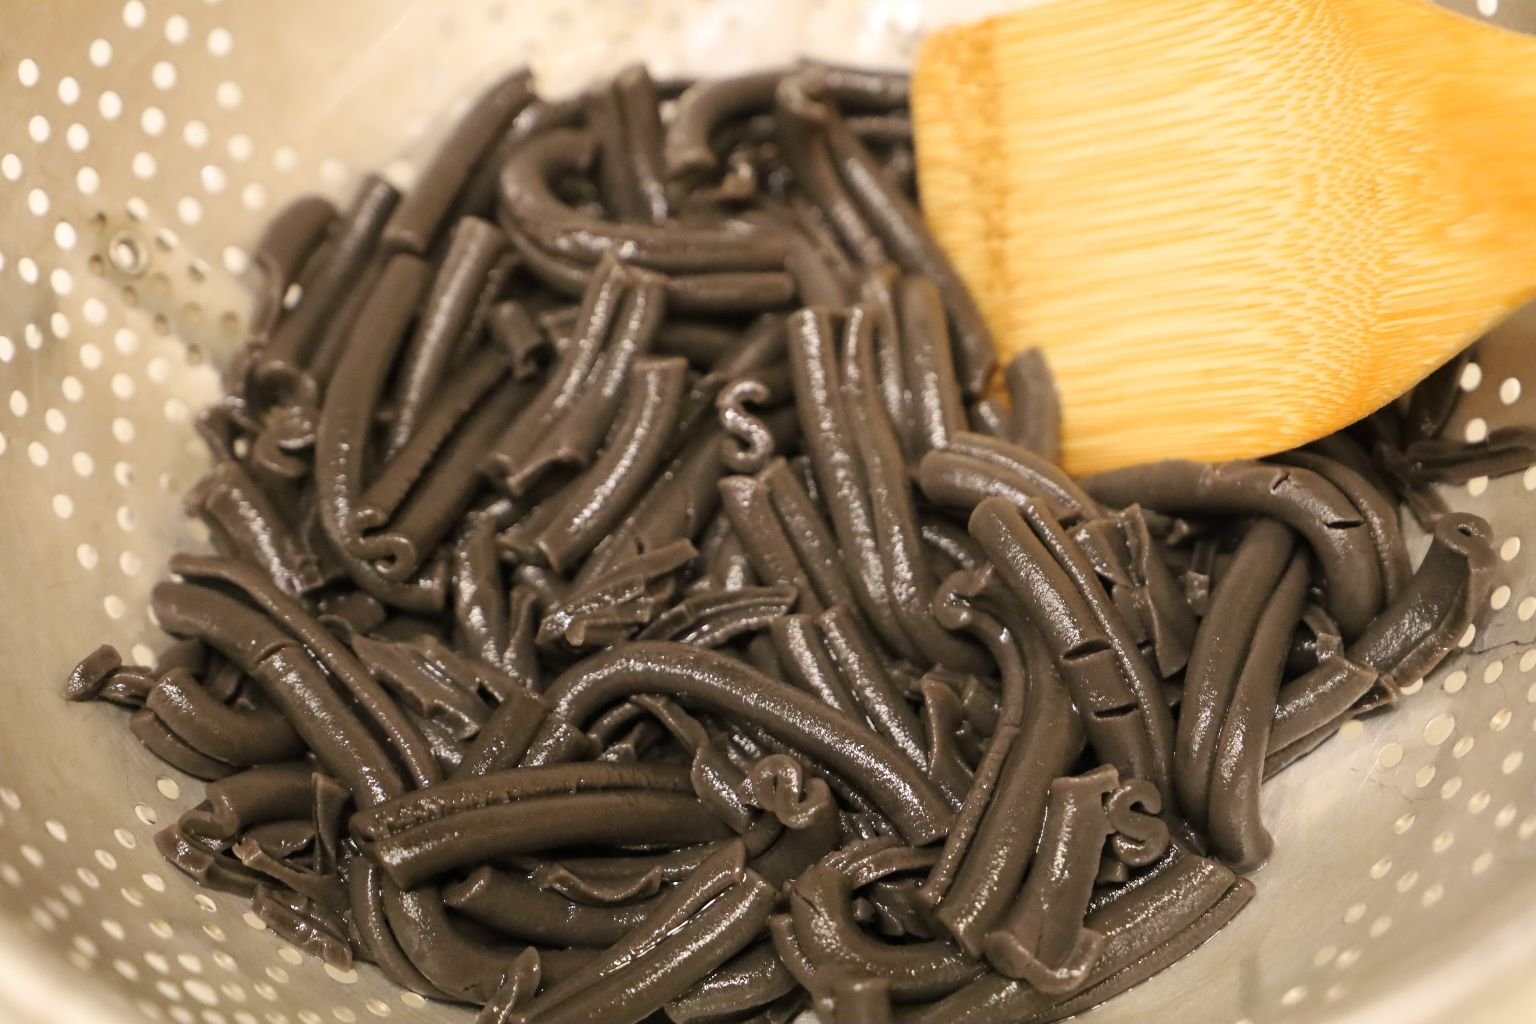
While the SPAM is cooking, Boil some Water in a Saucepan and Cook the Pasta Until Al Dente, Then Drain.
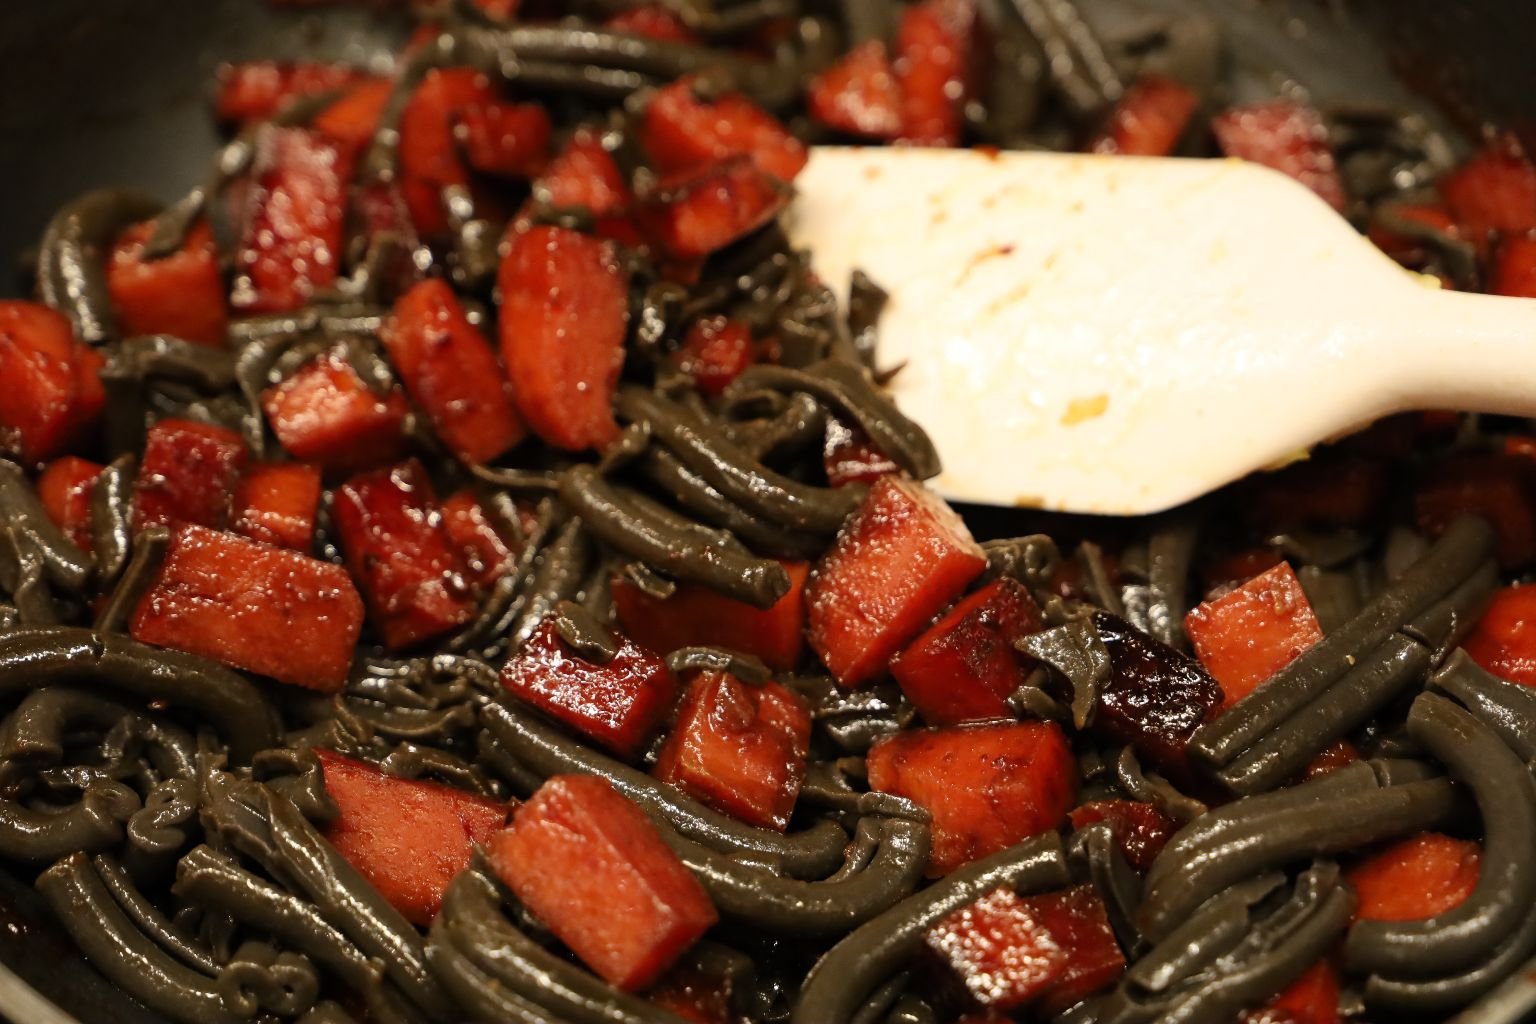
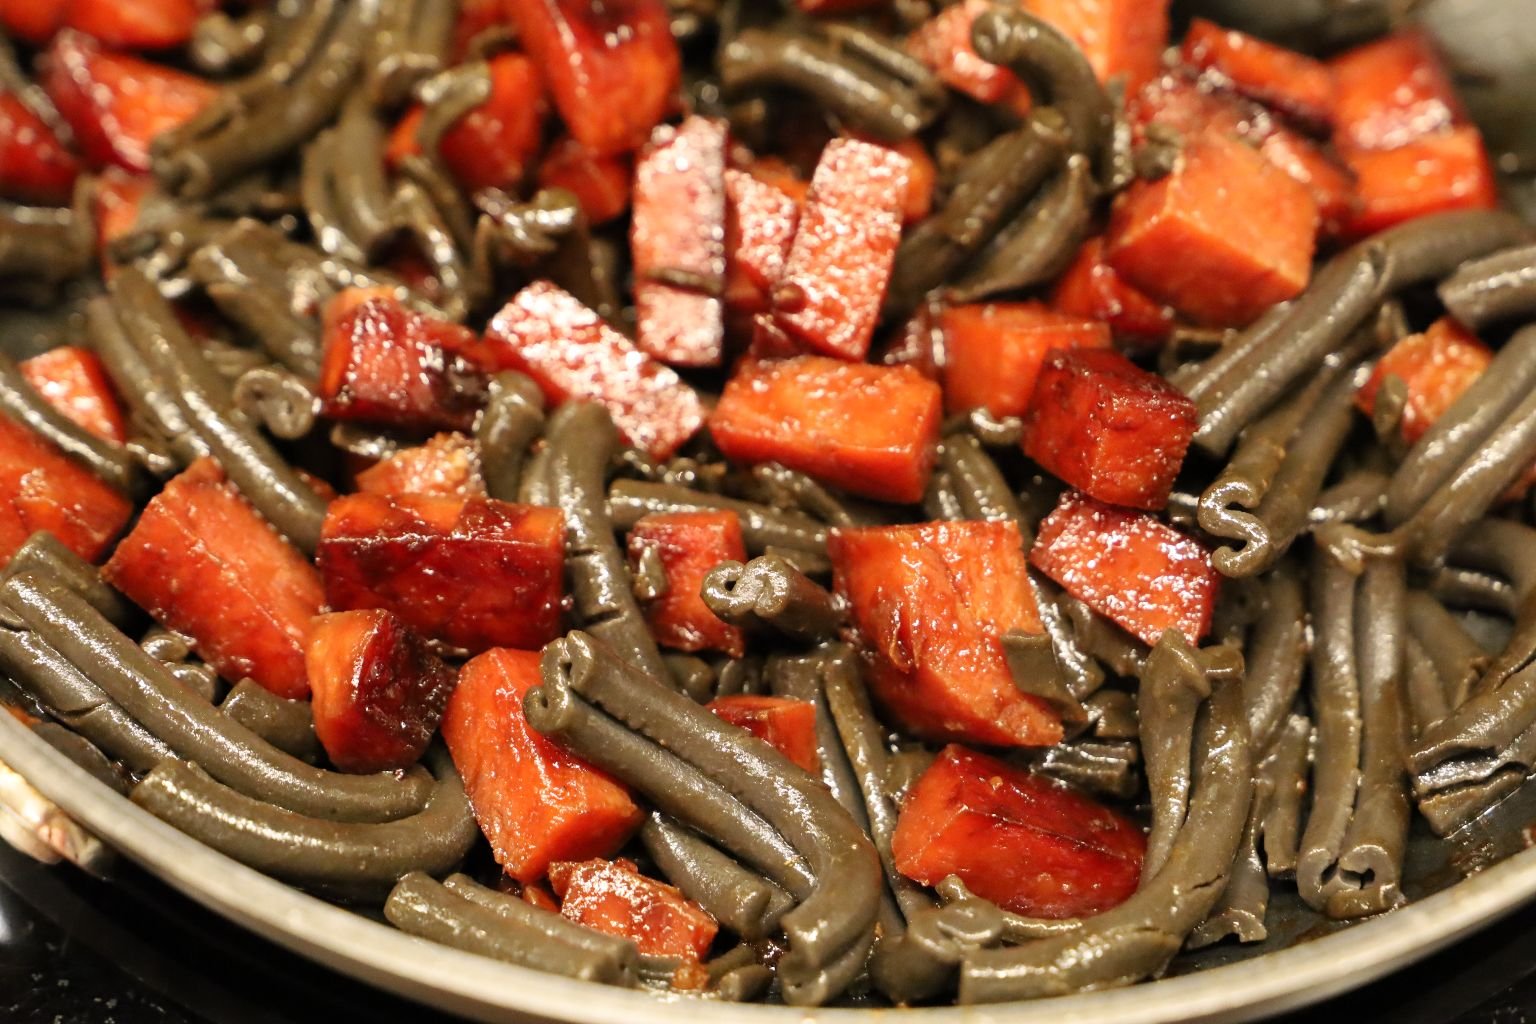
Add As Much Pasta As You Like To The SPAM, Stir Together.
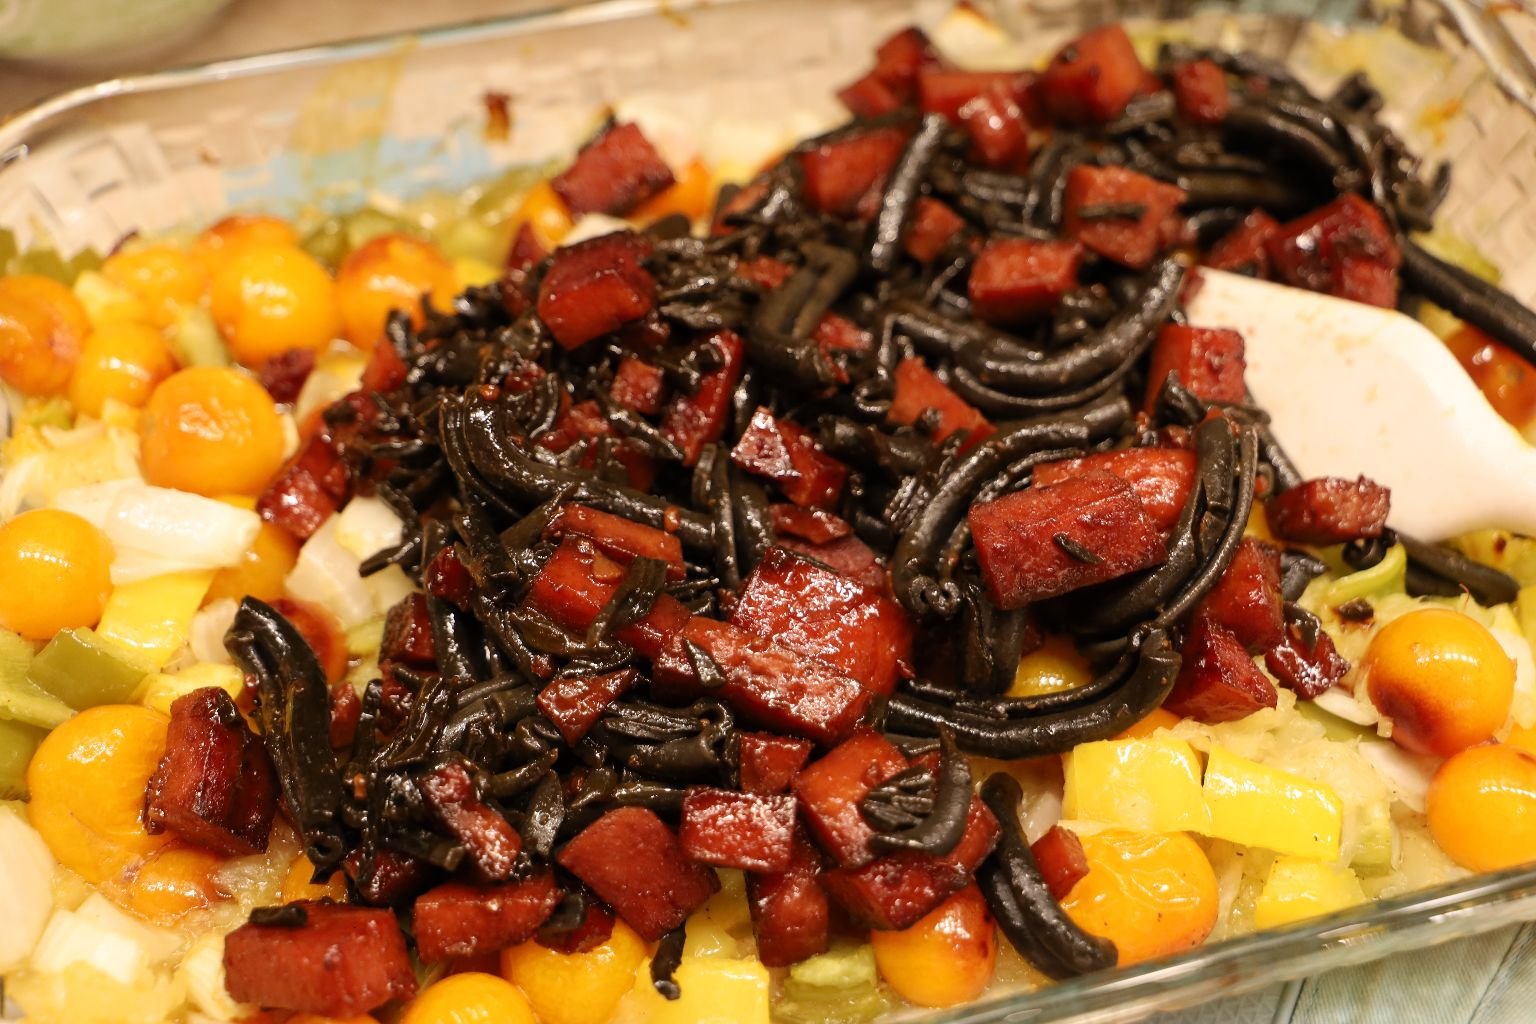
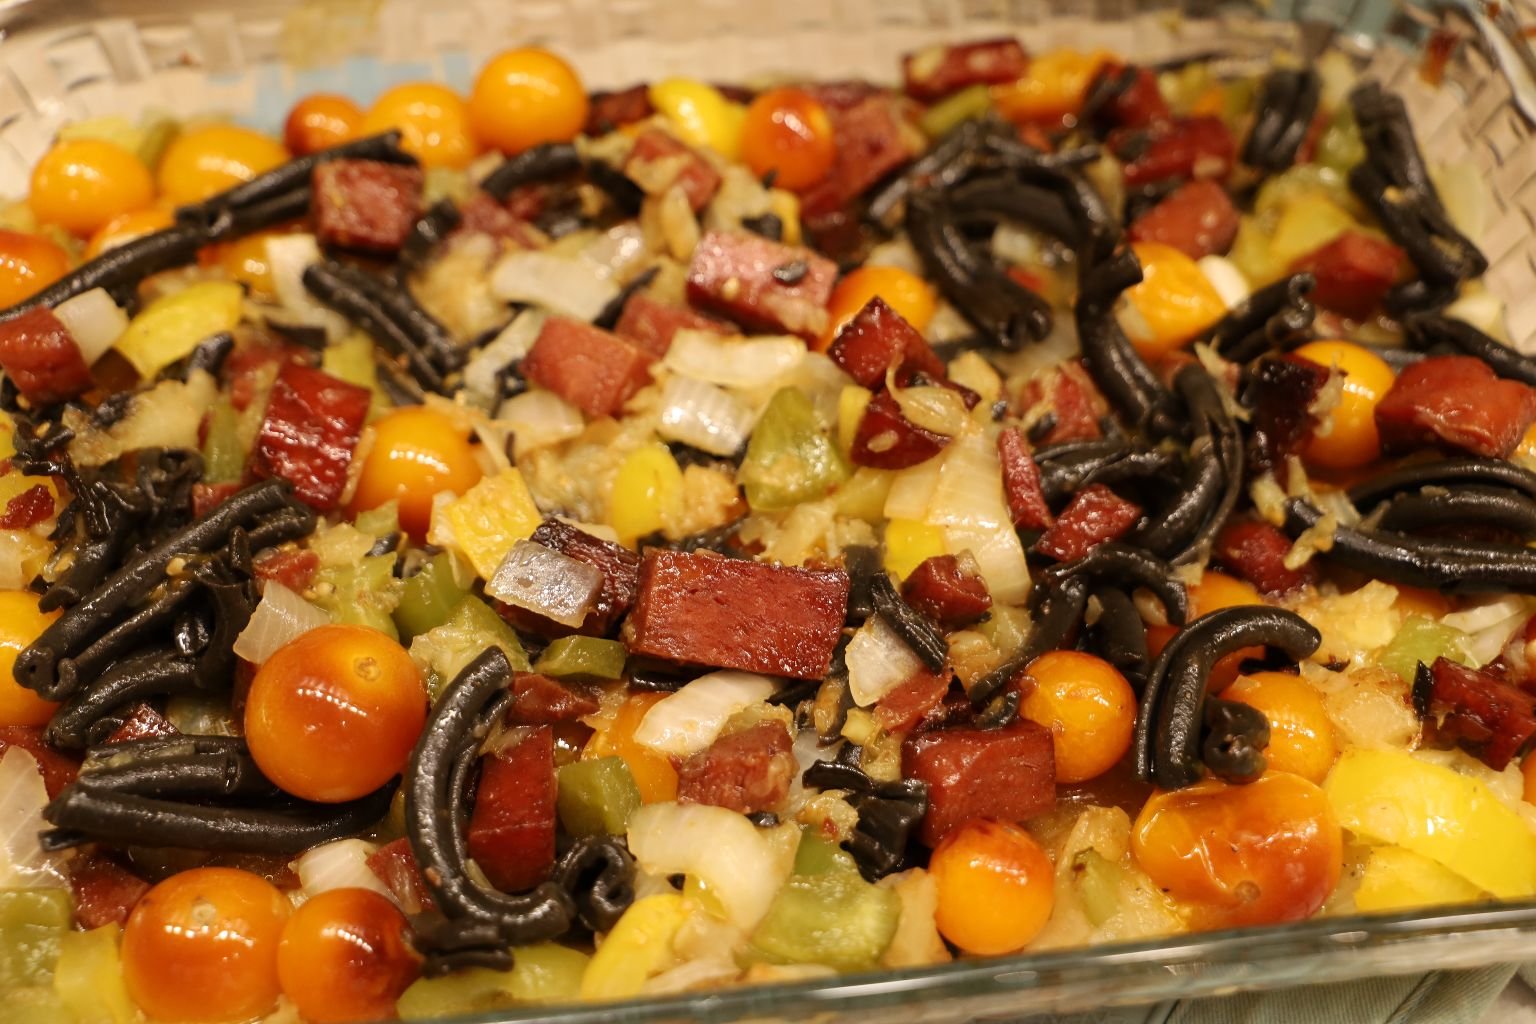
Add the Pasta and SPAM to the Casserole, Stir Together, and then Enjoy!
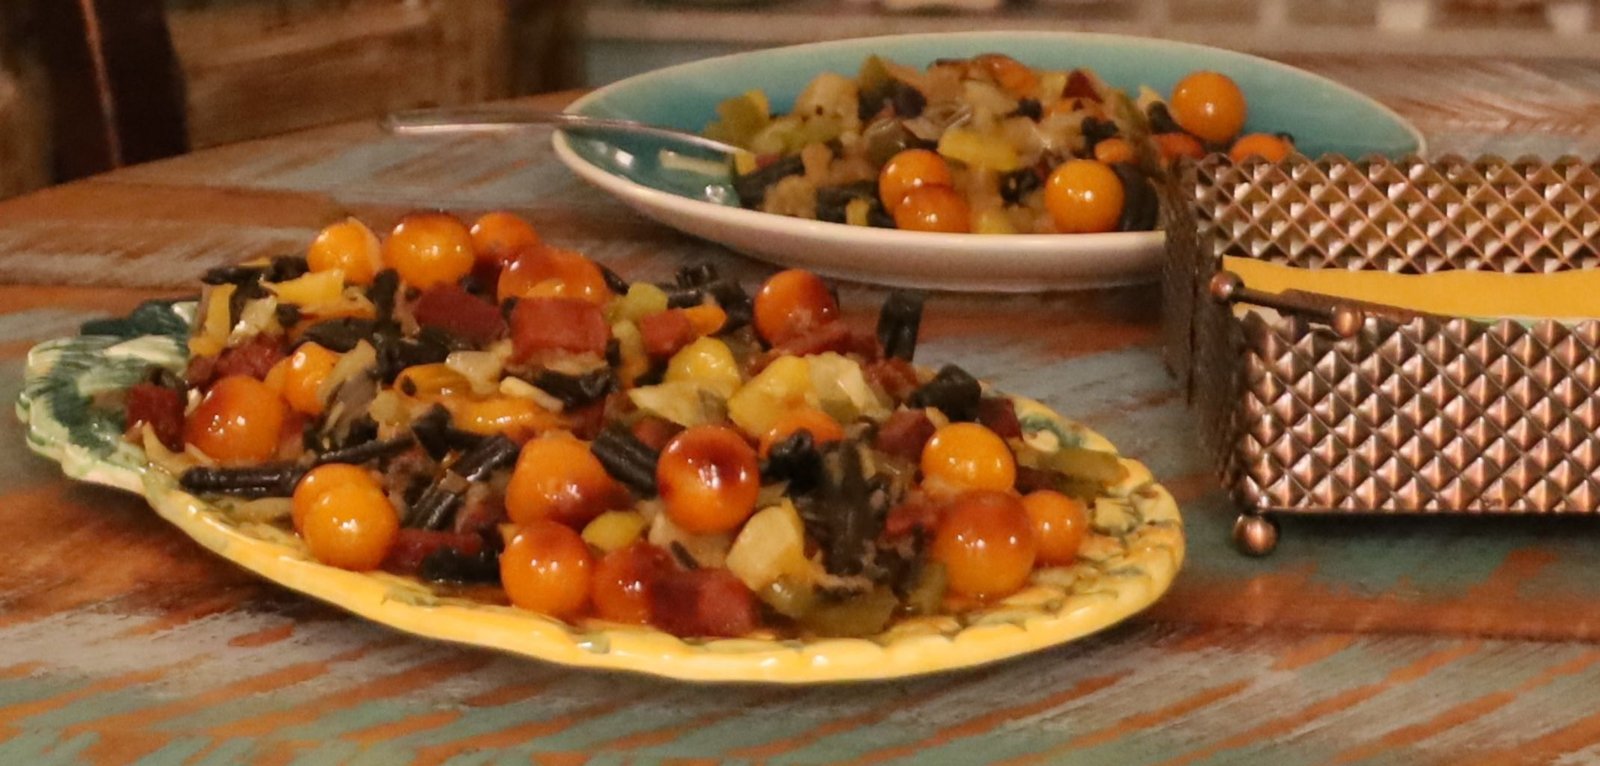
———————————————————————————————-
My Tropical Naan’s
Pineapple Left, Mango Right
——————————————————————————————
I knew that I wanted to make a Pineapple Pizza with my beautiful Tiki Tomatoes.
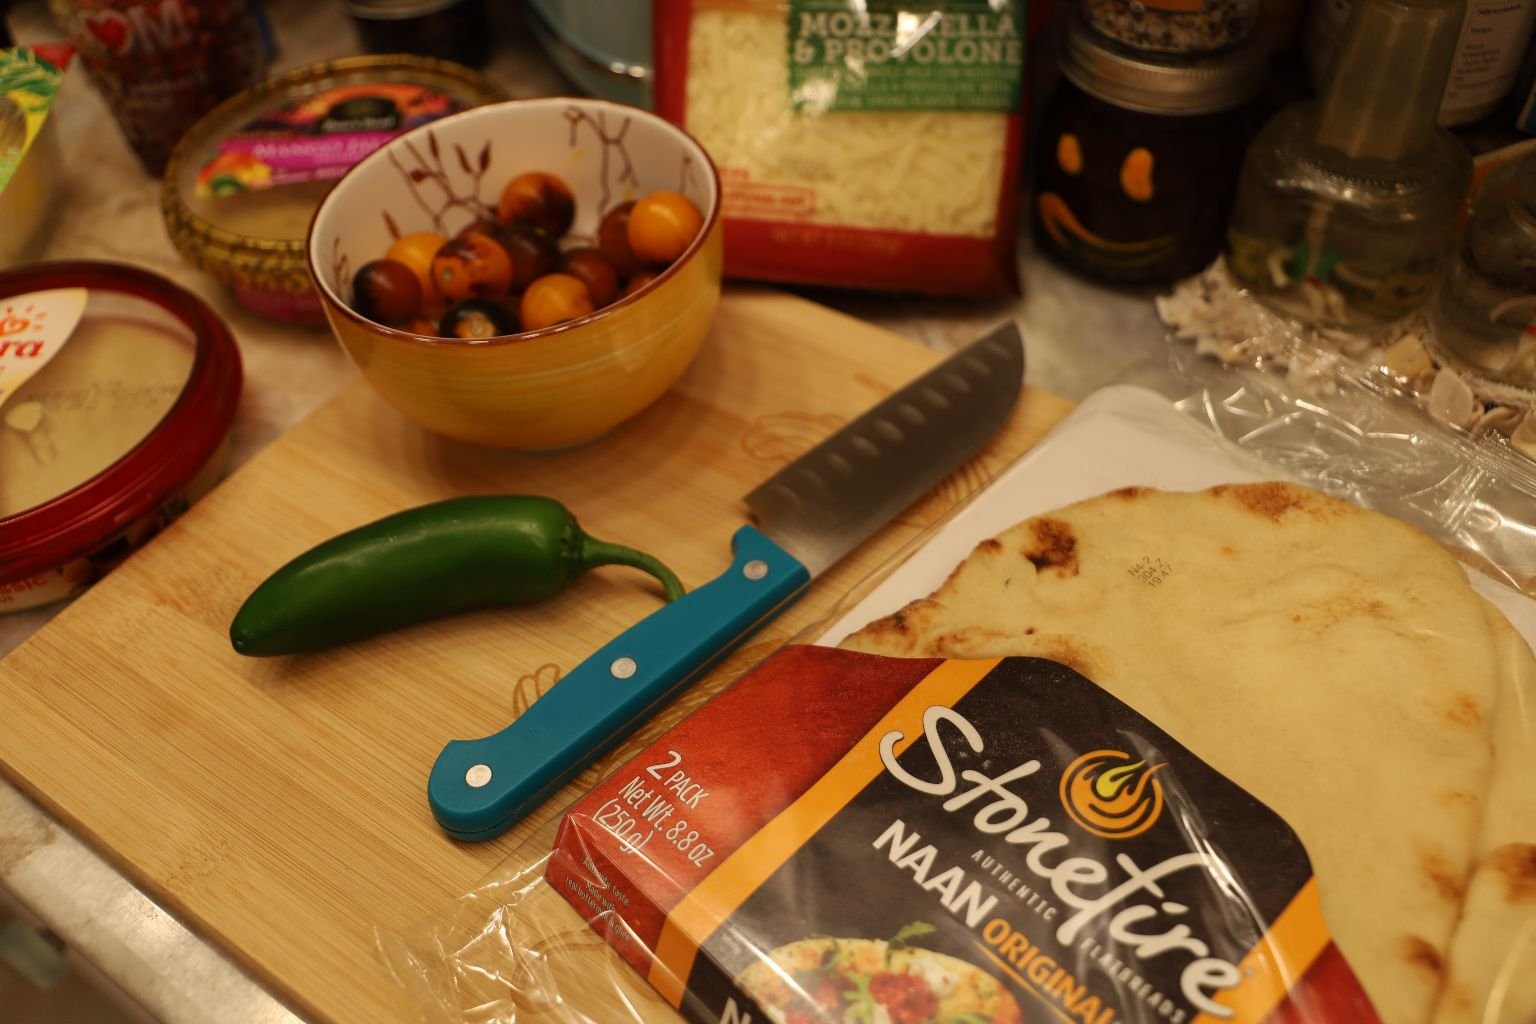
I already had the Naan, the Tomatoes, Pomegranate Seeds, and some canned Dole Pineapple Rings.
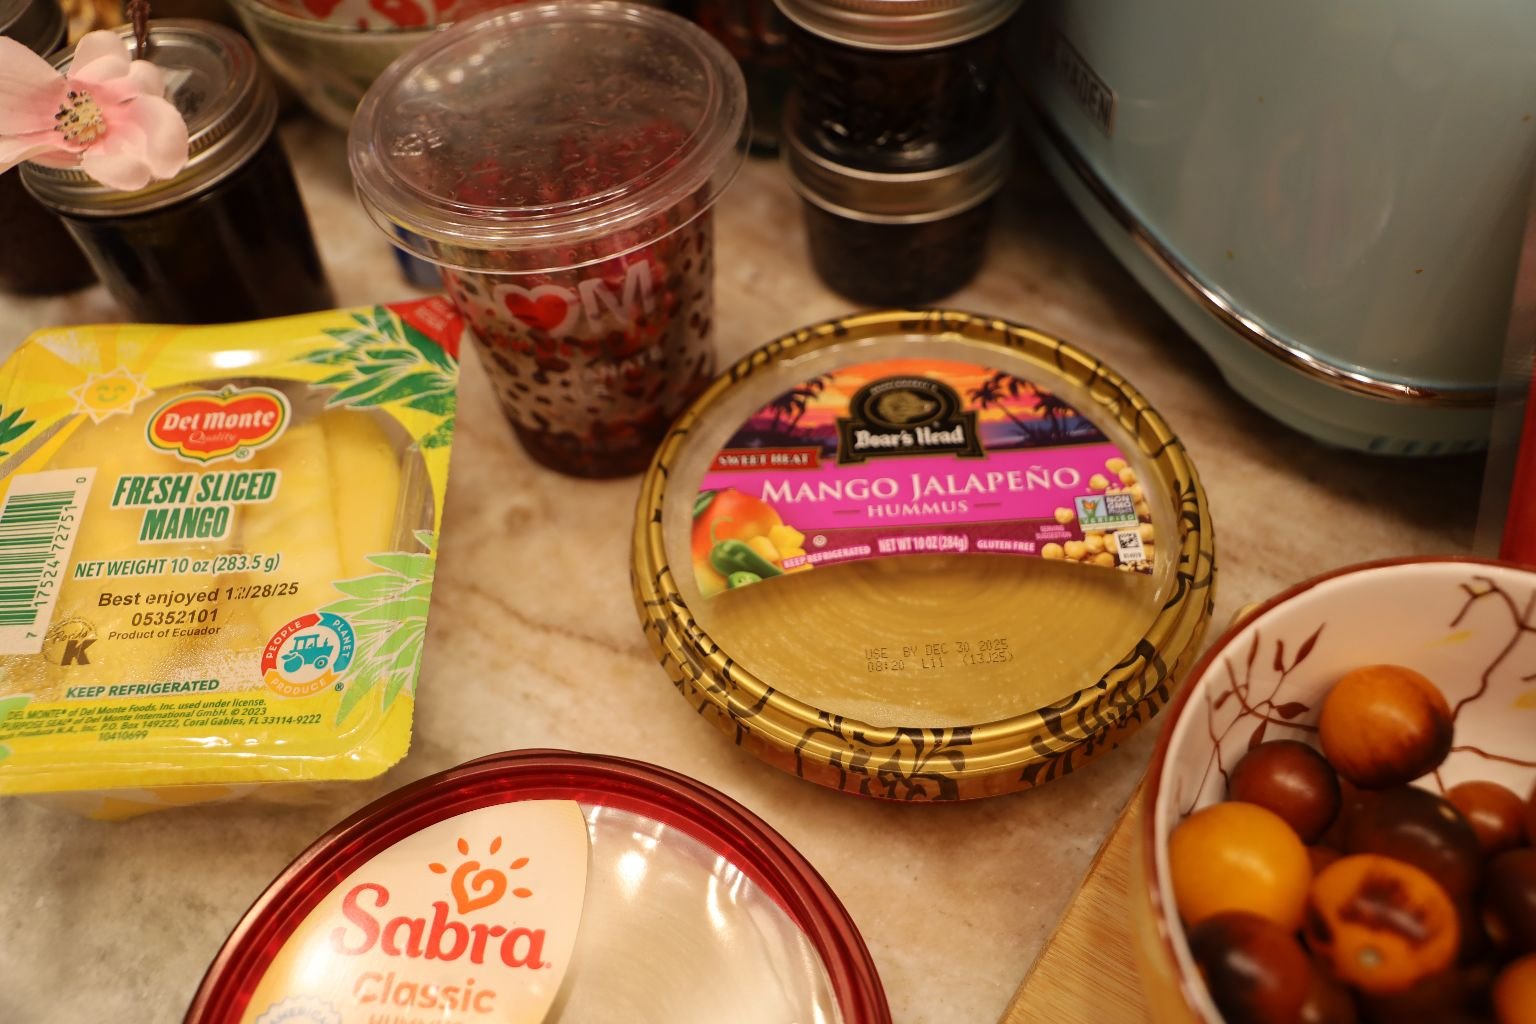
So, I went shopping trying to find some sort of Pineapple Hummus. Well, I couldn’t find any. However, they did have a Mango Jalapeno Hummus.
BOOM KANANI! That’s it!
So, I bought some Fresh Jalapeno’s and Mango as well.
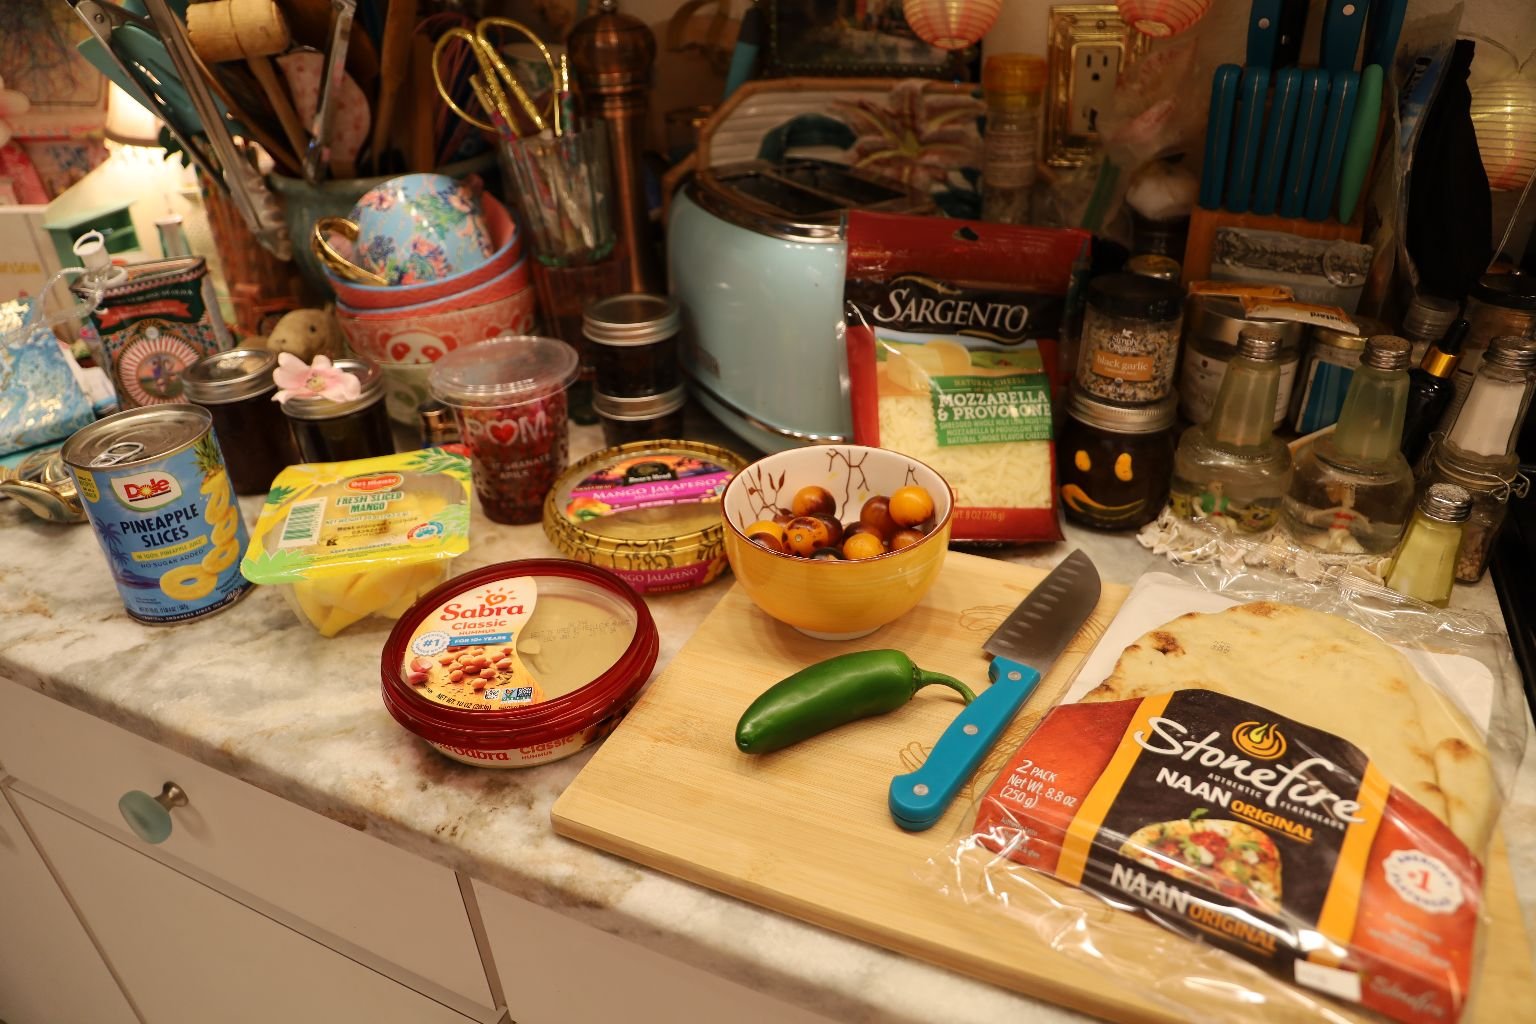
Ingredients:
Naan
Hummus, I used Plain and Mango/Jalapeno
Tiki Tomatoes
Pineapple Rings, Drained of Liquid
Mango Slices
Jalapeno’s Sliced and Deseeded
Mozzarella Cheese
Pomegranate Seeds
AND,
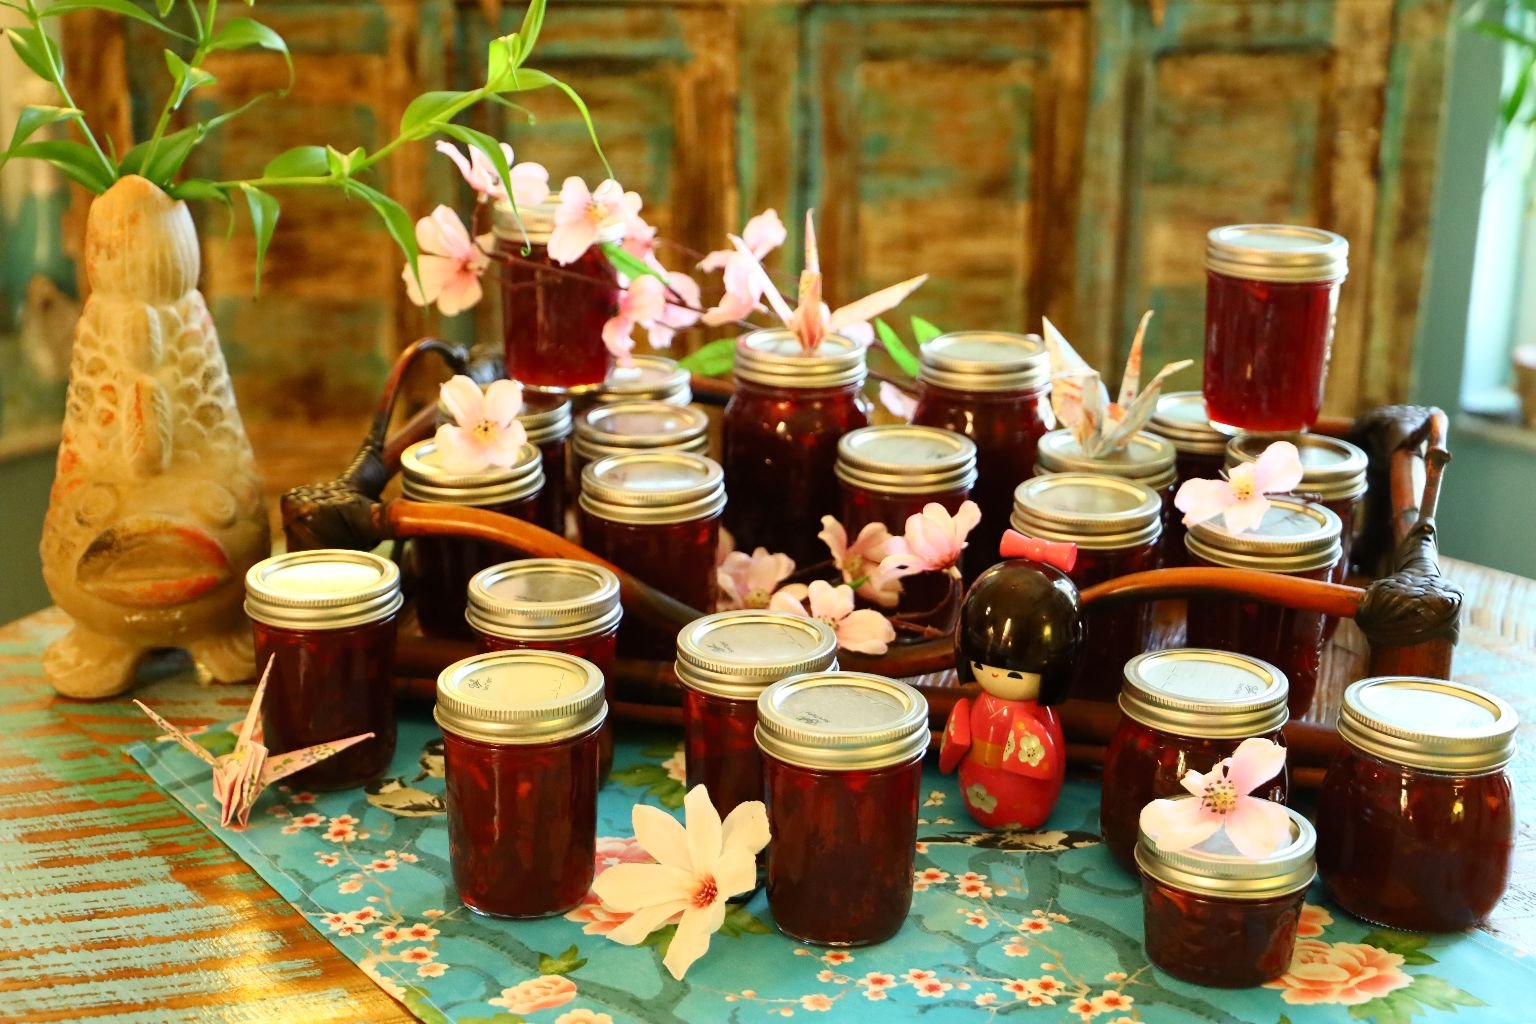
My Oriental Jezebel Sauce (optional)
Fresh Cilantro (optional)
———————————————————————————–
I wanted to use the Plain Hummus with the Pineapple Naan
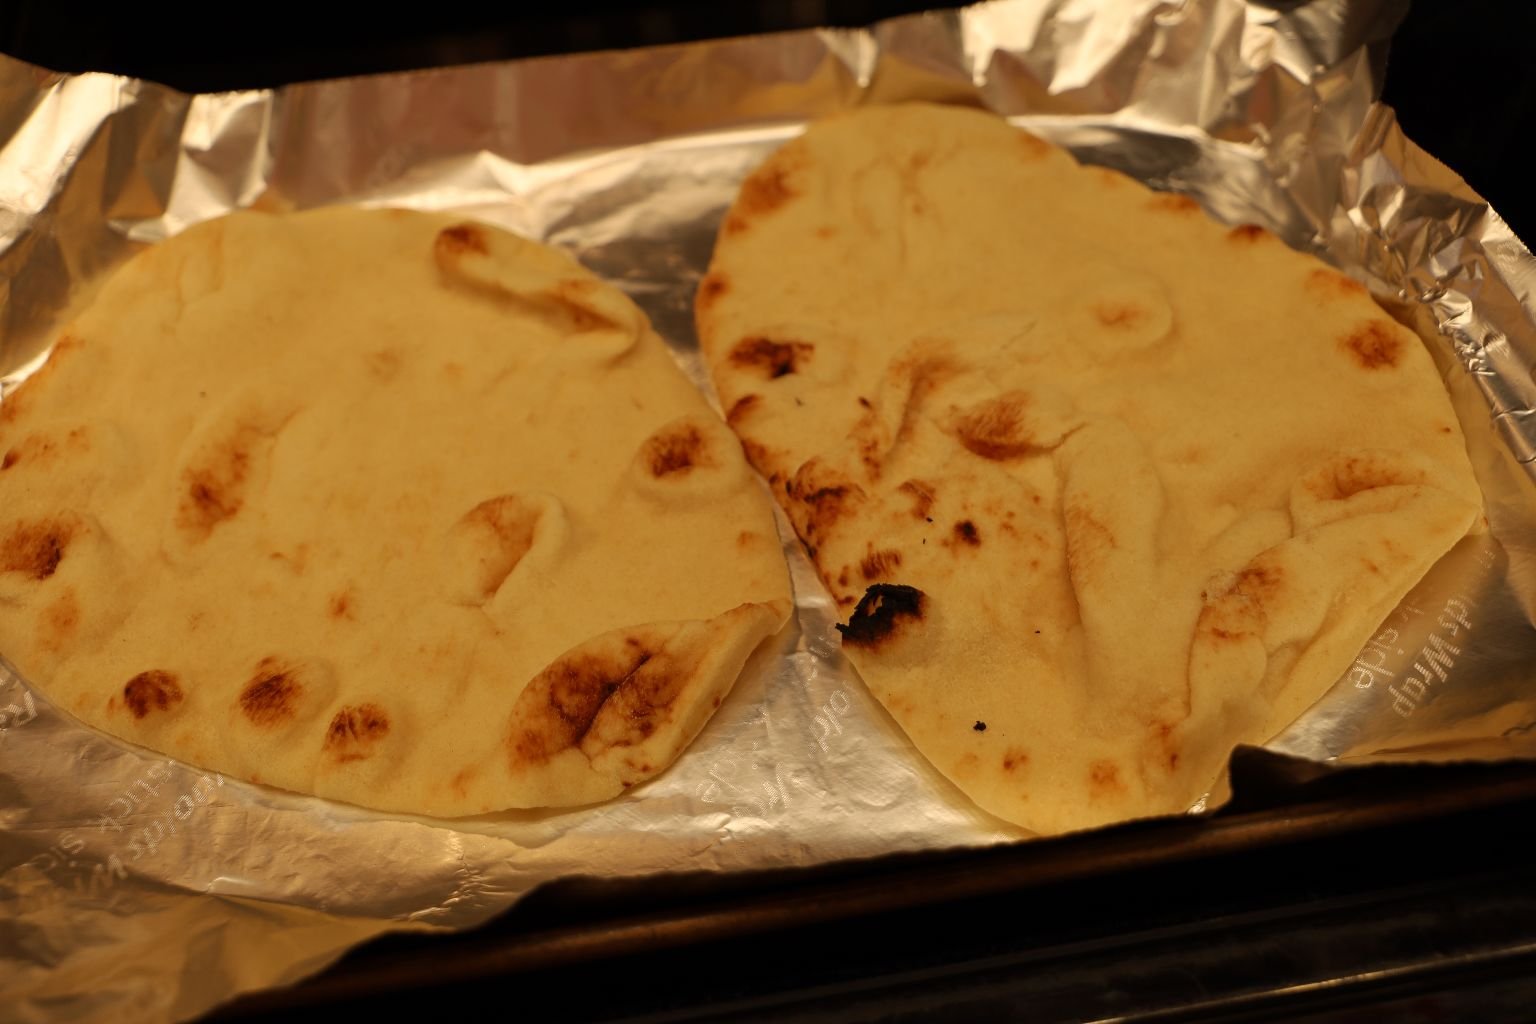
I did Place My Naans Into a 350F Oven for About 5 Minutes
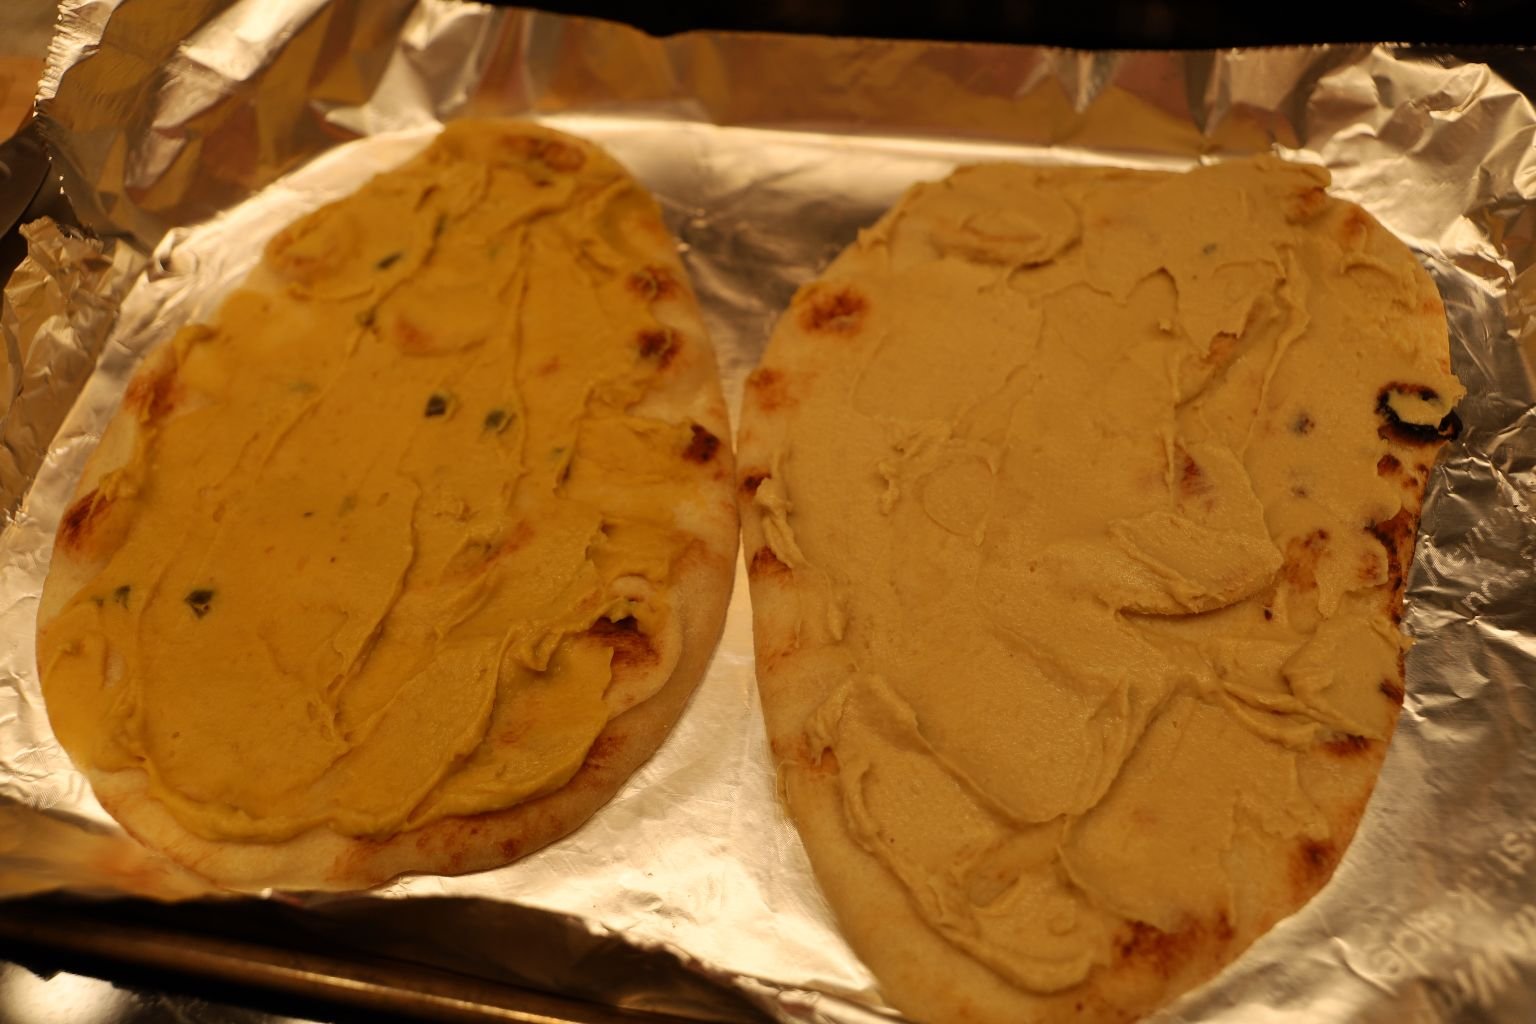
I Then Removed The Naan, and Spread The Hummus onto Each One
Plain Hummus for the Pineapple, and Mango/Jalapeno Hummus for the Mango Naan
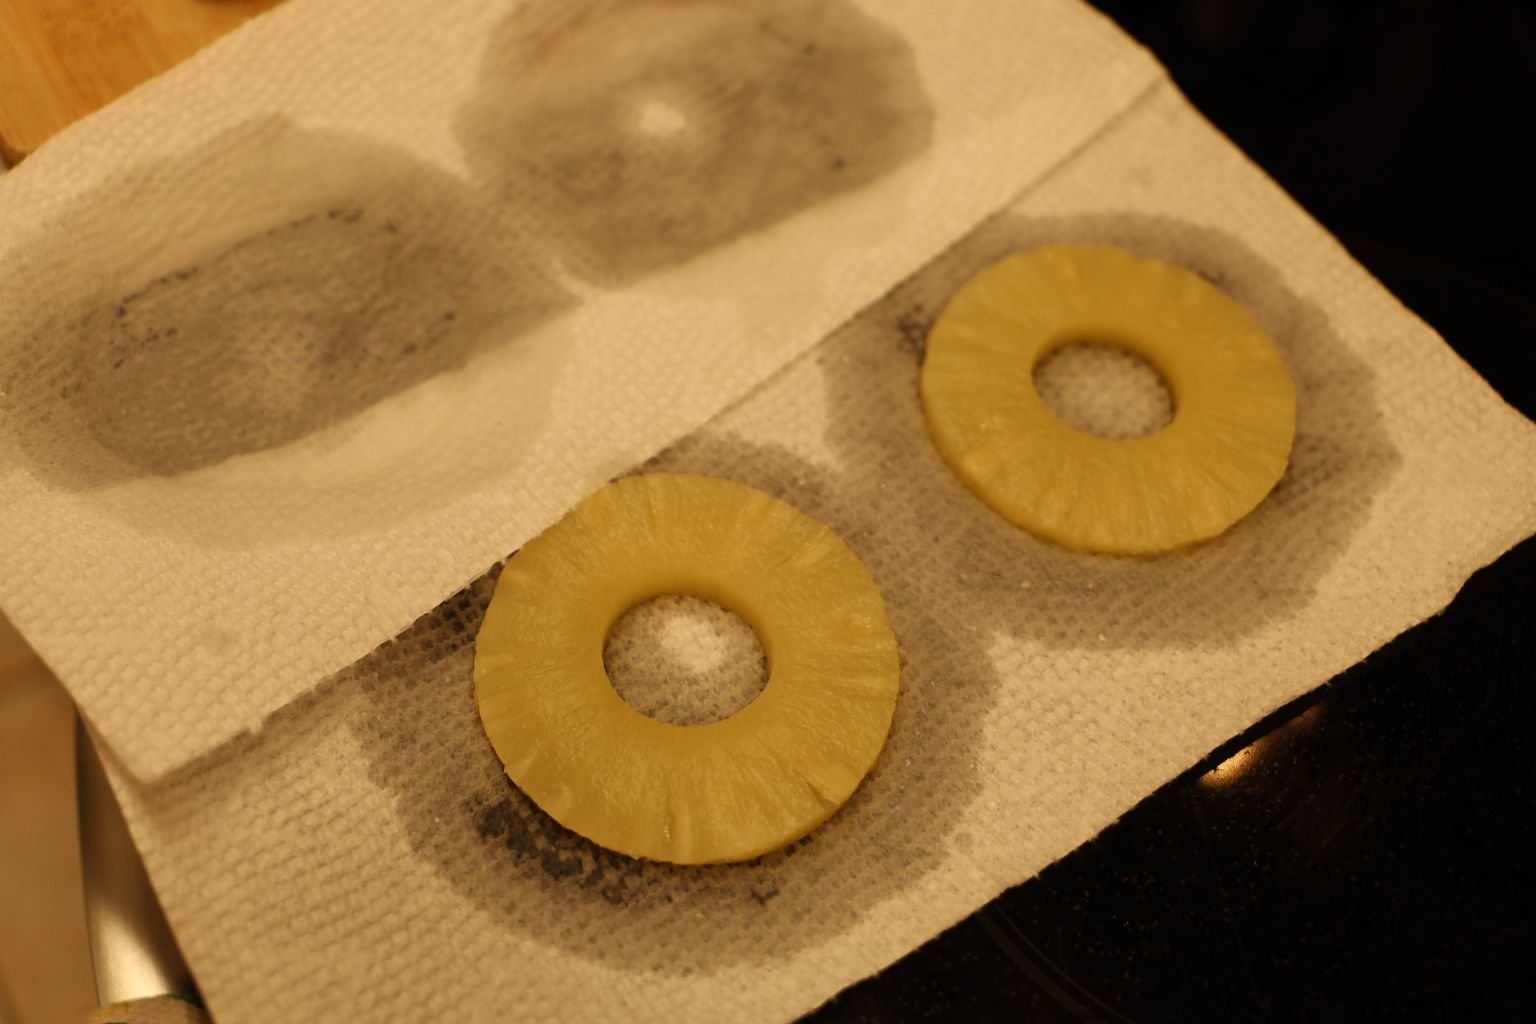
Because Pineapple holds so much water, and you don’t want all that water on top of your pizza, I pressed down on the Pineapple Rings with some paper towels to get rid of some of the liquid. It worked, and the pizza tasted better because it wasn’t all soggy on top.
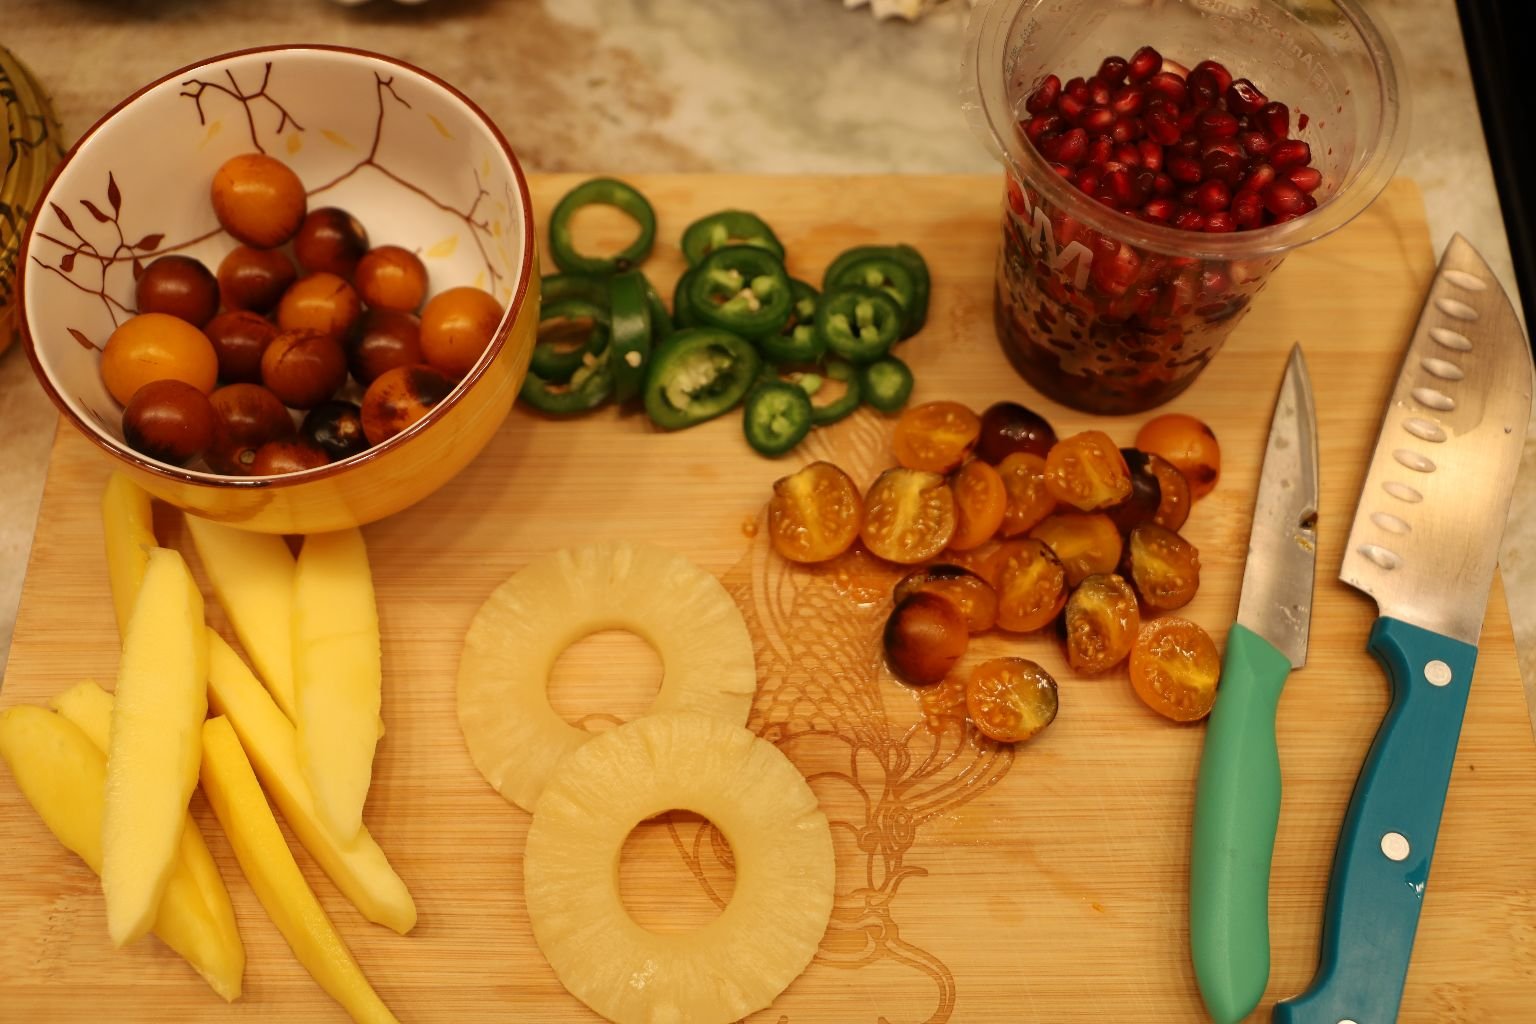
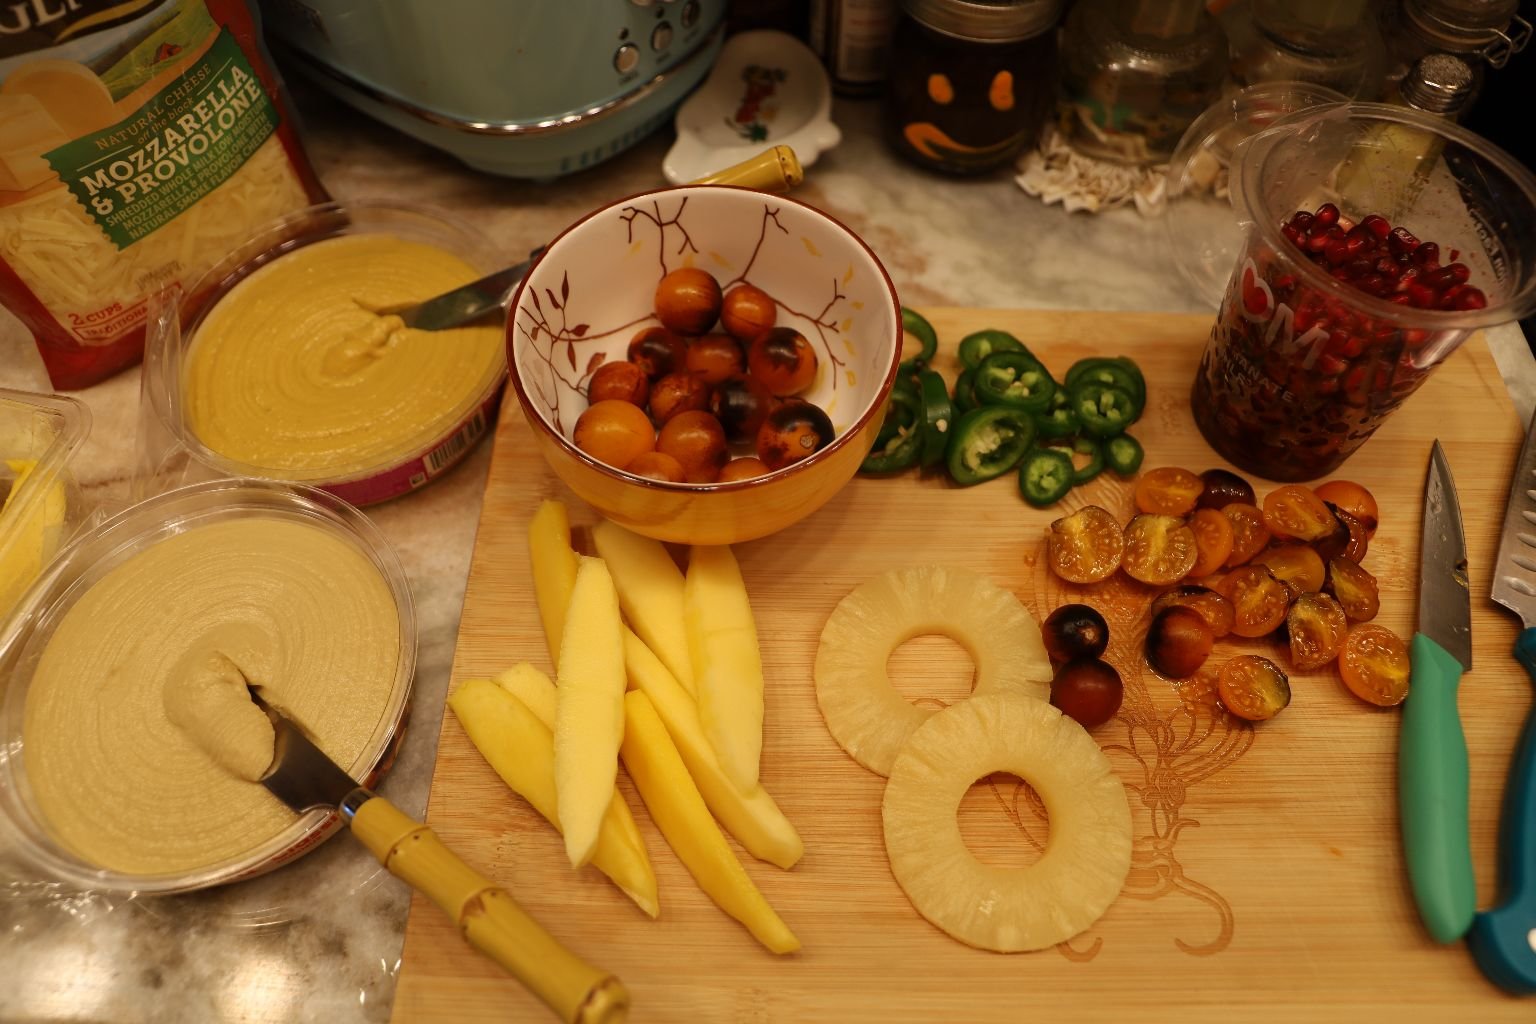
The Best Ingredients 🙂


Once I had placed all of the ingredients onto each Naan, I then drizzled some of my Oriental Jezebel Sauce over top and it was perfect!
They tasted wonderful!
When they came out of the oven I added the Pomegranate Seeds and some Fresh Cilantro.
———————————————————————————-
If You Would Like The Recipe For My Oriental Jezebel, Click On The Link Below:
—————————————————————————————

Aloha,
Julie Barefoot
(Aloha means, hello, goodbye, and I love you.)

I Created A New Website: Click Here For: VintageJulieBarefootArchives I gave my Web Designers in India instructions on what I wanted, and they did the most remarkable job of bringing my vision to life. I could not be happier with it! My …
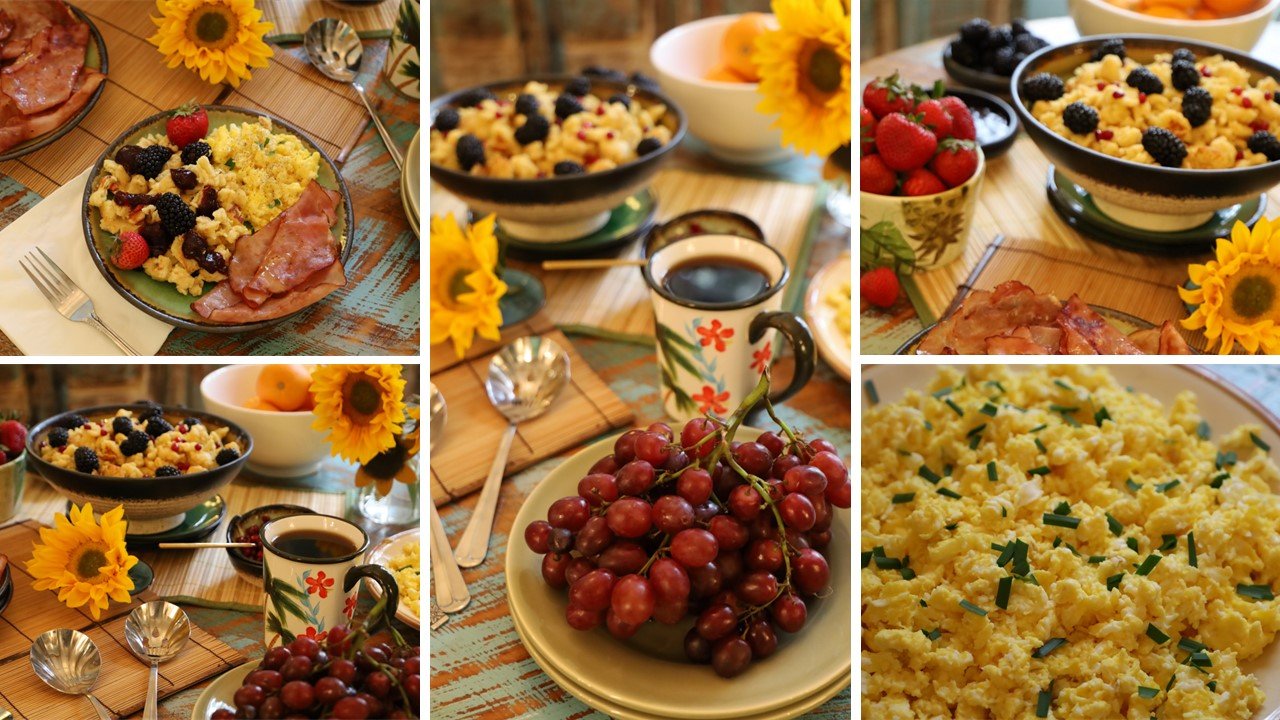
What a Sunny Morning!
Florida is the Sunshine State


There is just something about the bight happy yellow of Sunflowers that just makes you smile.
Florida may have it’s HOT Summer’s, but the bright Sunshine and Blue Skies makes it worth it for those of us that live here.

I have always been a morning person, and I hope that I always will be.
I think It’s those people that greet us with those big “Good Mornings,” that tend to put us in a good mood for the day. I would like to think that I am one of those people.
Having said that, I hope to fill this page with some very Sunny Morning Breakfasts to get us going. Whether our day is heading out into the world, or staying at home. I want us all to be sunny and happy. Sometimes staying at home working is just as hard as getting out into the world.
Have A Great Day!
Julie (And Gordon) 🙂
————————————————————————————————–
Julie’s Sunny Morning Scrambled Pancakes with Blackberries, Fried Tavern Ham, Strawberry’s, Scrambled Eggs with Chives,
and Grapes to Snack on.
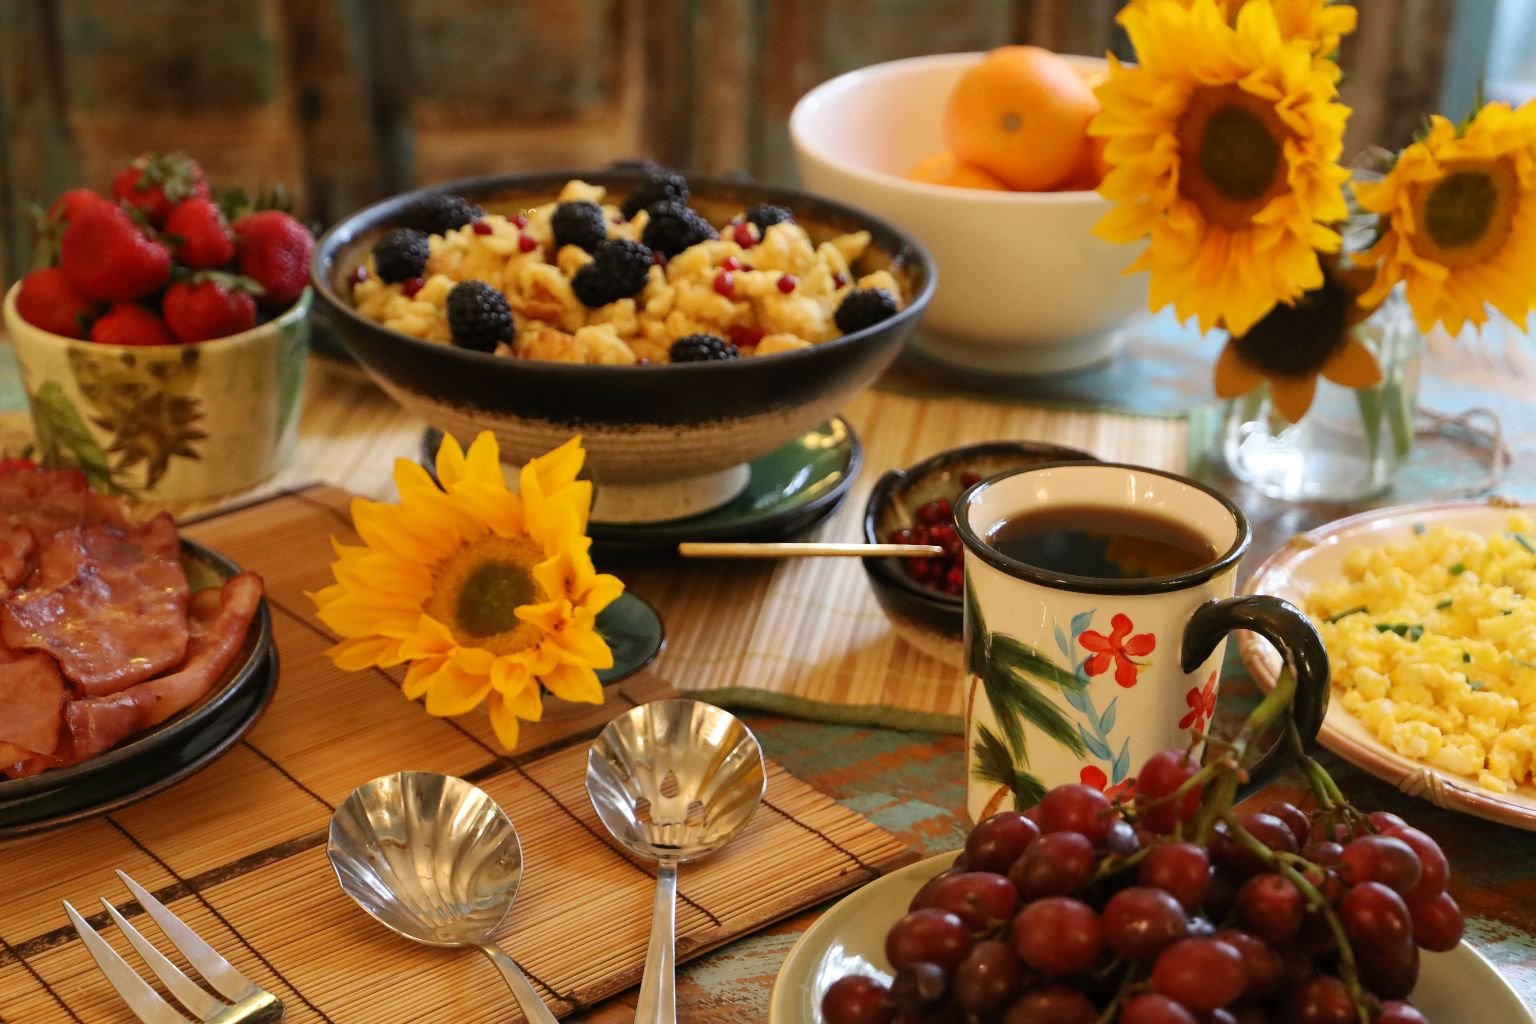
Don’t Forget The Coffee, A MUST!
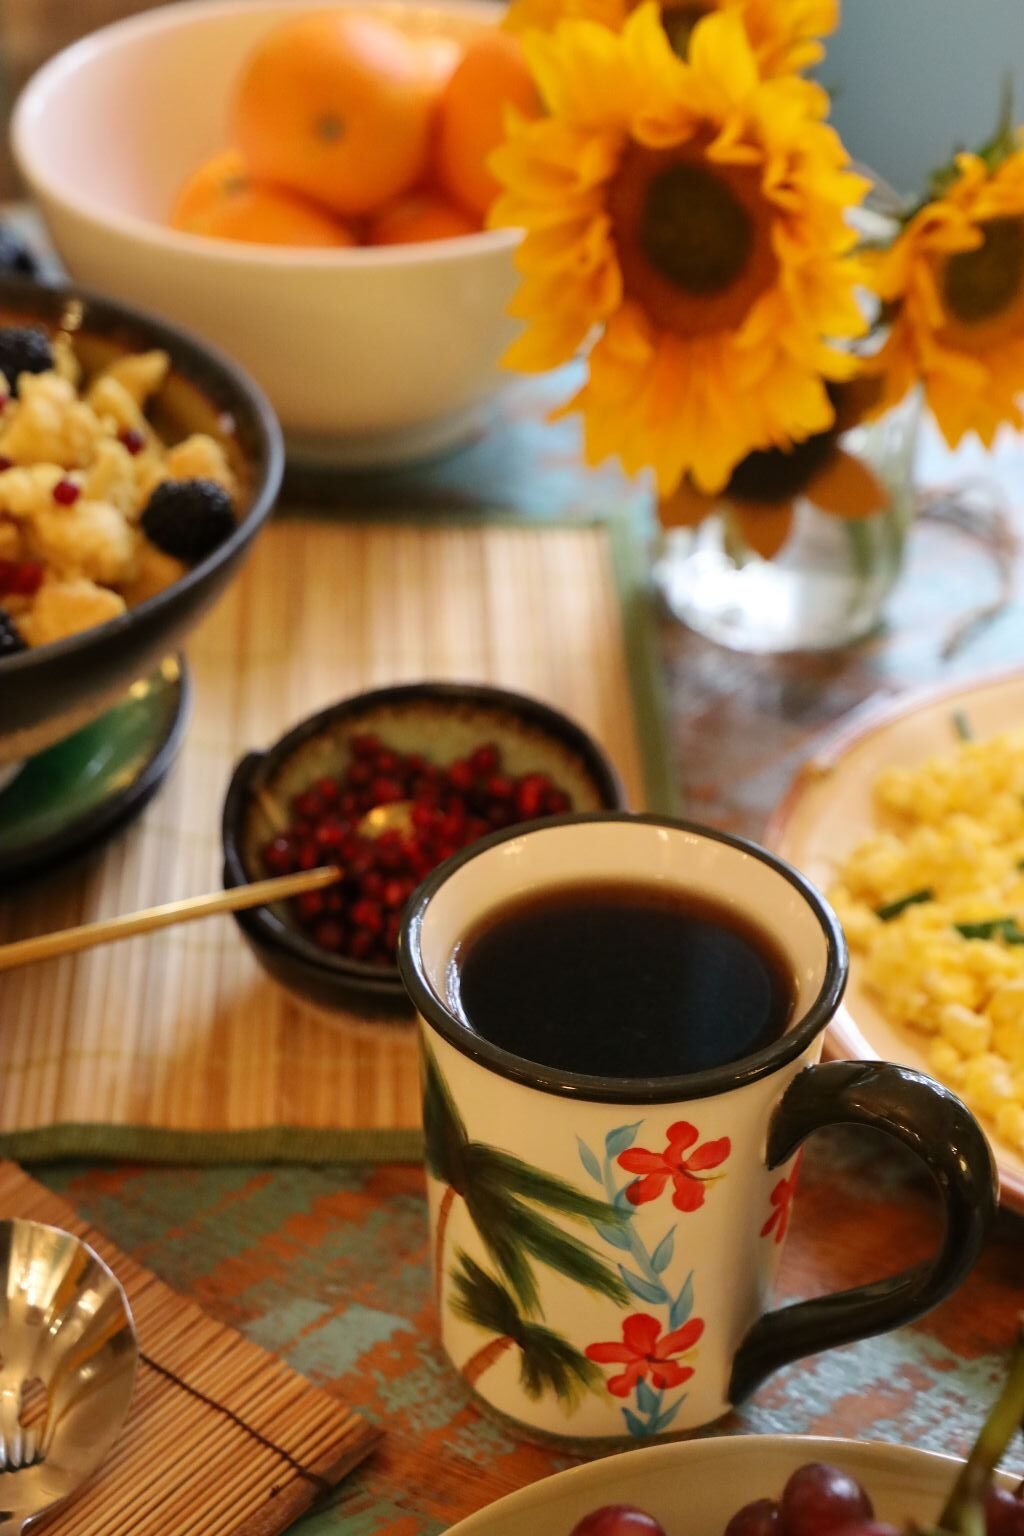
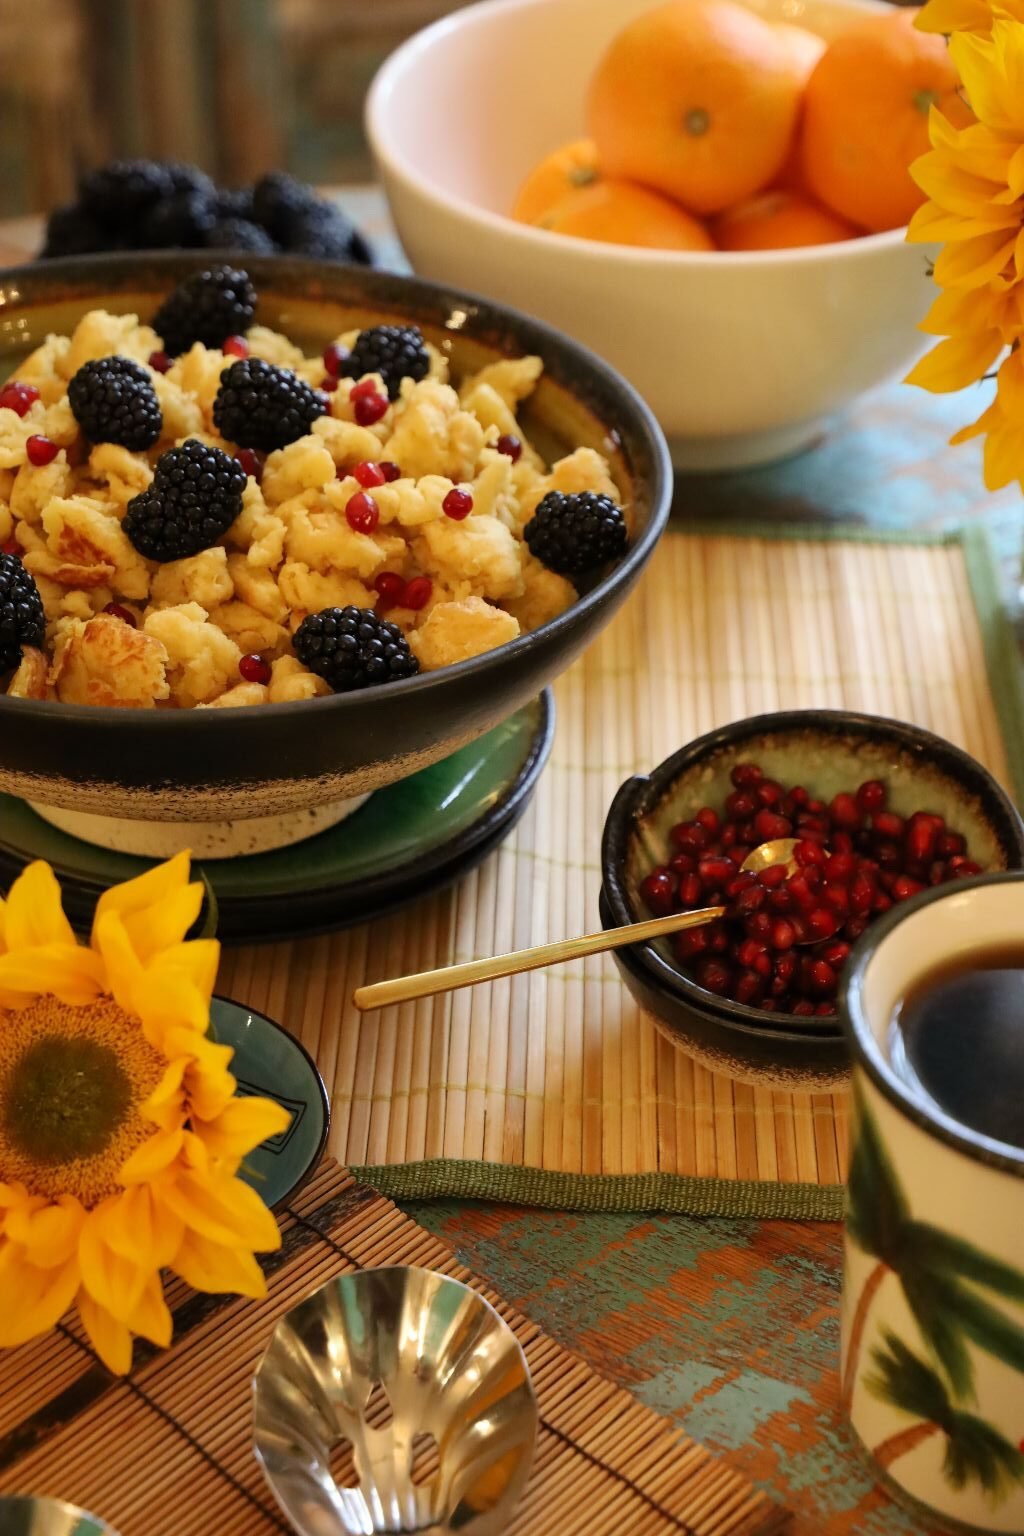
Pomegranate Seeds To Garnish
(Perhaps Some Oranges As Well)
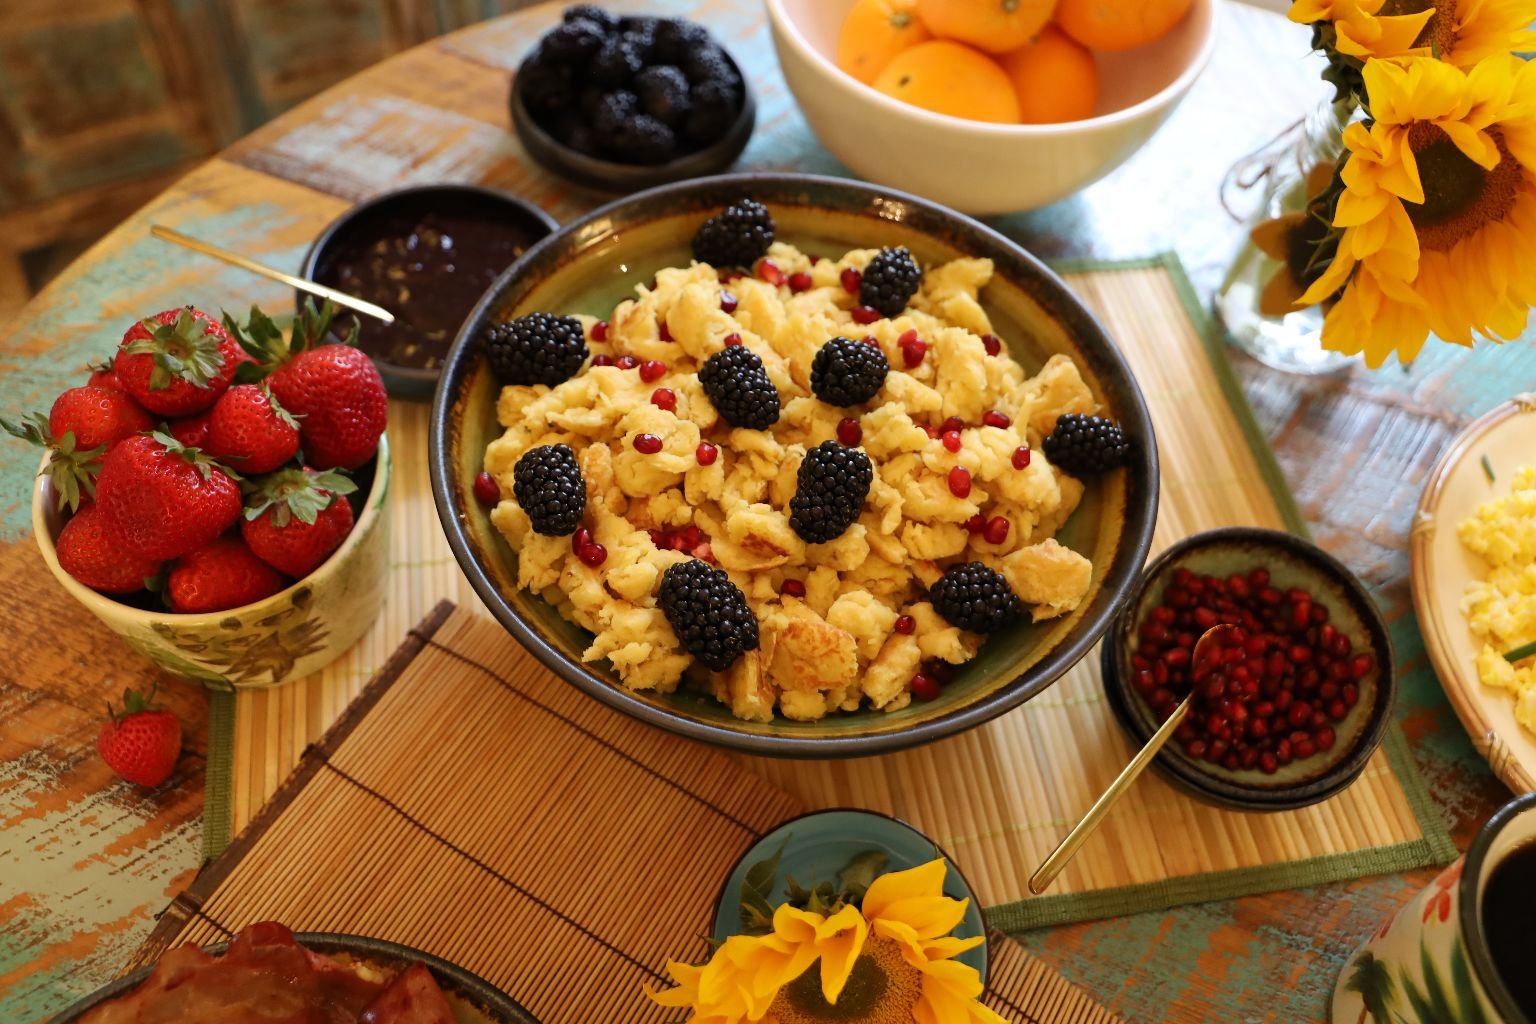
Scrambled Pancakes and Lots of Fruit
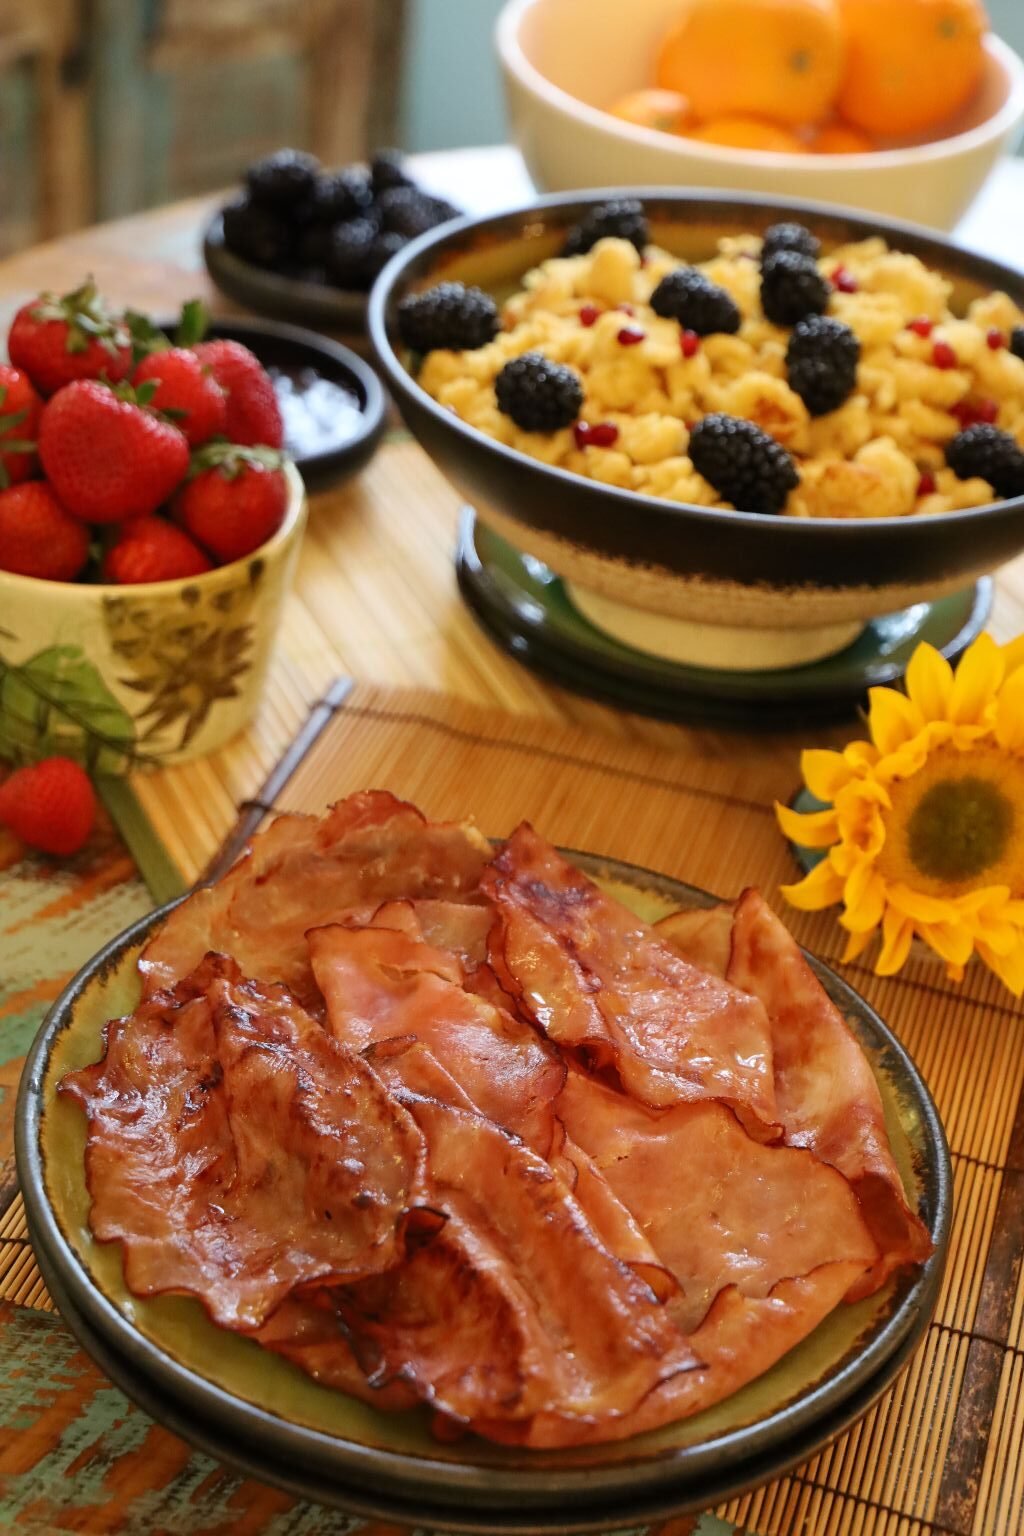
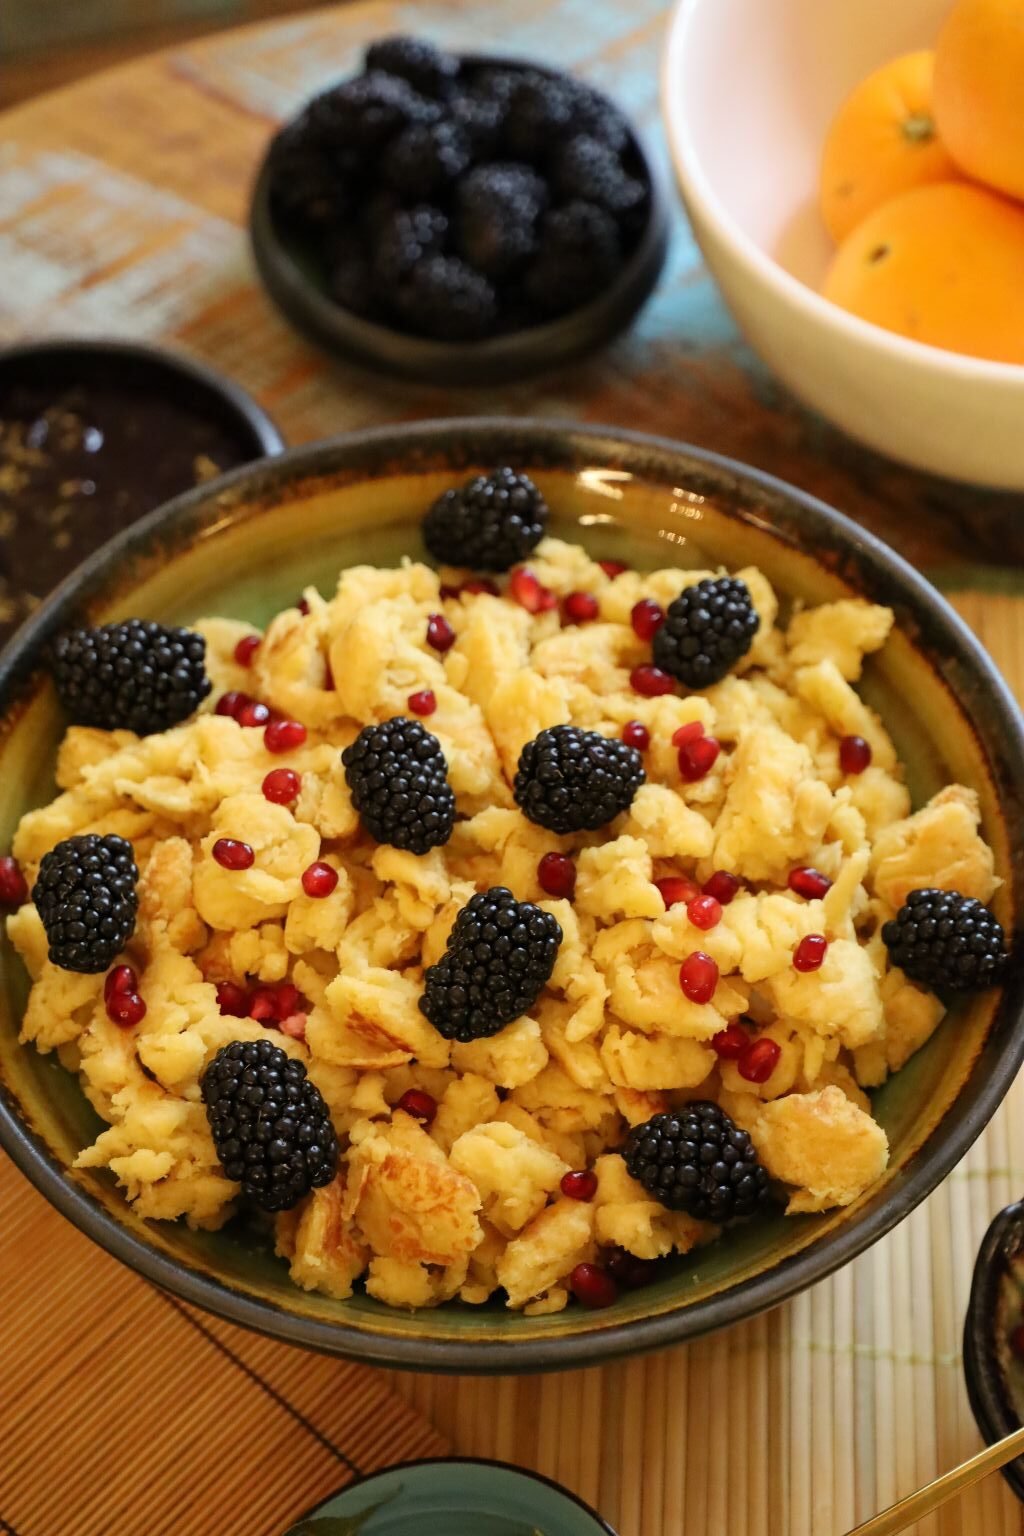
The Fried Tavern Ham Was An Excellent Addition To This Breakfast
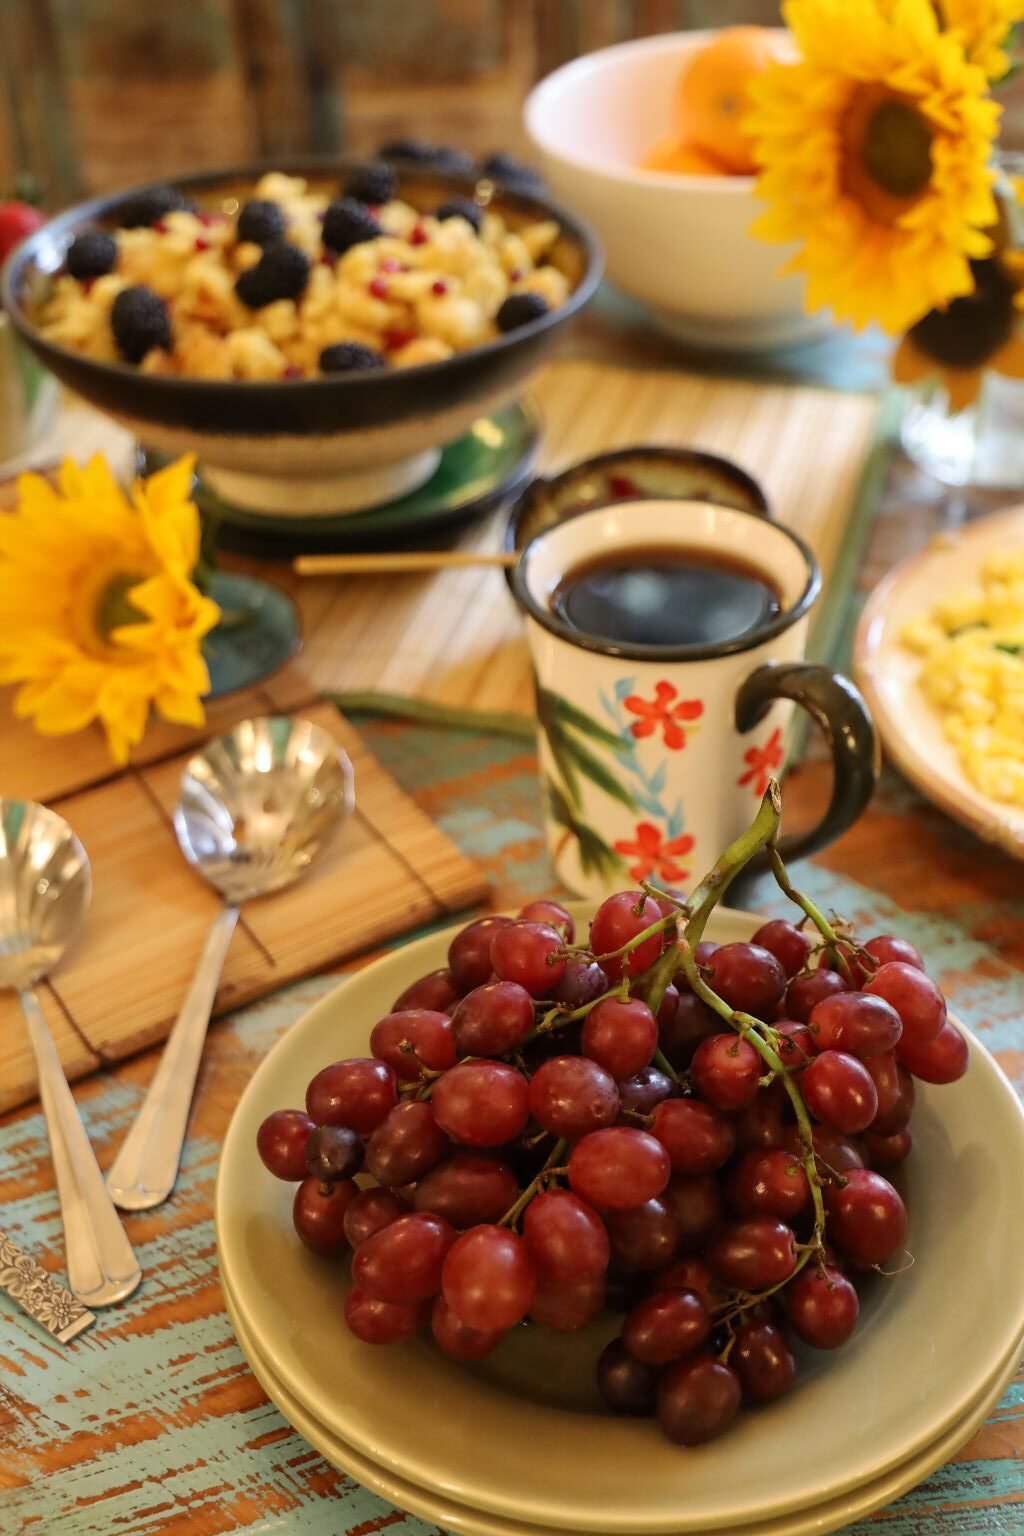
So, Fix A Breakfast Plate And Let’s Get Our Morning Started
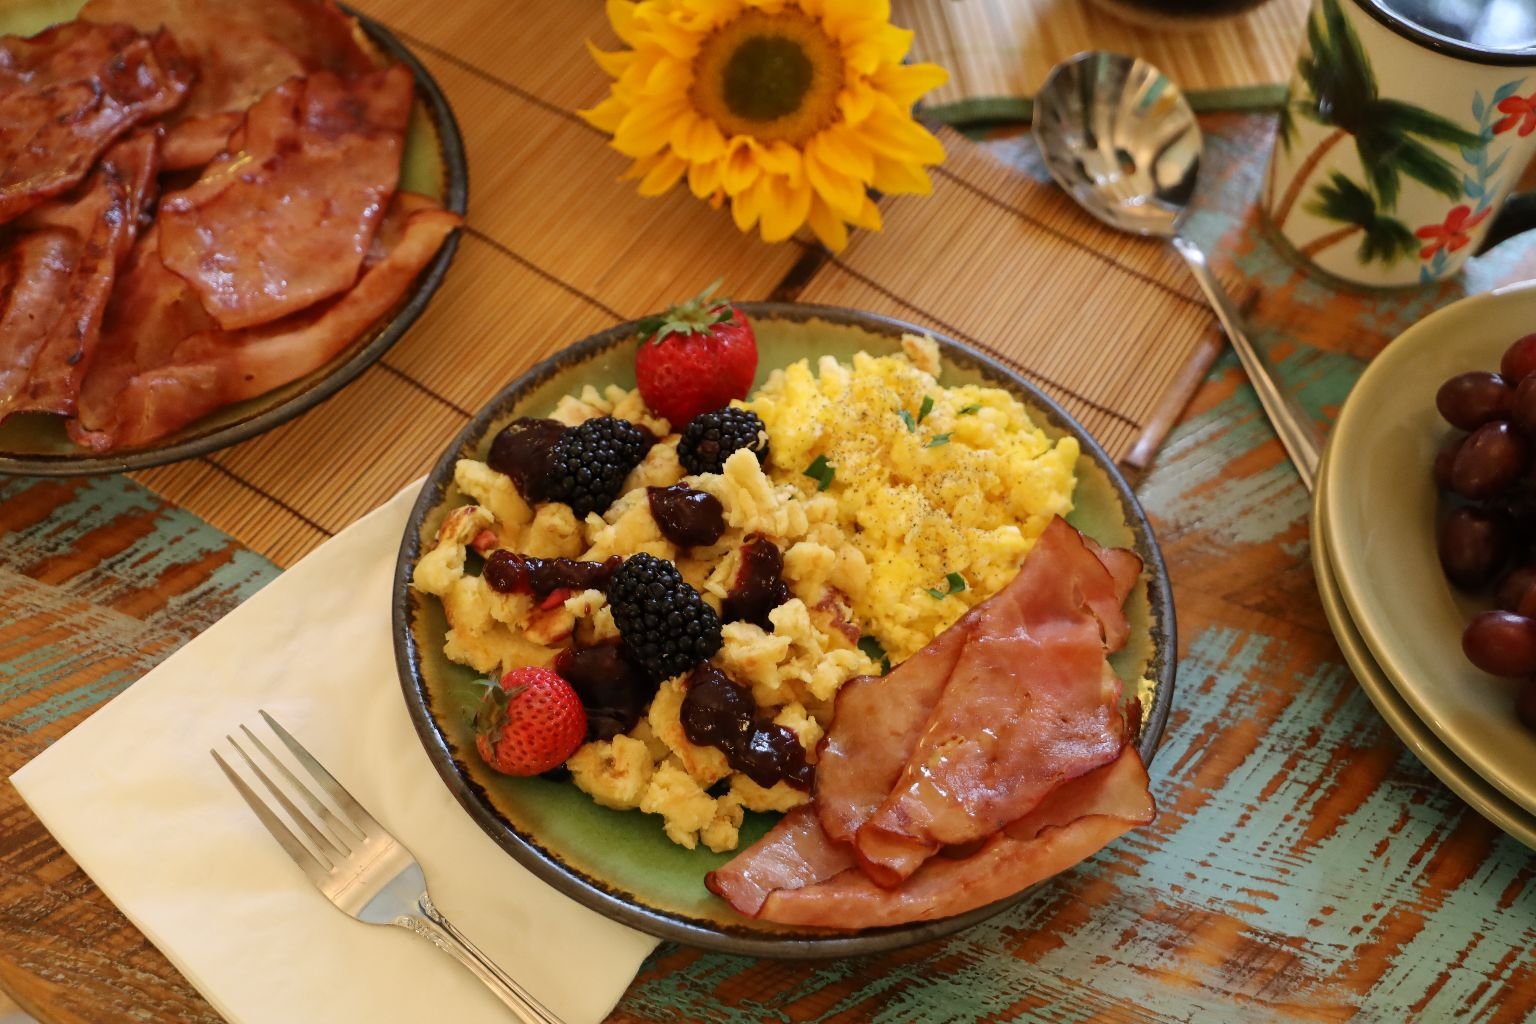
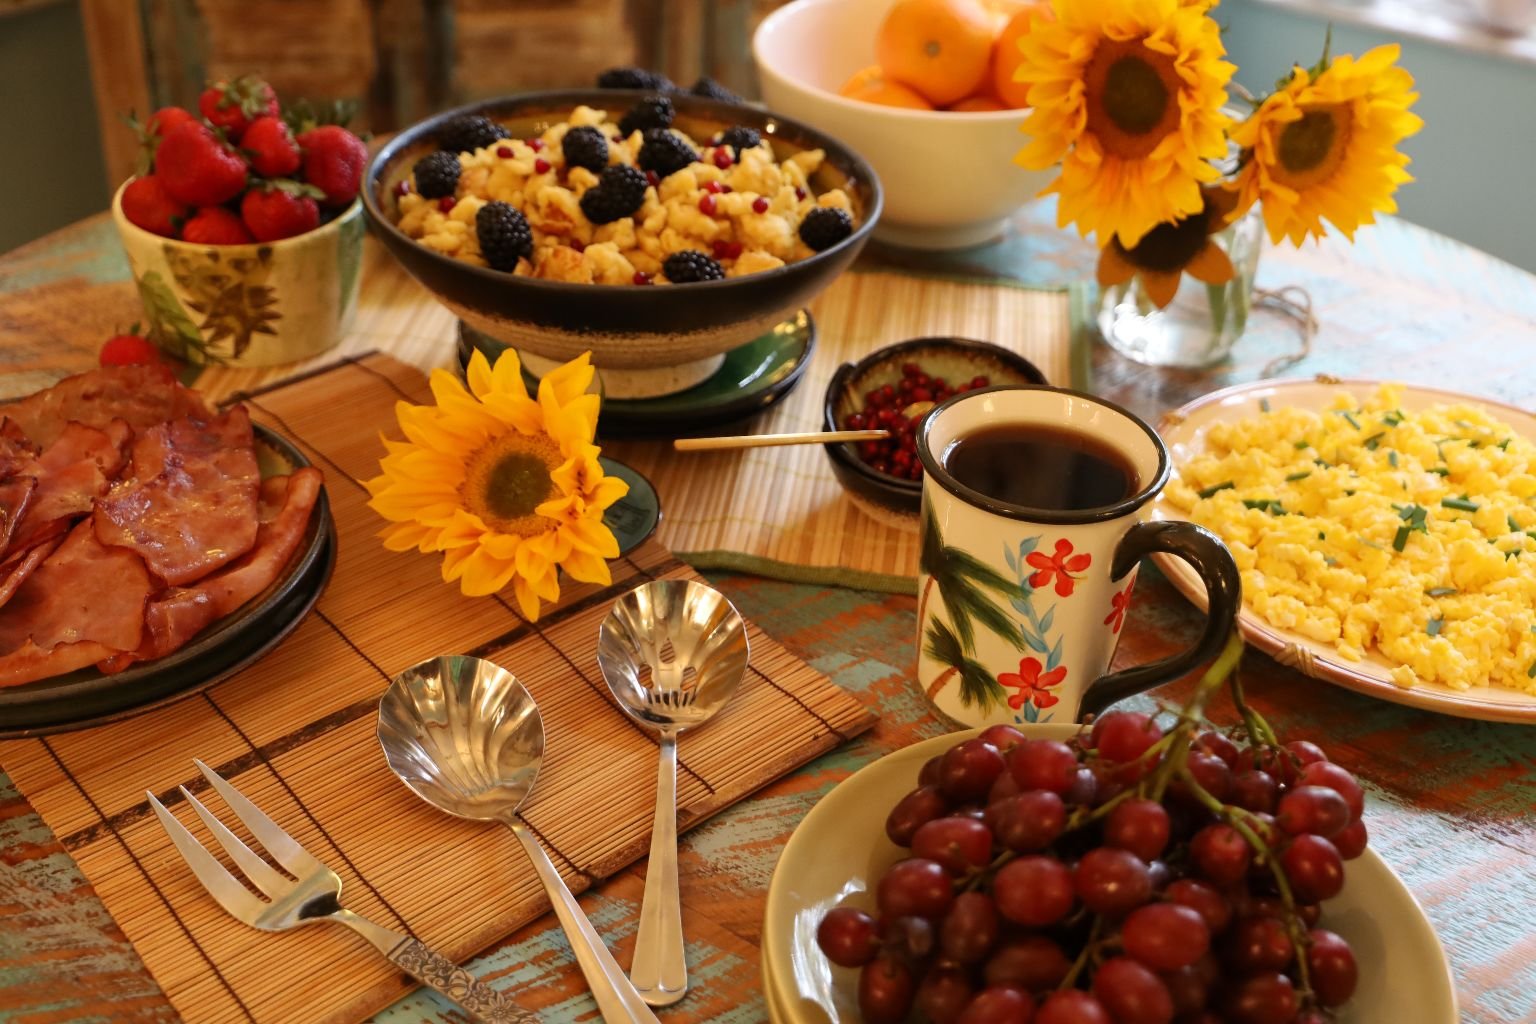
When You Are Headed Out The Door Don’t Forget Your SMILE!
———————————————————————————-
Recipes Start Here
————————————————————————-
My Sunny Delicious Breakfast Plate
————————————————————————————
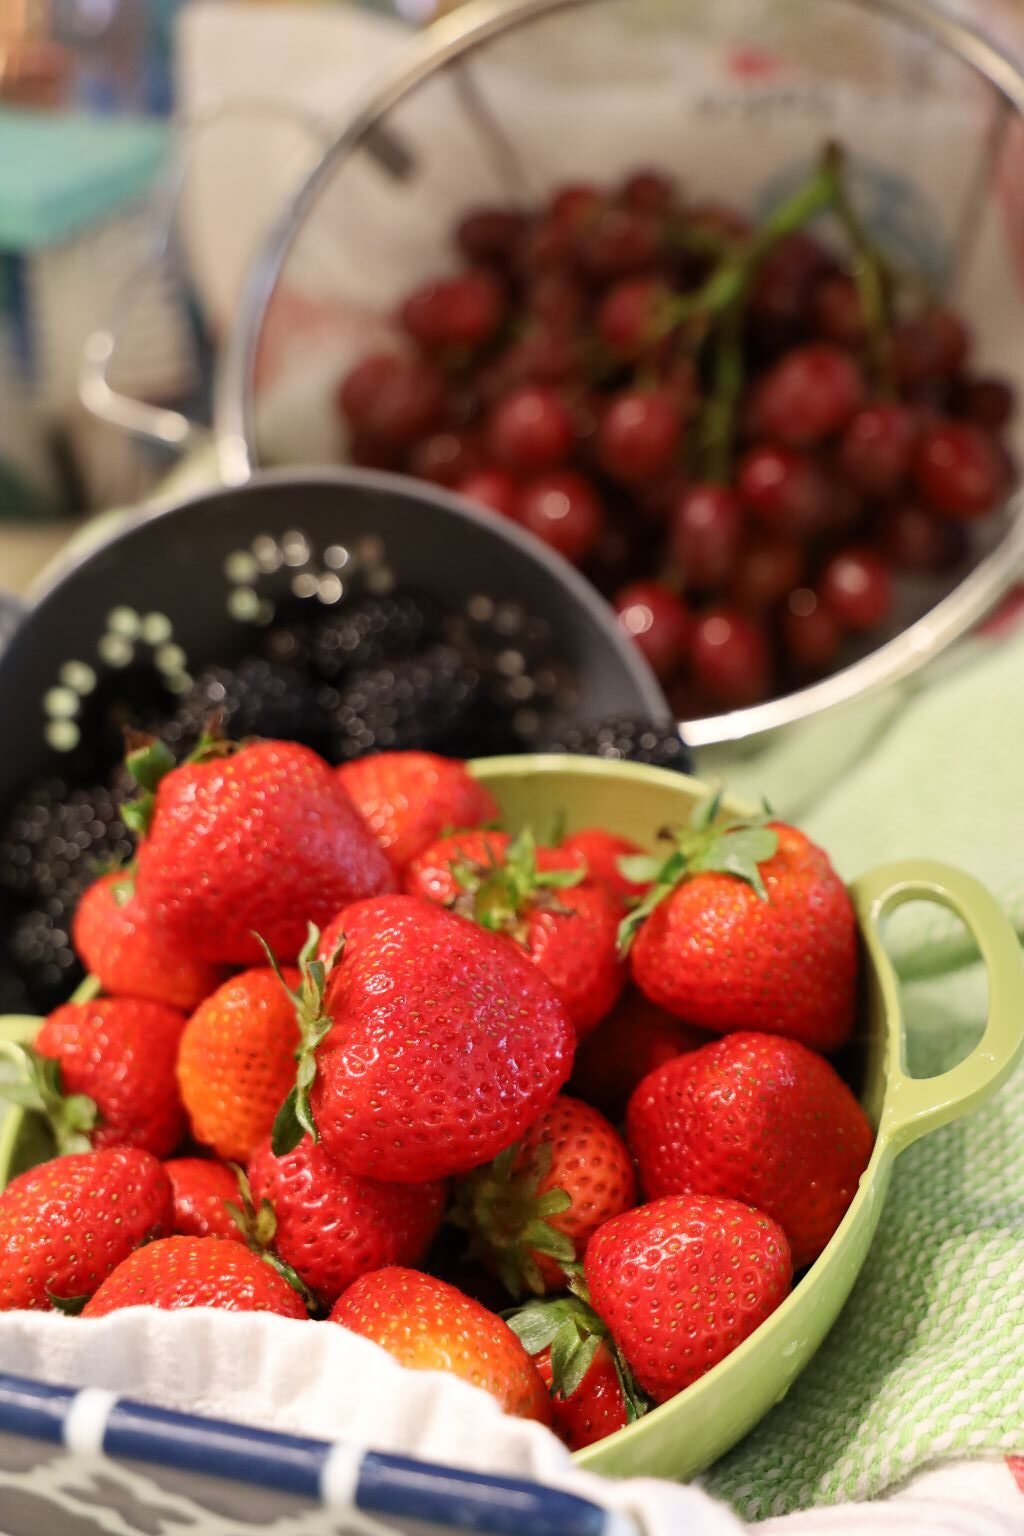
Washing My Fruit
—————————————————————————————-
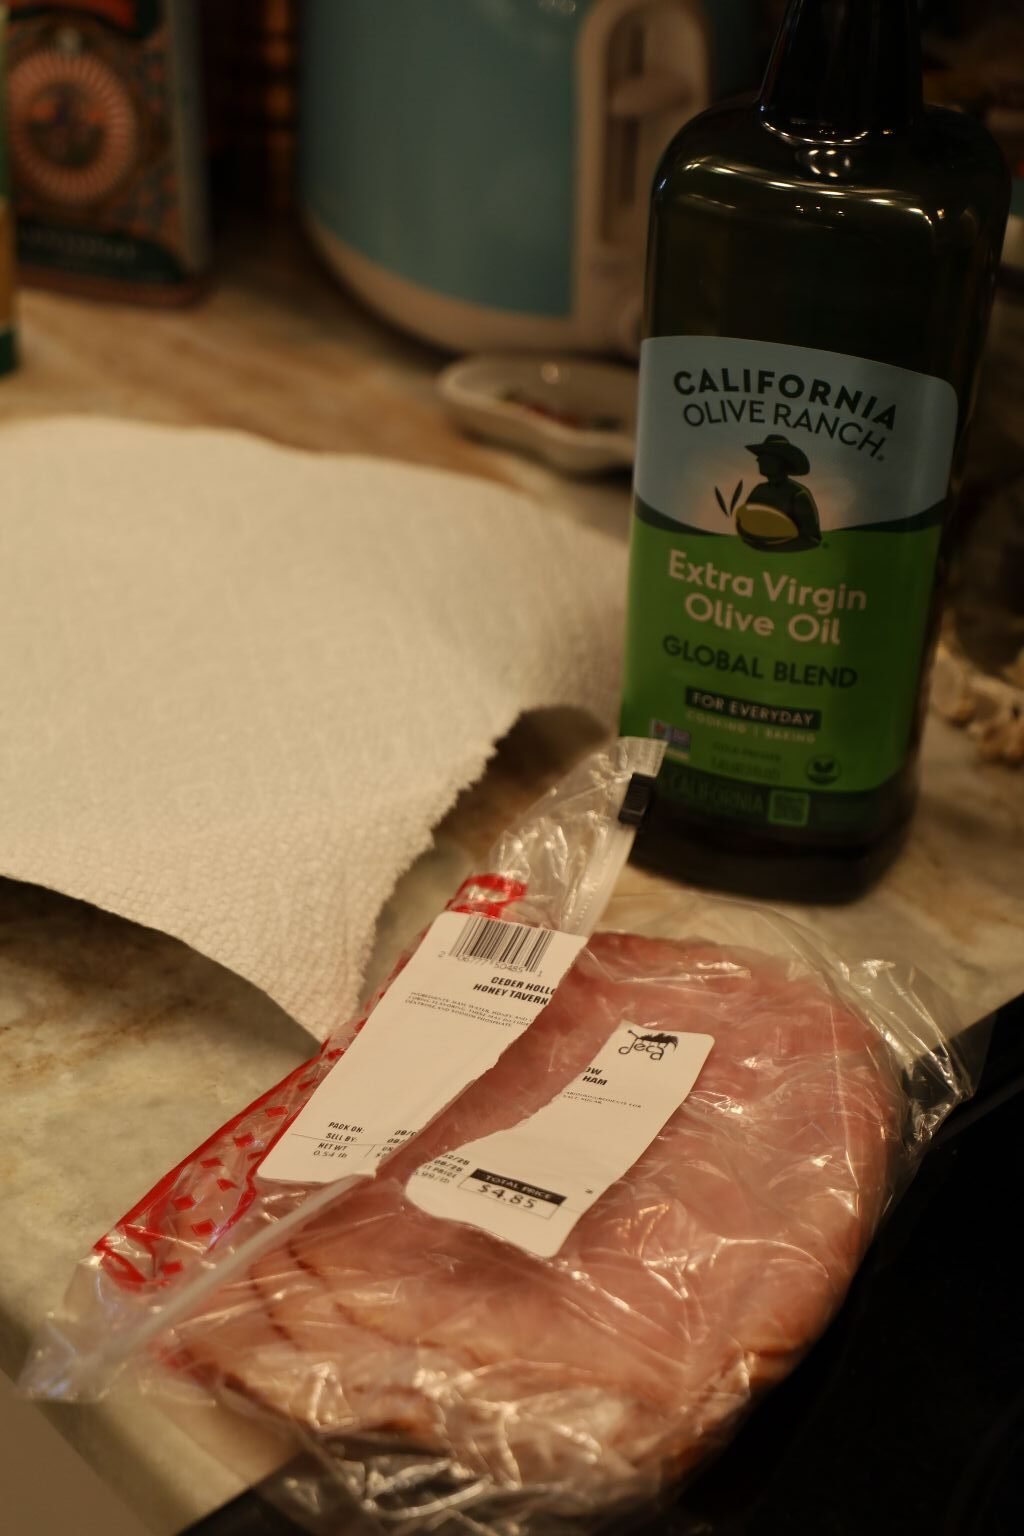
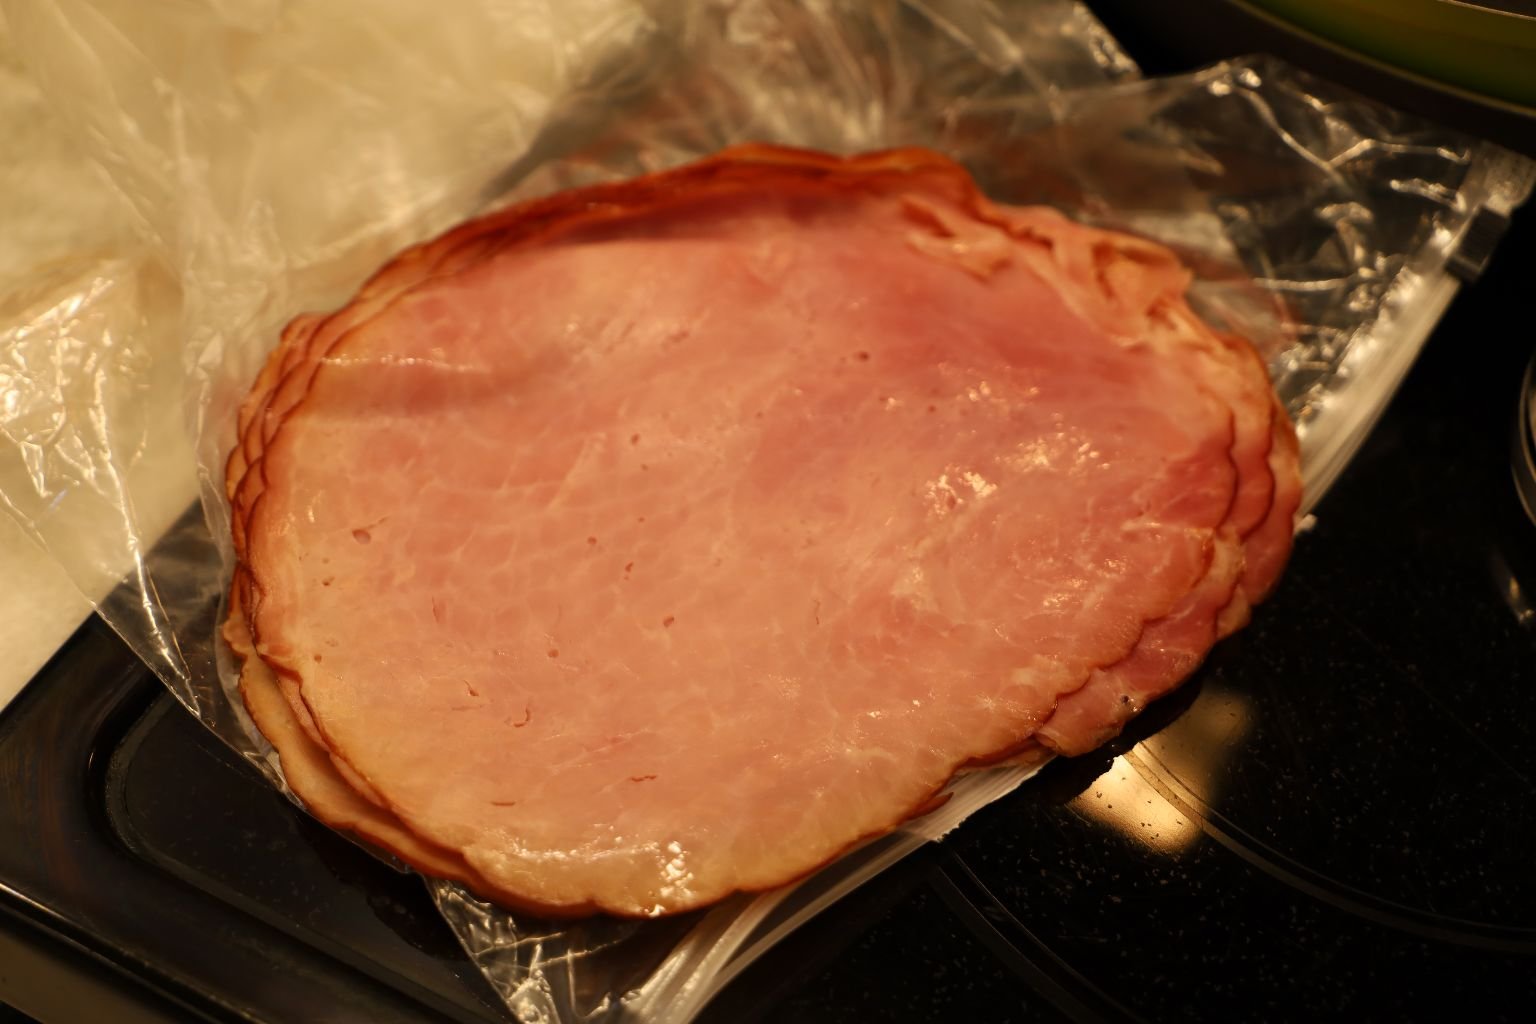
I Bought Some Tavern Ham To Fry In Some Olive Oil
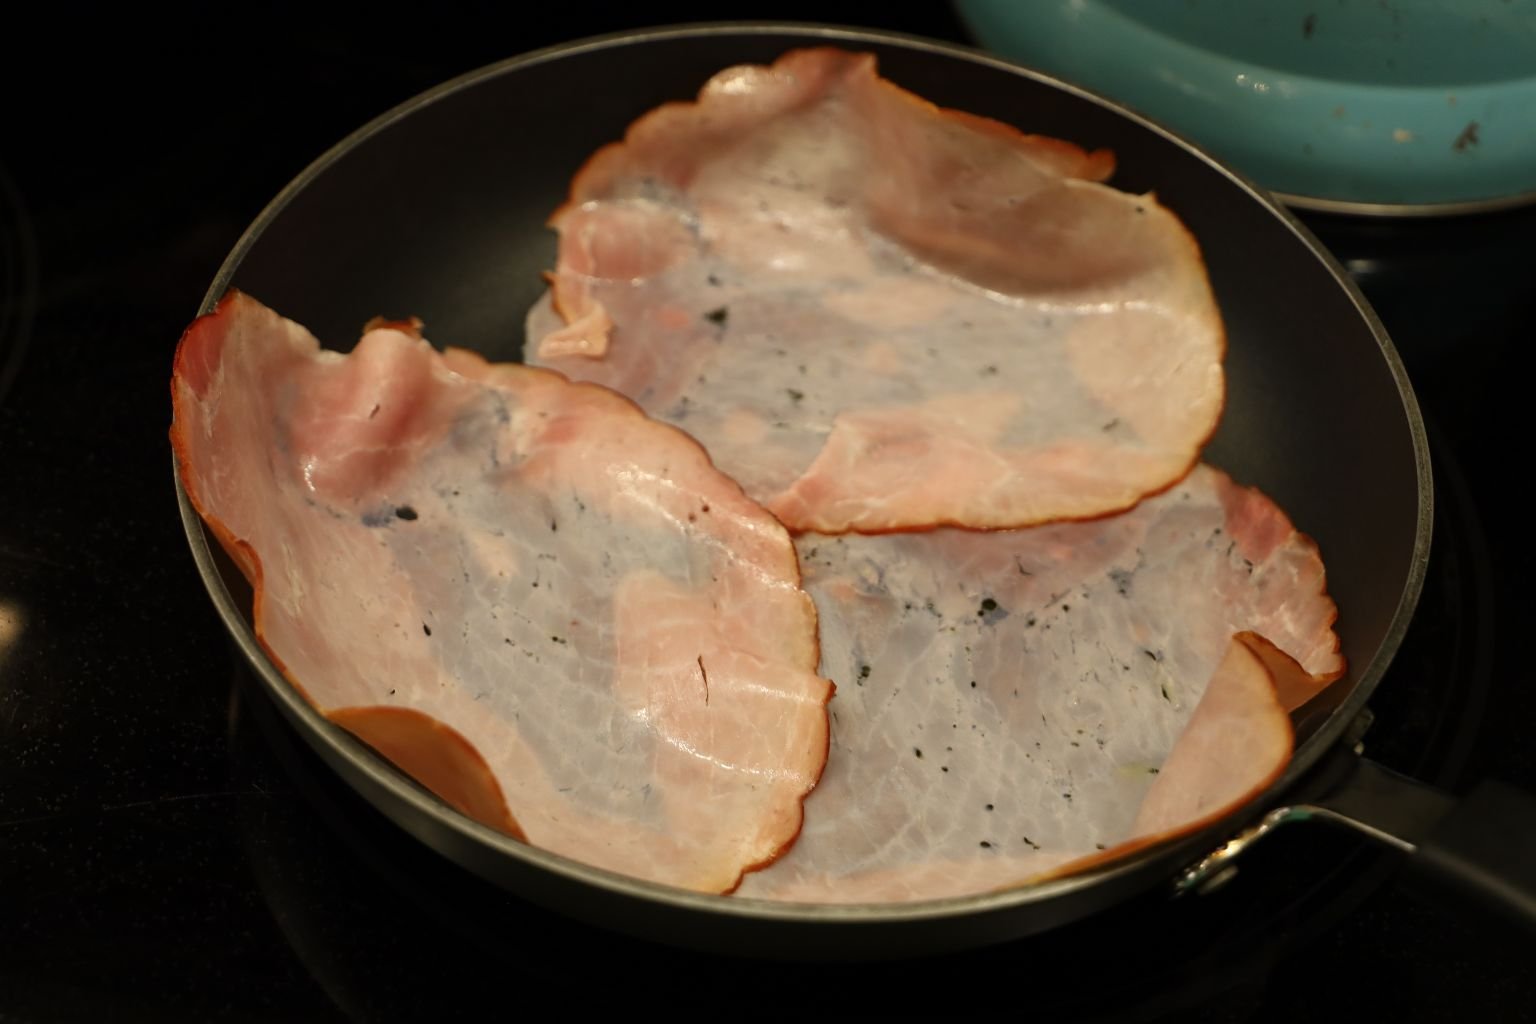
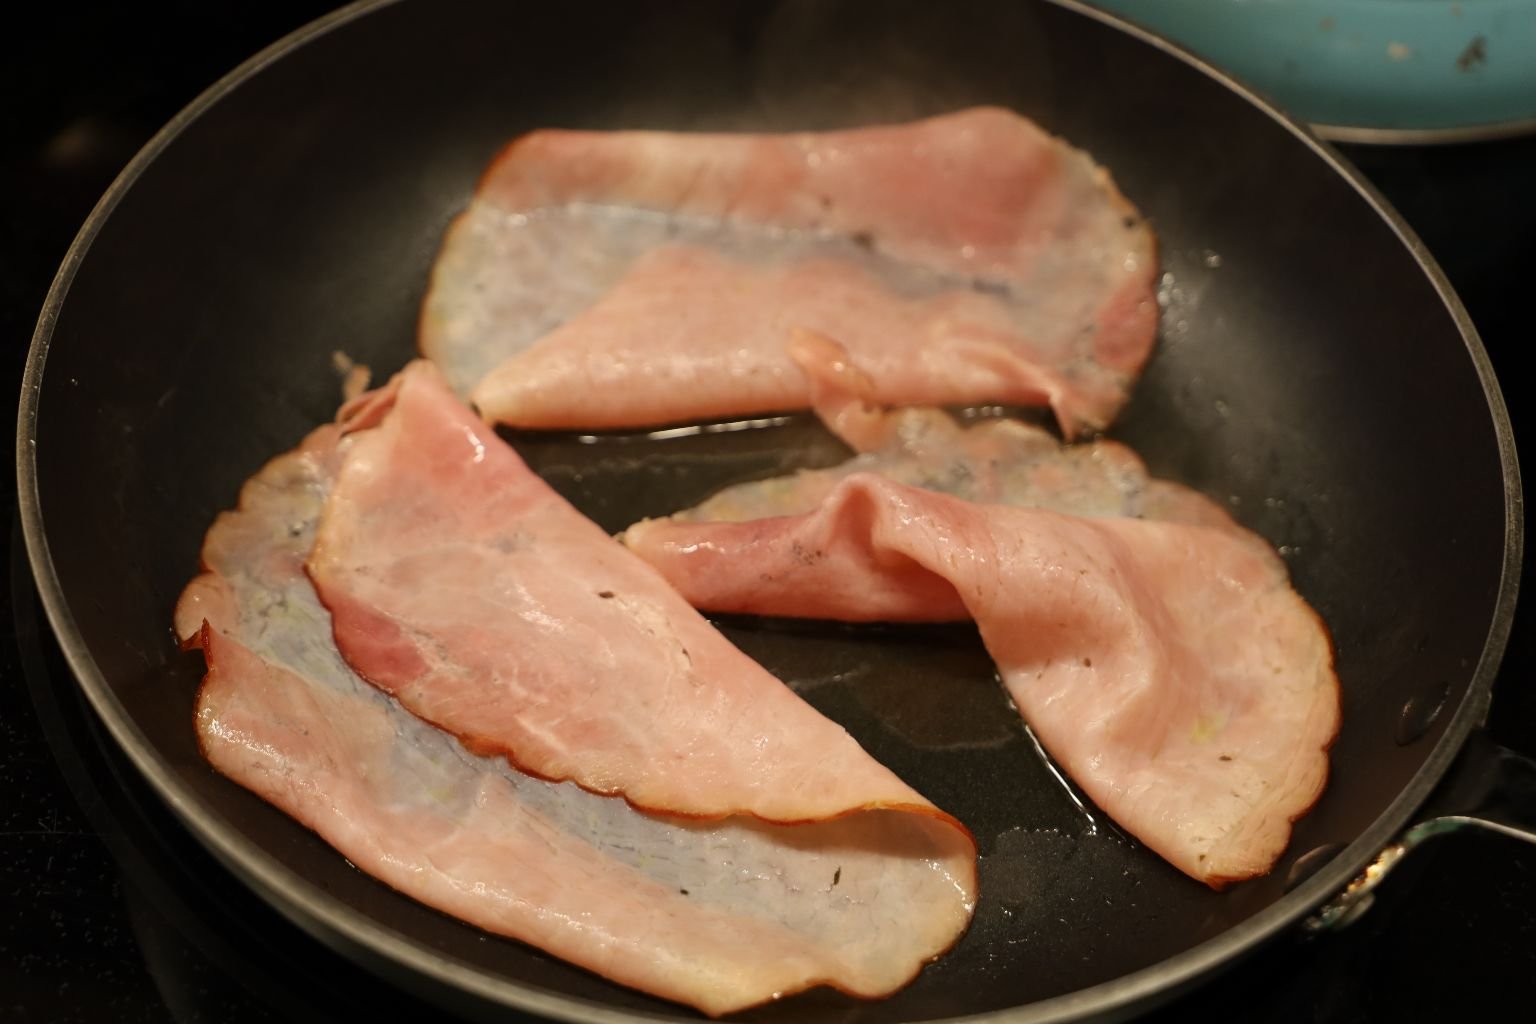
In A Frying Pan In Some Olive Oil Just Fry The Tavern Ham A Bit
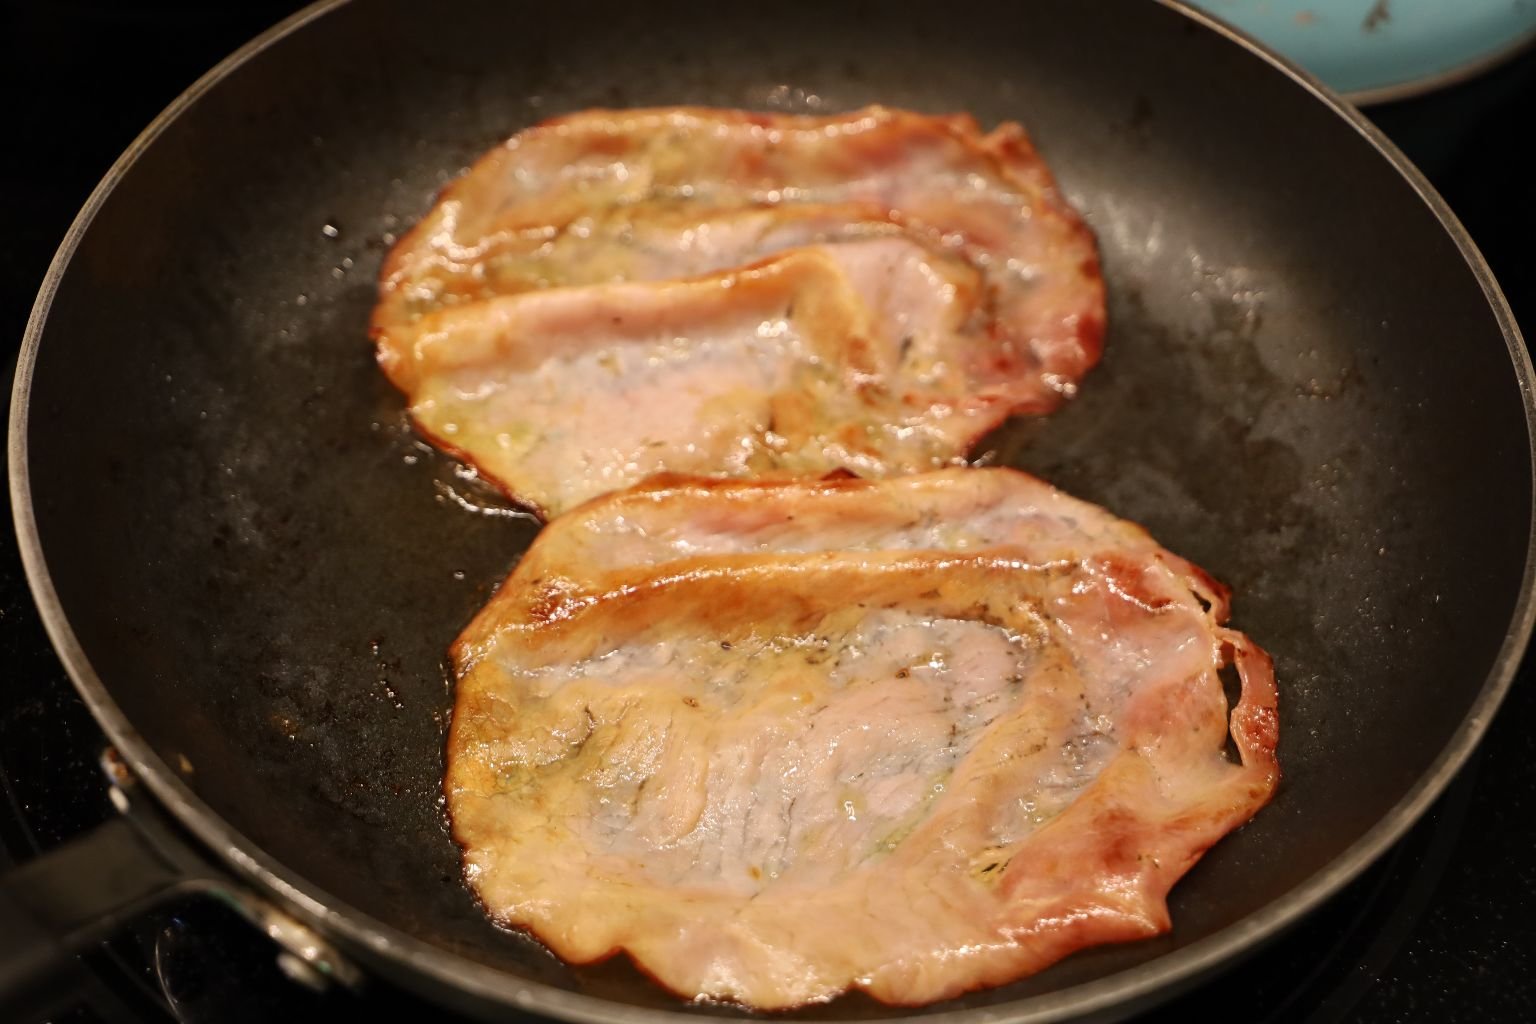
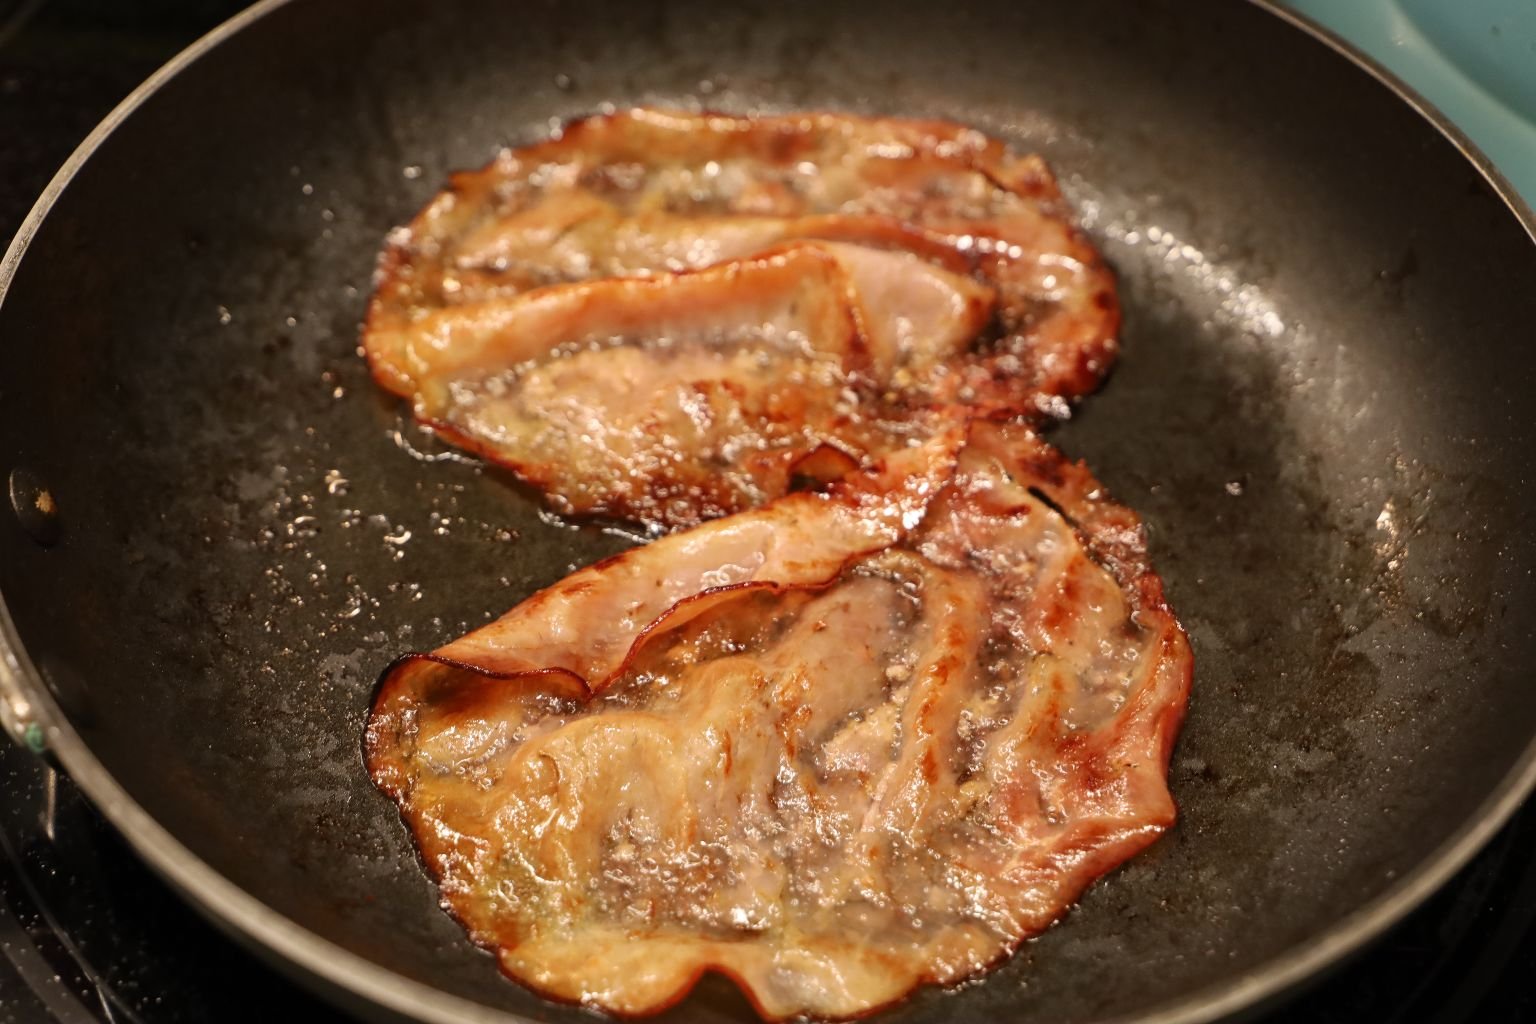
You Just Want It To Brown A Bit, Then Set Aside
————————————————————————————————–
Making My Scrambled Pancakes
I’m simply following the instructions of the box of Pancakes.
And adding:
Some Zesty Lemon Paste
—————————————————————————————
With All The Ingredients Added Into The Pancakes, It’s Time To Scramble Them
In A Frying Pan Add Some Butter And Some Of Your Pancake Mix On A Medium-High Heat
Stir Fry It Around A Bit,

When Done Place Into A Bowl And Set Aside
(Kind of like Scrambled Eggs)
———————————————————————————————
Scrambling The Actual Eggs
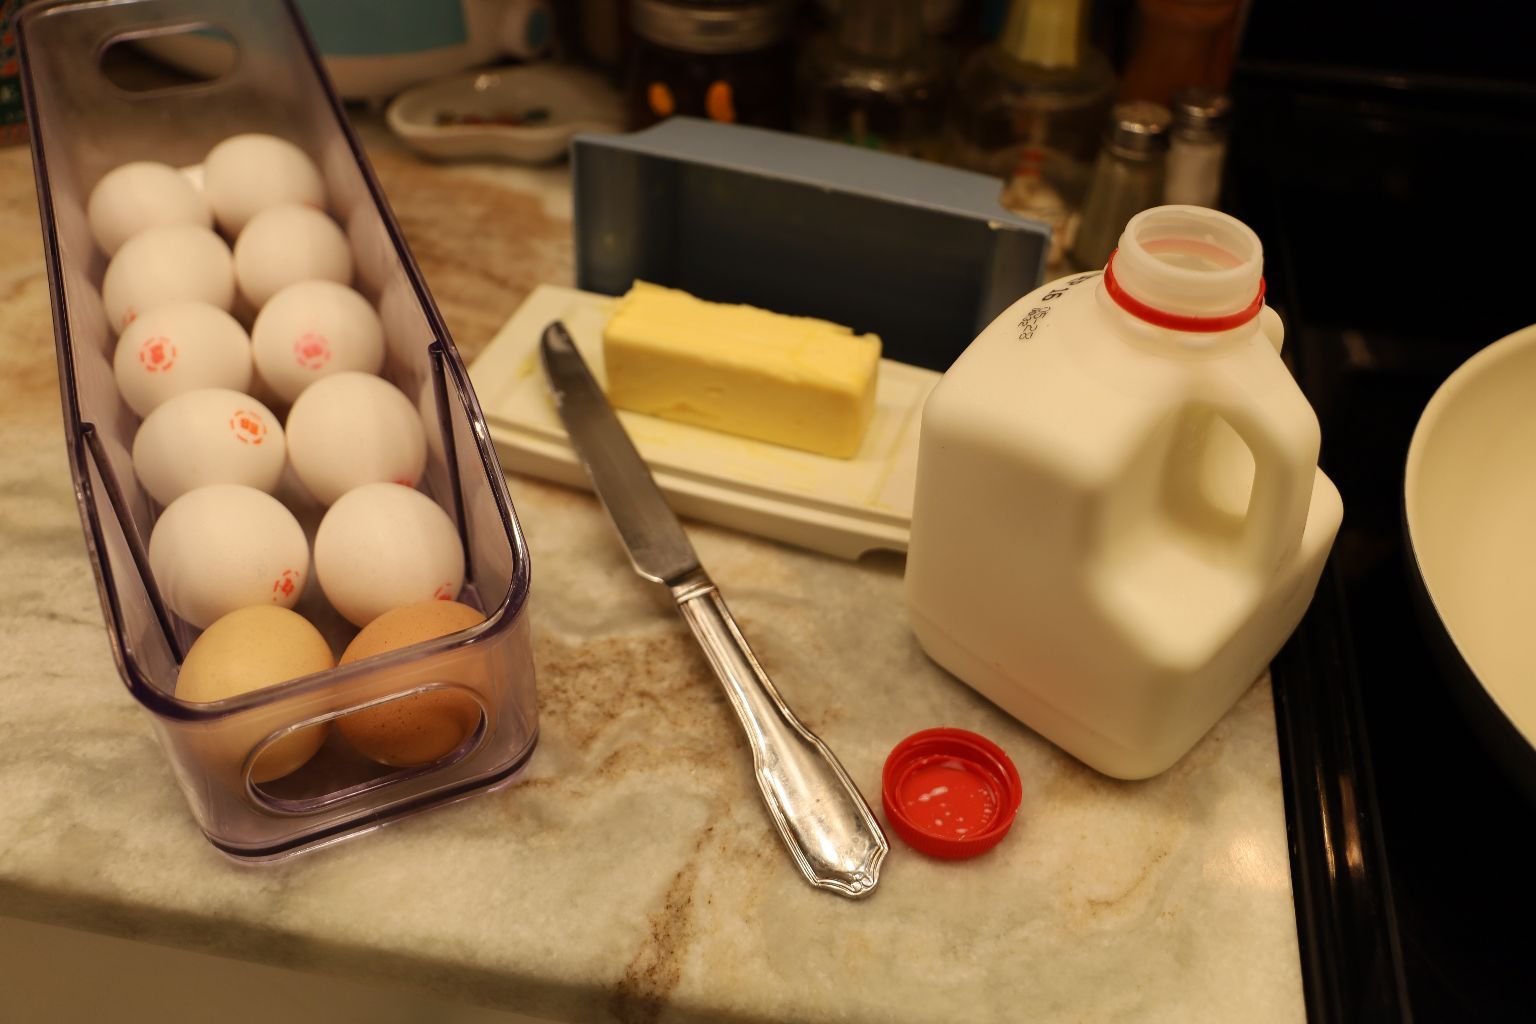
Eggs, Butter, Milk
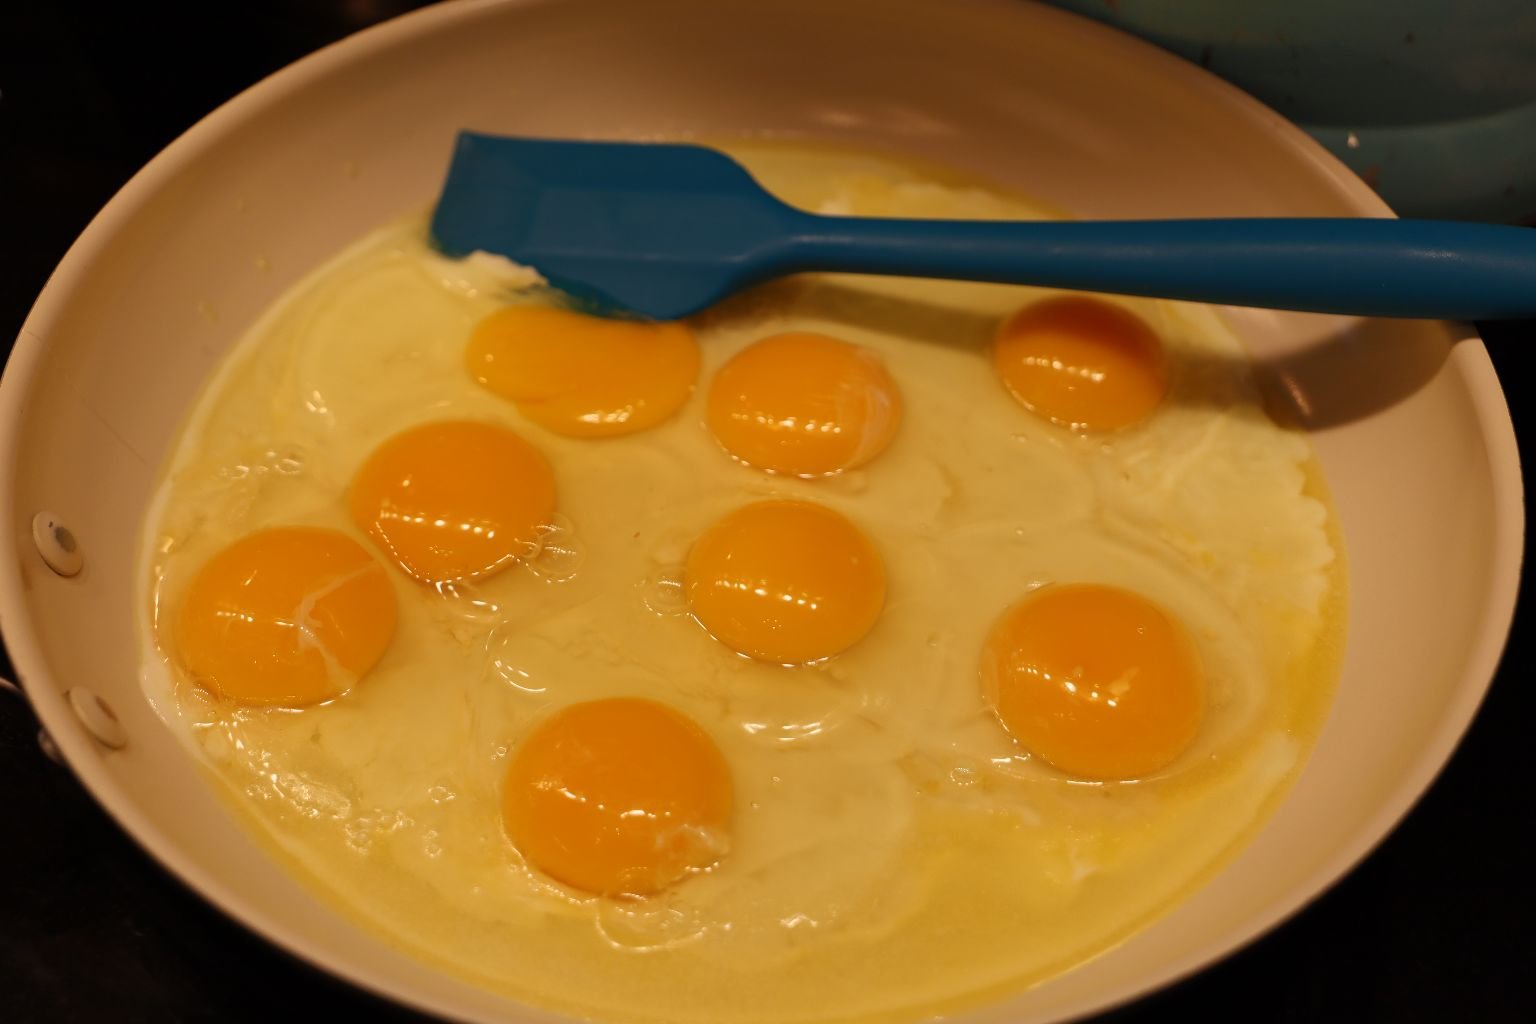
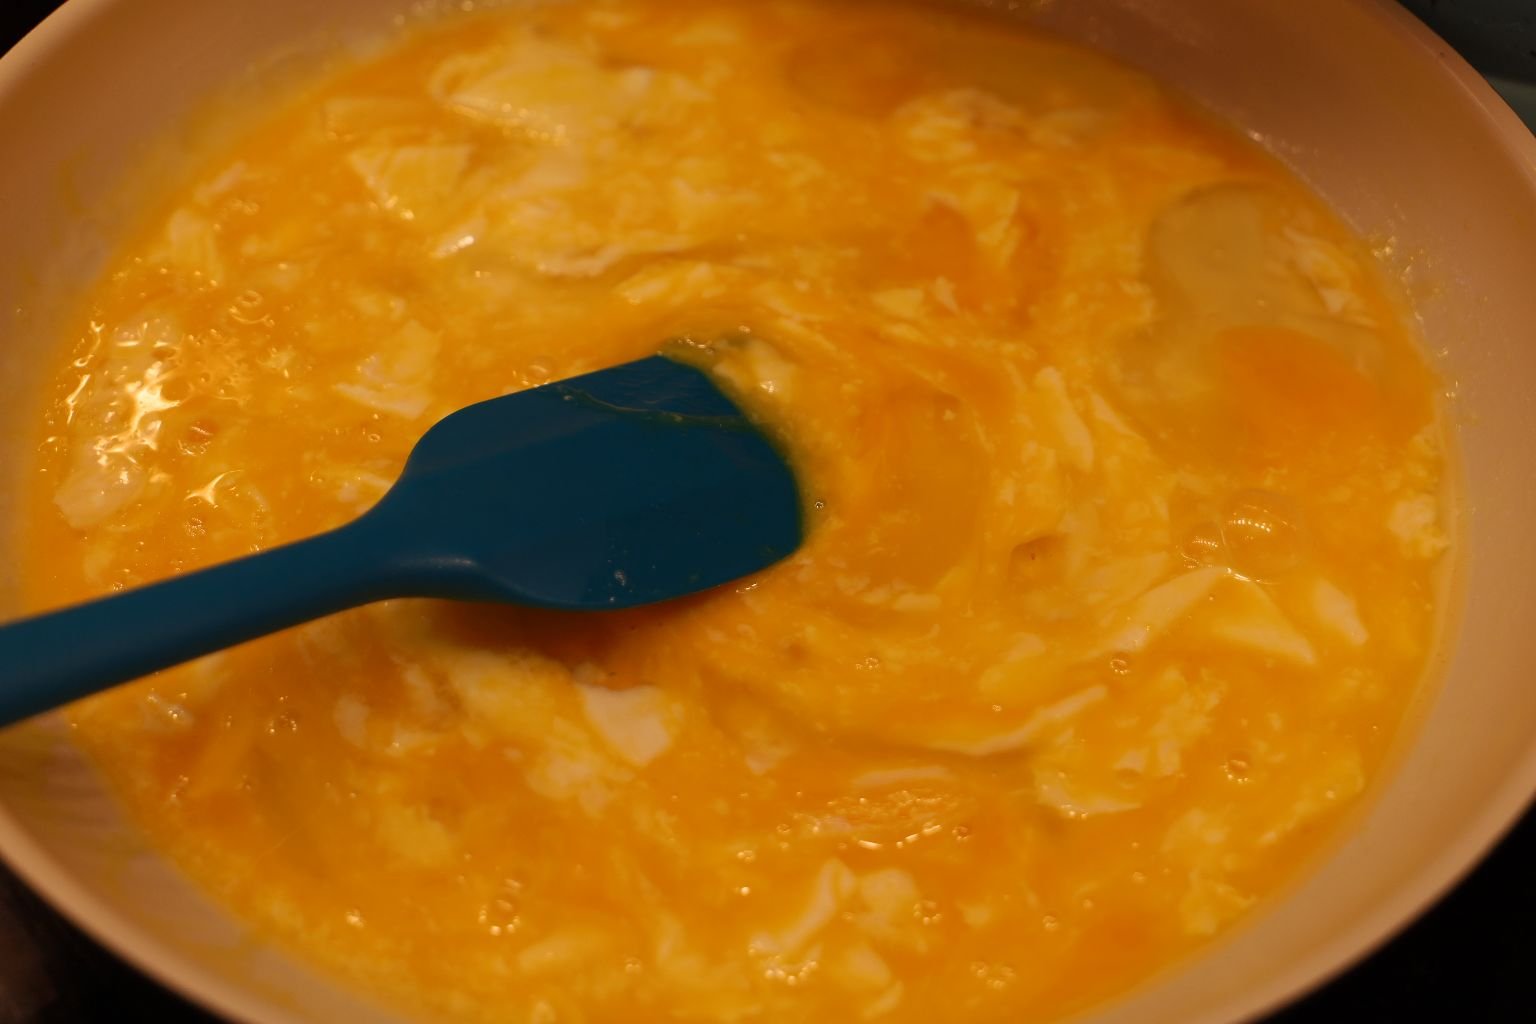
In A Frying Pan Melt Some Butter, Crack Some Eggs, Scramble Them Around, And Add Some Milk,
On A Medium-High Heat Until Done
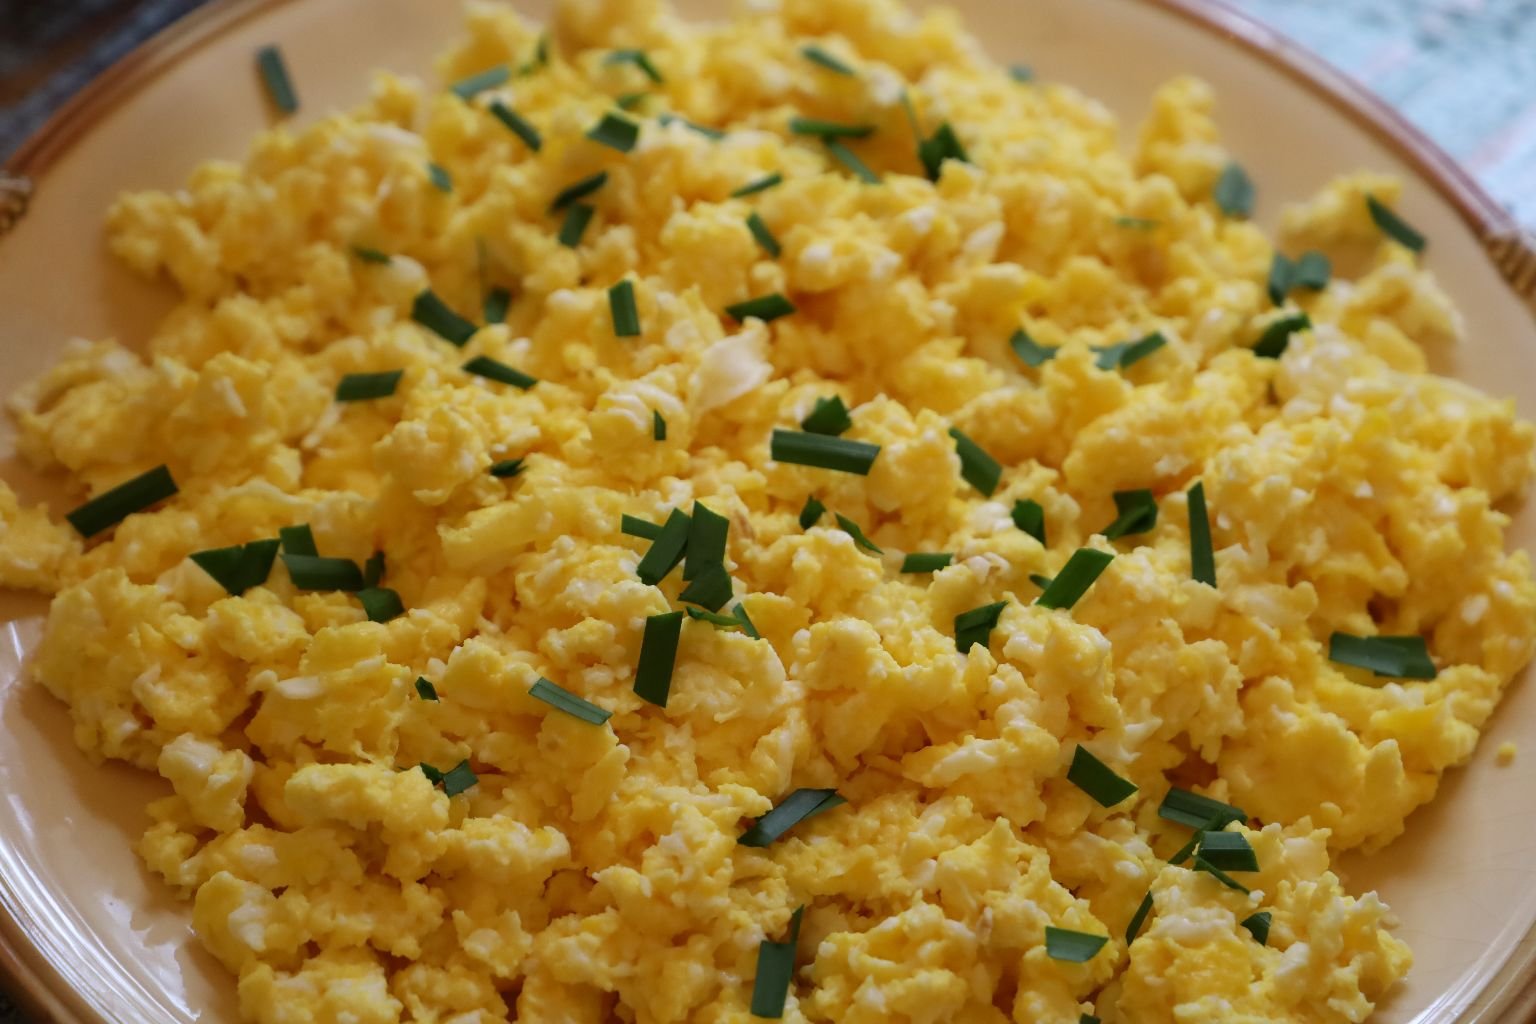
When Done Place Into A Bowl, Add Some Chives
———————————————————————————————-
Time To Set Your Breakfast Table
(I Added Some Blackberries and Pomegranate Seeds To The Scrambled Pancakes)
Fix Your Plate And Have A Great Day!
———————————————————————————————-
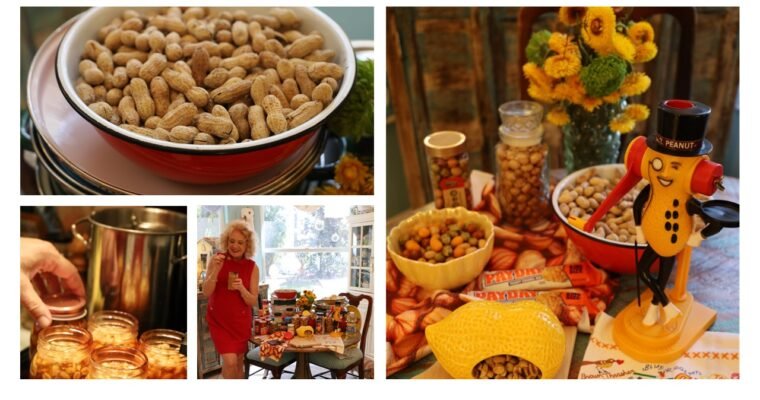
Mr. Peanut In 1906 Omedeo Obici, originally from Italy, founded the Planters Peanut Company in Wilkes-Barre, Pennsylvania. In 1916 Mr. Obici held a contest asking the public to draw a logo that he thought would best suit the company. …
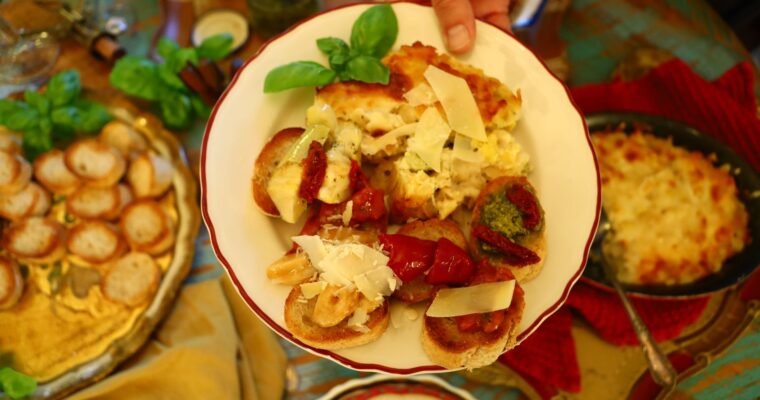
Quickie Italian Sometimes, All You Need is a Ready Made Tomato Focaccia, and some Wine I Call It Herb Bread 🙂 When I think of cooking Italian food, I imagine a long list of ingredients, carving out a significant …
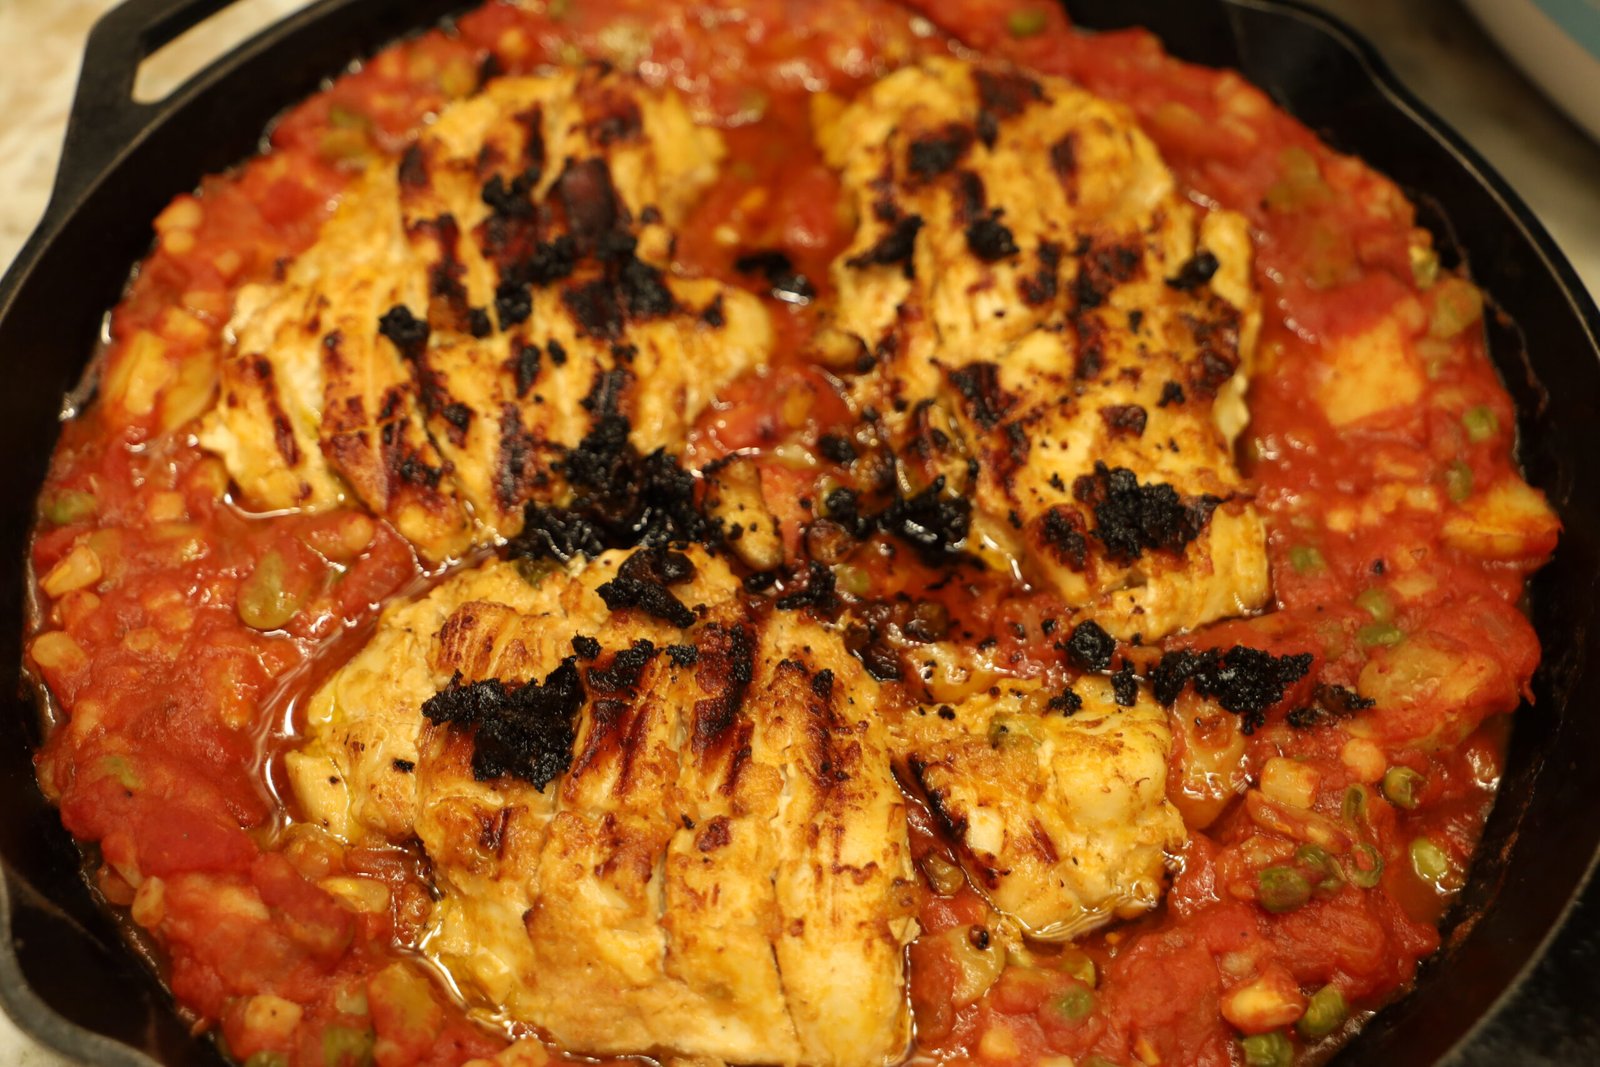
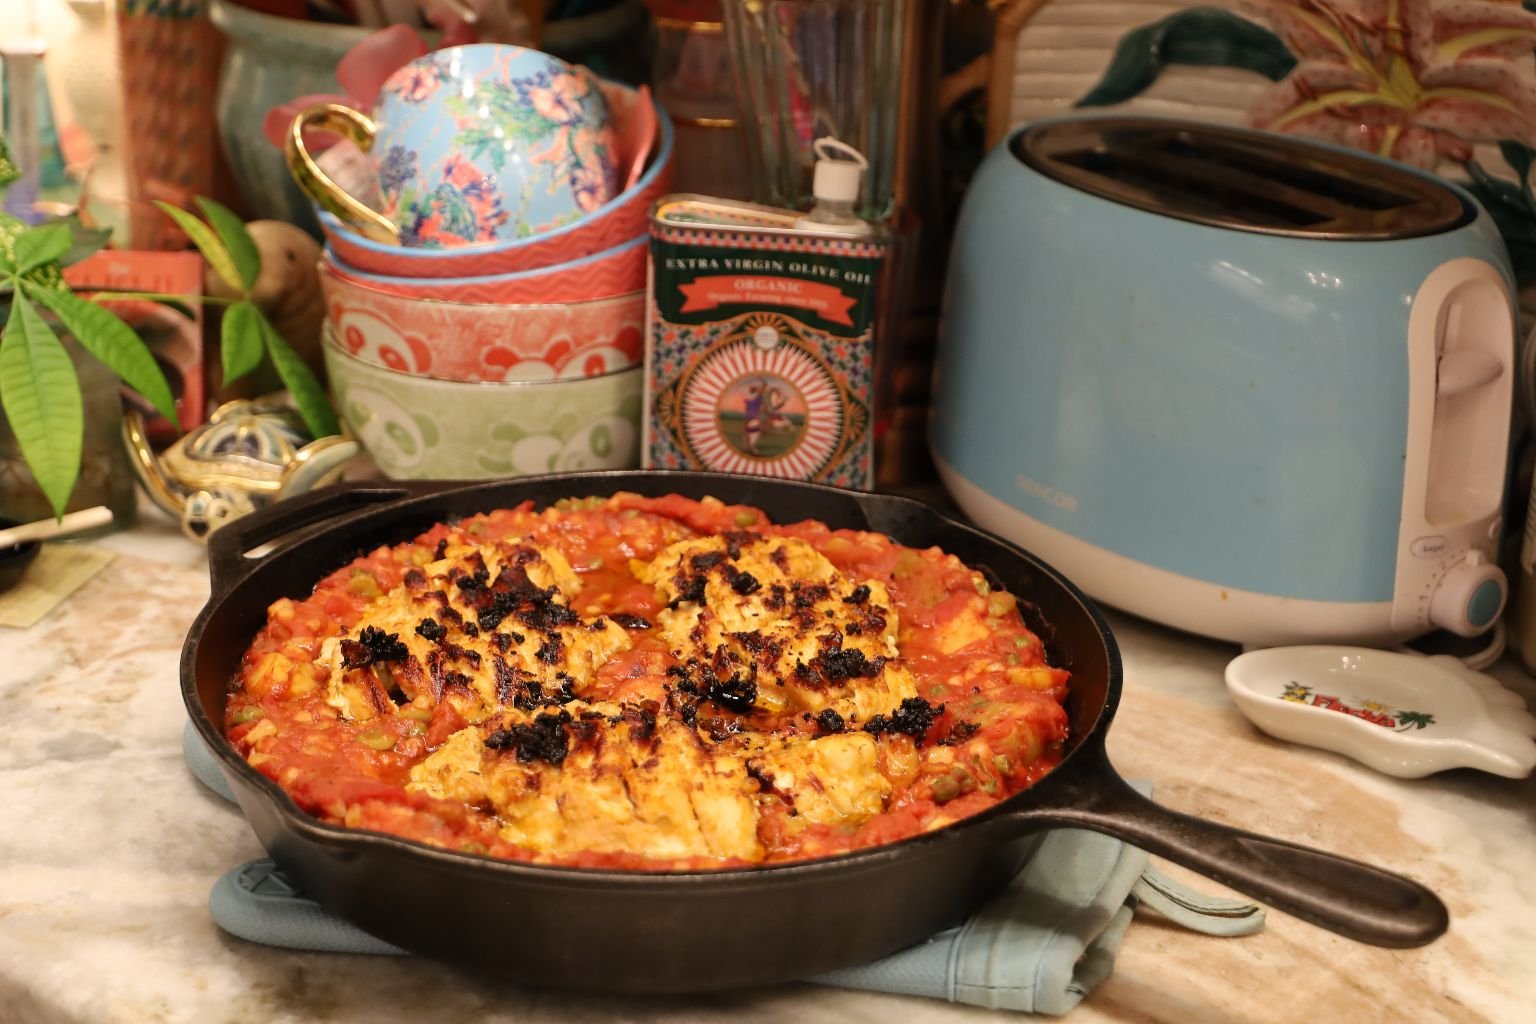
My Brunswick Stew Chicken Skillet Dinner
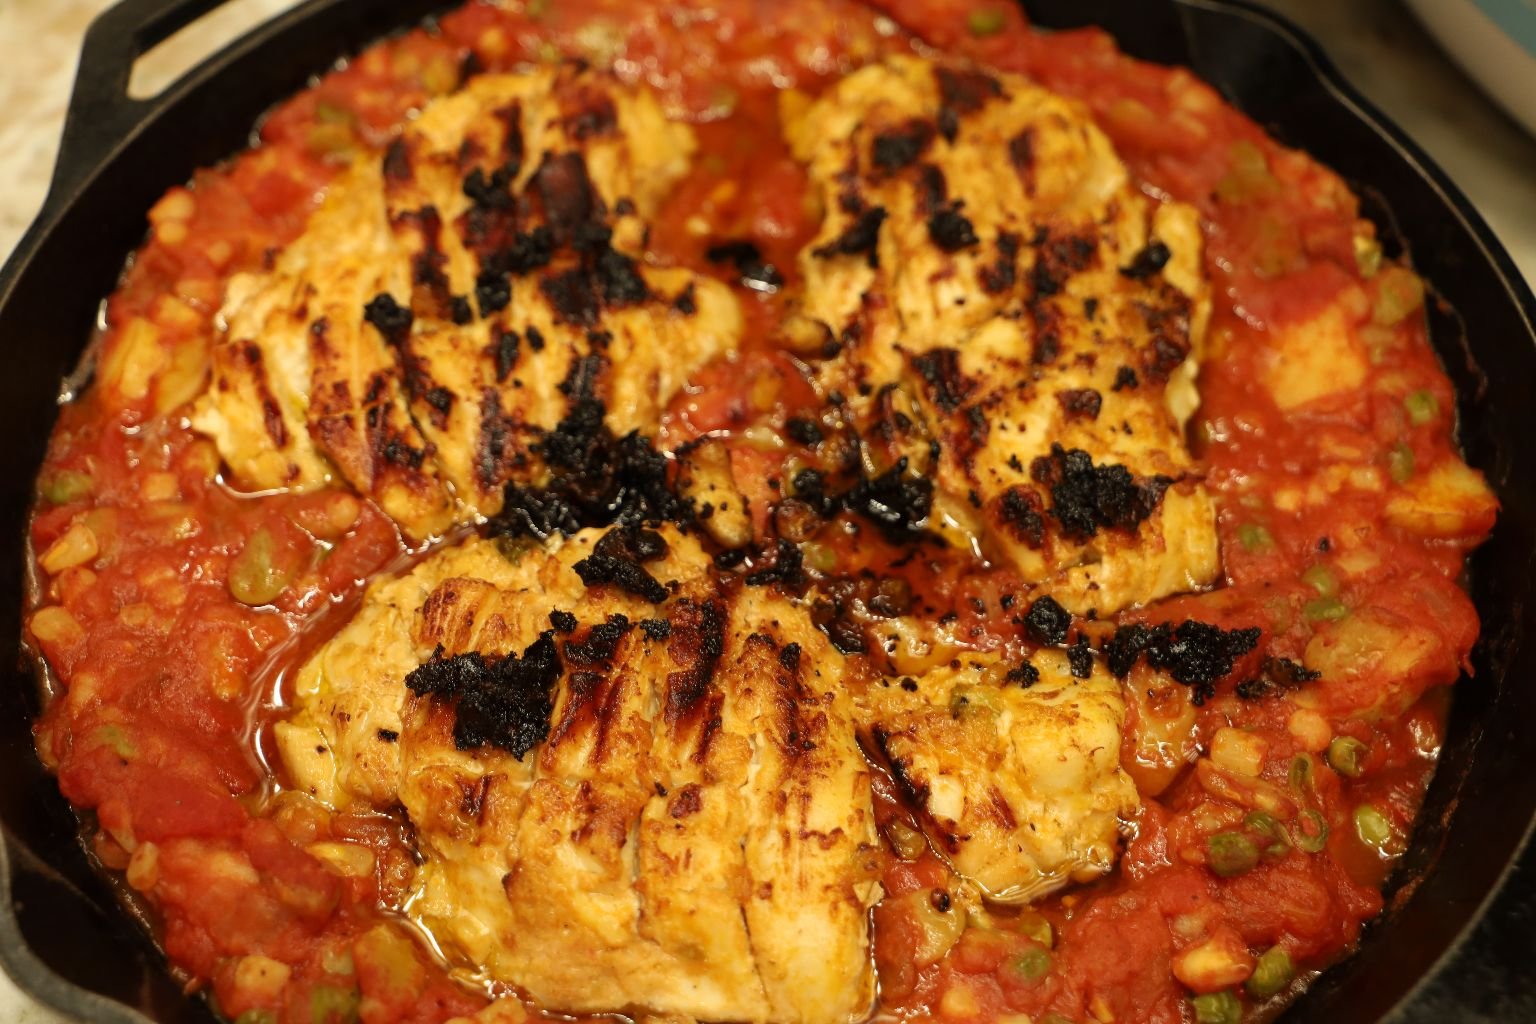
I love Brunswick Stew!
I grew up eating it in the South, in the Summer months, throughout the year, but especially for the 4th. of July.
There is a history of the stew which I have written here:
Brunswick Stew, Cheese Straws, and Angel Food Cake

I also give you the recipes for all 3!
Brunswick Stew, Cheese Straws, and Angel Food Cake 🙂
————————————————————————————
I also have the recipe here:
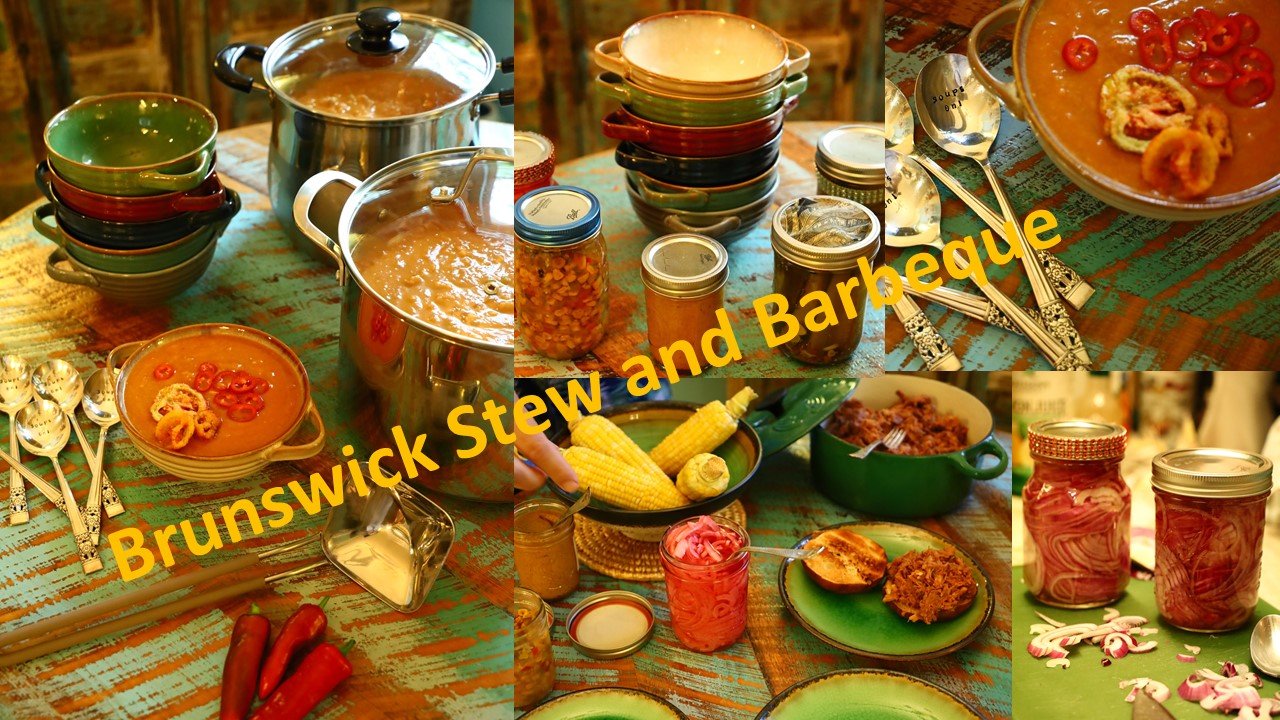
—————————————————————————
The Brunswick Stew that I grew up eating and enjoying, the Chicken was always cooked first, then Pulverized into tiny bits, and then added to the Stew to blend in with the Broth and other Stew ingredients thus thickening it up. Understand that I love that way of eating it, but this time I wanted to change things up a bit and do a bit of experimentation by keeping the Chicken Breasts whole, and instead of large Stew Pots, I wanted to cook it in a Medium-Sized Pot, and bake it in my Cast Iron Skillet.
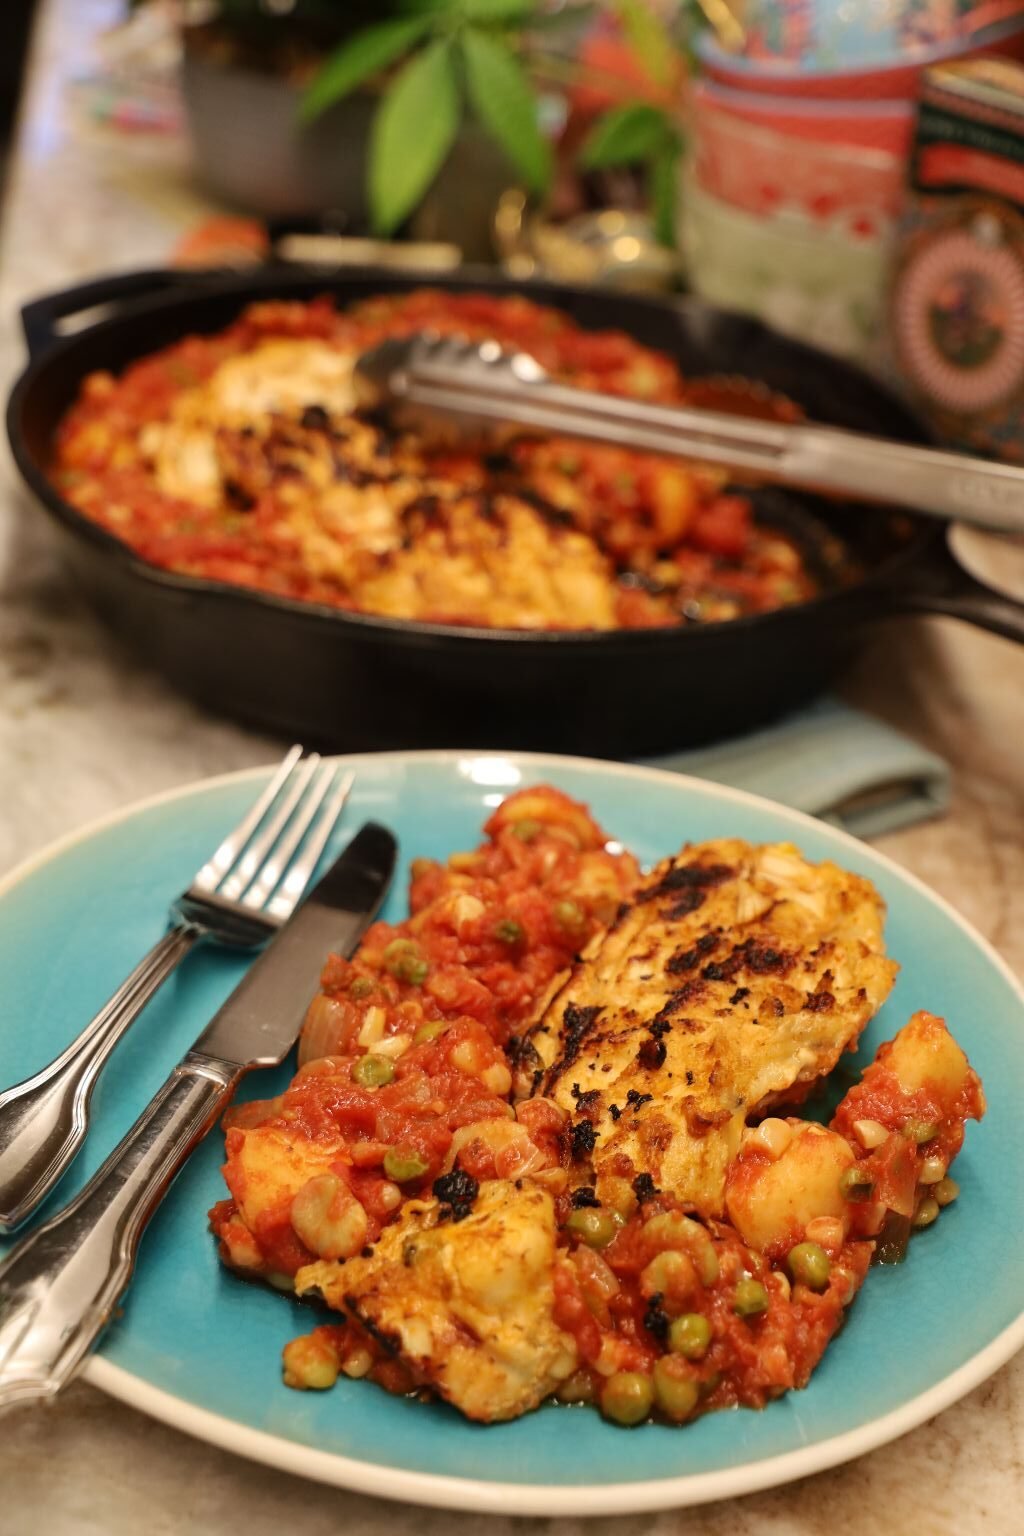
Like So…
It ended up tasting delicious! Especially the Chicken!
I was really happy that it turned out as well as it did. But instead of a Stew it was more like a Casserole.
—————————————————————————————-
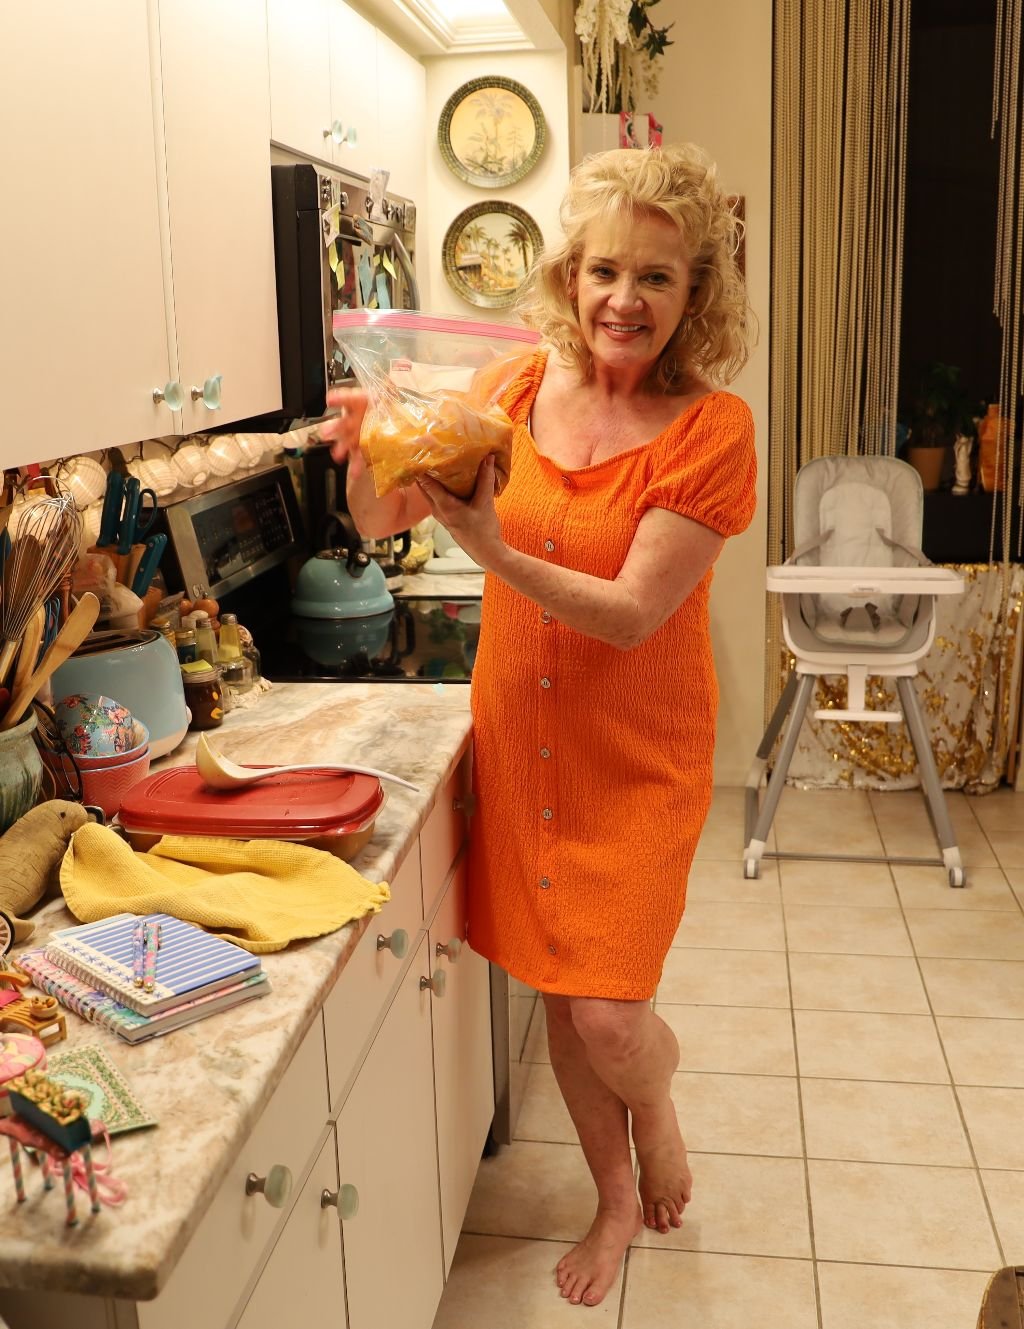
Marinating The Chicken In My Leftover Brunswick Stew
(I had some leftover Brunswick Stew from a past pot that I had made and then thawed out. My original intention was to marinate Chicken Breasts in the Stew for a few days, and then have Gordon to Grill them on the outside Grill. However, we forgot about them as they were in the garage refrigerator so we had to throw them out. I’m sure they would have been delicious cooked that way.)
I am posting the photos of how I prepared the Chicken Breasts for the Marinade though because it is the same way I did it with this recipe I am giving you. I just liked these photos better.
I first wash the Chicken Breasts and remove any of the fat.
————————————————————————————-
With a Sharp Knife I am slicing through the Chicken Breasts so as to better penetrate the Stew.
But do not cut all the way through the Breasts.
Next place the Chicken Breasts into a Zip Lock Baggie and Dollop a few Ladles of the Stew into the bag over the Chicken.
Smoosh it Around, Then Place Into a Bowl and put in the Fridge Until Ready
——————————————————————————————–
The Chicken I Made For This Recipe:
——————————————————————————————
Thawing Out A Past Brunswick Stew
(This is GOLD to Me!)
—————————————————————————-
Washed My Chicken Breasts
———————————————————————————–
Dolloped Some Brunswick Stew Into A Zip Lock Baggie..
Slicing Into Each Chicken Breast..
Place Breasts Into The Baggie, Seal, Smoosh Them Around In The Baggie, Place Into Refrigerator For A Few Days So Marinate
————————————————————————————————-
My Brunswick Stew Chicken Skillet Dinner
—————————————————————————-
I’m Using All Of The Ingredients That I Normally Use In My Brunswick Stew Recipe
(I didn’t use as much as you see above. I do give you the amounts here in the listed Ingredients though.)
Ingredients:
3-4 Chicken Breasts, Marinated In Brunswick Stew
1/2 to 3/4 Cup Onion, Chopped
10-12 Small Gold Potatoes, Boiled
1 Can Lima Beans, Drained
1, 28 oz. Can of Tomatoes
1, 28 oz. Can of Crushed Tomatoes
3/4 Cup of Frozen Peas
1 Can Shoepeg Corn
2-3 T. of Vinegar
1/2- 1 Cup of Ketchup
Dashes of Tabasco Sauce
2-3 T. Lemon Juice
2-3 T. Worcestershire Sauce
Salt and Pepper To Taste
Olive Oil for Frying Chicken
—————————————————————————
(Bizarrely enough I didn’t even think to use Chicken Broth here, even though I cook the Stew in the Chicken Broth I use when I make my original Brunswick Stew.)
So, I recommend that you use about a Cup or Two of Chicken Broth when making this.
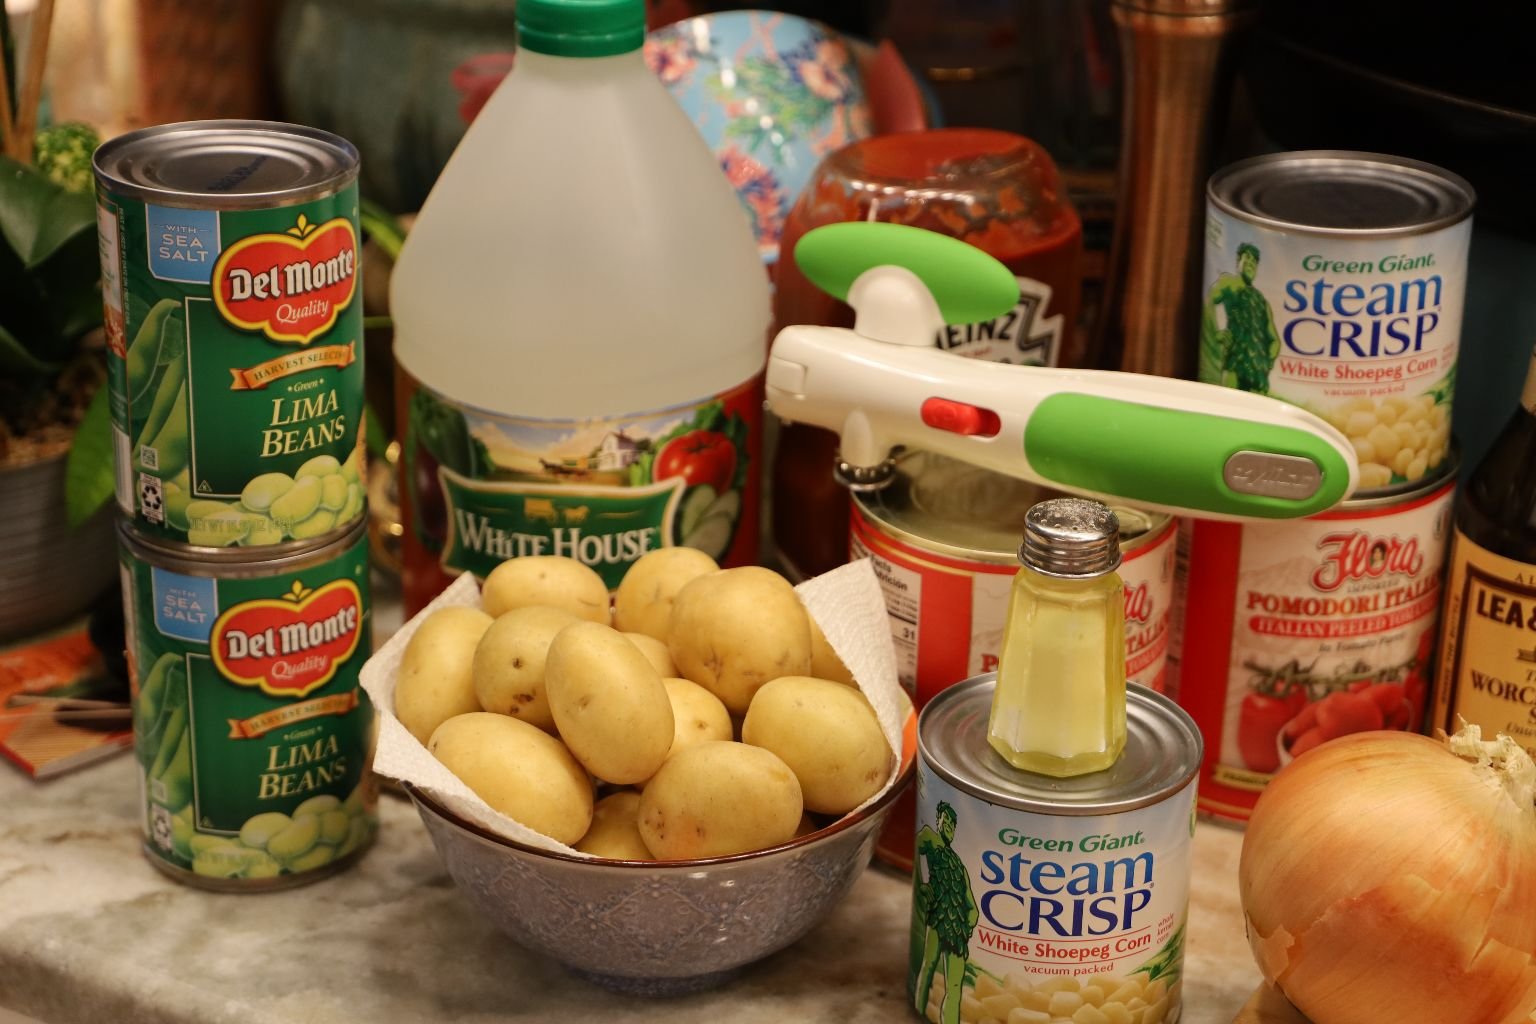
—————————————————————————
On a Medium Heat place the Canned Tomatoes into the Pot. You can use Cooking Scissors to cut up the Tomatoes.
(This is also where you would add about a Cup or two of Chicken Broth.)
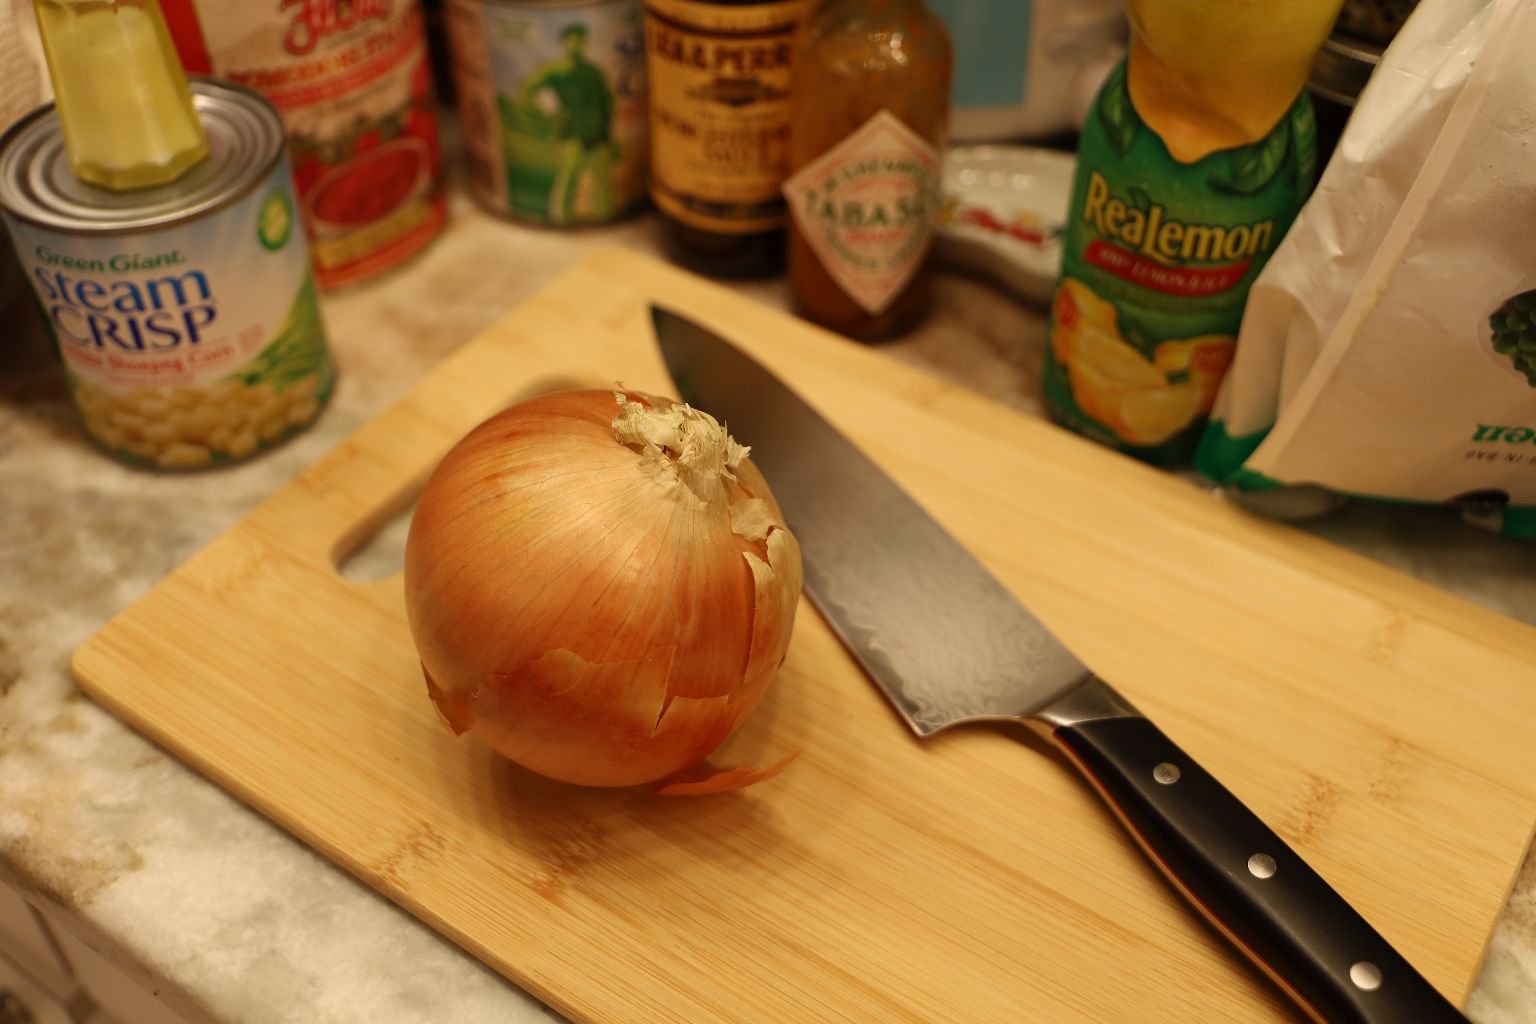
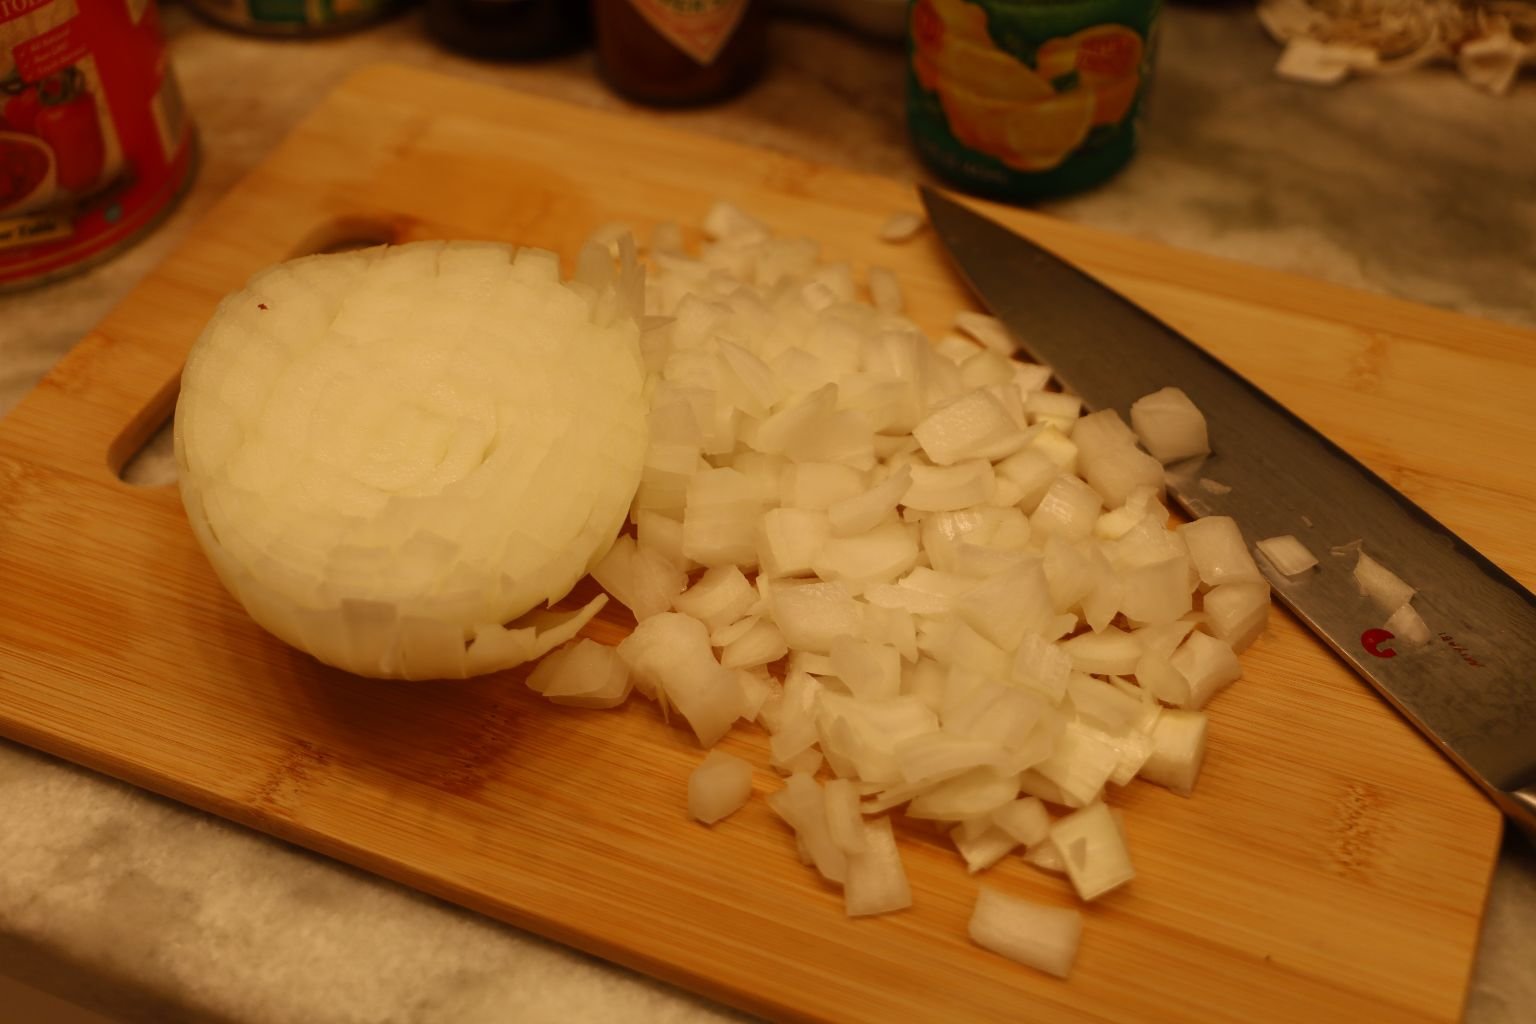
Chopping My Onion To Add To The Pot
Here Are My Crushed Tomatoes And Frozen Peas To Add
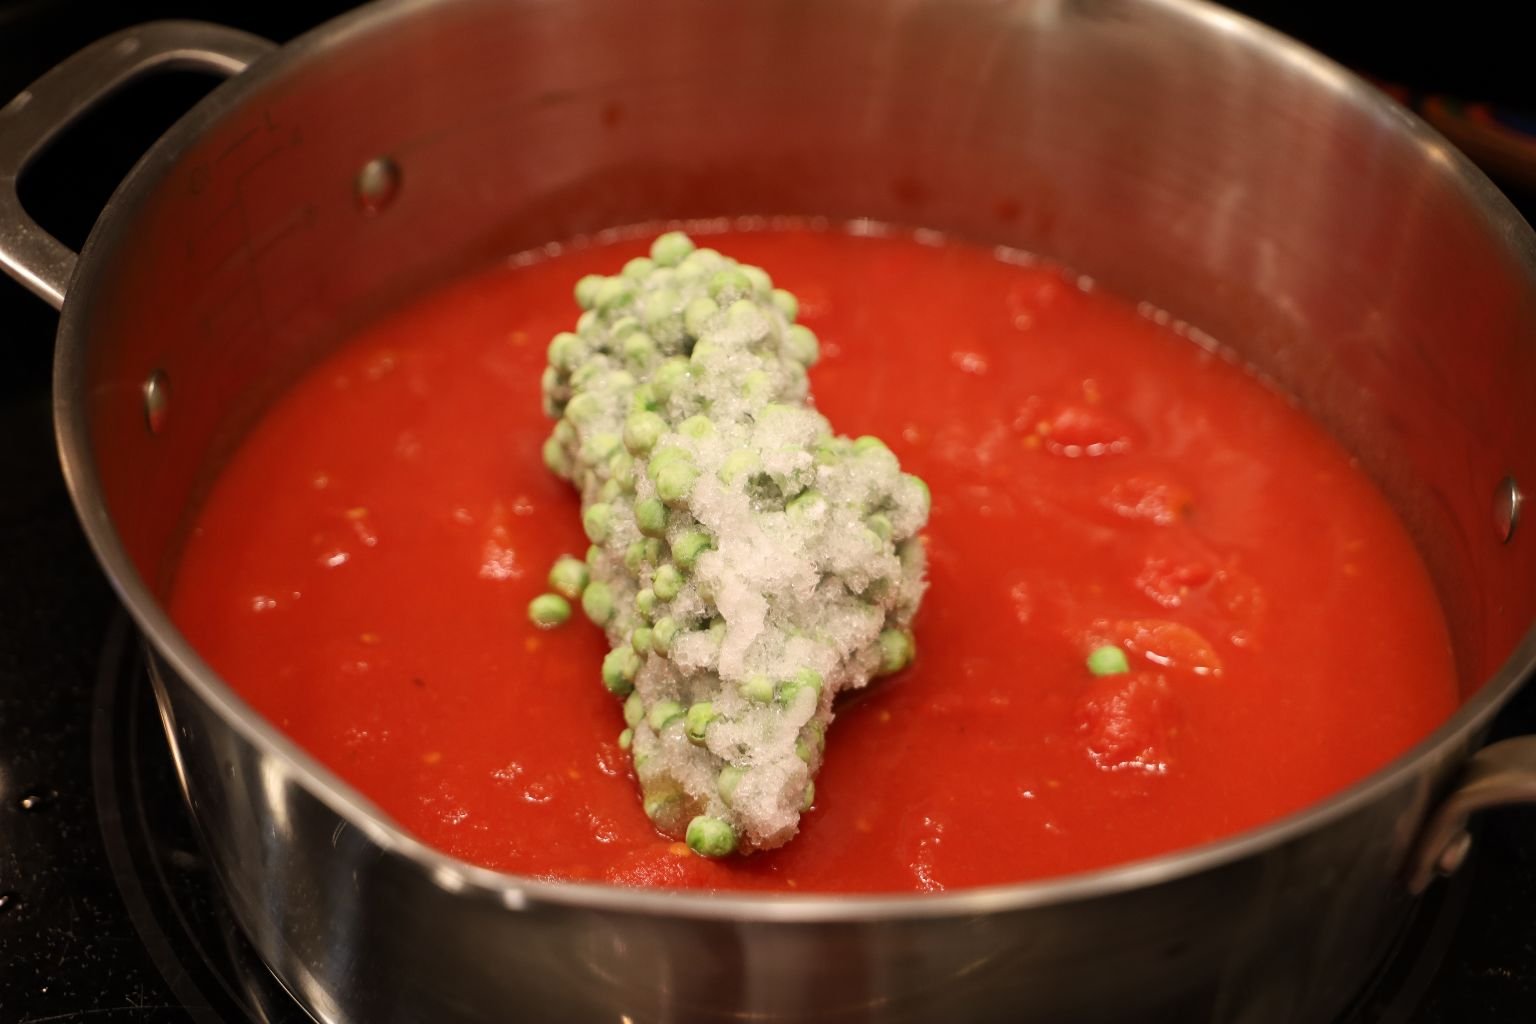
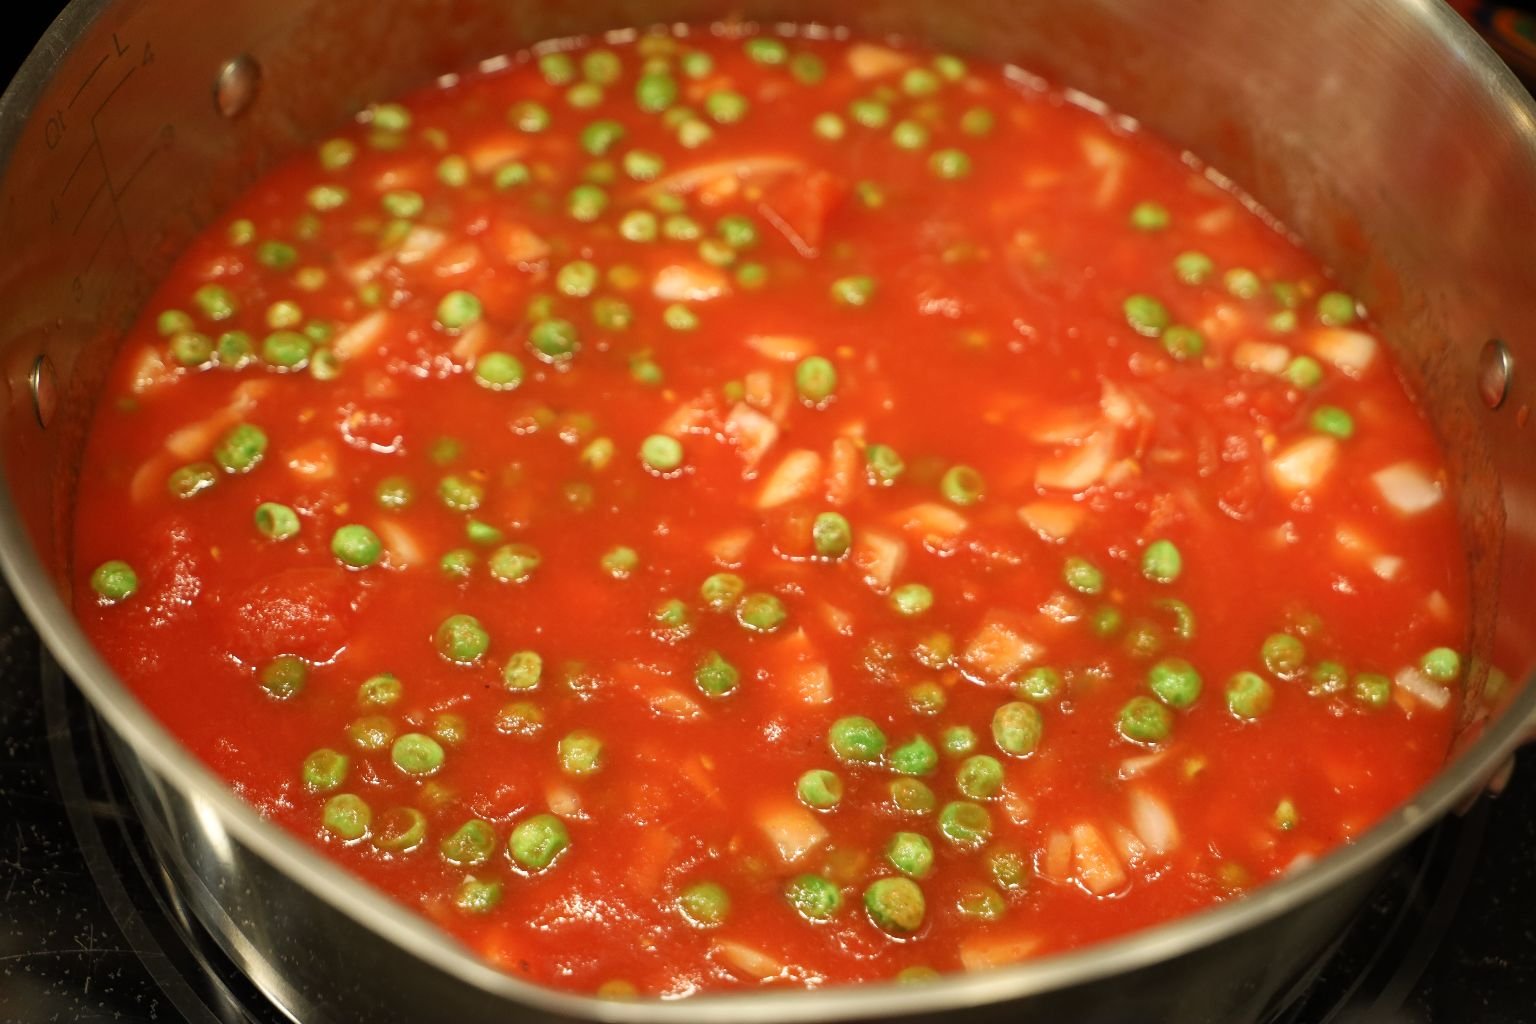
Stir Often
———————————————————————————-
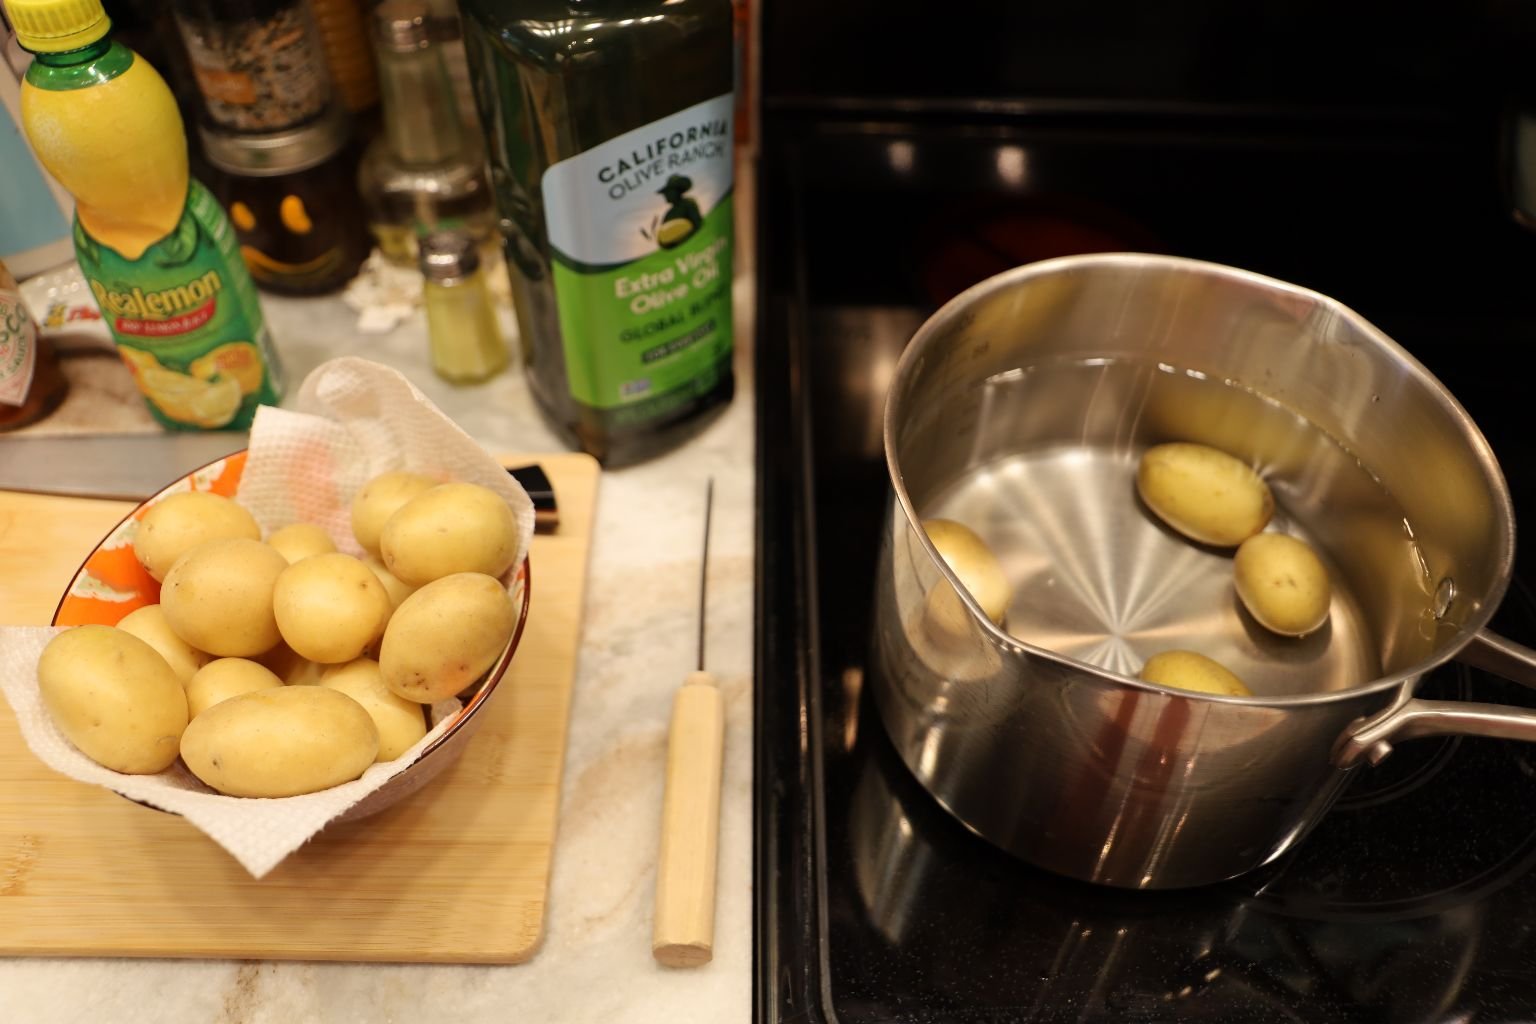
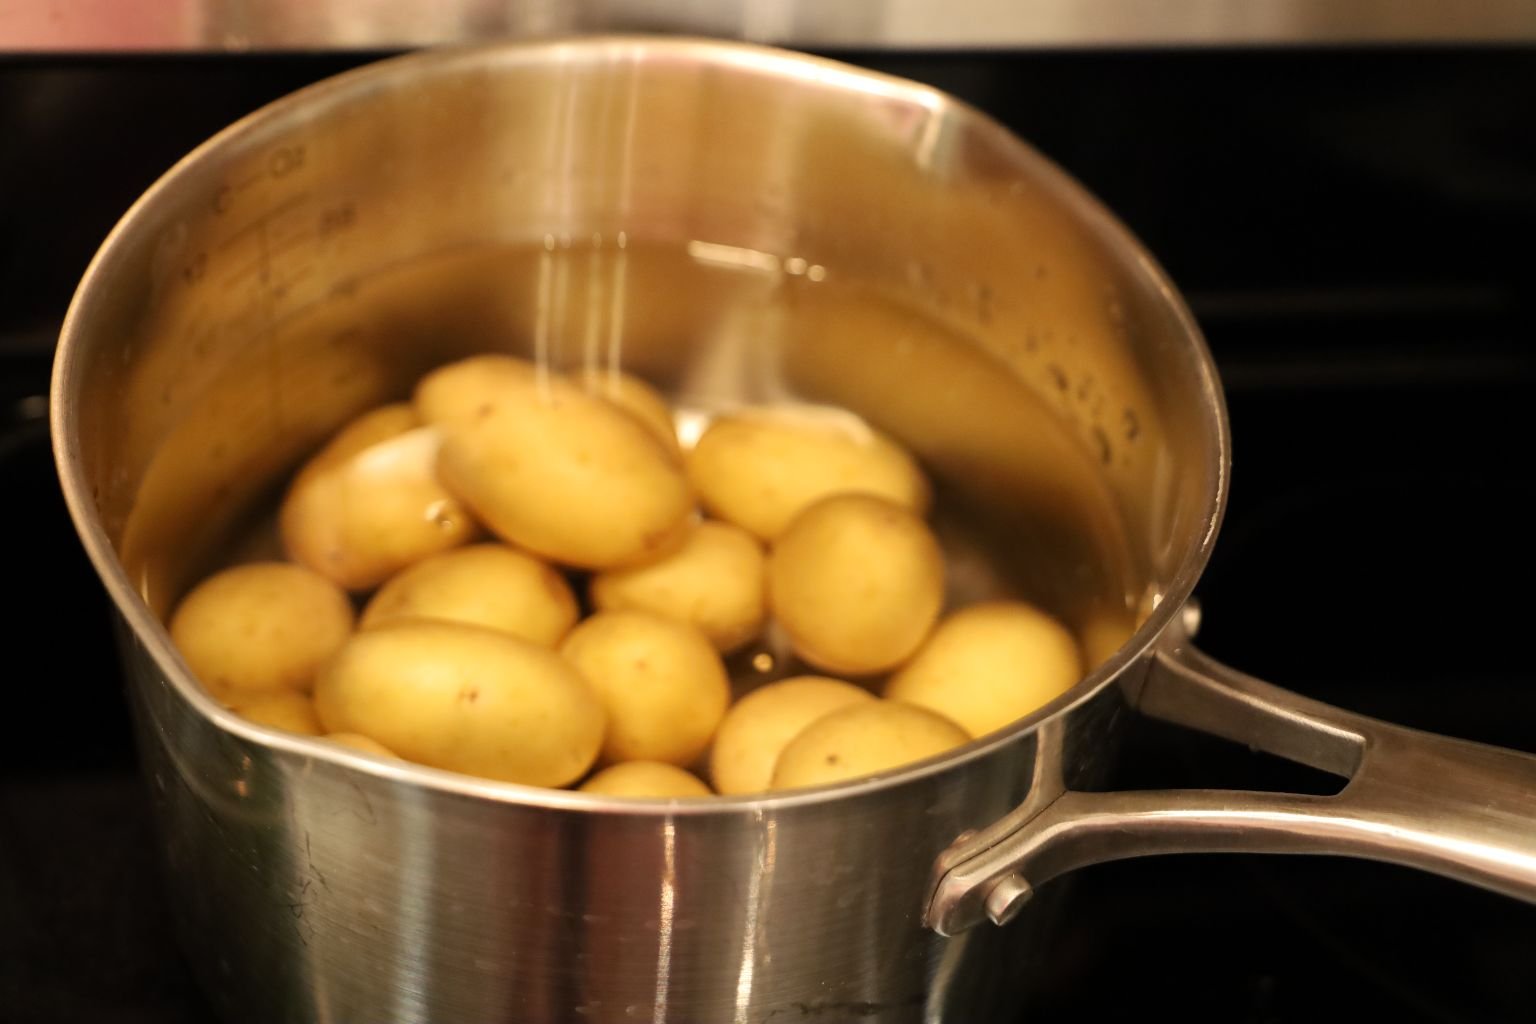
In a separate pot bring your Potatoes up to a Boil and cook until Fork Tender.
————————————————————————-
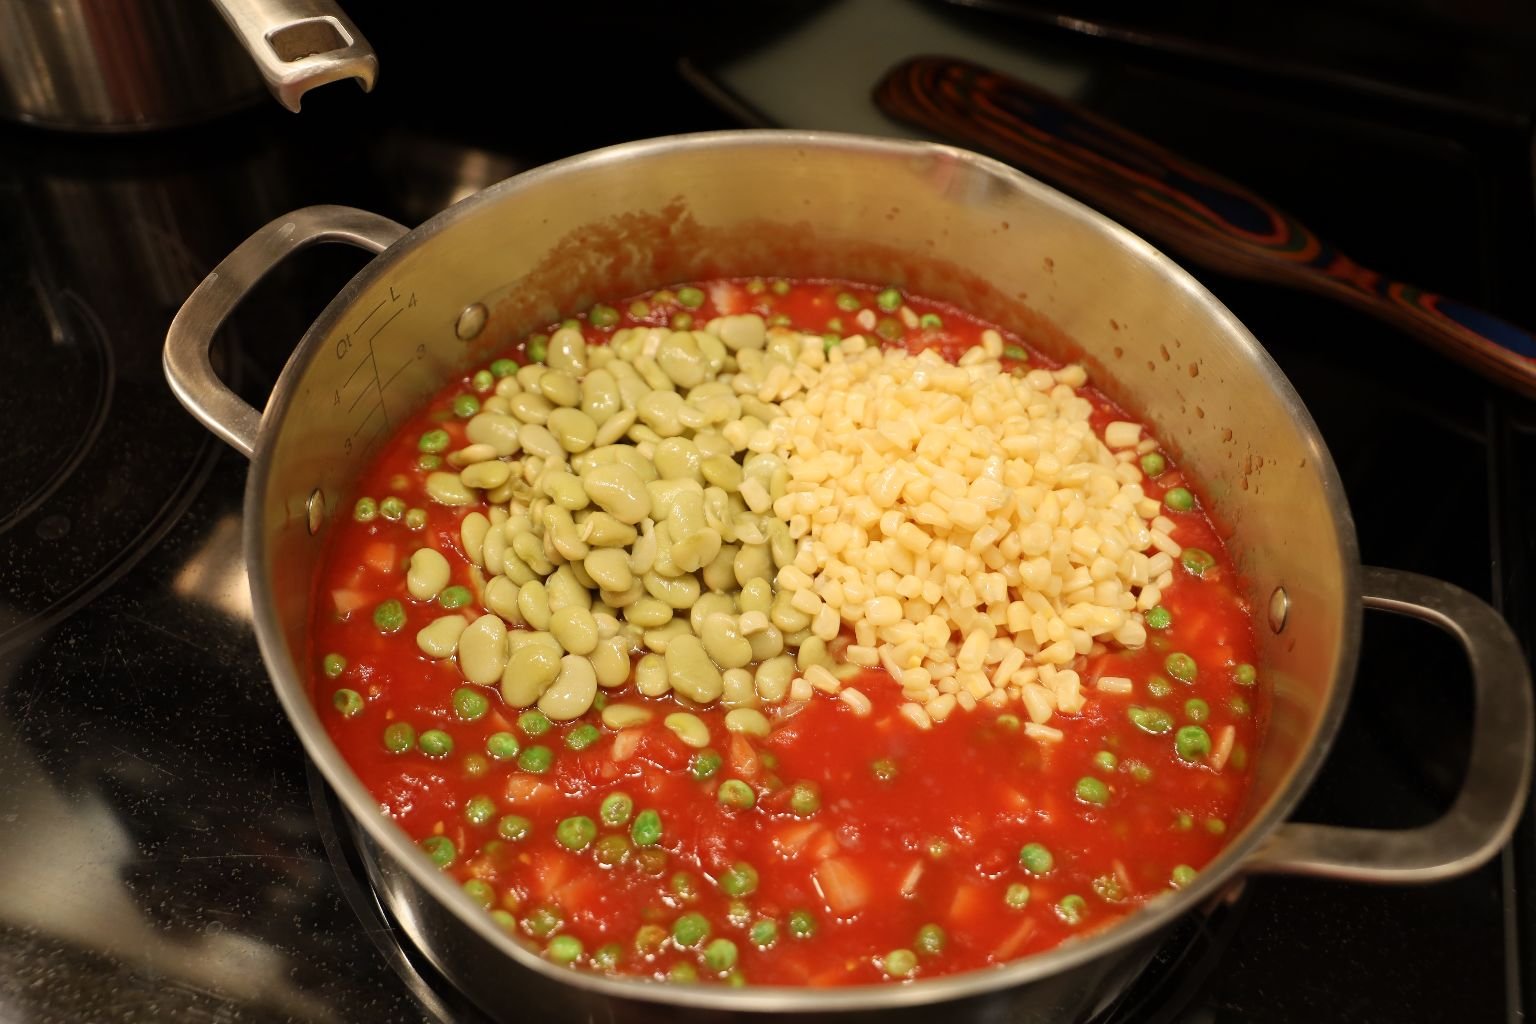
Time To Add Cans Of Lima Beans And Shoepeg Corn, Drained
Add The Vinegar Next…
And The Salt And Pepper To Taste…
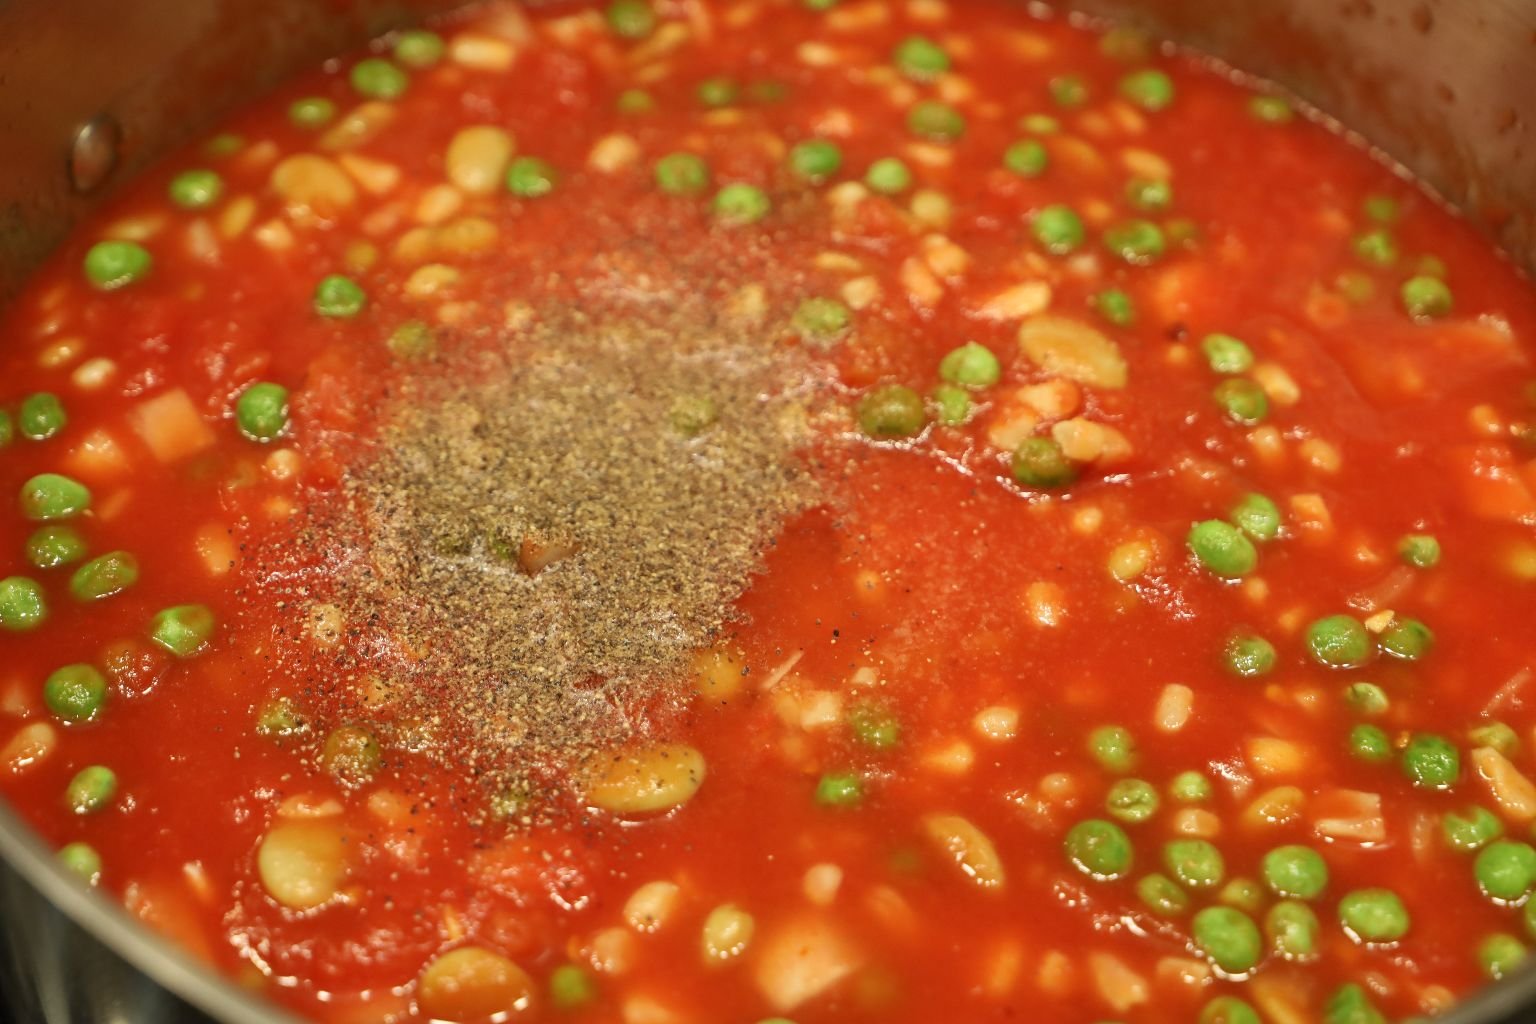
—————————————————————————–
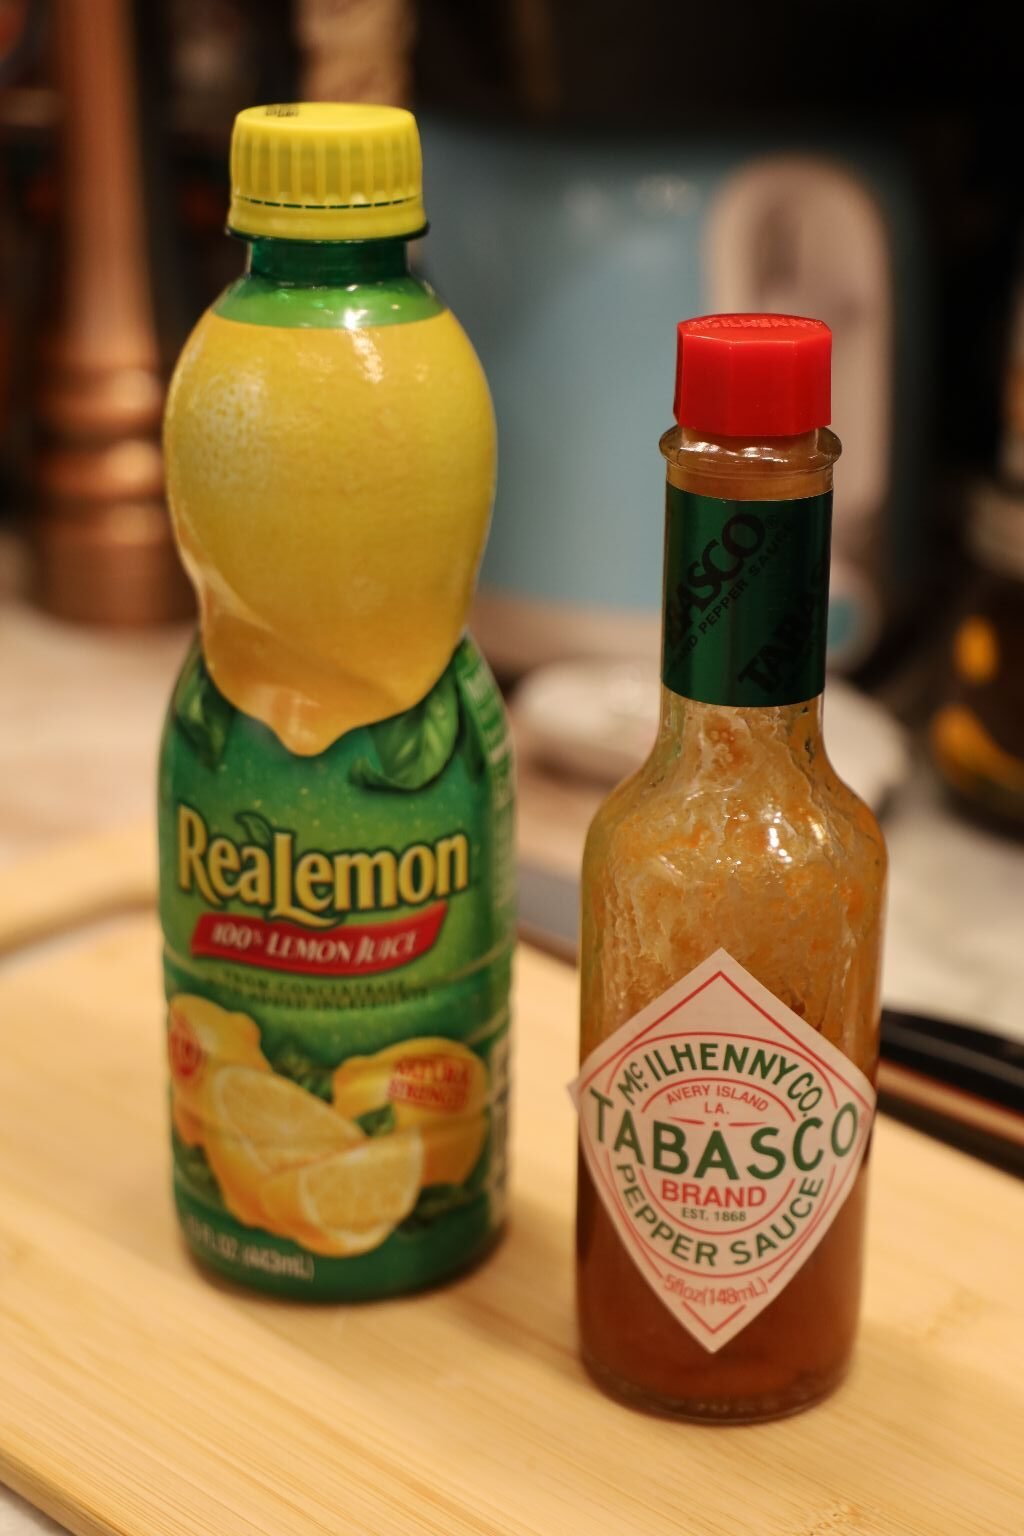
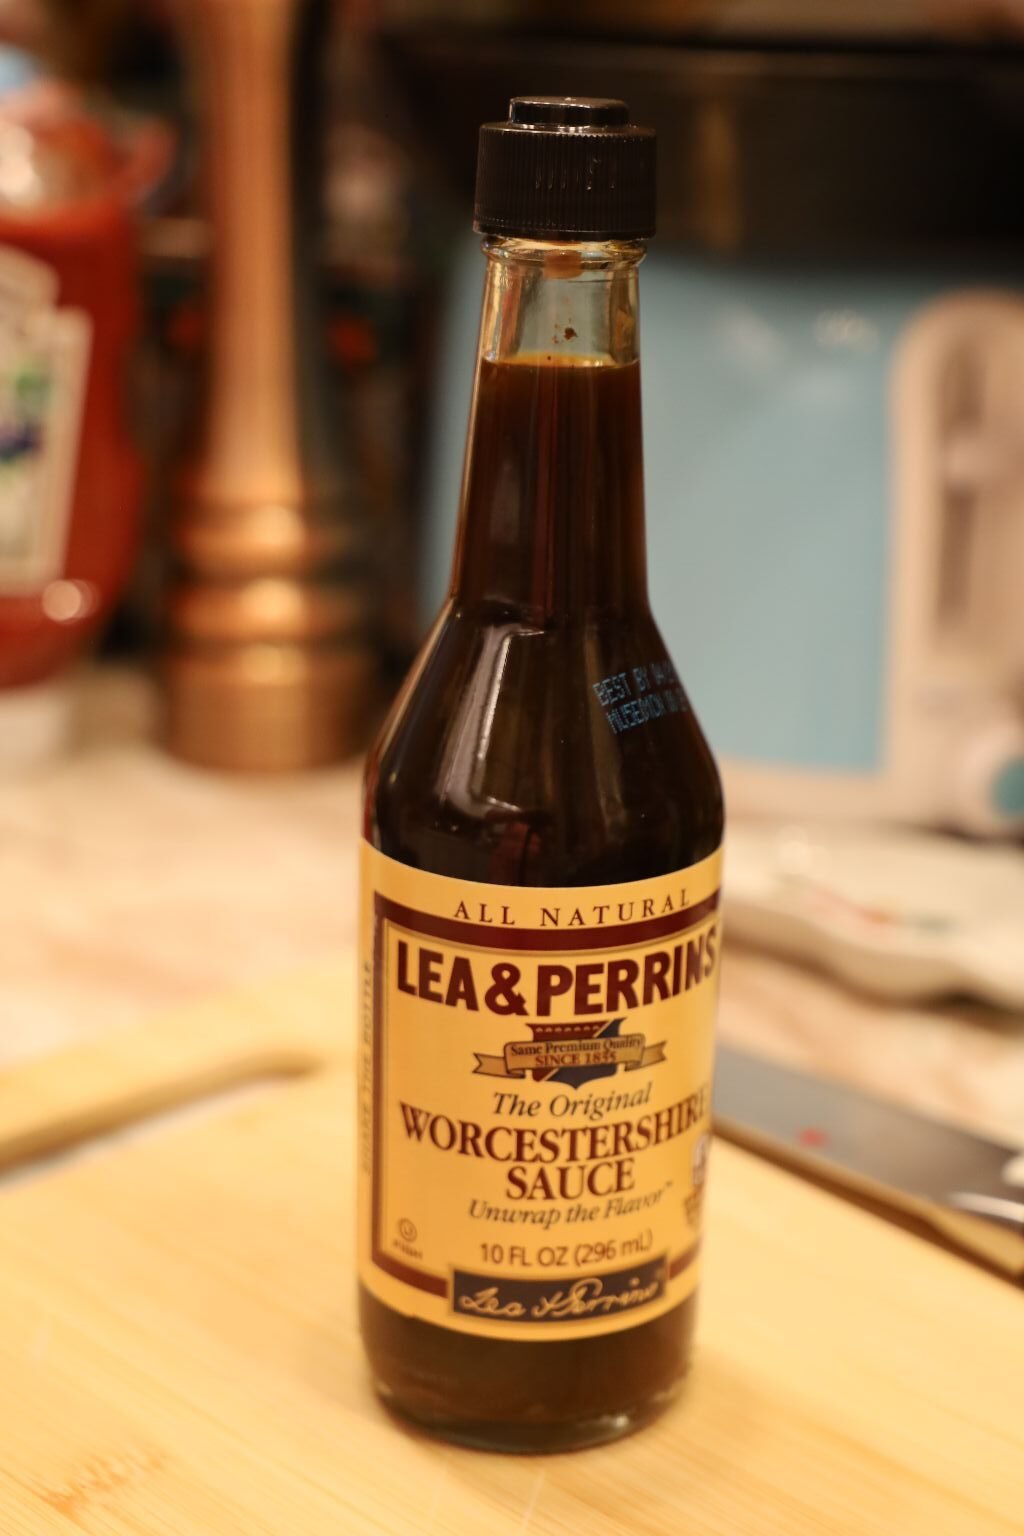
Time to add the Lemon Juice, Tabasco, and Worcestershire Sauce
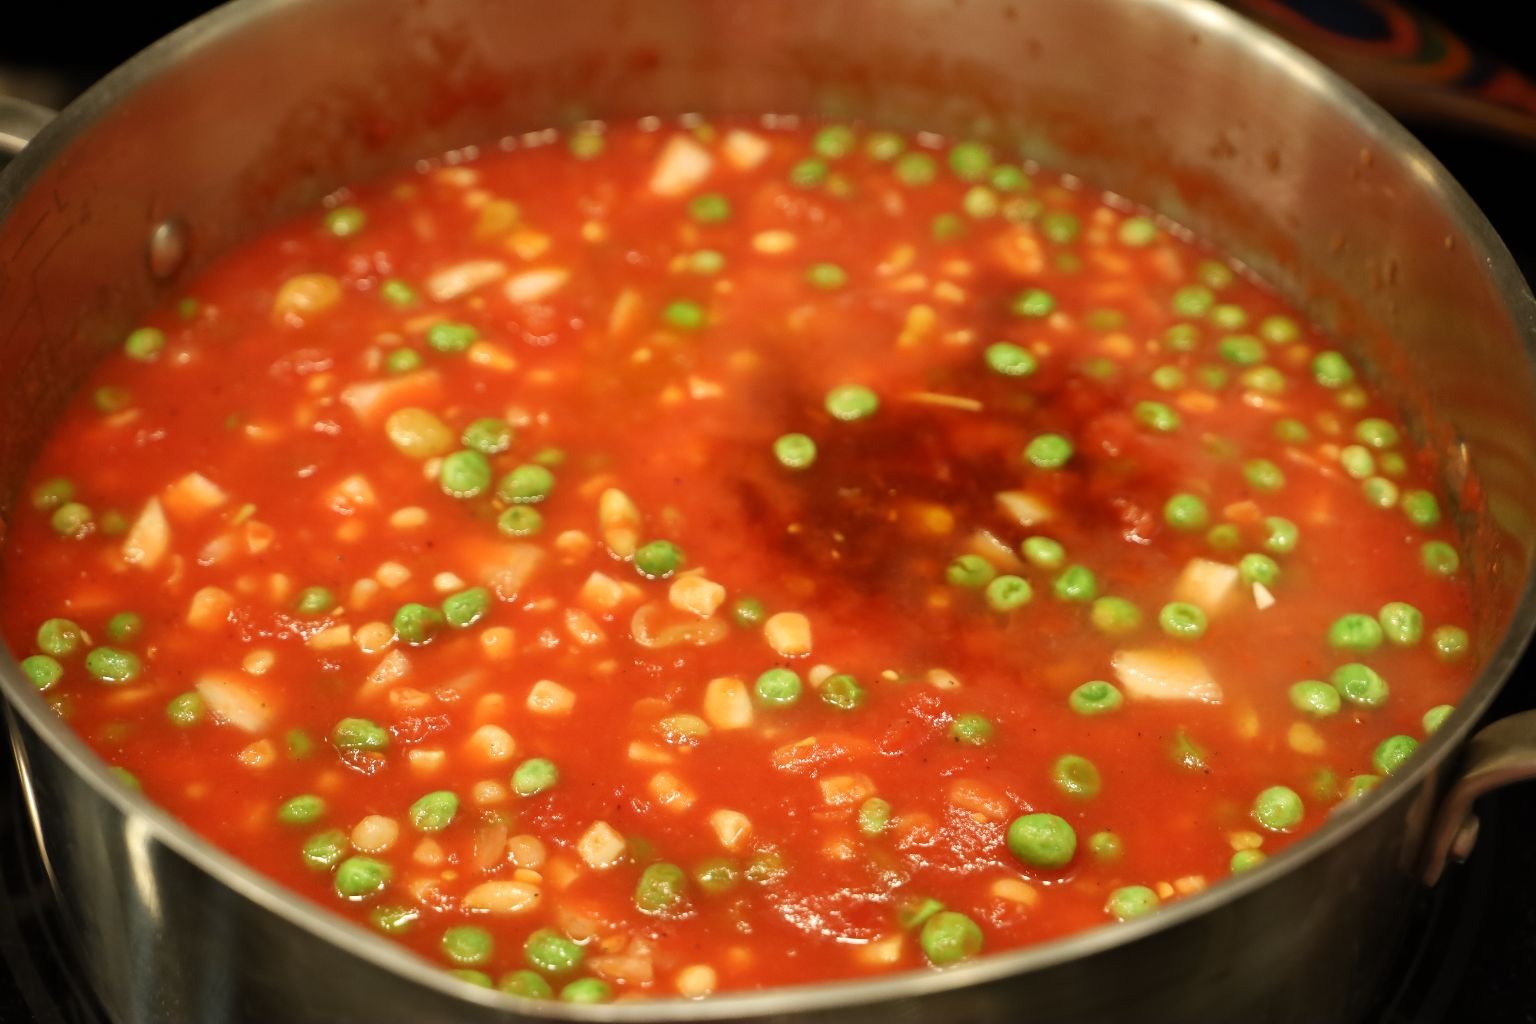
Stirring Often
—————————————————————————————-
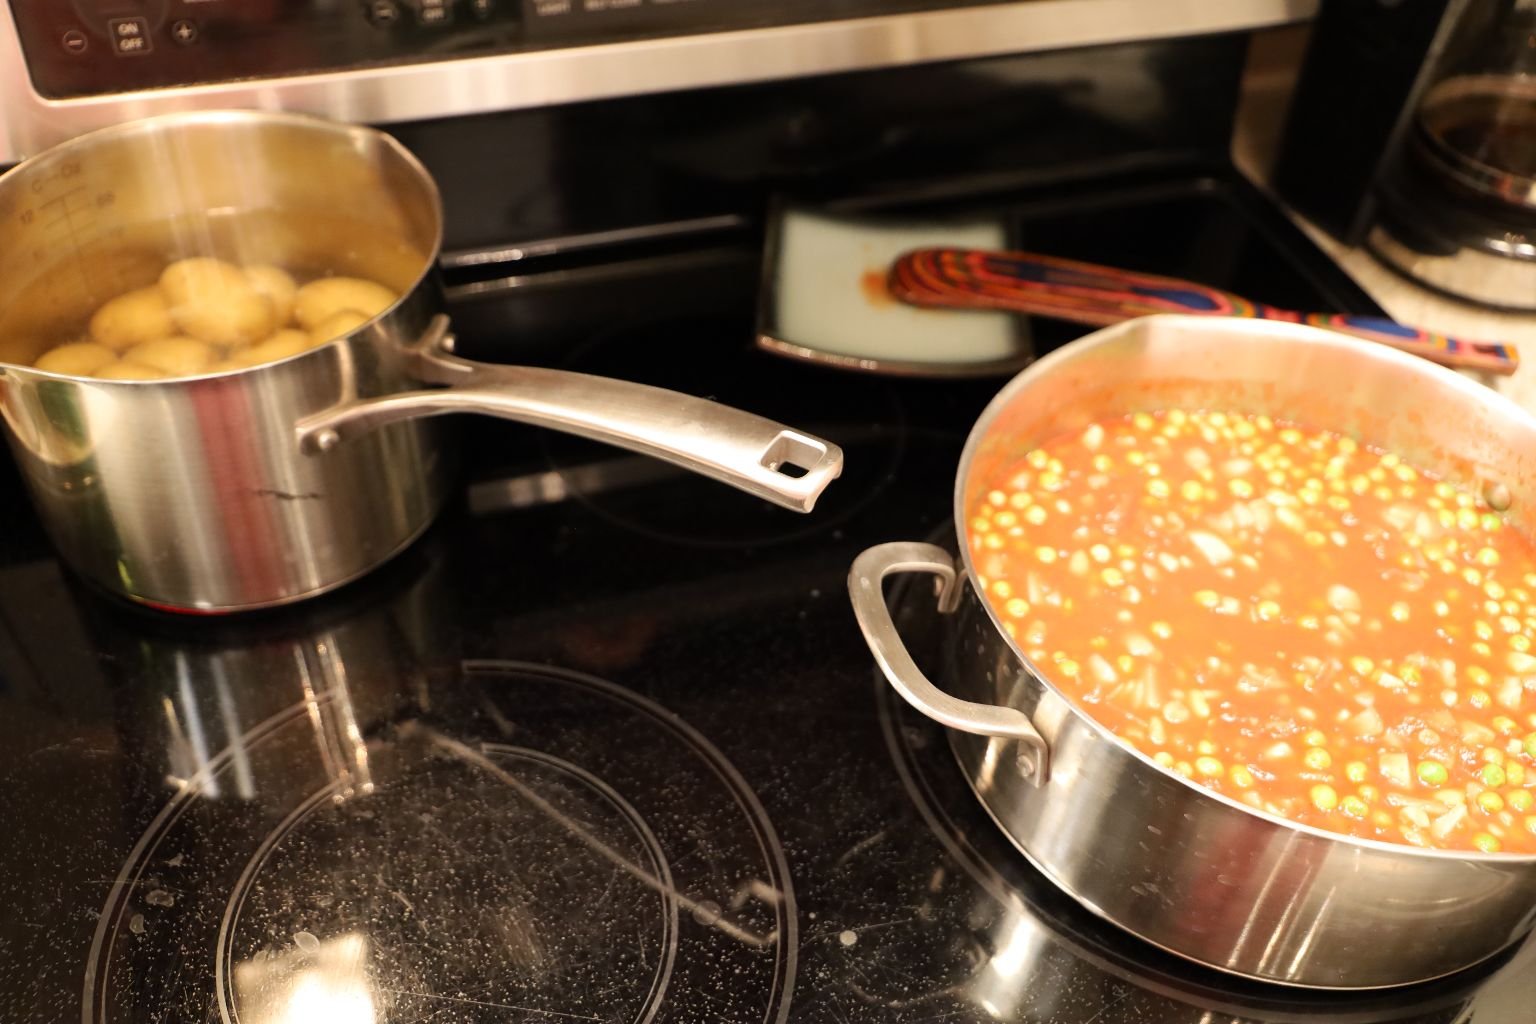
Potatoes Are Boiling And Stew Is Simmering
—————————————————————————————
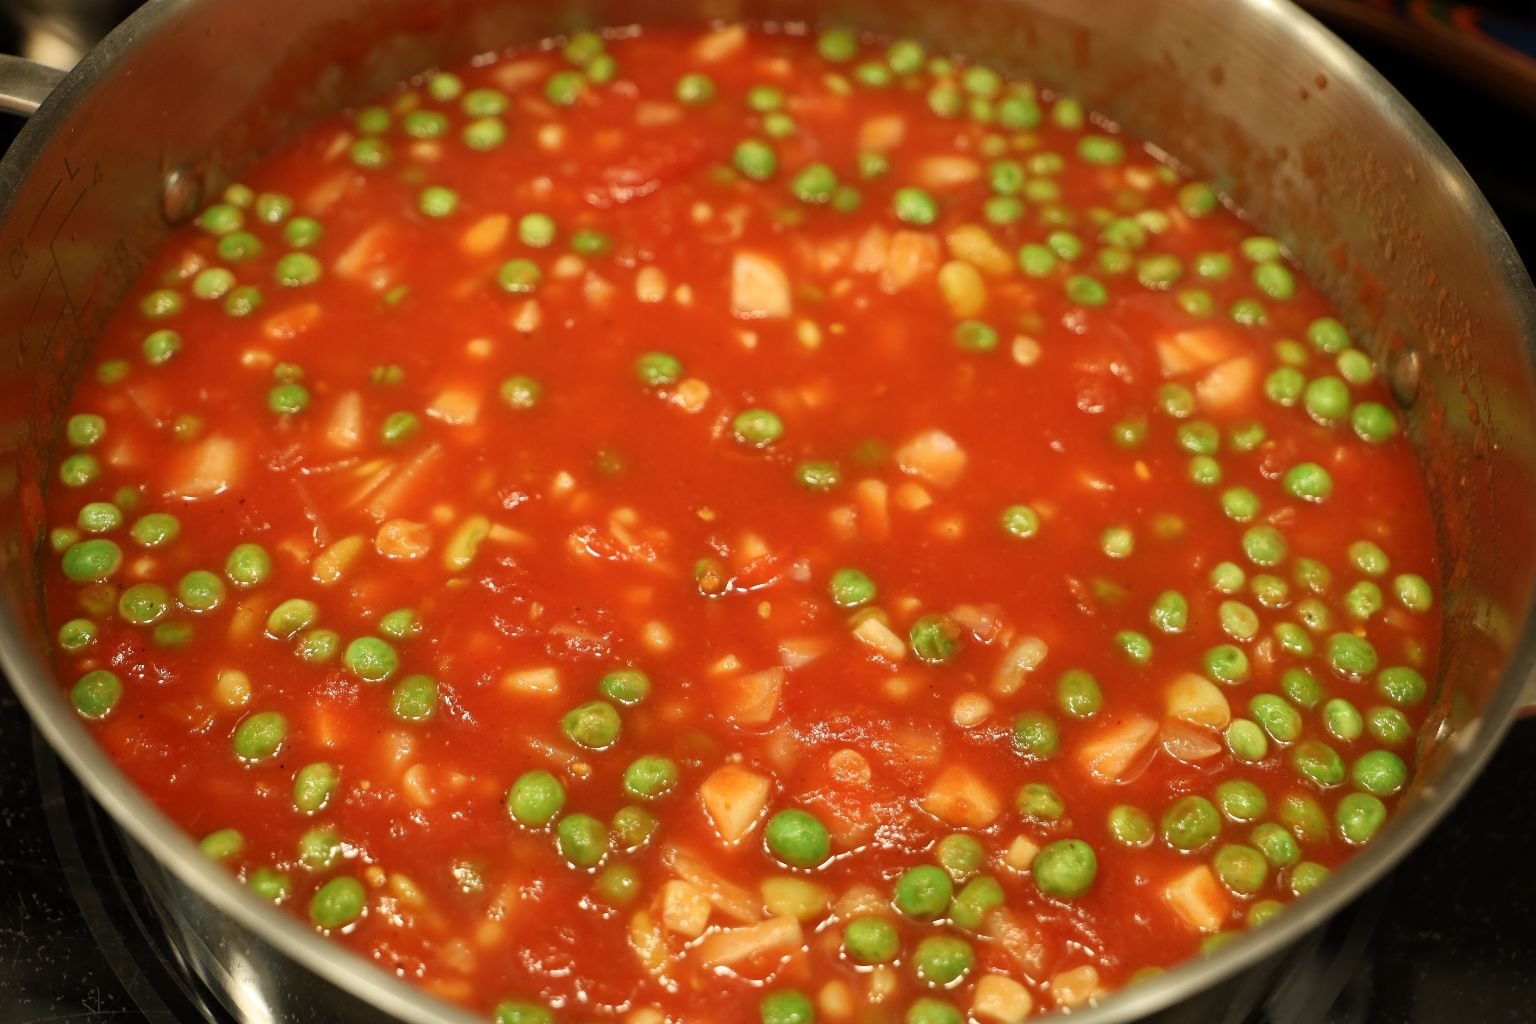
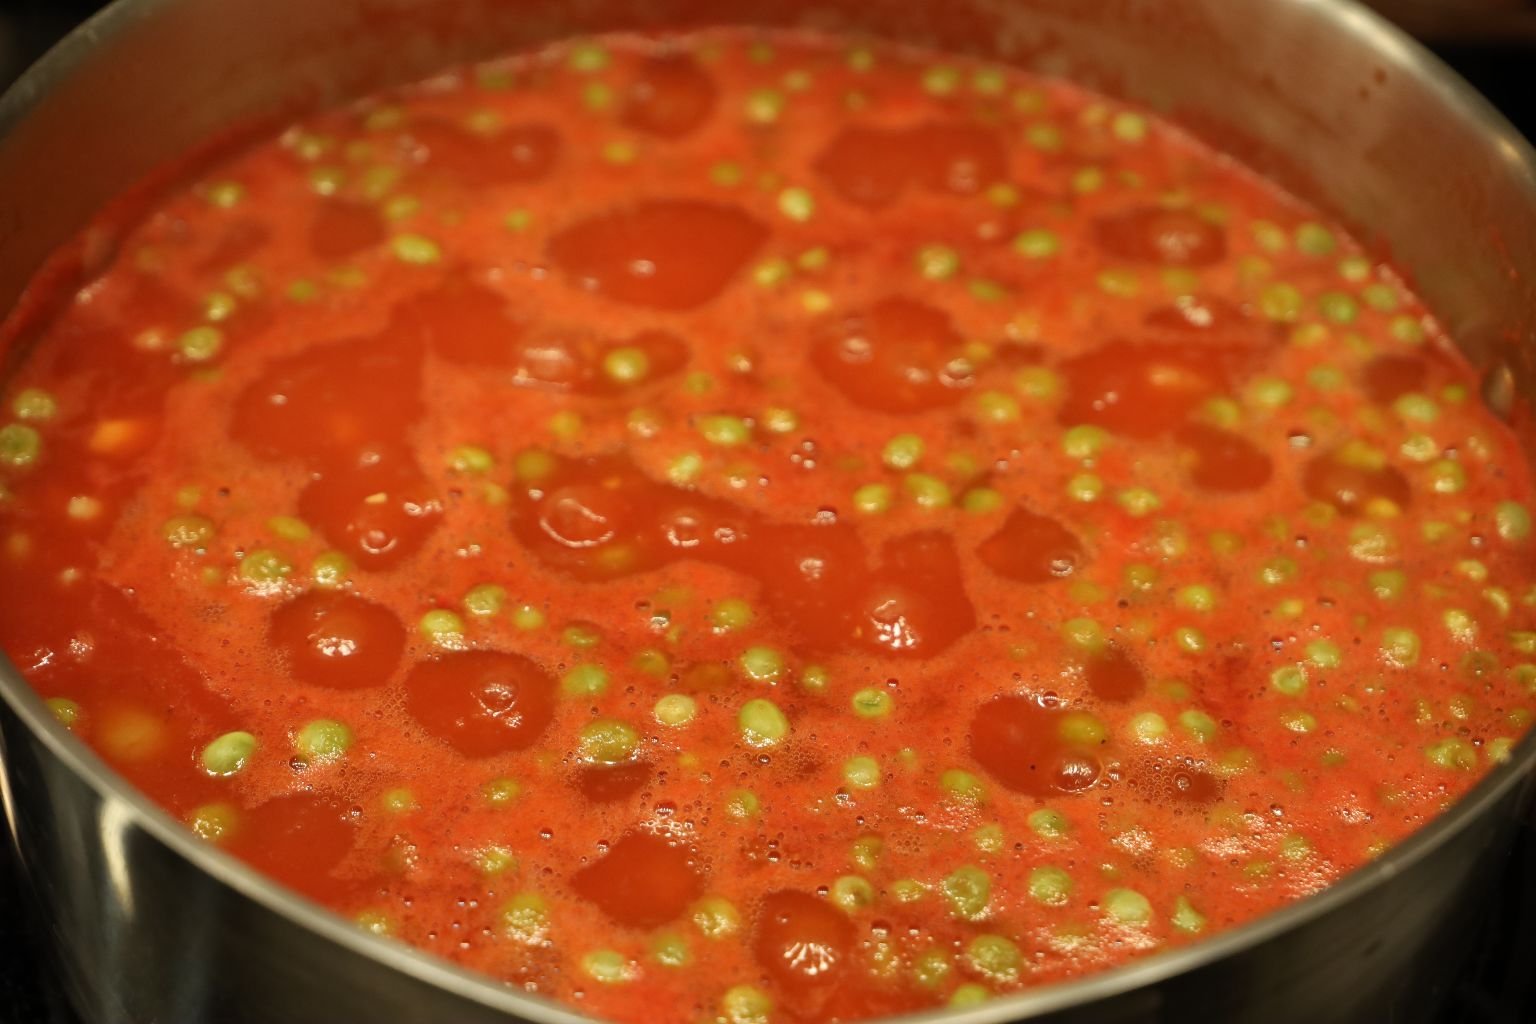
Adding The Ketchup, Stew Is Boiling, Stir Often
——————————————————————–
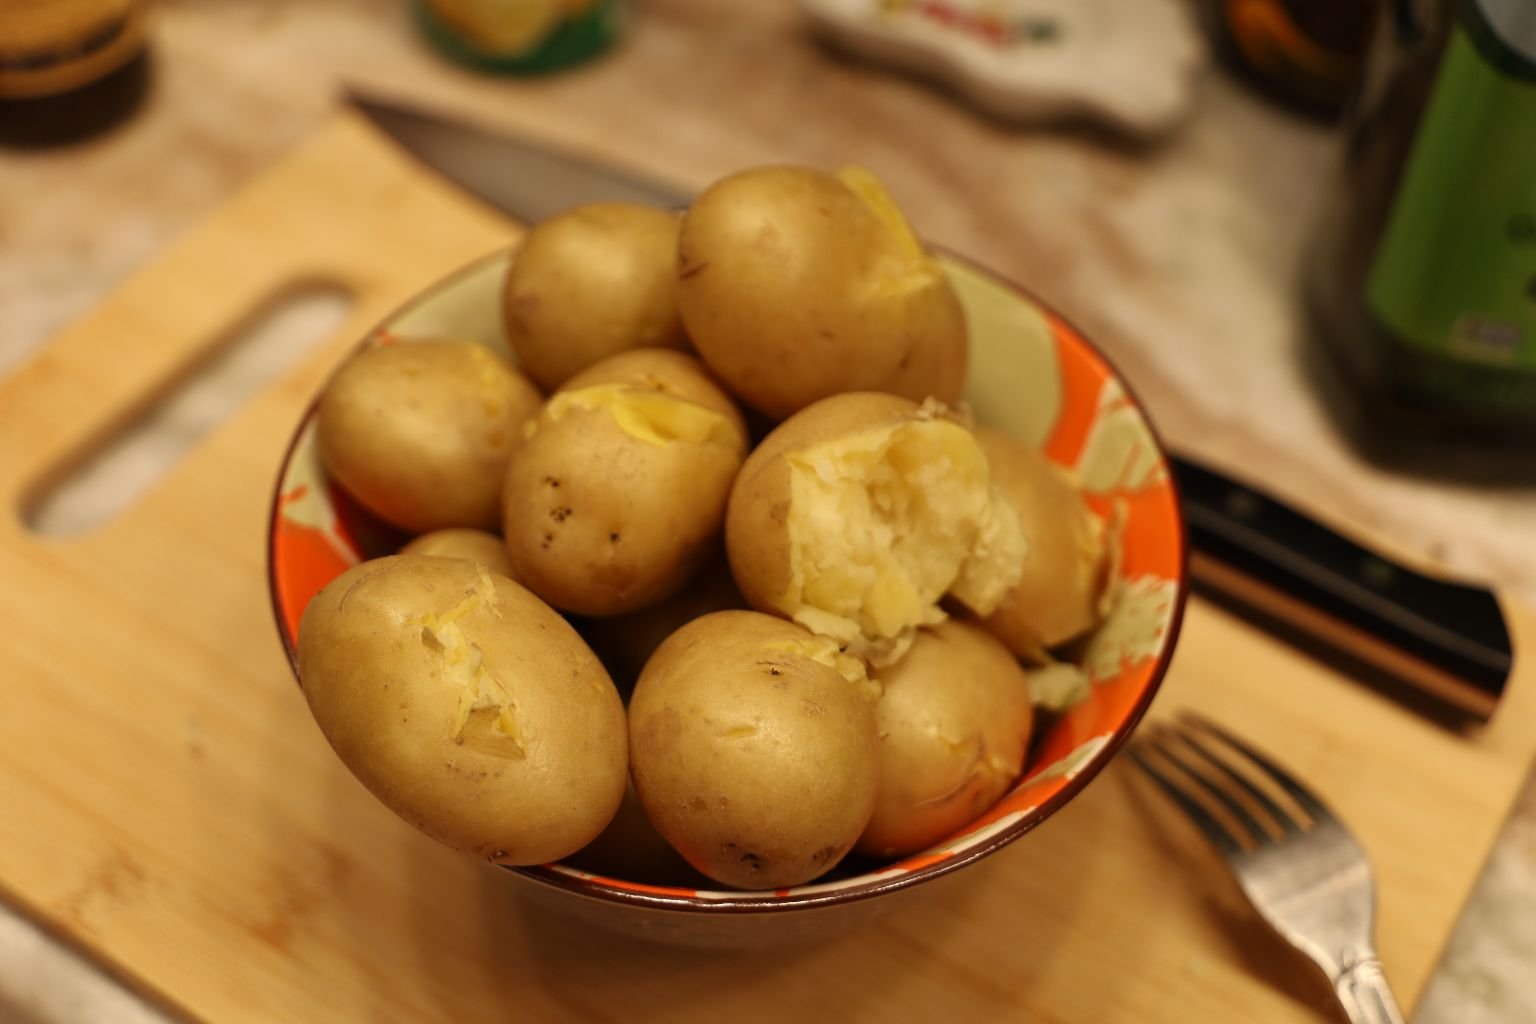
Potatoes Are Fork Tender..
Time To Cut Them And Place Them Into The Stew
You Can See Everything Thickening Up Nicely
(Reduce Heat To A Very Low Simmer)
———————————————————————————–
Now It’s Time To Fry The Chicken Breasts
In My Grilling Cast Iron Skillet… Bring Up To A Medium-High Heat
Adding Some Olive Oil..
When Nice And Hot Remove The Chicken Breasts And Place Into The Cast Iron Skillet Grill
————————————————————————————–
Now I Am Placing My Cast Iron Skillet On The Stove Top
——————————————————————————————-
Placing My Brunswick Stew Mixture Into My Cast Iron Skillet
—————————————————————————————–
Frying My Chicken Breasts, Love The Grill Marks
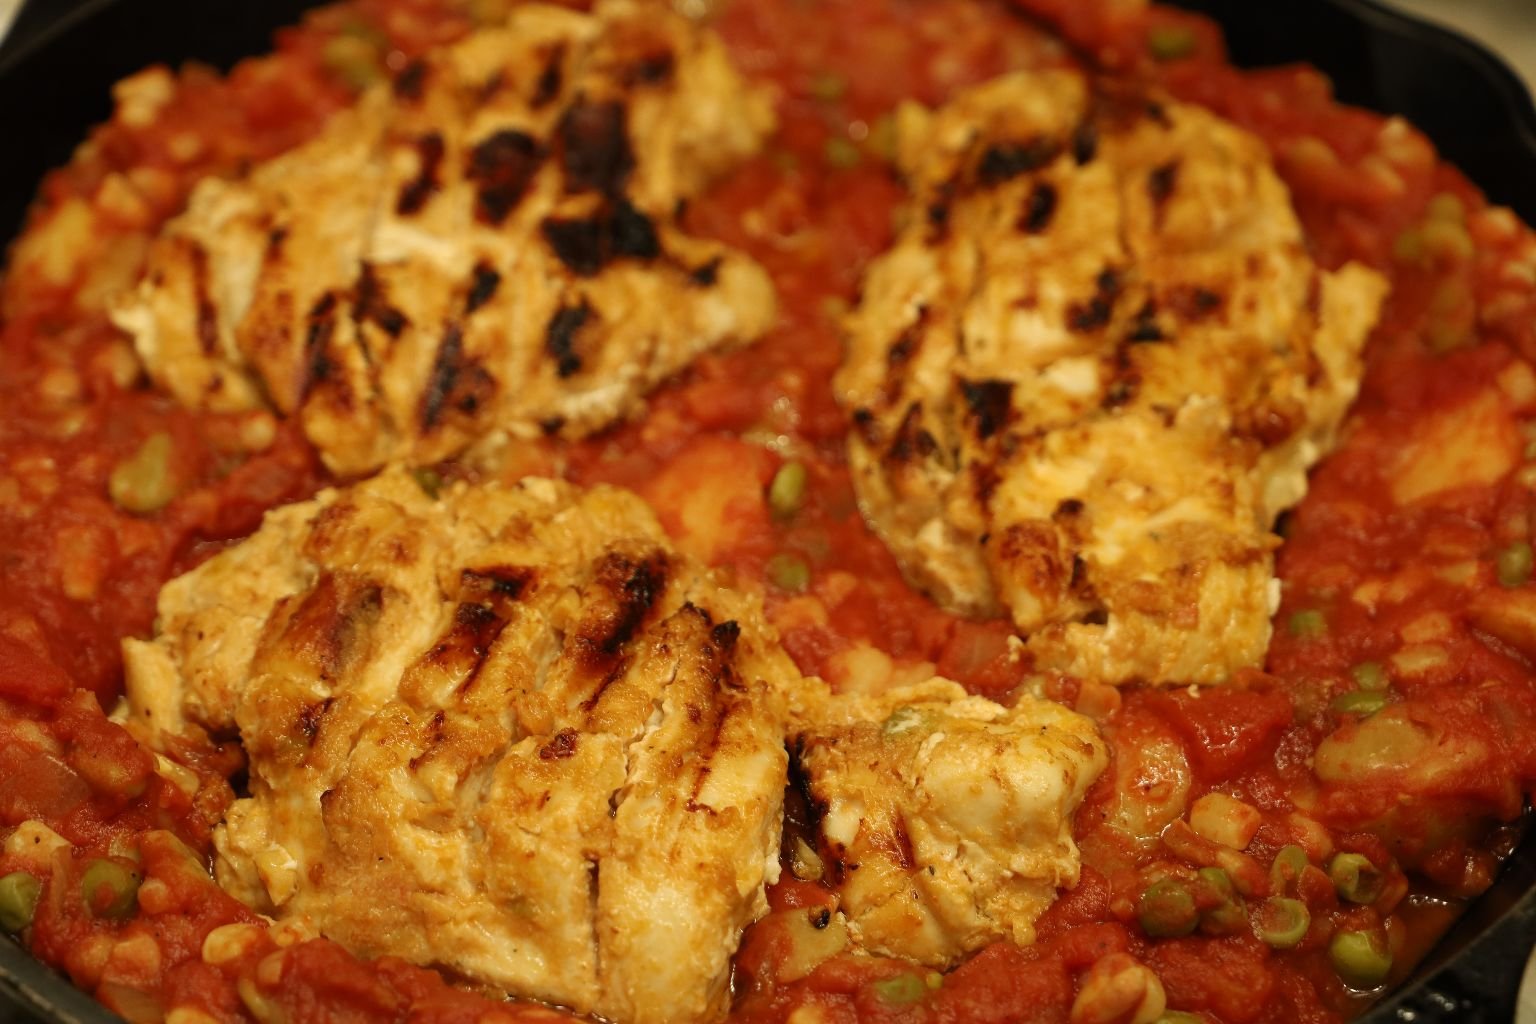
When The Chicken Breasts Are Done Place Them On Top Of The Brunswick Stew In The Skillet
I Placed These Delicious Little Bits On Top Of My Chicken Breasts
——————————————————————————————
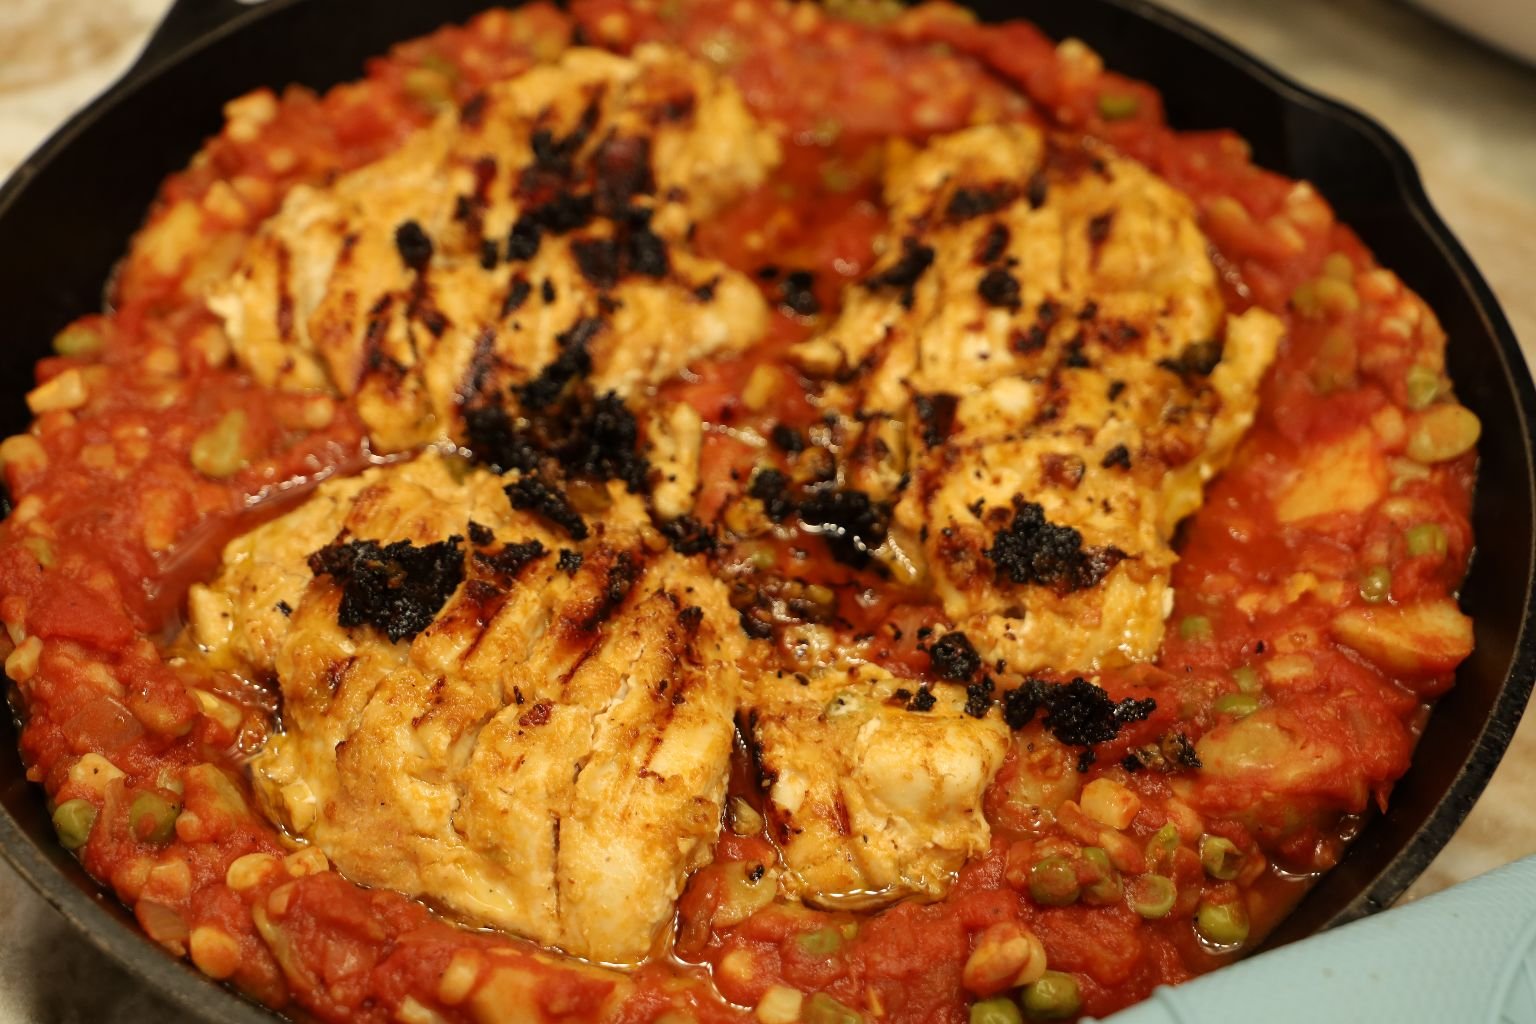
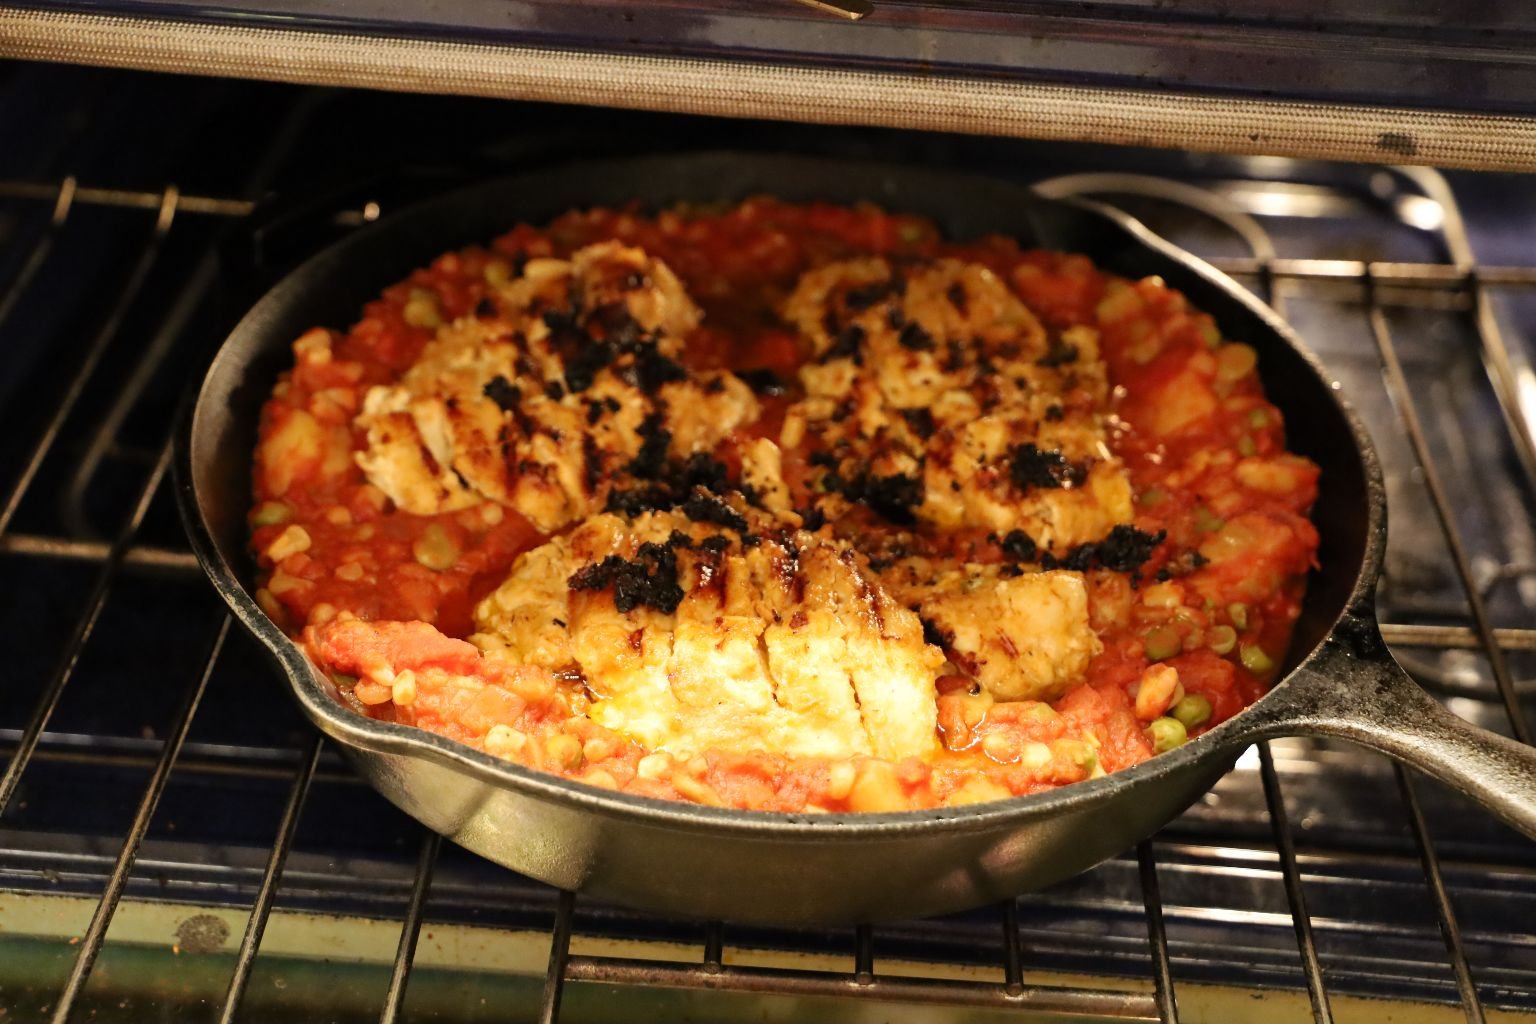
I Then Placed The Skillet Into A 350F Oven For 15 Minutes
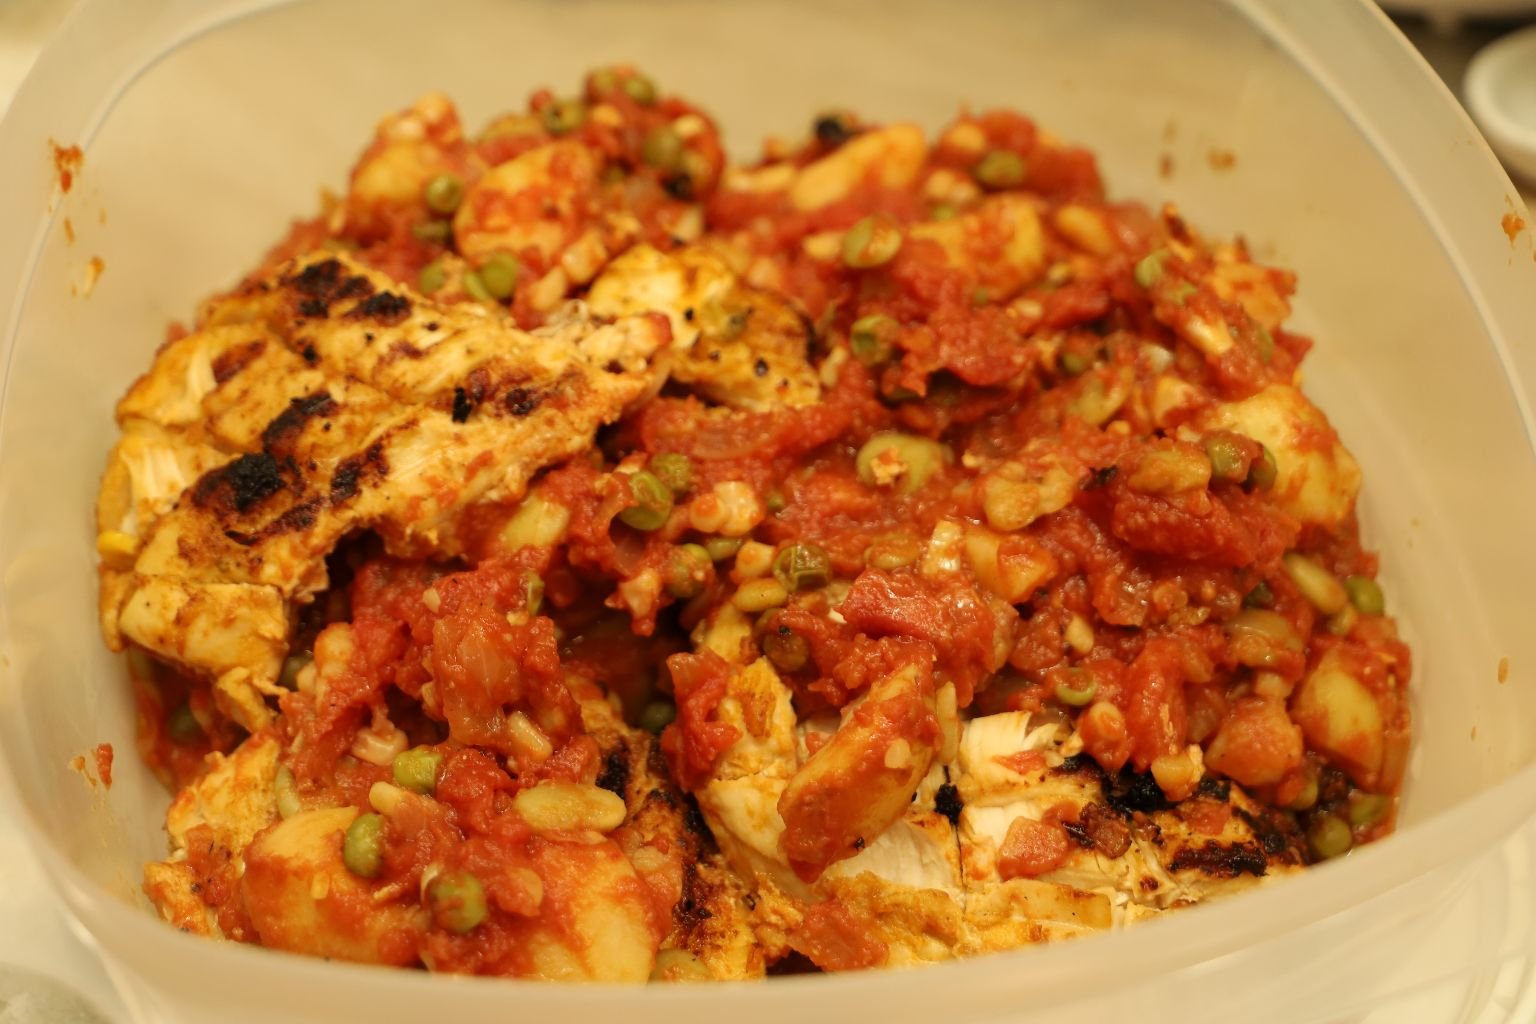
Keep Refrigerated, Enjoy The Leftovers
—————————————————————————————-
See Y’all Later!
Julie (Ju-Baby)
(Grammaw Nellie Mae would be so proud.) 🙂
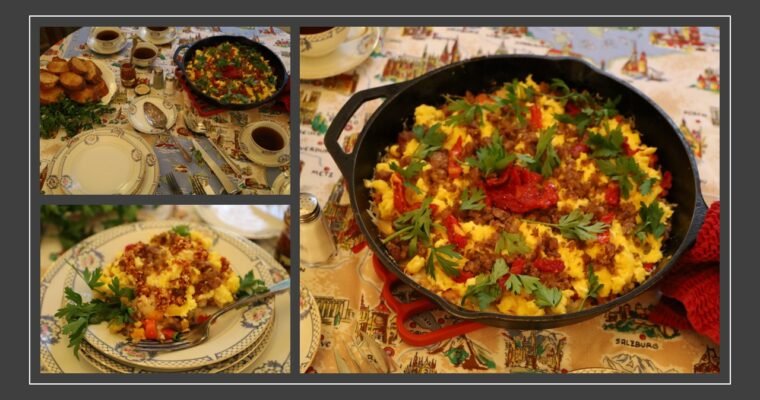
Buongiorno a Tutti (Good Morning Everyone) My Italiana Breakfast Skillet ———————————————————————————————– You Don’t Have To Be Italian To Enjoy This Delicious Breakfast Skillet —————————————————————————————— A One Skillet Breakfast With Baguette and Caffe —————————————————————————————————– This Also Makes An Excellent Dinner, …


“I don’t promise to forget the mystery, but I know I’ll have a marvelous time“
Nancy Drew
——————————————————————————
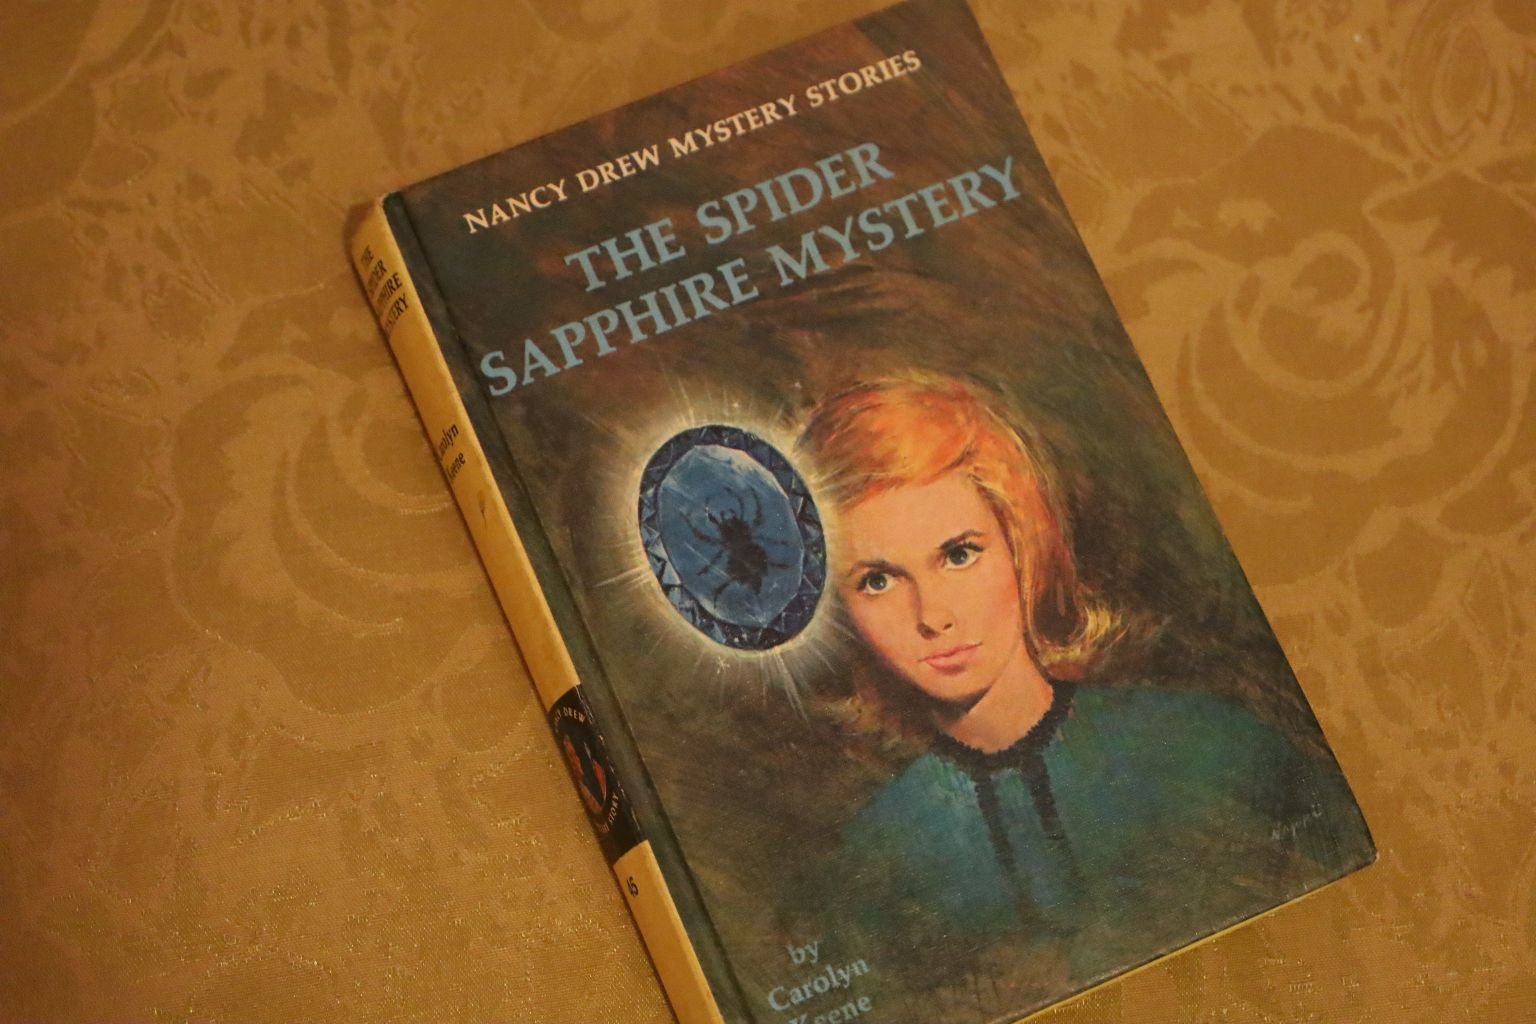
#45 The Spider Sapphire Mystery
Thrilling, dangerous adventure confront Nancy Drew while on a safari in East Africa with a group of American college students. Excitement runs high as the teen-age detective delves into the theft of a fabulous sapphire formed by nature millions of years ago.
The mystery starts in Nancy’s home town. Her lawyer father’s client, Floyd Ramsey, who fashions beautiful and unusual synthetic gems, is accused of stealing the magnificent spider sapphire and exhibiting it as his own creation. Mr. Ramsey’s enemies blackmail him and by their vicious acts try to deter Nancy from going on the safari.
How the daring young sleuth uncovers a nefarious scheme and also solves the strange disappearance of an injured jungle guide will keep the reader breathless with suspense from first page to last.
————————————————————————–

Bushes make a clever screen while you eavesdrop on unsuspecting suspects.
#1 The Secret Of The Old Clock
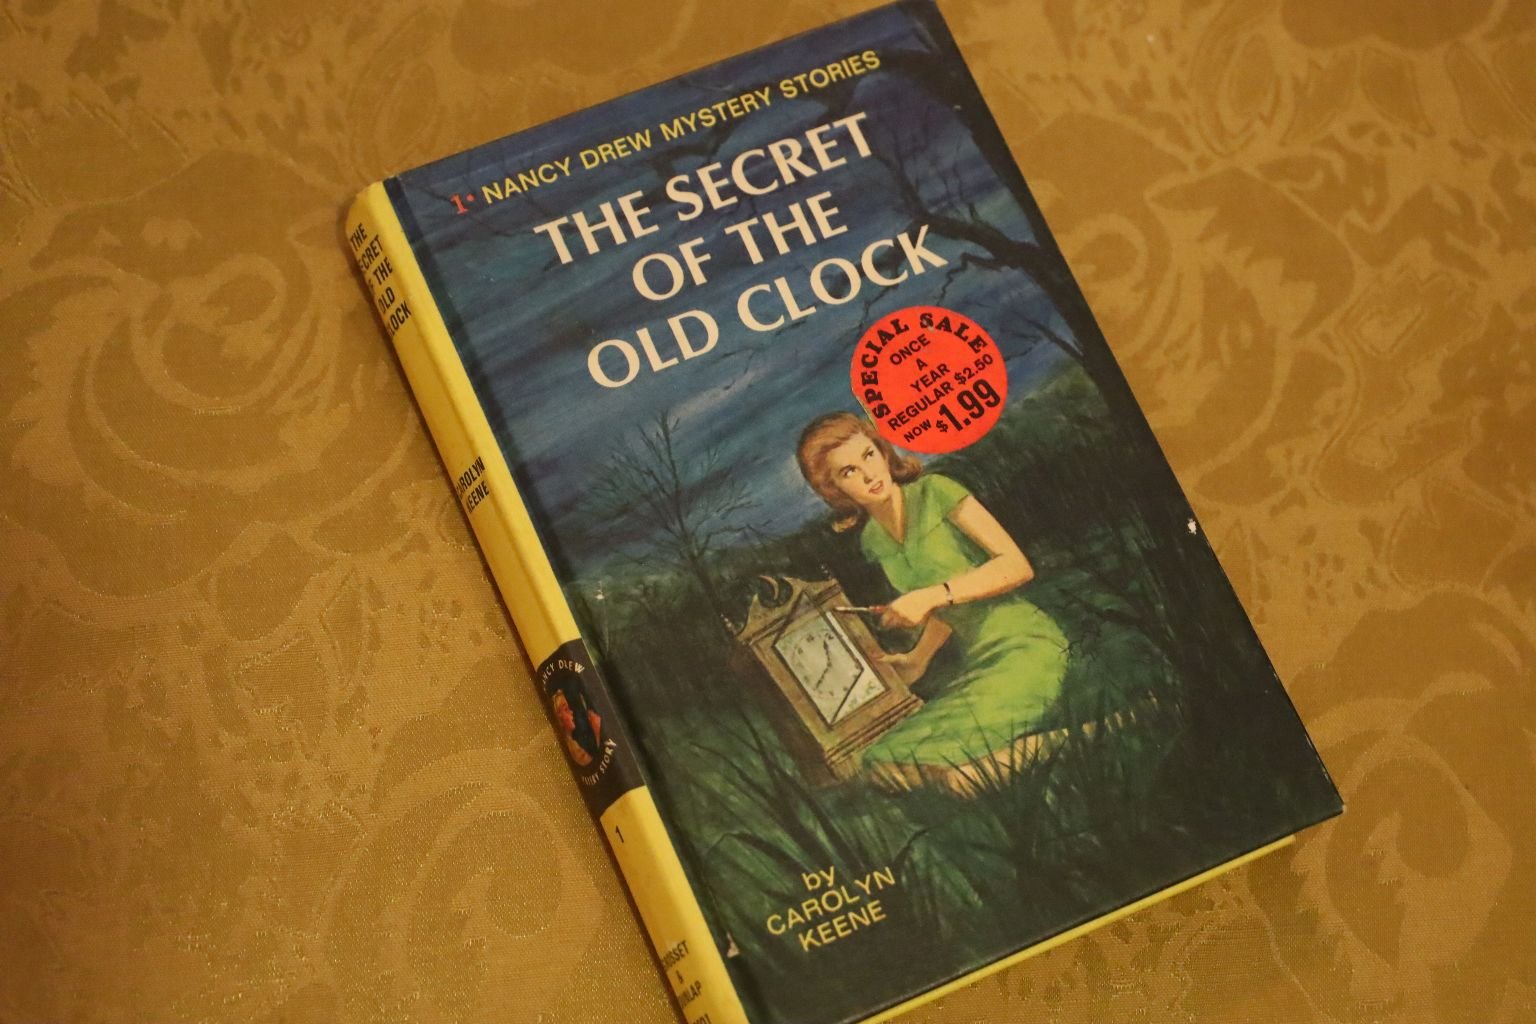
(1930)
(I purchased this book, the first one, after I had already started my collection because my mother already had The Secret of the Old Clock, so I didn’t think I needed it. It wasn’t until I wanted the full ‘yellow set’ and realized that it was different from the original version my mother had. That is why the price sticker is on this book and not the others.)
————————————————————————————–

Hello. My name is Nancy Drew.

When getting a call from a guy makes you send your slippers flying to the nether regions of your bedroom, you might just be infatuated!
The Clue in the Diary
———————————————————————–
Which brings me to Ned:
This is my special friend Ned Nickerson, he attends Emmerson College. He has been my ‘special friend’ since 1932 when he assisted me on our first detective adventure together, The Clue in the Diary.
Although my first mystery was The Secret of the Old Clock two years prior.
Ned has been a great buddy for the past 94 years. We both live in River Heights. I live with my father Carson Drew, who is a successful attorney, along with our housekeeper Hannah Gruen. I lost my mother when I was a small child. I have a dog Togo and a cat Snowball.
——————————————————————————
Always Dress For Success

I solve mysteries together with my friends Bess Marvin and George Fayne. They are cousins.
Bess has a lovely face but sadly she is slightly plump, (compared to the rest of us stick thin girls), and George is a tomboy. Together we are helped by their boyfriends, Dave Evans and Burt Eddleton.


Always give your hair special attention and wear pretty dresses for the boys!

#55 Mystery of Crocodile Island
In a response to a friend’s call for help, Nancy’s father, a lawyer, asks her to travel to mysterious Crocodile Island with her friends Bess and George to study the reptiles and try to uncover a group of suspected poachers.
Upon their arrival in Florida, the girls are kidnapped but cleverly escape to pursue their detective work. Dangers mount as they cope with the reptiles, enemy boats, and exciting chases after the men who are responsible for a sinister racket that involves many unsuspecting victims. In the end, Nancy makes a bold move to untangle the mass of clues. She and Ned become imprisoned in the enemy’s submarine and are held for ransom!
How Nancy and Ned are saved and the tables turned on the owners of Crocodile Island are left for the reader to discover.
——————————————————————————————

Look! It’s a message from Bess and George coming in through the wireless.
Well Ned, we have a mystery to solve. Let’s go!

Here’s a CLUE for Nancy Drew
———————————————————————————————
Currently Sleuthing…
One thing is for sure, she thought. Work is the best antidote for worry.
I’ll get back to Twin Elms and do some more sleuthing there.
—————————————————————————————
The Case of the Safecracker’s Secret
I Am Also An Excellent Safecracker
This One Was No Problem
——————————————————————————-
Eavesdropping
While it does toe the line of privacy,
eavesdropping on the telephone extension is a necessary tactic for staying informed and catching criminals.
——————————————————————————-
Some Days a Stake Out is in Order

Ned’s Roadster Always Comes In Handy
————————————————————————————–
When Casing A Joint, Or Following A Bad Guy

Cocoa and Cookies make a great accompaniment to a Midnight Stakeout!
The Clue of the Tapping Heels

———————————————————————————-
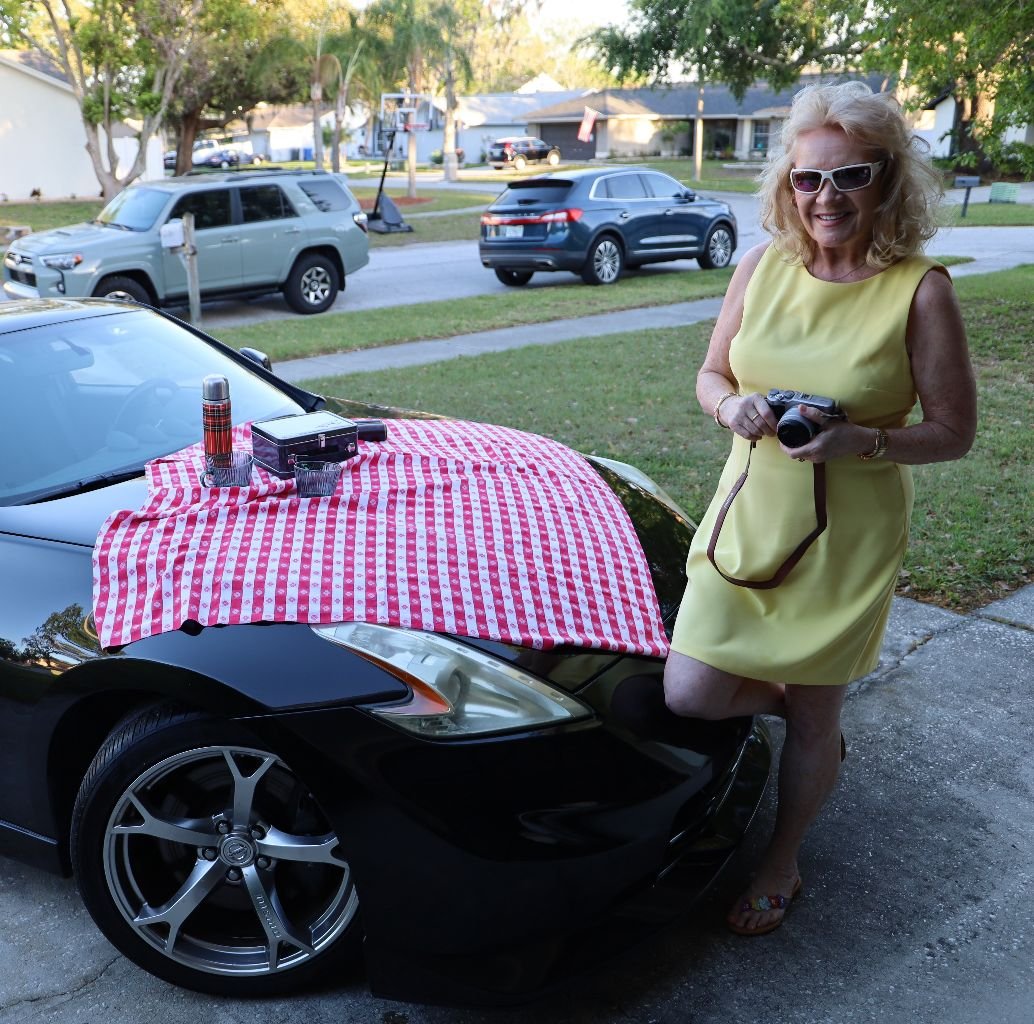
————————————————————————————-

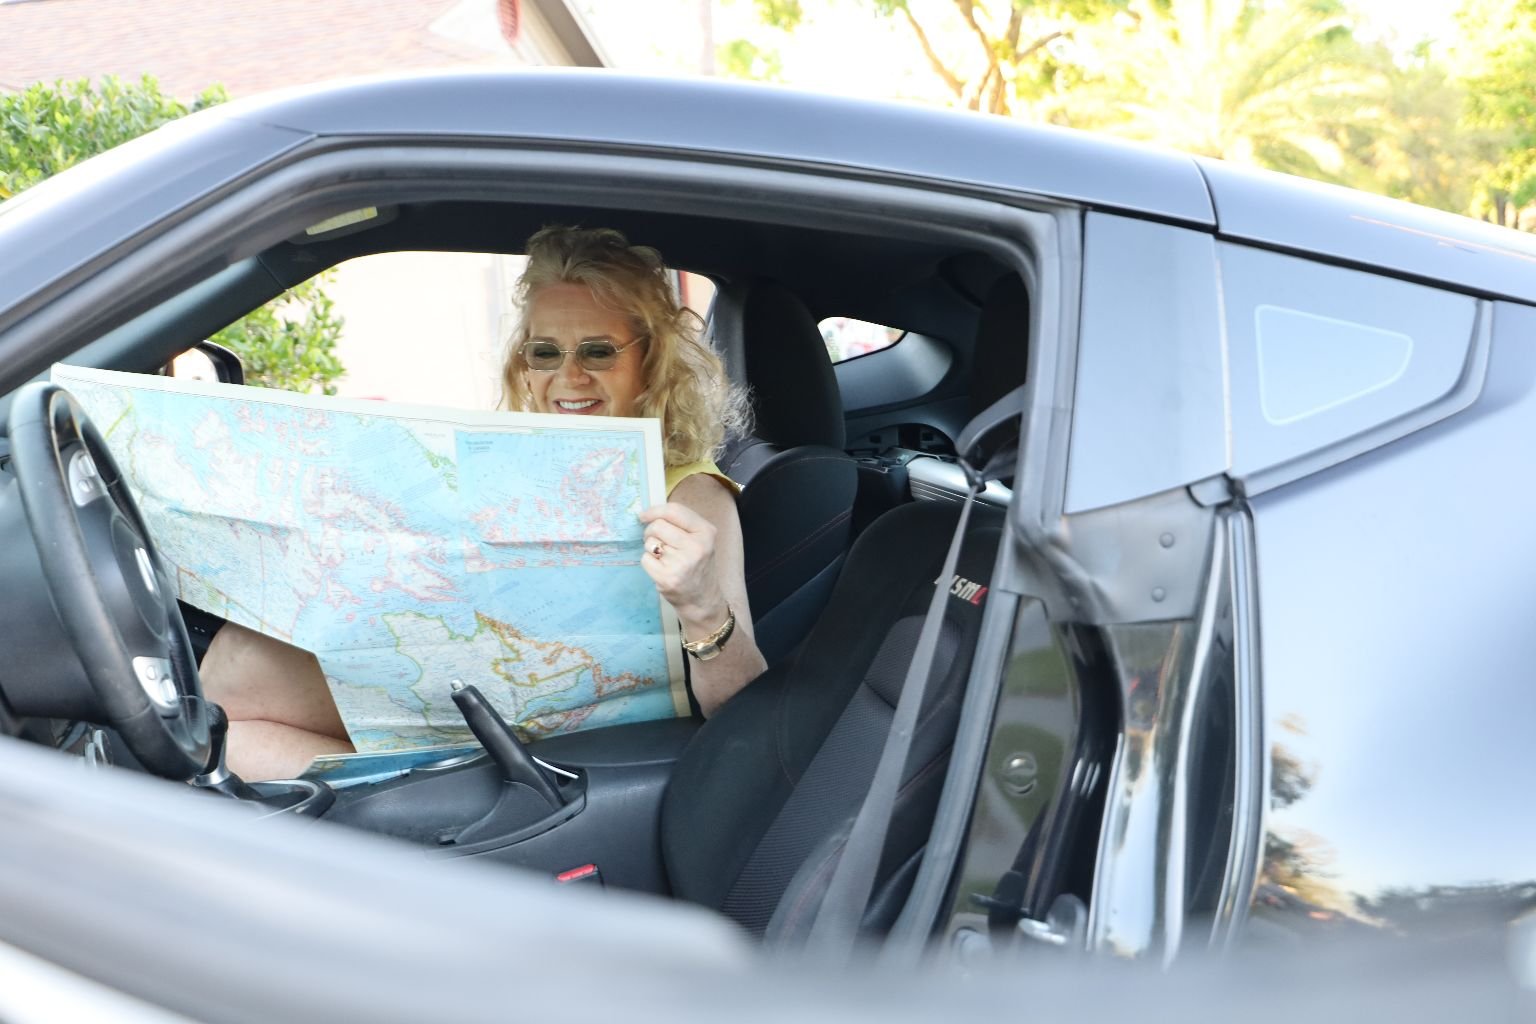
If you’re taken prisoner, unobtrusively knock off a button so that your rescuers will be able to better trace your whereabouts.
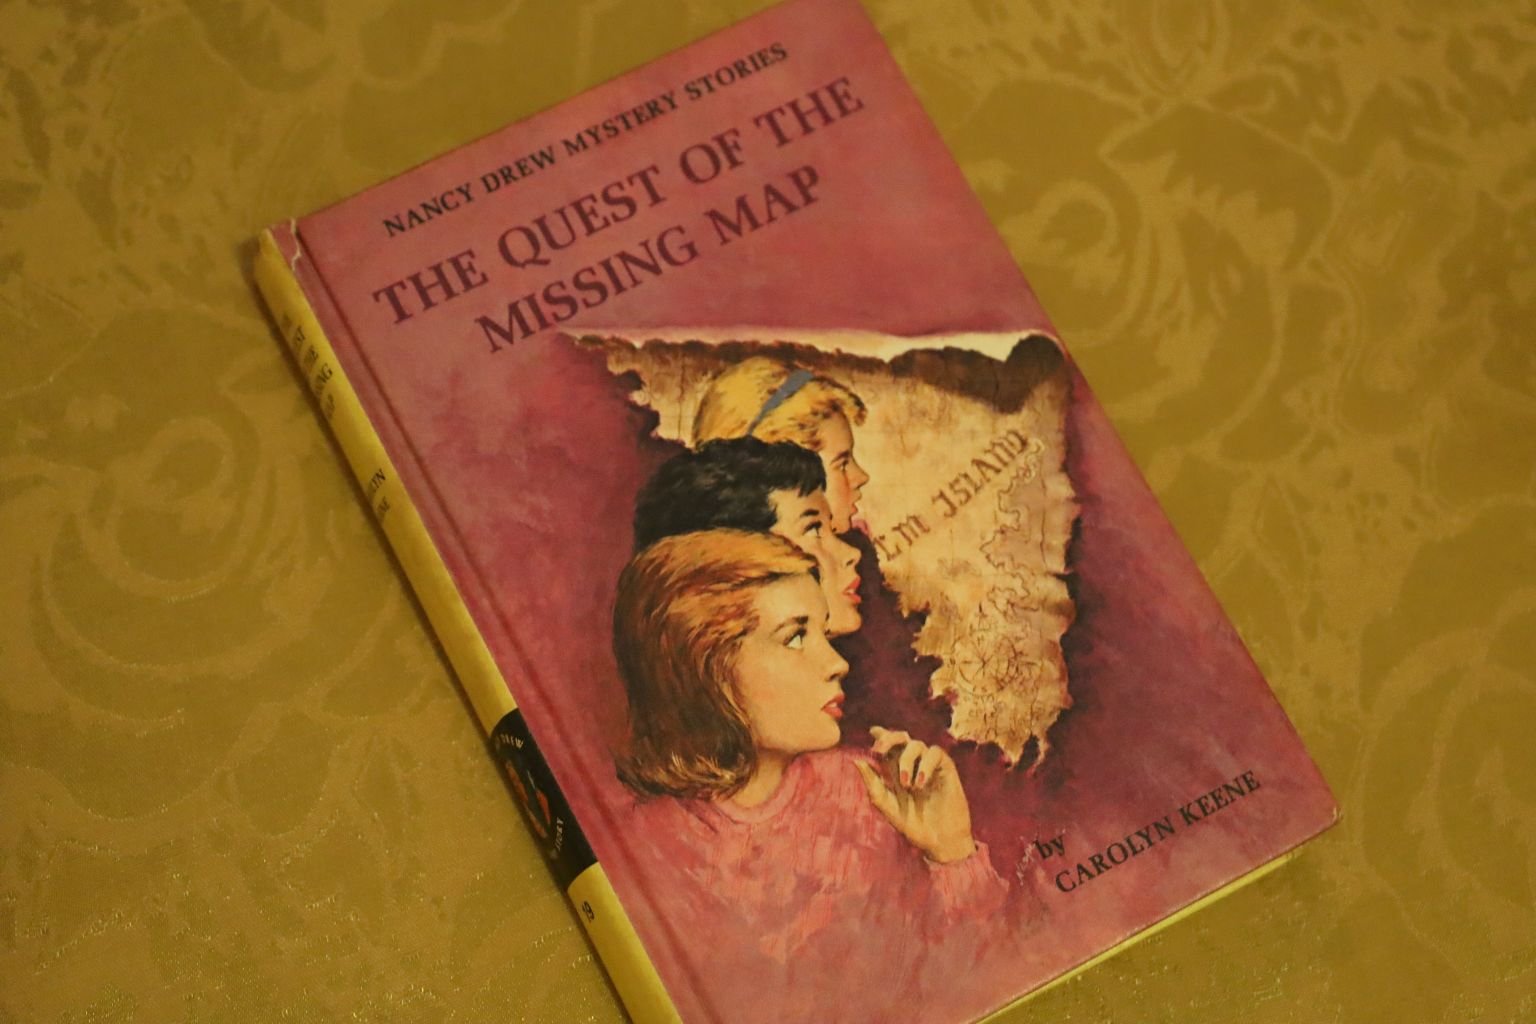
#19 The Quest Of The Missing Map
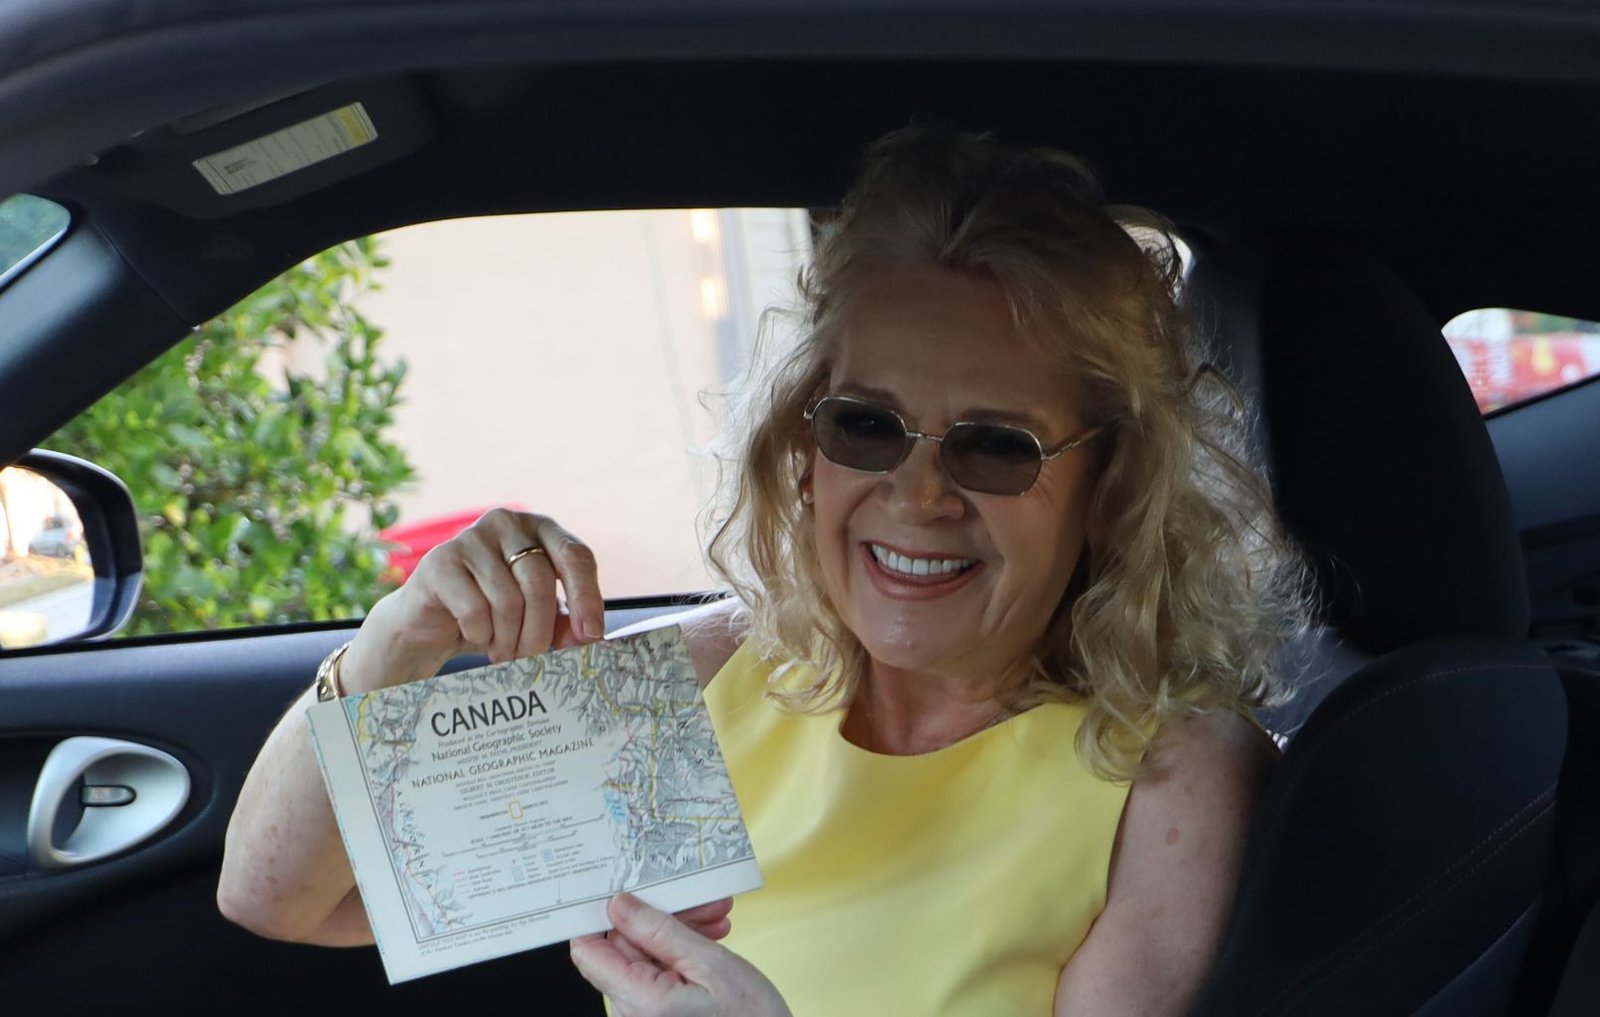
Canada Or Greenland?
Pretty Sure Ned’s Roadster Can Get Us There and Back
————————————————————————————
The Quest of the Missing Map
“No! No! I won’t go there!” seven-year-old Trixie Chatham cries out. “The Ship Cottage is haunted!”
Prompted by her concern for the frightened child, Nancy investigates the small studio on the Chatham estate. What the astute young detective discovers leads her to believe that there is a connection between the mysterious occurrences at Ship Cottage and her search for a treasure island.
With only a few slim clues to guide her—-a half map and Tomlin Smith’s vague memories—Nancy sets out to find Mr. Smith’s long-lost twin brother, who possesses the rest of the map that will pinpoint the location of buried treasure willed to them by their father.
Constantly beset by danger and intrigue, Nancy courageously outwit her enemies and solves one of the most challenging cases in her career as a teen-age investigator.
———————————————————-
Ned Nickerson is so keen to help in investigative work.
—————————————————————————————
Mrs. Nickerson’s Cookies and Hot Cocoa
Maps are a Must when on a Stakeout

———————————————————————————————
Julie
What Happened To Julie On Her Honeymoon?
Starring:
Doris Day, Louis Jourdan, Barry Sullivan and Frank Lovejoy
Has beautiful Julie Benton married a murderer, an insanely jealous man who killed her first husband in hopes of marrying her? When Julie learns the answer is yes, she escapes him in a desperate attempt to forge a new life, taking a job as a stewardess. But her husband has no intention of letting Julie go ever. Doris Day and Louis Jourdan star as pursued and pursuer in this nonstop, double Oscar nominated thriller built around the kind of woman in peril plot that always jangles audiences nerves and is a specialty of writer/director Andrew L. Stone (Cry Terror!. The Last Voyage). As if a mad stalker isn’t enough, Julie tosses in a great Hollywood ending: our heroine piloting a jetliner to a San Francisco landing, the fate of passengers and crew in her hands.
———————————————————————————————–
Assembling My Display
When I was putting this display together, I found that the only spot I had available in the house was the T.V. stand. I placed a vintage yellow tablecloth over the T.V. in an attempt to hide it, while I started stacking my Nancy Drew books in front of it. It was while I was doing this that I wanted to watch T.V. and I didn’t think I would be able to because of all the stuff in front of it, but I pressed the buttons anyway. Viola! It worked! It was then that I got the idea to put in a movie to play in back of the books. I know that I used to own the Emma Roberts version of Nancy Drew on DVD so I tried to find it, but no luck. I then thought that it would be great just to find any old movie I had and have that playing in the background, that is when I spotted Julie.
I thought it would be great to have it playing so when it came time to doing the shoot I put the movie in and then this great backdrop came onto the screen,
Now Playing
Julie
Perfect! Funny thing is this wasn’t planned.
In fact, most of the things that I do I don’t plan, they just tend to evolve and I just go with the flow. I just like to think that my subconscious is guiding the way. 🙂
Julie
————————————————————————————————-

The Original Nancy Drew Was A Blonde
————————————————————————————————
Everyone Wants To Know…
What Does Nancy Drew Keep In Her Handbag?
——————————————————————————————-
Now Playing
Julie
———————————————————————————-
When I was young and reading all the books Nancy always seemed to have everything she needed in her handbag.
I even remember thinking at the time that her handbag would have to be huge in order to carry all that she does, yet the illustrations of her always seemed to have her carrying some small clutch or handbag. Which is why I decided to show you through the magic of Hermione Grainger just how it is possible to carry so much in such a small vessel.
So, what are the contents?
A Framed Photo Of Me And My Special Friend Ned
Road Maps to get around River Heights and the Surrounding Towns
Note Pad and Pen/Pencil
(You never know when you need to jot down license plate numbers of suspicious vehicles. Or for leaving your phone number with cooperative witnesses so they can get in touch with me.)
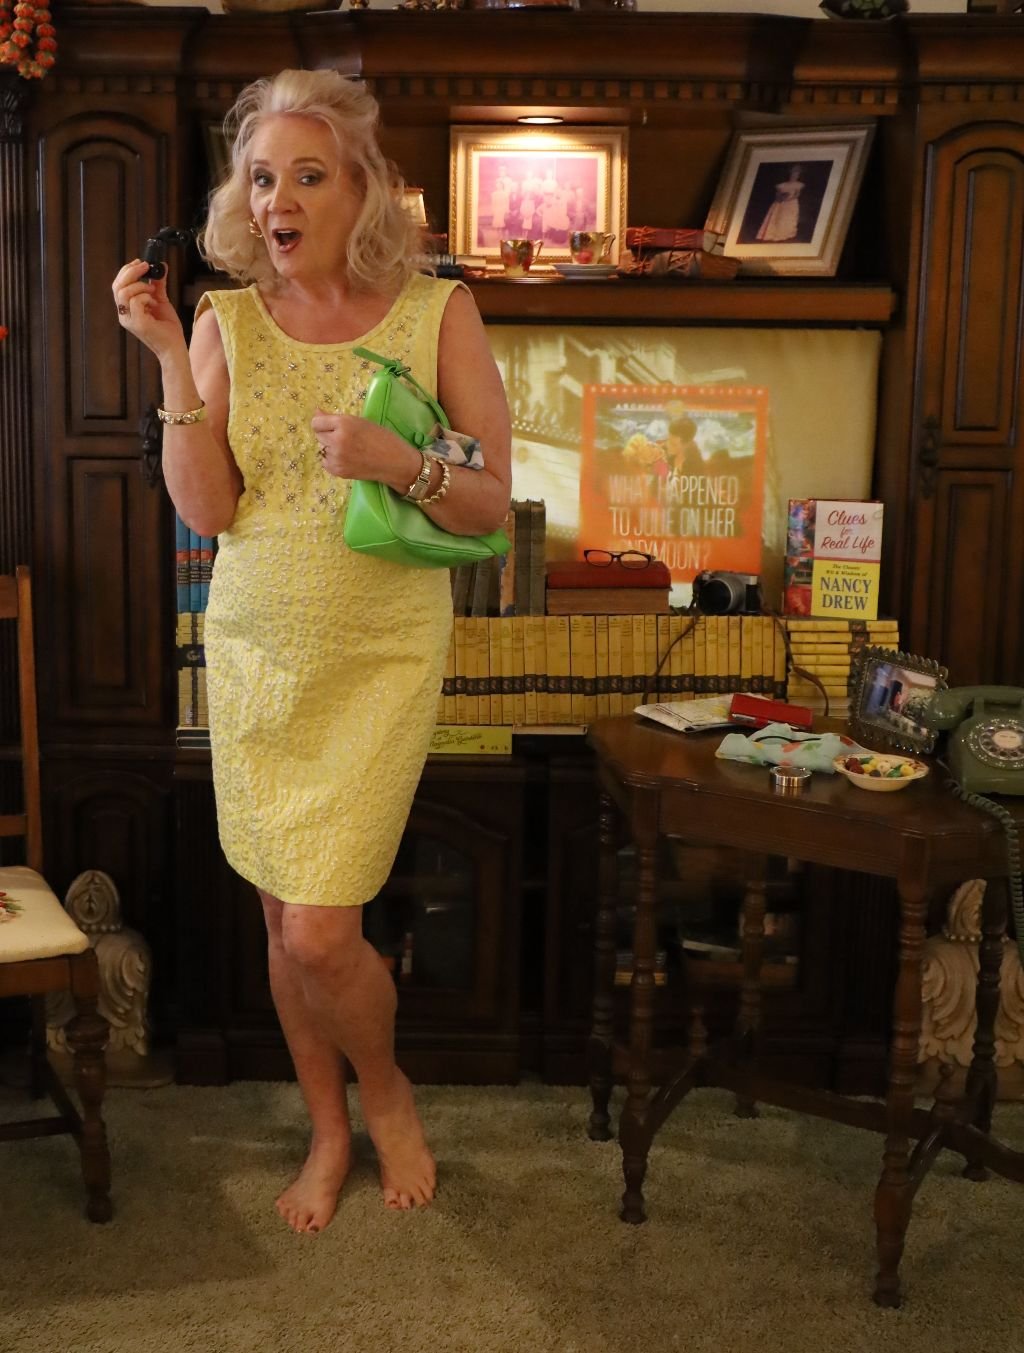
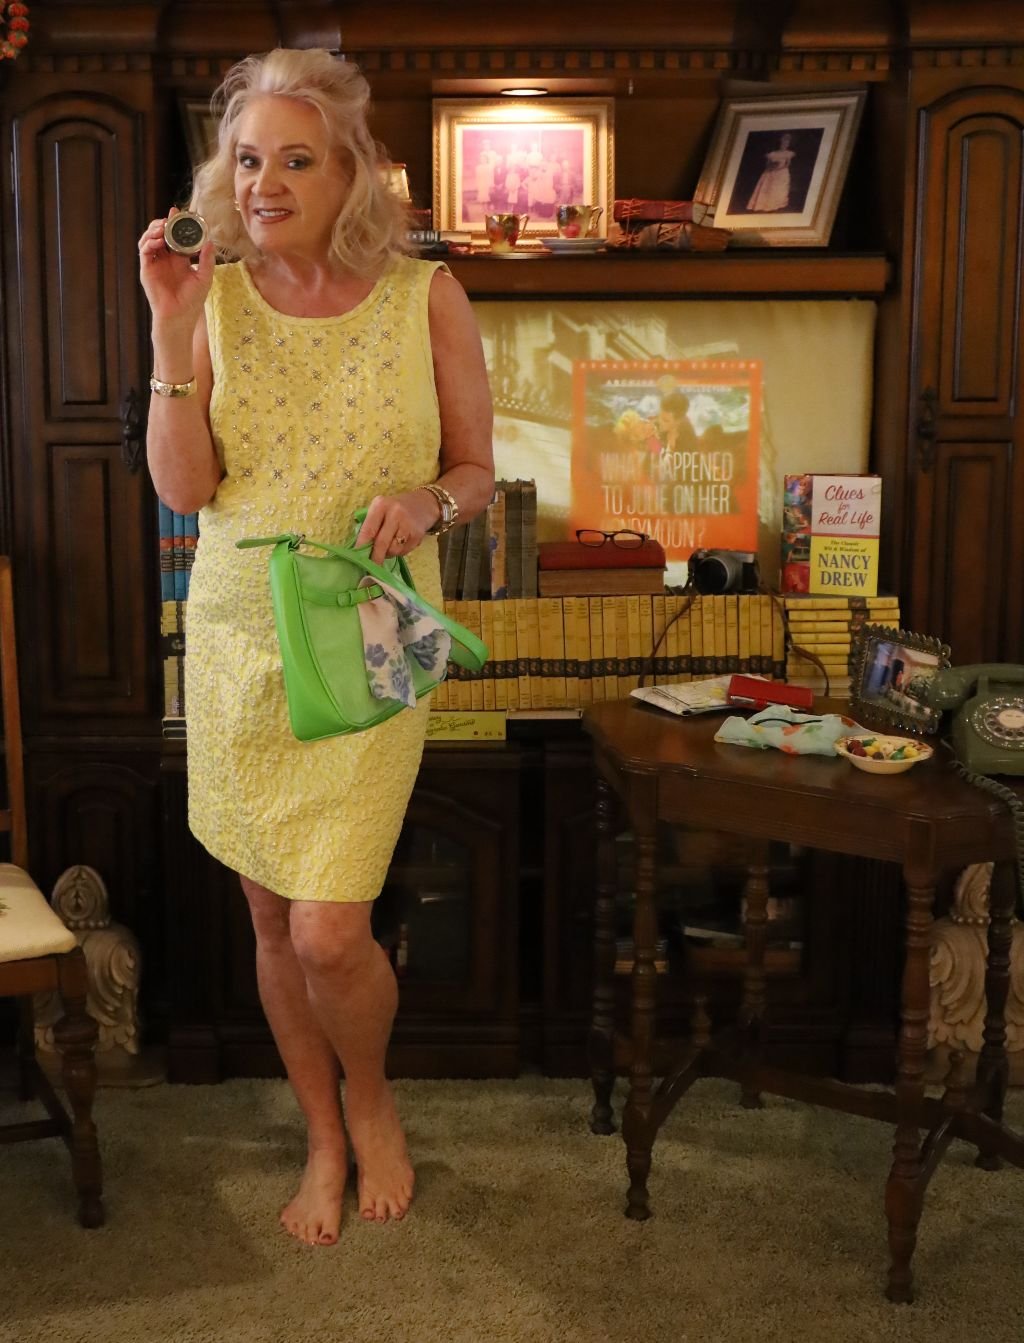
Sewing Kit for mending my Skirt Hems when I hide behind bushes to Spy and they get Snagged on Thorns
A Compass for when I get Lost, Binoculars for Far Away Distances
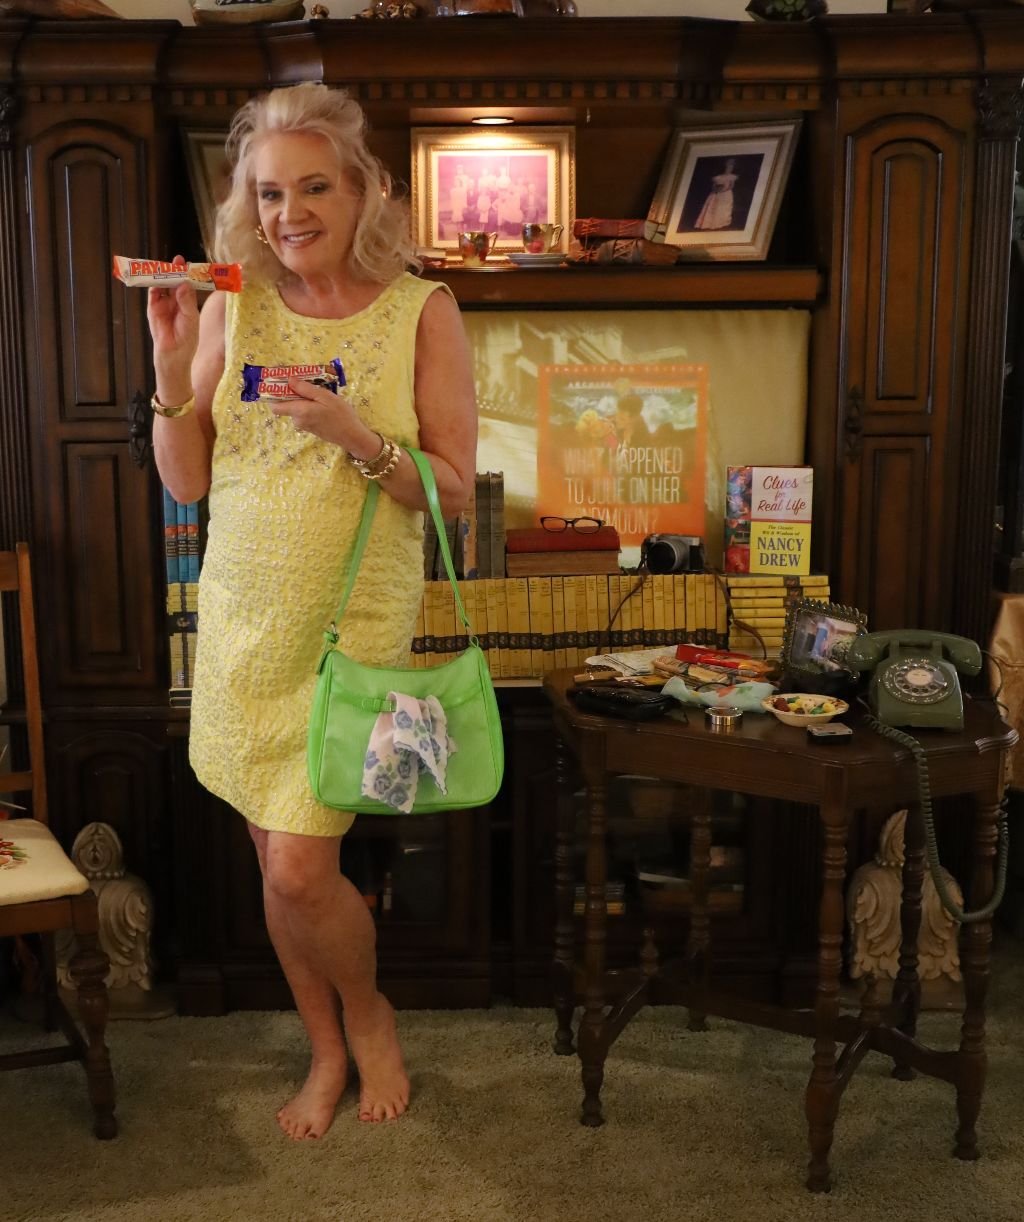
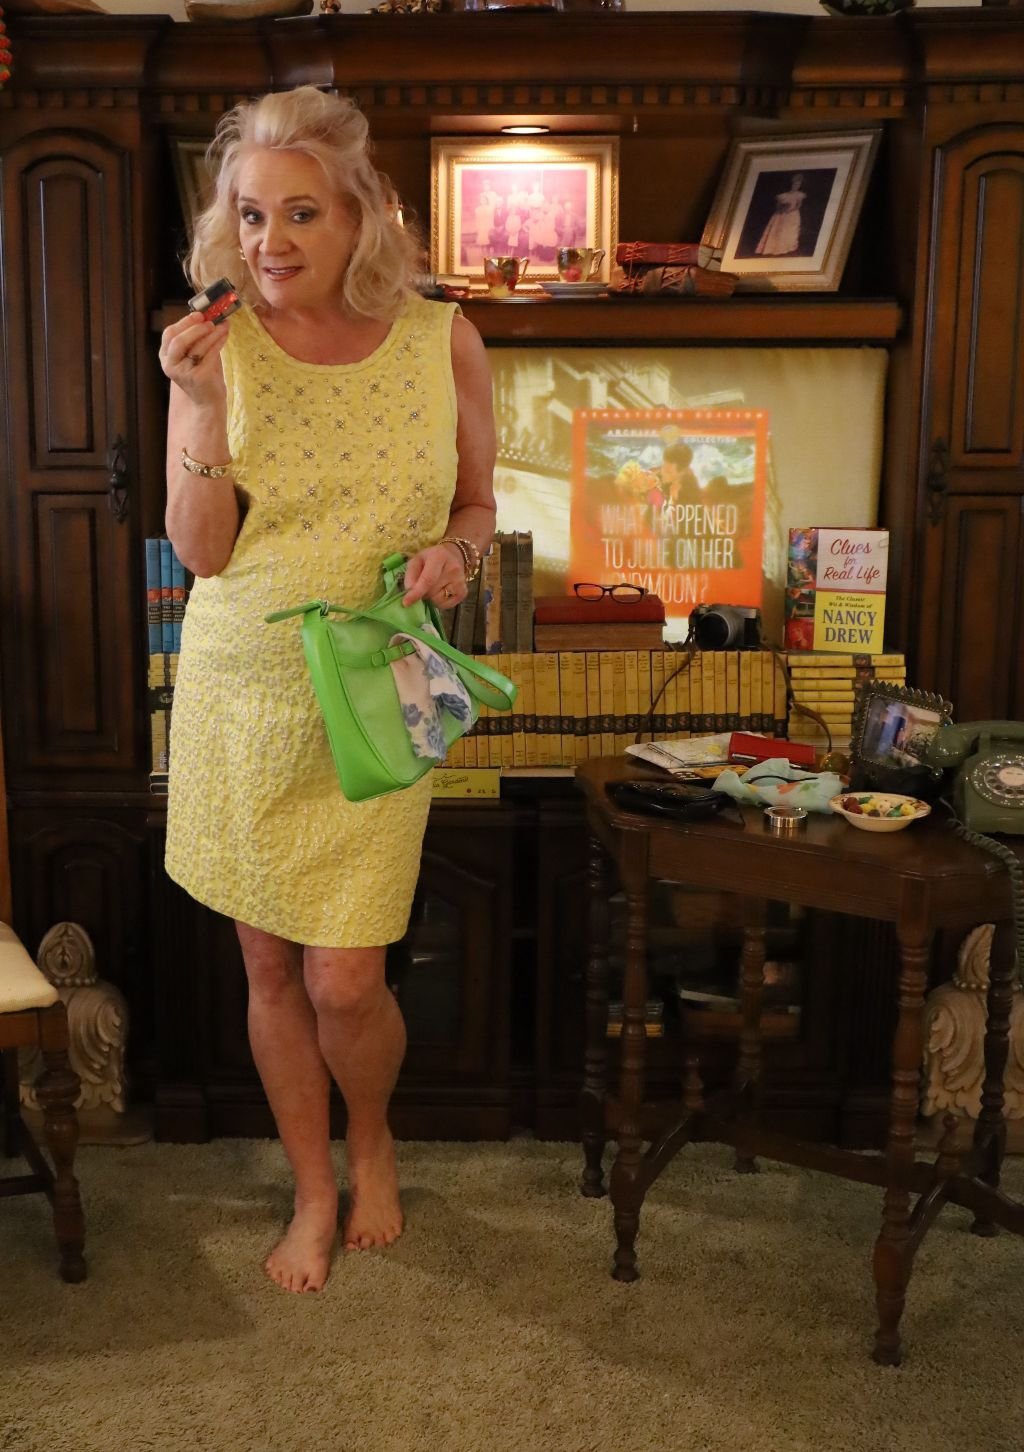
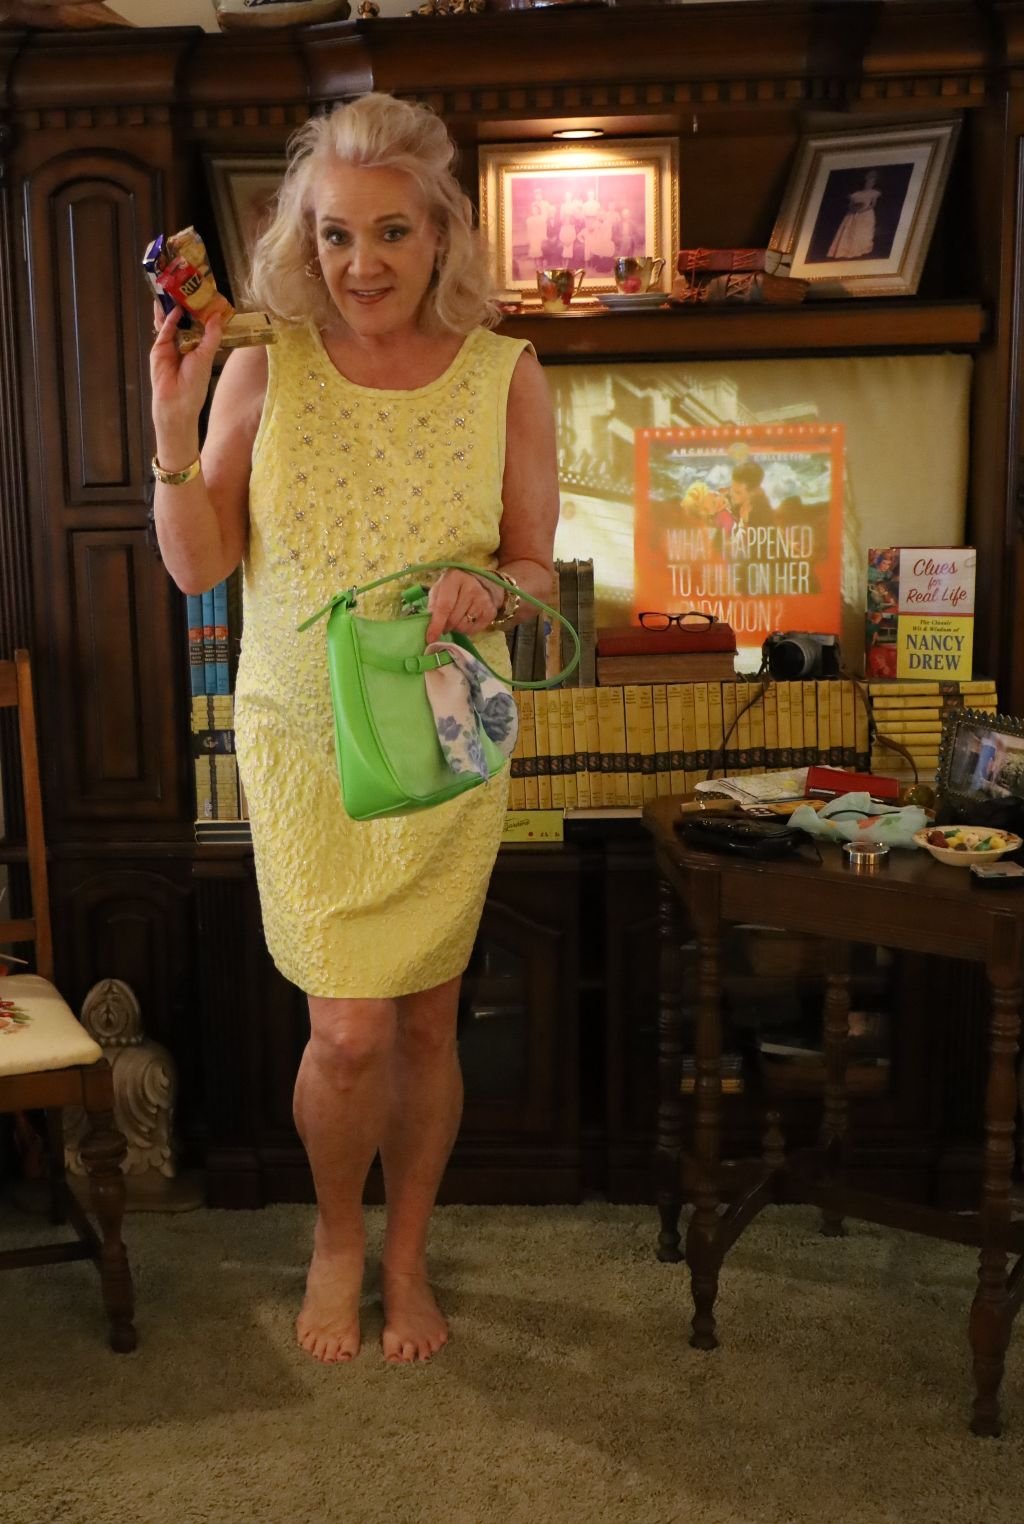
Pay Days, Baby Ruth’s, and Packs of Crackers
Carrying an emergency package of crackers and a candy bar can be a ray of light to a just- rescued fellow!
The Spider Sapphire Mystery
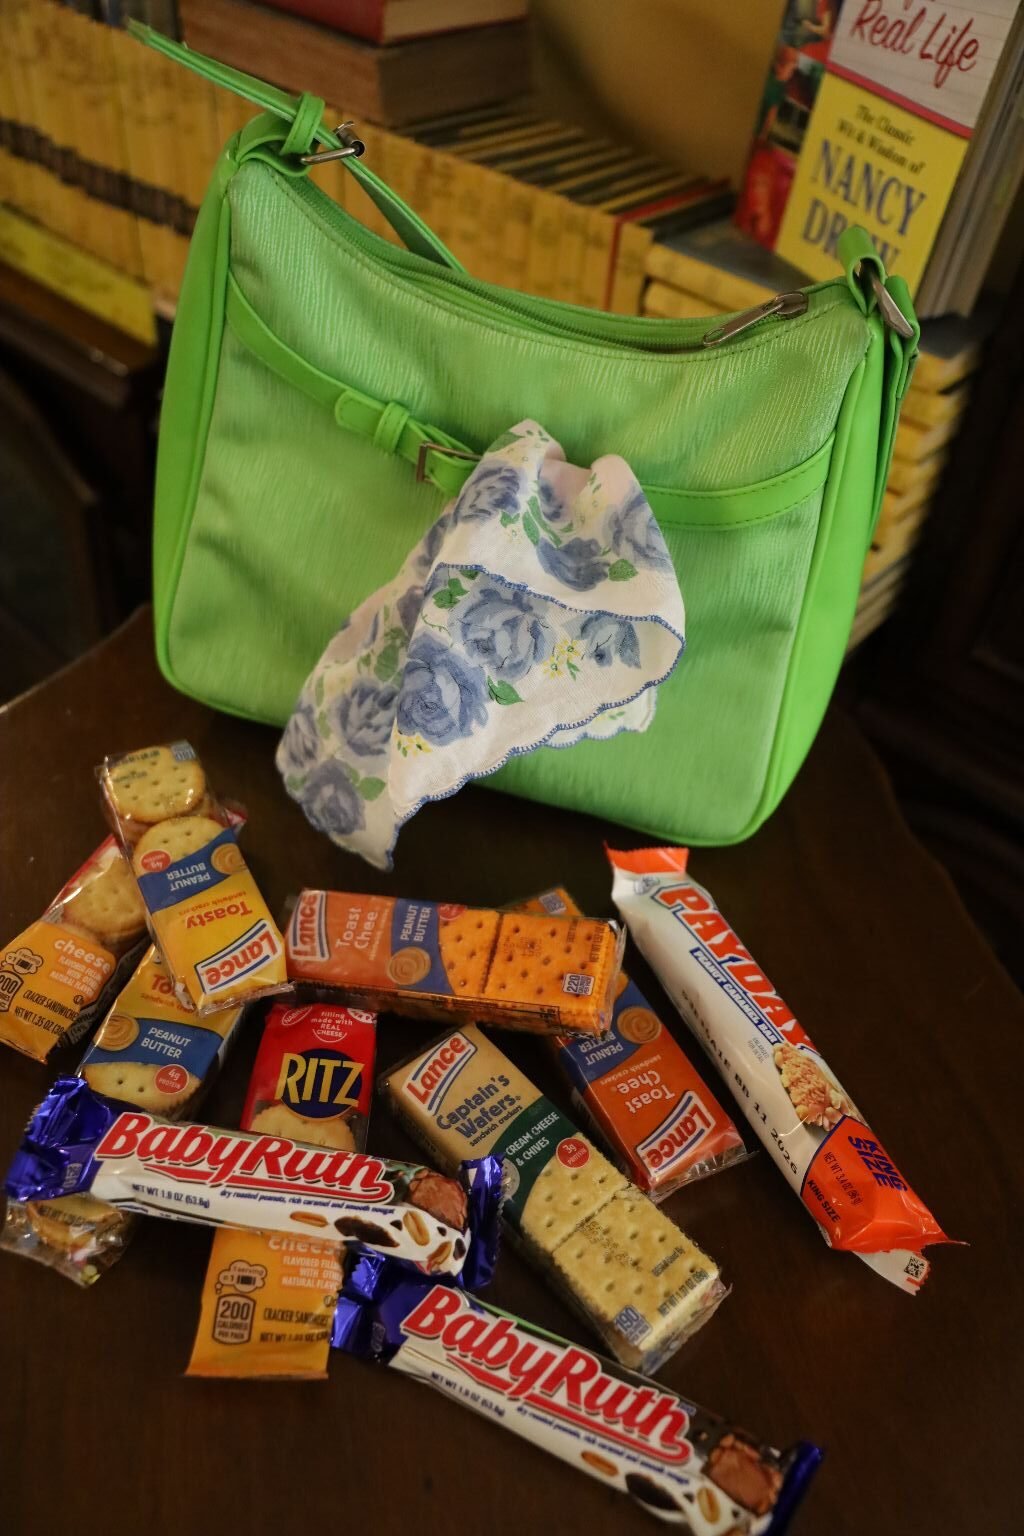
——————————————————————————————
Oh, and handy games to play when the stake out’s last longer than they should.
Lipstick and a Mirror
The lipstick is for making my lips lovely and supple for Ned, and the mirror is for signaling passing airplanes when stranded in the middle of nowhere.
My Travel Flashlight
(For searching for CLUES at night.)
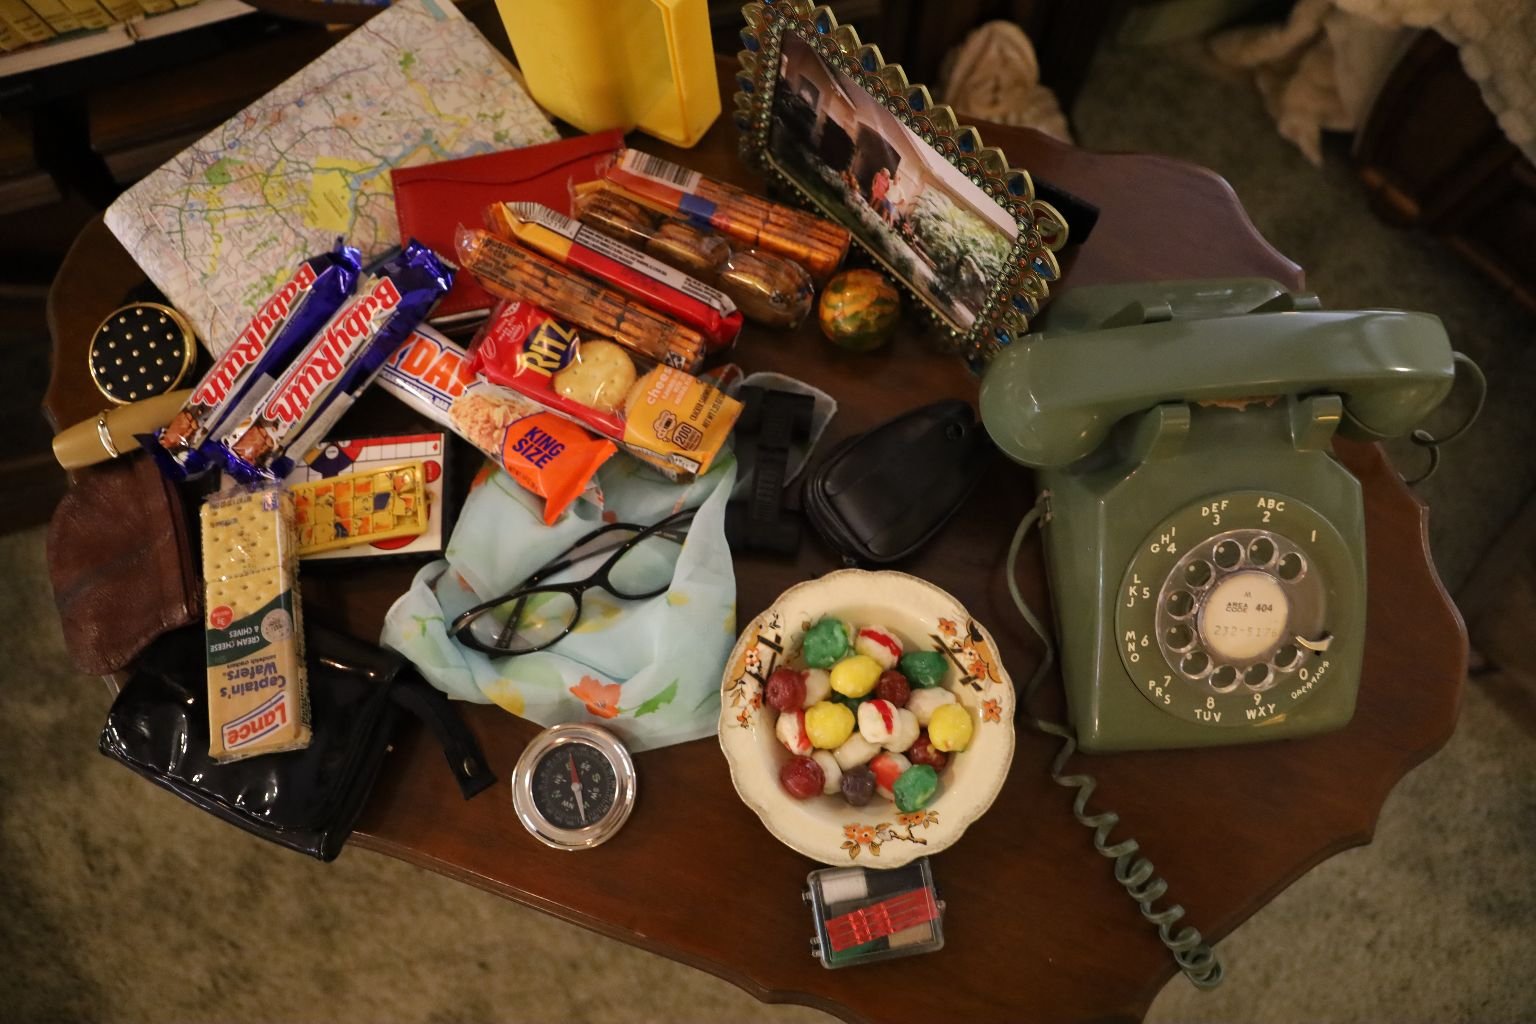
A Scarf and Sunglasses also make for a Quick Disguise when Necessary
————————————————————————————–
Keeping an emergency five dollars in your purse is a great idea—until your purse is stolen!
The Mystery at the Ski Jump
———————————————————————————-
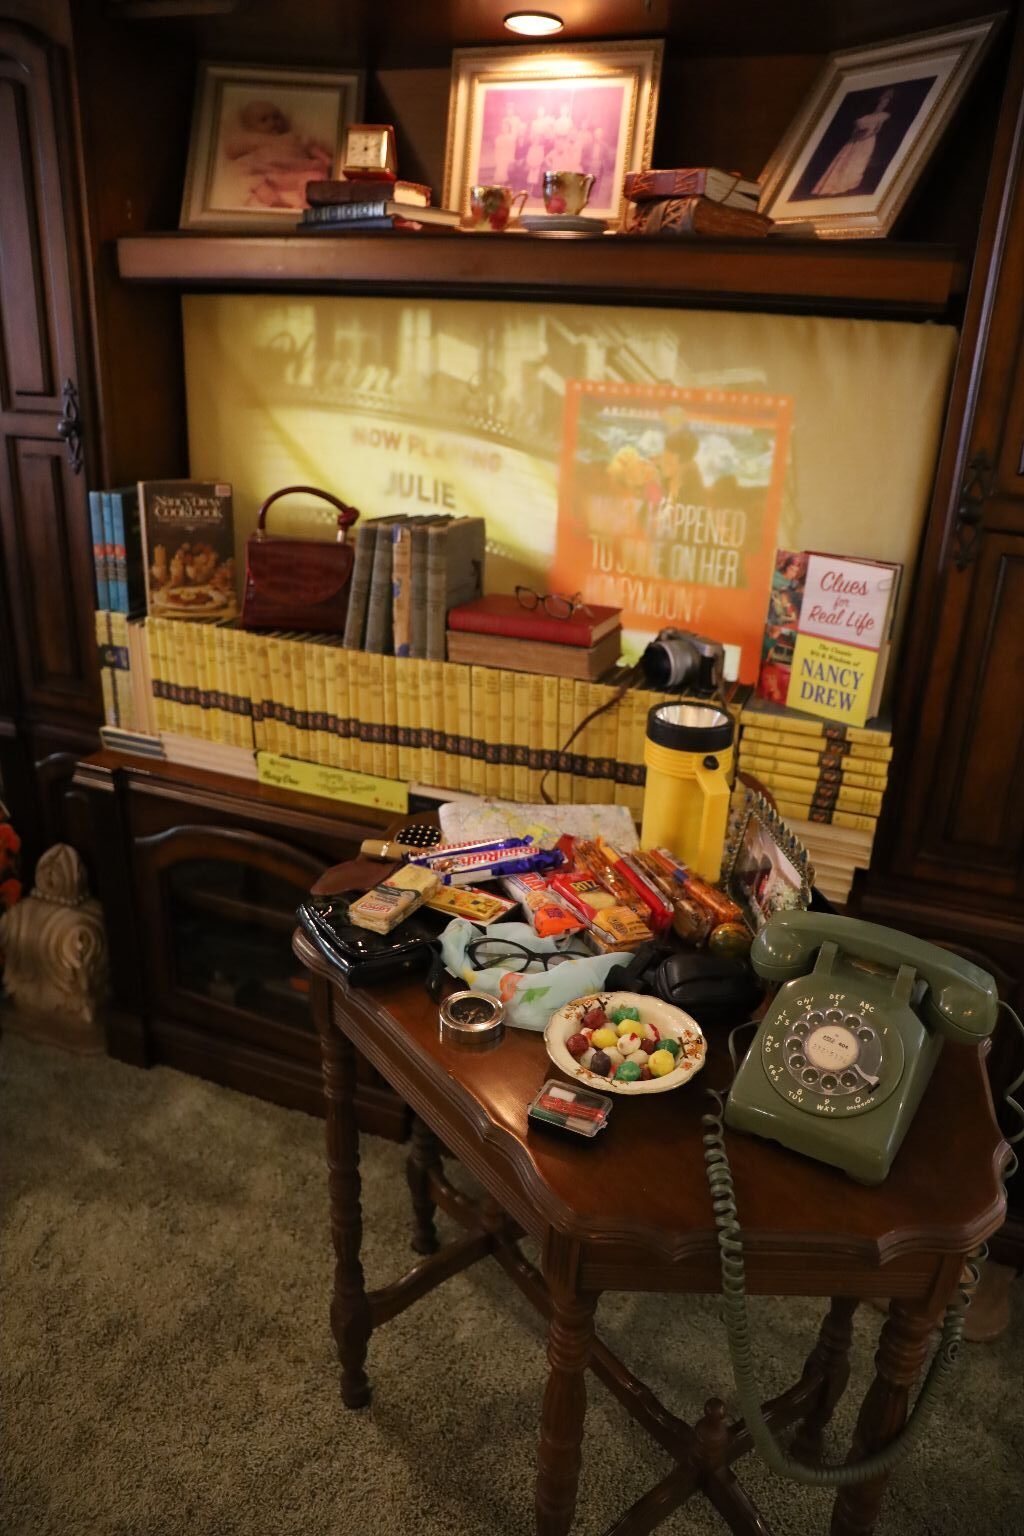
—————————————————————————————————
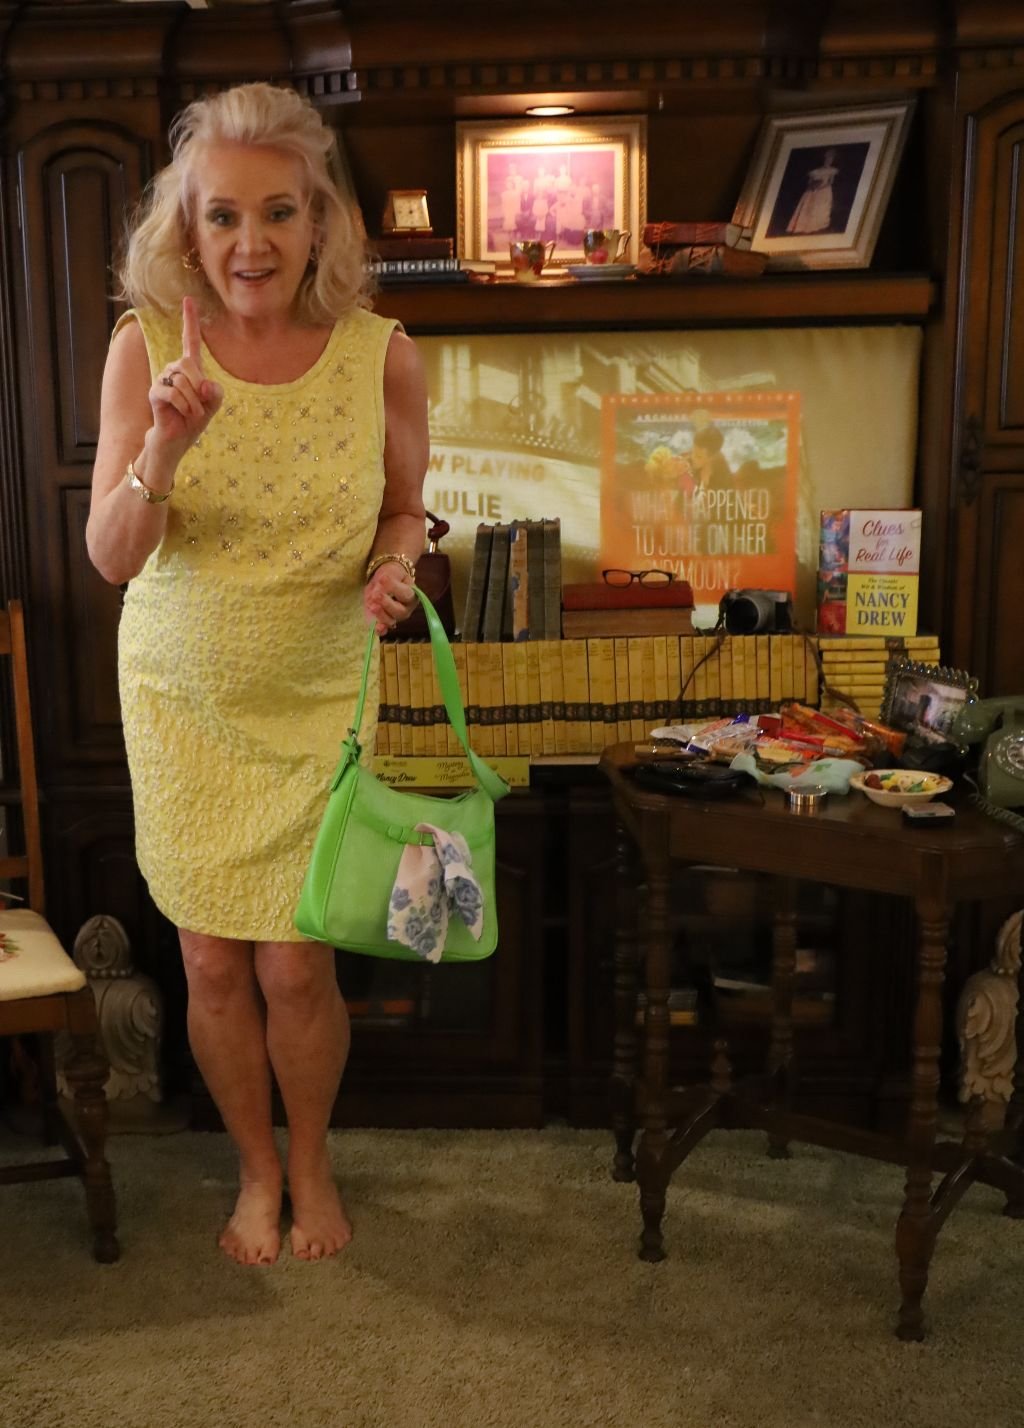

Oh, and One More Thing!
My Magnifying Glass For Examining CLUES
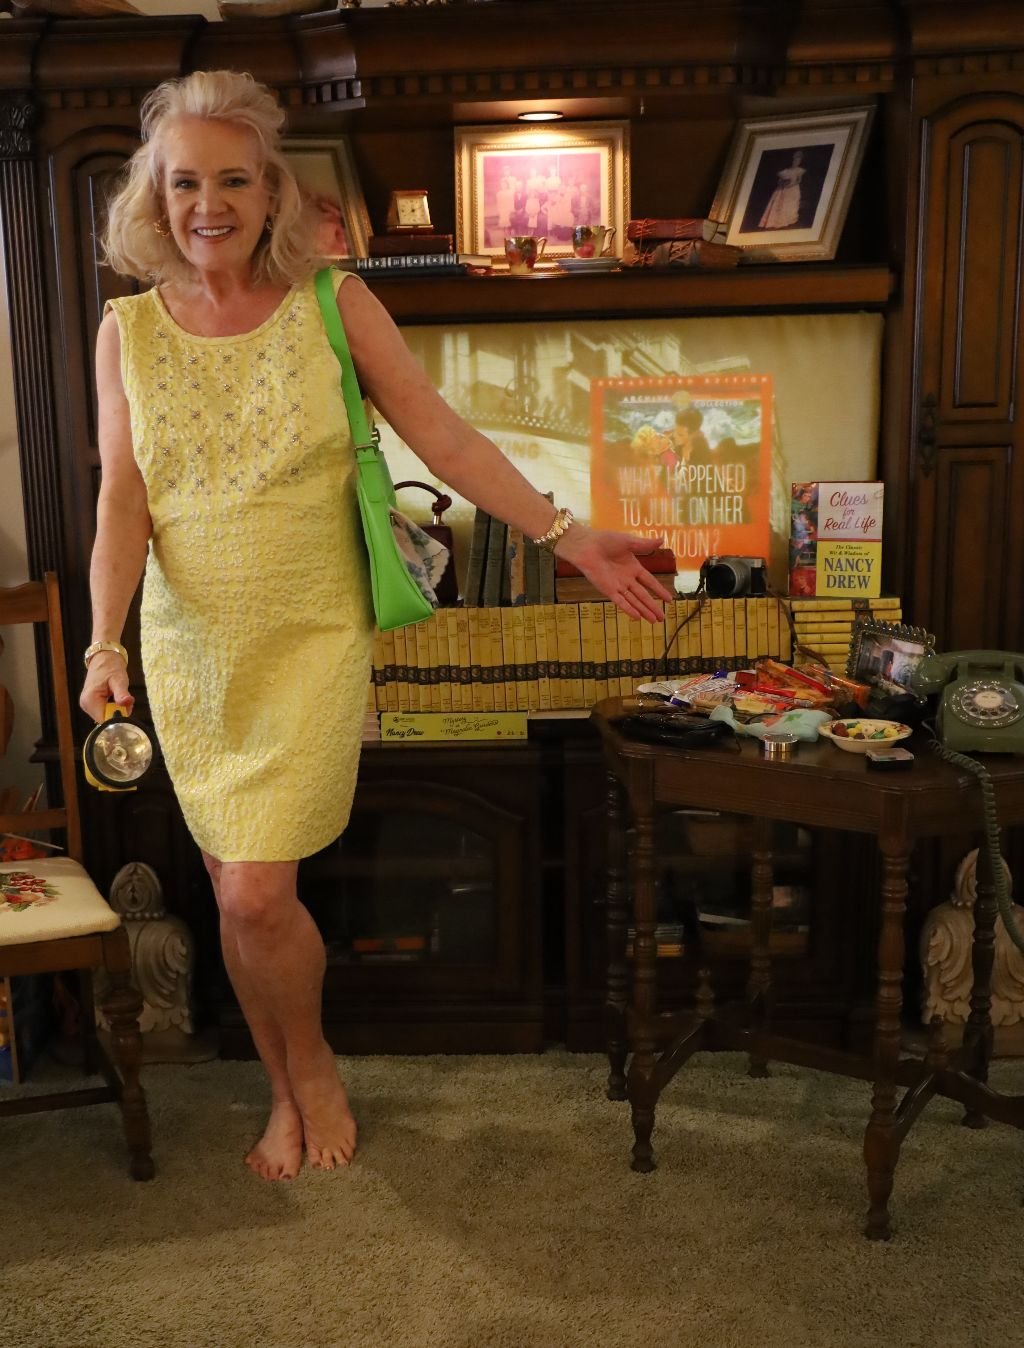
So, There You Have It!
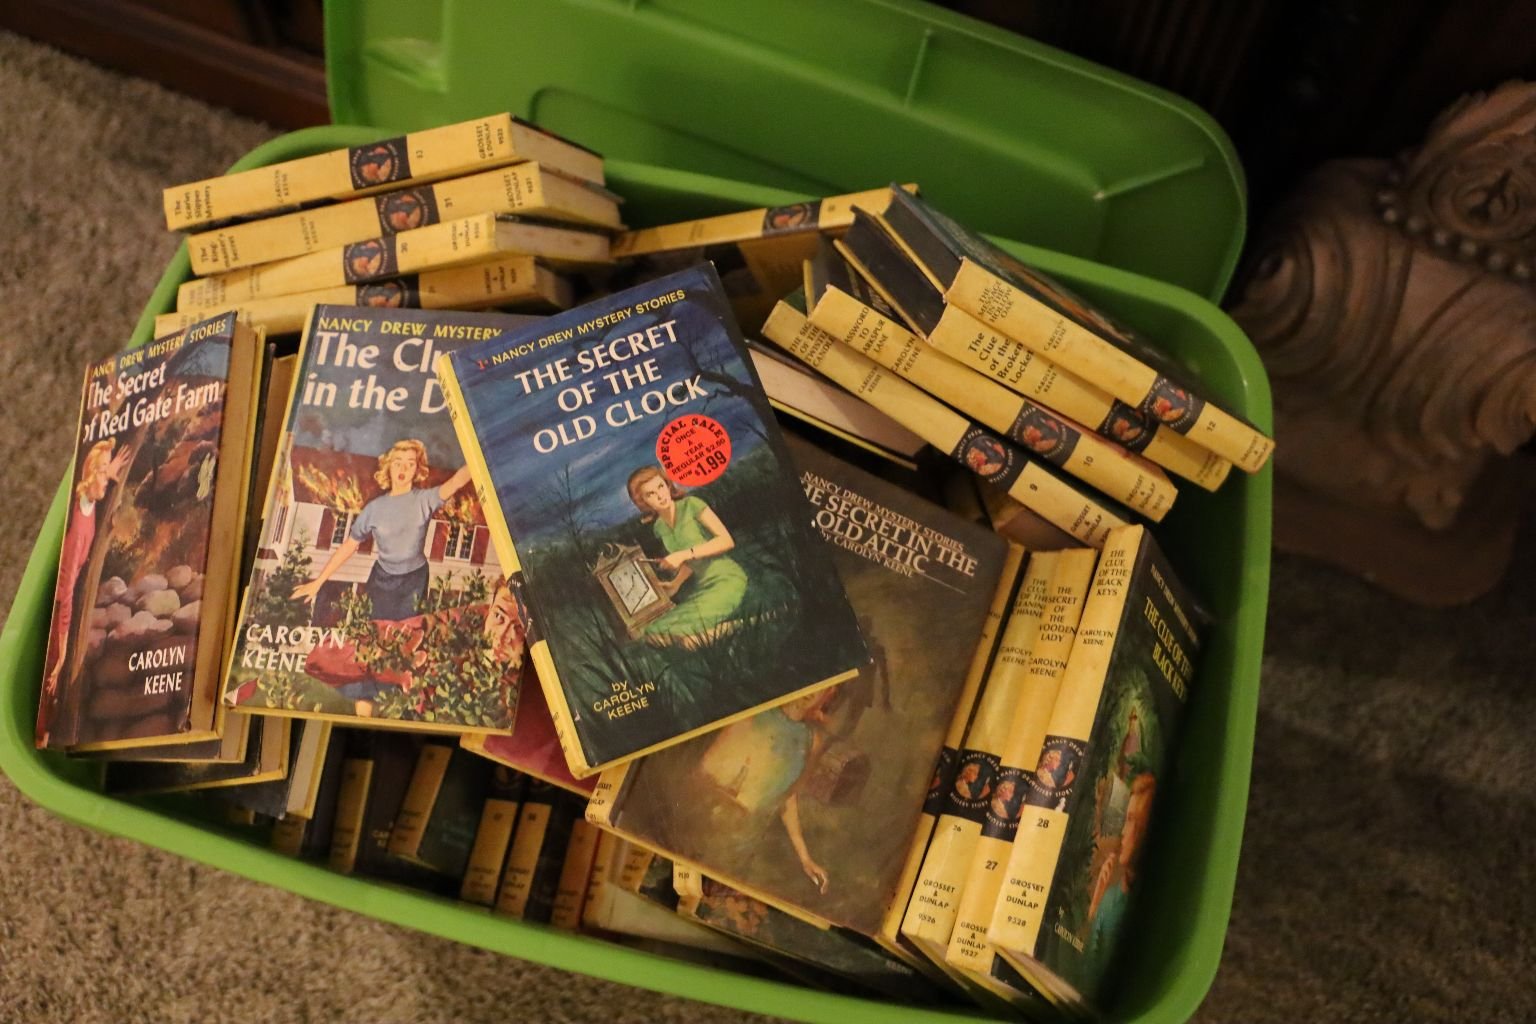
My Entire Collection, Paperbacks Included
Nancy Drew is the reason that most of the time I have the largest and heaviest purse of anyone I know. She is the reason I carry binoculars and a compass in my car. She is the reason why I have notepads and pens in my purse and car. She is the reason I carry food with me whenever I go anywhere. She is the reason I have old maps. She is the reason I have various flashlights everywhere within arms reach. She is the reason that if I am ever stranded on a desert island with my purse I will be able to signal overhead airplanes and get rescued. She is also the reason why I will never part with my Nancy Drew books and why I get them out occasionally and just flip through them visiting my old friend.
And she is the reason that my mother will always ask, “Julie, why in the world do you have to carry everything you own with you all the time?”
🙂
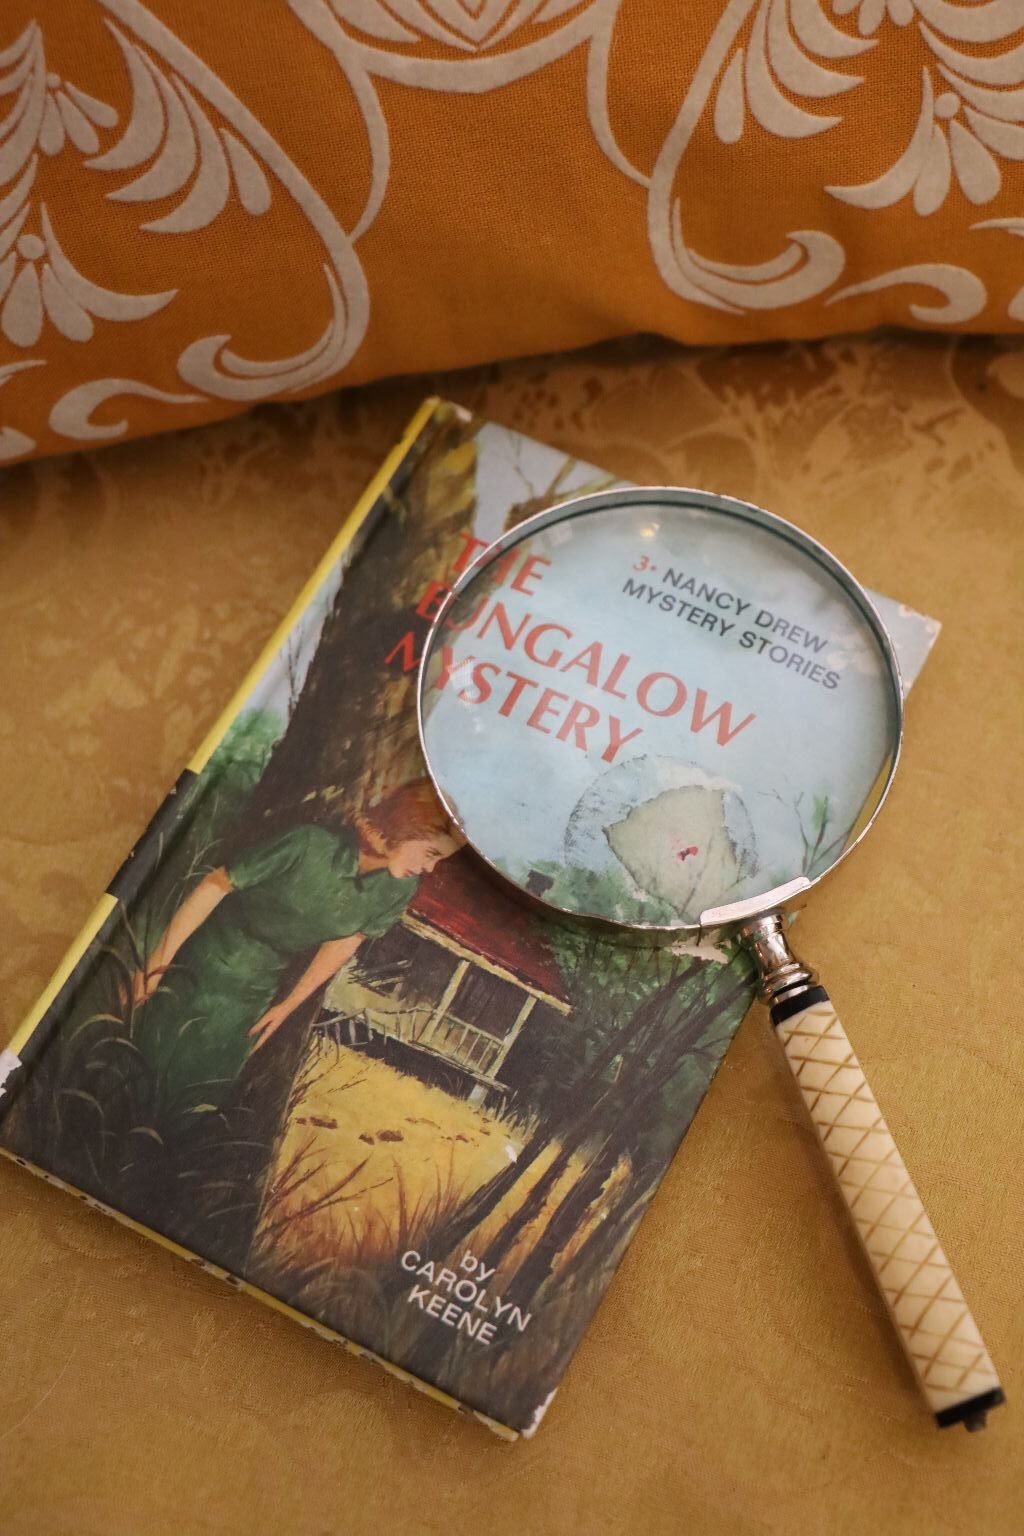
My 41st. Wedding Anniversary Gift From Gordon
#3 The Bungalow Mystery
(I didn’t have it.)
————————————————————————————-
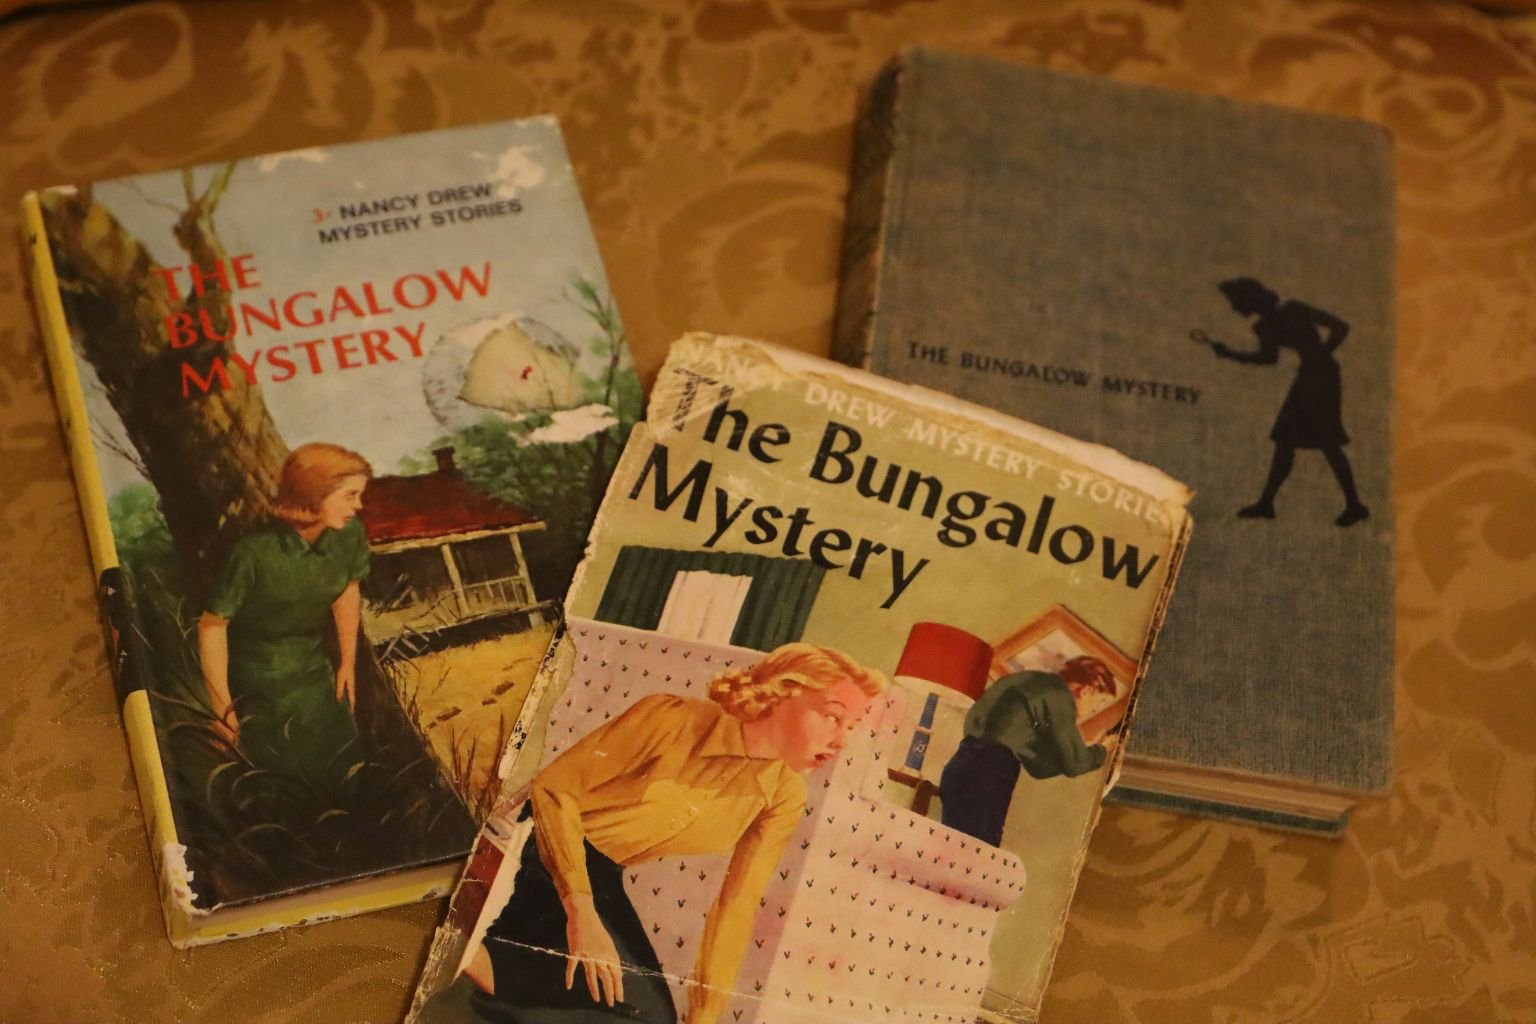
My New/Old Copy Left, My Mother’s Copy Right
(I still have the paper thin jacket that went around her book.) 🙂
One reason that I never bought myself The Bungalow Mystery #3 in the yellow series is because I had my mother’s old copy and I assumed they were the same. Not so! They are different. The story is different. When I found out, I now want those that I didn’t buy to begin with because I relied on my mother’s books. I don’t have that many to buy. My mother didn’t own that many copies.
——————————————————————————–
In The Bungalow Mystery…
“I’ll go to one of the hotels on the lake and engage a room. Then after it gets dark I’ll do a little investigating.”
Nancy recalled that Laura had told here there were several nice hotels a few miles farther on, and at once she determined to stop at the first one she came to. Presently she approached The Beach Cliff Hotel, and as it appeared satisfactory, she registered and engaged a comfortable room overlooking the lake.

“I must telephone home,” Nancy decided. “If I don’t, Laura will be worried to death.”

Accordingly, she placed a long distance call to River Heights and after a short wait heard Hannah’s voice at the other end of the wire. In response to her request, Laura was called to the telephone. Nancy explained quickly where she was and that she intended to investigate Jacob Aborn’s cottage as soon as it grew dark. There was a pause, and then Laura’s anxious voice reached her.
“Oh, Nancy, I’m afraid to have you try that.”
“I’m sure I’ve struck a clue, Laura, and it would be foolish for me to come home without investigating.”
“Do be careful.”
“I will,” Nancy promised.
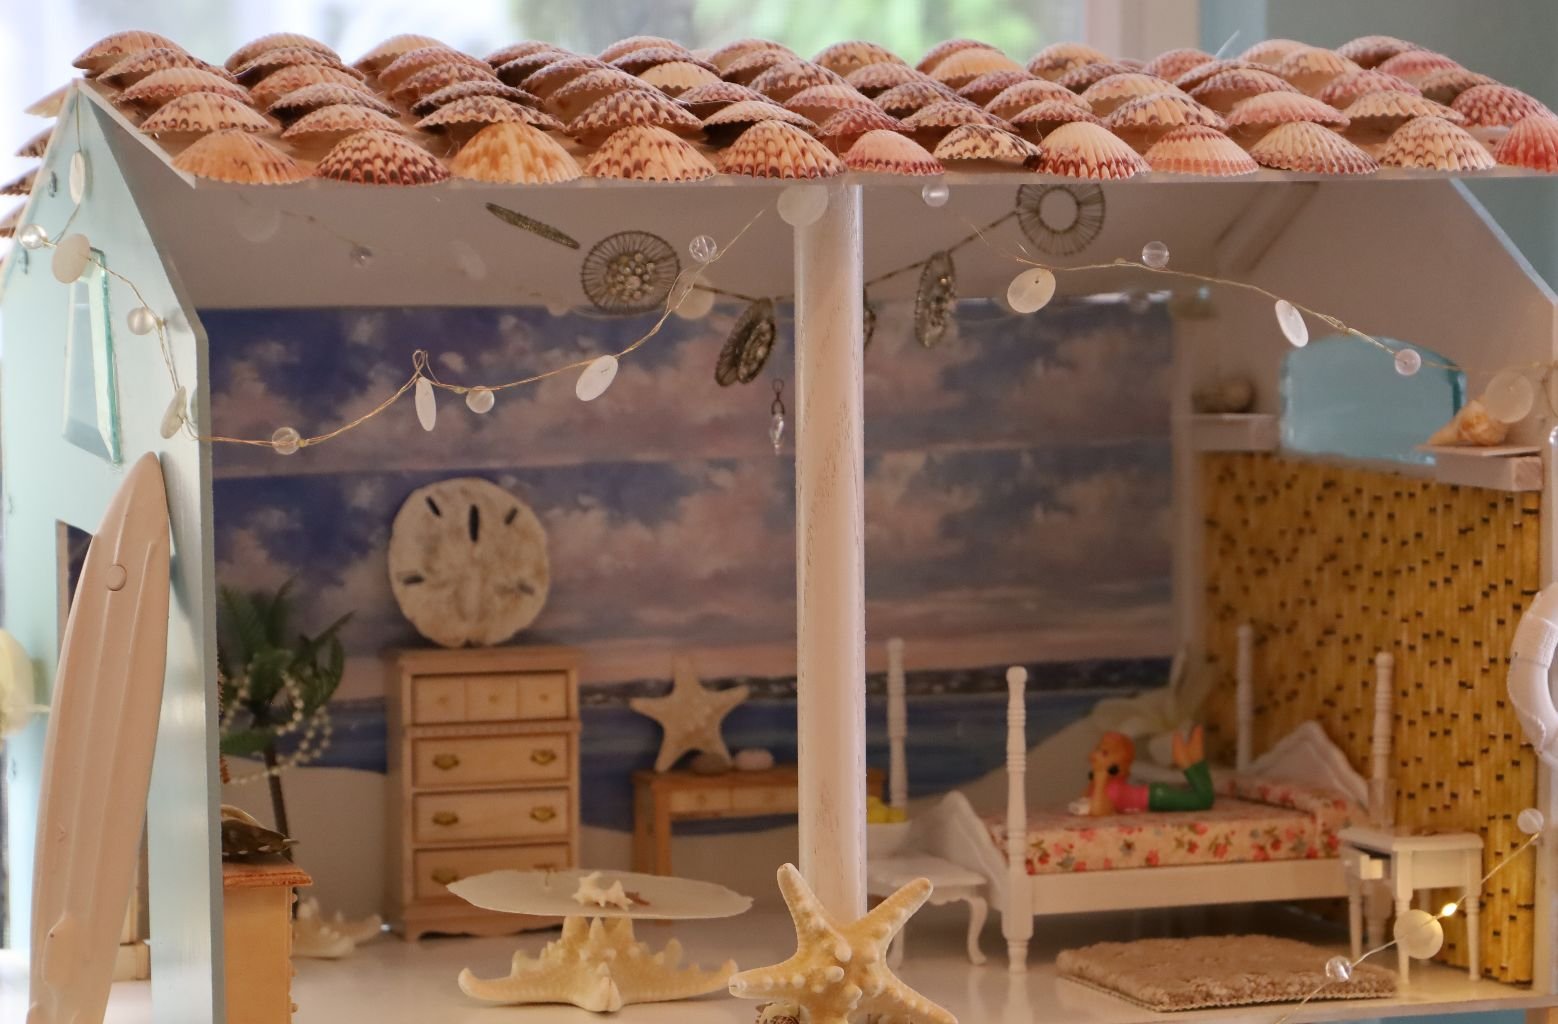
The Beach Cliff Hotel
————————————————————————————————–
NANCY DREW “It’s Locked!”
(Probably her most famous line in all the books.)
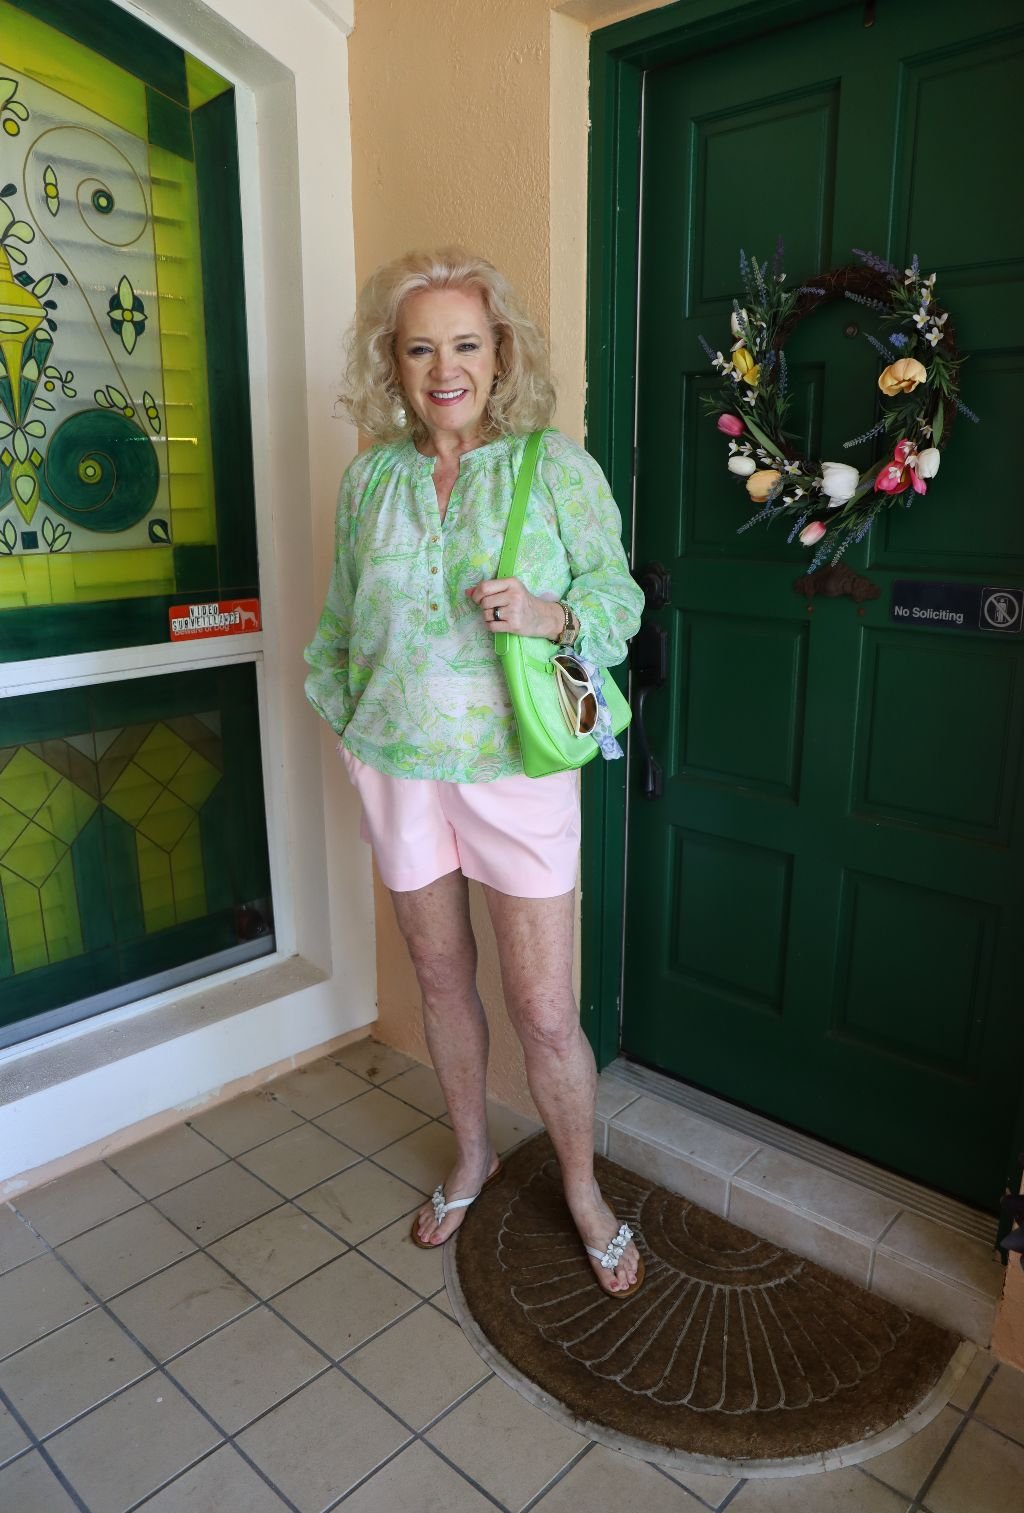
Well Ned, it looks like no one is home. You stay here and keep guard.
Whistle if you see someone. The Bob White signal will do. I’ve got a lock to pick.
Almost there….
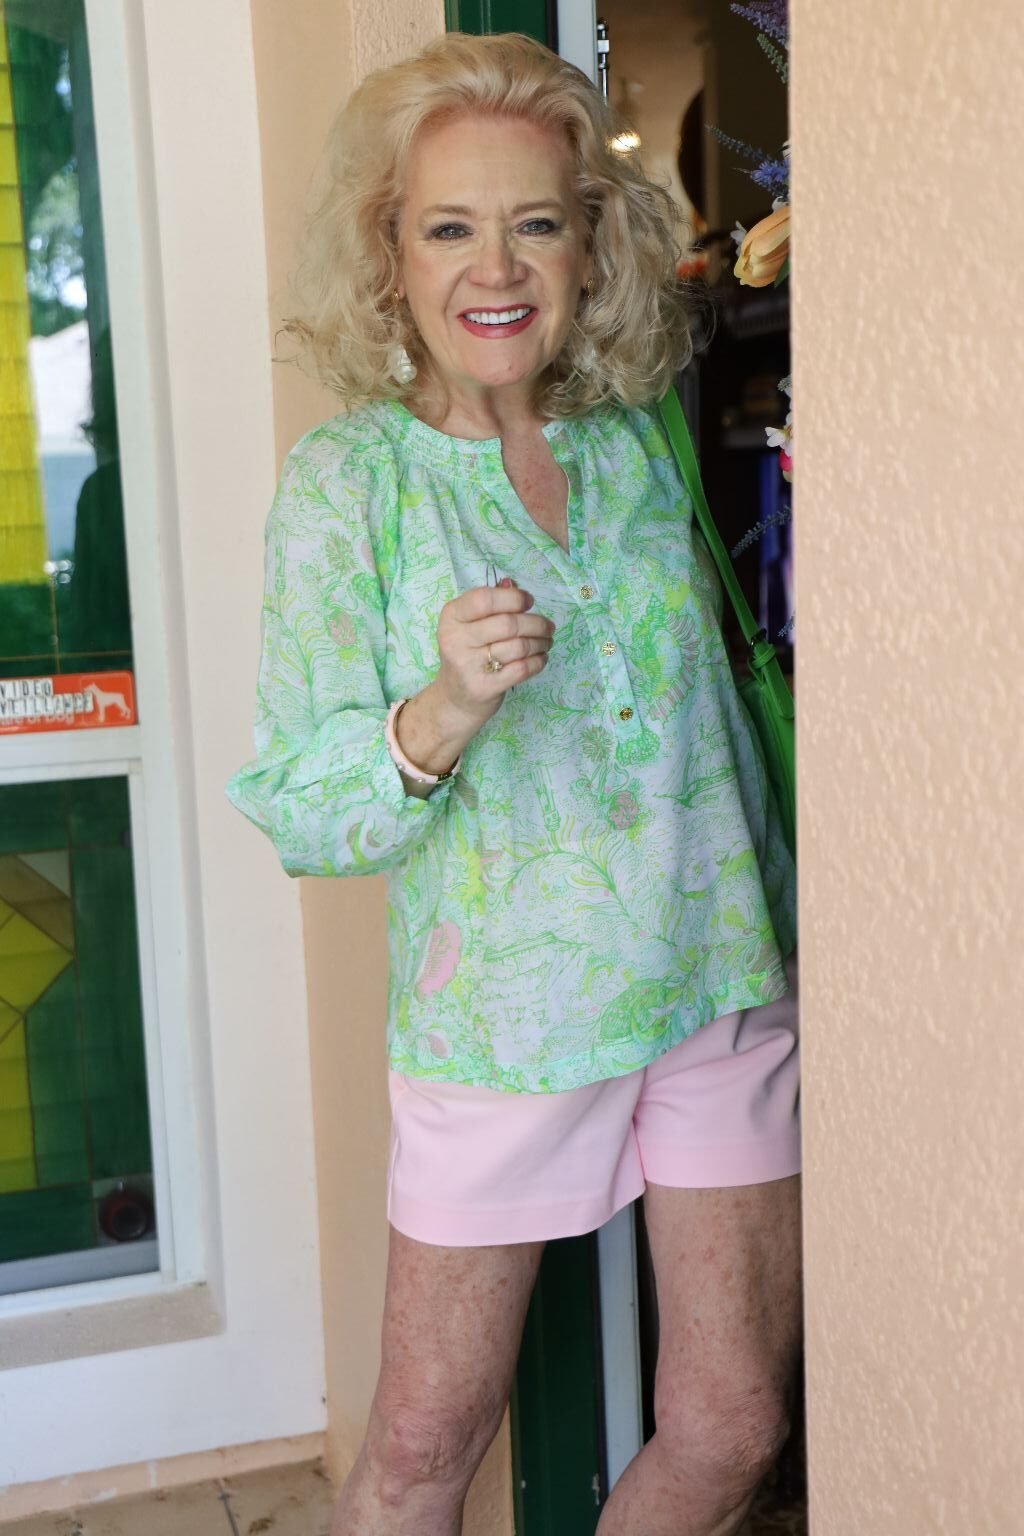
I’m IN!!
I’ll be careful. 🙂
———————————————————————————————
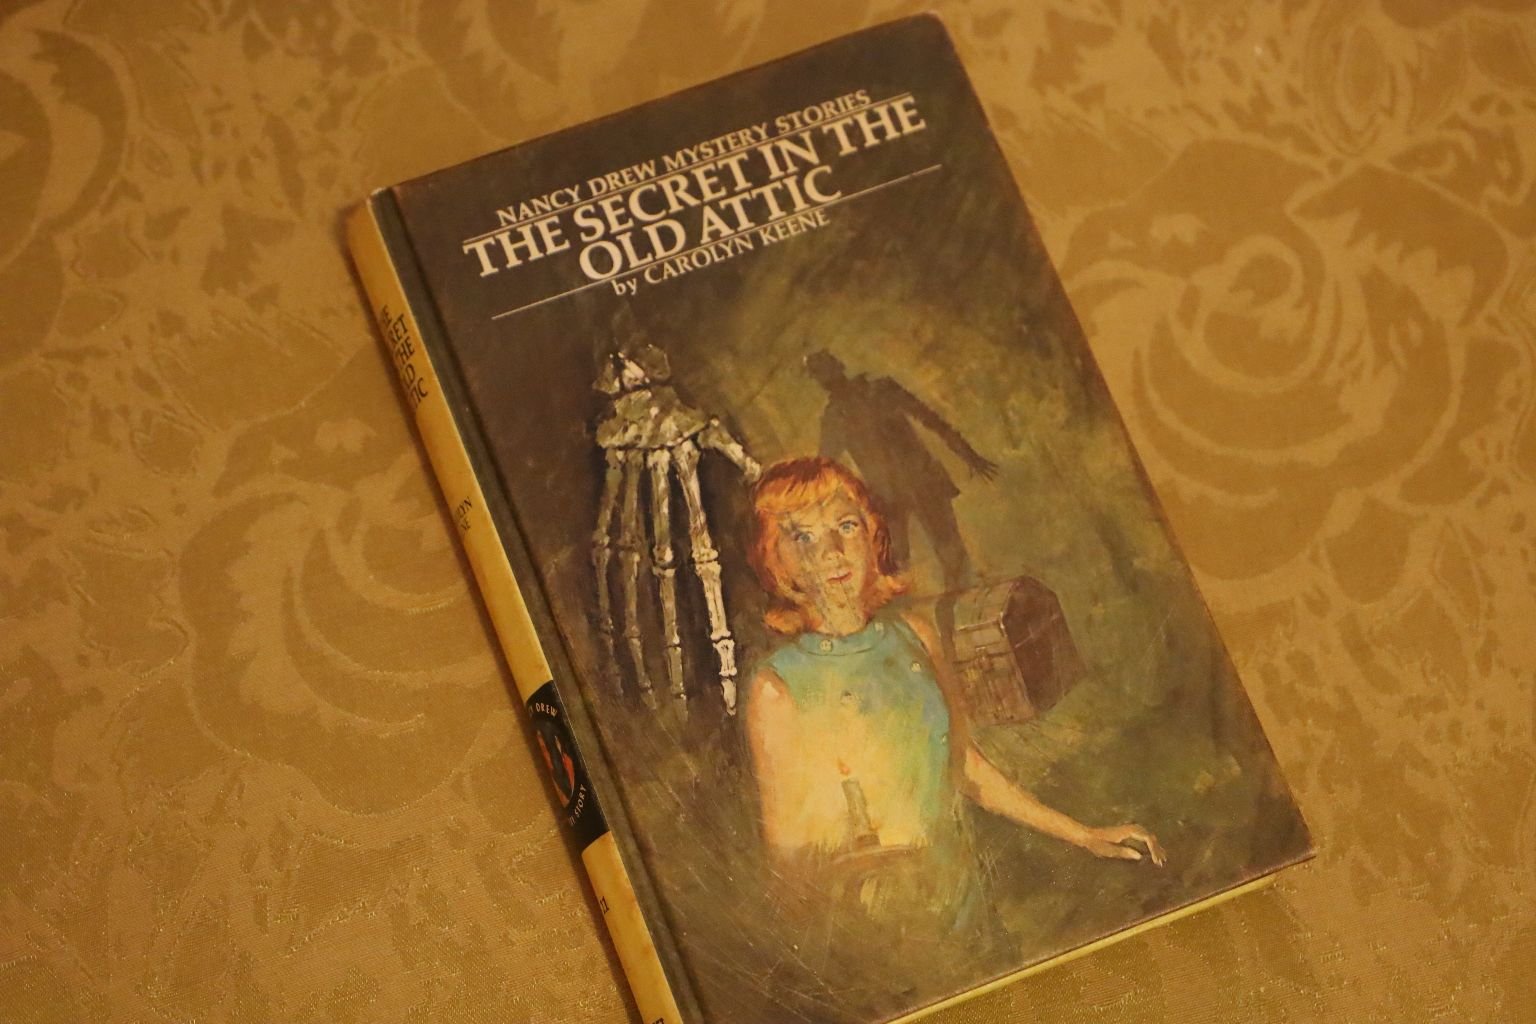
#21 The Secret In The Old Attic
(Incidentally we do have Halloween in the attic and had I thought more about it I could have dangled a skeleton’s hand my way.) 🙂
Synopsis:
Nancy Drew races against time to unravel the clues in a dead man’s letters. If she succeeds, Philip March and his little granddaughter can be saved from financial ruin. Following the obscure clues, Nancy undertakes a search for some unpublished musical manuscripts which she believes are hidden in the dark, cluttered attic of the run-down March mansion. But someone else wants them enough to put many frightening obstacles in Nancy’s way.
It takes courage and ingenuity for the alert young detective to discover the significance of the skeleton with the upraised arm and to find the source of the spooky sounds of music in the old attic.
Startling developments await Nancy when she aids her lawyer father in doing some detective work on a case involving a stolen formula for a unique silk-making process. How she outwits a trio of ruthless thieves and solves the Marches’ problems as well as her father’s case makes exciting reading.
——————————————————————————————-
Nancy In The Attic
Ned, you keep watch while I sleuth around the attic for clues.
(Nancy’s Tip: Pretty sure Ned was staring at 4th. base as I was walking up the attic stairs. We shouldn’t encourage amorous behavior from our ‘special friends.’)
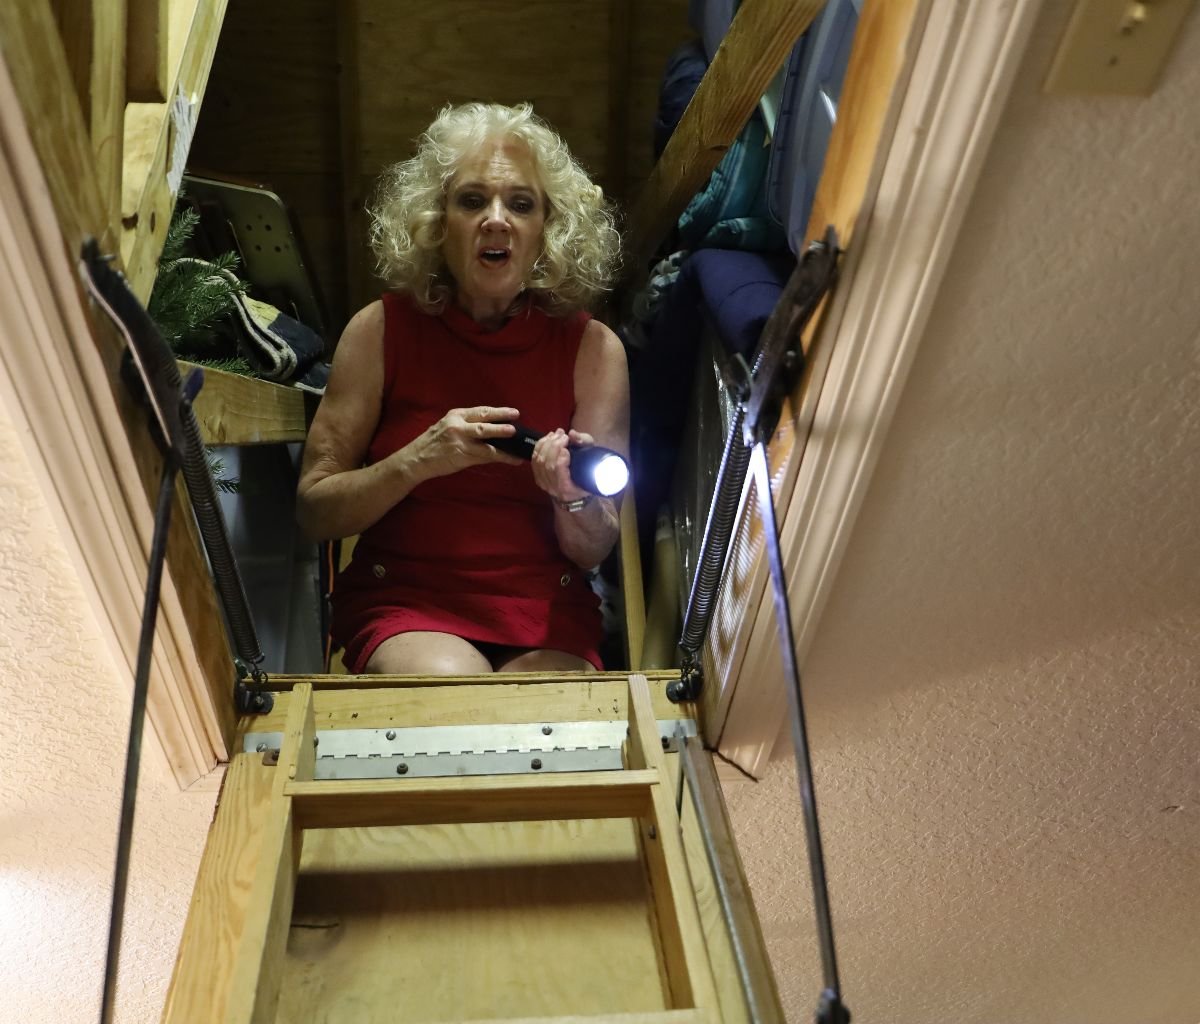
By the way, what happened to my 1960’s flashlight?
What is this futuristic thing that I am holding? I just don’t like it!
—————————————————————————-
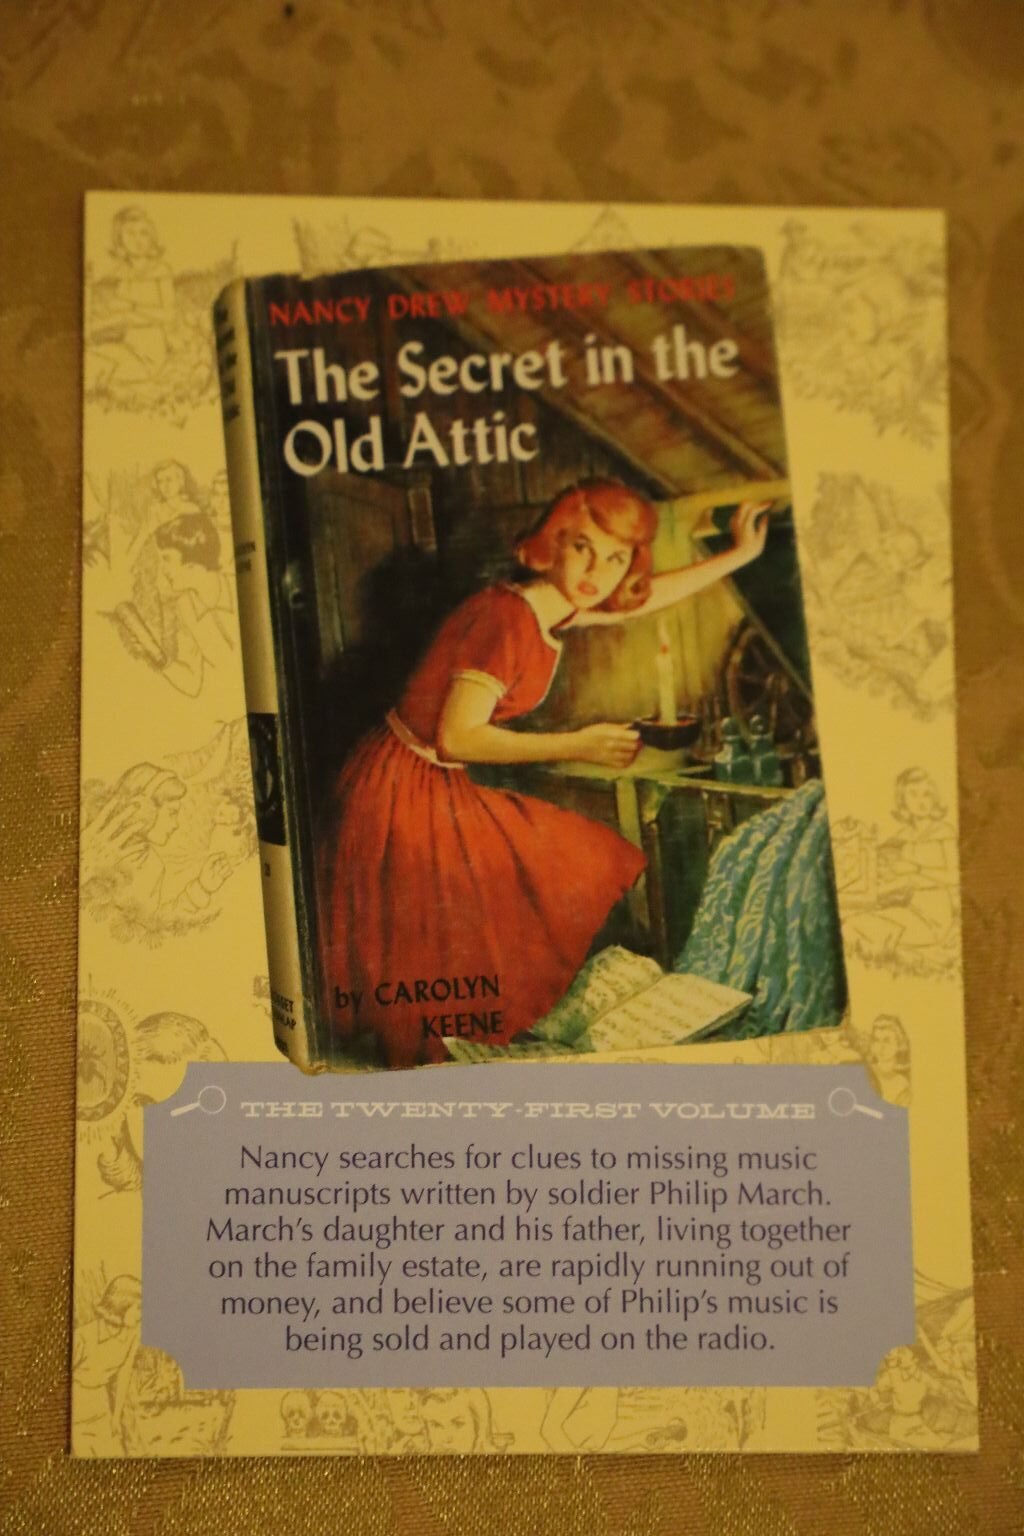
—————————————————————————————
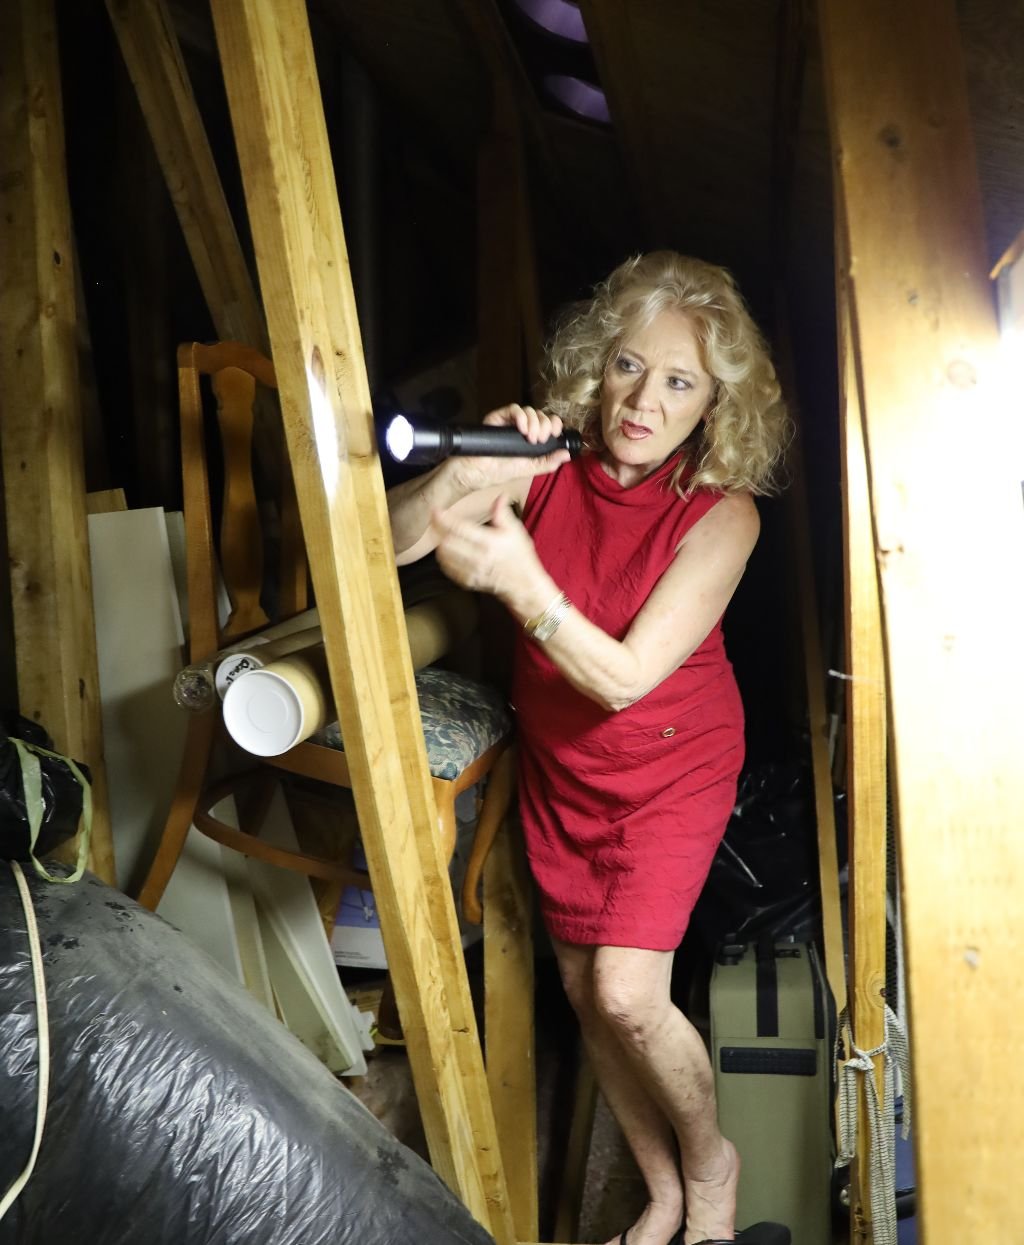
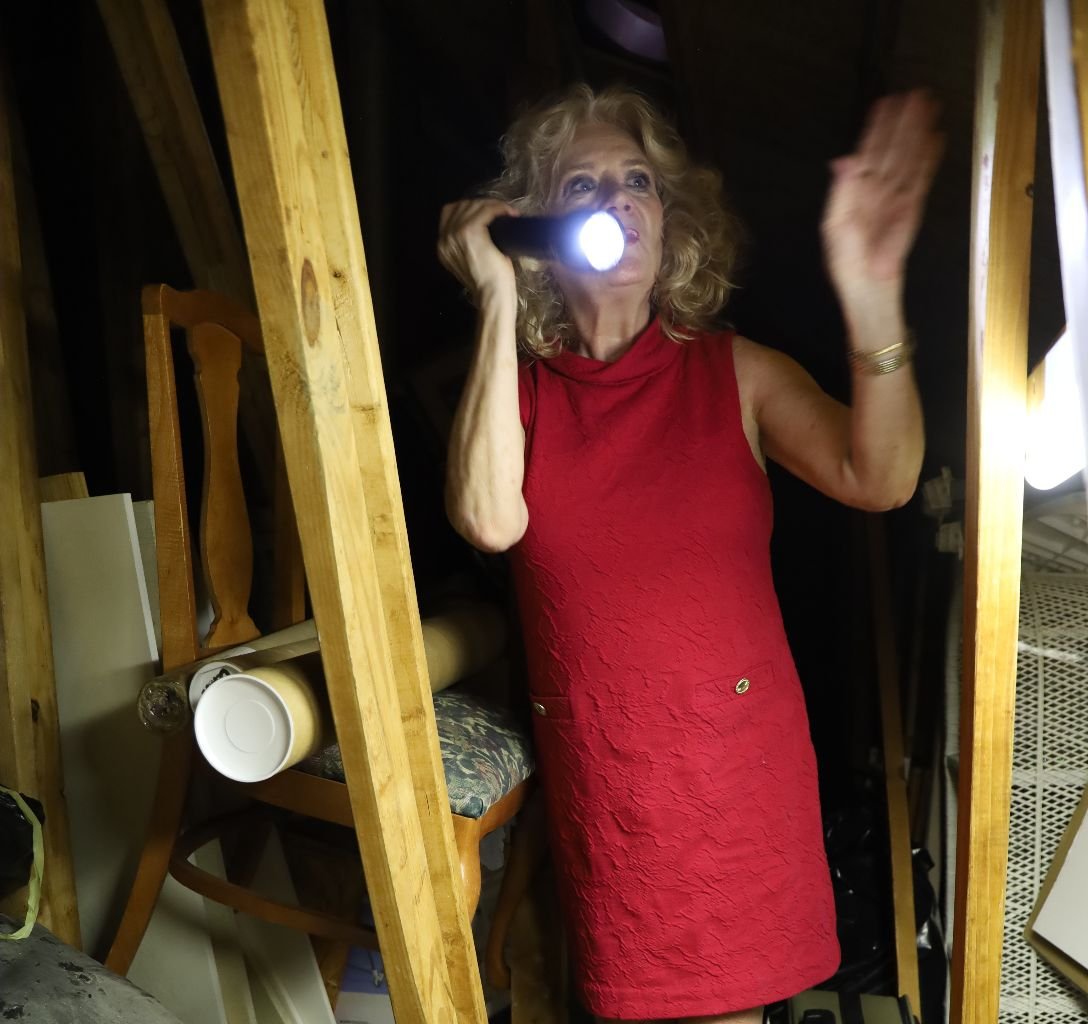
Now where would it be? Hmmmm…..
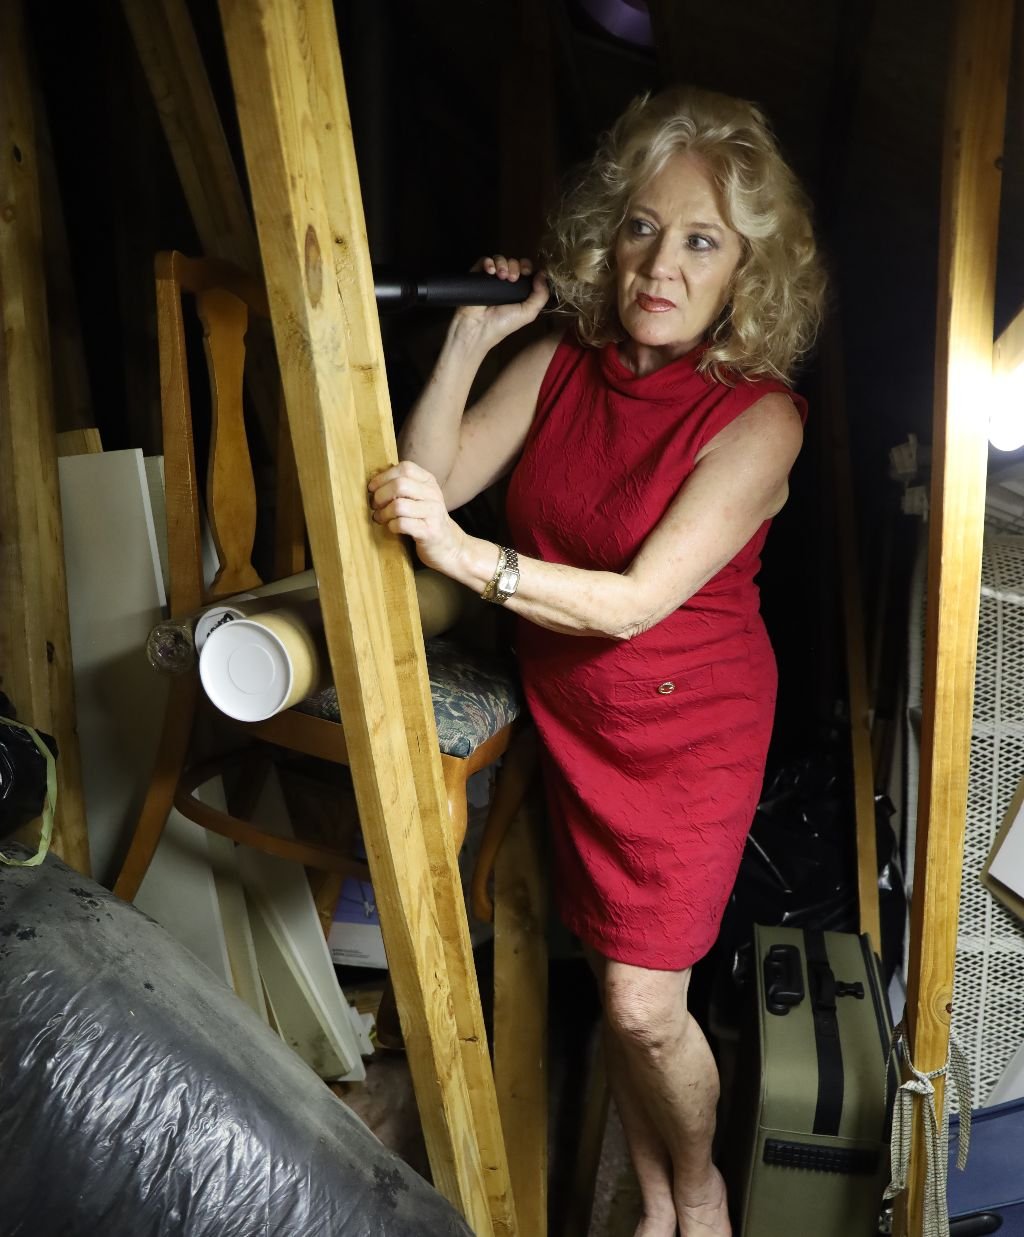
Where is that music coming from?
—————————————————————————————
My Nancy Drew’s
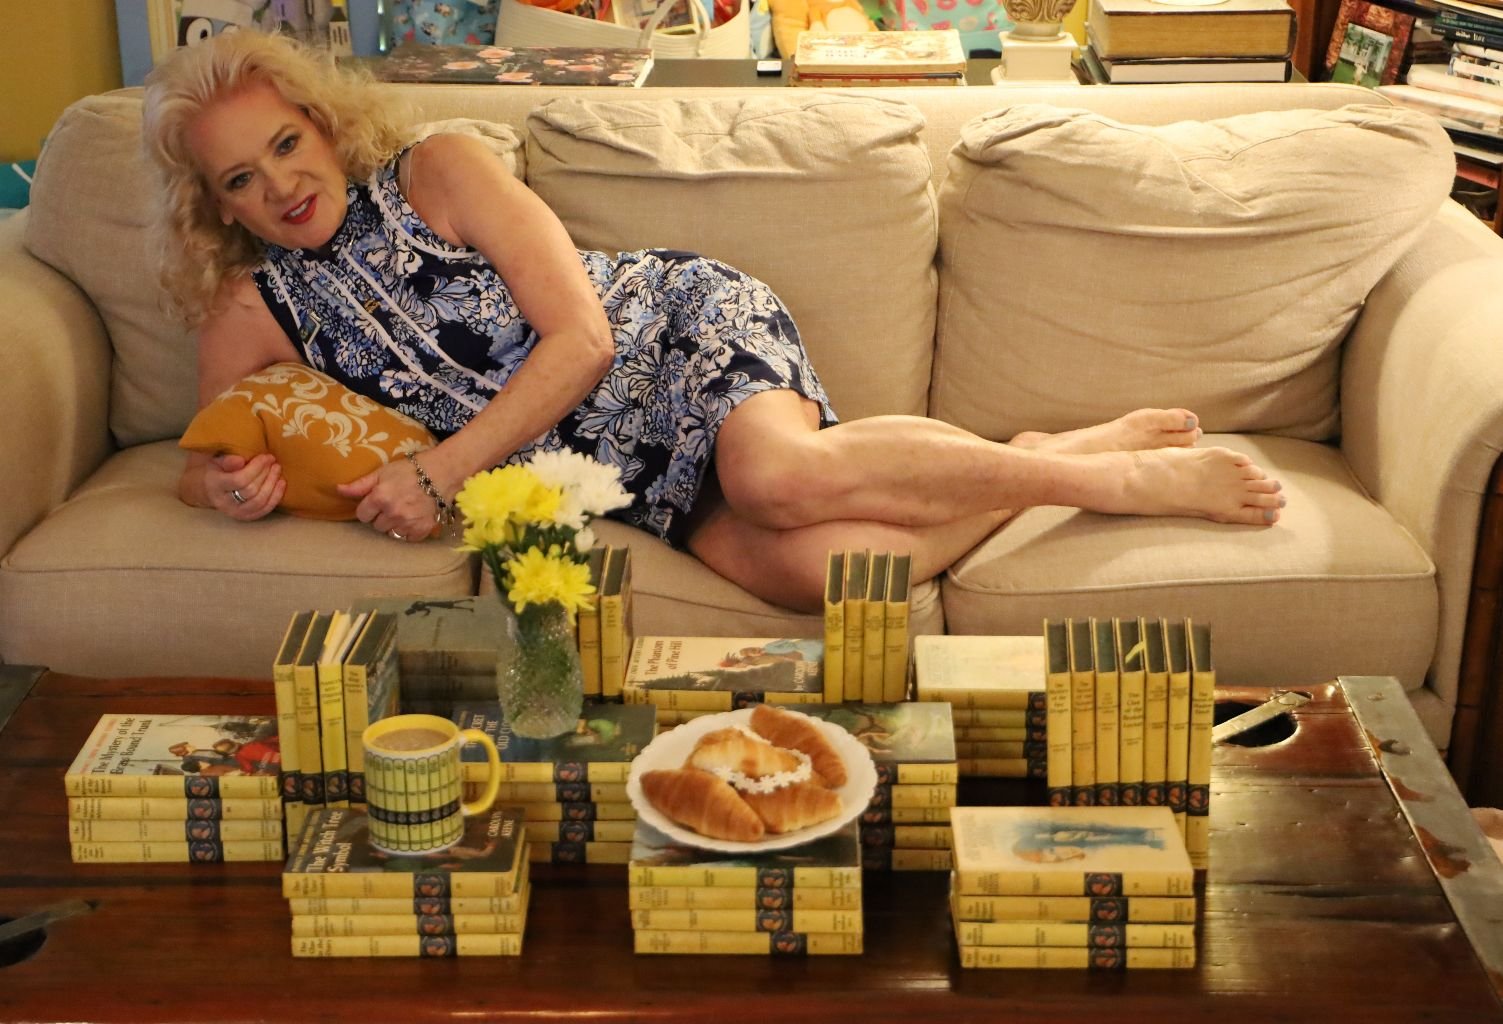
A Nancy Drew Breakfast Of Croissant’s and Coffee

———————————————————————————————————–
#27 The Secret Of The Wooden Lady
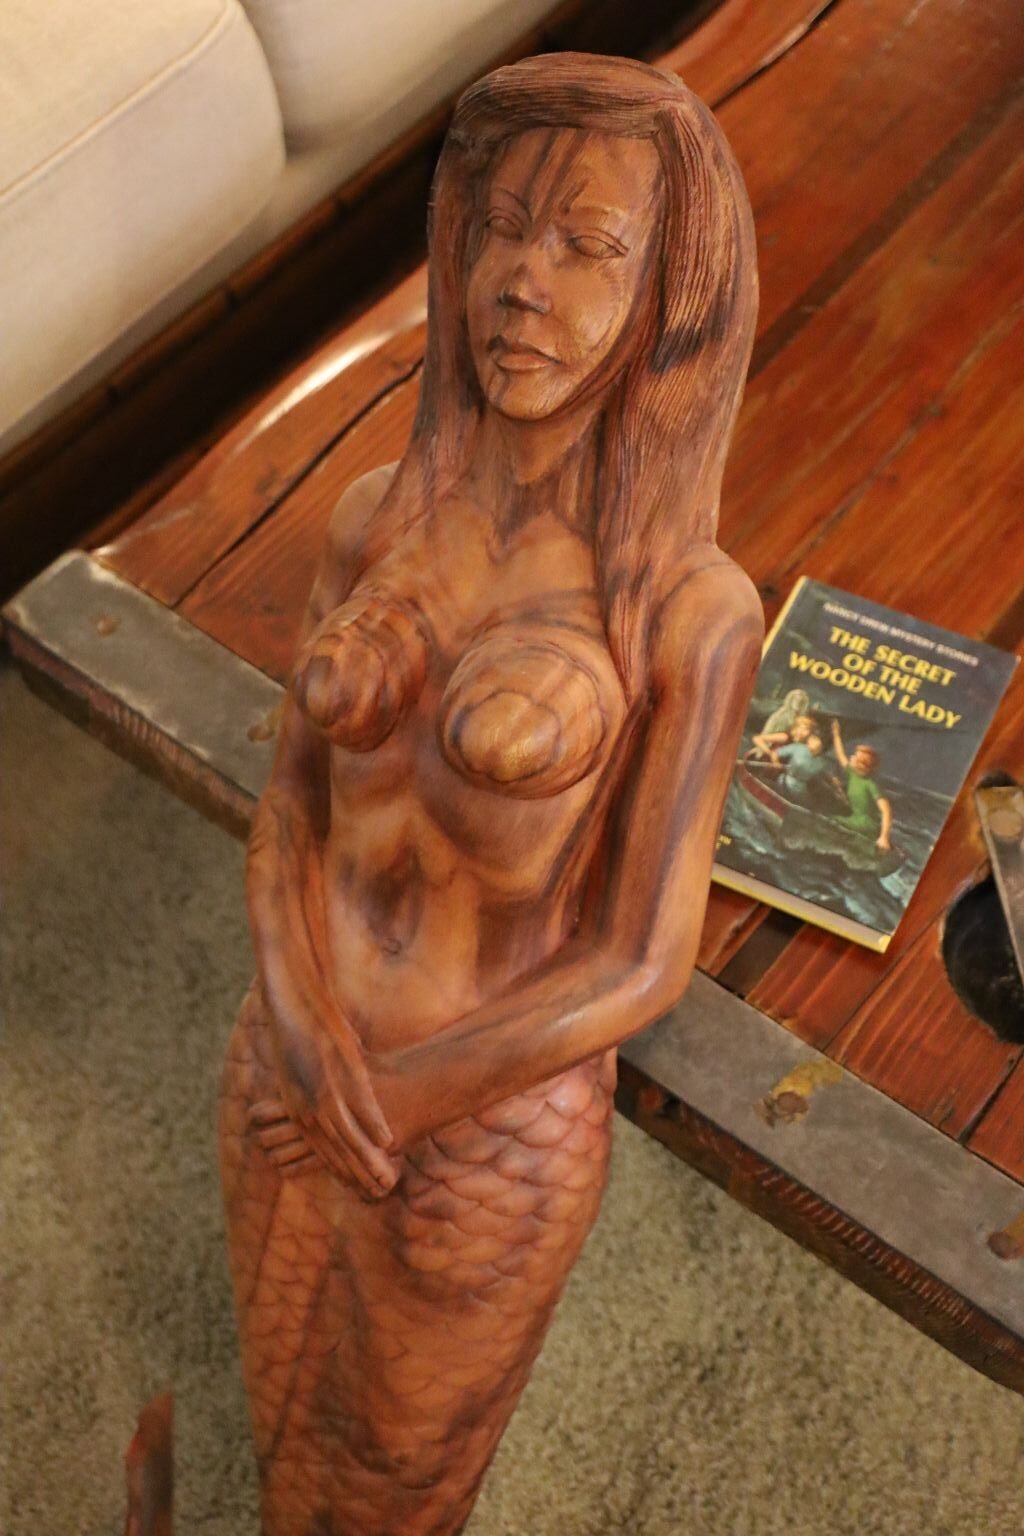
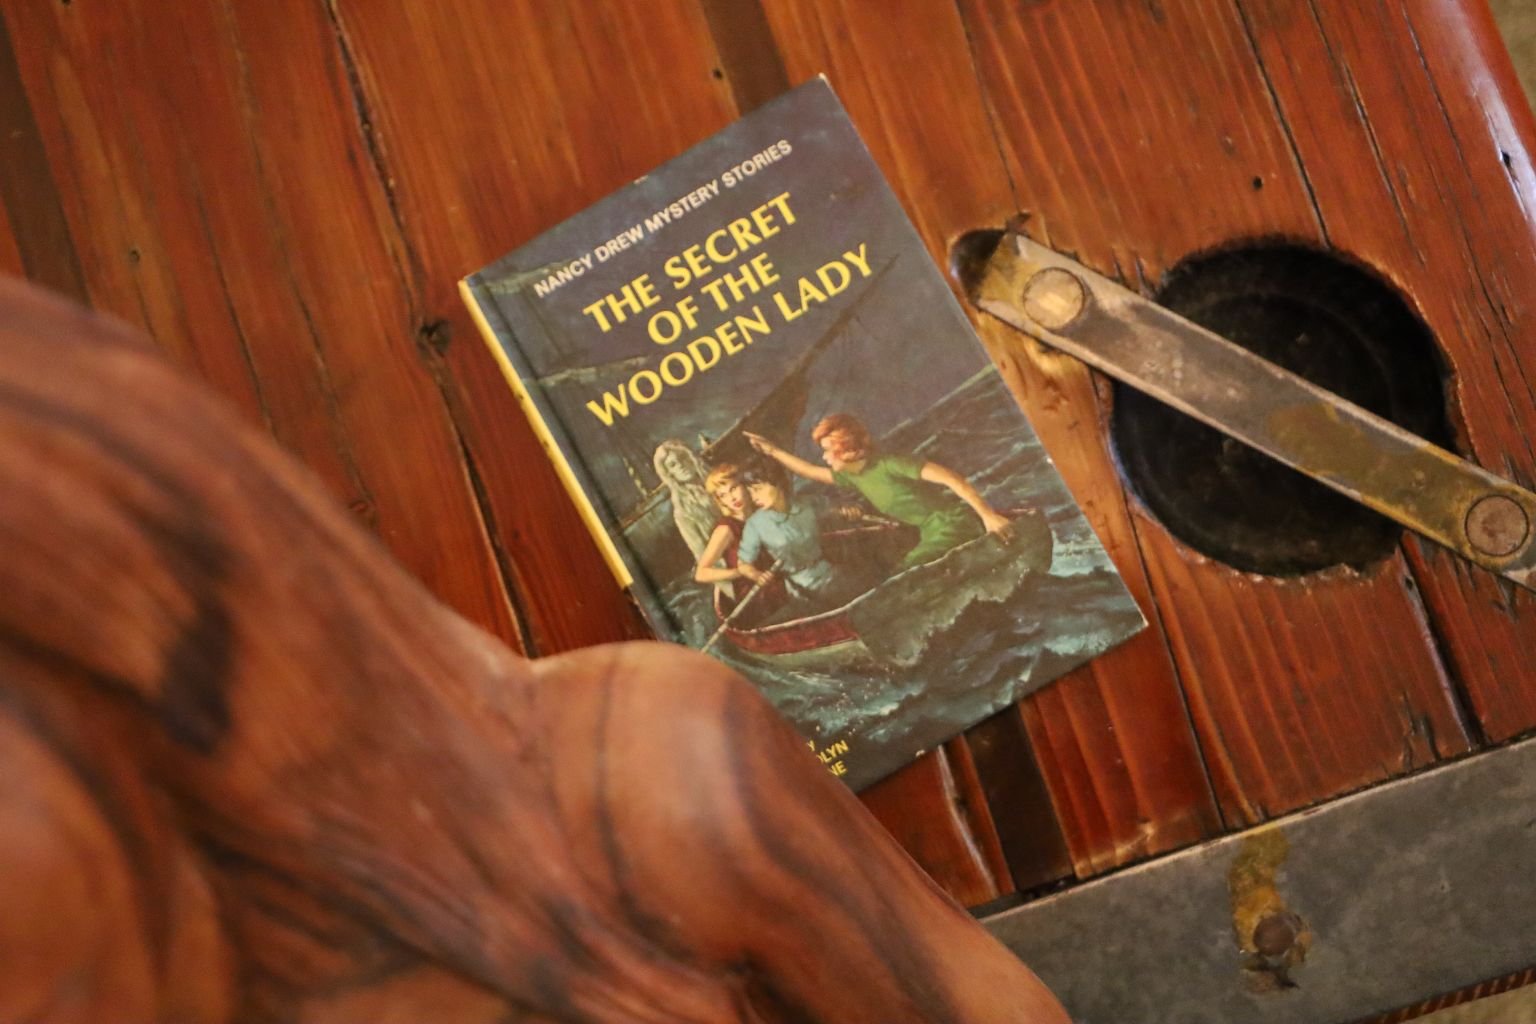
———————————————————————————————–
Sunday Night Date Night With Ned
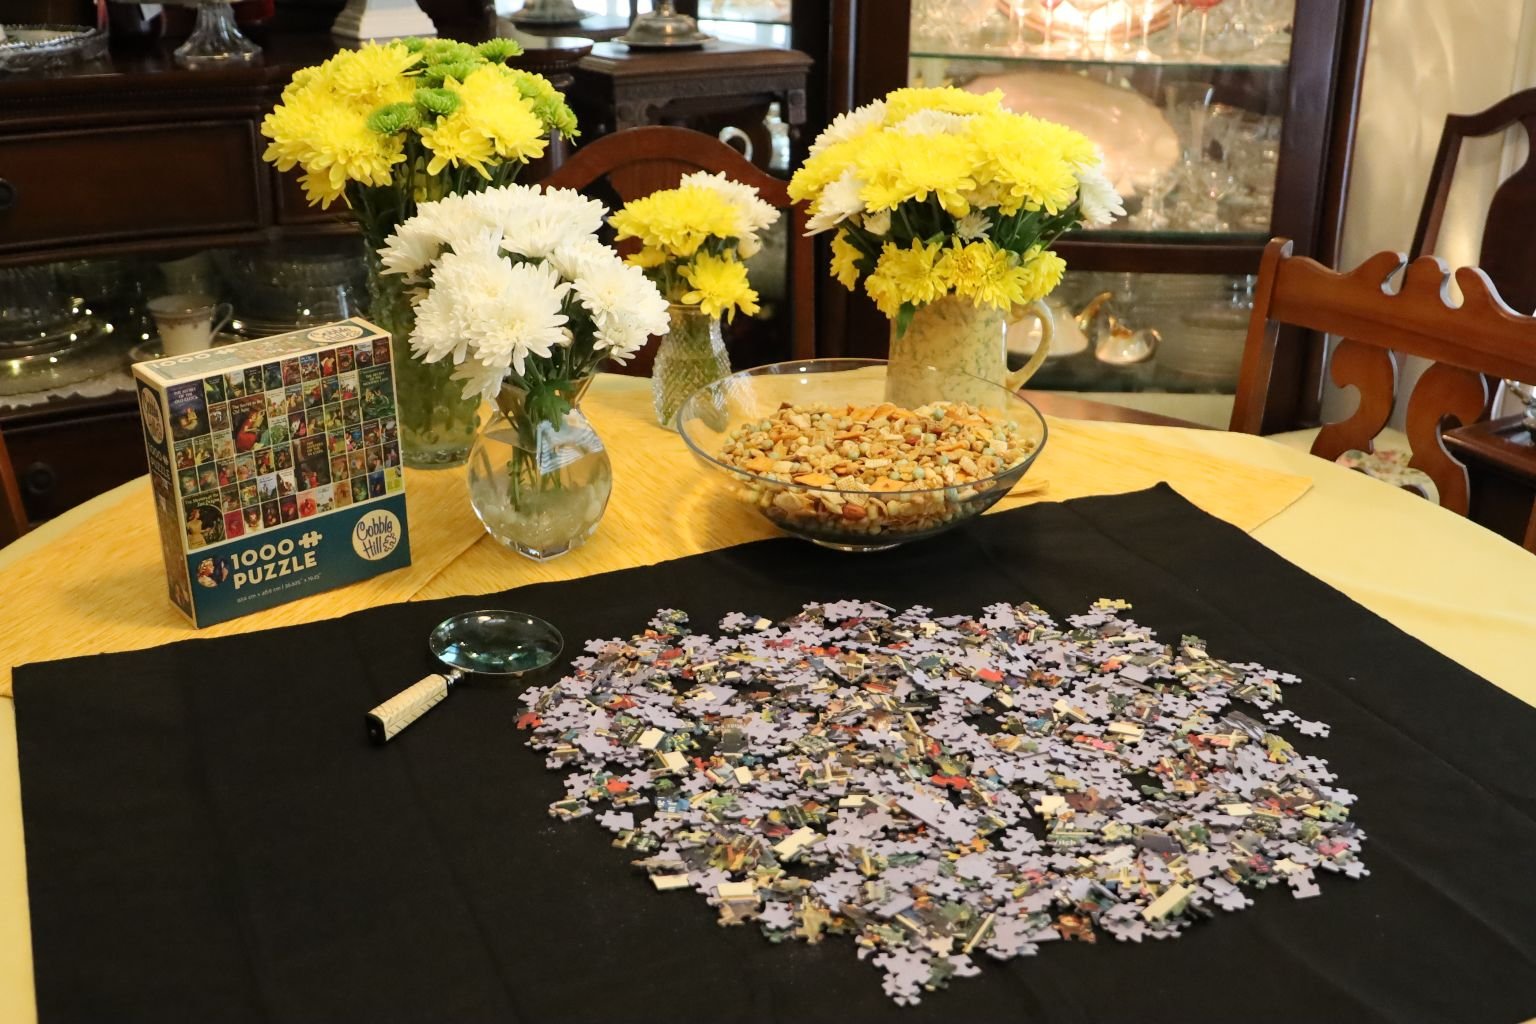
Working a Jigsaw Puzzle and Enjoying Nancy’s Winning Toasted Nibbles to Snack On
(Recipe Down Below)
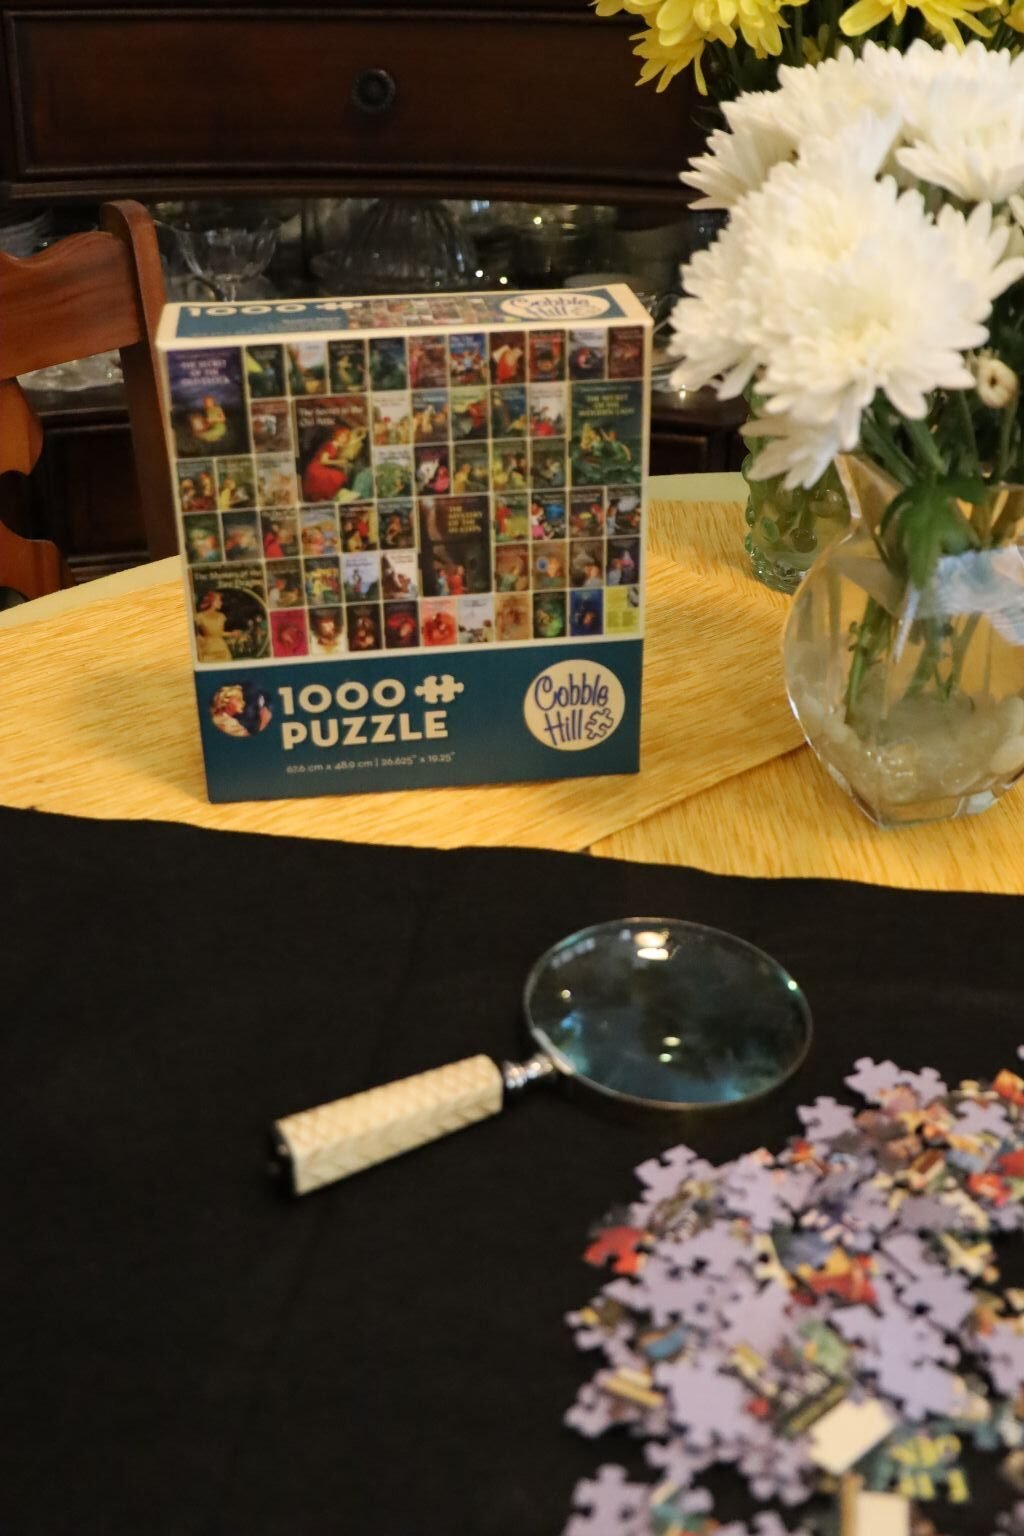
Although there is no Jigsaw Puzzle in any of the Classic Nancy Drew Books, I’m pretty sure the Drew’s had a spare table where they would work one occasionally in their home. Smart people work puzzles. It’s just that simple.
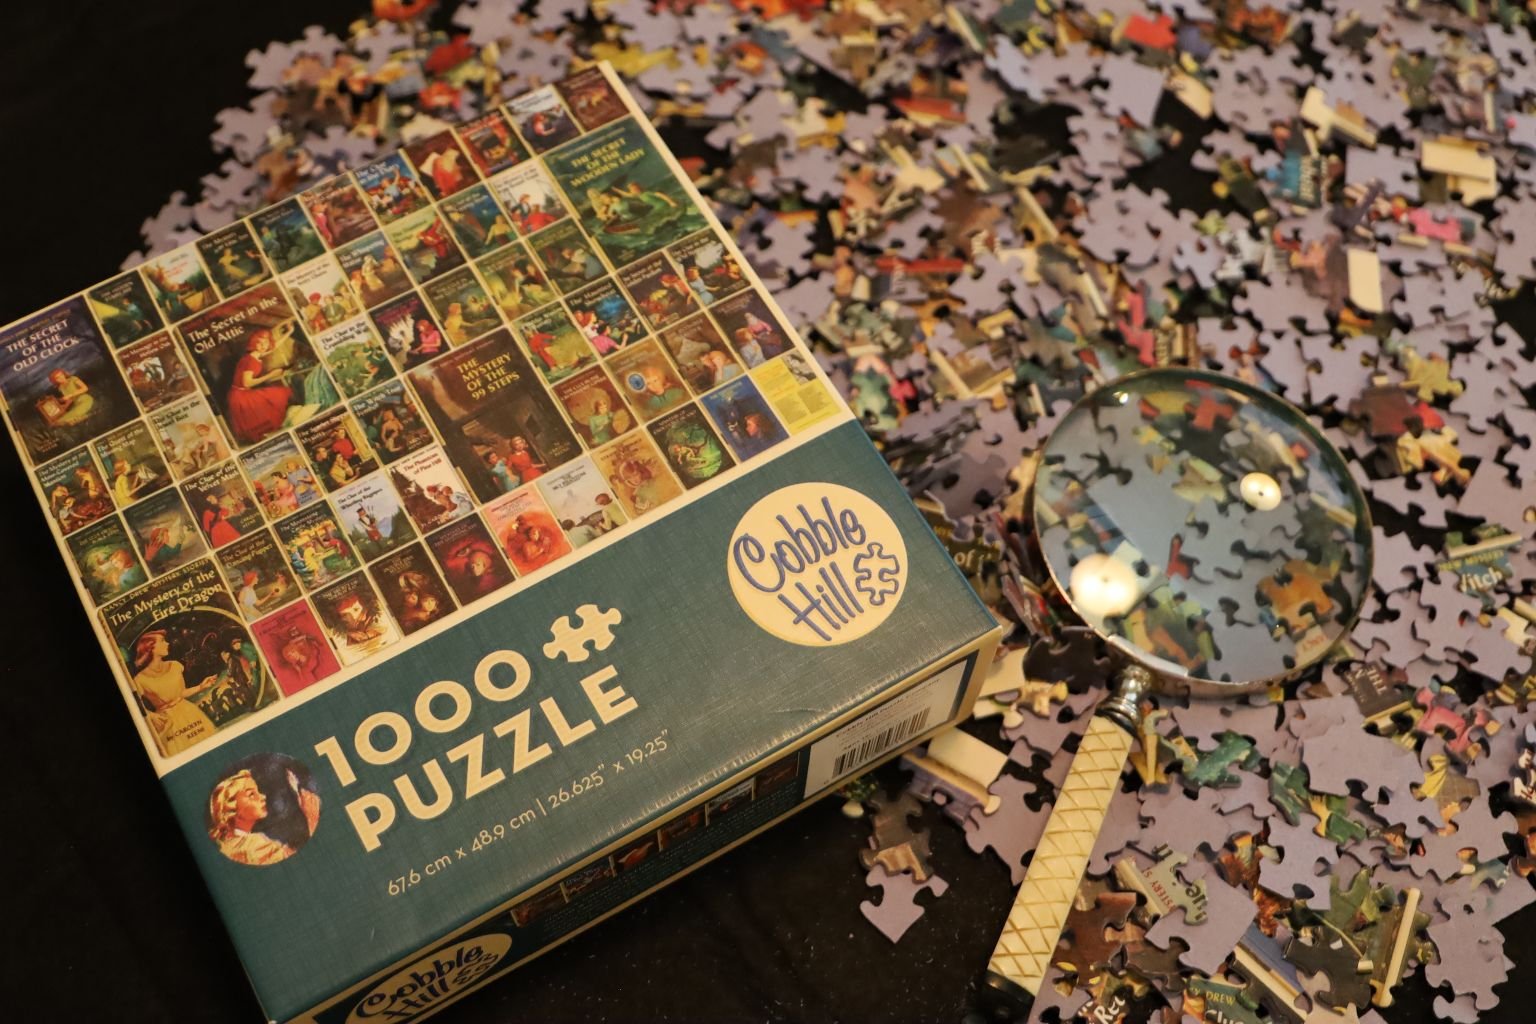
Do try to focus on your boyfriend’s conversation even though tales of football and insurance sales are not as exciting as sleuthing.
The Mysterious Mannequin
————————————————————————————
MORE NANCY DREW TO COME!!!!
————————————————————————————————-
(I wrote this in my Julie Vintage Archives around 2012.
I wanted to add it here as a continuation of my love of Nancy Drew.)
Remembering Nancy Drew

Nancy Drew and the Secret of the Old Clock
Me, having dug out my old Nancy Drew and Dana Girls Mystery books from my youth.
August 9th, is ‘Book Appreciation Day’ and I wanted to focus on my favorite all time books growing up, the Nancy Drew series of books, written under the name of Carolyn Keene. I do have to say that Nancy Drew saved my life. If you have read any of my blogs then you will know that I grew up moving around a lot. I was the new kid in school 9 times in 12 years from grades 1 – 12. I didn’t make many friends and the ones I did, I would leave behind to move onto the next place. I didn’t grow up with stability, something that I desperately needed as a child. Nancy Drew gave me that stability that I needed to function. Reading those books, I was able to escape from my life of loneliness to a life of adventure and excitement and friendship. Nancy Drew became my best friend and her adventures became mine. I was able to escape into her world and that helped me to survive mine.
Me about age 12 or 13 during my big Nancy Drew days. We were living in Roanoke, Virginia at the


Nancy Drew also taught me valuable skills. Back in 1978 when my family and I were on a cross-country trip out west our Winnebago broke down on the side of the highway. My step-father was too proud to use the CB radio that was right in front of him so I grabbed the flashlight and headed to the back of the camper. It was at night so I started sending my SOS signals out the back window. Soon a car stopped to help us. My step-father asked the man how he knew we were in trouble and he said that he saw the SOS signals and stopped. The man was able to help us get the camper started and get to the next town where we found a mechanic to fix it. Julie saves the day thanks to something that I learned in my Nancy Drew books. Did I ever get a ‘thank you’ for that? I don’t think so!
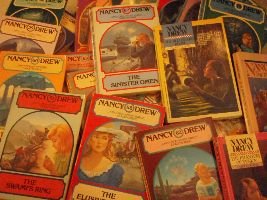
There were many Nancy Drew’s to come and go over the decades. The first was in 1938, her name was Bonita Granville. She starred in ‘Nancy Drew Reporter’ and ‘Nancy Drew Detective’. I came across an old Nancy Drew movie on T.V. a few years ago staring Bonita Granville and I just had to watch it. I couldn’t get over the ‘over acting’. Acting has apparently advanced since the 1930’s. I also noticed that her boyfriend was not named Ned, but was named Ted Nickerson played by Frankie Thomas.

Bonita Granville was the First Nancy Drew

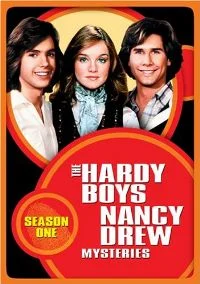

—————————————————————————————–

These are just a few of the actress’s that have played Nancy Drew over the decades. Nancy, Bess and George will always be special to me and a big part of my growing up. That is how I shall always remember her. So every now and then I like to dig out the books and have another look at them, read one or two before I pack them back up and send them to the attic. Hopefully someday my daughter will show some interest in them and decide to read them as well. But until then it’s just me, Remembering Nancy Drew.
—————————————————————————————-


Nancy Drew Ghost Stories
Nancy Drew and the Hardy Boys

The Secret of the Old Clock
The Hidden Staircase
The Bungalow Mystery
Nancy’s Mysterious Letter
The Mystery of the Ivory Charm
Written inside each book it says, ‘Made in The United States of America’.
My mother’s Nancy Drew books. I LOVE the old graphics!
————————————————————————————–

——————————————————————————-
Gordon’s Hardy Boys Books were written by Franklin W. Dixon.
Gordon only had three of them. Franklin W. Dixon was also a pen name for several Hardy Boys authors.
The Mystery of the Chinese Junk
The Mystery of the Spiral Bridge
The Clue of the Hissing Serpent

I think they were all gifts to him that he never read. Two of them have written inscriptions.
—————————————————————————————
“1974 Easter To: Gordon Whann from Auntie Hester from Sharpton MD. Had nice visit with you and your family – See you again soon. Love, Hester”
The next one said, “To Gordon Whann from John Bunch, Charlotte, 1977”
Whenever you give the gift of a book to someone always be sure to sign it. It means so much more many years later to find something so nice and personal as that.
—————————————————————————
Dana Girls

Photo below my Dana Girls books
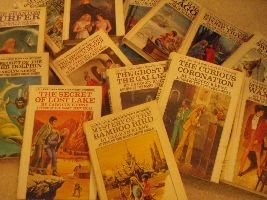
I do have a few Dana Girls books, actually 15 of them, but I never really got into them. I think it was because they were two sisters solving mysteries. I just couldn’t relate to having a sister. I grew up with 3 brothers. Nancy Drew was more my speed. Nancy was an only child. So was I up until age 8 when my brother Johnny was born. So I know what’s it’s like to be an only child, and the oldest child of the family as well. But having a sister is very alien to me. Maybe that’s why I never learned to share. 🙂
The Dana Girls were also written under the name of Carolyn Keene.
When I was looking inside one of my mother’s Nancy Drew books there is a listing of the old Dana Girls books and none of the titles match the ones that I own. So either they rewrote those old books and updated them or else they changed the titles. I own 15 of the first 16 Dana Girls books with titles such as:
2.The Riddle of the Frozen Fountain
3.The Secret of the Silver Dolphin
4.Mystery of the Wax Queen
5.The Secret of the Minstrel’s Guitar
6.The Phantom Surfer
7.The Secret of the Swiss Chalet
8.The Haunted Lagoon
9.Mystery of the Bamboo Bird
10. The Sierra Gold Mystery
11.The Secret of Lost Lake
12.The Winking Ruby Mystery
13.The Ghost in the Gallery
14.The Curious Coronation
15.(Don’t have this one)
16.Mountain Peak Mystery
——————————————————–
1. By the Light of the Study lamp
2.The Secret at Lone Tree Cottage
3.In the Shadow of the Tower
4. A Three-Cornered Mystery
5. The Secret at the Hermitage
6.The Circle of Footprints
7.The Mystery of the Locked Room
8.The Clue in the Cobweb
9.The Secret at the Gatehouse
10.The Mysterious Fireplace
11. The Clue of the Rusty Key
12.The Portrait in the Sand
13.The Secret in the Old Well
14.The Clue in the Ivy
——————————————————————————
Carolyn Keene
Carolyn Keene was a pen name used by several authors. I can remember as a child people telling me that Carolyn Keene was really a man and not a woman. Actually Carolyn Keene was several women and a few men. The name Carolyn Keene was a pseudonym. Various authors such as Harriet Stratemeyer, Mildred Wirt Benson, Walter Karig, Leslie McFarlane, James Duncan Lawrence, Nancy Axelrod, Margret Scherf, Charles Strong, Wilhelmina Rancan, Priscilla Doll, Alma Sasse, and George Waller Jr. They were ALL Carolyn Keene.

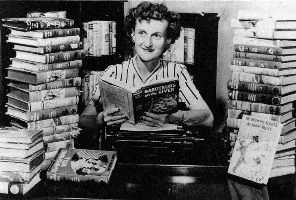
———————————————————————————————–
Stake Out Recipes Start Here


Every Sleuth Relies On A High Powered Camera To Photograph Evidence and Suspicious Looking People

———————————————————————————-
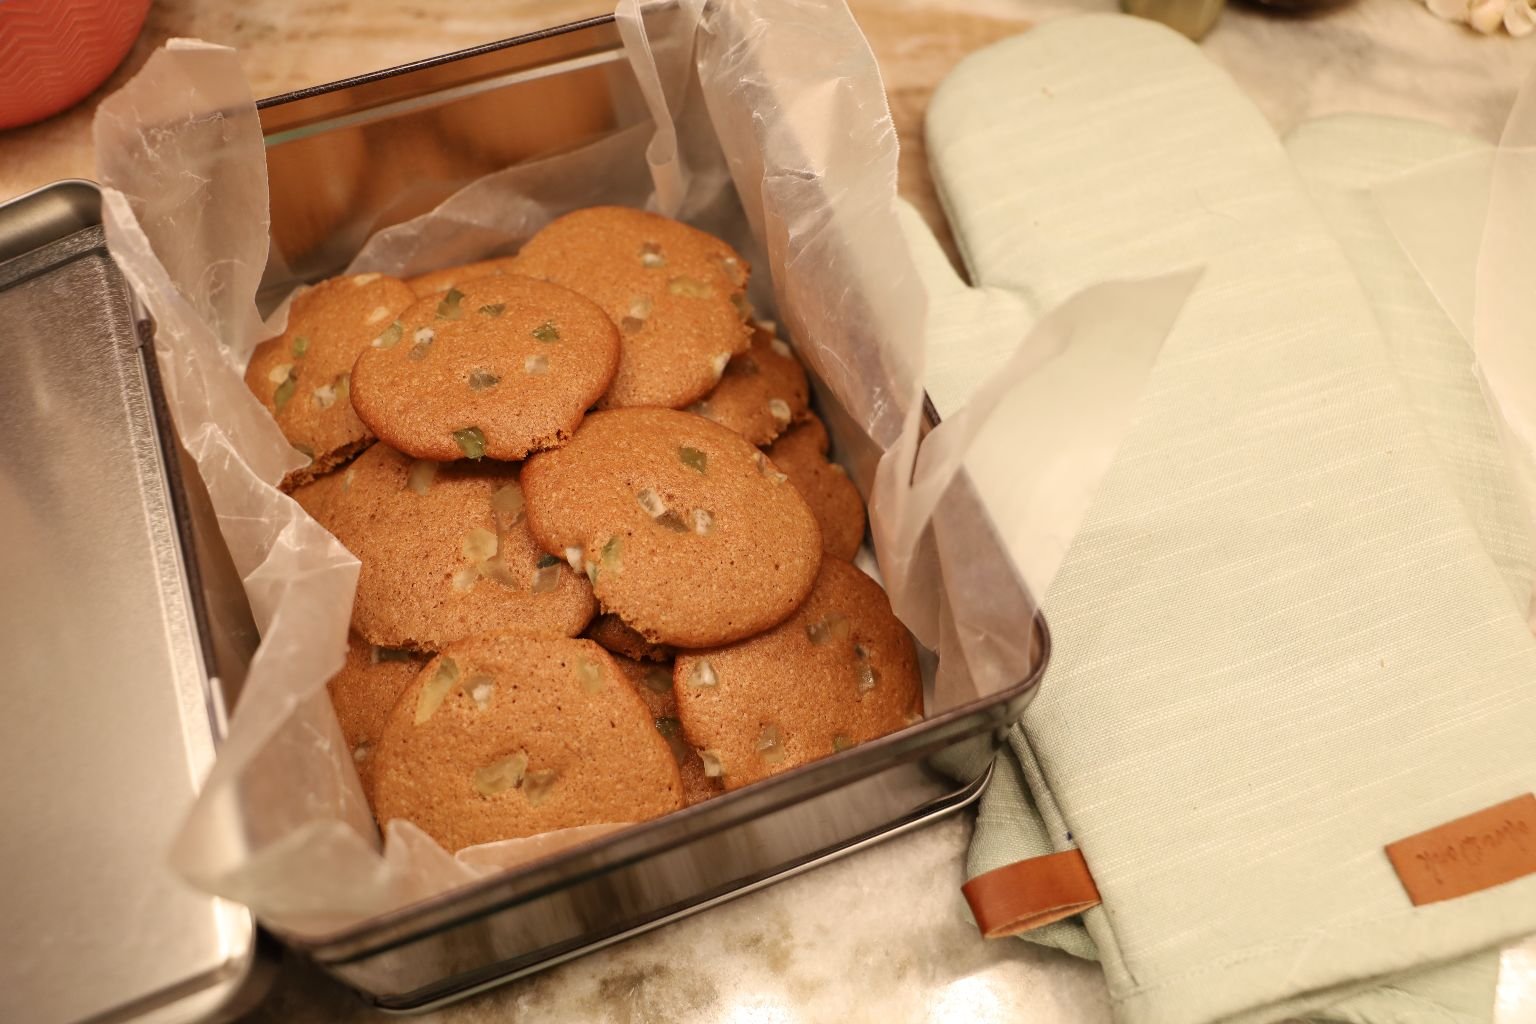
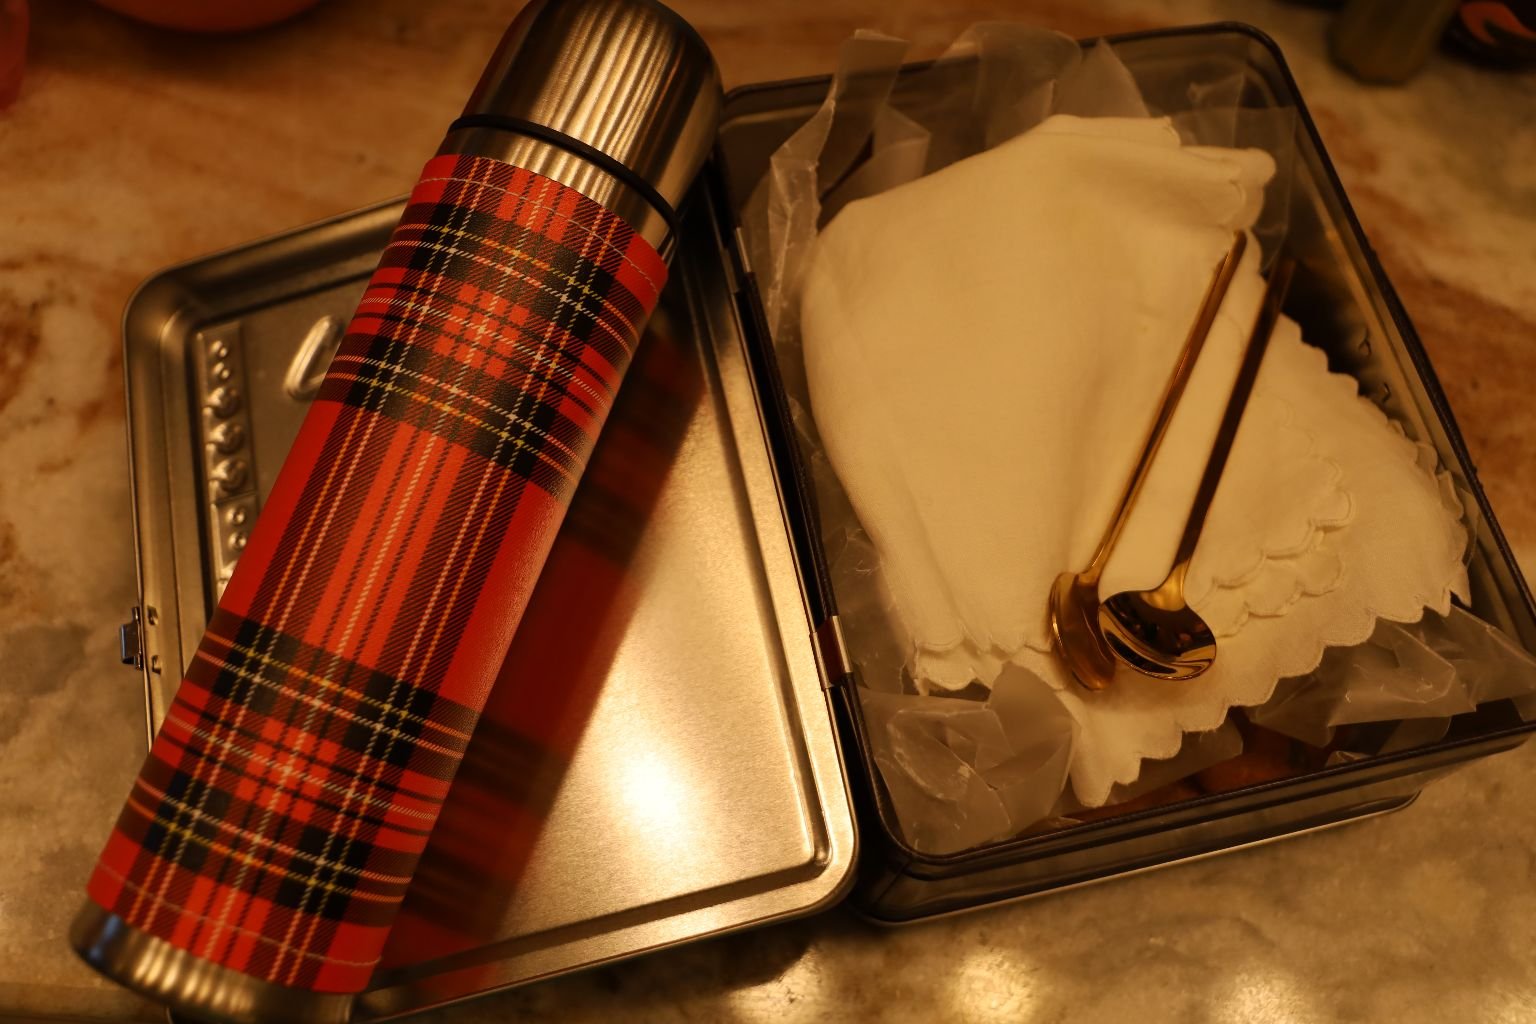
Mrs. Nickerson’s Holiday Cookies and Cocoa
—————————————————————–
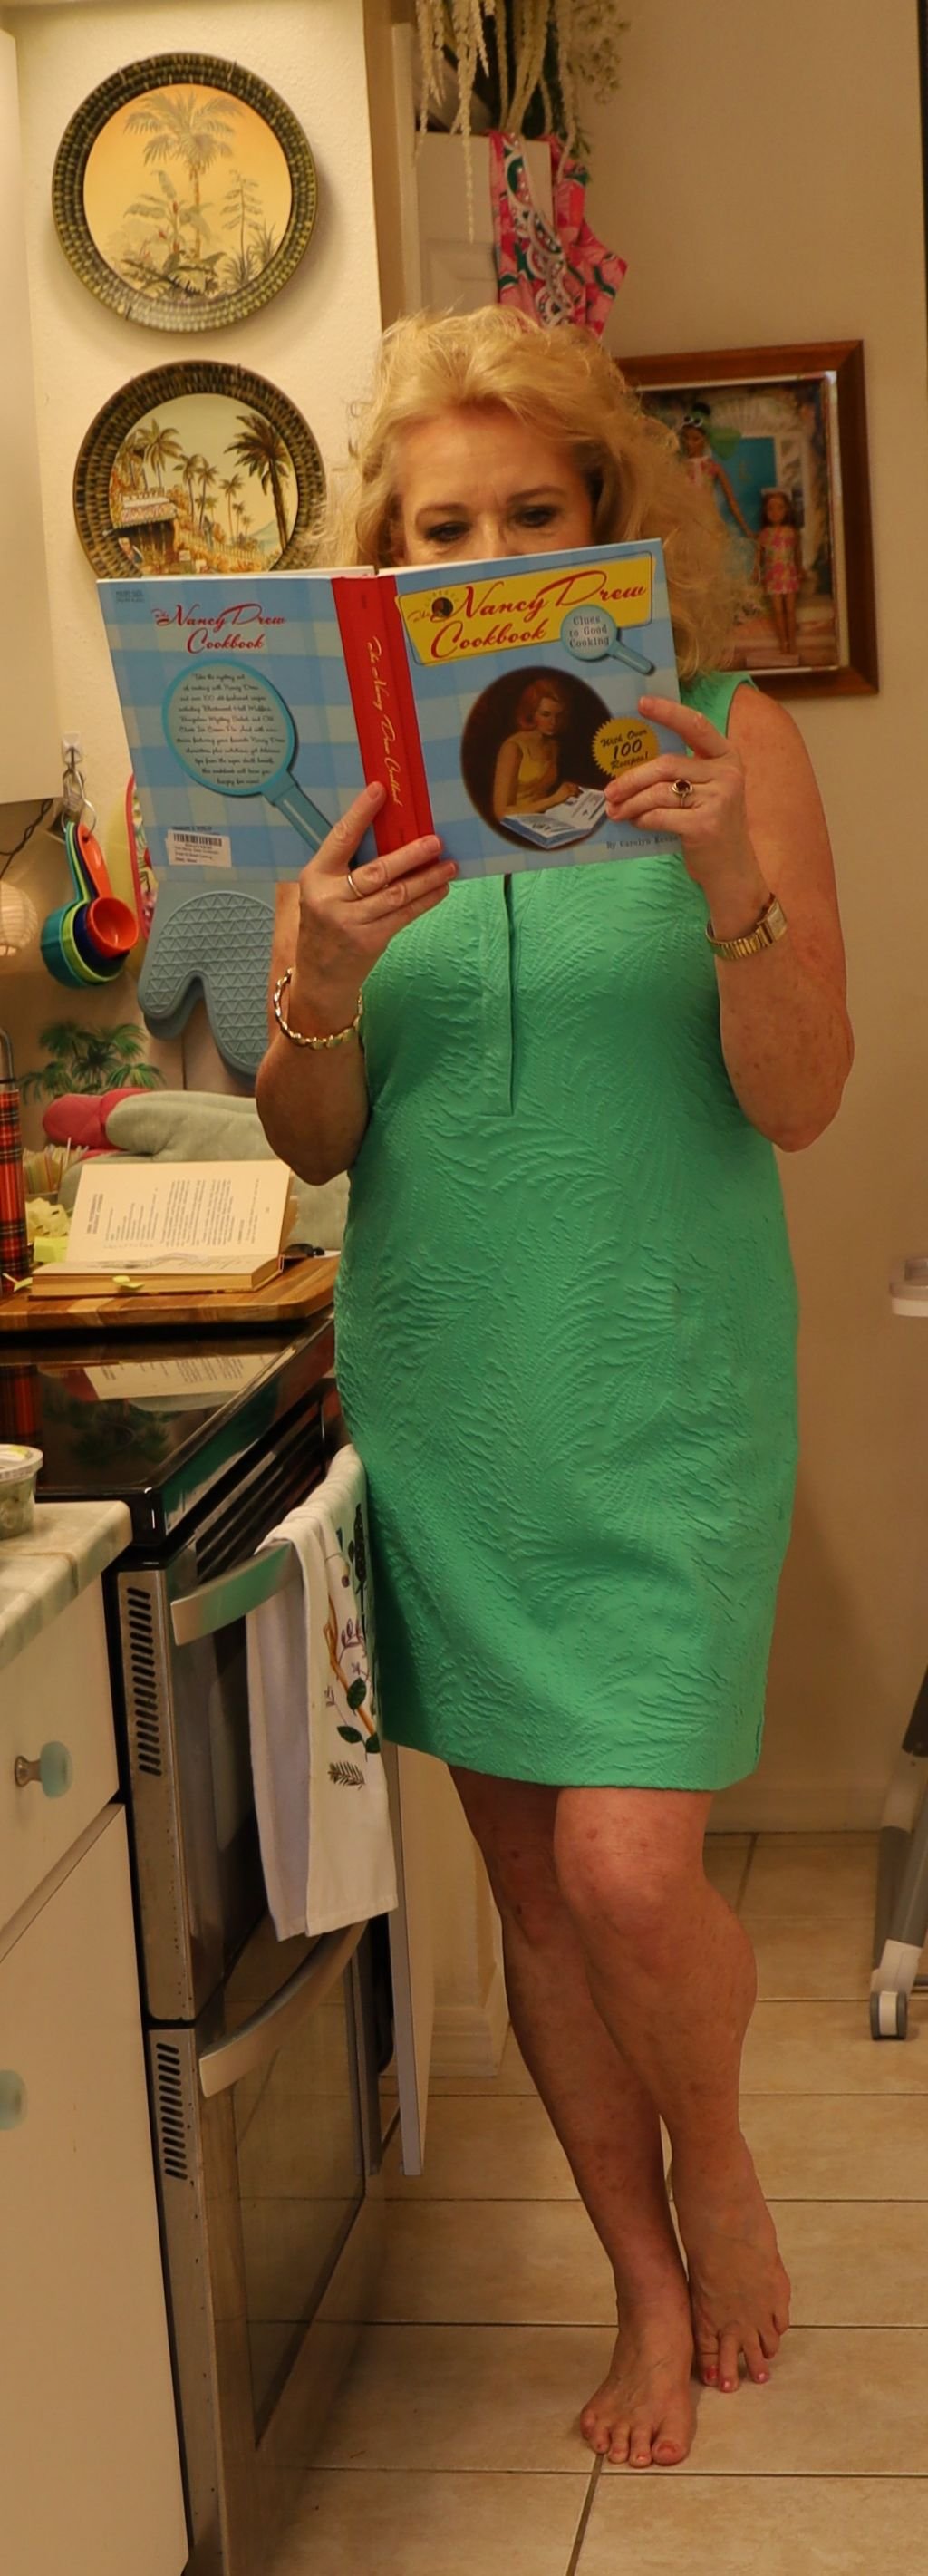
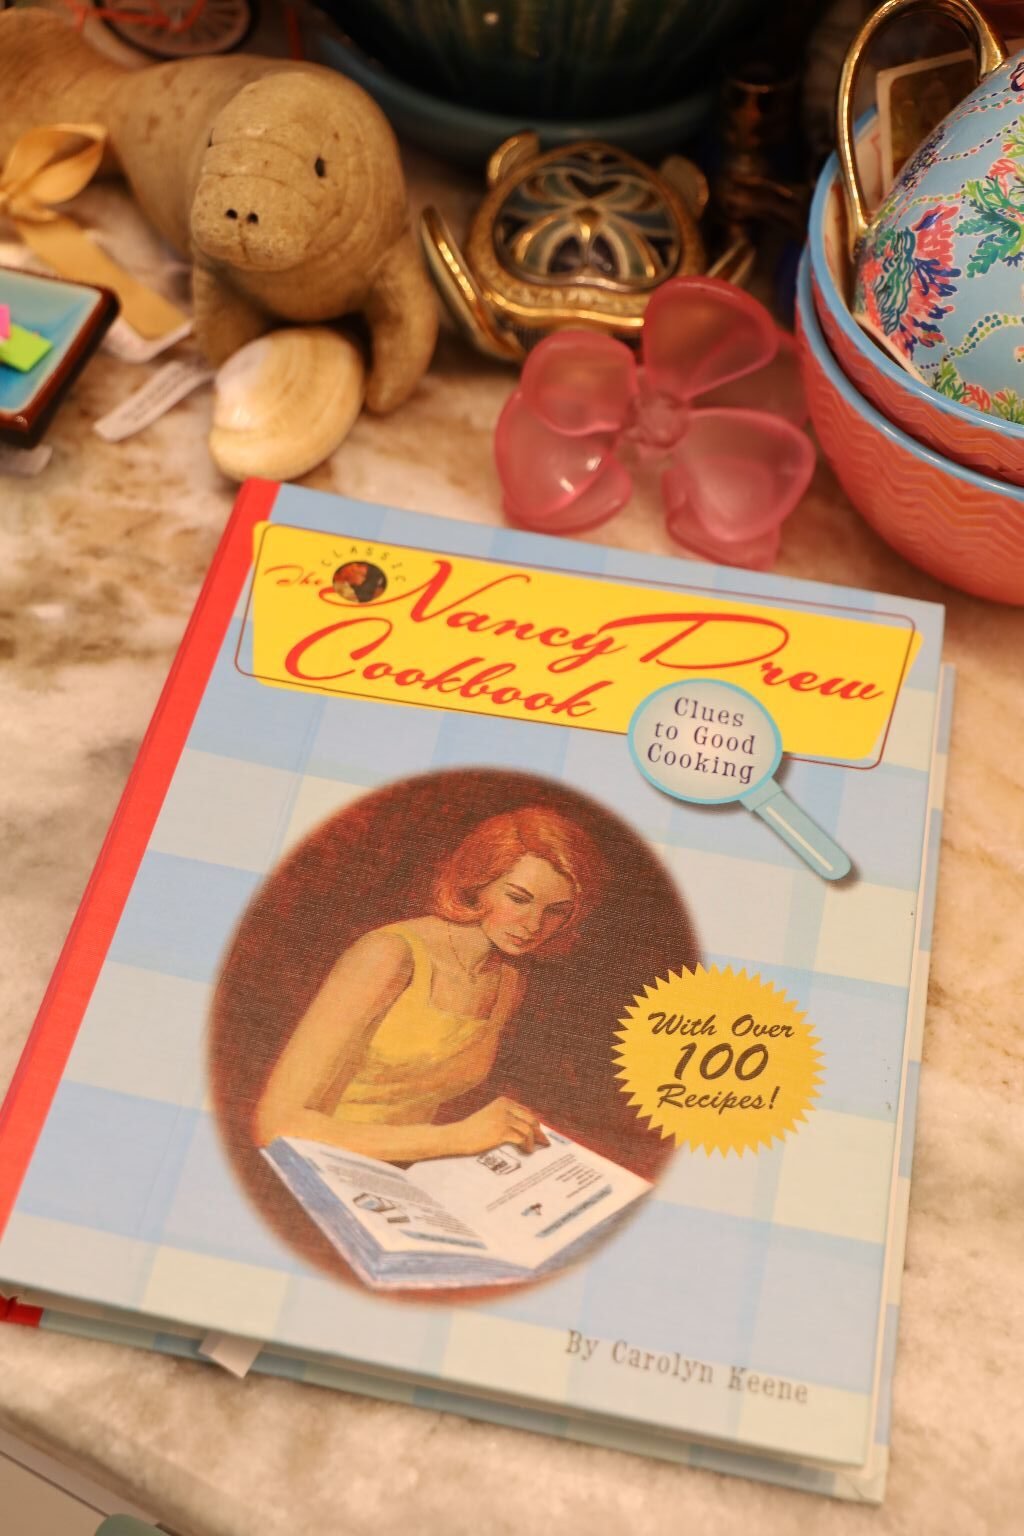
My Nancy Drew Cookbooks
(2005)
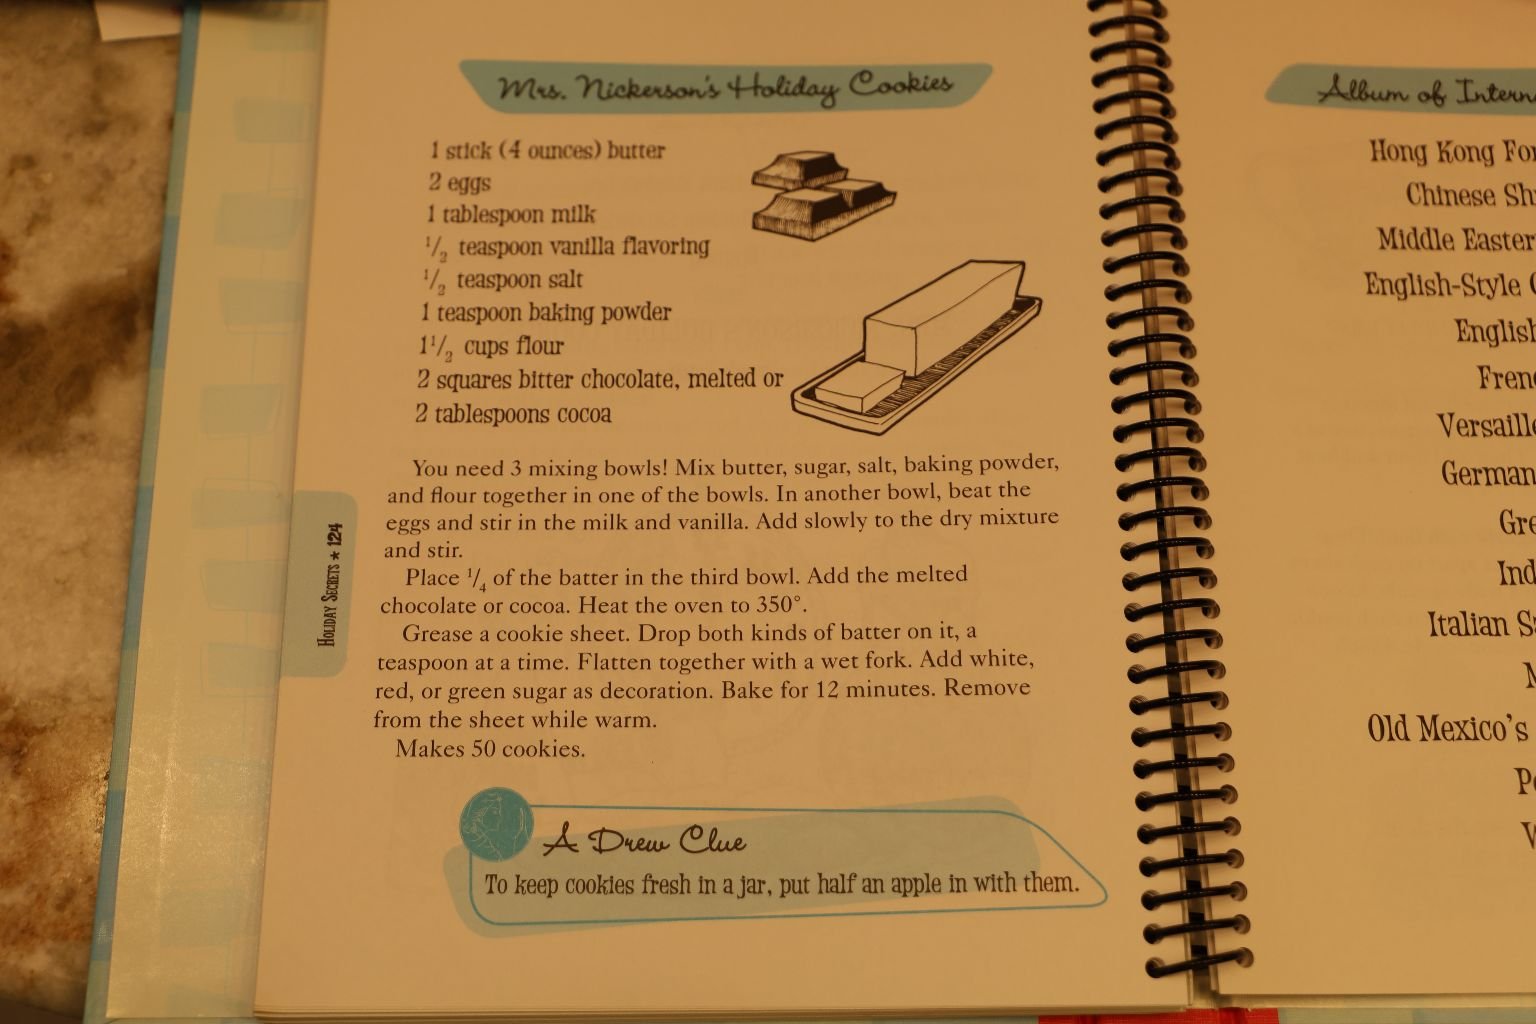
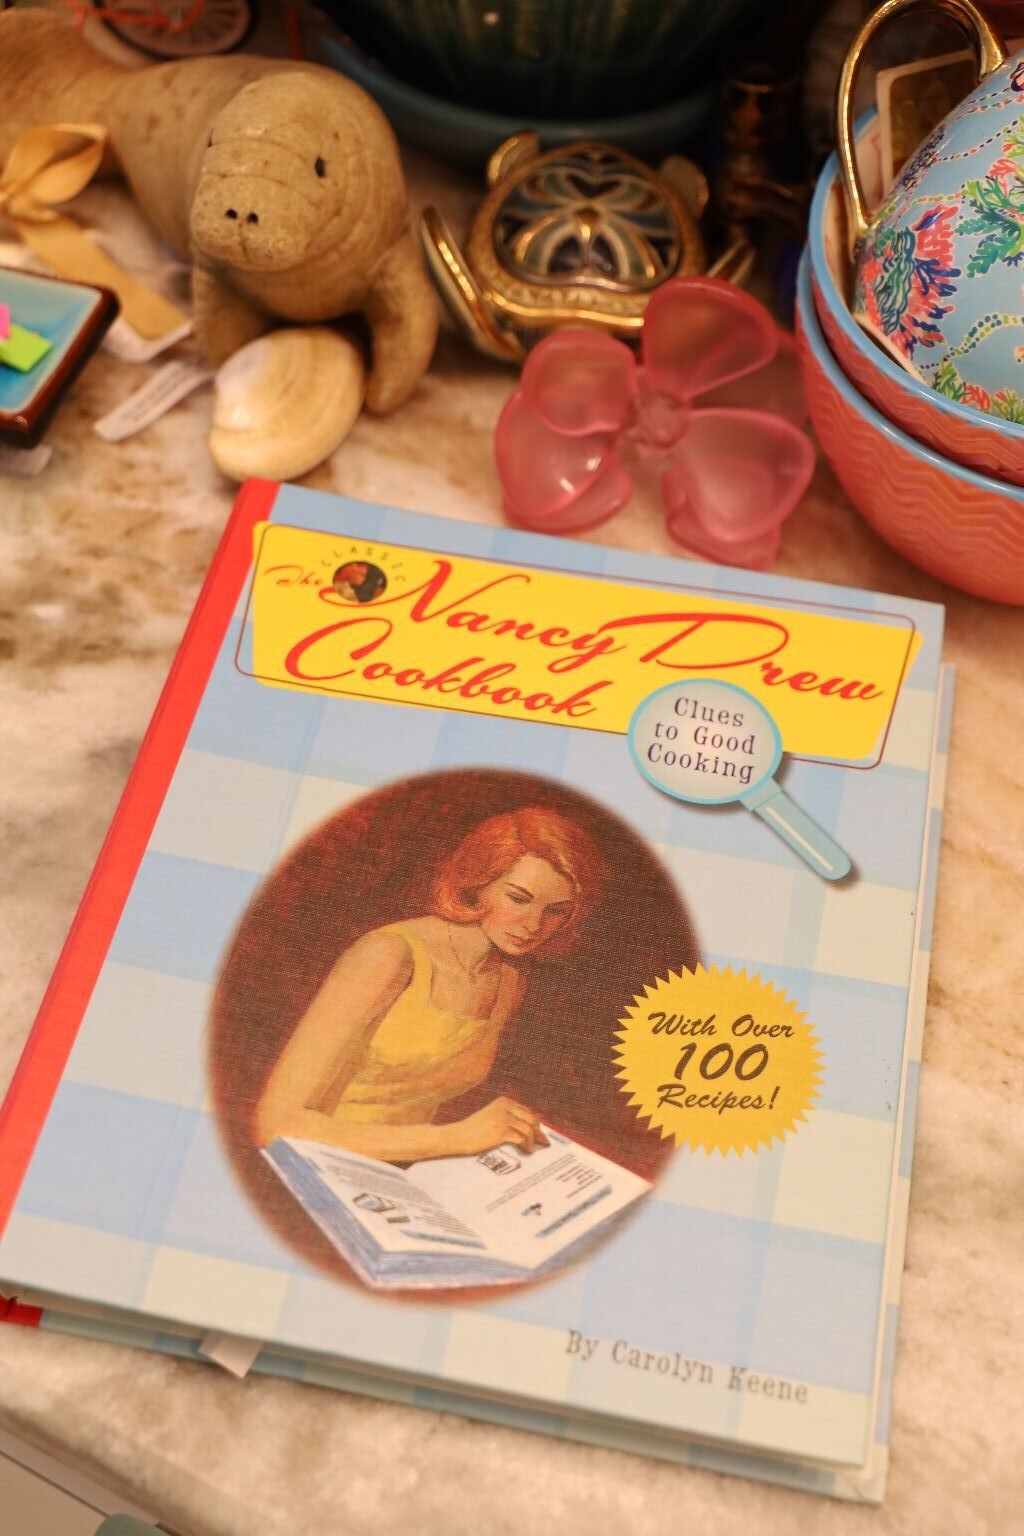
Same Cookbook, Different Printing
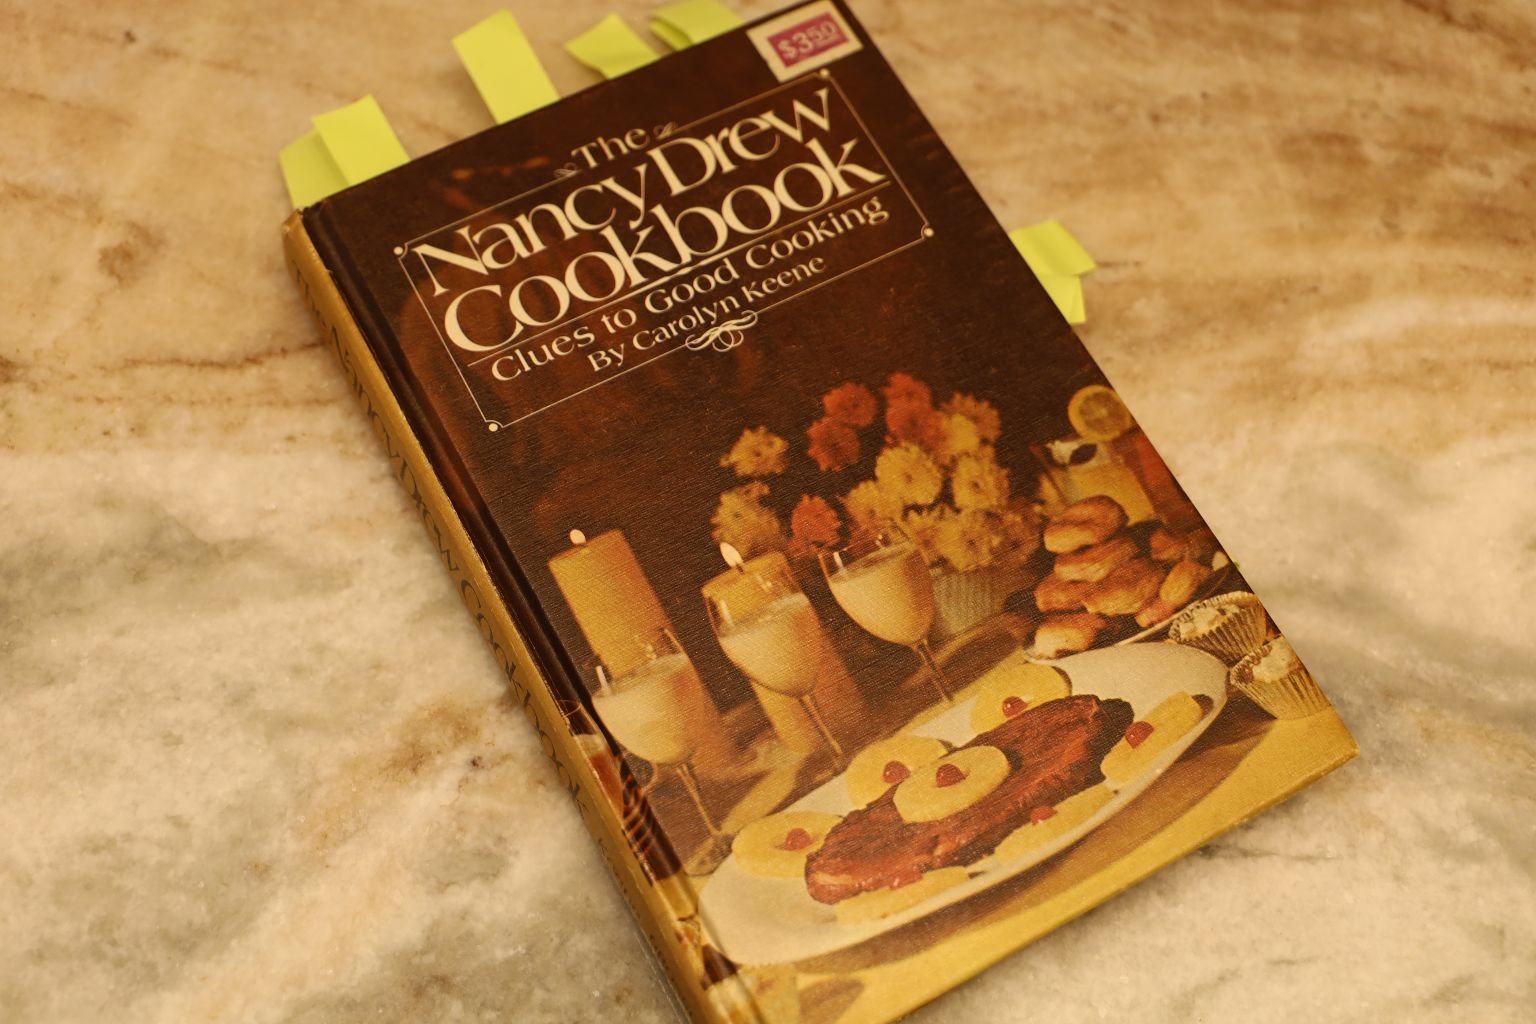
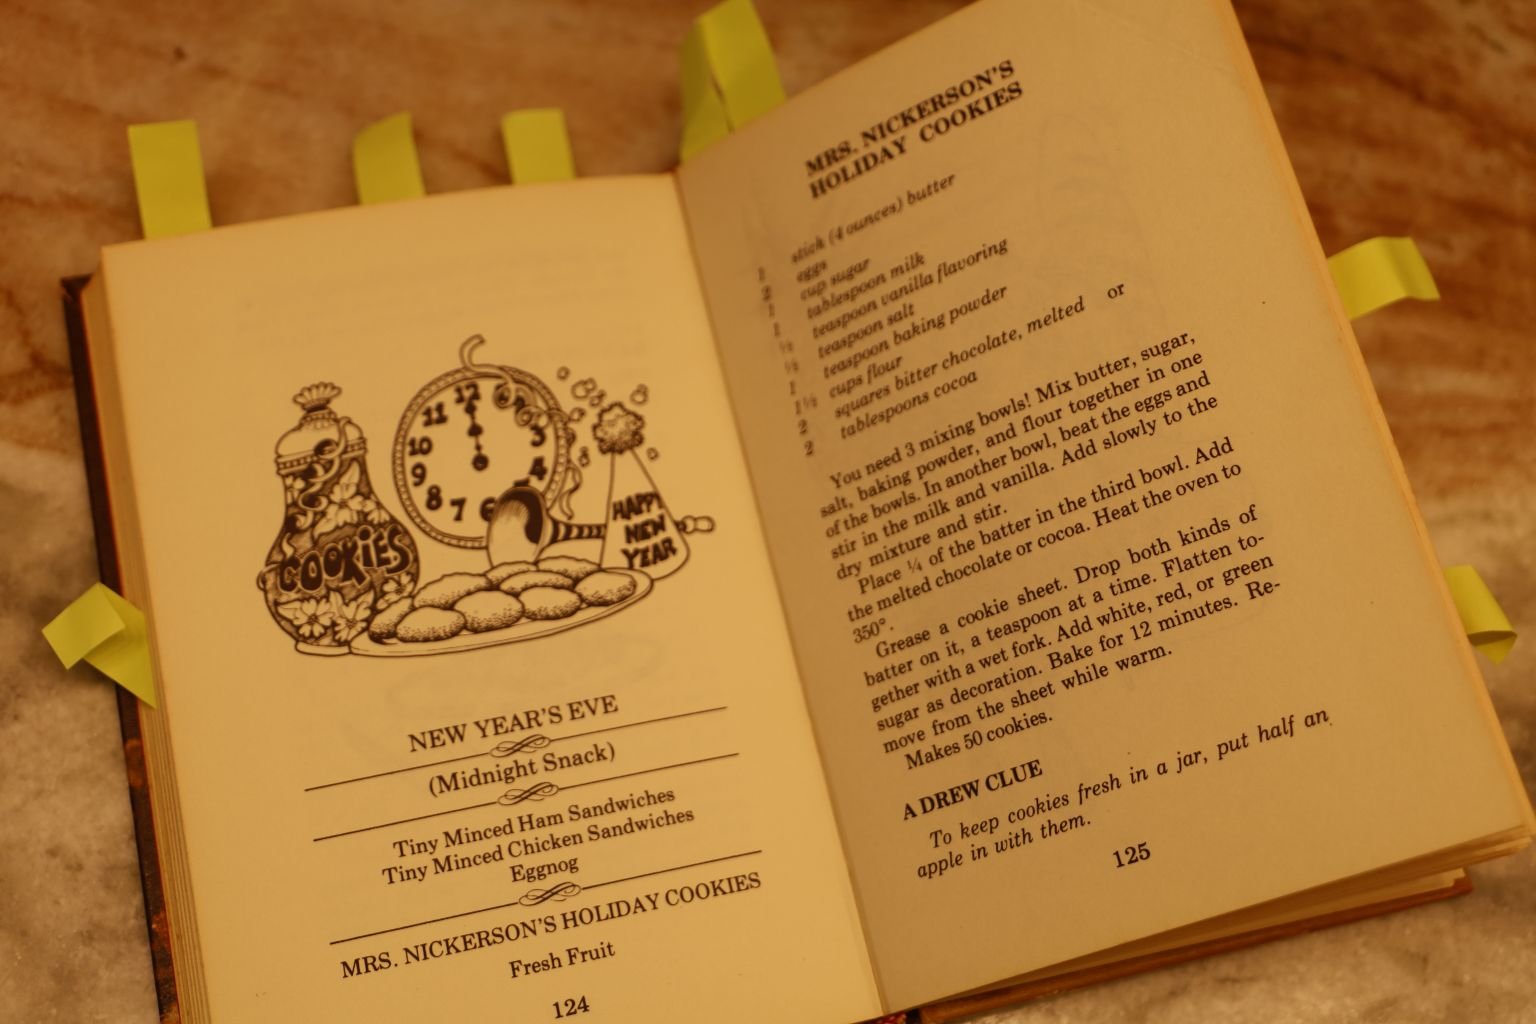
The Nancy Drew Cookbook
Clues to Good Cooking (1974)
By Carolyn Keene
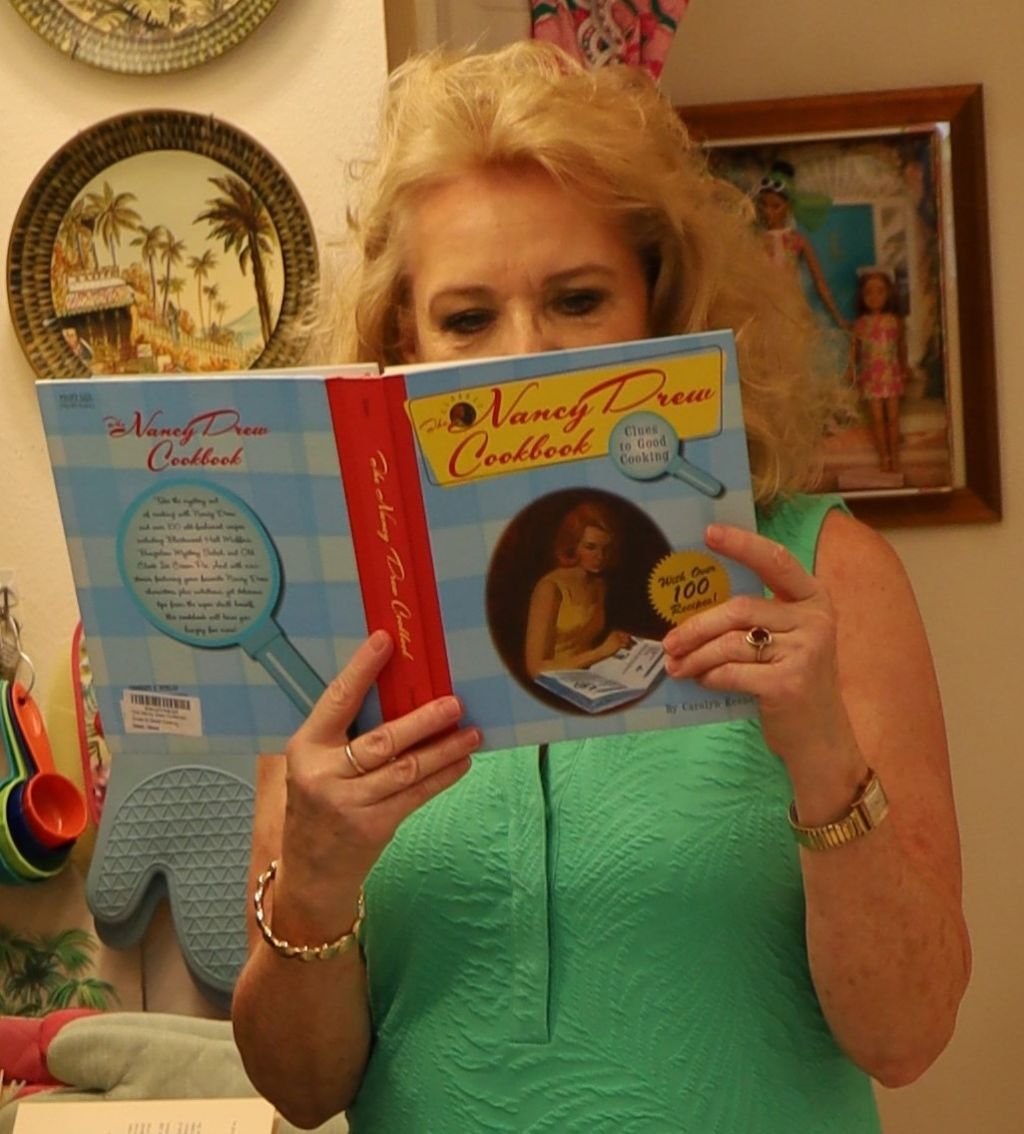
Mrs. Nickerson’s Holiday Cookies
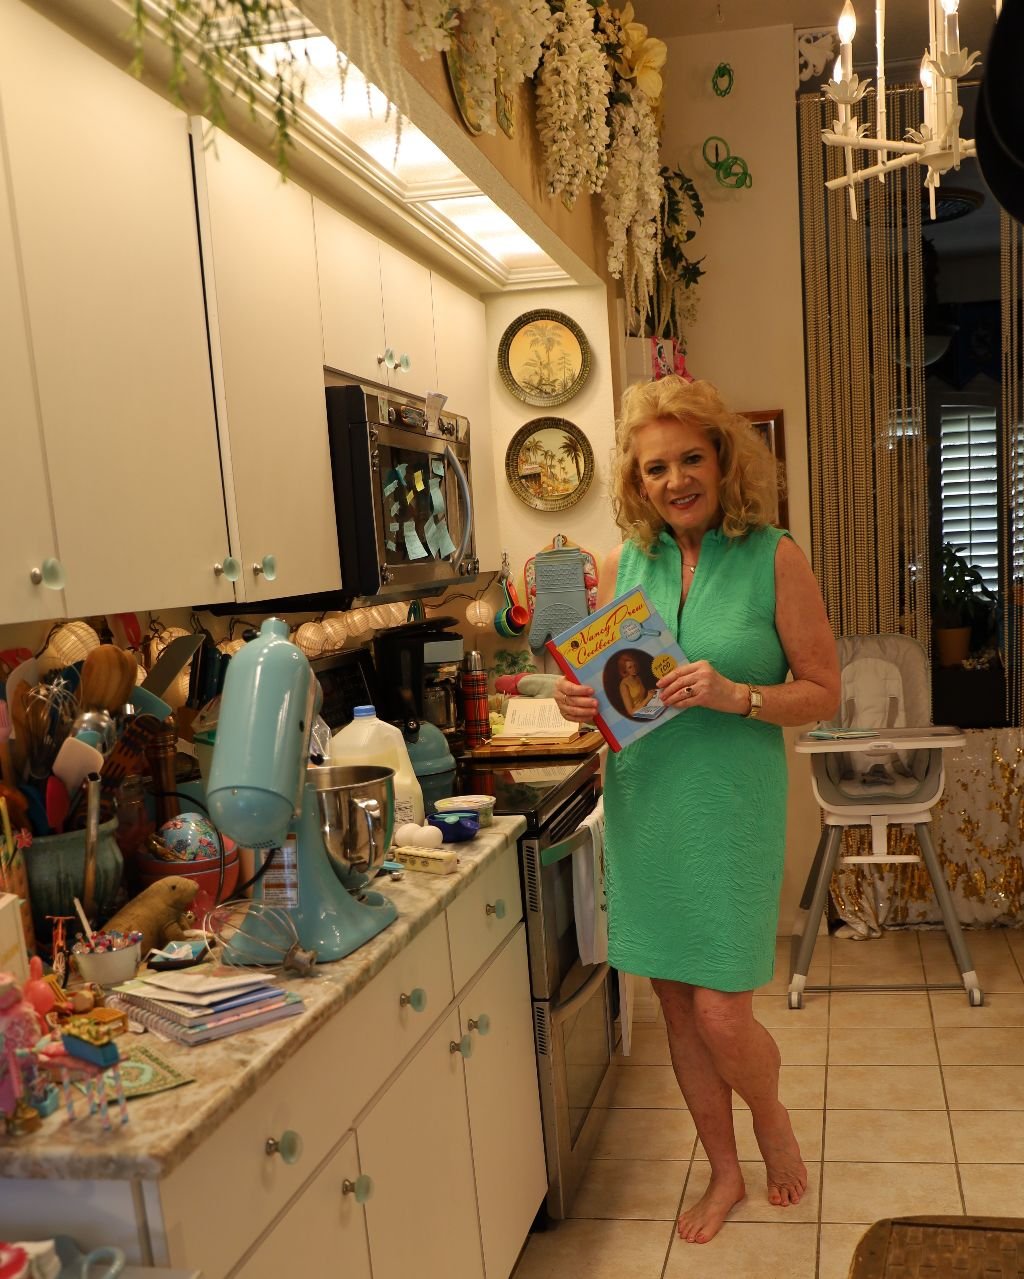
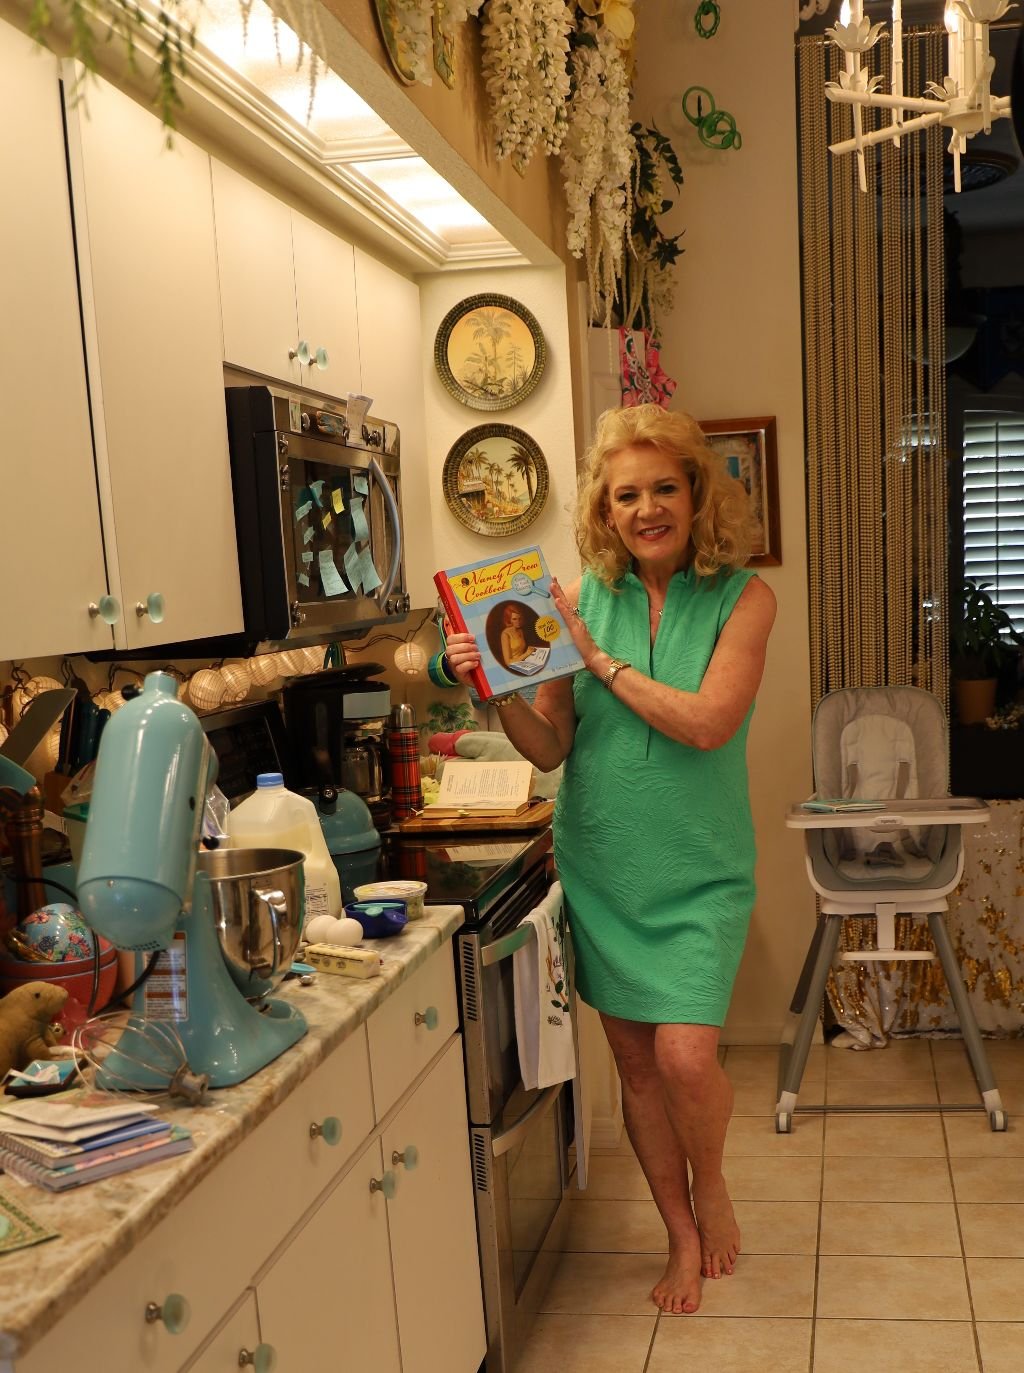
Making Ned’s Mother’s Cookies
—————————————————————–
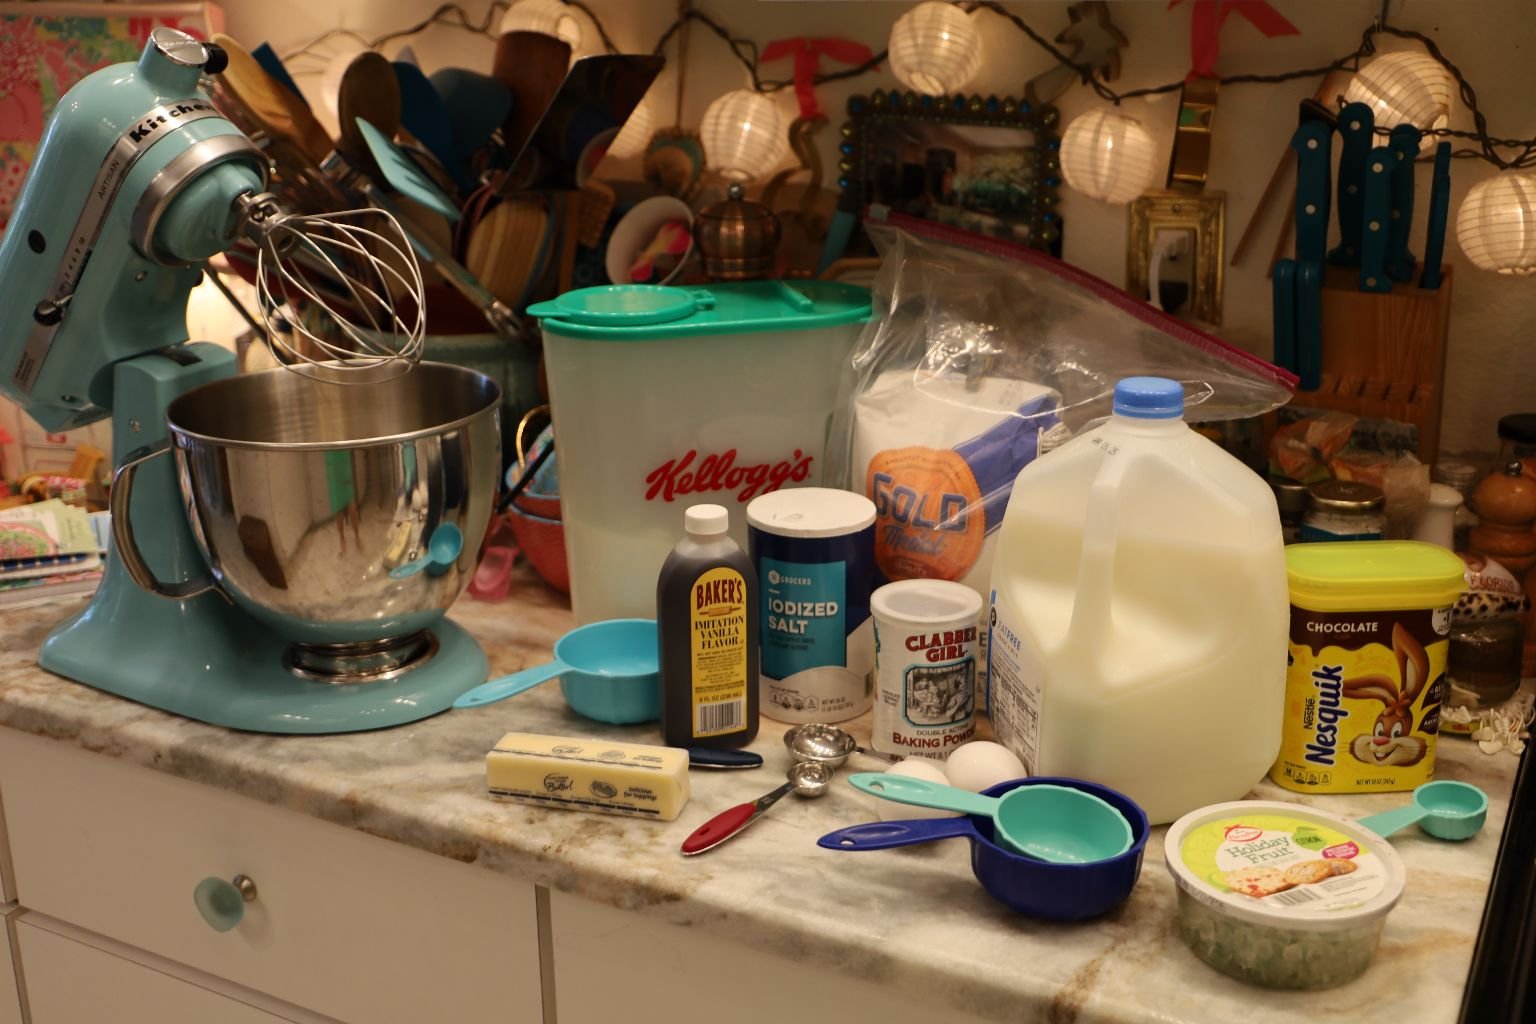
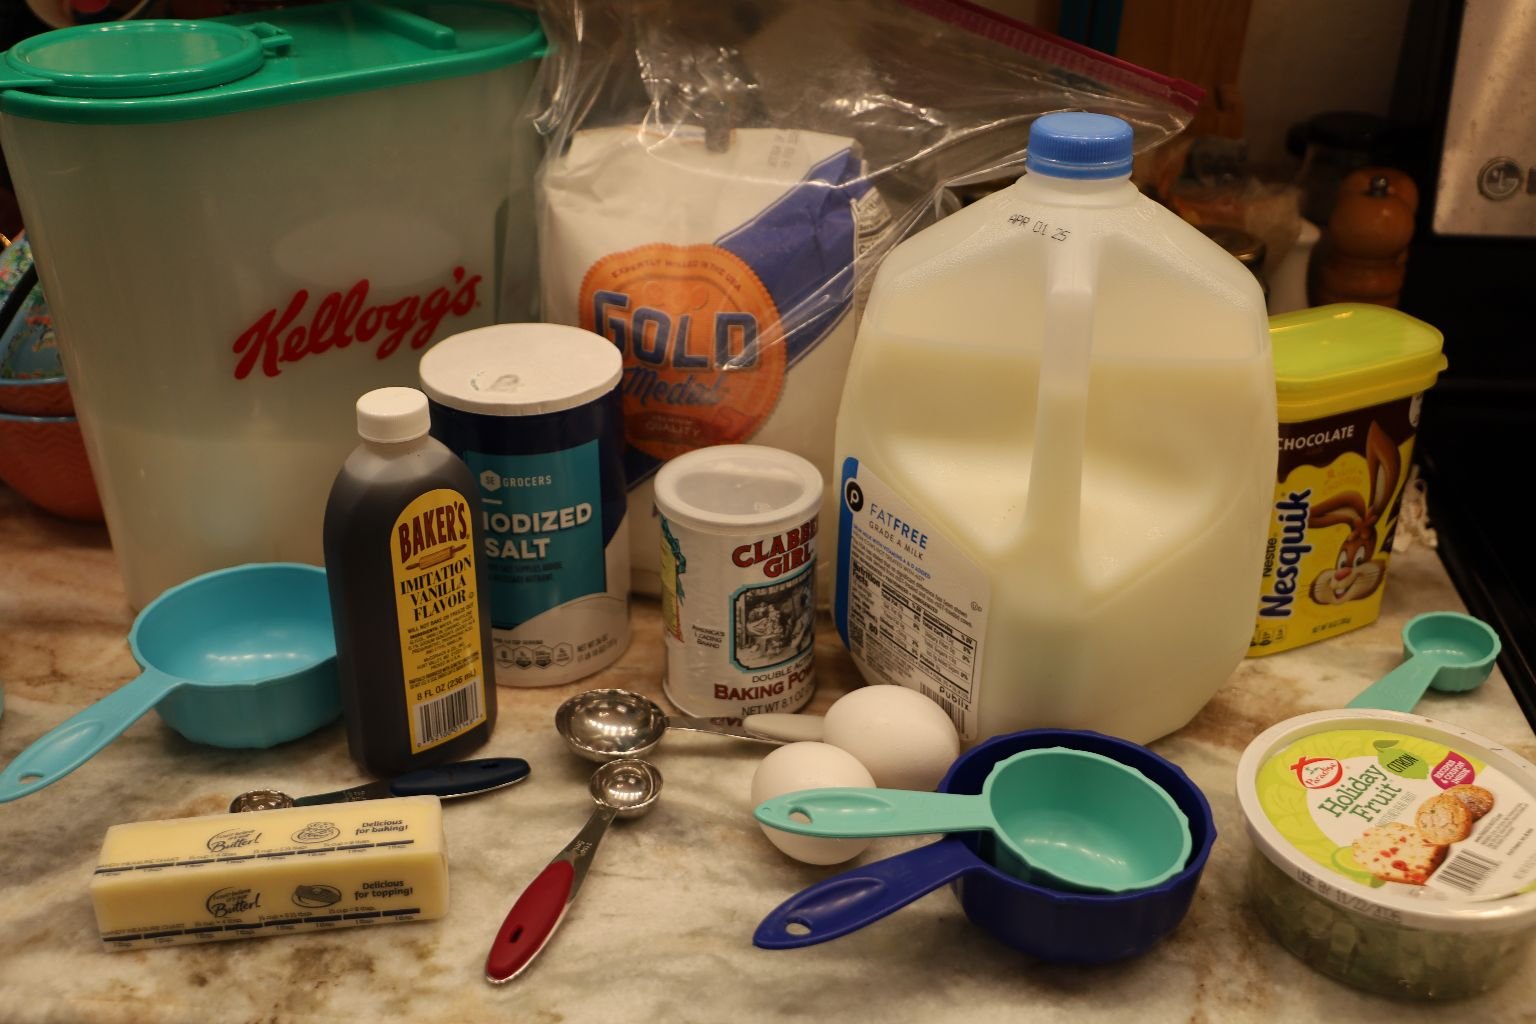
Ingredients:
1 Stick Butter
2 Eggs
1 Cup Sugar
1 T. Milk
1/2 t. Vanilla Flavoring
1/2 t. Salt
1 t. Baking Powder
1 1/2 Cups Flour
2 Squares Bitter Chocolate, Melted or 2 T. Cocoa
————————————————————————————-
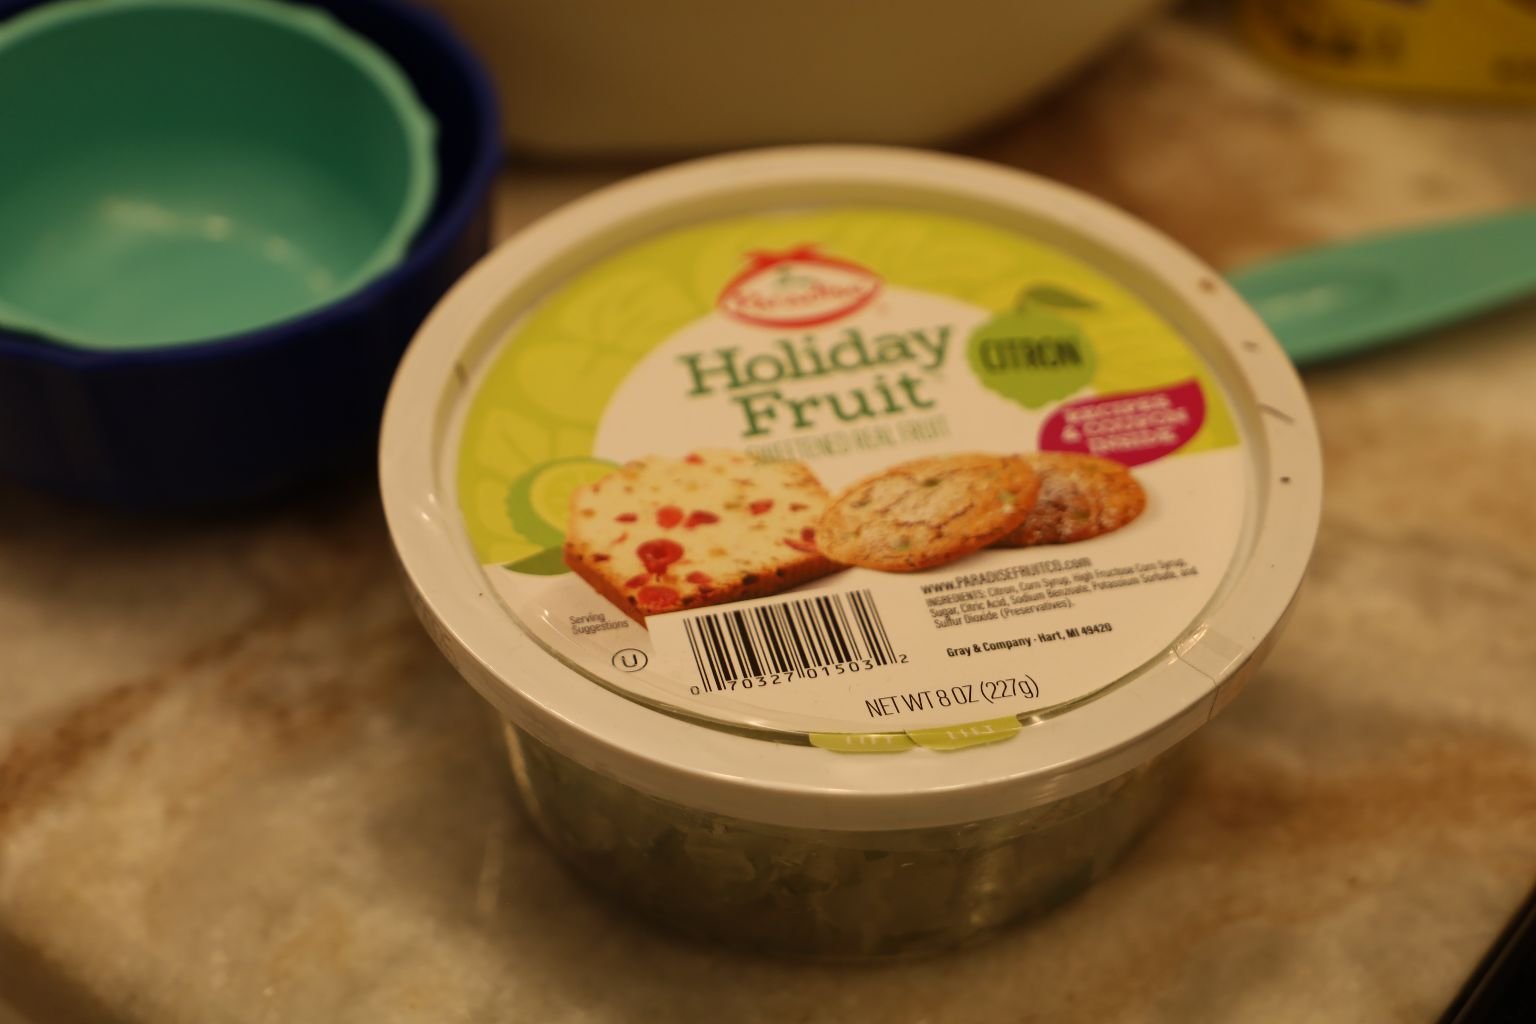
(Nancy’s Added Ingredient, Holiday Fruit)
———————————————————————————-
(I am writing the recipe as it is written in the cookbook.)
You need 3 mixing bowls!
Mix Butter, Sugar, Salt, Baking Powder, and Flour Together In One Of The Bowls
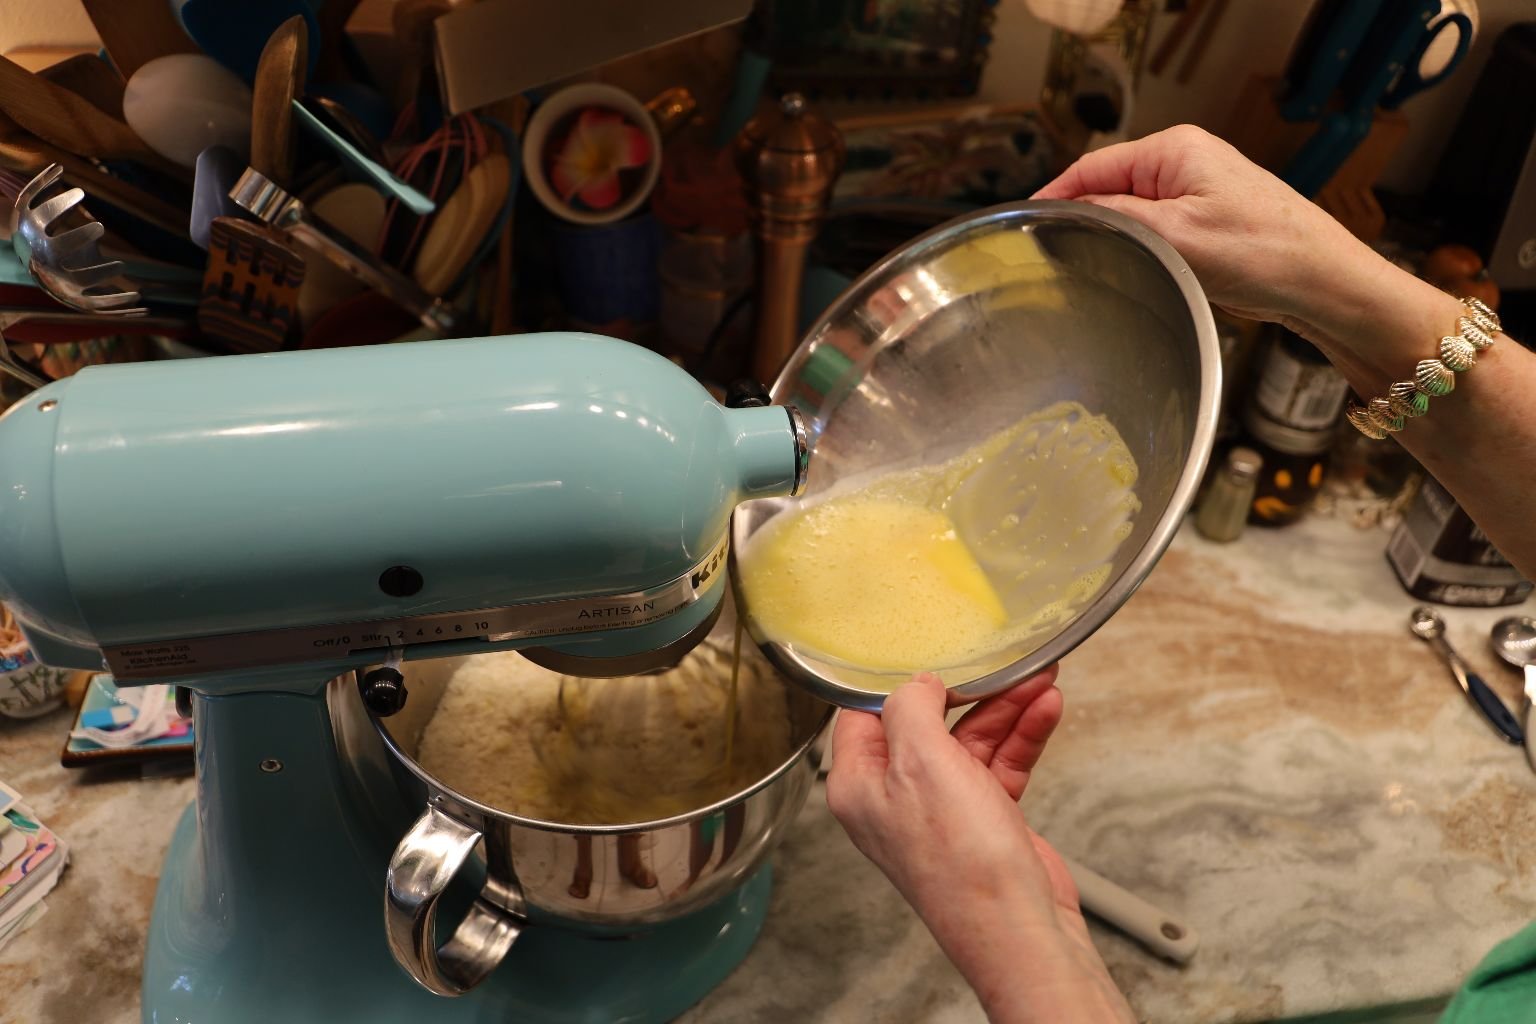
In Another Bowl, Beat The Eggs and Stir In the Milk And Vanilla
Add Slowly To The Dry Mixture And Stir
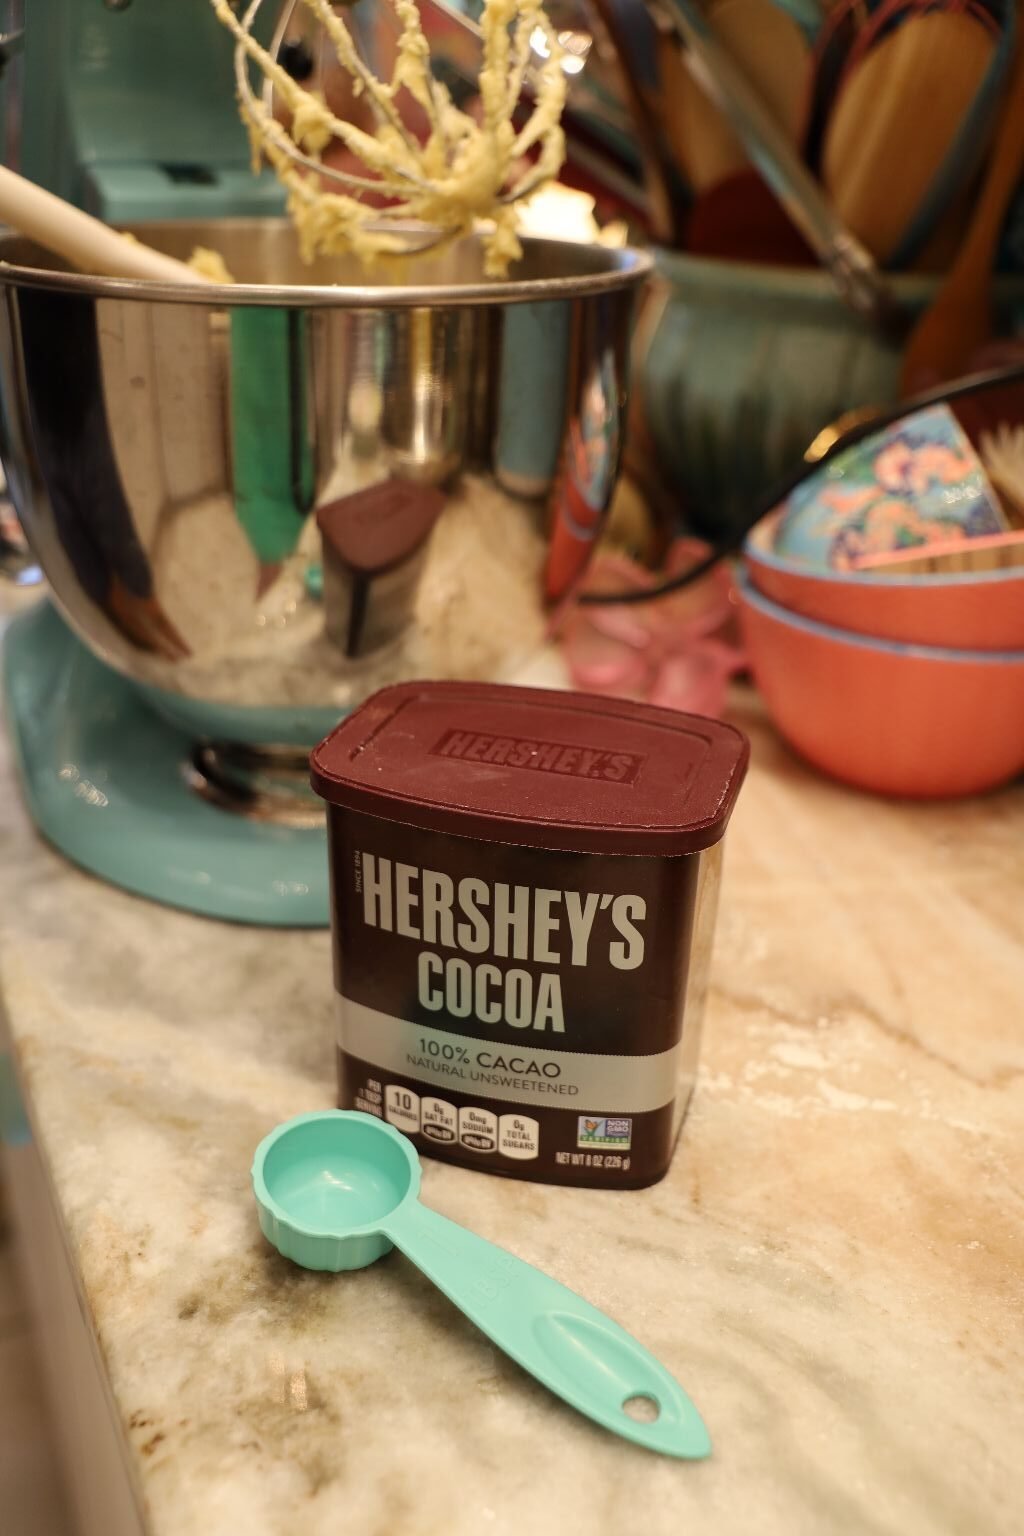
I Used Cocoa In Place Of The Melted Chocolate
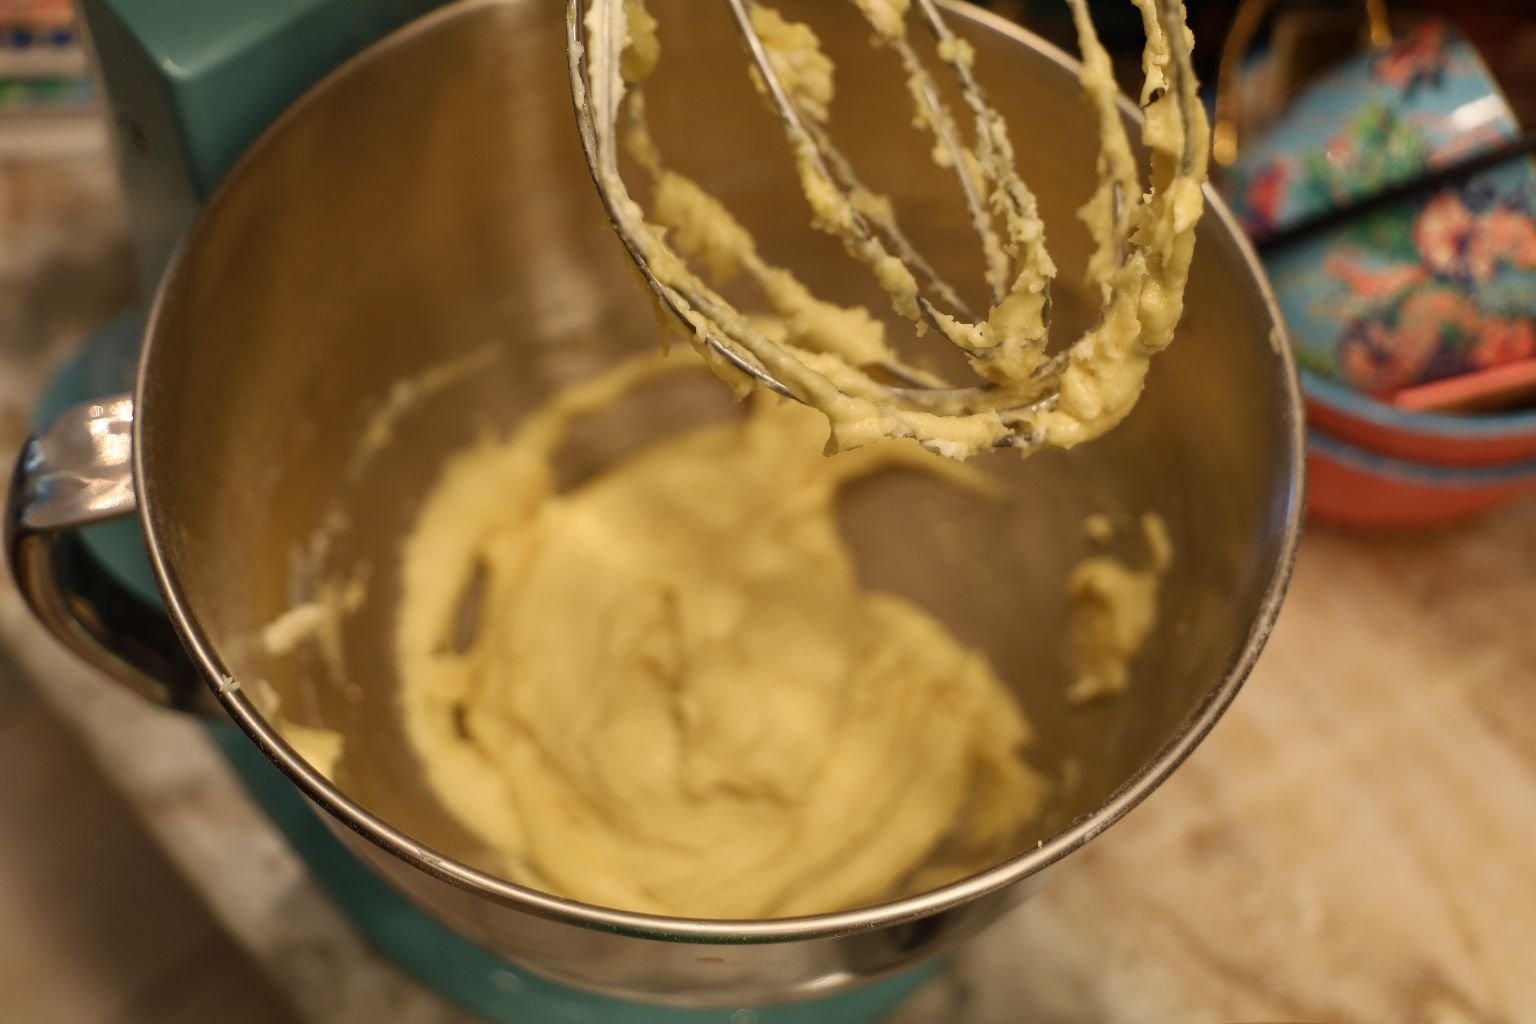
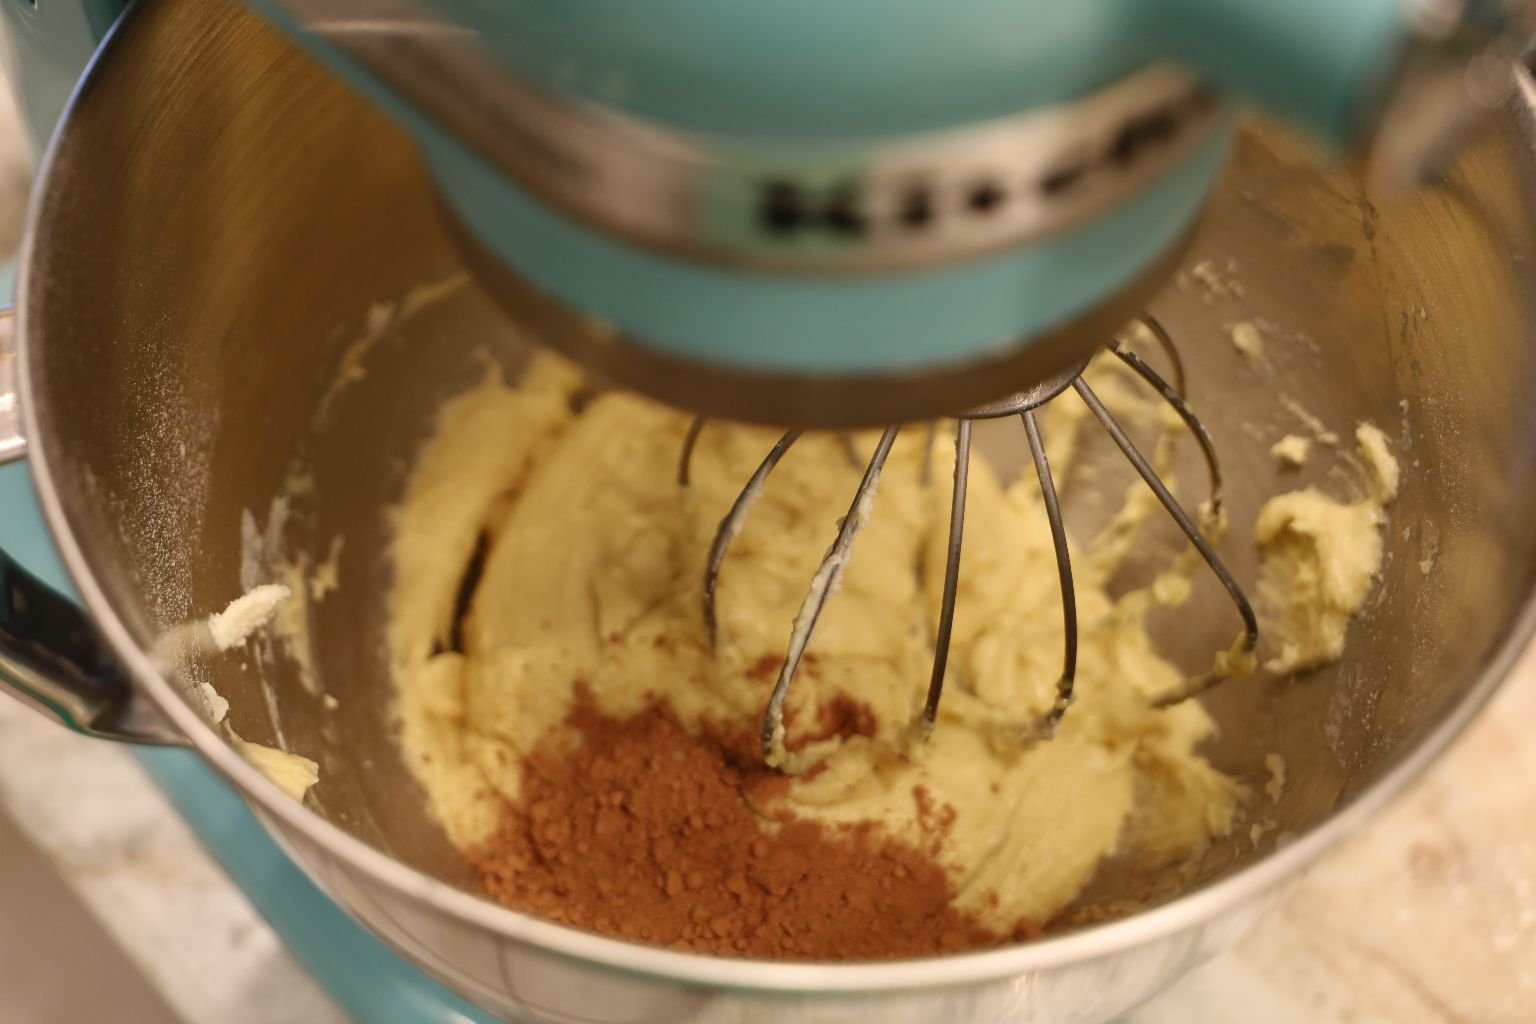
Place 1/4 of the batter in a third bowl. Add the melted Chocolate or Cocoa.
(I didn’t do that. I went ahead and placed the Cocoa in the mixer’s batter.)
——————————————————————————————-
The Batter
Heat The Oven To 350F
————————————————————————————
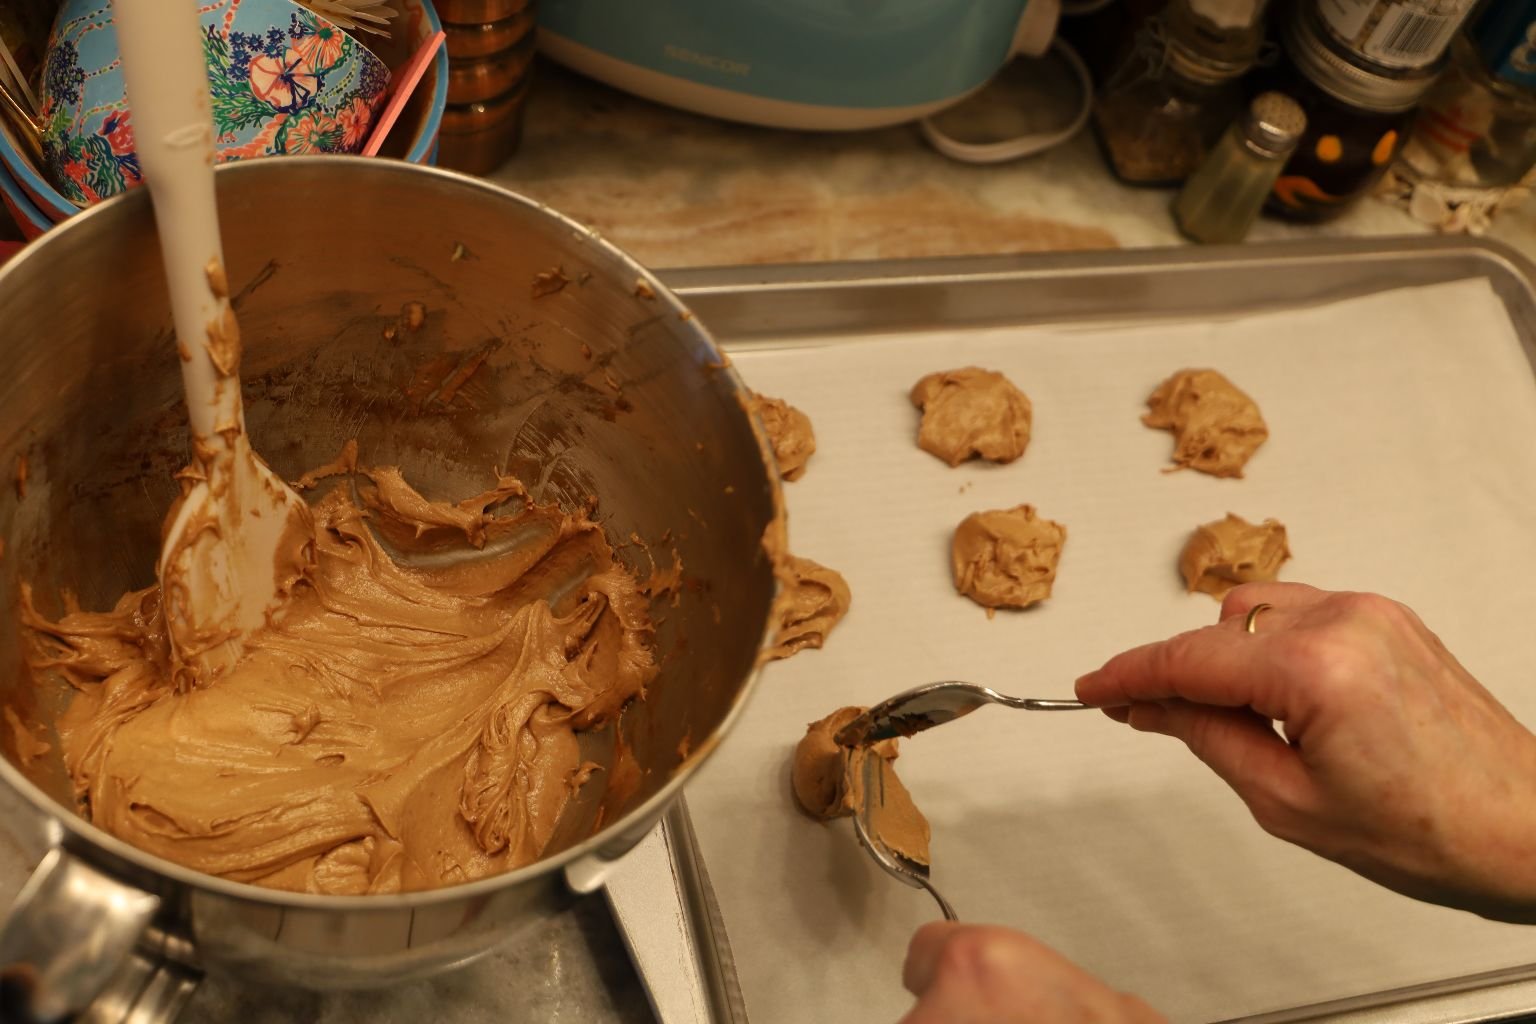
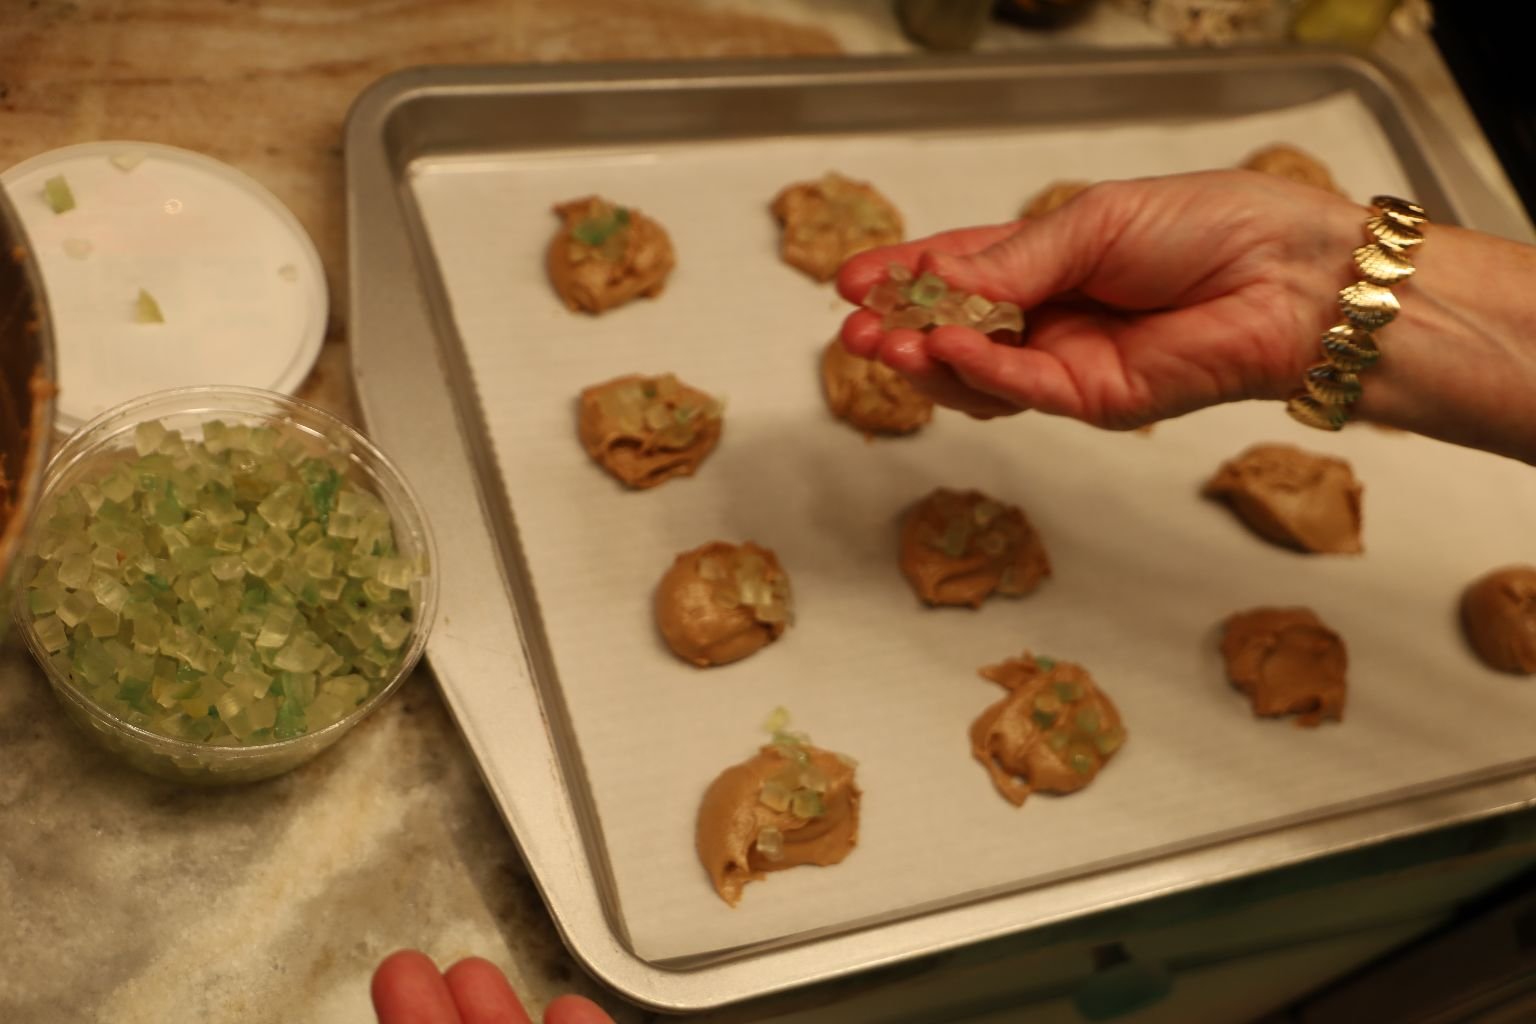
Grease a Cookie Sheet. (I used Parchment Paper.)
Using a spoon drop the batter on the cookie sheet. I added some Holiday Fruits on top.
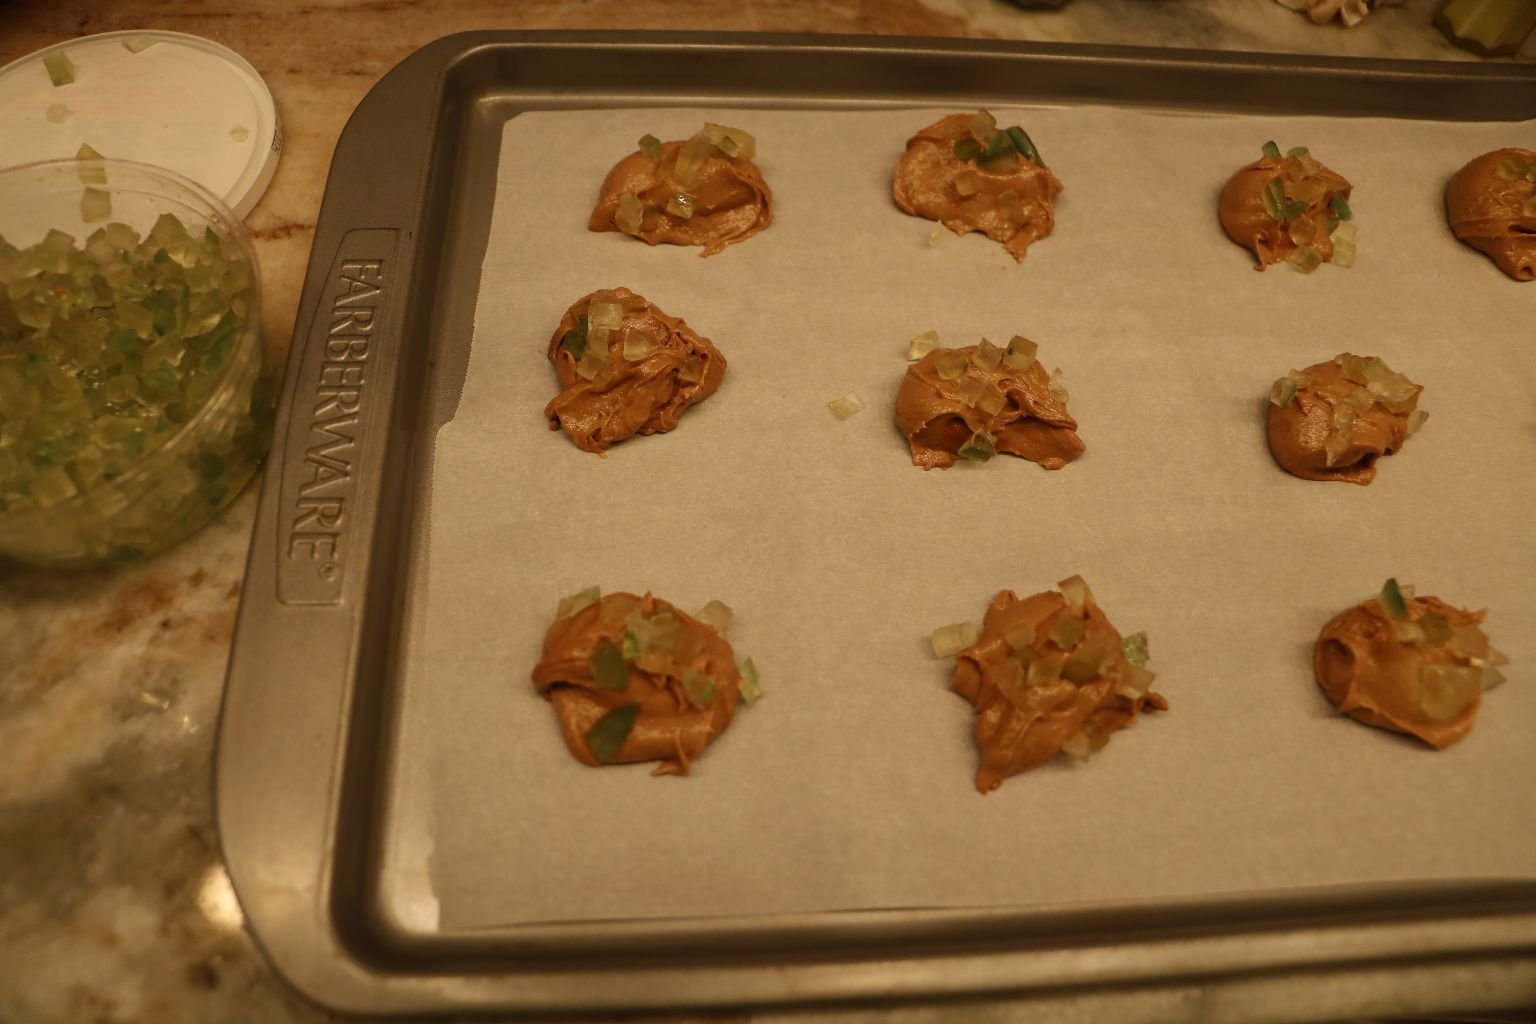
———————————————————————————
Place Into The Oven
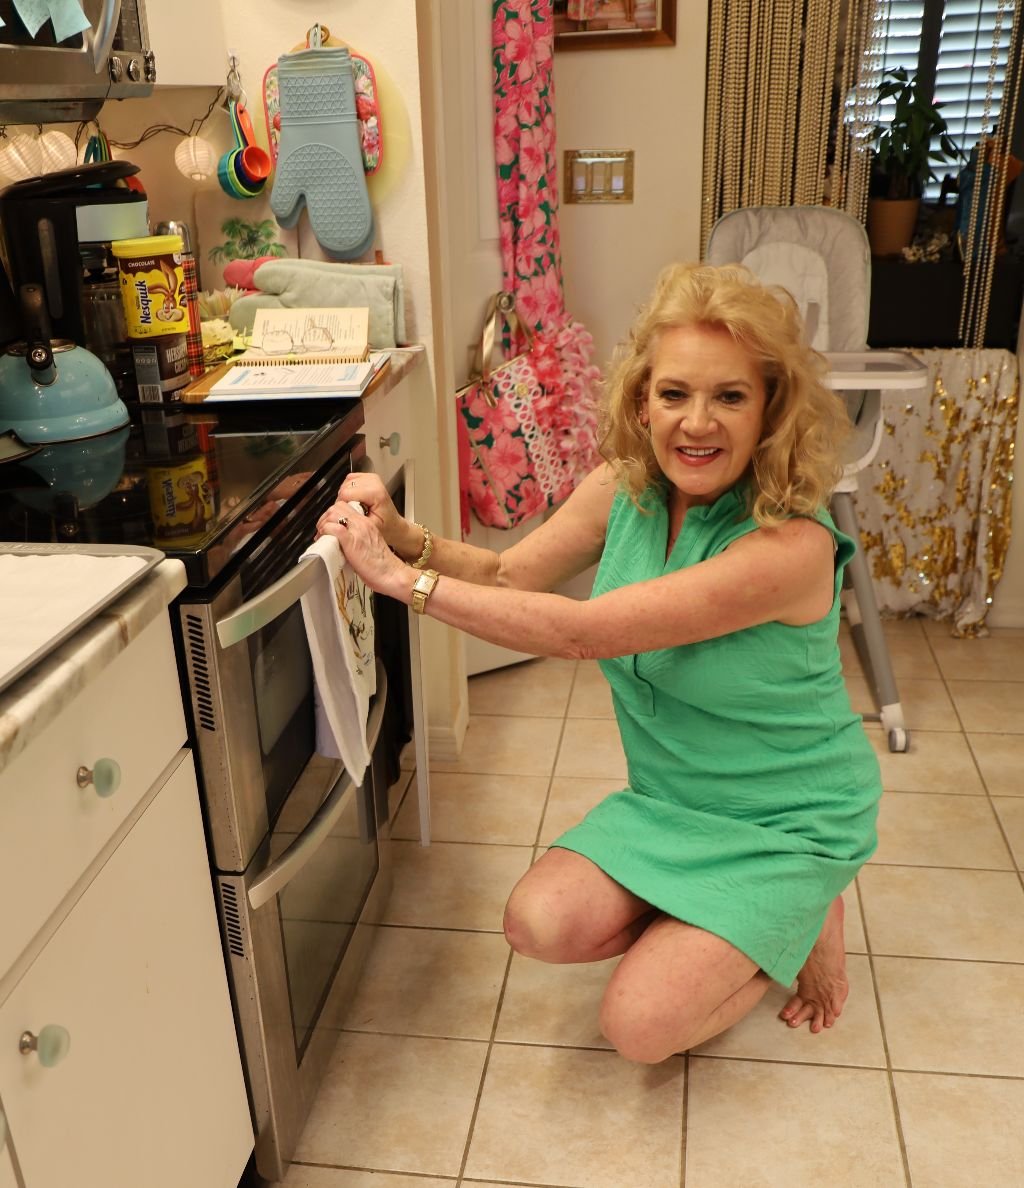
Bake For 12 Minutes Or So
———————————————————————————–
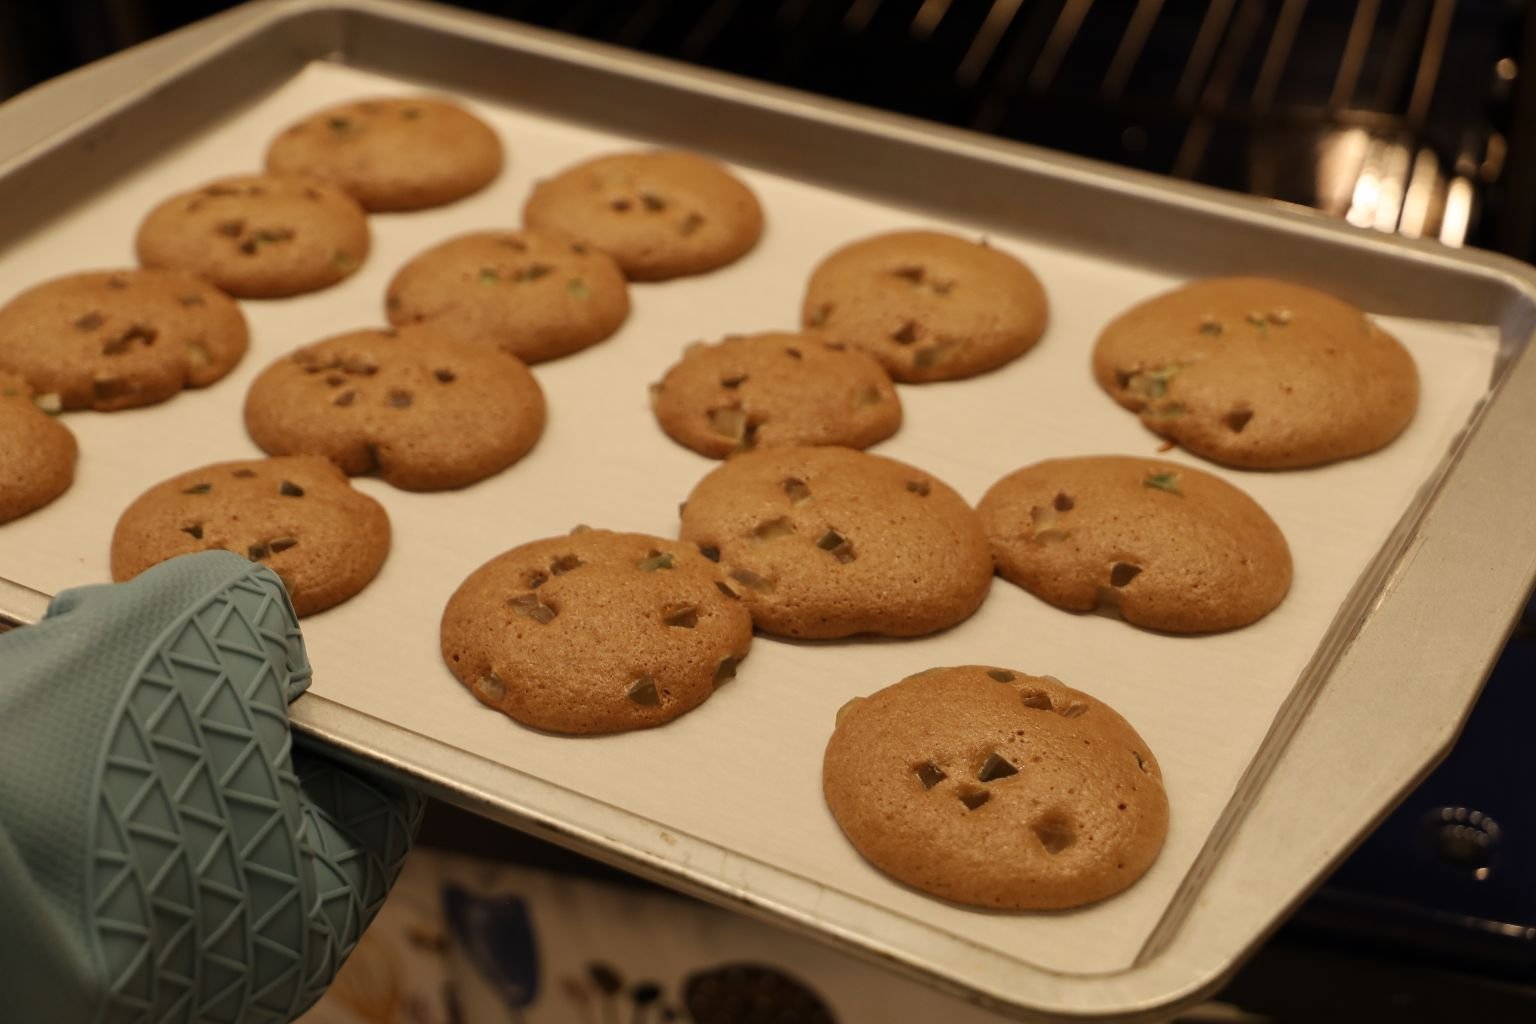
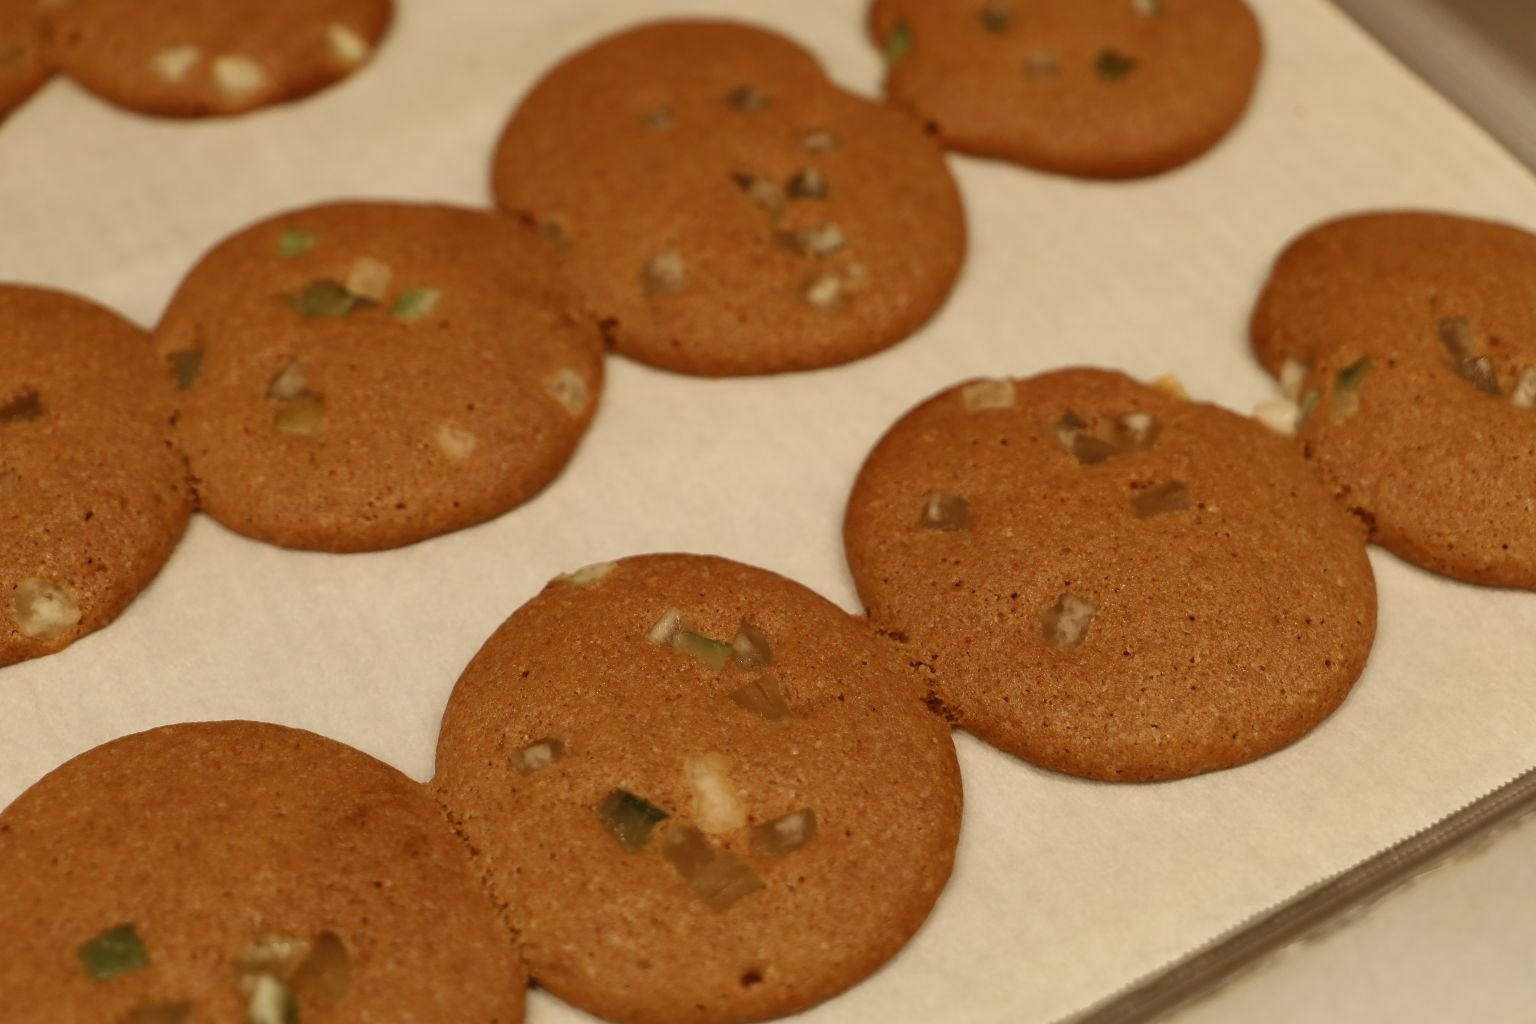
When Done Place Onto Cooling Racks
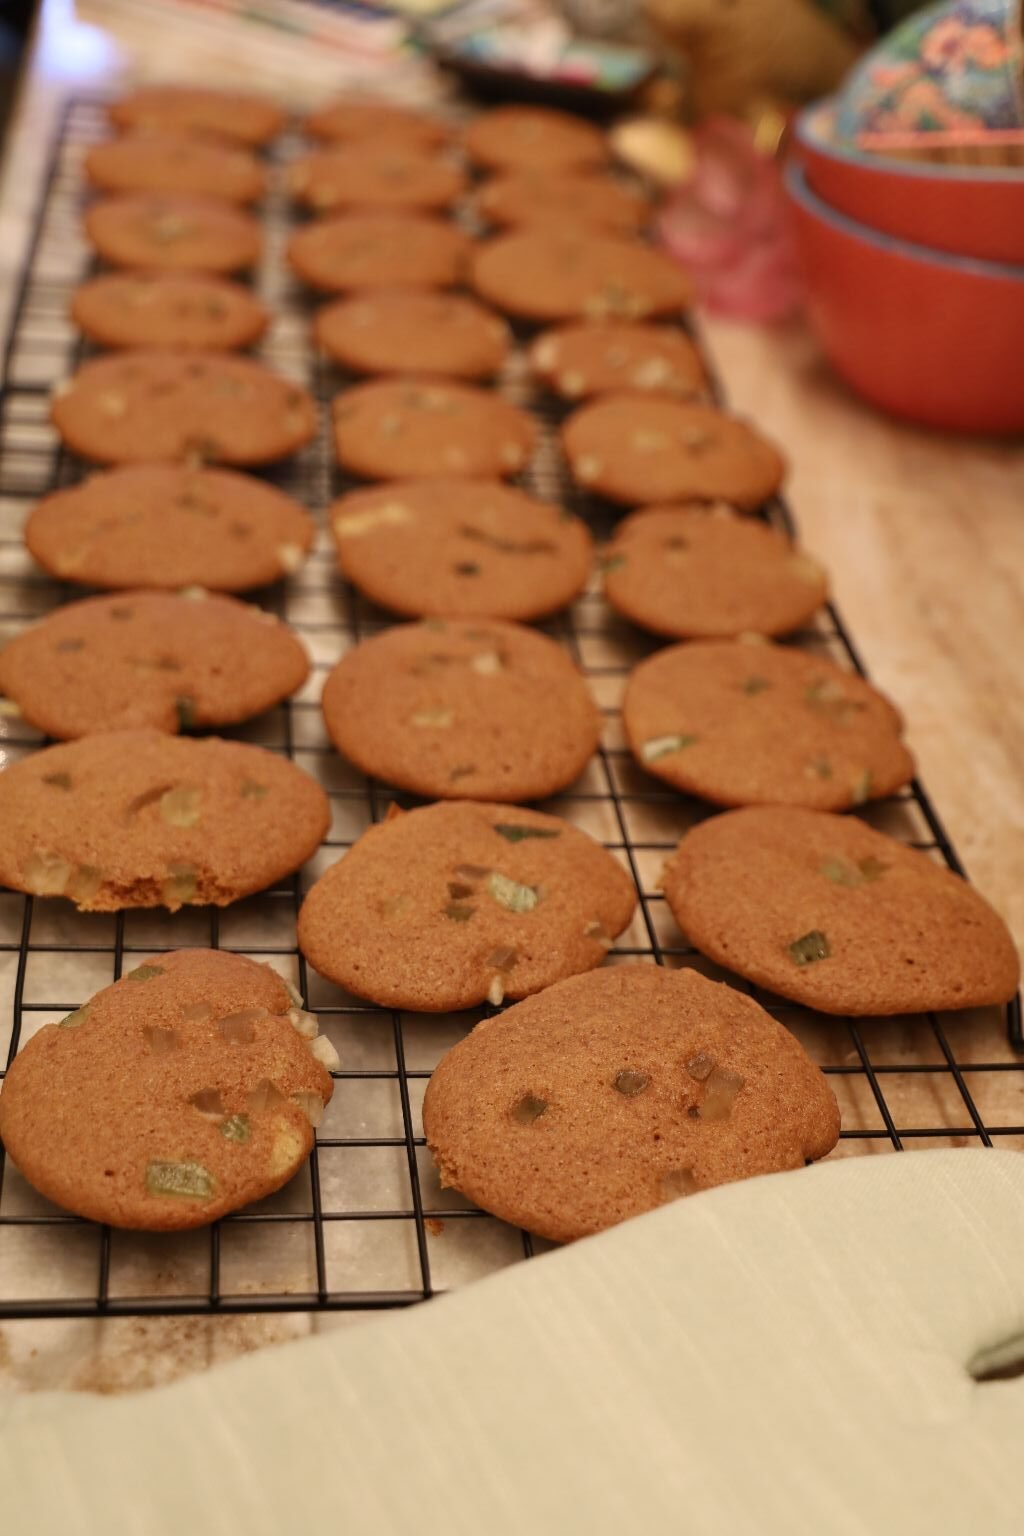
——————————————————————————————
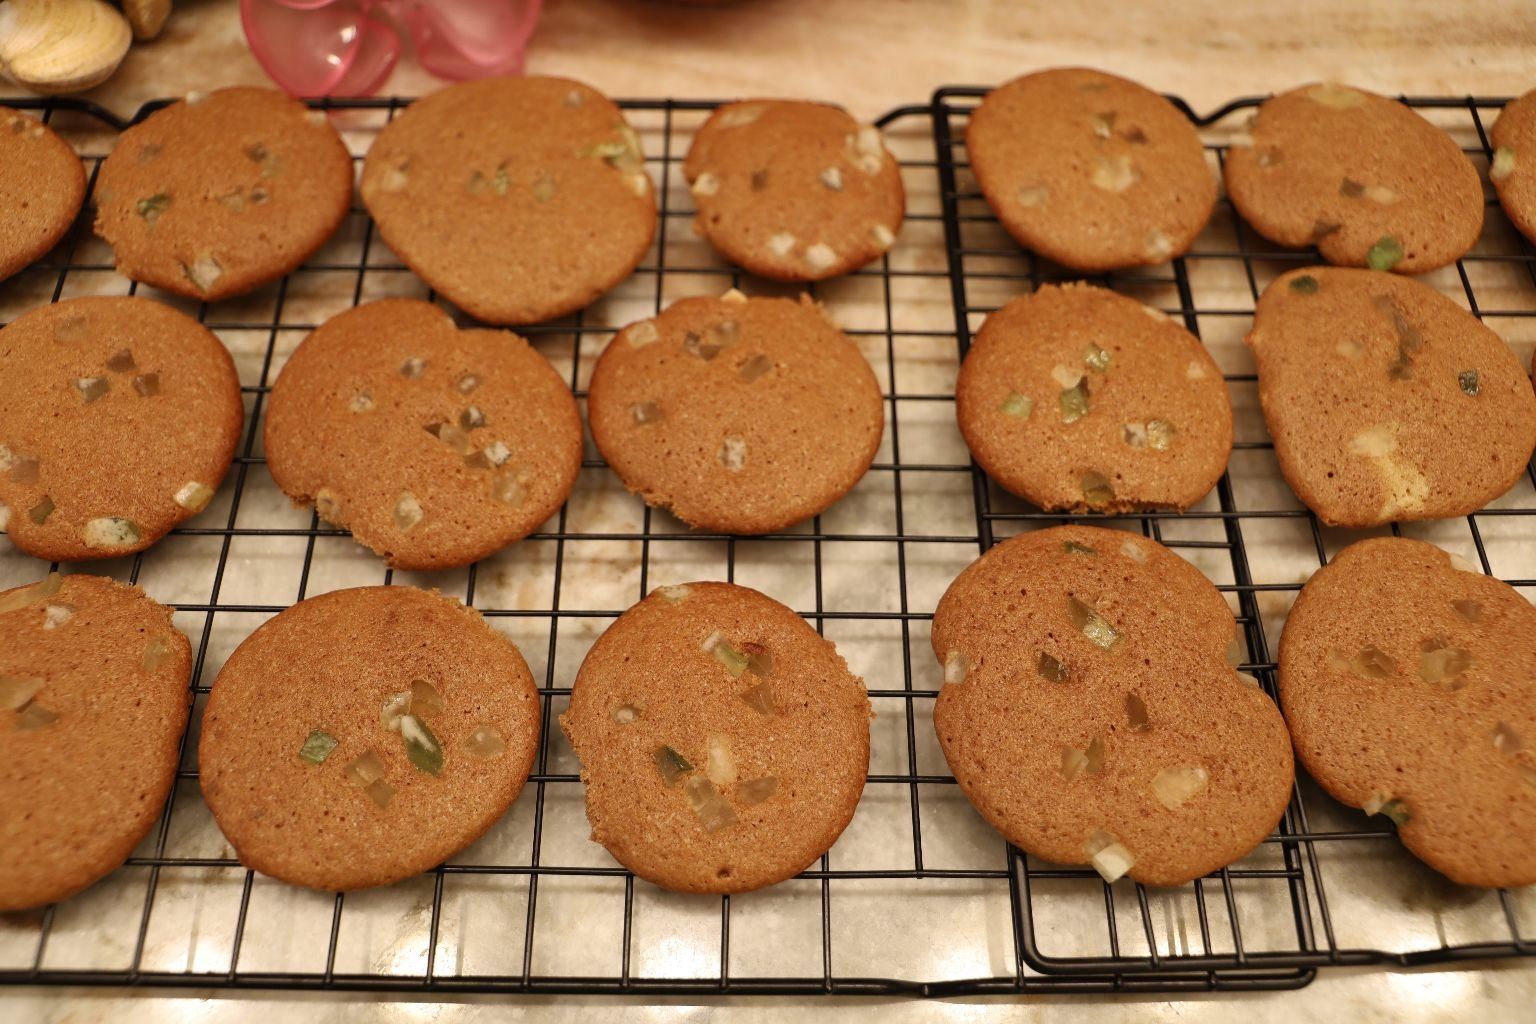
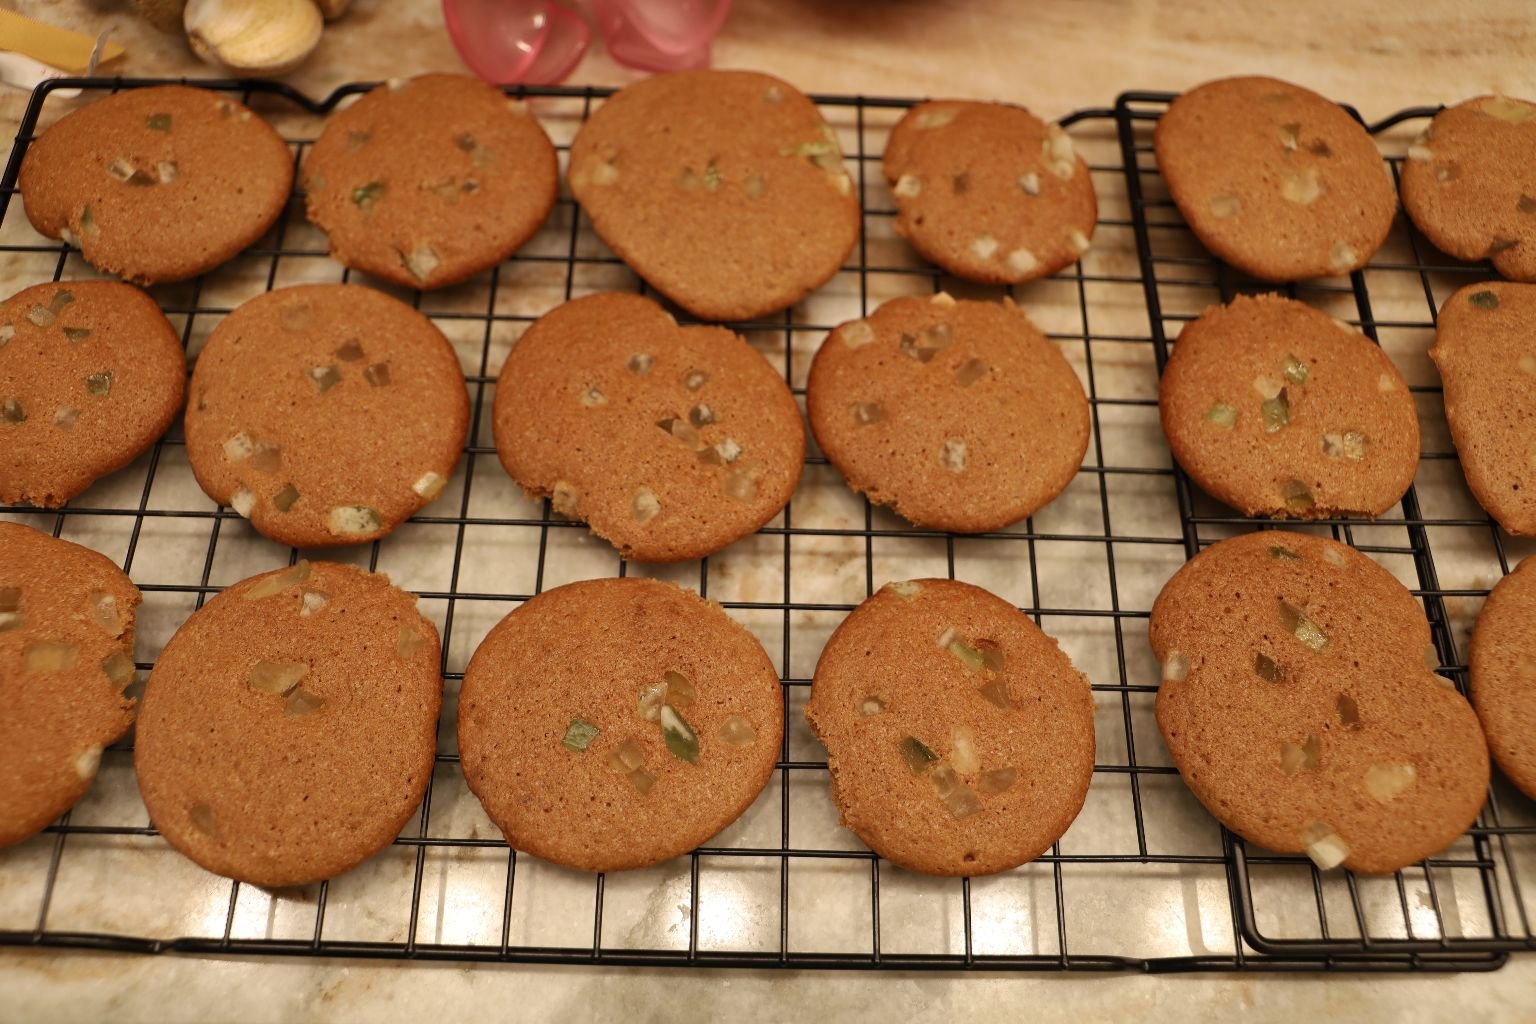
Cookies Are Cooling On The Racks
A Drew CLUE:
To keep cookies fresh in a jar, put half an apple in with them.
————————————————————————————–
Stakeout Cocoa
Ingredients:
2 Cups Water
1/4 Cup Hershey’s Cocoa Powder
1/4 Cup Sugar or to taste
Pinch of Salt
1/4 Cup Milk
1 tsp. Vanilla
——————————————————————————–
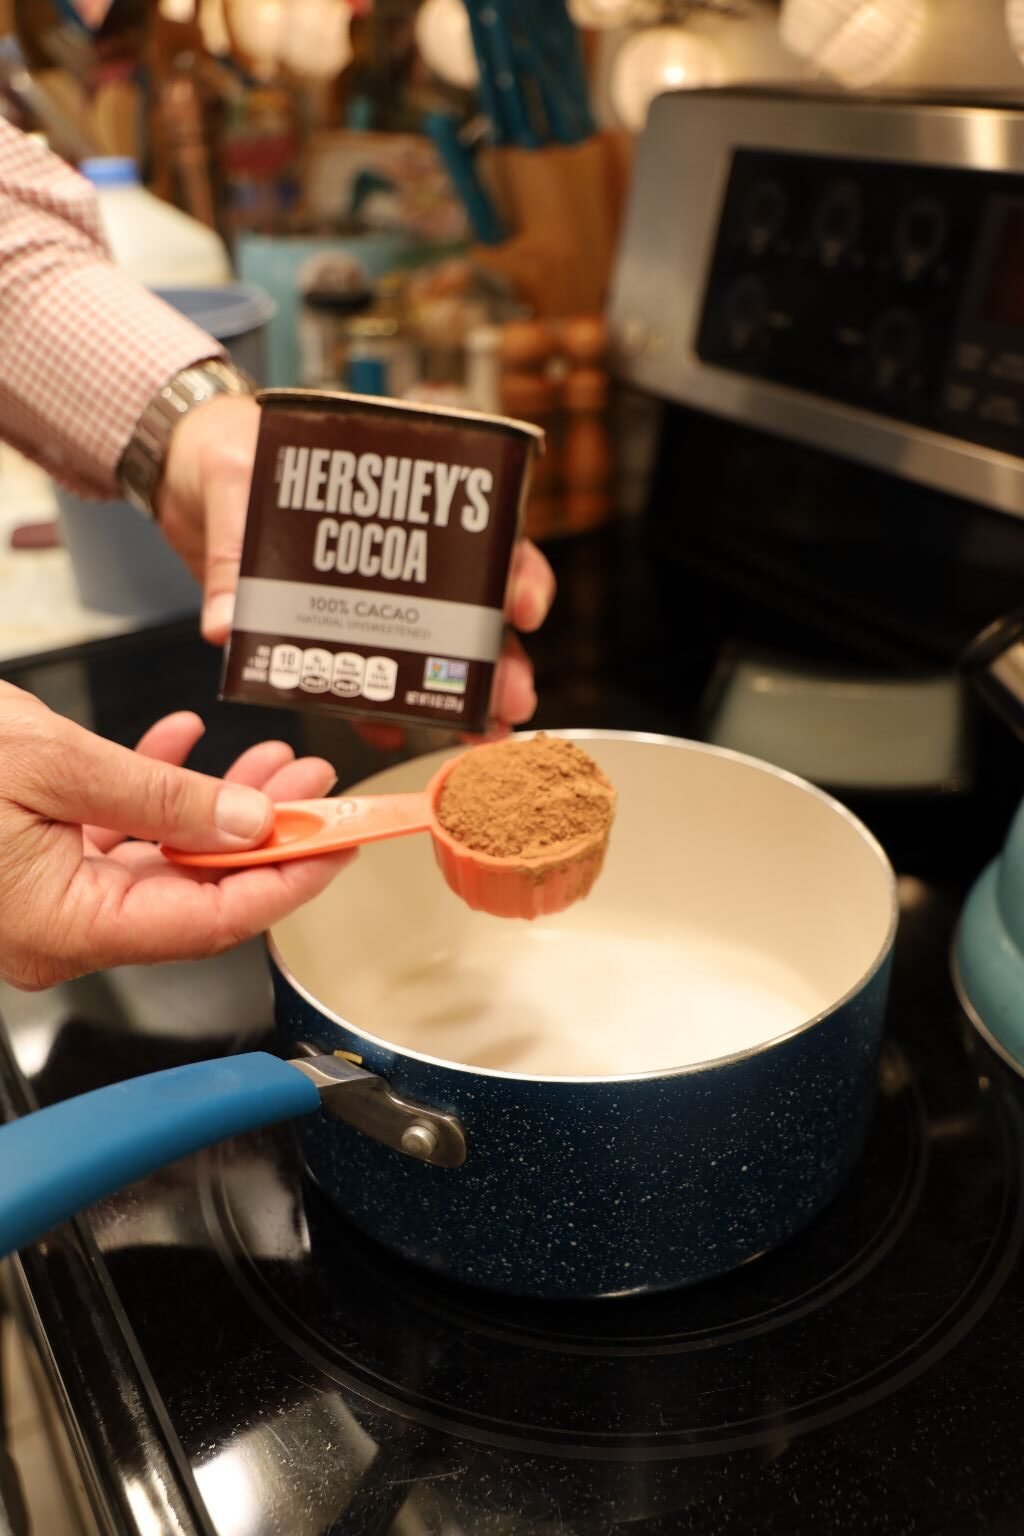
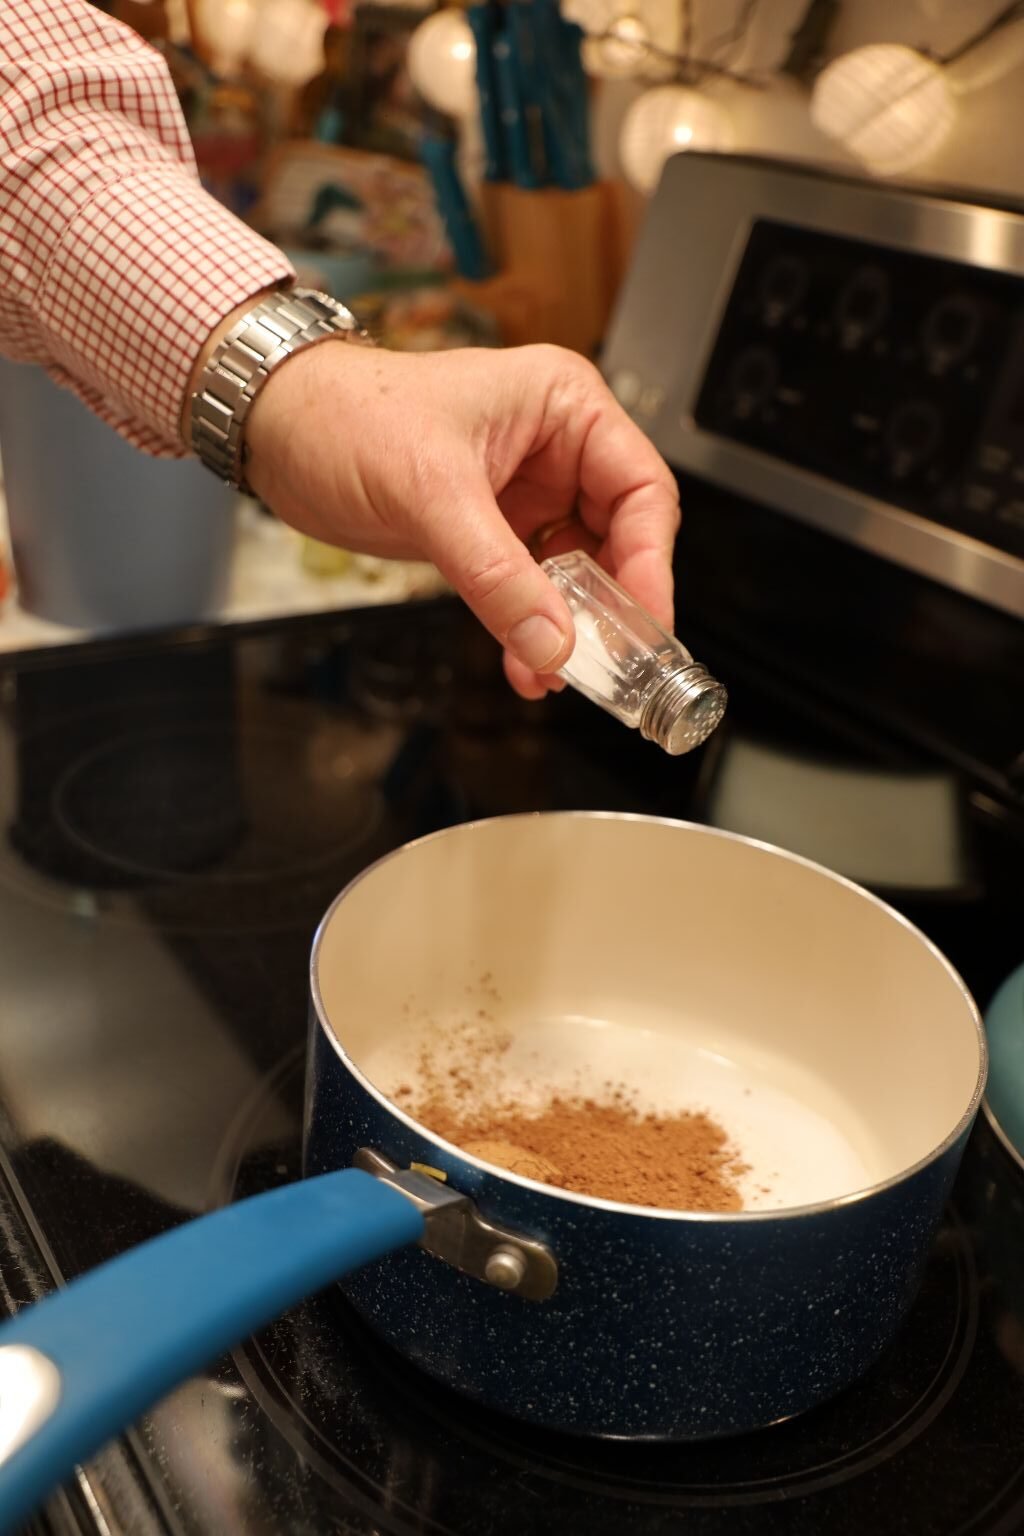
Add your water, Cocoa Powder, Sugar and Salt to a medium sized pot. Turn the heat to medium high heat. Don’t bring the liquids to a boil, but low simmer.
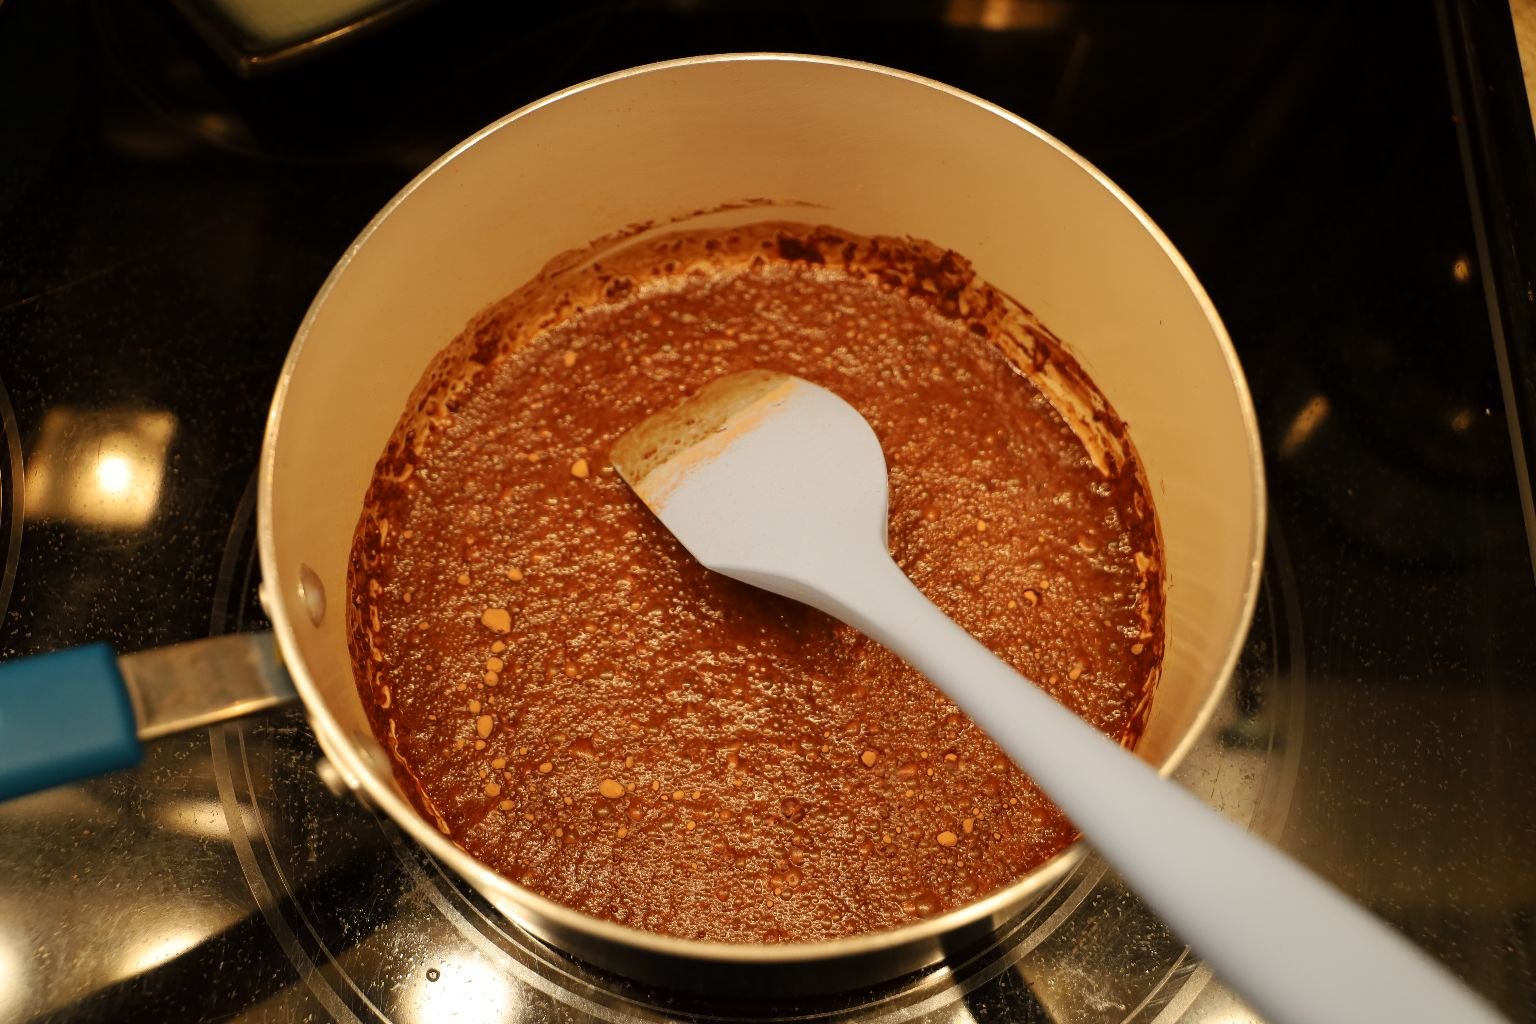
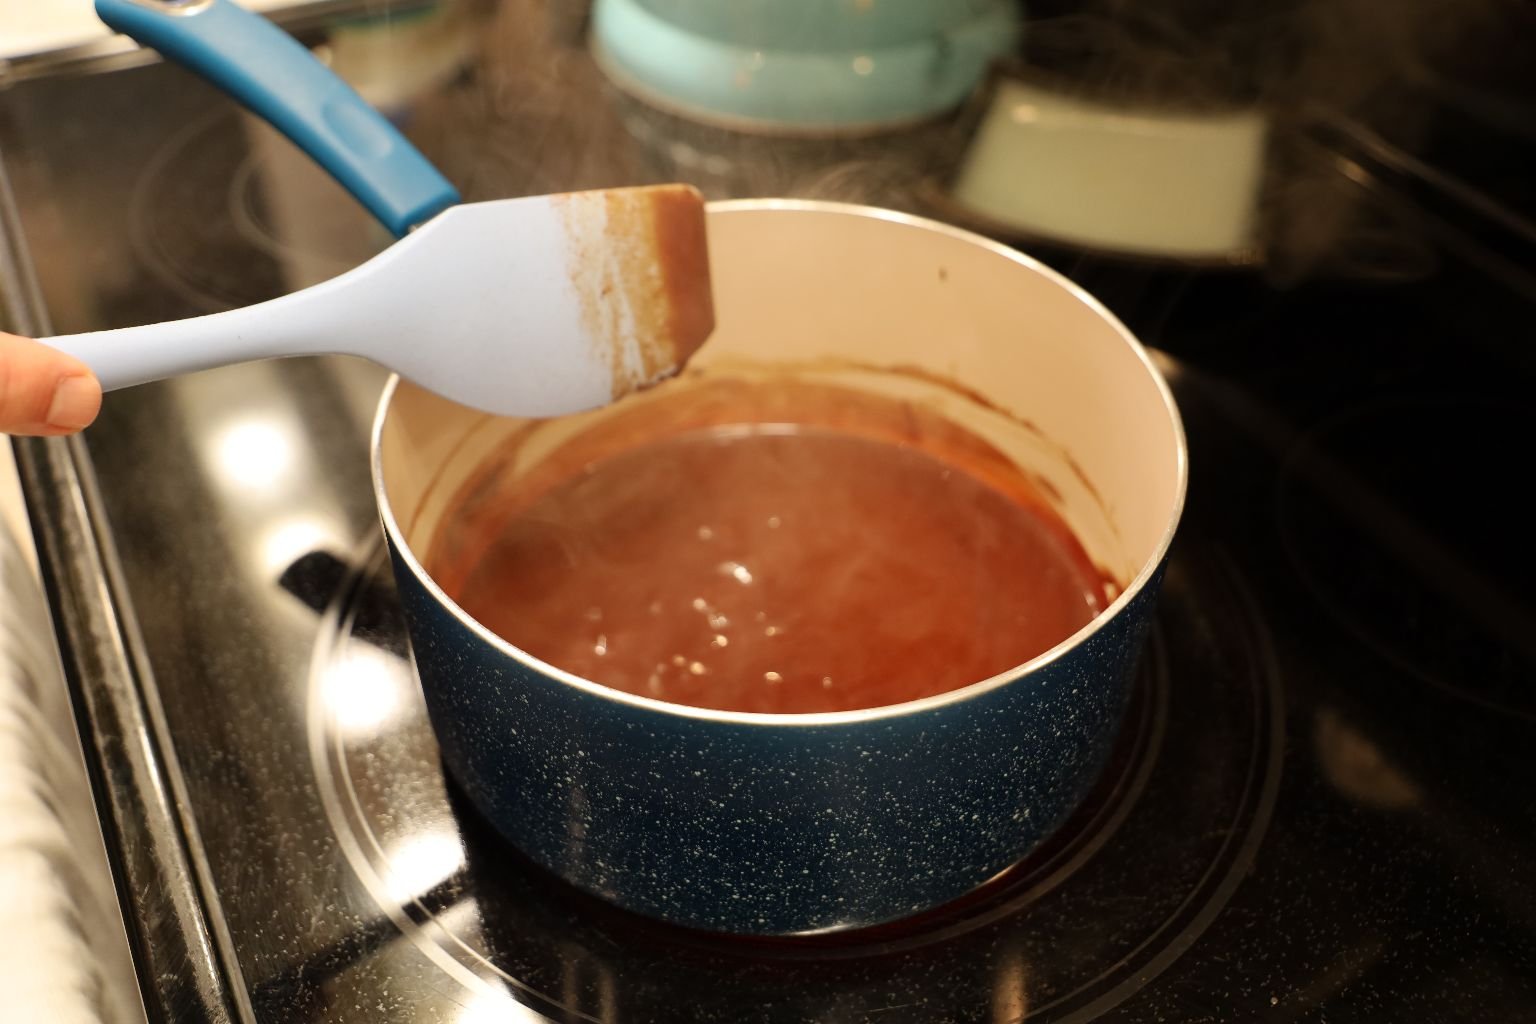
Stir to mix until combined. Use a whisk if you can’t remove the lumps. When the mixture is almost to a boil, turn down the heat.
Add your milk then add your Vanilla and mix well. Taste the mixture and add more of the ingredients to suit your taste.
Add your mixture to a large thermos and enjoy! Great for those late night stake outs!
———————————————————————————————
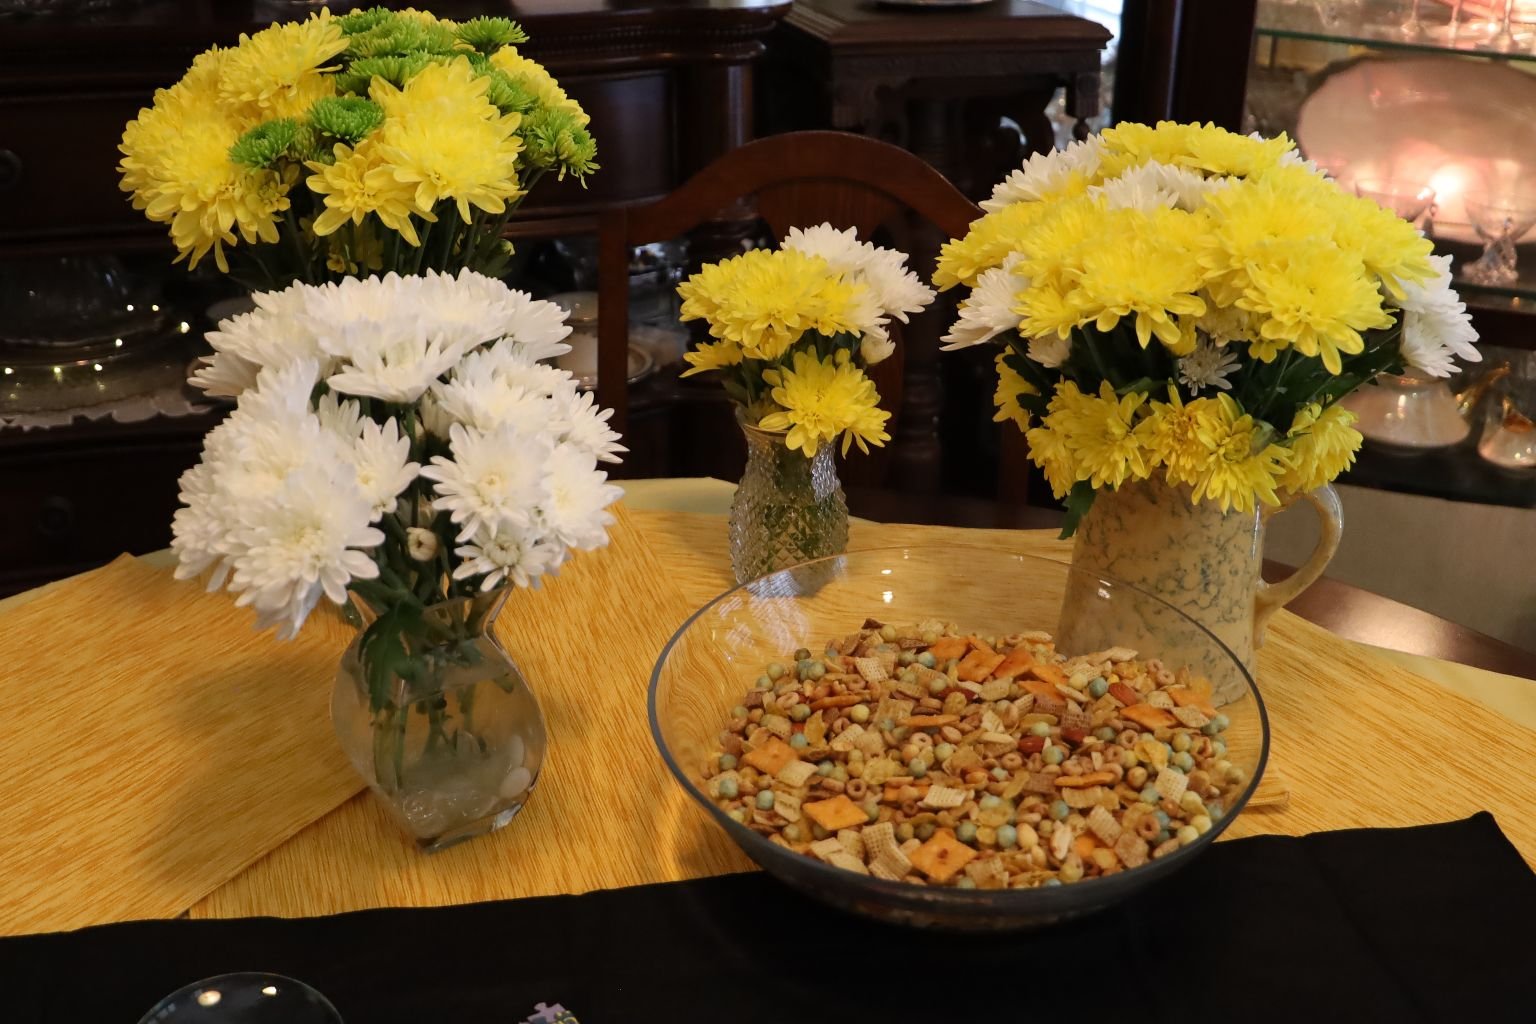
Winning Toasted Nibbles
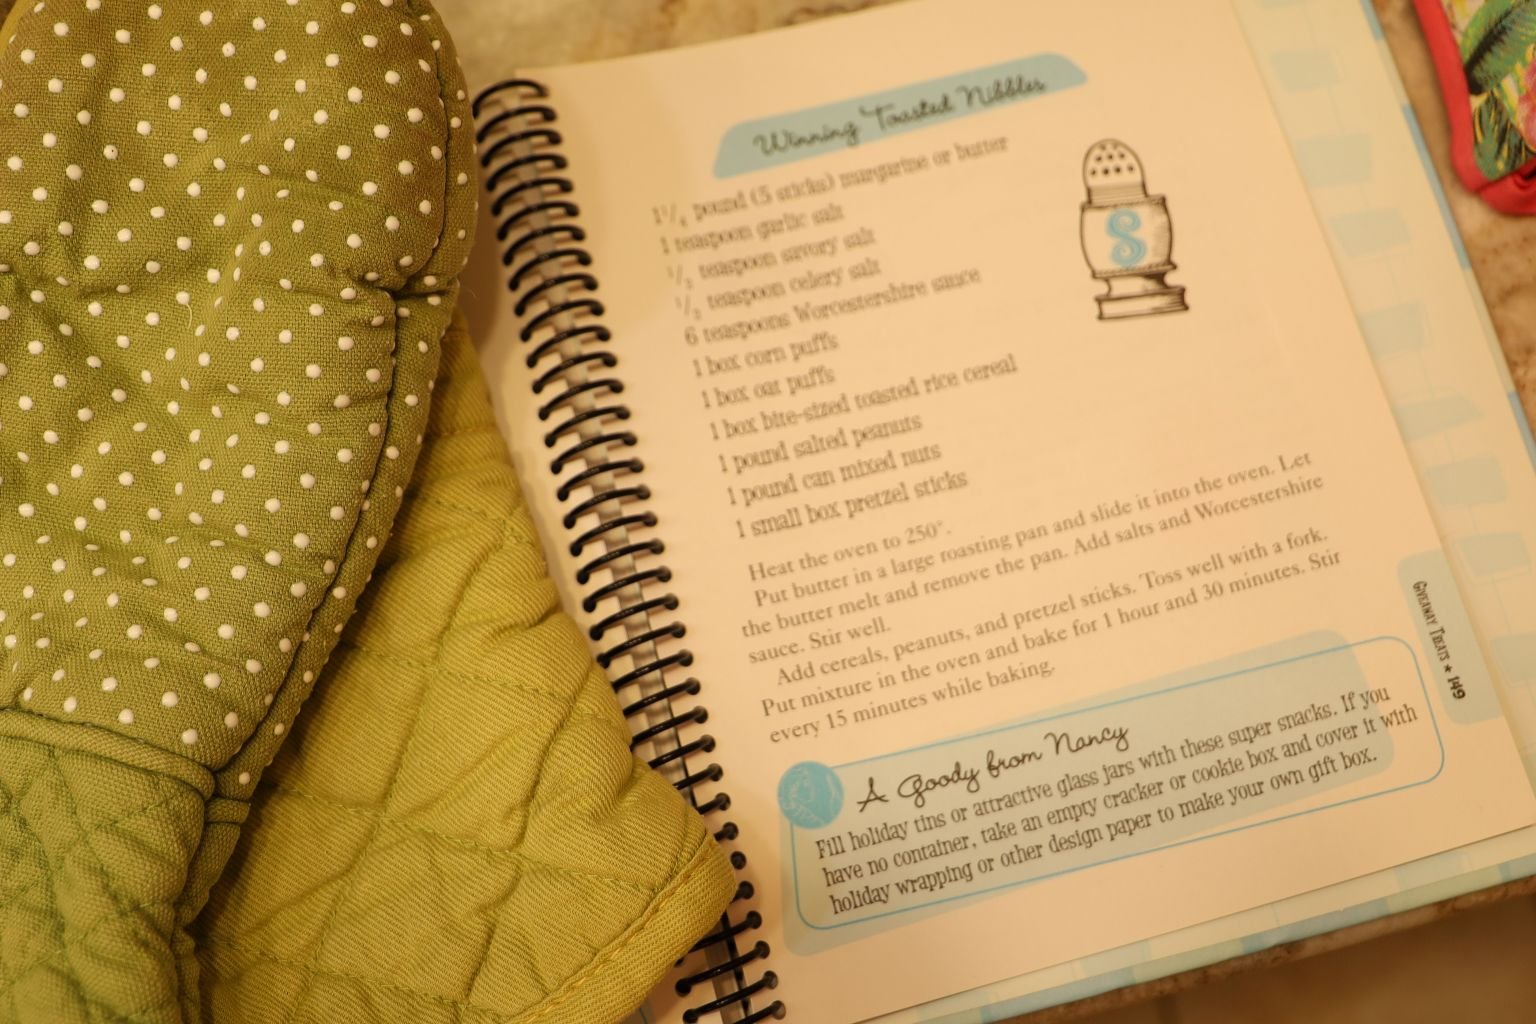
I based my recipe on this one that is in my Nancy Drew Cookbook, 2005.
This is a version of Chex Party Mix, but published in 1974 in the original Nancy Drew Cookbook:
The Nancy Drew Cookbook
Clues to Good Cooking (1974)
By Carolyn Keene
————————————————————————————
Winning Toasted Nibbles
1, 1/4 Pound (5 Sticks) Margarine or Butter
1 teaspoon Garlic Salt
1/2 teaspoon Savory Salt
1/2 teaspoon Celery Salt
6 teaspoons Worcestershire Sauce
1 Box Corn Puffs
1 Box Oat Puffs
1 Box Bite-Sized Toasted Rice Cereal
1 Pound Salted Peanuts
1 Pound Can Mixed Nuts
1 small Box Pretzel Sticks
——————————————————————————————
Heat the oven to 250F.
Put butter in a large roasting pan and slide it into the oven. Let the butter melt and remove the pan. Add salts and Worcestershire Sauce. Stir well.
Add cereals, peanuts, and pretzel sticks. Toss well with a fork. Put mixture in the oven and bake for 1 hour and 30 minutes. Stir every 15 minutes while baking.
——————————————————————————————-
I am a huge fan of Chex Party Mix and I make it throughout the year, not just around the holidays, which is why when I came across this recipe that I wanted to try it.
I did substitute some of the ingredients, and even threw in a few that weren’t listed in the recipe.
The only way you can possibly fail with this recipe is to put too much of the salty spices in. I’ll explain as we go. I do hope you will enjoy it.
Julie
—————————————————————————————
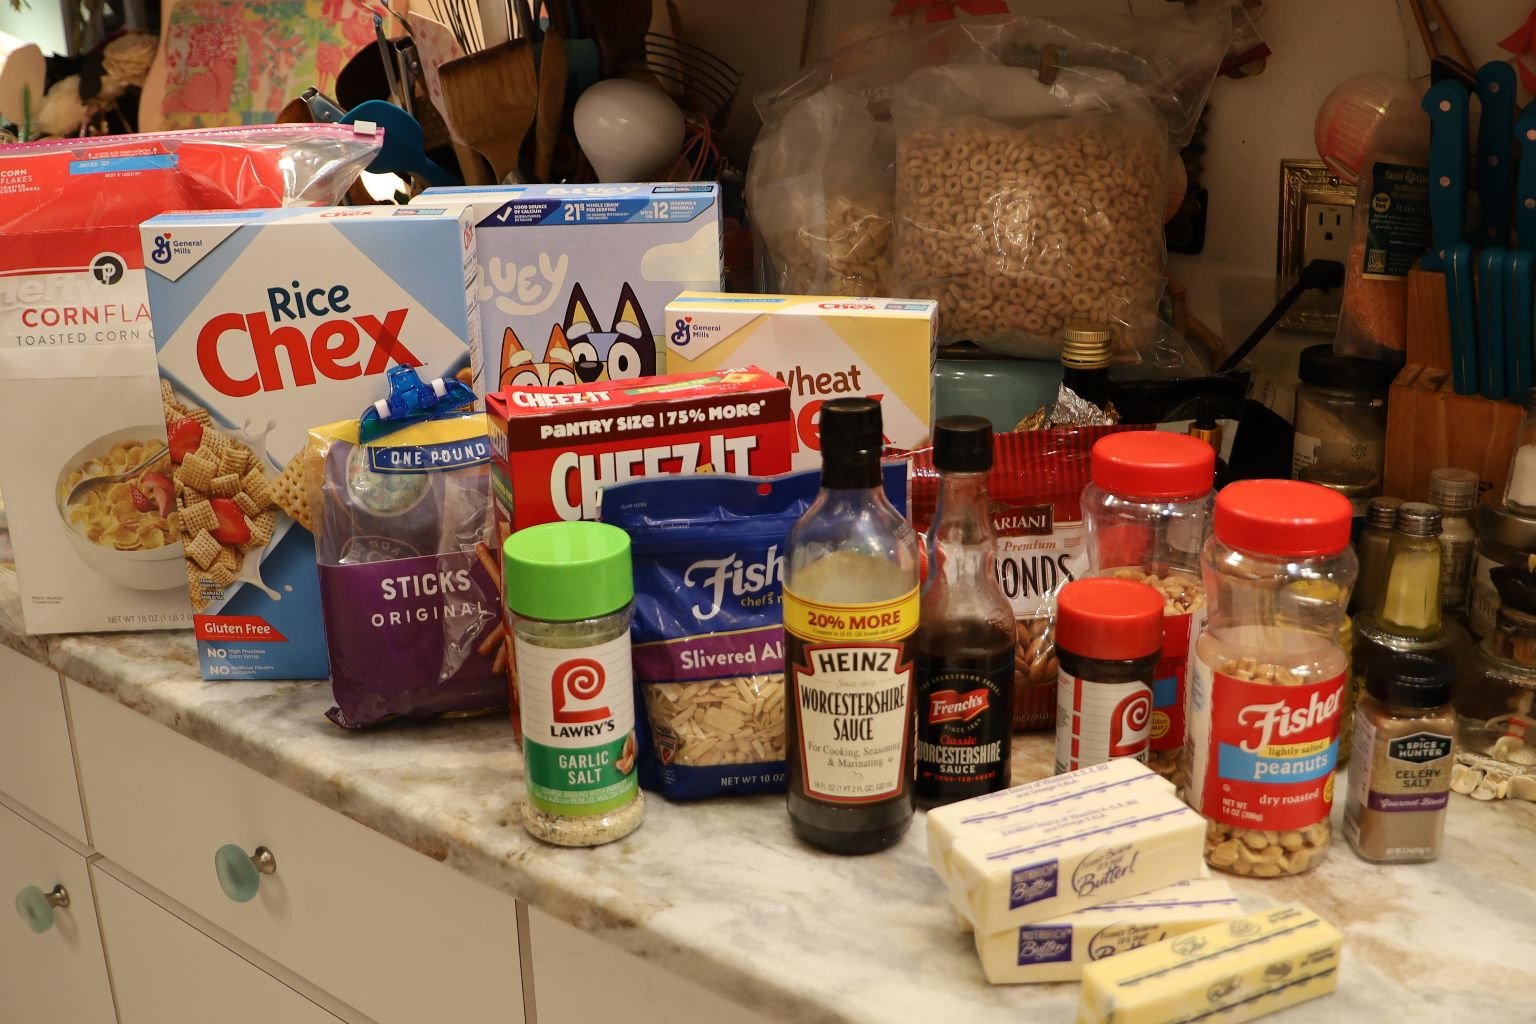
This is my version of the Winning Toasted Nibbles.
I will give you the ingredients that I used, but the amounts will be up to you. The reason I say that is because as many shakes I added to this recipe of the spices, I did not keep track of. Sorry. 🙂 But, you can use the amounts given in the recipe above. I also made quite a bit of it as I had lots of food that I wanted to get rid of, and to give away.
My Ingredients:
Box of plain Corn Flakes, no Sugar added
(I wanted to use Corn Flakes because they were a big product in the 70’s.)
Box of Rice Chex Cereal
Box of Bluey Kix Cereal
(This Bluey Cereal is a Corn Kix Cereal. It kind of takes the place of using a Corn Chex Cereal. They are also very pretty and Blue, with that great crunch and different texture than using a Corn Chex Cereal.)
Box of Wheat Chex
Small Box of Cheerios
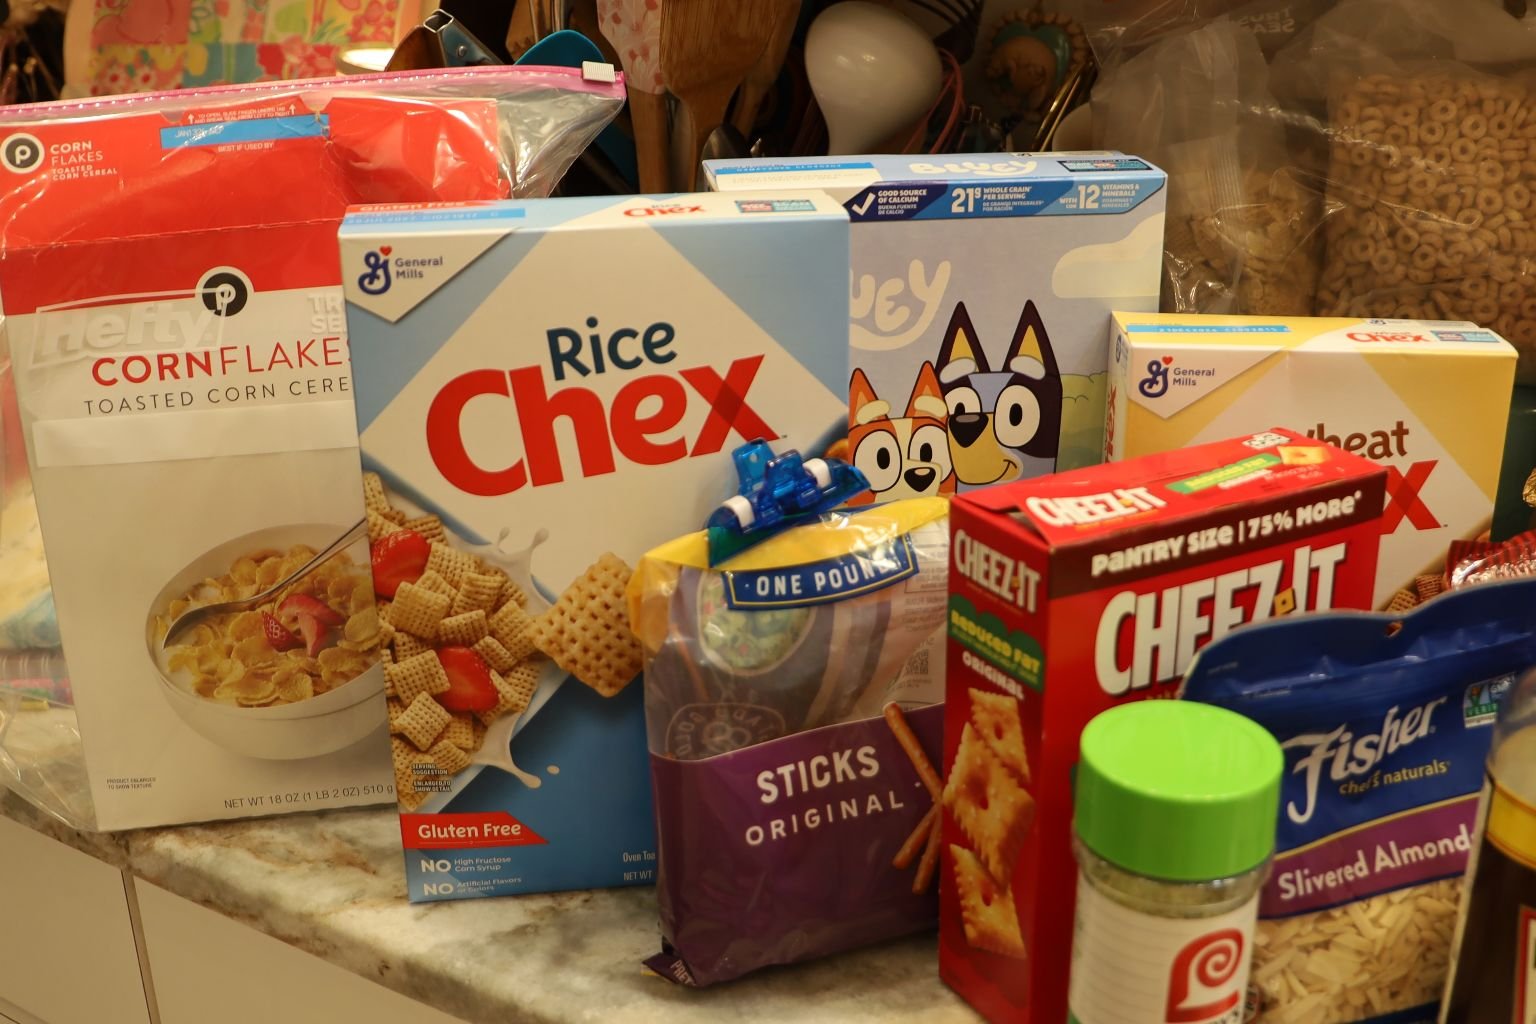
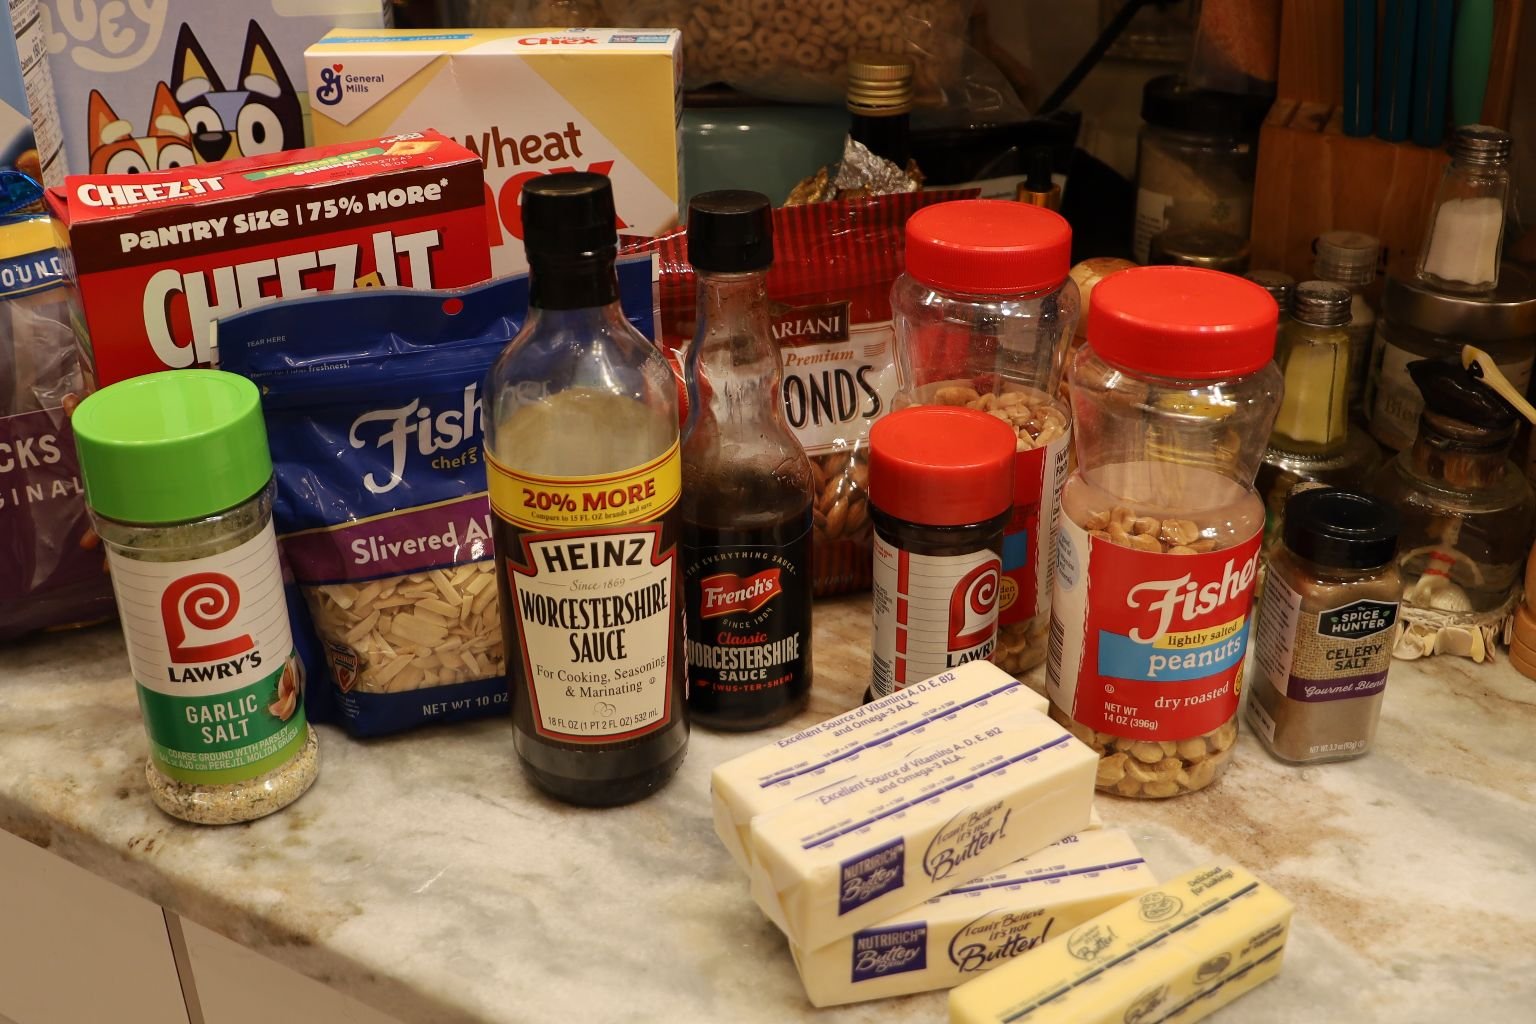
Half a Bag of Pretzels
Half a Box of Cheez It’s
10 oz. Bag of Whole Almonds, Plain
10 oz. Bag of Slivered Almonds, Plain
(The Slivered Almonds were really nice in this. They added a great texture to the snack mix, as well as a great look to it.)
Given how Salty the Spices we will be adding will be, it is important to make sure that the main ingredients don’t have too much Salt added.
—————————————————————————————————-
The Bowl is for measuring out each batch of Nancy’s Nibbles to go into each of the two Aluminum Containers you see above. I knew that I would be making a lot of it and the largest containers I had were these cheap Aluminum ones.
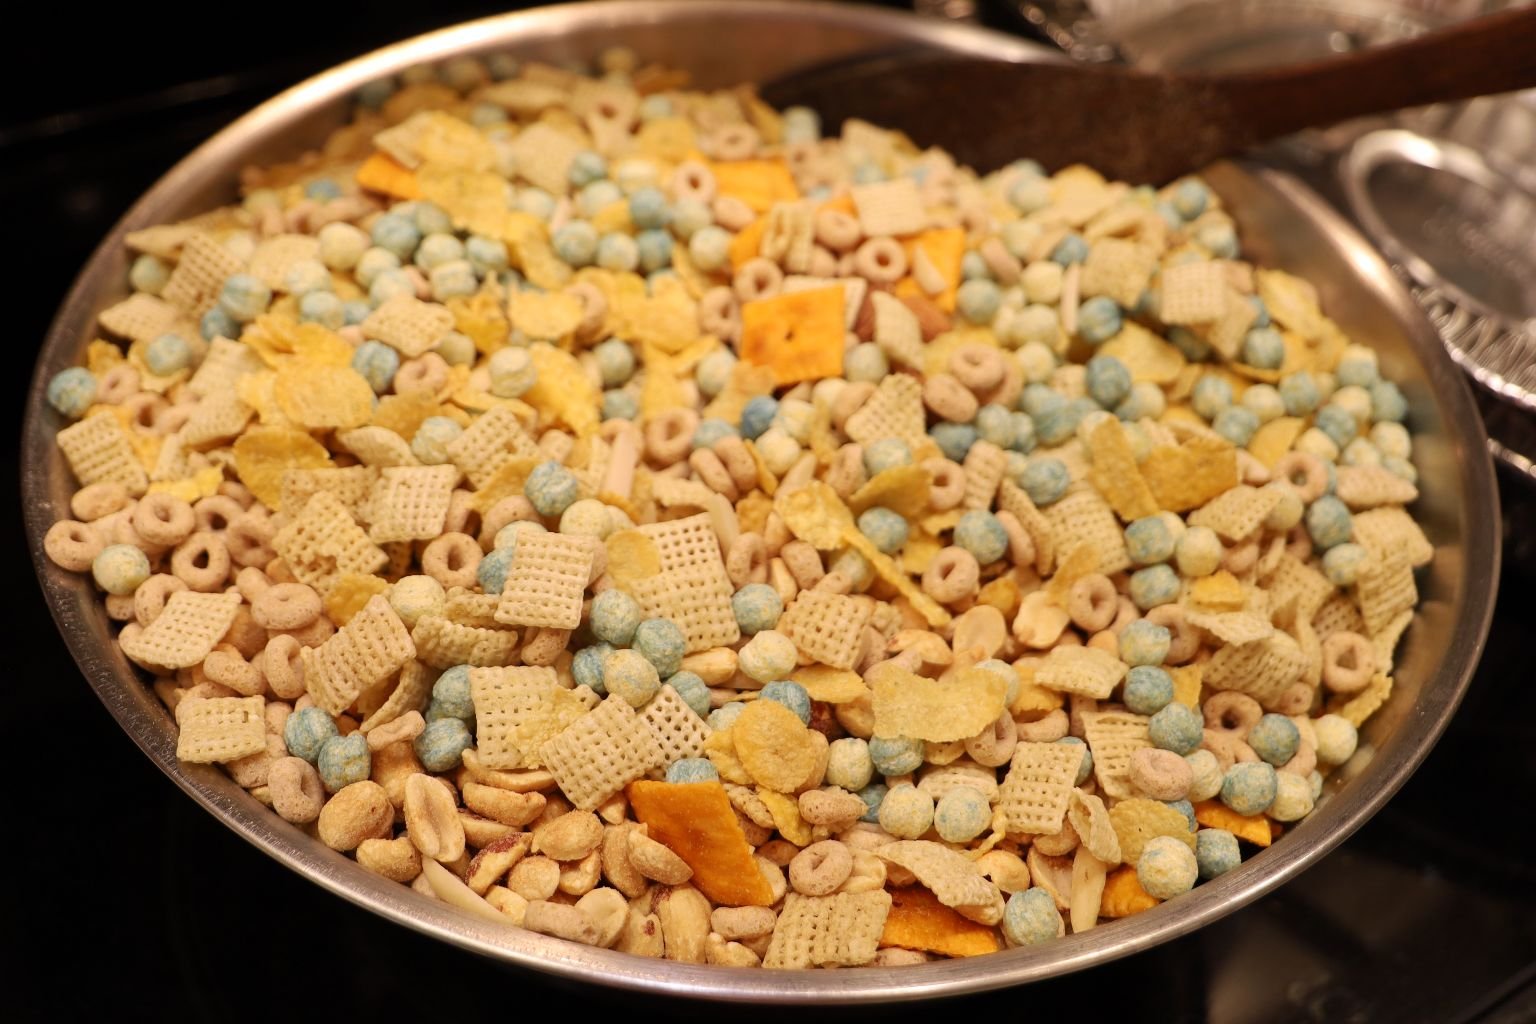
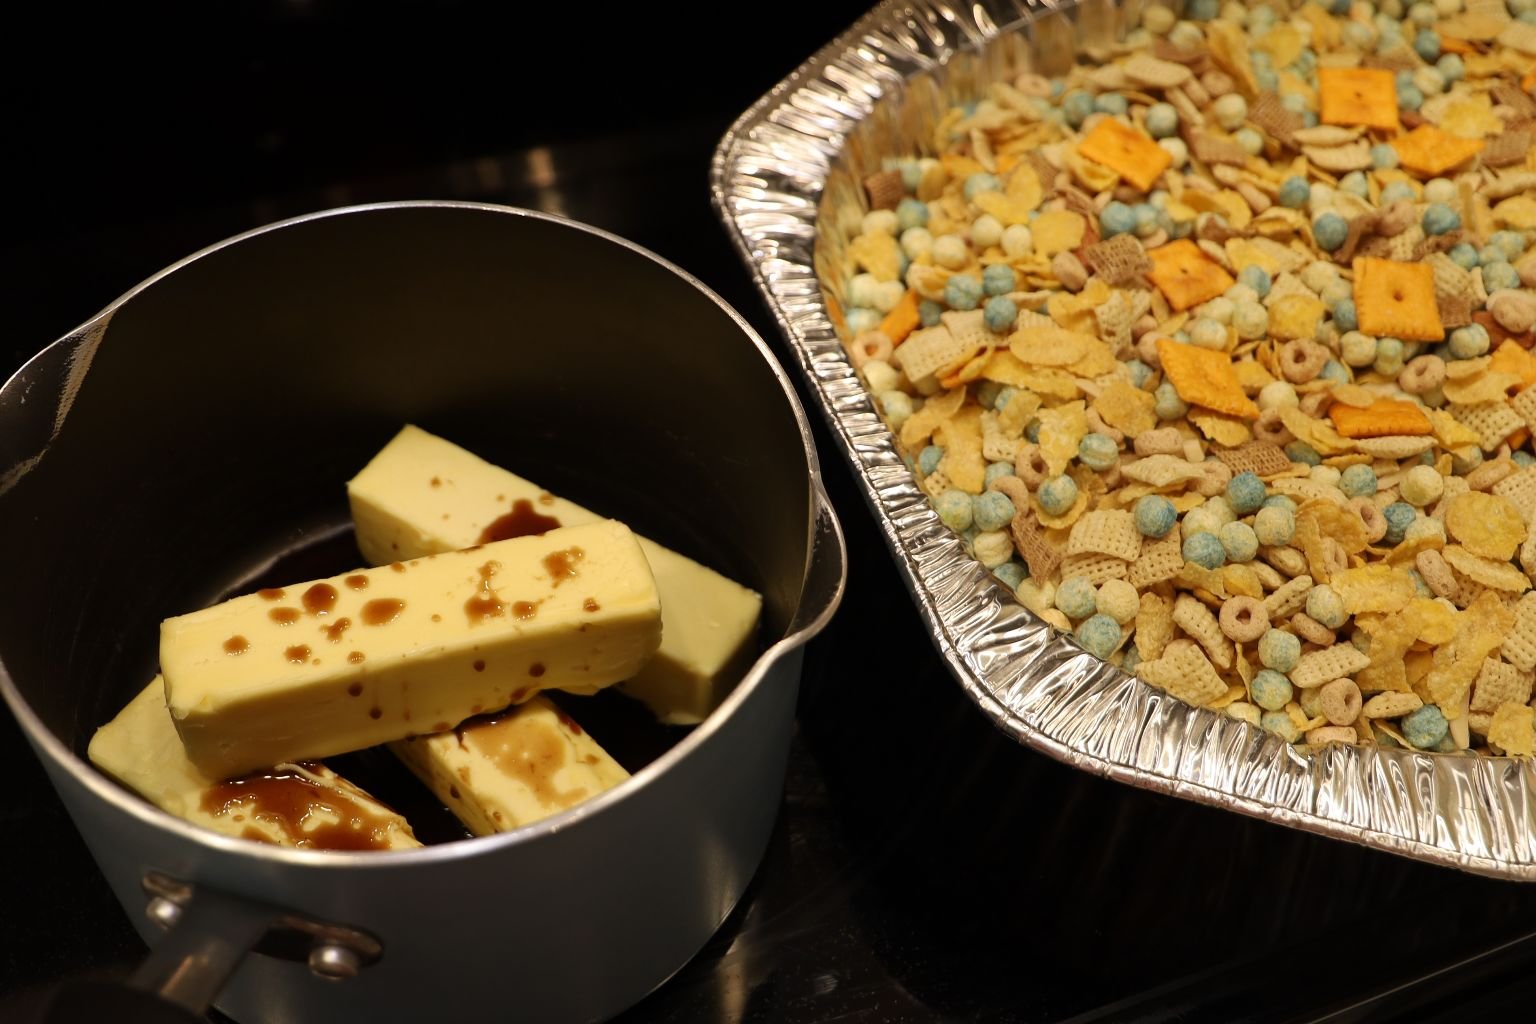
The Bowl you see left, is the amounts I will be adding to the first batch I’ll be making.
Also, instead of placing the butter into the bottom of the pan and melting it that way in the oven, I chose to use a saucepan to melt the butter, and to add all of the spices and Worcestershire Sauce and just pour it over top.
When I first added the butter to the sauce pan I then started adding the Worcestershire Sauce but stopped myself because I didn’t know if I should add it yet. So, I just went ahead and melted the butter on a low heat and then added the spices and more Worcestershire Sauce once the butter had melted.
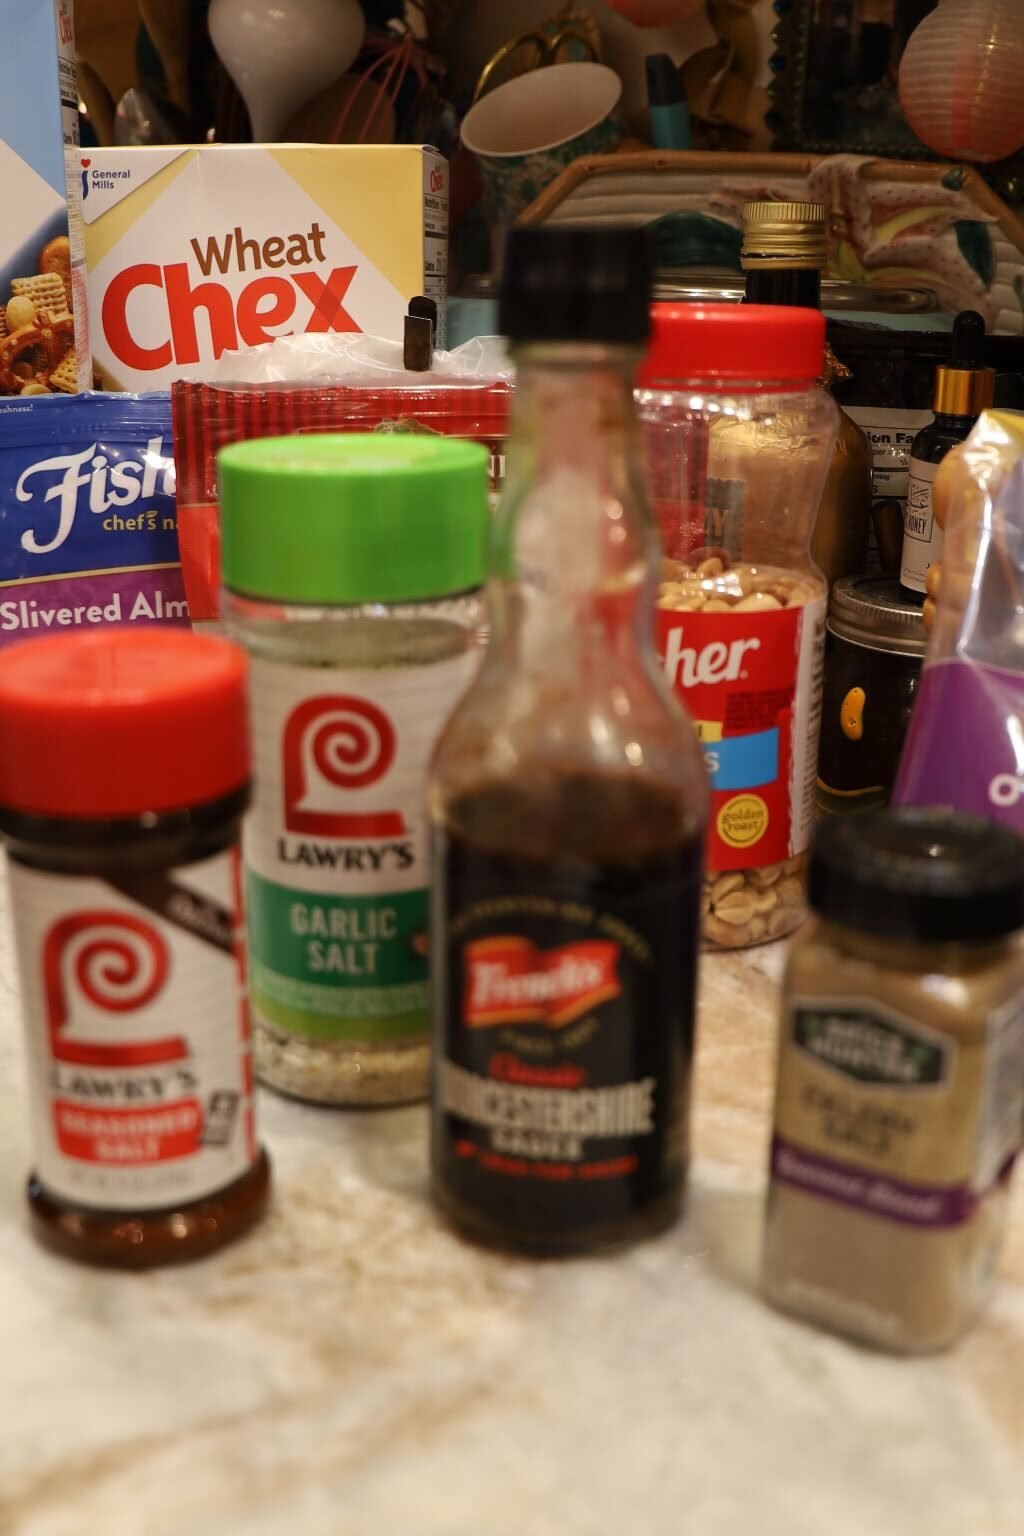
The Spices That I Used Were The Same As On The Original Recipe, I Just Added More Than Is Recommended
Photo Top Right, Melted Butter. I then added all the Spices To The Melted Butter.
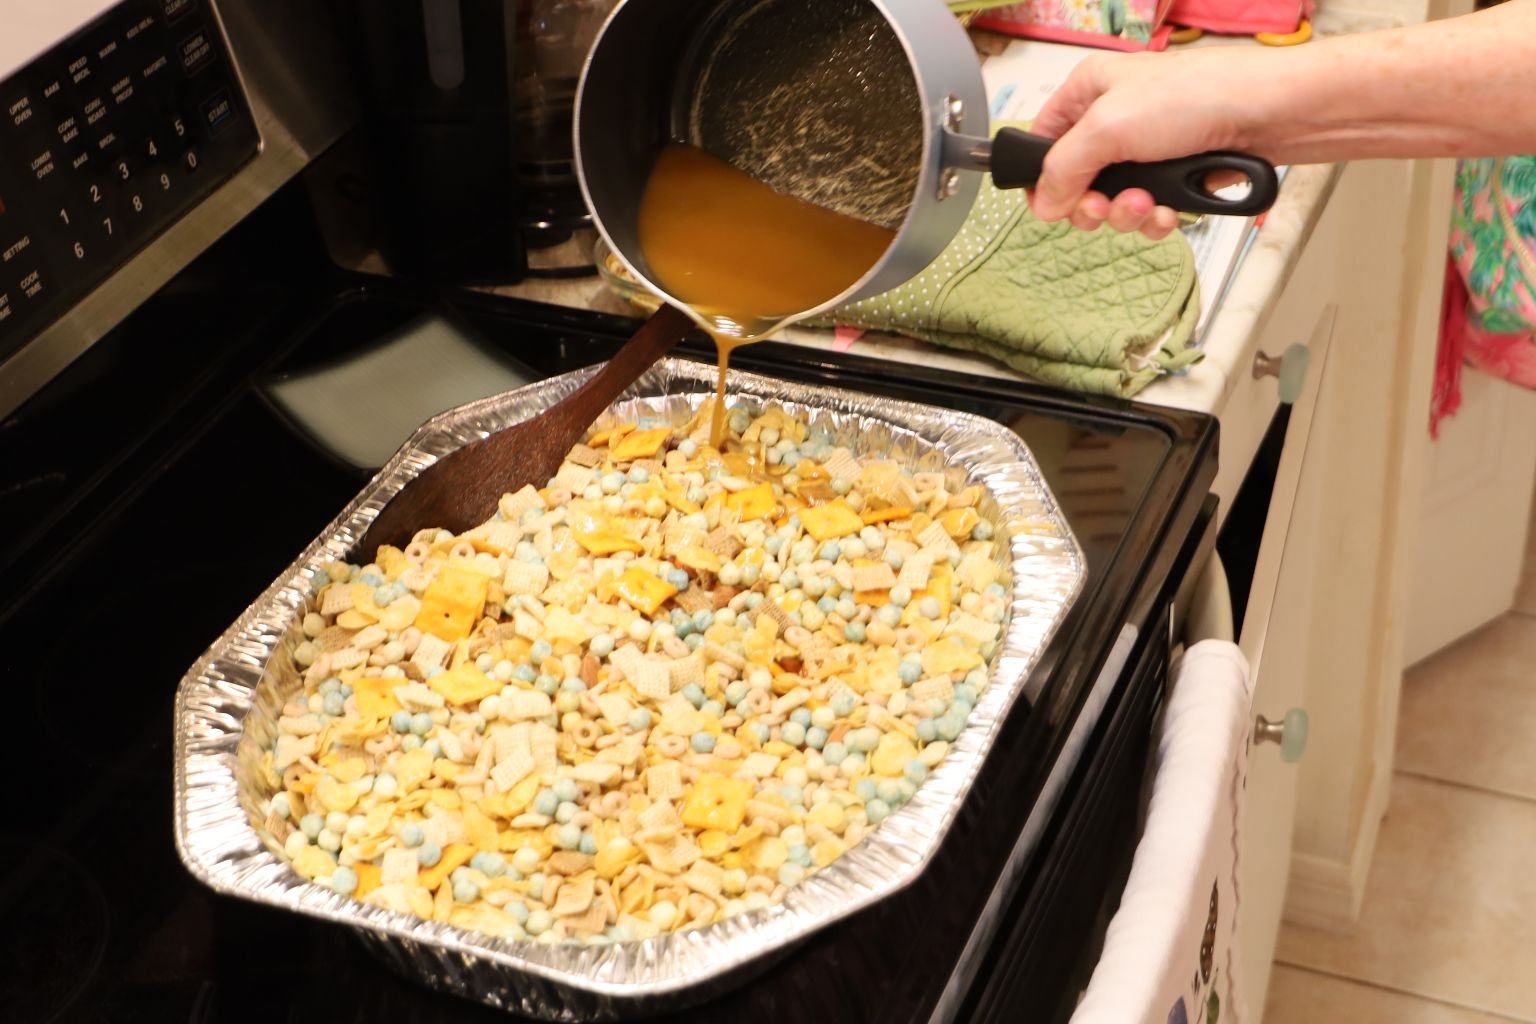
Pouring The Butter Mixture Over The Nibbles
Give Everything A Good Stir To Coat
I love how pretty it is! The Bluey Kix Cereal and the Orange Cheez-It’s.
————————————————————————————-
The Colors Look Very 70’s, I love it!
——————————————————————————
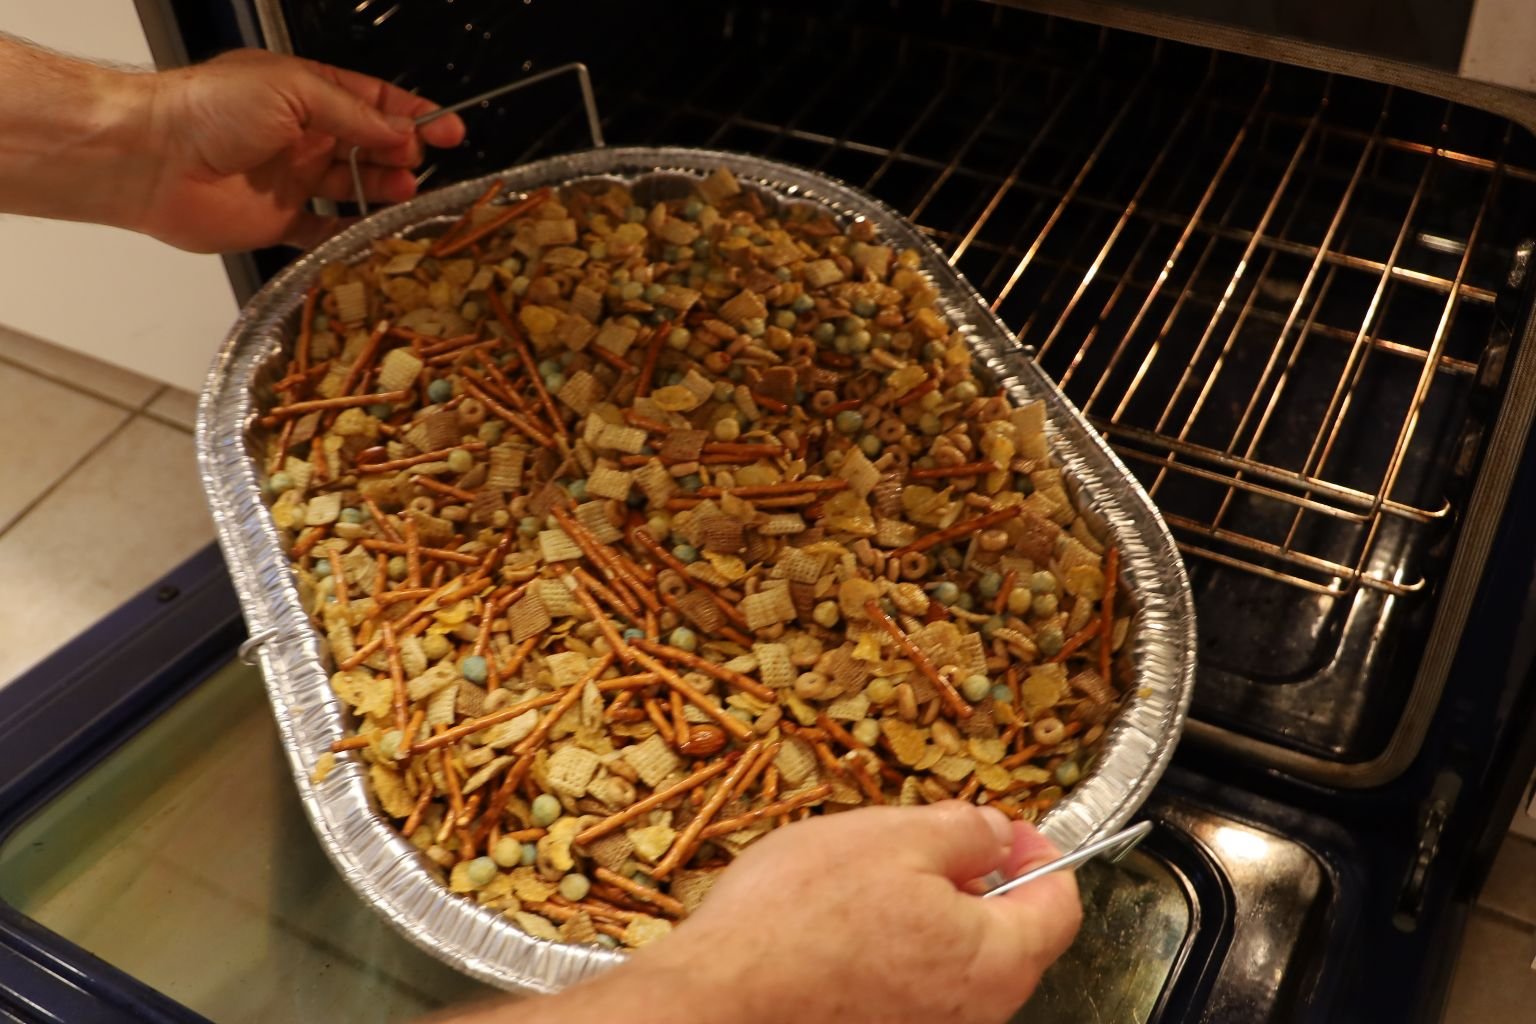
I placed my containers into a 250F oven for 15 minutes at a time.
Total Cooking Time: 1 Hour, 30 Minutes
Remove From The Oven Every 15 Minutes To Stir, That’s 6 Times!
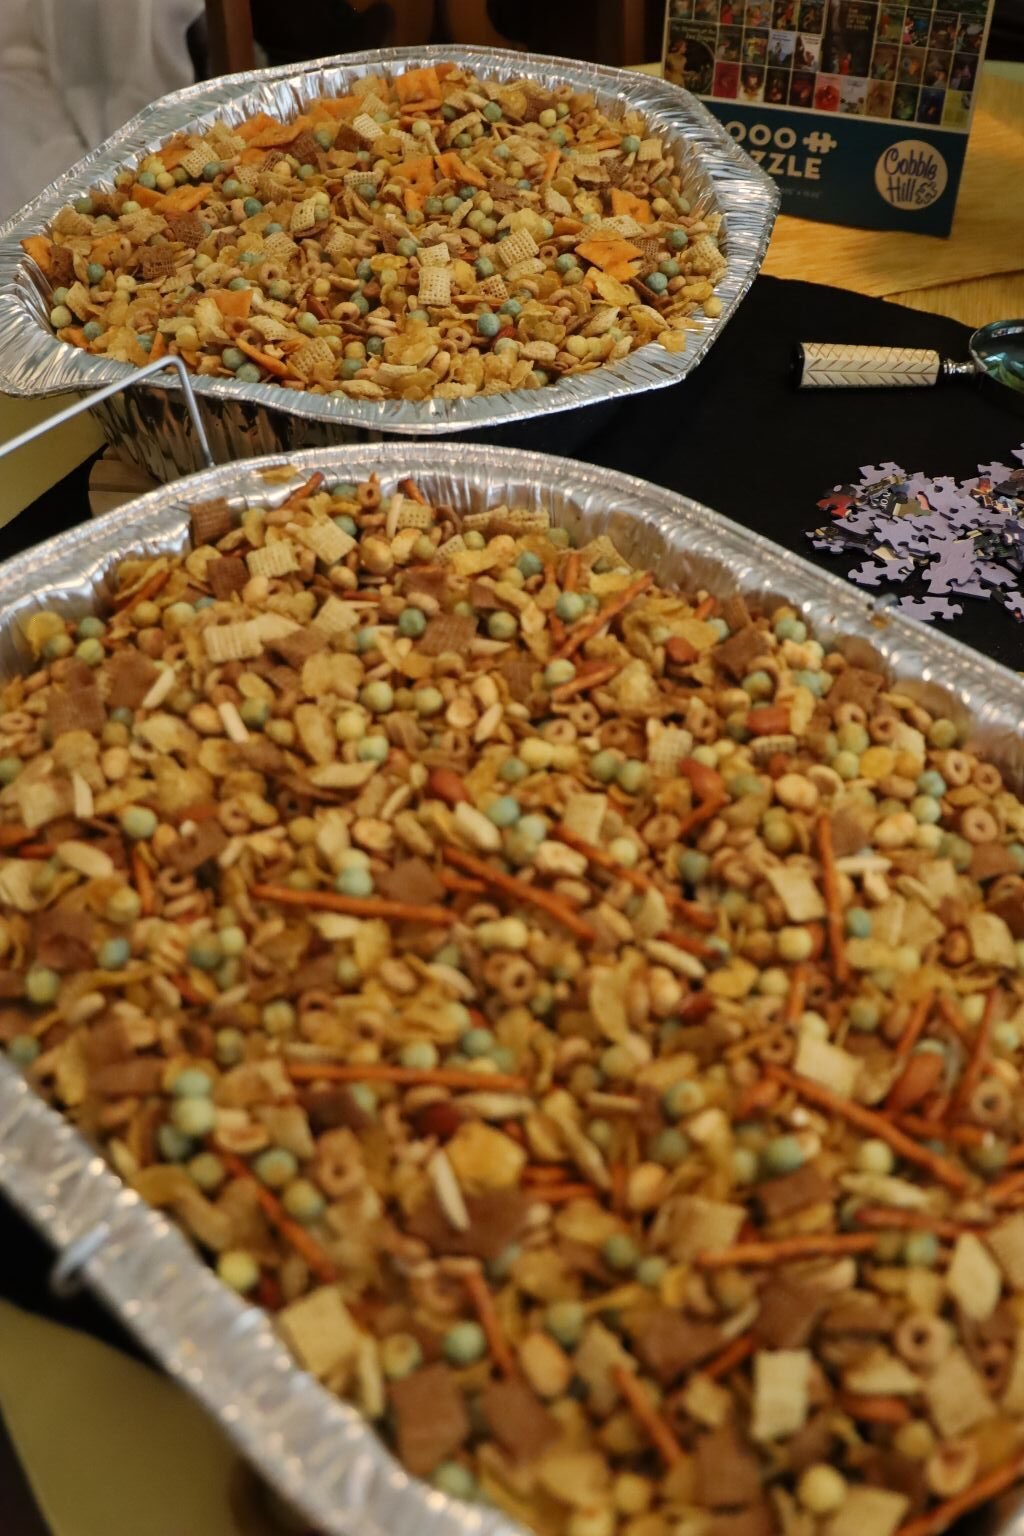
Allow to Cool and Then Place into Container’s to Store and Keep Fresh
Give As Gifts
—————————————————————————
HINT: A Goody From Nancy
Fill holiday tins or attractive glass jars with these super snacks. If you have no container, take an empty cracker or cookie box and cover it with holiday wrapping or other design paper to make your own gift box.
—————————————————————————————-
Perfect While Working A Jigsaw Puzzle With Your Special Friend 🙂
—————————————————————————————————–
Do act mysterious, it always keeps them coming back for more!
Nancy’s Mysterious Letter
Because there just aren’t enough photos of me draped over a sportscar.
There is always a mystery to be solved,
Julie Lancaster-Whann, A.K.A. Nan Drew
——————————————————————————–
Oh, and if Ned is lucky, second base is soon to follow just as soon as he puts a Promise Ring on my finger….. wink, wink 🙂
When you’re unusually good at what you do, the police will yearn for your women’s intuition!
The Clue of the Leaning Chimney
——————————————————————————-
For More Nancy Drew…
Click Here For: A Nancy Drew Mystery ._ _ _ /./_ _.././_… ././. _.. .Sauce
I suggest that you brush up on your Morse Code for this one! 🙂
Julie

(Note Update April 10, 2025: If this harassment continues, or more damage is done to our property, then I will reveal their names here, and getting the police involved.) “The pen is mightier than the sword.” Edward Bulwer-Lytton ————————————————————————– Write it all …

Dear Dairy… Olive Films (I just liked the logo.) Today I rearranged the cans in the pantry and dusted them off while wearing my new full skirt I sewed last week for the church picnic, and the pearls that my husband …

Hey Y’all!
Every now and then I need to go back home. Oh, not literally.
But with my Tongue Feelers. You know, Taste Buds?
Growing up throughout the south you get a hankering for something Deep Fried, Black-eyed, Field Picked, and Green.
And all the other fun stuff in between.
That is what I want to put here. I do hope to fill this page with some of my Old Southern Favorites that I miss so much. So, come on in and sit a spell while I whip us up some good ol’ home cooking.
Holler if ya need me!

Julie
————————————————————————————–

Southern Wild Rice with Pecans and Dried Cherries

Don’t Forget The Hot Sauce


Chicken Gizzard Po’ Girls, Corn on the Cob, Catfish, and a Leftover Bowl of Brunswick Stew

————————————————————————————-


The Star Food on this Table is the Southern Wild Rice
Sometimes It’s The Sides That Shine
(Recipe Down Below)
—————————————————————————————
Julie’s Corn Pepper Muffins

With a Side of Lightening Bugs 🙂
(My recreation anyway.)

(Recipe Down Below)
———————————————————————
My Pepper Butter


Before Left, and Buttered, Right!


With Tabasco

(Recipe Down Below)

——————————————————————————————–
If You Would Like To Check Out My Brunswick Stew:
Click Here For: Brunswick Stew and Barbeque
————————————————————————————————–
Southern Fried Recipes Start Right Here
———————————————————————————-
Southern Wild Rice with Pecans and Dried Cherries
——————————————————————

Ingredients:
1 1/2 Cups Wild Rice
2 Cups Water
2 1/4 Cups Vegetable Broth
1 T. Margarine or Butter
3/4 – 1 Cup Toasted Pecans
4 Garlic Cloves, Crushed
1 1/4 Cup Dried Cherries
3 T. Spicy Chili Onion Crisp
Table Salt and Pepper to Taste (This is the South after all, nothing fancy here.)
And, as much Fresh Parsley as you want.
——————————————————————————–


Gathering All My Utensils and Ingredients


You First Want To Rinse The Wild Rice Thoroughly, Then Allow To Drain


Place The Rice Into A Wok, or Large Sauce Pan, Add the Water, Vegetable Broth, and Butter.
Bring to a Boil over a Medium-High Heat.


When It Comes To A Boil, Turn Heat Down To Simmer

Cover, and Allow To Simmer for about 20-25 Minutes.
When the rice has absorbed all the water, keep it on a very low heat.
———————————————————————————-


Time To Crush The Garlic Cloves


Now, Add Them To The Rice

—————————————————————————-

The Pecans


Place the Pecans into a Skillet, and Toast them on a Medium Heat until a bit Browned, but not Burned.

The Pecans and the Rice

Time To Add Some Table Salt and Pepper to the Rice

———————————————————————————–

I Toasted The Pecans in my Cast Iron Skillet, Now I am Adding the Rice Overtop
————————————————————————————–


Time To Add The Dried Cherries, As Many As You Like

Now For The Spicy Chili Onion Crisp


Add As Much As You Like Per Your Personal Tastes
——————————————————————————————-
Now It’s Time To Add The Fresh Parsley
And the Pepper Sauce (Hot Sauce)
——————————————————————————————-

Beautiful Corn


I didn’t want anything fancy here. Just some delicious Corn on the Cob as a nice addition to this meal.
Just boil some water and add the corn. Cook on a medium-high heat until the cob is a bit tender. You can follow package instructions.


When Done, Remove From the Water, Pat Dry, Add Corn Holders and some Butter!
——————————————————————————–
Chicken Gizzard Po’Girls
In the south we do so love the Chicken Gizzards. You will even find them around the Salad Bars at some local restaurants. I had been craving my old Chicken Gizzards, that’s when I decided to make this sandwich. I really didn’t want to do any pickin’ or fryin’, so I visited a local restaurant that did all of that for me. I knew it was a good place to eat given the amount of African-Americans in the restaurant. They know Southern food!
My additions, are what goes into the Po’Girls.
Here We Go!

Ingredients:
You Will Need Some Sort of Hoagie Buns
Slaw, Raw or with the Fixin’s (Meaning, you can add Coleslaw plain, or with the dressing.)
Honey Dijon Dressing (Or any that you like to add over the top of the Po’Girl.)
Sliced Jalapeno Peppers
Chopped Pepper Salad
Fresh Chives, Snipped
Fresh Parsley, Over top
——————————————————————————–


Creating The Po’Girls With the Catfish on the Side
(The Catfish I also purchased at a local Southern restaurant here.)

Use a Bread Knife to Cut Out the Top of the Hoagie Buns

Now, Fill the Hoagie Buns with the Pepper Salad, and Raw Coleslaw


Then Add Your Chicken Gizzards, Chives, Jalapeno’s, and Dressing.

Top With Fresh Parsley
Look How Beautiful! And Delicious!


Git Ta Eatin!

DIG IN!
Julie Barefoot
——————————————————————————–

My Corn Pepper Muffins
———————————————————————–

Ingredients:
Peppers!
I Used Jalapeno, Poblano, and Chilaca, use as Many as you Like

Making Corn Bread
Half of the ingredients that you see above are listed on the container of Corn Meal.
I am using that recipe to make my Cornbread, I’m just adding the additions that will make it my Corn Pepper Muffins.
———————————————————————

——————————————————————————–


My Additions:
(The Peppers, Cleaned, Seeds Removed, and Cut into Short Strips)
Shallots, Chopped
1 Can of Mexicorn, Drained
Spices:
Tabasco Spicy Salt Blend
Onion Powder
Cajun’s Choice Blackened Seasoning
Cayenne Pepper
Chili Powder
Jalapeno Sea Salt
Freshly Ground Black Pepper
(The amounts really are up to you. I used about a 1/2 t. of each.)
————————————————————————————————–


I Used Crisco To Grease My Large Muffin Tins
—————————————————————————


Chopped All My Shallots Whether I Used All of Them or Not
(I will need them in the next recipe.)

———————————————————————————-

The Peppers


Slice each pepper, remove the seeds, rinse them out…


Like so…


Then you want to slice them into short strips.
———————————————————————————

Making My Cornbread According to Package Directions.


————————————————————————————–

My Secret Ingredients:
Tabasco Spicy Salt, and Jalapeno Sea Salt
—————————————————————————

Combining My Cornbread Ingredients:

The Dry Ingredients


The Wet Ingredients

Beating My Eggs


Adding Vegetable Oil…


Adding My Spices to the Cornbread Batter
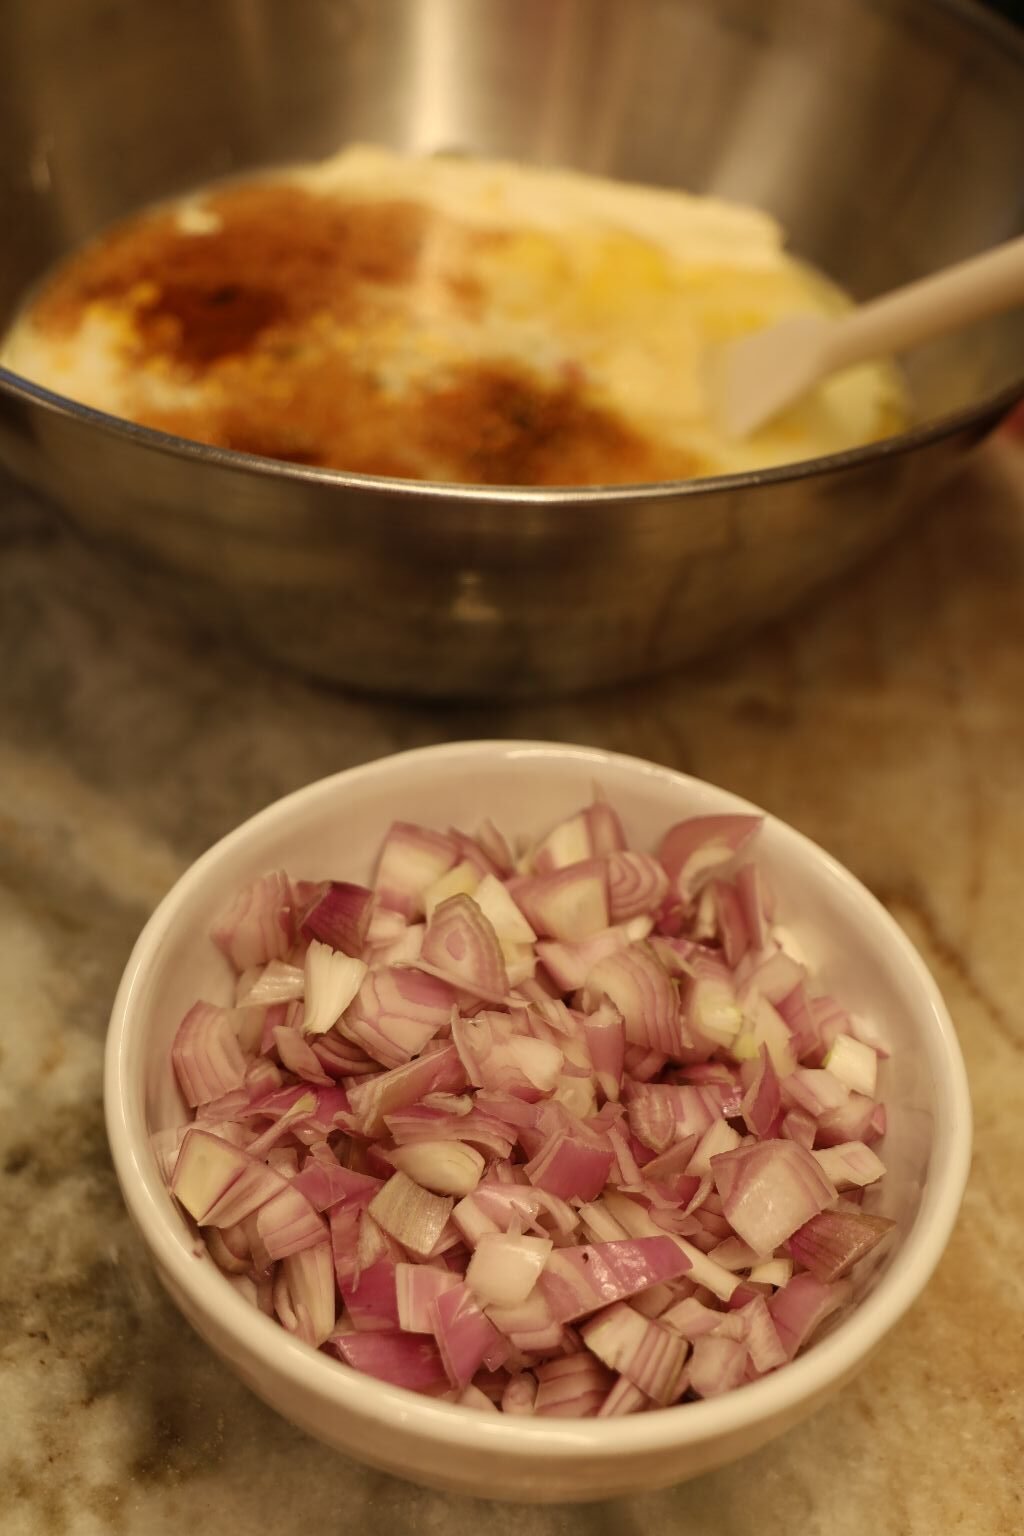

Adding a Handful of my Shallots
Mix Together
————————————————————————————-

All My Beautiful Peppers
—————————————————————————————-

Time For The Assembly
Turn Your Oven on 400F


I placed a few of my Peppers into the bottom of the large muffin tin.
I then added some of the Cornbread batter over them.


I then added more peppers over the top and pushed them down with my fingers to make sure they were covered with the batter. Although I wanted many of the peppers to be on the top.
————————————————————————-

Into The Oven They Go!
These Actually Took Around 20 Minutes To Bake
——————————————————————————————

Fresh Out of the Oven and Cooling on the Racks
(You can insert a toothpick to make sure they are done. If the toothpick comes out clean, they are ready.)


I Love How They Look! It Is Exactly How I Envisioned!
————————————————————————-

Out of the Tins and Cooling Further

————————————————————————————————–
Add a Few Squirts of Tabasco 🙂
————————————————————————————————–

Leftover Peppers for my Pepper Butter
———————————————————————————-

The Potatoes Here Are Some of What My Butter Will Go On
(I just need to bake them.)
————————————————————————
My Pepper Butter

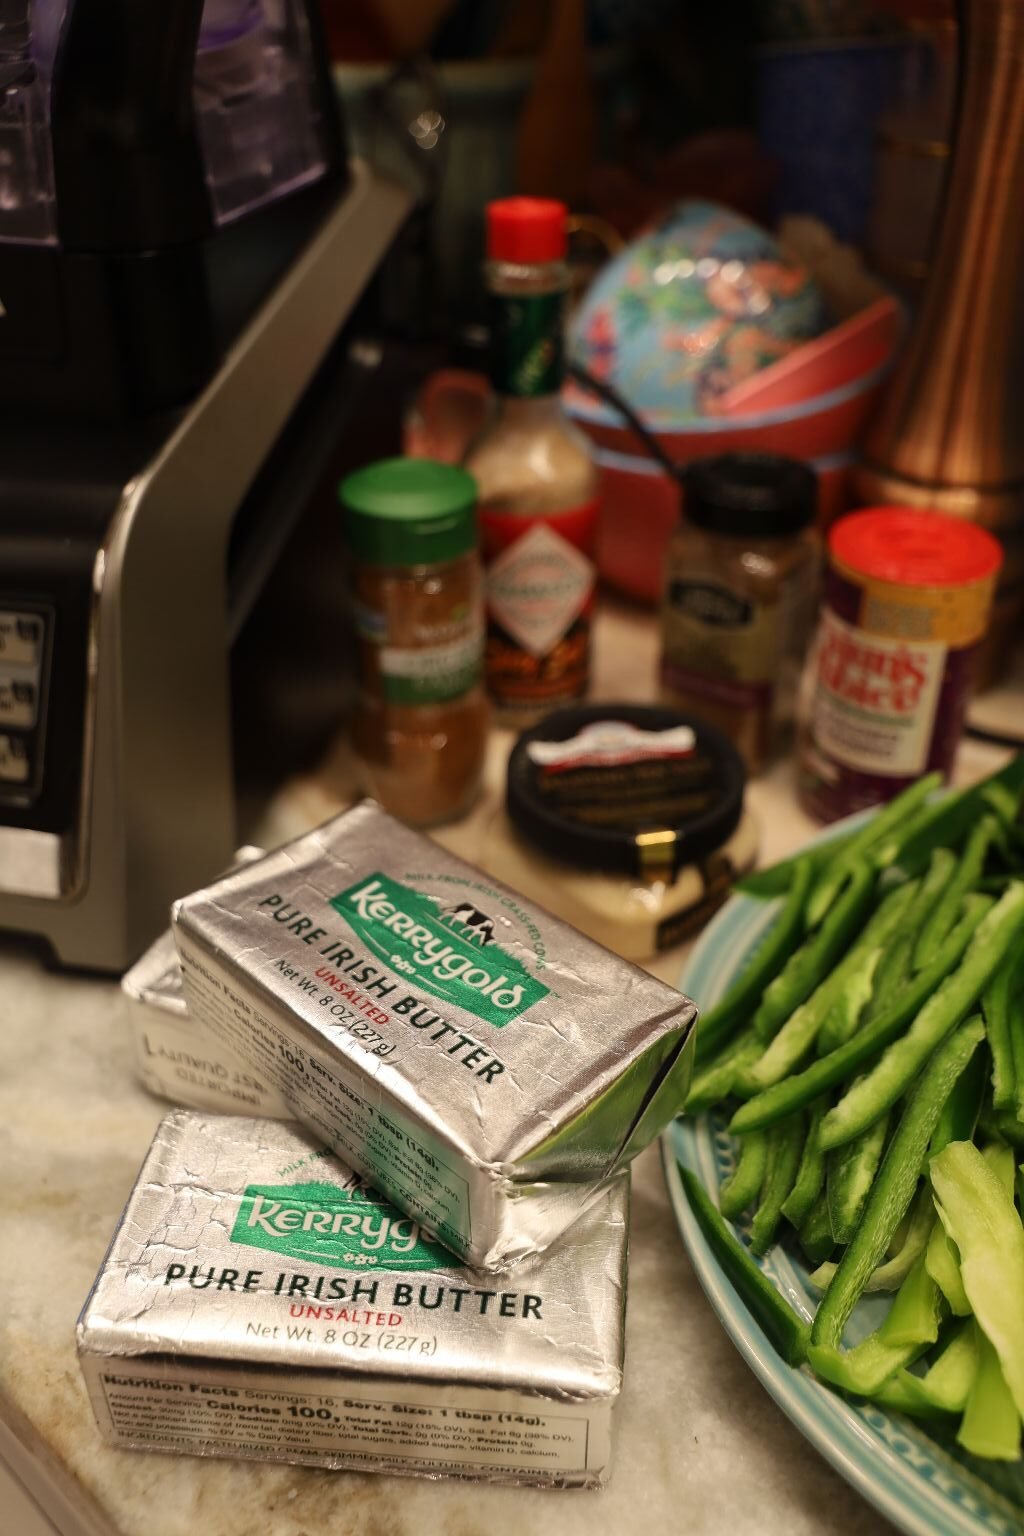

Ingredients:
3, 8 oz. Unsalted Butter
My Leftover Peppers From the Recipe Above:
Jalapeno, Poblano, and Chilaca
5-6 Fresh Garlic Cloves
Chopped Shallots, About a Handful
Spices:
Tabasco Spicy Salt Blend, (About 30 Shakes)
Onion Powder
Cajun’s Choice Blackened Seasoning
Cayenne Pepper
Chili Powder
Jalapeno Sea Salt
(I used a teaspoon of all of the above spices.)
Fresh Cilantro, a Bunch
—————————————————————————————-


My Unsalted Butter Had Been Softening For About 2 Hours
I Then Cut It Into Cubes and Placed It Into My Blender Here
I Used a Medium Setting on the Blender To Mix The Butter


I Then Added All of My Spices, And Blended More

My Peppers, Shallots, Garlic Cloves, and Cilantro
I Used Most of the Peppers you see Above, but not All. I did use all of the above Shallots.

———————————————————————————–
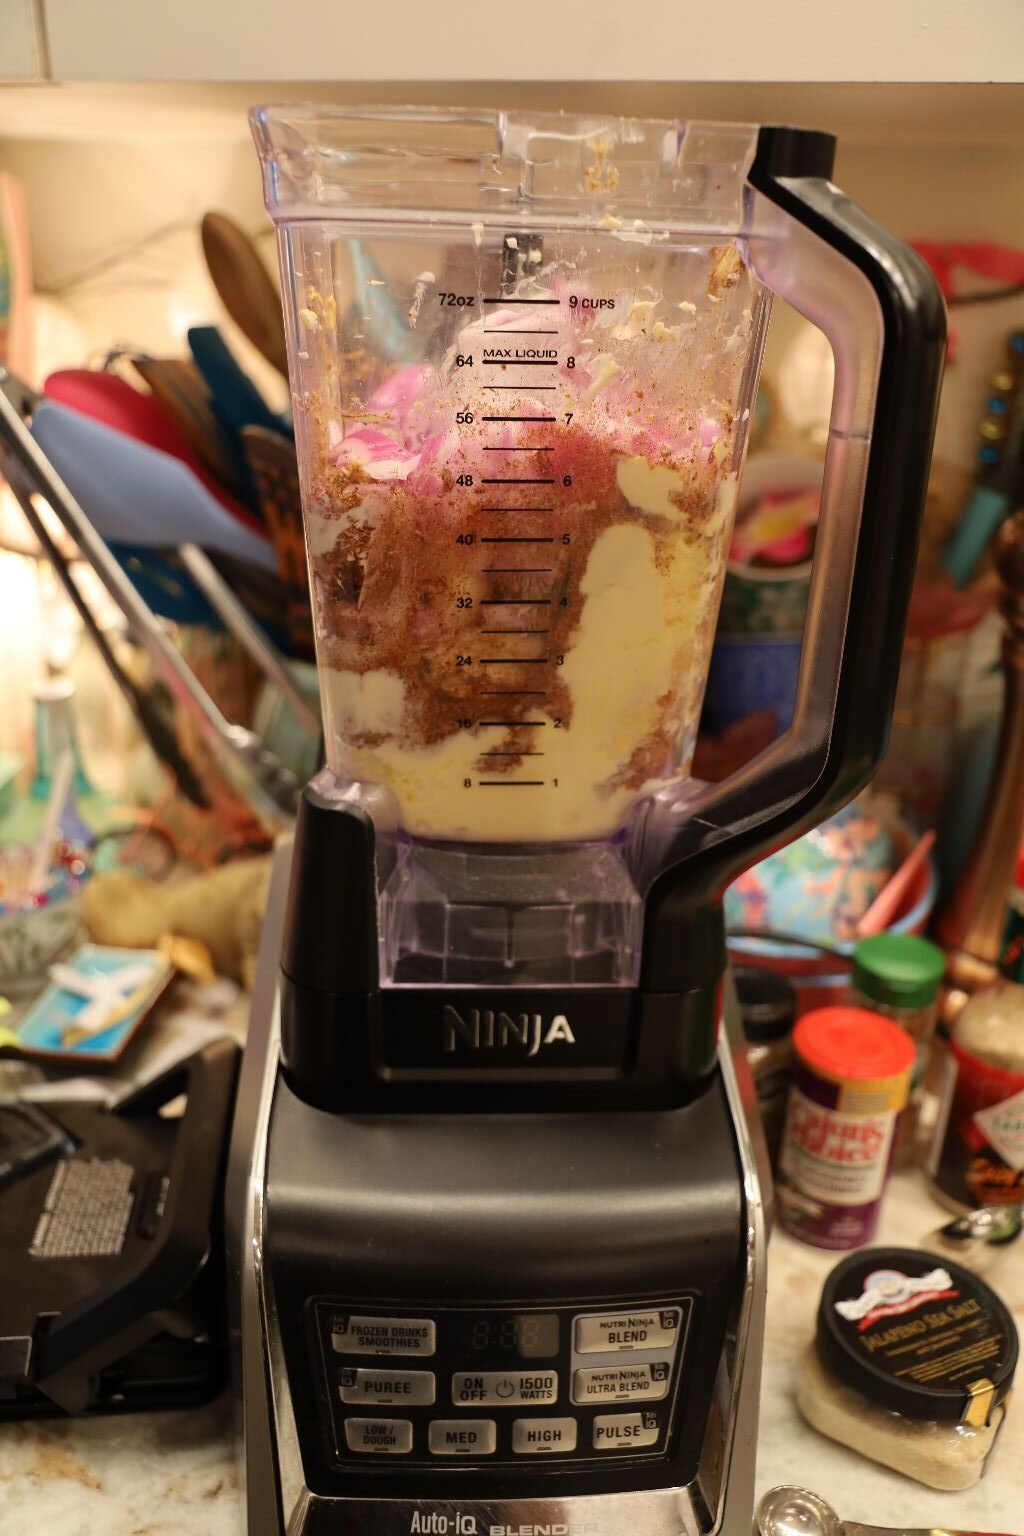

Adding My Garlic Cloves and Shallots

Blending Away, While Wiping Down the Sides with a Spatula


Time To Add The Green Stuff
(My Peppers and Cilantro)
—————————————————————————–


Looking so Good!

Decant Into A Bowl
——————————————————————————————

I Even Added Some Butter Into Jars To Freeze For Another Time
—————————————————————
I have to say that this is some of the best butter I have ever eaten! I kept spreading it onto mini toasts and I had to stop myself from eating it because after all, it is butter! I didn’t want a heart attack. 🙂 However, eaten in nice portions it is safe.

Baked Sweet Potato, Baked Potatoes, Corn on the Cob, and my Pepper Muffins, Before the Butter
(With a small side of Green Beans)

The Pepper Butter
————————————————————————————-

With The Butter


The Butter is very Spicy and Addictive, Along with the Tabasco

See Y’all Later!
Julie

Ciao e Benvenuto (Starting this in 2024) Although Gordon and I have many Italian website pages full of recipes and ideas, I wanted to start this page just for me. With Gordon working overseas, he is not here to co-contribute along beside me, …

Julie’s Perfect Sammy (with Purslane Weeds) AND, Our All American Ham and Turkey on a Sesame Seed Bun AND, Our Eggy in a Basket BLT The Egg is Baked into the Bread ——————————————————————————– (Recipes Down Below) —————————————————————————————- It was time to …

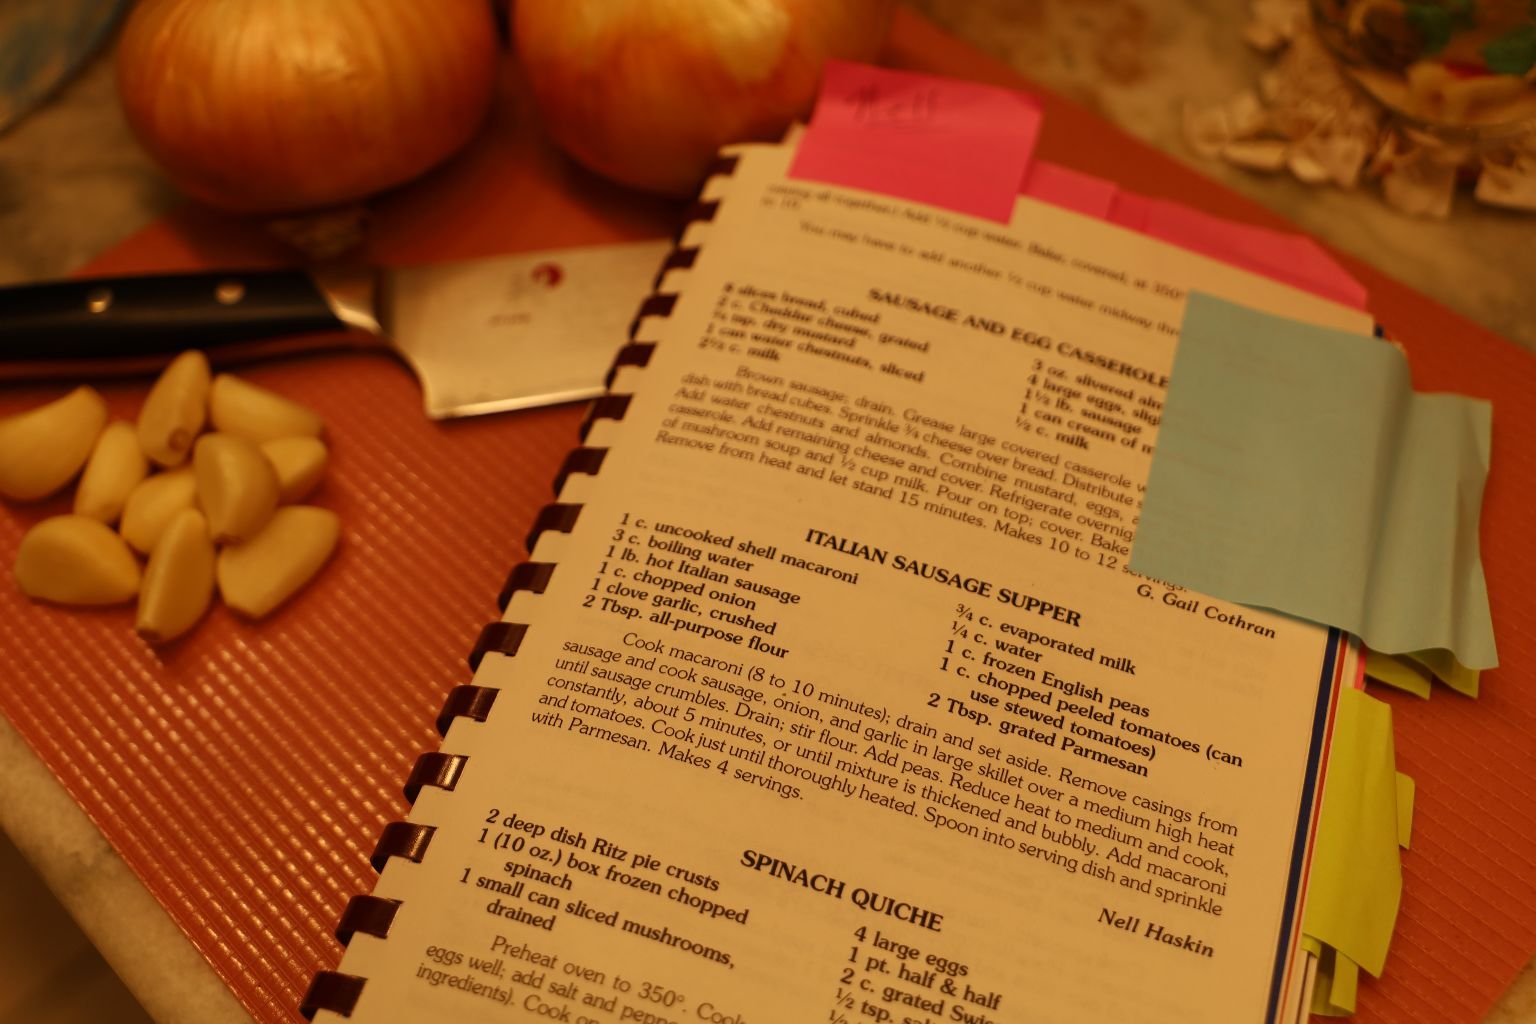
Italian Sausage Supper
My Grandmother, Nellie Mae Keith Haskin, didn’t learn how to cook until she was in her 50’s, when her mother-in-law died, and Nell was forced to learn how. In her time you had your in-laws living with you. It may not have always been pleasant, but they tolerated each other because they had no other choice. When I came along in 1961, I was lucky to have my Grandparents and Great-Grandparents under one roof. I was the star of that show! And, I was so very happy. 🙂
My Great-Grandmother Honnie was an excellent cook, and she did all the cooking. My Grandmother probably did all the cleaning up. Honnie was a Yankee from Vincennes, Indiana. She and her husband Coy Lone, and my Grandfather Frank Haskin, migrated down south during the Great Depression looking for work. They found it in Rome, Georgia, and stayed.
So, for all of us, we always had a variety of food from up North, combined with food from down South. I guess we got the best of both worlds. 🙂
While I was flipping through the First Christian Church cookbook, I found this recipe that my Grandmother contributed. My first thoughts were that she copied it from some women’s magazine and is passing it off as hers. But, noting how some of the write-up was incomplete, well, that’s my Grandmother! 🙂 Neither myself or my husband have any recollection of her ever cooking anything like this. But, when I would go home I always requested my favorites, and those are the recipes she would make. So, perhaps it is hers. (Although I’m pretty sure she snagged it from some women’s magazine.) 🙂
I Miss You So Much Grammaw.
Love,
Ju-Baby
————————————————————————————–

Thousand Island Dressing
Every time we went out to eat, usually at Cafeteria’s, my Grandmother would always get Thousand Island Dressing with her Salad. So did I. And I still do. I only got it because she did. It’s my favorite dressing.
Salads to Eat with our Italian Sausage Supper
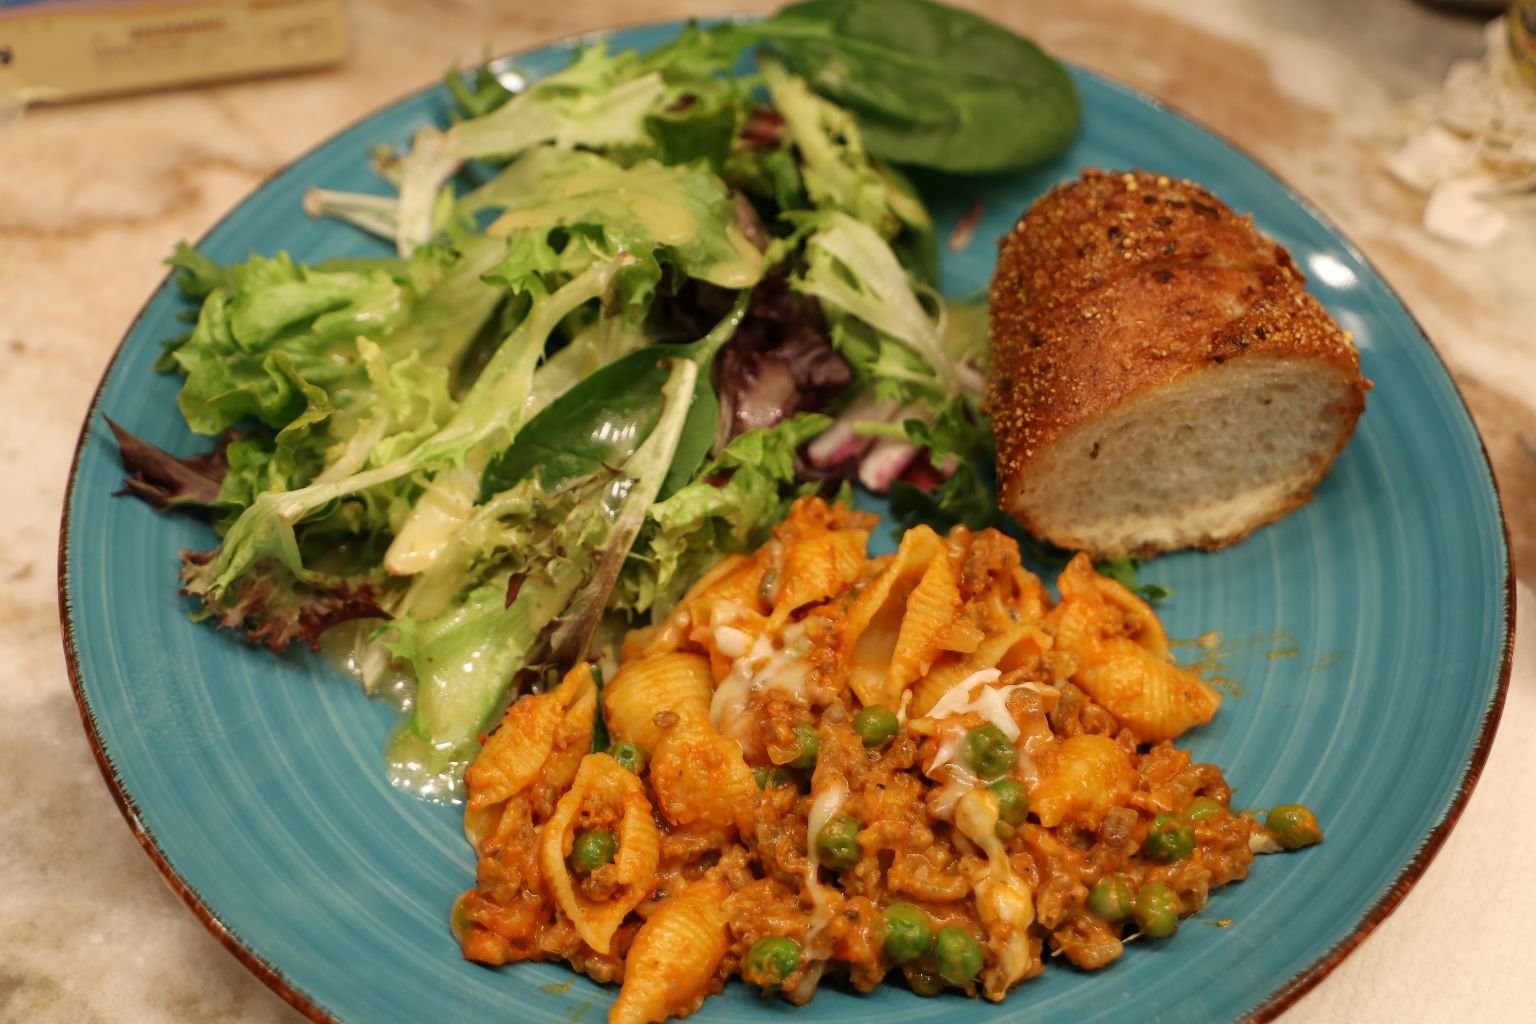
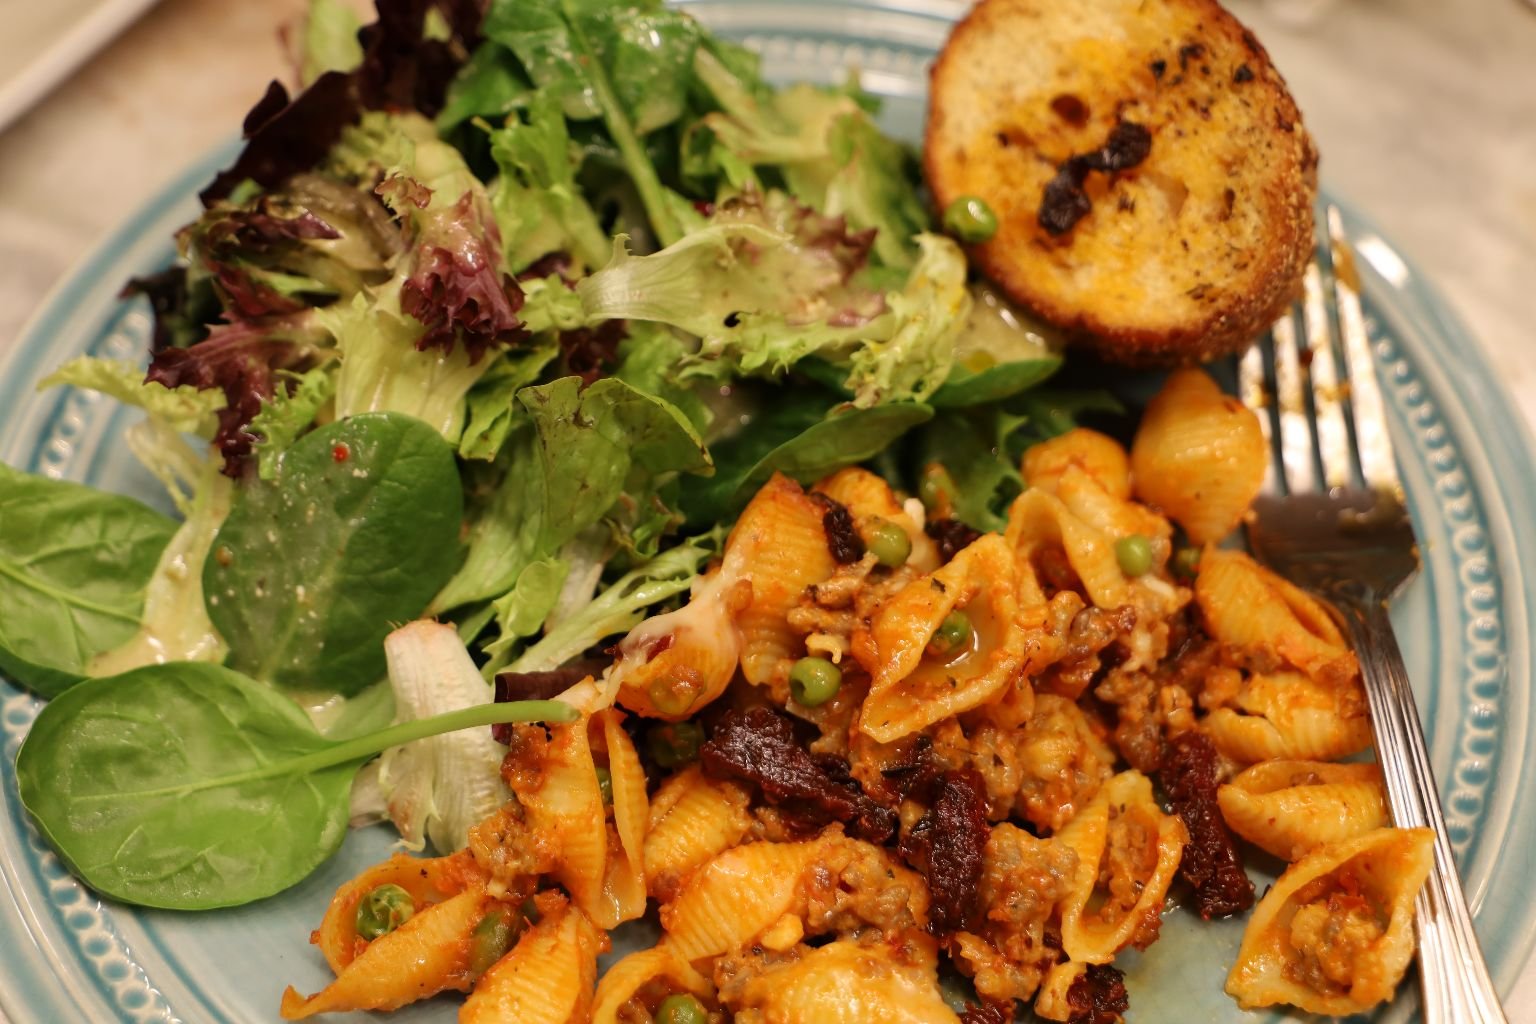
Don’t Forget The Bread
————————————————————
Whenever I make anything like this, I tend to double, or even triple the recipe. That is what I did here. The original recipe is written above for you to use as a guide. This however, is my larger version. I also added more than is listed in her write-up. I hope you enjoy it. We all did!
Julie
——————————————————————————
Recipe Write Up Starts Here
—————————————————————————————
I will be listing the ingredients and the sizes that I used to make about 3 casseroles. If you are just interested in one regular size, then use the recipe ingredients my Grandmother lists above in her write-up.
Hope you enjoy!
Julie

The Ingredients:


2 lb. Large Shell Pasta (I used 2, 16 oz. boxes of Mueller’s)
3 lb. Italian Sausage (I used 2 Hot and 1 Sweet)
2-3 Large Sweet Onions, Chopped
8 Garlic Cloves, Chopped and Minced
Enough Butter/Margarine to Saute your Onions and Garlic
6 T All Purpose Flour
Freshly Ground Black Pepper, to Taste
2, 12 oz. Cans of Evaporated Milk
2, 10 oz. Bags Frozen Peas
1 t. Ground Turmeric (The Turmeric kills cancer cells in our bodies. It also doesn’t change the taste of food much. So, we use it often in our cooking.)
28 oz. Can of Crushed Tomatoes (Although I have 3 cans in the photo, I only used this one can.)
Although, adding the can of whole tomatoes would have been perfect as well!
Parmesan and Pecorino-Romano Cheeses, Grated
(My rule is to use as much cheese as you like.)
But, if you want a guide, I would say one cup of each.
———————————————————————————-


The first thing I did was to chop my Garlic Cloves, and set them aside in a small bowl.


I then chopped my Onions into a small dice. Onions are something that I eyeball. I never know exactly how many I am going to add until I do. So, I tend to chop more than is needed. I can always save them for other uses.

Garlic and Onions in Bowls

————————————————————————-


Time to Saute The Onions…..
(Place your saute pan on a medium-high heat. Add enough butter/margarine to saute the Onions and Garlic. Start with the onions for about 5 minutes before you add the Garlic.)


..and then add the Garlic
(You want to soften the Onions and Garlic. Stir often until ready.)
———————————————————————-


In another Pan add your Italian Sausage

Break it up into Chunks

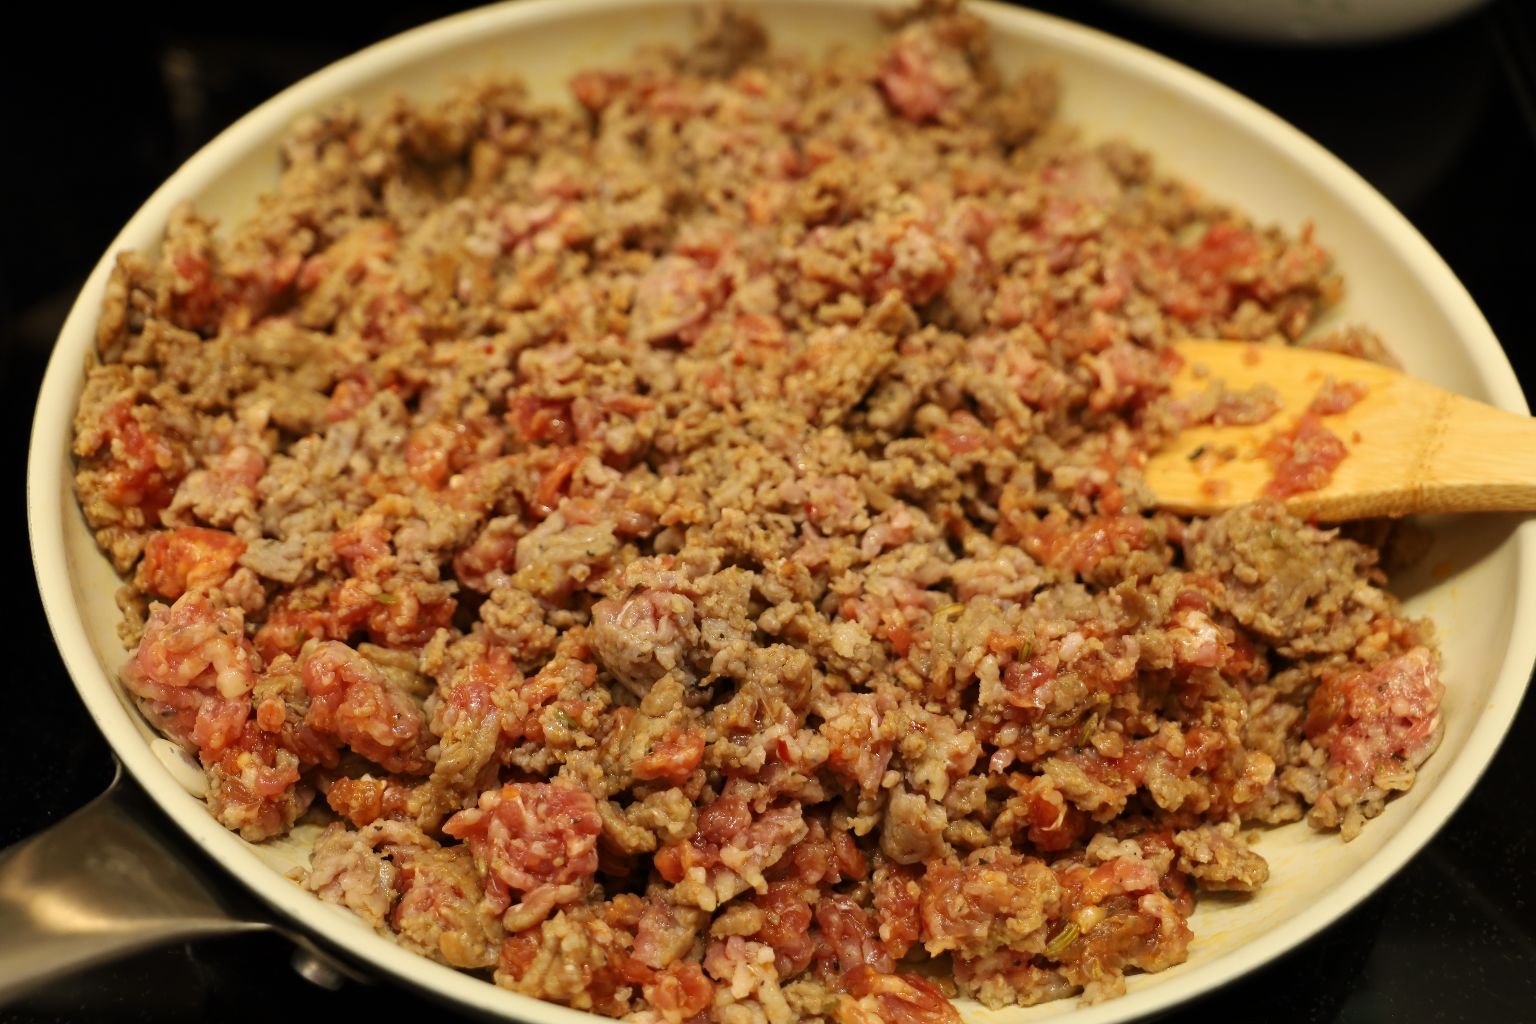
Have the burner on a Medium-High heat, and stir regularly so as to brown all over.


Into the Onions, Add your Freshly Ground Black Pepper
——————————————————————
Meanwhile…..


When browning the Italian Sausage, it does generate a lot of grease. You just need to drain that fat into the sink, being careful not to spill any of the sausage into the sink as well.

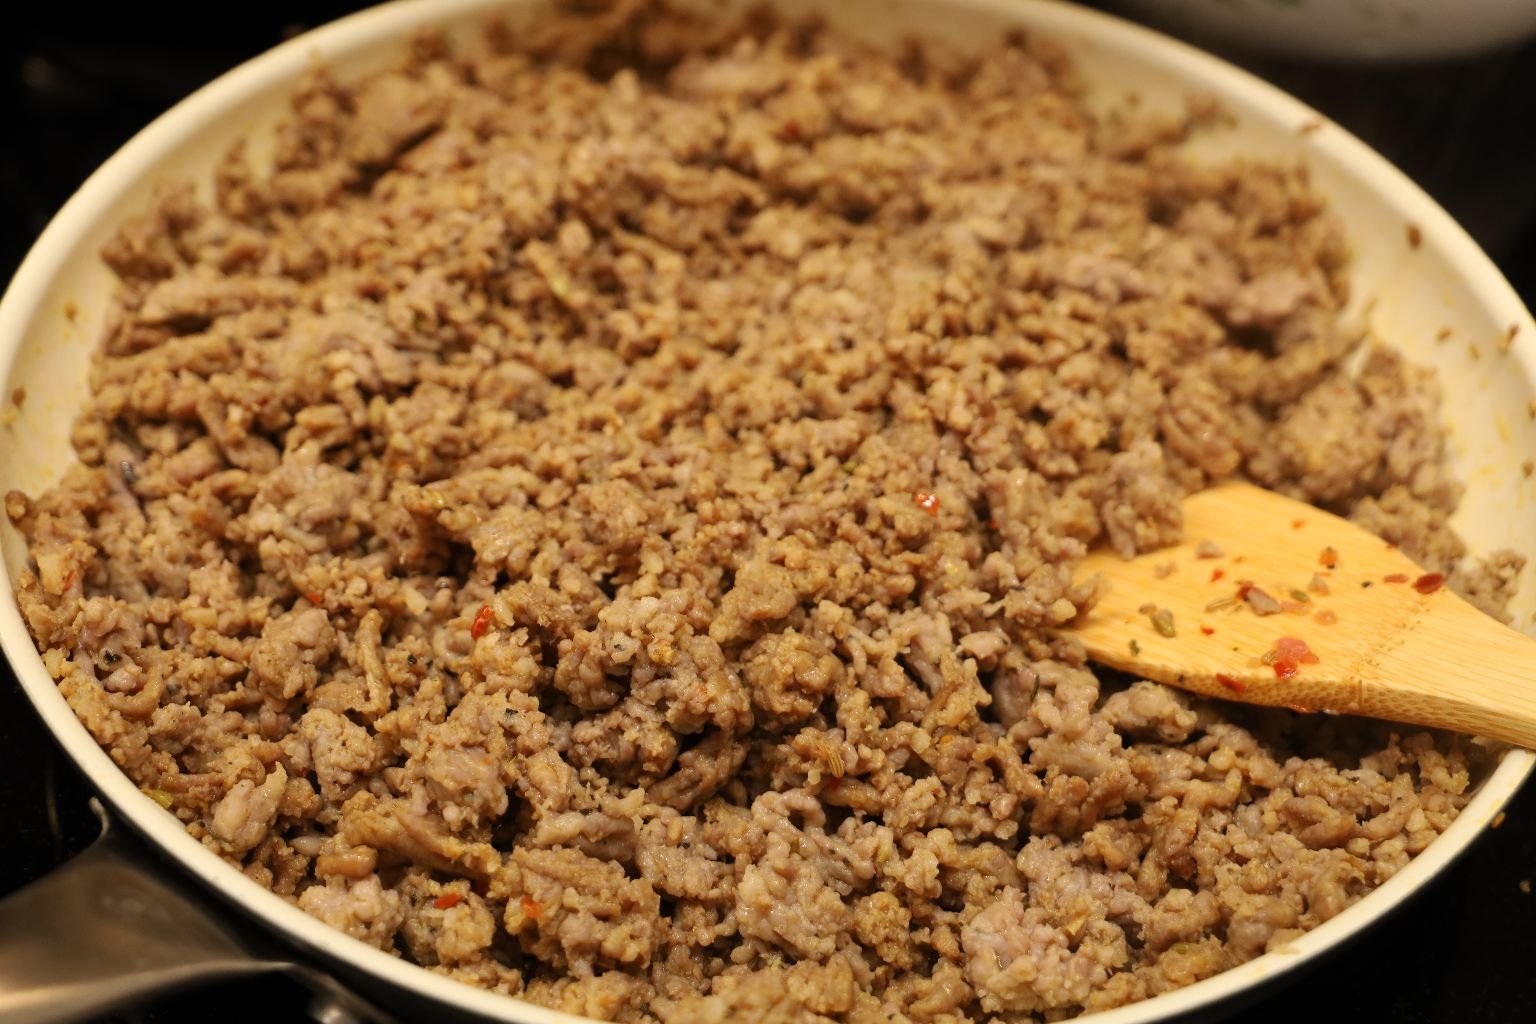
Our Onions and Sausage
Although the recipe calls for both the Onions, Garlic, and Sausage to be cooked into the same pan, I don’t like doing that. I keep them separate, and then combine them when ready.

————————————————————————————-
It Was At This Point That I Combined The Onions, Garlic and Sausage Into One Pan
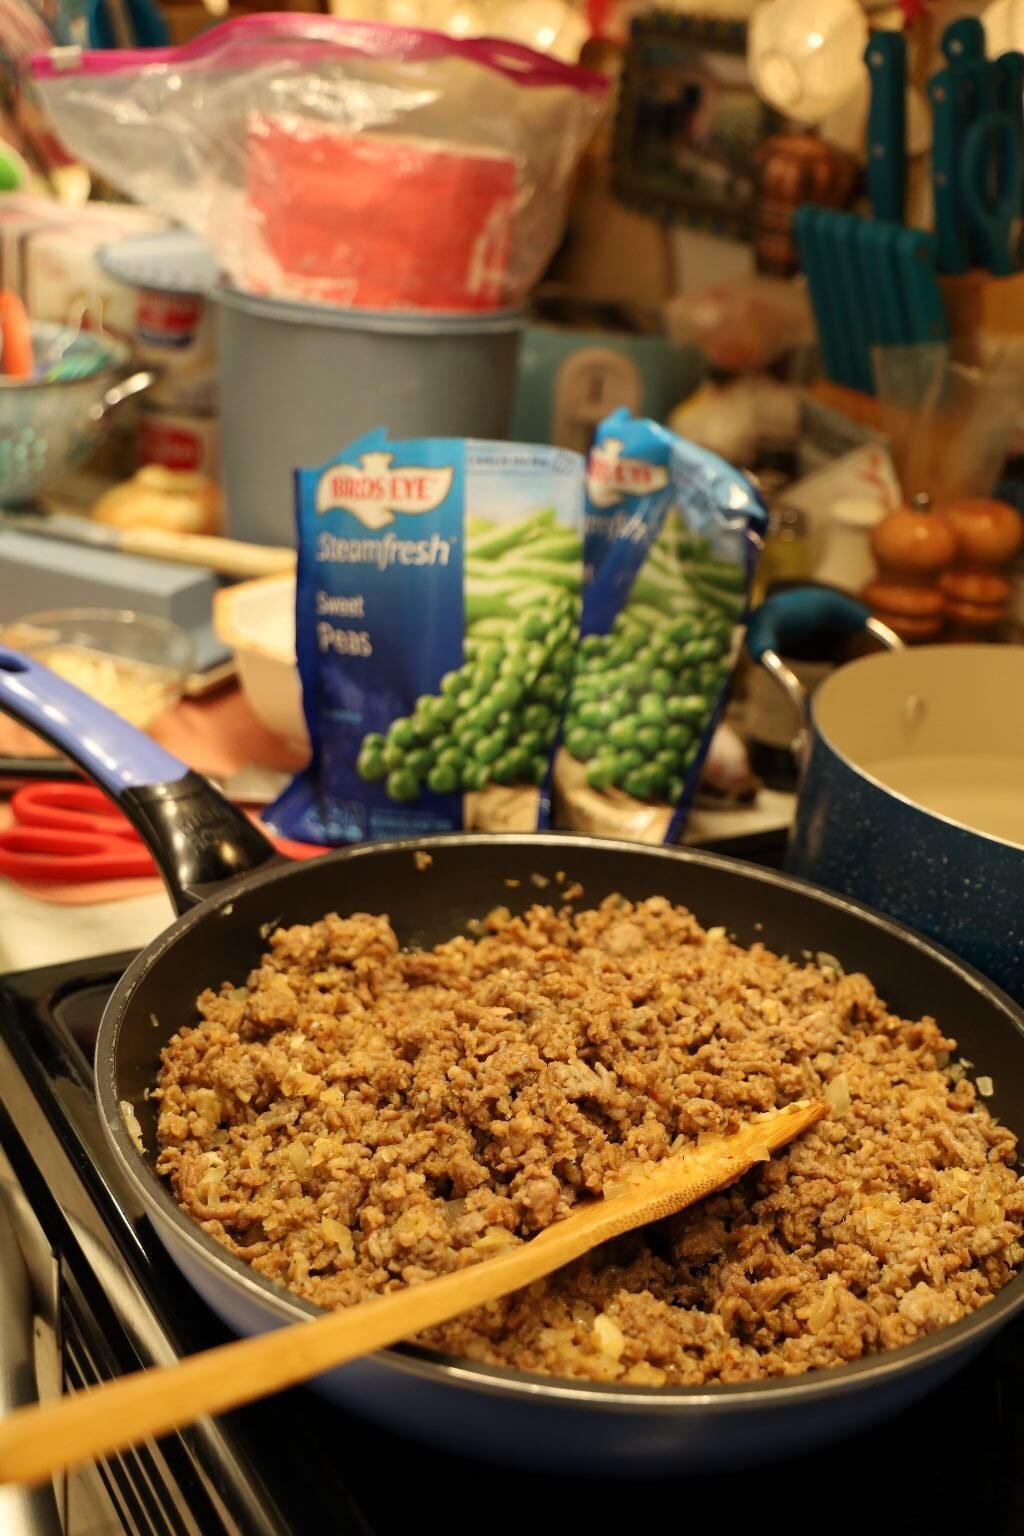
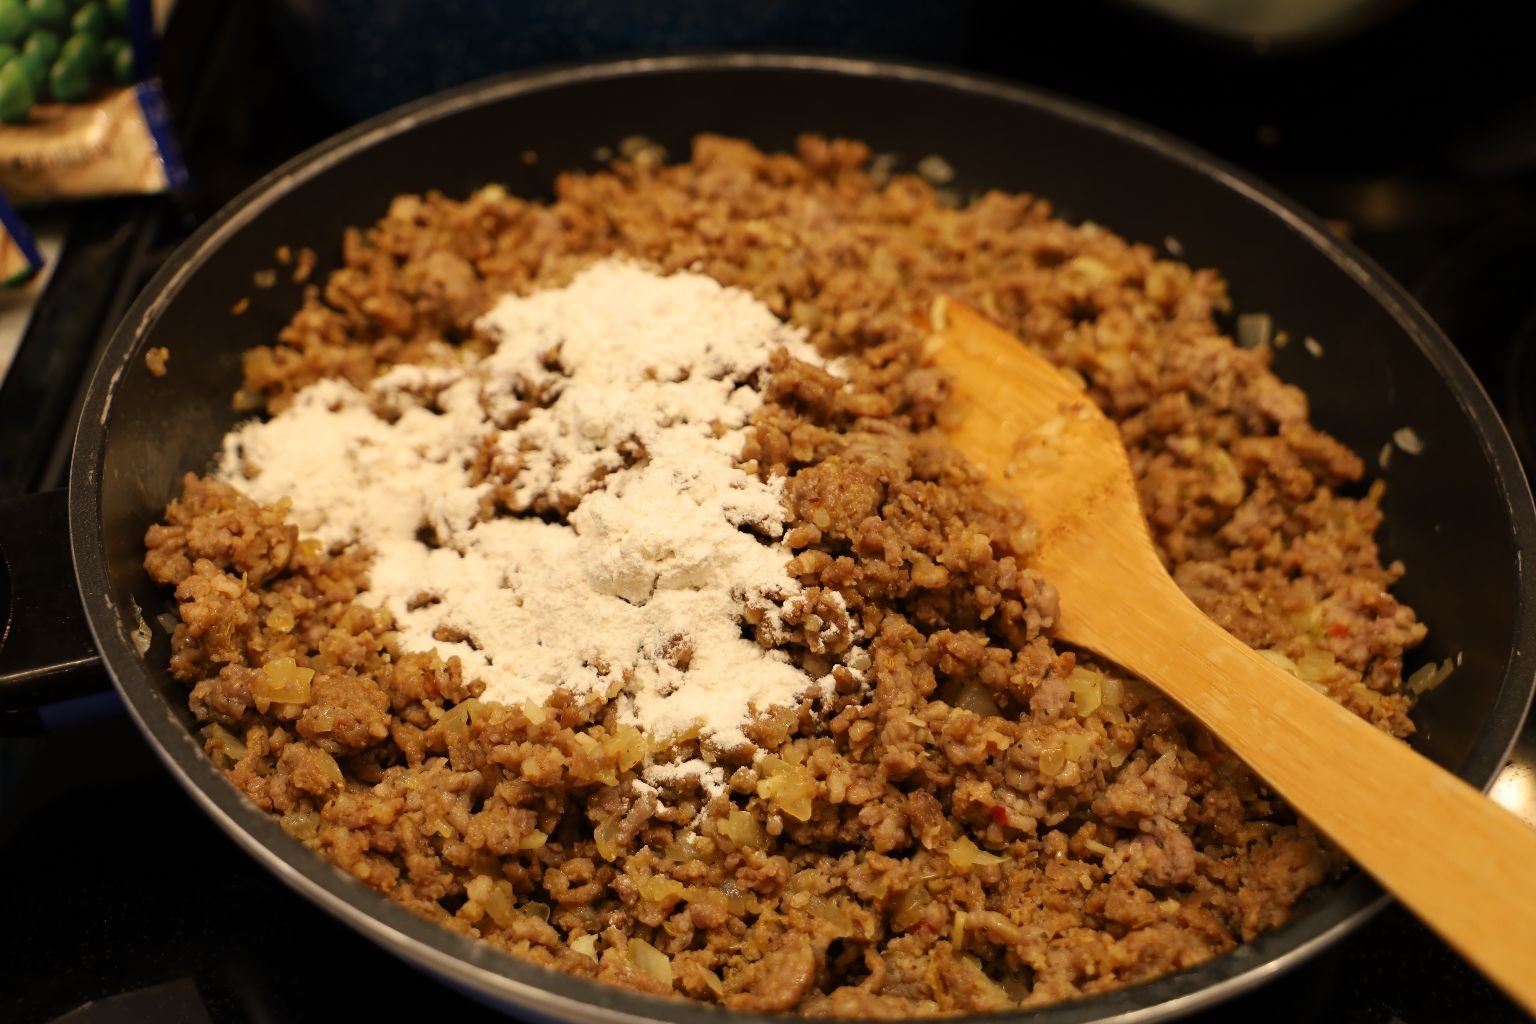
Now Add The All Purpose Flour…

Then The Evaporated Milk….

Stir Together
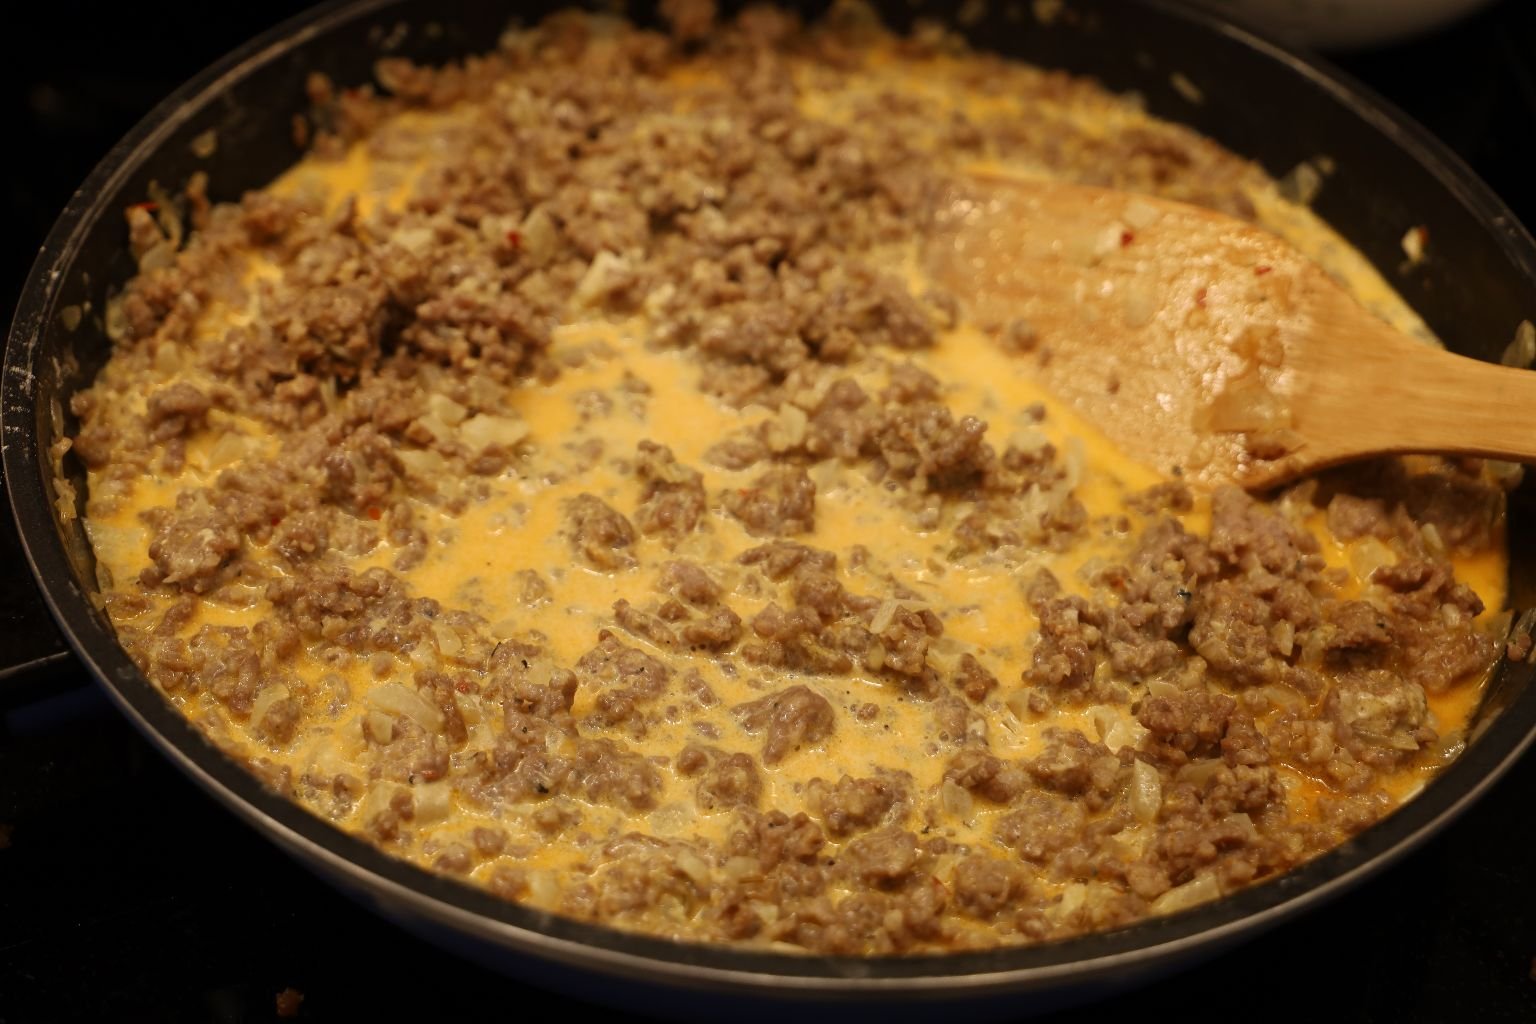

You want this mixture to thicken. So, continue to allow to simmer on the stove top, on a medium to low heat.
Continue stirring.
———————————————————————
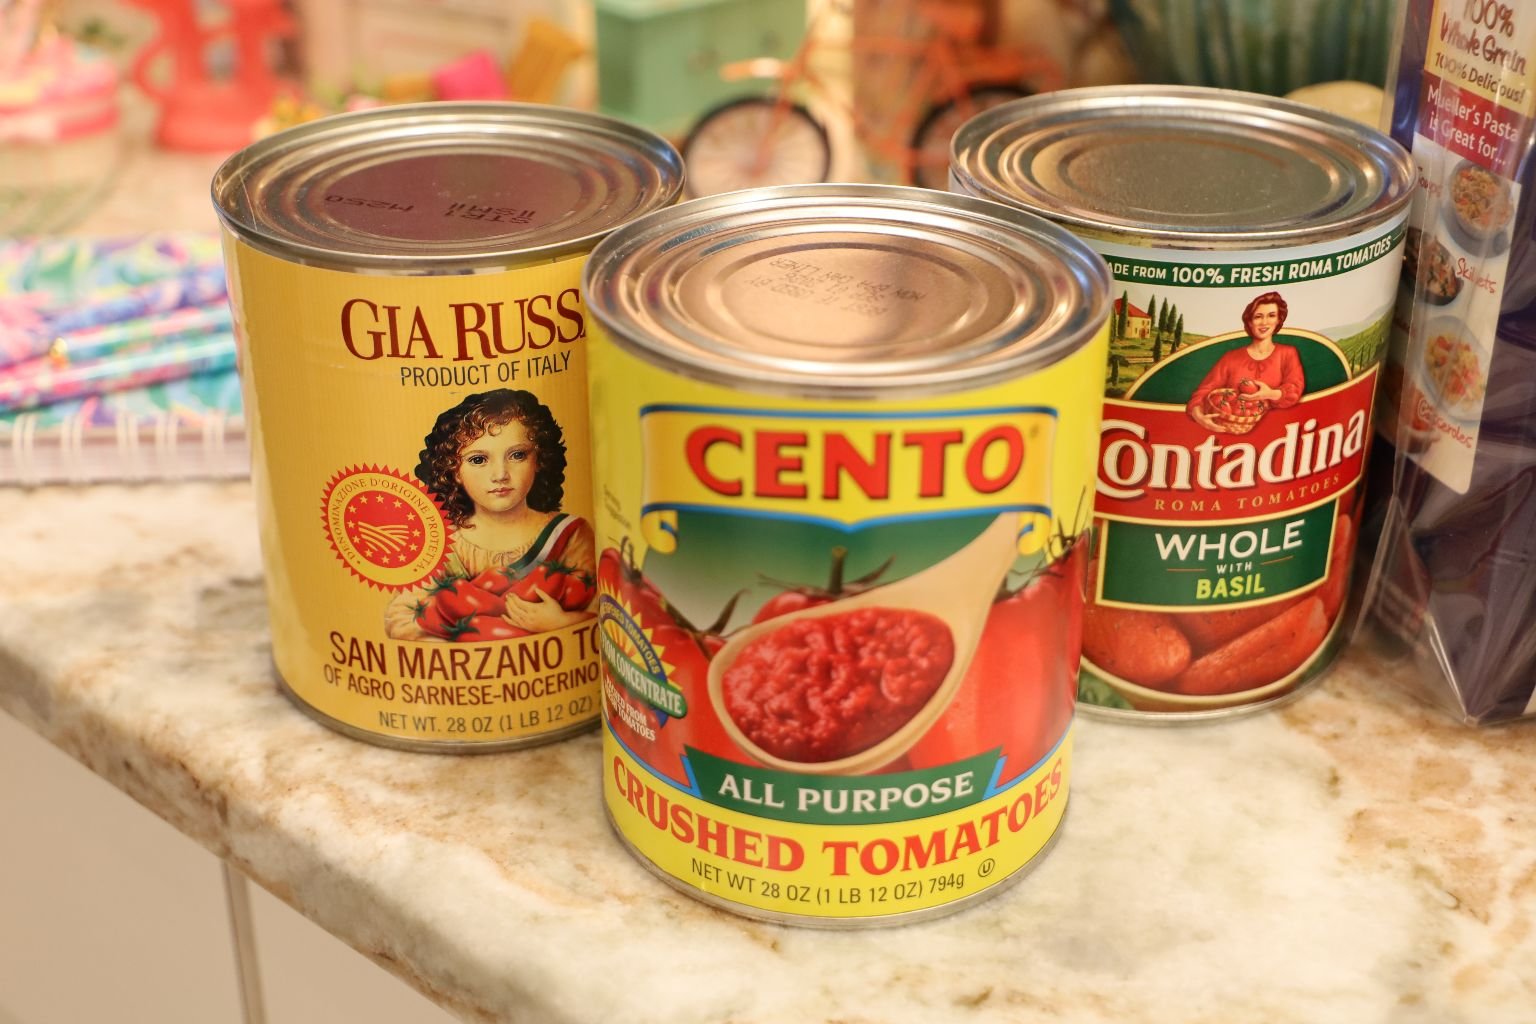
Although you see 3 cans of Tomato products in the photo above, I only used one can…
This One!
—————————————————————————


I thought the one can was enough. Just stir together and continue to allow to simmer away on a medium to low heat.


You Can See It Start To Thicken Up
(Continue to stir so that nothing sticks to the bottom and burns.)
—————————————————————————
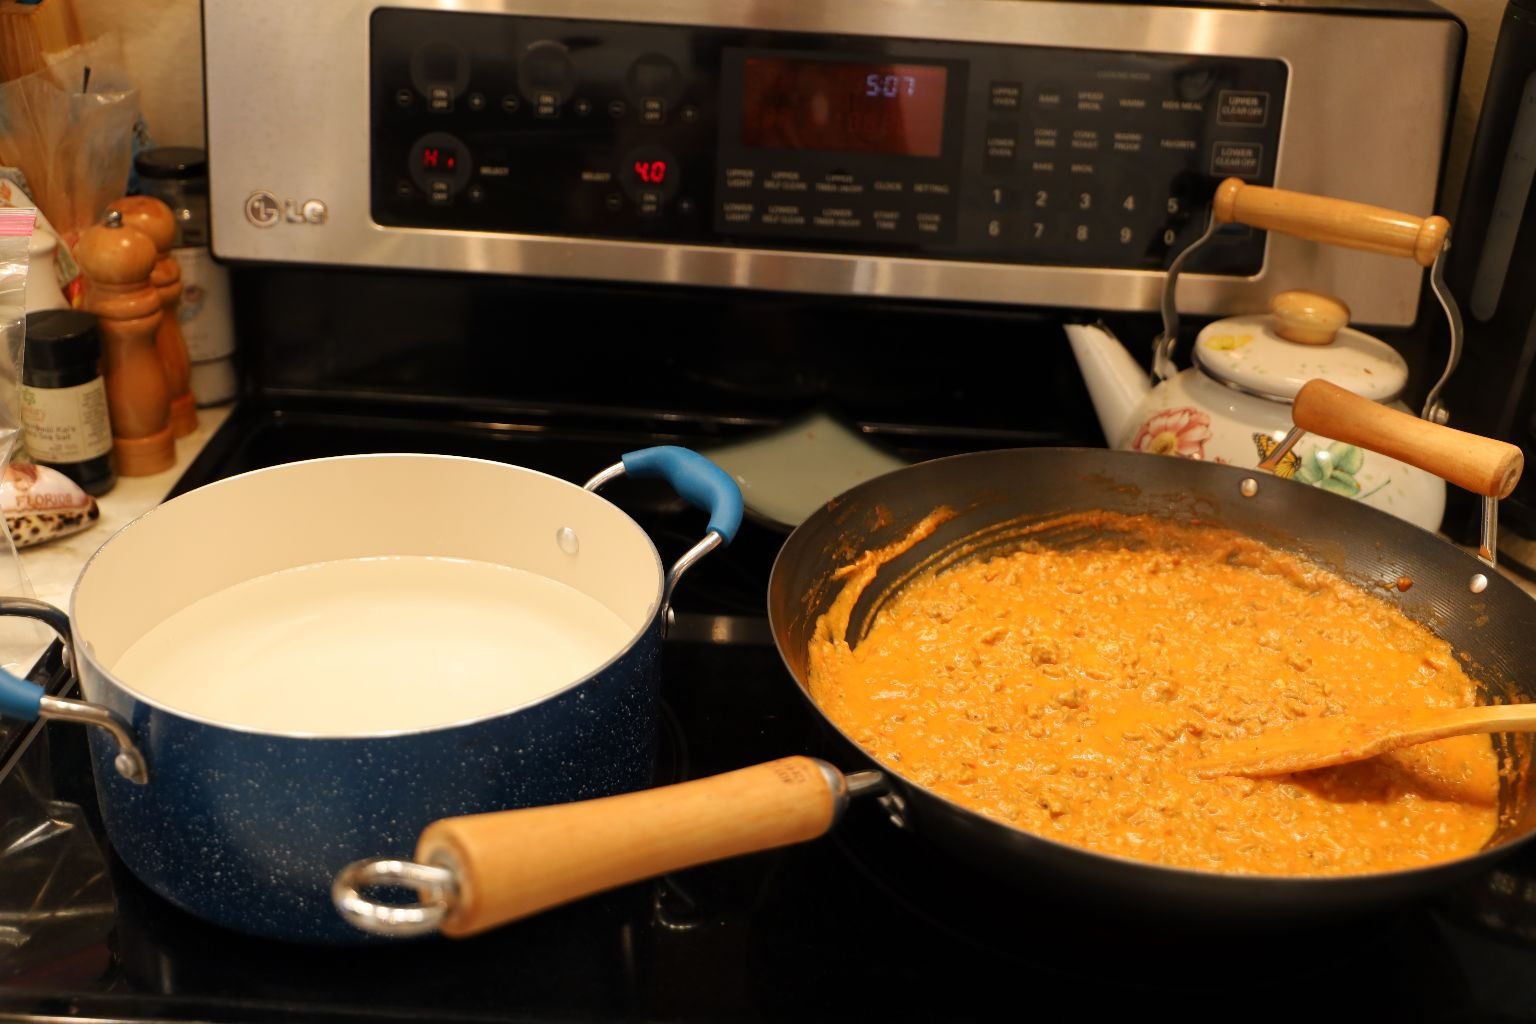
While the mixture is simmering away, it’s time to start boiling some water into a saucepan for the Pasta.

Getting Nice and Thick
————————————————————————-

The Pasta, Awaiting it’s hot, boiling bath..
————————————————————-


Now that the mixture has been thickening up so nicely, it’s time to add the Peas.
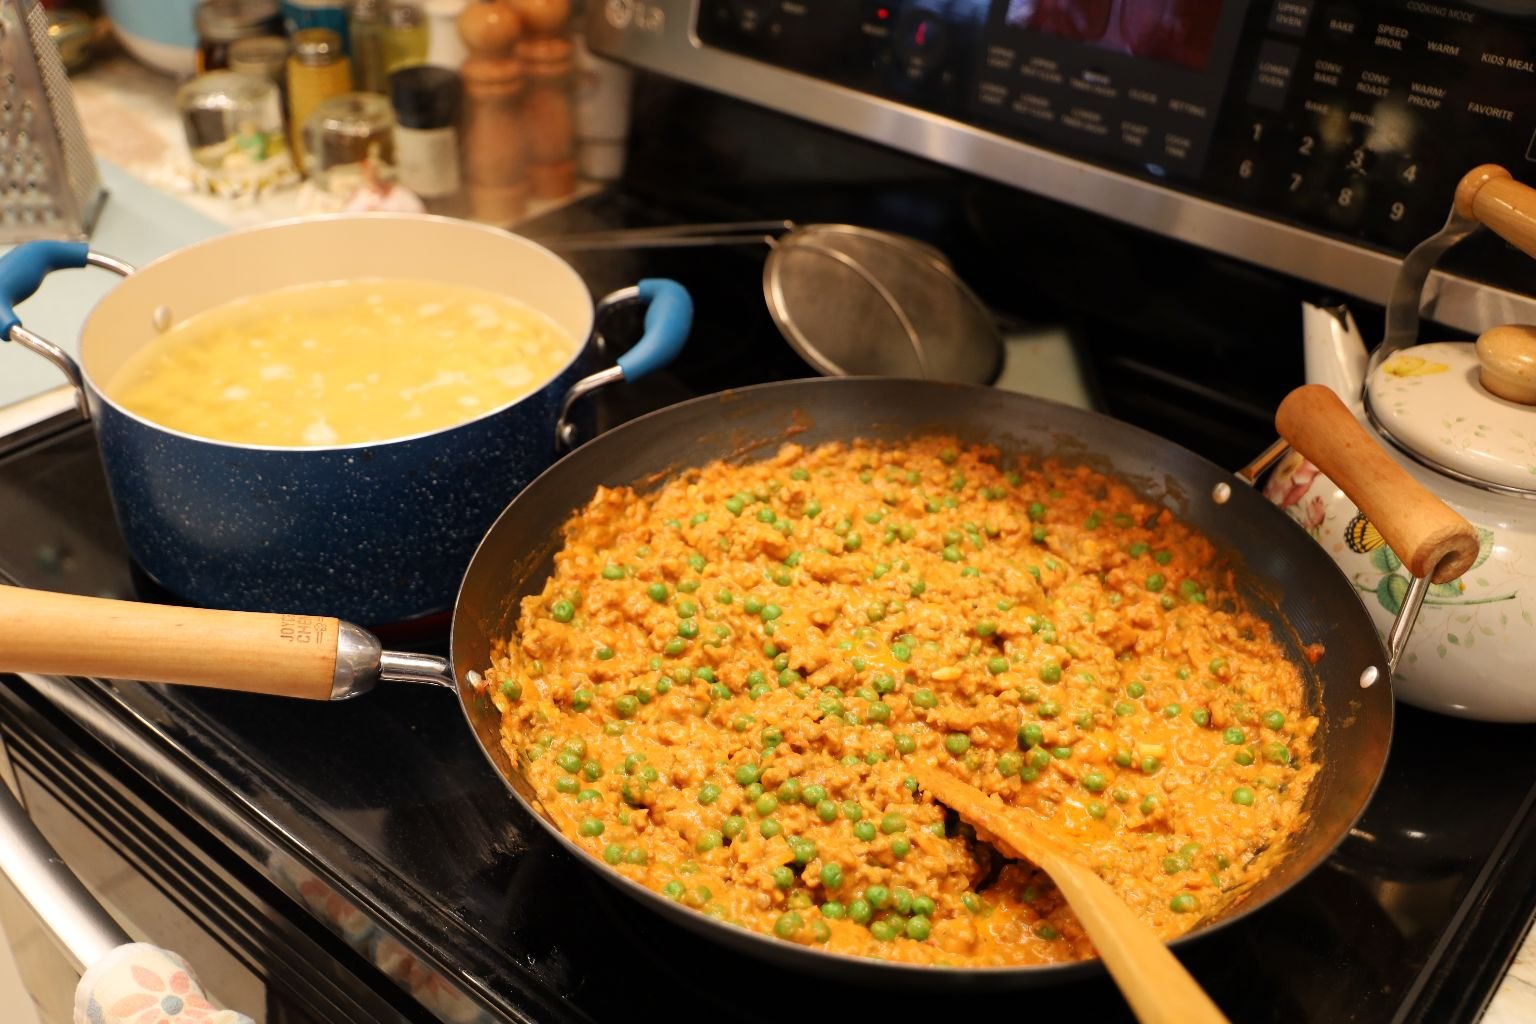
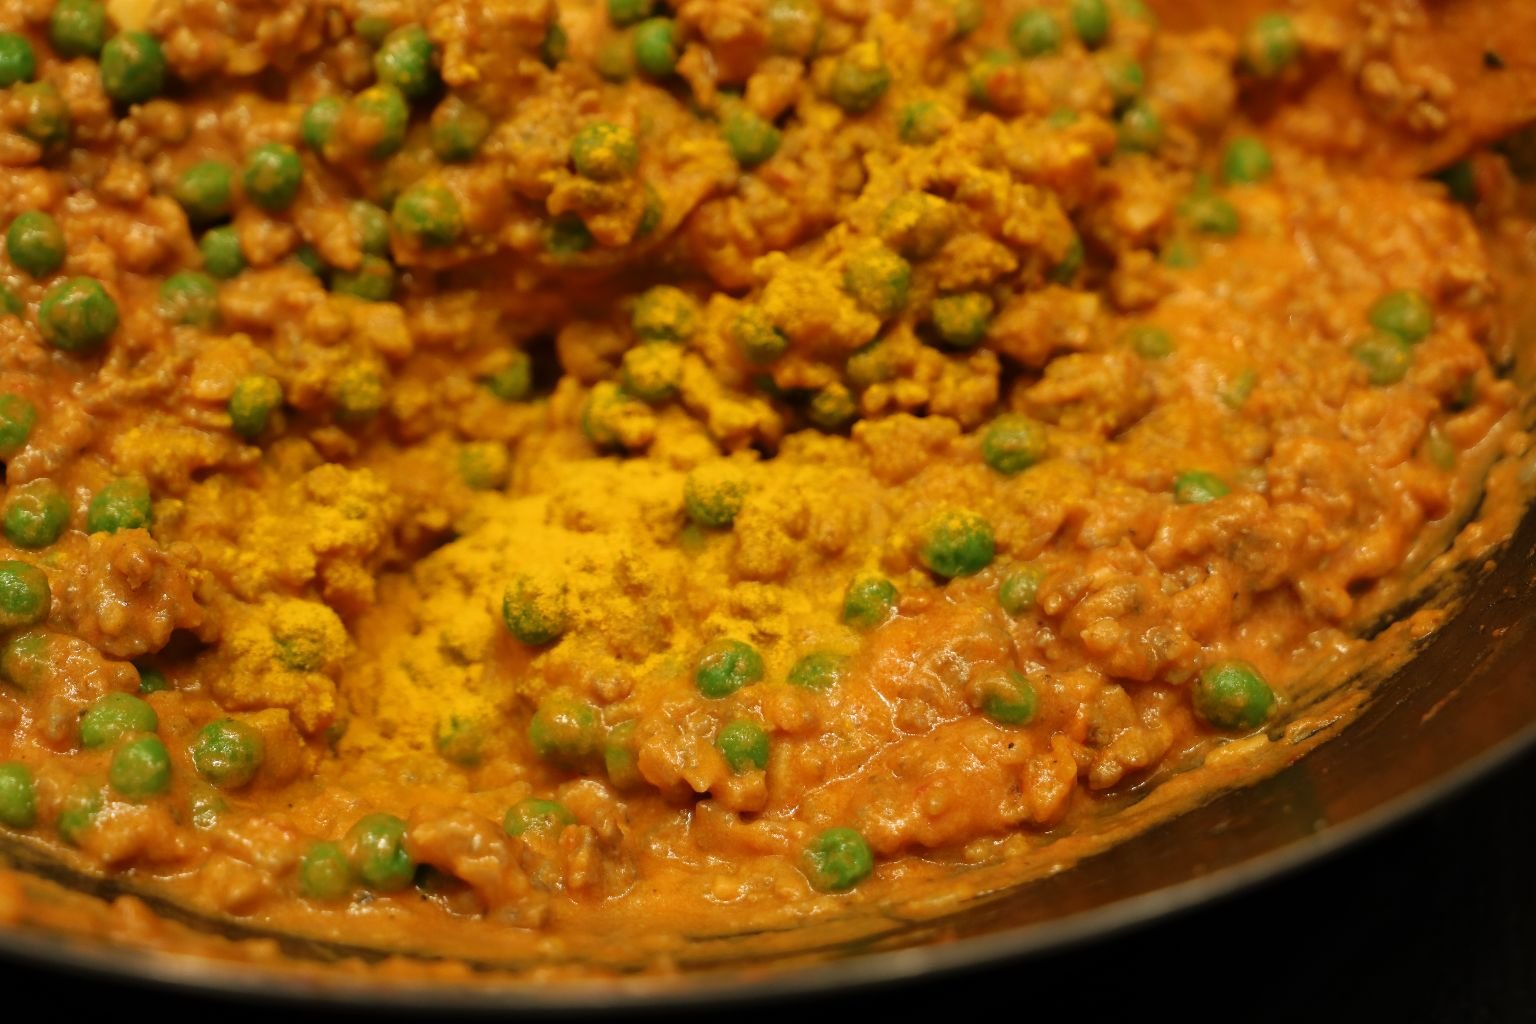
The heat should be on low by now, just to keep it warm.
If you notice in the photo, top right, I’ve added the Turmeric.


Pasta Shells Are Boiling…
The close up, above right, of the delicious goo stuck to the side of the pan, is wonderful flavor! Never discard that. Always blend it in!
————————————————————————————–

Cook The Pasta According To The Instructions


Then either drain the pasta into a colander, or use a strainer and remove the pasta that way, as you see me doing above.
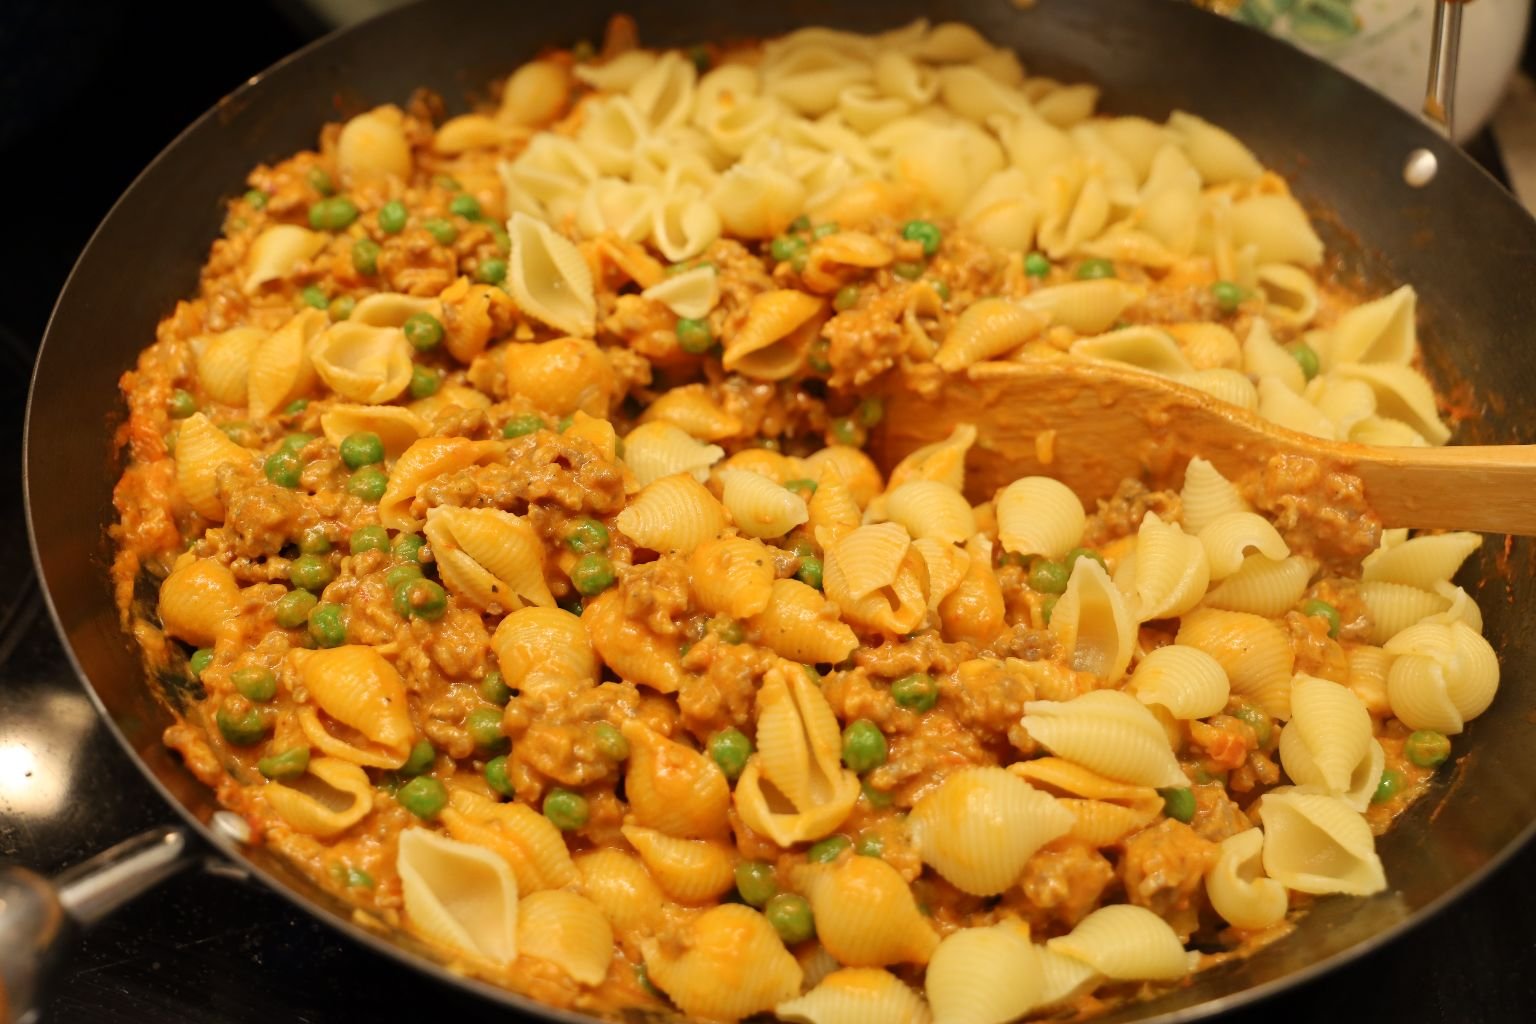
Add the Pasta To The Mixture, Stir Together
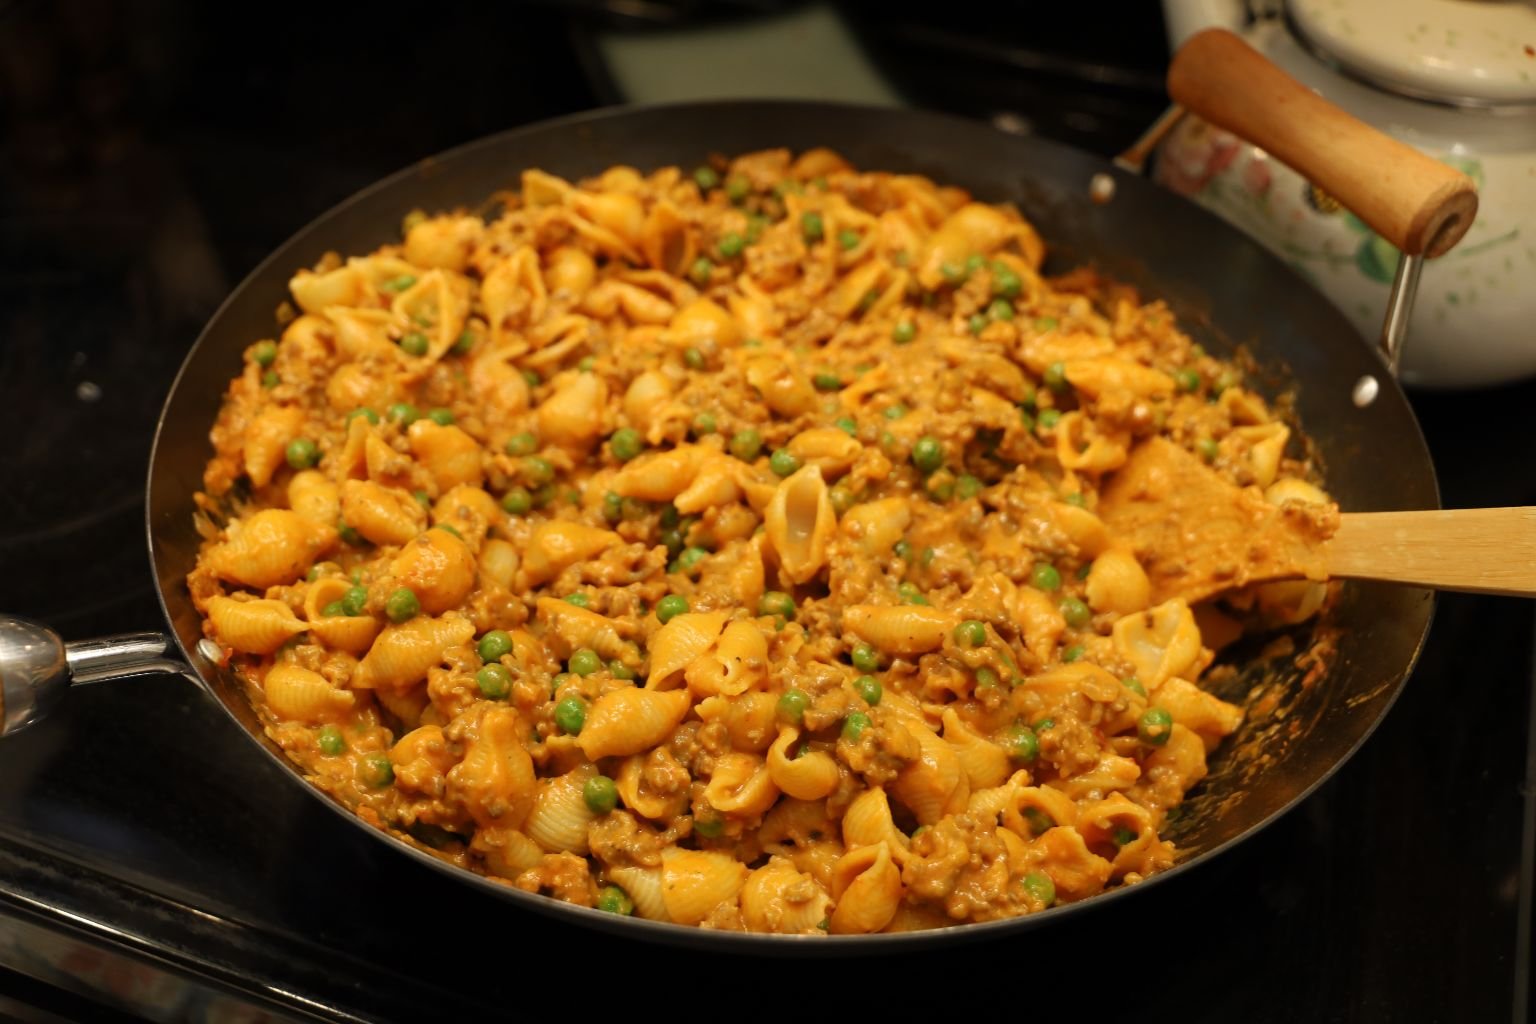
It’s READY!
——————————————————————————

Time To Prepare The Casserole Dishes

The Blue One, I Froze. The Green One I Gave To Veronica and Brian. The Red One I Ate.
I did give each dish a light Olive Oil spray before I placed the mixture into each casserole dish.
————————————————————————


Time To Grate The Cheeses
This is where ‘personal tastes’ come in to play. I grated the amount of cheese that I wanted to add.
You can do the same for your casseroles. Add as much, or as little as you like.

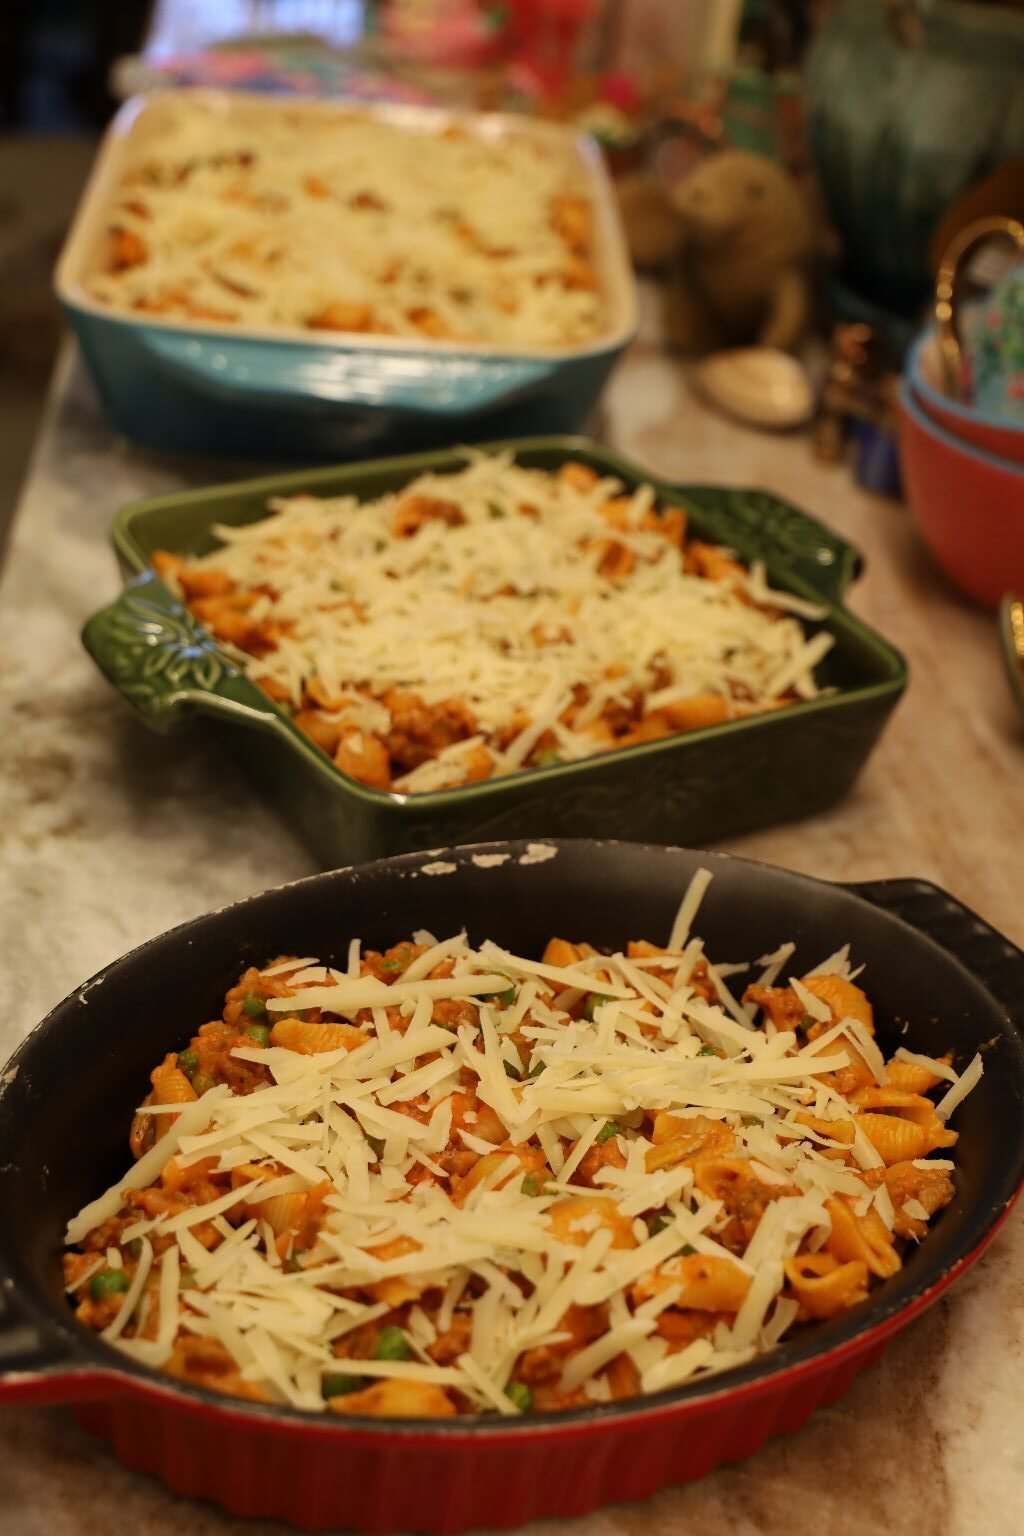
When Ready To Eat, Simply Place Into A 350F Oven For About 20 Minutes.
You just want to warm it through and melt the cheese. 🙂
——————————————————————————
If you would like to view our other Italian food posts……
Julie’s Italian Appetizers and Edible Gifts

———————————————————
Gordon and Julie Italian Seconda Parte 2

—————————————————-

——————————————————–

——————————————————————-

———————————————————————
La Sciatta Giulia Anna’s (Italian Sloppy Julie Ann’s)

—————————————————————————-

———————————————————-
Edible Gifts: Italian, Greek, and Irish

—————————————————————-

————————————————————

———————————————————————

—————————————————————————–

——————————————————-

———————————————————-

——————————————————————

———————————————————————–

————————————————————

————————————————————————-

————————————————————————–
Modern Day Mona (Lisa) Halloween

———————————————————————-
Even More Italian (Just For You)

—————————————————————————-

————————————————————————–
Tavolino Da Caffe Italiana (Coffee Table Italian)

——————————————————————————-

——————————————————————————–

—————————————————————–
Grazie,
Julie and Gordon
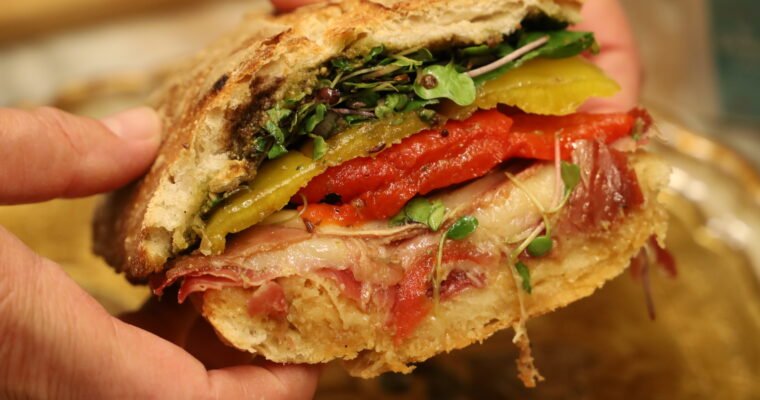
February, 2024 Super Bowl Sunday Airport Pick-Up, w/ Great Coffee Table Italian Foods to Follow 🙂 ————————————————————————— With Gordon working overseas, he doesn’t get to come home very often. This was a very nice visit filled with lots of Coffee Table Italian. …
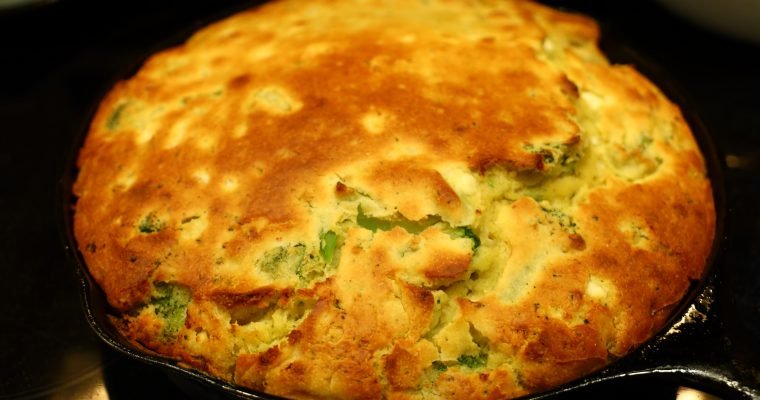
Currently Baking in Grandmother Keith’s Oven Deliciously Cooling… ————————————————————————– I LOVE Cornbread! If you were raised in the south, before the internet brought us all together culturally, then you grew up eating Cornbread religiously. We loved it whether it was …

WILLKOMMEN!
(Welcome)
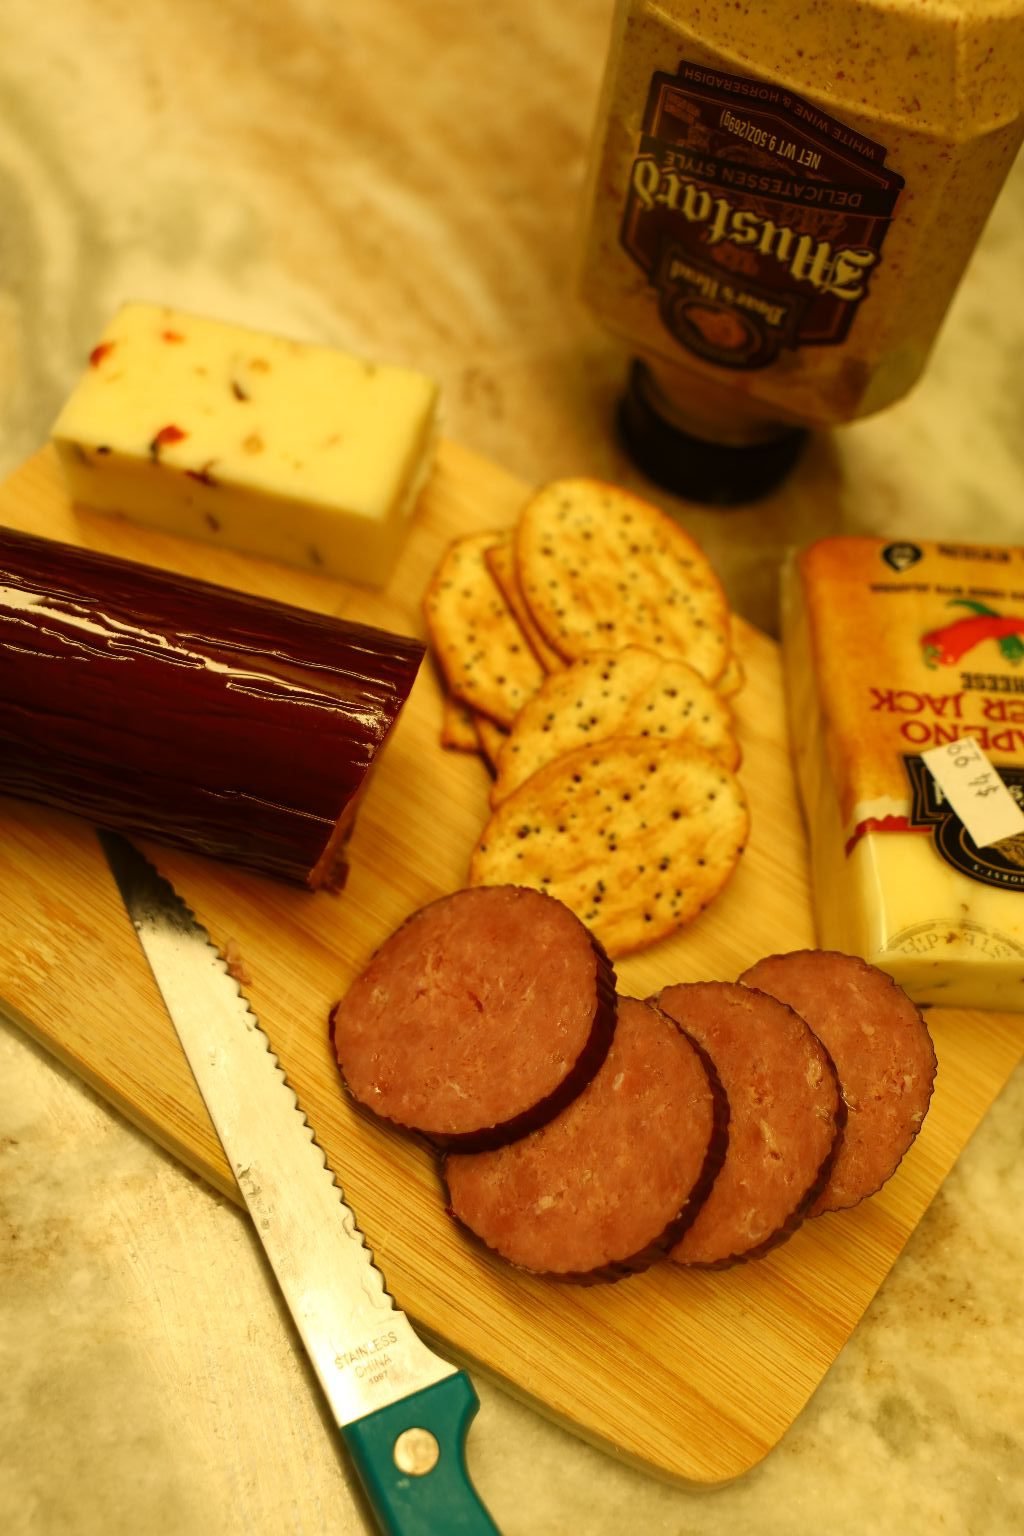
(Hardly fancy, but Cheese, Turkey Sausage, on Crackers with a good German Mustard is a nice little snack.)
———————————————————–
Oktoberfest: German Festival

Held over a two week period ending the first Sunday in October.
The festival originated on October 12, 1810, in celebration of the marriage of The Crown Prince of Bavaria, who later became King Louis I, to Princess Therese Von Sachsen-Hildburghausen.
The original Oktoberfest takes place in Munich, Germany. The locals refer to Oktoberfest as THERESIENWEISE, also known as FESTWIESE.
Most people wonder why Oktoberfest starts in September instead of October? It’s because the days are warmer and longer in September, and people can stay outside enjoying the festivities longer in the day.
Although I have no German ancestry that I am aware of, Gordon’s mother’s parents came over to America from Germany and settled in Pennsylvania. There is a large German population in Germantown, PA. Hence the name.
—————————————————————–
Although Oktoberfest isn’t a yearly tradition for us, it is sometimes fun to get into that Germanfest mood with some delicious foods.
We will bring a few to you here and hopefully add a few more as the years continue.
BLEIB EINE WEILE
Gordon and Julie
Some Cookbooks Gordon Picked up in Germany
———————————————————————–
Our Mini-Oktoberfest for 2024
(Introduction by Gordon)
While I was in Germany for a two-week business trip earlier this year, I was able to visit two castles and
enjoy some of their great beer and food. We love to cook so some authentic cookbooks
were a must find. Julie was excited when I brought those home to her.
While eating at one of the restaurants, on the menu was a
hefeweizen beer with banana, cola, or cherry syrup. A friend suggested I try the cherry,
and it was delicious. The Erdinger beer seen with the white label below, is the one to get and
simply add to your taste some grenadine syrup. It literally tastes like cherry soda. The
beer taste is barely present. I also like to buy barifanalia, “things for my bar” like
mugs/glasses, bar towels, etc… as they tell a story of where you were when you had a
drink using that glass. The German restaurant owners rarely made me purchase the
glasses as they were proud of their beer. I wasn’t able to get an Erdinger one though,
but maybe for Christmas. Another great beer from there is Dinkellacker as the brewery
wasn’t far from my hotel. Of note, The Dinkelacker brewery was founded by Carl
Dinkelacker in Stuttgart's in 1888. Dinkelacker was the largest brewery in Stuttgart by
the end of the 19 th century, and still brews at that location today. A common food item in
Germany is Currywurst. They have a bratwurst that is sitting in a pool of curry
ketchup that is then doused with more curry powder. I am here to tell you it is delicious.
I had to buy some and let my family experience it. You also can’t go to Germany
without purchasing a beer stein or a smoker man which is seen as a Chef in the photo below. I grew up
with them as my parents had a vast collection which was added to yearly. I too am part
German on my mother’s side. Please try some of this great German food and beer as
you won’t be disappointed.
————————————————————————————
The Erdinger Beer with the Smoker Man as a Chef
(Gordon’s father Milton had a vast collection of these men, only much larger in size than this one. This one is a small ornament. I think that Gordon just wanted his own. Perhaps he will inherit a few of them from his family someday.)

Our Dinner of Brats, Sauteed Onions, Curry Ketchup, German Mustards, and Sausage Balls
Our Meat and Cheese Wrapped Pretzels, with German Mustards
Gordon’s Plate Looks a Bit Delicious, but Extreme 🙂
———————————————————————————
Leftover SausageFest
Perfect with Eggs the Following Day
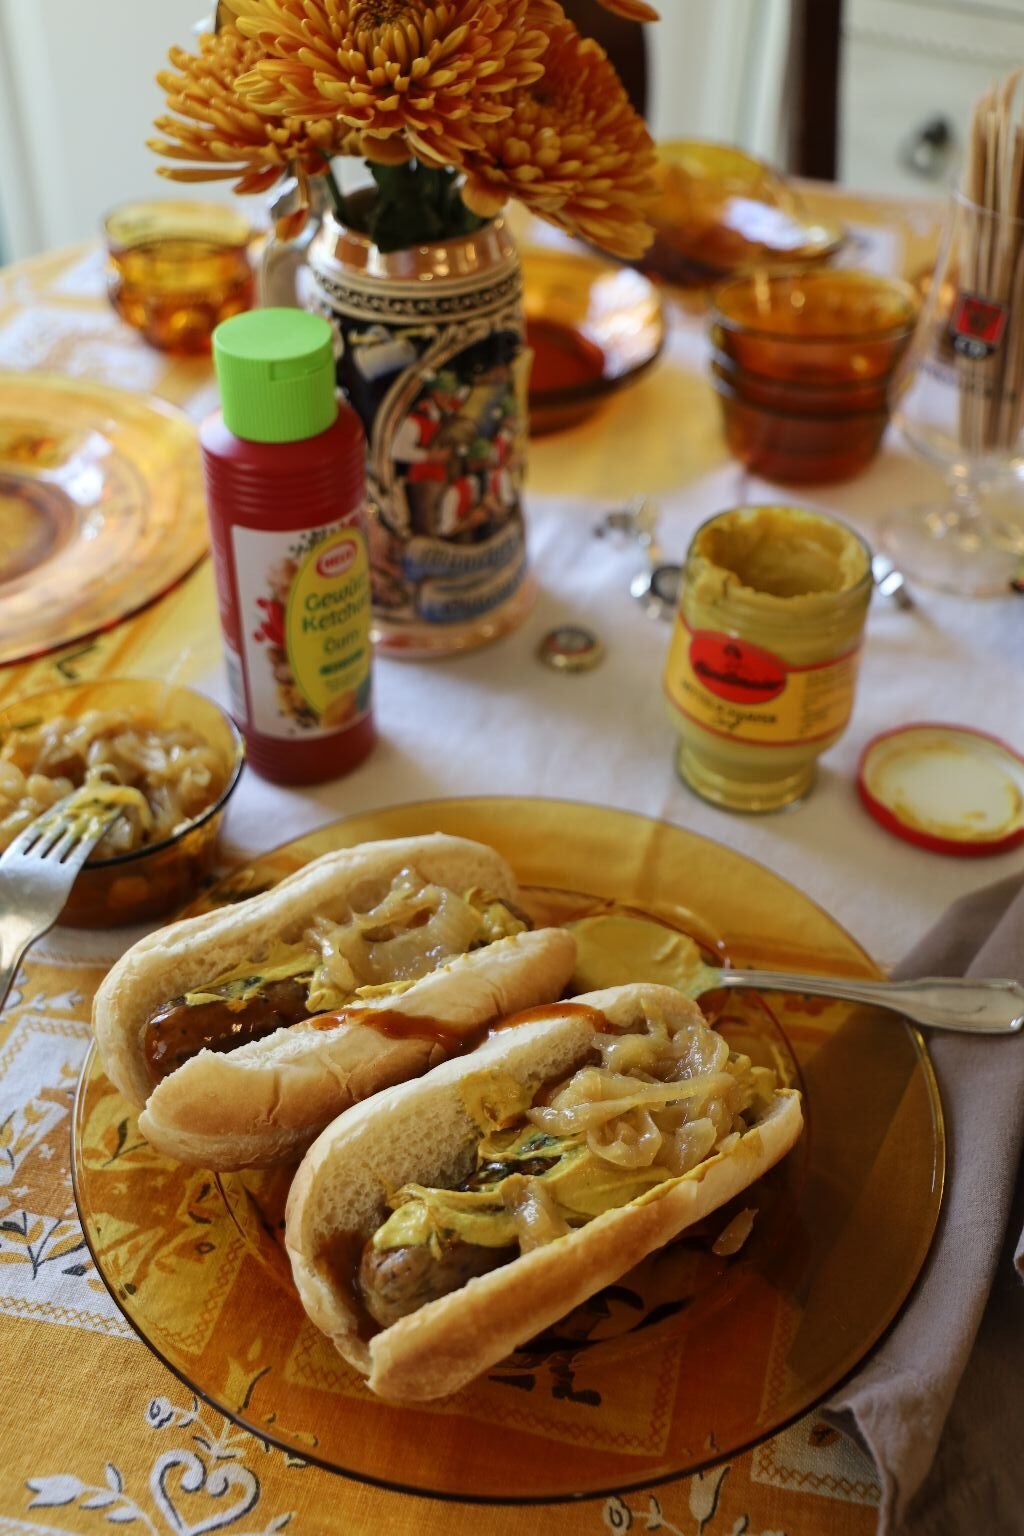
(Recipes Down Below)
———————————————
First Up:

Frankfurter’s on Buns with Sauerkraut
Landsberg Mustard Pickles
(These are some of the best pickles we have ever eaten. Highly recommend!)
If you are looking for ideas and inspiration for your German table then look no further than the ethnic isle at your local supermarket. You may even be lucky enough to have a German market near you. You just have to do a little research online to find out.


This particular meal isn’t anything fancy or difficult at all, but the flavor is heaven!

Sometimes the most simple foods are the best.
—————————————————————–
We’re almost embarrassed that the recipe isn’t more complicated than this.
Most of our items are ready made, but delicious on their own! The hardest part was grilling the Frankfurter’s.
————————————————————————-

To cook these Frankfurters, simply turn your grill to medium high heat for about 5 min. Clean your grill with a grill brush to remove and remnants from the previous grilling. Place your Frankfurters on the grill for about 5 min. then turn as needed until the Frankfurters are browned on all sides. I am also grilling some sweet Italian brats, which take a few minutes longer to grill as they are thicker. When they are done, I like to grill the buns as well to get them nice and toasted.
————————————————————
When Gordon Was In Germany, 2024

Postcards, Brochures, and a Souvenir T-Shirt
Stuttgart, Germany
Gordon has been working overseas now for a year and a half. He comes home about twice a year for a few weeks at a time. But, it was earlier this year that he and some of his co-workers flew into Germany for two weeks to attend a school and some training there. Gordon loved it! He would call me everyday to report on what he saw, and what he ate! Bragging about the food, and even purchasing some mustards and ketchups to bring back with him. He also picked up a few cookbooks. The Germans eat a lot of pork and potatoes.
He talked about all of the bakeries all over the place, and the wonderful smells that came from them.
He also talked about how cold it was. We aren’t used to the cold weather, especially with where he is working overseas. (Sorry, I’m mum on that one.) 🙂
When he came back home this October for almost 3 weeks, we decided to have a Mini-Oktoberfest for ourselves.
Here is what we came up with:
——————————————————————————
Our Mini-Oktoberfest
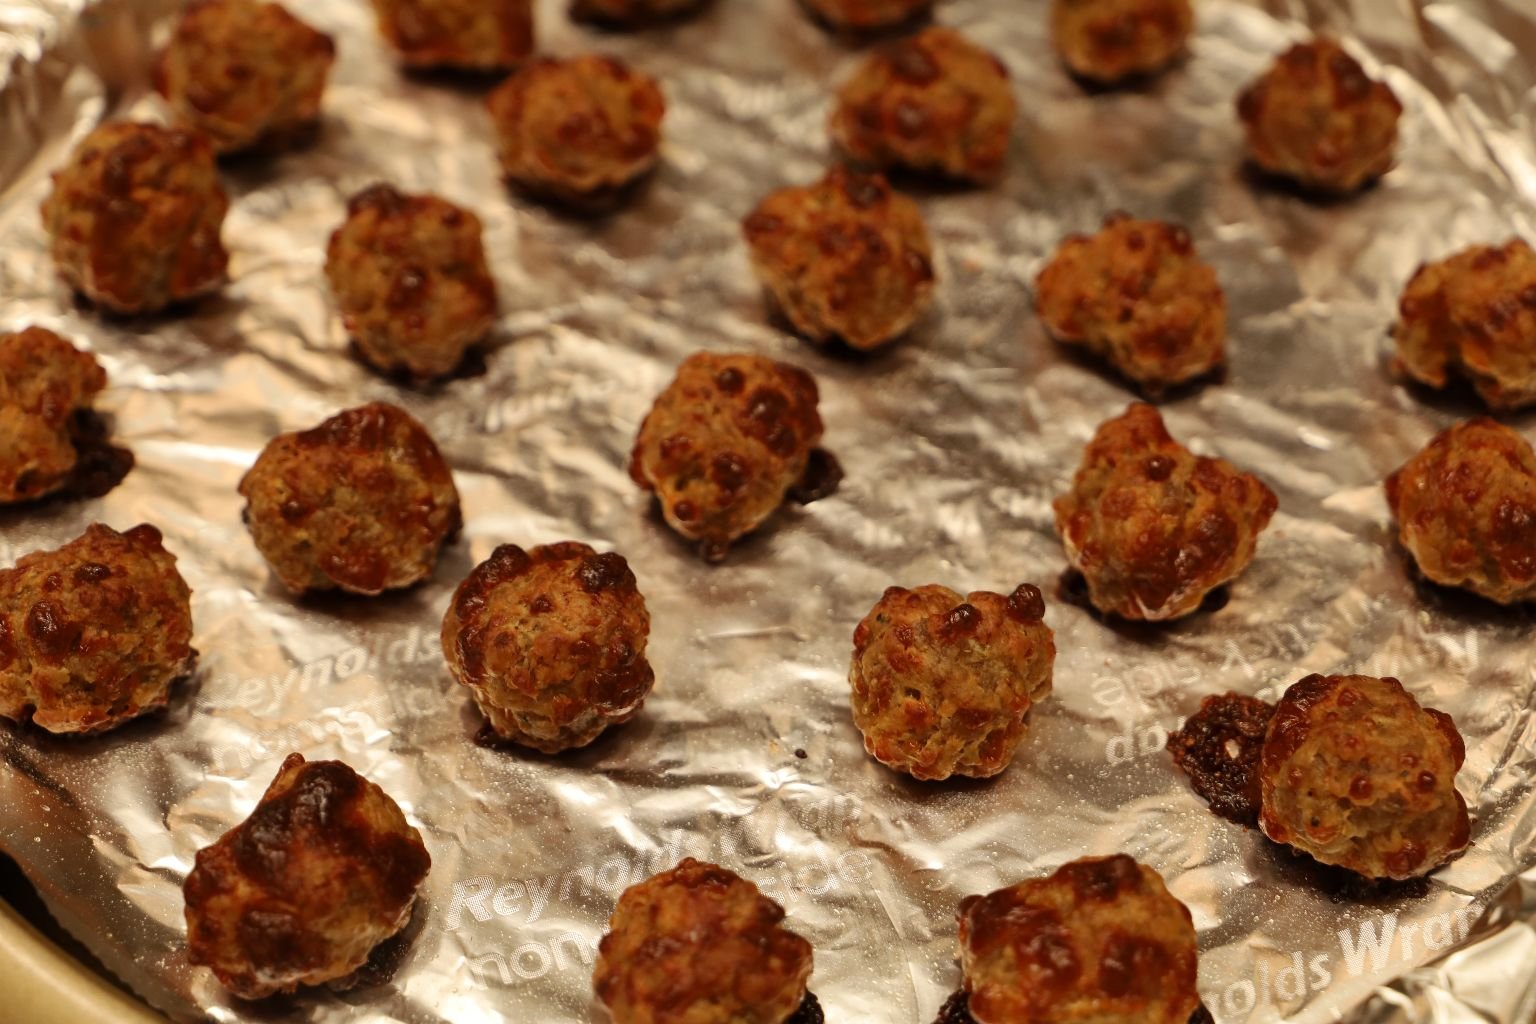
Sausage Balls From The Freezer
Every year for Christmas I always make Sausage Balls for our daughter Veronica. They are her favorite Christmas treat. Gordon had requested that I save him some for when he came back home next, so I did. I thawed them out, baked them, and added them to our meal.
(We gobbled them up quickly!)
—————————————————————————————————
Gordon Sauteeing Some Onions for our Grilled Brats
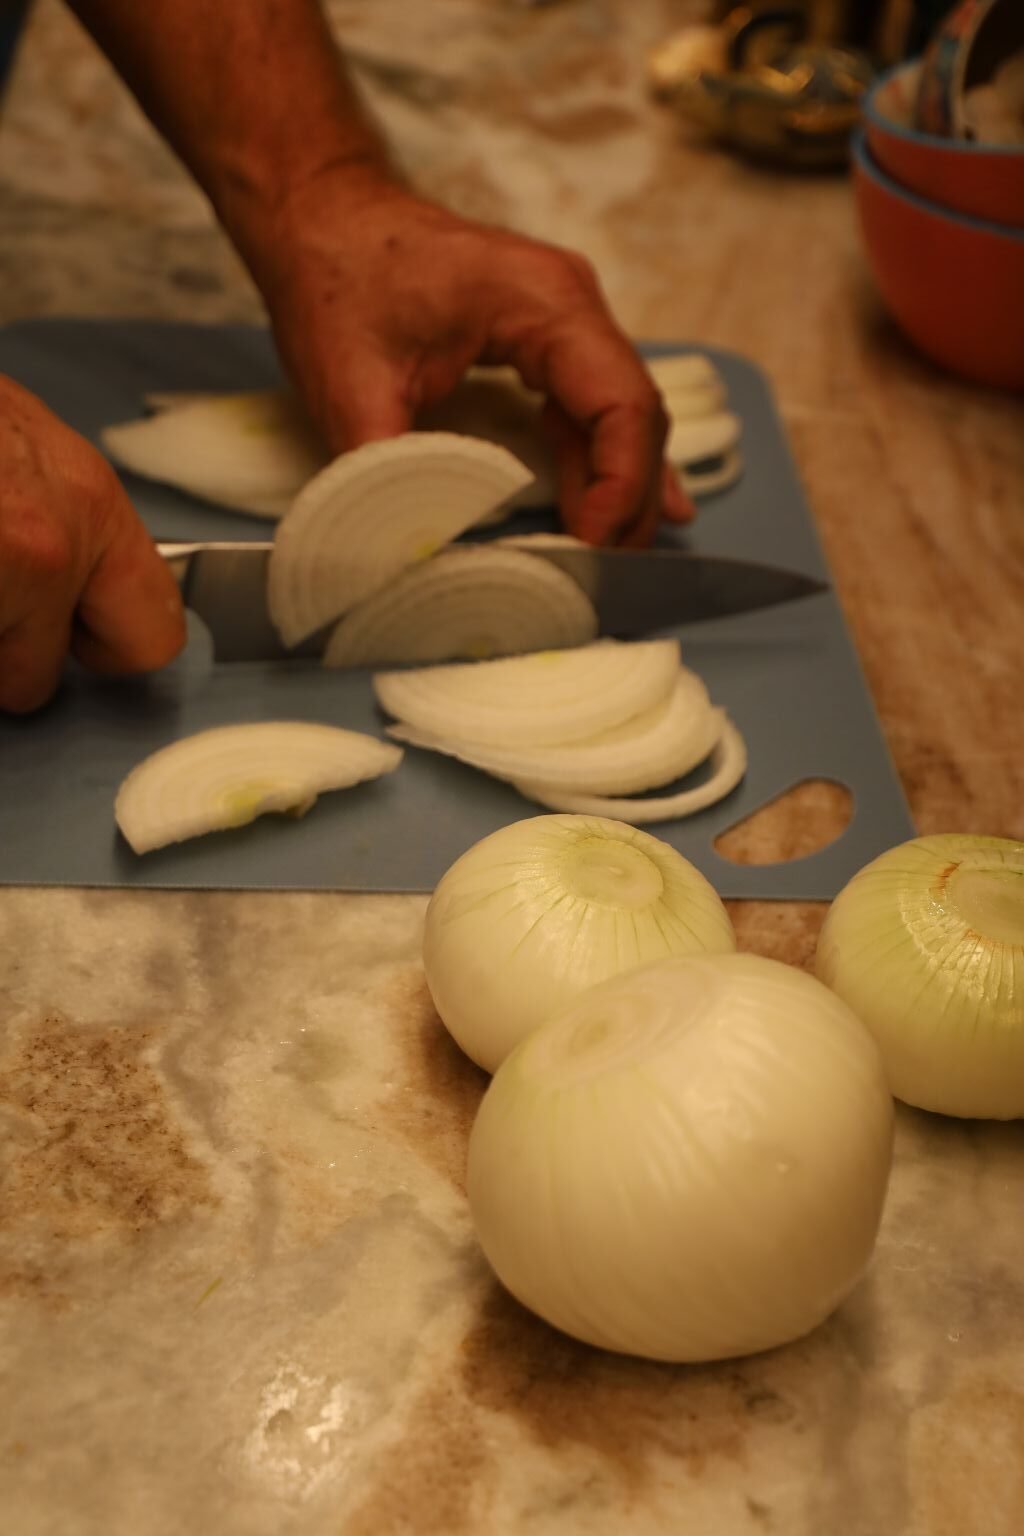
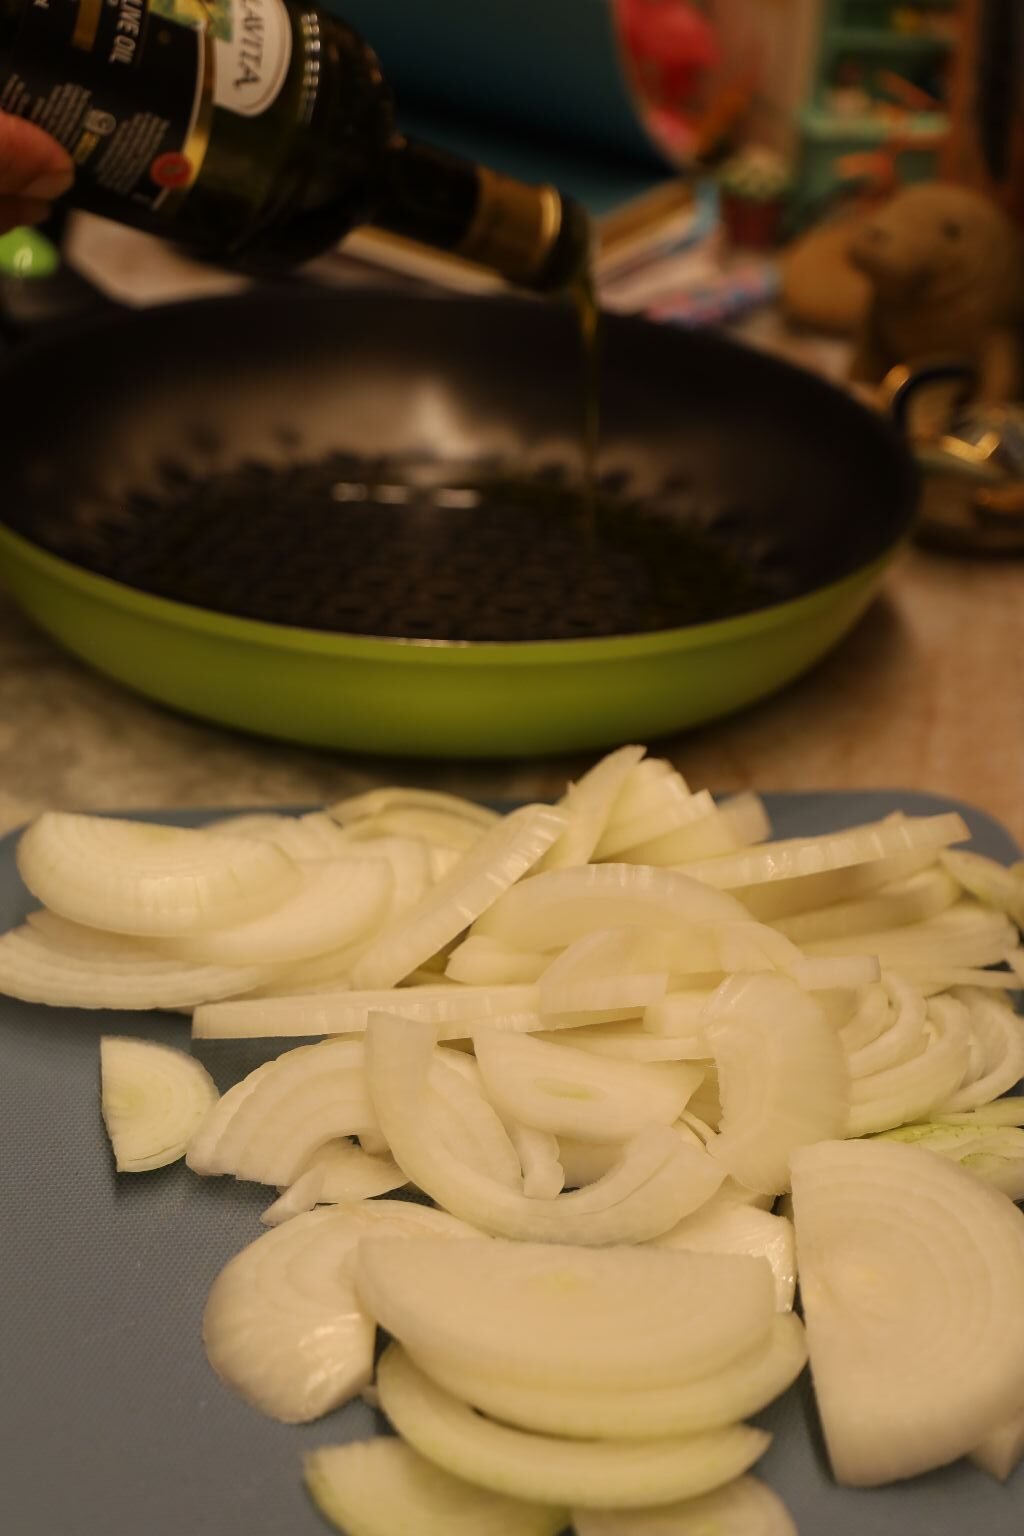
I realize that we do have Brats often on our website, but this was something we both wanted, and a nice addition to this Oktoberfest page.
You first want to chop up a few onions into nice half-moons.
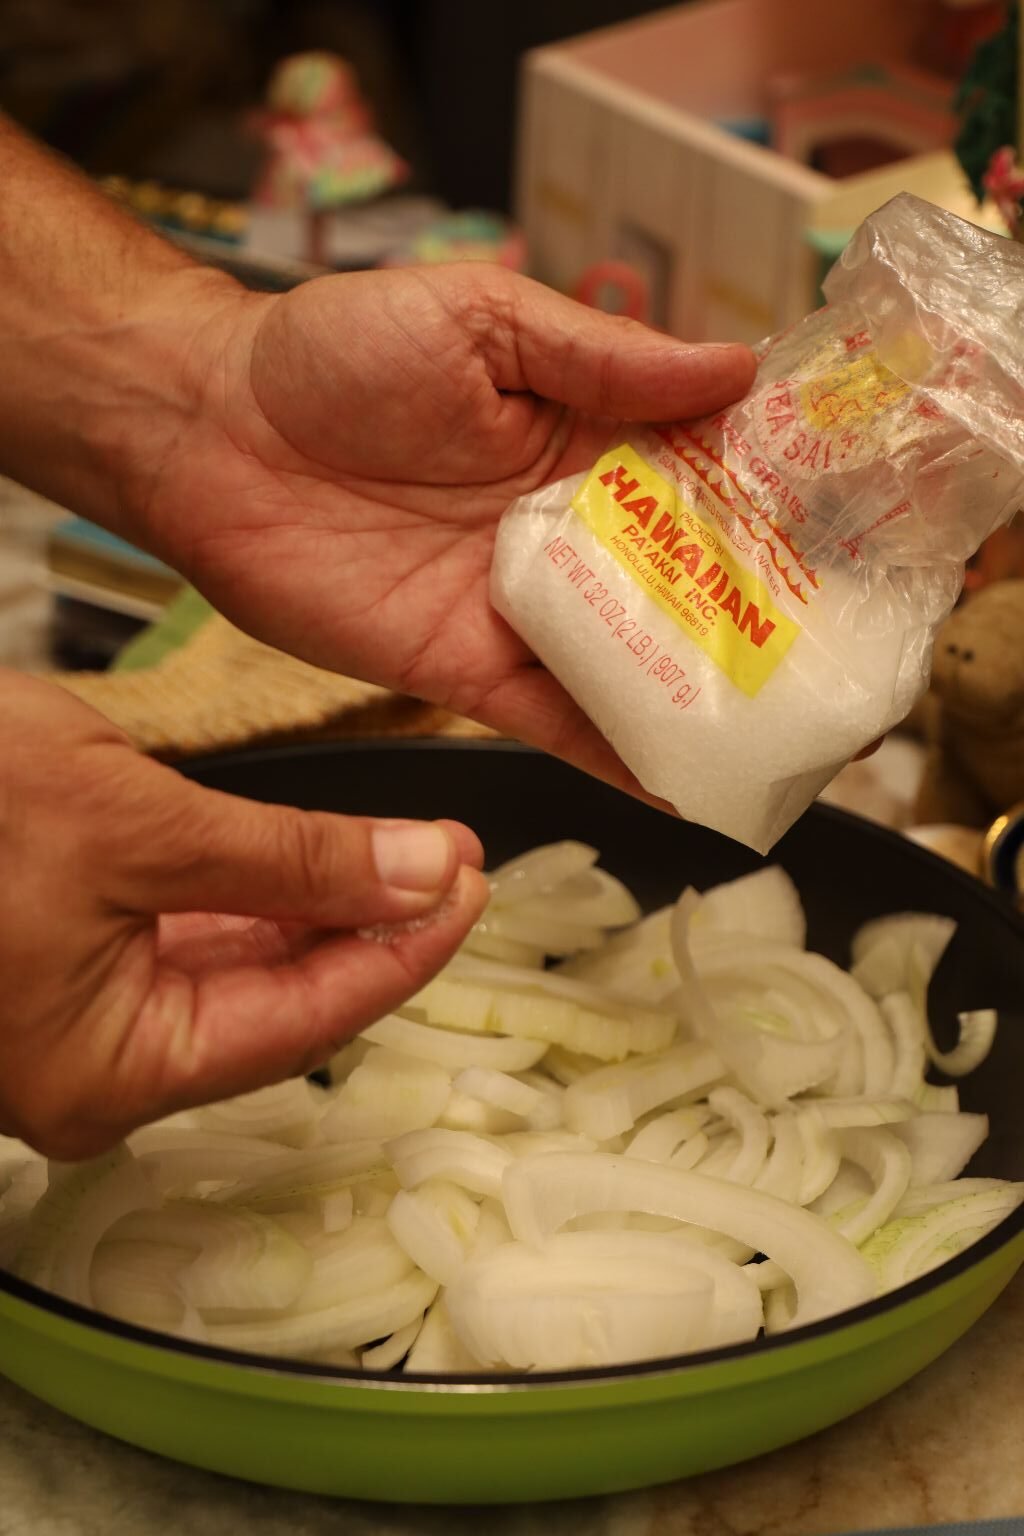
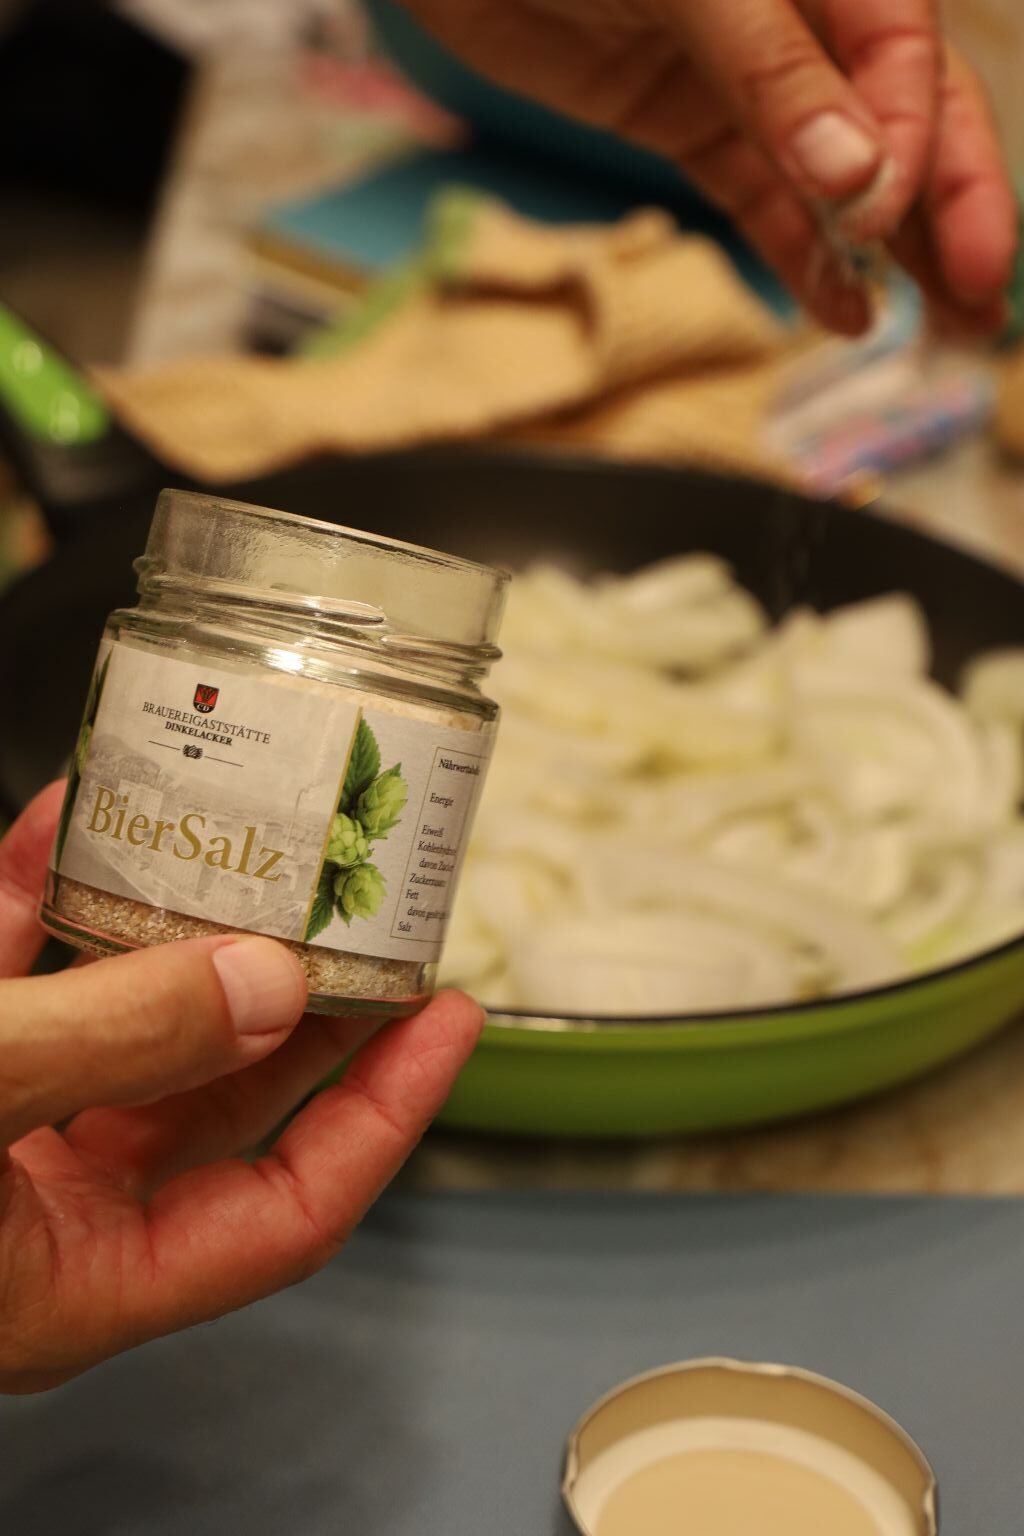
Then, place the onions into a saute pan, with a drizzle or two of Olive Oil.
Next, add some salt! We used some Hawaiian Salt, and some German Beer Salt.

Here, Gordon is Sauteeing the Onions on the side burner of the grill, while grilling our Brats.
——————————————————————————–

The Onions and Brats are DONE!
————————————————————————————
Our Pretzels
Obviously, we didn’t make these Pretzels ourselves. We have made pretzels before many years ago when we were living in Hawaii. Perhaps we may make them again, but not today. Today, I purchased them frozen from our Commissary. We thawed them out and baked them according to the package directions.
Pretzel Salt, and Beer Salt
————————————————————————————–
Baking The Pretzels
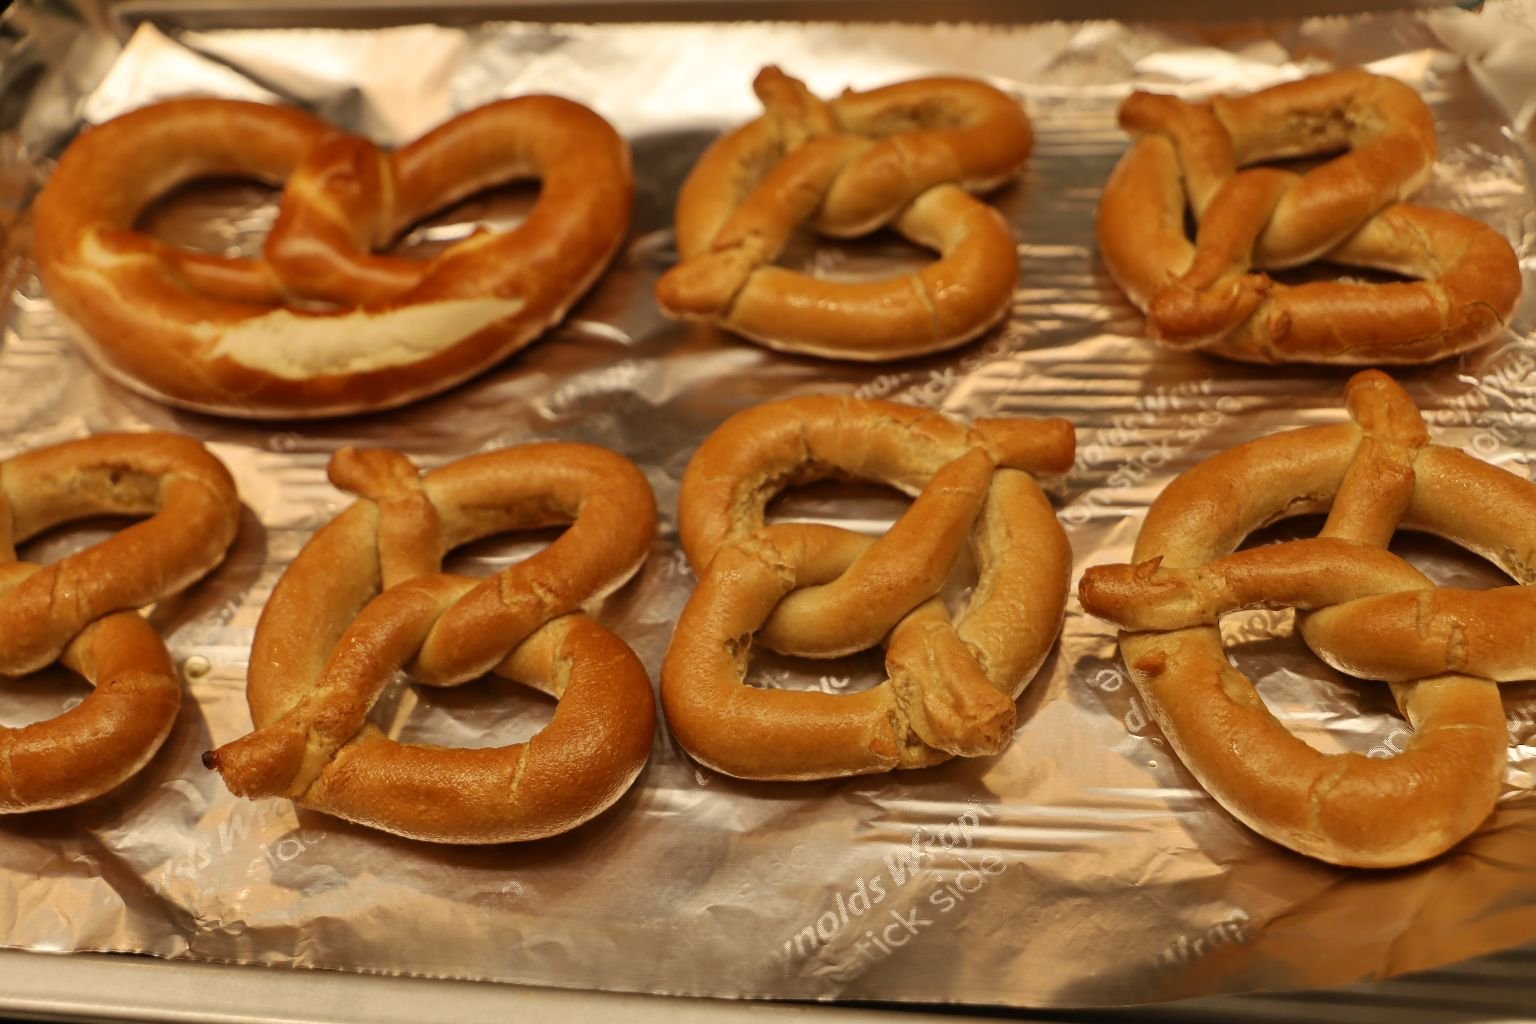
It was while Gordon was in Germany that I suggested that the next time he’s home why don’t we have some little Mini-Oktoberfest? Nothing big and fancy, just something simple. I knew that we would be pressed for time, what with all I had planned for us while he was home.
However, this is what I came up with:
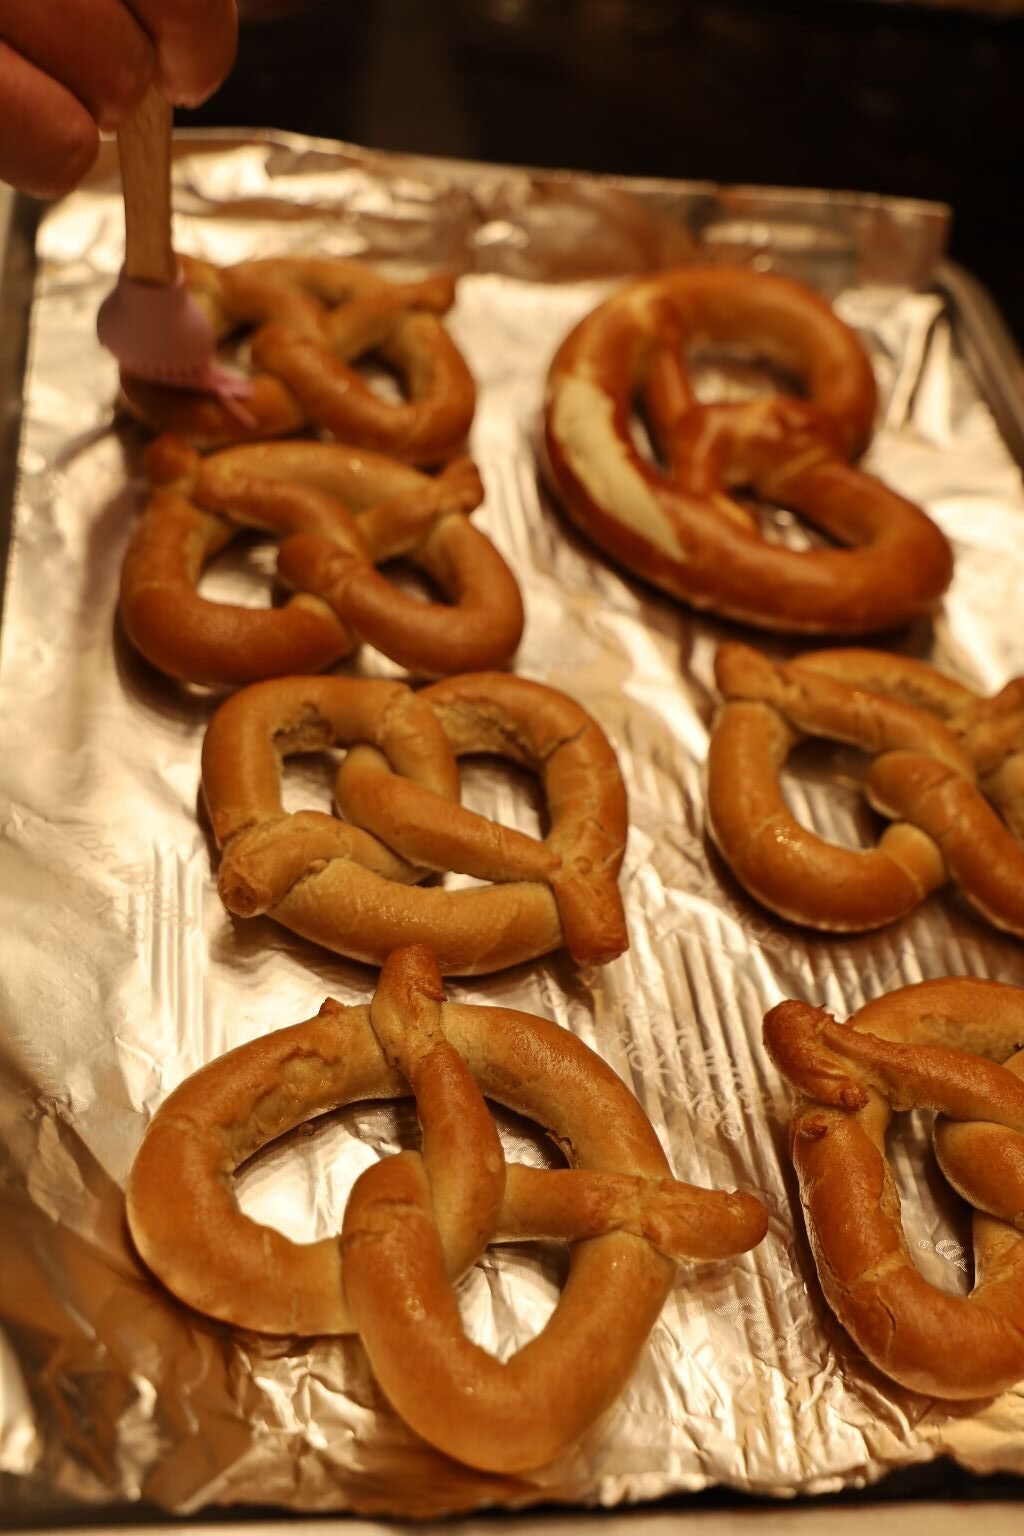
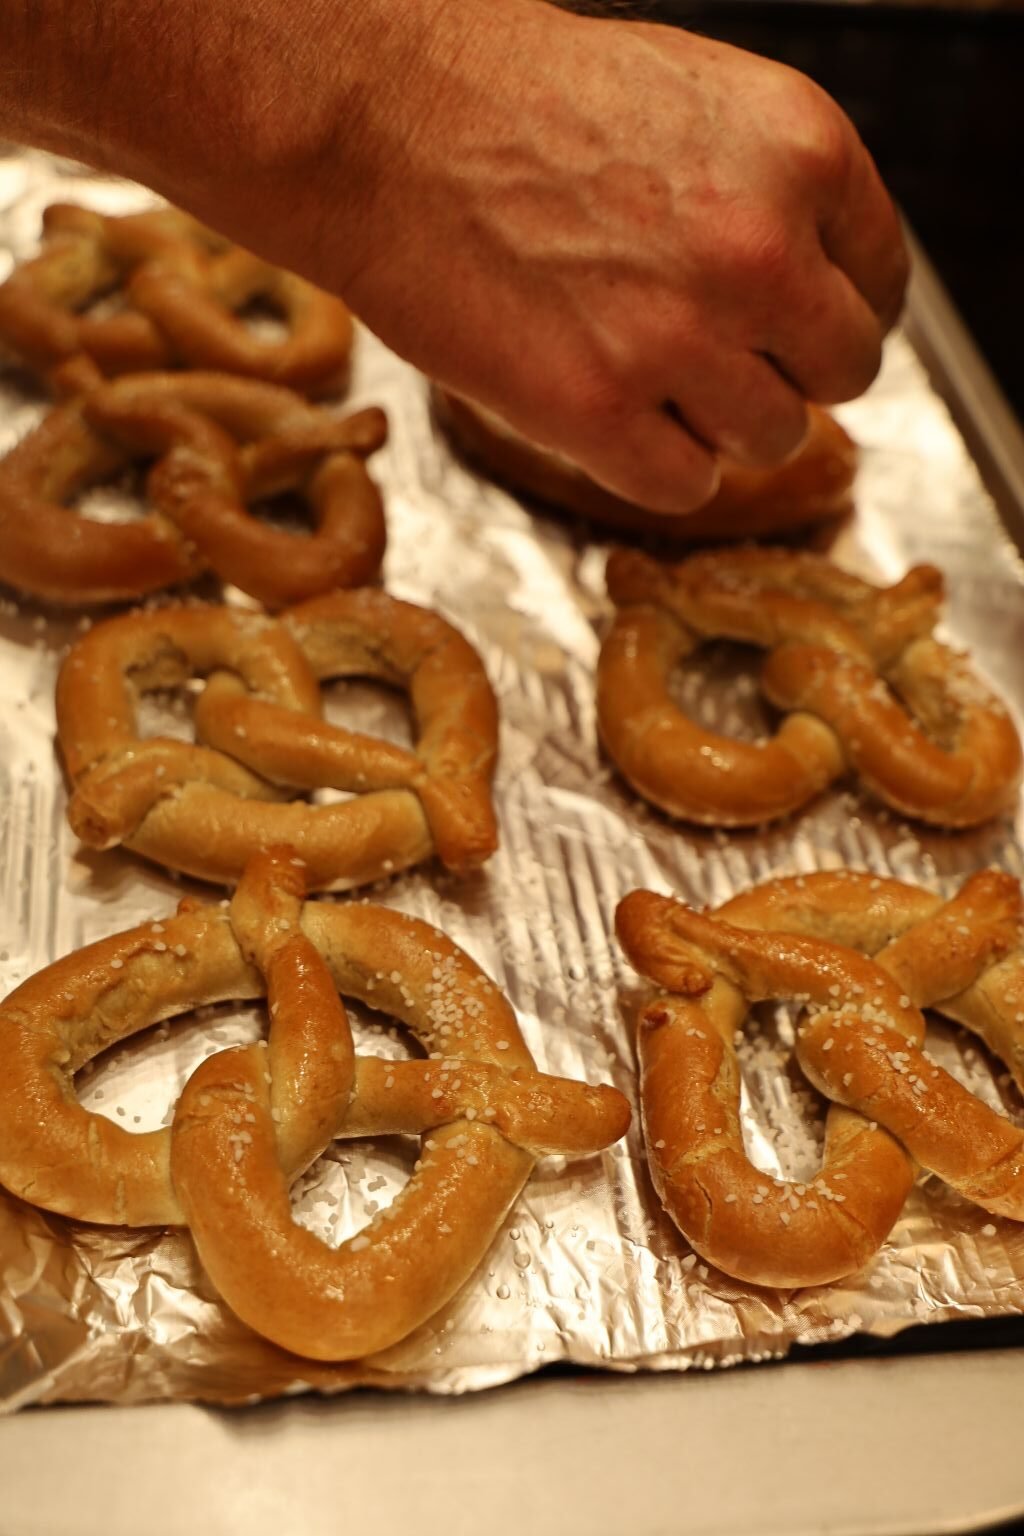
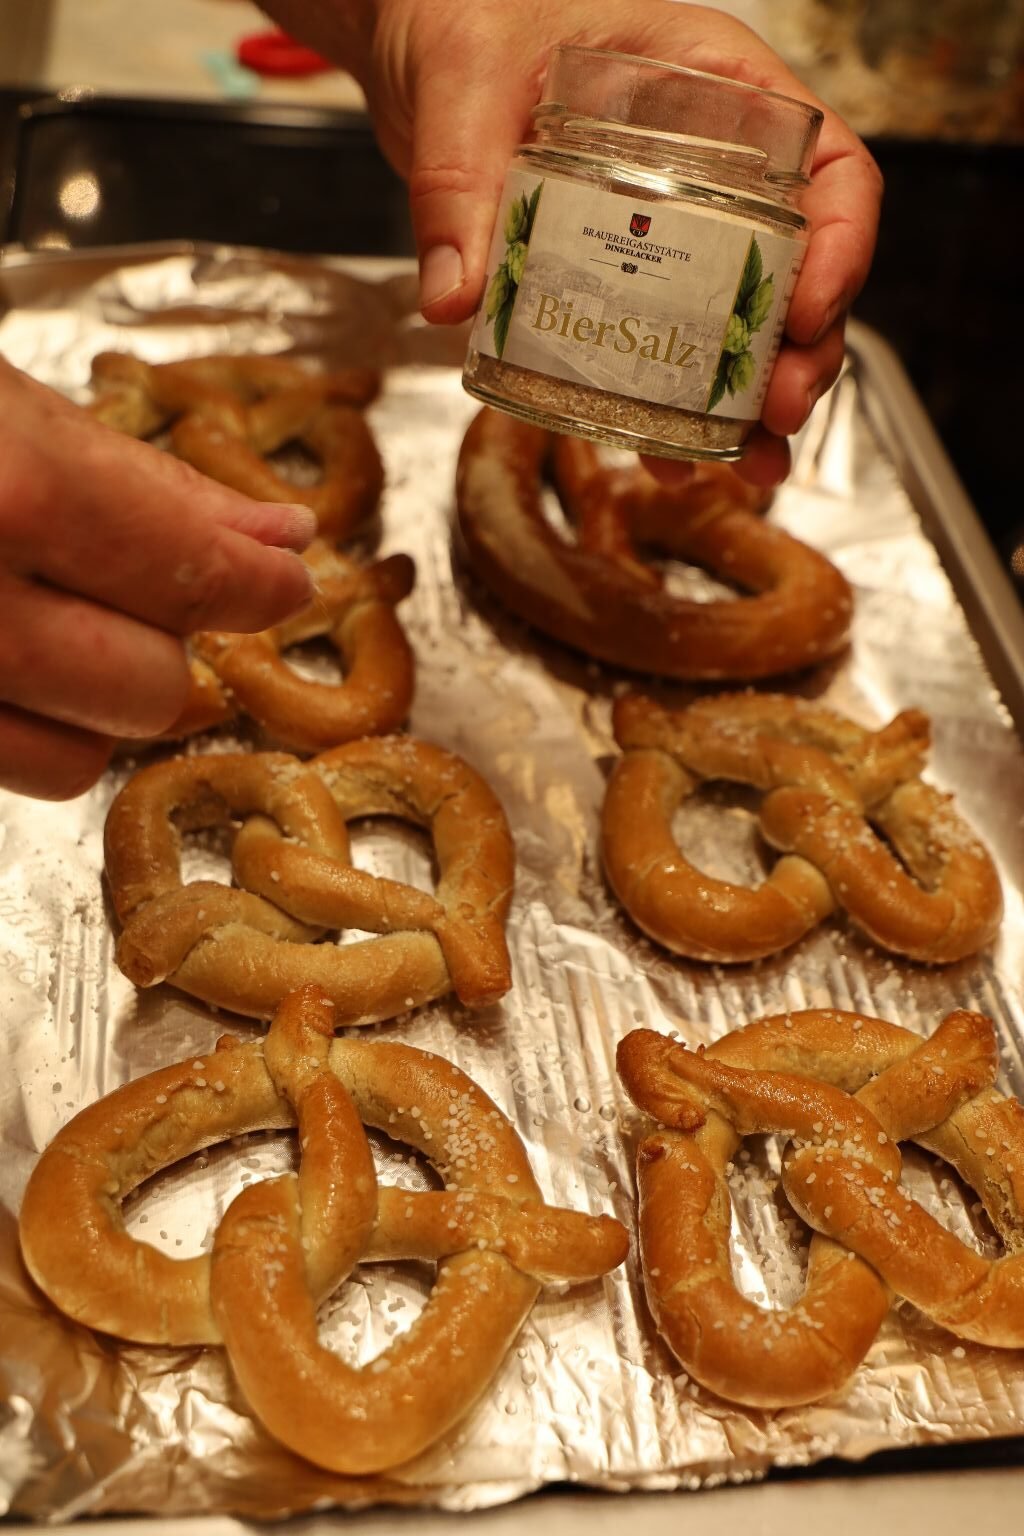
Gordon Brushing the Pretzels with Water and Adding the German Beer Salt
———————————————————————-
Curry Ketchups
(He had bragged about these. This isn’t something that is known here in America. Perhaps in some German neighborhoods.)
————————————————————————————————–

The Brats and Onions
—————————————————————————————-
The German Mustards

Our Dinner of Brats, Sauteed Onions, Curry Ketchup, German Mustards, and Sausage Balls
Here Gordon is Having his Erlinger Beer….

..and Adding Some Grenadine Syrup, Making it a Cherry Cola
Our Meat and Cheese Wrapped Pretzels, with German Mustards
The Meats and Cheese Wrapped Pretzels were my Idea.
It actually stems from this past St. Patrick’s Day when I got the idea to wrap meats and cheese around bread sticks and dip them into Thousand Island Dressing. I wanted to do the same thing to the Pretzels.
You can see our meats and cheeses in the photo above. Now just add some mustard and it’s delicious!
I do believe that Gordon went a little overboard with his plate, but you do get the idea.
We had Bologna’s and Turkey Pastrami, and Swiss Cheese
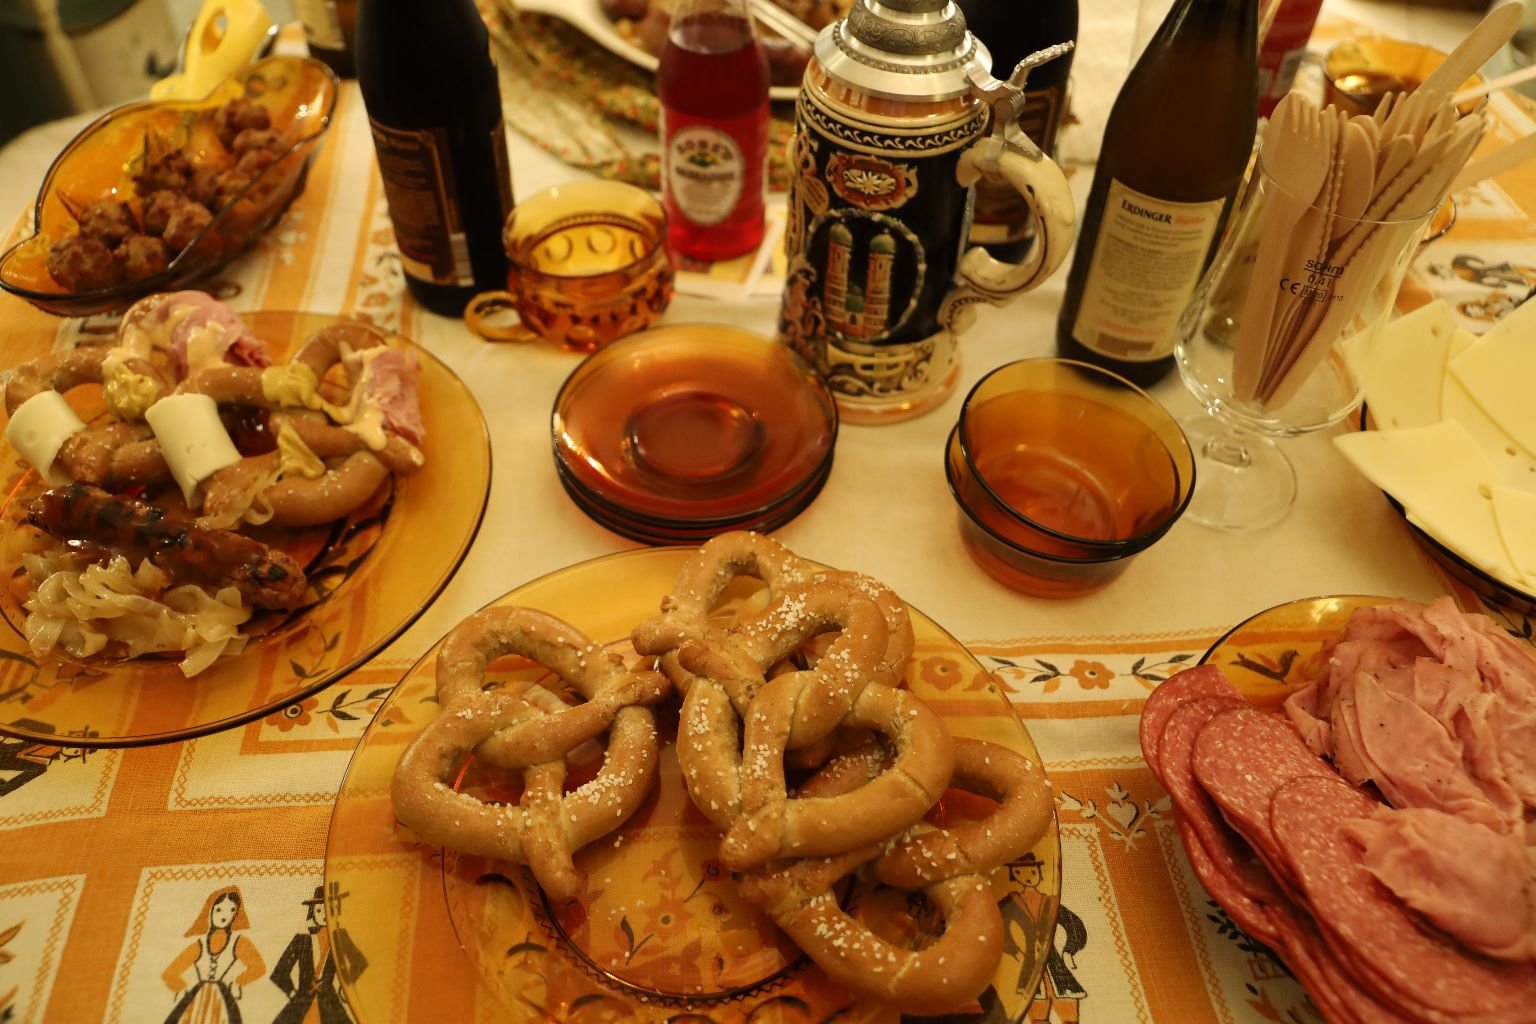
It was a nice and fun meal!
—————————————————————————————–
Thank you for joining us!
AUF WIEDERSEHEN!
Gordon and Julie
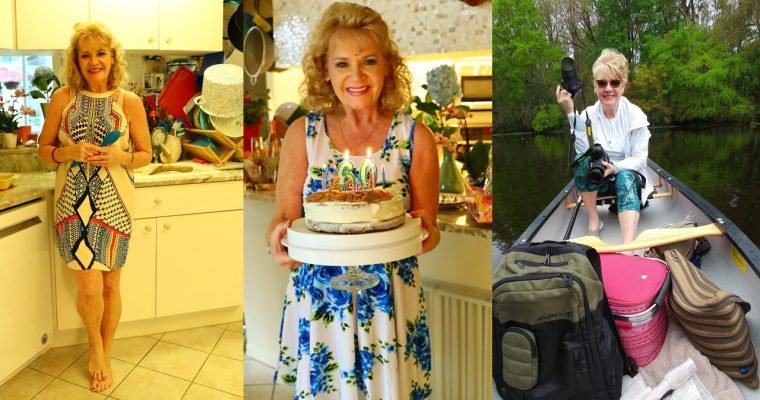
Welcome to My Sixty’s Currently Aging to Perfection (Or Rotting and Disintegrating? But I swear this to you, as long as there are moisturizers and Loreal Superior Performance Medium Blonde, I will always be here for you.) 🙂 When I look …

Hi! Welcome! So happy to have you here! My name is Julie Lancaster-Whann and welcome to my: The Pot Thickens… Musings of an Amateur Cook So, what makes me an ‘Amateur?’ Easy! I don’t get paid! And, because I don’t …
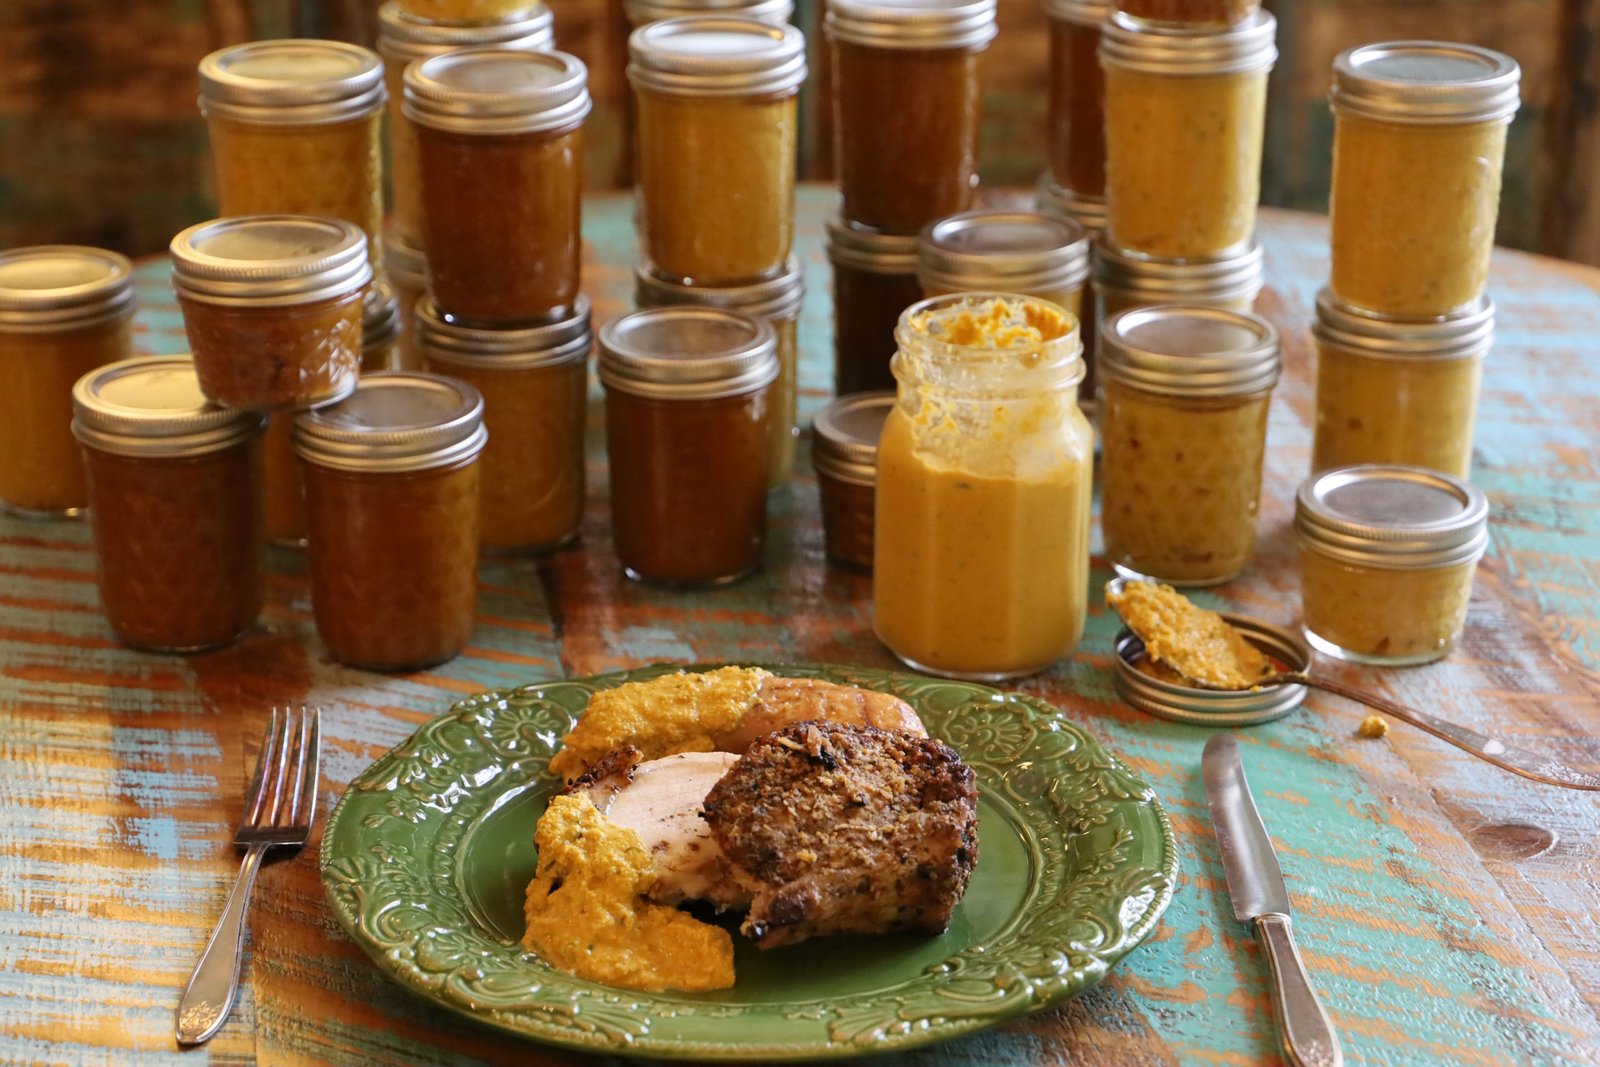
Welcome to Pork, Sausage and Mustard
From the Kitchen of…….
Gordon and Julie
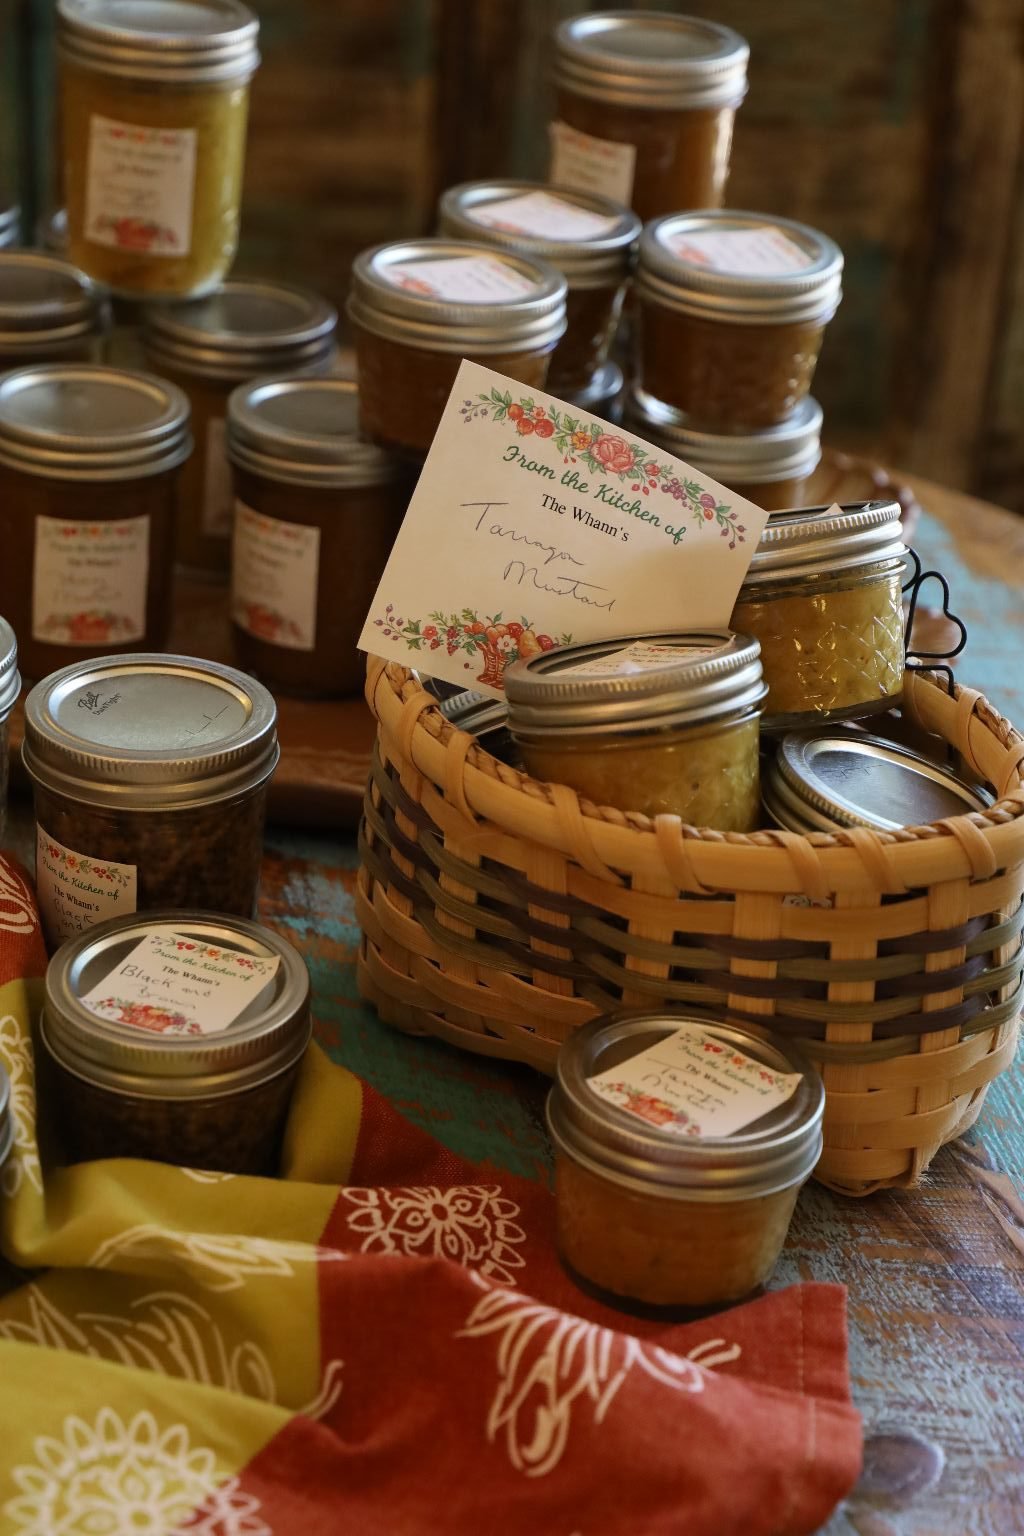
Today, we will be making MUSTARD, and lots of it!
At this writing we are in the middle of a pandemic, the Coronavirus/Covid 19.
Gordon and I decided to make good use of our lockdown time and make lots of mustard. We love mustard and we eat it quite often. But it was while we were ordering groceries online and we were at the mercy of our shopper (an essential worker), who did their best to fulfill our order, that I remarked how nice it would be if we didn’t have to worry about condiments and just have our shoppers to focus on more fruits and vegetables. We had a ton of meat in the freezer so we didn’t have to worry about farming that shopping out to anyone. But we are picky with our mustard and our particular brands always seemed to be vacant from the shelves. So, we decided to make our own. And guess what? It wasn’t that hard at all. But, it does take several days from start to finish. About 10 days to be exact.
Our Black and Brown Mustard
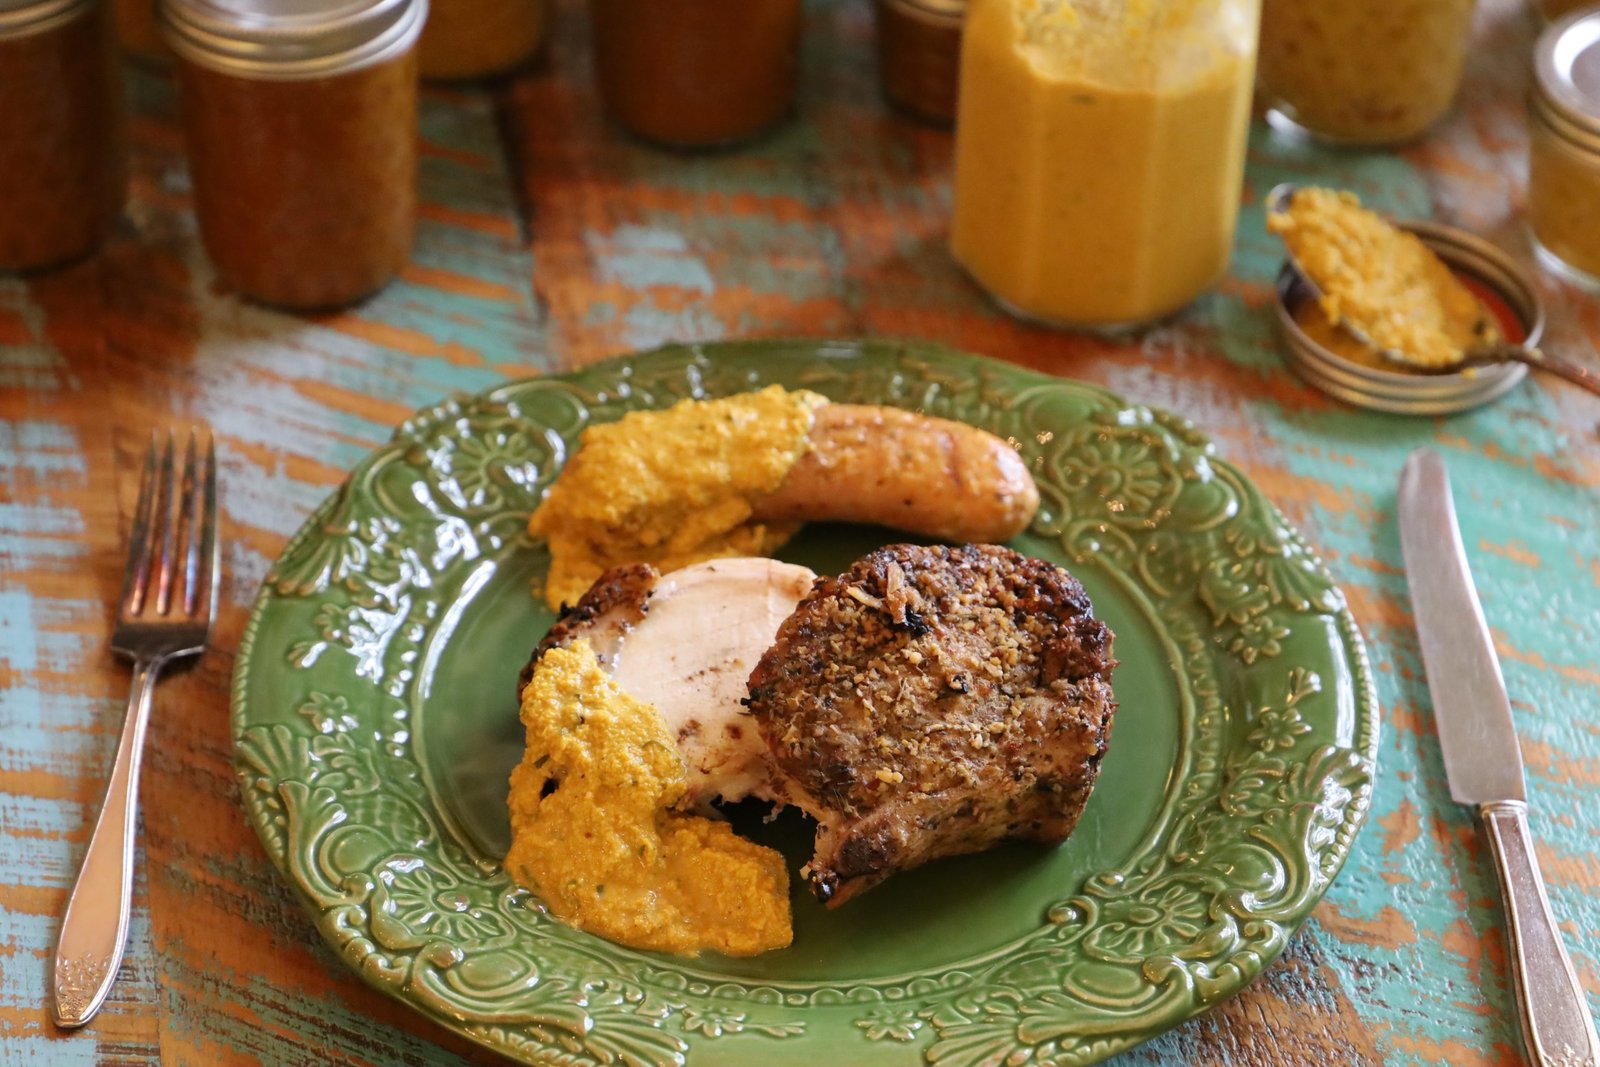
Pork, Sausage and Mustard (Tarragon to be exact.)
———————————————————
Food glorious Food,
Hot (Pork), Sausage and Mustard,
While we’re in the mood,
We’re anxious to try it.


My VHS Copy of Oliver
(Okay, okay, so I borrowed the lyrics from an old song from the movie Oliver (1968) and switched them around a bit. I saw the movie when I was 7 and fell madly in love with The Artful Dodger, played by Jack Wild. The music was beautiful! I got the record album for Christmas and played it over and over again. But this song stuck with me the most.)
Food, Glorious Food
by Laurence Jeffcoate
(When I named this post Pork, Sausage and Mustard, I thought I was accurately naming it correctly. Then I find out it’s Hot, Sausage and Mustard. All these years of singing that old favorite song in the shower only to discover I got the words wrong? It was their British Cockney accents that threw me. Well, I’m keeping it wrong. I do have to admit I wondered why they would be pairing Pork with Sausage?……)
—————————————————————–
——————————————————————–
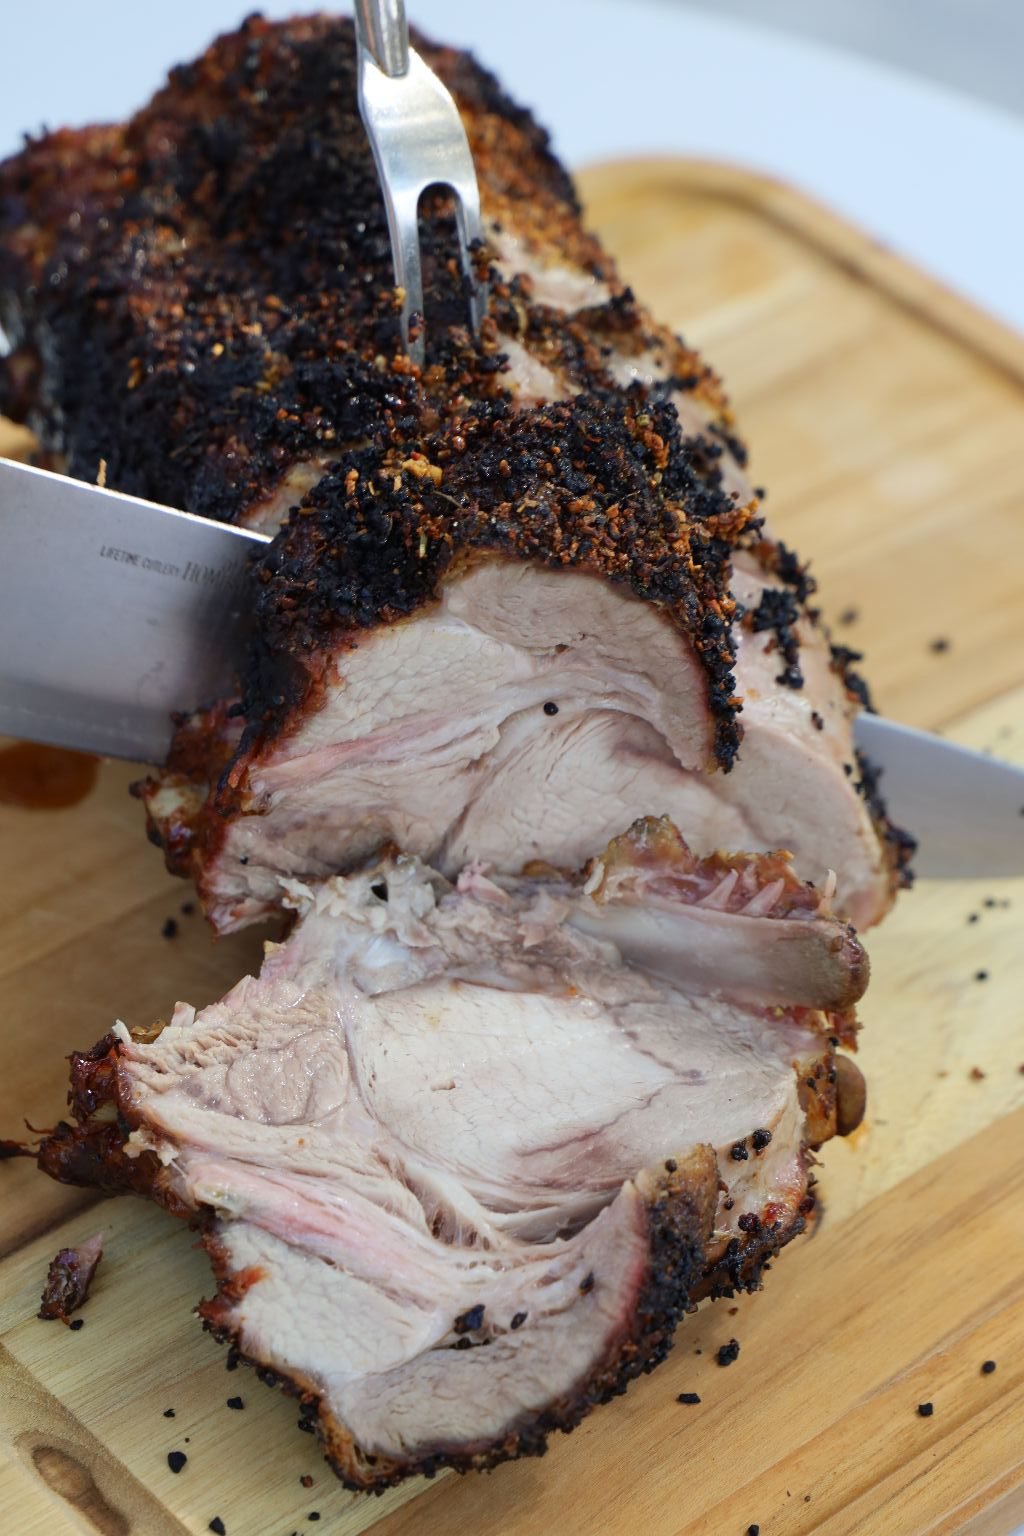
Gordon’s Bone In Pork Roast
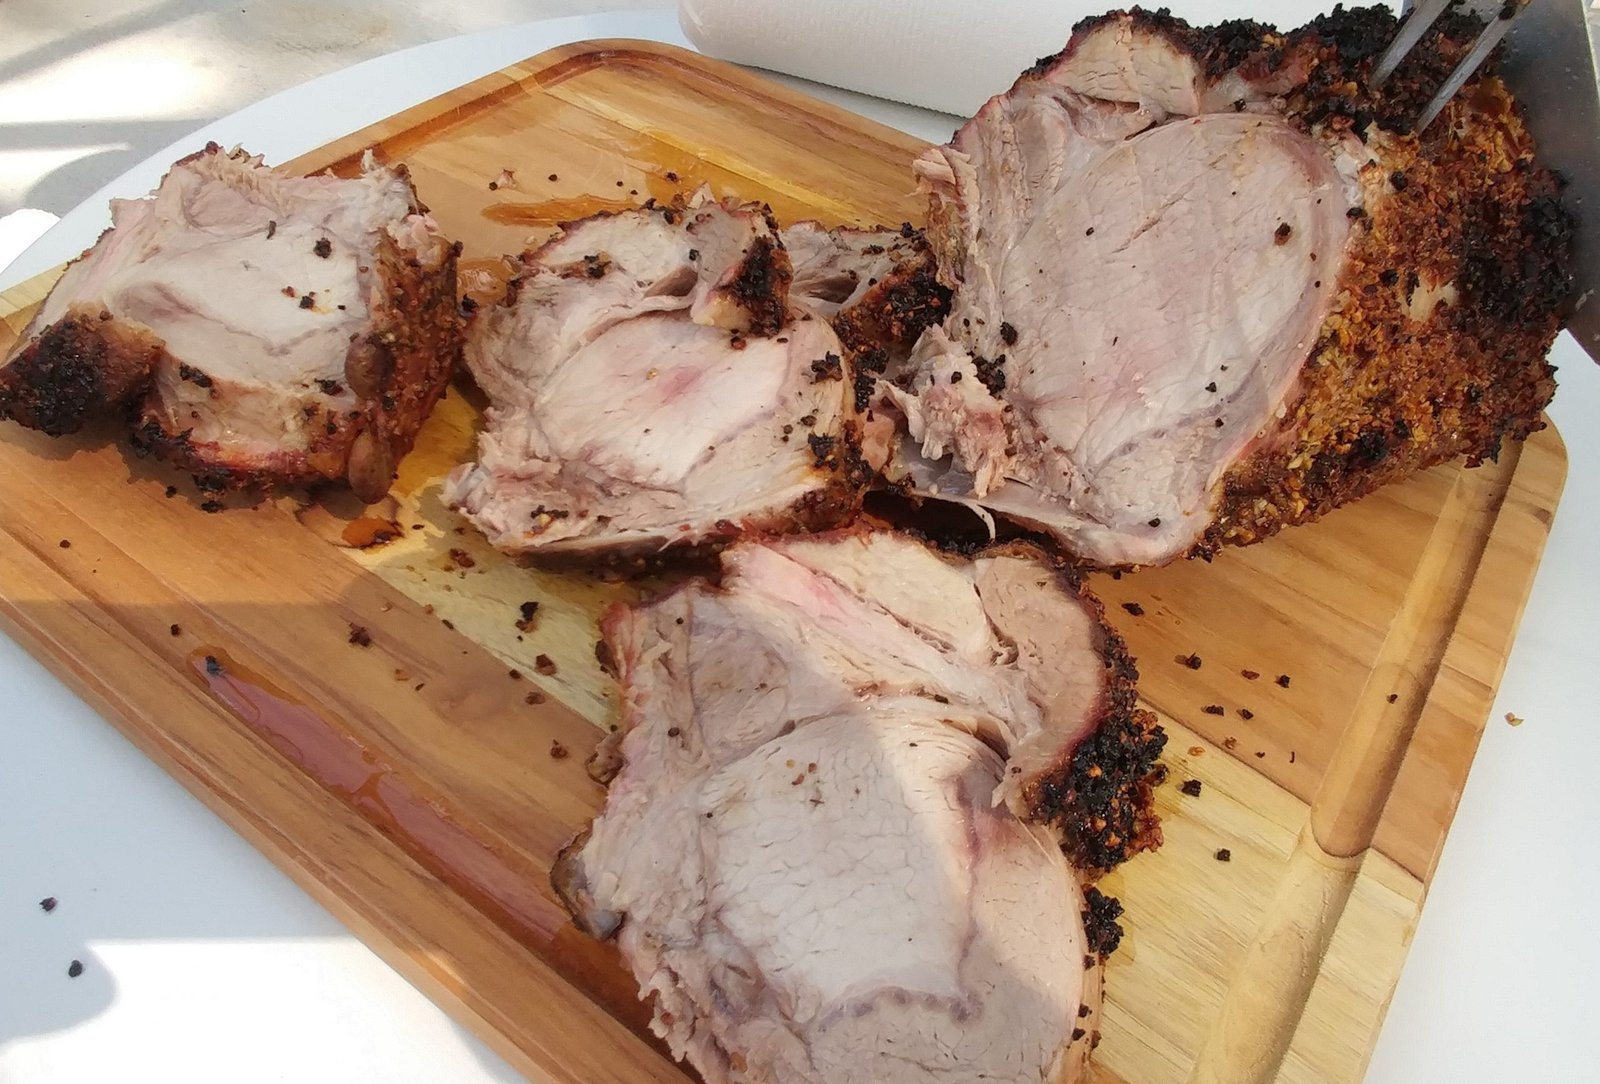
PORK
Recipe write up will be at the bottom of this post.
Hey, we have to give you something special to put your mustard on.
(Recipe Down Below)

Our Mustard’s are also good on Grilled Sausages

—————————————————————-
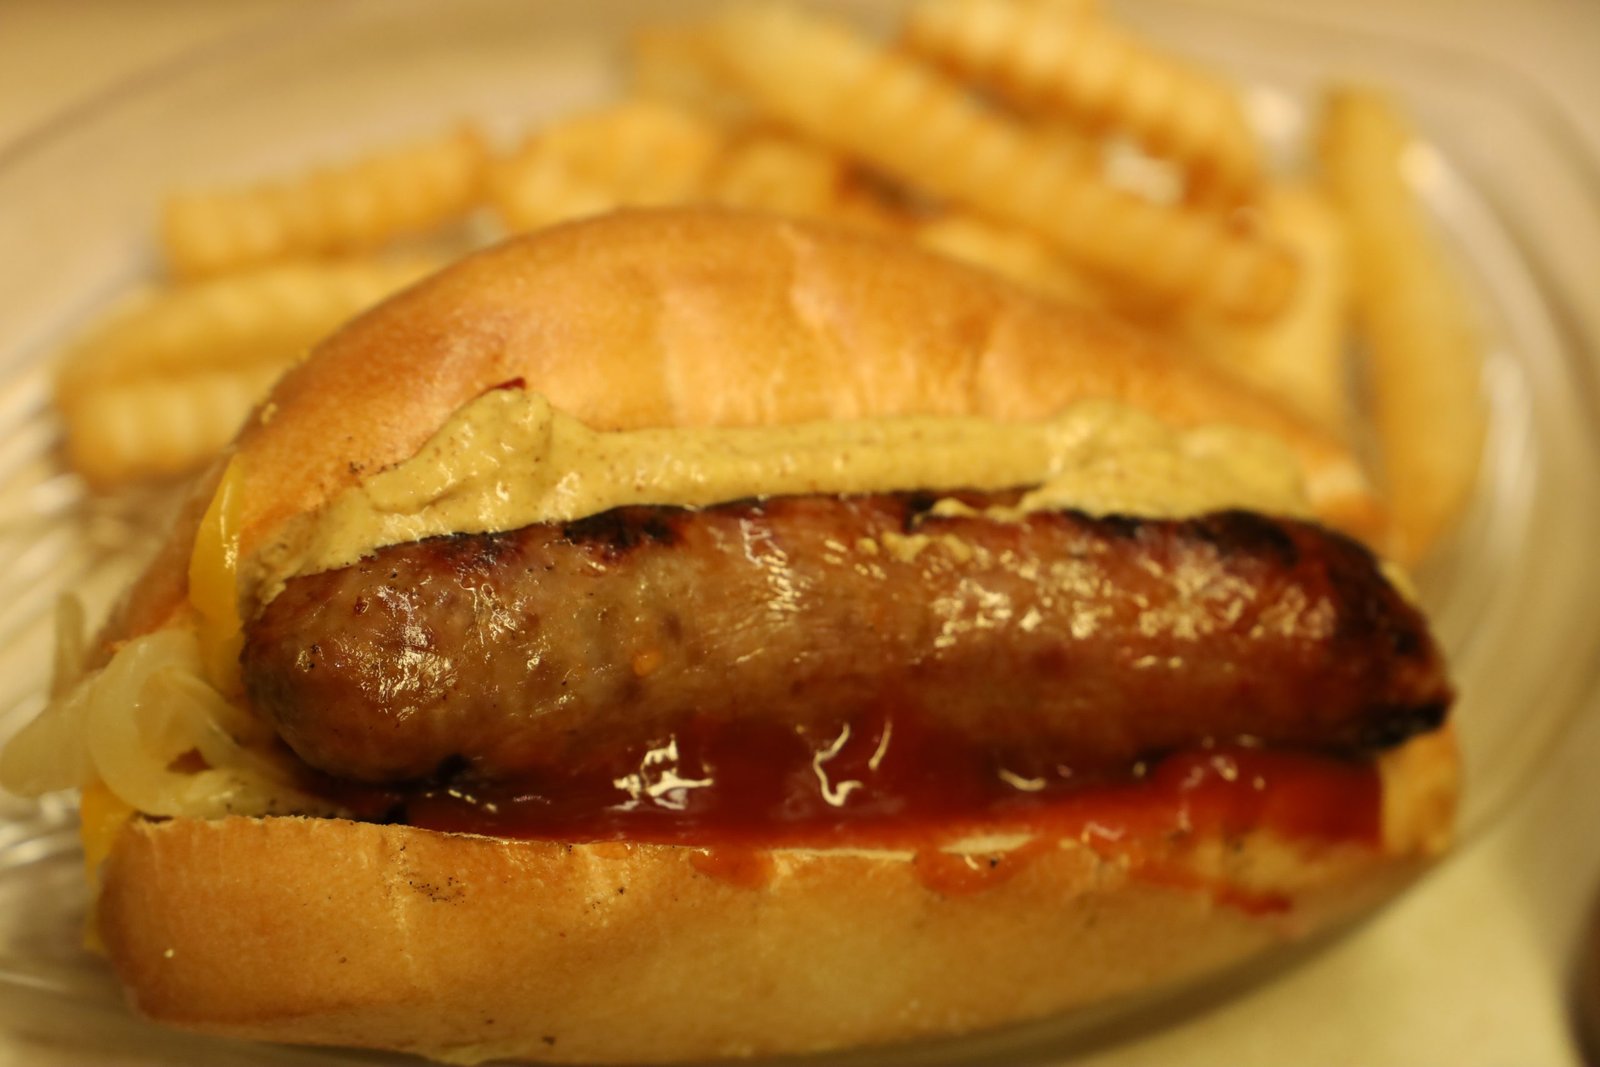
————————————————————-
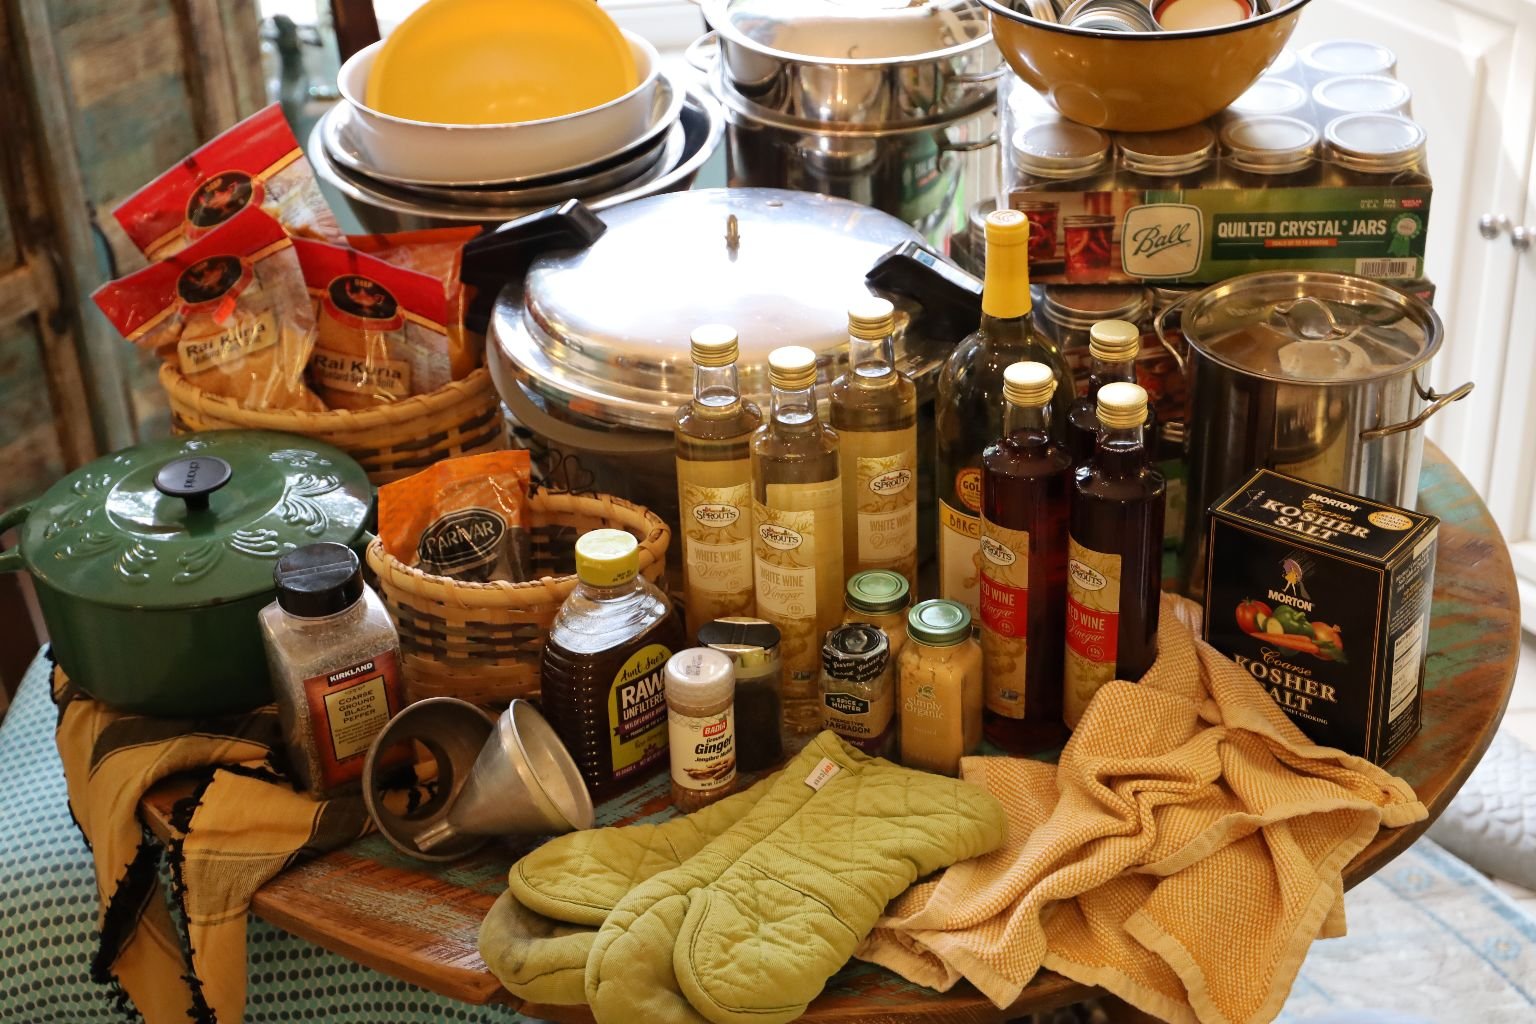
Our Ingredients
Here are the ingredients we used to make four different mustard’s.
The basic ingredients you will need are brown and yellow mustard seeds, red and white wine vinegar’s, dry white wine, honey, dry mustard, and some salt and pepper. You may want to also add some garlic powder and paprika to the mustard to add more flavor.
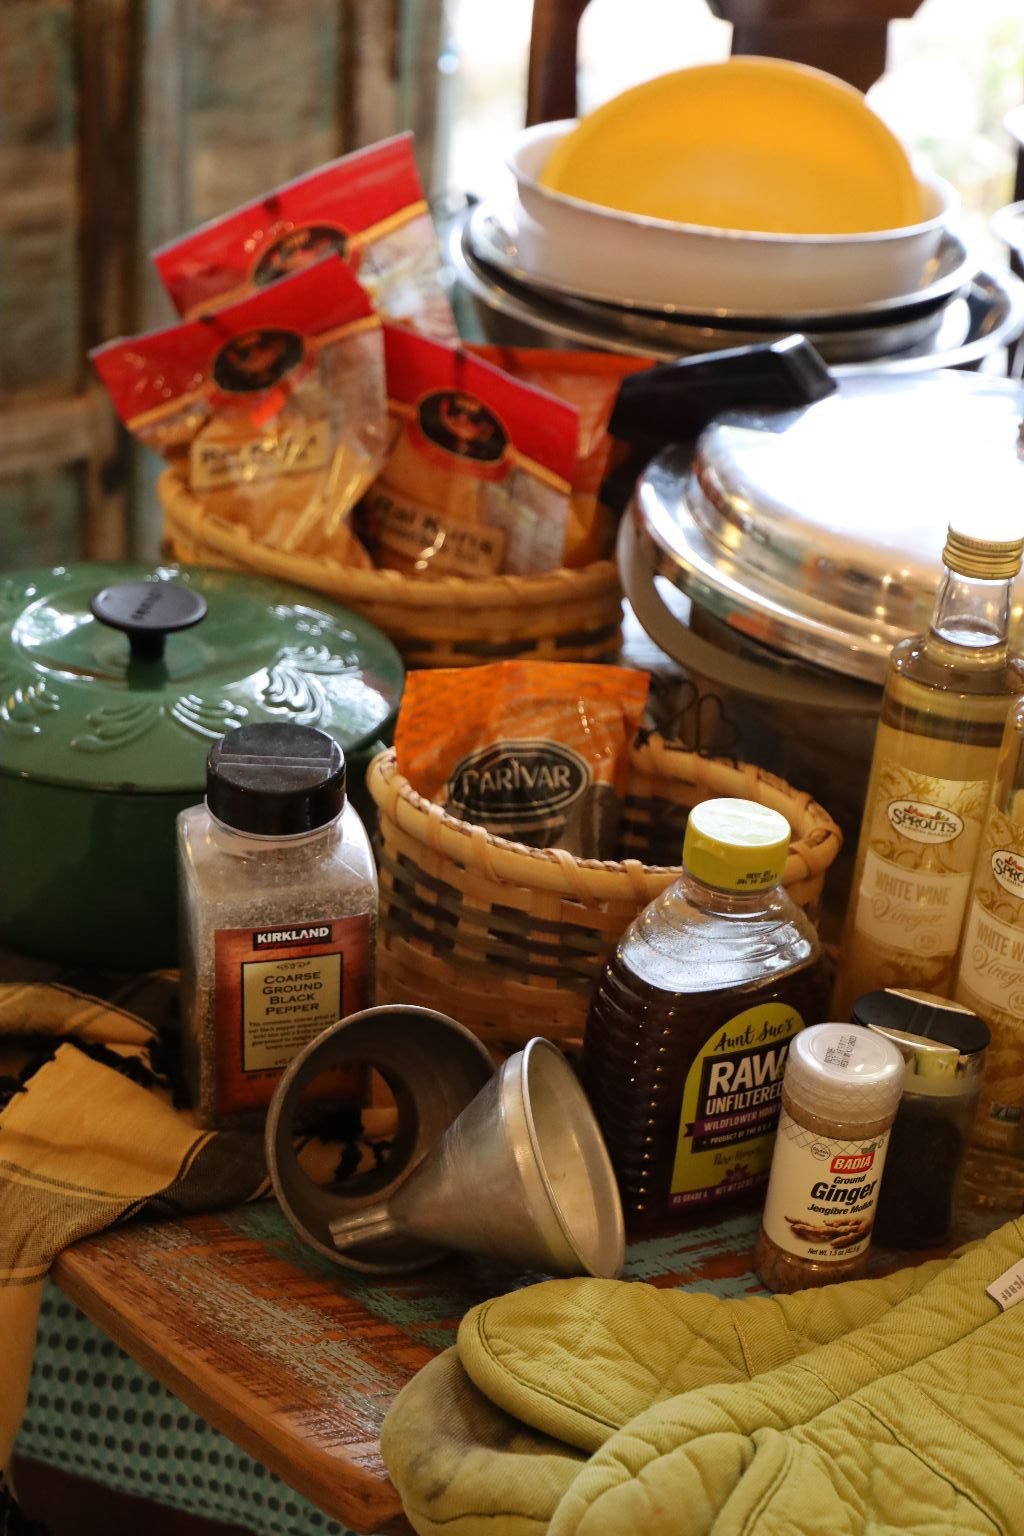
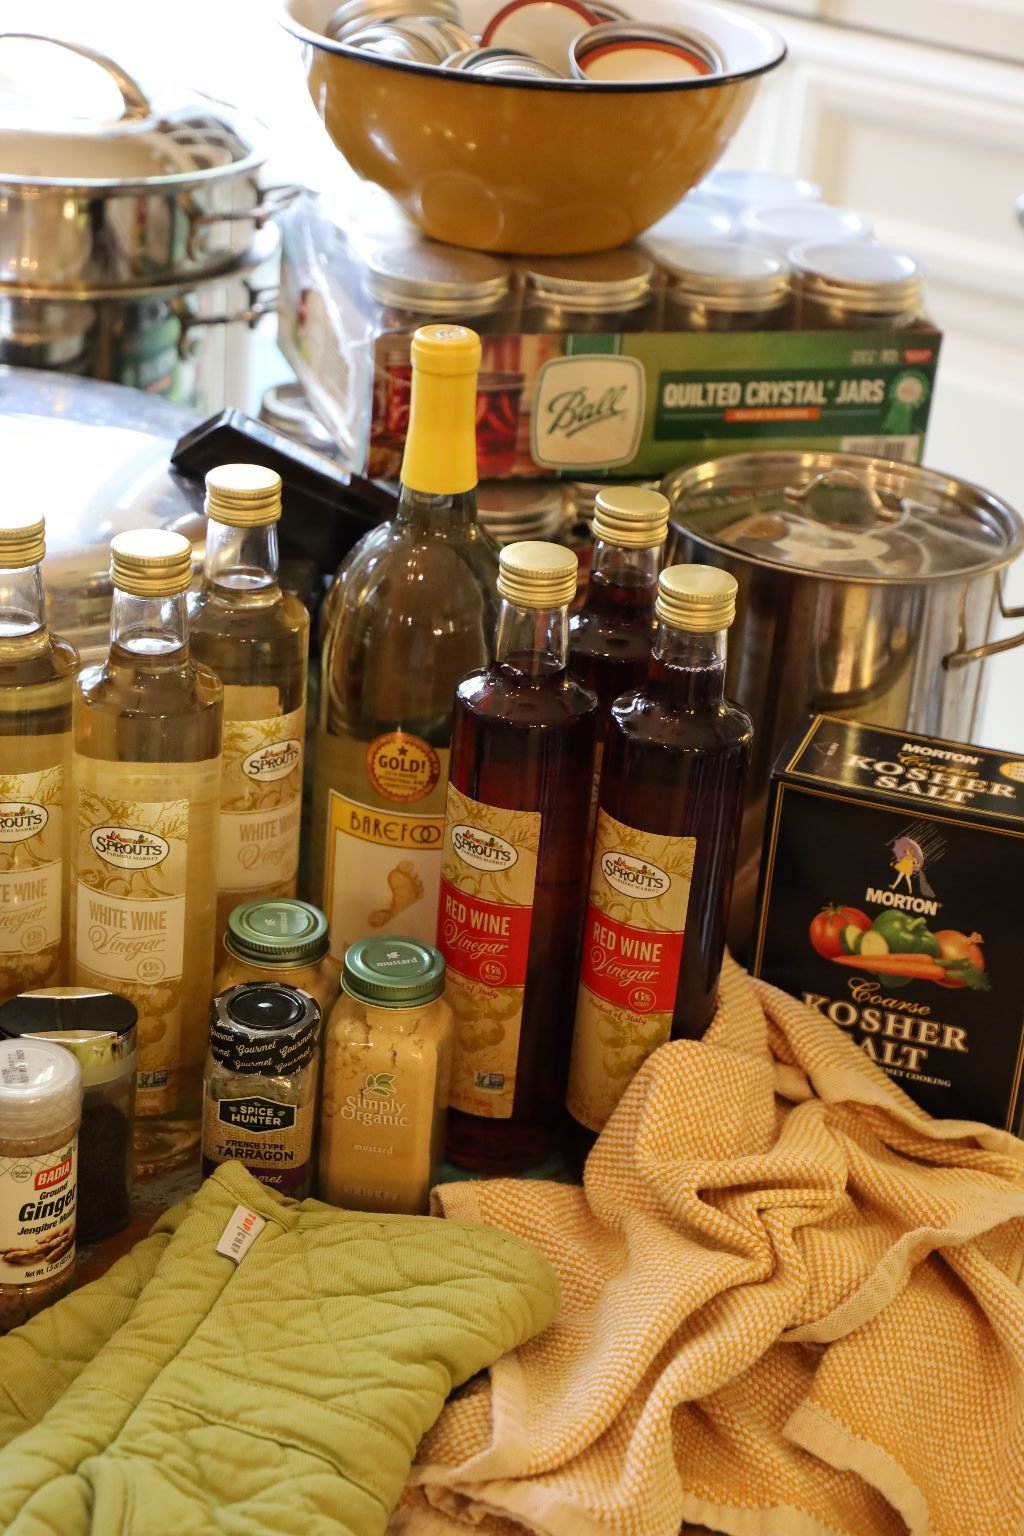
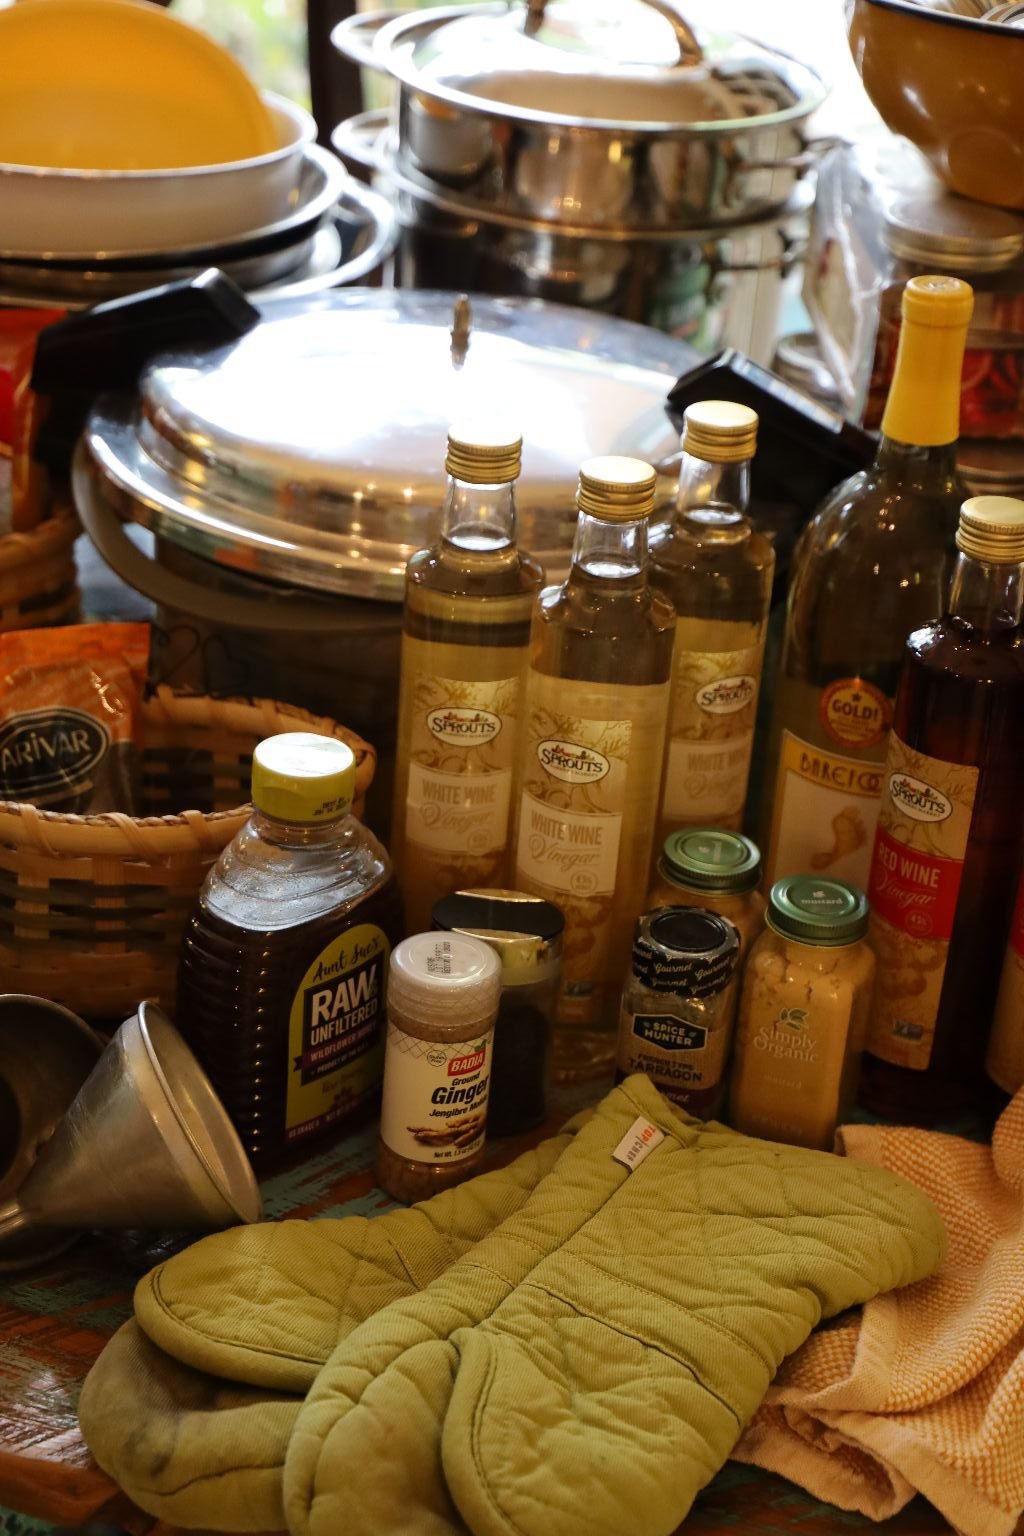
The 4 Mustard’s We Will Be Making Are:
The Yellow Mustard Base
Black and Brown Mustard
(Although we used the black and yellow seeds the mustard ended up looking black and brown.)
Tarragon Mustard
Almost Yellow Mustard
(It’s actually a Yellow Mustard but it isn’t as yellow as we would have liked so we call it Almost Yellow because it’s almost yellow.)
And,
Honey Mustard
——————————————————
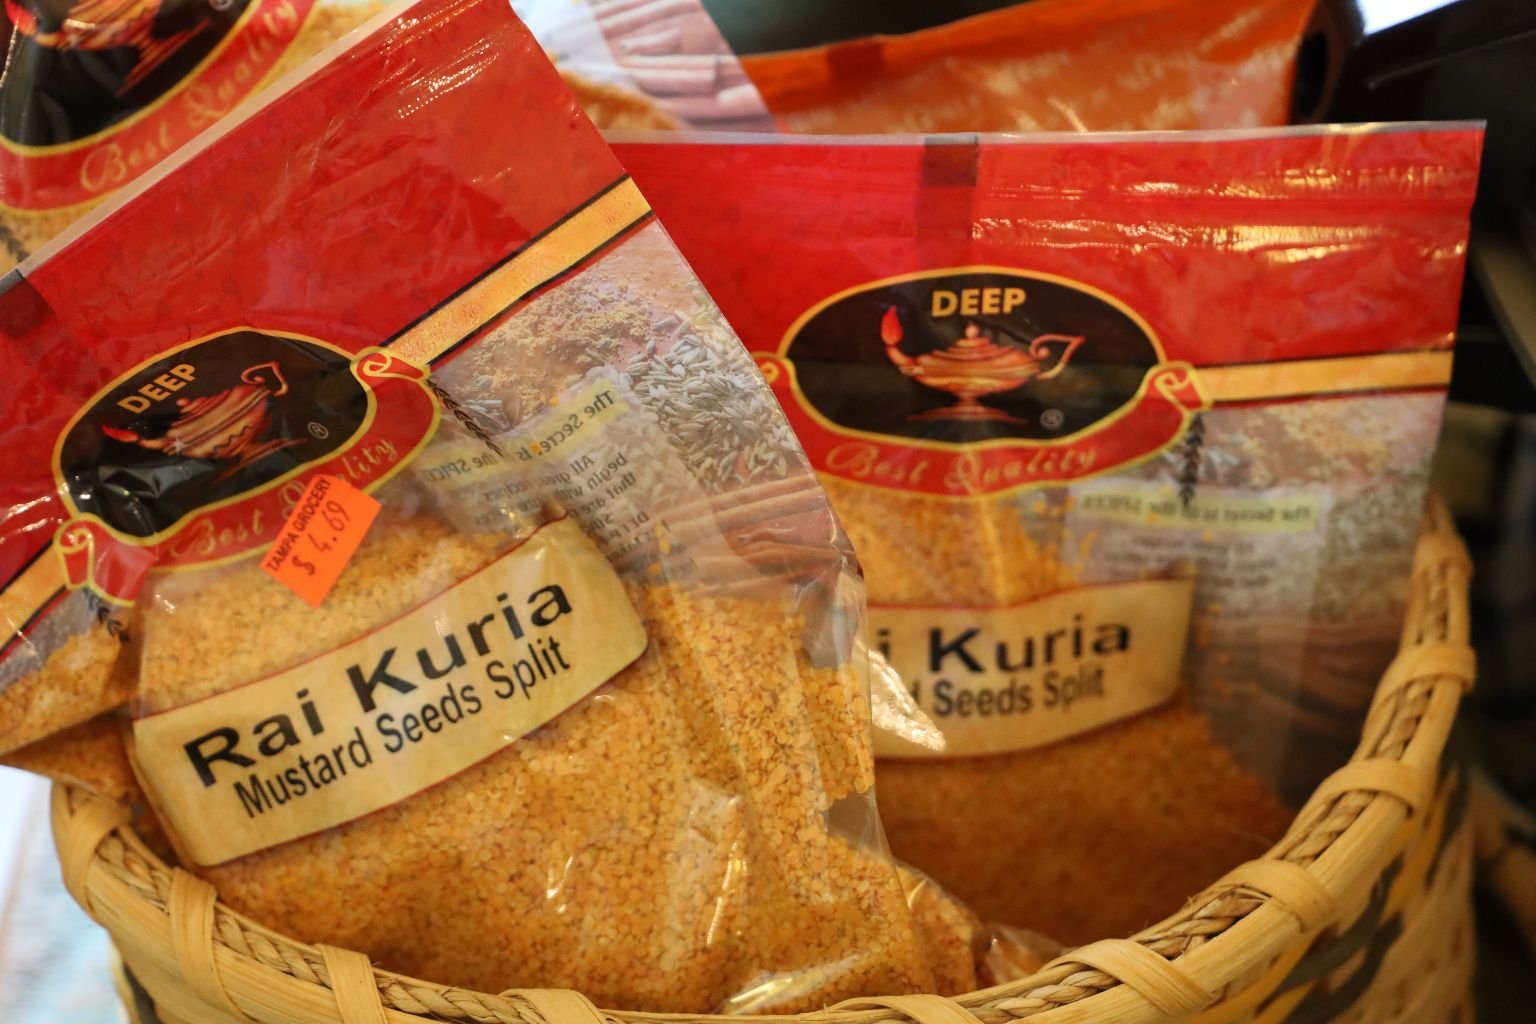
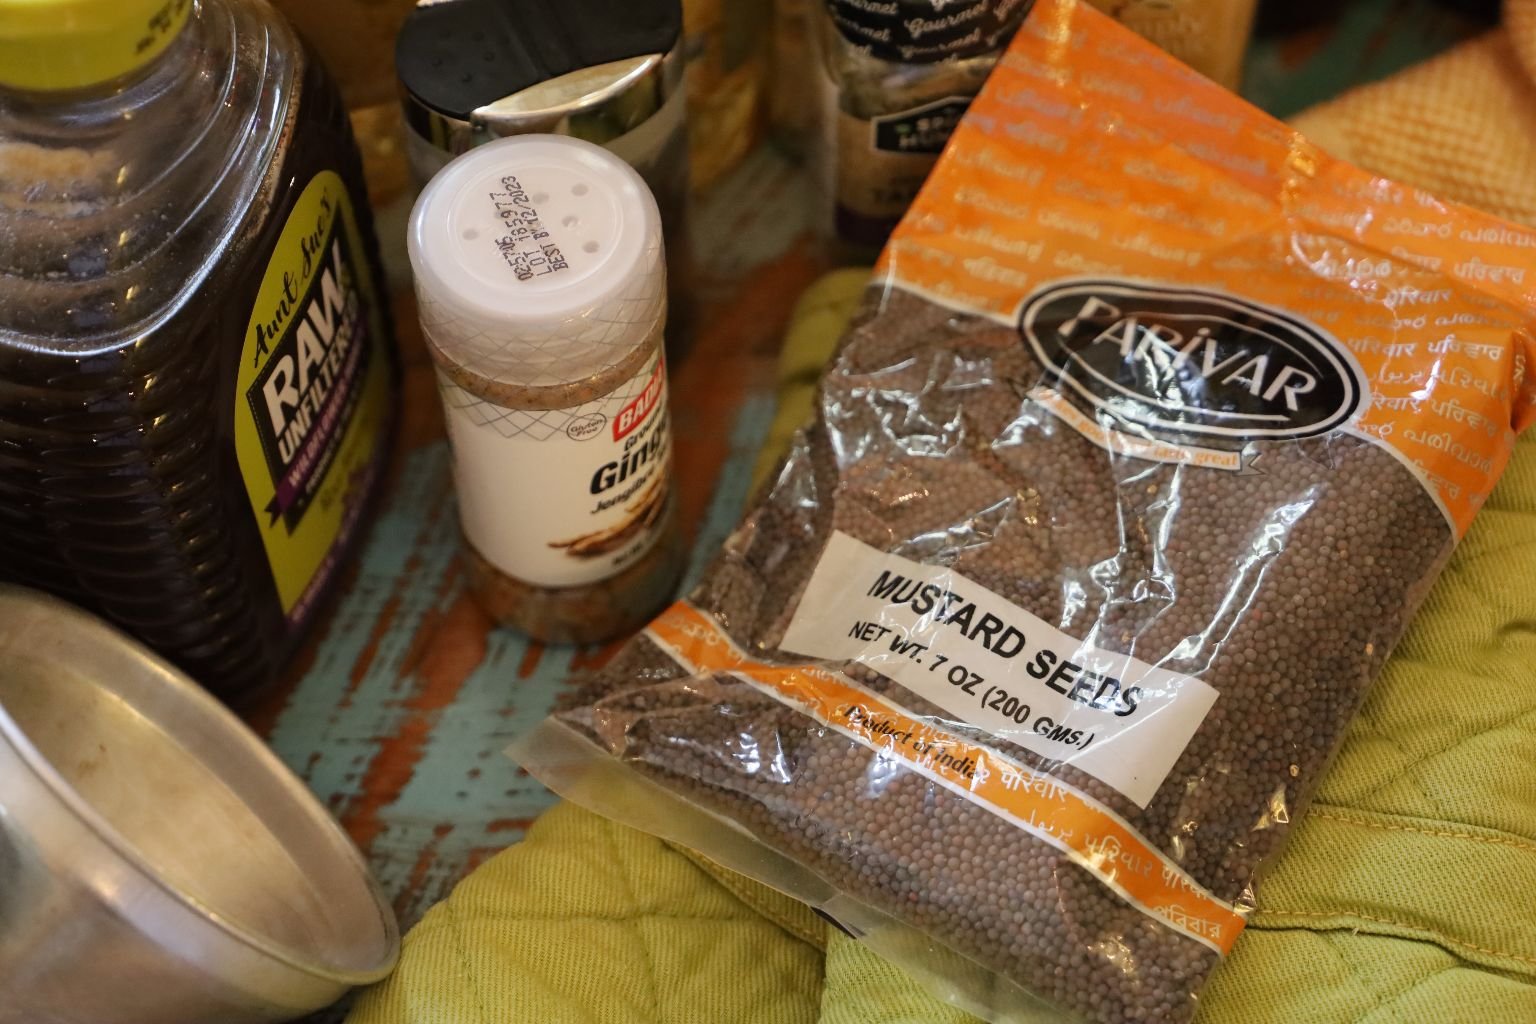
We also have other ingredients here to flavor our different mustard’s.
They will be added to each mustard recipe.
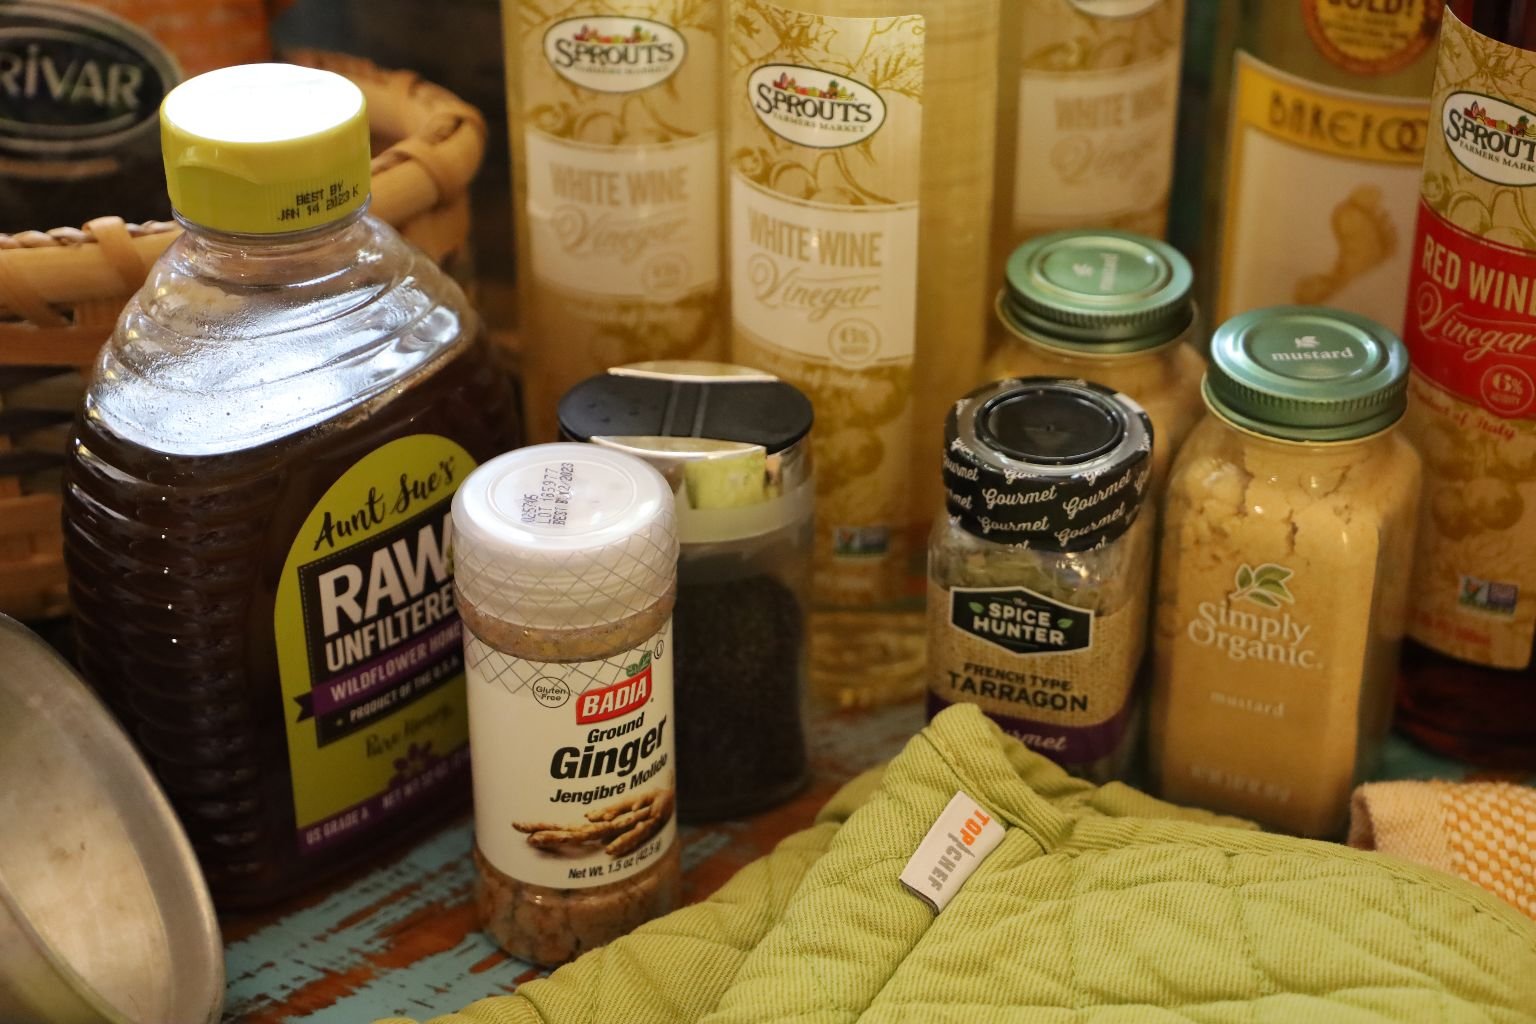
To make a variation of mustard we used some Ground Ginger and Dried Tarragon.
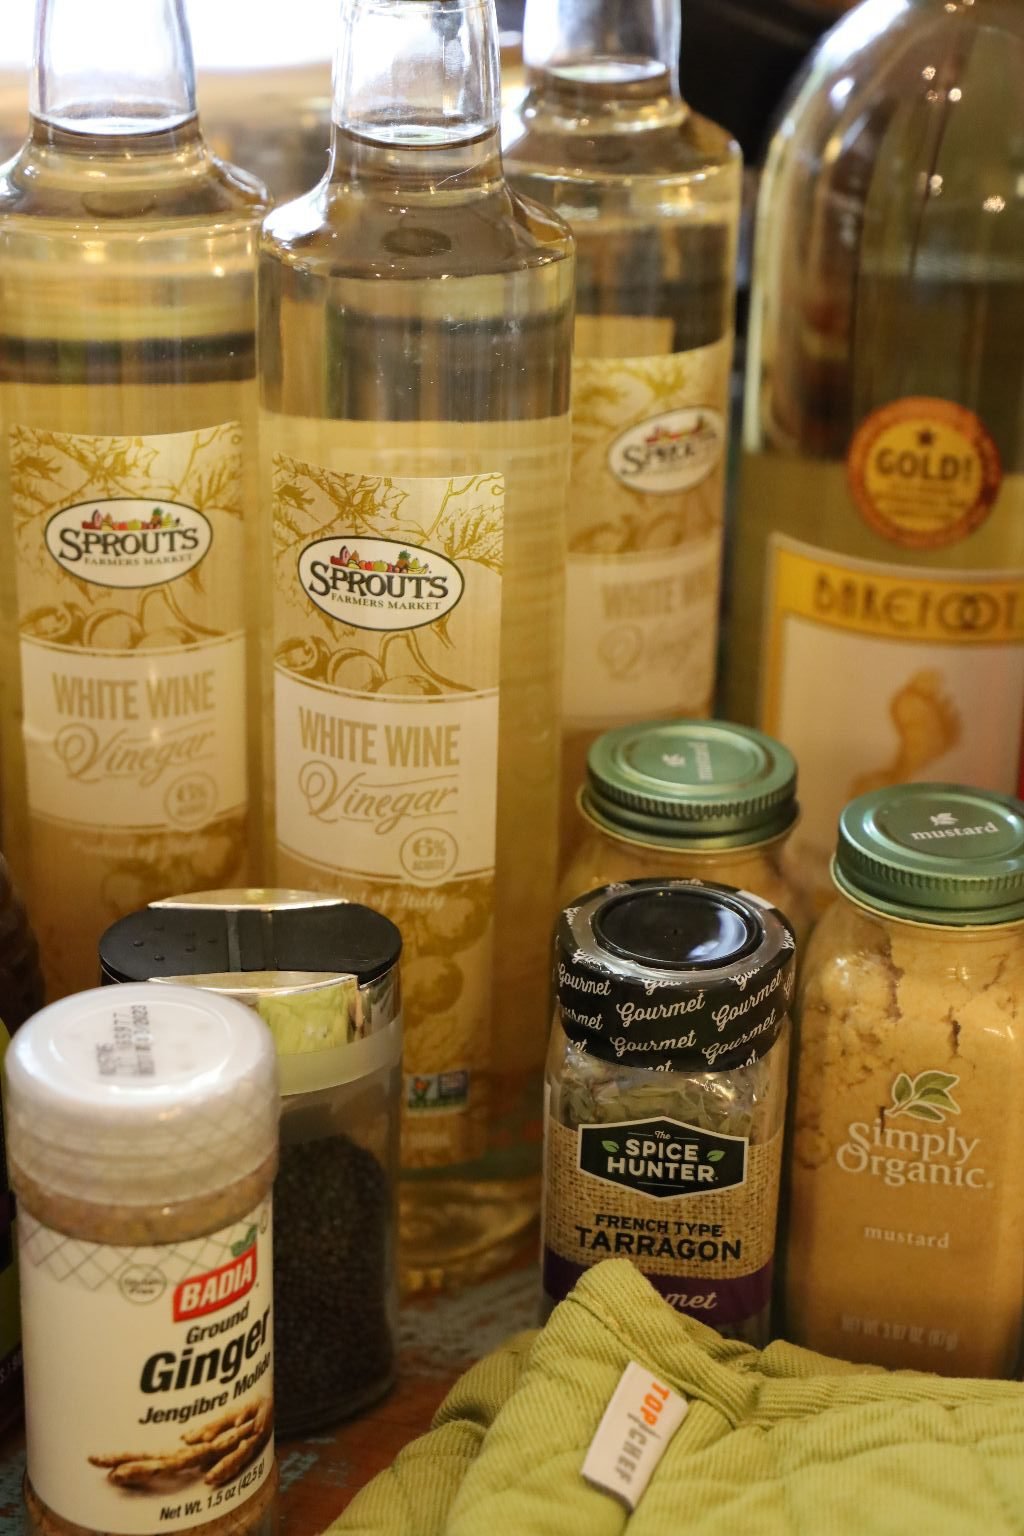
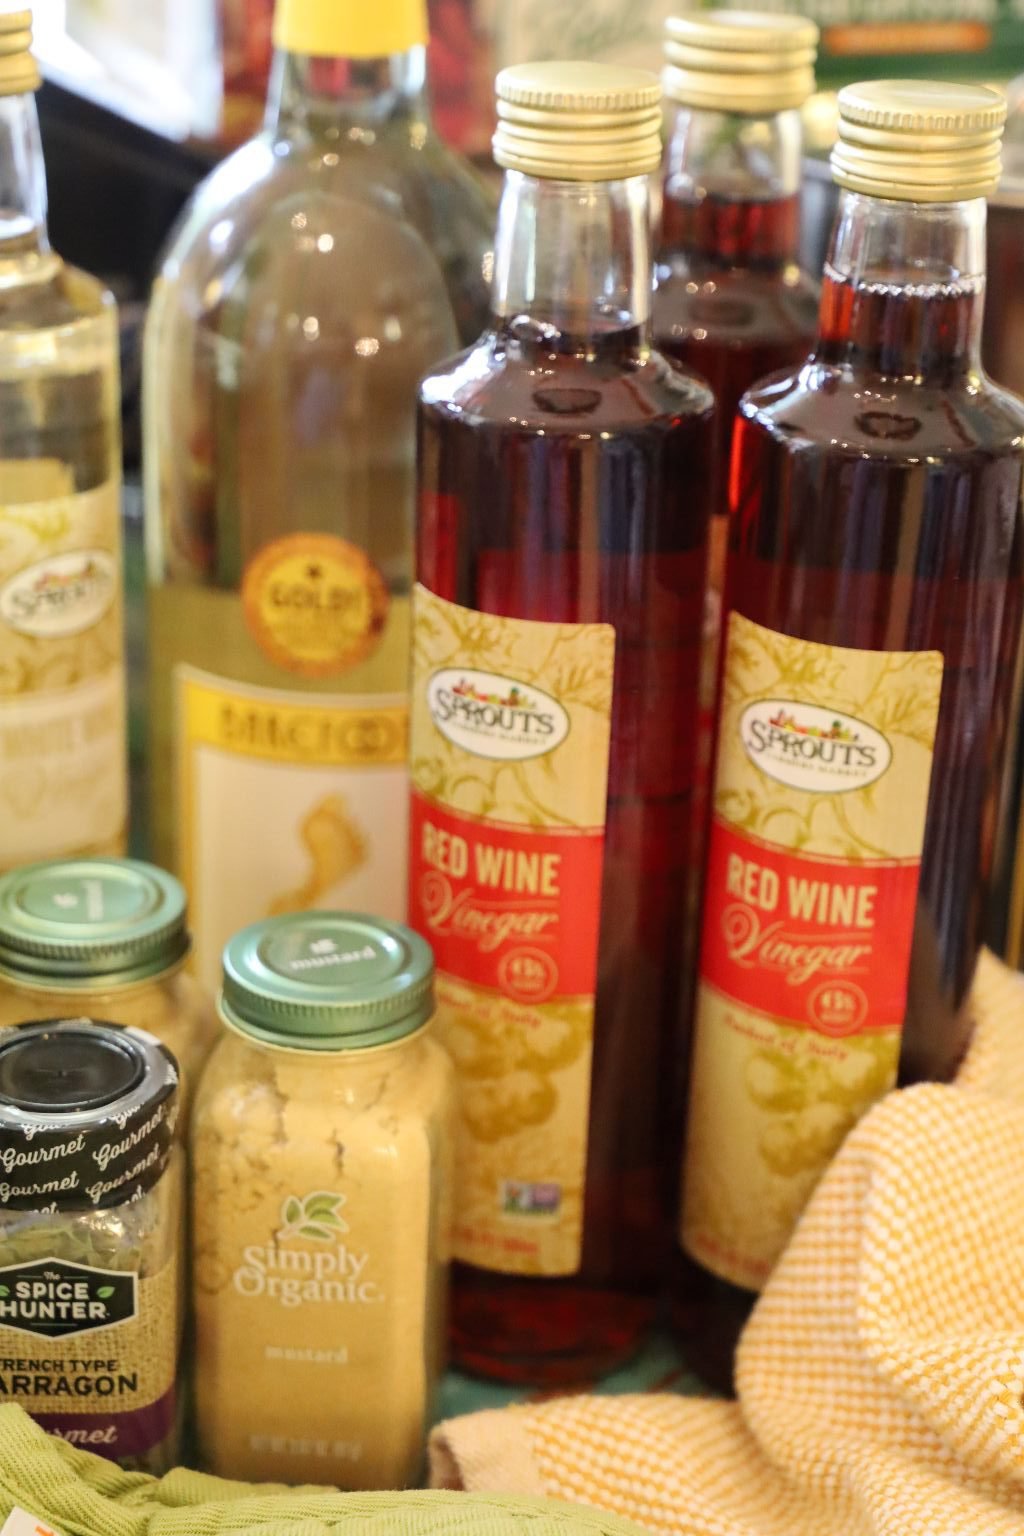
It is a small investment, but well worth it.
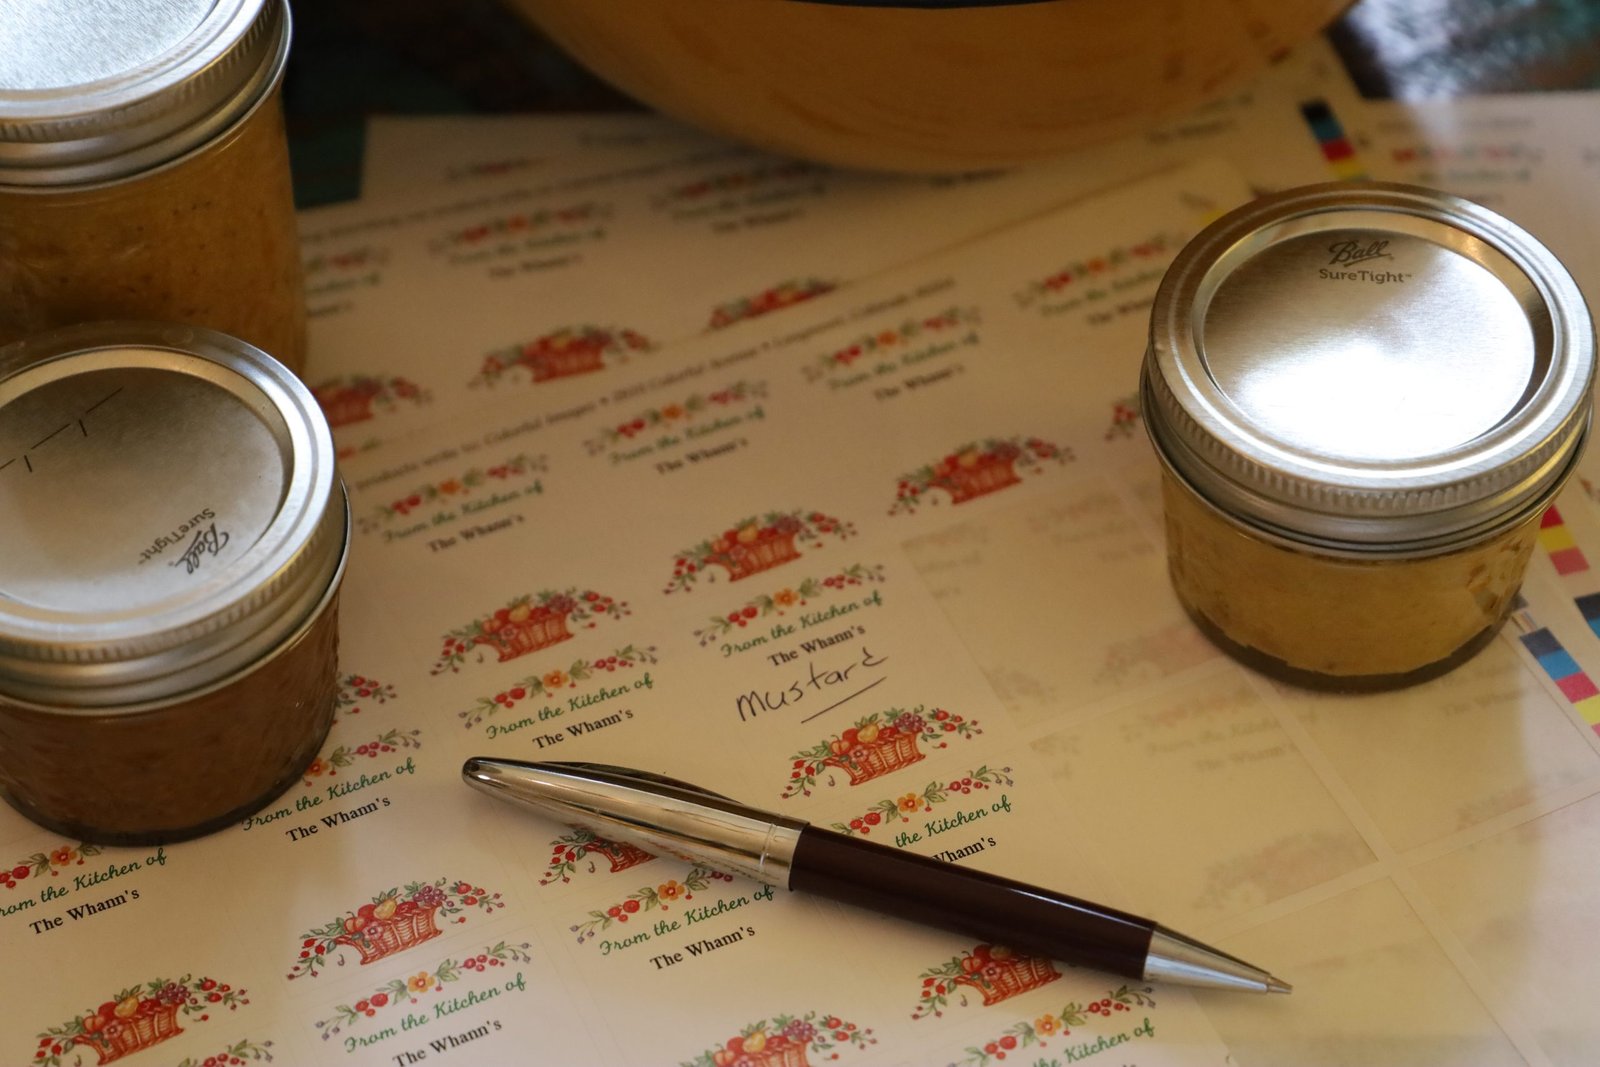
MUSTARD
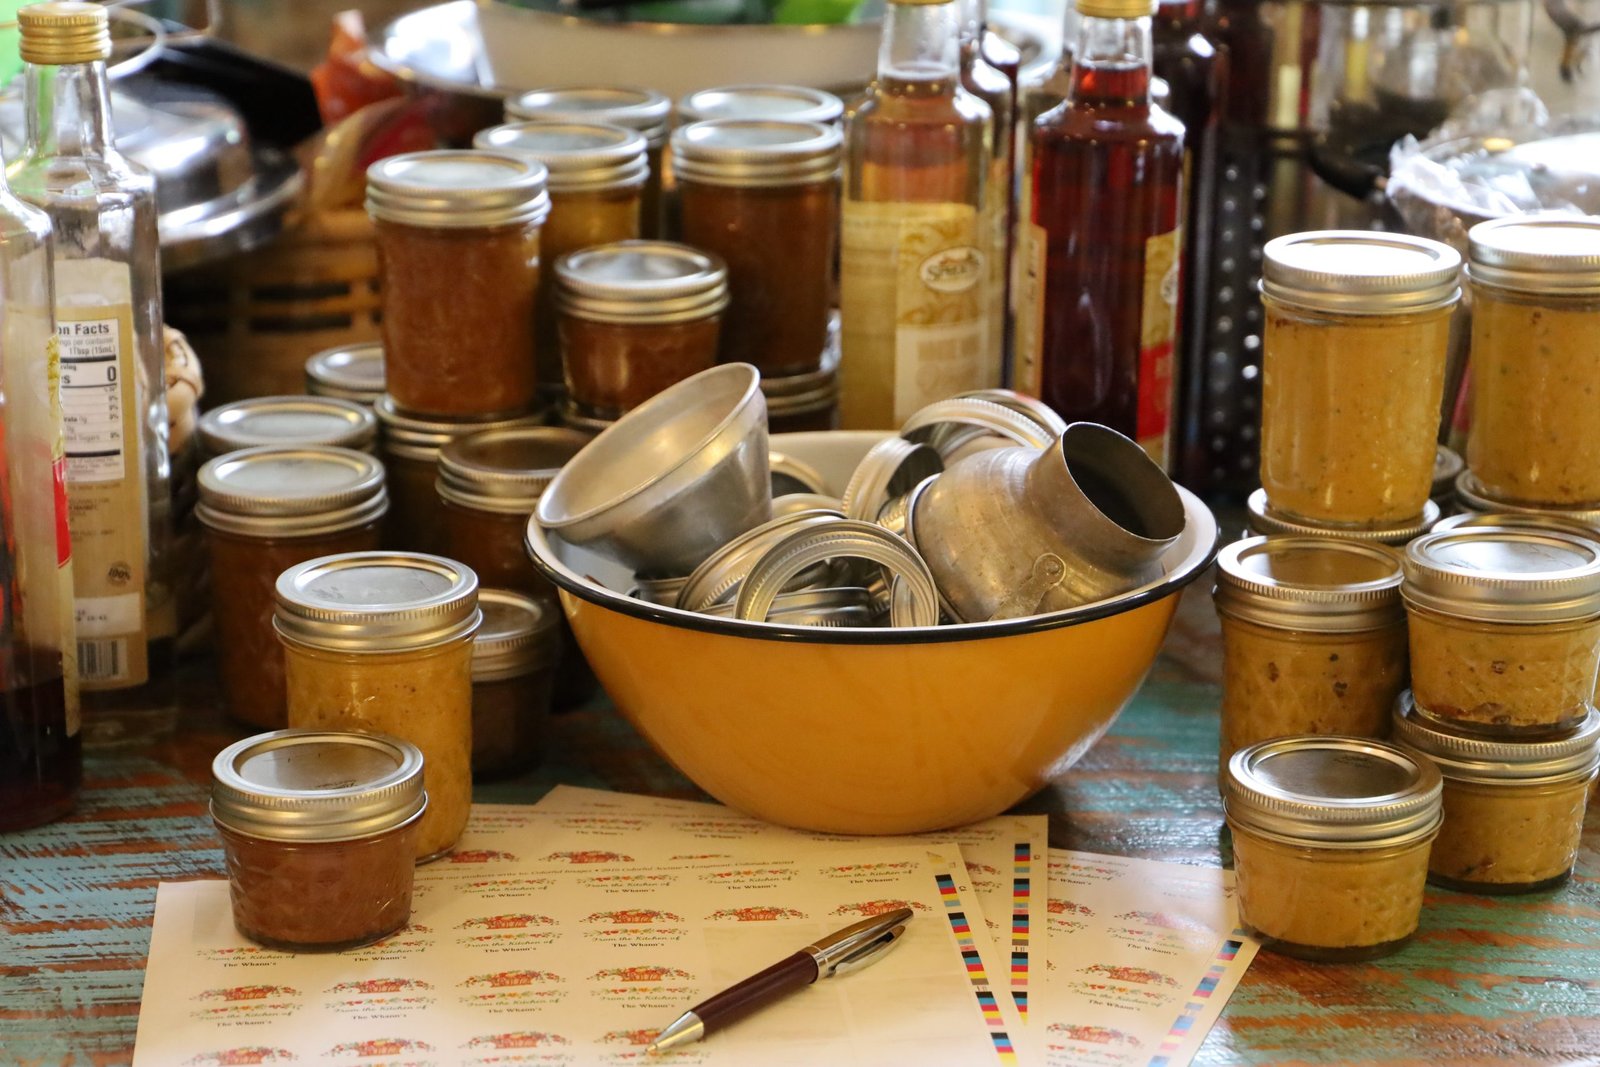
You will also need plenty of canning jars, lids, and rings.
Again, you are making an investment here, but isn’t it nice to have a stocked pantry?
Especially in uncertain times?
————————————————————-
Making our “Almost” Yellow Mustard

This recipe will take about 10 days to make so plan ahead!
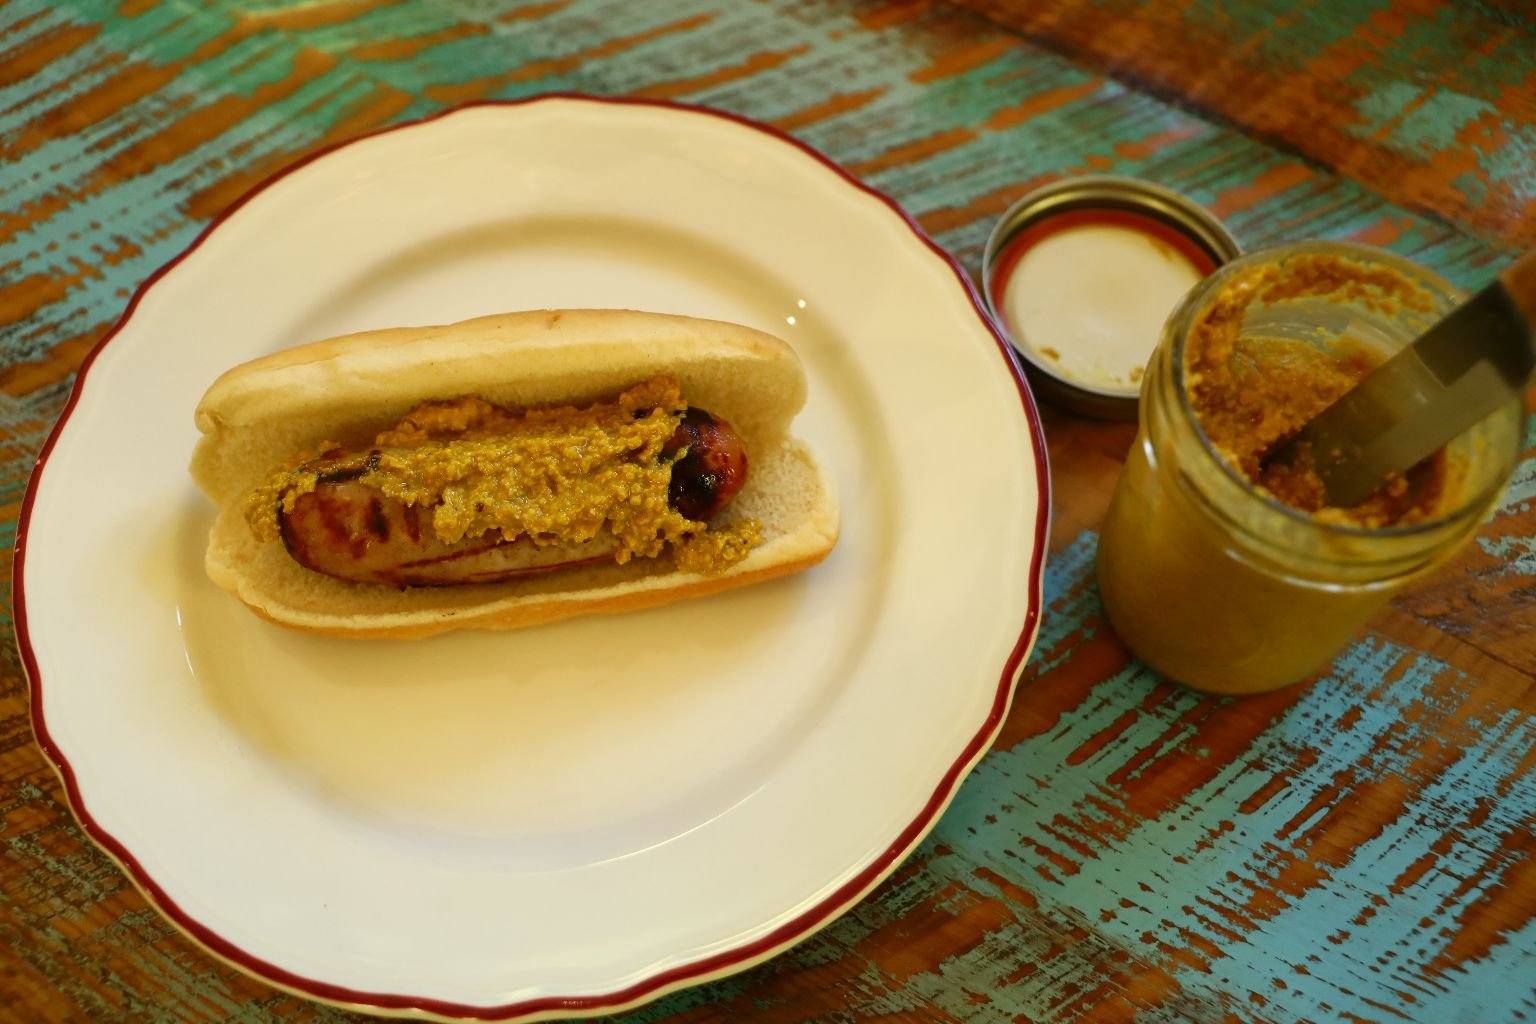
Here we are placing our Almost Yellow Mustard onto a grilled Apple Chicken Sausage.
——————————————————-
Gordon in the Kitchen, Ready to Make Mustard
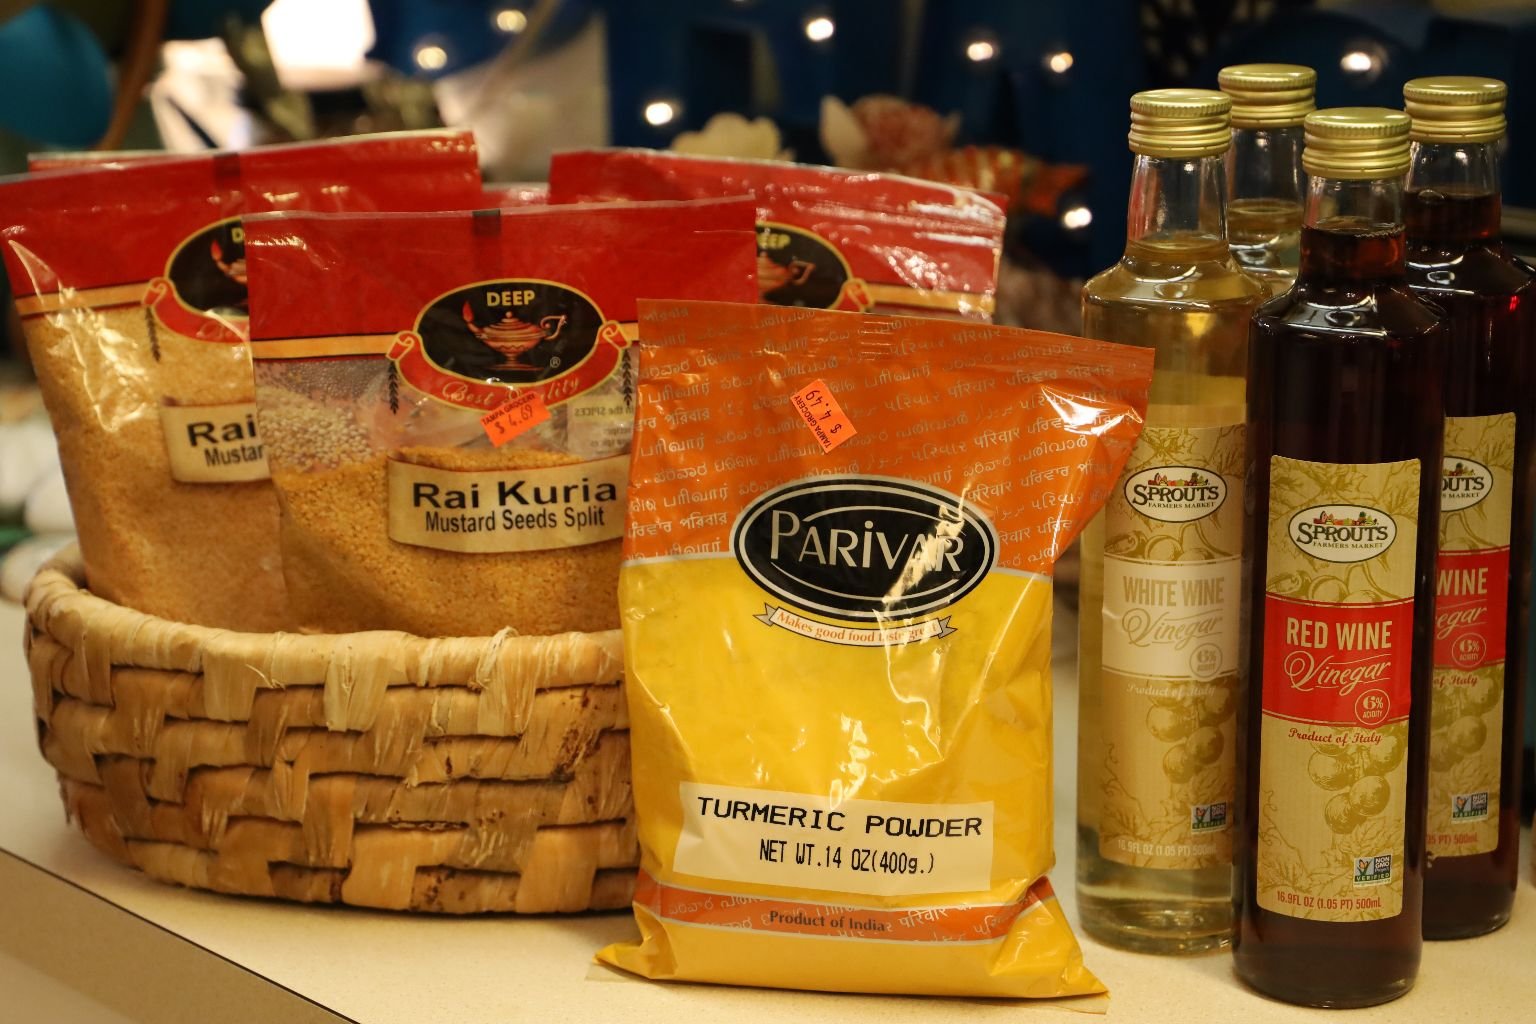
The below ingredients will make 16 (1/2 pint) size jars. This is also a good Yellow Mustard base to use to make a variety of other mustard’s.
Ingredients:
8 Cups Split Yellow Mustard Seeds
5 Cups Red Wine Vinegar
5 Cups White Wine Vinegar
1 Cup Dry White Wine
8 Tbsp. Honey
10 Tbsp. Dry Mustard
3 Tbsp. Turmeric
3 Tbsp. Black Pepper
5 Tbsp. Salt (Kosher)
——————————————————————–
Be sure to have a large nonreactive pot.
A nonreactive pot is referring to the type of metal the pot is made from. Stainless steel, ceramic, glass and metal cookware with enamel coating are all nonreactive. Reactive cookware are made from aluminum, cast iron, and copper, but are sometimes lined with nonreactive tin. If you use a reactive pot the acid could react with the metal pot imparting a metallic taste to the mustard as well as discoloring it.
——————————————————————
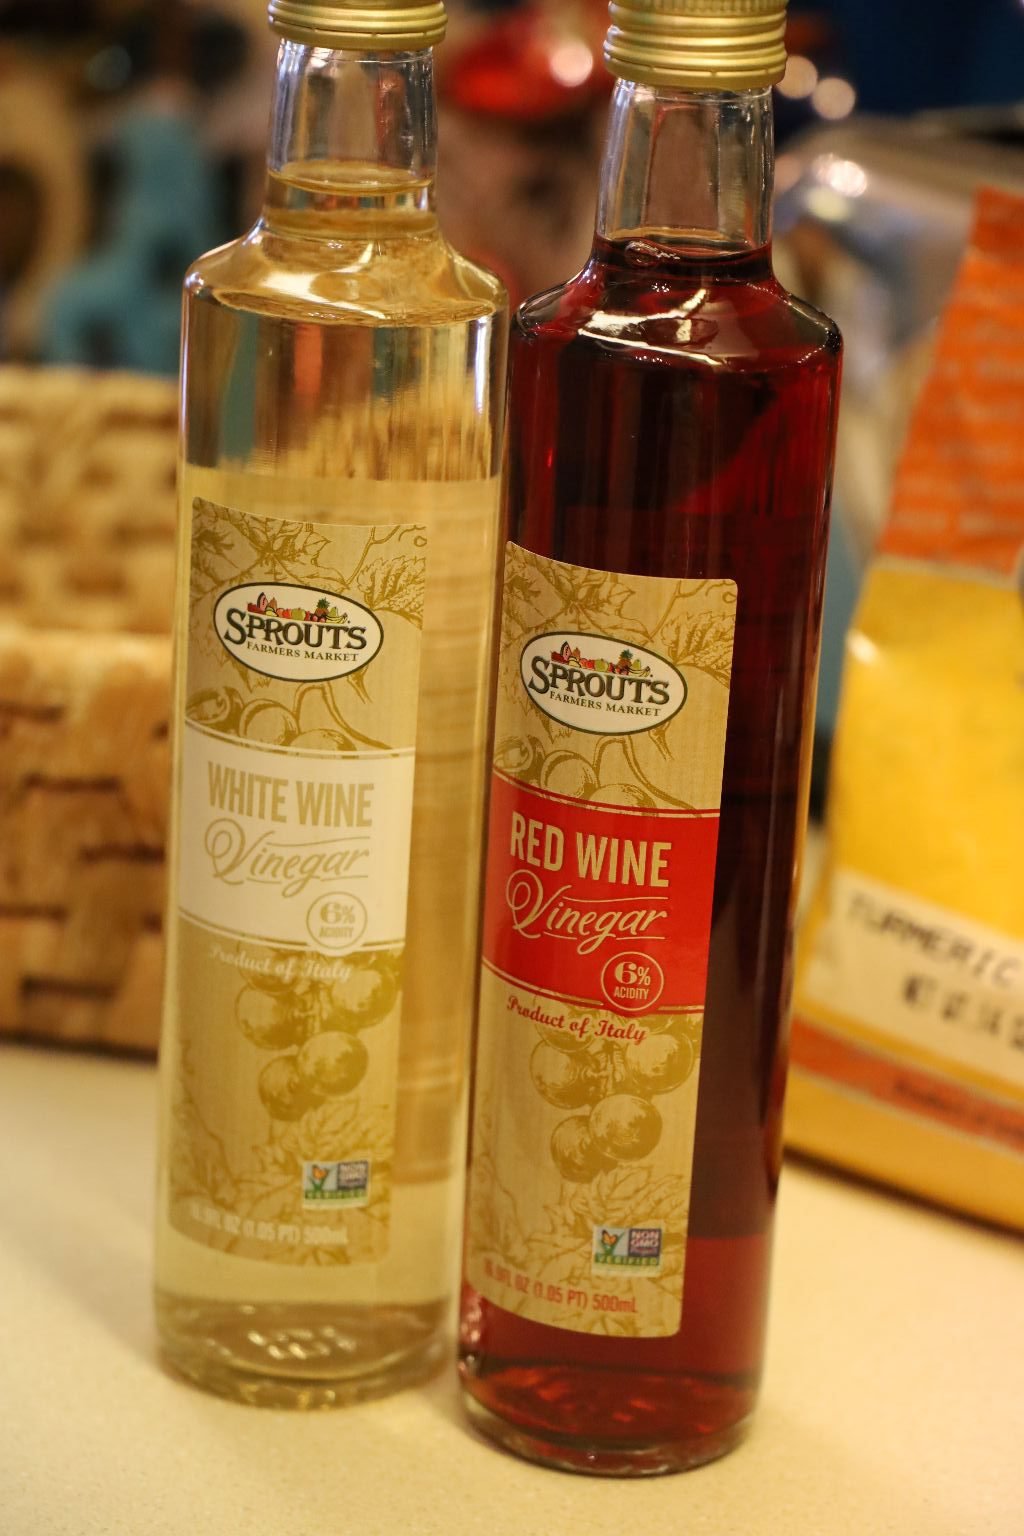
Because we were having essential workers to shop for us we bought many things we needed for these recipes from Sprouts.
————————————————————-
Add 4 cups of your Red, and 4 cups of your White Wine Vinegar into the pot.
Then pour in your mustard seeds.
We bought these seeds from our local Indian food store.
Here I added a little more of the vinegar to the pot.
Stir your ingredients together.
This is also a good time to use some of the vinegar’s you have in your cabinet which will also give the mustard a unique flavor as all vinegar’s don’t taste the same.
The mustard still looked a little dry, so I added a little more vinegar to the pot.
This looks good as I now have a bit more vinegar than seeds, so the seeds have some liquid to absorb.
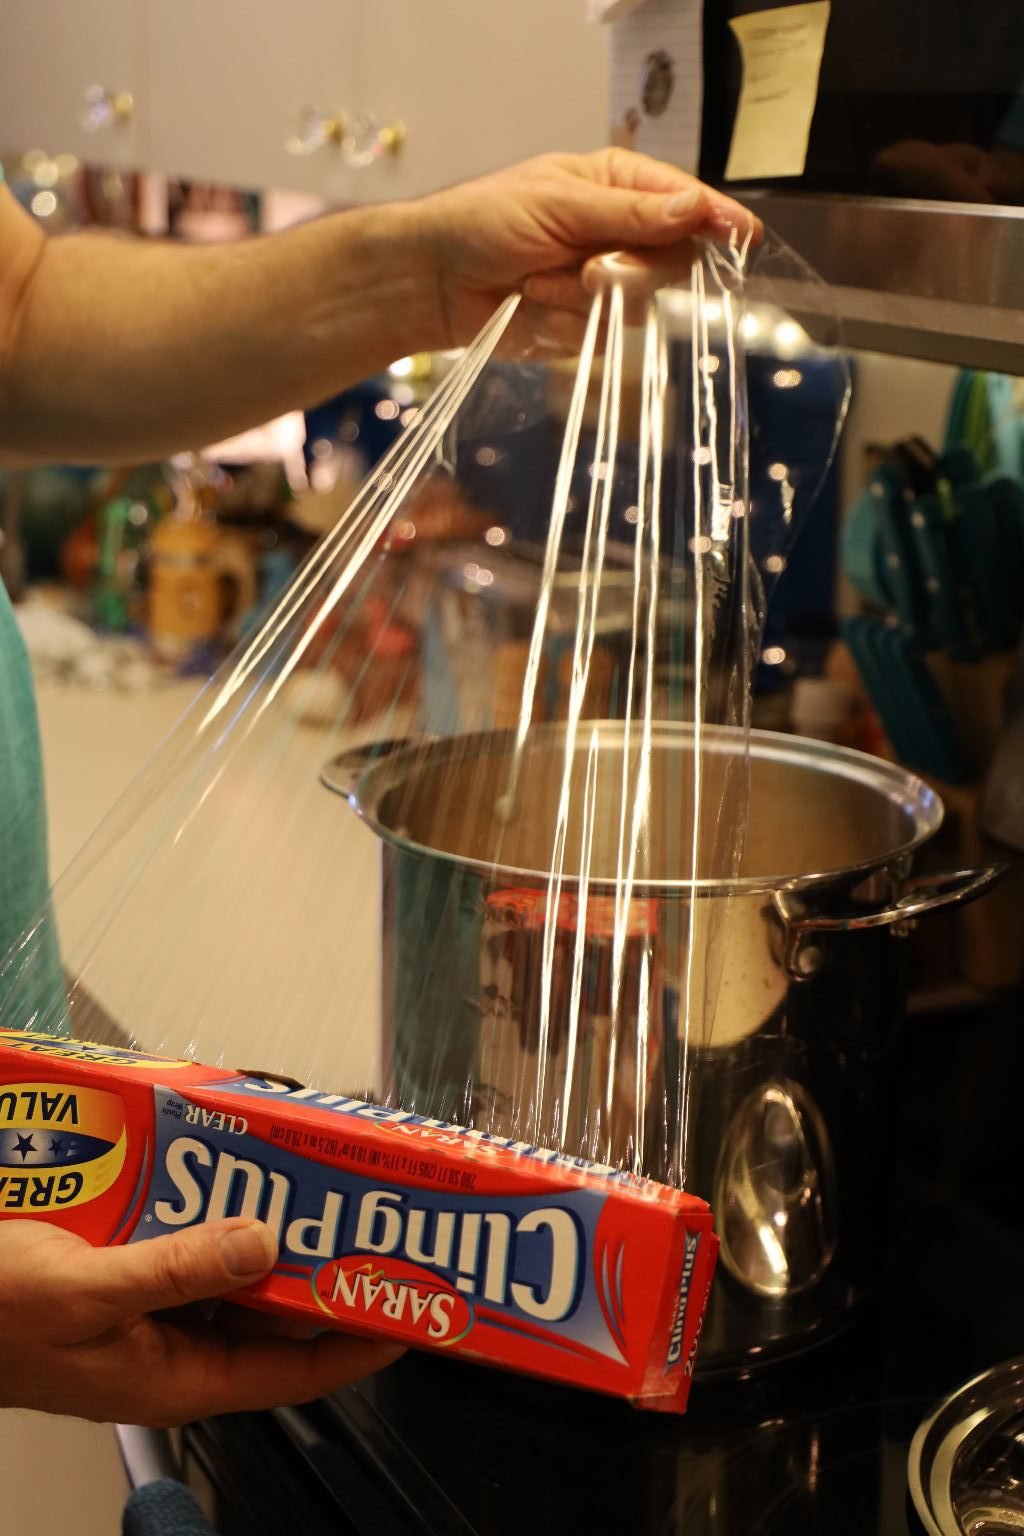
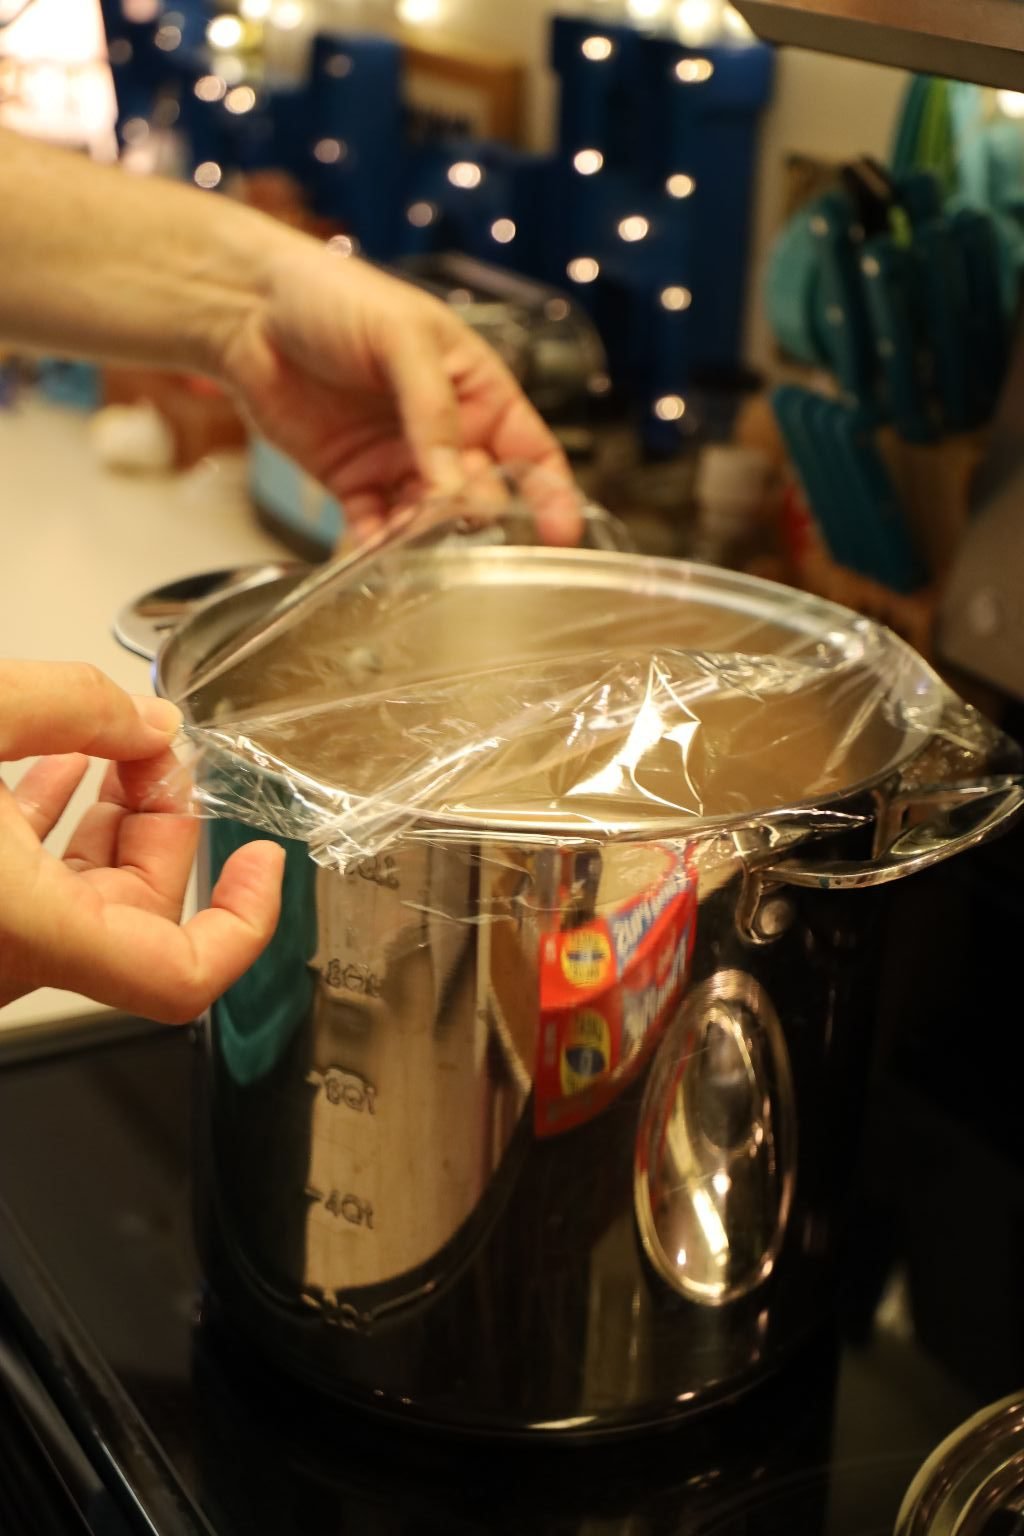
Cover your pot with some plastic wrap and let the ingredients sit at room temperature for 5 days. But, check after a few days to see how well it is going.
——————————————————–
Day 2
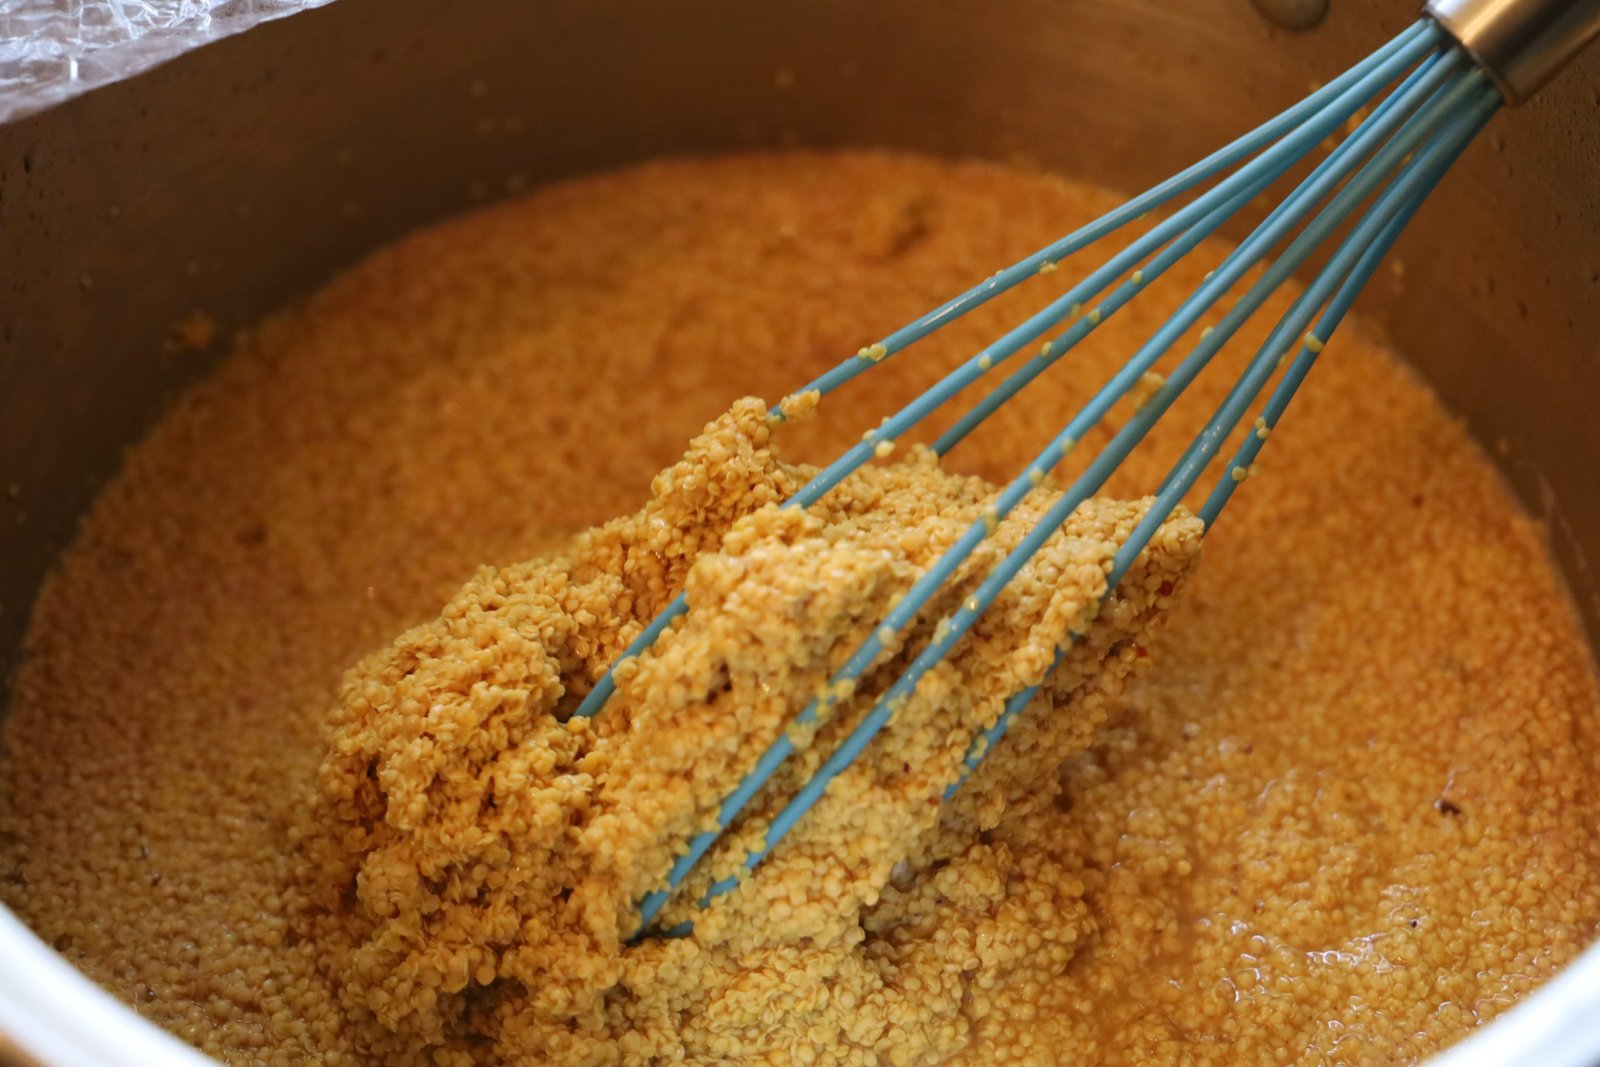
Here you can see the mustard seeds have absorbed the wet ingredients.
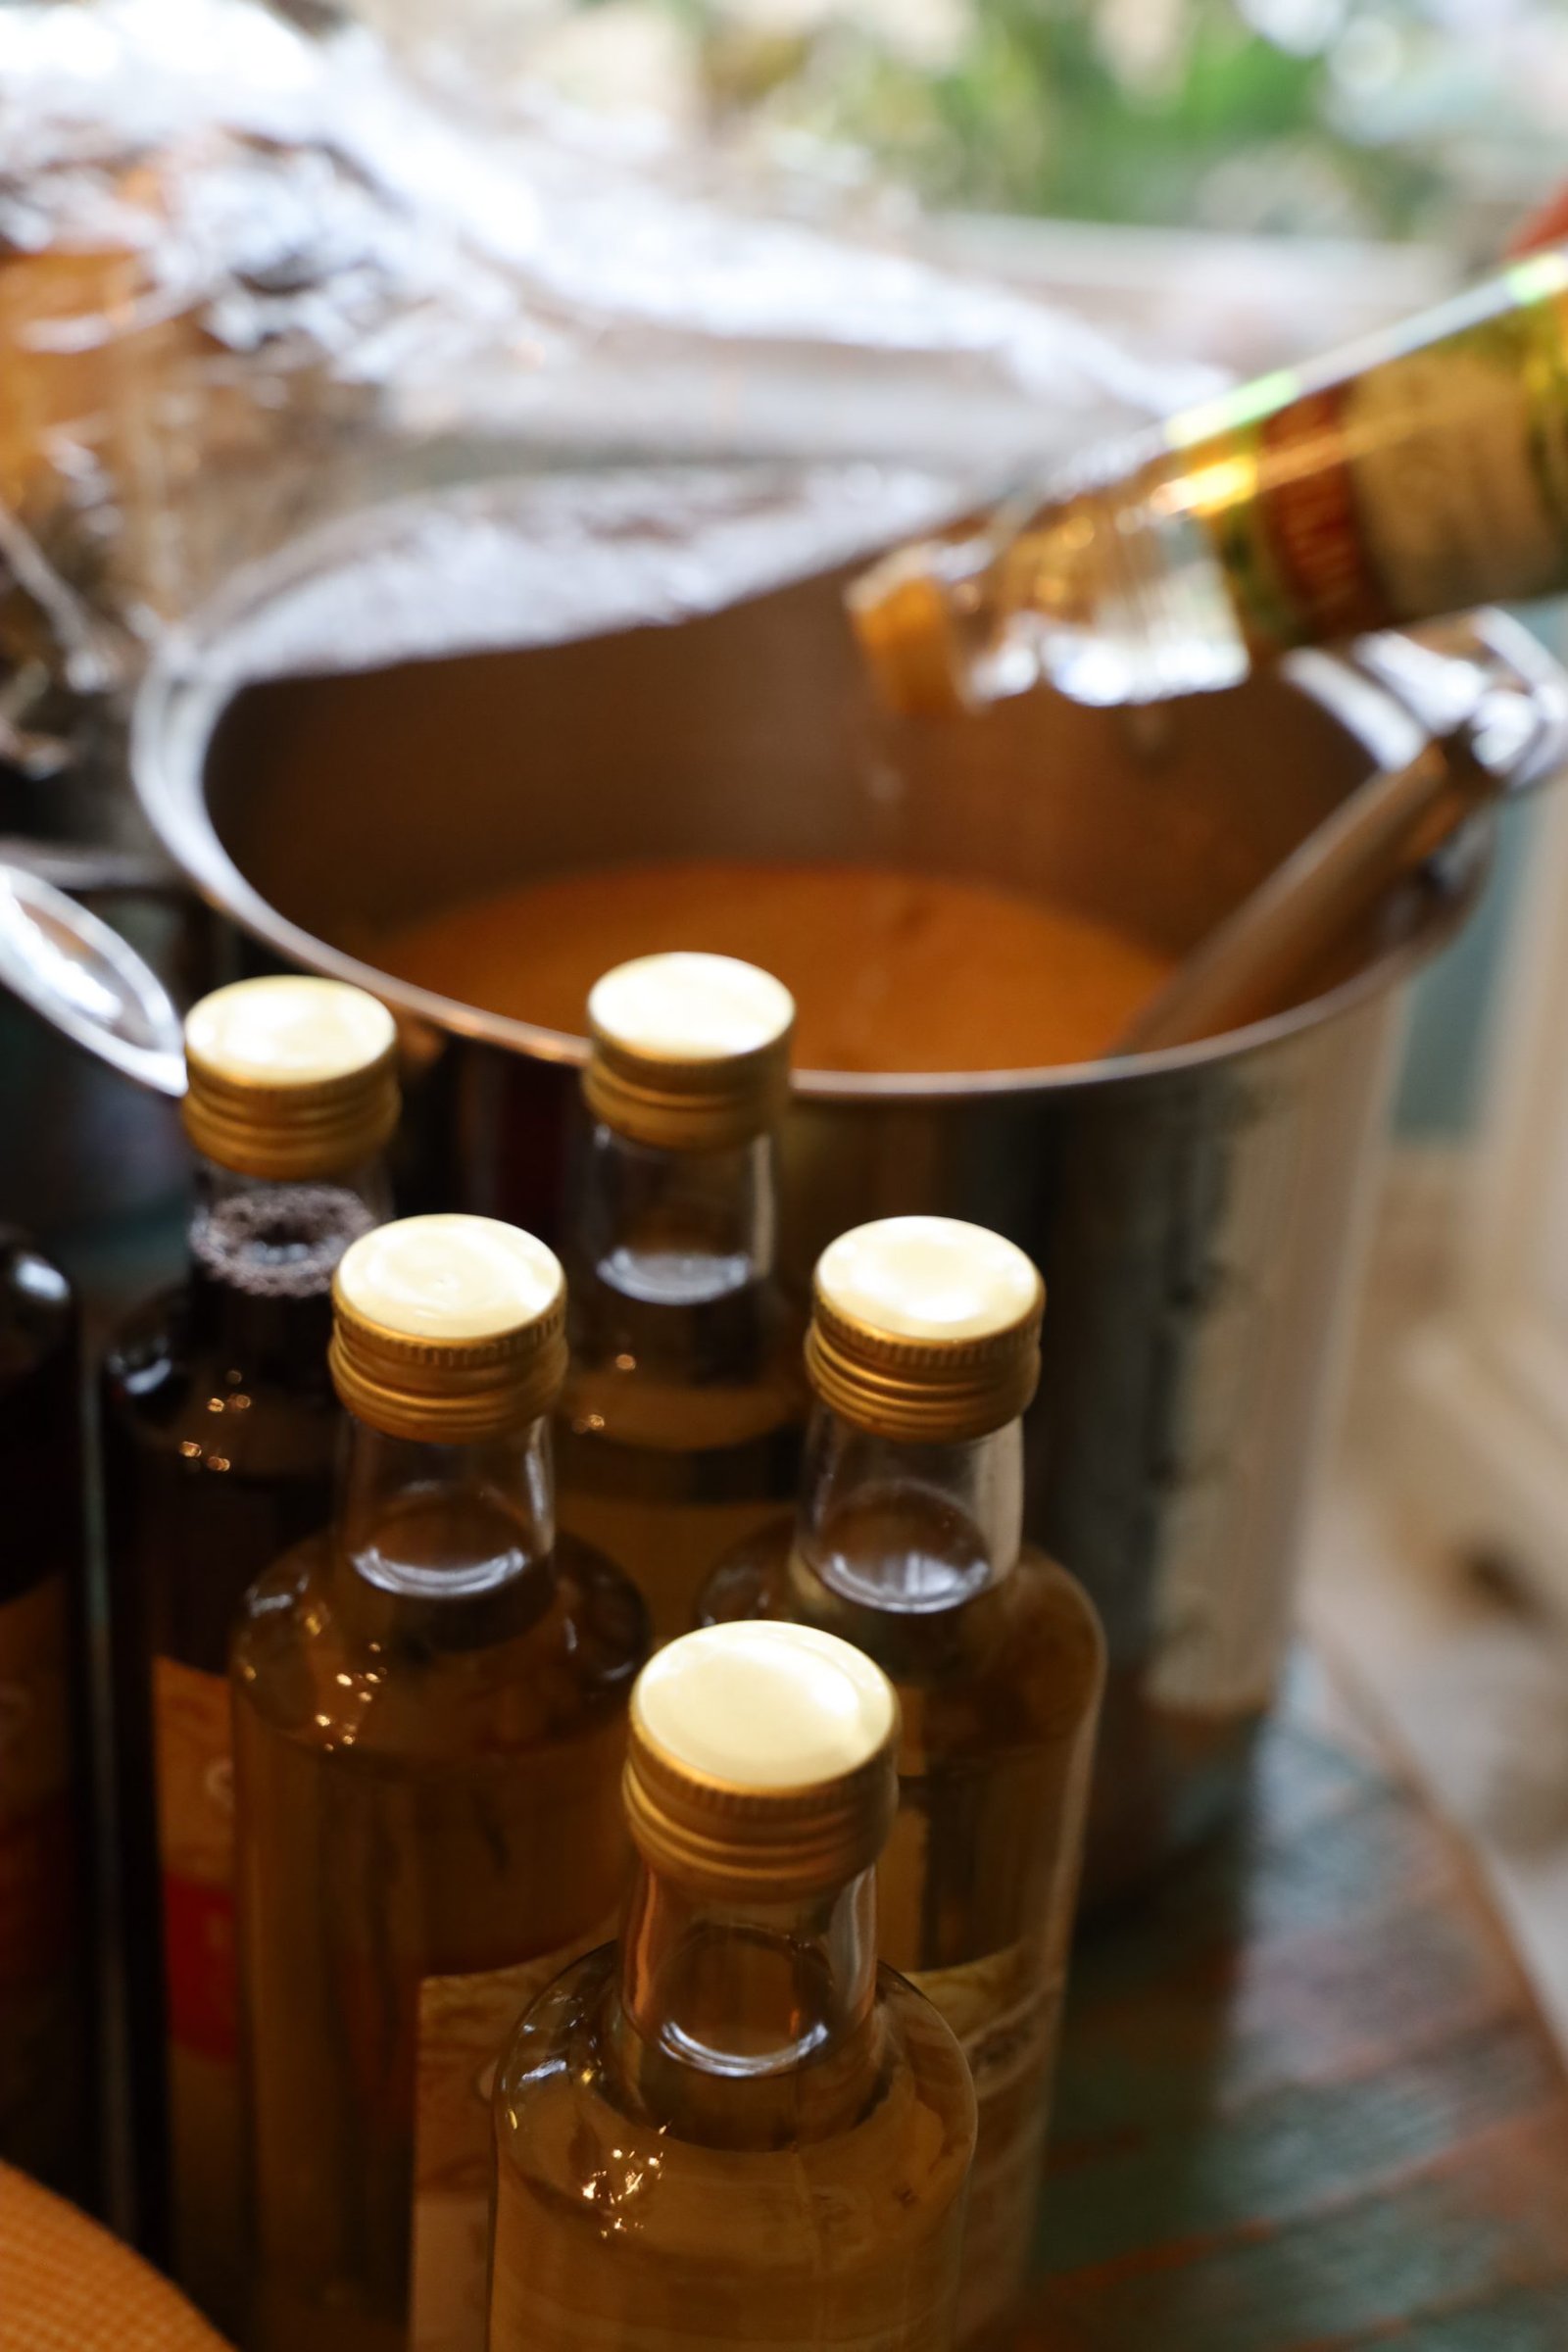
Time to add a bit more vinegar as you want the ratio of liquid to seeds to be about even. We have plenty of bottles of vinegar as we planned on making many different varieties of mustard. Watch the mustard pot over the next few days adding more vinegar when needed.
————————————————–
Day 5
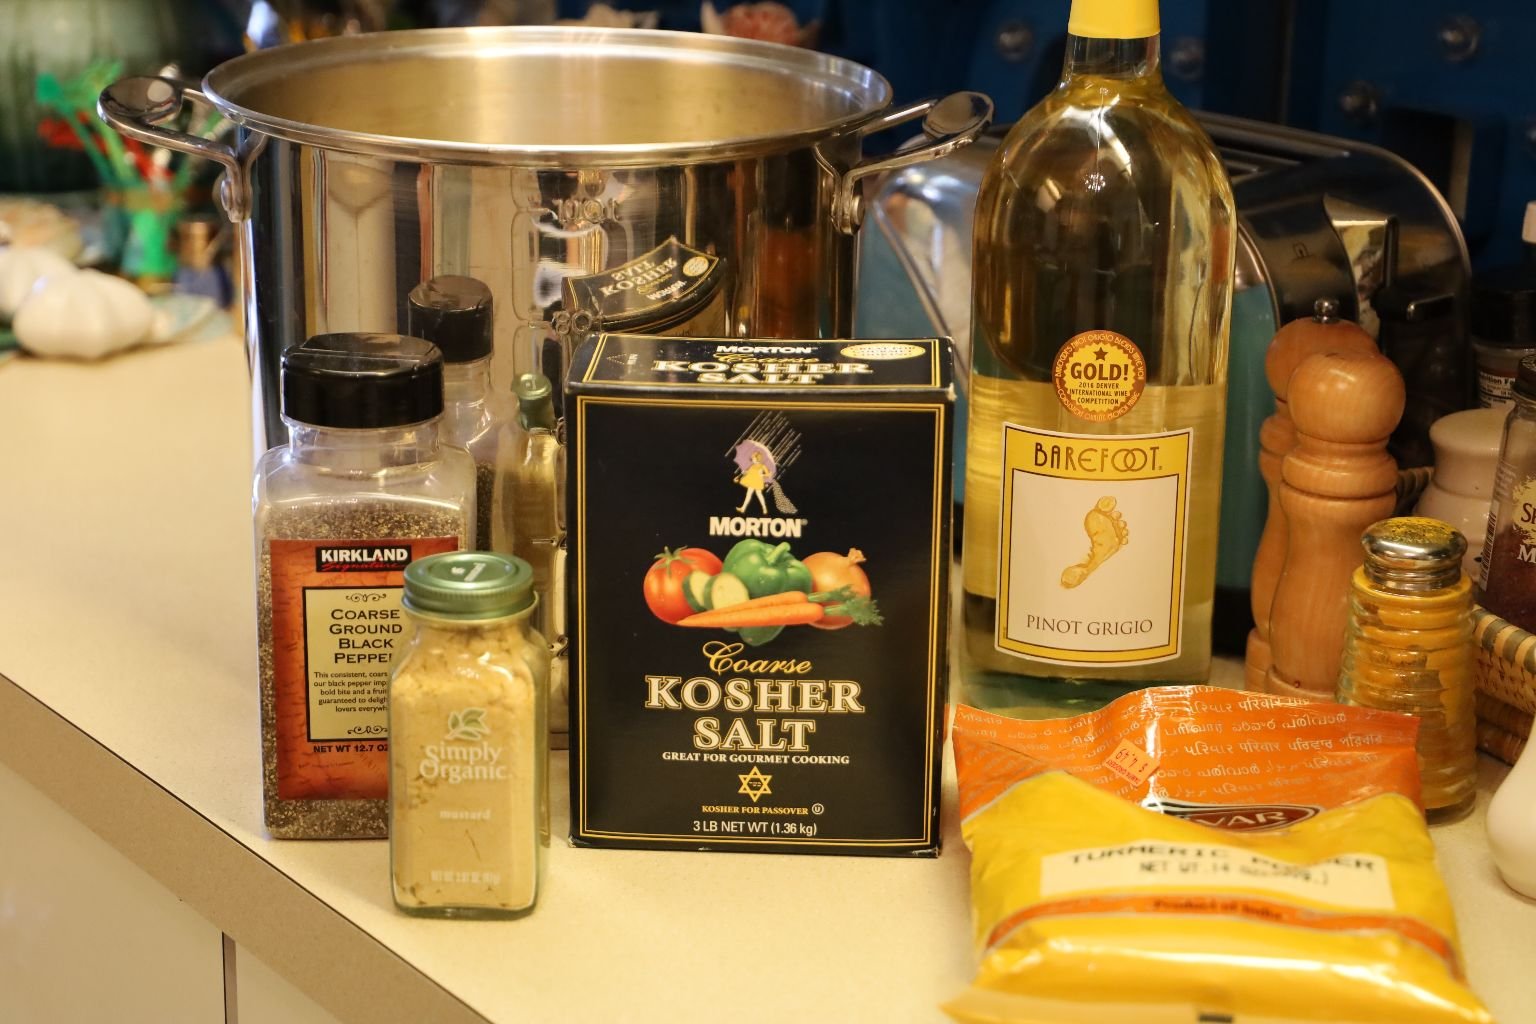
Now, that the dry mustard seeds have absorbed the vinegar and have softened, you can add your other ingredients to pot.
This is a very good brand of Turmeric which we used at the Indian restaurant I interned at.
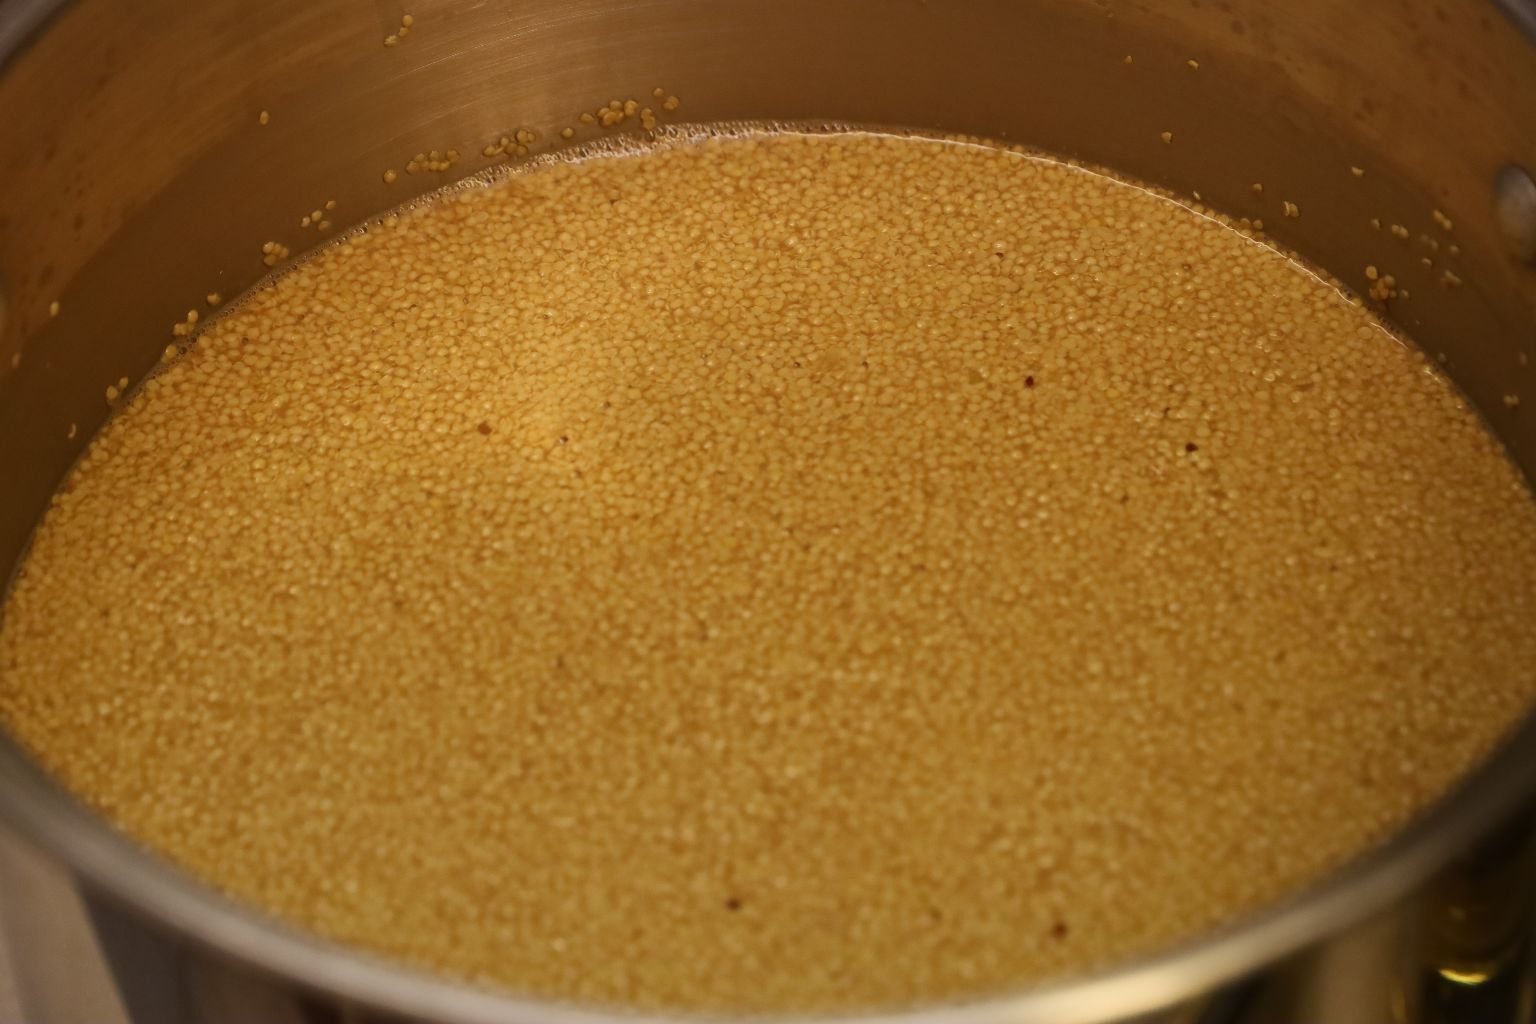
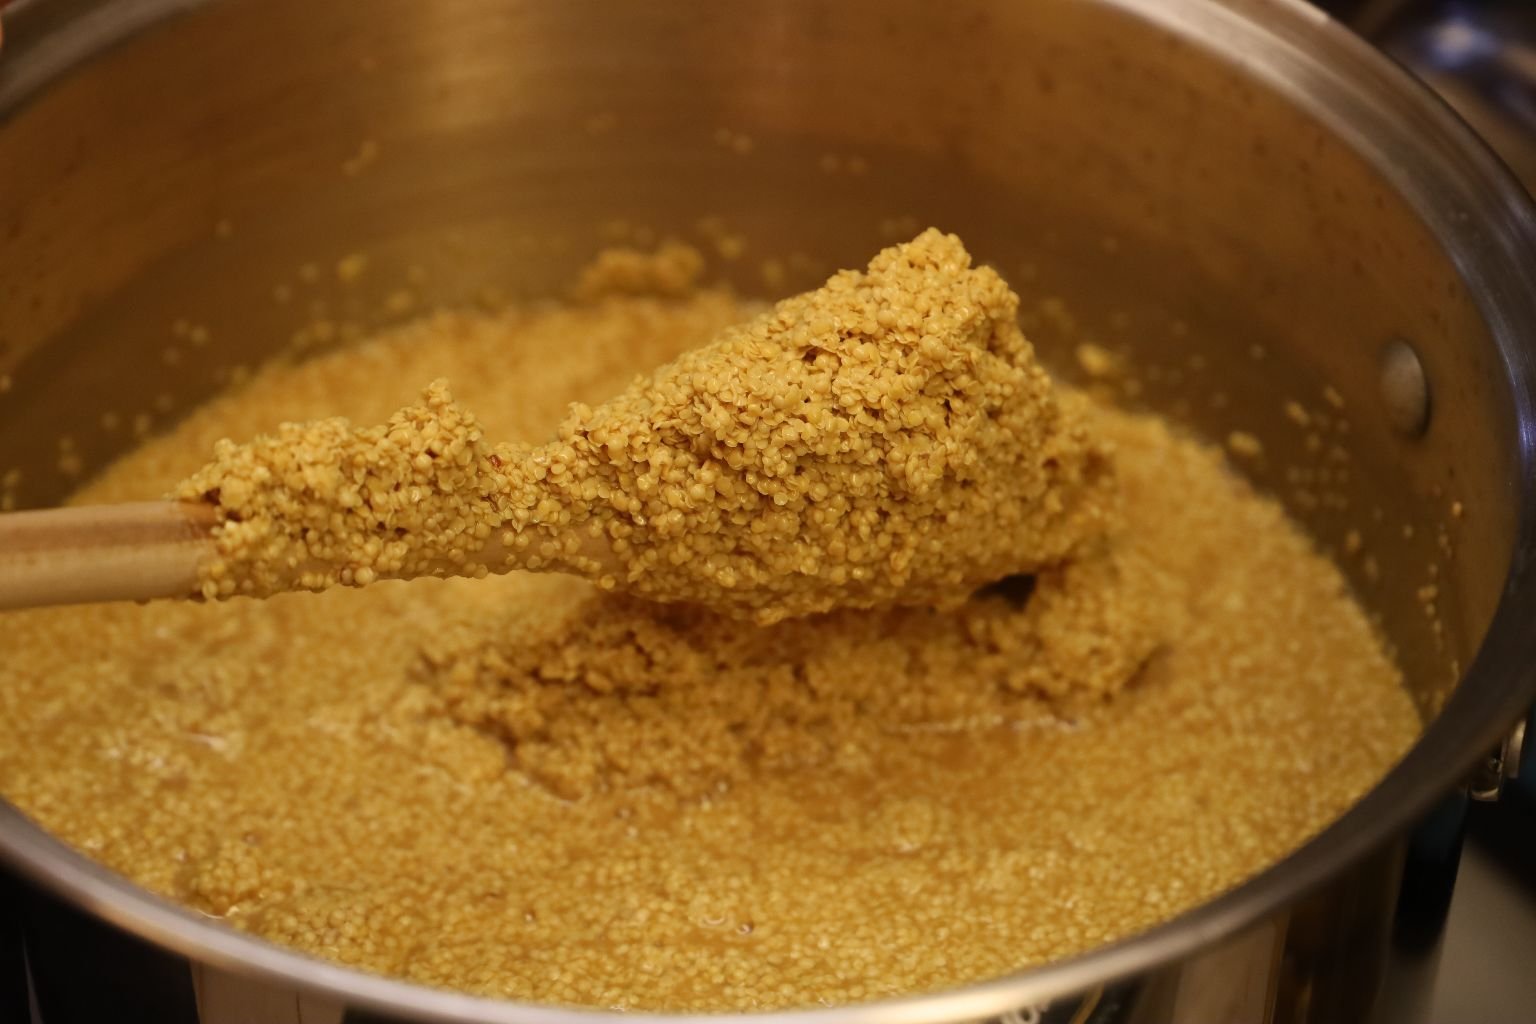
This is a great shot of the mustard at this stage.
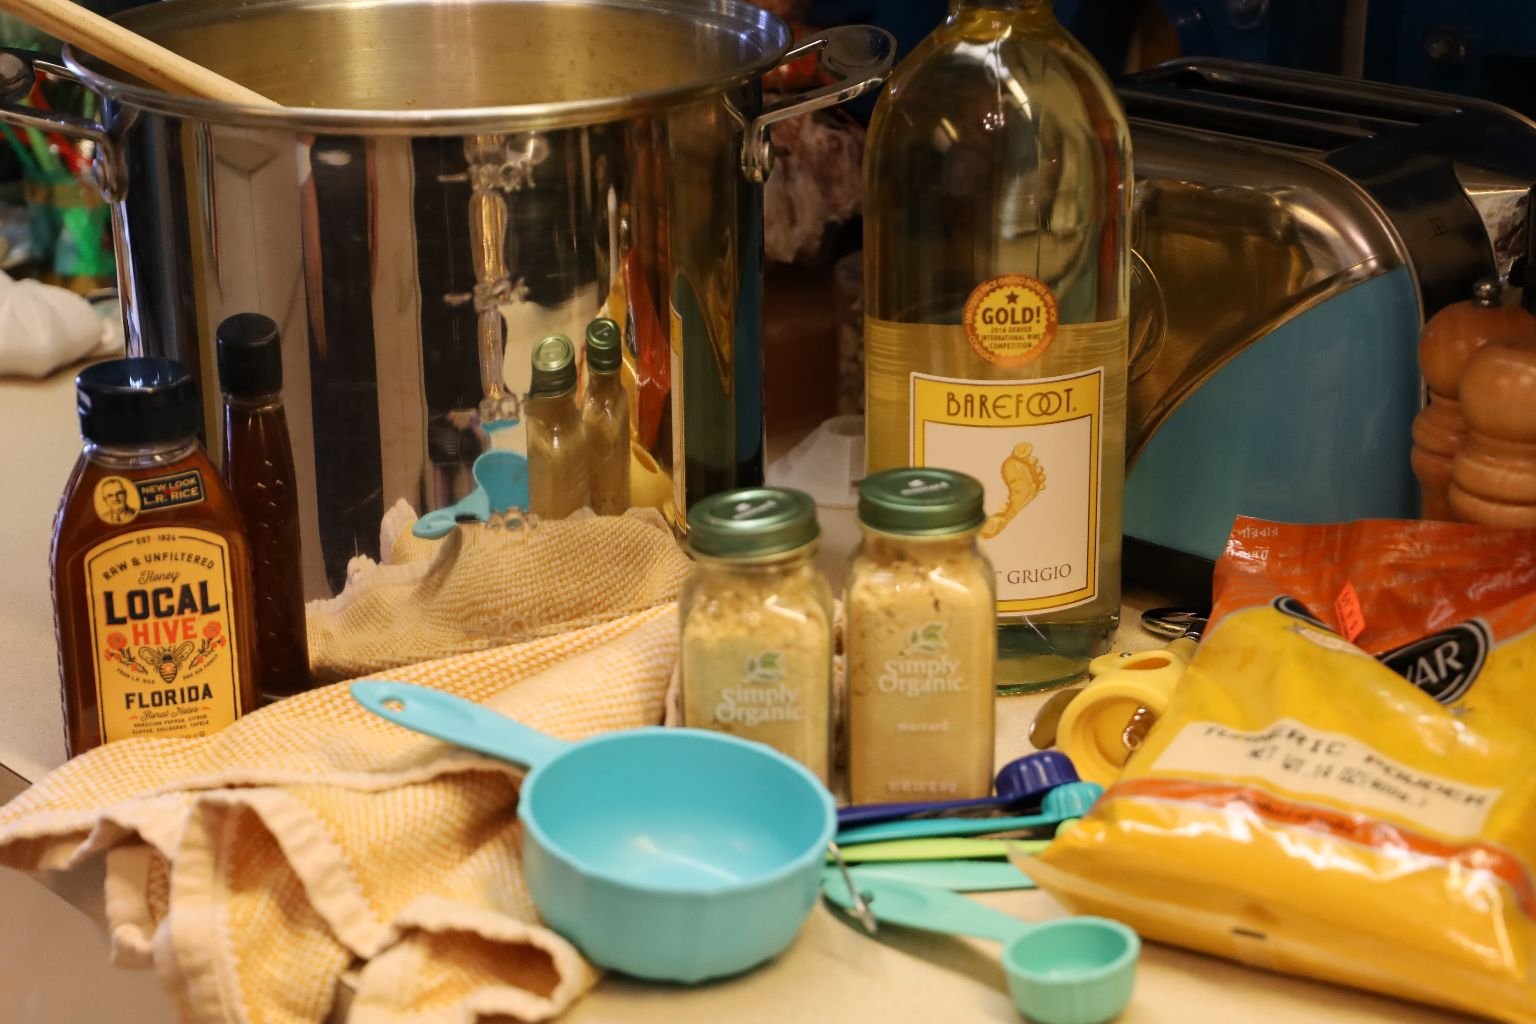
Here are the ingredients we are now adding.
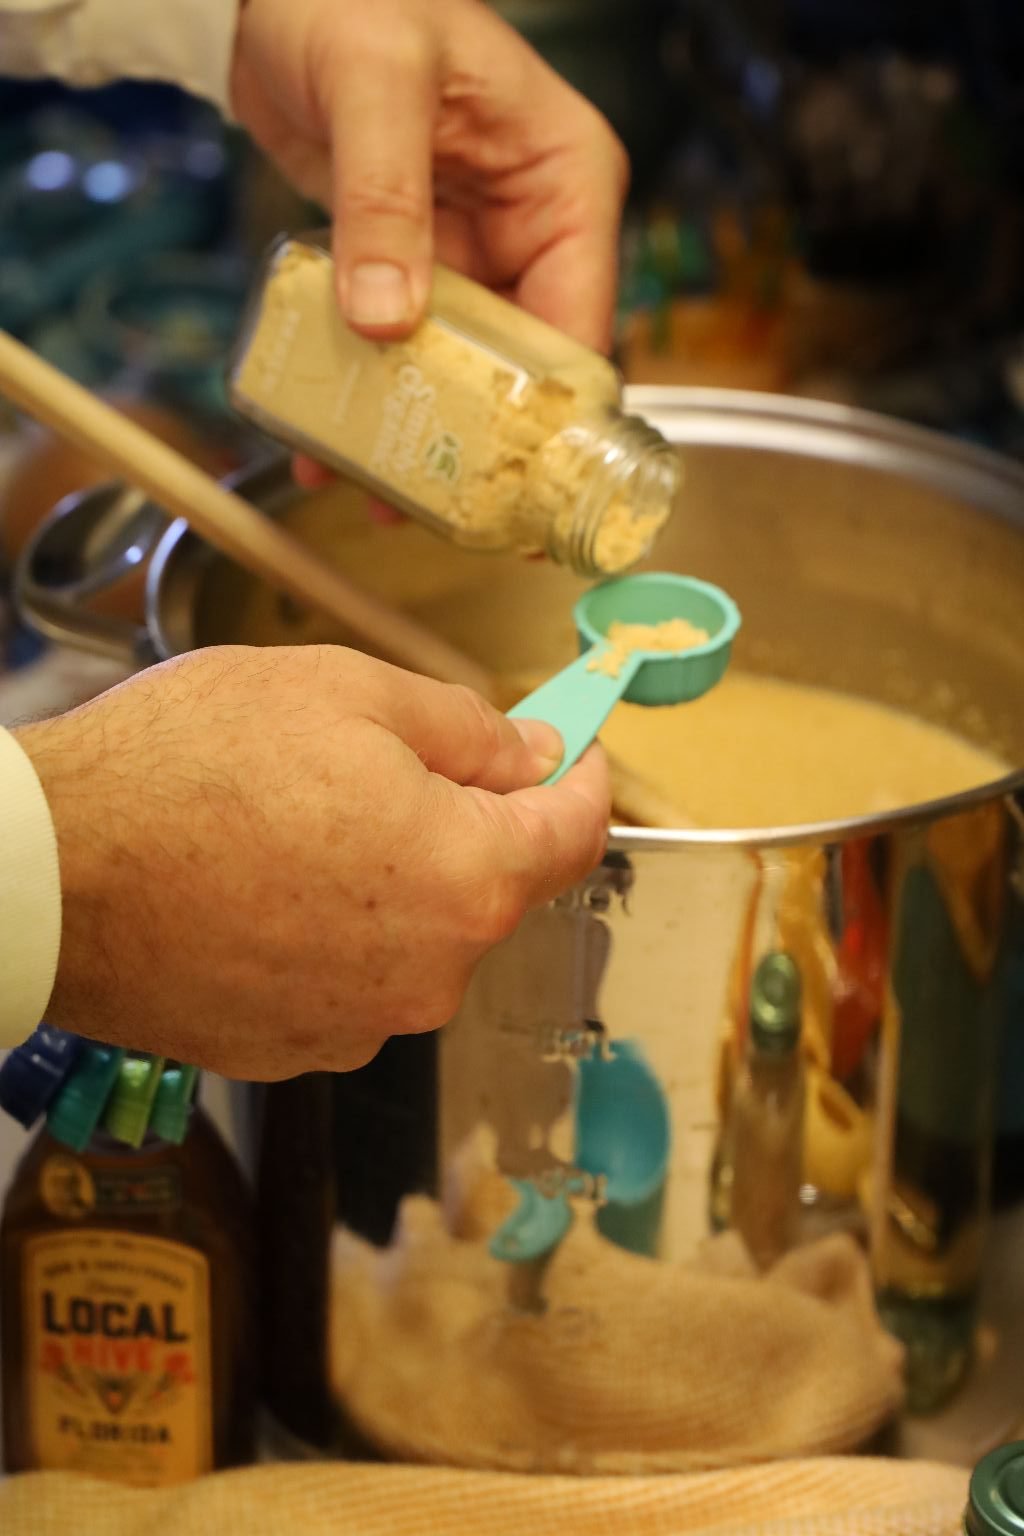
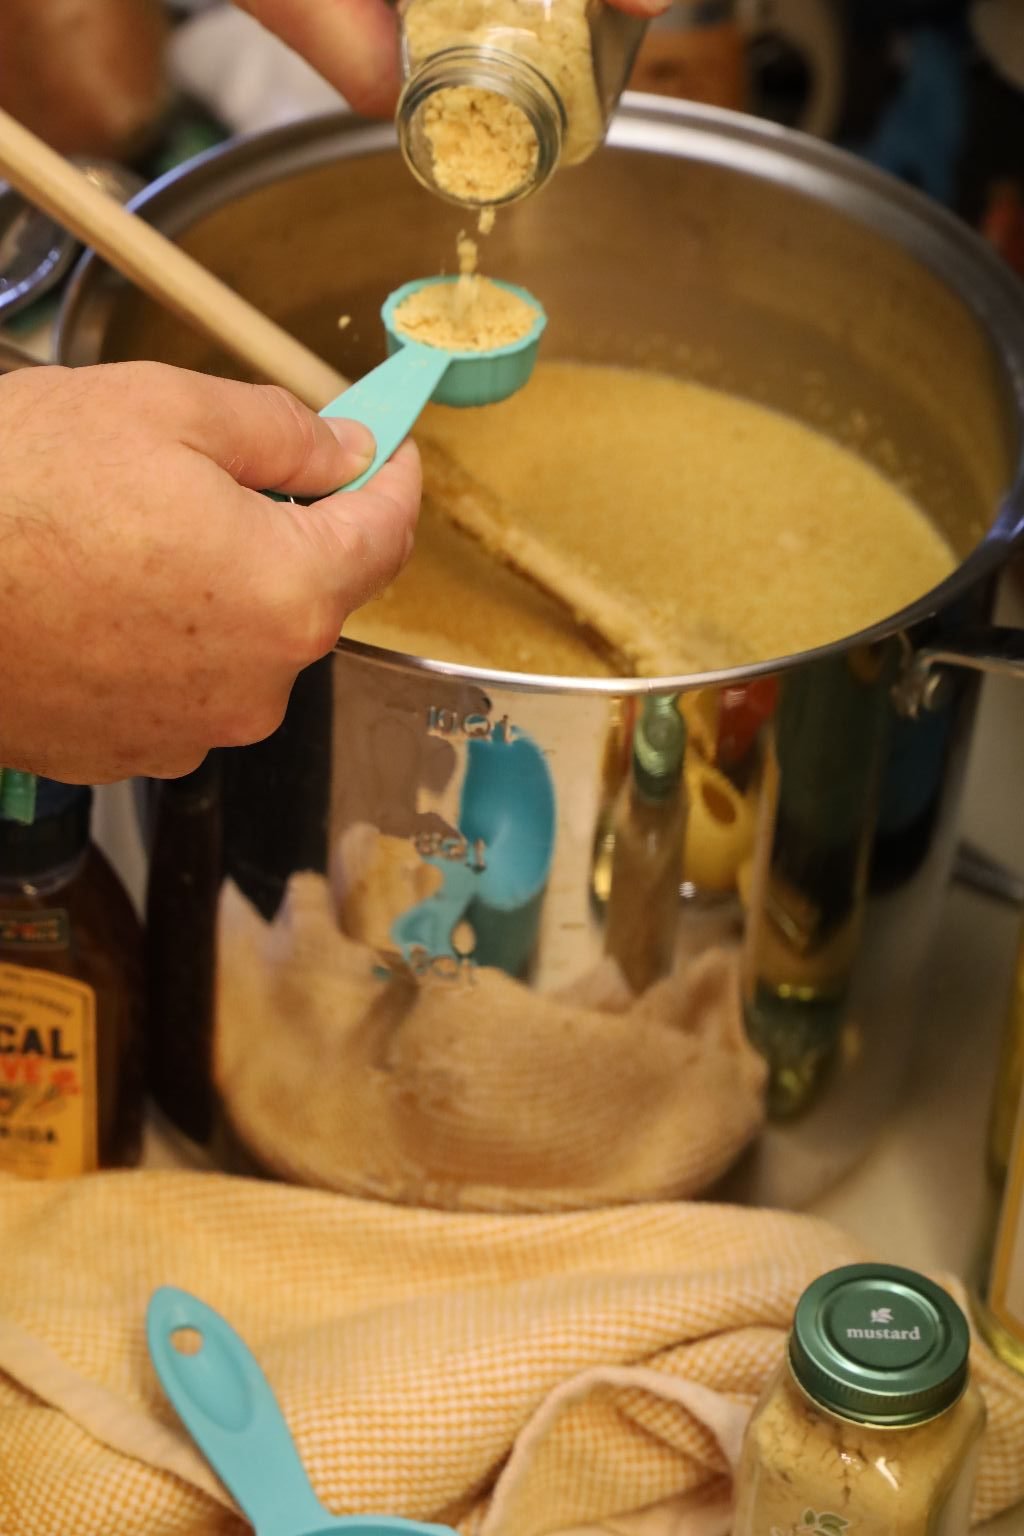
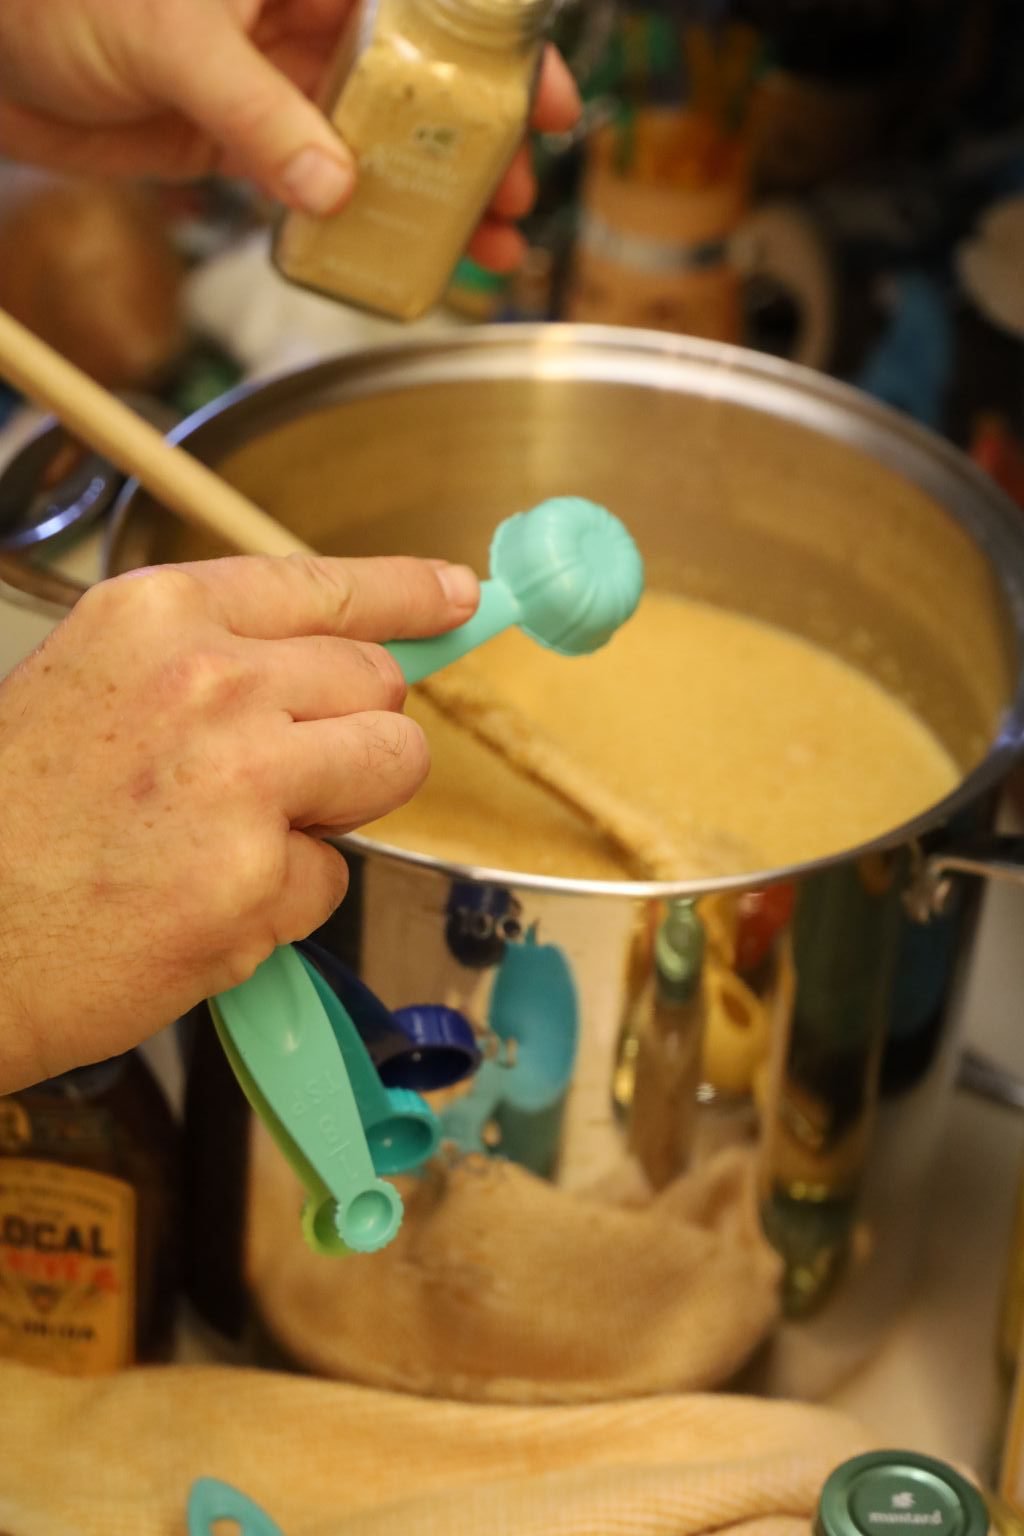
Dry Mustard,
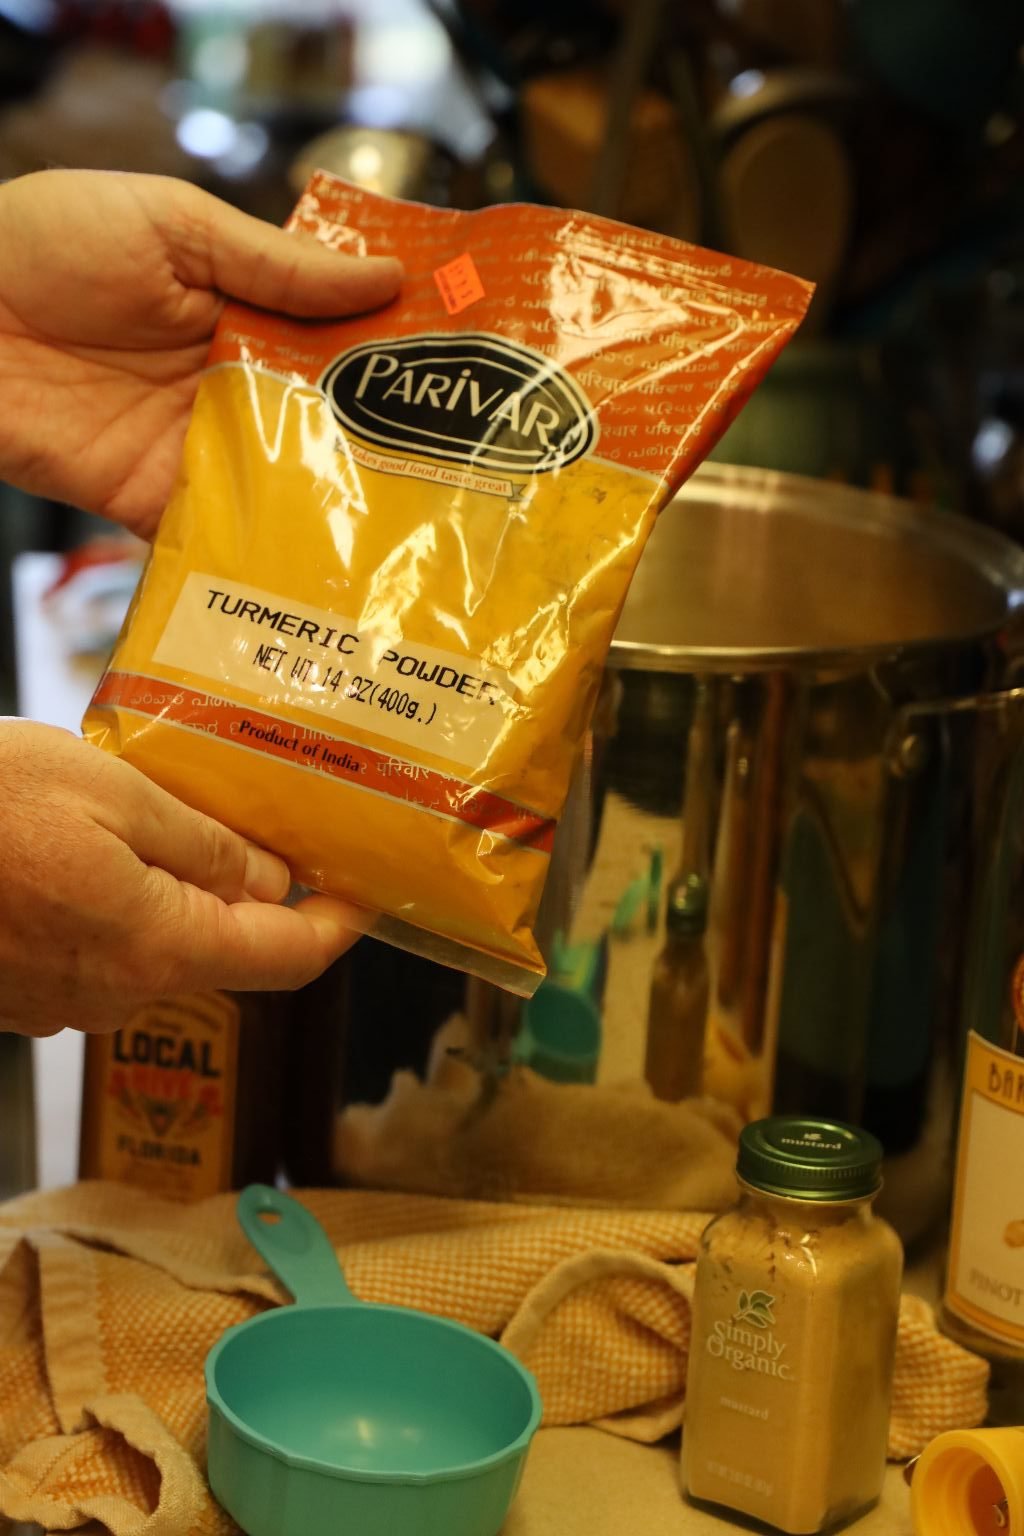
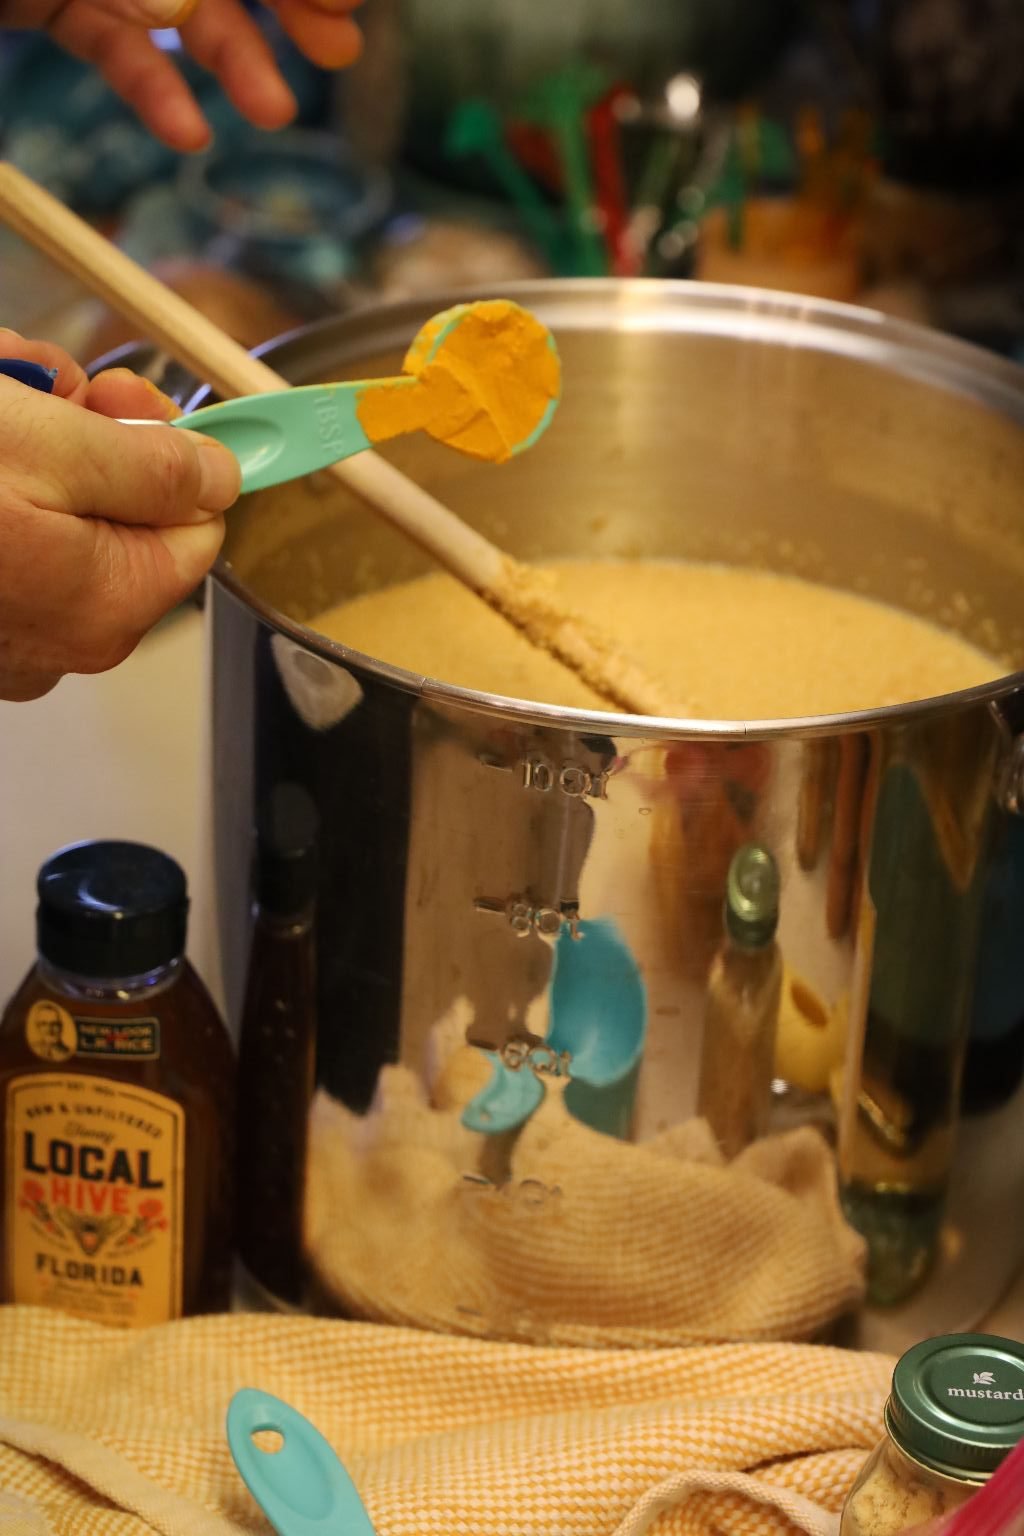
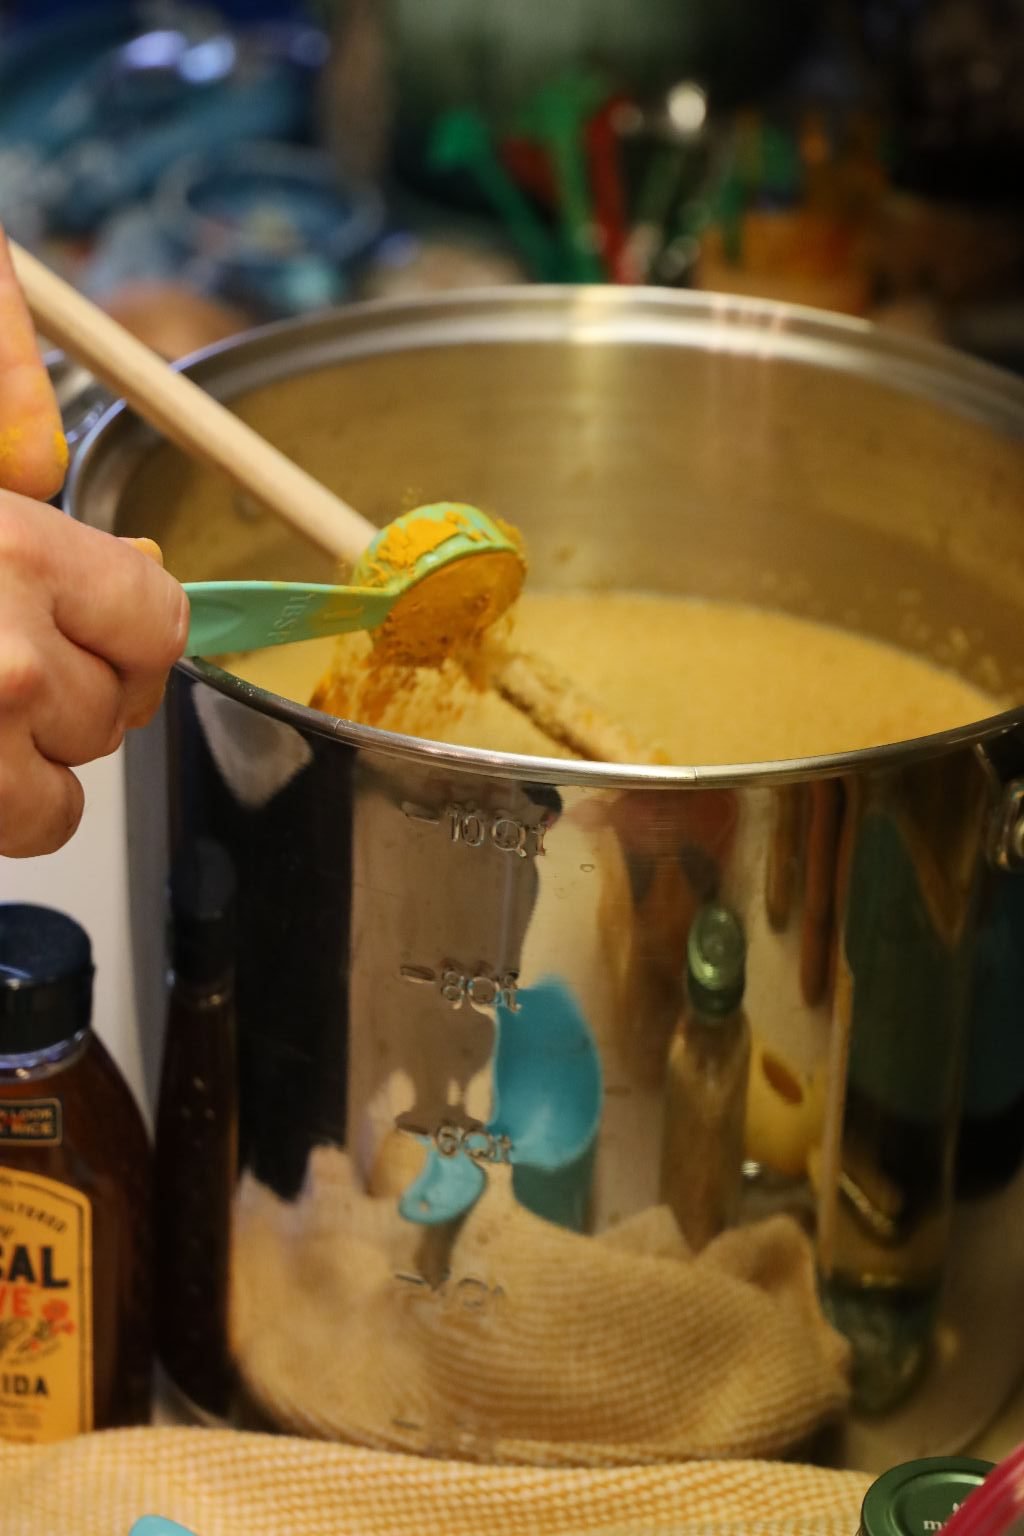
Turmeric,
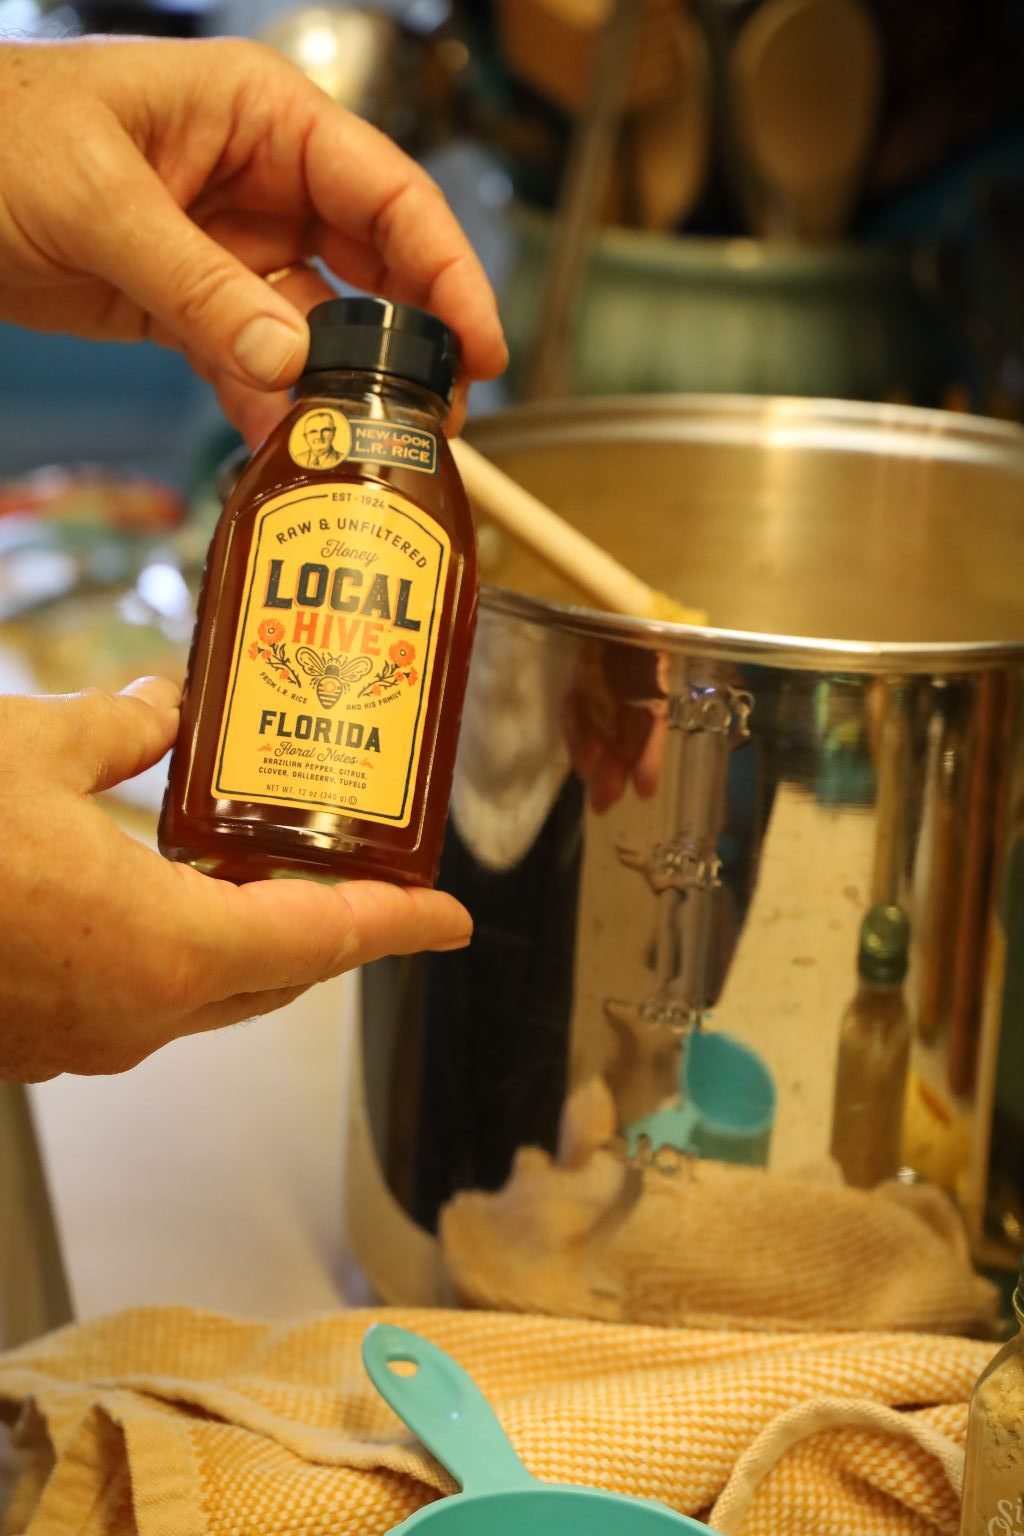
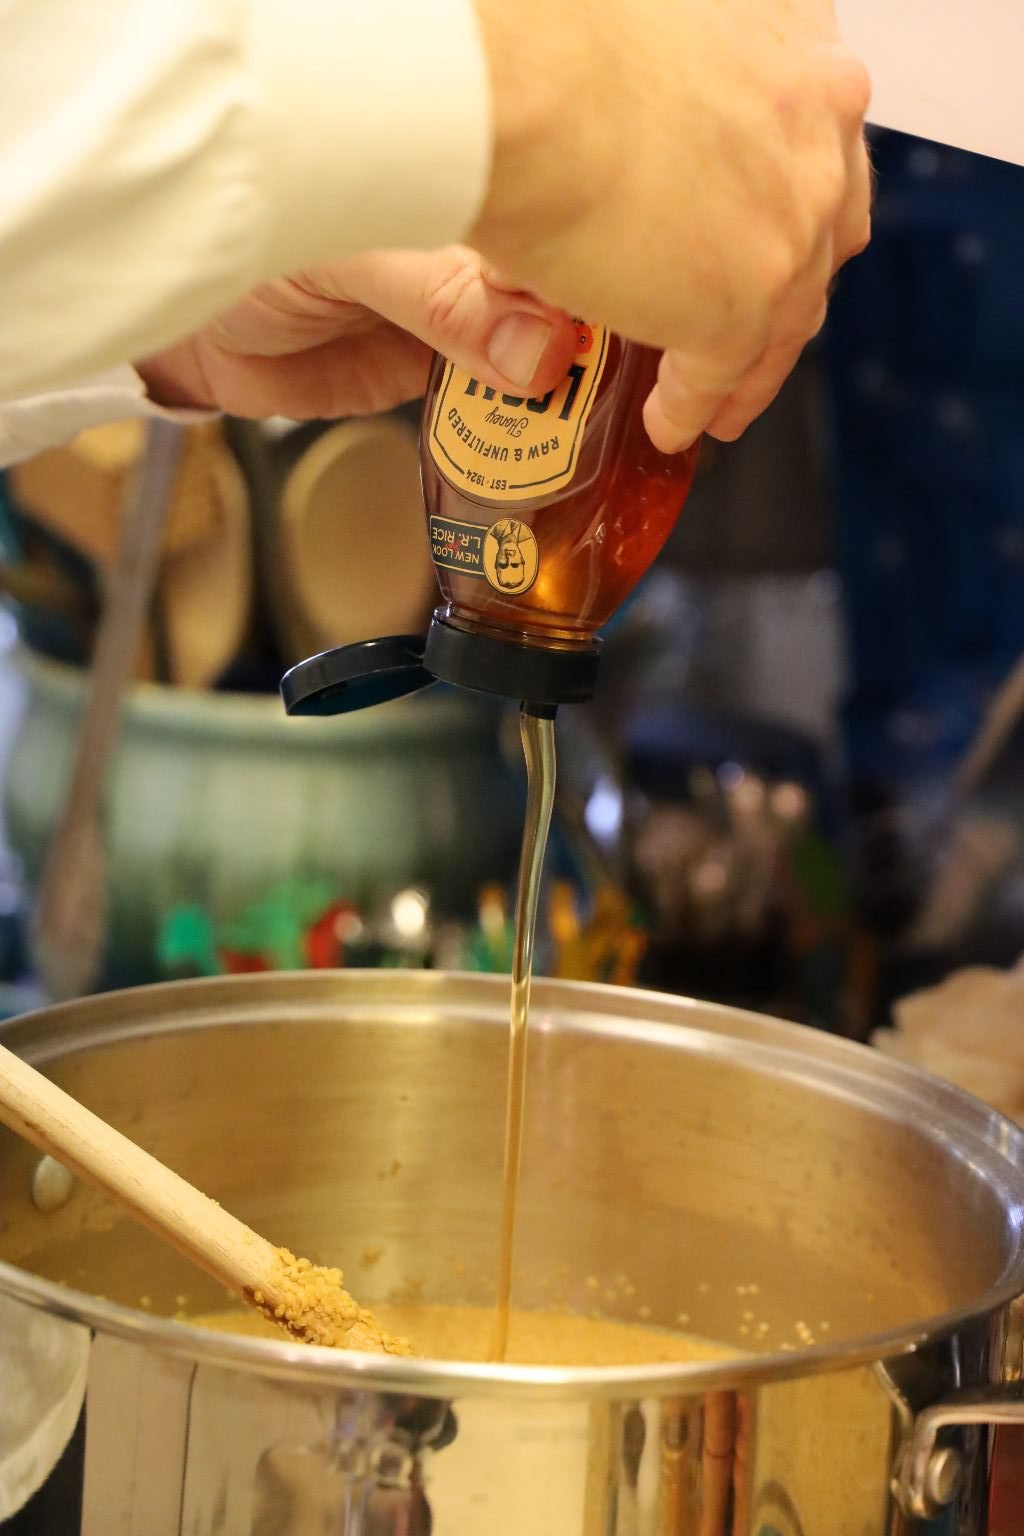
Then add the honey.
You can use any type of honey you like as they all taste different. We like this local Florida brand.
Now the wine. Be sure to taste some to ensure it is good! 🙂
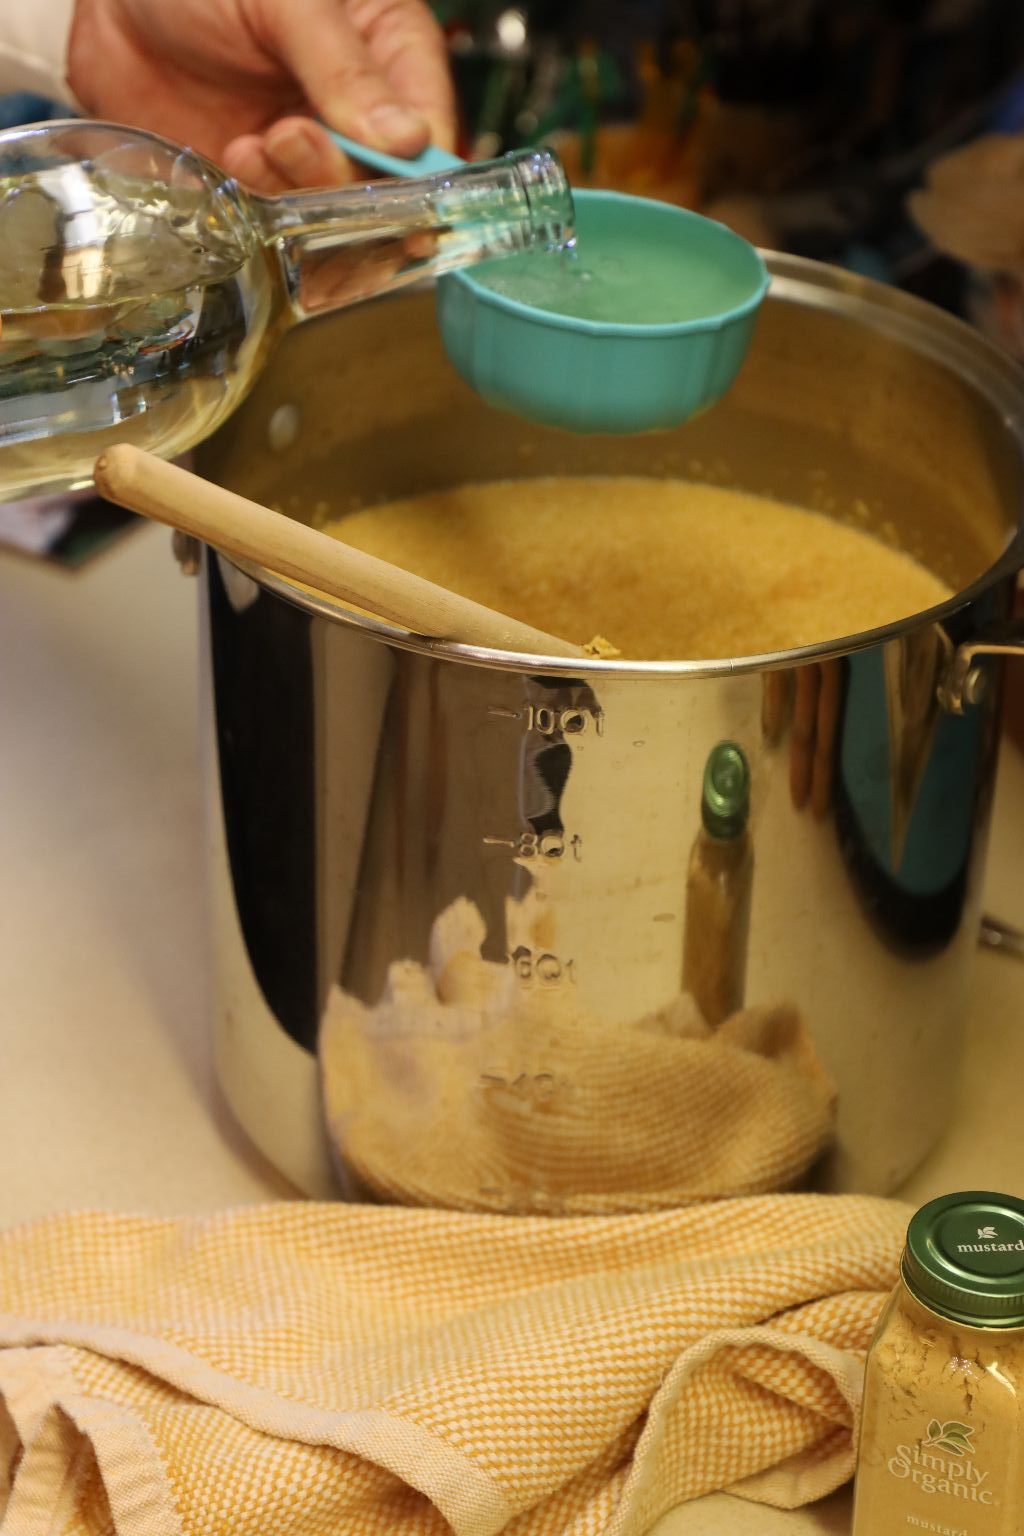
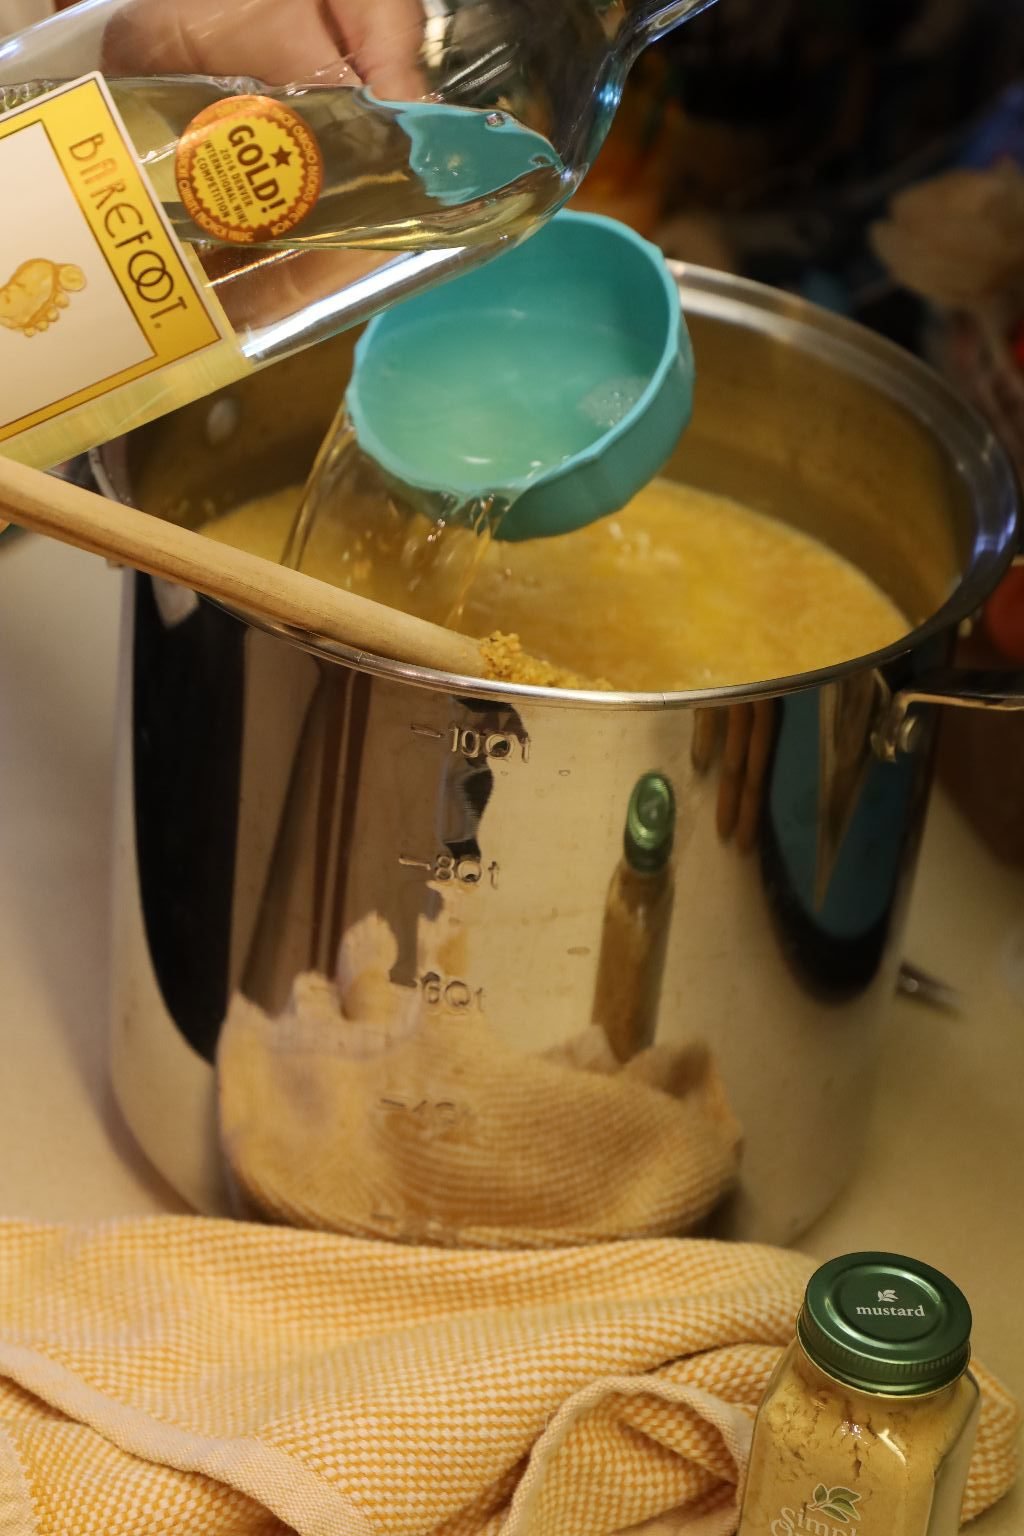
Add the wine to the pot…
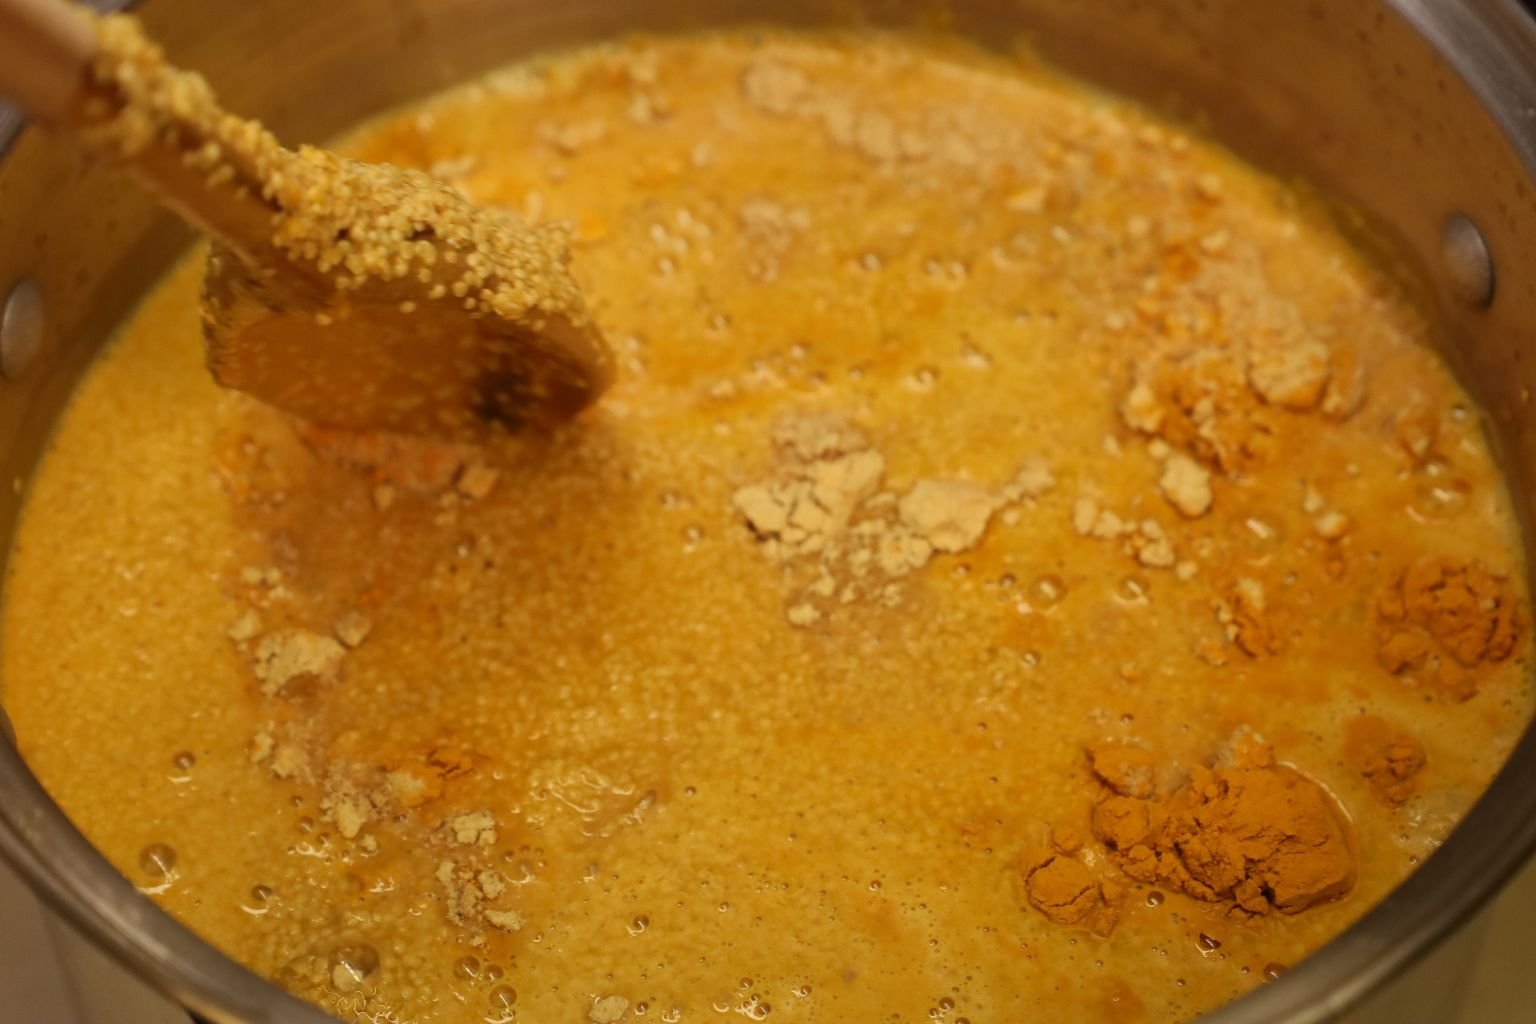
…then add your salt and pepper and stir everything together.
Cover the pot with your plastic wrap and let this sit for another 5 days.
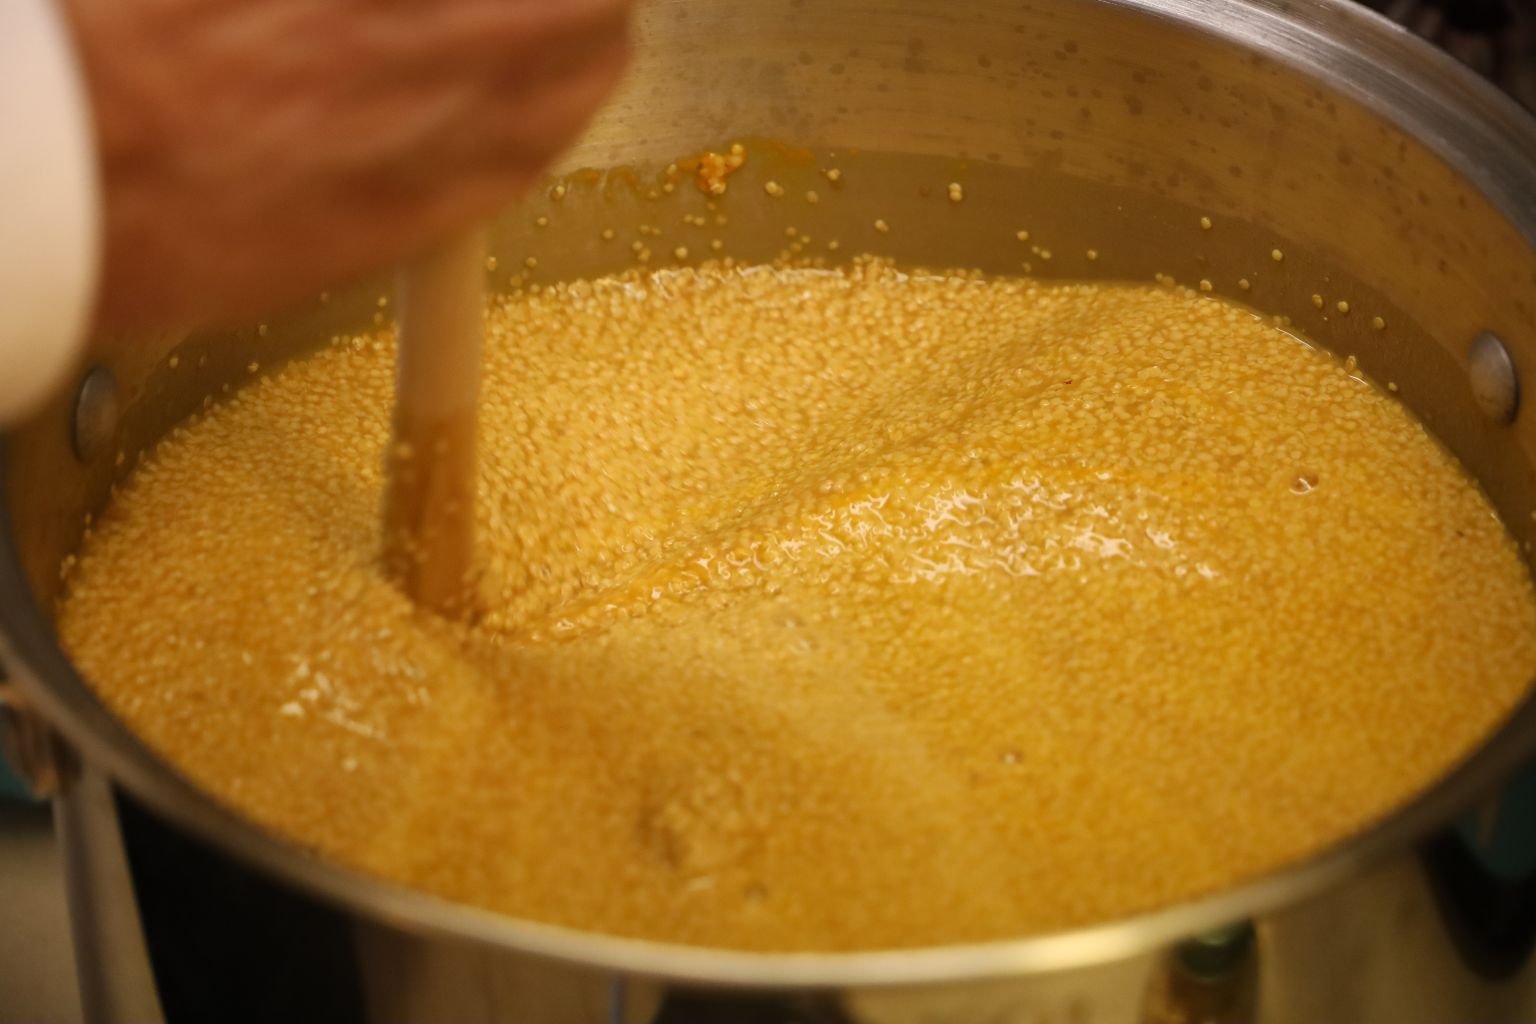
Here you can see the ingredients are bright and yellow just like a mustard you would buy in the store. As we wanted to make a variety of mustard’s we split this base mixture up and added other ingredients to it as you will see later.
—————————————————————
NOTE: Notice Gordon’s shaven beard here. Well, we inserted this in between his bearded mustard’s.
Here is how we made our Black and Brown whole-grain mustard.
This recipe will take about 10 days to make so plan ahead!
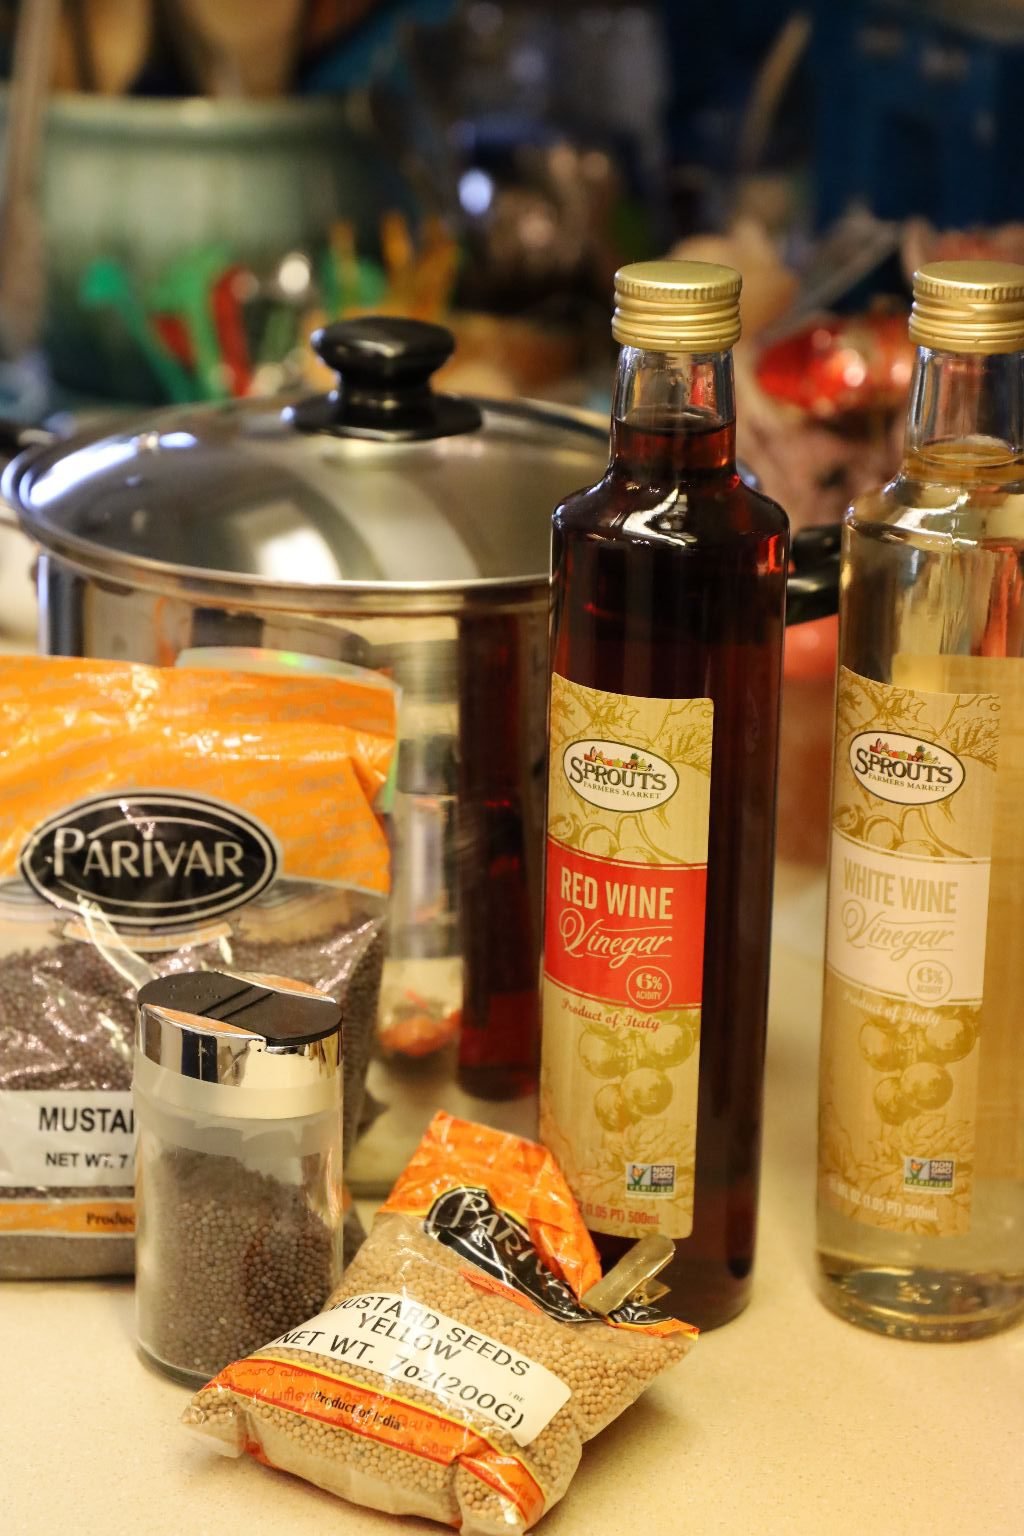
Ingredients:
1 1/4 Cups White Wine Vinegar
1 1/4 Cups Red Wine Vinegar
3/4 Cup Brown Mustard Seeds
3/4 Cup Yellow Mustard Seeds
2 Tbsp. Honey
3 Tbsp. Dry Mustard
4 tsp. Hawaiian salt
2 tsp. pepper
—————————————————————–
NOTE: We wanted to keep this mustard grainy. Before jarring we could have placed the mustard mixture into a blender to have a more creamy consistency. We didn’t want that. This consistency is perfect here!
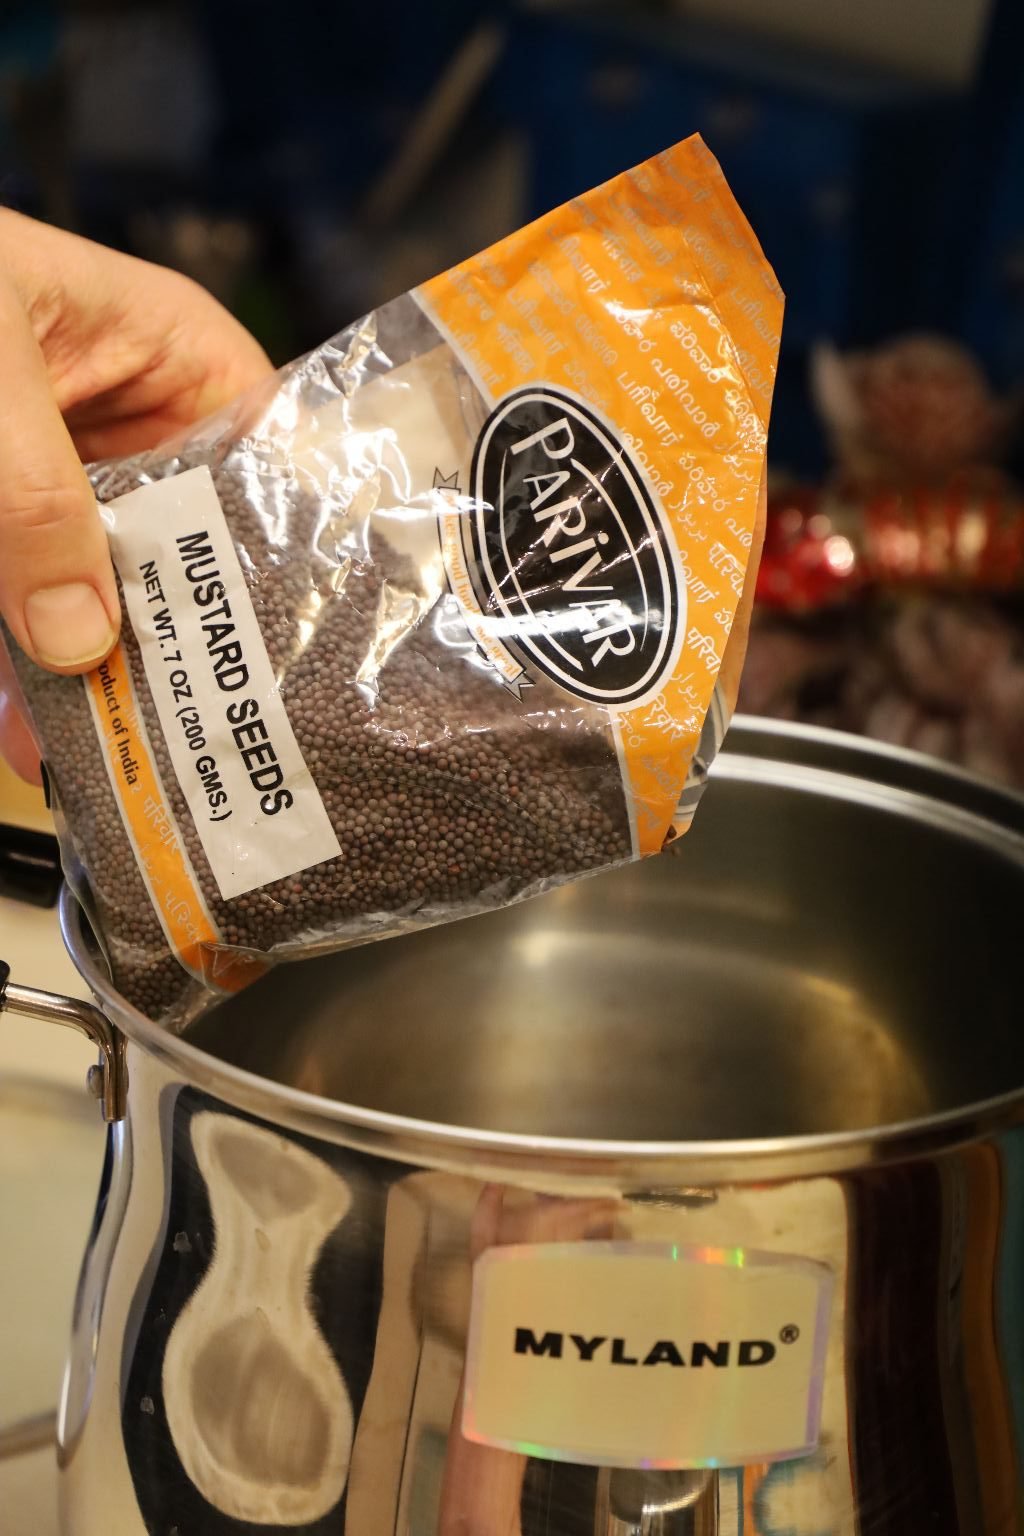
Using a nonreactive pot, pour in your brown and yellow whole mustard seeds.
Note that the brown mustard seeds look black.
Now add your Red Wine Vinegar…
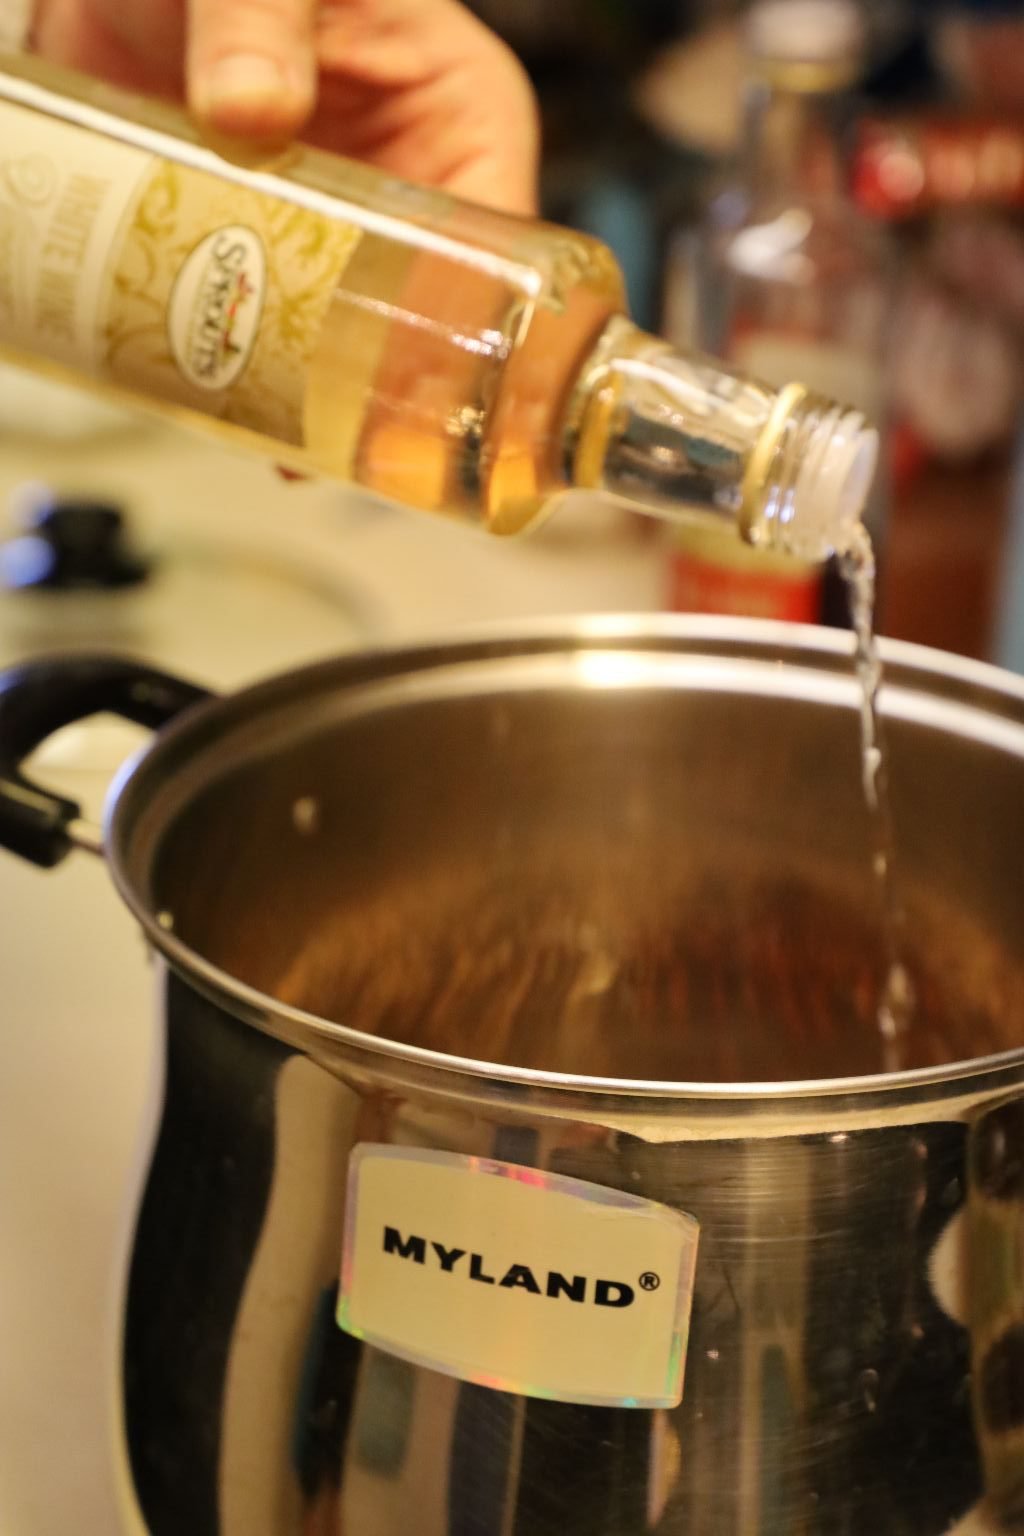
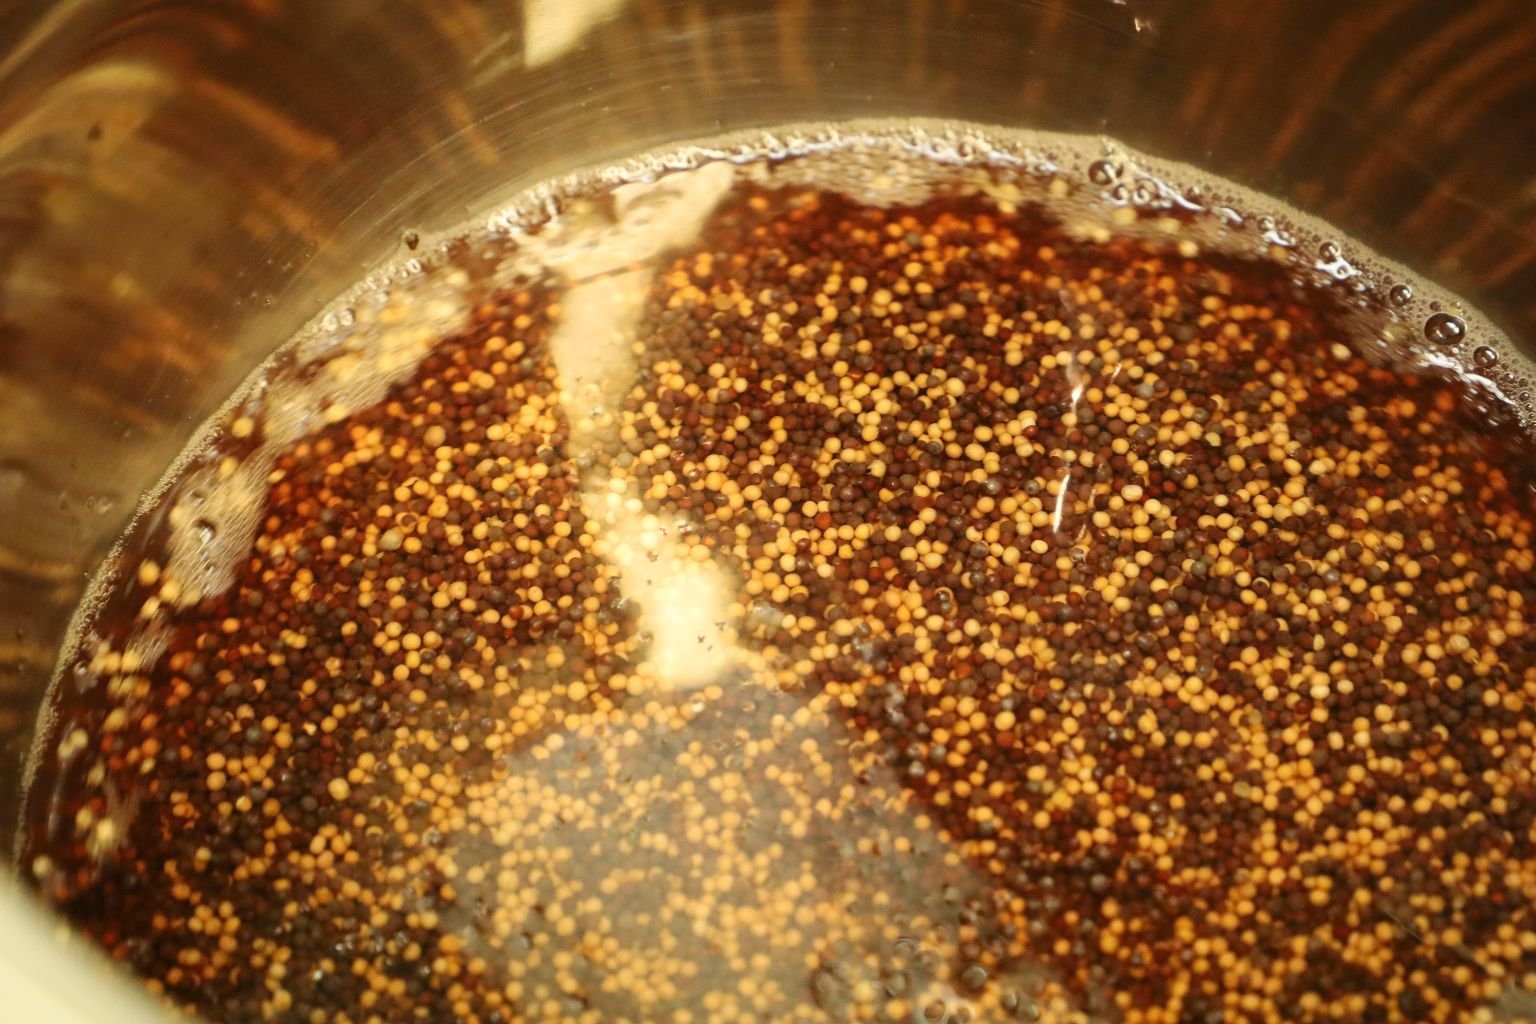
then add your White Wine Vinegar to the pot and stir the ingredients together. Cover the pot with plastic wrap and let it sit at room temperature in order to allow the seeds to absorb the liquid.
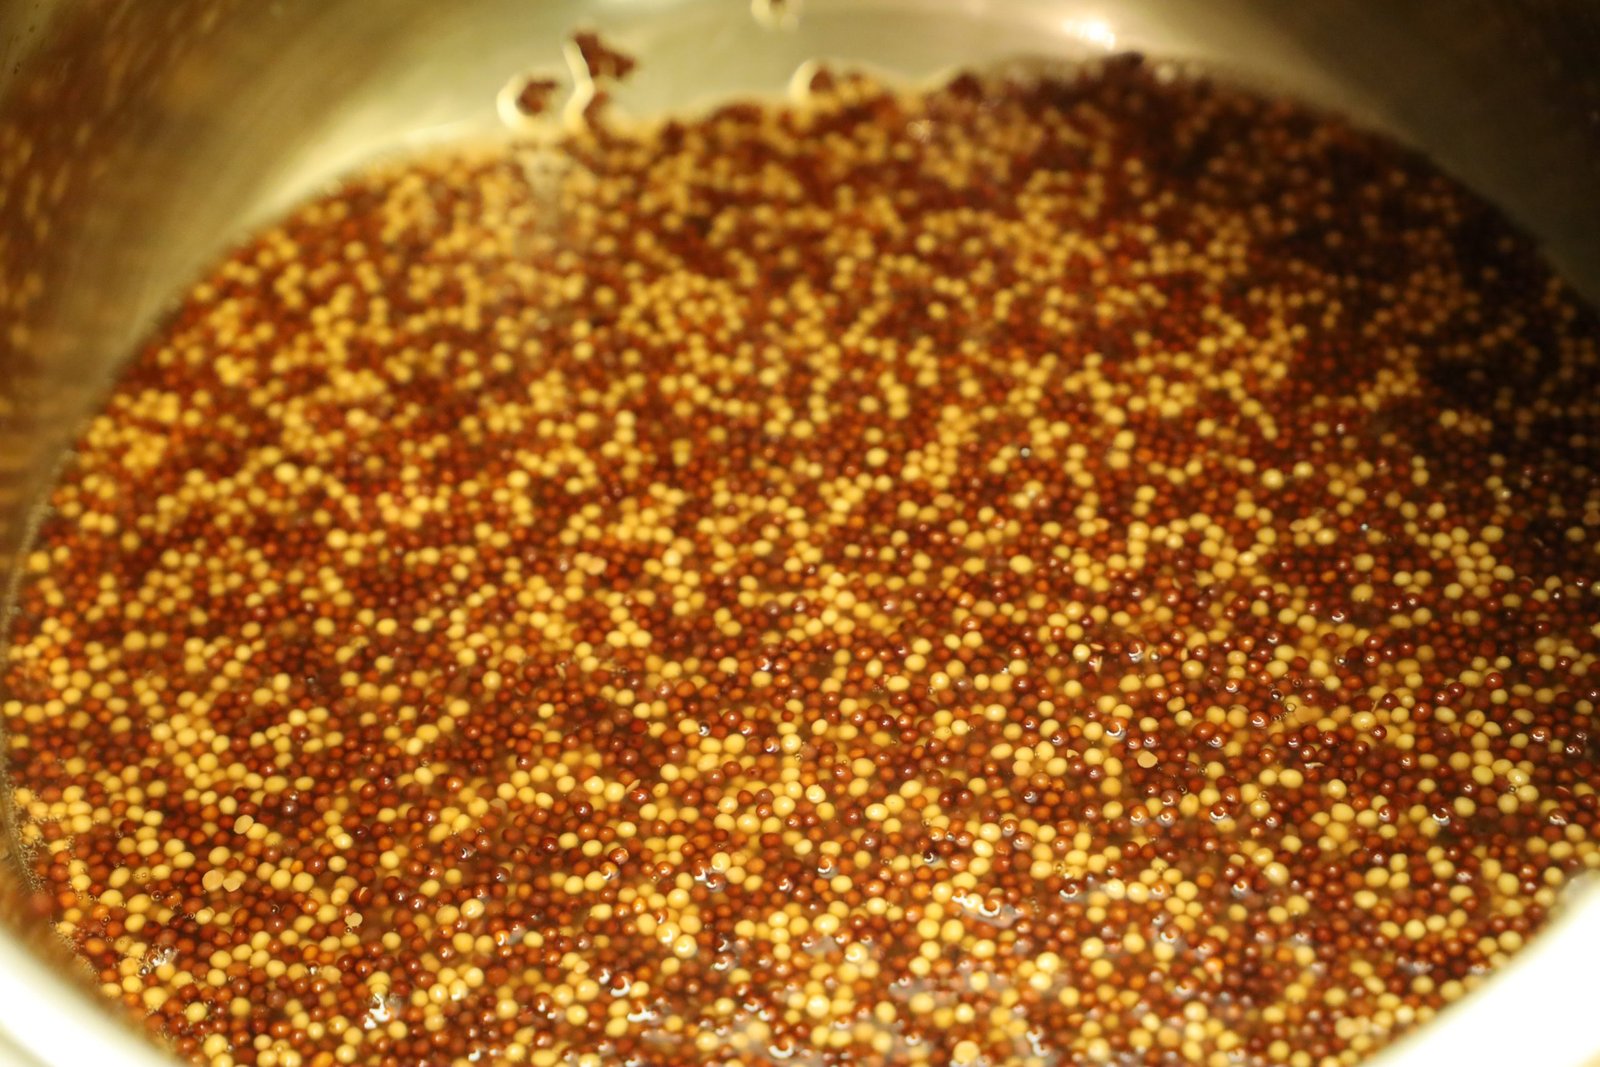
———————————————————————–
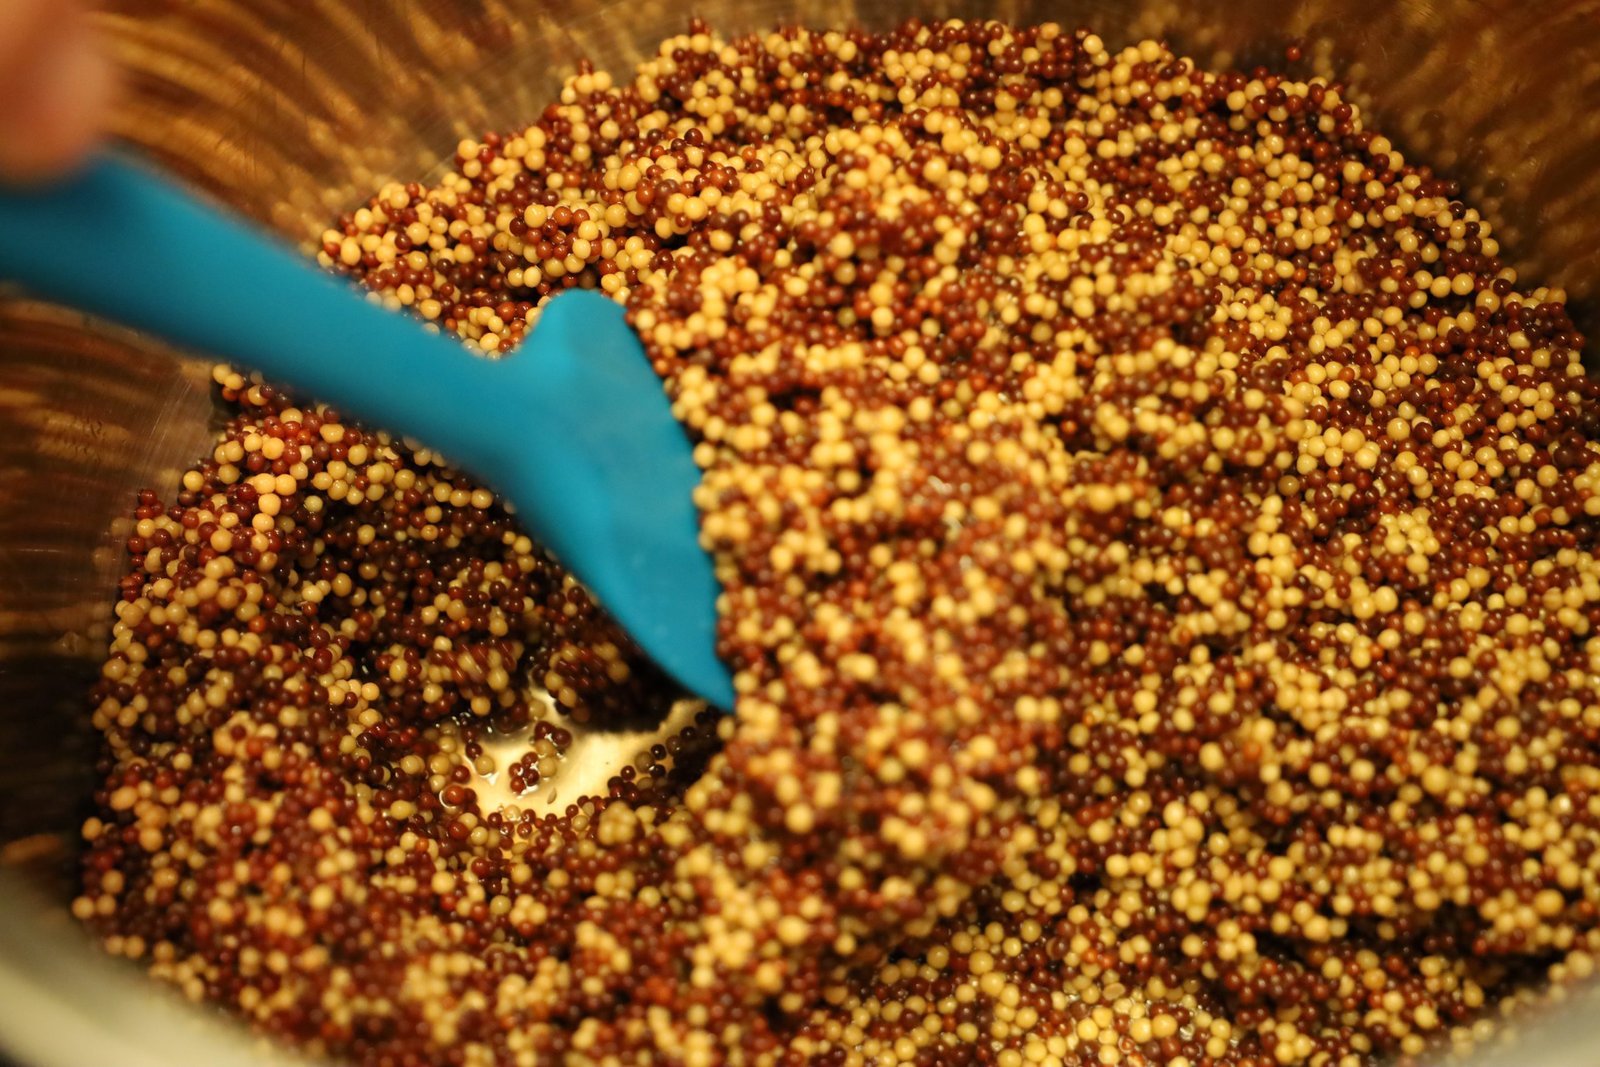
After a few days time, you can see the dry seeds have absorbed the vinegar.
When this happens, add more of your vinegar until the ratio of liquid is slightly greater than the seeds. Let the seeds and vinegar sit and check again after a few more days adding more vinegar if necessary.
After about 9 or 10 days, your mustard seeds should be softened. If not, let the seeds sit longer until they are softened. At this time your ratio of seeds to liquid should be about even.
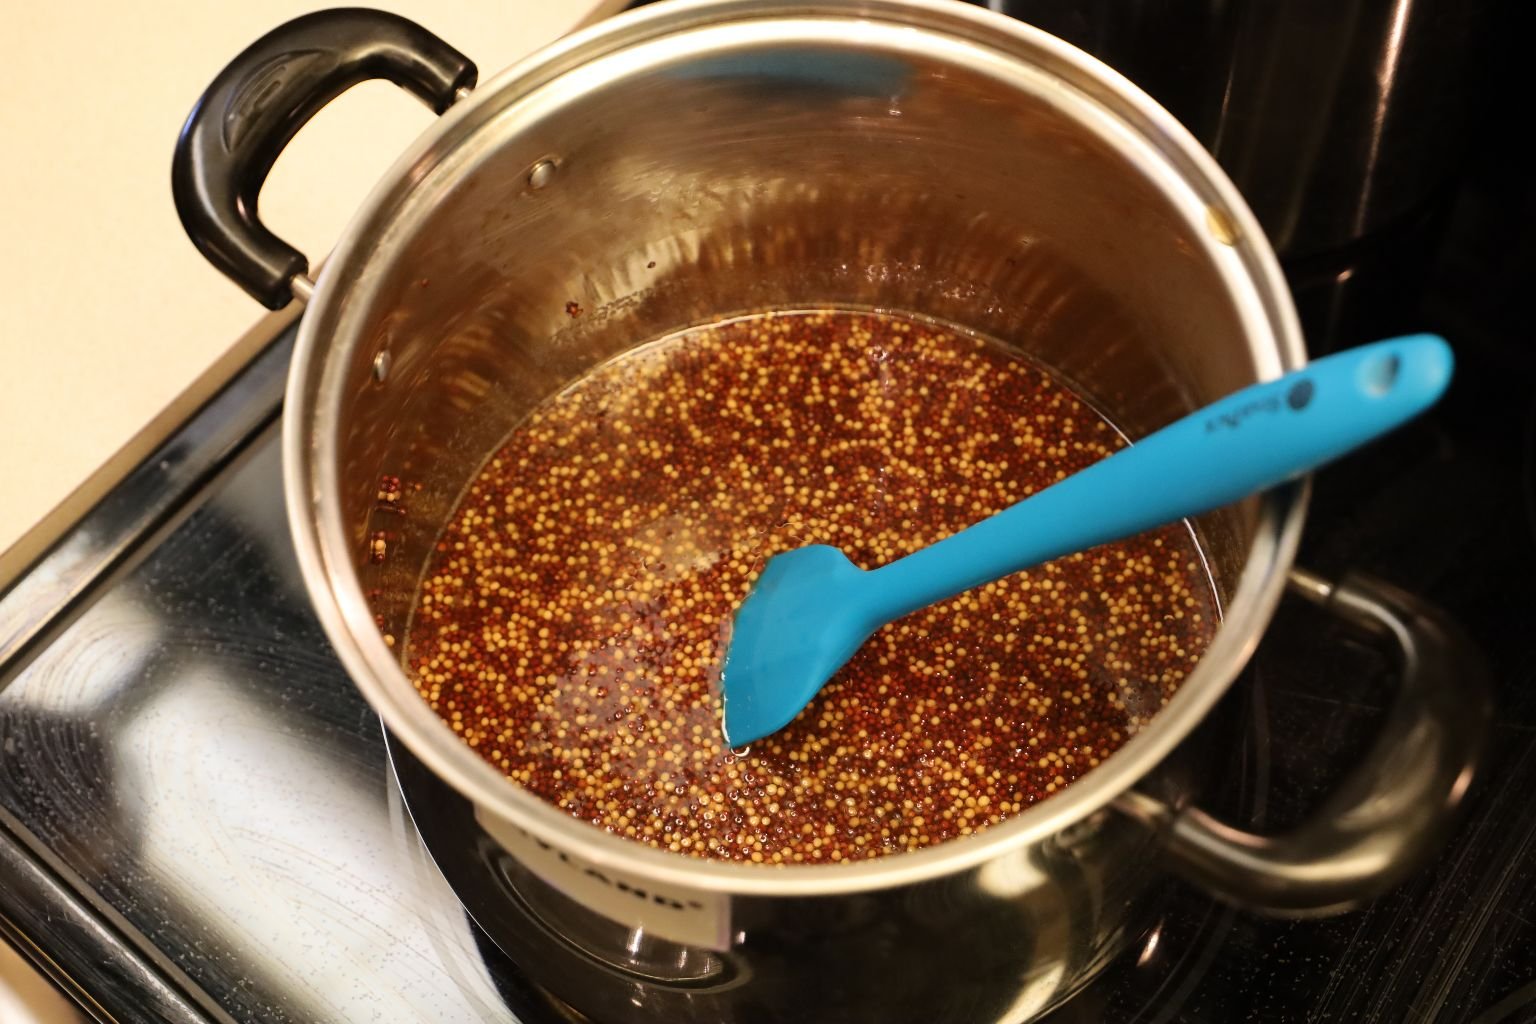
Once your seeds are softened, place your pot on the stove and turn up the heat to medium high.
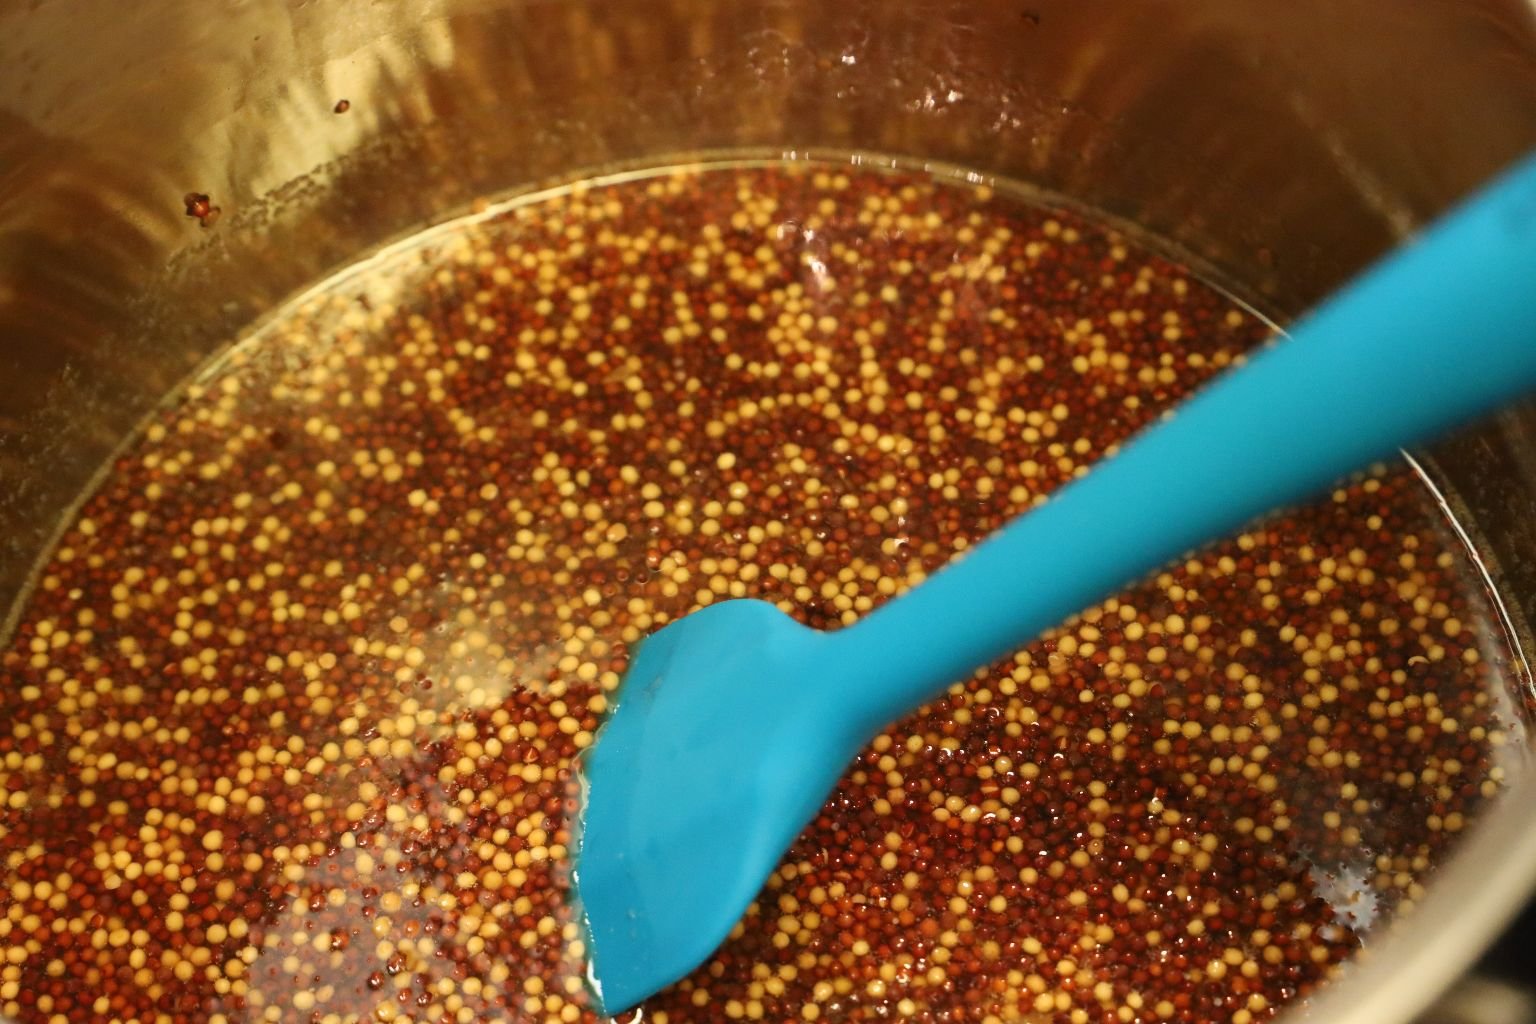
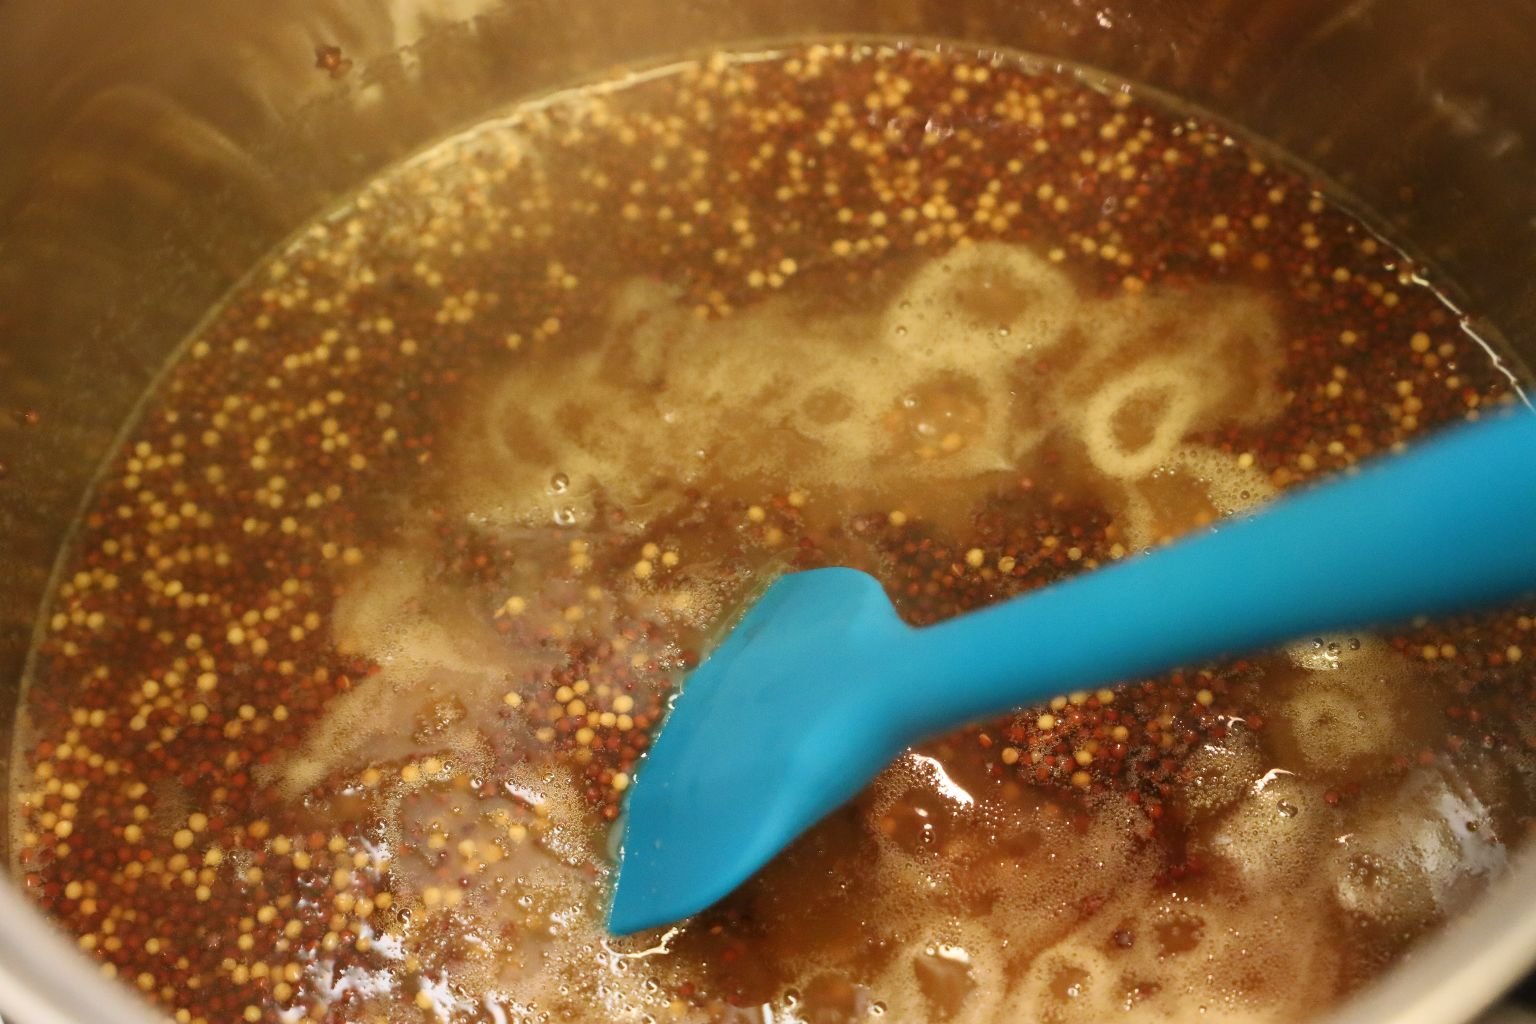
——————————————————————
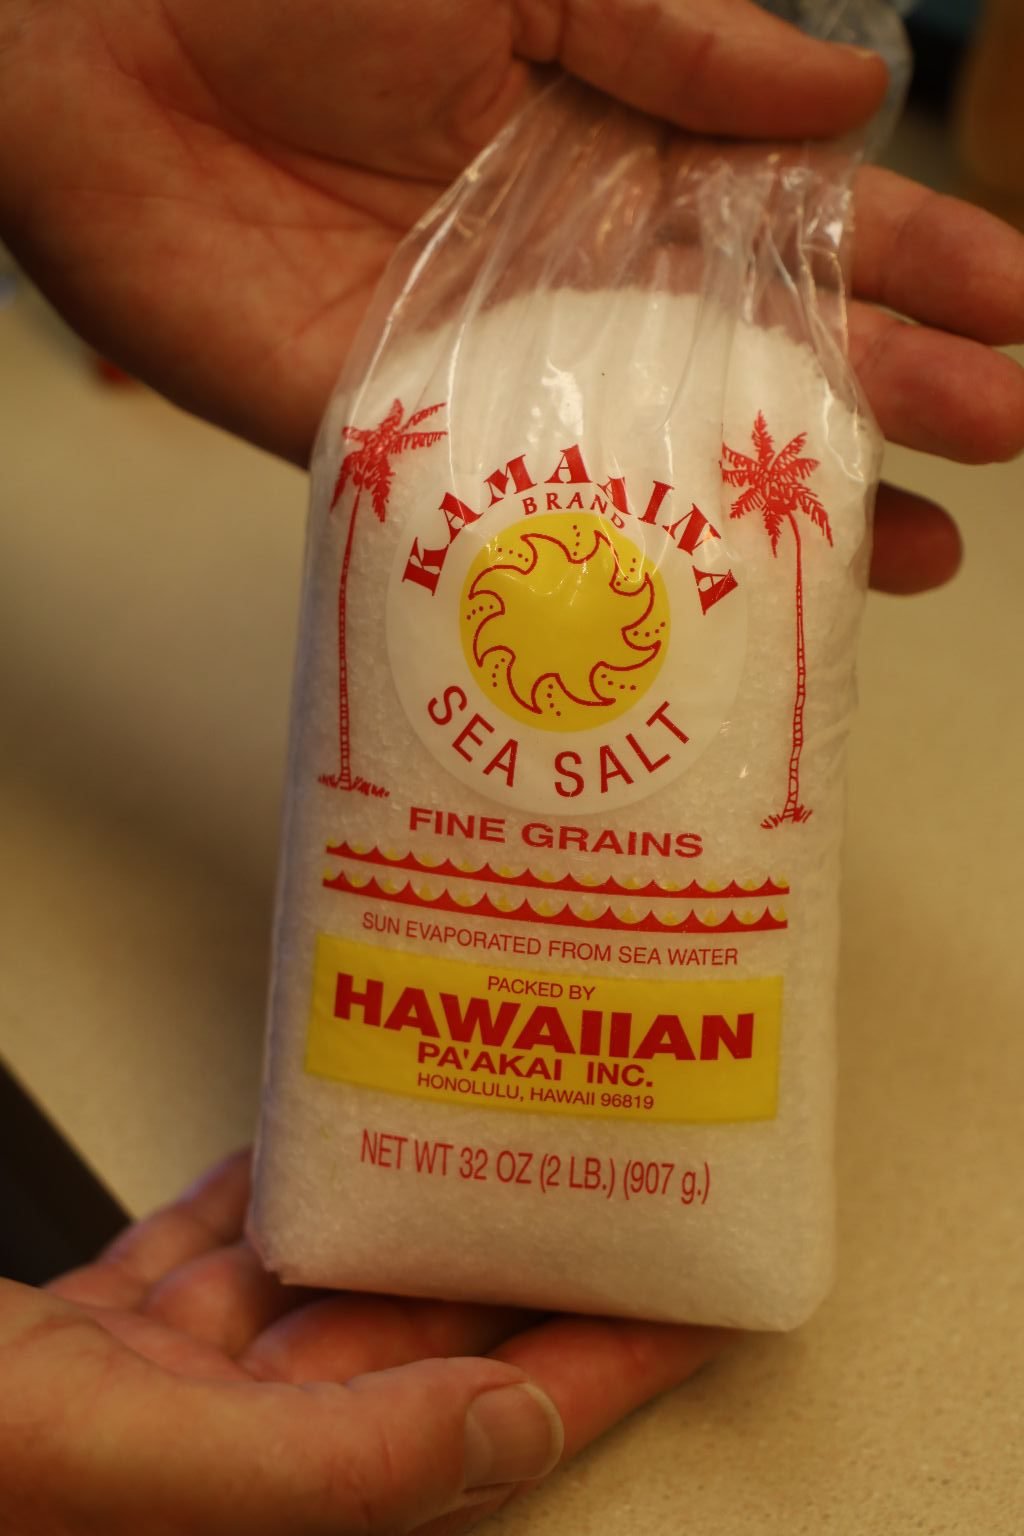
Here we wanted to use our salt from Hawaii.
We have a number of varieties of salt which makes it fun to use and explore their different tastes.
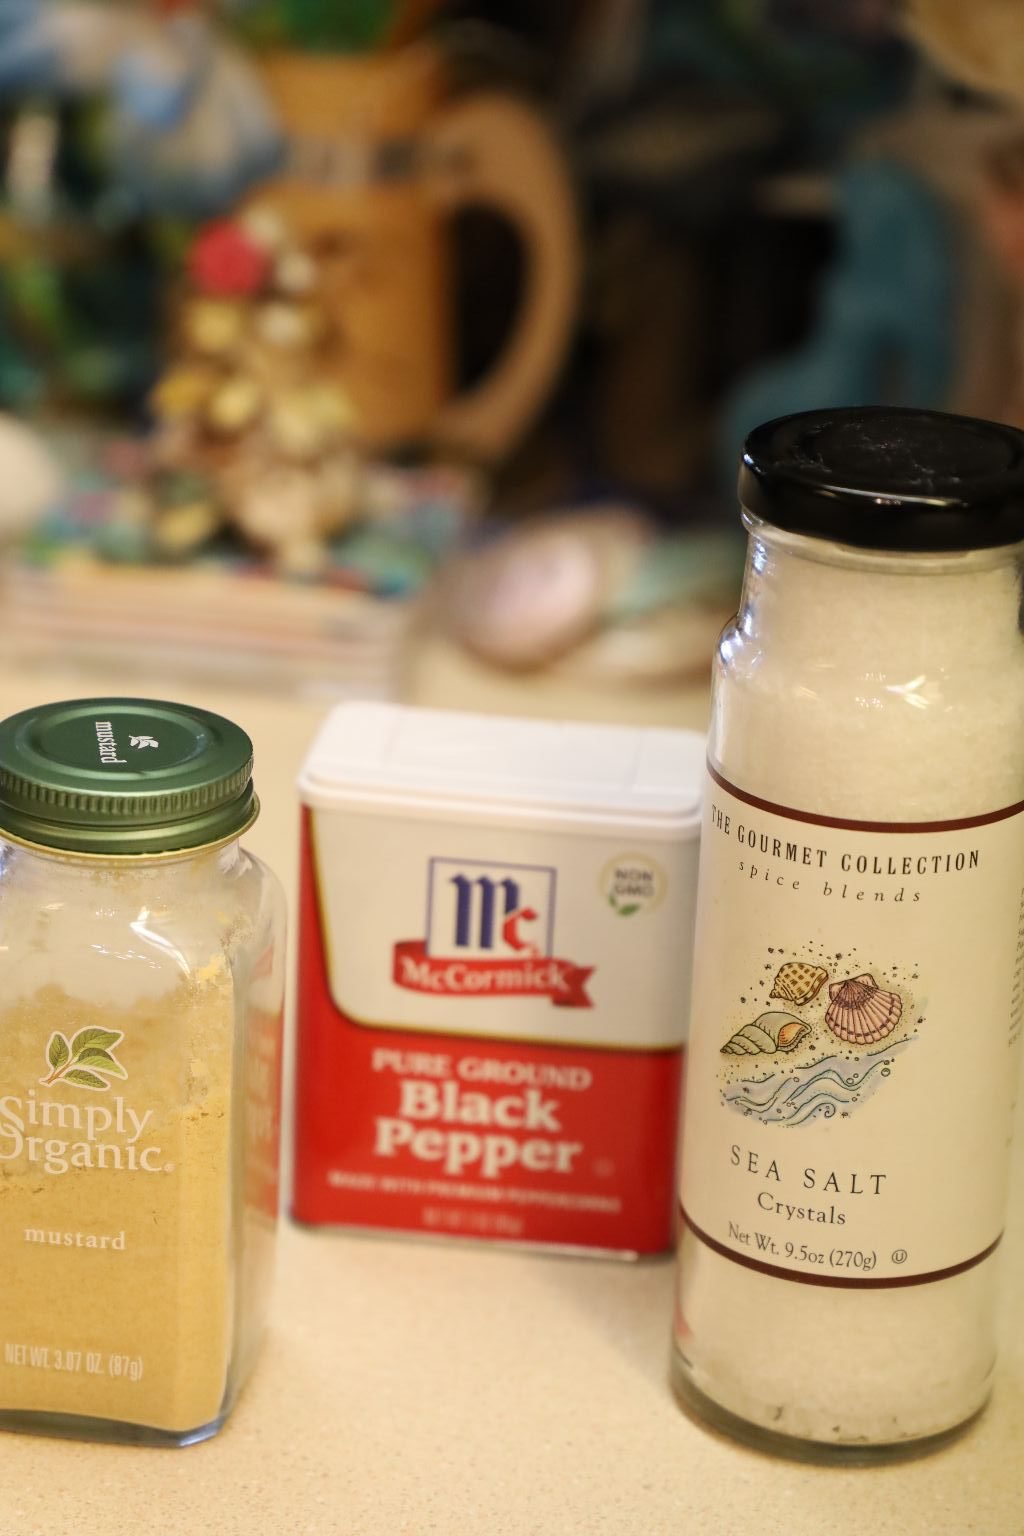
We put our Hawaiian Salt into the jar labeled Sea Salt on the right.
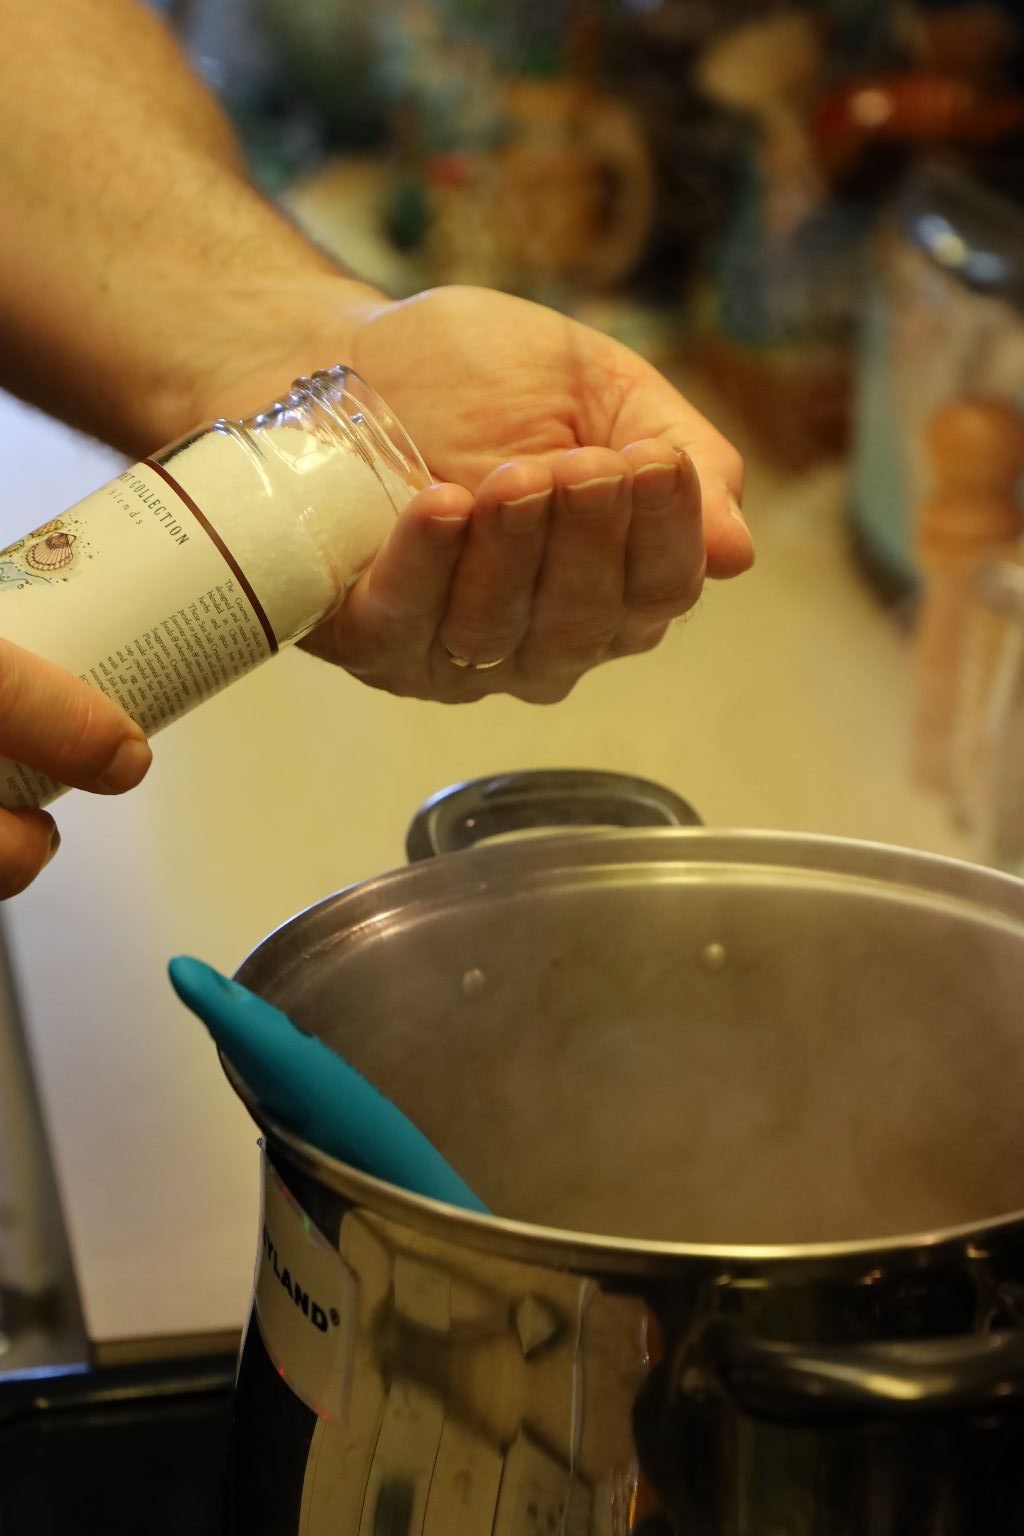
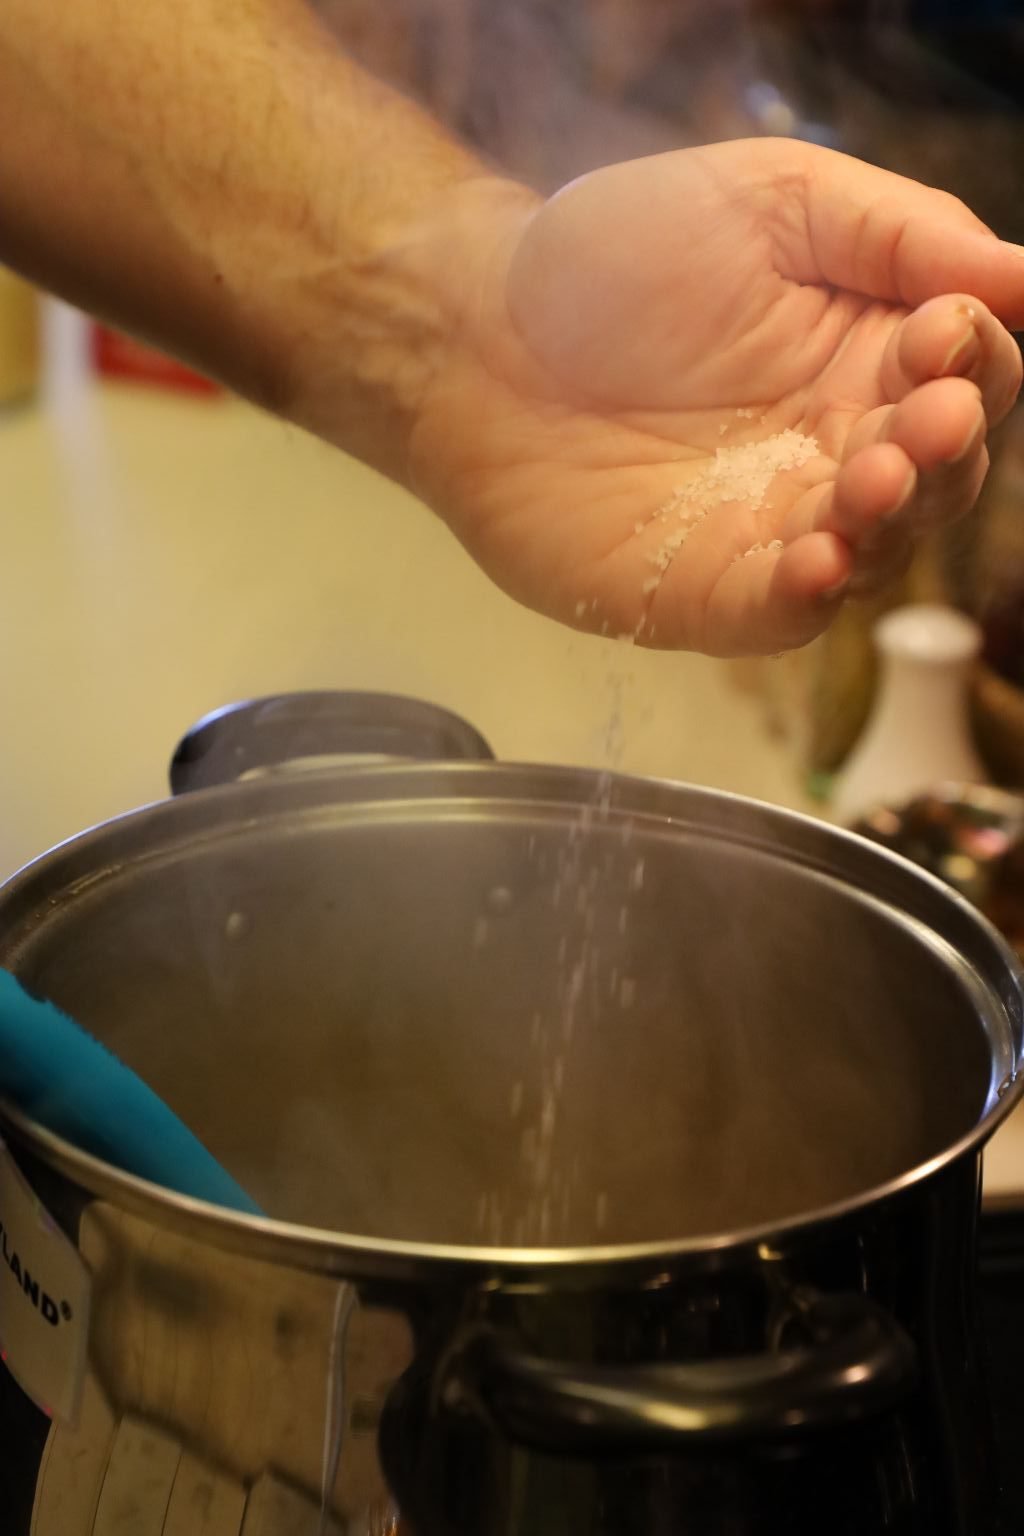
Here I added the Hawaiian Salt…
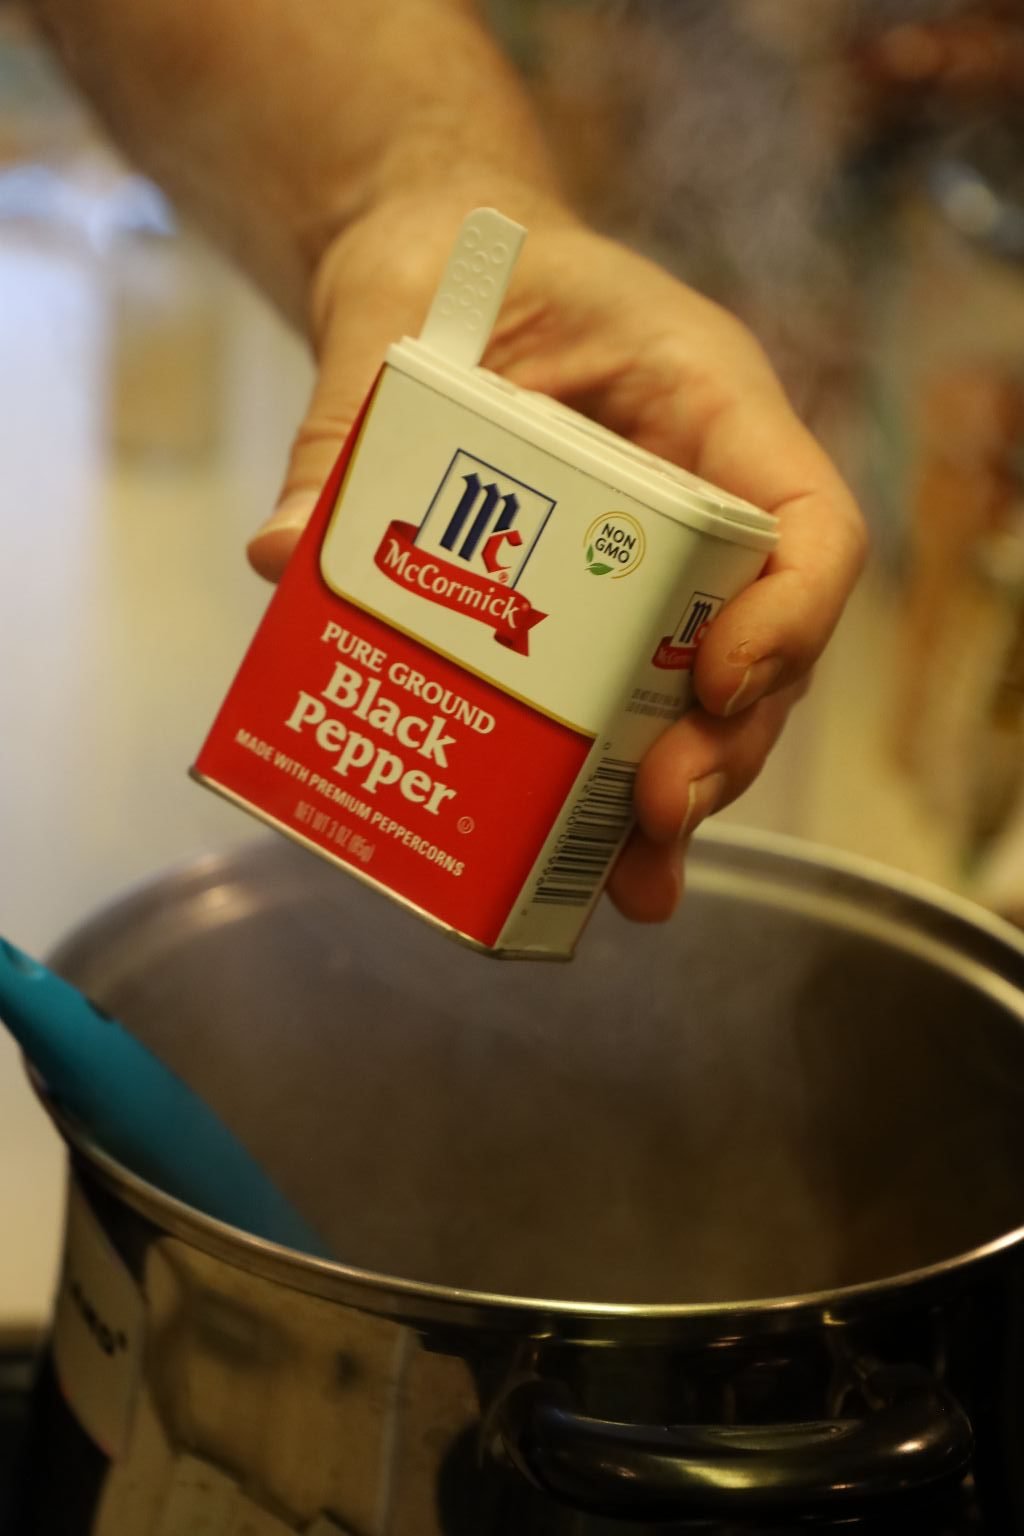
the pepper…
then the dry mustard to the pot.
Stir all the ingredients together.
I tasted the mustard and felt it needed a touch more Hawaiian Salt.
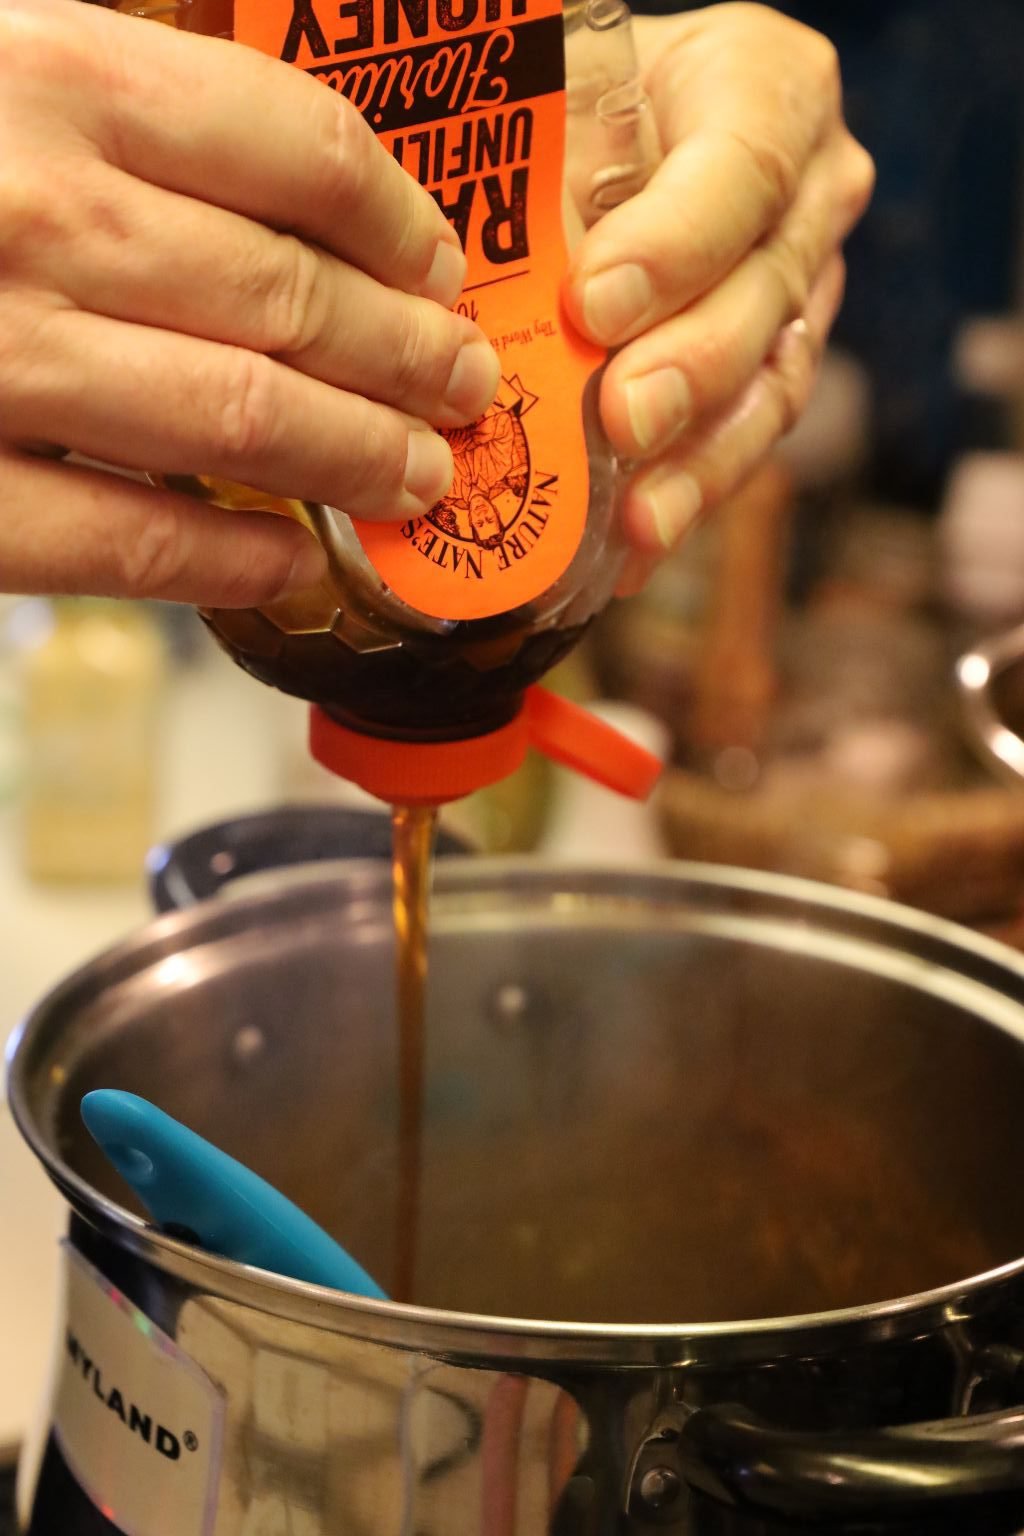
Now, add your honey to the pot.
This time we added this raw Florida honey as it had a more bold flavor.
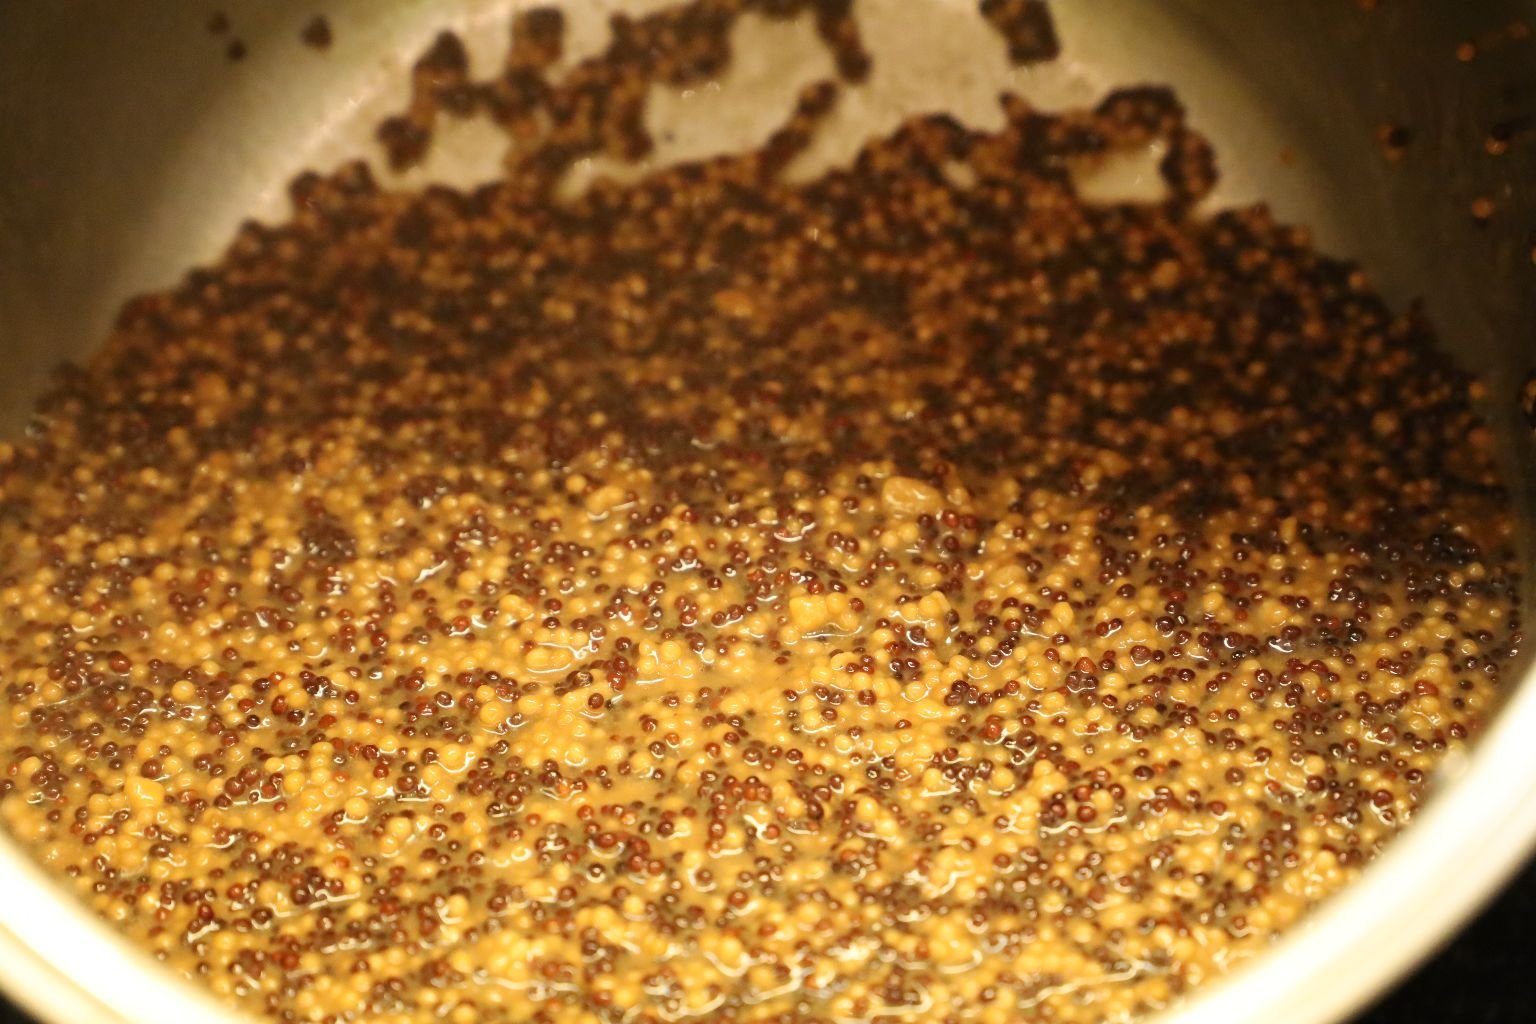
Cook the mustard until it has a think consistency as shown. Sterilize your jars using your dishwasher. When they are done, remove them and cover with a dishtowel until ready to use so that they don’t get dirty. Out of shot, in another pot we placed our lids in almost boiling water to soften the rubber seal. An almost boil will just start to show tiny bubbles in the water.
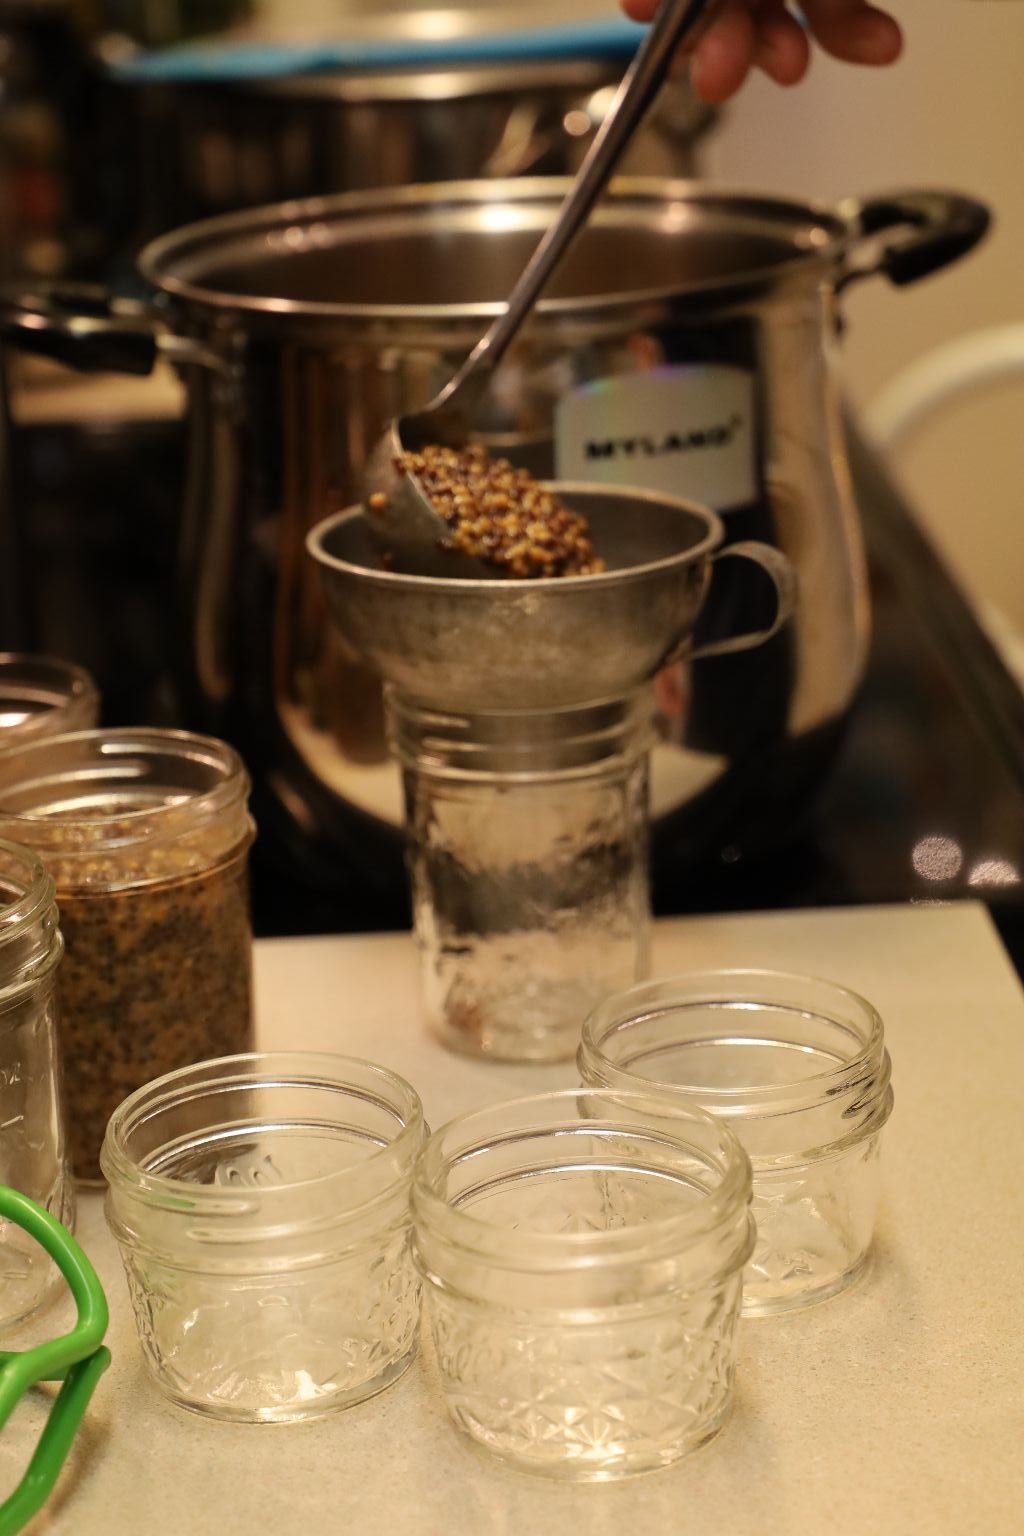
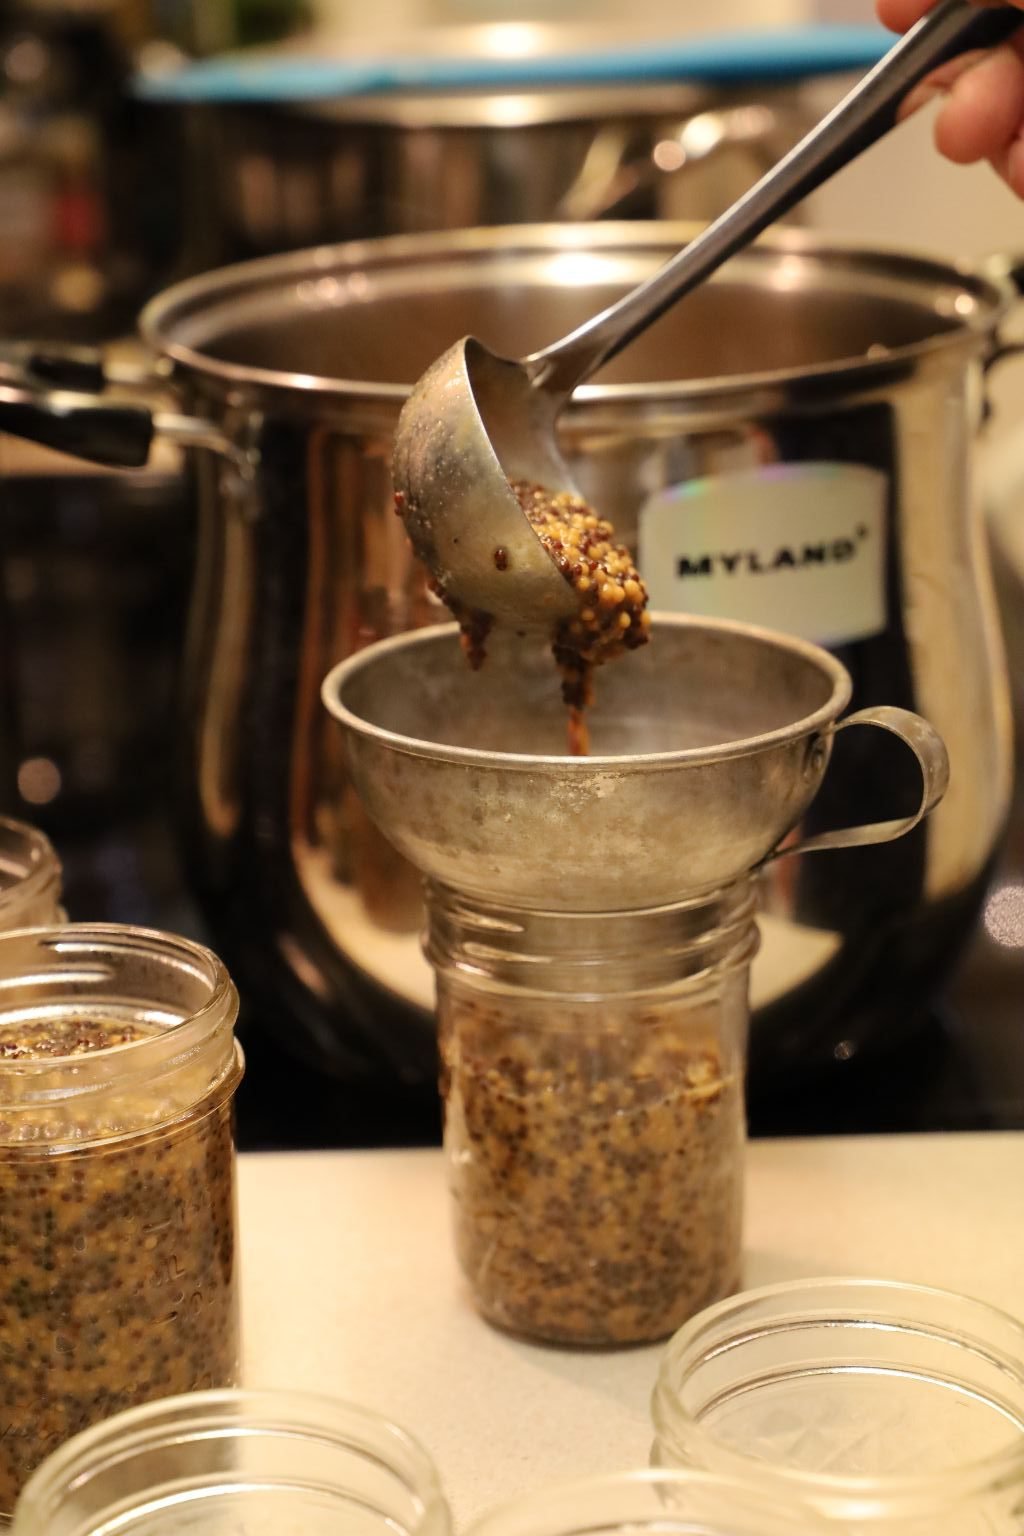
Fill your jars with the mustard using a ladle and funnel leaving 1/2 inch of space between the mustard and the top of the jar. This is called headspace which allows a vacuum to build up within the jar making a good seal.
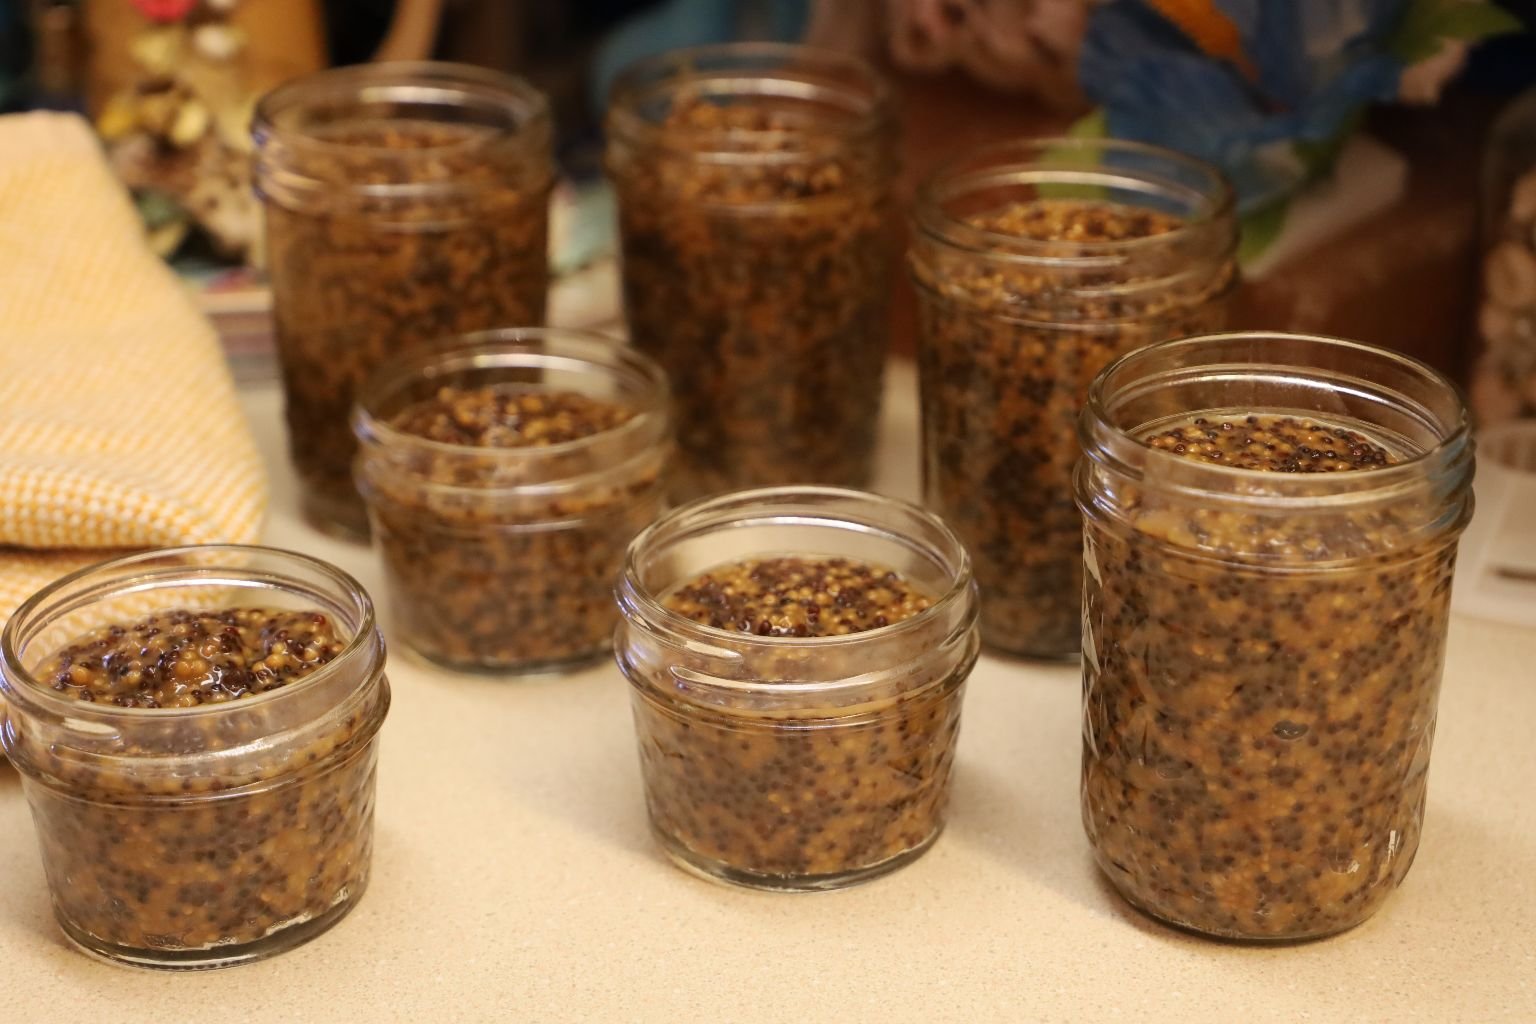
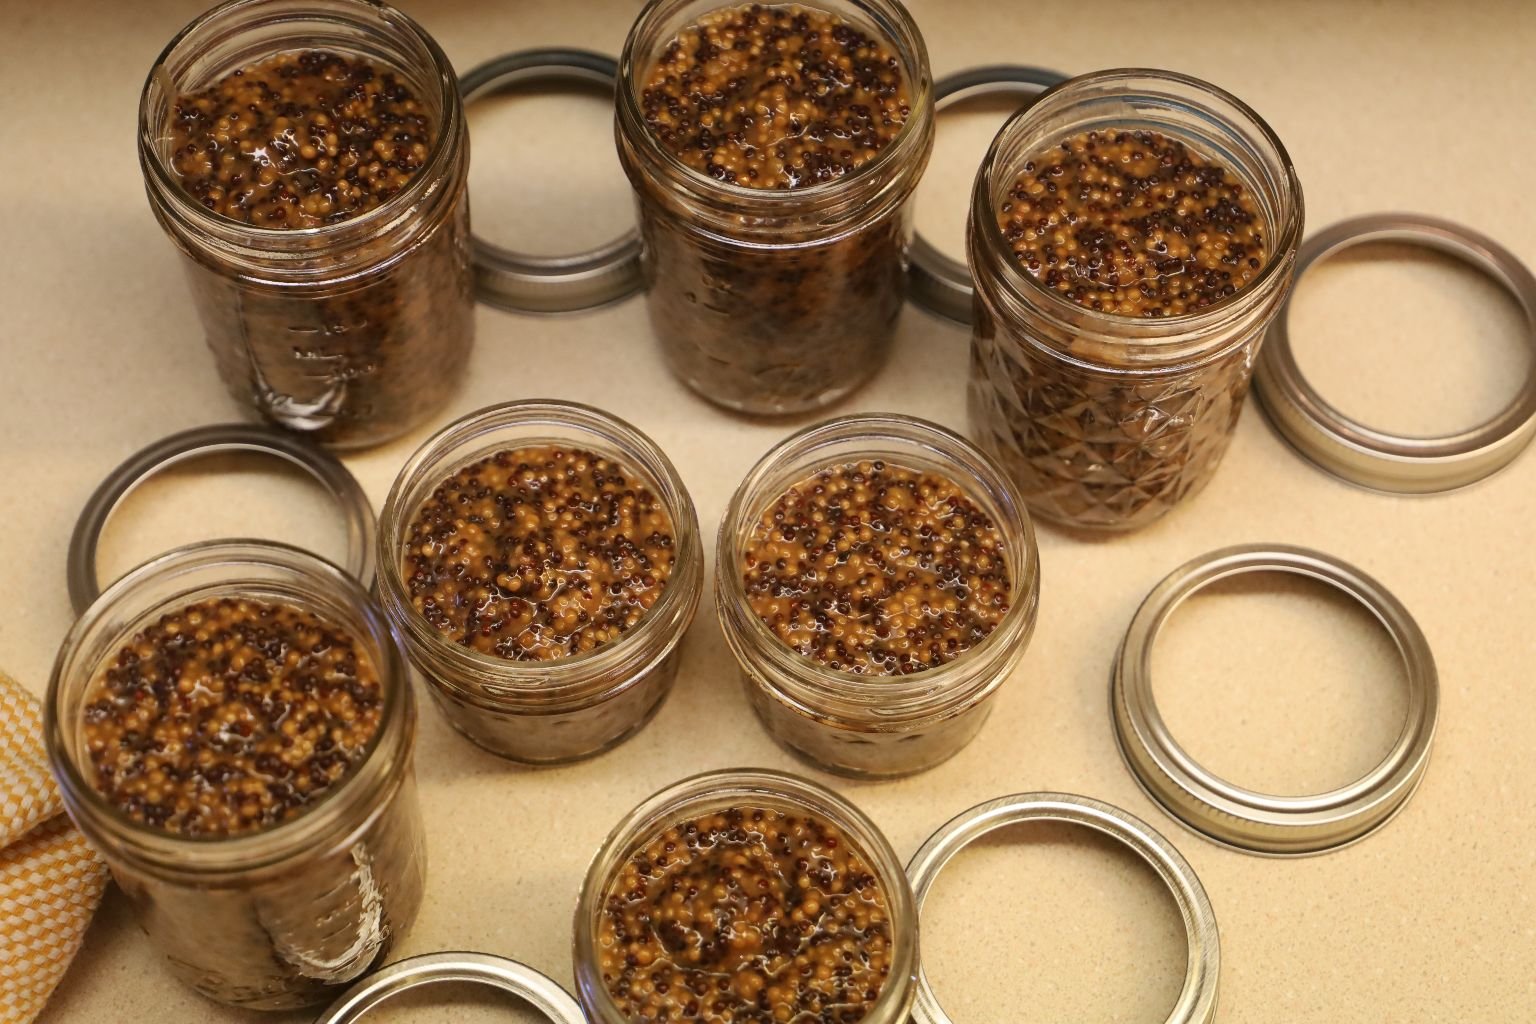
Here is a great picture Julie took of all of our filled jars!
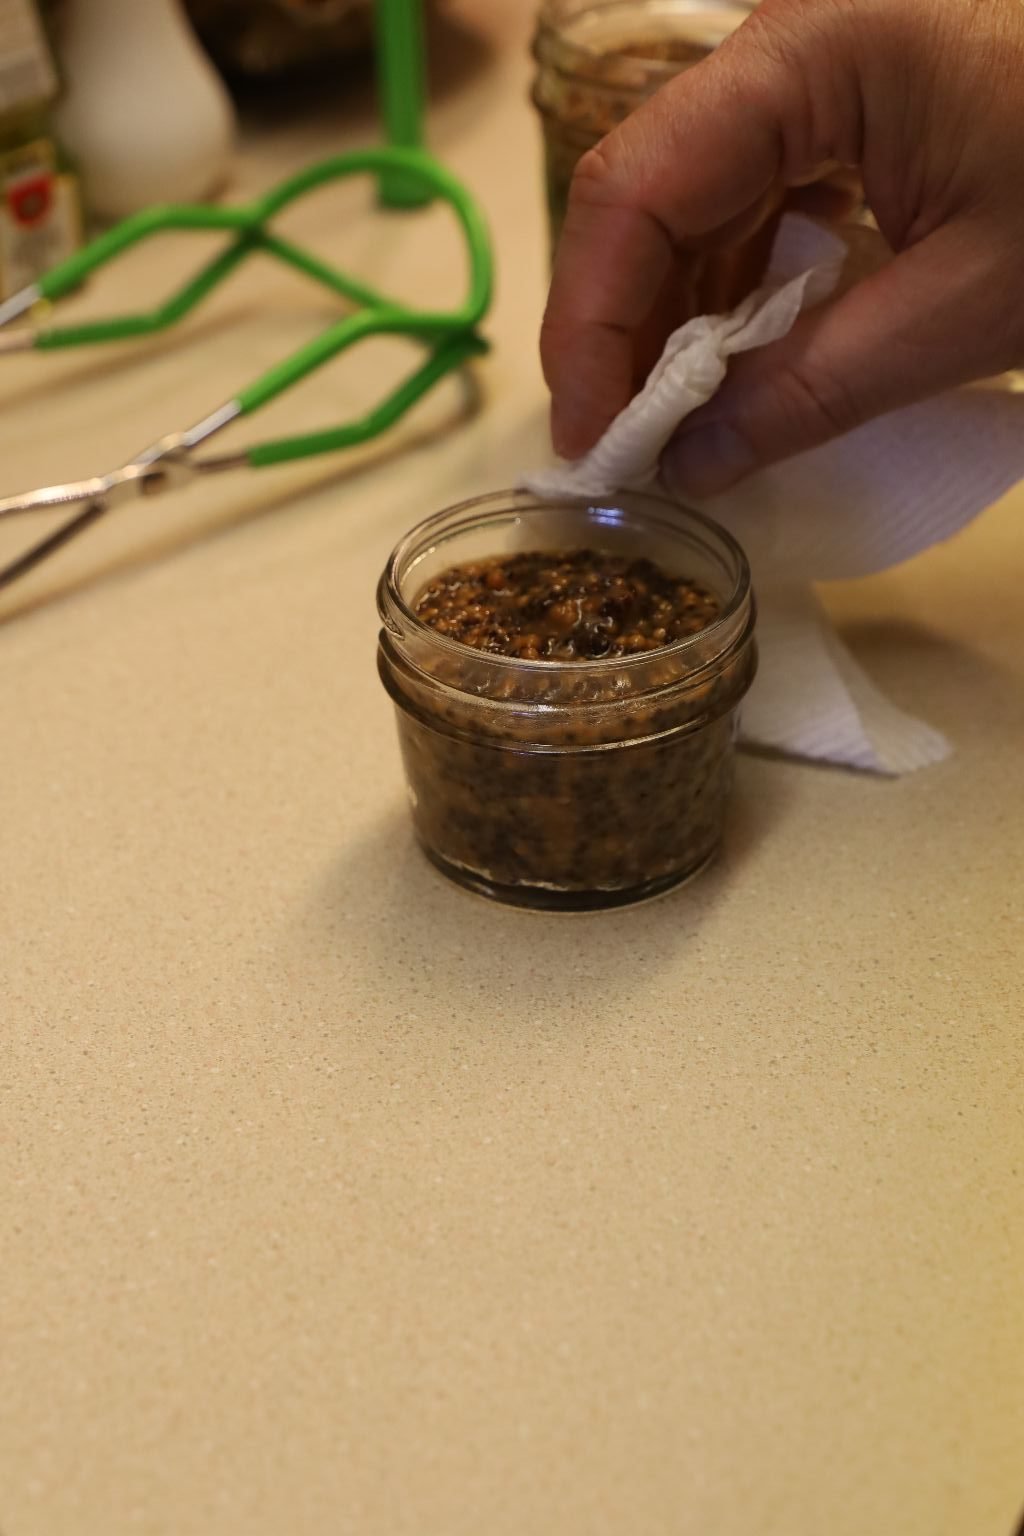
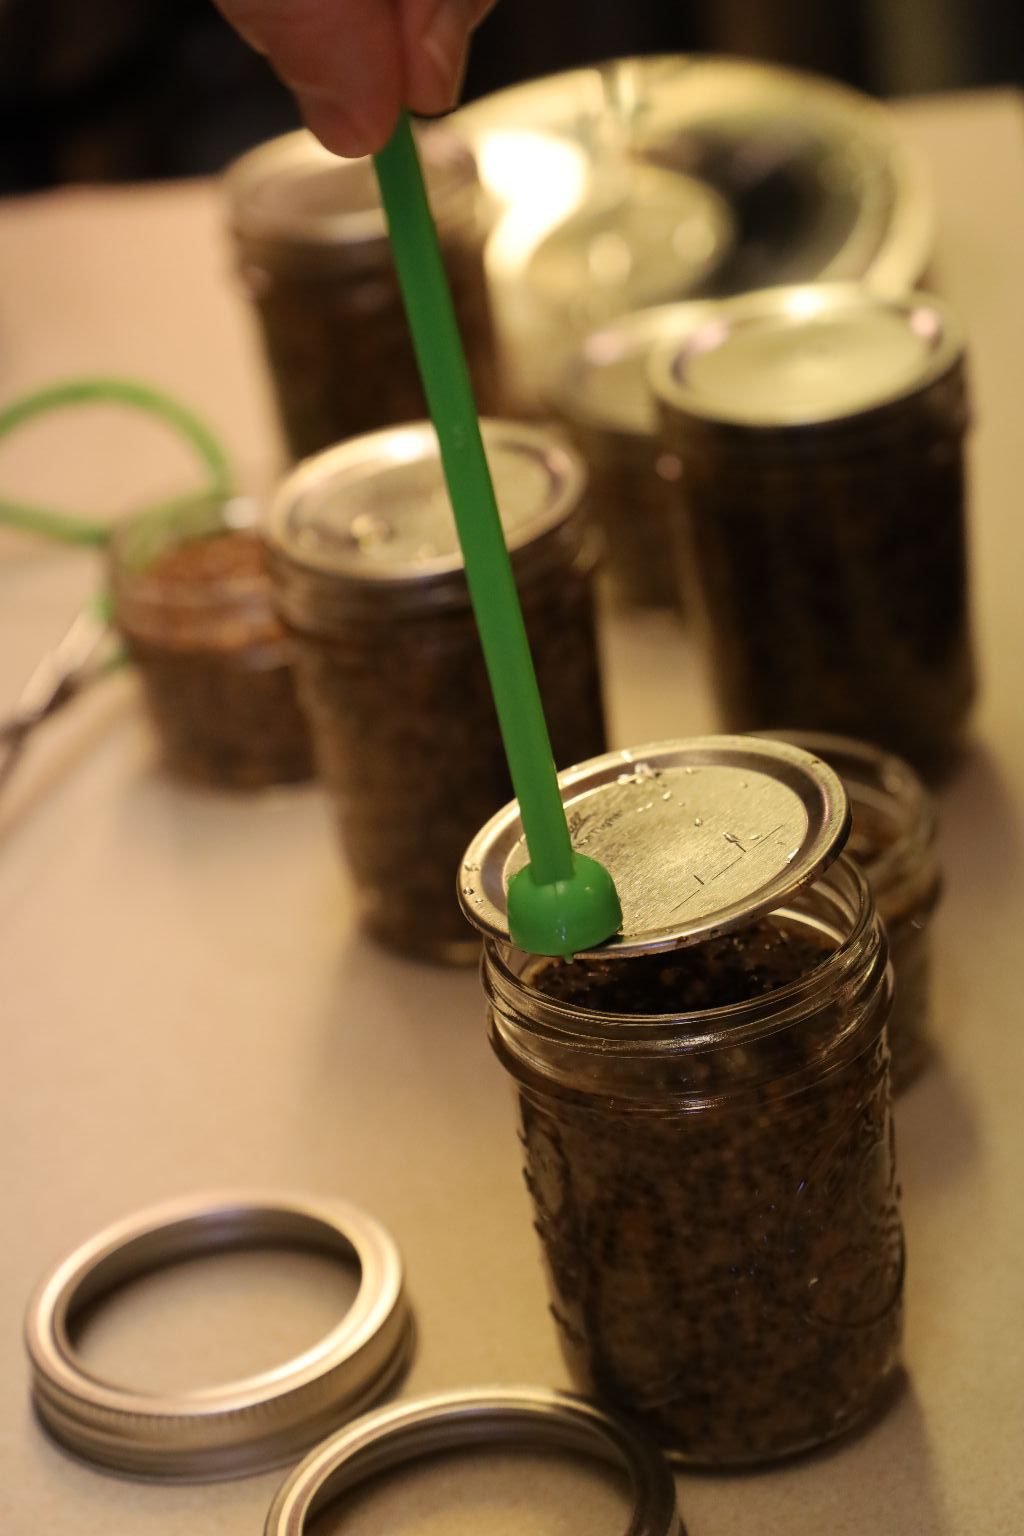
Wipe down the top of the jar with a wet paper towel until clean. If it is not clean, the lid will not seal properly. Using this magnetized stick, remove the hot lid from your pot of hot water and place it on the jar as shown. Place a ring on the jar and barely tighten the lid. This will allow the air to escape as it boils in the next step creating a vacuum within the jar.
Place your jars into a large pot of water and bring it up to a boil.
After all of your jars are in the pot, ensure there is about 1 inch of water covering them. Bring the water to a boil, and boil the jars for 15 minutes. This step is called processing the jars.
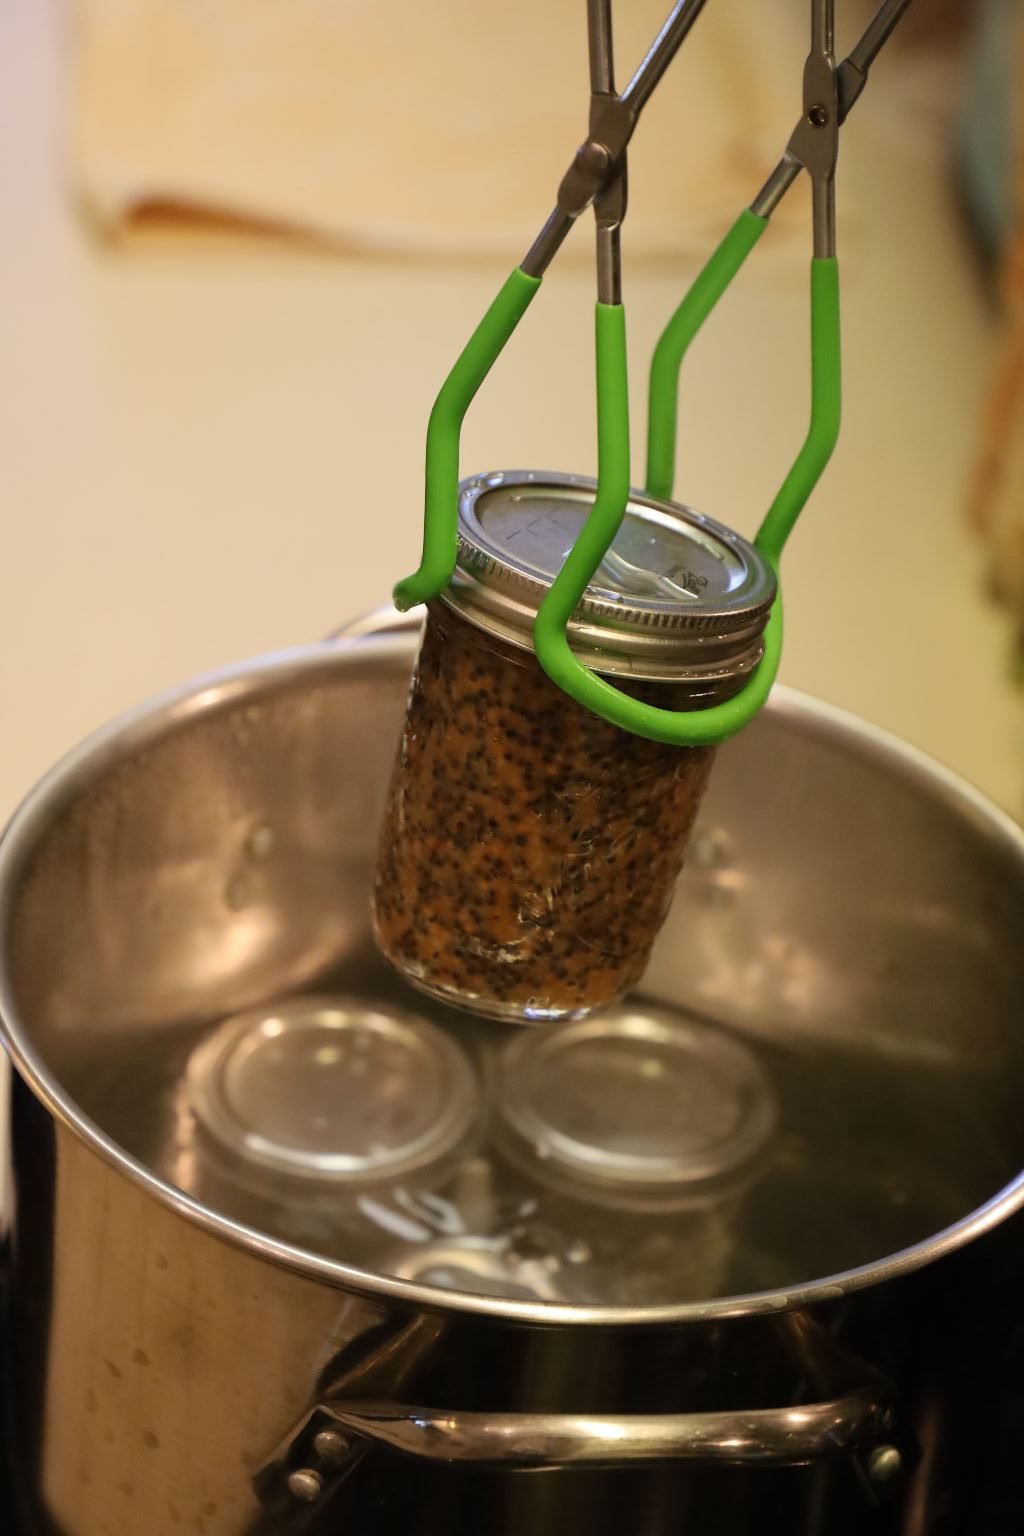
Using the special tongs, remove the jars from the water…
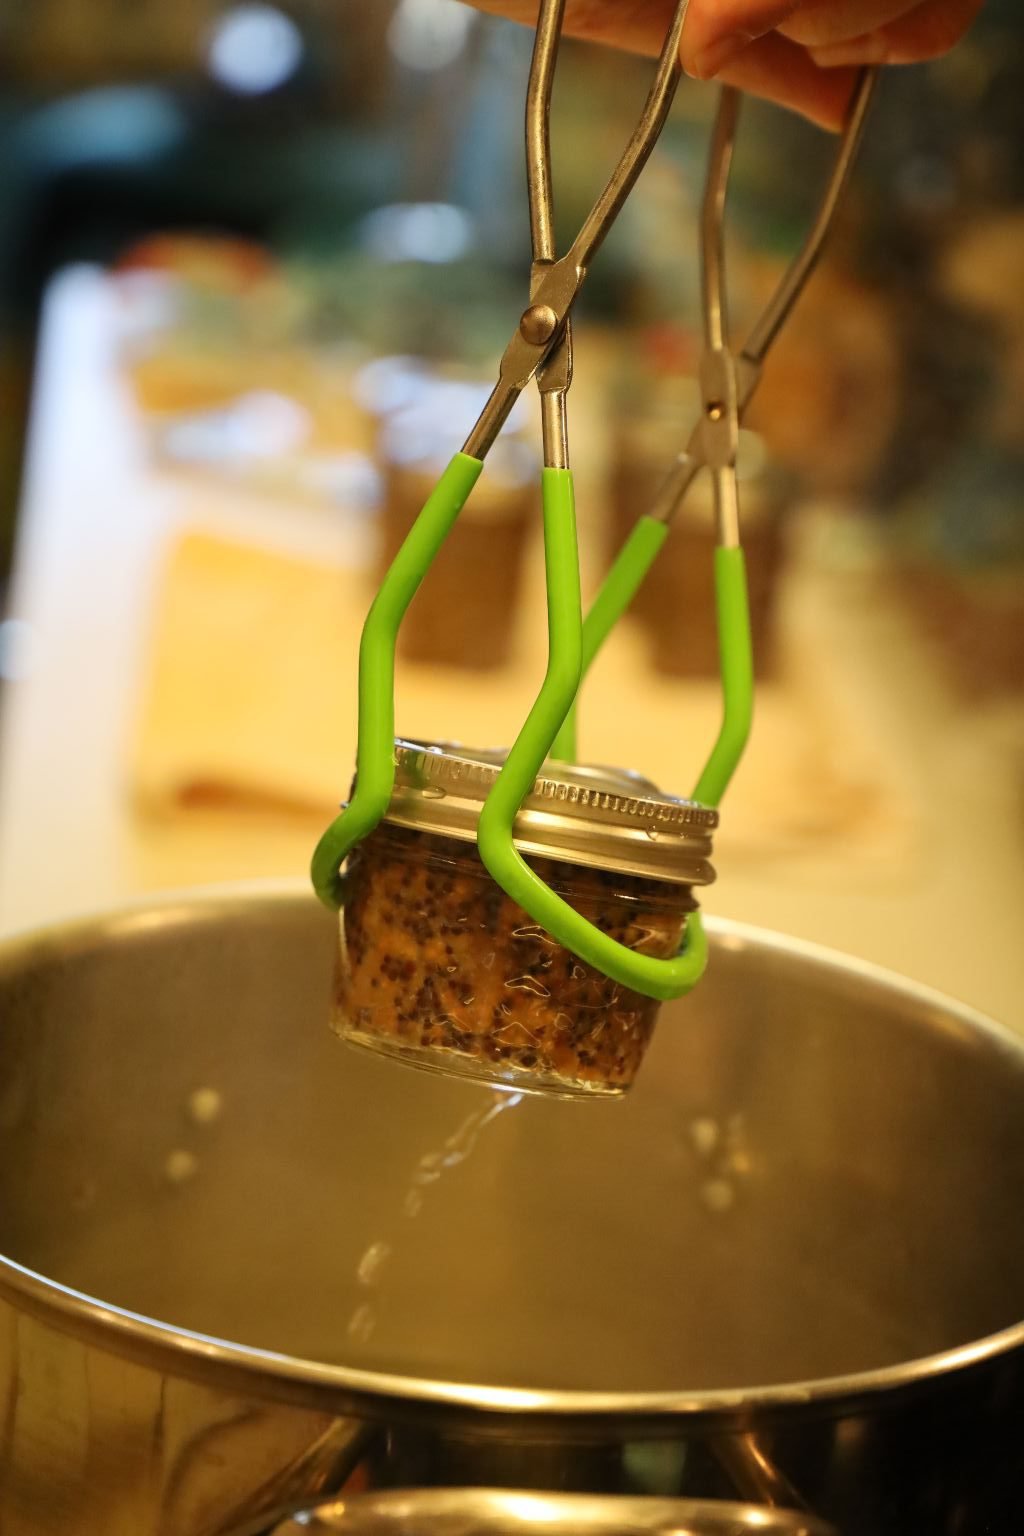
—————————————————————-
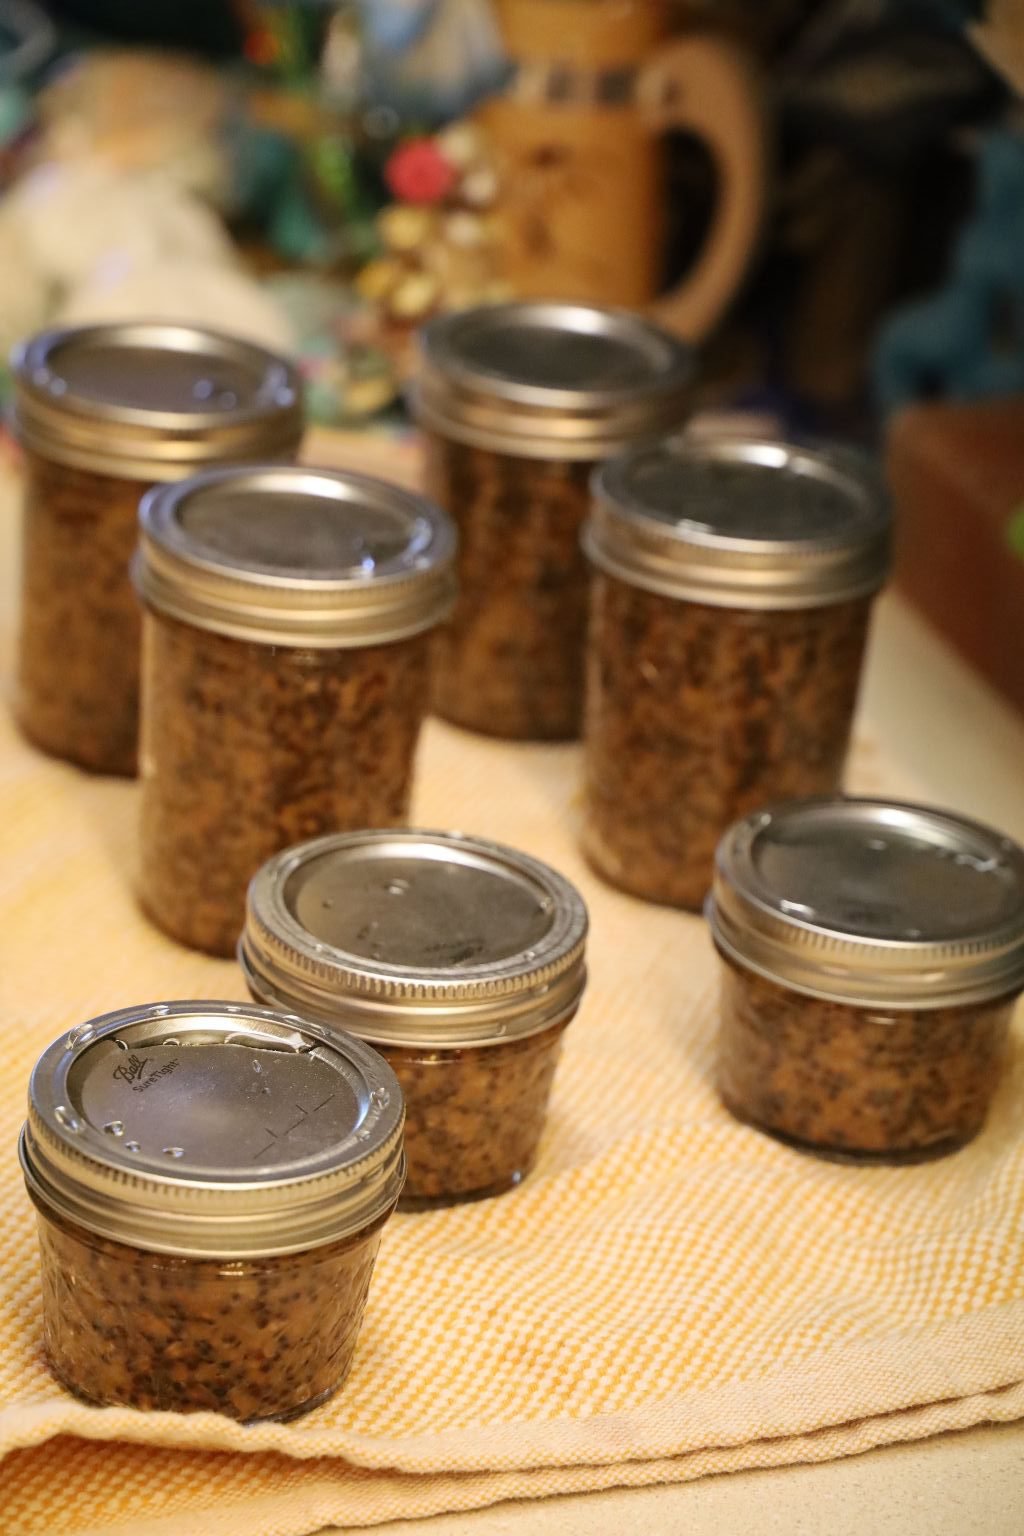
and place them on a dishtowel. You should begin to hear the lids pop as they seal. This is caused by the lid being pulled down from the vacuum within the jar. This means that your mustard jar is sealed properly. Caution, the jars will be extremely hot during these next steps. After about an hour, if the lid can be pushed down, the lid didn’t seal and needs to be processed all over again. In this case, remove the lid, wipe down the top of the jar and possibly remove some of the mustard to ensure you had enough headspace. Then, add another lid as before and process the jar again for another 15 min. in the boiling water. If the lid seal is down and properly sealed, carefully remove the ring as the jar will still be hot, and wipe the lid and the inside of the ring with a dry paper towel. This will prevent any rust forming over time as the mustard sits in your pantry. The ring is only there to ensure the lid doesn’t accidentally get lifted up. Replace the ring, tighten securely when it is dry.
———————————————————-
Tarragon Mustard
Add the below ingredients to your yellow mustard base from the recipe above.
12 Cups Yellow Mustard Base
Salt and Pepper to taste
1 1/2 Tbsp. Dry Mustard
2 Tbsp. Garlic Powder
2 Tbsp. Sweet Paprika – we used one 1 Tbsp. of two different types of Sweet Paprika
1/2 Cup Honey
3 Tbsp. Dried Tarragon
Here is a close up of the ingredients used.
Gordon, Ready to Tackle Tarragon Mustard
Add 8 Cups of your Yellow Mustard base to your blender.
Puree the mustard base until it is smooth.
Add your pureed mustard to a large pot.
You can see the lighter color change from the puree process.
Add the remaining 4 Cups of Yellow Mustard base to the blender…
and puree it until smooth.
————————————————————
Add the puree to the pot then taste the mustard!
Here, I felt it needed more salt and pepper, so add enough to your liking.
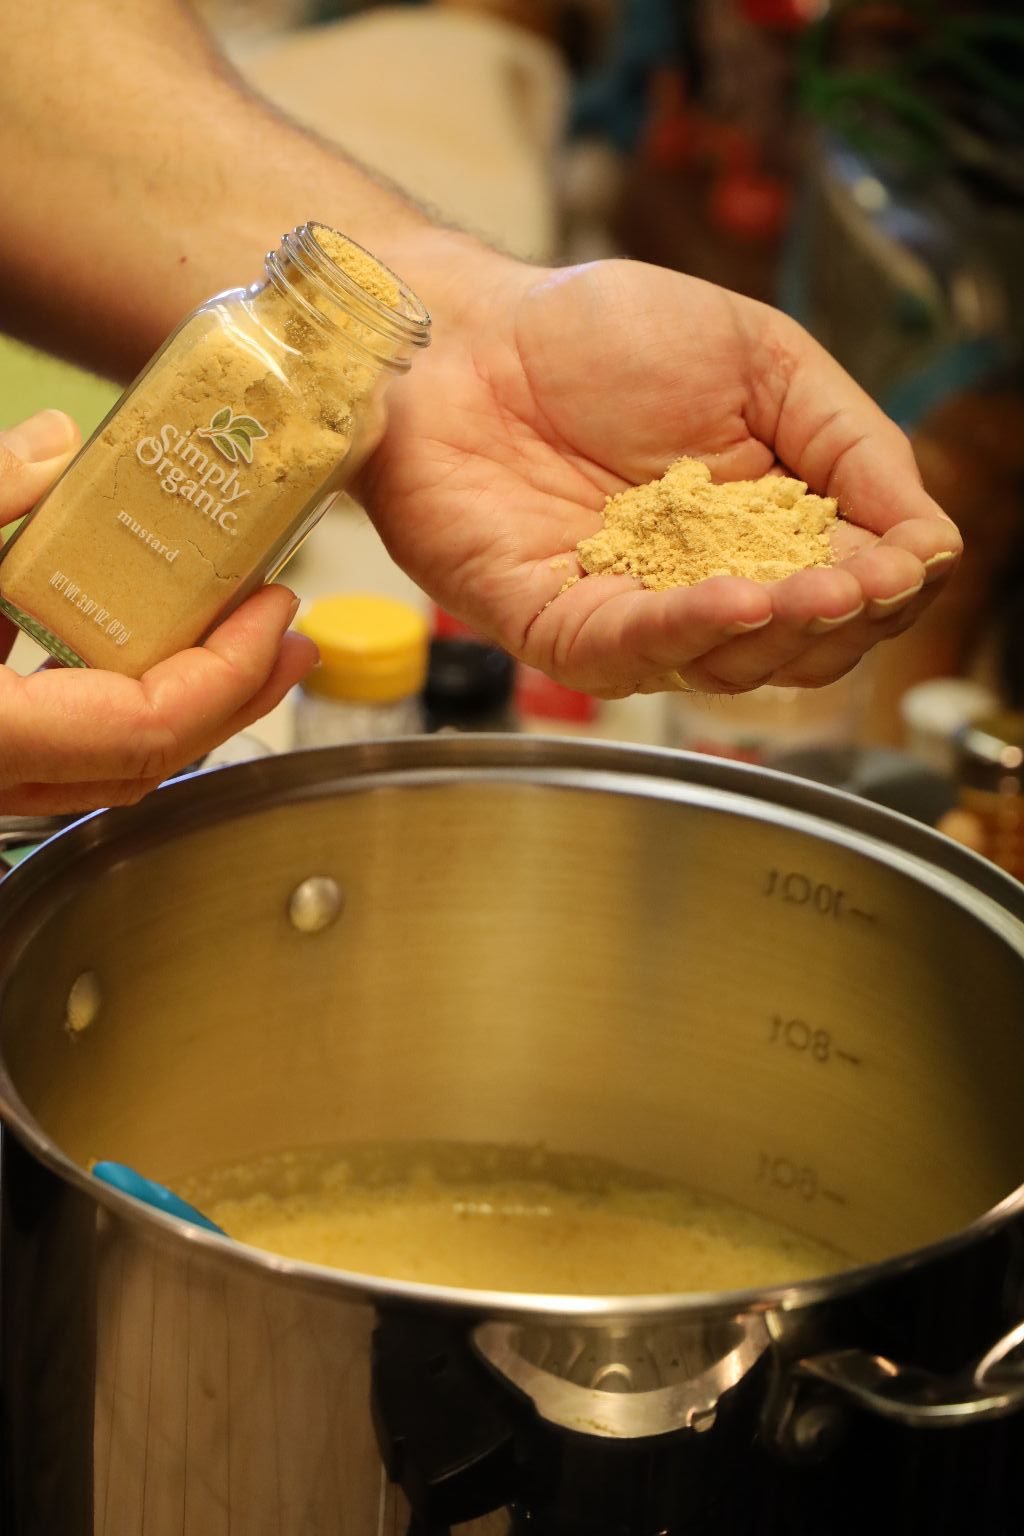
I also added more mustard powder to the mix.
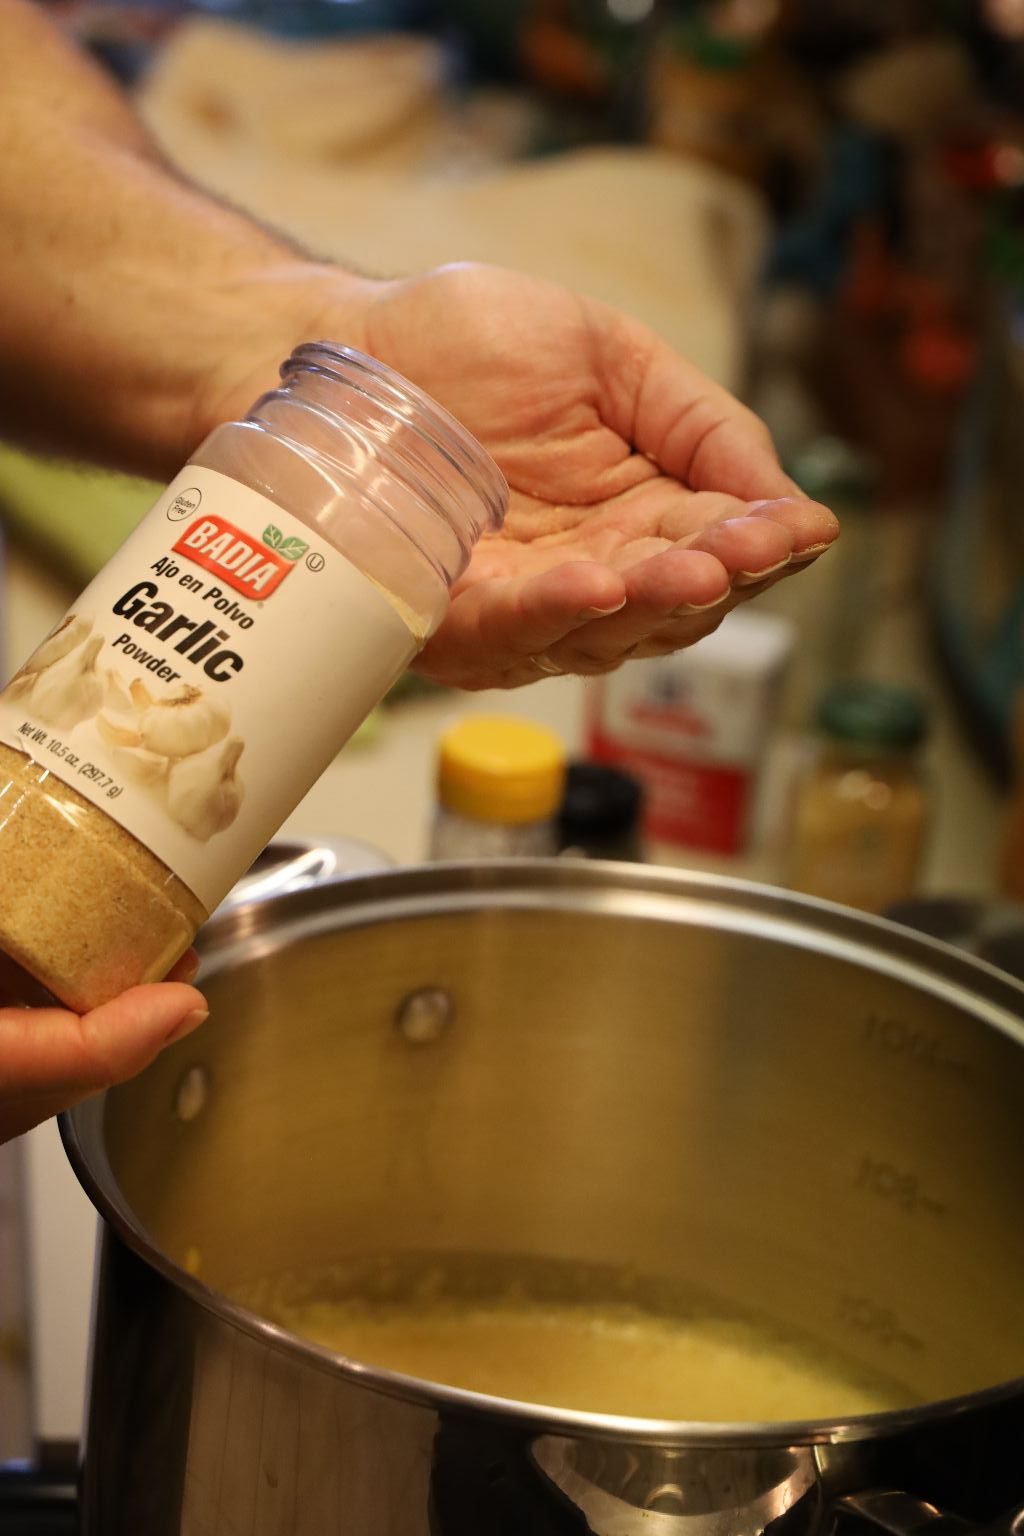
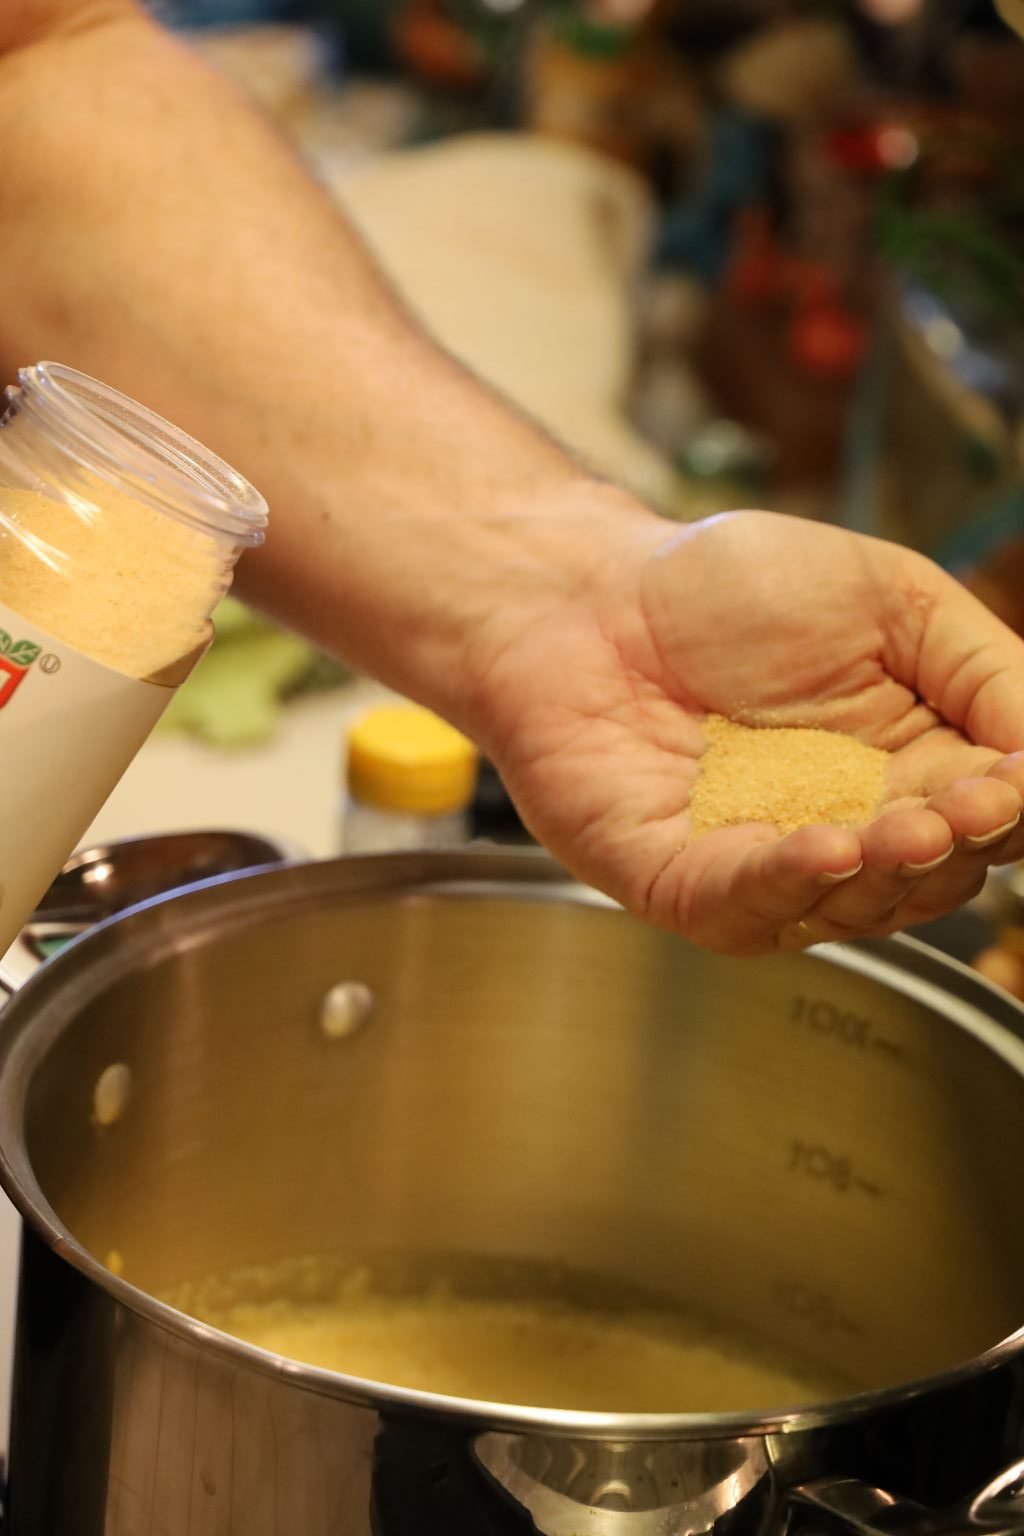
Now, add your garlic powder…
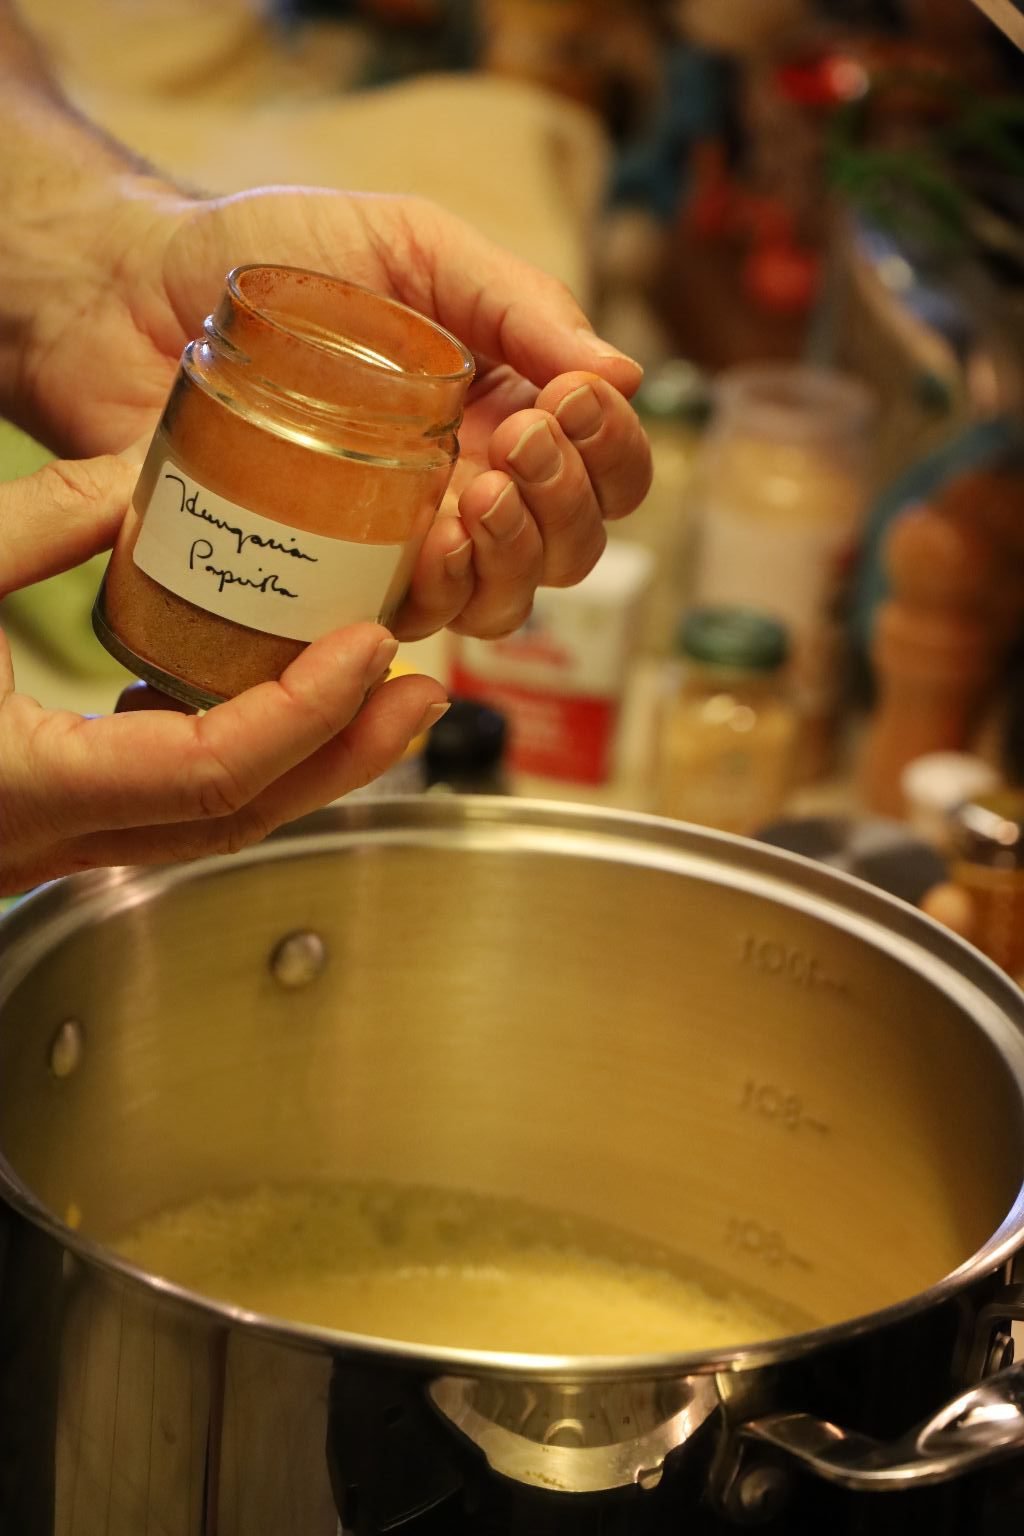
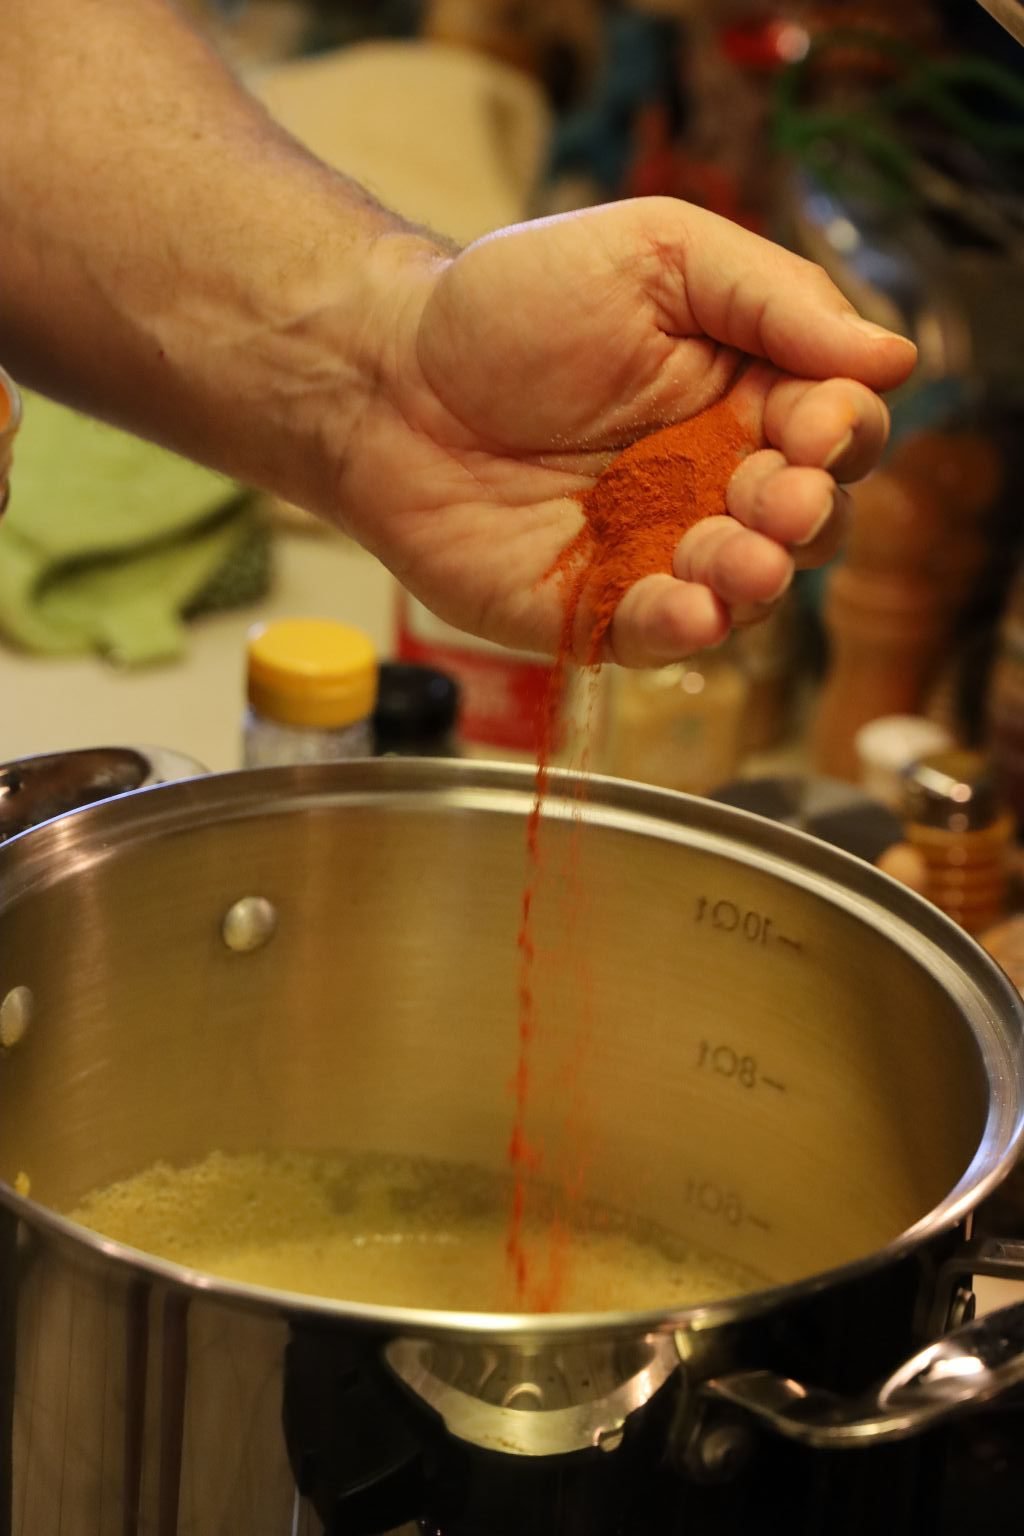
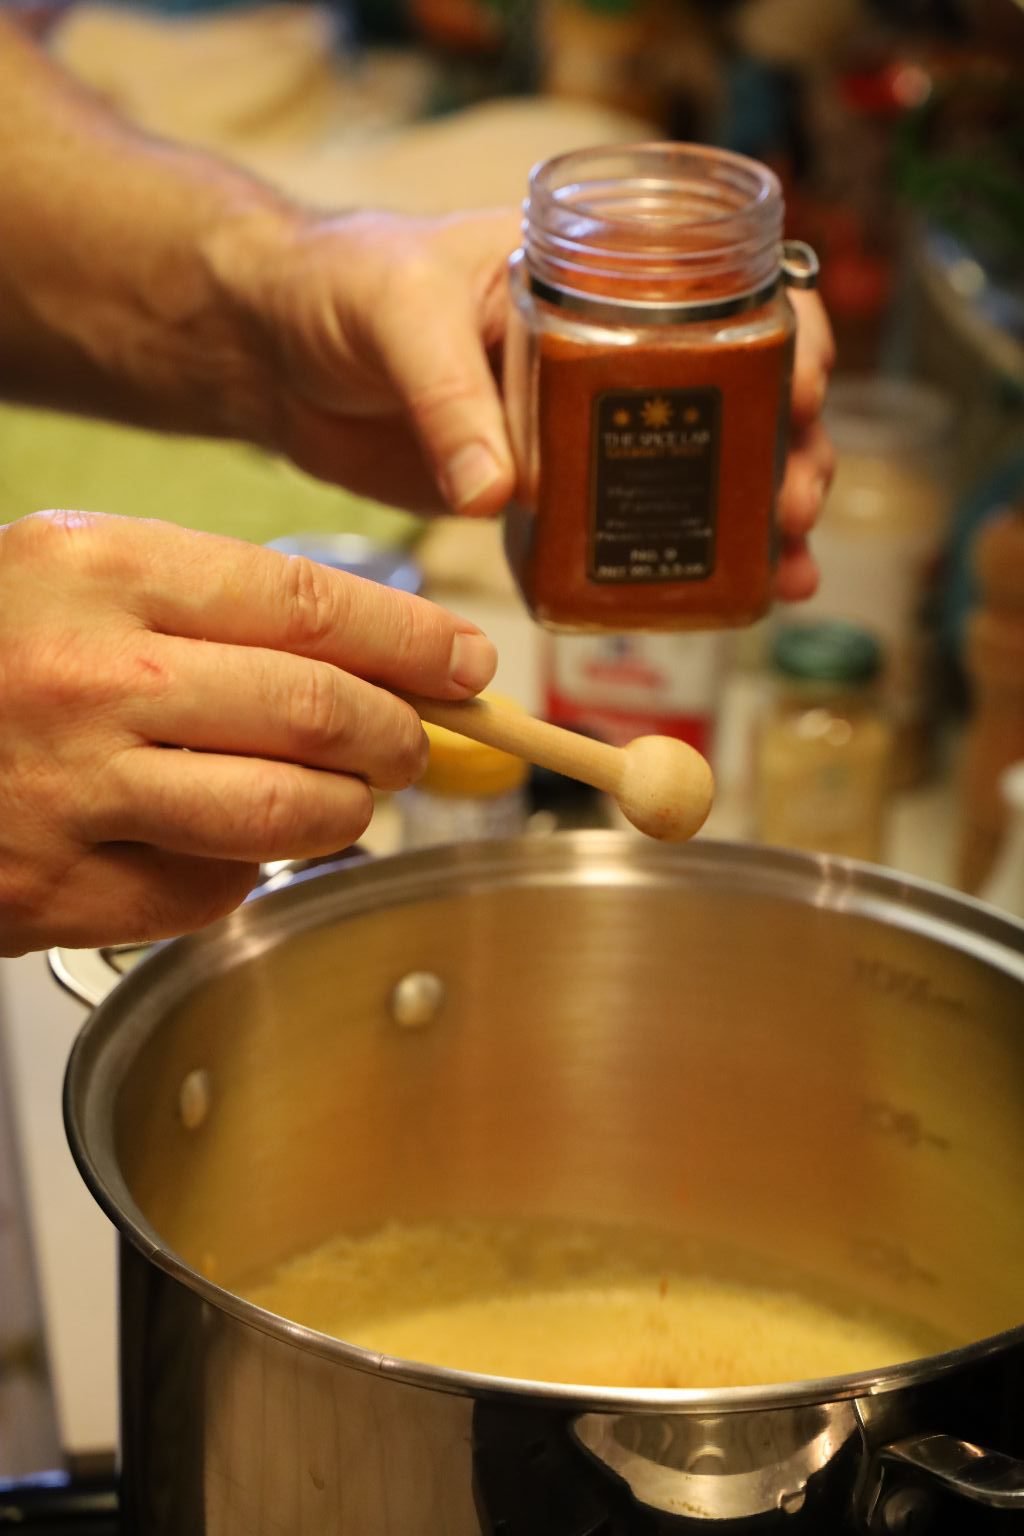
Then your Paprika.
We had two different types of sweet paprika.
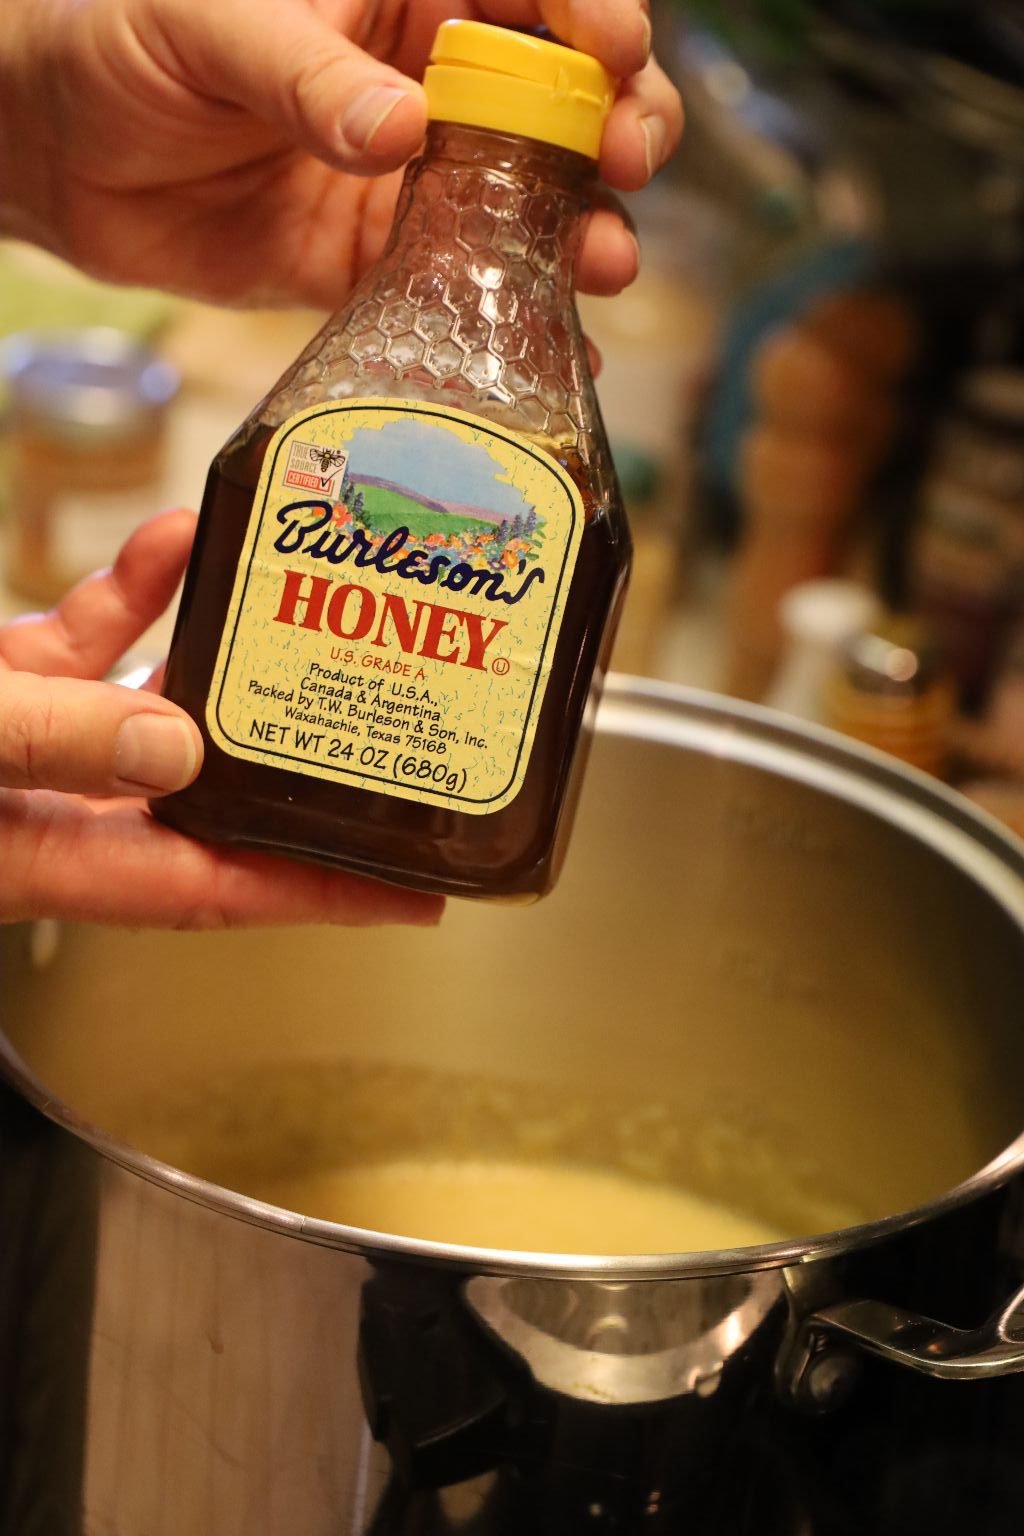
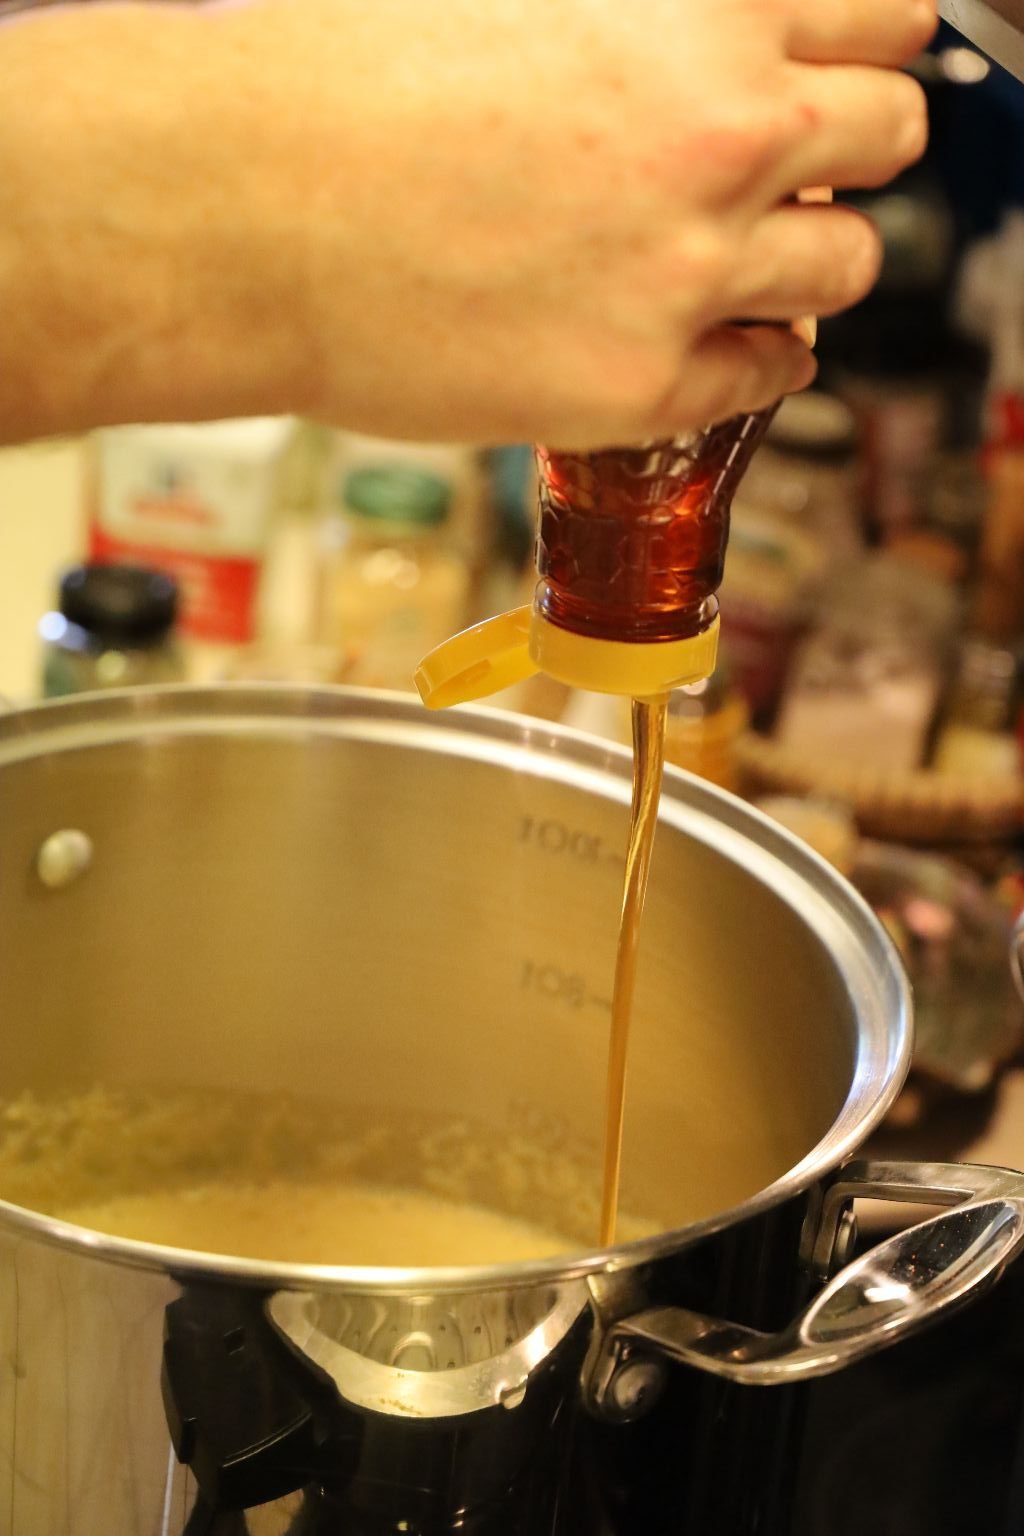
Now, add your honey to the pot. This was another nice tasting honey.
Stir the ingredients well and heat the mixture on the stove until it begins to boil.
Once it boils, lower the heat and simmer the mustard until it is the consistency of your liking.
When done, I poured the mustard into a large bowl to cool.
Once it is mostly cooled, I added the dry tarragon to the bowl.
Stir all the ingredients together well.
Here you can see the mustard is nice and thick but still fluid enough to pour.
Using a ladle and funnel, add your mustard to the sterilized jars. Sterilize your jars using your dishwasher. When they are done, remove them and cover with a dishtowel until ready to use. Place your lids in a pot of almost boiling water to soften the rubber seal. An almost boil will just start to show tiny bubbles in the water which will just make the seal pliable. If you bring the water to a hard boil, you might ruin the rubber seal.

Wipe down the top of the jar with a wet paper towel until clean. If it is not clean, the lid will not seal properly.
Using the magnetized stick, remove the hot lid and place it on the jar as shown. Place a ring on the jar and barely tighten the lid. This will allow the air to escape as it boils in the next step creating a vacuum within the jar.
After all of your jars are in the pot, ensure there is about 1 inch of water covering them. Bring the water to a boil and boil the jars for 15 minutes. This step is called processing the jars.
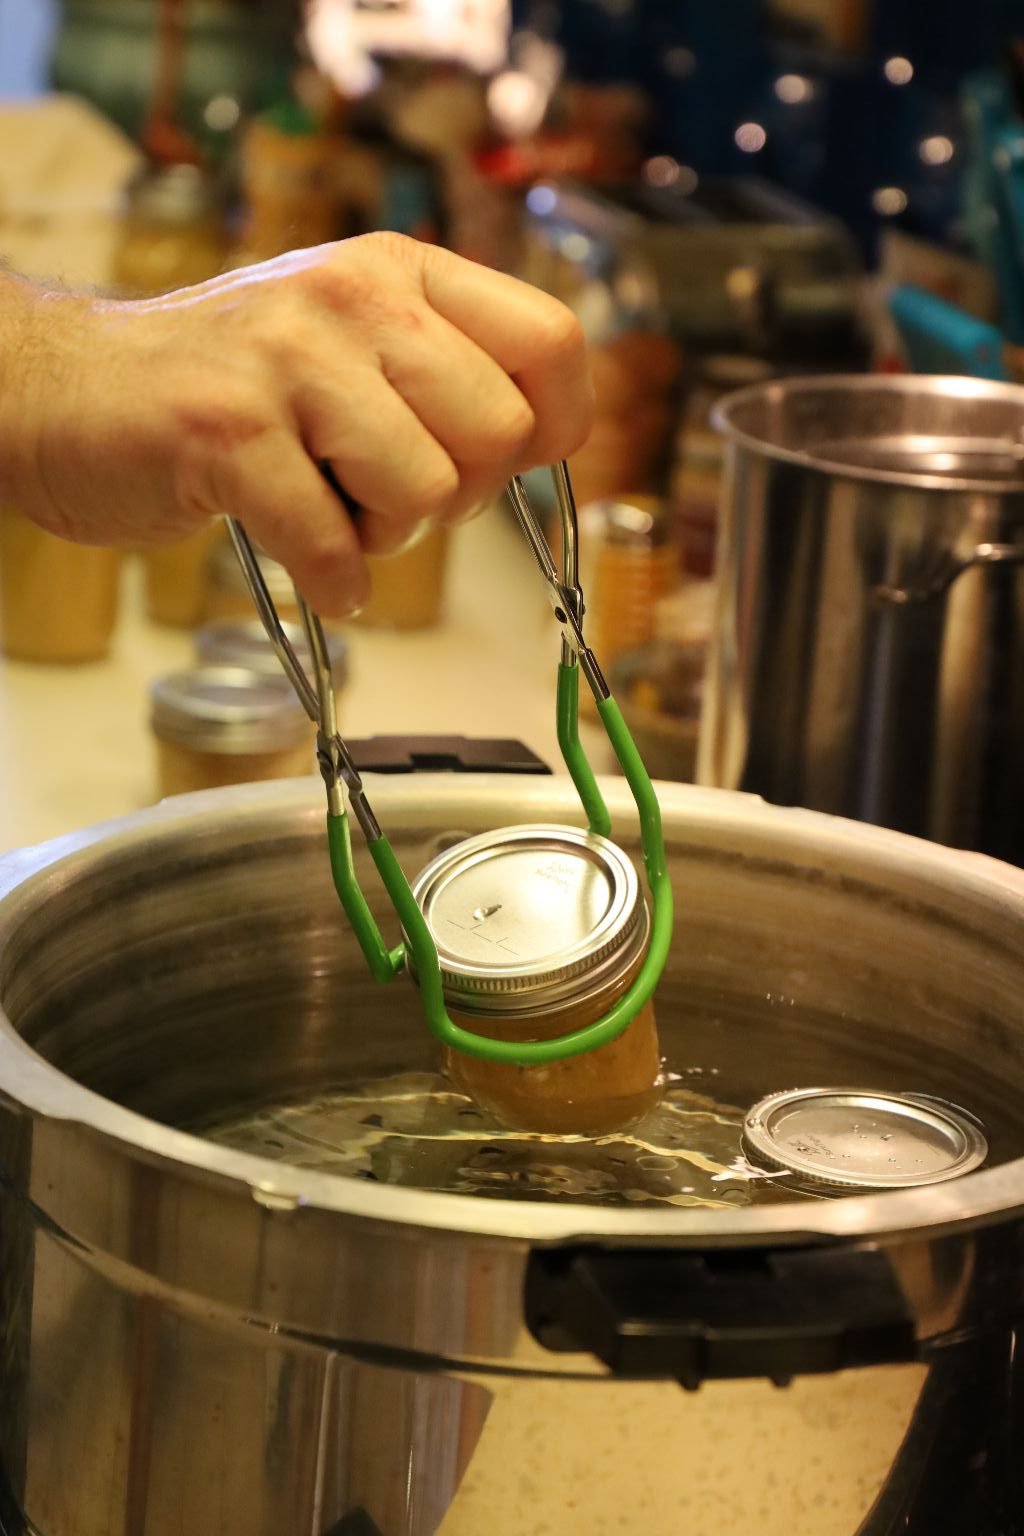
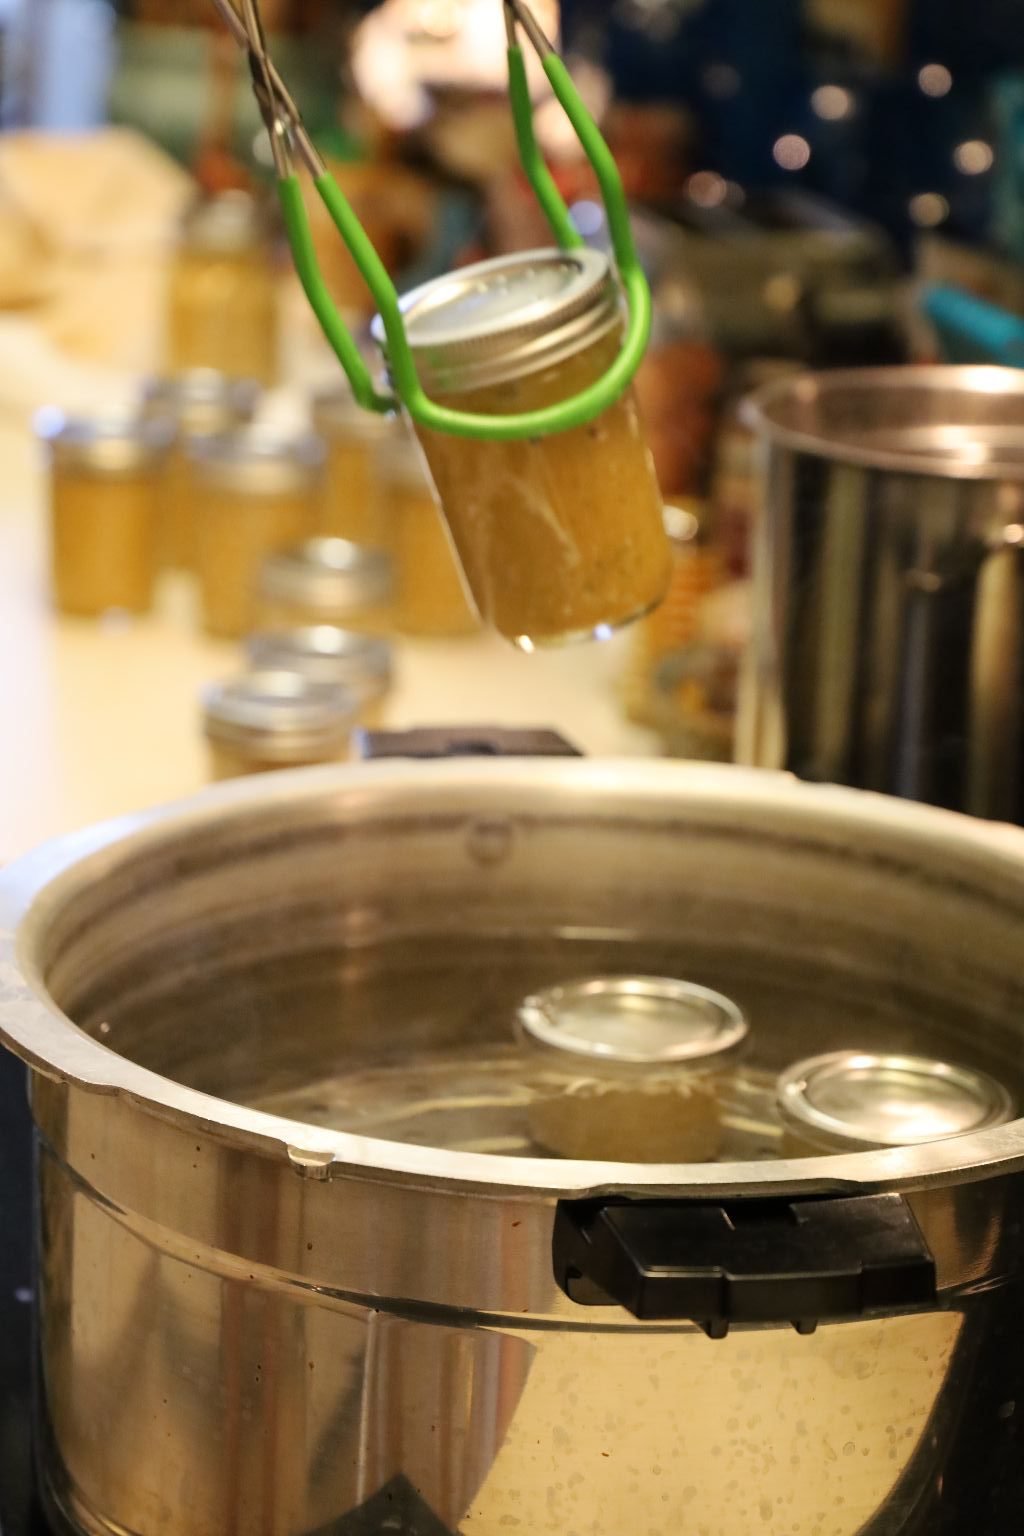
Using the special tongs, remove the jars from the water and place them on a dishtowel. You should begin to hear the lids pop as they seal. This is caused by the lid being pulled down from the vacuum within the jar. This means that your mustard jar is sealed properly. Caution, the jars will be extremely hot during these next steps. After about an hour, if the lid can be pushed down, the lid didn’t seal and needs to be processed all over again. In this case, remove the lid, wipe down the top of the jar and possibly remove some of the mustard to ensure you had enough headspace. Then, add another lid as before and process the jar again for another 15 min. in the boiling water. If the lid seal is down and properly sealed, carefully remove the ring as the jar will still be hot, and wipe the lid and the inside of the ring with a dry paper towel. This will prevent any rust forming over time as the mustard sits in your pantry. The ring is only there to ensure the lid doesn’t accidentally get lifted up. Replace the ring finger tight when it is dry.
————————————————————
Time to Make our Almost Yellow Mustard
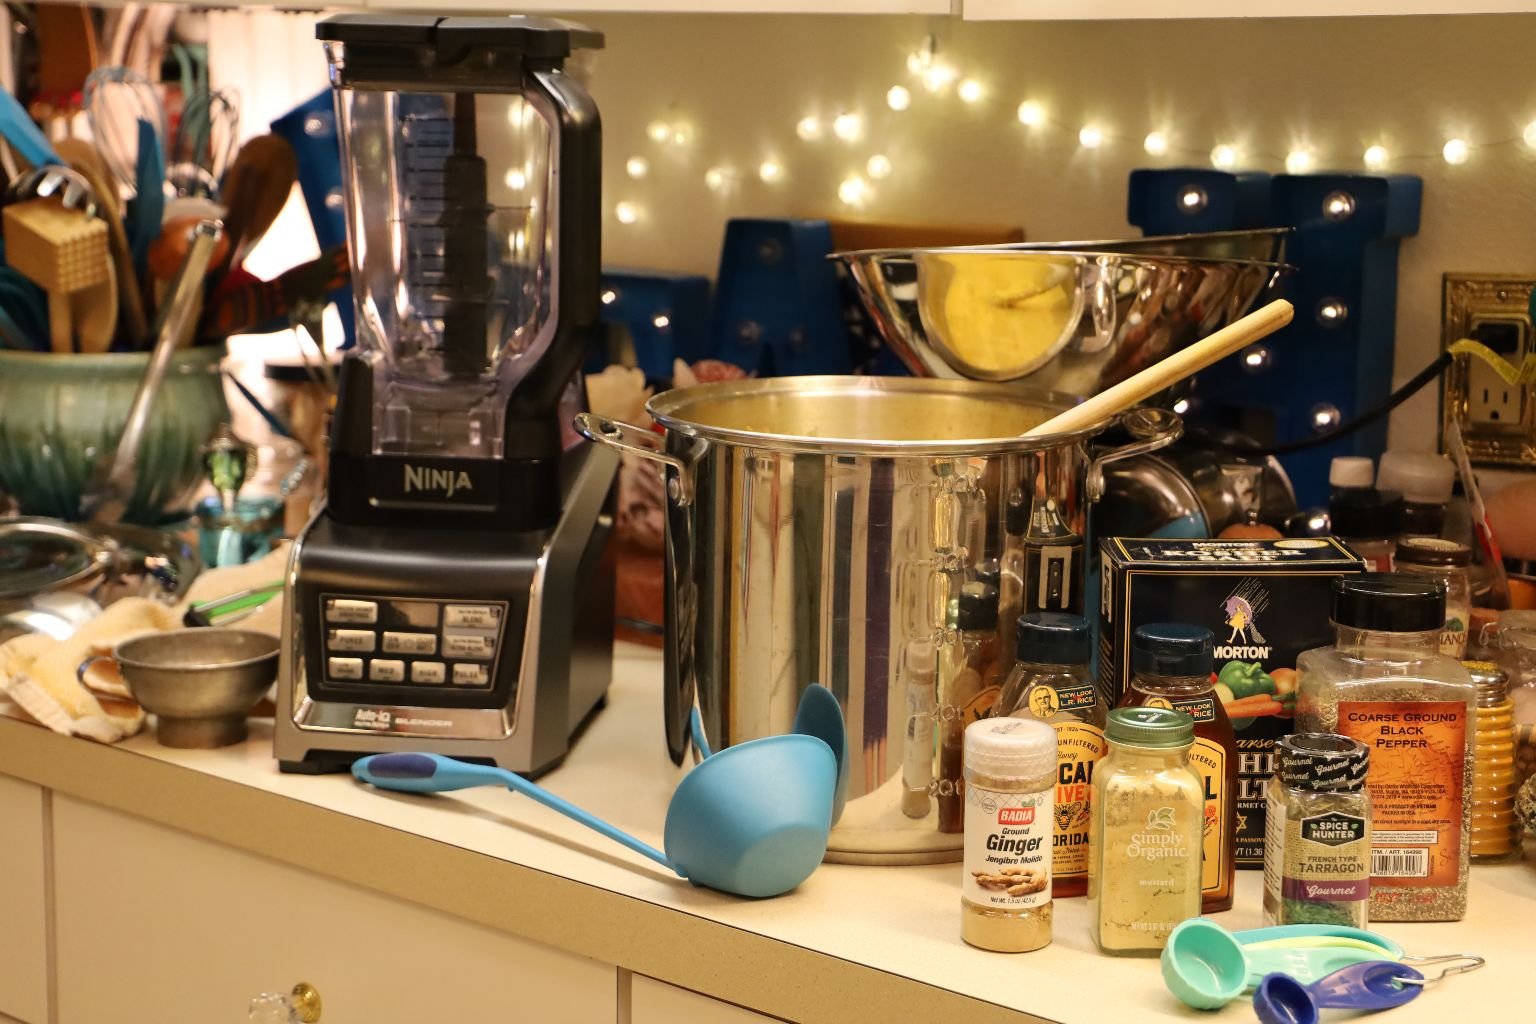
Ingredients and tools we used for our mustard’s.
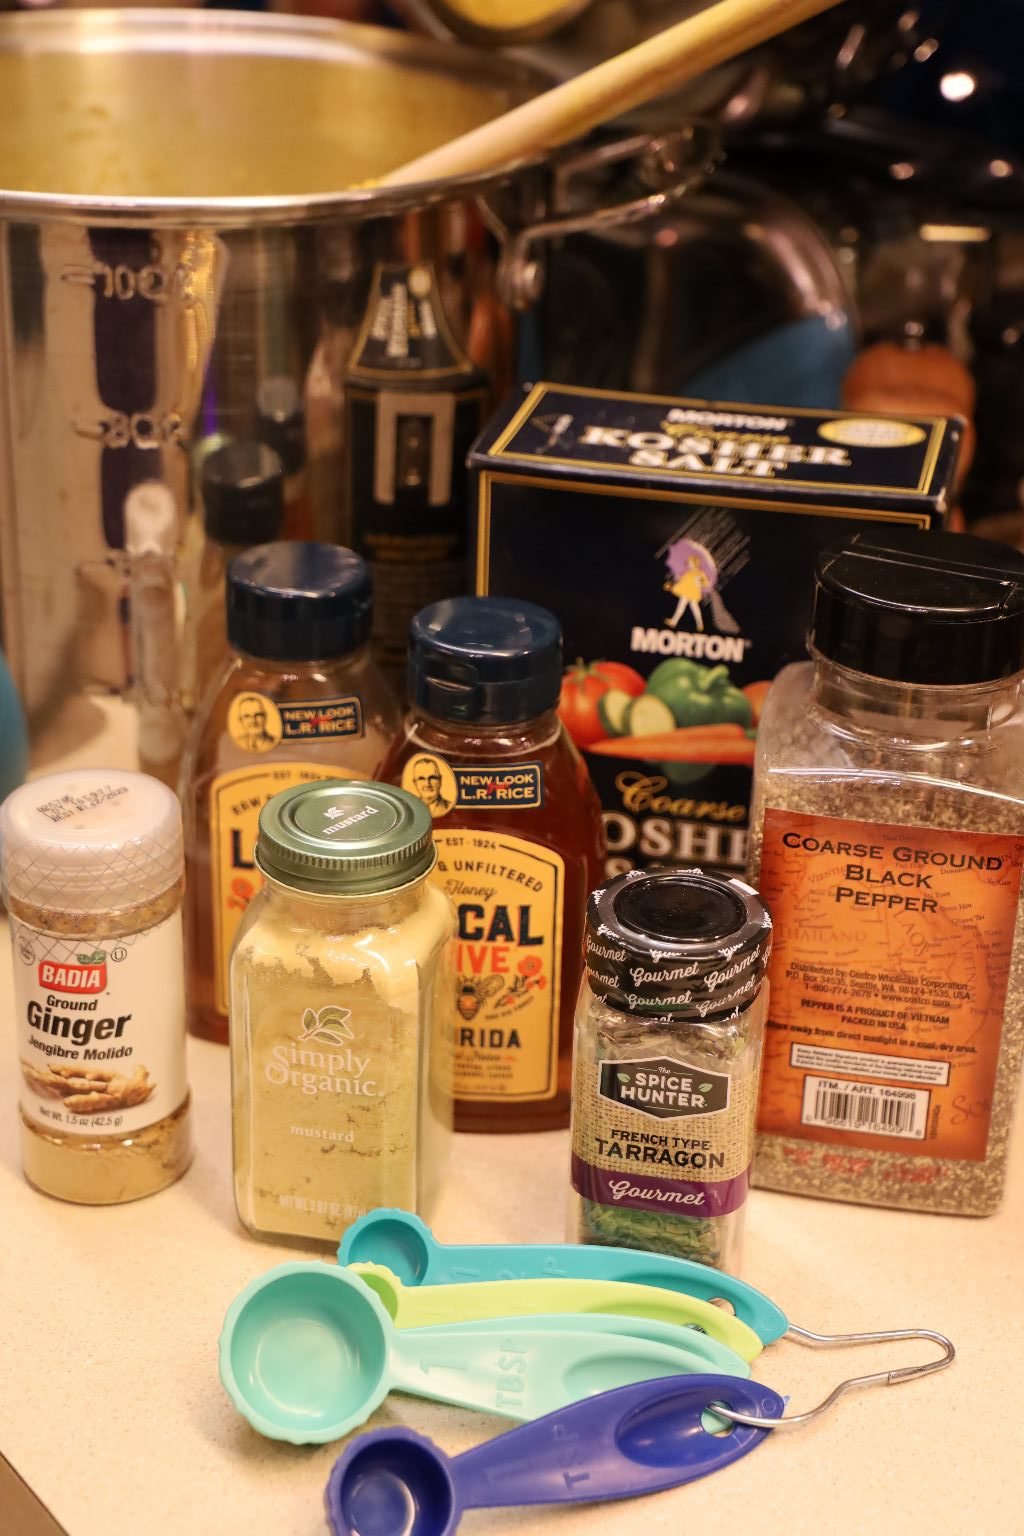
(Disregard the dried tarragon in the photo above.)
Ingredients:
12 Cups of the Yellow Mustard Base
1 tsp. Kosher Salt
3 tsp. Black Pepper
1 1/2 Tbsp. Mustard Powder
1 1/2 Tbsp. Turmeric Powder
3/4 Cup Honey
1 1/2 Tbsp. Sweet Paprika
1 tsp. Garlic Powder
(Always taste as you go. This is after all, geared towards your personal tastes. If you want more Paprika, then add more Paprika.)
———————————————————–
Gordon Dividing our Yellow Mustard Base
—————————————————————-
Making Our Almost Yellow Mustard
Here I am dividing the last of the Yellow Mustard Base in half, so I can make both the Yellow Mustard and Honey Mustard, (recipe to follow down below.)
Adding the Ingredients
Kosher Salt
—————————————————————–
Here Gordon is using a coarse black pepper, left. I didn’t like the look of it and told him to try the fine ground pepper. It ended up blending in much better.
——————————————————————-
It’s at this point that Gordon is adding some of the yellow mustard to the blender for a smoother consistency.
Using a large ladle makes it easy to transfer the mustard into the blender.
You can see how grainy the mustard still is.
This is a great picture showing in the back left the pot I used to heat the lids in almost boiling water, the two even amounts of our Yellow Mustard Base, and a bowl of the clean rings.
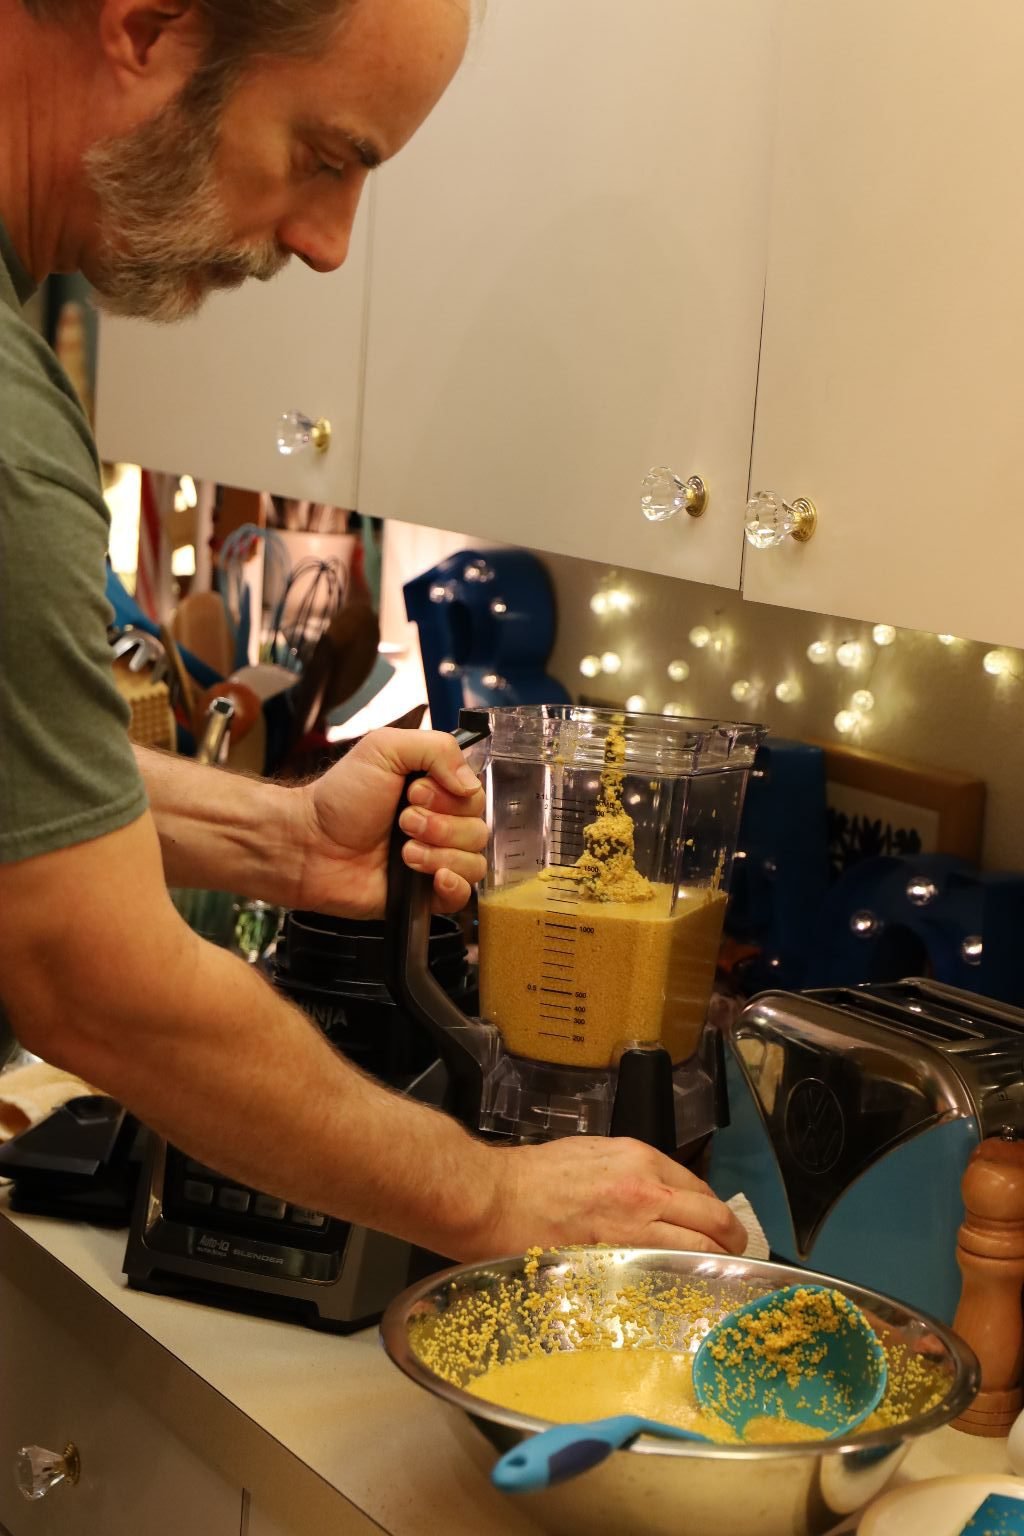
Here I am cleaning up as mustard will stain almost everything it touches.
(That’s because of the Turmeric in it.)
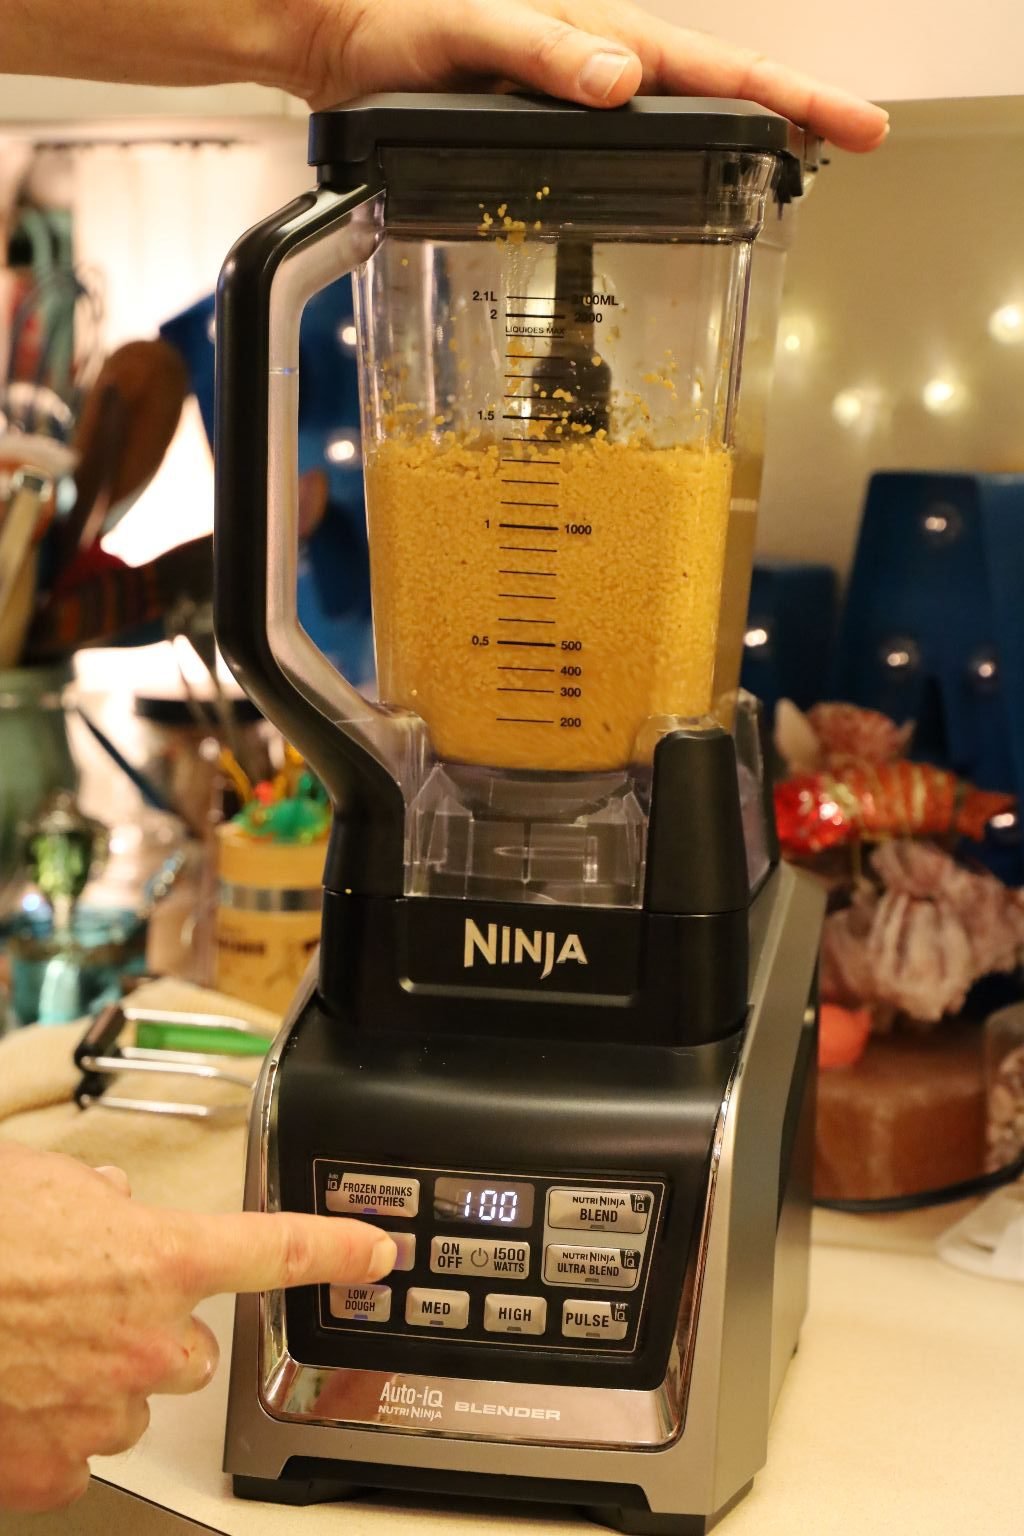
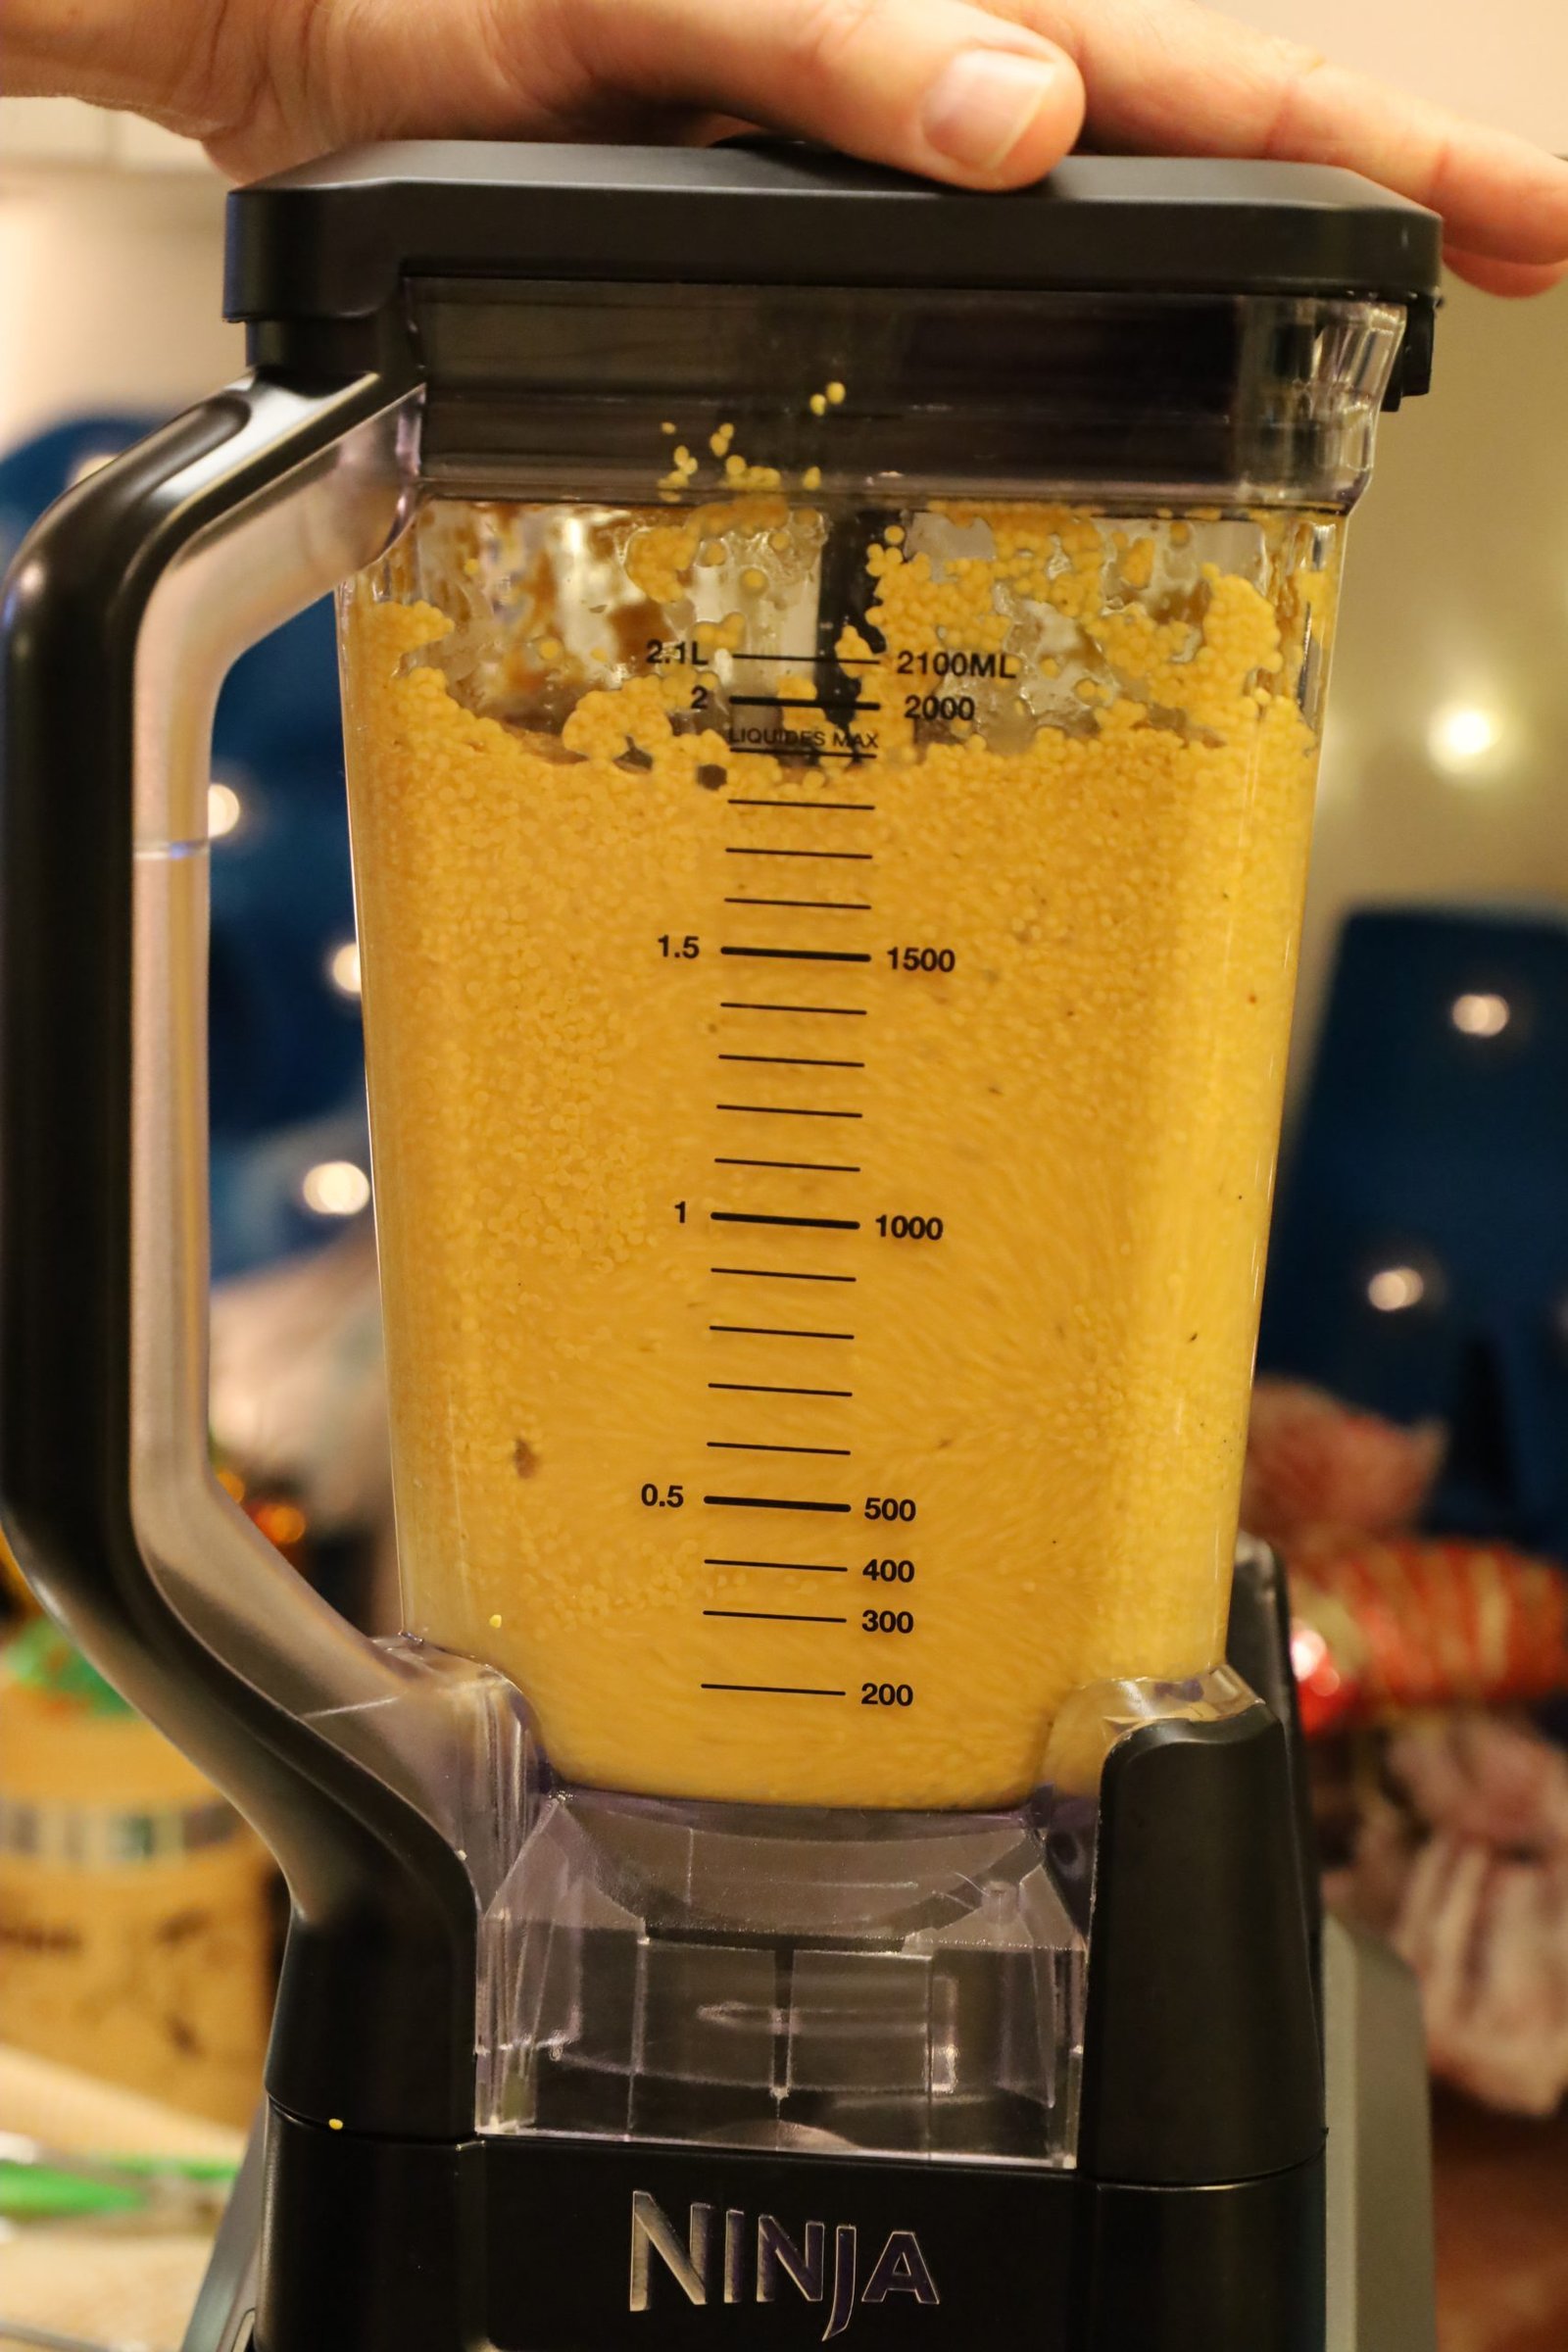
I placed half of the Yellow Mustard Base (~6 Cups) into the blender and pureed it.
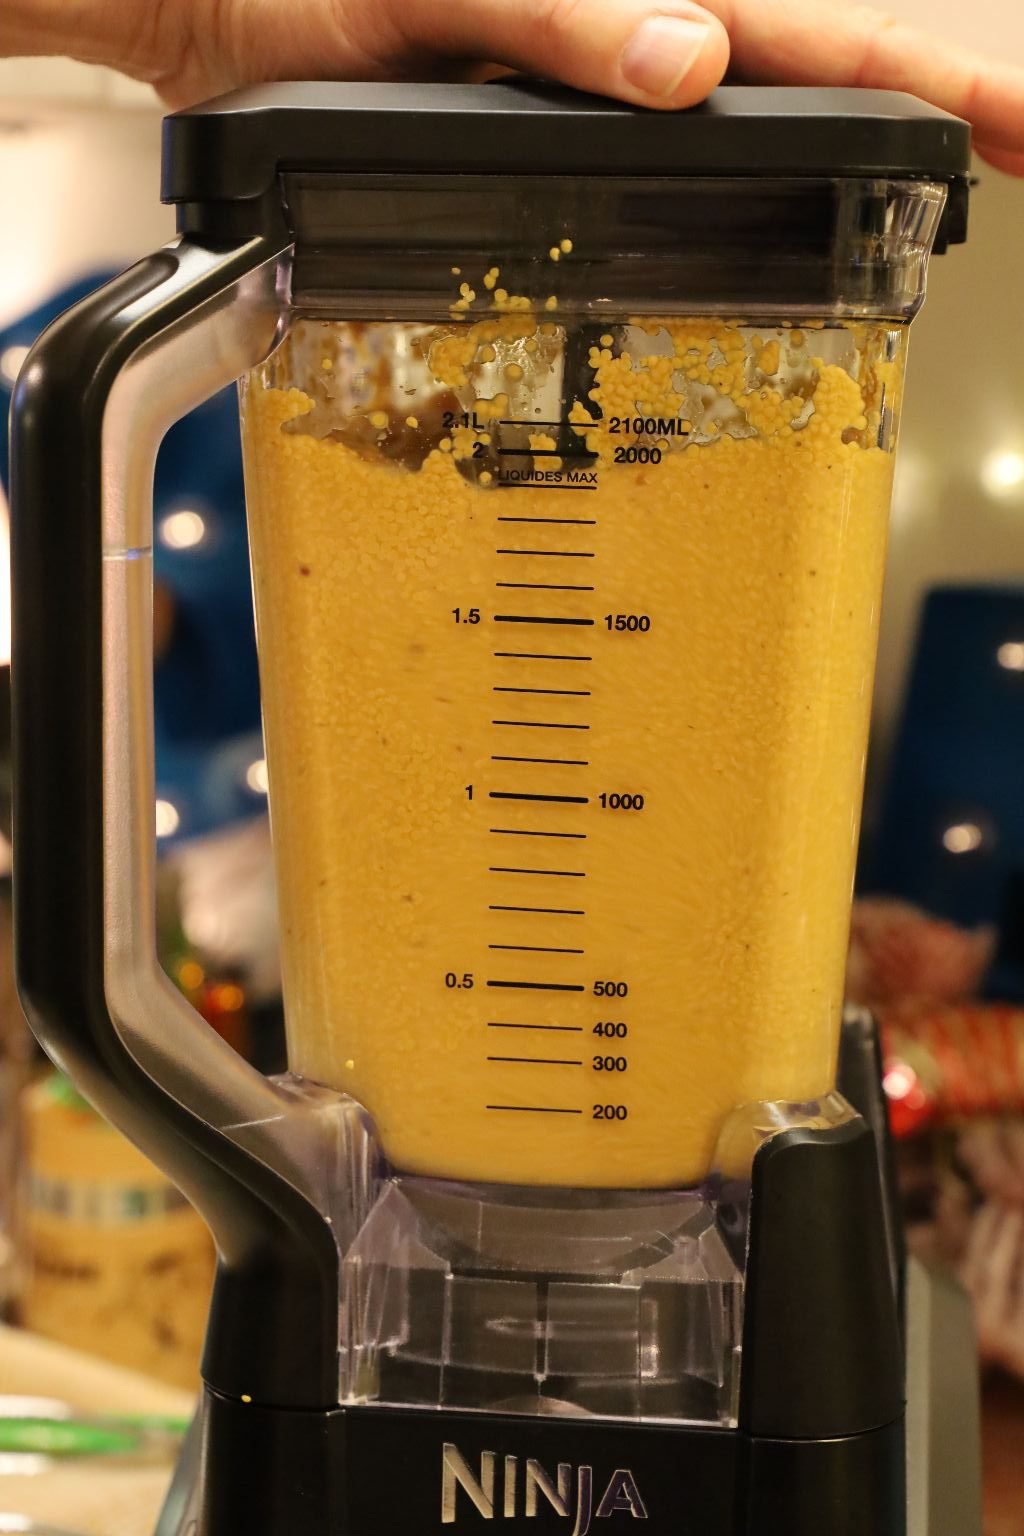
Most blenders have a puree setting. This only took about a minute.
Once it was at the consistency I liked, I poured it back into the Yellow Mustard Base that wasn’t pureed. We wanted a mixture of smooth and grainy, combined.
You can see how pureeing the mustard whips air into it giving it a lighter color. We wanted our Yellow Mustard to have some texture, which is why we didn’t puree all of the Yellow Mustard Base.
Now, heat your mustard to medium high heat.
Here Gordon is adding more dry Mustard Powder.

Cook your mustard until it gets to the consistency you like.
————————————————————————–
Here, I am Adding the Honey
When the mustard is at the consistency I liked, I removed it from the heat. I transferred the mustard from the pot to the bowl because It is easier to remove the mustard from the bowl when scooping it into the jars.
Here is a bowl of lids and rings.
I tasted the mustard…
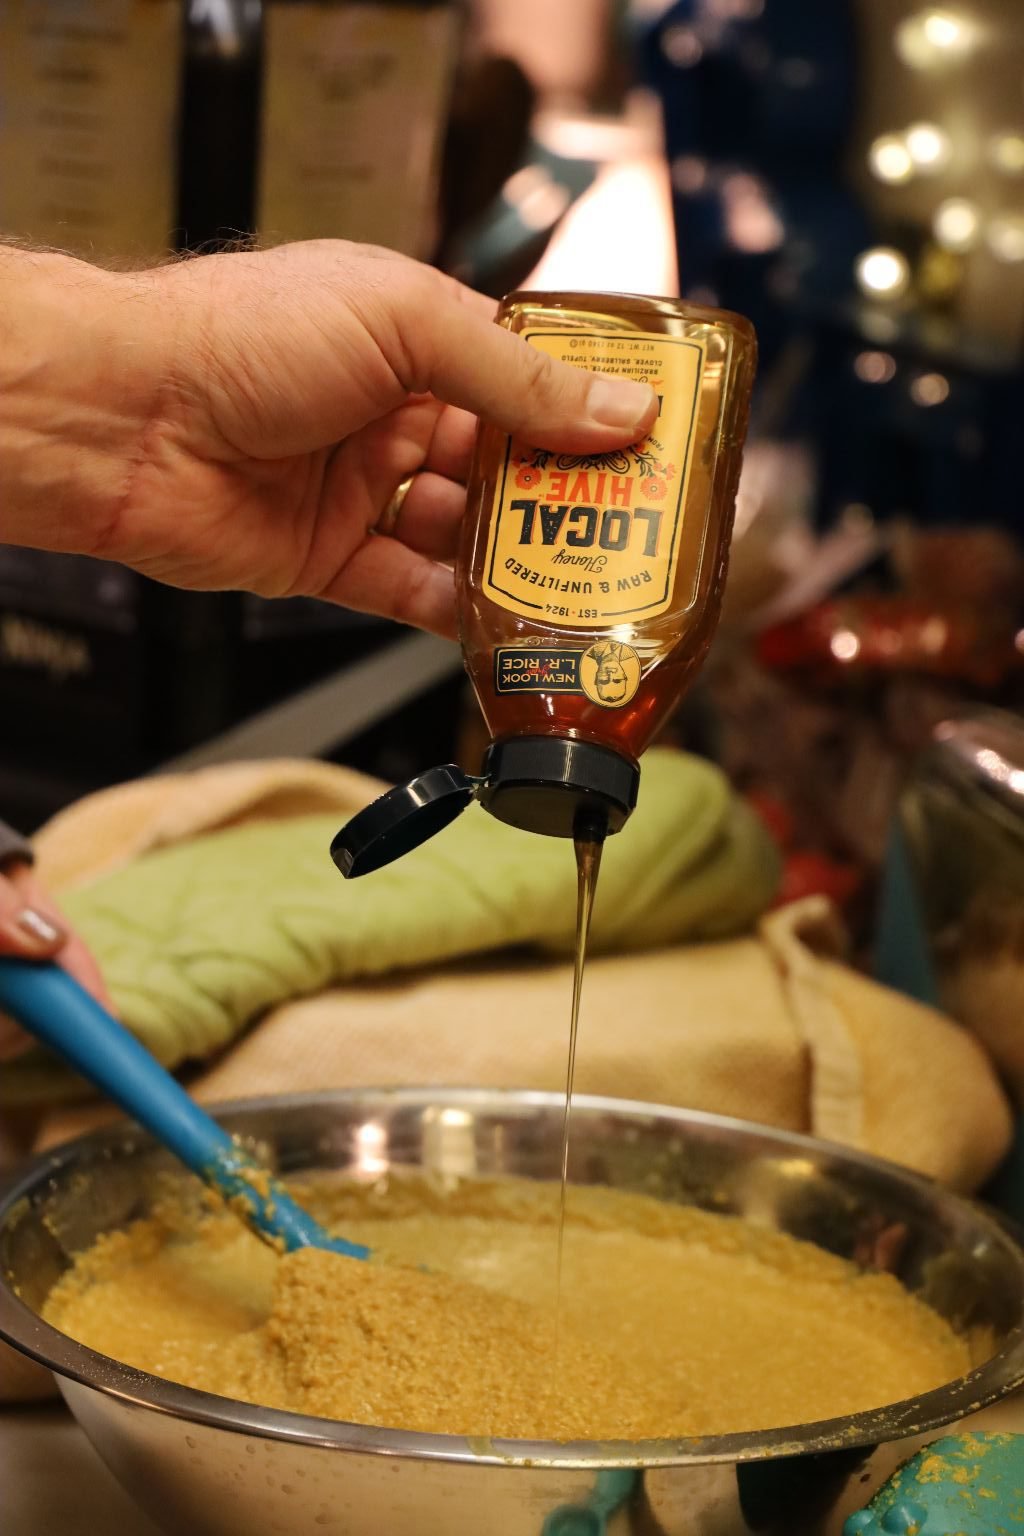
and felt it needed more honey!
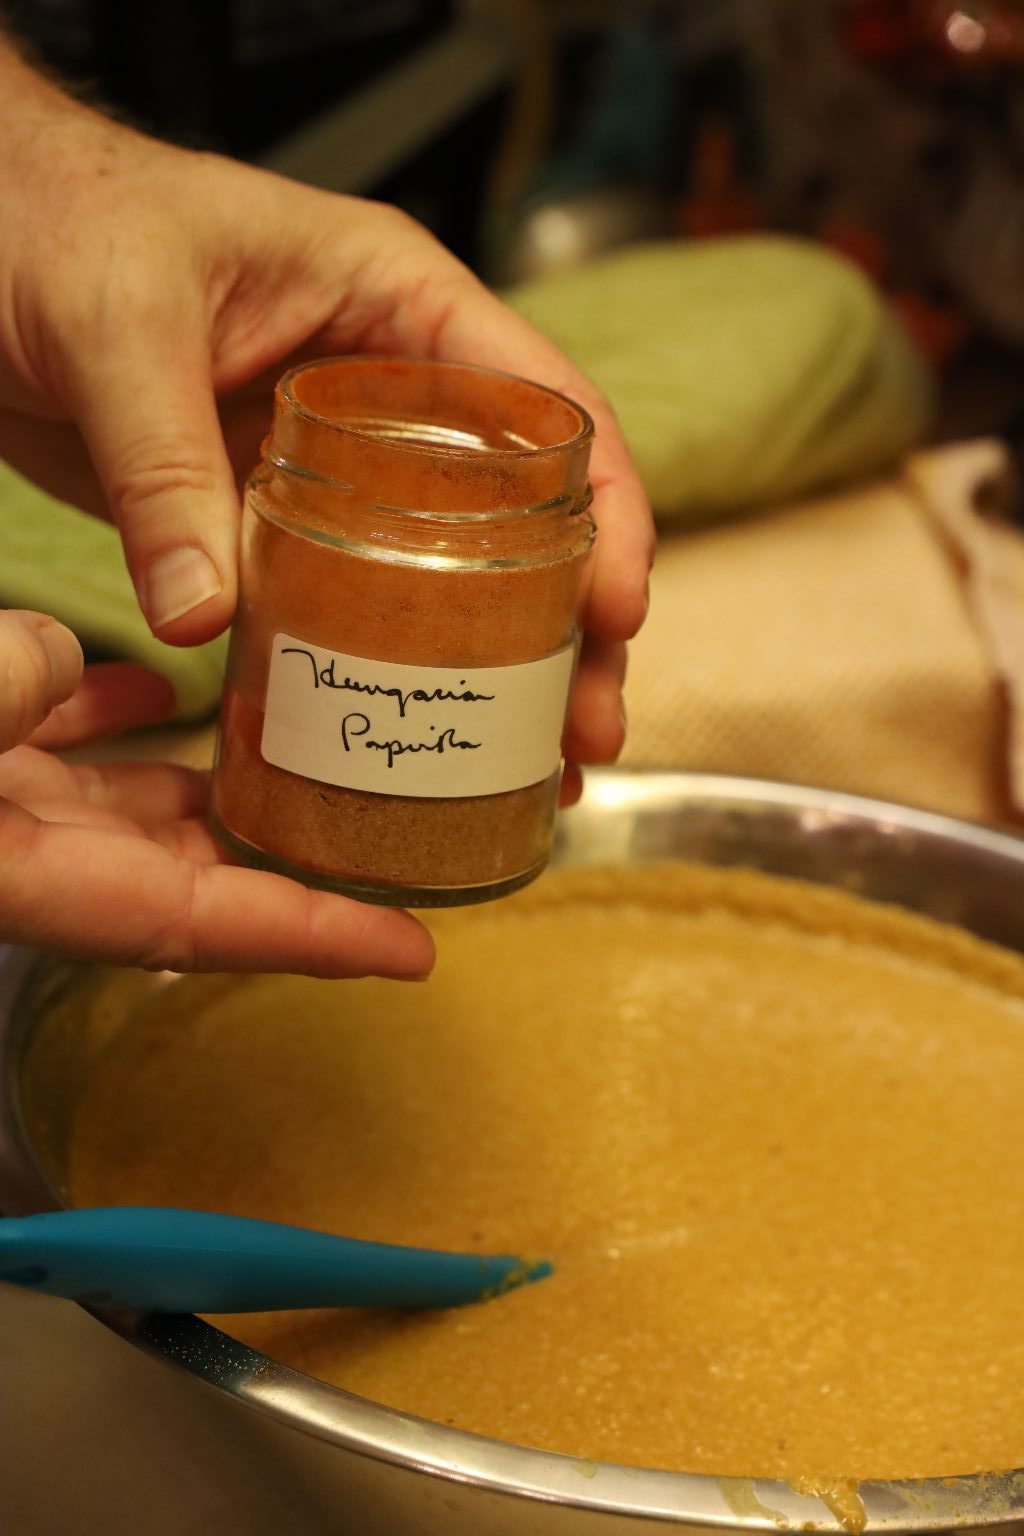
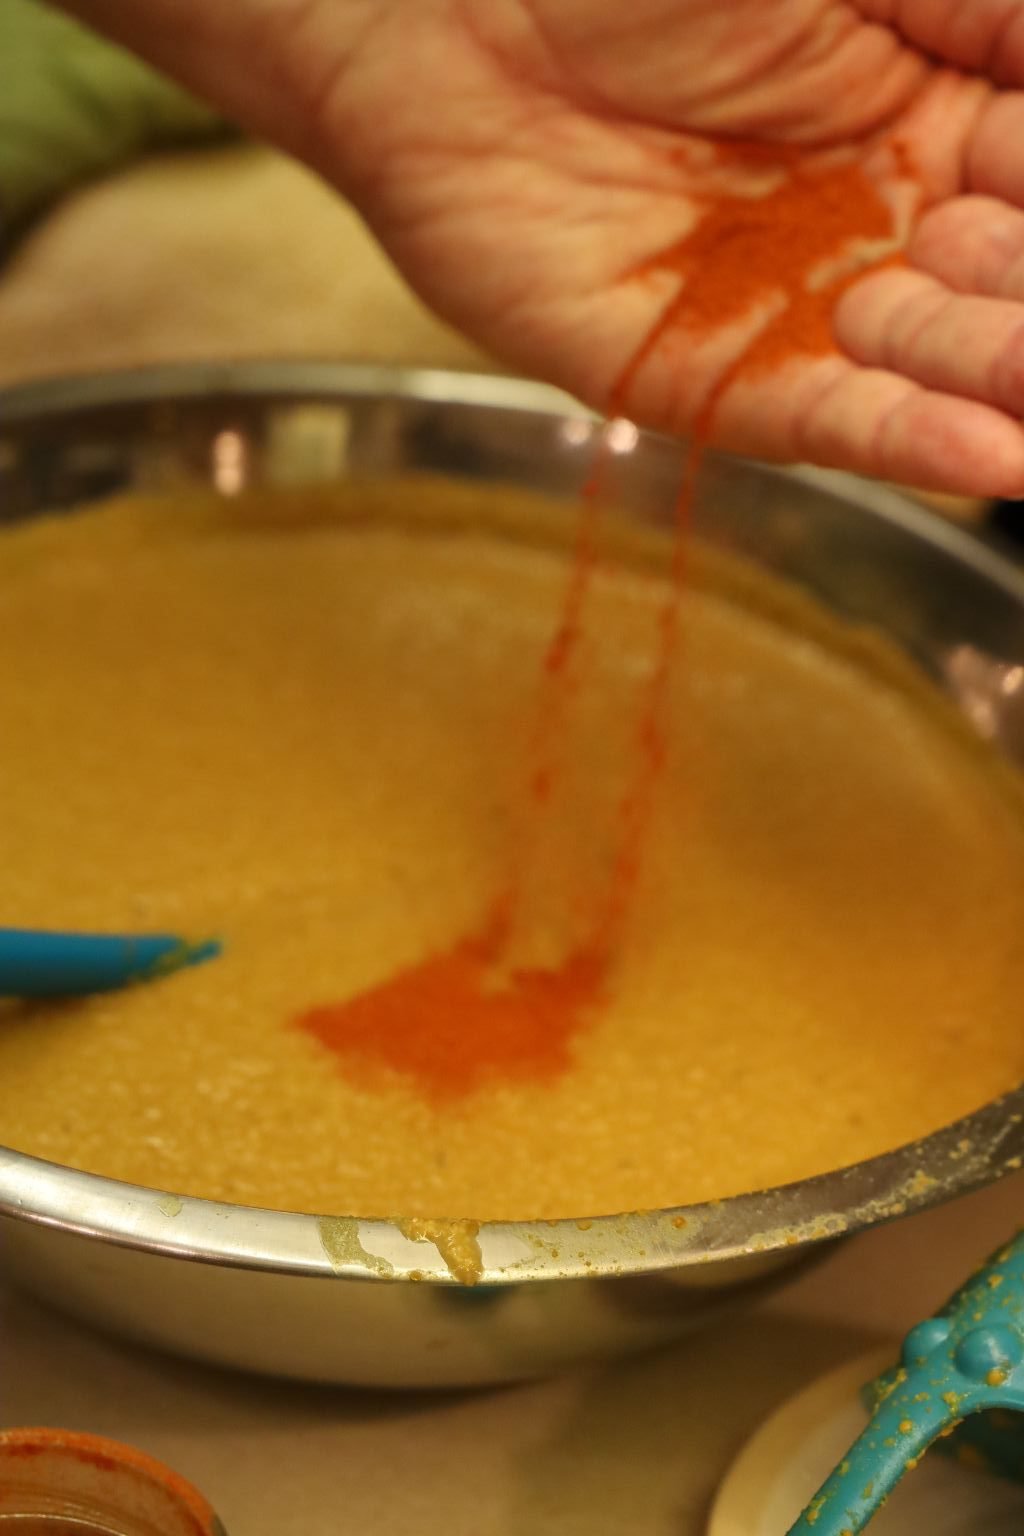
Now add your Sweet Paprika…
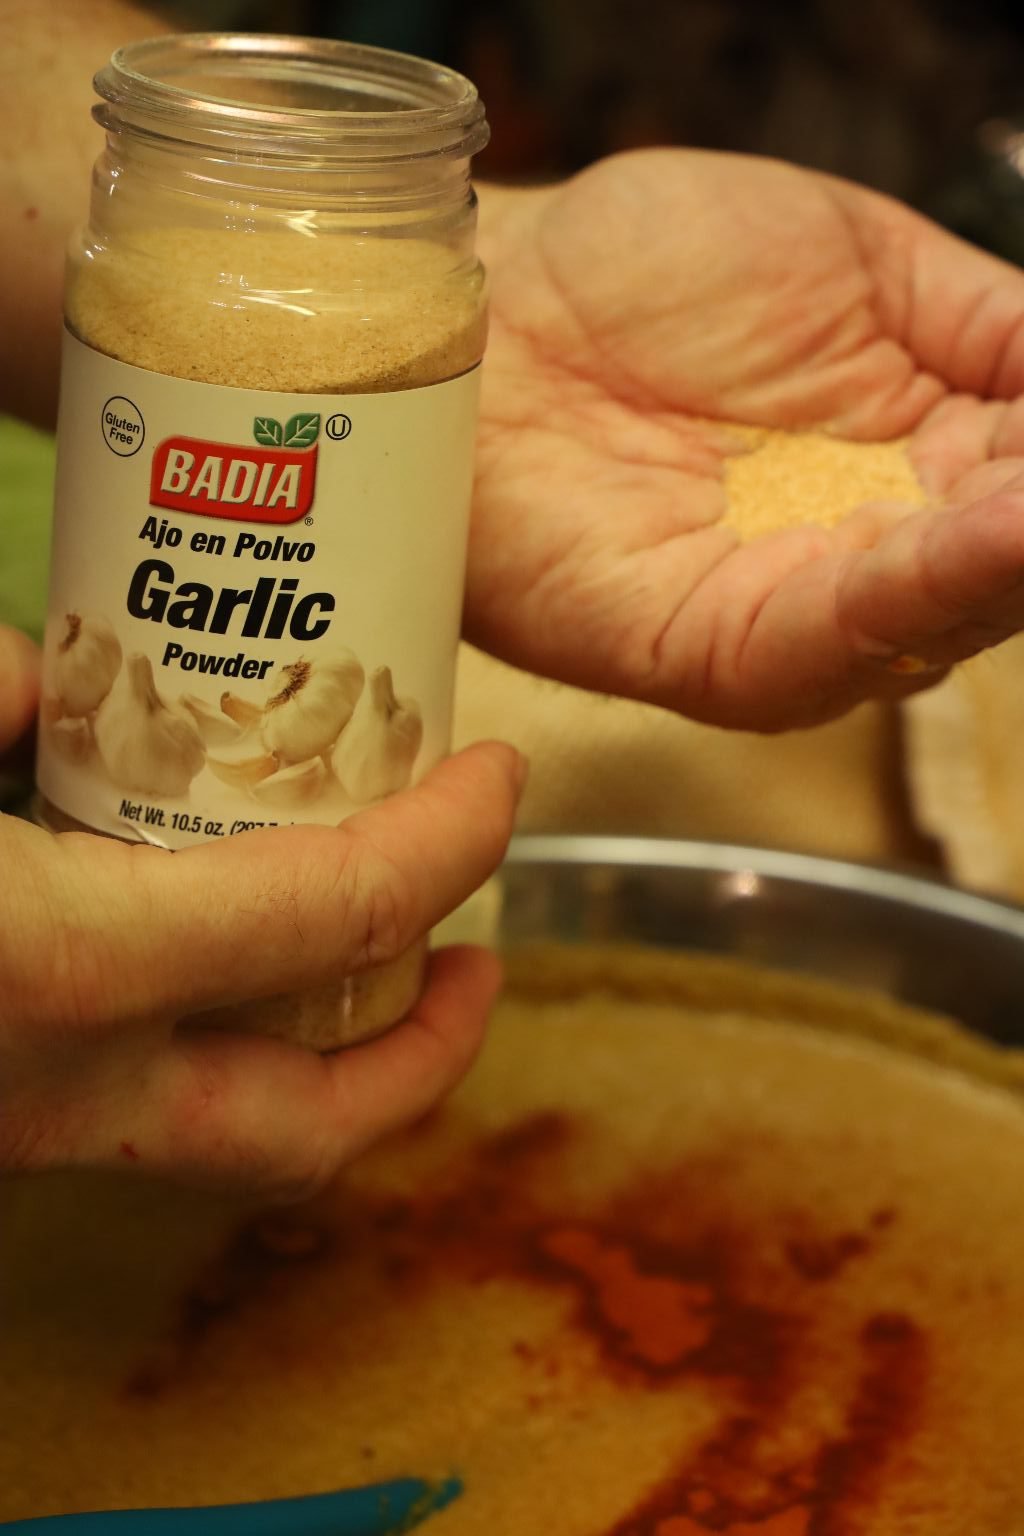
….then your Garlic Powder to the bowl.
Stir in all your ingredients.
Now, taste the mustard again to ensure it is to your liking!
If not, add more of the ingredients until it does.
———————————————————–
Here I am placing my lids into the almost boiling water to prep them for the canning process.
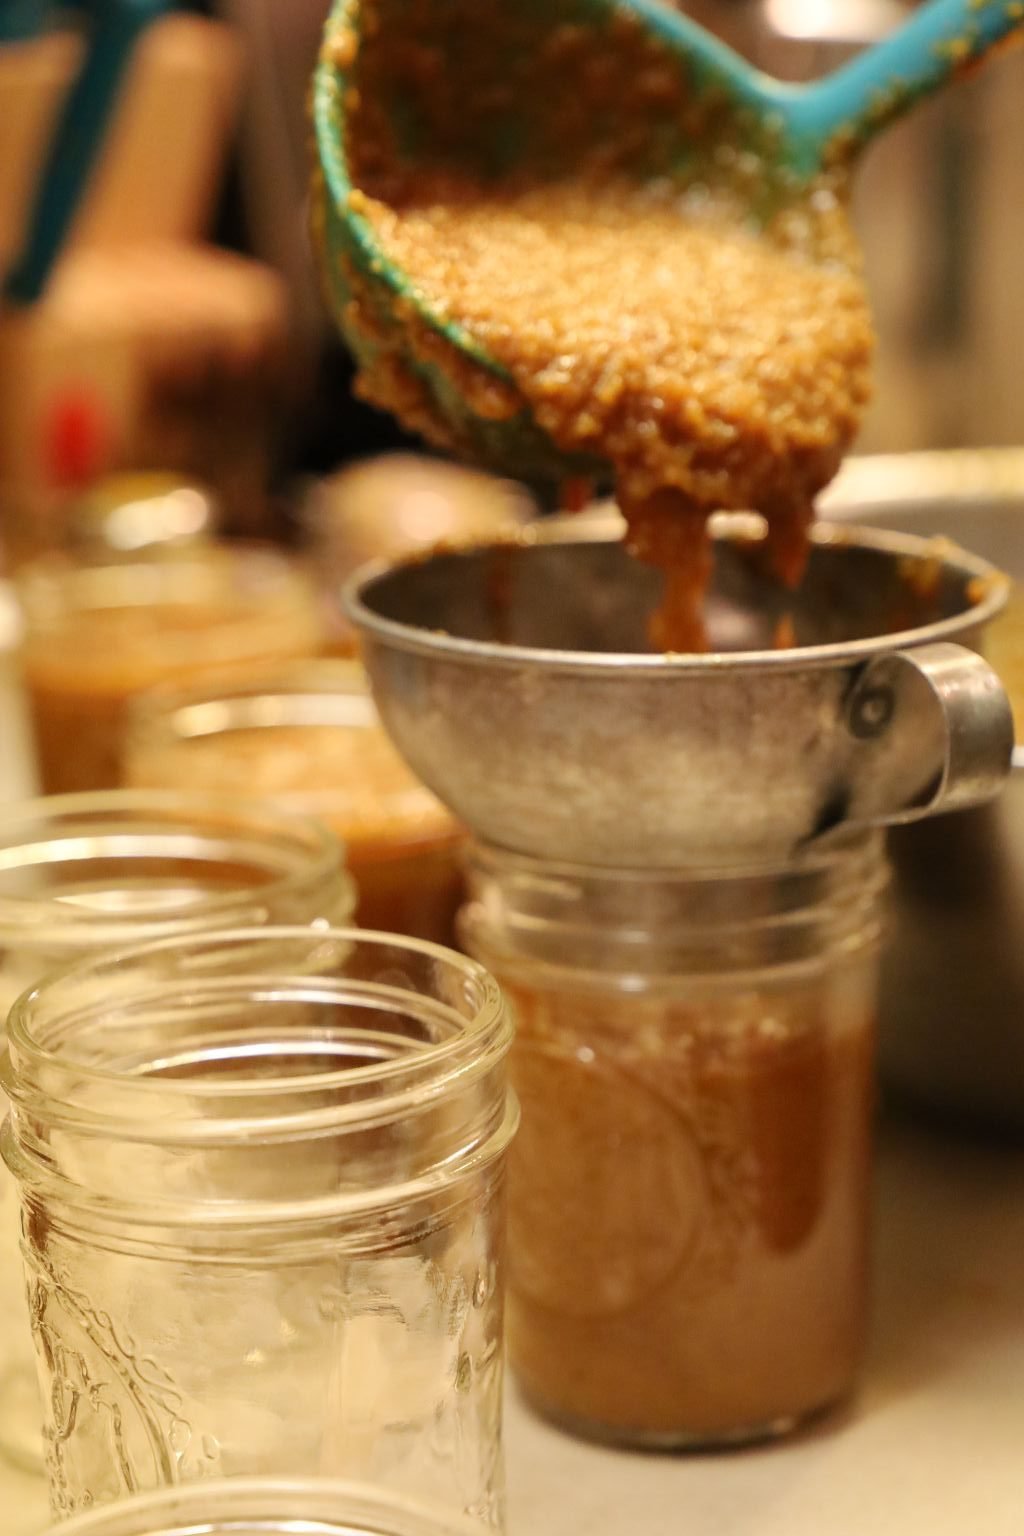
Using a ladle and funnel, add your mustard to the sterilized jars. Sterilize your jars using your dishwasher. When they are done, remove them and cover with a dishtowel until ready to use. Place your lids in a pot of almost boiling water to soften the rubber seal. An almost boil will just start to show tiny bubbles in the water which will just make the seal pliable. If you bring the water to a hard boil, you might ruin the rubber seal.
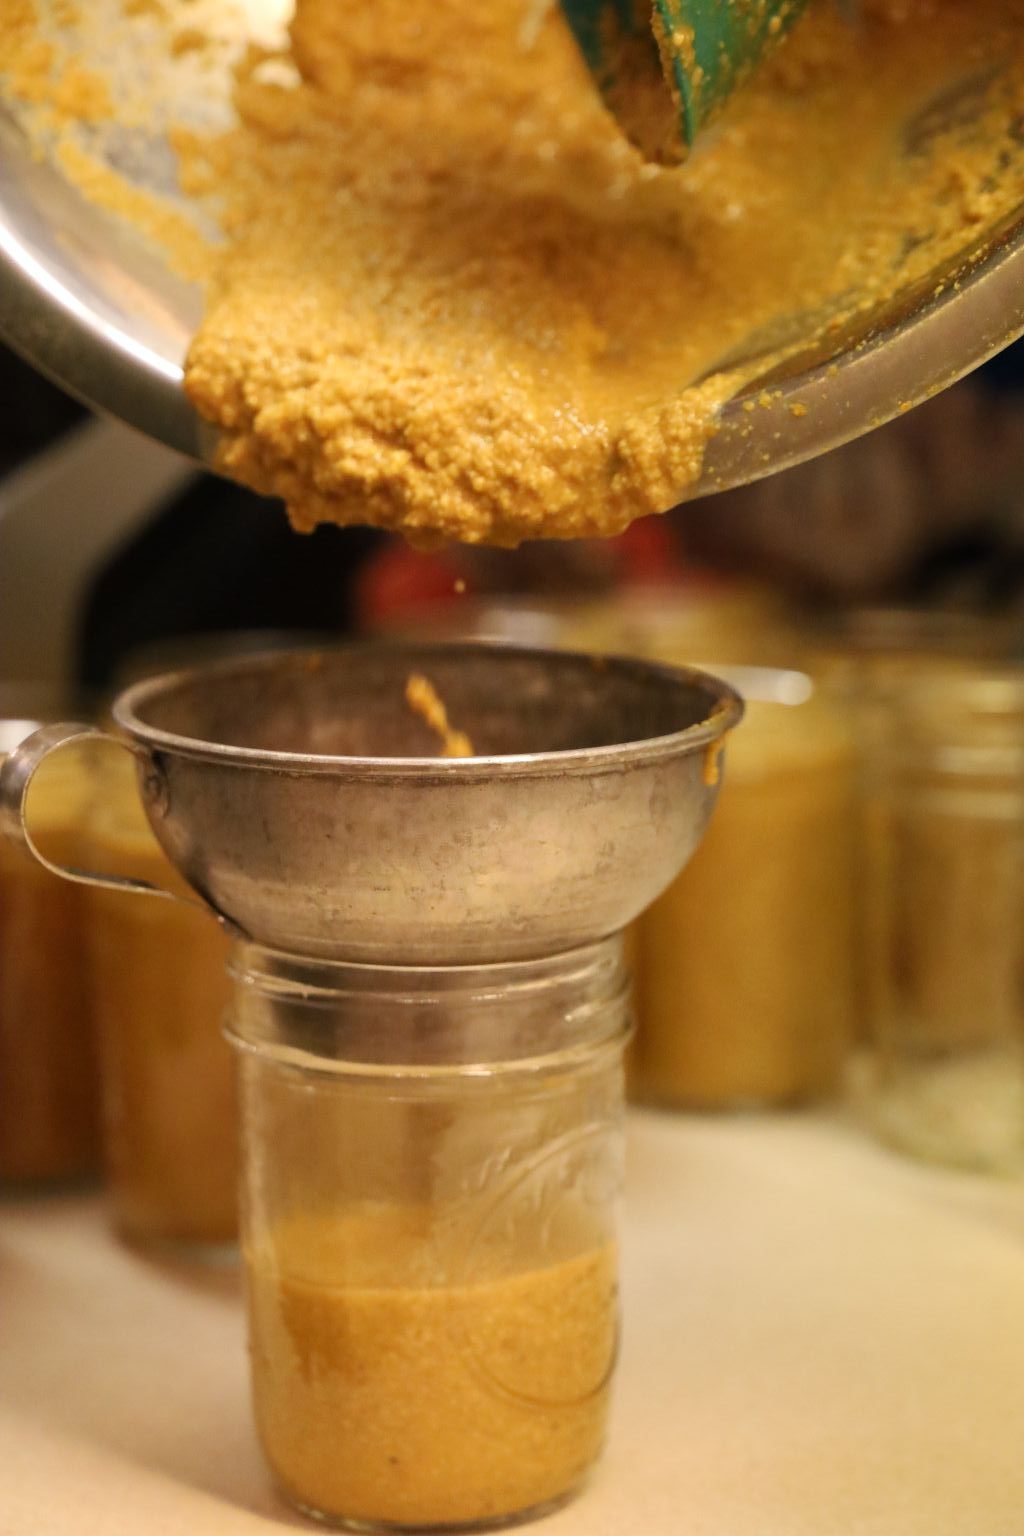
Leave 1/2 inch of headspace between the top of the mustard, to the top of the jar. This headspace allows a vacuum to build up within the jar making a good seal.
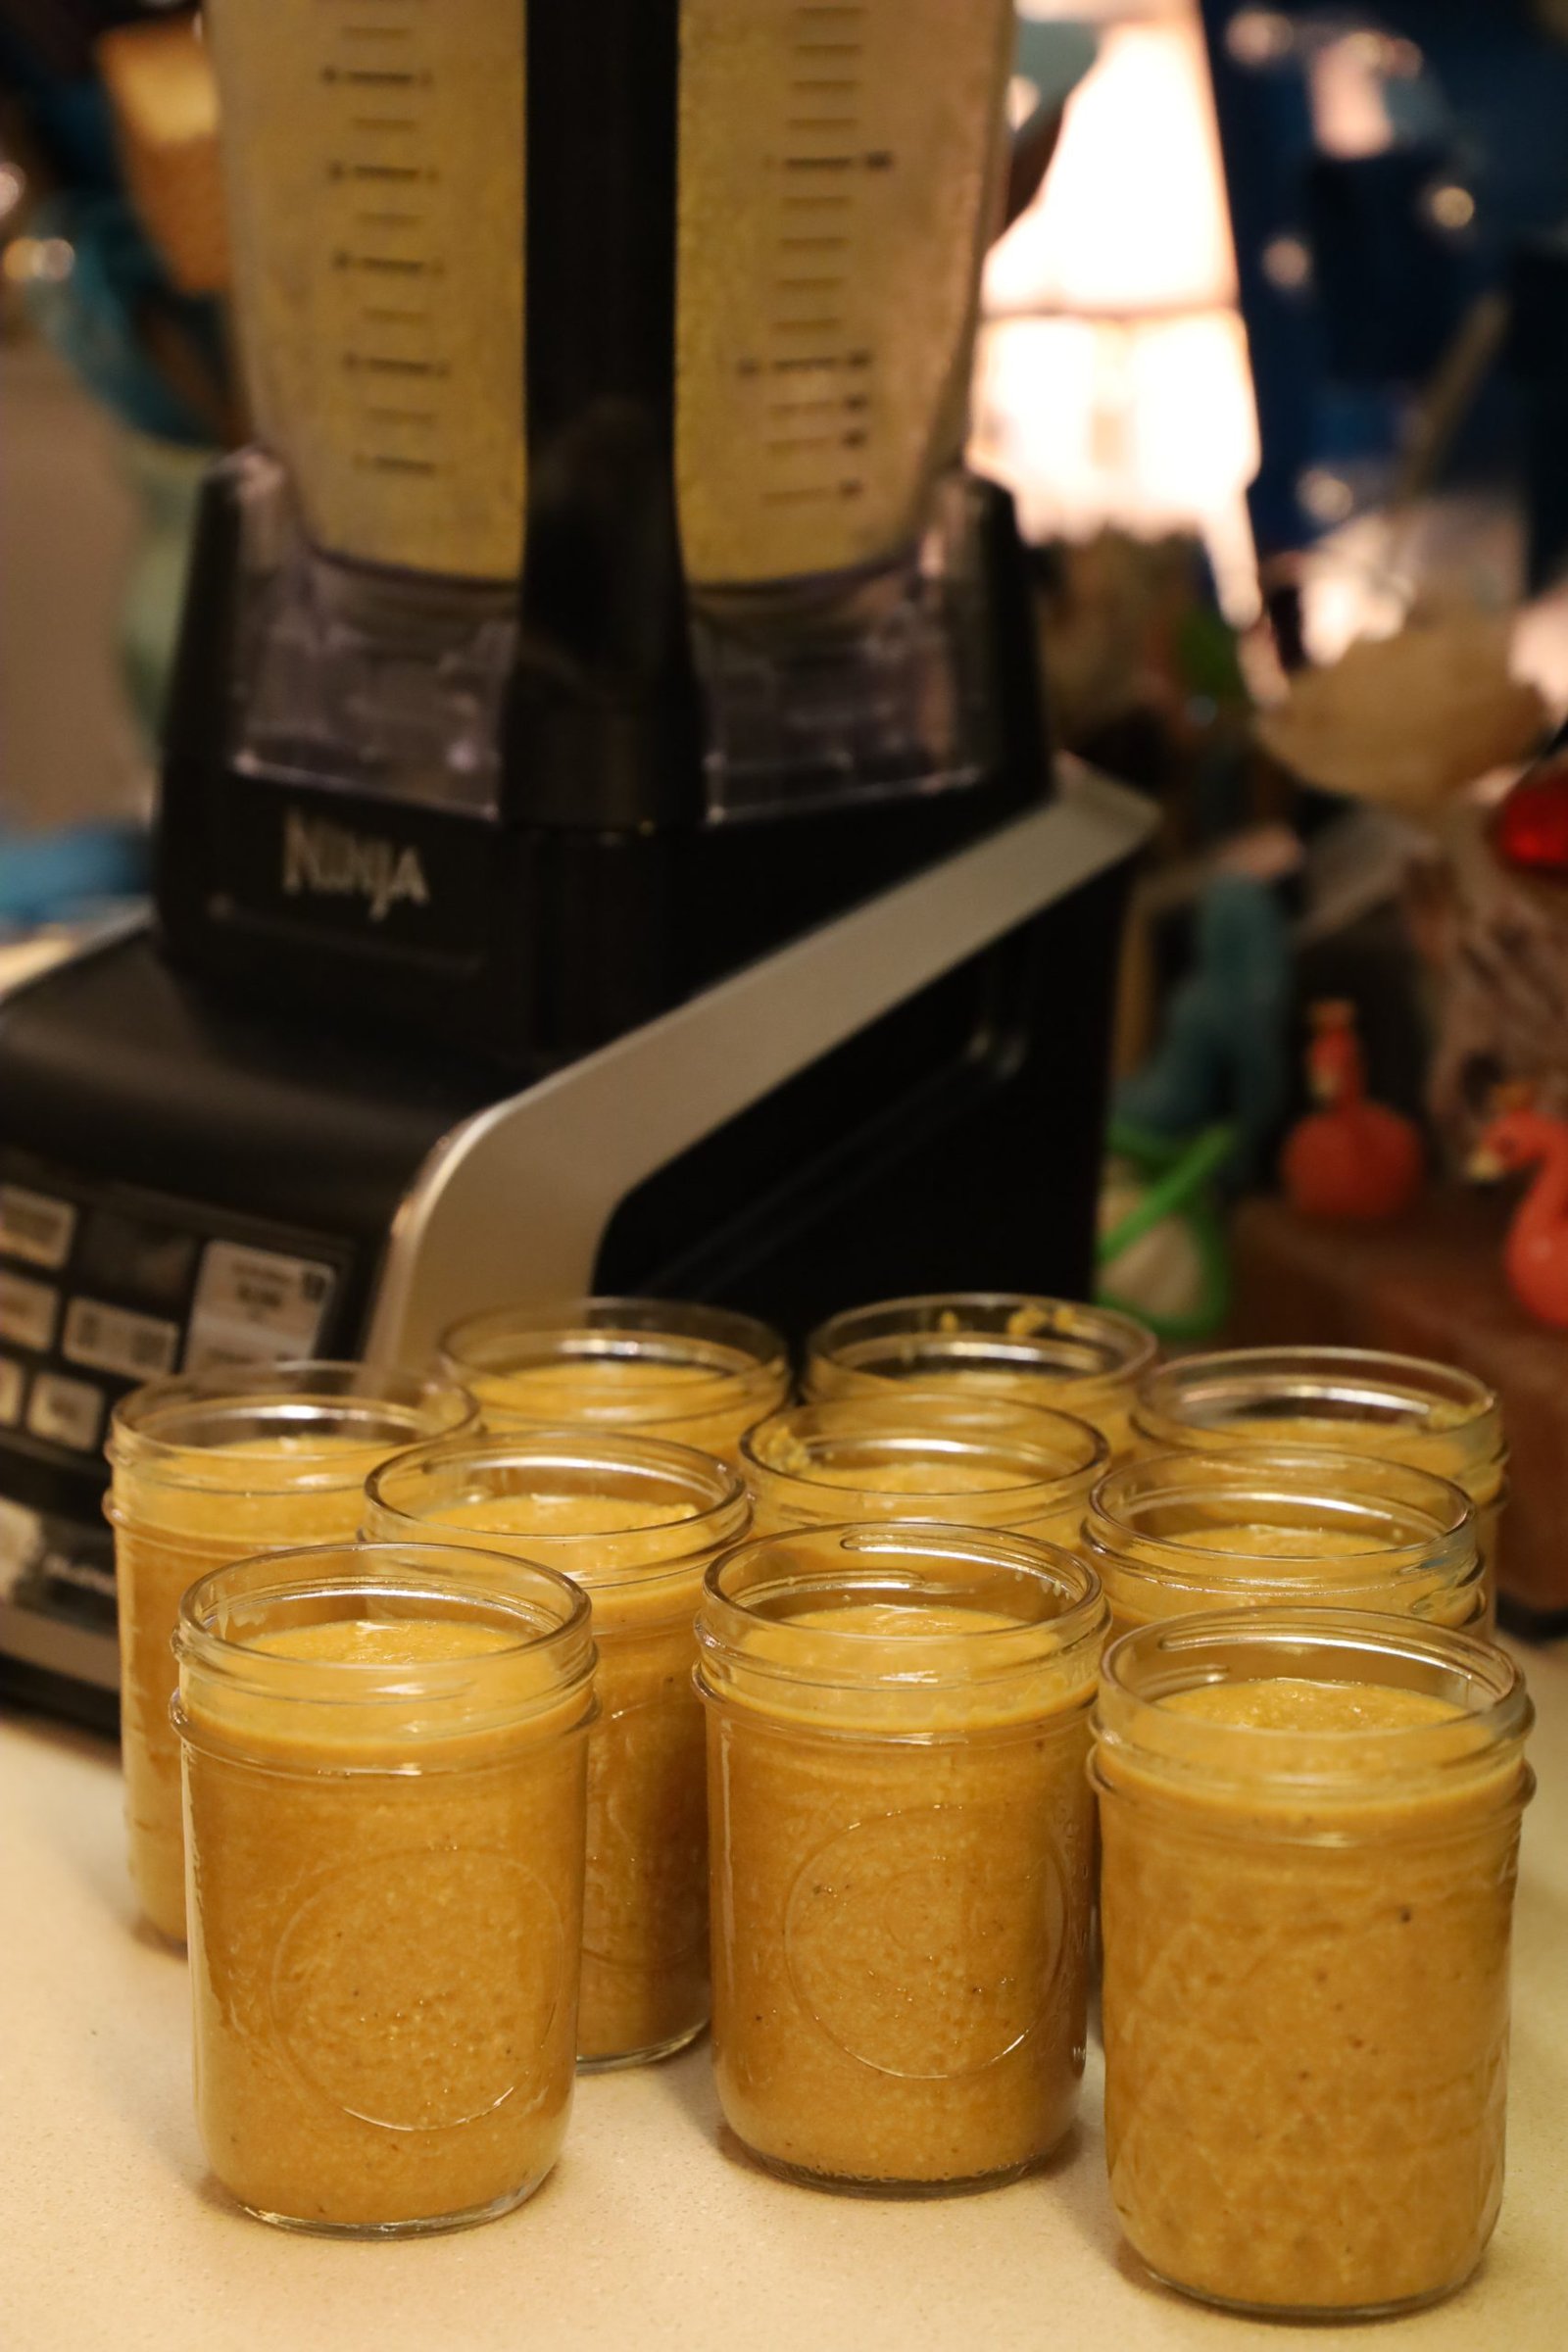
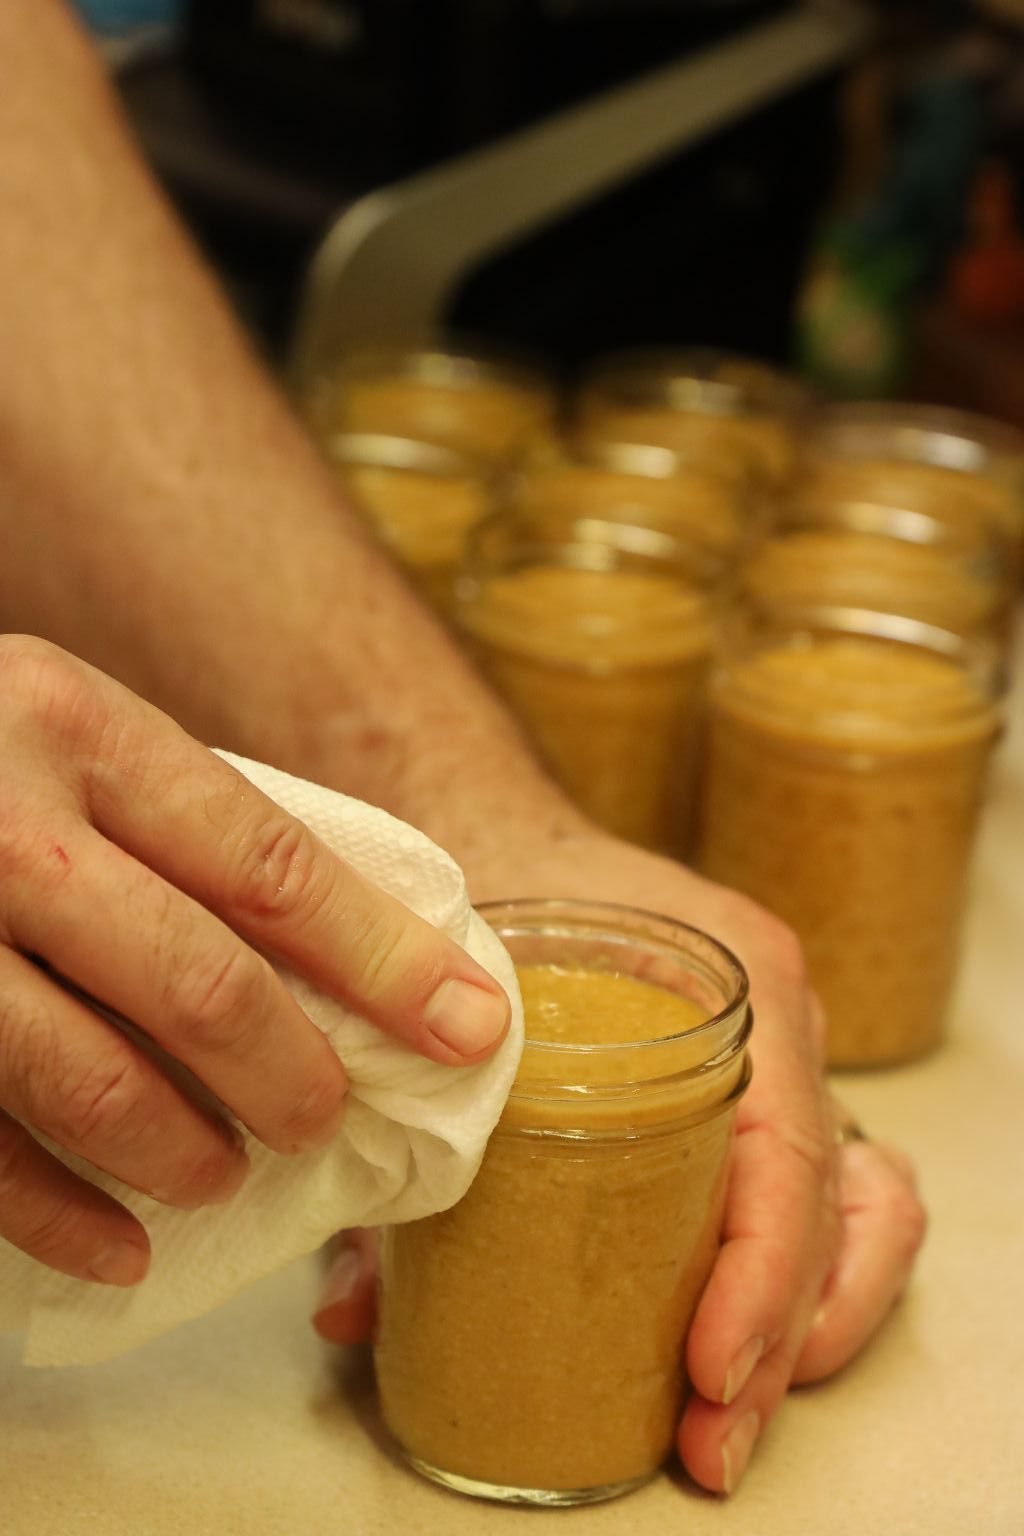
Wipe down the top of the jar with a wet paper towel until clean. If it is not clean, the lid will not seal properly.
Using the magnetized stick, remove the hot lid and place it on the jar as shown.
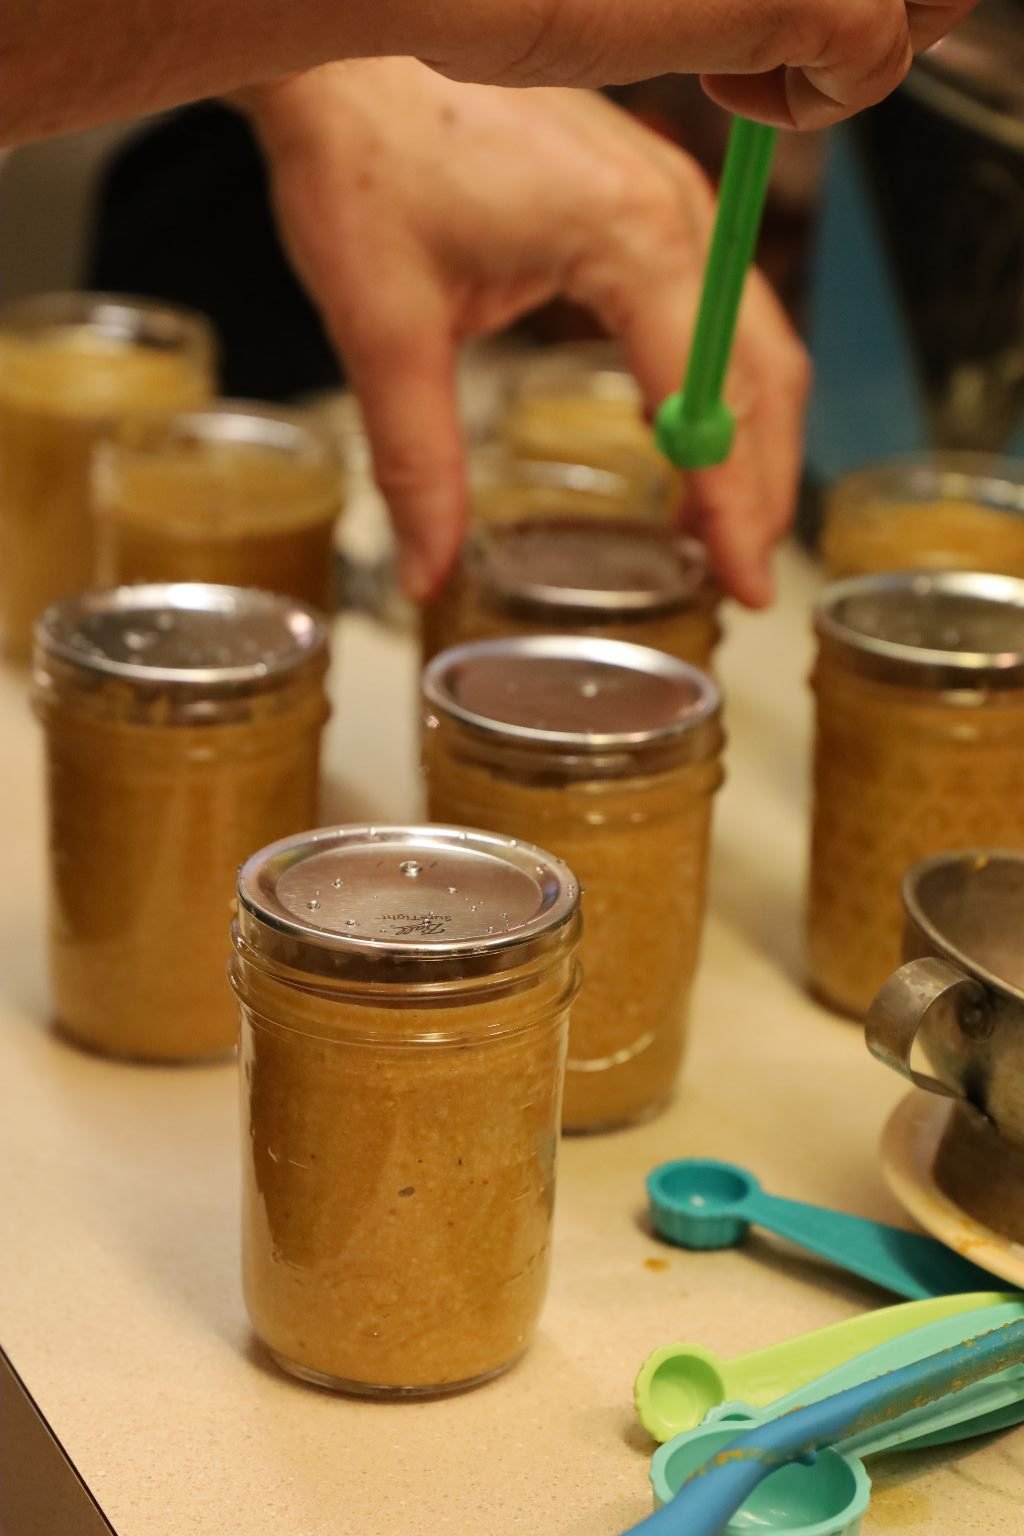
Place a ring on the jar and barely tighten the lid. This will allow the air to escape as it boils in the next step creating a vacuum within the jar.
After all of your jars are in the pot, ensure there is about 1 inch of water covering them. Bring the water to a boil and boil the jars for 15 minutes. This step is called processing the jars.
Using the special tongs, remove the jars from the water and place them on a dishtowel. You should begin to hear the lids pop as they seal. This is caused by the lid being pulled down from the vacuum within the jar. This means that your mustard jar is sealed properly. Caution, the jars will be extremely hot during these next steps. After about an hour, if the lid can be pushed down, the lid didn’t seal and needs to be processed all over again. In this case, remove the lid, wipe down the top of the jar and possibly remove some of the mustard to ensure you had enough headspace. Then, add another lid as before and process the jar again for another 15 min. in the boiling water. If the lid seal is down and properly sealed, carefully remove the ring as the jar will still be hot, and wipe the lid and the inside of the ring with a dry paper towel. This will prevent any rust forming over time as the mustard sits in your pantry. The ring is only there to ensure the lid doesn’t accidentally get lifted up. Replace the ring finger tight when it is dry.
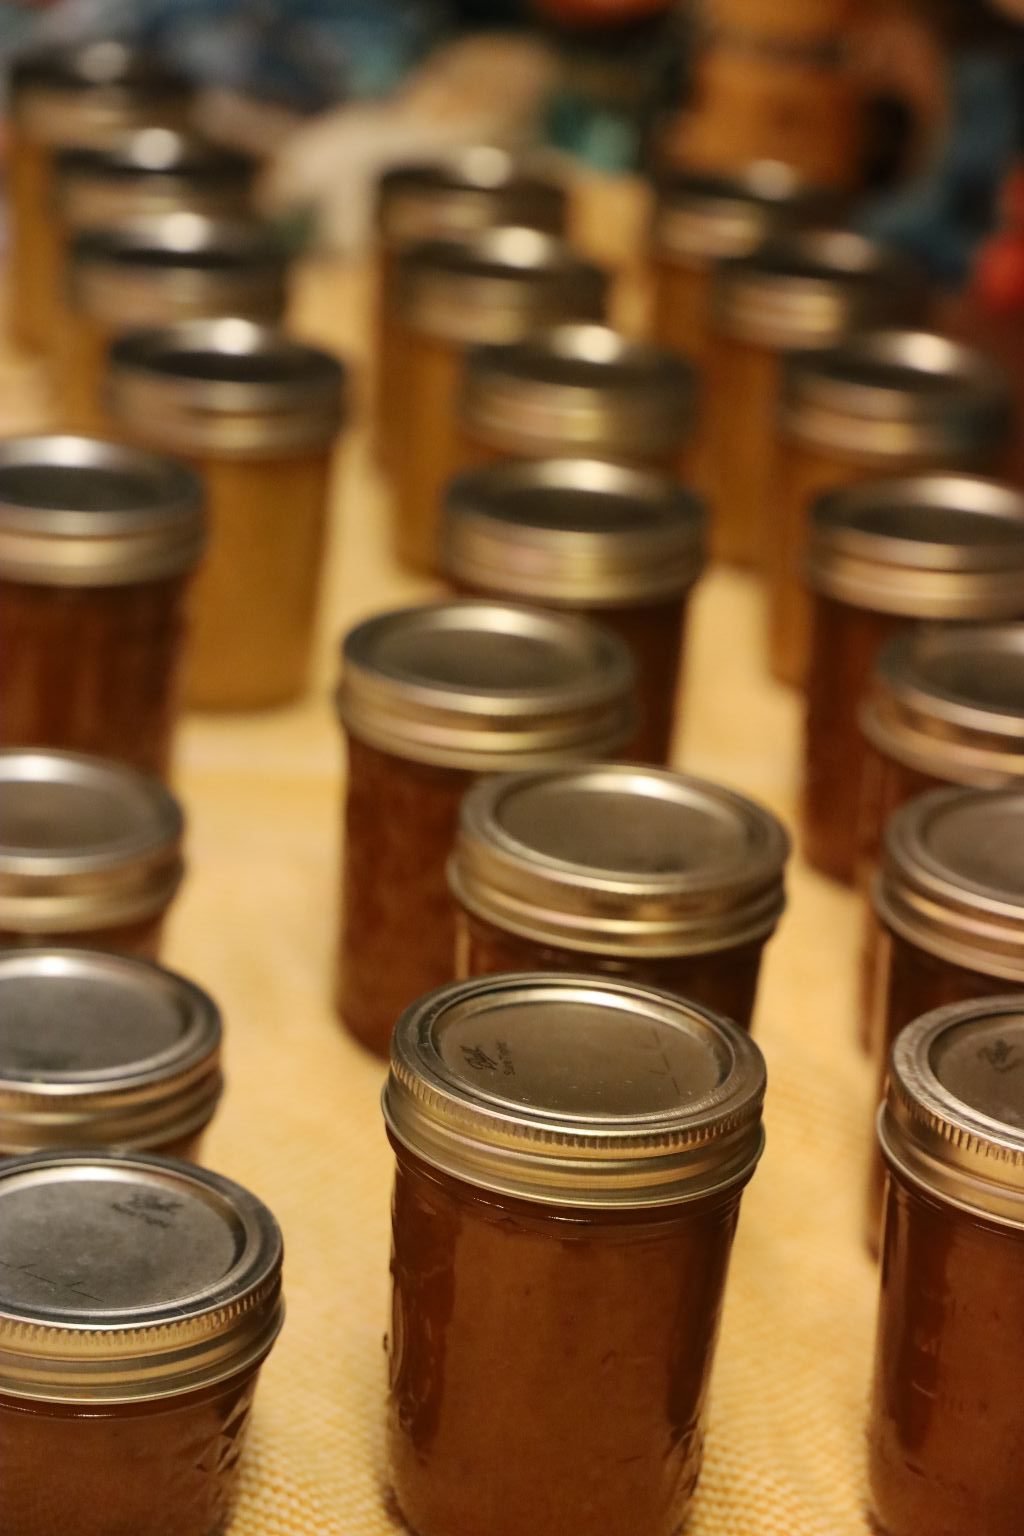
———————————————————–
Honey Mustard
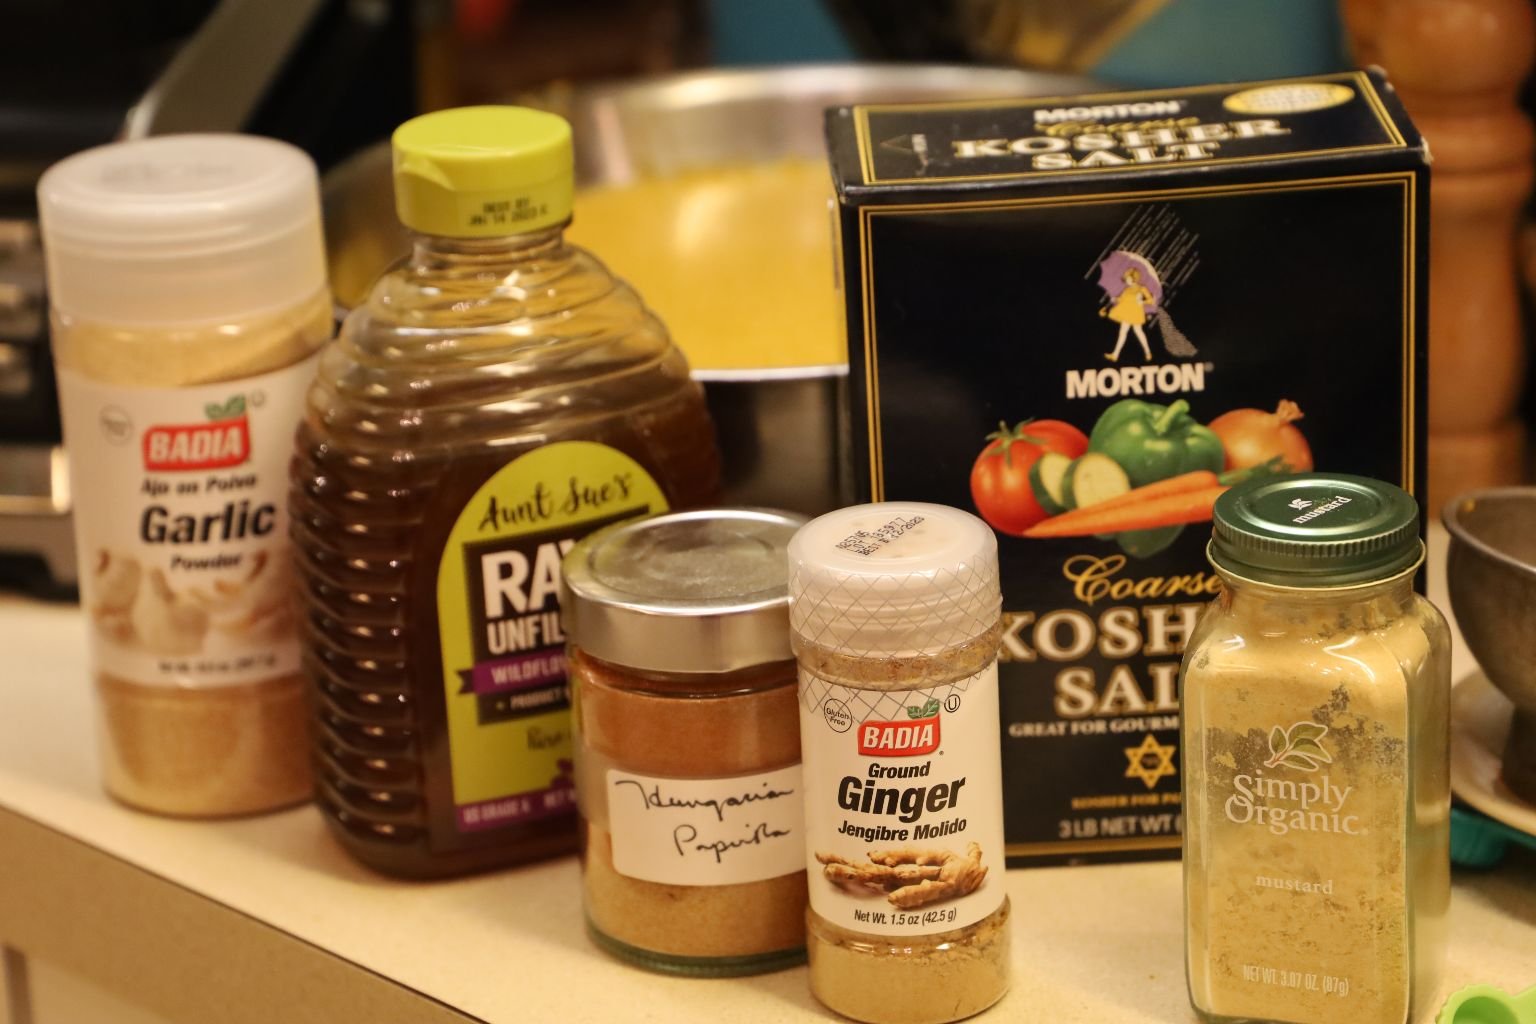
Ingredients:
12 Cups Yellow Mustard Base
1 tsp. Kosher Salt
1 tsp. Black Pepper
2 Tbsp. Mustard Powder
1 1/2 tsp. Ginger Powder
2 Tbsp. Garlic Powder
3 Tbsp. Hungarian Paprika
3 Tbsp. Sweet Paprika
1 1/2 Cups Honey
2 Tbsp. Sugar
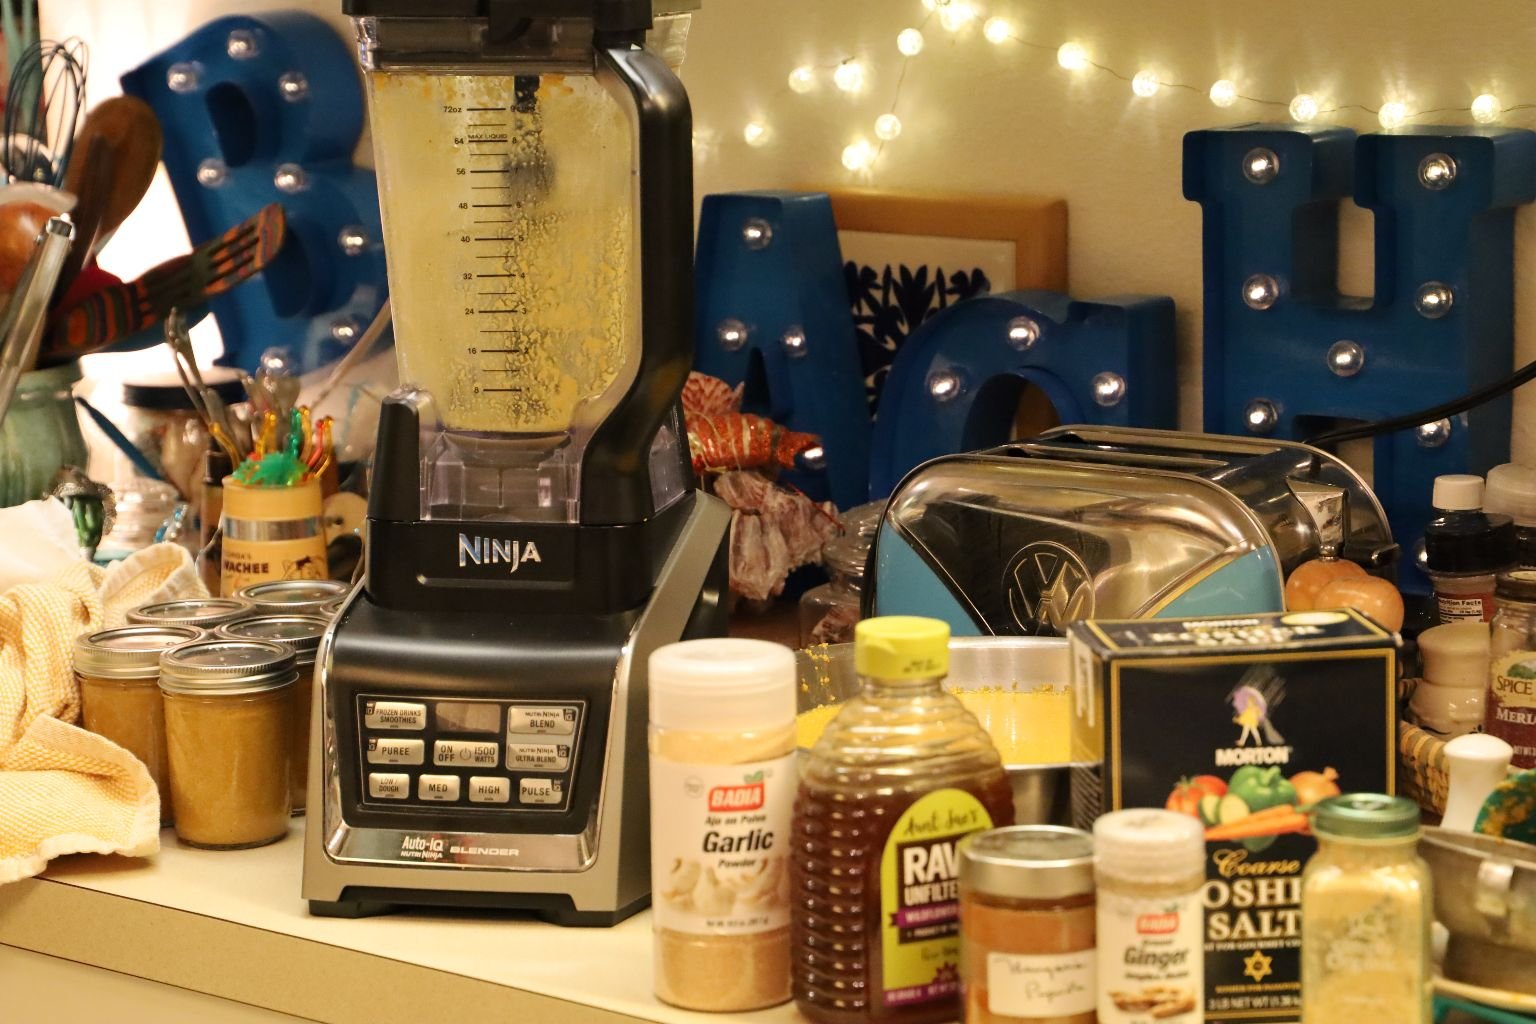
Making mustard will take up a lot of your counter space. 🙂
To begin, add your Kosher Salt and Black Pepper to the Yellow Mustard Base.
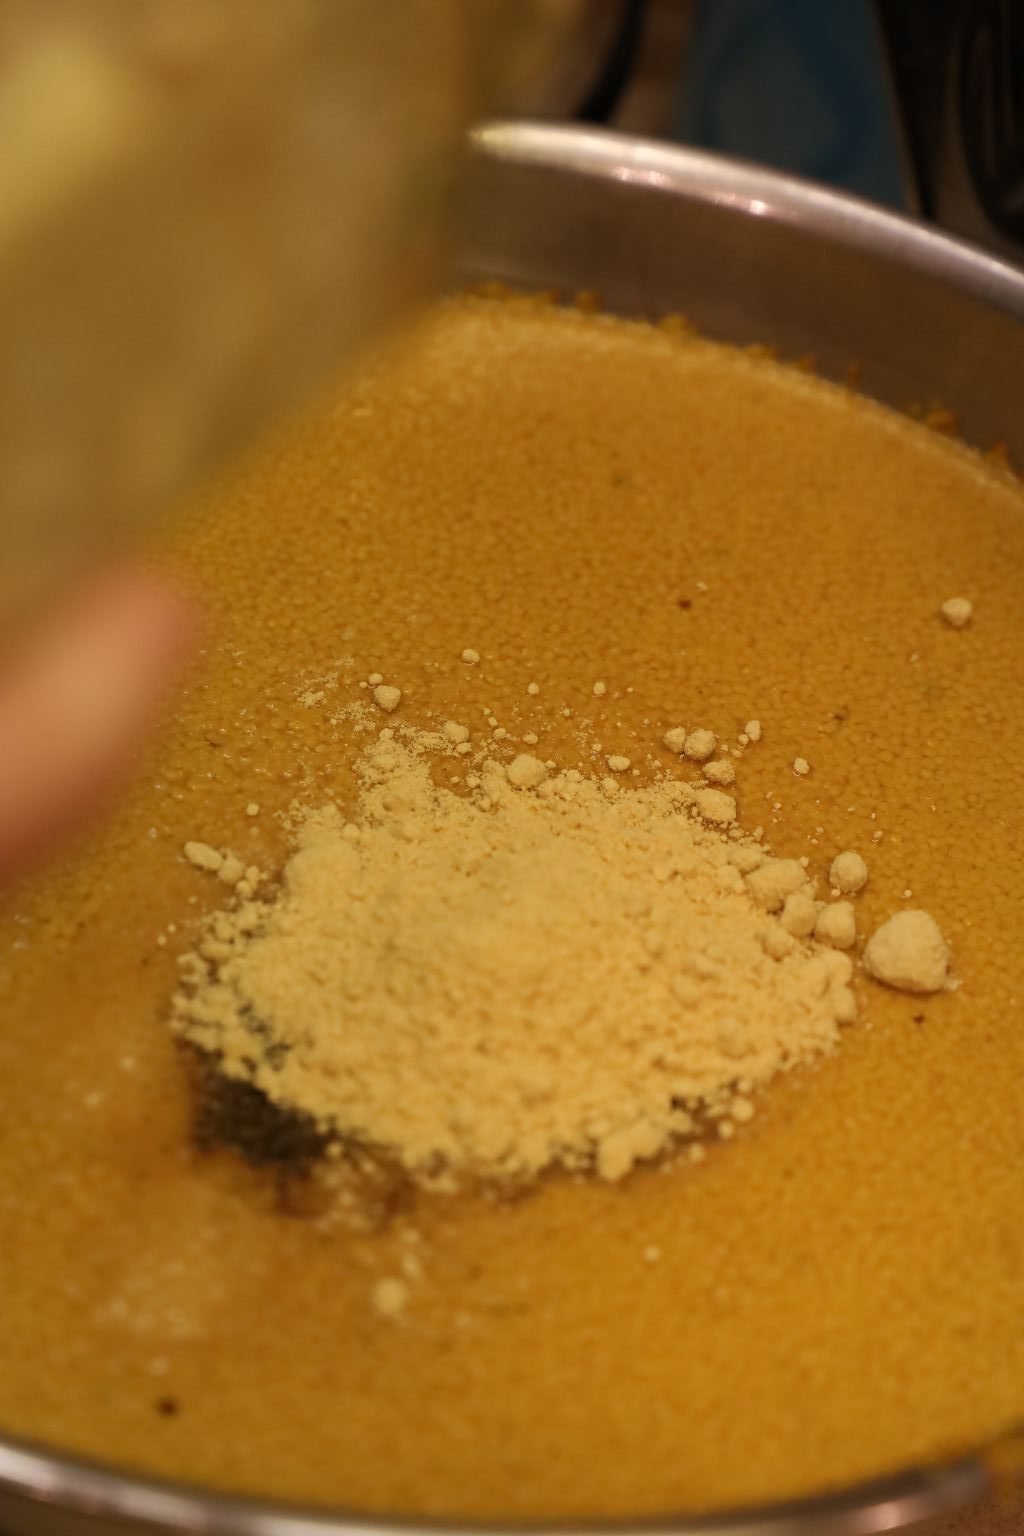
Now, add your Mustard Powder to the mix.
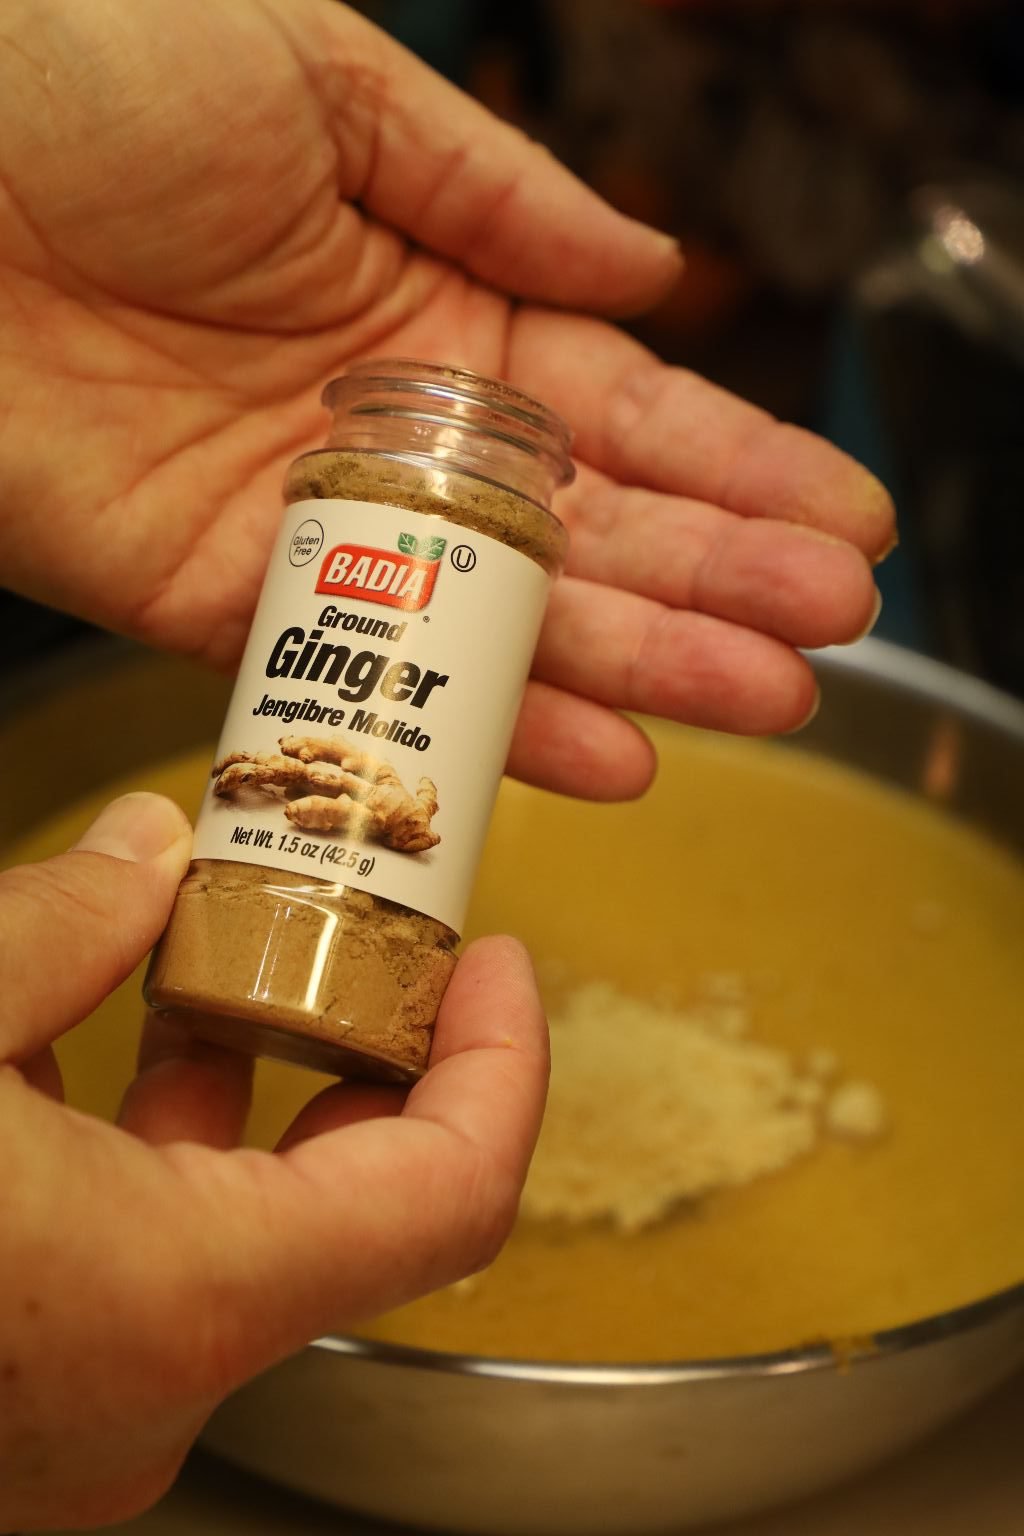
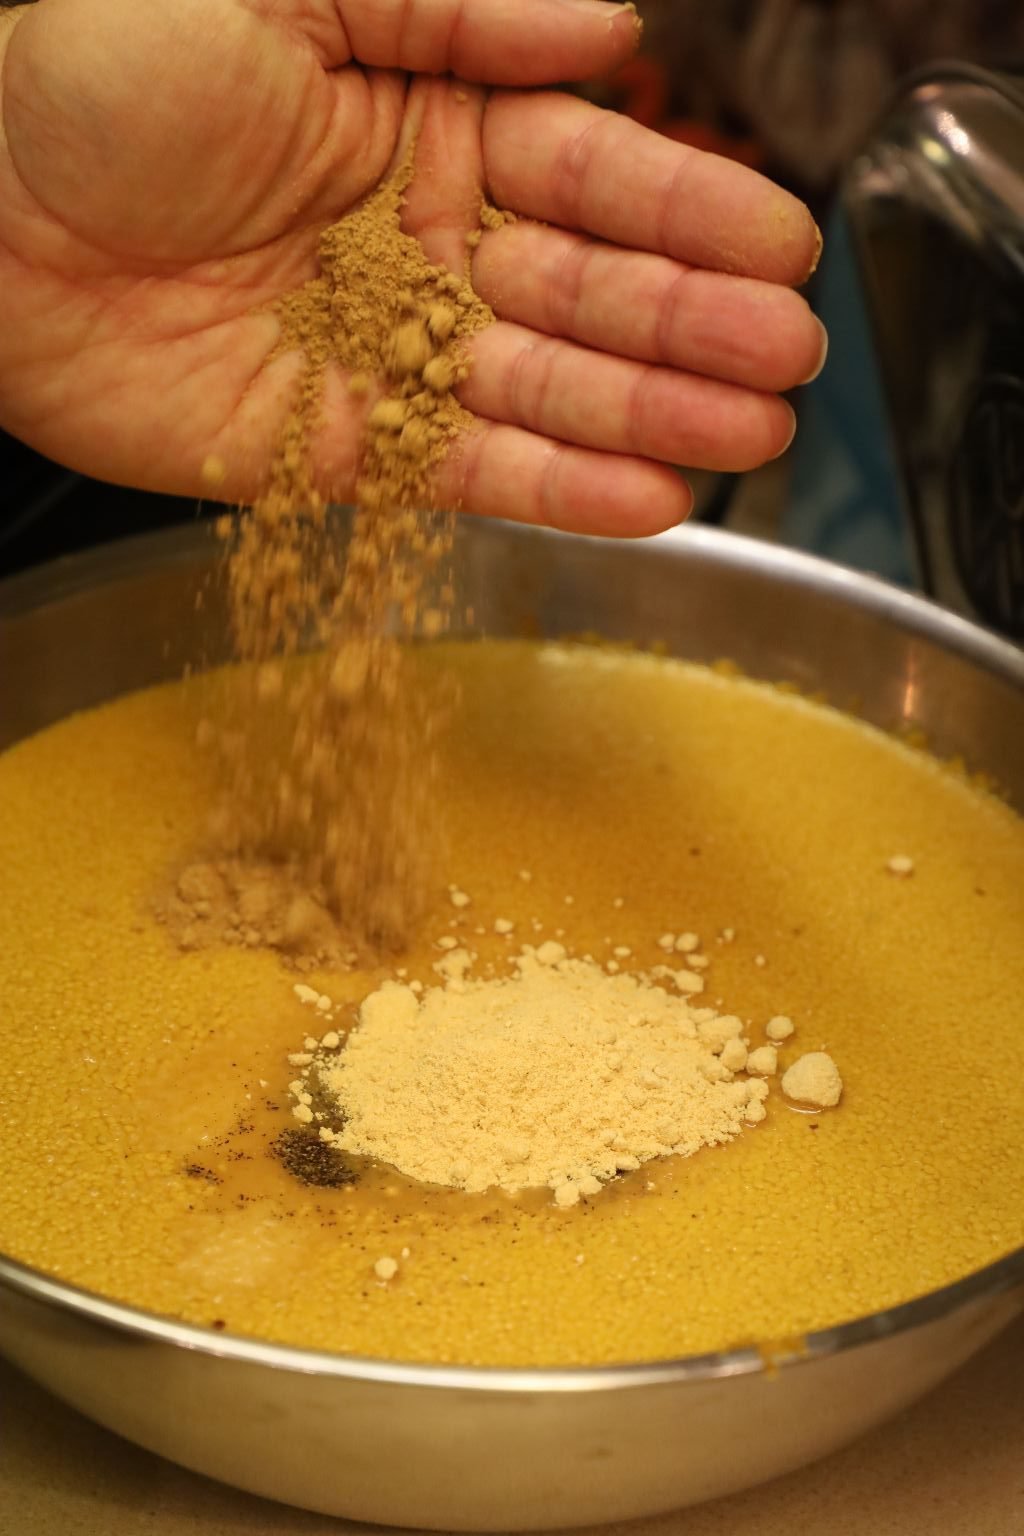
Then add your Ginger…
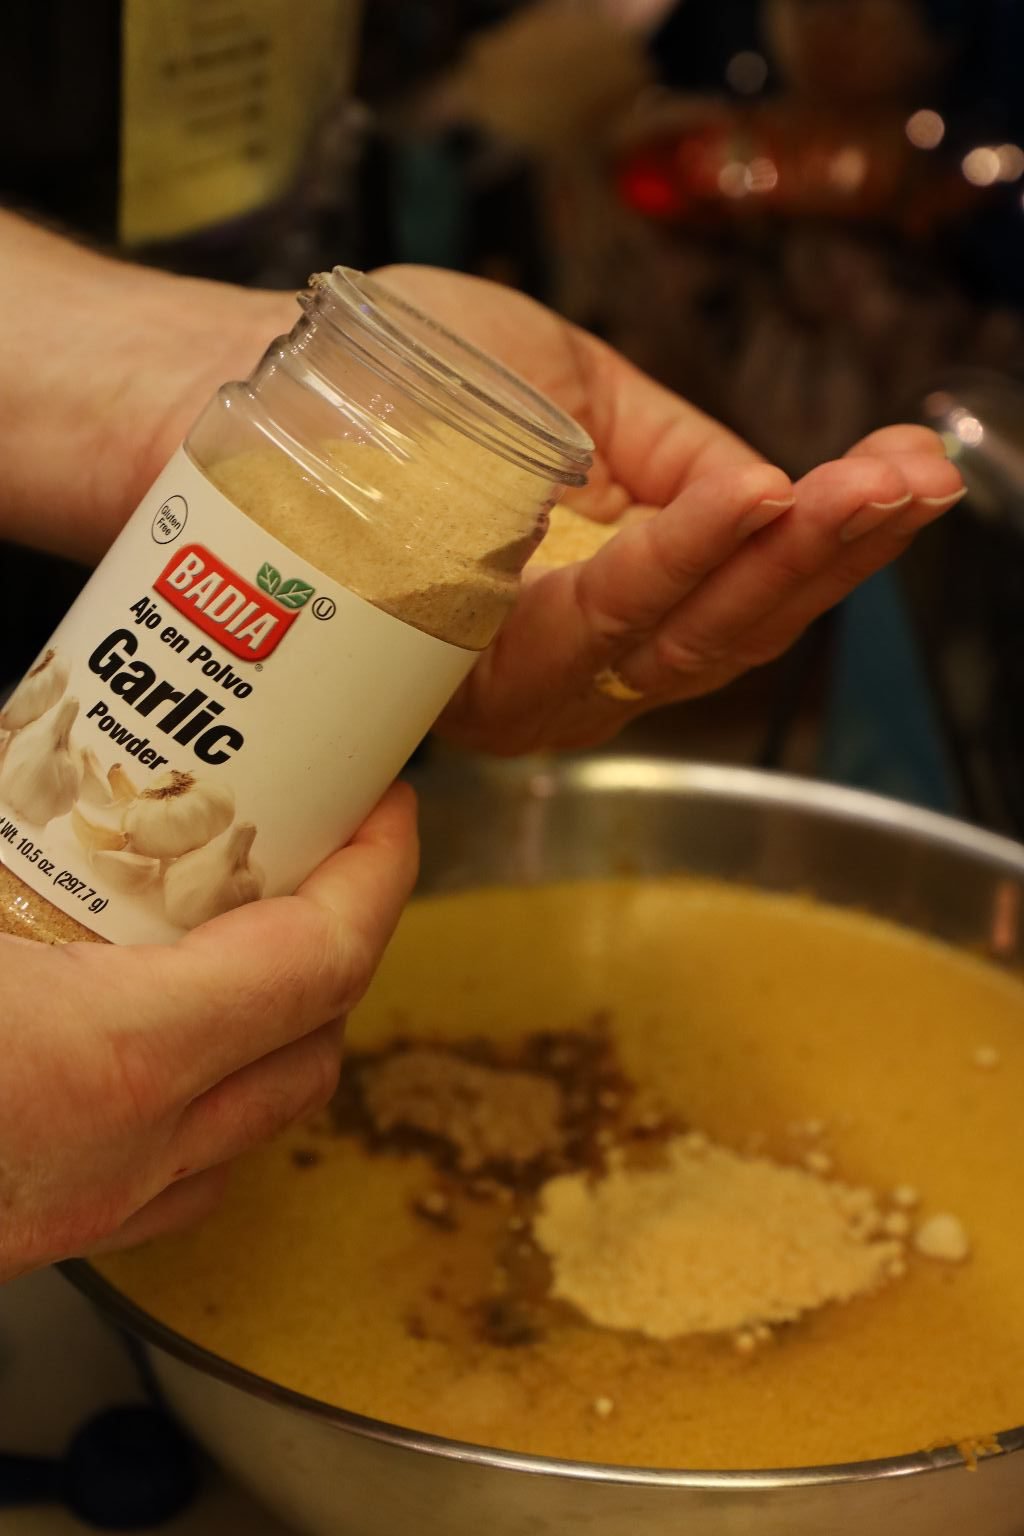
Garlic …
and Hungarian Paprika to the mixture.
Stir together all the ingredients.
I then added ~6 Cups of the mixture to the blender.
I pureed this part of the mustard into very smooth.
——————————————————
Now, pour the pureed mustard into a large pot and begin to heat it over medium high heat.
Add the rest of your mustard to the pot and stir the pot to combine.
Continue to stir the mustard as it heats.
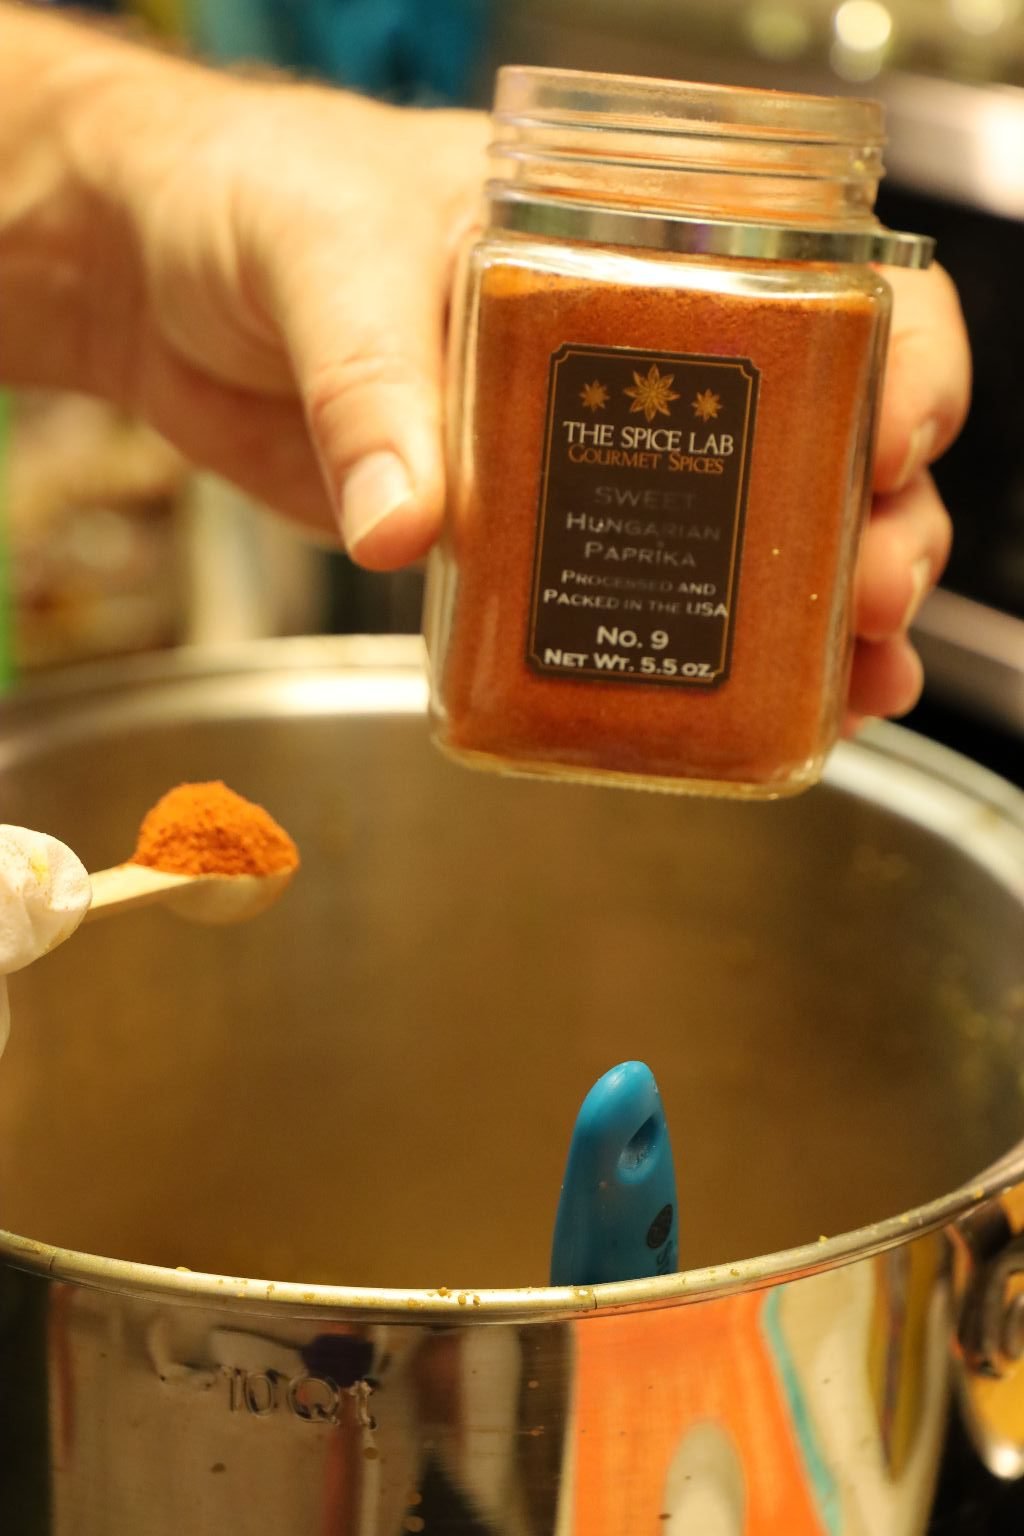
I then added the Sweet Paprika to the mixture.
Once the mustard was at the consistency I liked, I removed it from the heat and placed it into a bowl to cool.
Add your Honey to the mustard.
Here I am still adding the Honey then I added the Sugar.
Here you can see the dark color the Honey gives to the mustard. This is also a good time to taste the mustard and add any other ingredients such as honey, garlic, or ginger to make it taste to your liking!
Using a ladle and funnel, add your mustard to the sterilized jars. Sterilize your jars using your dishwasher. When they are done, remove them and cover with a dishtowel until ready to use. Place your lids in a pot of almost boiling water to soften the rubber seal. An almost boil will just start to show tiny bubbles in the water which will just make the seal pliable. If you bring the water to a hard boil, you might ruin the rubber seal.
——————————————————————–
Wipe down the top of the jar with a wet paper towel until clean. If it is not clean, the lid will not seal properly.
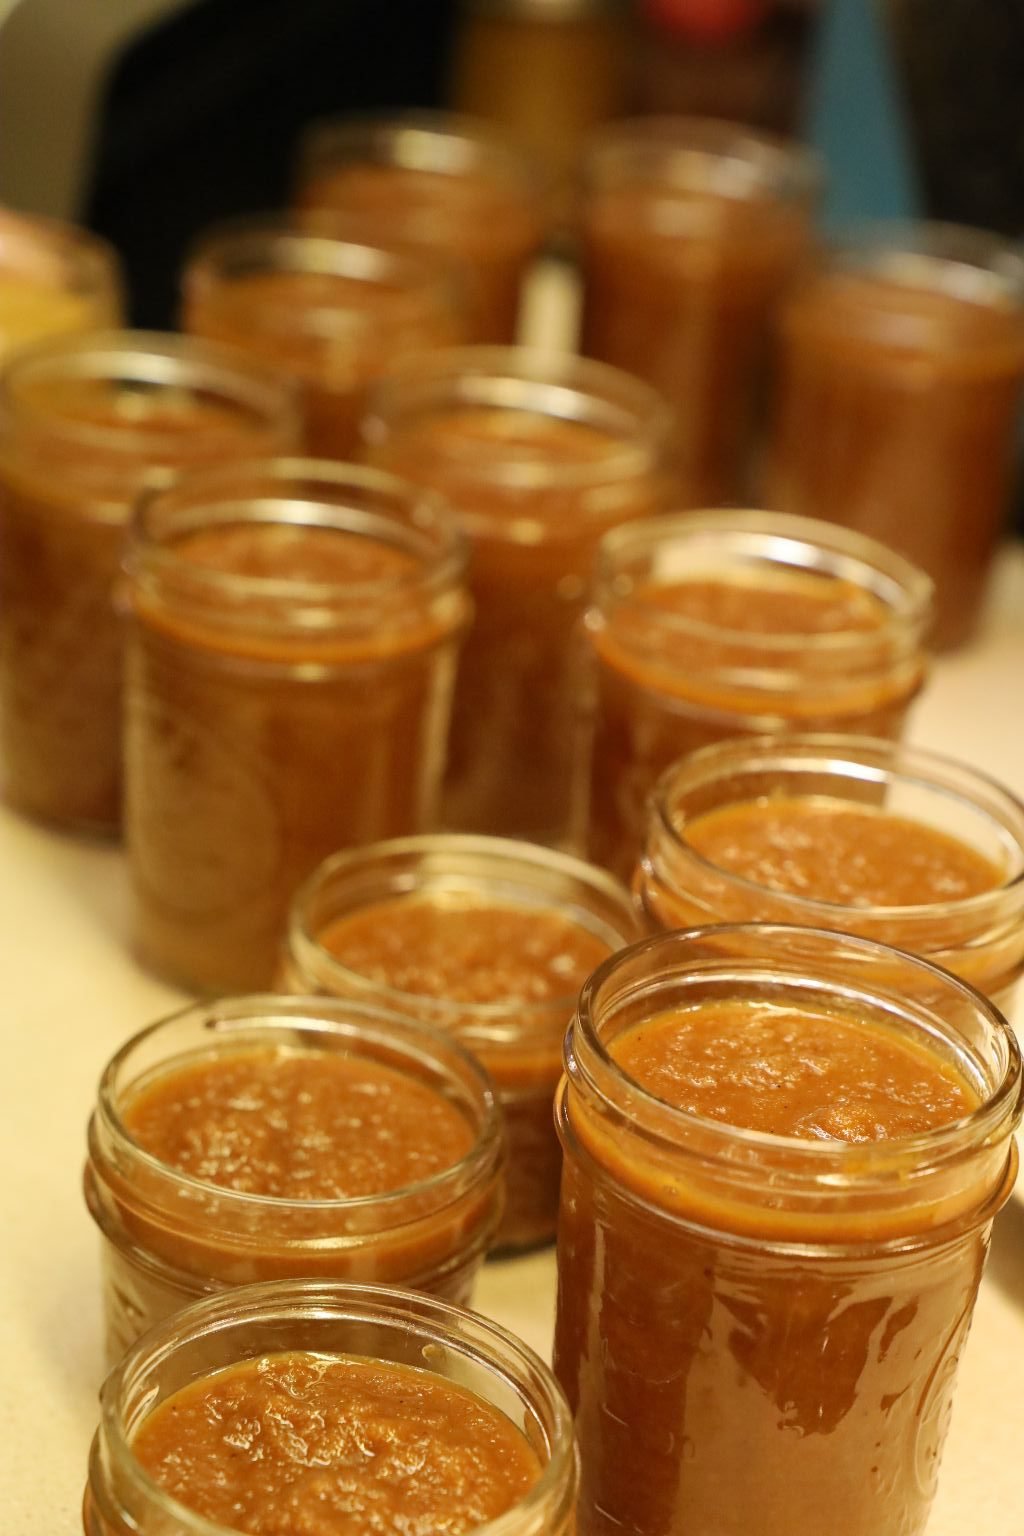
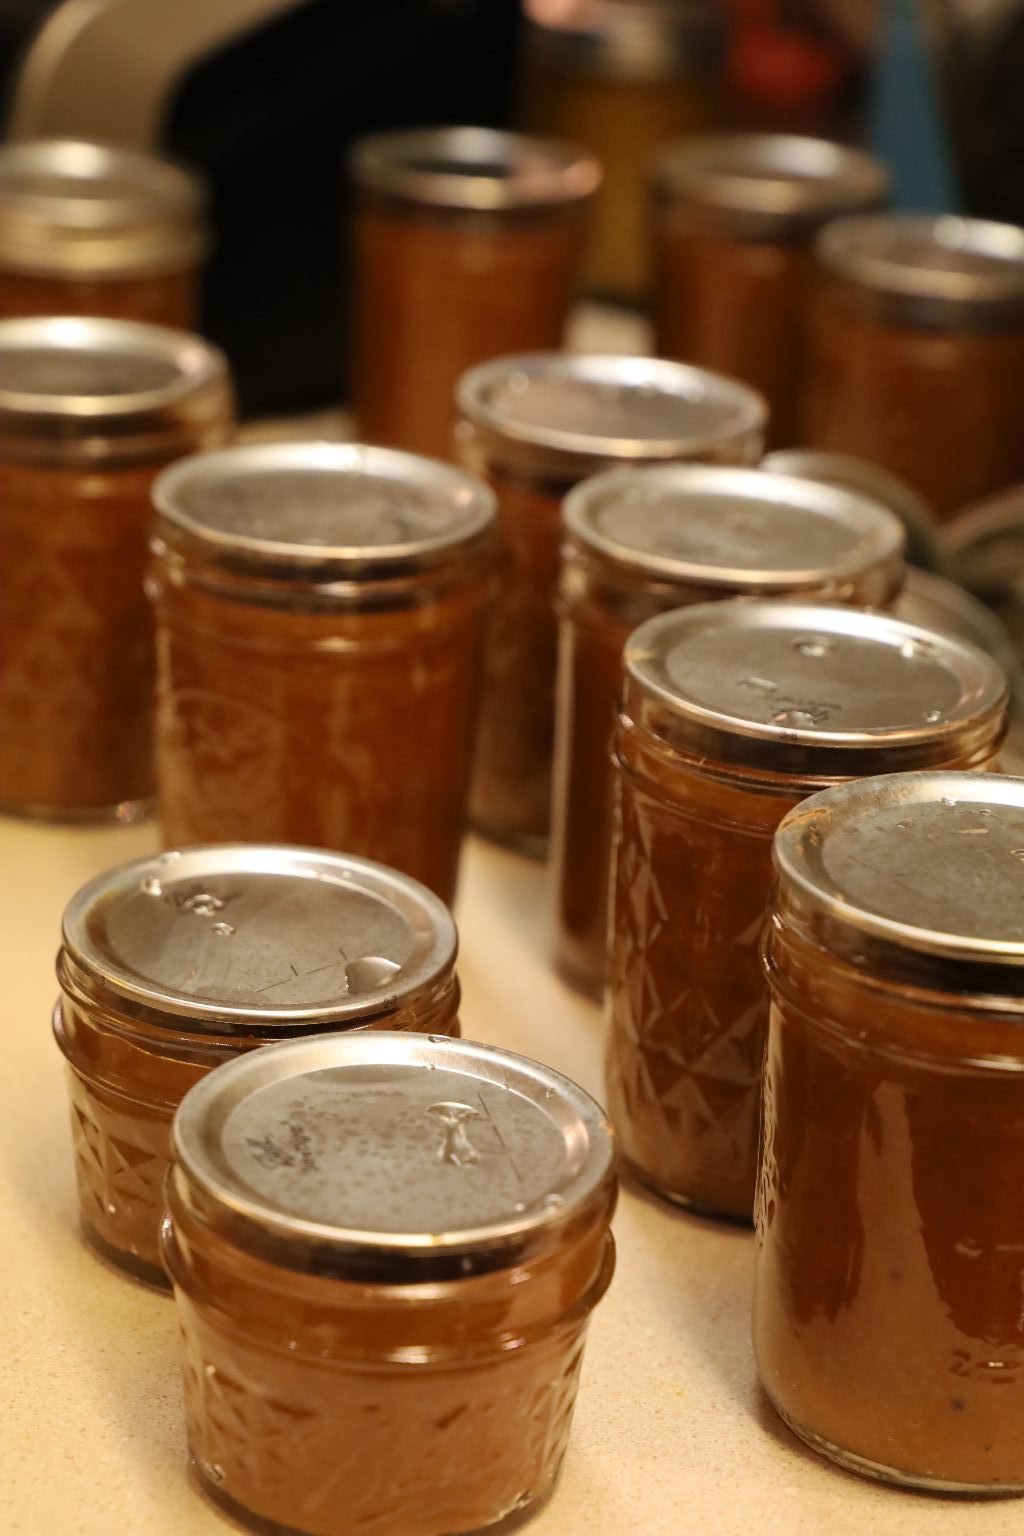
Using the magnetized stick, remove the hot lid and place it on the jar. Place a ring on the jar and barely tighten the lid. This will allow the air to escape as it boils in the next step creating a vacuum within the jar.
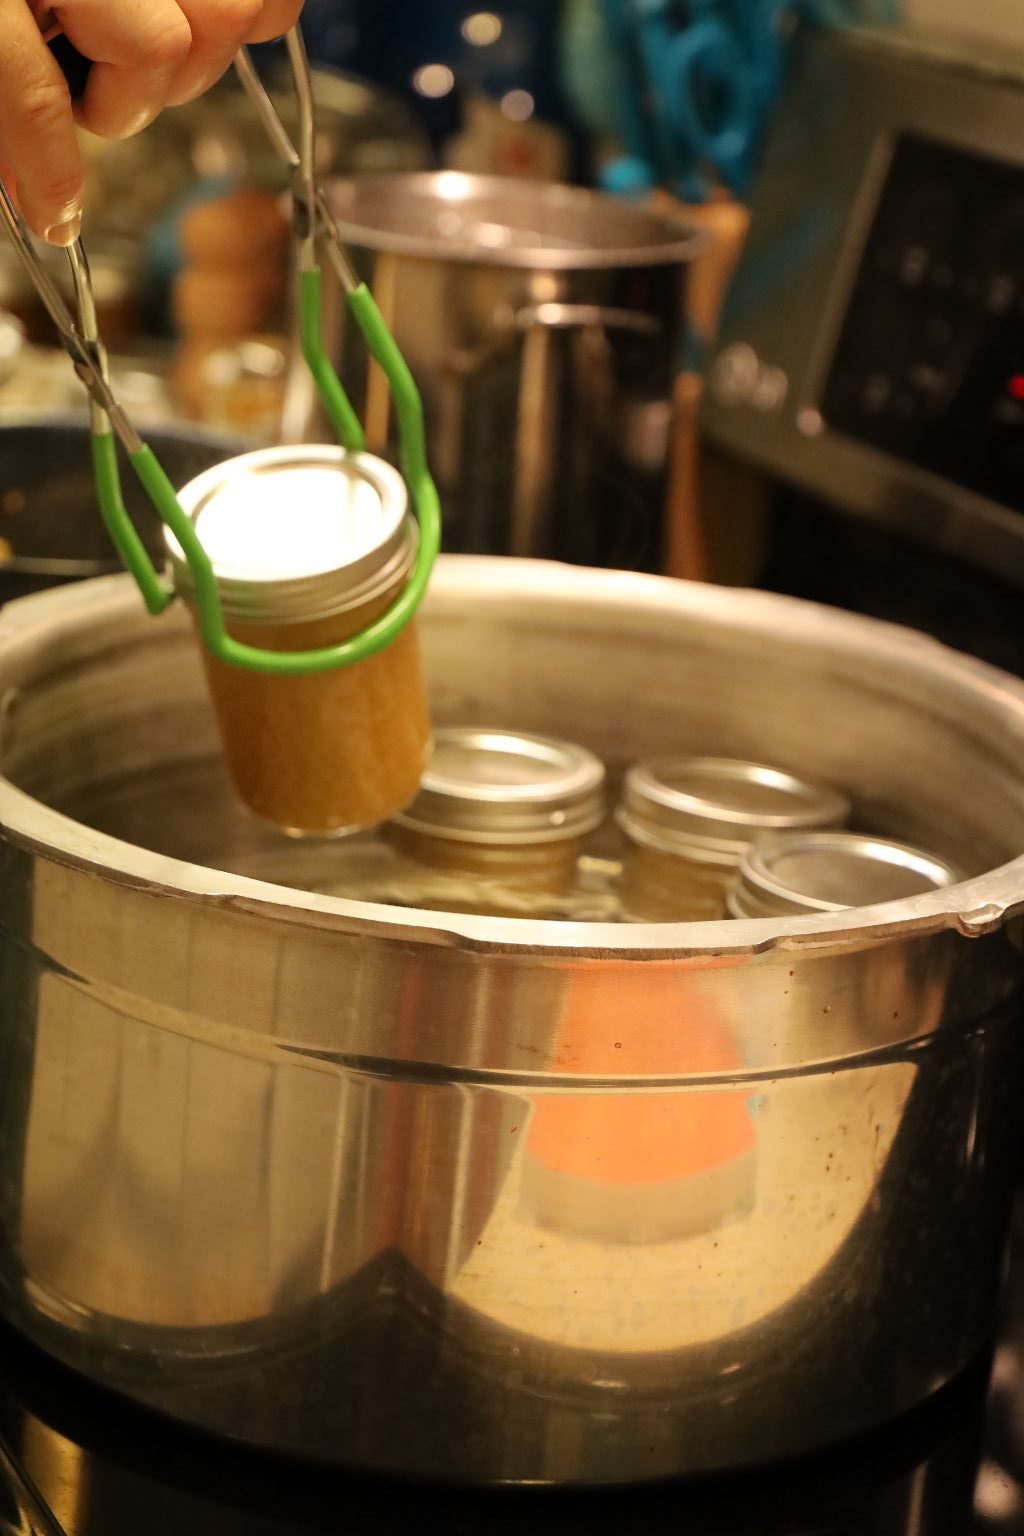
Here I am carefully placing the jars into the pot.
Here is a picture of both the Almost Yellow and Honey Mustard waiting to be processed.
————————————————————-
After all of your jars are in the pot, ensure there is about 1 inch of water covering them. Bring the water to a boil and boil the jars for 15 minutes. This step is called processing the jars.
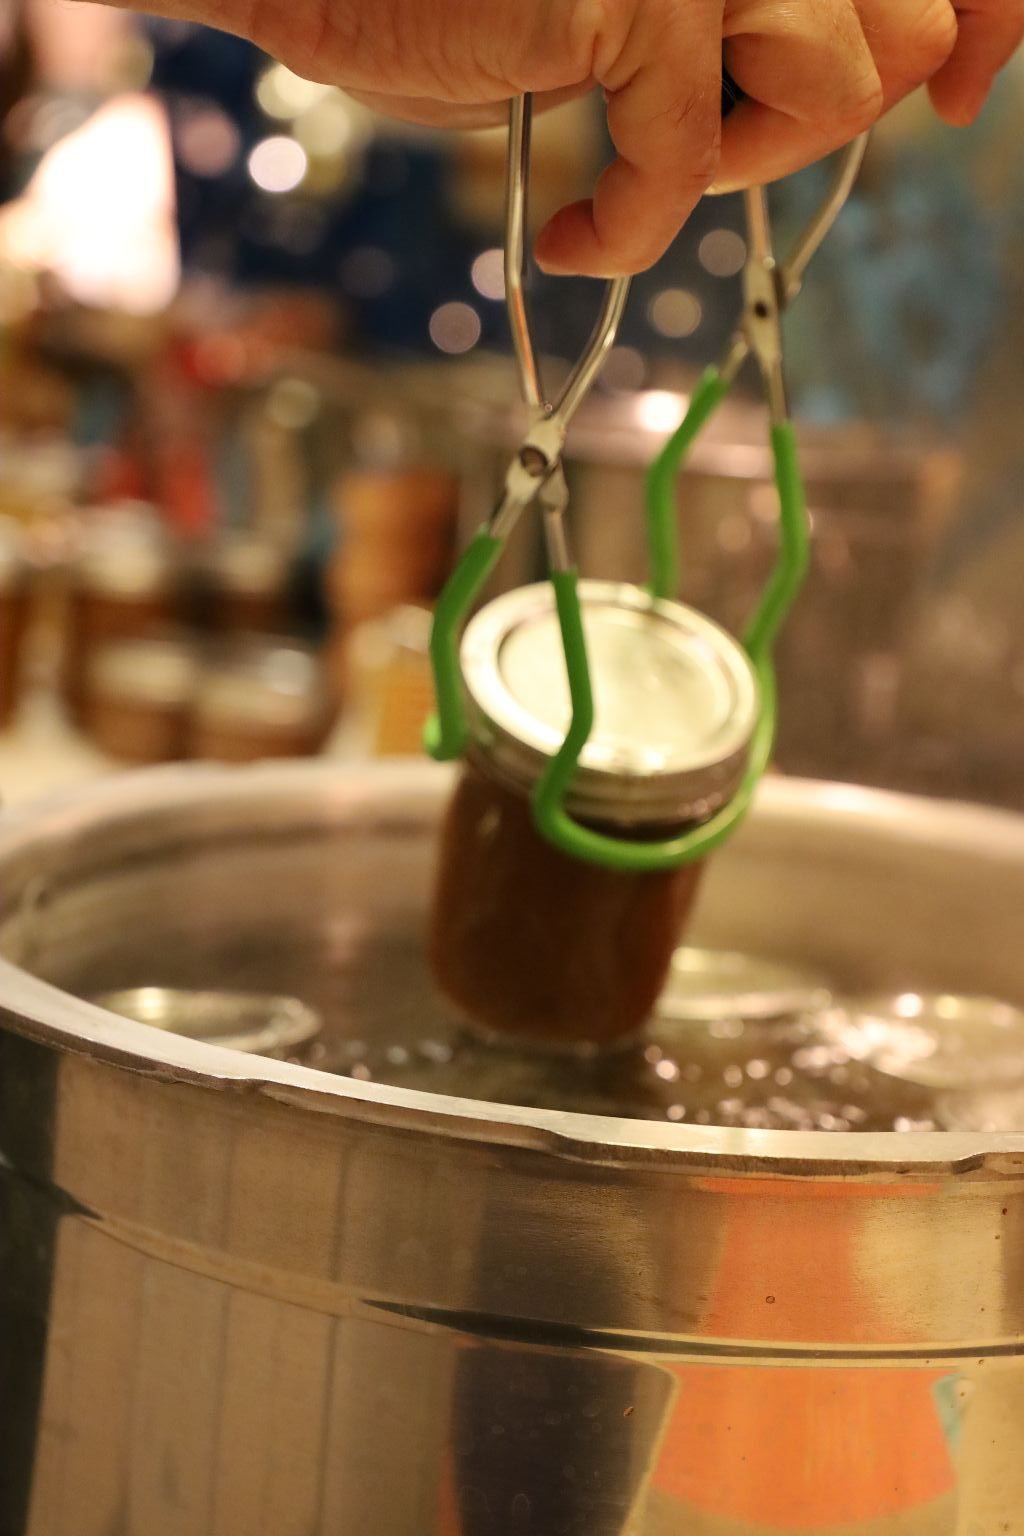
Using the special tongs, remove the jars from the water and place them on a dishtowel. You should begin to hear the lids pop as they seal. This is caused by the lid being pulled down from the vacuum within the jar. This means that your mustard jar is sealed properly. Caution, the jars will be extremely hot during these next steps. After about an hour, if the lid can be pushed down, the lid didn’t seal and needs to be processed all over again. In this case, remove the lid, wipe down the top of the jar and possibly remove some of the mustard to ensure you had enough headspace. Then, add another lid as before and process the jar again for another 15 min. in the boiling water. If the lid seal is down and properly sealed, carefully remove the ring as the jar will still be hot, and wipe the lid and the inside of the ring with a dry paper towel. This will prevent any rust forming over time as the mustard sits in your pantry. The ring is only there to ensure the lid doesn’t accidentally get lifted up. Replace the ring finger tight when it is dry.
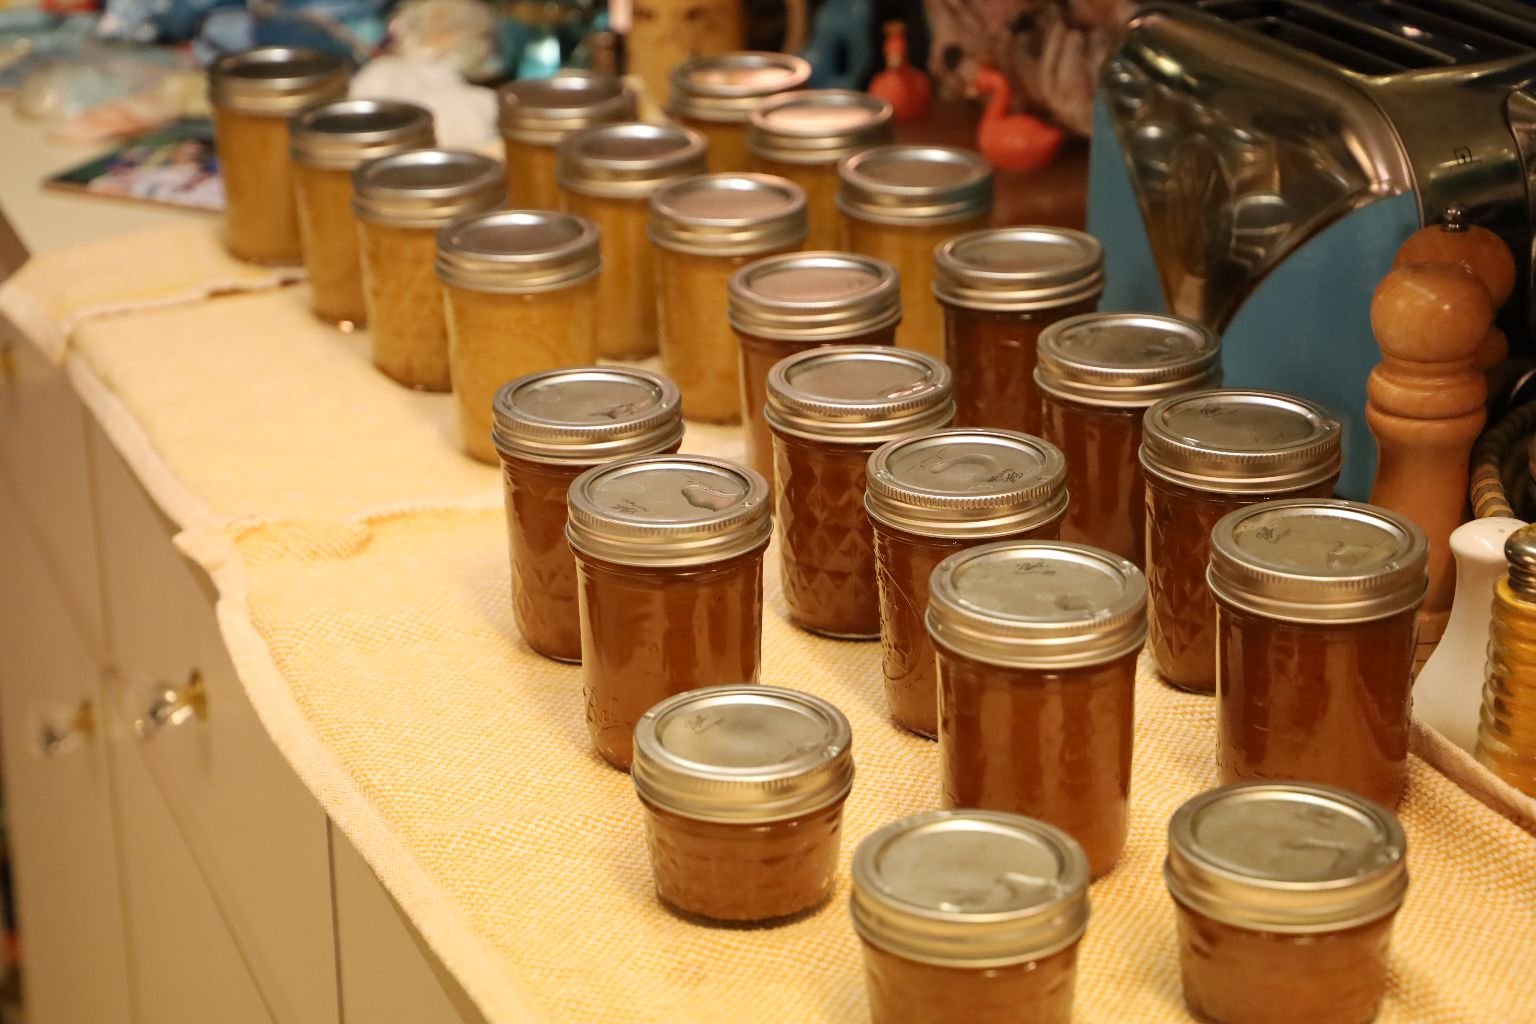
Here you can see both the Yellow and Honey Mustard on the kitchen towel popping as the vacuum is created.
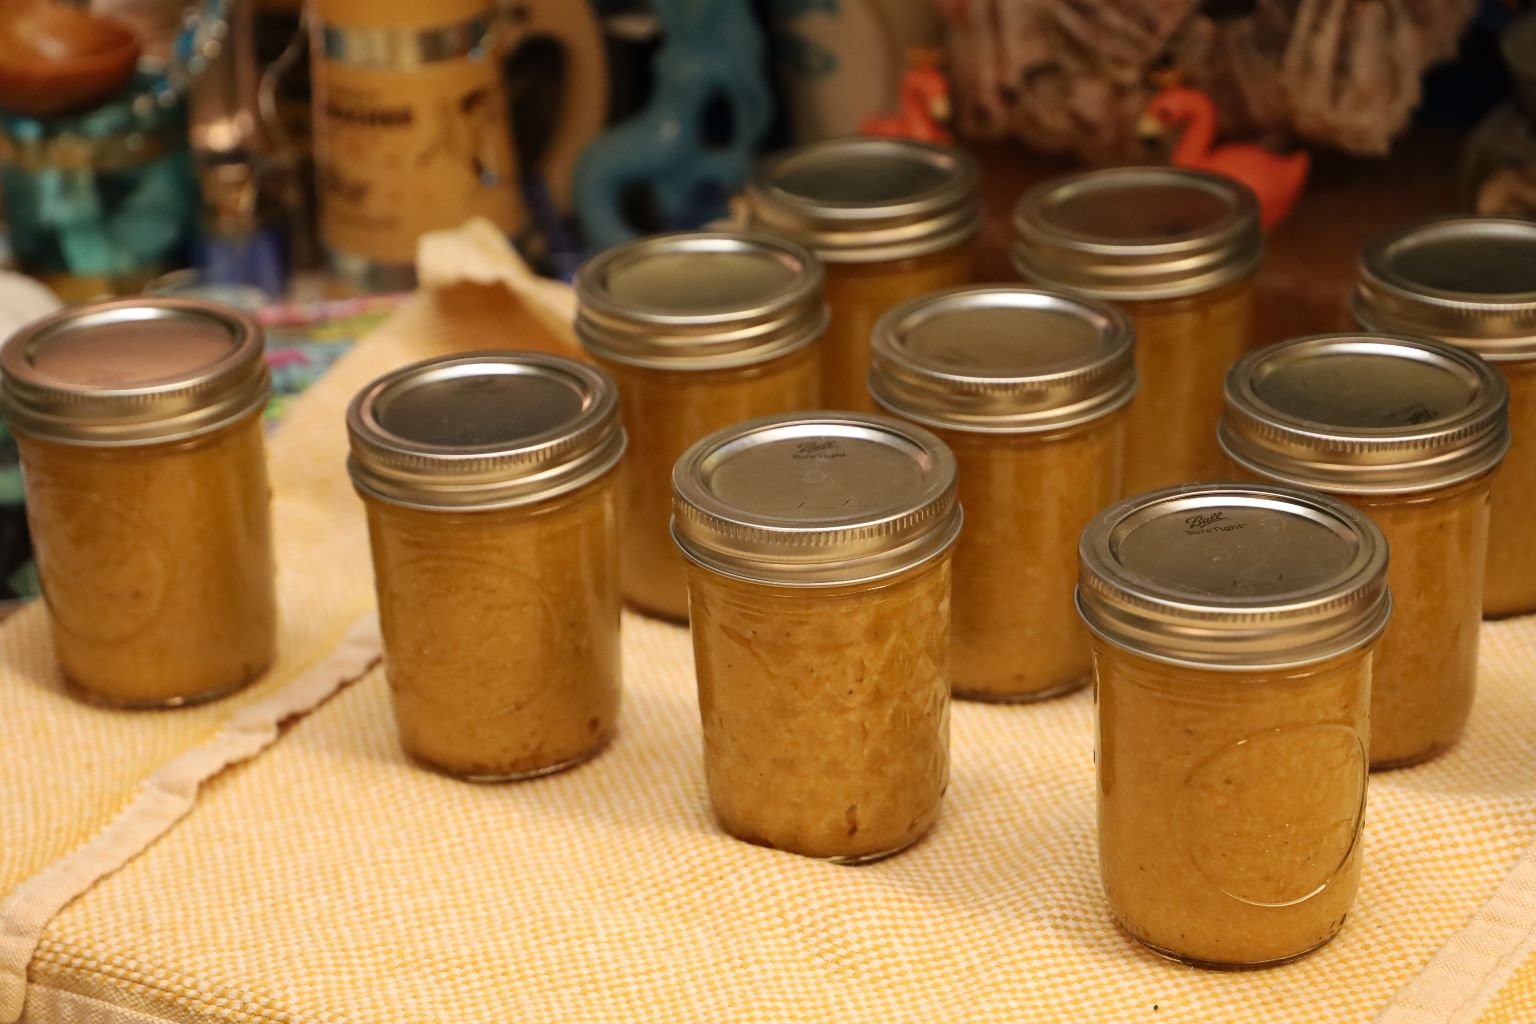
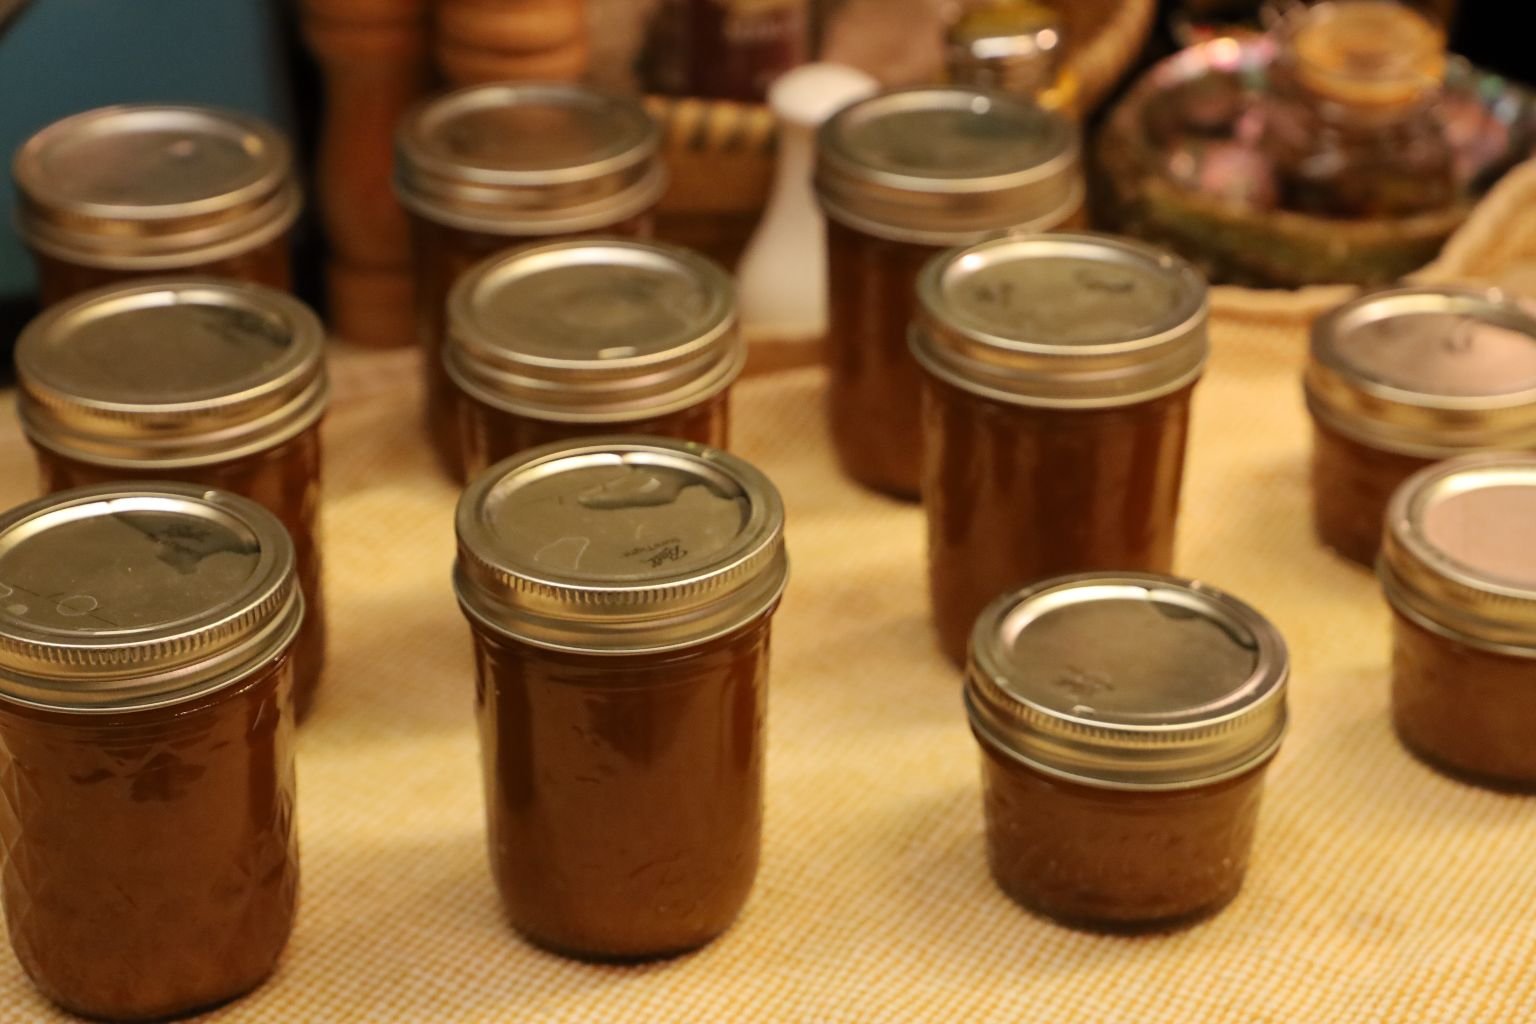
These will make great Christmas/Happy Holiday gifts, or any time of year!
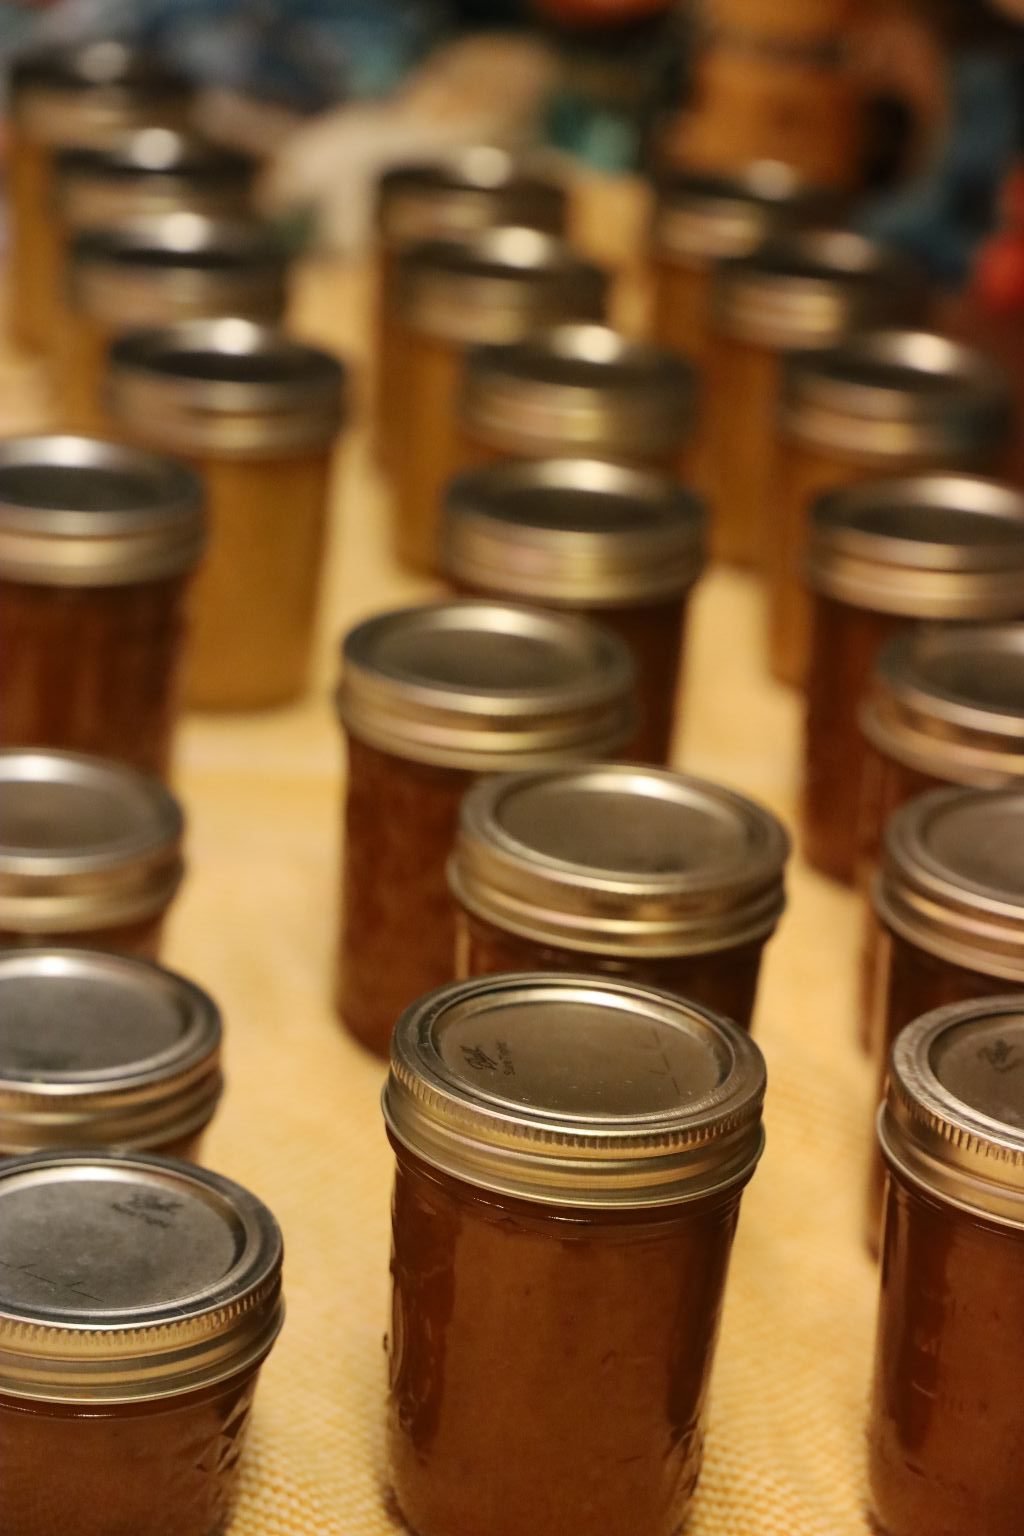
Our laundry room is now full of mustard! 🙂
————————————————————–
Gordon’s Bone In Pork Roast
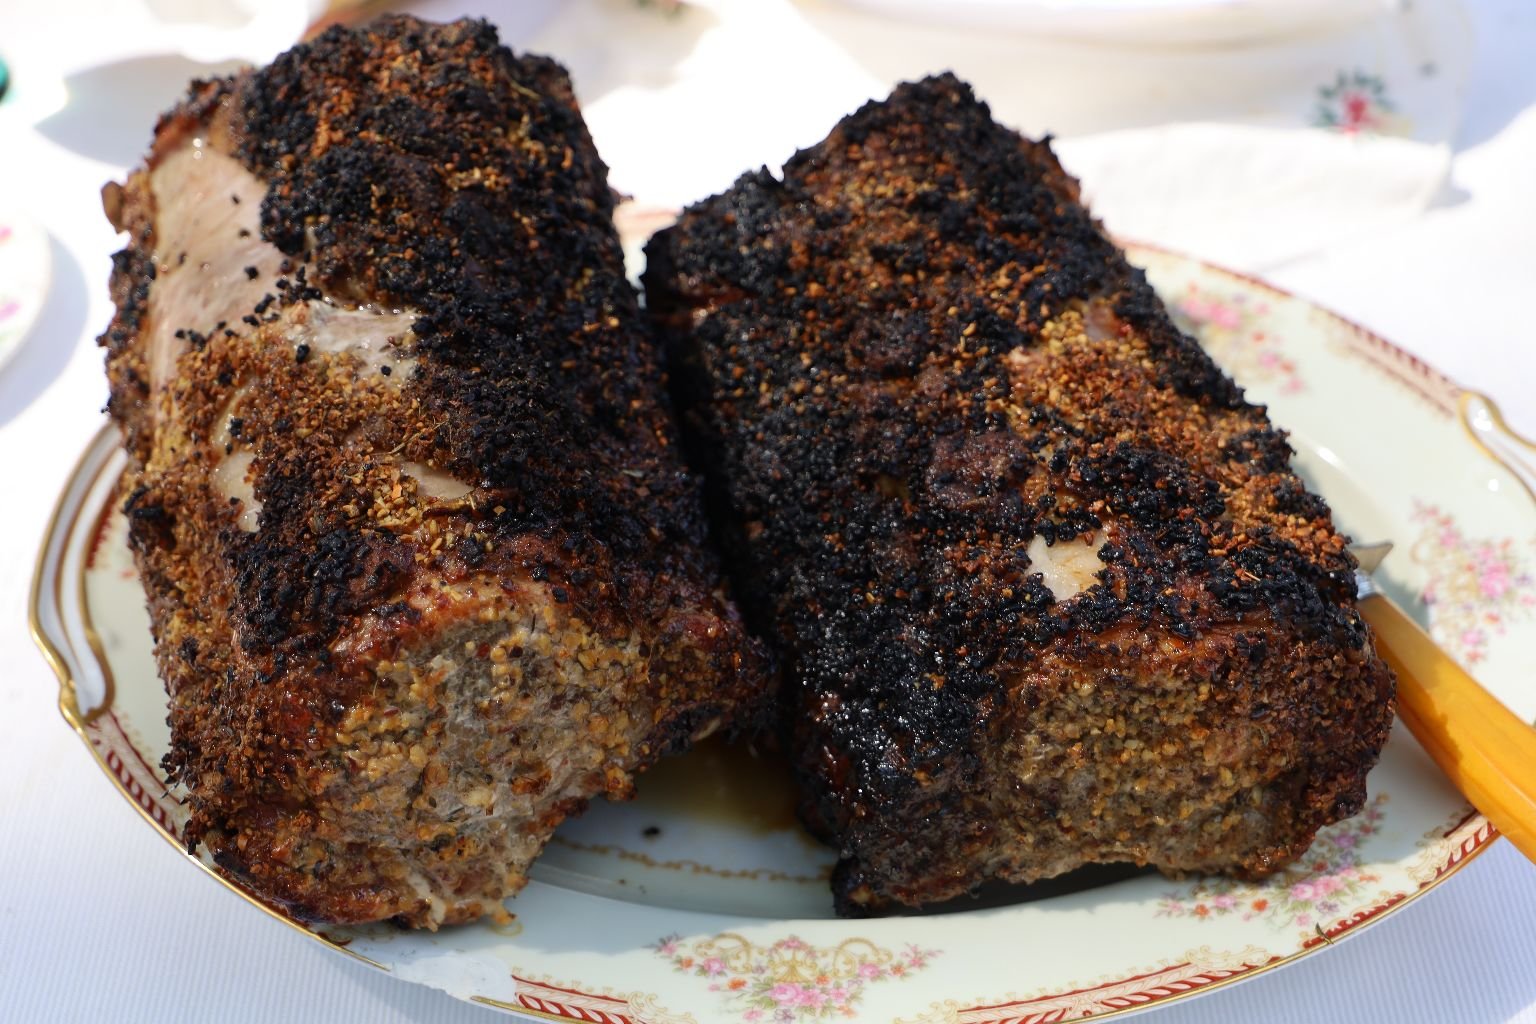
We Make TWO!
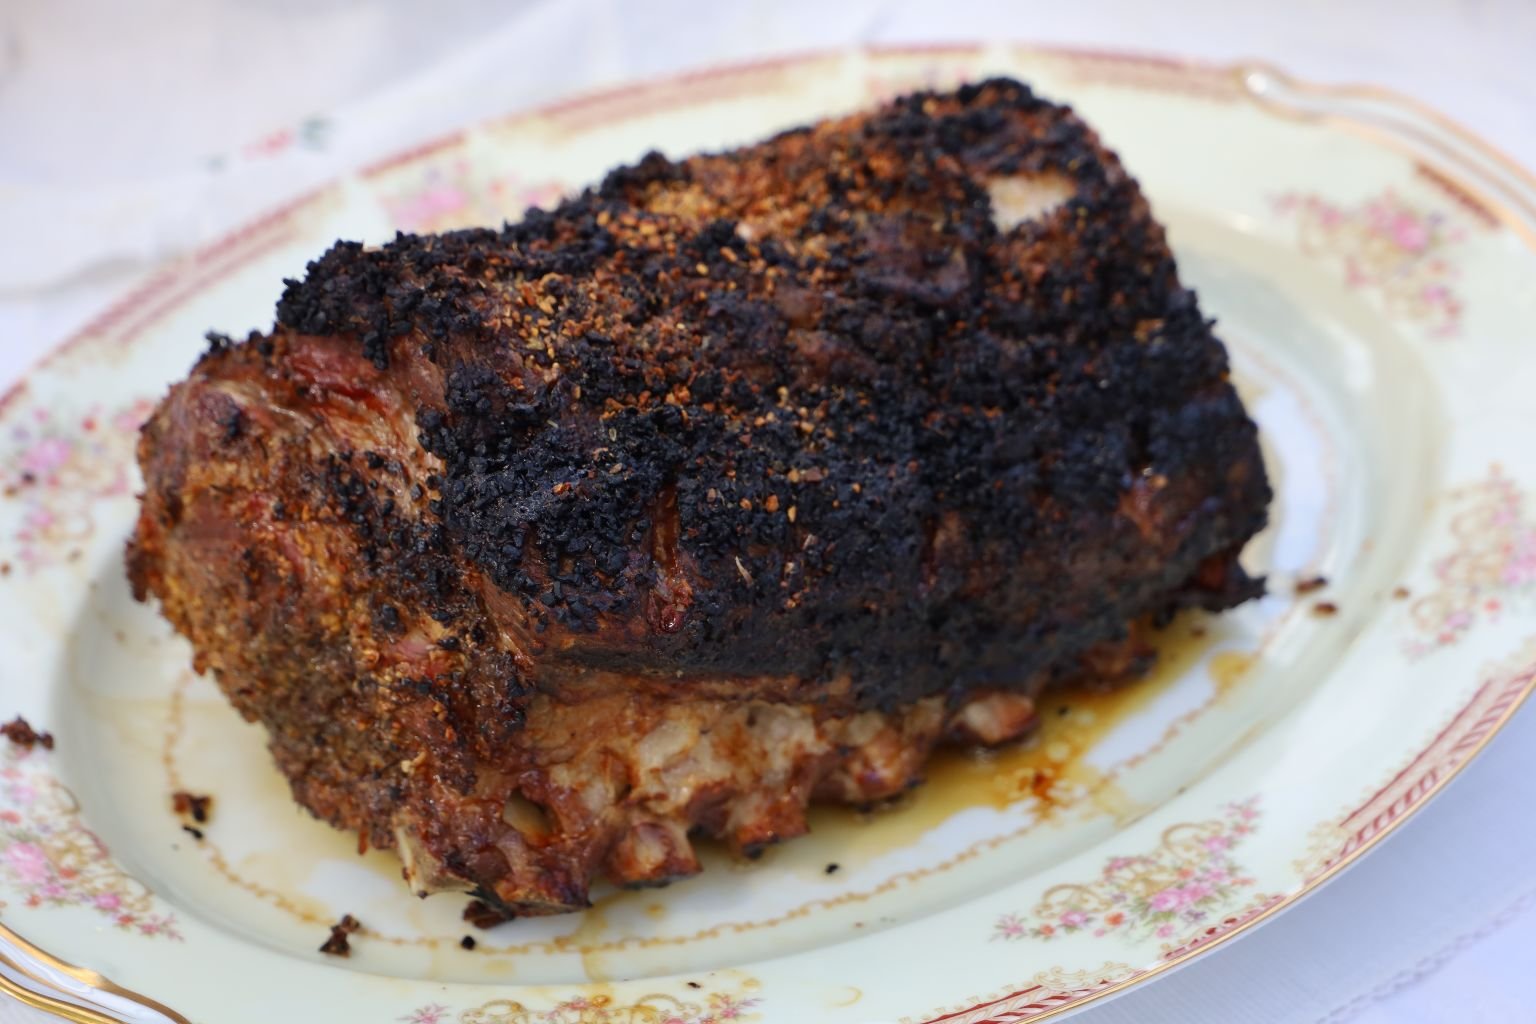
——————————————————————-
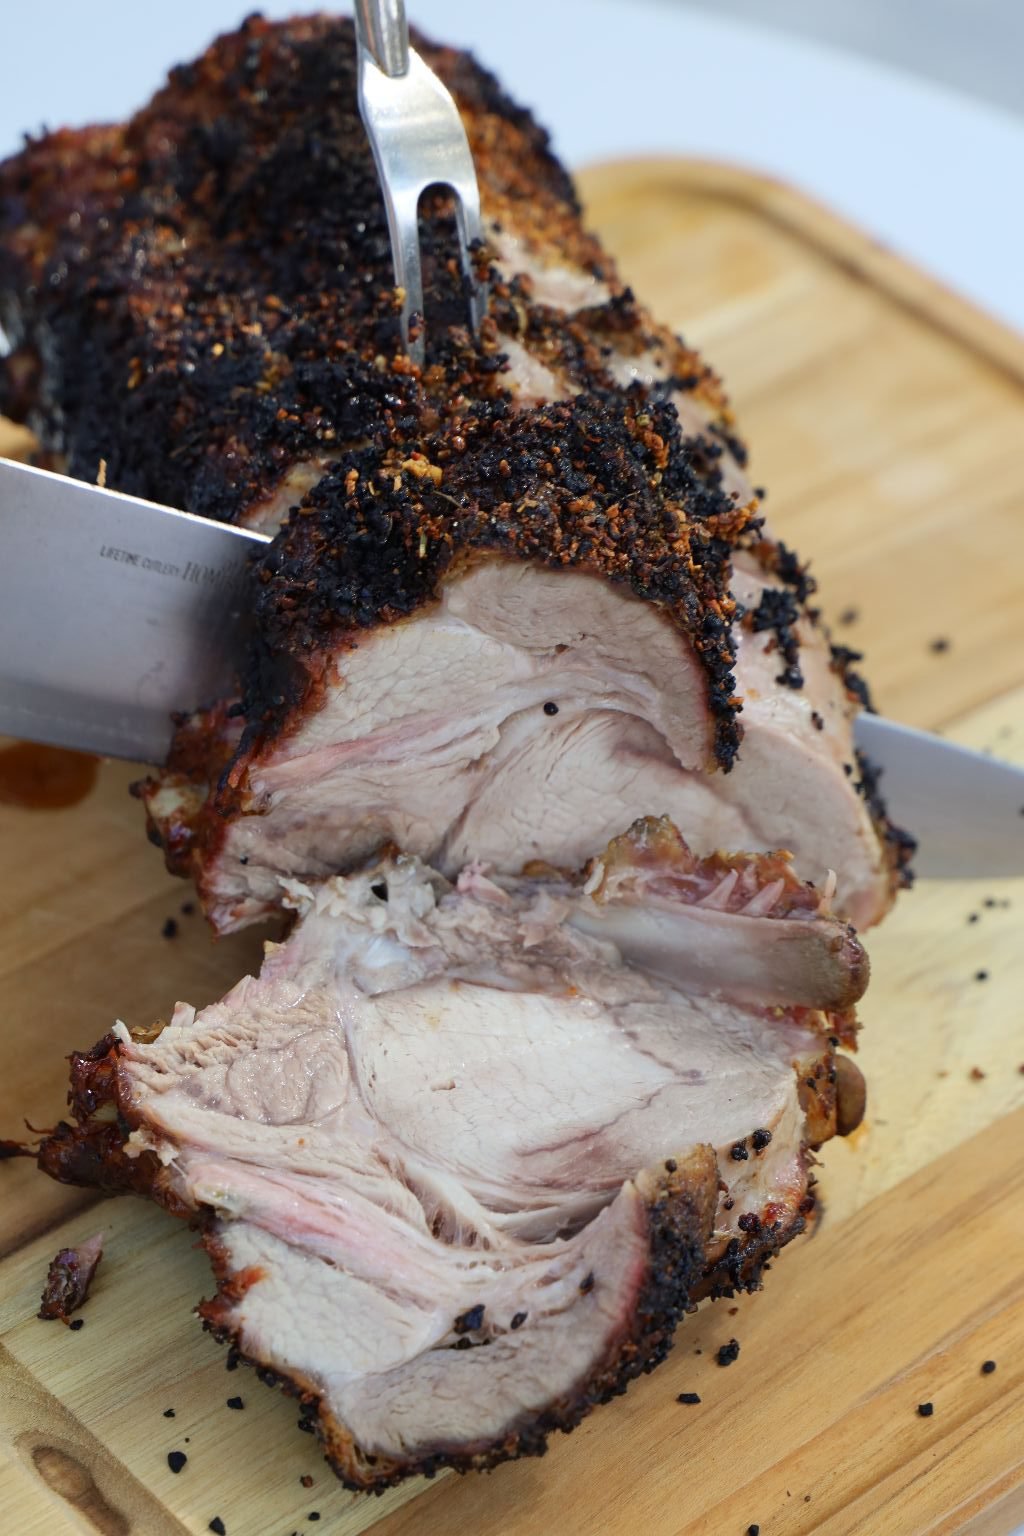
——————————————————————-
Ingredients:
2x ~6lb. Bone in Pork Roasts
1 1/2 Cups (Weber’s) Roasted Garlic and Herb seasoning
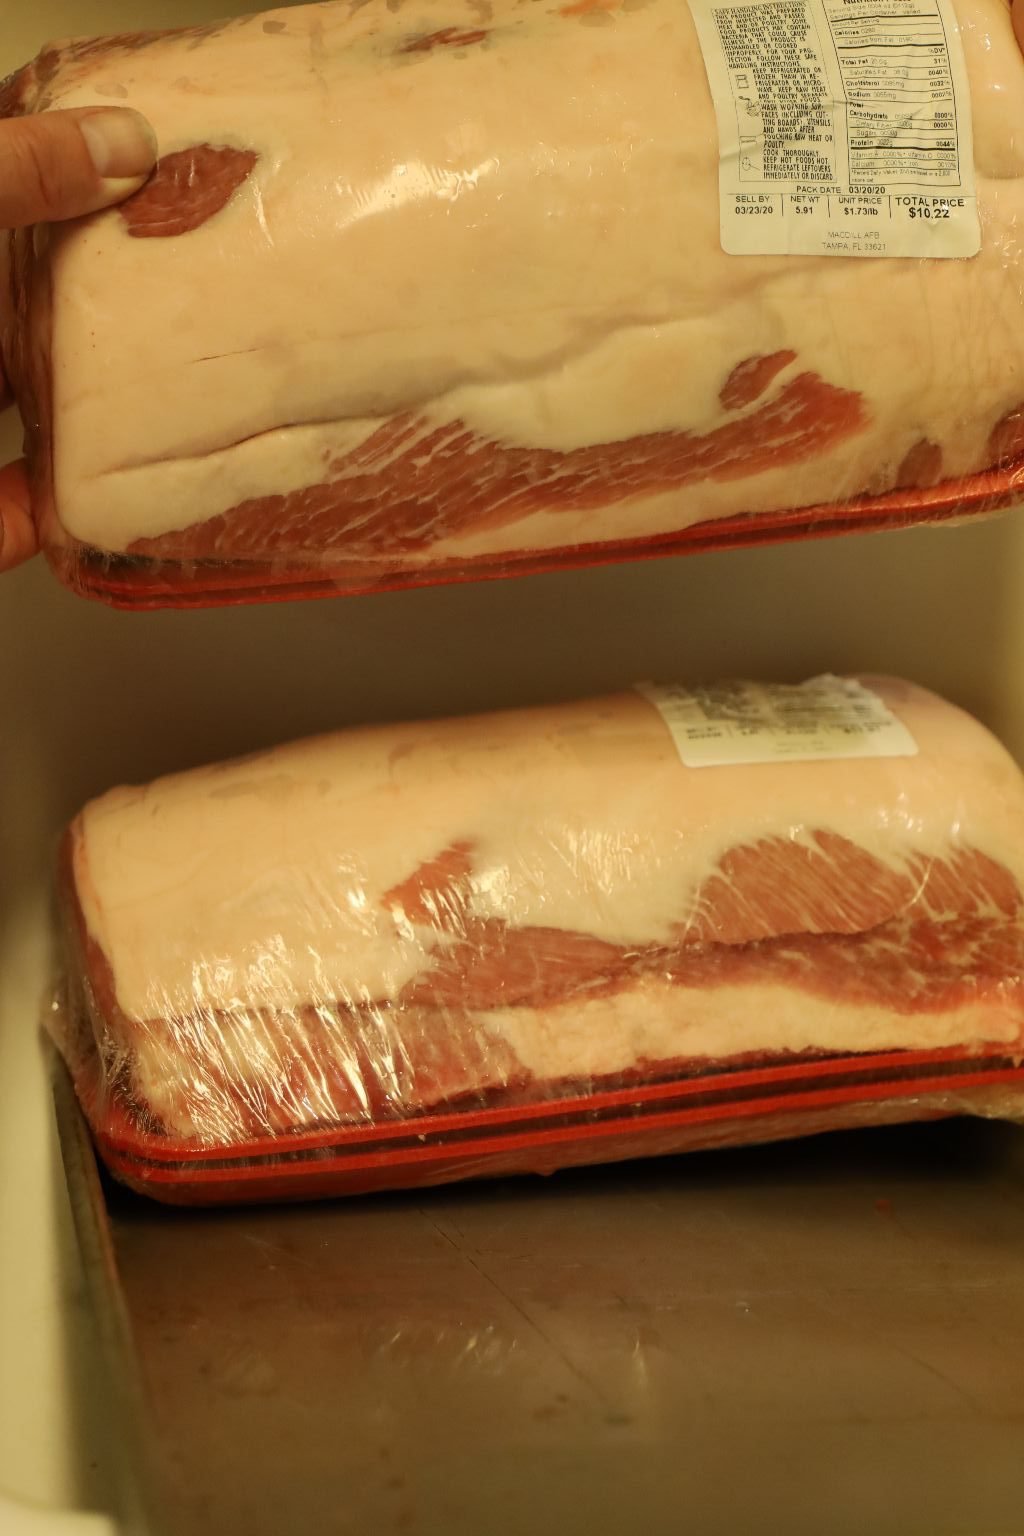
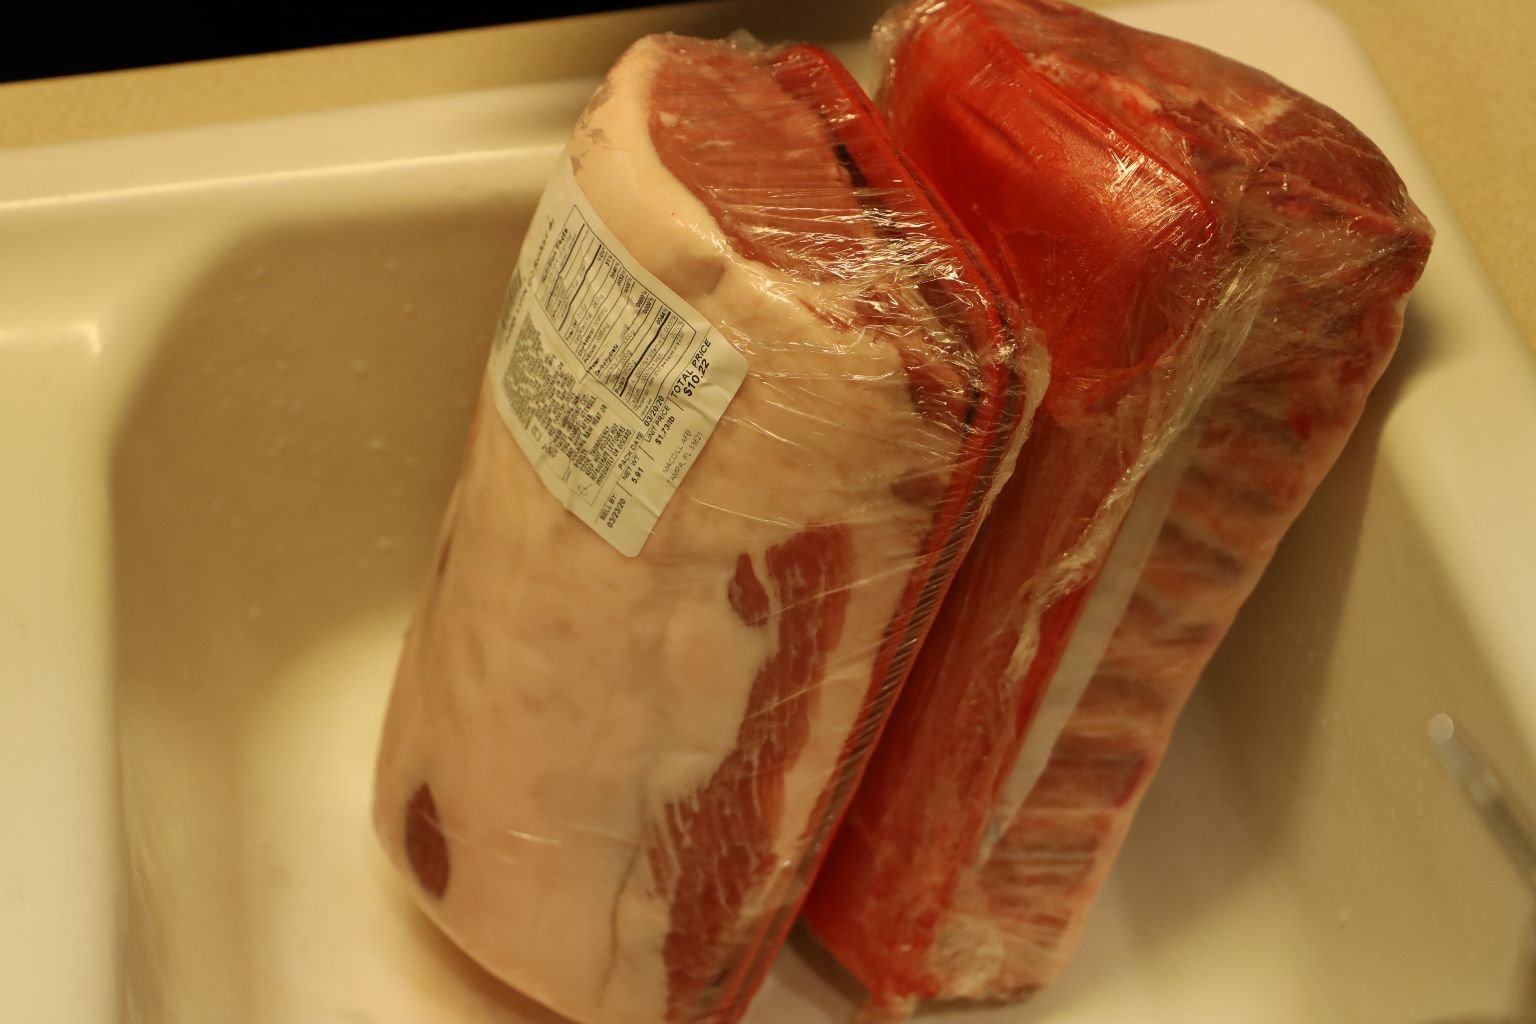
Let the pork roasts come to room temperature.
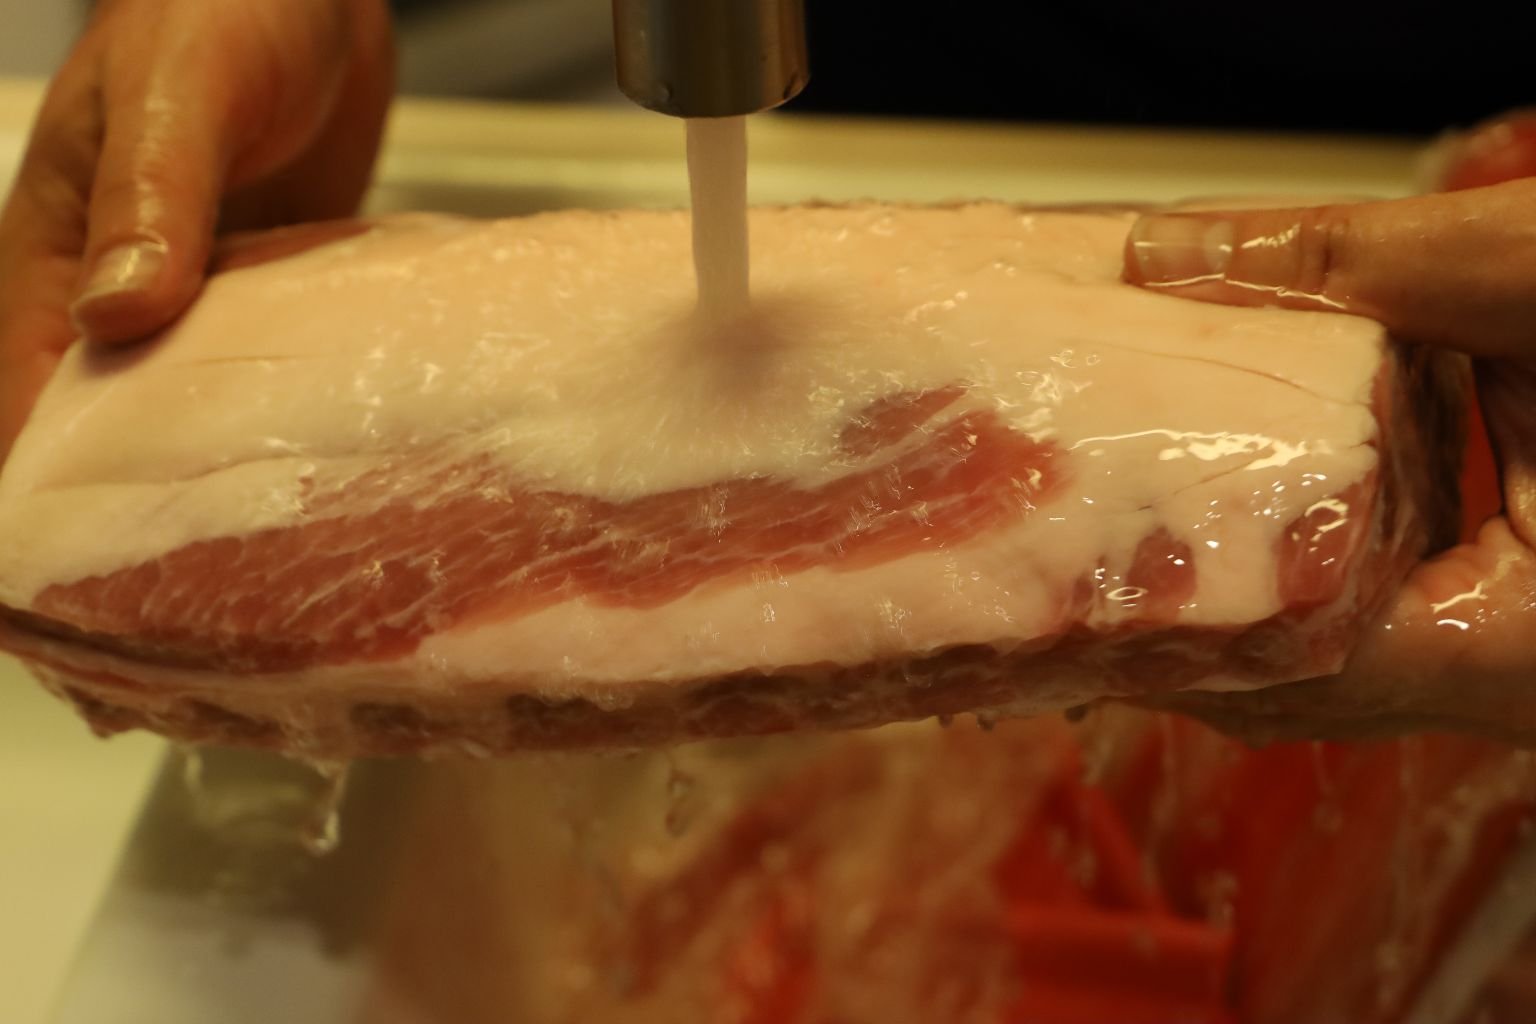
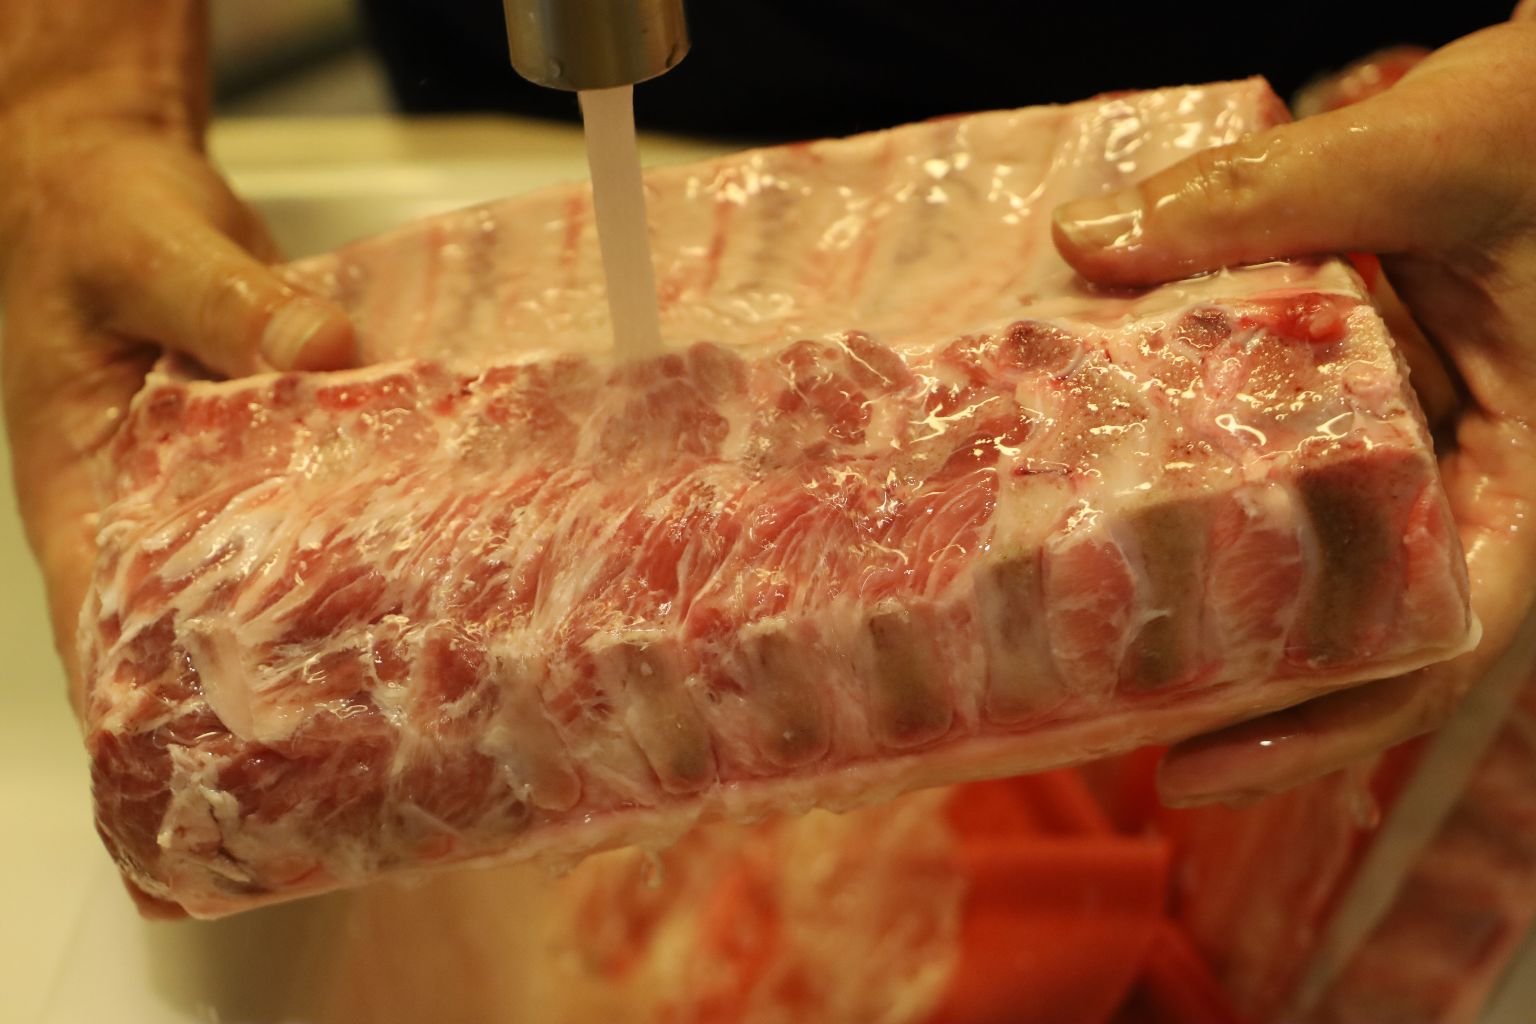
Remove the plastic covering on the pork roasts and rinse the excess blood and bone debris with fresh water. Not shown, remove the silver skin from behind the bones as your would with ribs. It usually peals off fairly easily once started.
Remove the excess water using a paper towel until dry. Using a sharp knife, score the fat about 1/8 inch deep to allow the spices to penetrate the meat and help the fat to drain off.
Here is a picture of the spices I used.
These have a bold garlic taste and the herbs compliment the flavor of the meat.
Place a large amount of the spices into your hands and push and rub the spices into the meat.
Do this on all sides of the meat.
Here you can see the meat is well seasoned. I then wrapped the meat in plastic until I was ready to cook them. This will also allow the seasoning to somewhat marinade the meat.
Heat your grill to medium heat and place the fat side down to get some initial cooking on the fatty side. Here I have the burners on directly under the meat.
Here you can see I am cooking more food in the pot next to the grill.
Cook the meat on the fatty side until you begin to get some good char.
Once you have the char you like, turn the meat over and begin to cook the meat on the other side. Now, turn off the burners directly under the meat and turn on the ones to the outside of the meat to medium high. This will prevent the fat from catching on fire and burning your meat. Having the burners on will roast the meat from the heat on both sides.
Cook your pork roasts until they have an internal temperature of ~140’F.
The heated juices will raise the meats internal temperature to 145’F as the meat rests. The heated juices will return to the center of the meat if you let it rest for ~15 min.
If you don’t let it rest and immediately cut into the roast, those moving juices will just run all over your plate. Here you can see a nice end cut of the meat. Trust me, it is difficult to let the meat rest as it looks so good!
———————————————————–
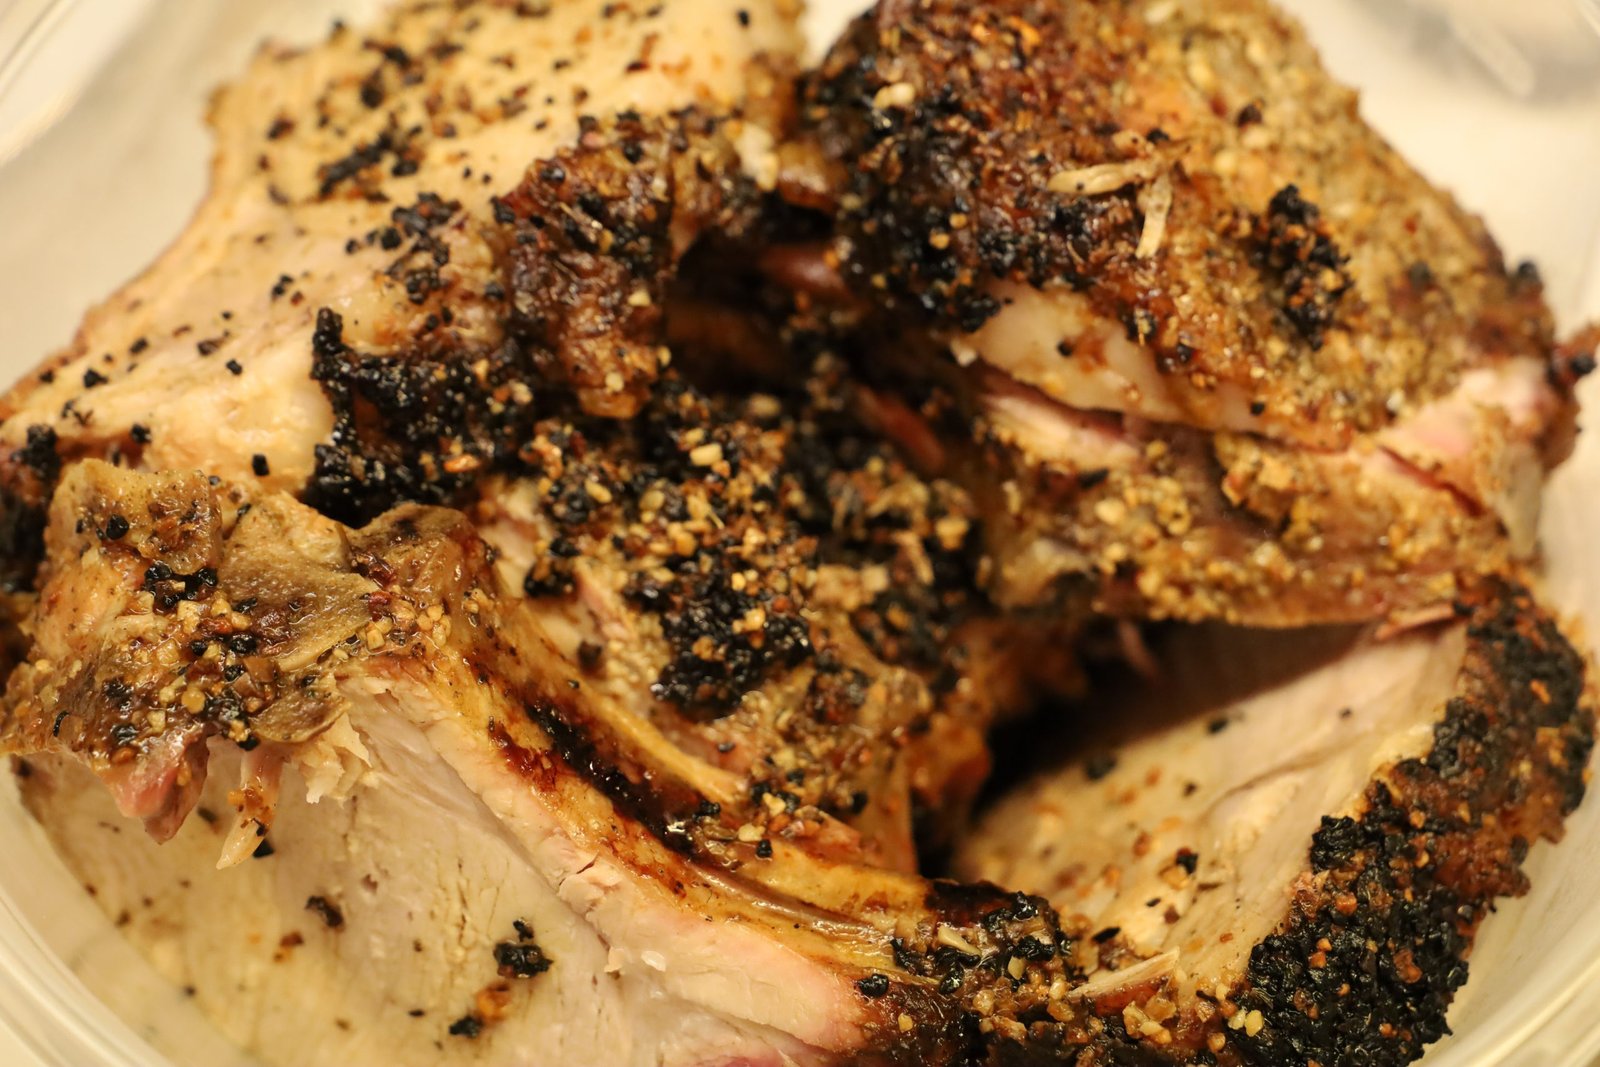
Leftovers…….Great with Mustard. 🙂
————————————————————————
Consider Yourself
by Lionel Bart
Consider yourself at home.
Consider yourself one of the family.
We’ve taken to you so strong.
It’s clear we’re going to get along.
Consider yourself well in,
Consider yourself part of the furniture.
There isn’t a lot to spare.
Who cares. What, ever we got we share.
————————————————————
Consider yourselves our friend,
Gordon and Julie 🙂
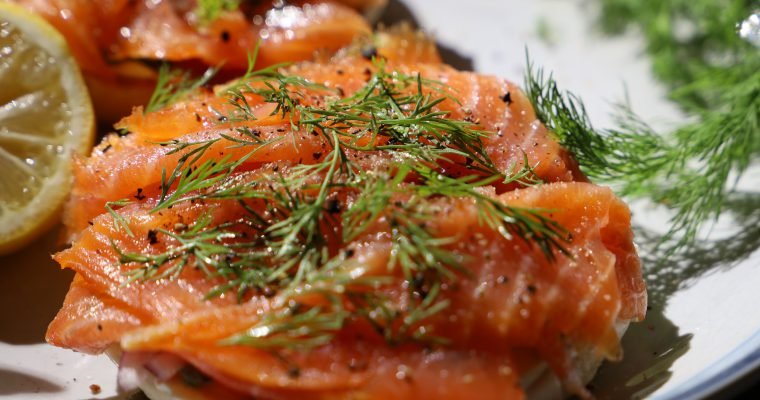
Good Morning Welcome to Breakfast with Brodie and Mackenzie We have a few menu items you might enjoy. ———————————————————- Bagel and Lox Ingredients: One Bagel (I use the Everything or Egg style bagels.) Smoked Salmon (I use Fresh Market’s Nova …
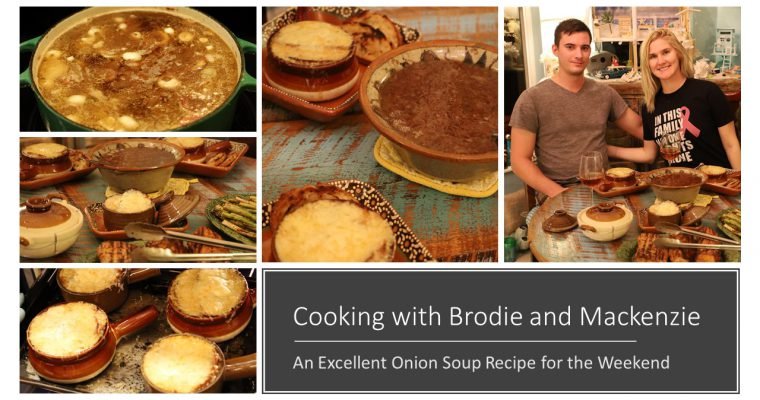
Onion Soup Topped with Toasted Bread and Melted Crusty Cheese (Pork Tenderloins and Grilled Asparagus compliments of Gordon. Recipe write up at the bottom of this post.) We would like to introduce to you our son Brodie and his girlfriend …