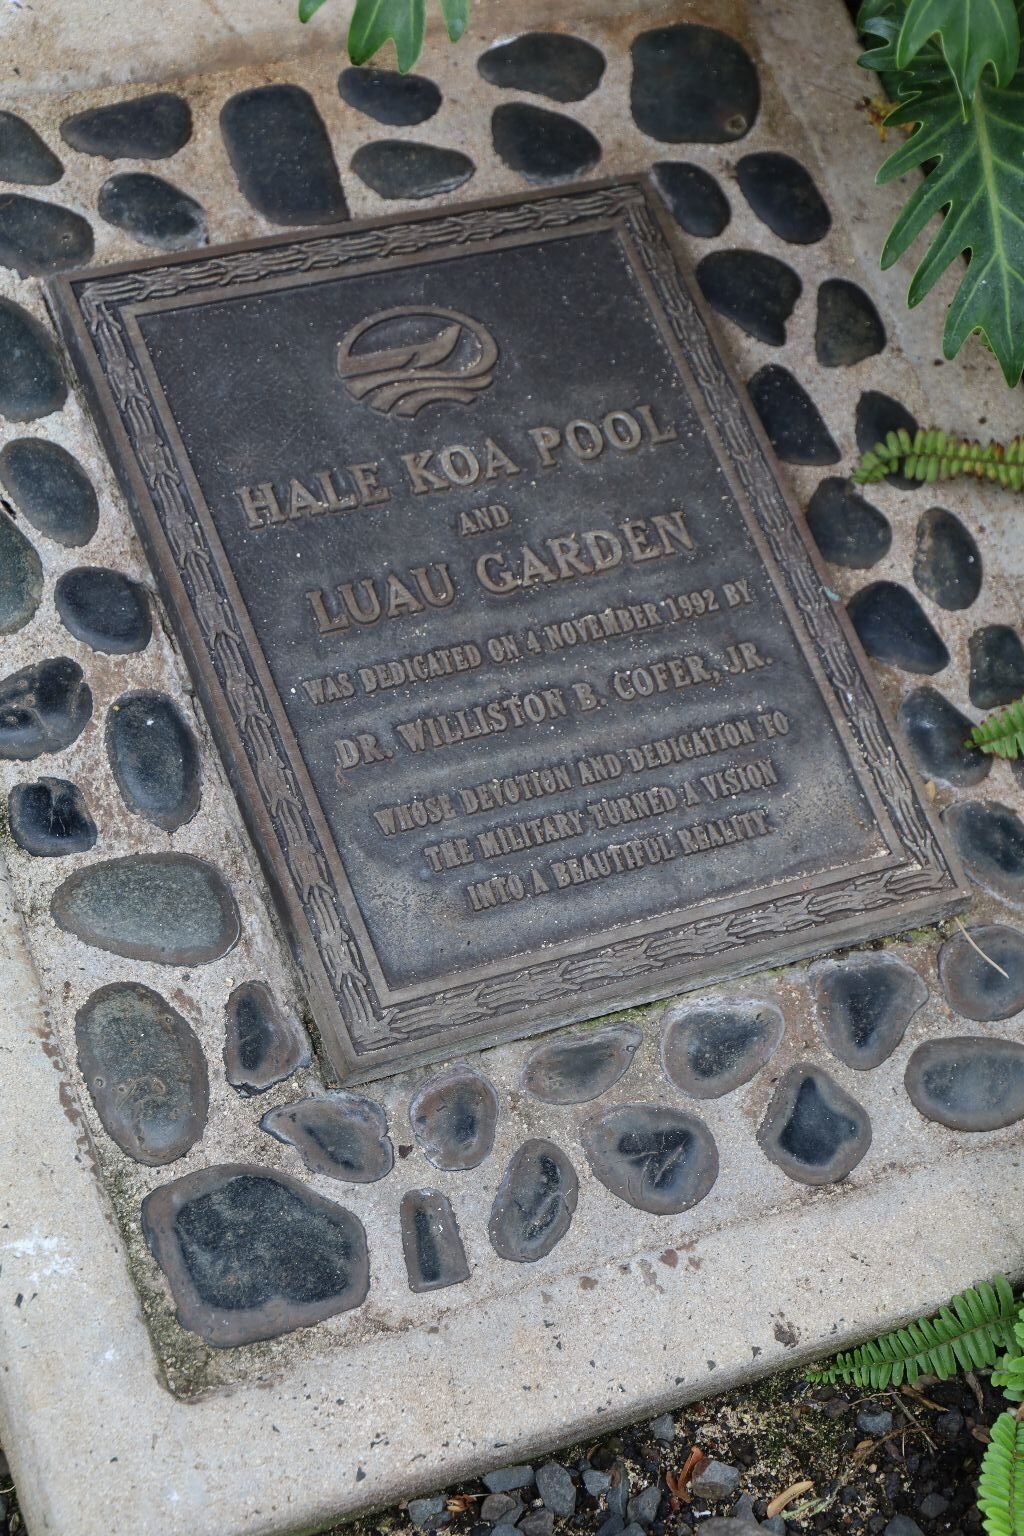
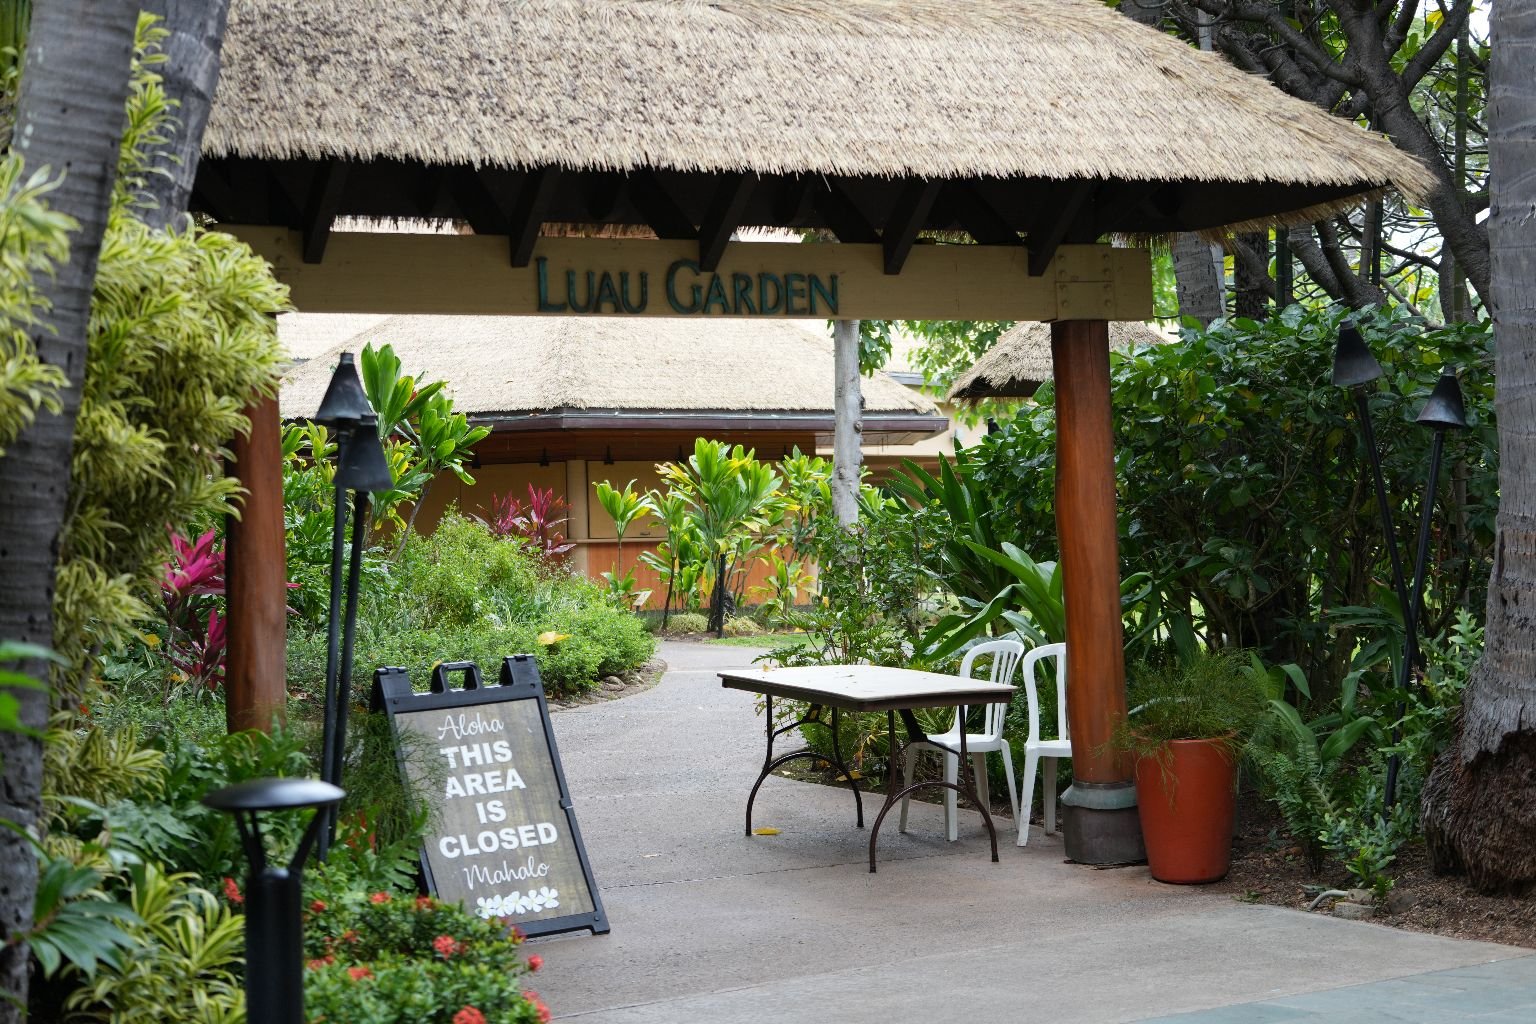
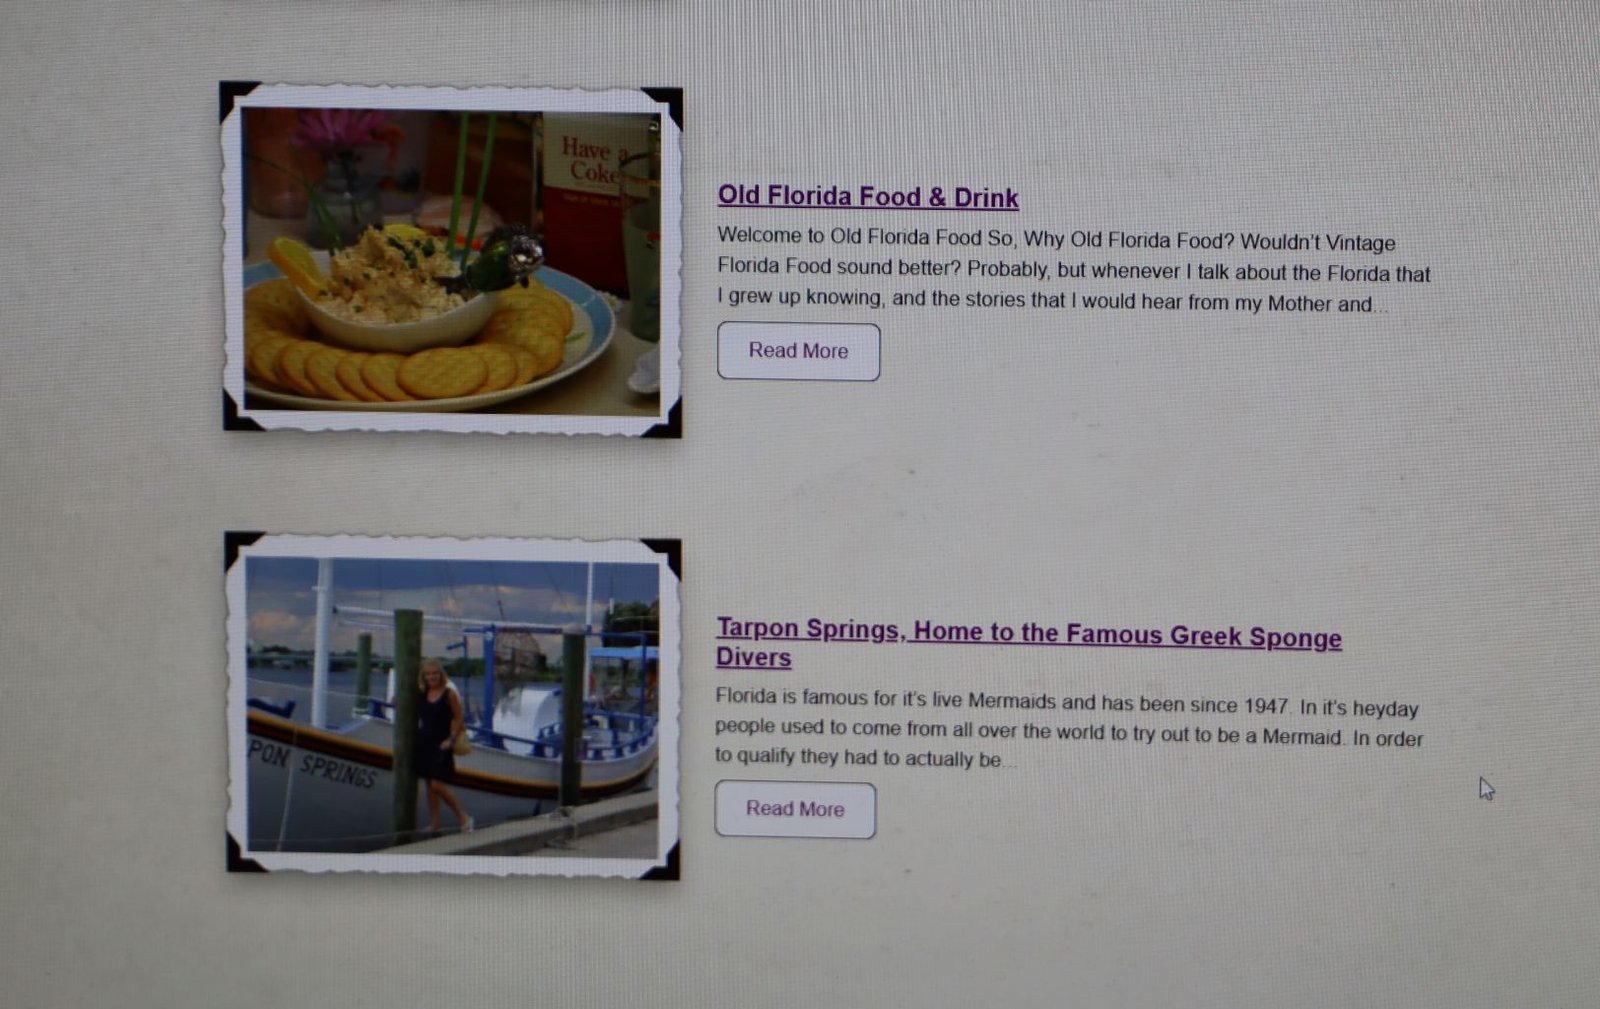
The Hale Koa Hotel, Waikiki
UNDER CONSTRUCTION …
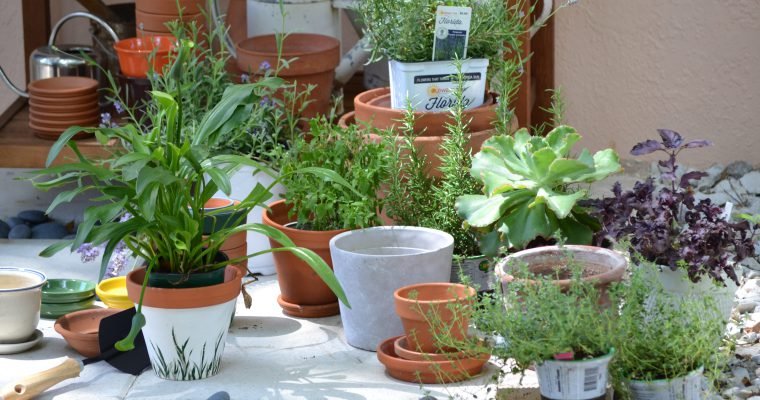
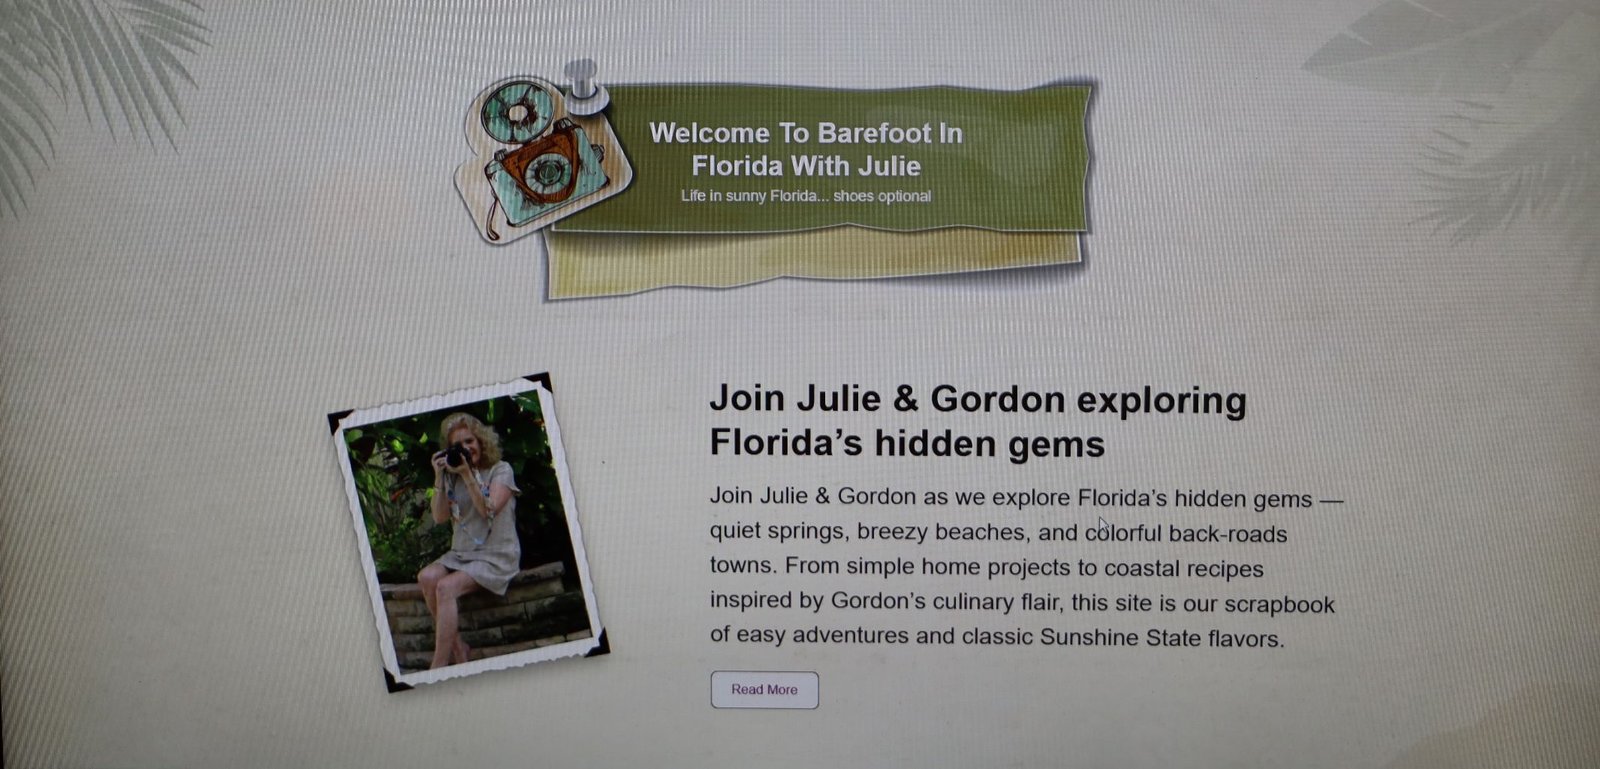
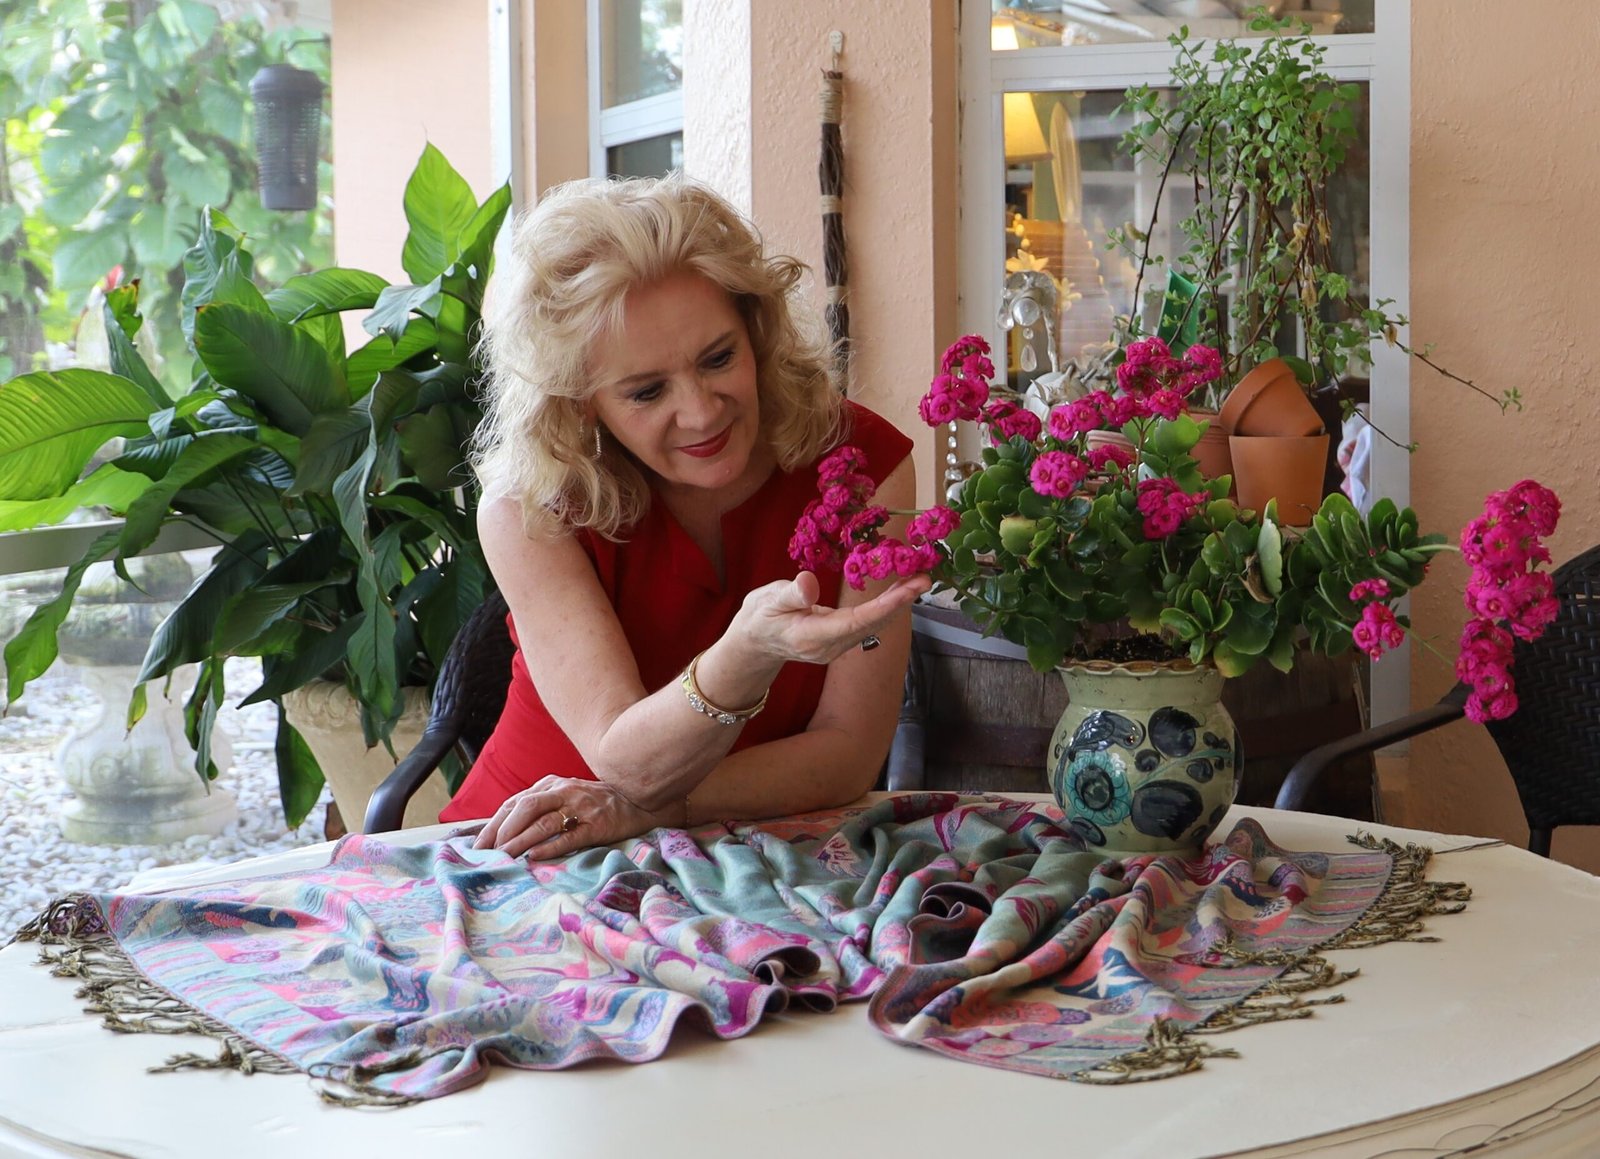
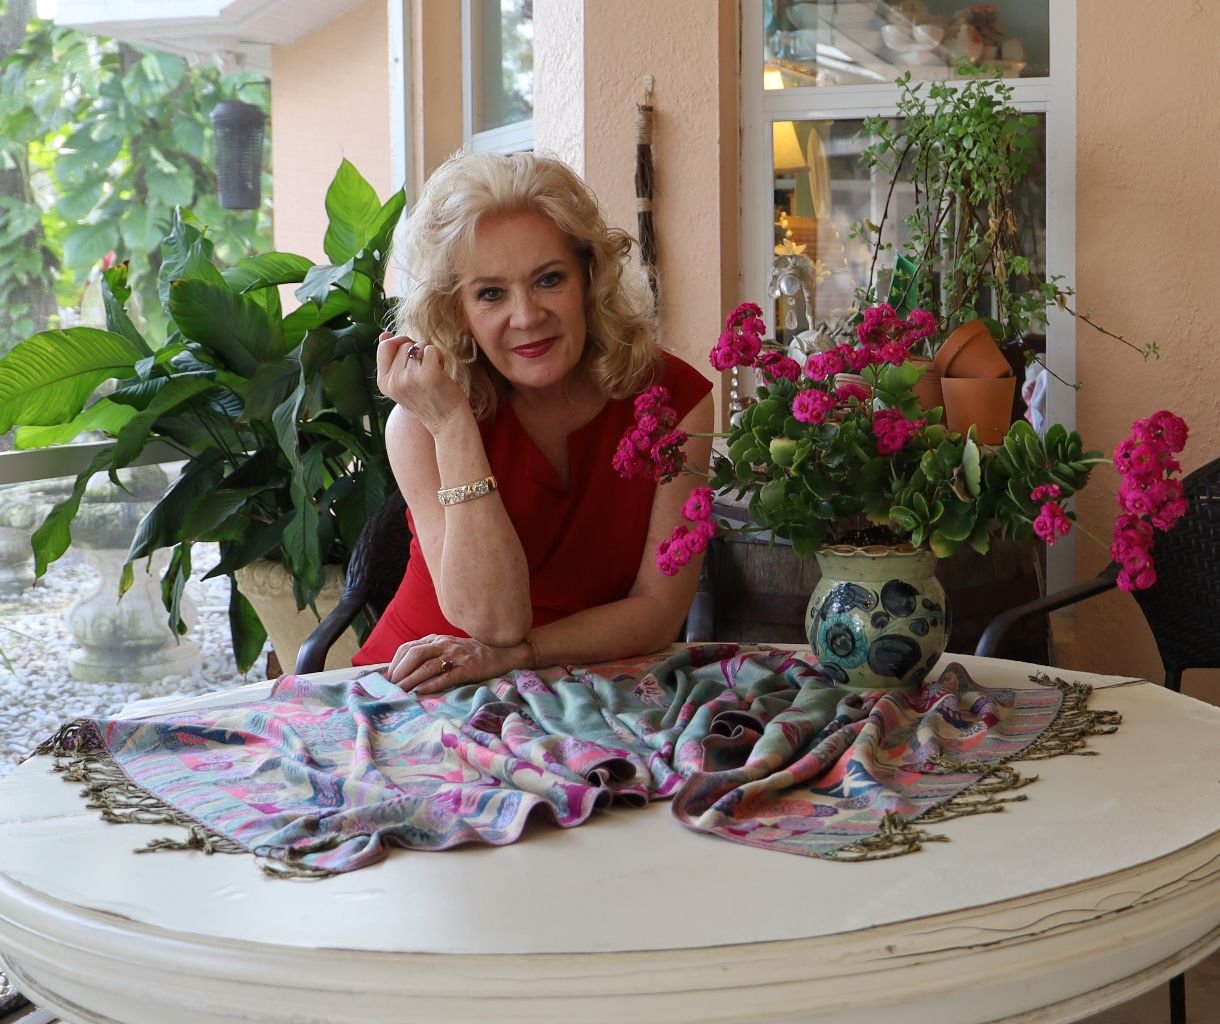
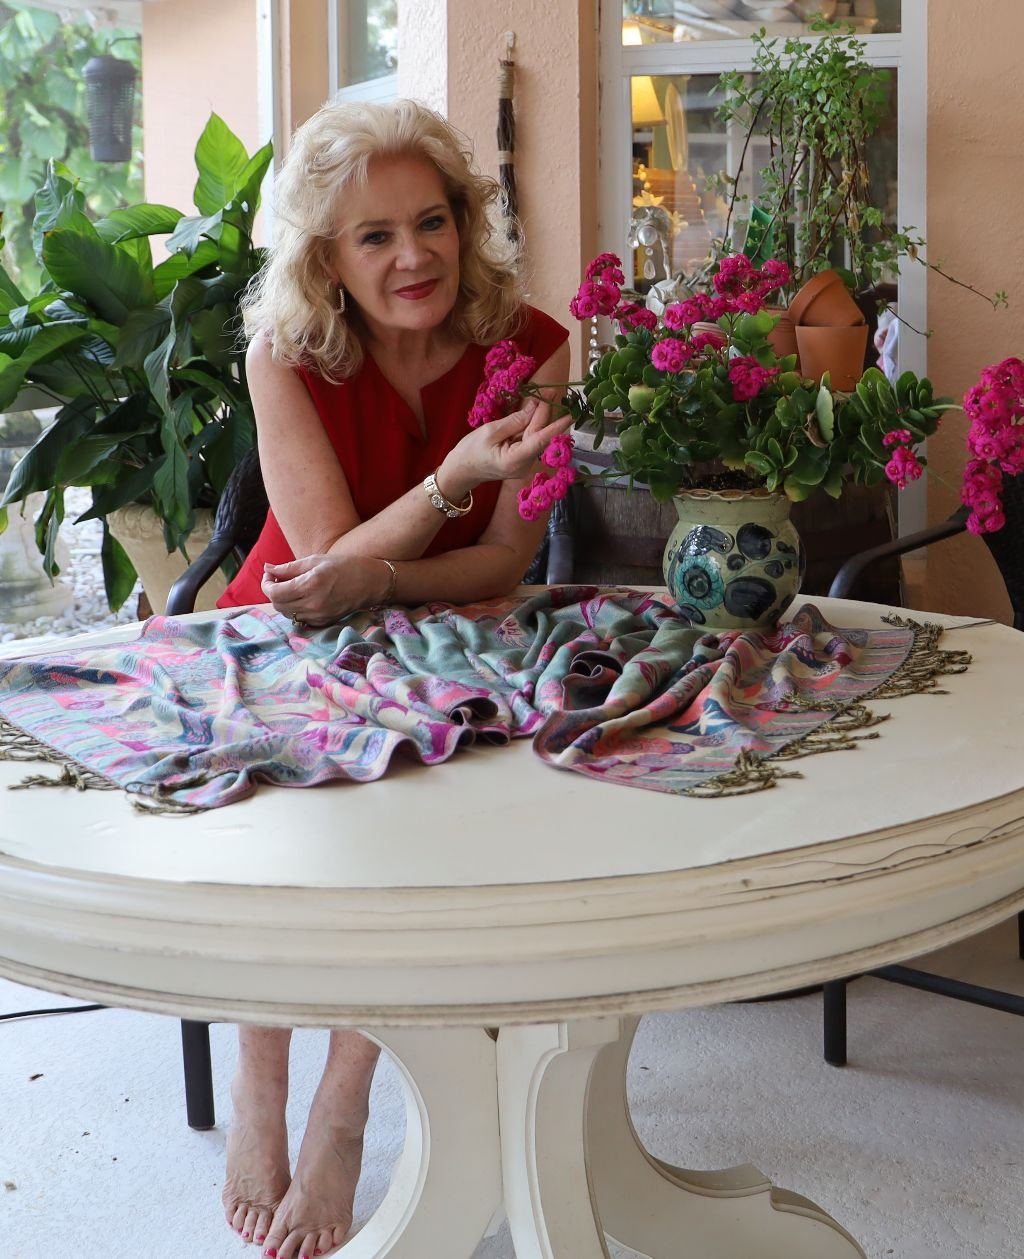
Life in sunny Florida... shoes optional

UNDER CONSTRUCTION


————————————————————————————————-
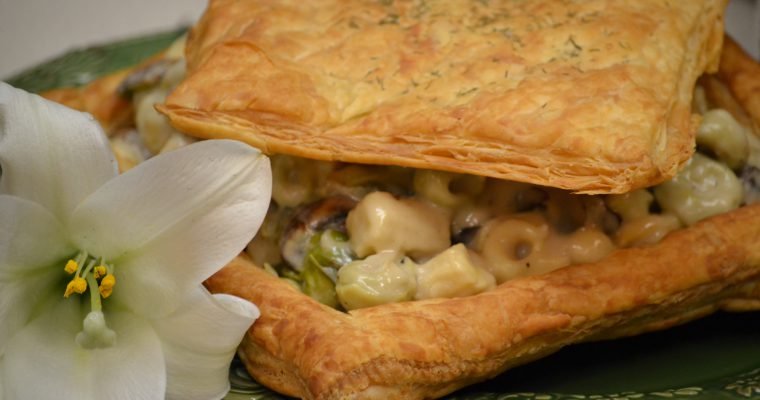
An Oldie But A Goodie
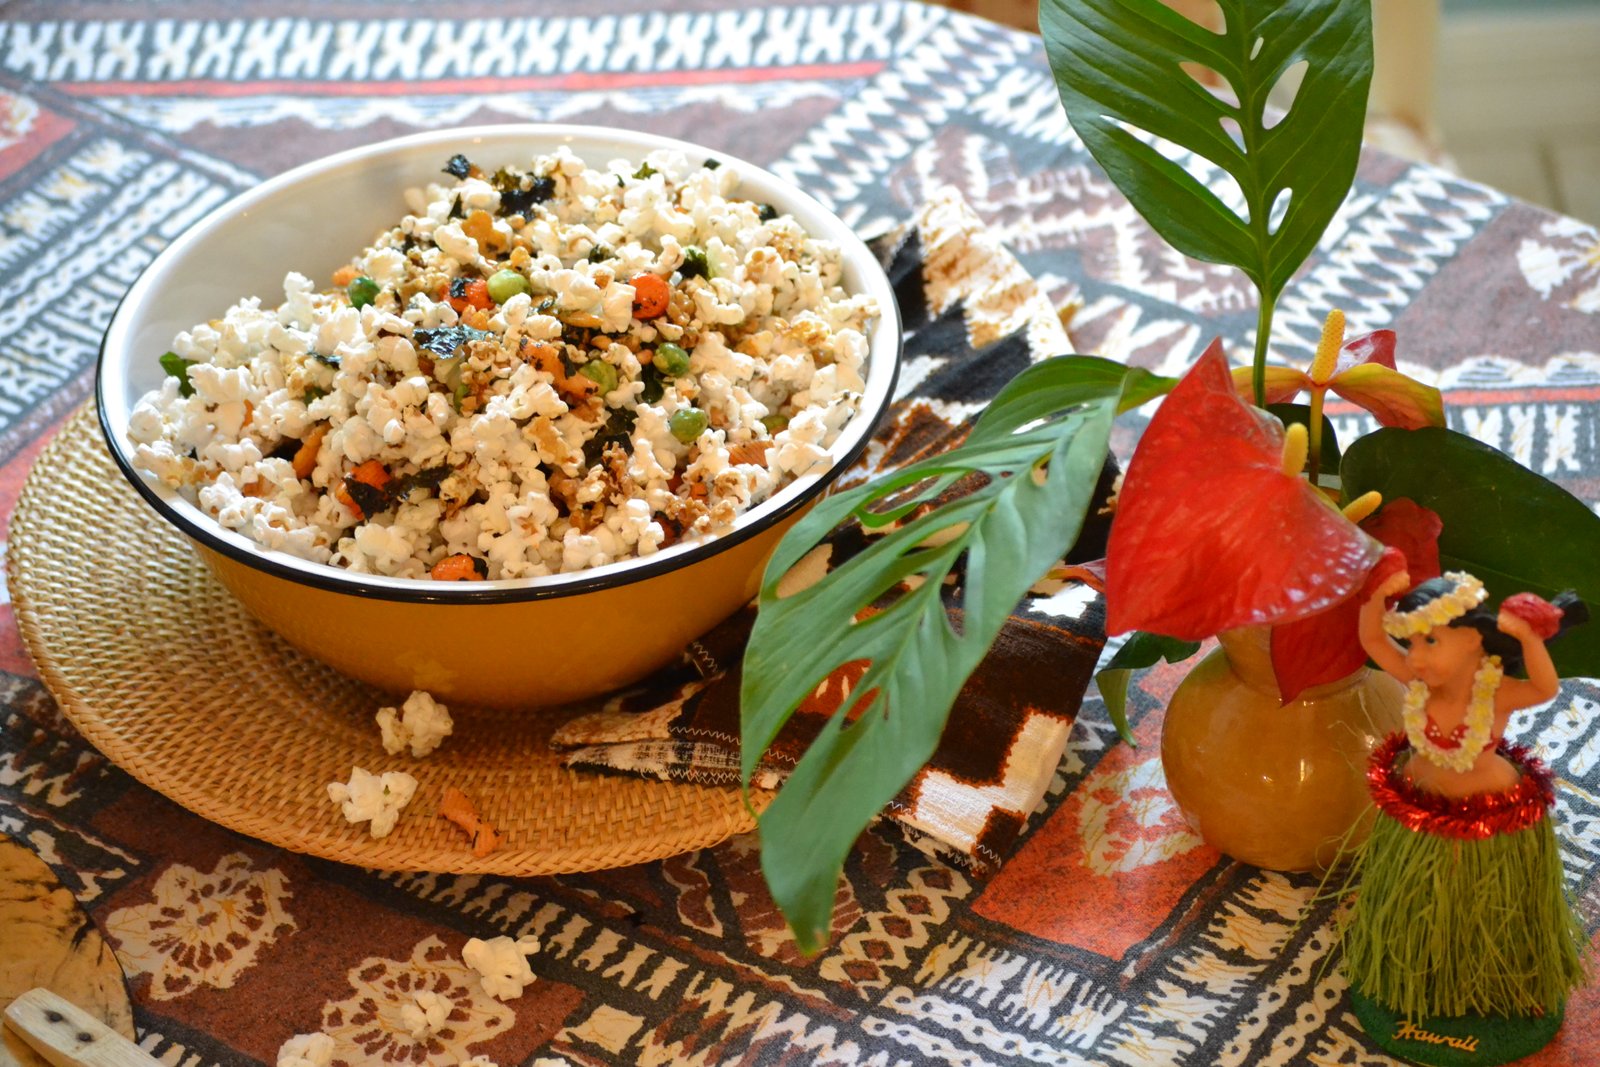
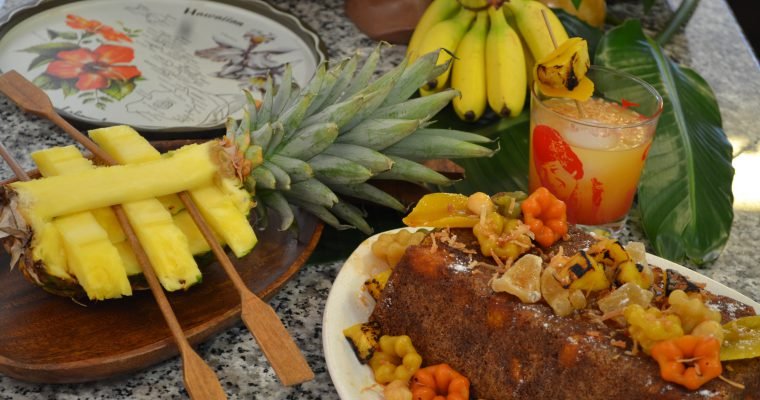
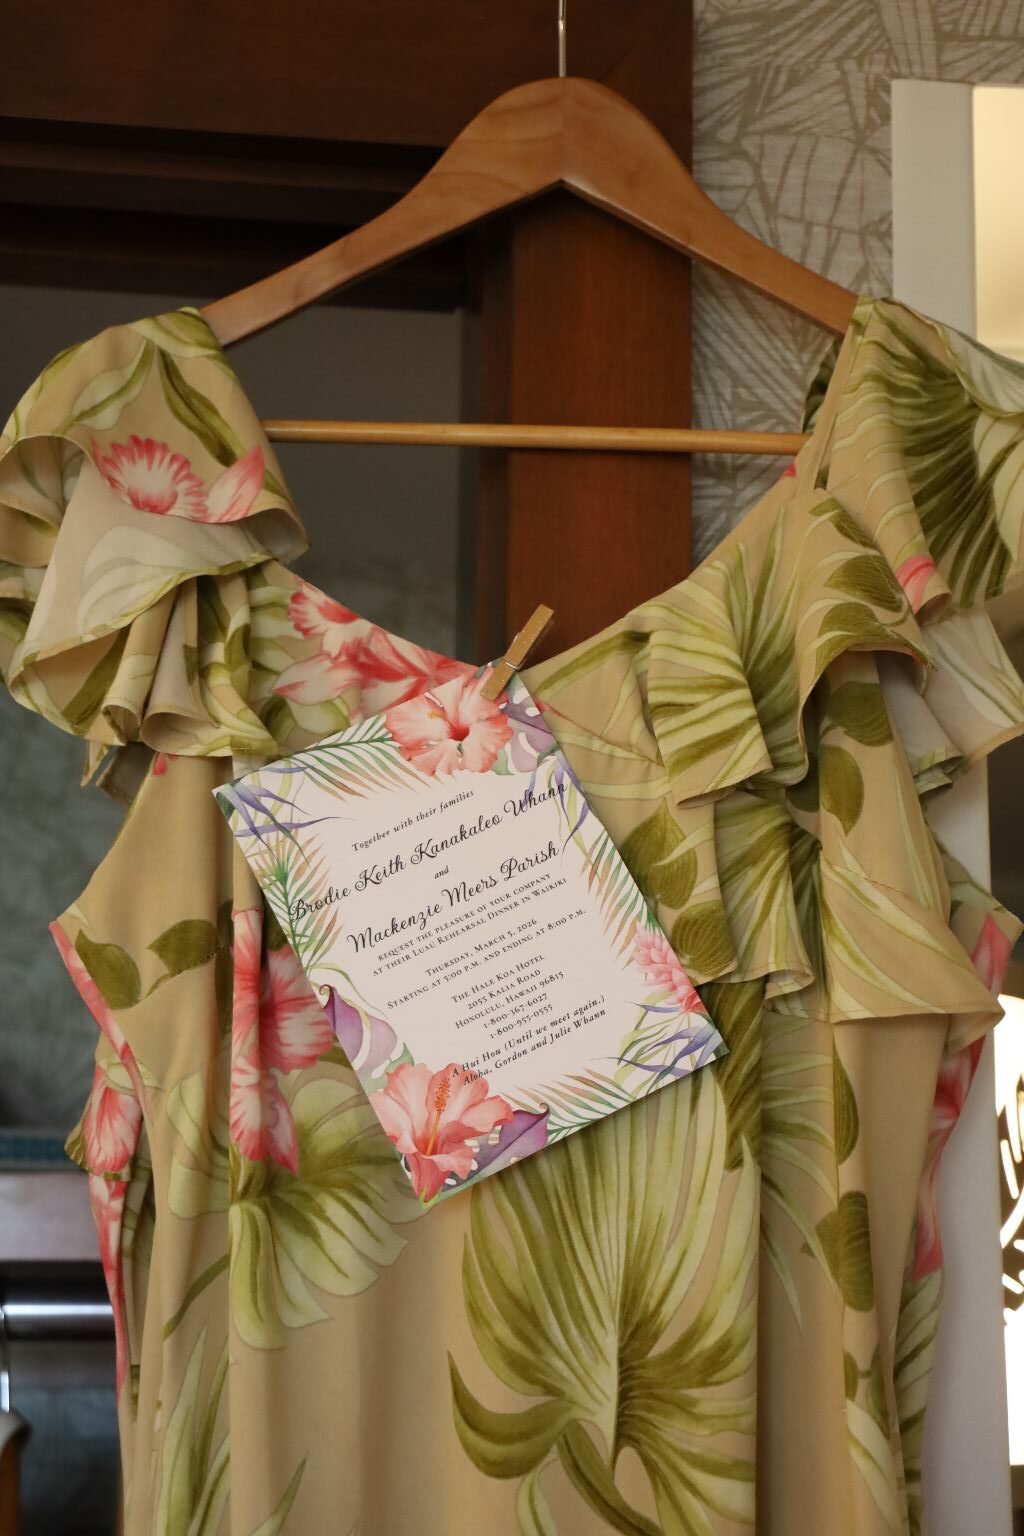
Click Here For: Whann Way Hawaiian Luau
——————————————————————————————

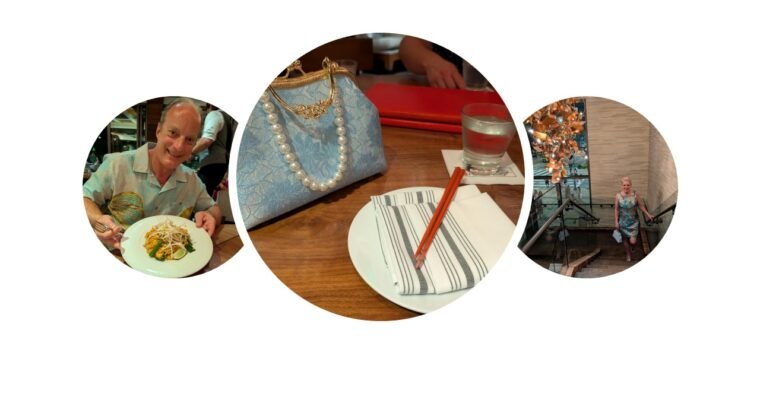
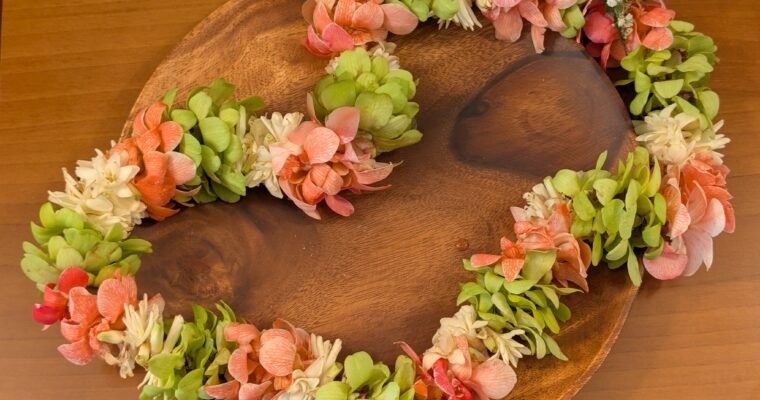
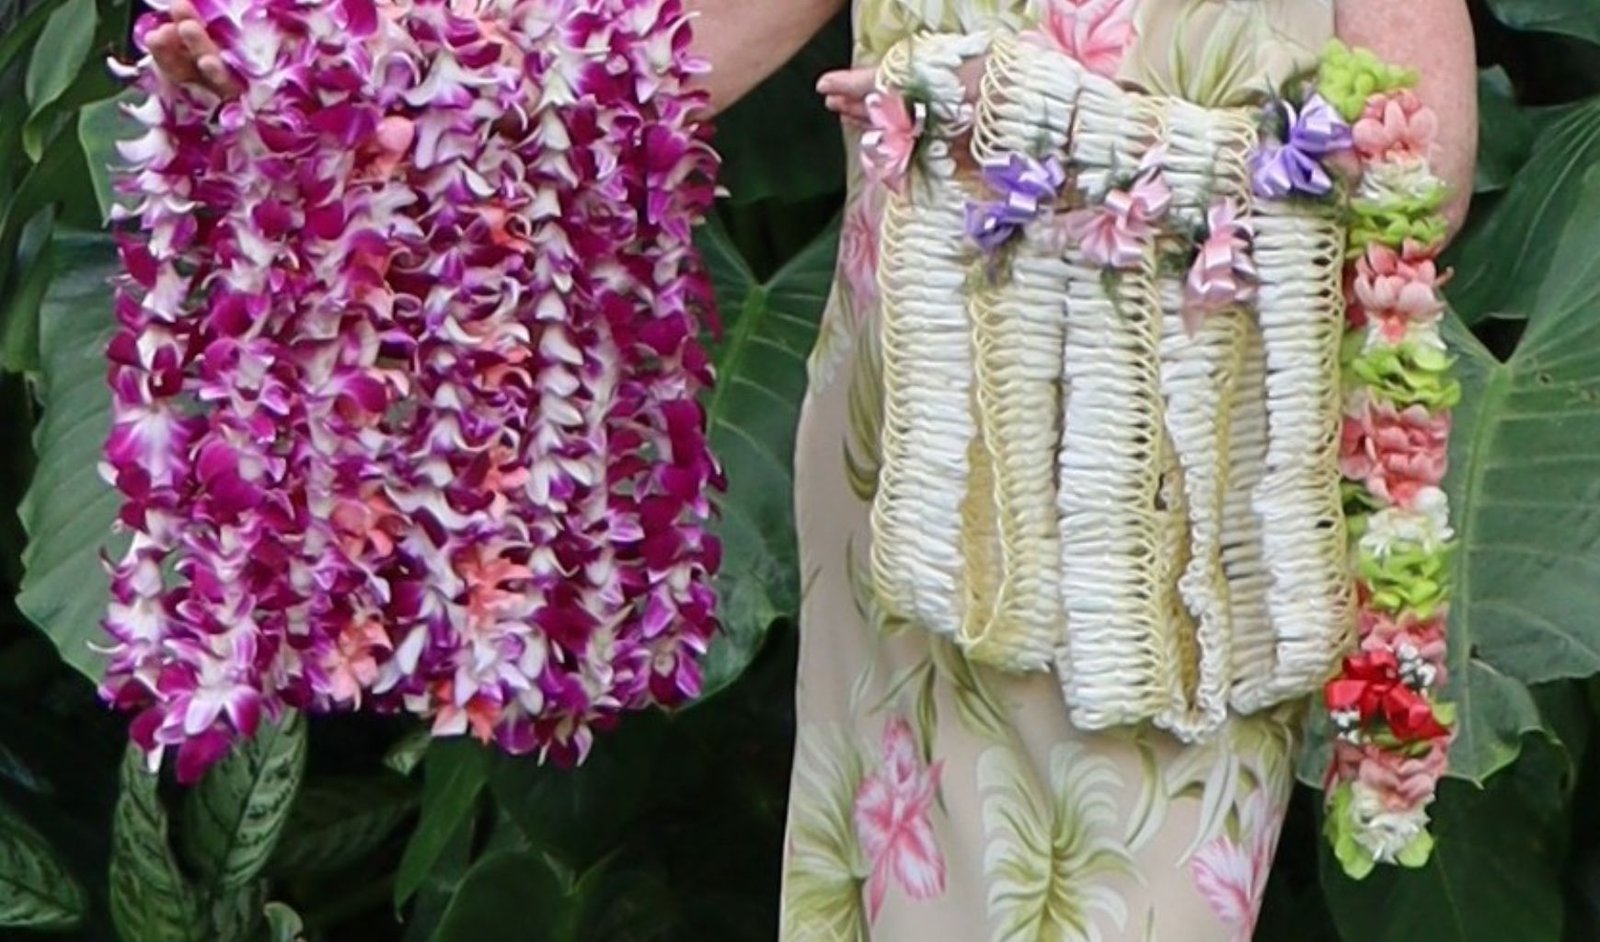
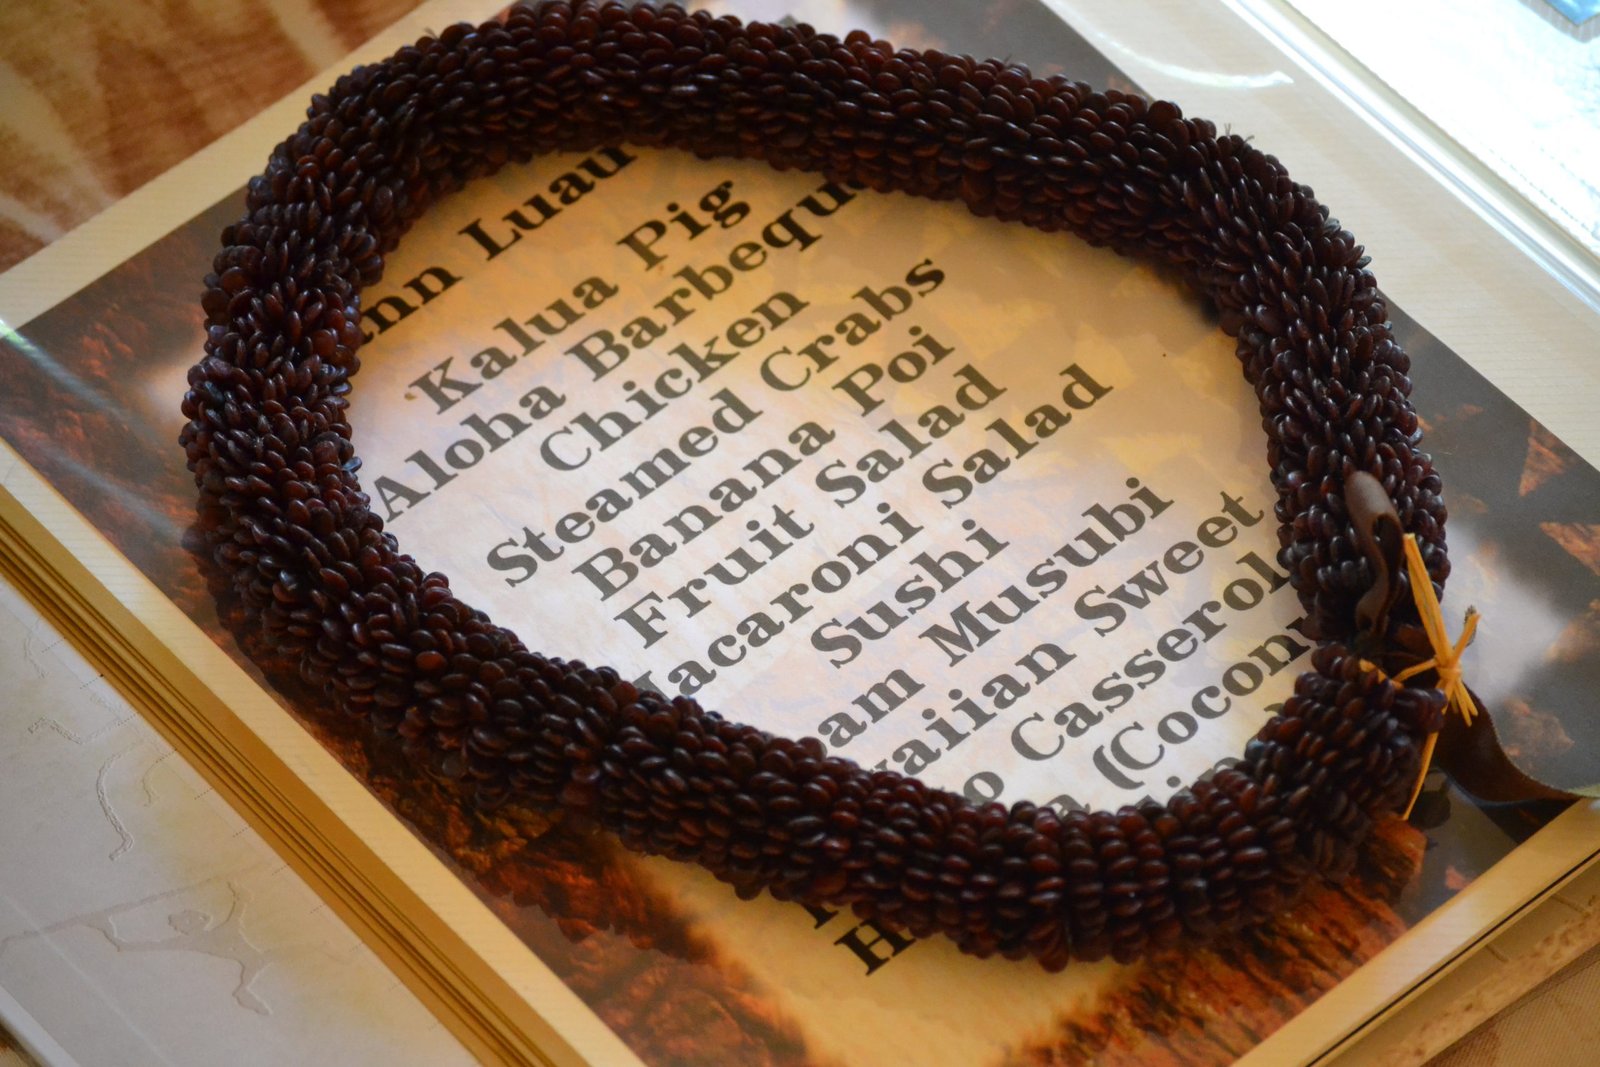
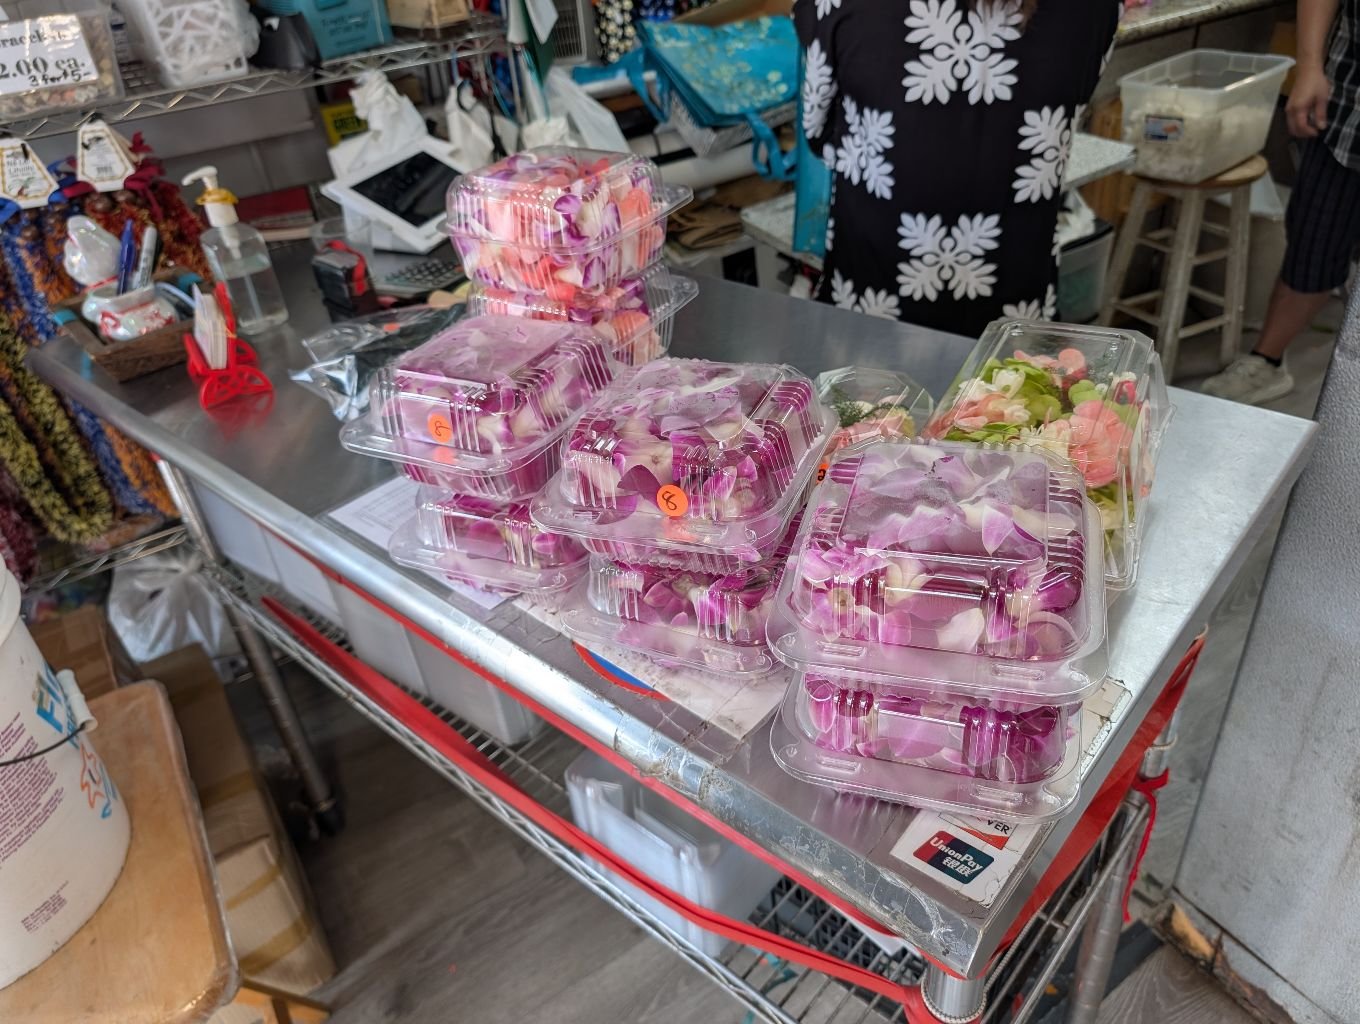
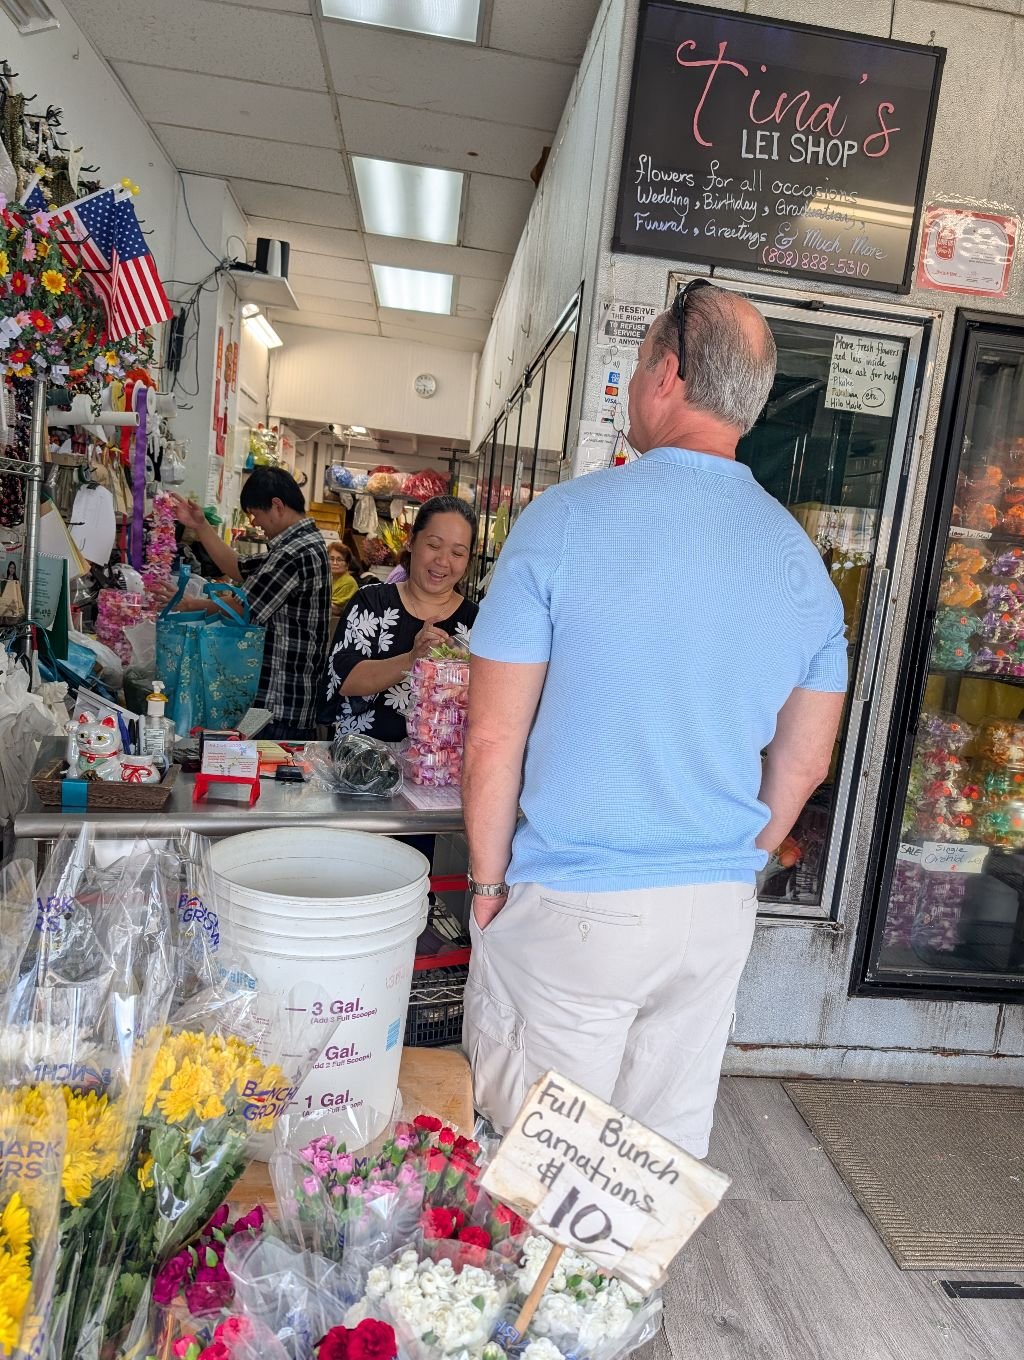
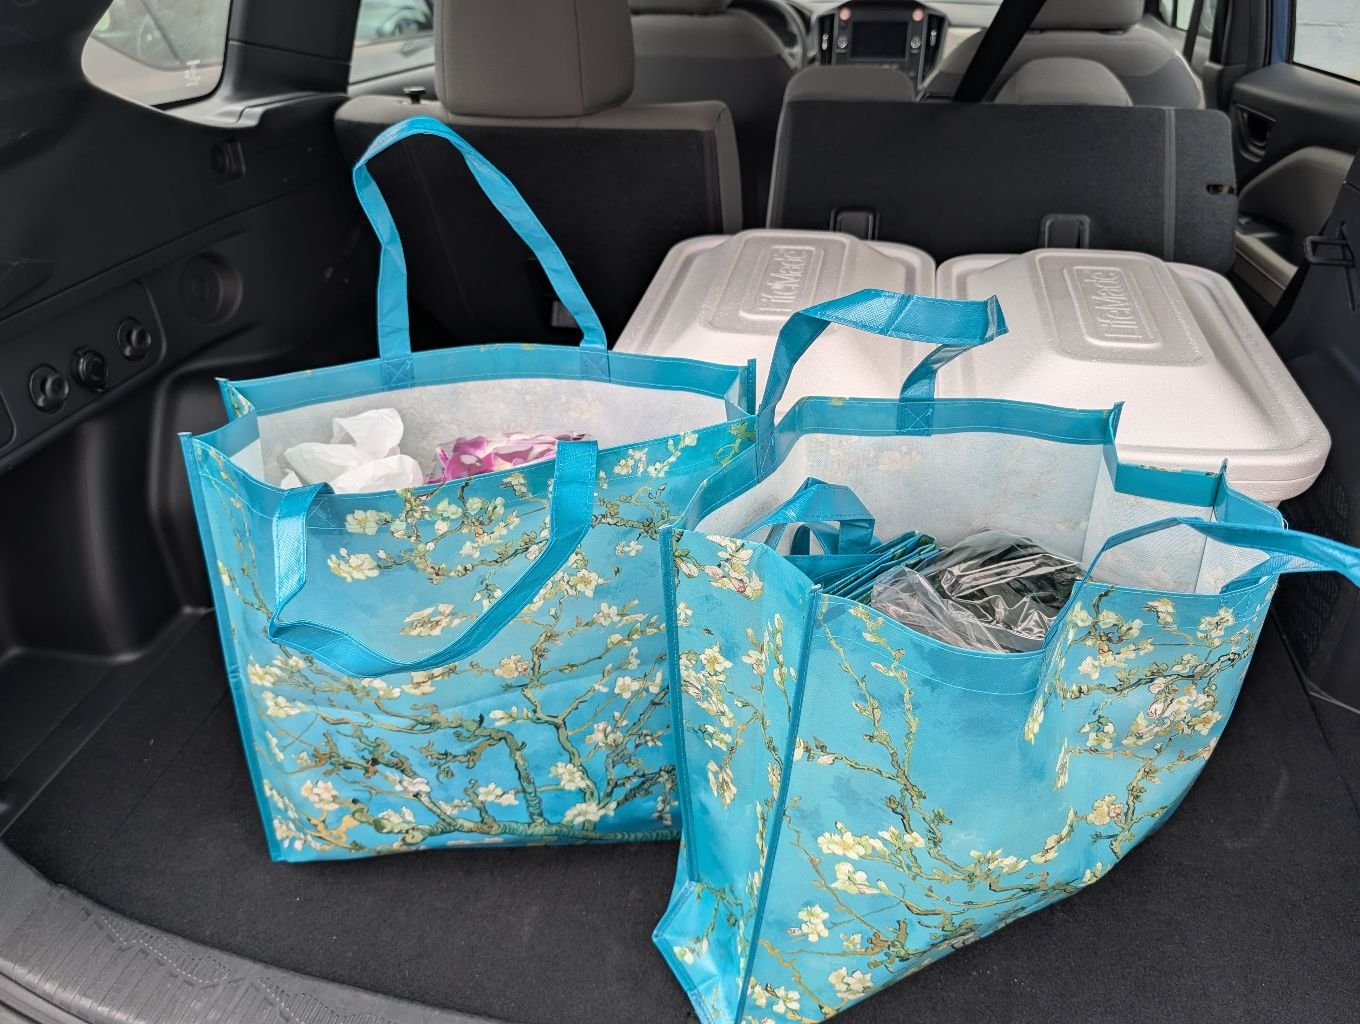
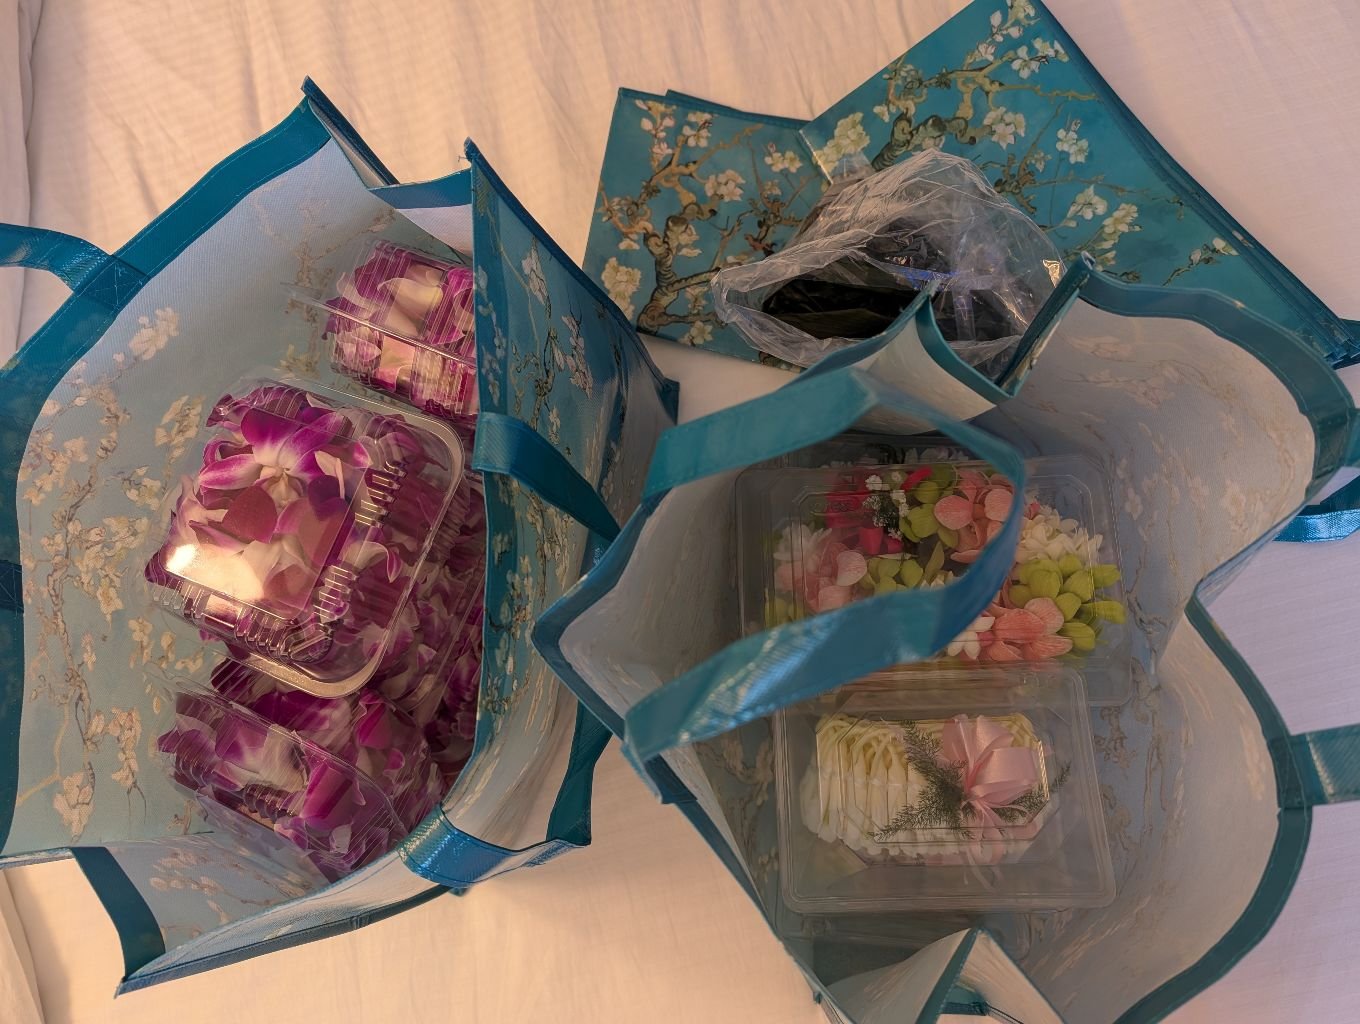
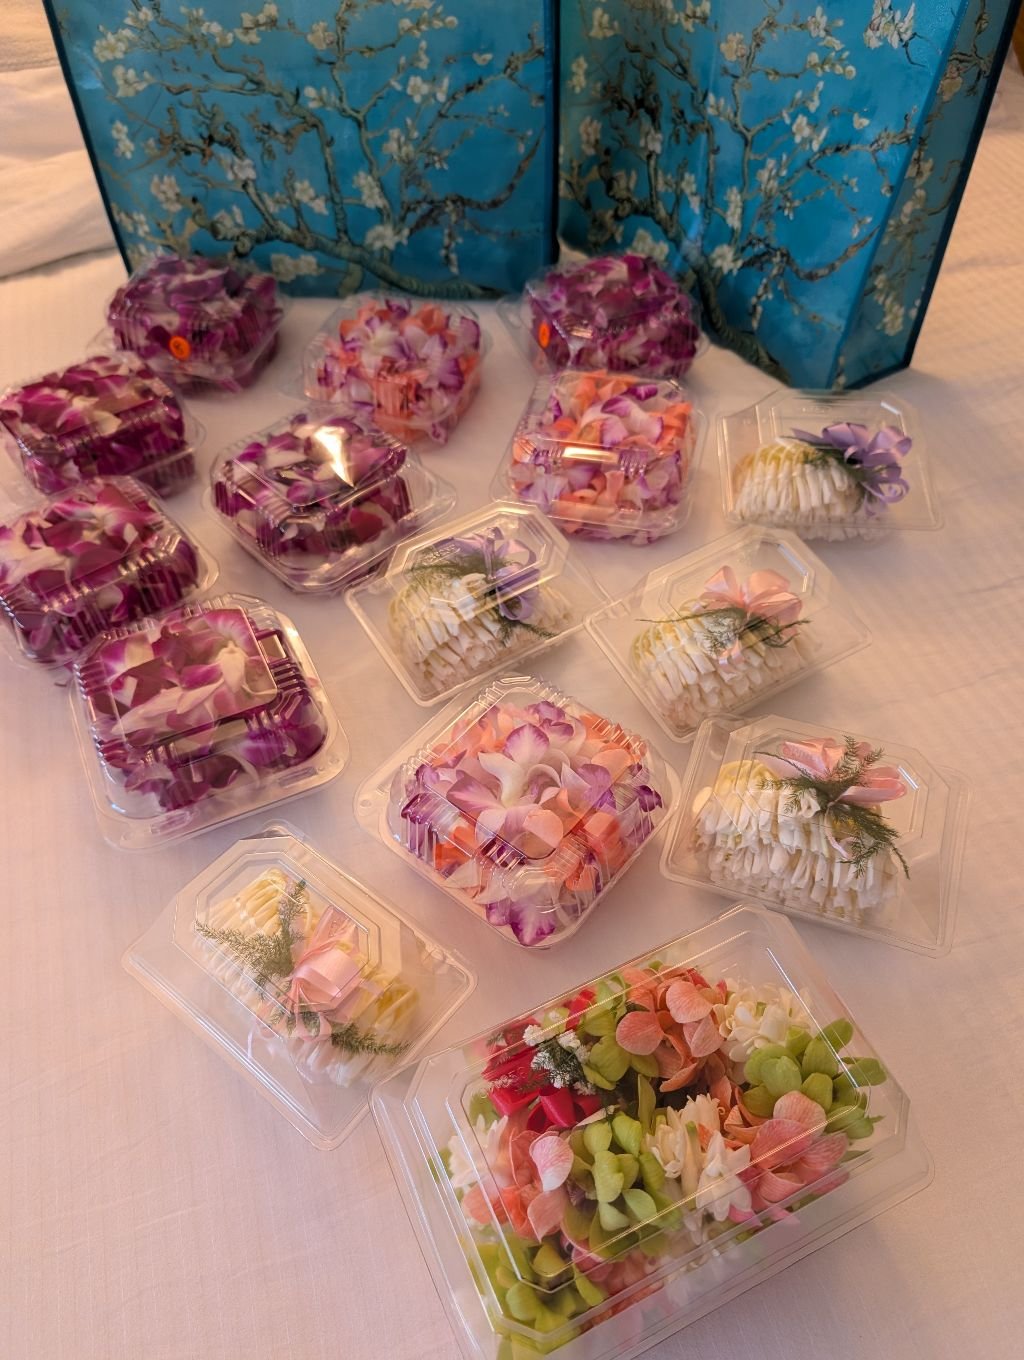
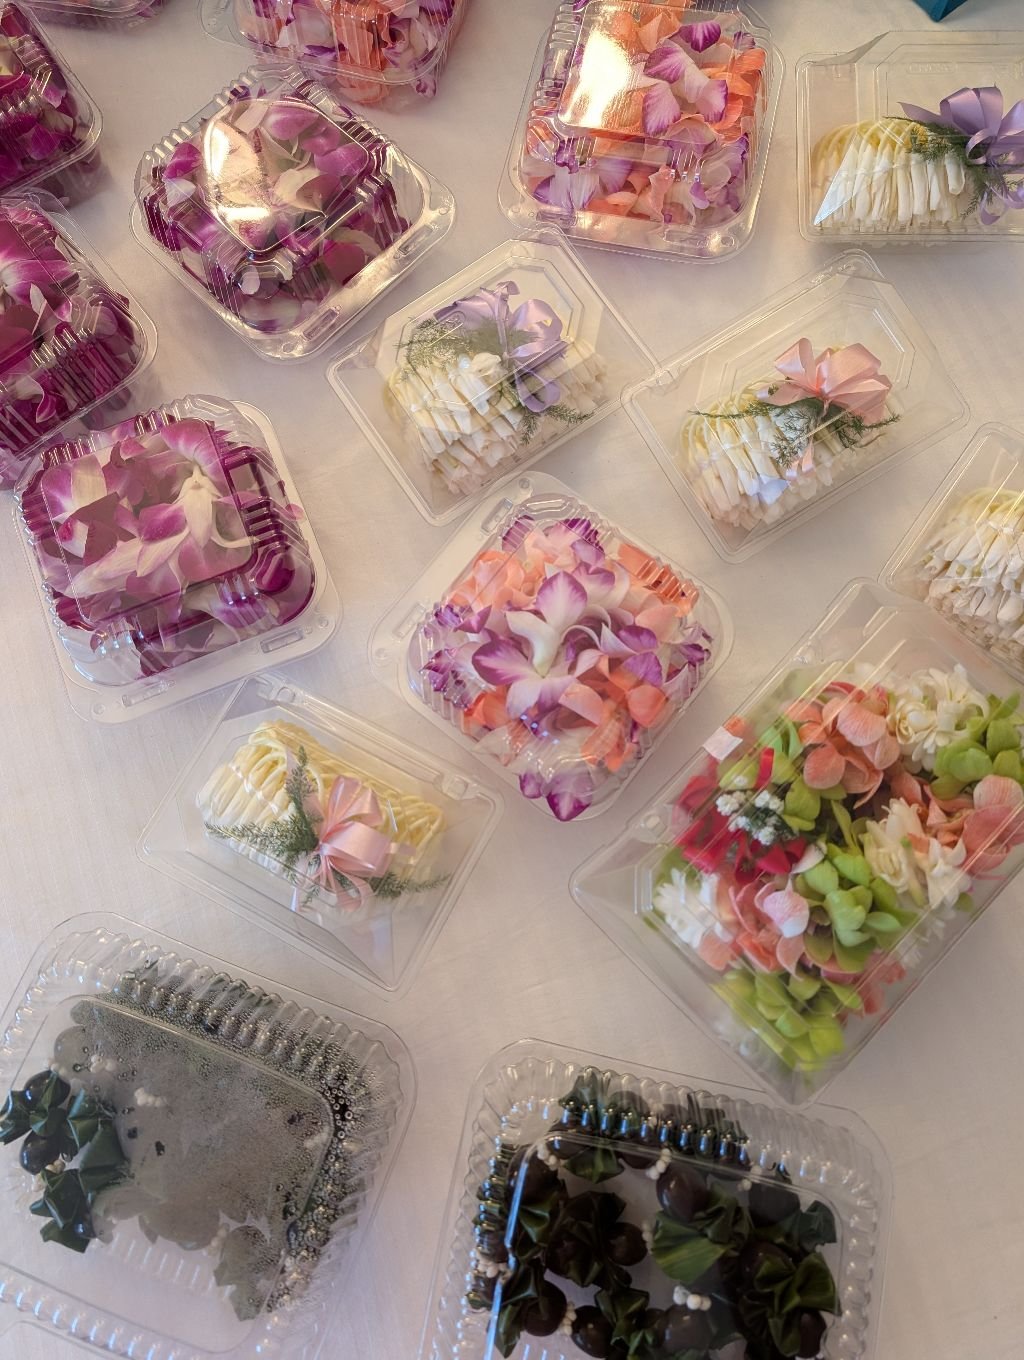
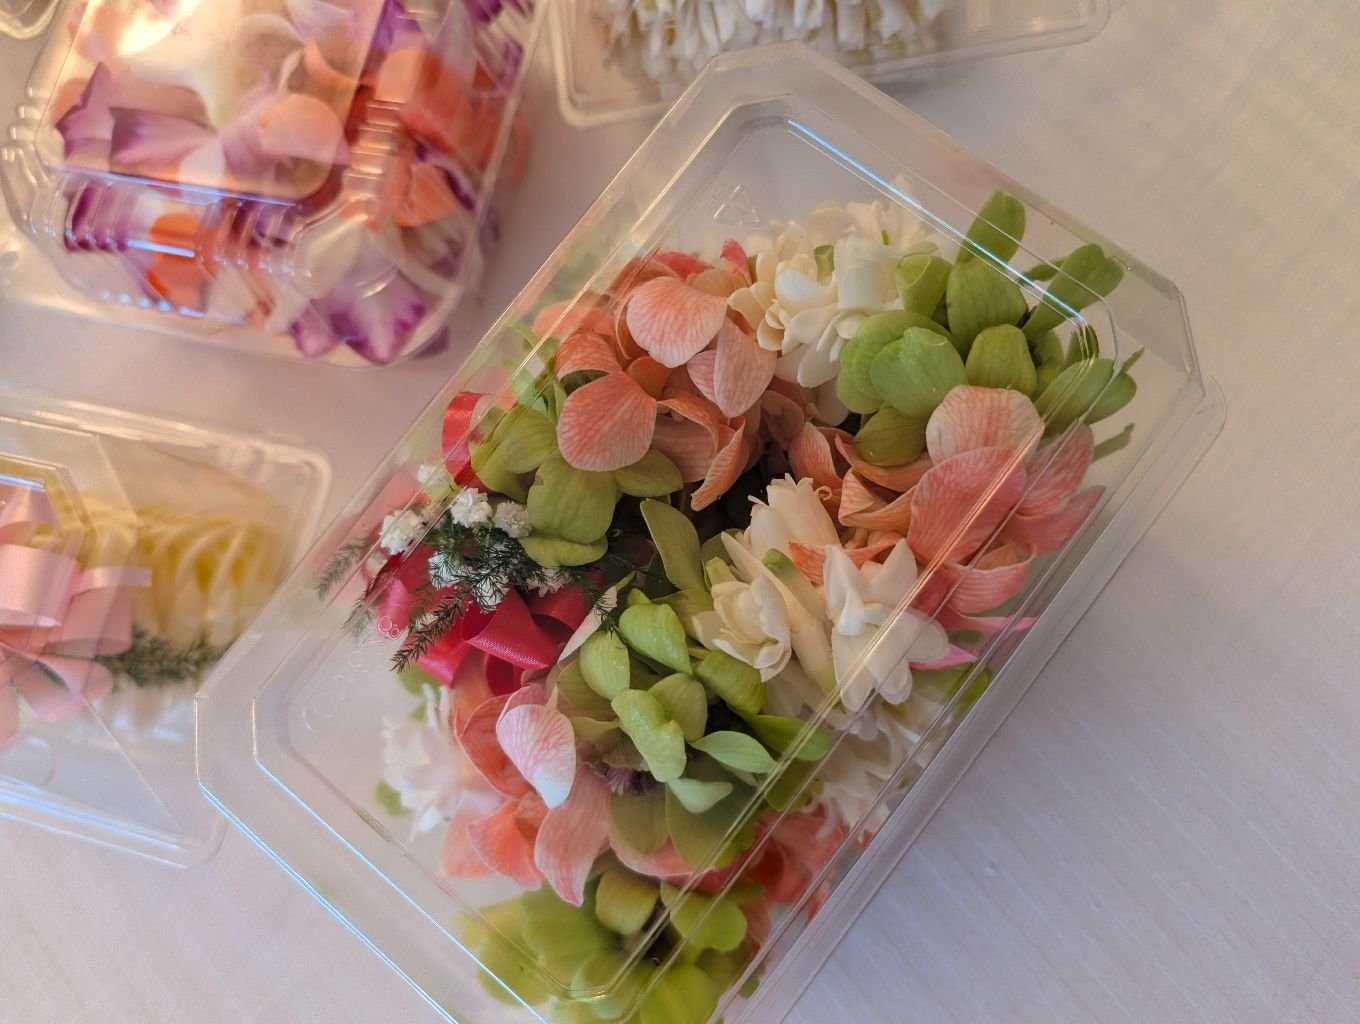
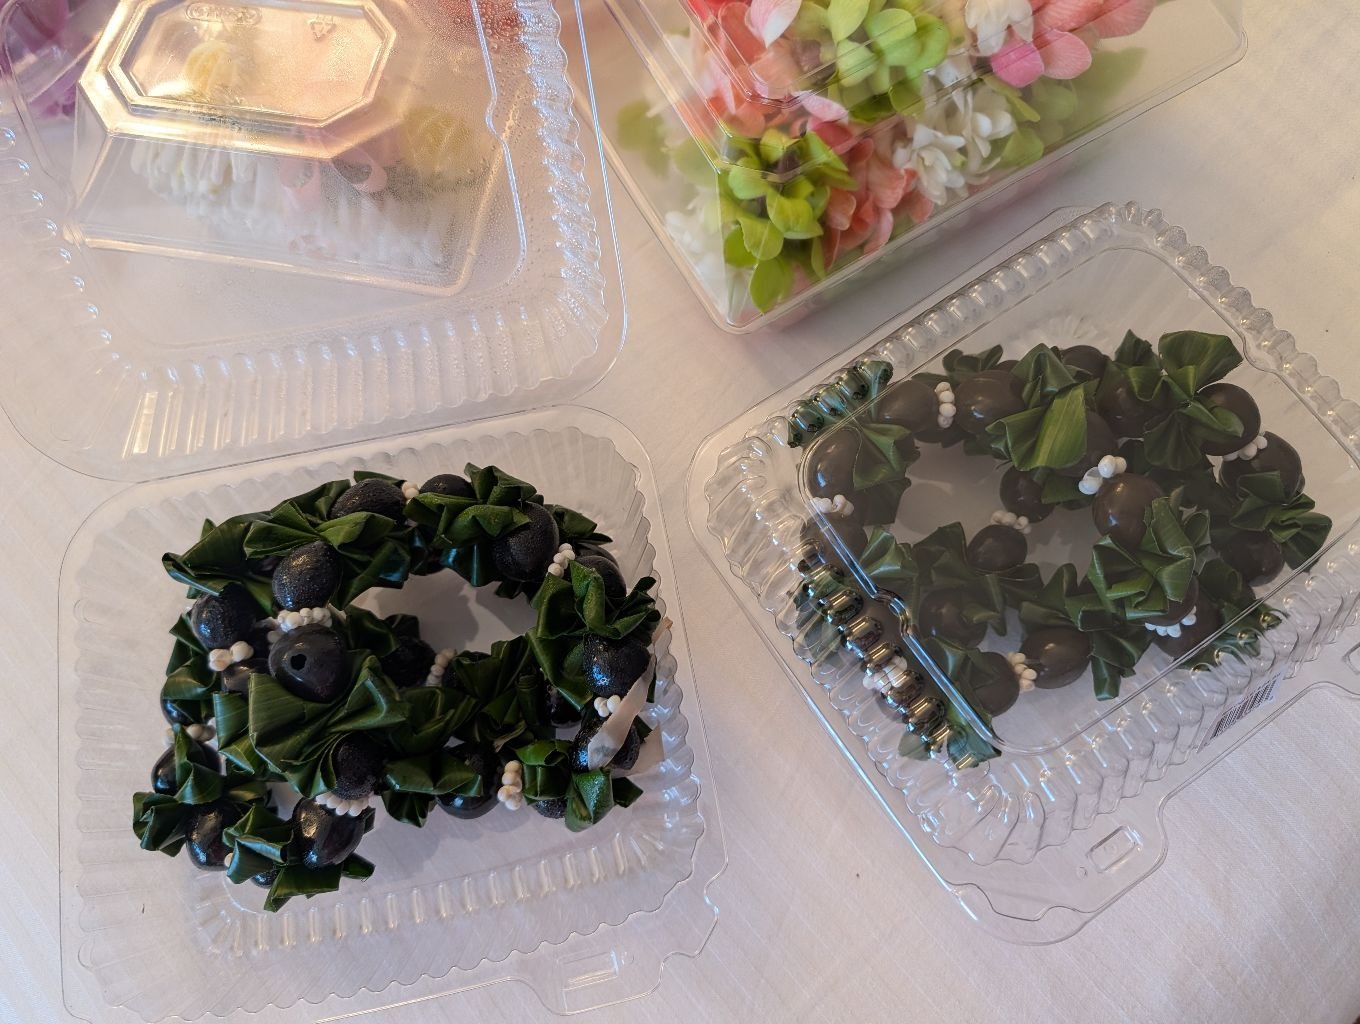
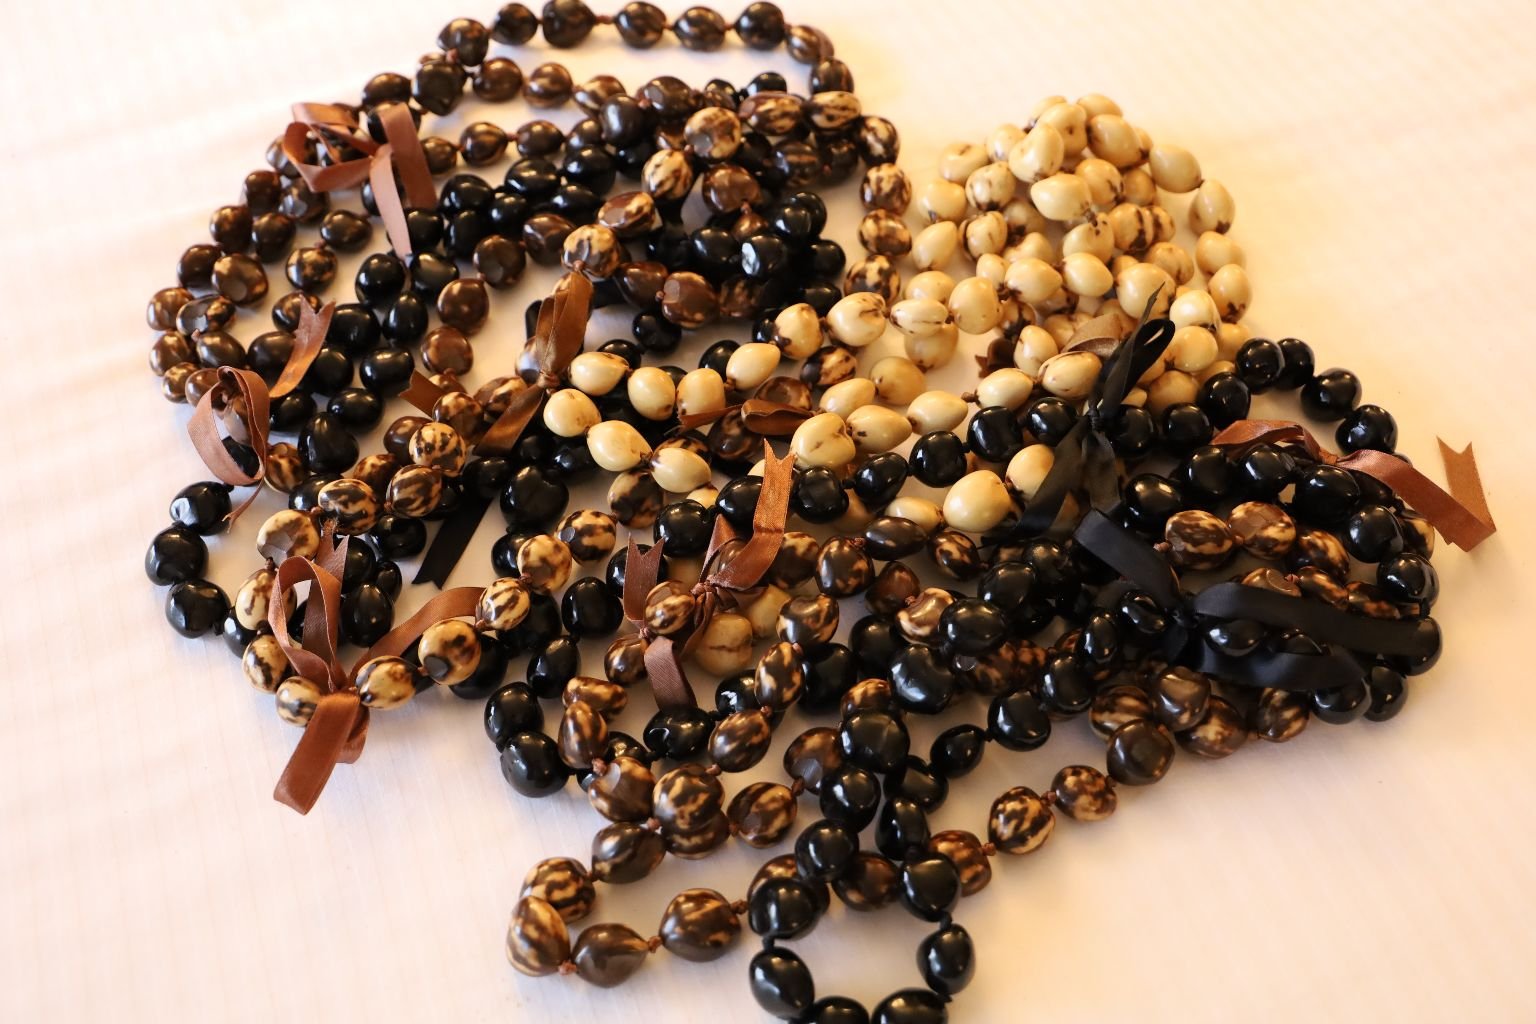
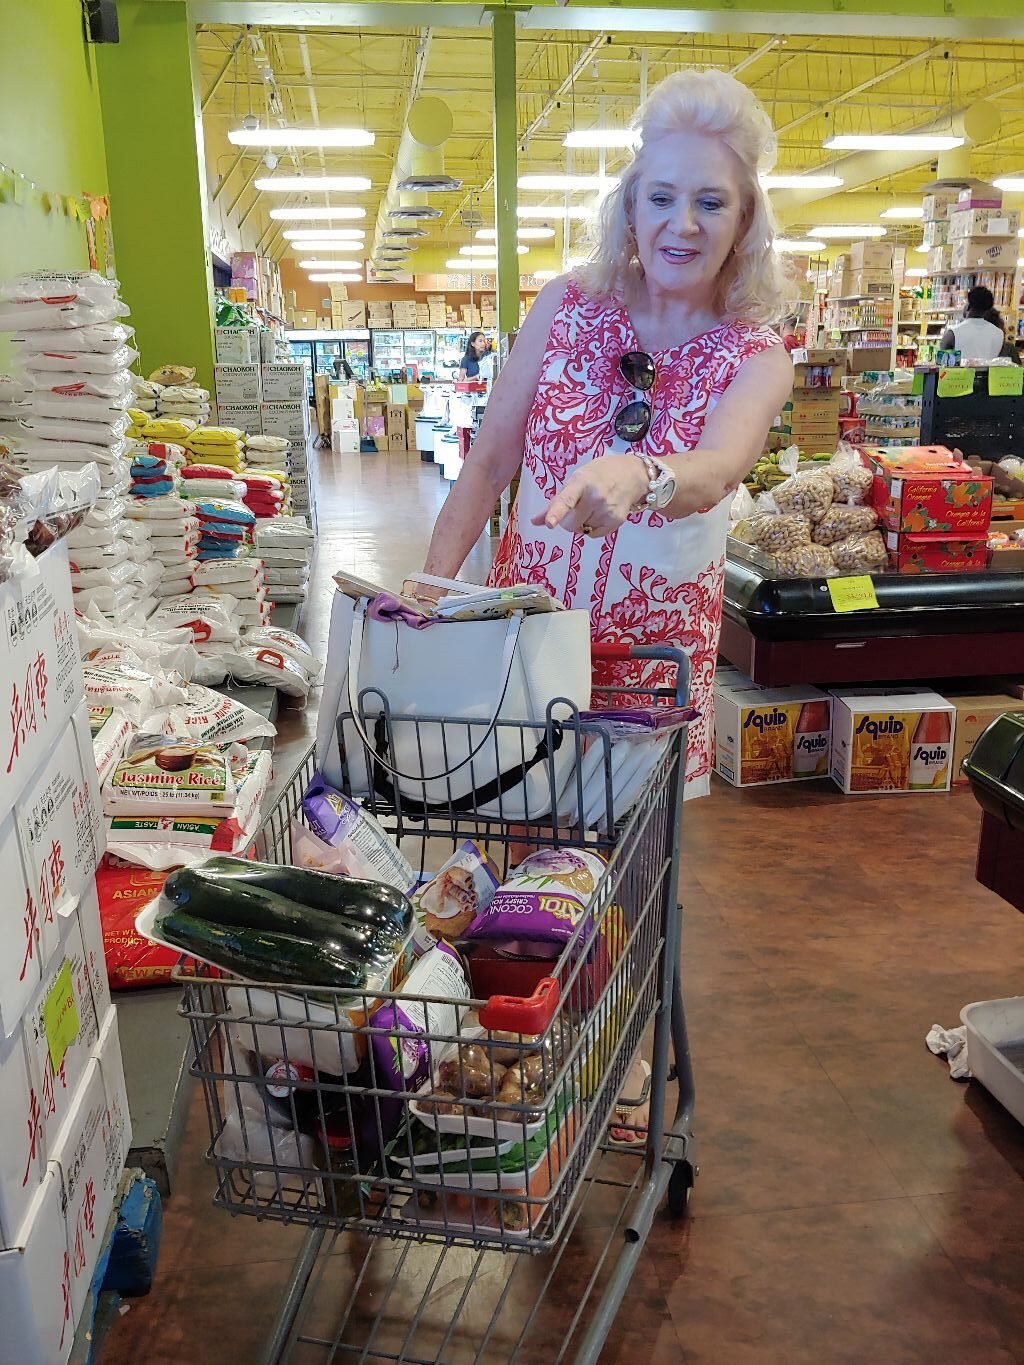
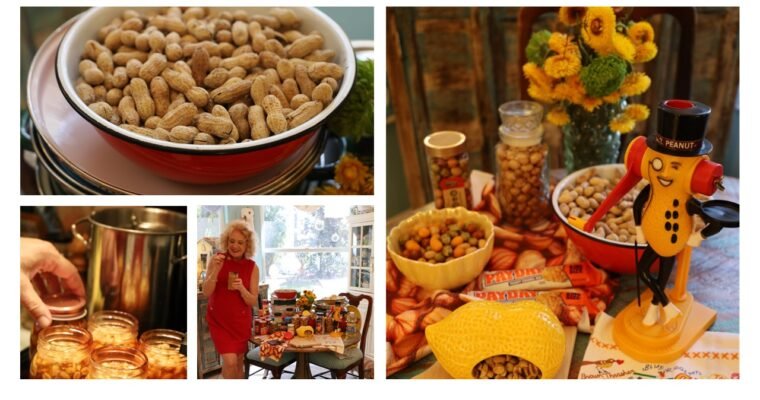
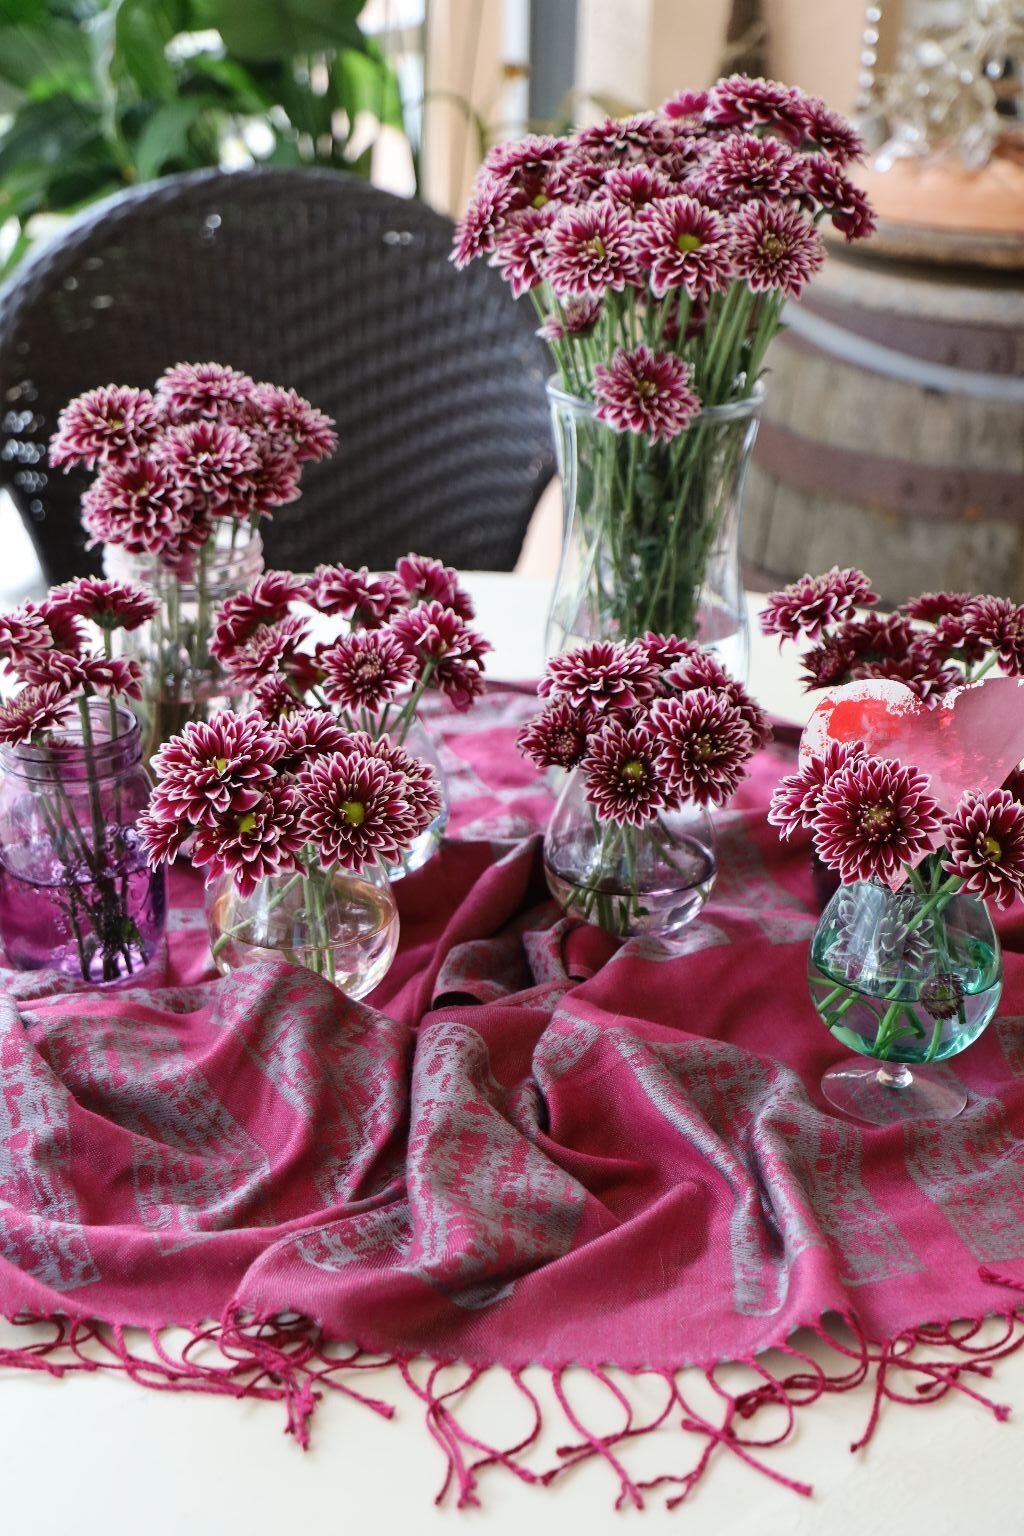
Buying The Luau Leis In Chinatown
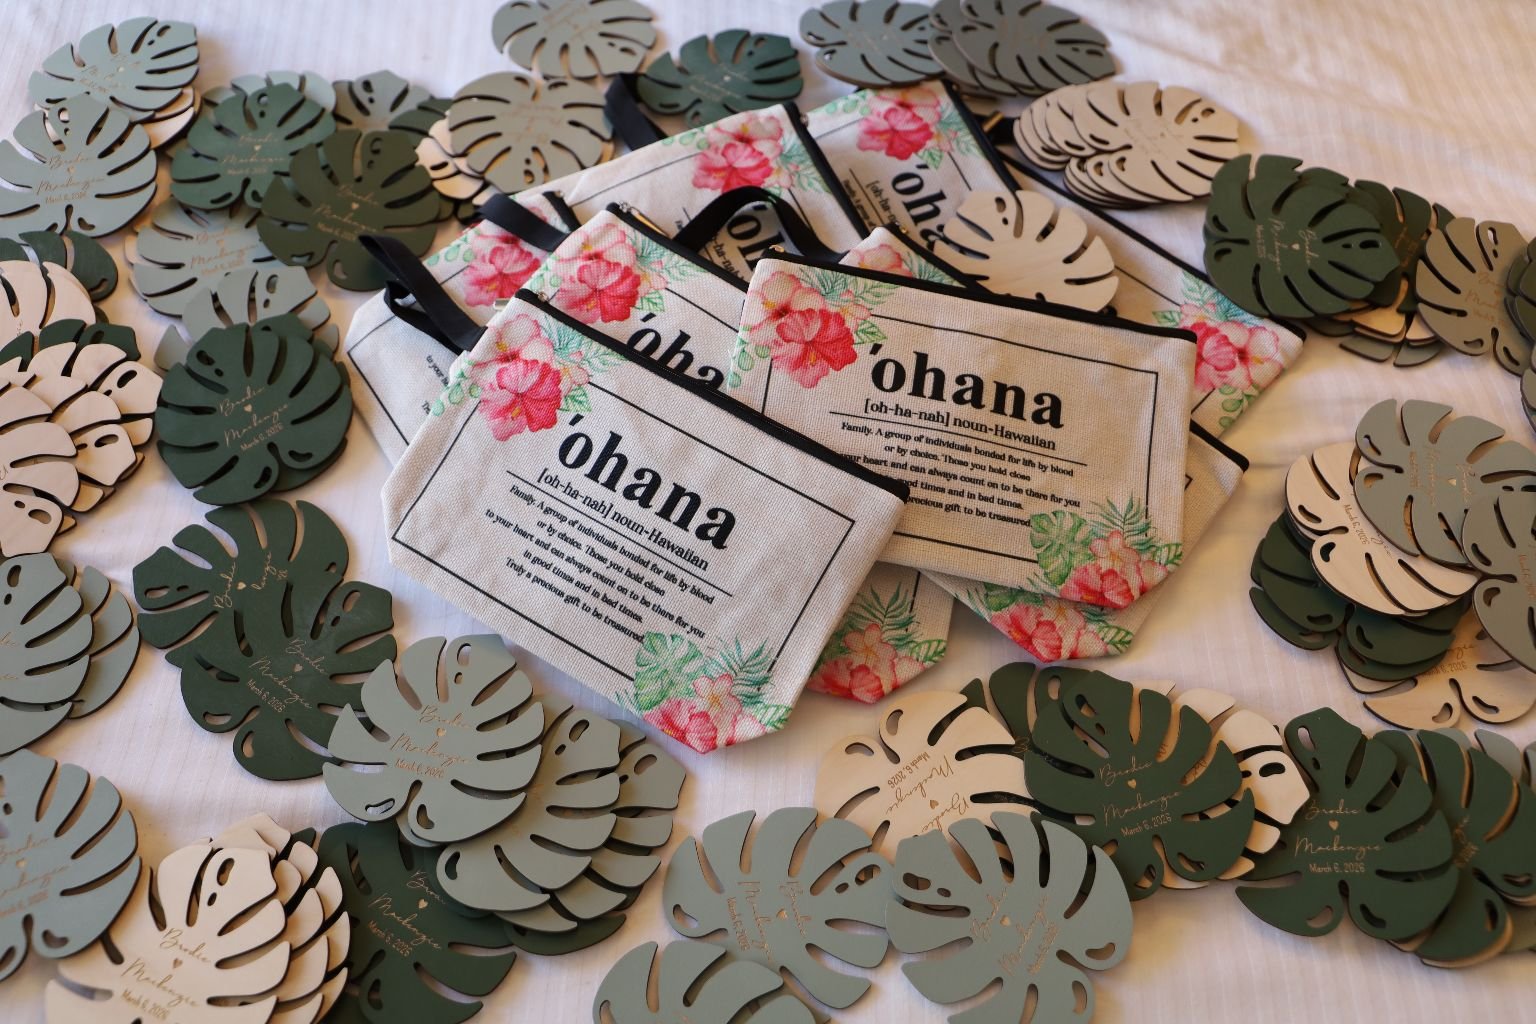
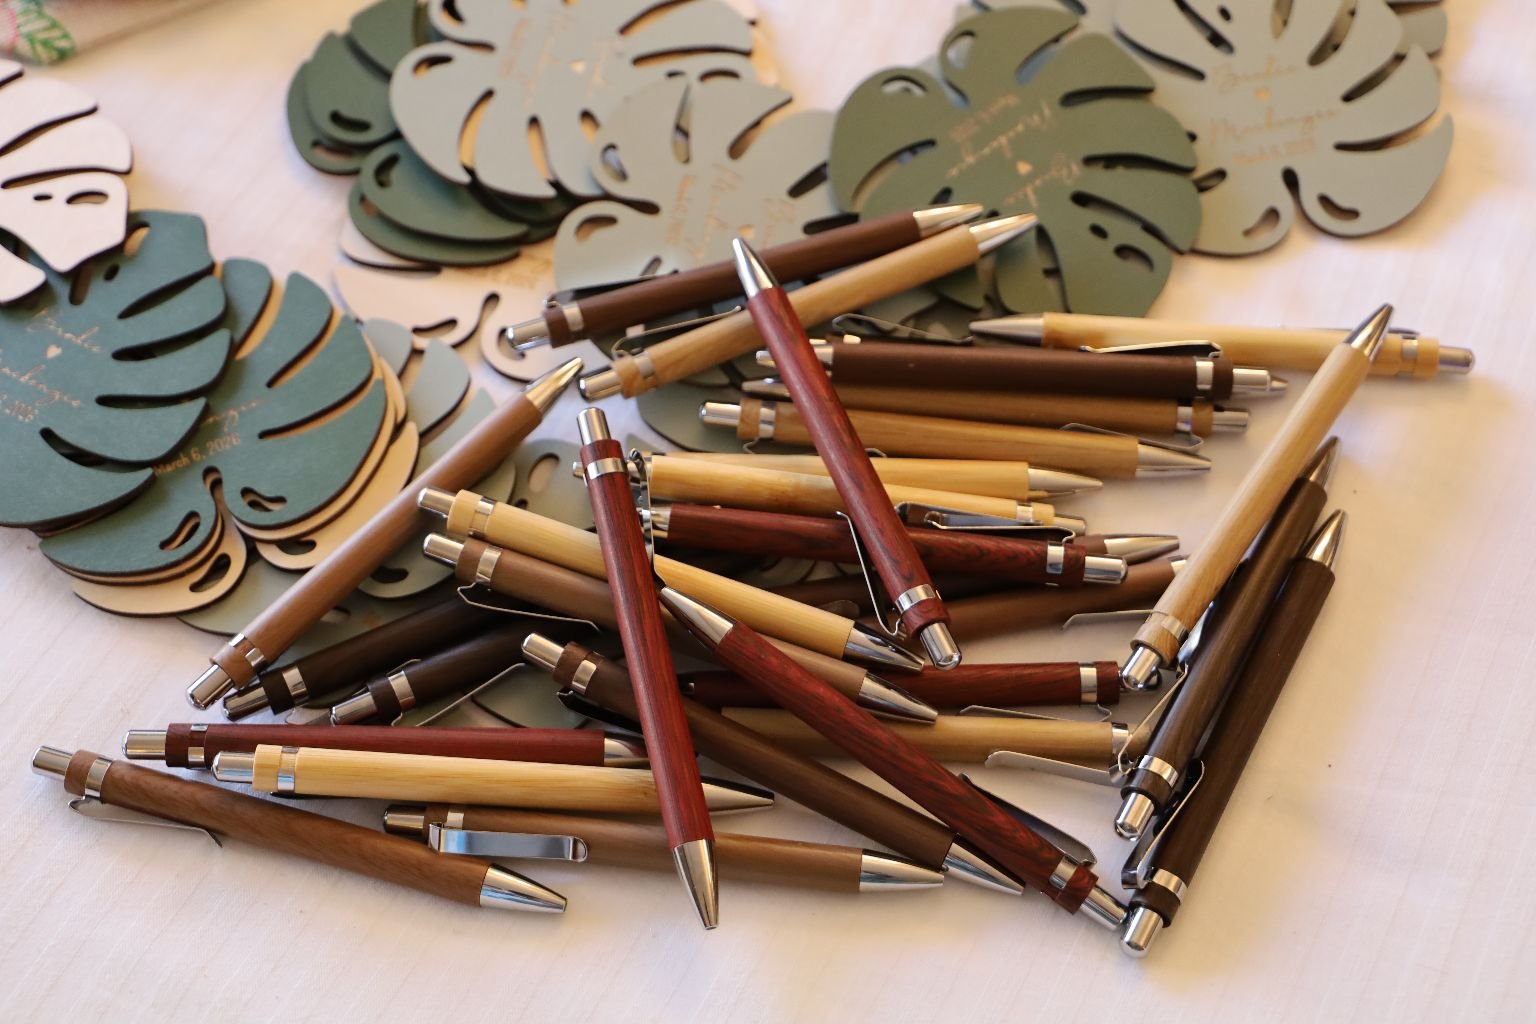
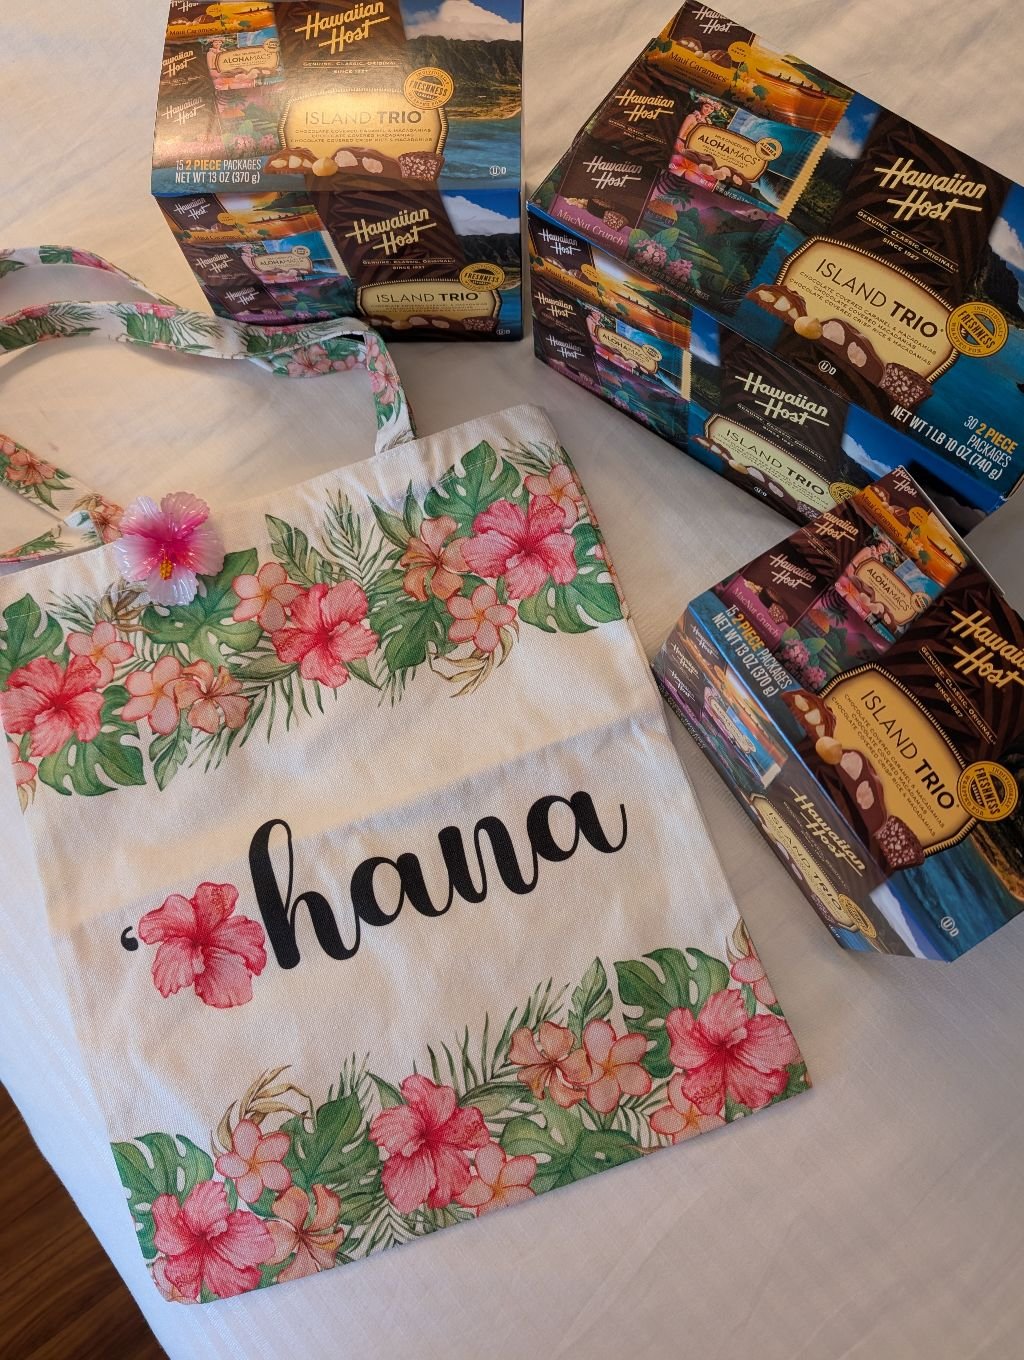


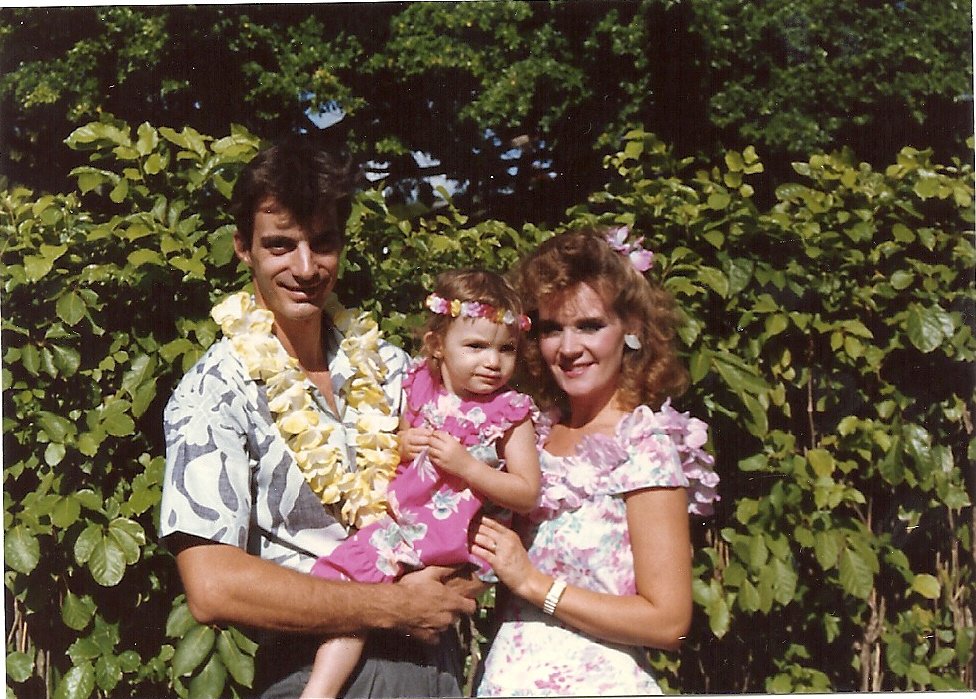
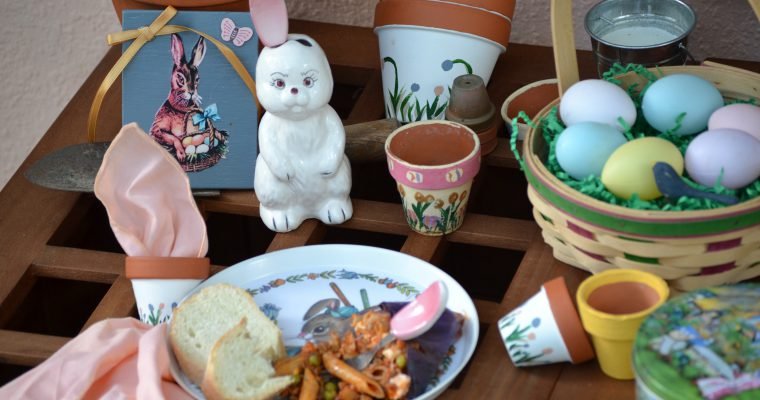
This is an account of our travels from Tampa to Las Vegas, to Honolulu, for the Wedding of our Son, and Future Daughter-In-Law, and Back Again… —————————————————————————————— We Do Start With: Mother of the Groom The Save The Date, and The Wedding Invitations …


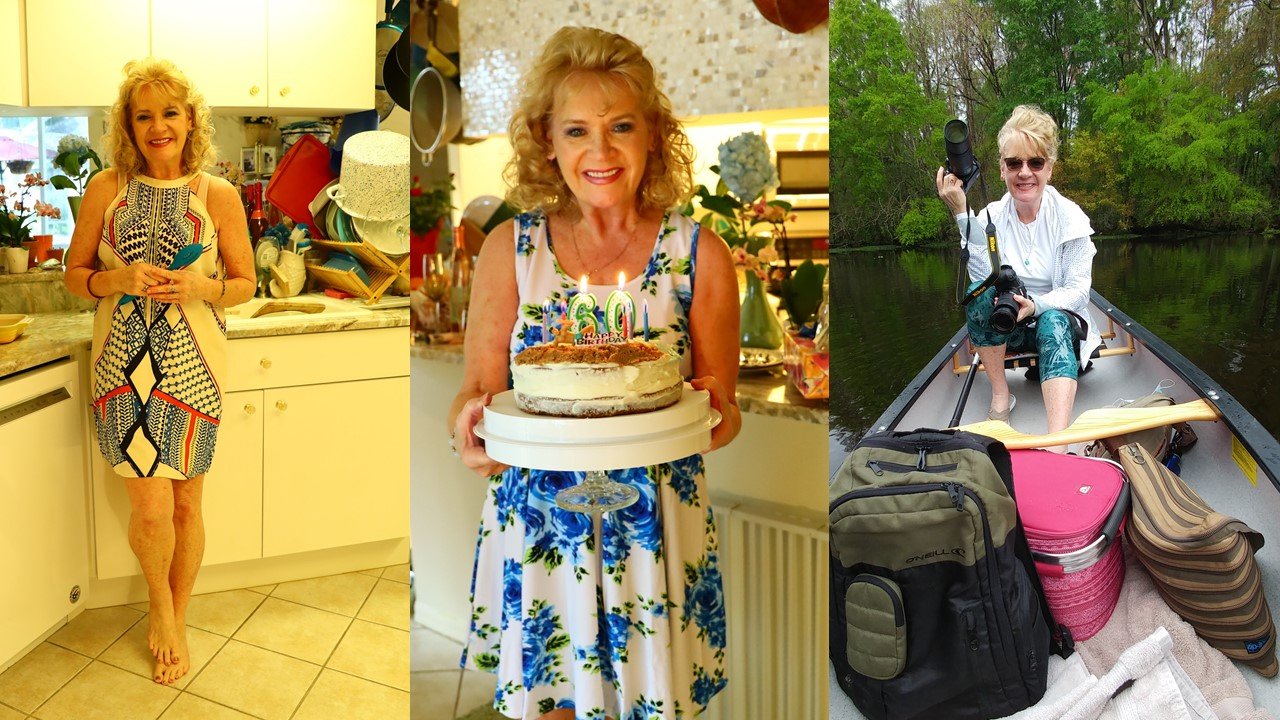
On February 13th., 2026 I Turned 65

Gordon and I ‘Out and About’ on My Birthday


65 Feels Pretty Good
——————————————————————————————
When I Turned 60 I Started this Website Page:
Sixty’s, (Sensational or Surviving?), We’ll See, Right?
(If you would like to read, just click on the link above.)
I didn’t know what 60 would be like? Which is why I started the above website page.
I assumed that I would be blogging about any changes in my body or lifestyle. Perhaps the ‘ups and downs’ of ageing? My intention was that we would explore it together.
I am a very open person. Sometimes to my detriment. But, that is who I am, and I am not going to fight against that.
Now that I am 65, I have been in my 60’s for 5 years now. I have been getting to know the ageing me and I am fine with it.
Yes, I have put on some weight in the middle. That is where my pounds accumulate anyway. They always have.
However, there is just something empowering that comes with ageing that I didn’t know in my 50’s, or 40’s, or 30’s, etc.
—————————————————————————————–
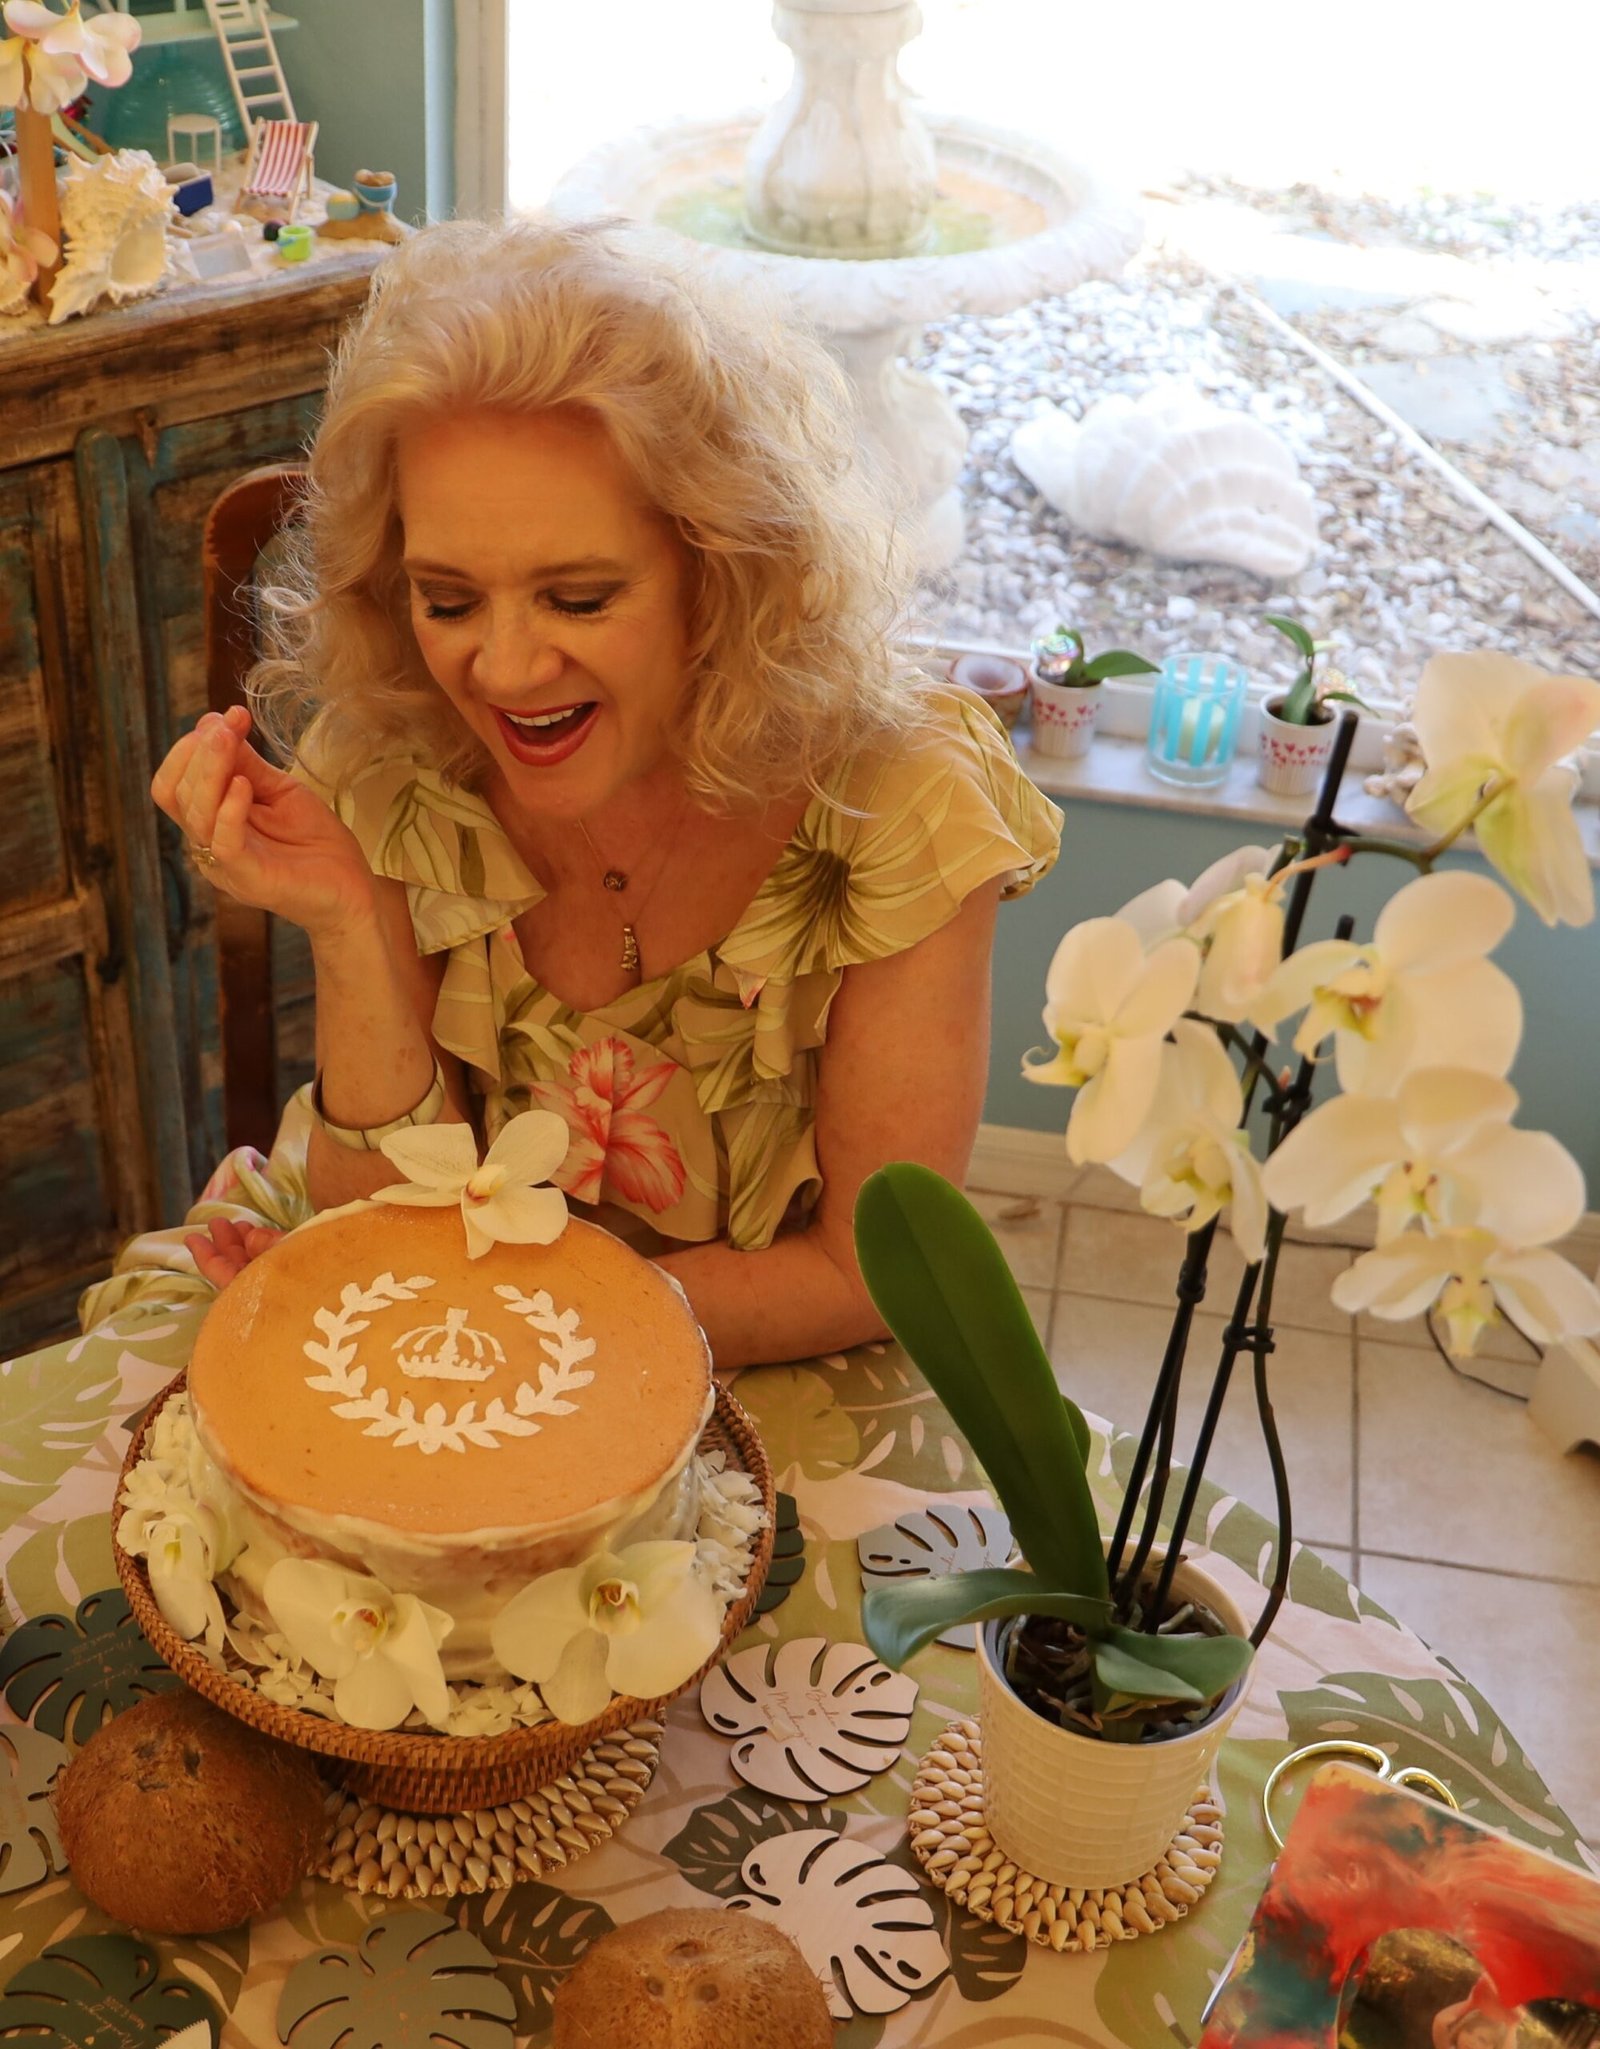

Turning 65
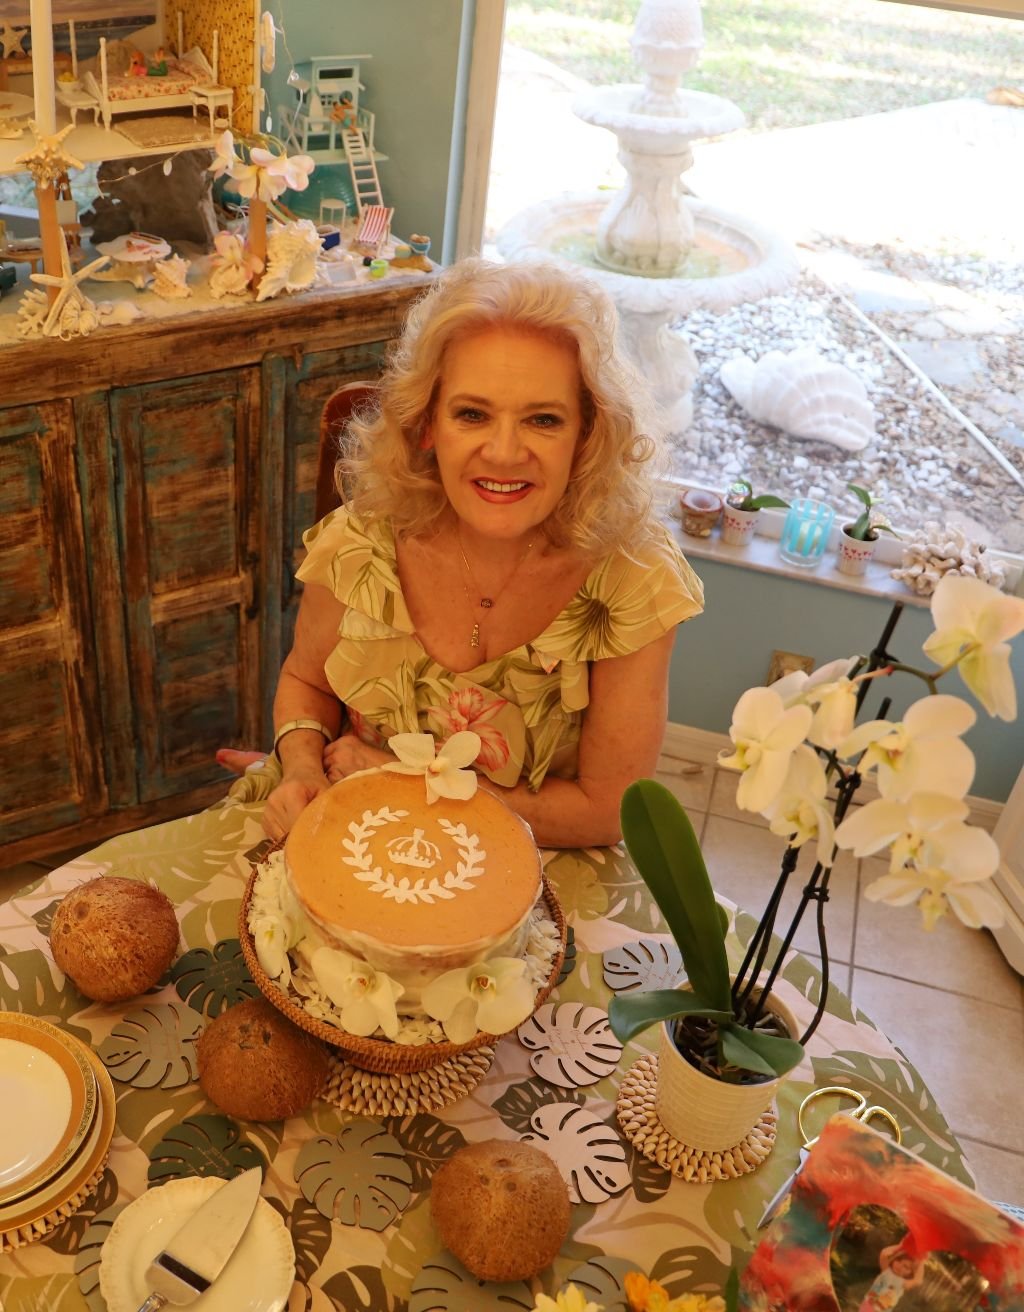
As I like to say, Uglier on the outside, Happier on the inside.
I would not go back if I were given the chance. I feel as if I have reached milestones that are important. As in evolving into the person I am destined to be. I have earned the right to be 65! Ageing is a privilege.
If I could give my younger self a heads up, I would not!
I needed to go through all that I did to get to here. I would not have made it if I did warn my younger self. I have learned that the damage that was done to me by certain people in my life never had anything to do with me. It was their damage they were inflicting on me. I used to regret being nice or kind to certain people. I have however learned that I should never be upset about doing the right thing. They are the ones that should be upset that they took advantage of my kindness, and loyalty.
I don’t know how much time I have left? Oh, as far as I know I am fine where my health is concerned. I am just referring to life in general.
None of us really know the answers to that? I always figured that I would die young. No idea why? I just always thought so. But, before I am gone, I still have many things left that I want to do. I’ll go when I’m ready. I’m stubborn that way. 🙂 But for now, my granddaughter needs me. My daughter and son-in-law need me, my husband needs me, and I need me! 🙂
So, Here Is 65 and Beyond, Finger’s Crossed!
Julie
——————————————————————————————
BLOG ENTRIES START HERE
————————————————————————–
UNDER CONSTRUCTION

A Fresh Coconut Filled With Delicious Coconut Jam, Topped With Flaked Coconut And Dipped With Coconut Rolls A Perfect Little Sweet Snack ————————————————————————— Banana Poi for Isabelle A great way to use up Ripe Bananas, perfect for the little ones. The babies …

A co-worker of Gordon’s sent these to us right before we left for Hawaii. He made them. We thought they were funny and wanted to include them in our write up’s of our trip. 🙂 ————————————————————————————— Gordon and Julie, Honolulu, Hawaii, …
A Delicious Bite
——————————————————————————-
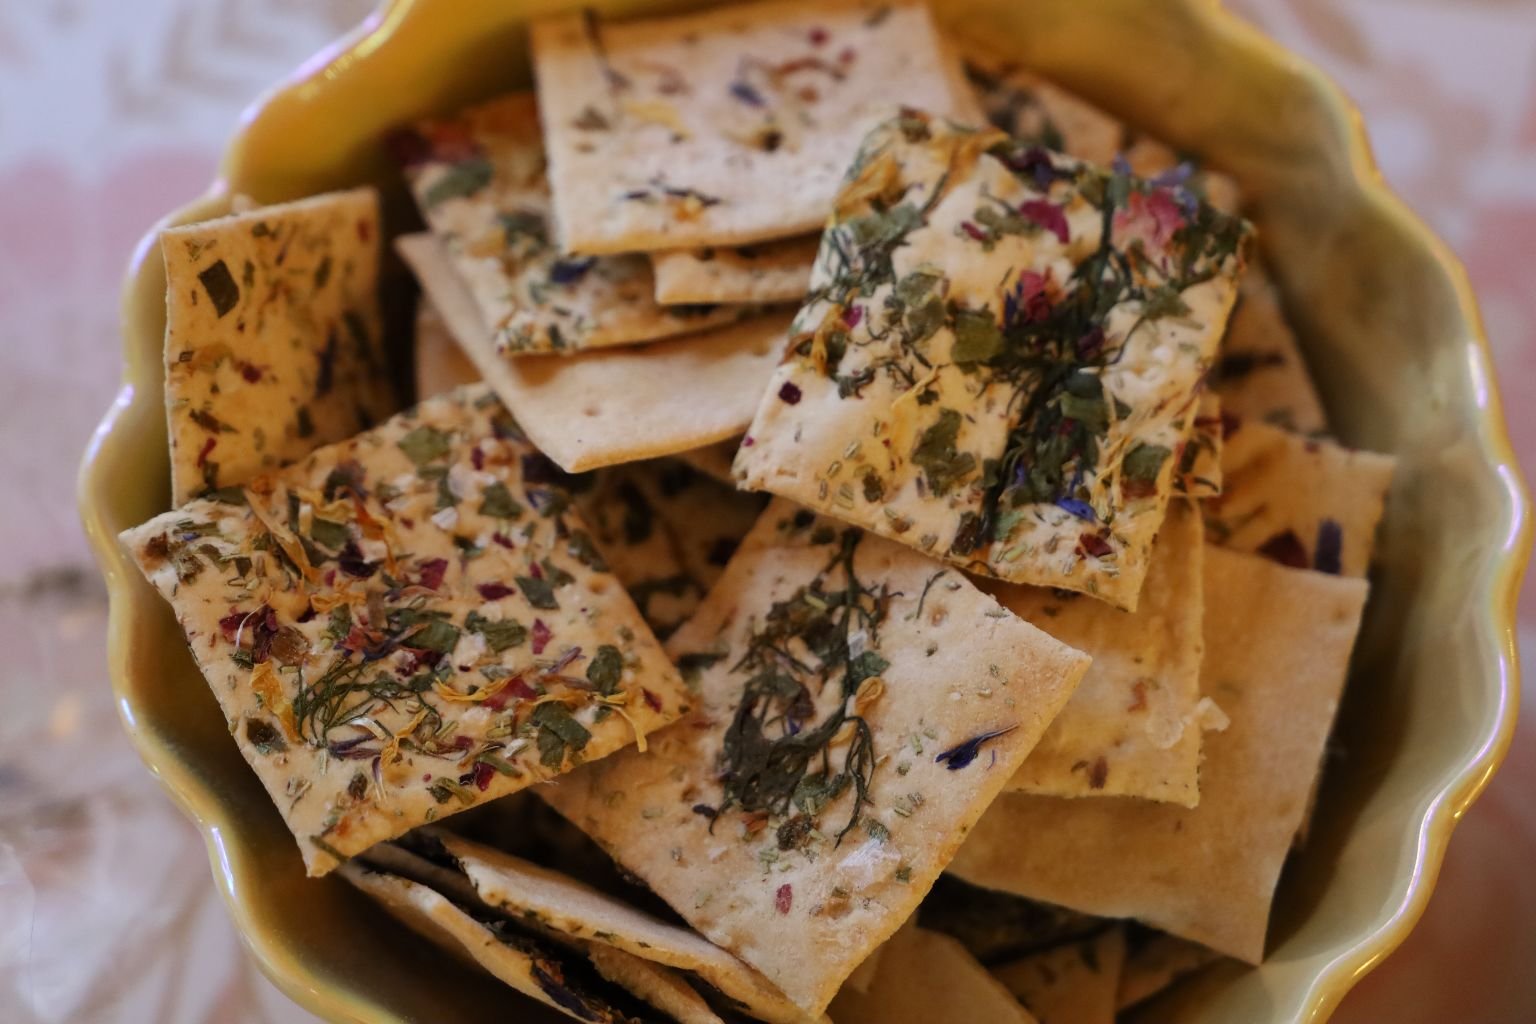
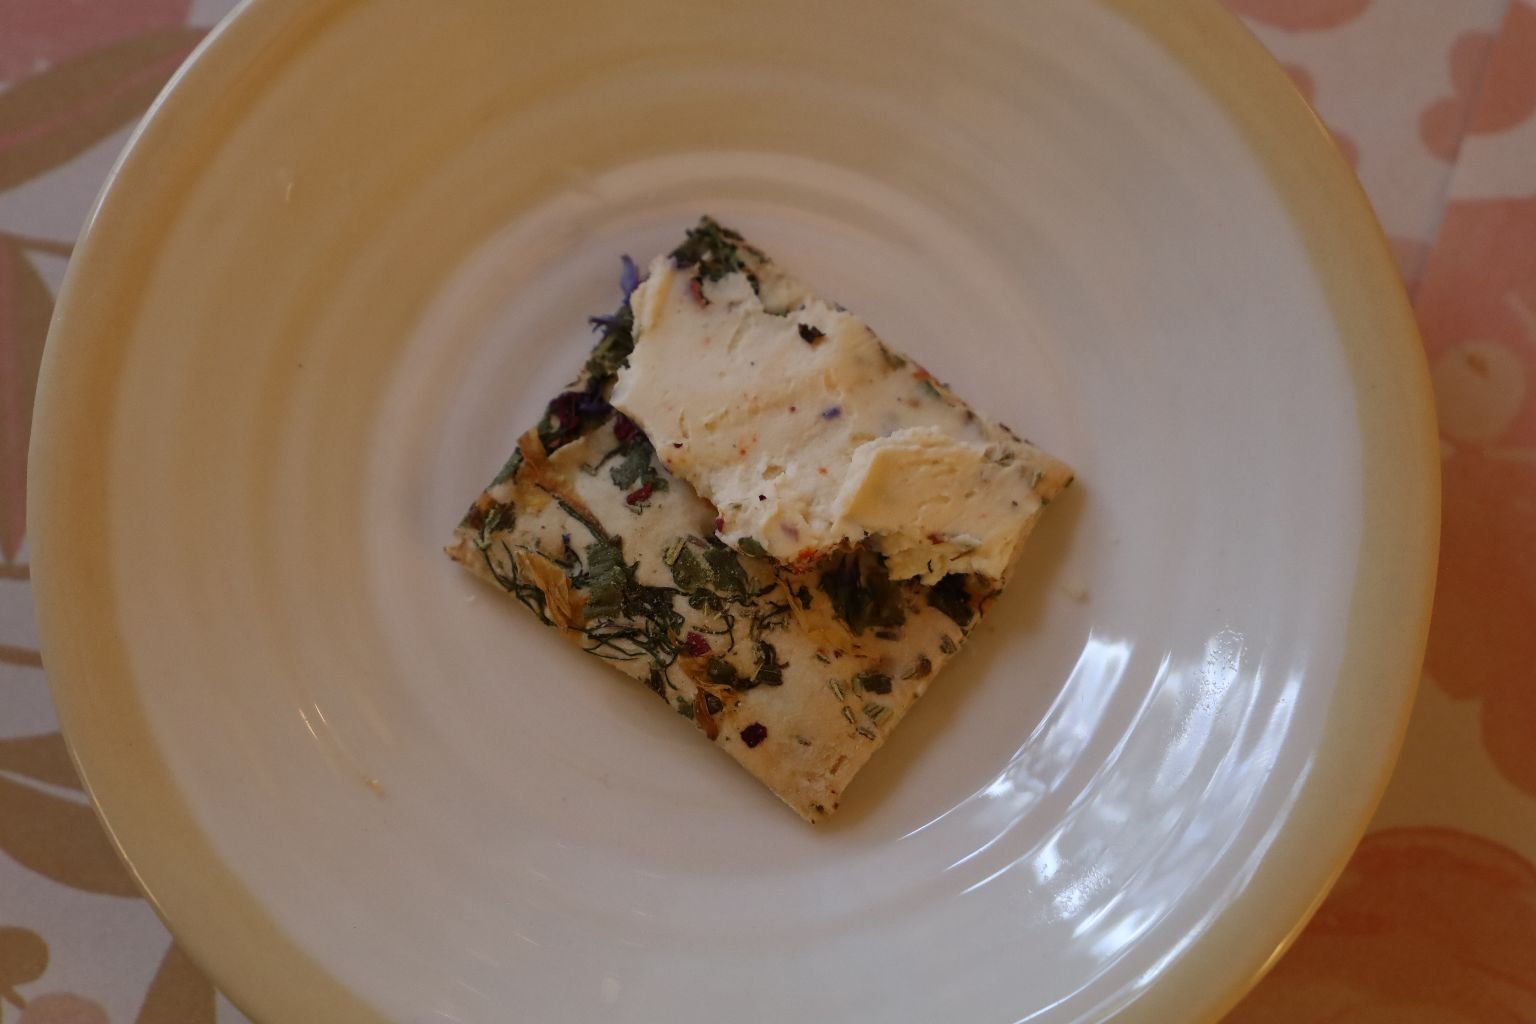
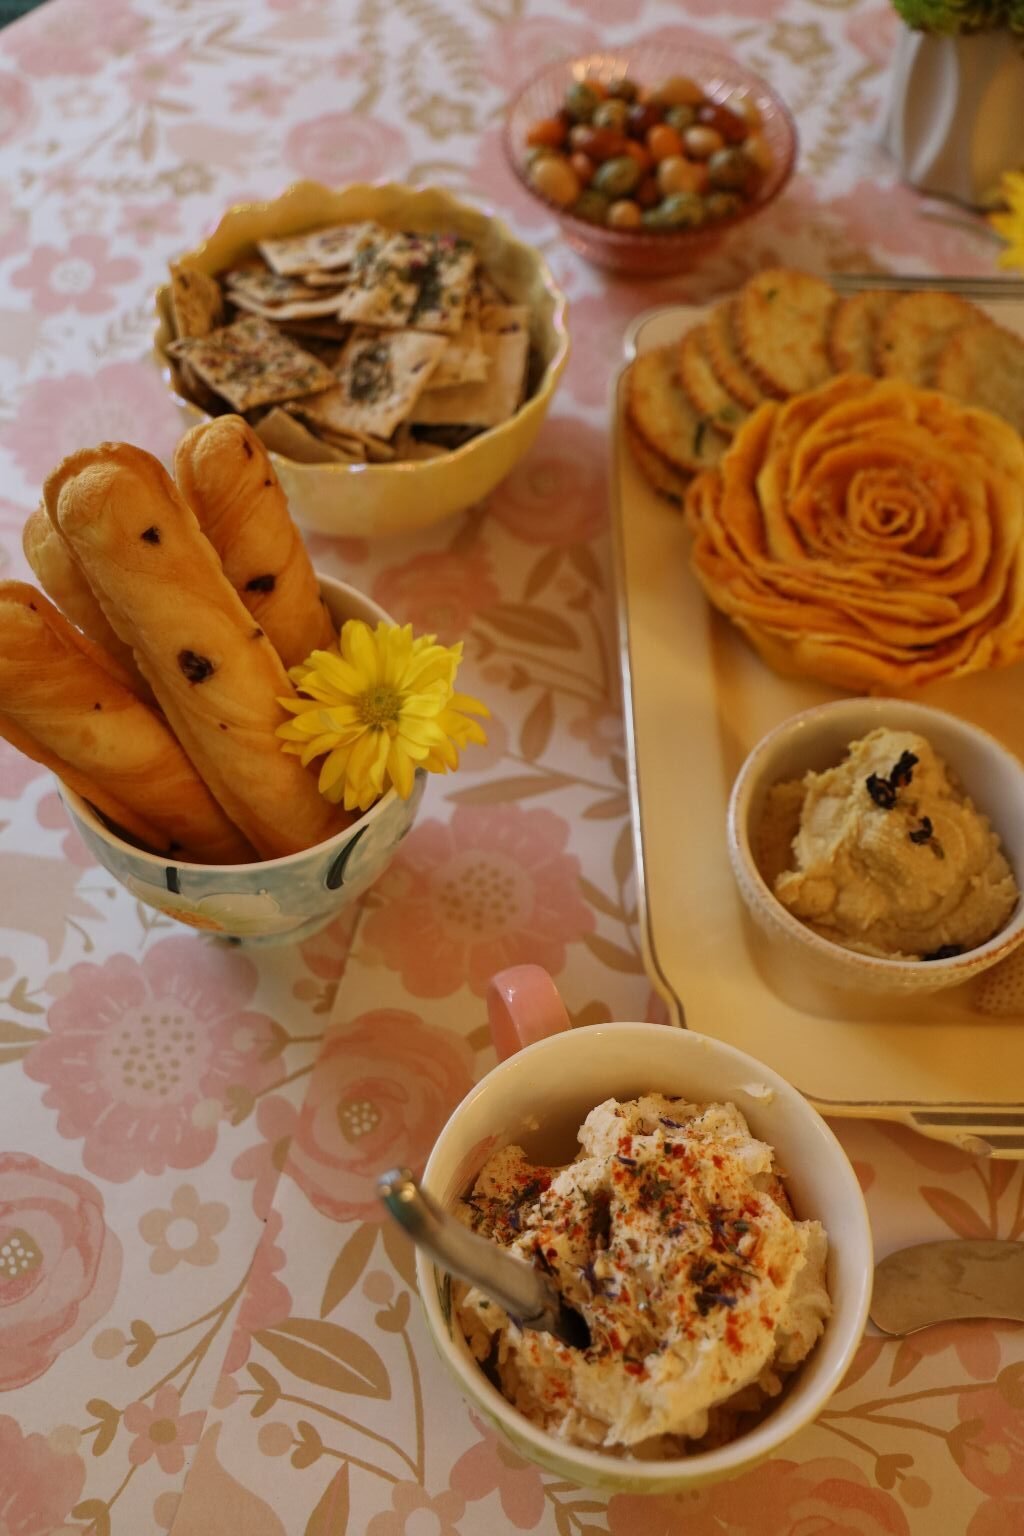
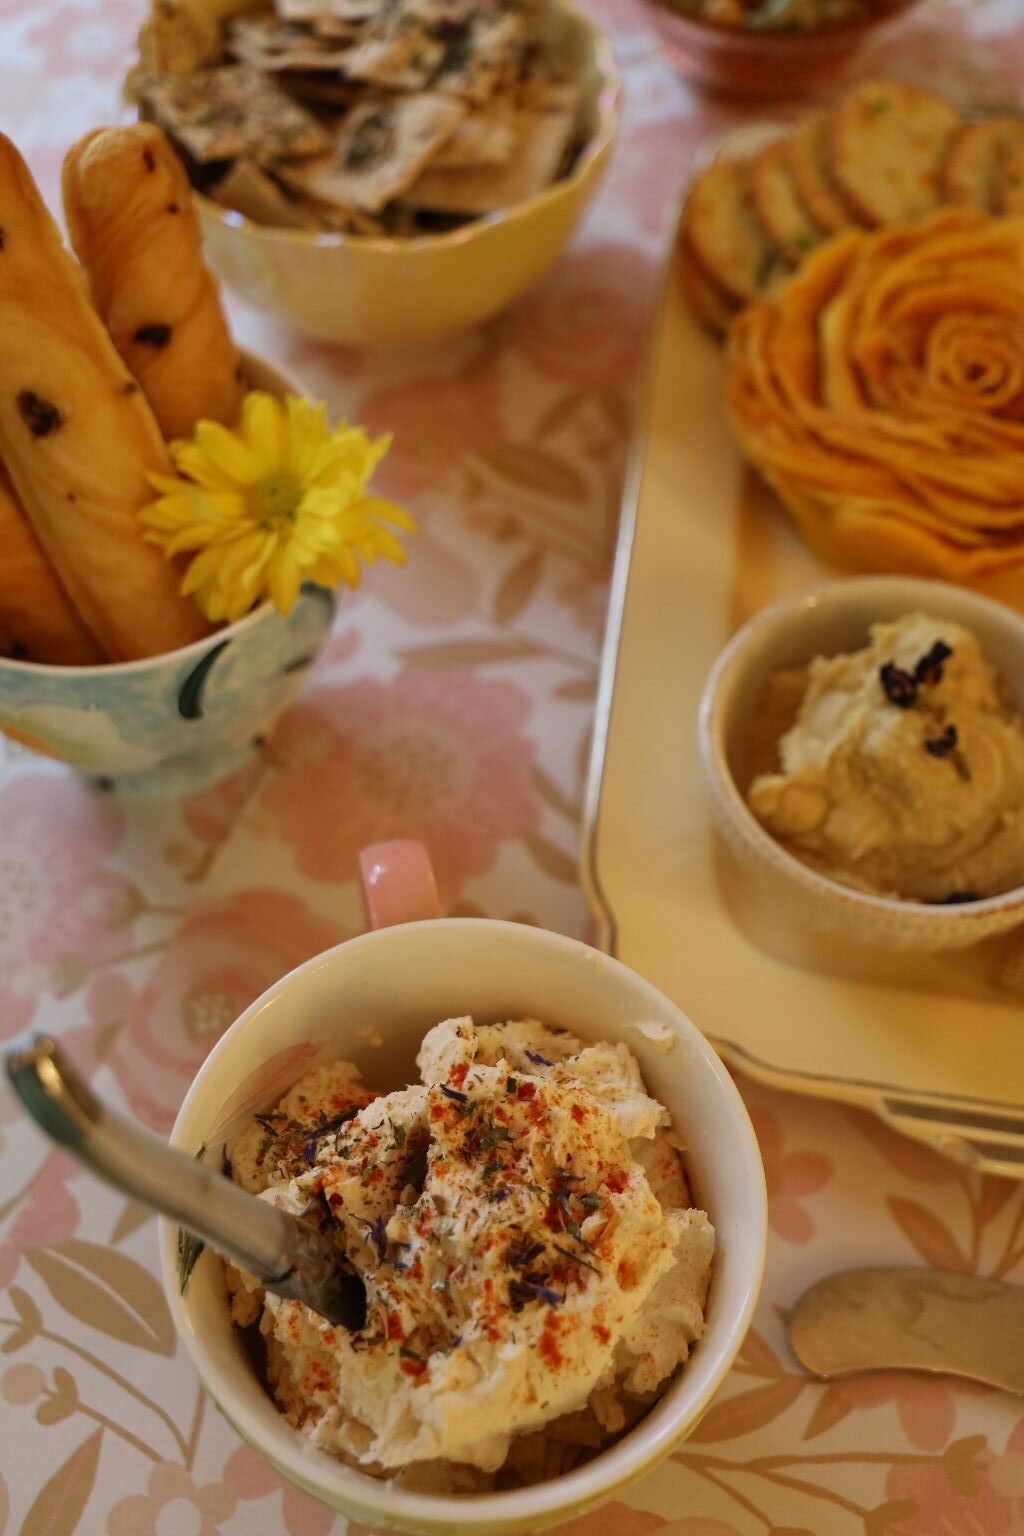
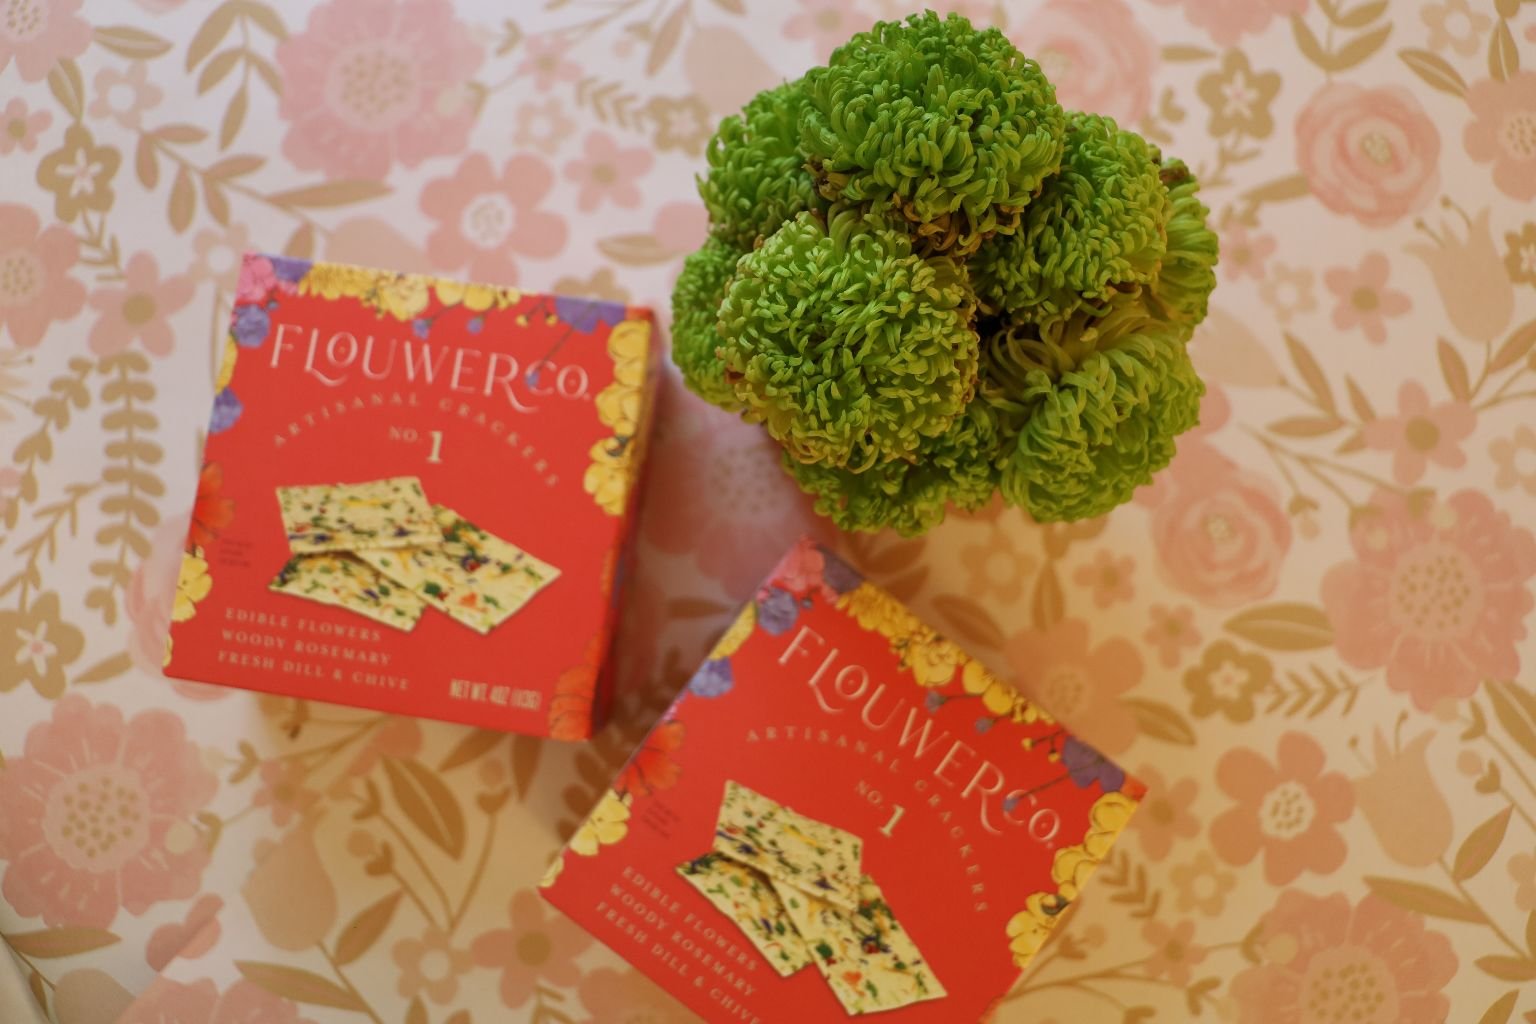
Crackers with Dried Edible Flowers
My Asian Inspired Spring Wagashi
Wagashi refers more towards Japanese Sweet Treats, that is what I have here.
I tried to find a tablecloth that would accent what I had featured here, I couldn’t, but I did find some wrapping paper that I thought looked great! It did! And that is what you see here, wrapping paper as my tablecloth.
I wanted to put together a table full of Sweet Asian Inspired Treats. That was actually easy to do.
I love my usual Asian Inspired Treats and I wanted to showcase them here.
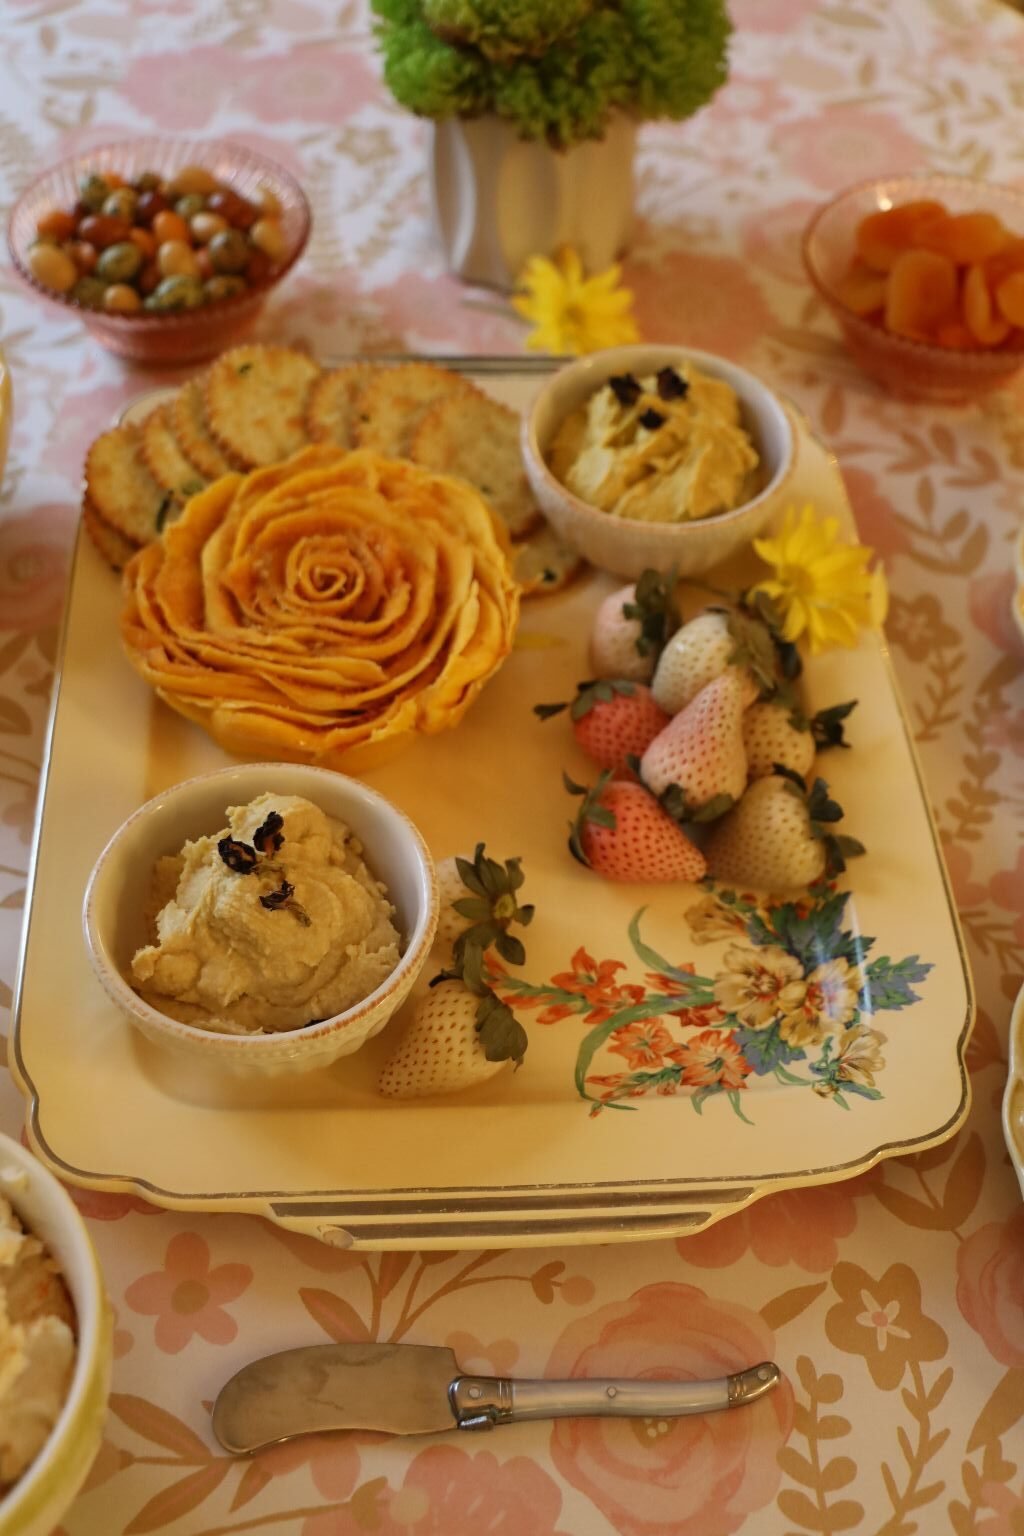
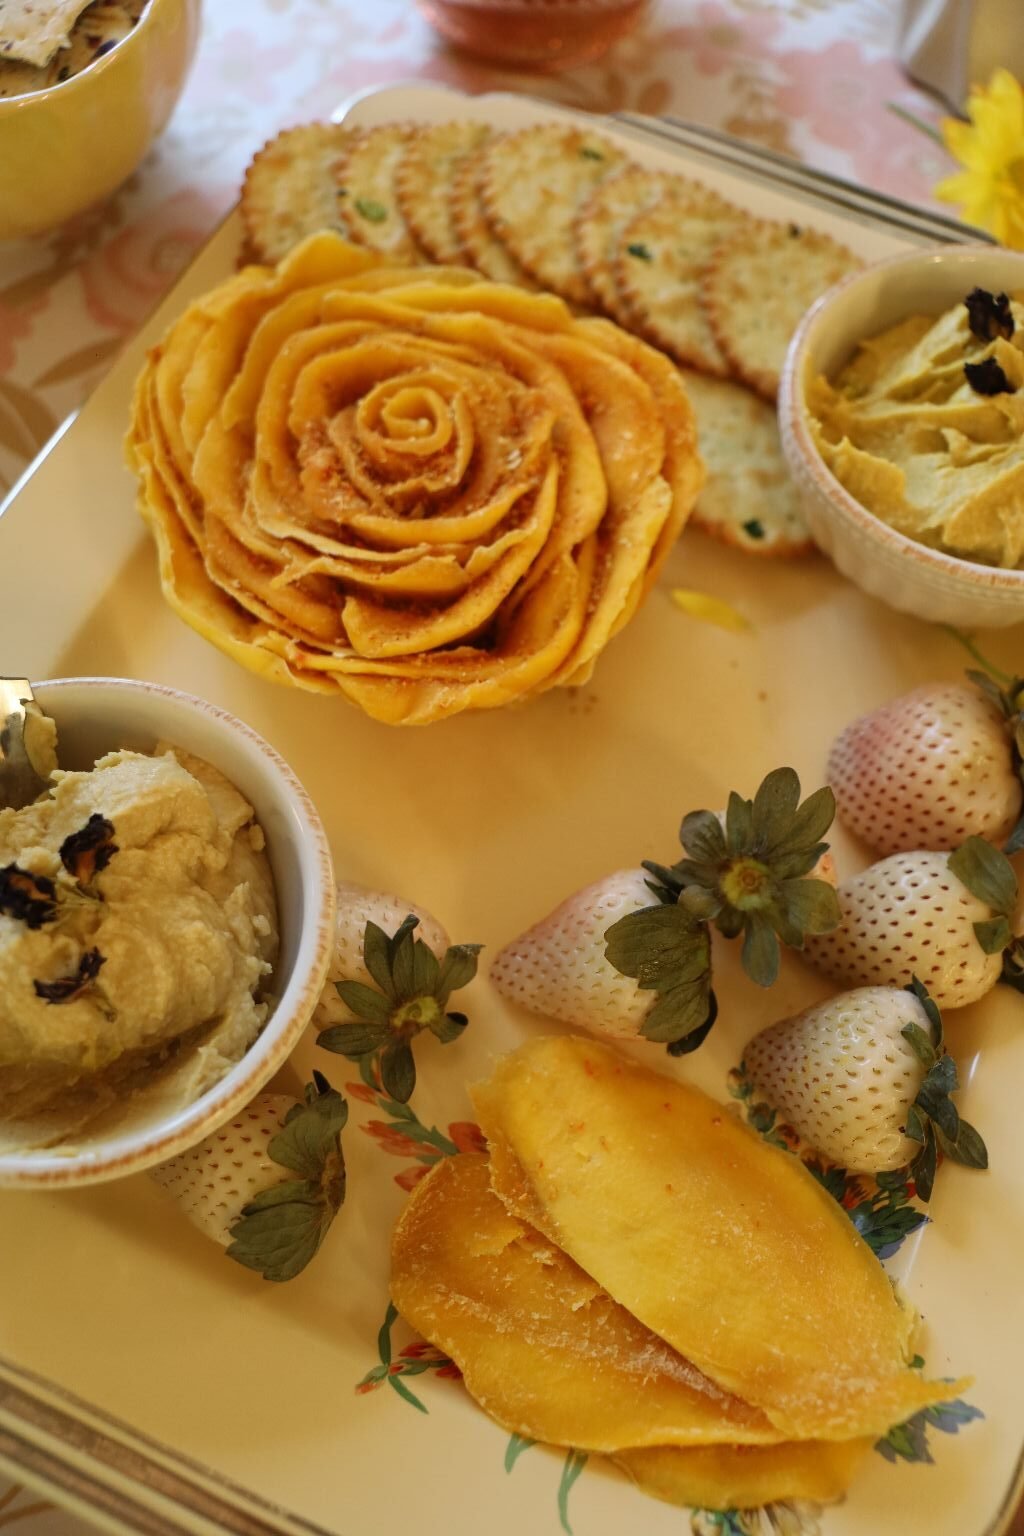
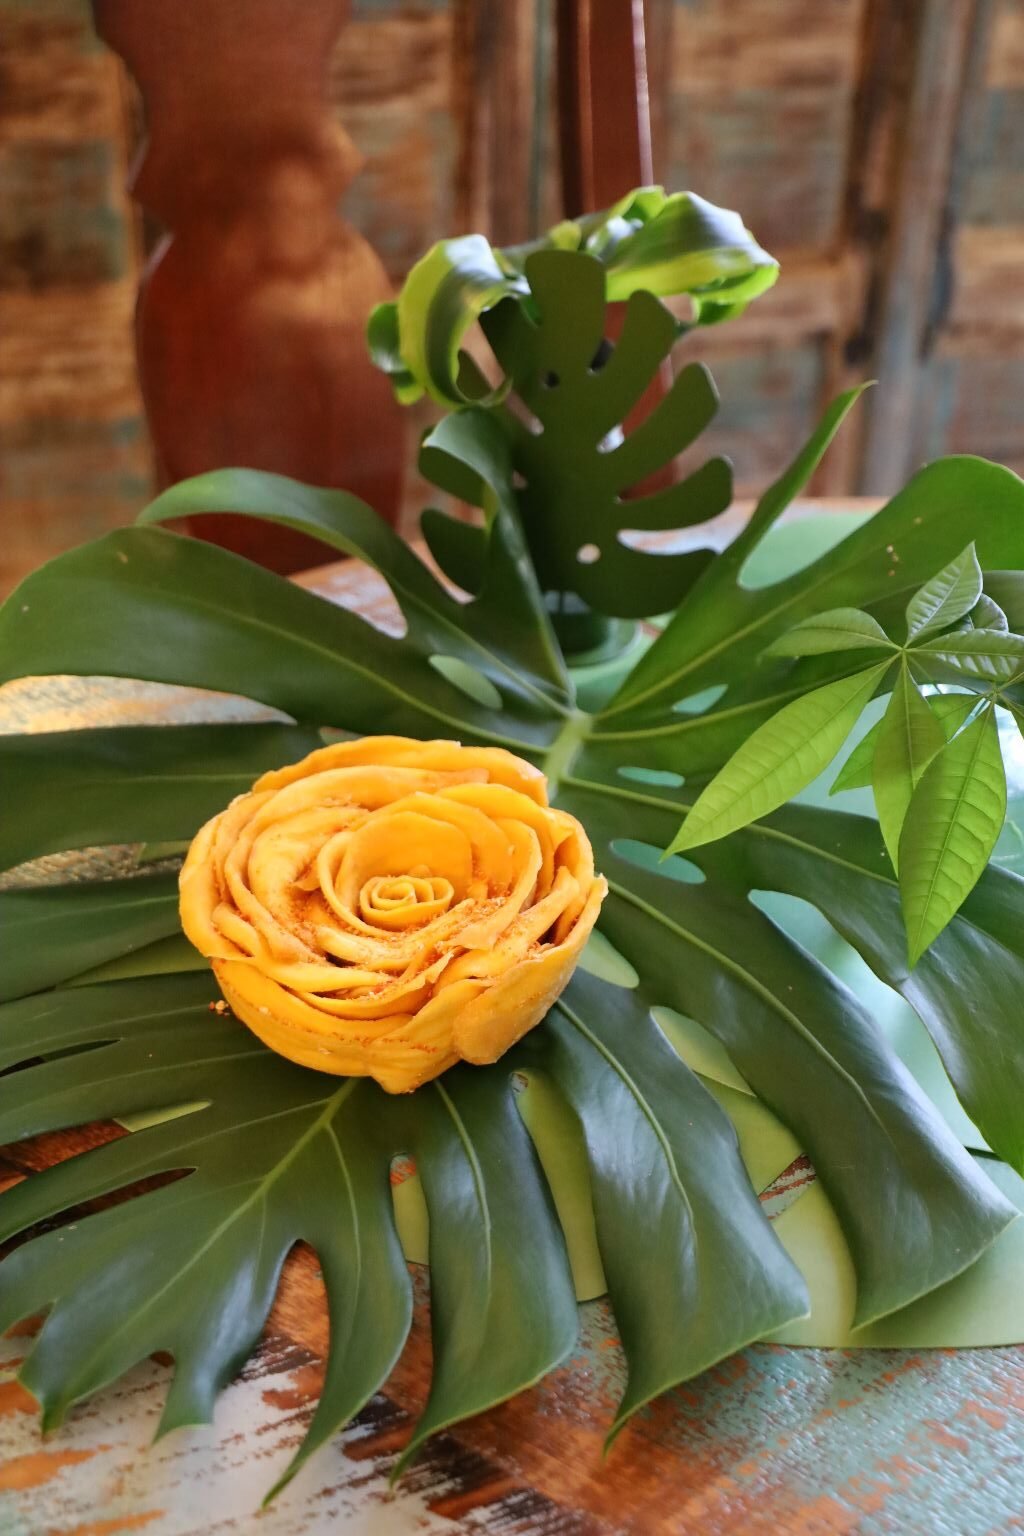
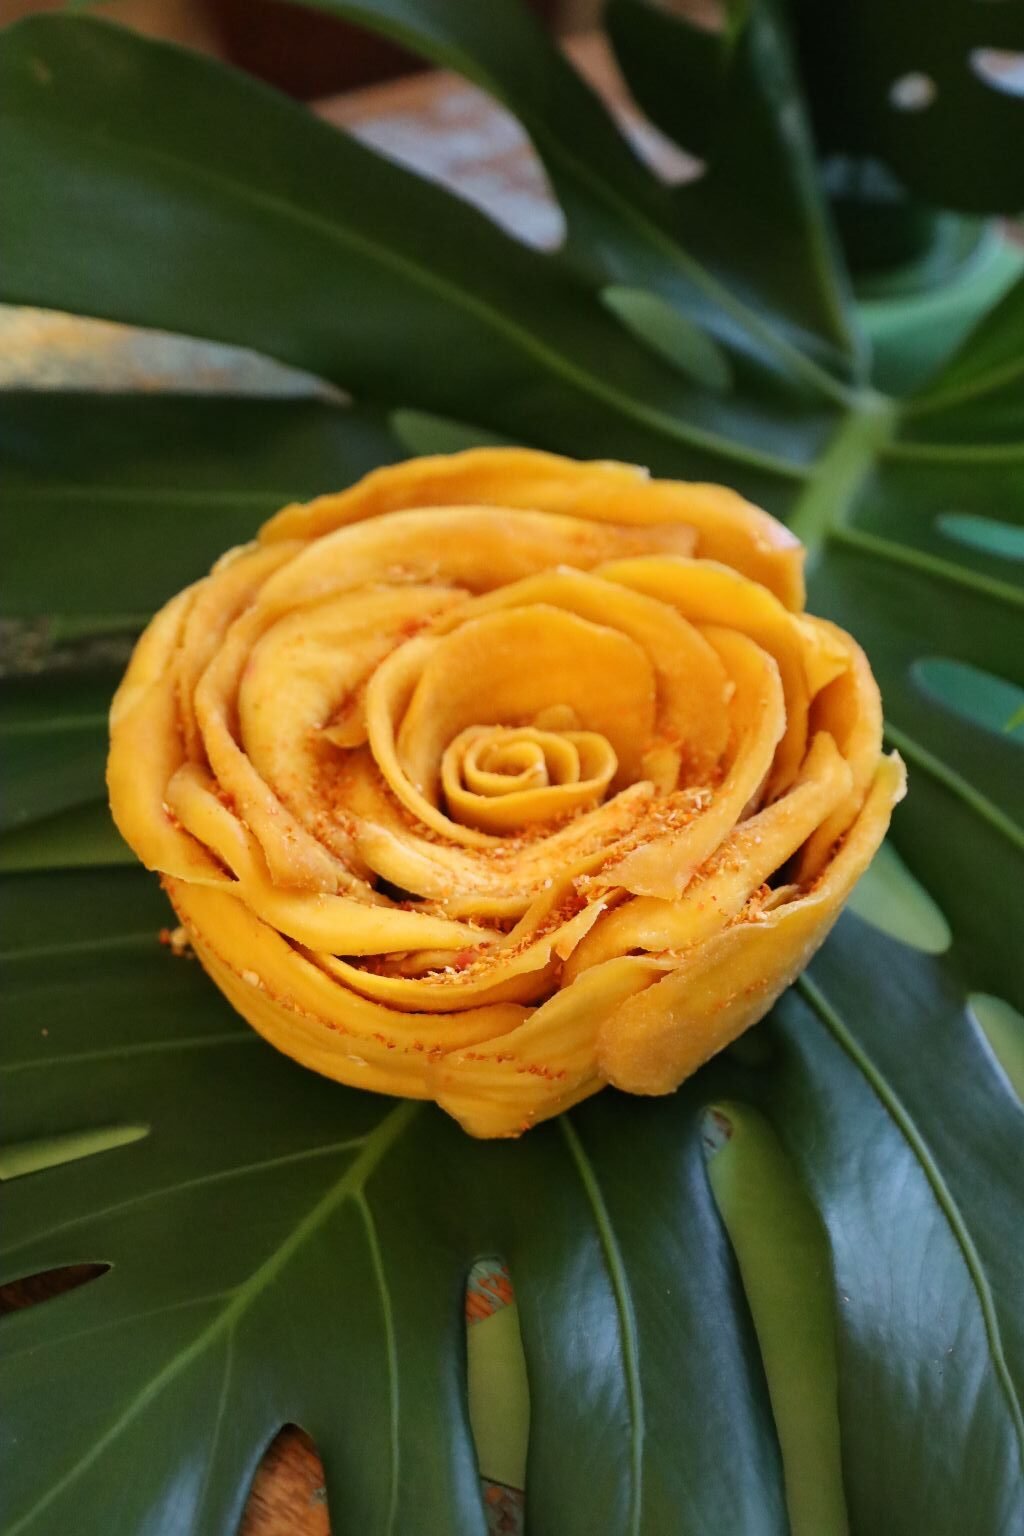
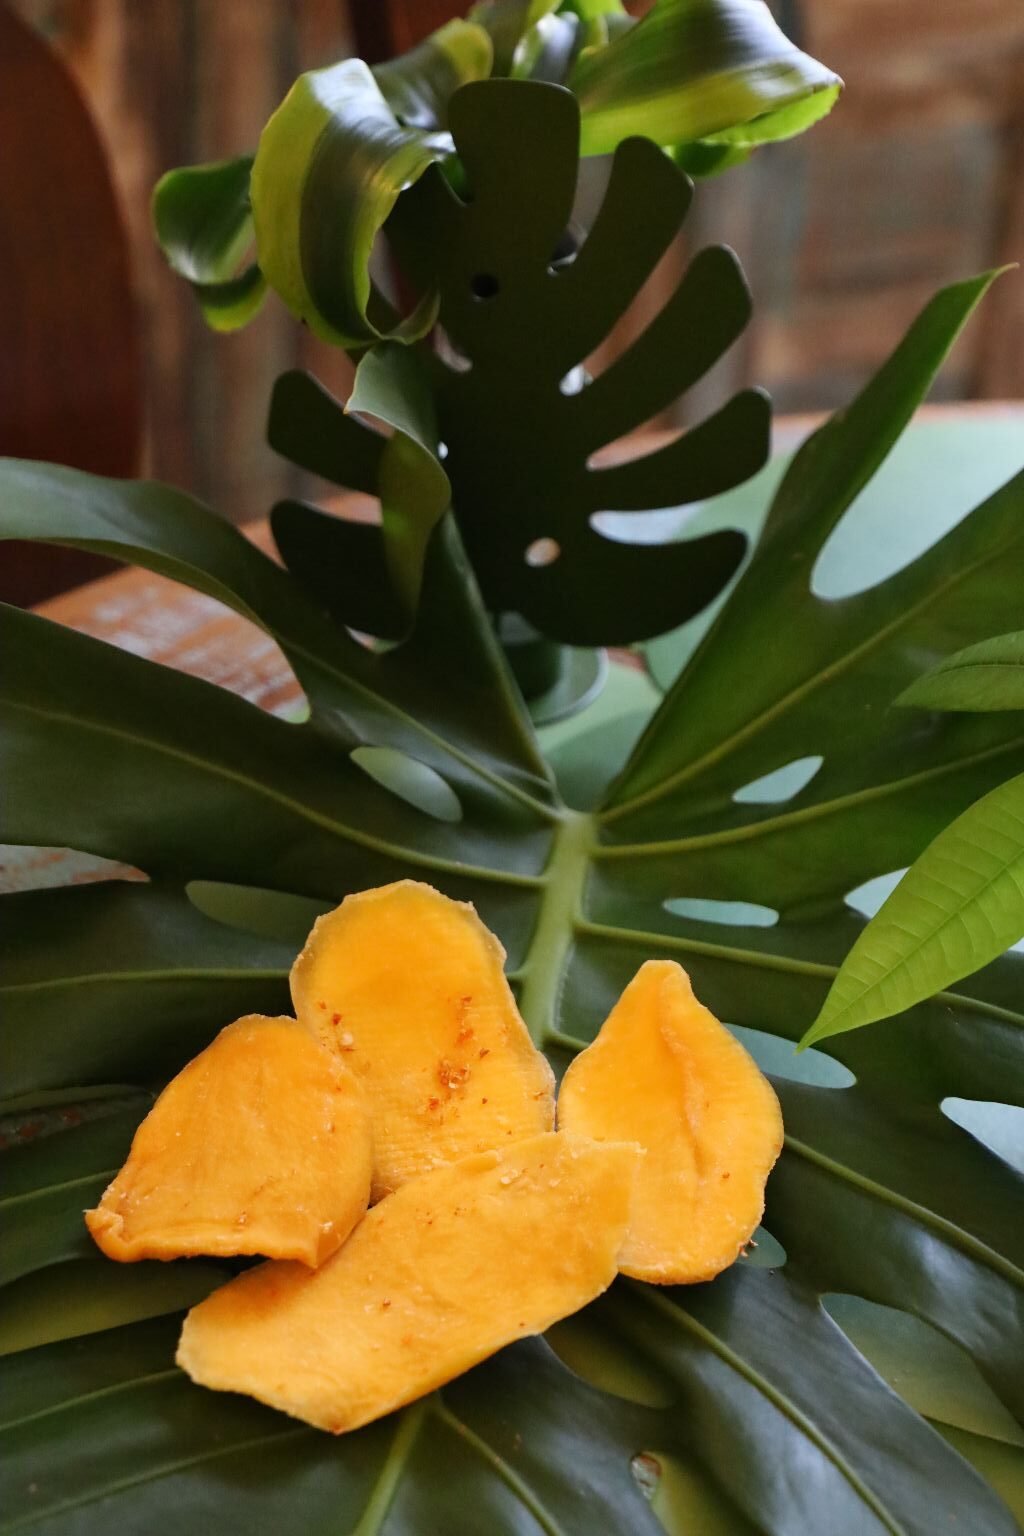
I am a huge fan of the softly dried Mango in the shape of a flower. It is so delicious! It comes with an excellent spicy chili salt. I can very easily unravel one while eating a few layers at a time. I also thought they would be great placing something nice onto each ‘petal.’
Here, I added some plain Hummus to some of the Mango Petals. I have two different Hummus here. One plain, and one a carrot. I also sprinkled some Butterfly Pea Flower onto each bowl of Hummus. It is an excellent edible flower.
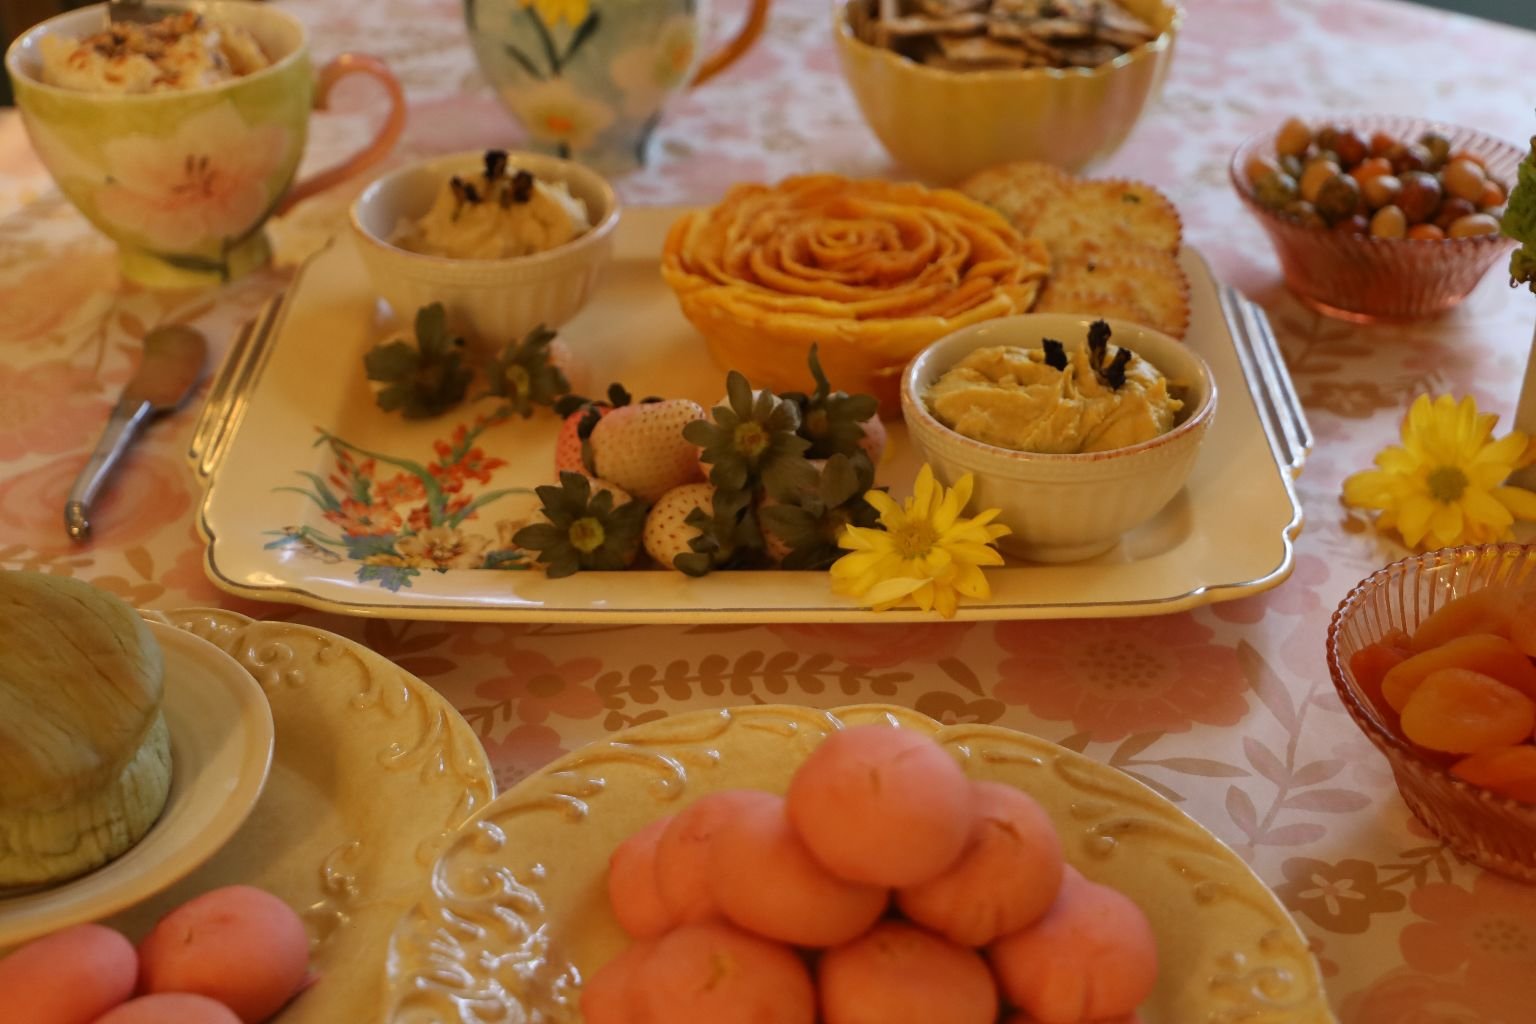
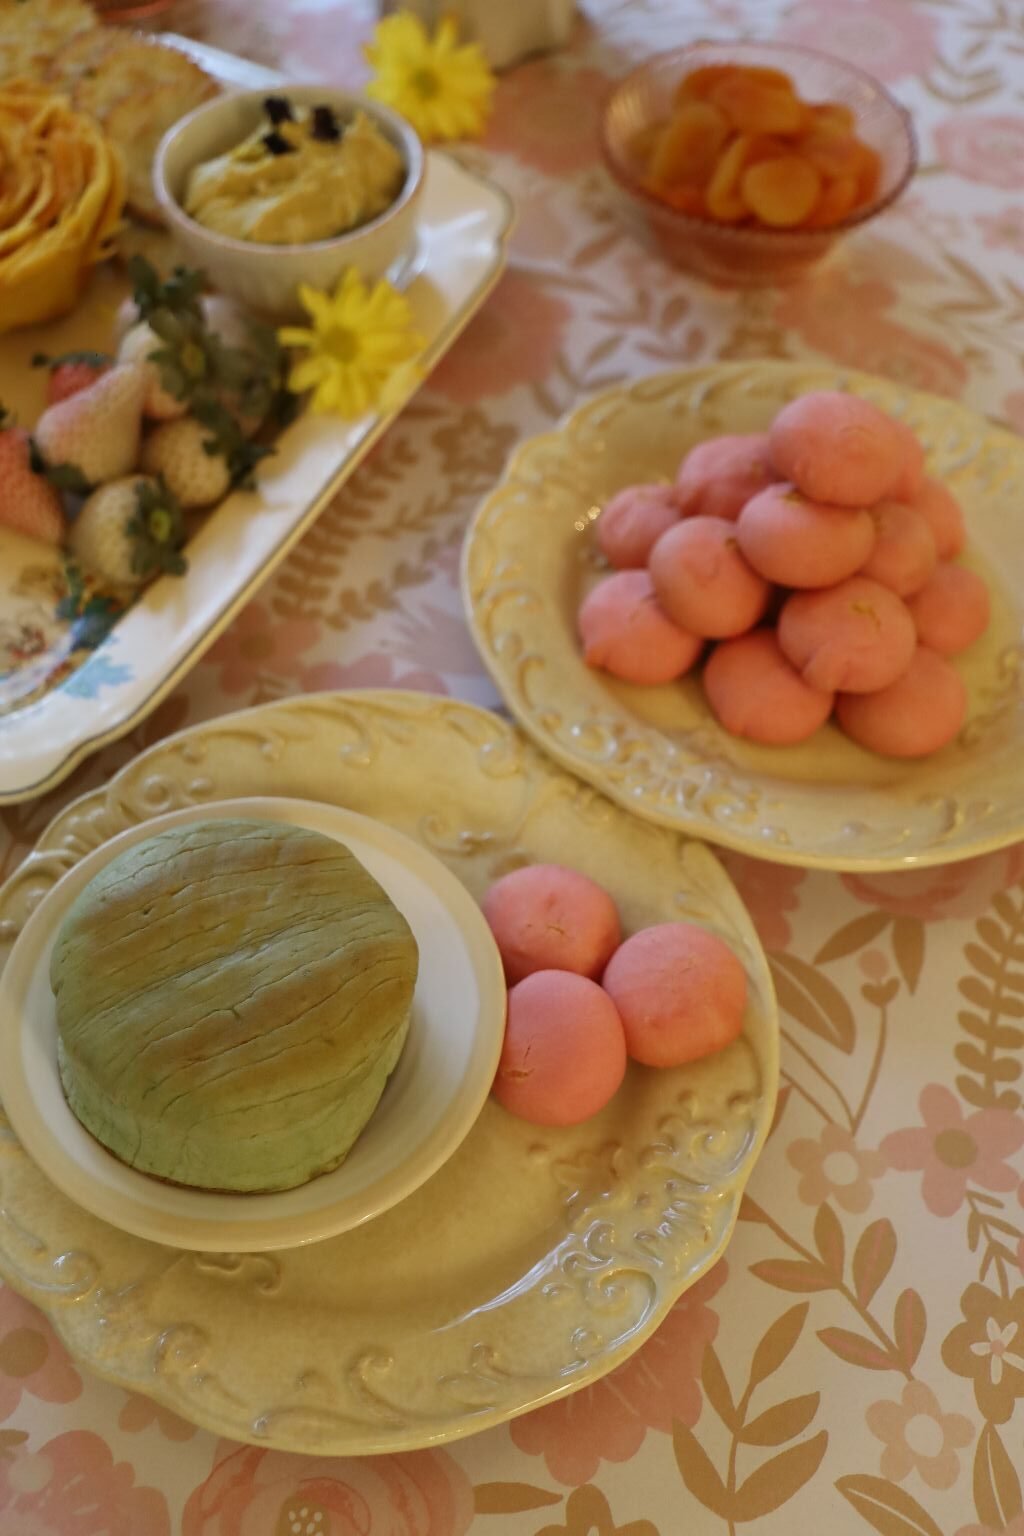
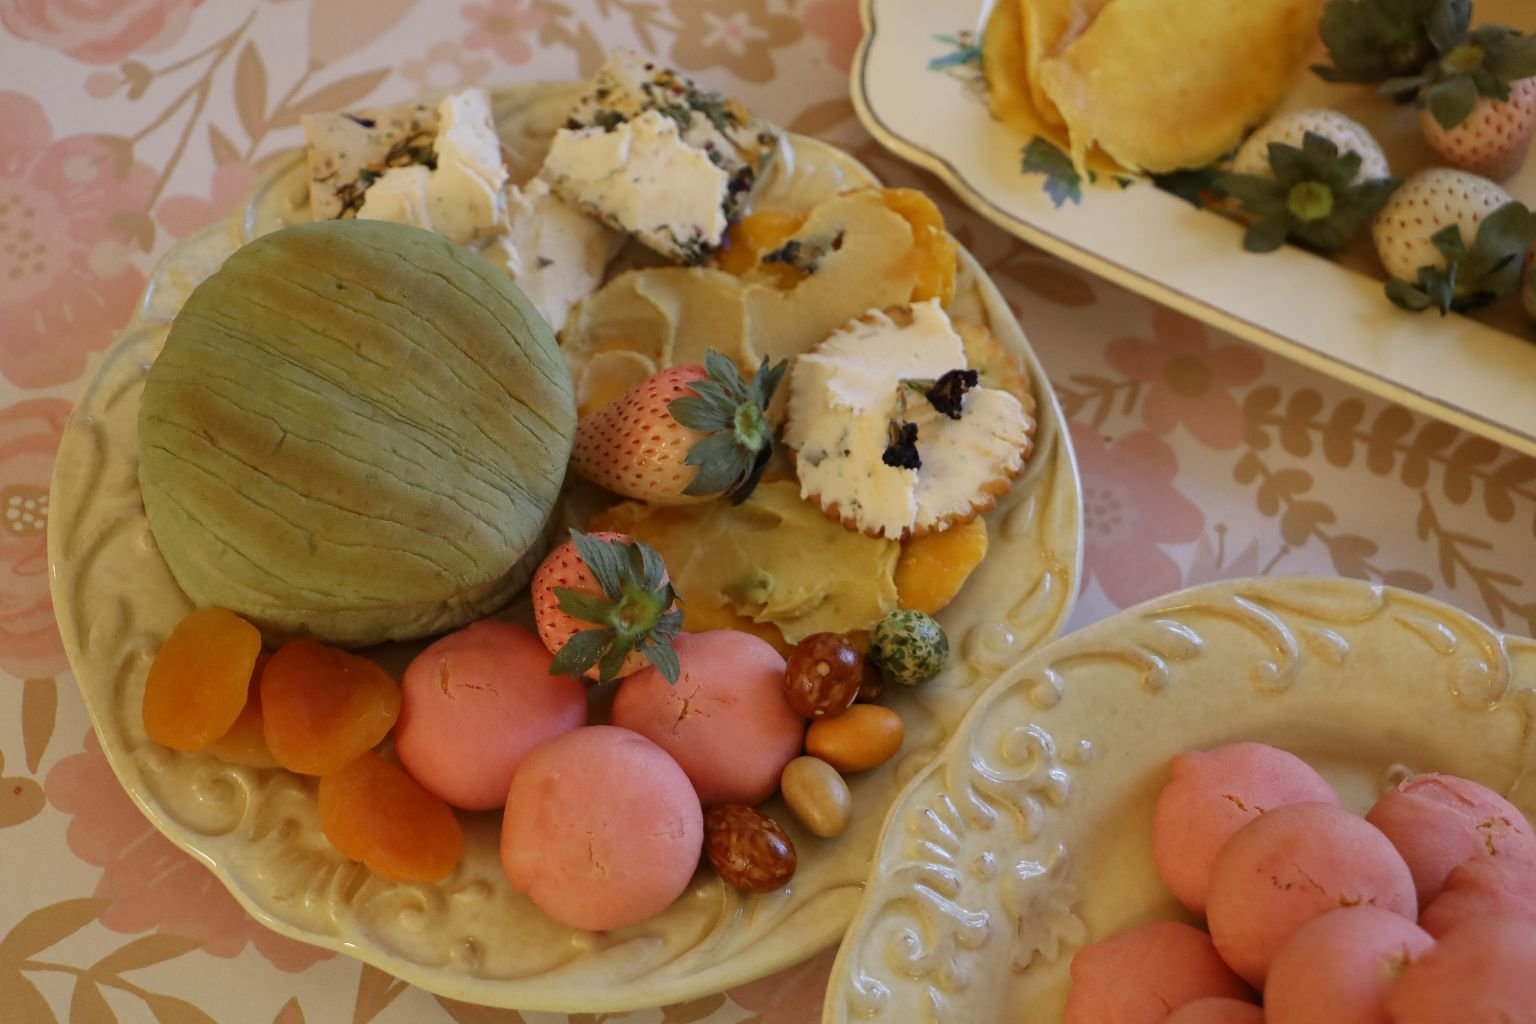
Pineberry’s, Dried Apricots, Softly Dried Mango, Shallot Crackers, Edible Flower Crackers, Candy Coated Asian Nuts, Pink Coated Cakes…
Jazzed Up Cream Cheese Spread, Asian Cranberry Bread Sticks….
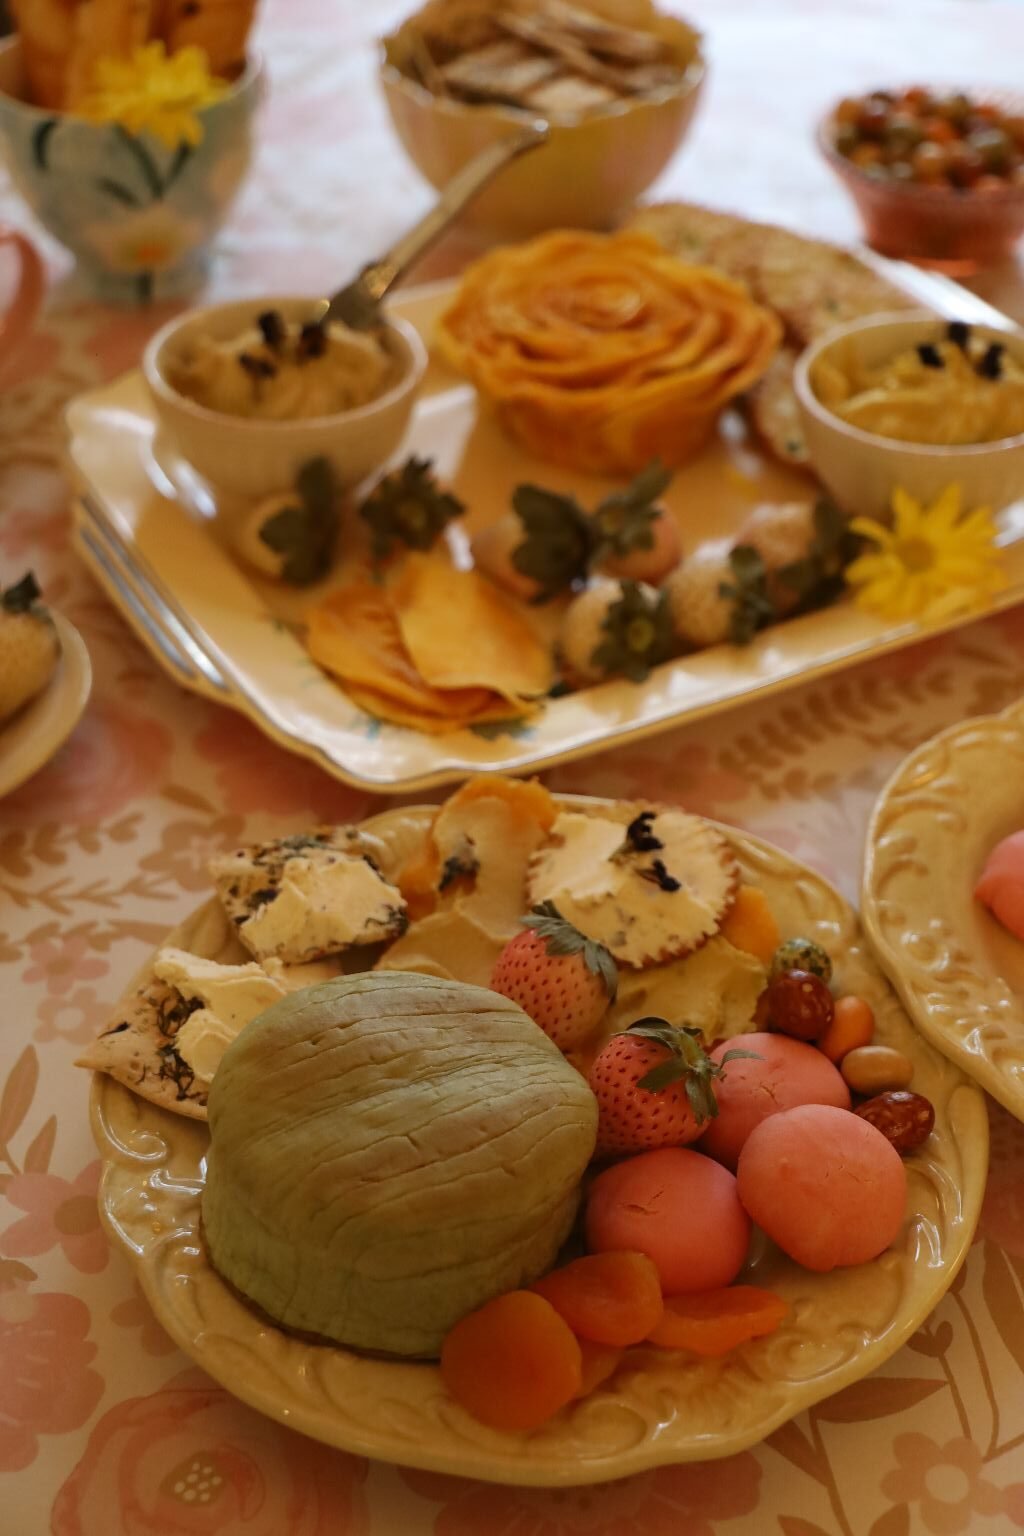
Matcha Tea Cake…
Hoping to bring more Asian Inspired Wagashi soon!
Julie
Preparing The Luau Invitations 100% Hula Girl Coffee, The Big Island (I had sent a few bags to the future Bride and Groom, and the Parents of the Bride, along with a few bags for us. Just to get us into the …

2026 A Morning Aloha (Hawaiian Kona Coffee) —————————————————————————————— Brodie In Our Backyard Plumeria Tree in Ewa Beach, 1996 ————————————————————————————- E Komo Mai Welcome to My Aloha Julie Barefoot 2026 ‘Puke Punaewele (Blog) Ready for 2026 This year will be a …

I Created A New Website:
Click Here For: VintageJulieBarefootArchives
I gave my Web Designers in India instructions on what I wanted, and they did the most remarkable job of bringing my vision to life.
I could not be happier with it!
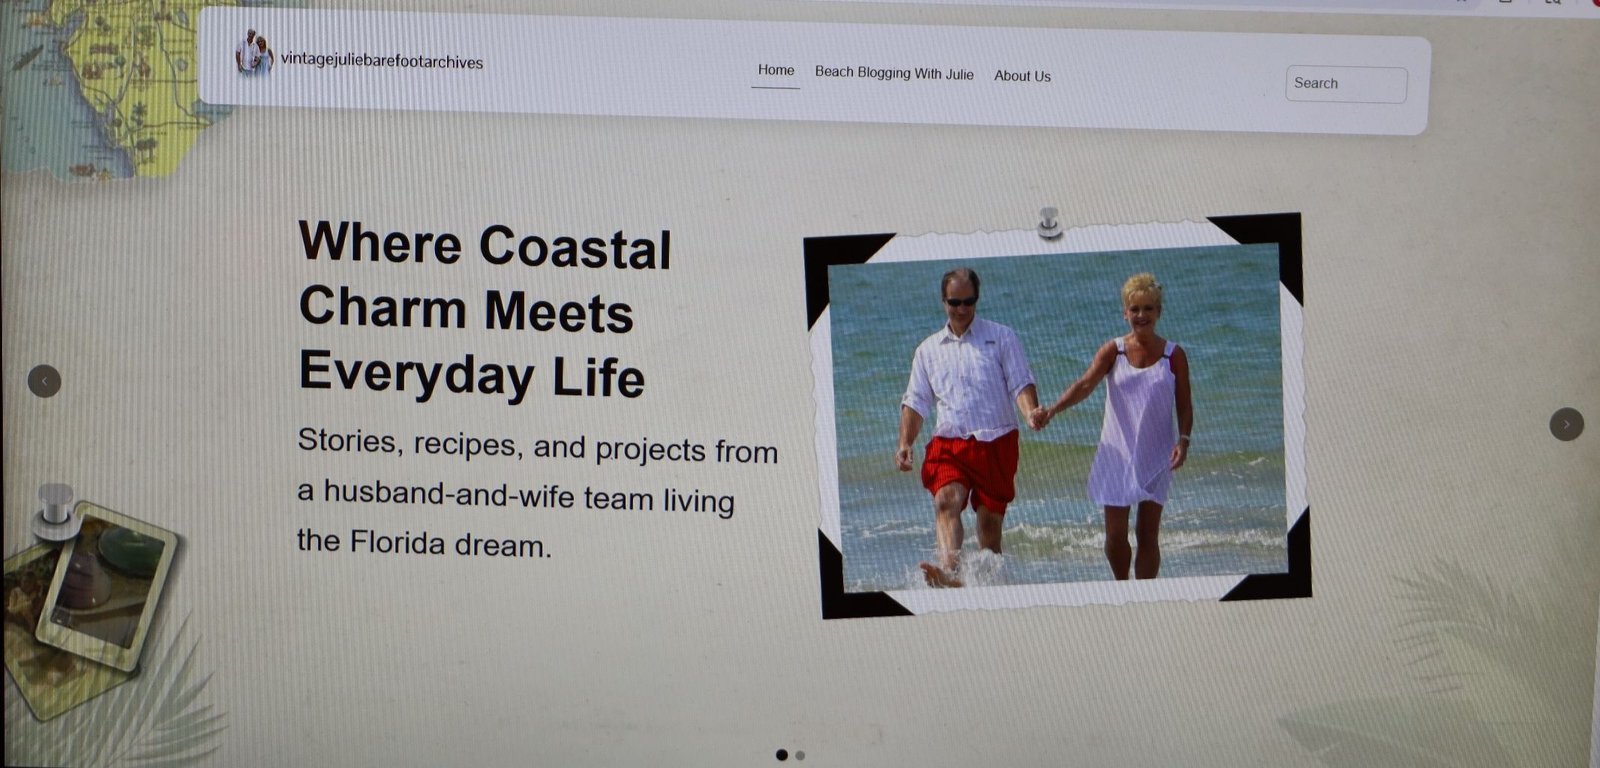
My current website: (This one.)
..Was no longer working accurately.
Therefore, I decided to instruct my Web Designers in India, to create a “New” Website in order for me to house some of my “Old” content.
Initially, I didn’t figure in that it would be my Florida Website Pages, but it did evolve into just that.
My First Blog Posting On The New/Old Website
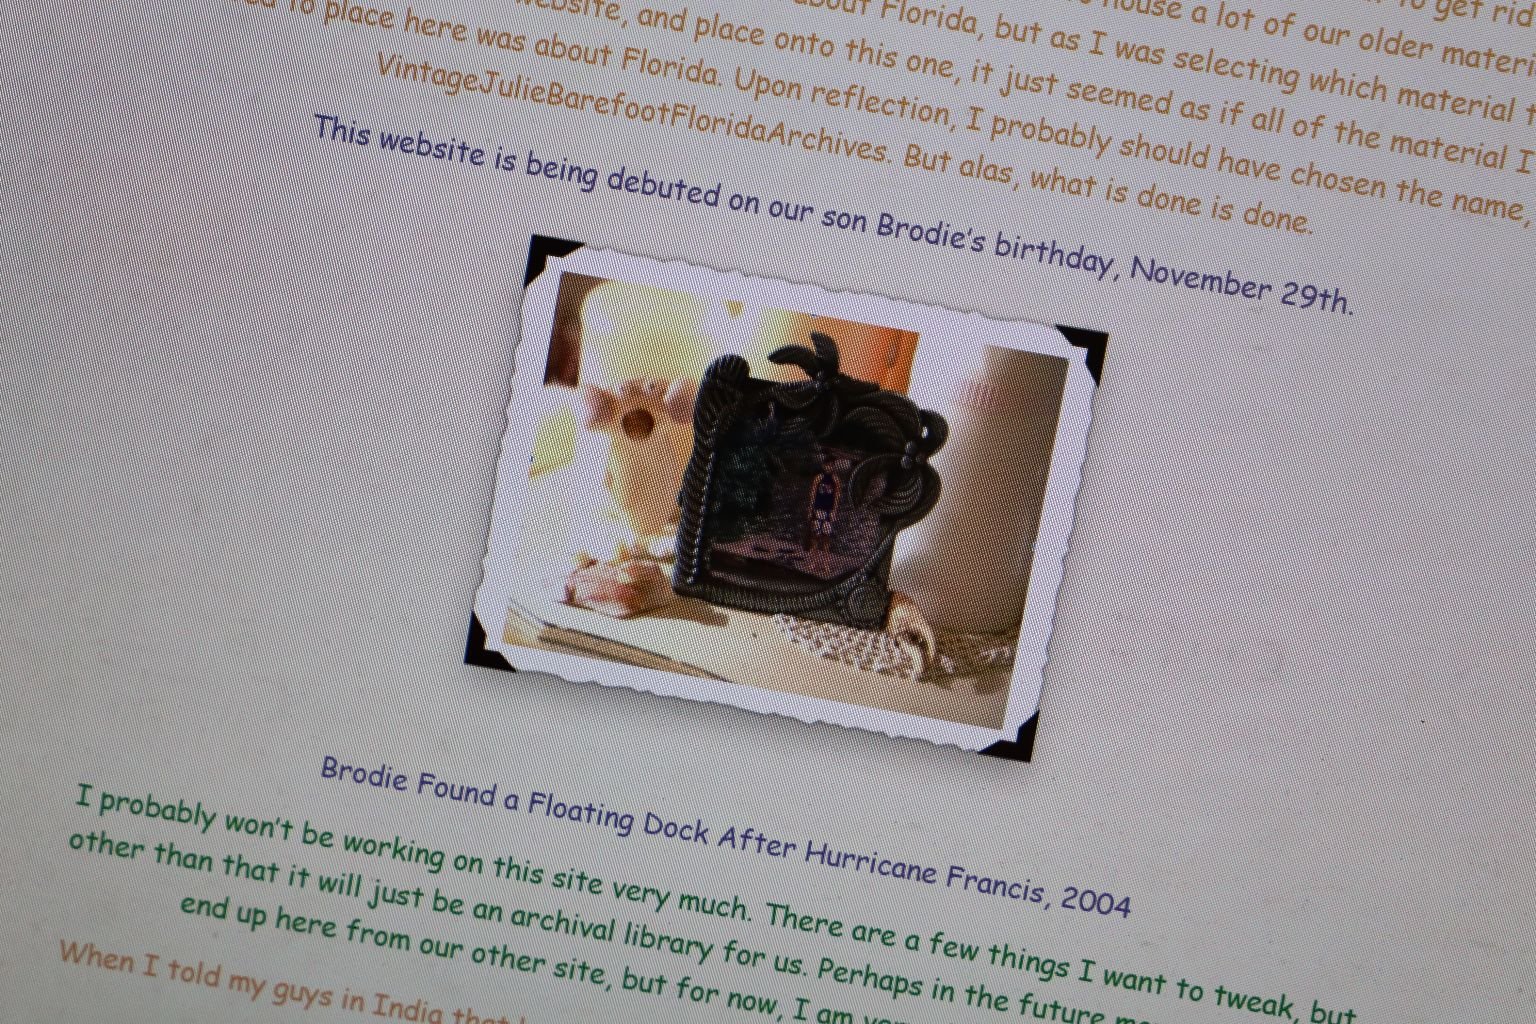
I Debuted This New Site On Brodie’s Birthday, November 29, 2025
————————————————————————————
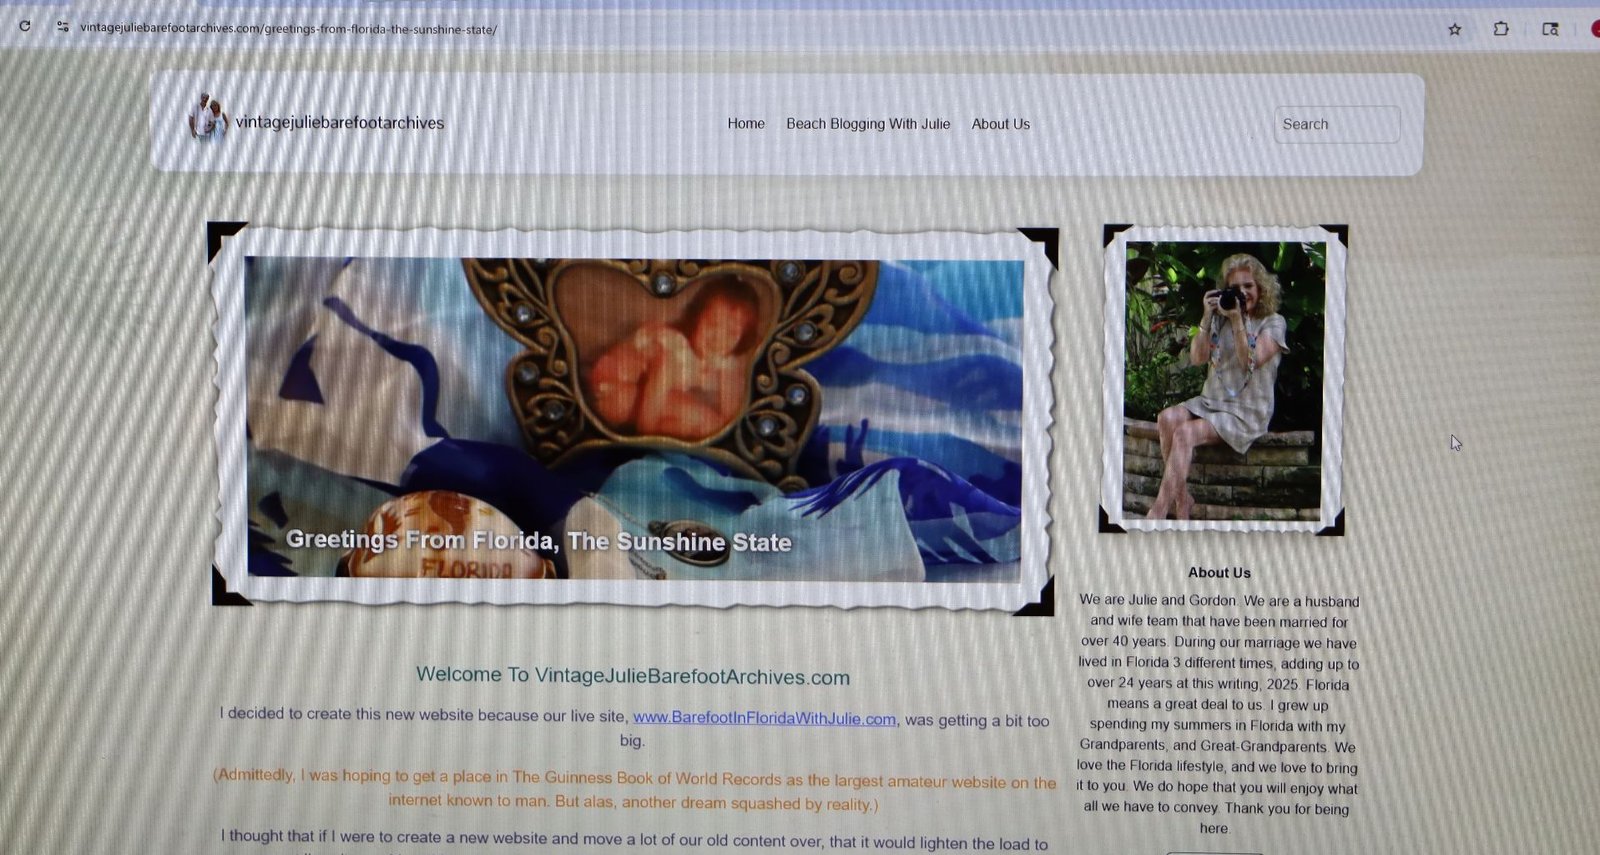
Welcome To VintageJulieBarefootArchives.com
(As Taken From Blog Posting from the new site.)

Brodie Keith Kanakaleo Whann
I decided to create this new website because our live site, www.BarefootInFloridaWithJulie.com, was getting a bit too big.
(Admittedly, I was hoping to get a place in The Guinness Book of World Records as the largest amateur website on the internet known to man. But alas, another dream squashed by reality, or human intervention.)
I thought that if I were to create a new website and move a lot of our old content over, that it would lighten the load to our current live site, and I could make this new website about our Florida Life. So, I specifically chose website pages that were of a Florida nature. We love Florida! My ties to Florida go back to when I was a baby in the 60’s, living in Rome, Georgia with my mother, grand-parents, and great-grandparents. Every summer was spent vacationing in Florida. Also, prior to me being born, it was where my mother and her friends, and their families vacationed as well. I have some really great old photos of my grand-parents, great-grandparents, and great-aunts and uncles wearing their old fashioned swimsuits with their old timey cars parked on the beach. Once upon a time you could do that. Drive onto the beach and park your car. Mostly on the East Coast of Florida, they had the longest stretches of beaches.

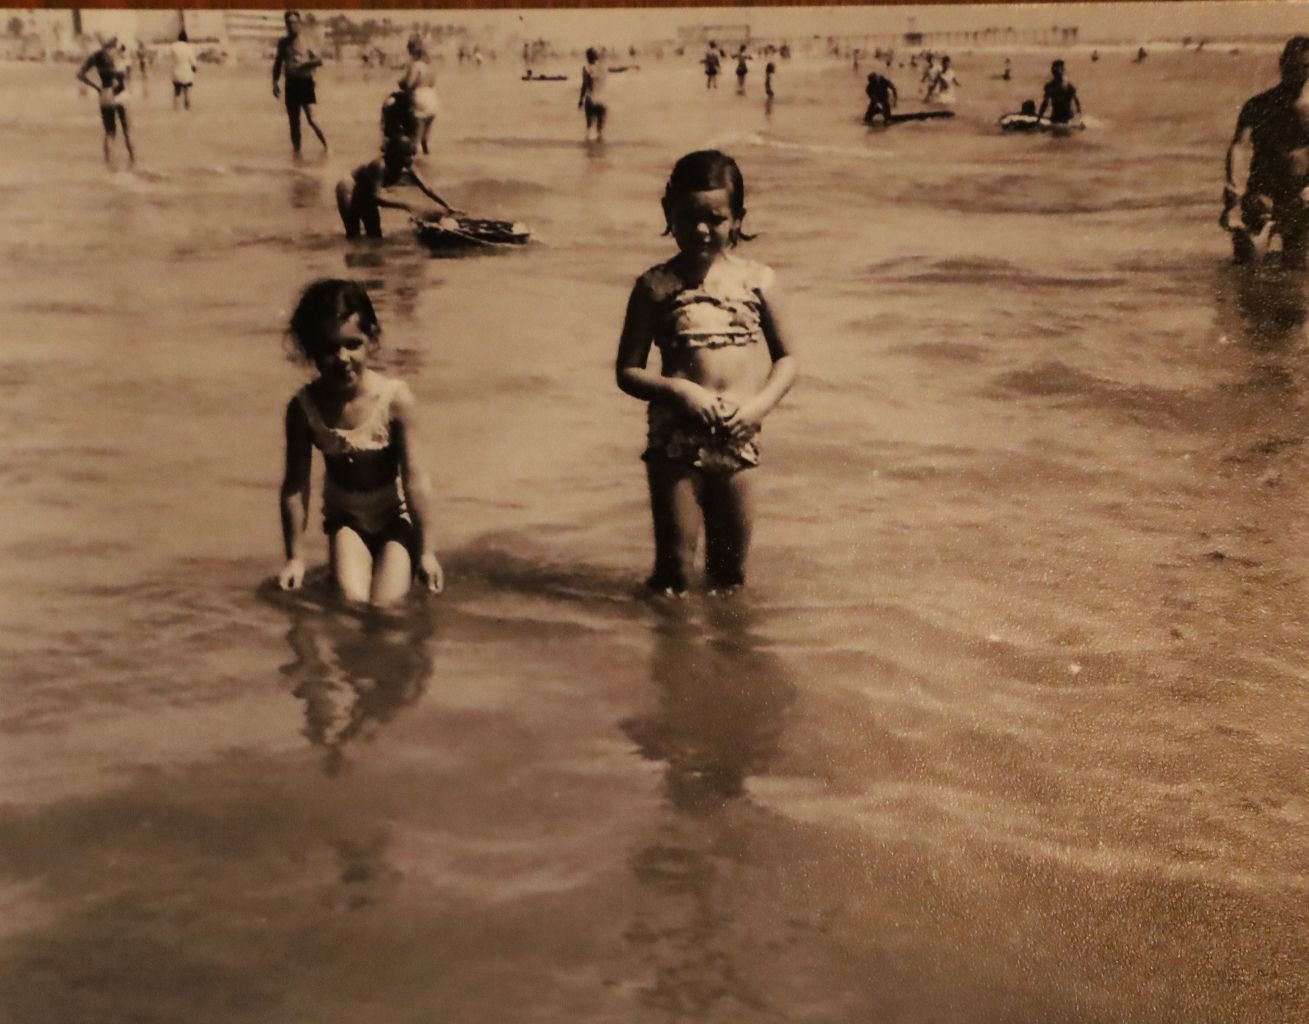
I’m the tall one with my cute petite friends. St. Pete left, Daytona right.
I can remember the Florida vacations very well. We would leave Rome in the evening, and drive all night down to Florida. I would be asleep in the backseat, wearing pajamas.. My grand-father would do the driving. If I had to use the bathroom on the way down my grandfather would pull over to the side of the highway, they would open both doors, the front door and the backdoor, and I would take my winky-tink between the two doors. Sometimes, cars would honk as they would drive by. I was always in a panic that someone could see me. My grandmother always assured me that no one can. (She was probably lying.)
St. Petersburg was usually our destination. My grand-father would look for Motels with a VACANCY sign flashing towards the street. He would just drive down what is now Gulf Blvd. looking for a Motel that he thought looked nice. He would then pull into those Motels and inquire within for something suitable for all of us. I can remember that we were always on the ocean side, most of the time there was a pool. I can even remember one place we stayed at where we walked out of our motel room door directly onto the beach. There was so much beach sand outside our door.
I have beautiful memories of many Florida vacations with my grand-parents. My grand-father was one to lay on his back in the ocean, floating, and falling asleep. He was a big man, very tall, with lots of cushion. He floated very easily. I can remember one time he fell asleep and was drifting out to sea, a lifeguard was blowing his whistle trying to wake him up to get him to swim back towards shore.
Most every night we would eat at a seafood restaurant. The restaurant was always located on an ocean front, or a canal front. I have so many great memories of finding little fishies trapped between the rocks by the ocean or canals. I would use a paper cup to capture them and take them back to the motel room with me. I loved having them with me in the motel room. I loved watching them. Sometimes I would set them loose the next day, if they even made it through the night. Upon reflection I wish I had known more about helping them. But I didn’t. I was just a child.
—————————————————————————————
Hello Rosy Cheeks
I remember this very well. It was at one restaurant that was busy that evening for dinner. There were many people waiting to get seated. My grand-parents and I were sitting at a table in the entryway when suddenly this cute boy sat down right beside my grandmother, he sat across from me, he then looked at me and said with all the confidence in the world, “Hello rosy cheeks.” I was in my early teens. My grandmother instantly adored him! I guess charmers must recognize each other because my grand-mother was a charmer. She then burst out laughing.
This cute, charming boy sat there flirting with me. I knew I could fall for him in a minute! But, I was just too shy to do anything about it. But, I have always remembered that cute boy that made this awkward girl feel special.
Oh, and the rosy cheeks were from my being sunburned that day from staying out too long in the sun, on the beach.
———————————————————————————
Florida is not just a great state to vacation in, it holds so many happy memories for me and my family growing up. It makes sense that Gordon and I would settle here and live out our days until we are gone. Hopefully that won’t be for a very long time. But, until then we have a grand-daughter to help raise and make many happy Florida memories for her to take with her in life.
An old timey Motel, a Shuffleboard Court, Sun, Sand, Shells, Beach, Oranges, Orange Juice, Drawbridges, Souvenir Shops, Boat Rides, Seafood Restaurants, Summer Friendships with other Tourists, Salt Water Taffy, Vintage Beach Buckets, Sand Shovels, Flamingoes… and being Barefoot!
This is what I carry with me every day.
Happy Vintage Julie Barefoot Memories,
Julie Barefoot
(Julie Lancaster-Whann)
—————————————————————————————————
————————————————————————————————————-

Florida is Beautiful and Unique,
Located in the South, yet not Really Southern.
Although Florida is the East Coast, and Canada’s Destination
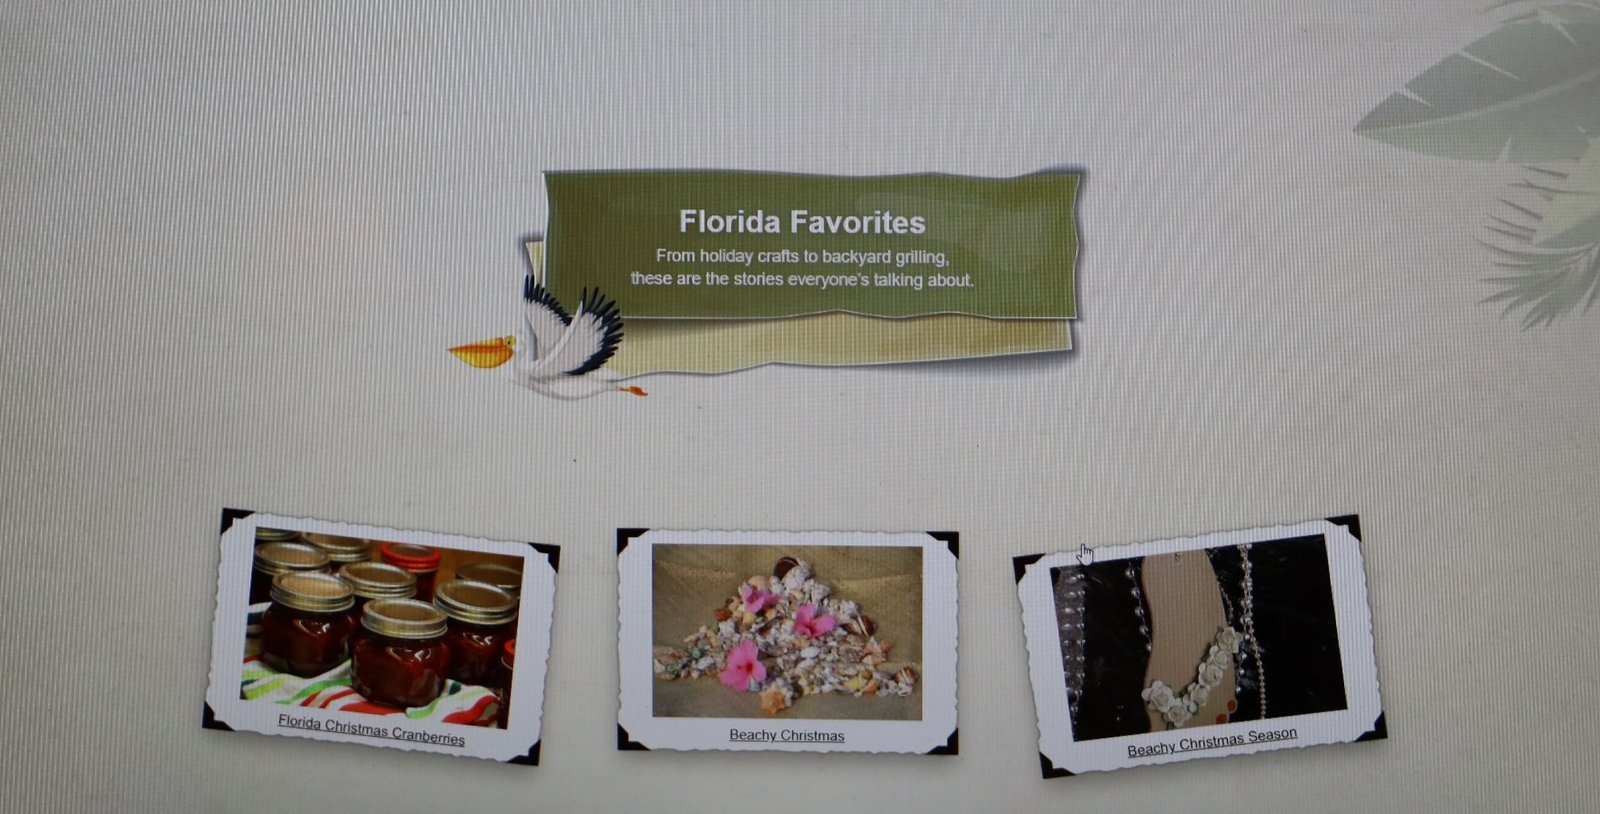
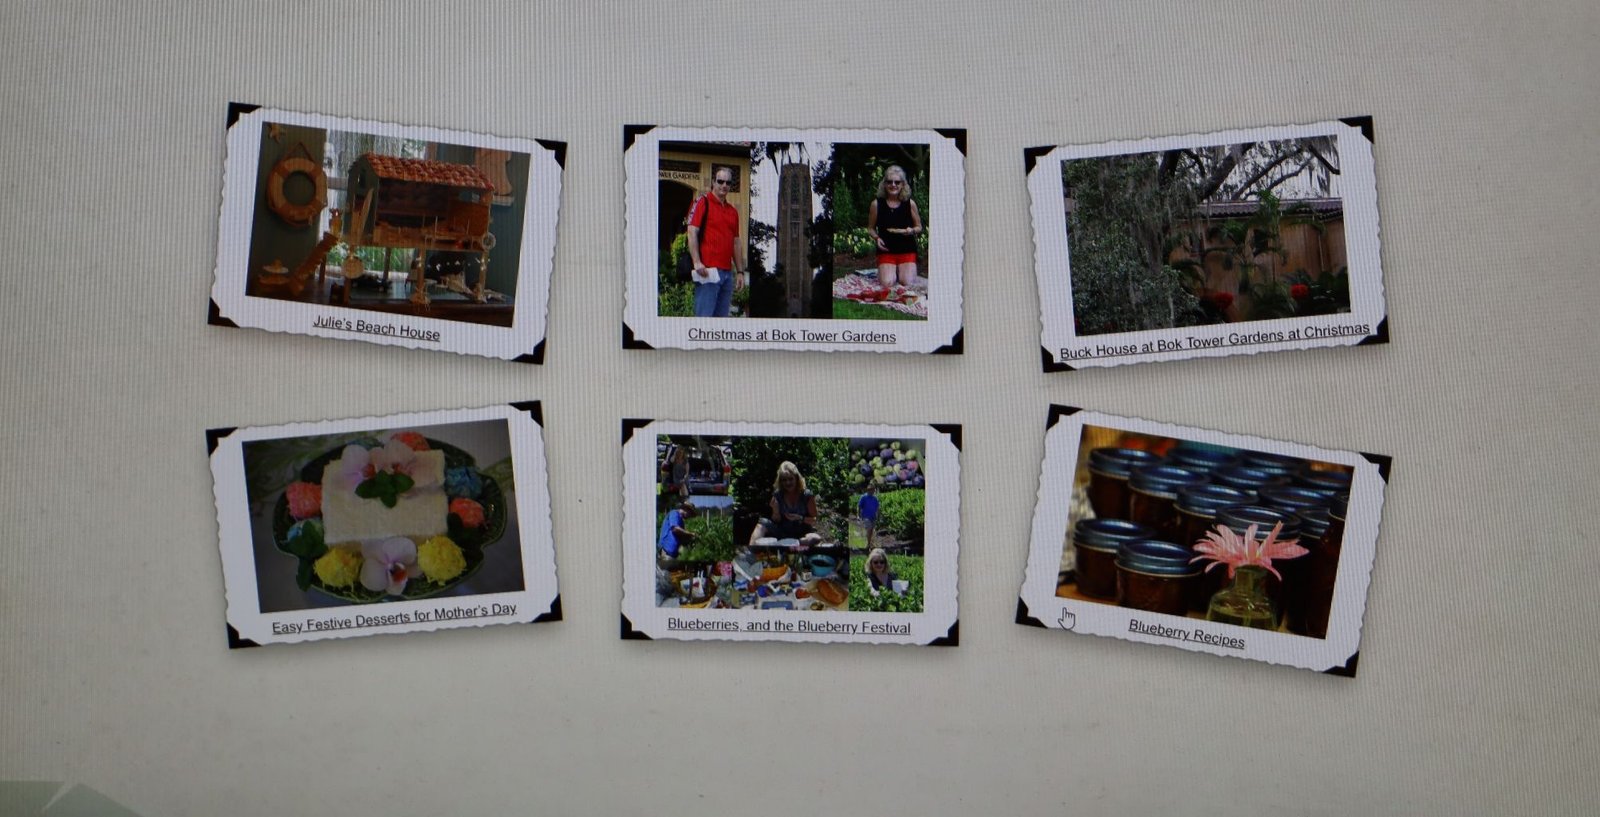
My Florida Favorites
————————————————————————————————-
———————————————————————————————-
————————————————————————————-
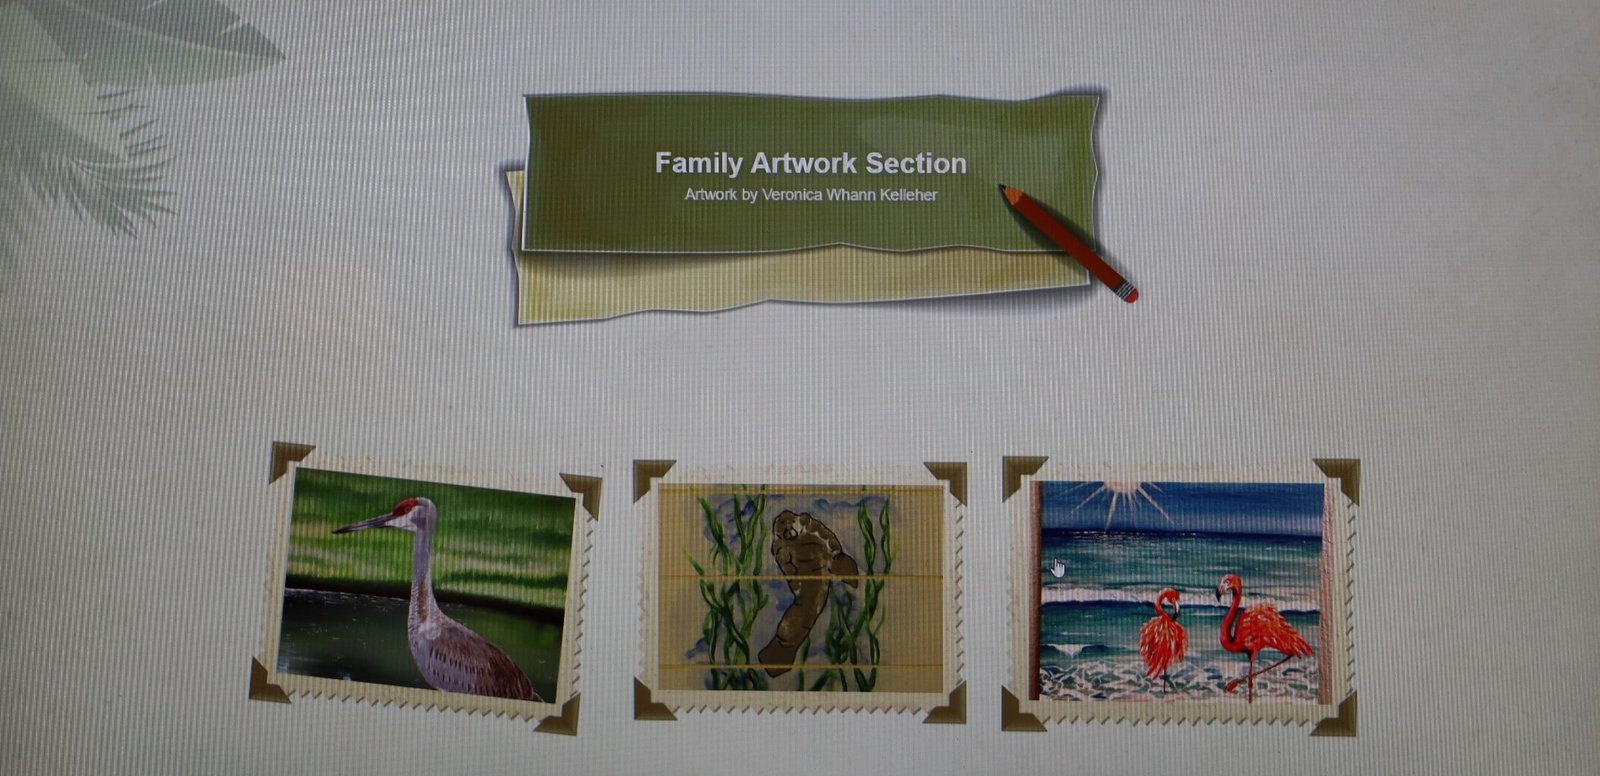
Some of Veronica’s Artwork
I asked her if she had some of her art that I could display on the new website. She sent over these. This was all she had in her possession. People do hire her to draw and paint for them. I would love to had seen those paintings, but she did contribute some nice things.
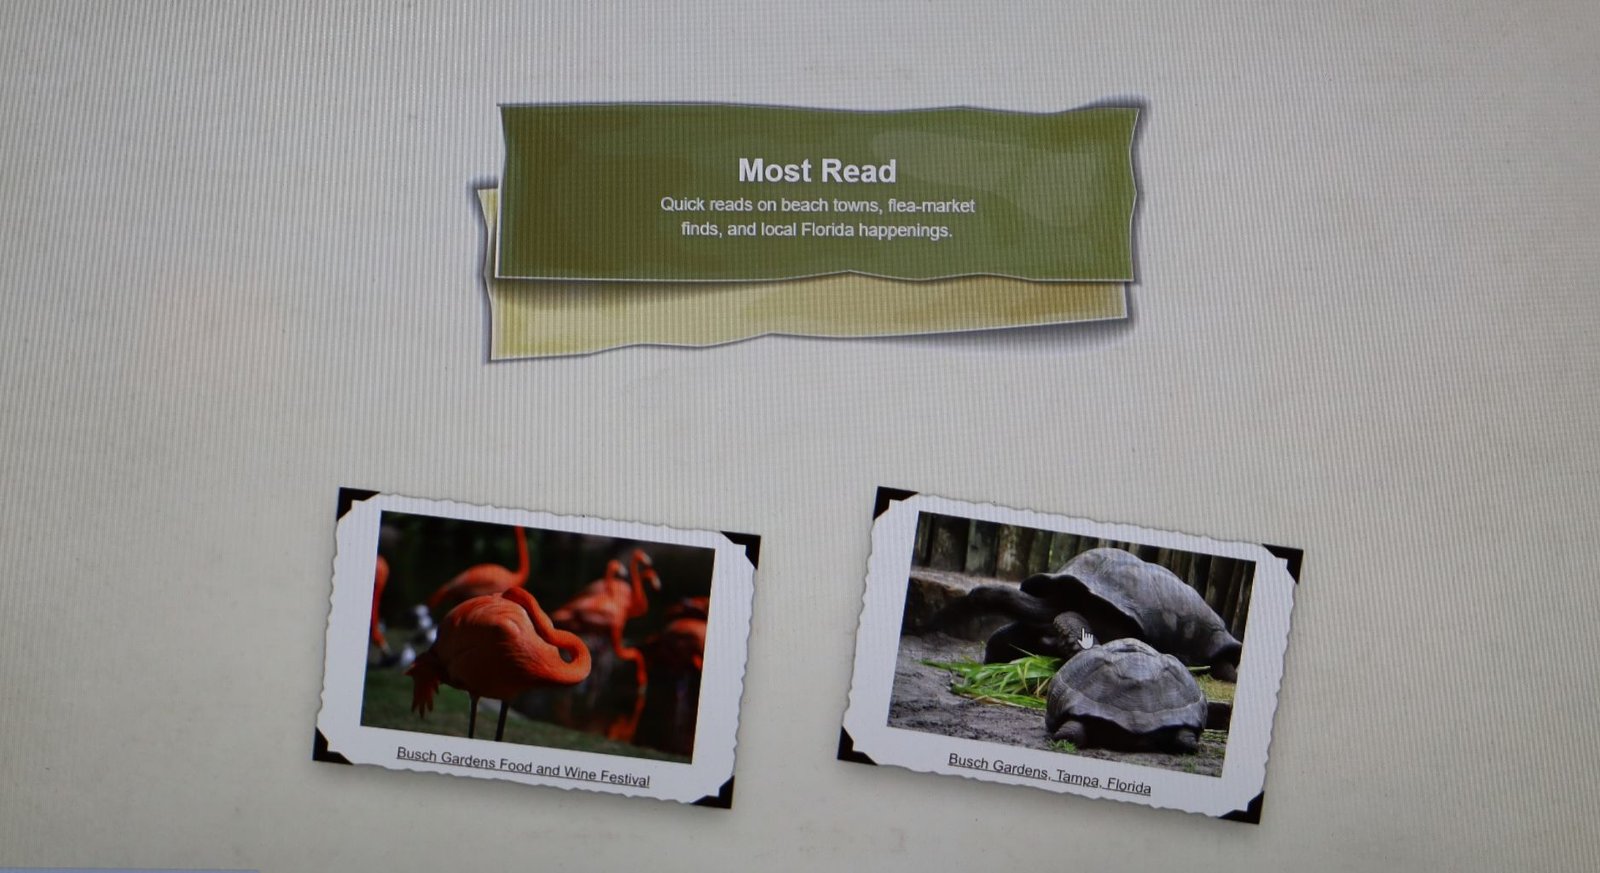
Busch Gardens
I told my guys in India that I wanted an Alligator on the bottom left, and Flamingoes on the bottom right.
I do think the landscaping you see in the graphic above looks like Africa, but then again we do have Busch Gardens here in Florida that is theme based on Africa.
So, I guess it all goes together nicely.
Web Design is a lot of fun but it isn’t really something tangible. I mean, the moment I quit paying the monthly fees, it can all just disappear. Or an experienced hacker can just come along and delete the whole thing forever. As much as I love my website’s they aren’t anything that I can hold in my hand, or place onto a shelf for display, or even own forever. My experience with having websites is that they are very vulnerable to those that know how to penetrate them, and abuse them without any conscious or authority whatsoever.
I guess what I am trying to say is that they are very temporary, so enjoy them while you can.
See You At The Beach!
Julie Barefoot
Currently Under Construction ———————————————————————————— Also Check Out My: Click Here For: Julie’s Jezebel Sauce AND, Aloha Wahine Jezebel Sauce AND, An Oriental Jezebel AND, An Old Florida Jezebel (Sauce) AND, One HOT Jezebel for …

PLUM PLUM BUM BREAD CAKE —————————————————— PLUM FLOWERS PLUM PRUNE CAKE/BREAD ————————————————————————————— You Can See How Dense It Is Rich, and Delicious Made With Plums, and Pear and Prune Baby Food ————————————————————————————- Excellent For Breakfast As Well ——————————————————————————– Plums With …

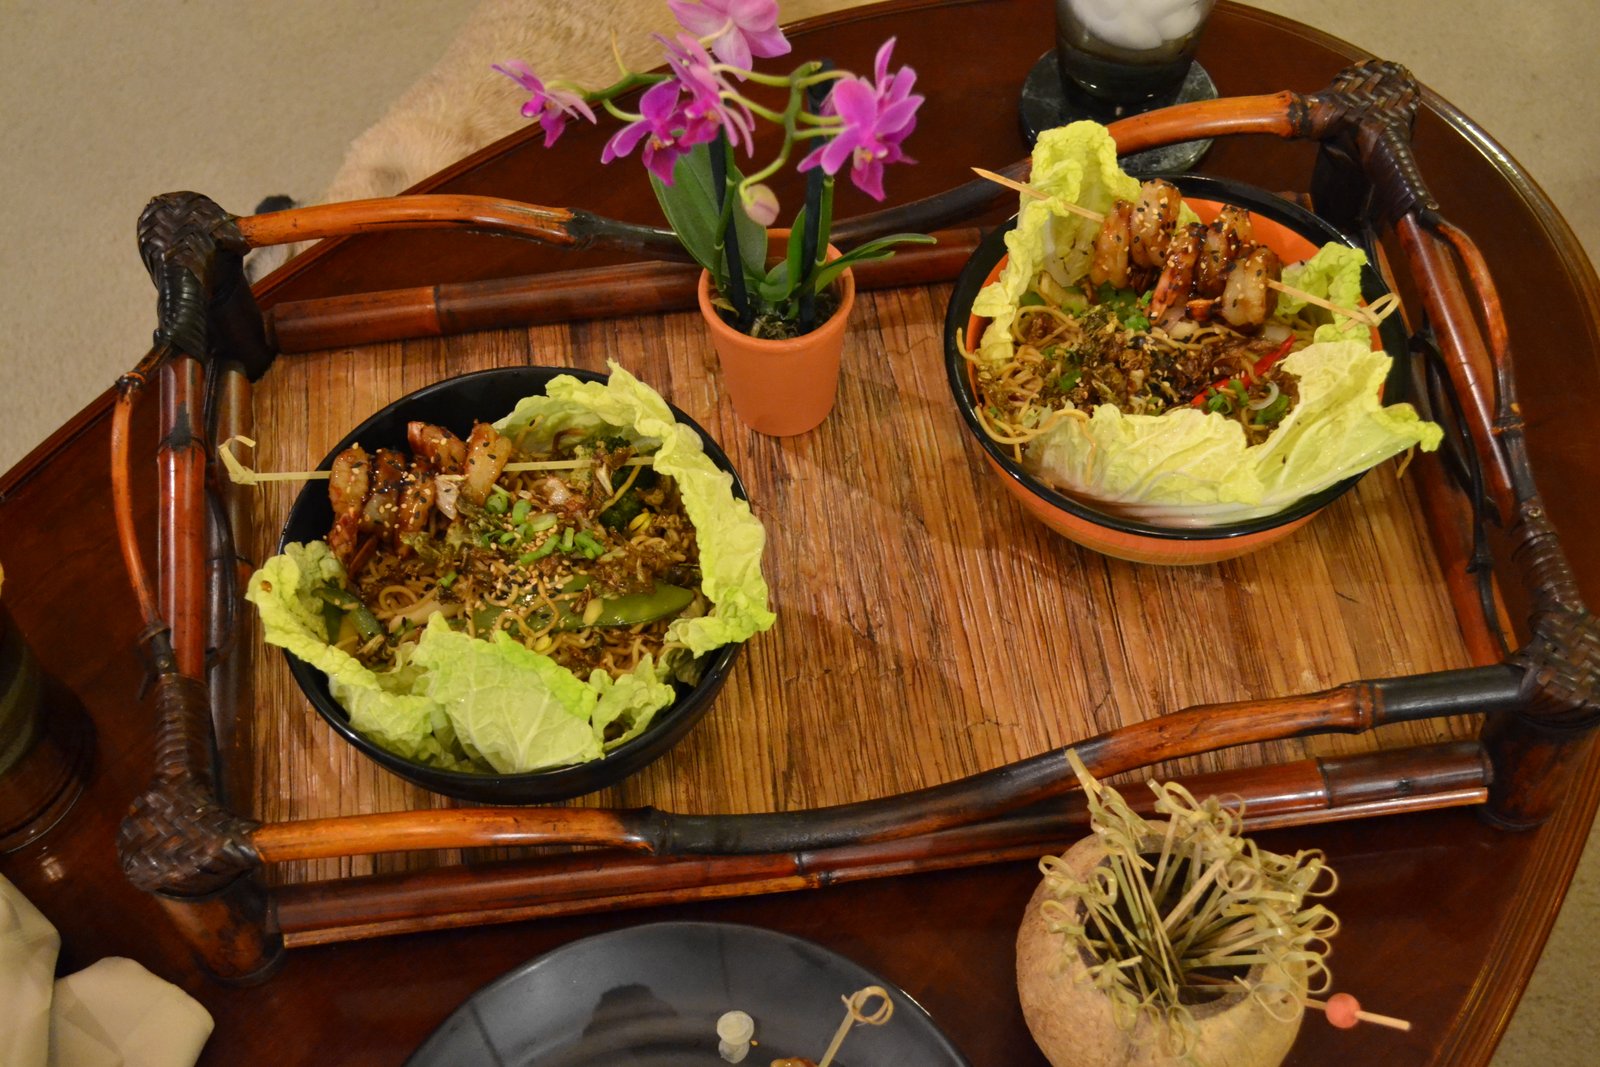
Welcome To A Tasty Asian Summer
I want to make this page about fun, and tasty foods that have an Asian flair to them.
Nothing complicated, but the kinds of foods you would expect to eat in the summer.
I hope to add on to this as time goes by.
Koko Ni Kitekurete Arigato
(Thank you for being here.)
Julie
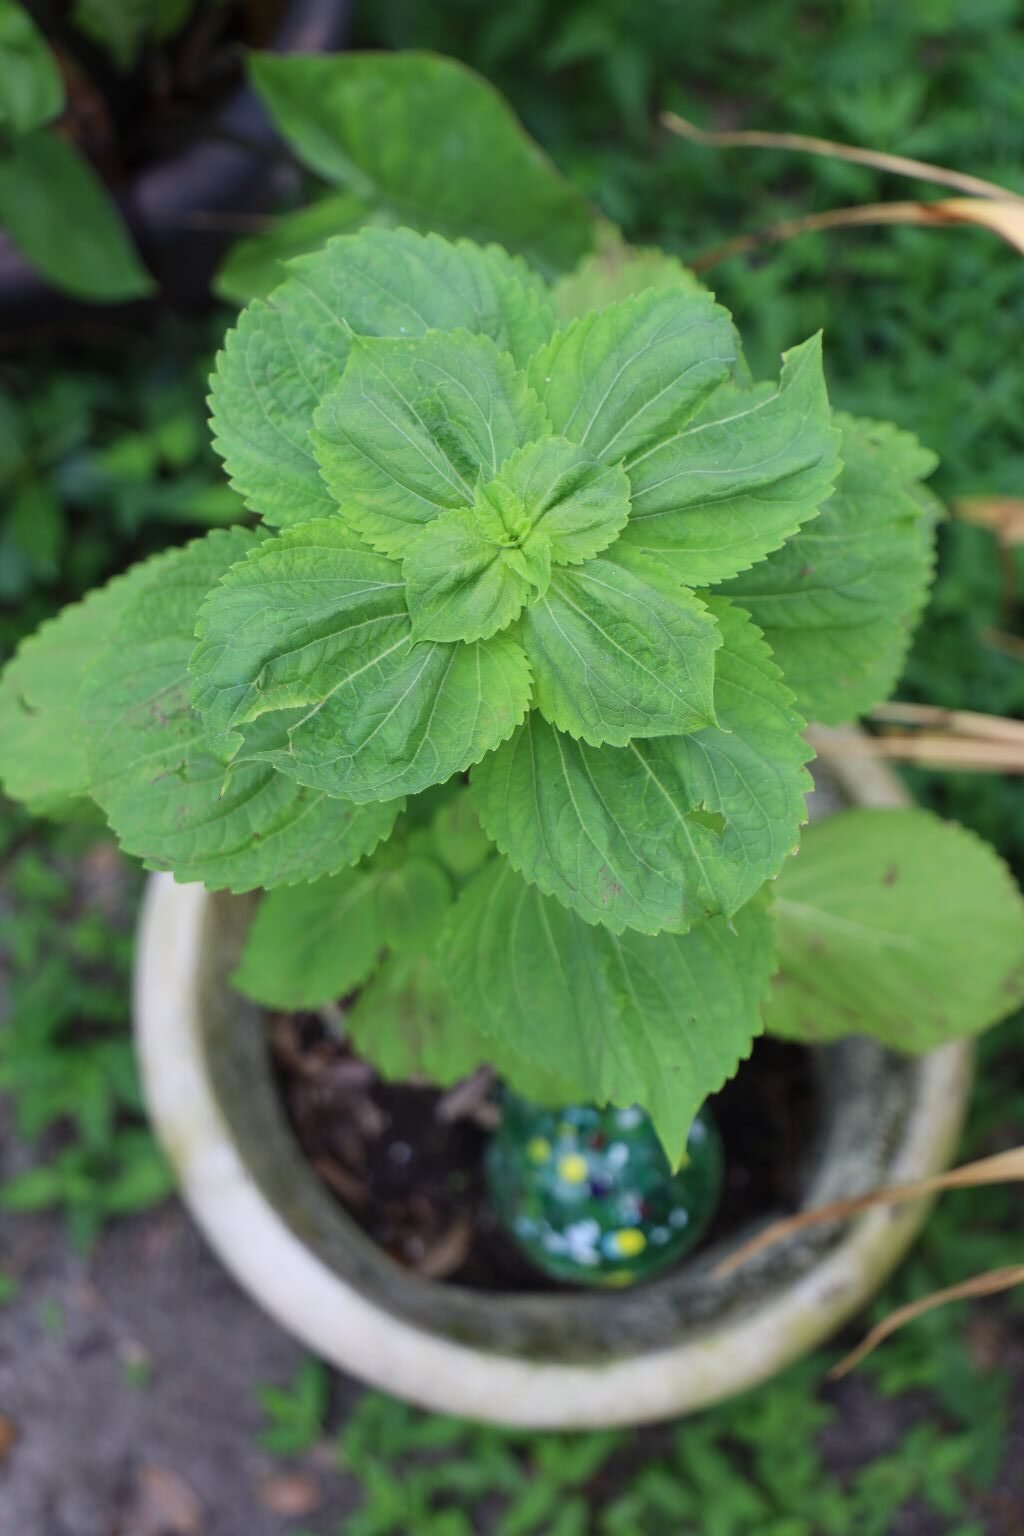
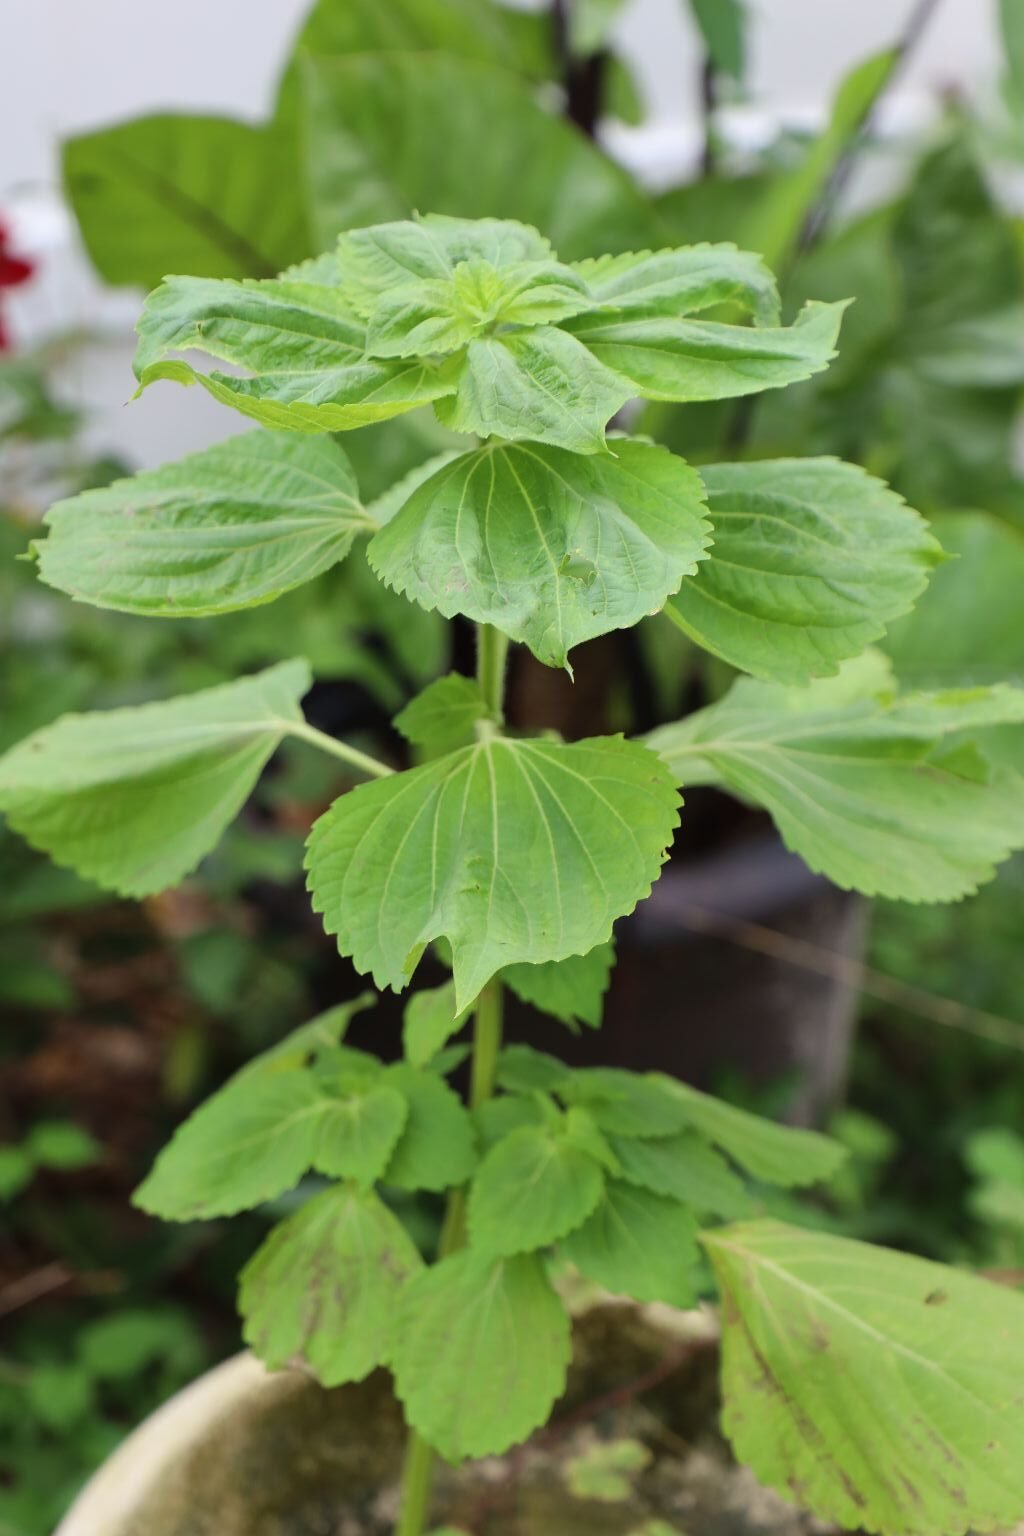
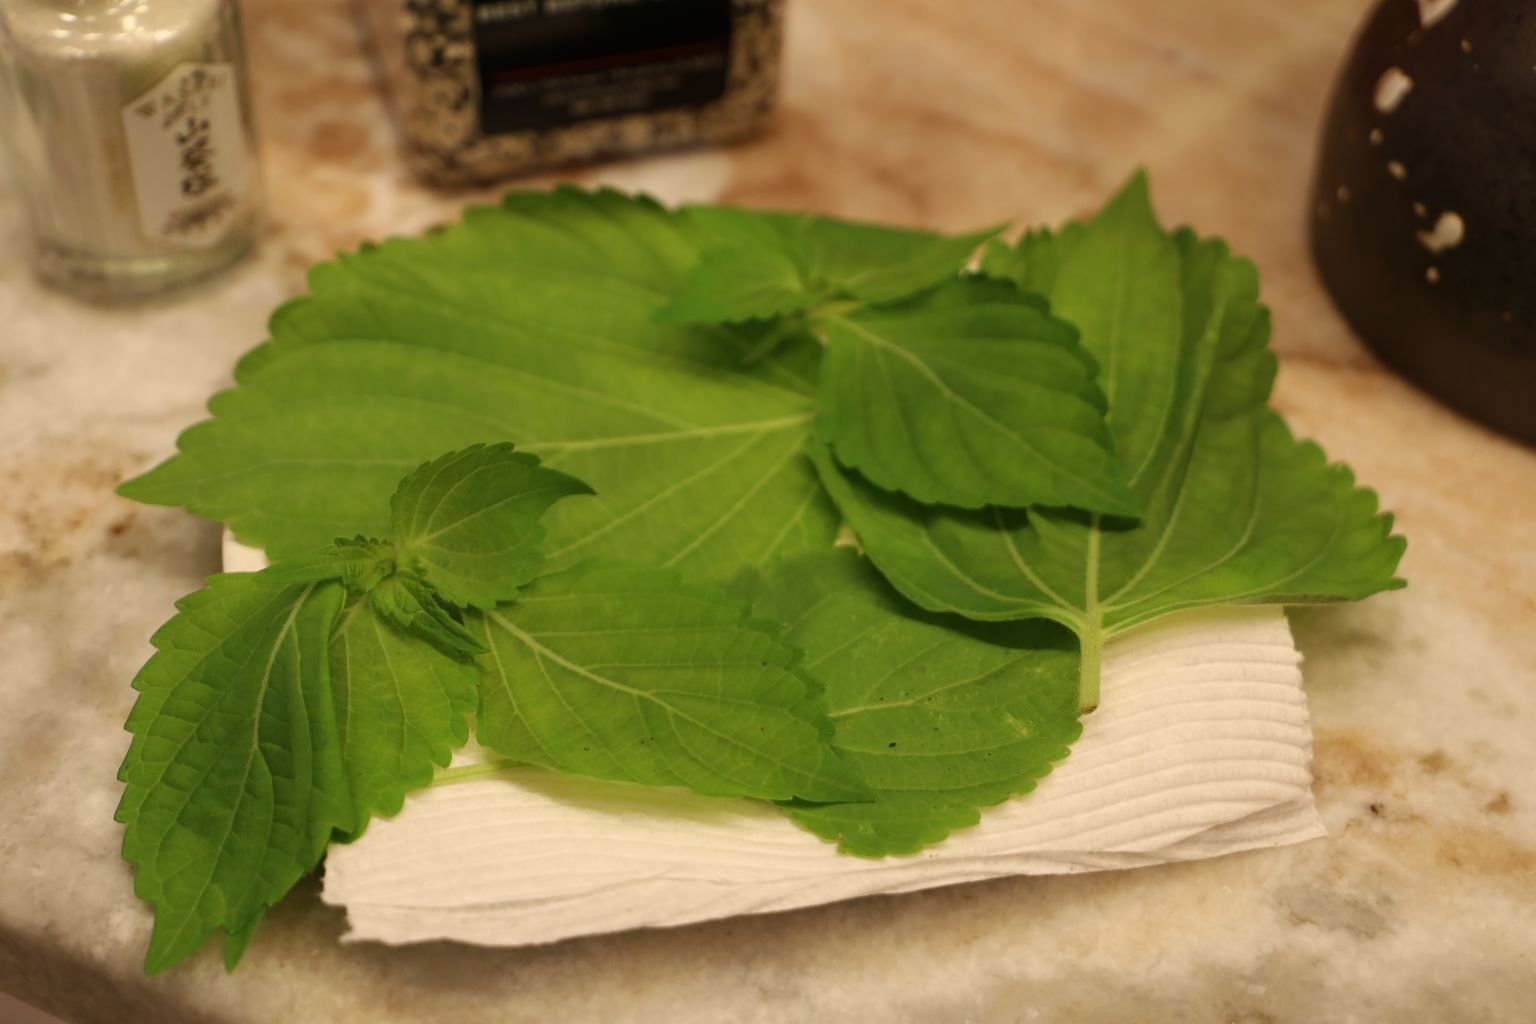
Our Backyard Shiso Leaves Plant
—————————————————————————————

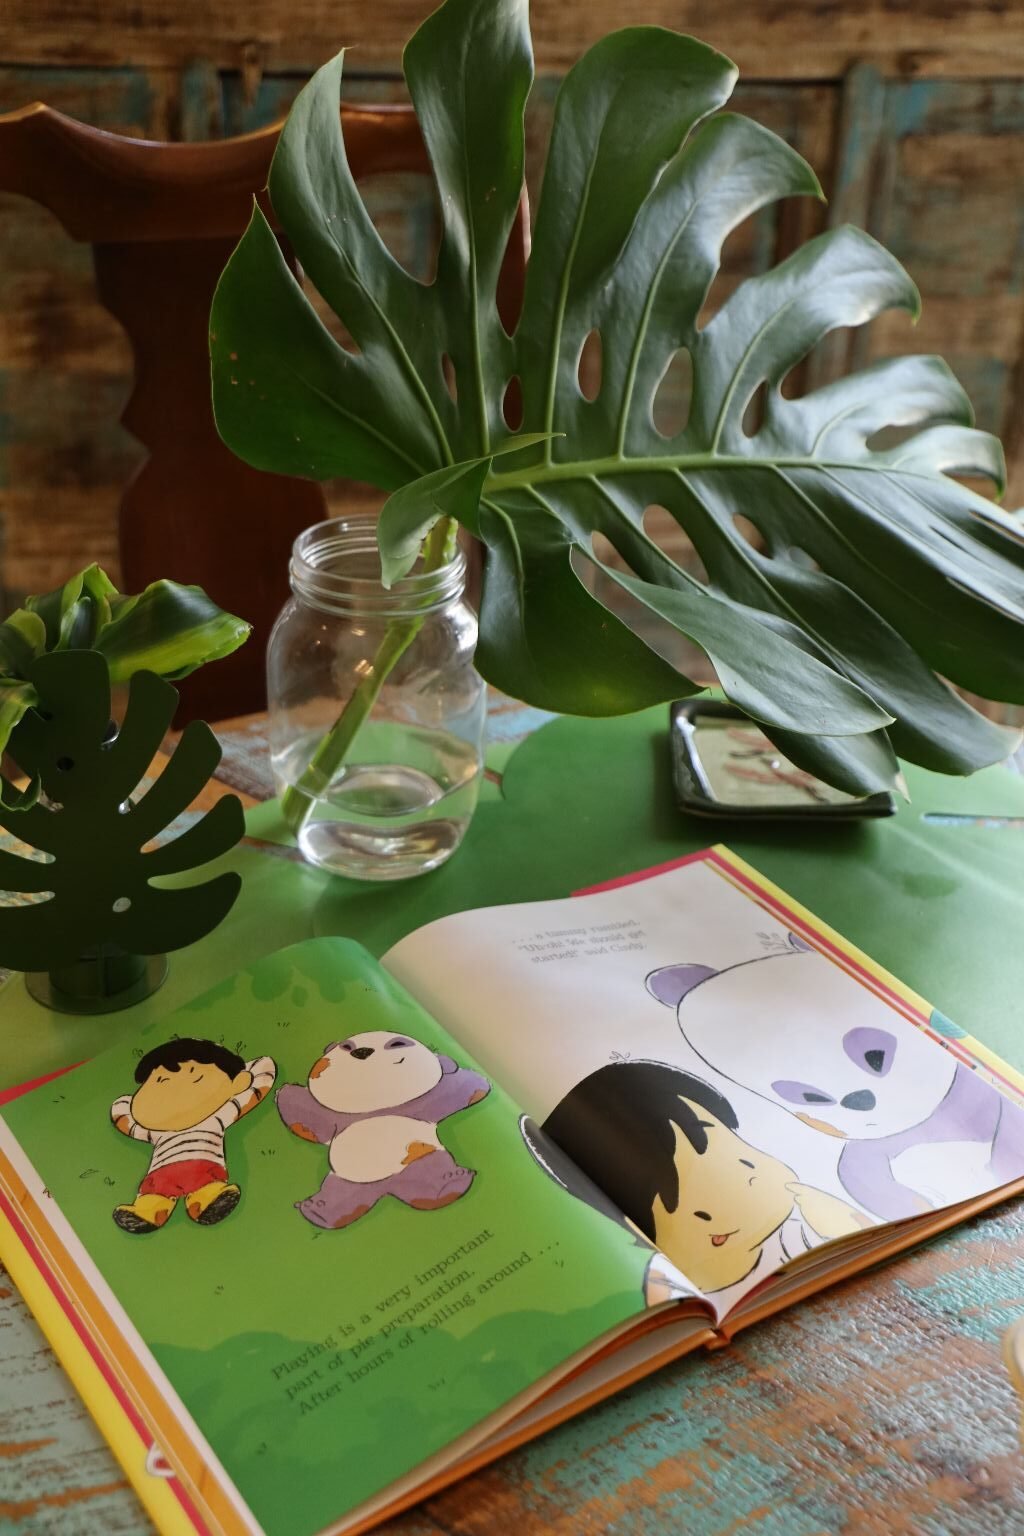
Cindy and Panda
by Benson Shum
I was shopping at the base exchange in Tampa and I found this book, and many other great books, in the sale bin. I recognized it’s importance immediately and fished it out. (I’ve discovered that the best children’s books are always overlooked and in the sale bin.)
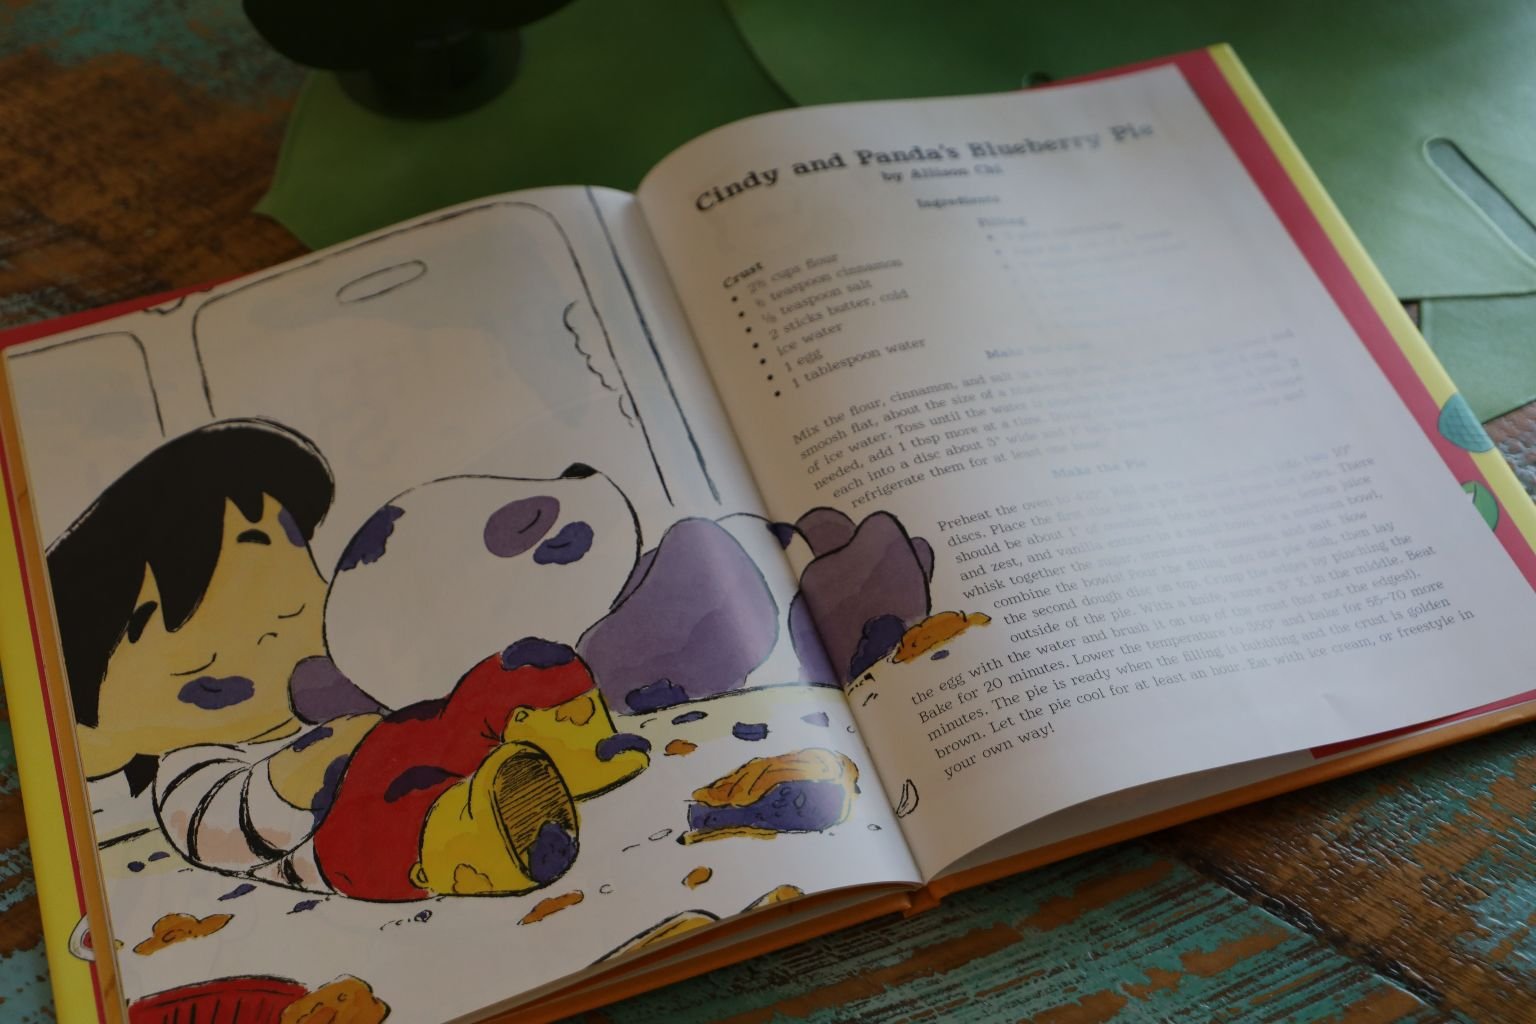
Cindy and Panda’s Blueberry Pie
This is just a cute book for any toddler about friendship, and cooking. The book even ends with a nice recipe for making a Blueberry Pie.
I placed this here because Isabelle and I just might have a go at making this recipe someday.
The author and illustrator, Benson Shum, has also written books of Little Seed, Anzu the Great Kaiju, Anzu the Great Listener, and Alex’s Good Fortune, and he is the illustrator of Sloth Went by Adam Lehrhaupt. He is also an animator at Walt Disney Animation Studios and has worked on such films as Frozen, Big Hero 6, Moana, Raya and the Last Dragon, and Encanto.
He is originally from Vancouver, British Columbia.
————————————————————————————-
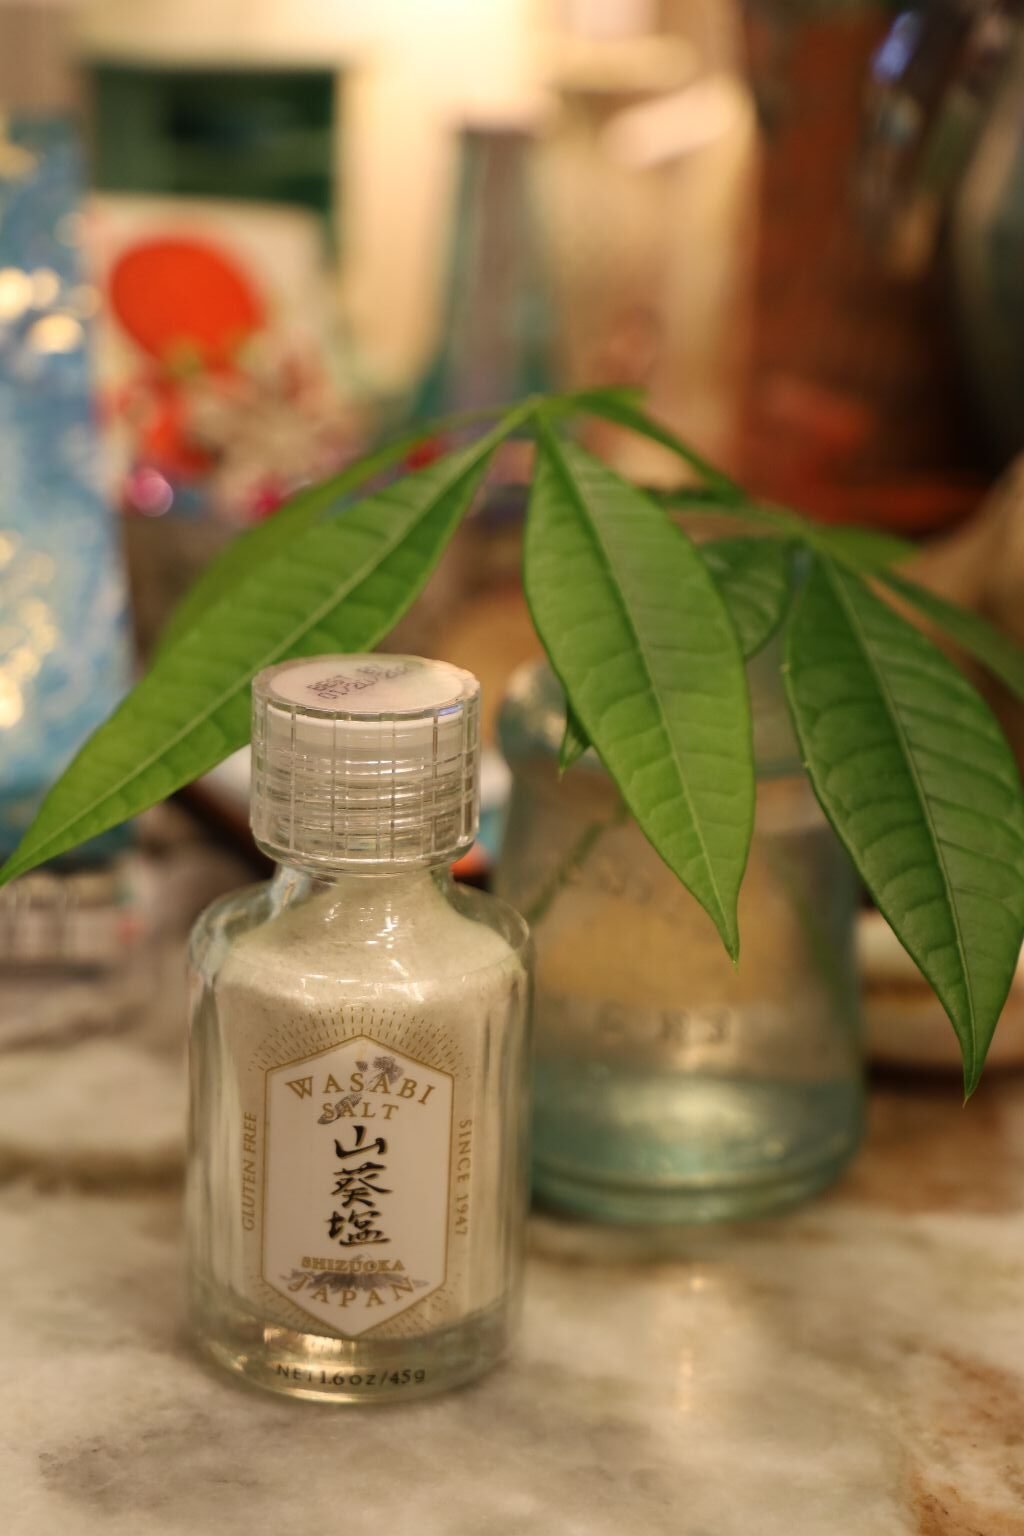
Wasabi Salt

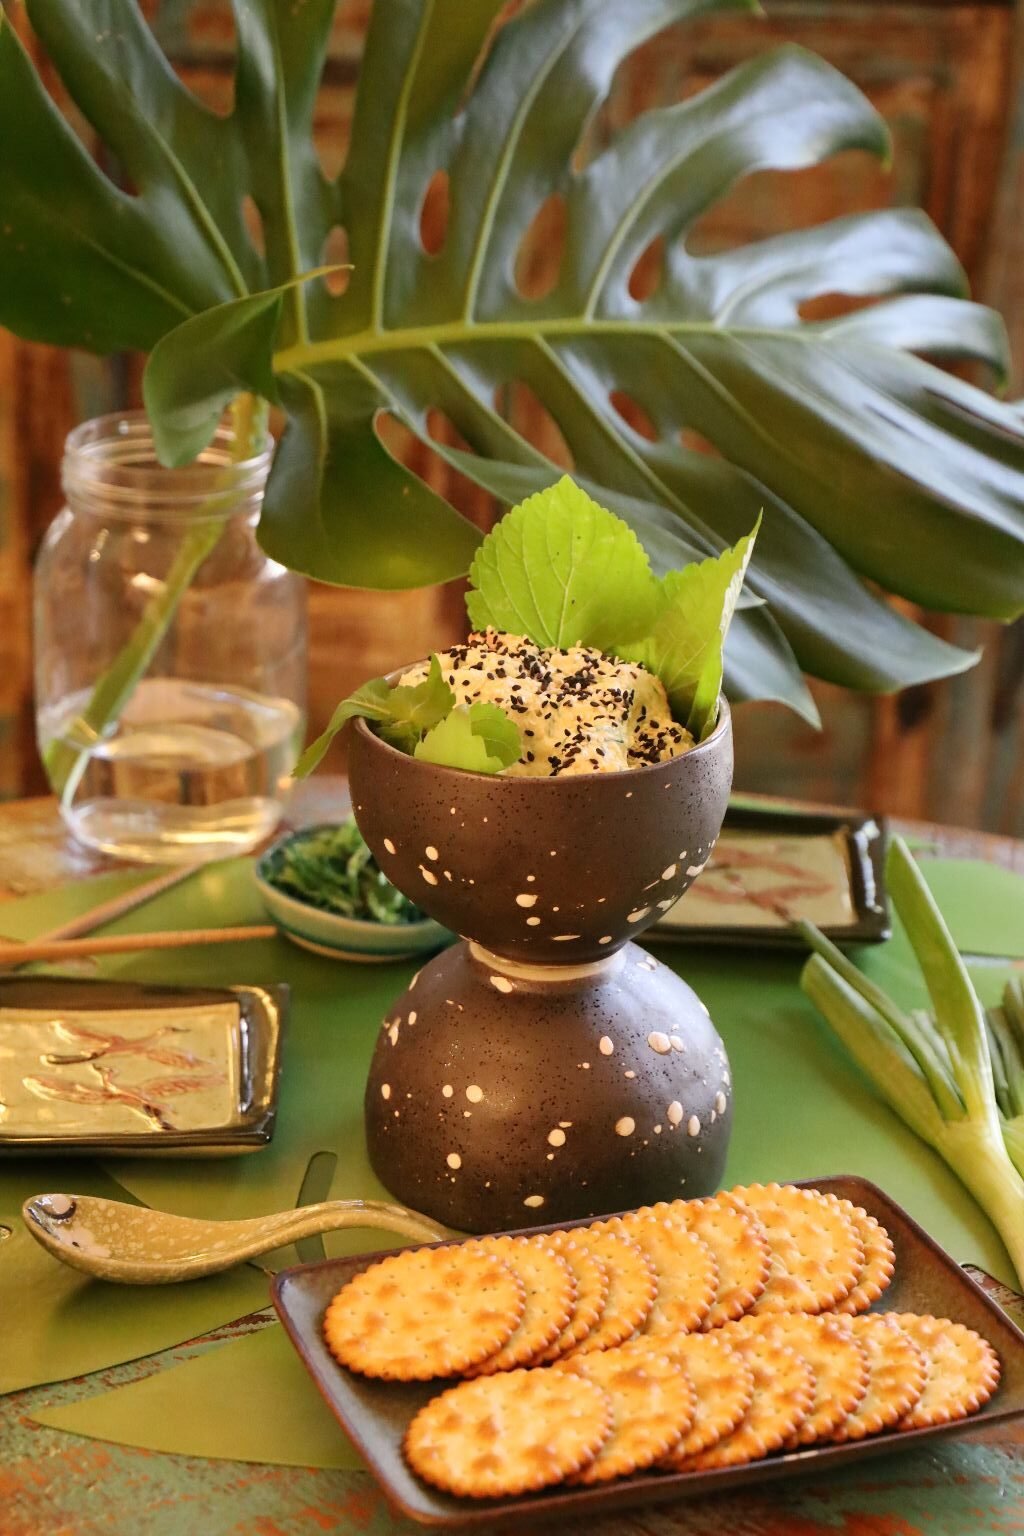
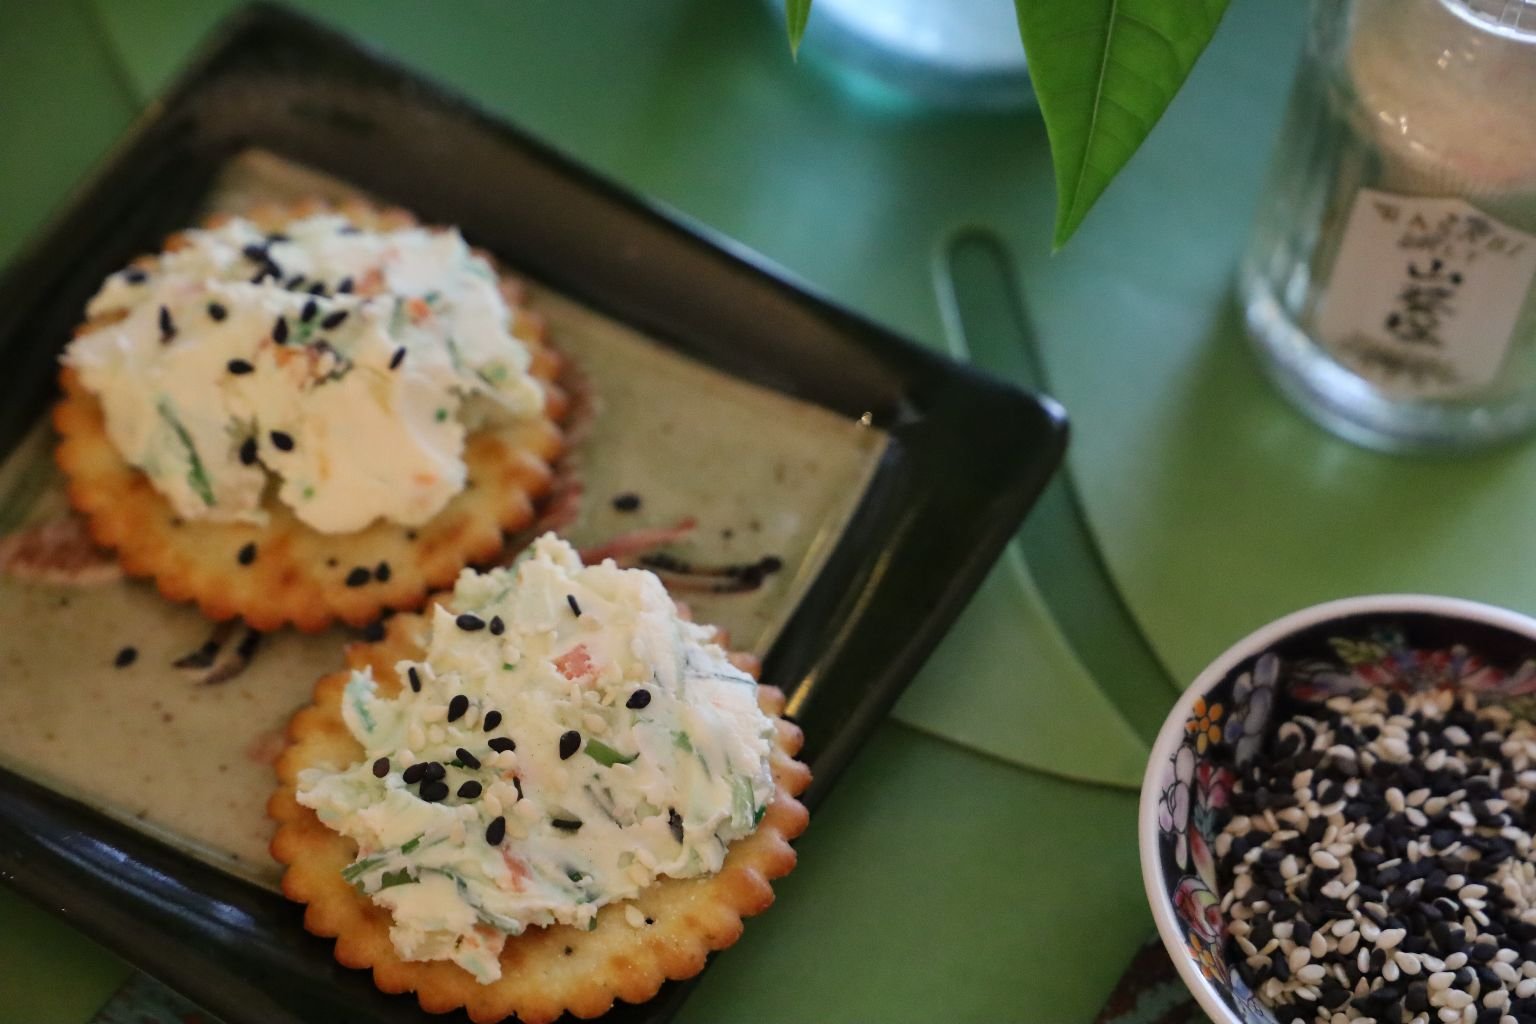
My Seaweed Dip/Spread, with Shiso Leaves
(Shiso Leaves are the original leaves that were placed in the containers of Sushi that you would buy in restaurants, and stores that would sell sushi products. They eventually replaced the real leaves with the plastic ones. Which is what you are familiar with now. These are those real leaves. We have them growing in our backyard. They are very healthy for you. They aid in digestion. They were also used to wrap around meats and other foods that had gone a bit bad, and they helped to prevent you from getting sick when eating such meats.)
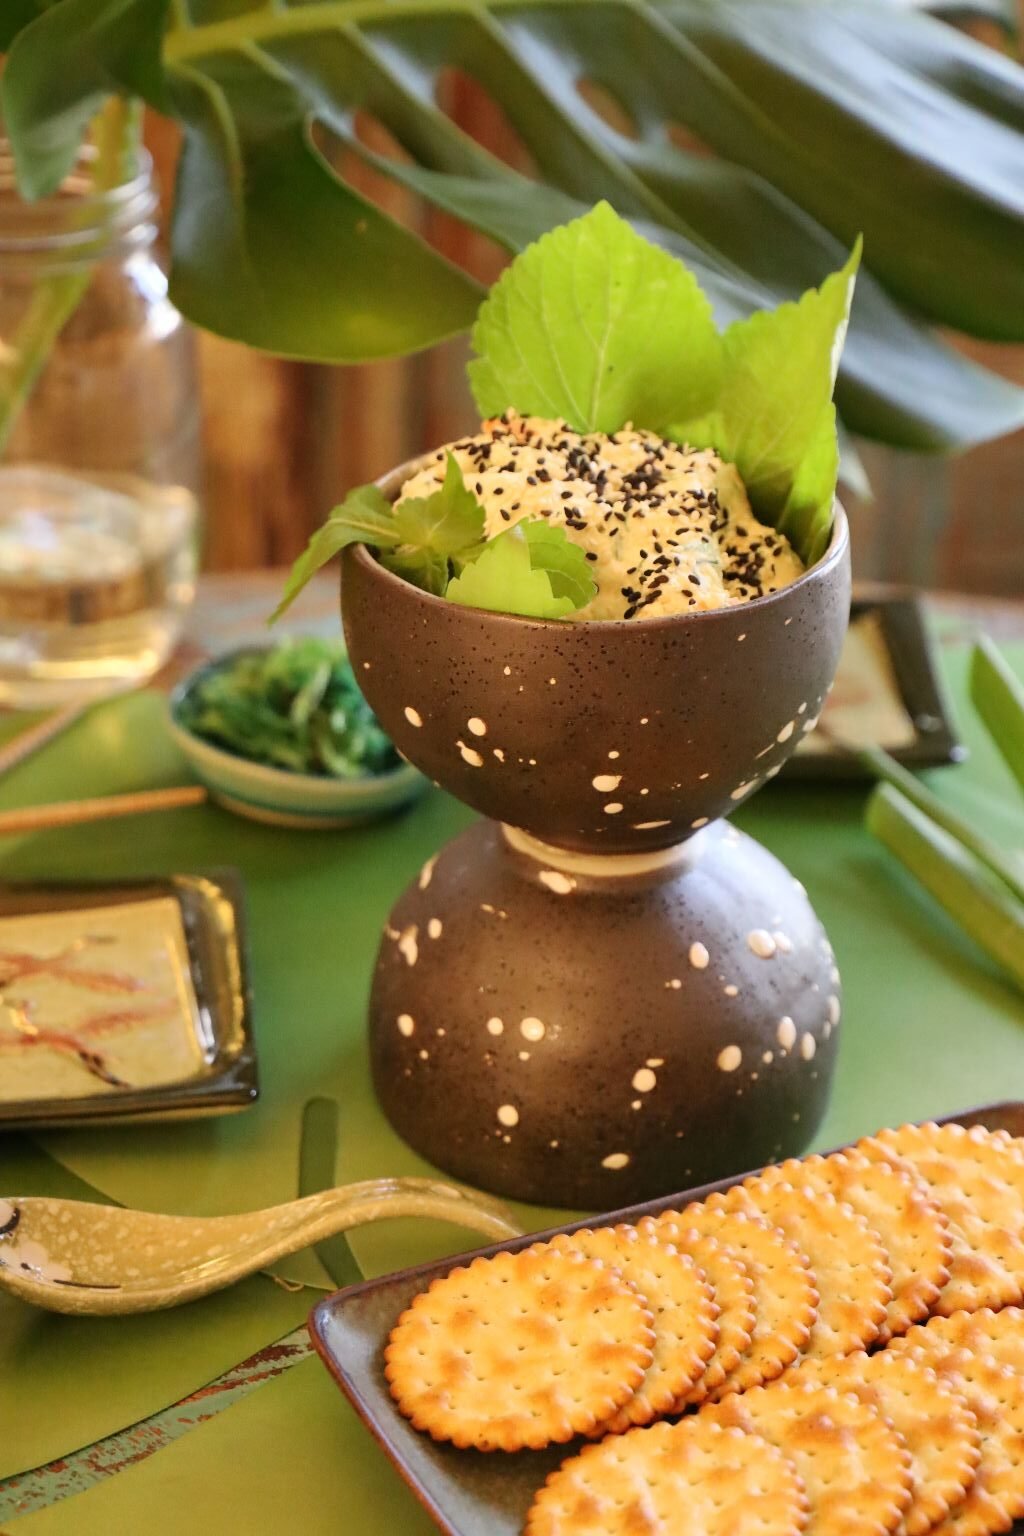
Served with Seaweed and Onion Crackers

(I purchased the crackers at the Asian Supermarket.
They are some of the best crackers I’ve ever eaten!)
——————————————————————————————–
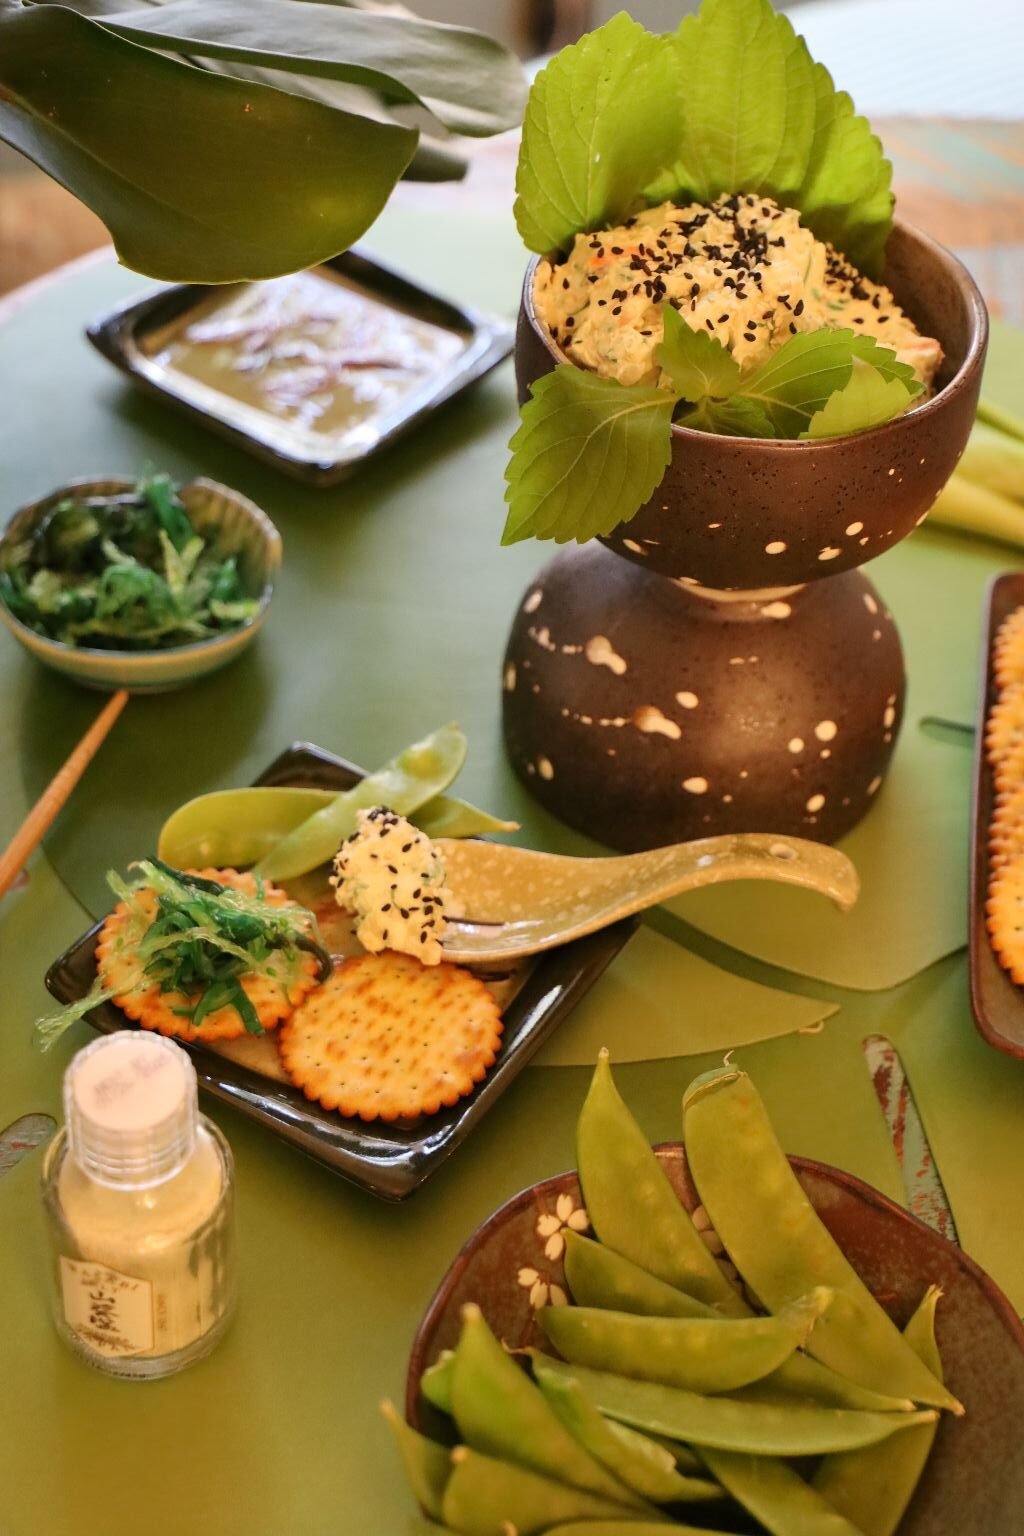
Also, Served With Seaweed and Snap Peas
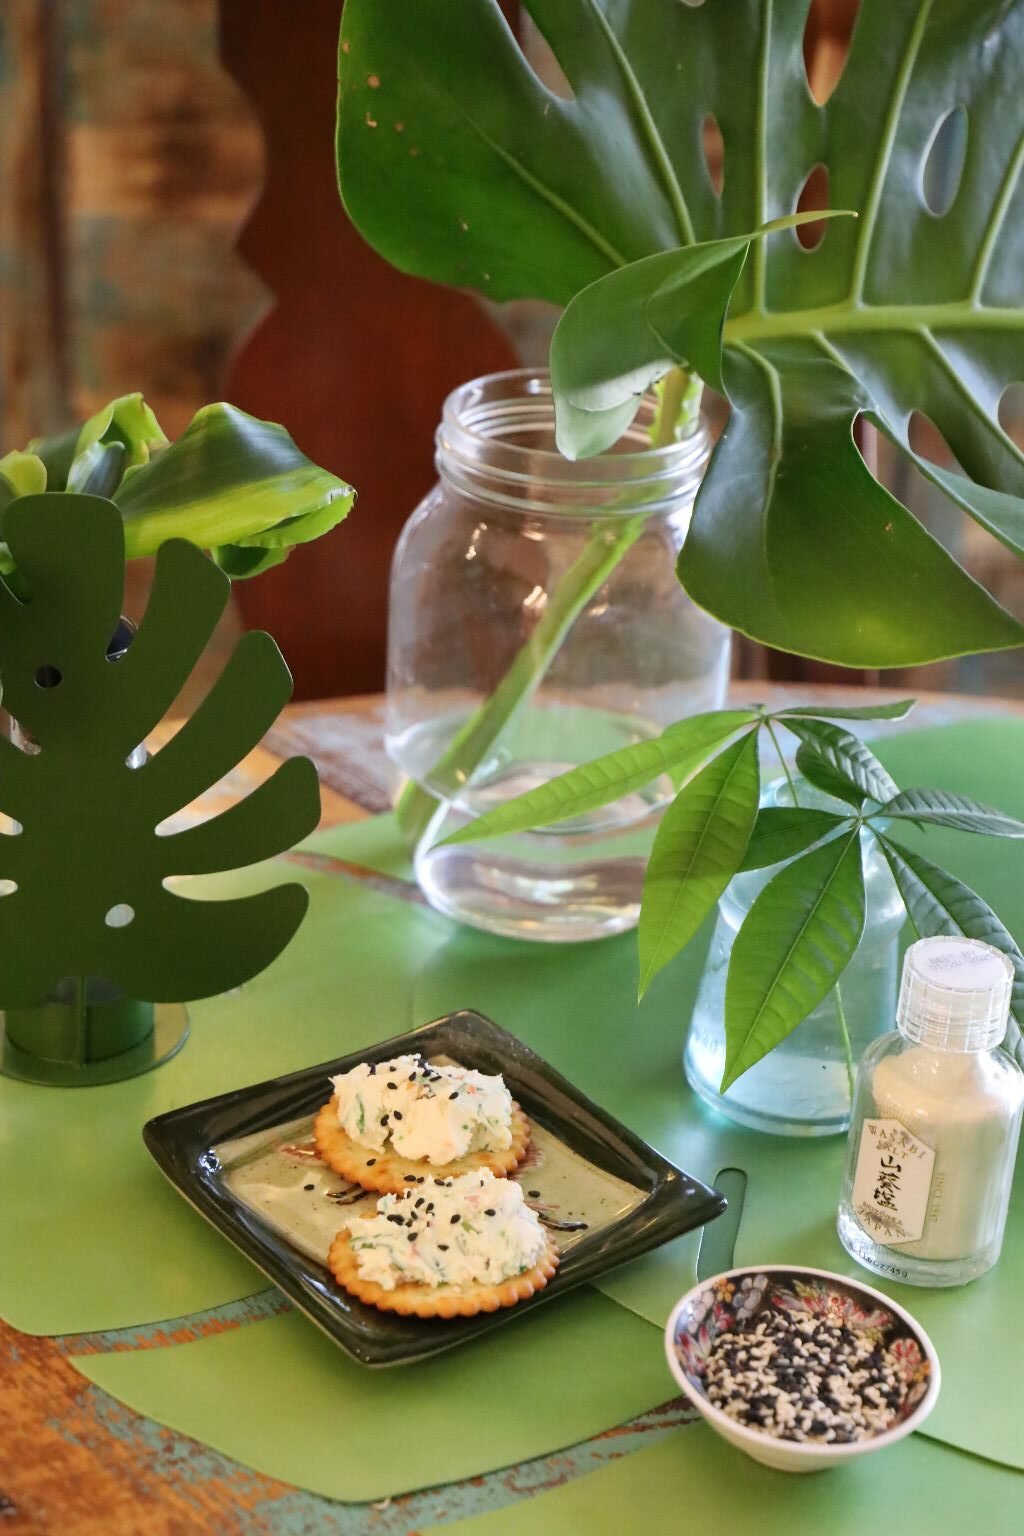
Over Every Cracker Sprinkle Some Tuxedo Sesame Seeds and Some Wasabi Salt
I made some extra for my daughter and her family. But, I never told her what it was because I figured that she would reject it if I told her it was made out of seaweed. So, when she came over the following day to pick up Isabelle, I asked her if she liked it? She said, “Yes, it was really good. But, what was it?” 🙂
——————————————————————————————–
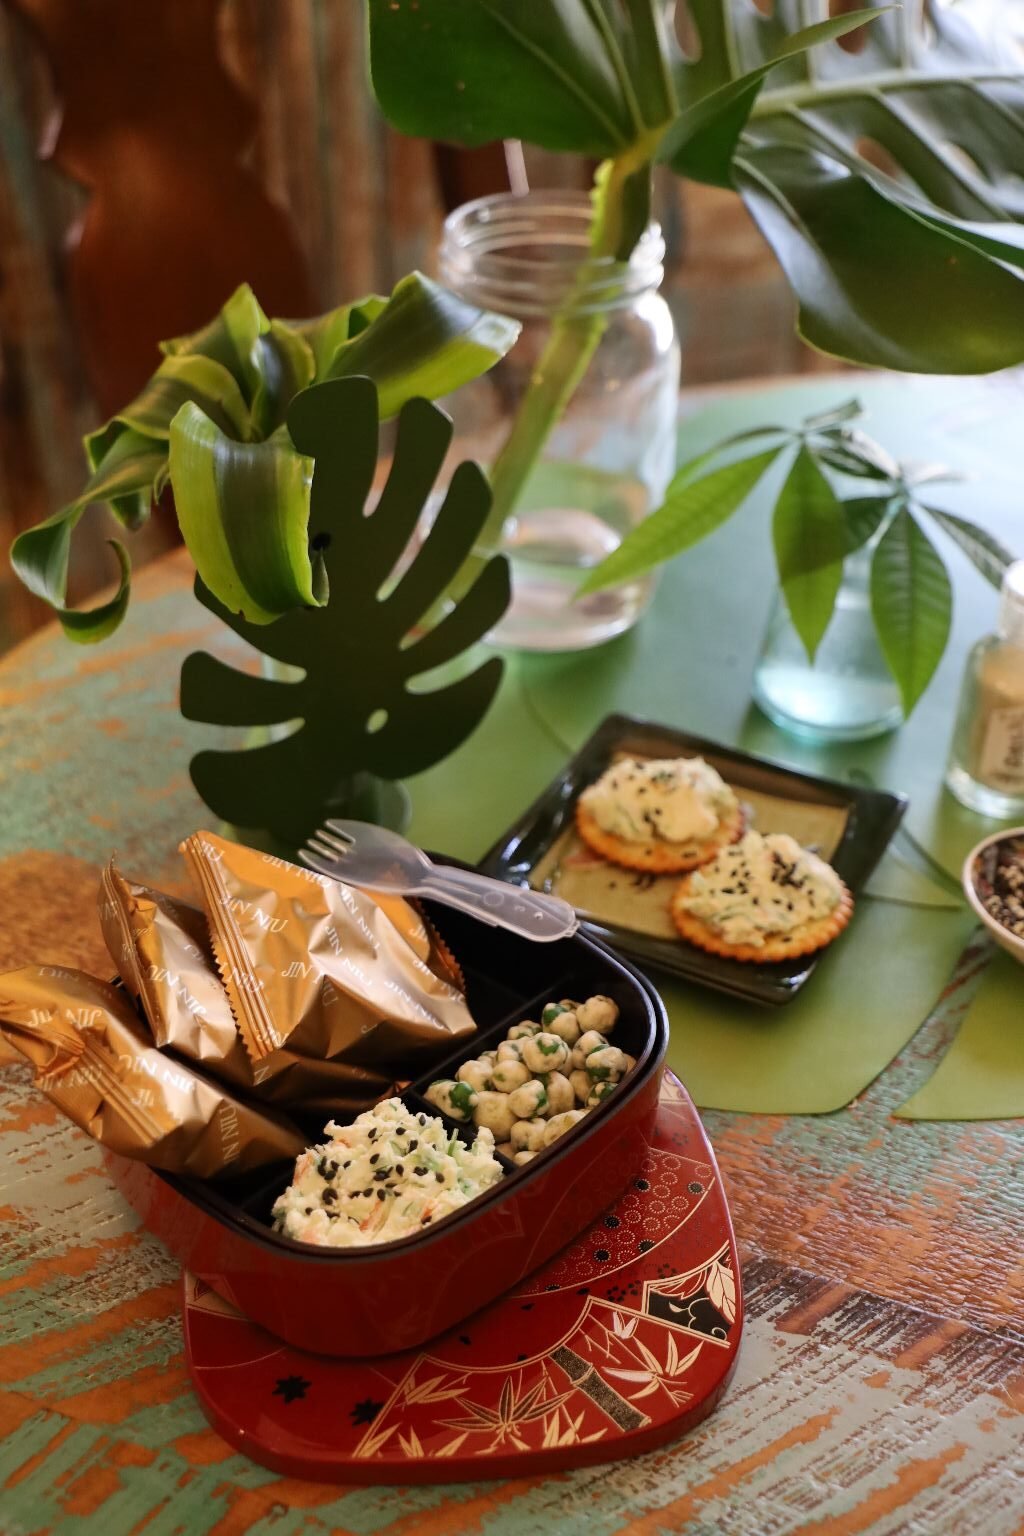
This also makes a nice little on-the-go snack as you run out the door!
The Seaweed and Onion Crackers are individually wrapped in the gold wrapping, above.
(Recipe Down Below)
—————————————————————————————-
Soft Dried Mango with Chili Salt
(Formed into a Flower, purchased at the Asian Supermarket)
This is a favorite of ours. I buy this a lot. It is not only beautiful, but it is so delicious! It has this excellent Chili Salt on it. I would love to find that salt sold separately. I can think of so many things that it would taste so good on.
I just unravel it, and eat it that way.
As the flower gets smaller, and smaller.
—————————————————————————————-
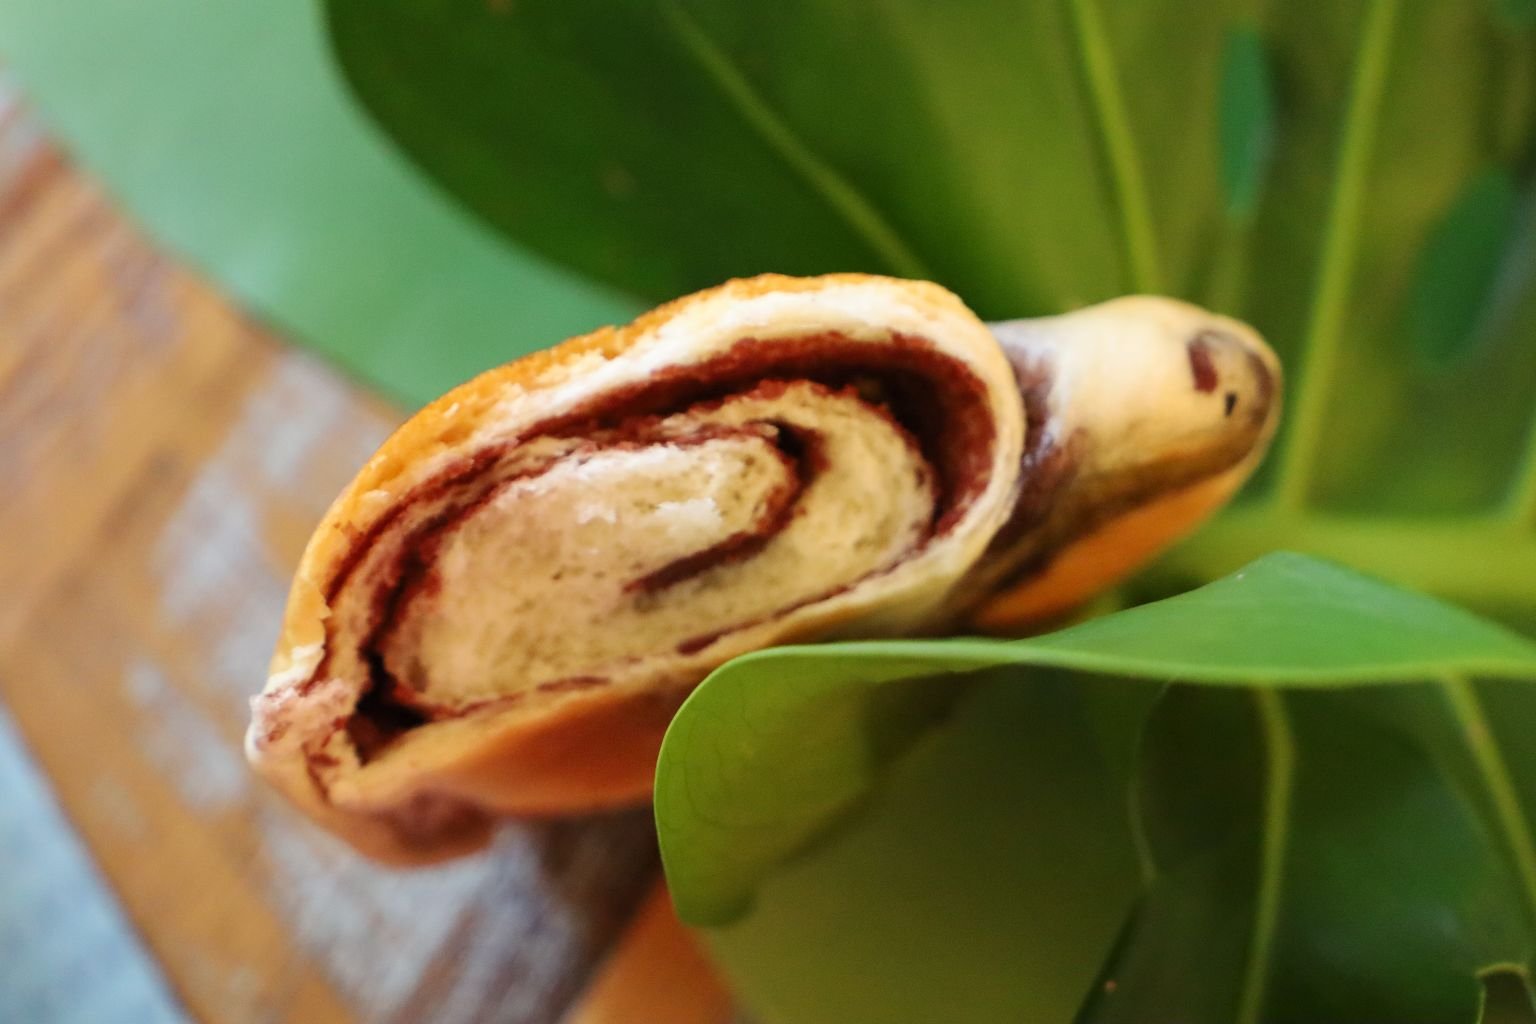
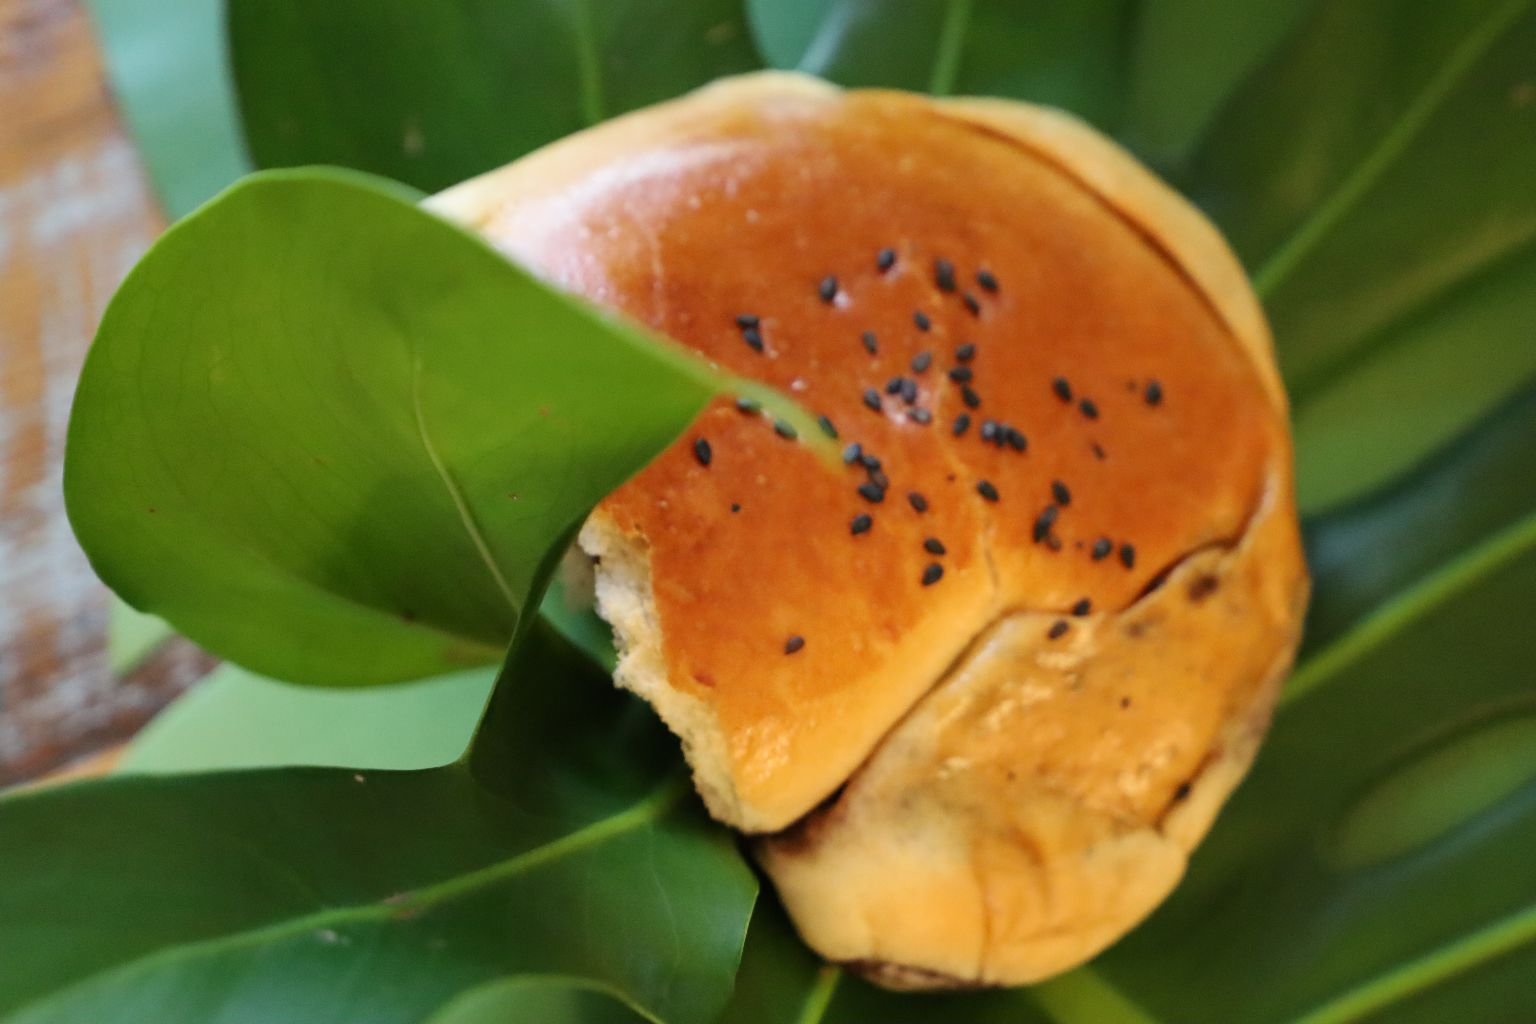
Taro Bun
This is another favorite of mine from the Asian Supermarket.
I love their ready made treats!
——————————————————————————————–
Recipes Start Here
—————————————————————————————————–
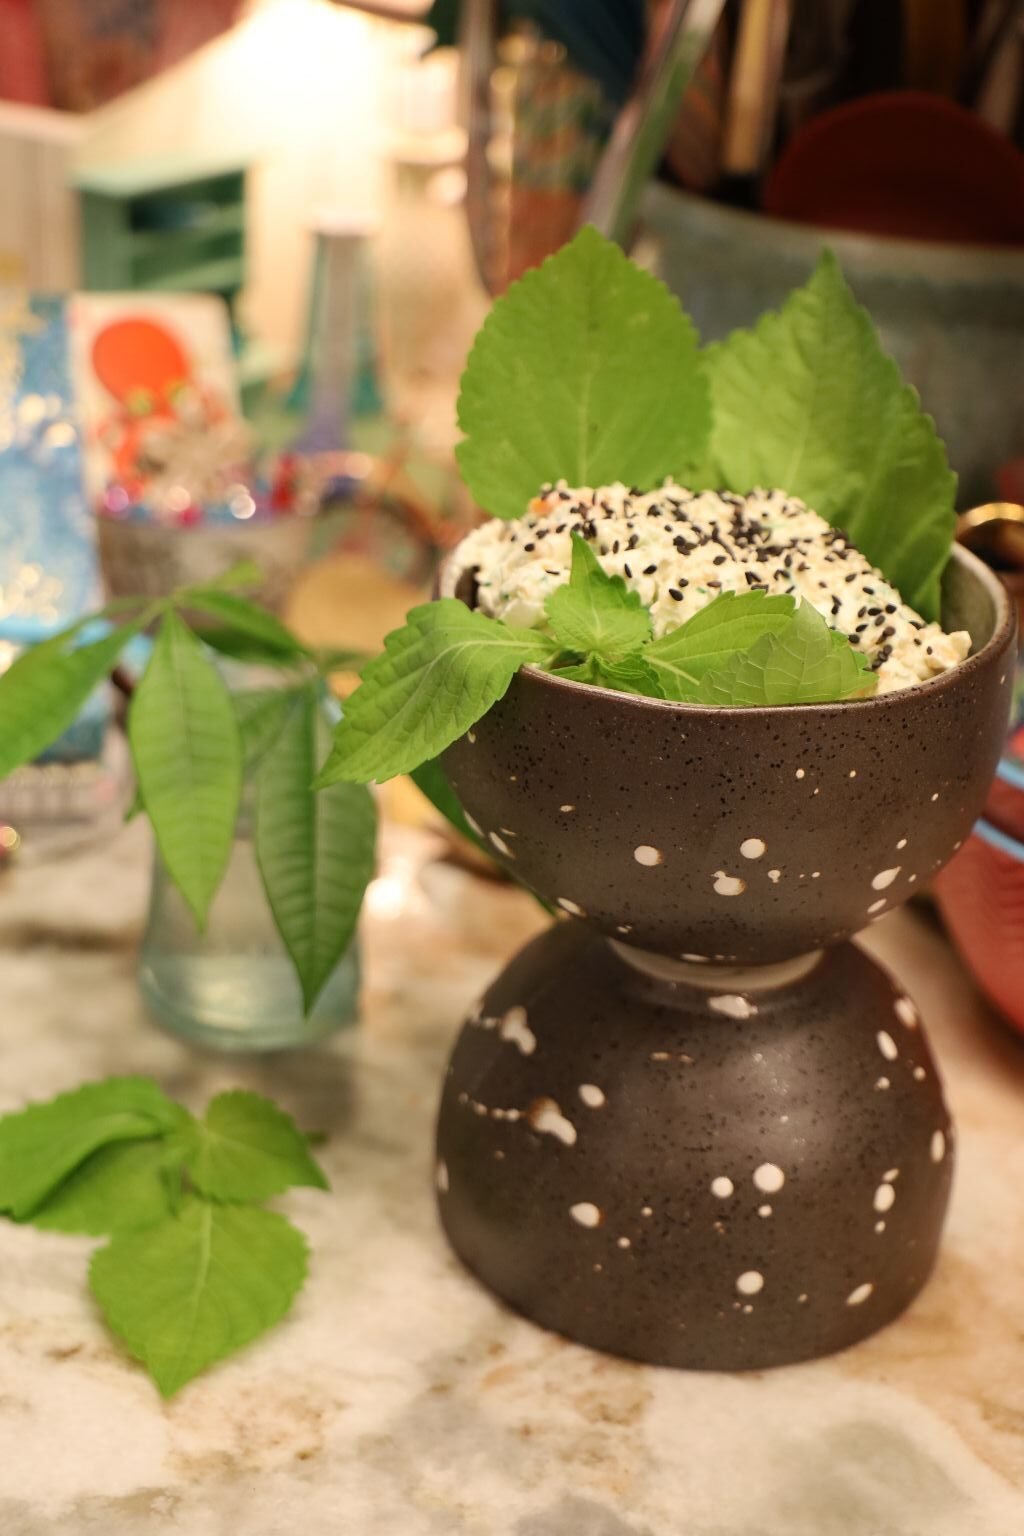
My Seaweed Dip/Spread, with Shiso Leaves
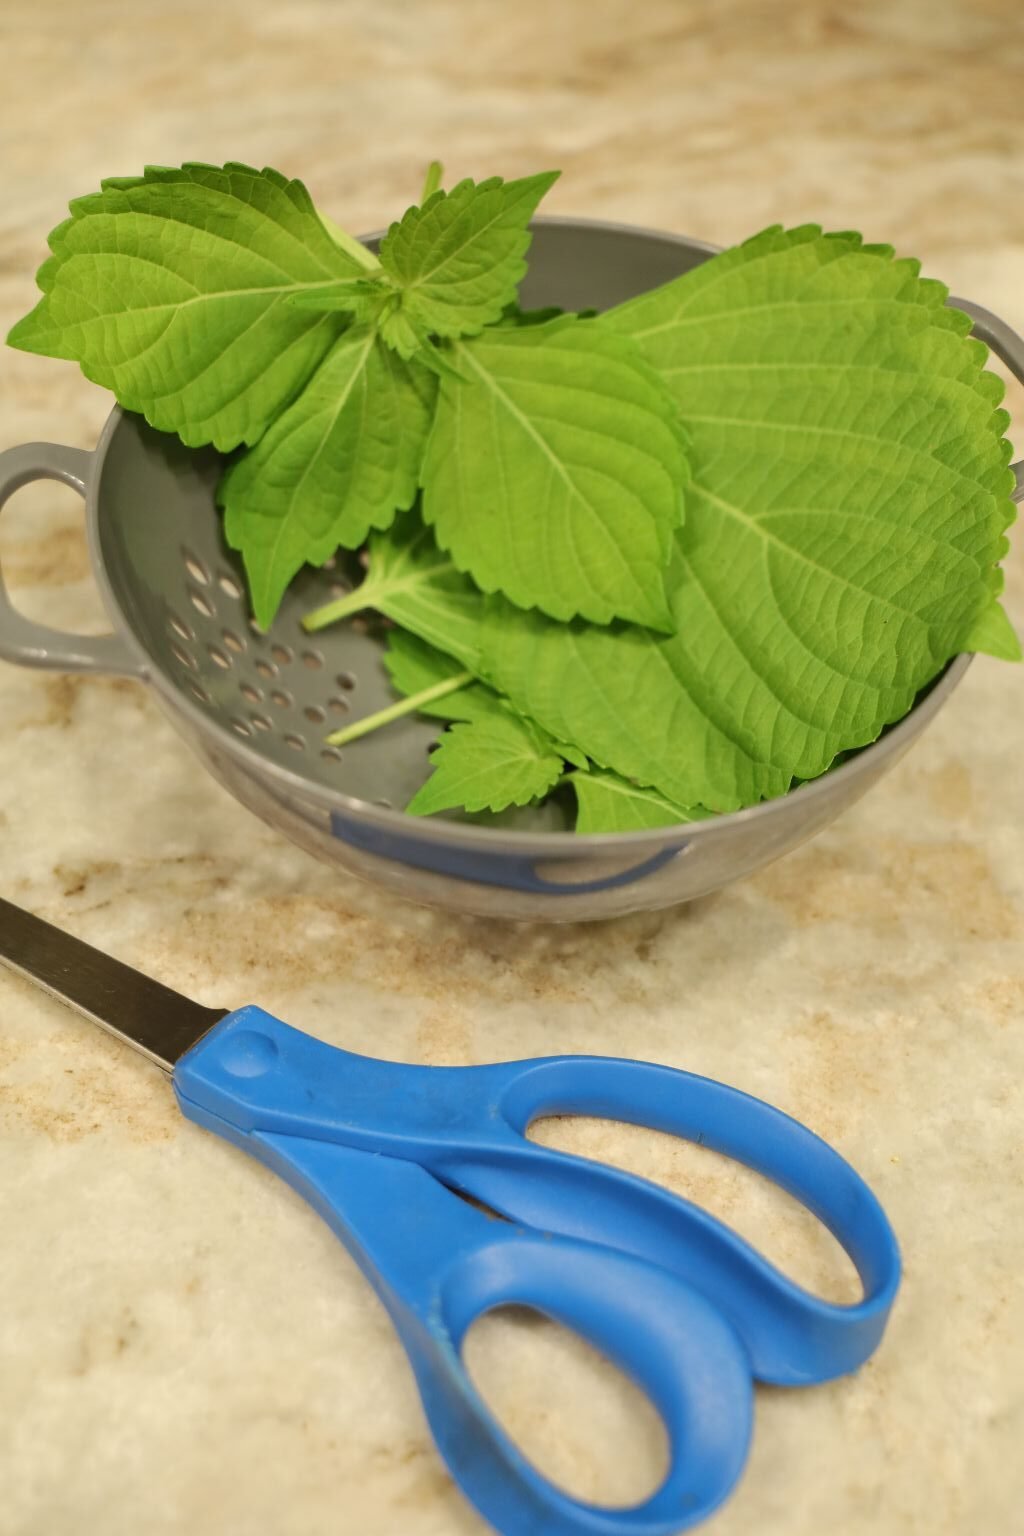
I Snipped These From The Backyard, and Washed Them
————————————————————————————–

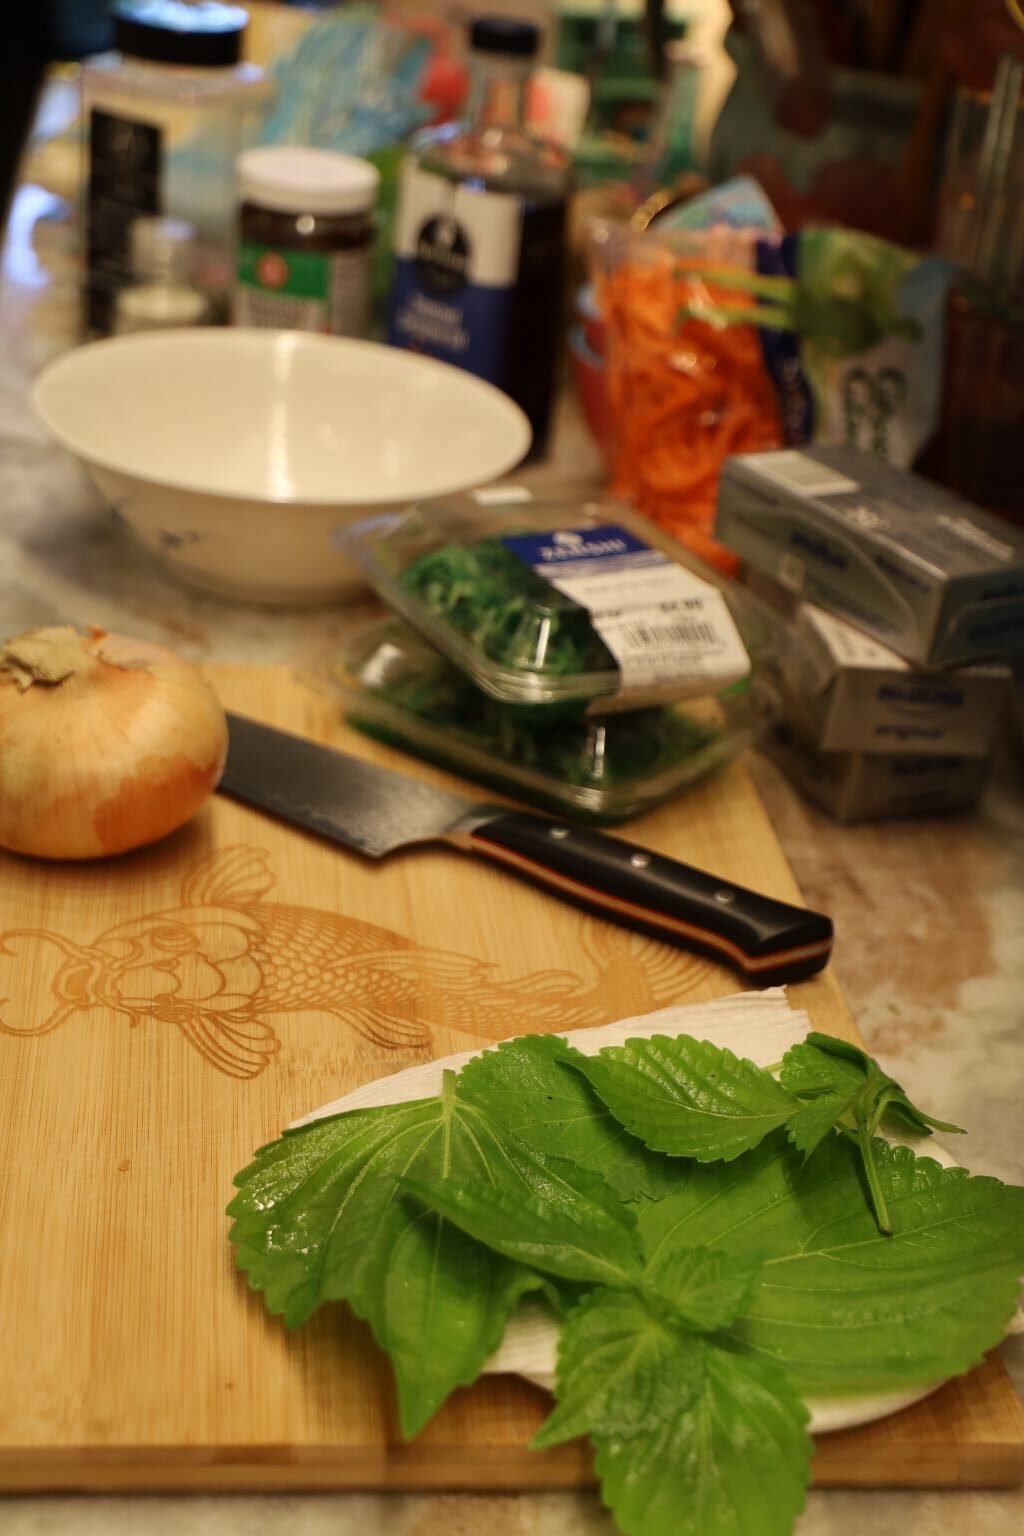
Ingredients:
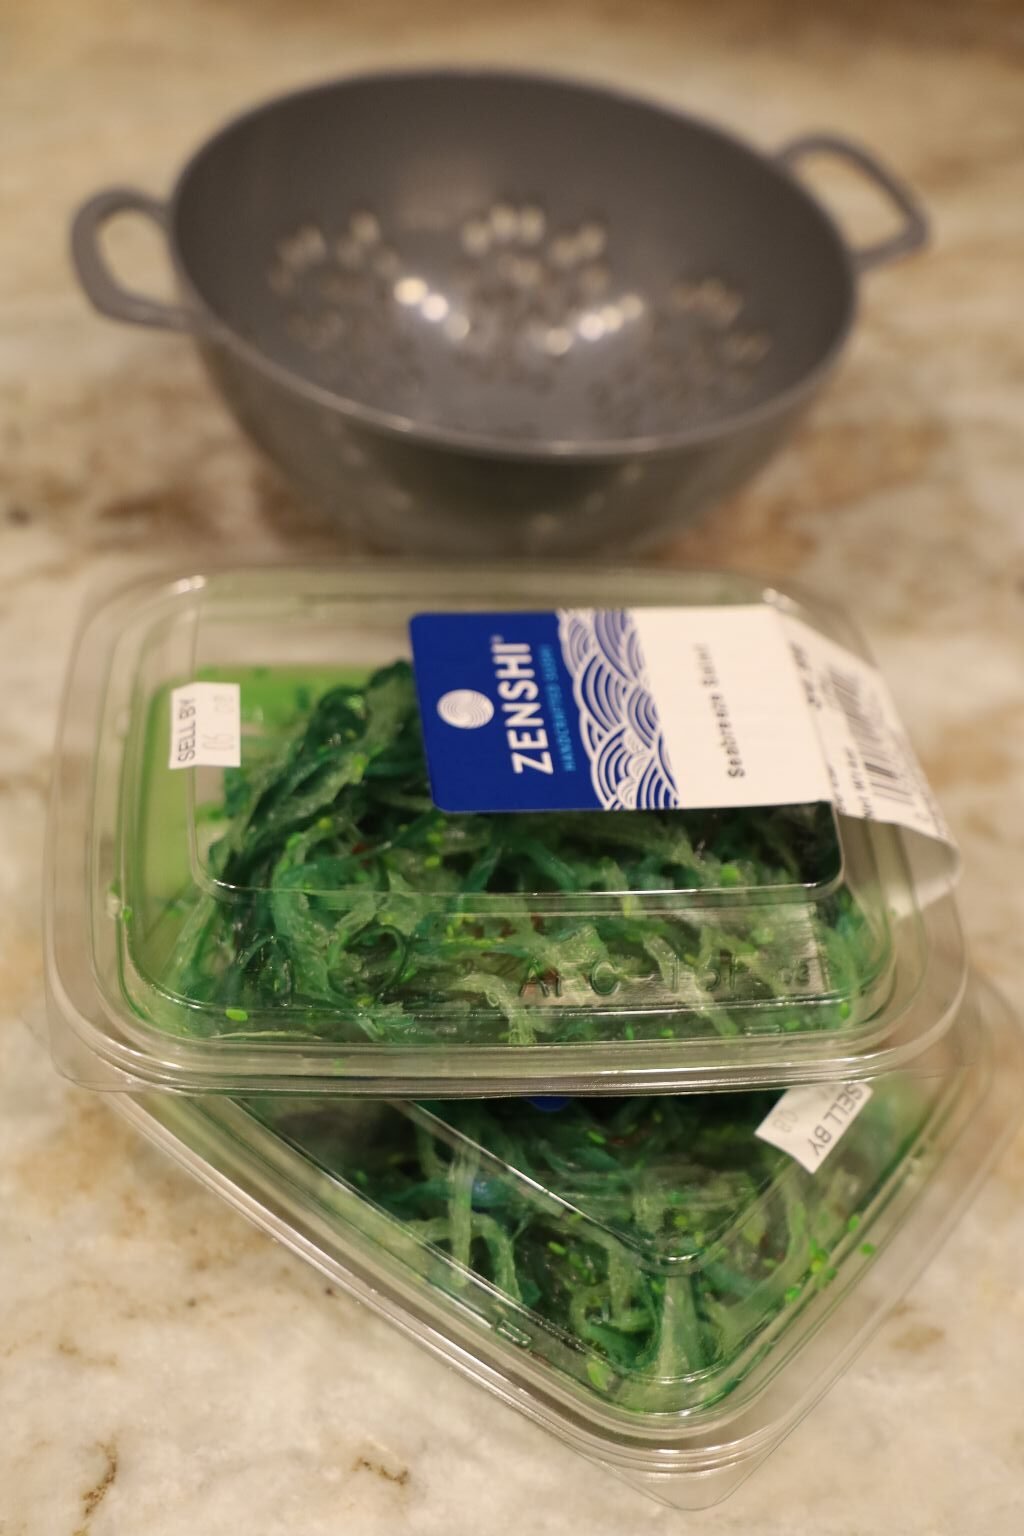
Prepared Seaweed, 1-2 Containers, Drained, Squeezed of Liquid, and Chopped
(You can buy this at any grocery store or Asian Supermarket, already prepared for you.)
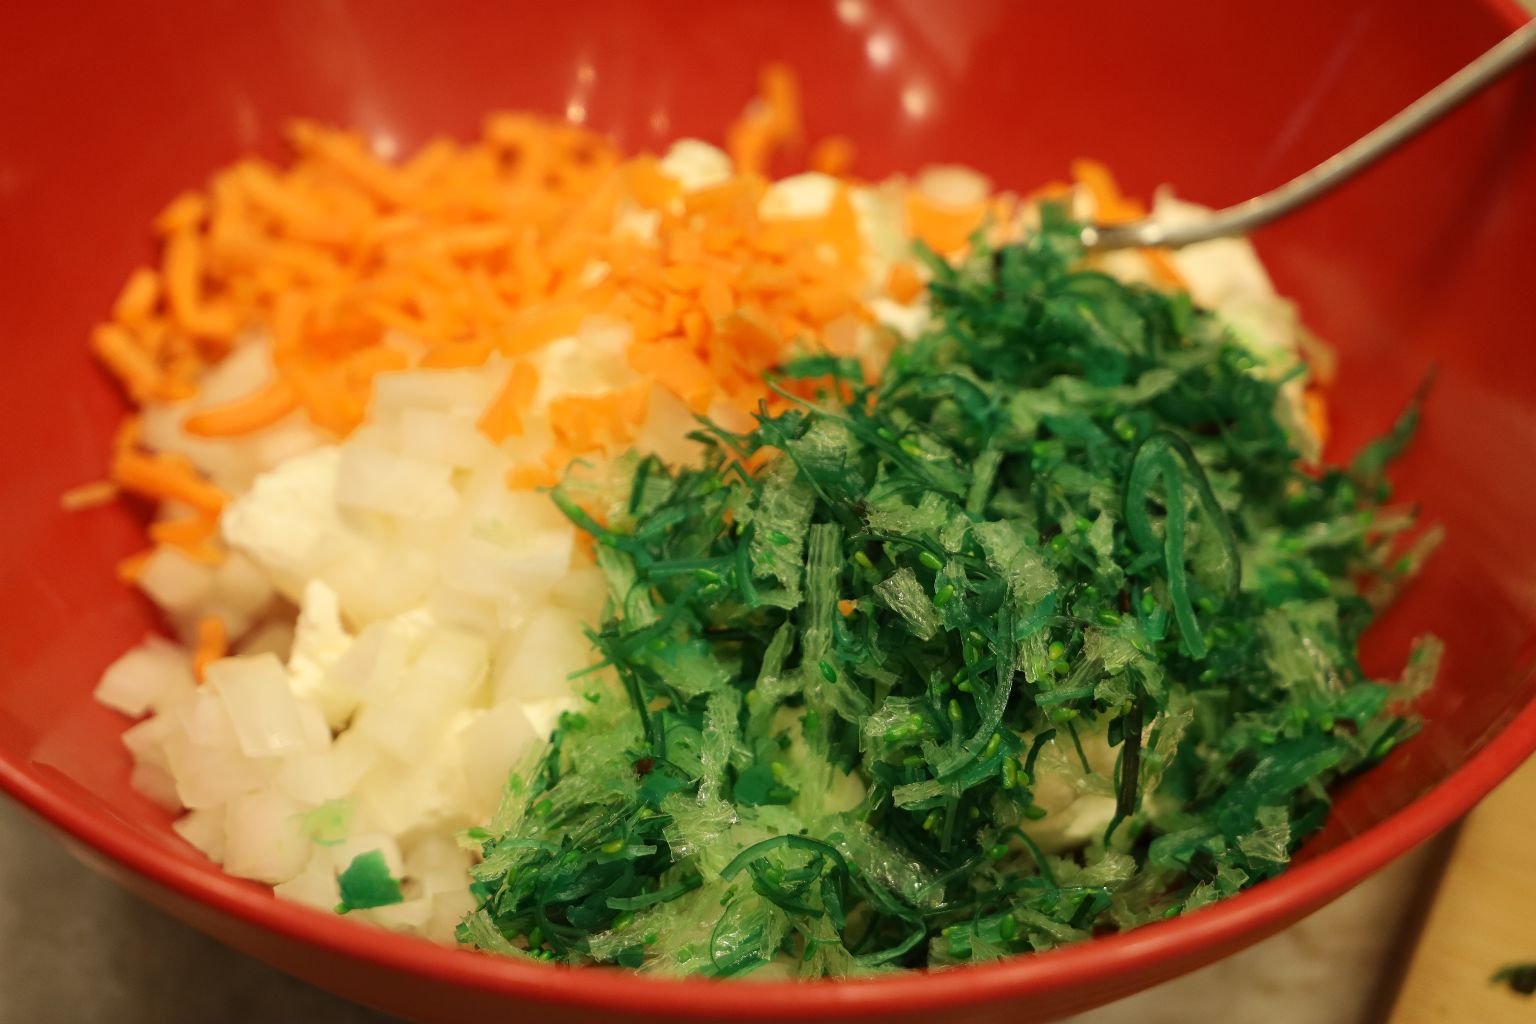
1 Medium Onion, Chopped
3/4 Cup Stick Carrots, Chopped
3, 8 oz. Blocks Cream Cheese, Softened
2 T. Hawaiian Teriyaki Sauce ( or less if you desire)
1 – 2 T. Toasted Sesame Oil
Tuxedo Sesame Seeds (Black and White) As a Garnish
Wasabi Salt To Taste
Garnish with Shiso Leaves, or any Edible Leaf, if possible.
———————————————————————————–
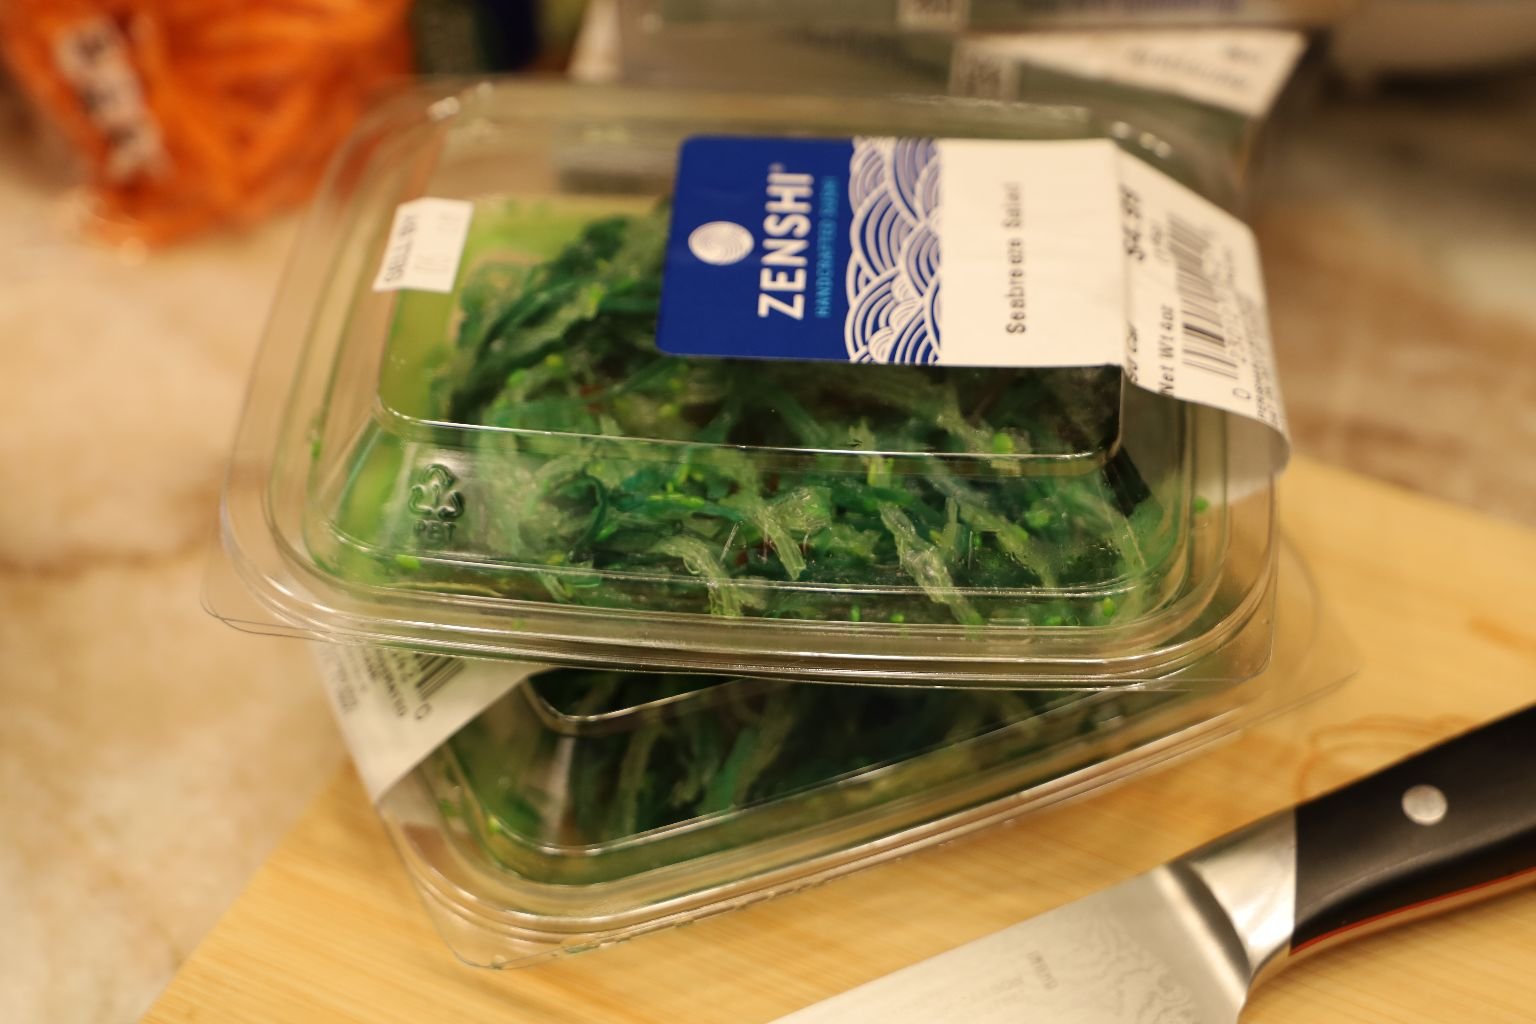
This is the tasty Seaweed that I purchased from our Sushi guys at the Commissary on base.
It is actually quite tasty! For those that are a bit put off by it, at least try it. You just might find that you will like it.
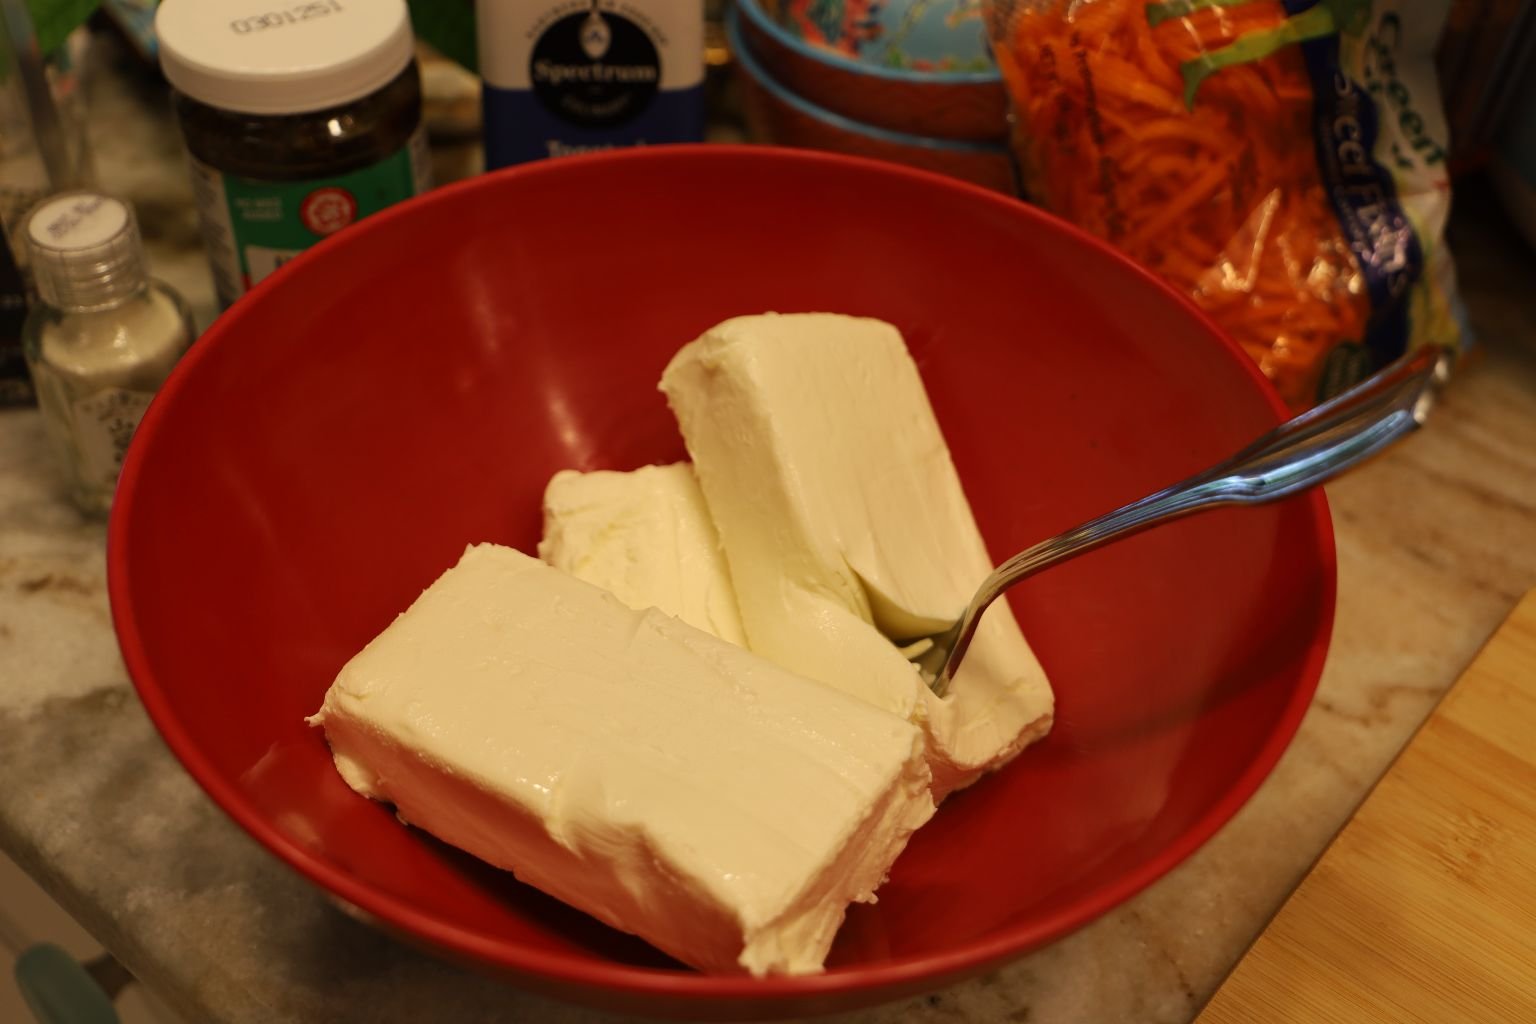
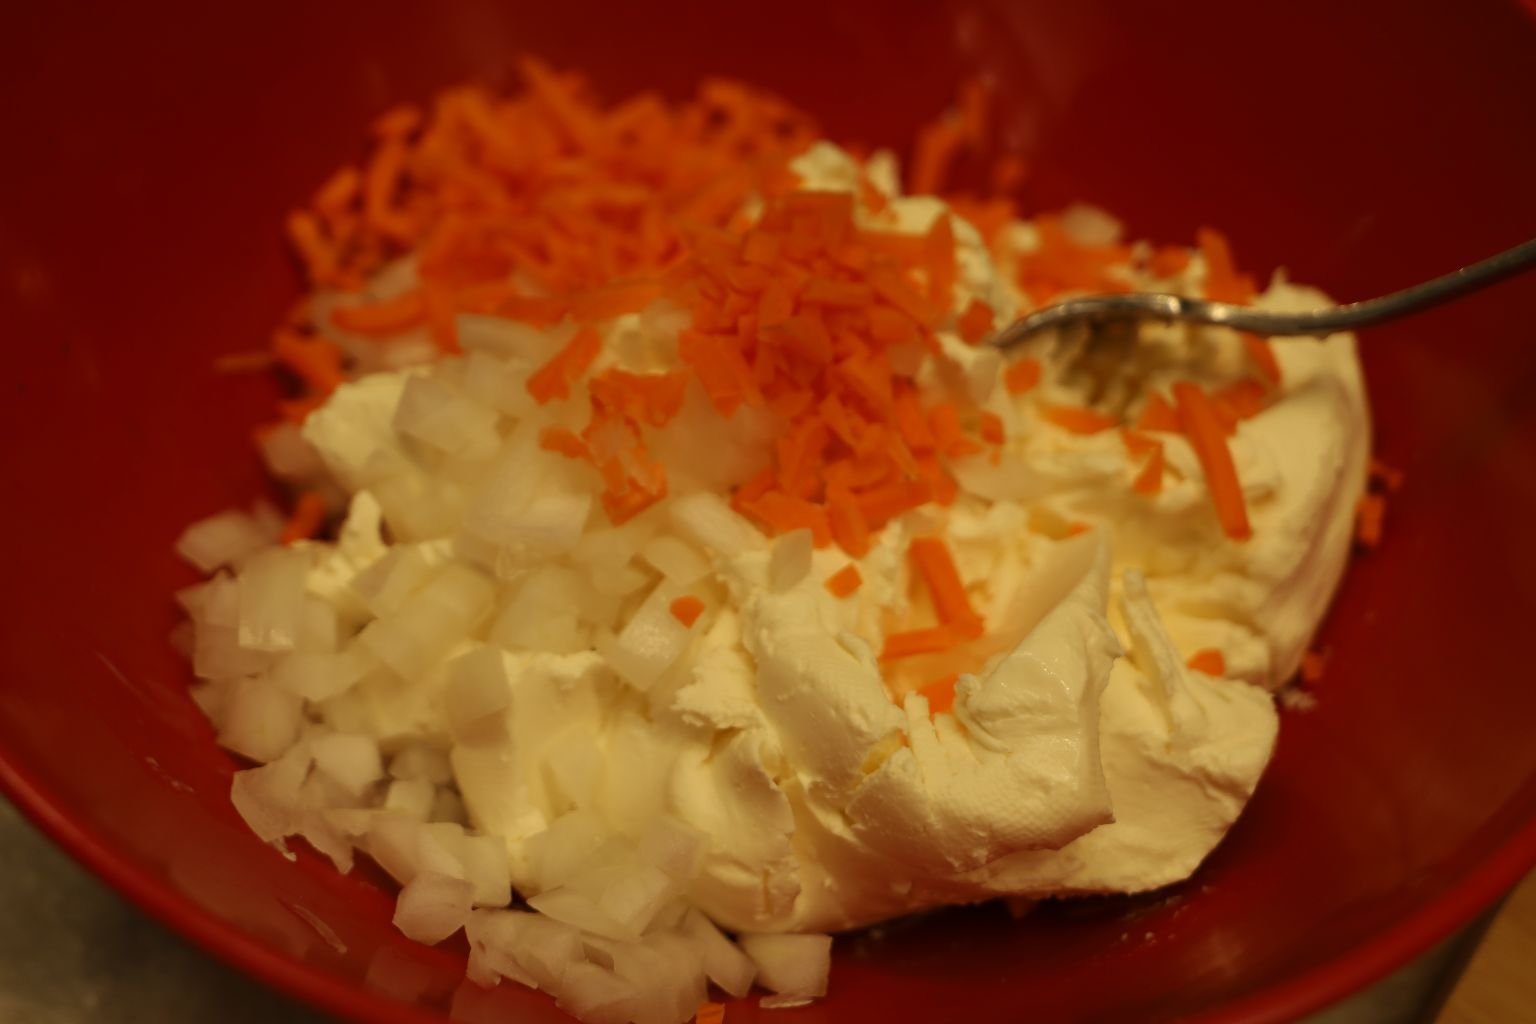
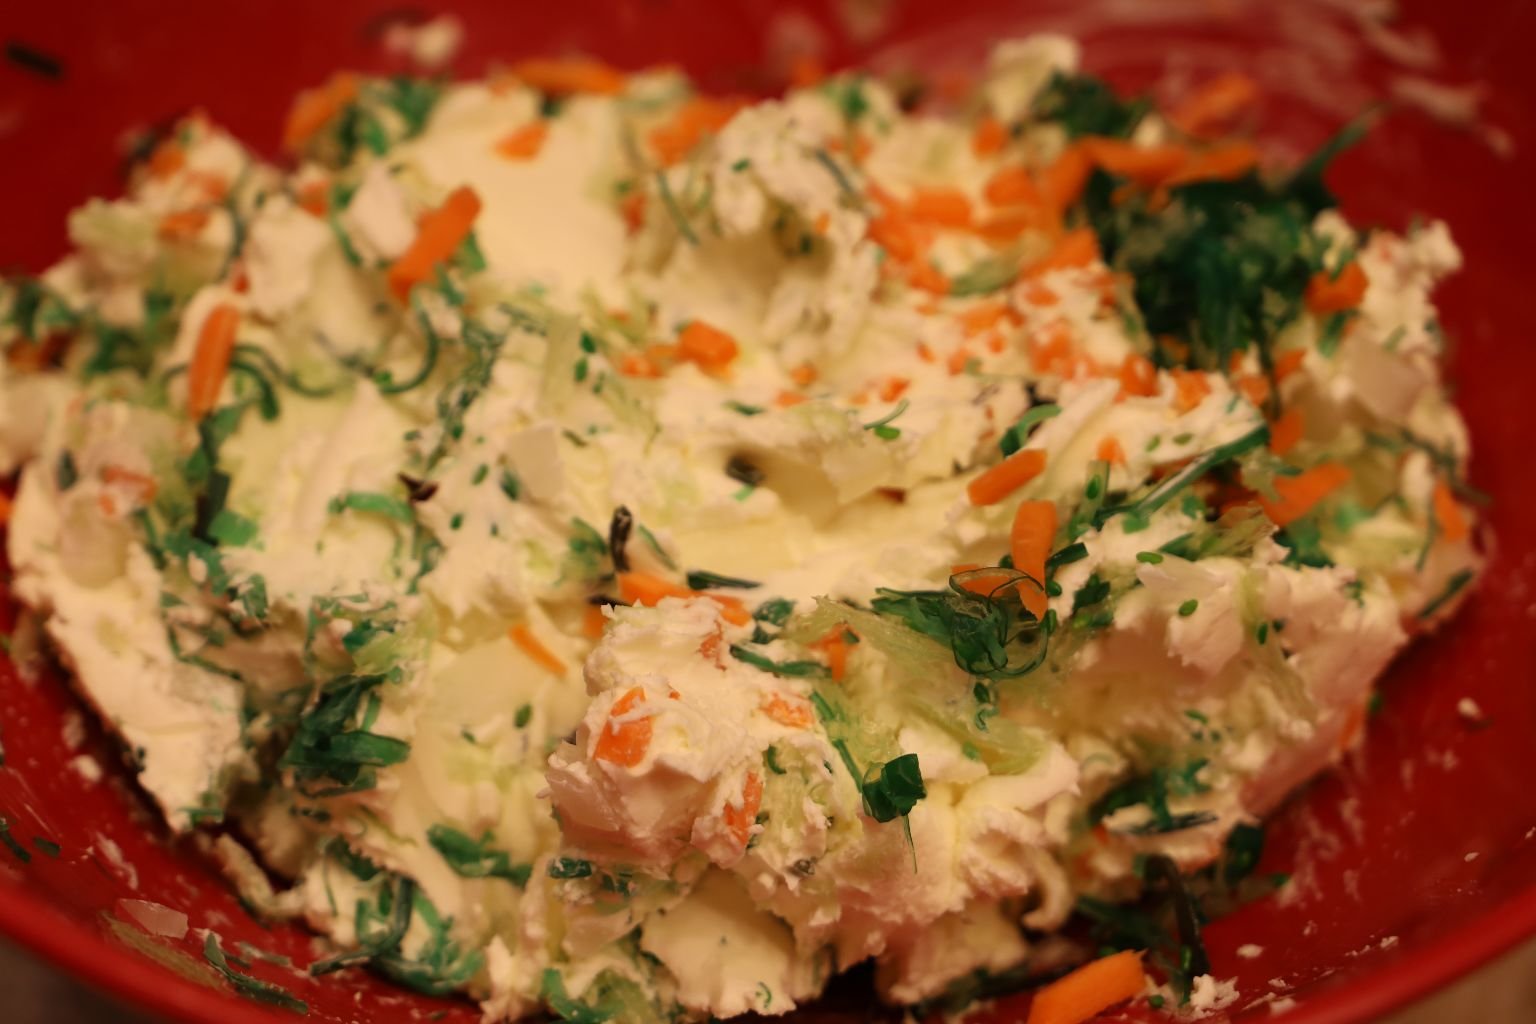
The first thing that I did was to soften all of my Cream Cheese, and then place it into a mixing bowl.
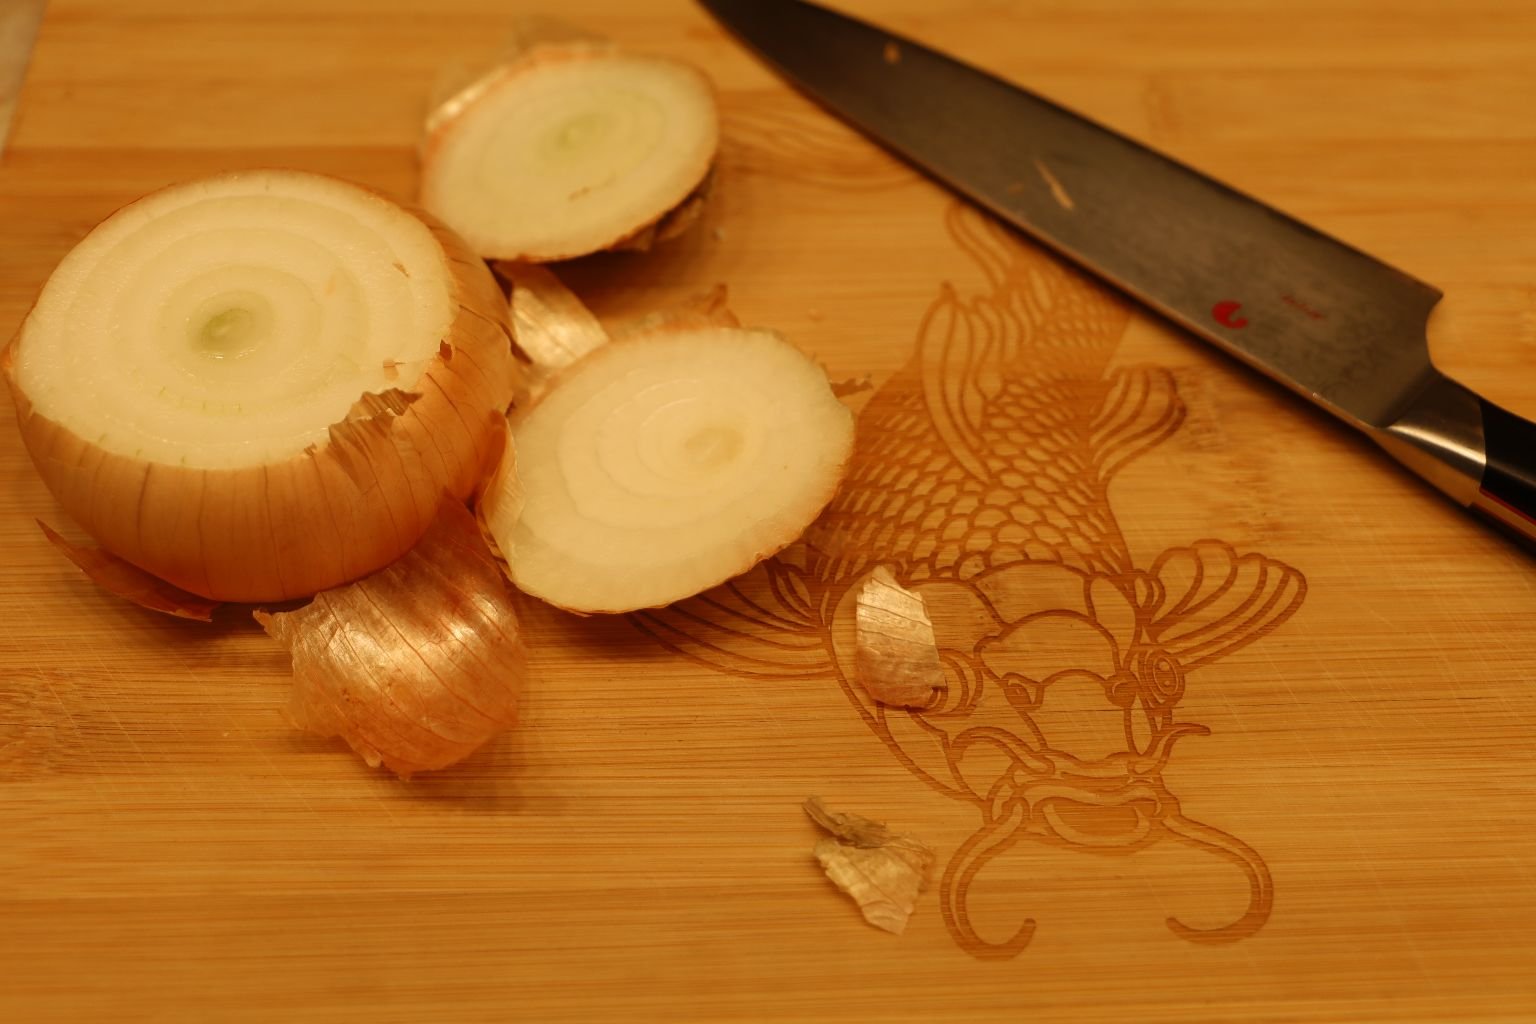
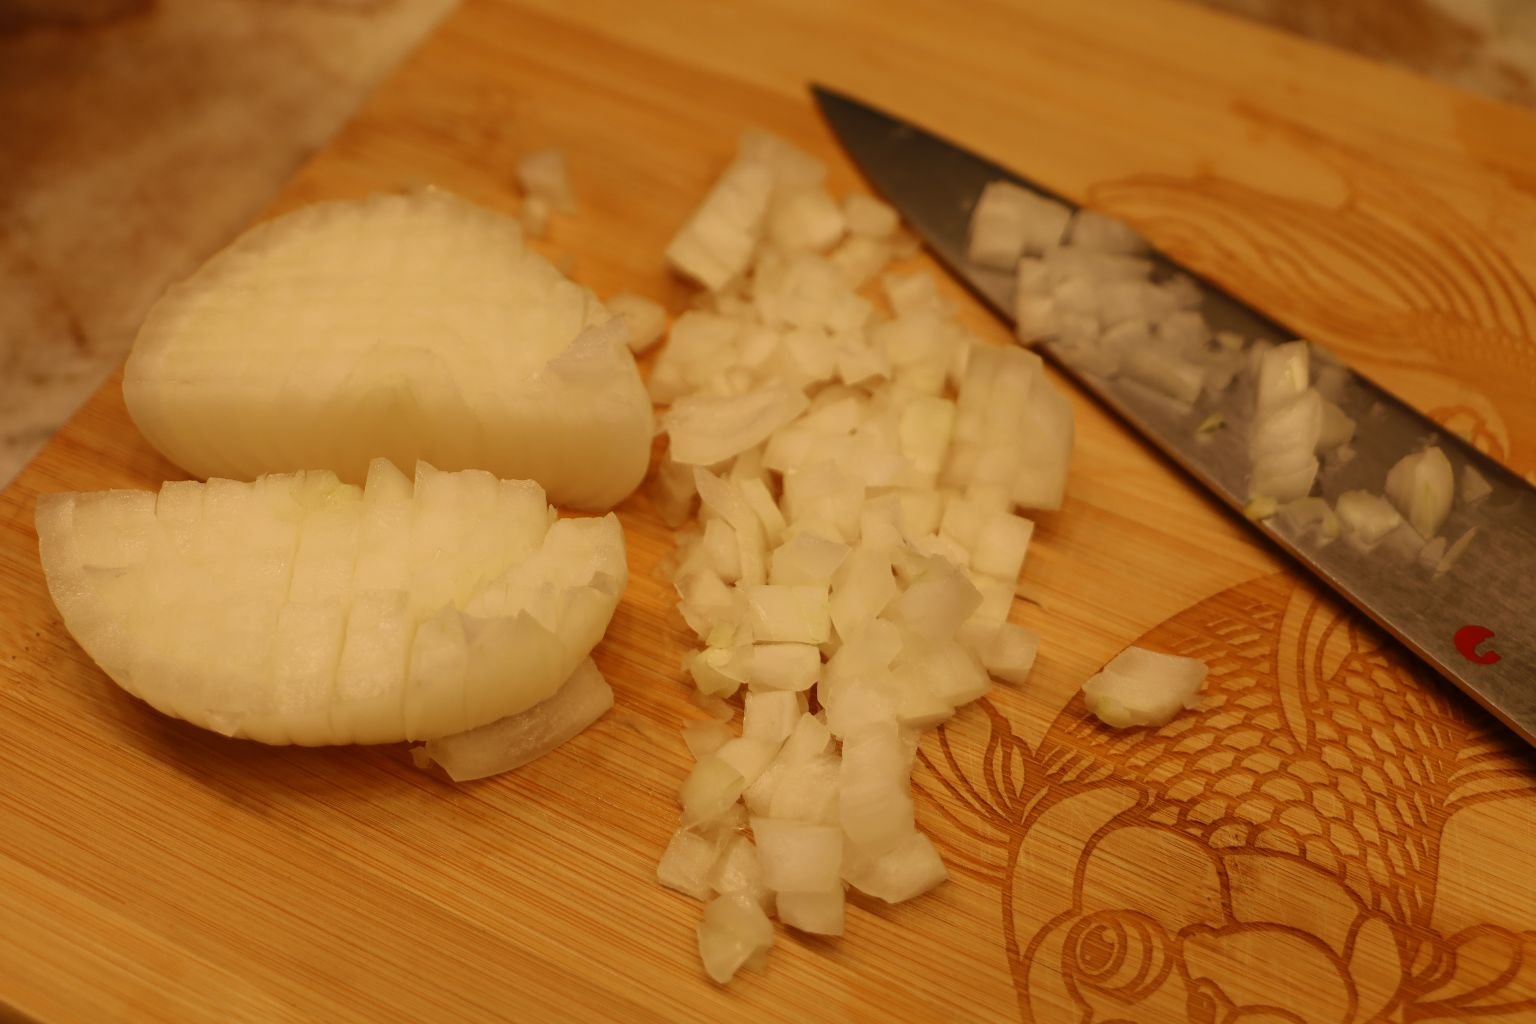
I chopped up a medium sized Onion….
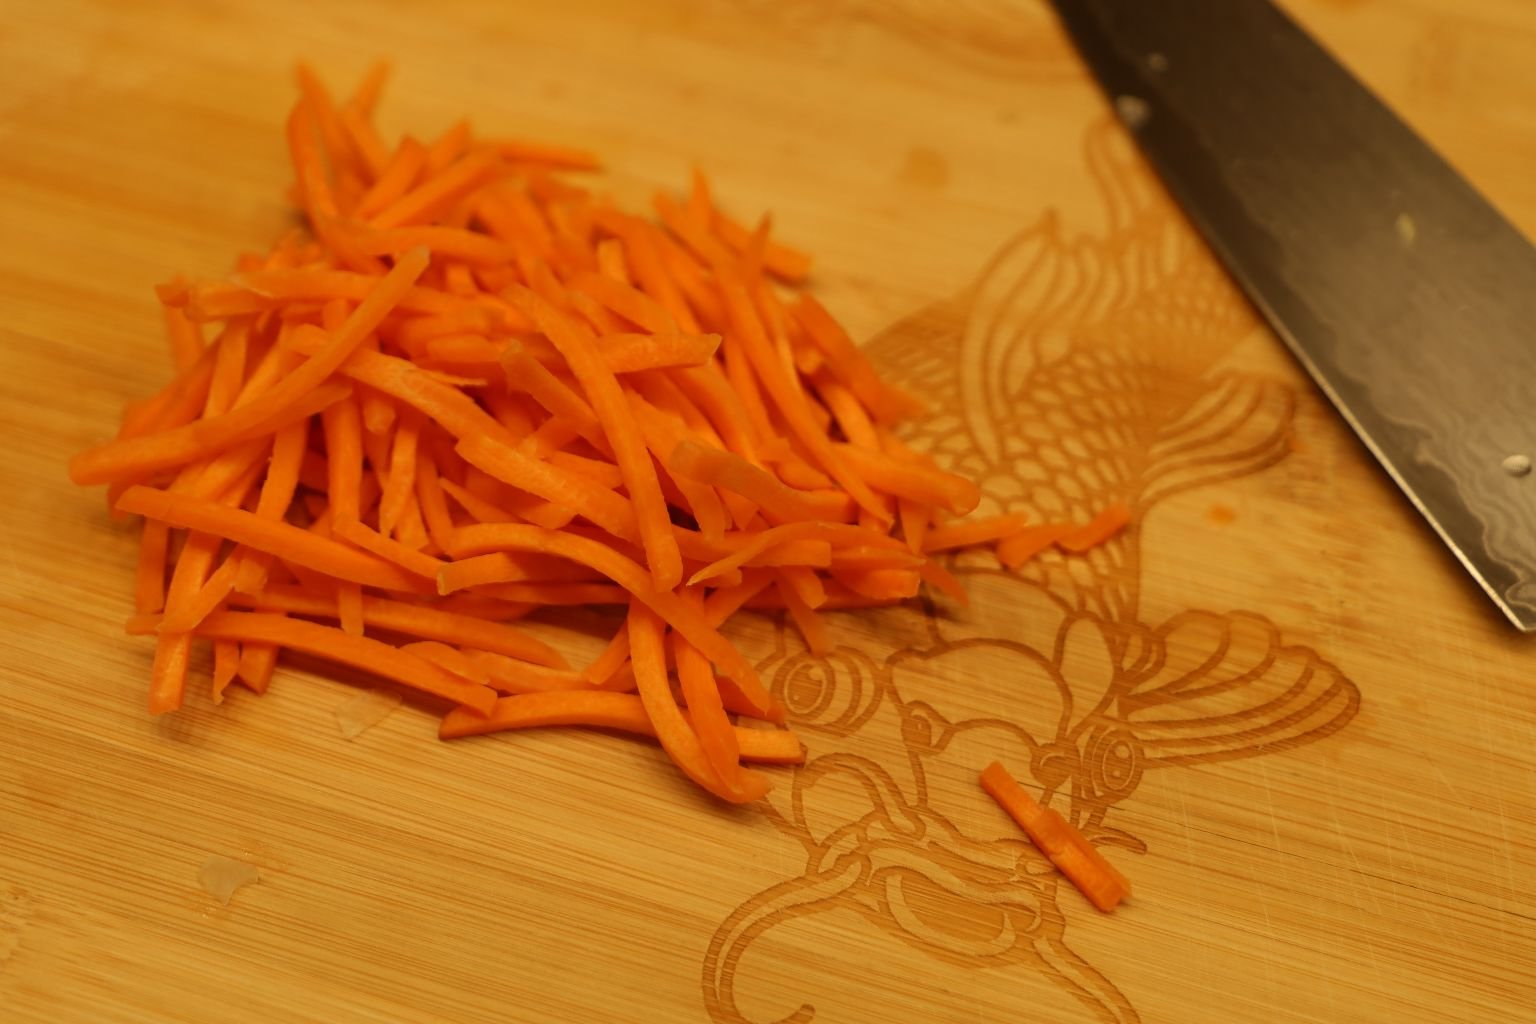
…and then chopped some Carrot Sticks, even smaller.
——————————————————————————-
The Seaweed
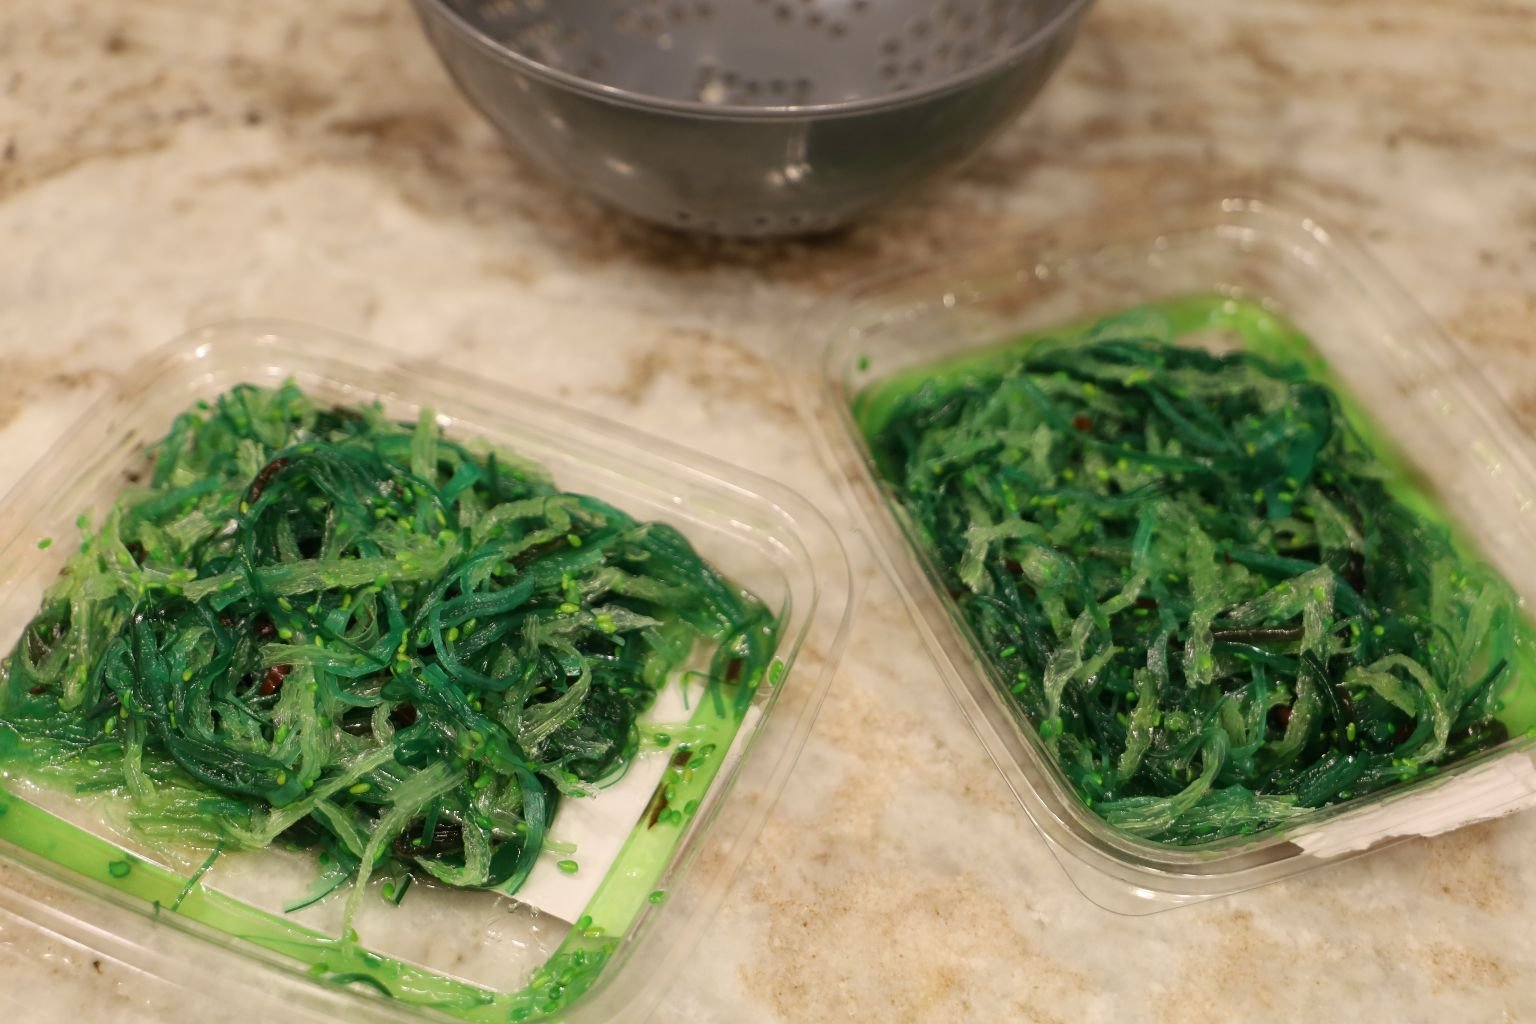
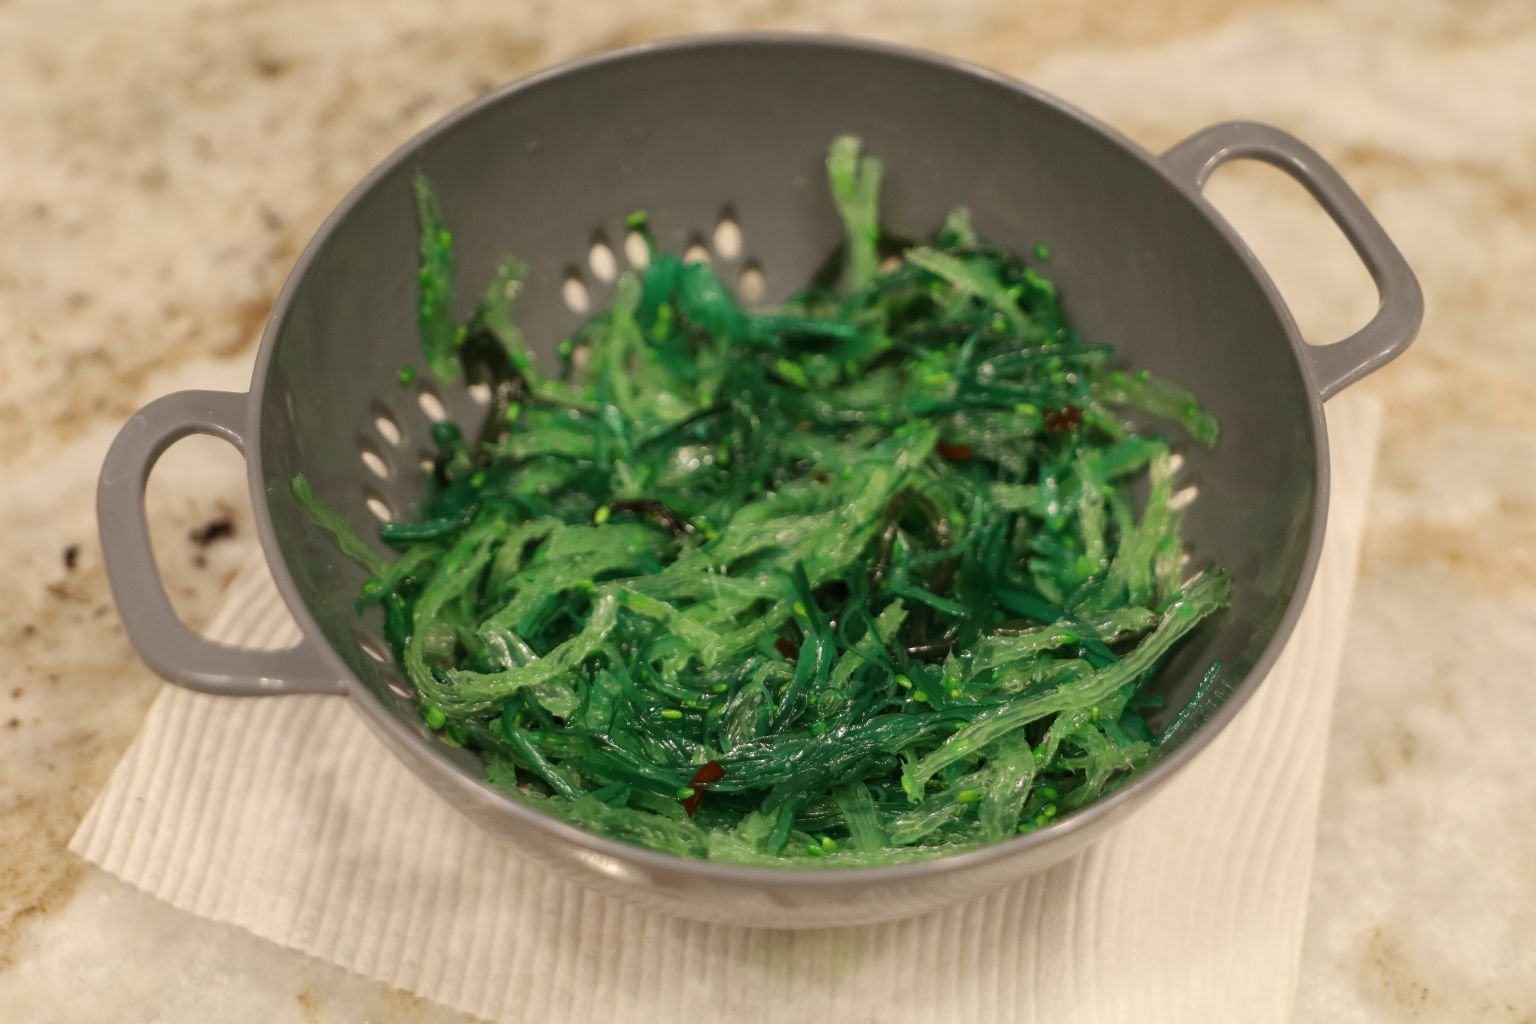
I drained the Seaweed into a small colander….
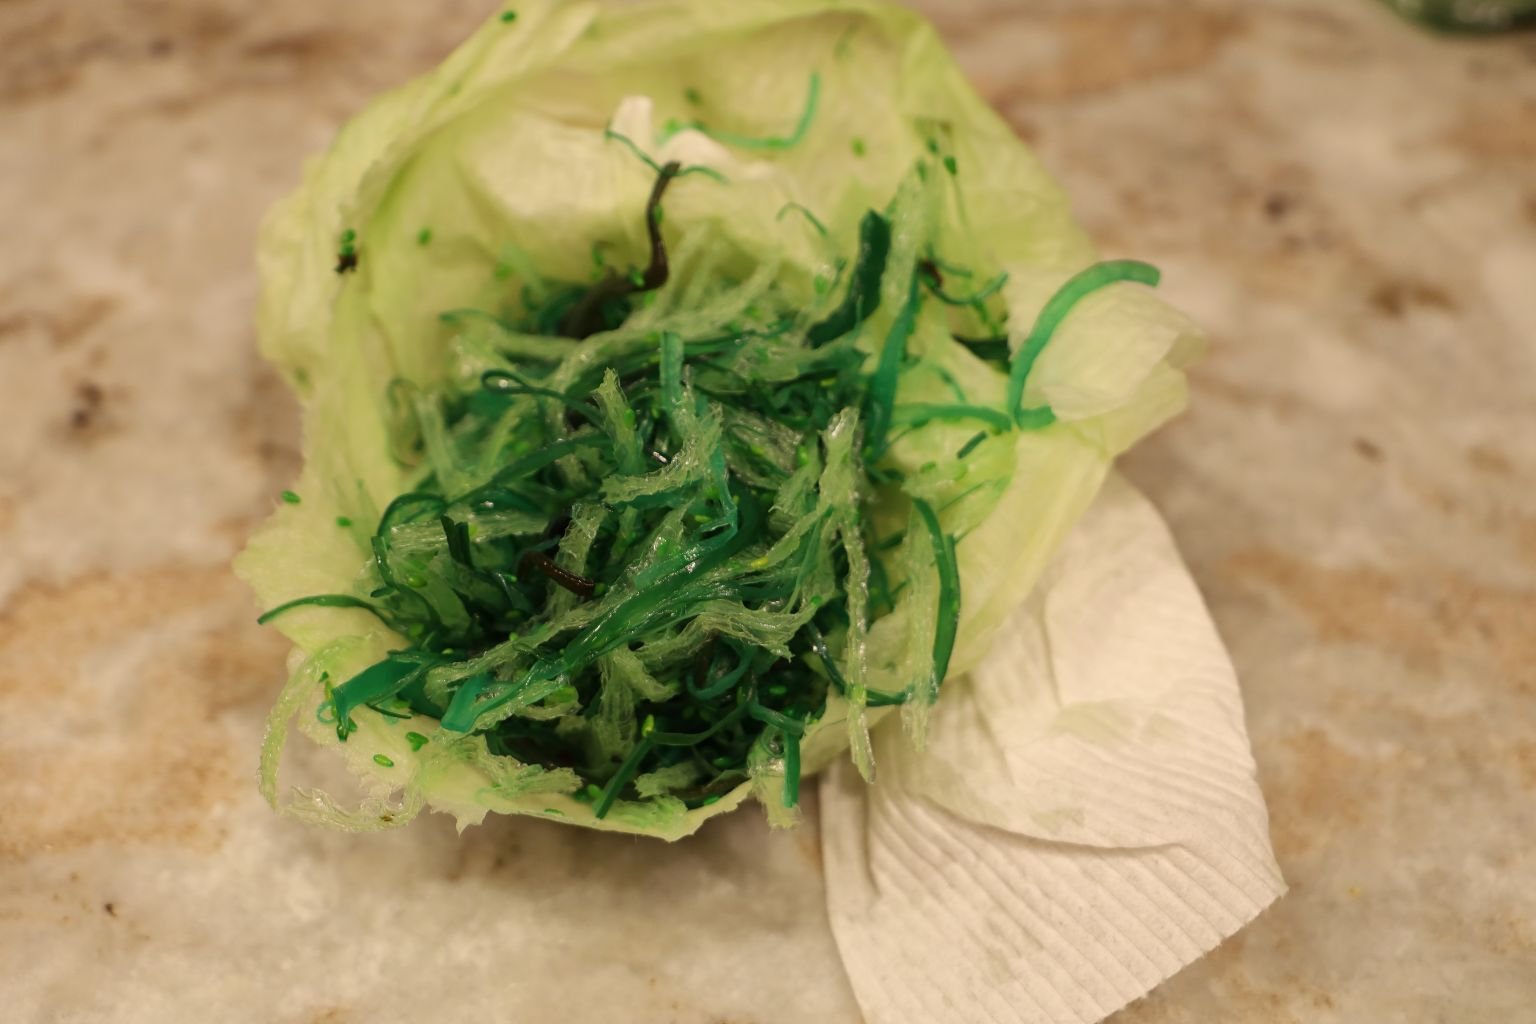
then I squeezed it dry into some paper towels.
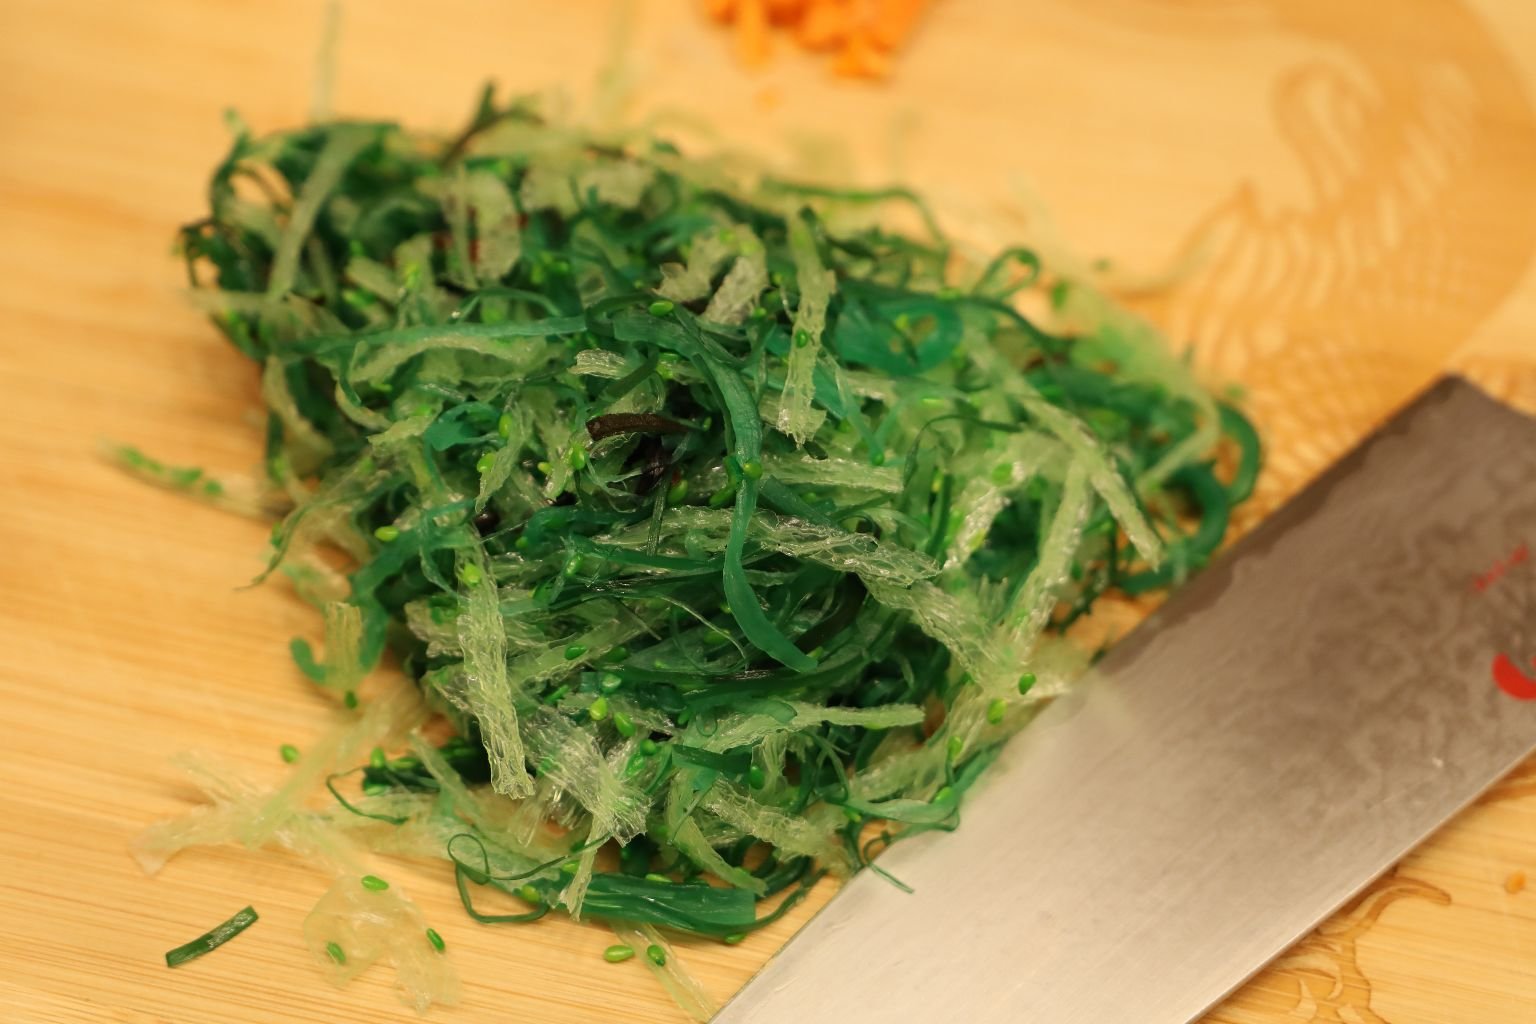
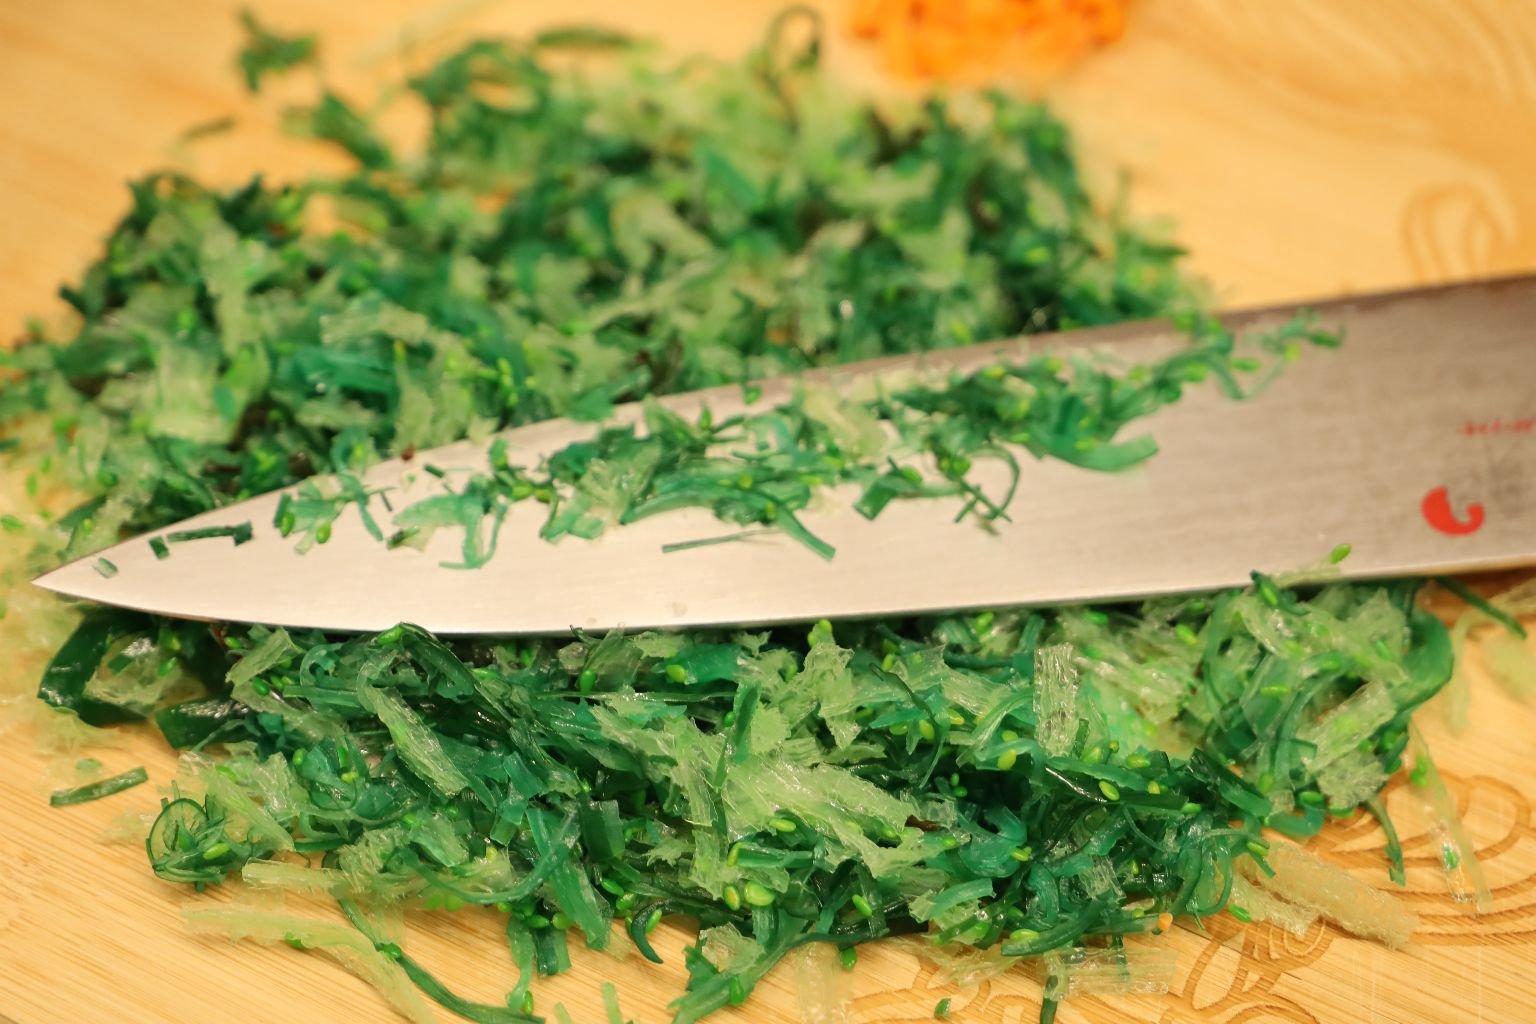
The then placed it onto a cutting board and chopped it finely.
————————————————————————————————
In the Meantime….
My Cream Cheese had softened, I had added the Onion, Carrots, and the Seaweed…
———————————————————————————————
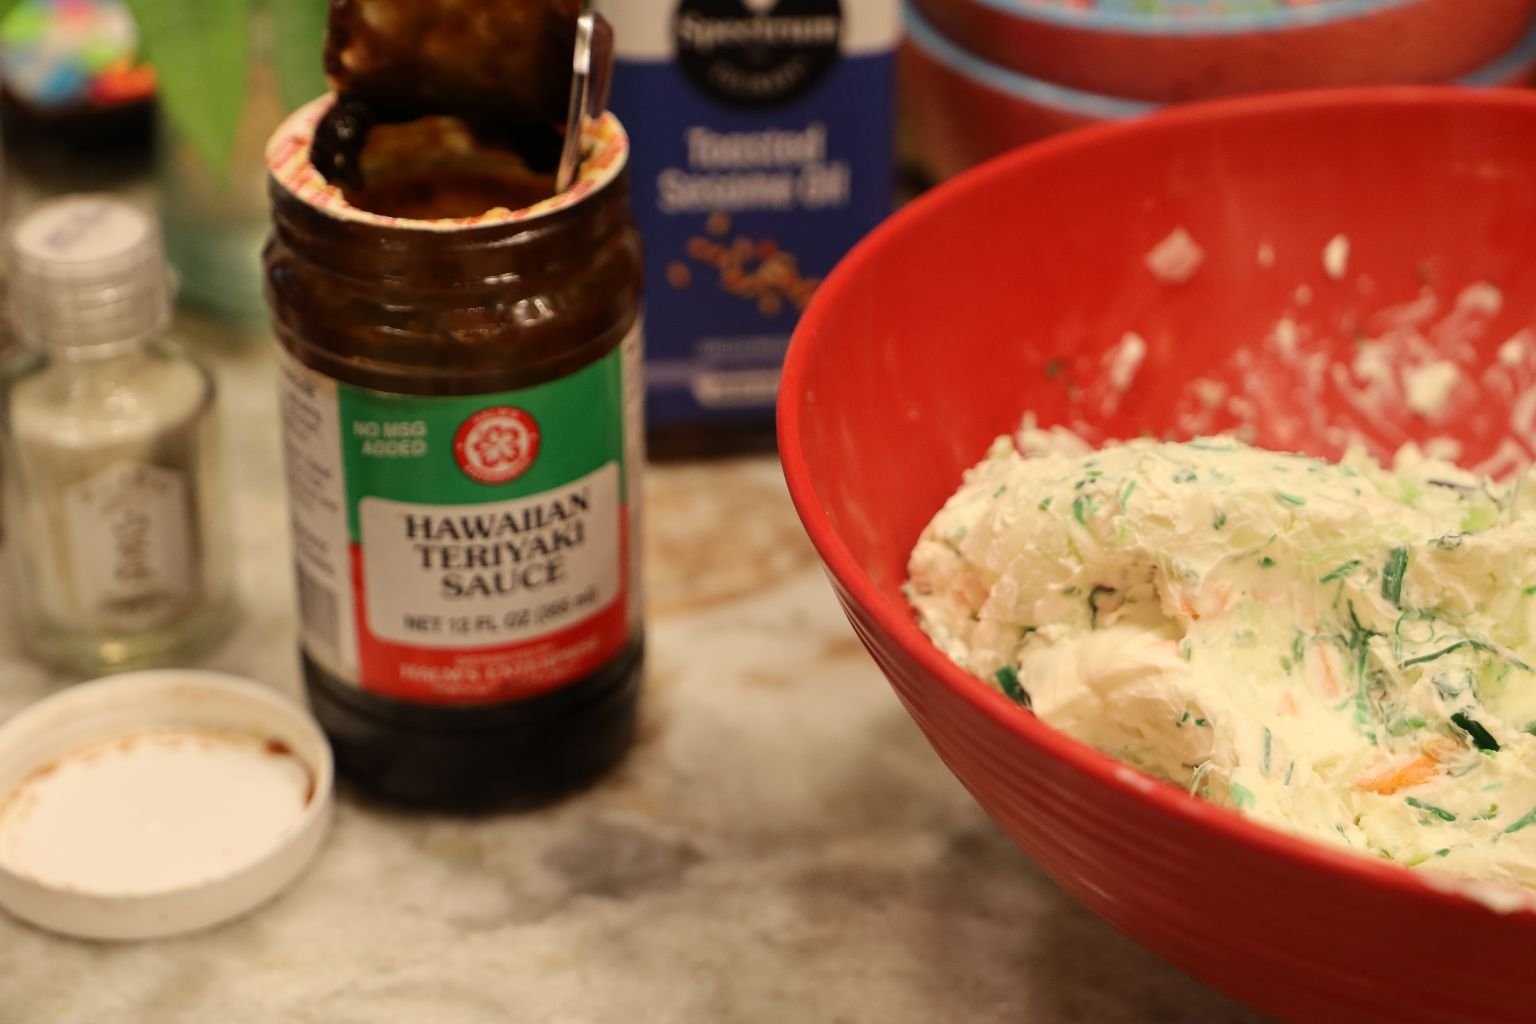
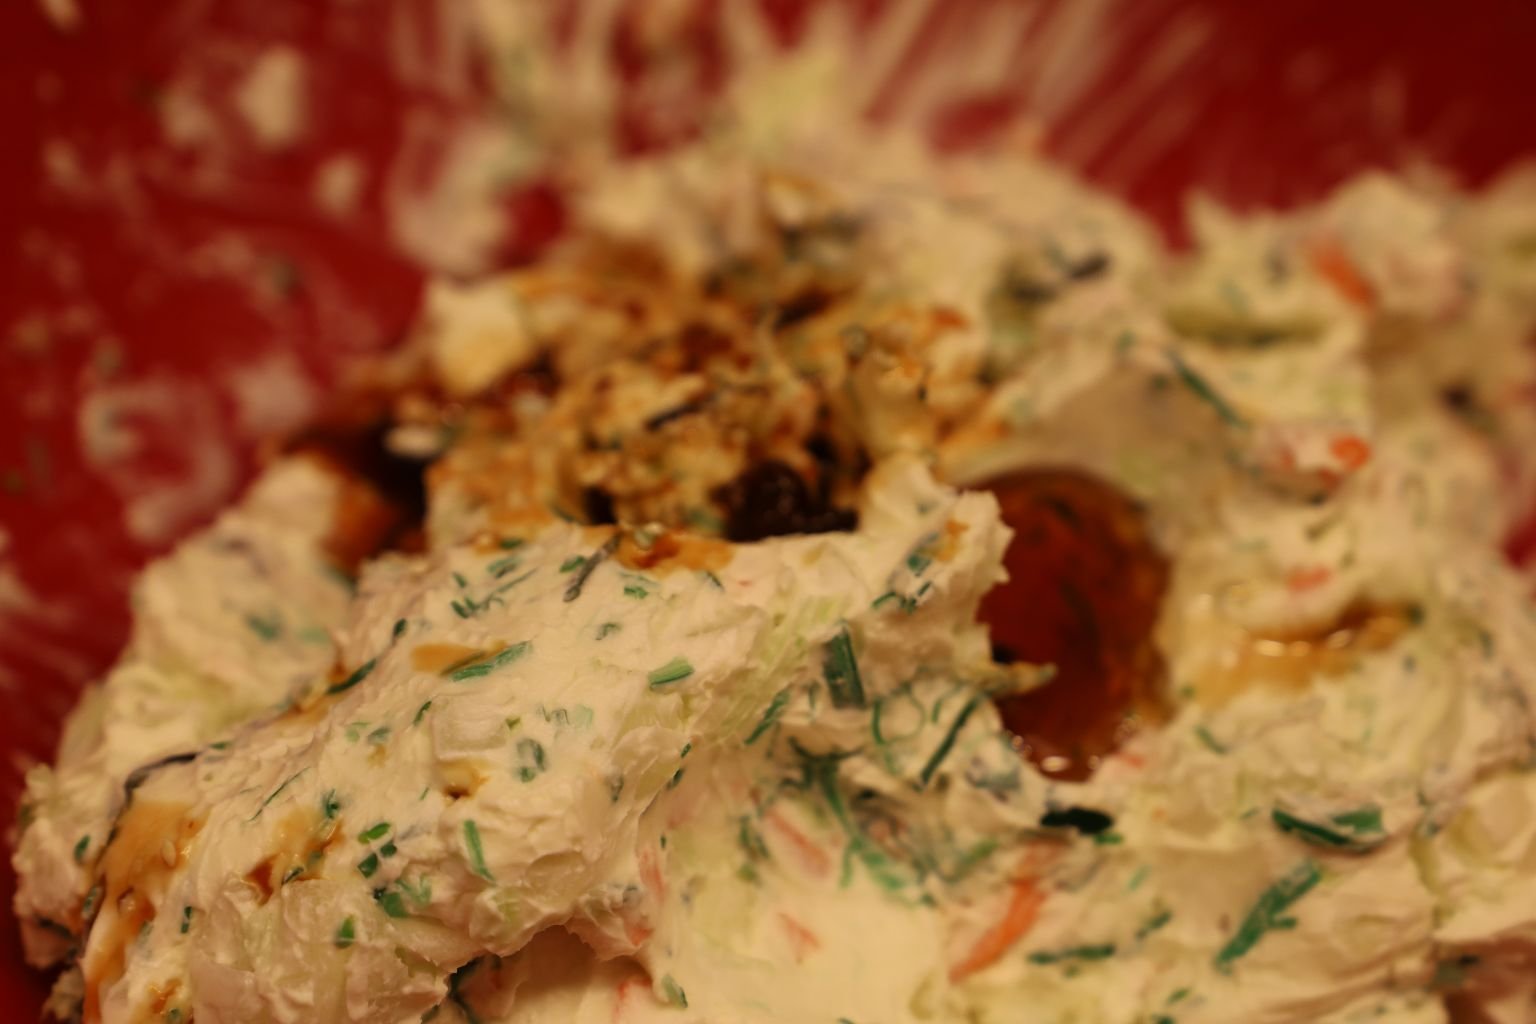
With Everything Mixed Together, It’s Time To Add My Flavors

Hawaiian Teriyaki Sauce and Toasted Sesame Oil
I added as much as I wanted to. This is a ‘per-your-personal-tastes’, by the way.
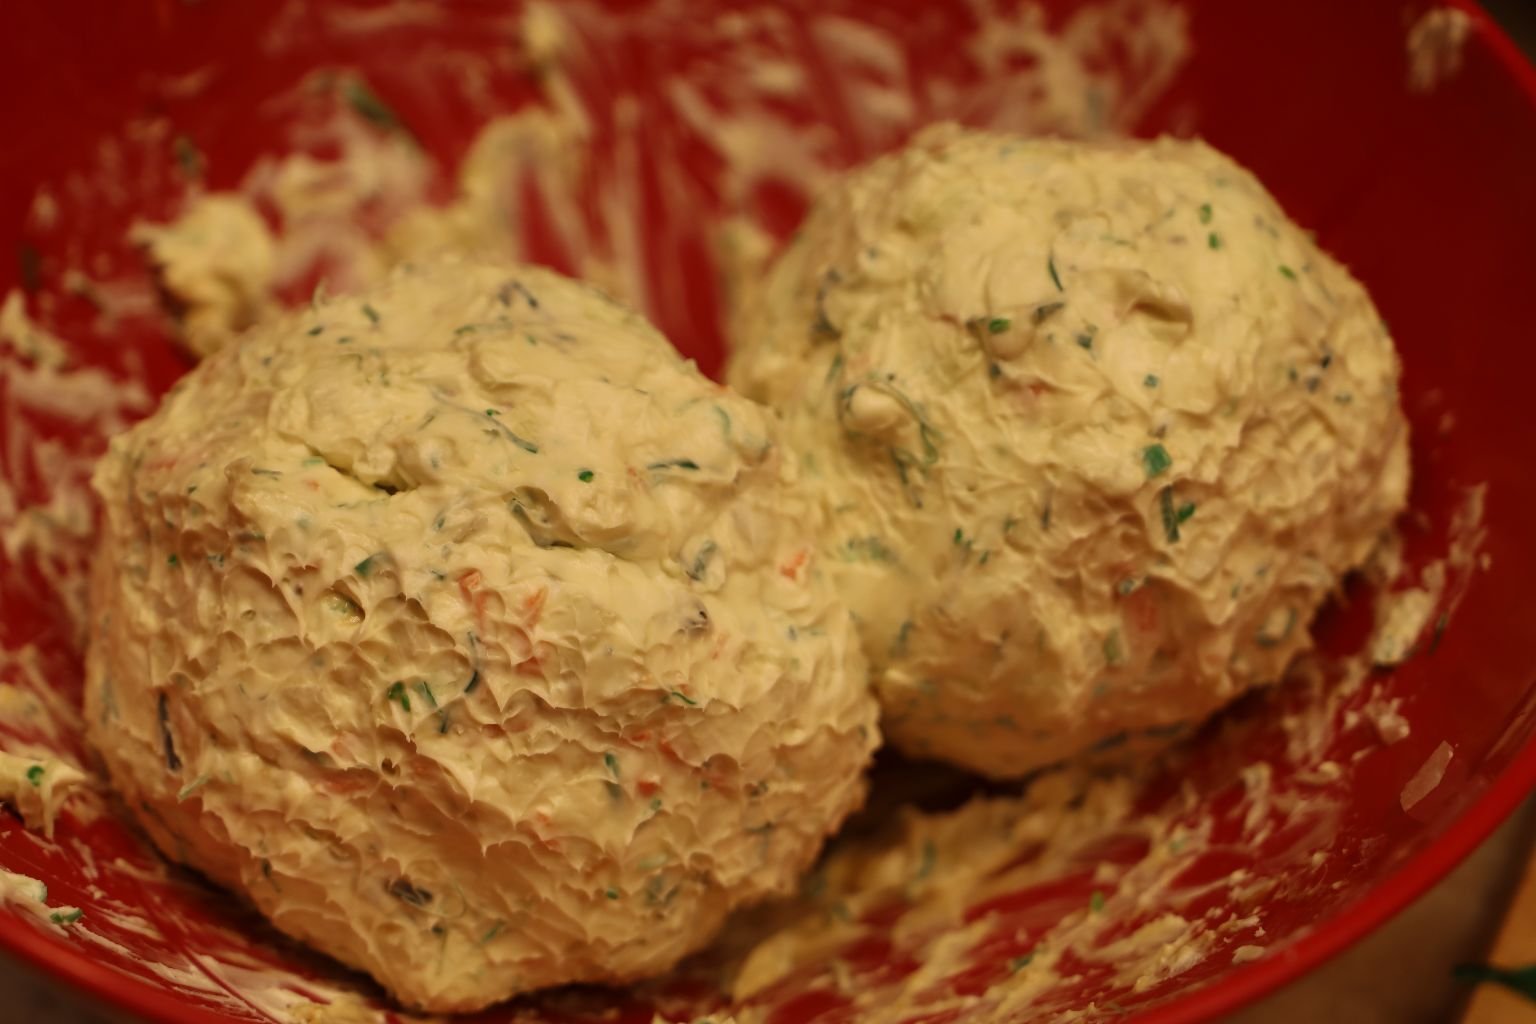
I Then Molded Everything Into 2 Balls.
(One for me, and one to give away.)
It was at this point that I did refrigerate the Cheese Balls for at least a few hours.
Allowing the flavors to meld together. You can also do this the night before.
——————————————————————————————–
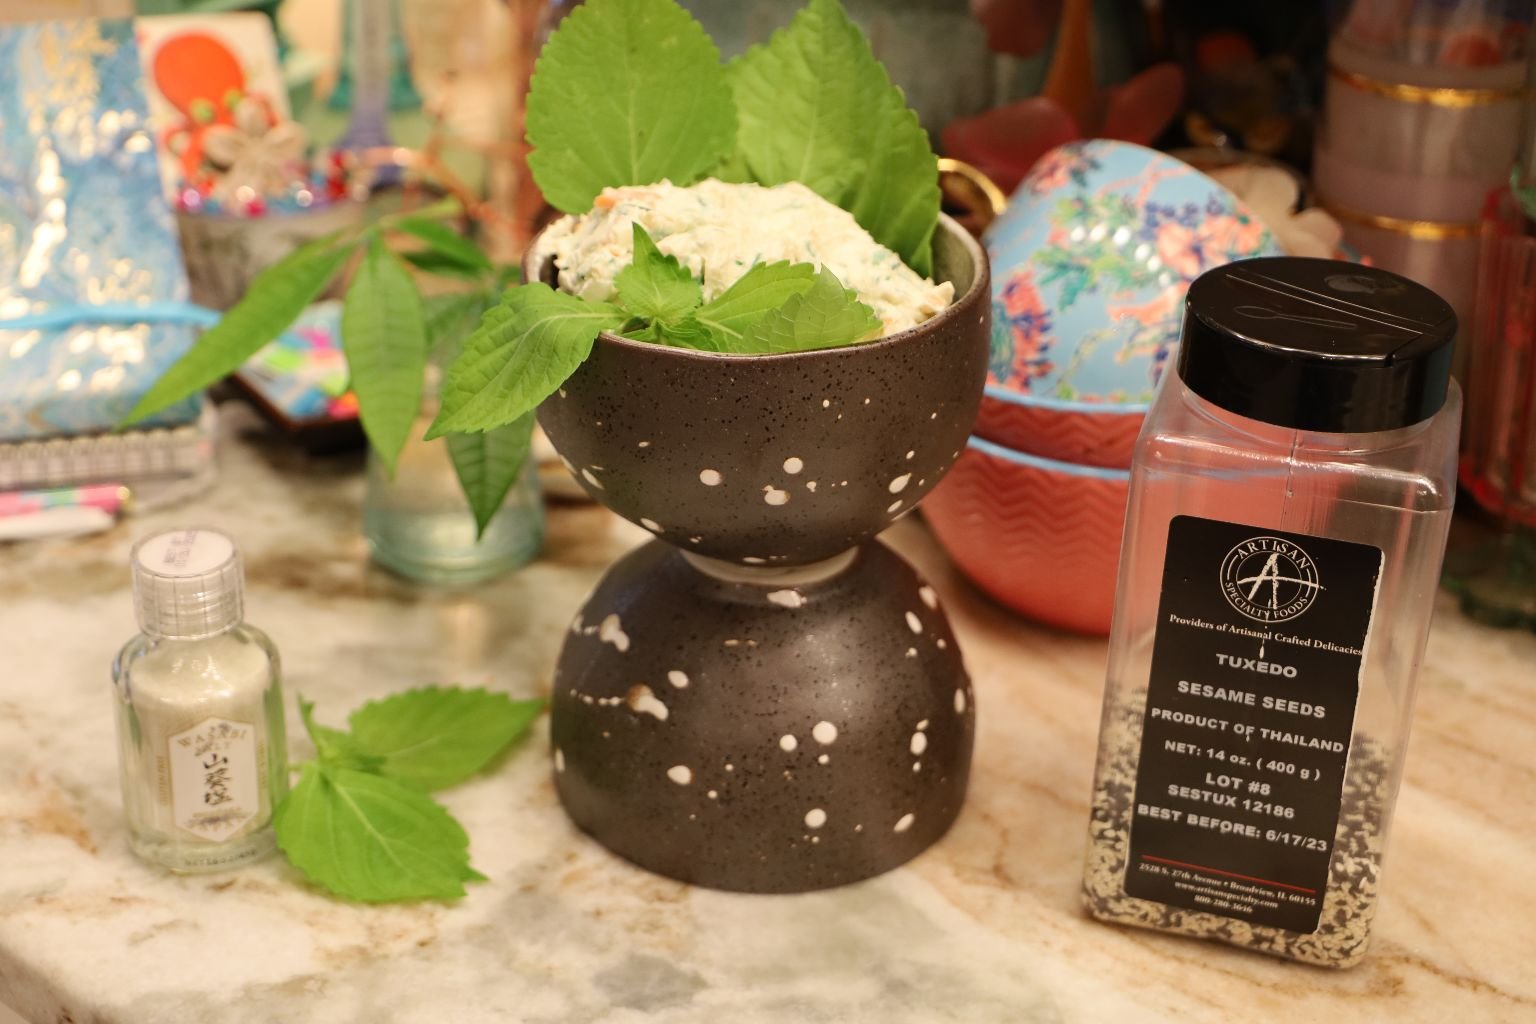
Time To Plate the Cheese Ball
The container that you see above that is housing my cheeseball, is actually two small bowls that I hot glued together.
I loved the bowls when I saw them at the Asian Supermarket. I would have loved them to have a larger bowl in that set, they didn’t, so I improvised.
I did add my Shiso Leaves around the Cheeseball, and sprinkled some Tuxedo Sesame Seeds on top.

Adding a Few Spring Onions, and Some Snap Peas, Along with my Seaweed and Onion Crackers.
——————————————————————————————————-

Whenever I think of the Asian cultures, I always think of birds.
It was while I was making the dip/spread above, that this beauty paid a visit to the backyard.
It even ate a few lizards before flying off.
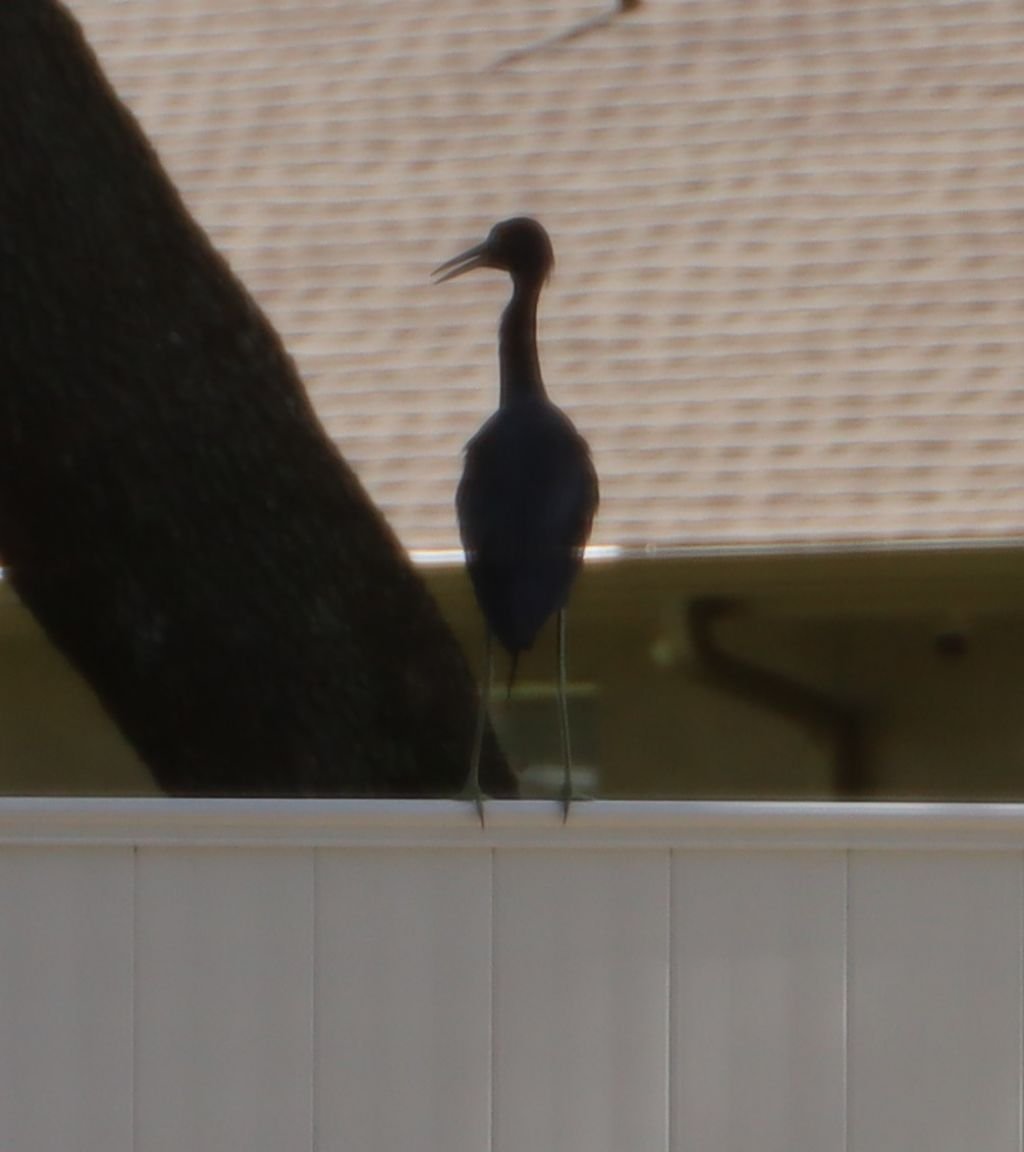
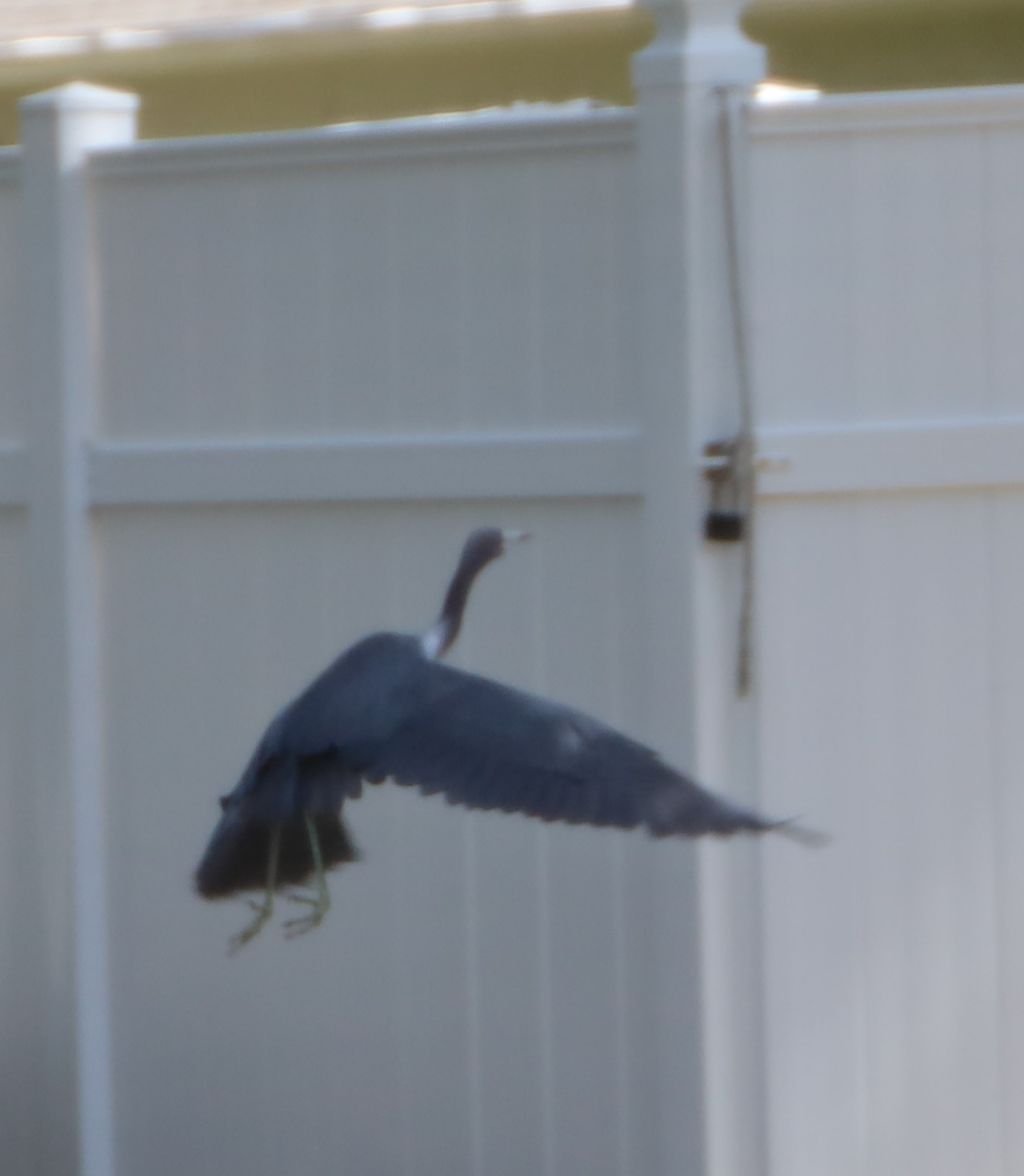
I love it when I get backyard visitors. Just leave the lizards alone.
They live here, you don’t!
———————————————————————————————-
Julie
—————————————————————————————
If you would like to view our other Asian pages:
Click Here For: Whann Way Asian

AND,
Click Here For: Whann Way Asian, E Ho ‘Omau (Continues)
AND,
Click Here For: Julie Loves Asian

AND,
Click Here For: Asian Edible Gifts

AND,
Edible Gifts of the Asian Variety

(Note: Edible Gifts of the Asian Variety is the same post as Asian Edible Gifts. I have both listed here for accuracy, but one is a Page and the other is considered a Post. Confusing, I know.)
AND,
Click Here For: Our Asian Easter

AND,
Click Here For: Whann Way Sushi

AND,
Click Here For: My Love Affair With All Things Asian

AND,
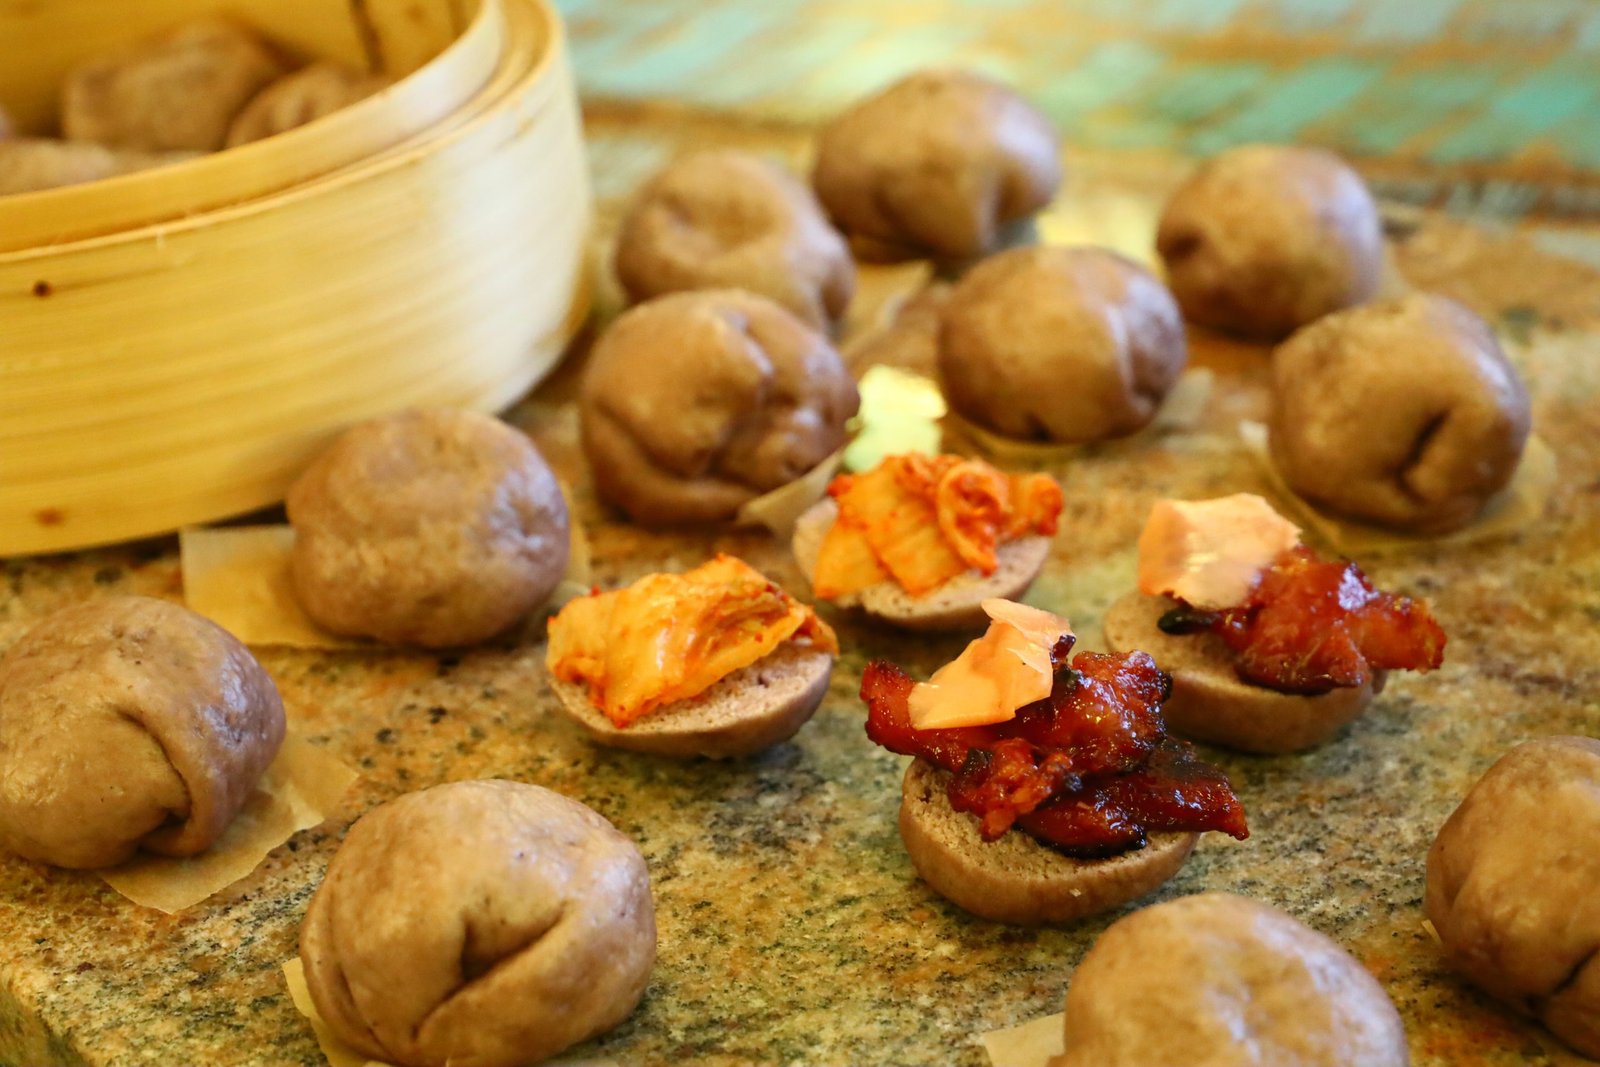
Click Here For: Asian Steamed Buns: Bao and Manapua
AND,
Click Here For: Our Purple Sweet Potato and Taro Stuffed Steamed Buns and Asian-Pacific Sliders
AND,
Click Here For: Our Asian Inspired 4th. of July

AND,
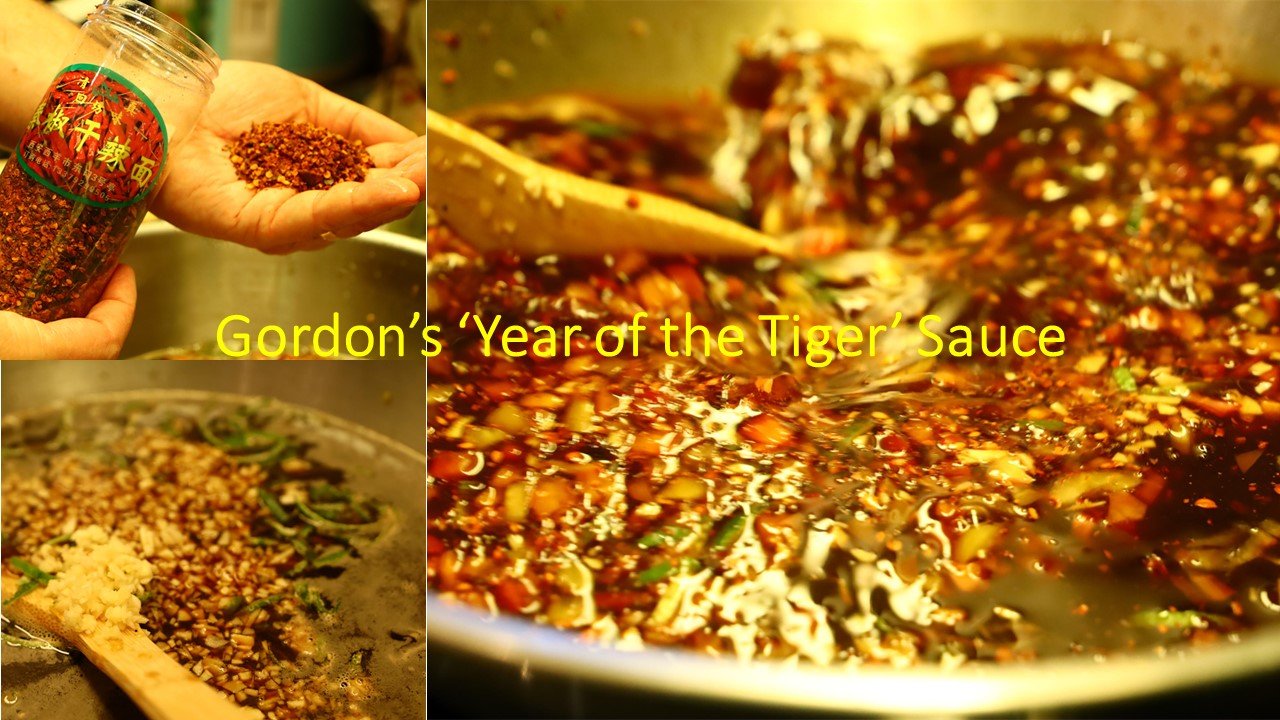
Click Here For: Gordon’s ‘Year of the Tiger’ Sauce and Nam Jim Jaew
AND,

AND,

AND,
Chisana Atsukau (Small Treats in Japanese

AND,

AND,
Japanese Girl’s Day (Hawaii Tradition)

AND,
Asian Eats (More Great Recipes to Enjoy)

AND,

AND,

AND,

AND,

———————————————————-

Julie’s Lunchbox Take Out My theory is to always take food with you. You never know what you may encounter, and you shouldn’t be at the mercy of having to settle for something you don’t want, or need to eat, just because …

Welcome to the Enchanted World of our Backyard Fairies Legend has it that a Fairy (Faerie) is a Mythical Being with Magical Powers. They appear in Human Form, and can have a penchant for mischief, and trickery. The Fairy is …

“Izzy, Breakfast!
Izzy, Snack!
Izzy, Juice!
Izzy, Lunch!”
Tutu

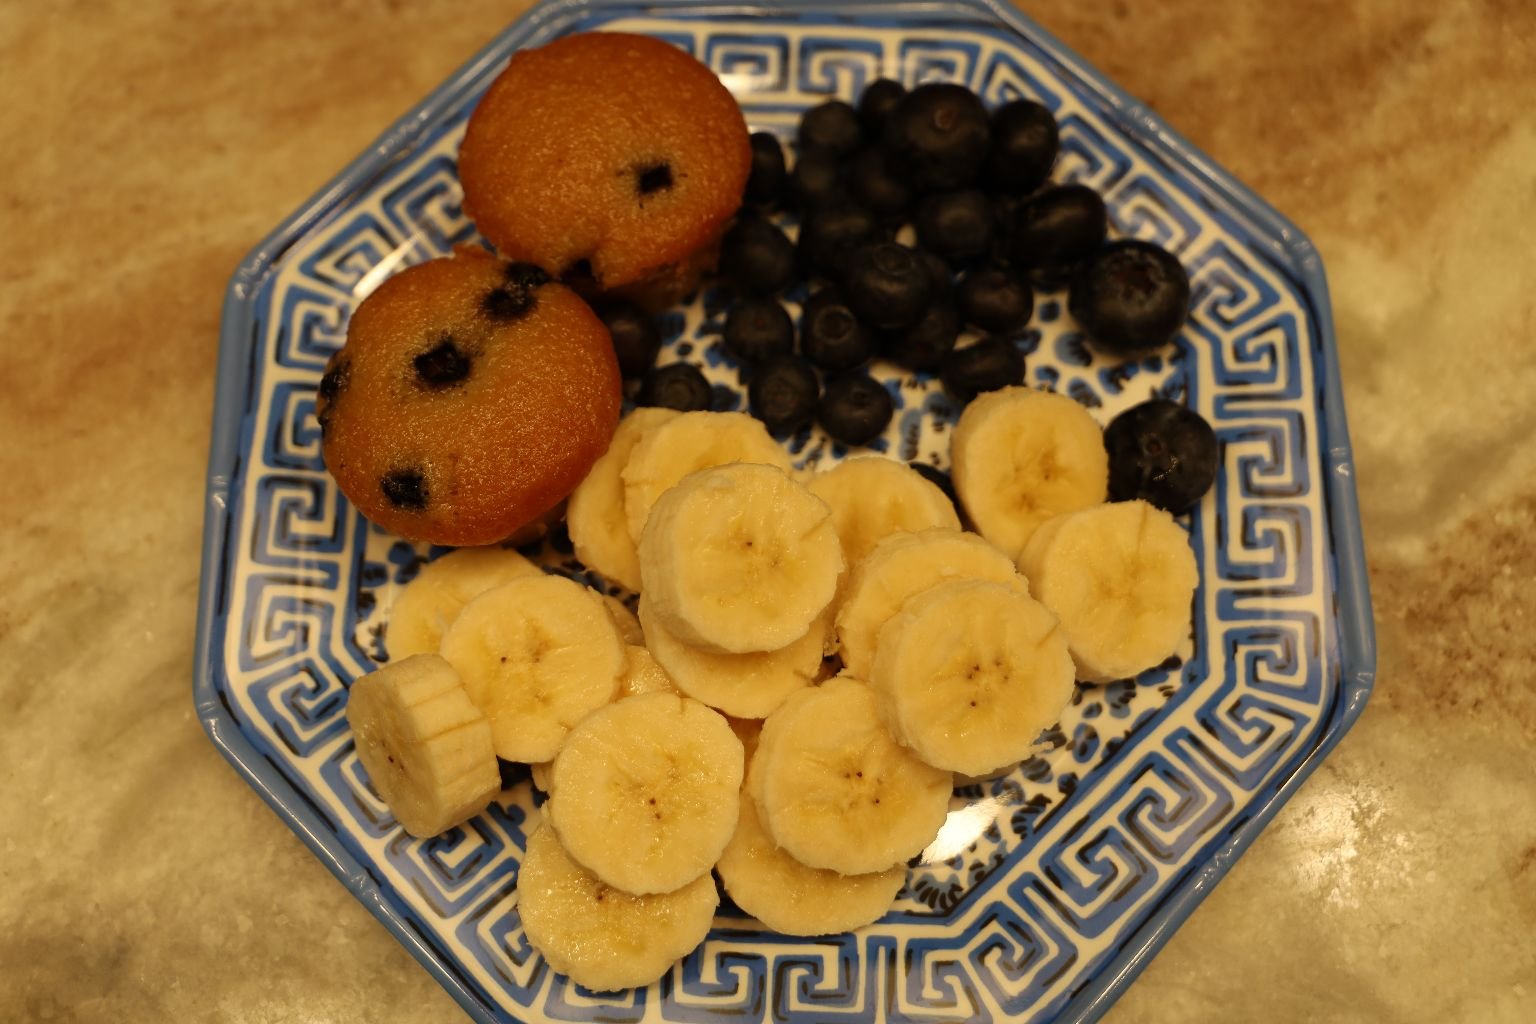
Sometimes breakfast is as quick as fresh Blueberries, String Cheese, Banana Muffin, Celery with Peanut Butter, and Crinkle Cut Carrots
———————————————————
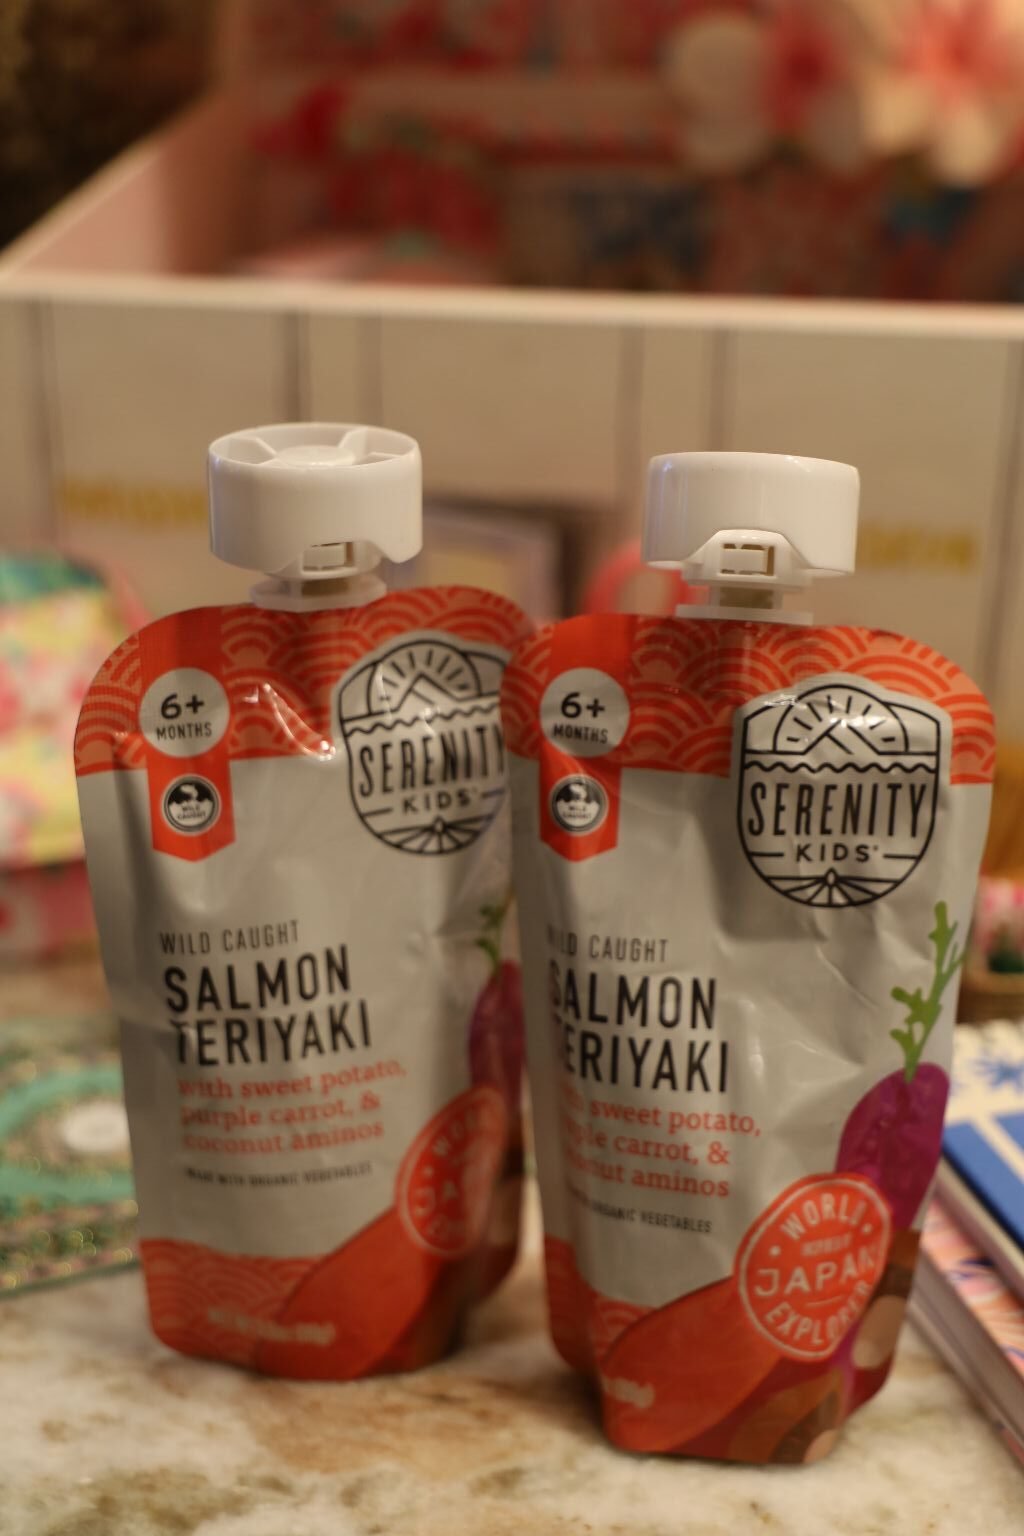
When Isabelle was born and I started becoming her main caregiver when she was 3 months old, feeding time was easy, BOTTLES of Formula, and then Bottles of Milk. Then, as she got older it was Baby Food. It was fun buying Baby Food at the grocery stores. Jars of Sweet Potatoes, Peas and Corn, Prunes, Yogurts, Green Beans, Turkey, Chicken…. even some exotic Japanese Baby Foods of Salmon, feeding times were easy.
Sitting her in her high chair while wearing a bib, as I spooned food into her mouth. She seemed to like everything.


Isabelle and Her Rice Cereal

It wasn’t until she got a bit older and didn’t need the Baby Foods anymore that it suddenly because a challenge to me when it came to feeding her.
I honestly didn’t know what to do? My mind went blank. I even asked my husband Gordon things like, “What did we used to feed our children? Did we feed them? I’m pretty sure we did. I just can’t remember what we used to feed them? What do I do?
——————————————————————————————


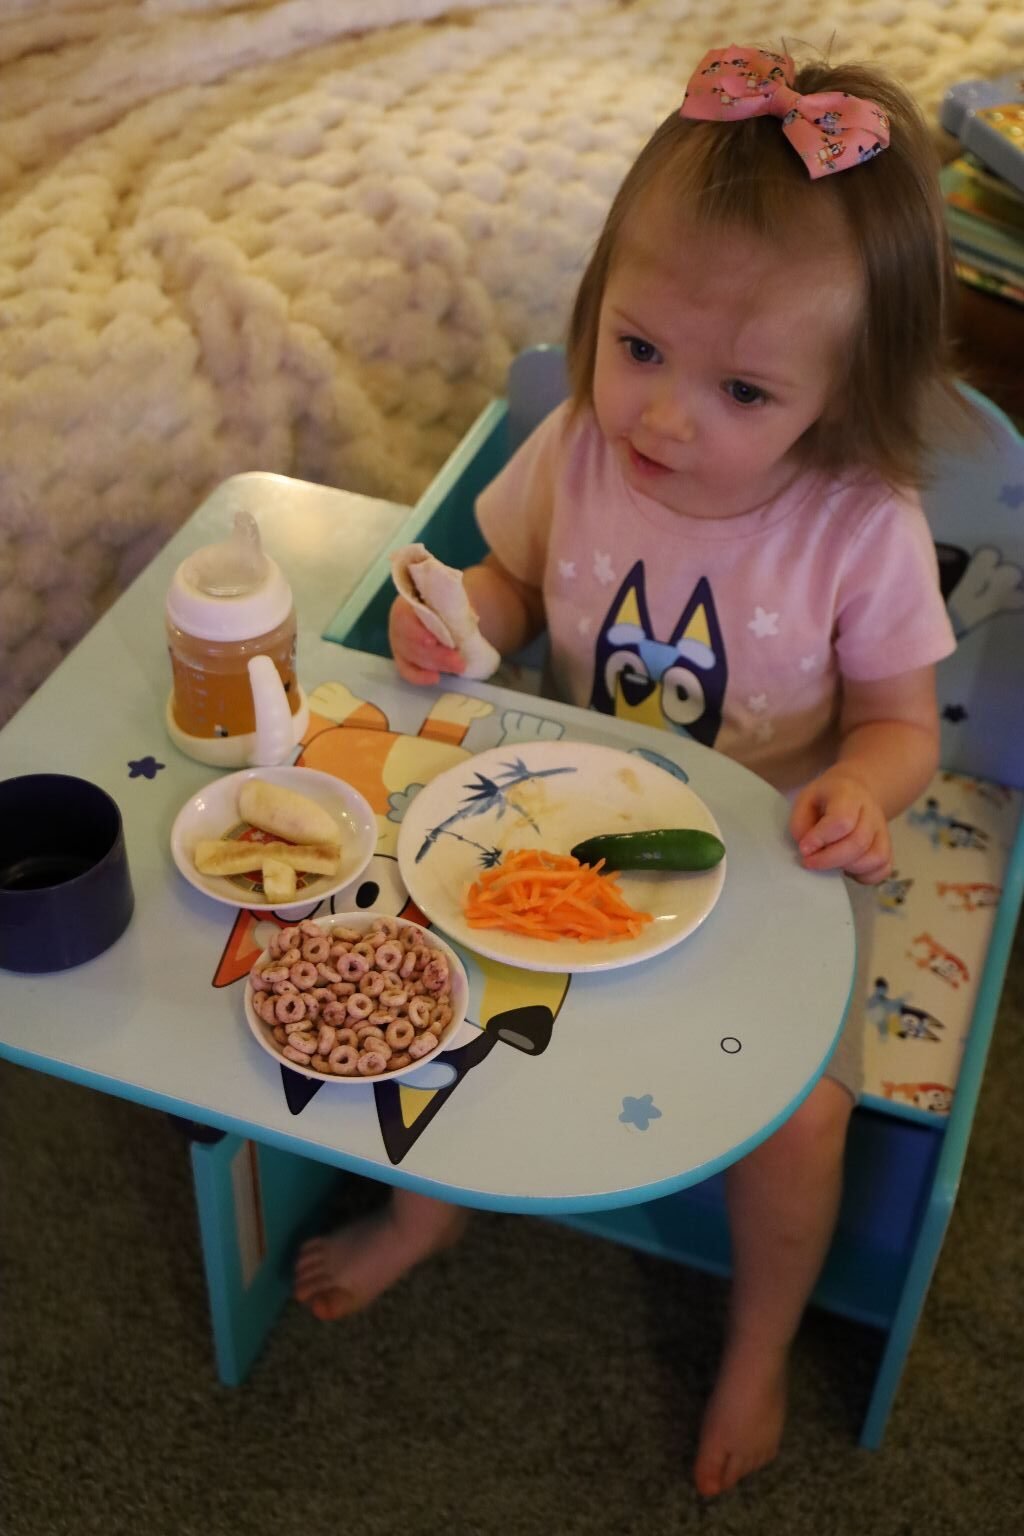
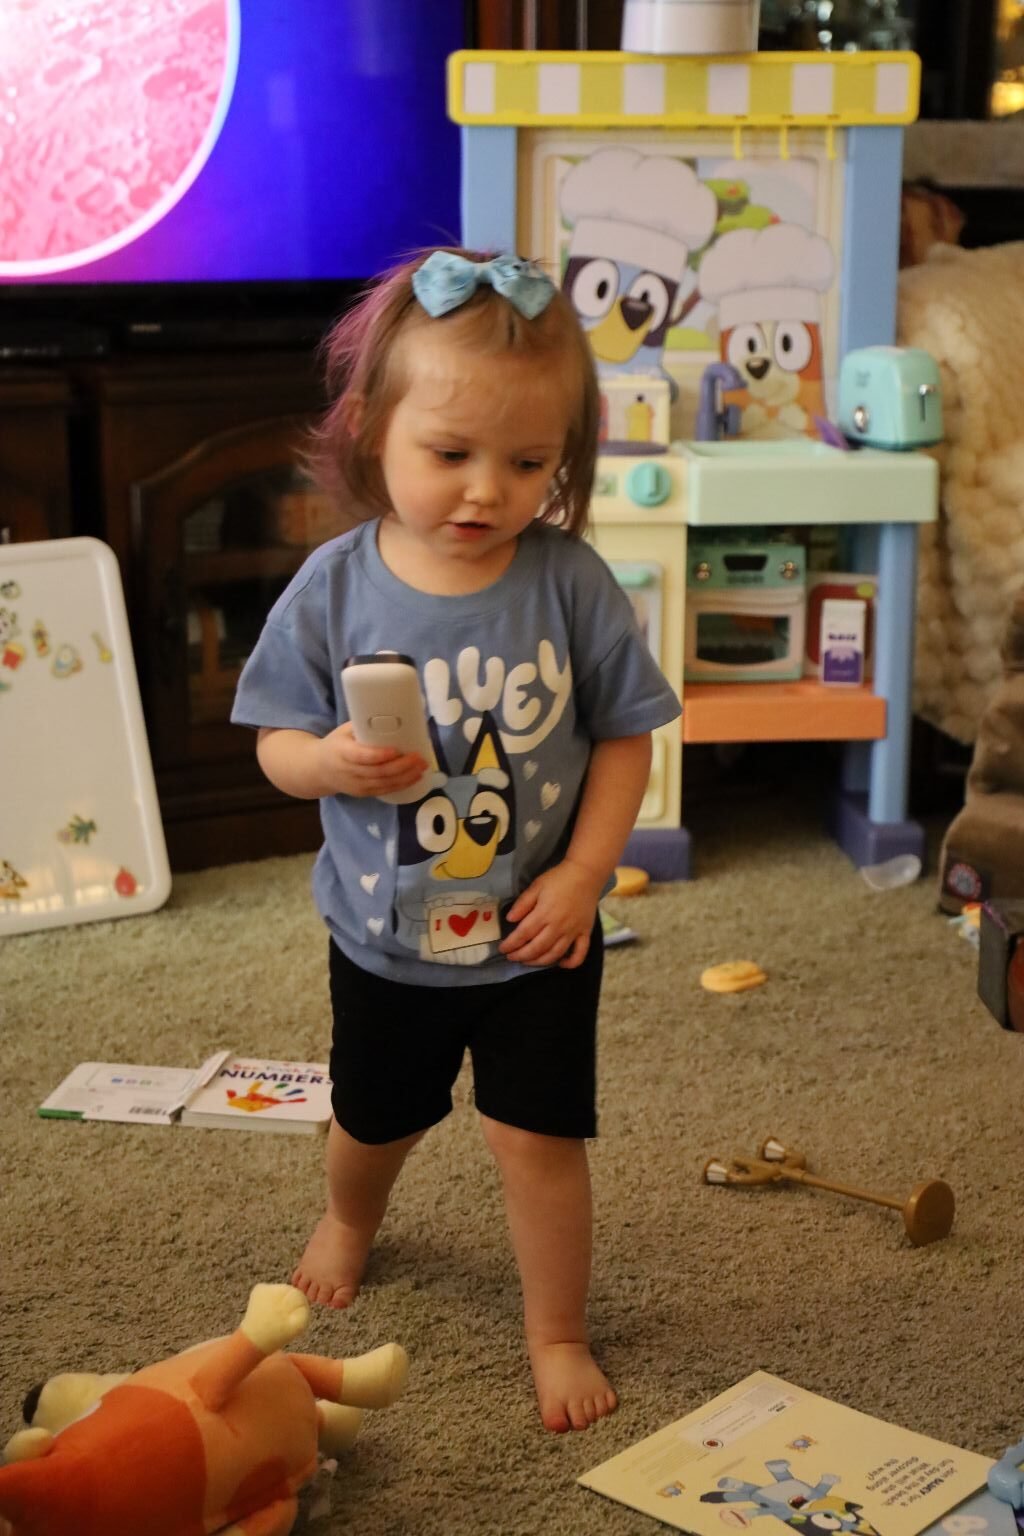
Isabelle, Sitting In Her Bluey Desk Eating Breakfast
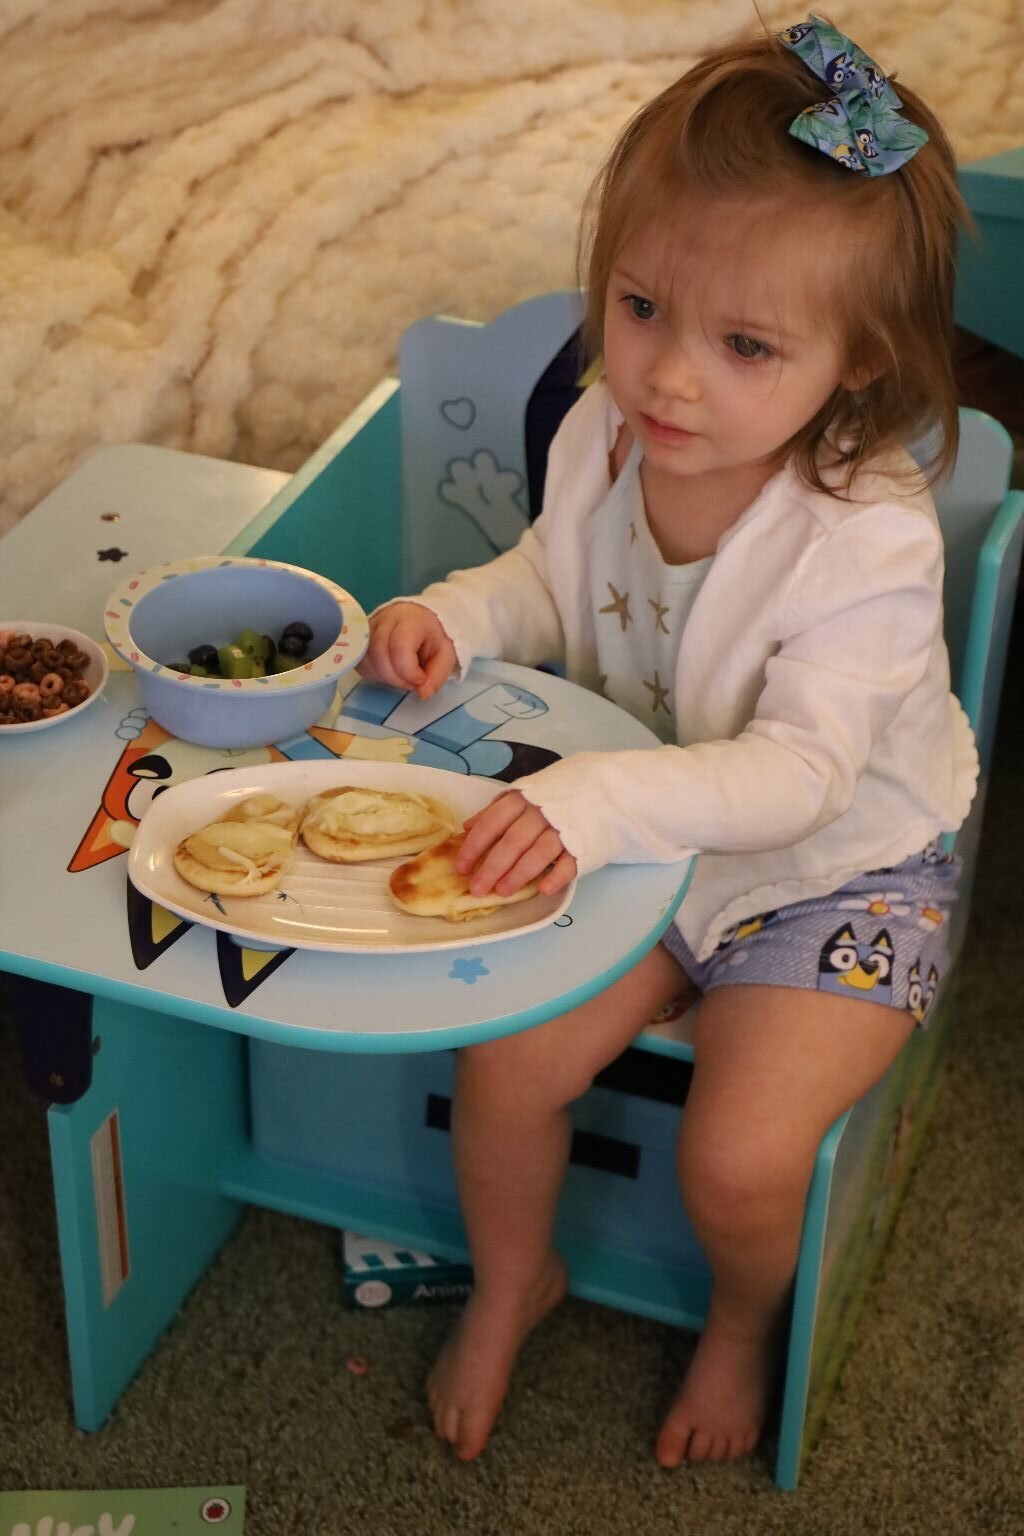
(Naan Bites with Plain Hummus and Mozzarella, Toasted)
I get up very early in the morning to be ready for Isabelle. If our daughter Veronica is dropping off Isabelle, then I am up at 4:00 a.m. to be ready for baby drop off. If our son-in-law Brian is dropping her off, I have to get up at 4:20 a.m. in order to be ready. Showered, dressed, dogs and house ready to receive her.
The morning still starts with an old fashioned bottle of milk, followed by a nap. BOTH OF US! After all, our much needed sleep has been interrupted. That morning nap for me will determine whether or not I am a happily engaged Tutu, or a Grandmother that is dragging herself around barely functioning that day. Some days I keep Isabelle are long, other days are short. It depends on Veronica and Brian’s schedules.
When both Isabelle and myself wake up from our nice morning naps she is usually very hungry.
So are the dogs! That is another story though.
———————————————————————-


BLUEY Cereal and Kiwi-Strawberry Juice
I immediately fix her some juice that I dilute with water. I avoid anything Apple as any Apple foods or juice tend to contain lots of arsenic. Unless they were organically grown. I buy organic brands of juices for Isabelle. Usually a Peach, or Kiwi, or Strawberry, or Berry Lemonade.
She also likes the Indian River brands of Orange and Grapefruit juices.
I also give her a small little saucer of some Breakfast Cereal for her to snack on while I make her something a bit more substantial to eat.
It is in that area that I want to impress upon you some nice fun foods to enjoy. Some I will create myself, and other’s I will rely upon from great sources like the Disney Princess Cookbook.
I find that as I get a bit older I need to reeducate myself on just how to feed my granddaughter so that she will grow up to be a healthy little human. Foods that used to be safe to eat when I was raising my children, some of them aren’t now. Educating ourselves on good nutrition is important when it comes to feeding our little ones. That is the challenge that I face now as her main care giver. I want my little Peanuku to grow up to be as safe and as healthy as possible. That is where I want to pass on to you just what I am now learning.
I just think we need to share with each other, everything! I hope you think so too!

Happy to have you here!
Tutu (Julie)
P.S. I will be adding more content as feeding times go by. 🙂

If you are thinking that some of these recipes are too simple, I agree to disagree. My website is viral worldwide and I hope to attract people from around the world where these ideas are not so common. Also, as Isabelle grows so will her tastes and I will expand on them as best I can.
———————————————————————————


Isabelle, Talking to her Tutu Papa on the old fashioned phone, who is Working Overseas


It is important to maintain those connections so that she knows her Grandfather loves her and cares about her, even though he isn’t here right now.
——————————————————————————————————

Bluey Pancake

Isabelle Loves BLUEY


Waiting for Tutu Papa to cook her Bluey Pancake


(Recipe Down Below)
————————————————————————————

Chinese 5 Spice Toast

This was something that I, Tutu, thought of one day.
I had eaten quite a bit of Chinese 5 Spice over the holidays and it dawned on me how good it would taste on buttered and sugared toasts.

(Recipe Down Below)
—————————————————————————————-

Disney Princess Cookbook


Mulan’s Smiling Breakfast Bowl
——————————————————————————–
Mulan is one of our favorite family movies.
Mulan is a Chinese legend that has inspired many generations. We also love the Asian cultures and foods and include them in our lives. We also have many Asian website pages throughout our website. Therefore, it made perfect sense that the first entry of something delicious was to be from the movie Mulan.

Our Asian Bowls and Spoons

Cookbook Ingredients:
1 Cup Prepared Hot Cereal (such as Oatmeal or Cream of Wheat)
Half a Peach, canned or fresh peeled
3 T. Plain or Greek Yogurt
1 Slice Cooked Bacon
————————————————————————————
I did things a bit differently, I will explain below:

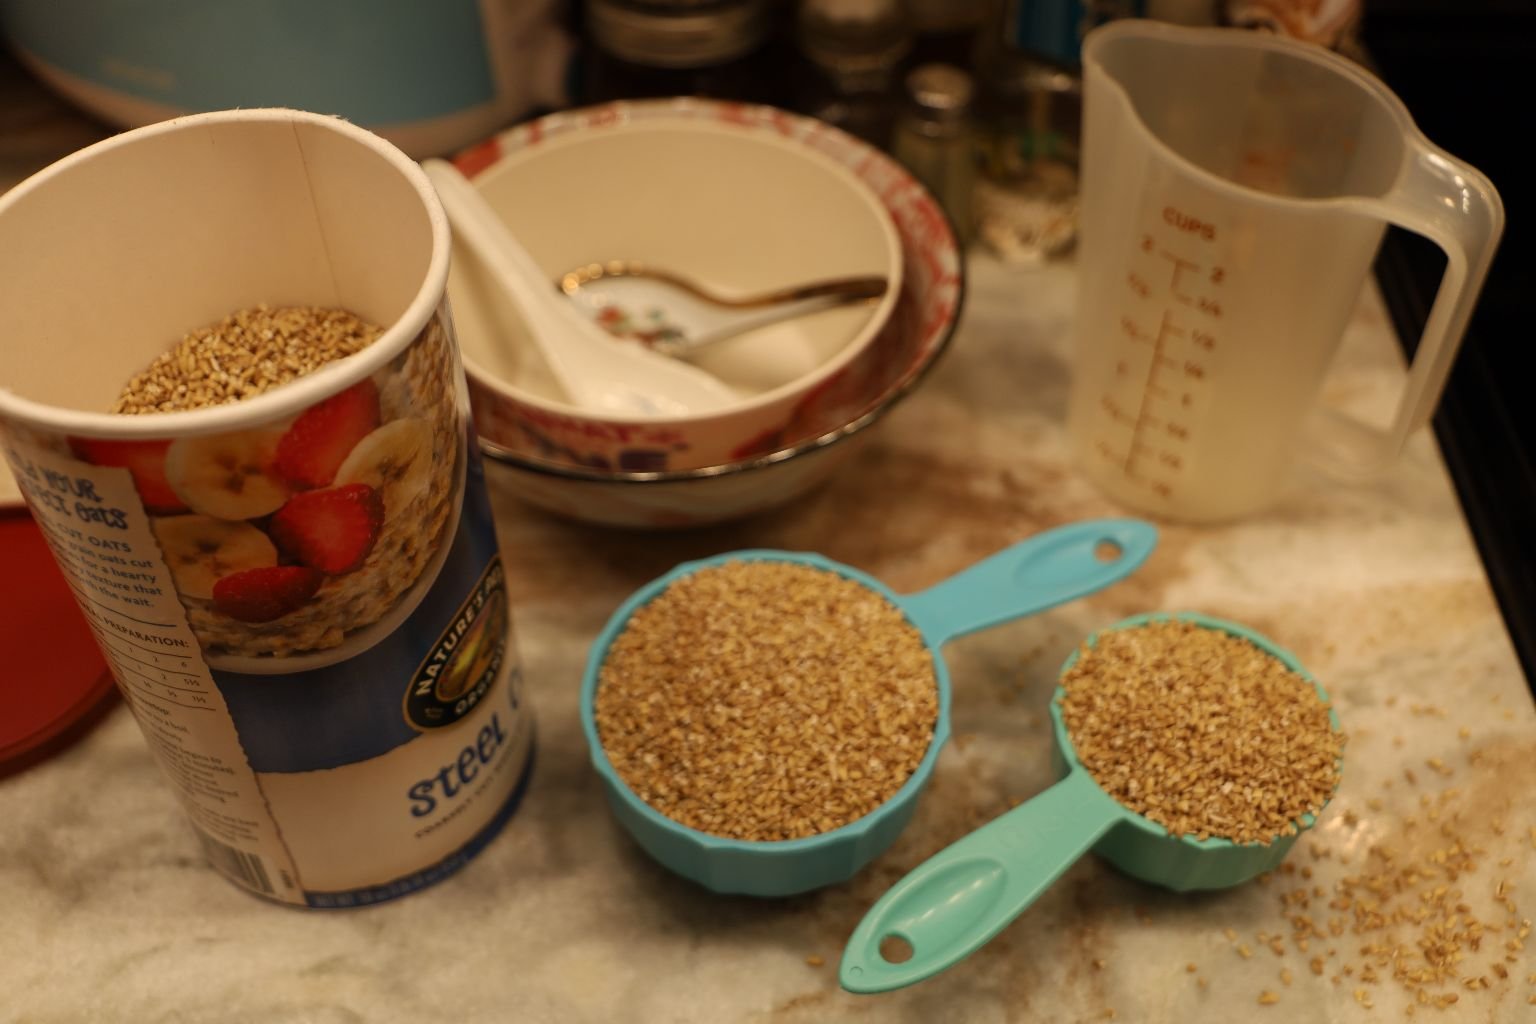
I used Steel Cut Oats and made them according to the package instructions.


——————————————————————————————–

I also fried up a few Eggs, and some Bacon.

Instead of using Greek Yogurt and Peaches for the Eyes, I used some of my Fried Eggs and Bacon.
In Isabelle’s bowl I used some Strawberry’s and Blueberry’s. It was delicious!
——————————————————————————————————
Bluey Pancake
—————————————————————————————–
Isabelle is Getting Hungry!
The Bluey Pancake 🙂
(Perhaps a little brown but still delicious!)


I found online a Bluey Cast Iron Skillet with a Pancake Mix included.
I knew it would be fun to make, and I knew that this would help endear Isabelle to her Tutu Papa that was home for a little while from working abroad.


Gordon simply followed the package instructions.
We did need to add some Blue Food Coloring to the mix. Luckily, we had some.
Isabelle Enjoyed it!
——————————————————————————————
Chinese 5 Spice Toast
If you have ever made Cinnamon Toast then you know exactly how to make this.
Same concept, just replace the Cinnamon with Chinese 5 Spice.
—————————————————————————————

You will need some sort of sliced bread.
I prefer a thick sliced bread as it holds up nicely once toasted.
Butter, Sugar, Chinese 5 Spice

Place the Slices of Bread down onto a Parchment Lined Baking Sheet
Butter each slice, then sprinkle some Sugar and Chinese 5 Spice over top.


Turn the Oven on to Broil and place in the Oven Keeping Watch the Entire Time.
You Just Want The Bread To Brown a Bit.

If you like you can dip in to some Syrup, and Enjoy!
—————————————————————————————–

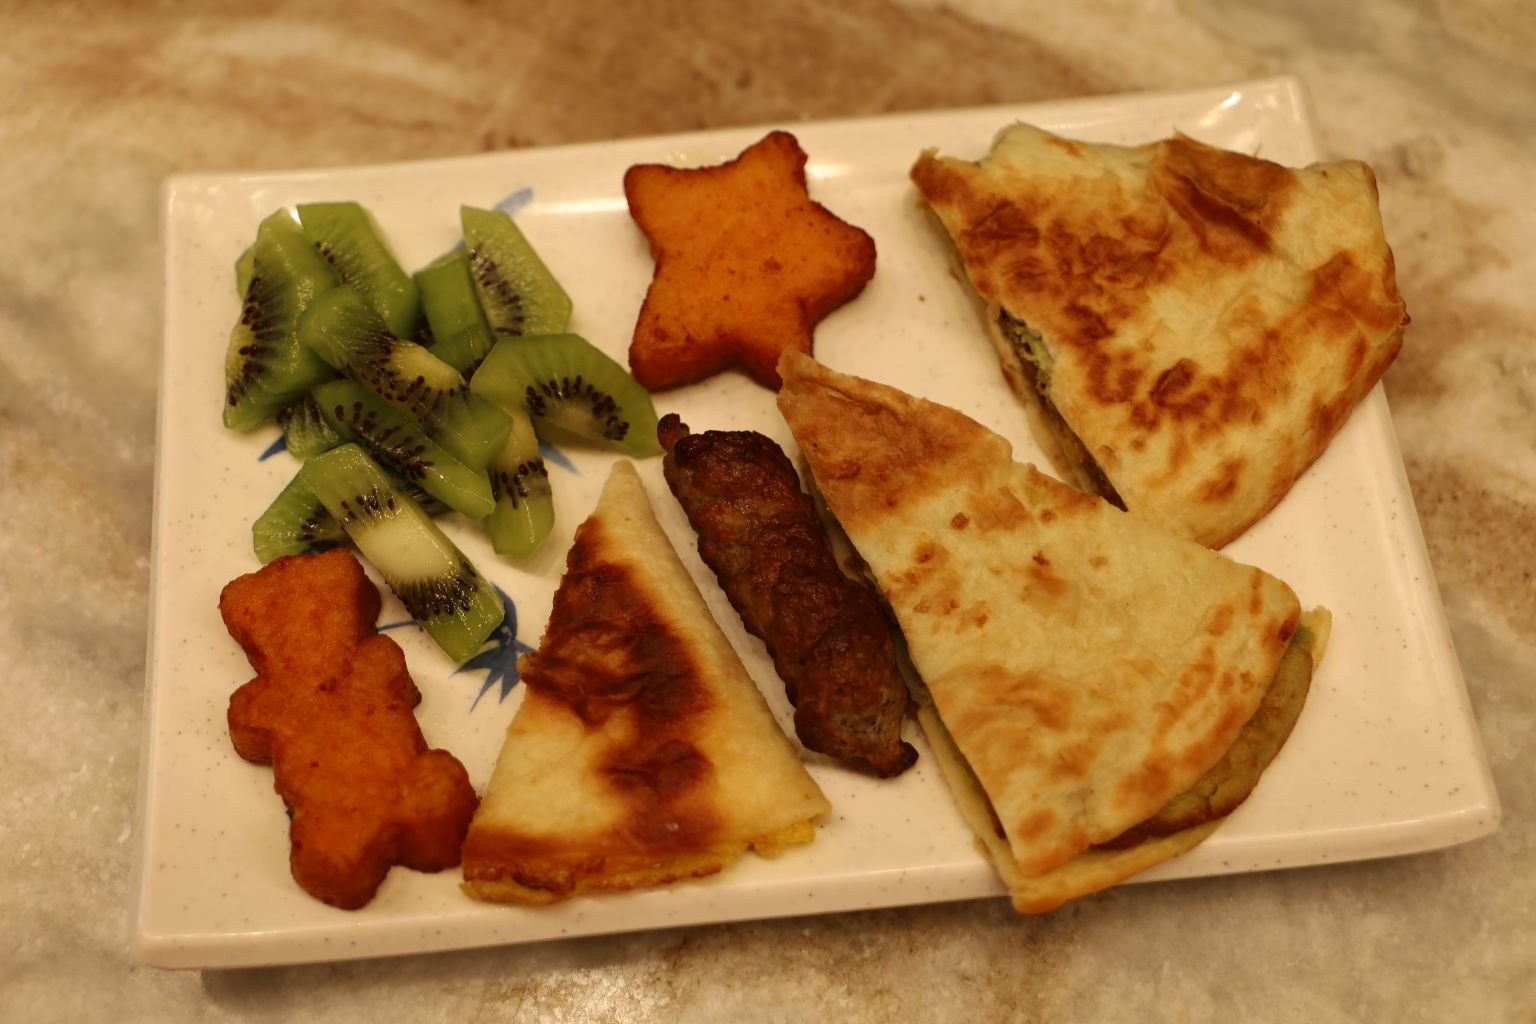
Fruity Naan Pizzas
Veronica always sends over sliced Strawberry’s and Blueberry’s most every time I keep Isabelle.
Sometimes I try to think of other ways to feed them to her.
Here is one of those ways.

Although a bit hard to see, I have the small little plain Naan’s, some plain Hummus, and some Mozzarella Cheese, shredded.
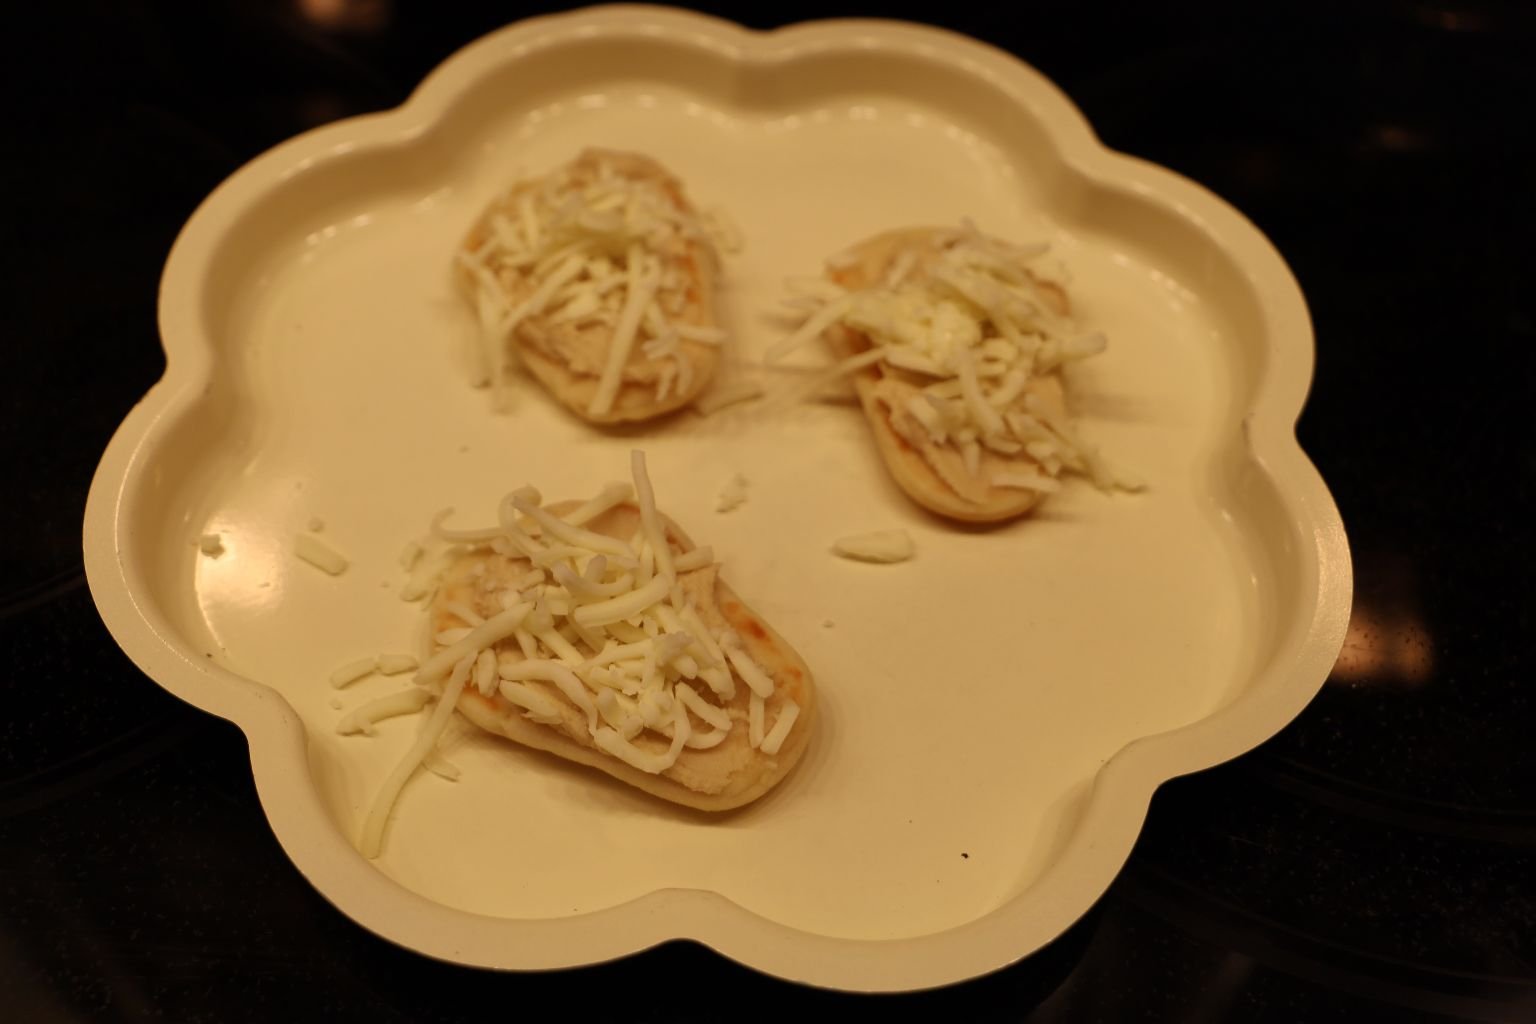


Turn the Oven on 300F and spread some Hummus onto the plain Naan’s, topped with the Mozzarella Cheese. Bake for about 8 minutes. When done remove from the oven and place some of the fruit into the Naan.

Simple little morning breakfast. 🙂
————————————————————————————-
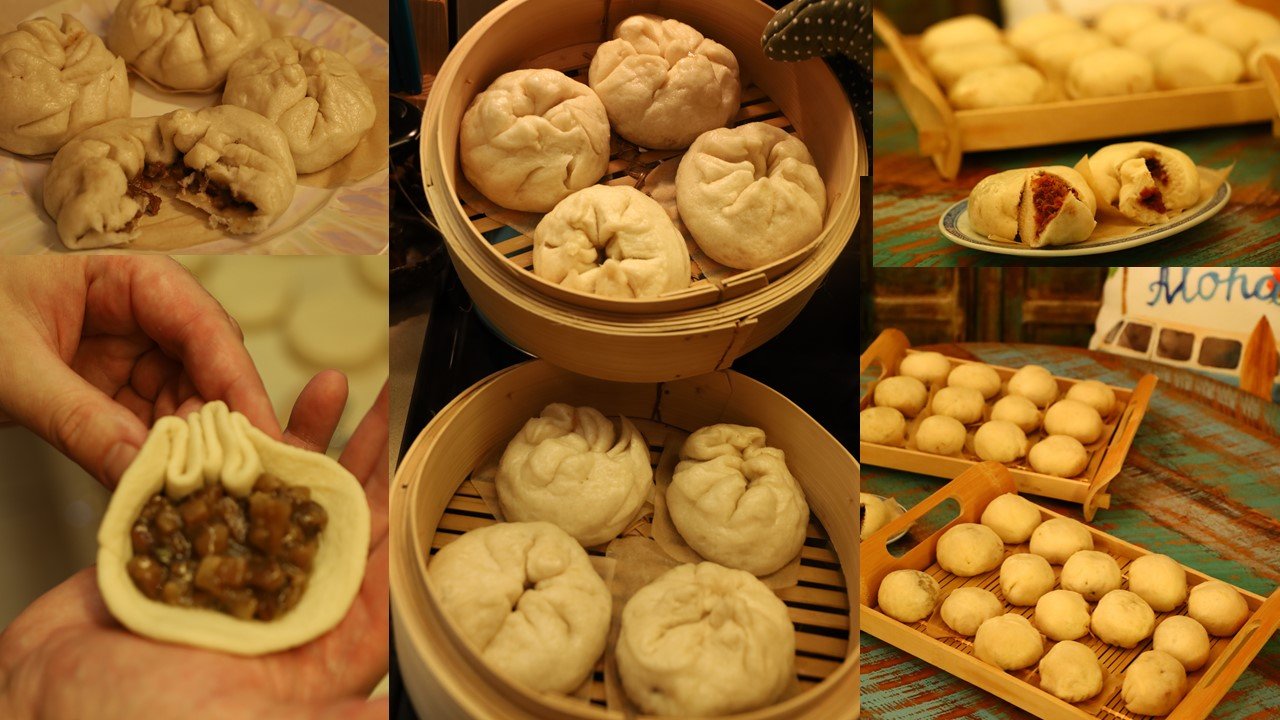
Manapua…

or by another name, Siopao!
—————————————————————————————-
We raised our children in Hawaii. A food item that they both loved was Manapua. Manapua has many names.
Manapua is the Hawaiian name for this excellent food item.
It is a steamed bun filled with a sweet pork center. Eating this food gave our children independence. They would grab one from the freezer, and then throw it into the microwave for exactly one minute to heat up, and they could have their afternoon snack or even lunch, or dinner.

Microwaving is All it Takes


Here Isabelle is being introduced to Manapua.
The food that her mother and her uncle Brodie loved and ate most daily when we were living in Hawaii.
Mahalo for Being Here,
Julie (Tutu)

Don’t Forget the Mickey and Minnie Mouse Waffles 🙂

With Some Bacon, Veggie Dinosaur Bites, with Strawberry’s and Blueberries
Pancake Syrup is always optional. I always just squirt a dot or two of a Sugar Free Syrup onto Mickey or Minnie. 🙂
——————————————————————————————
Veronica’s Breakfast Quesadilla


Veronica and Brian make a lot of Quesadilla’s at their house. Isabelle always loves them.
They do make a great Breakfast Quesadilla with Eggs, Avocado, and Cheese.
It is plain and simple, but good. Along with a nice dose of Strawberry’s and Isabelle is all set!
(They use a whole wheat Tortilla, a White Cheese, the white cheeses tend to be lower in cholesterol, some Scrambled Eggs, and some Sliced Avocado. You just want to use a non-stick cooking pan, or spray a light cooking oil spray into the pan, on a medium heat, place your tortilla shell down, then add the cheese, your already scrambled eggs, and the sliced avocado. Then place a second tortilla shell over top. You can use a spatula to flatten it all together if you like. You just want to brown the tortilla, and melt the cheese. After a few minutes you can flip it over to brown the top side. When cooled slice into triangles and serve.)
—————————————————————————————-
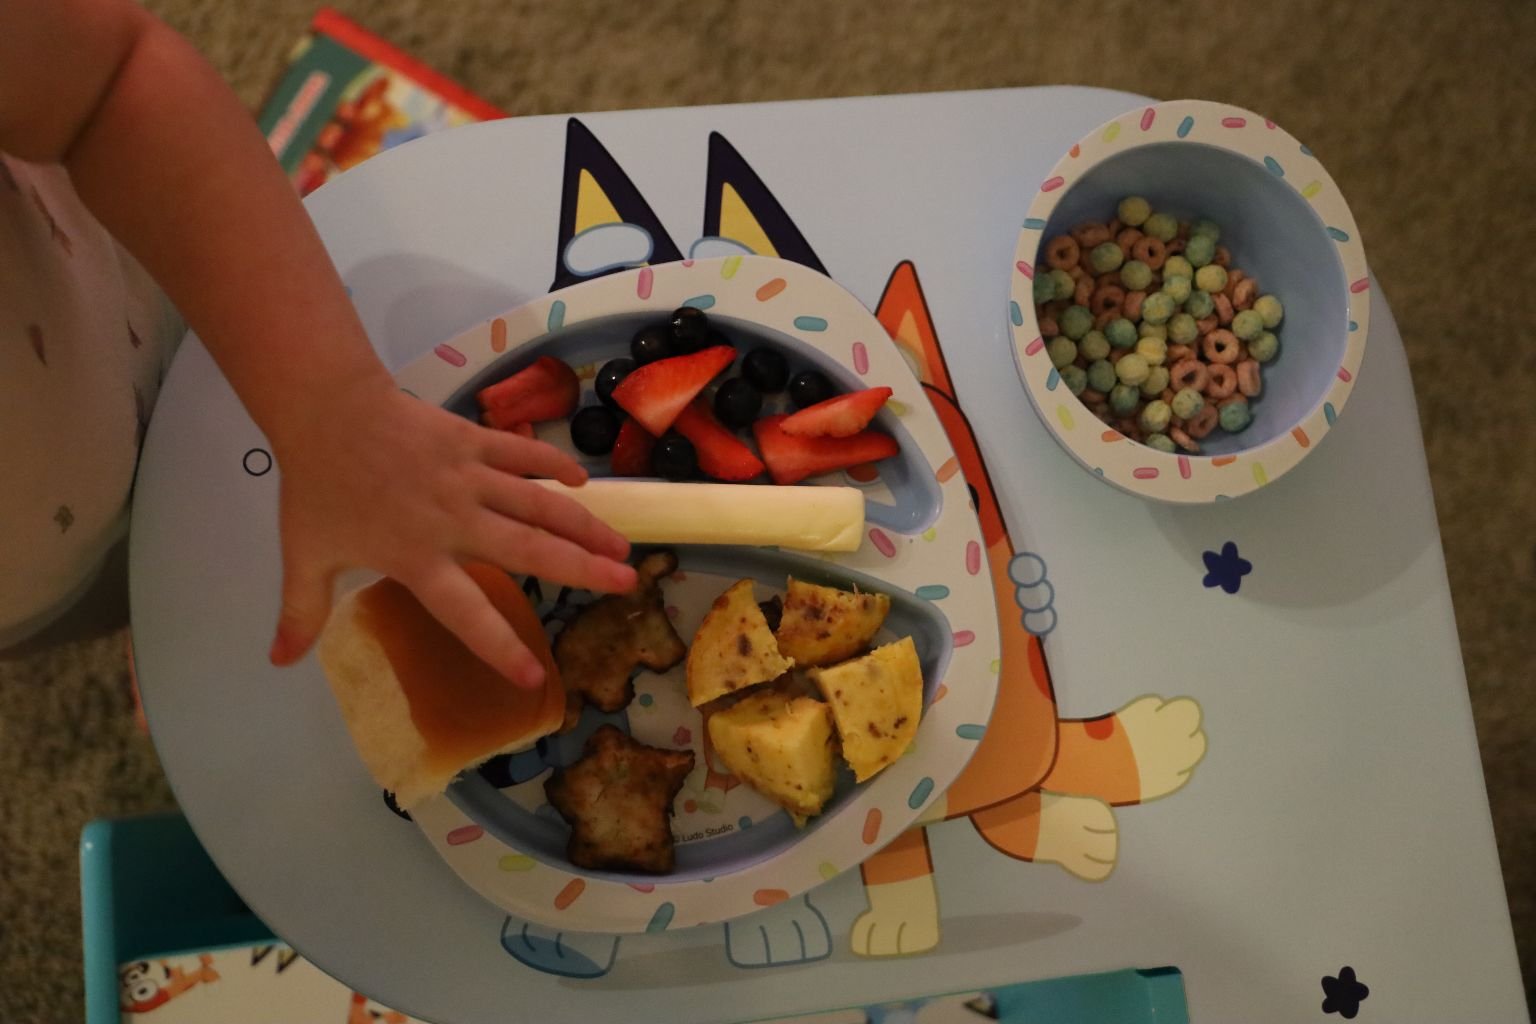
Gordon’s Scrambled Eggs, Turkey Link Sausages, Kiwi Fruit, and Strawberry Cheerios to Snack on

We always try and start Isabelle’s day off with a protein. Whether it be Eggs and Turkey Sausage, or just some Turkey Sausage Links. She loves Scrambled Eggs and will sometimes eat them with her hands or a fork. We leave it up to her. After all, we don’t care how the eggs get into her mouth, we are just happy she is eating them. 🙂
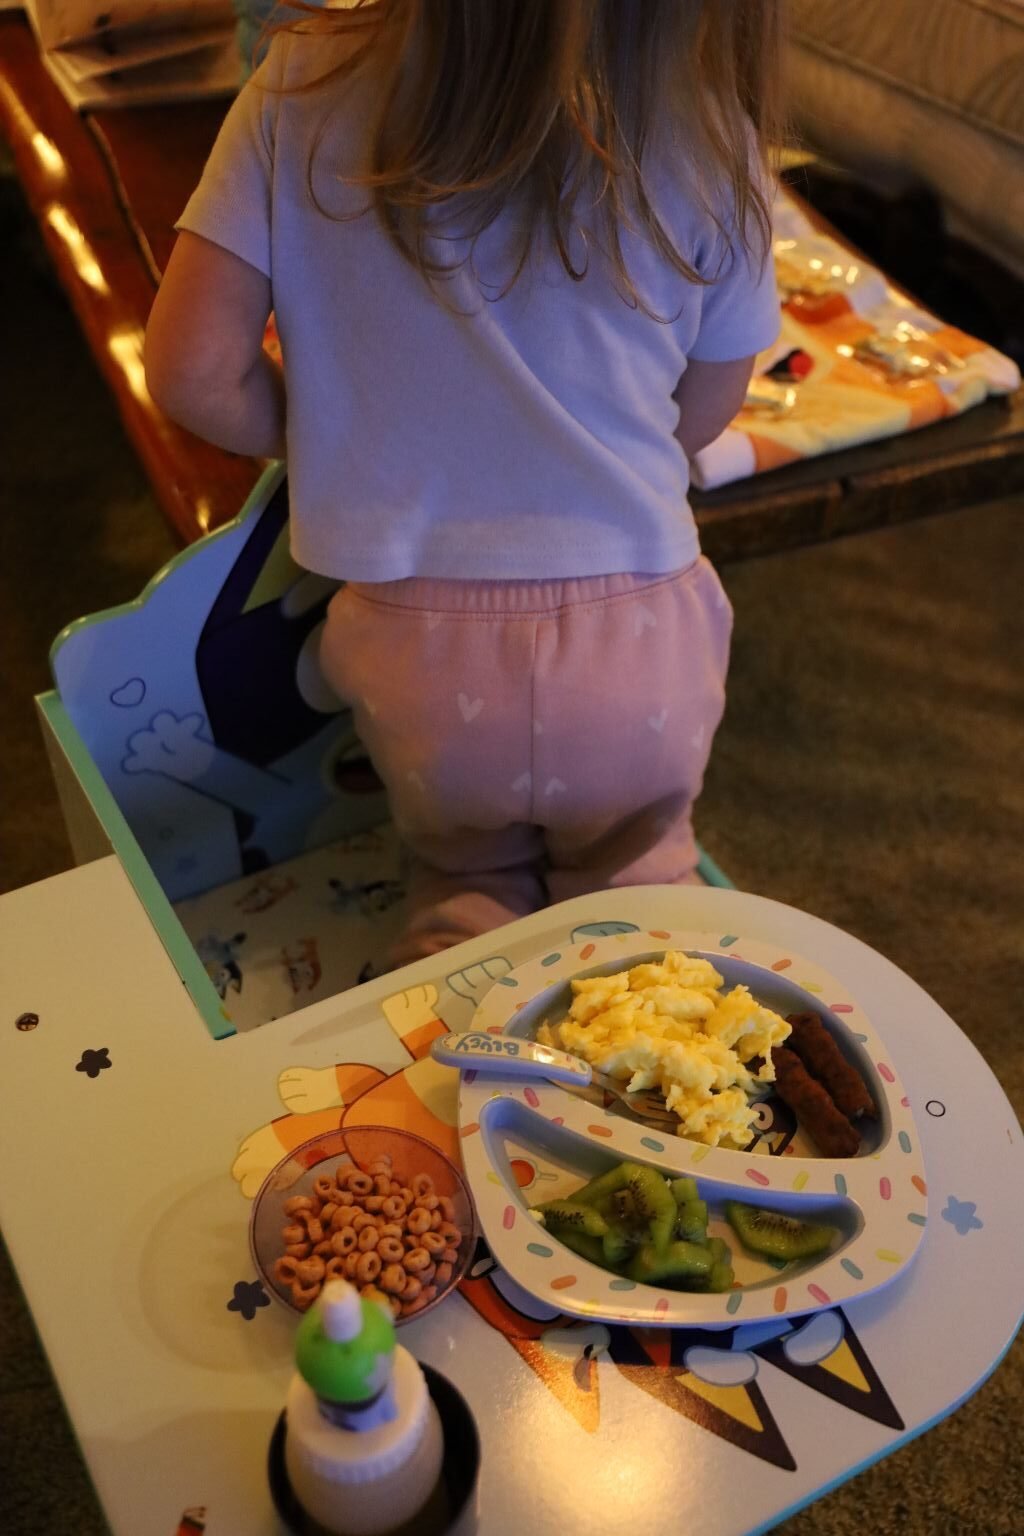

The small bowl of Strawberry Cheerios is just something sweet that she likes to snack on that she enjoys along with her breakfast. When you satisfy that sweet craving, it tends to stave off a greater sweet craving later on throughout the day.
And as always we give her an Organic Juice that we water down.

Her Valentine Gifts, Things To Take To Hawaii
It was Valentine’s Day, 2026, that we kept her that morning. I wanted to give her the gifts that we had bought for her. A Bluey and Bingo Beach Towel, and some Bluey/Bingo Juices with Bluey and Bingo wearing their sunscreen on their faces that they wear at the beach. Along with a few other things. But, I had in mind how great the juices and beach towel would be in Hawaii.
P.S. They left for Hawaii March 1, 2026
———————————————————————————————-

“I don’t promise to forget the mystery, but I know I’ll have a marvelous time“ Nancy Drew ————————————————————————————– CURRENTLY ON A STAKE OUT, CHECK BACK LATER …

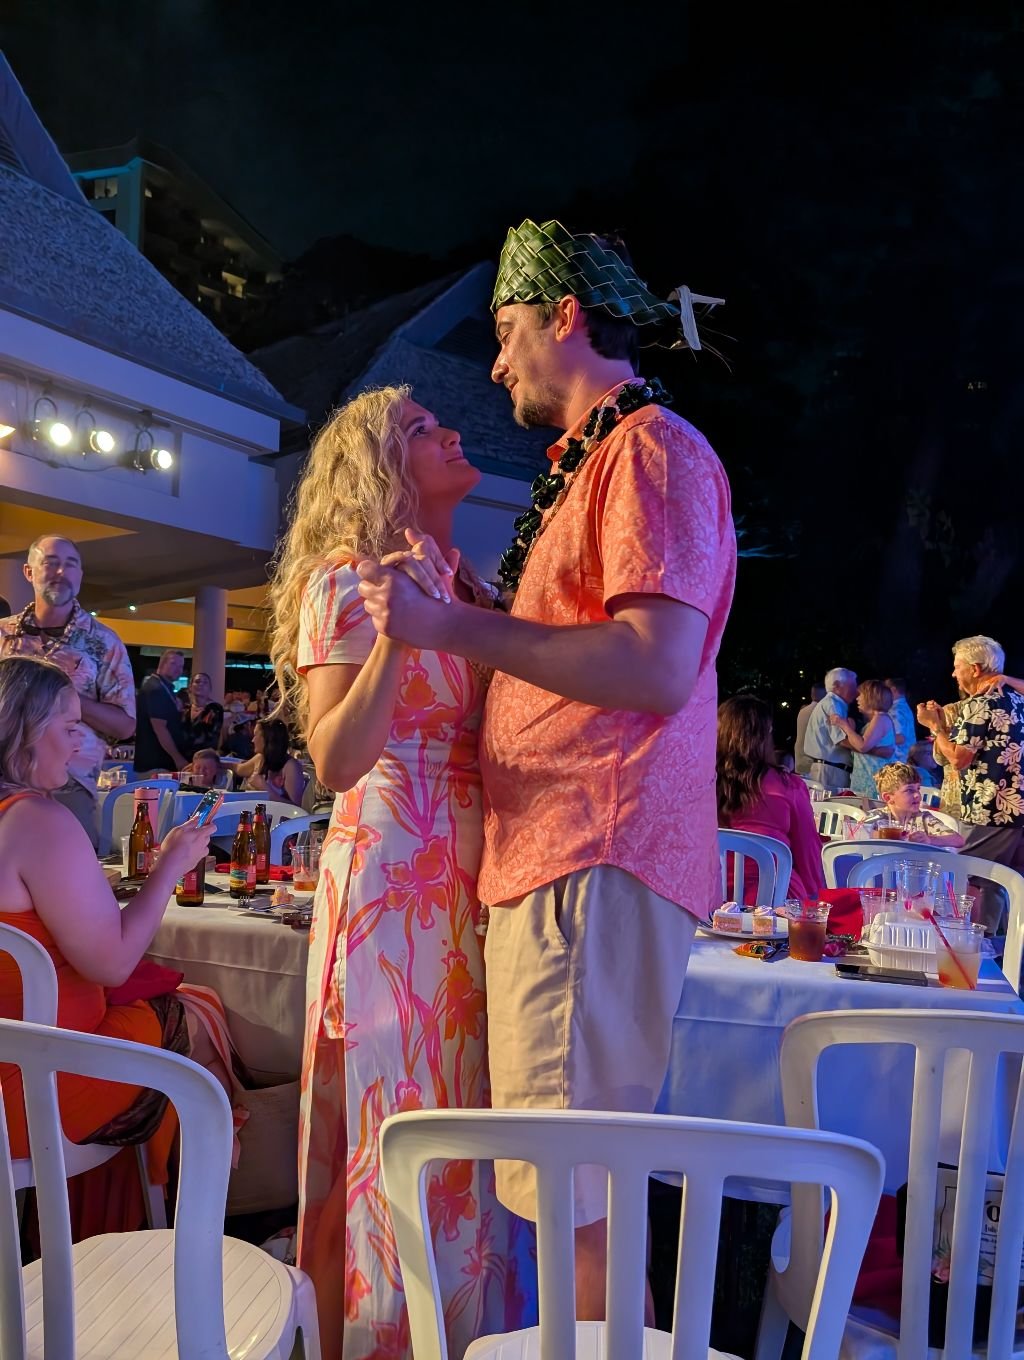
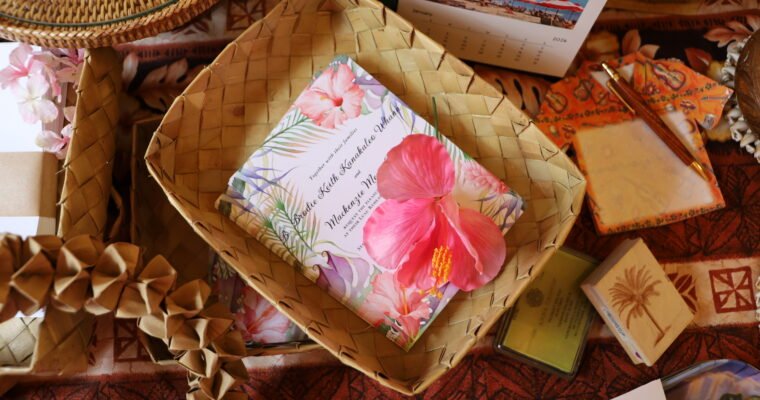
Meet Brodie and Mackenzie December 2024 The Proposal Bok Tower Gardens, Lake Wales, Florida Champagne and My (Julie) Former Engagement Ring My Ring Has Never Looked More Beautiful 🙂 Mackenzie and her Twin Sister Susannah ——————————————————— When I first met Mackenzie …
(Note Update April 10, 2025: If this harassment continues, or more damage is done to our property, then I will reveal their names here, and getting the police involved.)
“The pen is mightier than the sword.”
Edward Bulwer-Lytton
————————————————————————–
Write it all down, it’s what they fear the most.
Julie Lancaster-Whann

Where Do I Even Begin?
2025
For those of you that know me and have read me, then you know of my account of my Cyber-Stalker of 30 years, P. I did start a webpage of his stalking back in 2015 on this website. Wow, 10 years ago I started writing about him. I’ve also mentioned throughout my personal blogs the stalking that I have had to put up with and endure. Well, he’s still in the picture. Gordon and I were able to bring in (a 3-letter agency) to look into him. I hadn’t really admitted much to any of that until now. This has been about a year and a half ago that we did that. I know these things take time, but with all that’s going on right now with that ( 3-letter agency), I’m not so sure if we are a priority anymore.

I also started a website about him that I have not worked on yet at all. I simply sent a few photos to my guys in India and had them to create something for me. They did, and I paid quite a bit of money for it. I hadn’t started working on it yet for a few reasons. First of all, I would much rather be doing other things than talking about P. And number two, I didn’t want to hinder any investigation into him.
————————————————————————–
This is the Original Webpage Where I Introduce you to P.:
What It’s Like To Be Cyber-Stalked

Julie Lancaster-Whann
If you do check out this webpage I started on him, you will most likely see some sabotage. That is from P. When I had web hosting companies in America to host and look after my site, P. had the run of it. It wasn’t until I contacted a company in the U.K., and they recommended theses guys in India, did I finally have a more secure website.
Sad isn’t it? I had to go outside my own country for help from my American Cyber-Stalker.
———————————————————————————-

One thing that I have learned throughout my life when I was being abused by anyone is to start a log. Write down everything that that person does to you. Keep a diary of it. That’s why I started the Cyber-Stalker blog page that I write about above. It is also why I am starting this webpage about the abuse that I am having to endure from my neighbors next door to me.
I will work on this as I feel like it. Oh trust me, they aren’t going anywhere. Their kind never does.
I know their type very well. Arrogant, self-righteous, white, no respect for people or their property, or opinions that differ from their own. They only value ‘Freedom of Speech’ when it is their own. They easily fall in line with the herd. A Shepherd to herd them this way, and then herd then that way. I’ll get into more of that later on.
You know, no where in the world do they have people like a certain segment of our population. Nowhere!
The world does have it’s poor and ignorant. But nowhere does any country have these kinds of people that think the way they do. They are definitely home grown.
There is something very toxic in our country’s environment that creates these people. I know what it is, but I don’t dare say it. I’ve touched on it though. I even tried warning our former Canadian friends about it, who seemed to adore the republican friends they knew in Kentucky. And I will speak of it in the future. But talking about it now is only going to get me clubbed over the head by a caveman. I also warned our Canadian friends that don’t be surprised if America comes after Canada someday. If you have something they want, they will come and get it. Funny, but she thought I was being ridiculous. Wonder how she feels now? I told her these things over a decade ago.
—————————————————————————————-
My Camera on My Tripod Took These Photos
(The Thing Is, My Neighbors Are Probably Watching Me Right Now)
I wanted to take some photos for this blog, and seeing as how I am the only one here, I had my camera on my tripod to do it. My husband Gordon is working overseas. Oh, we talk most everyday. He is in a hazard zone overseas. He is quite valuable in his job, and we are benefiting from that. We were thinking about him coming home permanently at the end of this year, but what with all that is going on in our country, it might be wise for him to stay over there for the next few years. He does come home twice a year to see us all though. He has even suggested that I come over there to live out in town near where he is stationed. If I were to do that, I would only see him on the weekends from my very exotic location. My answer: I’m not leaving Isabelle. Done!
——————————————————————————————
What has kept me going all these years is that I want to outlive P. I want to know what life is like without him in it. That is what has kept me going. Will I ever know that? I don’t know? But now, I have a new stalker. I never saw this coming at all. I am an Empath, yet I never once sensed this neighbor’s hatred of me at all. Which means that he is either a Psychopath or a Sociopath, or a Narcissist.
I have probably only spoken 20 words to him from the time they moved in years ago. He is probably in his early 40’s. He is married and they have 2 children. They have a very nice home. Nice automobiles. Basketball goal in their driveway, pool in their backyard. On the surface all looks great. I have noticed that all their cars are there all the time. I’m wondering if he is still employed or if he is working from home, or he’s been fired? Don’t know?
I knew they were Republican’s, but I didn’t have any ill will towards them, until now.
I’ll get to that.

Where do I begin to document the Harassment and Abuse?
Once again, I’ll get to that in a little bit.
I want you to understand something. Just to give you an example, why have I had a Cyber-Stalker for 30 years now? Why?
P. was Gordon’s Best Friend From Childhood
P. started out in life with parents that had money and means. They put him in Private School growing up. Once he graduated, he was able to go on to college, and graduate. I’m pretty sure his parents paid for that as well.
I can even remember something about P. working as some DJ for a radio station while he was in college, or afterwards. I mean, how cool is that? He would send us these tapes of Chicago singing love songs. I loved it! I would play them and listen to them in my headphones when I would go for my walks when we lived in Ewa Beach, Hawaii. It was the best of both worlds. Great music while I would go on my walks, with views of Diamond Head in the background while I walked down the beach.
It wasn’t until the early 90’s that P. started stalking me. I really don’t want to go into that now. I do have it documented in other areas. But what I wanted you to understand is the amount of time and energy that goes into stalking anyone.
P. has stalked me for 30 years and counting. 30 years!
P. gave up having a life to stalk me. He gave up dating, falling in love, getting married, having children….
To him I was more important than all of that. He has spent his life glued to a computer screen stalking me.
P. started out with Microsoft. He was on the cutting edge of technology. In the midst of history being made. He could have snagged a lovely intelligent woman to love and have children with. He could have had a lovely home and even a vacation home, or two. He could have had children and perhaps by now, grand-children. But NO! He gave up all of that, he sacrificed his youth to stalk ME!
Believe me when I tell you, I AM NOT WORTH THAT!
He gave up his youth to stare at a computer screen stalking me!
That is the mind of an obsessed person.
Obsession is not love, it is obsession. Love is healthy, love is beautiful.
——————————————————————————–
All My Flowers
Looks Like I’m In Mourning

Although I am not in mourning, I am angry. Angry because I live in a neighborhood where there are pathetic people that feel the need to do harm to me. Harm to someone that does nothing to them. I don’t bother them. I never see them. Why is my neighbor so obsessed with me? Well, I do have my theories. But first you need to understand Obsession.
Obsession isn’t love. But I dominate his thoughts each and every day. Why would any woman want her husband or boyfriend to be obsessed with anyone? Yet alone, another woman?
Does he love me? Hate me? The emotions are really the same. Love and Hate are very strong emotions to have towards anyone. but whether they be love or hate, he is still obsessed with me. He gets up every morning at 4:00 a.m. and looks to see if my bathroom light is on. If it is, he throws a ball at my house, around the bathroom windows where I am. He does this to alarm me. To scare me. To upset me.
If I get up at 4:30 a.m., he’s still there. Here comes the ball being hurled at my bathroom window to alarm me, scare me, etc.
I want you to understand what this means:
He is going to the trouble of setting his alarm clock for 4:00 a.m., probably waking up his wife in the process, while he leaves his bed, to go outside and throw a ball against the side of my house, around my bathroom, where I am. And, perhaps even peeking in.
Sometimes I get up at 4:30 a.m., which means that he is laying in wait for me at that time. Which I will hear the loud thump against the wall of our house while I am in the toilet room.
This is STALKING!
The fact that he does this to me means that his wife is o.k. with it.
Otherwise, I would think she would intervene and try and stop him from harassing me.
—————————————————————————————————-
This is Vandalism, This is Property Damage
I Noticed This September 6, 2024:
The Damage Our Neighbor Has Done to Our Meters

I don’t come over to this side of our house that often. But one day I did and I was really alarmed to see this. This is obviously damage done through someone tampering with it. So, prior to September 6, when I discovered it, how long has it been this way?

Can a Ball Do This Damage? Or Did he use Something Else to do This?


———————————————————————————————

I Used Some String To Tie Them Back Together
———————————————————————————————
The Bathroom Window Facing Our Street

This is not the bathroom window he throws the ball at, but this window faces the street from our bathroom. You can see the Plantation Shutters…
I placed a tablecloth over it because I always felt like there was someone peeking in at me early in the mornings through those slats. Throughout the night and morning hours I have them closed but if you were to stand right outside you could probably see through the slats into the bathroom.
Well, it turns out I was right, there WAS someone out there!
—————————————————————————————–
Saturday Afternoon, Early February
I had gone shopping on this day. I did hear the THUMP of the ball against the house early that morning. I then climbed up on our bed and looked out the window between our houses and saw that orange and blue ball.

I’m taking the photo from our bedroom window of the space between our houses.
That is where he lies in wait for me in the mornings.
———————————————————————–
I wish that I had taken a photo of the ball when it was between our two houses.
When I got back from shopping I was telling Gordon about it while I was talking to him on the phone and I went over to that side of the house, picked up the ball, and threw it toward their front yard. I’m not a great thrower, but here is where I threw it:
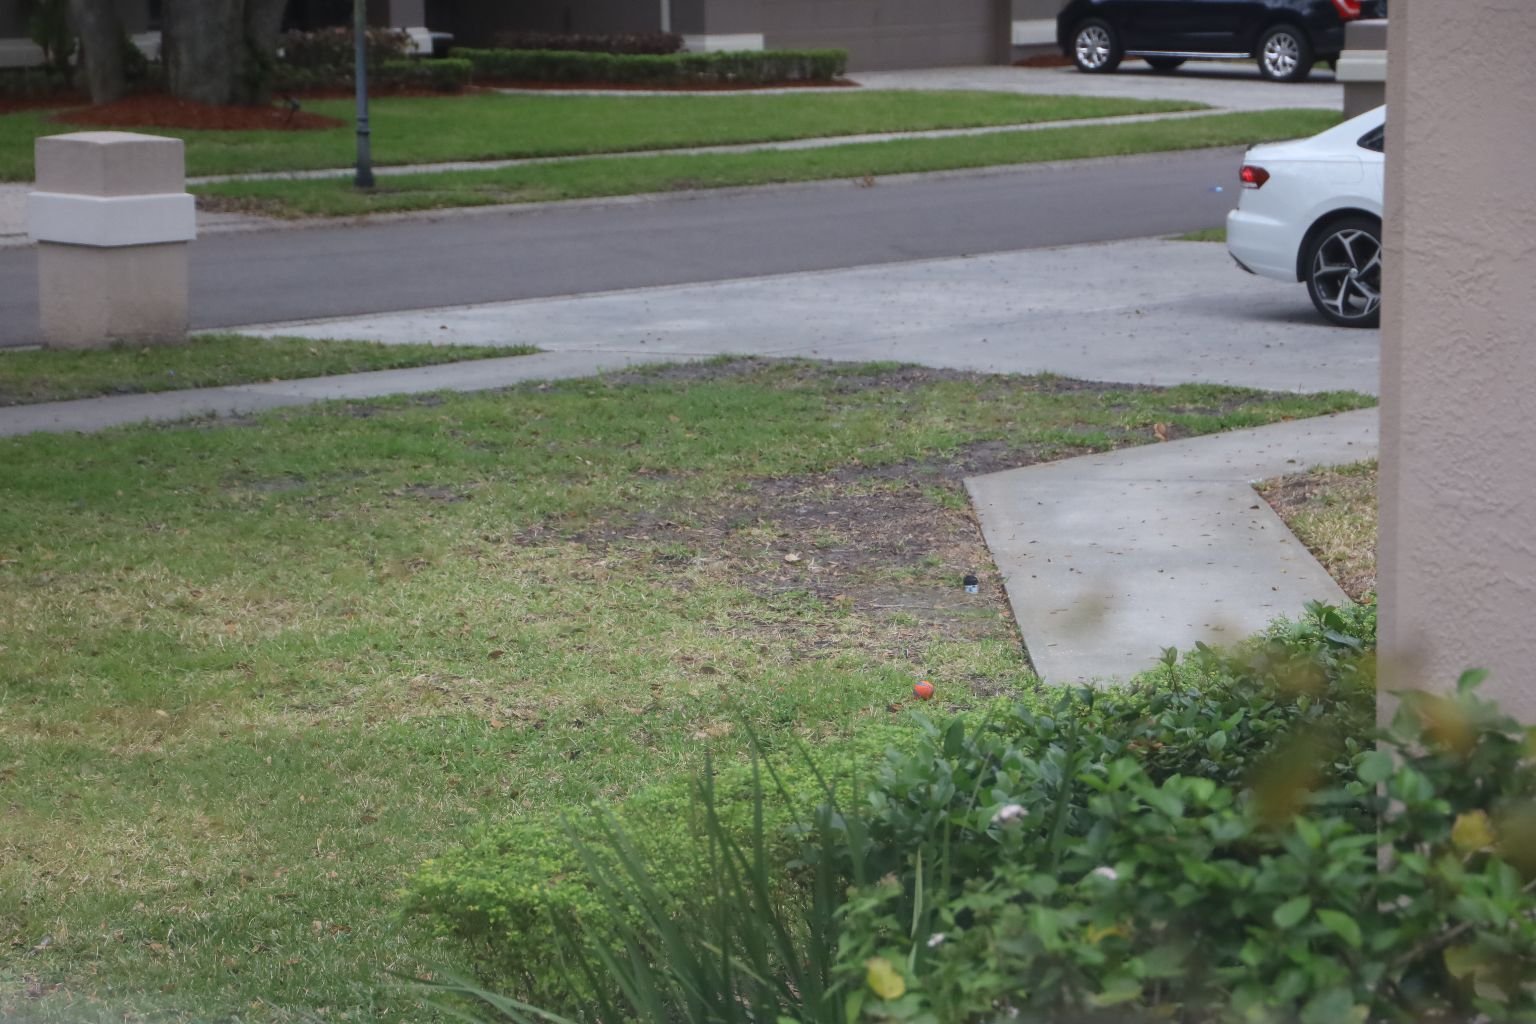
If you look closely you can see the orange and blue ball.
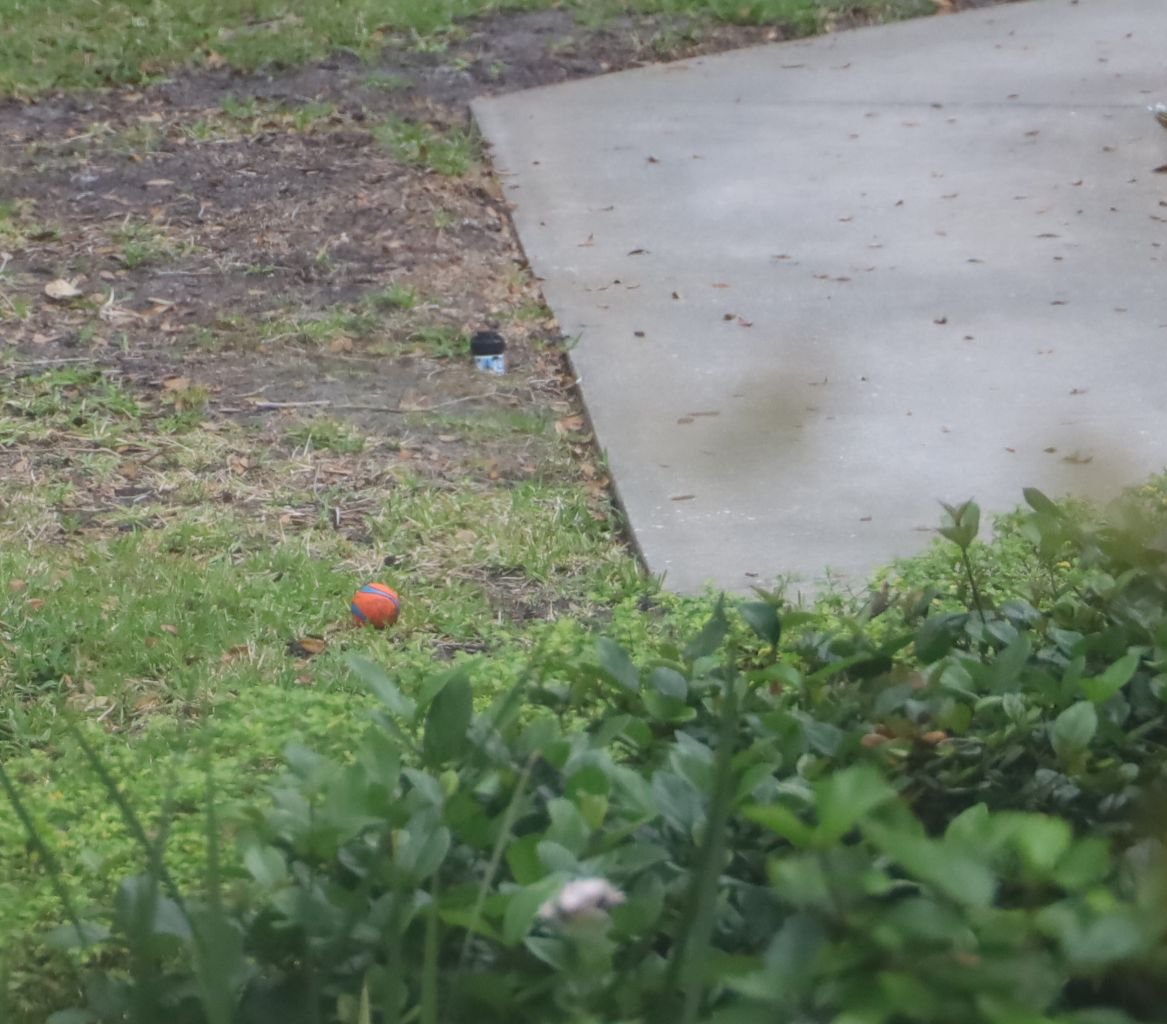
See the Ball Now?
————————————————————————————-
So, Why Does My Neighbor Hate Me So Much?
Well, I can only guess?
When I first realized what he was doing to me, I wondered if it was because I got up so early and perhaps my lights were shining into their bedroom disturbing them? Or perhaps it was the fact that when Veronica or Brian would drop off Isabelle early in the morning that my dogs would bark, perhaps waking them up? But then I quickly erased that because he is setting his alarm clock to get up early to harass me. He isn’t harassing me in response to anything I am doing to him, he is harassing me for the sheer sake of it. Not in response to anything.
So, If It’s Not My Lights, And it’s Not My Dogs, Then It Must Be…
MY POLITICS!
Although I have never talked politics with anyone in my neighborhood, I do wonder if perhaps my politics has been passed around the neighborhood as news? It was back in 2008 when I placed my Obama yard sign on our lawn that the sabotage from my neighborhood began! The day after I placed that sign in our yard, every neighbor around us suddenly set out their McCain/Palin signs. Interesting. The day I placed our sign in our front yard I was driving out of the neighborhood to do some shopping when I noticed Judy, who used to live across the street, walking on the sidewalk with her dog. Instead of the nice happy smile and wave that I usually got, I just got this LOOK. OH, I know that look very well! It’s one that a hater gives you for not being like them. I’m pretty sure Judy is the one that organized everyone placing McCain/Palin signs in their yards in their attempt to drown us out.
So Where Am I Going With This?
Judy and Michael sold their house, I believe in 2011 to a family that went to their church, our current neighbors across the street from us. I like them. I think they are nice neighborhood family. But, I’m pretty sure the gossip got around that we were the “Evil Libruls” of the neighborhood. Which the neighbors across the street might have mentioned to their fellow republican’s that live next door to us in the neighborhood. Thus, making me a big target for the neighbor’s hate. I’m not seen as a 64 year old woman that minds her own business, that keeps her granddaughter a few days a week, respects the neighbors privacy in the neighborhood, who doesn’t play loud music, who doesn’t have tons of people over thus blocking the street causing headaches, Oh NO! I’m only seen as the “Evil Librul.” (Even though they are the ones that wear the SIGN on their foreheads, if you know what I mean?) Just sayin.’
The thing is that republican’s are very organized. Oh, believe me when I say that my next door neighbors truly lack the intellectual curiosity to look me up and read my website or my social media accounts on their own. Oh no, they are on some list that is distributed by their leaders telling them who in their neighborhood is an “Evil Librul,” and who to hate and harass . That makes more sense to me.
We do still have the Rule of Law in our country. That hasn’t yet been eliminated. And, I am a Paralegal by profession. We’ll leave it there for now. I’ll update as things happen. It’s important to always document abuse. You know, future lawsuits…. 🙂
Julie
—————————————————————————————
New Entries Will Be Listed Here
———————————————————————–

February, 2025
I would just like to add here that I am hearing the thump of the ball against the side of our house early in the morning many times this February 2025 month.
————————————————————————–
March 11, 2025
I had a big day today. Just lots of shopping in Tampa at the Air Force Base. I had left the house around 11:00 a.m. this morning, exiting my street through the back way so that I didn’t have to drive in front of my neighbor’s house. I am trying to do my best to not let him know when I come and go. Anyway, at the end of the day when I was returning home at around 5:30 p.m., I debated driving in the back way where I wouldn’t have to drive in front of his house, but I then decided not to do that. I had lots of food in the car and I needed to get home as quickly as possible, and not go out of my way to come in the back way just to try and avoid him. As it was, it took me an hour and a half to get home due to all the traffic.
Well, he and his wife were outside in their front yard. He was blowing leaves from the street with his blower. She was sitting in a chair out front. She did turn her head to look at me as I drove by. She had no reaction. He did use his left arm that was laying by his side to use his hand to ‘wave at me.’ It was a very sheepish wave. He had his head down and was reluctantly acknowledging me. I could see his embarrassment. I had no reaction. I just looked at them, and then pulled into my driveway and started to unload my car that was full of shopping.
———————————————————————————
Bully’s
Joe Kee… from Sevierville, Tennessee taught me the psychology of Bully’s many years ago when I moved from Roanoke, Virginia to Sevierville, Tennessee in the 70’s. I have even written about him in my past blog posts. Joe Kee… sat next to me in homeroom for 3 years from 9th. – 11th. grade at Sevier County High School. Joe was a bully. But interestingly enough, whenever his entourage wasn’t around, he was quite nice to me. I know that I would brace myself for the usual insults that I would receive most every morning from him. But on those days where his friends weren’t around, nothing. He taught me that bully’s are truly cowards. Joe was nothing without his backup. Just like my neighbor next door. He is nothing without the cover of darkness. I stared him down. I’m not afraid of a chickenshit. And that chickenshit, waved at me when I drove by. Why? Because he was exposed out in the sunlight where he couldn’t hide. I’ve never seen such a sheepish wave in my life. He’s scared of me. Good! 🙂
———————————————————————————–
March 22, 2025
Buying Fence Material to Extend our Fence
Gordon came home from abroad and was here for a few weeks. But months prior, we had decided that we wanted to extend our fence to the end of our house so as to protect me from our hot heated neighbor. We were coming up with ways to protect me and our property from him. By extending our fence, that would prevent him from throwing things against our house. It would also prevent him from tampering with our property.
Gordon created a nice power point of how we wanted to extend our fence, and sent it along with the photographic evidence of the damage of our outside boxes, and a document of the abuse I was having to endure from our neighbors, to our HOA, (Home Owner’s Association.) They then granted us the permission we needed to extend our fence.
—————————————————————————–

This is one of the presentations Gordon created for our HOA.
—————————————————————————————–
Gordon Buying The Materials For Our Fence
Gordon had put up our existing fence on our property so this was no big deal for him to do the extension.
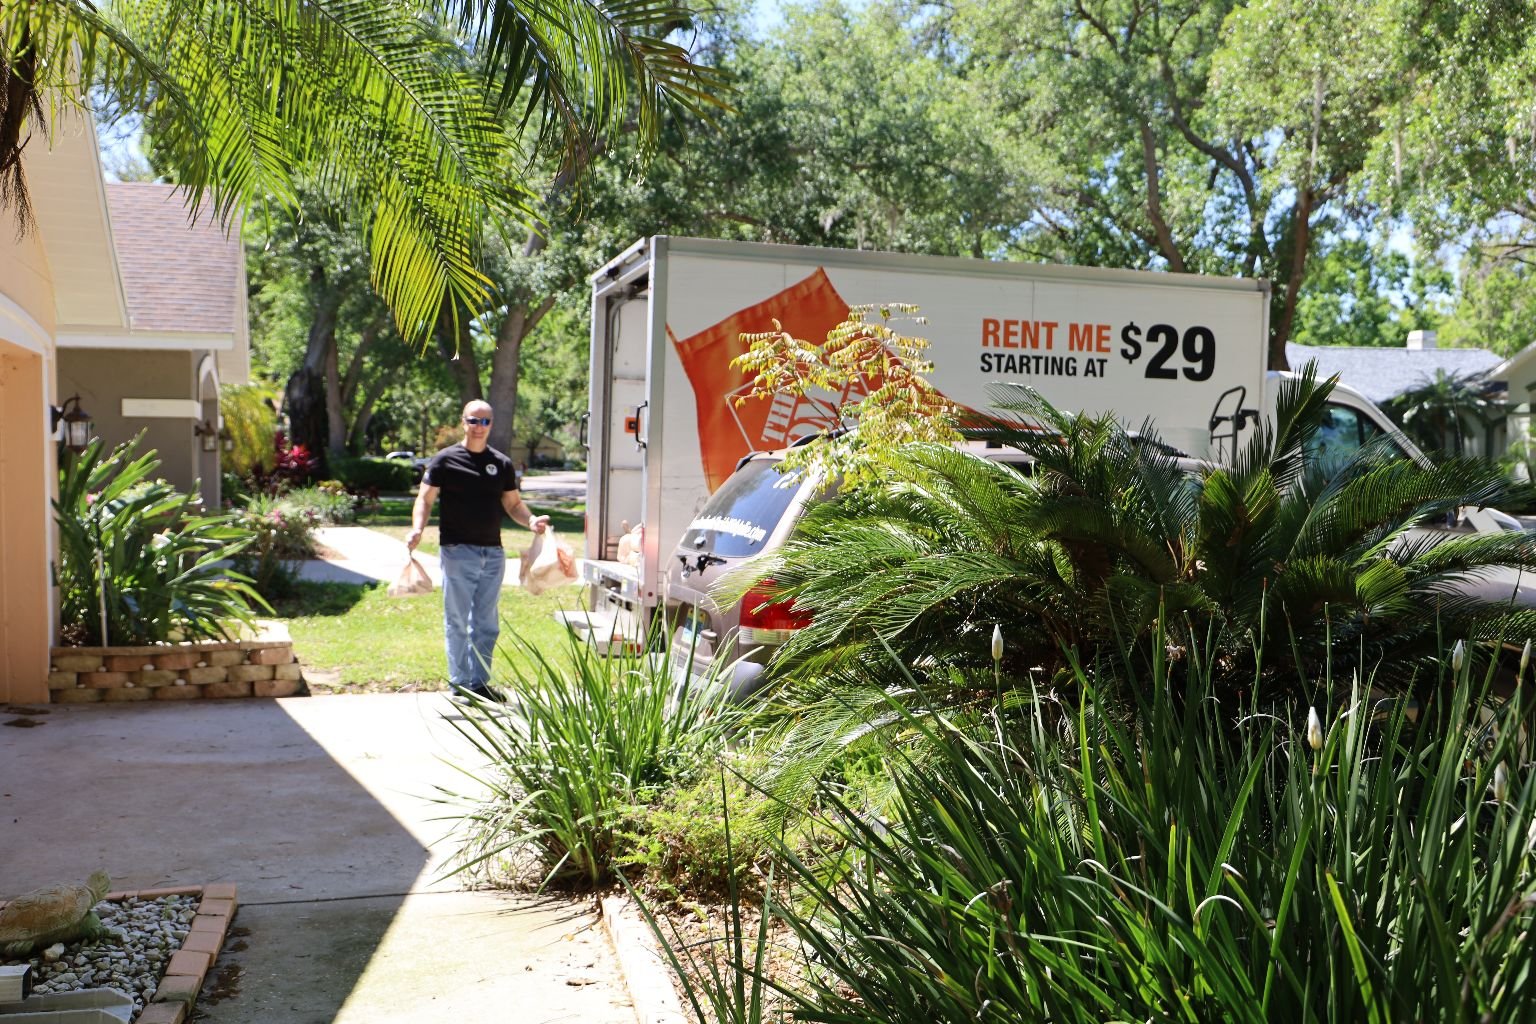
Gordon purchased our fence material from Home Depot and rented a truck from them as well in order to get the materials here to our home.
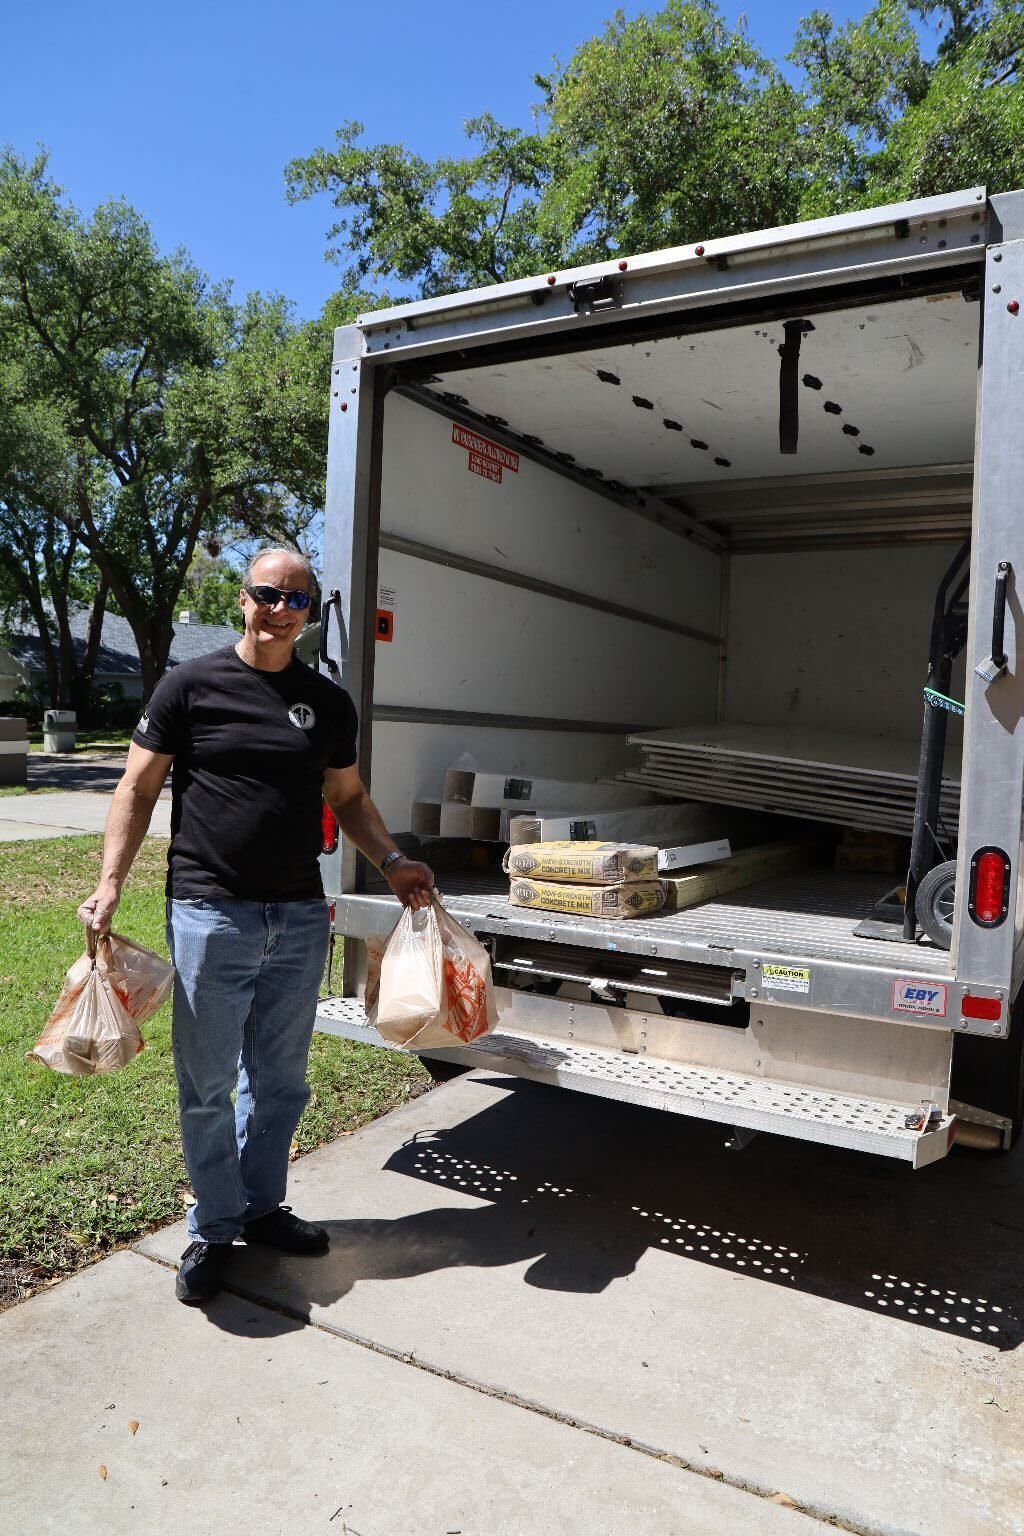
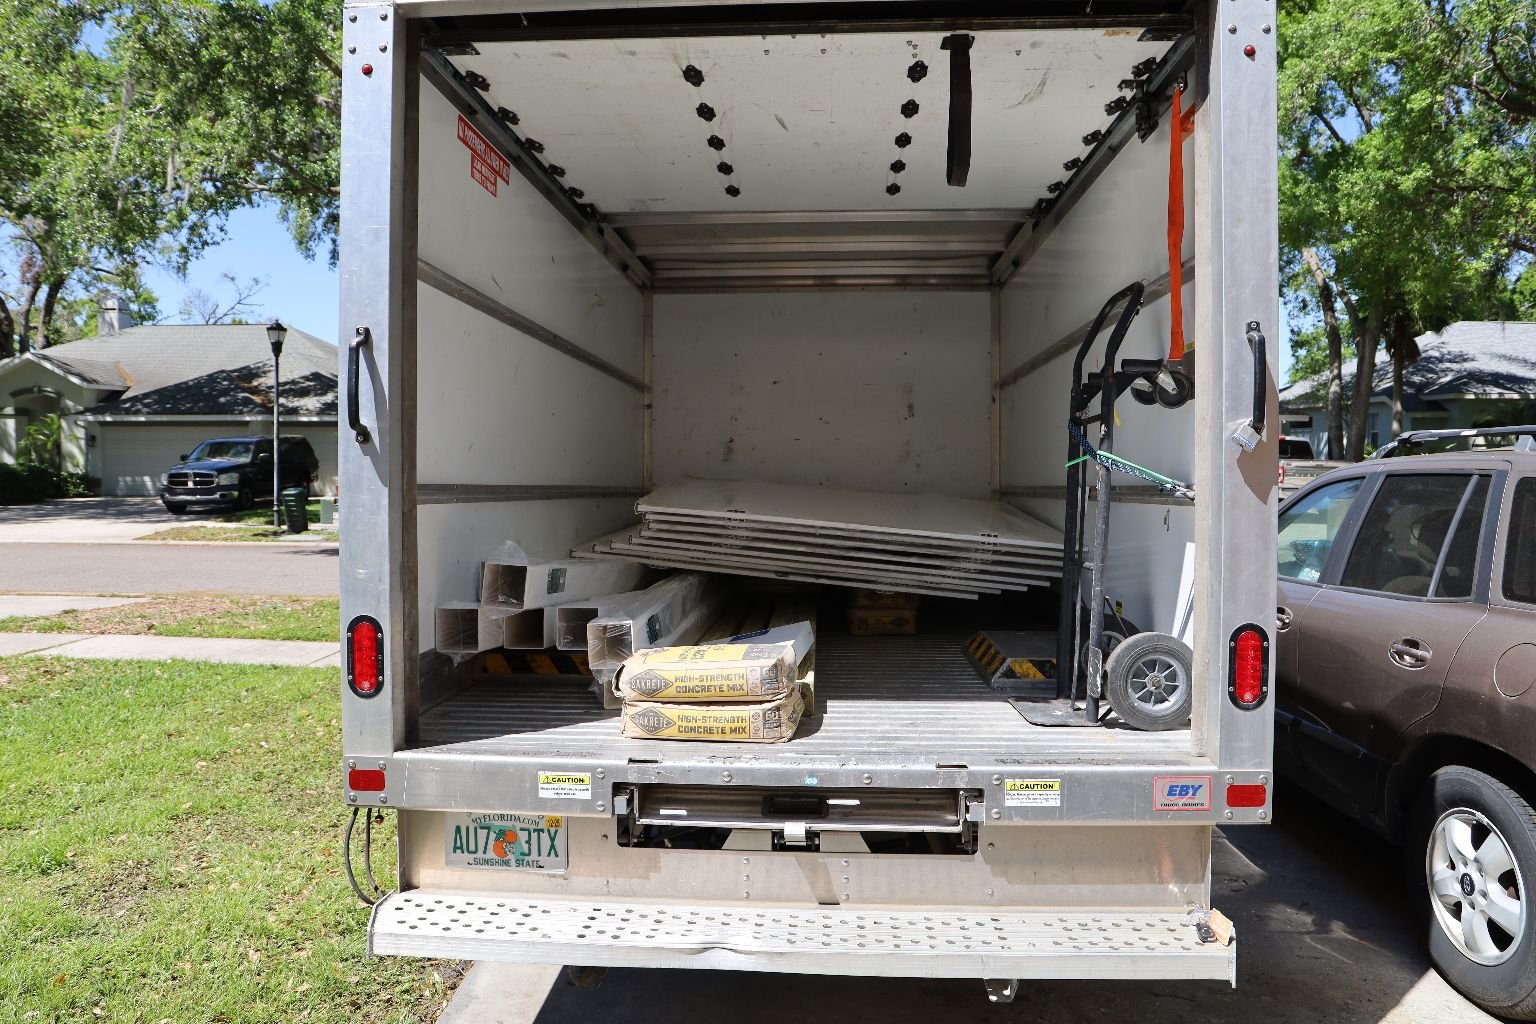
The Truck, and our Fence Material

——————————————————————————————-

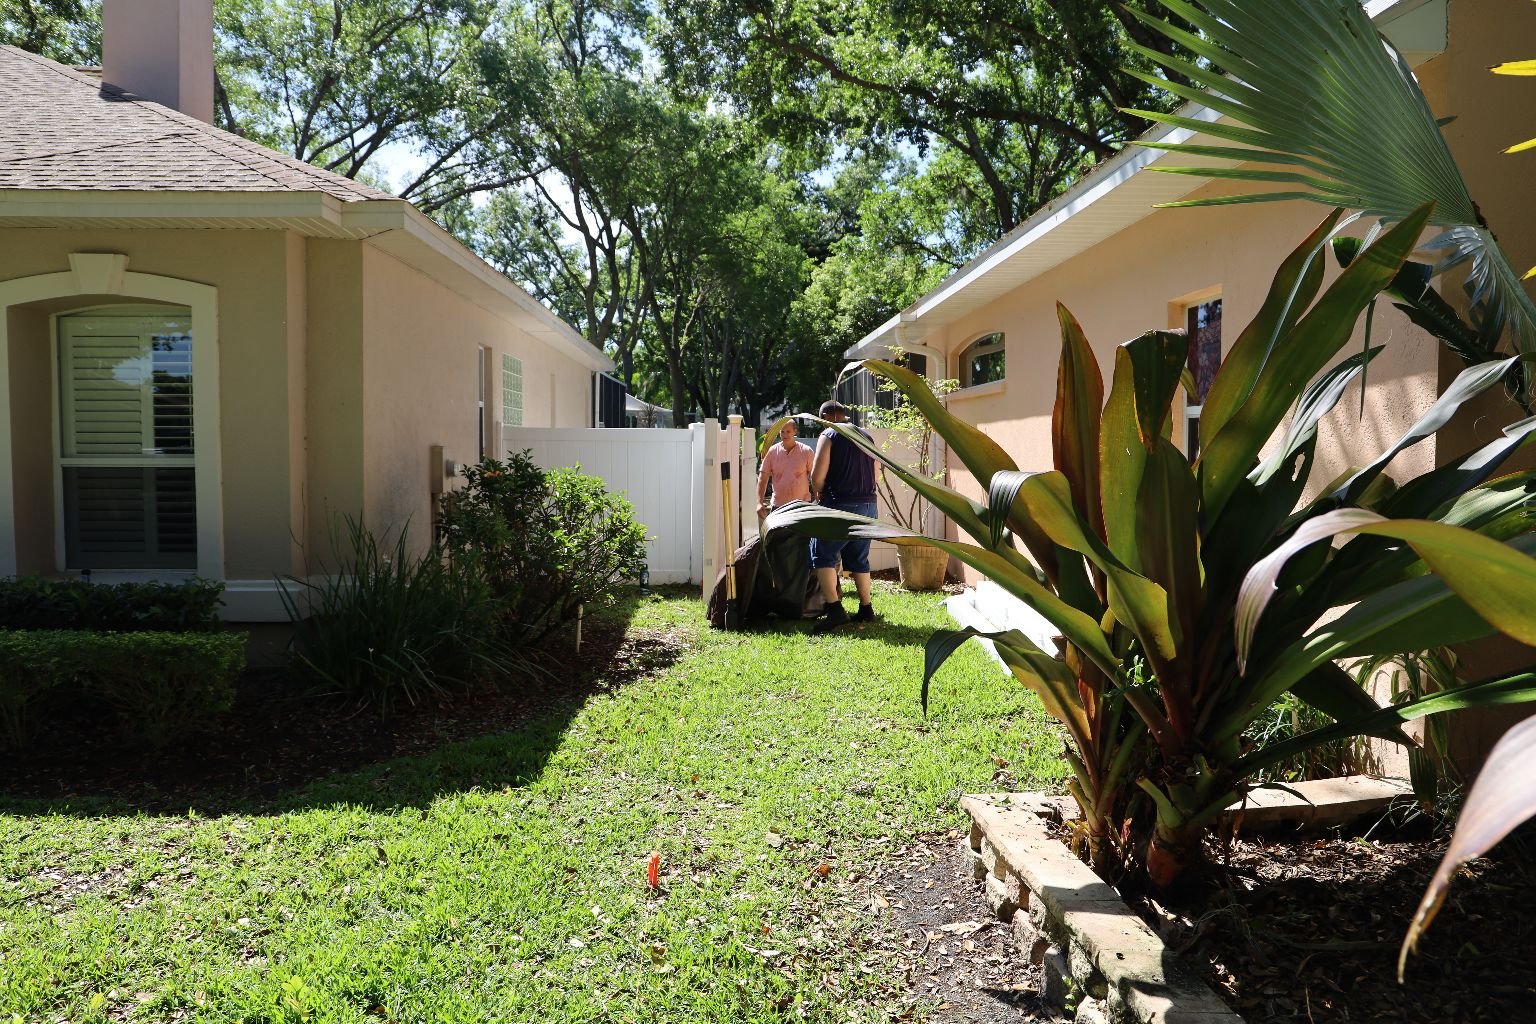
Bringing Everything Around To Our Backyard
(I wanted to add that Gordon can only come home for a certain amount of time each year from his working overseas. It was quite sad that he had to spend a part of our time together extending our fence, because of our hot-headed neighbor’s abuse towards me.)
————————————————————————————–
Erecting Our Fence Extension
Gordon, along with our son-in-law Brian put up the fence extension. We waited until Brian had a day off. I kept Isabelle inside, while the guys erected the fence outside. They did it all in one day! And it is professional as hell! As always!
This is the Space Between our House and our Neighbor’s
Most of the Property is Ours
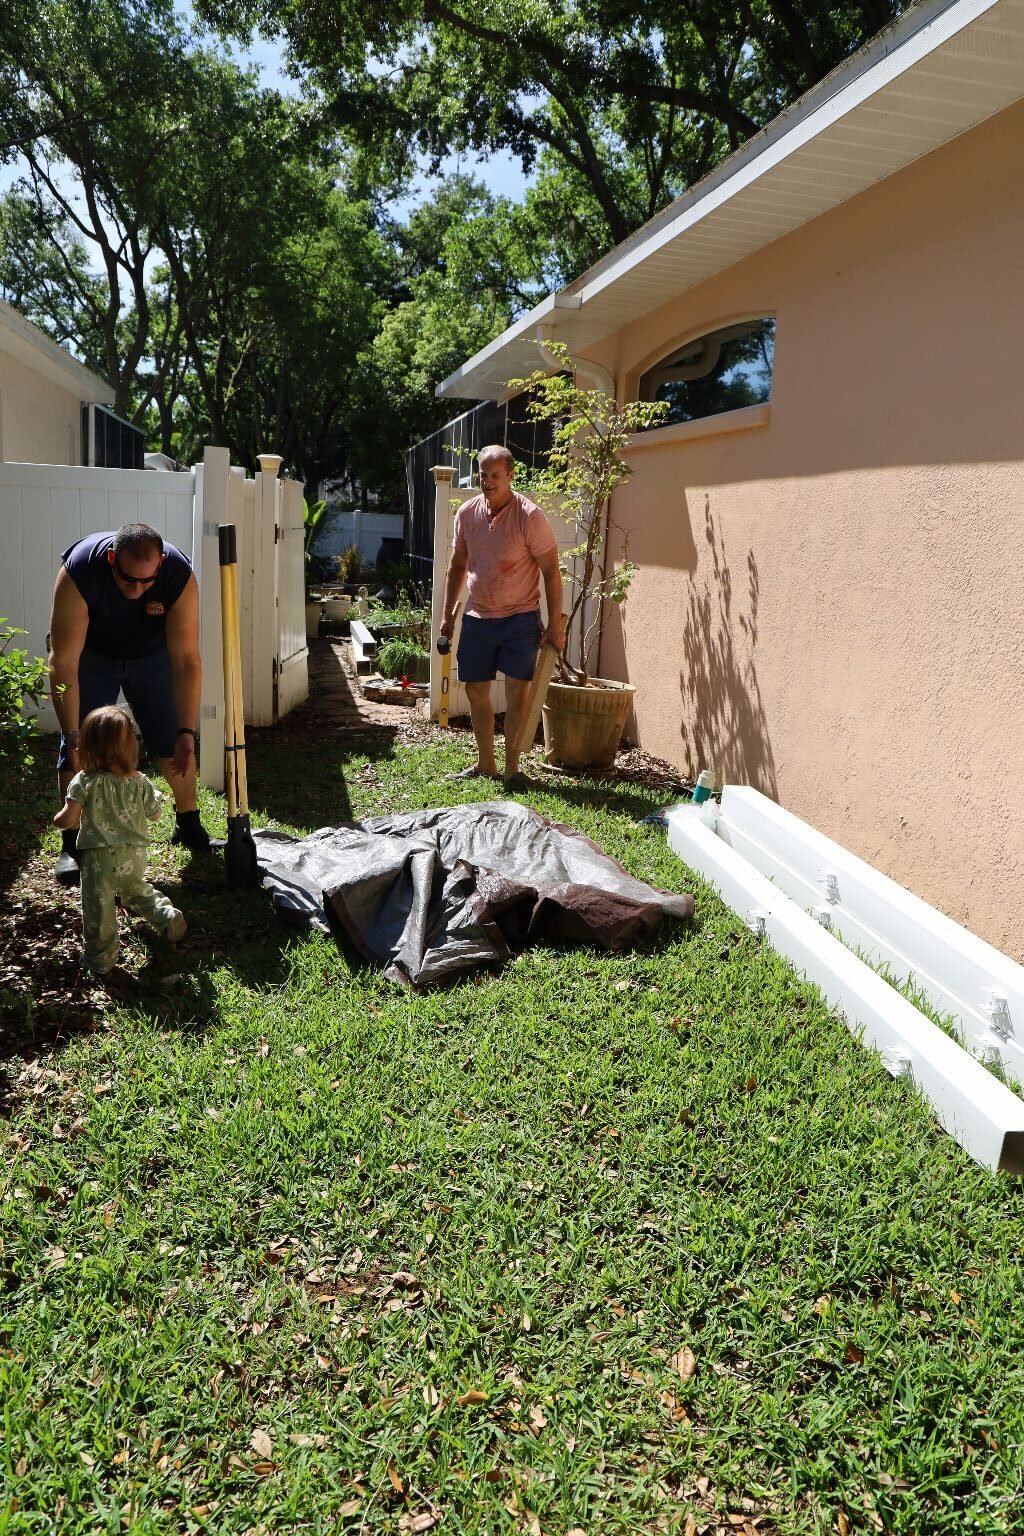

Gordon and Brian Erecting the Fence
(With Isabelle visiting her Daddy.) 🙂
Above left, you can see that large bush that is our neighbor’s. With our fence up, they only have about 1 foot of space between that bush and our fence. 🙂

Coming Together Nicely!
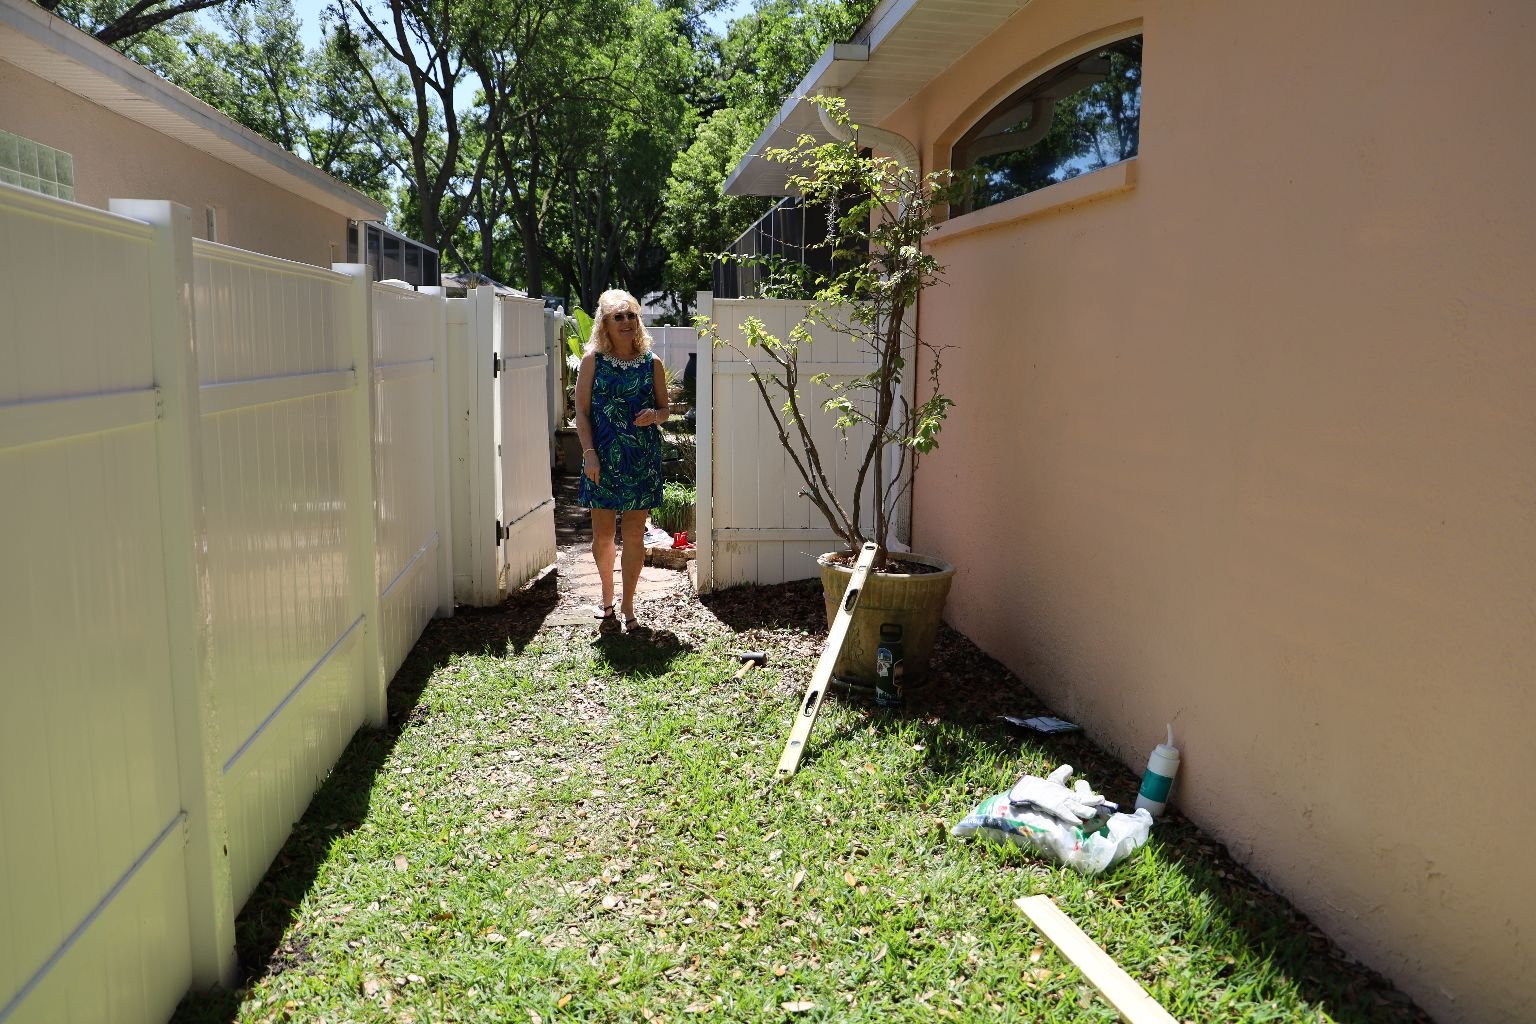
Me, Entering This Extra Privacy Space We Never Had Before
(I could sunbathe out here!) 🙂
The fence extension is up. Gates locked. Area contained.
I will be posting a photo of the finished results soon.
———————————————————————————————-
April 3, 2025
What This Abuse From Our Neighbor Has Done To Me
Abuse always has a way of affecting us negatively. There are many kinds of abuse. I am only here to dictate what this abuse has done to me, and how it has affected me.
I get up very early in the morning on those days that I keep my Granddaughter Isabelle. On the days my daughter drops her off, I get up at 4:00 a.m.. On the days my son-in-law drops her off, I get up at 4:30 a.m..
Because of the abuse that I was having to endure from my neighbor I had moved most of my toiletries into our guest bathroom in the middle of the house so that I didn’t have to have that ball thrown at me when I was in mine and Gordon’s bathroom. Also, I just didn’t feel safe and secure using our bathroom. I didn’t feel safe in my own home. The guest bathroom offered me more of a private sanctuary than I had using our own bathroom. But, the thing is, I would shower at 4:00 or 4:30 a.m., with the lights off in the bathroom. I didn’t feel comfortable turning the lights on and letting him know that I was in there. So, I would get up, turn on the bathroom lights in our bathroom, and then shower in the guest bathroom with the lights off, hoping that he would then turn his attention towards the main bathroom, so that I could shower in peace in the guest bathroom.
Seems like a lot of trouble to go through in your own home just to have some peace. Yet, that is my story.
Showering in another bathroom, in the dark… Wow. You would think you should be safe from abuse in your own home, wouldn’t you?
——————————————————————————
I have more to tell you but it will have to wait.
Julie
————————————————————————————
April 4, 2025
Our New Fence
For Every Action, There Is A Reaction

Here is a photo of our extended fence. I took the photo today. The fence is there to protect me and our house from anything our neighbor may decide to do. The gates are locked. If he does decide to throw something at the house, it just might get trapped inside the fence. He would then have to hop over it to retrieve the item.
That is when……

he Would Be Recorded on Camera… and the police would be called in. 🙂
That’s Right! We have updated our security on our property.
(I should do something with that area. Perhaps turn it into some sort of private garden, or a Julie Sanctuary.)
——————————————————————————-
His Action, Our Reaction
It was a few years ago when I was outside in our backyard, and our neighbors were outside in theirs, when I heard her say to her husband, ‘You know what C_____, sometimes you can be a real bastard.’
See, she knows who she is married to.
You know, we never would have even thought to extend our fence, or even go to the trouble of installing some high tech security system. This is our Reaction, to his Actions.
When you look at the space between our homes most of it is ours. Our property. Now all they have to look at is our fence on that side of their house. It’s not our fault. It’s his. He is actually his own worst enemy. Do they know that we extended our fence because of what he was doing to me? I don’t know if they are capable of realizing that? And if they are, does he regret what all he did to me? Probably not. His kind only regrets getting caught. They never regret what they do.
Feeling Better,
Julie
p.s. Is this now over? That depends on our neighbors. But, things are more secure here than they were. 🙂
———————————————————————
(Update: October, 2025)
The Money We Have Spent To Protect Us and Our Property
(Always save your receipts. You not only document the abuse, but you also document the cost you are spending to protect yourself from the abuser/s.)
I decided not to publicly post all of the costs we have spent so far. You have to have some surprises in store. 🙂
I will say that you not only document the costs of things spent, you also document the milage on your car used in buying the materials you need. Also include ‘Wear and Tear’ of the vehicle. And don’t forget to include gas money. Also, your time is worth something. An example, back in March, 2025 Gordon had to take time out from his vacation here to erect that fence, etc.
And lastly, always include your ‘Pain and Suffering.’
(I’ve recently come to find out that there were other neighbors that knew what was happening to me. They even supported it. I’ll write more about them below.)
KEEP THIS INFORMATION FOR YEARS TO COME!
Keep it in a very safe place.
The abuse may end for awhile, but when you are dealing with a Hot-Headed Narcissist, they don’t change. They always come back at some point. Remember that.
————————————————————————
April 5, 2025
Update on P. G. My Cyber-Stalker
Recently, Gordon and I came across a person who used to work for Microsoft. We then mentioned our cyber-stalker who started out with Microsoft and all that he has done to us since. This person then asked us what his name was? We then told this person. This person then looked downward in surprise, but then looked up at us and said, ‘I know him.’
This person left Microsoft in 2015, but said P. still worked there. We figured as much. When we would try and look P. up online we were always given bogus info on him. Places of employment that he never worked at. P. has been erasing himself from the web for years now. But, he can’t erase former co-workers. This former co-worker now knows all that P. has done to us. This person also added that if P. is doing all that to us, he is most likely doing it to other people as well, and even stealing money.
I’ll leave it all right there.
Julie
———————————————————————————
April 6, 2025
Adding A Little More Privacy
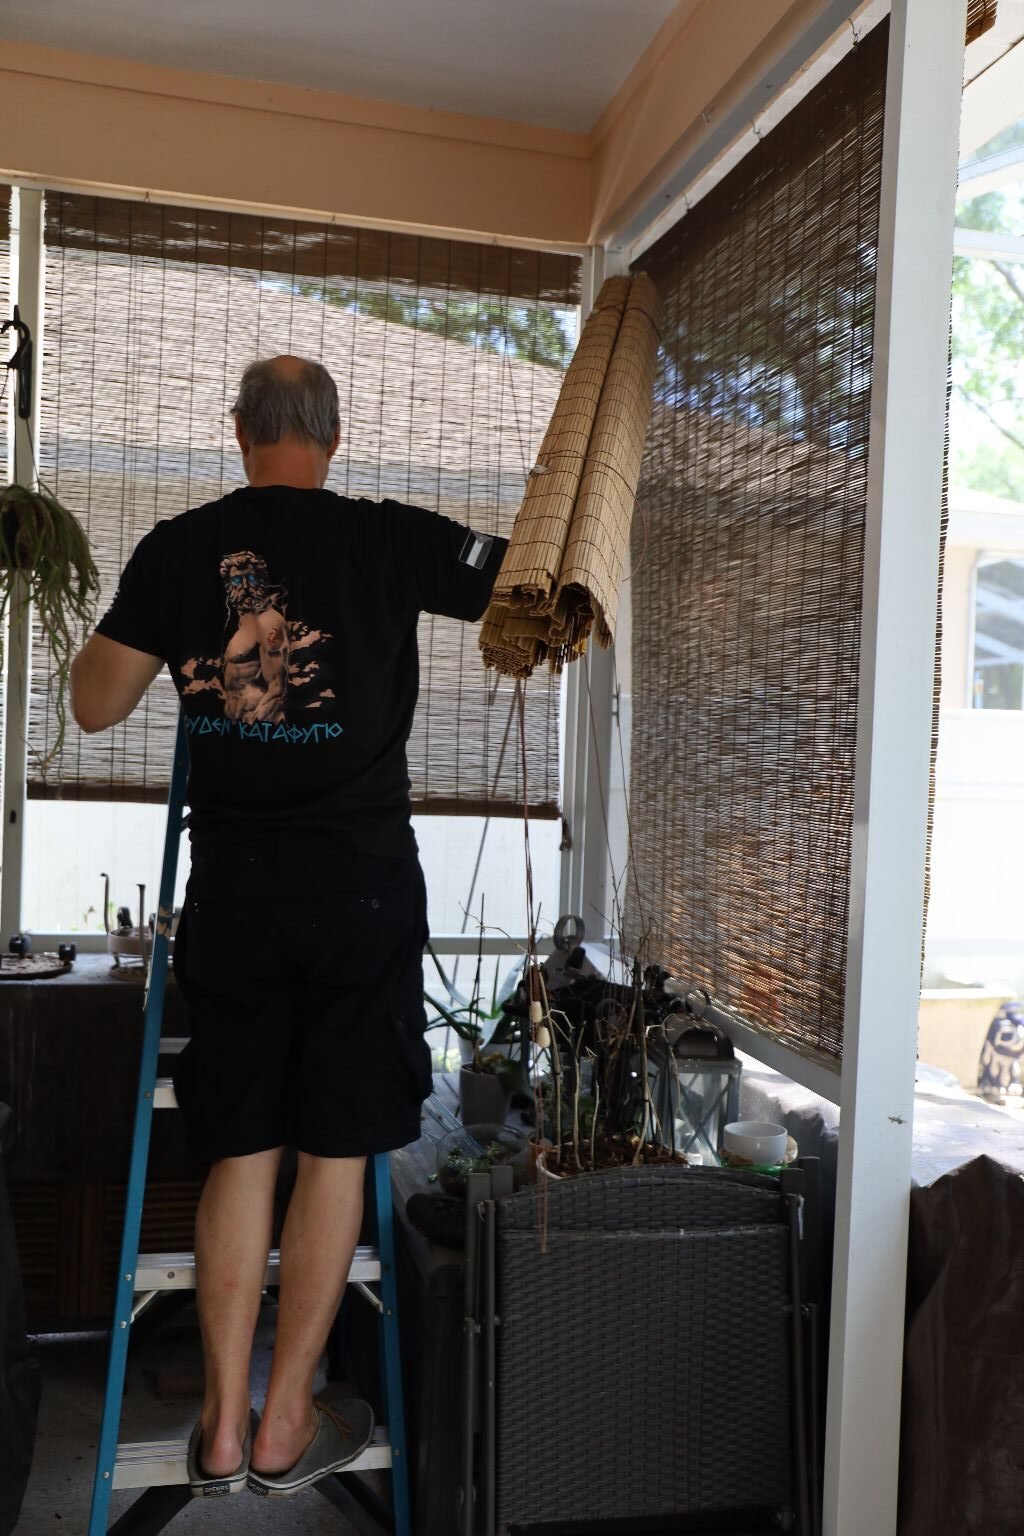
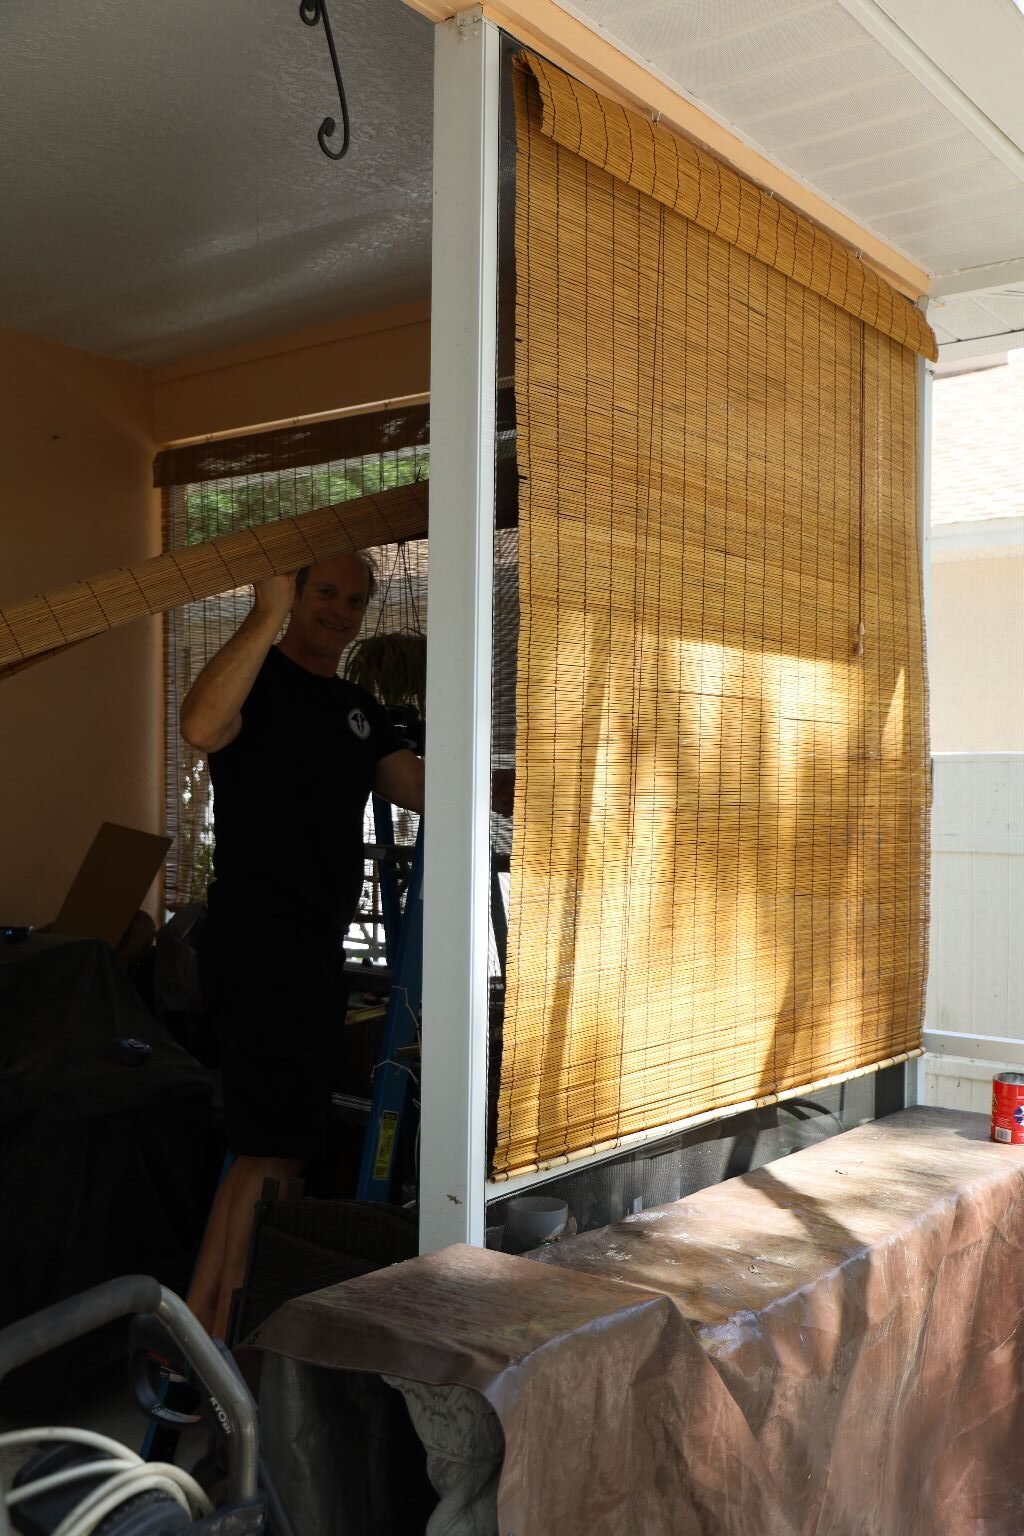
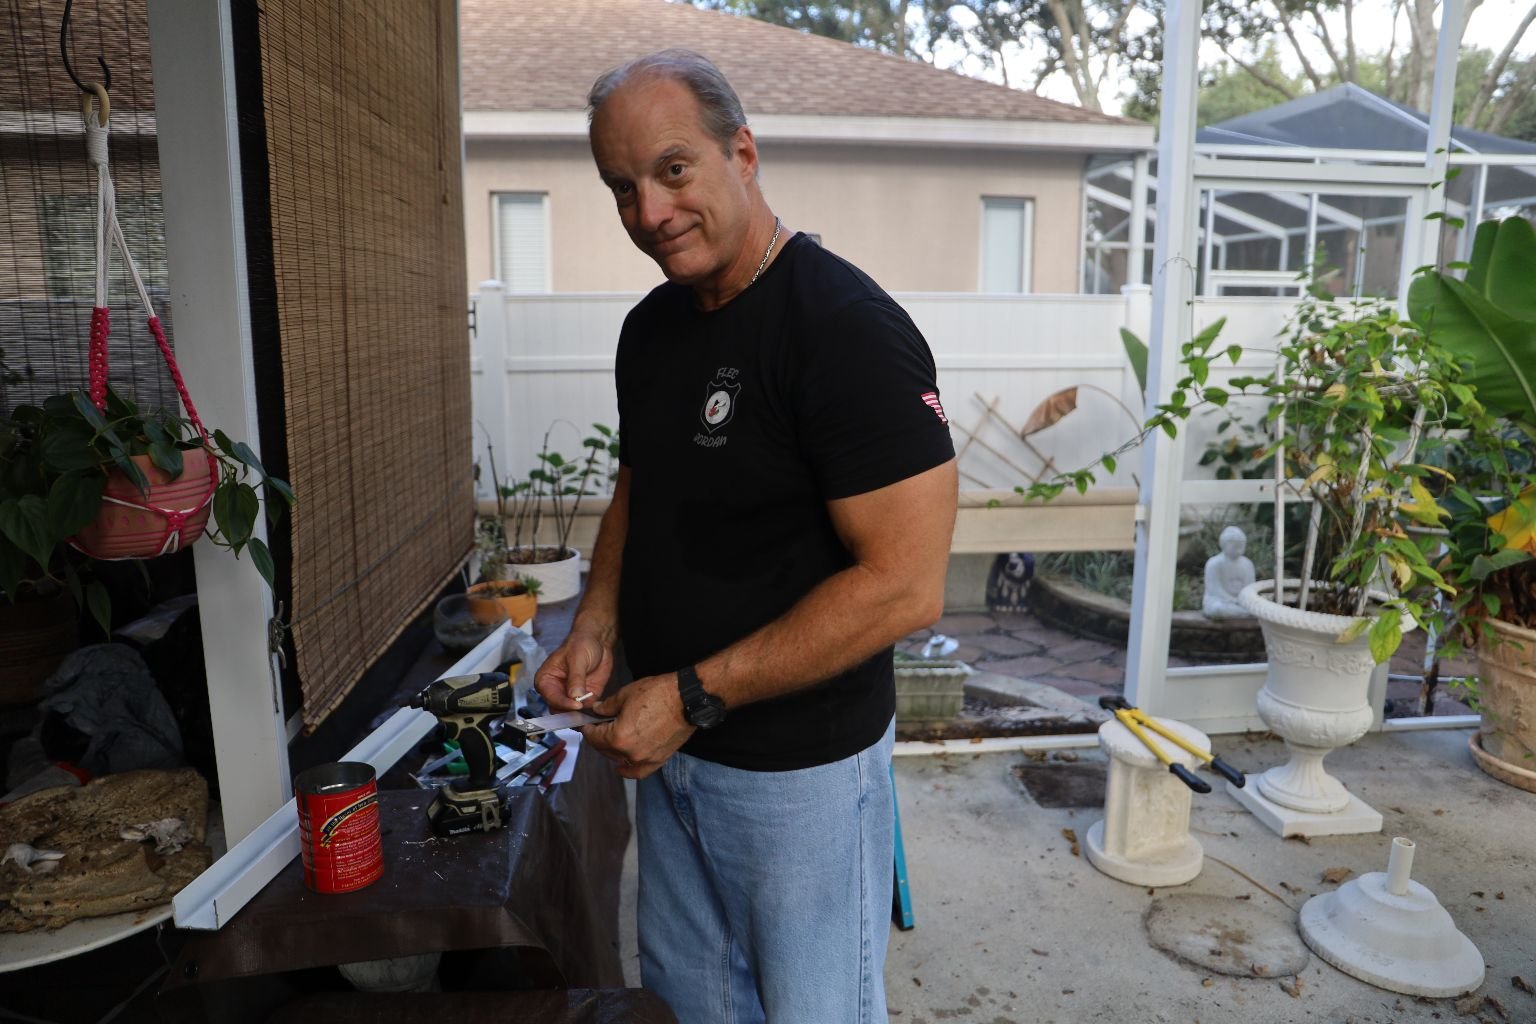
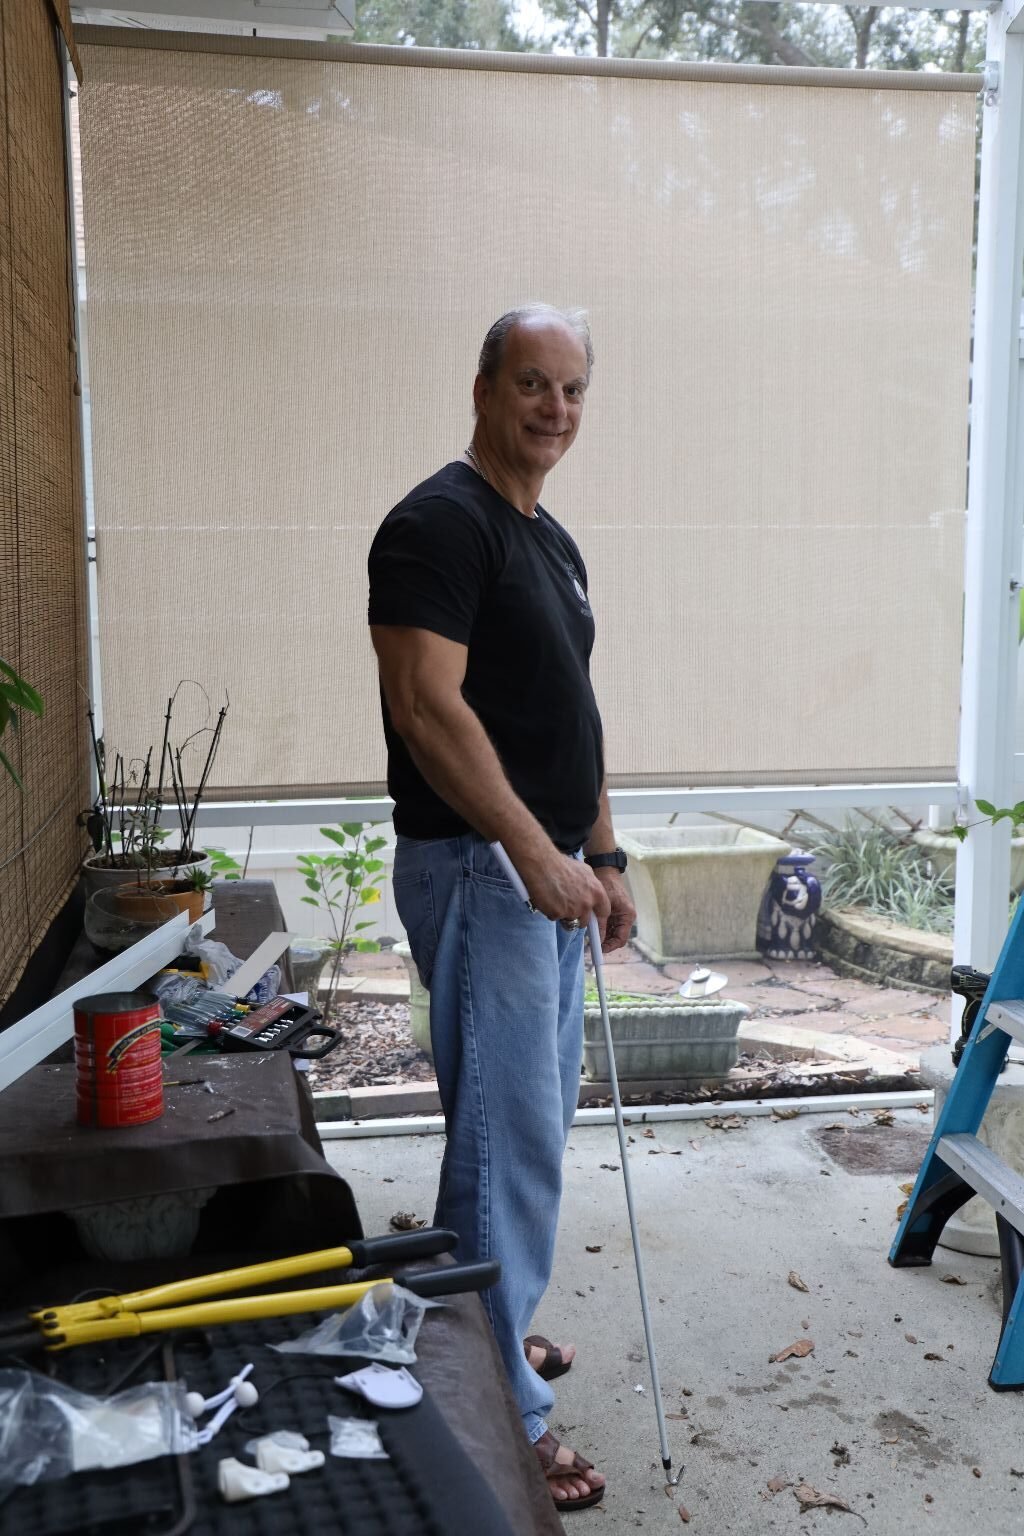
Gordon Putting Up More Bamboo Blinds on our Lanai
This side of our lanai is next to our neighbors and I wanted just a bit more security and privacy so Gordon hung these up along with one section. I had him do both sides of this section to make it a bit more private. We already had the blinds in our garage so the only cost here were on the hardware and some line to secure them in place.
In these photos everything is still covered up from winter. Now it’s all been cleaned and spruced up for Spring. I also like that I have a bit more privacy.
One More Privacy Project Coming….
——————————————————————————–
April 11, 2025
Still Not Comfortable Using My Own Bathroom
Even though we have done things to try and protect me from my neighbors I still don’t feel comfortable using my own master bathroom. This is what abuse does to you. It changes you. It limits you. It prohibits you from being the person you should be. And sometimes it is very hard to overcome. I’m sure that I will eventually get back into my own master bathroom. But, until then, I am using the guest bathroom because it offers me more safety and security and peace of mind.
Julie
————————————————————————————
May 29, 2025
An Update Of My Nasty Neighbors
Through my cameras I can see my neighborhood, and my neighbors. I’m really not one to spy. Honestly! I never really cared about those kinds of things. Those were the kinds of things my friends cared about. ‘Hey Julie, come look at this!’ My friends always thought I was weird because I wasn’t as nosy as they were.
At first it was kind of fun and interesting to see my neighbors on the camera to come and go, walking their dogs in front of our house, etc. I love seeing when a package arrives! I have this big T.V. monitor that Gordon bought me so that I could keep track of everything. It is to the left of me. He is worried about me and wanted me to have some protection while he is away. Our own home security system. Sometimes it can be distracting with lots of activity that will catch my attention while I am online and cause me to look at the monitor. Most of the time it’s pretty boring. People setting out their trash cans, driving in and out of their driveways, etc. . I’ve even caught my neighbors across the street from me placing their trash bags into my can most every week under the cover of darkness because their can is full. I find that funny. If I were a man I doubt they would. But, seeing as how I am a woman living alone they take advantage of that.
However, it’s whenever I see my next door neighbors on the monitor, you know, the ones that have harassed me for so long, to have the audacity to walk by my house with their Labrador, that it just makes me sick to my stomach. How dare they walk by my house as if they haven’t a care in the world after all that they have done to me? That is the kind of people that they are. The self-righteousness, the white privilege, the republicanism. (It’s quite glaring actually.)
I still don’t use my bedroom and bathroom because of their harassment. While Gordon is gone I sleep on the couch and use the guest bathroom. They have literally chased me from an entire wing of our house. I need my sleep. I need my peace. I am my Grand-Daughter’s main caregiver. She needs a rested Tutu. She needs a Tutu that is at peace in order to care for her. I do my best. But, I do long for the day my next door neighbors move away.
Julie
———————————————————————-
October, 2025
Gordon Home For A Few Weeks

Installing More Blinds
We ordered these custom blinds earlier in the year when Gordon was here, but they didn’t arrive in time before he left to go back overseas.
So he is just now able to install them.
I wanted more privacy and security here because I do want to spend more time outside, especially now that our granddaughter is getting older, and the weather is becoming more cool, but I really don’t want to see their house, they make me very uncomfortable. But now, I feel better.

I’d Like To Fix This Area Up Nicely, Make It A Bit Cozy
—————————————————————————-
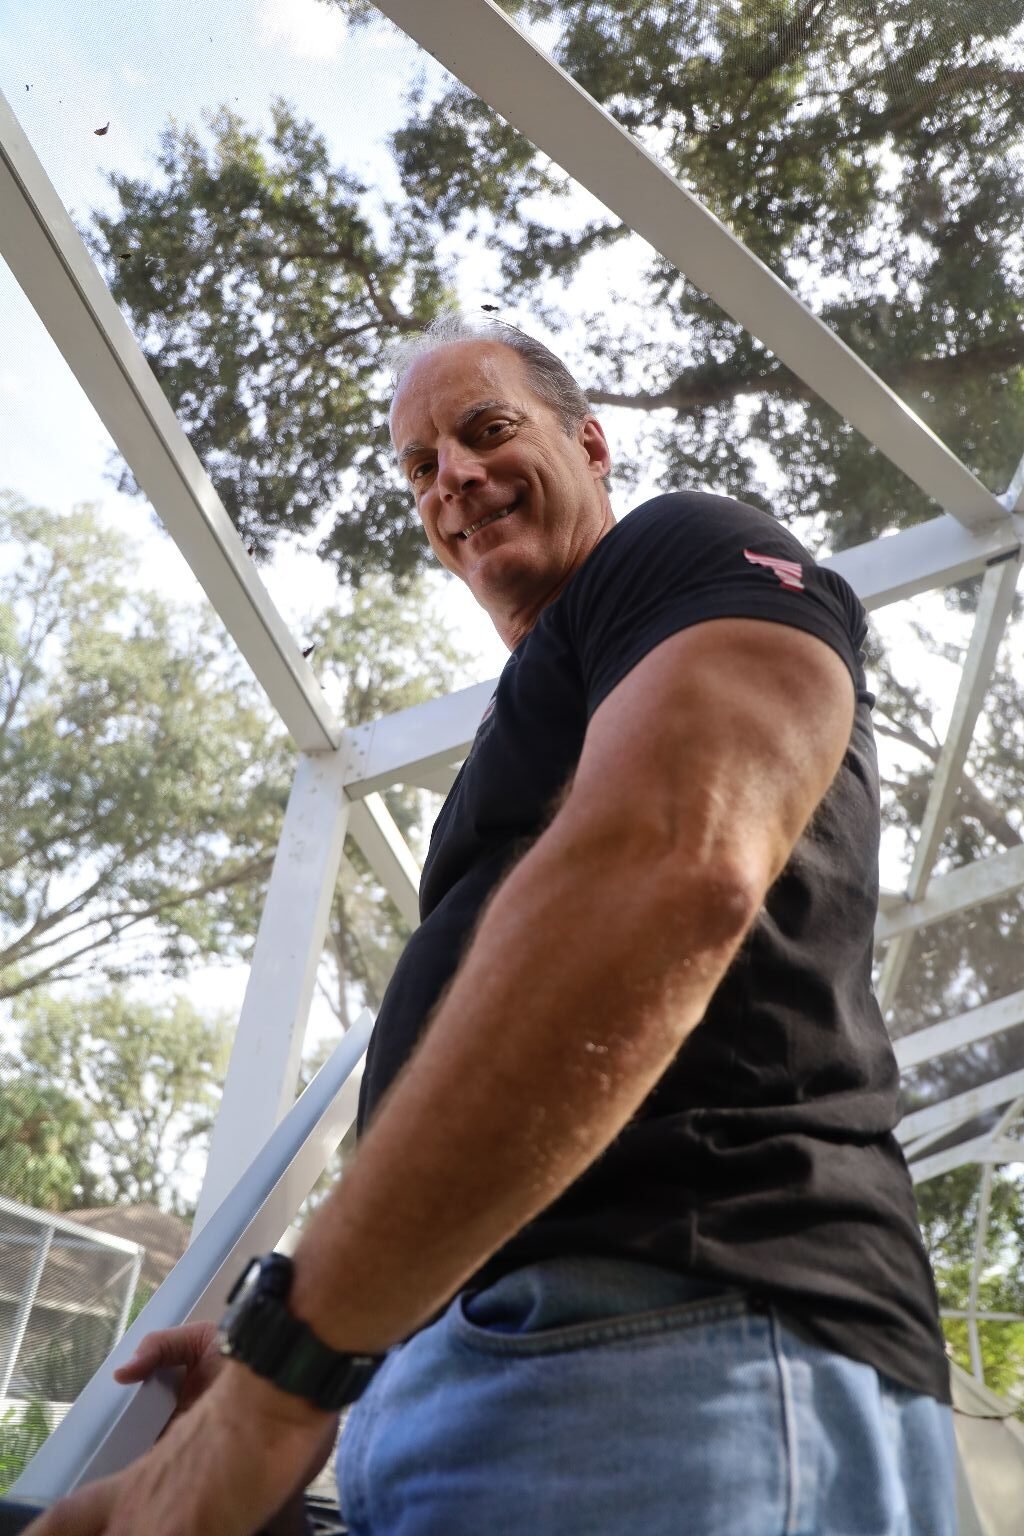
Installing More Outside Cameras

Gordon, Ready to Crawl Through The Attic To Install The Cameras
We thought it would be a good idea to install more cameras. Gordon and our son-in-law Brian recently installed them. Our system has the capacity to house even more than we have so far. Not just because of our neighbors, but because of what is to come in our country. With our current political climate more people are loosing their jobs and being made to be poor. Programs that used to assist them are being terminated. They will be hungry. Their children will be hungry. No parent wants to see their children starve. Crime will go up. Why do you think so many of our current administrations cabinet have all moved onto military bases? They know what’s coming. And, they will be protected, but it will be up to us to protect ourselves. I’ll leave it there for now.
—————————————————————————–
As For Our Hot-Headed Narcissist Neighbor, and His Codependent Supply Spouse….
..at Casa Del Labrador
There is no cure for a hot-headed narcissist, so therefore he will always be a hot-headed narcissist. Men like him tend to go through life with run-in’s with the law. And, it is usually ‘Life or the Law’ that brings them down in the end. He will always need his ‘supply’ to support him and enable him. Yet, Narcissists don’t seek validation from them. (He sought it from other neighbors, I’ll get to them soon.)
Let Me Tell You What We Could Have Done, And Still Can, If Necessary
We could have called in the Police, Pressed Charges, taken out a Restraining Order against him, and he would have had to move out of his own house while we fight this out in court.
It is still an option. We have what we need to do so. However, I don’t believe in separating families. Although if this continues I think I can get used to the idea pretty quickly.
————————————————————————————
As for the Other Neighbors in our Hood that knew what the Narcissist was doing…
(Be Our Guest)
Supporting him, enabling him, encouraging him, and even having a good laugh at my expense, well,
I’m really not surprised that this particular family was involved, both families are from the same kind of ilk, but it is disappointing. I mean, at some point you either grow up, or you don’t.
Who thinks it’s funny to harass and abuse an old woman who most of the time throughout the year is alone, and who has never done anything to either family? Only warped minds do.
No one I would ever want to know.
The narcissist next door has showed me exactly what kind of person he is. But, he didn’t just show me, he showed the other neighbors that knew what he was doing, and they are o.k. with it. One particular trait they both have in common is that they are sneaky people. You can’t trust sneaky people. They are sneaky for a reason.
When you align yourself with someone that can do terrible things to people you don’t like, they can also do terrible things to you. And that is exactly where we are right now in our own country. Again, I’ll just leave it there.
I guess the BALL is in the Narcissist’s Court right now. We’ll see what he does with it?
Julie
——————————————————————————-
January 30, 2026
Intimidation Tactics
You know, I wasn’t going to write anymore on any of this, unless it turned out to be really relevant, (I do have things documented elsewhere in more detail just in case), but I do believe that I should be writing about this and getting this all down on “paper,” so to speak for my readers.
Intimidation Tactics are a Form of Abuse
I not only do this for me and my records, I also do this for you so that you will understand and I hope that this will help my reader’s that are having to undergo forms of abuse from their neighbors on exactly why they do the things they do? And know this, it is never about you. It is always about them. After all, we do what we do because it is in us to do it. Period!
Even When You Don’t Bother People, It Bothers People
I do write about neighbors above that knew of the abuse from my nasty next door neighbors. They were in on it actually. I really hadn’t planned on talking about them anymore, but I believe that I should, you see he is a psychologist. Funny, huh? A “professional” who should know better. I do wonder what kind of advice he must give his patients? (If he even has any.)
I can only imagine…. ‘Oh, if that person annoys you, then you should use your automobile to shine your bright lights into their house to annoy them. Or better yet, throw things against their house at 4:00 in the morning just to scare the old woman, maybe you’ll get lucky and she’ll have a heart attack. Yes! Intimidation tactics work well on women who live alone. Or better yet, park your vehicles so that they face her house, using a ‘show of force’ to let that bitch know who’s boss!’ Yeah.
———————————————————————–
It was Tuesday morning when I was placing my mail into my mailbox that the neighbor I write about above, was taking his children to school. I avoided looking at him. I have nothing to say, or any reason to acknowledge that family. When he returned home he backed his big red truck into his driveway, literally taking up the entire space. No other car could have parked on either side of him. I thought that was funny seeing as how he had nothing to unload in the back. Instead of seeing a big bad red truck with a big man driving it, I saw a Puffer Fish.
(Oh, and know this, people that drive red vehicles are more likely to get traffic tickets. He should know. I looked him up, and he had to pay big traffic court costs in his past. Yeah. Actually, I discovered in my research that white men in his income bracket and political affiliation tend to rack up big court costs from traffic violations. It makes sense really, they don’t like to follow rules and laws, but they expect everyone else to. In other words Freud was right, it really does all boil down to THAT.)
———————————————————————————
Inflating One’s Self
The Puffer Fish are small, and they puff themselves up to appear larger than they really are in order to scare others. This is generally something that men tend to do more so than women.
My response: ‘Look at the cute little puffer fish! Aren’t you so cute! Yes, you are a big, bad, boy! Oh, I’m so scared!’ 🙂
—————————————————————————————-
Yeah…
He may be a psychologist, but I know psychology.
I’m sure there had to be a class on ‘The Smartest Person In The Room?’ The Axel Foley Affect? No?
Well… that explains a lot.
—————————————————————————–
To Continue…
On Thursday I drove into the Air Force Base to do some much needed shopping. I hadn’t been there in awhile. I was getting low on all my supplies. When I do go into Tampa I tend to stock up on everything. Especially bulky items. Shopping on the base is much cheaper than the local grocery stores.


Thursday’s Shopping
I left the house around 10:00 a.m. and I got home around 3:30 p.m. As I was unloading my full car, (as you can see), my neighbor was leaving to go and pick up his children from school. When he got back, I was still unloading my full car. As he was pulling into his driveway I was placing a few bags inside my garage. When I walked out of the garage to unload some more, all I saw was a FLASH! A blur!! I saw what looked like a flowered blouse dash into his garage. It wasn’t a cool Aloha Hawaiian Shirt, it looked more like he had raided his mother’s closet and chose an old Laura Ashely blouse to go with his baggy shorts and flip flops. He was in his garage before his children even exited the truck. What I saw was a chickenshit running inside his house to get away, to hide. I did learn something that day. They haven’t told their children about any of this because otherwise his children would have been a bit awkward. They weren’t. They were just being normal teens.
I do know that when we were being harassed by Leisa, John and Ed, the Gray Haired Bullies in our neighborhood, because we were Obama supporters, that I did tell our children about it so that they would be aware and alert, as in looking out for nails in the driveway, etc. (I wrote about The Gray Haired Bullies years ago. They are all dead now. But my blog exposed their harassment of us, just like this blog is exposing this harassment from these people.)
The more they give me something to write about, the more I will!
Julie
P.S. I would wait for them to grow up but I don’t have that kind of time!
—————————————————————————-
One thing I have learned from all of this is that I need to be more aware of what goes on in my neighborhood. Prior to this abuse and harassment, and before we put up cameras, I never really cared about what went on outside my front door. Oh, there were times when I saw a car parked out front that I would look out the window to see who it was? Especially if it was at night. After all, I have had a cyber-stalker for over 30 years. He has hired people in the past to photograph me, our cars, and our house. Also, seeing as how I do live alone I feel more of a need to be aware of my surroundings. Gordon is still working overseas, he will be home soon and we have a lot planned while he will be here. He is looking into coming back permanently. He is living and working in a danger zone after all. And I do fill him in on the neighbors, and the neighborhood so that he is aware of it all.
————————————————————————————-
Just Some More Observations….
I have noticed throughout my community that I live in that there are ‘For Sale’ signs that have been up for quite a while. I can remember when houses like that were snatched up quickly.
My nasty neighbors next door to me have had what looks like a giant panty shield wrapped around their chimney for about 5-6 months now. I got a letter in the mail from their “roofers” dated October 24, 2025, informing me that their roof would be going up in a few weeks. That was months ago. Looks to me like they don’t have the money to get it fixed. You know, I could complain to the HOA who could then force them into getting it fixed, or fine them until they do? After all, I asked for a backyard studio and they nixed that because they said the neighbors may not like looking at it from their homes. Well, do you think I enjoy looking at a giant panty shield wrapped around their chimney? See, I can actually do more to these people then just write about them… 🙂
I have also noticed that a particular woman in the neighborhood has gone back to work full time. Guess they must need the money? That is why you go back to work, isn’t it? What? Is the current Administration’s economy not working for them anymore? Well, you deserve and get what you vote for. But sadly, so do the rest of us that knew better, voted better, etc. we also will be getting exactly what they deserve.
When you vote for the political party that does for the lowest in our society, then everyone above that line will be o.k. However, when you vote for the party that does only for the wealthy? Then no one below that line will be o.k. Hence, where we are today.
—————————————————————————————
You know, I really do hope that this will be my last blog entry on this page.
But it really isn’t up to me, now is it?
Julie
—————————————————————————————
February 10, 2026
Just An Update:
Looks like the nasty neighbors next door are finally getting a new roof.
Good, because I’m tired of staring at that Panty Shield from our bedroom window.

Guess they finally came up with the money.
Julie
———————————————————————————-
February 14, 2026
P.S. It’s a Cheap Roof
The nasty neighbors new roof is up. Cheap materials were used, (paper, not laminate.) Which is originally why they have had a bad roof all along.
It was back in 2011 when this couple who used to live across the street from us, but now reside in Texas, got several neighbors in our neighborhood to all go into getting new roofs together. It was going to make it much cheaper for all, with Michael and Judy’s roof being either free or at a huge discount. (Right wingers are very good at networking. This is yet another example of that.)
We were asked if we wanted to go into it, but we said no. It just didn’t feel right. Good thing that we didn’t because every single family in our neighborhood that did that, got really shoddy, cheap roofs. Of course Judy and Michael quickly sold their house and moved away before the true damage was revealed. Every single neighbor that went in on that con have always had problems with their roofs, even shortly after they were installed, either to have them redone, or patched here and there.
The nasty neighbors new, ugly roof will probably last a good 7 years if they are lucky? Perhaps they went the cheap root because they will be selling their house and moving soon? 🙂
One can hope!
However, realistically, worse can always move in. But there is just something about that house that attracts the worst kind of human beings. We have been here for 3 families that have lived in it. None of them were ever worth knowing.
Julie

Coming The Year of the Snake ——————————————————————————- Kung Hei Fat Choy (Happy New Year) Channeling Mulan For Breakfast ———————————————————————————– ————————————————————————————————– If you would like to view our …

Dear Dairy… Olive Films (I just liked the logo.) Today I rearranged the cans in the pantry and dusted them off while wearing my new full skirt I sewed last week for the church picnic, and the pearls that my husband …

Julie In The Kitchen
Aloha In Florida (As Always)
You can take the family out of Hawaii, but you can’t take the Hawaii out of the family. 🙂
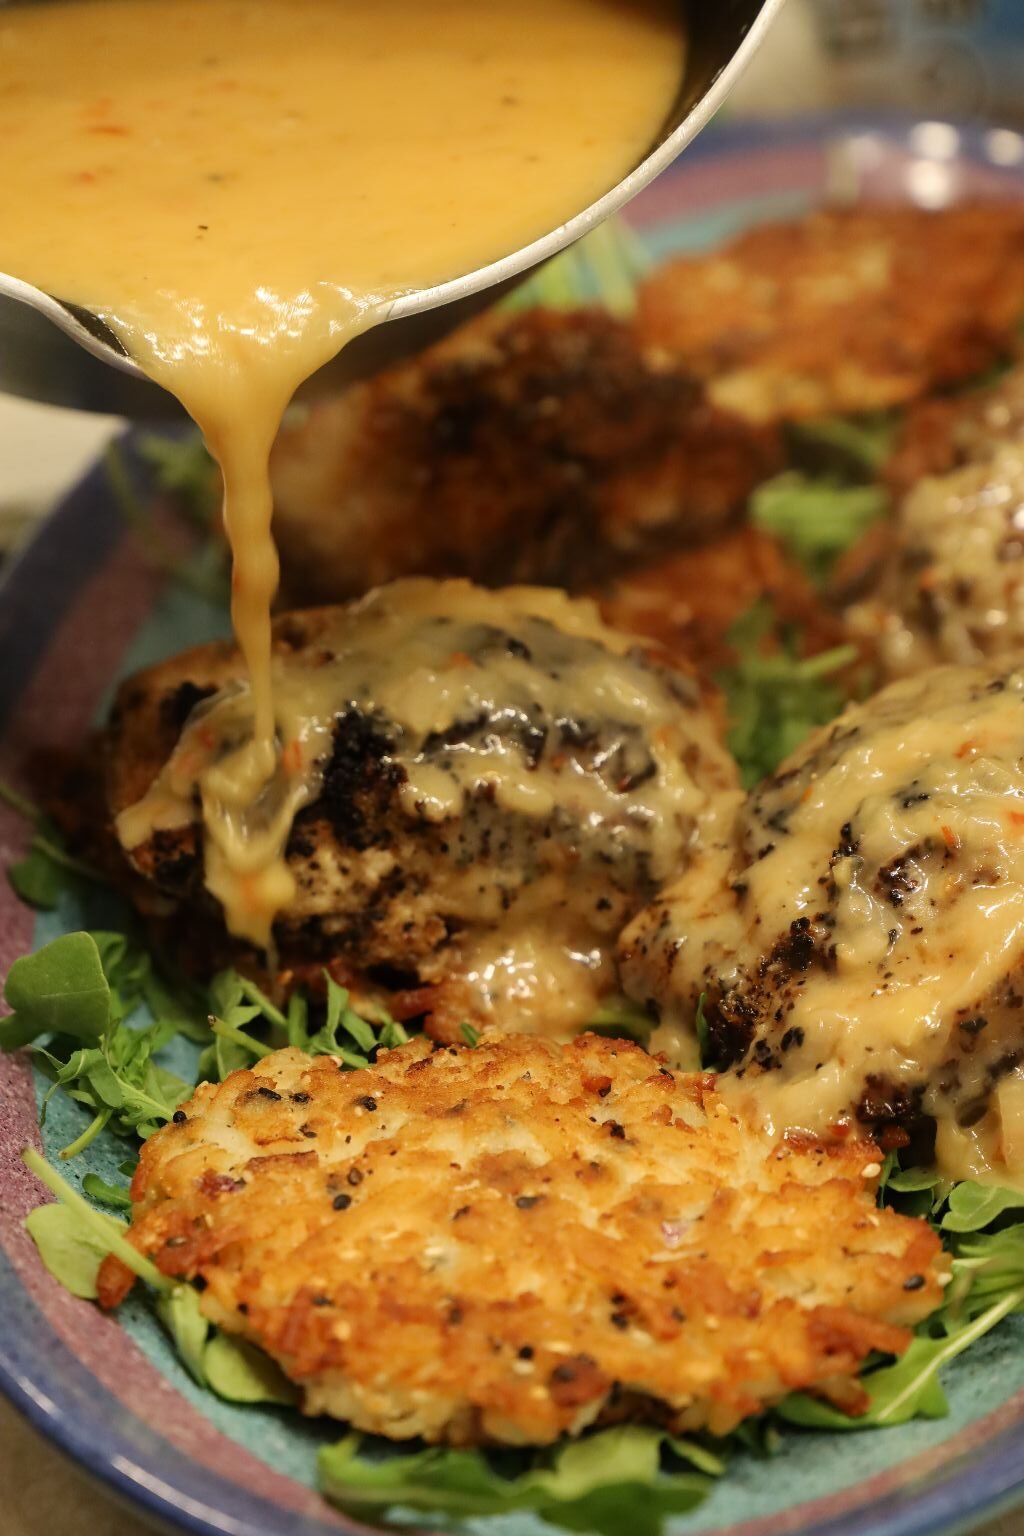

Gordon Making Our Macadamia Nut Mahi-Mahi on Asian Sesame Hash Brown Patties,
with a Drizzling of White Wine Coconut Sauce
We are still in love with the foods that we ate in Hawaii for those 13 years we were there.
Which explains our many Hawaii Website Pages.
I started this one because our others were already too full of ONO recipes. We hope you will enjoy this additional ‘More Hawaiian Eats.’
Aloha and Mahalo,
Julie and Gordon
If you would like to check out our other Hawaiian Website Pages, then just scroll down the page, the links are at the bottom.
———————————————————————-

Julie’s Oriental Jezebel Sauce
We used my Jezebel as a dipping sauce for our Egg Rolls.
If you would like the recipe….
Click Here For: An Oriental Jezebel
———————————————————————————————-
To Start:
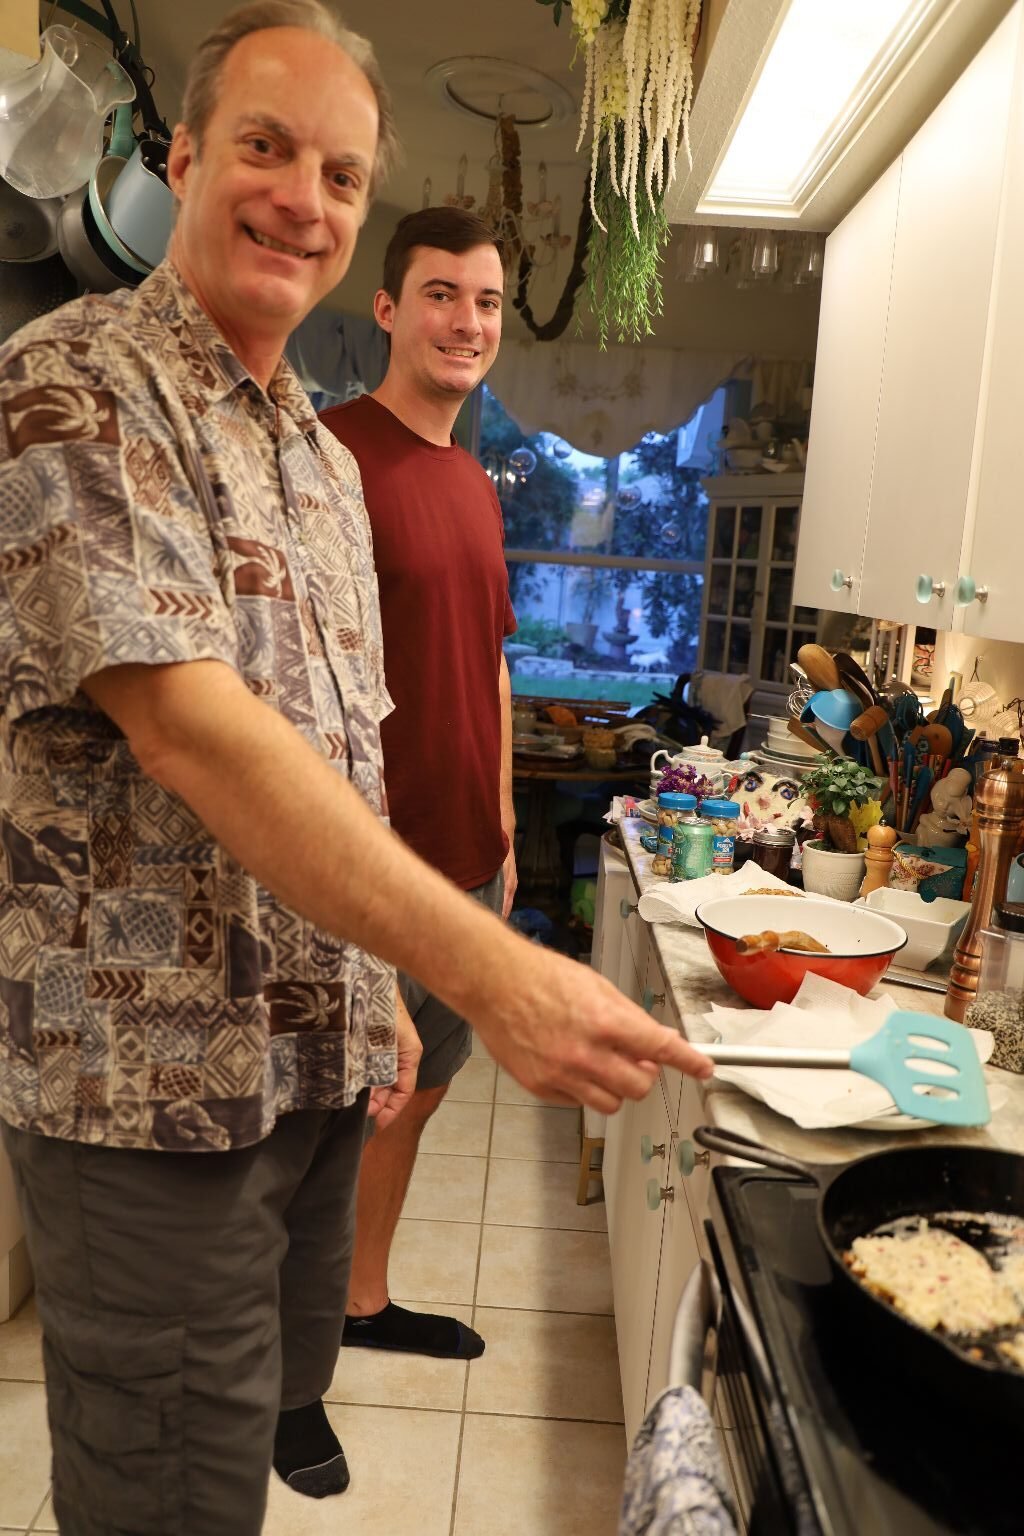
(Gordon and Brodie)
Gordon Making Our Macadamia Nut Mahi-Mahi on Asian Sesame Hash Brown Patties,
with a Drizzling of White Wine Coconut Sauce
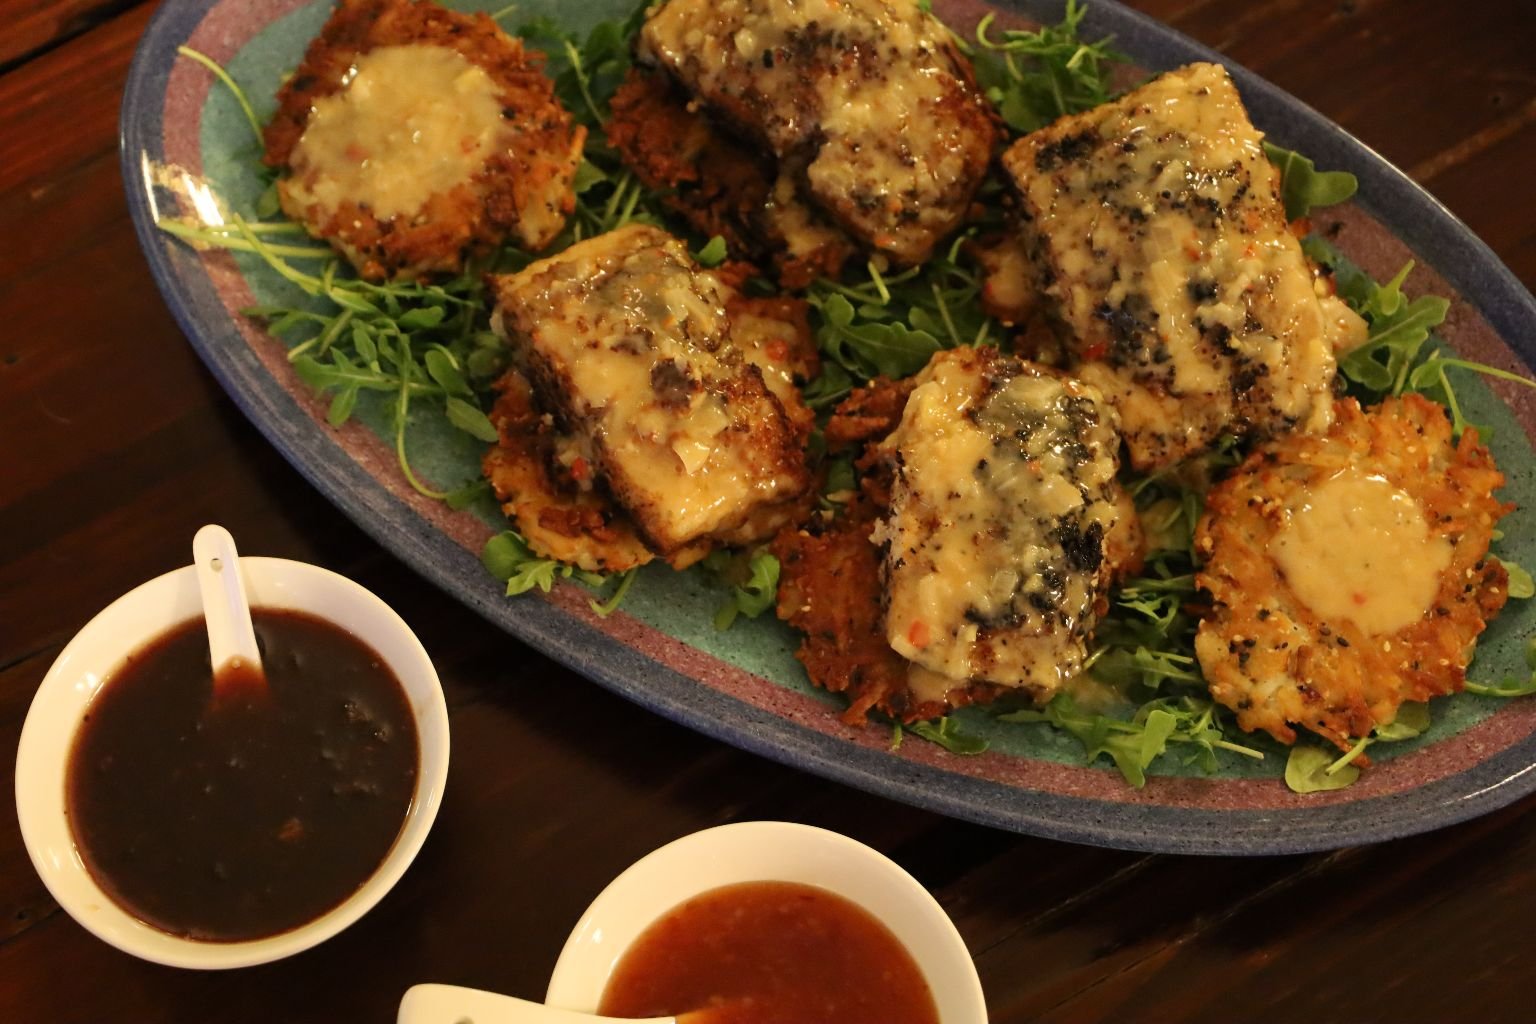
Dipping Sauces…
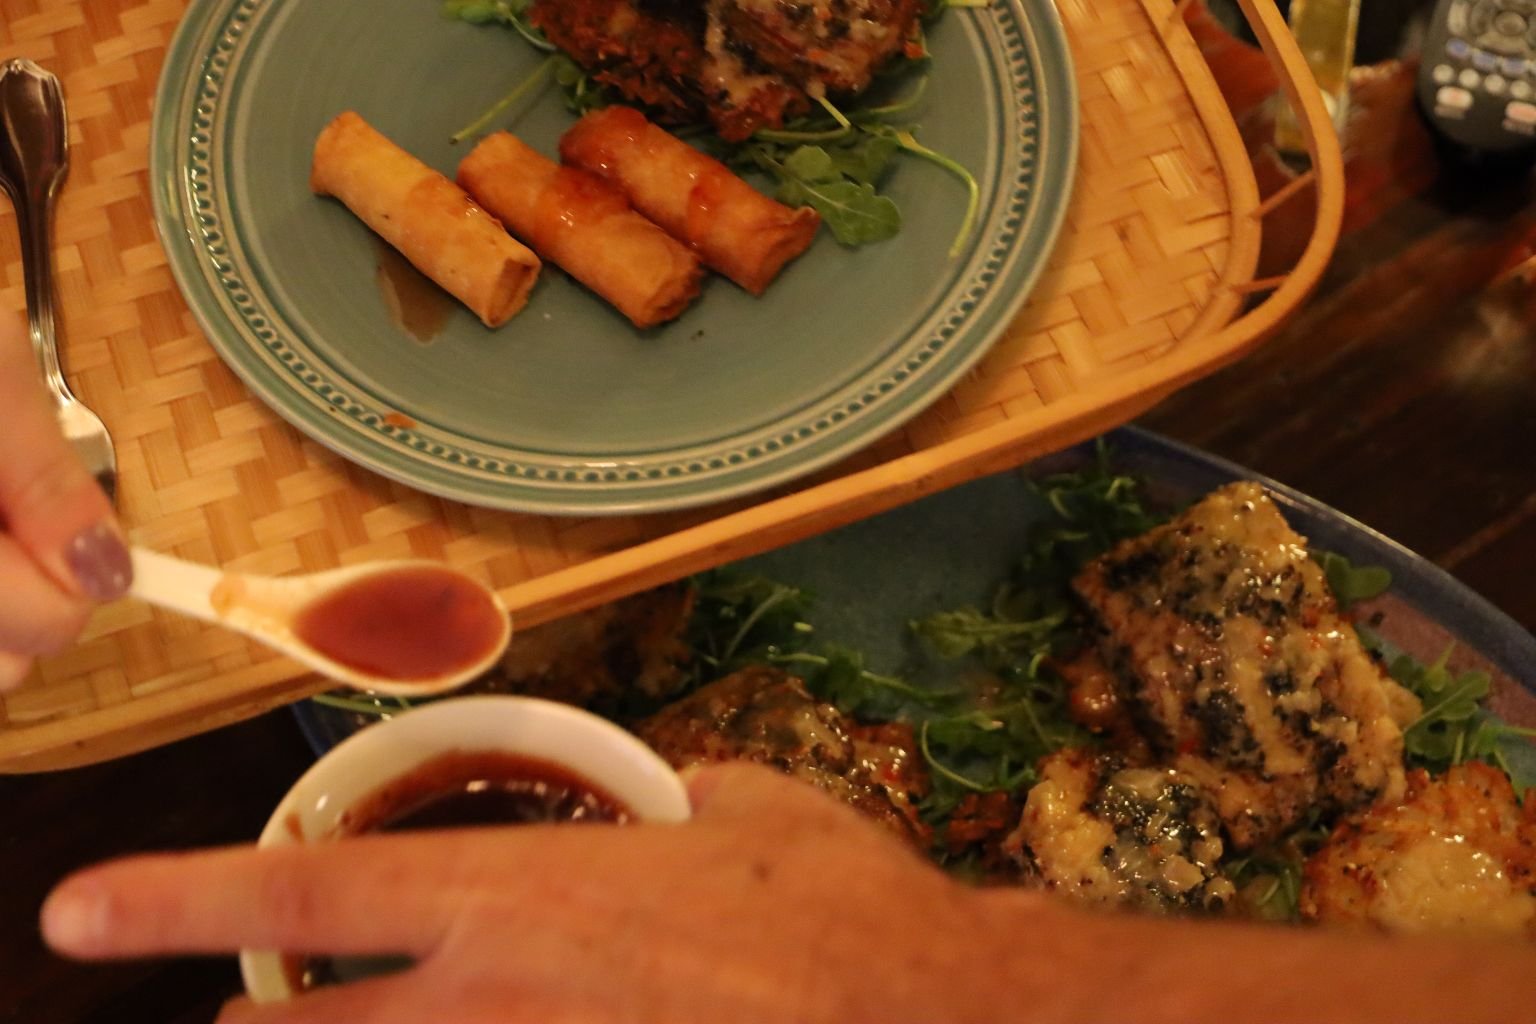
Egg Rolls…
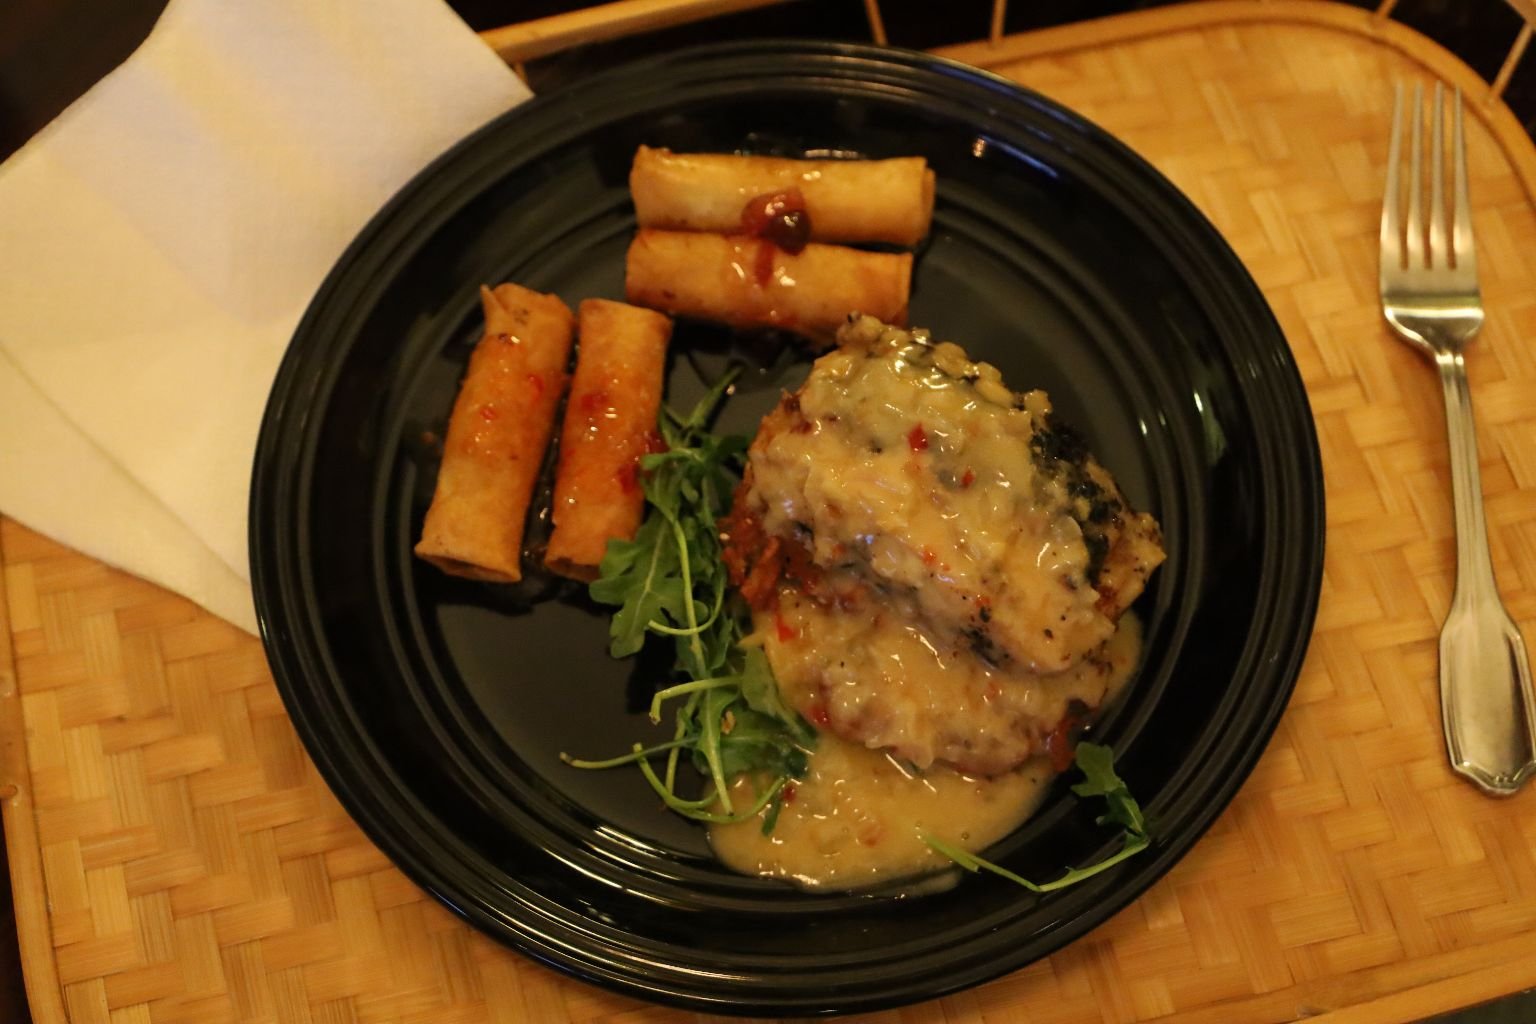
ONO!
———————————————————————————————
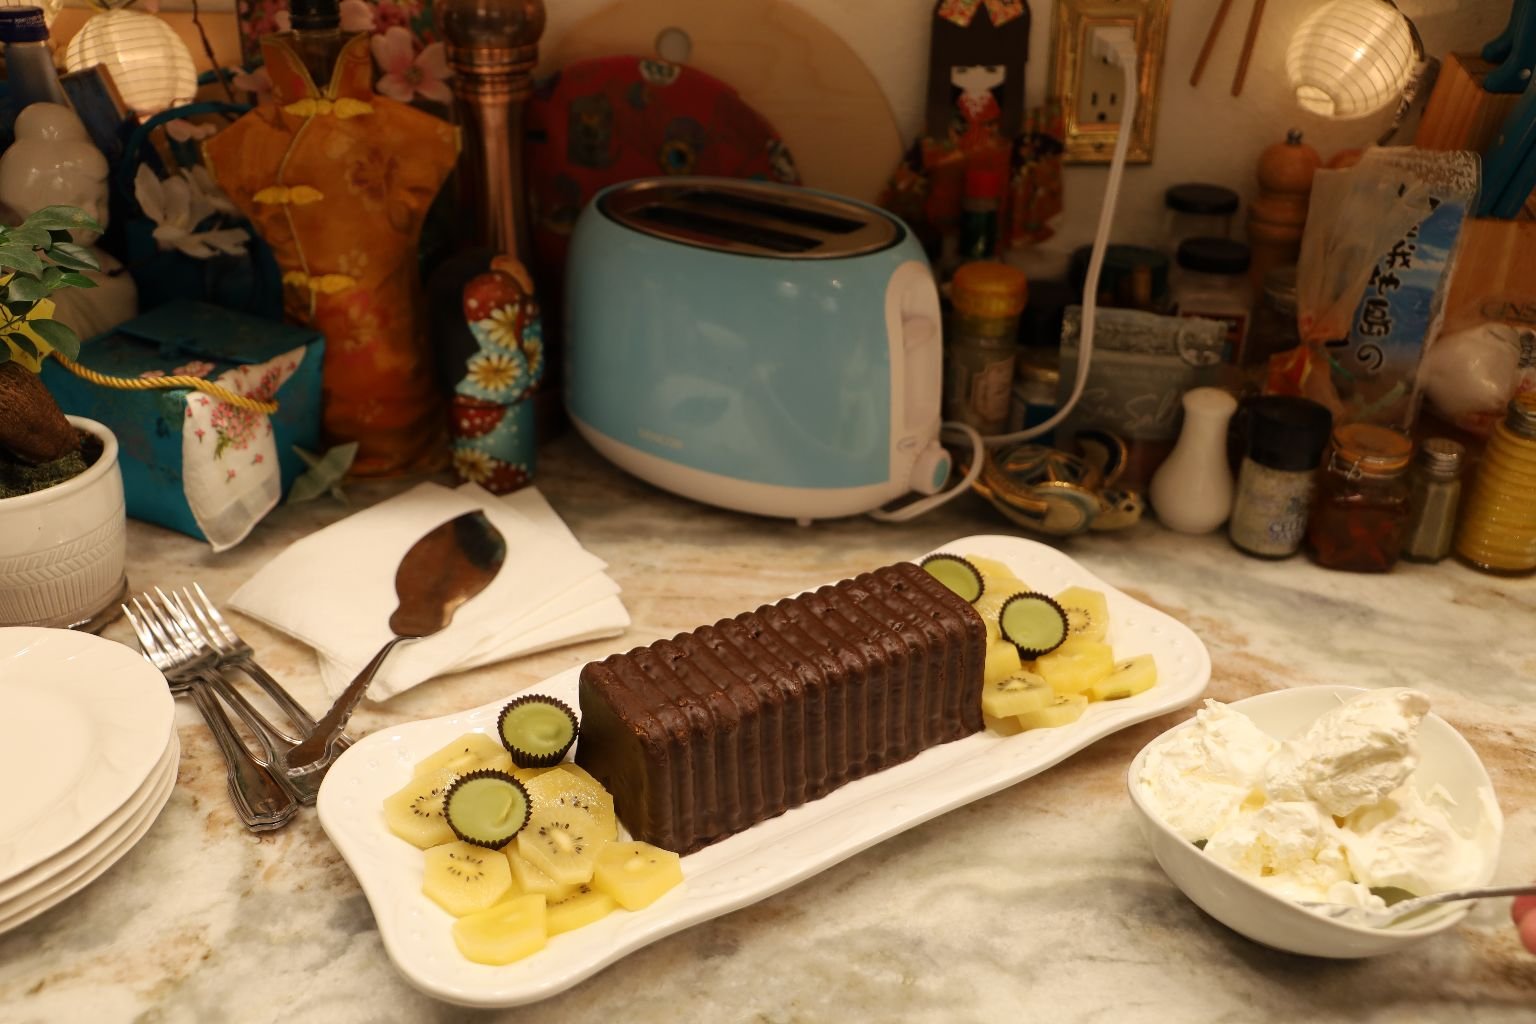
Our Store-Bought Chocolate Kiwi Cake, With Fresh Kiwi, Matcha Mac-Nut Chocolates, and Cool-Whip
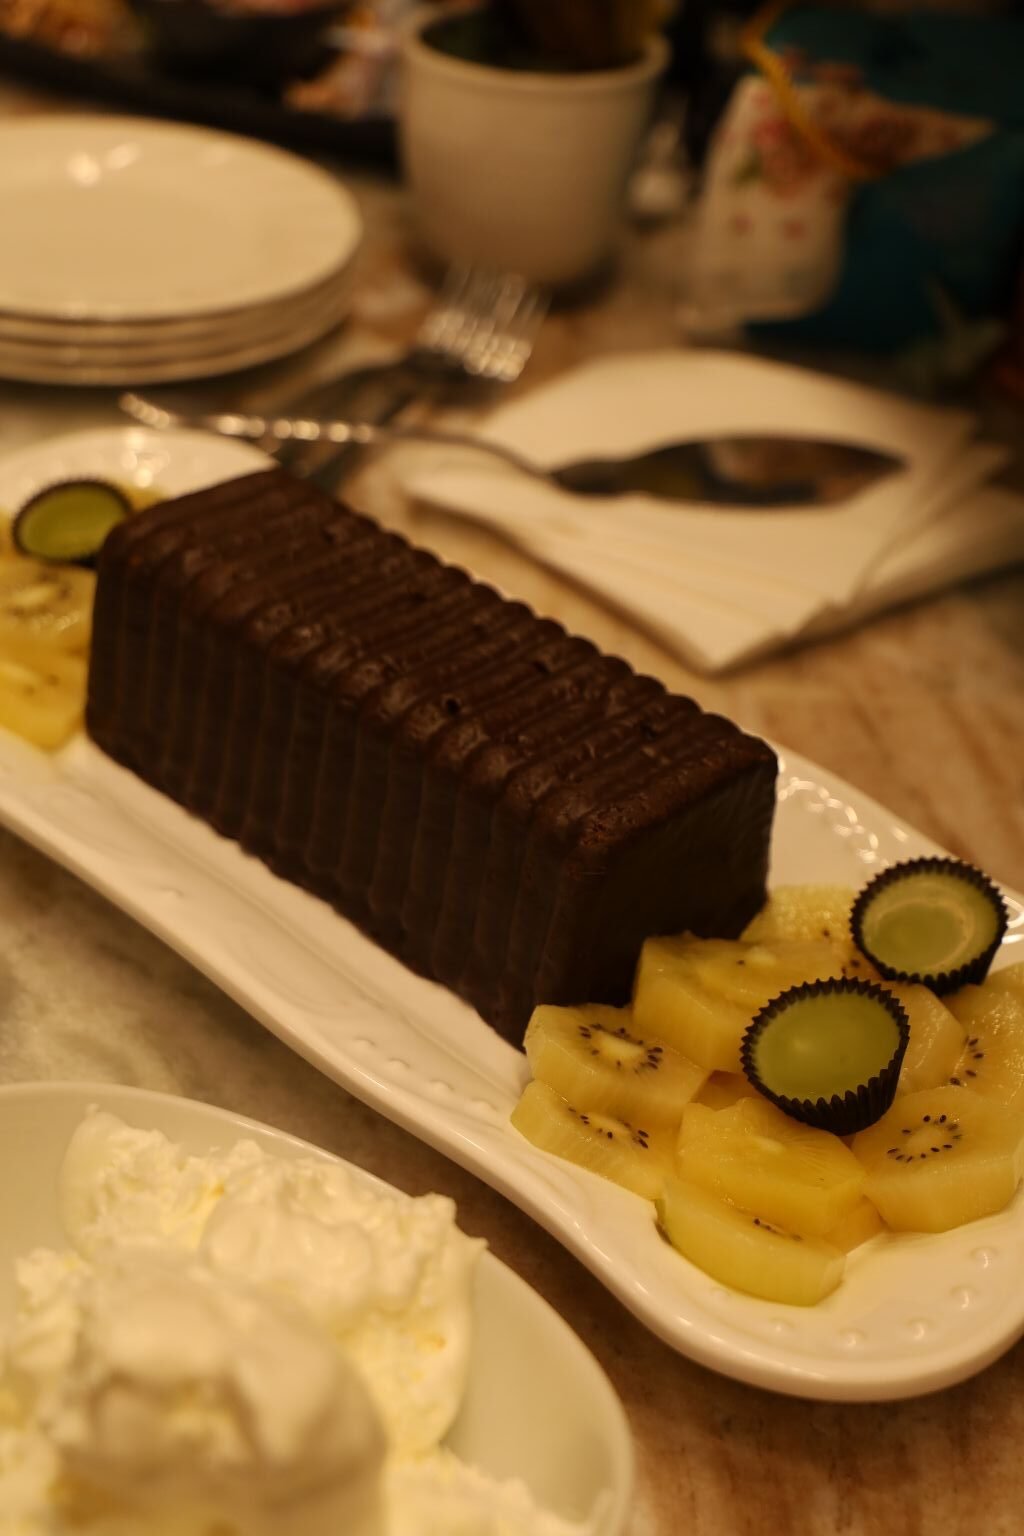
————————————————————————————–
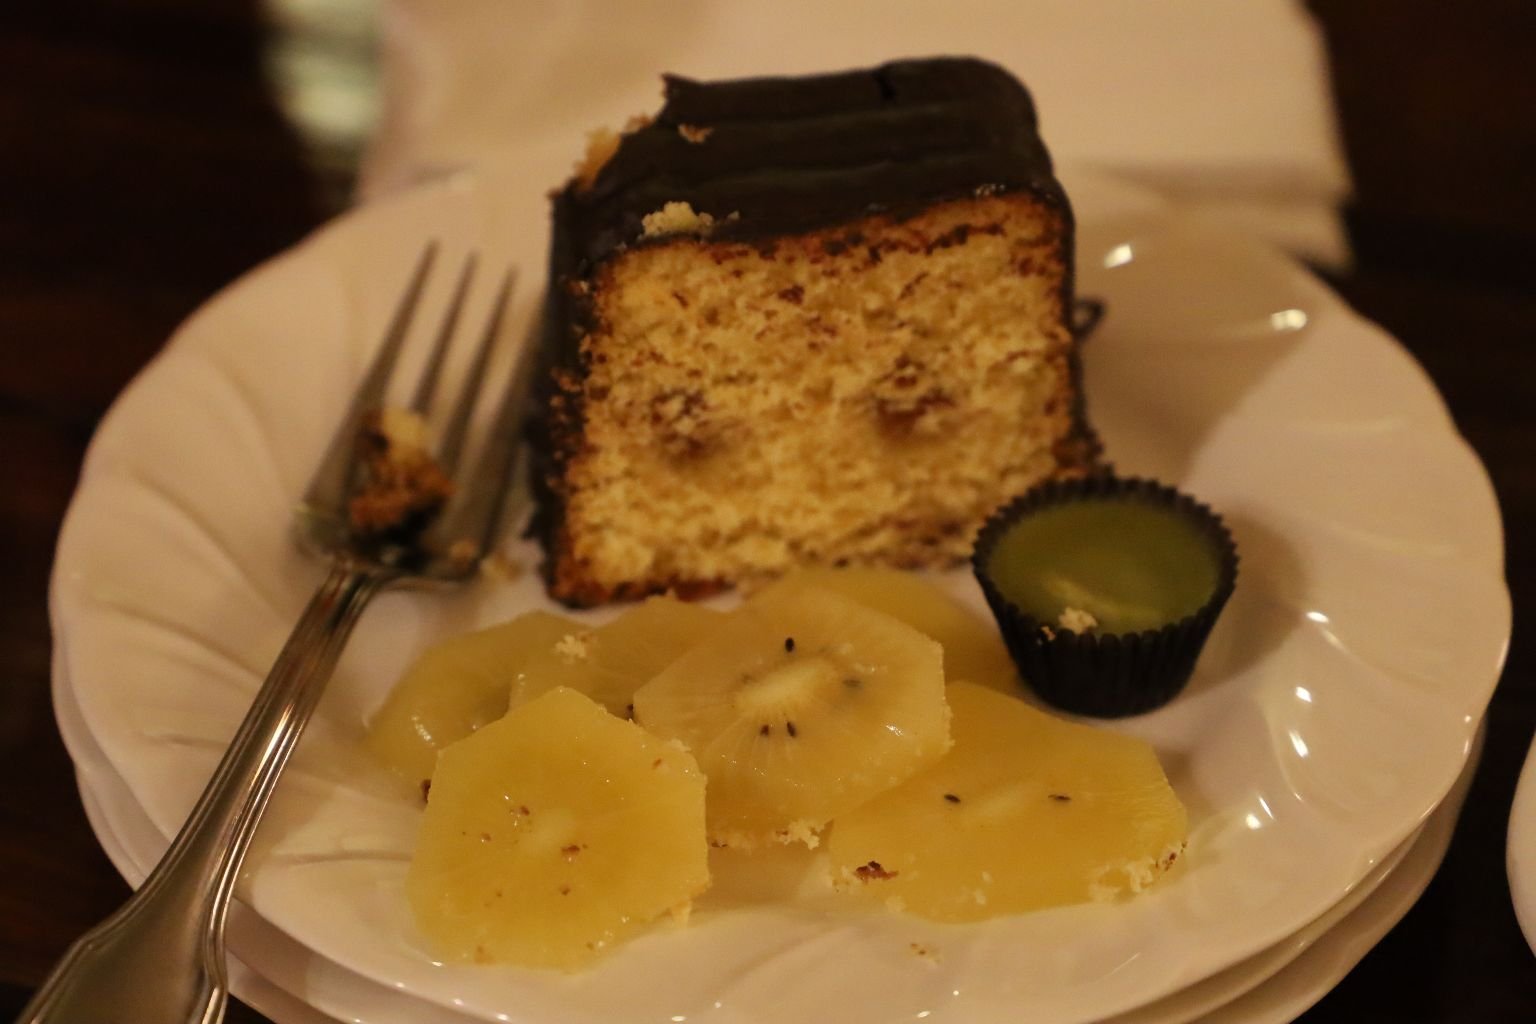
Very Rich and Delicious
———————————————————————————
RECIPES START HERE
———————————————————————–
Our Meal
Mahi Mahi fillets encrusted with Macadamia Nuts, Panko Breadcrumbs and Grated Ginger. Then we fried up some store-bought Vegetable Spring Rolls. Lastly, I made some Asian Sesame Hash Browns incorporating some of the Macadamia Nut mixture used to make the Mahi Mahi crust. These will be topped with some Chili Coconut Sauce.
Macadamia Nut Mahi-Mahi on Hash Brown Patties,
with a Drizzling of White Wine Coconut Sauce
——————————————————————–
Ingredients:

Seen are the Mahi Mahi fillets we used to make this recipe. They come vacuum sealed and will last a long time in the freezer. I have always found this brand to be good. Use one fillet per person.
Here you can see the vacuum seal.
——————————————————————–
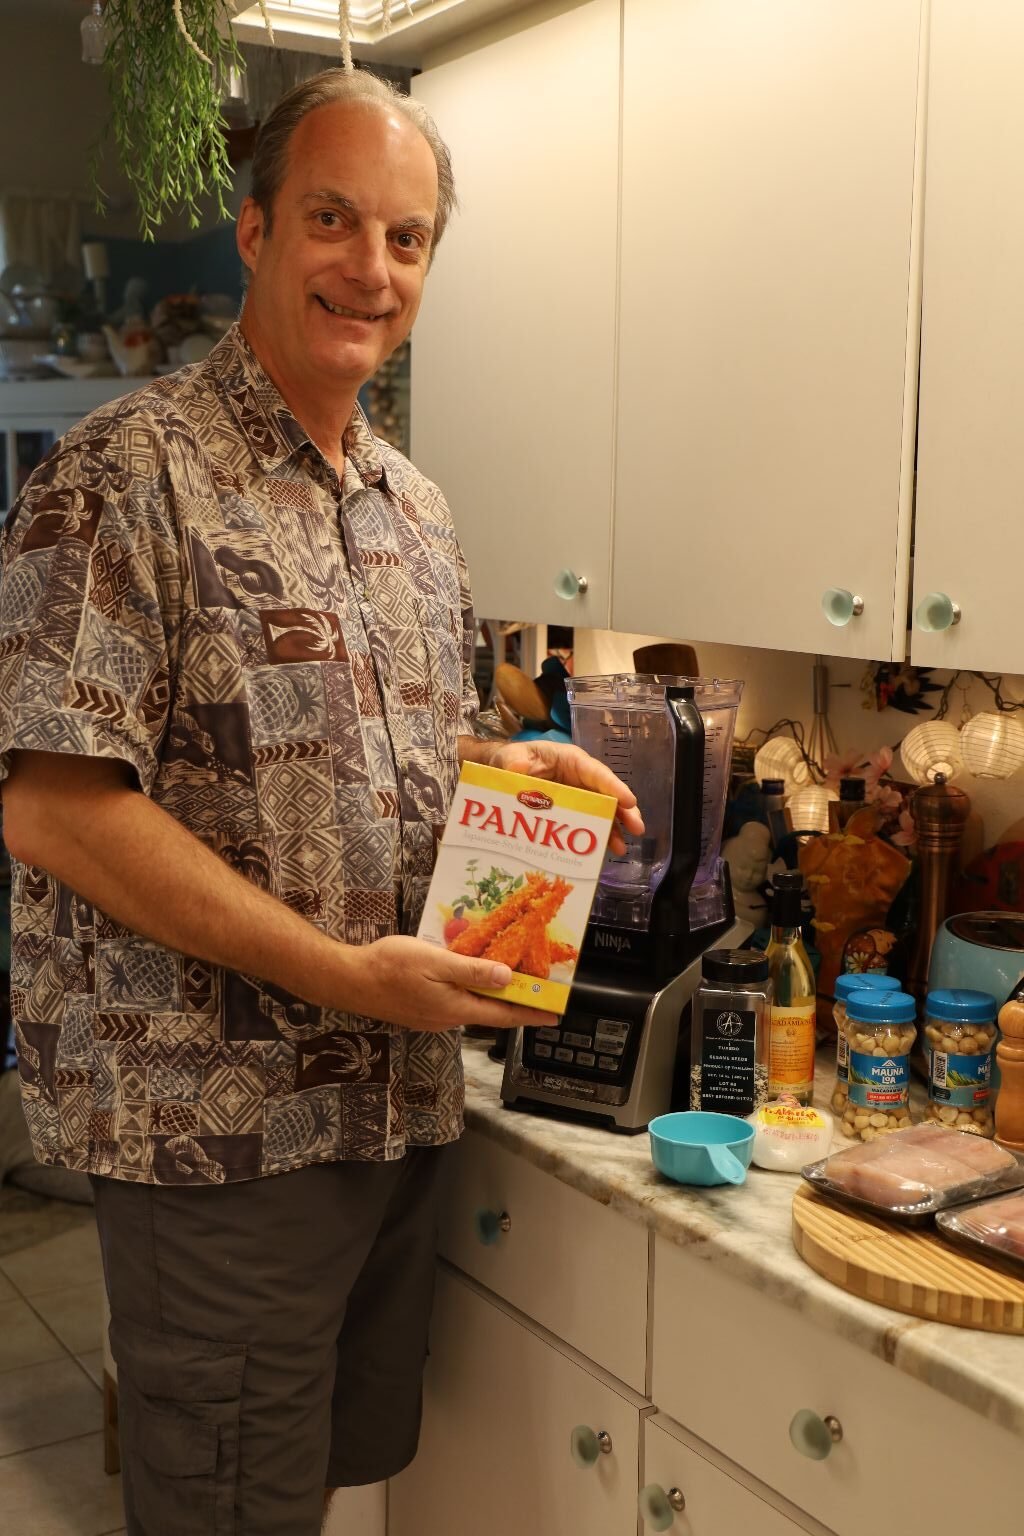
Panko or Japanese Breadcrumbs are great to use as they add some nice crunch to the crust on the fish.
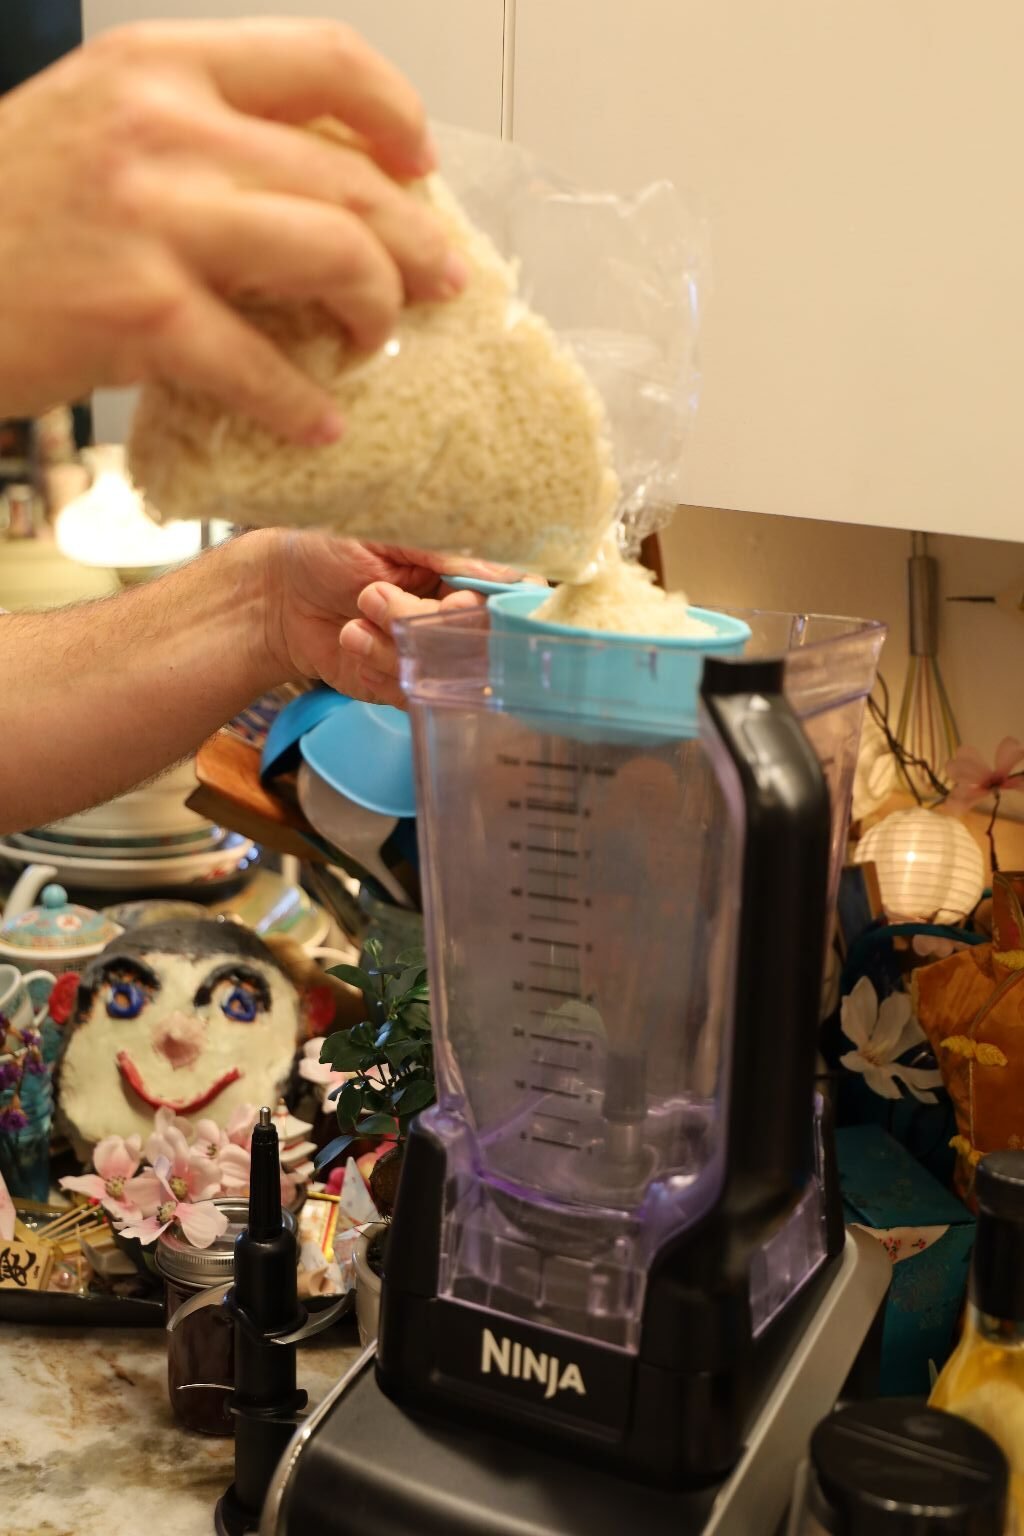

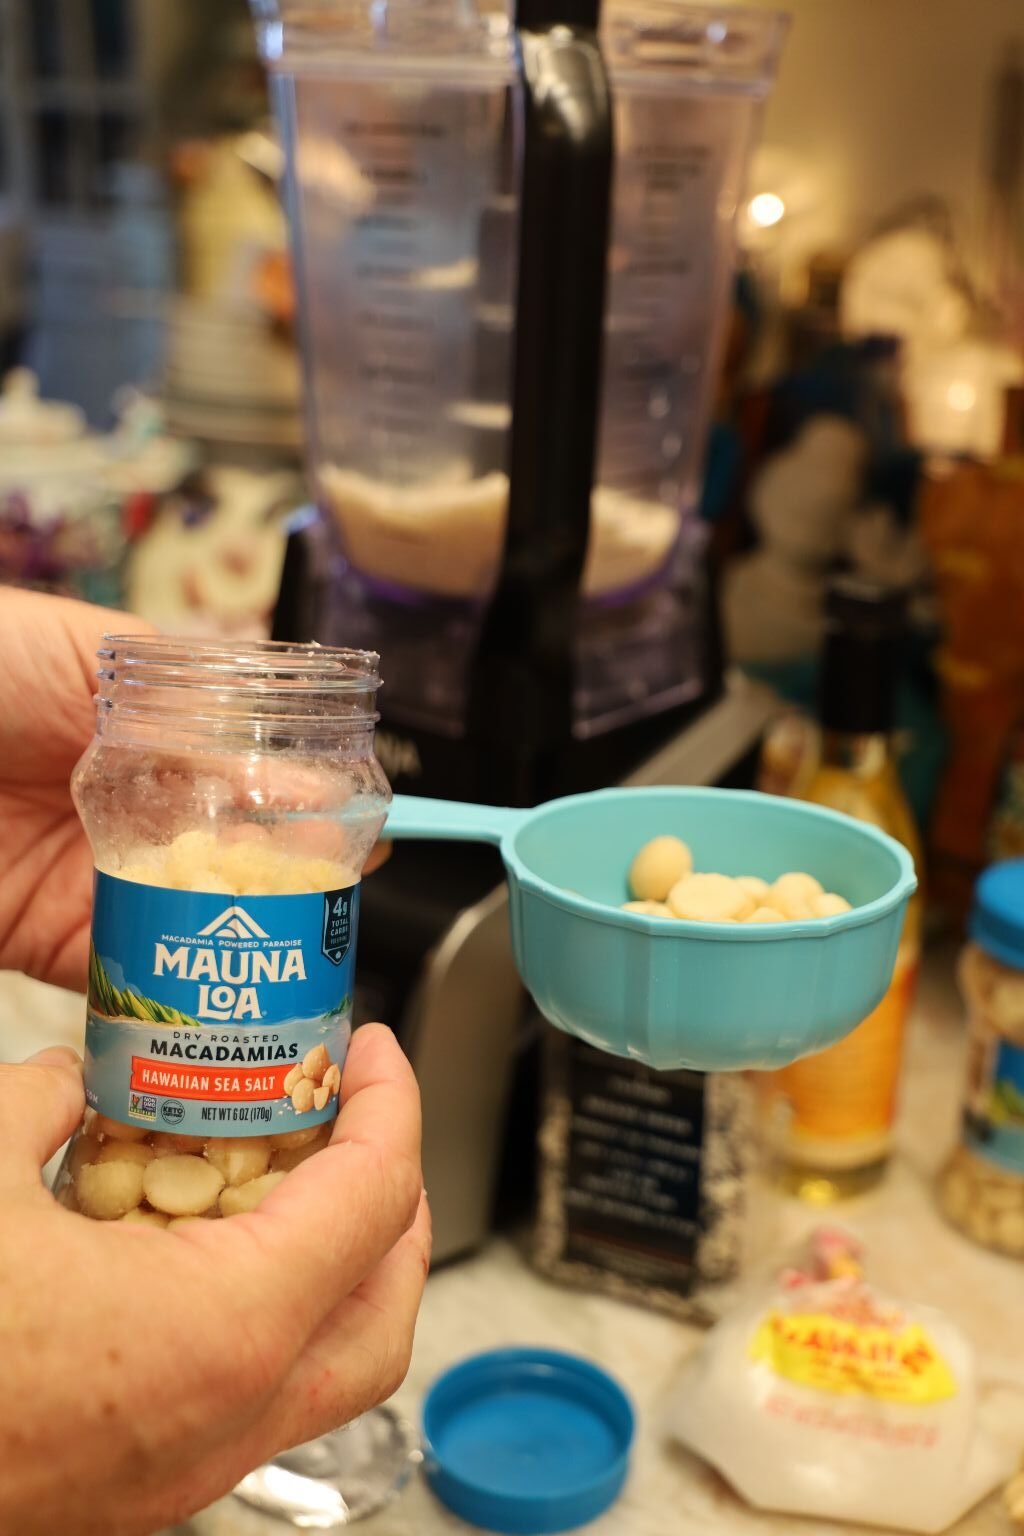
Start by adding 1 Cup of Panko to your blender, then add ½ cup Macadamia Nuts.
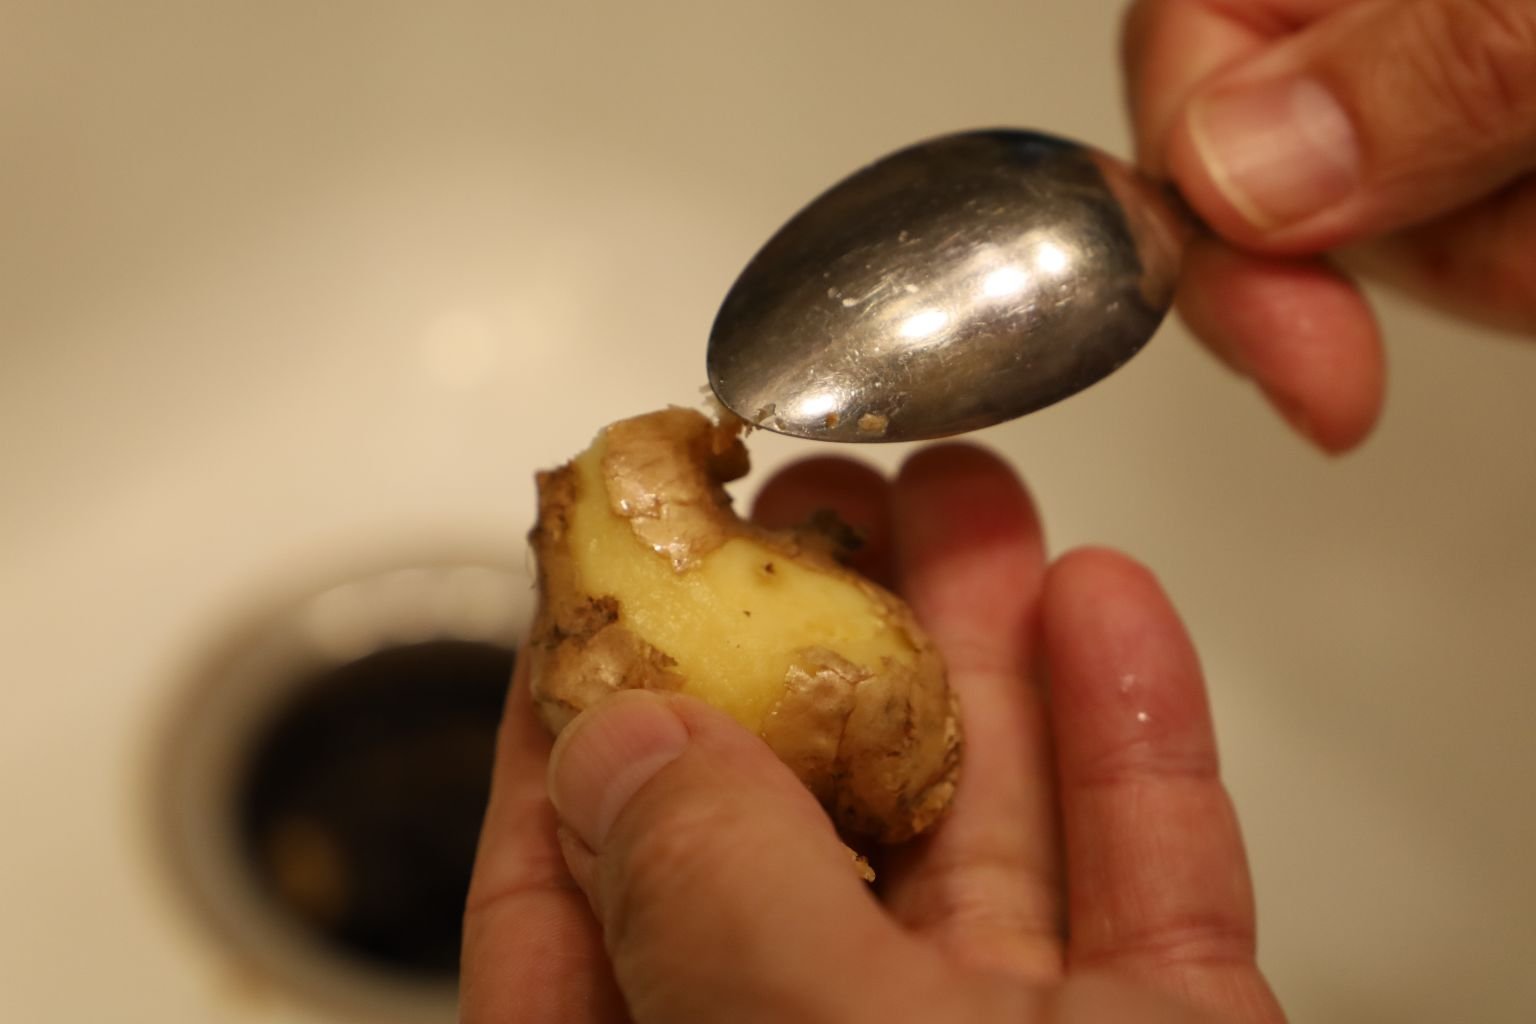
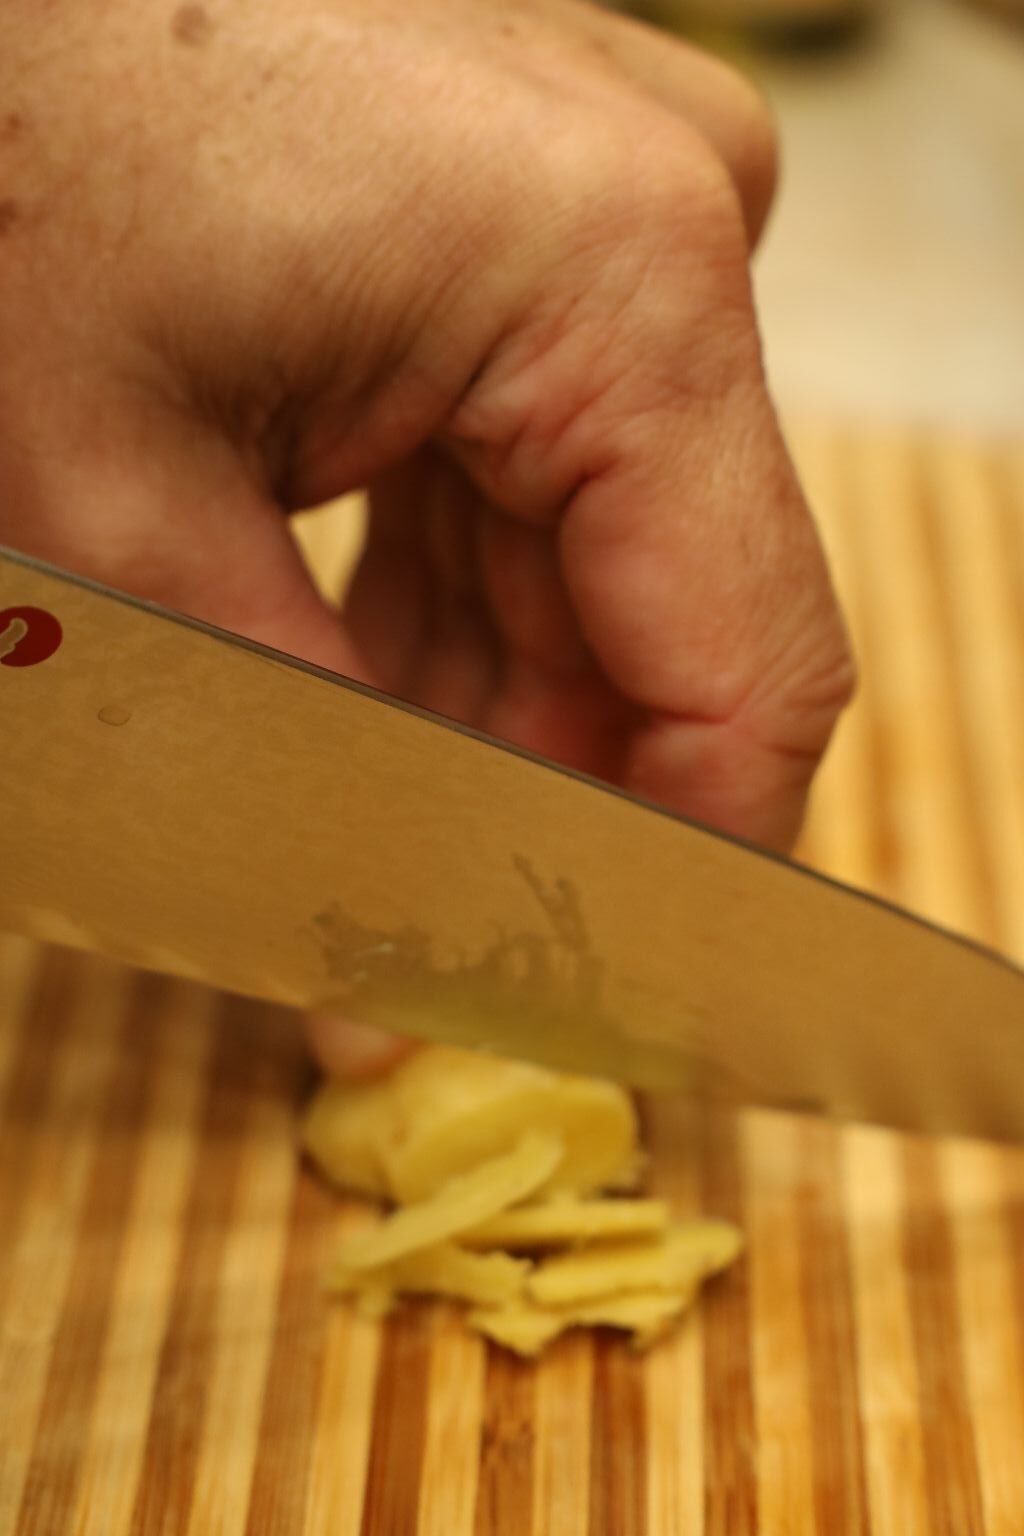
For your Ginger, use a spoon to peel off the outer skin, trust me it works great.
Then slice the Ginger thinly.
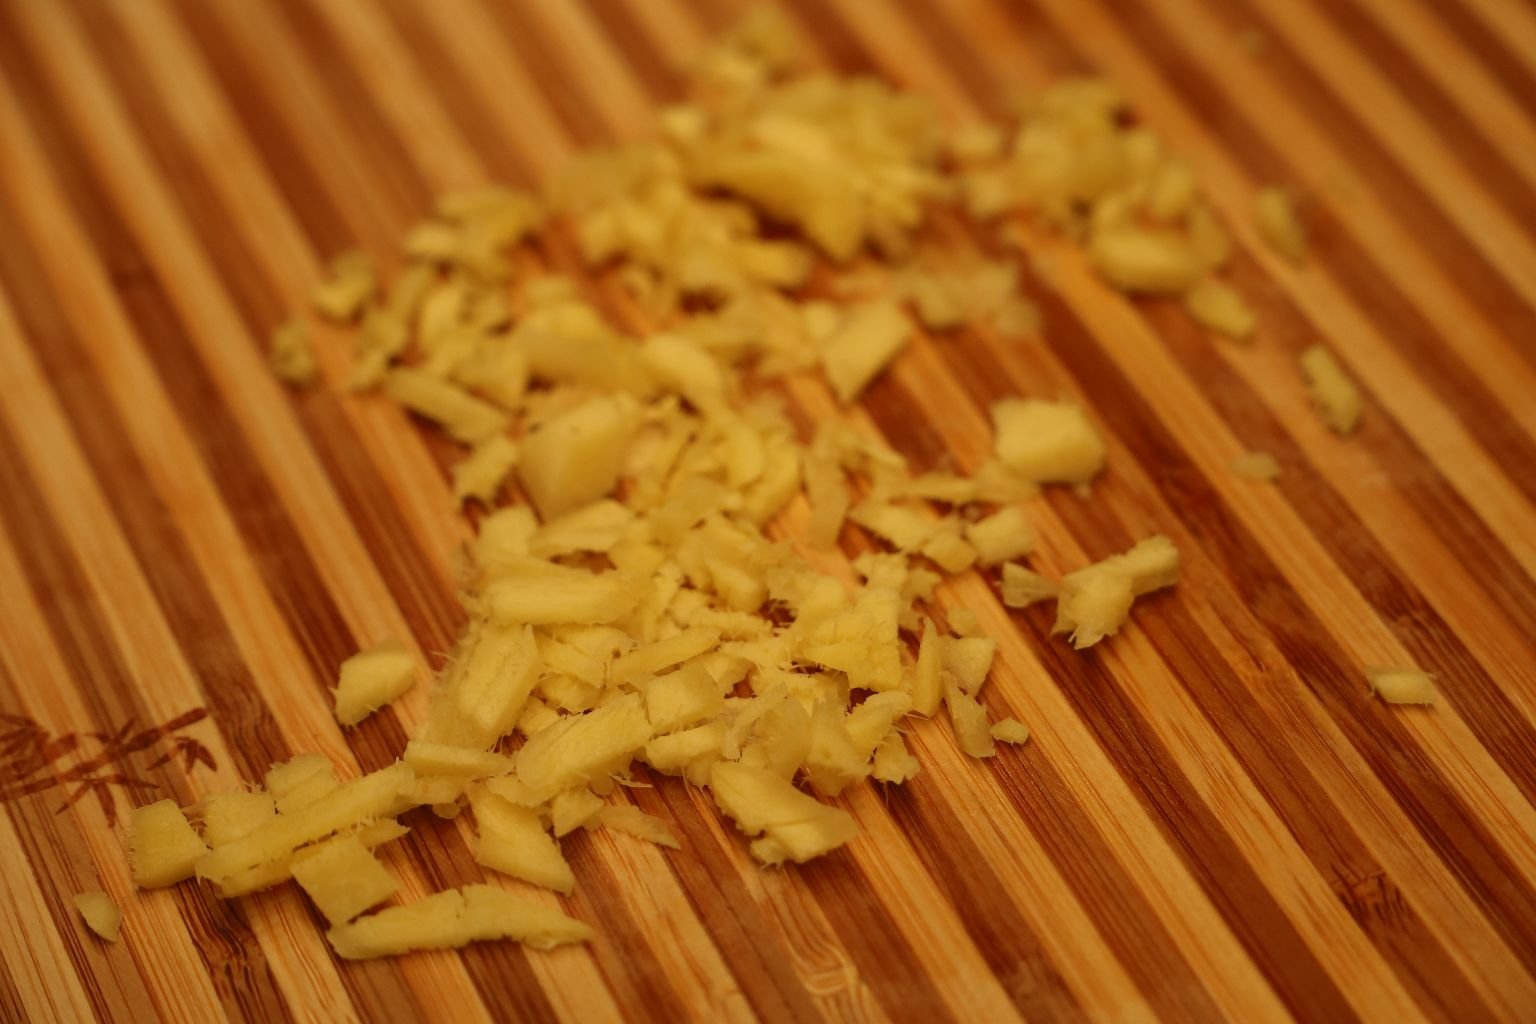
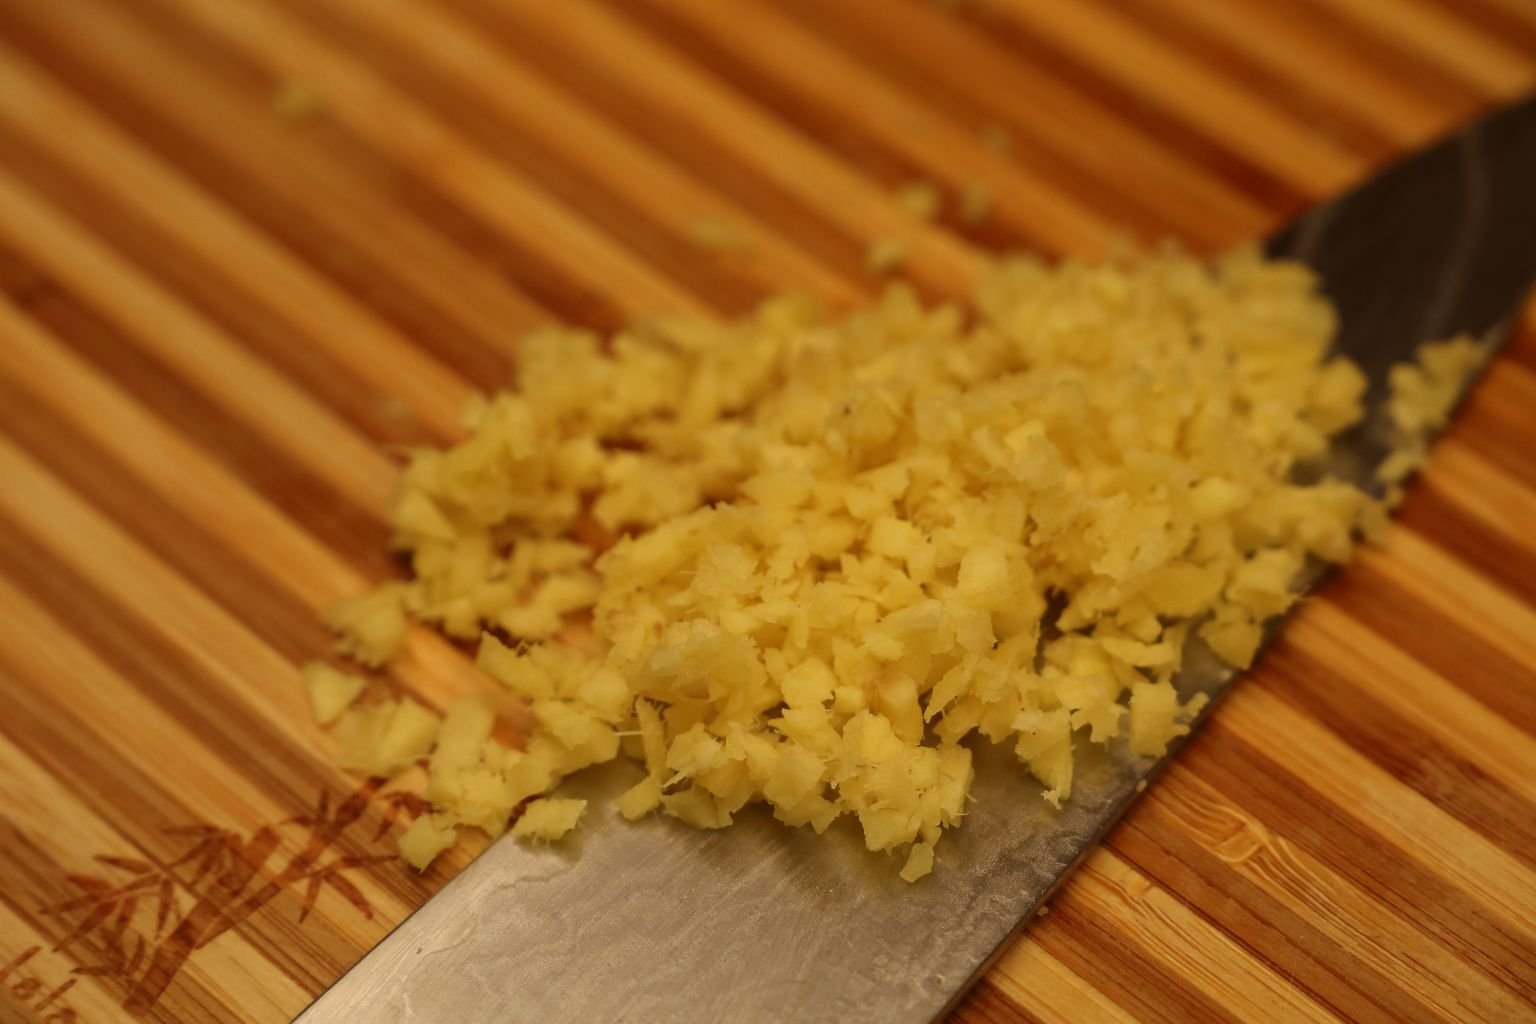
Now, chop the Ginger finely as shown. I used a few tablespoons in this recipe, but you can use as much or as little as you like.
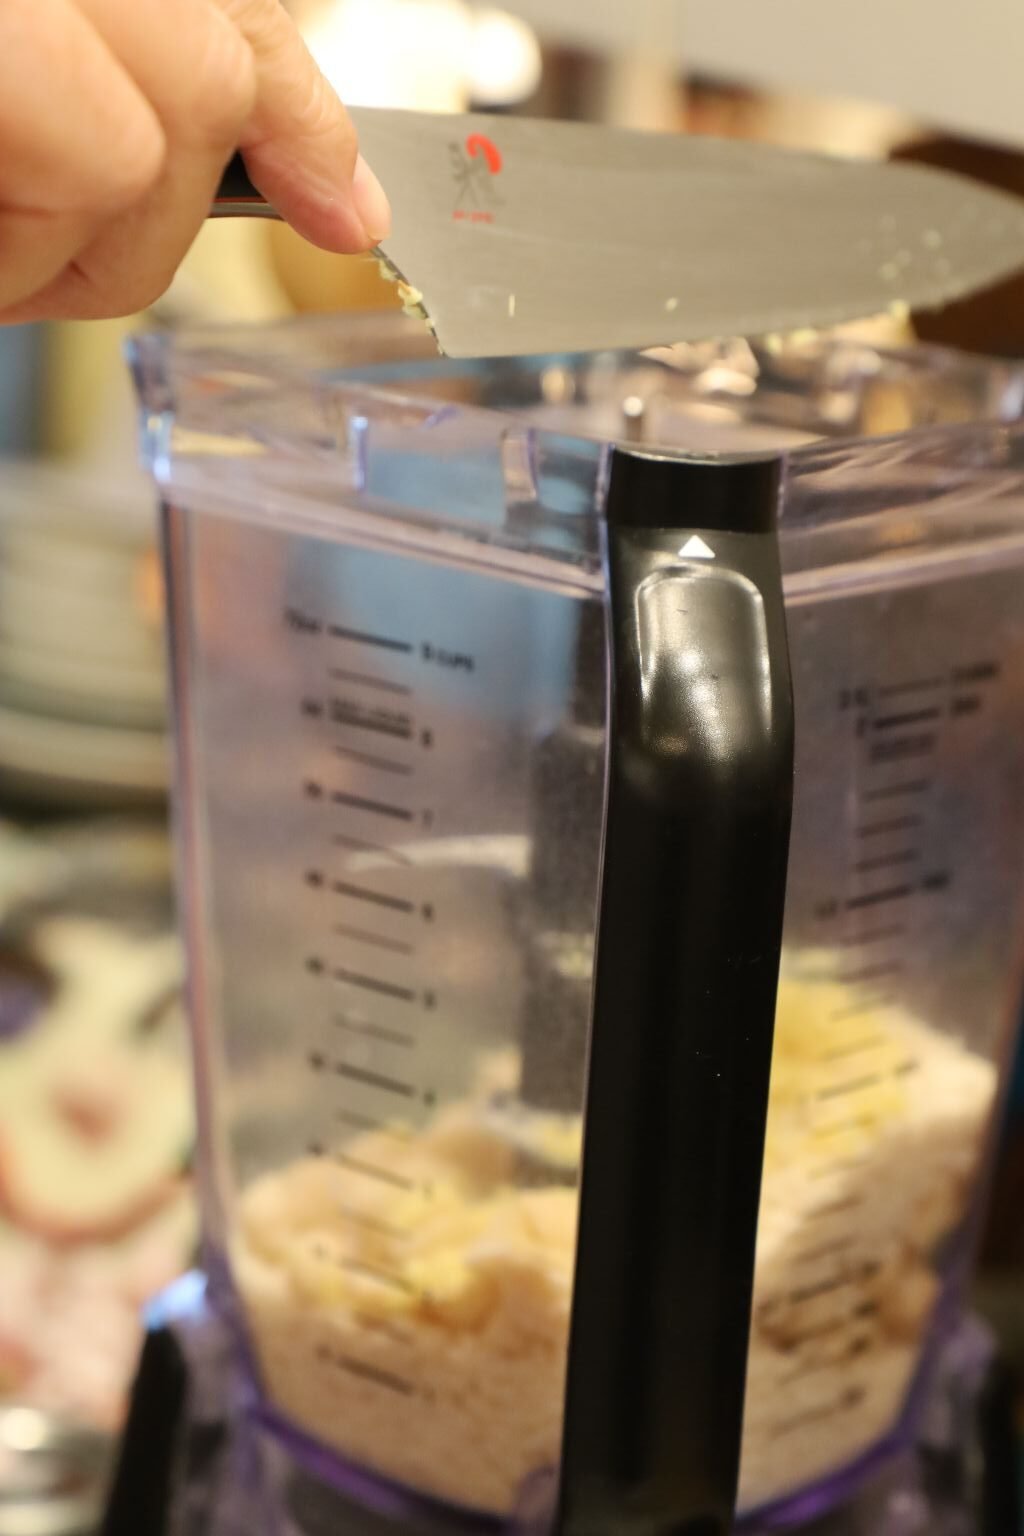
Add the chopped Ginger to the blender.
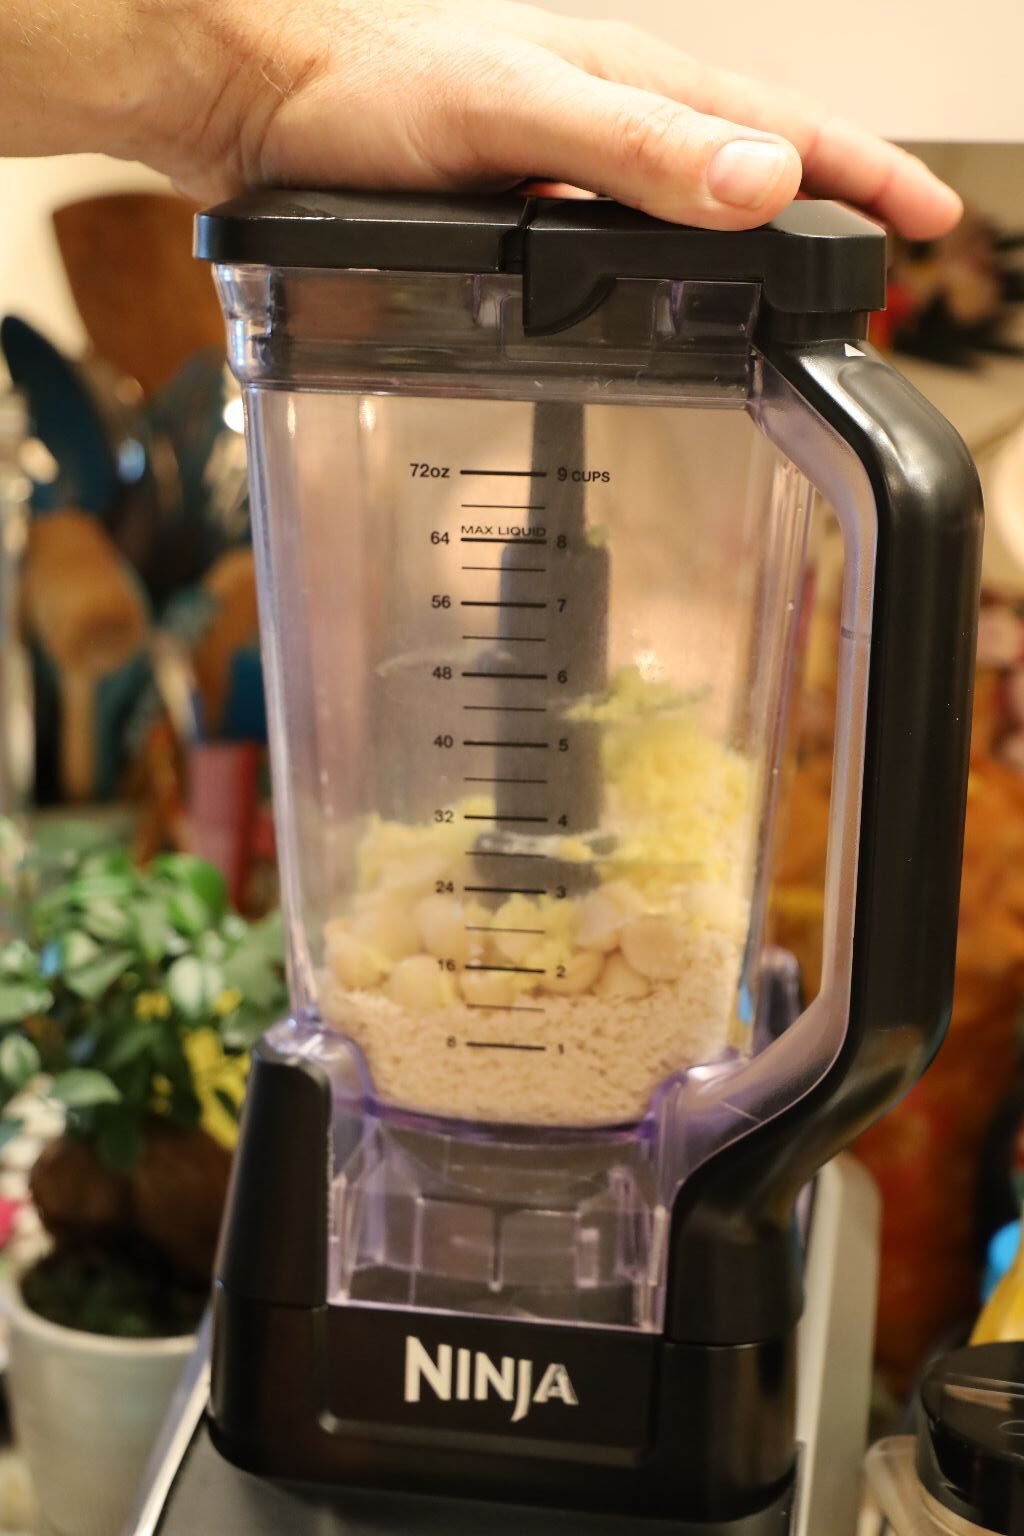
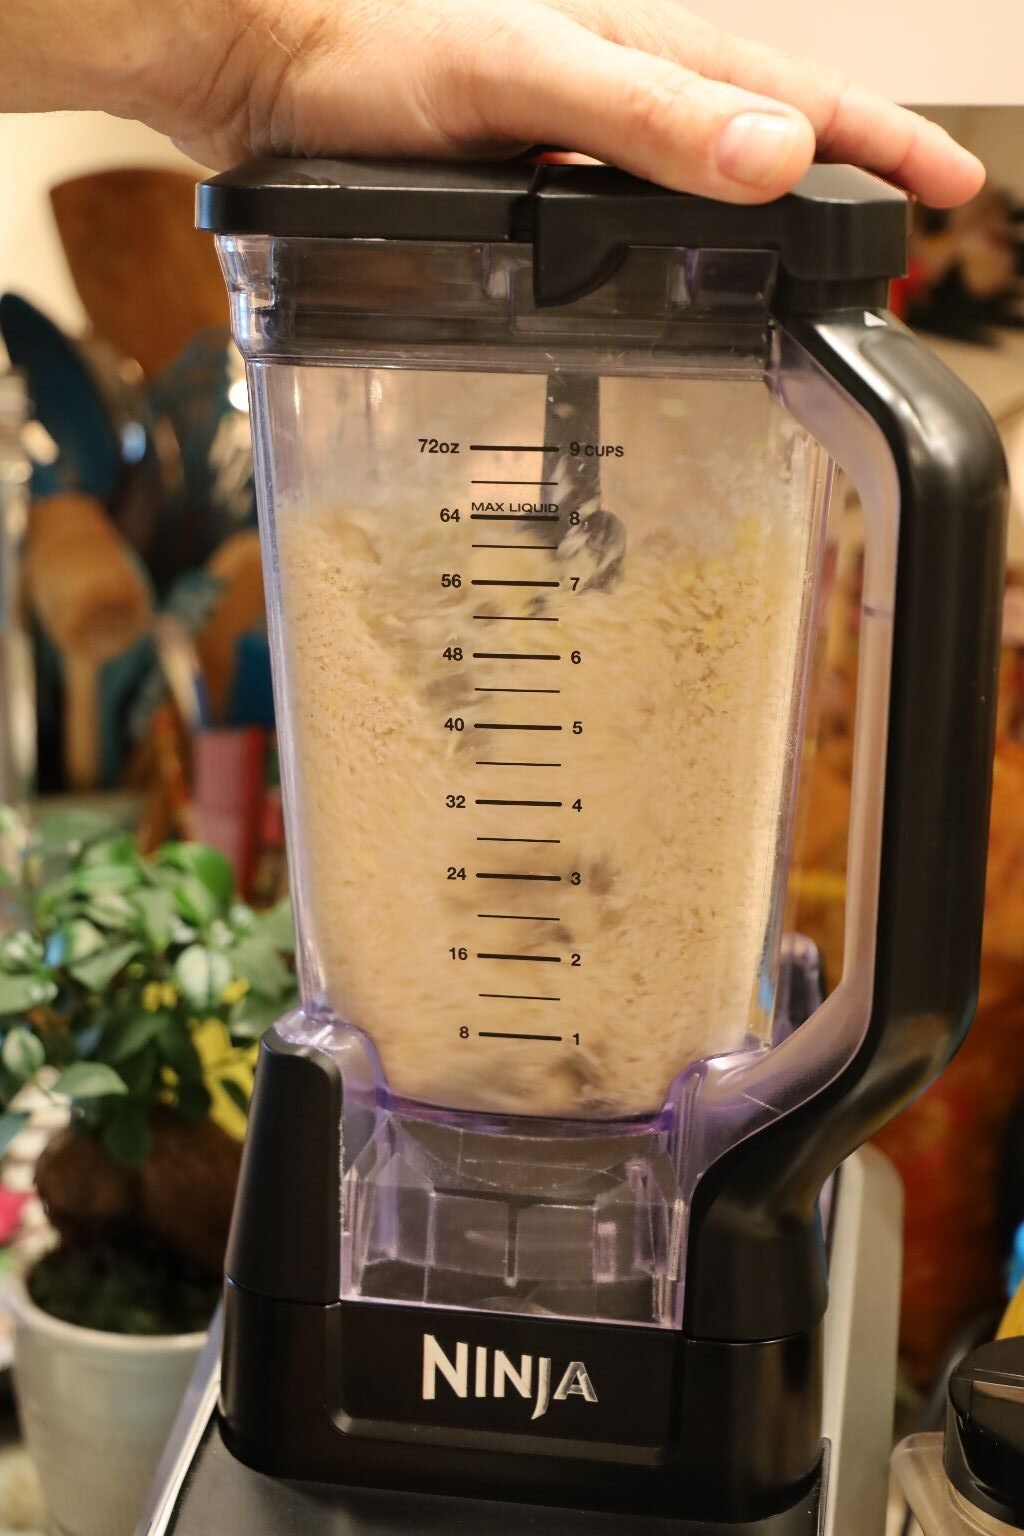
Blend the ingredients together for no more than 10 seconds.

Pour the mixture out onto a bowl or plate large enough to fit your fillets.
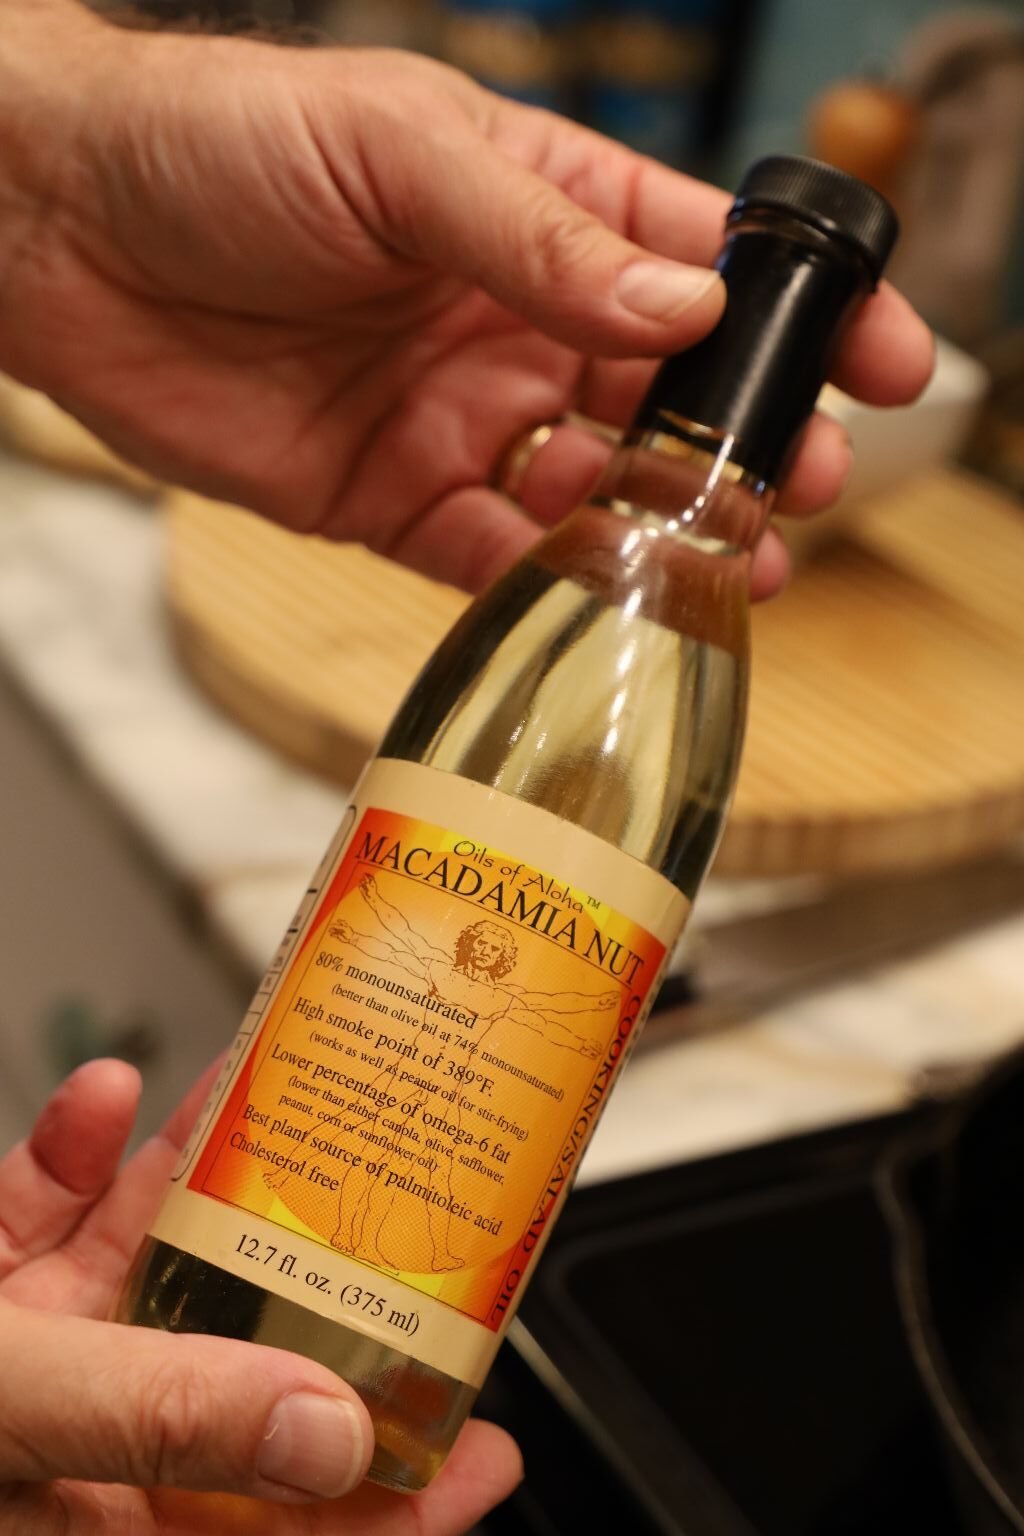

Here, I am adding a few tablespoons of Macadamia Nut Oil to my cast iron skillet.
Turn the temperature up to Medium High.
——————————————————————————-
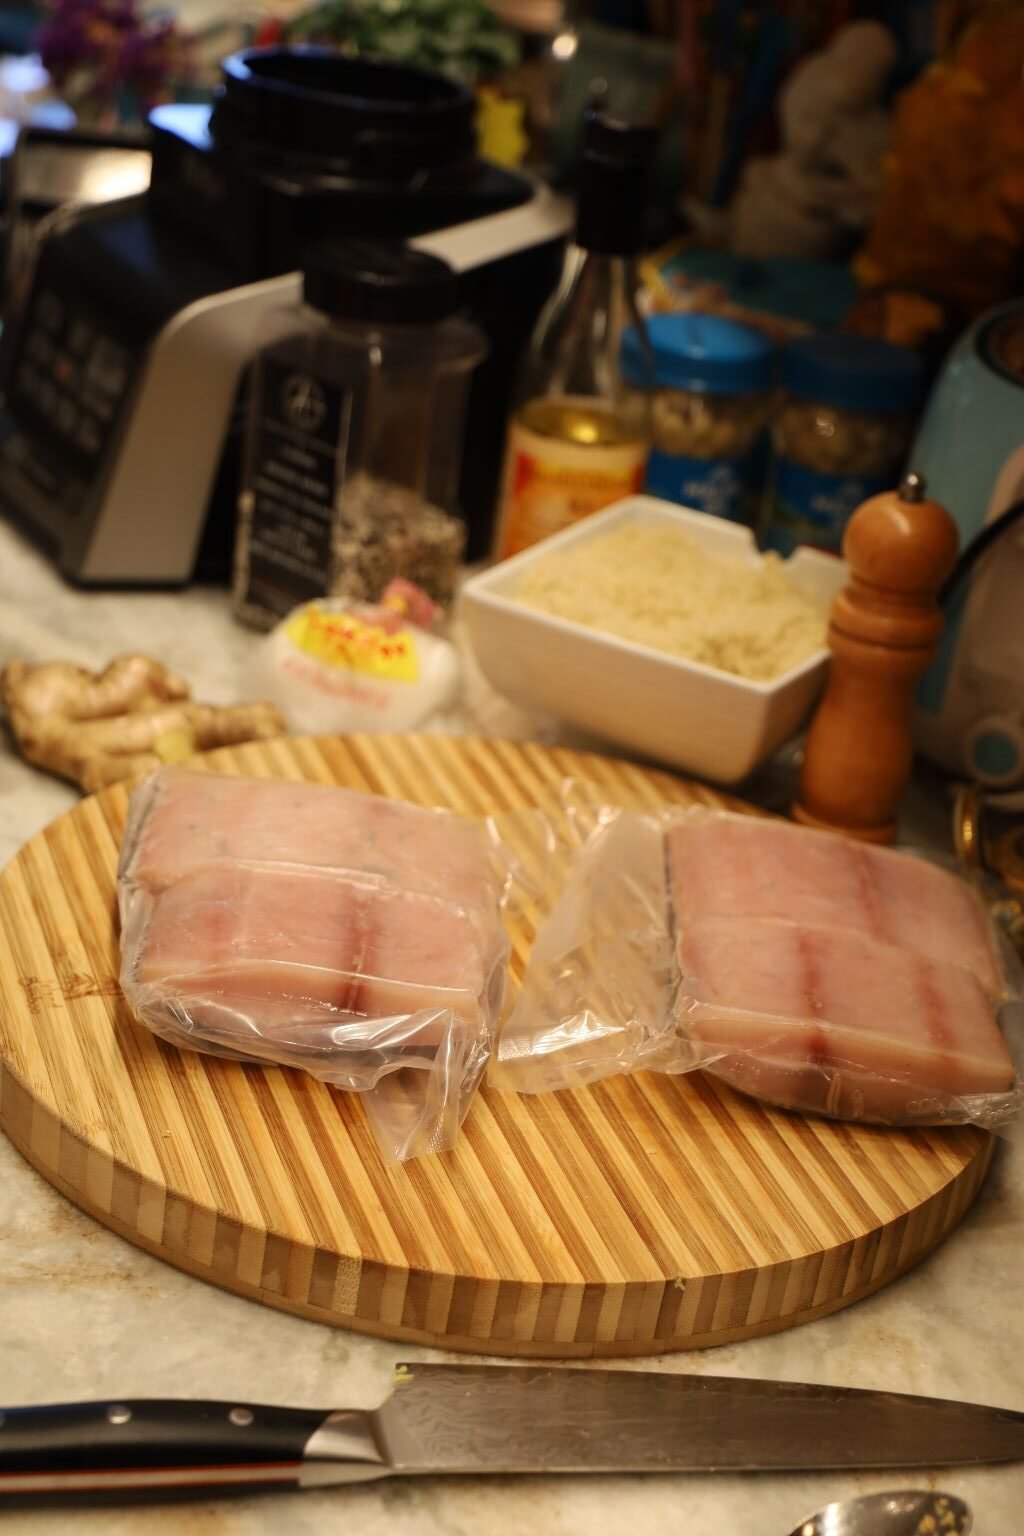
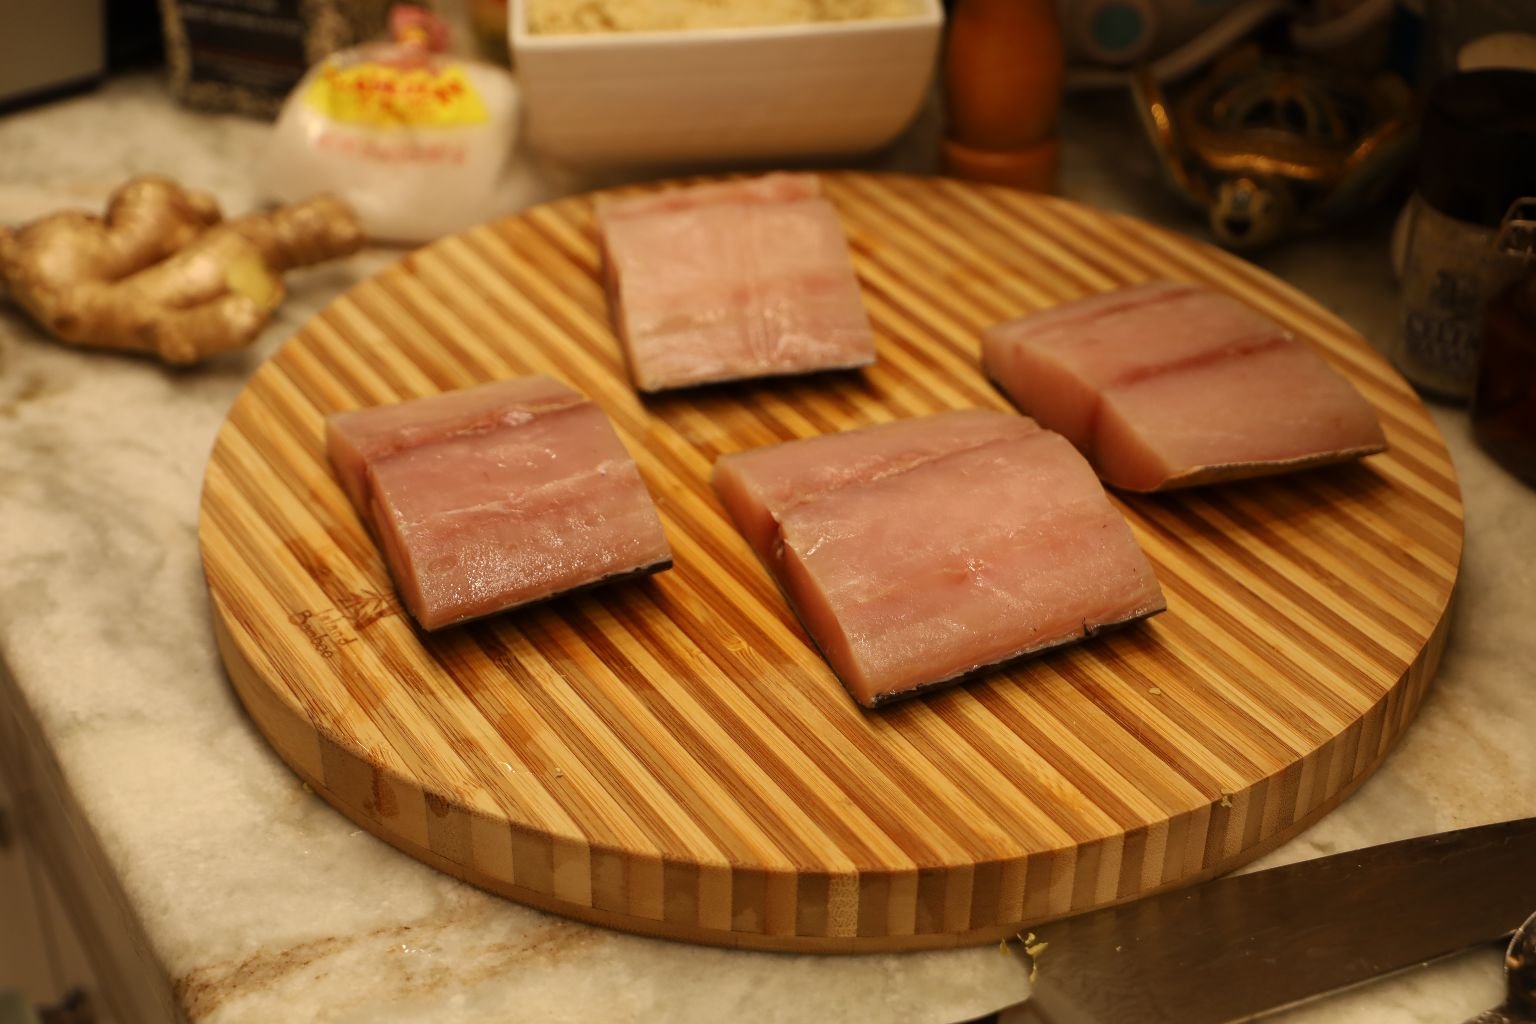
Remove the Mahi Mahi fillets from their vacuum sealed packages.
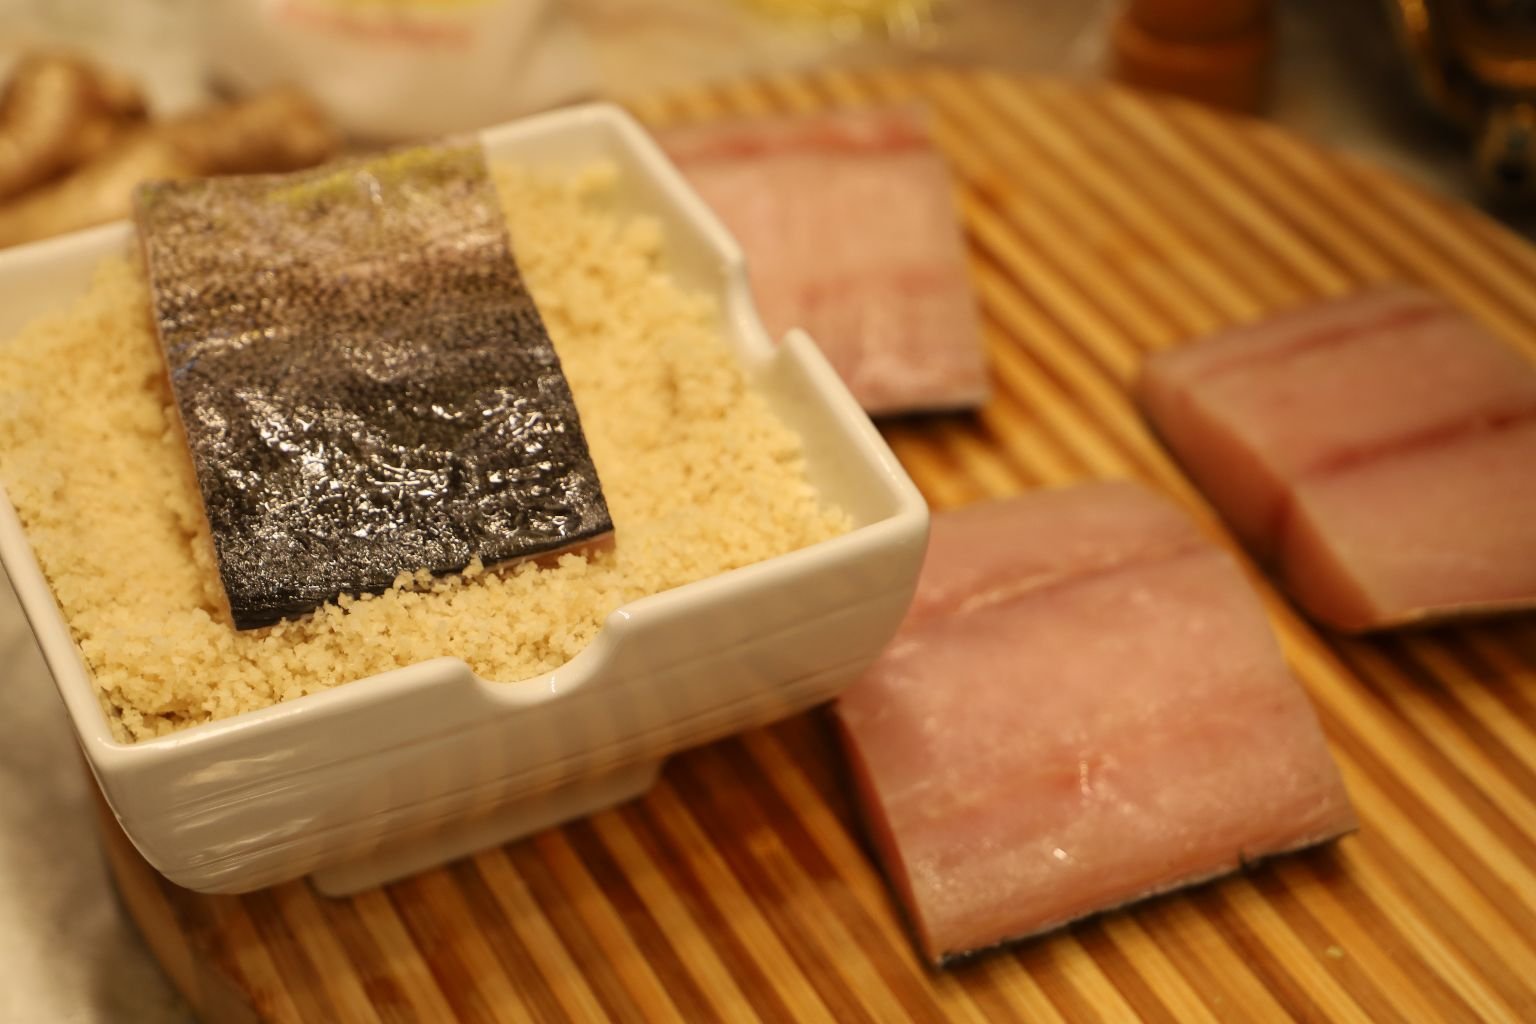
Place the fillet meat side down into the bread crumb mixture.
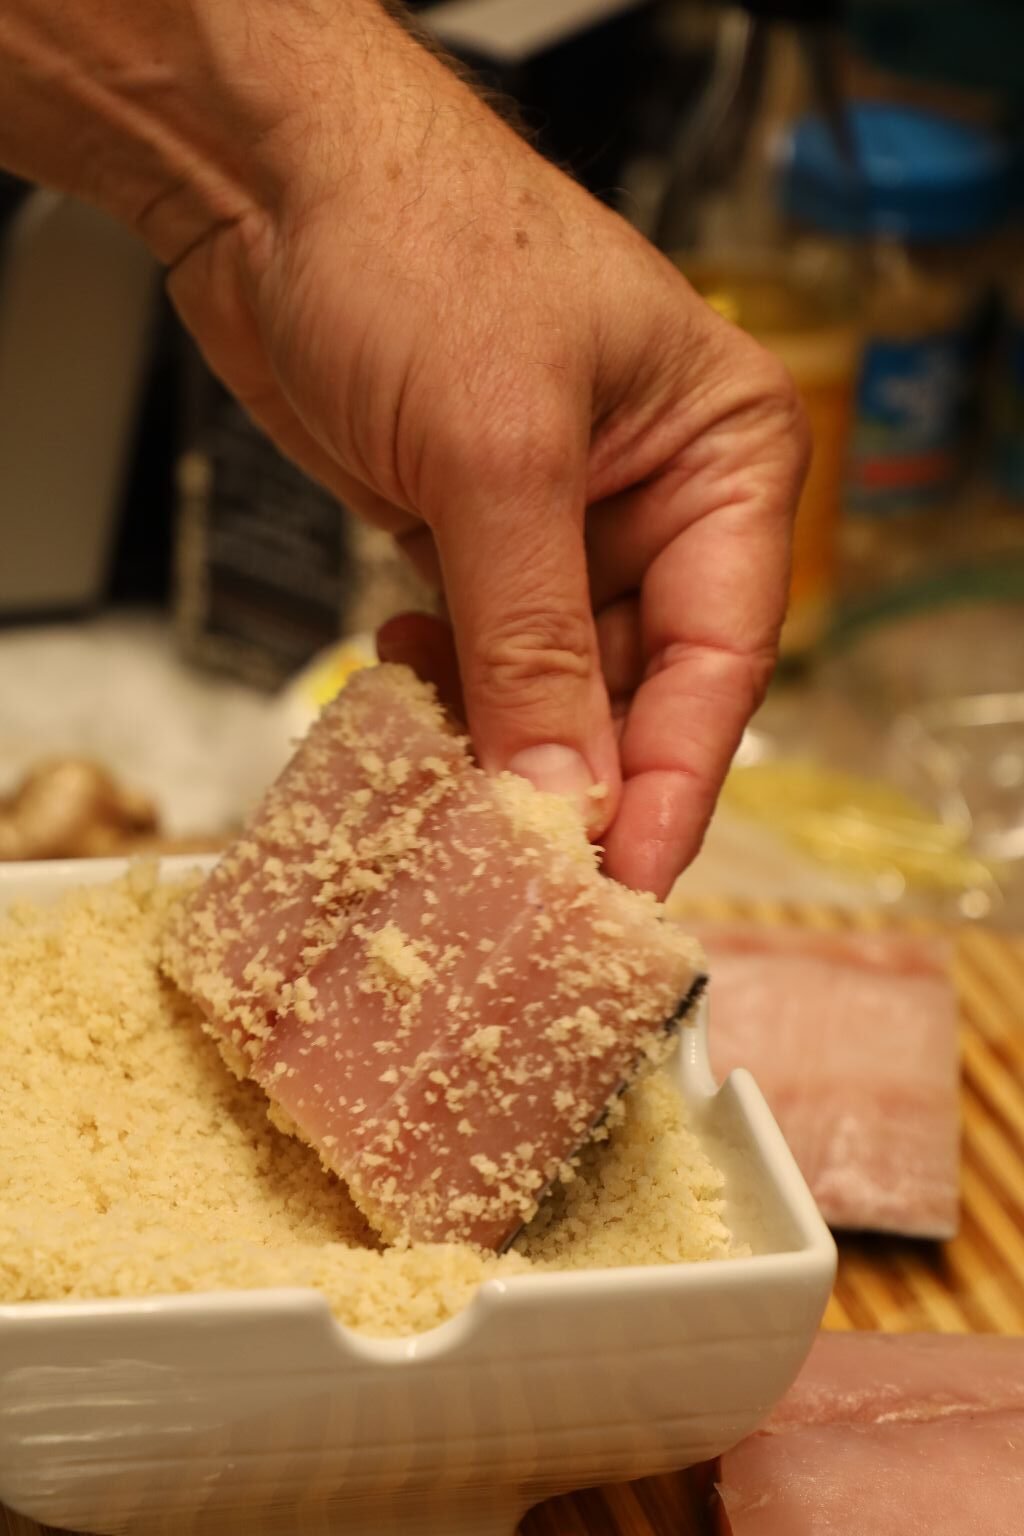
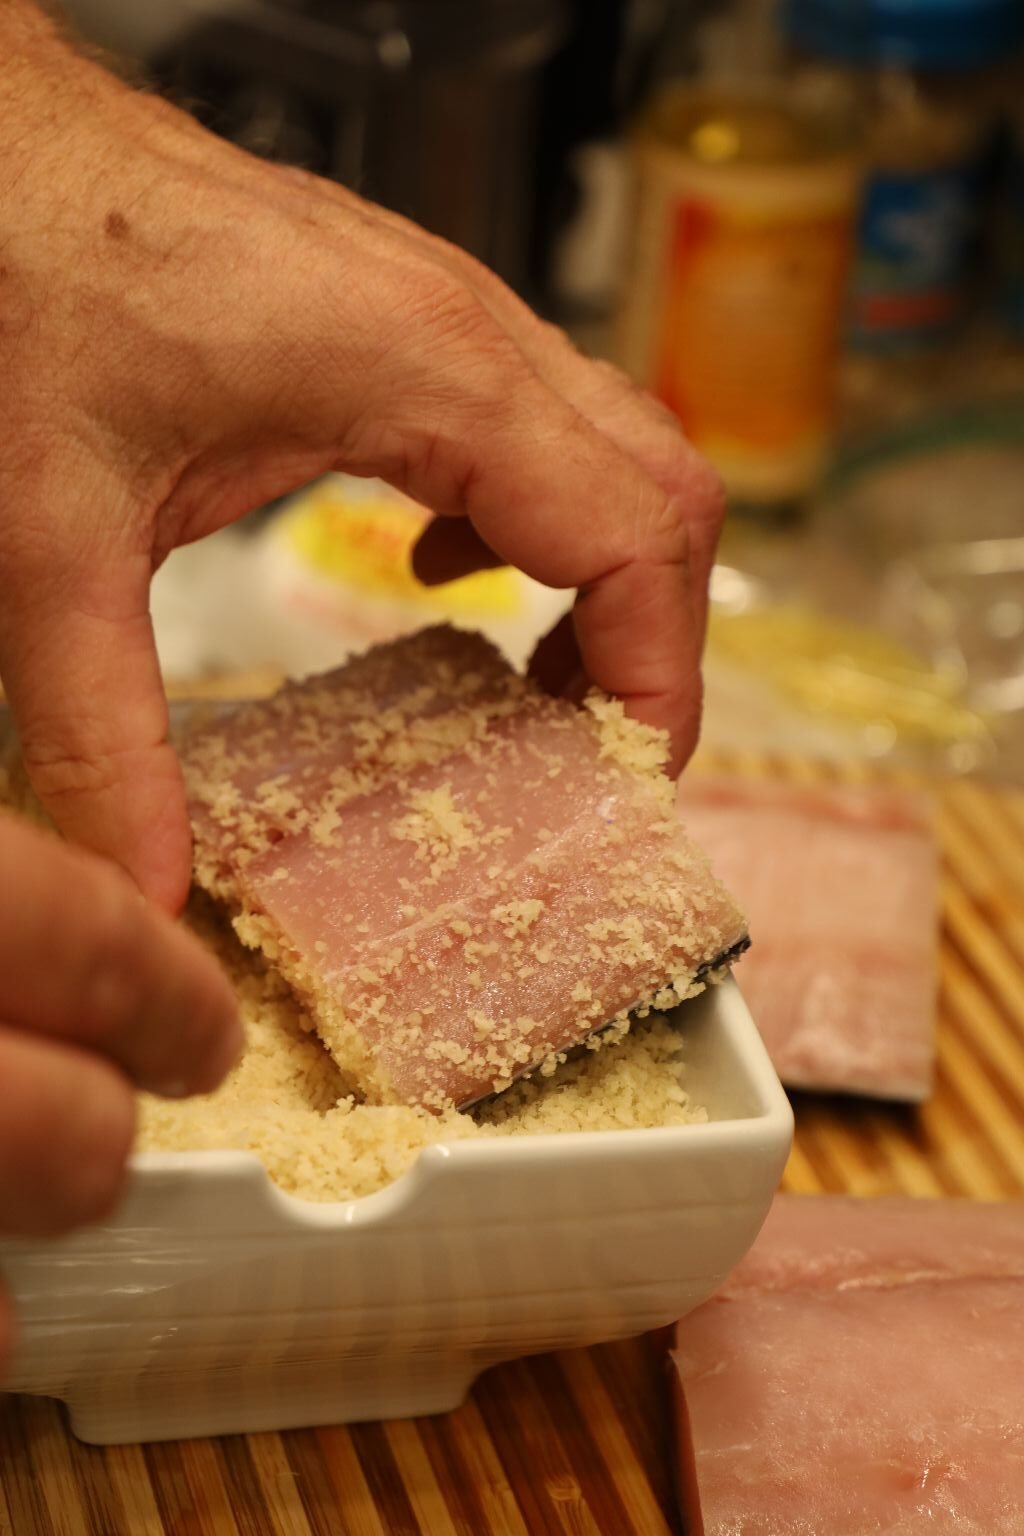
Here you can see the fillets weren’t moist enough to hold onto the breadcrumbs. In this case, you can simply run some water over the fillet to help it hold onto the breadcrumbs.
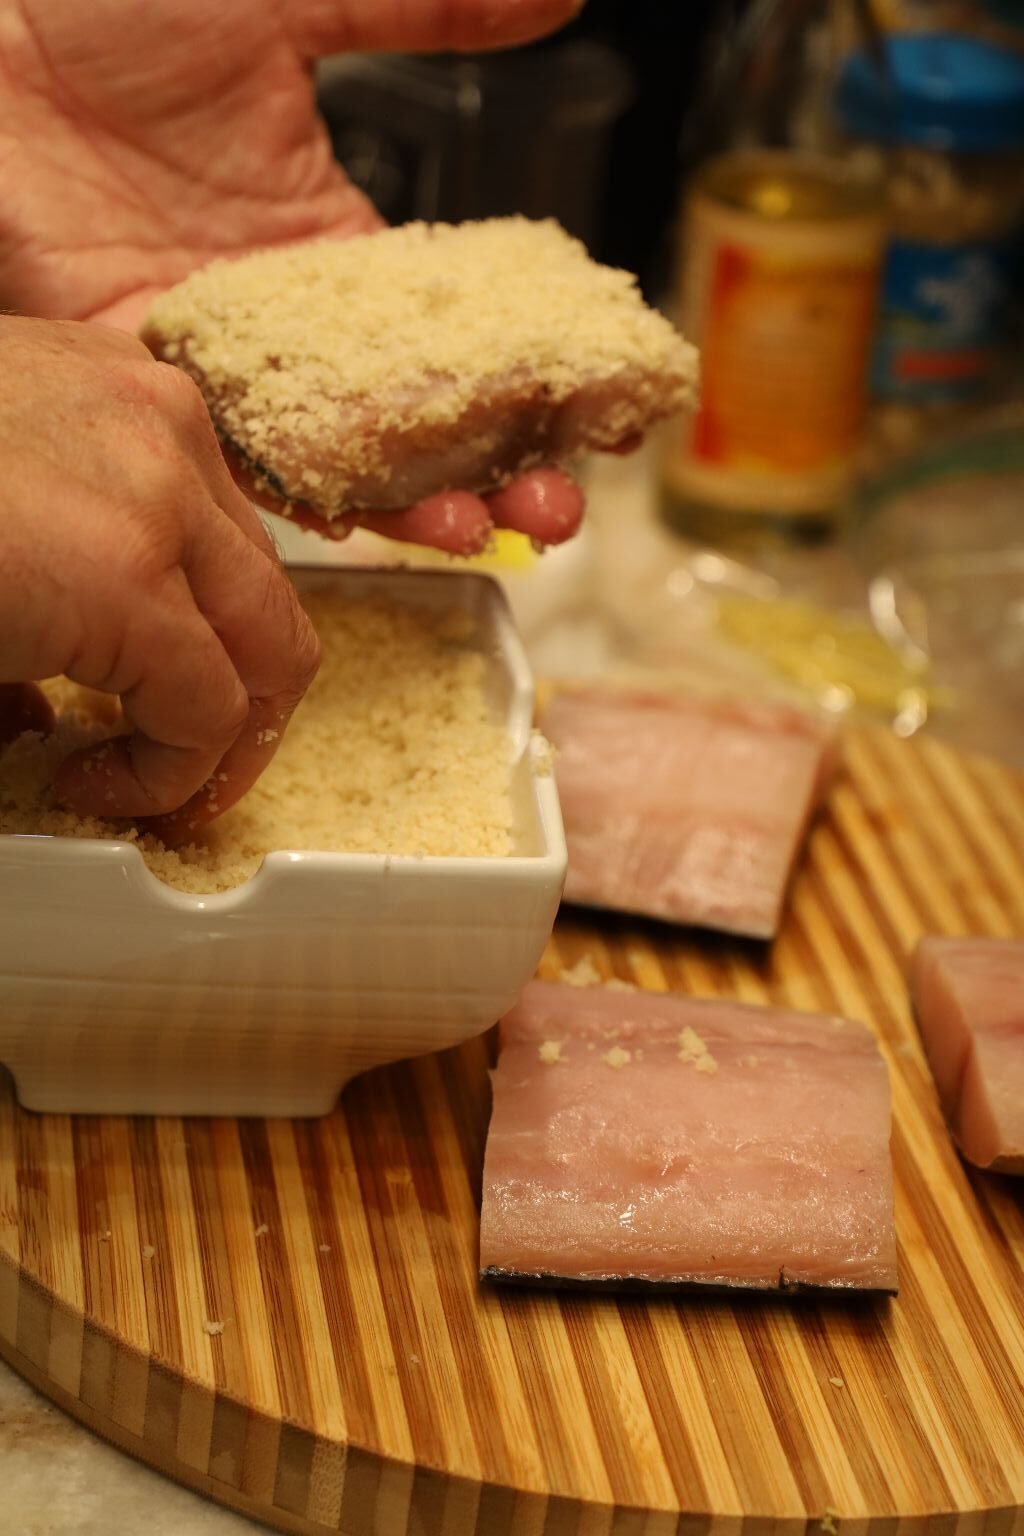

Here you can see on my second try, the breadcrumbs stuck to the fish with a little help from me to pack them on.
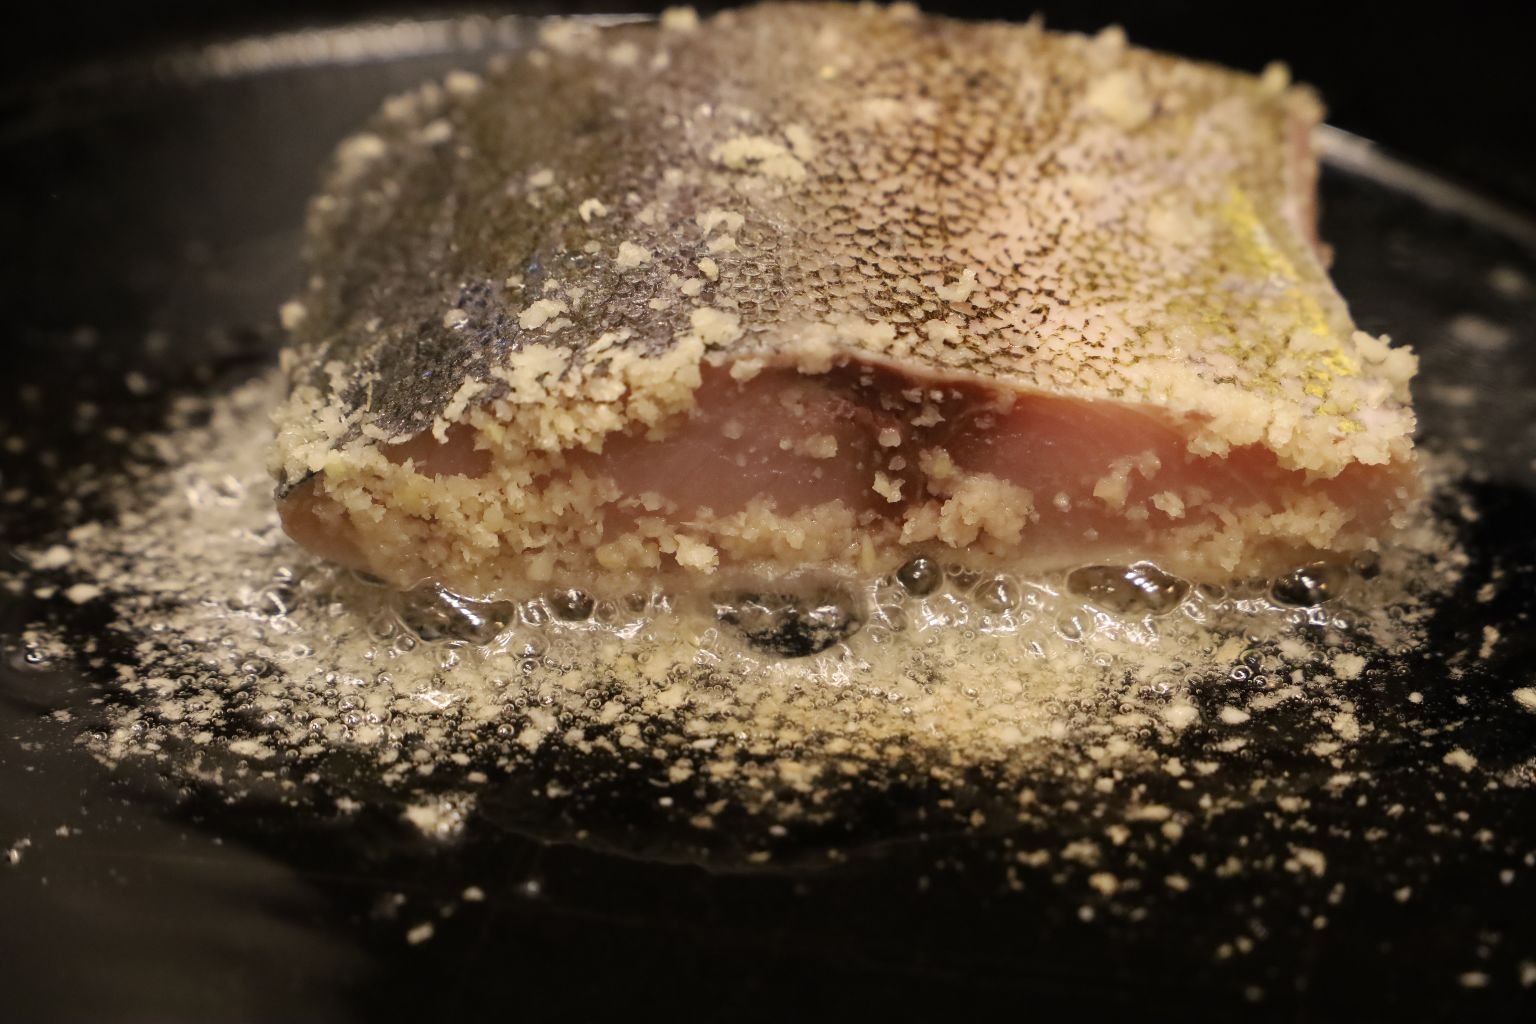
By now, your oil should be hot, so gently place your fillet, breadcrumb side down into the oil.
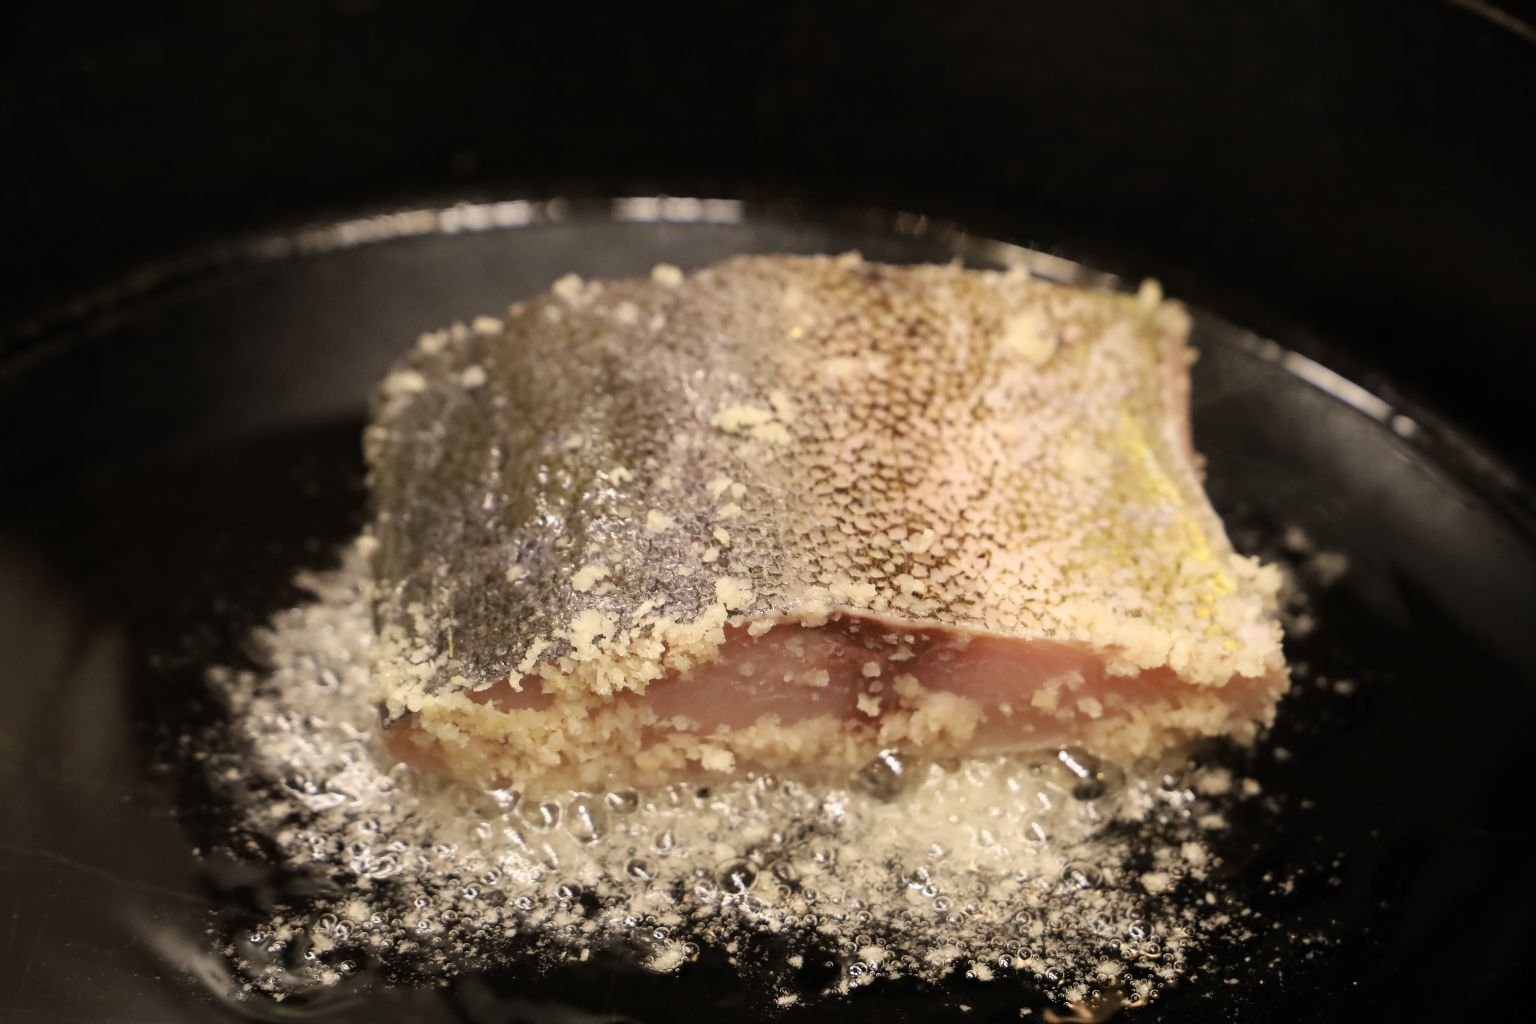
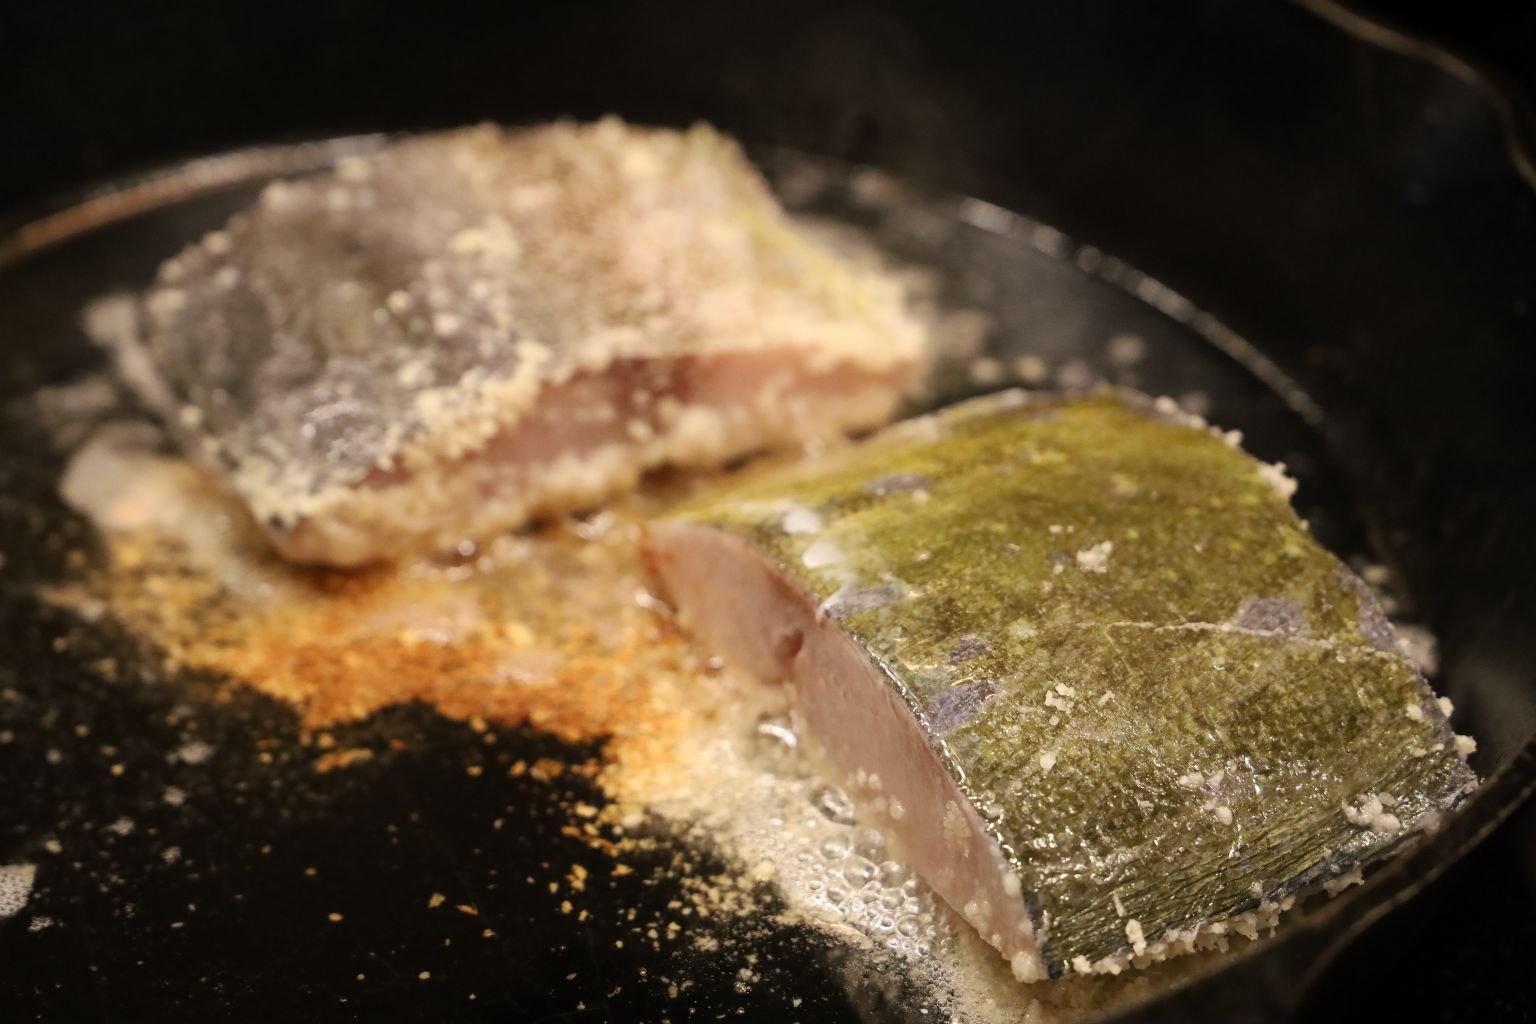
Coat your other fillets with the breadcrumb mixture and add the second fillet to the pan.

Fry the fillets for about 6 min. on each side. If you look closely as the side of the fish, you can also gage your time by the fish turning white. When the fish changes color halfway up the fillet, it is time to turn the fillet over to the skin side.
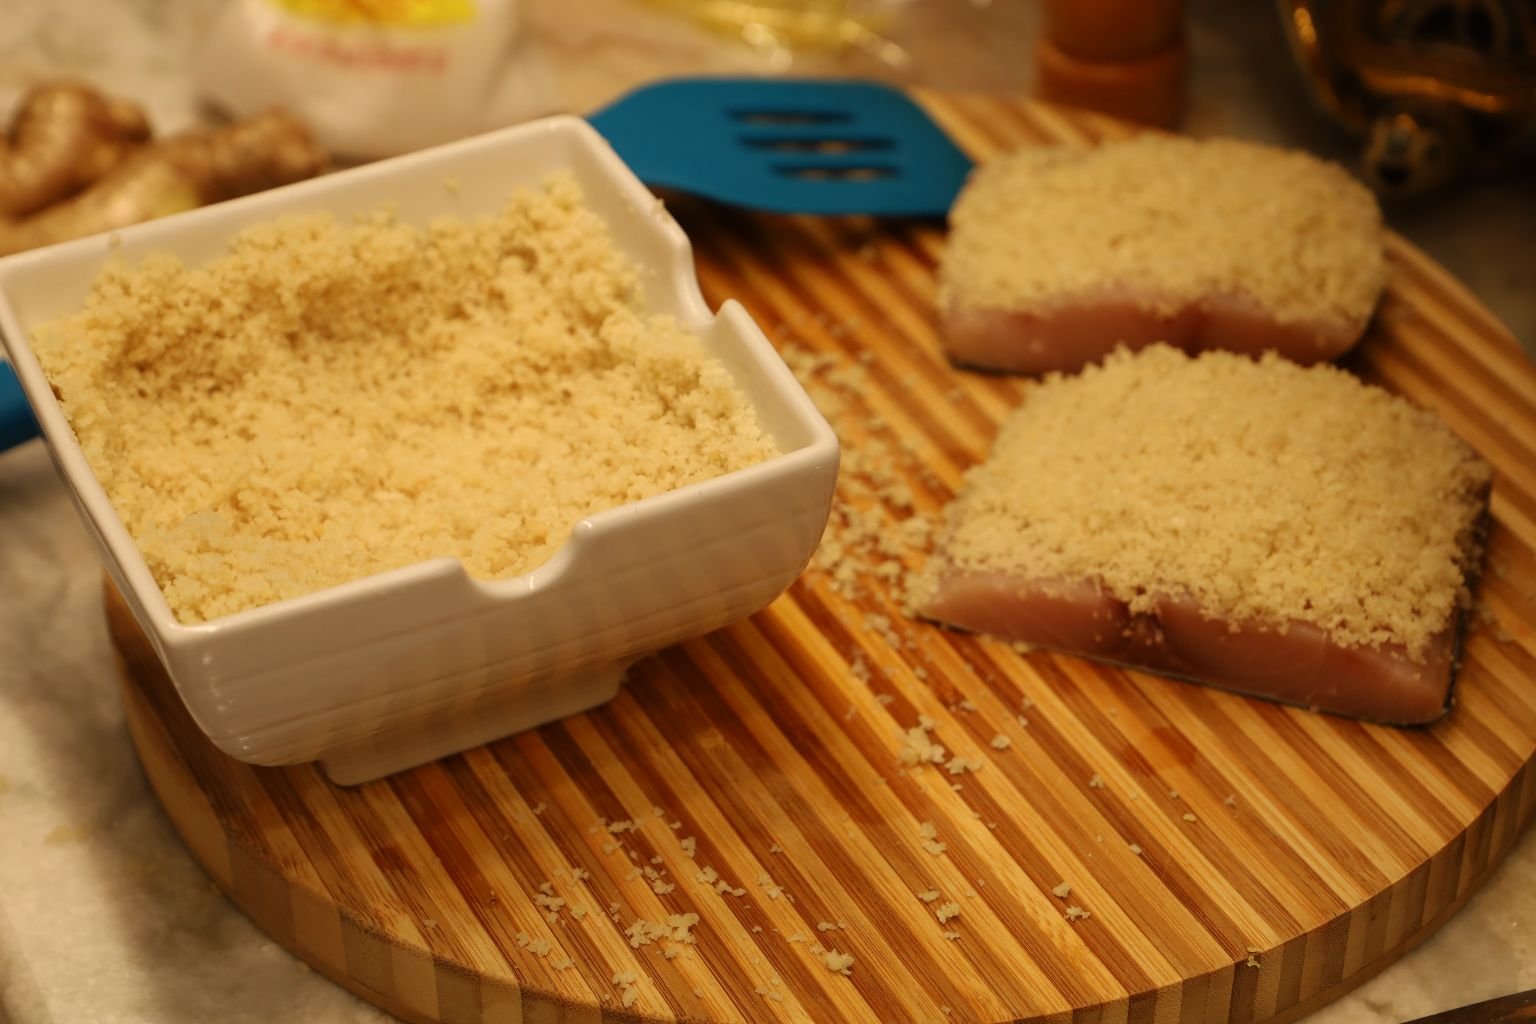
Here you can see the other fillets encrusted and ready for the pan.
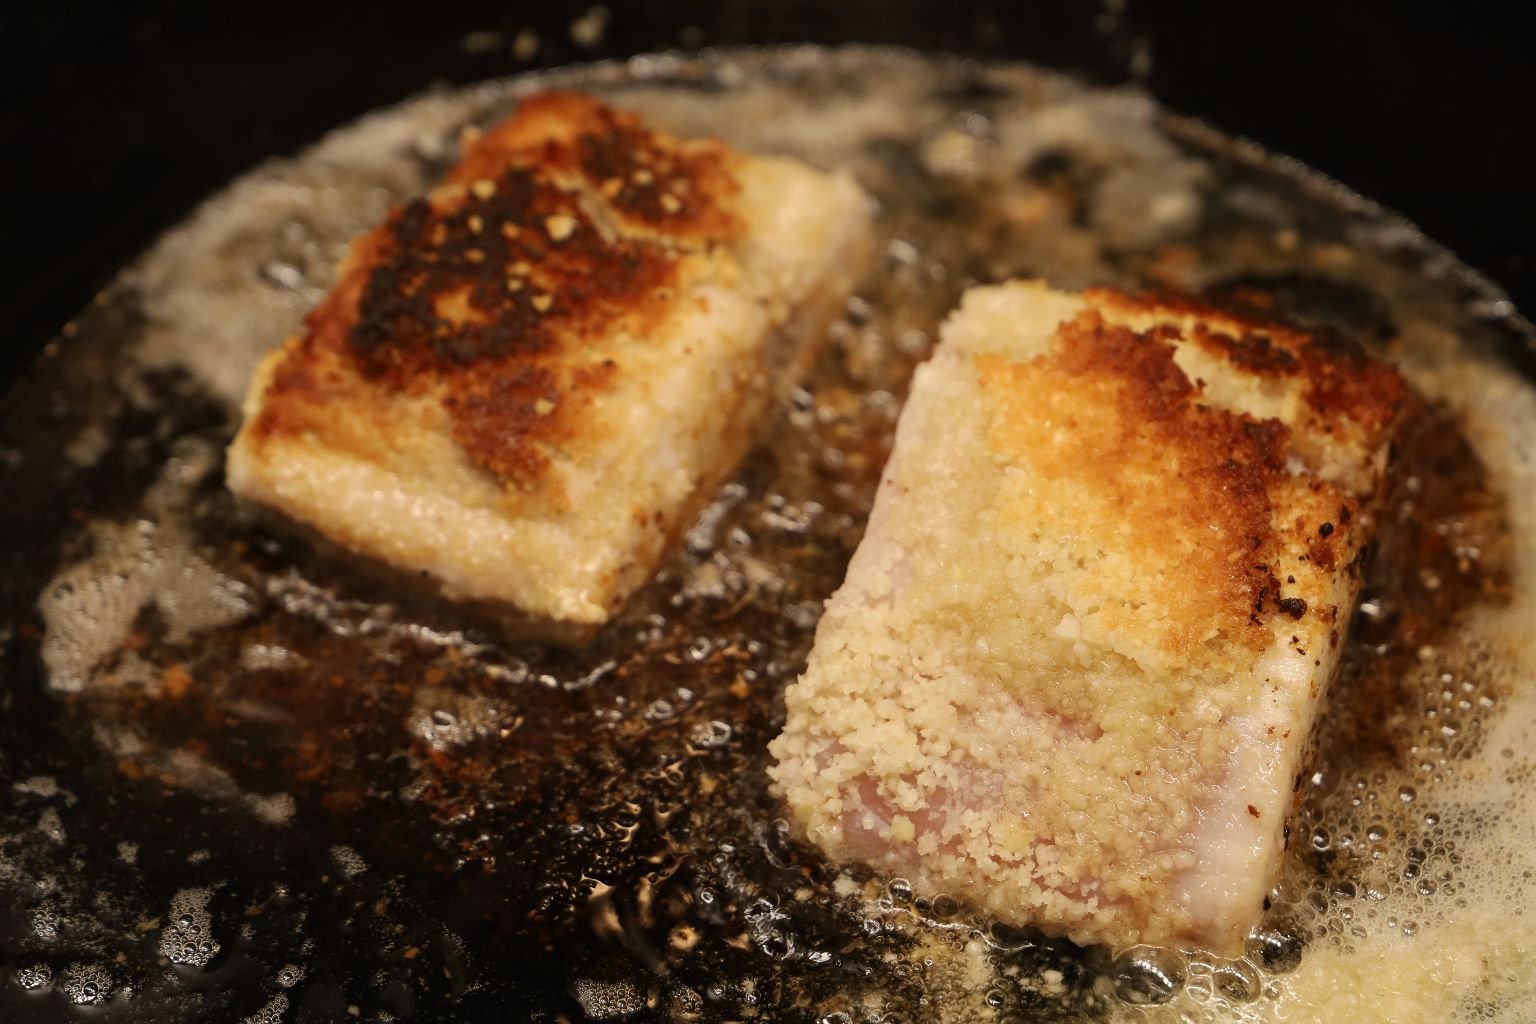
When I turned the fillets over, you will see they are a little burnt as this is due to the Macadamia Nuts and their inability to take heat. You can also see the one fillet isn’t cooked all the way as it didn’t sit flat in the pan. No worries, this is an easy fix. Simply place the encrusted side back in the oil and hold the fish up so that only that uncooked portion is hitting the oil. As far as the slightly burnt parts of the crust, I like it as it is almost like blackened fish and the burnt tastes really didn’t come through.
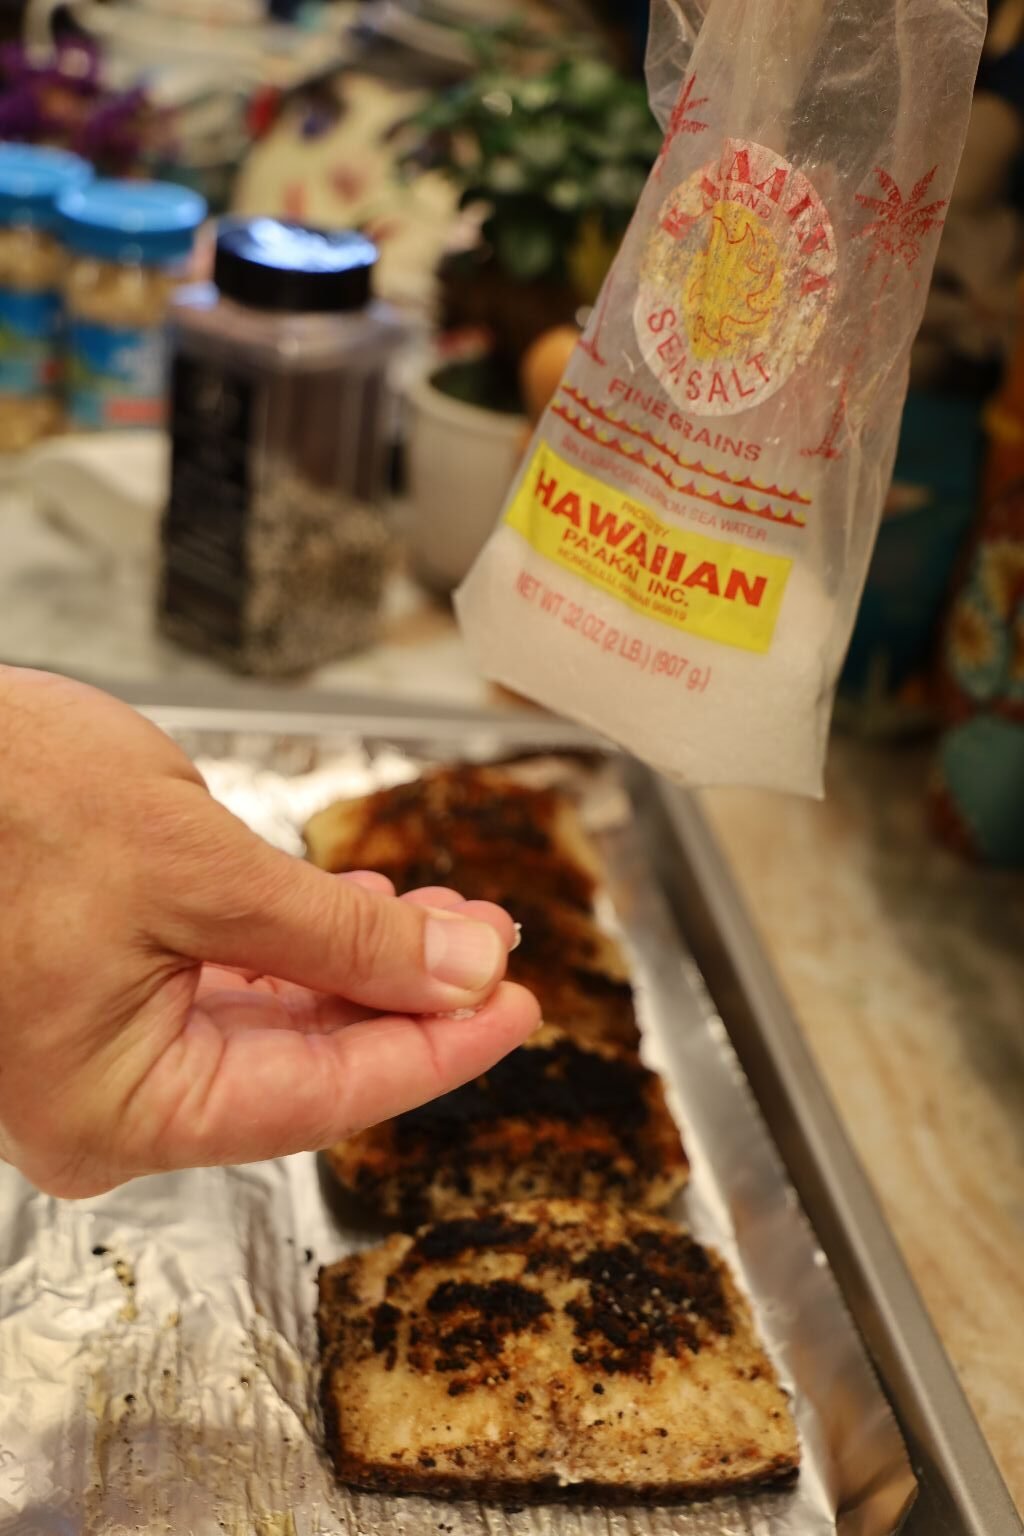
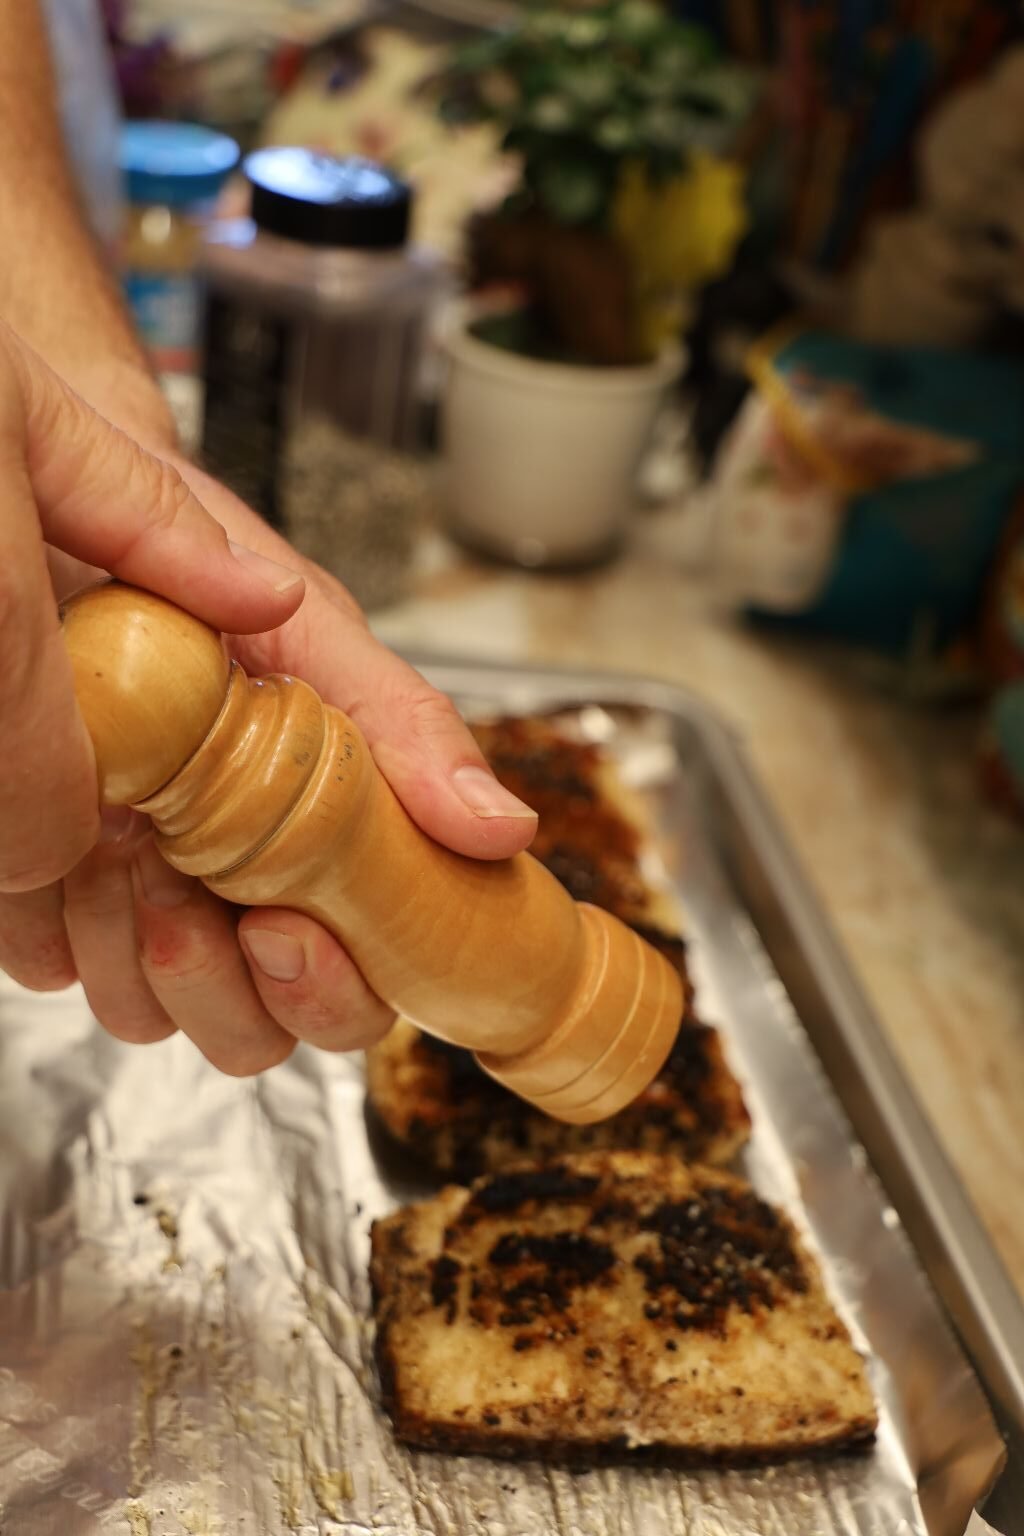
Cook all the filets, then when done, add some Hawaiian Sea Salt and freshly ground black pepper.
———————————————————————————————-
Now for the Vegetable Spring Rolls
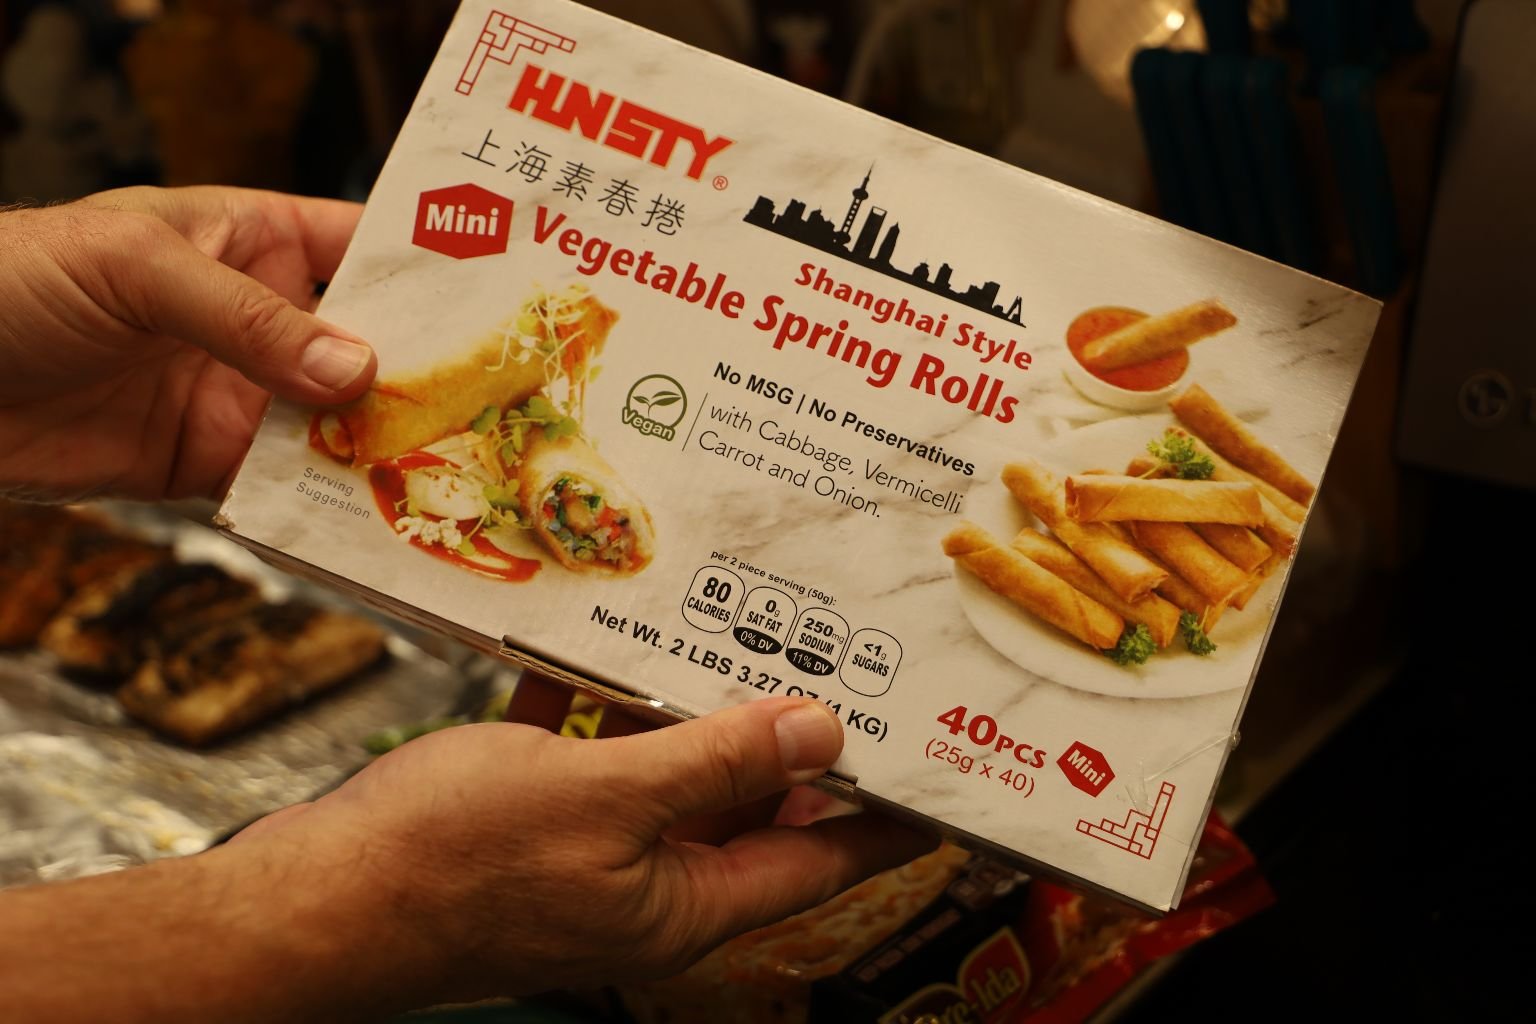
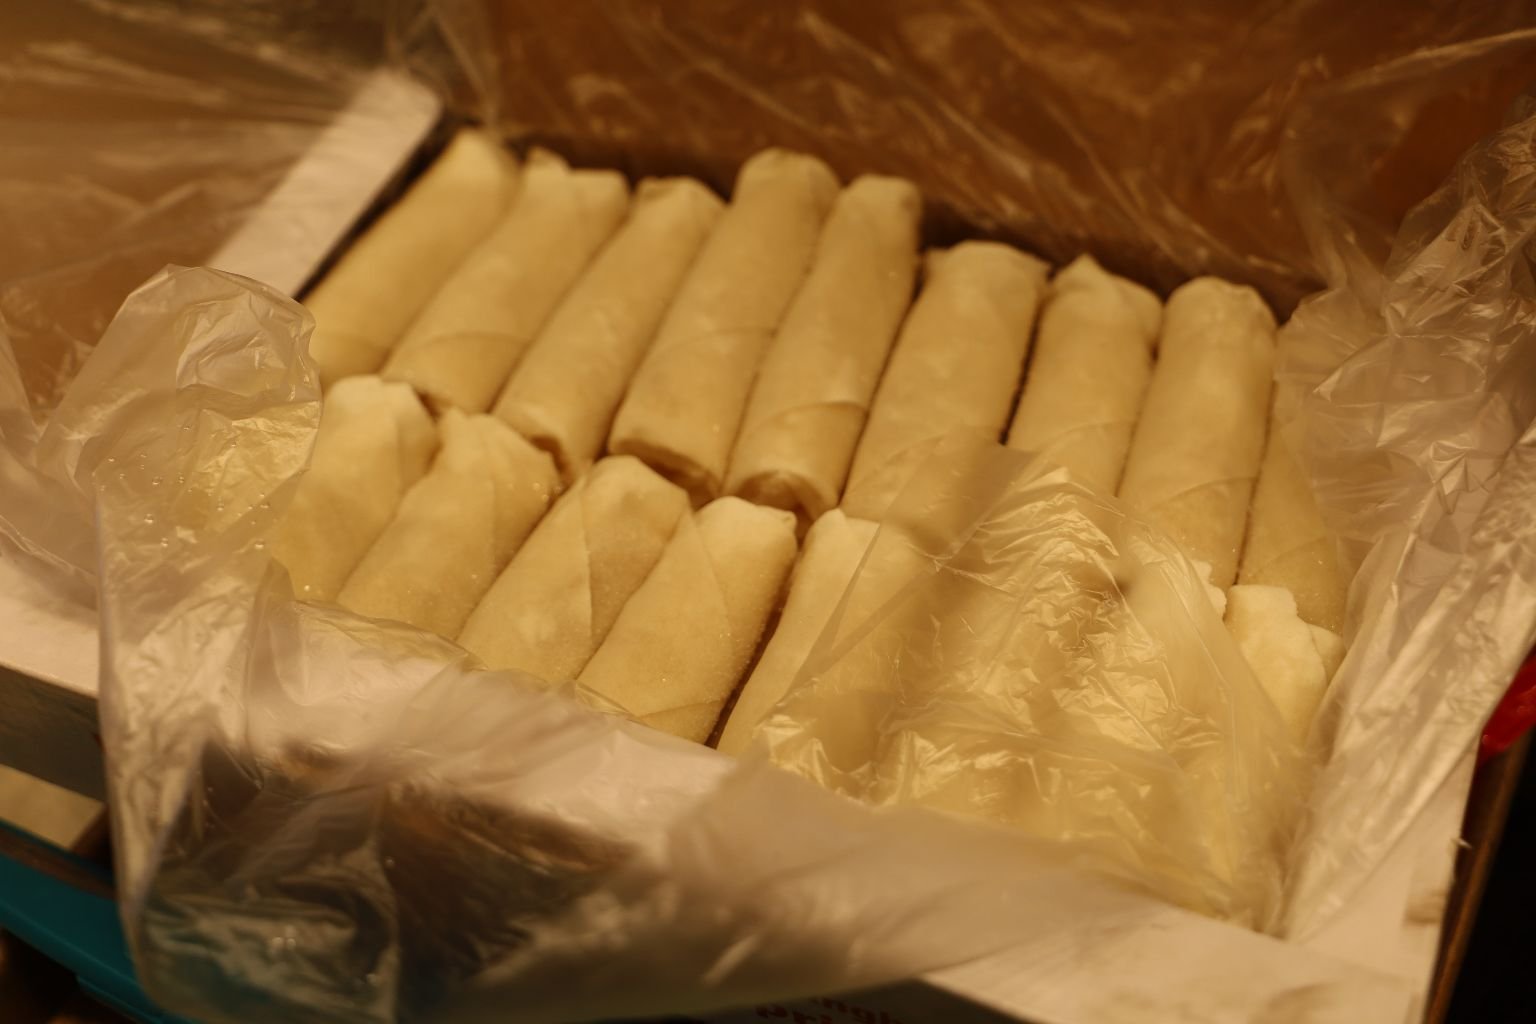
If you are looking for a more authentic Spring Roll, then check out your local Asian Supermarket.


Heat your vegetable oil to medium high heat and fry the spring rolls until golden brown.
Place the cooked spring rolls on a plate lined with paper towels to absorb the excess oil.
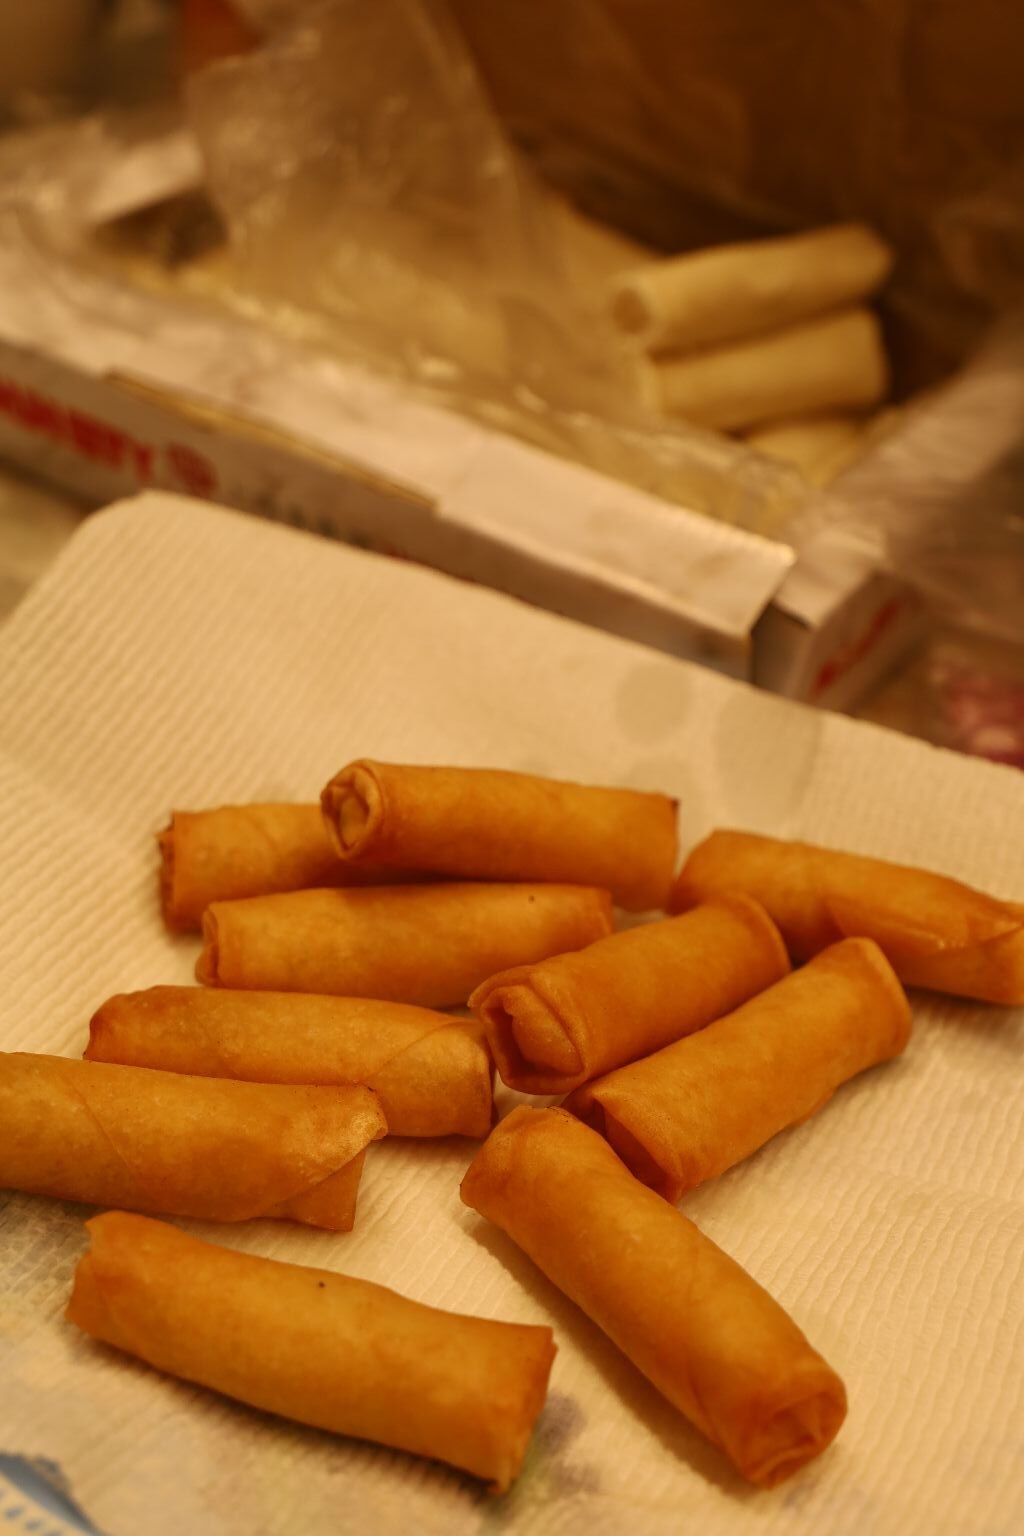
Cook all the spring rolls and place them on a aluminum foil lined sheet pan.
Place them and your Fish Filets in your oven on low until ready to serve.

————————————————————————————–
The Asian Sesame Hash Brown Potatoes
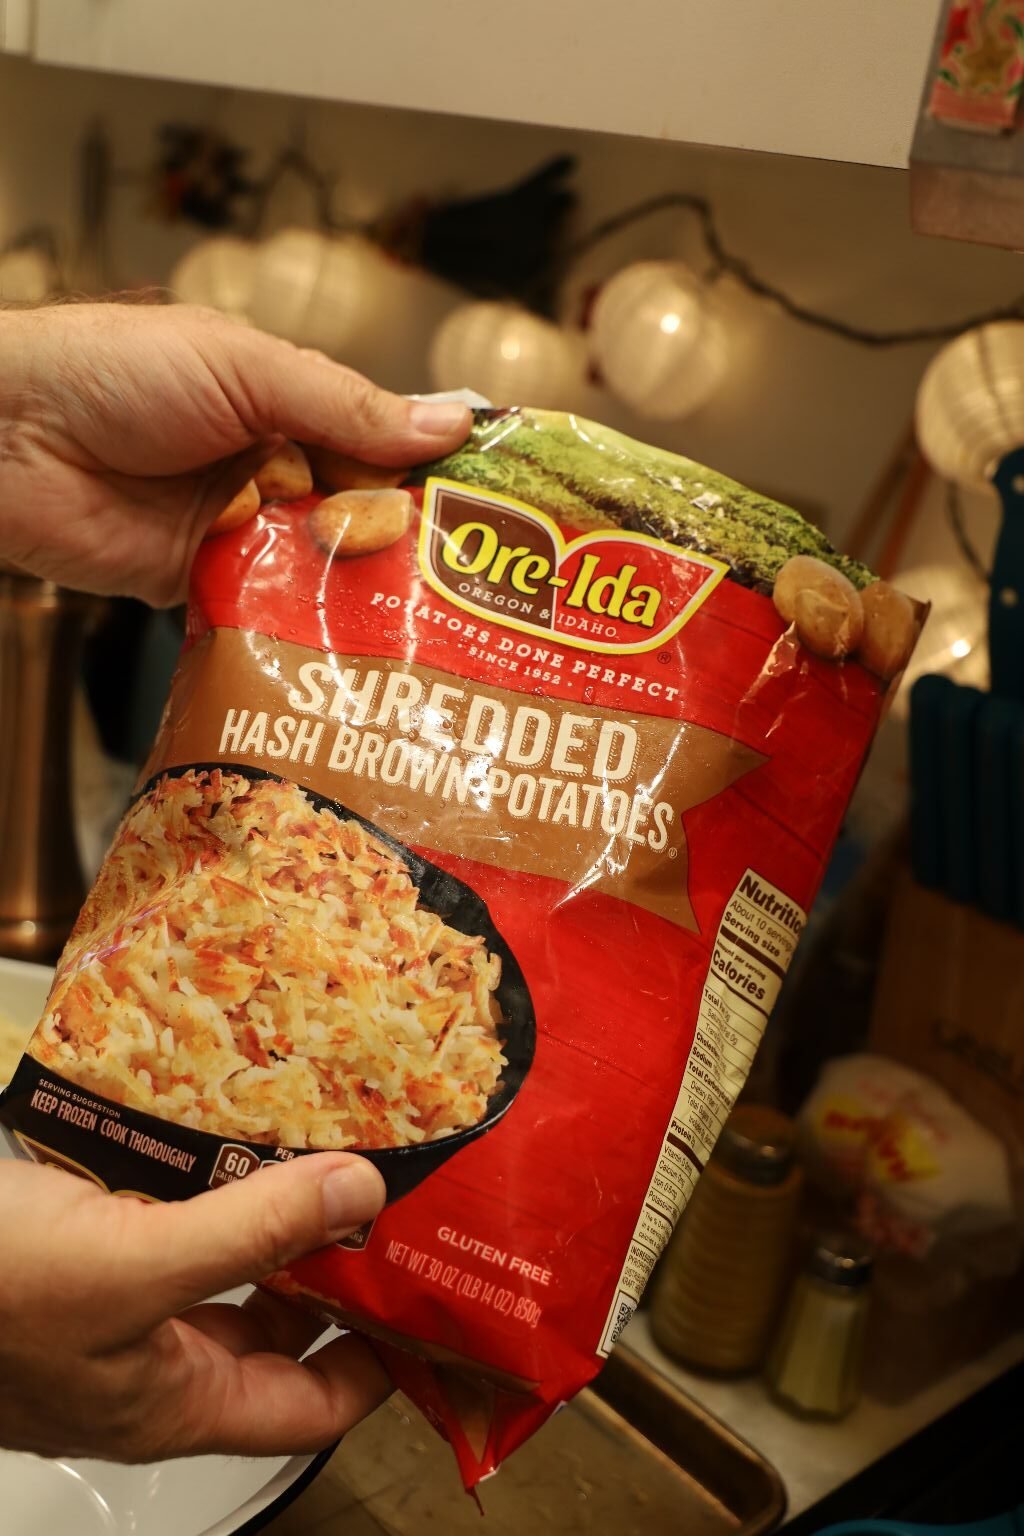
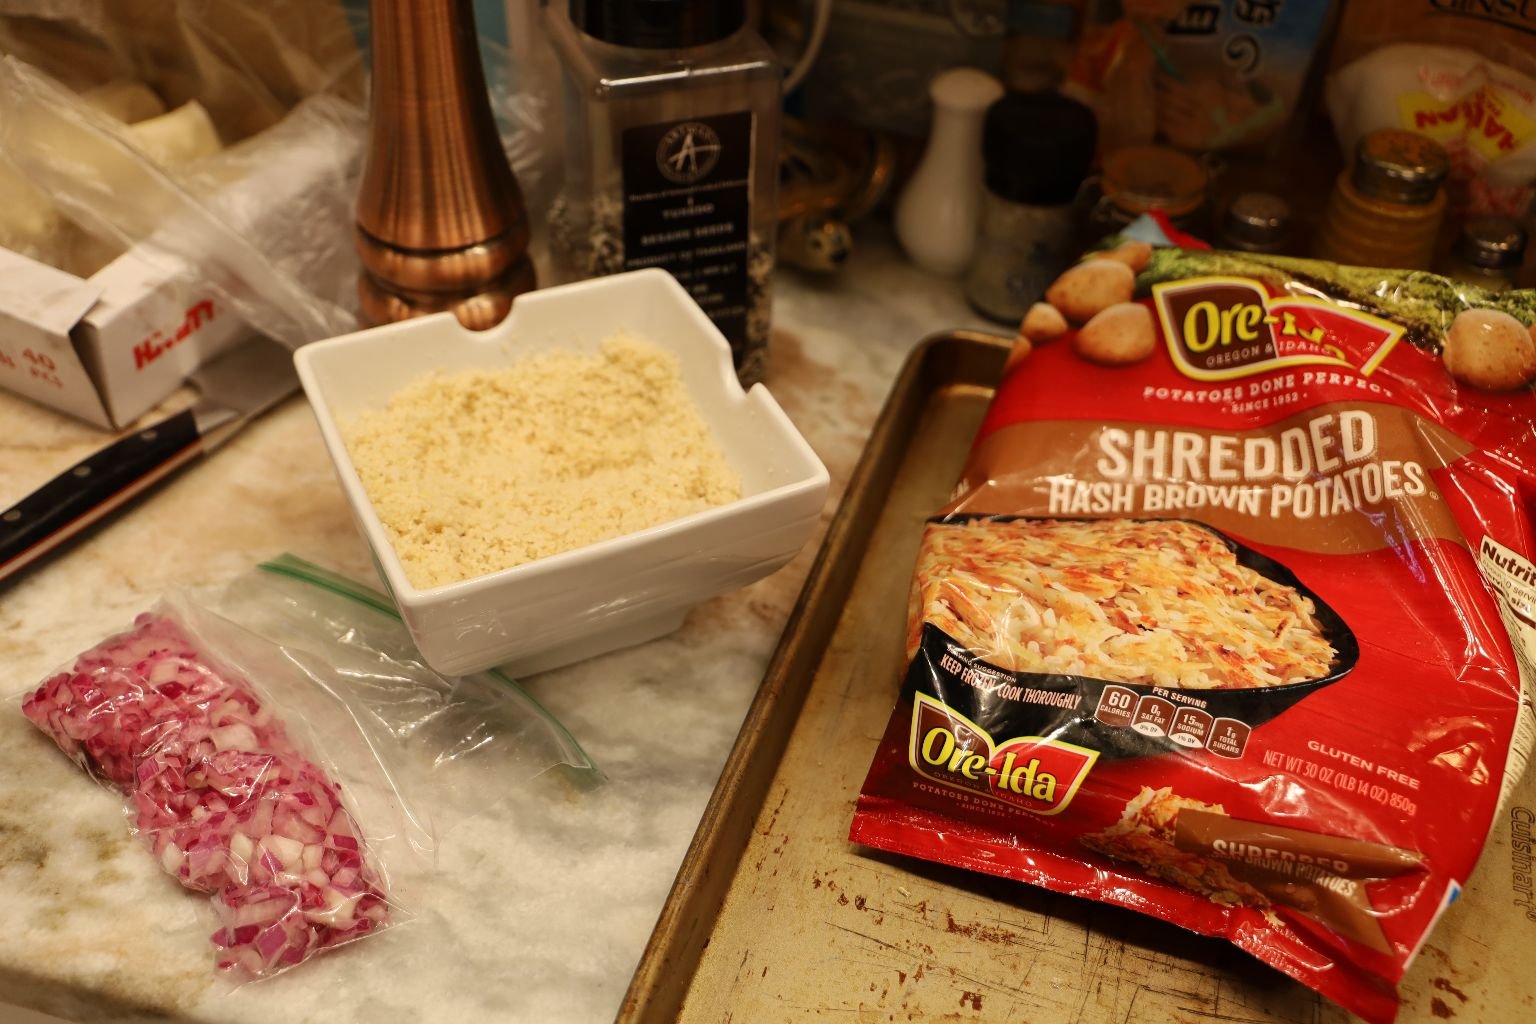
Ingredients:
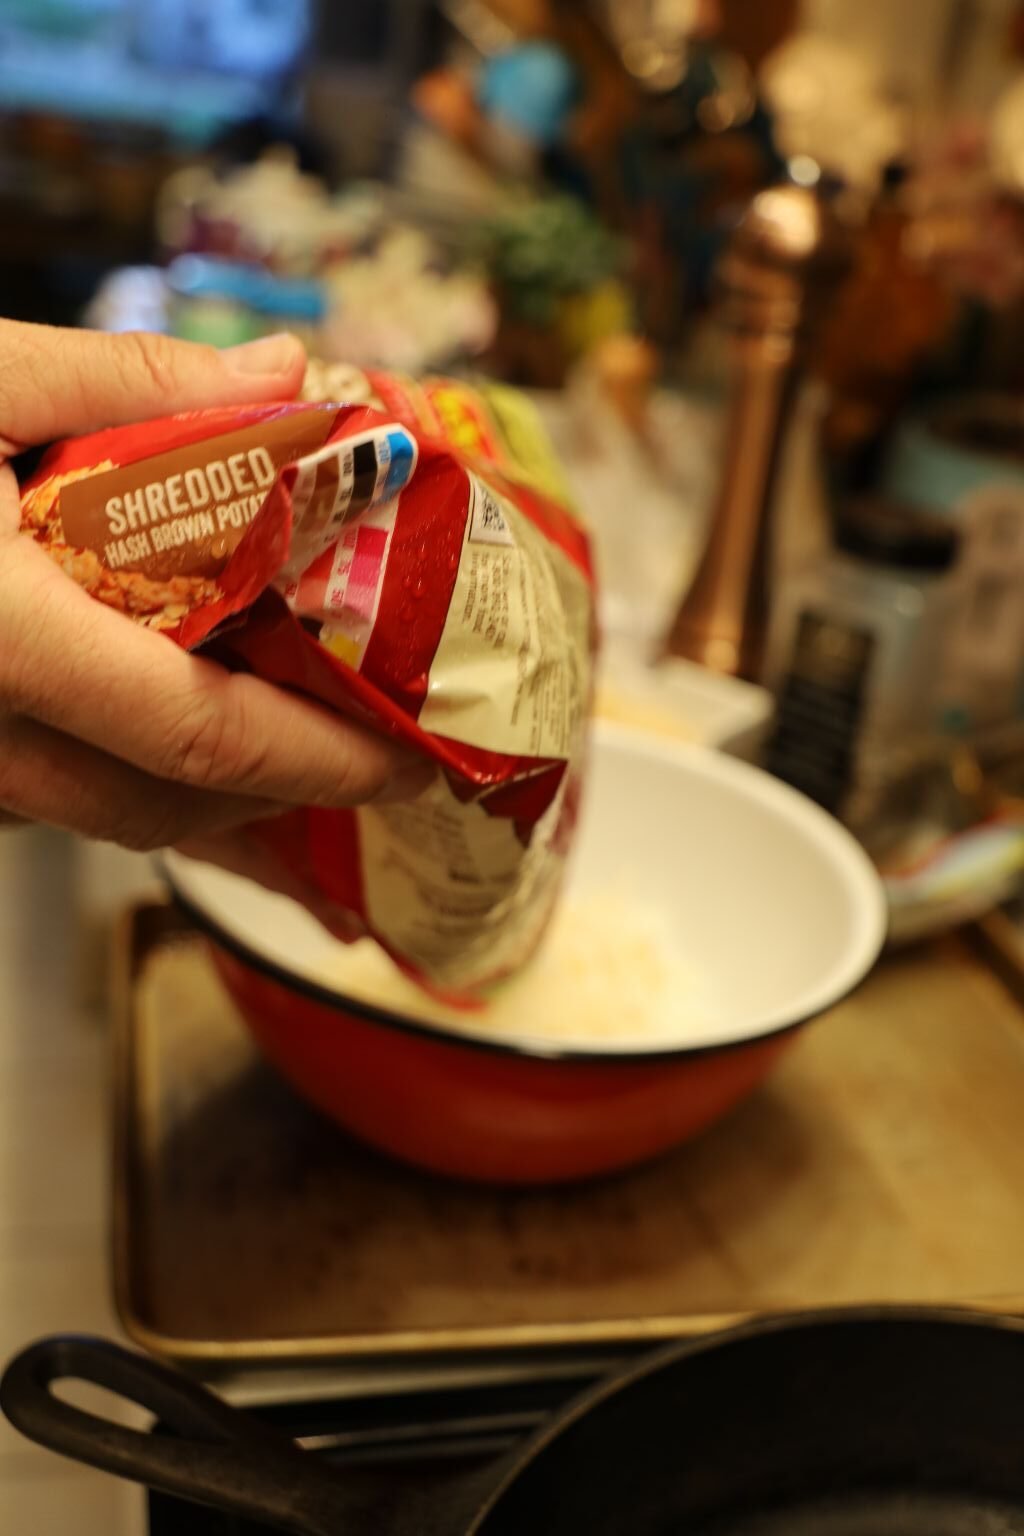
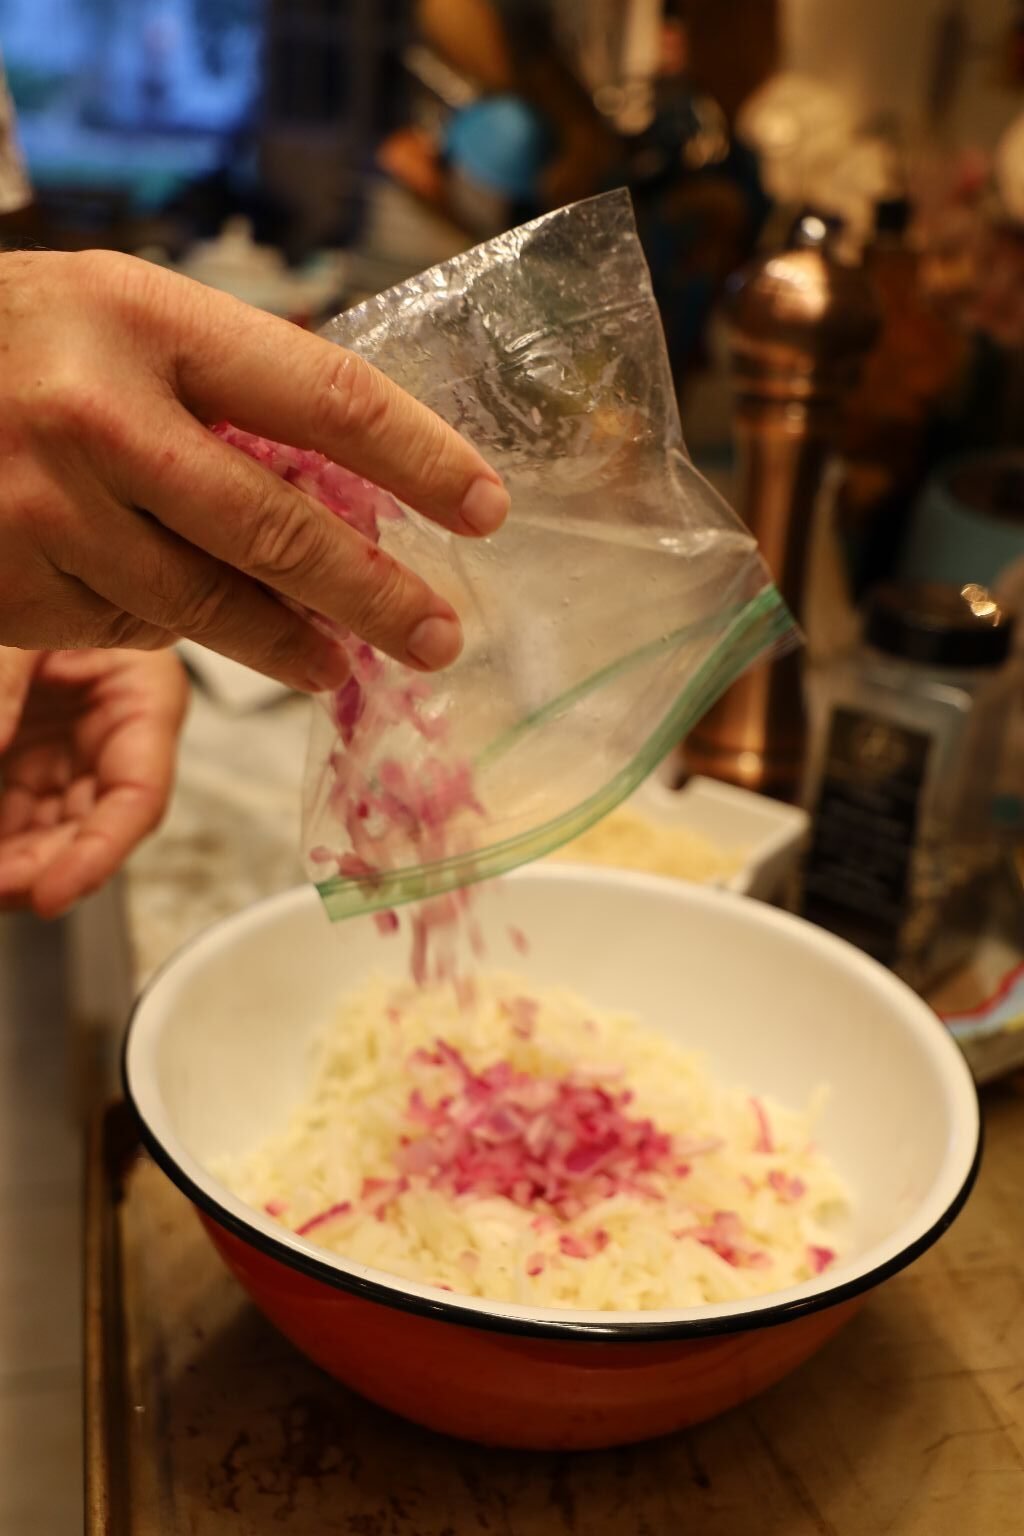
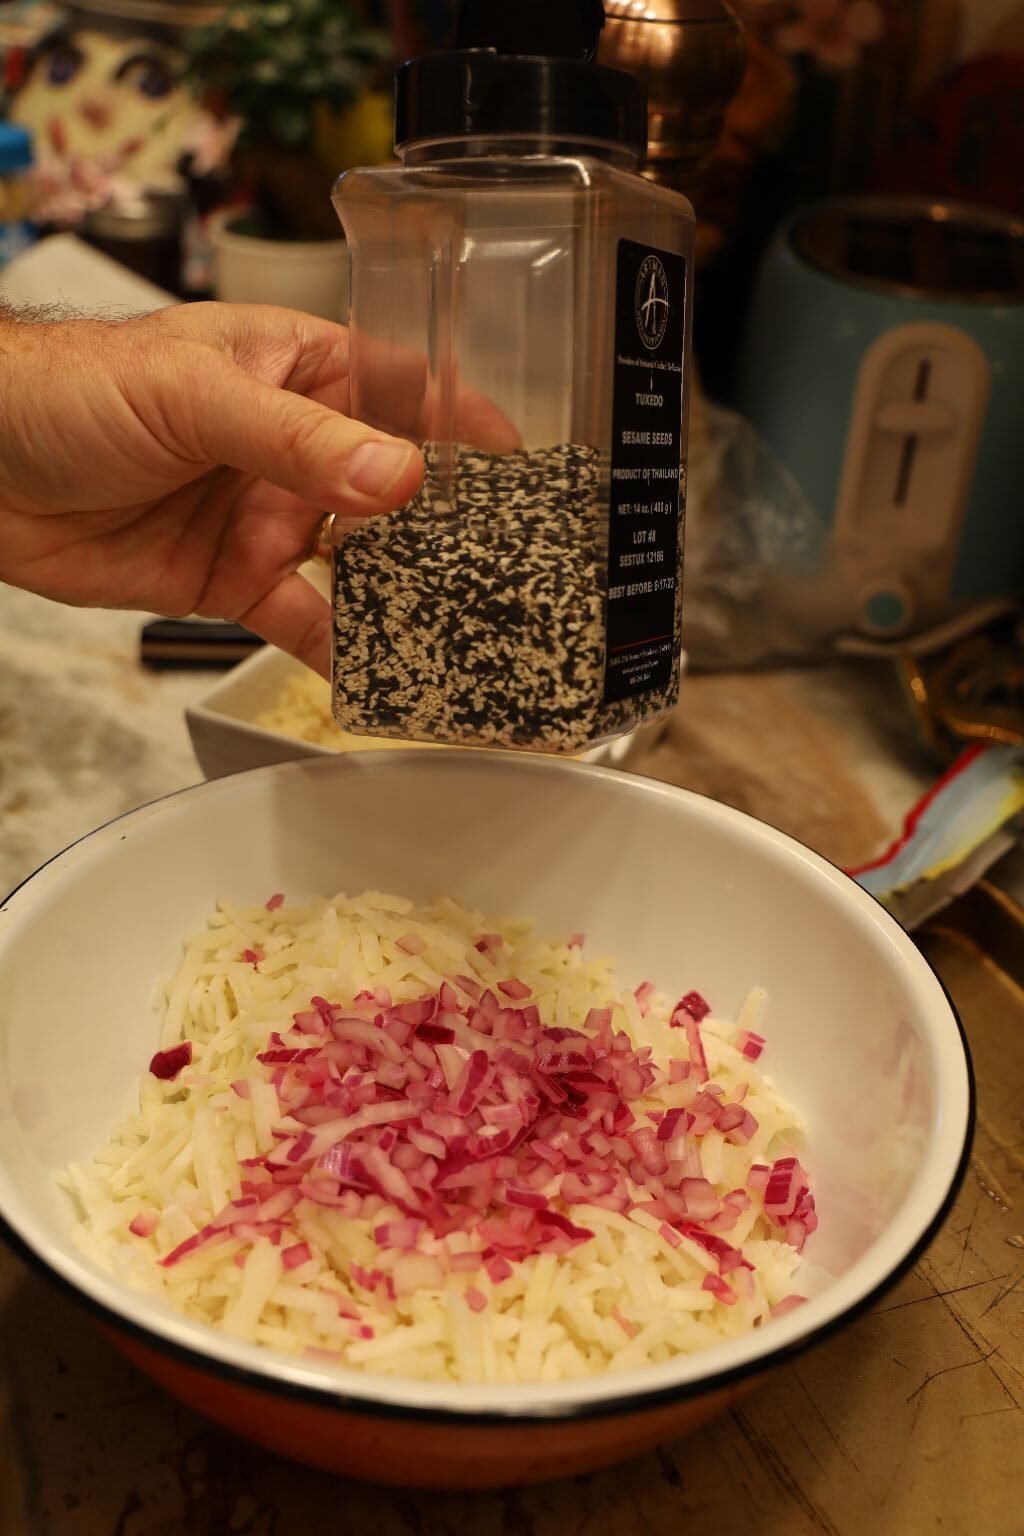
Place a few cups of Shredded Hash Browns into a large bowl. Then add about 1 Cup chopped Red Onions and some Sesame Seeds. I like using the Black on White mix.
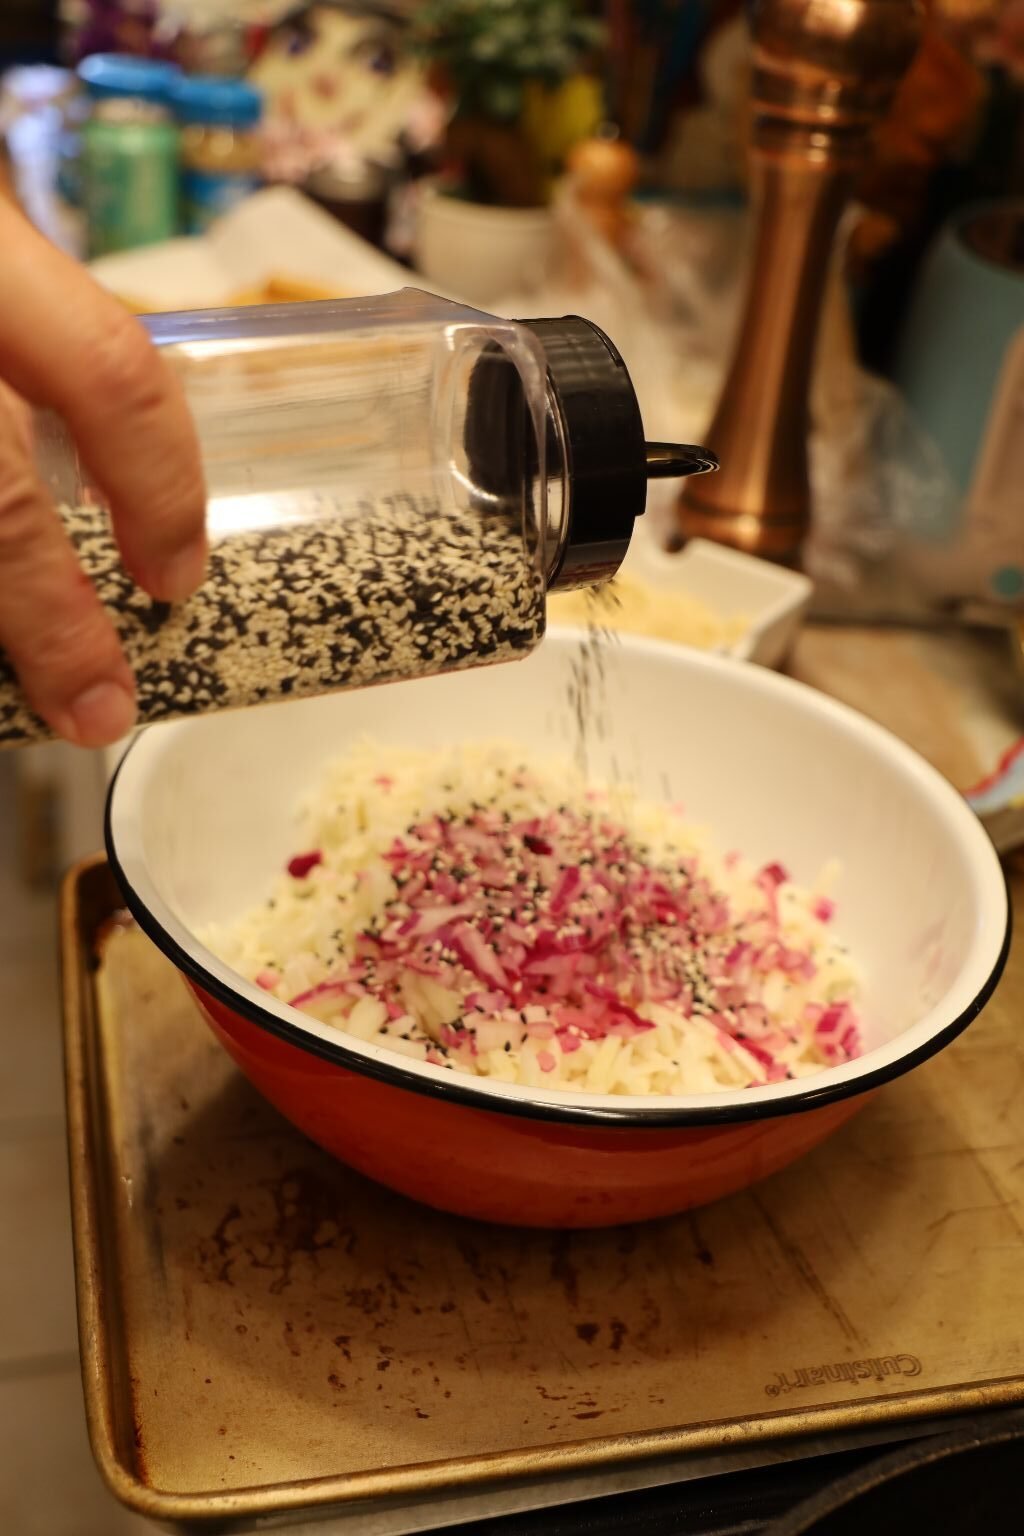
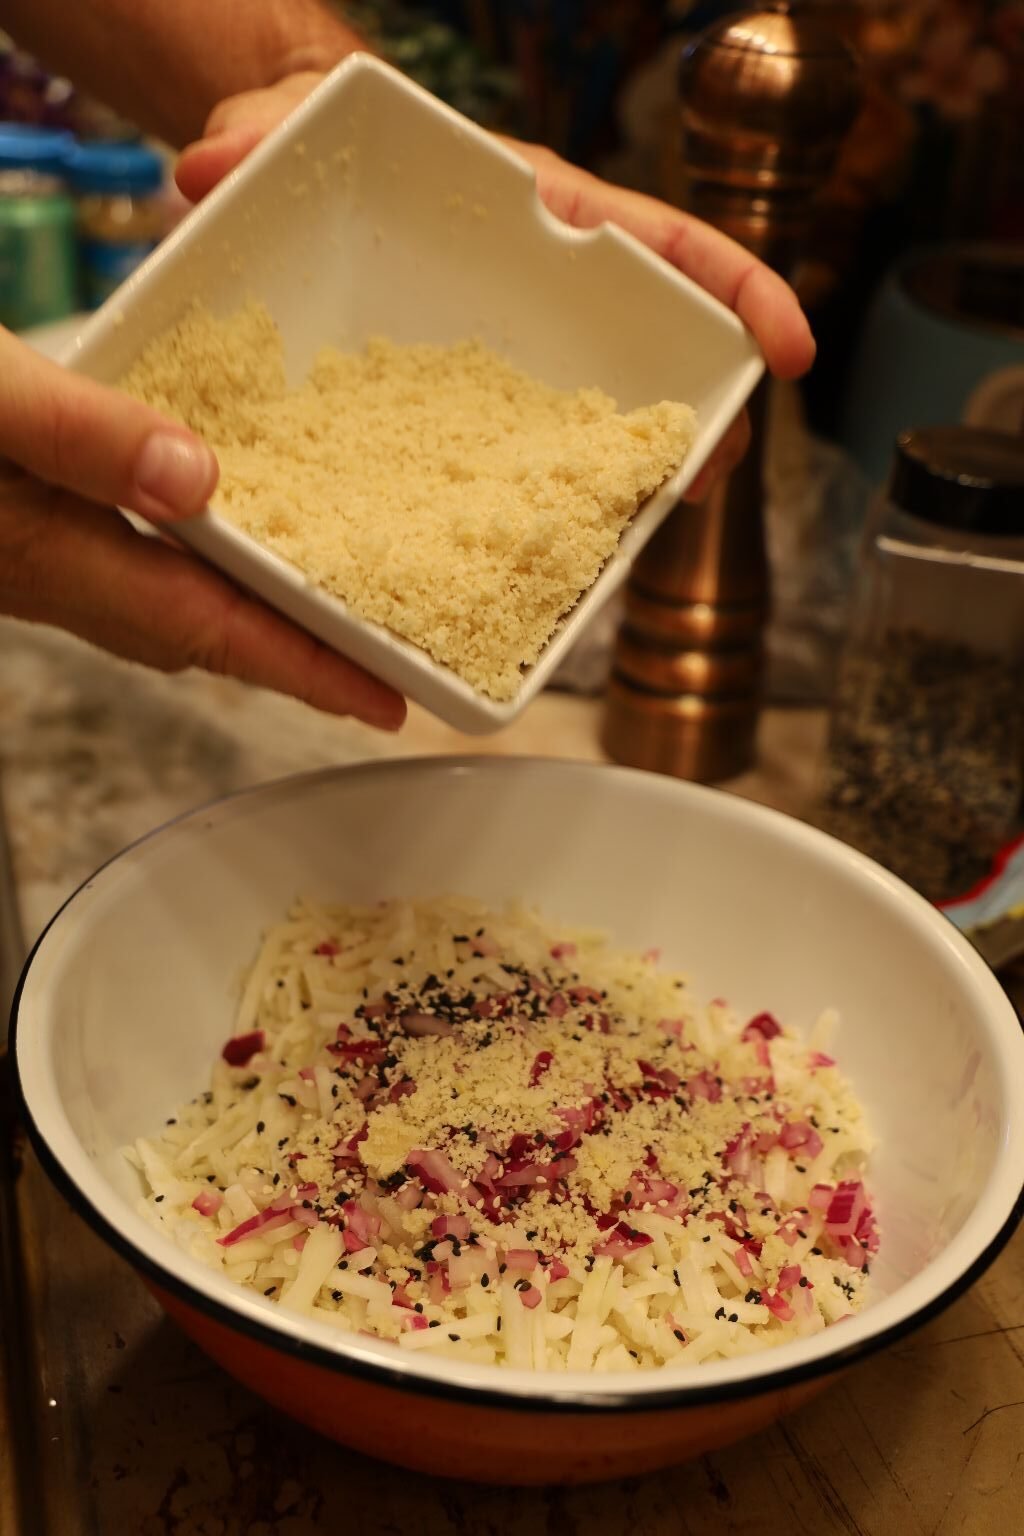
I also had the idea to incorporate some of the Macadamia Nut crust mix to this tying both recipes together.
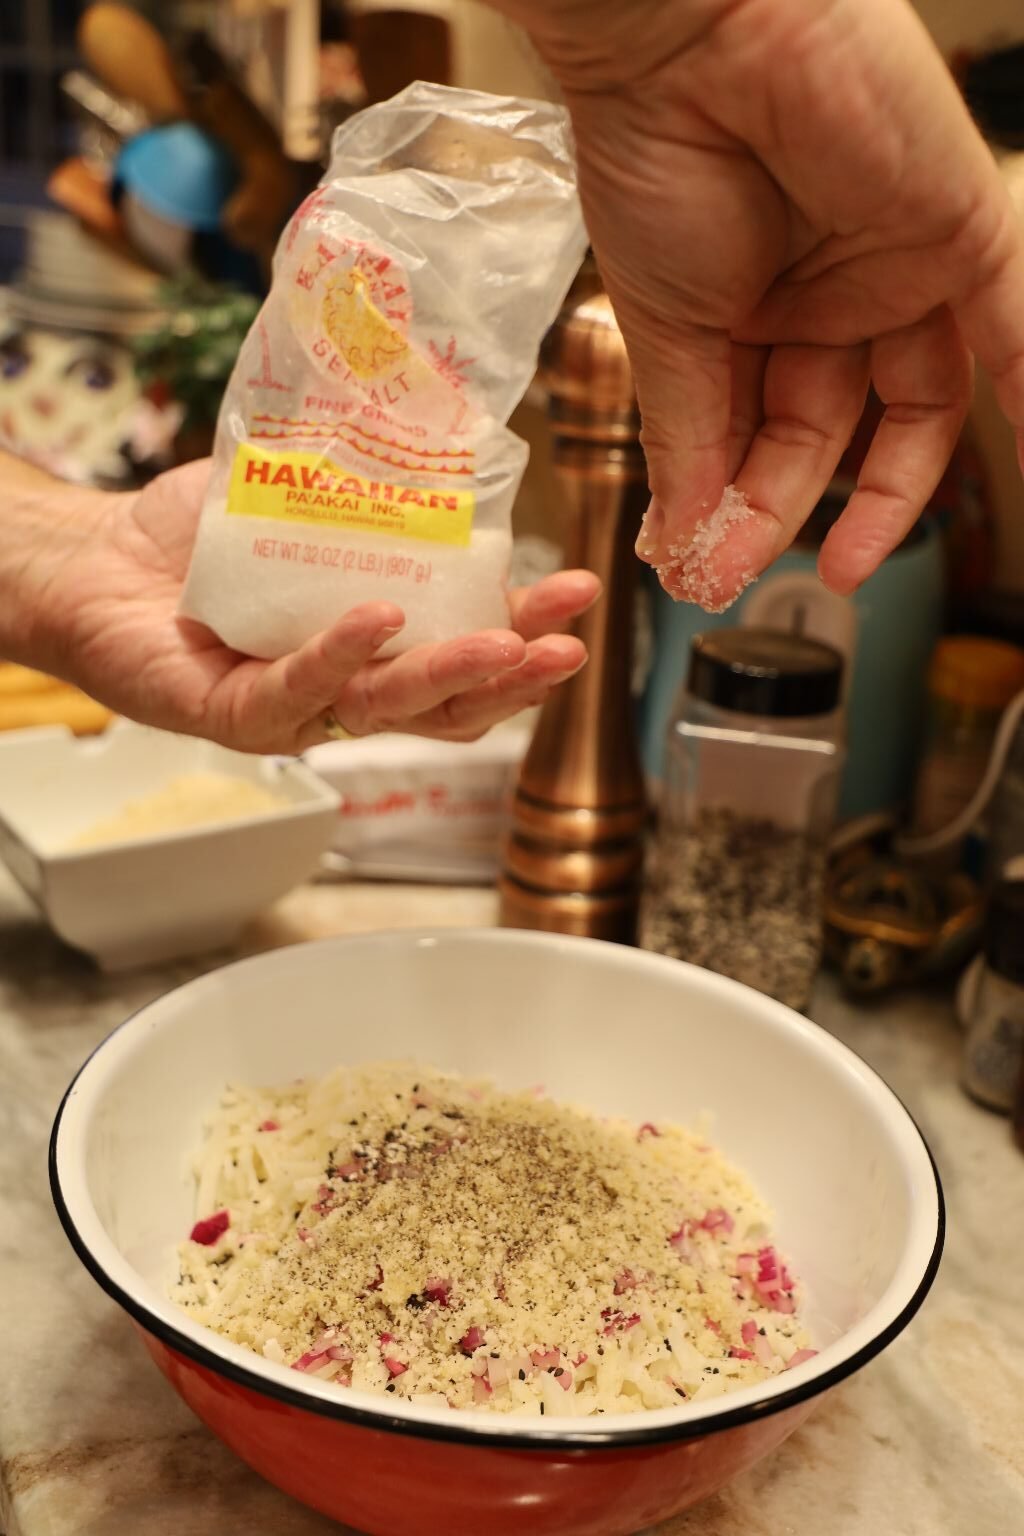
Now add some freshly ground Black Pepper and Sea Salt to taste.


Mix all the ingredients together using your very clean hands.
Add some vegetable oil to your cast iron skillet and turn the heat to medium high. Using your hands, make patties out of the potato mixture. When the oil is hot, place your formed potato patties into the oil as shown.

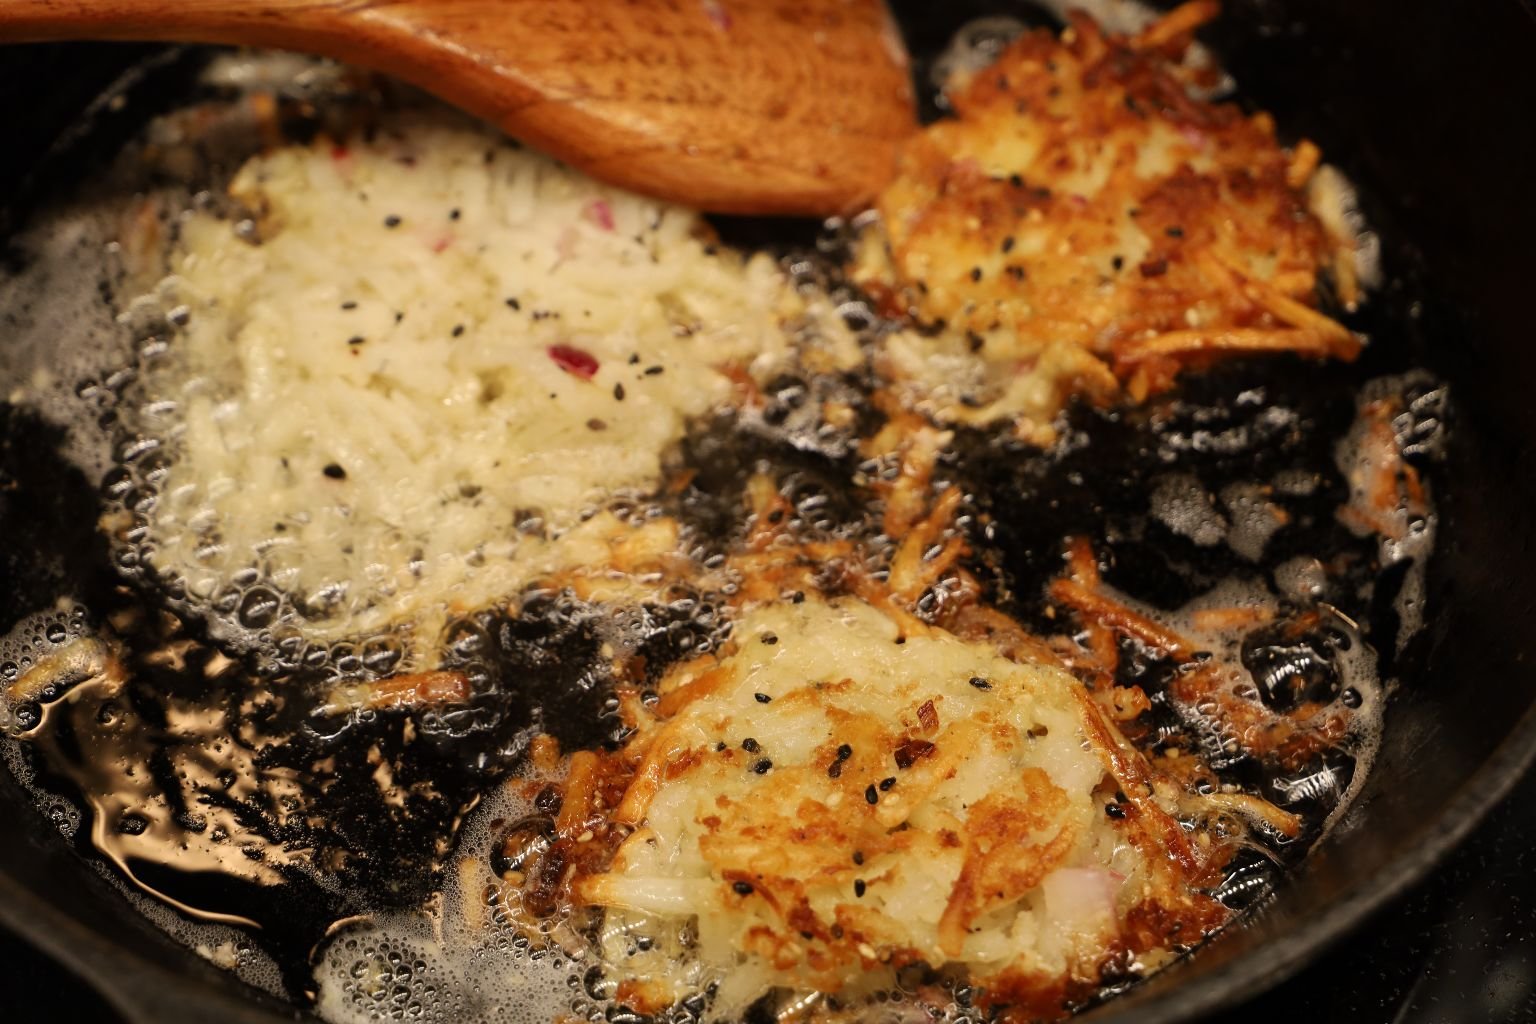
Waiting for the patties to get golden brown… which only takes a few minutes.
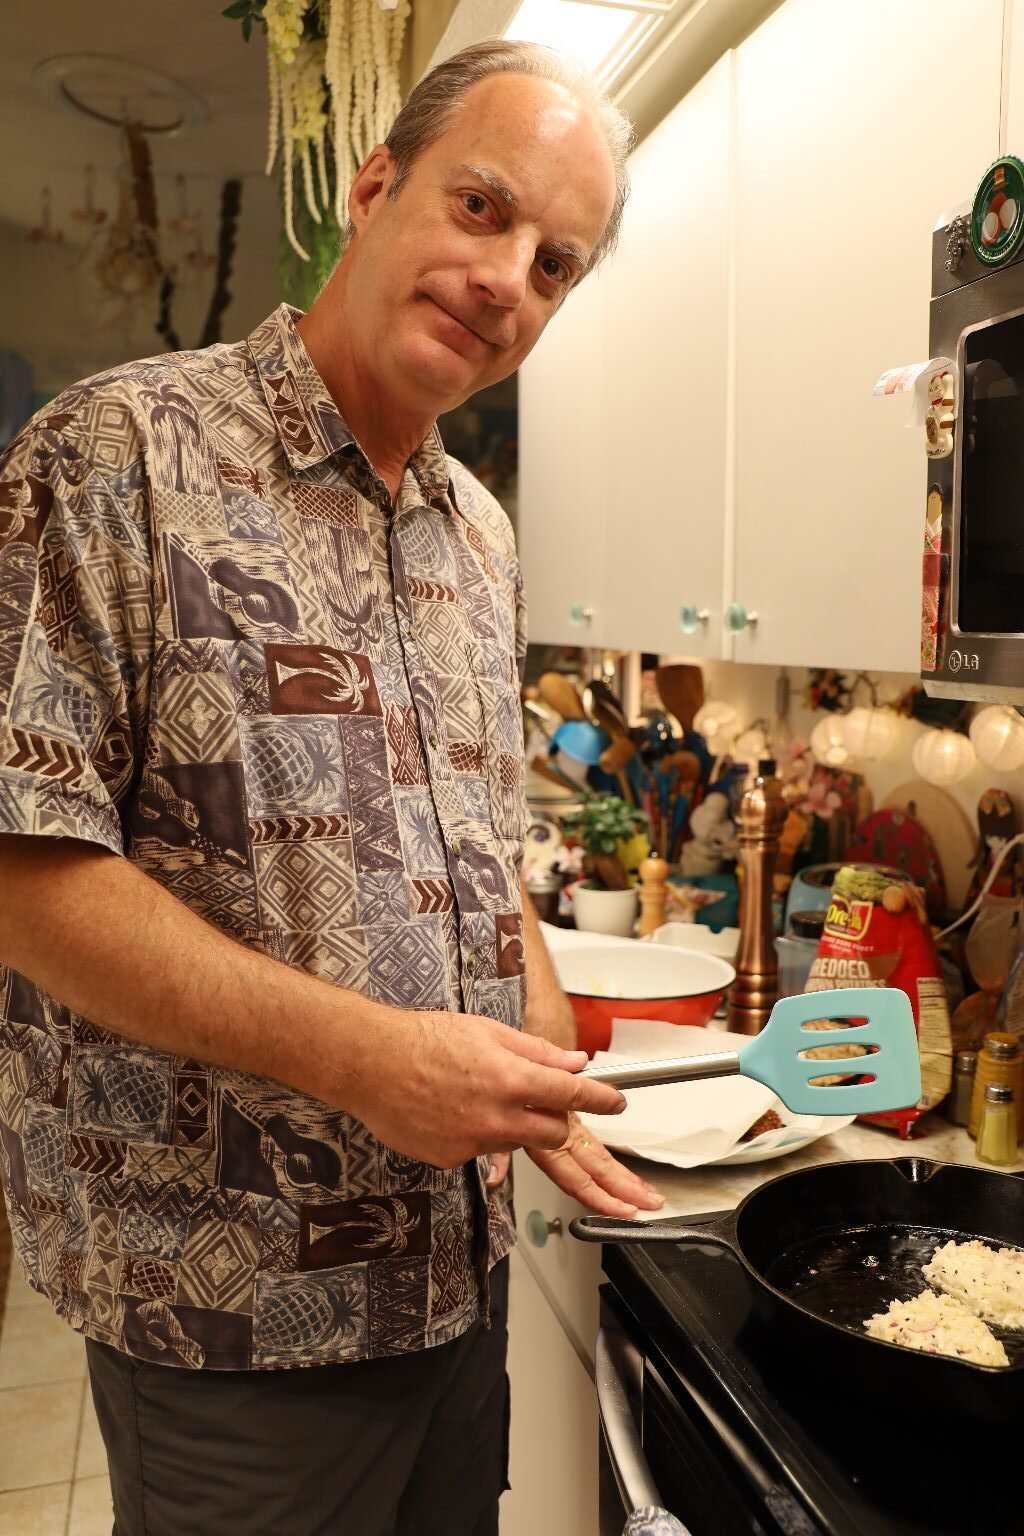
—————————————————————————-
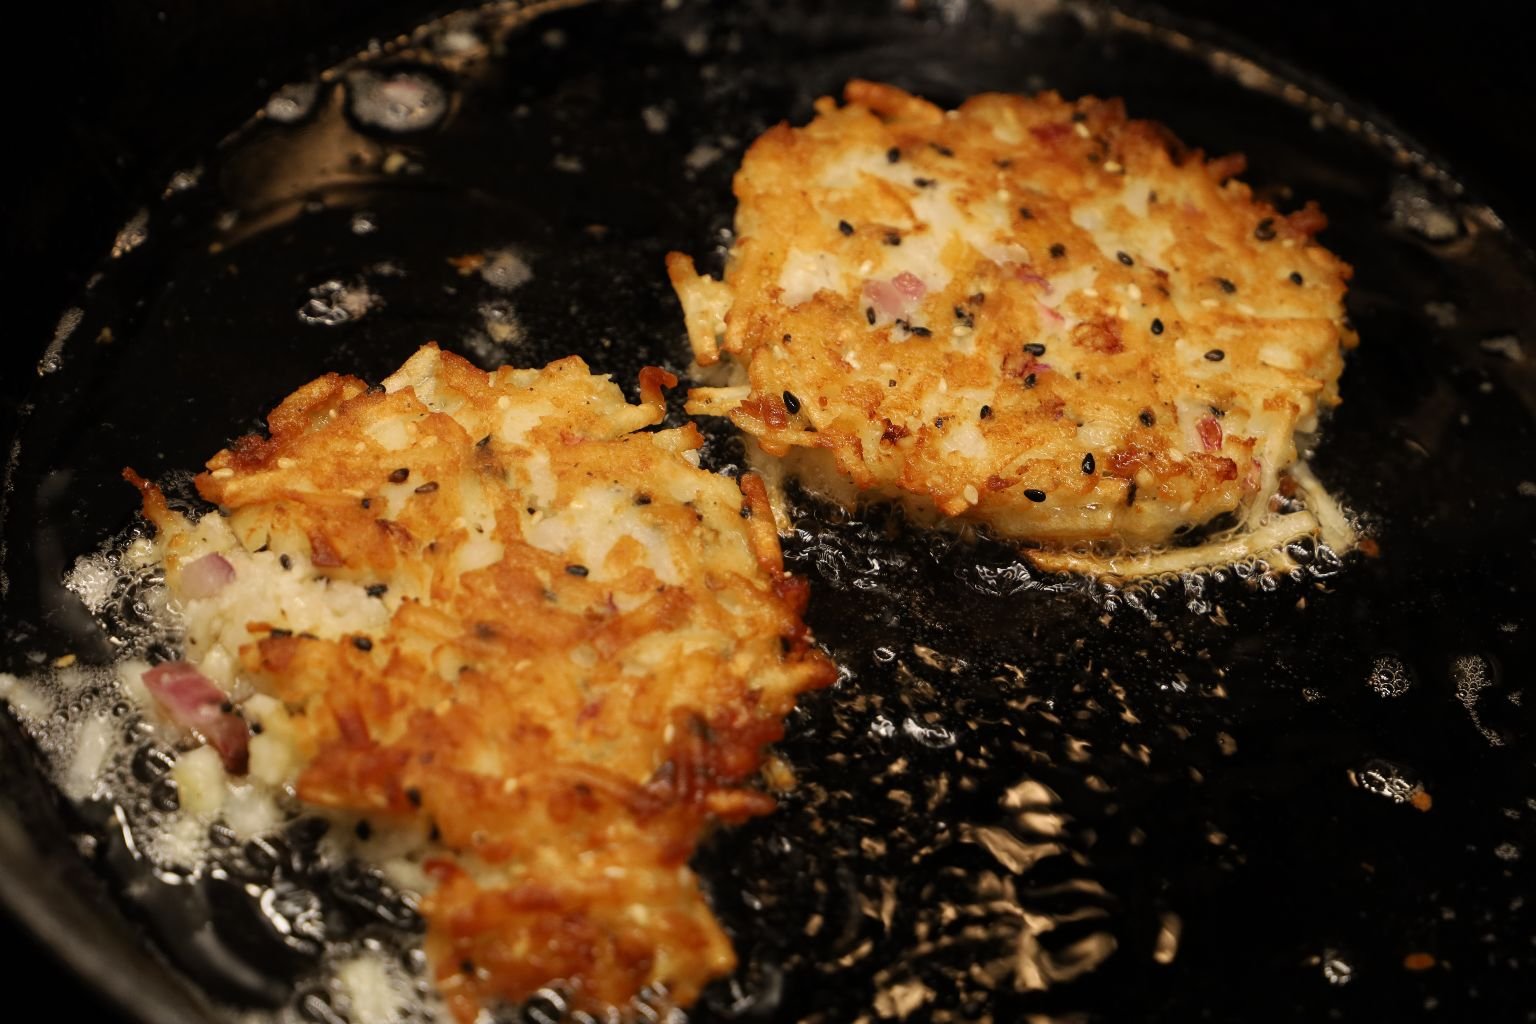
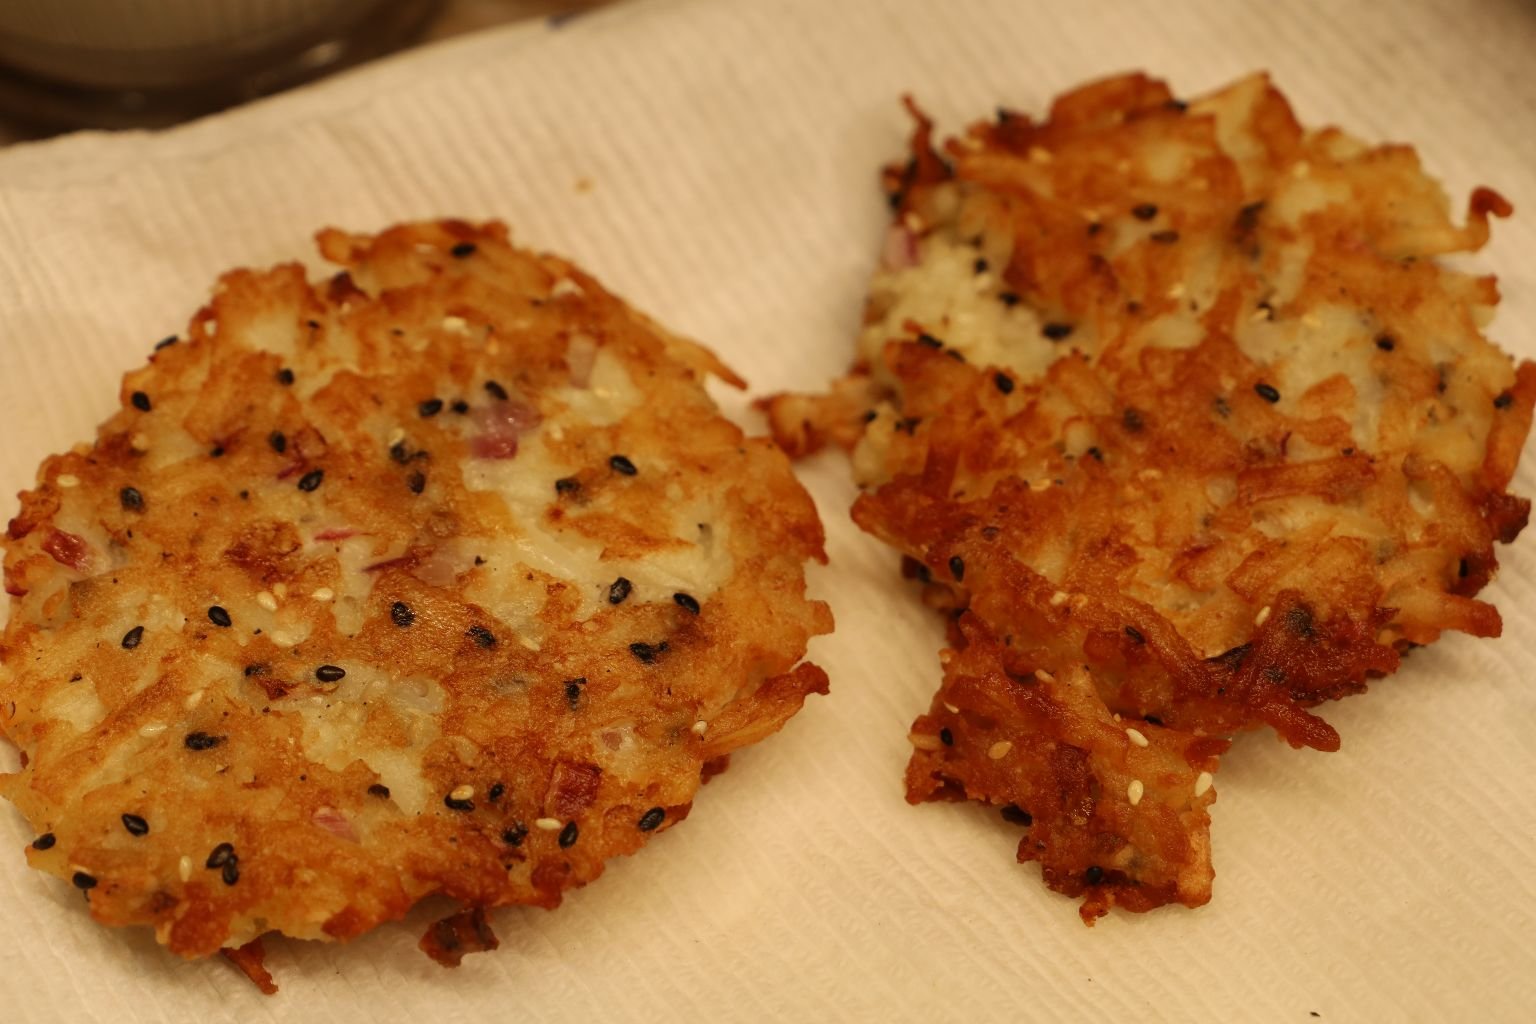
Here you can see the potato patties are a nice golden brown so time to flip them and cook them on the other side until done. Place the cooked patties on a plate lined with paper towels.
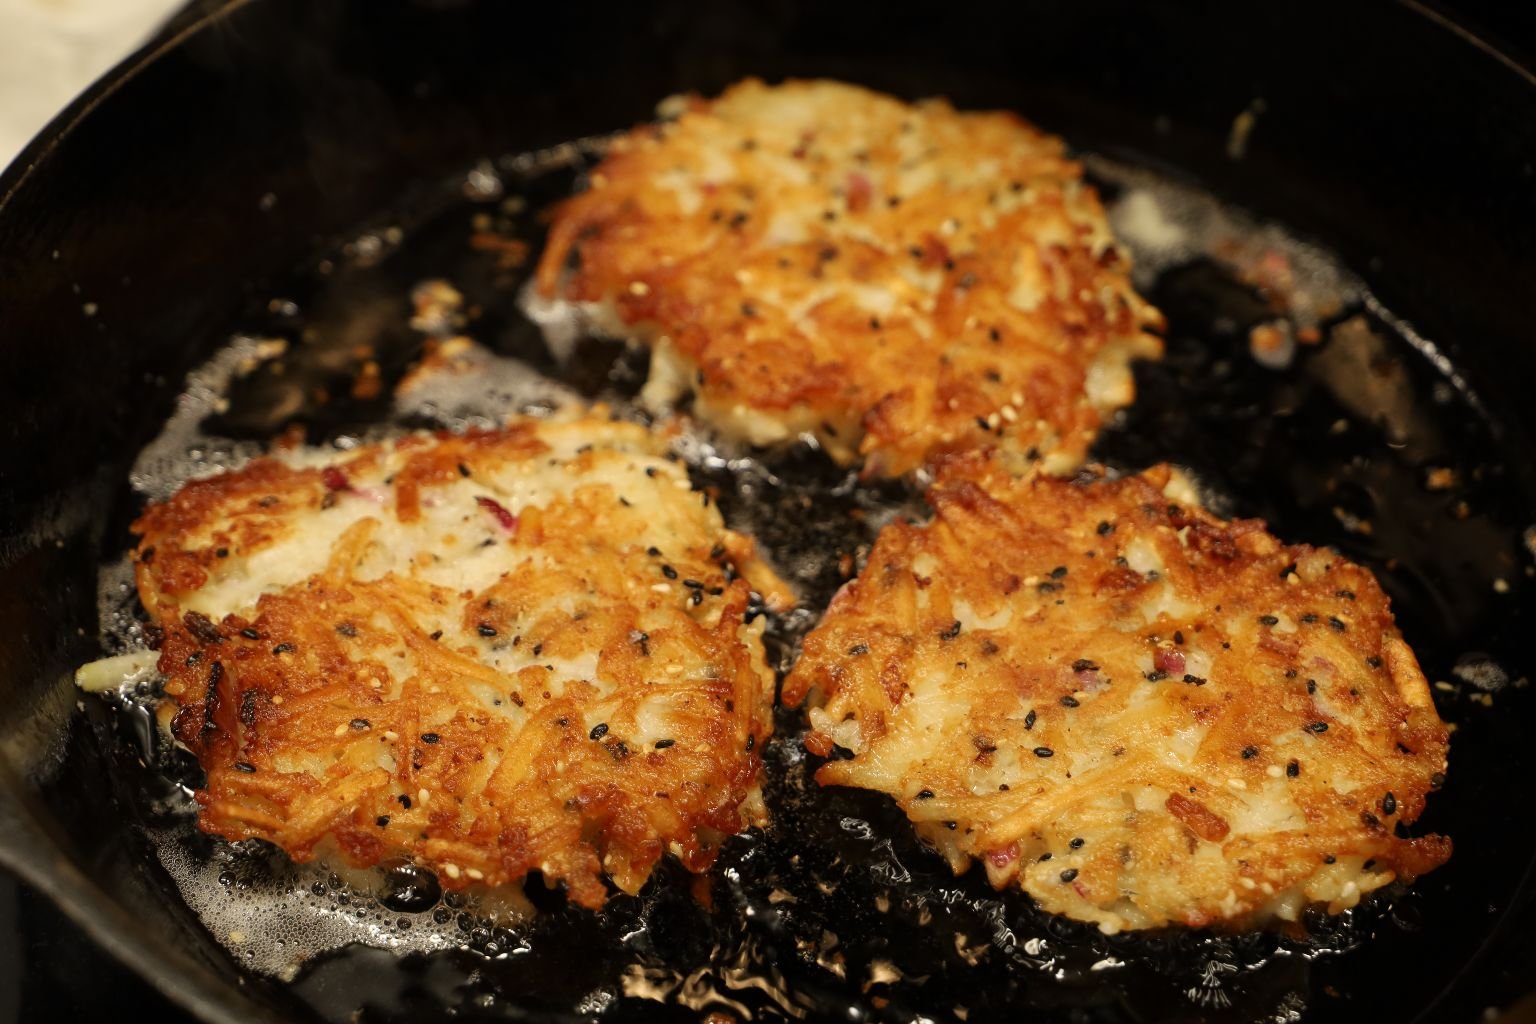
Do this for all the patties.
Hey, Brodie and Mackenzie arrived! I love our family! 🙂
———————————————————————-
White Wine Coconut Sauce
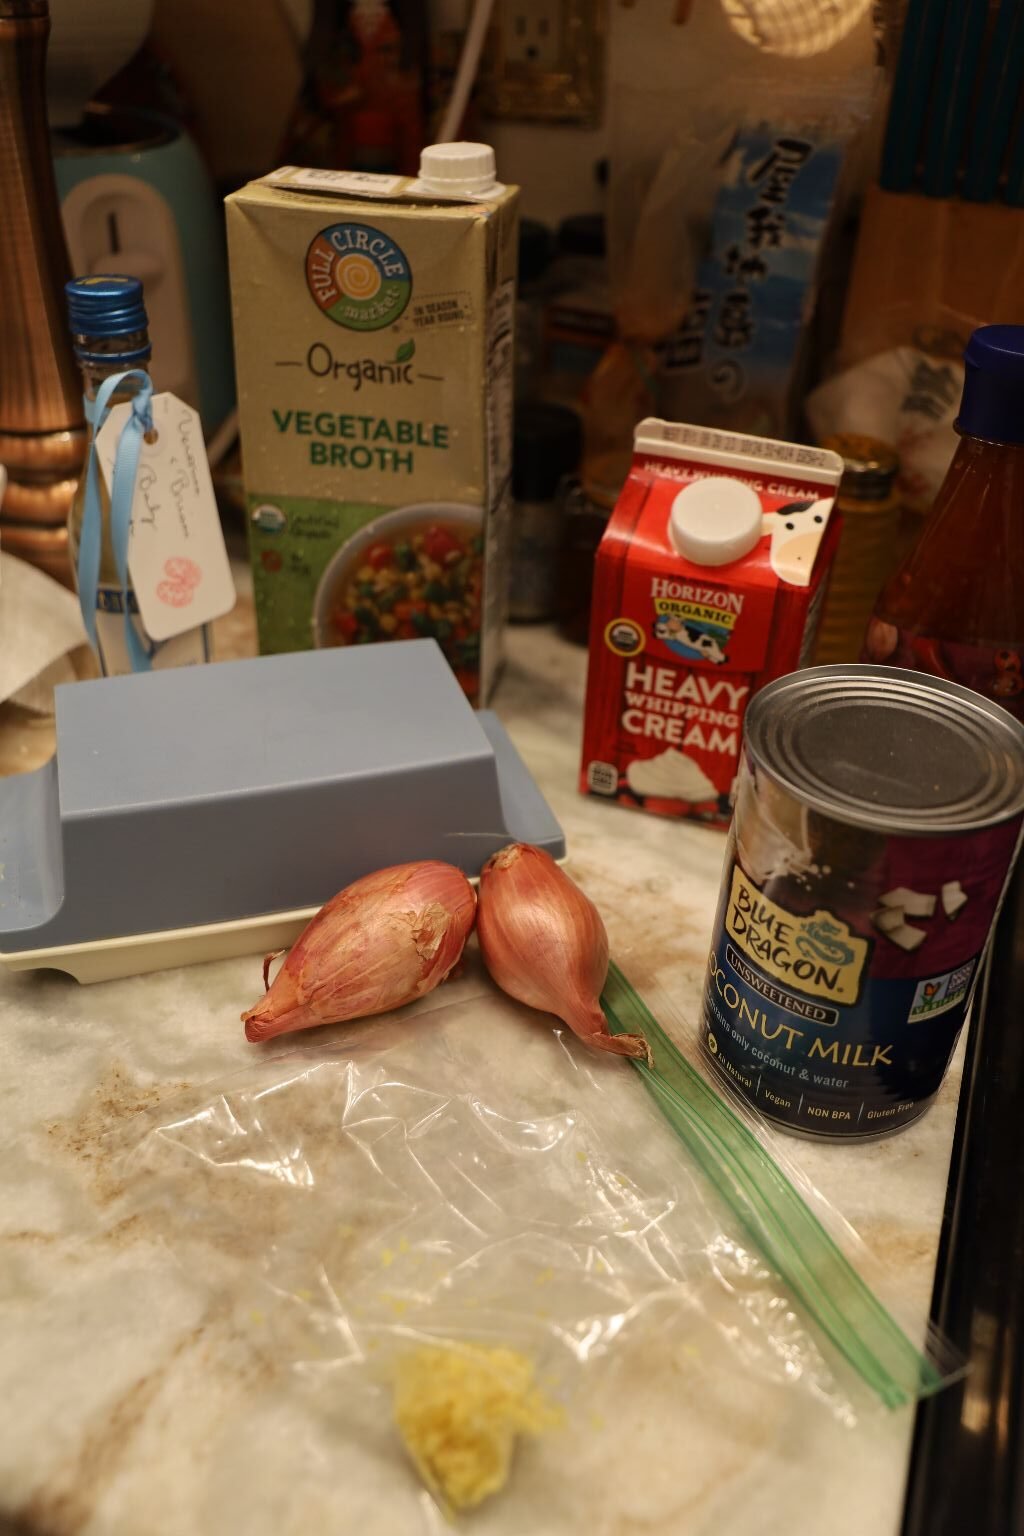
Brodie can finish the potato cakes while I make the sauce for the fish. Pictured are the ingredients.
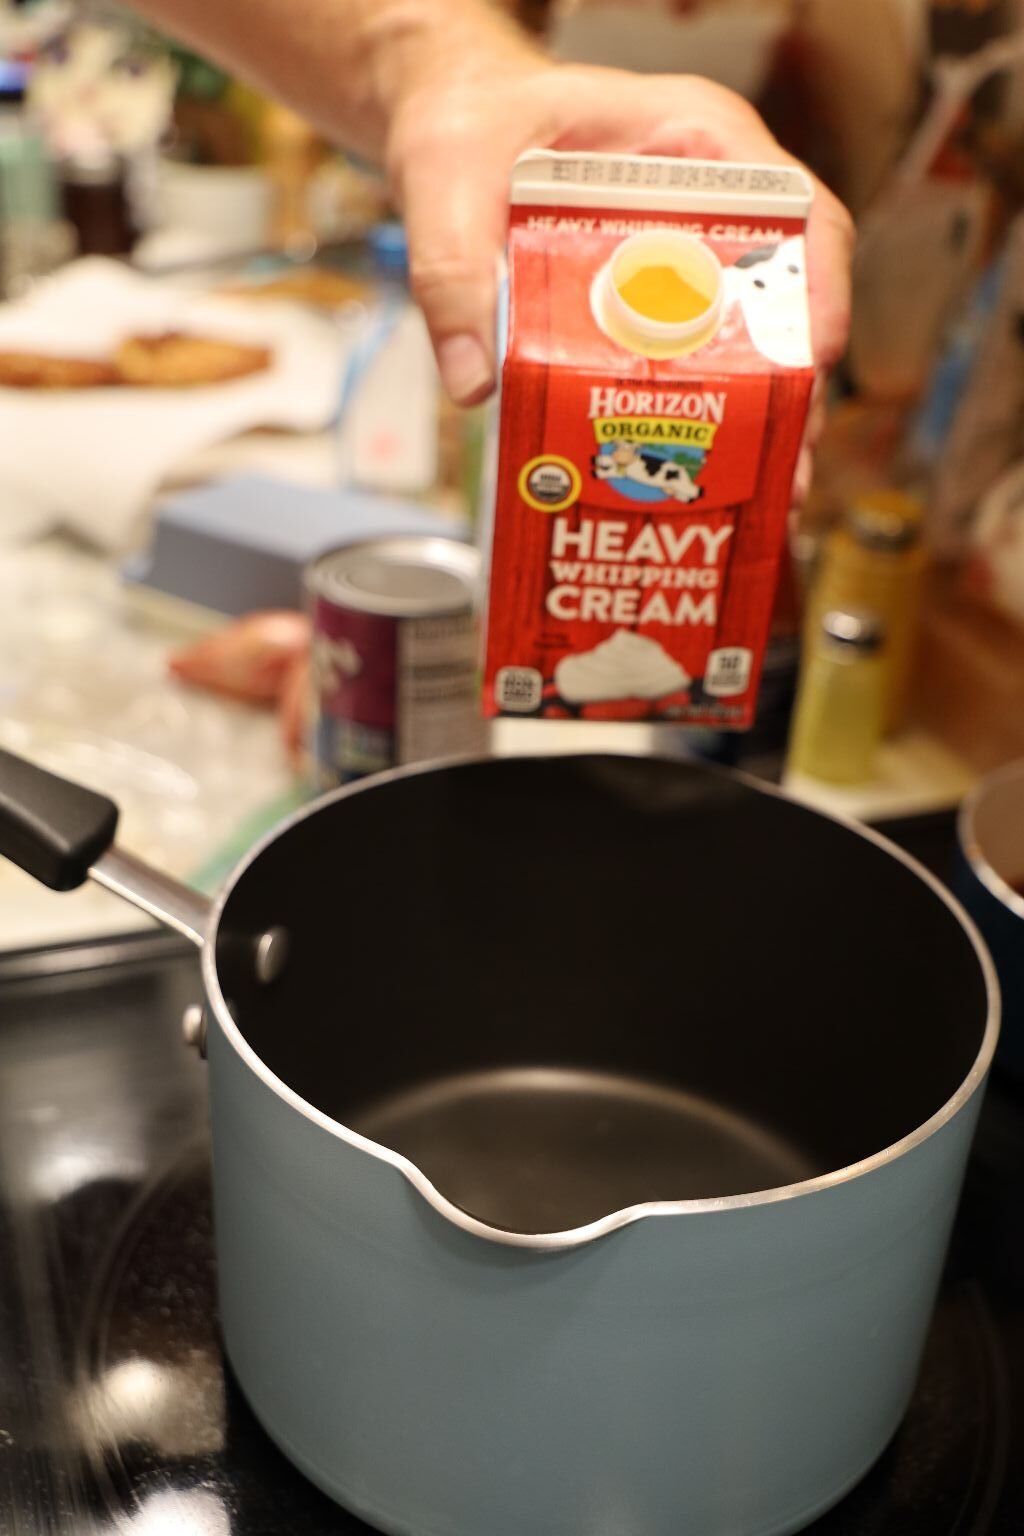
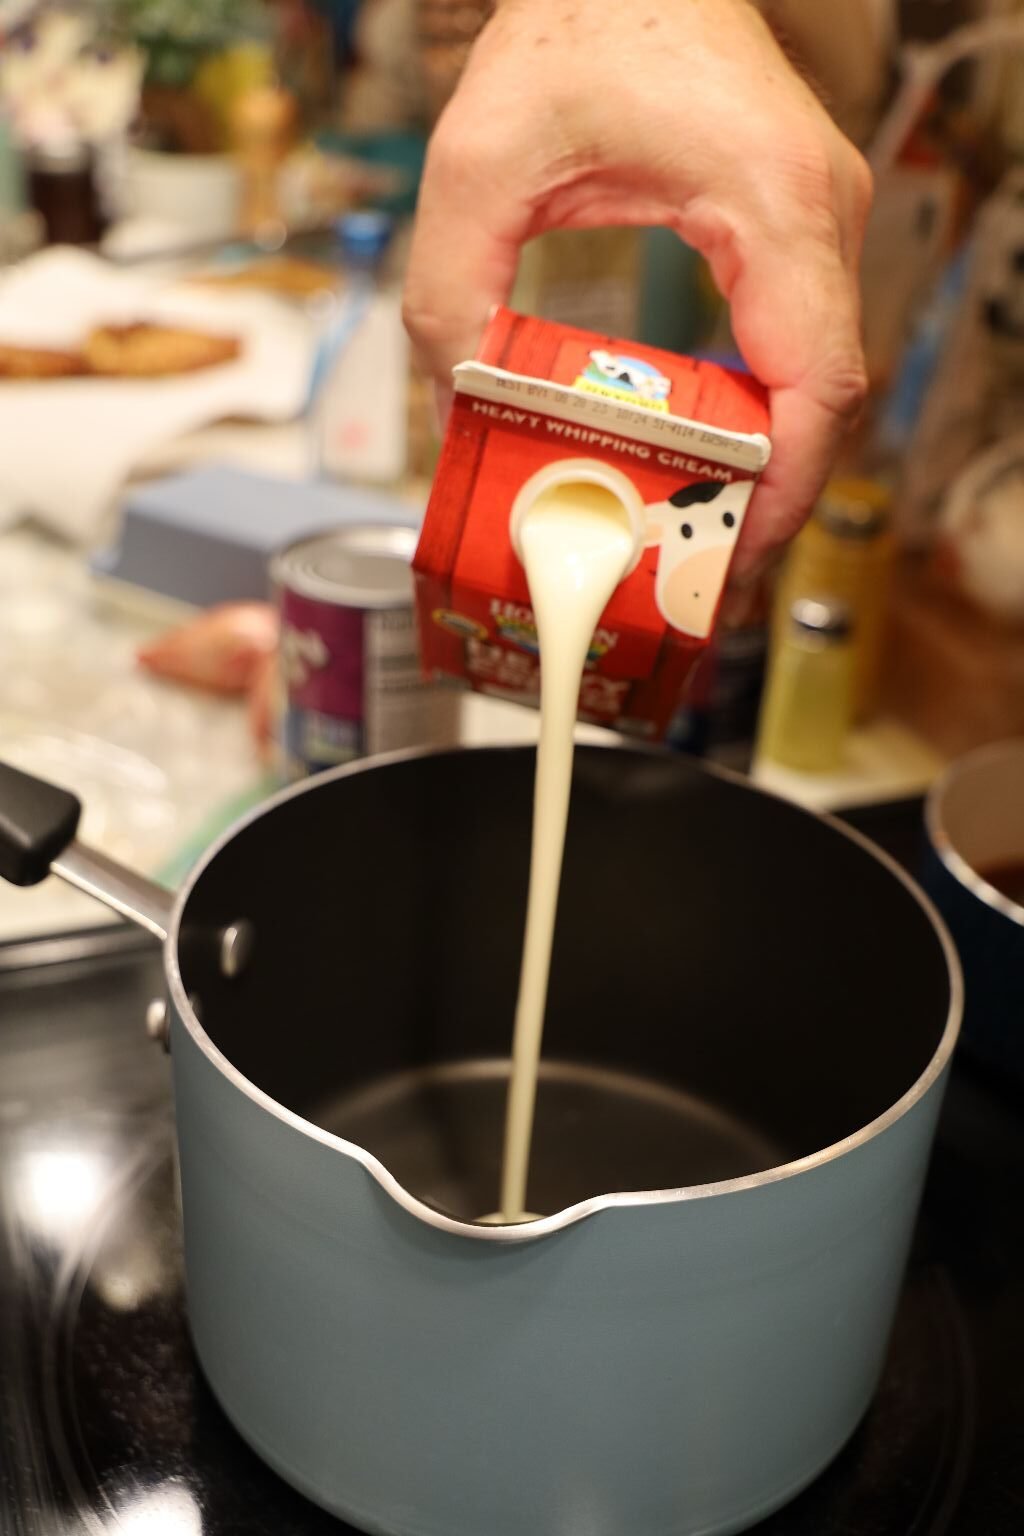
Start by adding ½ Cup Heavy Whipping Cream to a saucepan and turn the pan’s heat to low.
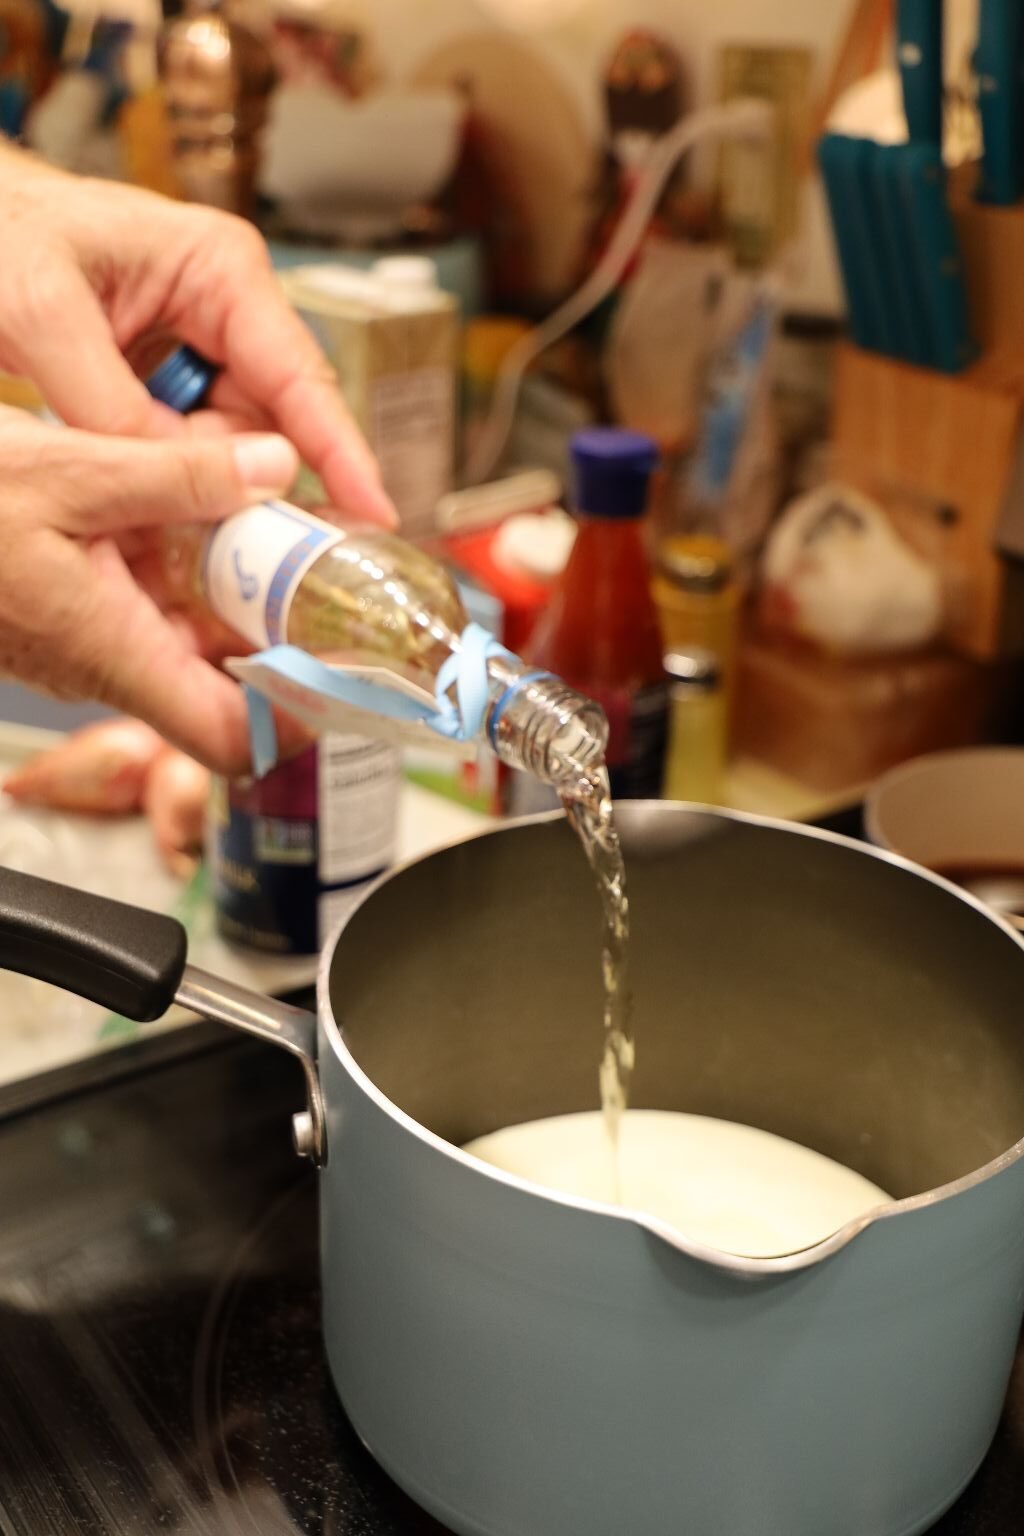
Then add ½ Cup White Wine to the pan.
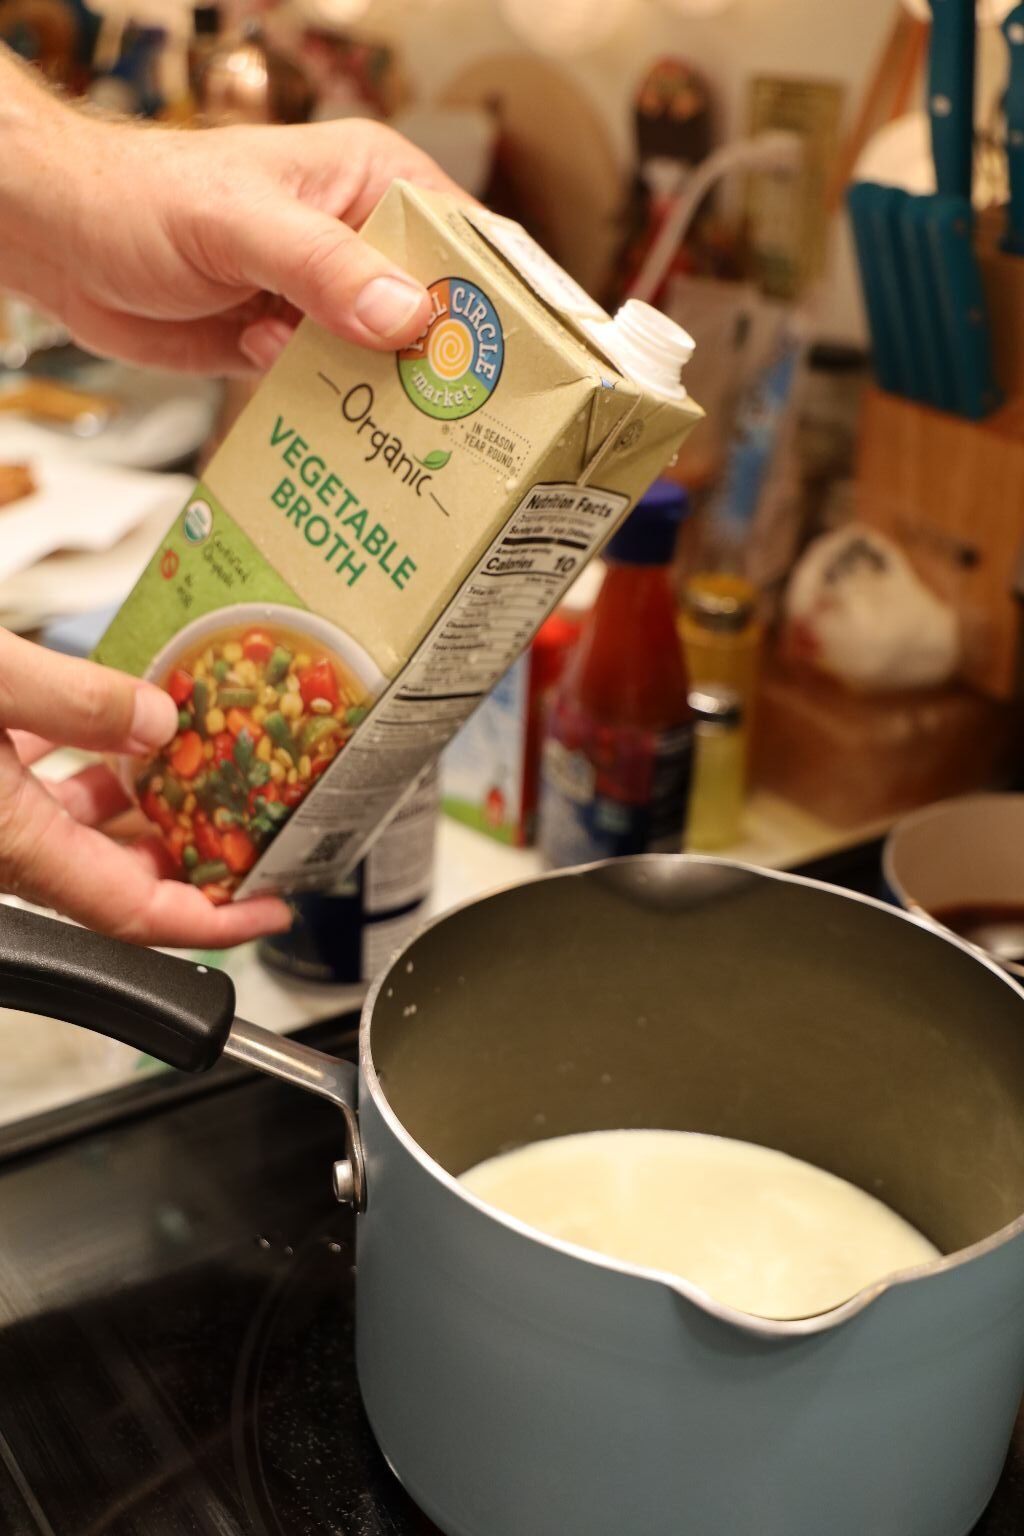
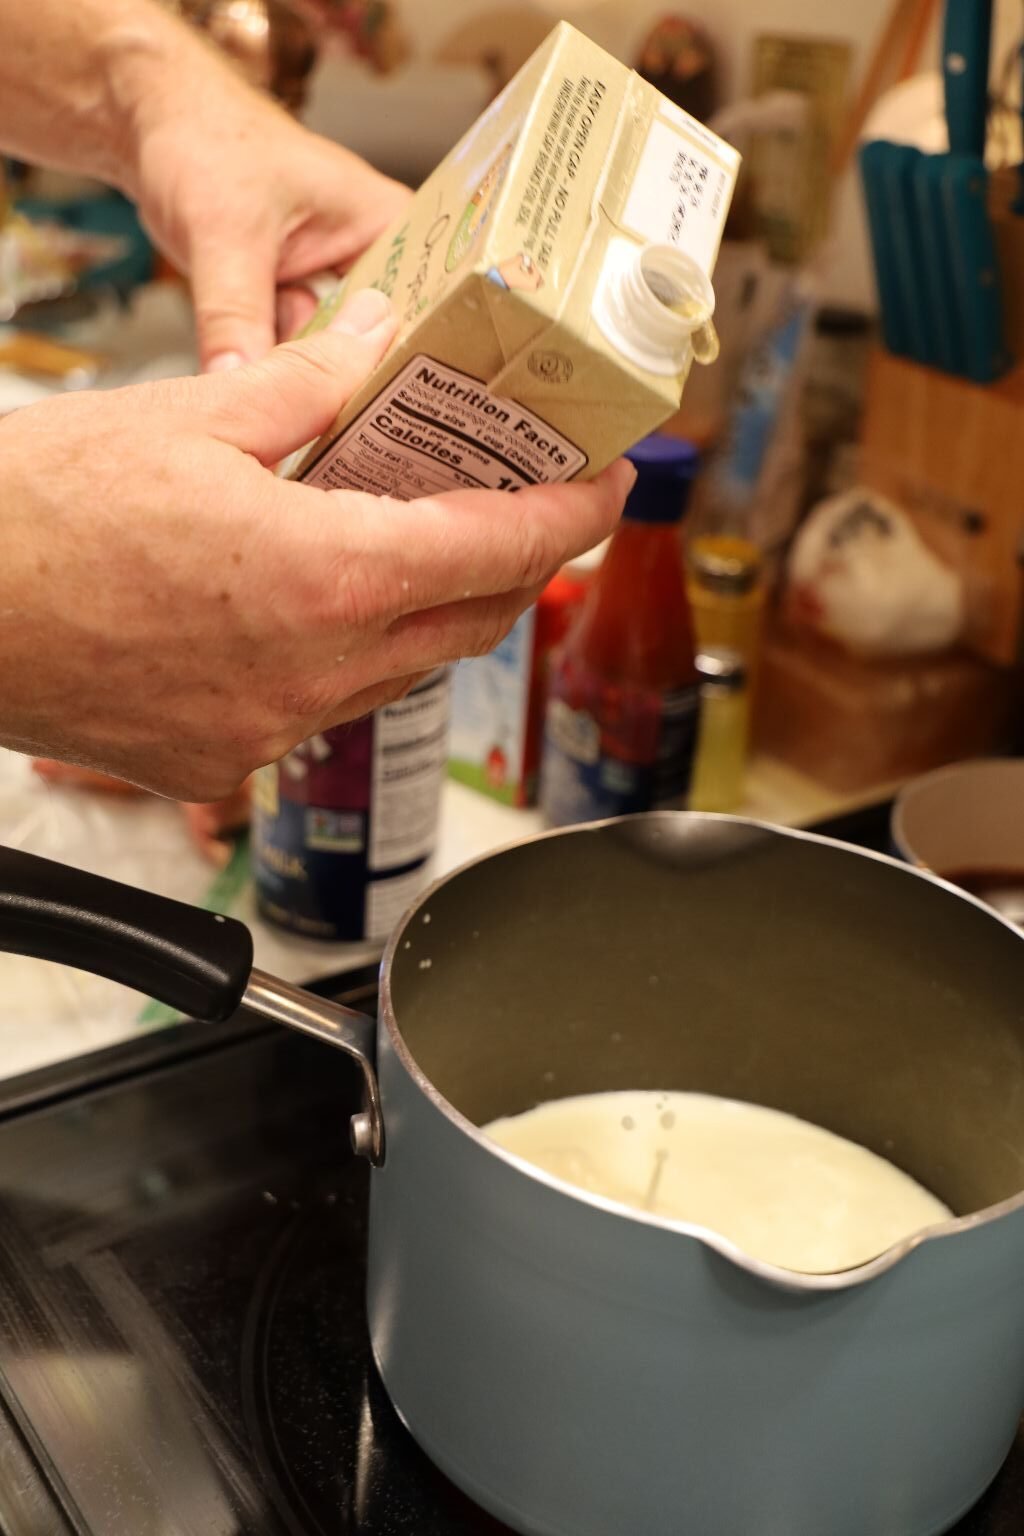
Now add ½ Cup Vegetable Broth to the pan.
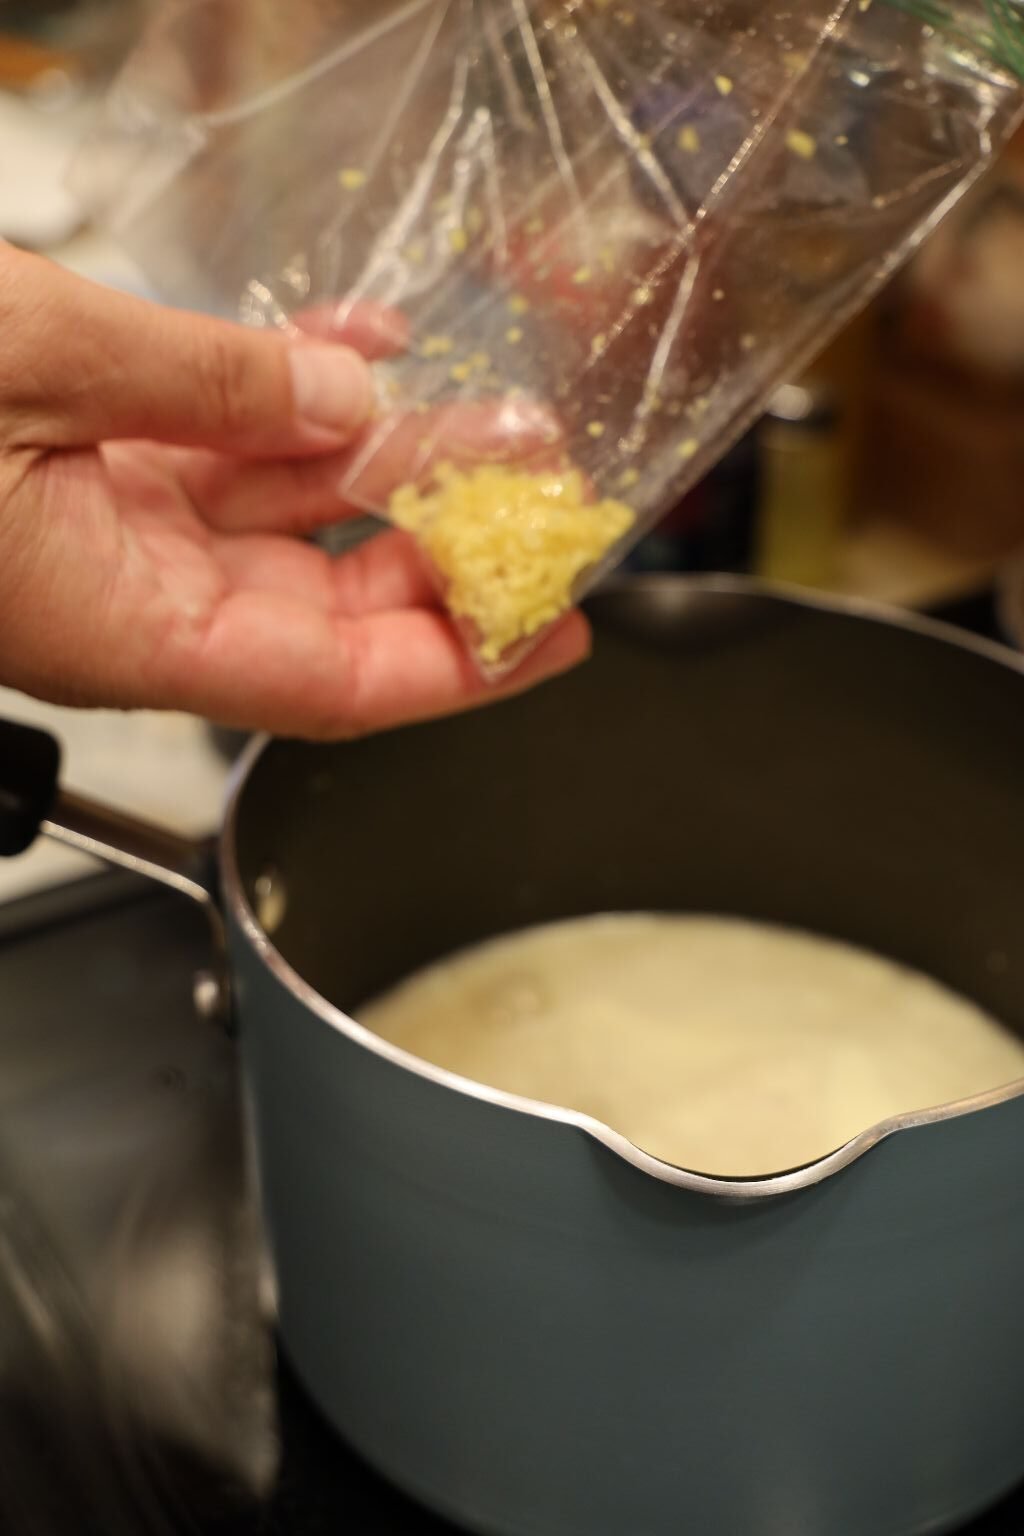

Here I am adding about 1 Tbsp. minced Ginger to the mixture. Stir the mixture.
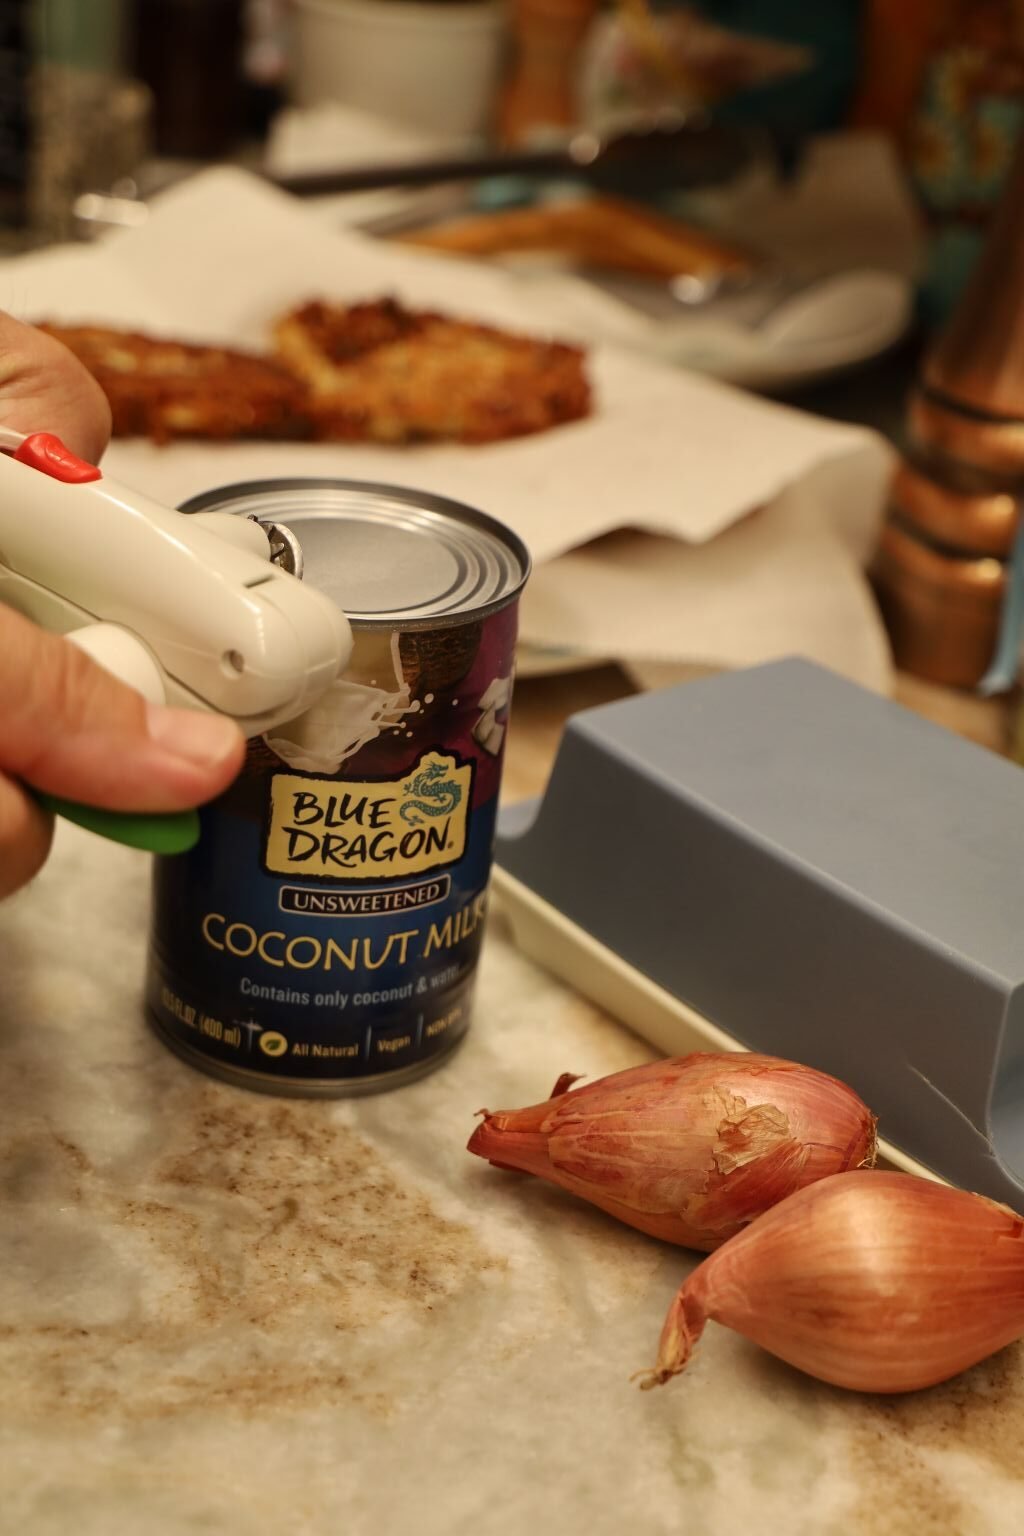
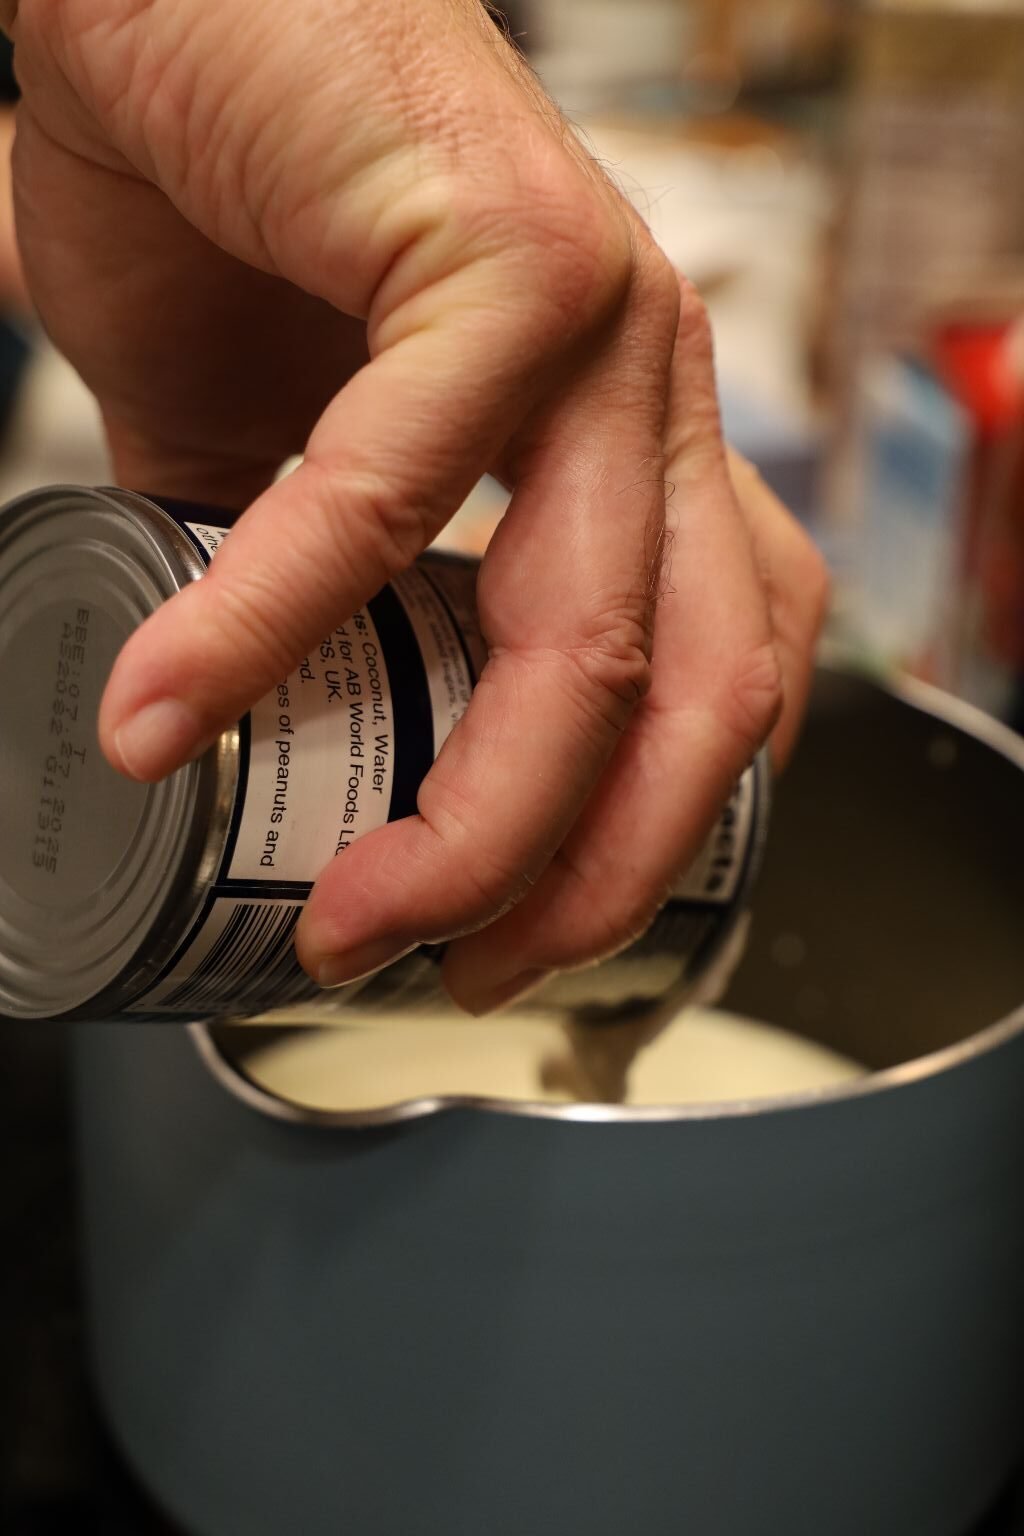
In goes 3/4 Cup Unsweetened Coconut Milk
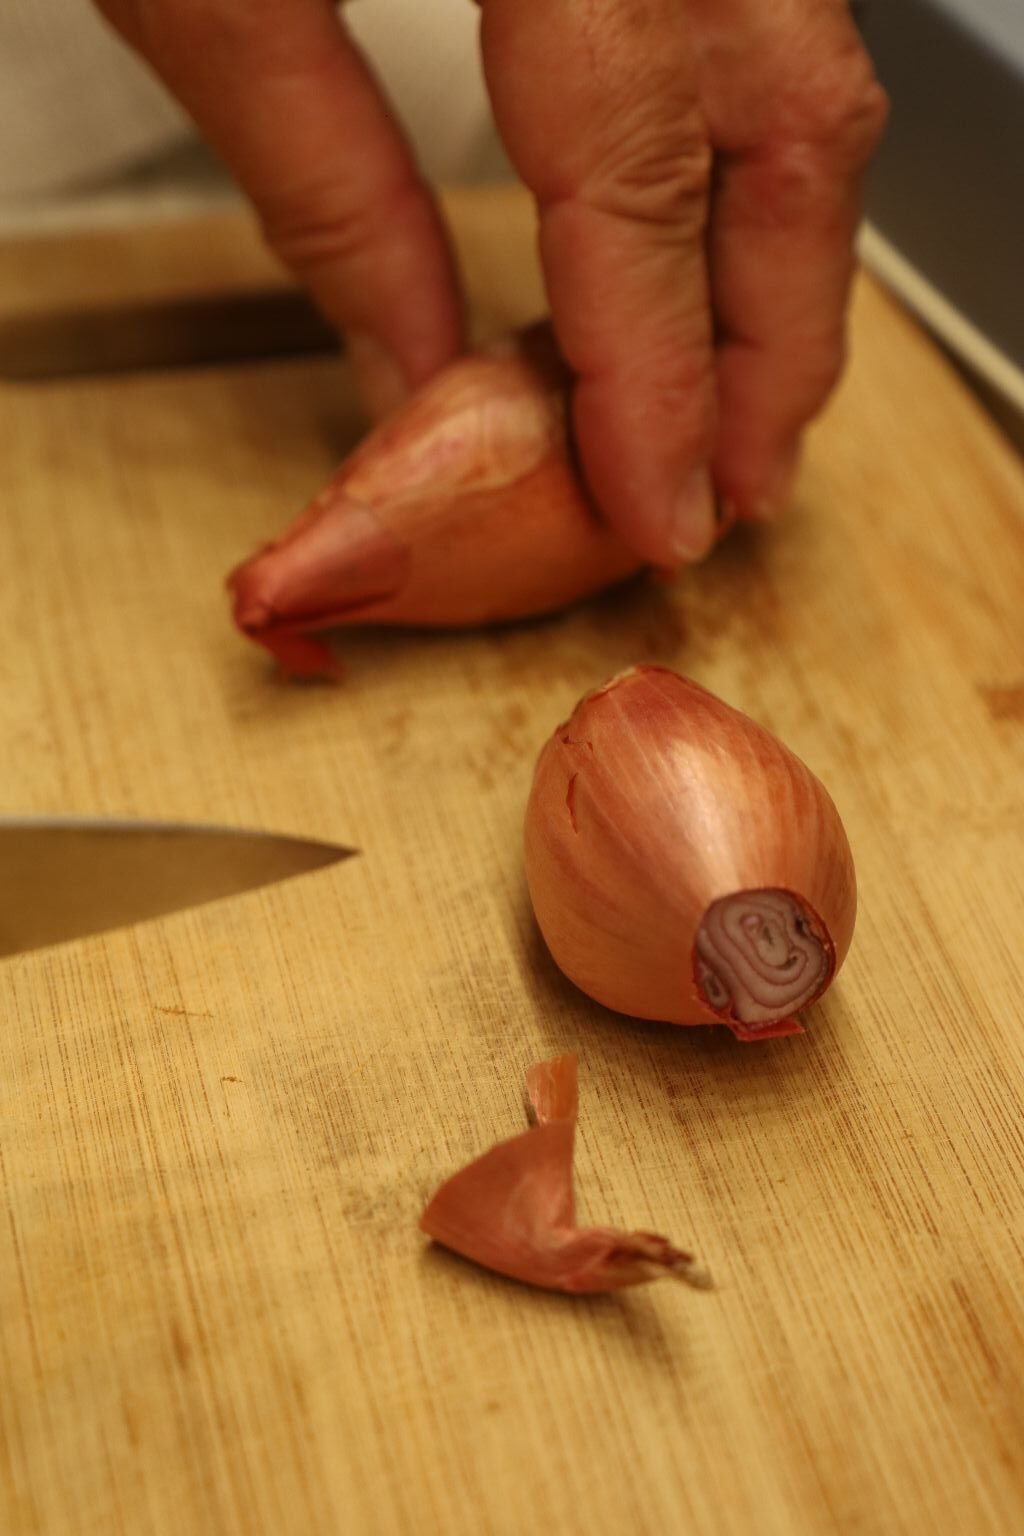
Peel and slice your Shallots, then chop them finely. Add about 2 Tbsp. of your Shallots to the pan and again stir the mixture. You want the sauce to reduce some to thicken which will take about 10-15 min.
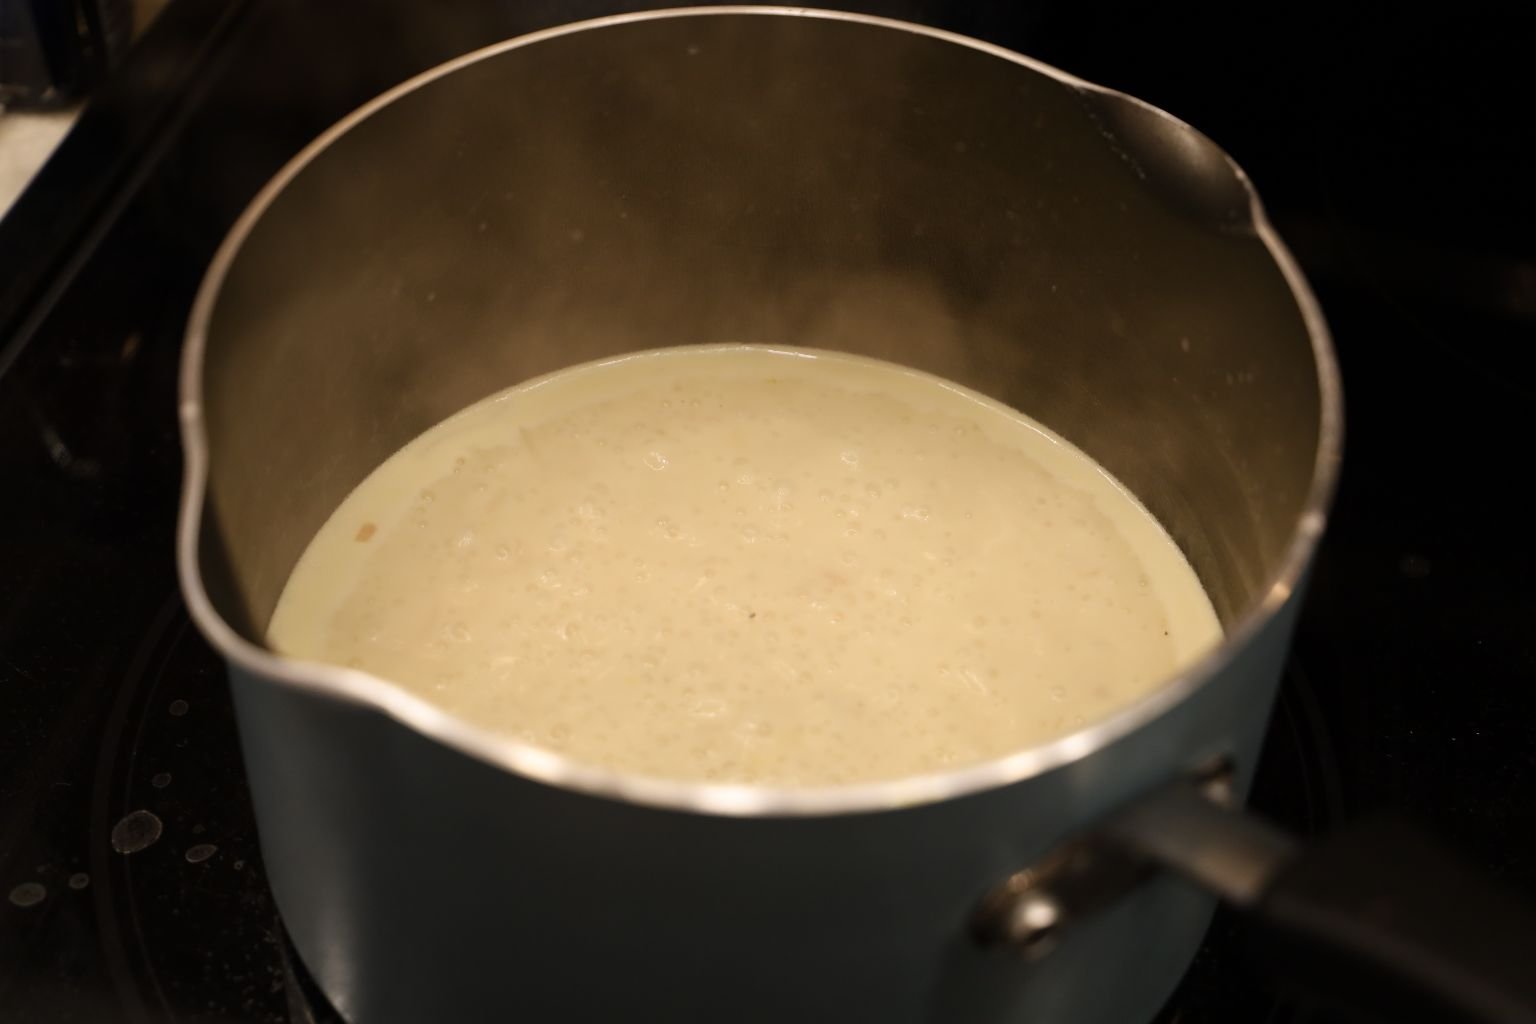
————————————————————————
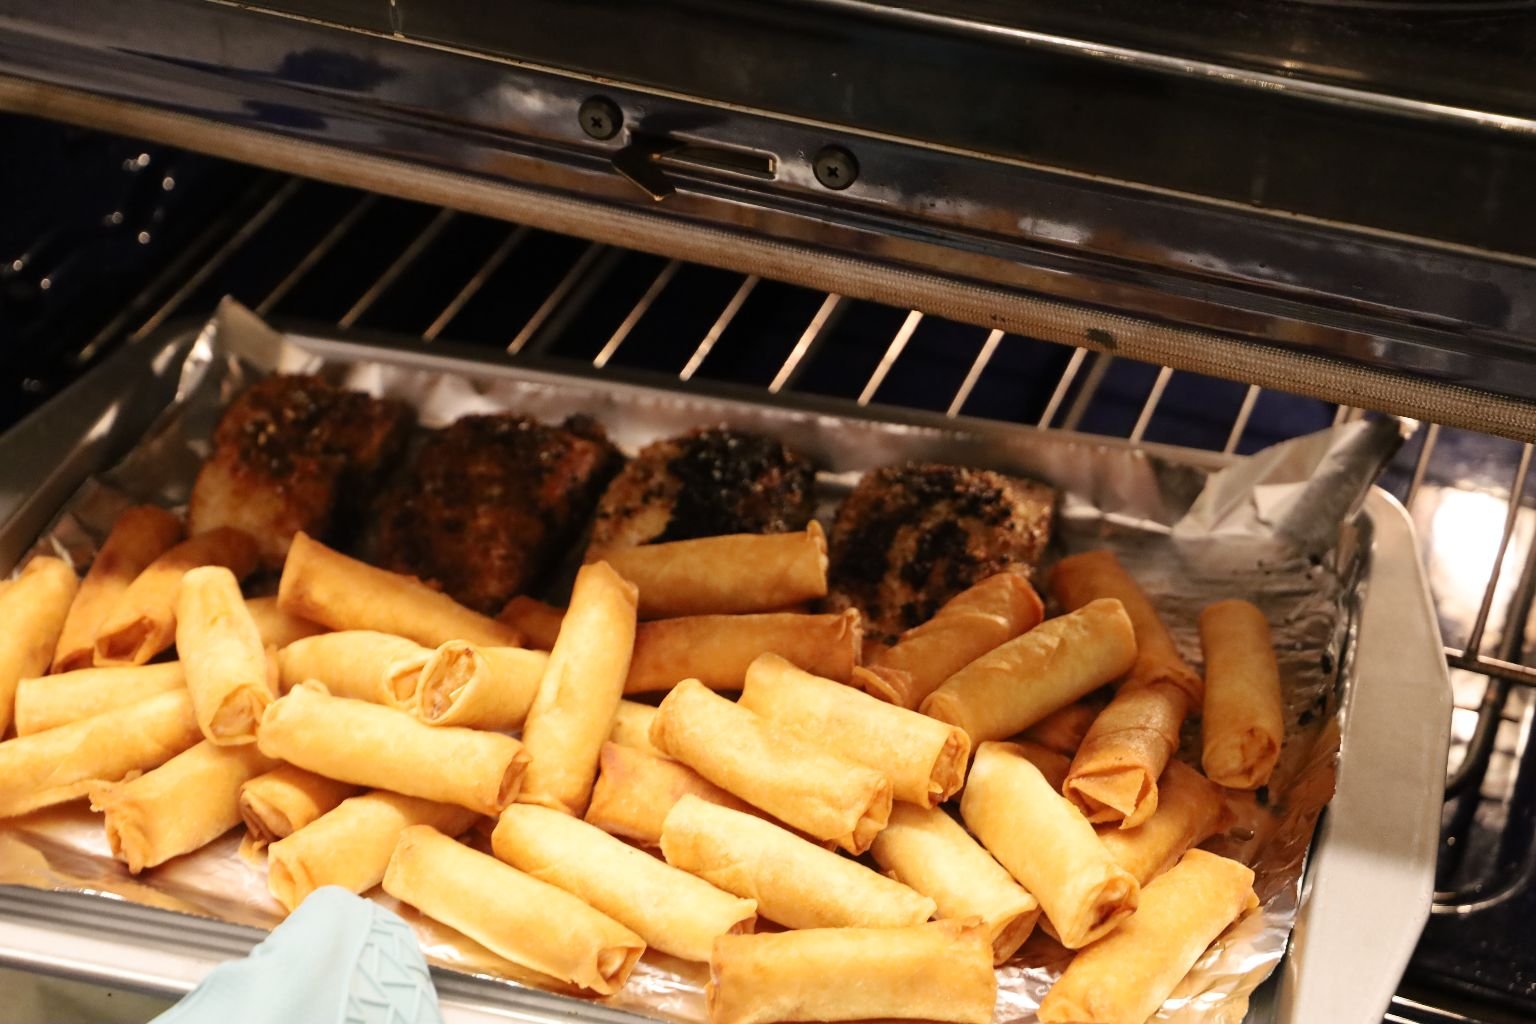
Check on your Spring Rolls and Fish Filets
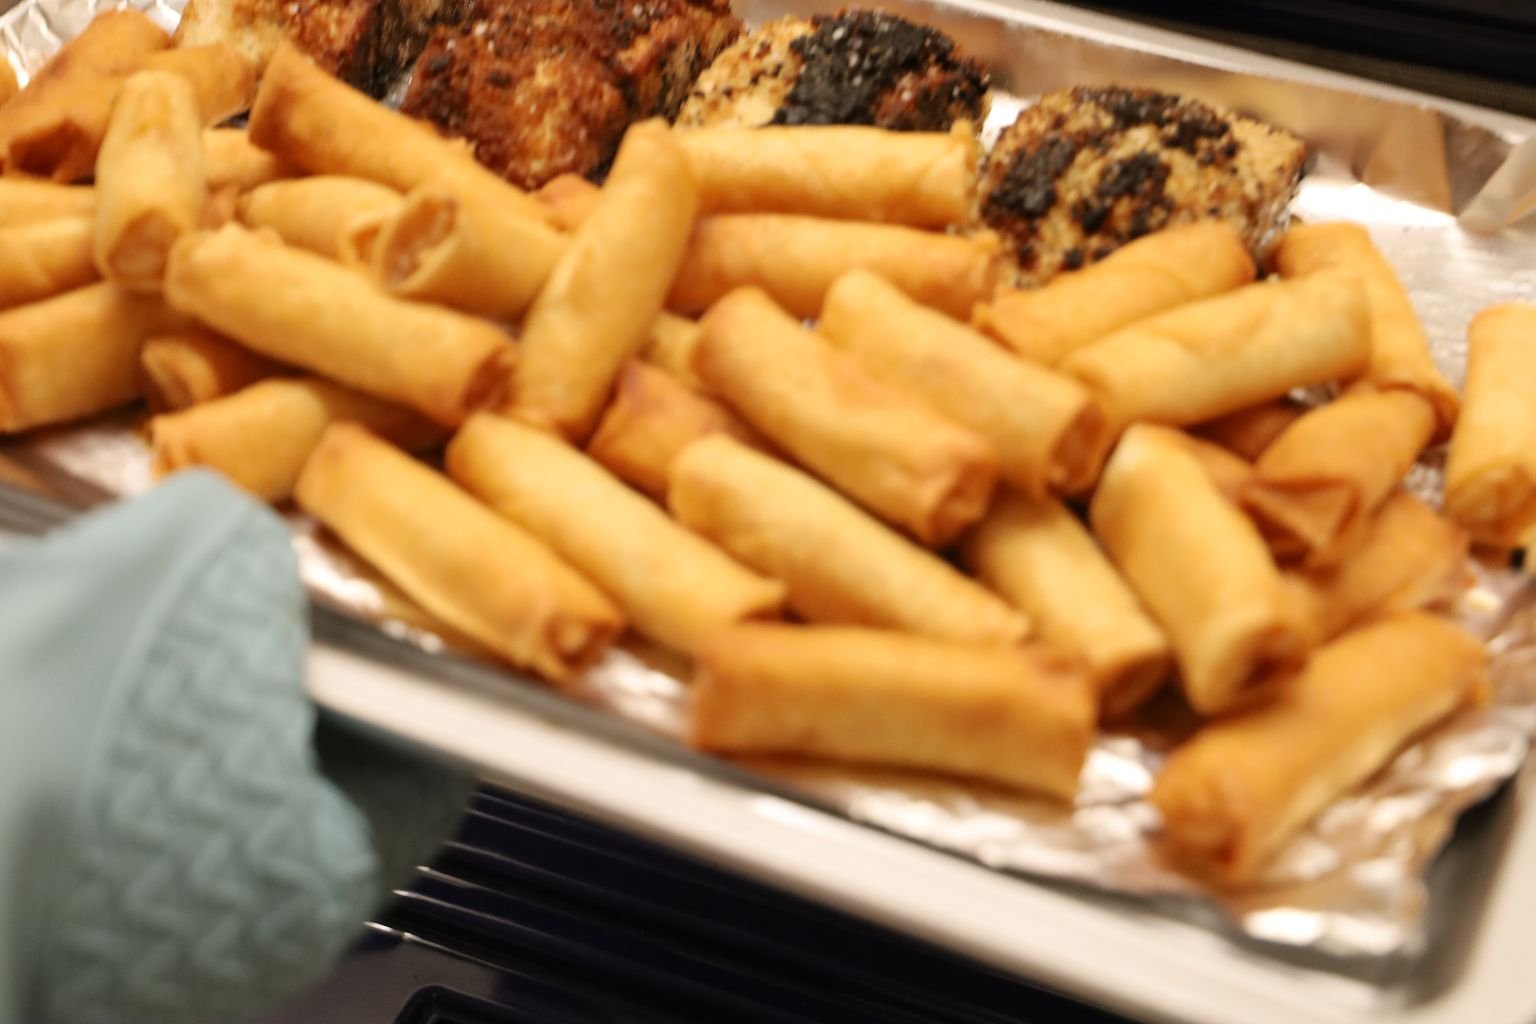
They are looking great!
————————————————————————–

Brodie, Mackenzie, and Hank are waiting patiently in the Living Room.
Sparks seen on the back of the couch loves his time with Hank.

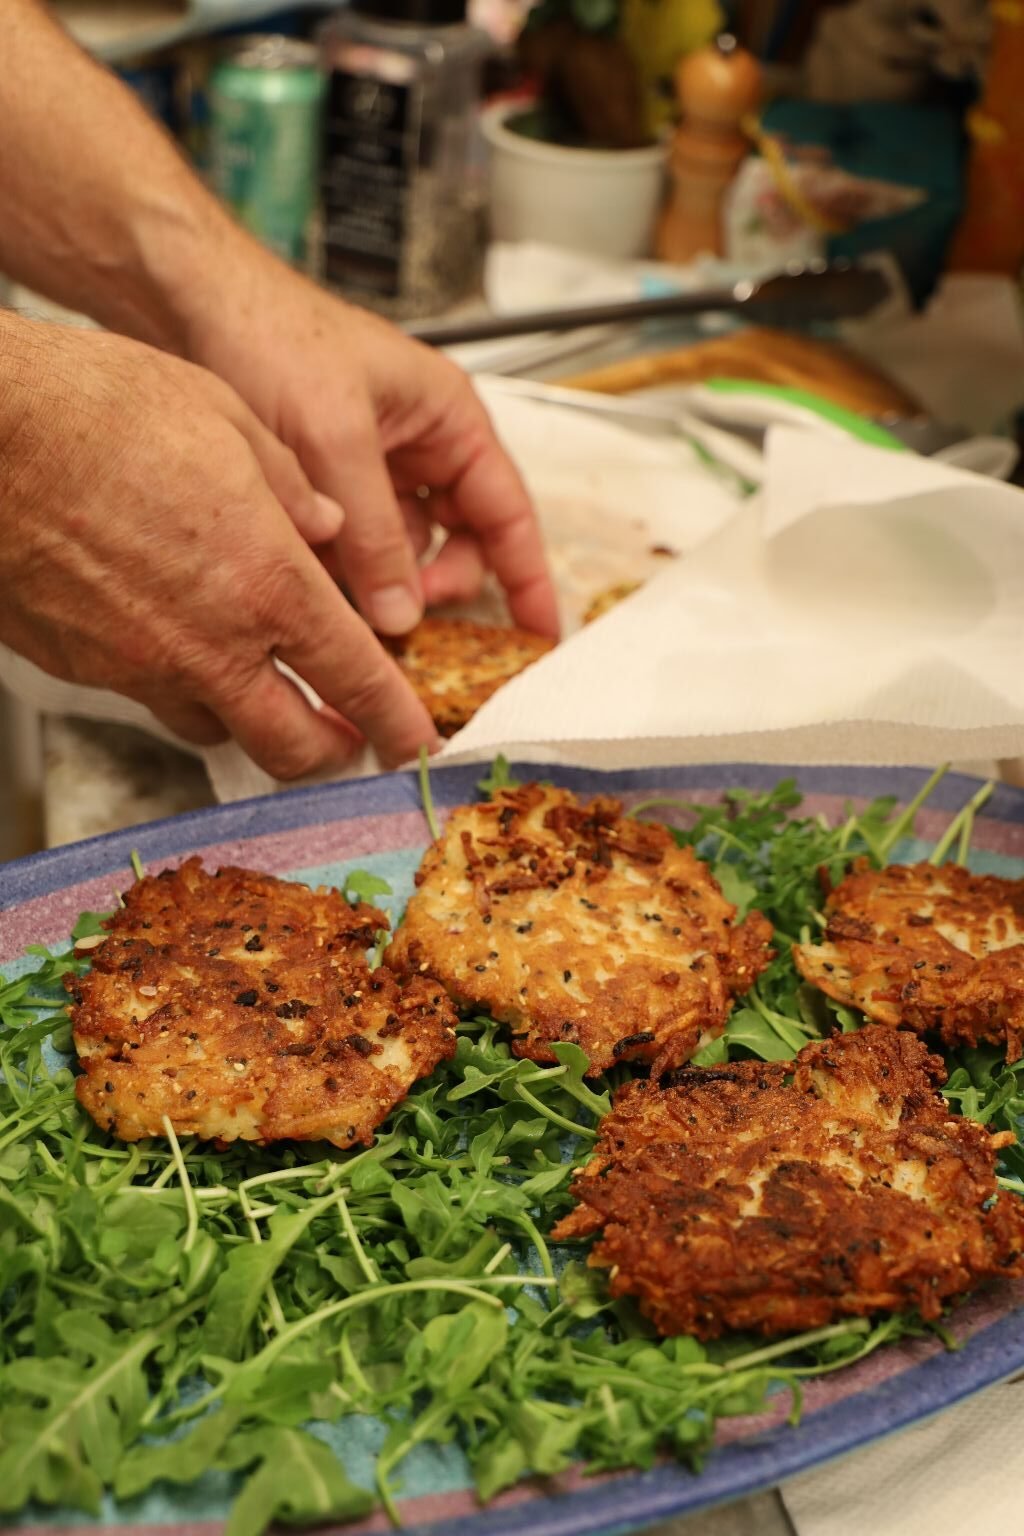
I am getting the serving platters ready for all the food. Arugula is a nice peppery base for this. I placed the Asian Sesame Hash Browns down first, then placed a filet on top.
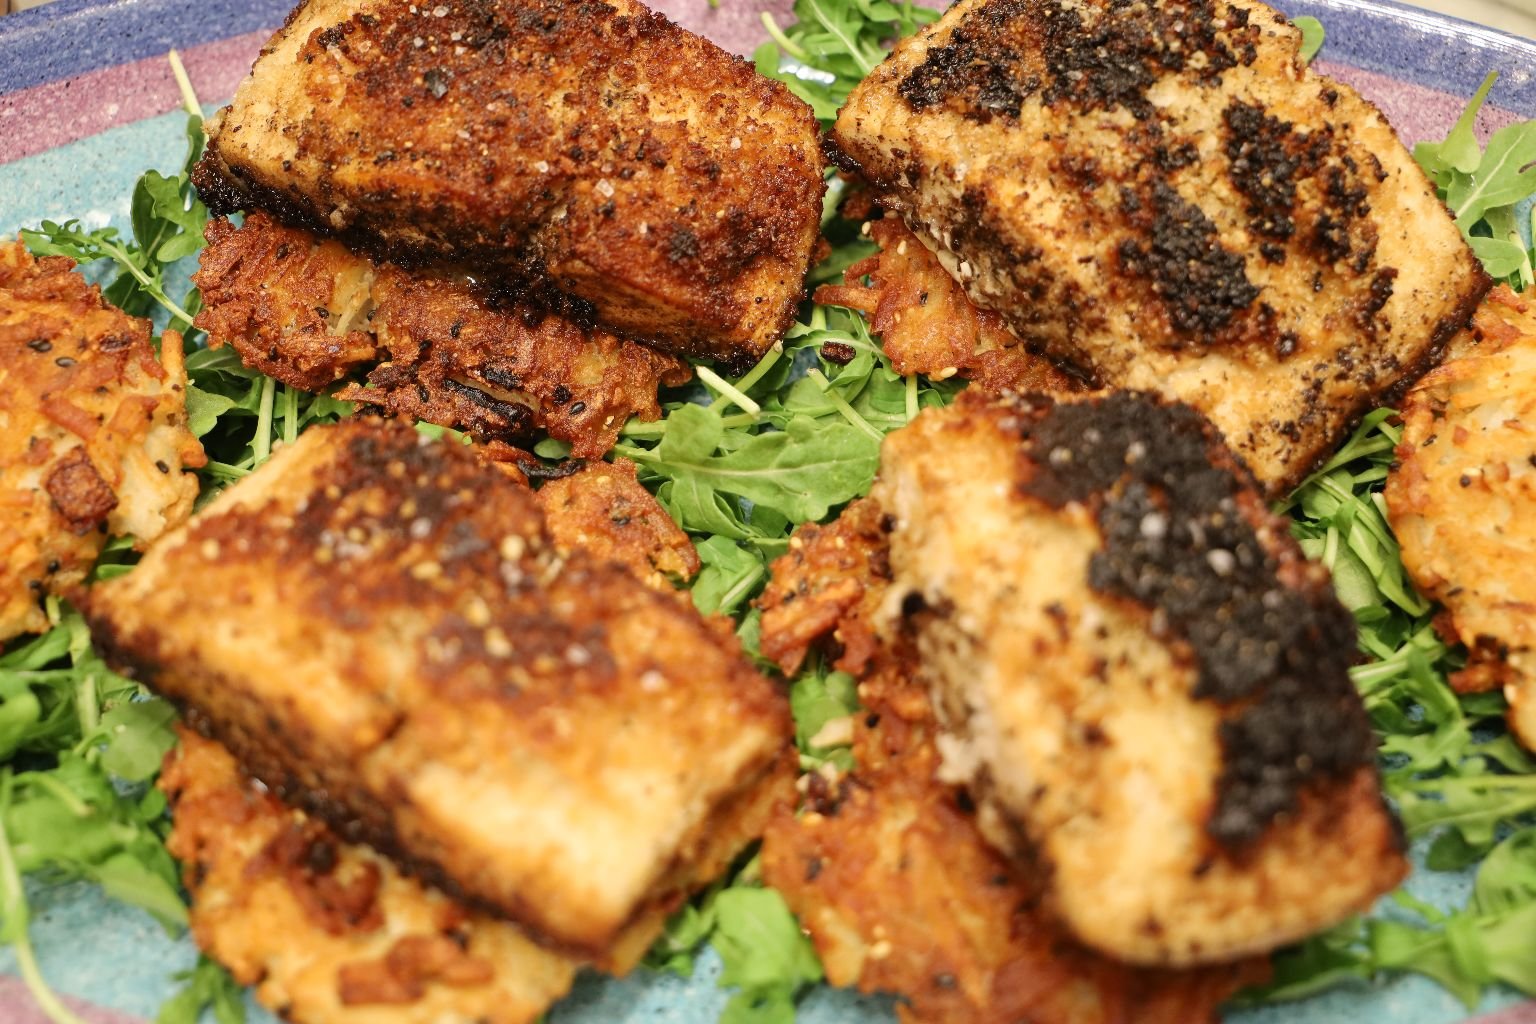
——————————————————————————
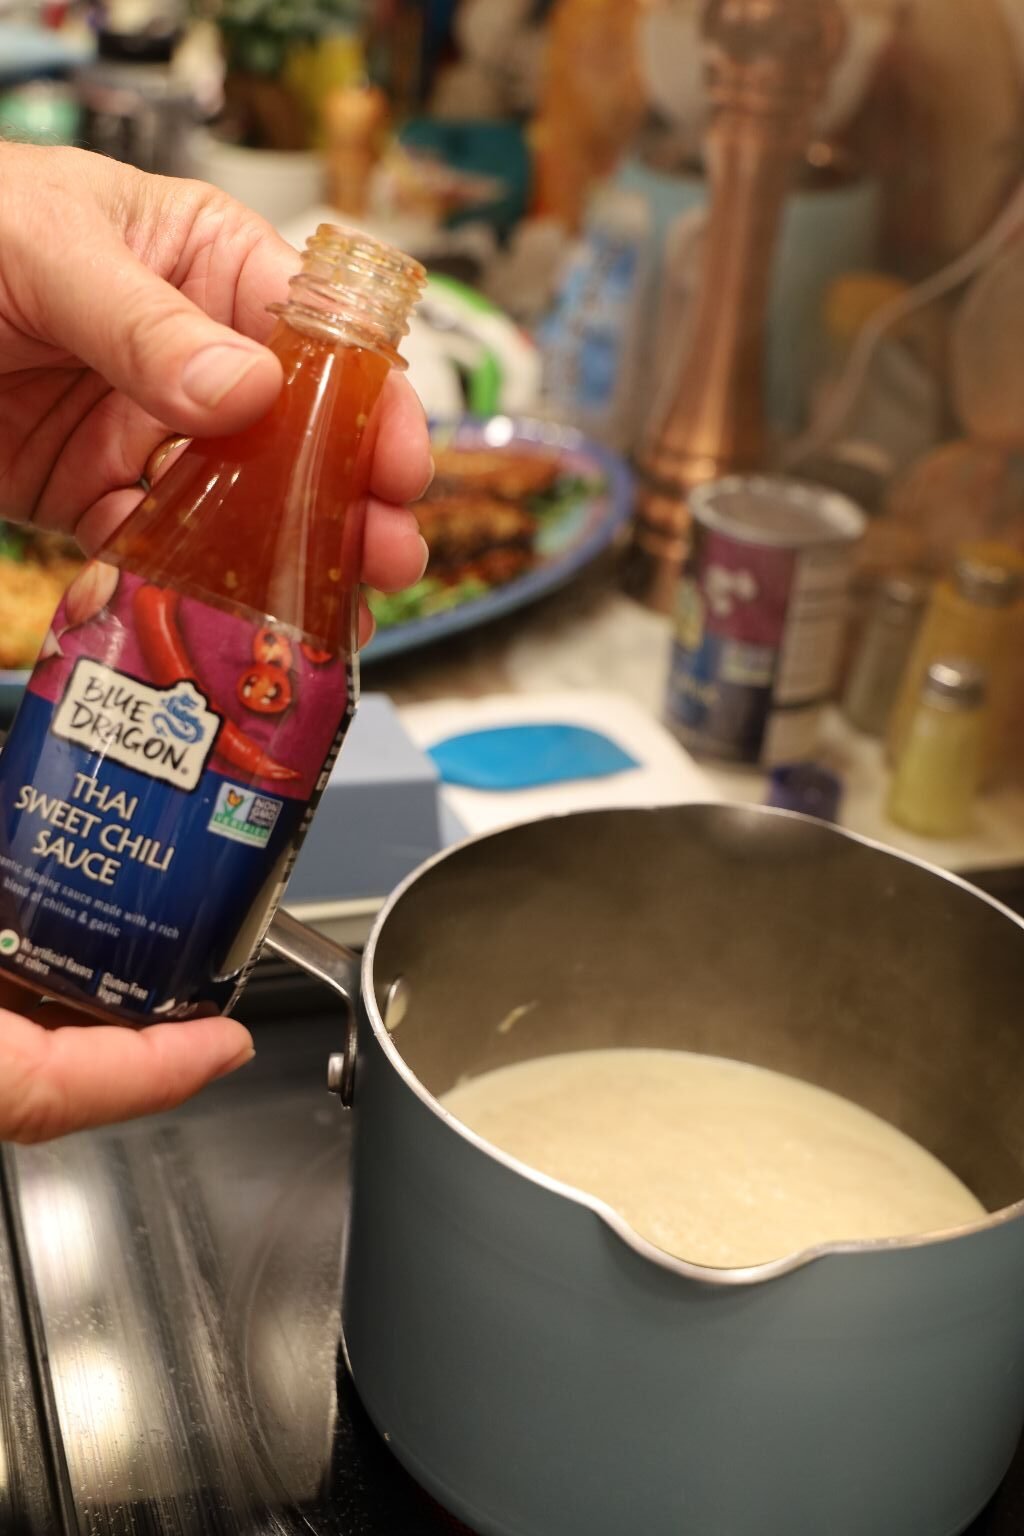
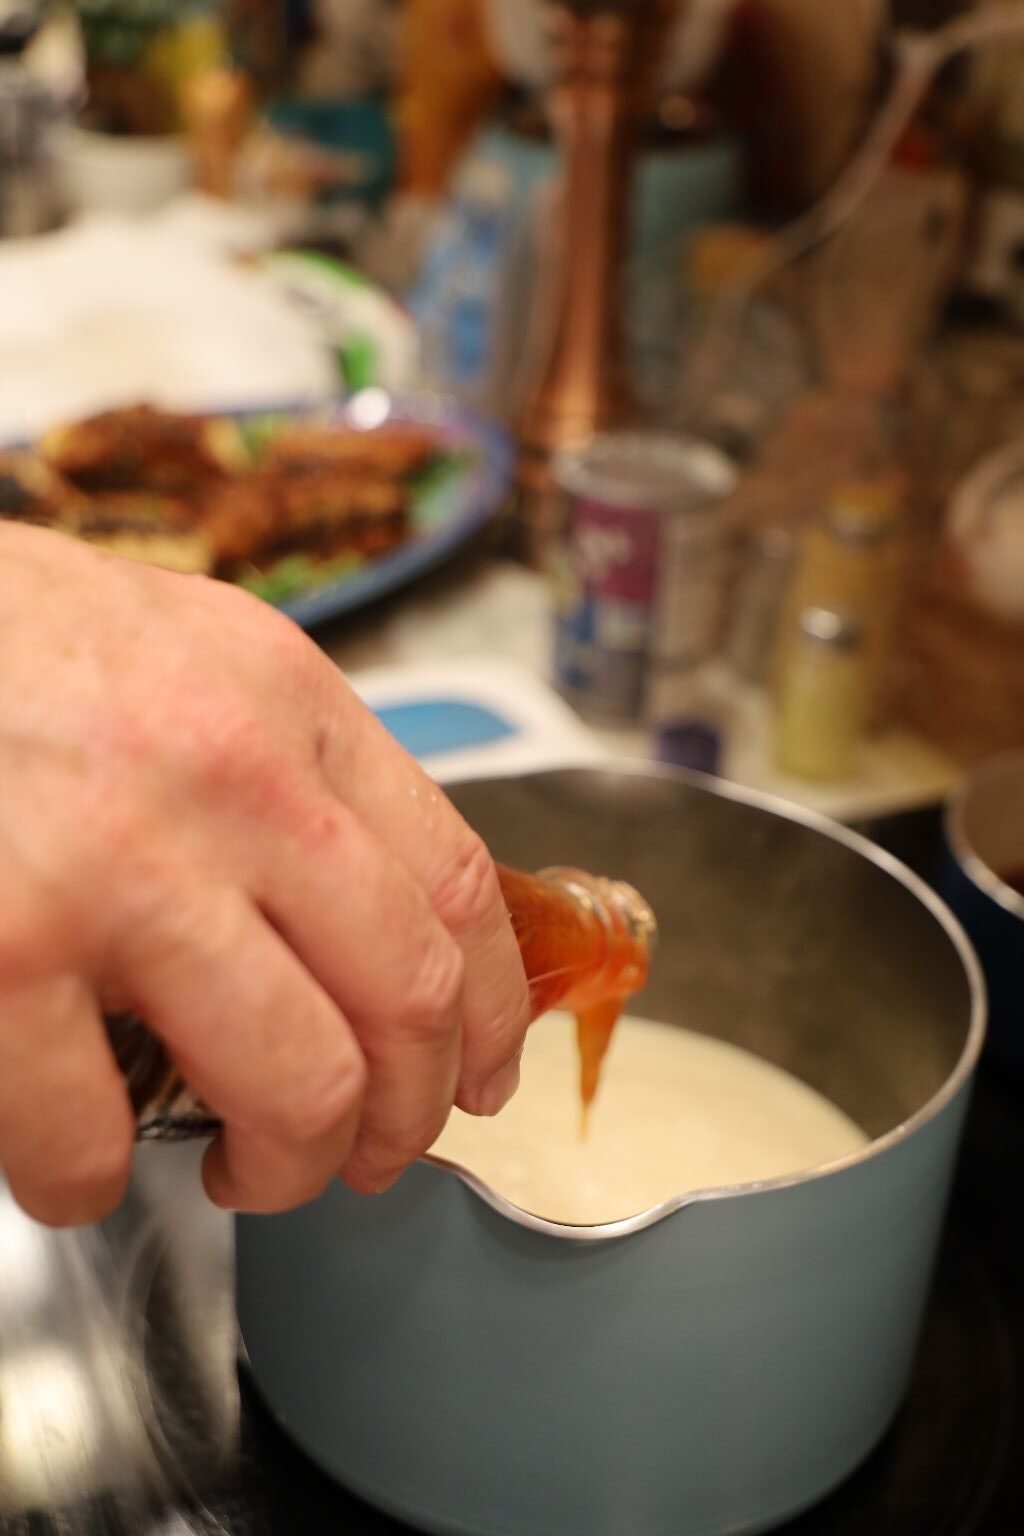
Now that the sauce has reduced some, add about 1 Tbsp. Sweet Thai Chili Sauce to the pan and stir. Lastly, add a few Tbsp. of butter whisking it into the sauce until melted and incorporated. This will give the sauce a nice rich taste.
————————————————————————–
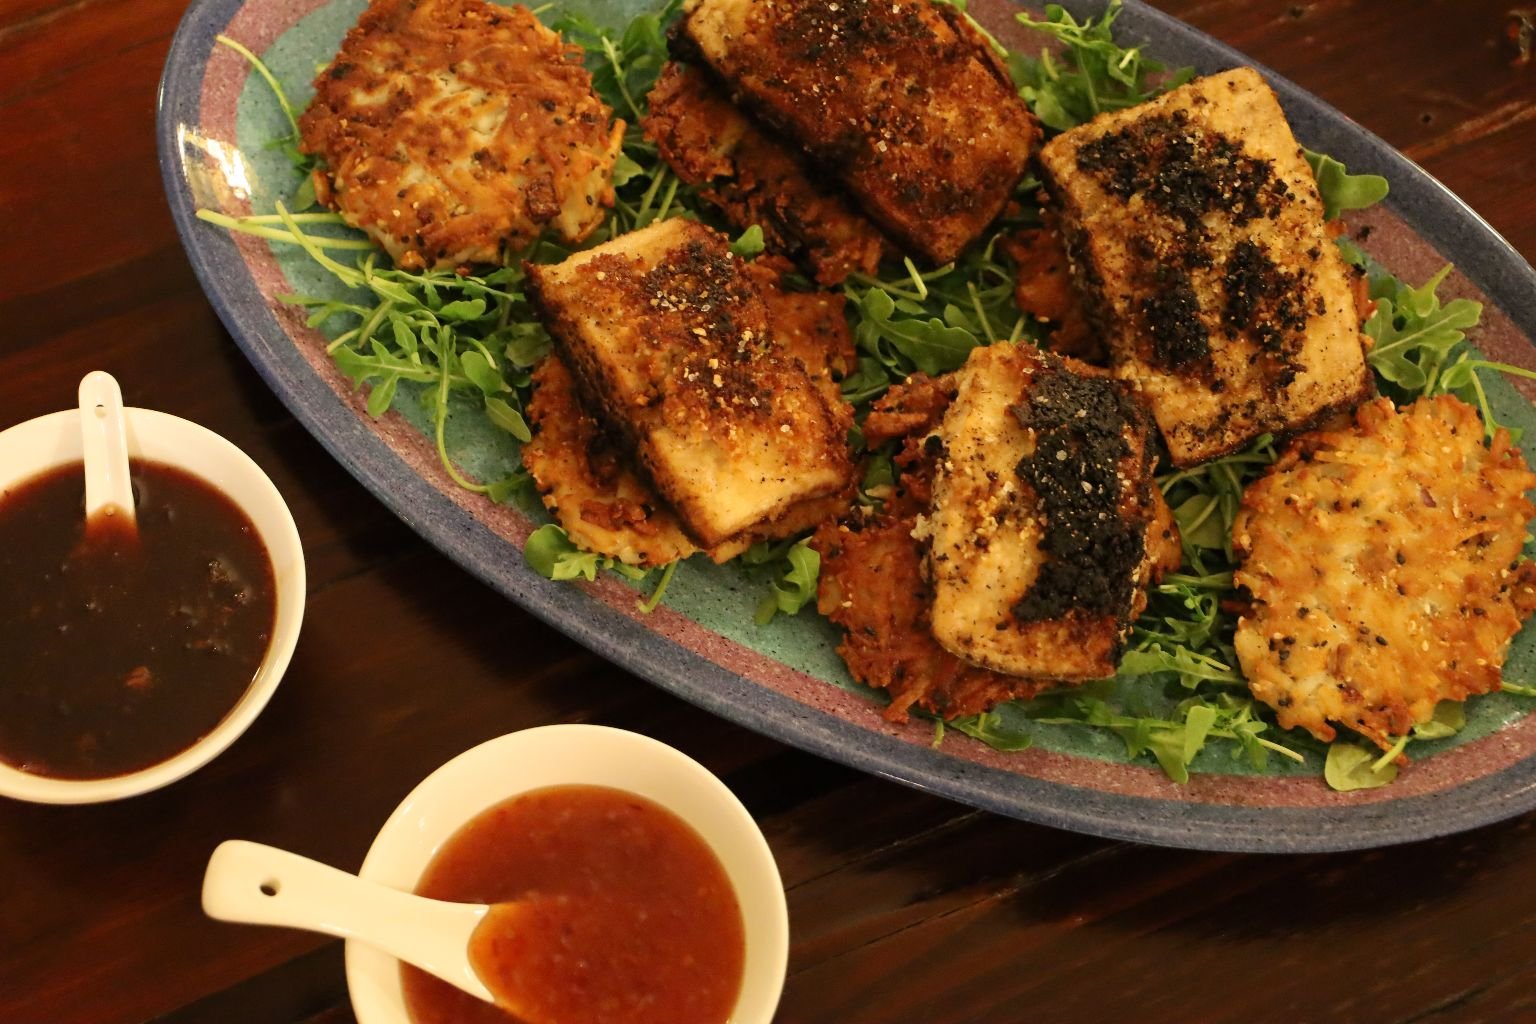
This is a great picture of how I finished plating this dish. You can also see we placed out other sauces for the spring rolls.
————————————————————————–
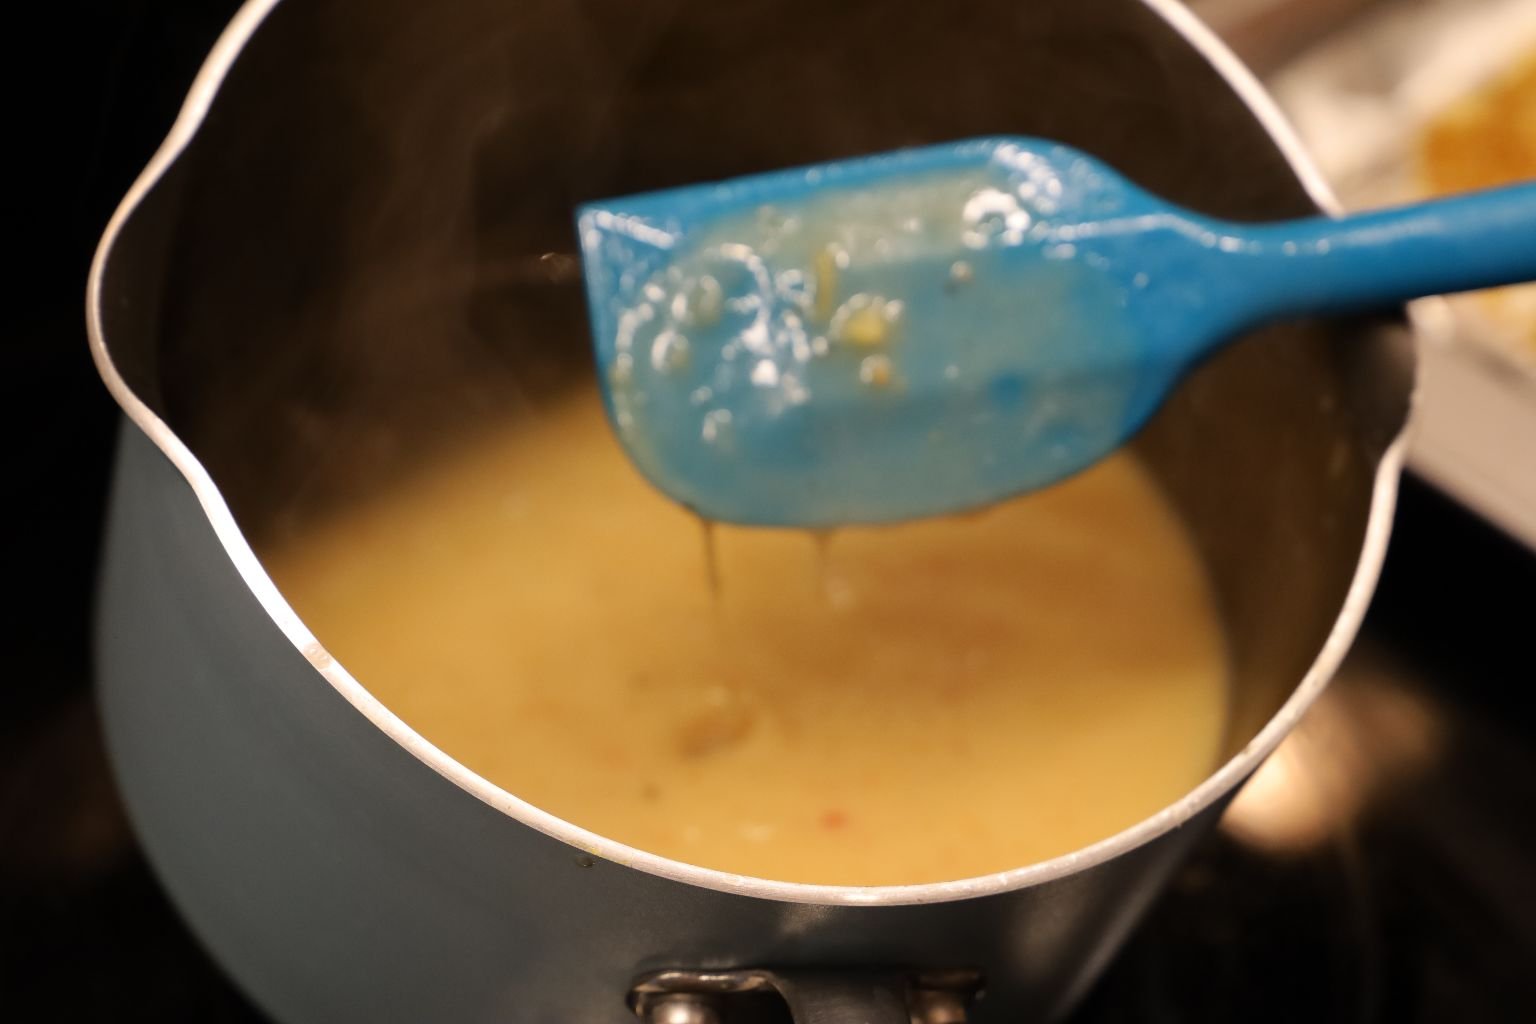
The sauce for the fish is nice and thick. You can tell this by how it coats the spatula.


Pour your Chili Coconut Sauce over the Sesame Hash Browns topped with the fish.
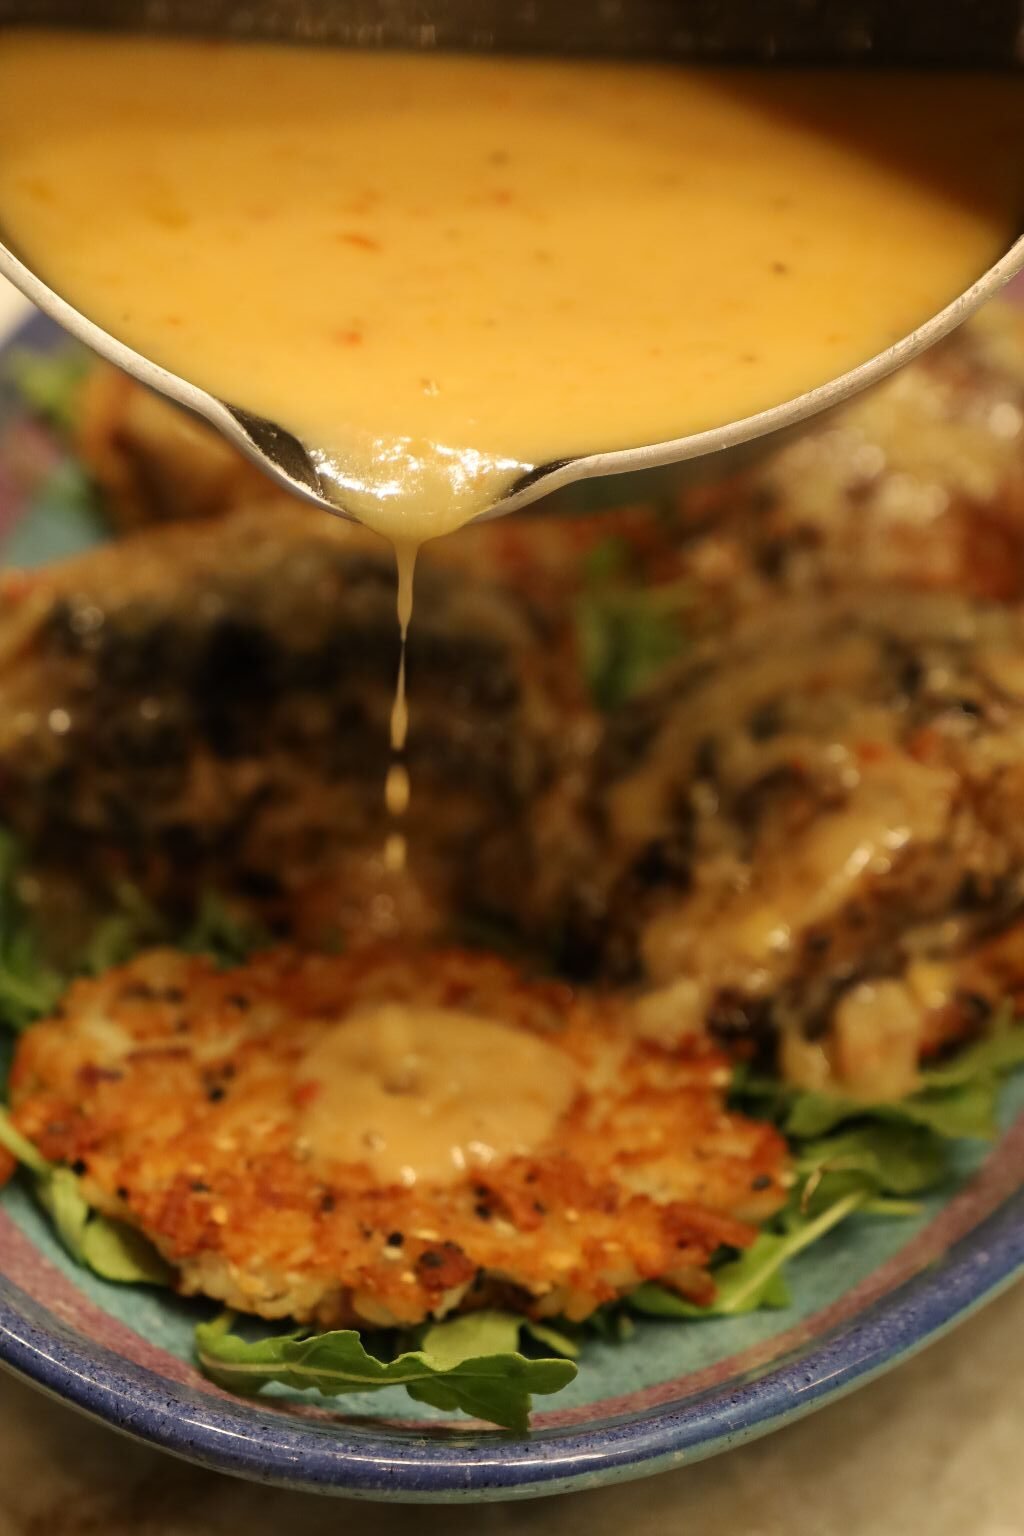
Great pictures Julie… catching those delicious drips.
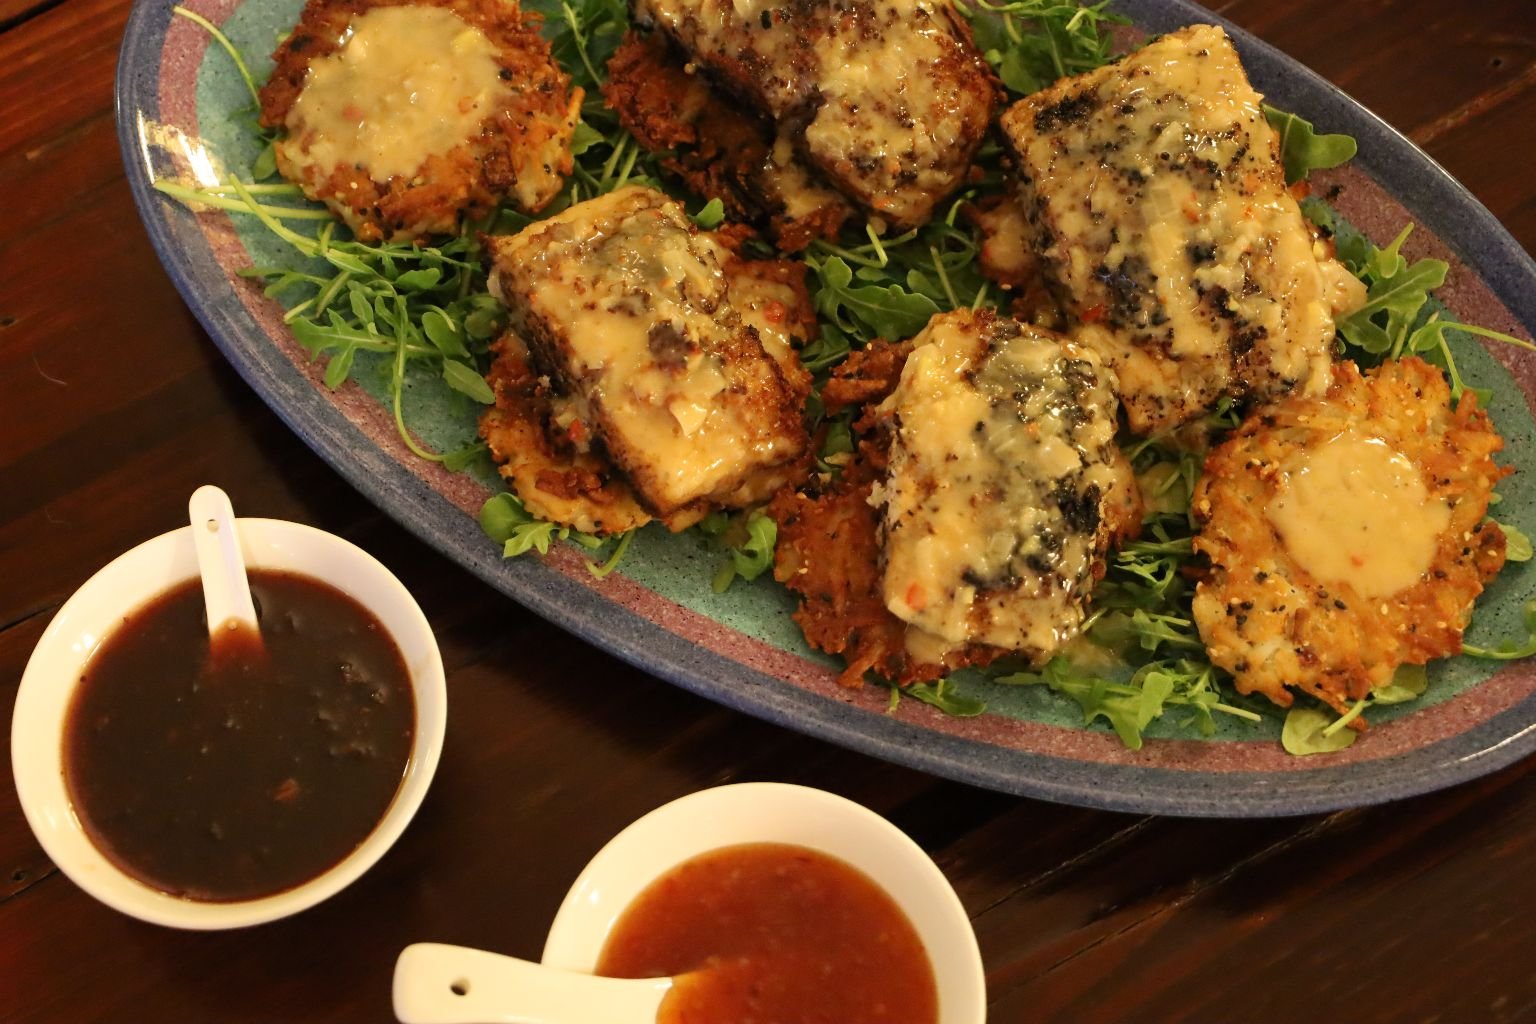
Here is my finished platter of food. I think it looks great!

Have your family members grab a tray and a plate and serve themselves.
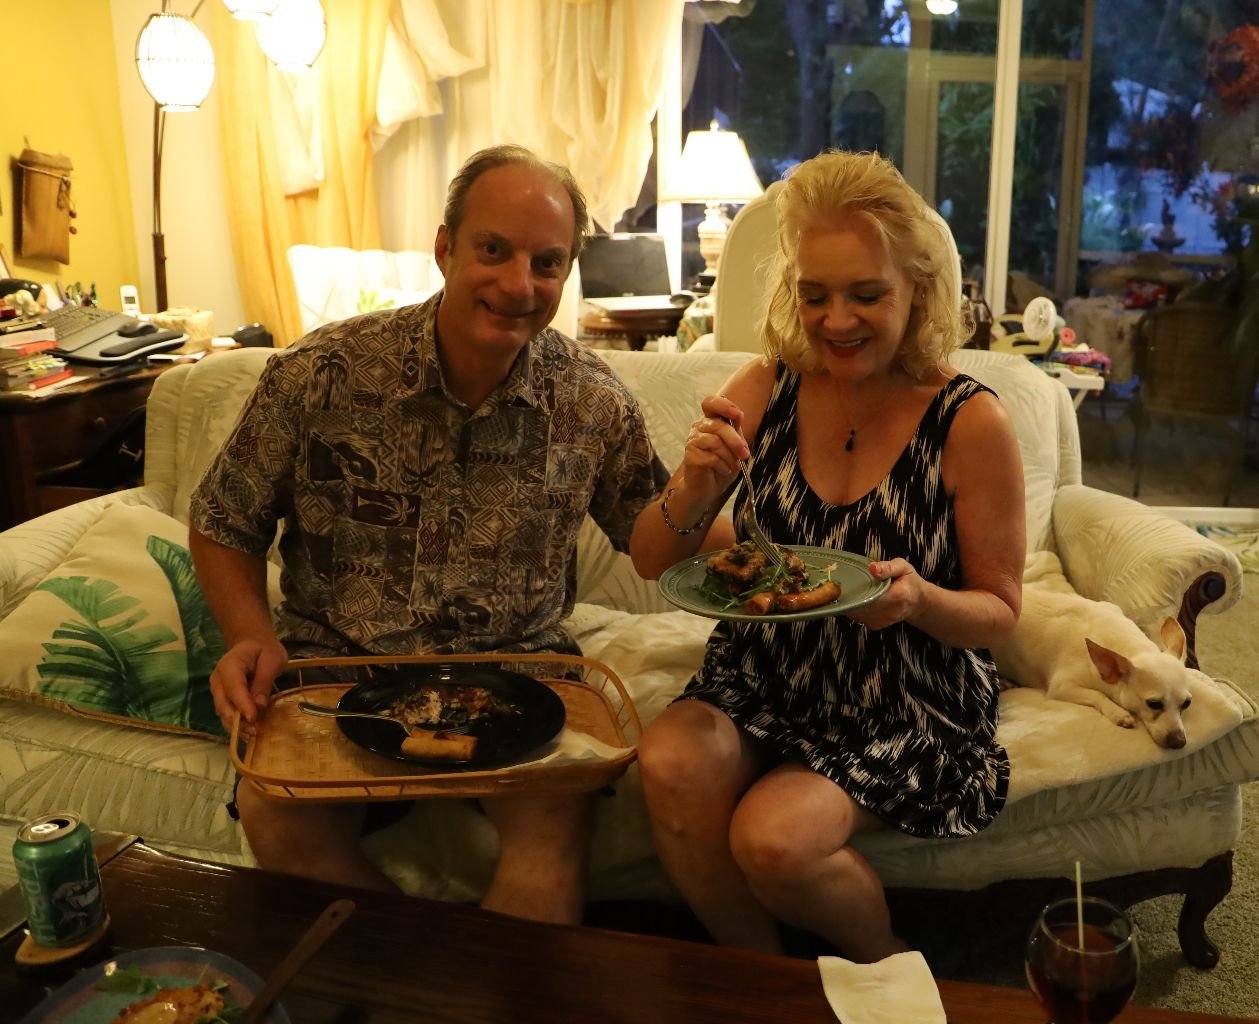
We love to eat on the couch!

Little Spooks looks so cute!
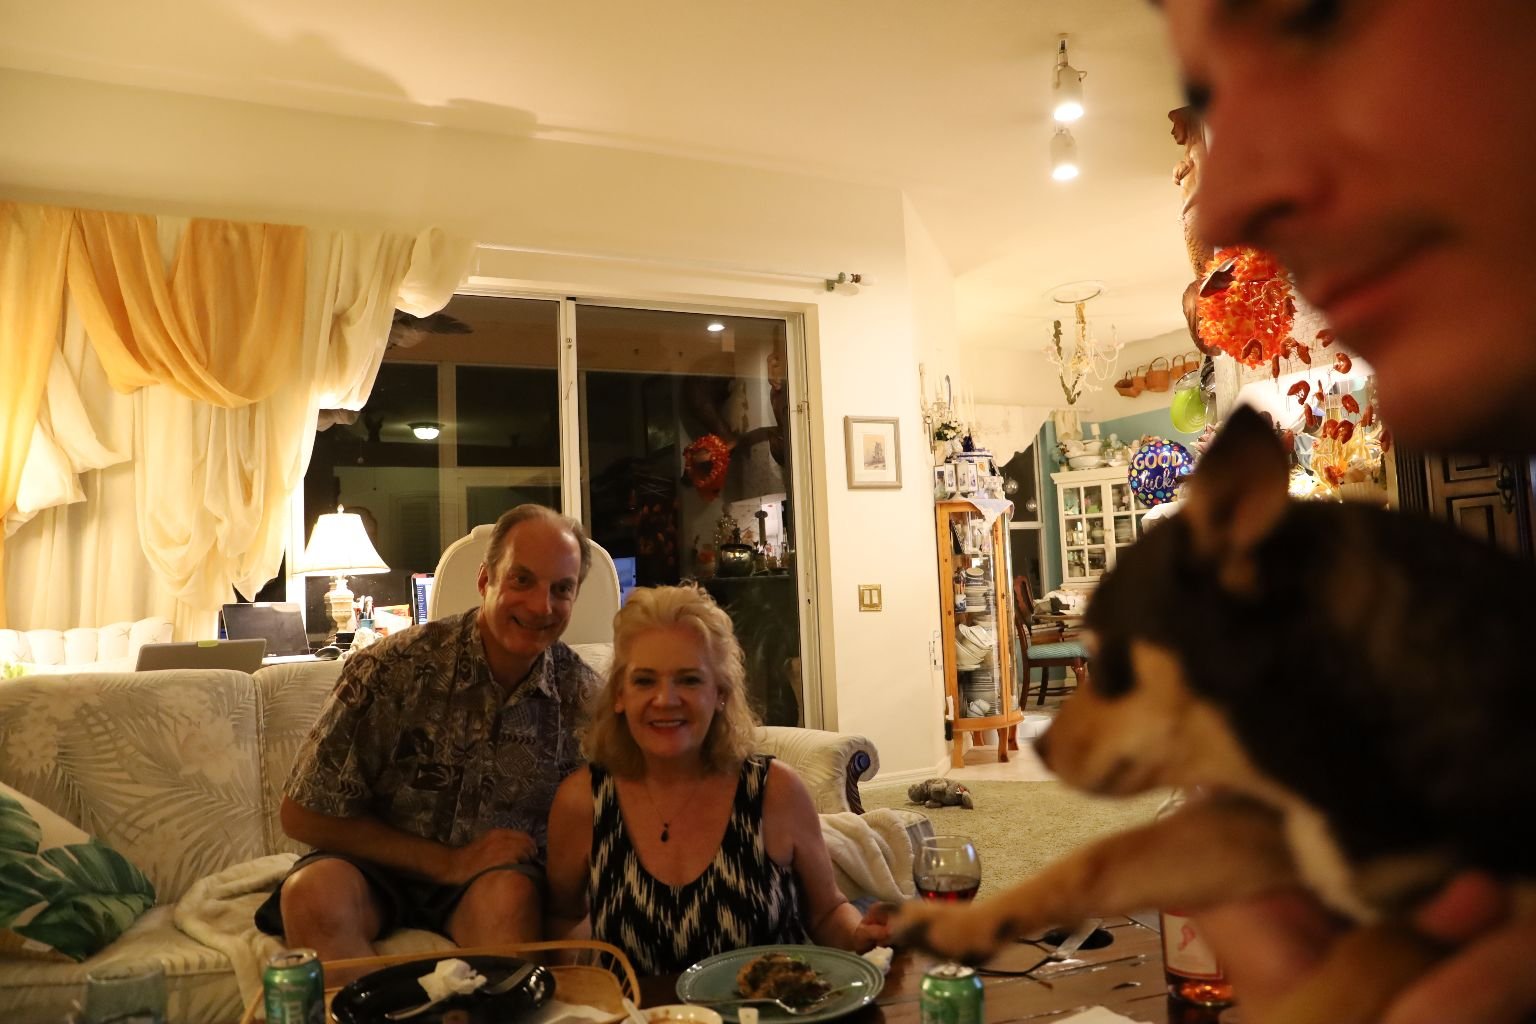
Picture time!

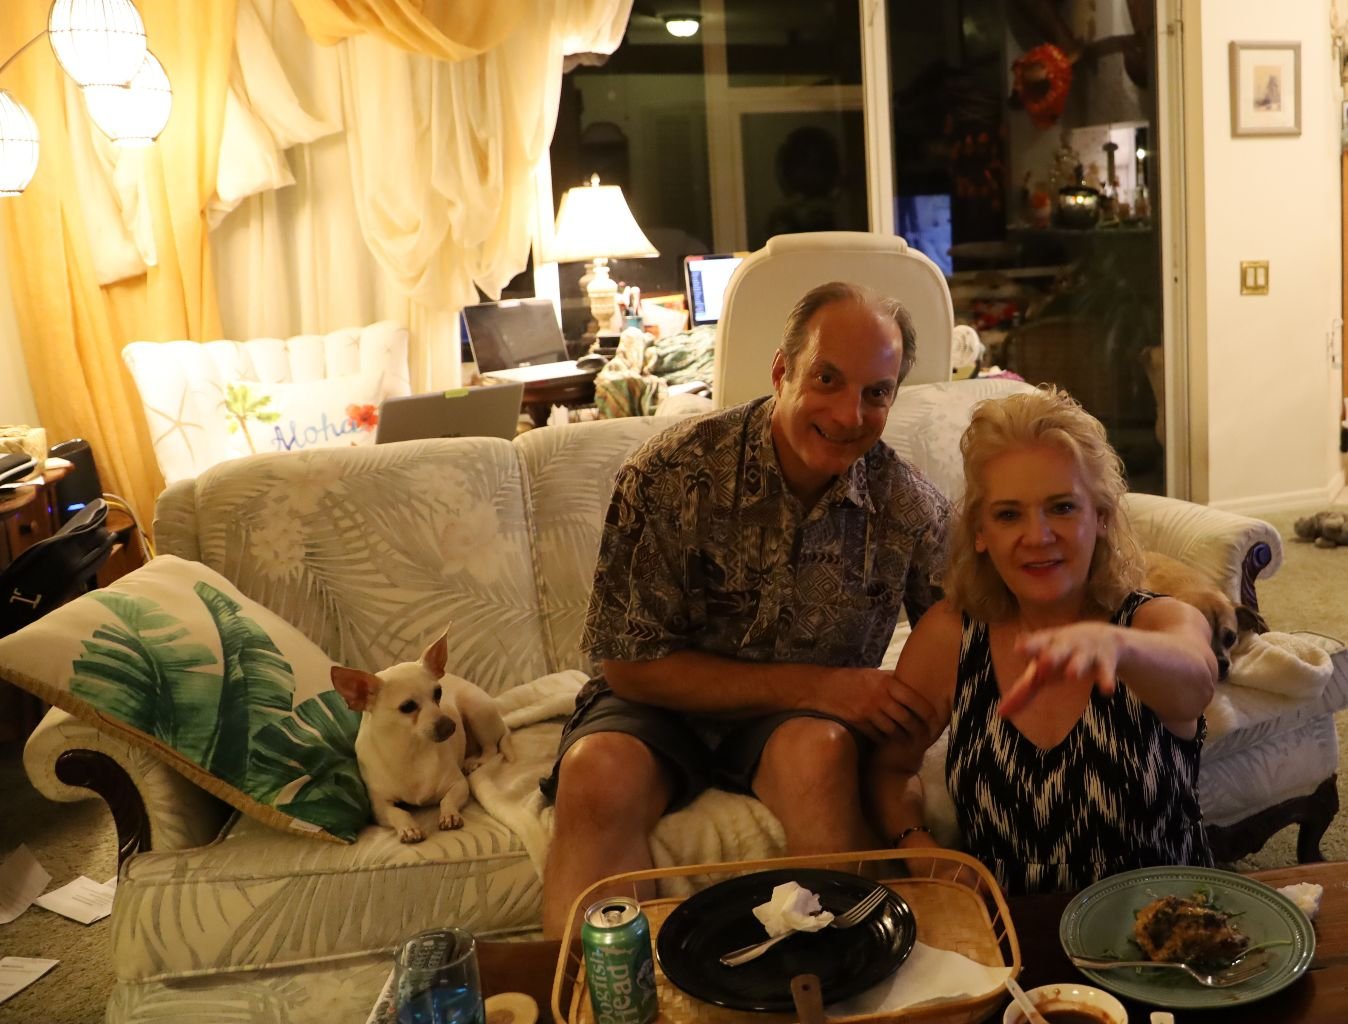
—————————————————————————-
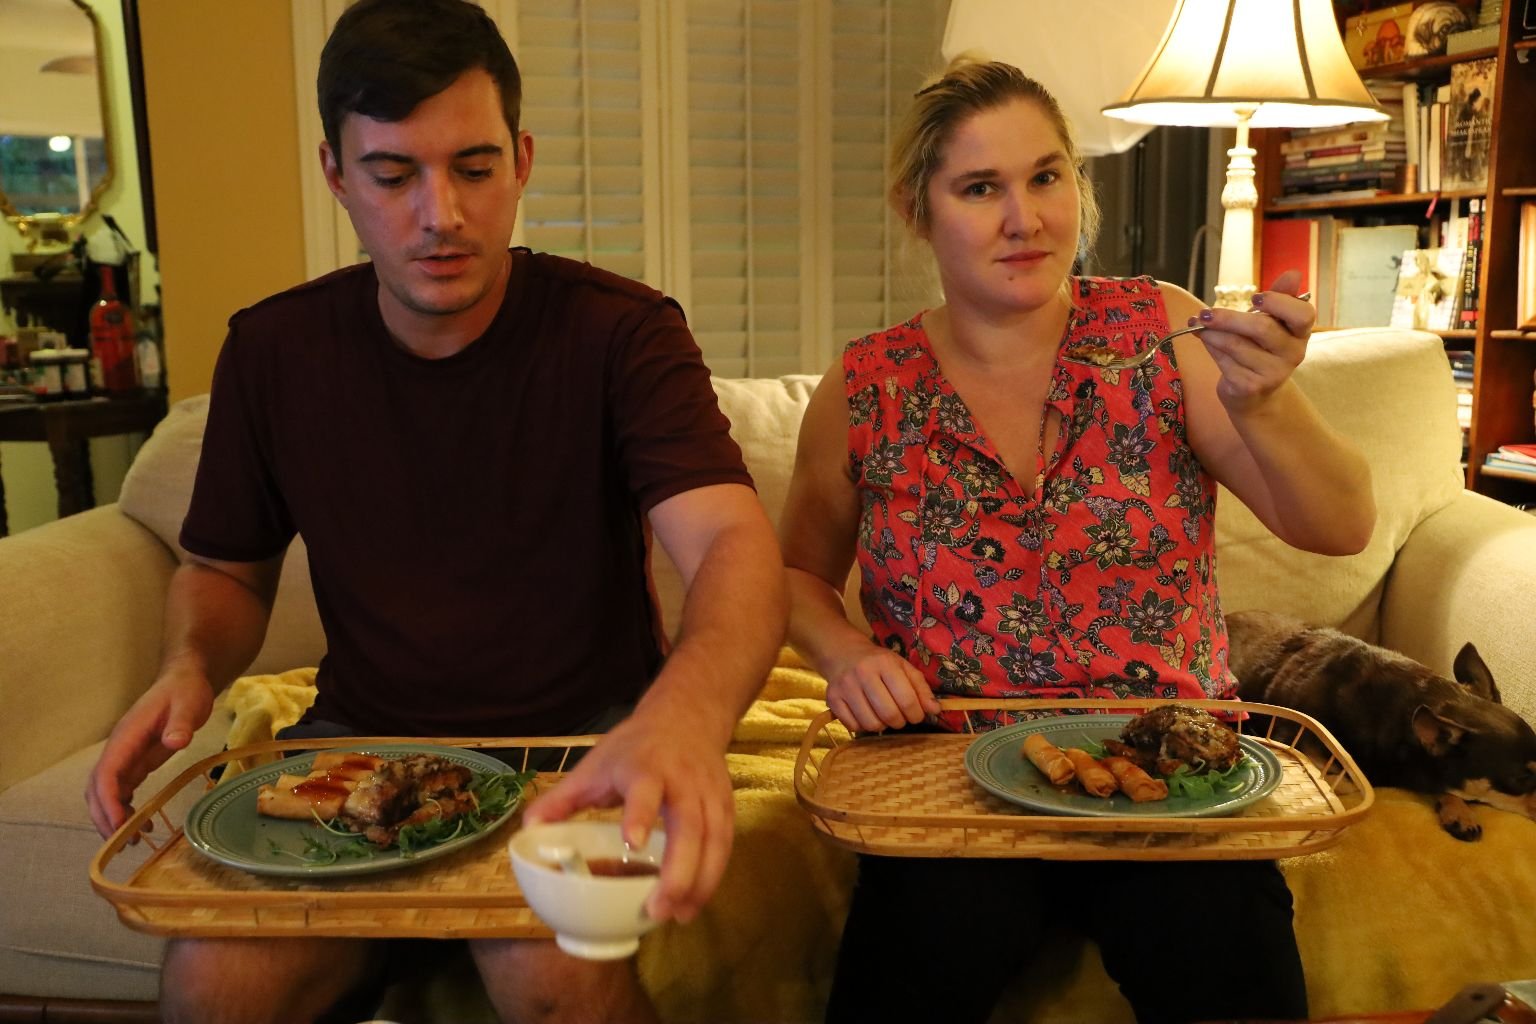
Mackenzie and Brodie… an action shot!
Somebody made a nice plate! Great picture Julie!

Brodie and Hank… two peas in a pod!
————————————————————————–
Check Out Our Other Hawaiian Pages:
Click Here For: Whann Way Aloha

AND,
Click Here For: Whann Way Aloha, Hapa Elua (Part 2)

AND,
Click Here For: Blue Hawaiians and Huli Huli Chicken

AND,

AND,

AND,
Click Here For: Weekend Spamin’ Spam Musubi

AND,
Click Here For: Julie’s Lunchbox

AND,
Click Here For: Gordon’s Hawaiian Potatoes and Huli Huli Pork Chops

AND,
Click Here For: Whann’s In Not Always Paradise

AND,
Click Here For: Julie Barefoot Cookies and Beachy Edible Gifts

AND,
Click Here For: Grillin’ With Aloha

AND,
Click Here For: Julie’s Vintage Hawaiian Mango-Mac Nut Bread Cake w/ Pasta Flowers

AND,
Click Here For: Gordon’s Dole Pineapple Outrigger Canoe and Cocktail

AND,
Click Here For: Hawaiian Hum Lum Sun Prunes

AND,

AND,
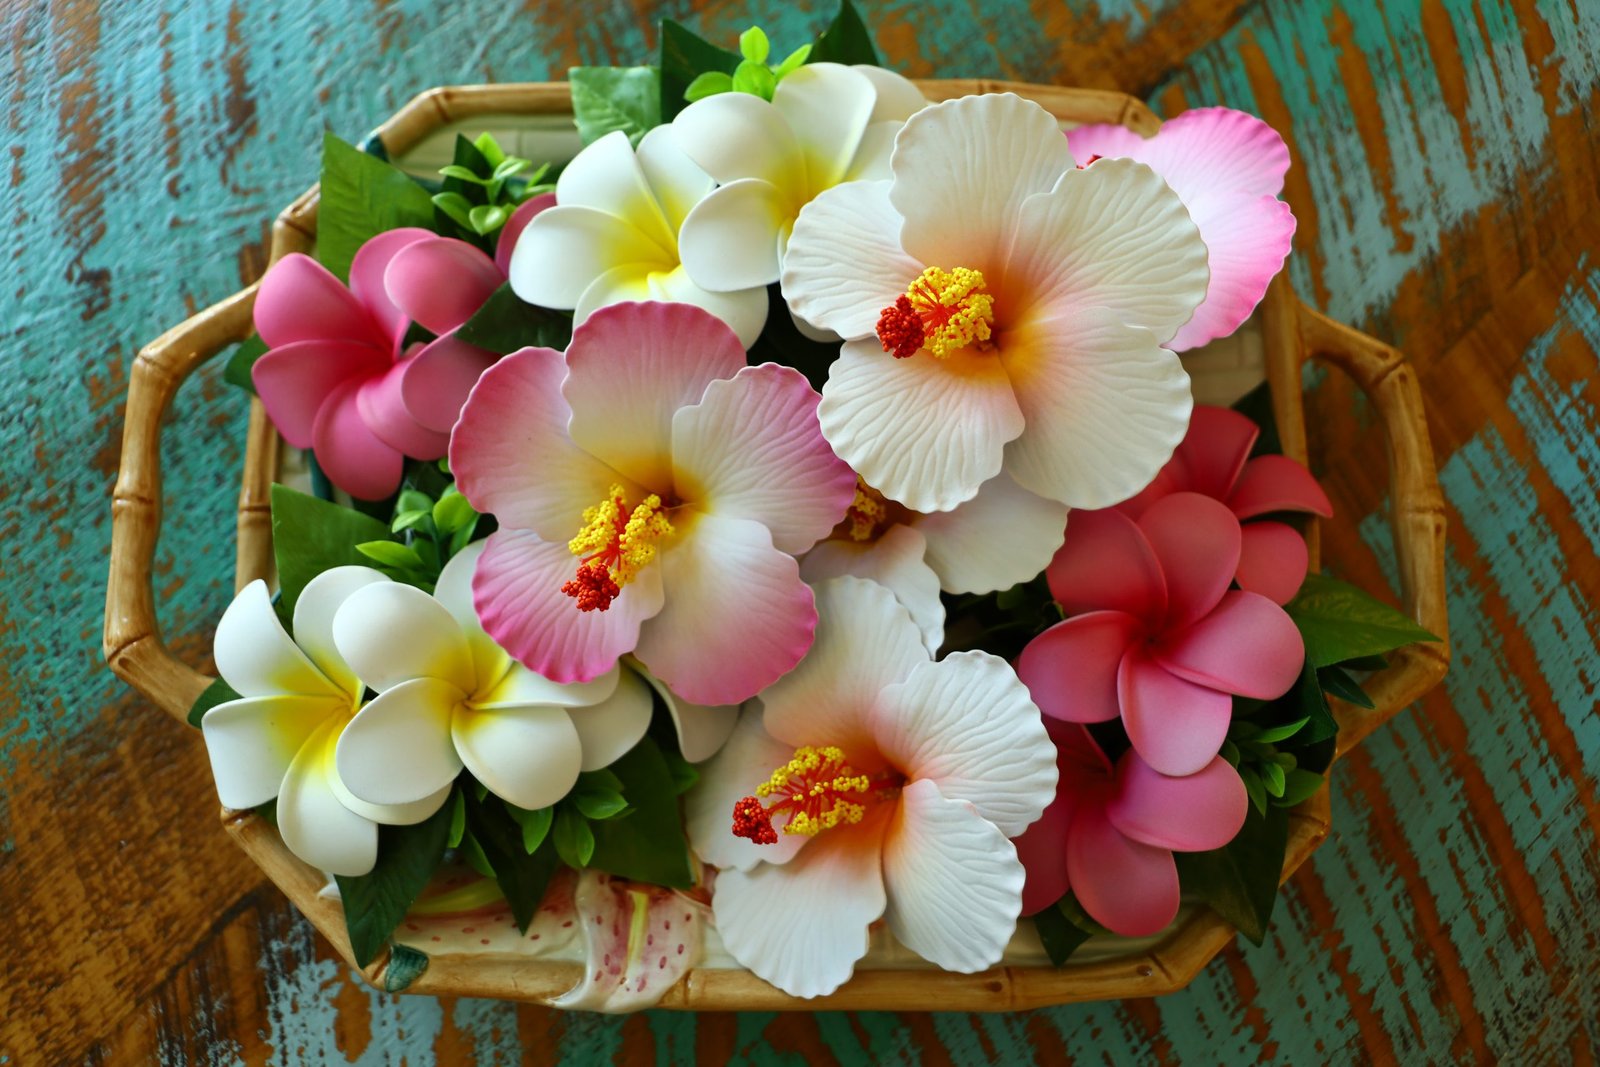
AND,
Click Here For: A Mother’s Day Aloha

AND,
Click Here For: Aloha Wahine Jezebel Sauce
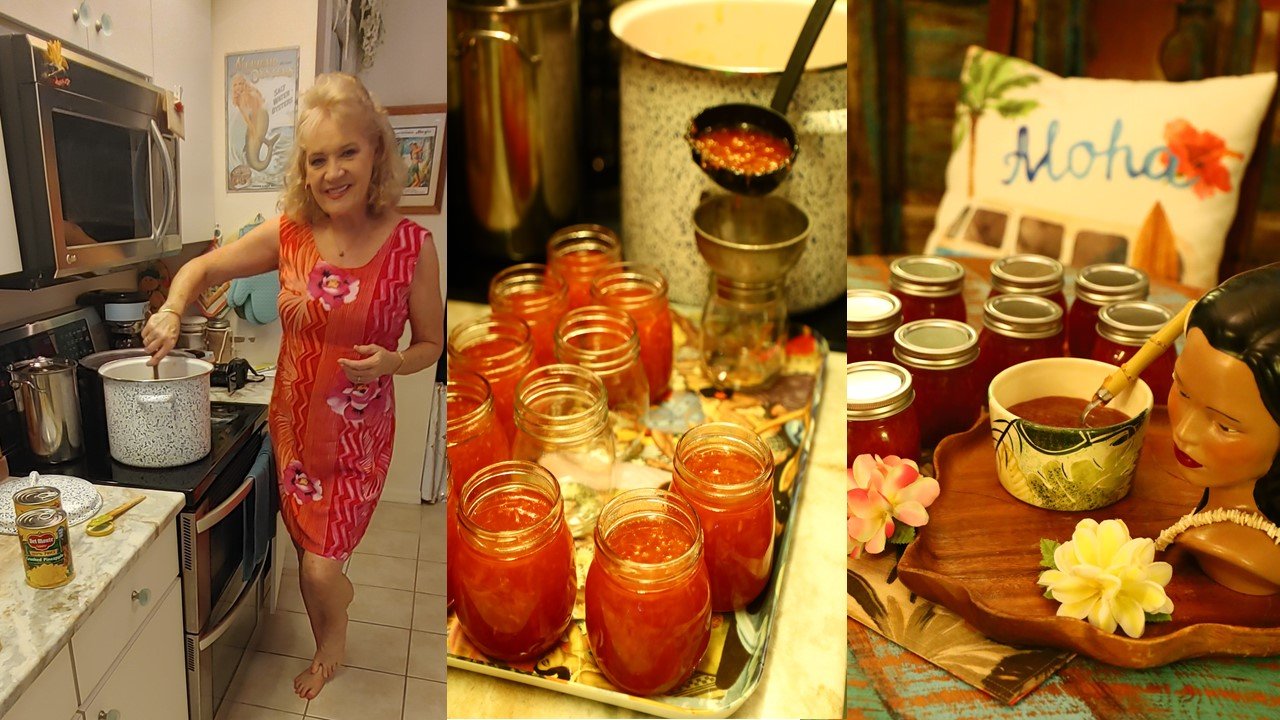
AND,
Click Here For: Whann Way Hawaiian Luau
AND,
Click Here For: Hawaiian Popcorn and Moana Maika I’ Loa

AND,
Click Here For: Beachy Hawaiian Thanksgiving Pu Pu’s

AND,
Click Here For: Barefoot Beach Teas

AND,
AND,
Click Here For: Hawaiian Kalikimaka

AND,
Click Here For: Christmas/Kalikimaka Oysters on the Grill

AND,
Click Here For: Tropical Hawaiian Cranberries and our Mele Kalikimaka Me Ka Hauoli Makahiki Hou

——————————

Creating Easter…. Creating Easter is just that. No matter how big, or small. Some Easter’s we have gone all out with an abundance of food and decor. And other’s were quite small and humble. It all seems to rely on how …
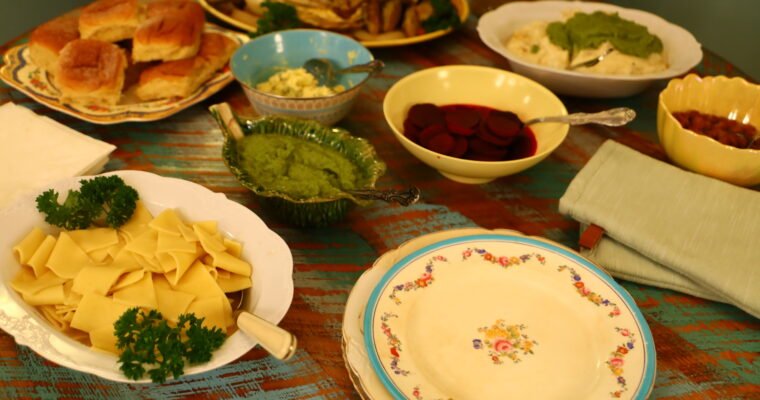
Easter, April 9, 2023 ——————————————————————— Experimenting With Our Easter Table ———————————————————————————– Our Easy Easter Table Vegetarian Normally our Easter’s are a bit more elaborate, however we had just hosted a big Baby Shower for our daughter and son-in-law two days prior, so this …
Kon’nichiwa
(Hello)
Yokoso Chisana Atsukau
(Welcome to Small Treats.)
Watashitachi Wa Anata Ni Motarashimasu Oishi Shokumotsu Atsukau
(We will bring to you delicious food treats.)
To Do Yatte Ni Tsukuru Karera
(And, how to make them.)
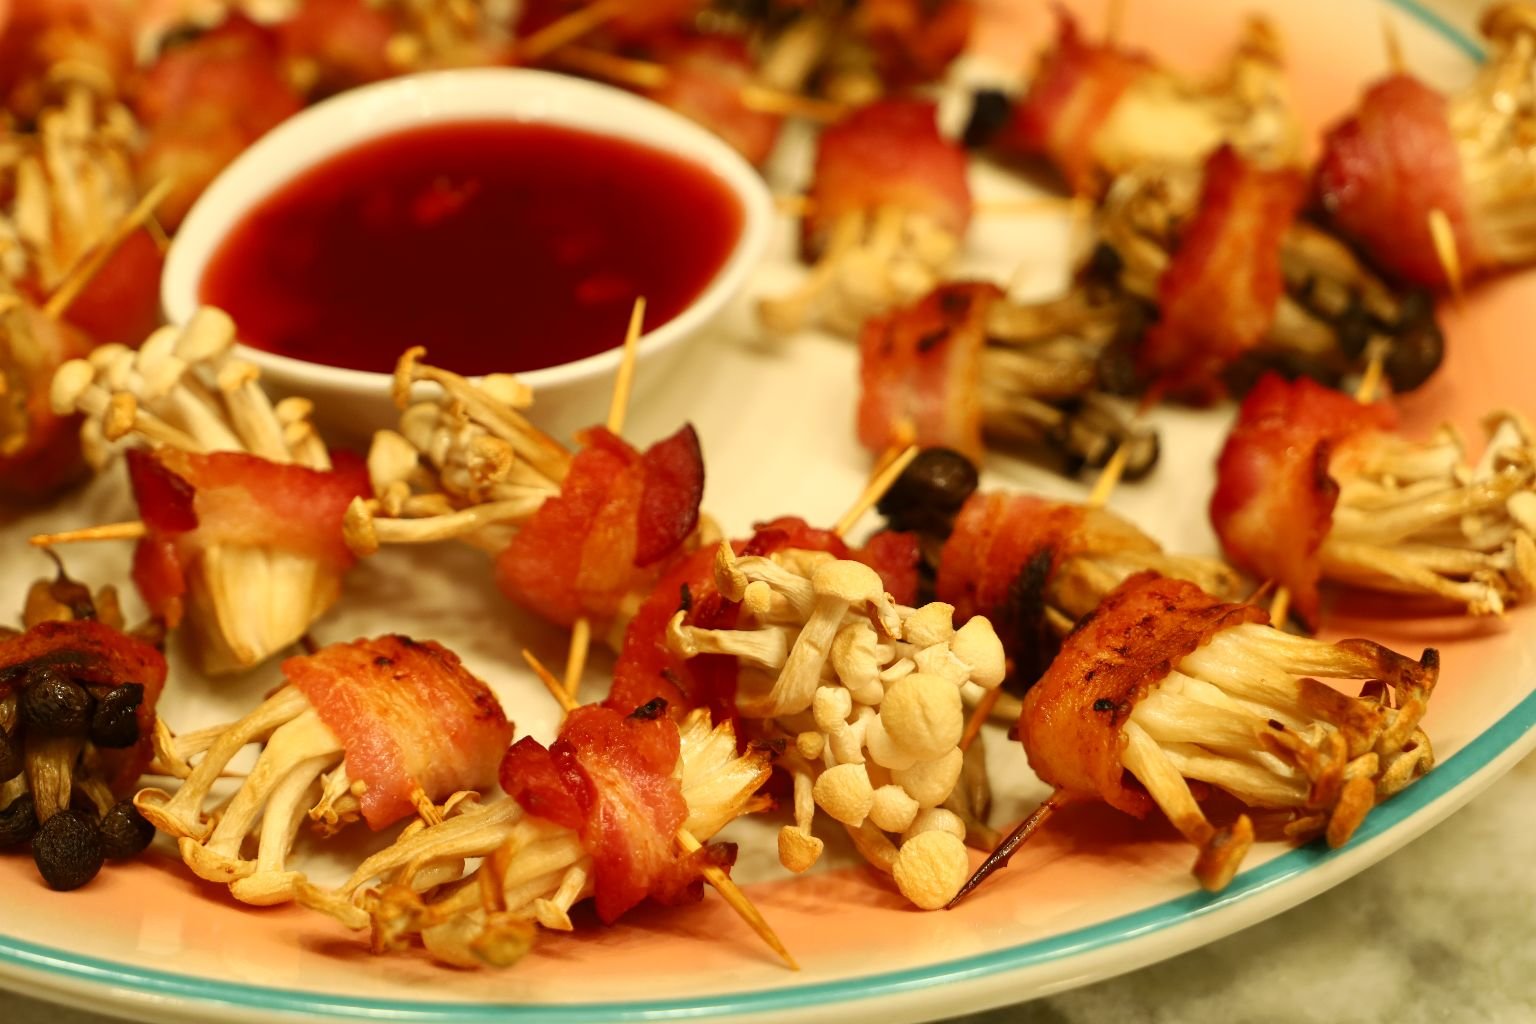
I’m sure that a lot of what I say above is Lost in Translation, but I did do my best. 🙂
Welcome!
Julie and Gordon
(p.s. We will be adding to this page in the future.)
——————————————————————–
Saki Lunch with ….
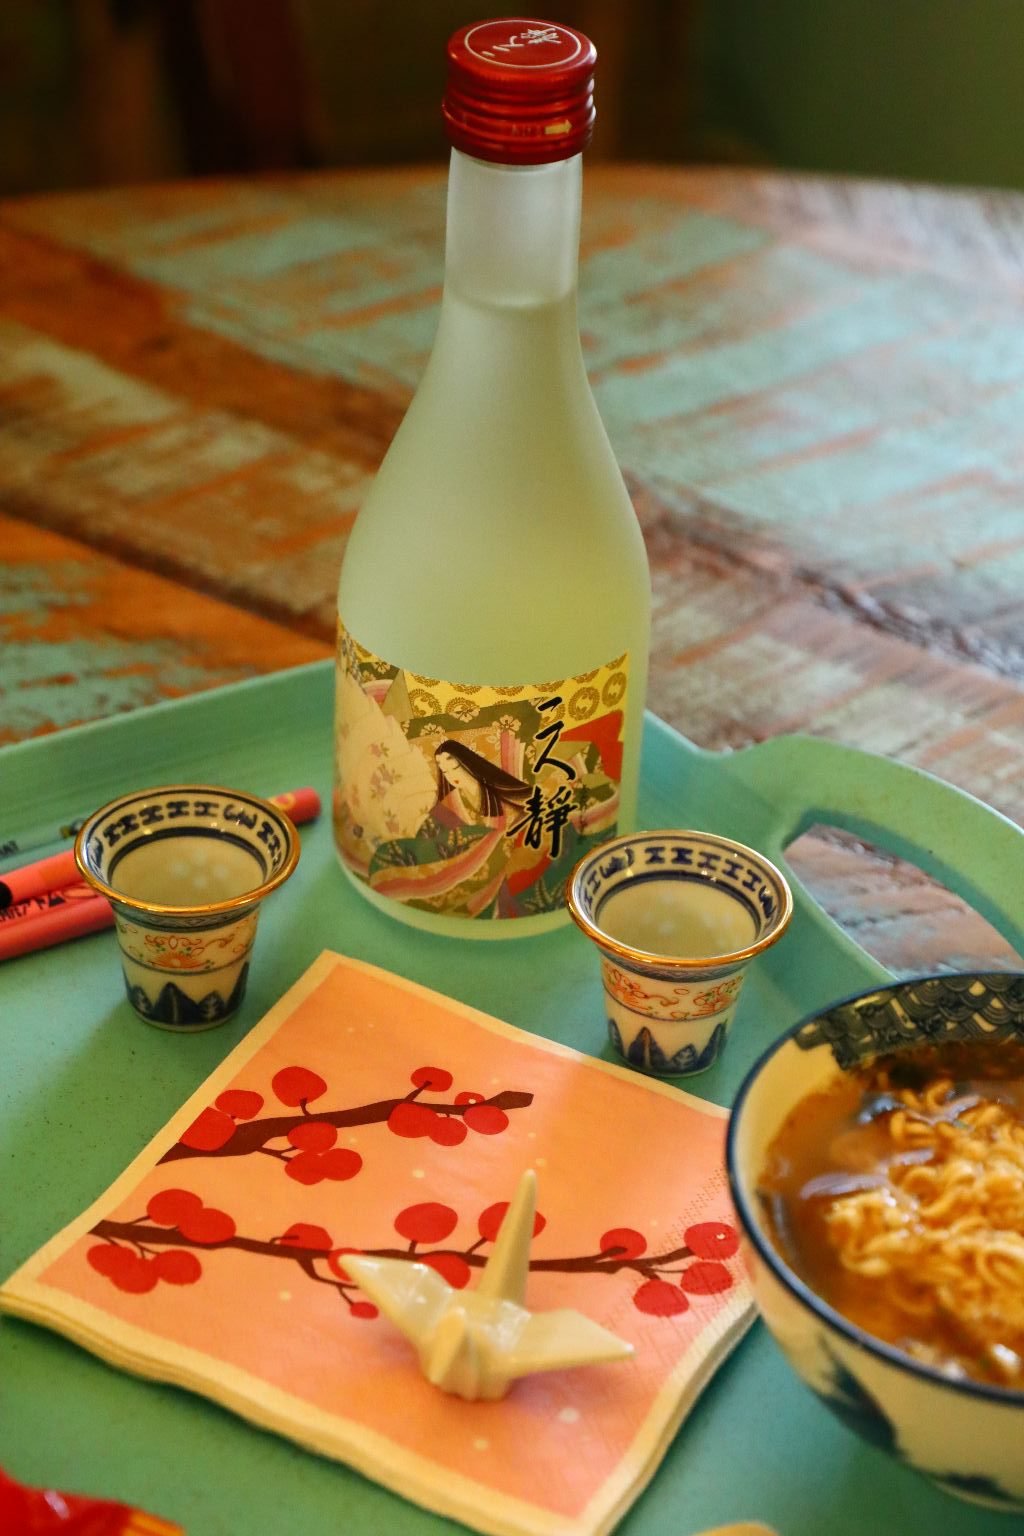
…Ramen
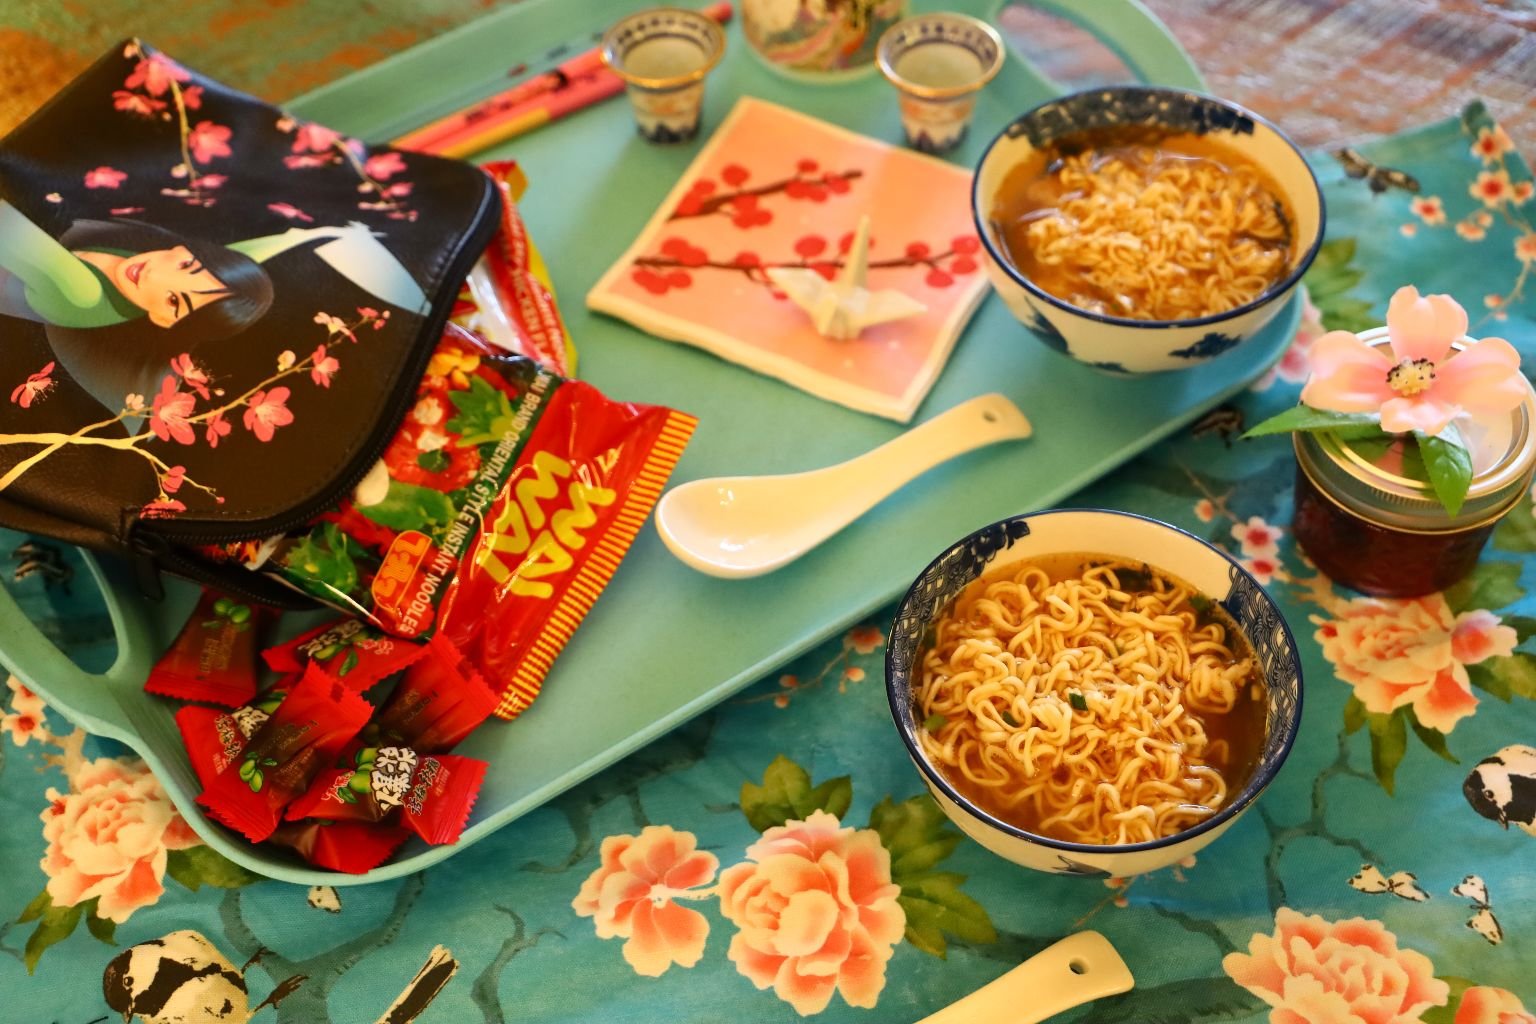
Just a Nice Afternoon Lunch
—————————————————————-
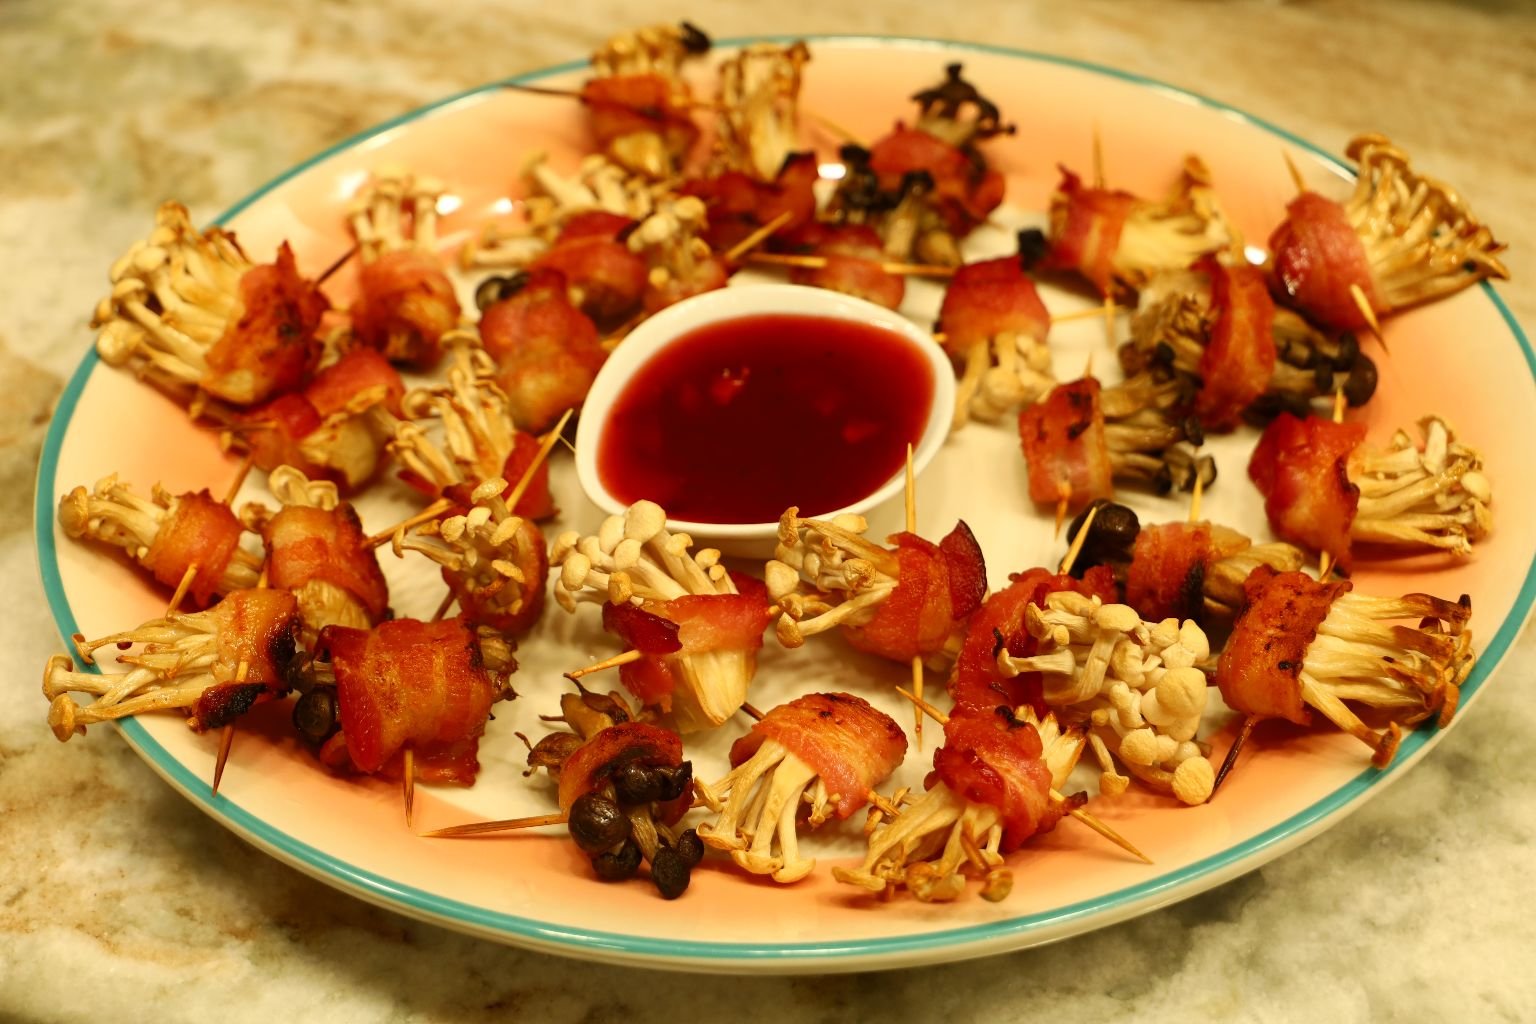
First Up:
Our Bacon Wrapped Enoki Mushroom Bundles
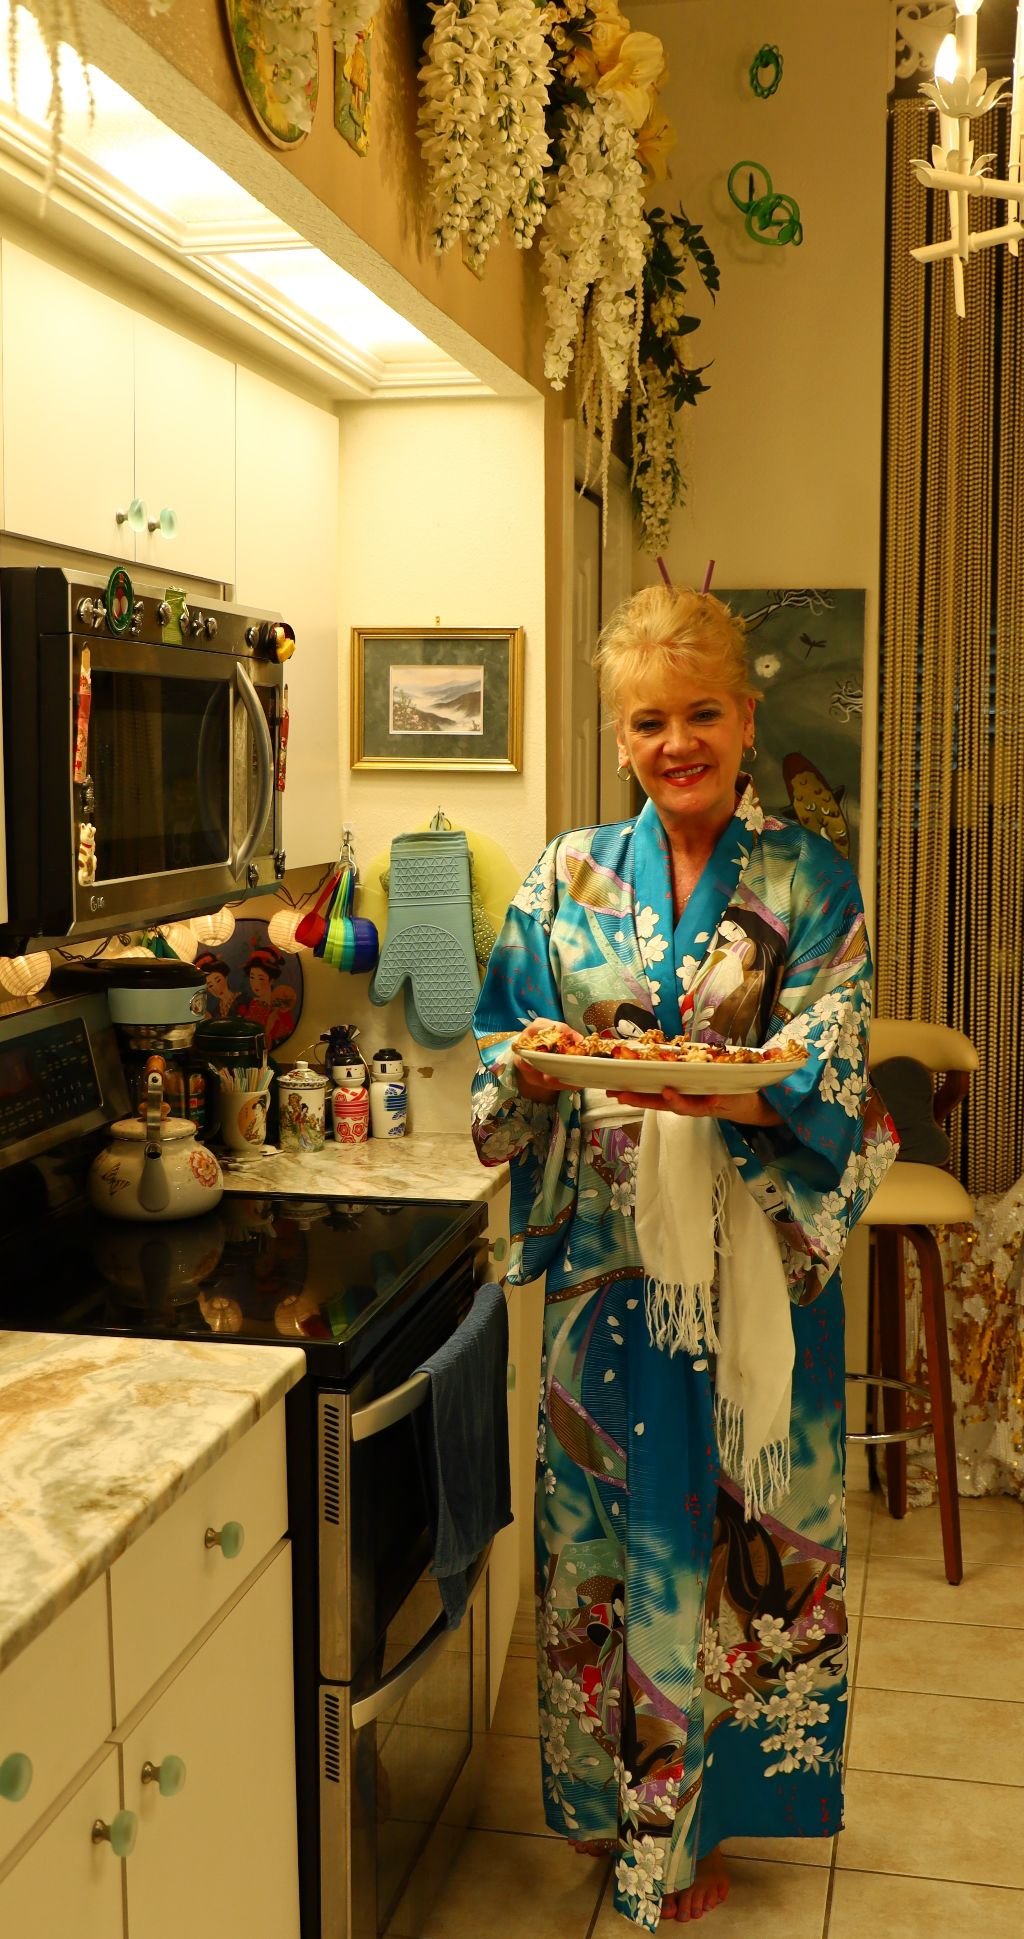
O Hitotsu Ikaga?
(Would you like one?)
They are excellent served with:
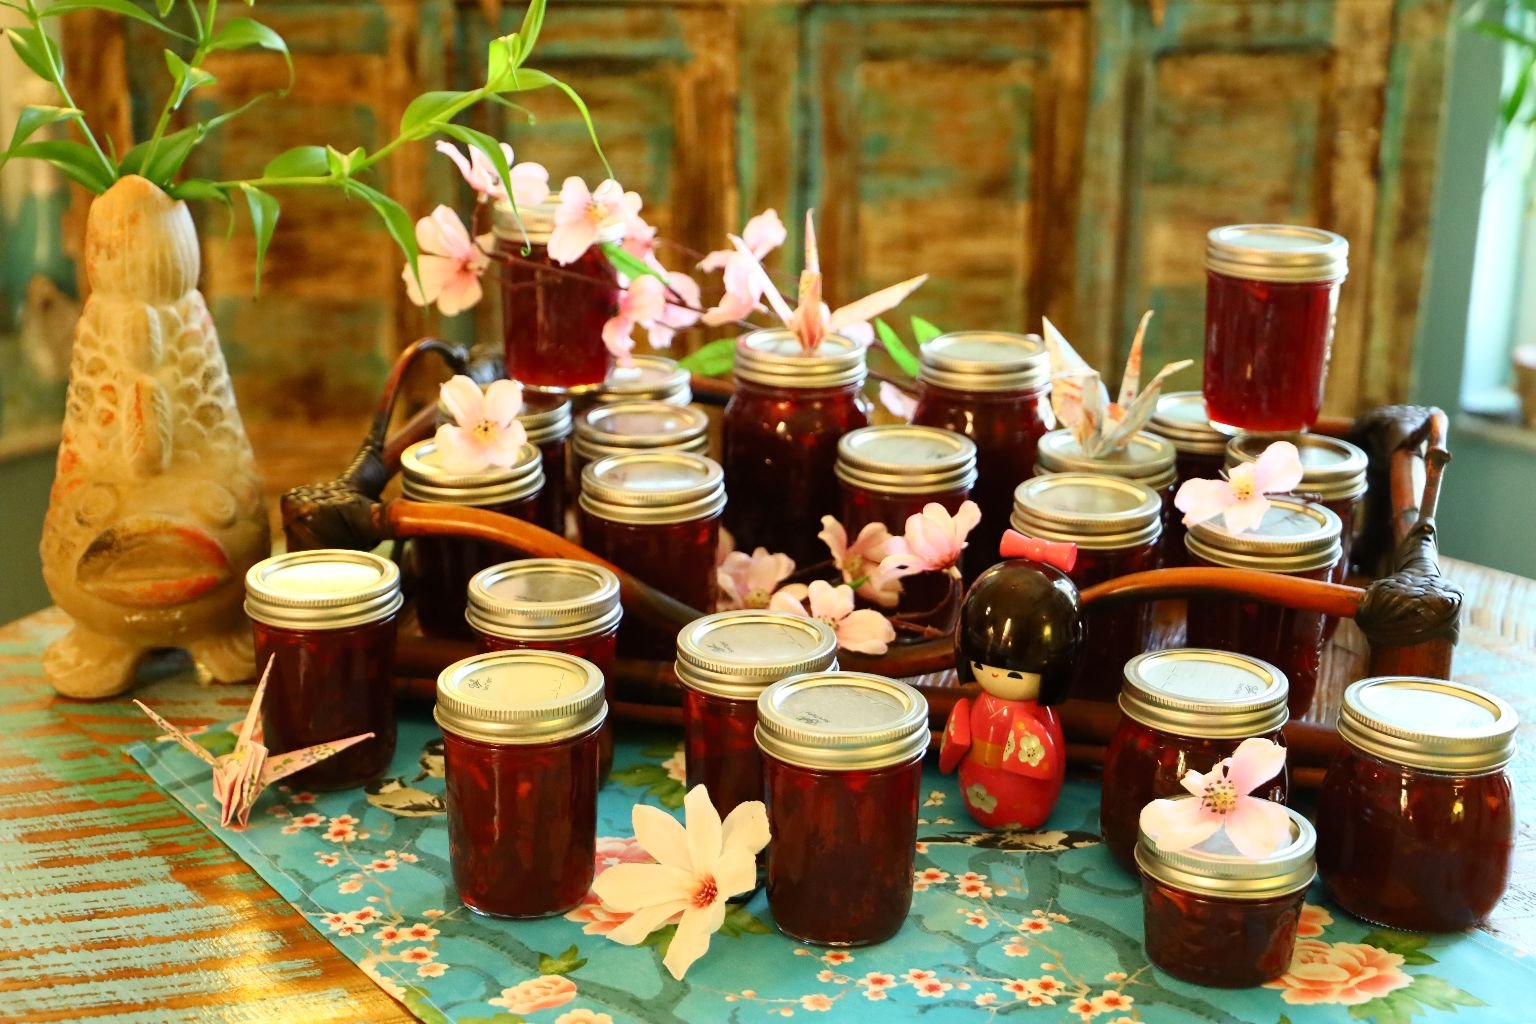
—————————————————————————–
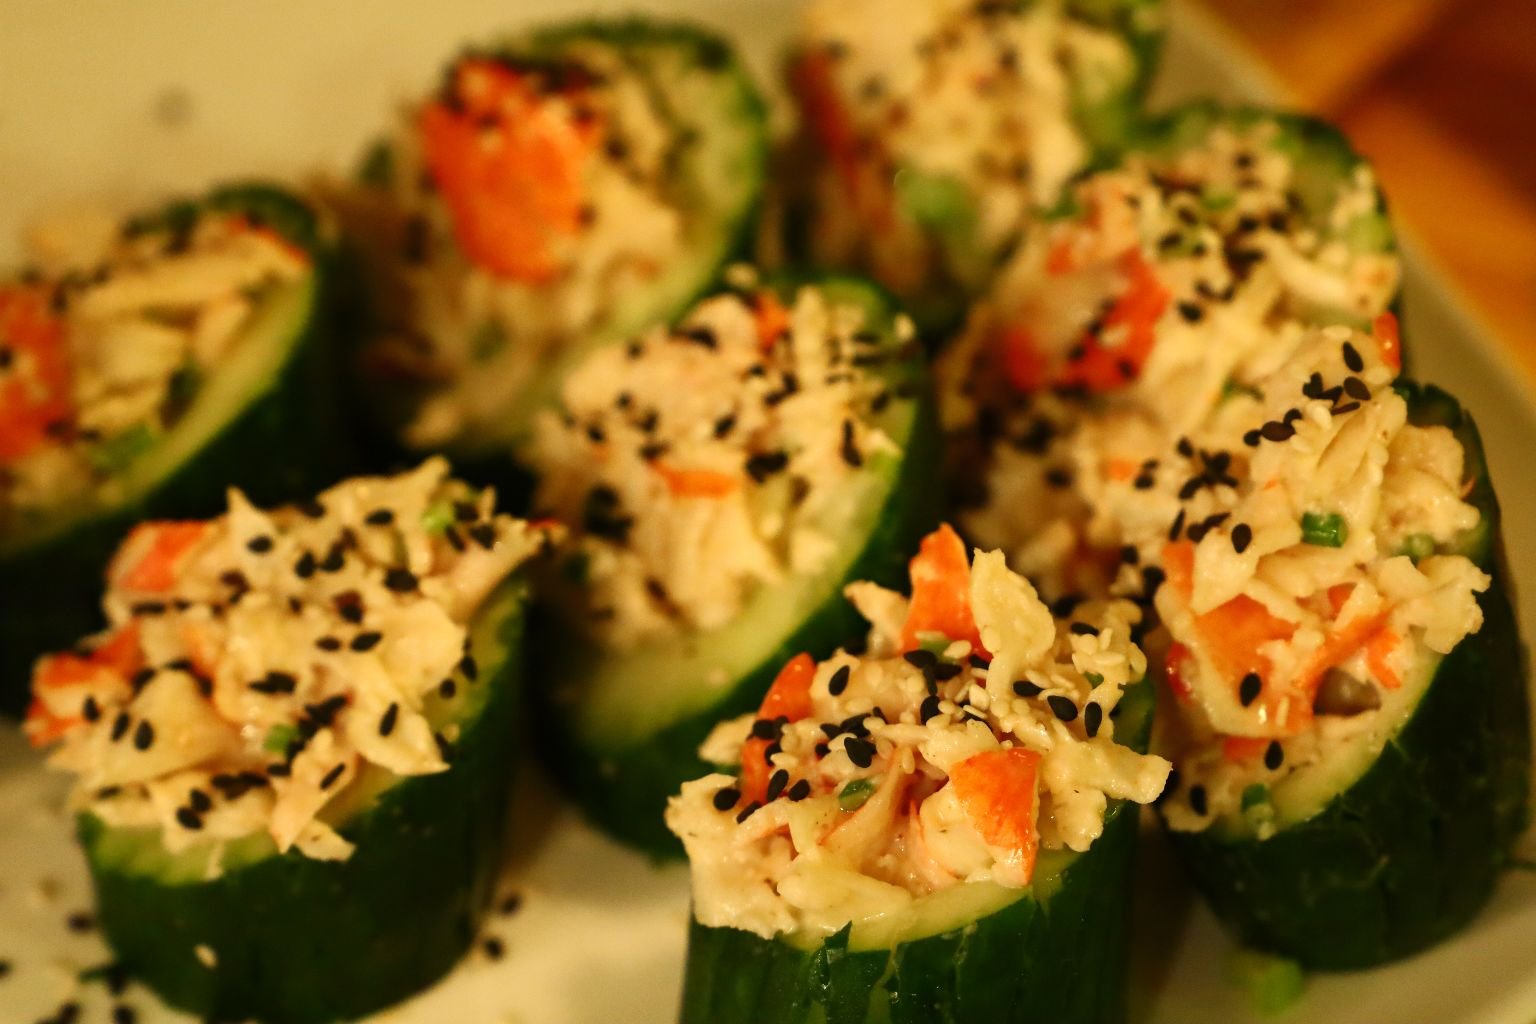
Our Asian Imitation Crab Salad Cucumber Cups

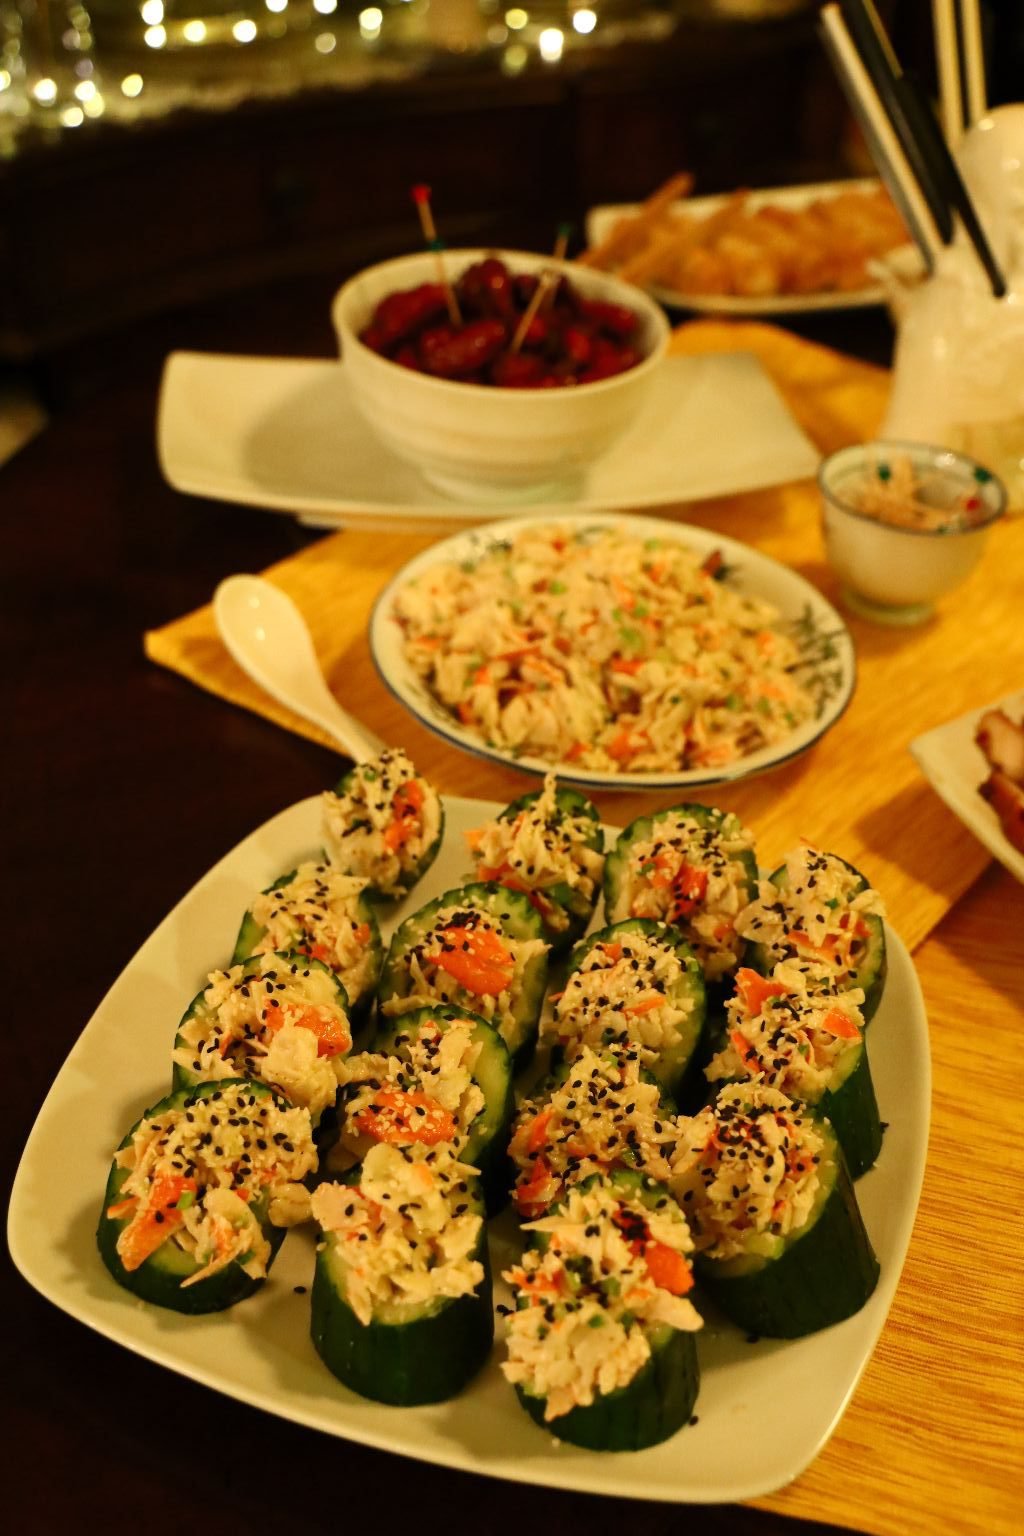
(Recipe Down Below)
————————————————————-
The Recipes Starts Here:
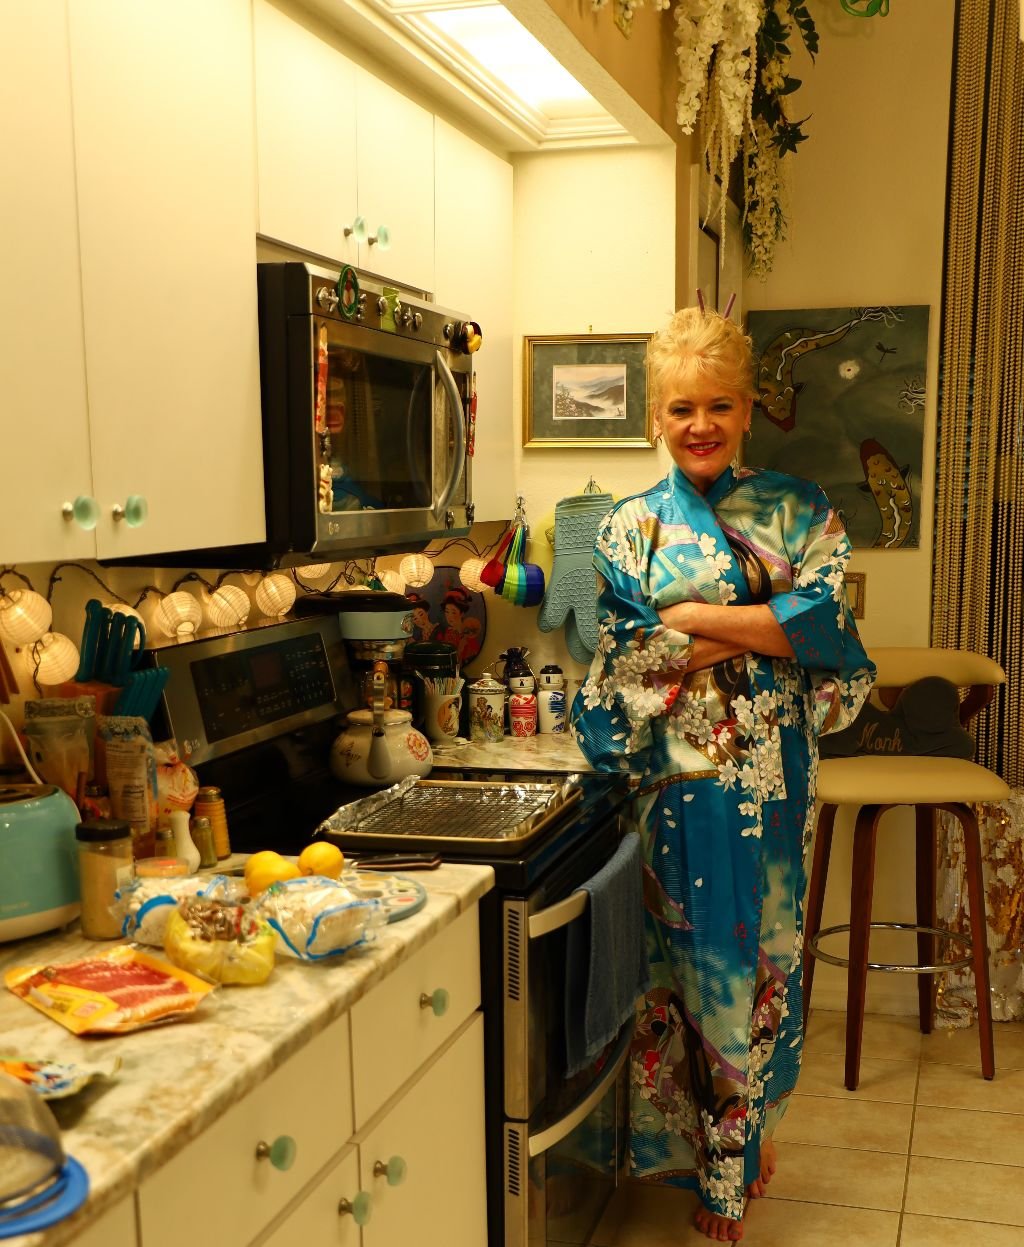
Our Bacon Wrapped Enoki Mushroom Bundles
You want to place an oven safe cooling rack on to a sheet pan lined with Aluminum Foil.

Our Ingredients:
Enoki Mushrooms/Shimeji (Brown and White)
Bacon
Lemon Juice
White Pepper
Toothpicks
—————————————————————–

———————————————————————————-
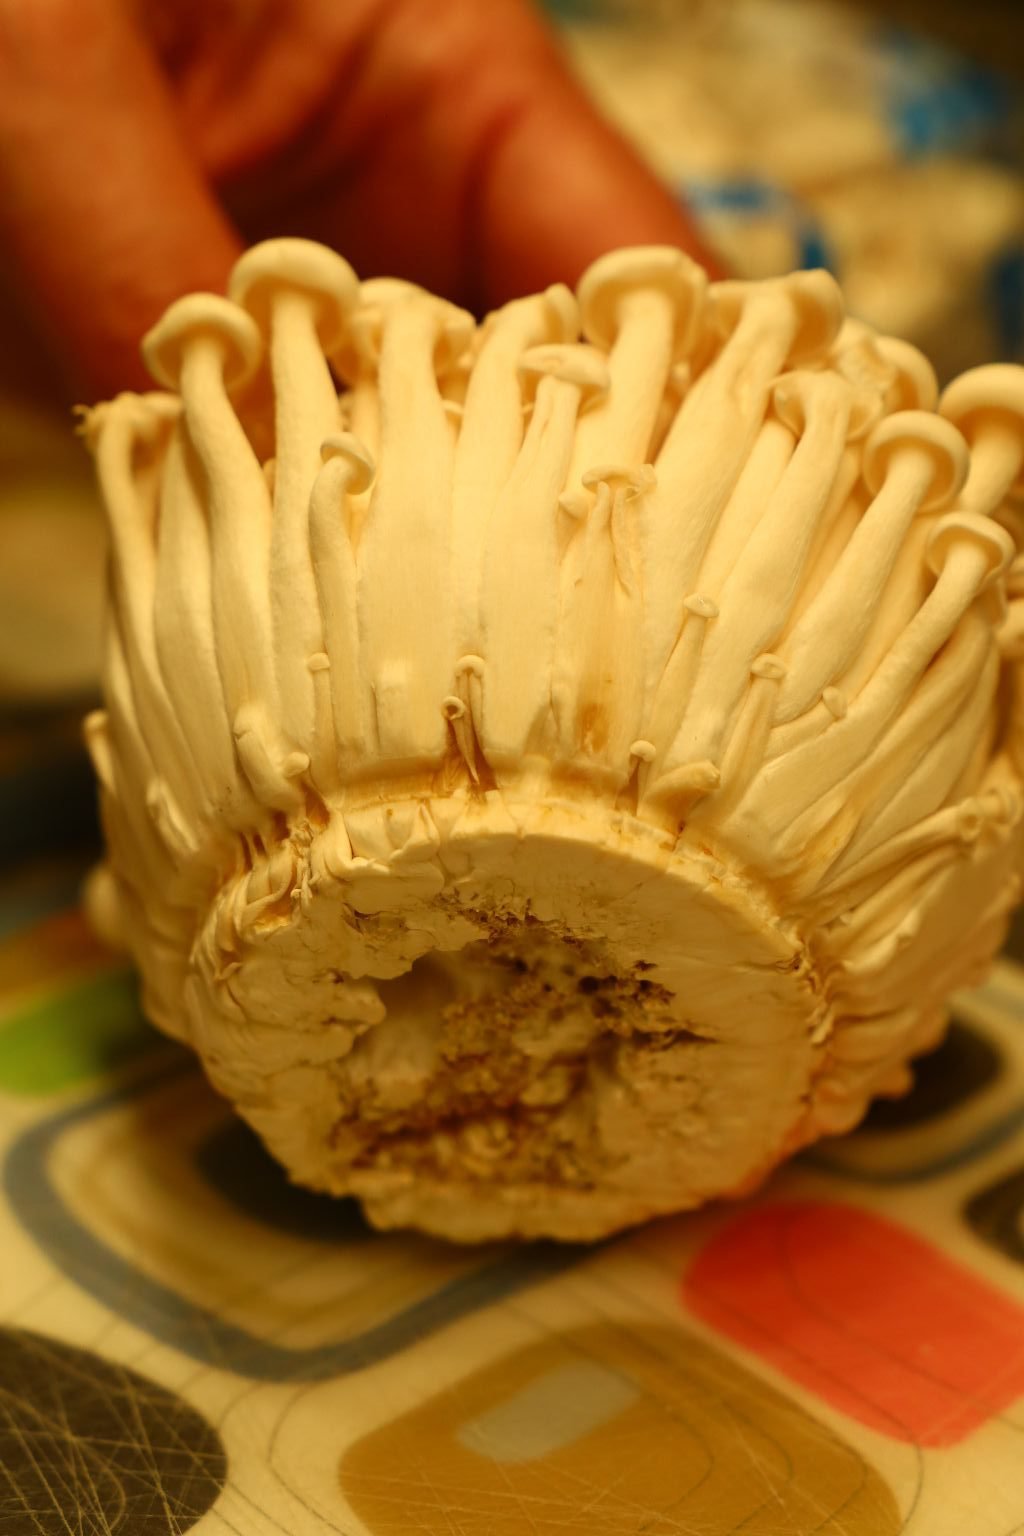
I LOVE These Mushrooms!
Aren’t they beautiful?

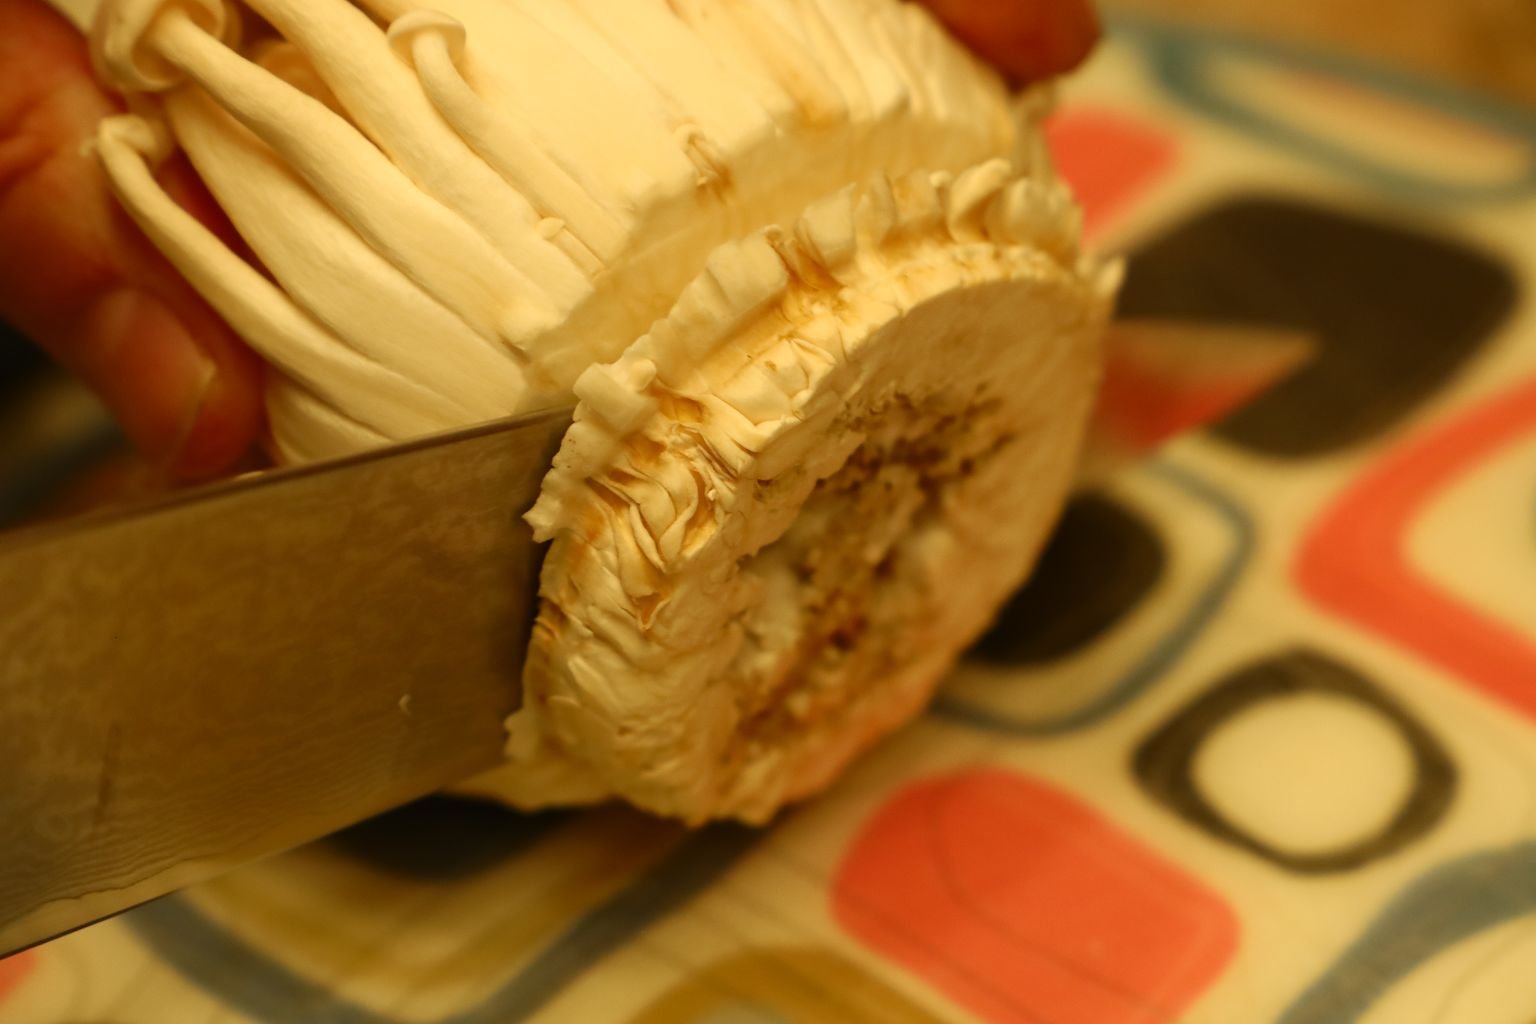
You do want to slice off the bottom part, while trying to keep the upper part together.
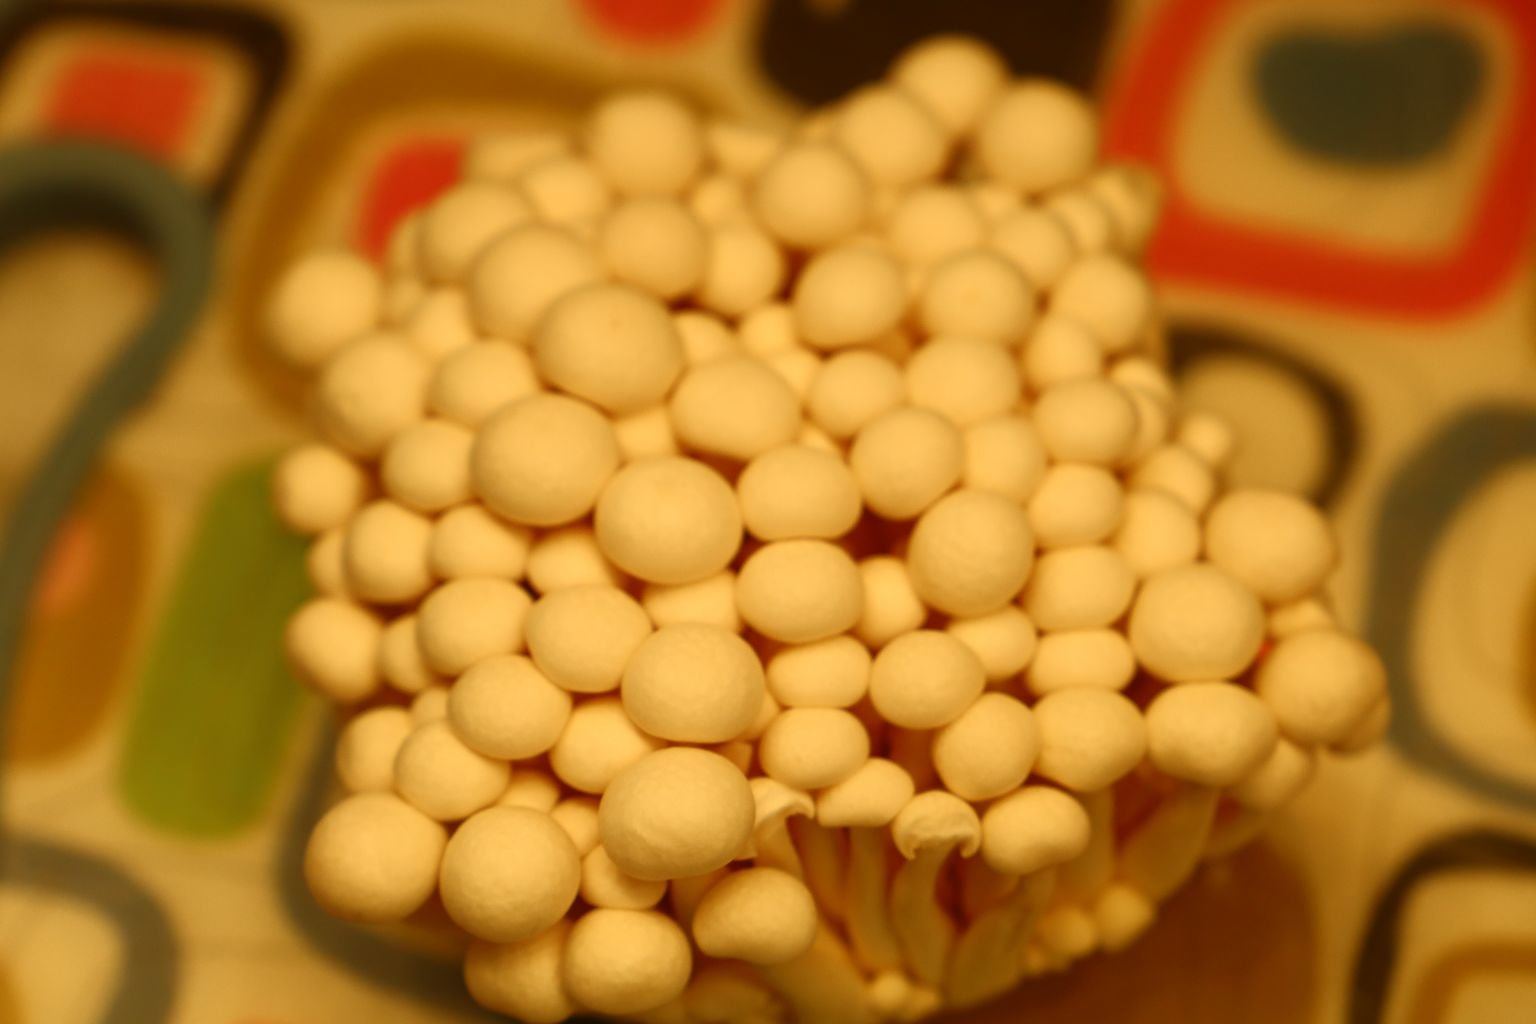
——————————————————————–
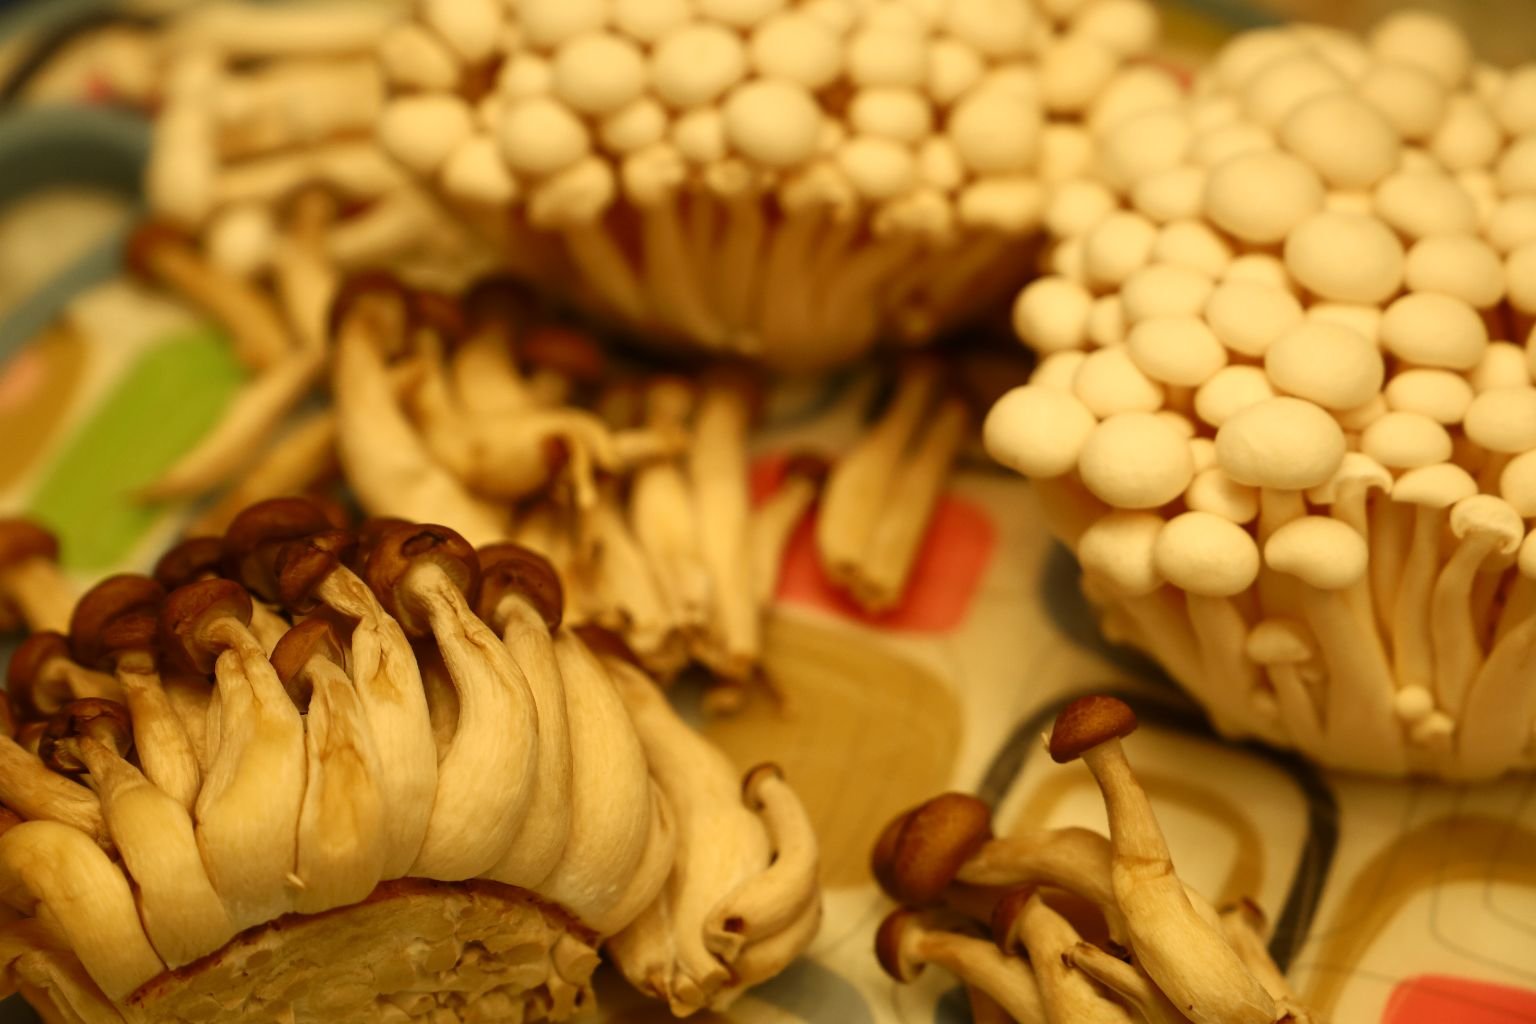
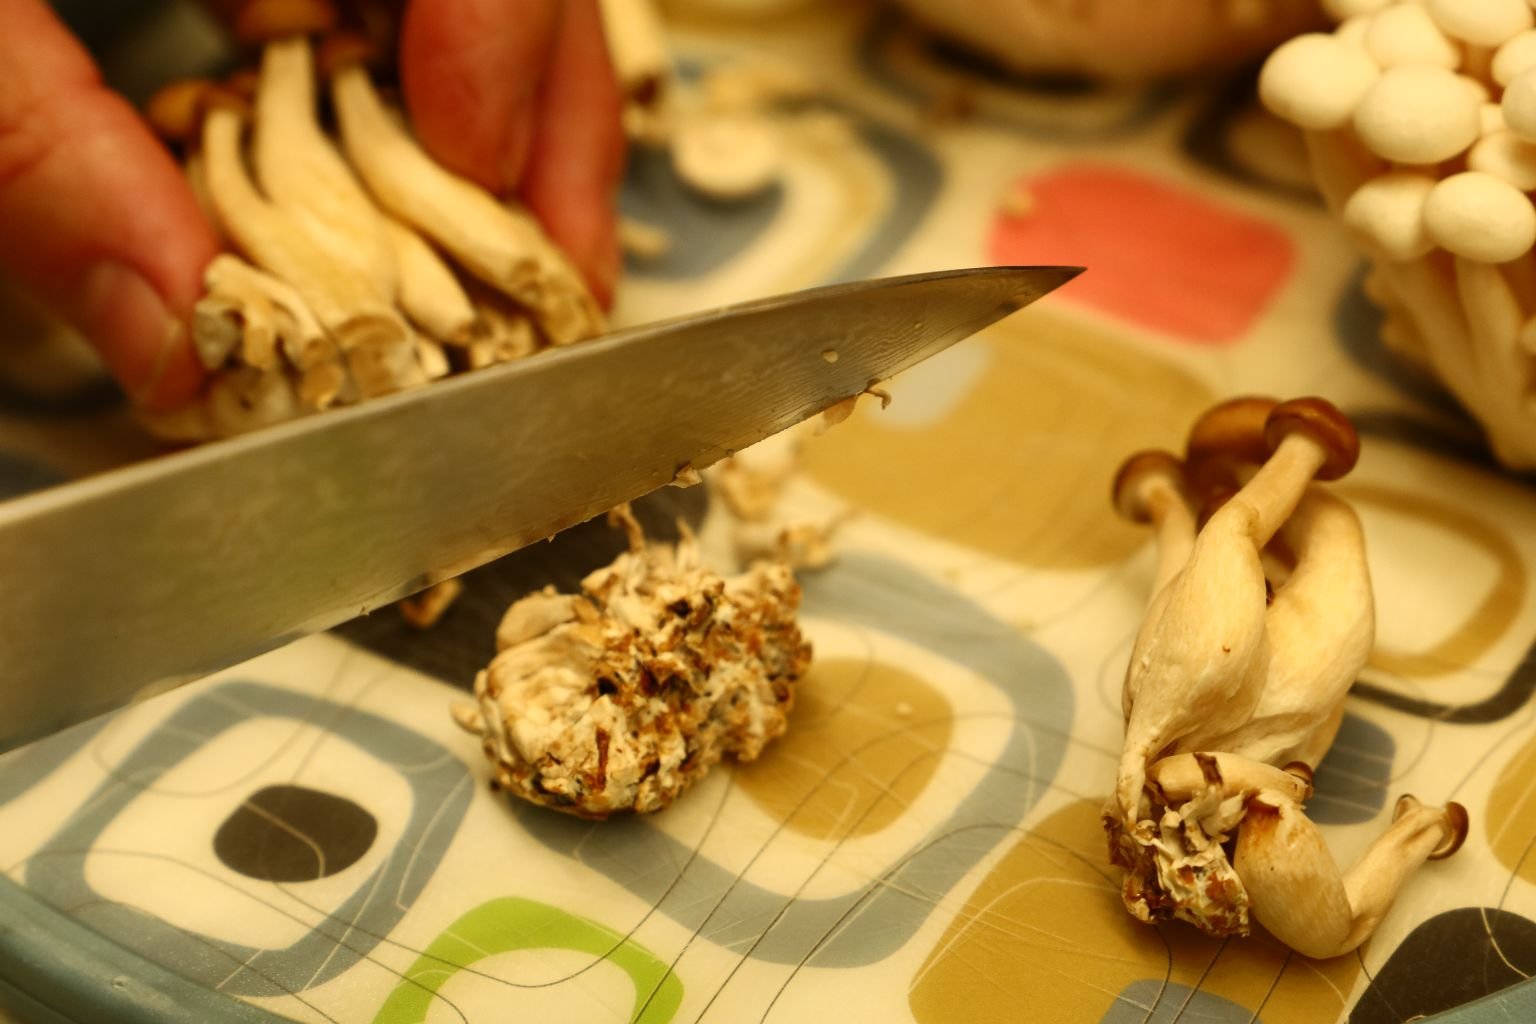
————————————————————————–
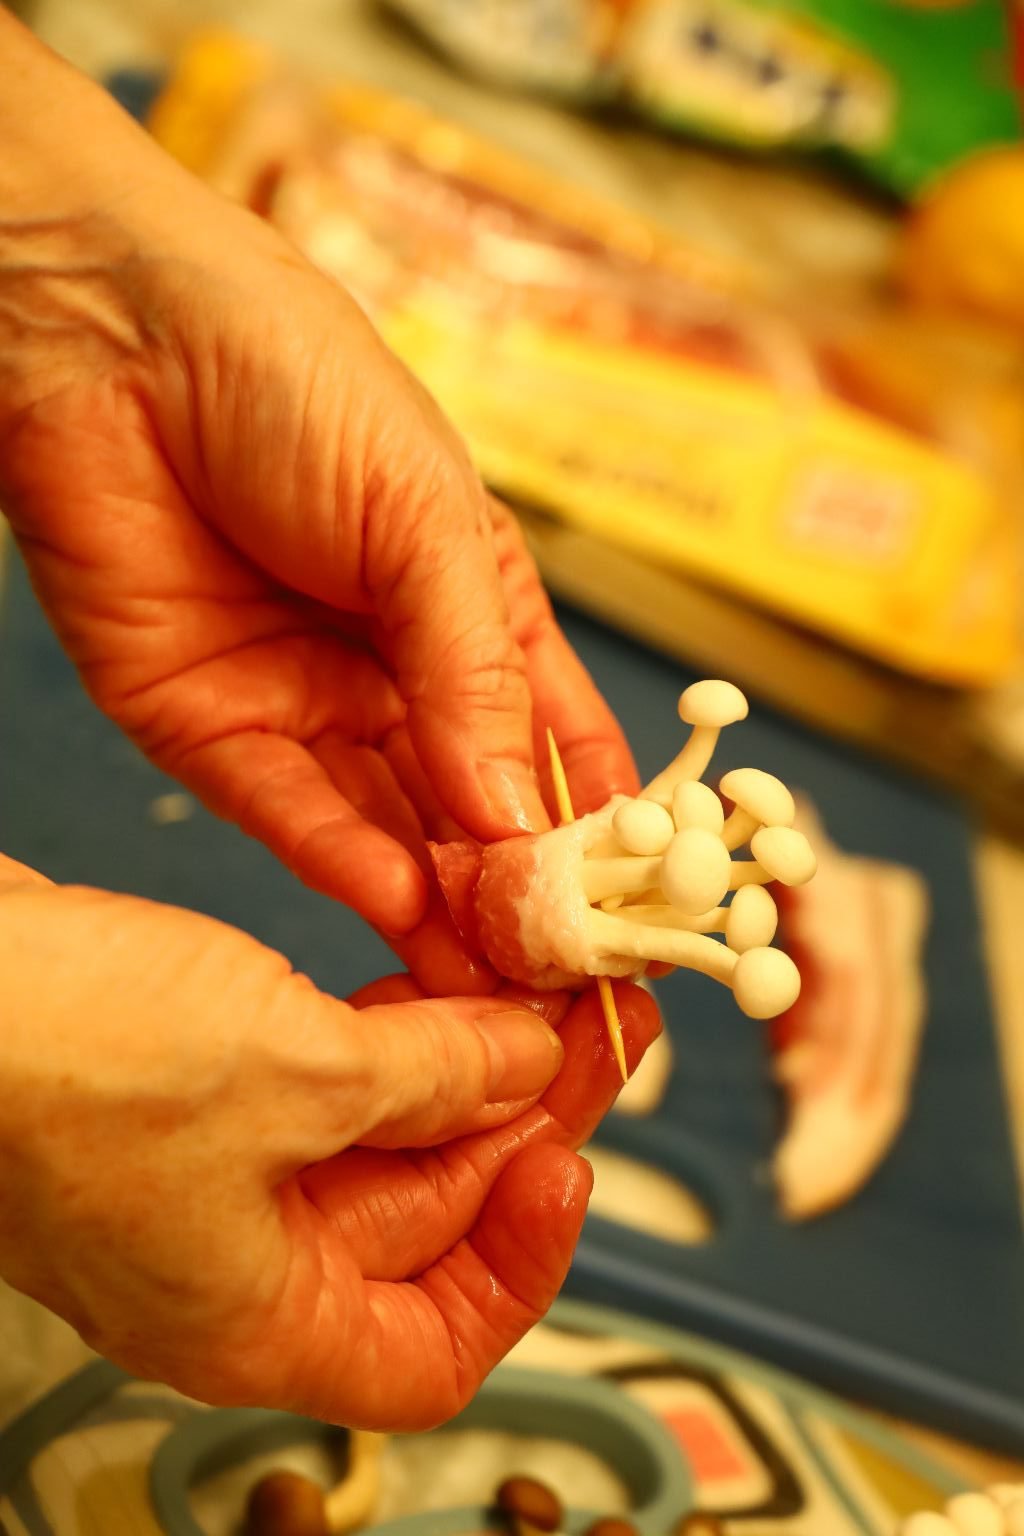
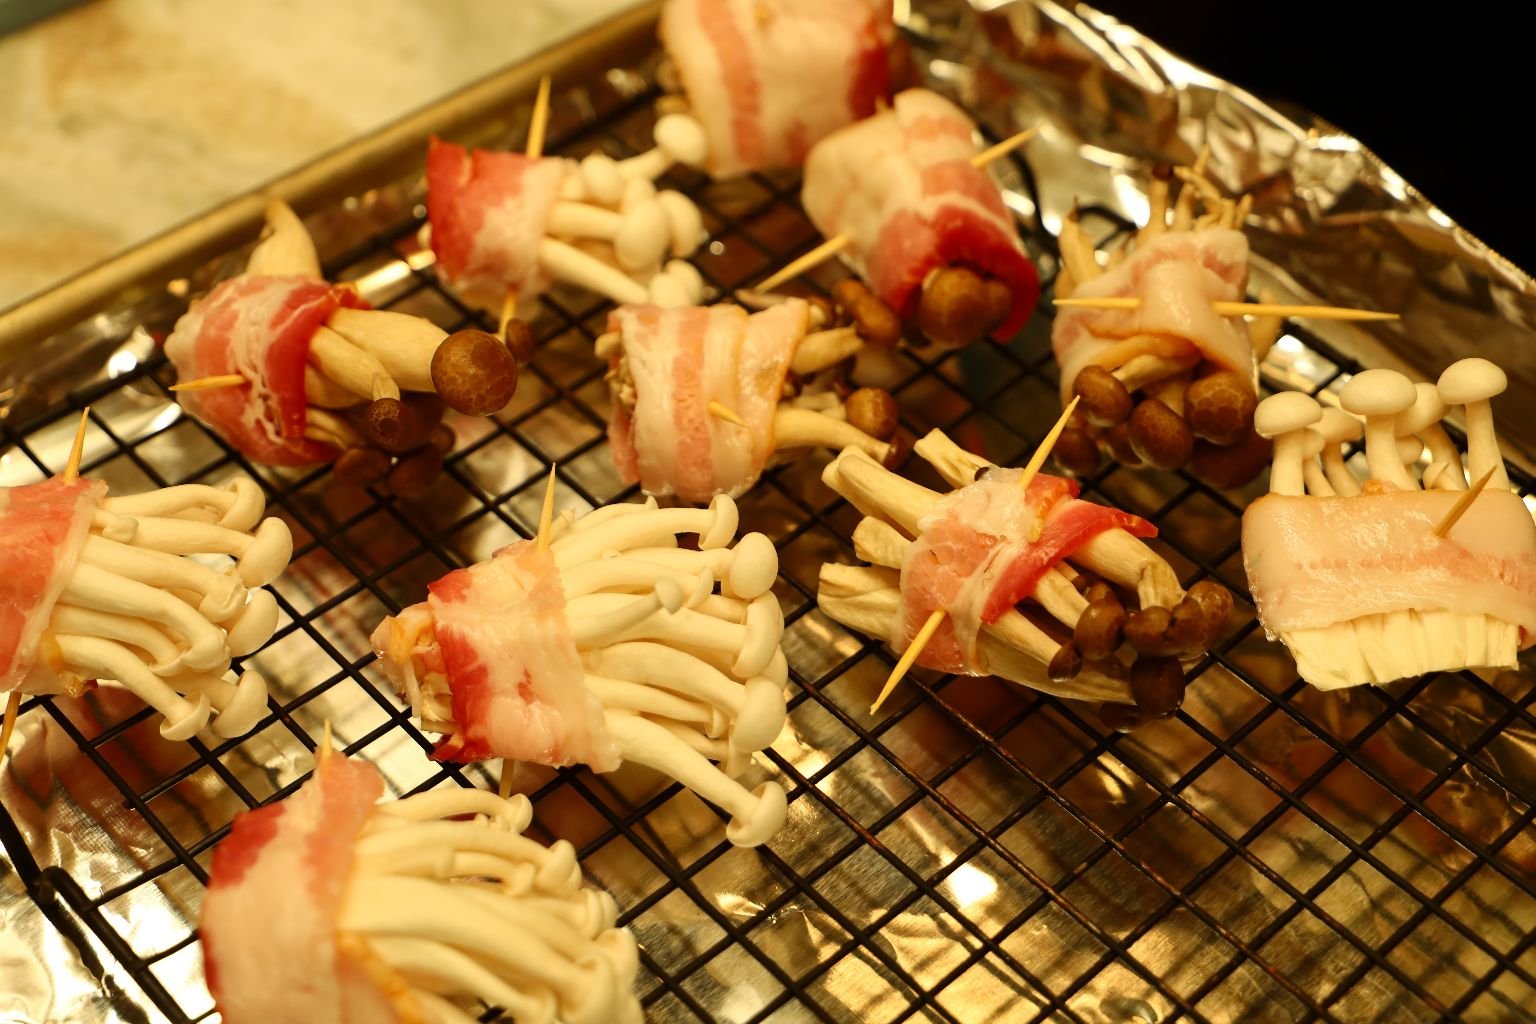
I simply took a small bunch of the mushrooms and wrapped a small piece of bacon around them, securing with a toothpick. I then placed the bundle onto the cooling rack.
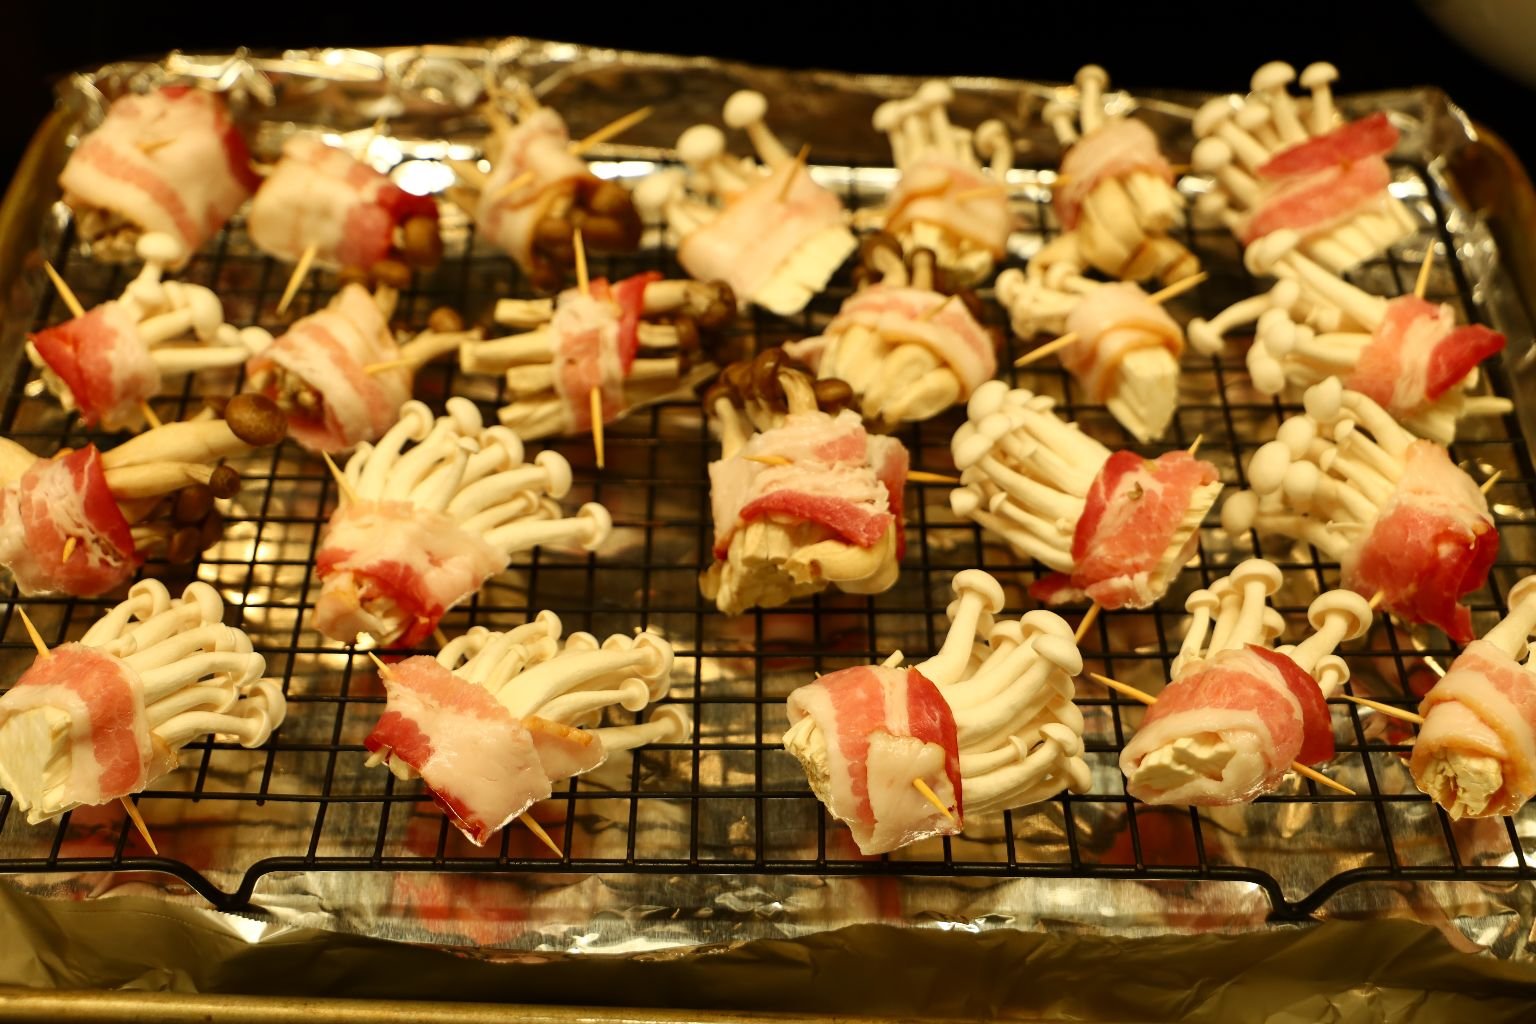
I repeated the action here until the rack was full.
I then squeezed some lemon juice onto each bundle, followed by a small sprinkling of white pepper.
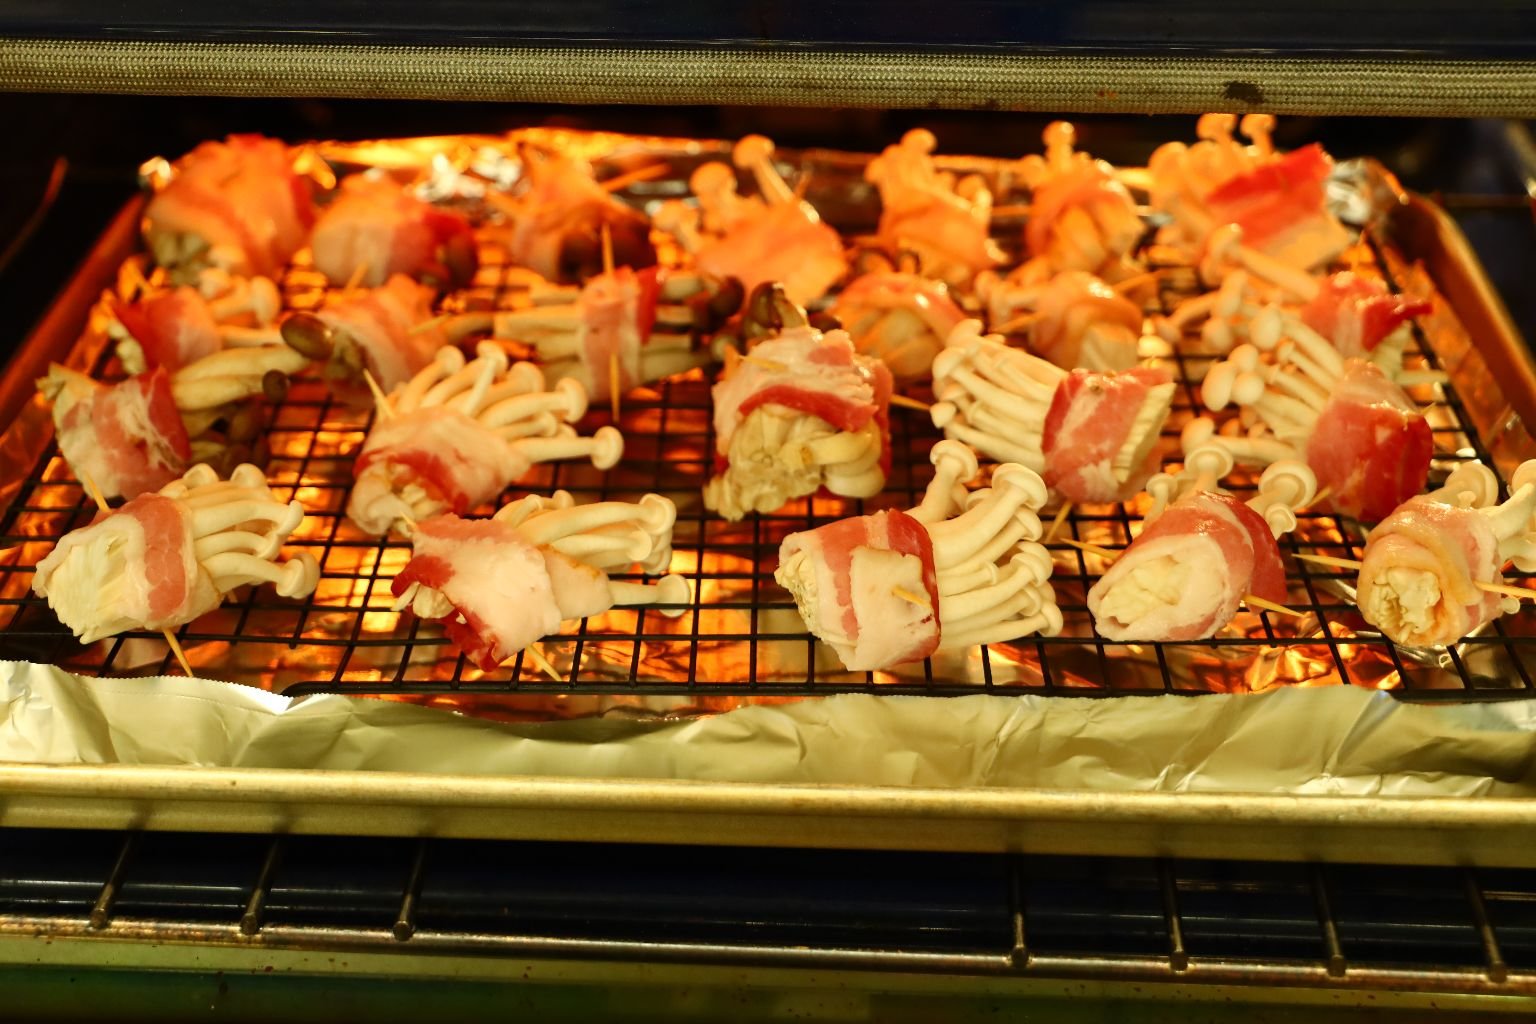
Place into a 350F oven for approximately 20 minutes.
You want the bacon to be cooked, then you know they are done.
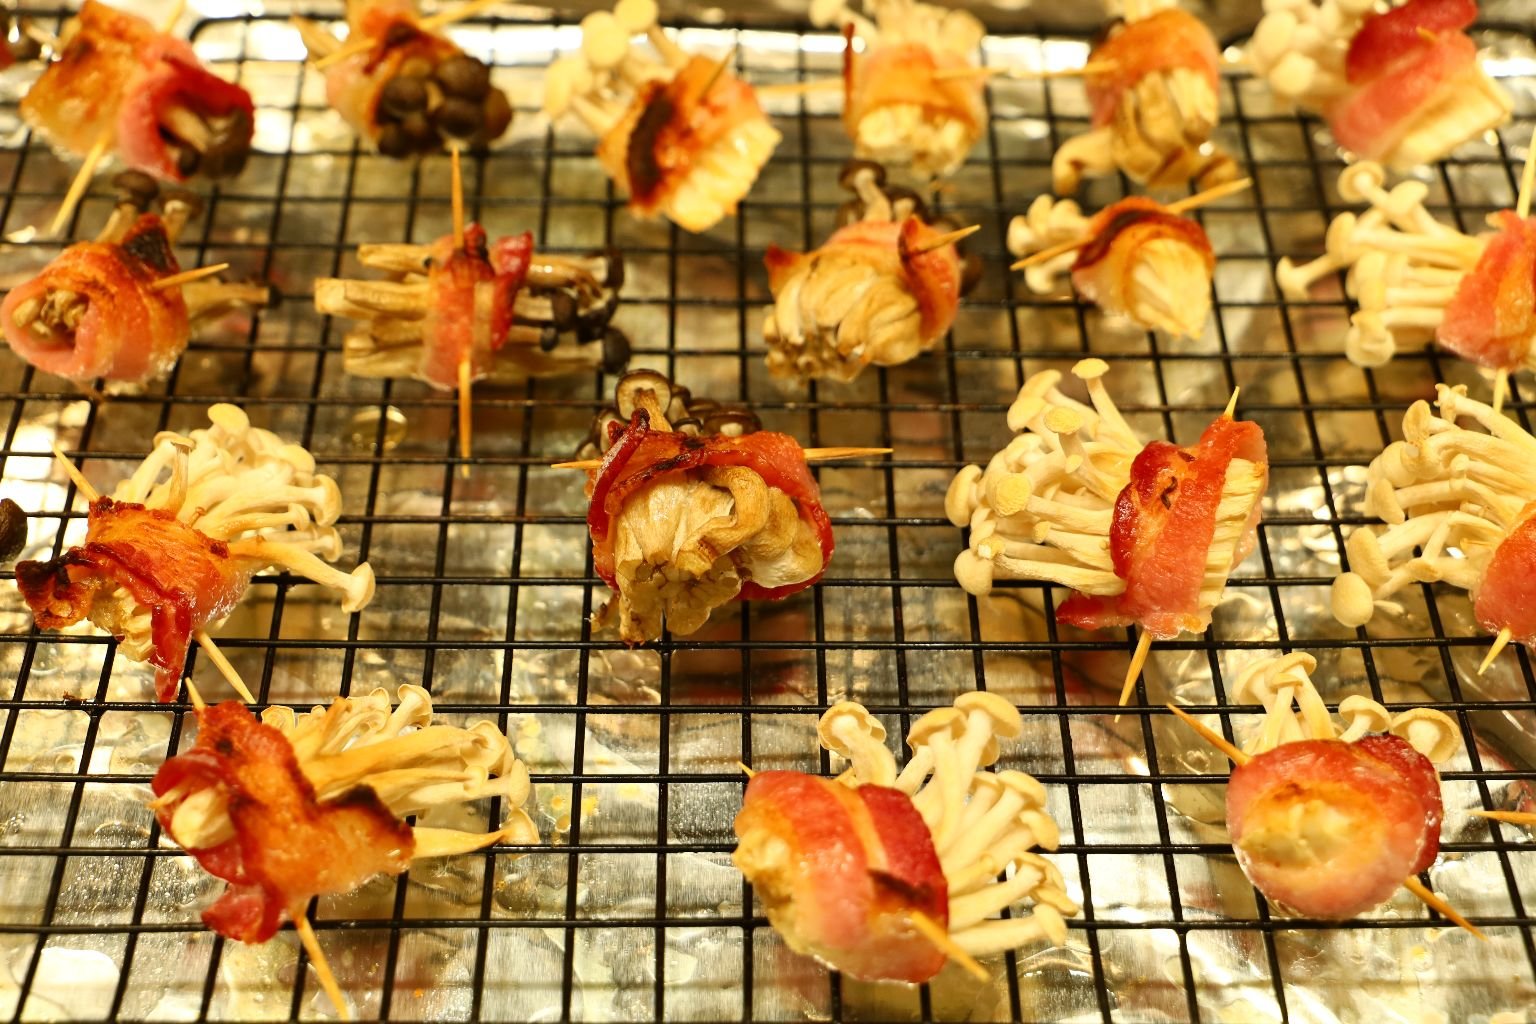
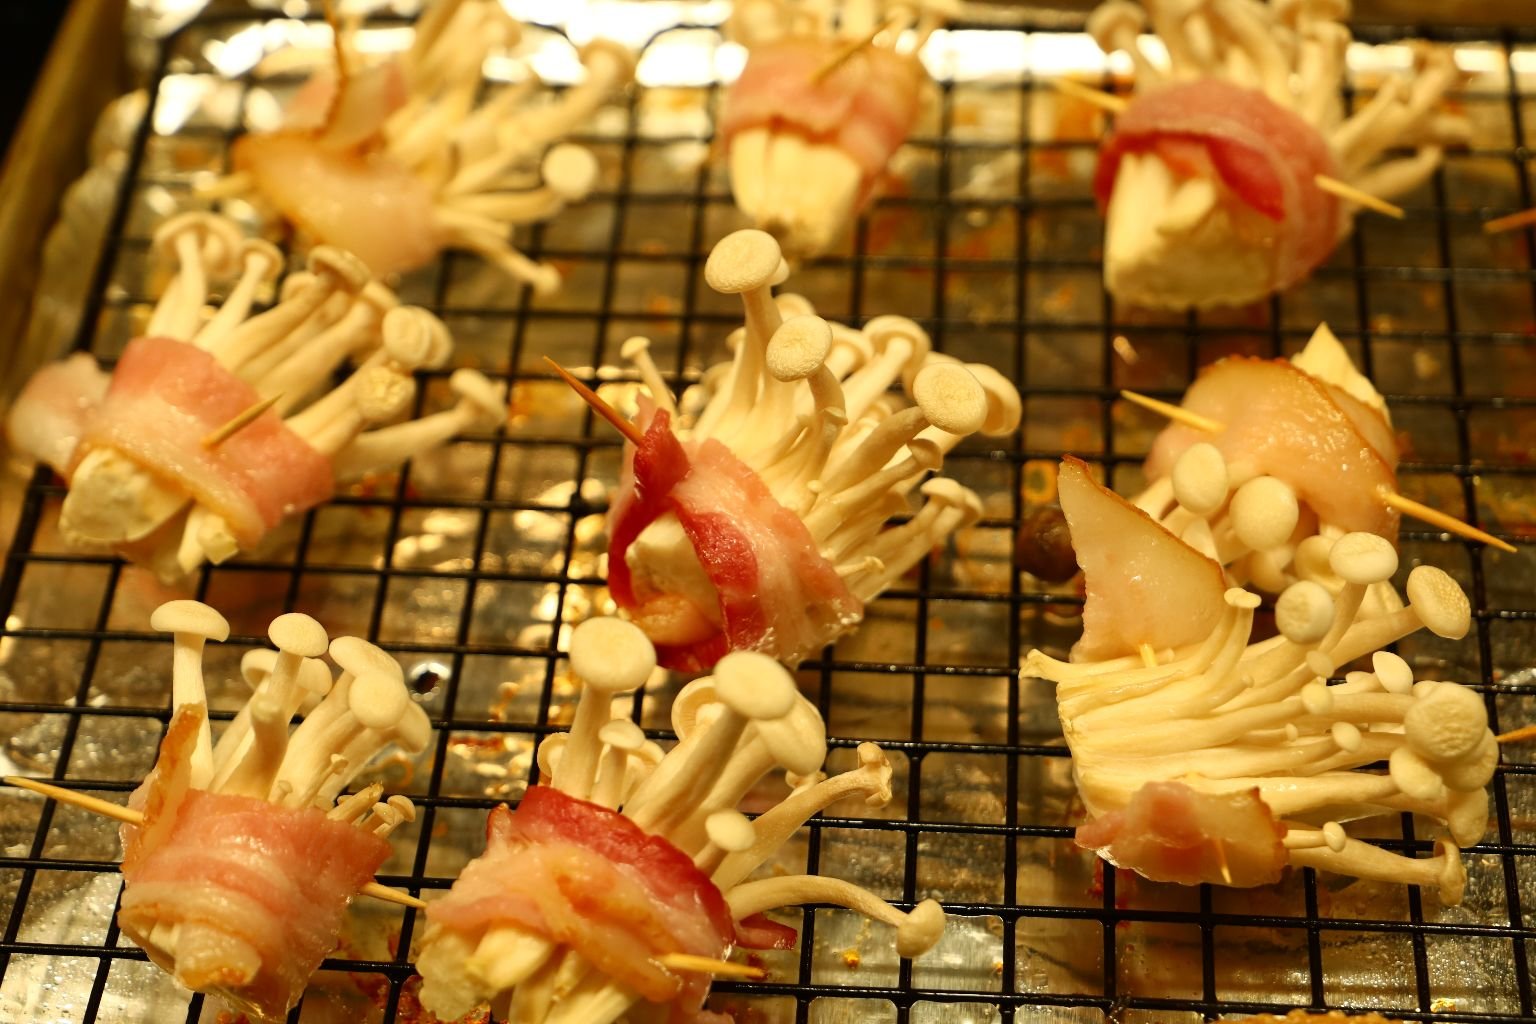
When Done:
Place them onto a plate with a dipping sauce.

———————————————————————————-
Our Asian Imitation Crab Salad Cucumber Cups
This Imitation Crab Salad is a Staple in our Home, we Just Asian’d it up Here
————————————————————–
Ingredients:
3 Pkgs. Imitation Crab
(We prefer the Imitation Crab here because the salad will last longer and not have that fishy smell or taste.)
2 Tbsp. thinly chopped ends of the Flowering Garlic Chives
3 Cucumbers – fork score down the side, sliced on a diagonal, then cored
1 1/4 Cups Celery – sliced to a small dice
~1 Cup Miracle Whip
~2-3 Tbsp. Old Bay Seasoning
3 Tbsp. Mirin – sweet cooking rice seasoning
2 Tbsp. Sesame Oil
3 Tbsp. Black and White Sesame Seeds for garnish
————————————————————————————–
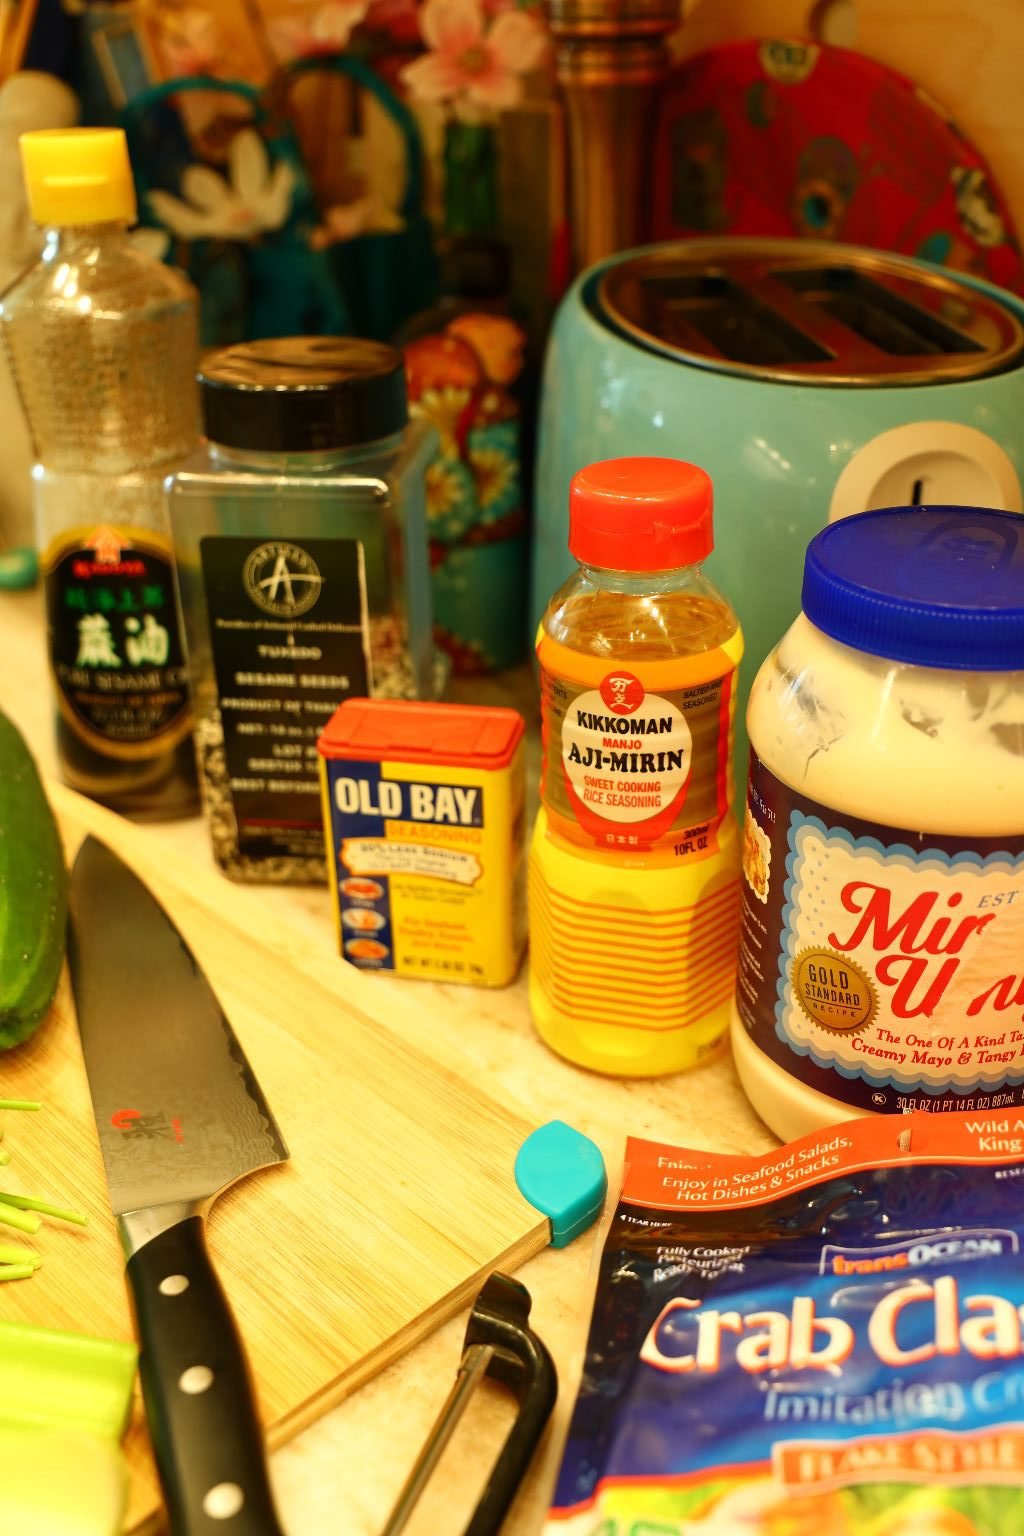
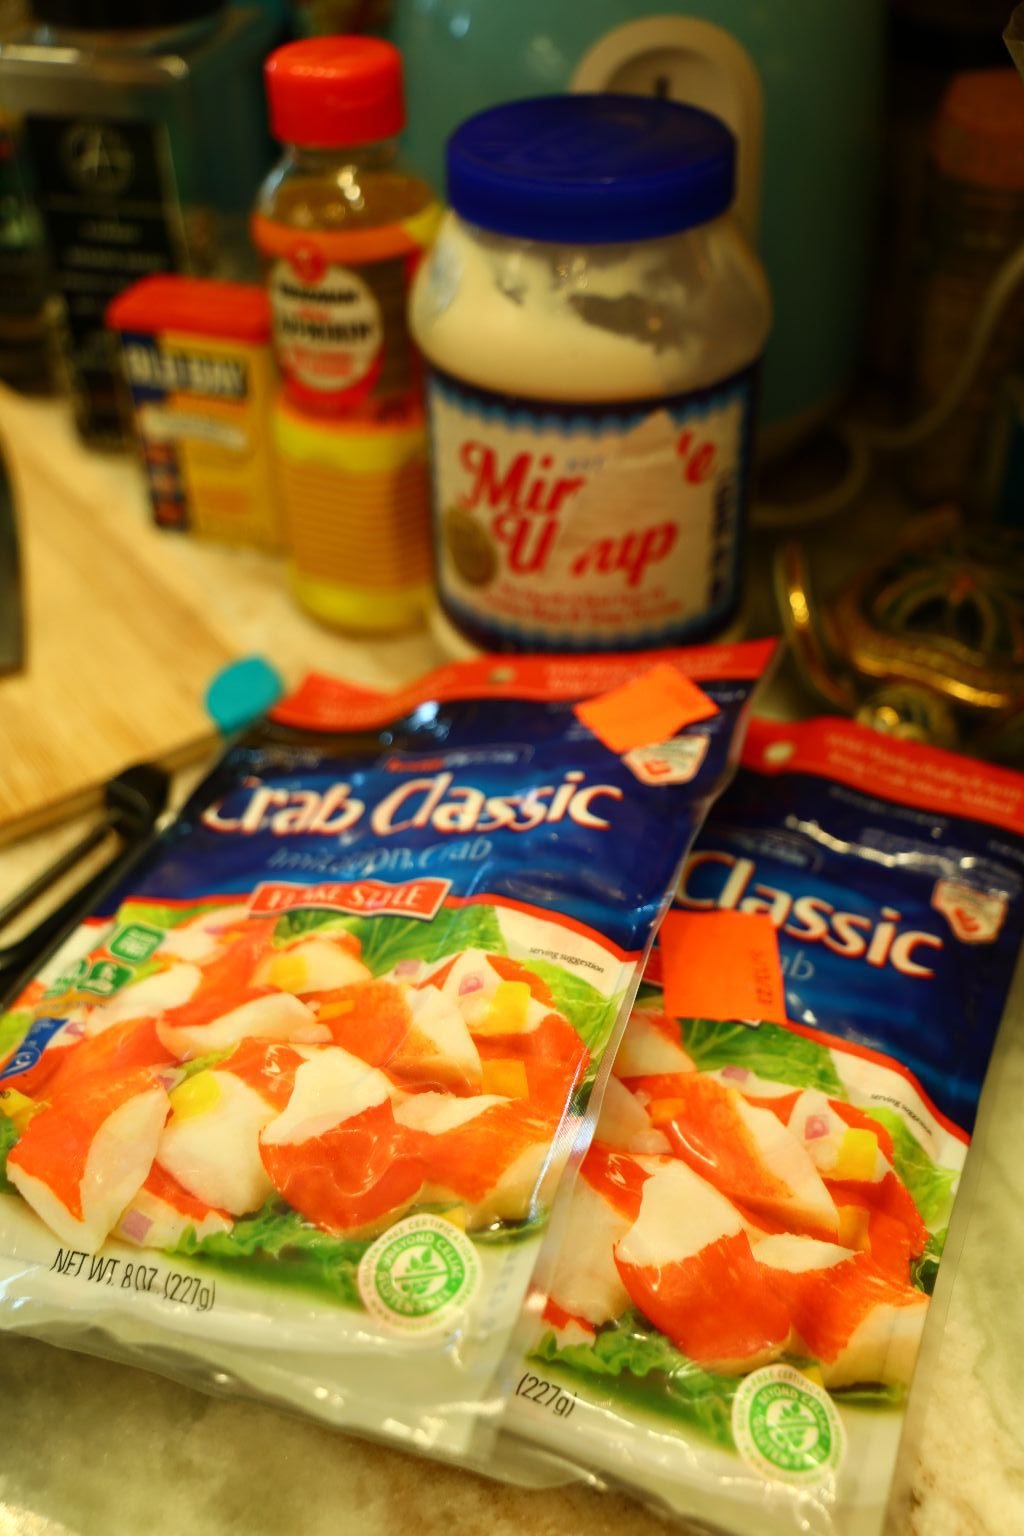
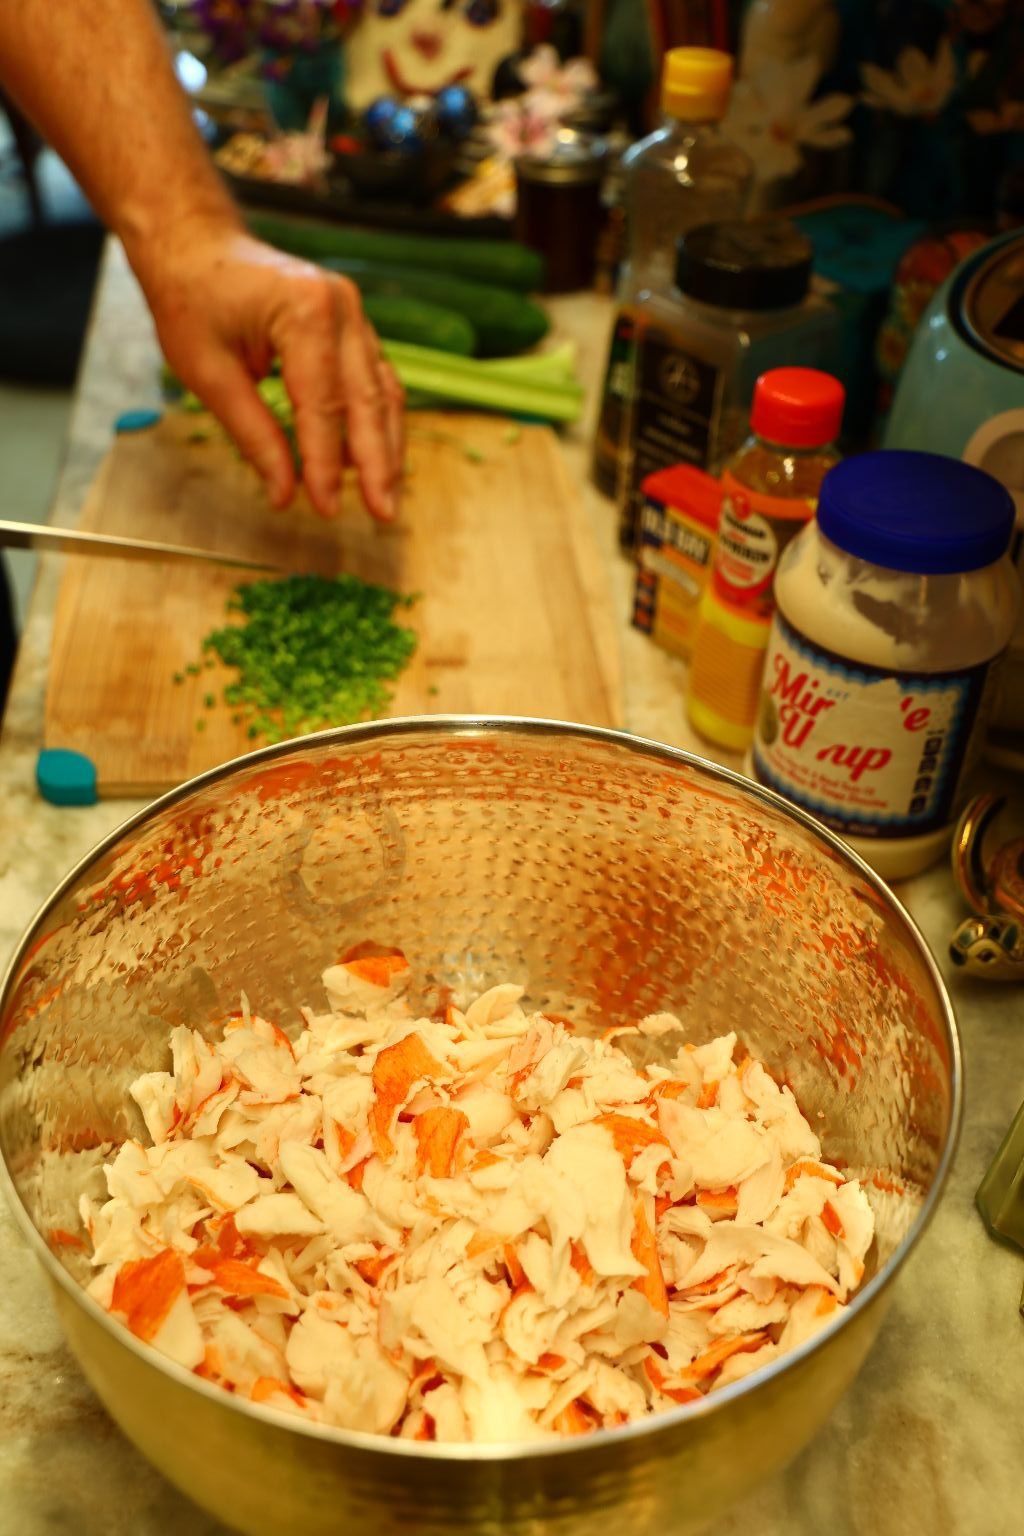
I like to use the Imitation Crab that is in medium sized sections. Remove the sections from the package, place them in your hand and squeeze the water out. Doing this will allow the Crab to absorb other liquids and flavors. Then separate the section into smaller pieces.
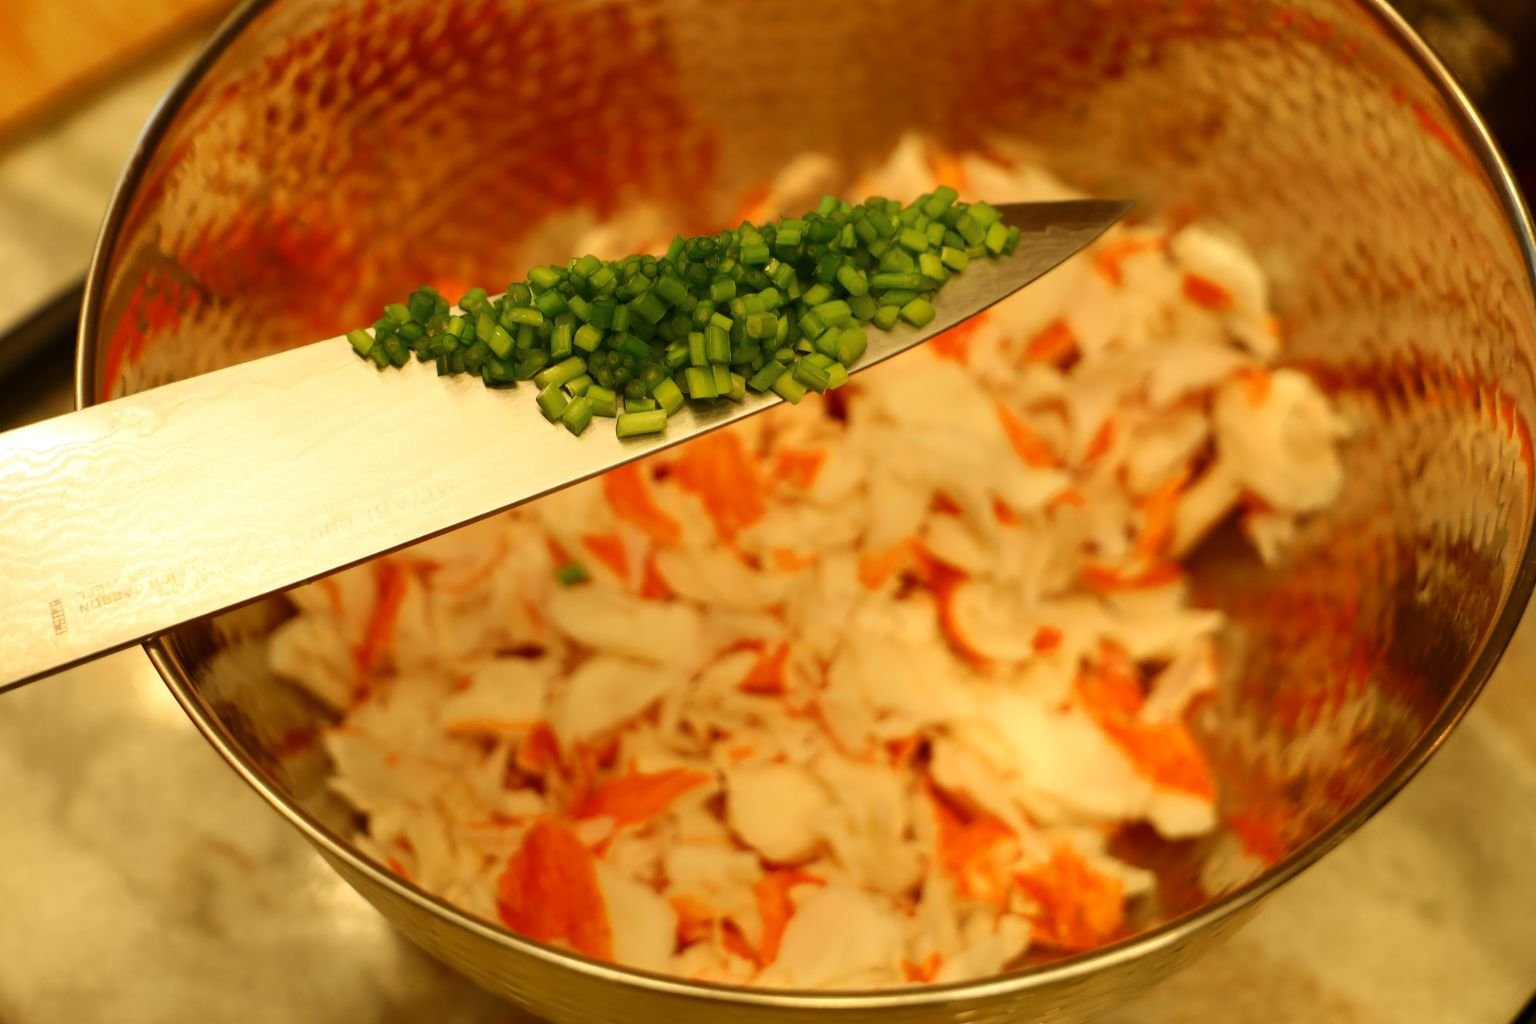
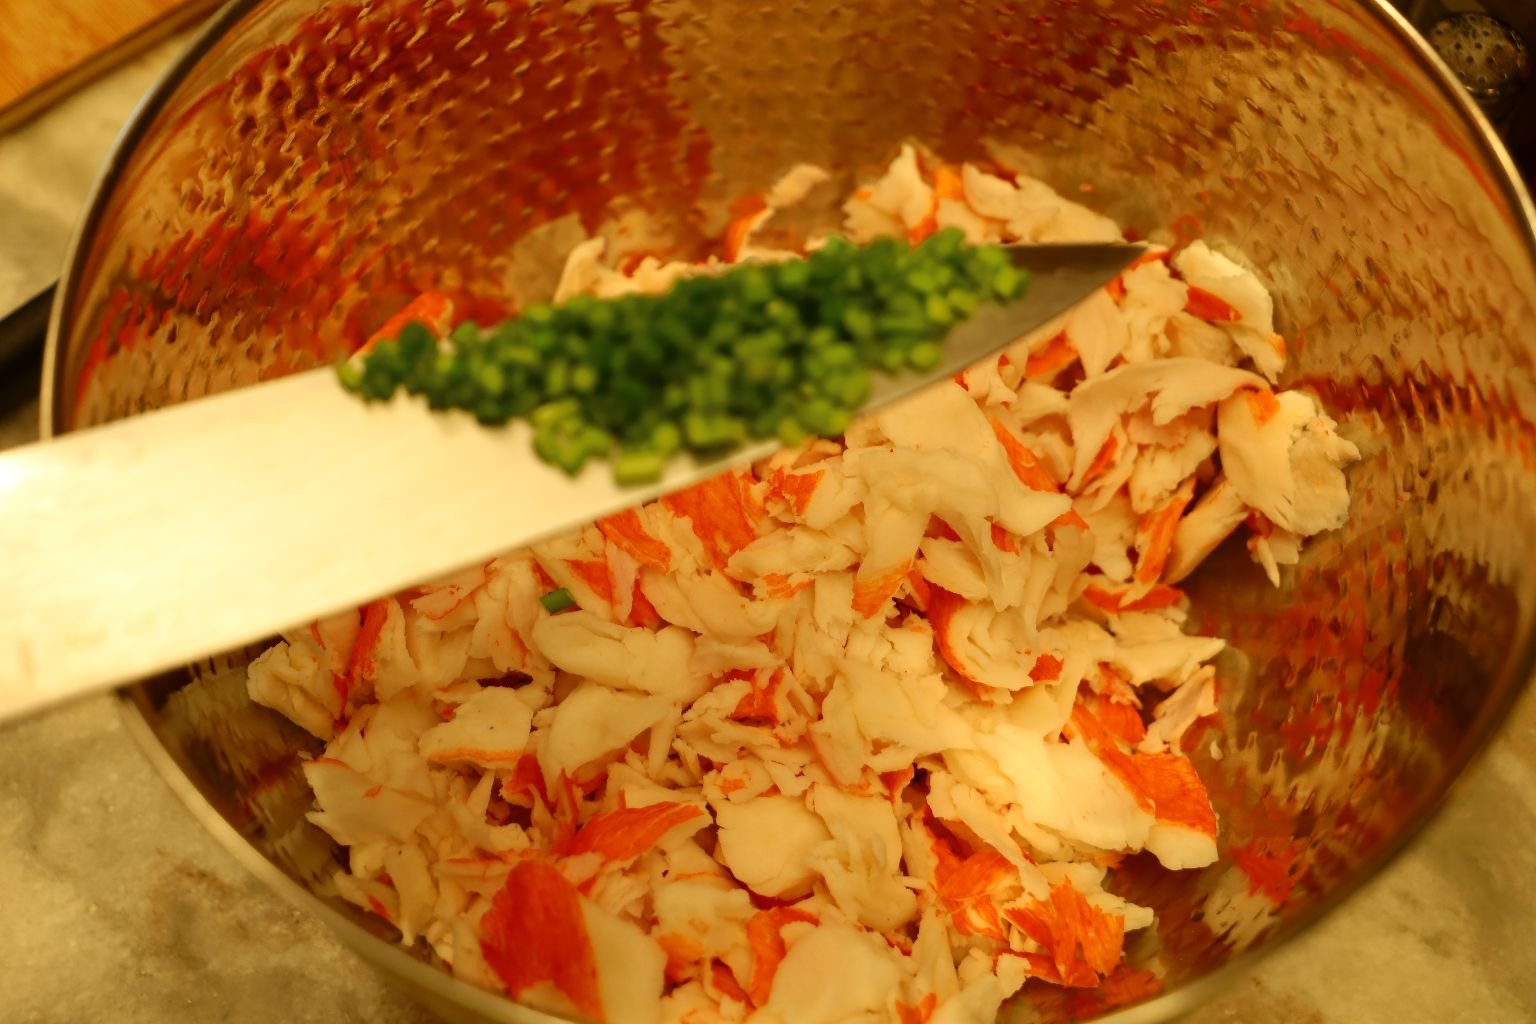
Here I thinly sliced the ends of the Flowering Garlic Chives. These have a great flavor.
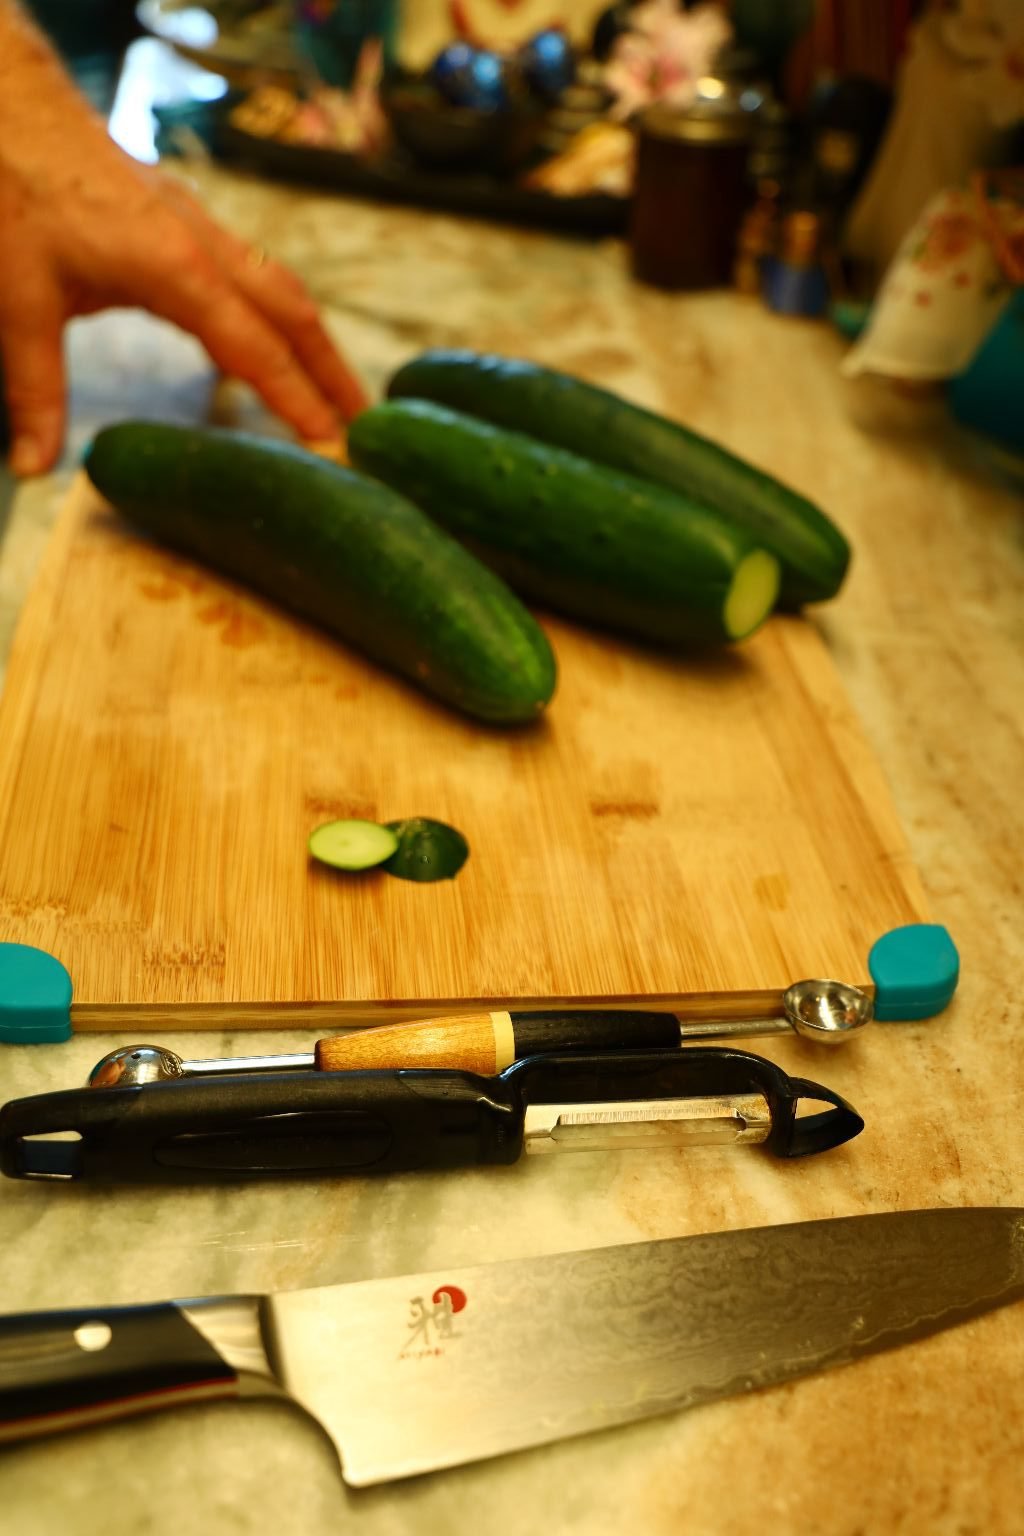
Slice the ends off the Cucumbers..
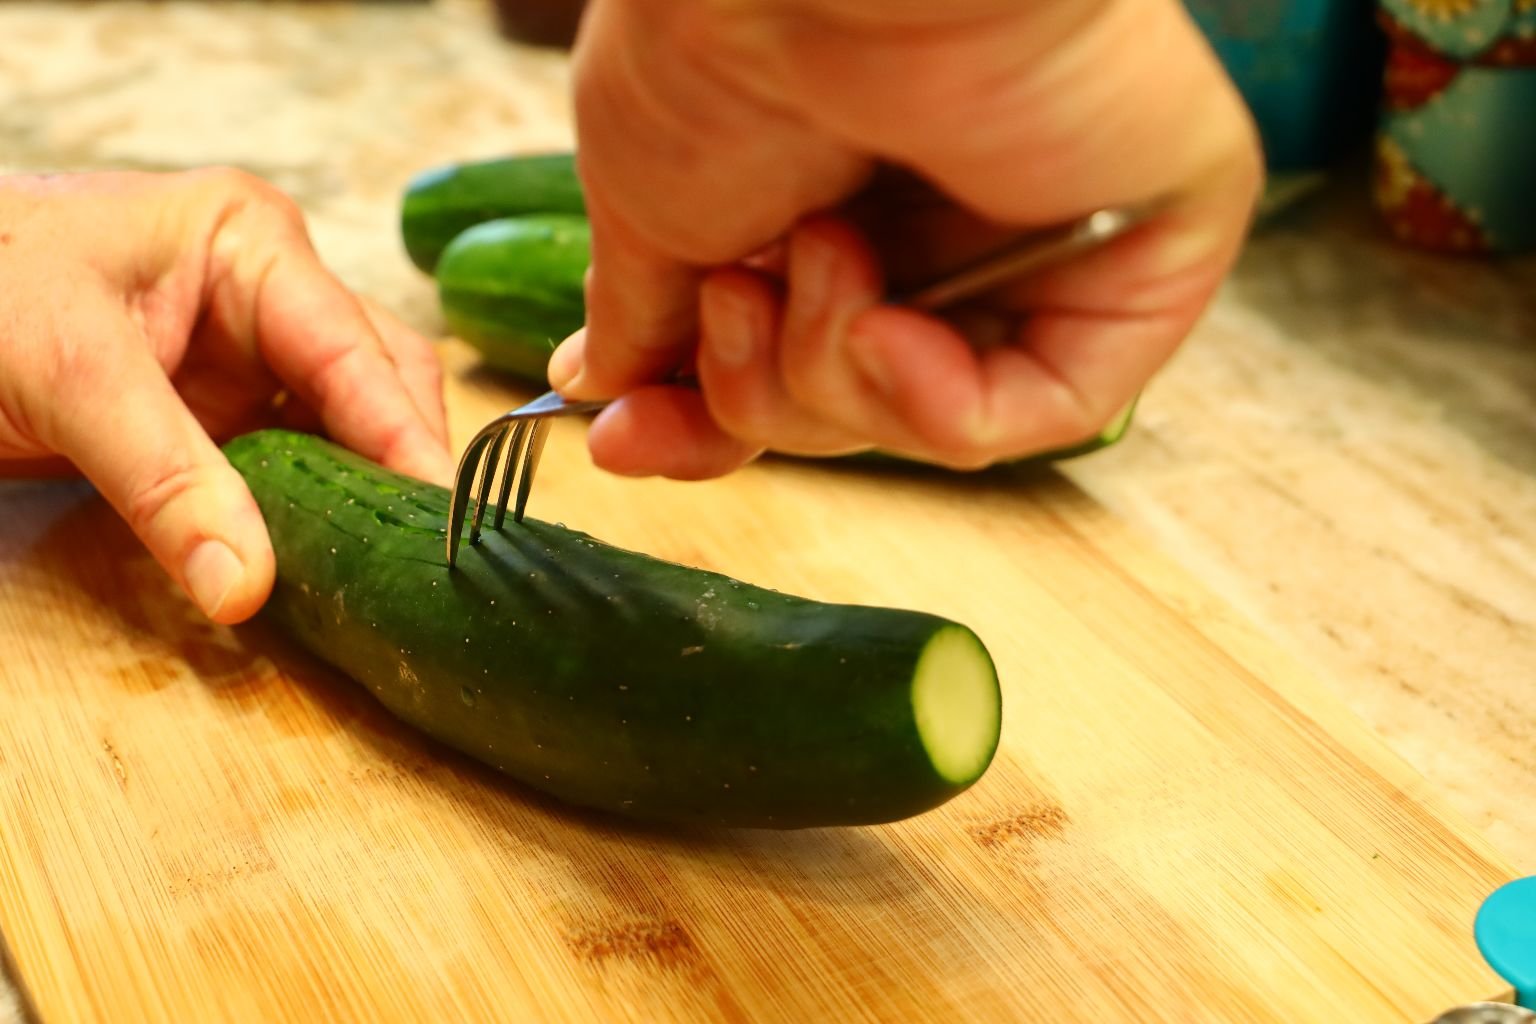
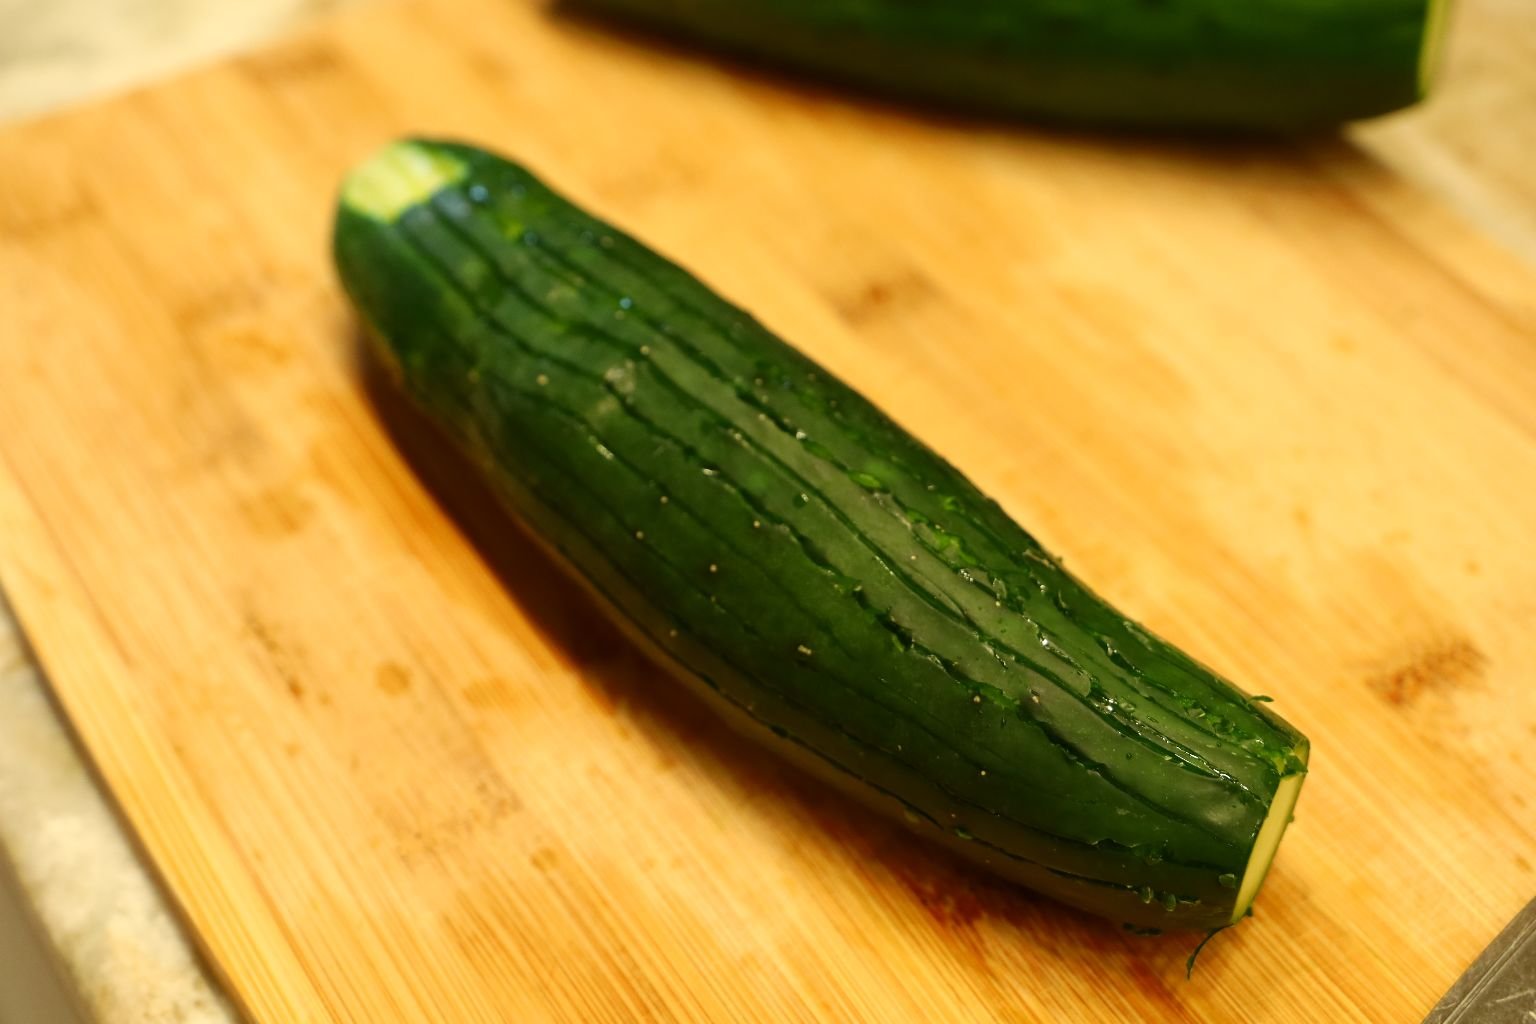
Then use a fork and score the sides of the Cucumber to make a decorative design.
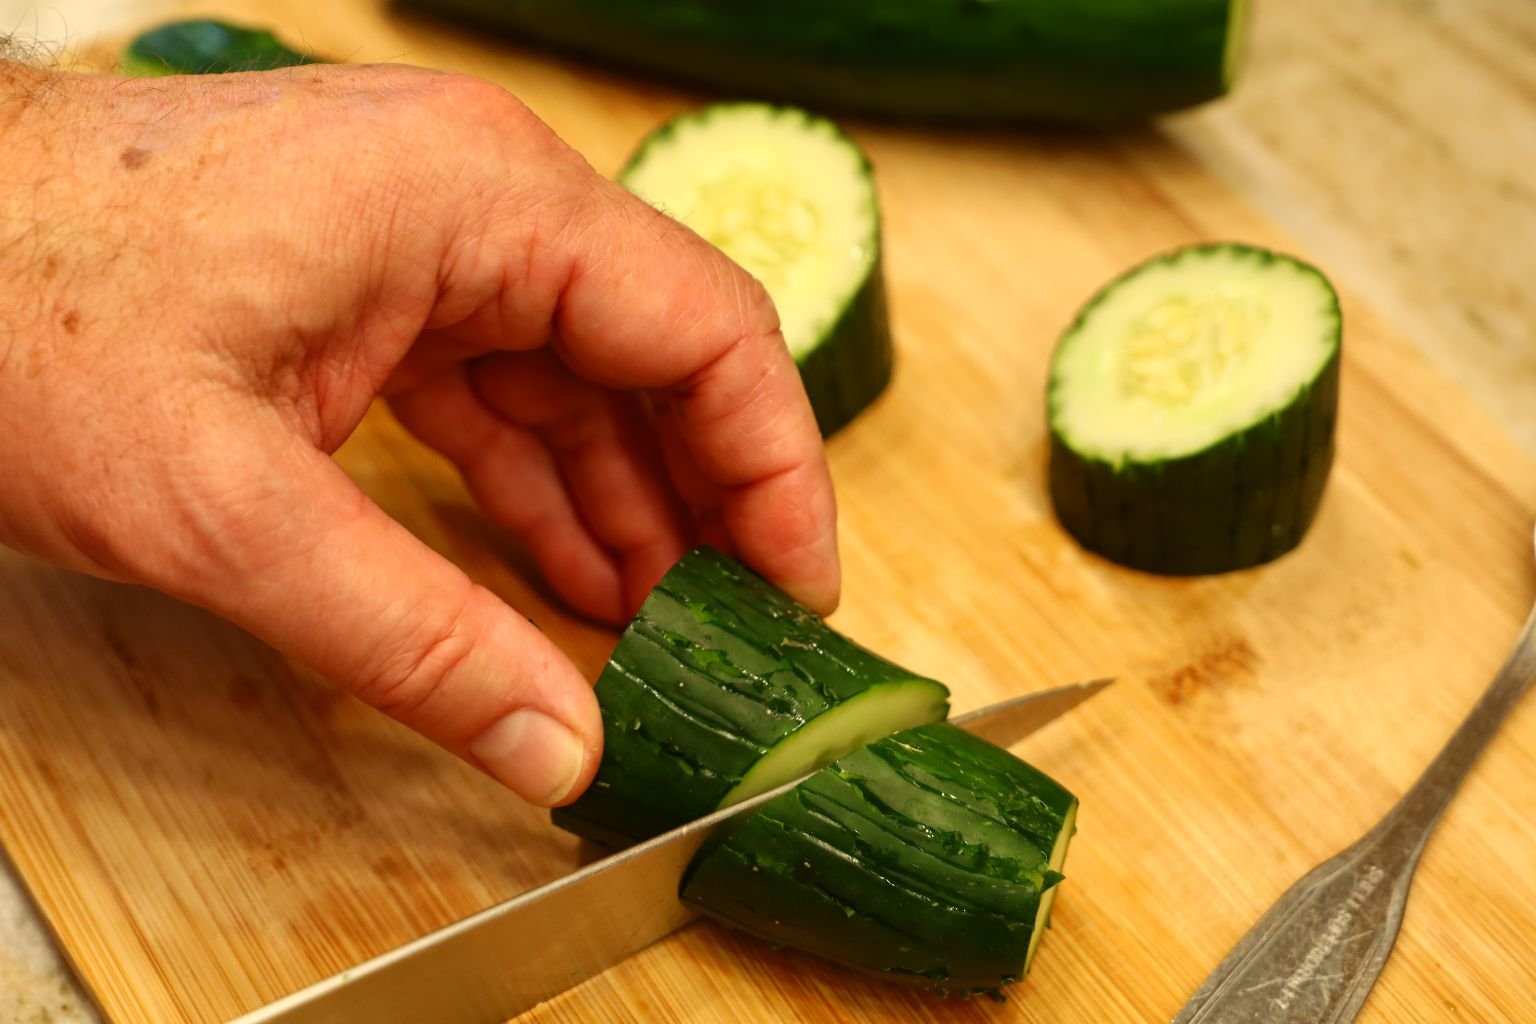
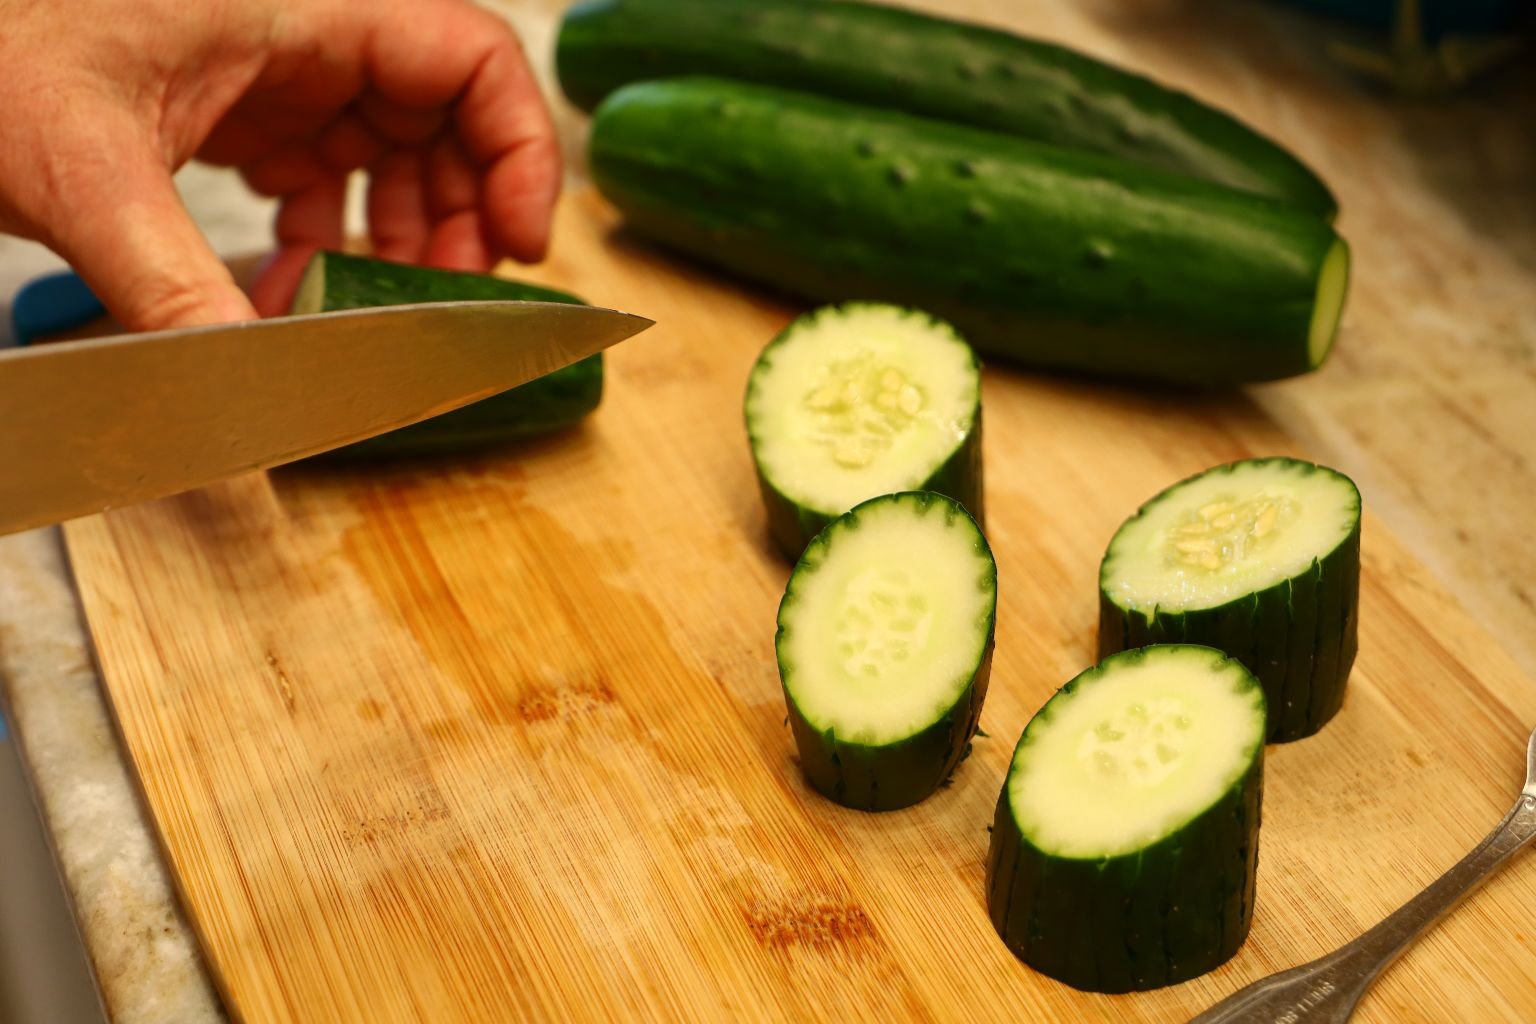
Slice the Cucumbers in 3 inch sections then slice the section in half on a diagonal.
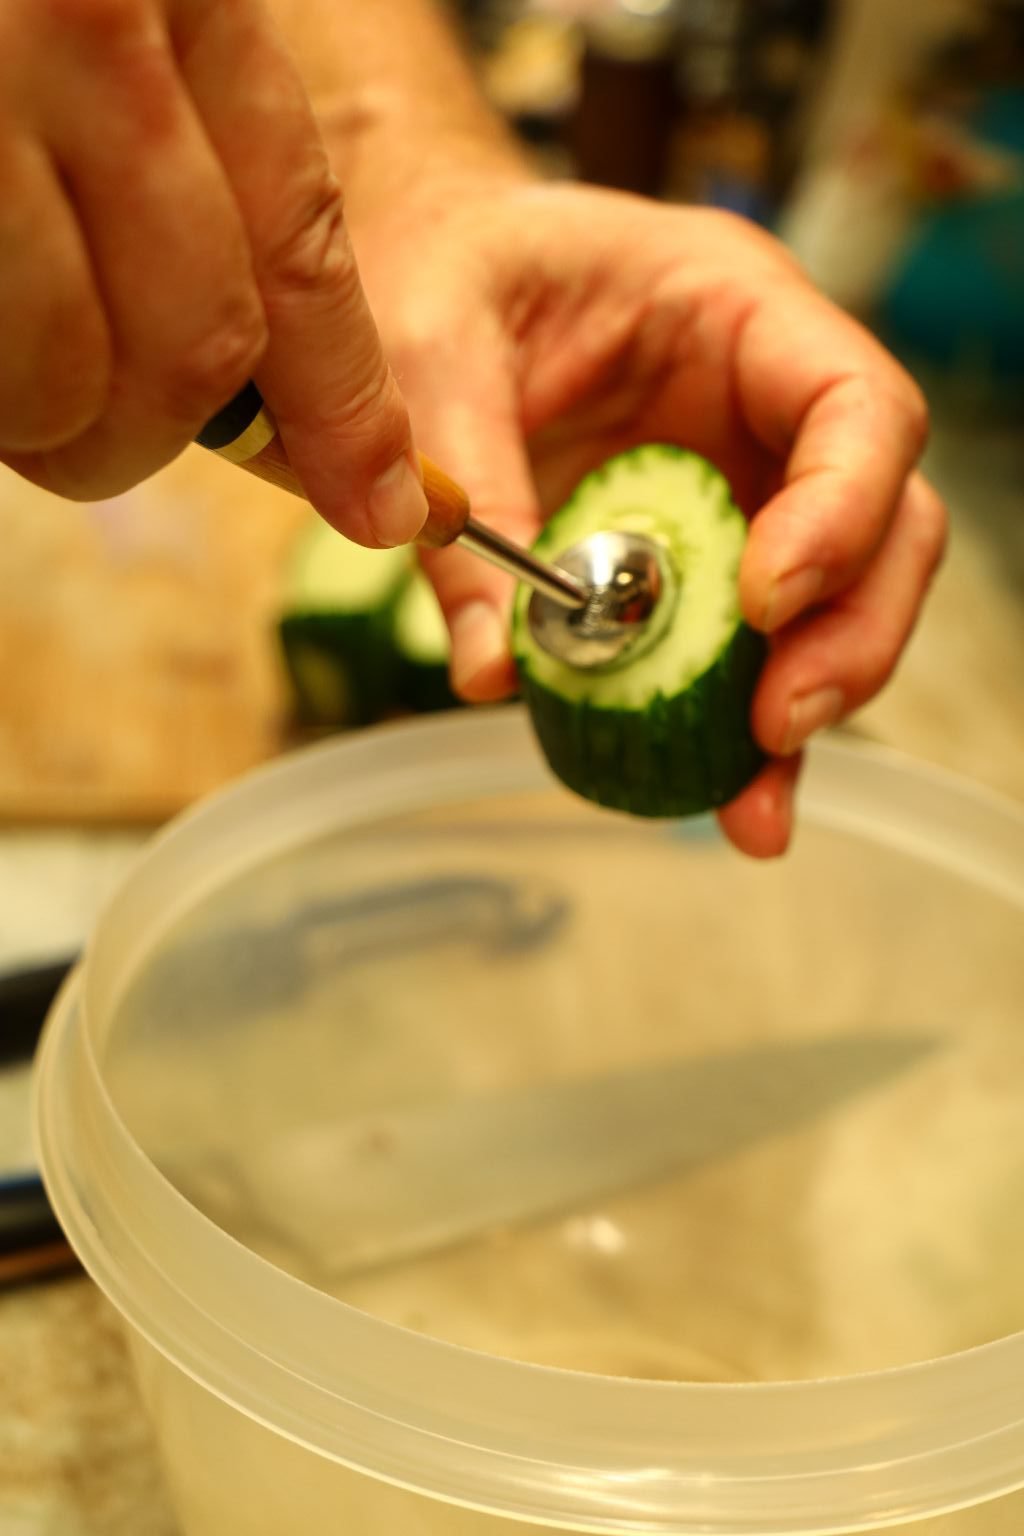
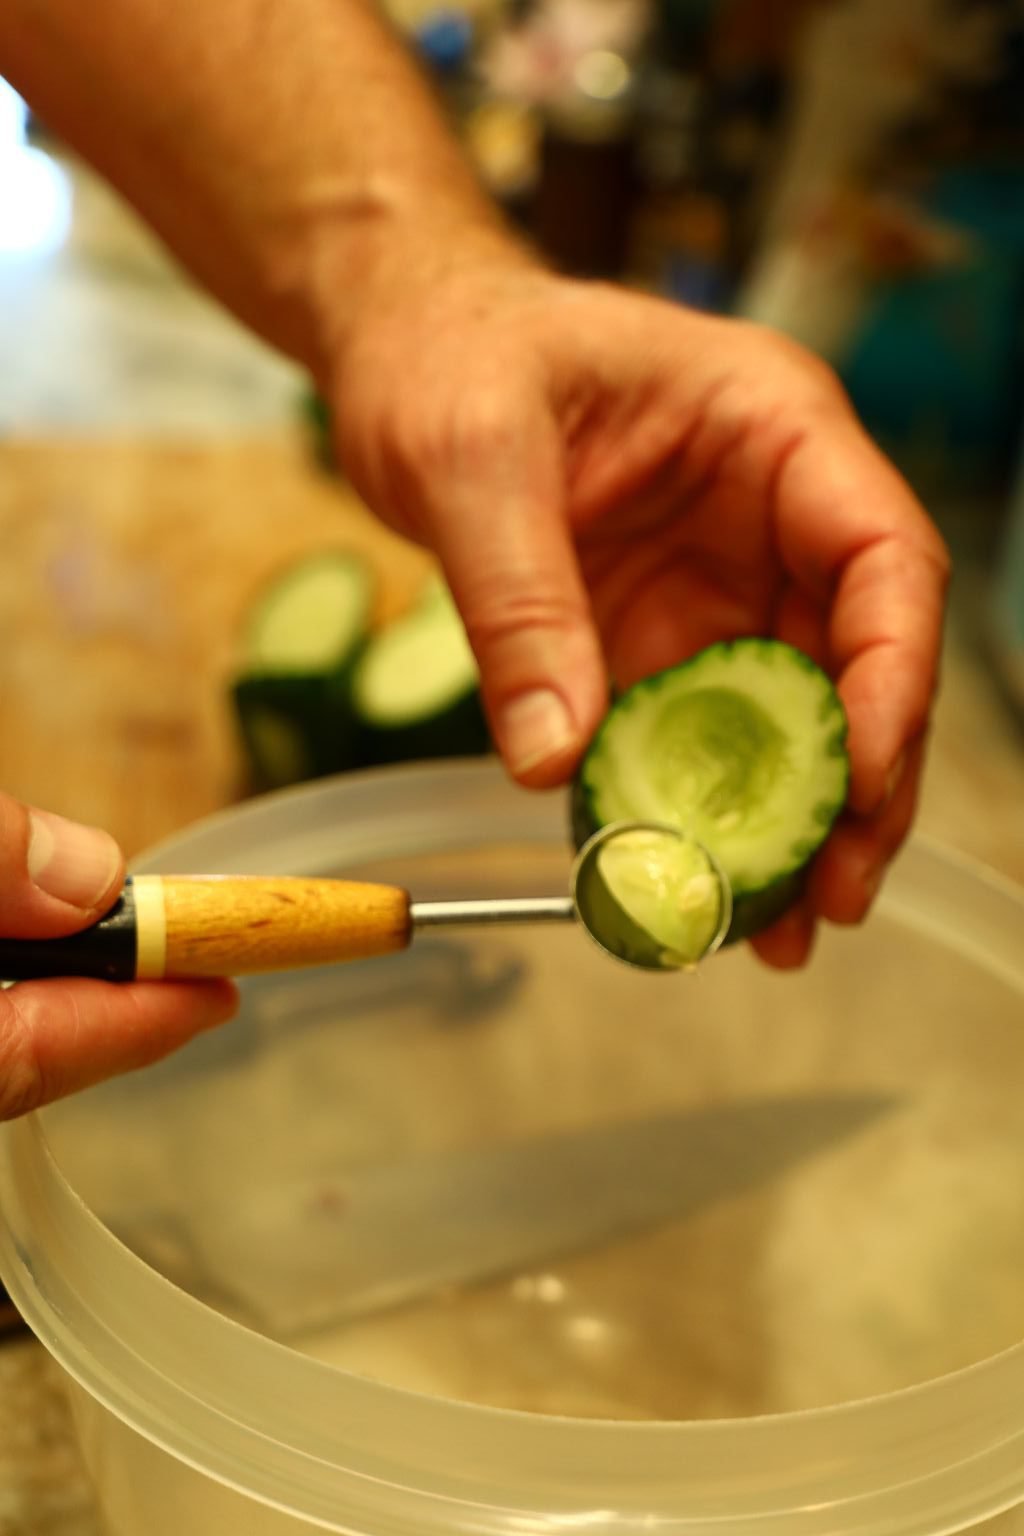
Use a melon baller to remove some of the Cucumber as shown, being sure not to go down too deep.
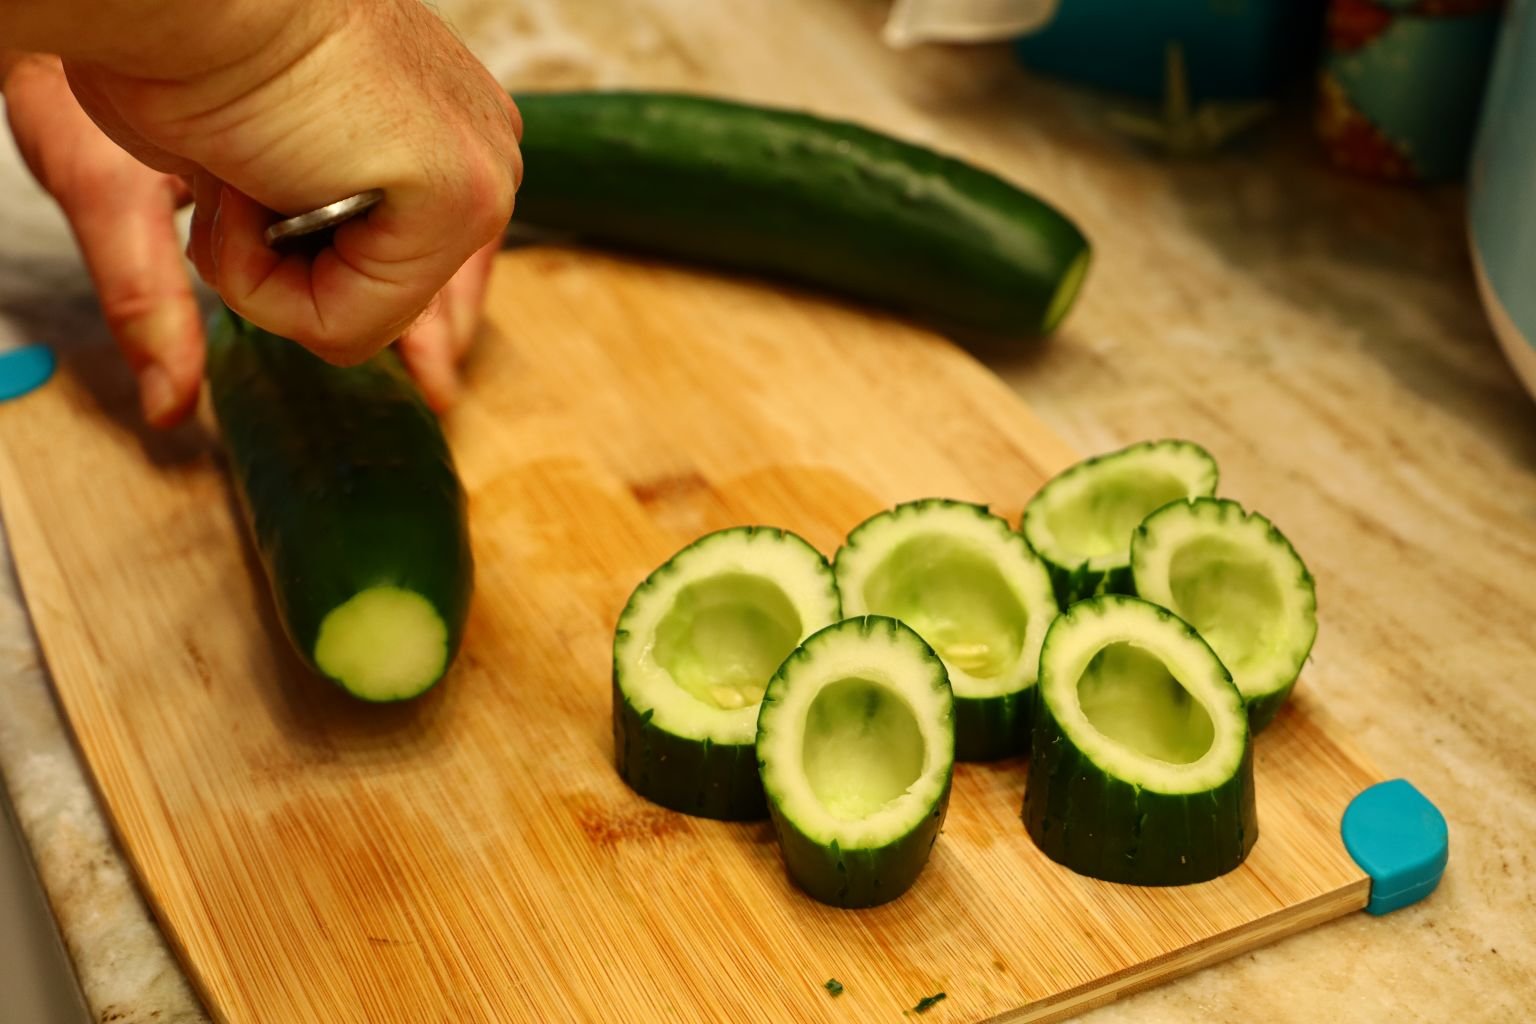
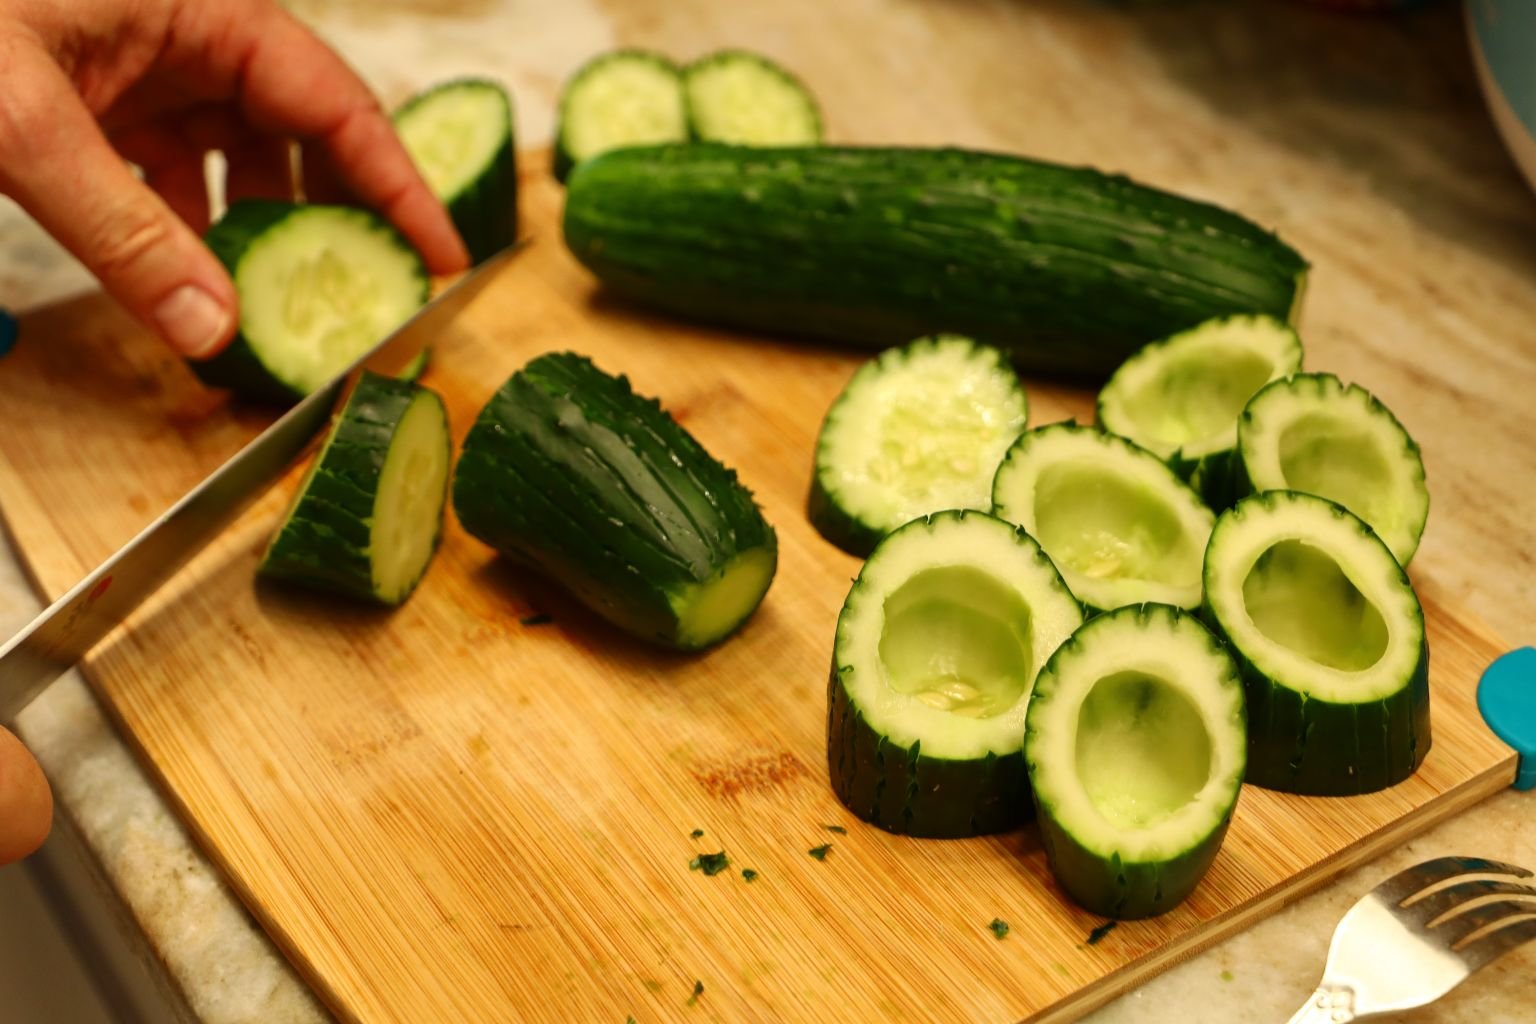
Do this for all the Cucumber sections.
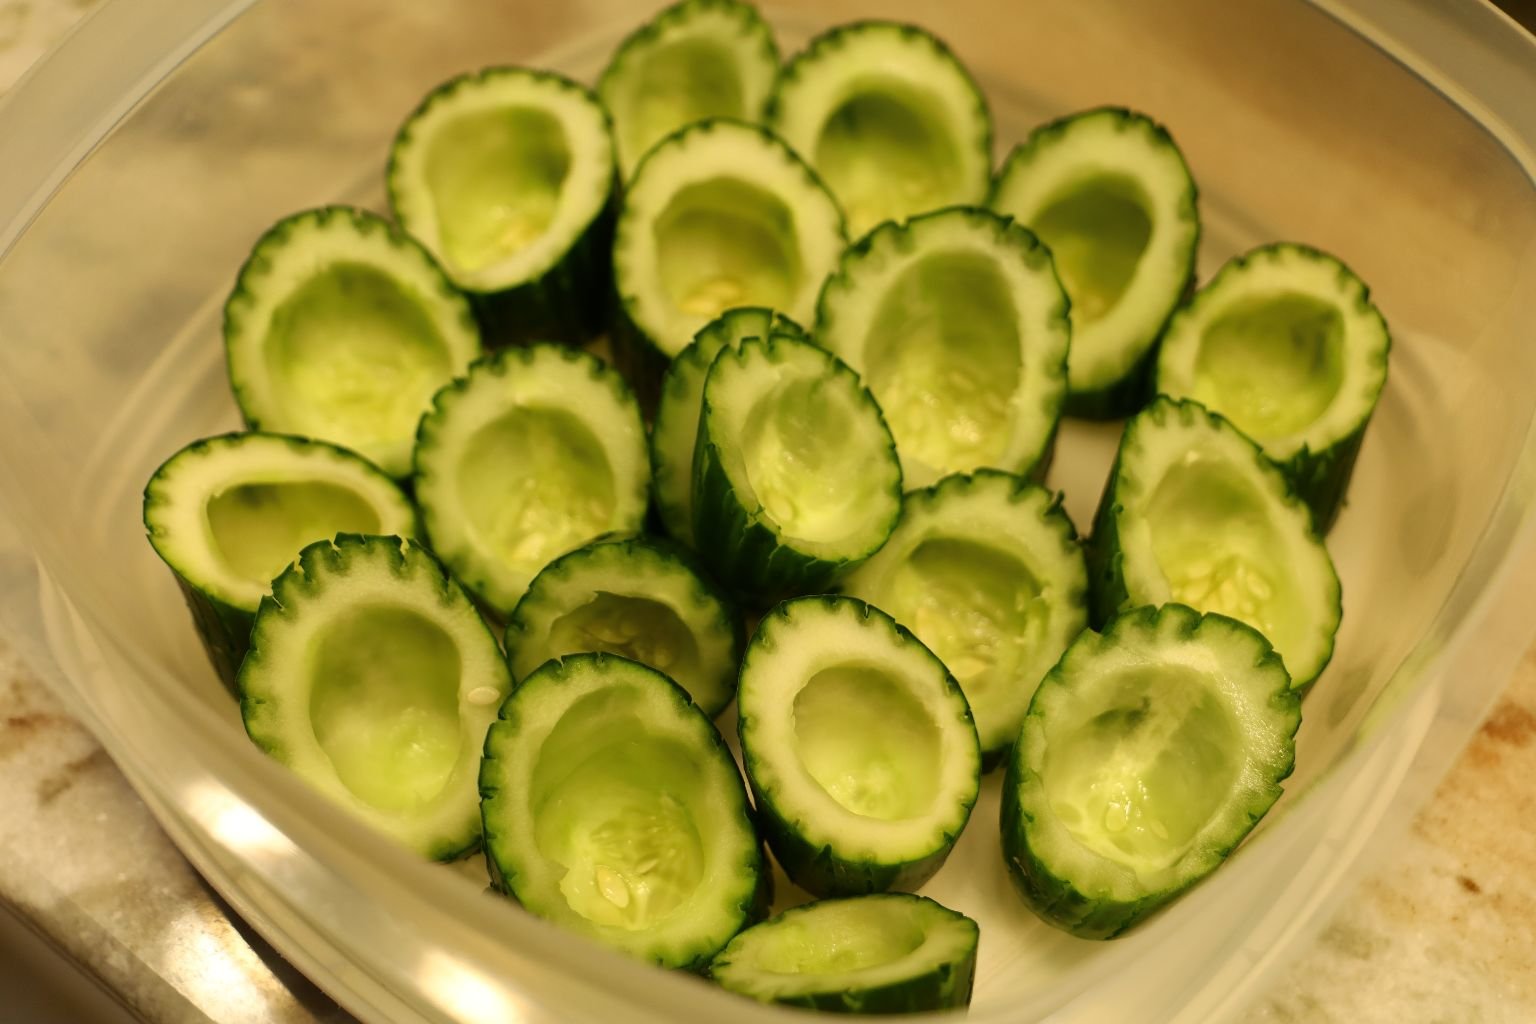
(We made these the day before and placed them in the refrigerator overnight.)
——————————————————————————–
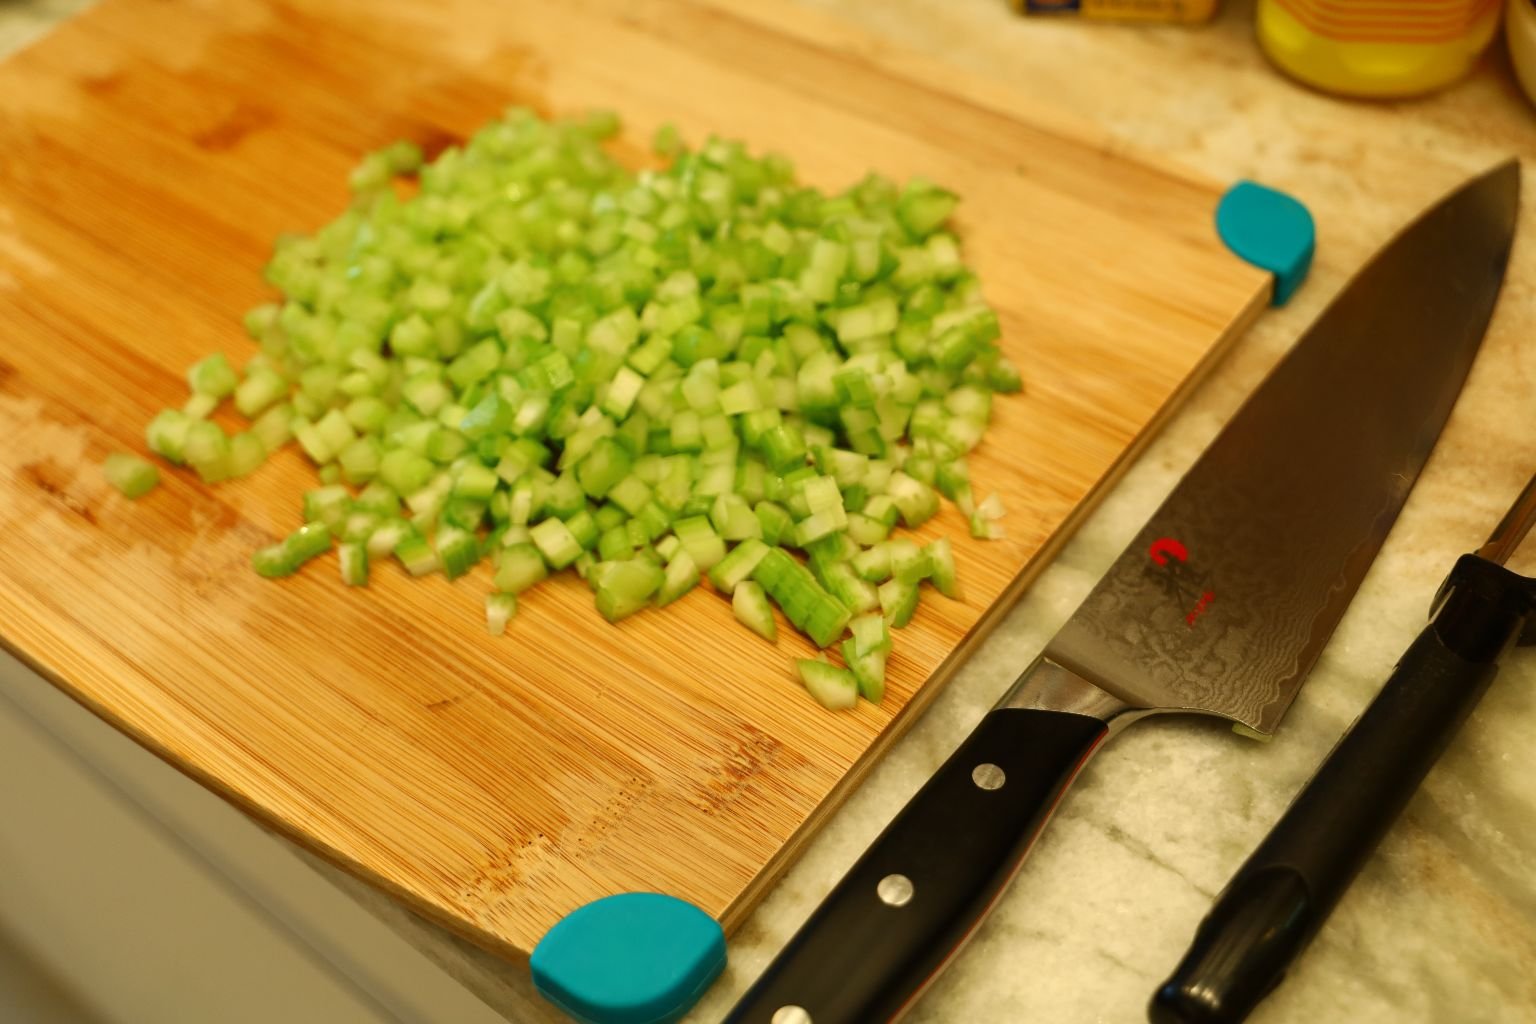
Chop your Celery into a small dice.
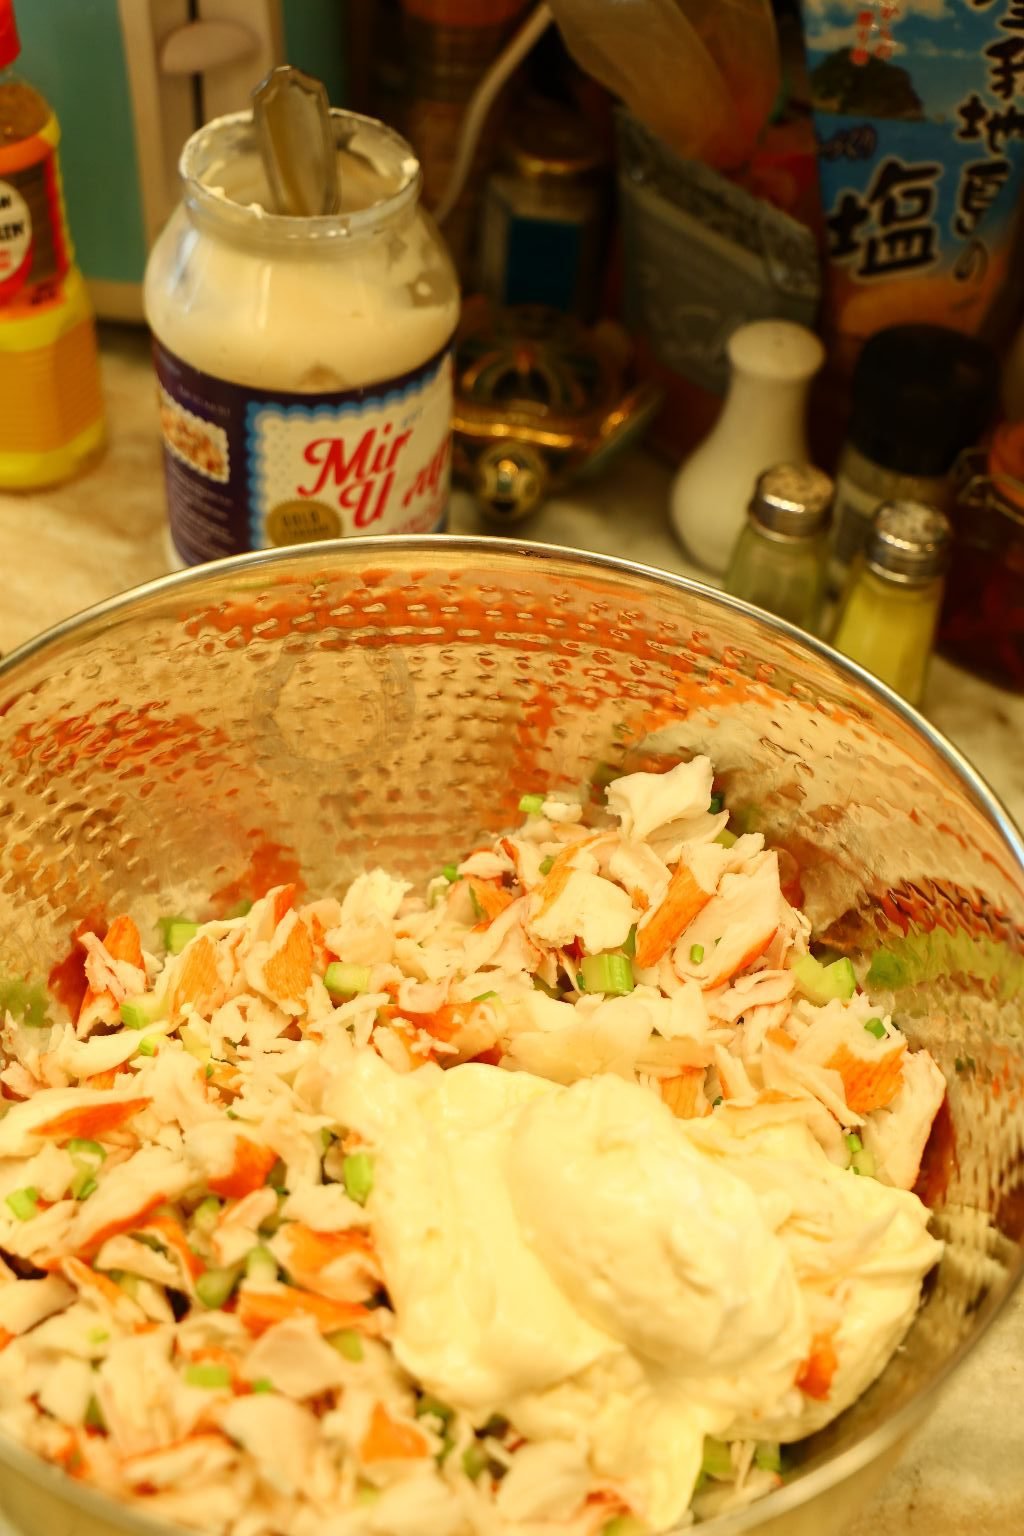
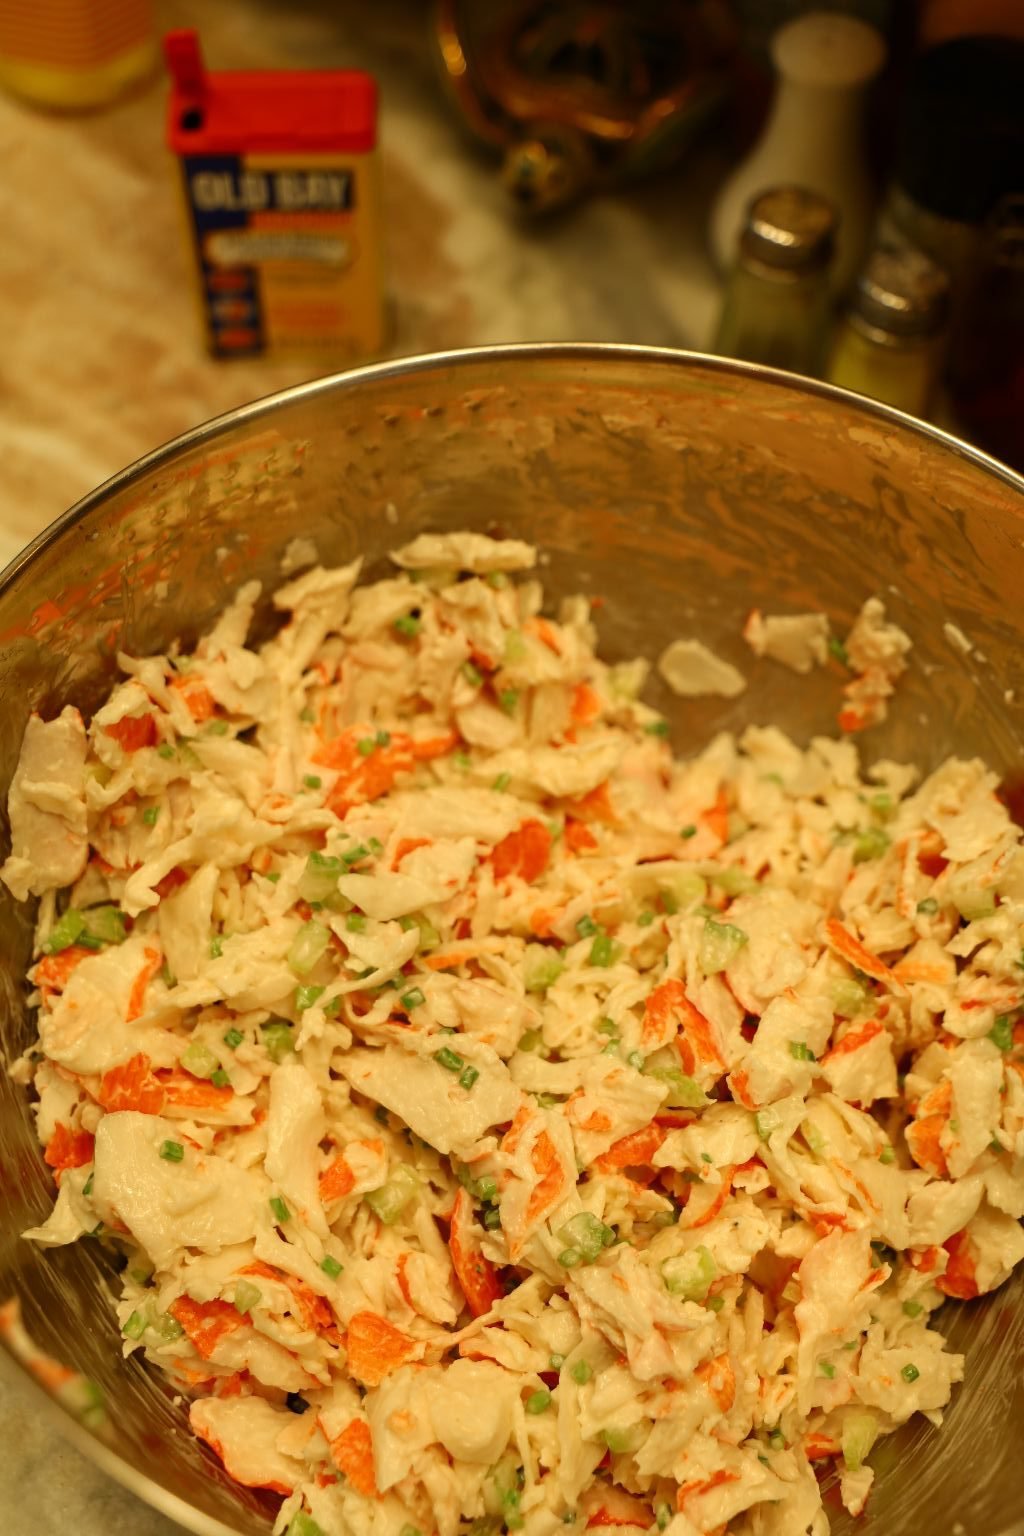
Add your Miracle Whip and mix all the ingredients well.
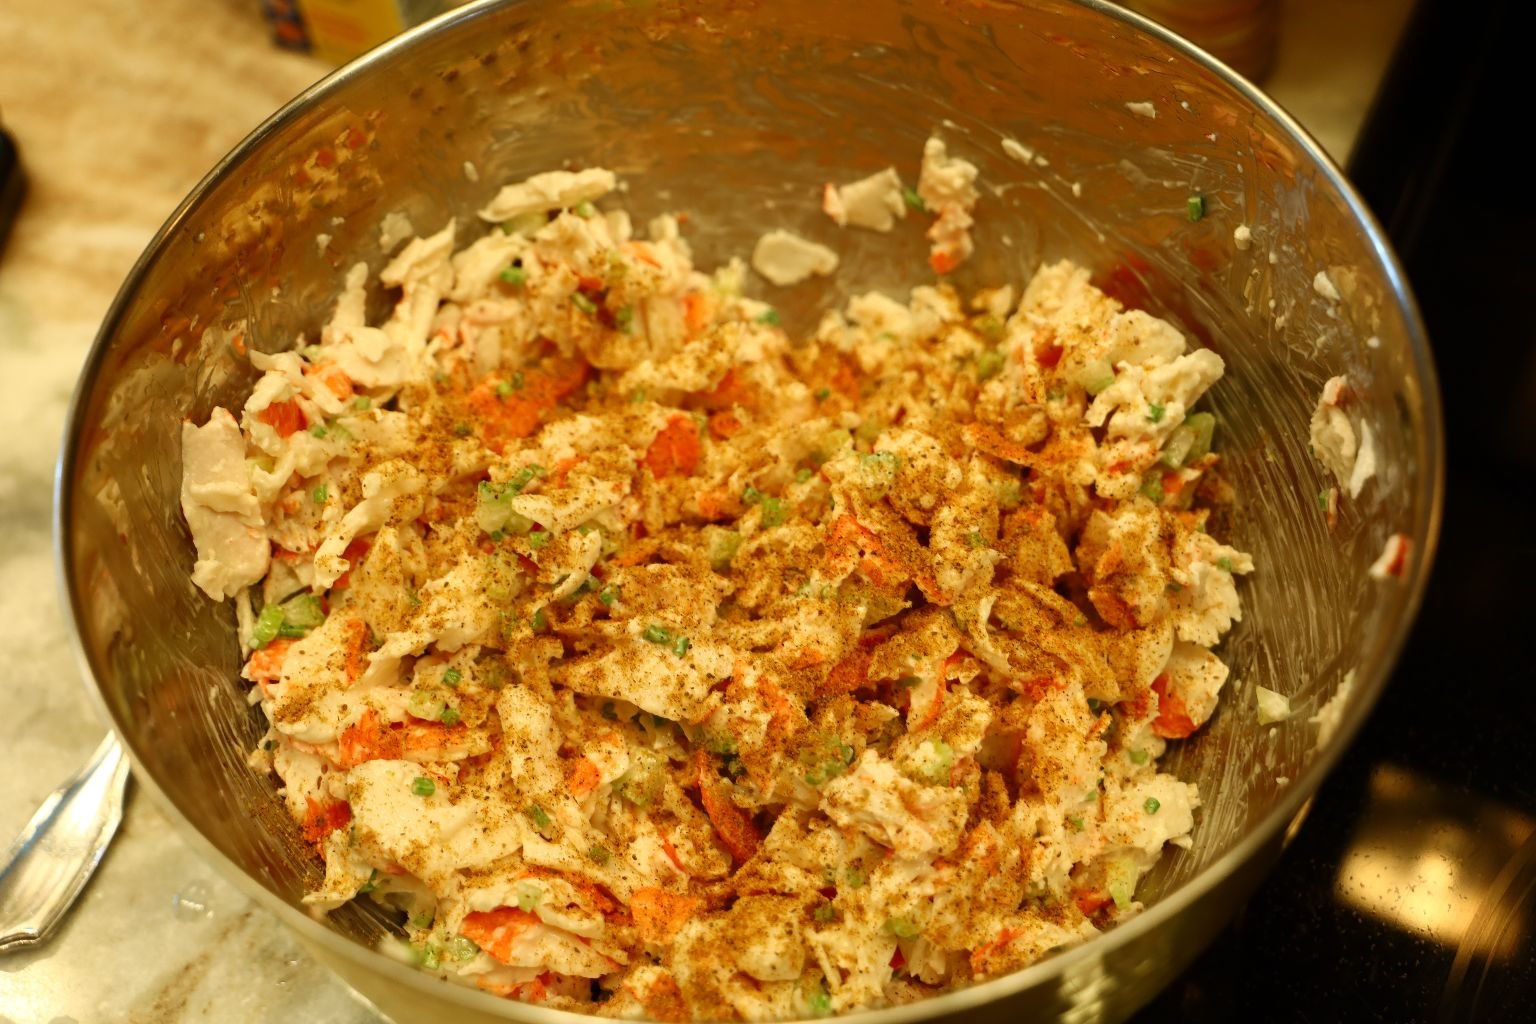
Add your Old Bay Seasoning…
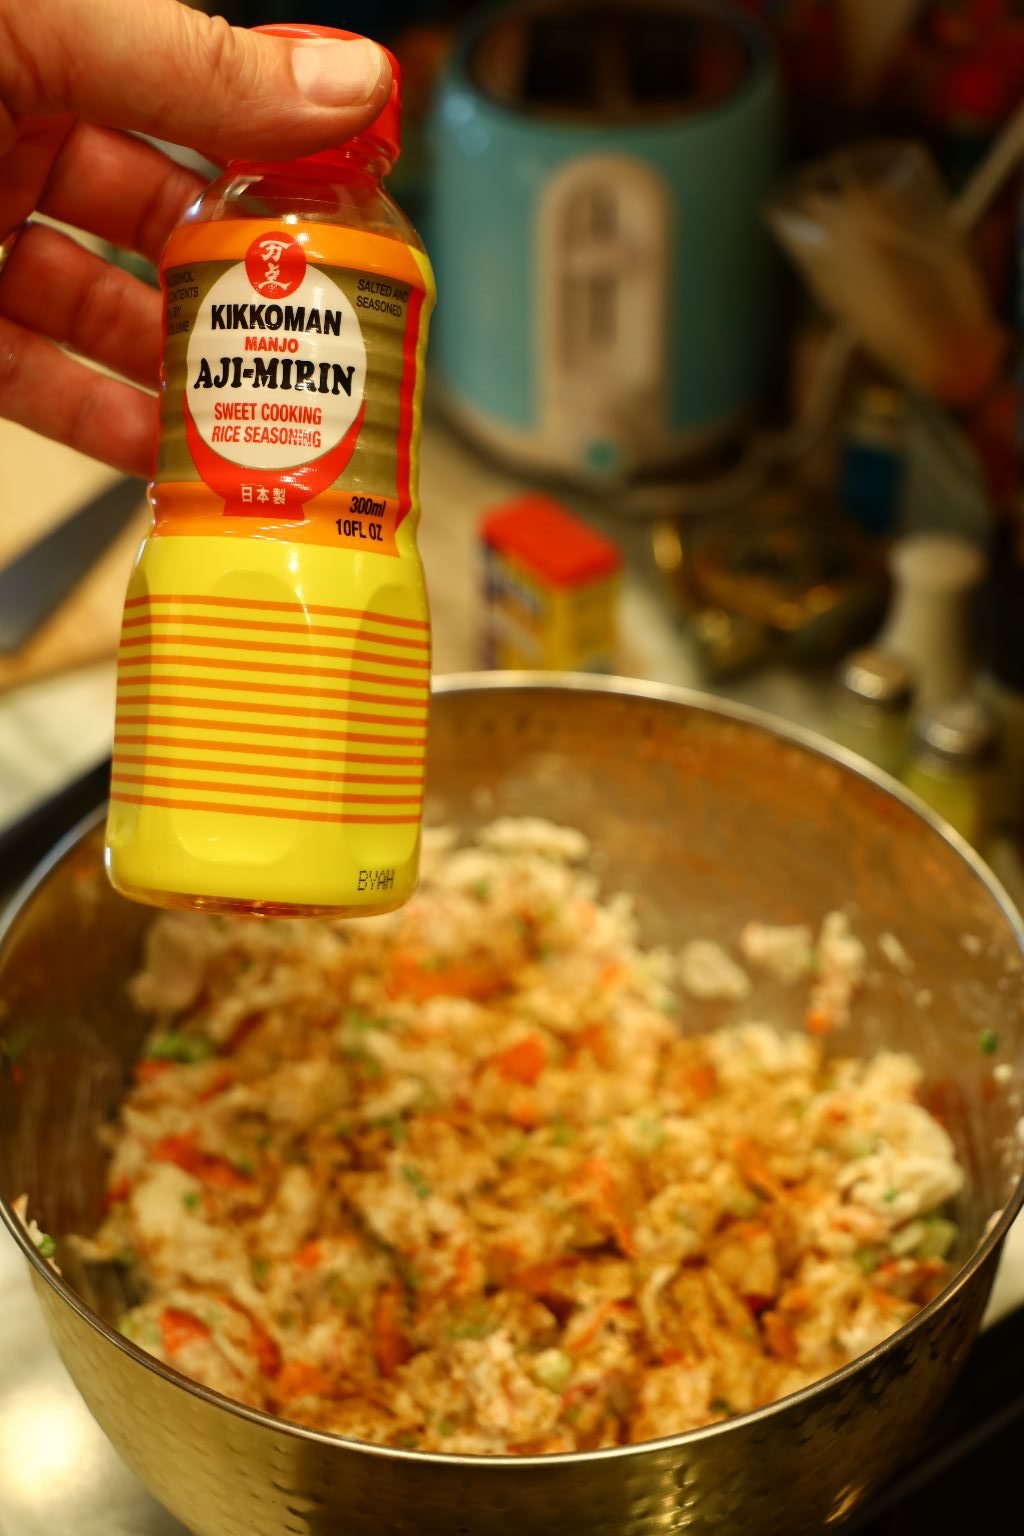
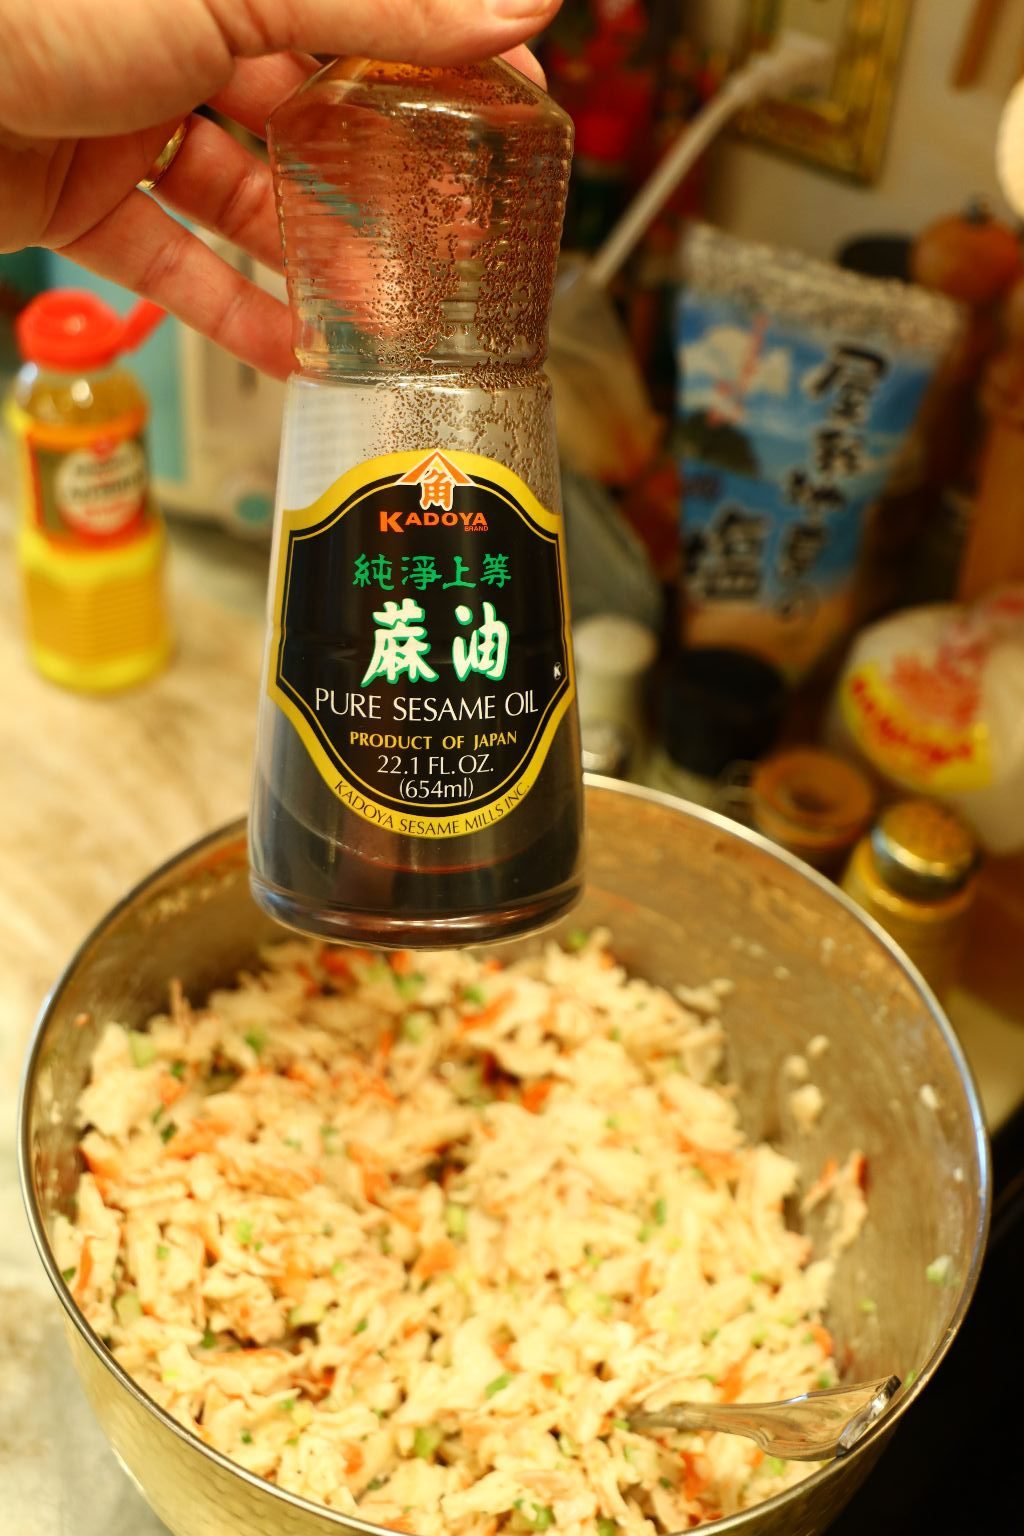
..then your Mirin and Sesame Oil and mix all your ingredients well.
Taste the mixture and add any seasonings to have it taste the way you want.
————————————————————————————
Time to Stuff the Cucumbers
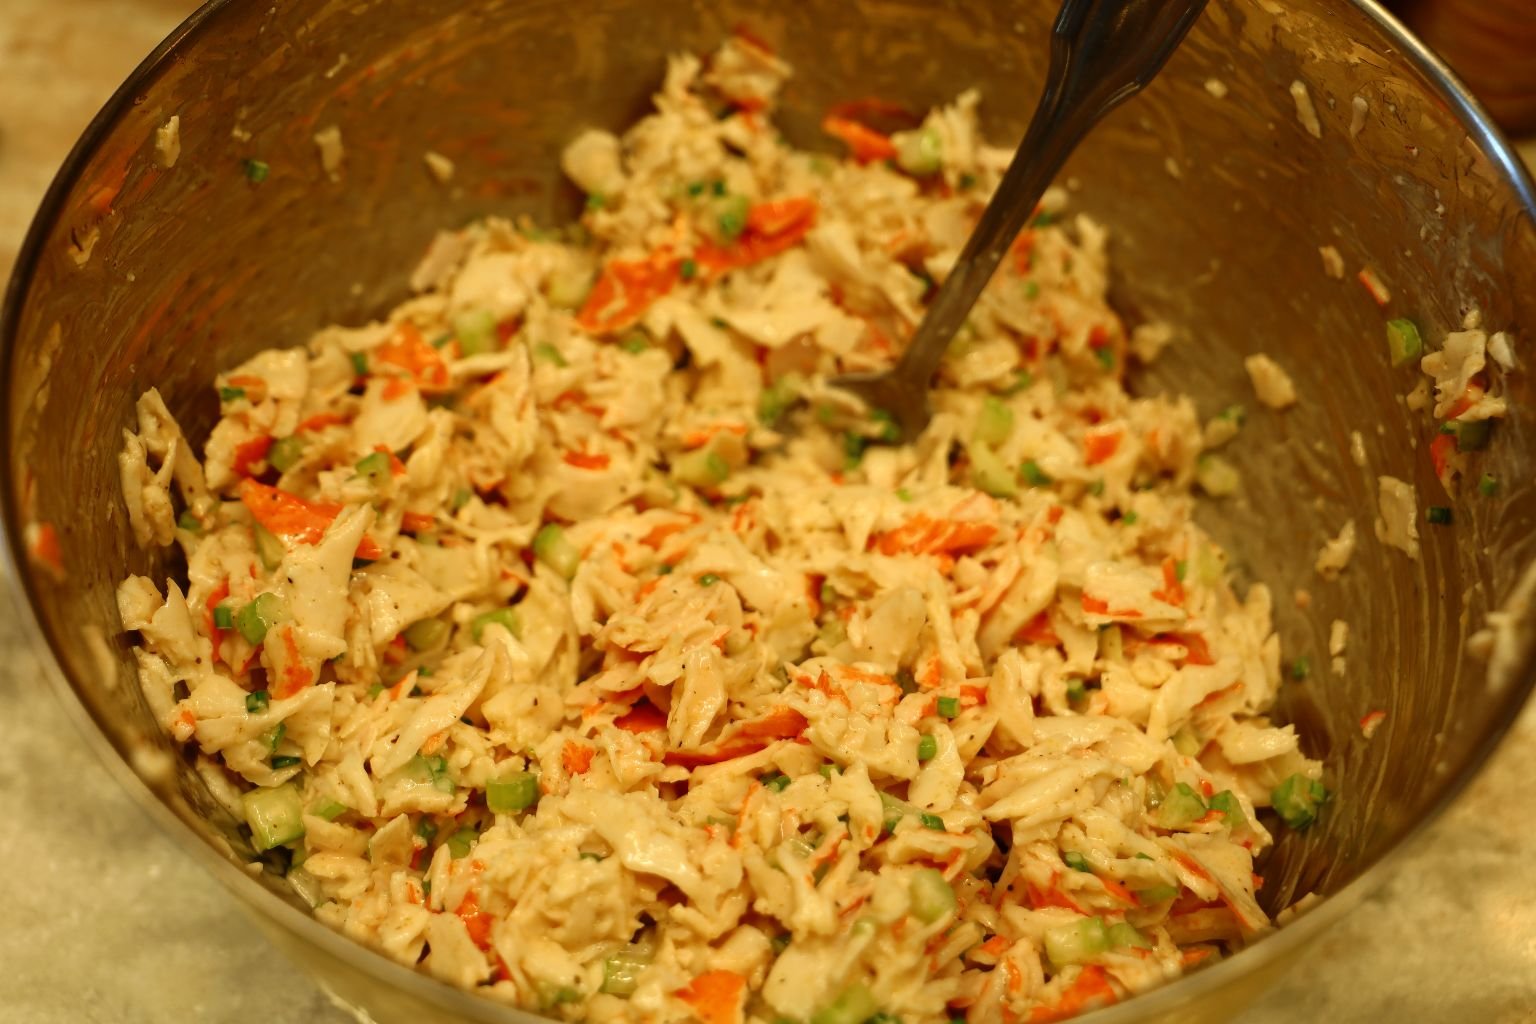
Use a small teaspoon to fill the Cucumber.
Top the Cucumber and Crab with your Sesame Seeds as shown.
OISHI!
(Delicious!)
——————————————————————————–
If you would like to view our other Asian pages:
Click Here For: Whann Way Asian
AND,
Click Here For: Whann Way Asian, E Ho ‘Omau (Continues)
AND,
Click Here For: Julie Loves Asian
AND,
Click Here For: Asian Edible Gifts
AND,
Edible Gifts of the Asian Variety
(Note: Edible Gifts of the Asian Variety is the same post as Asian Edible Gifts. I have both listed here for accuracy, but one is a Page and the other is considered a Post. Confusing, I know.)
AND,
Click Here For: Our Asian Easter
AND,
Click Here For: Whann Way Sushi
AND,
Click Here For: My Love Affair With All Things Asian
AND,
Click Here For: Asian Steamed Buns: Bao and Manapua
AND,
Click Here For: Our Purple Sweet Potato and Taro Stuffed Steamed Buns and Asian-Pacific Sliders
AND,
Click Here For: Our Asian Inspired 4th. of July
AND,
Click Here For: Gordon’s ‘Year of the Tiger’ Sauce and Nam Jim Jaew
AND,
AND,
AND,
Chisana Atsukau (Small Treats in Japanese
AND,
AND,
Japanese Girl’s Day (Hawaii Tradition)
AND,
Asian Eats (More Great Recipes to Enjoy)
AND,
AND,
AND,
AND,
————————————————————————–
My Tassel Oriental Bowl —————————————————————————– Glorioso Blossom My Glorioso Vine in my Japanese Carp Vase A Few Spring Rolls….. …doused in My Oriental Jezebel Sauce An Excellent Ranchi (Lunch) ——————————————————————————— An Oriental Jezebel A Marinade, A Glaze, and A Dipping …
EASTER 2022 The green cup in the photo above is a handmade ceramic cup, probably made by a child. It was found in a box in the attic of my son’s girlfriends house. I spotted it and saw a treasure! She …

(I took the photo above when we first moved to Hawaii in 1986.
This is Diamond Head side of the island.)

We sure do miss riding around the island playing tourists.
————————————————————–
ALOHA!

May Day is Lei Day

When I was a Girl Scout Leader in Hawaii we made these lei’s from the tops of soda cans with ribbon. It was an excellent way to recycle. When I showed this project to my friend Trish in New Zealand she was very excited to make them for her Girl Guides. I taught her how to do it. Her troop then won some award for them in New Zealand. 🙂
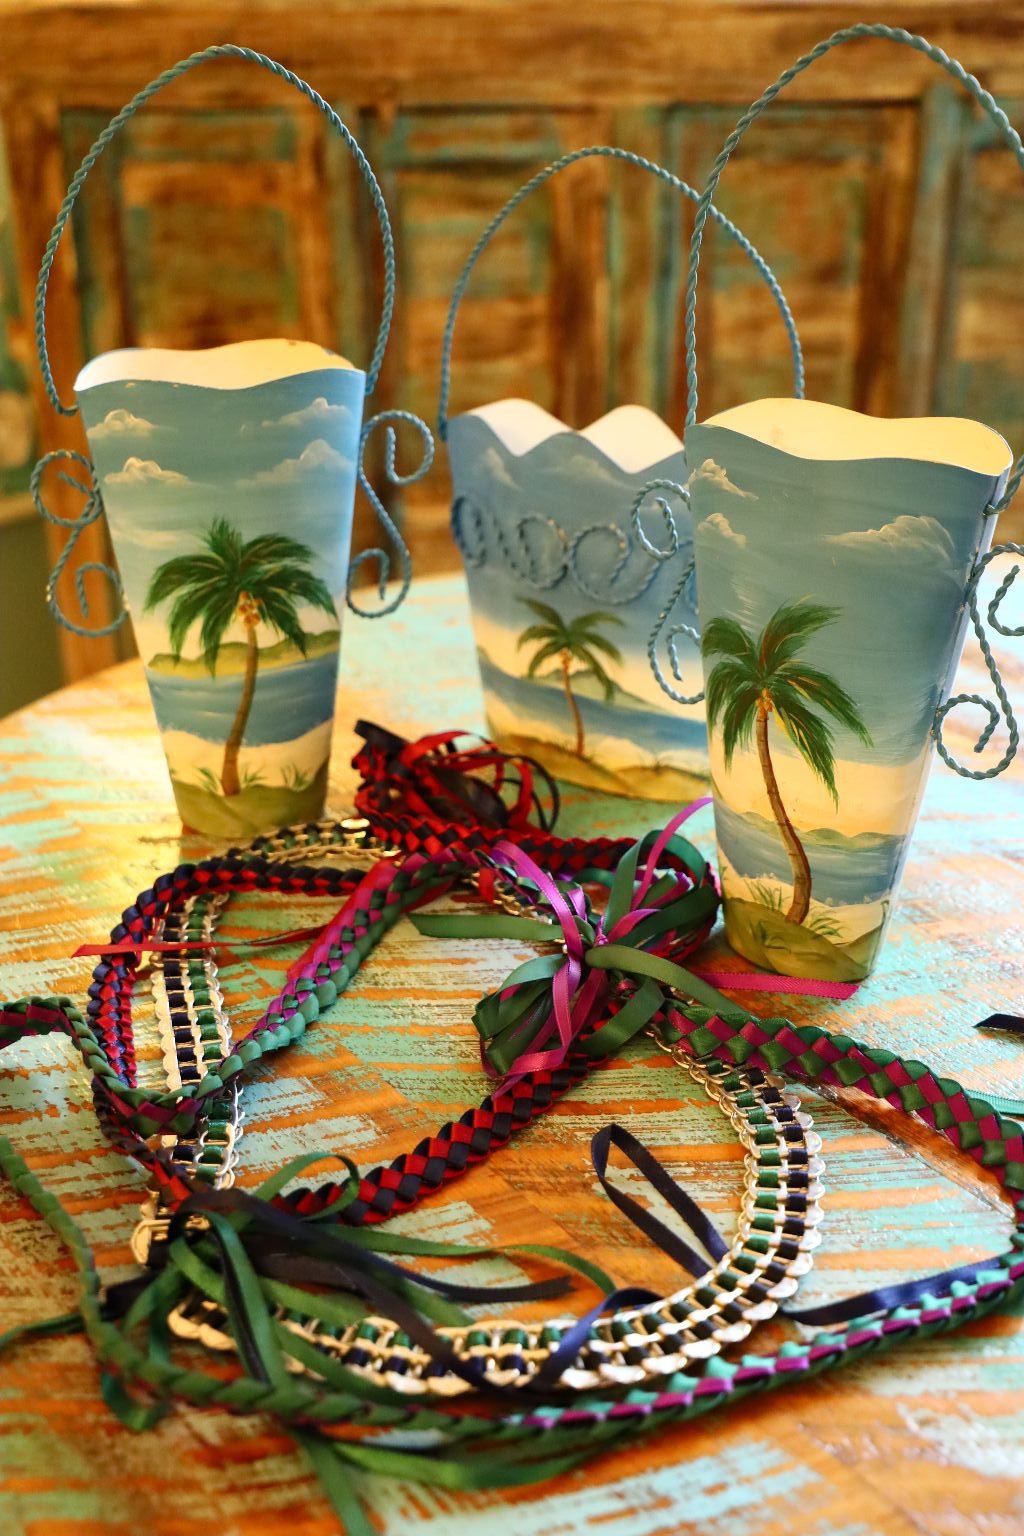
Past Girl Scout Lei’s and Tins
(I passed these on to my daughter when I came across them.)
—————————————————————————
Welcome to ONO Hawaiian
ONO Means Delicious

——————————————————-
Aloha Kakahiaka
(Good Morning)

A Rainbow for Breakfast
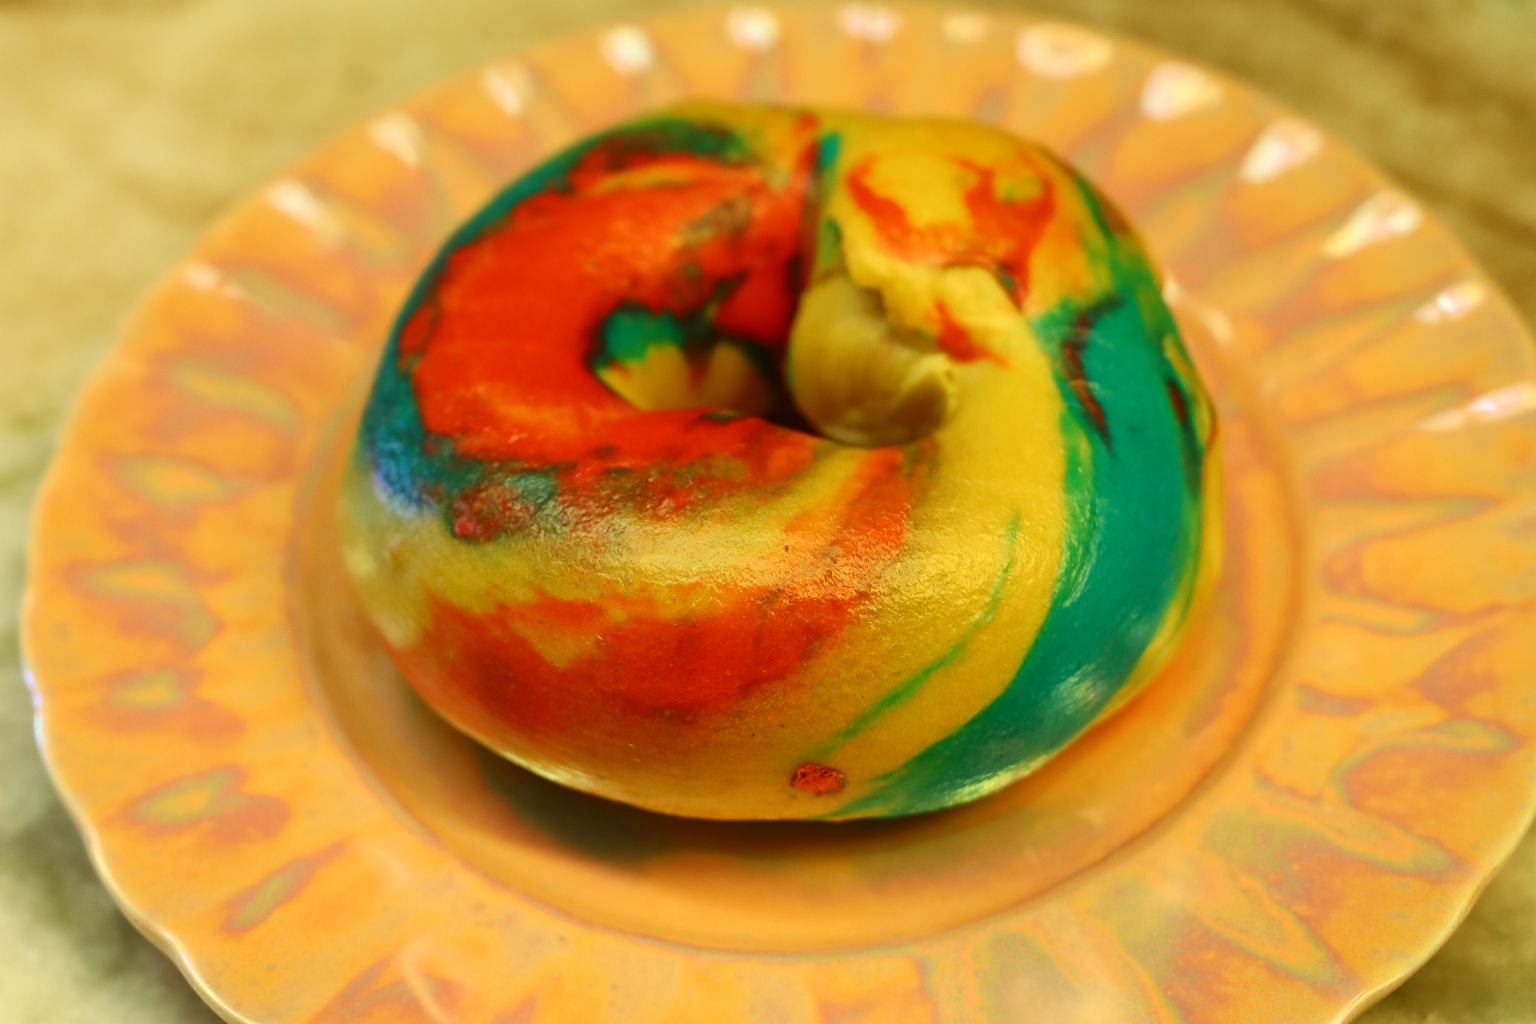
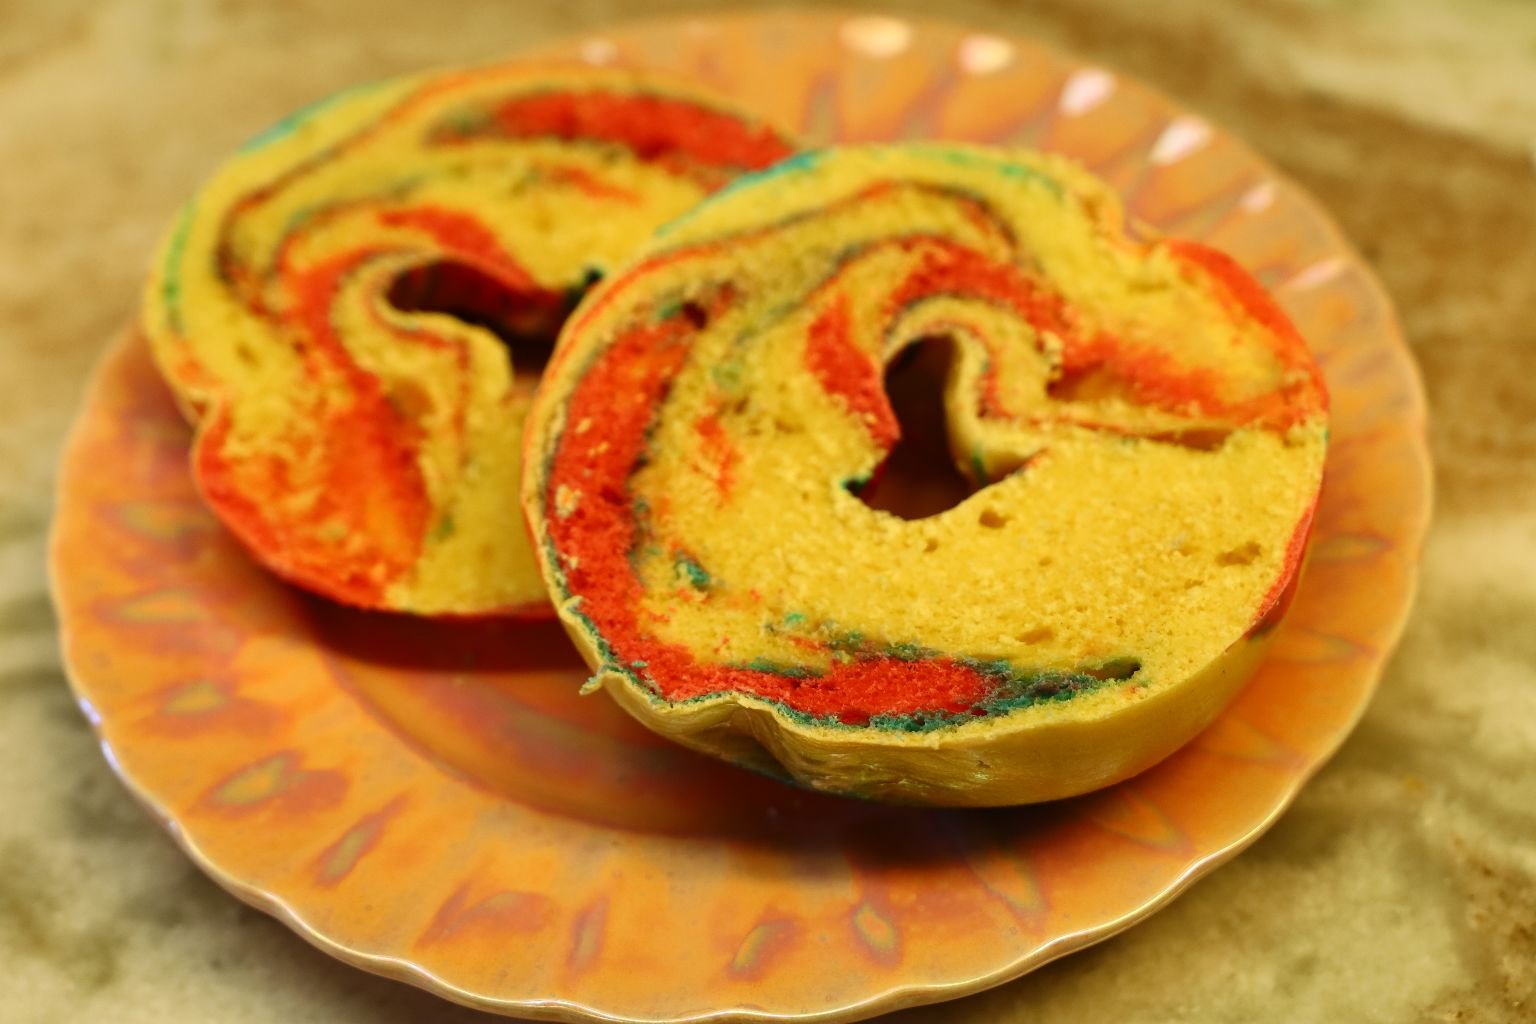
I saw these rainbow bagels at the grocery store and they brought me back to our years of living in Hawaii. You see a rainbow most every day there. Hawaii is known to be called The Aloha State but it is also called The Rainbow State. The Hawaii football team is even known as The Bows, named after all the rainbows.
———————————————————————-

A Bird House our daughter Veronica painted to remind us of Hawaii.
——————————————————————–
Hawaii = Pineapple
————————————————————
Aloha Right Now

A Hawaiian Birthday Gift to Me from my Daughter
The Maui Cookies are the best I have ever eaten!
————————————————————-

Look at these beautiful peppers we found at our commissary on base?
Grown in Hawaii. They tasted delicious on a garden salad.
————————————————————
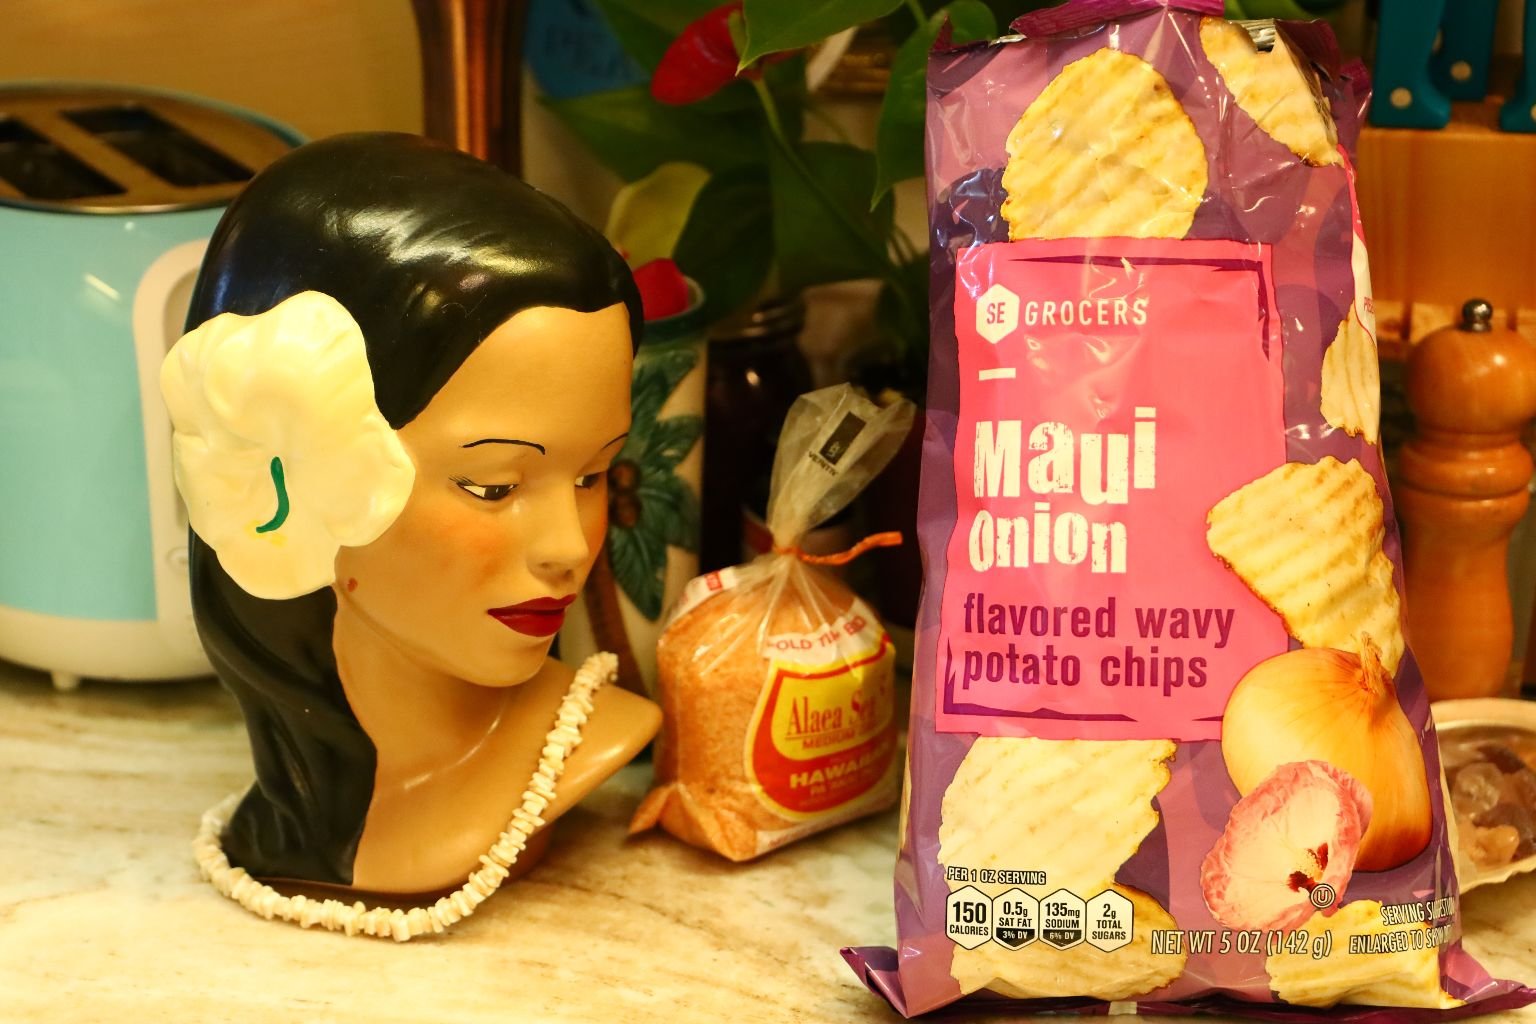
Maui Onion Chips
Just what we needed!
————————————————————–
Lei Day in Hawaii

A Lei for my Honu (Hawaiian for Sea Turtle)
———————————————————————-
I wanted to start this Hawaii page as a continuation from all of our other Hawaiian website pages. Hawaii means a great deal to us as we lived there for 13 years while Gordon was in the Navy. Also, both Veronica and Brodie (Kanakaleo) were born there and grew up with the many colors and flavors, cultures and traditions, that we all still honor to this day.
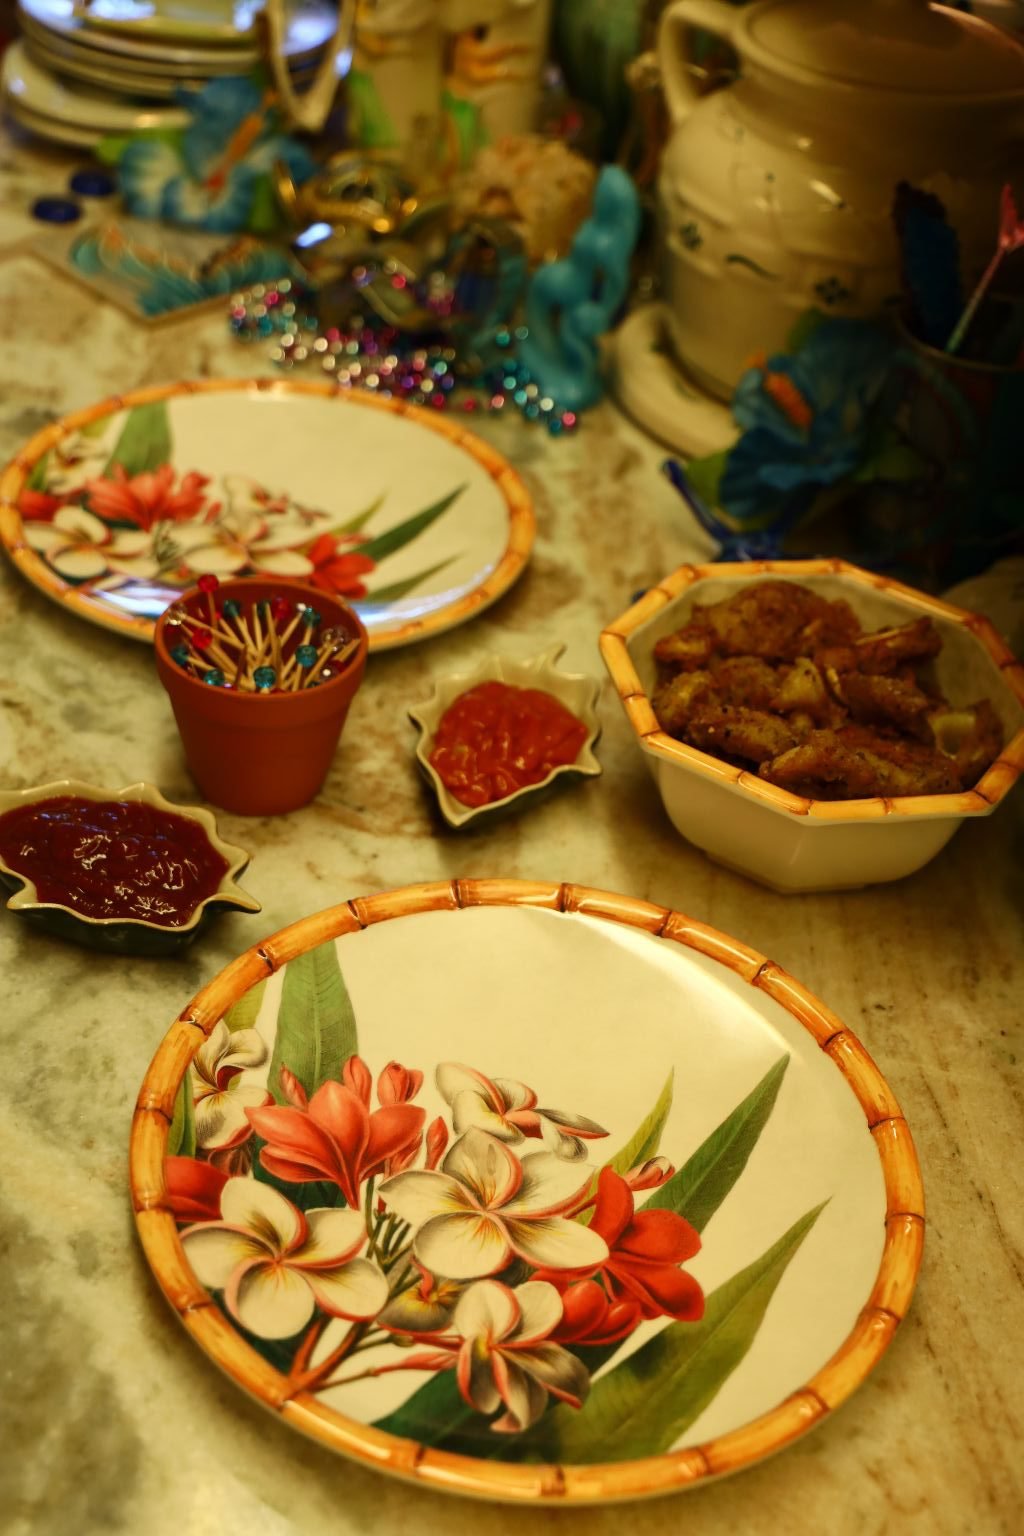
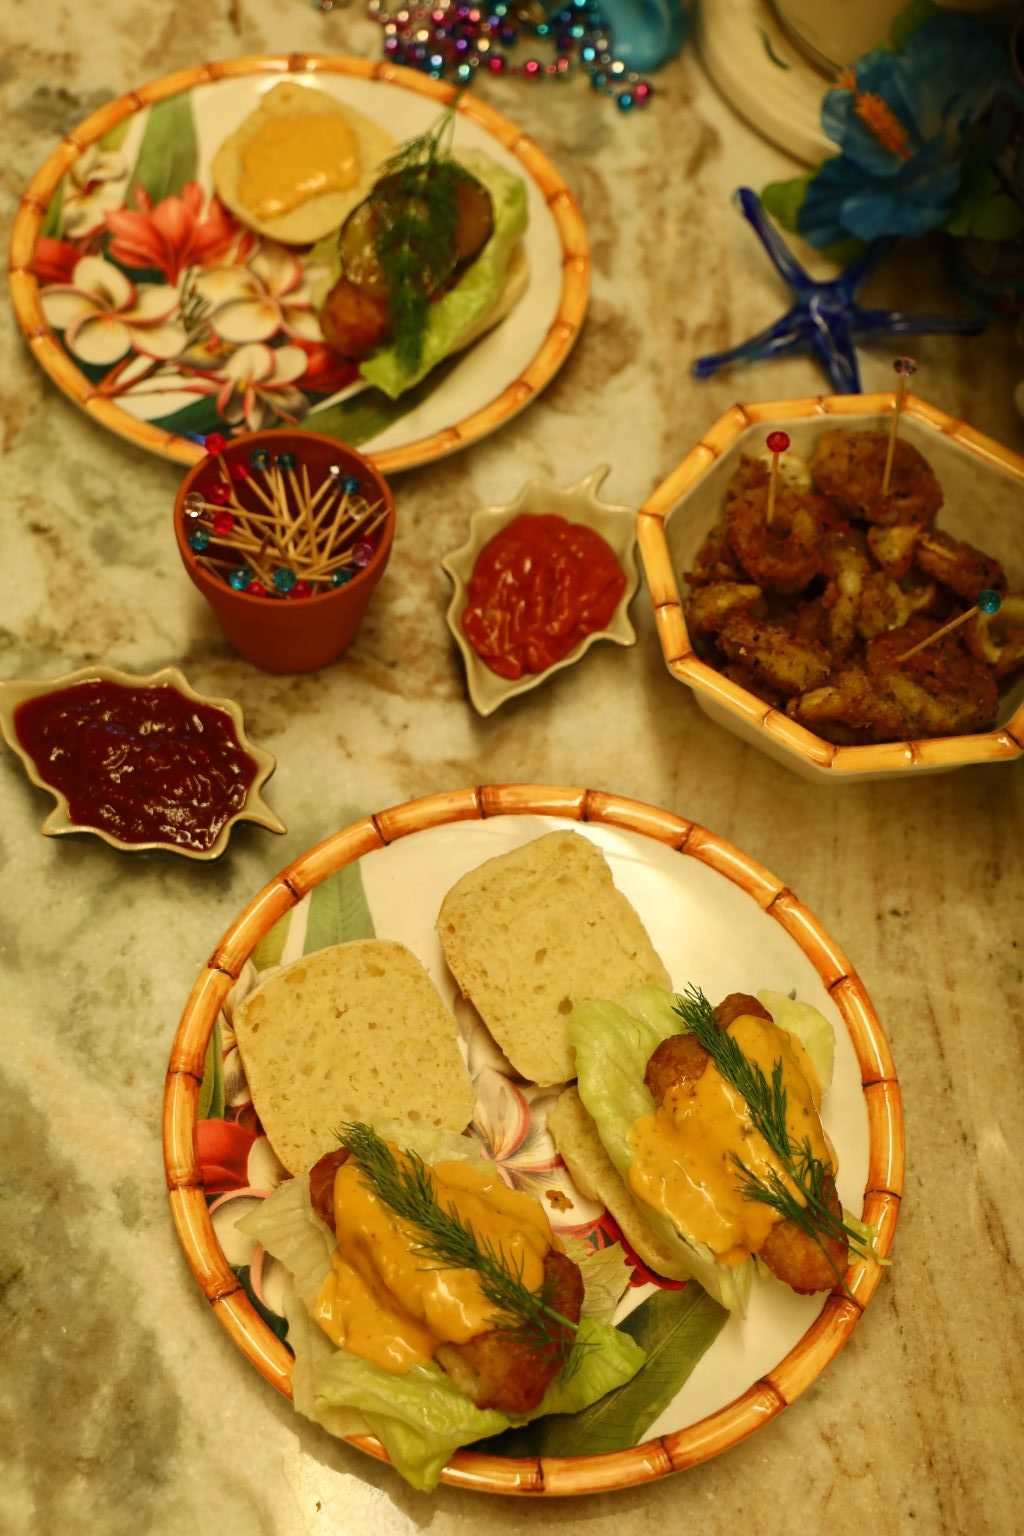
A Fish Sandwich Just Tastes Better on a Plumeria Blossom Plate
The food of Hawaii is made up of many contributing cultures.
Polynesian, Asian, Western…..
Even though we left Hawaii in 1999 we brought the cultures and lifestyle with us and keep them very close to us even now. The foods we enjoyed in Hawaii we still enjoy here in Florida.
It thrills me when Veronica will cook some of the dishes that she grew up on from the islands in her own kitchen now that she is married and has her own home. It also thrills me when Brodie makes his favorite Hawaiian Sticky Rice and steams Potstickers while grilling our favorite Asian Teriyaki Wings, or making his Bao Buns or Manapua. These are the foods they grew up with and the exotic cultures that have shaped them into the adults they have become to this day.
We will always hold a special place in our hearts for our island of Oahu and the people that welcomed us.
Julie and Gordon

Just an Old Oahu Board Game
Roll the Dice!
——————————————————————-

The little ornament I made from Sculpy Clay and then colored in.
My Hand Painted Pots

With Hawaii on my mind I wanted to find my old hand painted pots that I painted from when we were living in Hawaii. I had used to do craft fairs when we lived there and these pots are an example of what I would sell in my booth. Although I think I gave away more than I ever sold.

I pretty much painted whatever I could get my hands on.
Clay pots, tiles, coconuts, driftwood….

On our kitchen table in Hawaii were nothing but paints, paint brushes, along with whatever it was I was painting. Everything was set up for me to just sit down and start painting whether I had 5 minutes or an hour to devote to it. I miss those simple days.

But, it was around Mother’s Day that I wanted to find my extra pots that I had in the garage and set them out to enjoy. We did find these, although I know I have a box full of them all in their packaging from being freshly painted by me and placed into pretty wrappings to be sold at my craft fairs or given away as gifts. They should be in pristine condition too, if I ever find them.

Coffee and Leilani
I also found one of Veronica’s dolls. I just wanted to enjoy her one morning while having my coffee outside. I will pass her on to Veronica this summer.
—————————————————————

Shannon Diana Veronica Whann 🙂
Born and Raised in Hawaii

Veronica, back row, right.
My Girl Scout Troop, Ala Moana State Park
—————————————————————–
Our New Pineapple Plant on our Lanai
—————————————————————

A Few Favorites
(From The Asian Supermarket)

Wax Apples
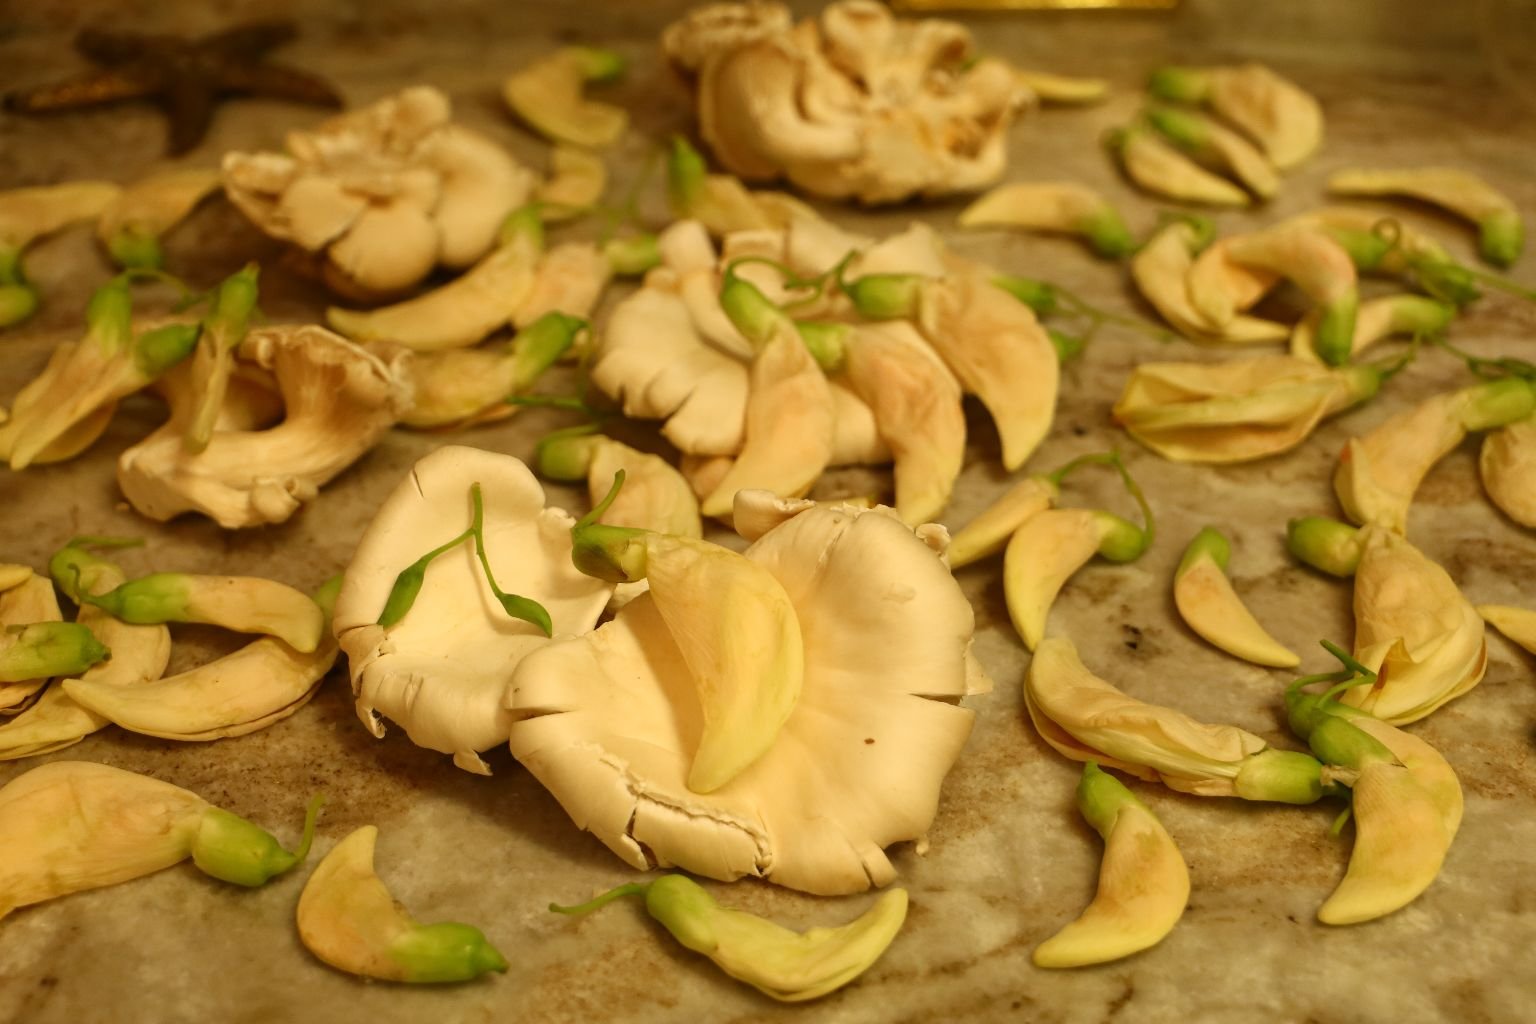
Edible White Flowers w/ Salad Dressing/Dip
We purchased the White Flowers at our local Asian Supermarket
and then added a salad dressing for dipping.
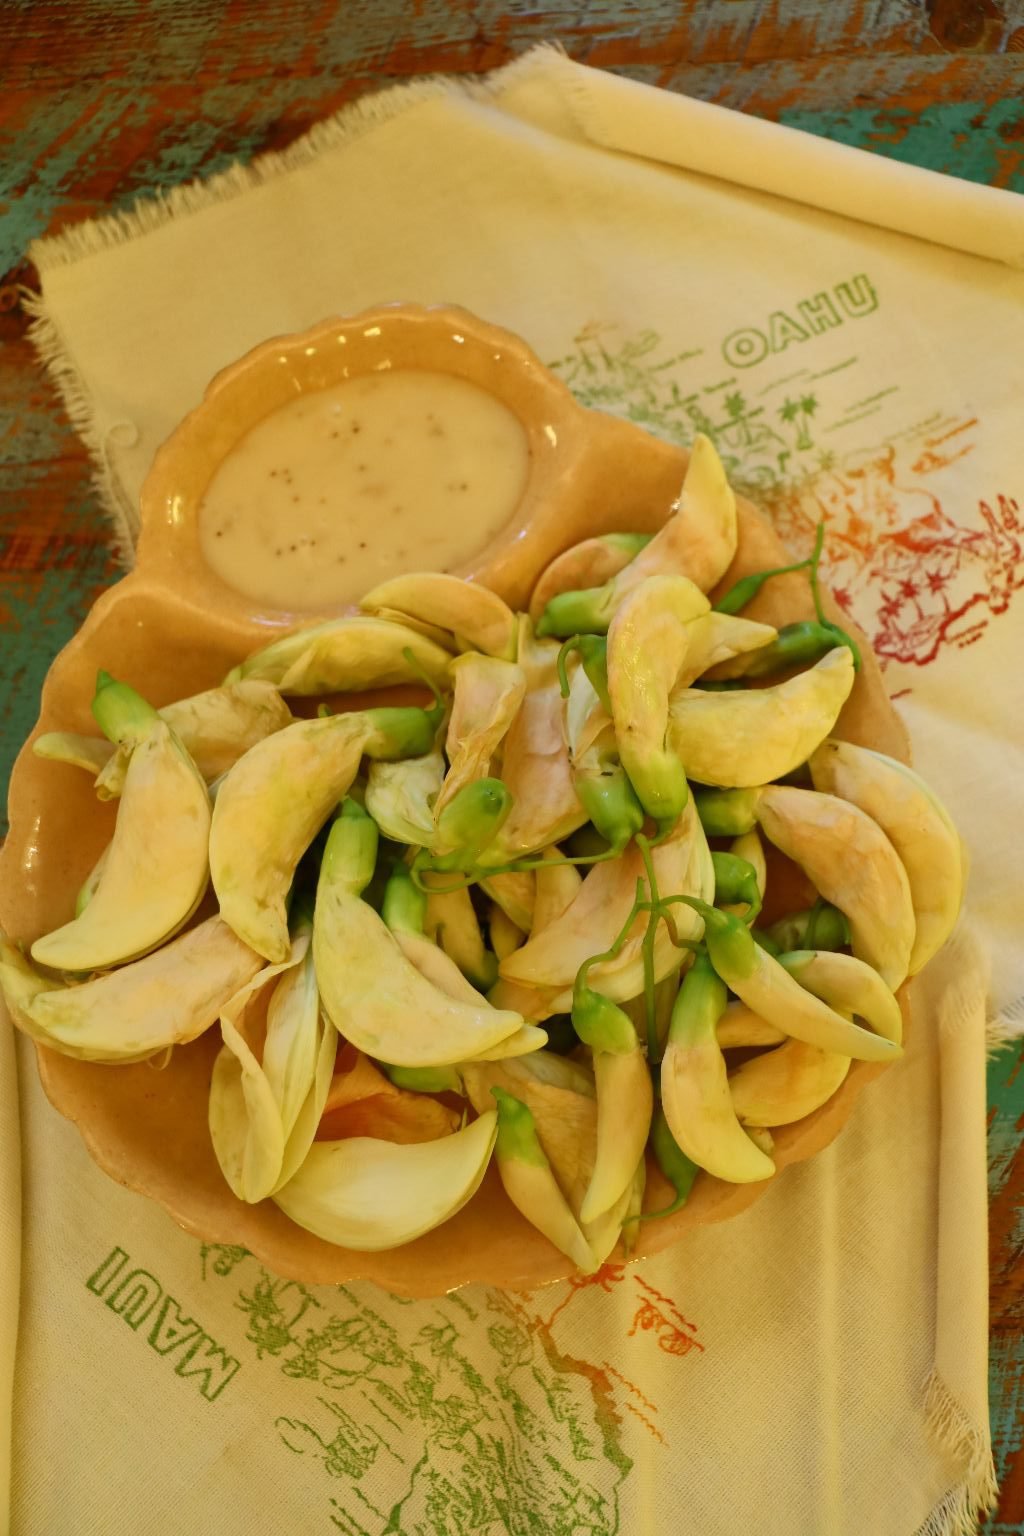

A Beautiful Snack or Appetizer
————————————————————
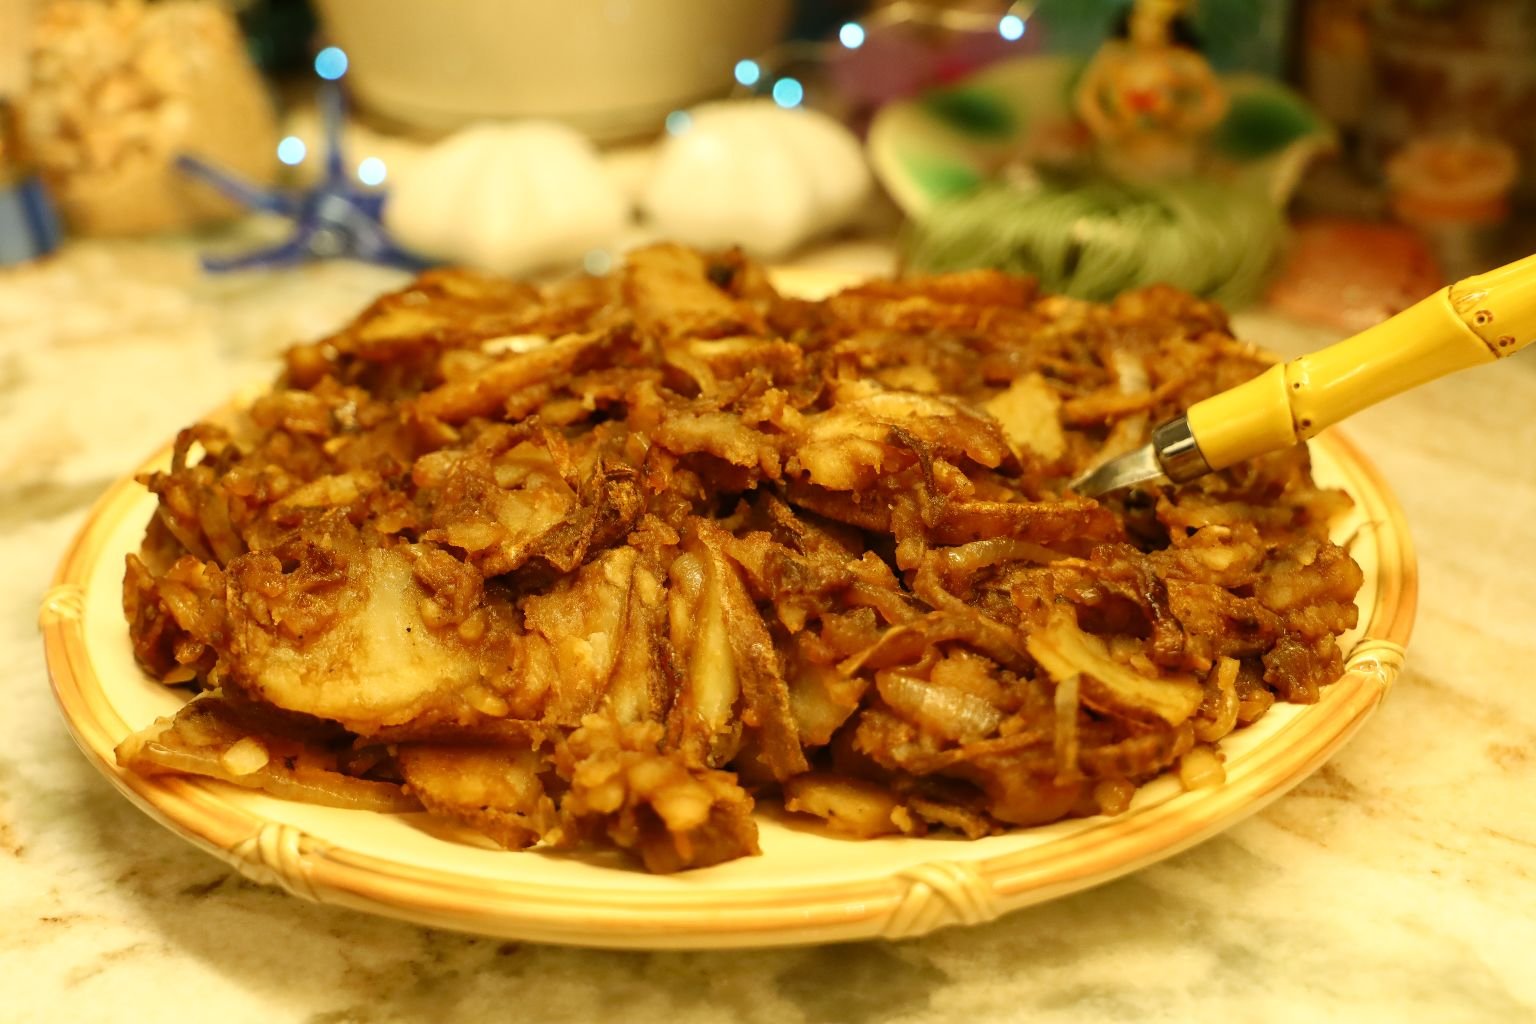
Gordon’s Hawaiian Potatoes

These are a favorite that Gordon created while we were living in Hawaii.
He created them by accident. We eat them quite often.
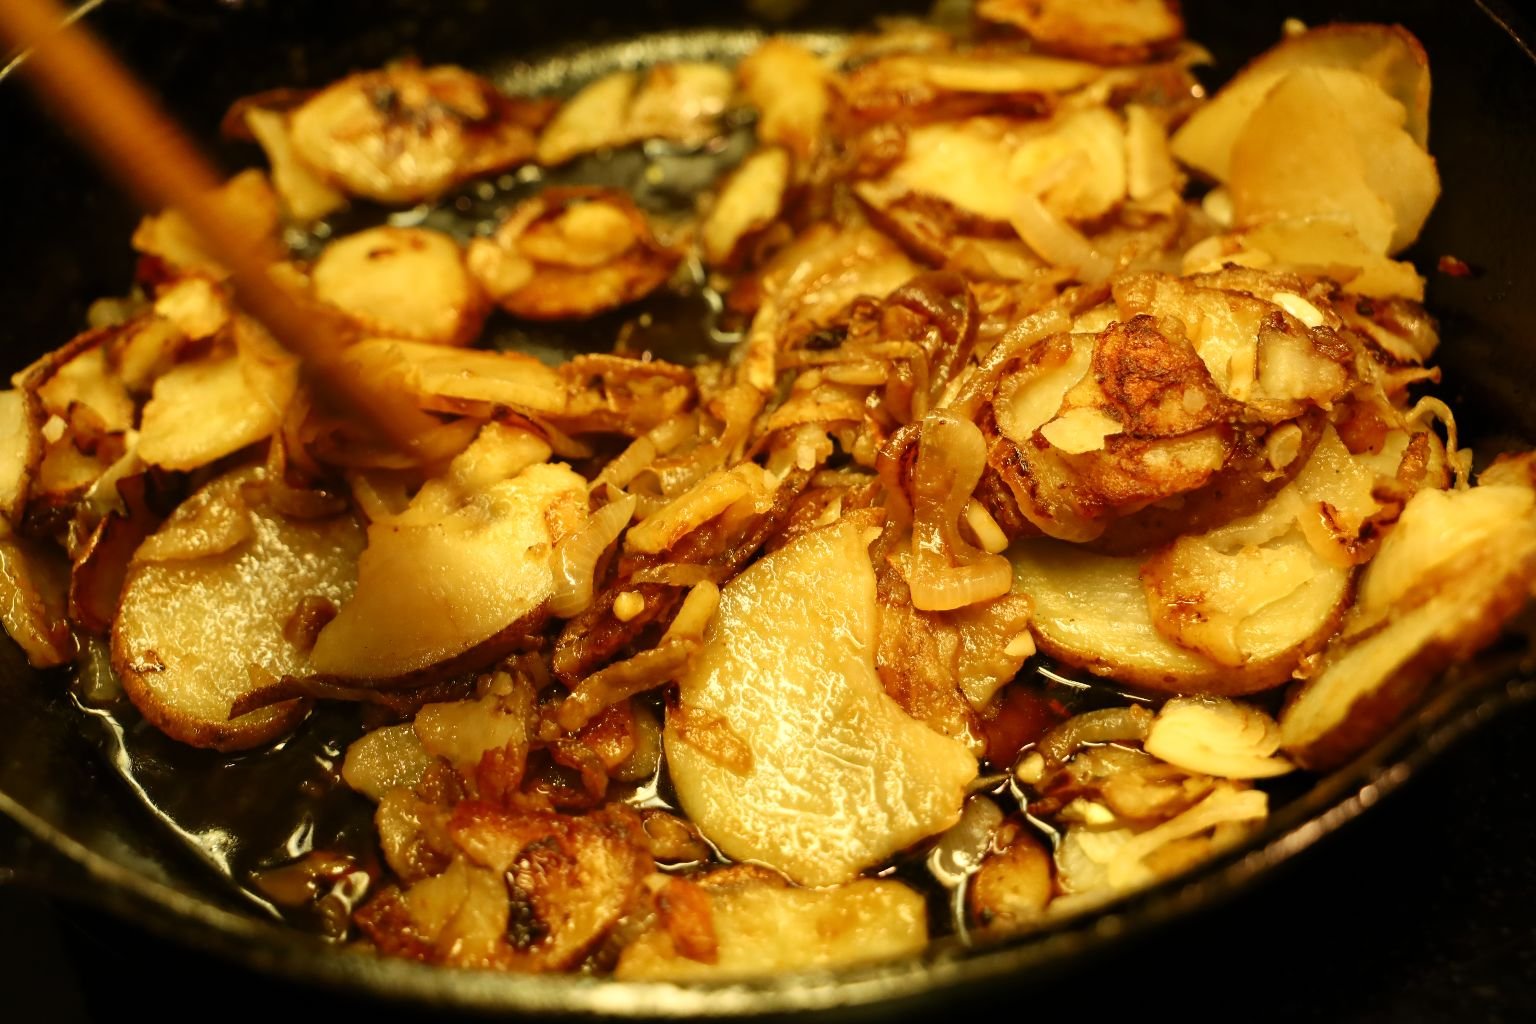
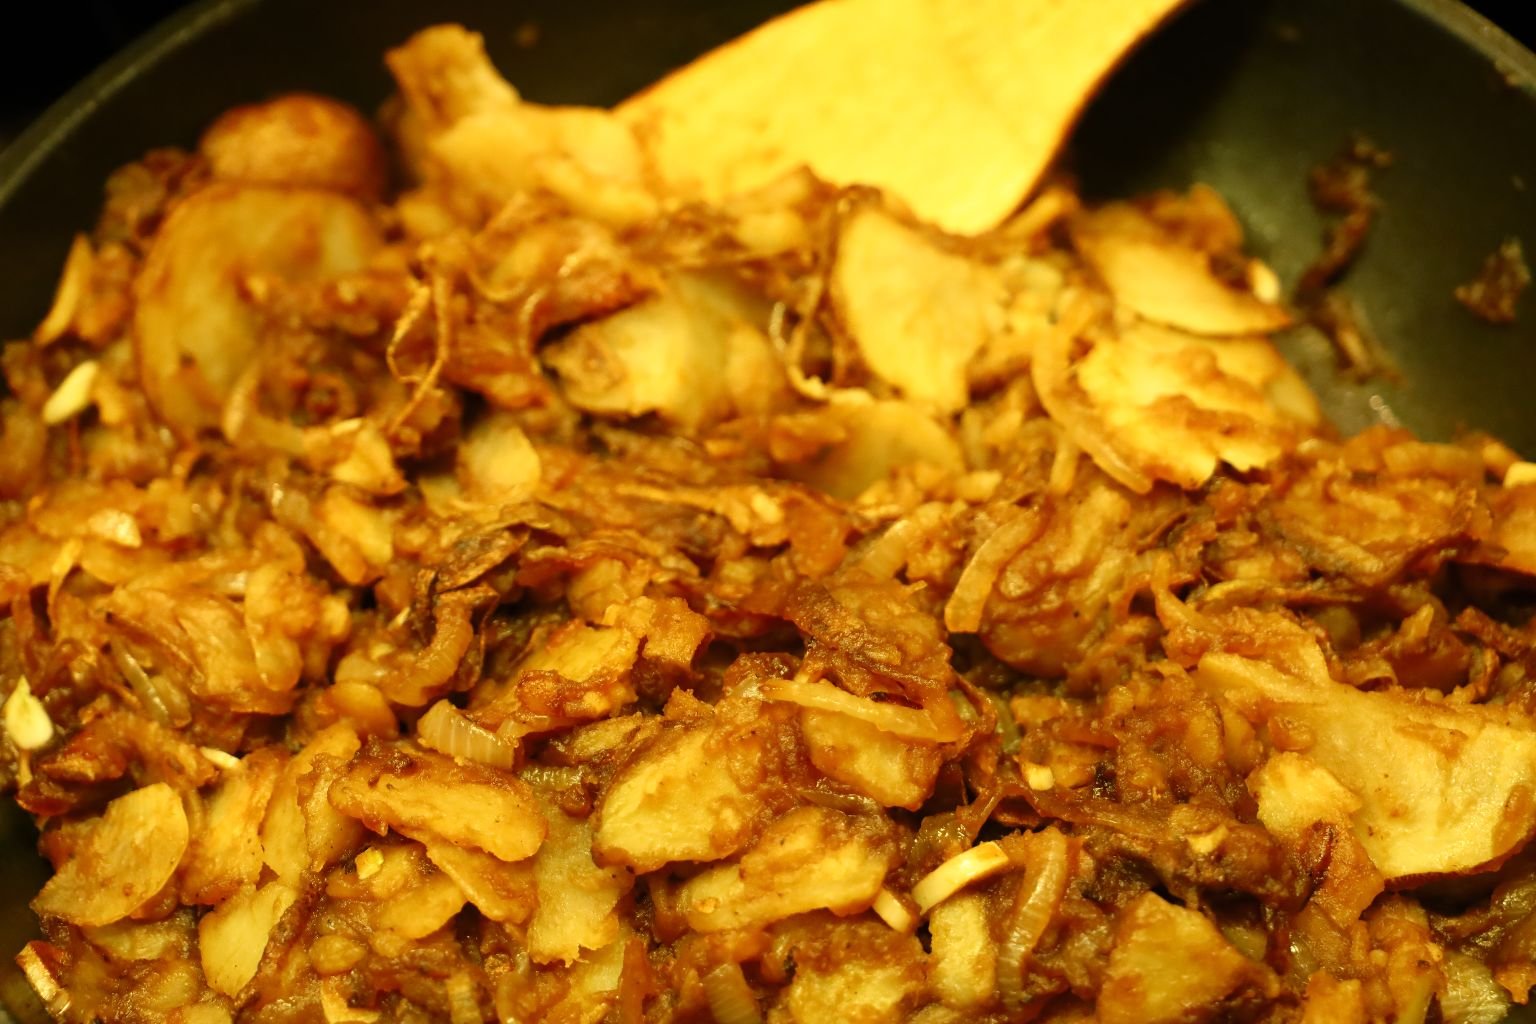
If you would like the recipe:
Click Here For: Gordon’s Hawaiian Potatoes and Huli Huli Pork Chops
——————————————————————-
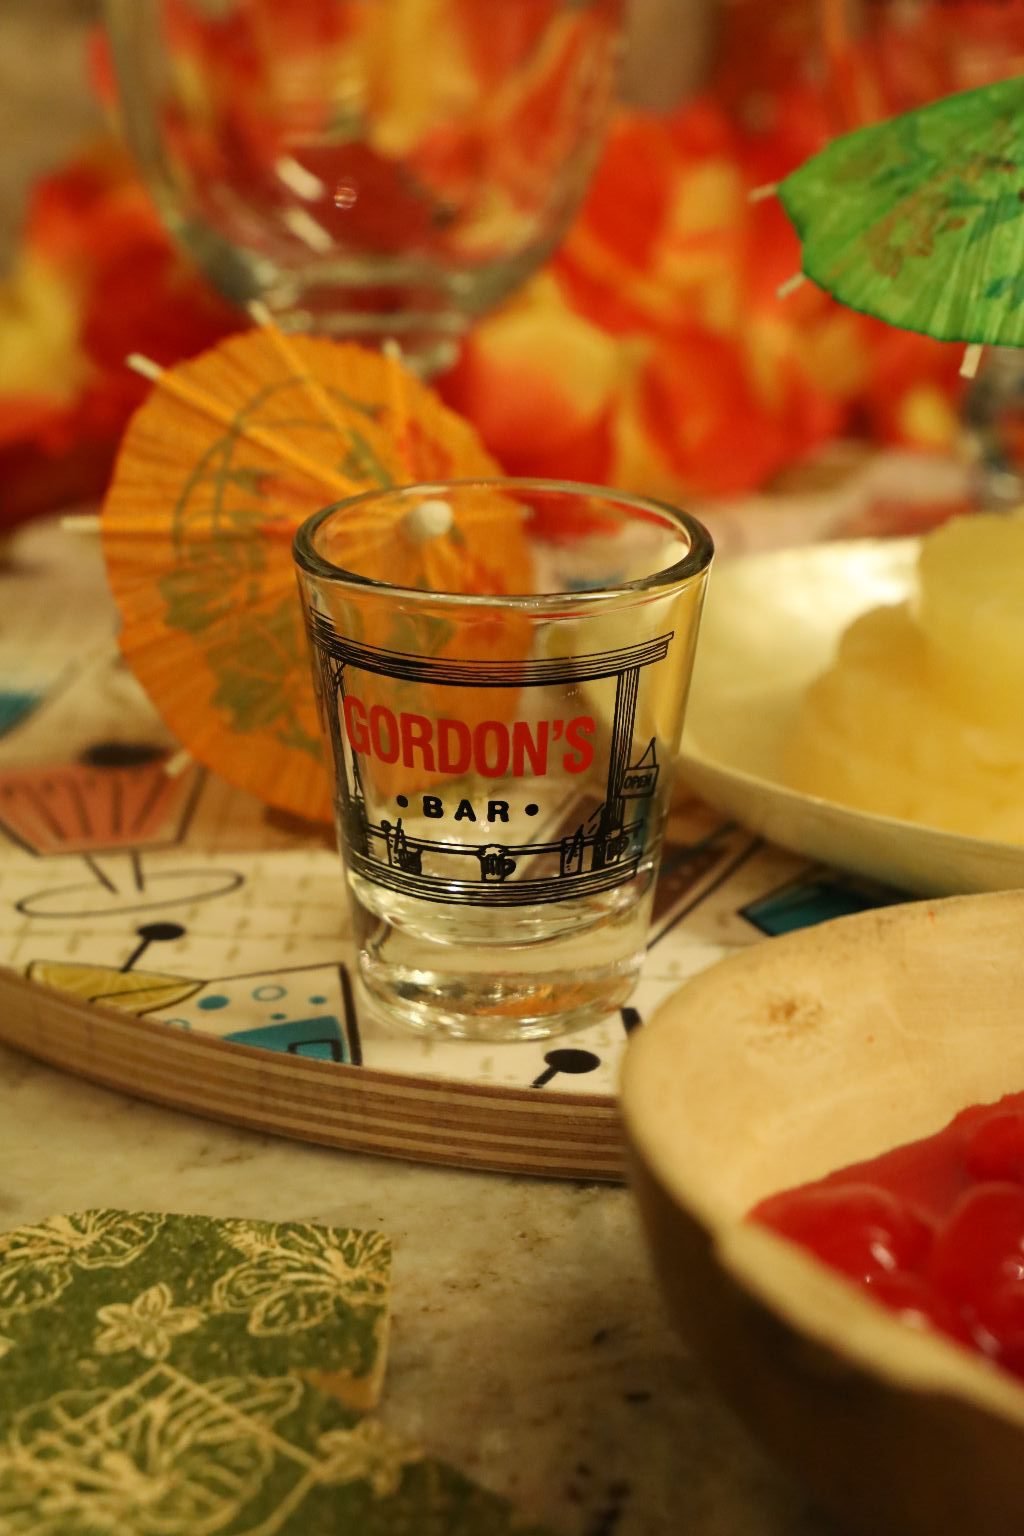
Gordon’s Bar
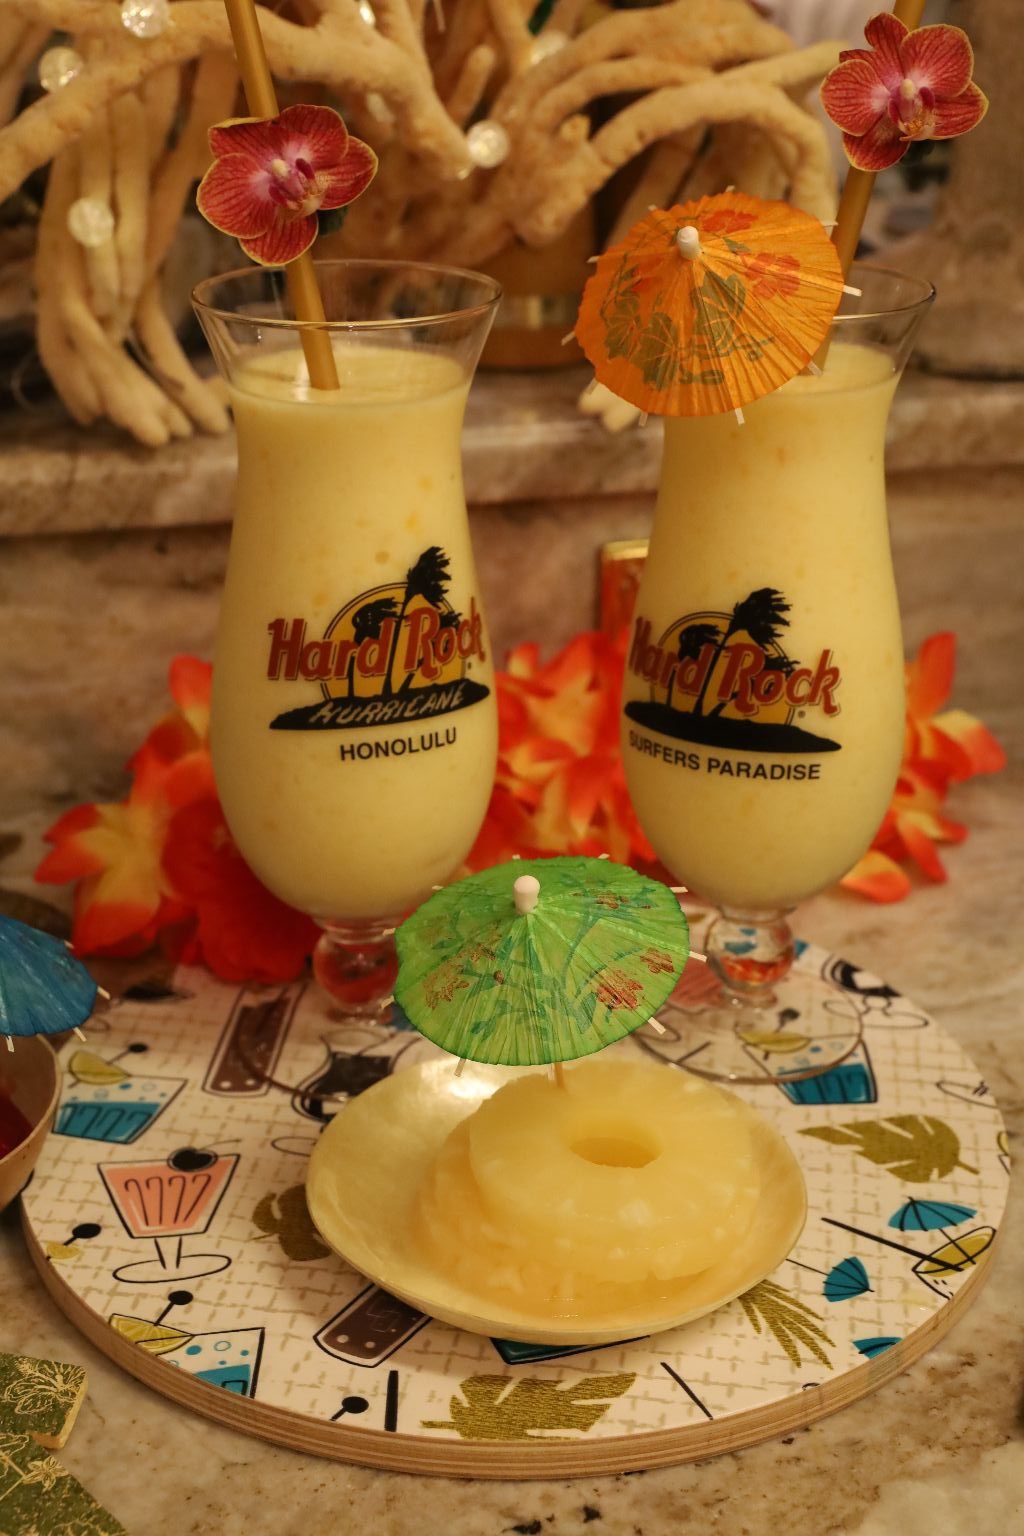
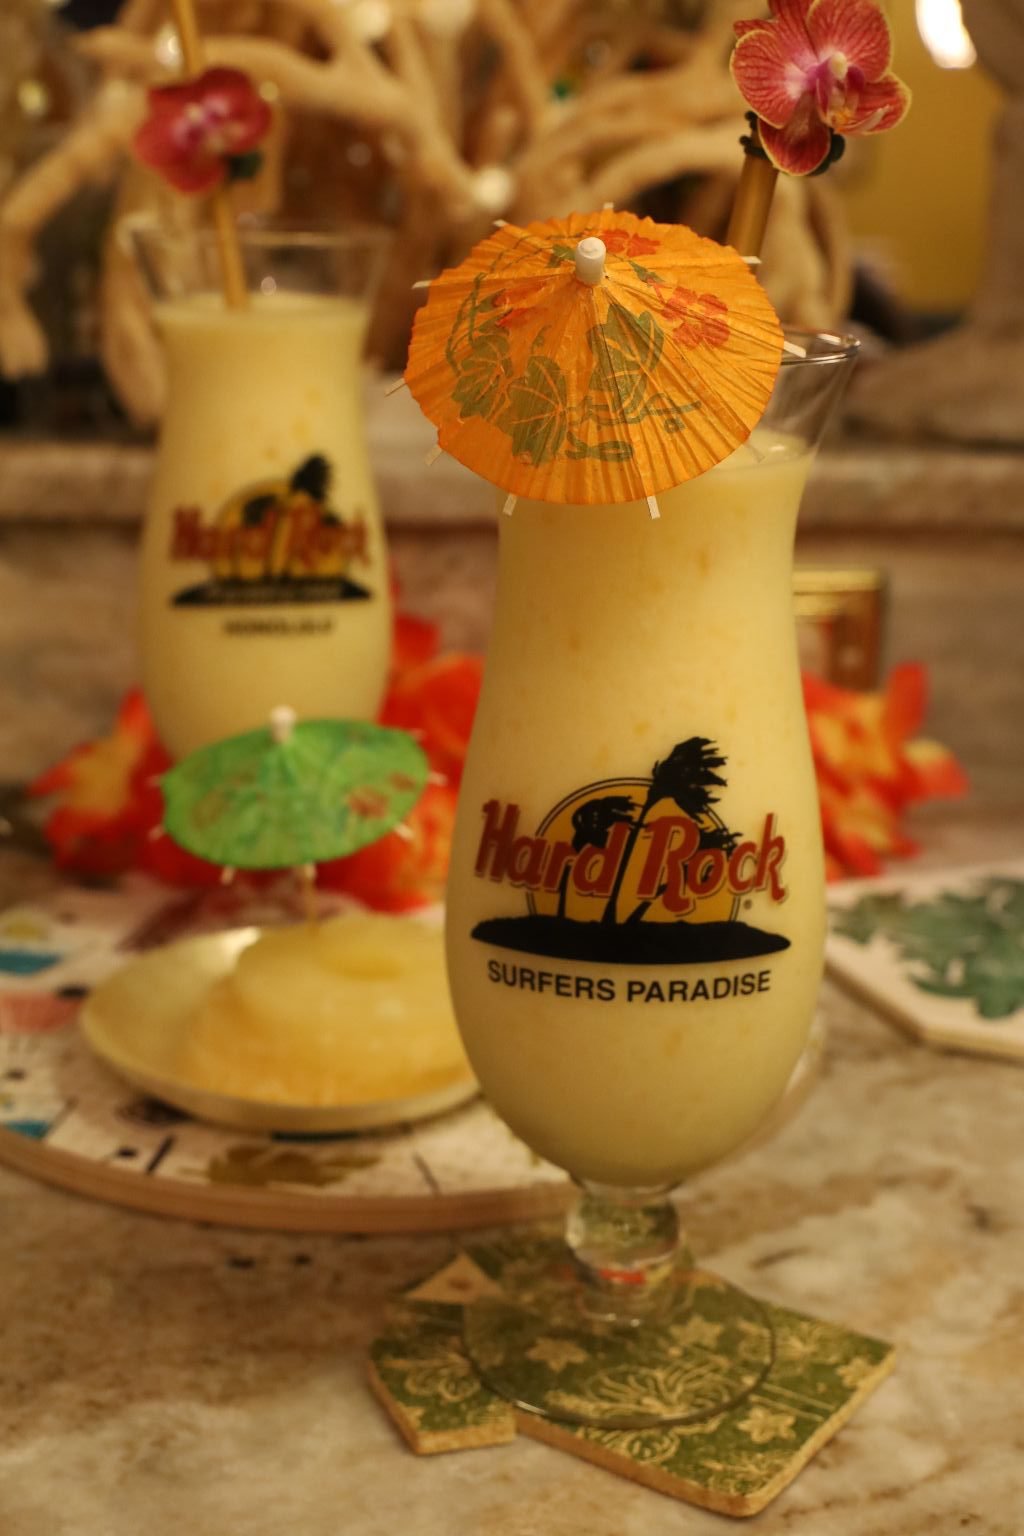
Honolulu LAVA Rocks!

(Recipe Down Below)
——————————————————————–
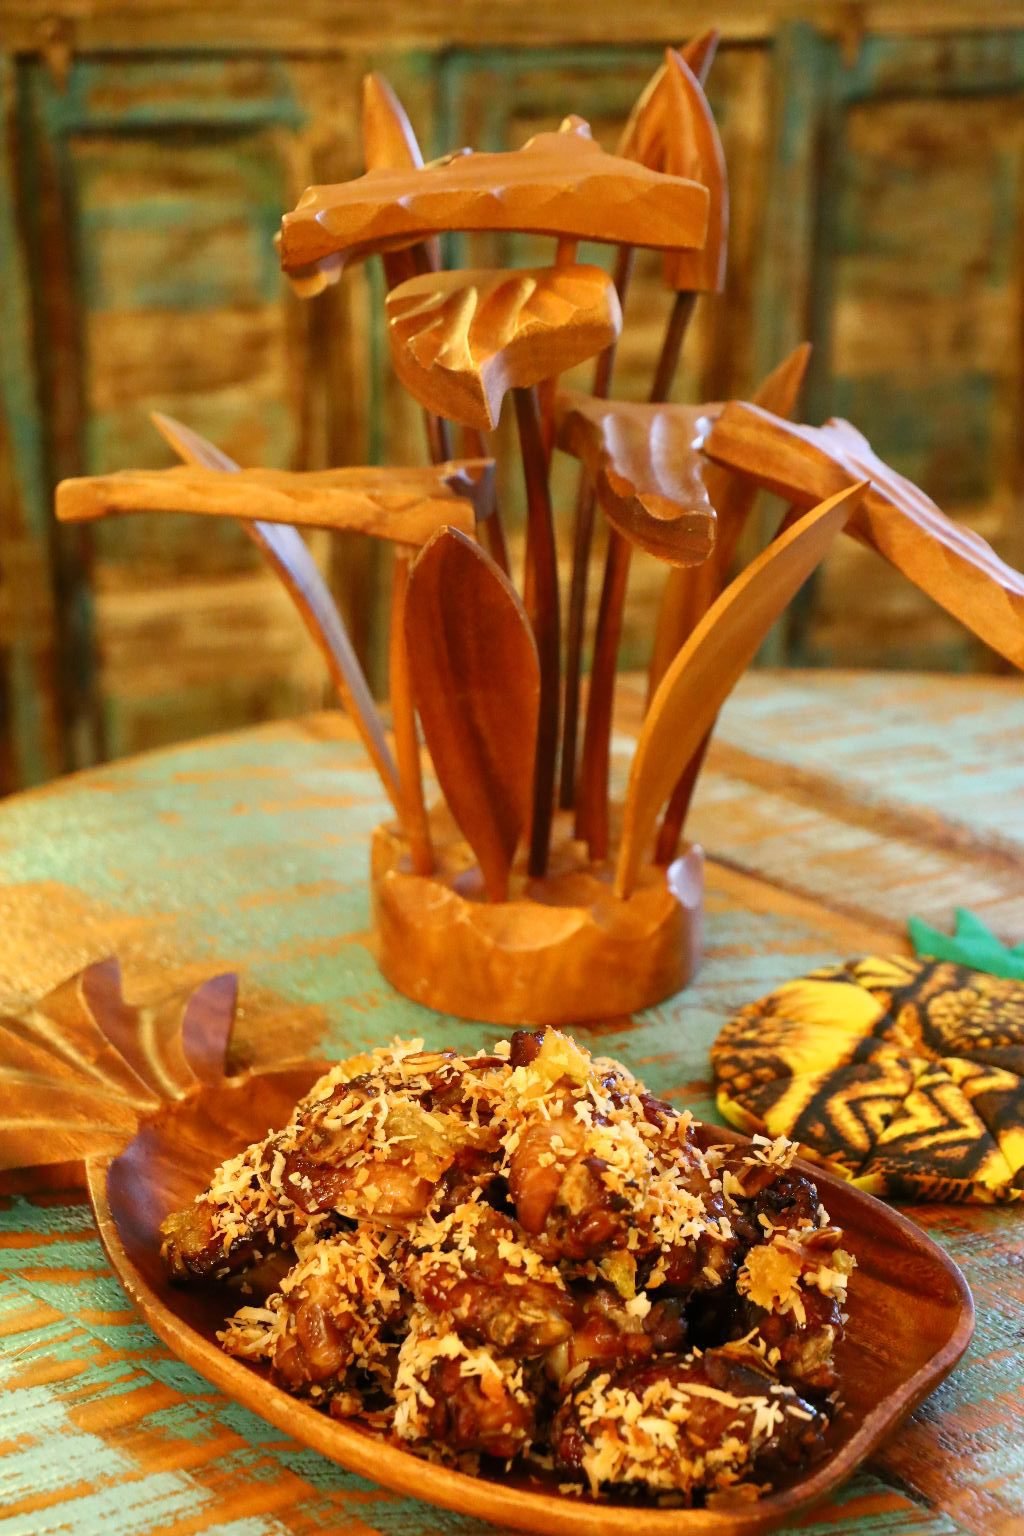
Gordon’s Tropical Hawaiian Wings

—————————————————————-


Gordon’s Teriyaki Wings brushed with a Pineapple Glaze and rolled in Toasted Coconut.
(Recipe Down Below)
—————————————————————-
How To Propagate a Pineapple


To grow a pineapple is a really pretty easy process. To start, grasp the top or crown and the bottom of the pineapple and twist off the crown.
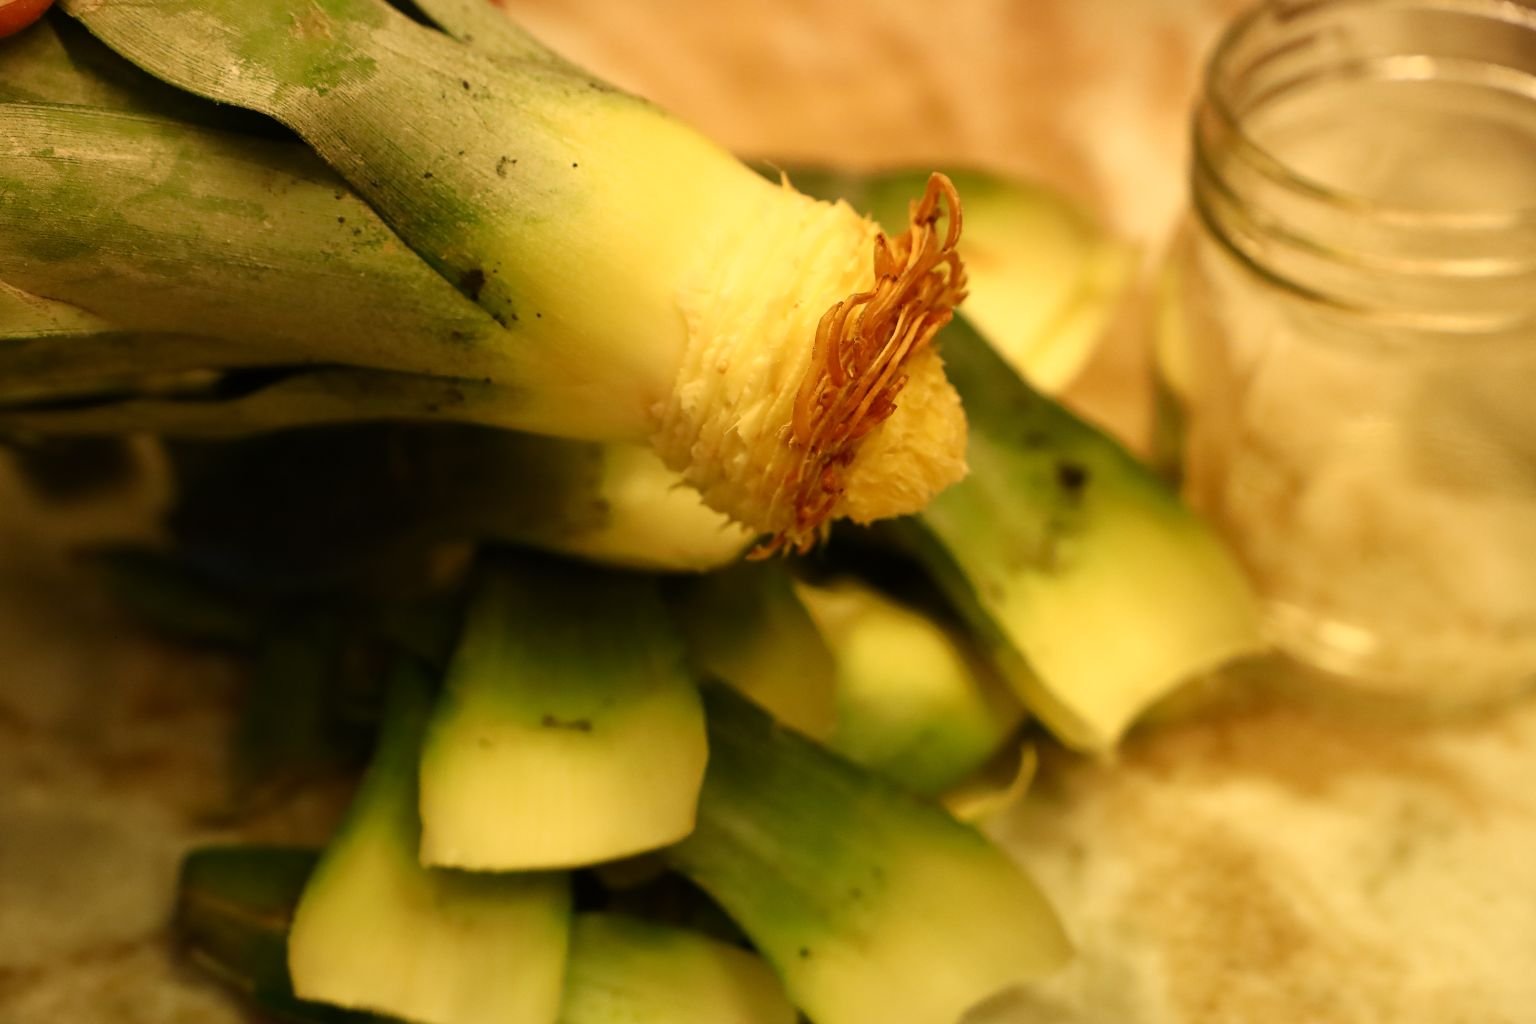
Now, remove about an inch of the leaves surrounding the base of the crown. You may, or may not find roots already growing as either way is fine. Here you can see the brown roots which will make it less time until ready to plant.

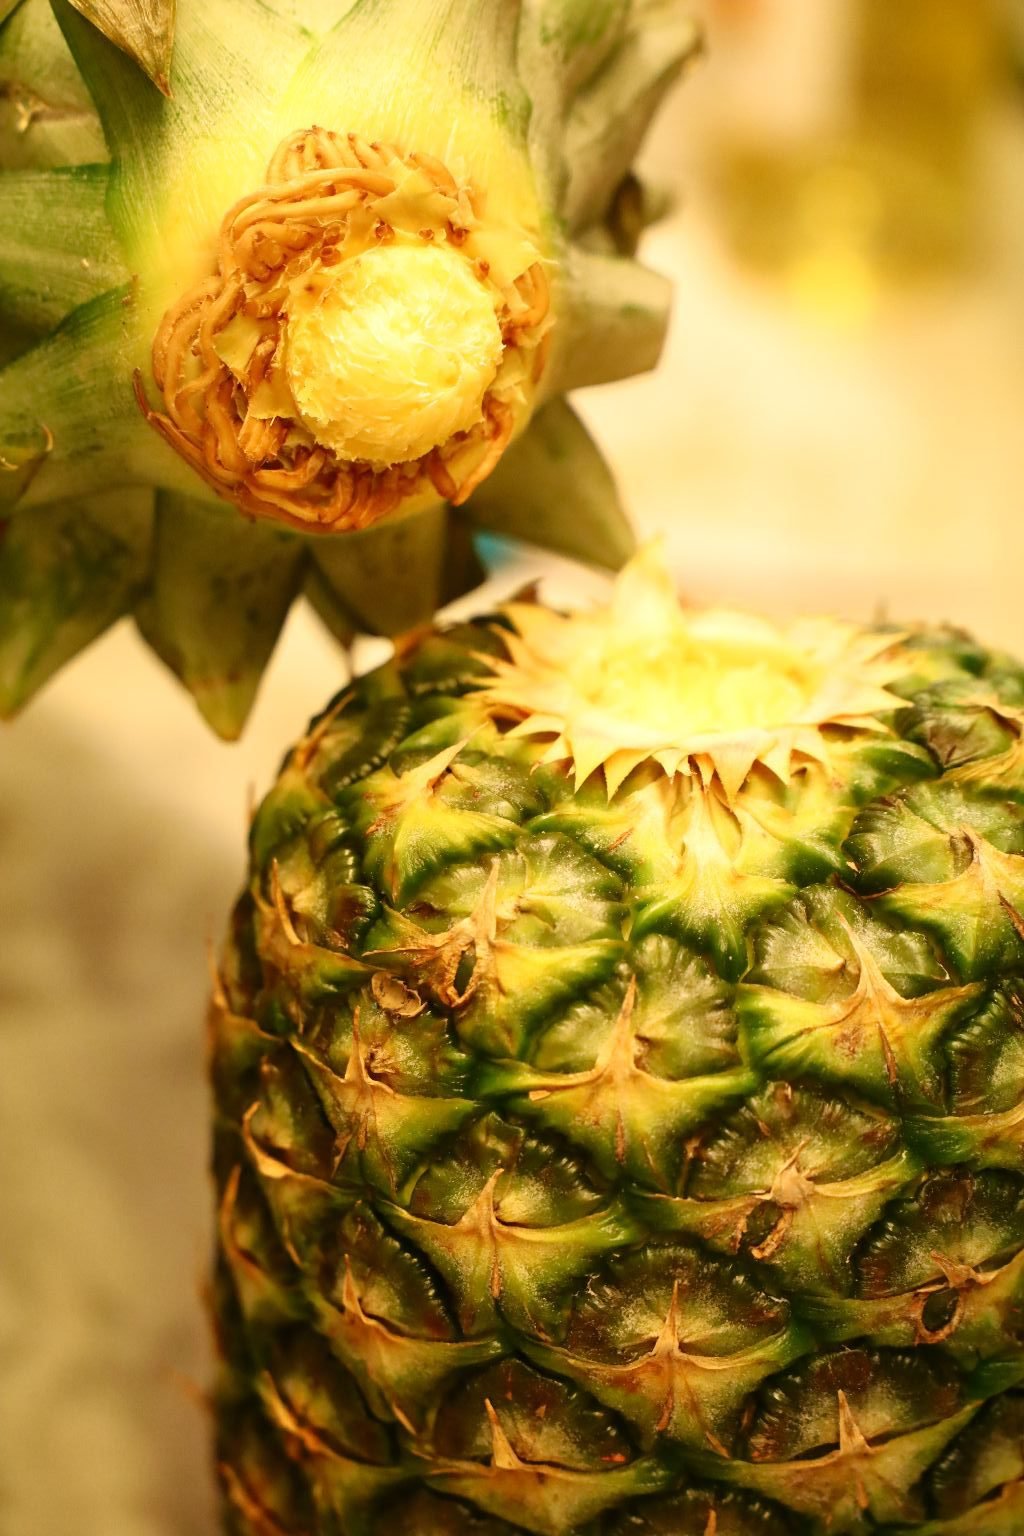
More pictures of the roots. Before you purchase your pineapple, you can peel back the leaves and find one with roots.

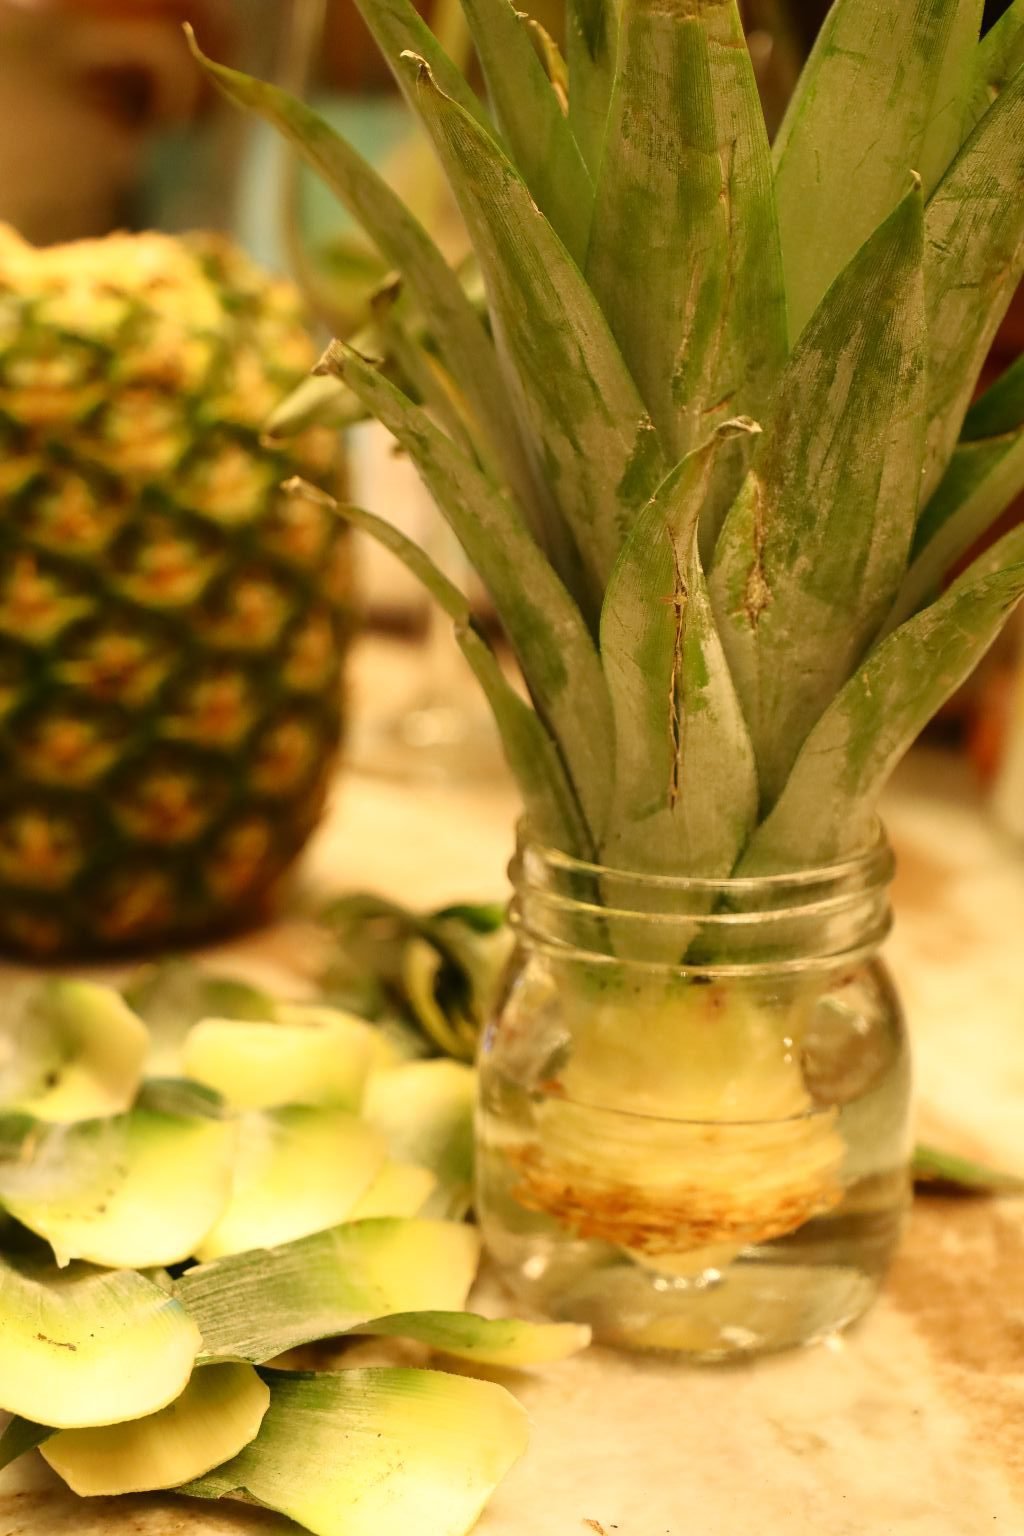
Now, place your pineapple crown into a small jar with enough distilled water to cover the one inch section of peeled back leaves. Use distilled water and not tap water as tab water has chlorine in it, which isn’t the best for starting plants to root.

After just a few days you will see the white roots begin to appear. Change the water when it becomes cloudy. After about two weeks the roots will become more distinctive and about an inch long. Only when you see new green leaves sprouting out of the top of the crown is the pineapple ready to plant. Take a gallon sized pot filled loosely with potting soil and push the small jar into the soil creating a hole for the pineapple. Now, remove your pineapple crown from the jar and carefully pull off all the old leaves as they are dead and not of any use. Lastly, place your pineapple crown into the hole and move the surrounding soil around the plant. Water your pineapple with the distilled water from the jar that it has been in all this time. Place your pineapple in a sunny spot and continue to water the plant every other day or as needed to keep it moist.
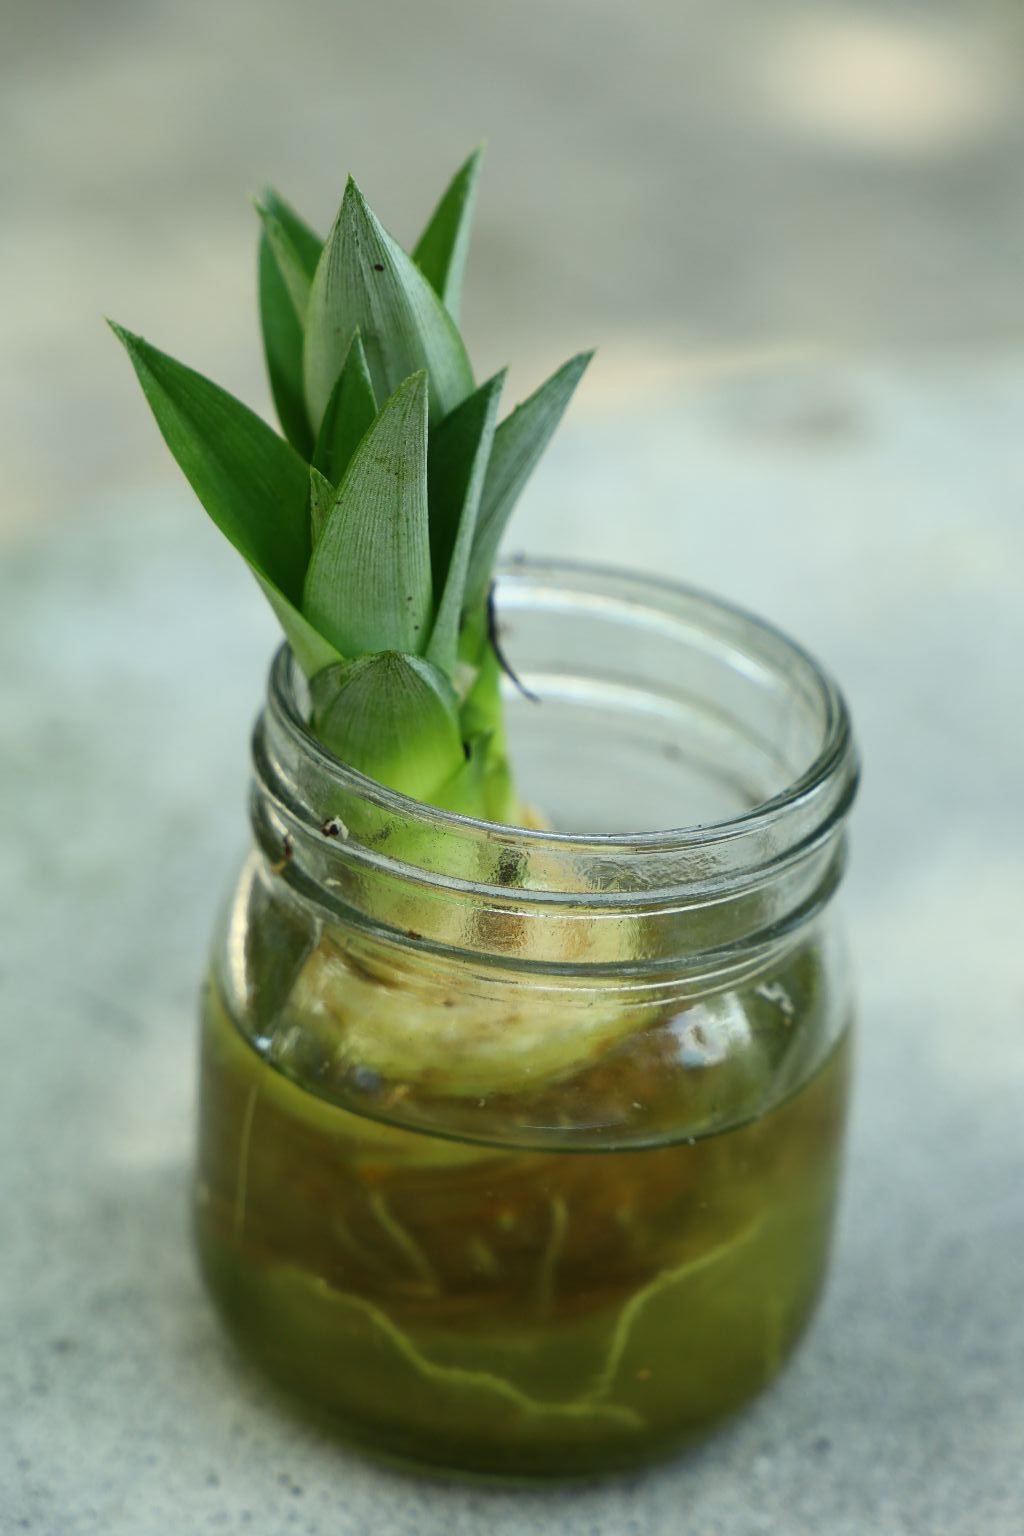

(WE WILL BE BRINGING YOU UPDATES ON OURS A THEY COME IN.)
And Here They Are!


Gordon Planting it into a Pot


We Will Bring It To You As It Progresses
———————————————————-
May 27, 2024
And Here They Are!
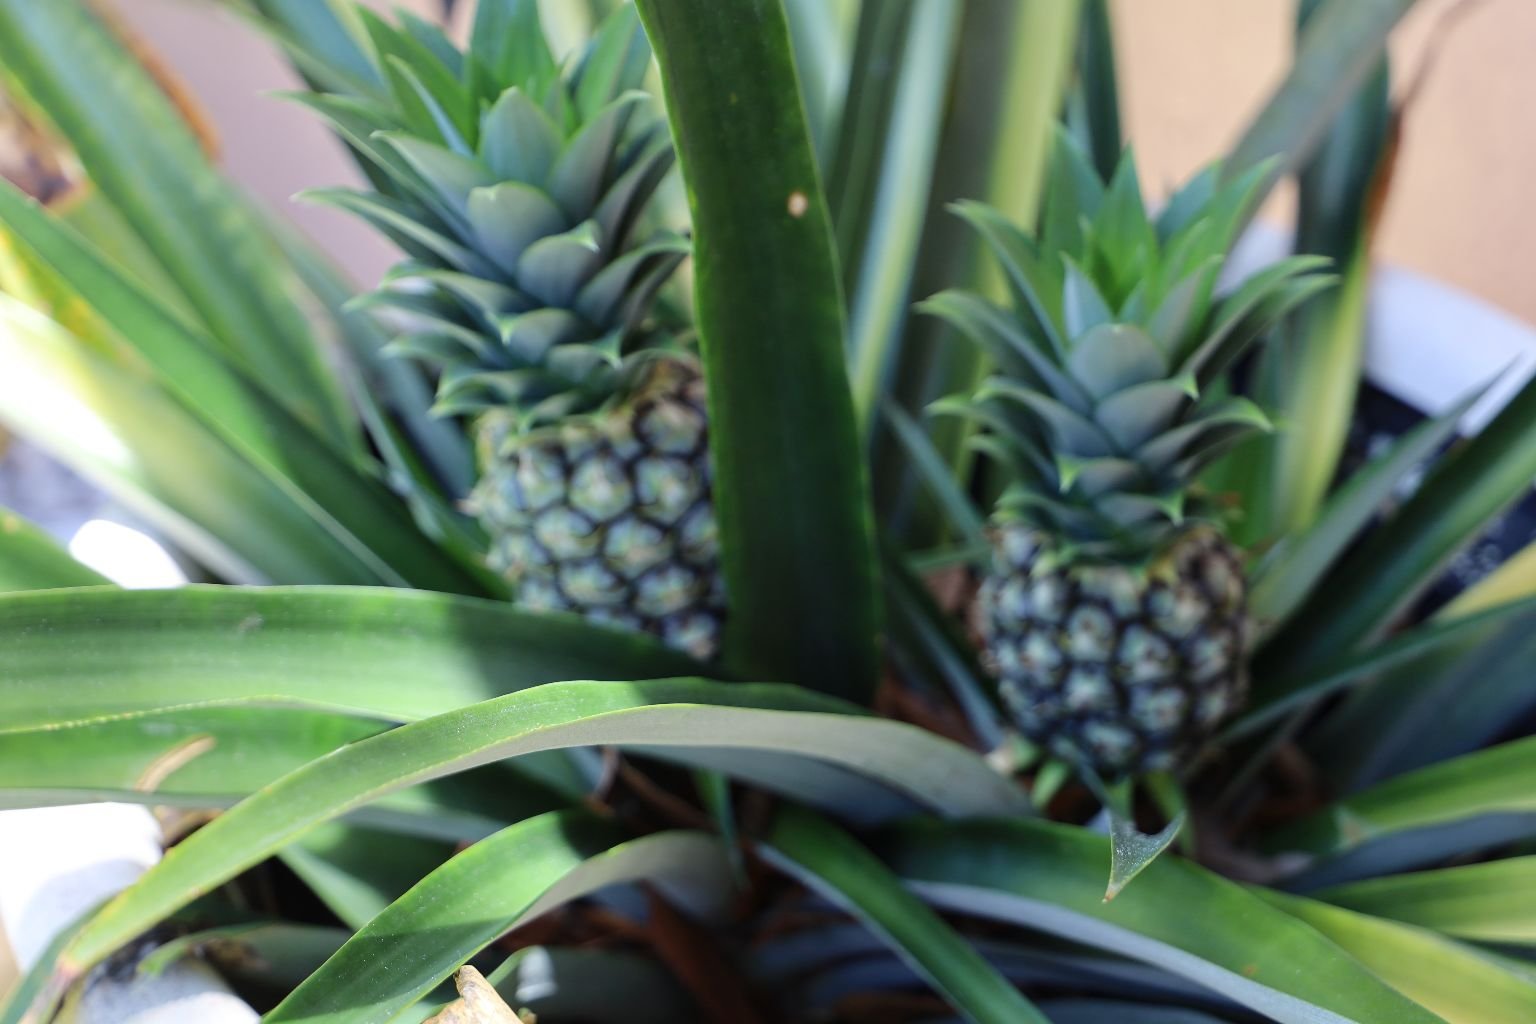
The Results 🙂
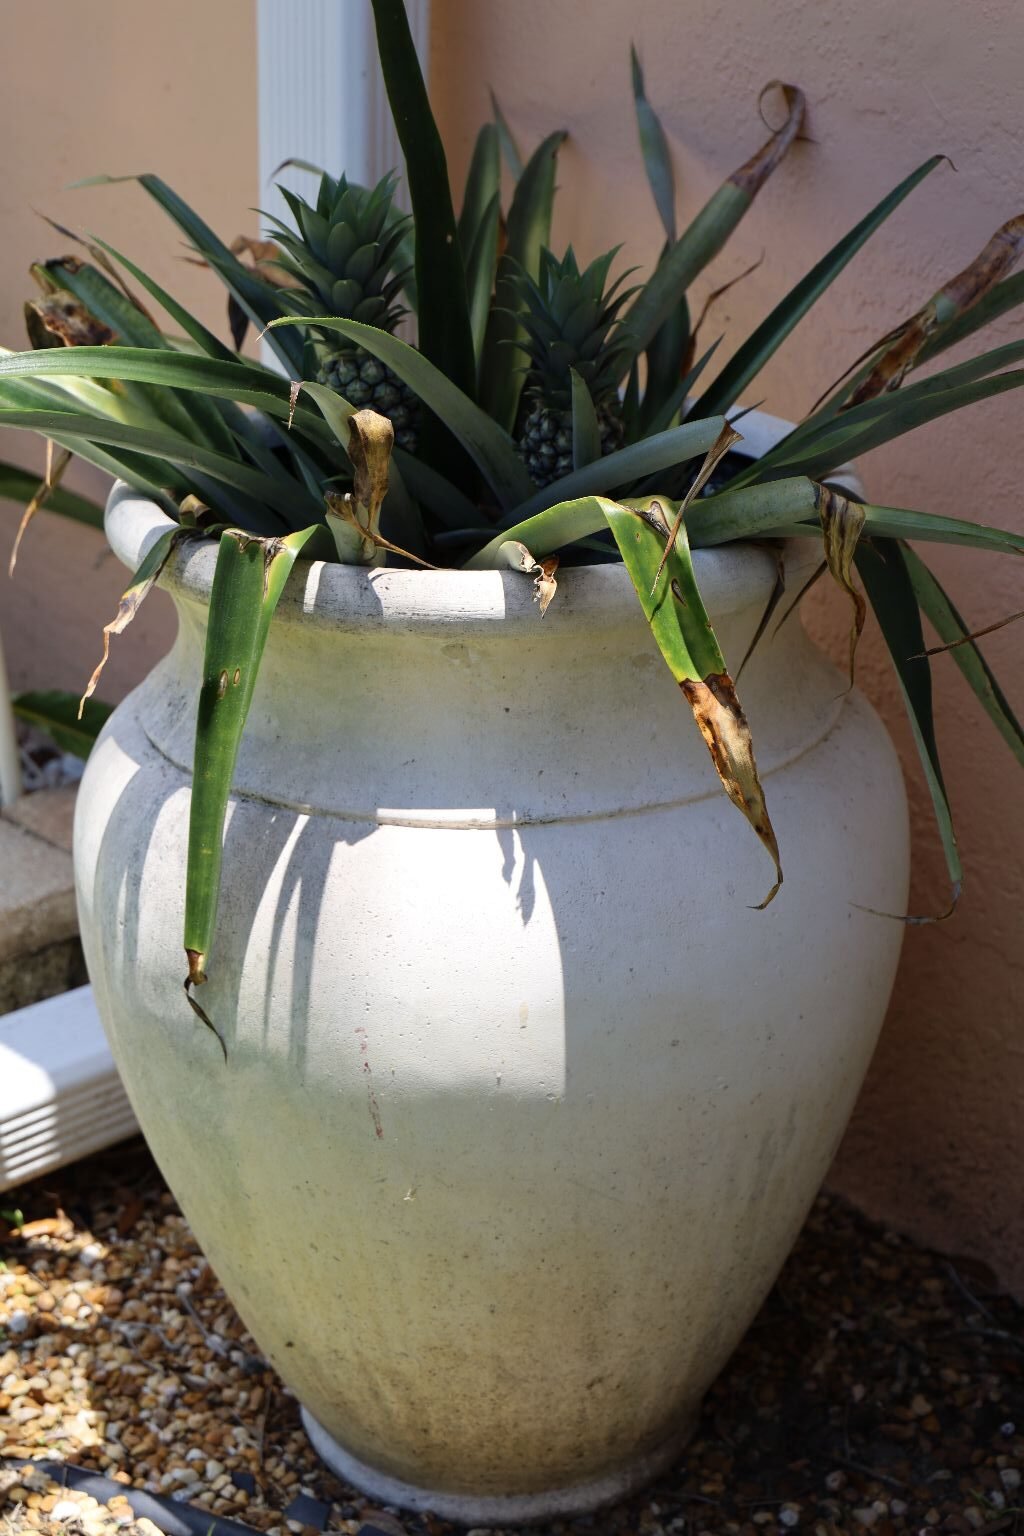
————————————————————————–
Our Southern Tropical Drink Recipe
Makes 2 Drinks

I Gordon, made this drink as I liked the combination of peach, passion fruit, and pineapple and thought together with some nice Rums would make a great summer drink! The Peach Flavored Skinny Syrup gives it the Southern taste, and the hint of cherry, really brings all the flavors profiles together.
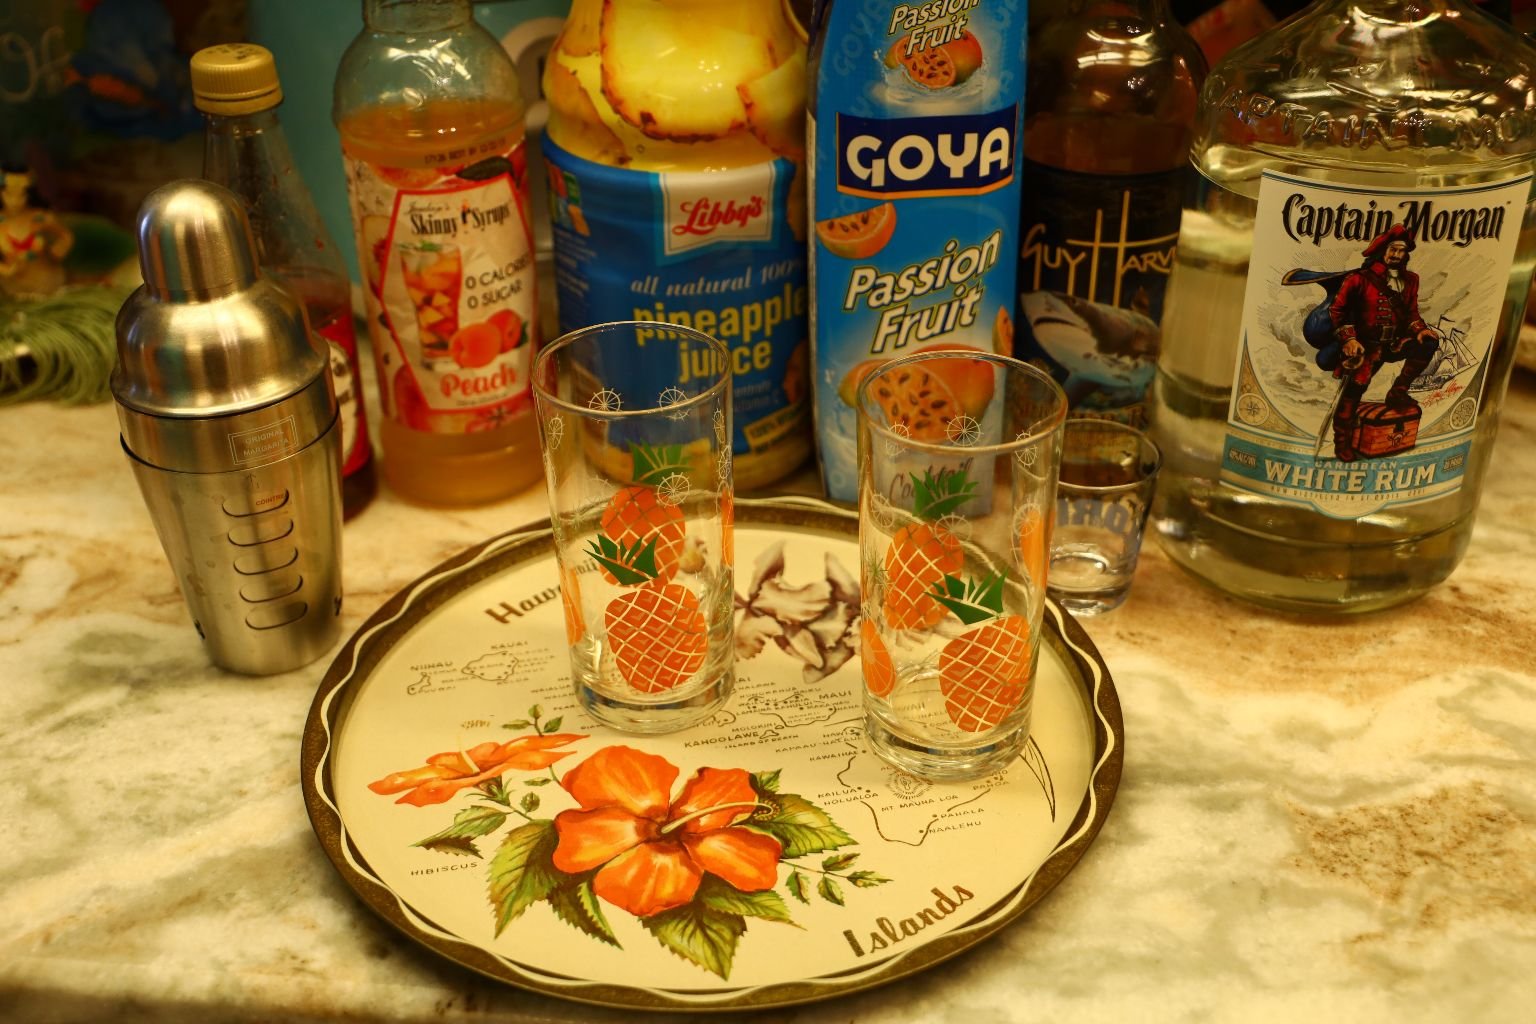
The Ingredients:
2 Tbsp. Grenadine Syrup
2 Shots Guy Harvey Spiced Rum
2 Shots Captain Morgan White Rum
½ Cup Peach Flavored Skinny Syrup
1 Cup Pineapple Juice
1 Cup Passion Fruit
1 Cup Ice
——————————————————————-

Place all the ingredients into a shaker and seal tightly. Shake the mix for about 30 seconds or until the container is very chilled and hard to hold. Pour into your glasses and enjoy!
—————————————————————
Memorial Day 2021
Sometimes people confuse Memorial Day in May, and Veteran’s Day in November. Memorial Day is about honoring those in the military that died while defending our country. Veteran’s Day, November 11th., is about honoring our living veteran’s.
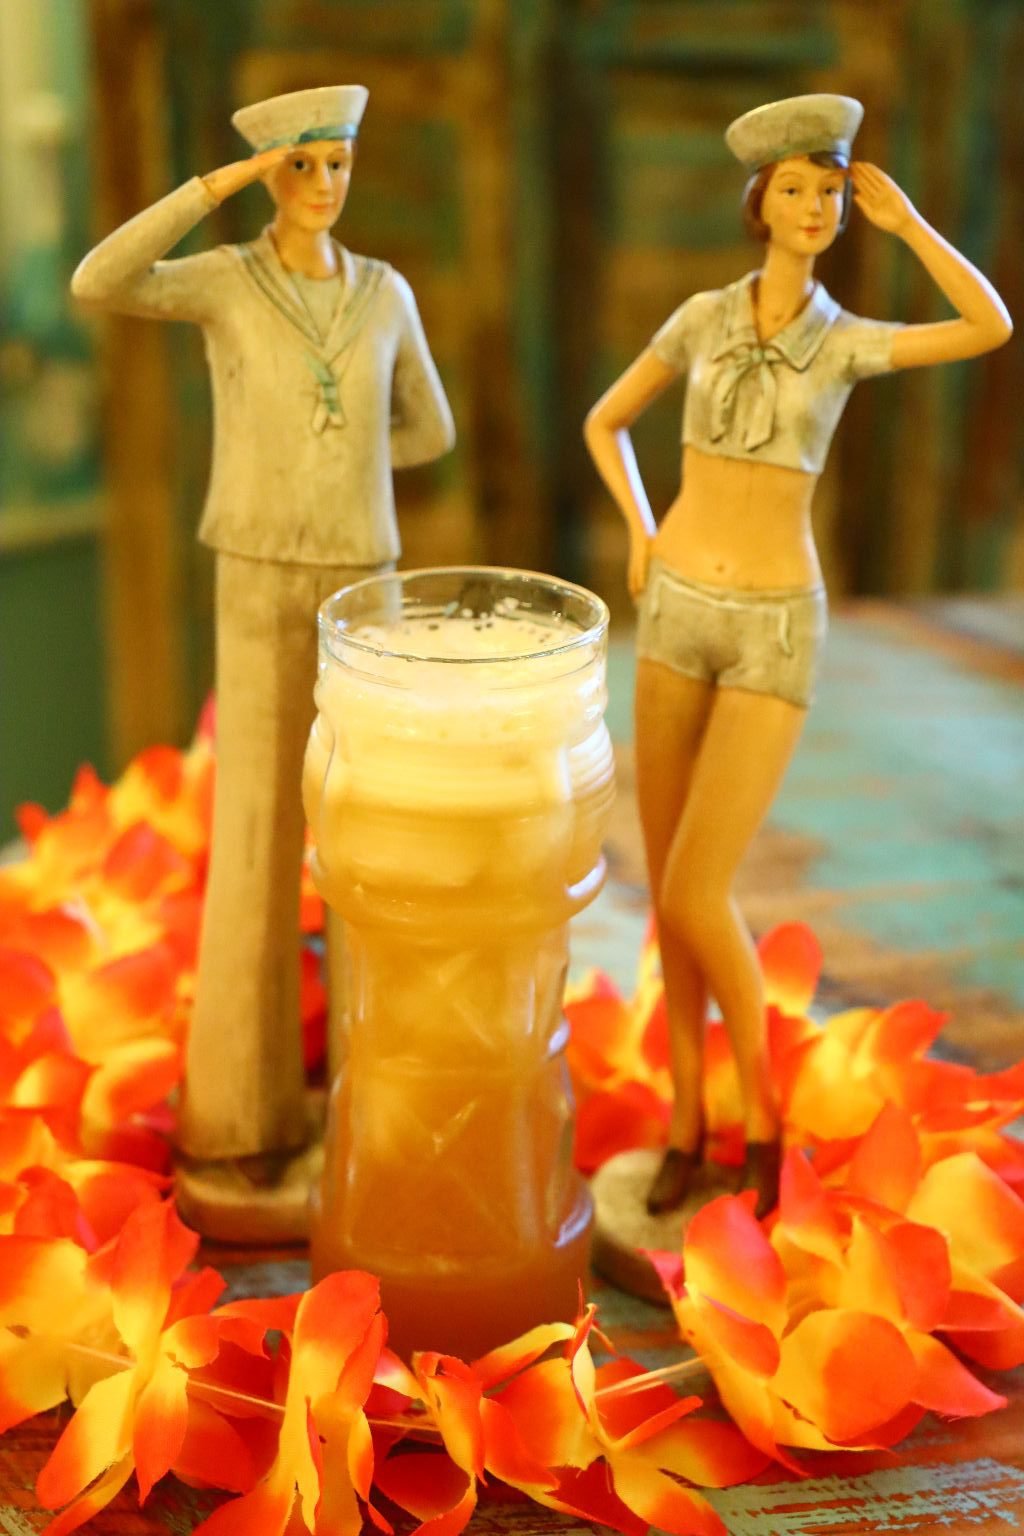
Navy Grog
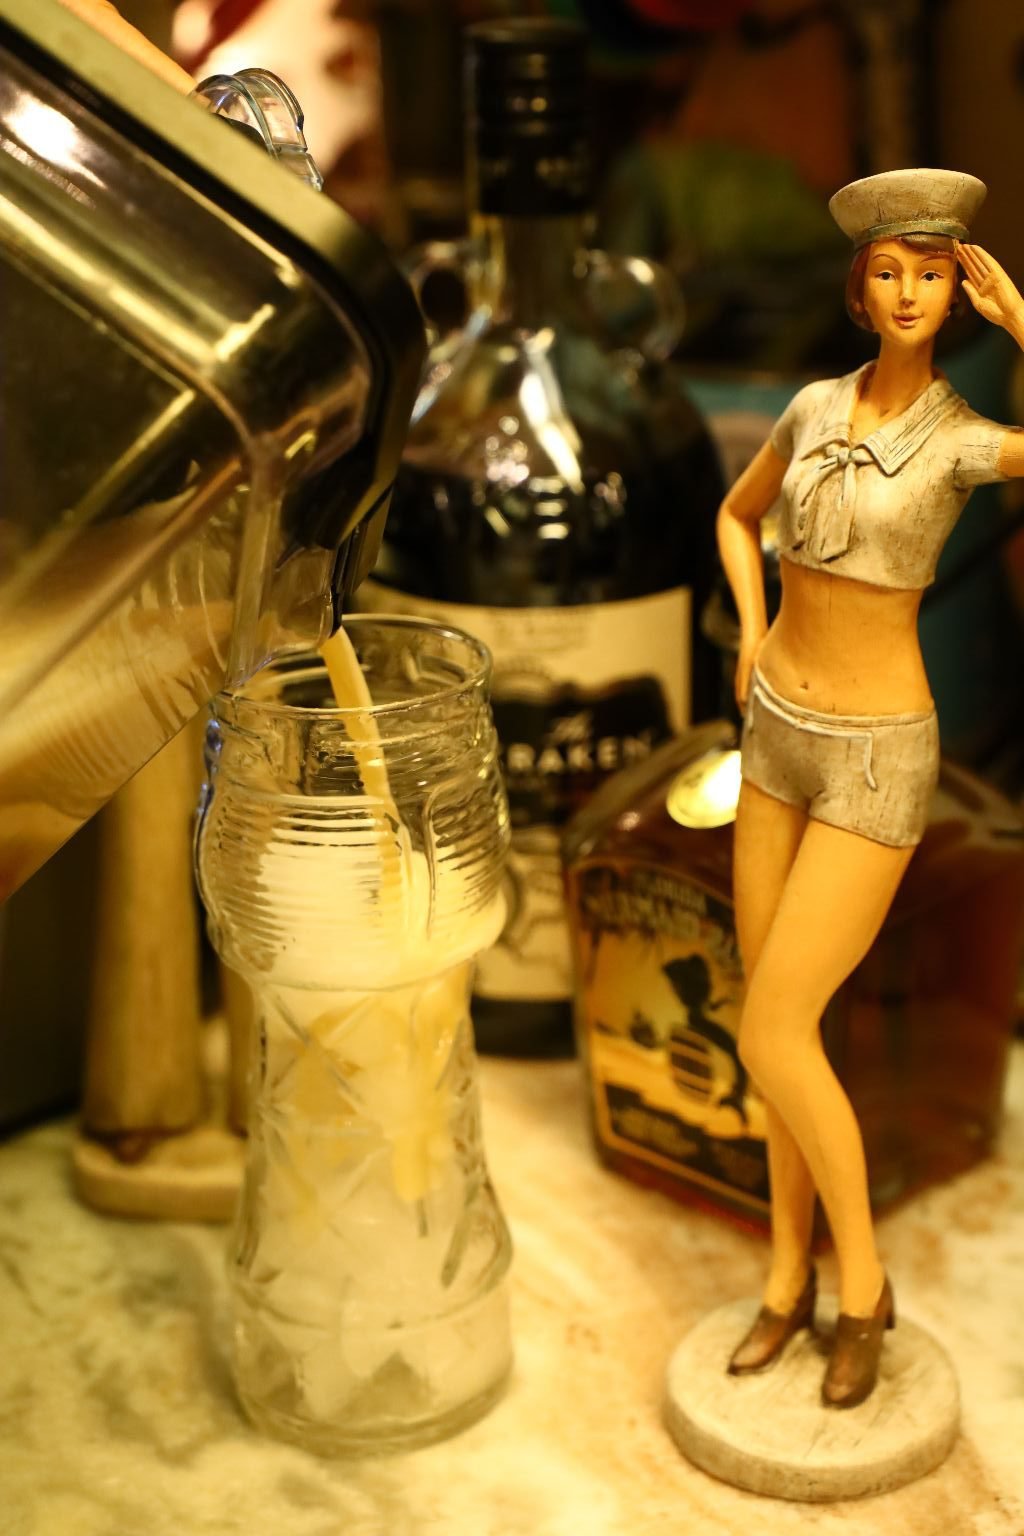
I like using a variety of Rums and mixing it with some fruit juices mainly from Hawaii.
(Write up by Gordon)
Our Navy Grog Recipe:
2 shots Pineapple Juice
1 shot Passion Fruit Nectar
1/2 shot Lemon Juice
2 Tbsp. Honey
1/2 Tbsp. Sugar
2 shots The Kraken Black Spiced Rum
2 shots Florida Mermaid Rum
Mix all the ingredients together in a shaker with a touch of ice and shake until well mixed. Pour the Grog into a tall glass filled with ice and enjoy!
————————————————————–


Gordon is a retired Navy Chief. We spent the majority (13 years) of his 20 year career in Hawaii. So, when it came to creating a Memorial Day feast we chose a Hawaiian one. We pretty much just threw all of this together and made it up as we went along and had a blast doing so. 🙂 Besides, honoring those that died in Pearl Harbor was what our little feast was created from.
——————————————————–
Hawaiian Tray Bakes
(2021)
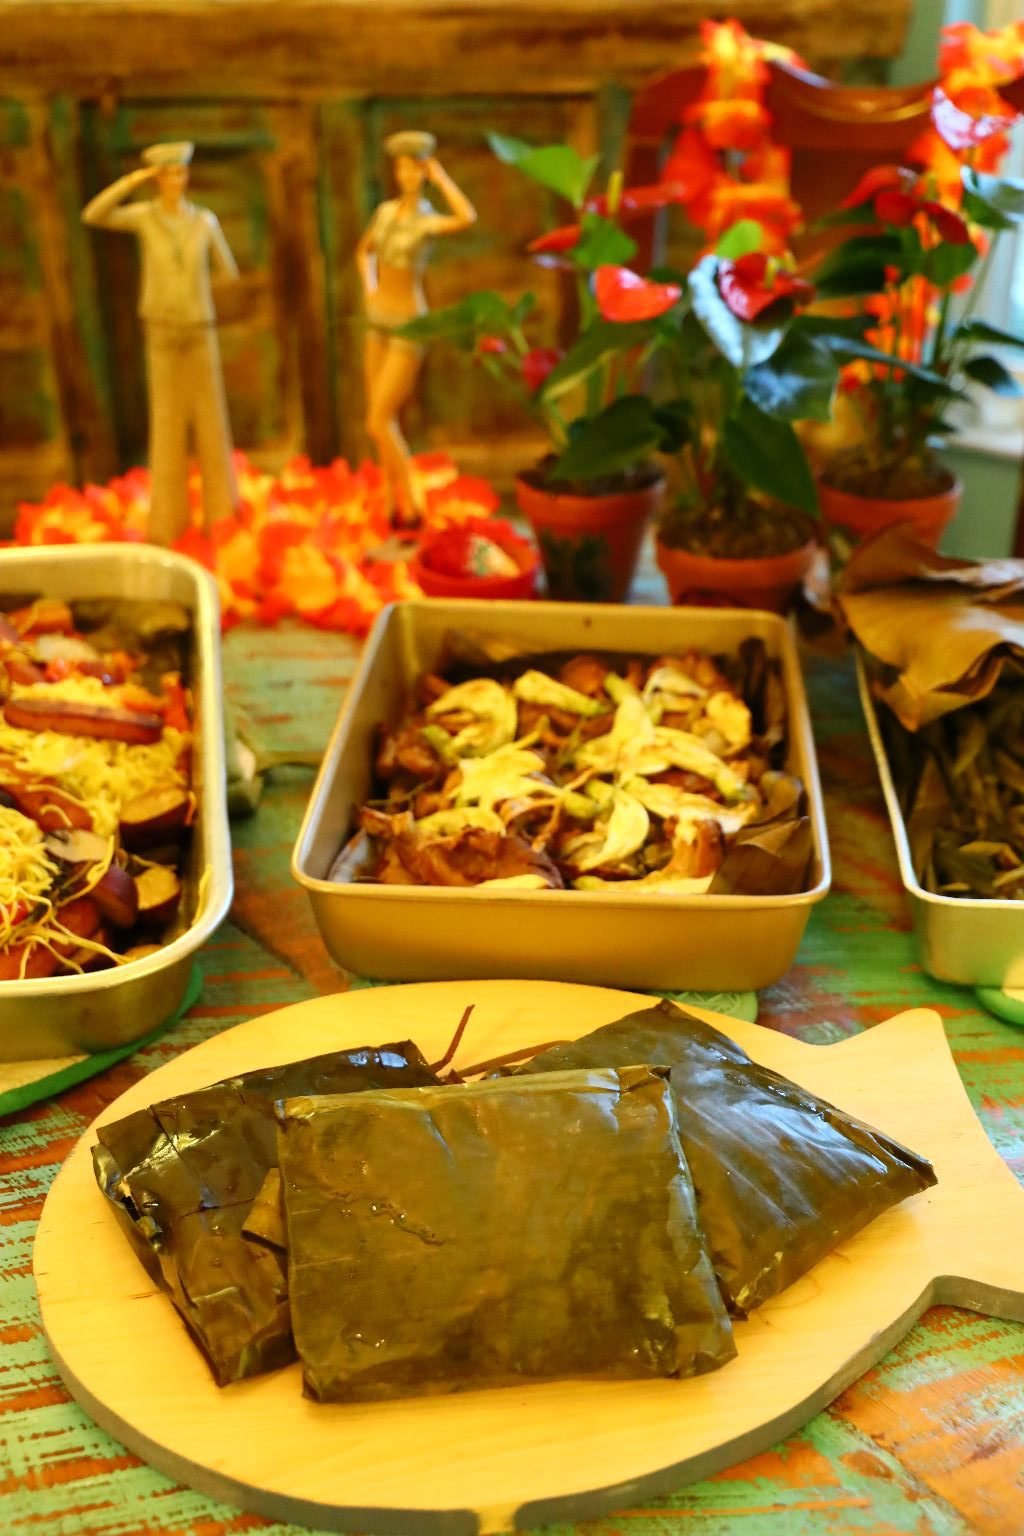

Mahi-Mahi Wrapped in Banana Leaves with Chinese Long Beans
Our Whann Way Hawaiian Traybake
Our Haole Traybake
(Haole is the Hawaiian word for white person. It’s original meaning was to identify a foreigner, although it now just means a caucasian. Sometimes the word haole is used as being offensive, and sometimes it is just used as a description. For example, I was described as being my local friend Cathy’s “haole friend.” Kind of the same way we may describe someone as being our daughter’s “Asian friend.)”
Although to be perfectly honest it really is ridiculous for us to use those terms anyway. A friend should be a friend no matter what color or culture they belong to.

Our ONO Hawaiian Tray Bakes
(Ono Means Delicious in Hawaiian.)

Mahi-Mahi wrapped in our home grown herbs and banana leaves.
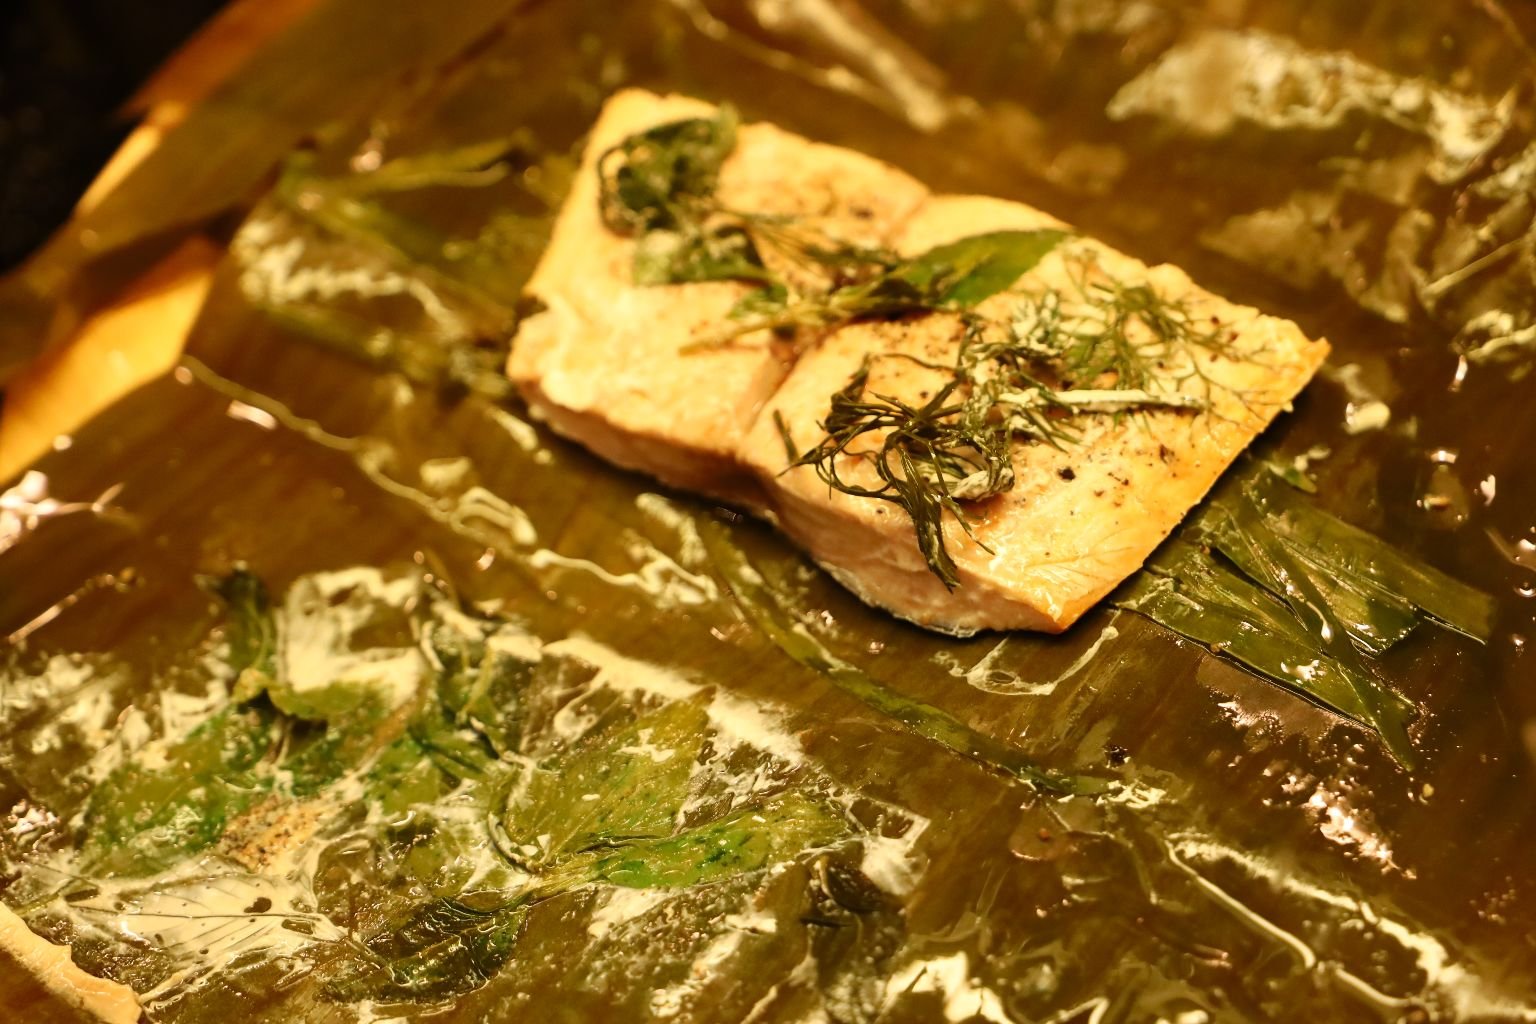
When Done…

AI IHO!
(Eat up!)


Gordon and Julie’s Dinner Plates
——————————————————-

Our Leftovers From Memorial Day
(Recipes down below.)
———————————————————
Grilled Pineapple Pizza
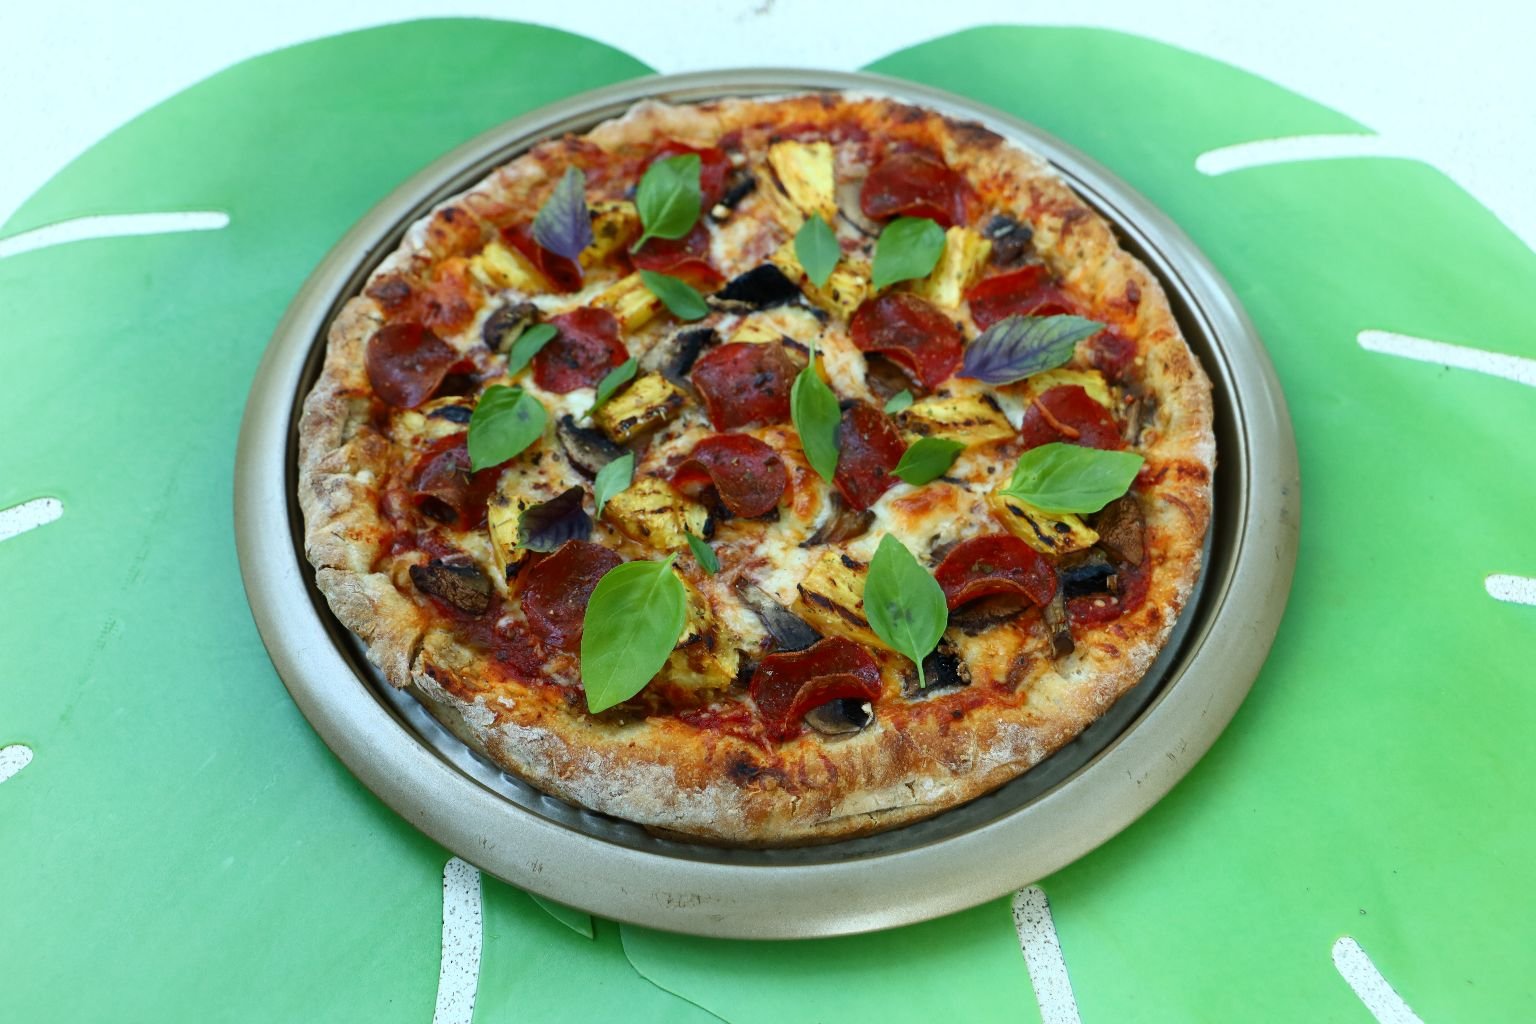
Gordon has loved a Pineapple Pizza ever since we were living in Hawaii and he discovered it at a take-out restaurant. This was in the late 1980’s. Ever since then, it is his go-to pizza.
I can take it or leave it. Most of the time, I leave it. 🙂

Gordon’s Pineapple Pizza Ready for the Grill

——————————————————————-

Off the Grill, Topped with Herbs, Ready to Devour


To the Left, and Bottom of the Photo, Right, is MY Pizza!
Just a Simple Pepperoni. And that is fine by ME!

Ready to Devour MY Pizza!
————————————————————-
Grilling The Pineapple
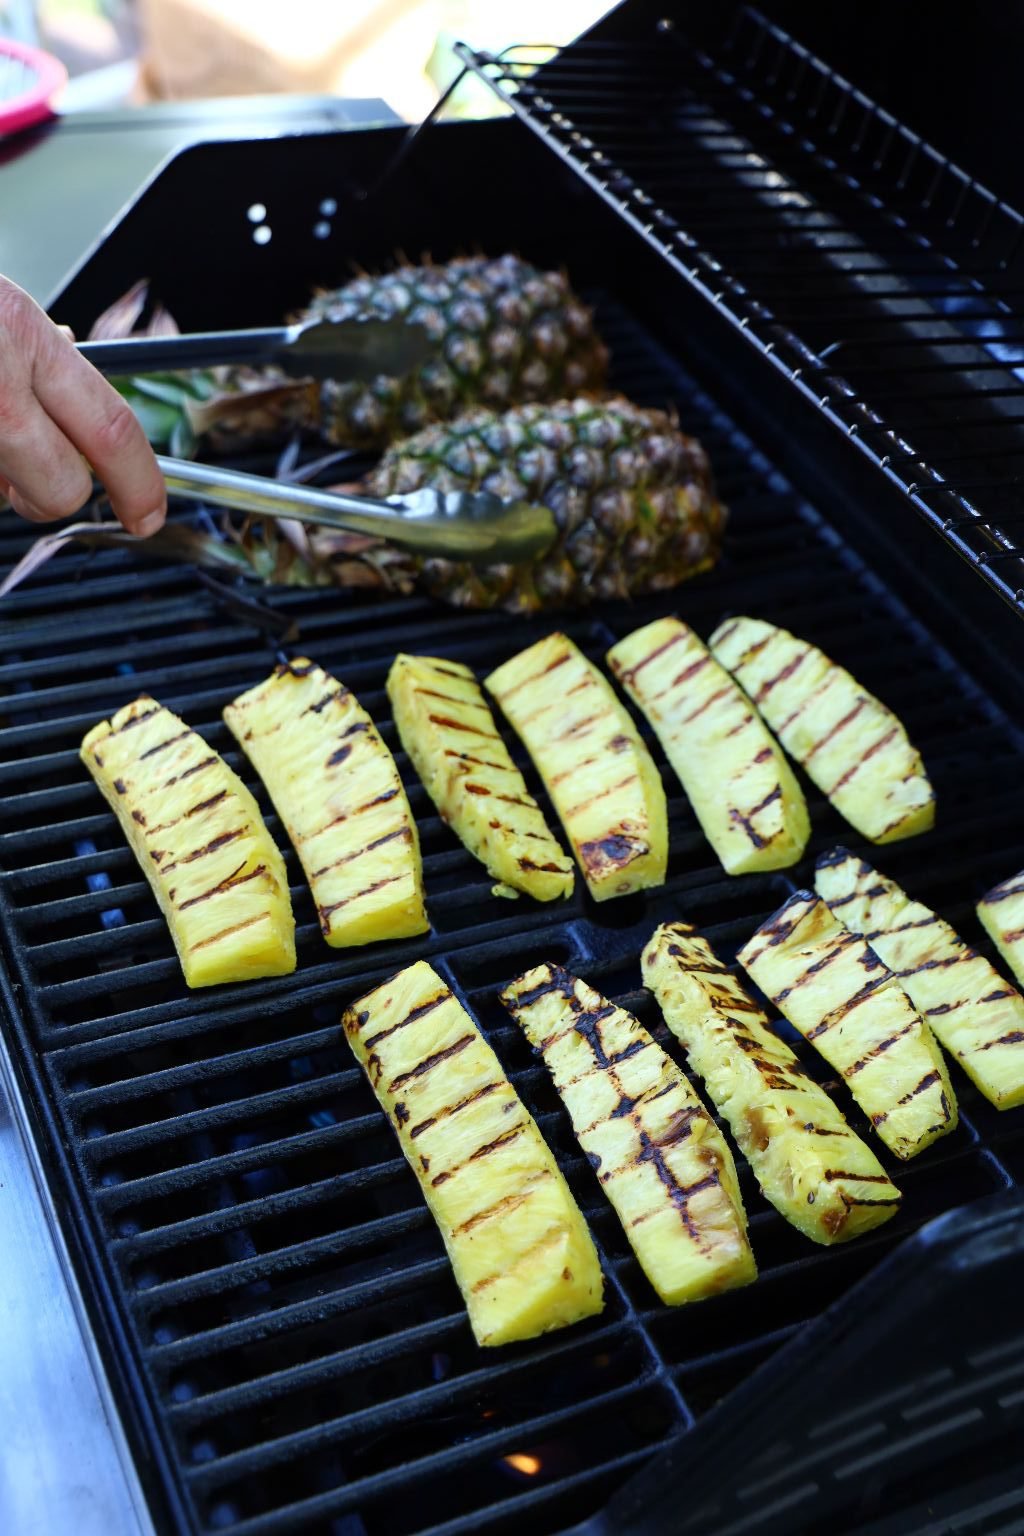

Grilling the Pineapple Brings out the Sweetness

Delicious Eaten Just As Is!
————————————————————–

Pretty Spooky Break 🙂
——————————————————————
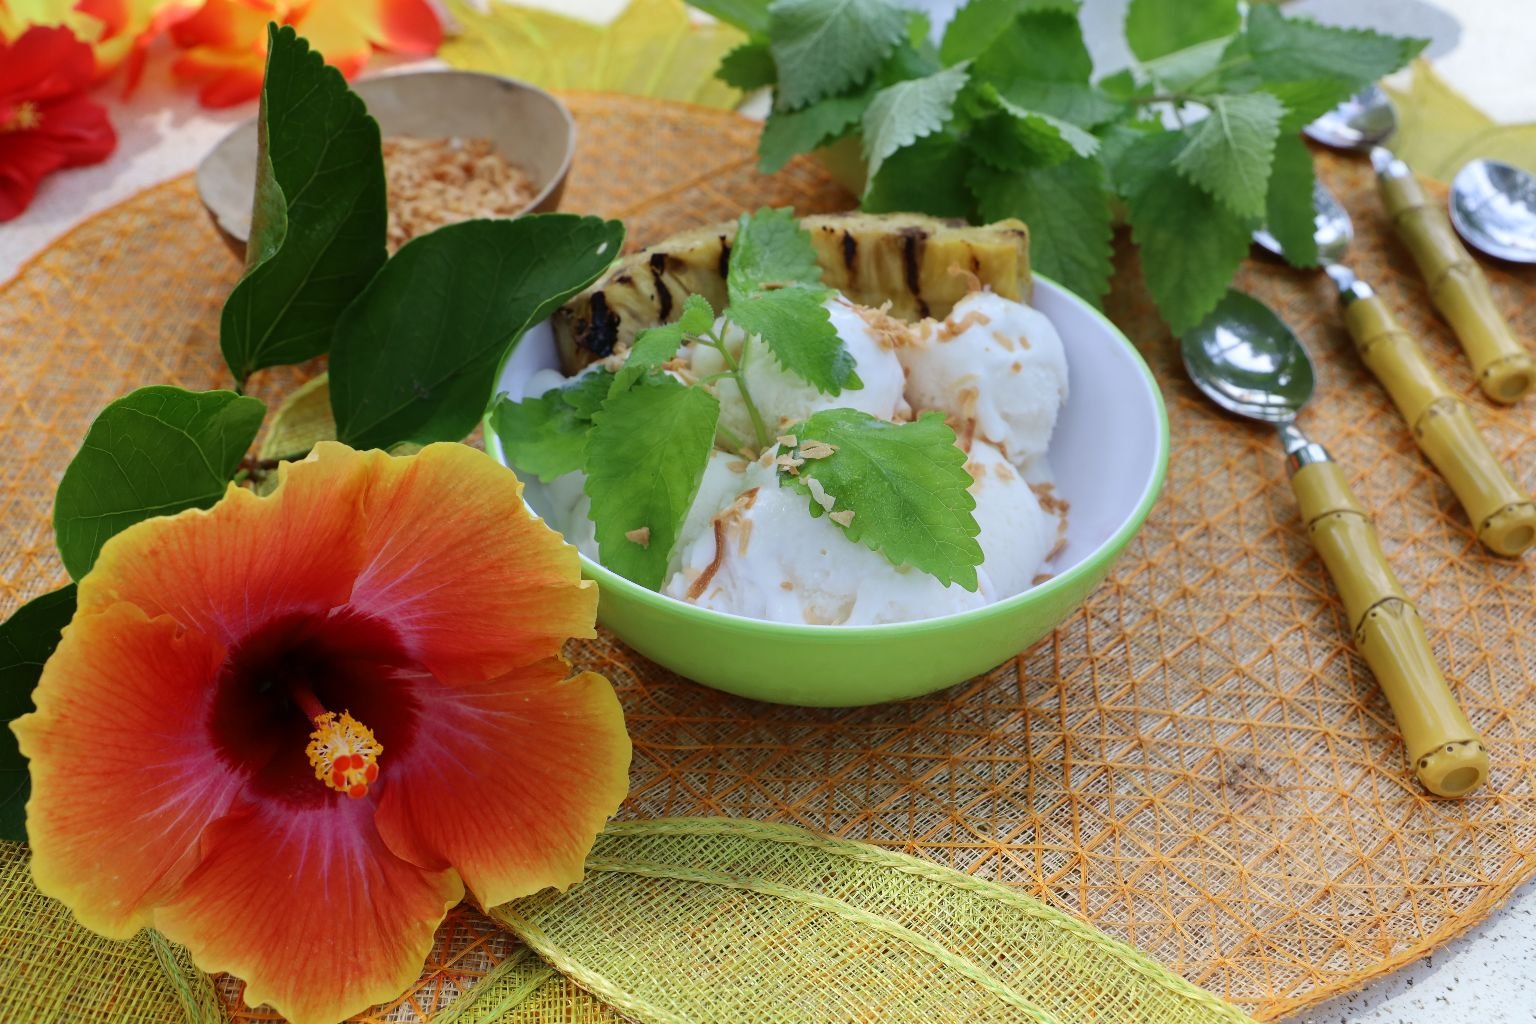
Here We Ate Grilled Pineapple with Coconut Ice Cream,
and Toasted Coconut
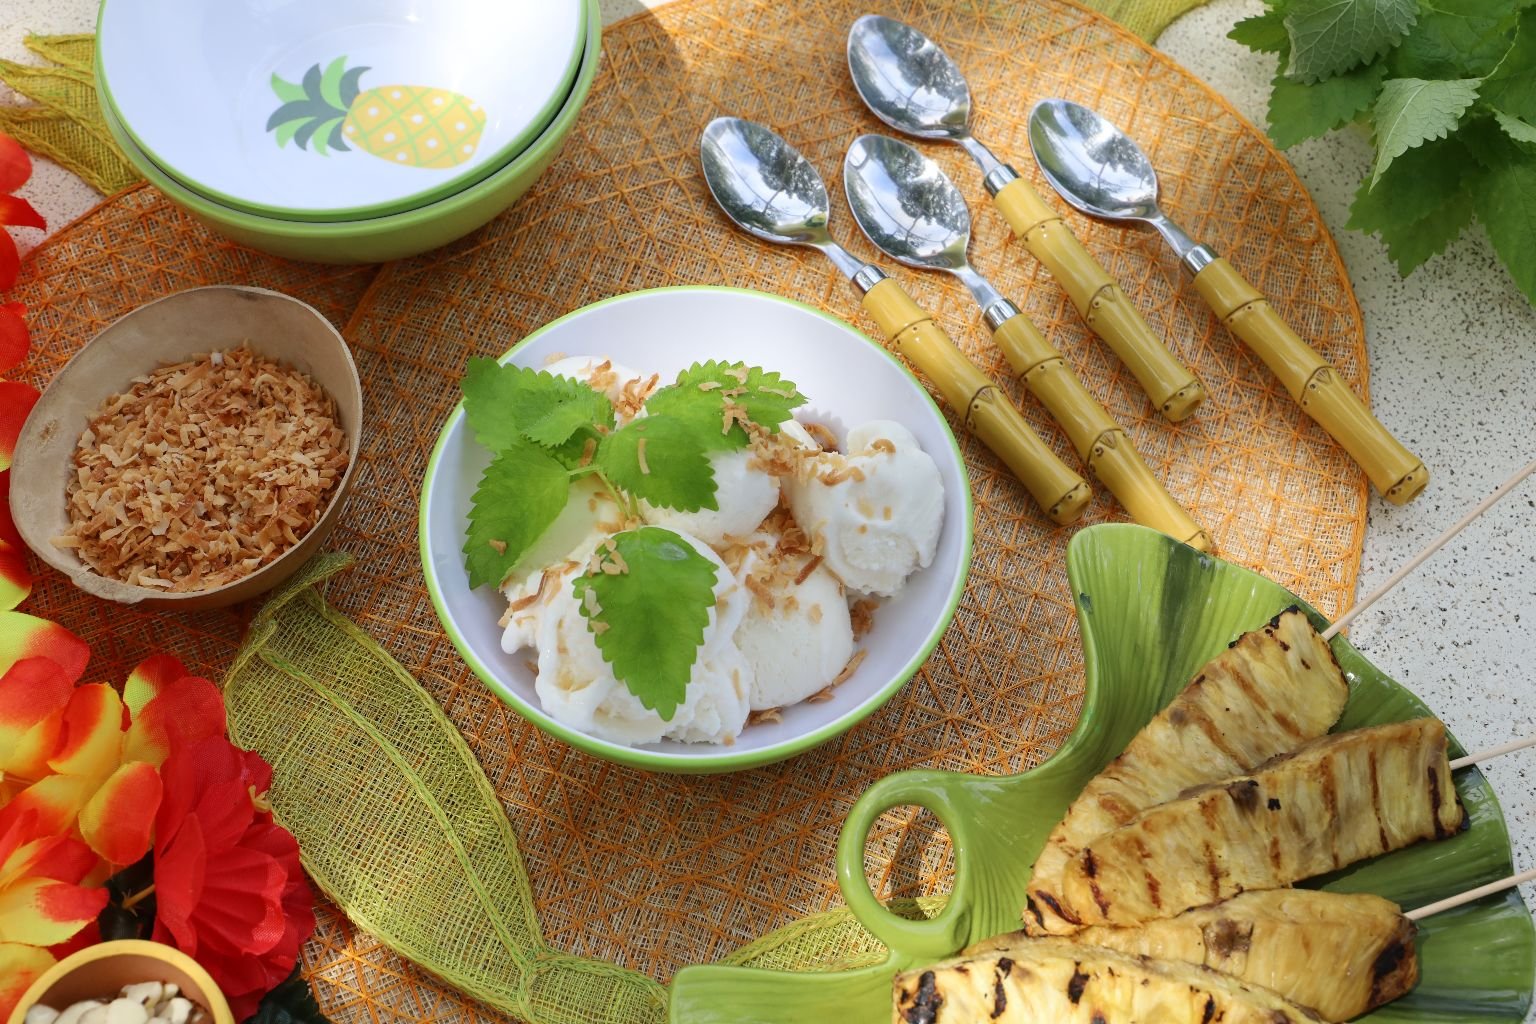
Also, Grilled Pineapple on Skewers
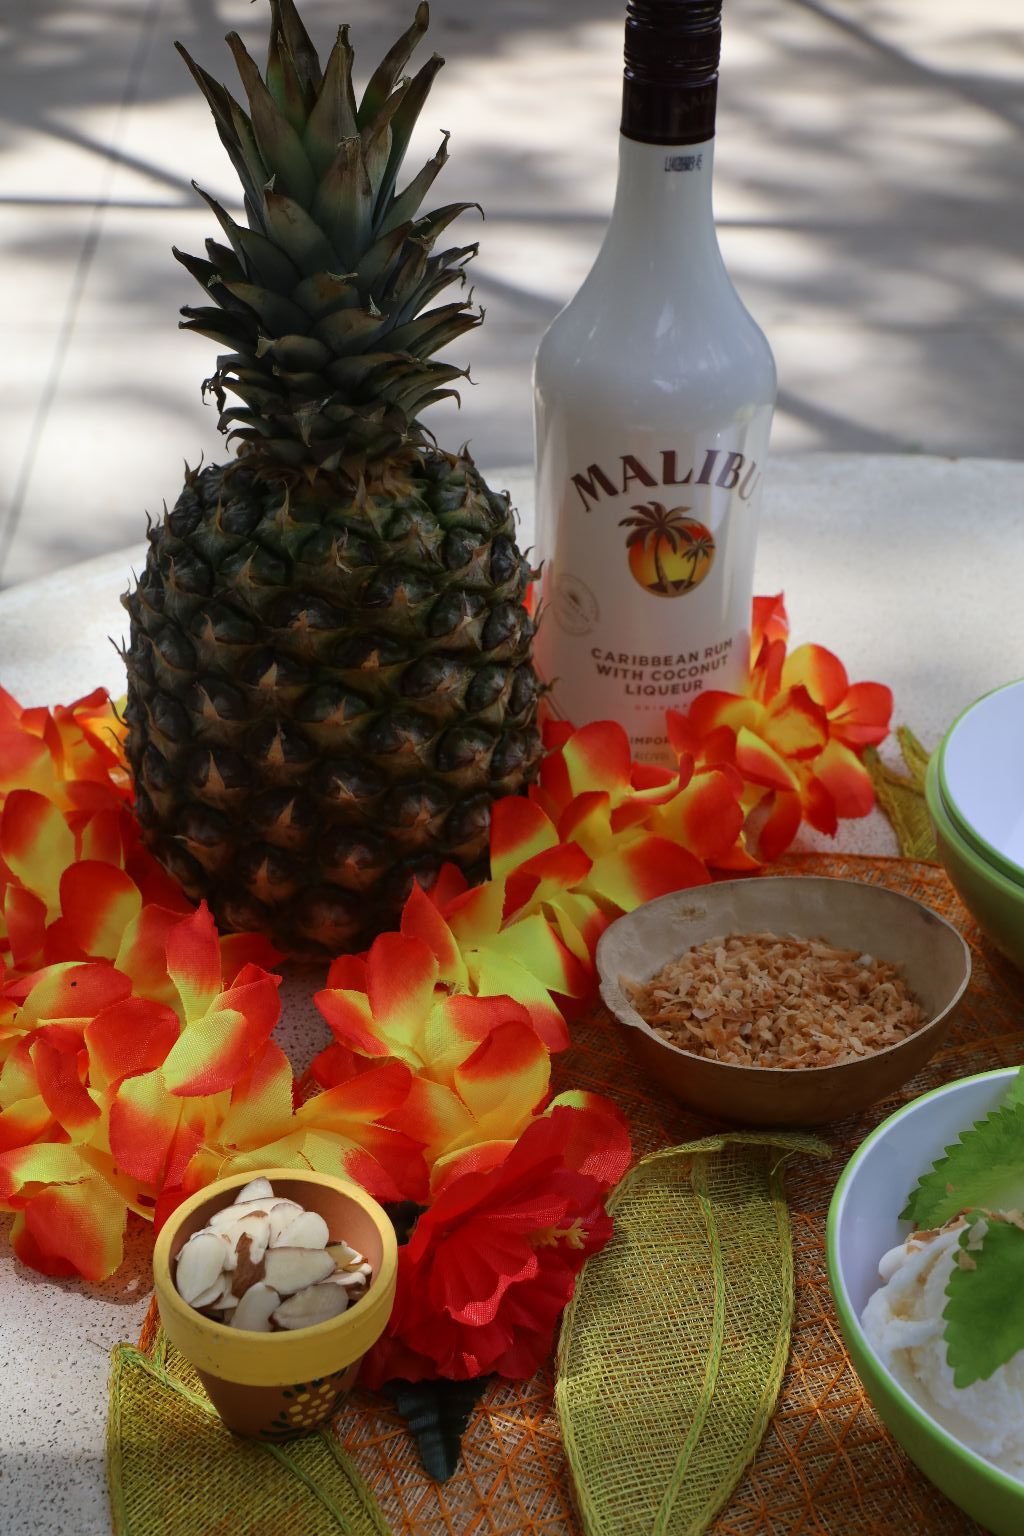

A Bit of Coconut Malibu Rum over top the Ice Cream
———————————————————————-
Pineapple Relish

This recipe was given to us many years ago by my Mother-In-Law. I have no Earthly idea where she got it from, but she was a fountain of knowledge when it came to recipes. She has collected them most of her life. From family, friends, acquaintance’s, cookbooks, travels, newspapers, magazines, etc.
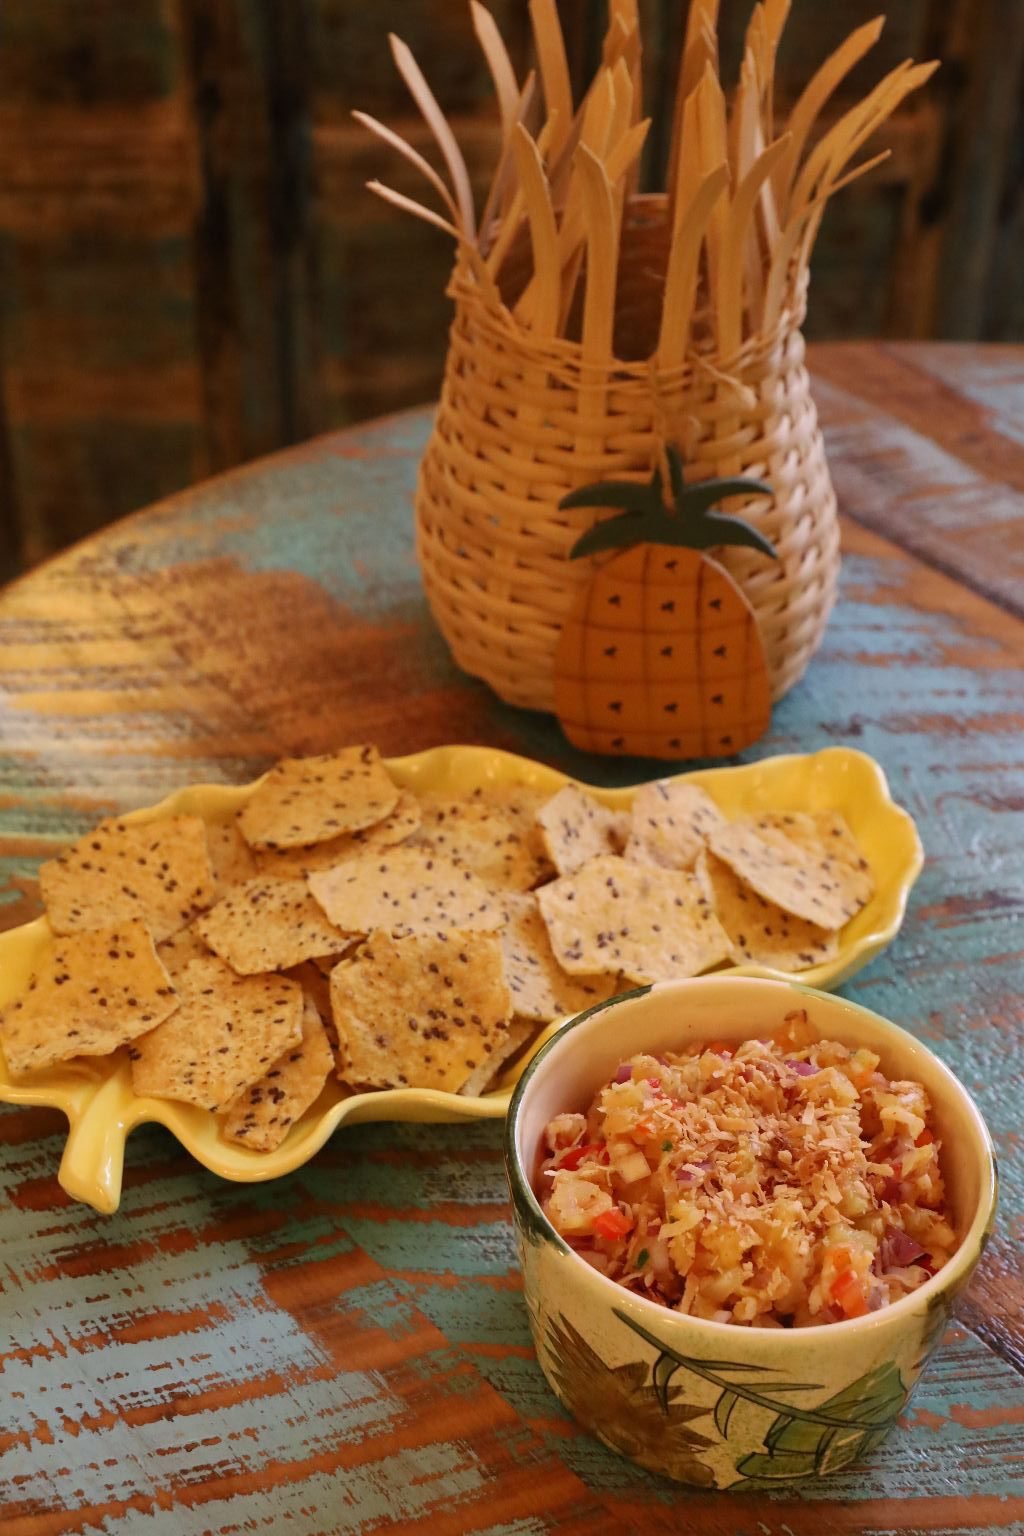

The relish is excellent as a dip for chips. These are Hawaiian chips with black rice in them.
I also got the idea to just carve out our two Pineapple halves and place the relish inside of them. What a great presentation.

———————————————————————-

We also served our relish over top a grilled Pork Tenderloin and even topped it off with some Maraschino Cherries.


Served With Some Sides 🙂
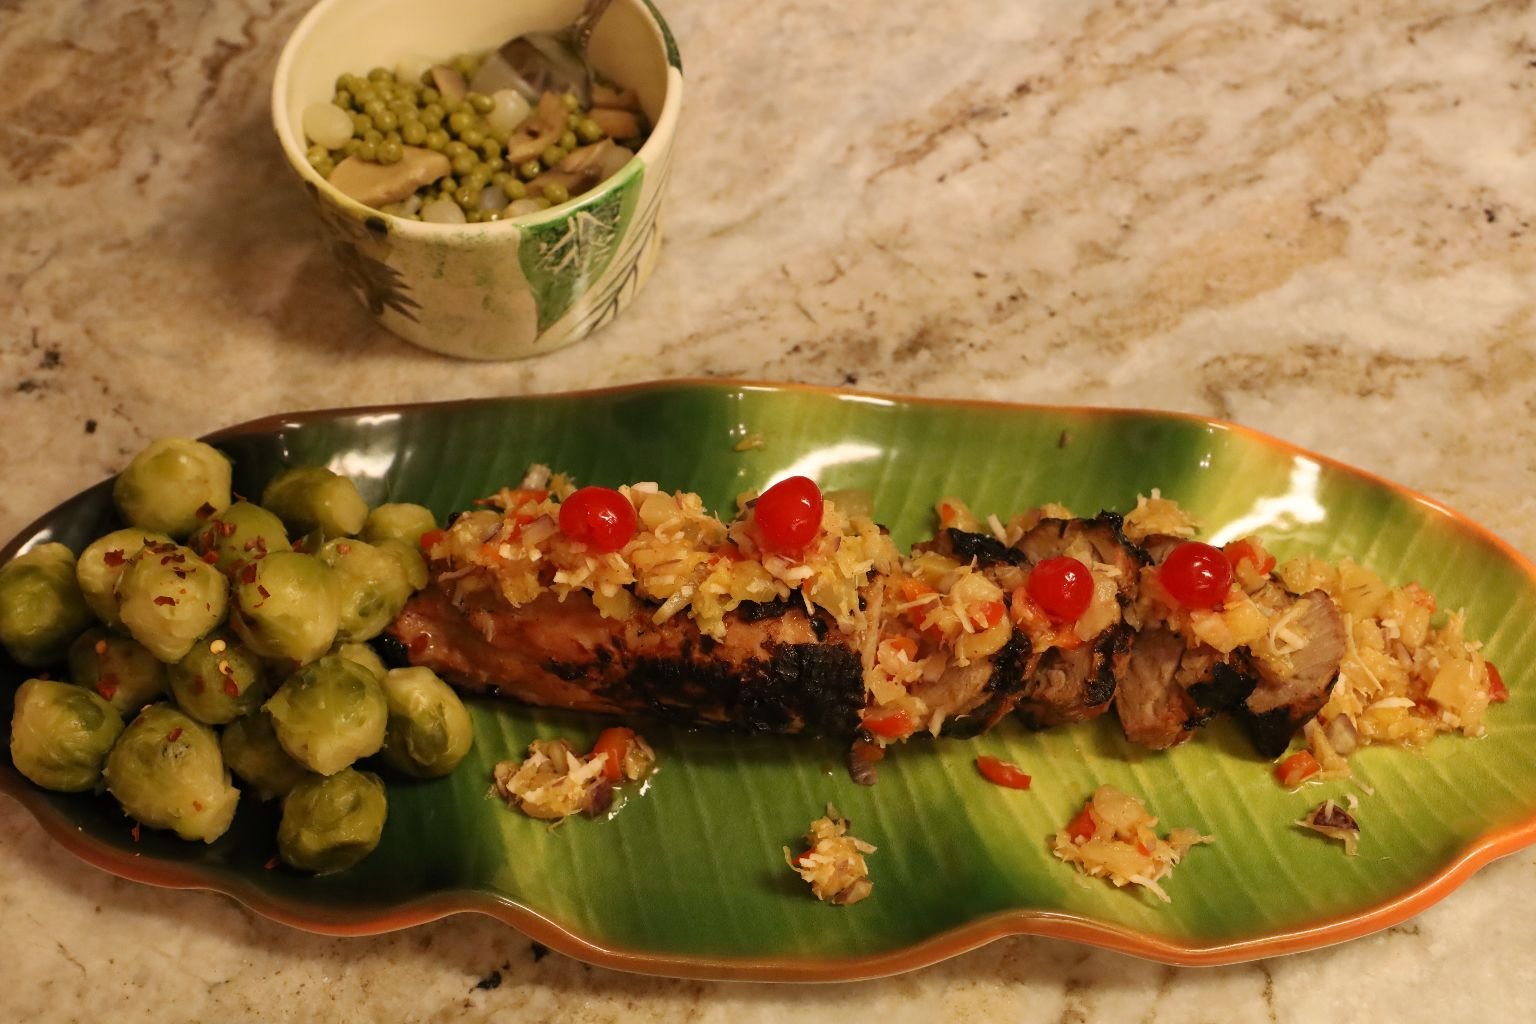
Delicious!
(Recipes Down Below)
——————————————————-
Aloha Kitchen
(Honestly, it’s as if this book were written just for us!)

The Hand Painted Coconuts were done by a young Veronica and Brodie. I came across them during all of our renovations and decided that I needed to start giving them their childhood things so that they can enjoy them.
When I saw this book online I knew that I would instantly love it! And we do! But, I also knew that my children would also love to have a copy so I ended up buying 2 extra copies for Veronica and Brodie as well.

An Inscription From Us
——————————————————————-

It wouldn’t be Hawaii without Sticky Rice.
—————————————————————
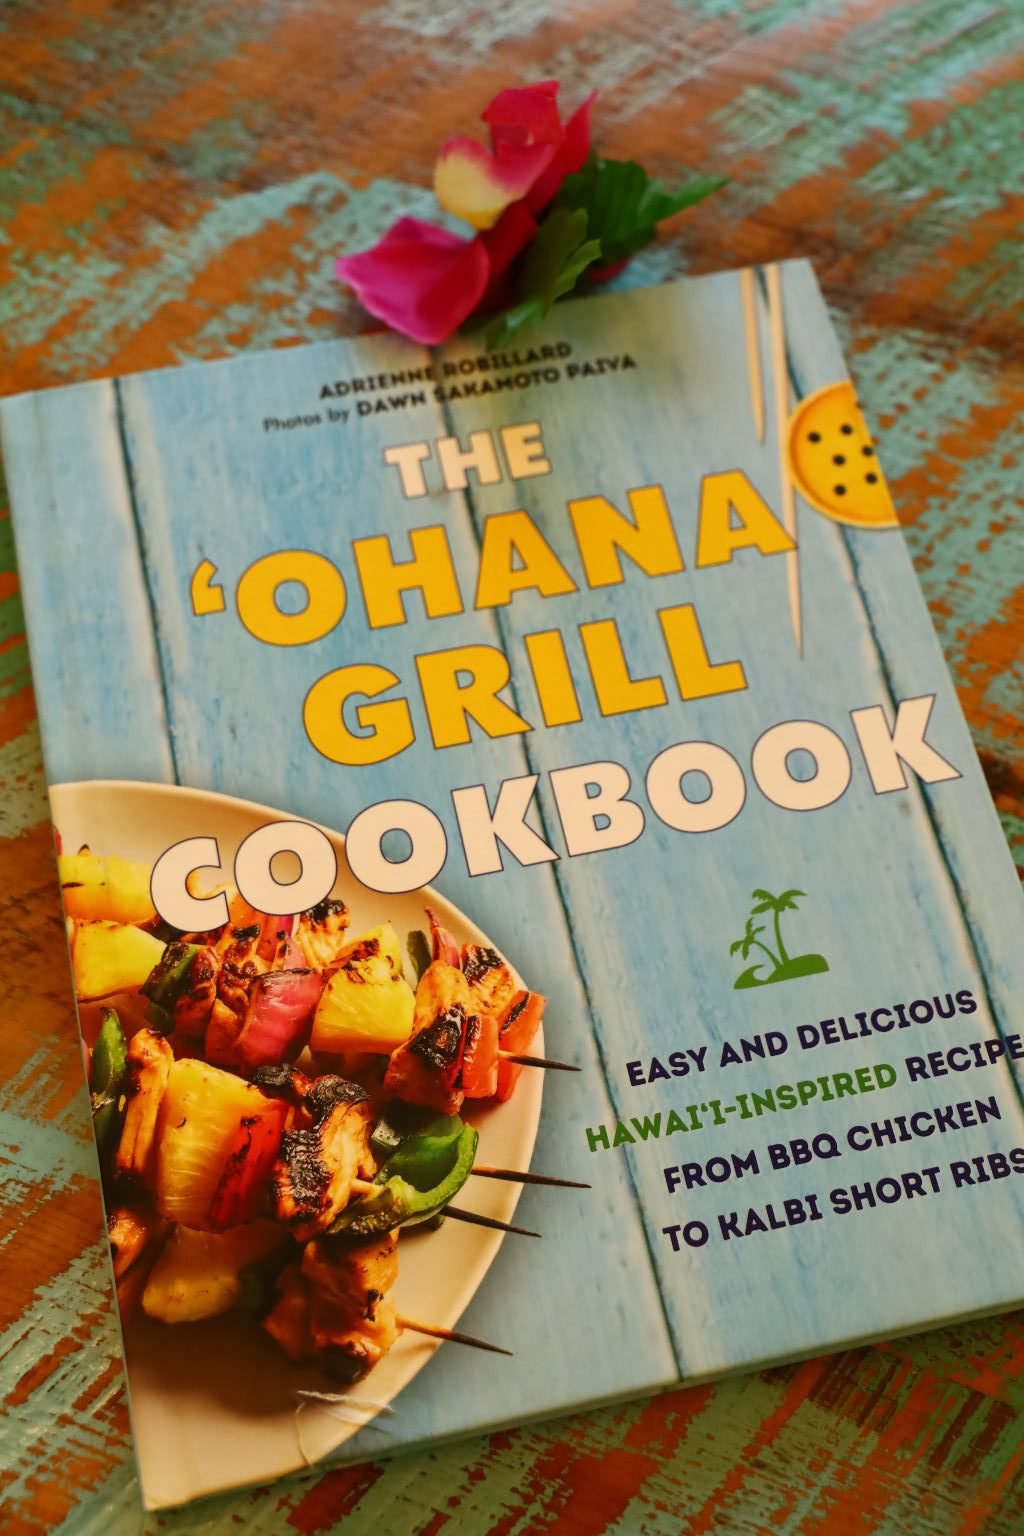

I also saw this cookbook online and bought 3 copies sight unseen.
And we are not disappointed.

Poloki and Walonika
(Brodie and Veronica’s names in Hawaiian)
I have decided to give to Veronica and Brodie my jewelry with their names on it. I’m not sure if Brodie will wear the charm on a necklace, but I know that Veronica will wear the bracelet. And besides, that bracelet will no longer fit over my wrist. Sadly.
————————————————————————

My latest find online. This will most likely be my last Hawaiian cookbook purchase for awhile. All 3 books are giving me such inspiration and satisfying my mental journey back to the islands that I love and miss so very much.
Aloha,
Julie (Kulii)
—————————————————————–
Our Aloha Kitchen

————————————————————–

Hawaiian/Filipino Sliders
Gordon and I had made some Purple Sweet Potato w/ Taro Steamed Buns prior and Gordon got the idea to bake some Tocino Pork to eat with them. They were so delicious! That is when we started thinking about other things that we could eat with that delicious Tocino Pork.

Our Purple Sweet Potato with Taro Steamed Bun Sliders
Here we just used the Tocino Pork with Kimchi and Pickled Ginger
—————————————————
If you would like to see the post:
Our Purple Sweet Potato and Taro Stuffed Steamed Buns and Asian/Pacific Sliders

———————————————————————
The above sliders were the inspiration for these little sliders.


Here we used the mini Hawaiian Sweet Rolls, some baked Tocino Pork and Tocino Chicken, Kimchi, Pickled Red Onion and Pickled Daikon Radish.
Although we didn’t use any sort of mustard or sauce, a lovely Asian mustard would have gone quite well with these, if there is indeed such a thing? 🙂
——————————————————–
Thawing Out Tocino Pork and Chicken

I don’t know where you can find these marinated meats, but we buy them at our commissary on military bases. However, look for these cured meats in the ethnic section of your grocery stores.

Although the package directions are different from how we are cooking them, we decided just to bake them in the oven, 15 minutes on each side, 350F oven.


Just spread the marinated meats onto a foil lined baking sheet.

Tocino Chicken


Here Gordon is Cutting up the Chicken with Scissors
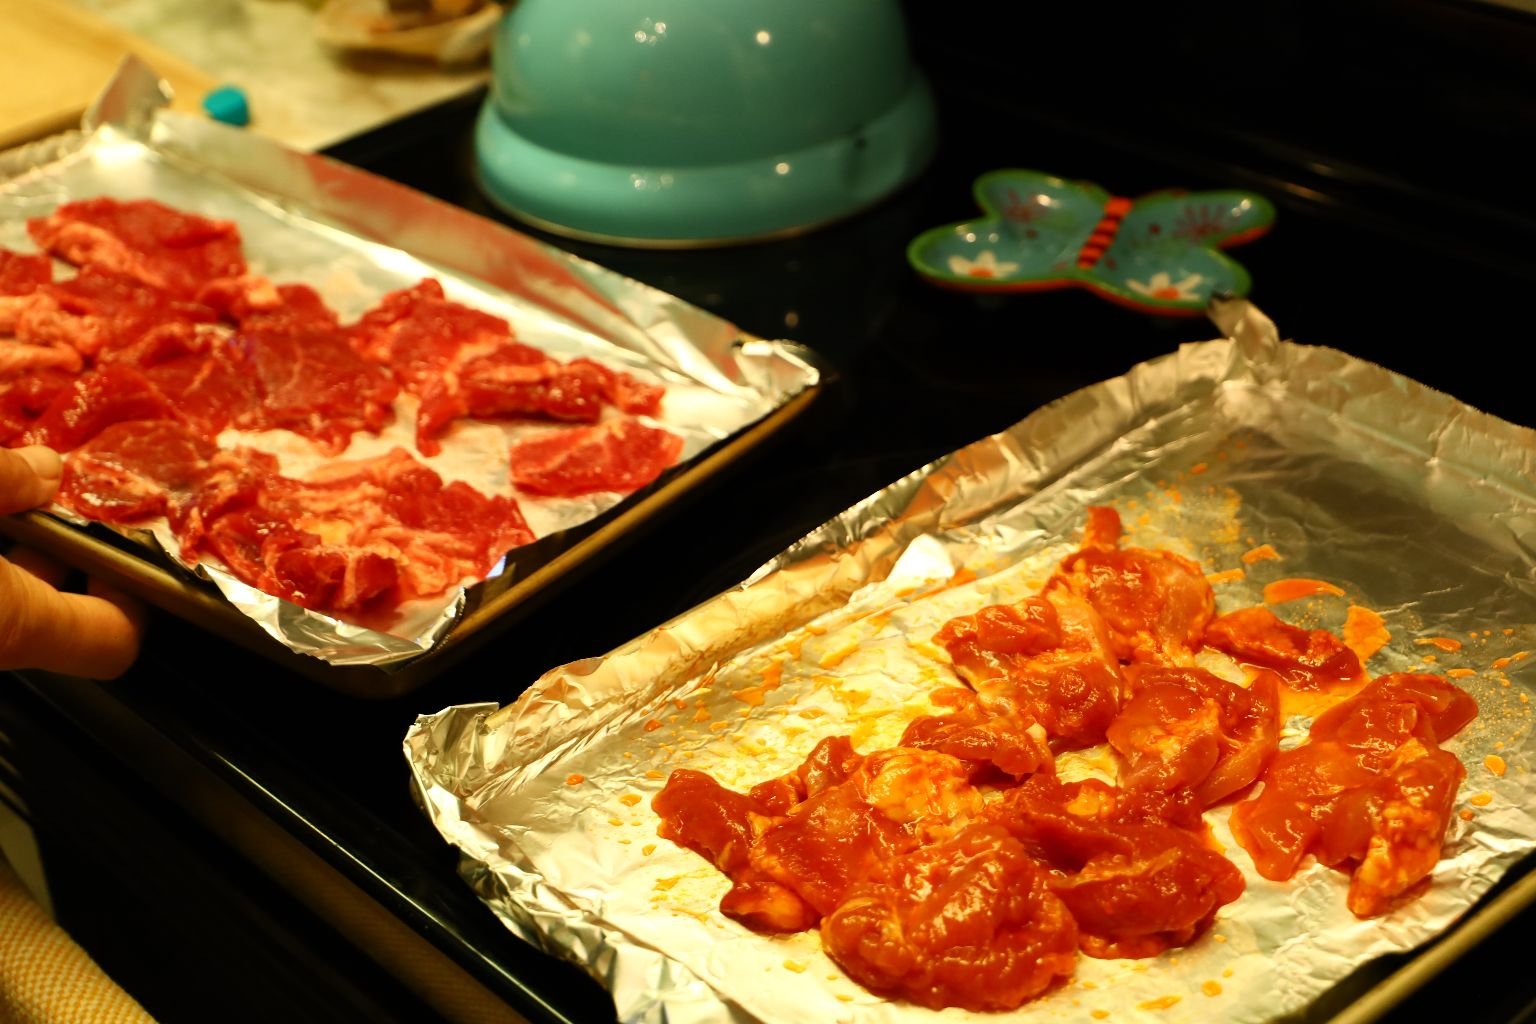
Ready for the Oven

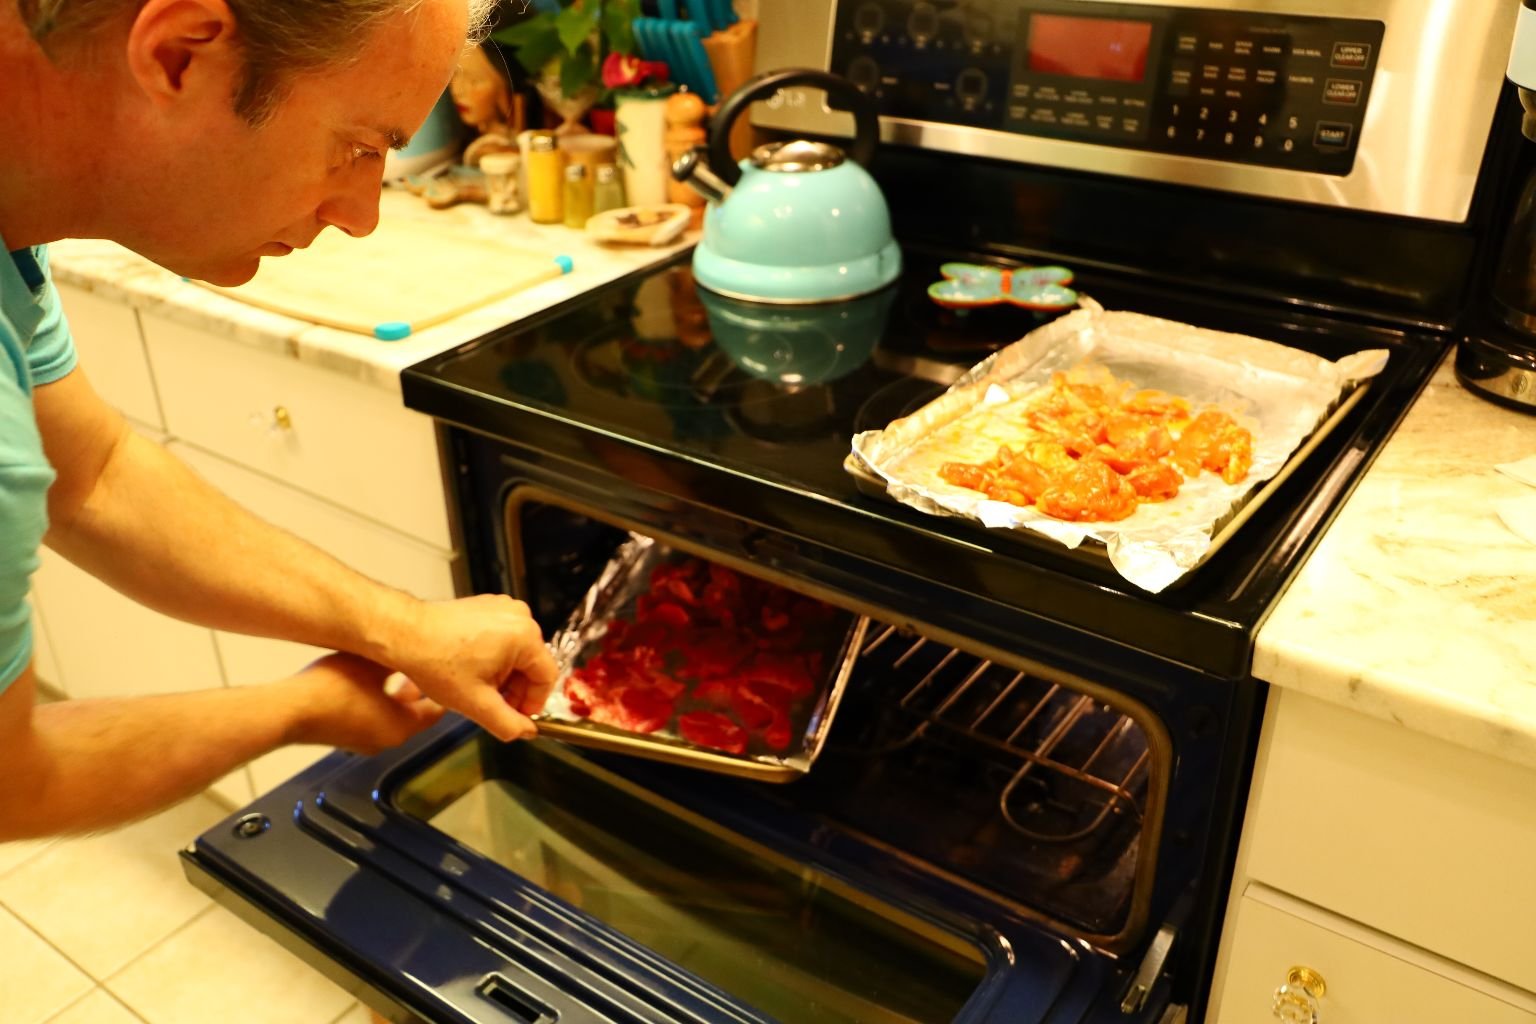
Bake 15 Minutes Each Side
———————————————————
Time to Pickle Some Red Onion

Peel the onion then slice thinly as shown above. The thinner you slice it the quicker it will pickle.

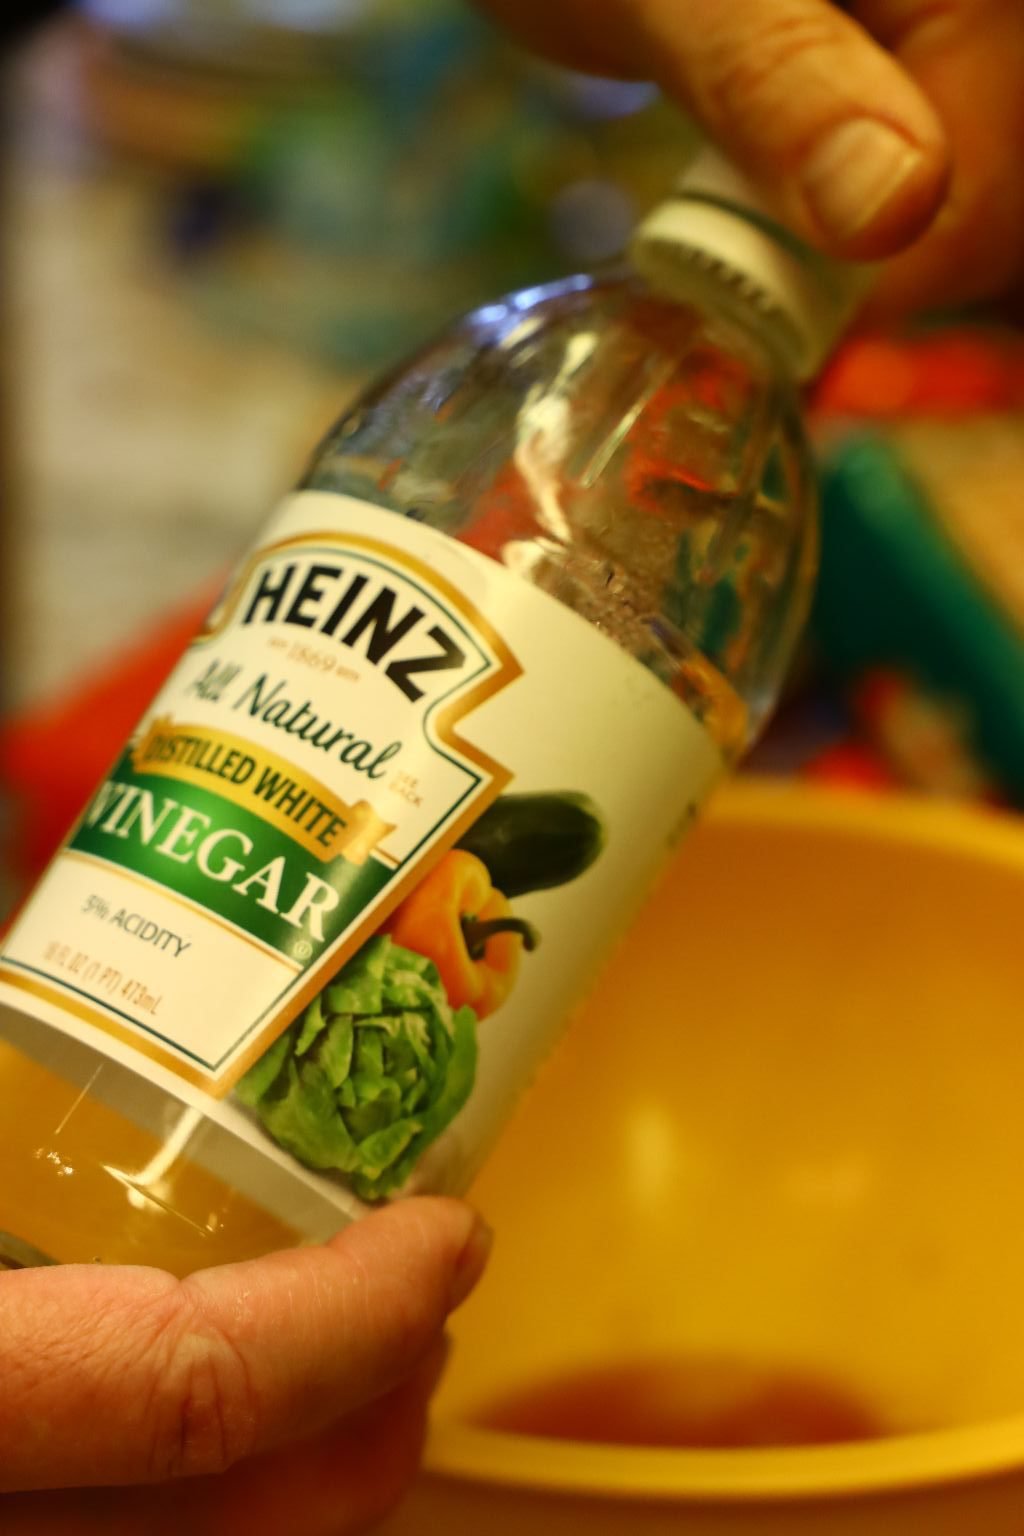

I like to use a variety of vinegar as it will give the onions a great taste. Using a medium sized bowl, I used Malt, White, Rice, and …
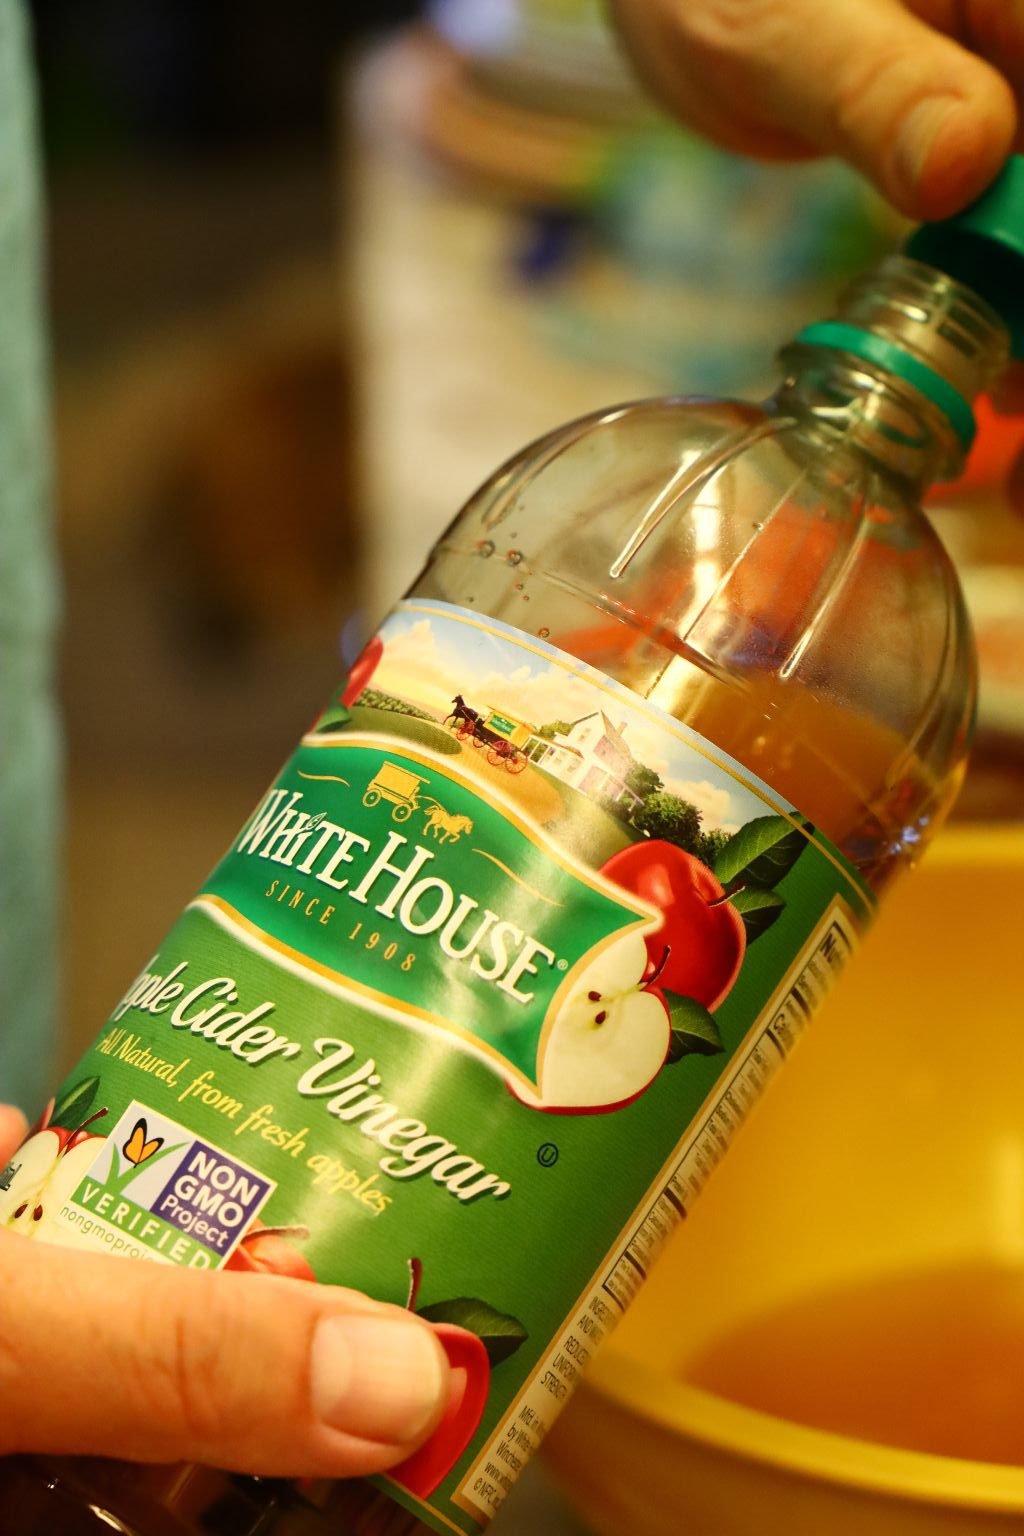

then Apple Cider Vinegar. If you only have one type of vinegar, the recipe will still work. You want to have enough vinegar in the bowl to cover the onions.
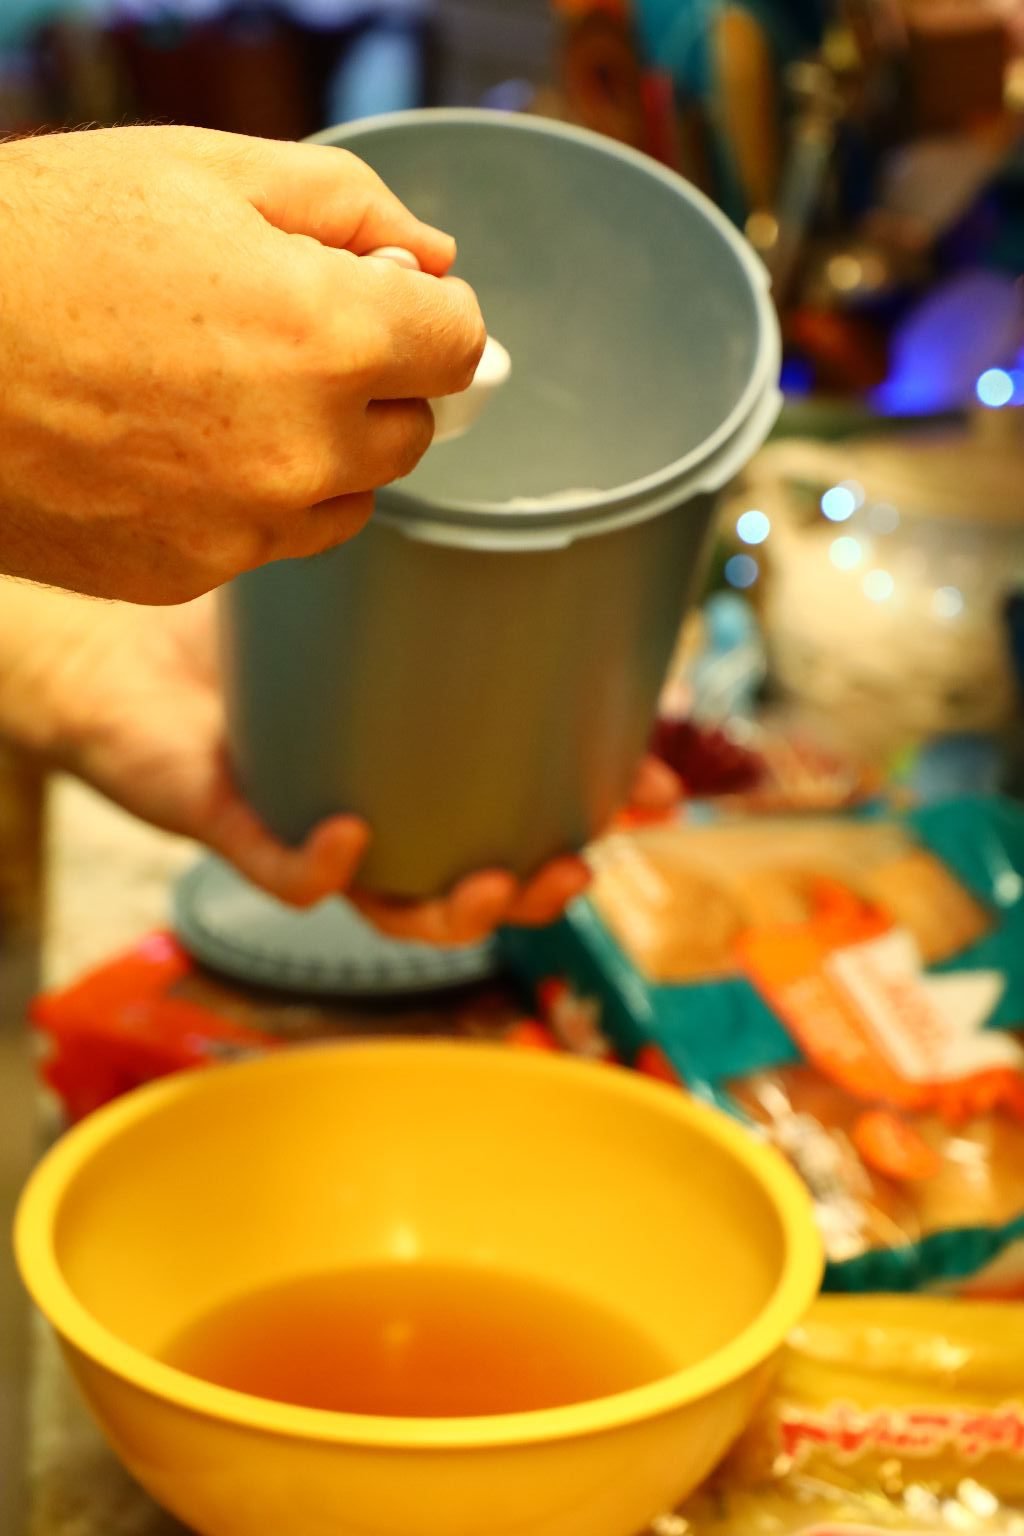
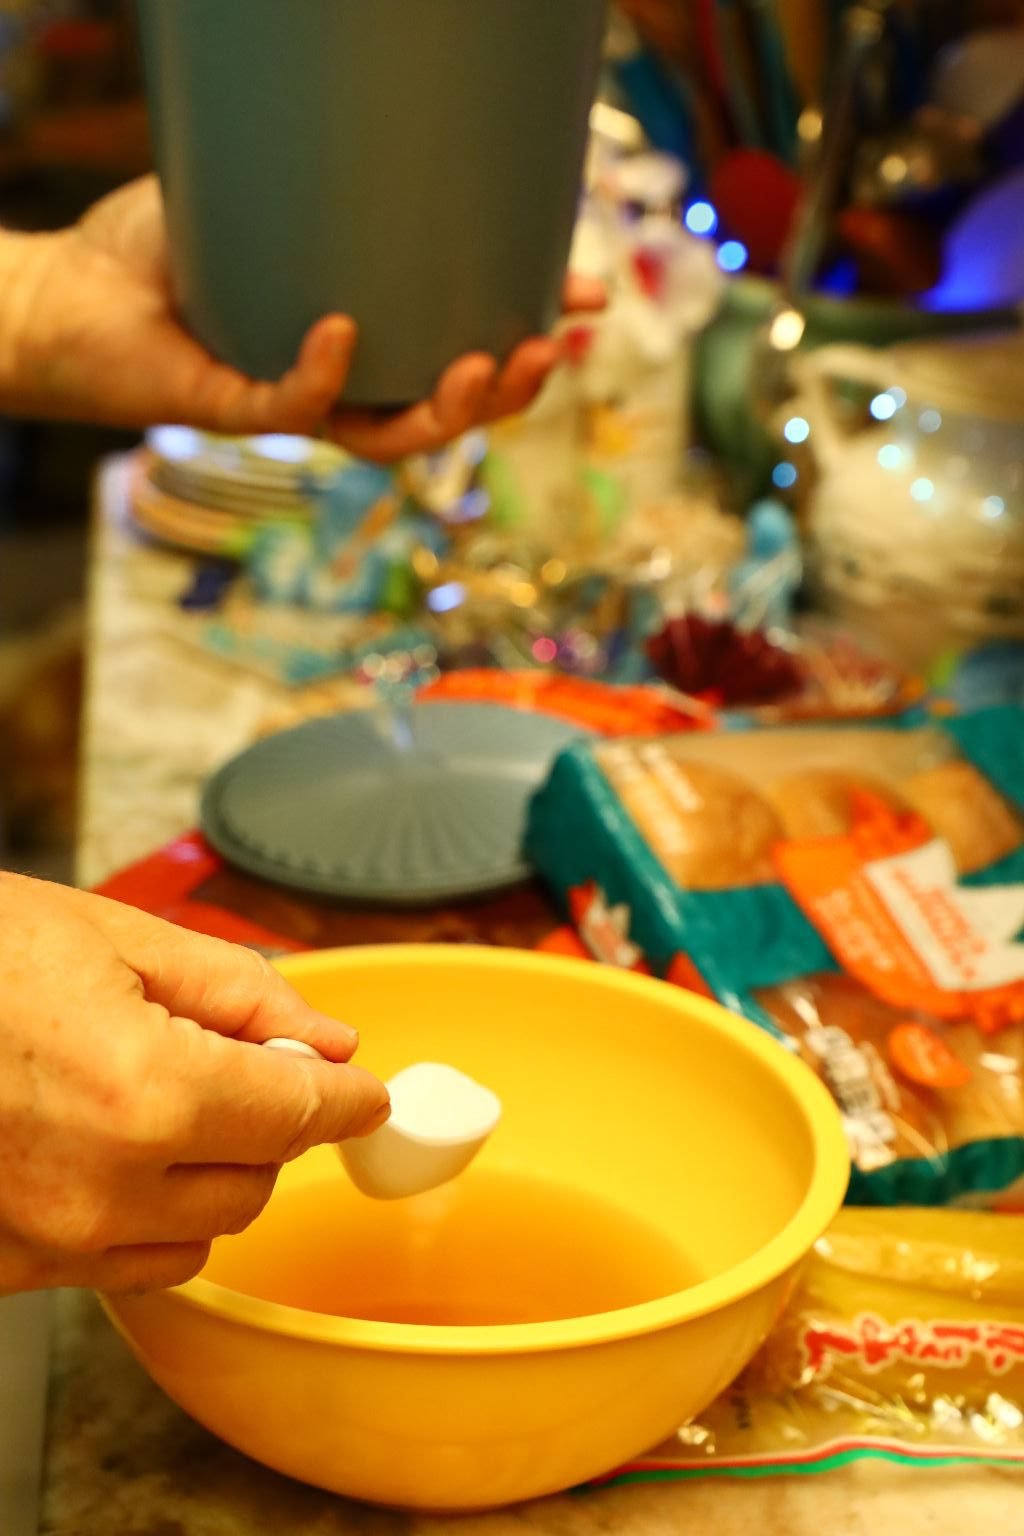
Now, add enough sugar to the vinegar to give it a slight sweet taste. Start with one Tablespoon. Stir the sugar and vinegar together until the sugar is dissolved. Taste the vinegar sugar mixture to see if it is as sweet as you like. Add more sugar until the mixture tastes the way you want.
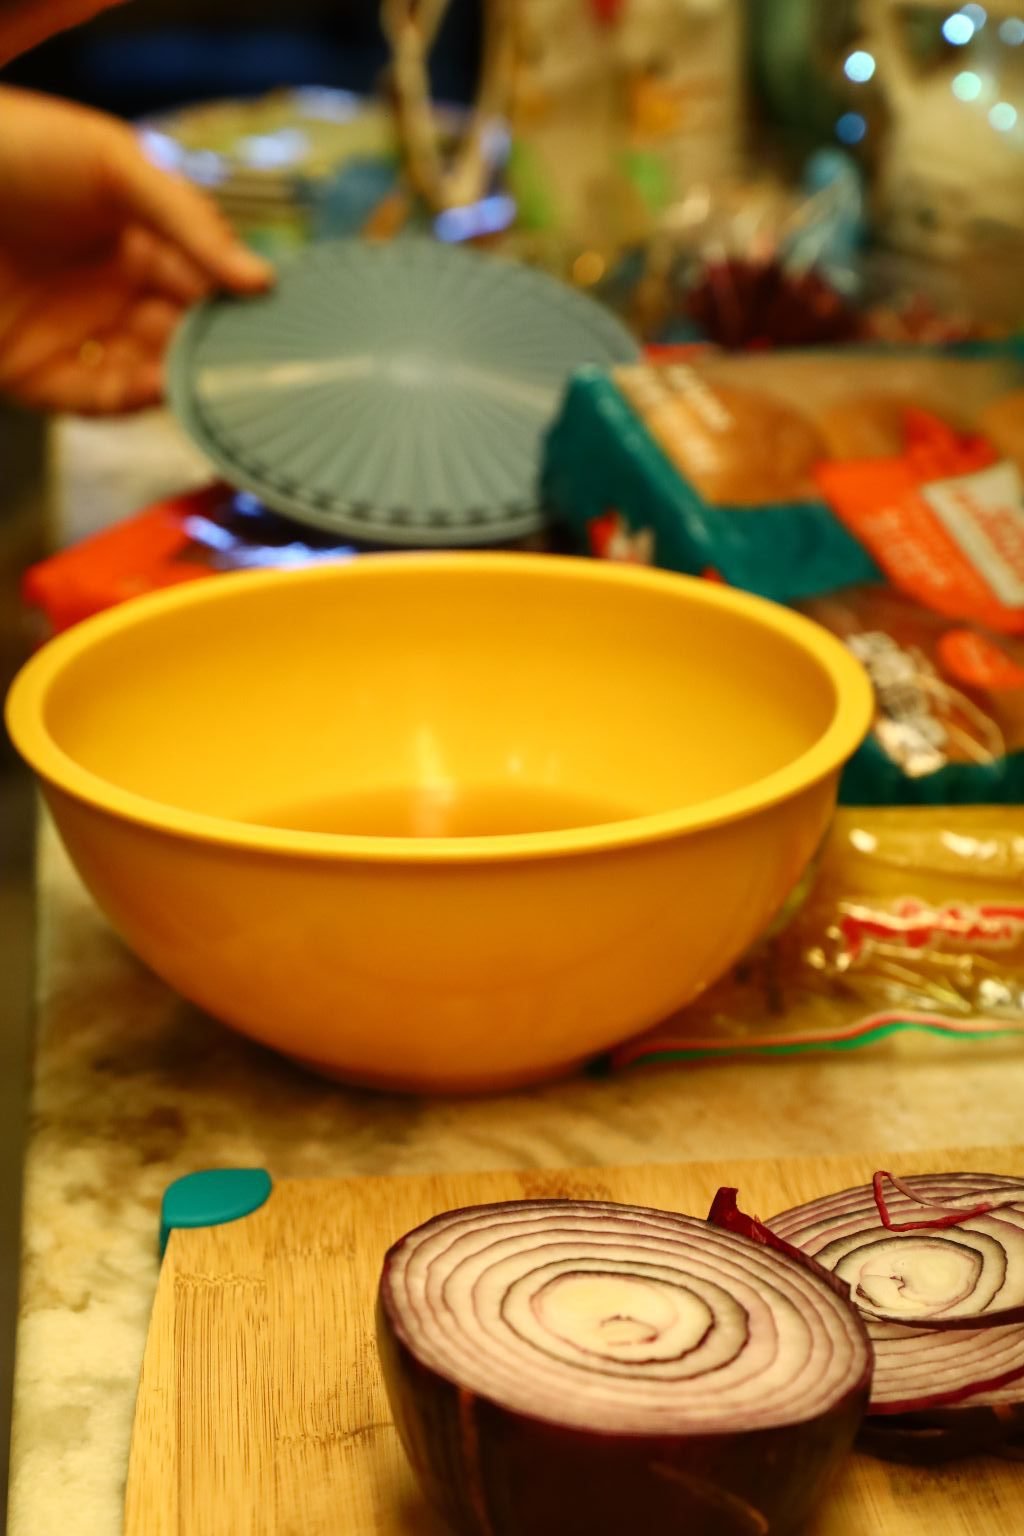
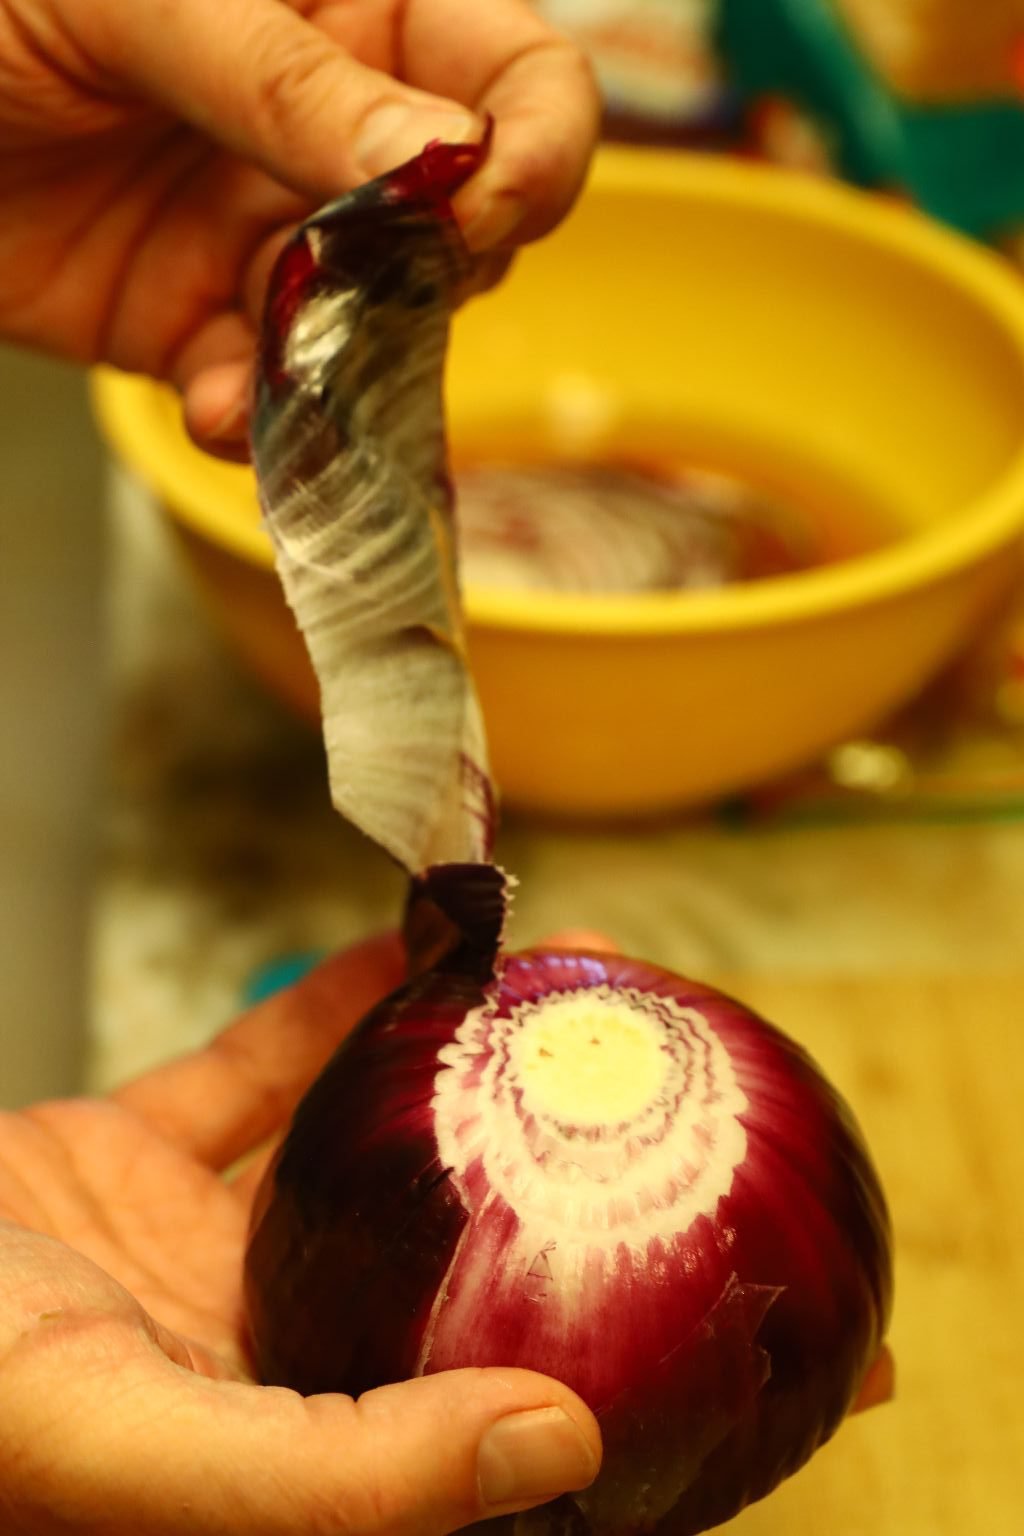
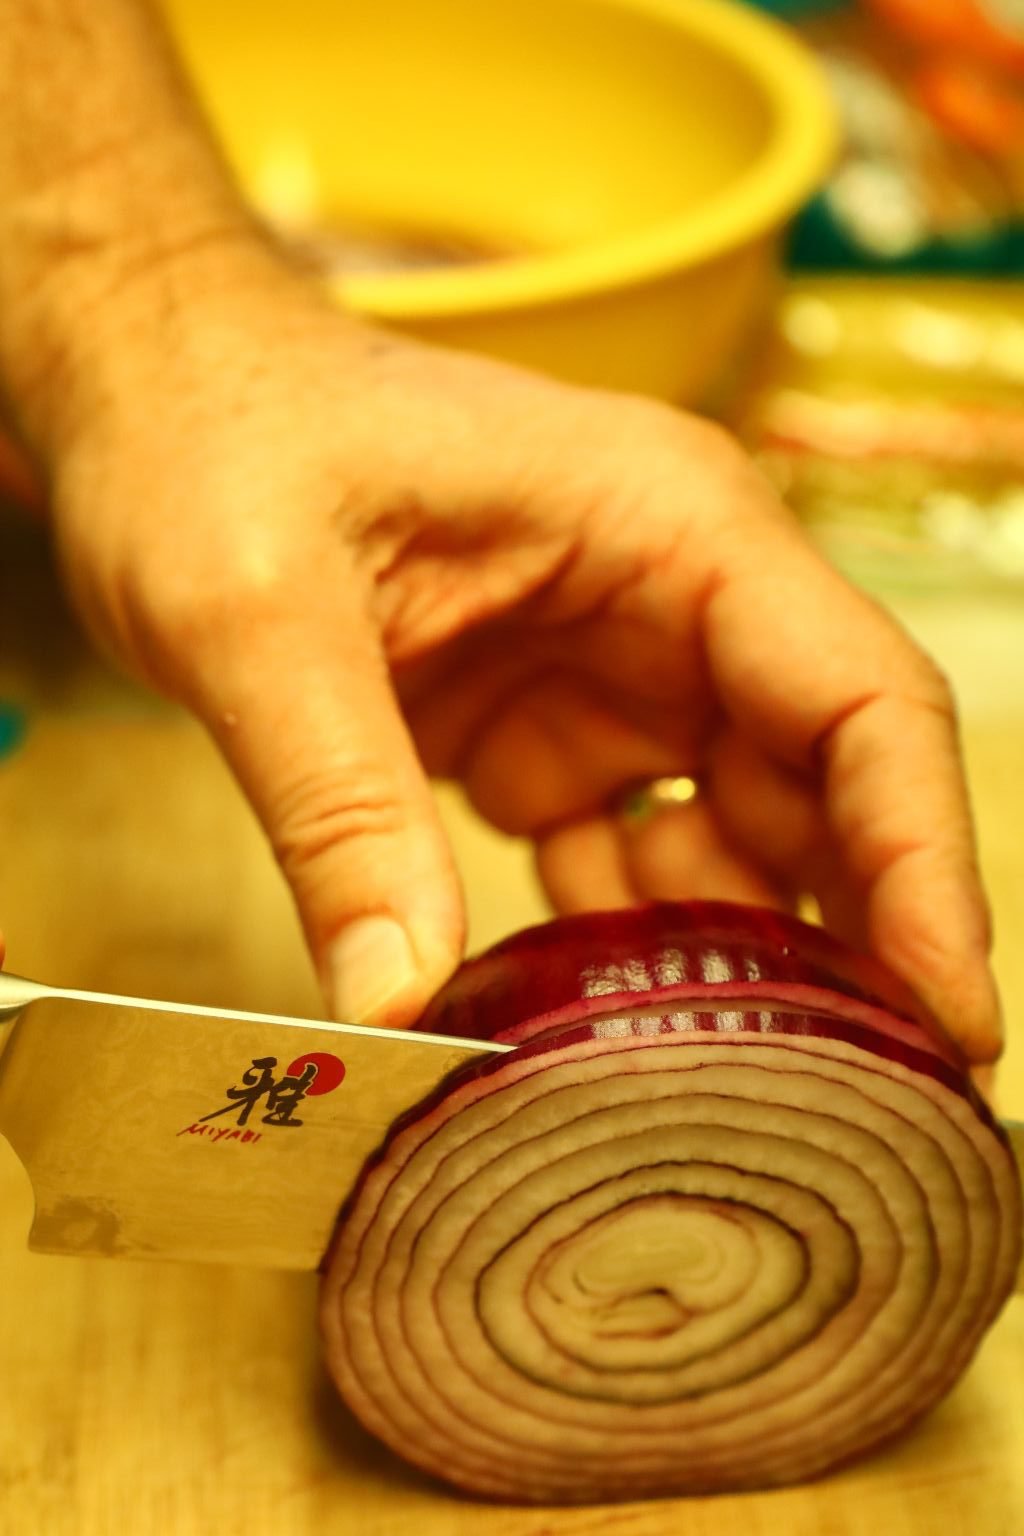
Peel the onion and slice it thinly.
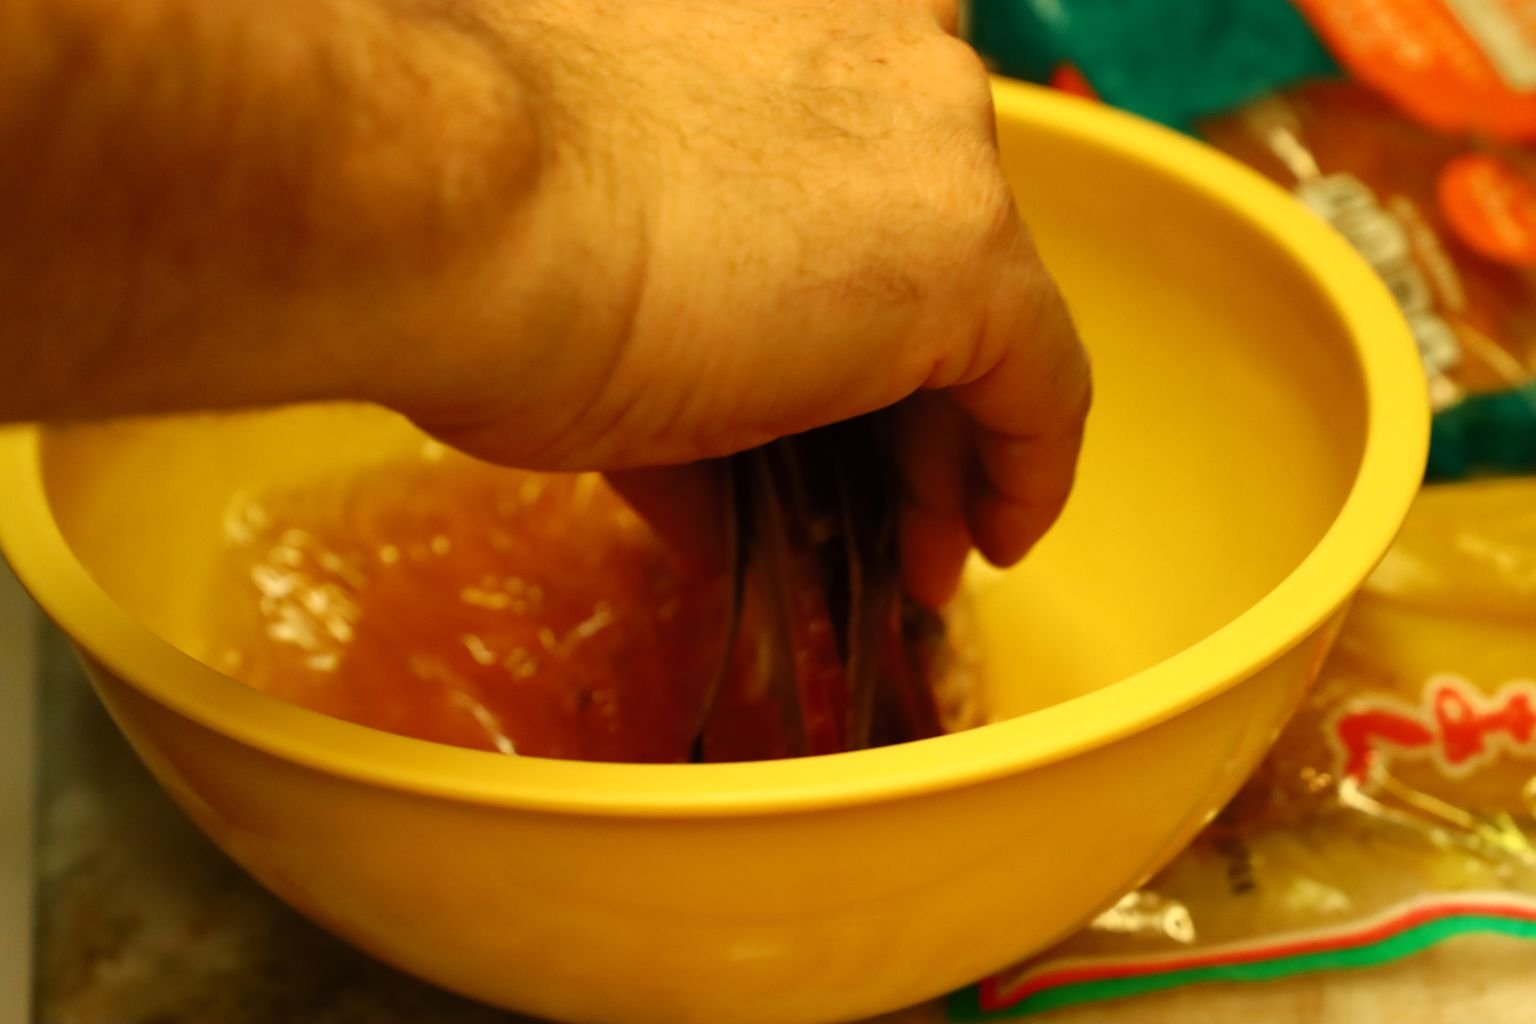

Place the onion slices into the sugar vinegar mixture. In a few hours the onions will be slightly pickled. The longer they sit in the vinegar mixture, the better they will taste.
——————————————————————
Checking on the Tocino Pork and Chicken

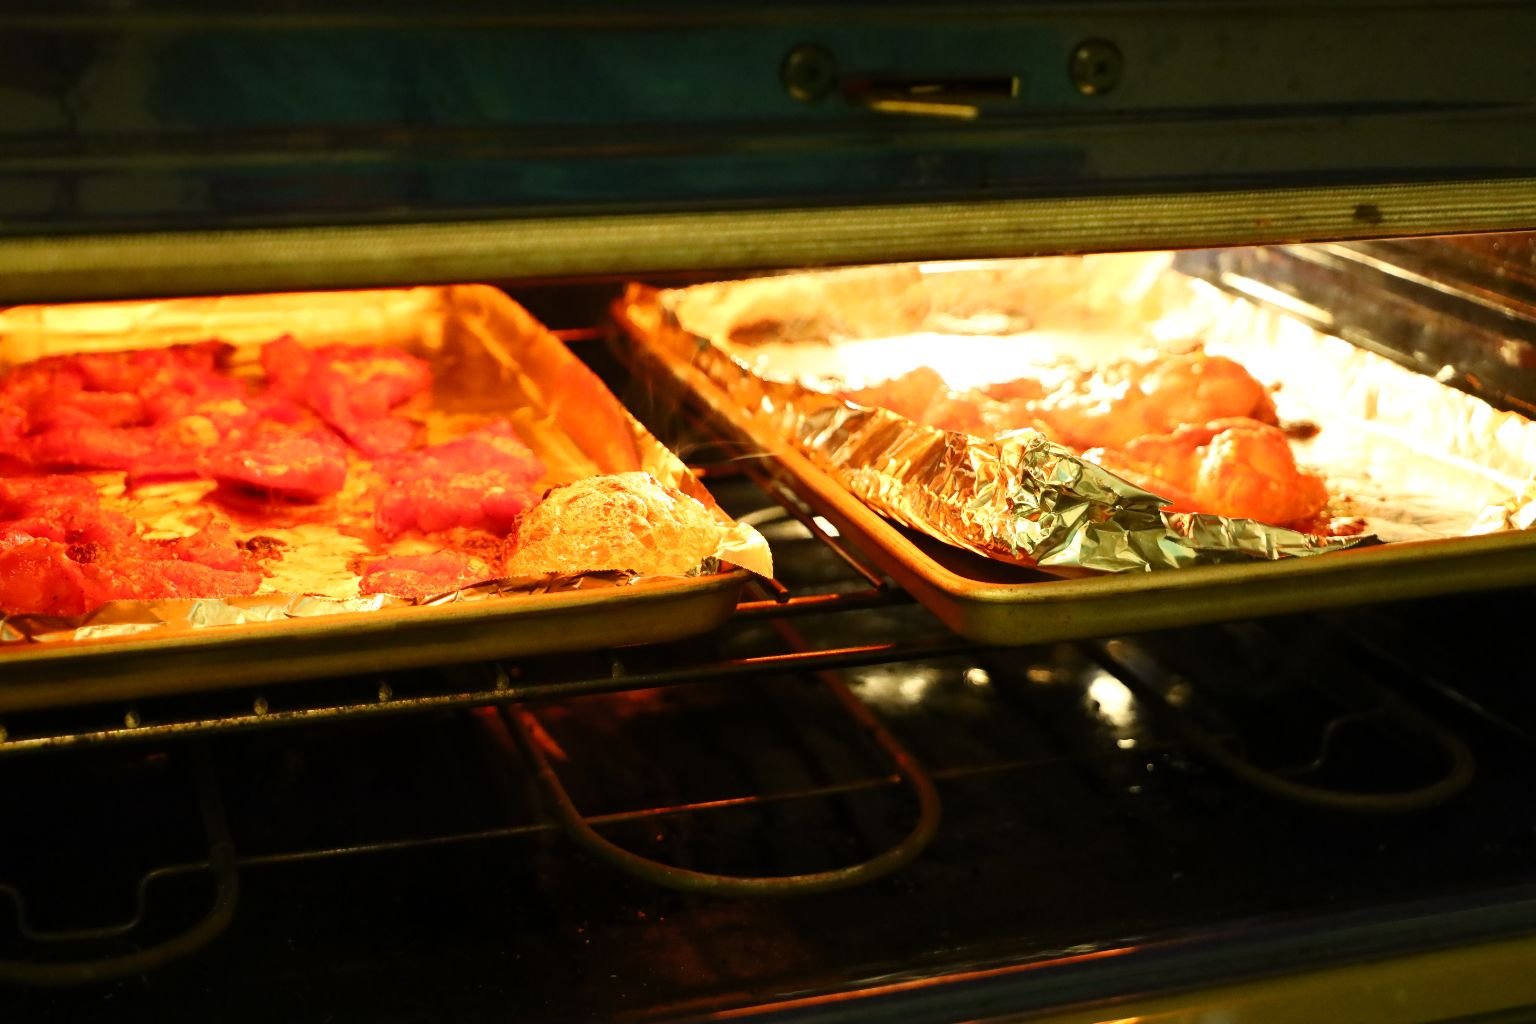
——————————————————————
Pickled Daikon Radish


————————————————————————–


Just Slice Into Rounds

Hawaiian Sweet Buns, Whole Wheat and White
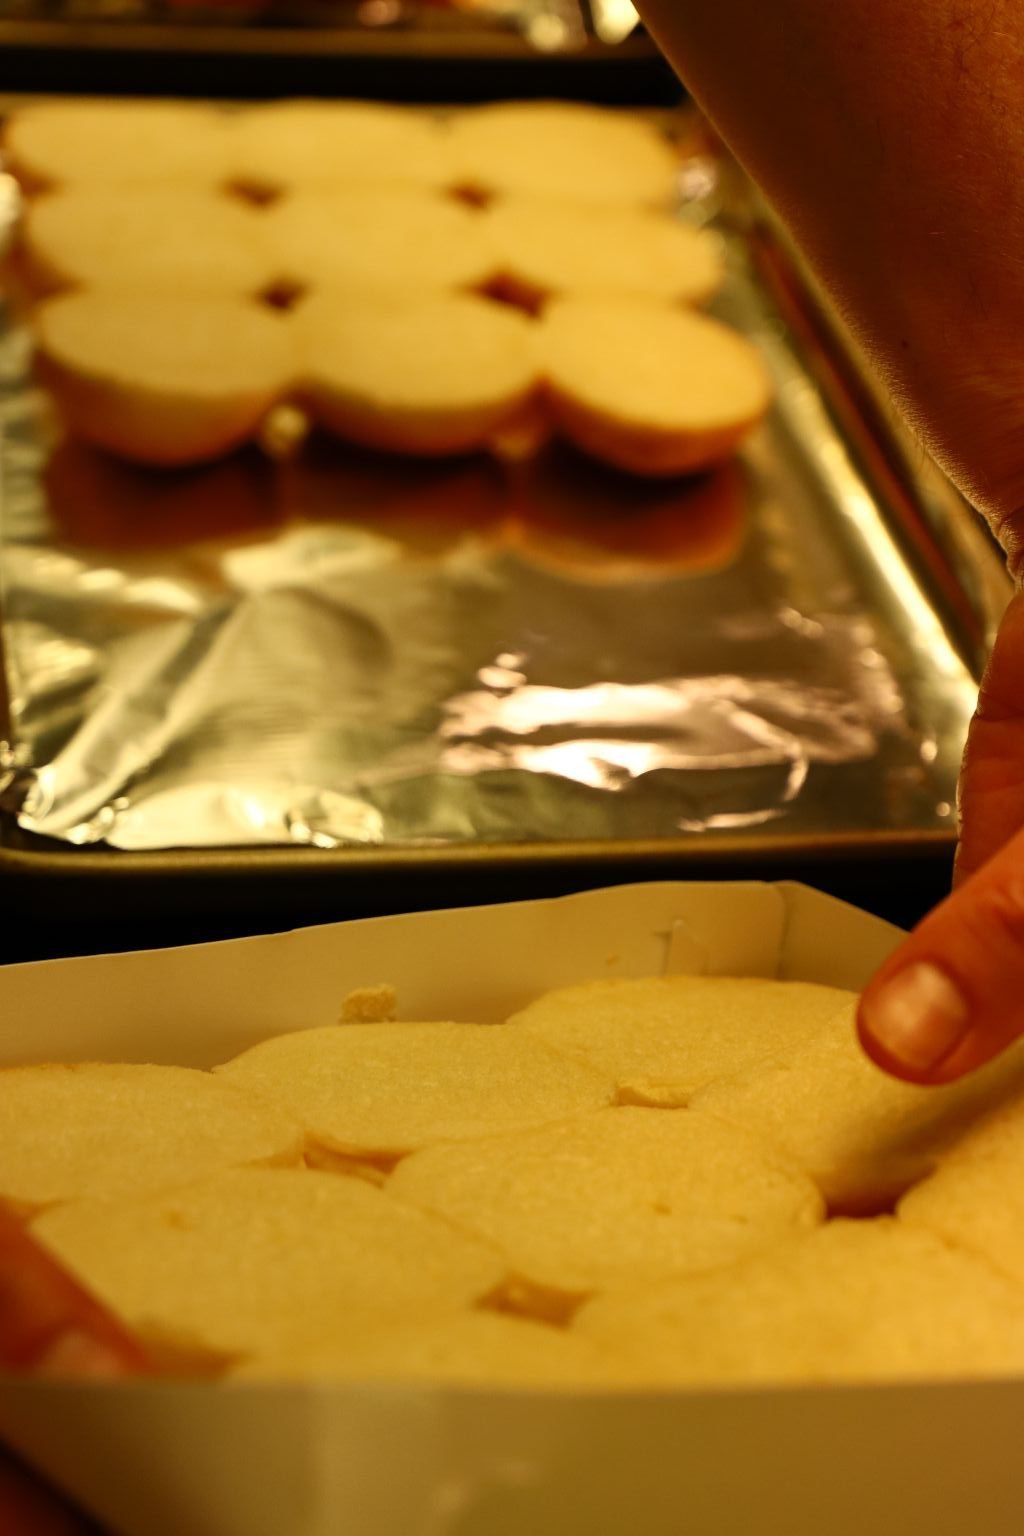
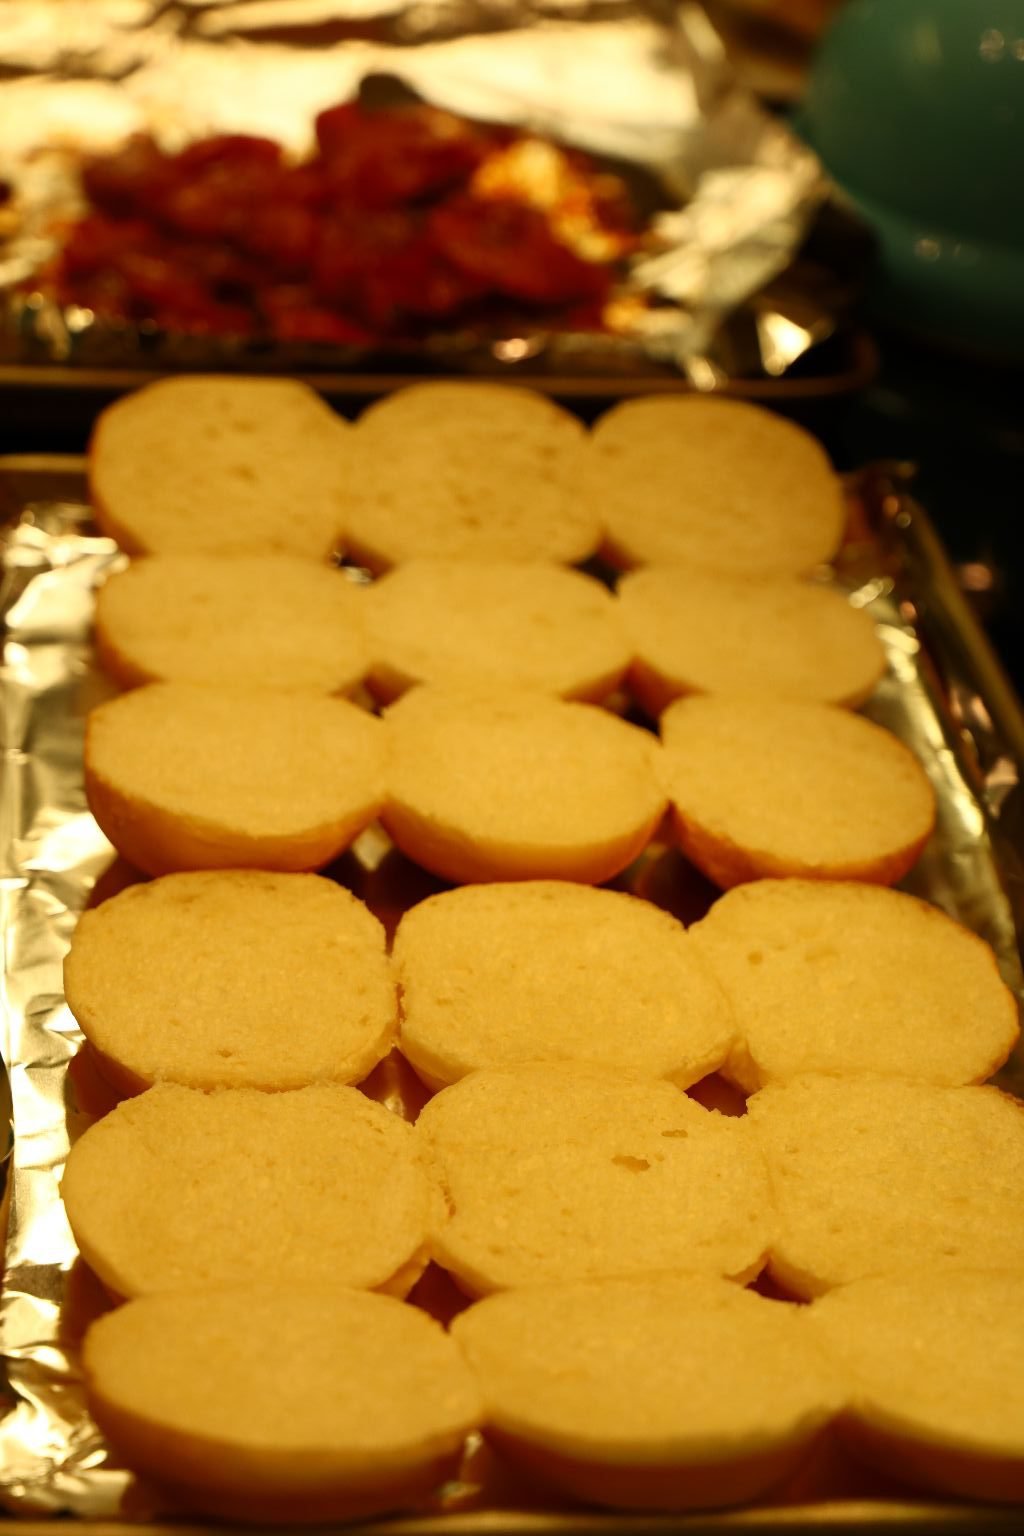
Here Gordon Sliced Them in Half and is Broiling Them to Brown

——————————————————————
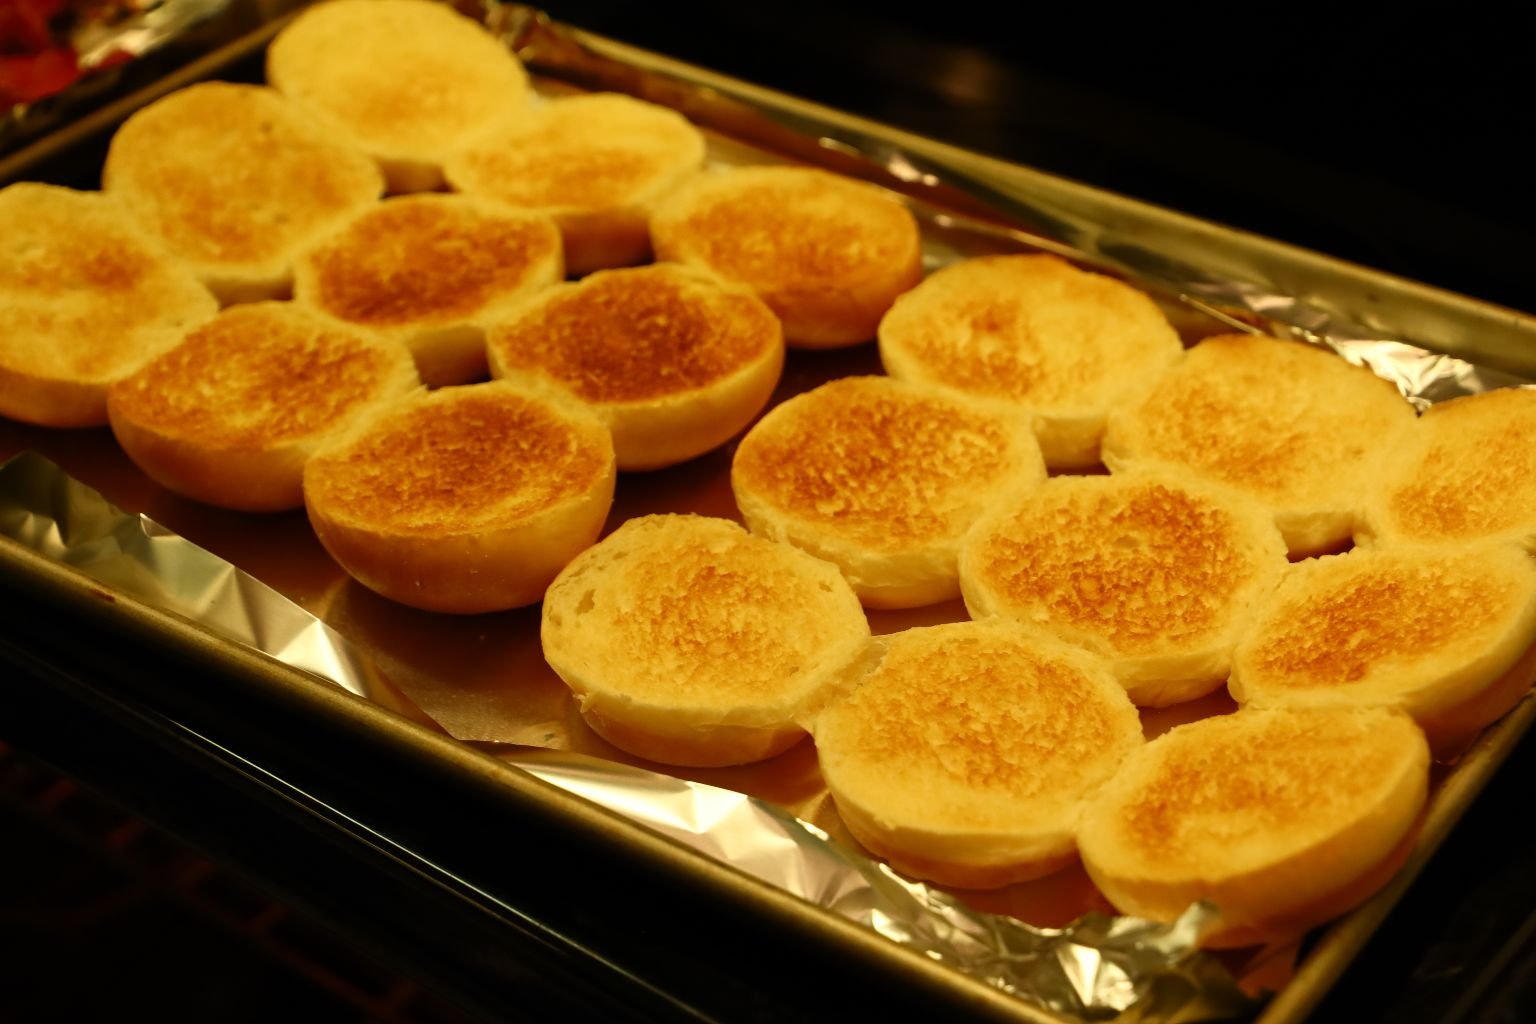
Nice and Browned

—————————————————————–

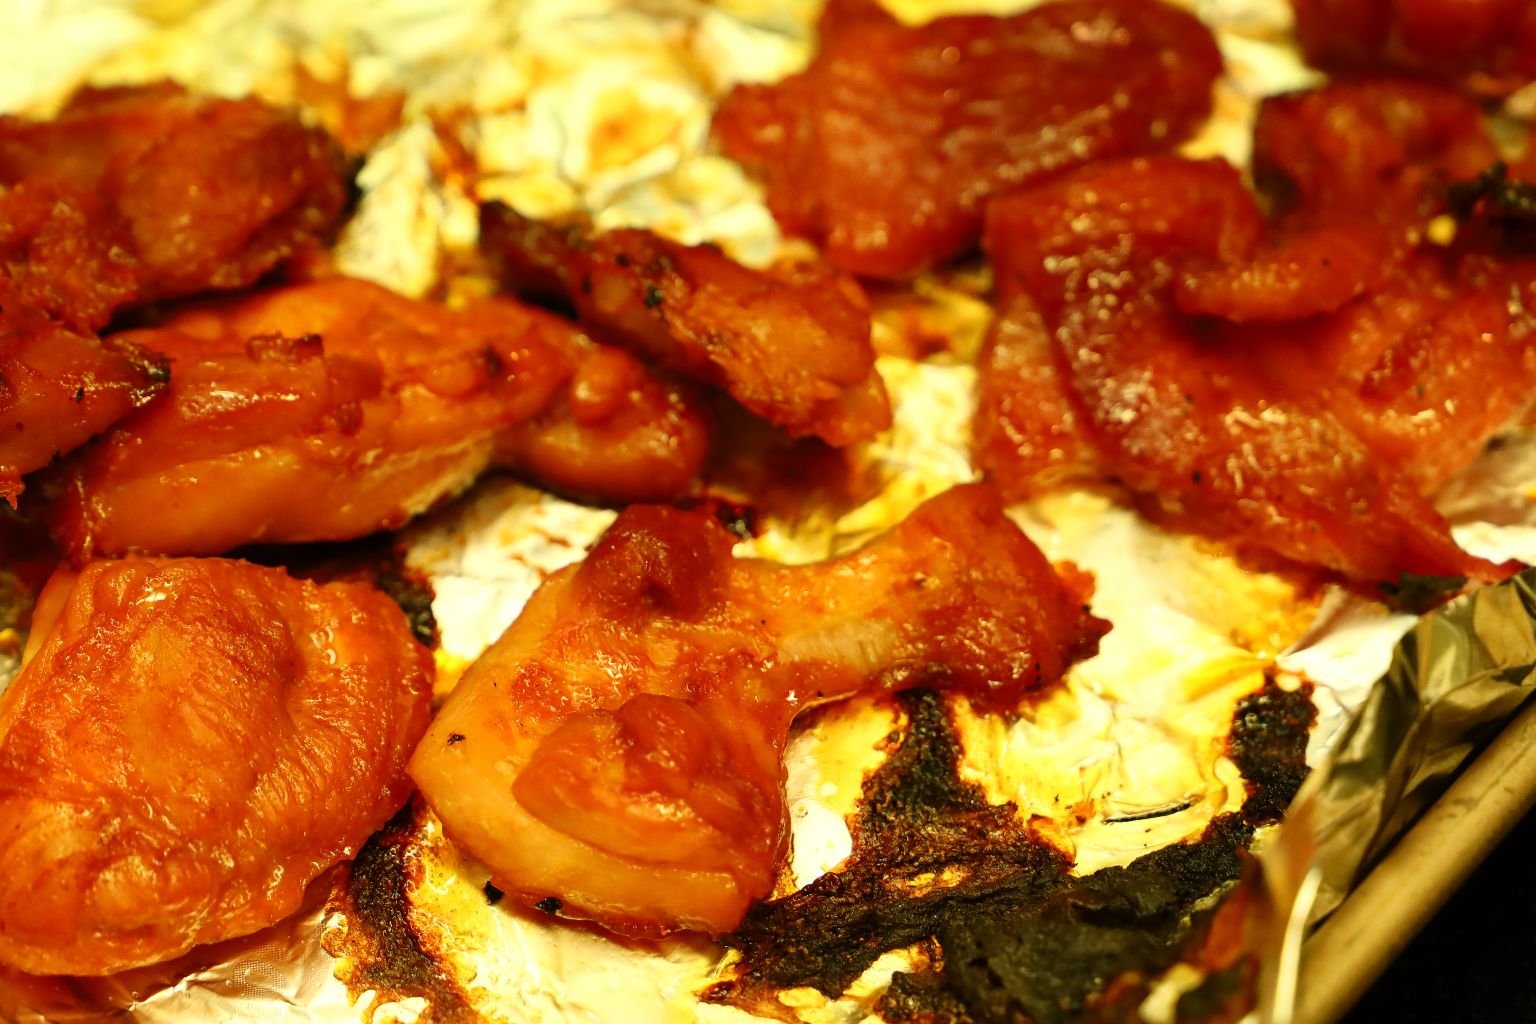
The Tocino Pork and Chicken is Ready

Now It Is Time To Assemble Our Sliders
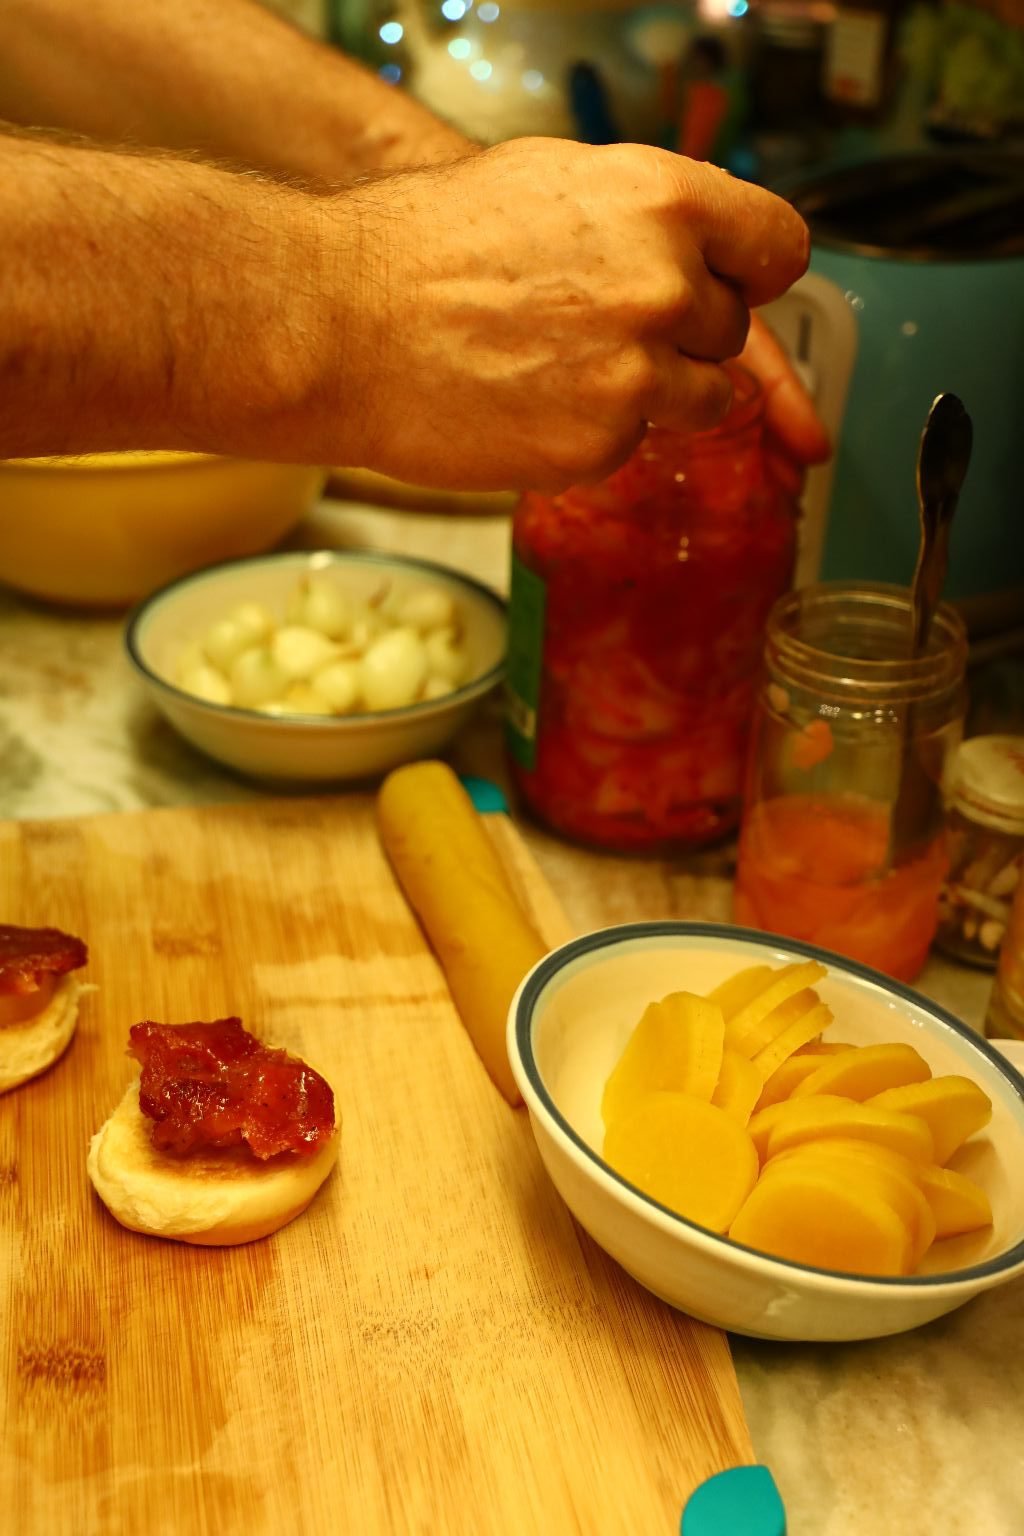

Hawaiian Sweet Roll, Tocino Pork or Chicken, Kimchi, Pickled Onion, Pickled Daikon Radish
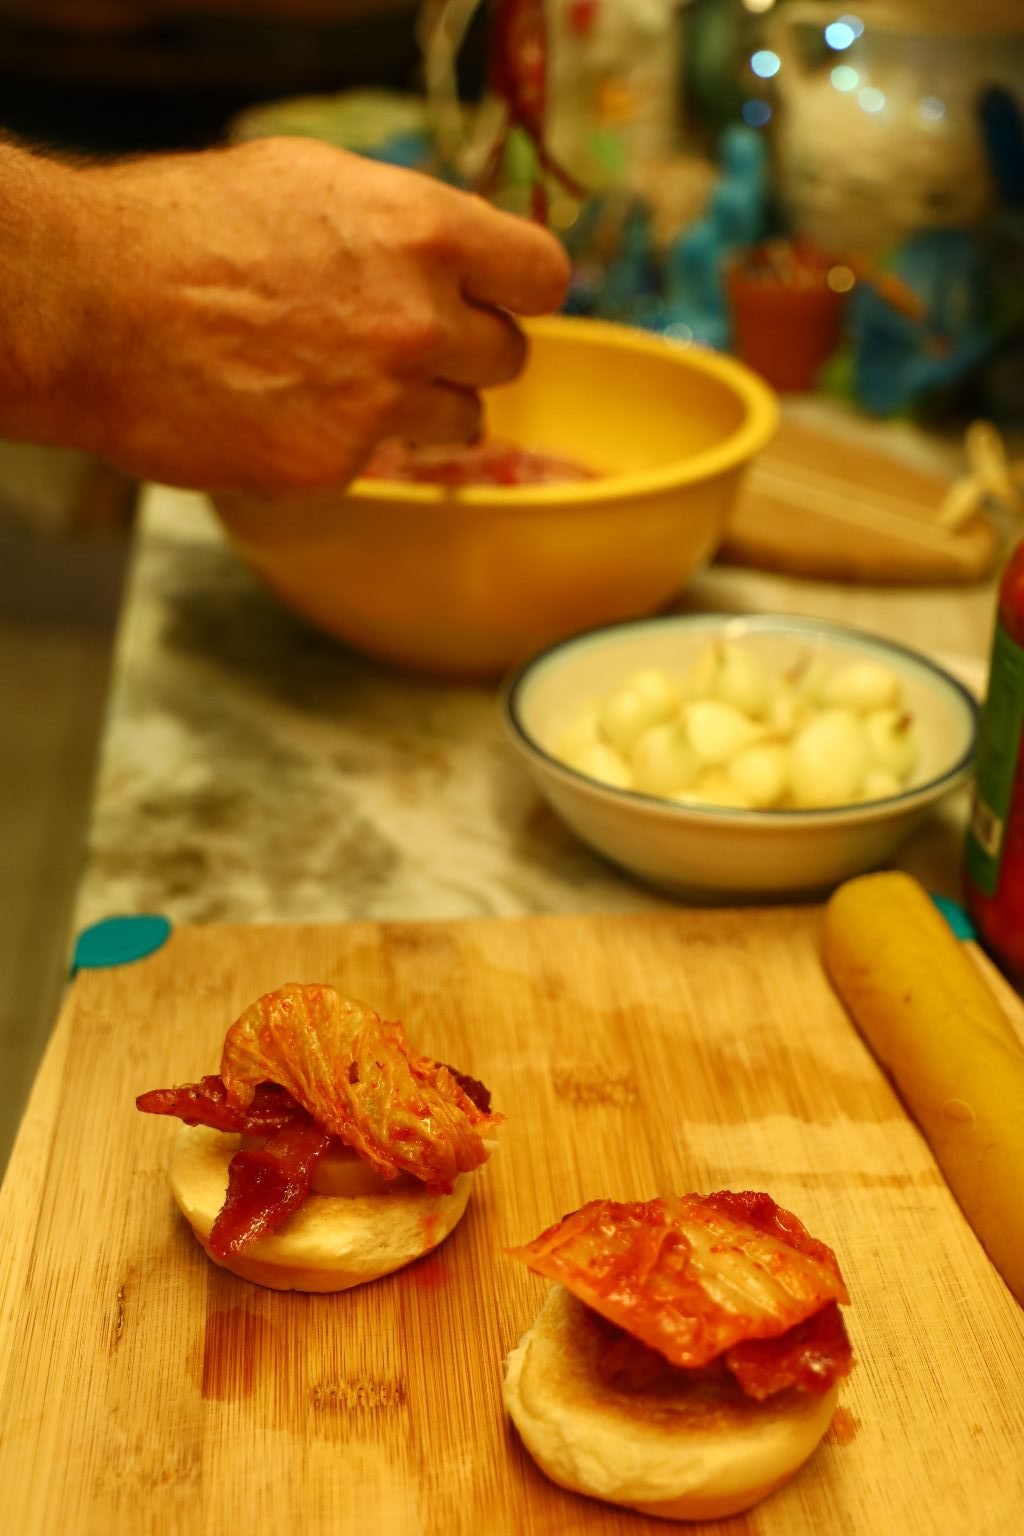


—————————————————————
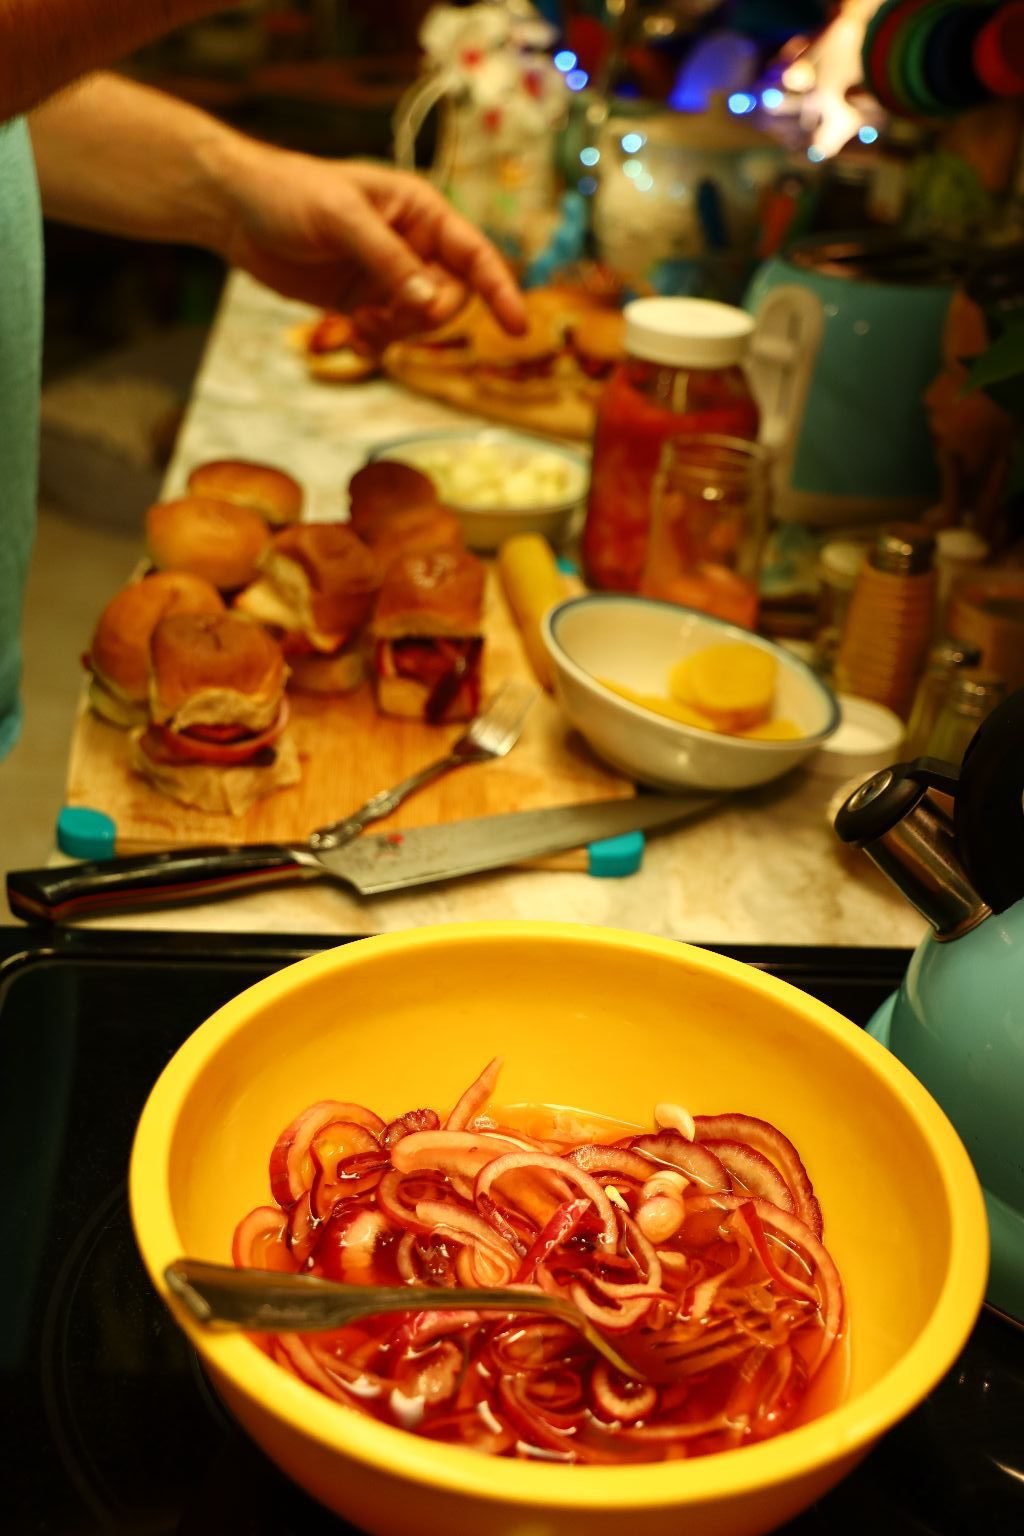
Manawa E ‘Ai Ai
means…
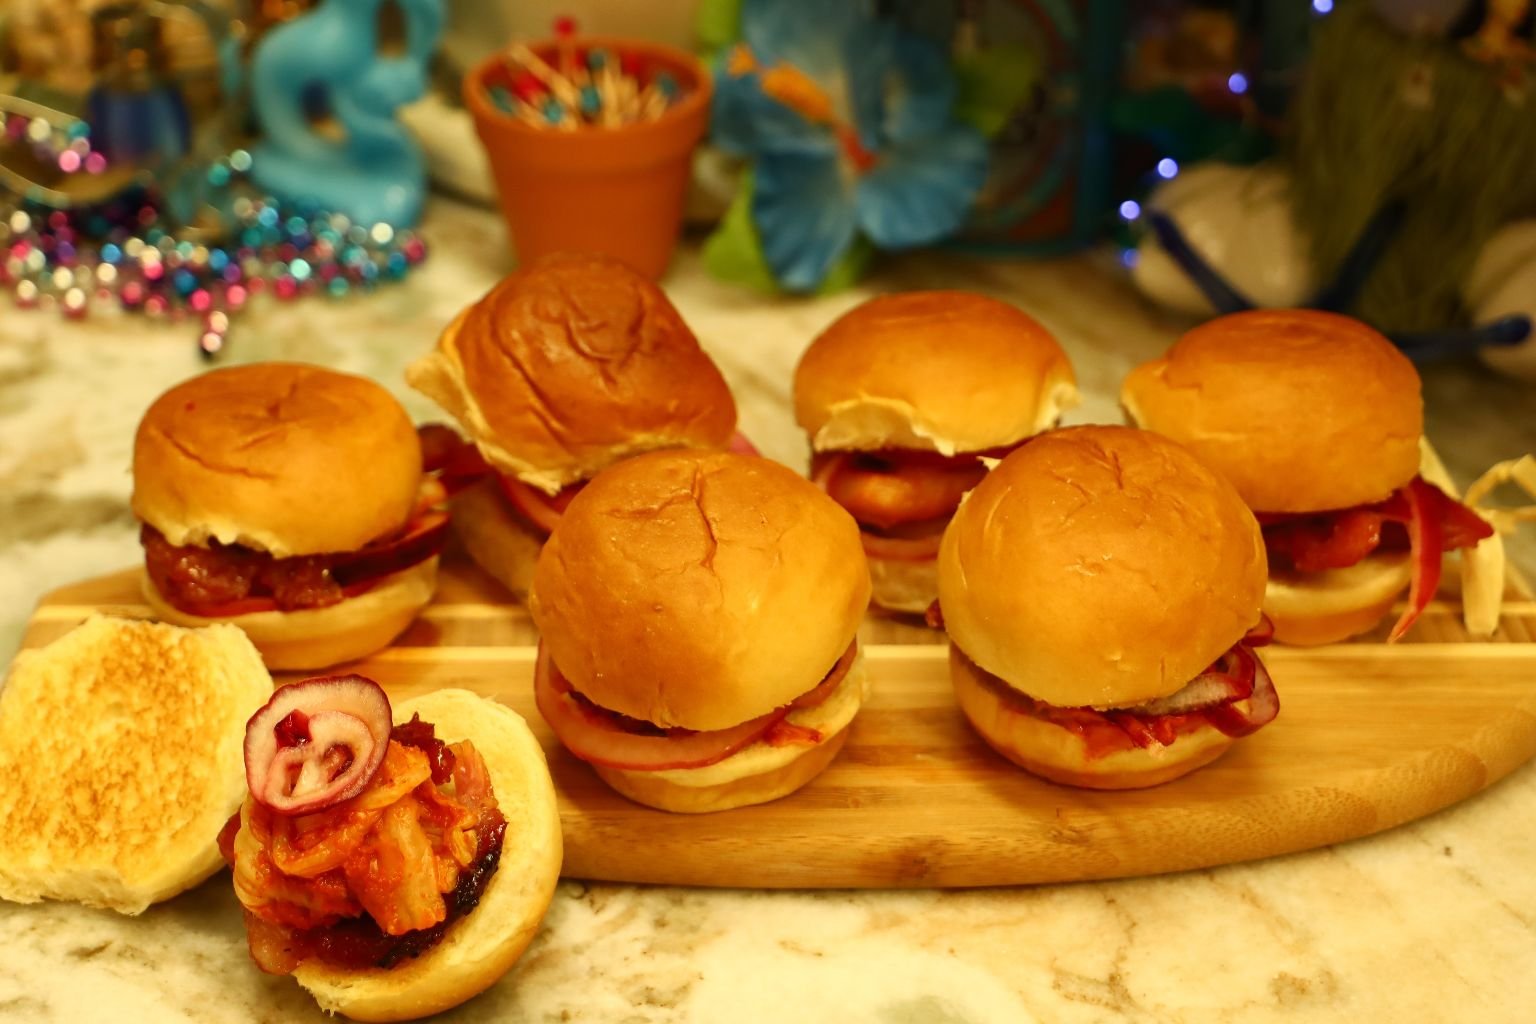
Time To Eat!
———————————————————————-

Our Hawaiian/Filipino Tocino Pork/Chicken and Egg Sliders
This is just an expansion on the sliders from above.
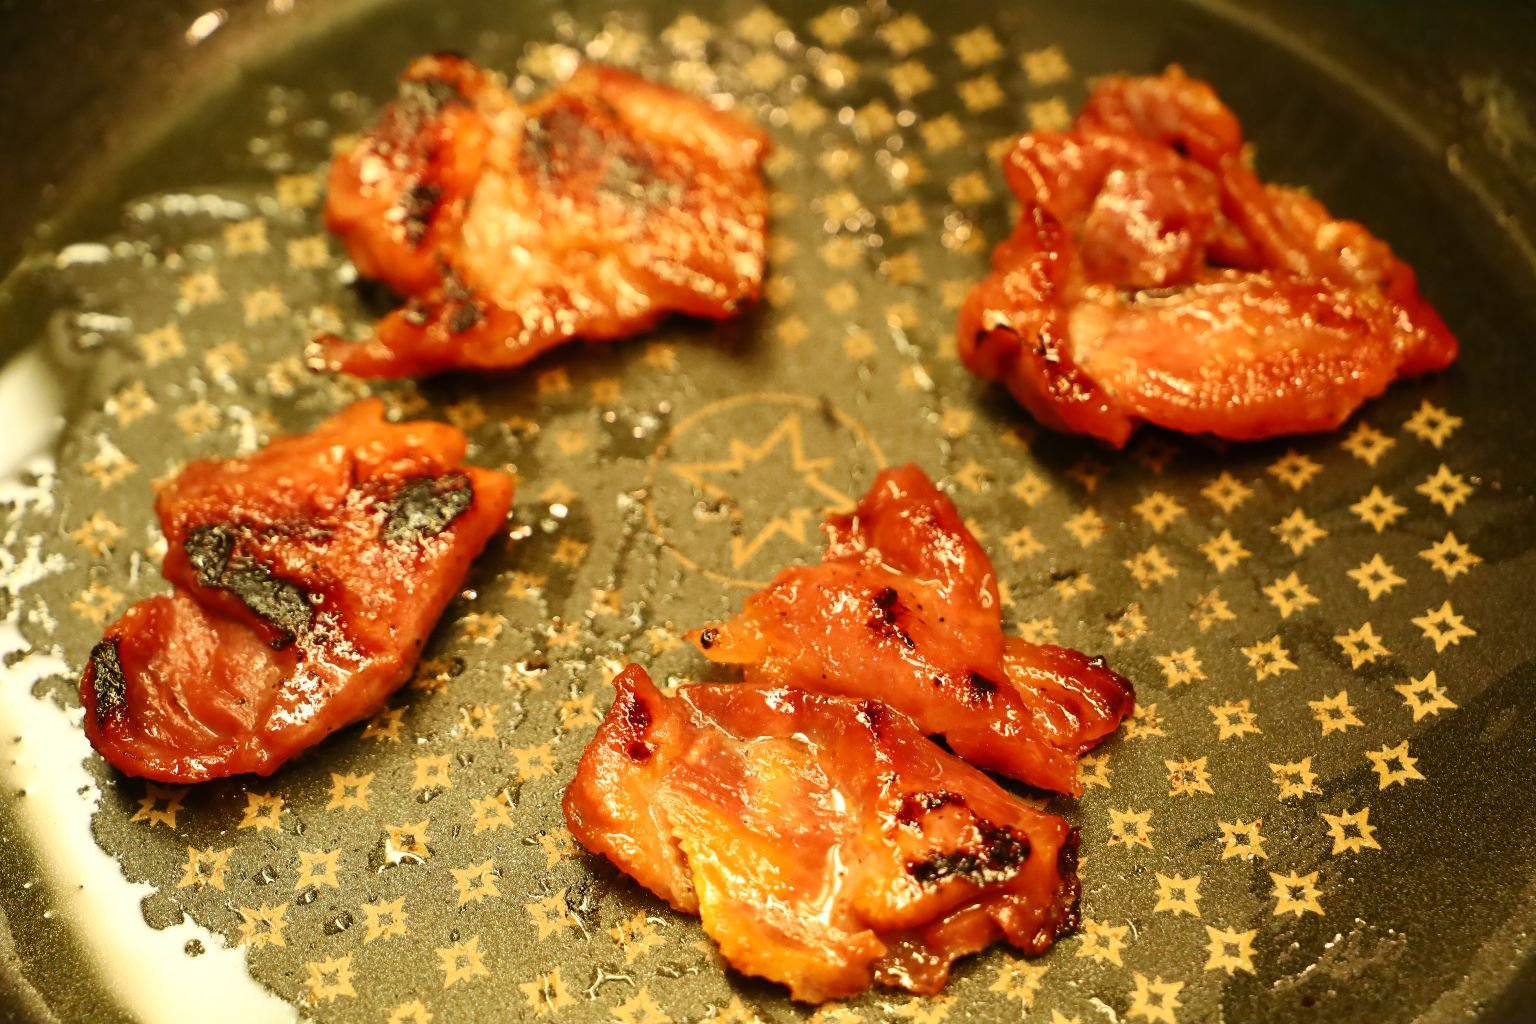
Reheating the Tocino Pork and Chicken


Frying Some Medium Eggs
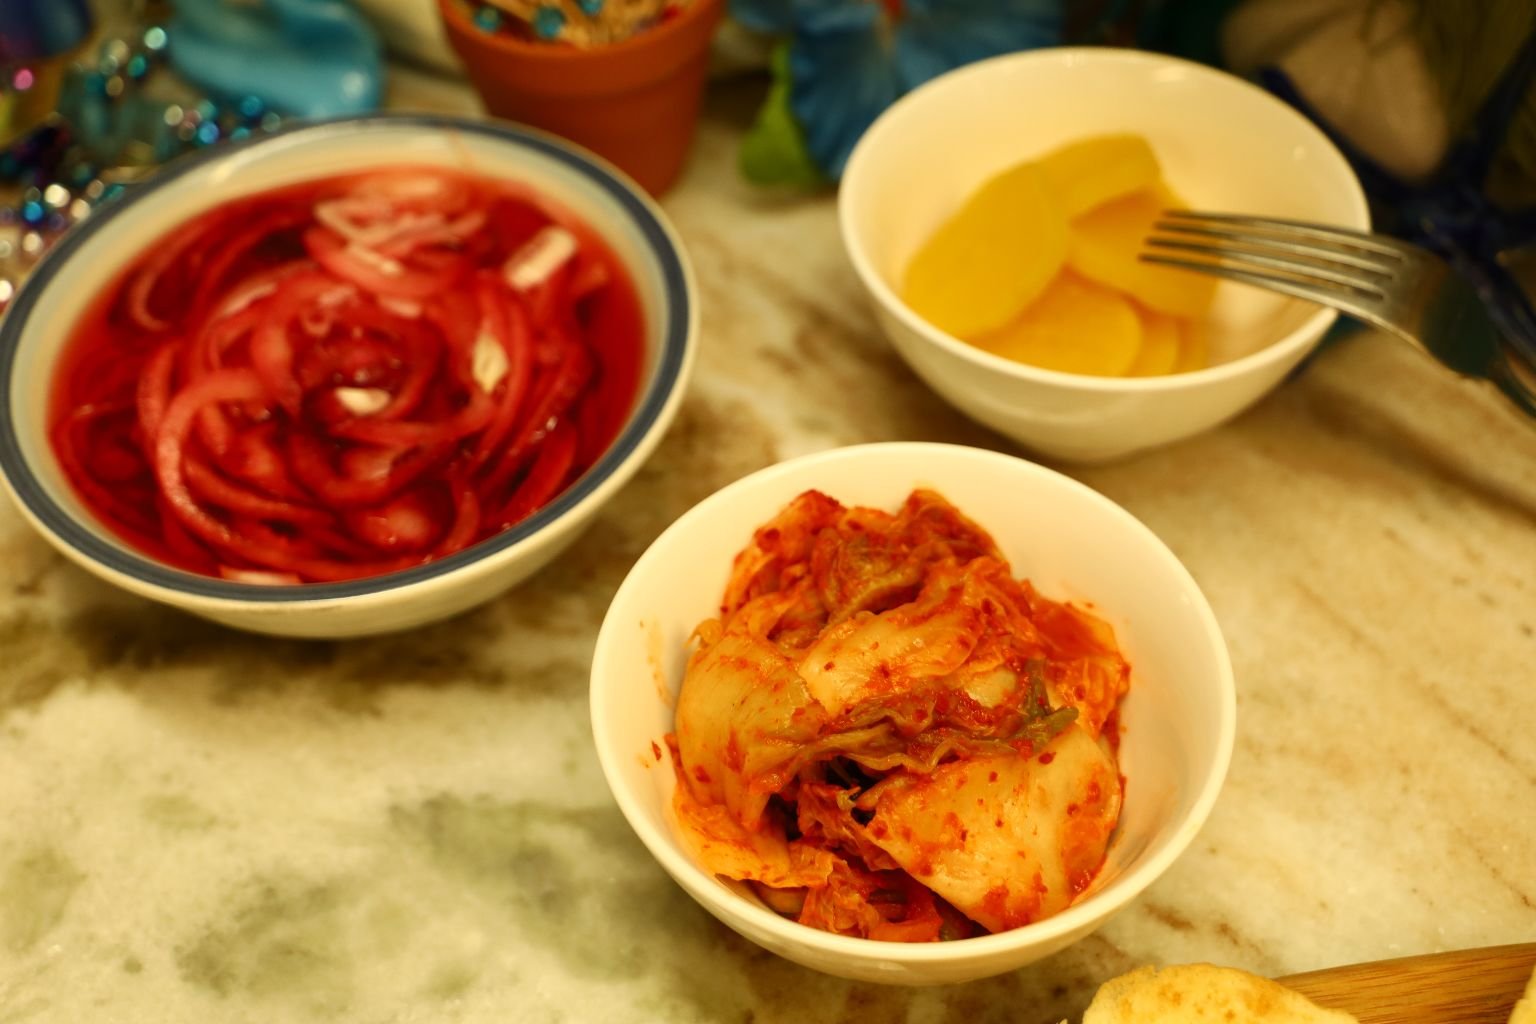
Pickled Red Onion, Kimchi, and Pickled Daikon Radish
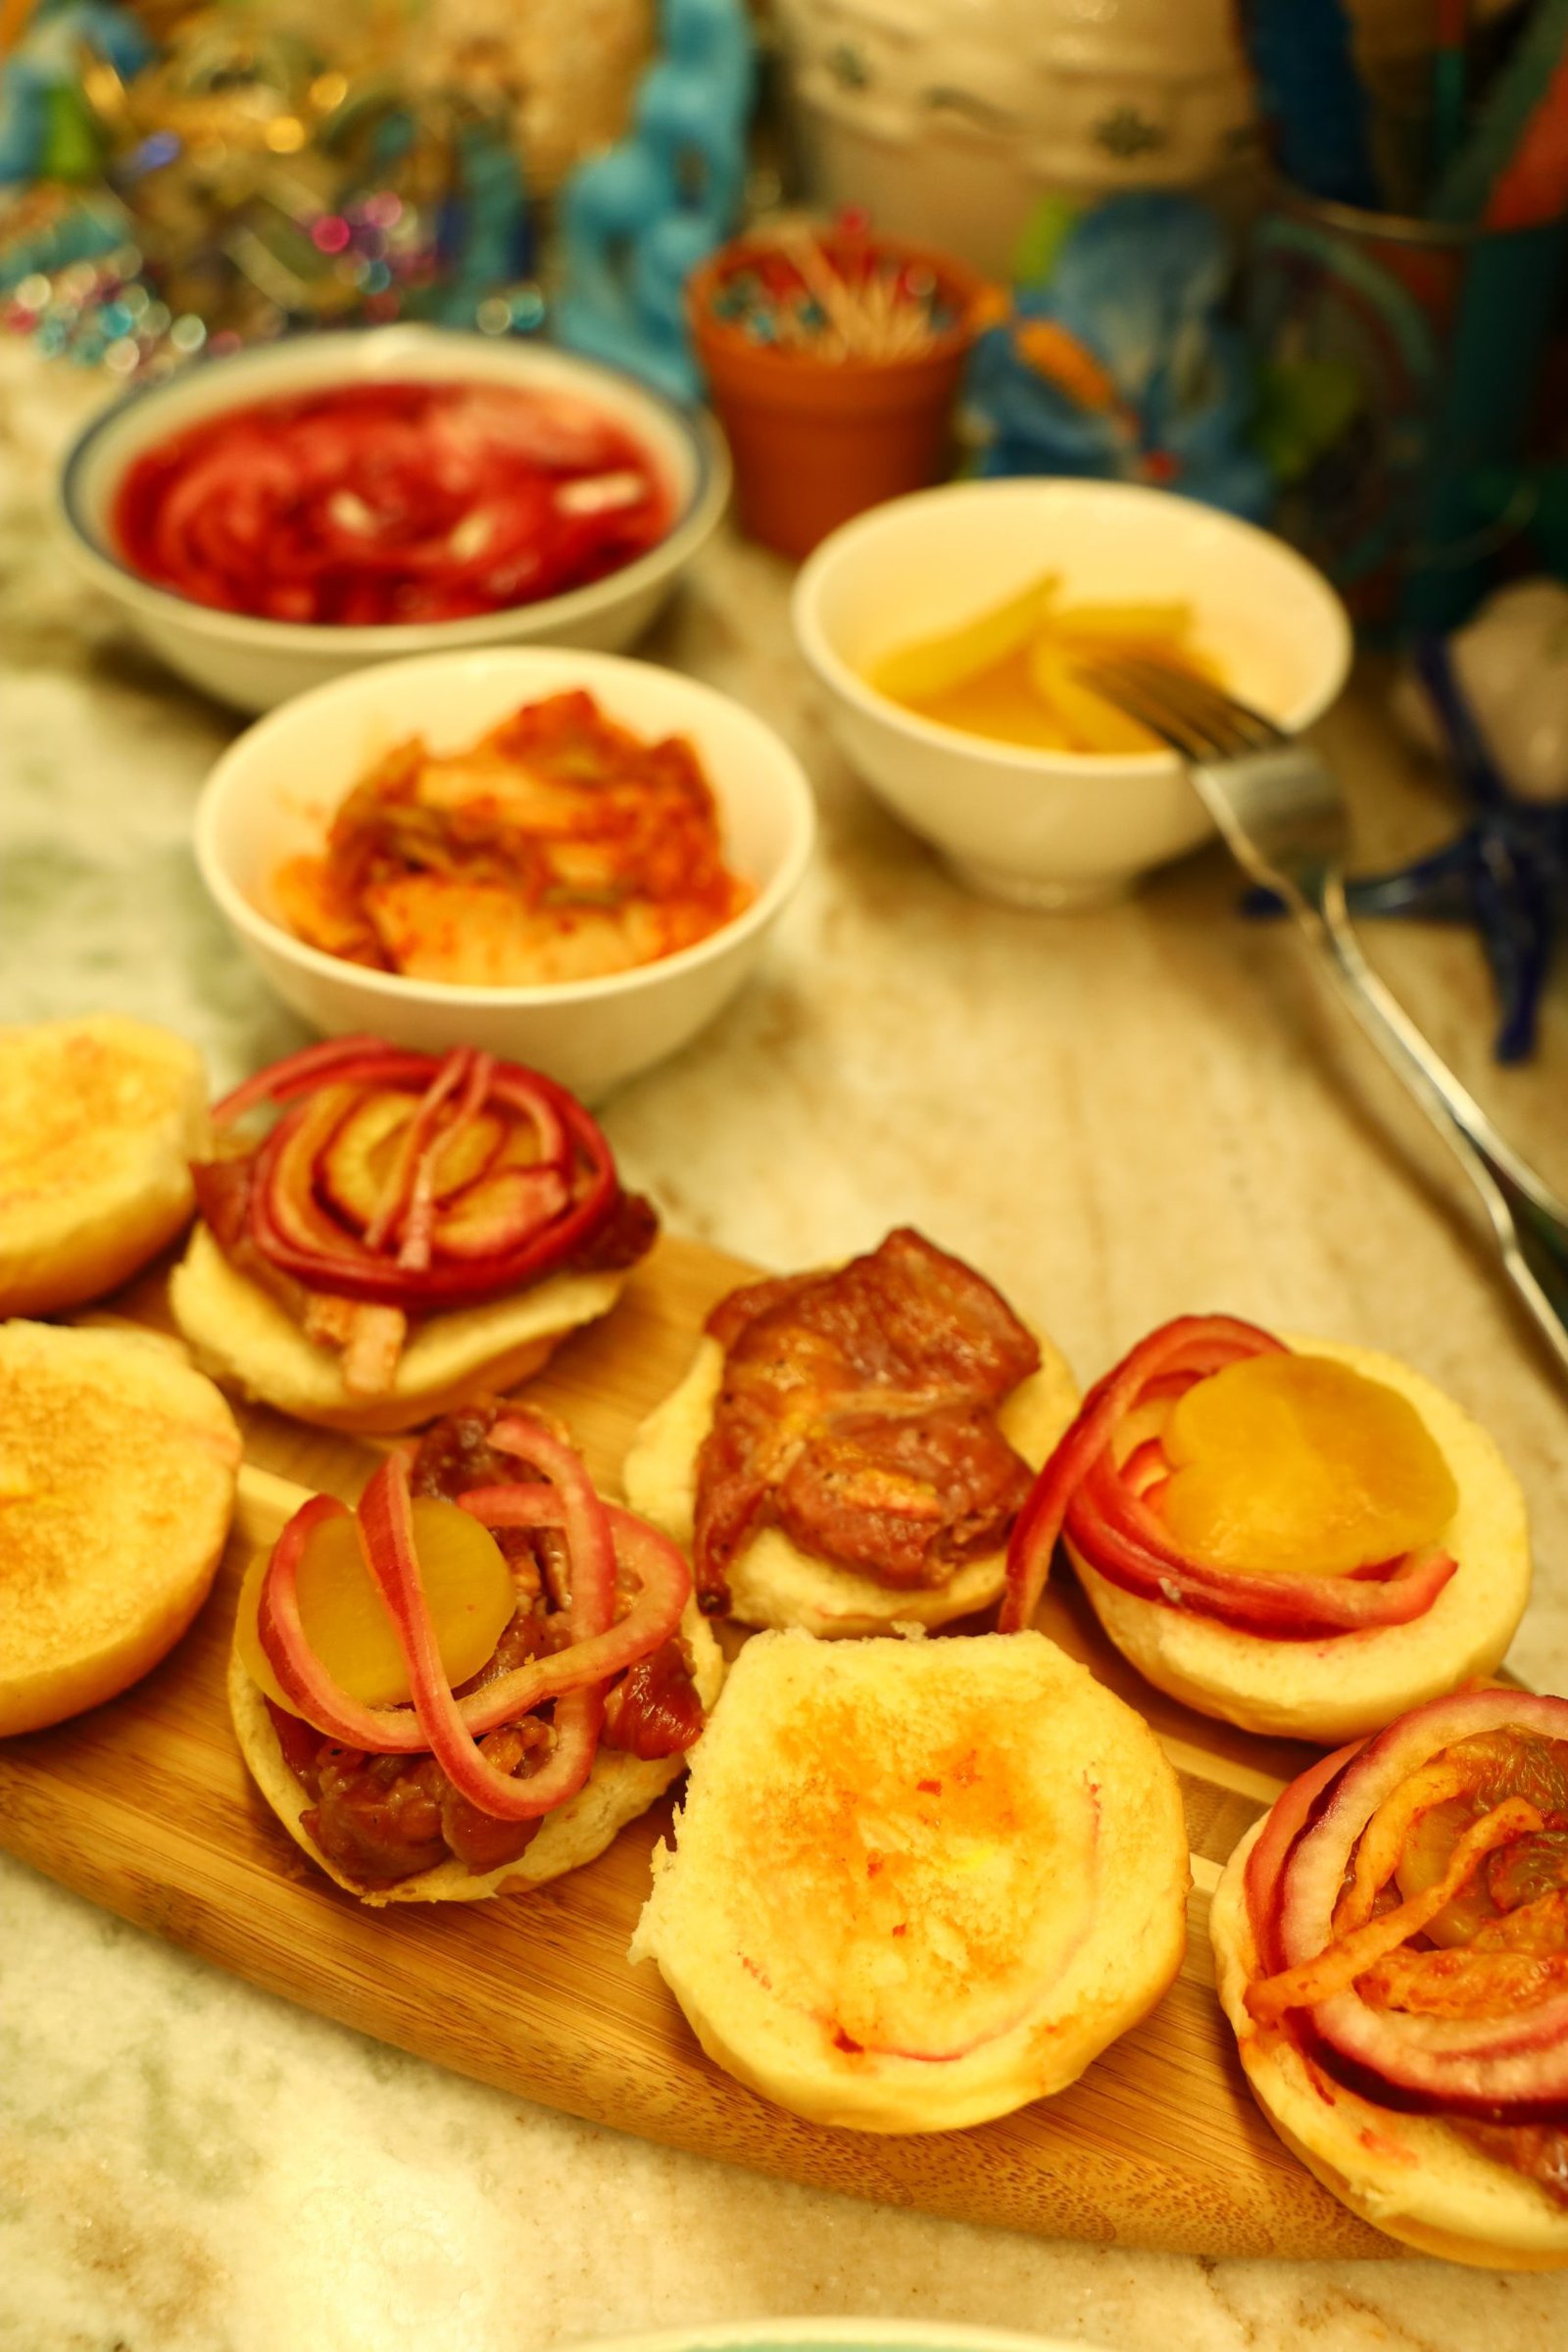

Now It’s Time To Assemble

————————————————————

Perfect Little All Day Sliders
Breakfast, Lunch, Dinner
—————————————————————
Hawaiian Tray Bakes
Mahi-Mahi Wrapped in Banana Leaves with Chinese Long Beans
Our Whann Way Hawaiian Traybake
Our Haole Traybake
Our ONO Hawaiian Tray Bakes
Mahi-Mahi wrapped in our home grown herbs and banana leaves.
When Done…
Gordon and Julie’s Dinner Plates
Leftovers Arranged the Aloha Way
————————————————————
Our Whann Way Hawaiian Traybake

Just Washing Some of our Traybake Ingredients

——————————————————————–

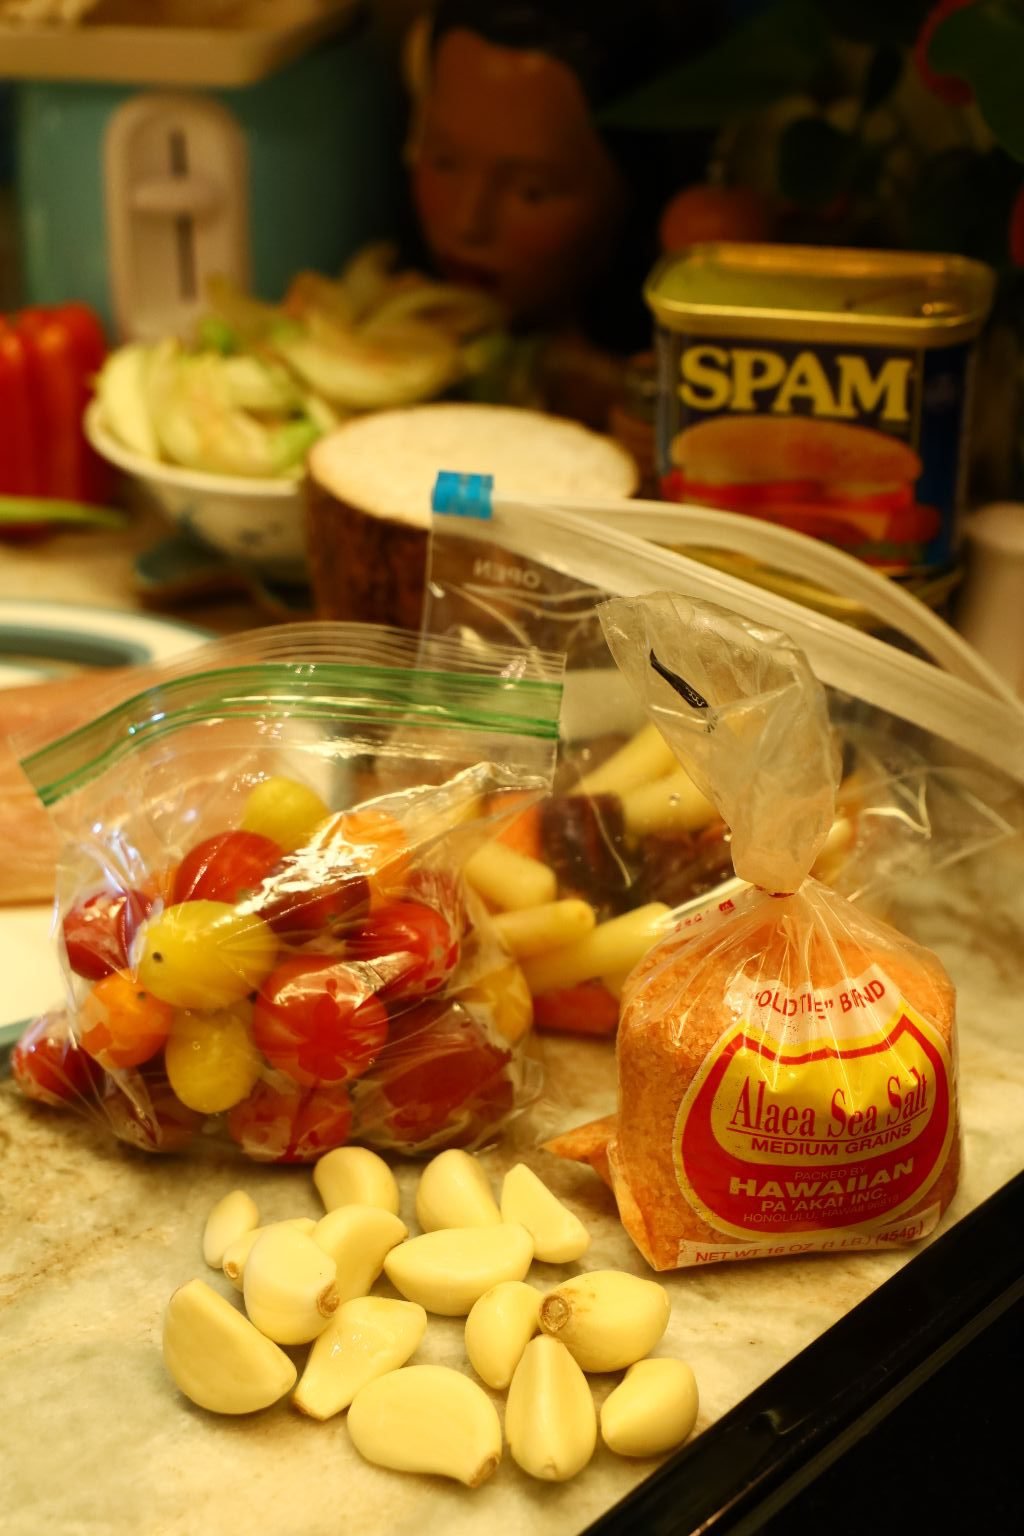
Ingredients:
2 Cans of Spam
(SPAM is a local staple food in Hawaii. It stems back to WWII when our government sent over many cans to feed the sailors and locals alike. It was something that didn’t go bad quickly.)
2 Hawaiian Bell Peppers – sliced to 1 inch thick wide lengths
2 Onions – sliced into quarters
~15 Cherry Heirloom Tomatoes
4 Yams – sliced into 1/2 inch thick rounds
~1/4 Cup Vegetable Oil
Banana Leaves – enough to cover the base of the roasting pan
Hawaiian Sea Salt and Pepper to taste
Sprigs of Tarragon
Chow Mein Stir-Fry Noodles
Salt for the Noodle Water
————————————————————–


Remove the Spam from their tins and place onto a larger cutting board. Now, slice the spam in half then into 1/4 to 1/2 inch wedges.

Place the sliced Spam into a large saute pan with about 2 Tbsp. of vegetable oil. Turn the heat to medium high …


and cook the Spam until they are slightly browned as shown.

Place the browned Spam on a plate lined with a paper towels.


Slice your Bell Peppers in half and remove the seeds and stem. Now, slice the Bell Pepper halves into 1 inch thick wedges.


Place the wedges in a bowl for later use. Peel and slice your onions into quarters as shown.


Here we started loading up our large roasting pan with our ingredients.

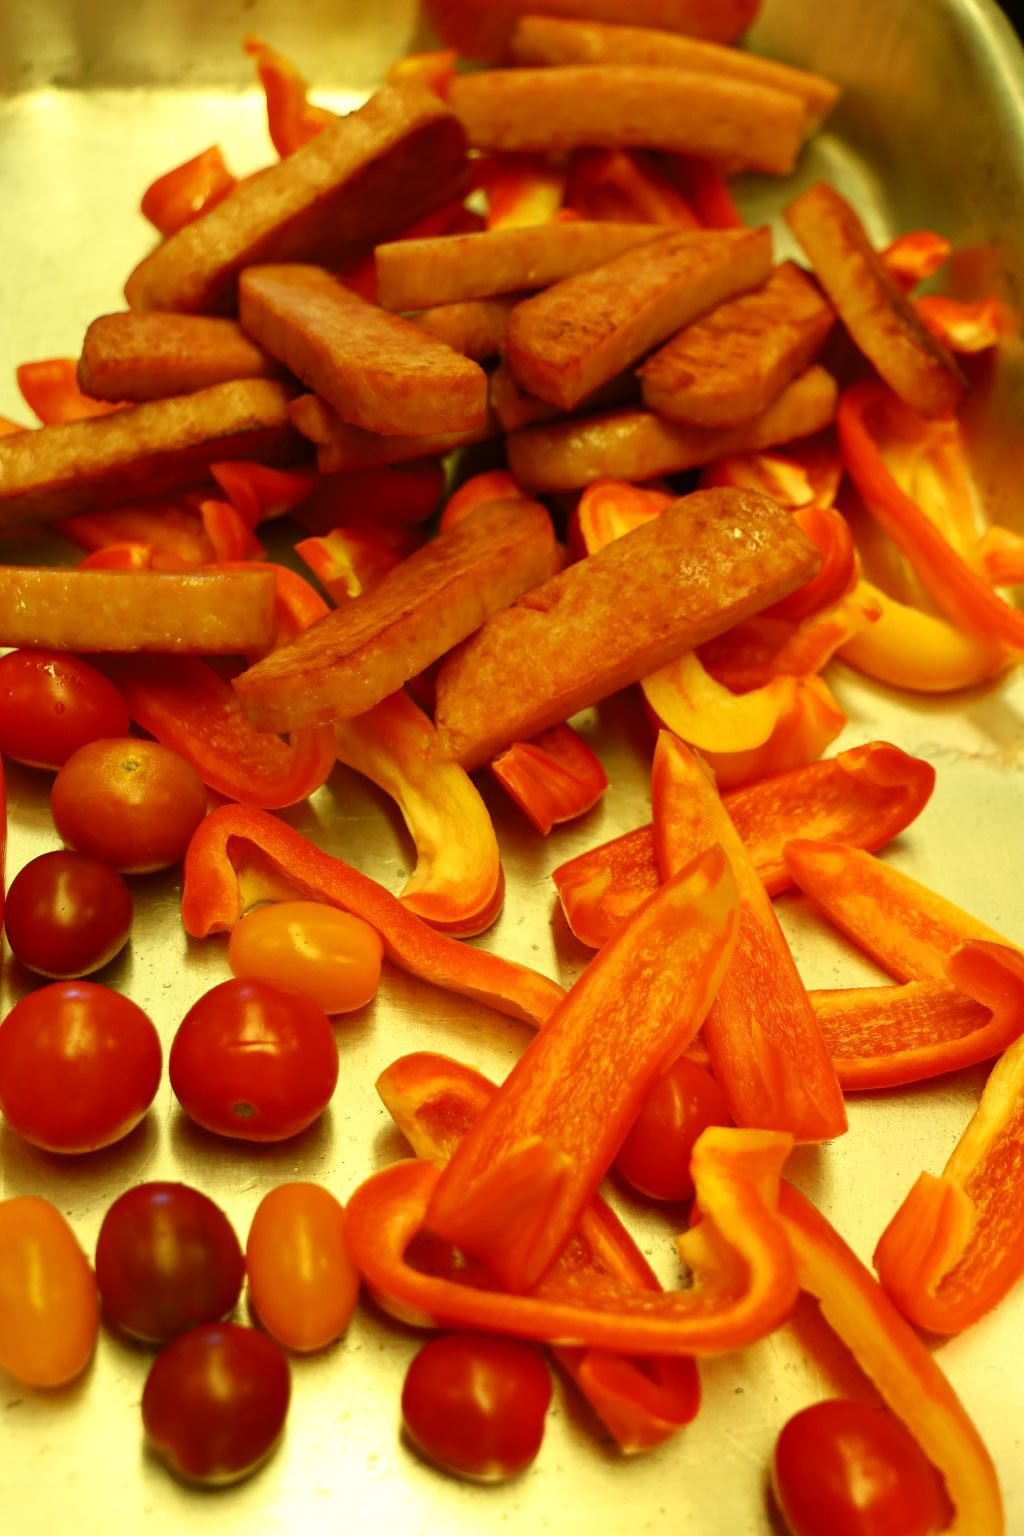
Hawaiian Bell Peppers, SPAM, and Cherry Tomatoes
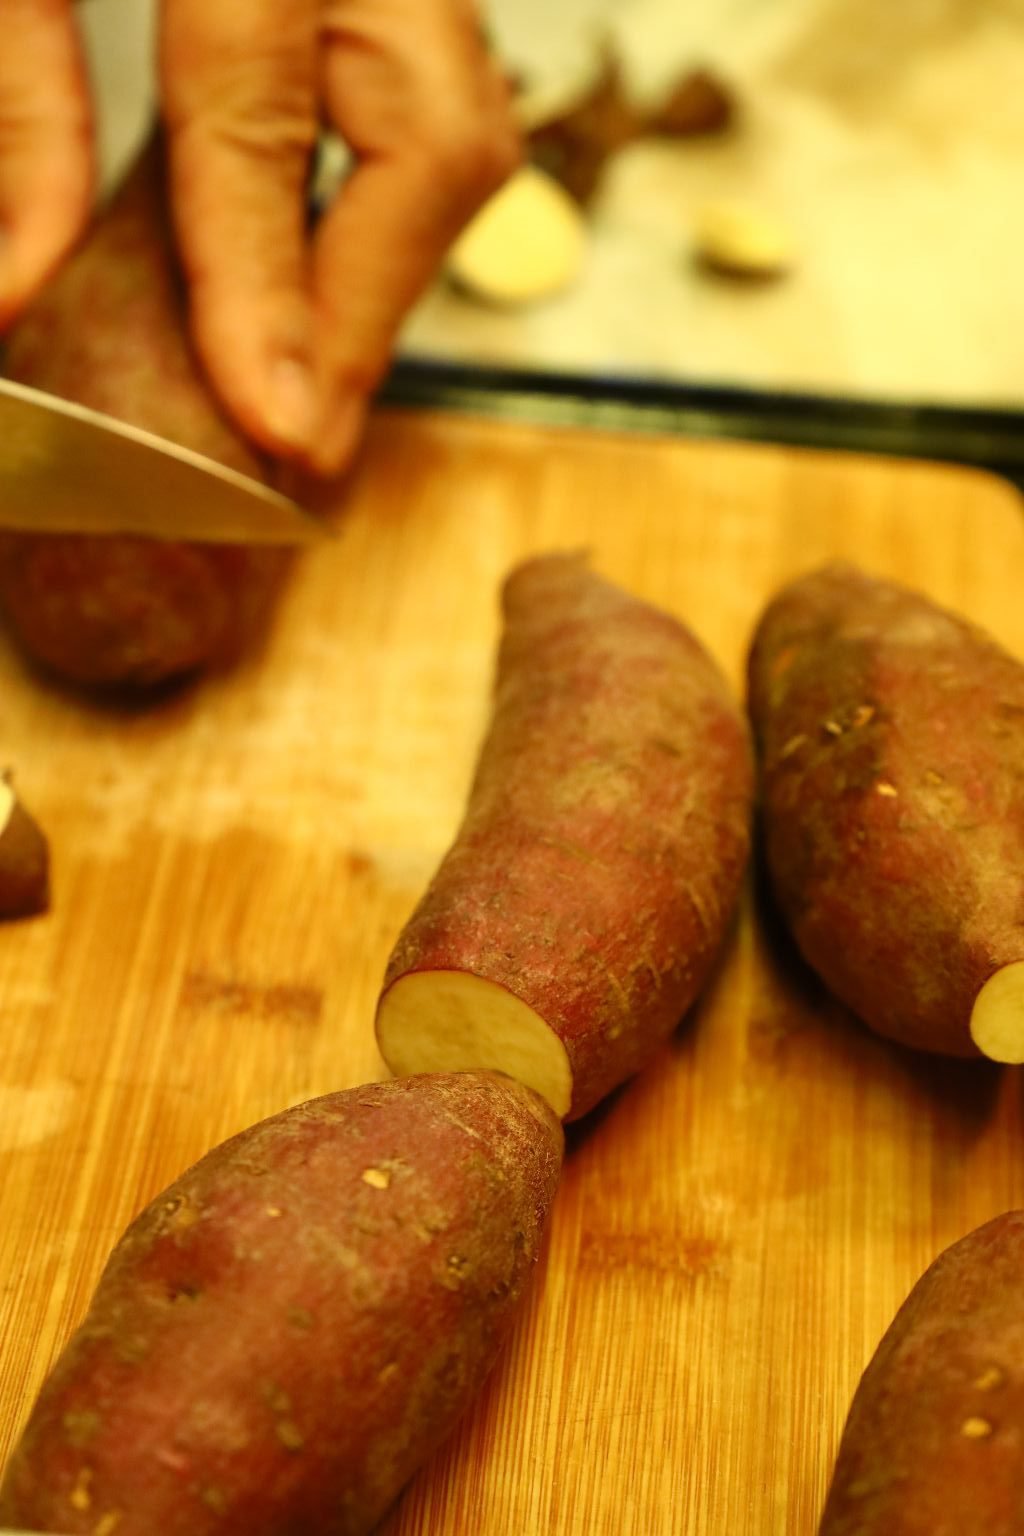

Slice your Yams into 1/2 inch thick rounds.

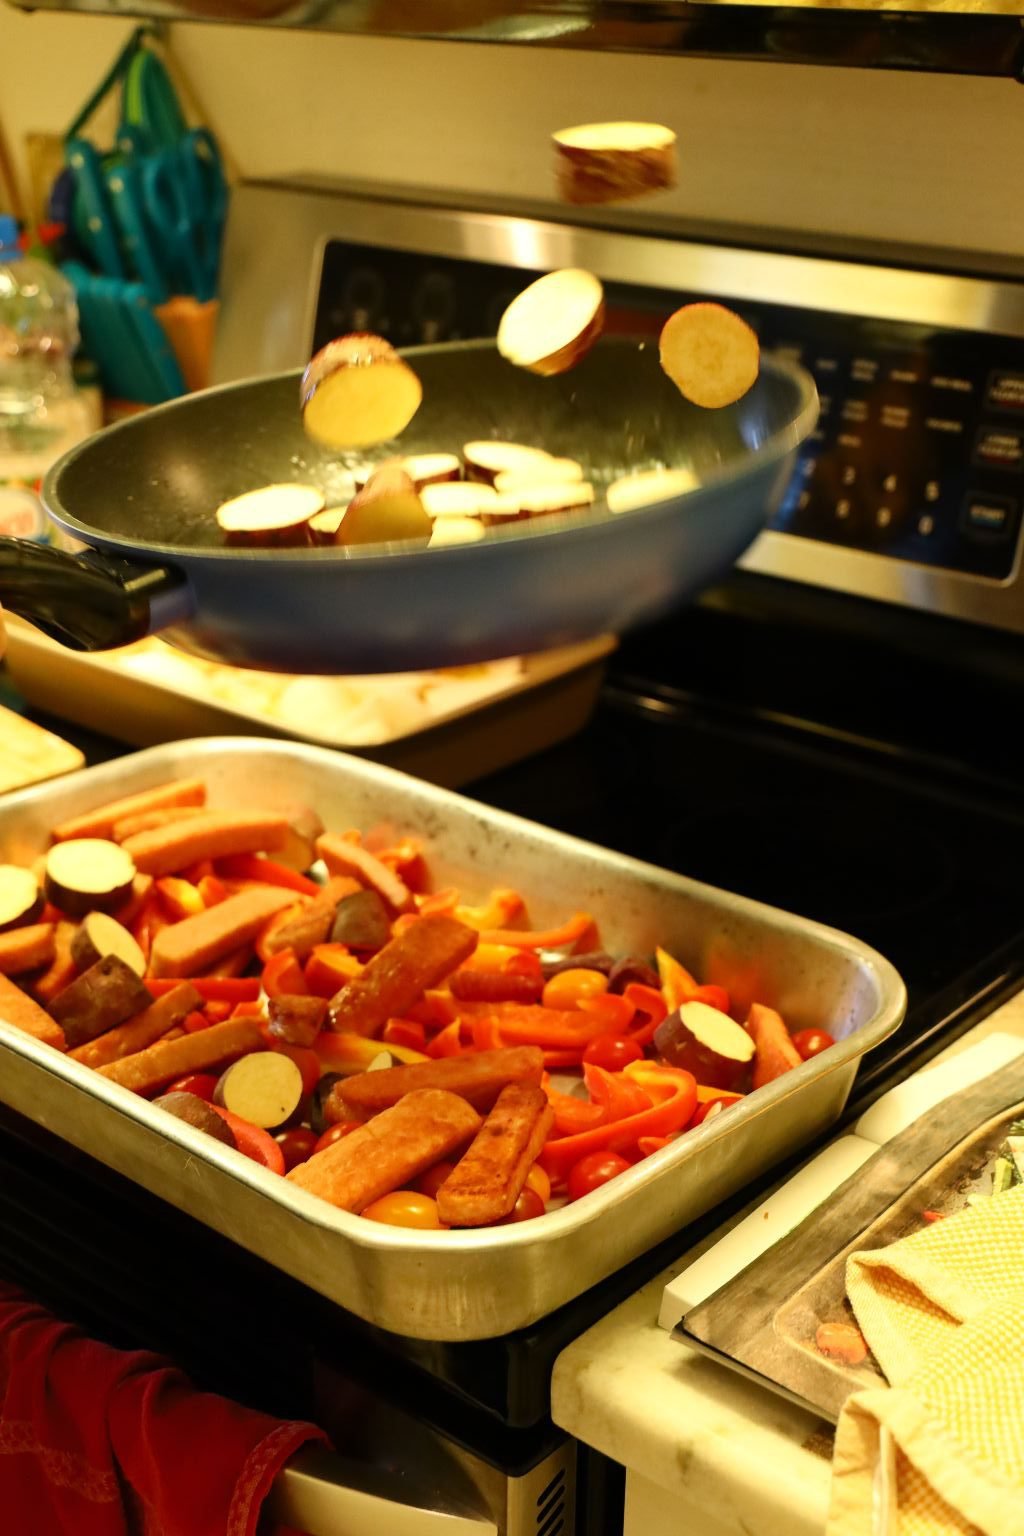
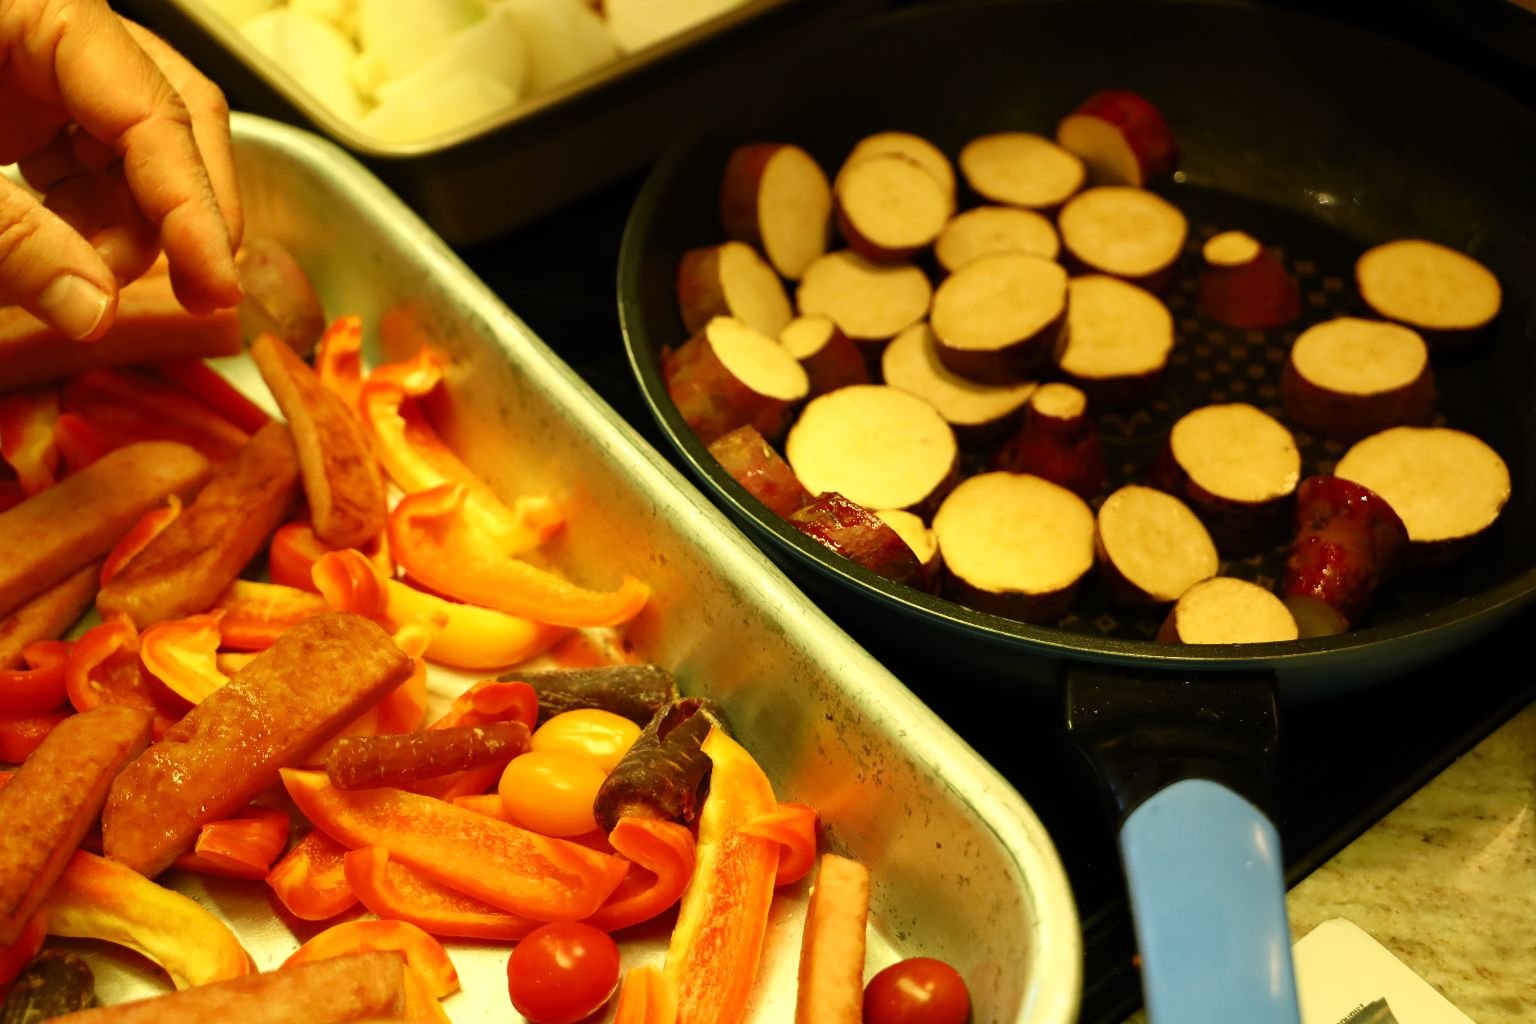
Use a large saute pan and some oil to saute the Yams until slightly cooked for about 5 min. on both sides.

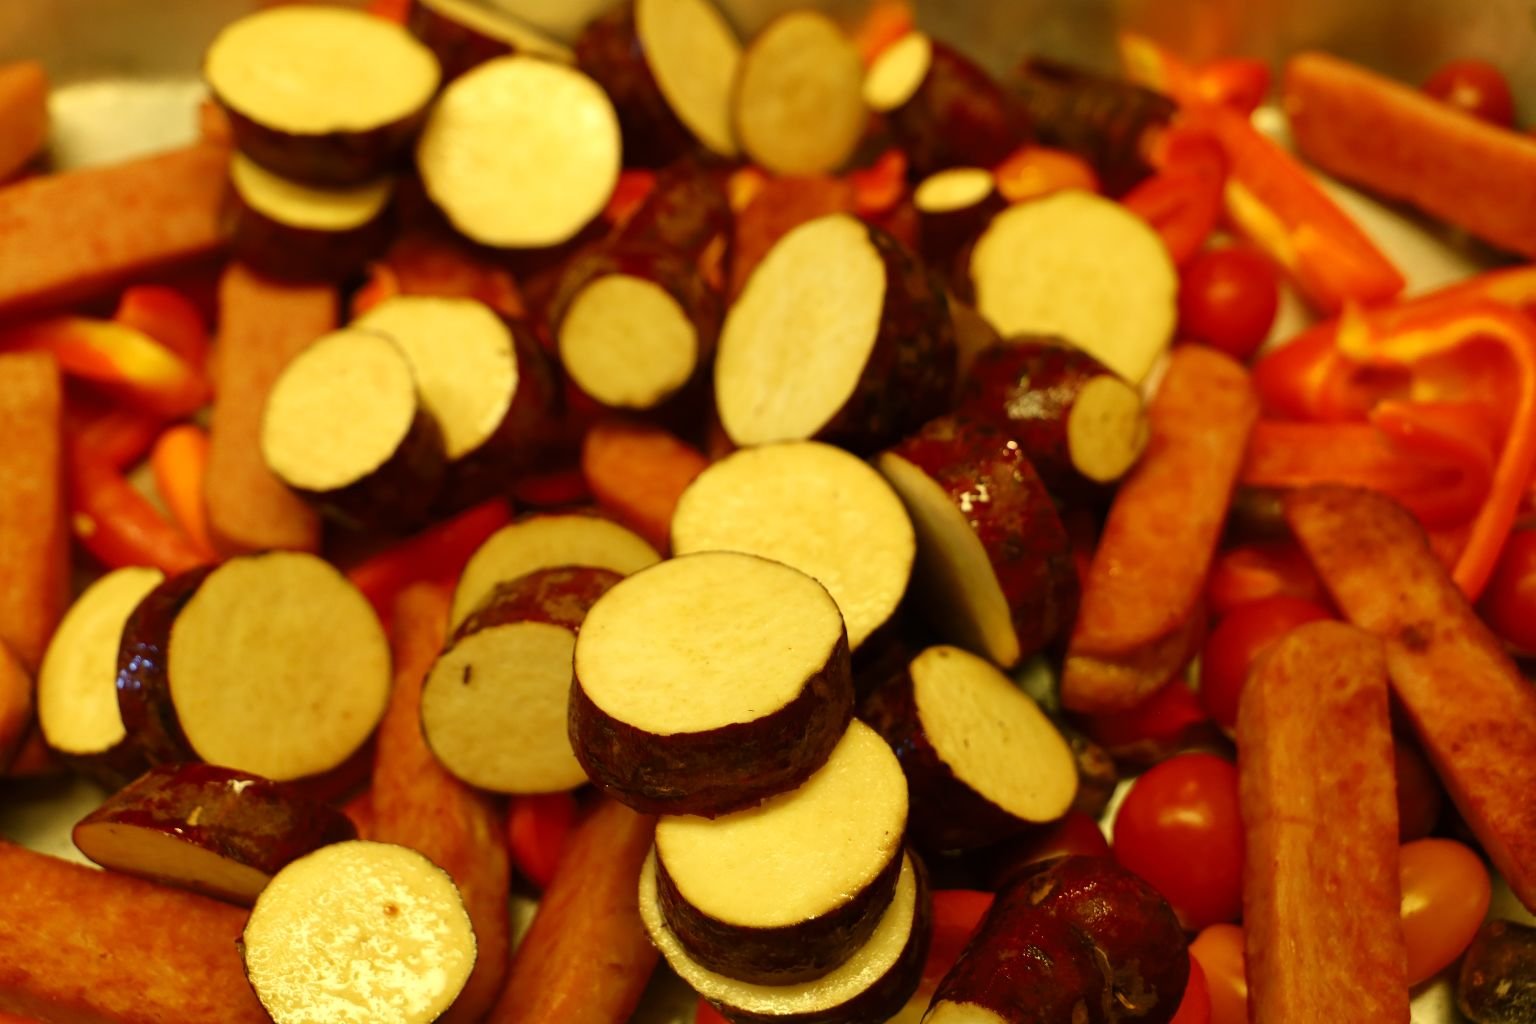
Add all the ingredients into the roasting pan.
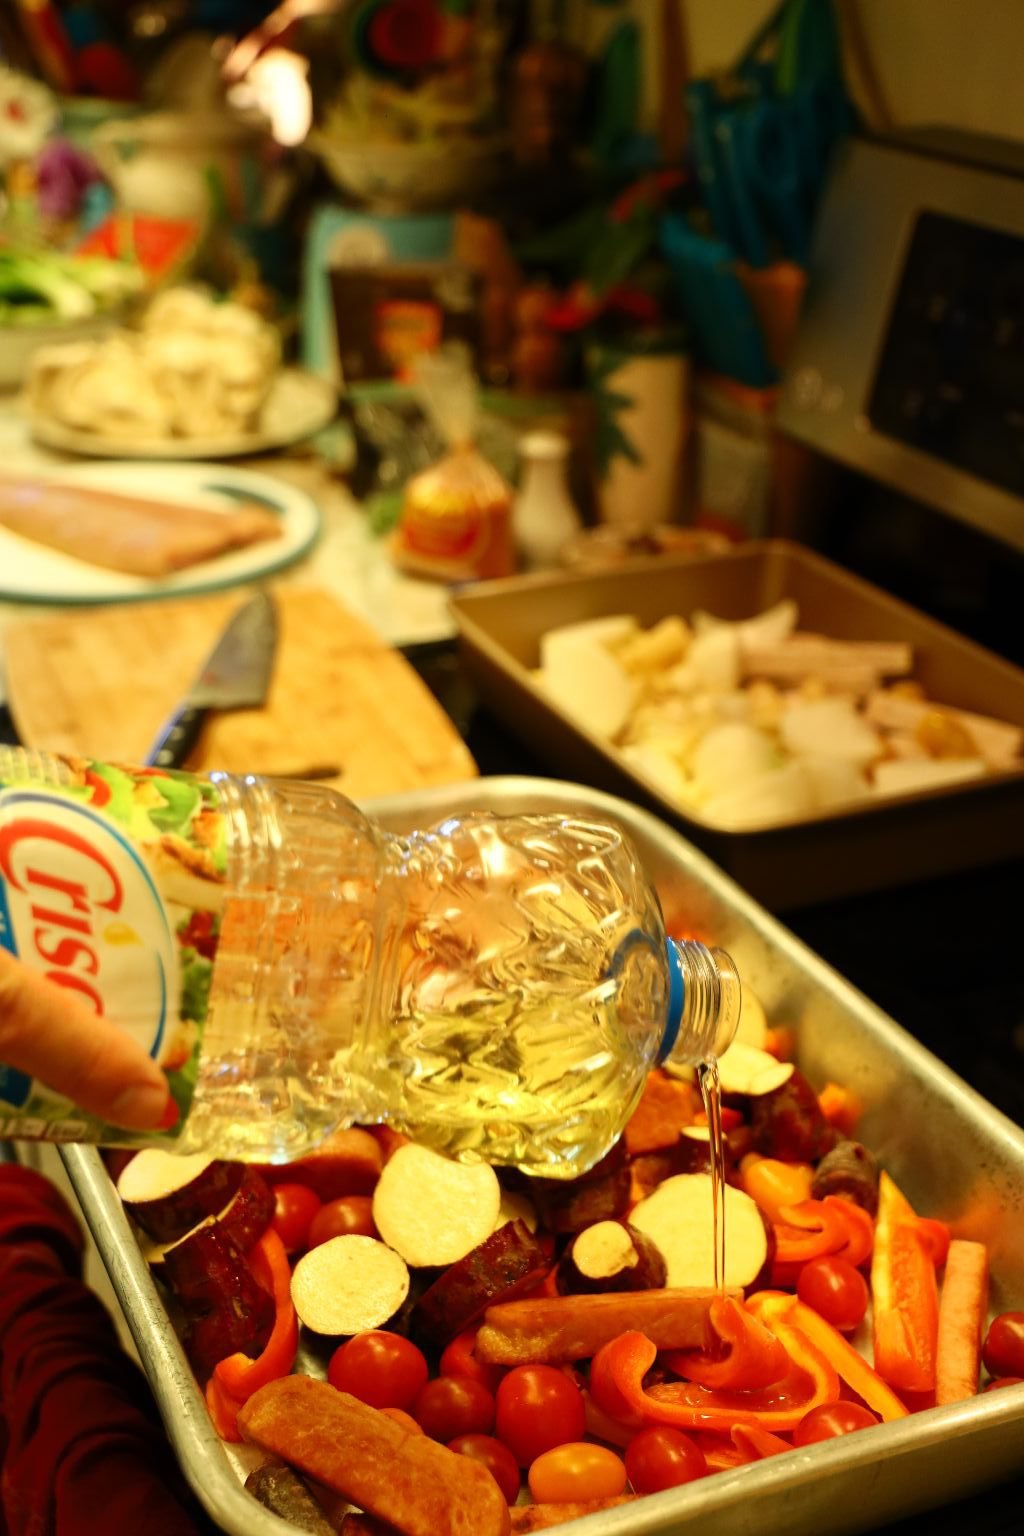
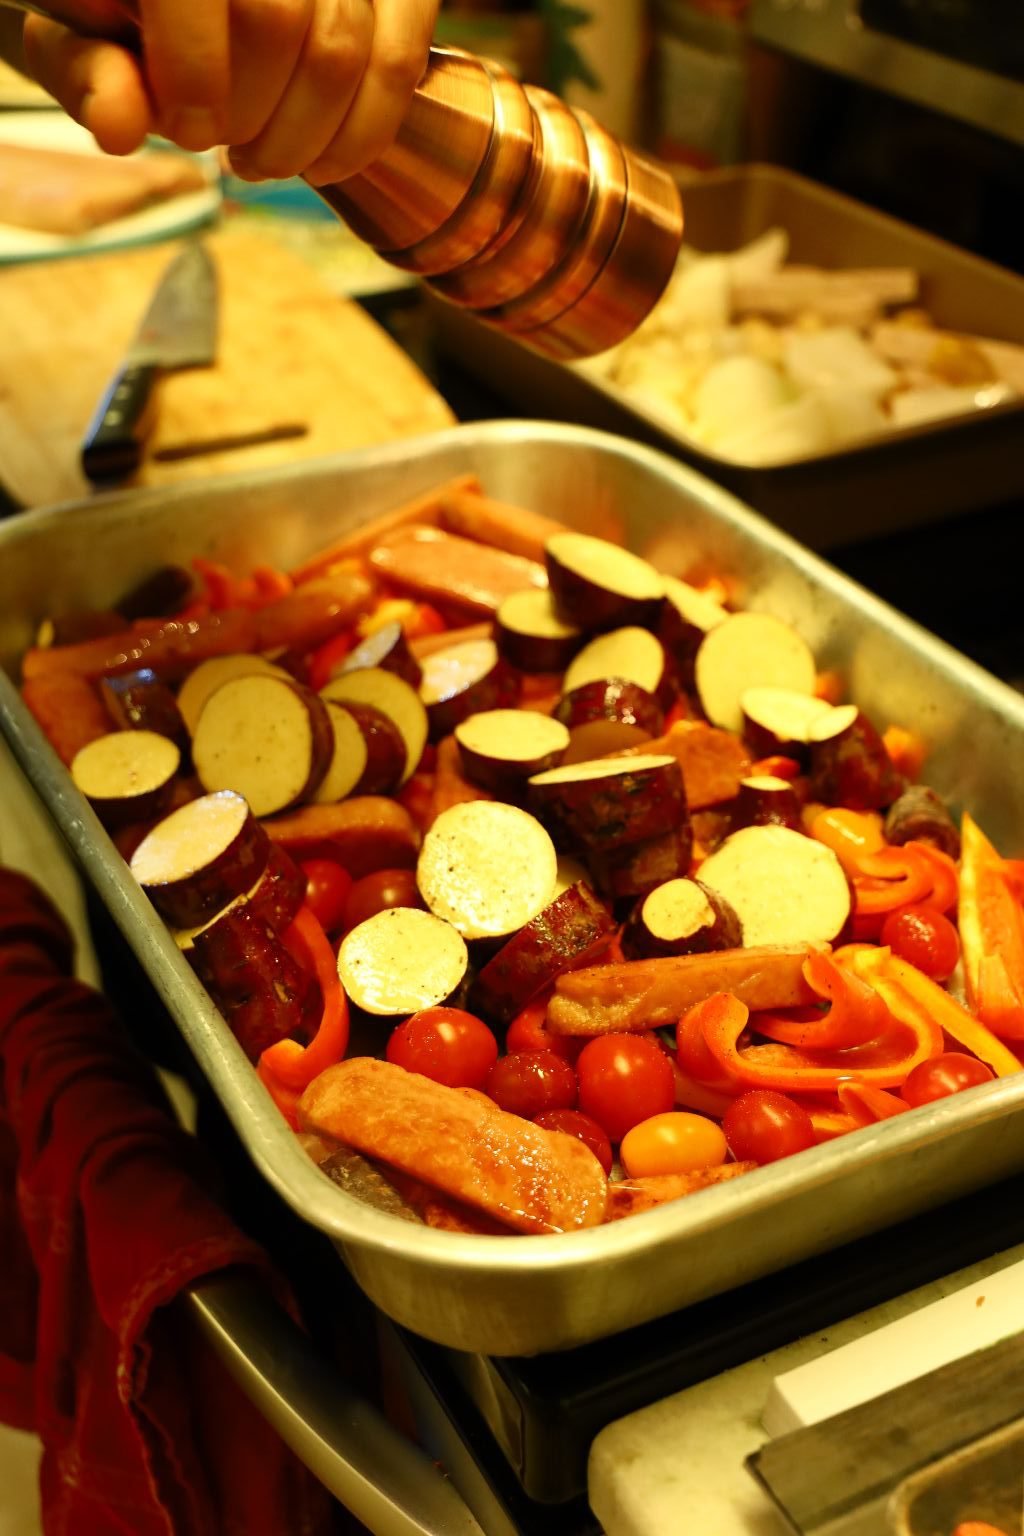
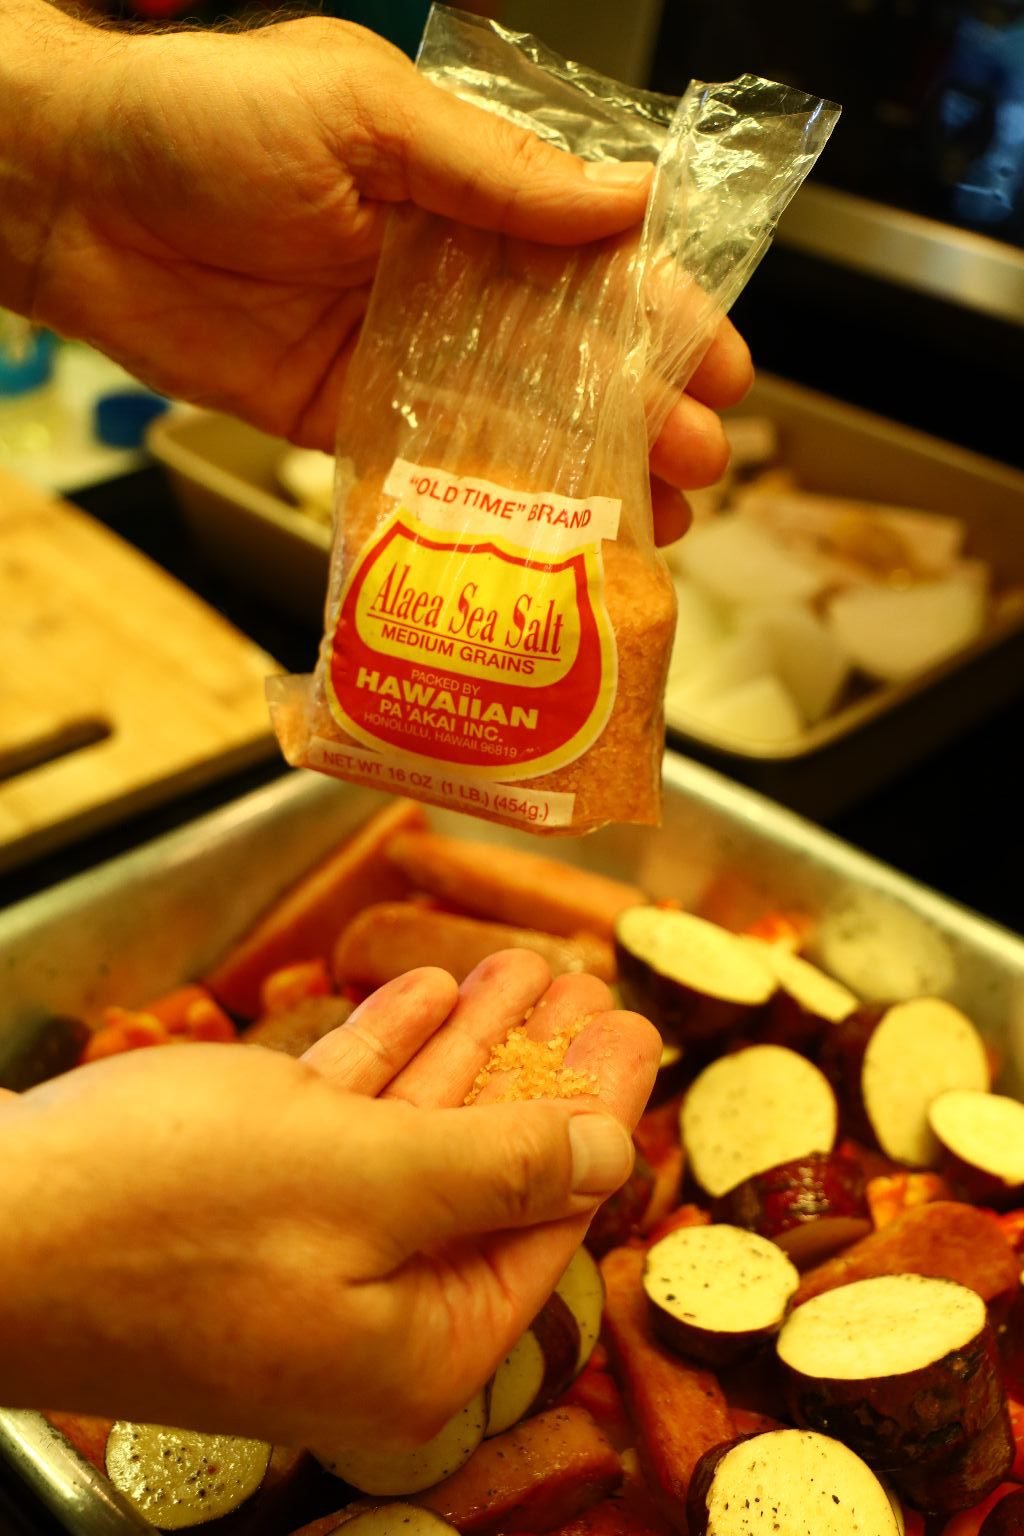
Add enough oil to coat the vegetables and add your freshly ground Pepper and Hawaiian Sea Salt to taste.
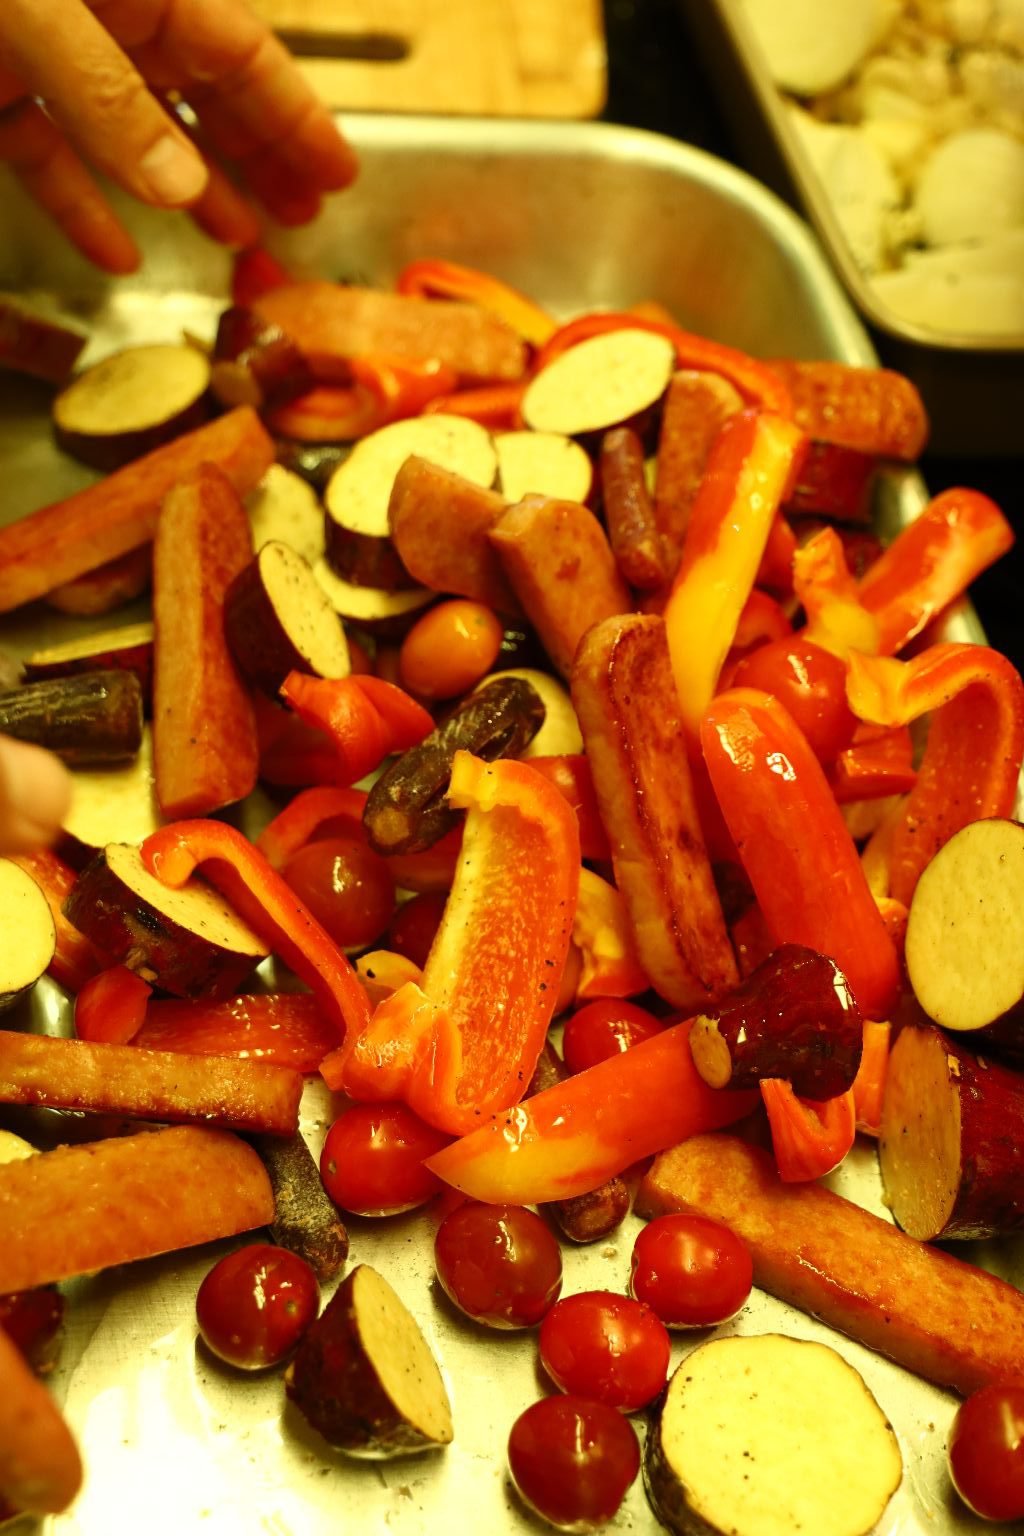
Using your hands, mix all the ingredients together so that the oil and seasonings are distributed well.
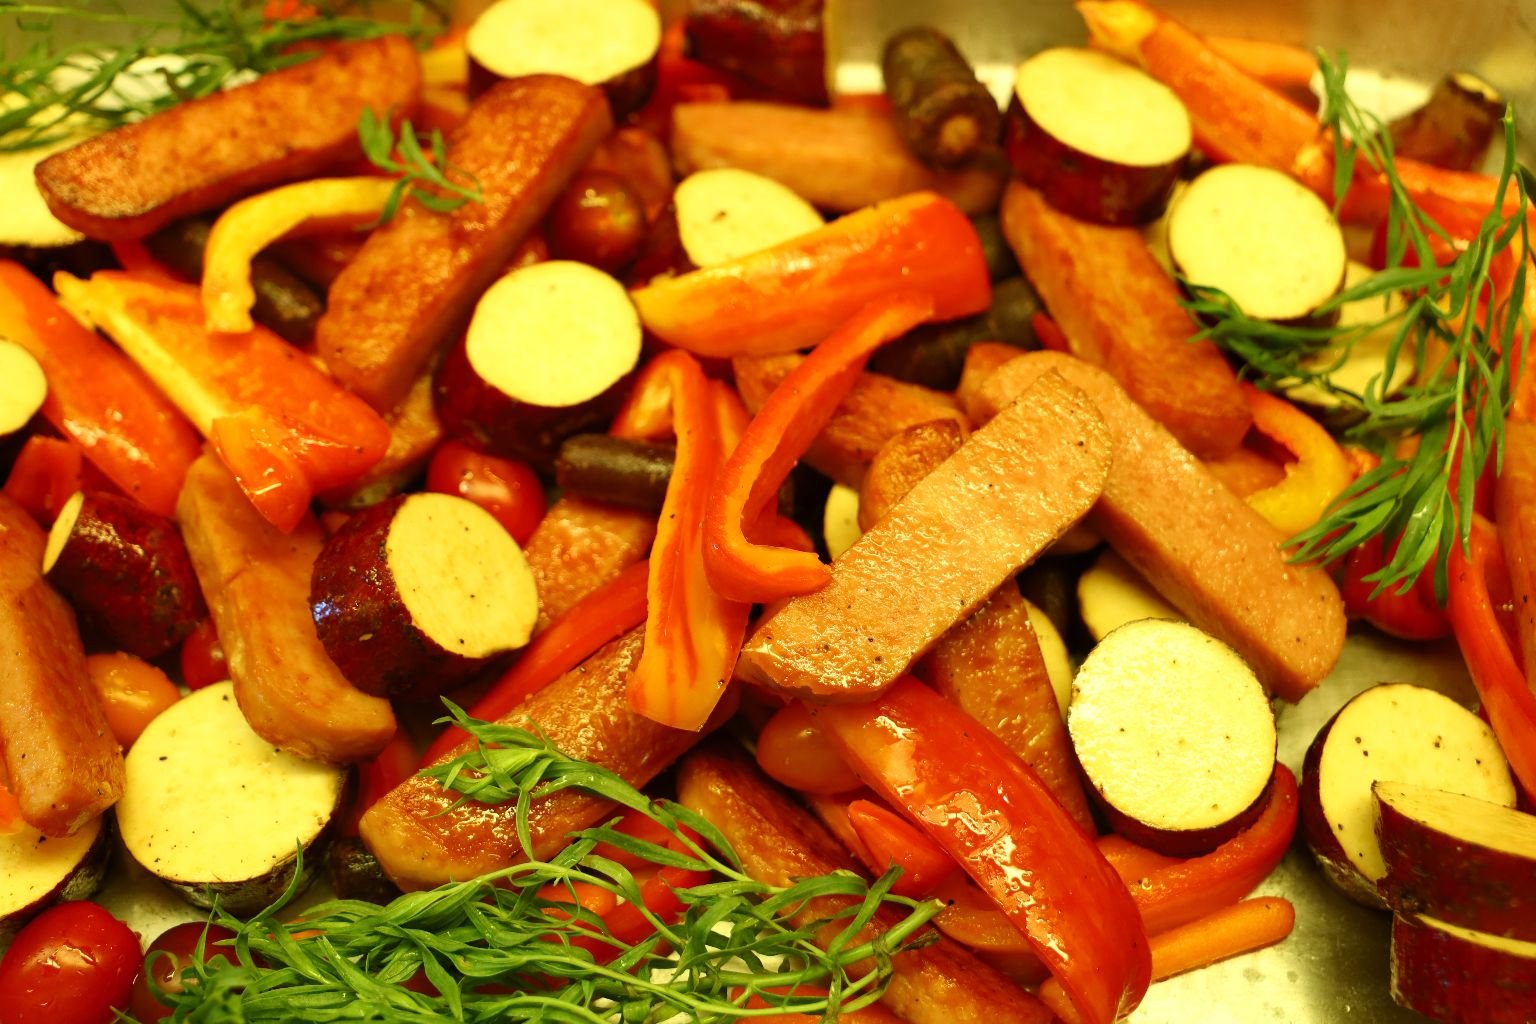
Add your sprigs of Tarragon to the pan.
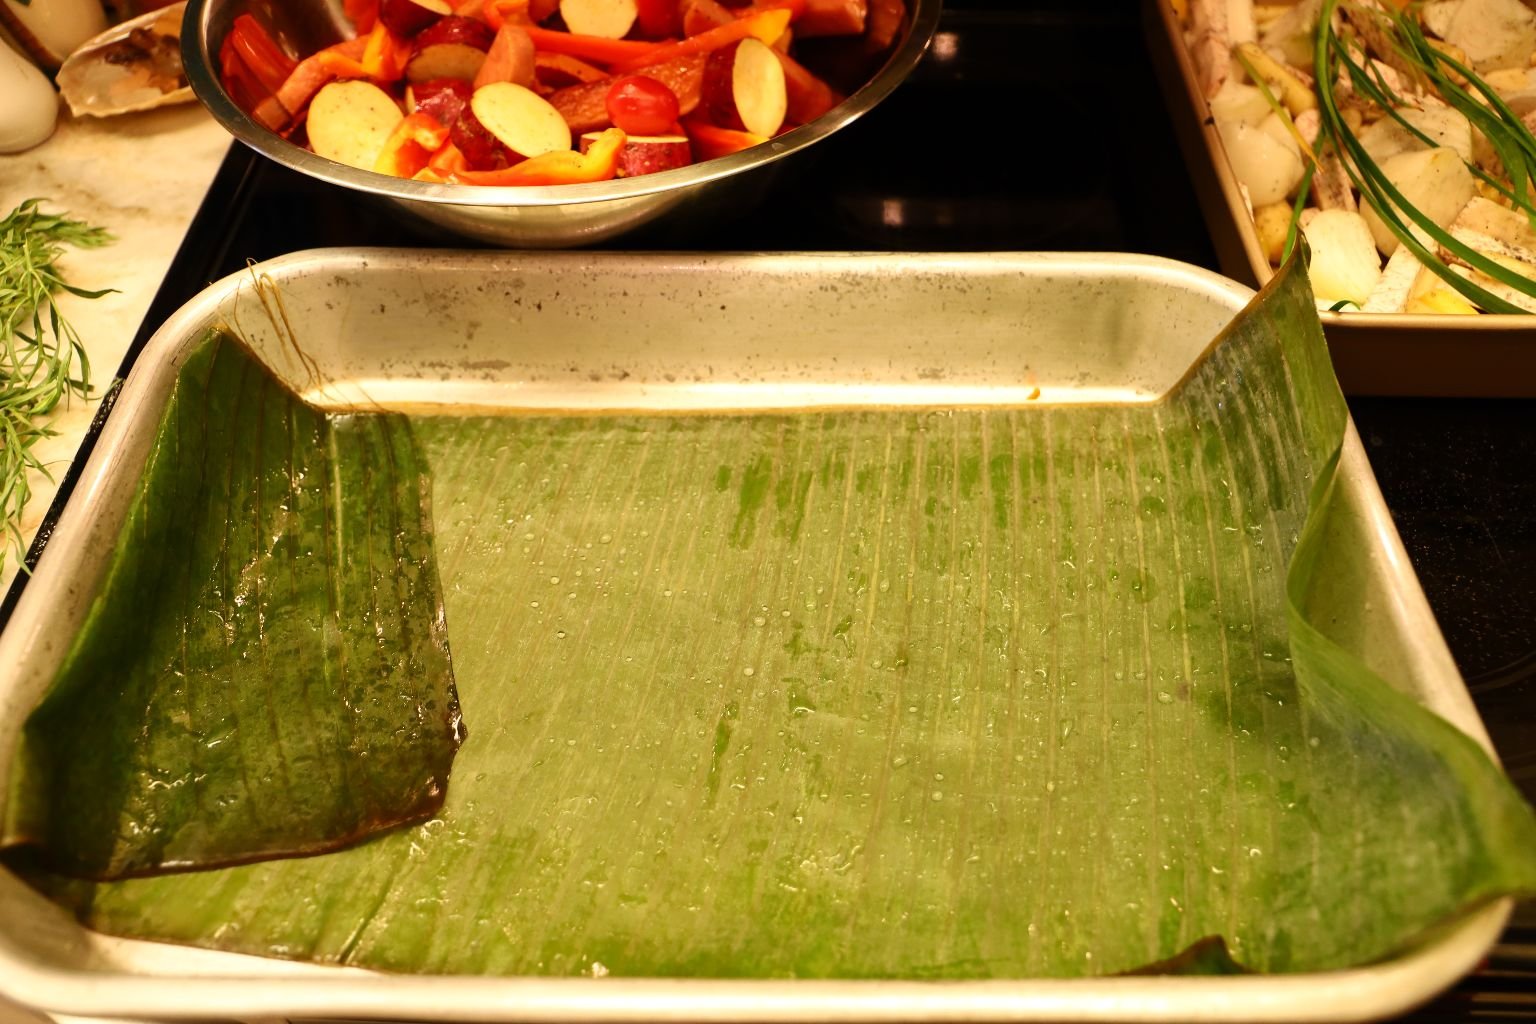
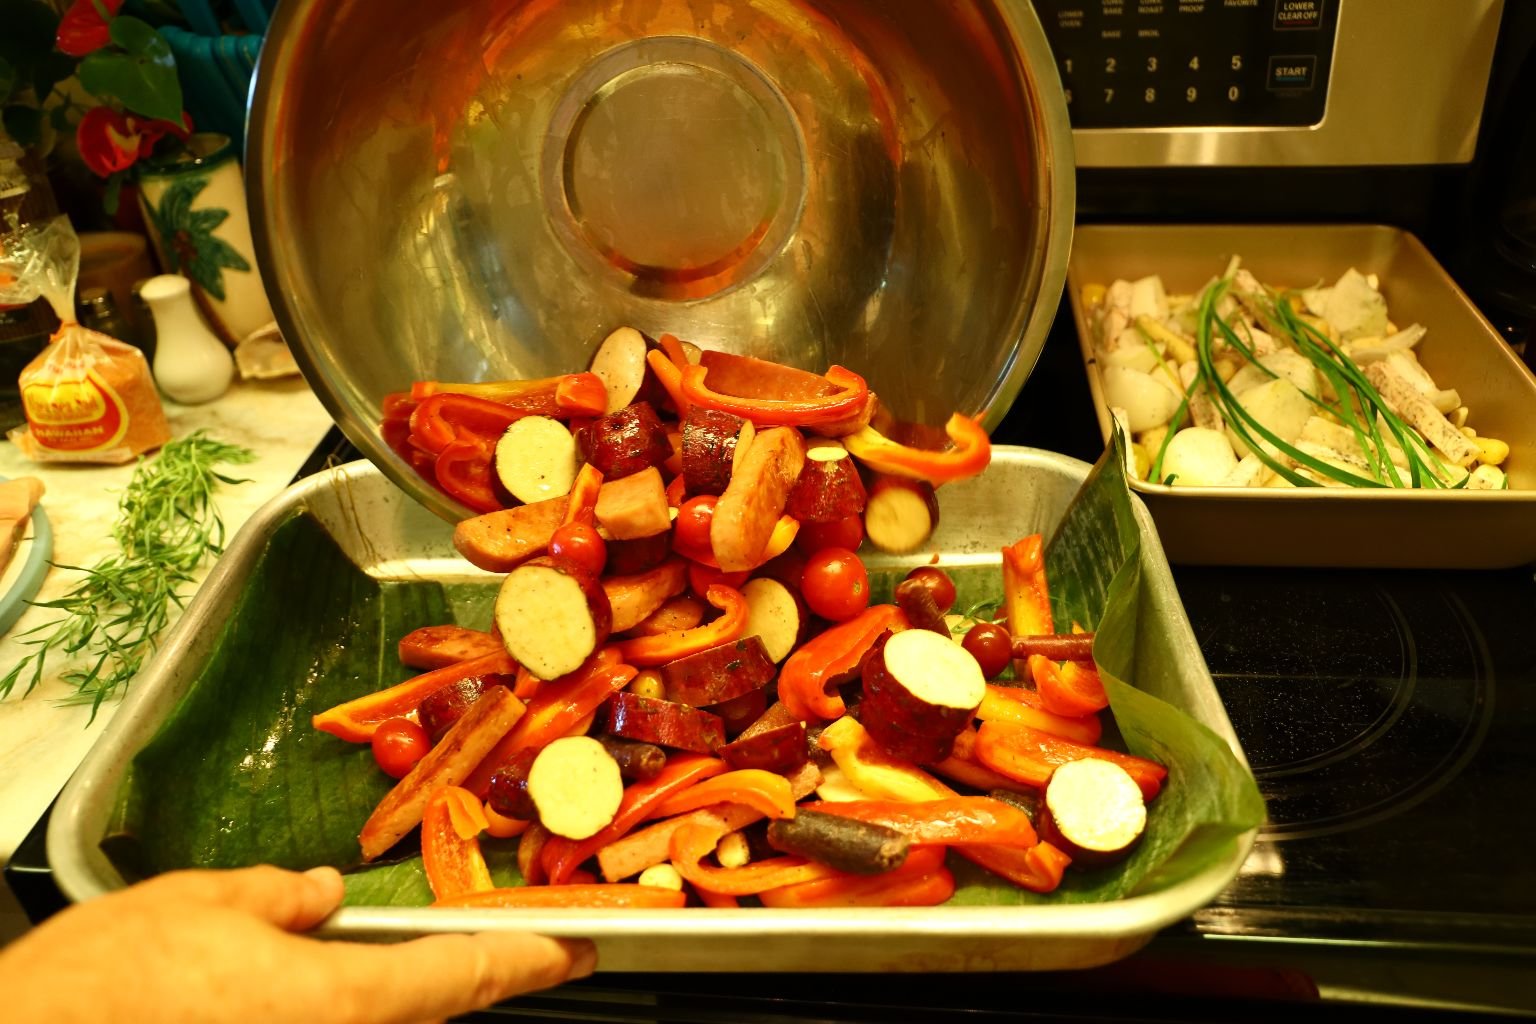
Here, we forgot to place the banana leaves on the bottom of the roasting pan so we removed the ingredients and placed them into a large bowl. Now, line the bottom of the roasting pan with banana leaves.
TIP: When you purchase Banana leaves, they usually come with plenty of leaves. Banana leaves contain a natural tenderizer within them and will help to cook the ingredients.
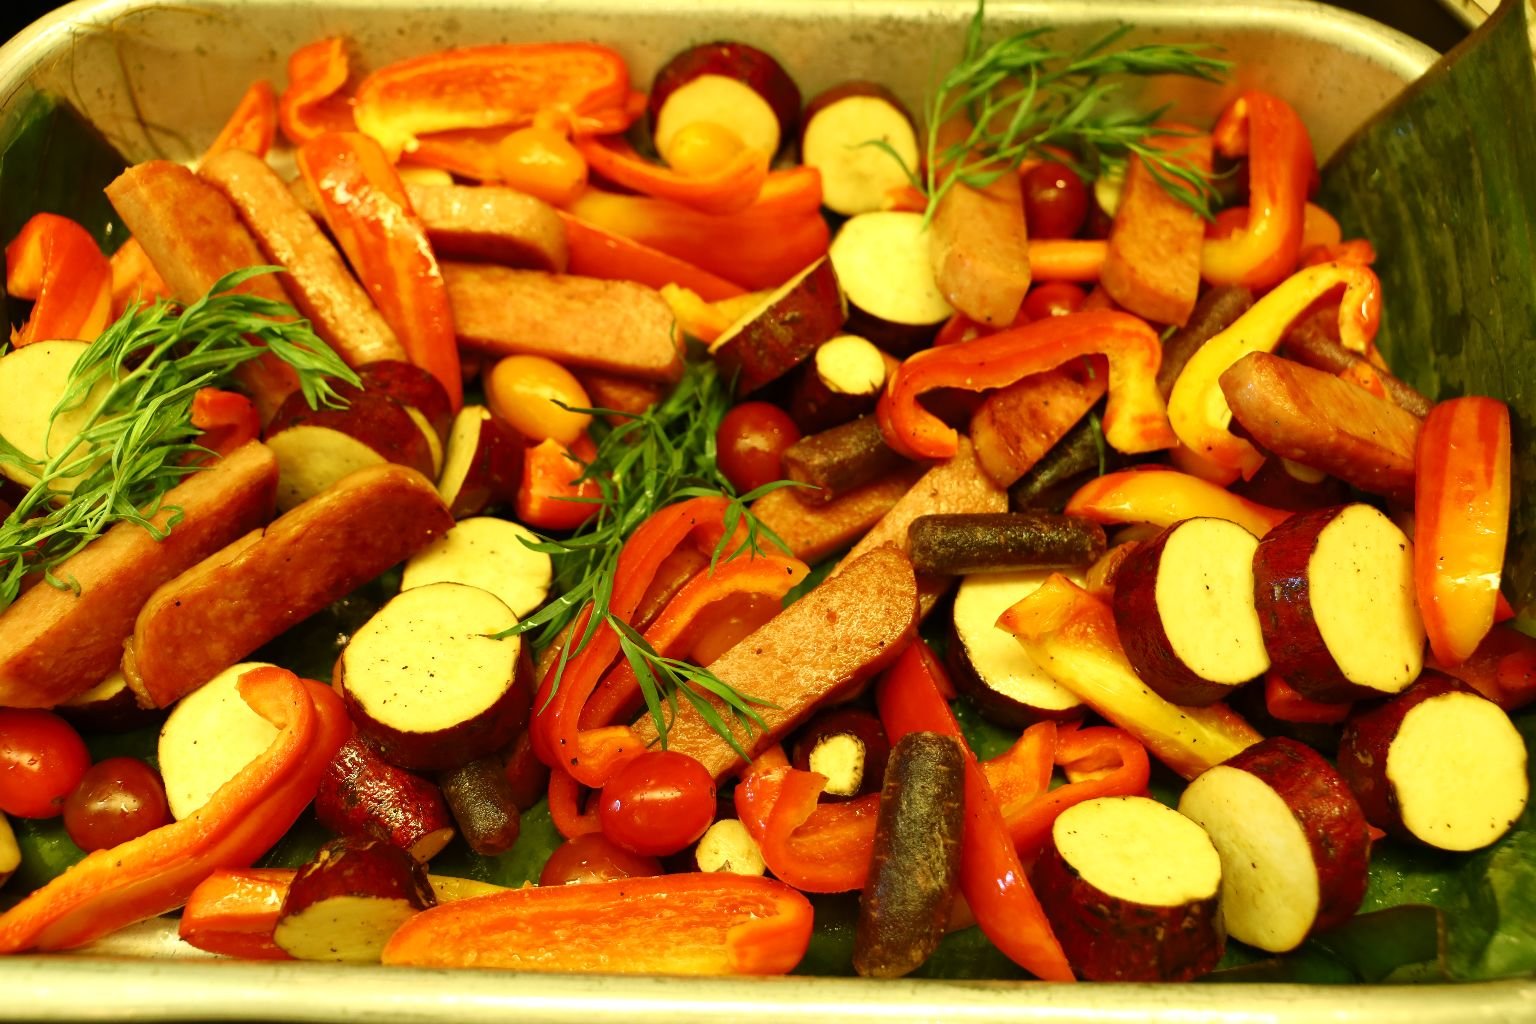
Now, add the vegetable mixture back to the roasting pan.
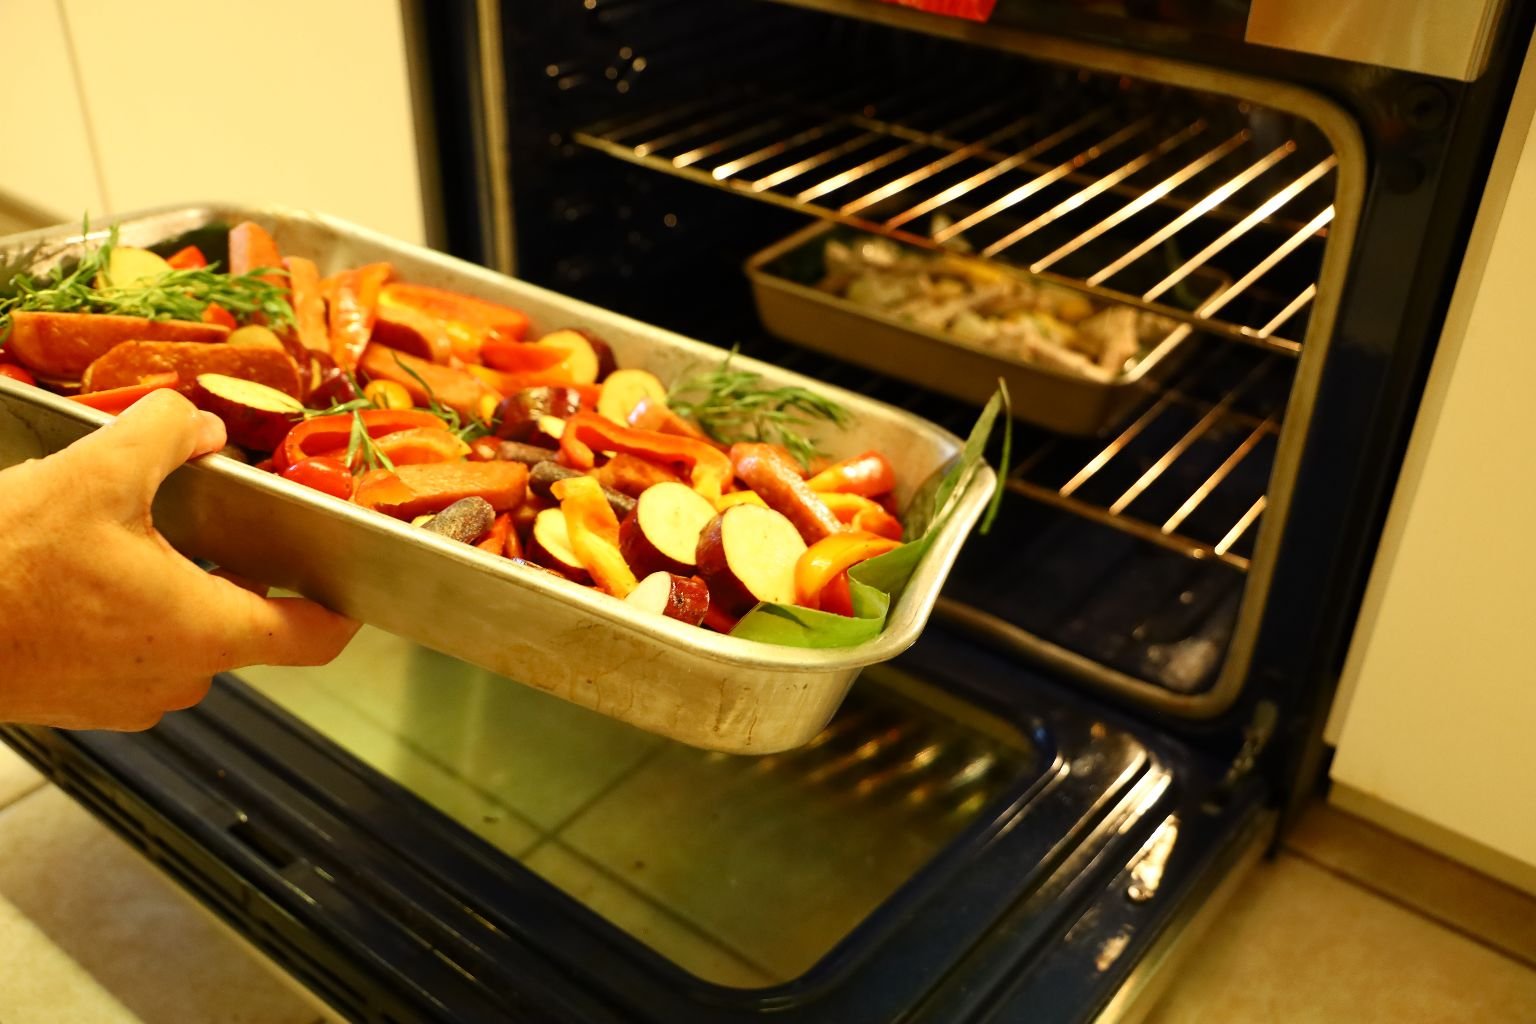
Roast the vegetables in a 350’F oven for 30 min.
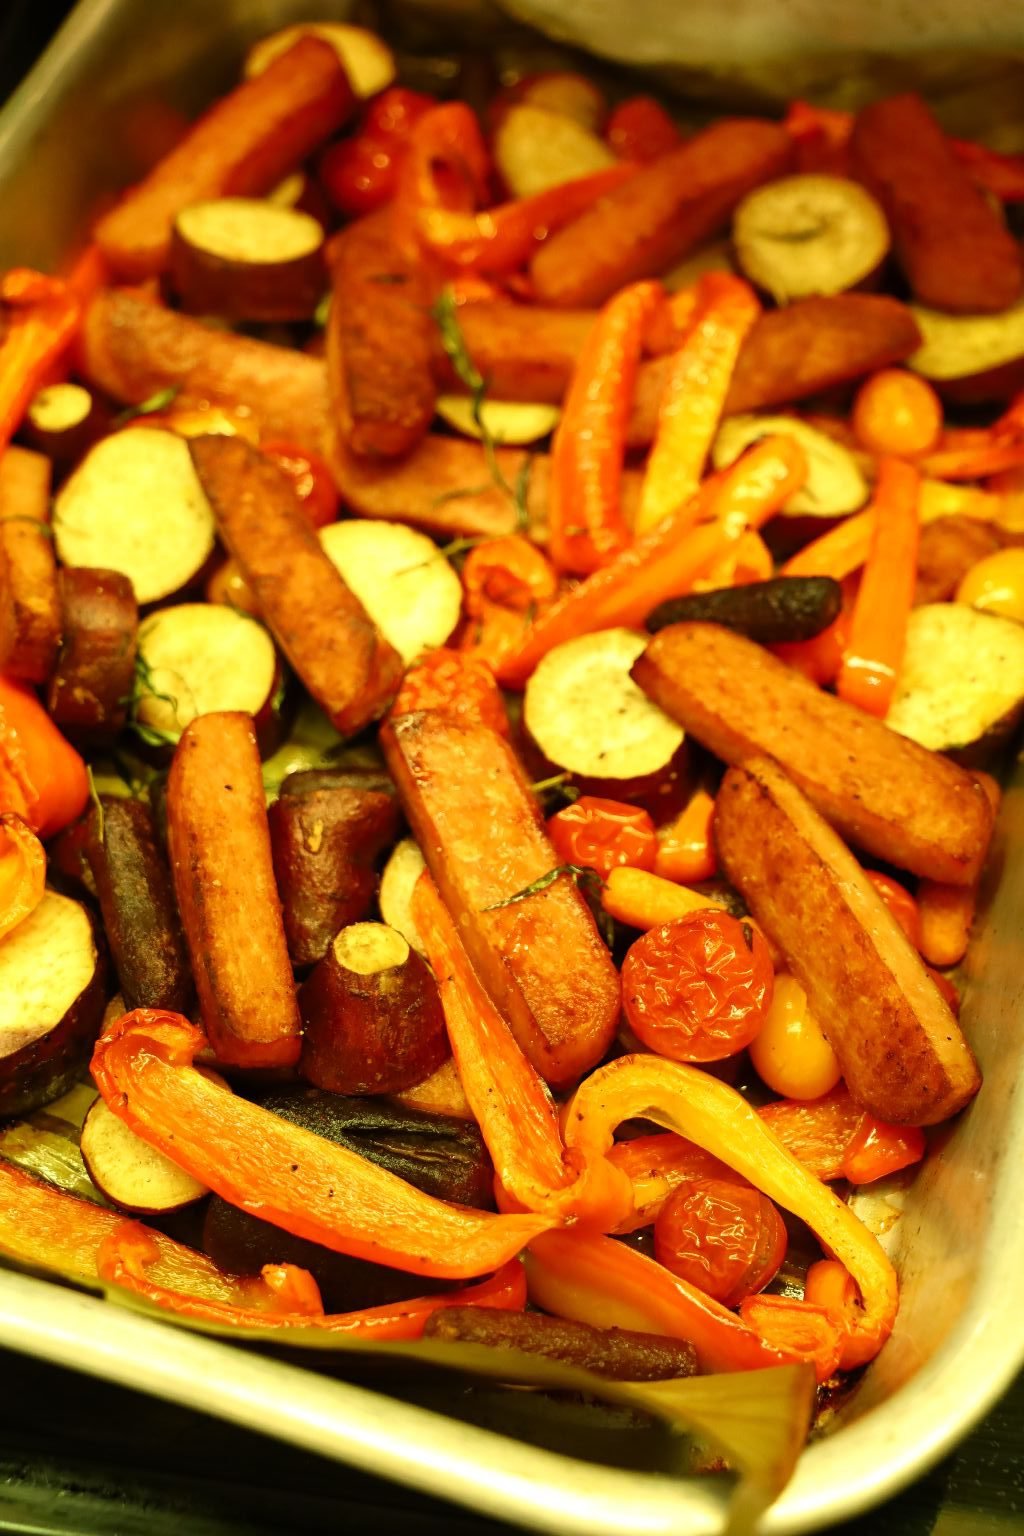

Half way through the cooking process, turn the vegetables over to promote even cooking.

You can see the Banana Leaf on the bottom.

Here is the brand of Chow Mein noodles we used.
Heat 3 quarts of water to high in a large pot.

Add a half Tbsp. of Sea Salt to the water then add your Chow Mein noodles.
When the 30 min. cooking time with the roasted noodles is about up.
Remove the roasting pan and set on the oven for later use.

Cook the noodles as directed or until just tender stirring occasionally.


When cooked, drain the noodles into a colander as shown.


When fully drained add the noodles to the roasting pan.
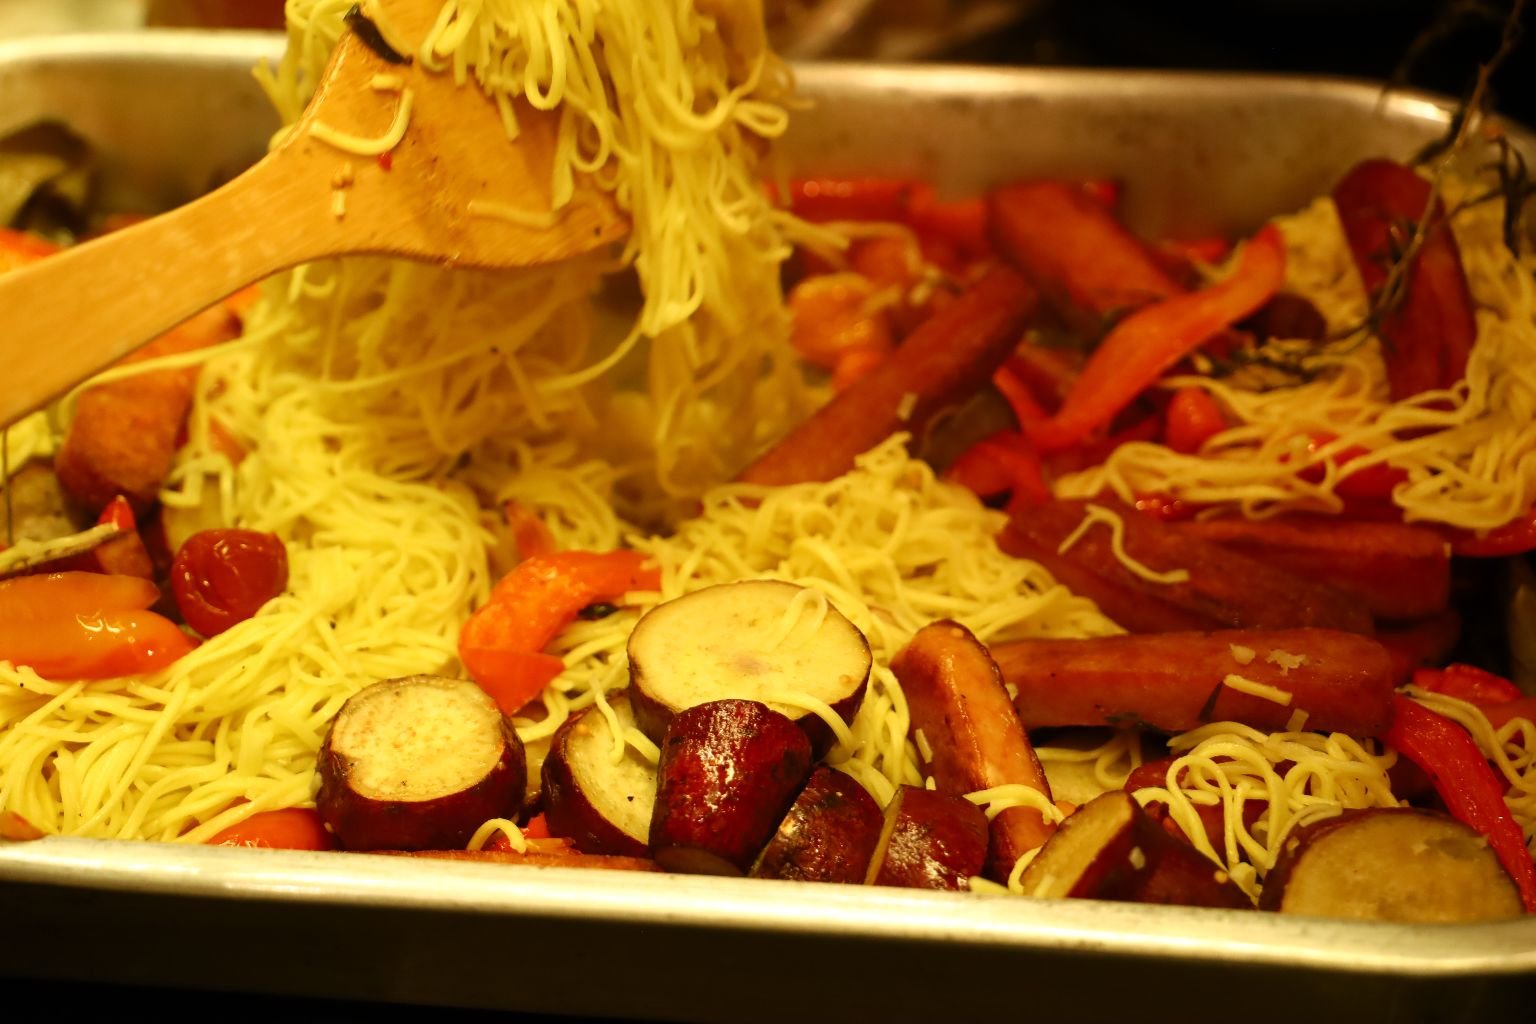
Stir the noodles and roasted ingredients together as shown.

Now, place the ingredients back into the oven for about another 10 min.
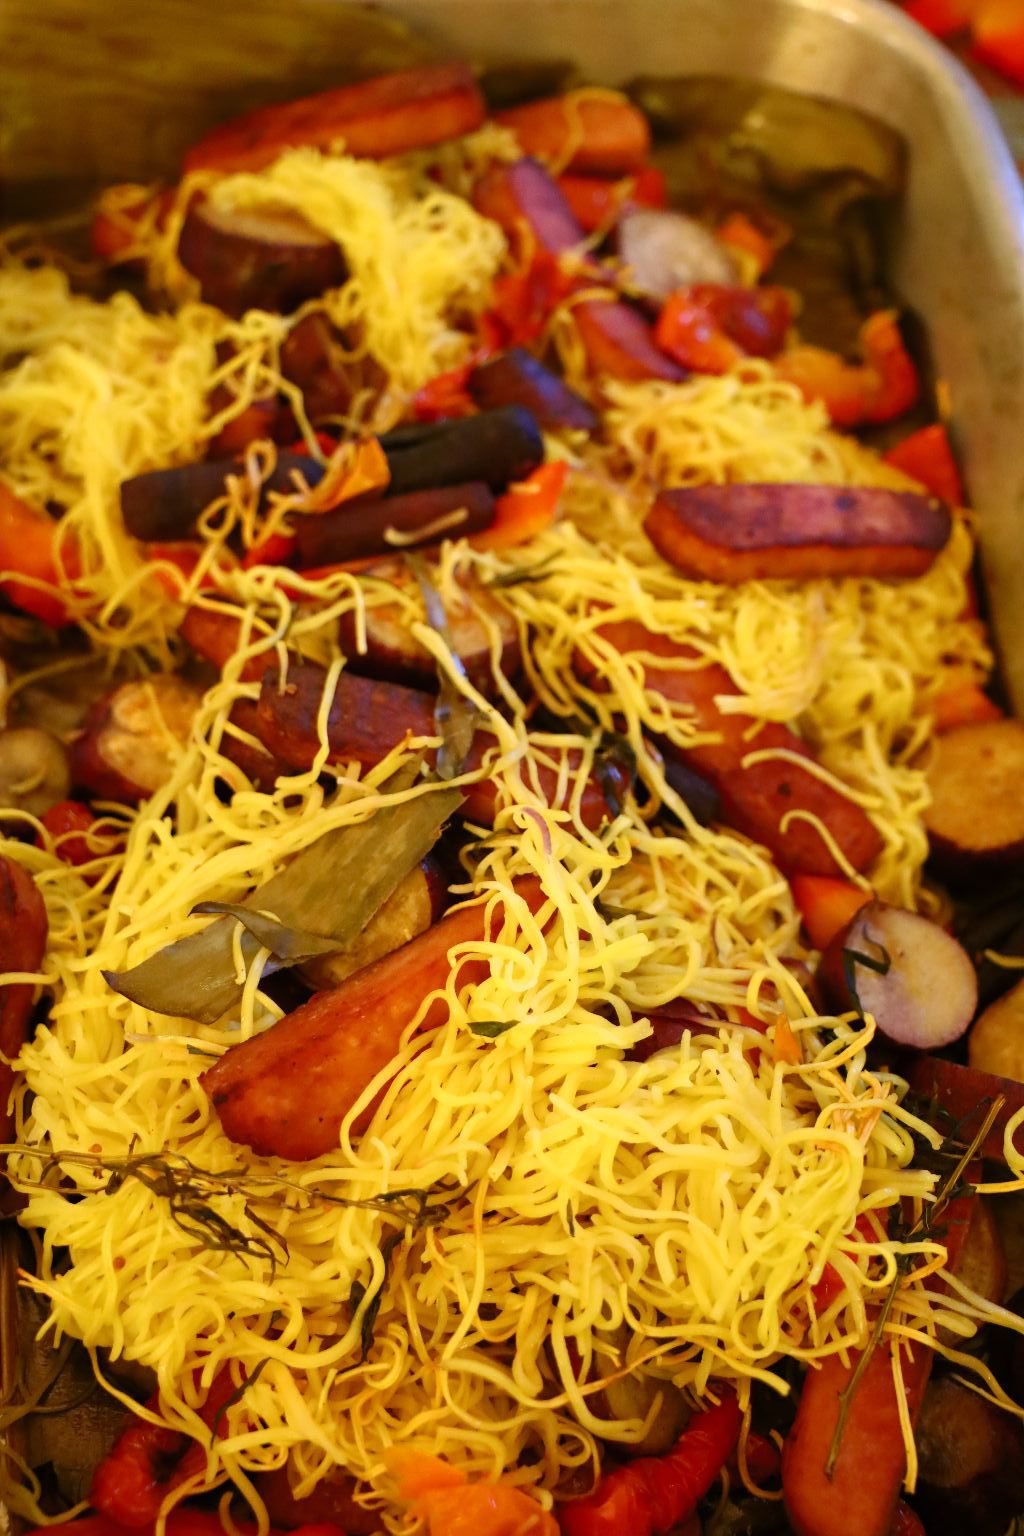
After about 10 min. of roasting, the noodles will become slightly crispy and flavored with all the other ingredients.
What a great easy meal to feed the masses!
(And that is what Hawaii is about, the Kamaaina and feeding those large Ohana’s.)
—————————————————————
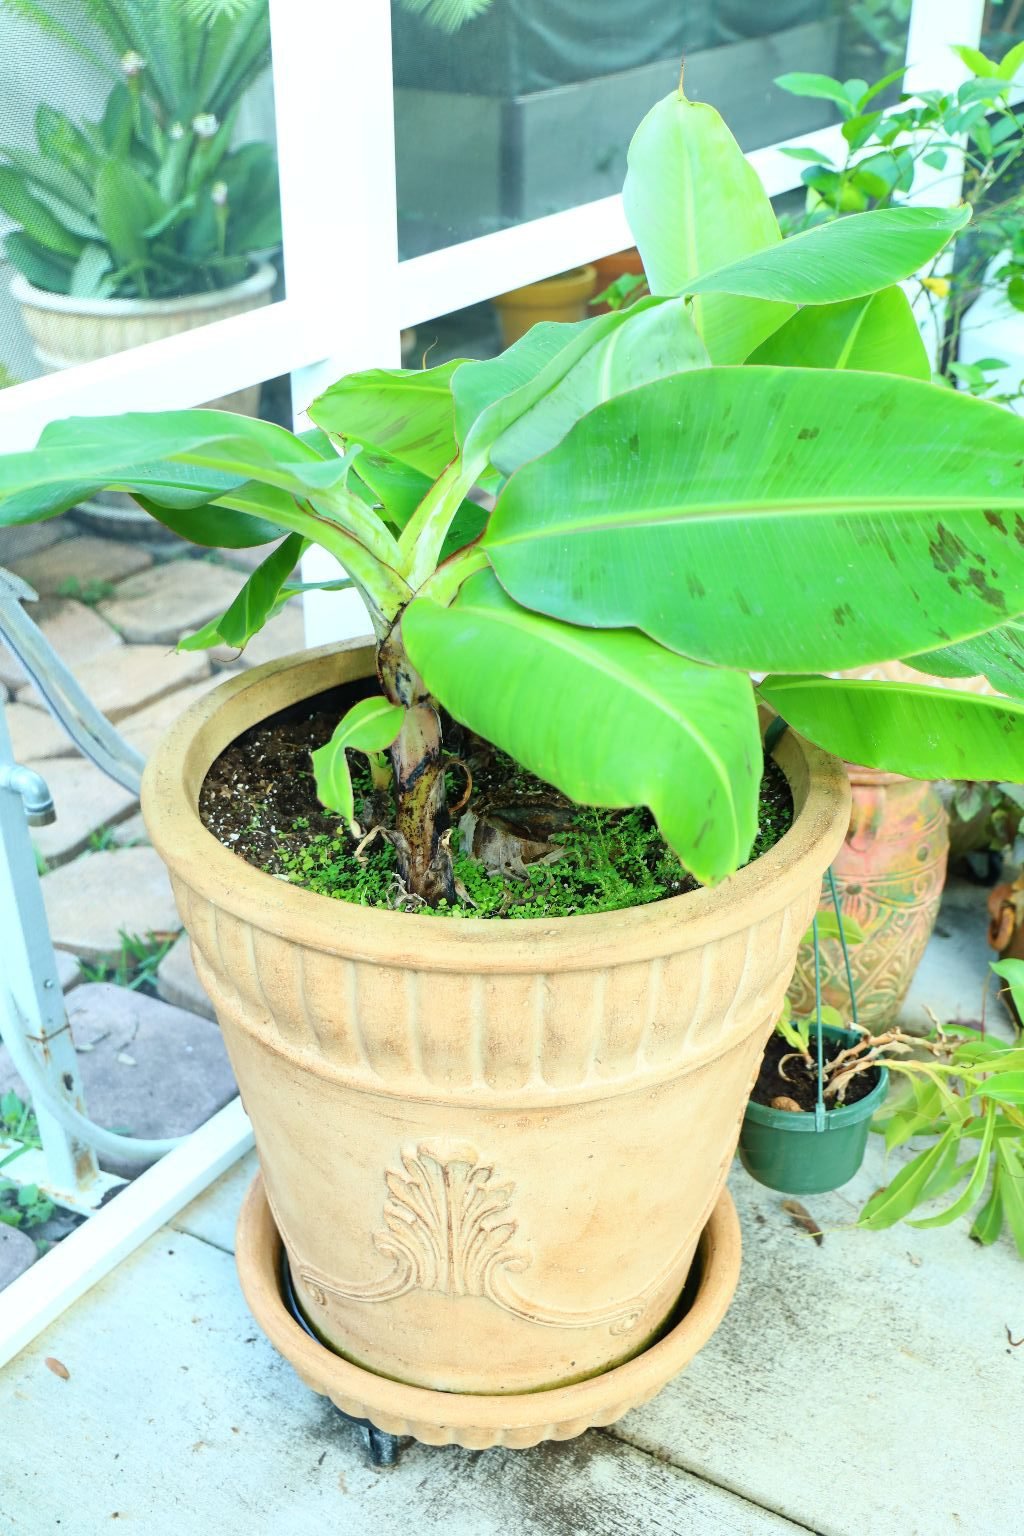
Our Banana Leaves
Here we are growing our own bananas in a large pot on our screened in Lanai.
——————————————————

Here are the banana leaves we purchased from the Latin Supermarket, which usually come frozen.

The best way to clean the banana leaves is to let them soak in some distilled vinegar.


Here I poured the vinegar in the bag the leaves came in.
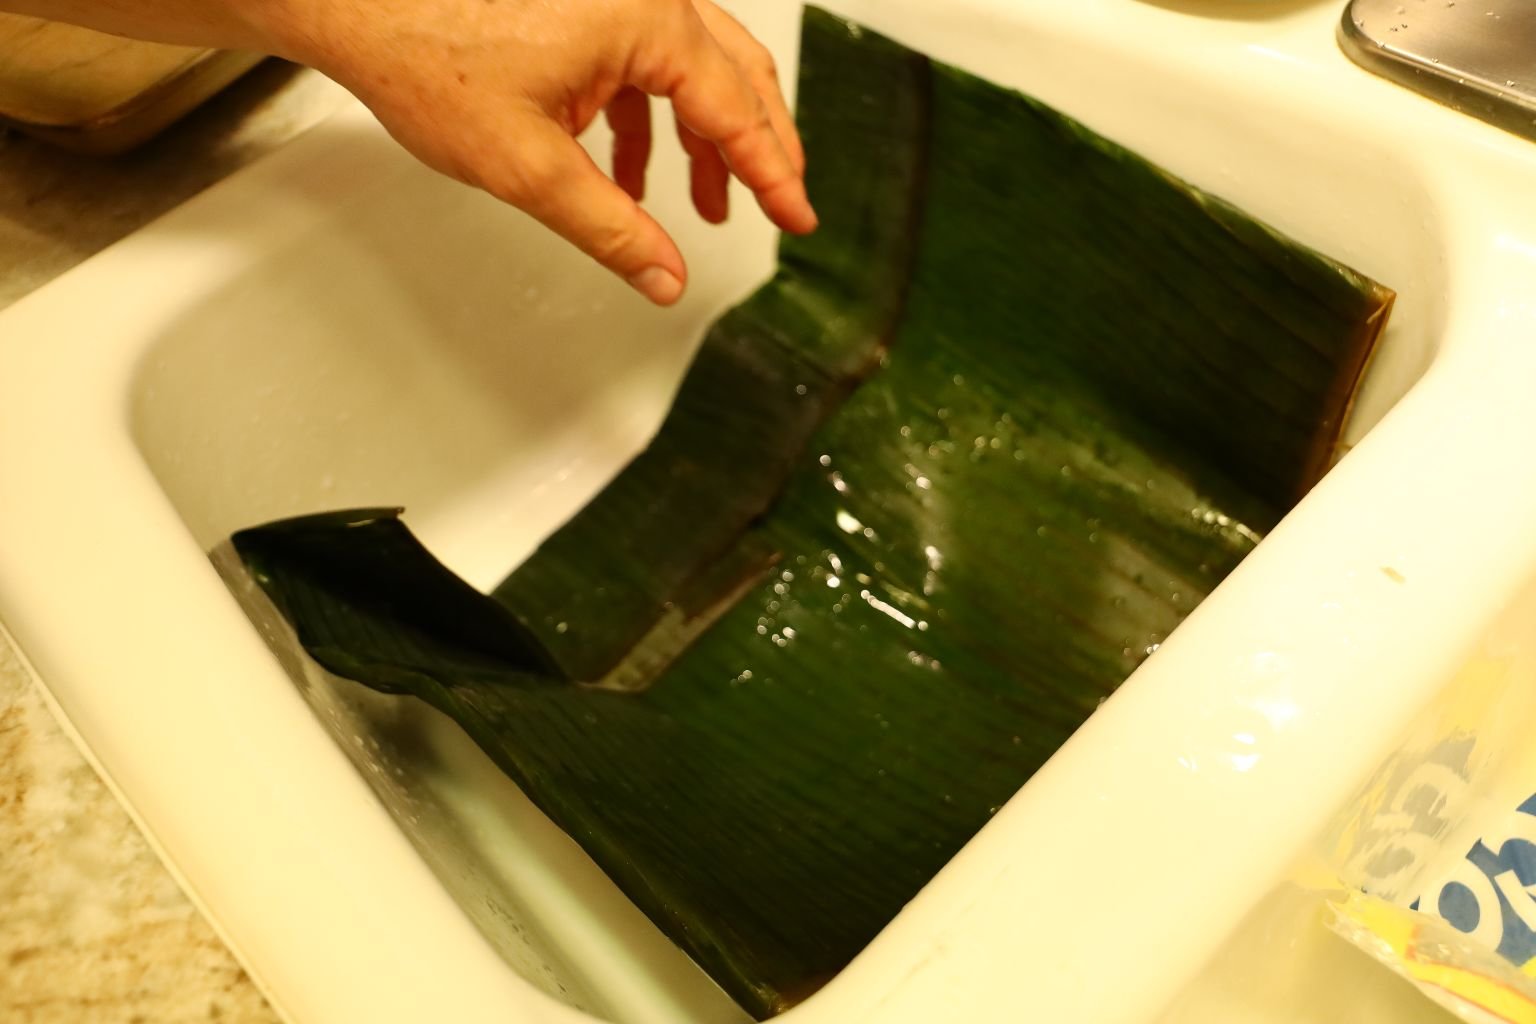

Another way is to remove the leaves and place them into your clean sink. Then pour some vinegar into the sink over the leaves. Open the leaf sections to allow the vinegar to penetrate all sides of the leaves.
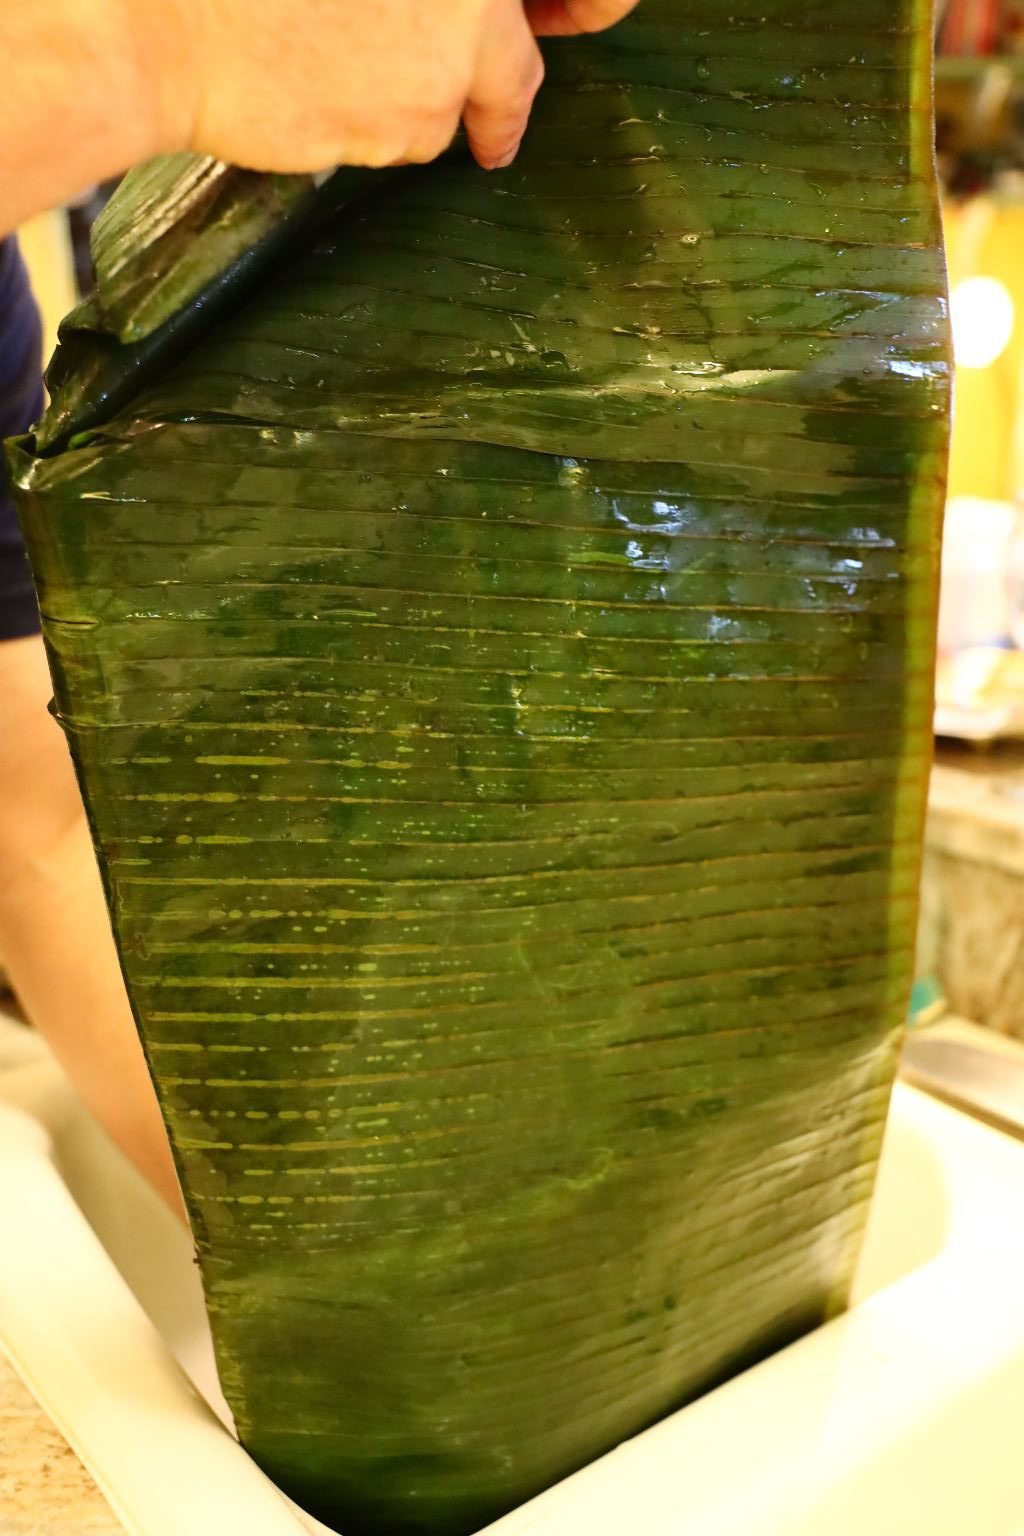
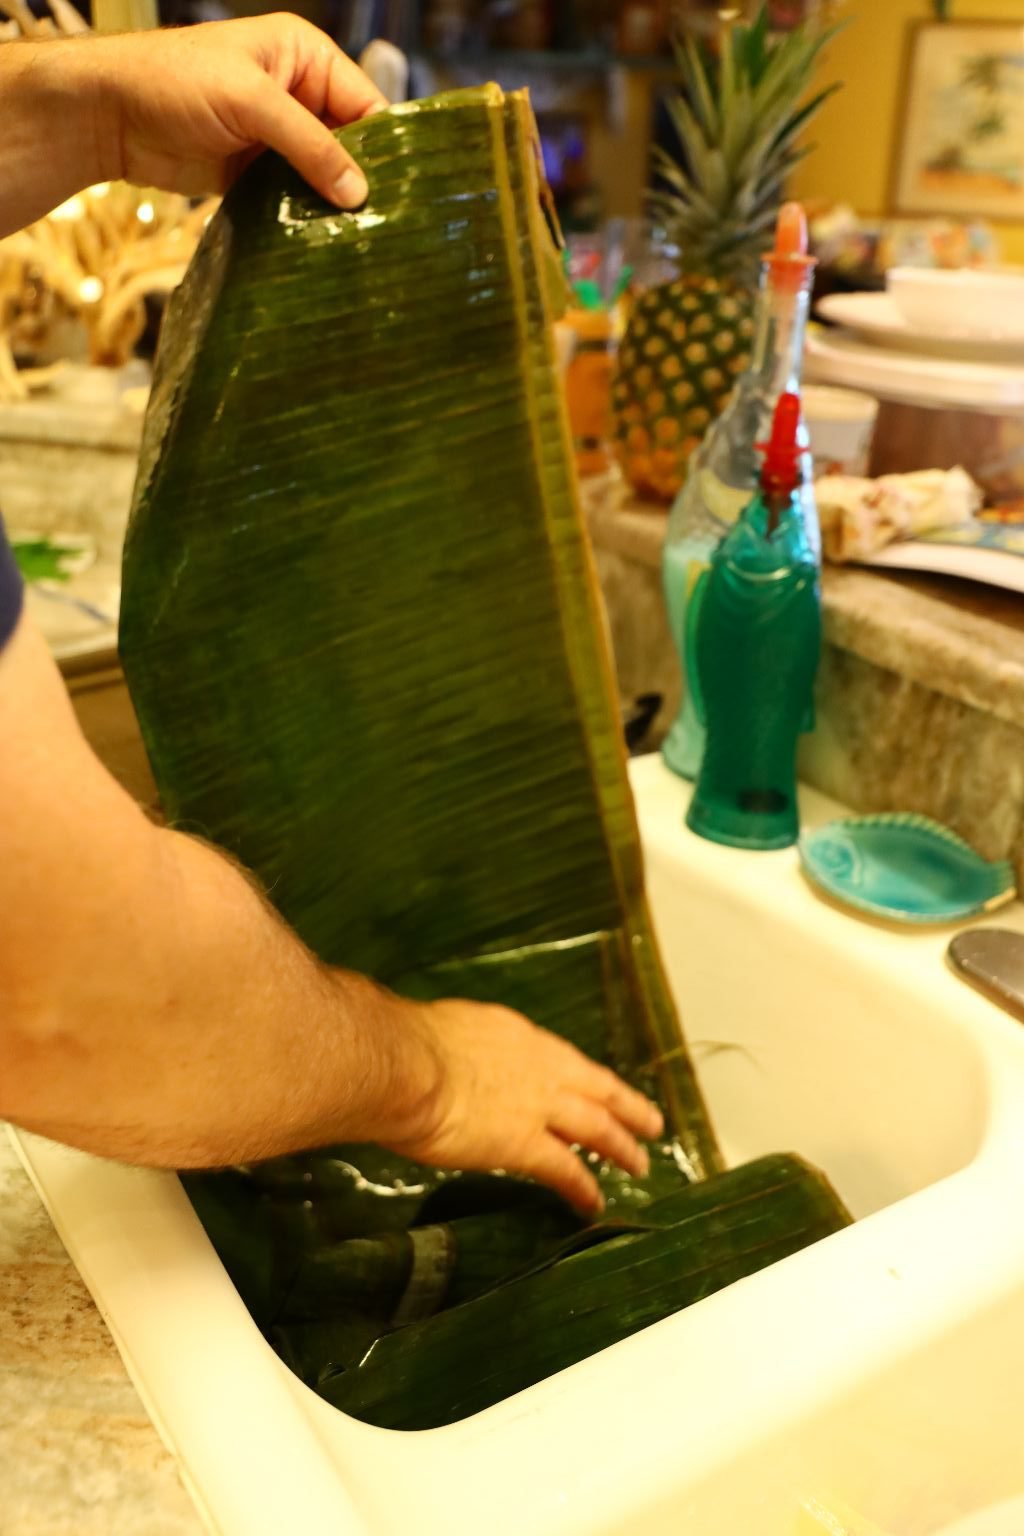
Let the leaves sit in the vinegar for a min. or so to remove and kill all possible bacteria.
———————————————–
Julie’s Herb Garden
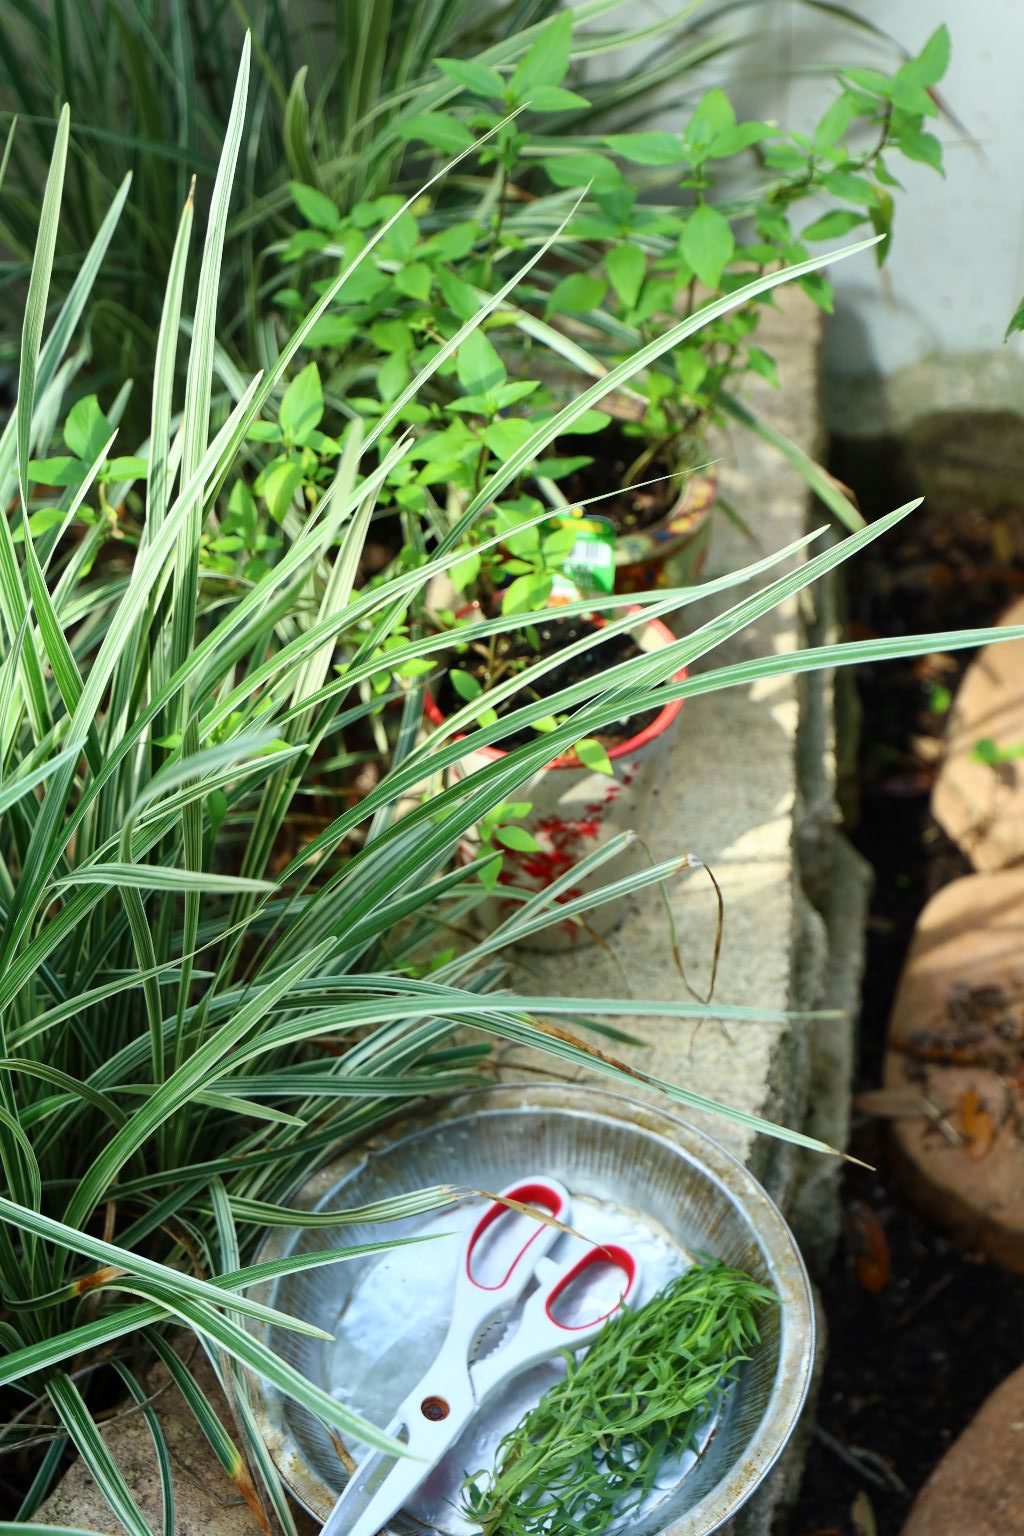

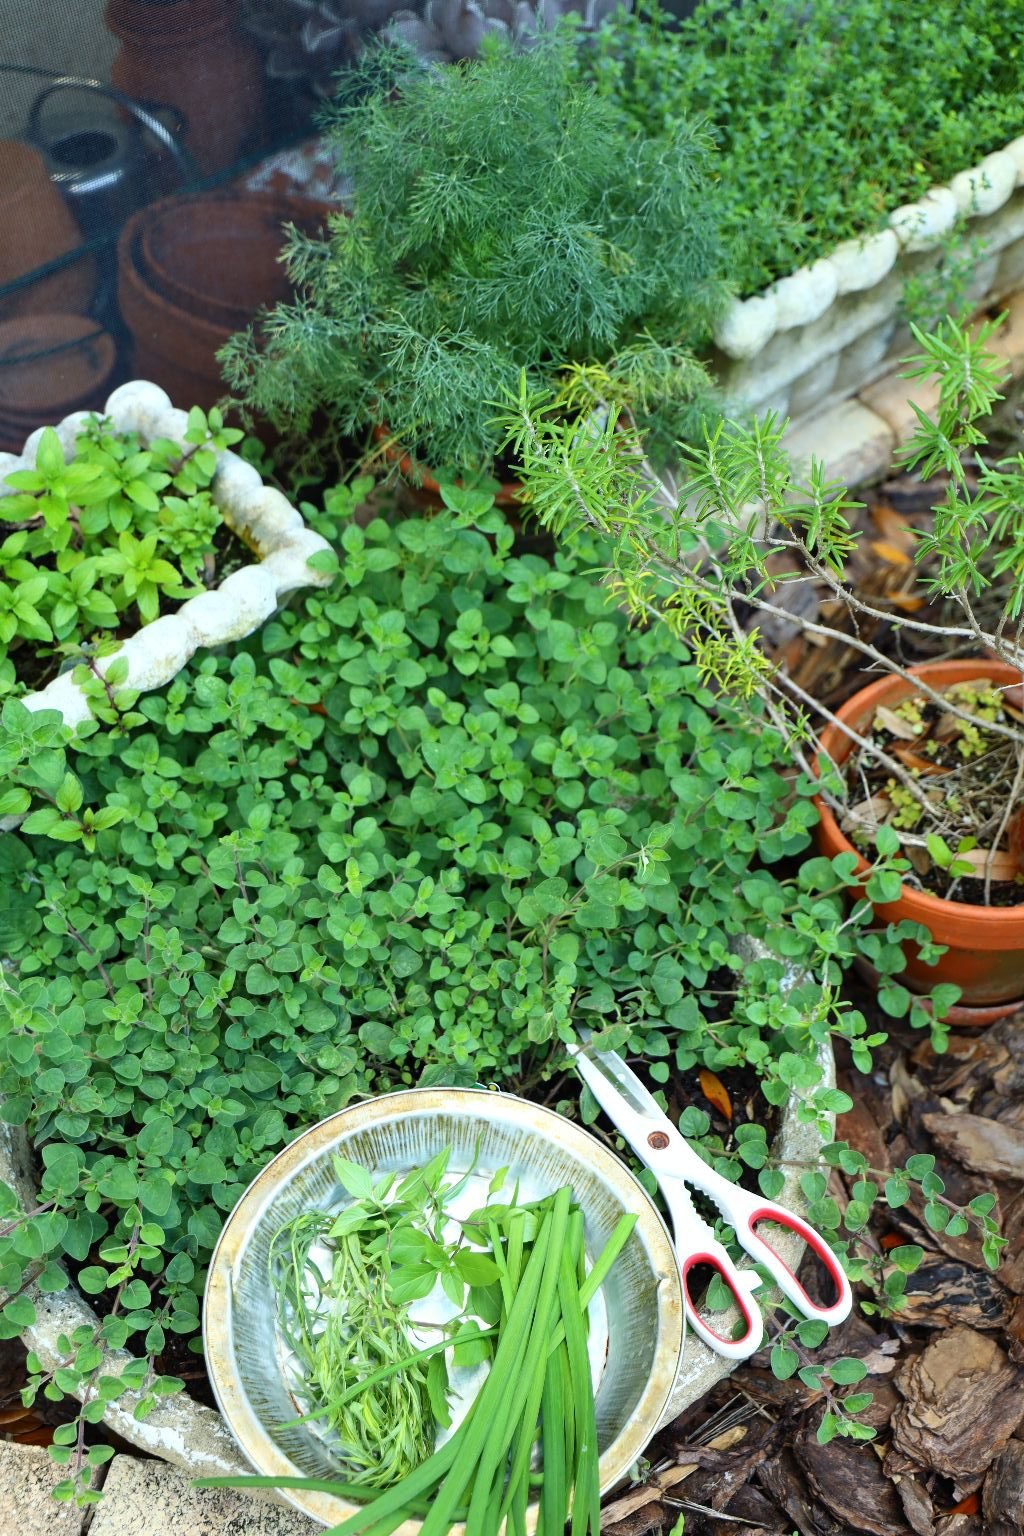
Here is a great example of why we love our herb garden. Fresh herbs are amazing to use in any recipe as they are at their peak of flavor.


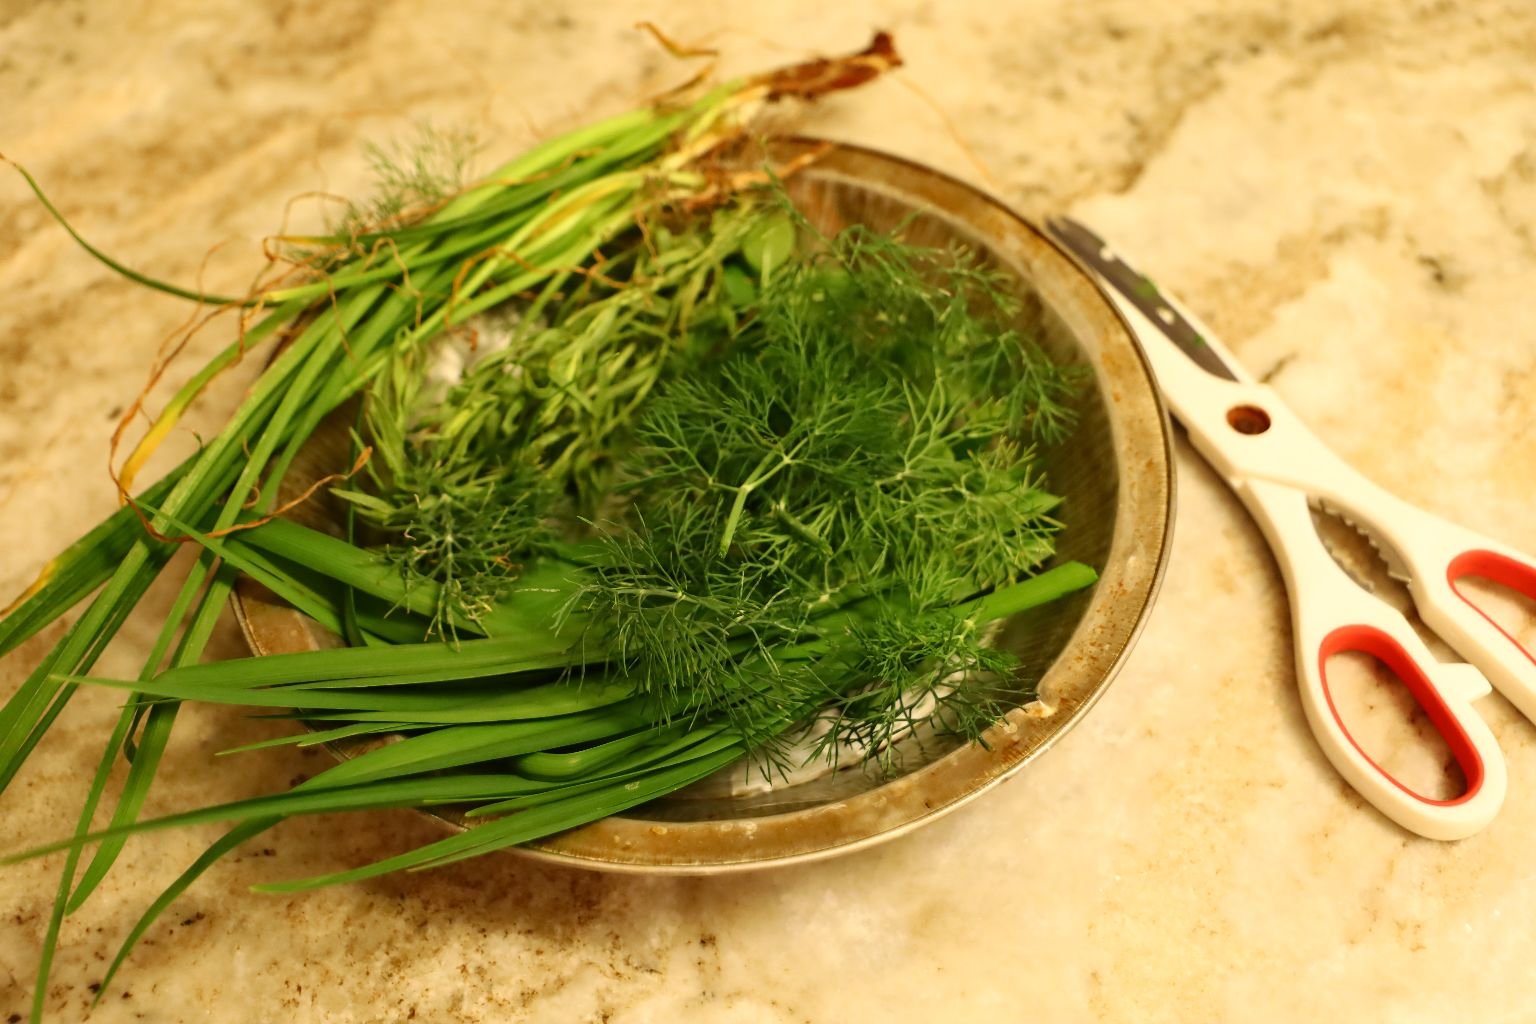
Here we are using Regular Chives, Garlic Chives, Dill, Tarragon, and Thai Basil.

———————————————————————
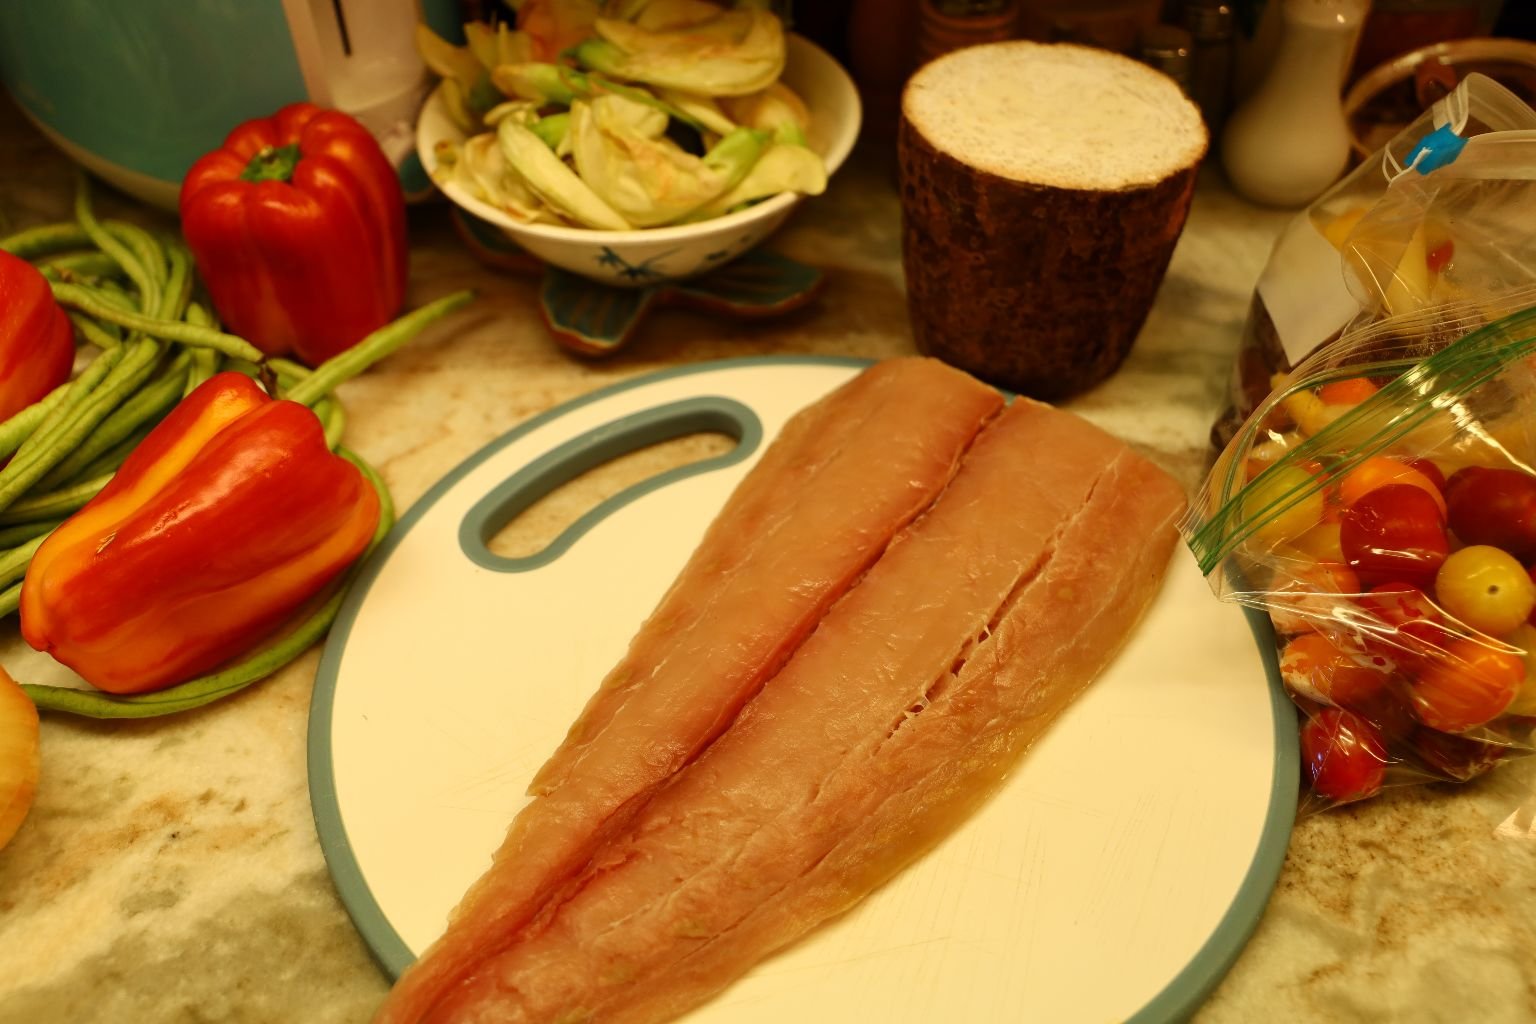
The Mahi-Mahi Fillet
I will explain the recipe as I go. (by Gordon)
I started with an entire Mahi Mahi (Dolphin Fish) fillet.

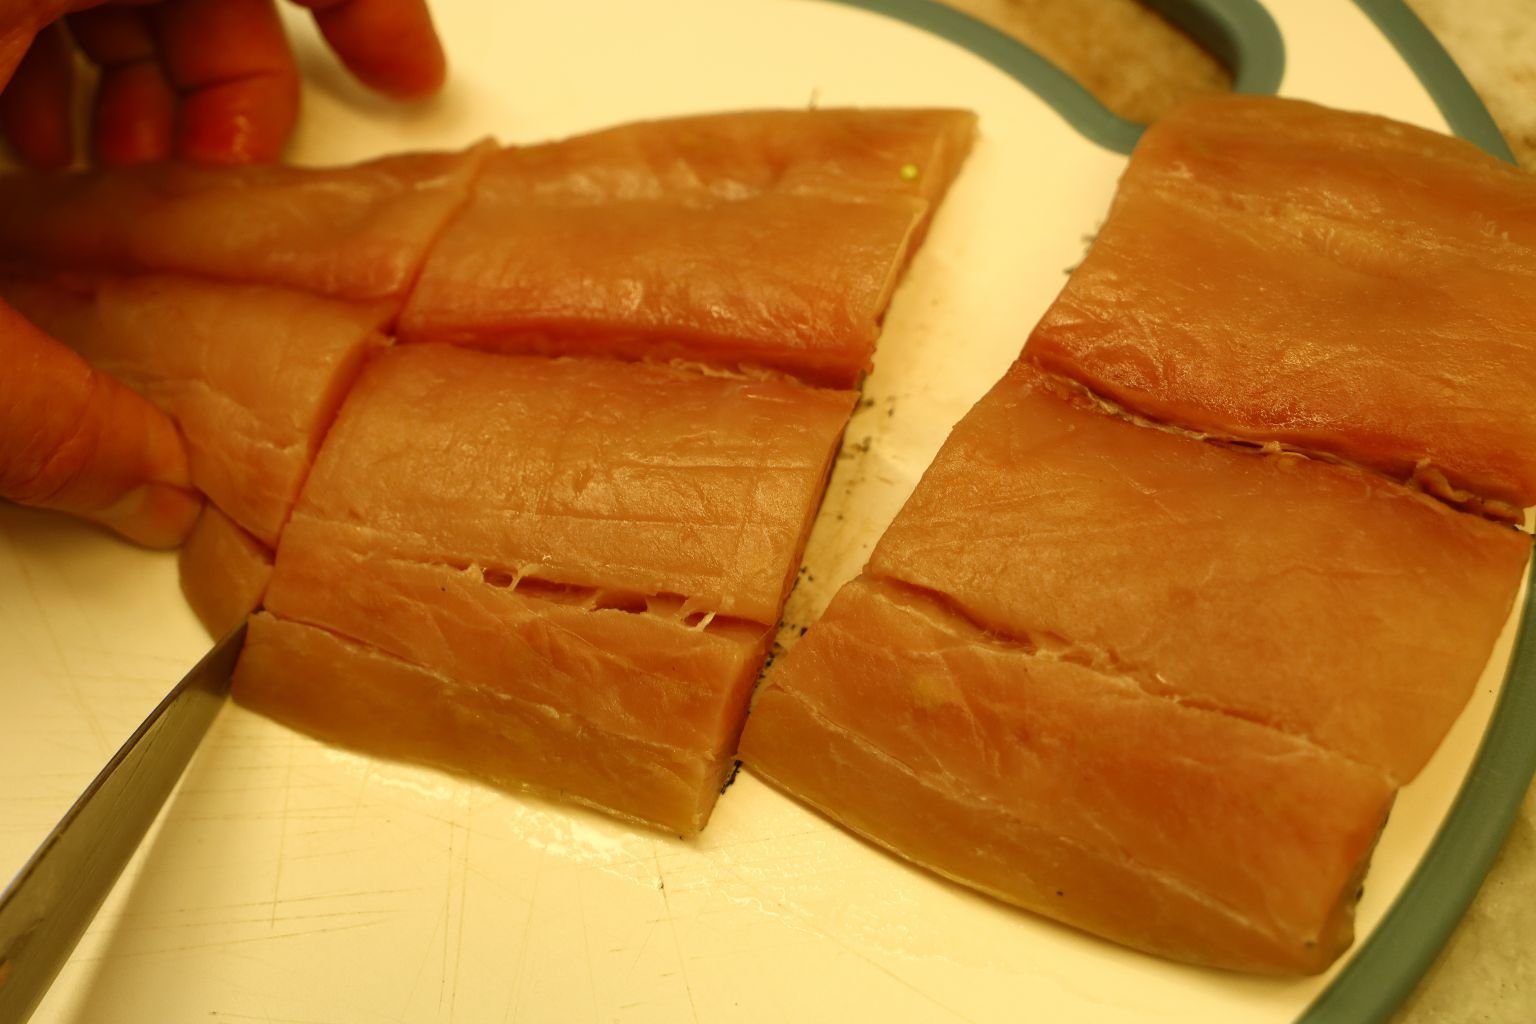
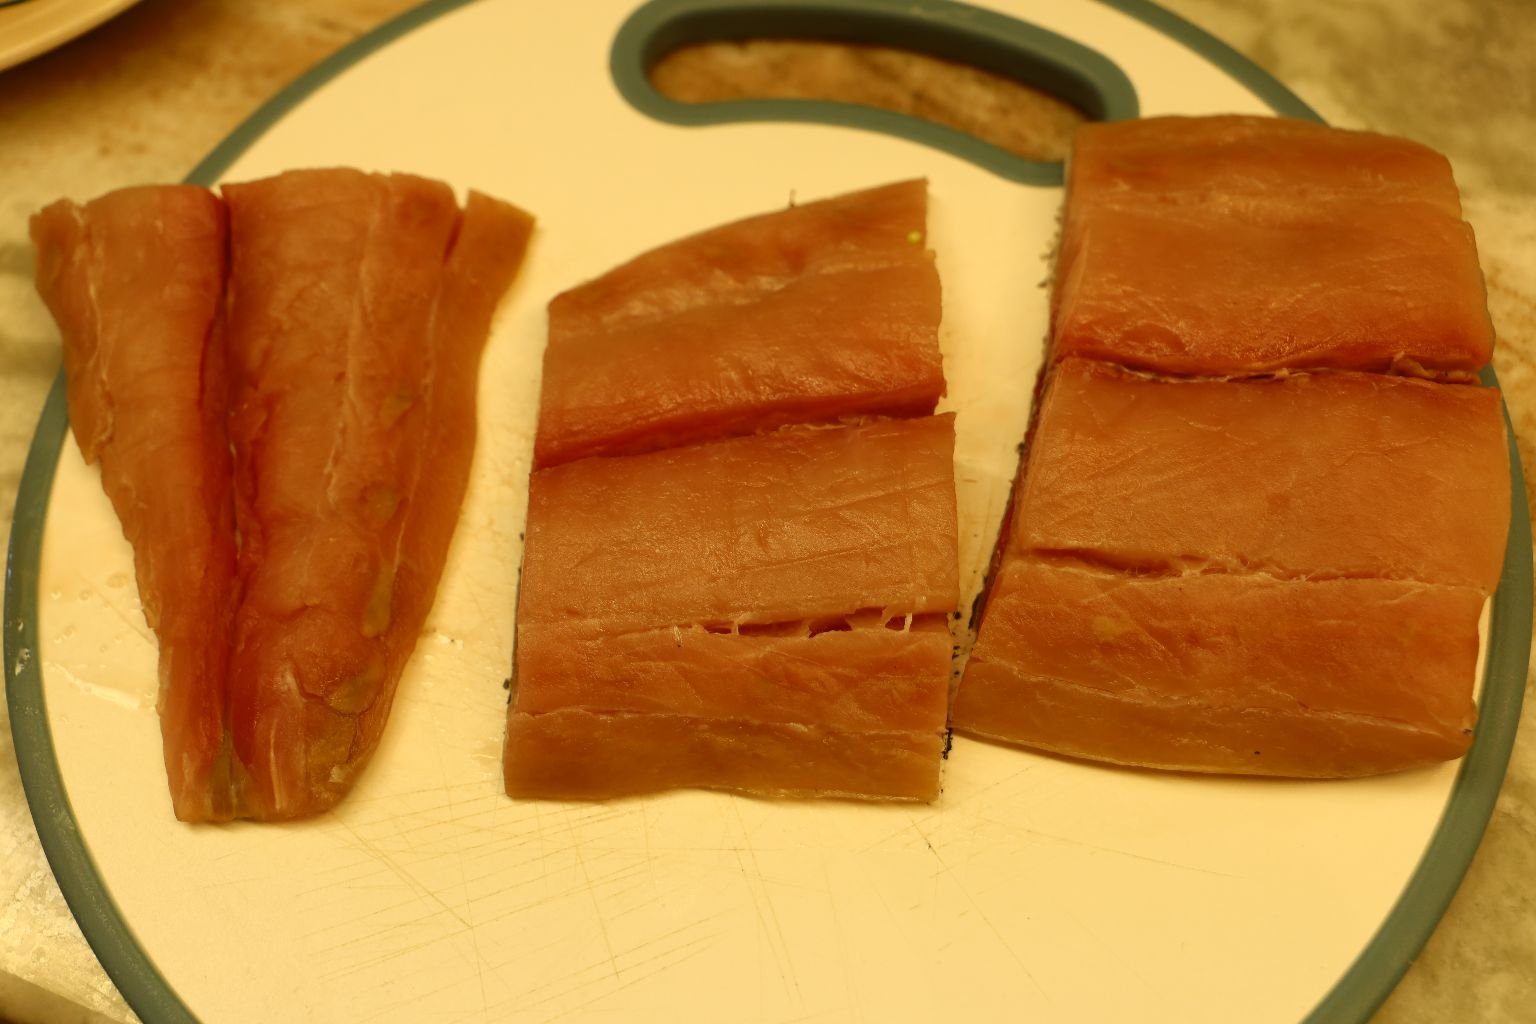
Slice the fillet into three equal portions as shown.
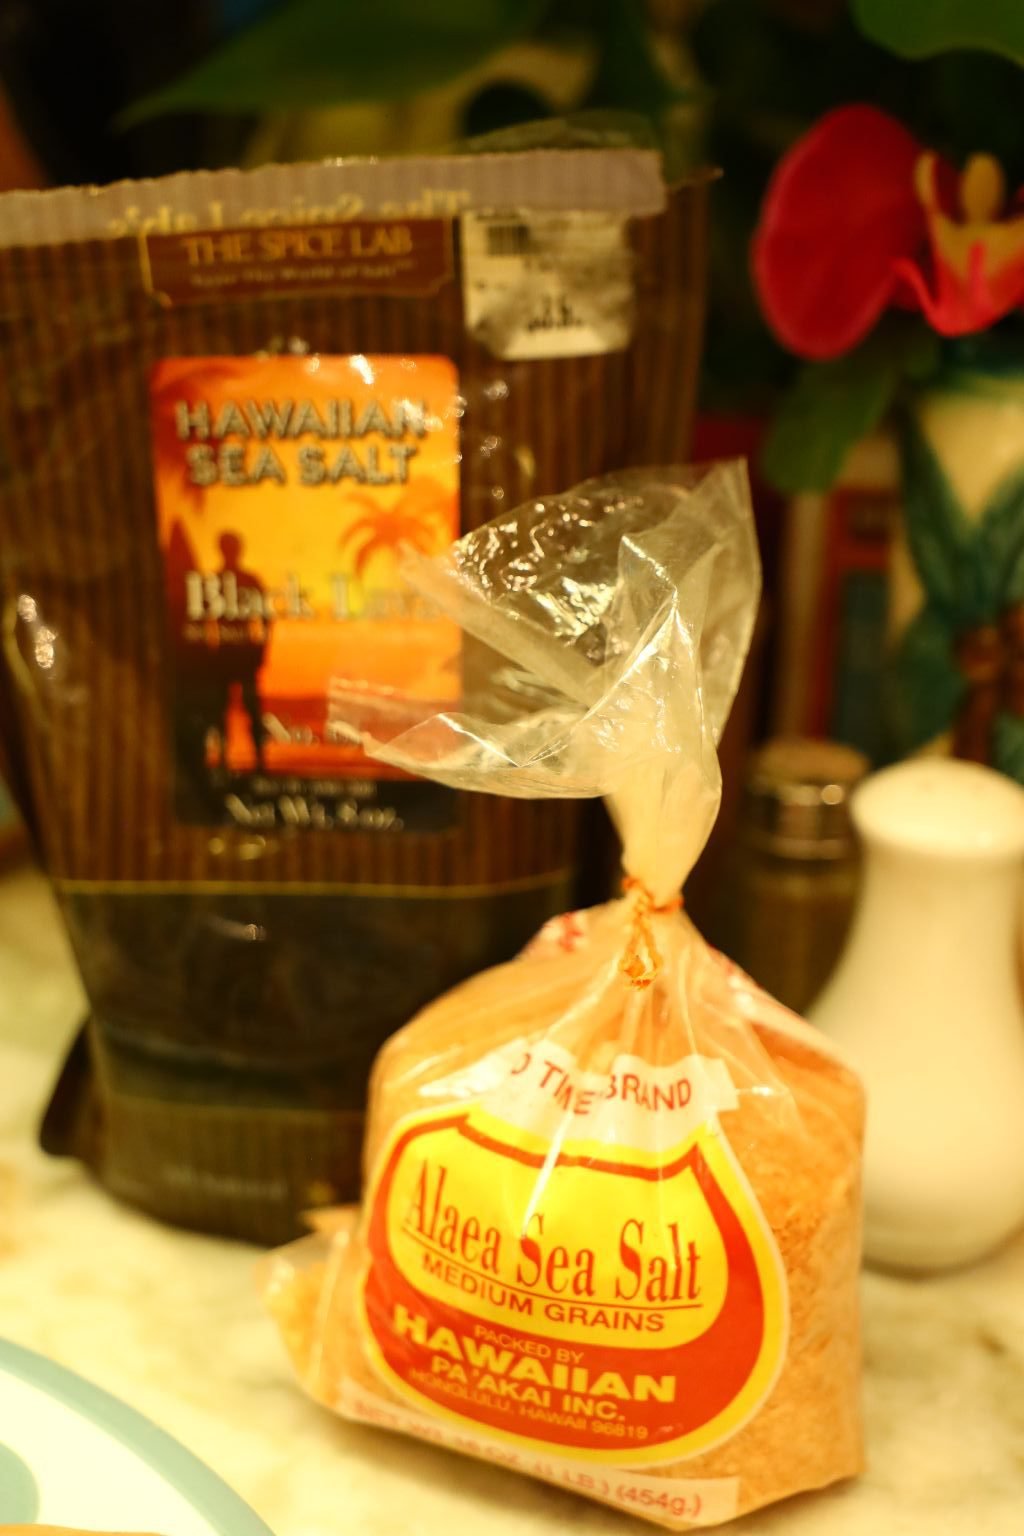
Of course for this Hawaiian recipe you want to use some Hawaiian Sea Salt, and Black Salt. If you don’t have those then any Sea Salt will work.
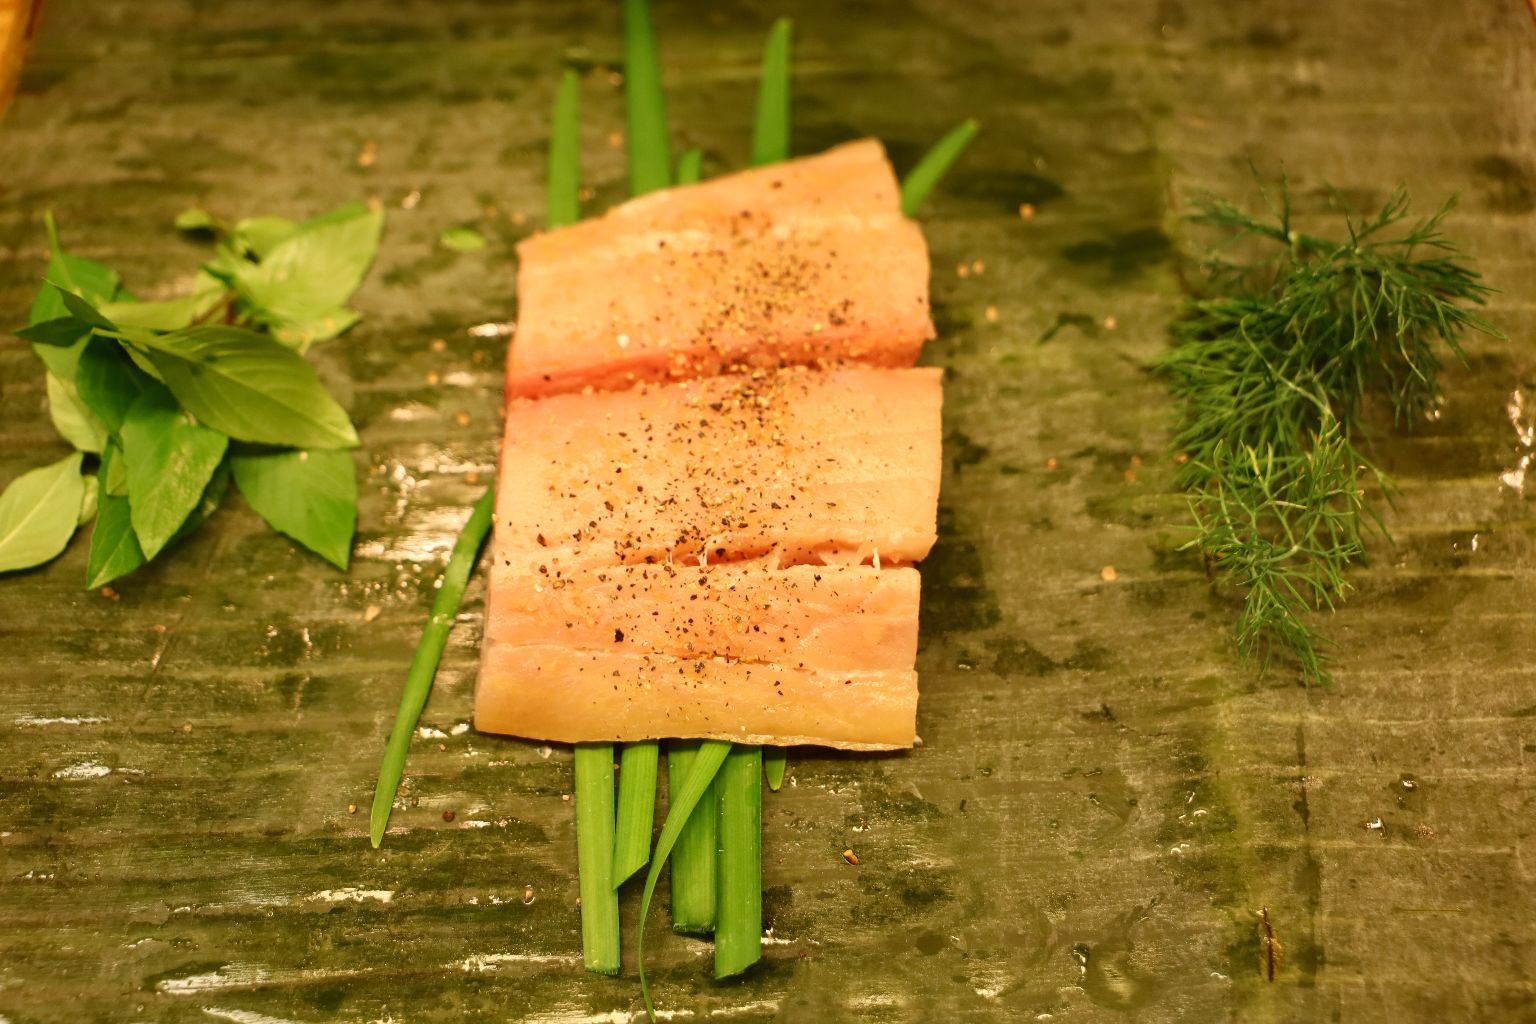

Lay out a piece of Banana leaf large enough to entirely enclose your fish. Place your banana leaf on your cutting board, and place some Chives on the leaf as shown. Then, place your fillet on top of the chives and sprinkle some of your Sea Salt on the fish. Then place some of your herbs on top of the fillet as shown.
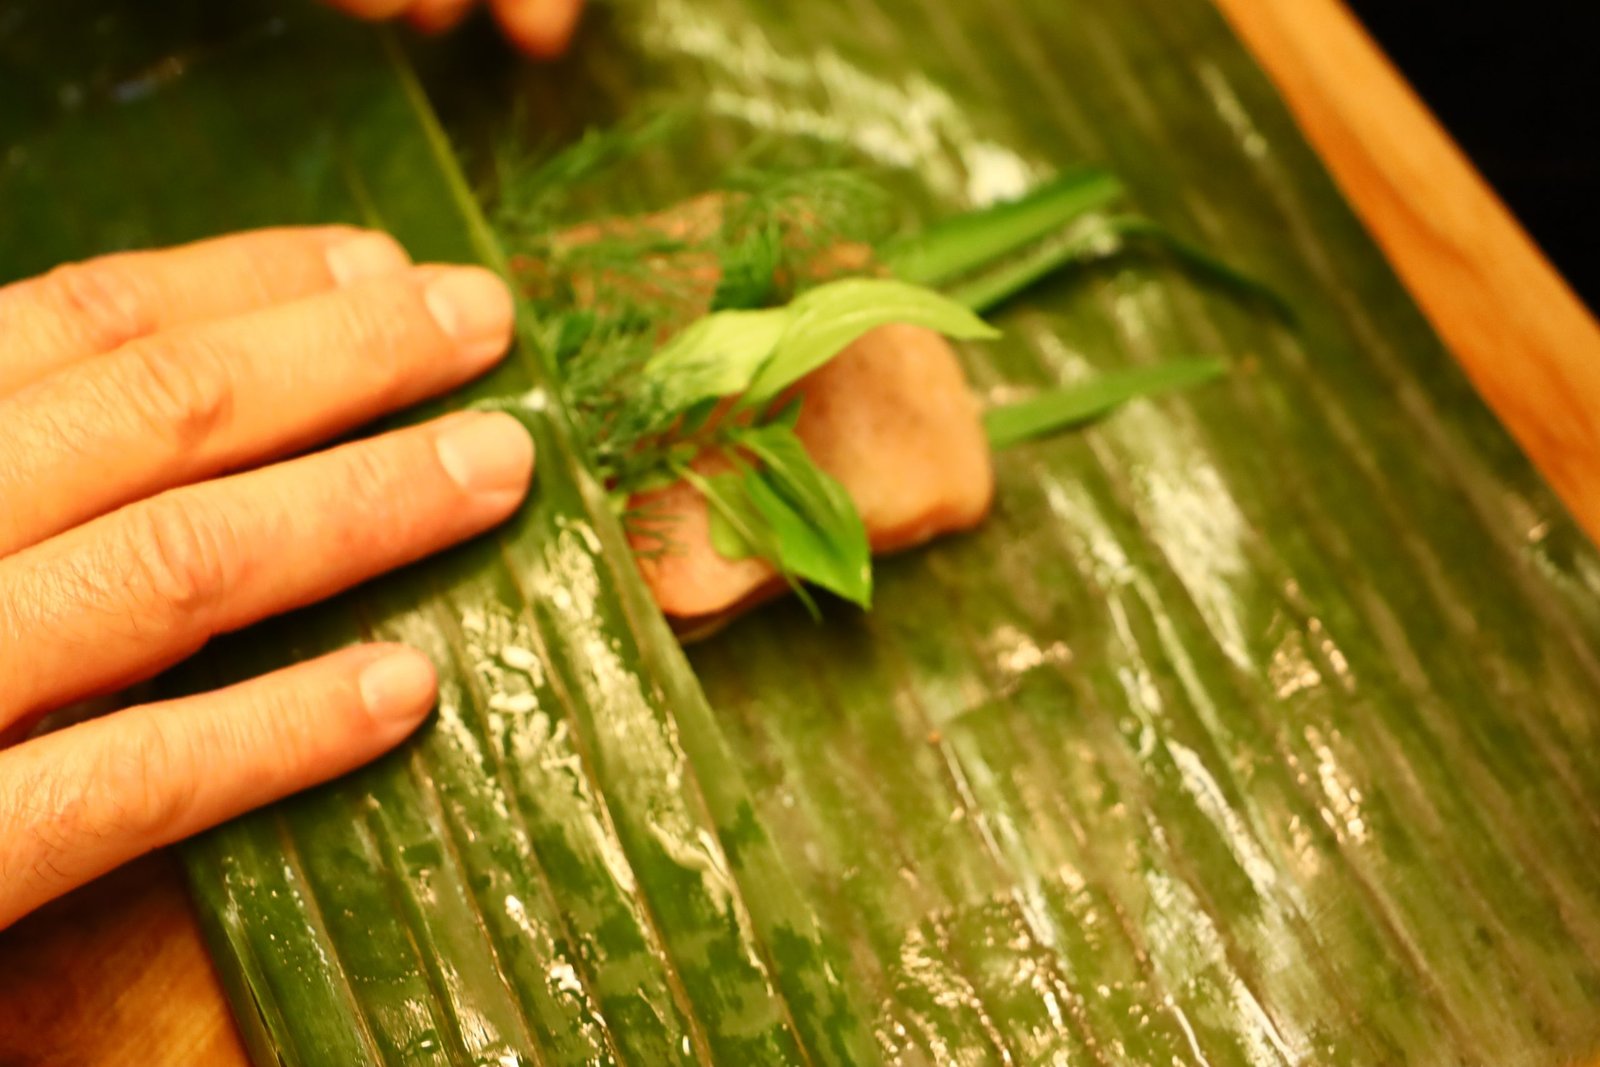

Wrap the fish tightly with the banana leaf. I started folding the bottom section of the leaf up then folded the top portion down. Now, wrap the left and right side of the leaf enclosing the fish tightly within the leaf.
—————————————————————————–
On note: Banana leaves contain a natural tenderizer within them which will help to tenderize anything you wrap them in. They also protect the items within them from the fire as well as to steam them as the leaves hold a great deal of moisture.
Here are more pictures of me folding the Mahi Mahi within the banana leaf.


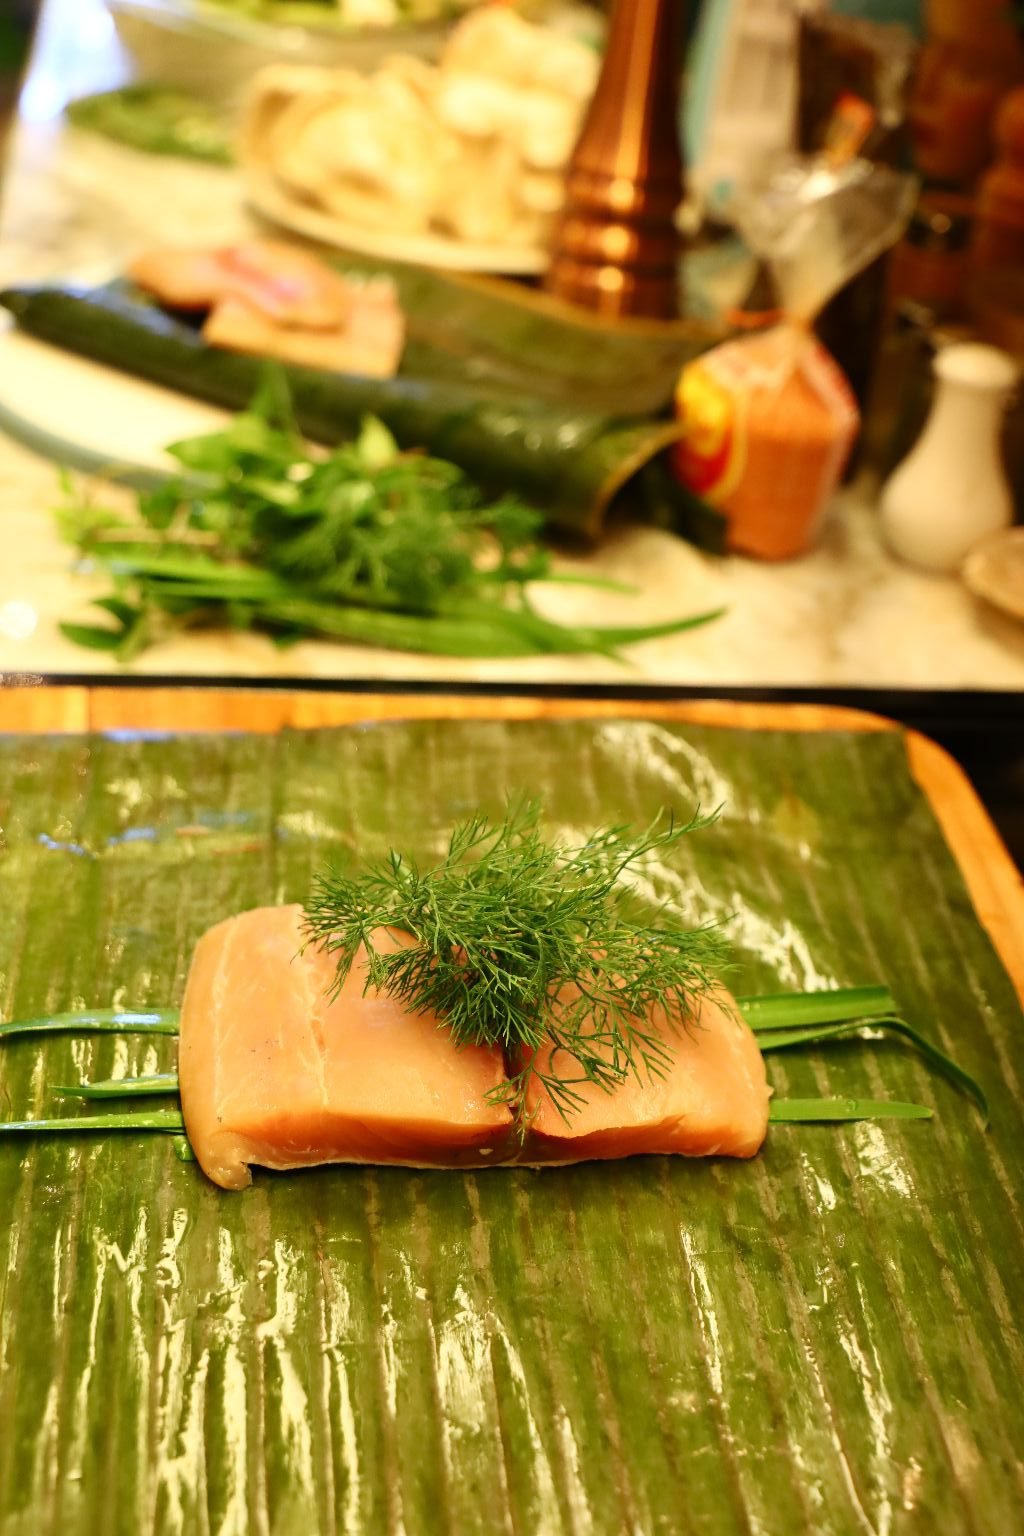
Yes, I forgot the Chives underneath the fish, but this is easily fixed.
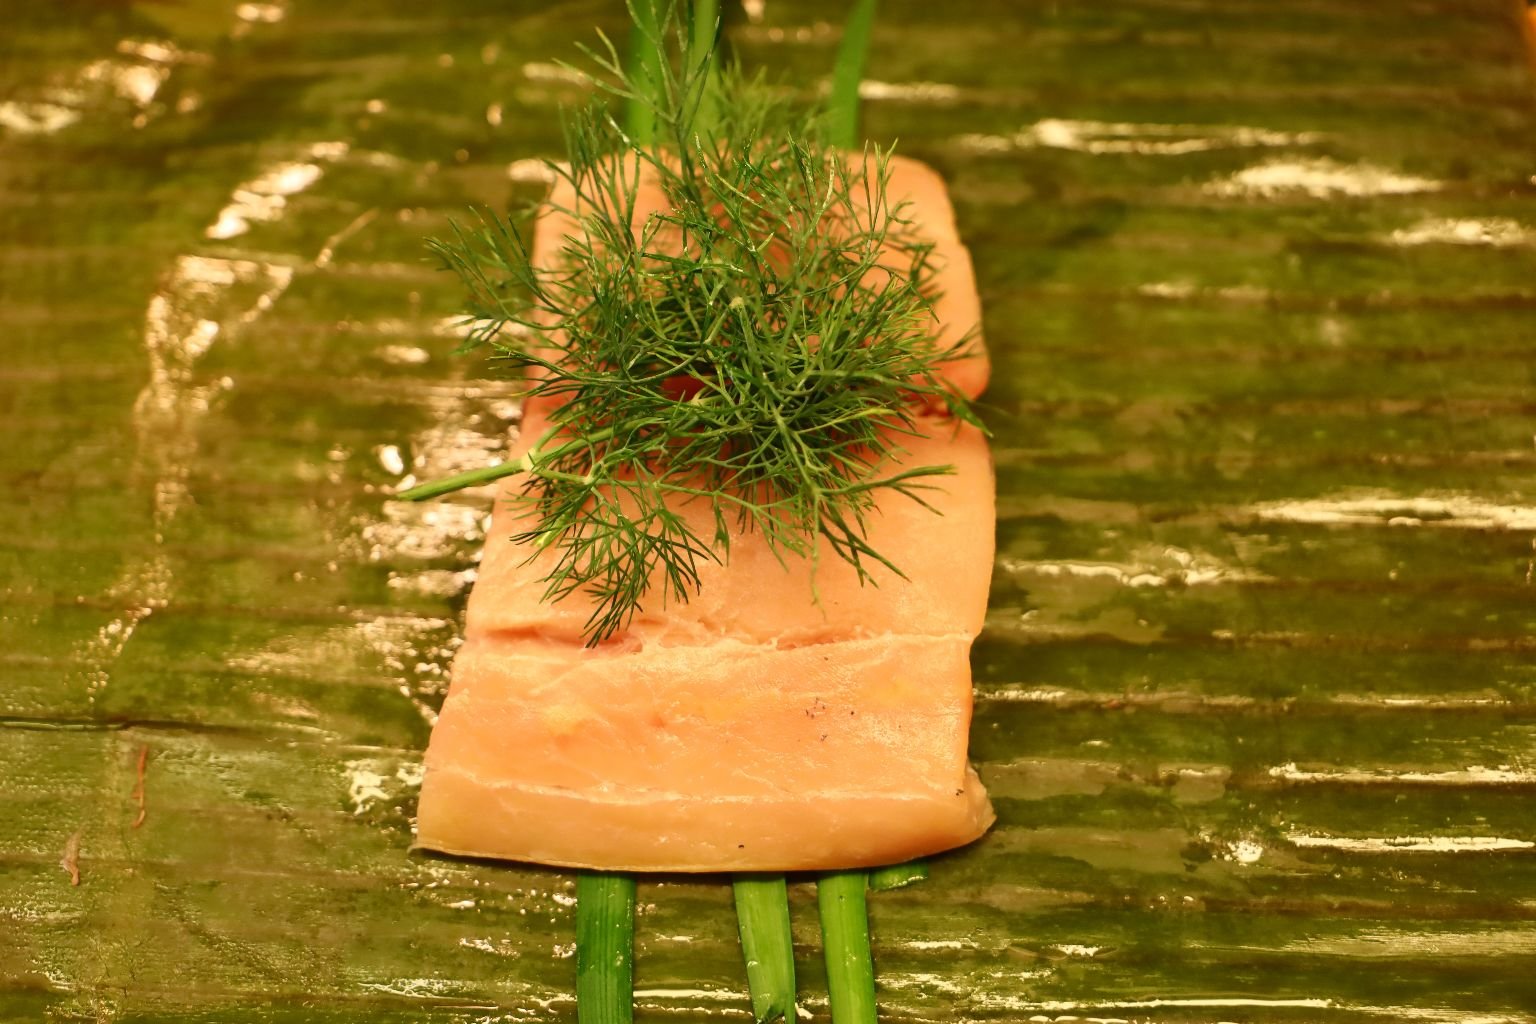
You don’t have to use all the herbs I did as a simple bunch of Dill will work great! You could also use some slices of Lemon or Garlic in this recipe as well as some nice Olive Oil!
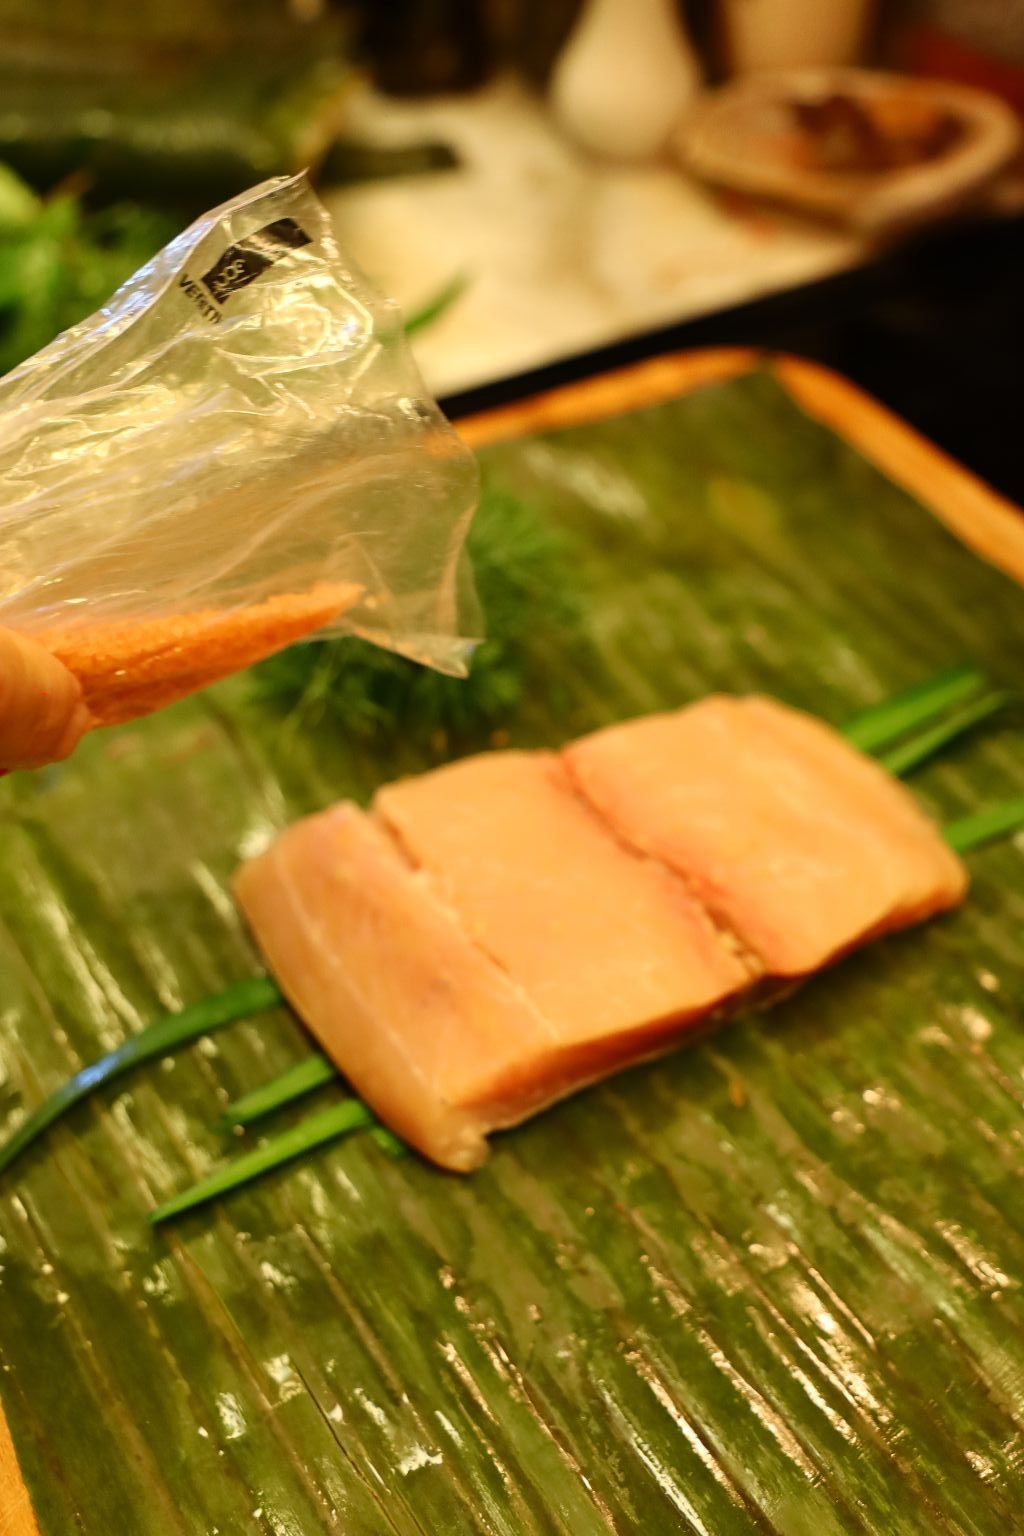

More pics of wrapping the fish.

Place your herbs and seasoning on the fish as shown…
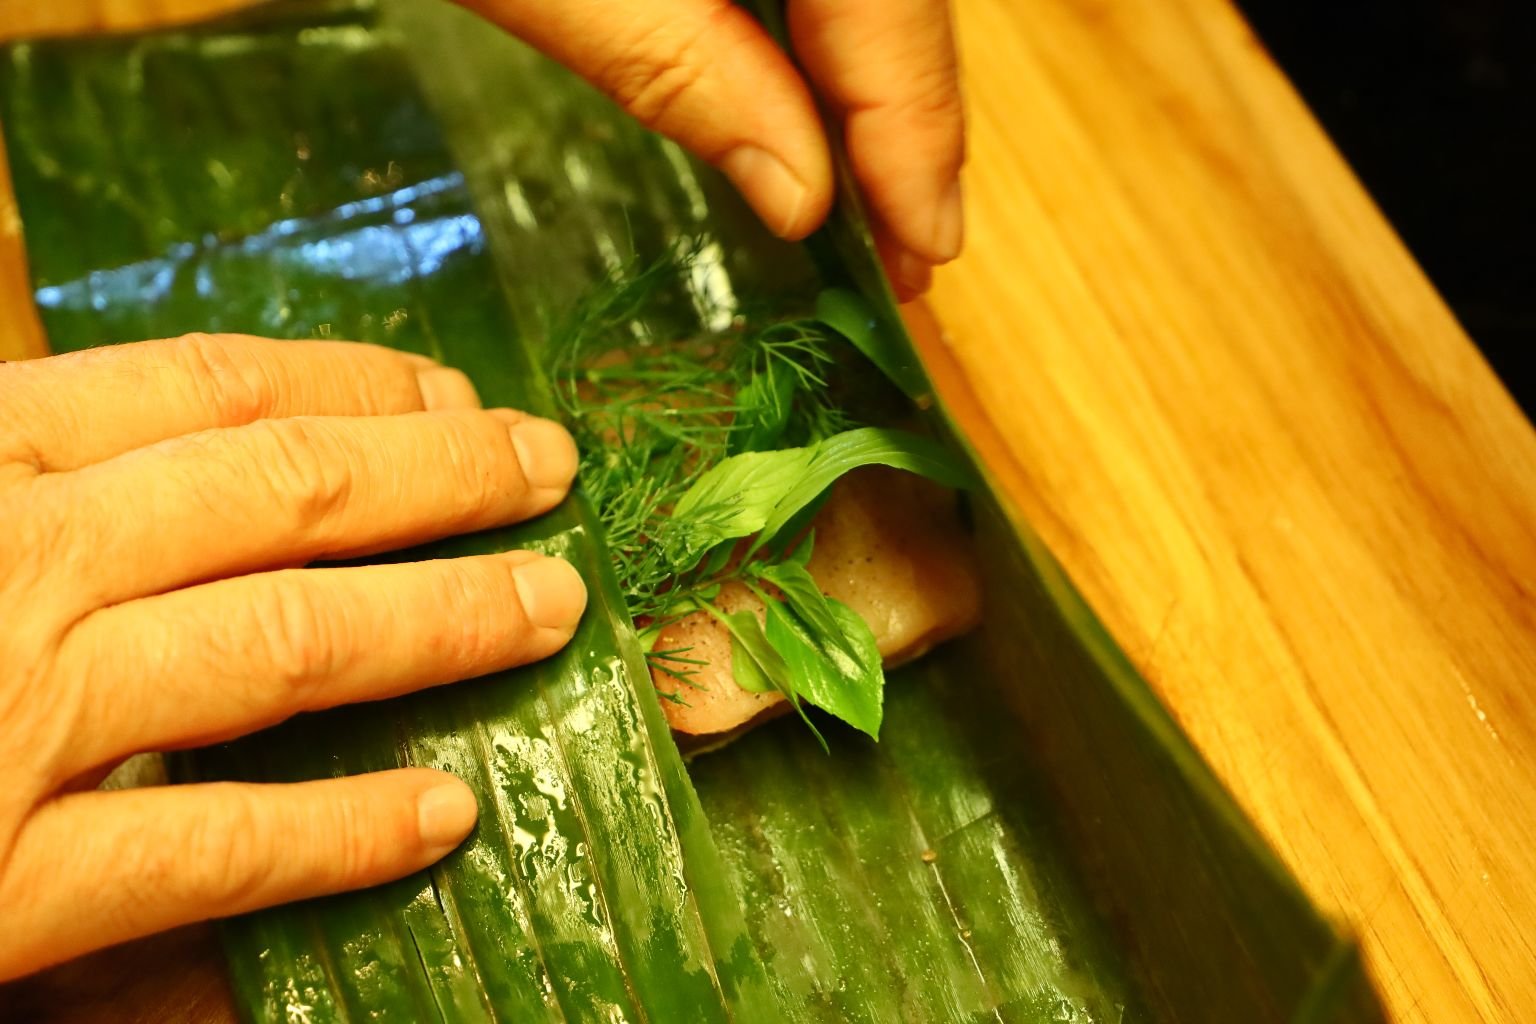

Then bring the bottom of the leaf up, then the top of the leaf down.


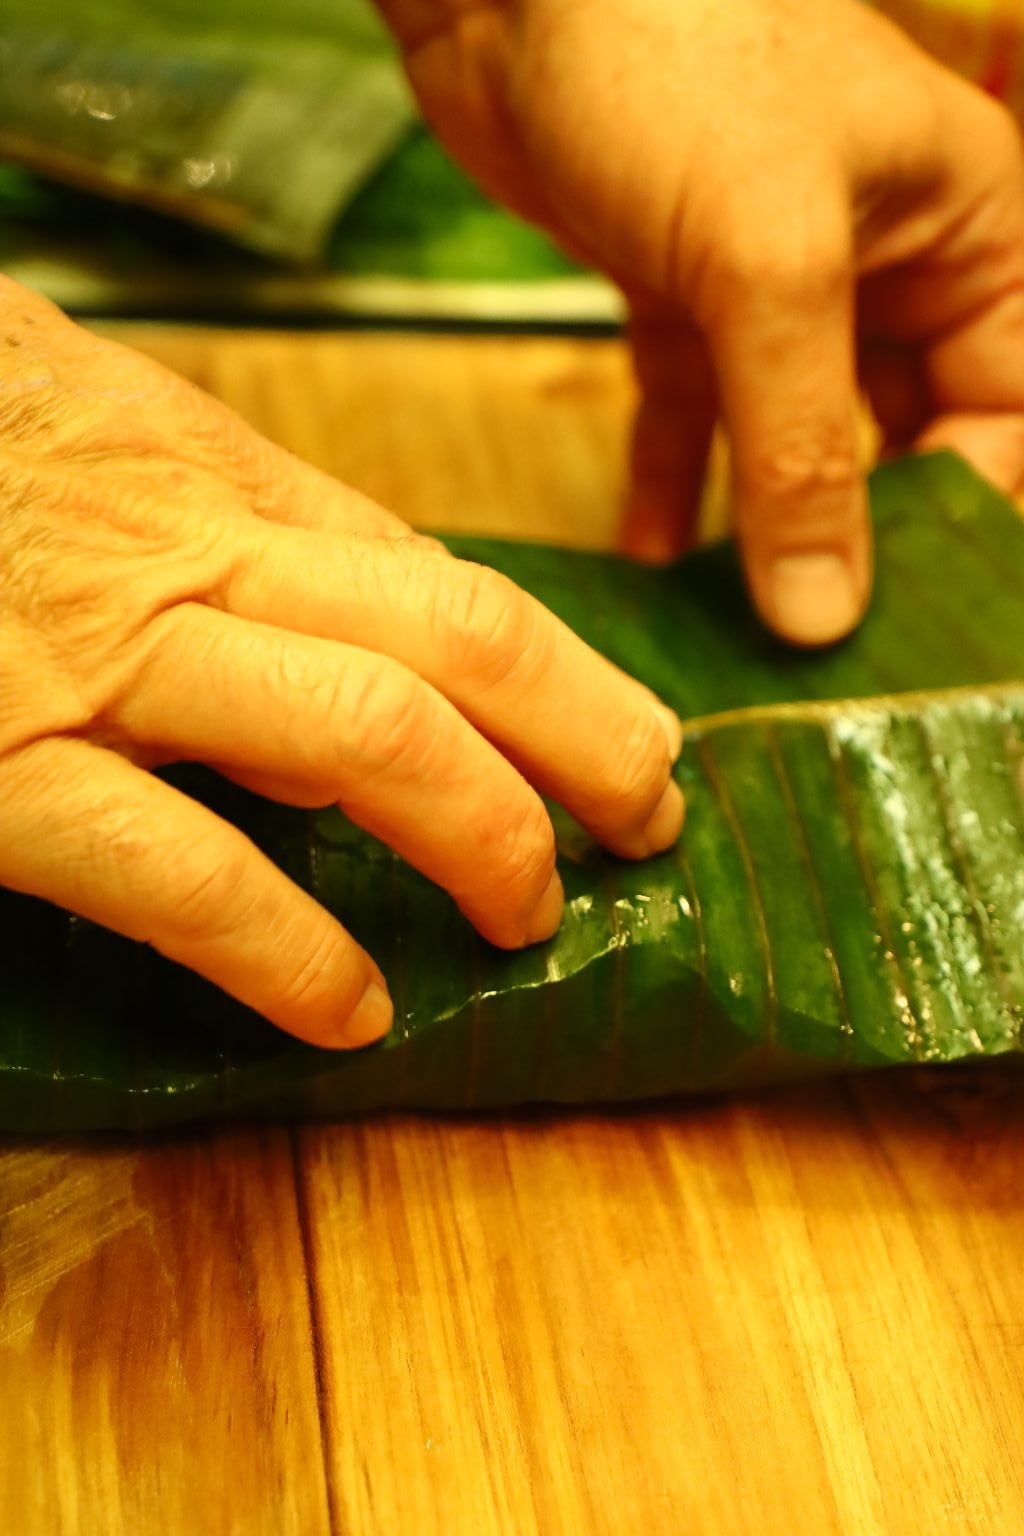
Now, wrap the left and right sides of the leaf creating a purse. Here the leaf ripped a little so I wrapped more banana leaf around the other leaves using the same technique.

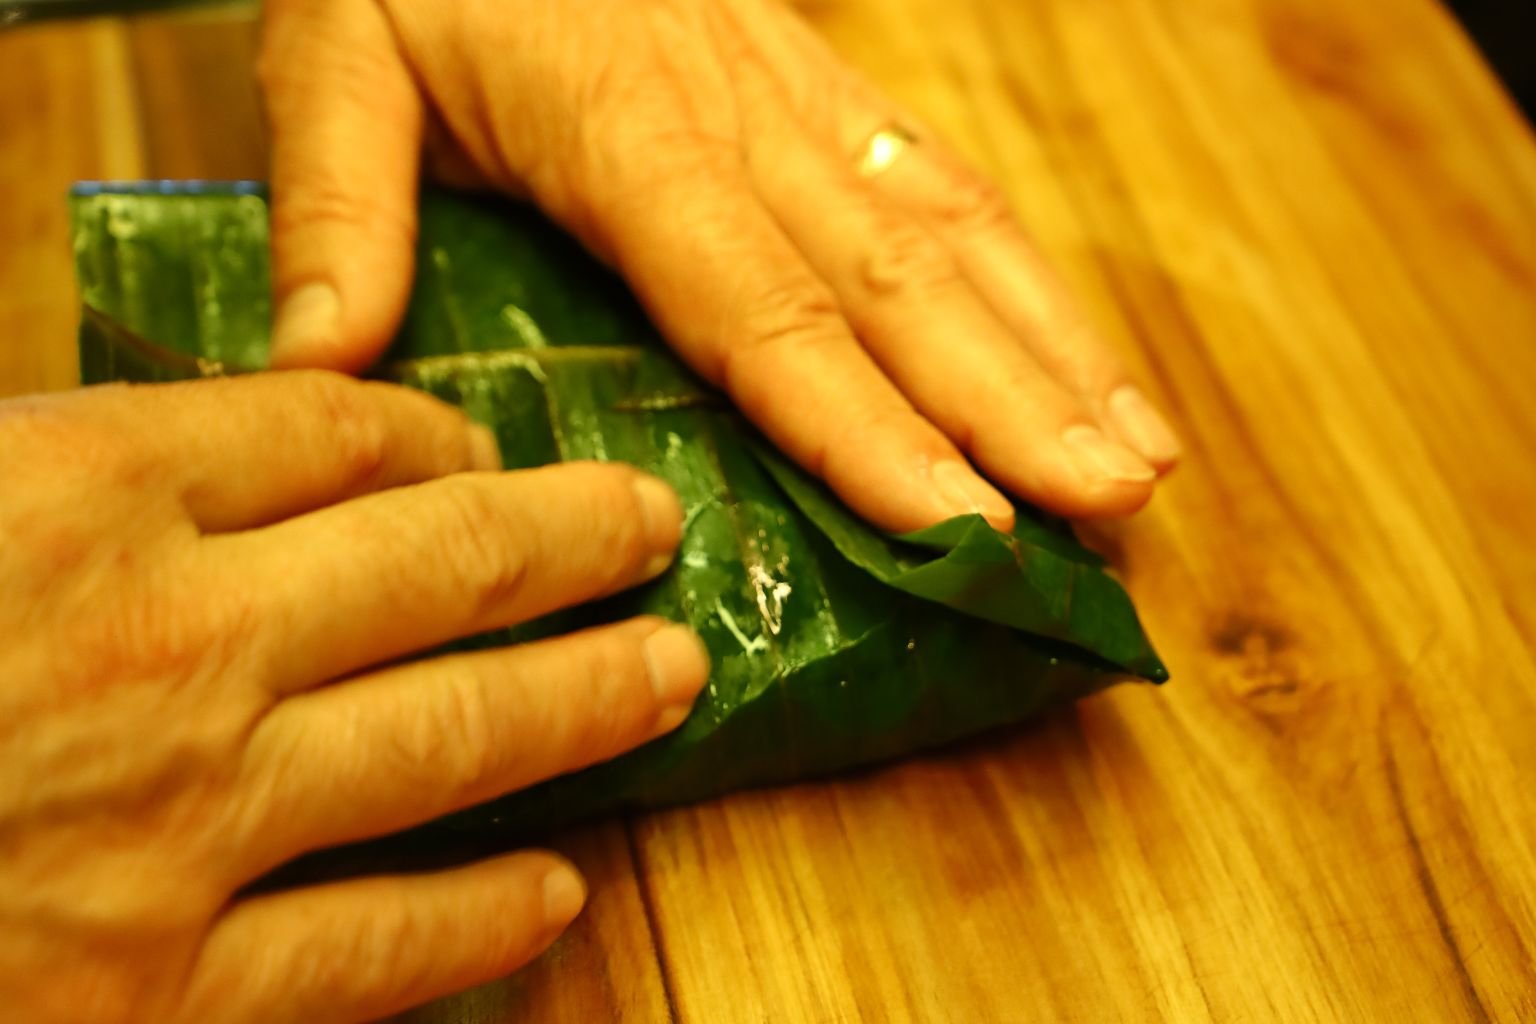


Once done, you can then wrap the entire package with aluminum foil using the same technique…


making sure you have a tight seal around the fish.


We wanted to pair the fish with some Chinese Long Beans that we purchased at The Asian Supermarket. Start by cutting off the ends of the Green Beans.
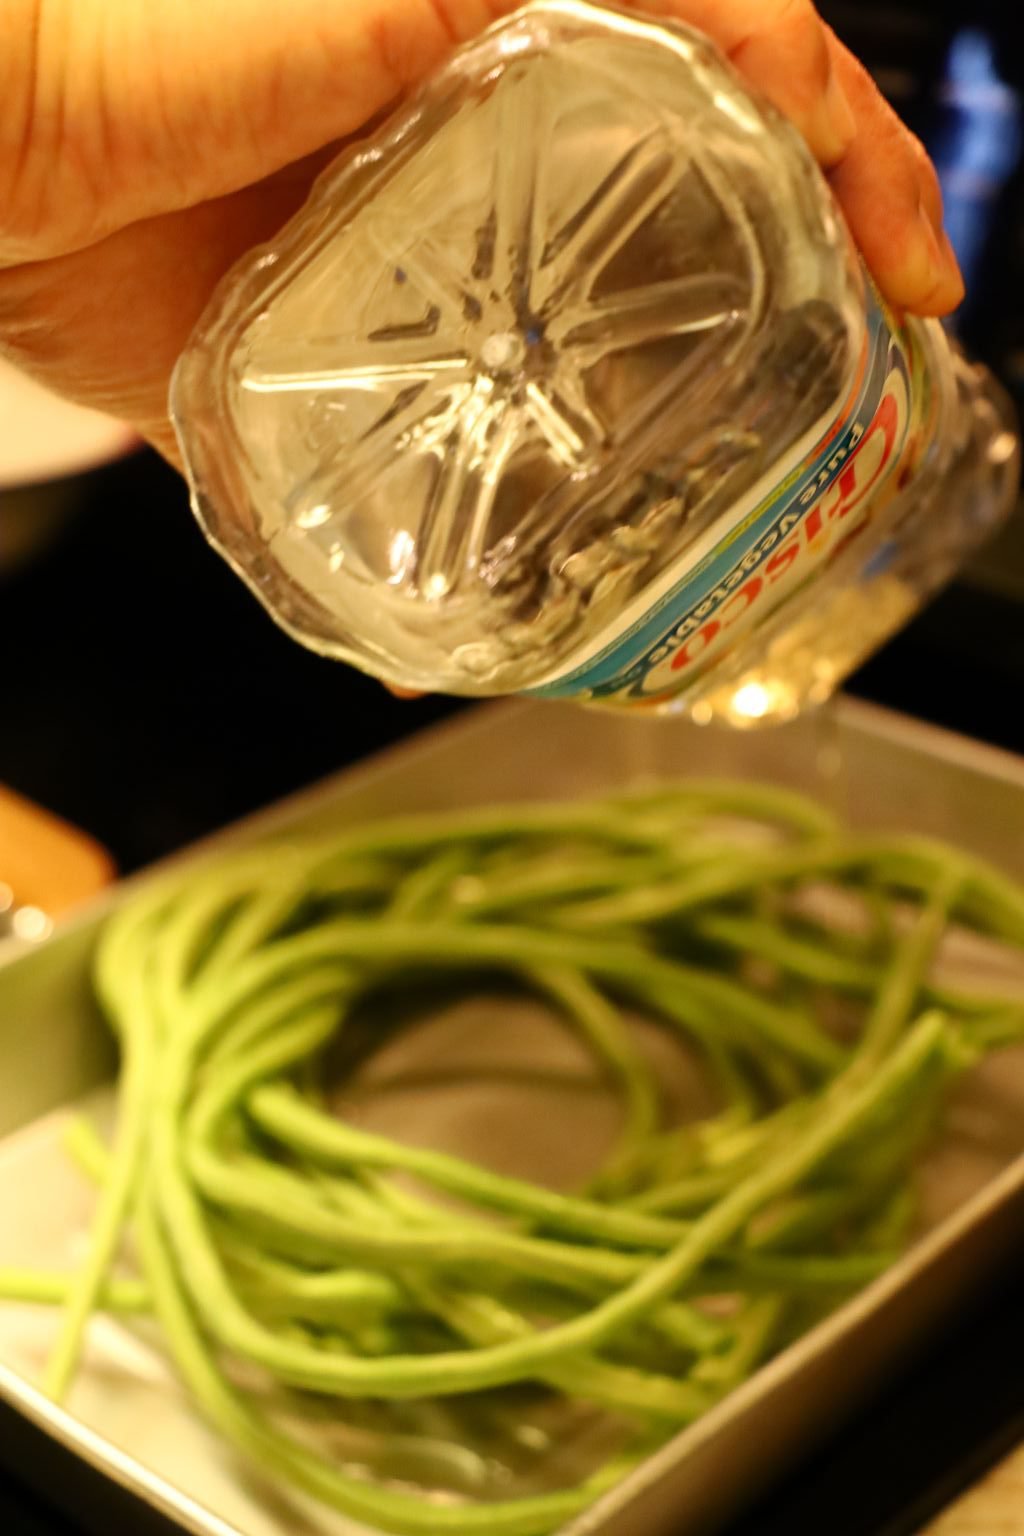
Use enough Vegetable Oil to coat the Green Beans.
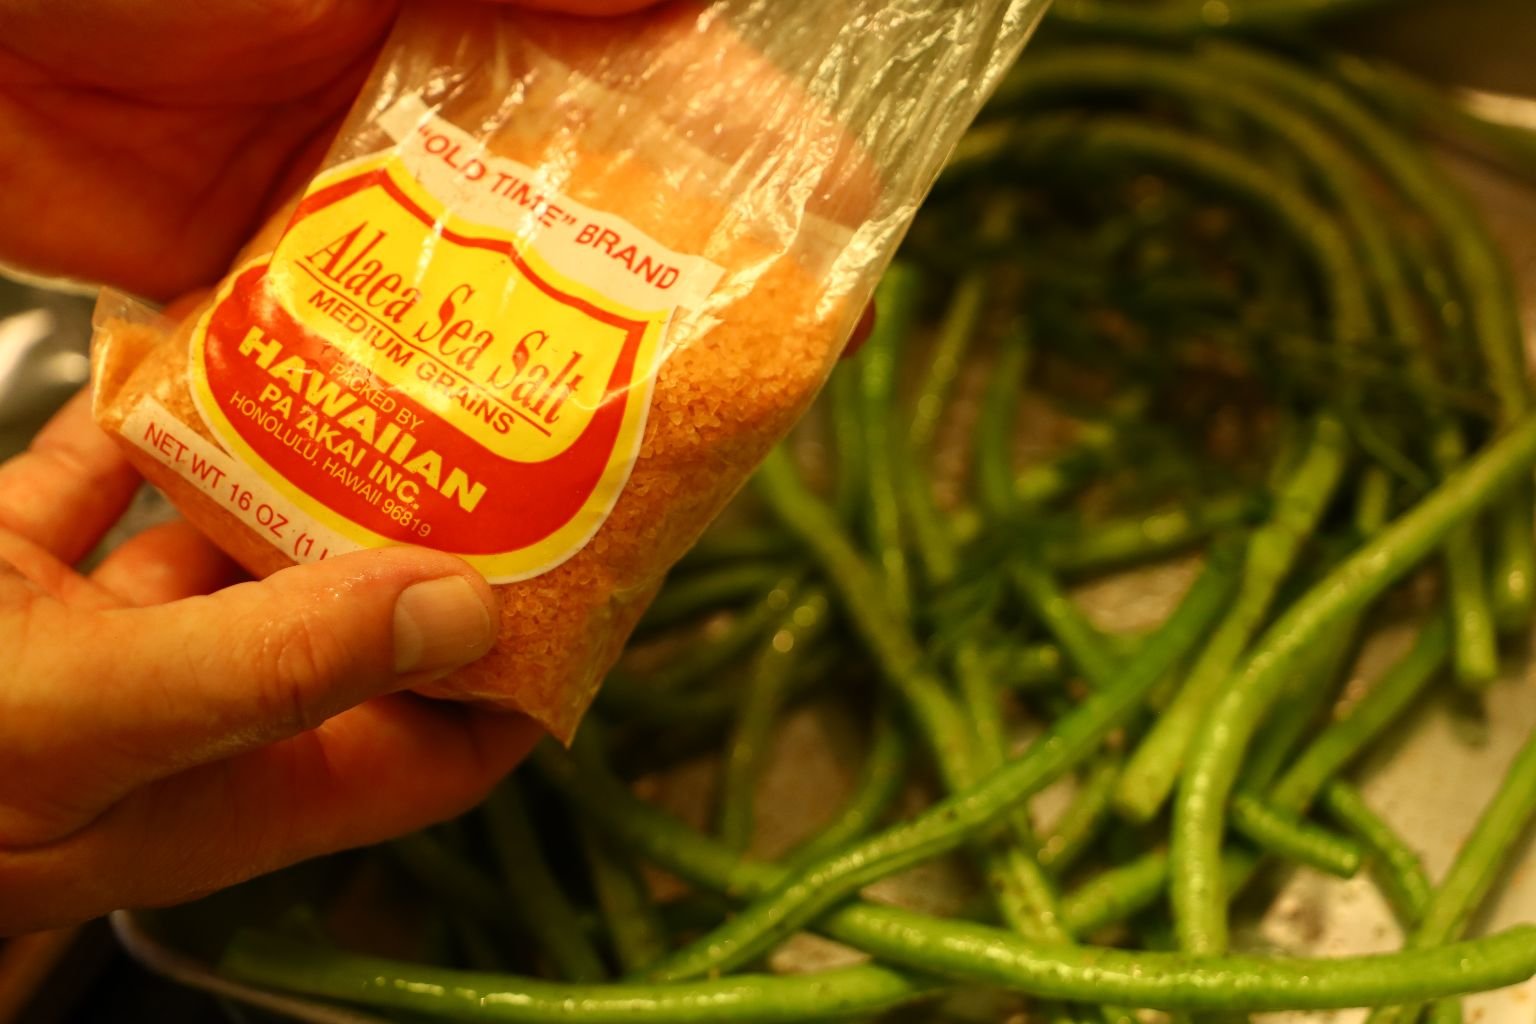
An Excellent Fine Hawaiian Sea Salt
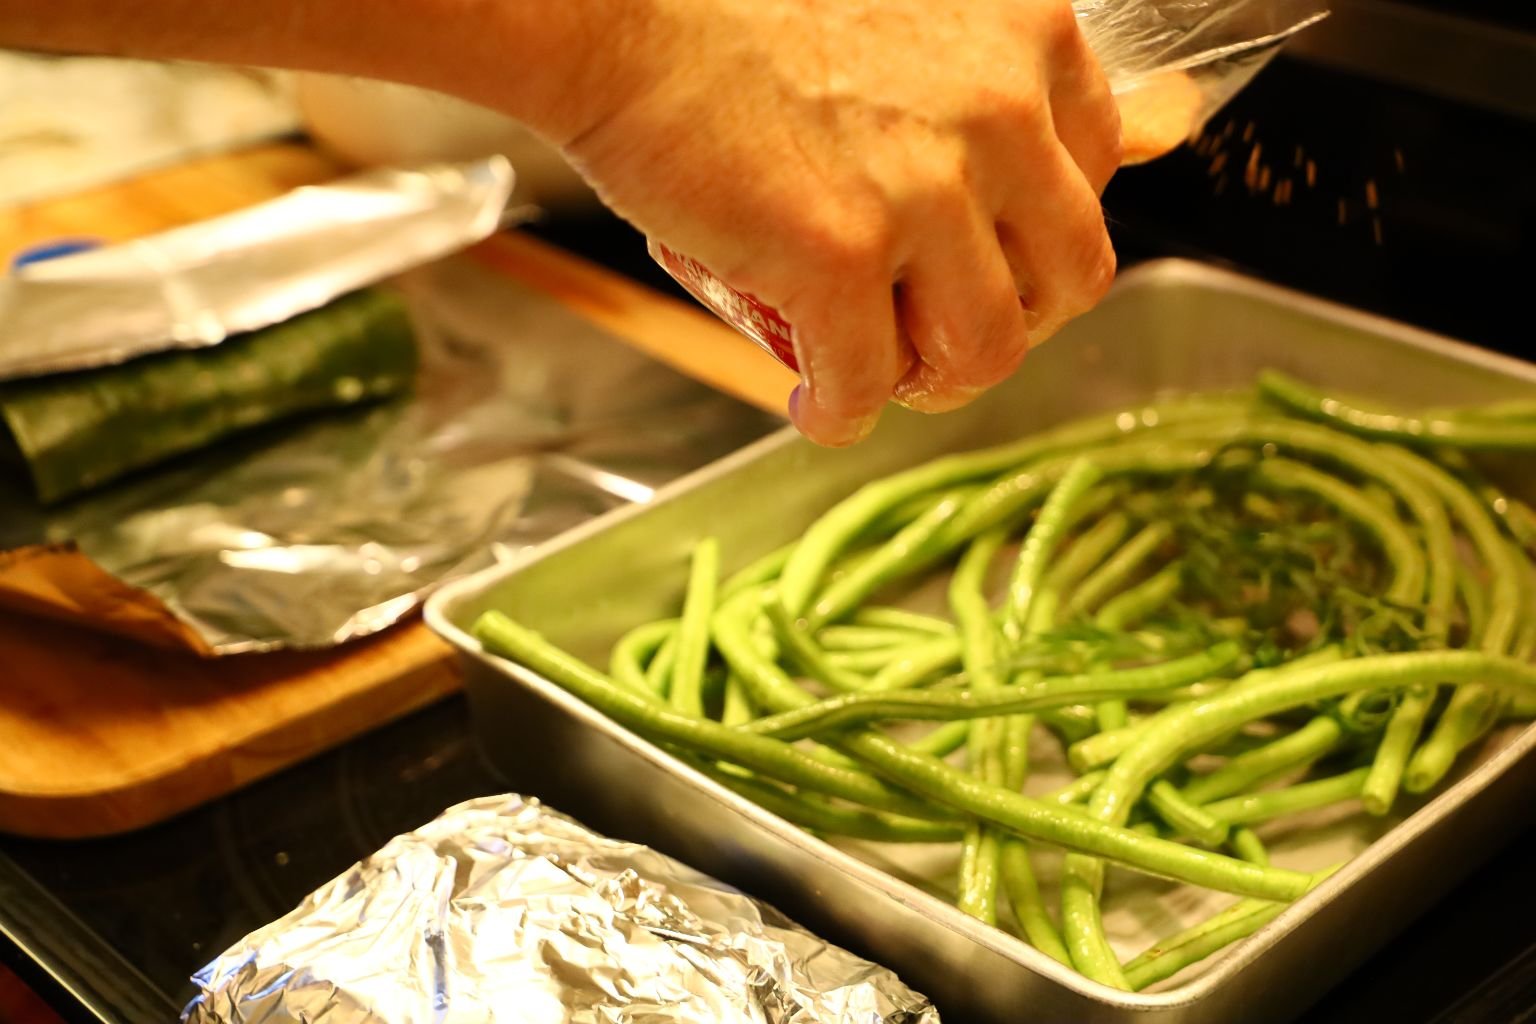
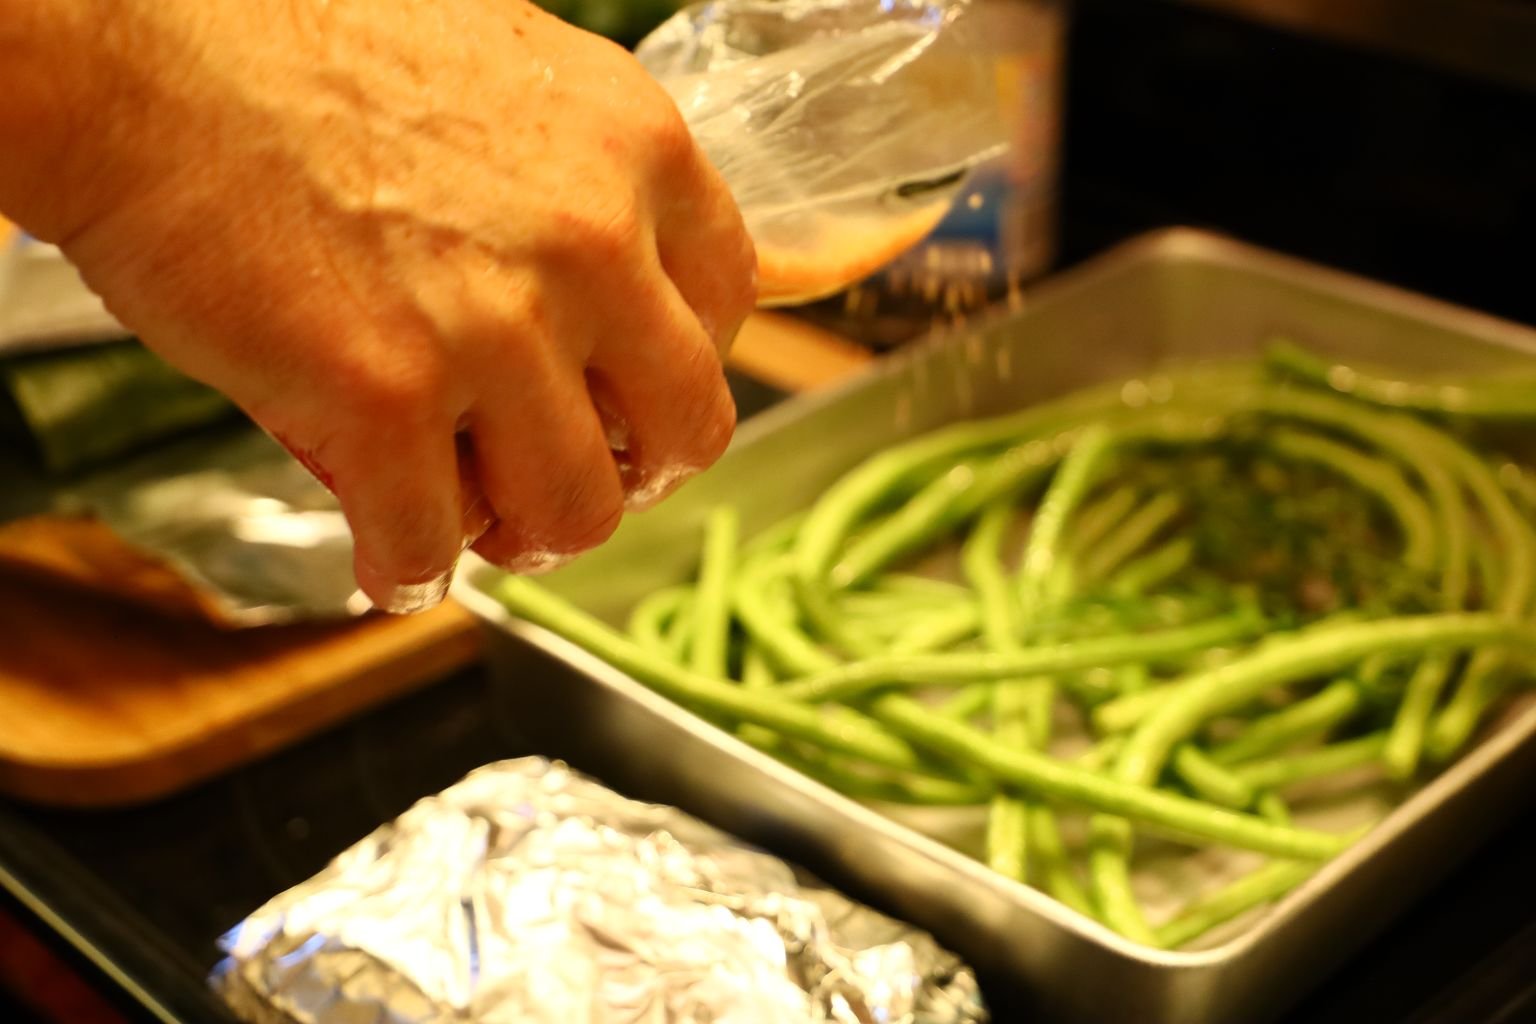
A Sprinkling of Fine Hawaiian Sea Salt
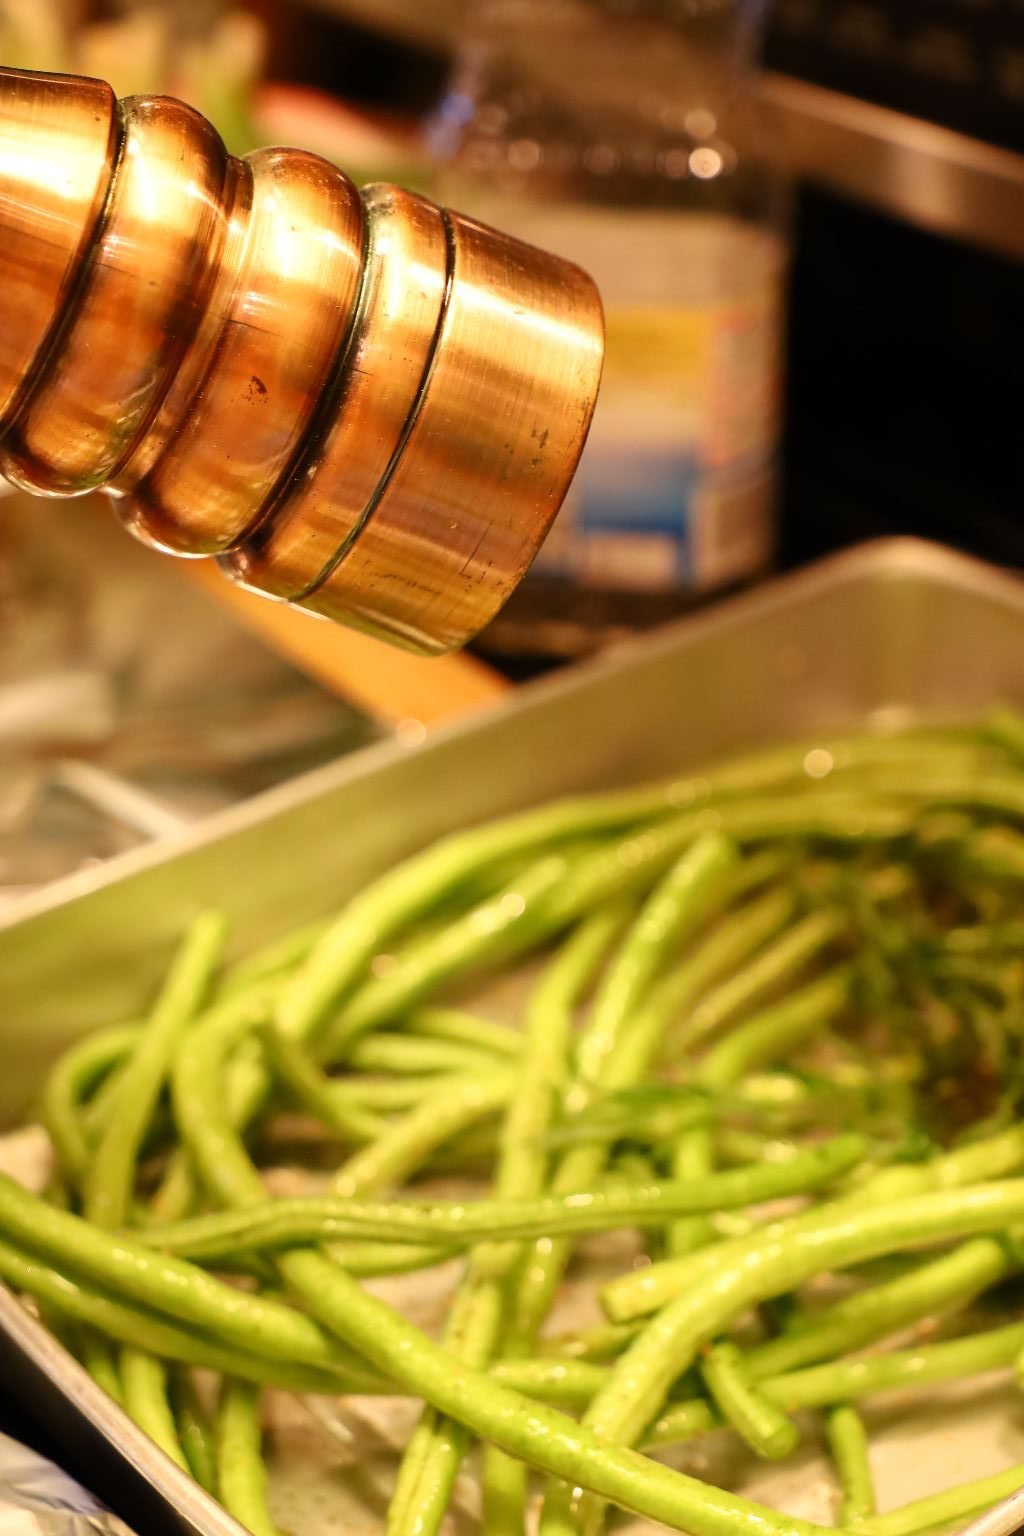
Freshly Ground Black Pepper
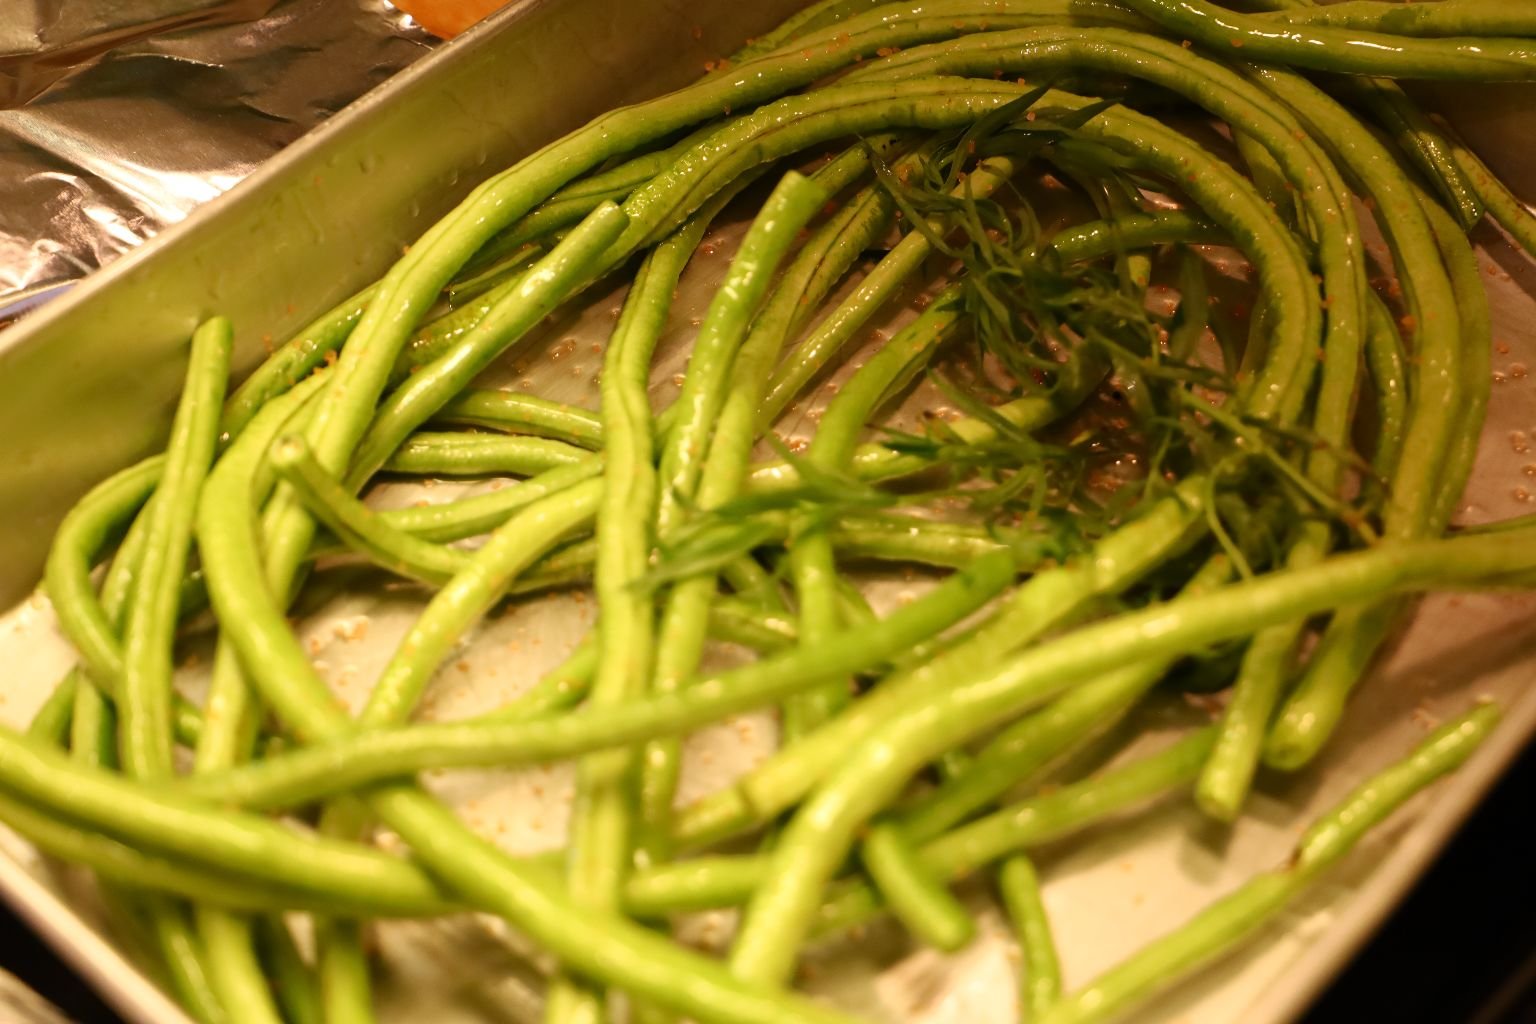
We then added some Tarragon sprigs.


Now we added some Green Onions. Simply cut off the root ends as shown.

I placed the Chinese Long Beans down first into a large roasting ban. Then placed the fish fillet packages on top then placed the Green Onions on the sides. Lastly, place a Banana Leaf on top of the ingredients tucking in the sides.

A Nice Cover

Preheat your oven to 400’F and cook for about 30-35 min. or until the fish is at a temperature of 137’F. If you were just cooking the wrapped fillets in your oven or grill, the time would only be around 10 to 15 min.
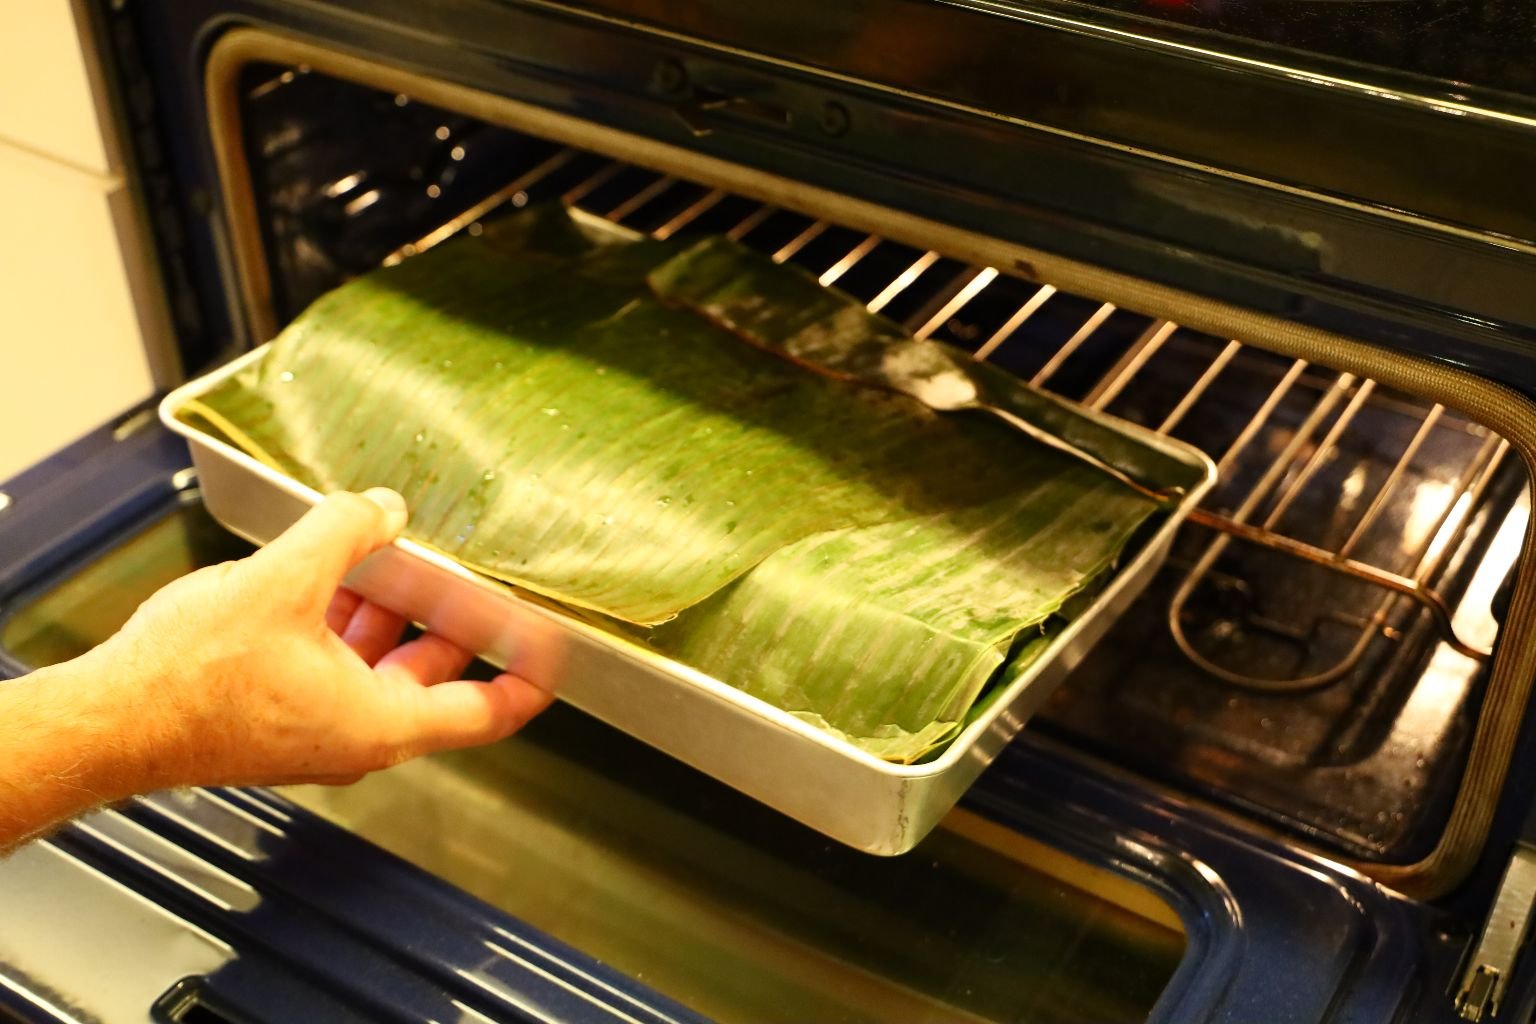

Into the Oven They Go
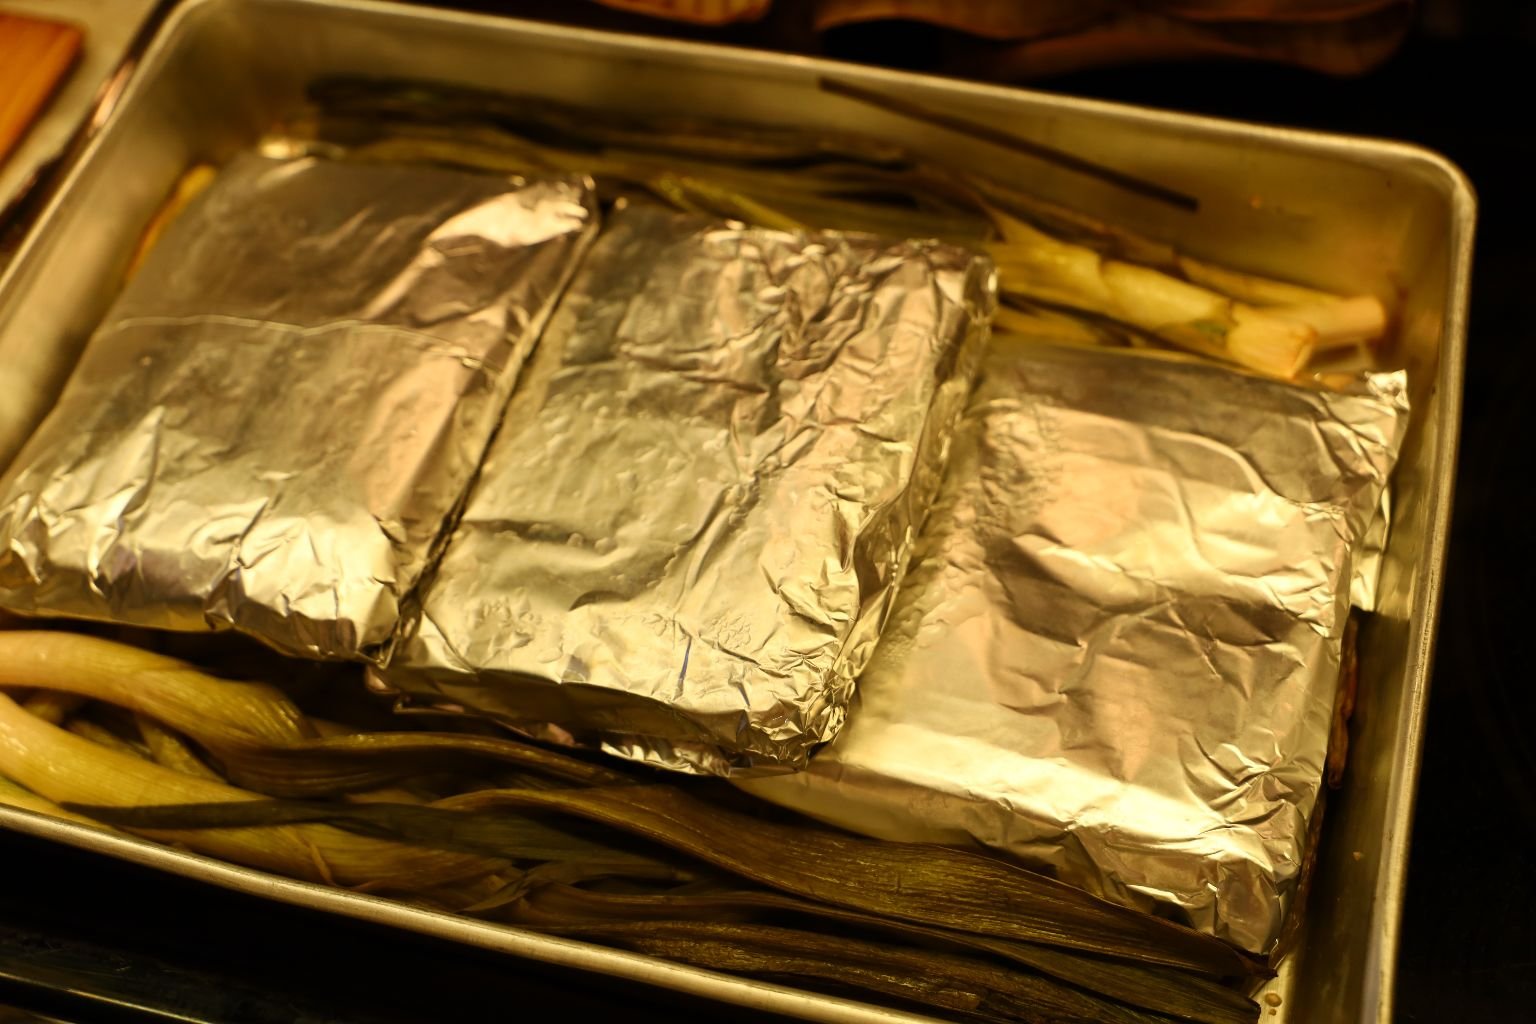
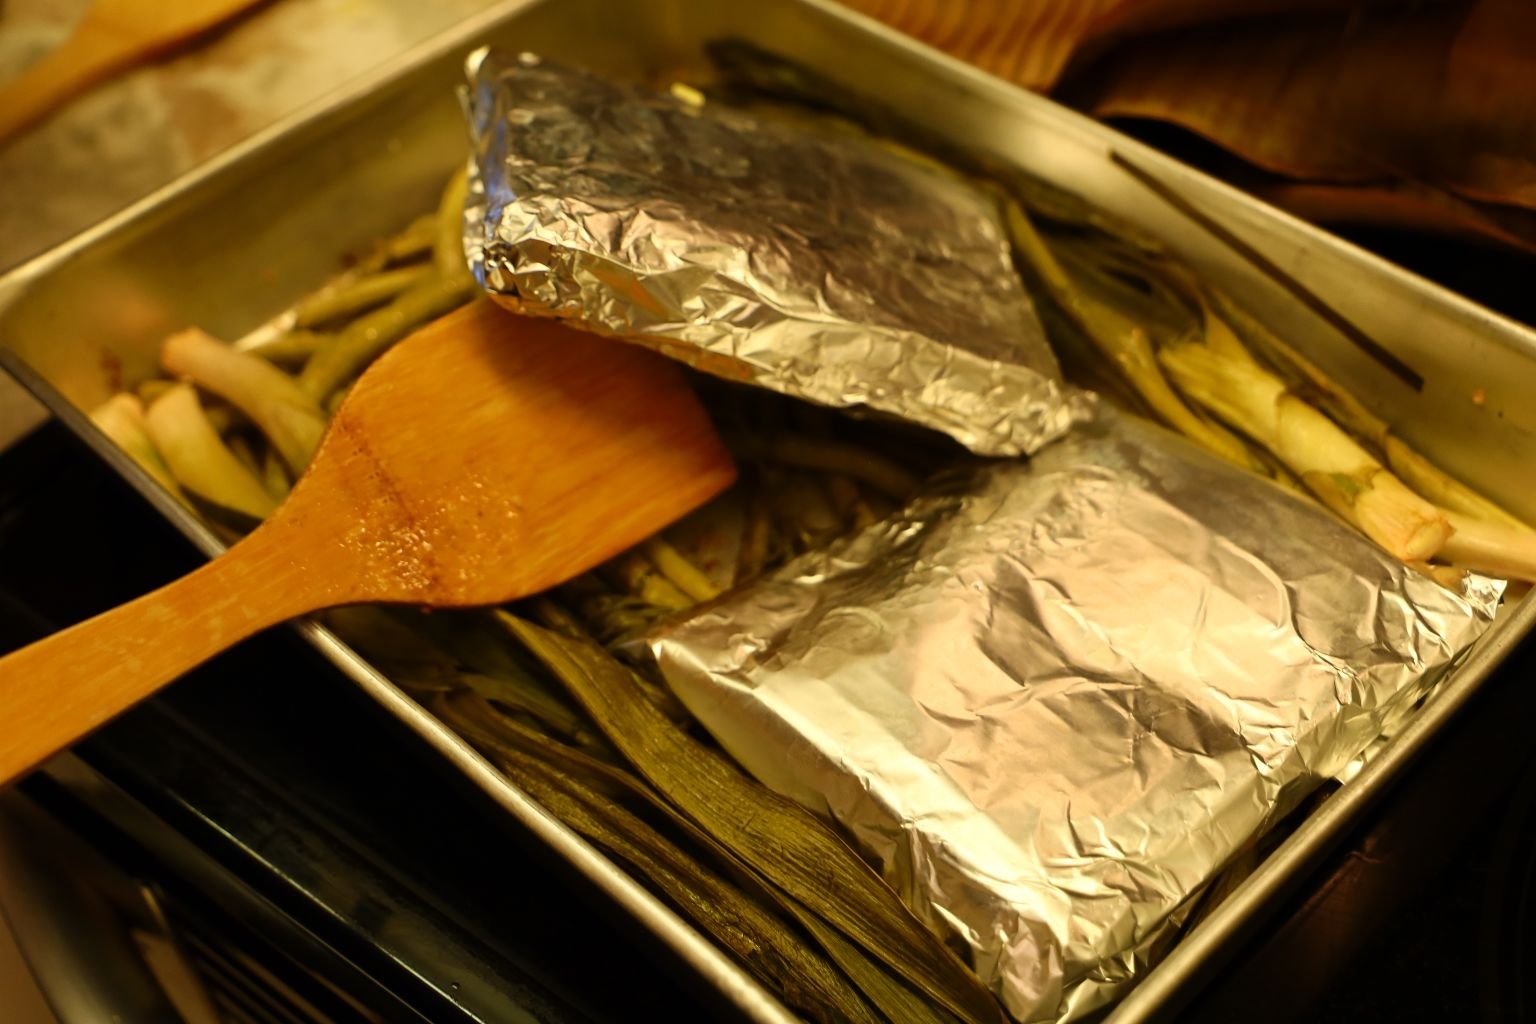
When checking your fish for doneness, remove the packages from the roasting pan.
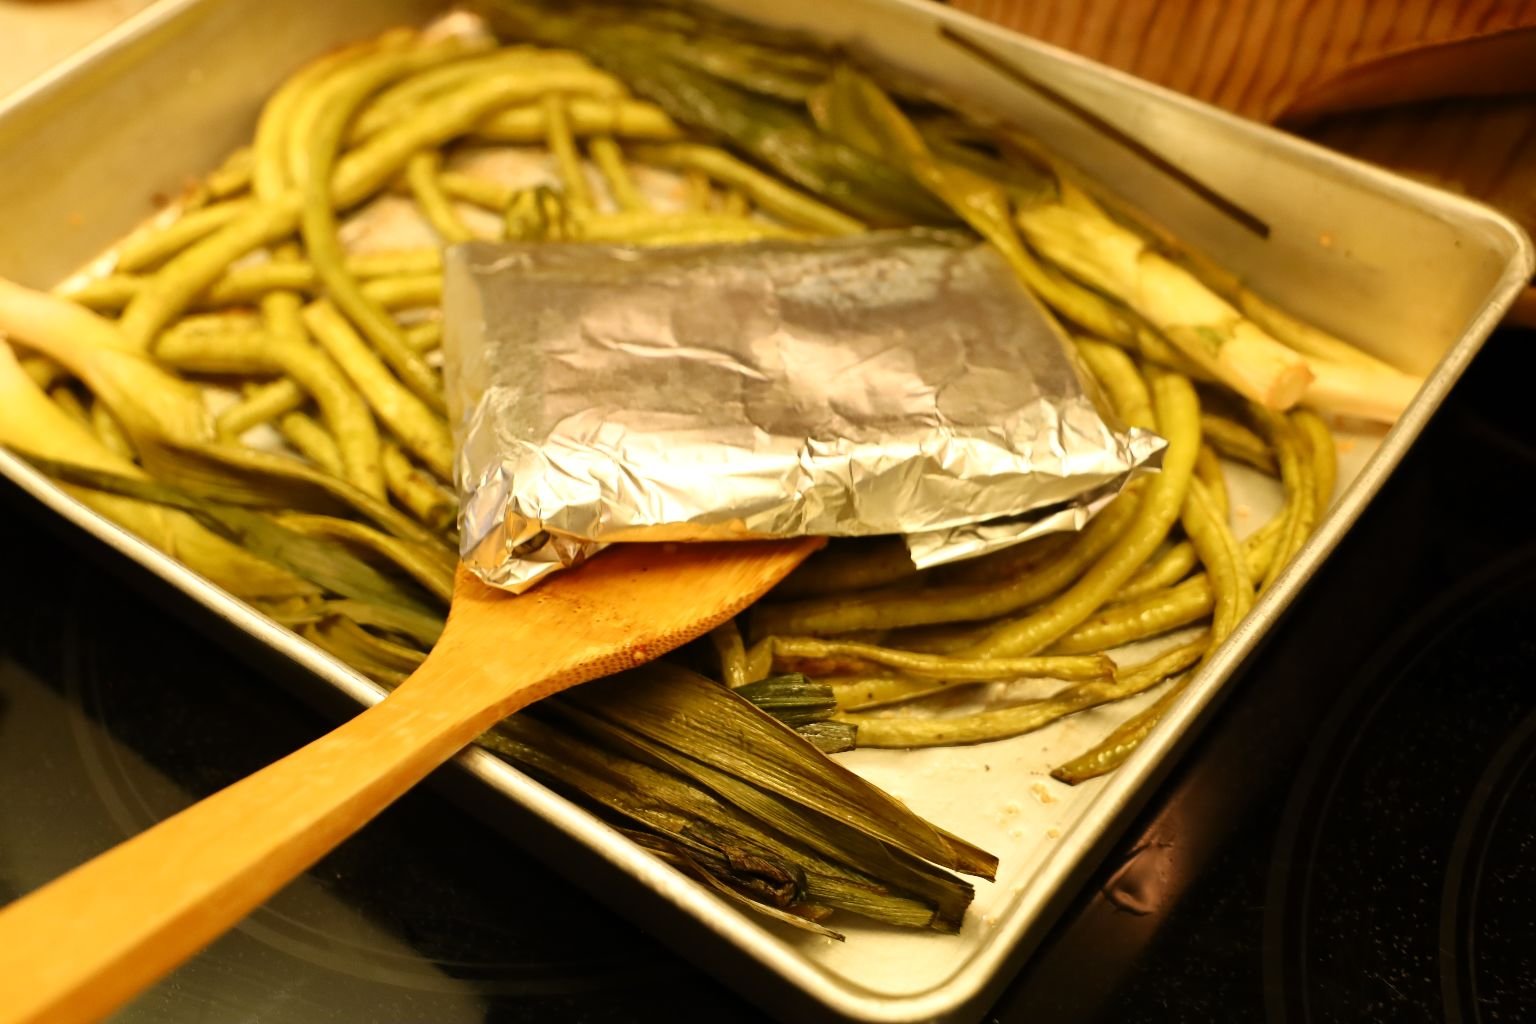
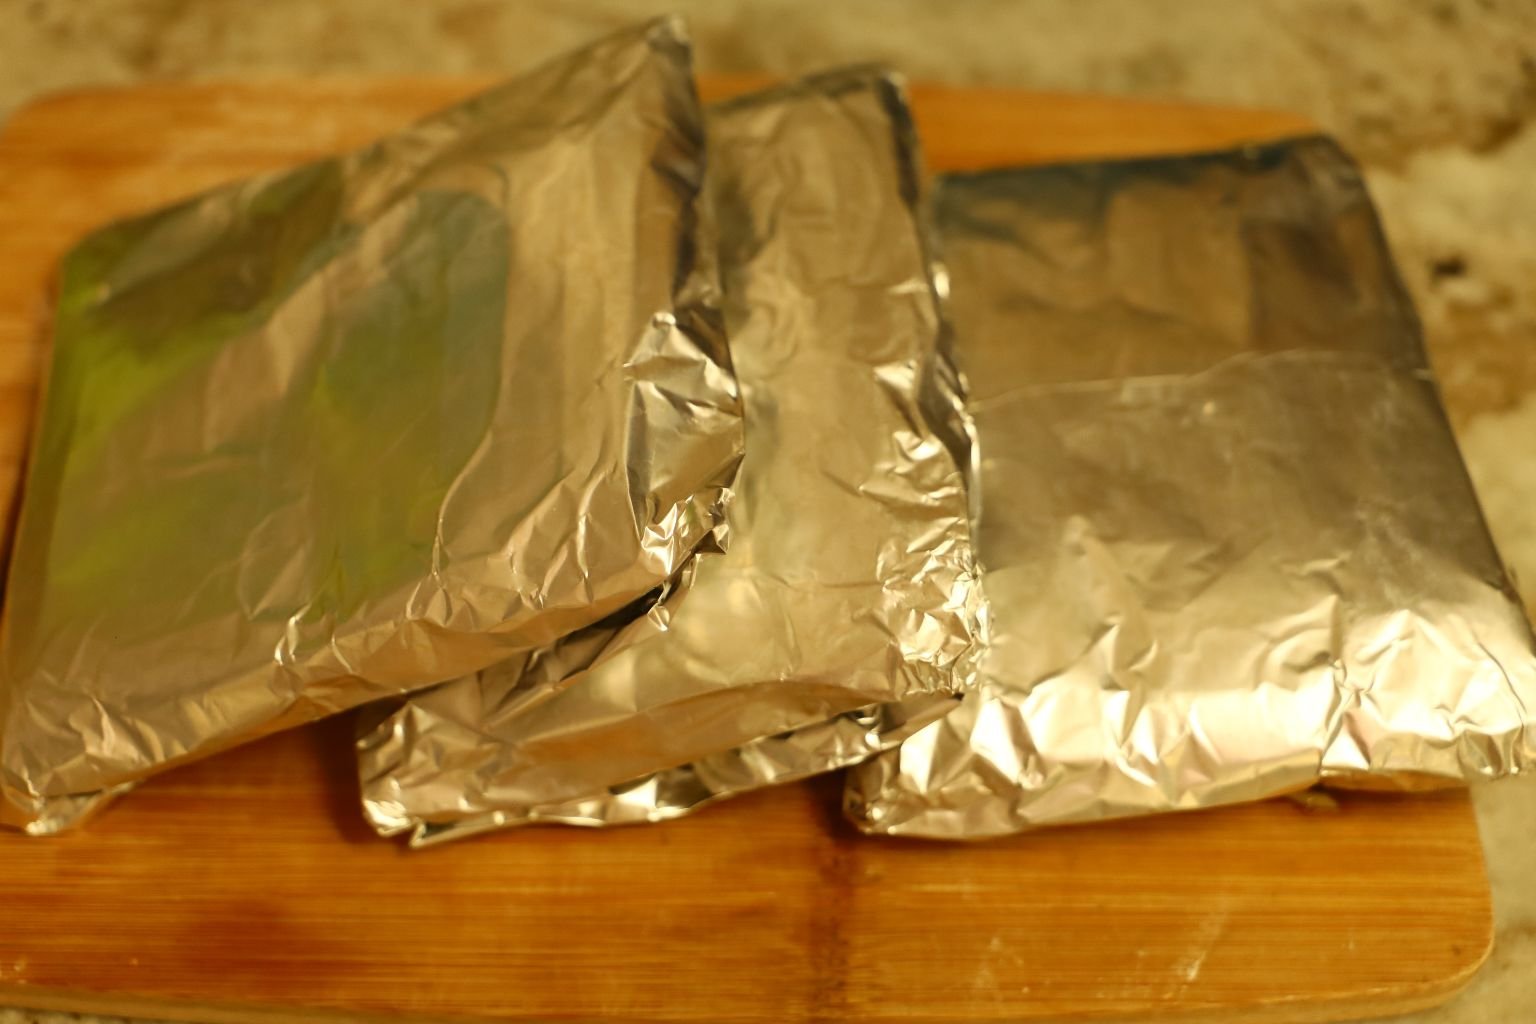
Carefully unwrap the packages trying to leave the juices inside the package.
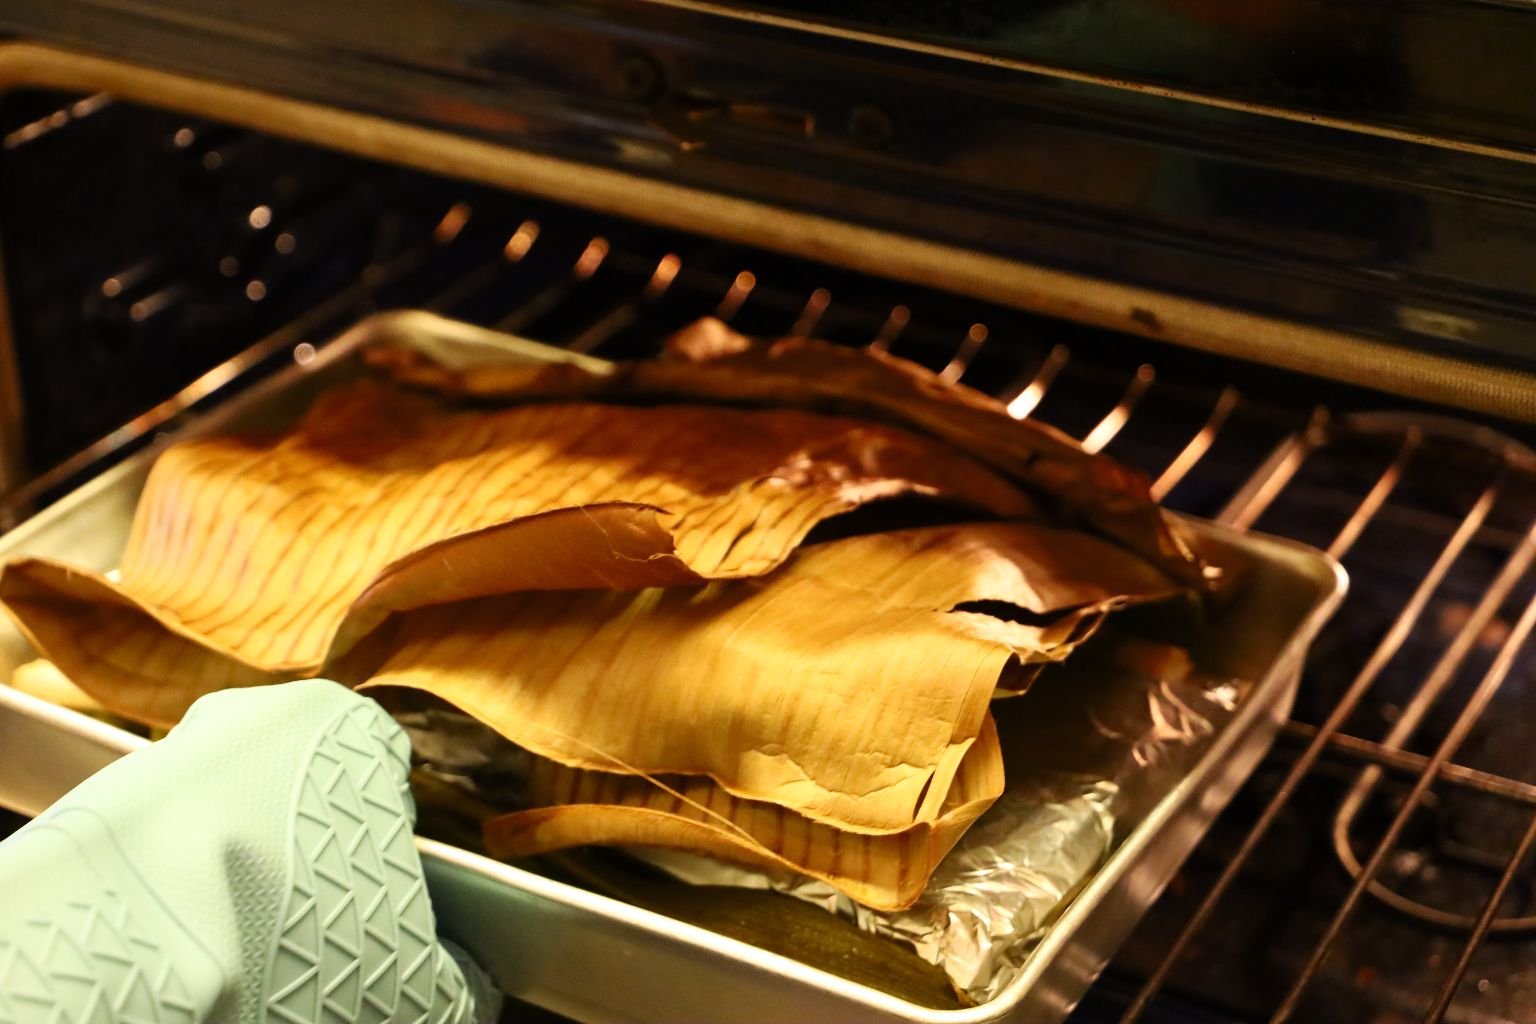
I wanted to cook them a little more, so I placed them back in the oven for a few minutes longer.
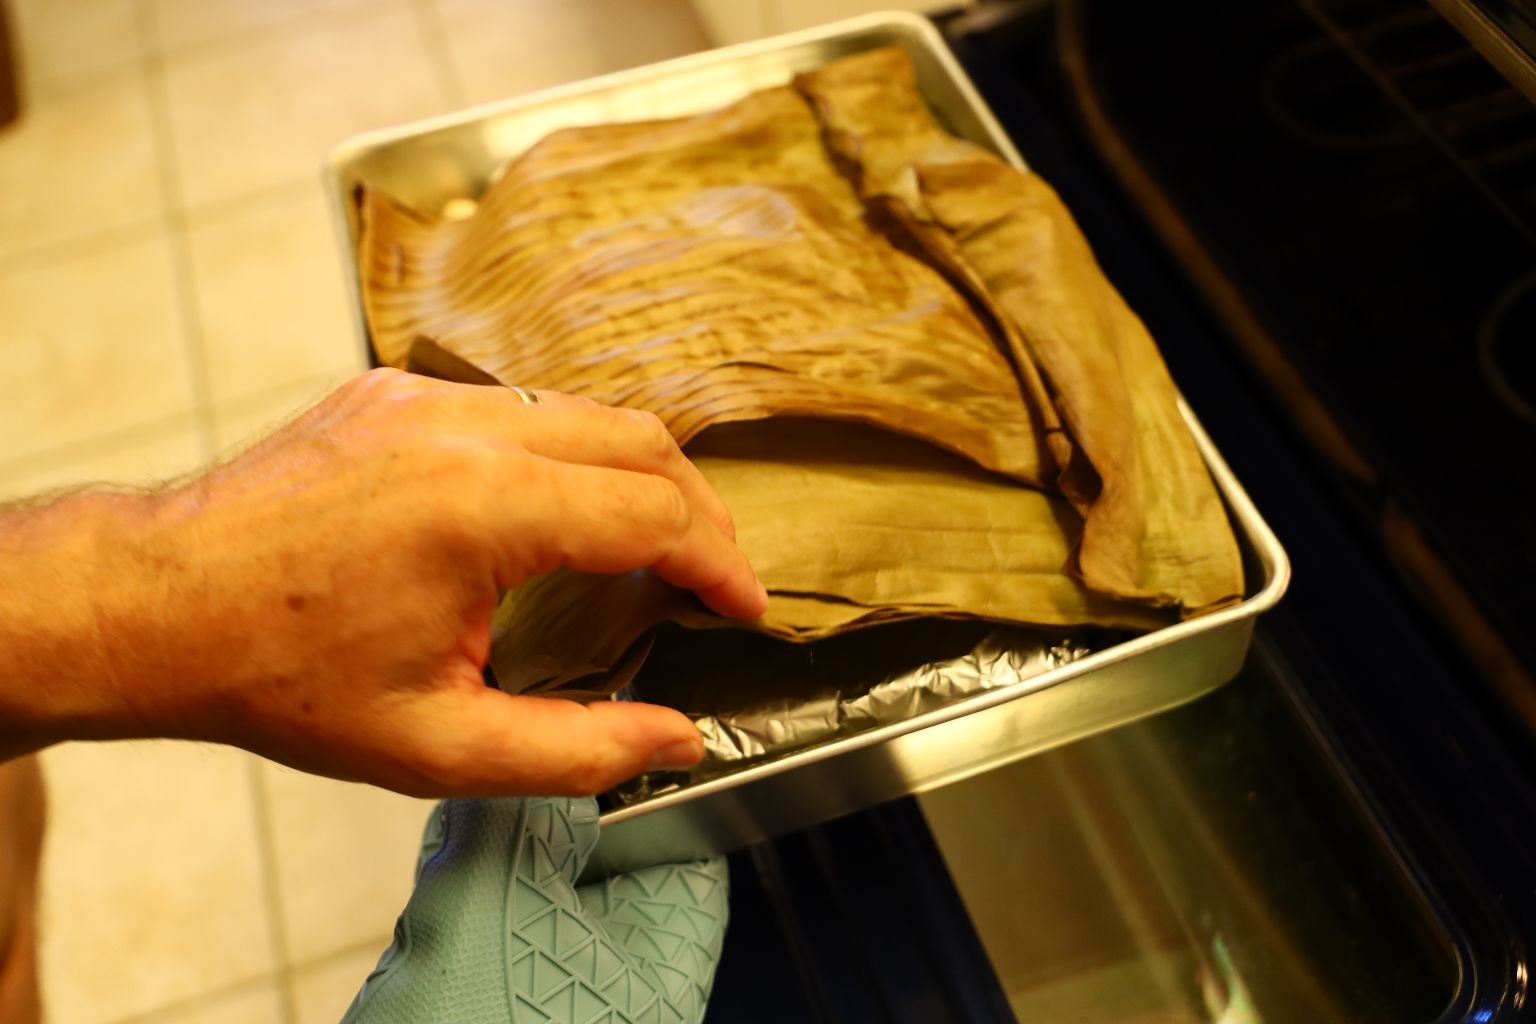
Now that the fish were done, I removed them from the pan and set them aside.

The Chinese Long Beans needed a little more cooking time, so I placed them back in the oven to roast for about 10 more minutes.
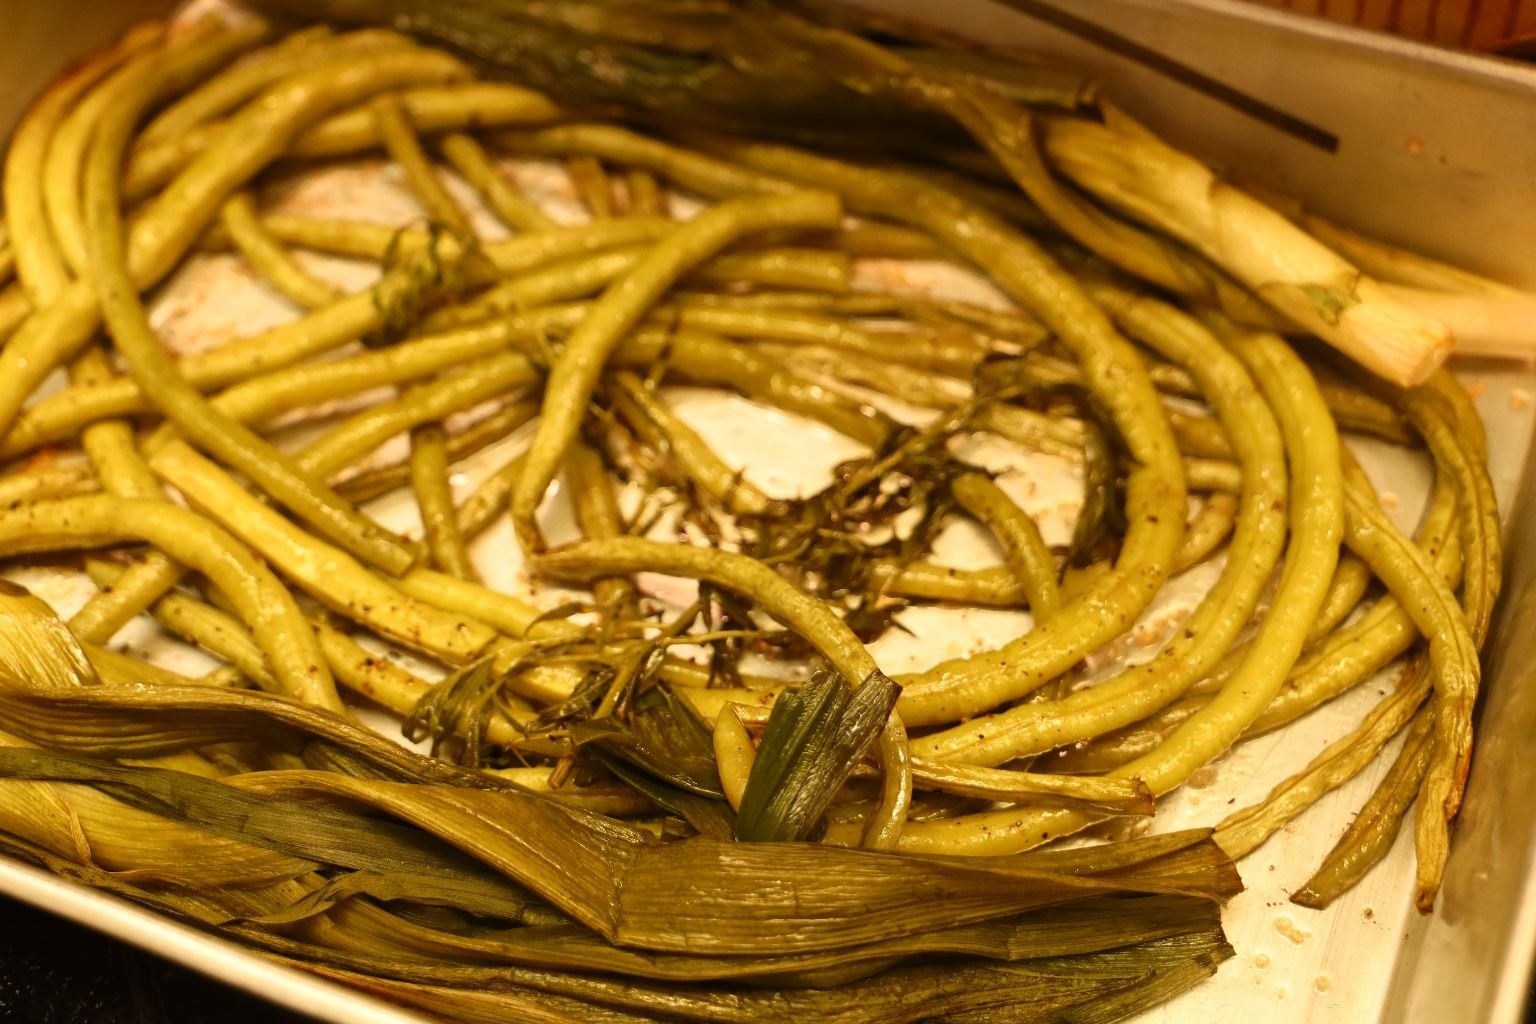
Here the Chinese Long Beans were nice and tender.
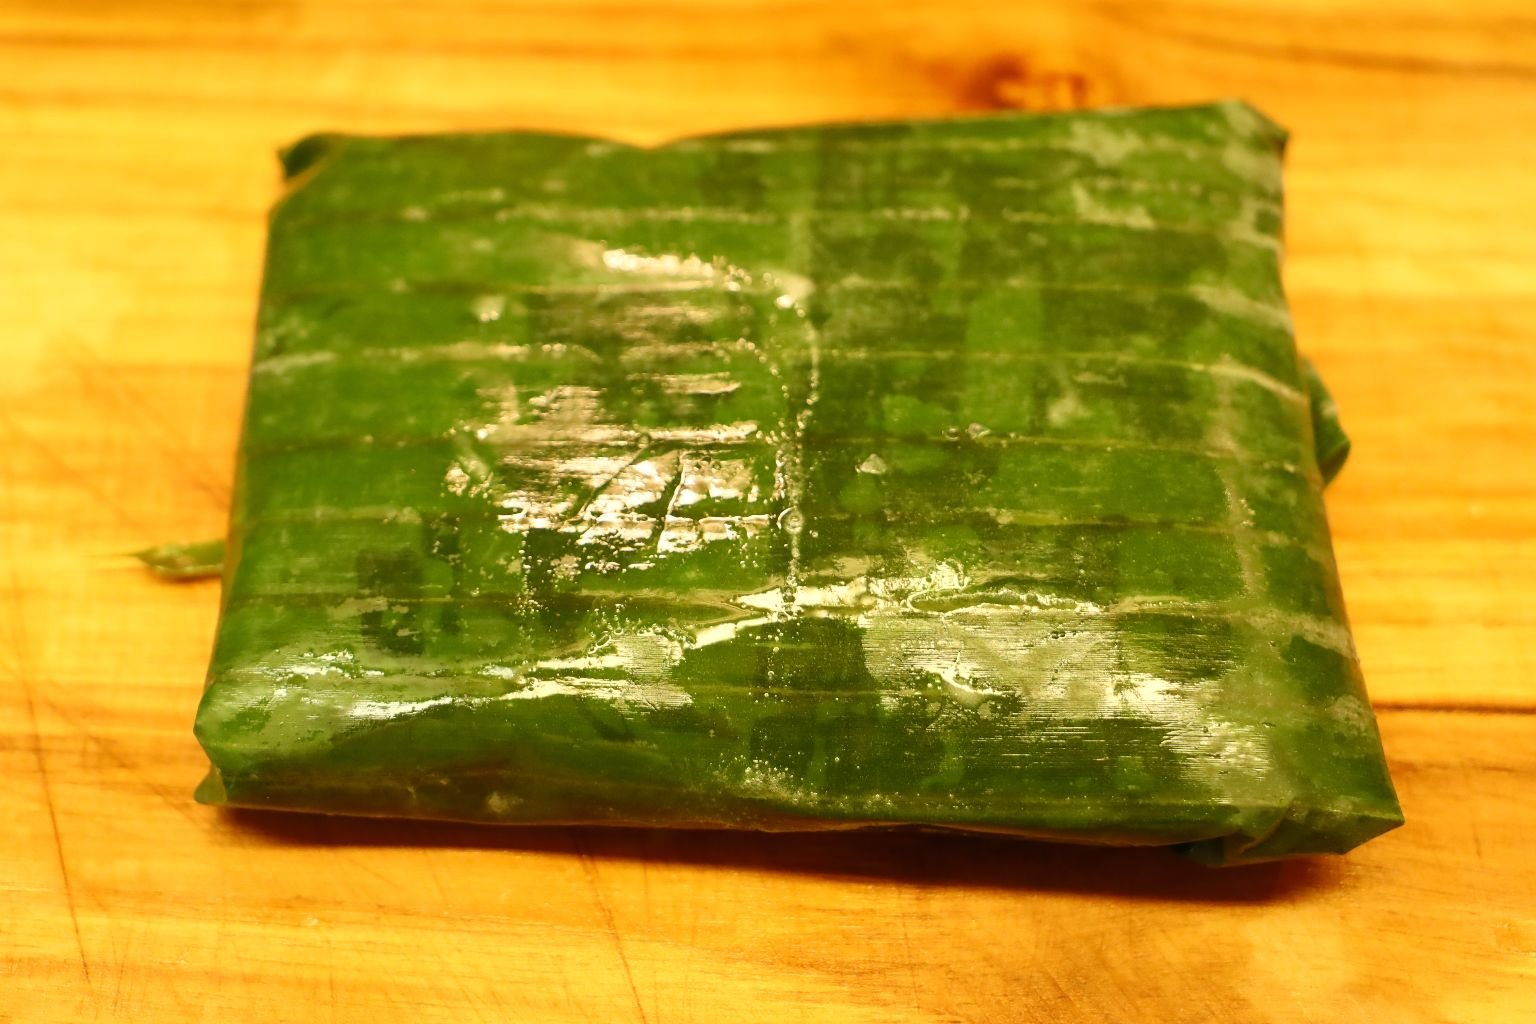
Here is a piece of fish wrapped within the banana leaves.

When Done, it looked like this!
Delicious!
———————————————————-
Our Haole Traybake
(Haole is the word that the locals in Hawaii use to refer to white people. Therefore, I wanted to create a Haole Traybake with everything in it being white. Hence, Our Haole Traybake!)
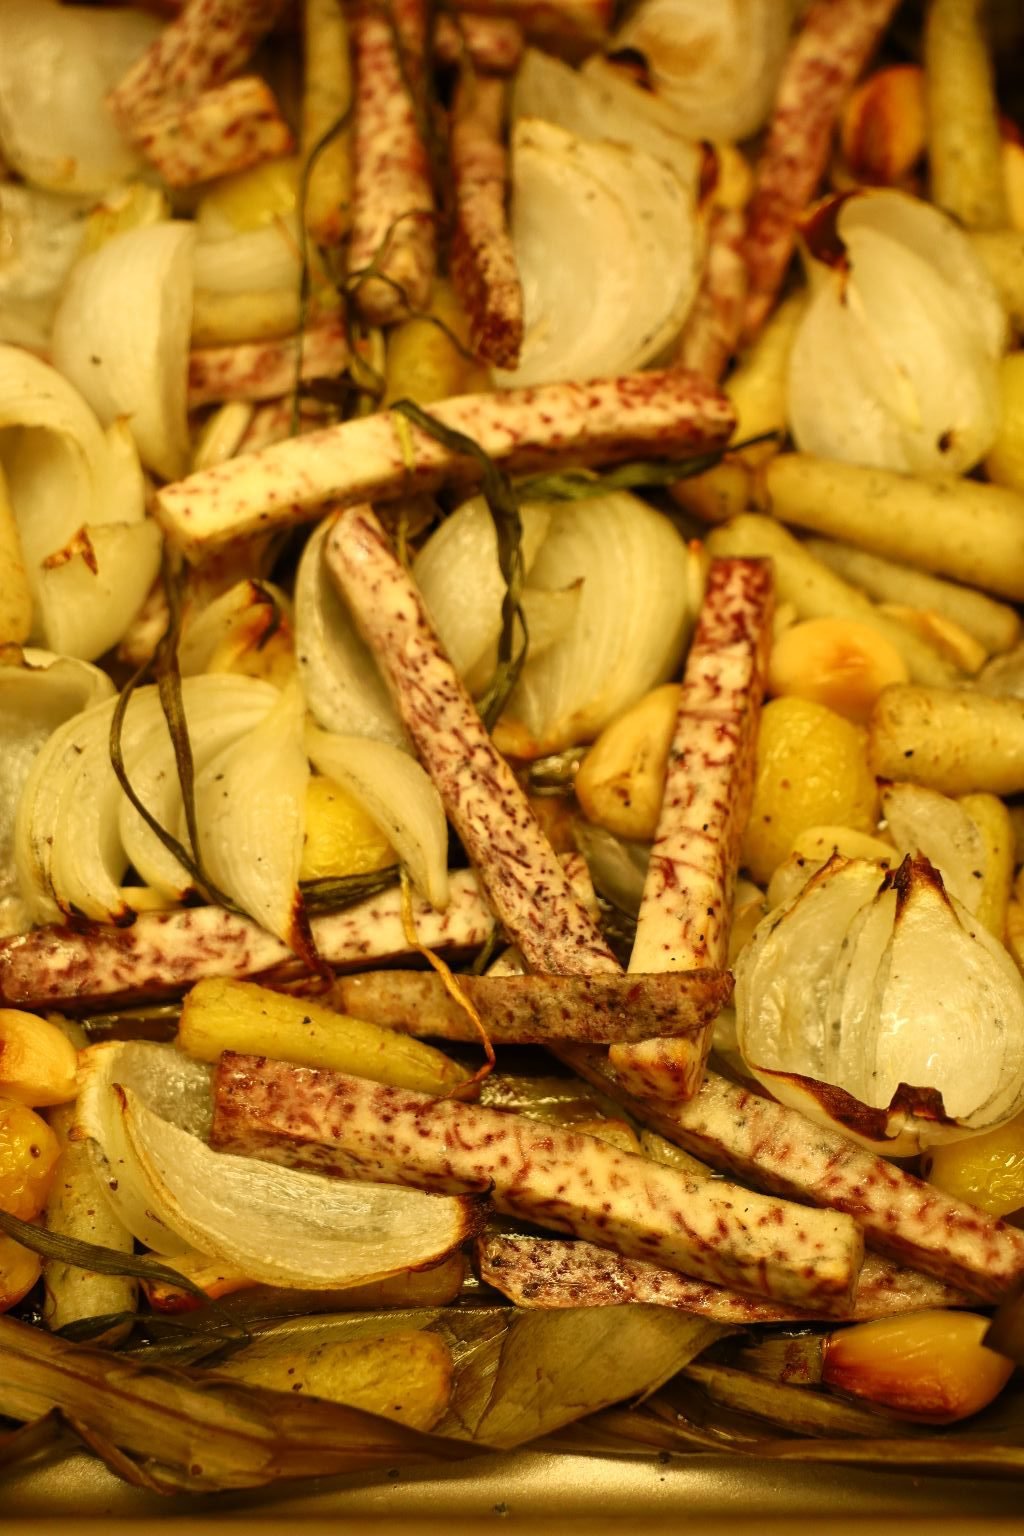
Here is our other Traybake we came up with!
——————————————————-
Ingredients:
2 Onions – sectioned
1 Large section of Taro Root – peeled and sliced into French Fry sections
~20 Whole Cloves
~15 Yellow Cherry Tomatoes
Olive Oil to coat all the ingredients
10 White Carrot sections
Salt and Pepper to taste
~10 Garlic Chives
~10 Oyster Mushrooms
~15 Edible White Flowers
—————————————————————


Slice the ends off the onion then slice it into quarters as shown.

Now, peel the Taro Root.
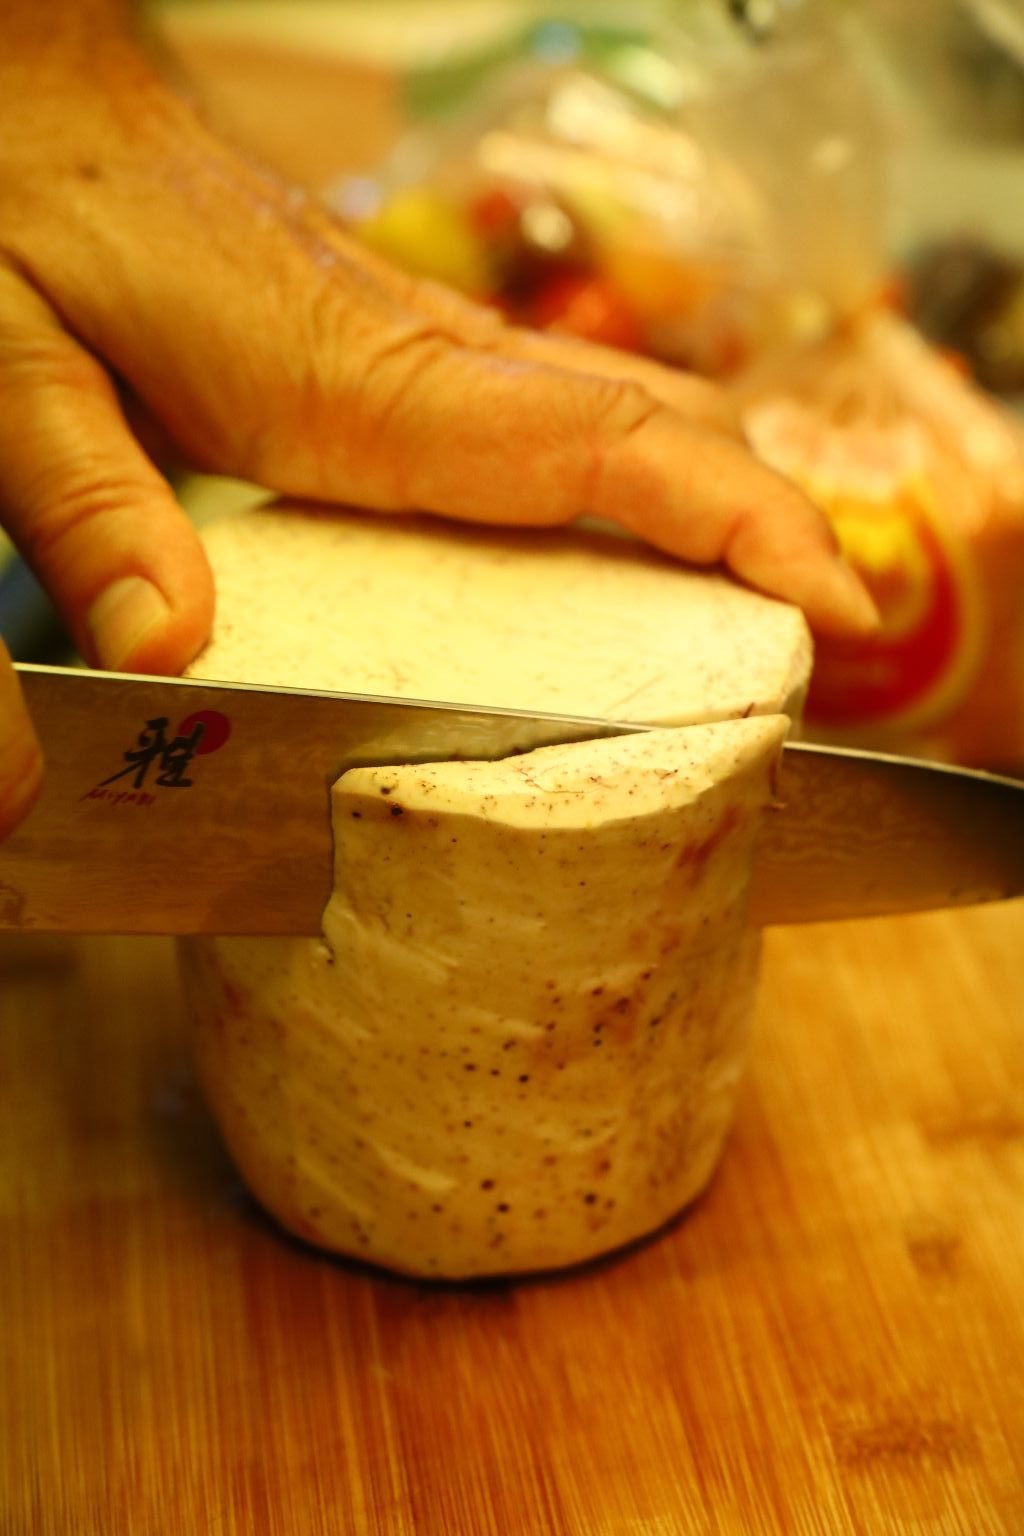

Slice the Taro into 1/2 inch slices as shown.

Then slice the pieces into French Fry sections.

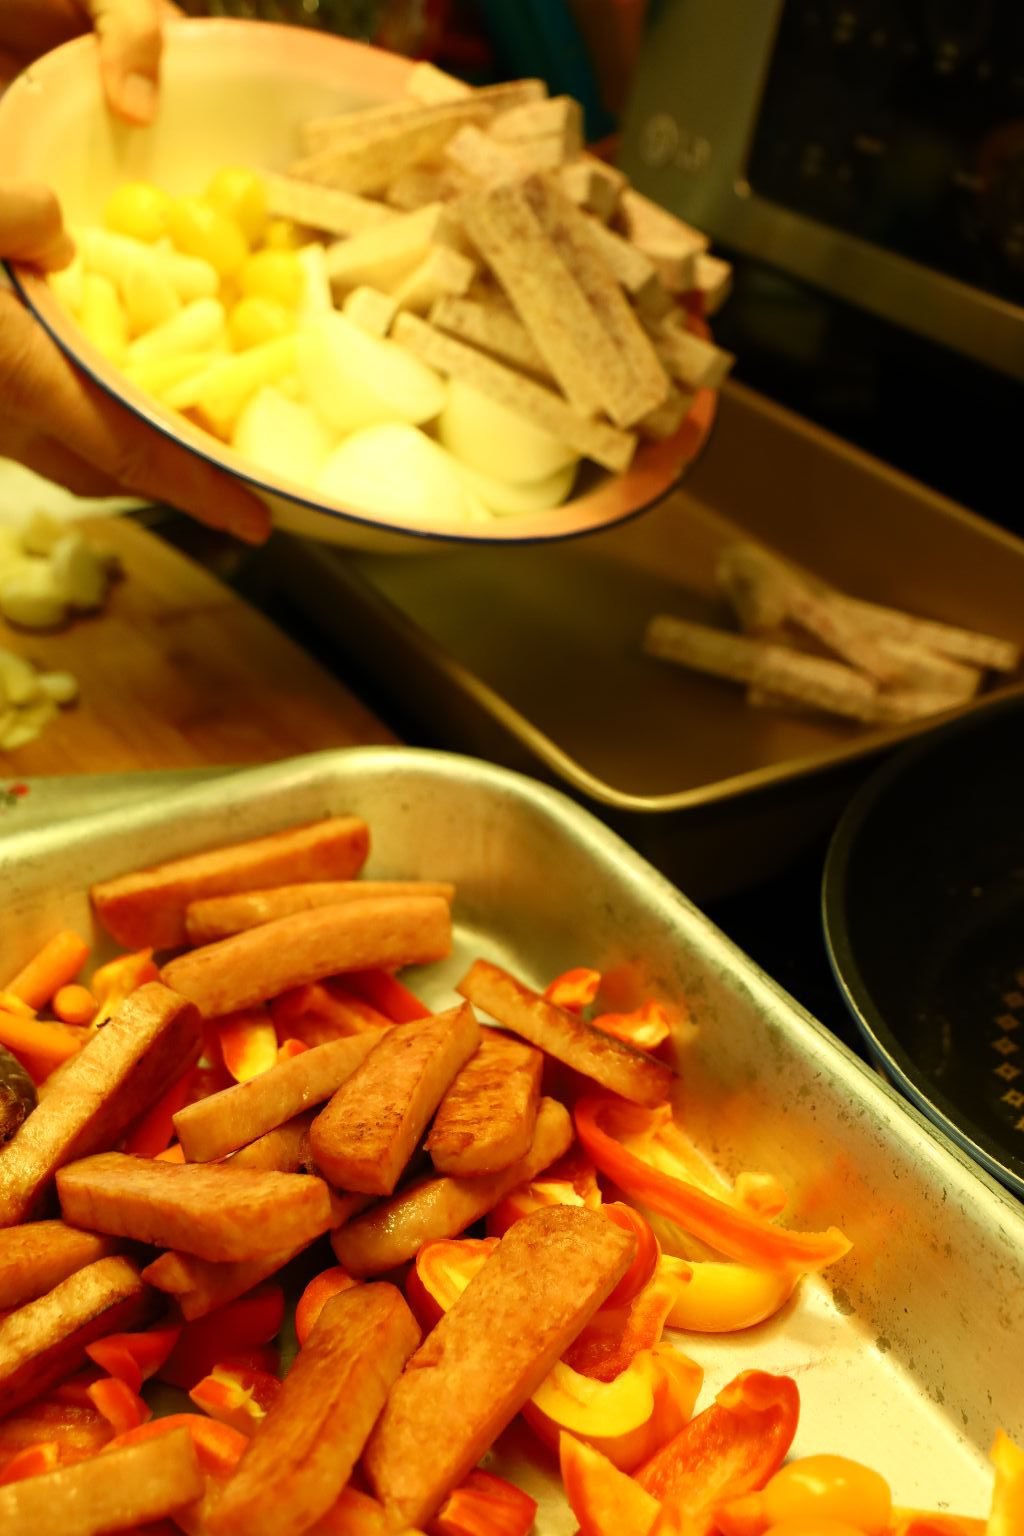
Place the ingredients into a bowl or into a roasting pan. Slice off the root ends of all the Garlic Cloves.
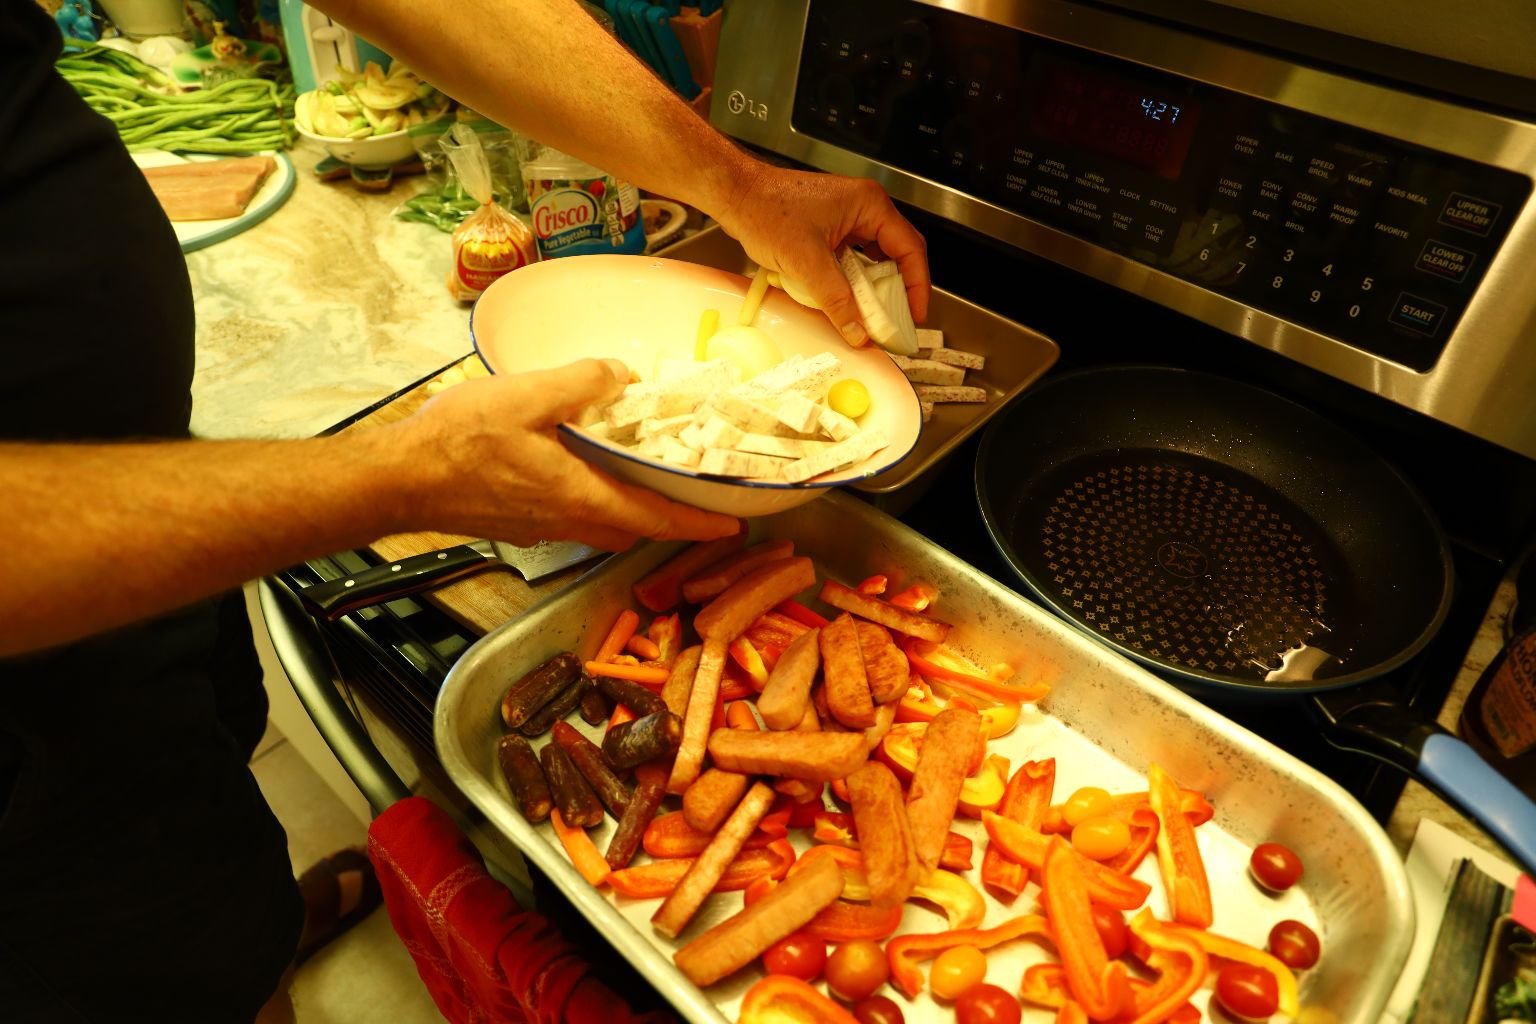
Here I am placing the vegetables into the roasting pan in the back of the stove top.


I also sliced some of the Garlic thinly.
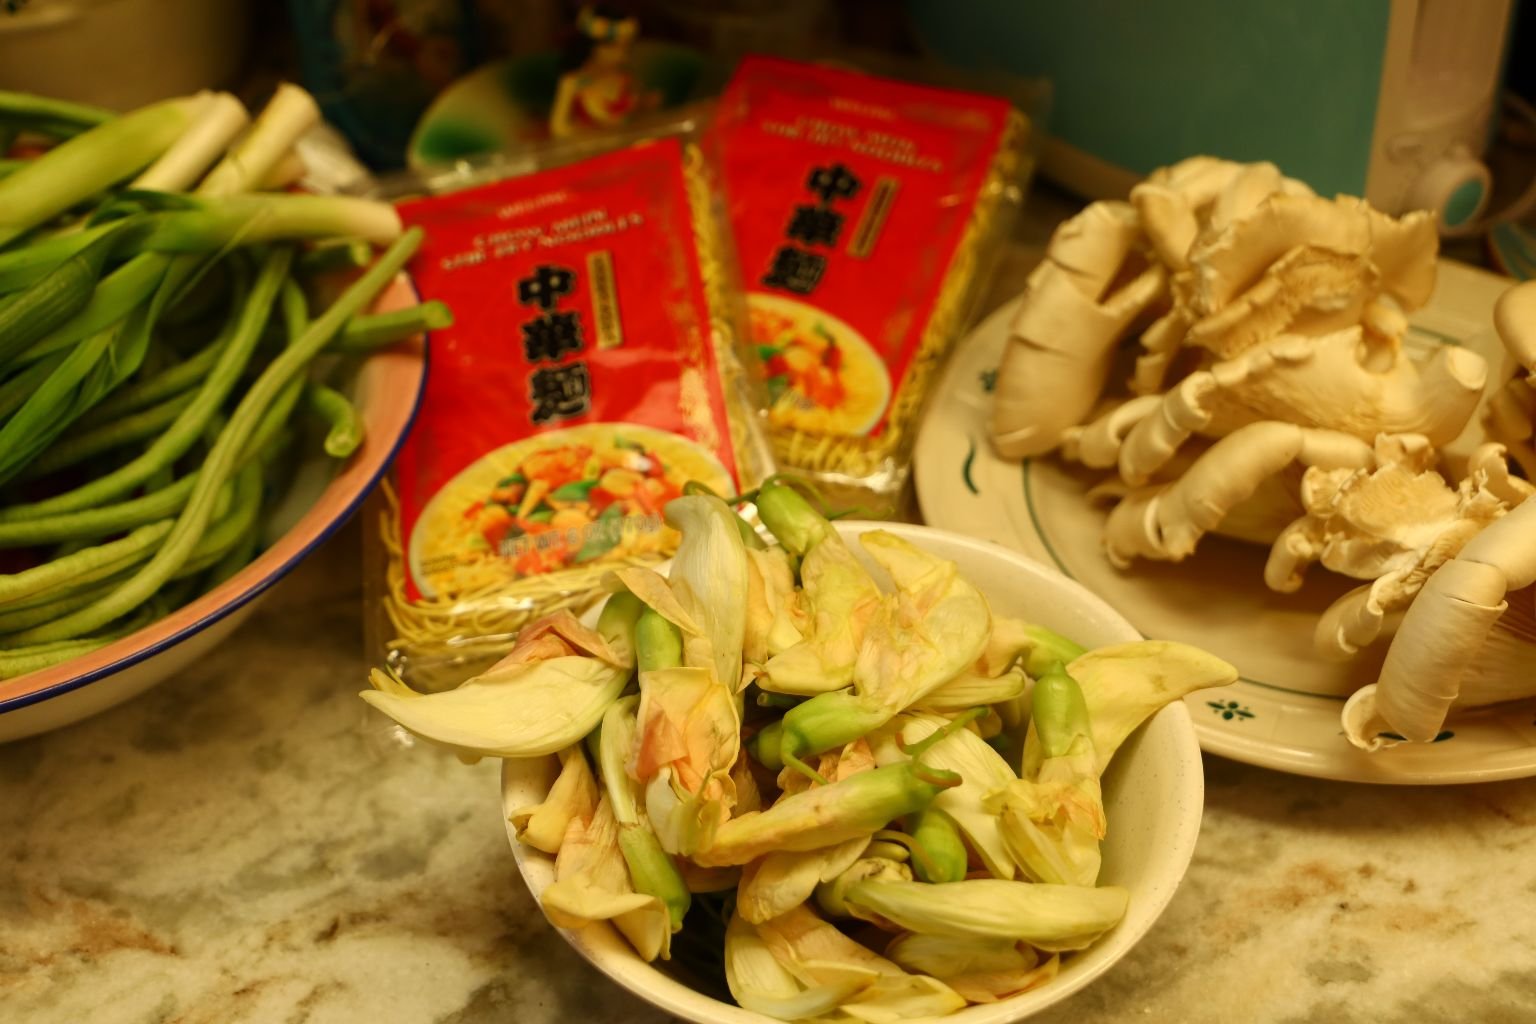
Pictured are the White edible flowers I found at the Asian Supermarket.
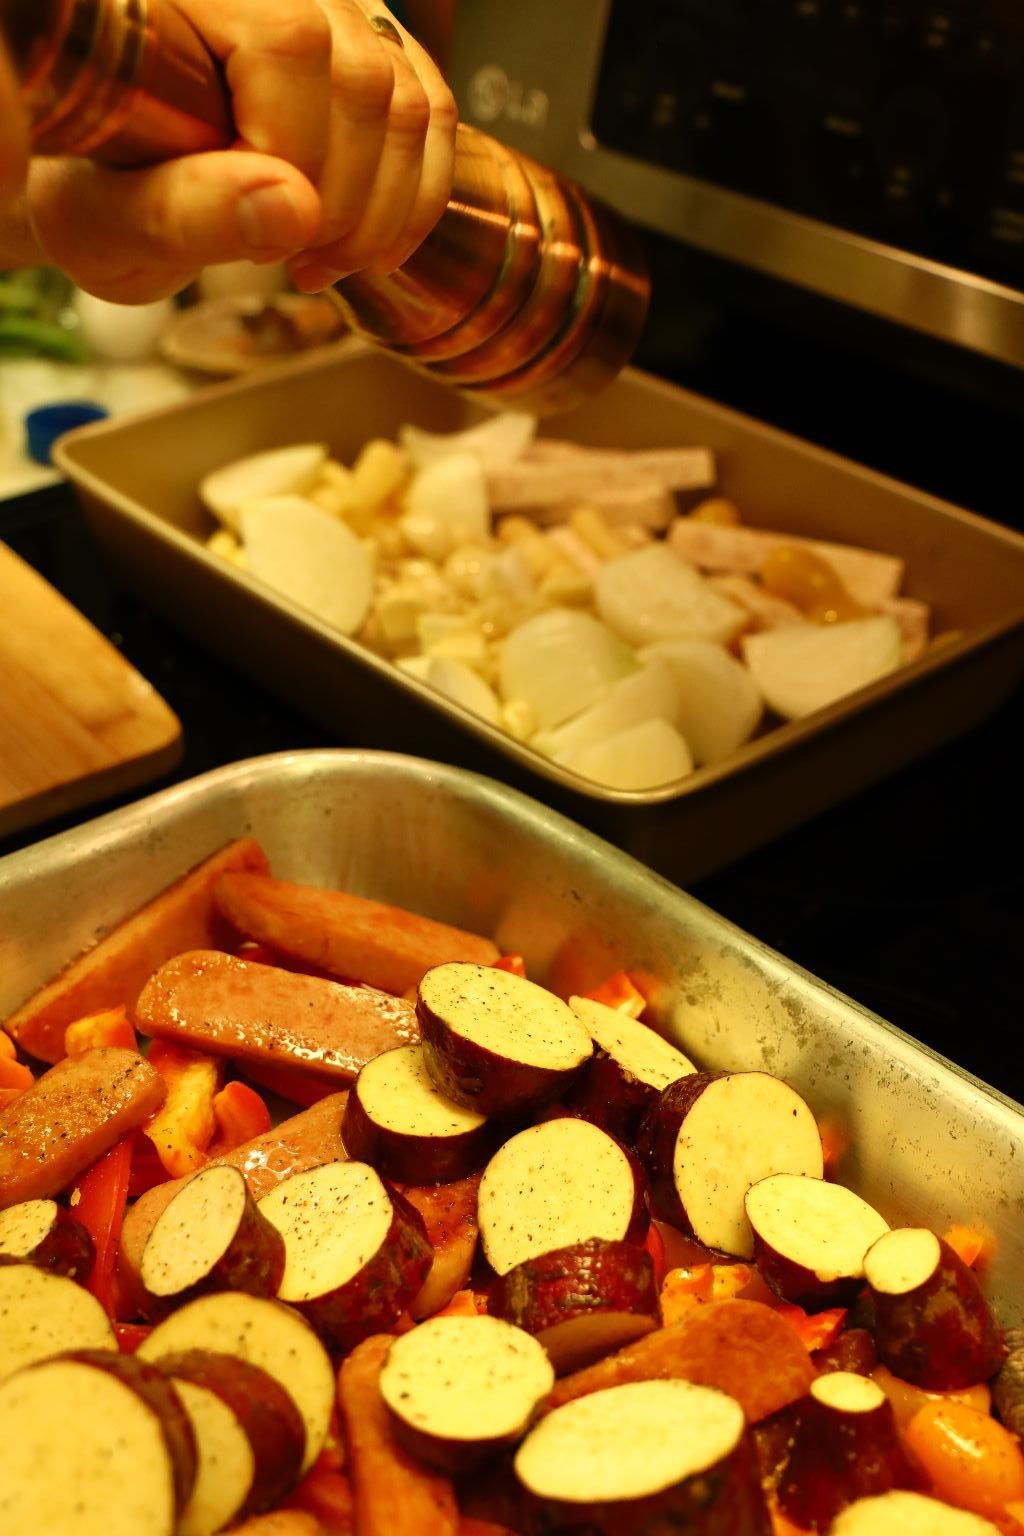
Add your freshly ground Black Pepper to the vegetables.


Now, add your Hawaiian Black Sea Salt. If you don’t have this, any Sea Salt will do.


Add your Olive Oil to the vegetables and mix all the ingredients with your hands. Add more oil to coat the vegetables if needed.
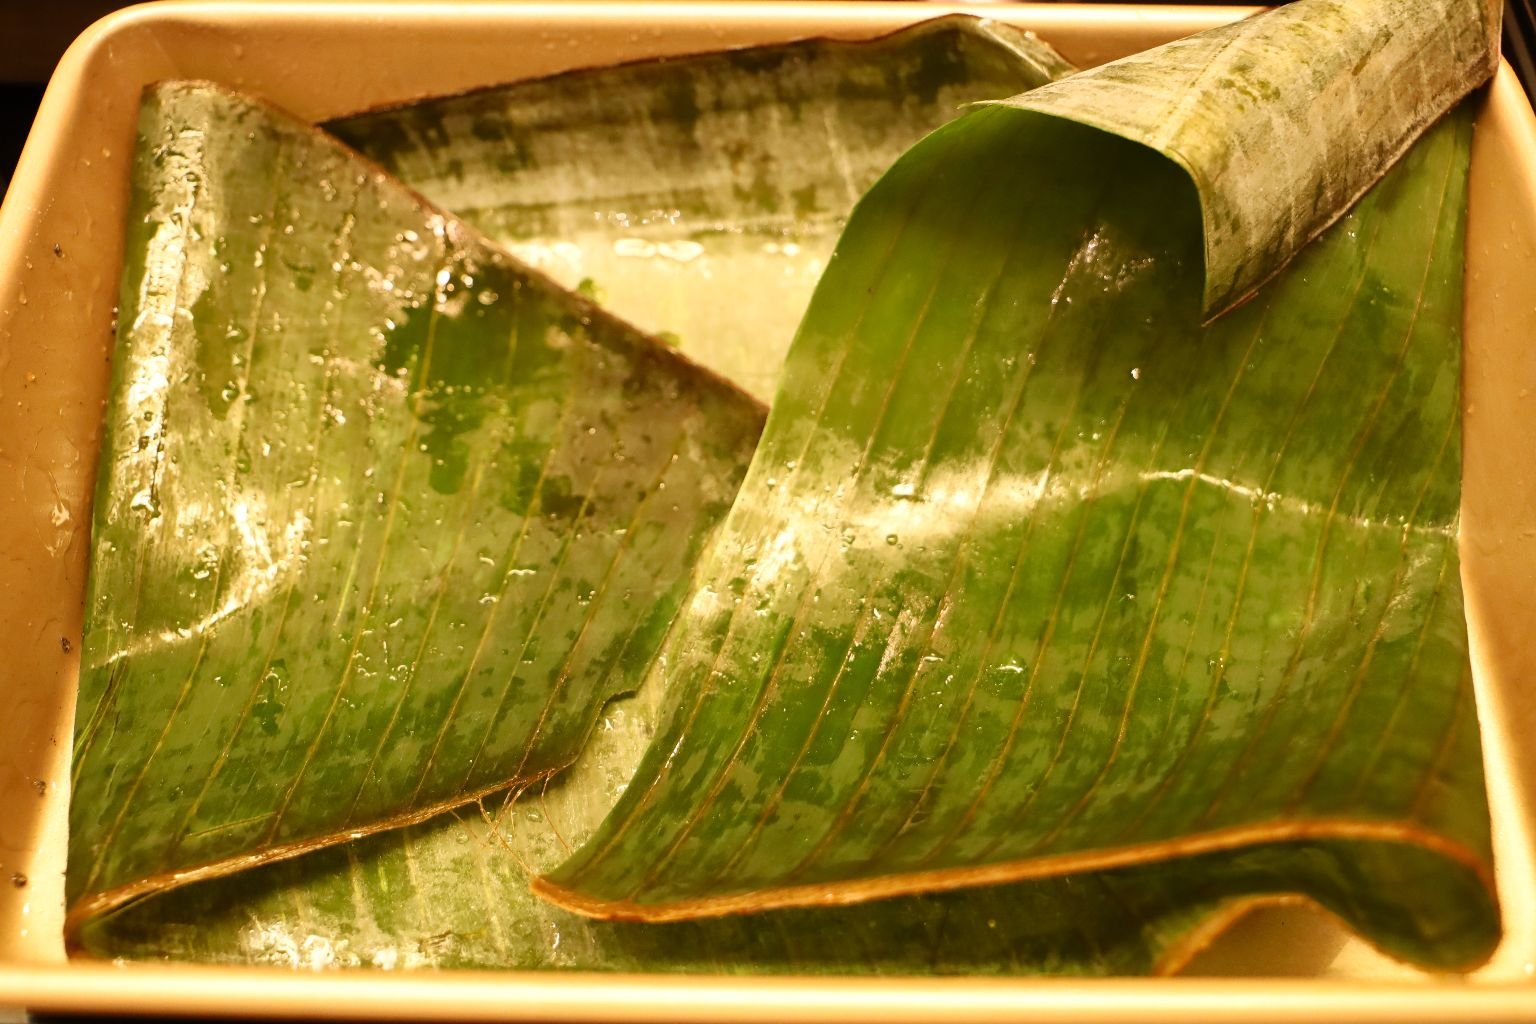
Remove the vegetables from the roasting pan and place a section of banana leaf to the bottom of the pan.

Add your Green Onions and Garlic Chives to the mixture and pour all the vegetables back into the roasting pan.
(Gordon had forgotten to place down the Banana Leaf originally. That’s why he is playing Musical Chairs with the vegetables.) 🙂
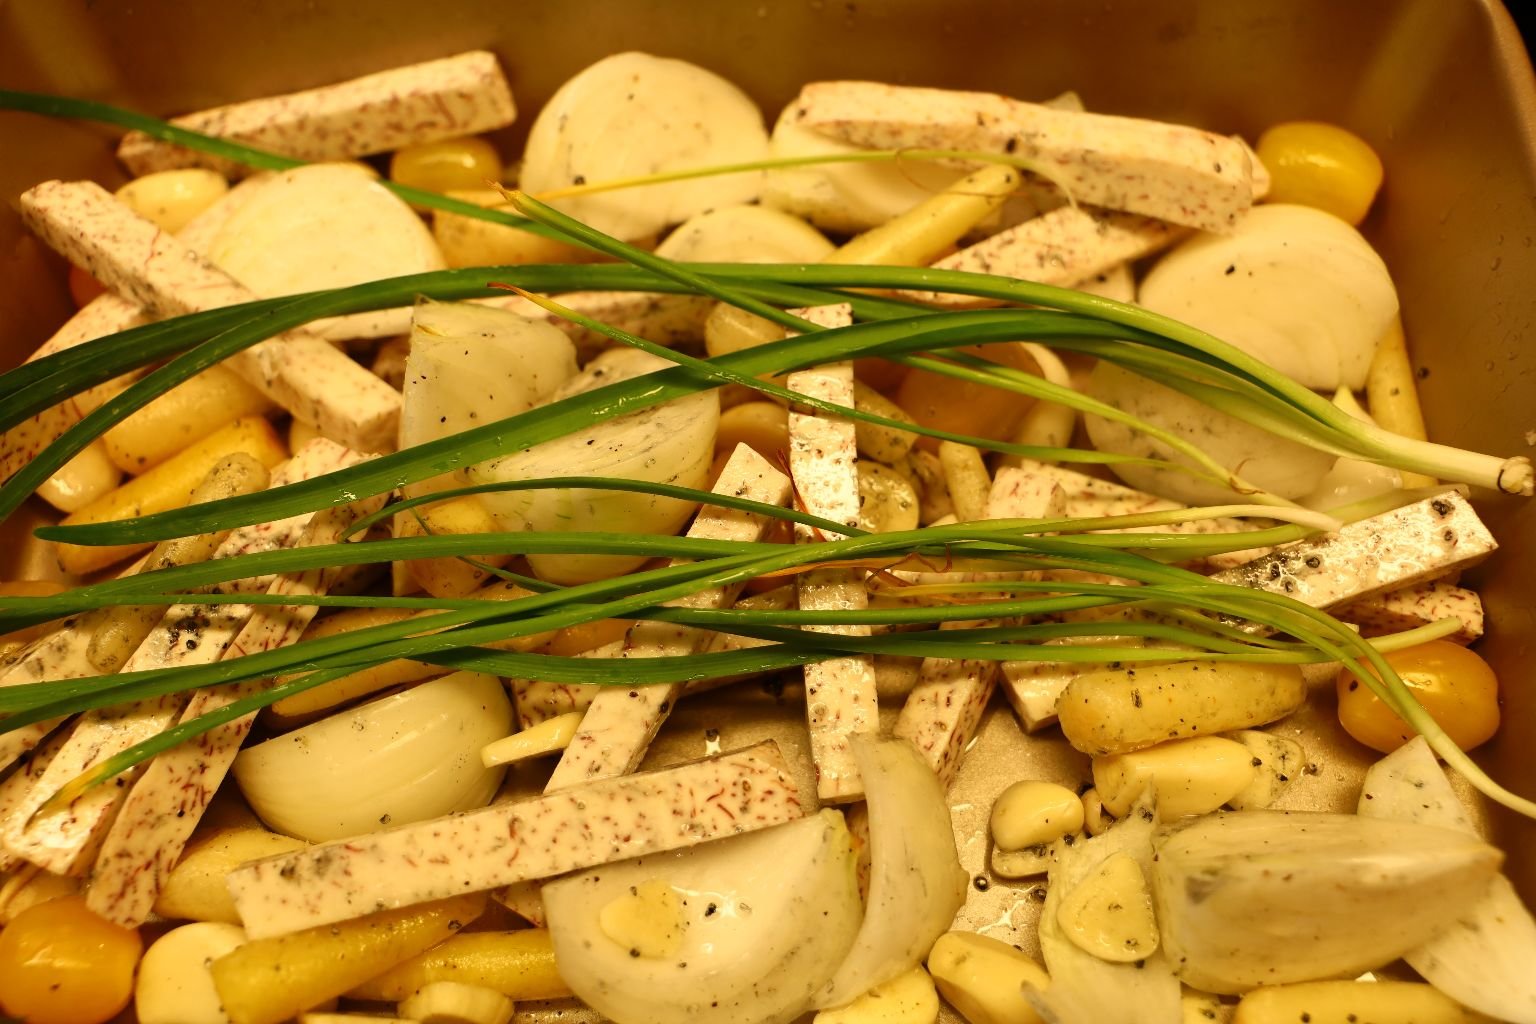
—————————————————————
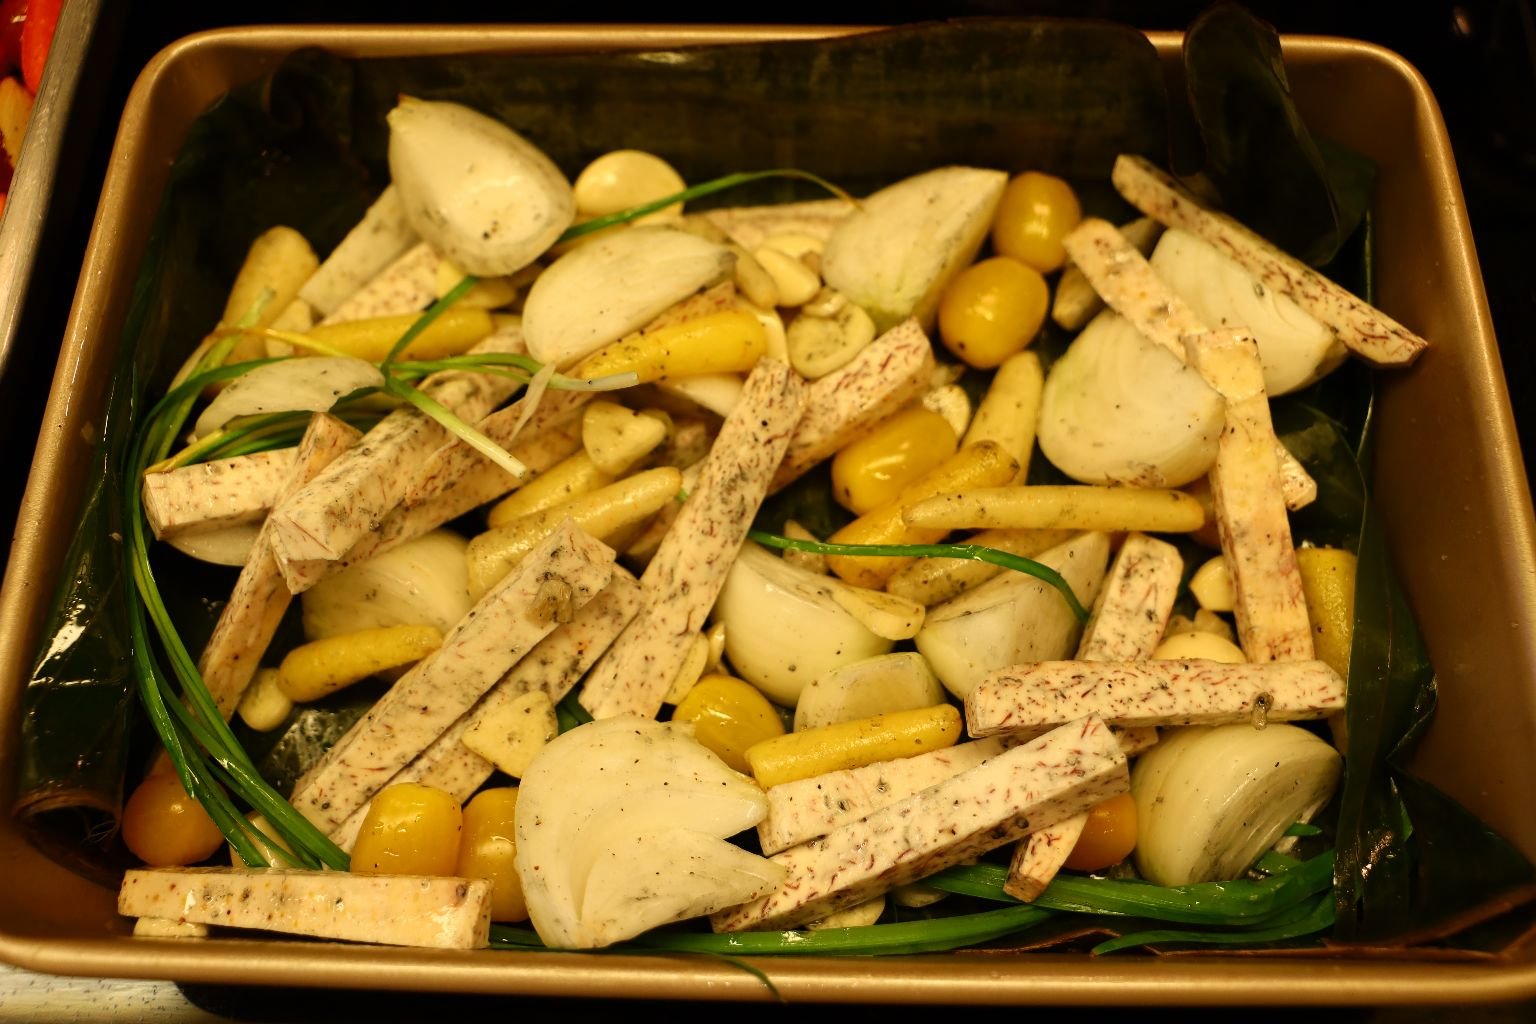
————————————————————–
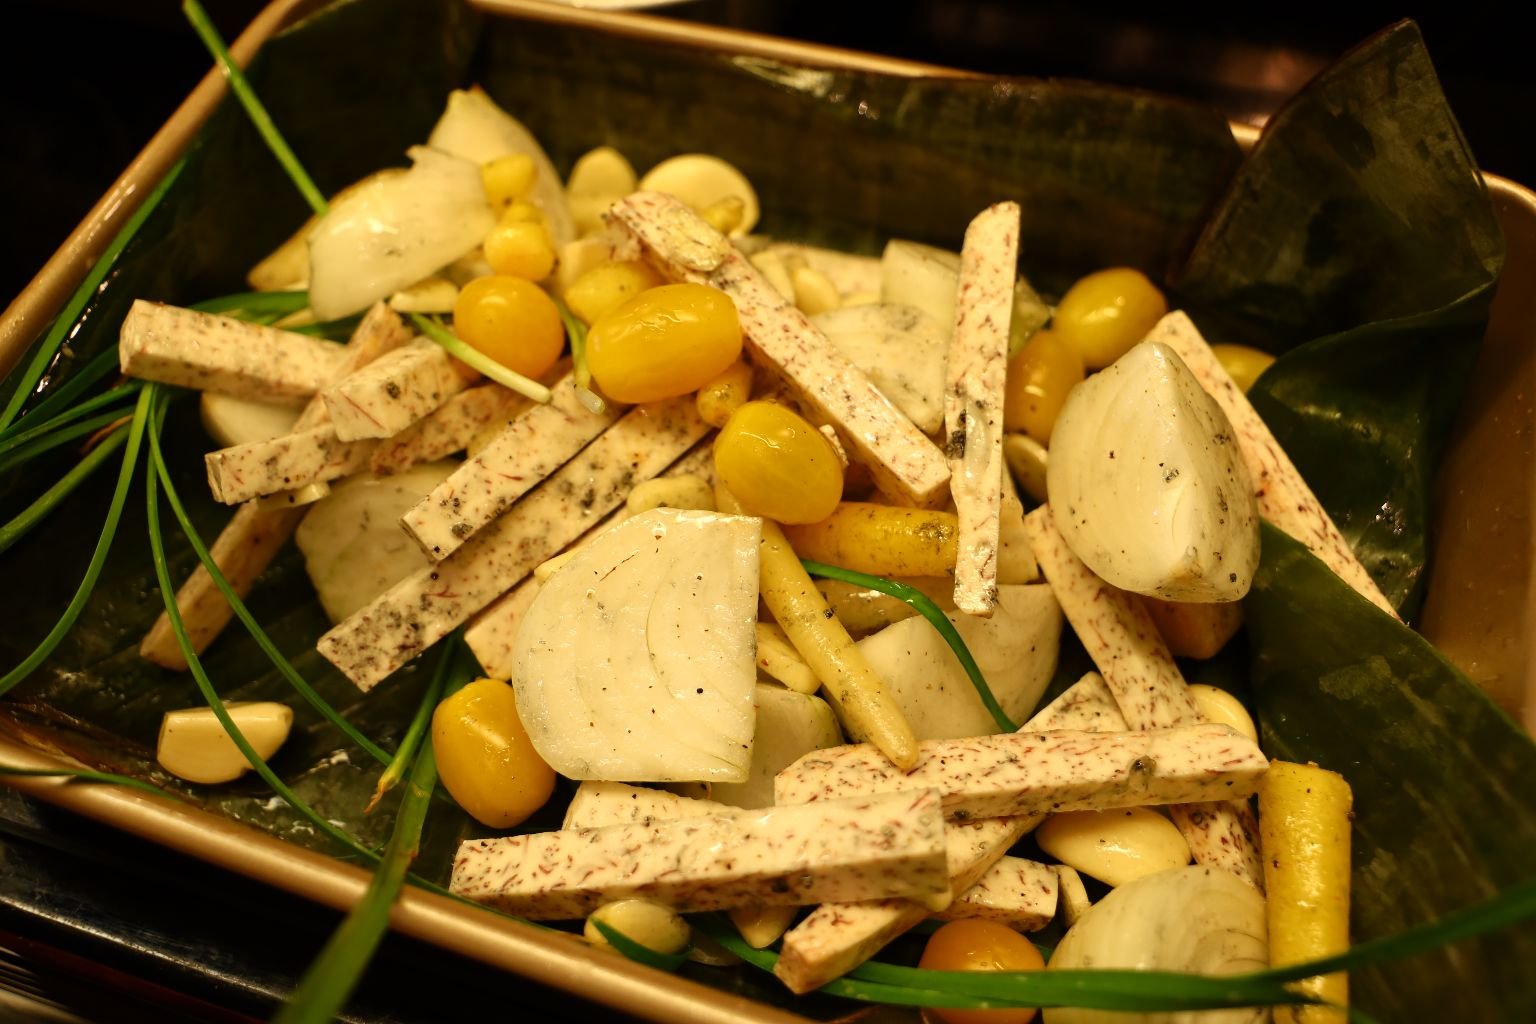
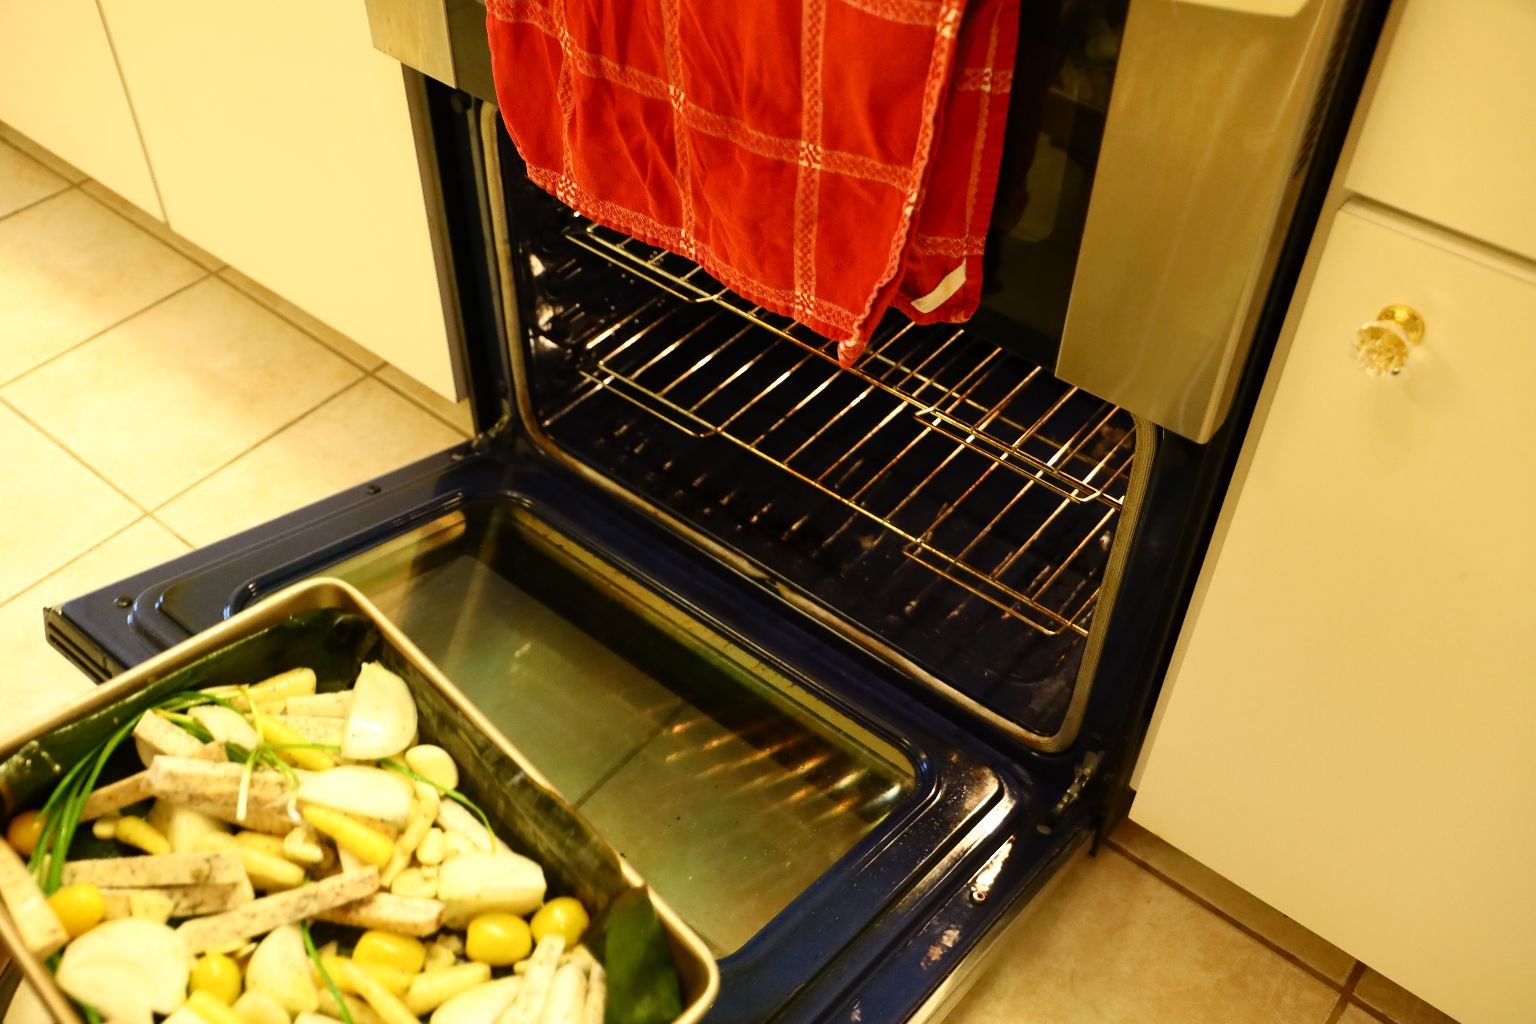
Roast the vegetables in a 350’F oven for about 30 min. turning after 15 min.
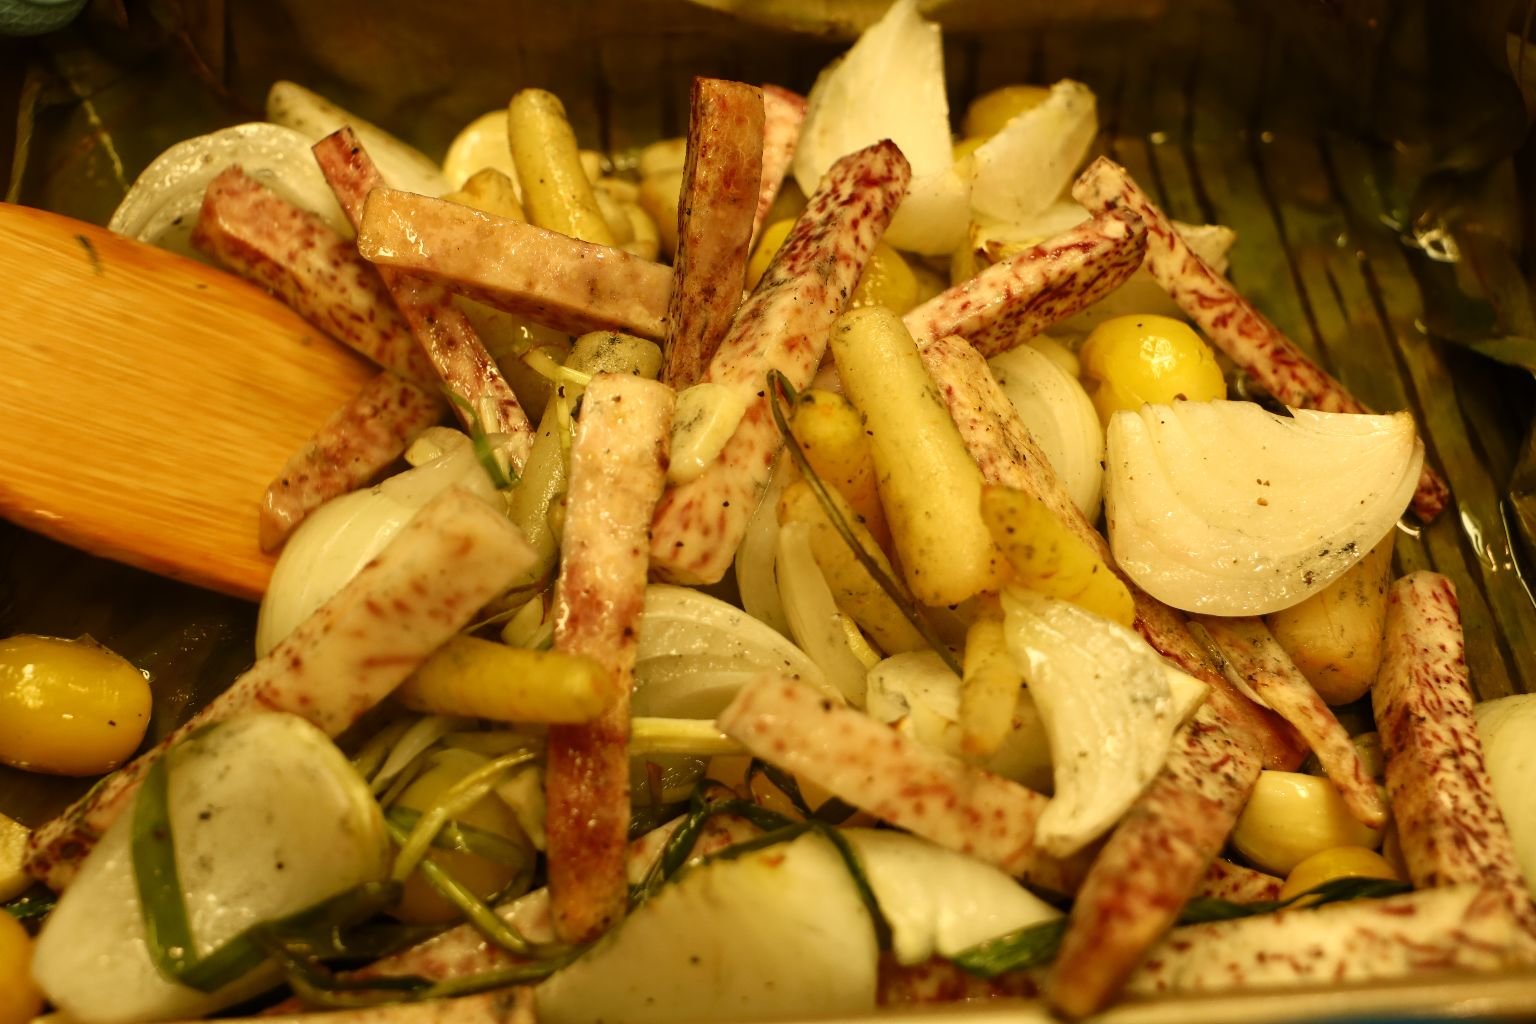
Here the vegetables have cooked for 15 min. so I am turning them for even cooking.


———————————————————————
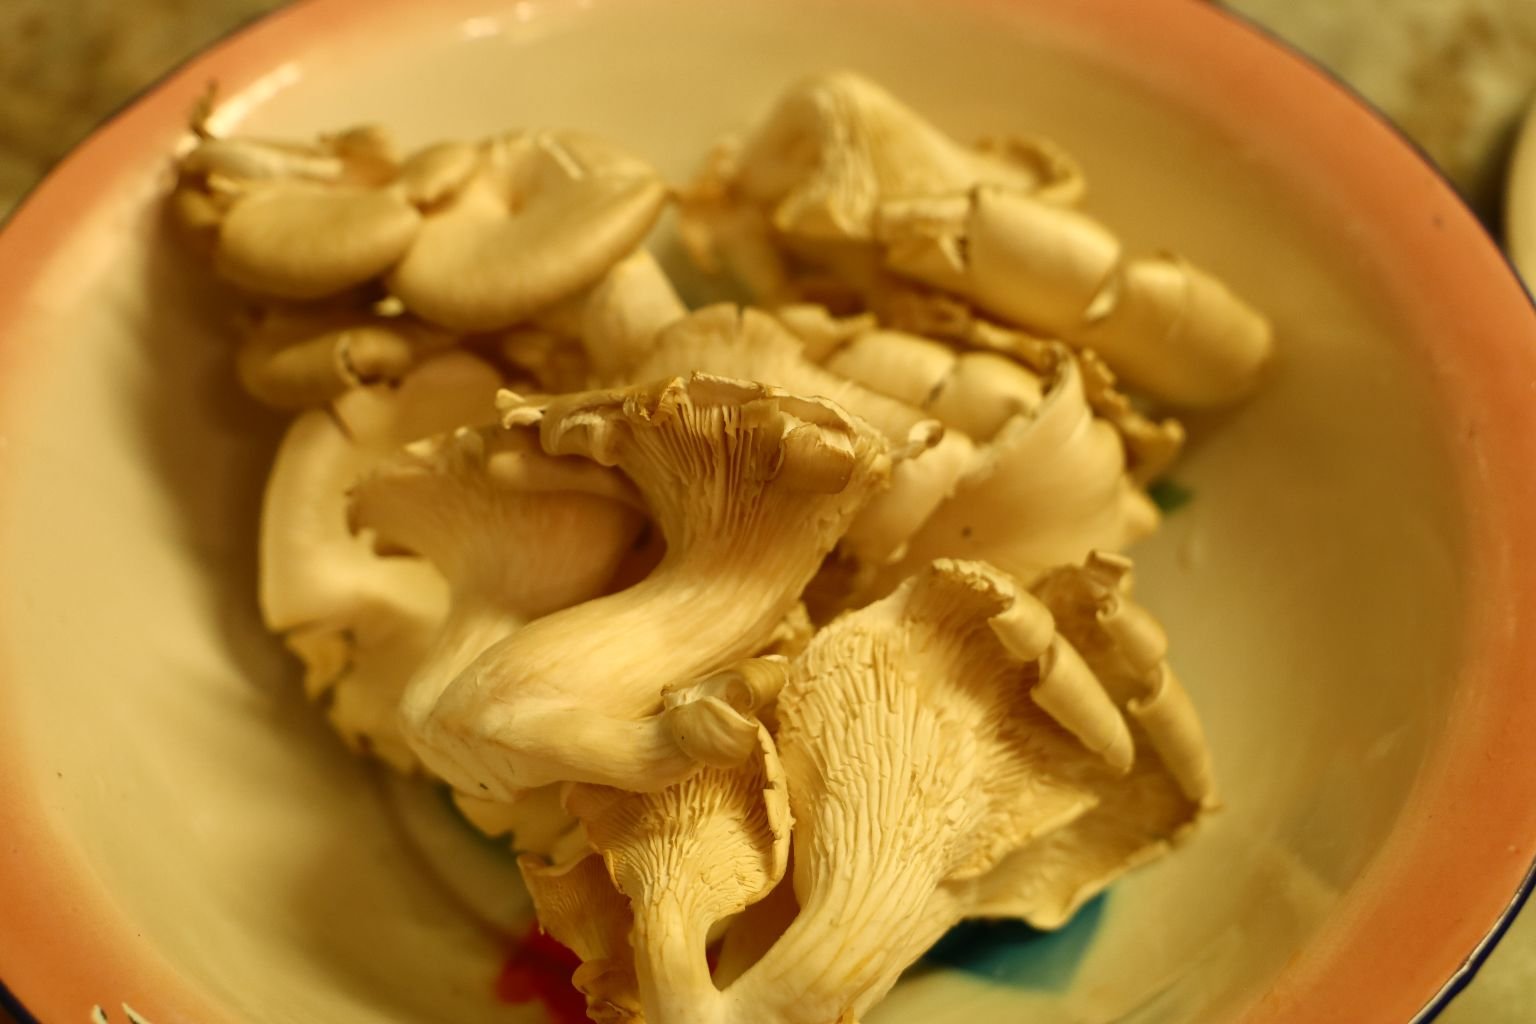
Oyster Mushrooms

After 30 min. add your Oyster Mushrooms to the pan.

————————————————————-

Let the mushrooms cook for about 10 min. then toss them with the other vegetables.
Add more Olive Oil if needed.

Our Traybakes Baking
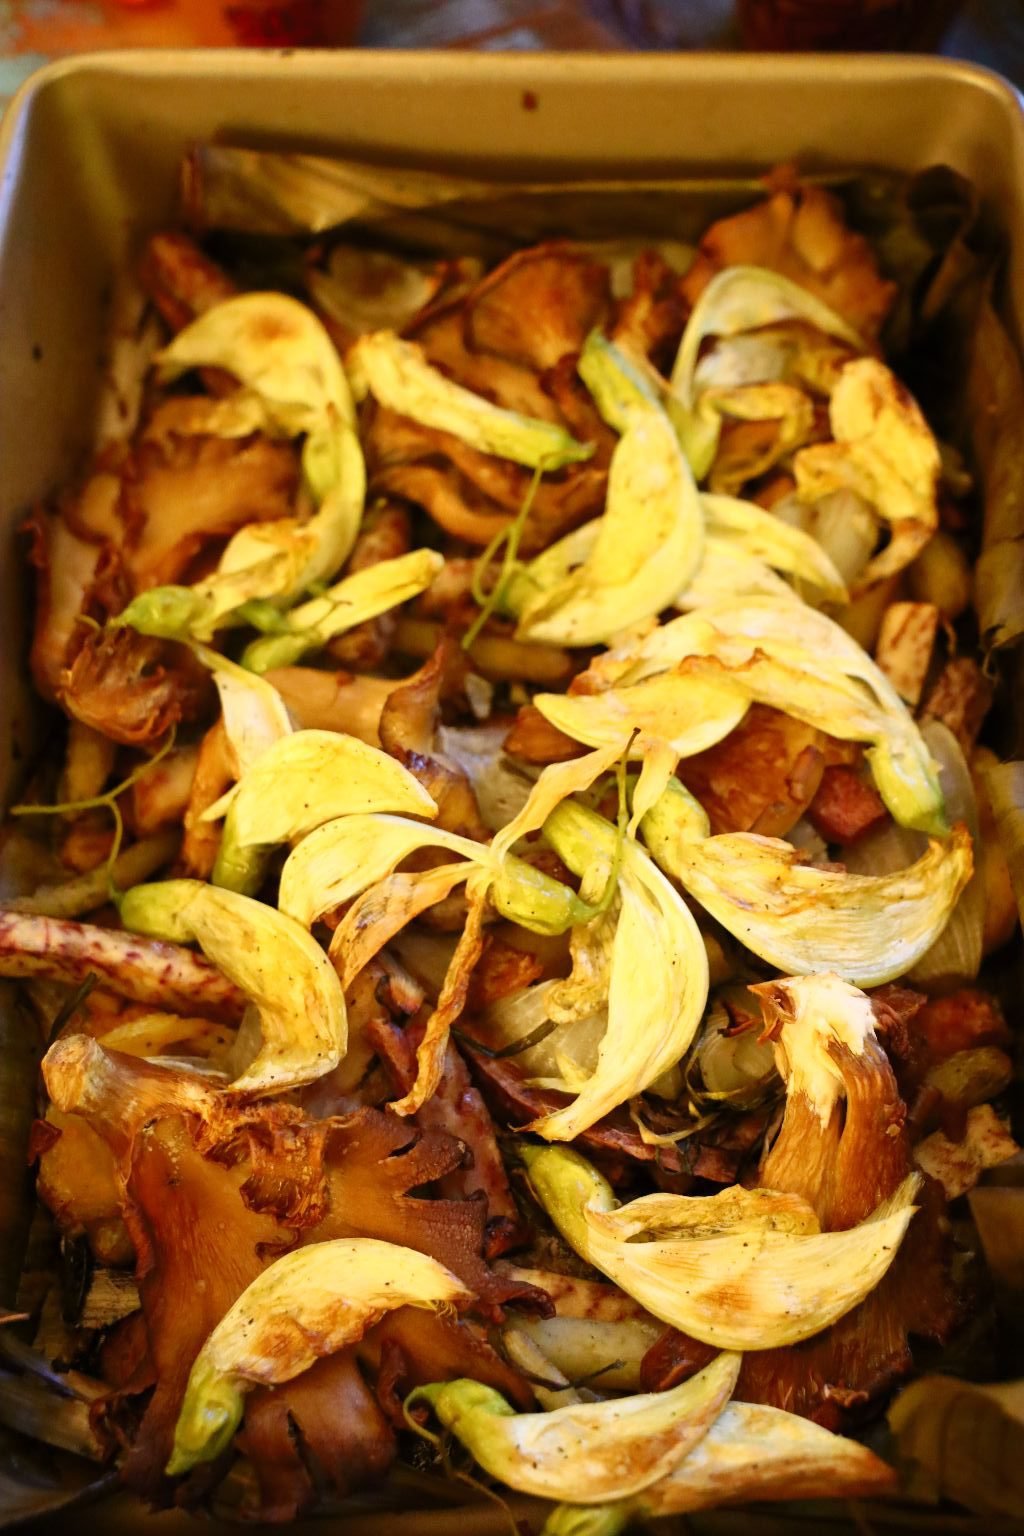
When the mushrooms are tender, add the White Flowers to the pan and let them cook for another 5 min.

Have a nice Memorial Day!
—————————————————
Grilled Pineapple Pizza
(Write Up By Gordon)
Our take on how to make a grilled pizza of which I like pineapple on. You may or may not like pineapple on a pizza, but I find the fruit’s sweetness pairs well with the tang and saltiness of the cheese, tomatoes, pepperoni, and seasonings. The sweet and salty flavors are much like teriyaki sauce that just work so well together.
Here is a close up of the pizza prior to cooking. You can see the grill marks on the pineapple giving it even more flavor.
My grill being used like a pizza oven which you will see worked great!
Here are the end results where we even made a classic pepperoni pizza for Julie.
—————————————————————
I started by heating the grill on high for about 5 min. getting the grill nice and hot which makes those great grill marks. I also clean the grill with a wire brush which the high heat will help to more easily remove. Once heated and cleaned, I turn the grill down to medium high and place the pineapple on the grill being sure to simply place it, and leave it. I close the lid and let the heat do the work. After about 8 to 10 min. depending on the temperature, I then take a peak at one of the slices then either turn them all over or let them cook a little more. After turning them, let them again sit without moving for another 8-10 min. repeating the process.
Here you can see the nicely grilled pineapple which will give it a caramelized flavor from the browning of the pineapple’s sugar.
—————————————————————
Making the pizza…
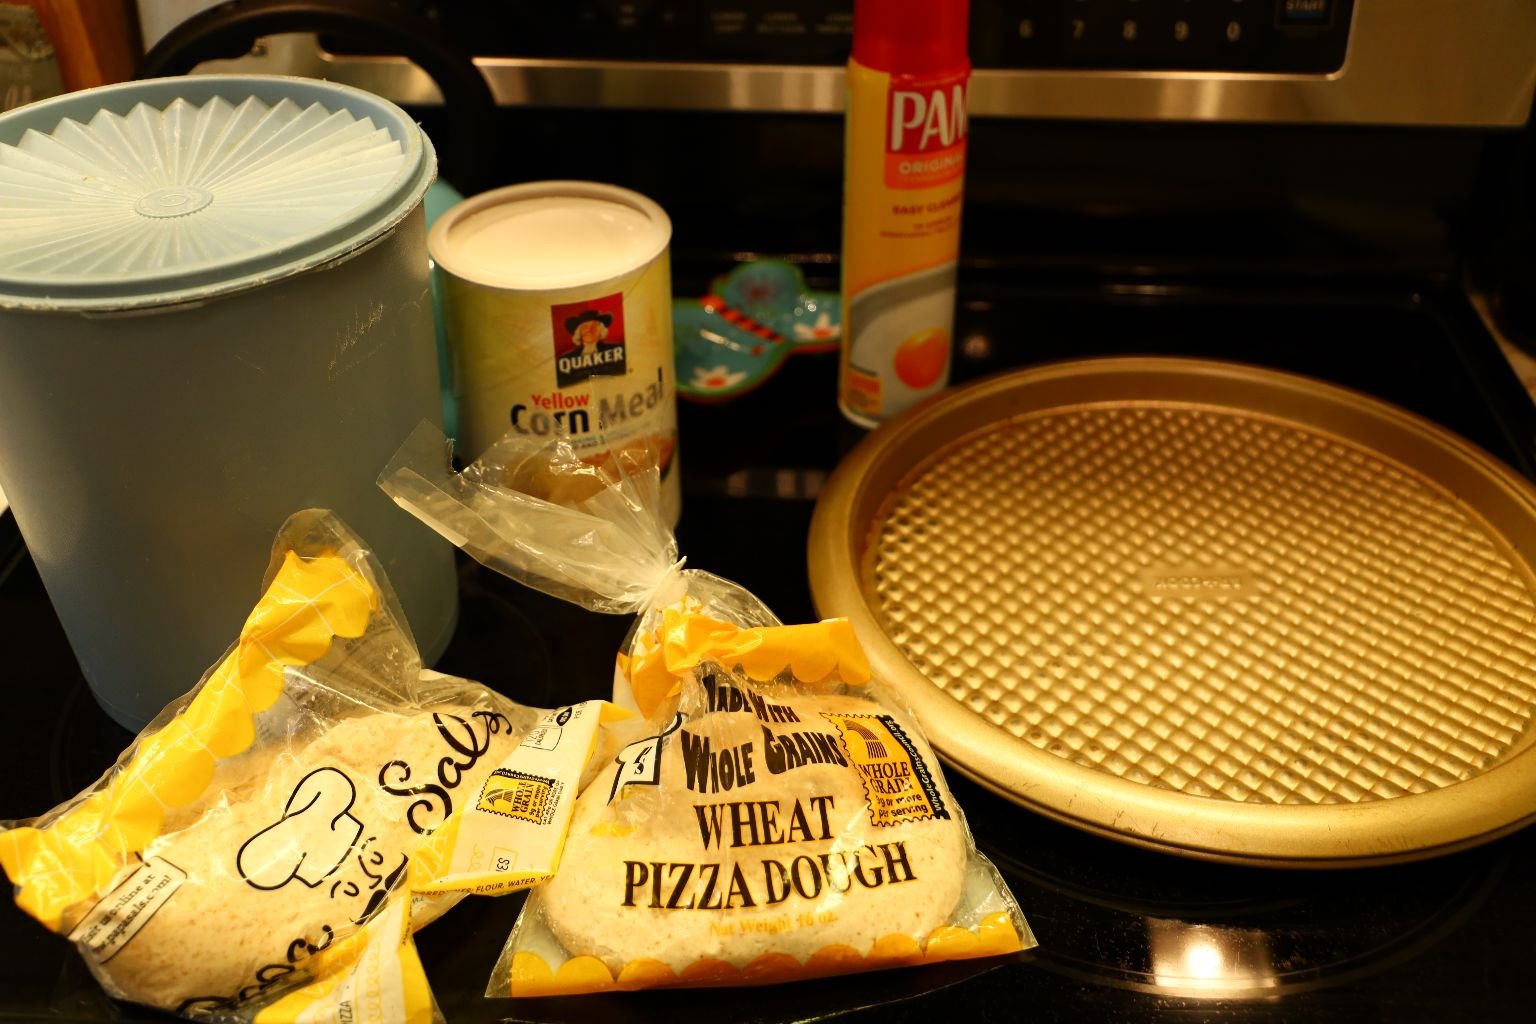
Ingredients:
Ready Made Pizza Dough
Cooking spray
~ 2 Tbsp. Yellow corn meal
2 Tbsp. Flour
3-4 Baby Bella Mushrooms – sliced
~1/2 Cup Pineapple Tomatillo Salsa
~1/2 Cup Pizza Sauce
~1/4 Cup Mozzarella Cheese
~1/4 Cup Italian Blend Cheese
Grilled Pineapple Chunks – as wanted
Turkey Pepperoni – as wanted
Garlic Salt – to taste
Pizza Palooza Spice Blend – to taste
Red Pepper Flakes – to taste
Fresh Basil – to taste
——————————————————–

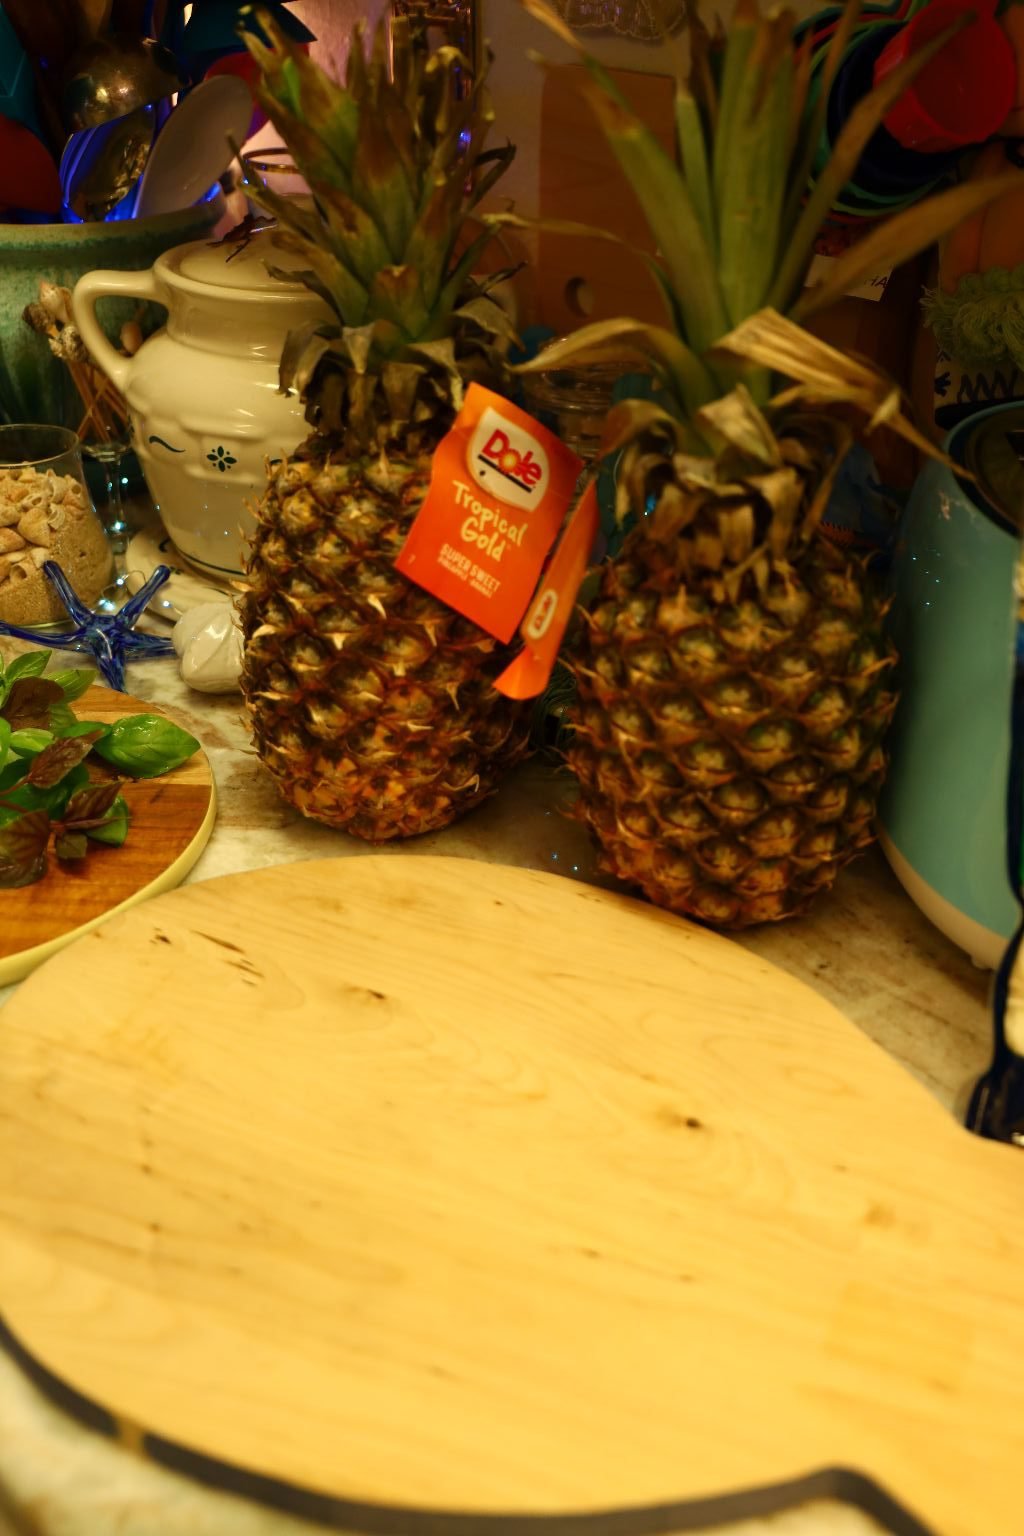
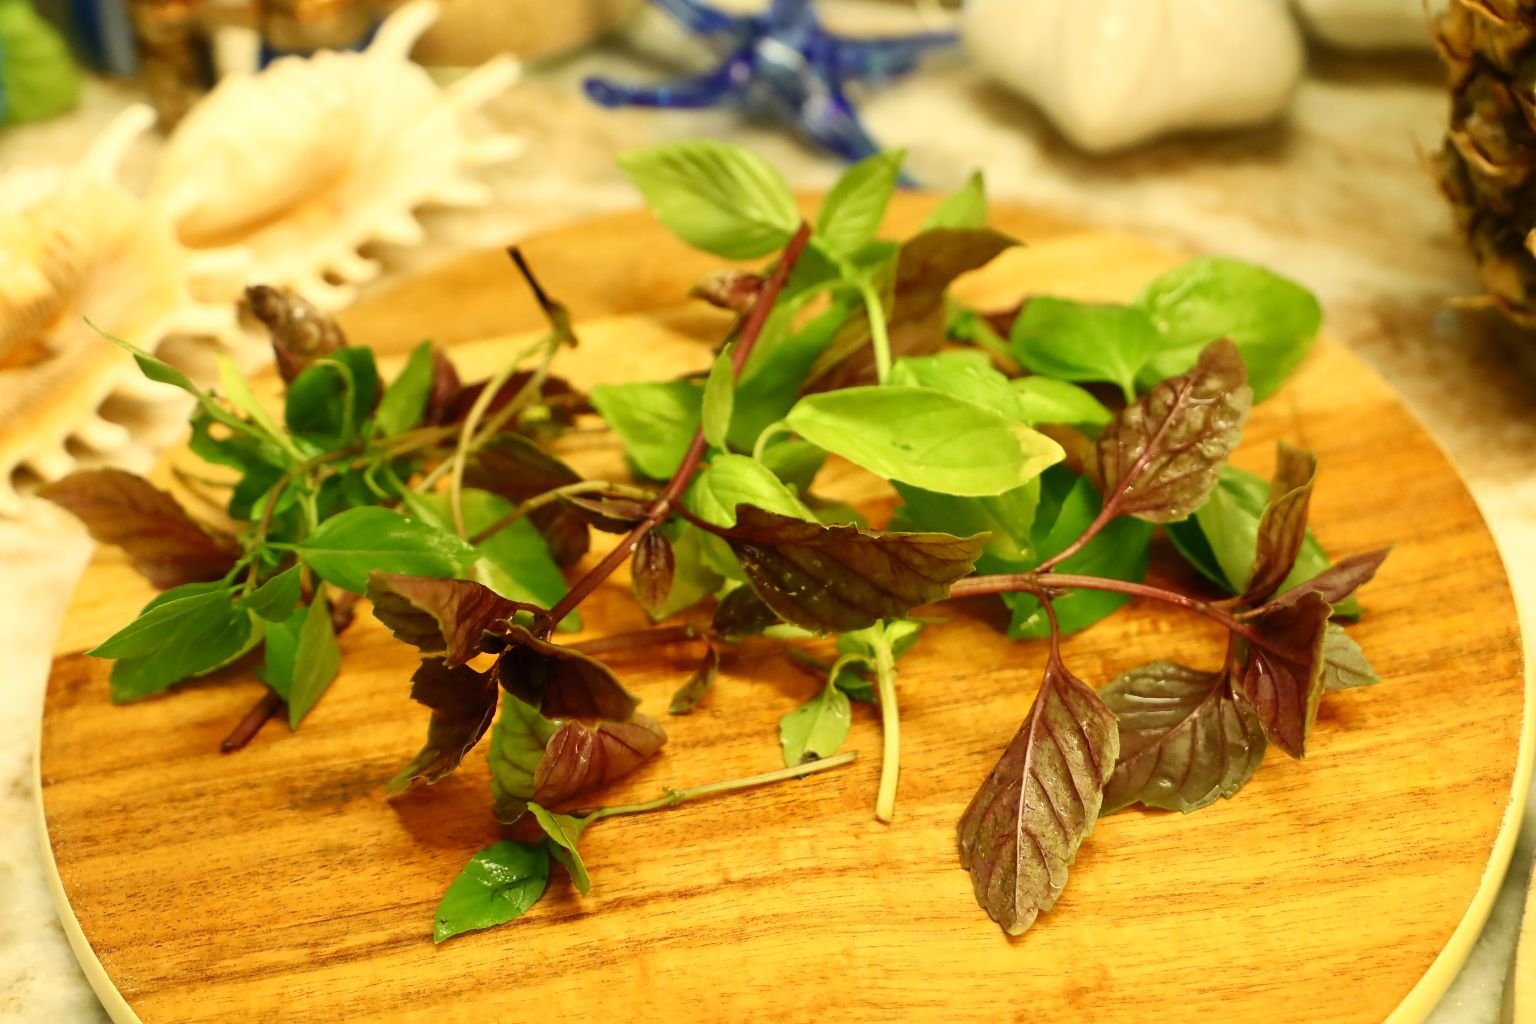
Here is our purple and regular basil from our garden.
————————————————————

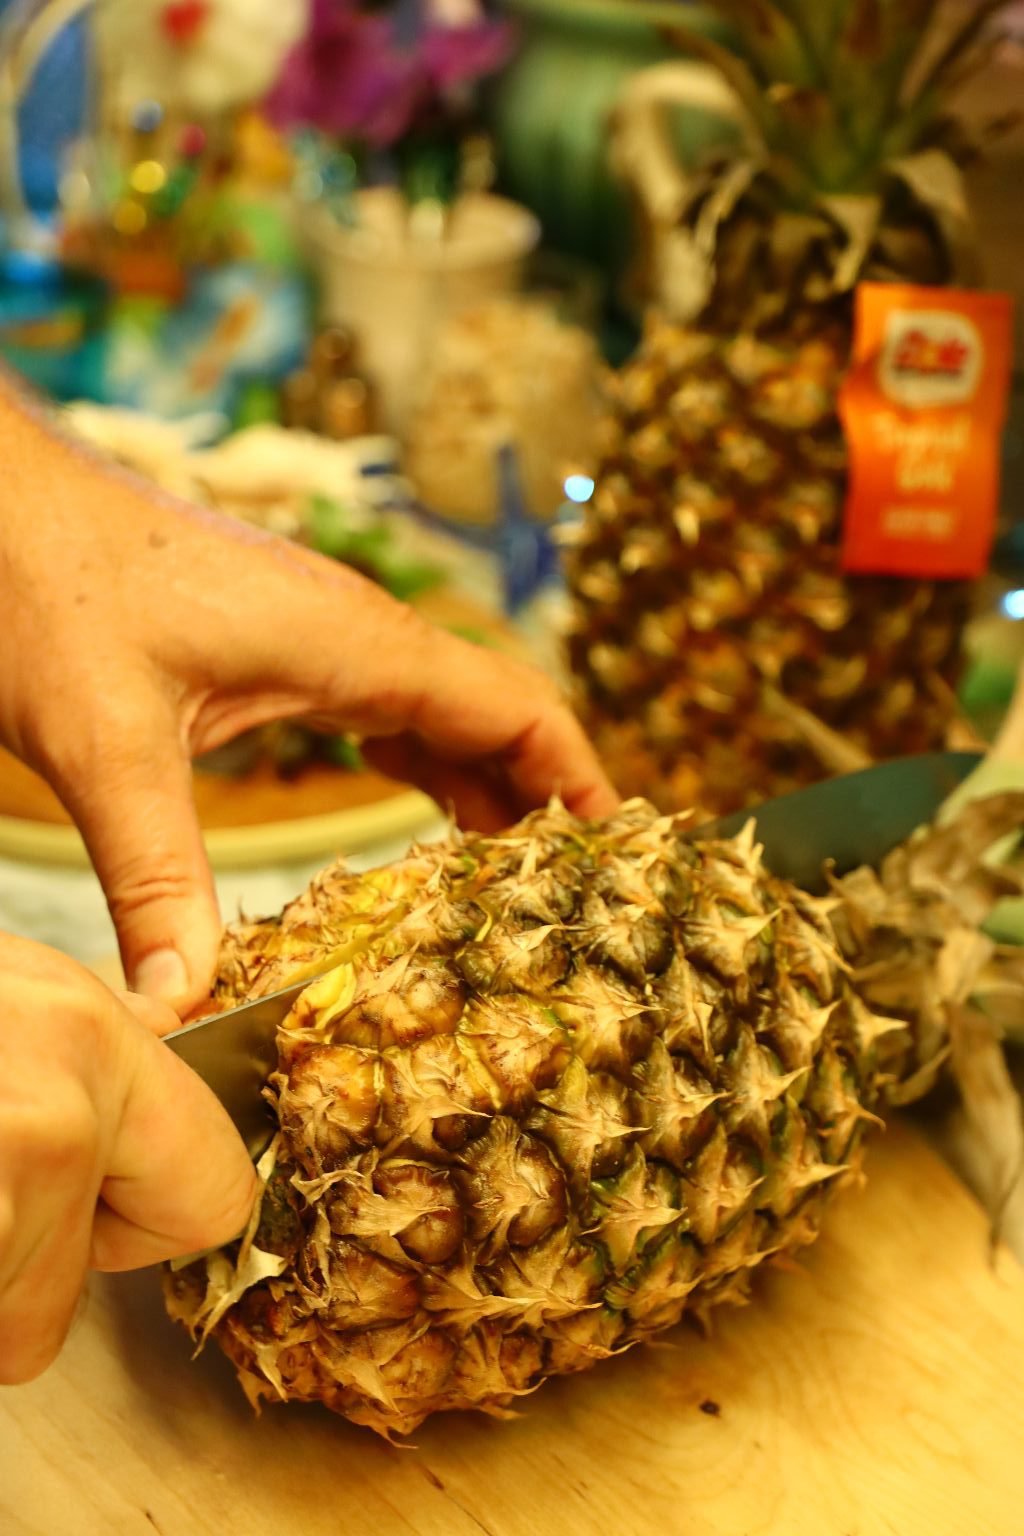
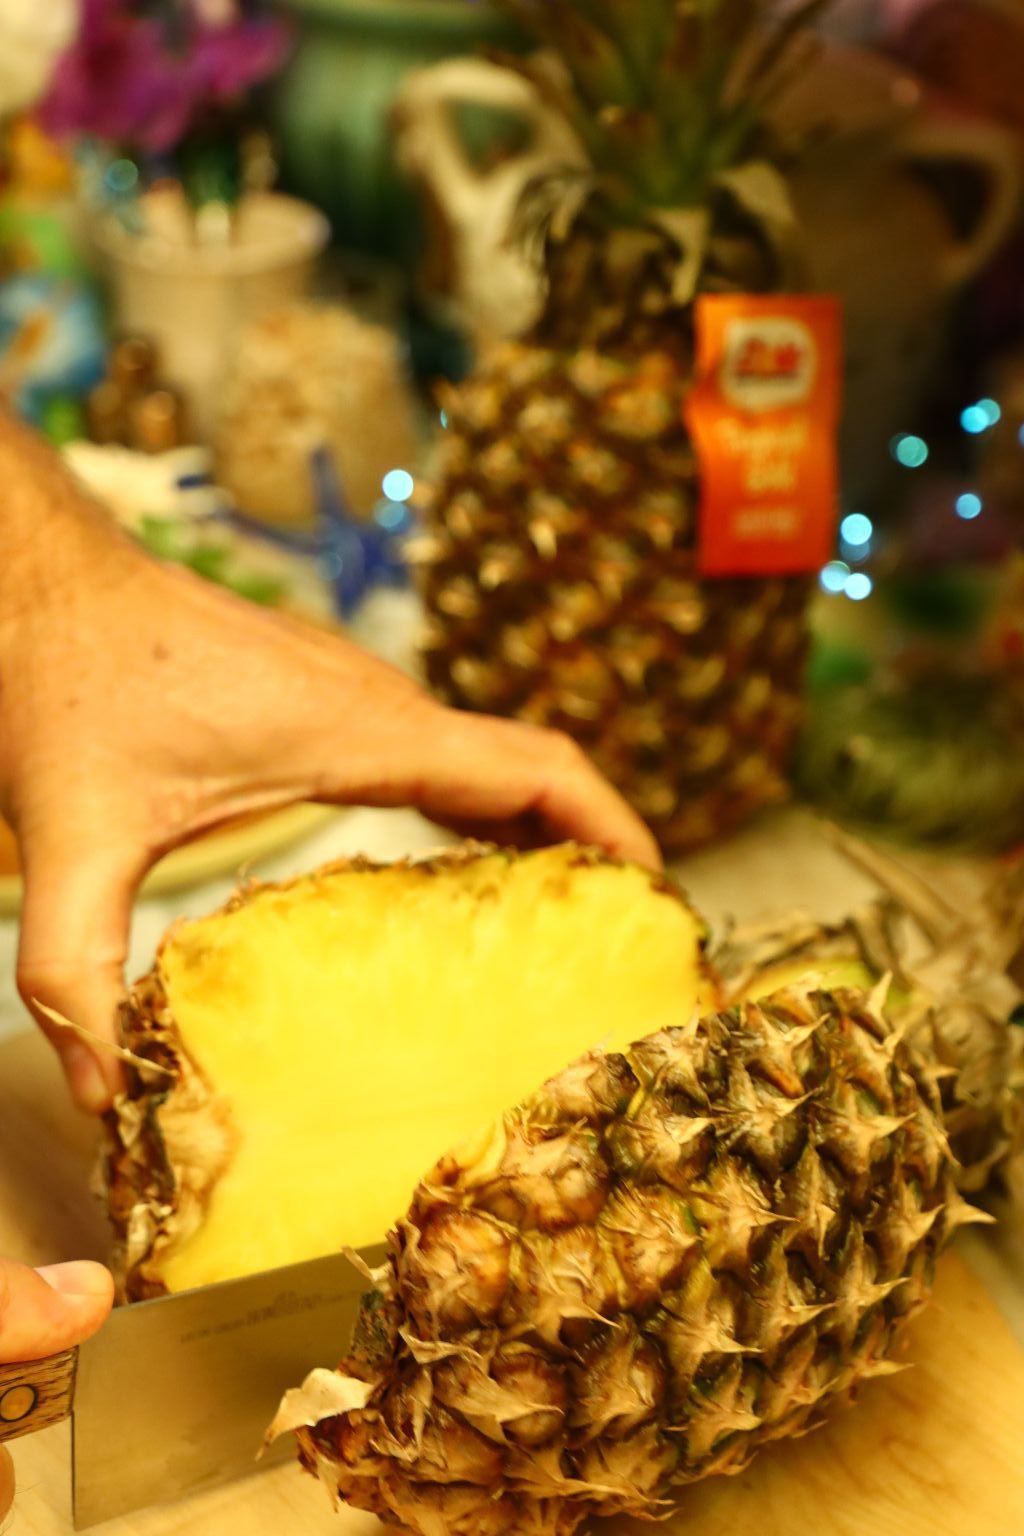
To prepare the pineapple for grilling… first slice it in half as shown.
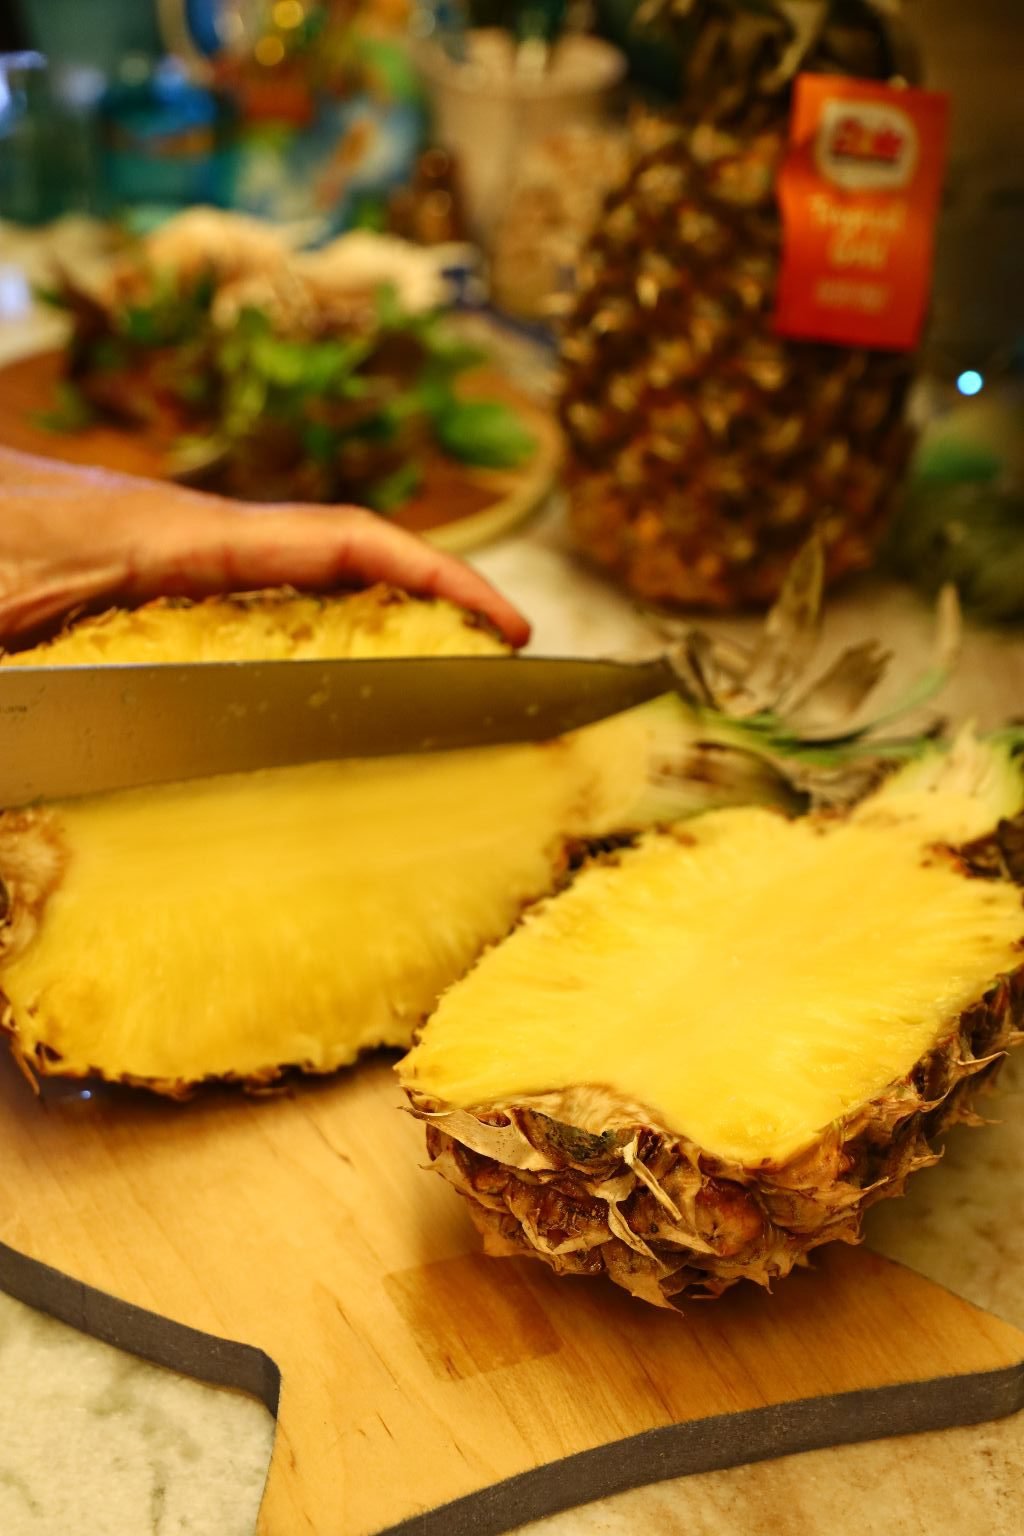
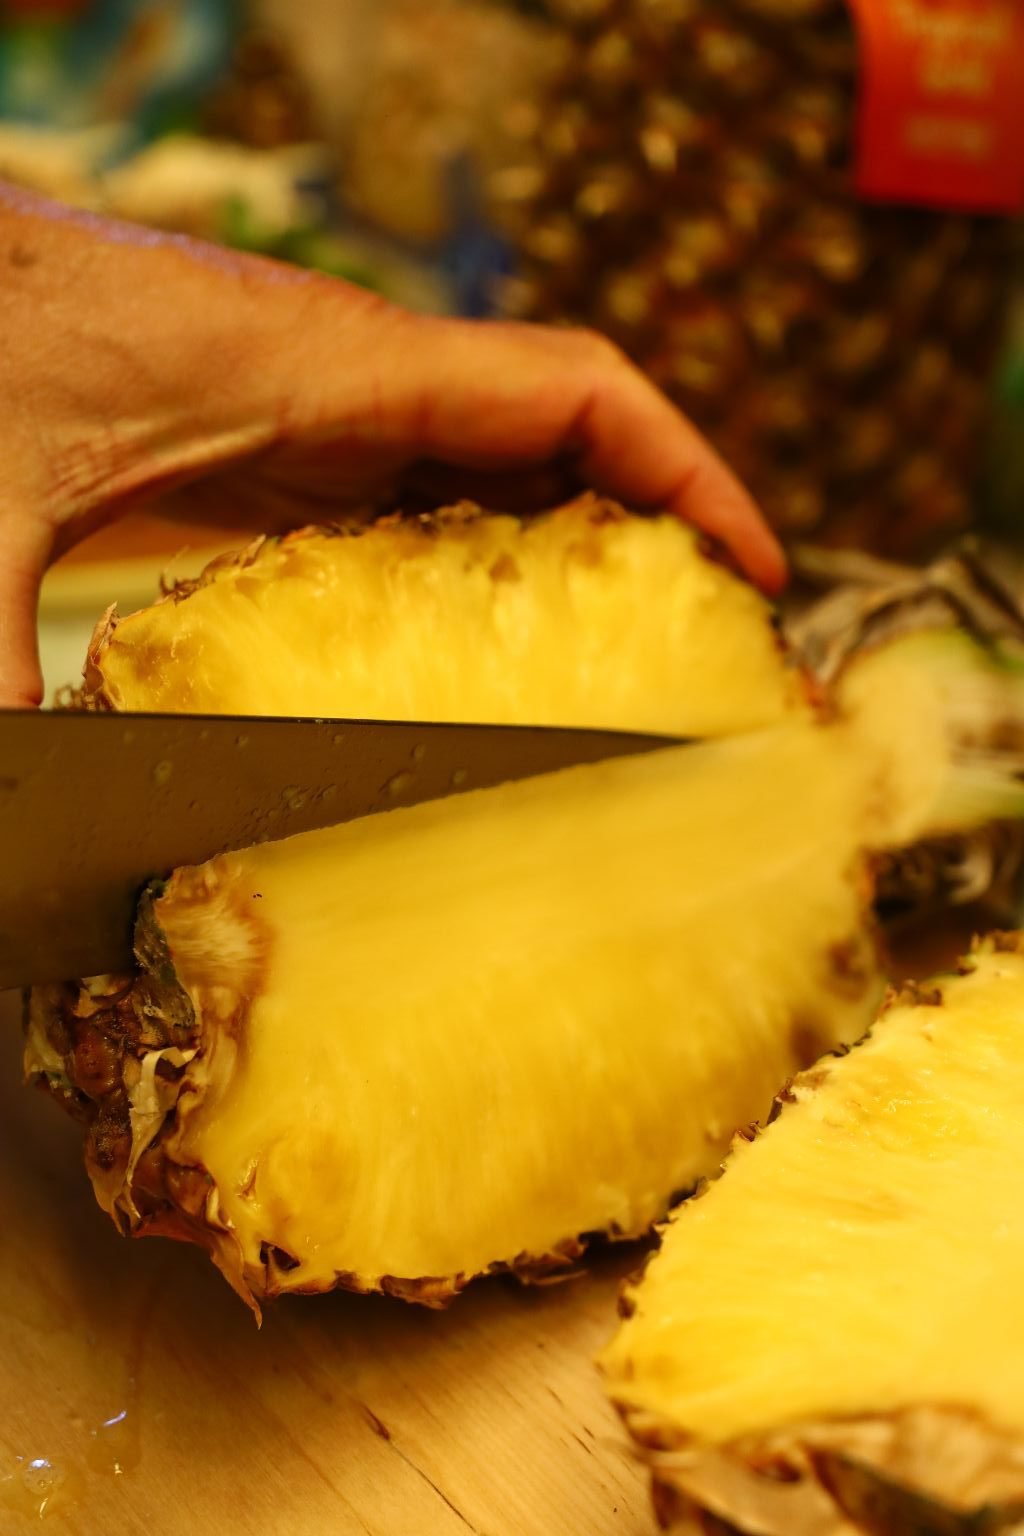
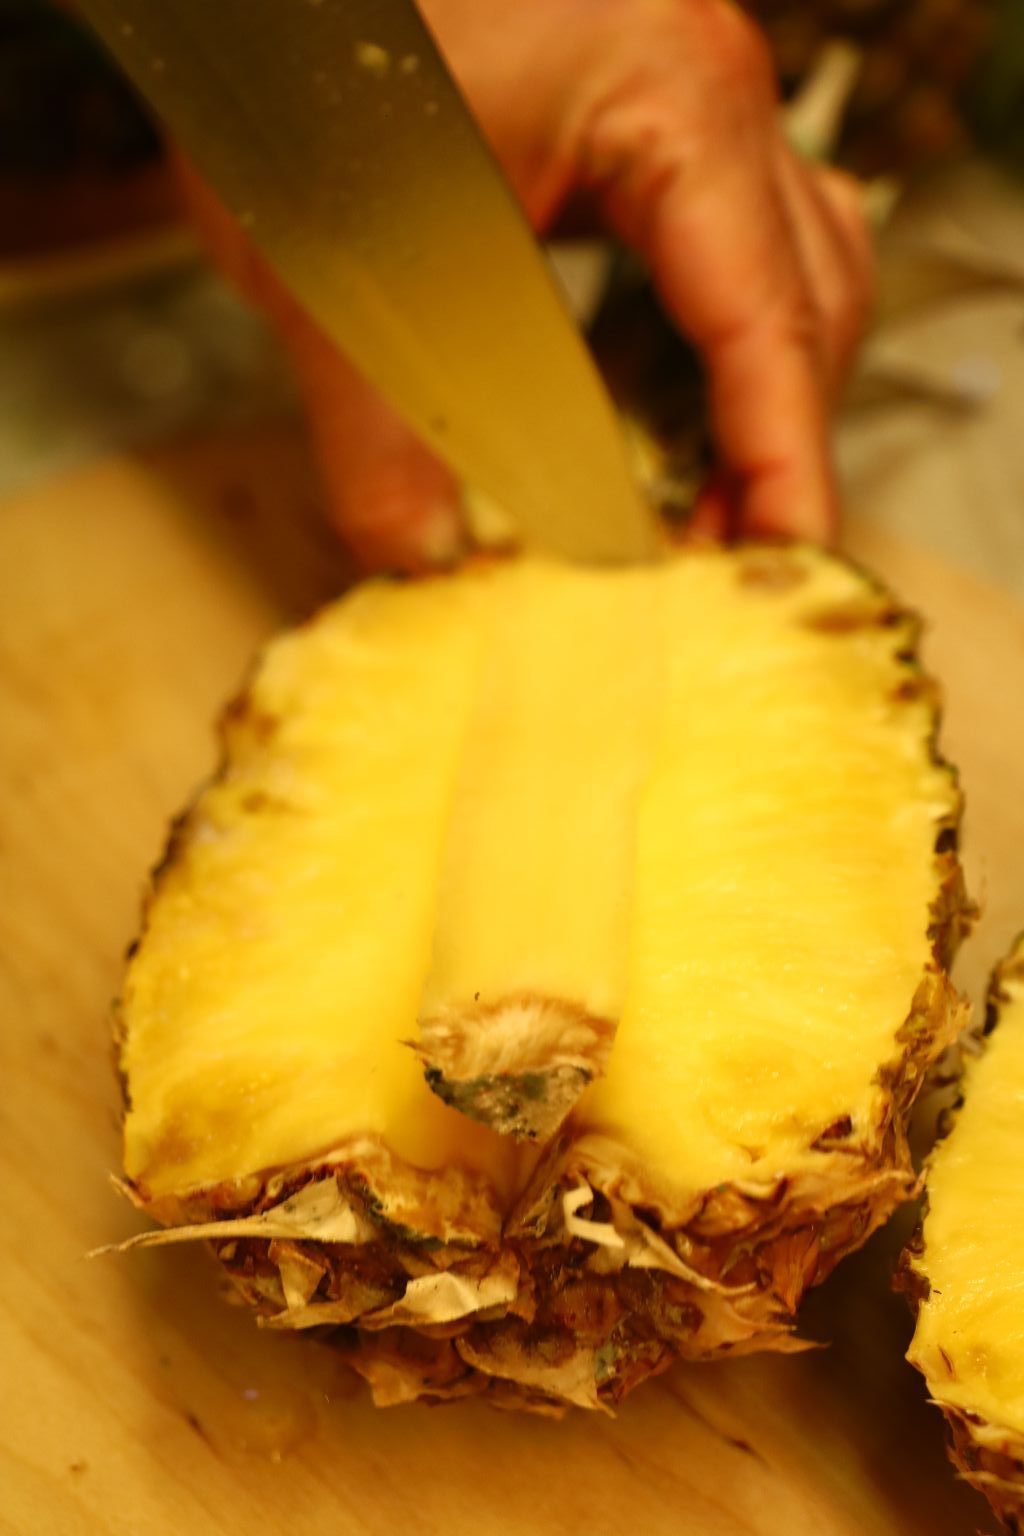
To remove the inedible core, make a diagonal cut on one side of the core just below the stalk, then do the same cut on the other side. Now make a horizontal cut just below the stalk and remove the core. Repeat for both pineapple halves.
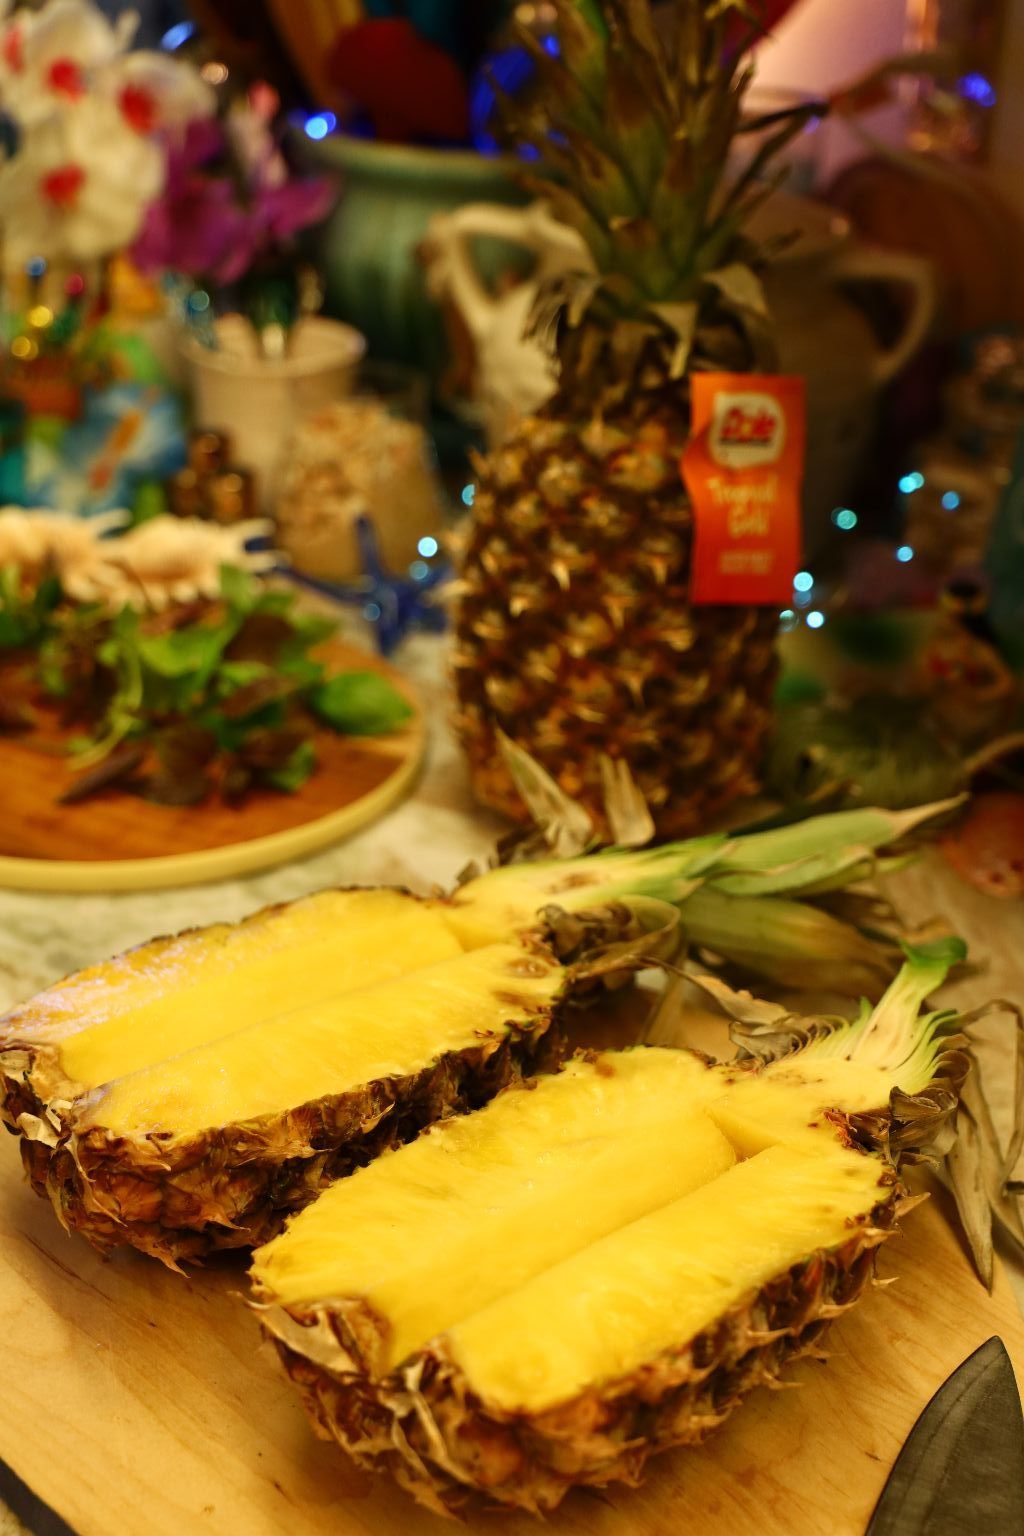
Here you can see both pineapple cores removed.
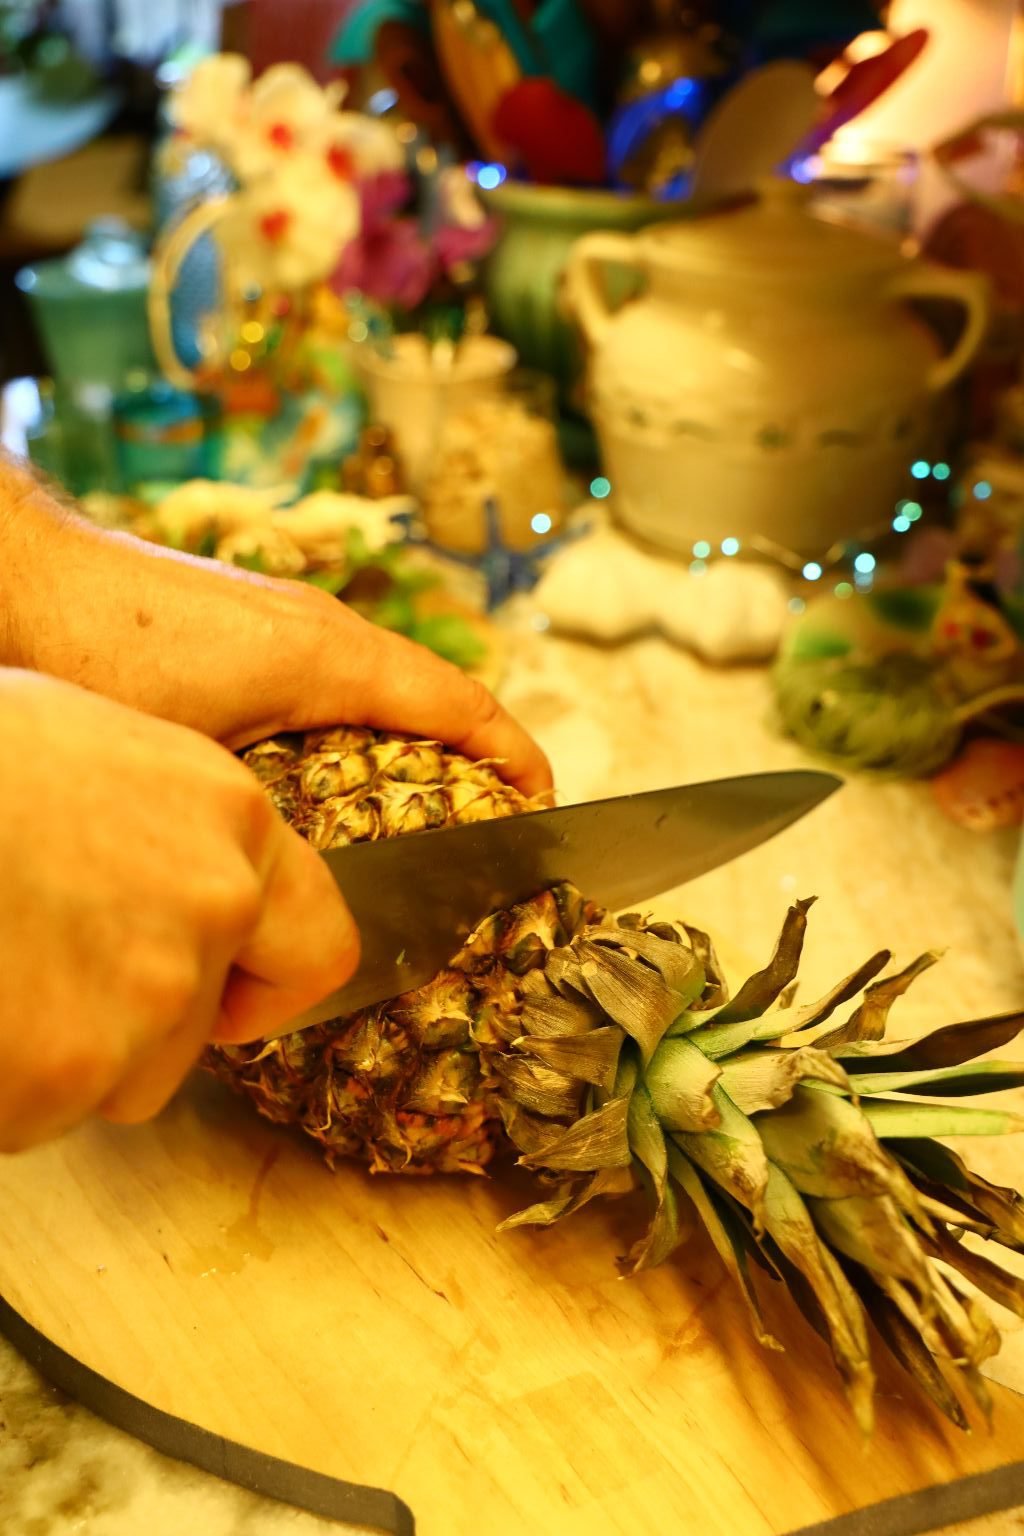
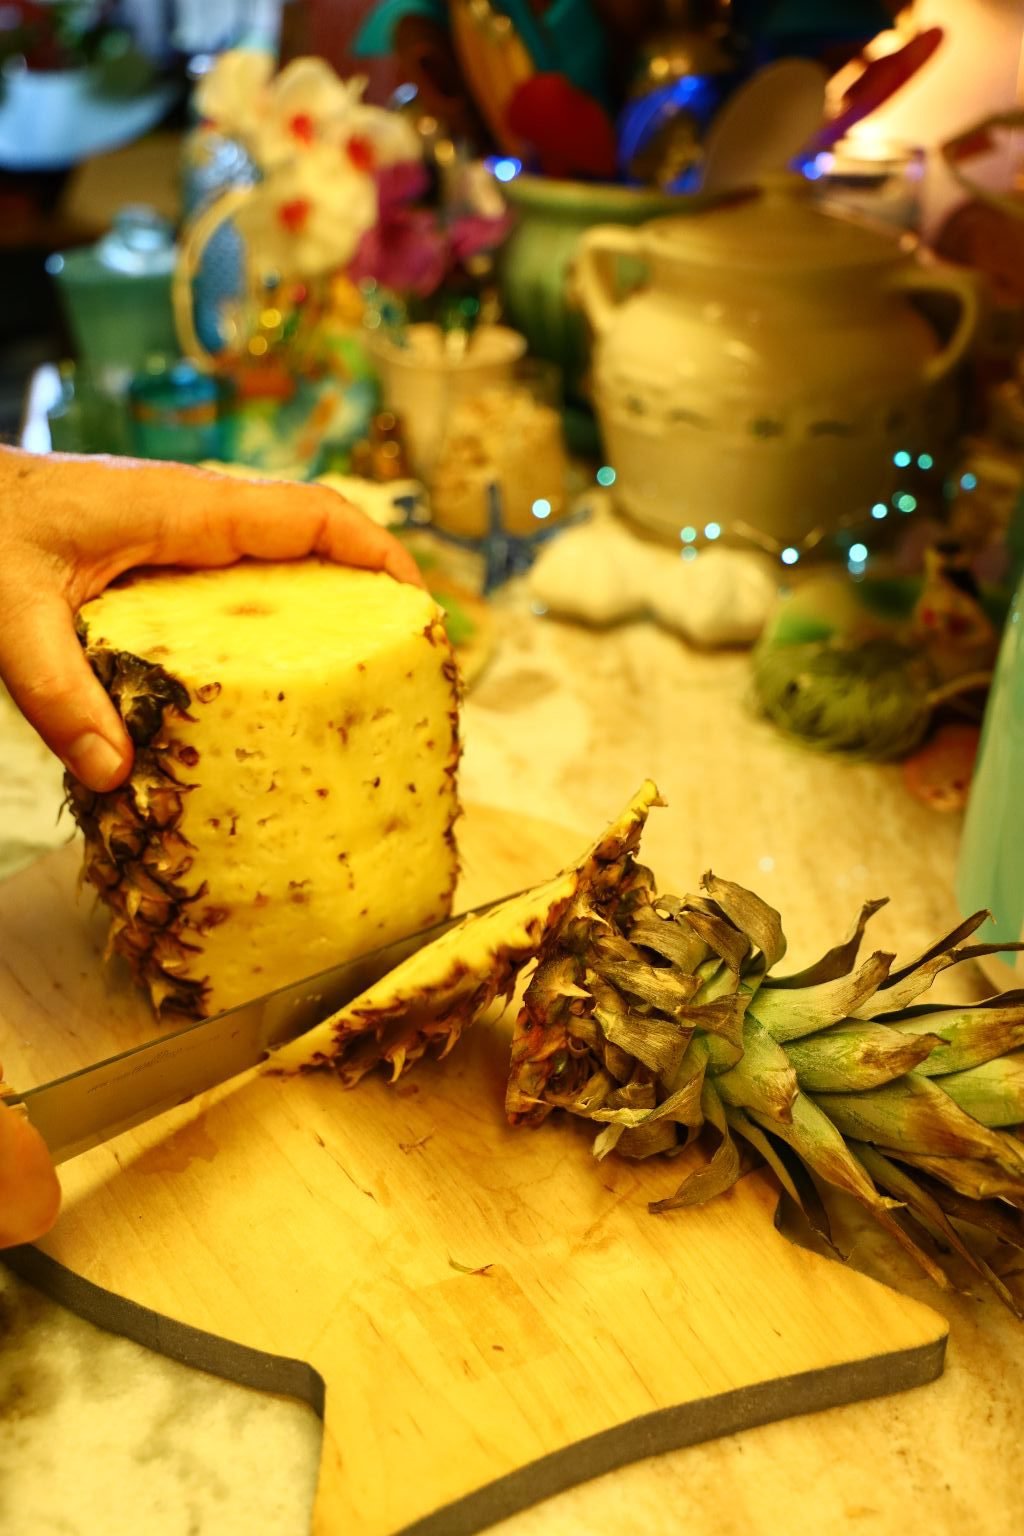
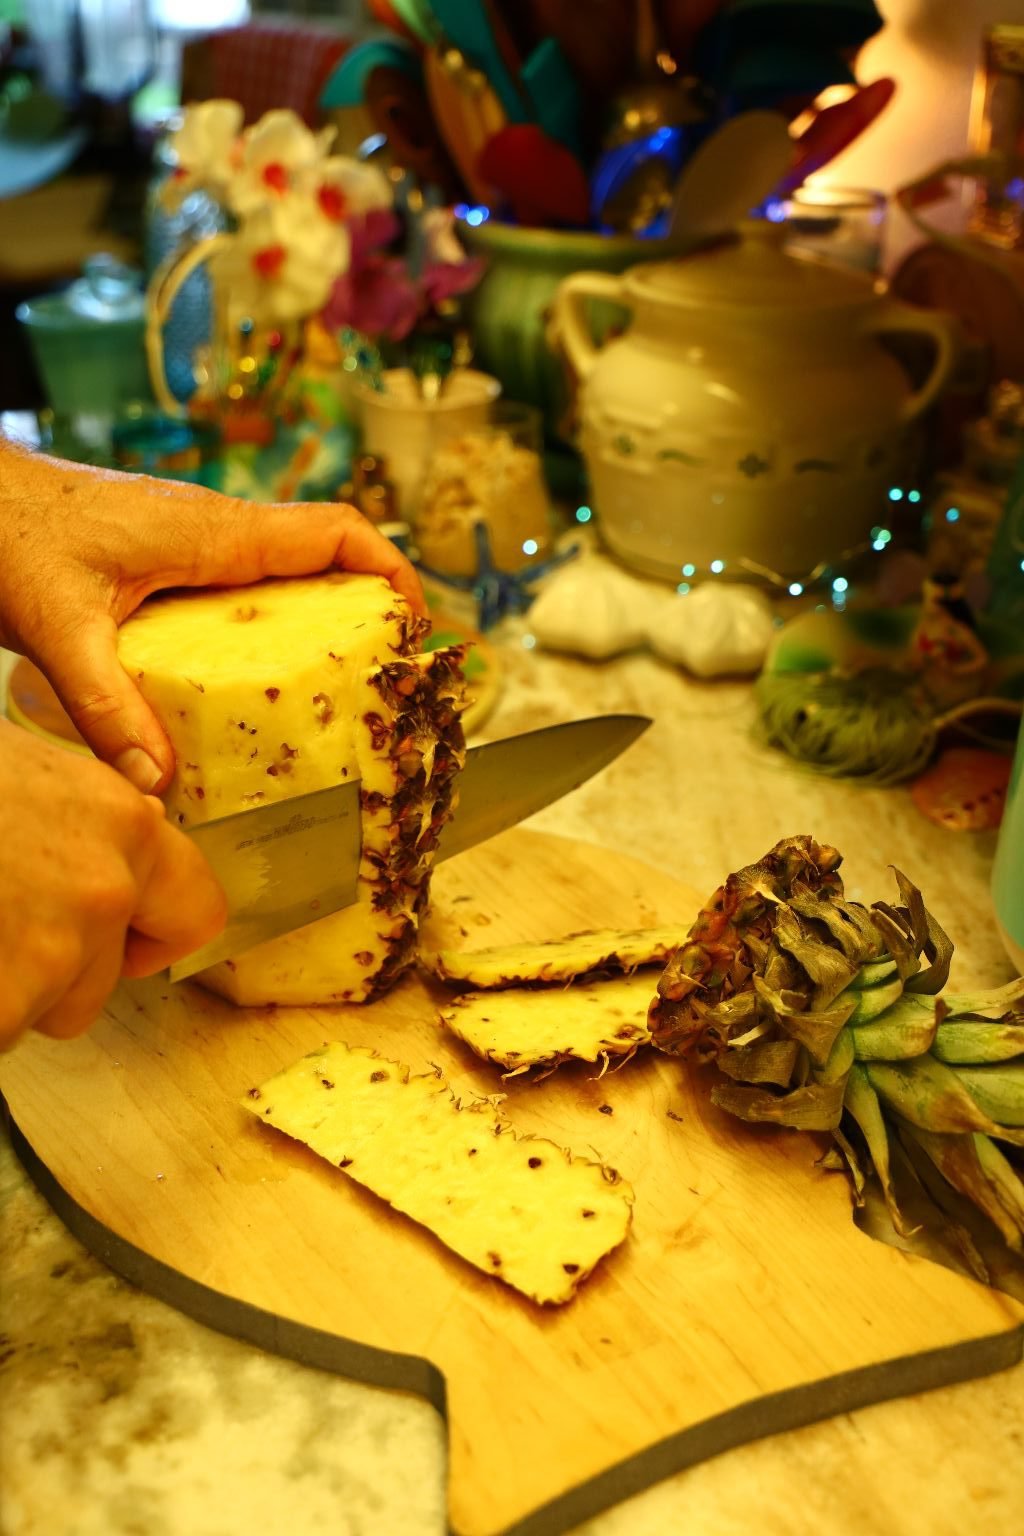
Using another pineapple, cut off the stalk then the bottom of the pineapple. Now, slice down the sides to remove the outer skin.
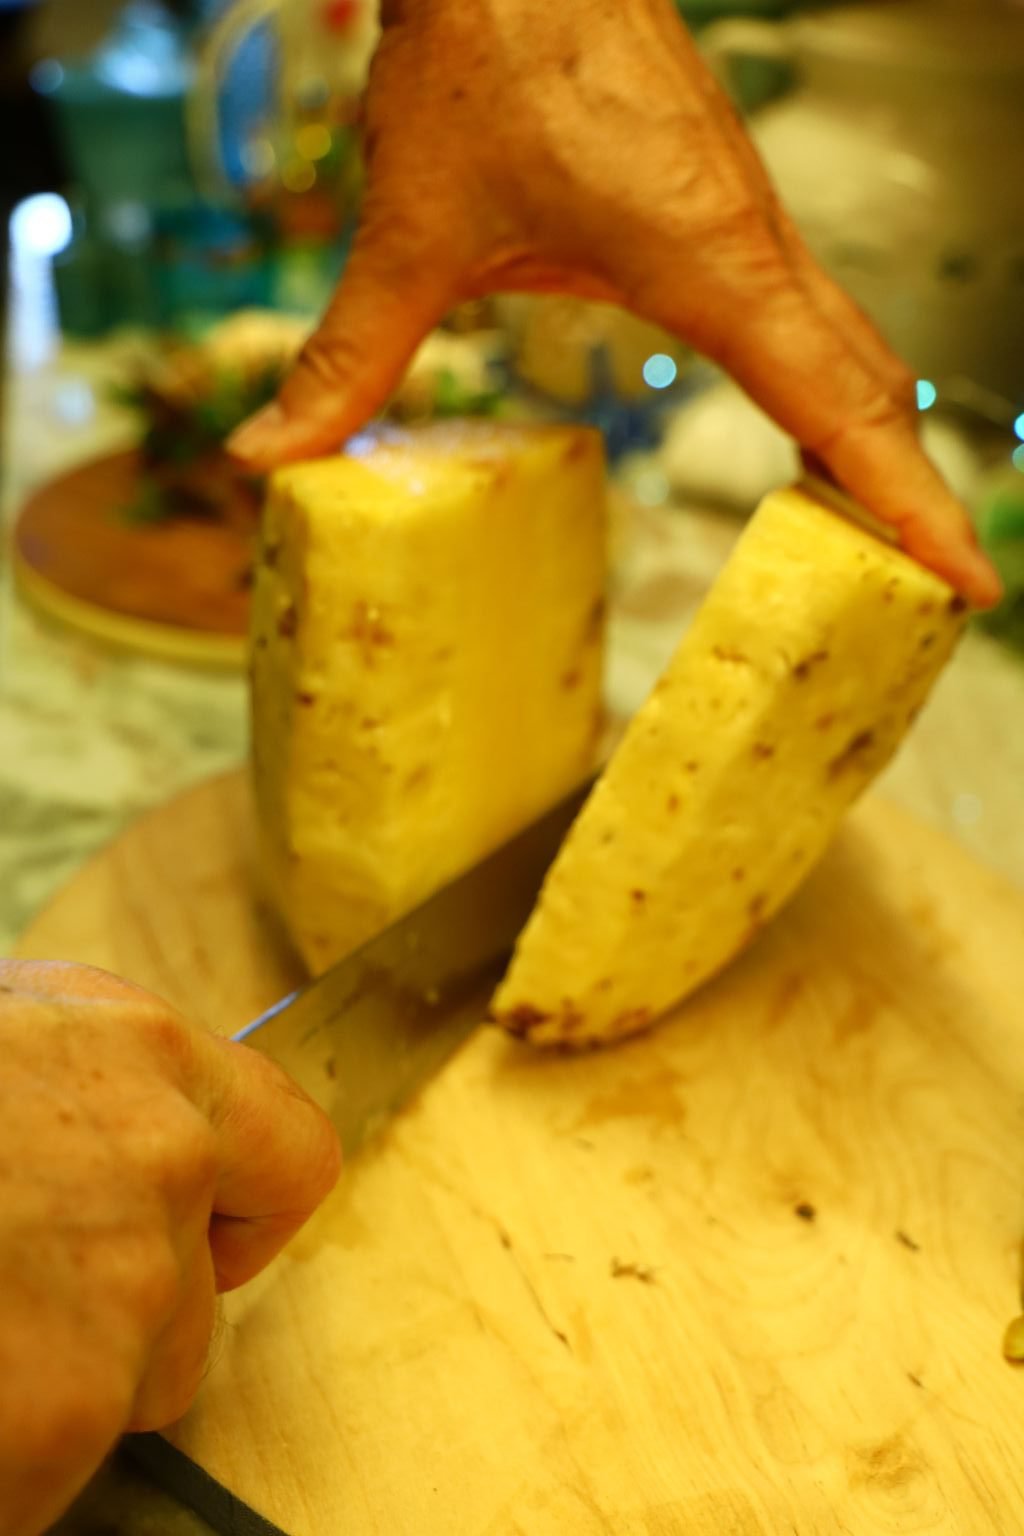
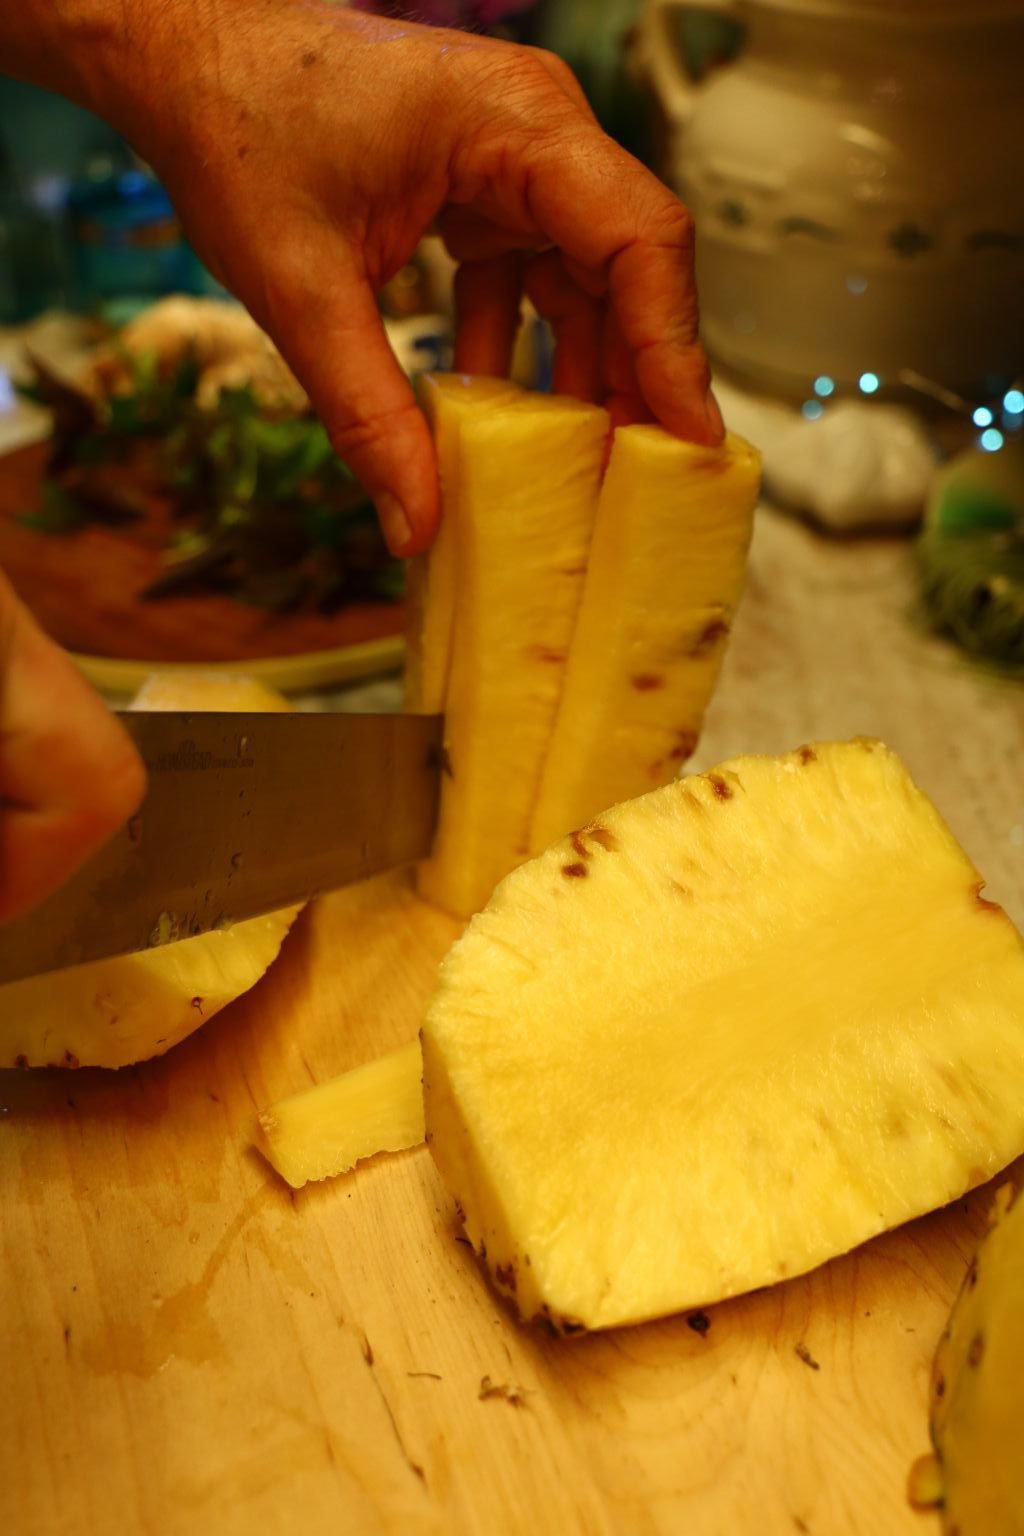
Slice this in half an then into wedges. On each wedge you will then slice off the little section of core.
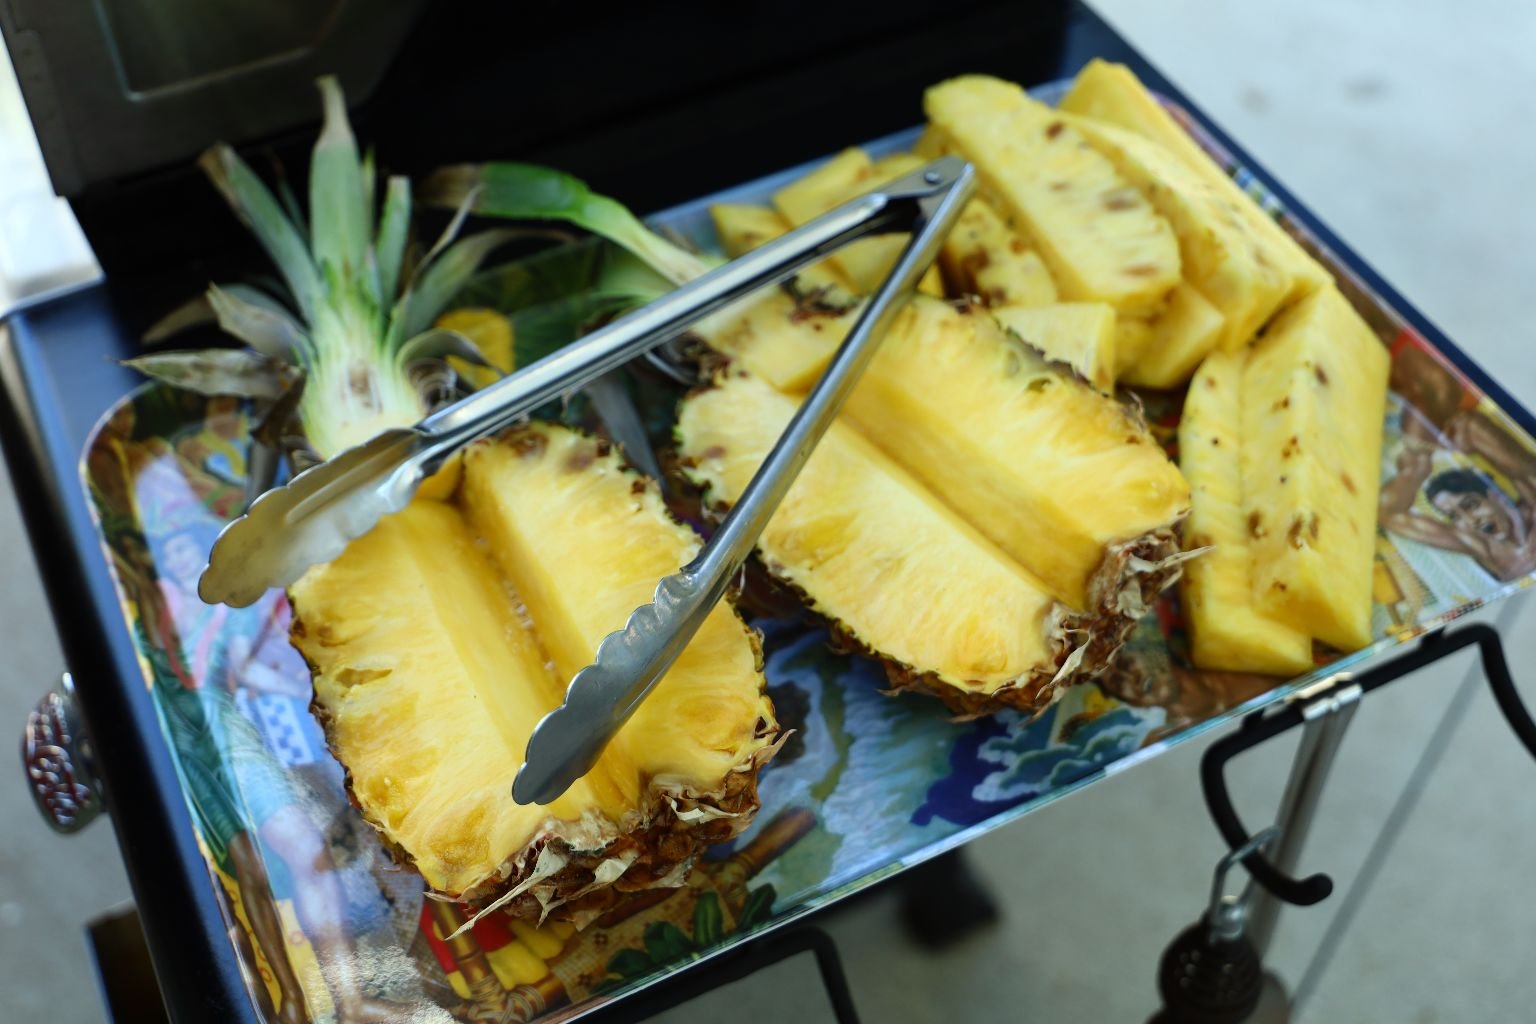
I place them on a try as shown and take them to the grill.
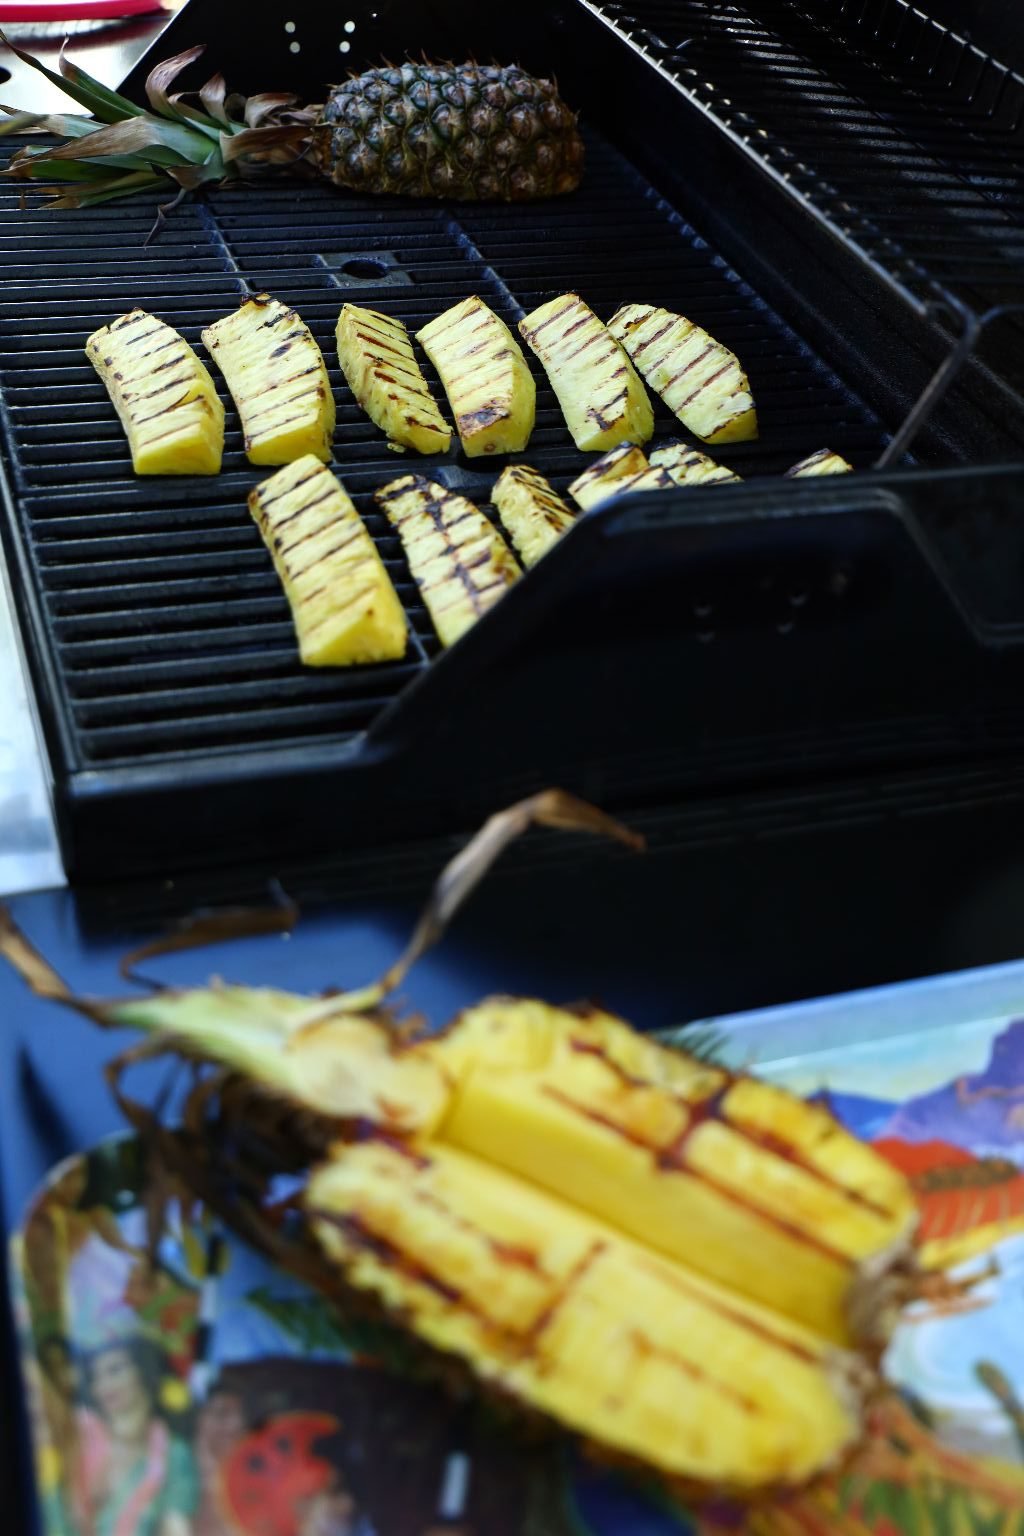

Leaving the section of pineapple where you first placed it will give you great grill marks.
—————————————————————–
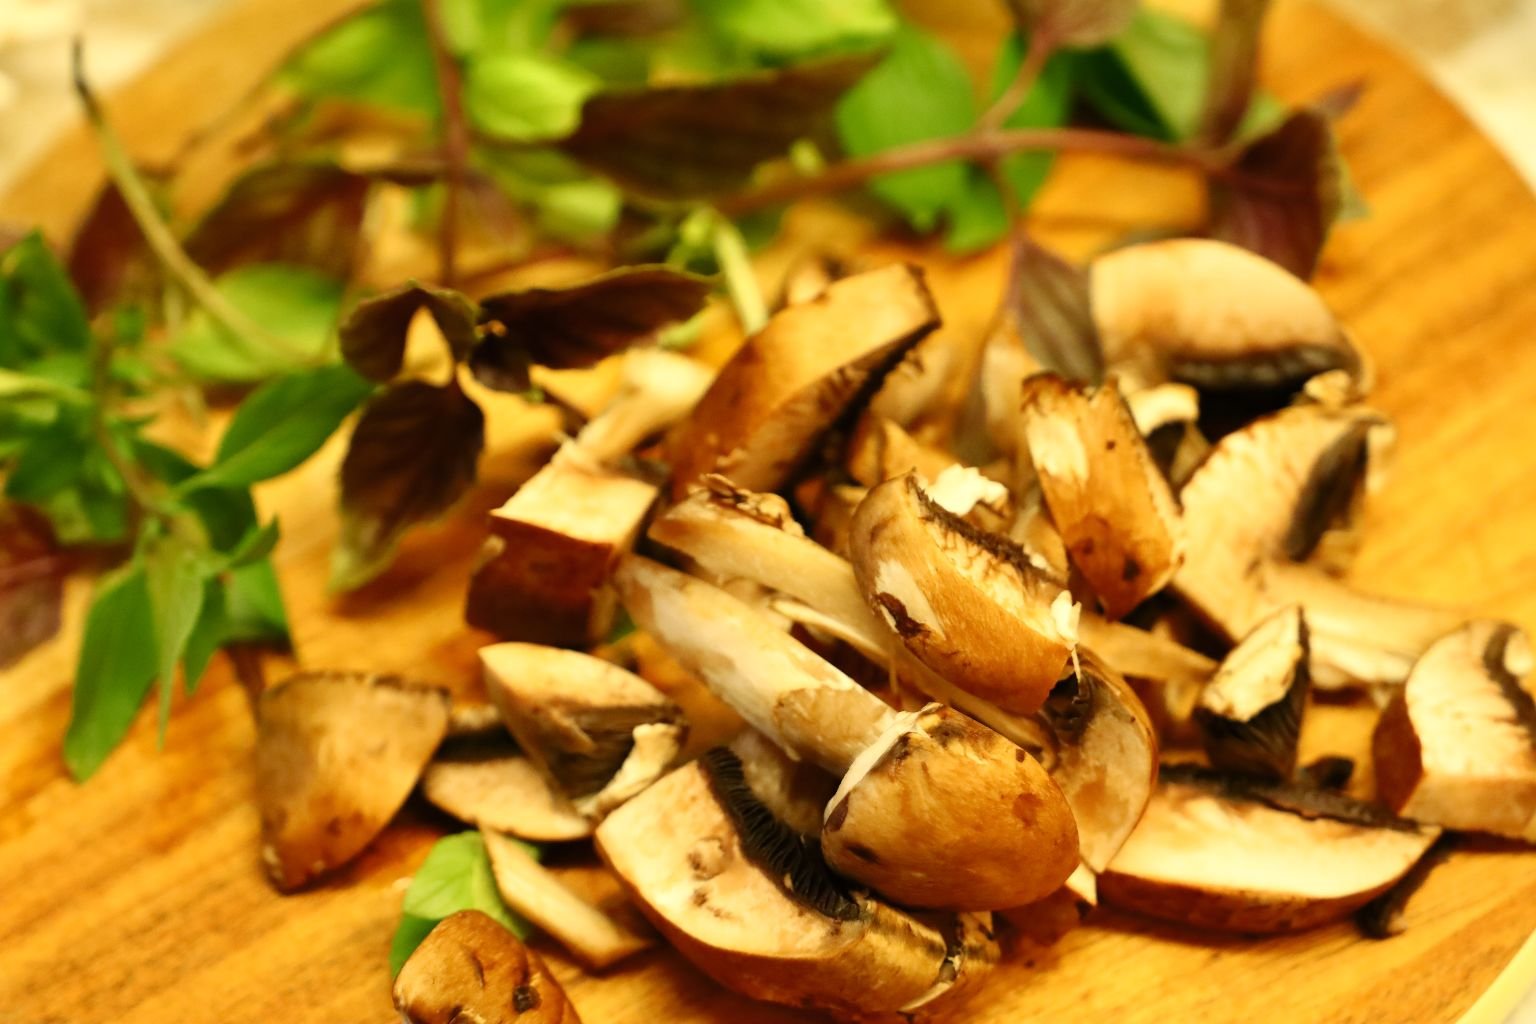
Back to making the pizza… slice your mushrooms.

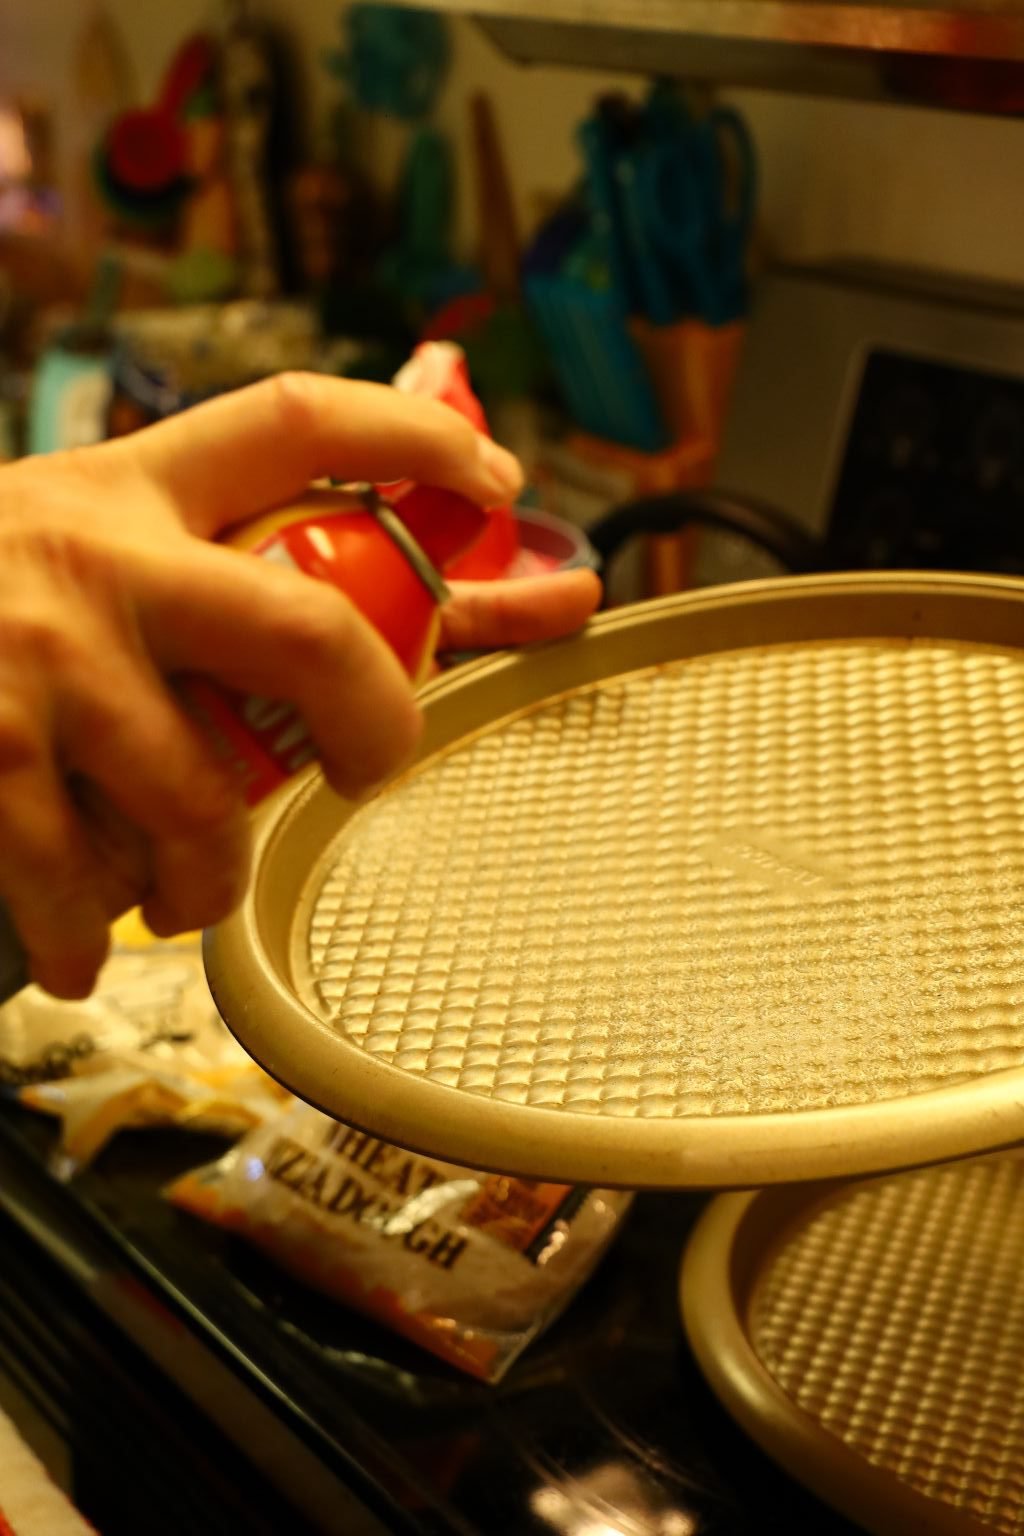
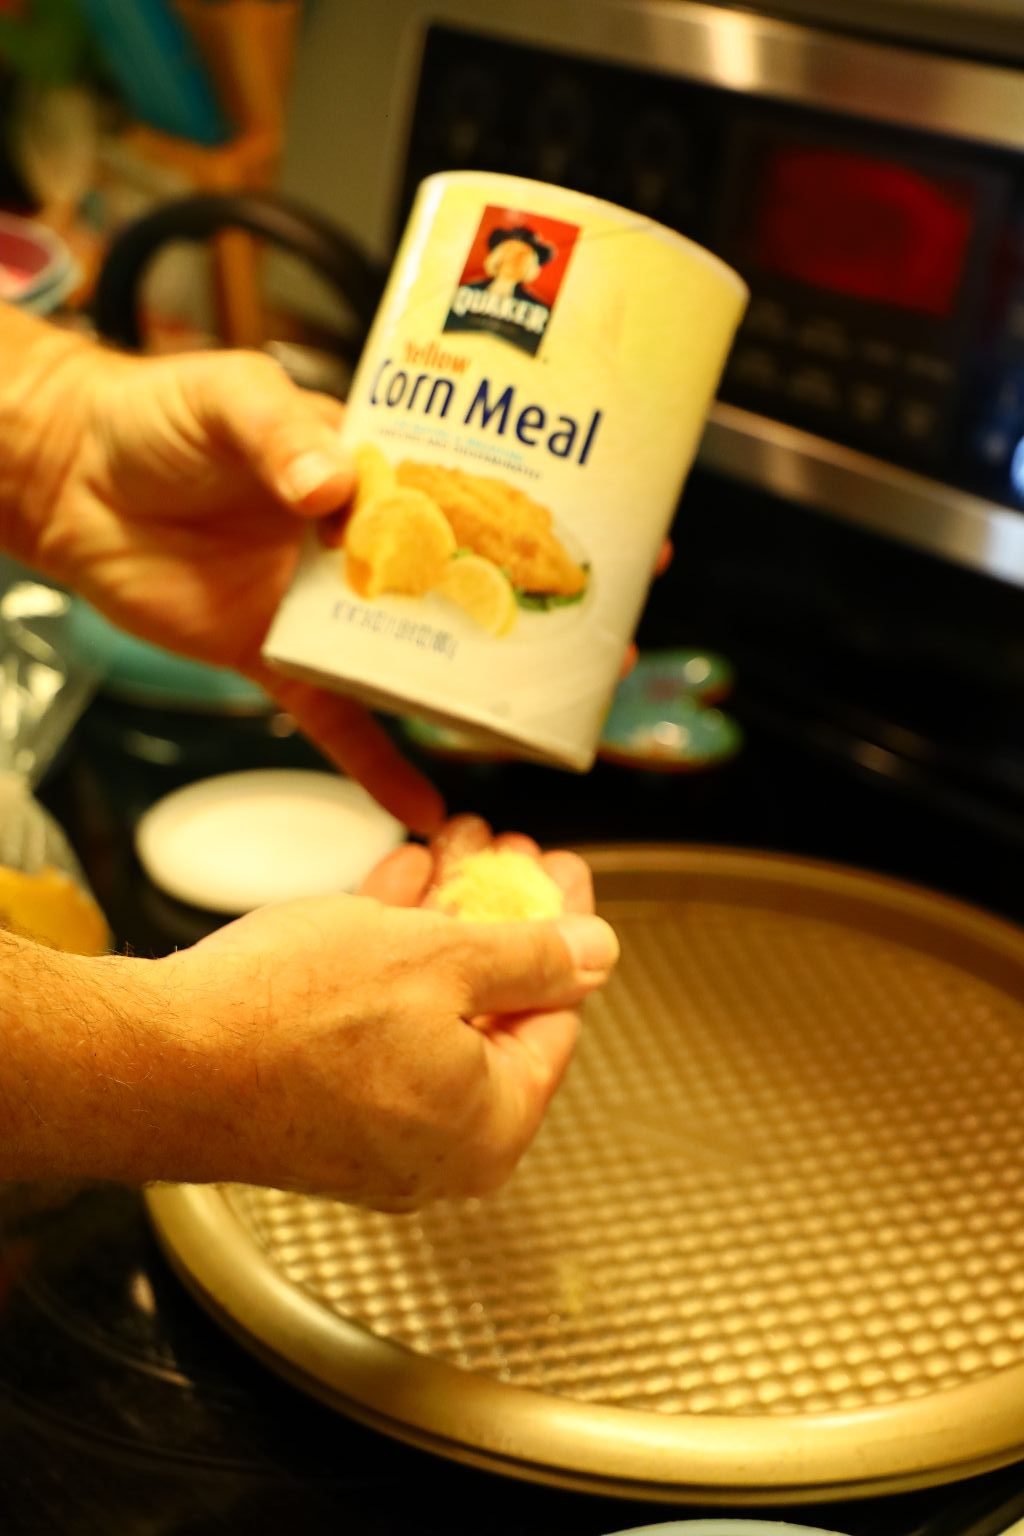
Spray your pizza pan with a little bit of cooking spray then spread some corn meal equally over the pan to help the pizza to not stick, as well as helping to provide a crispy crust.
Here you can see I just have a light coating of corn meal.
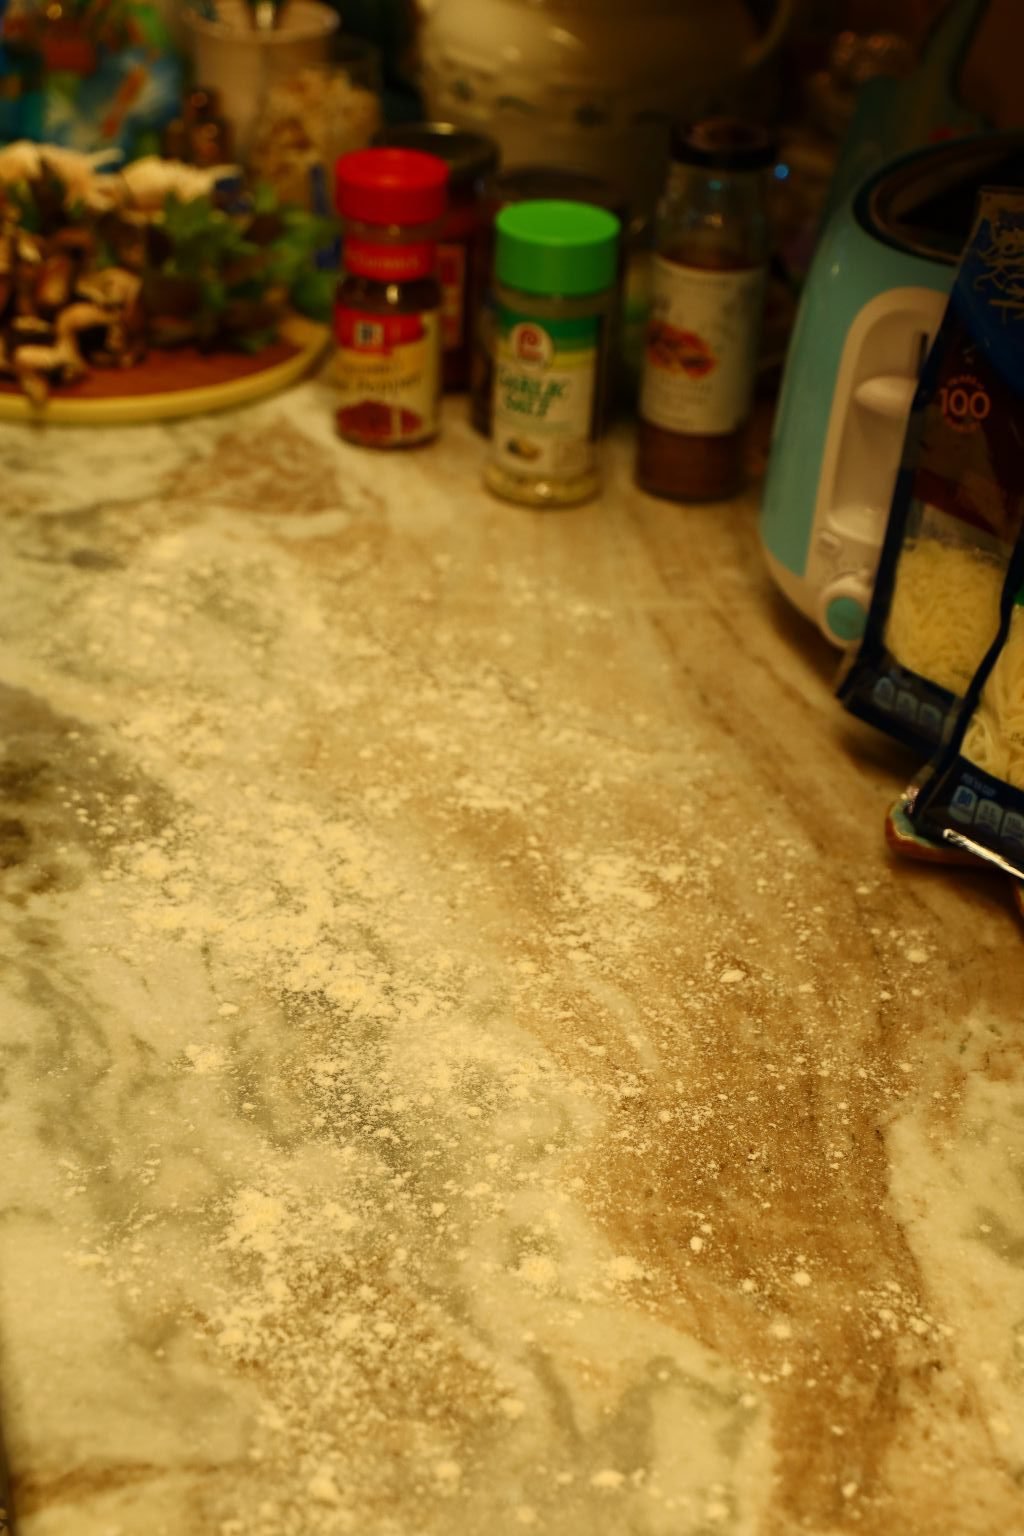
Throw your flour onto your kitchen counter to evenly spread it out.

Your pizza dough should be slightly chilled and not at room temperature.

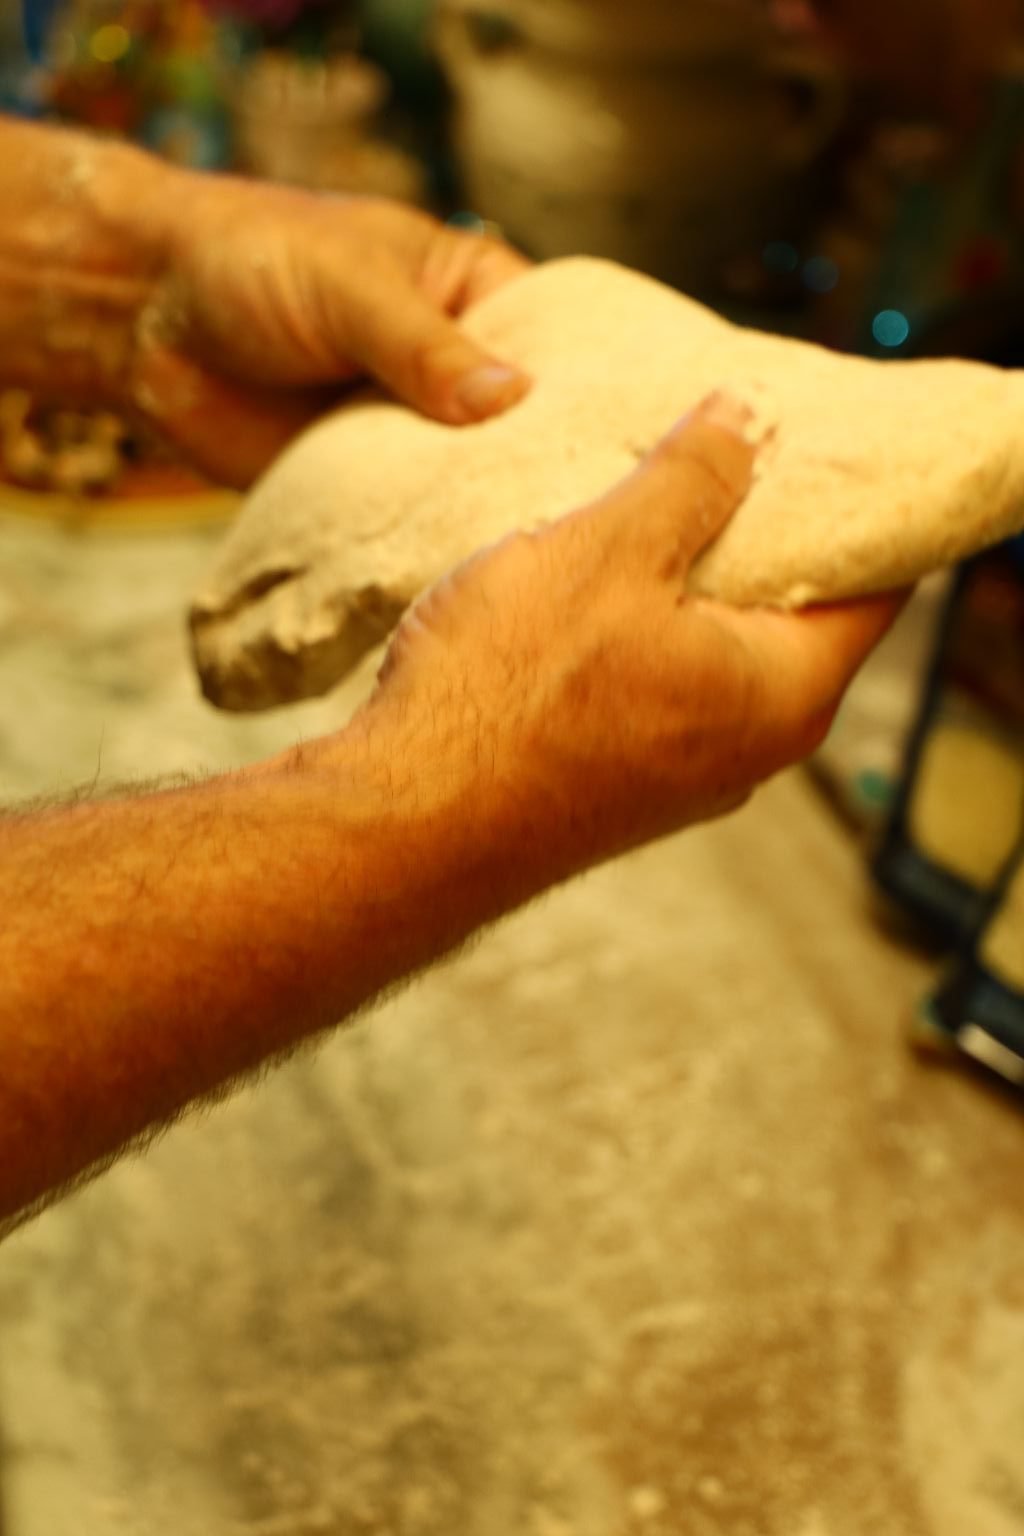

Begin to work your dough by gently pulling and stretching it.
Even let it just hang.
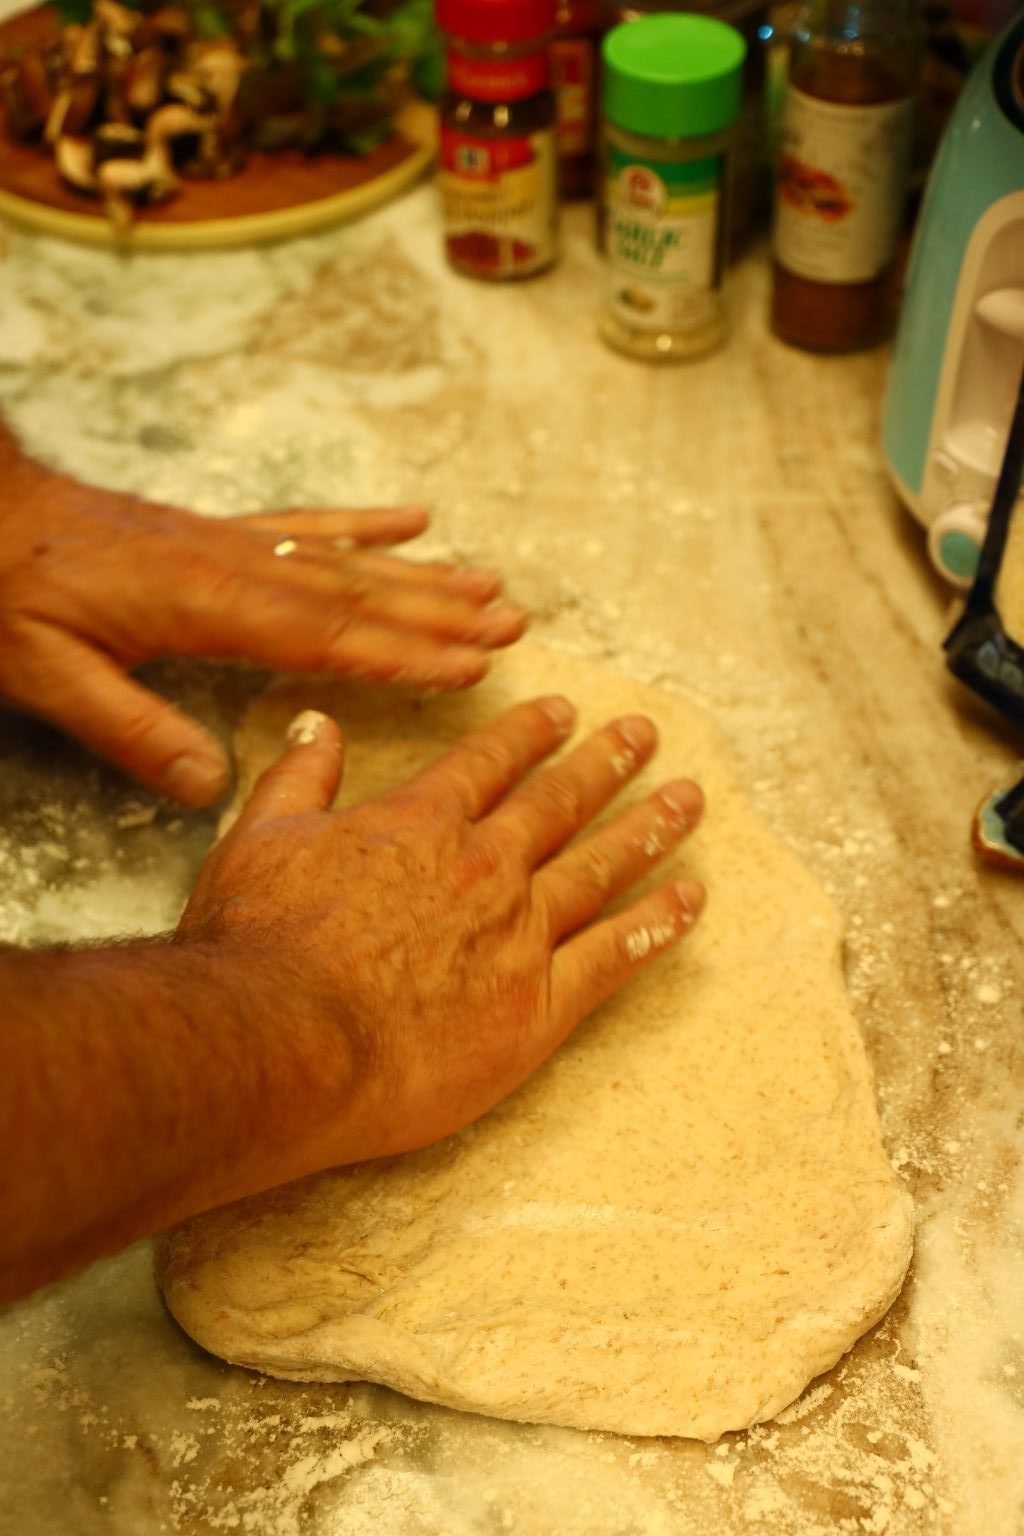

Now you can place it on your counter top and begin to stretch it more with your hands. Turn the dough to make an even circle.
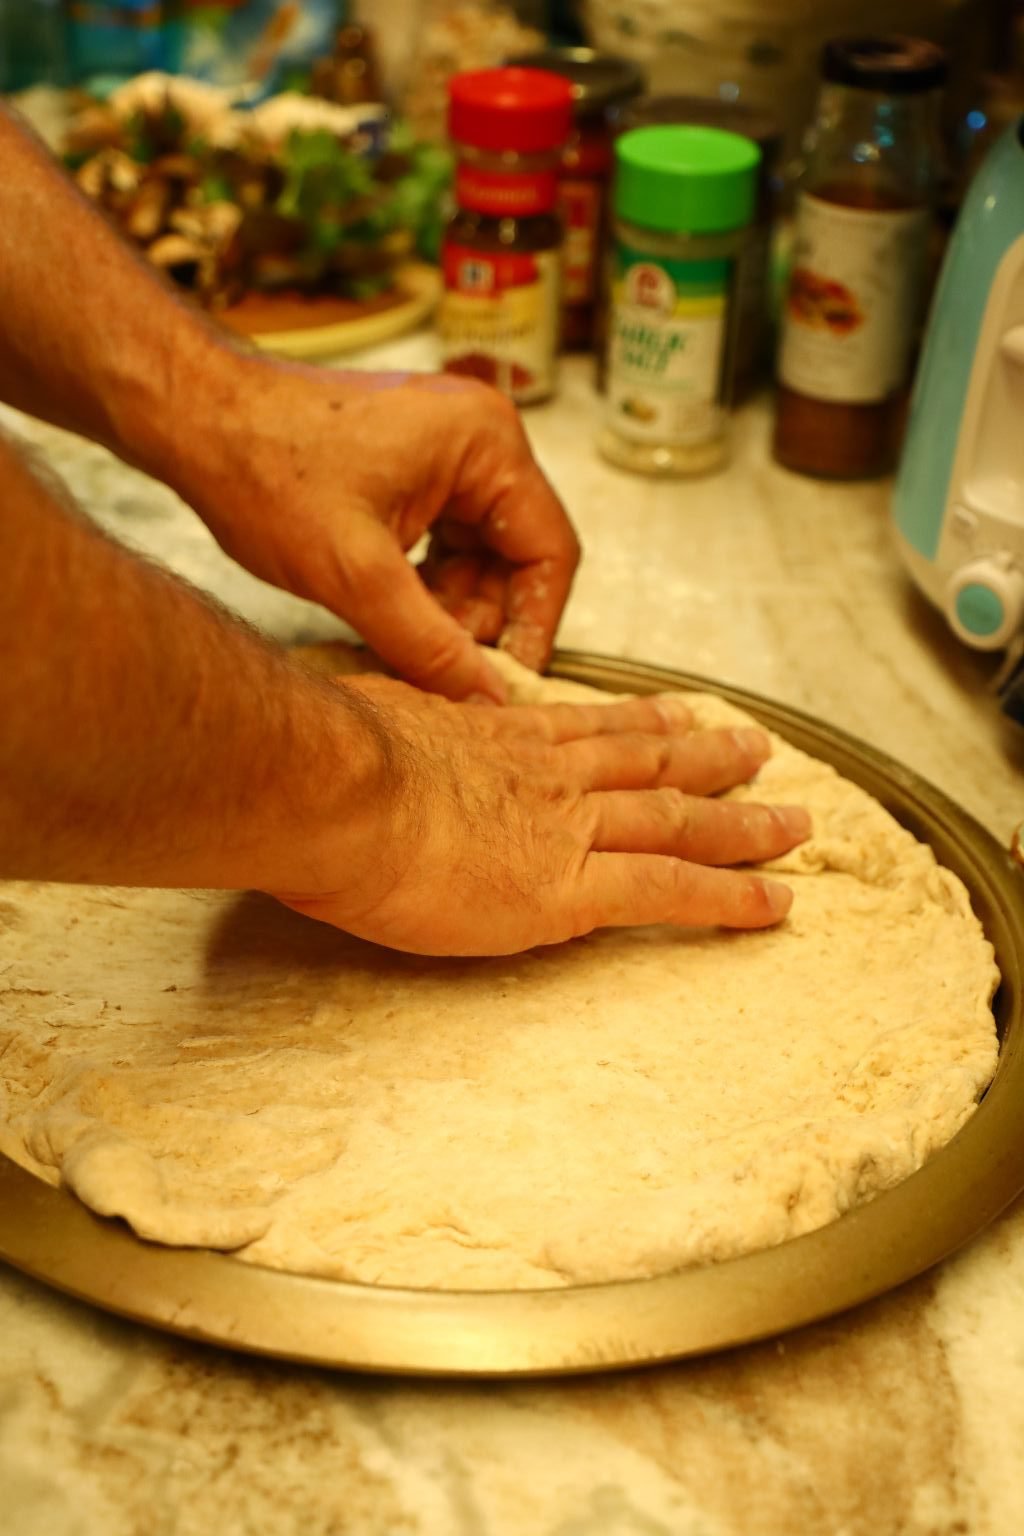

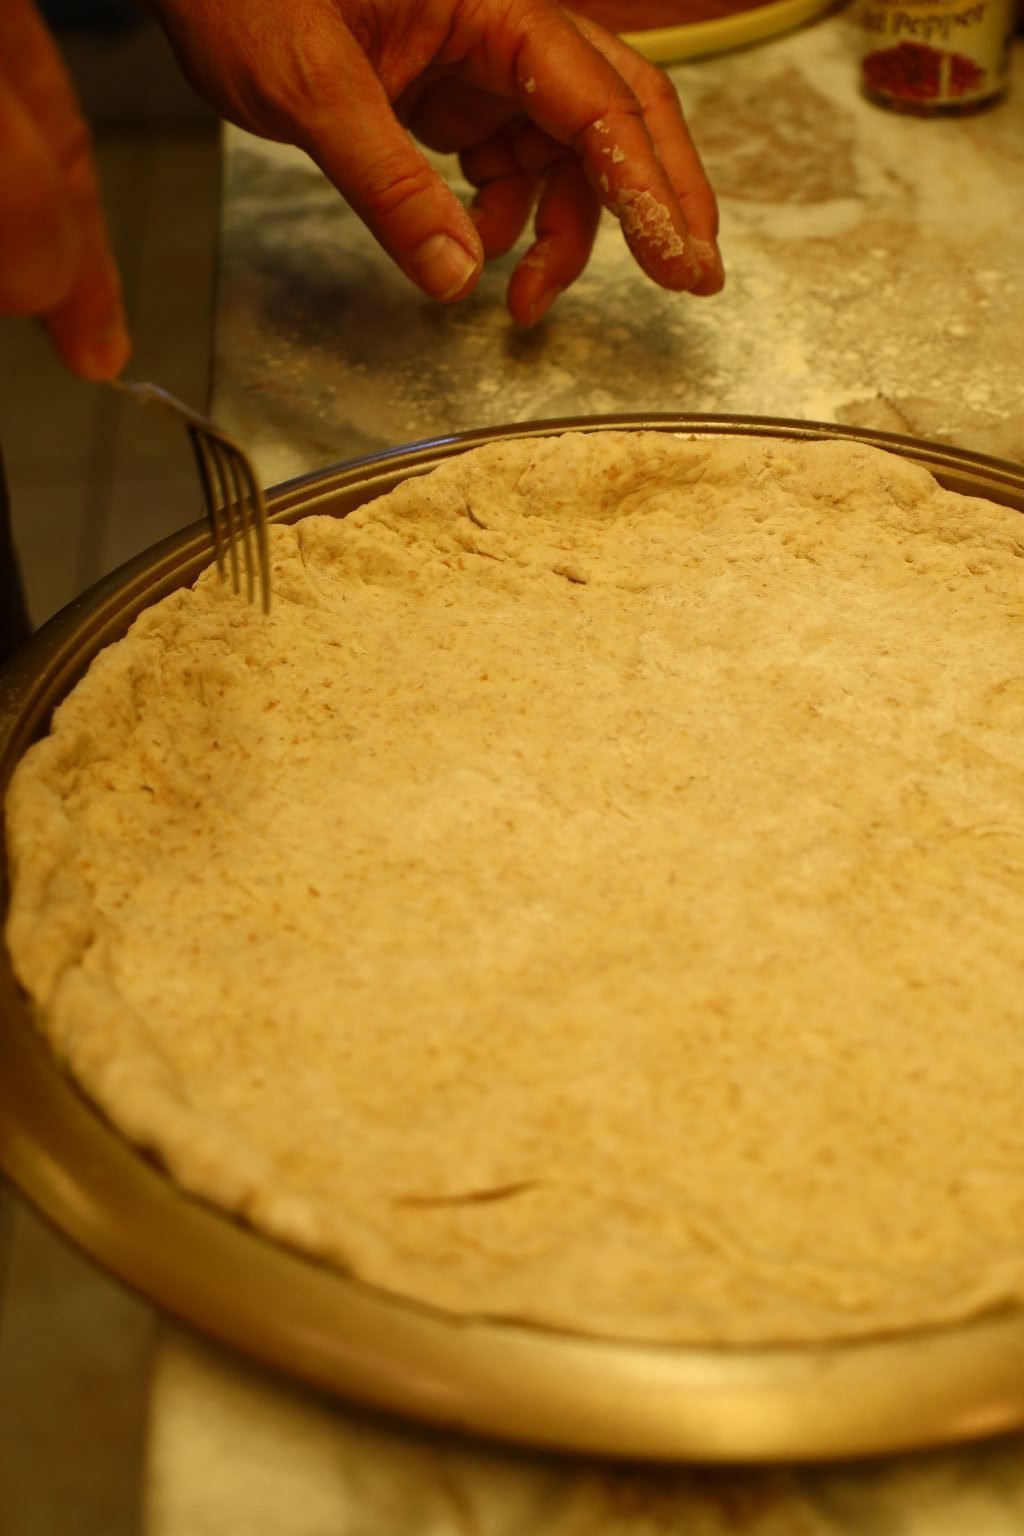
When stretched, place it on your pizza pan and stretch it more if needed to fit the pan.

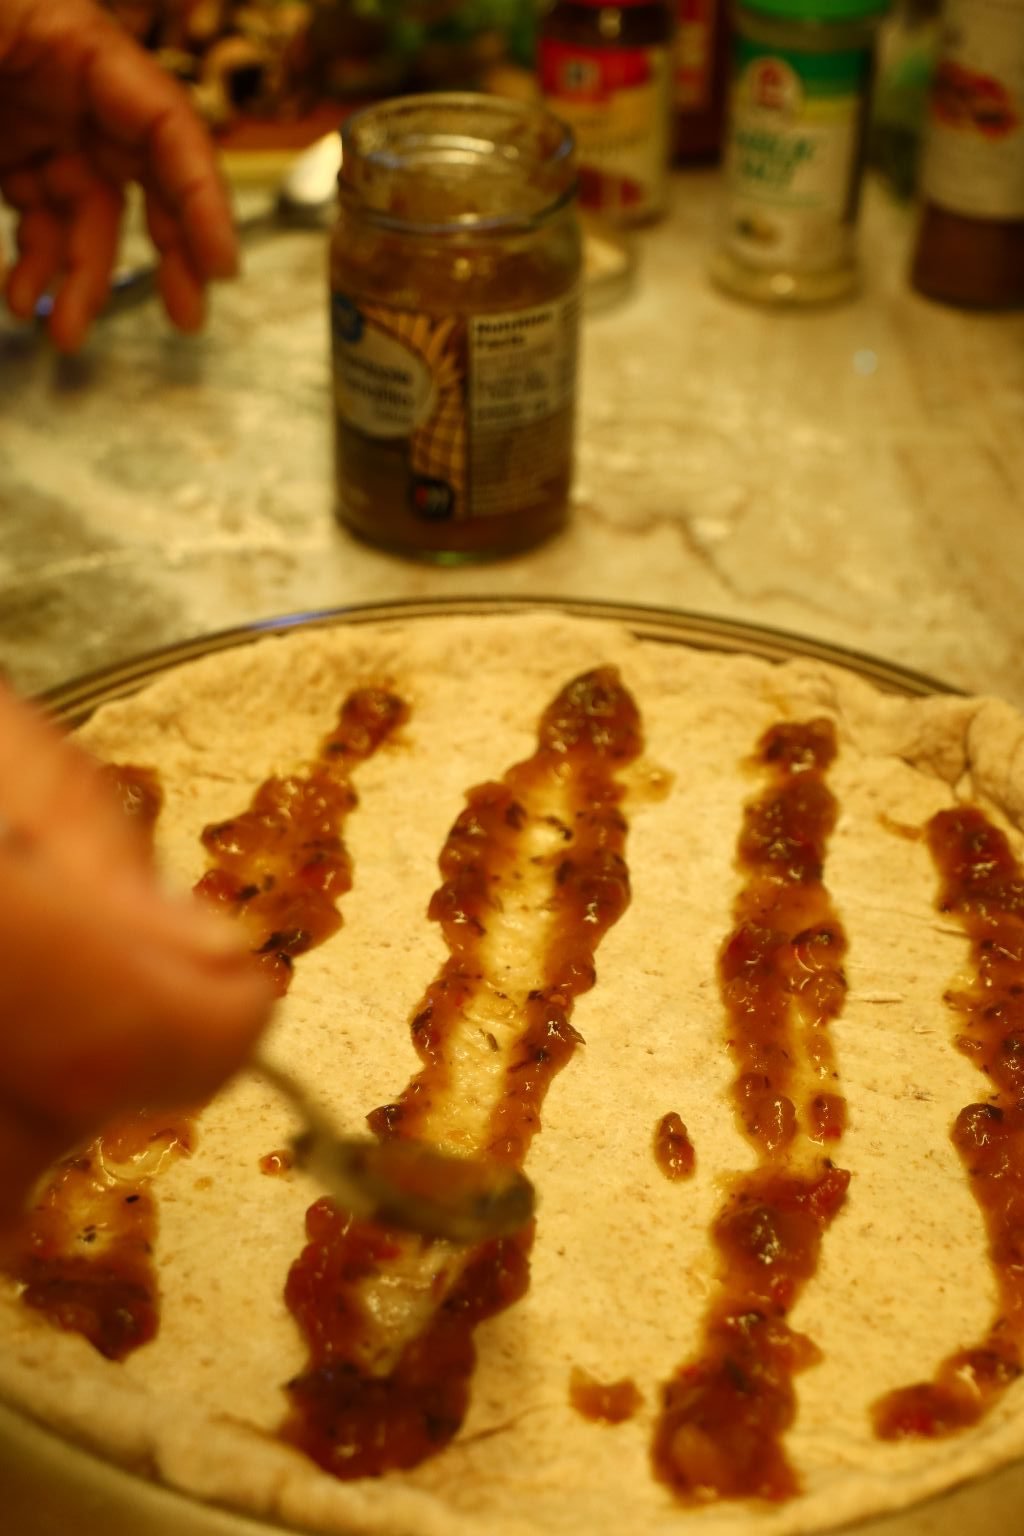
I spread some Pineapple Salsa in lines on the pizza to begin getting that pineapple flavor in the pizza.


I then did the same in the other direction with some Pizza Sauce.

——————————————————————-
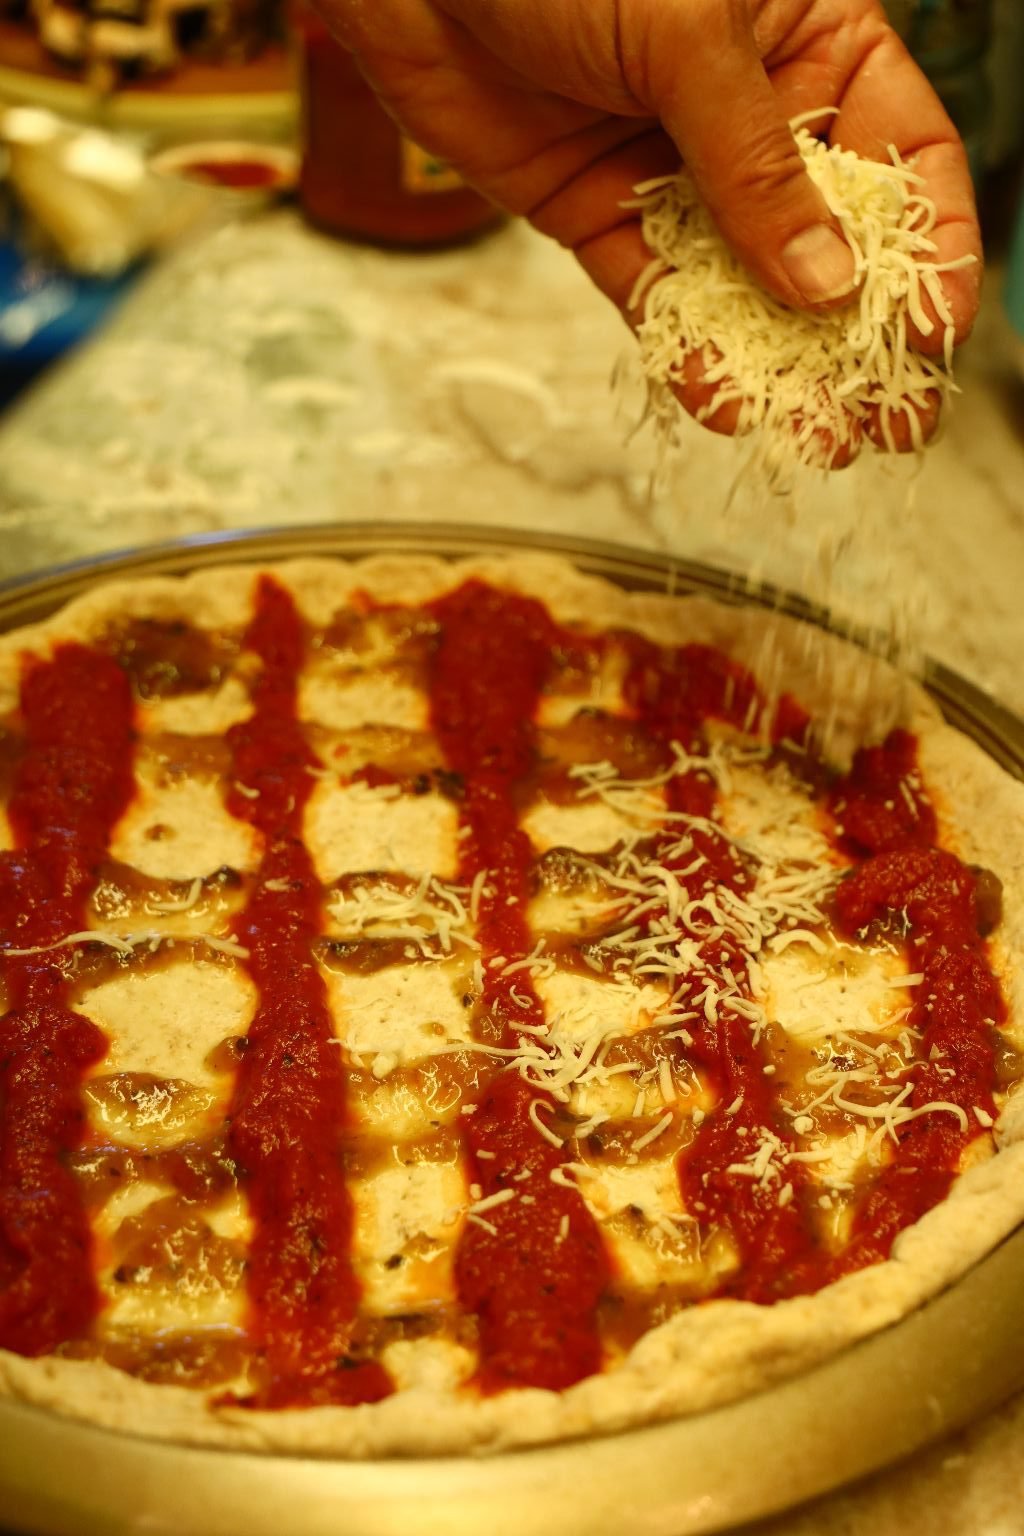
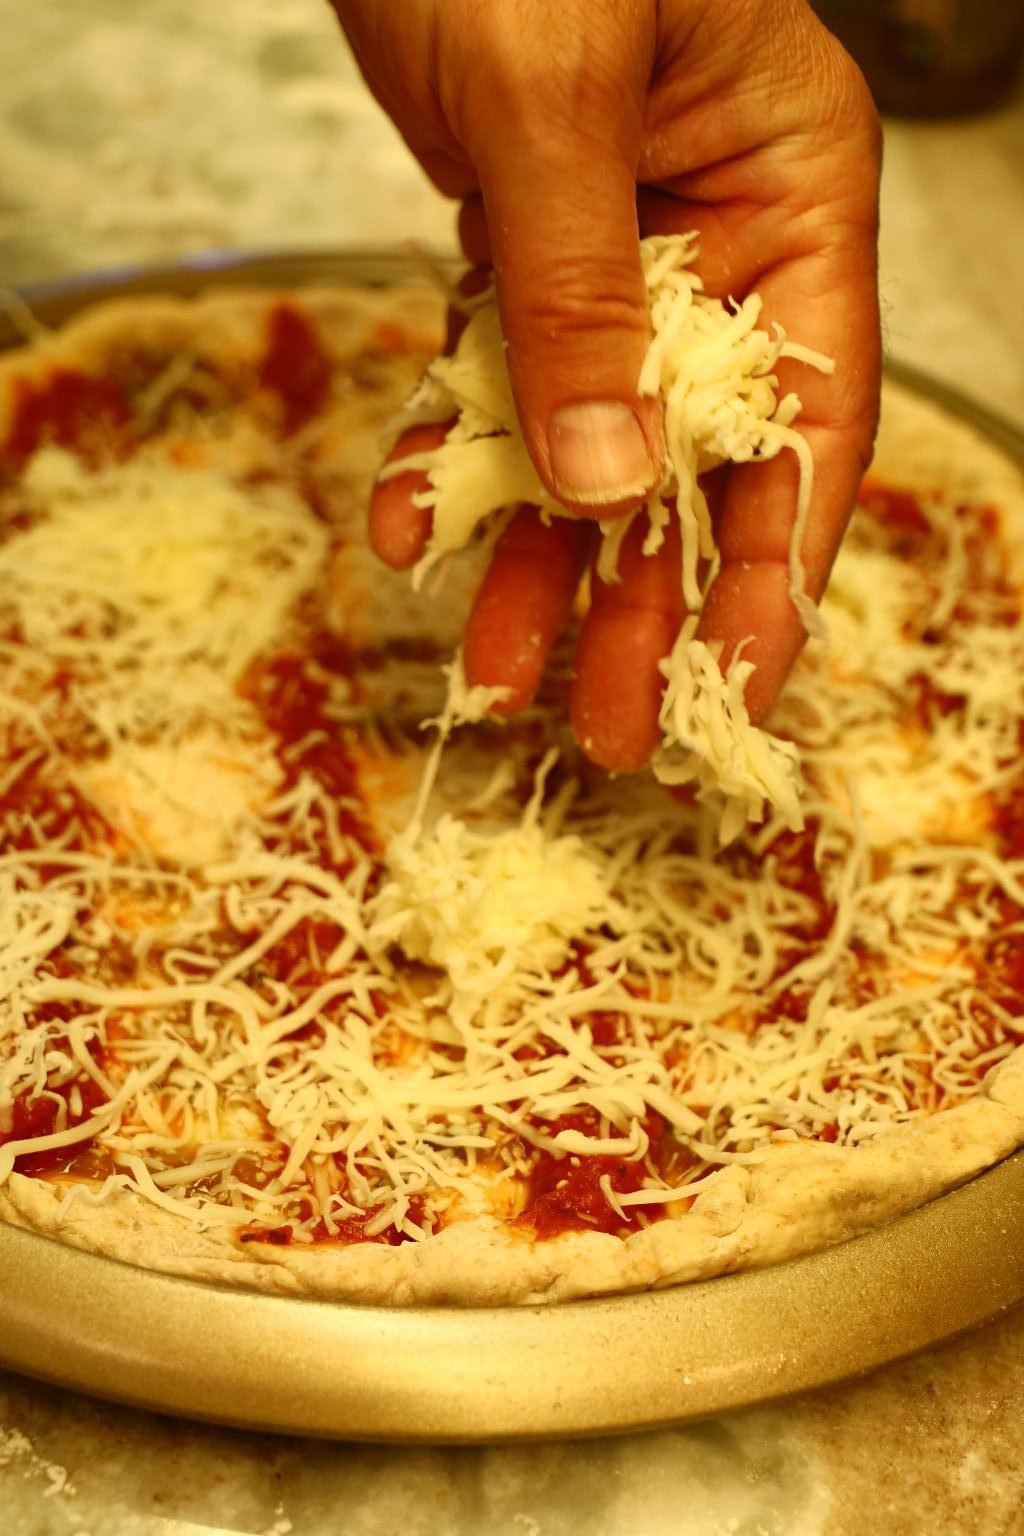
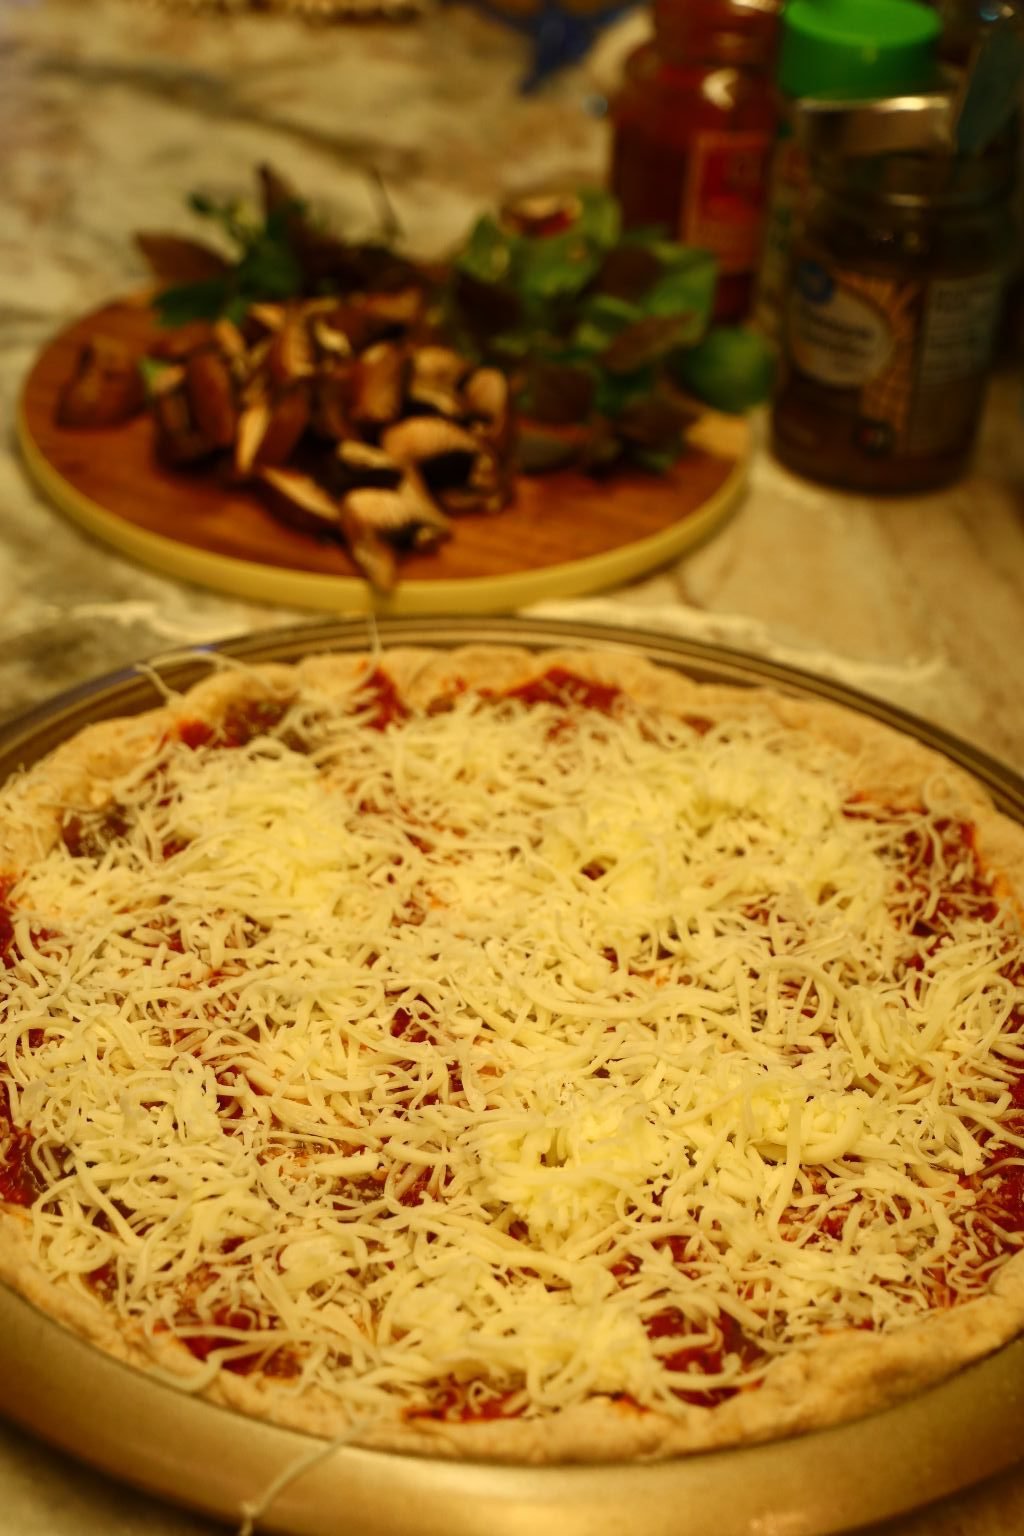
Now, evenly spread your Cheese over the Pizza.

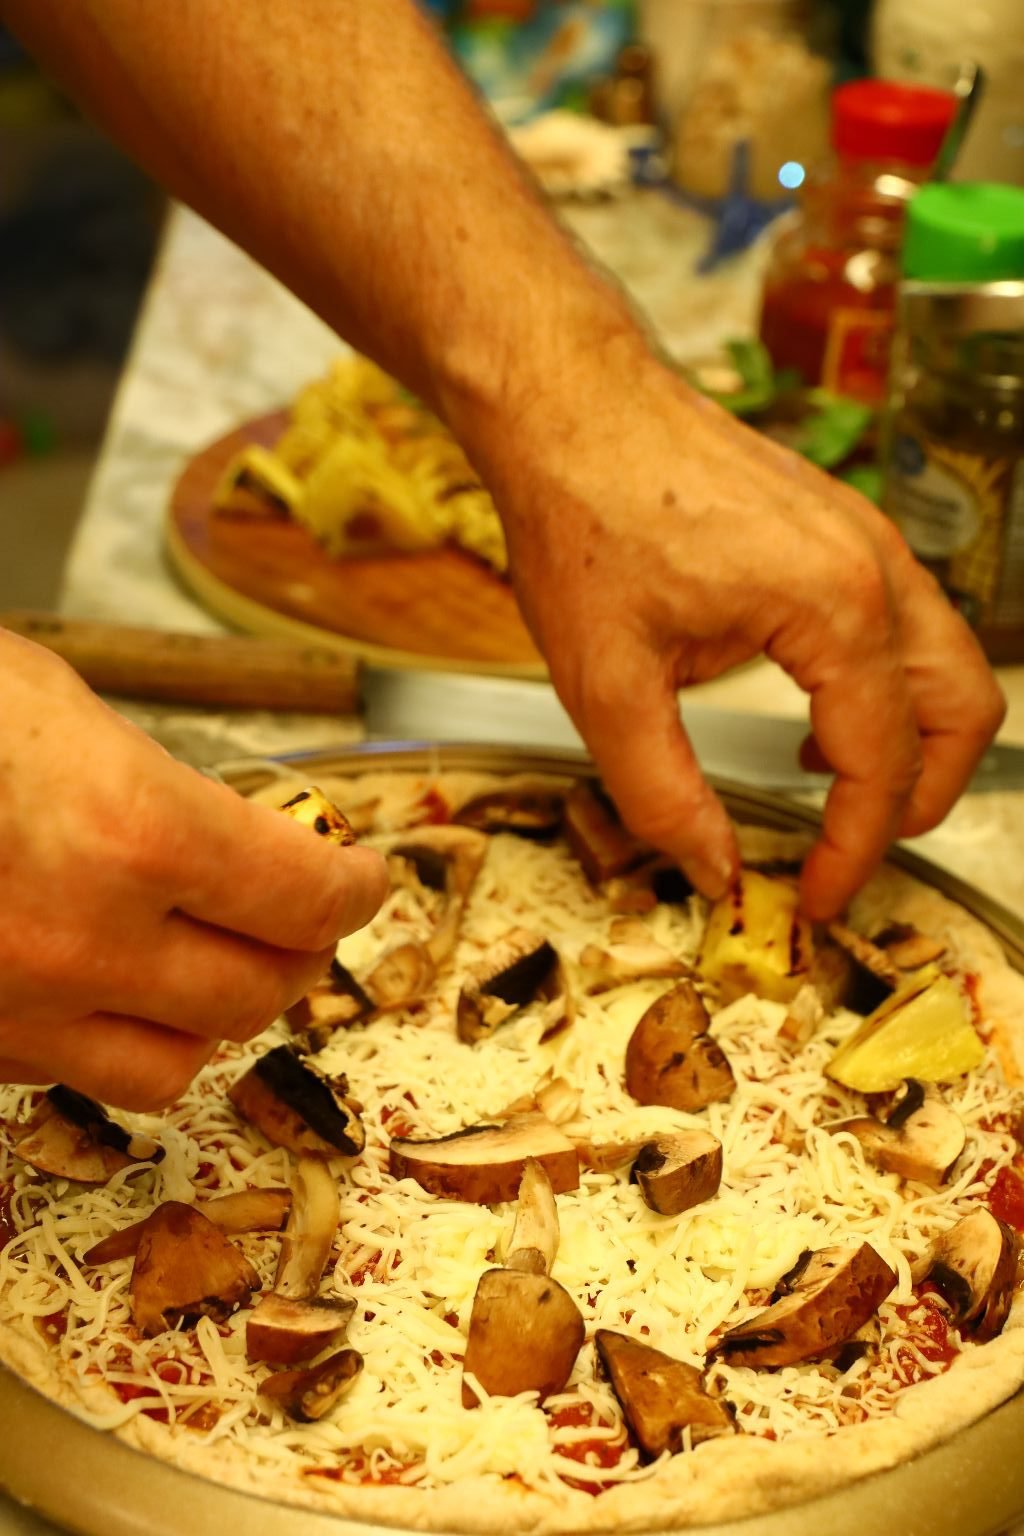
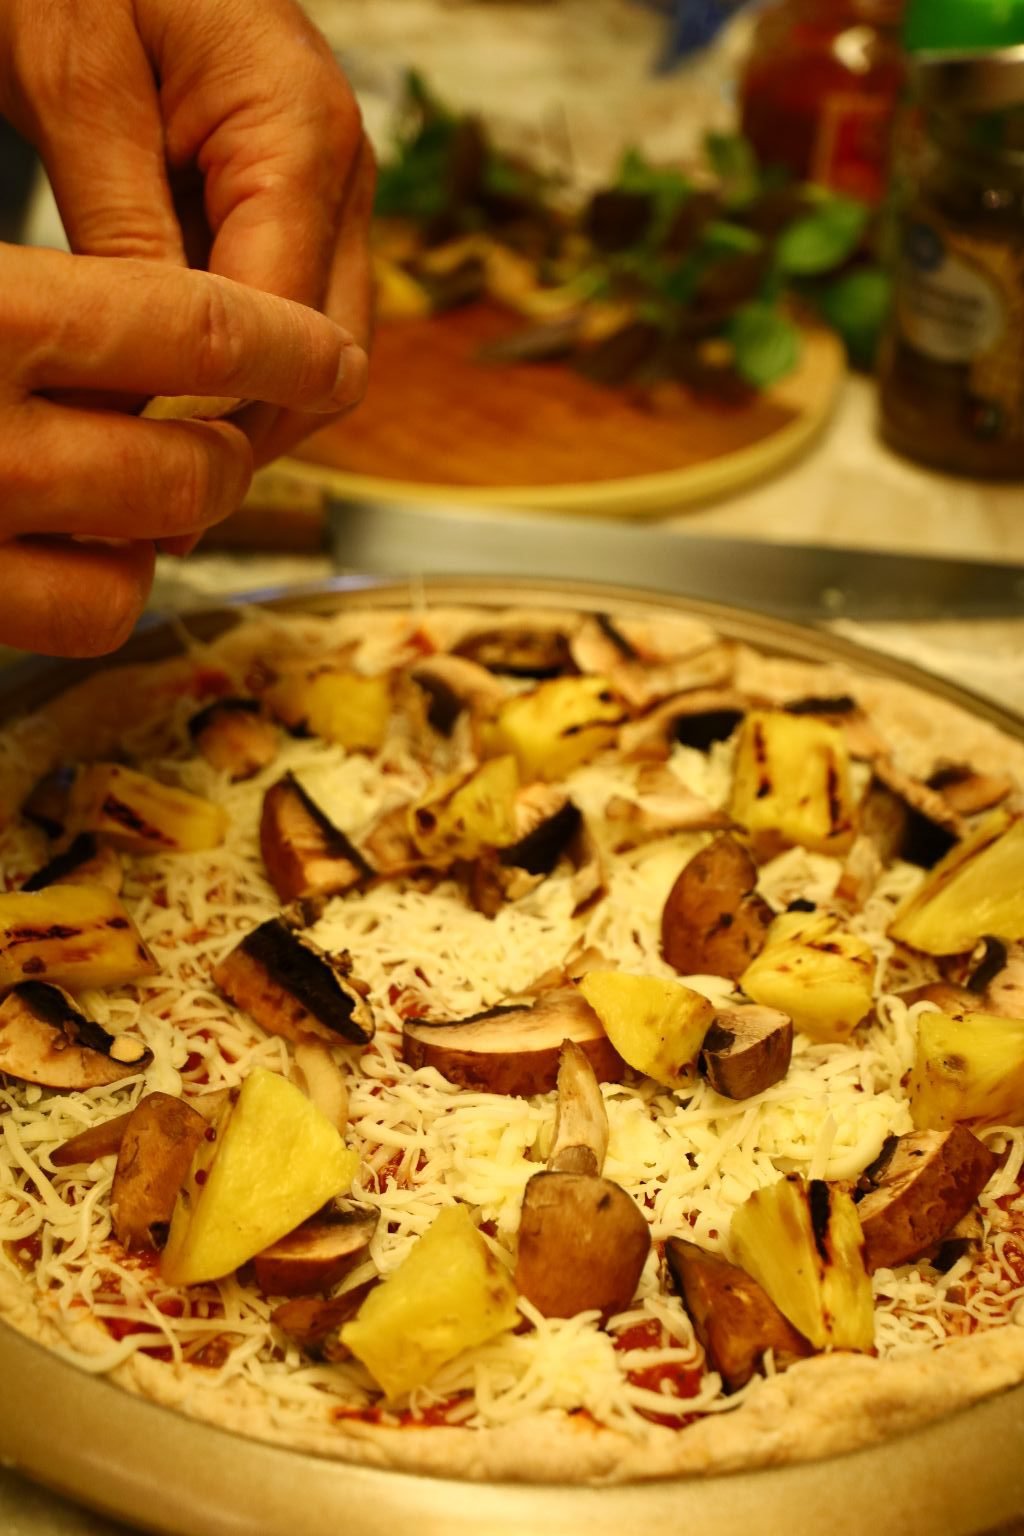
Place your Mushrooms and Pineapple over the Pizza.
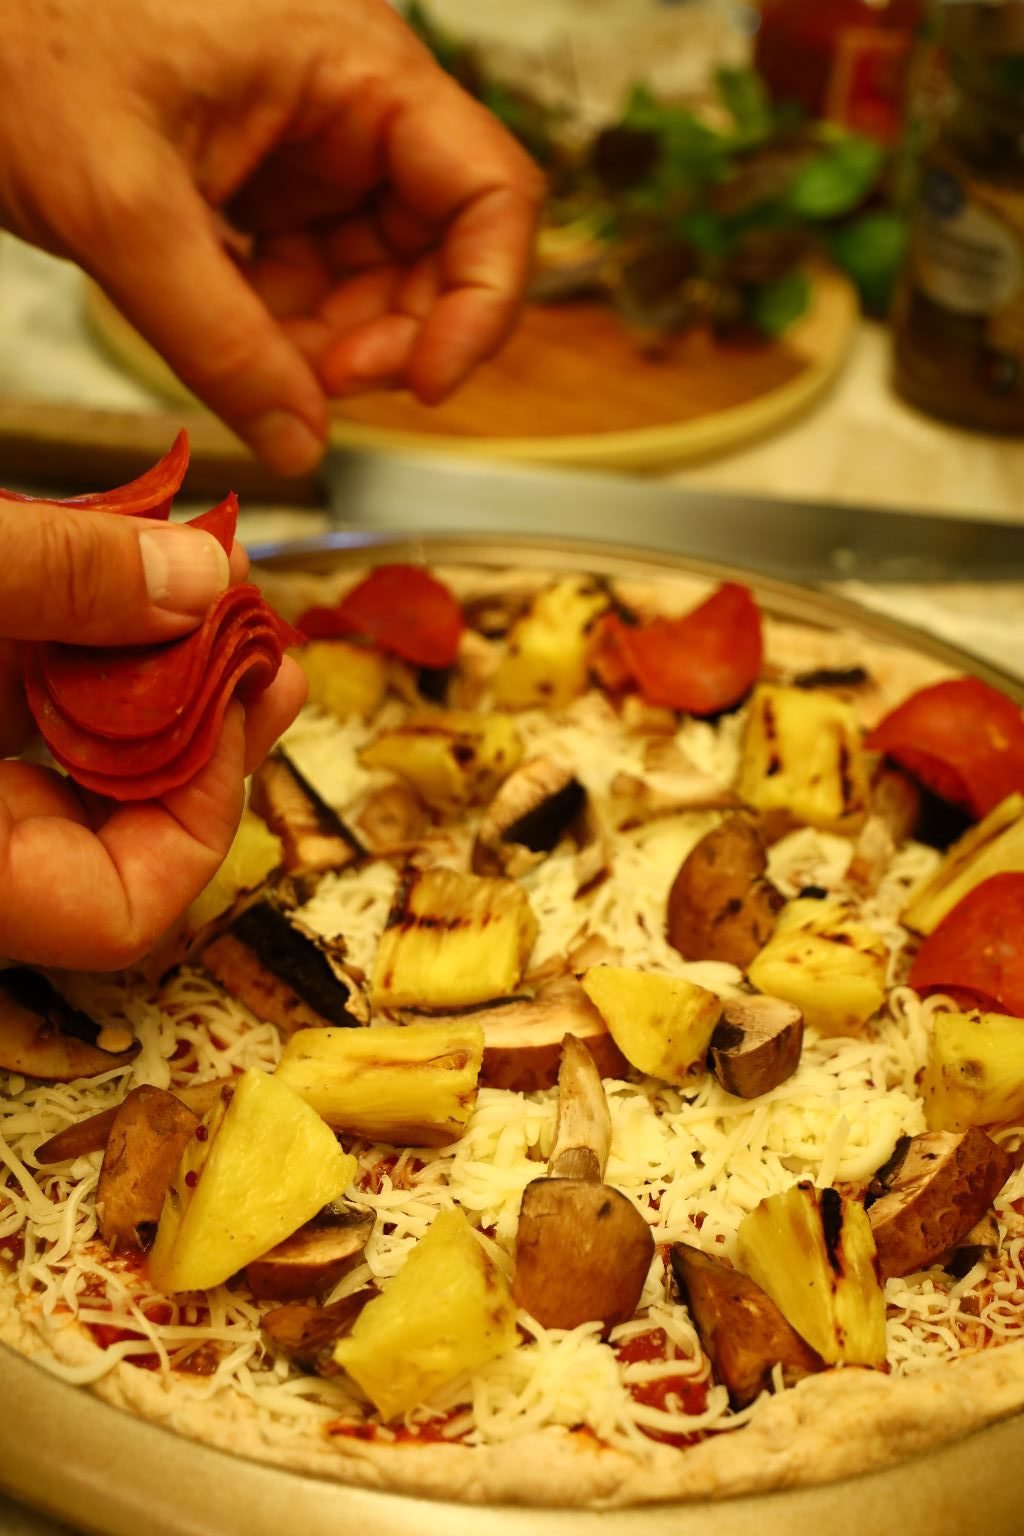
Now, place your Turkey Pepperoni over the pizza.
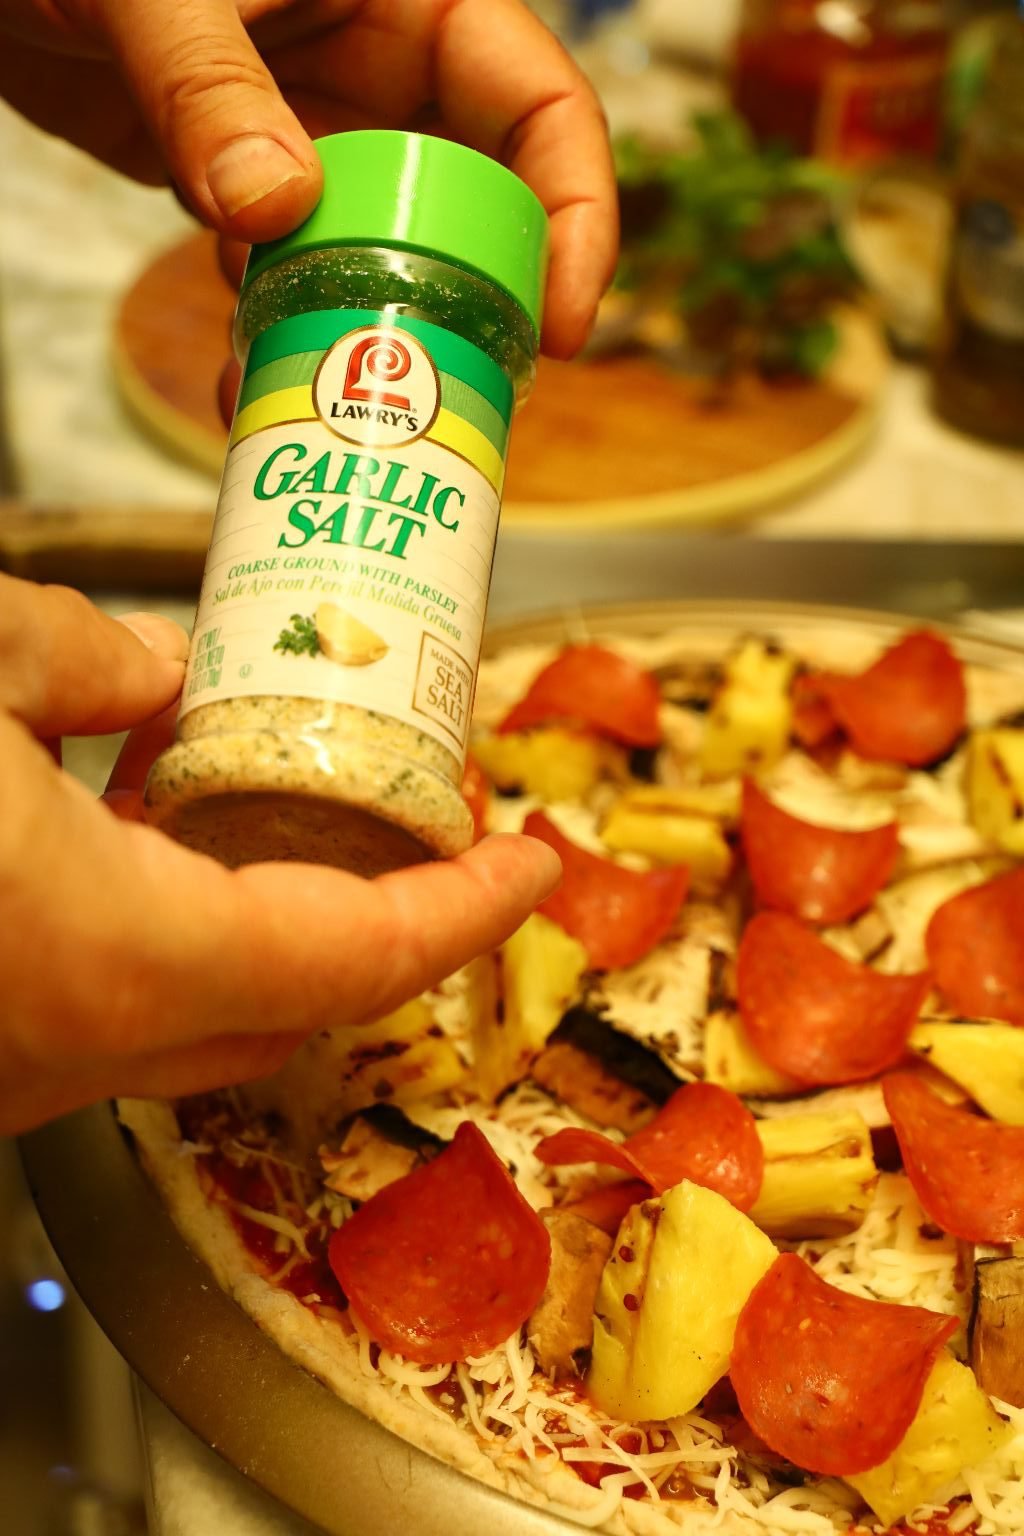
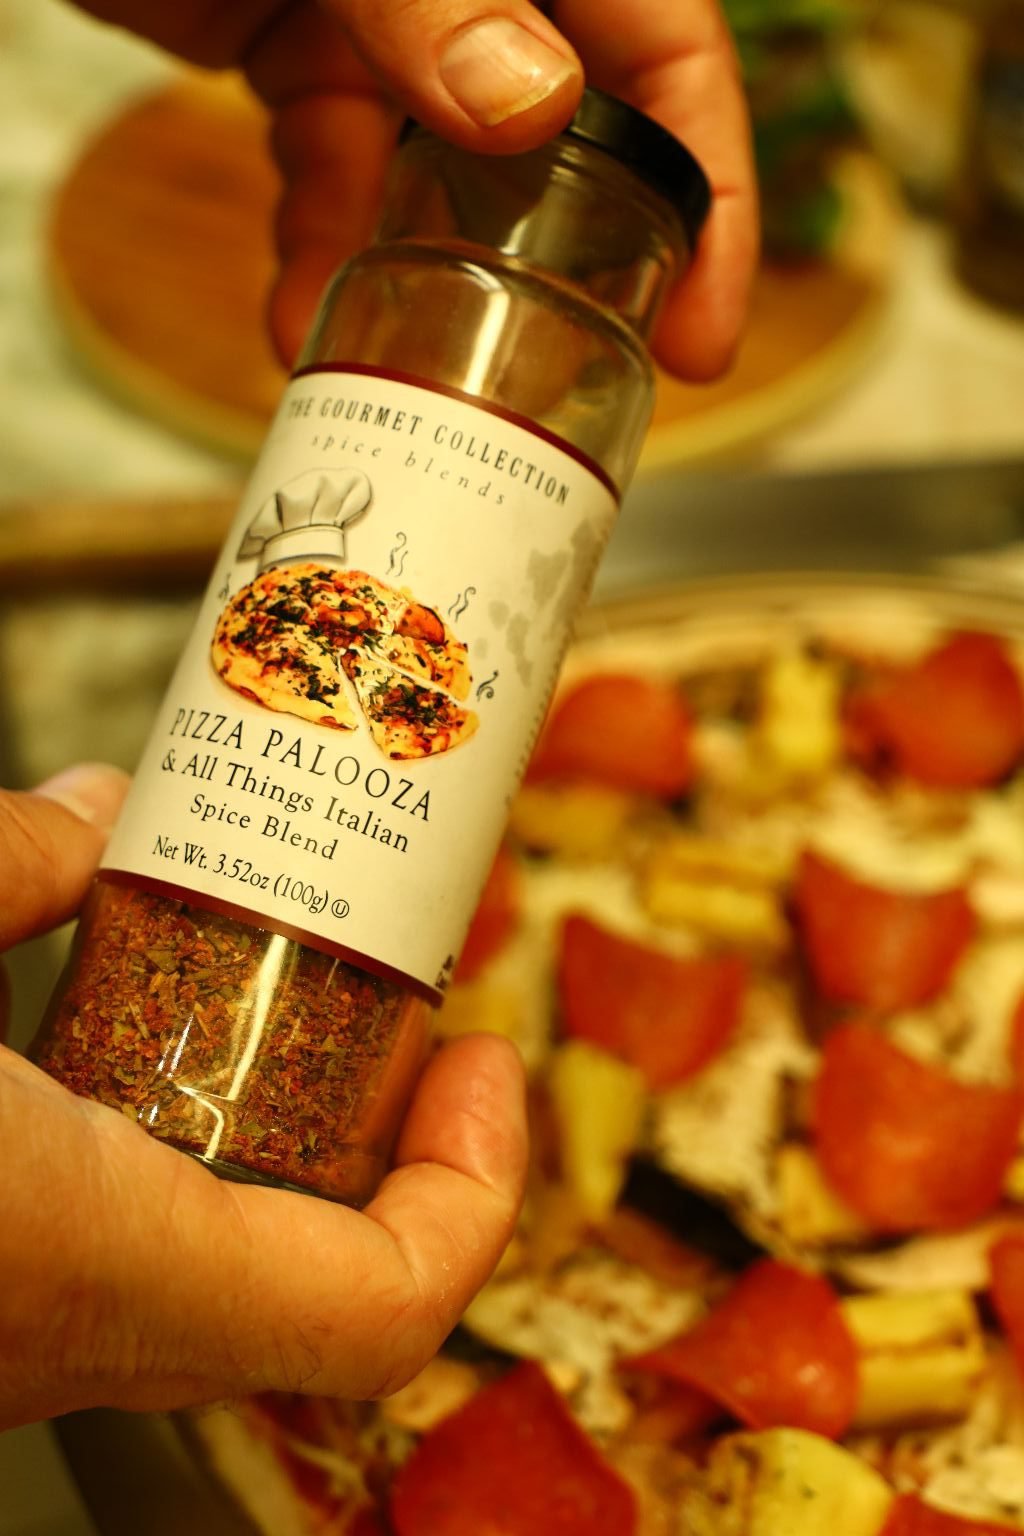
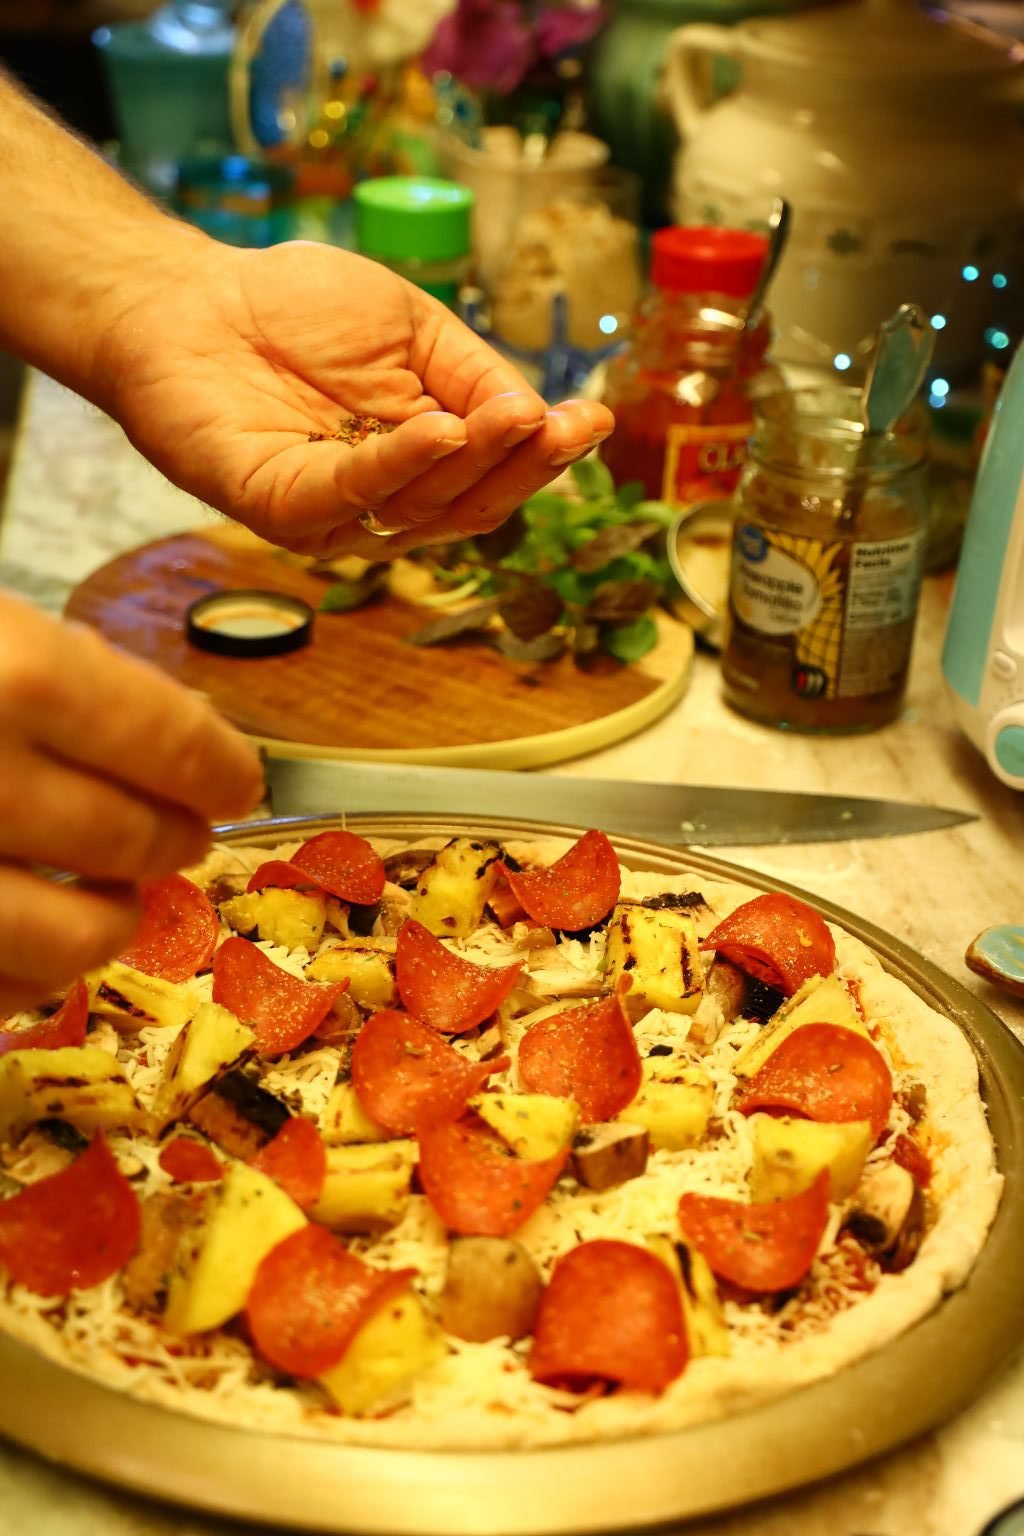
Now place your seasonings on the Pizza like Garlic Salt, Pizza Palooza, and Hot Pepper Flakes.
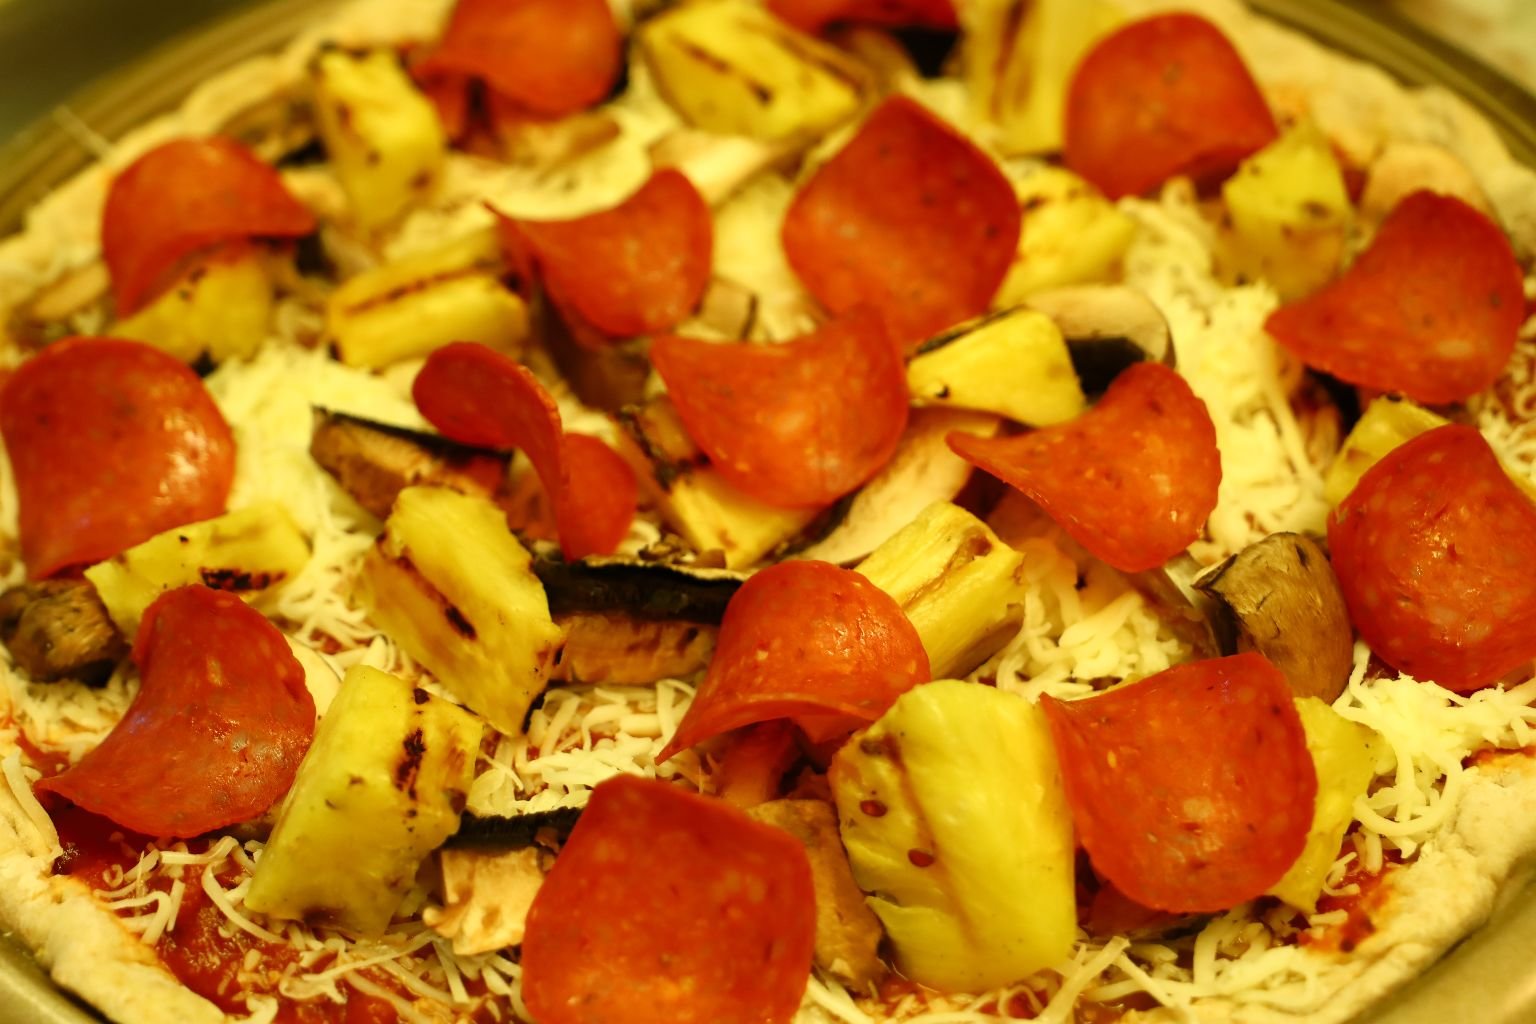
Here the Pizza is Ready for the Grill


I turn the grill on medium high and closed the lid to let the pizza bake. After about 12 minutes I checked the pizza to see if it was cooking evenly. If not, turn the pizza, then let it cook for about another 6 min. depending on your grill’s temperature.

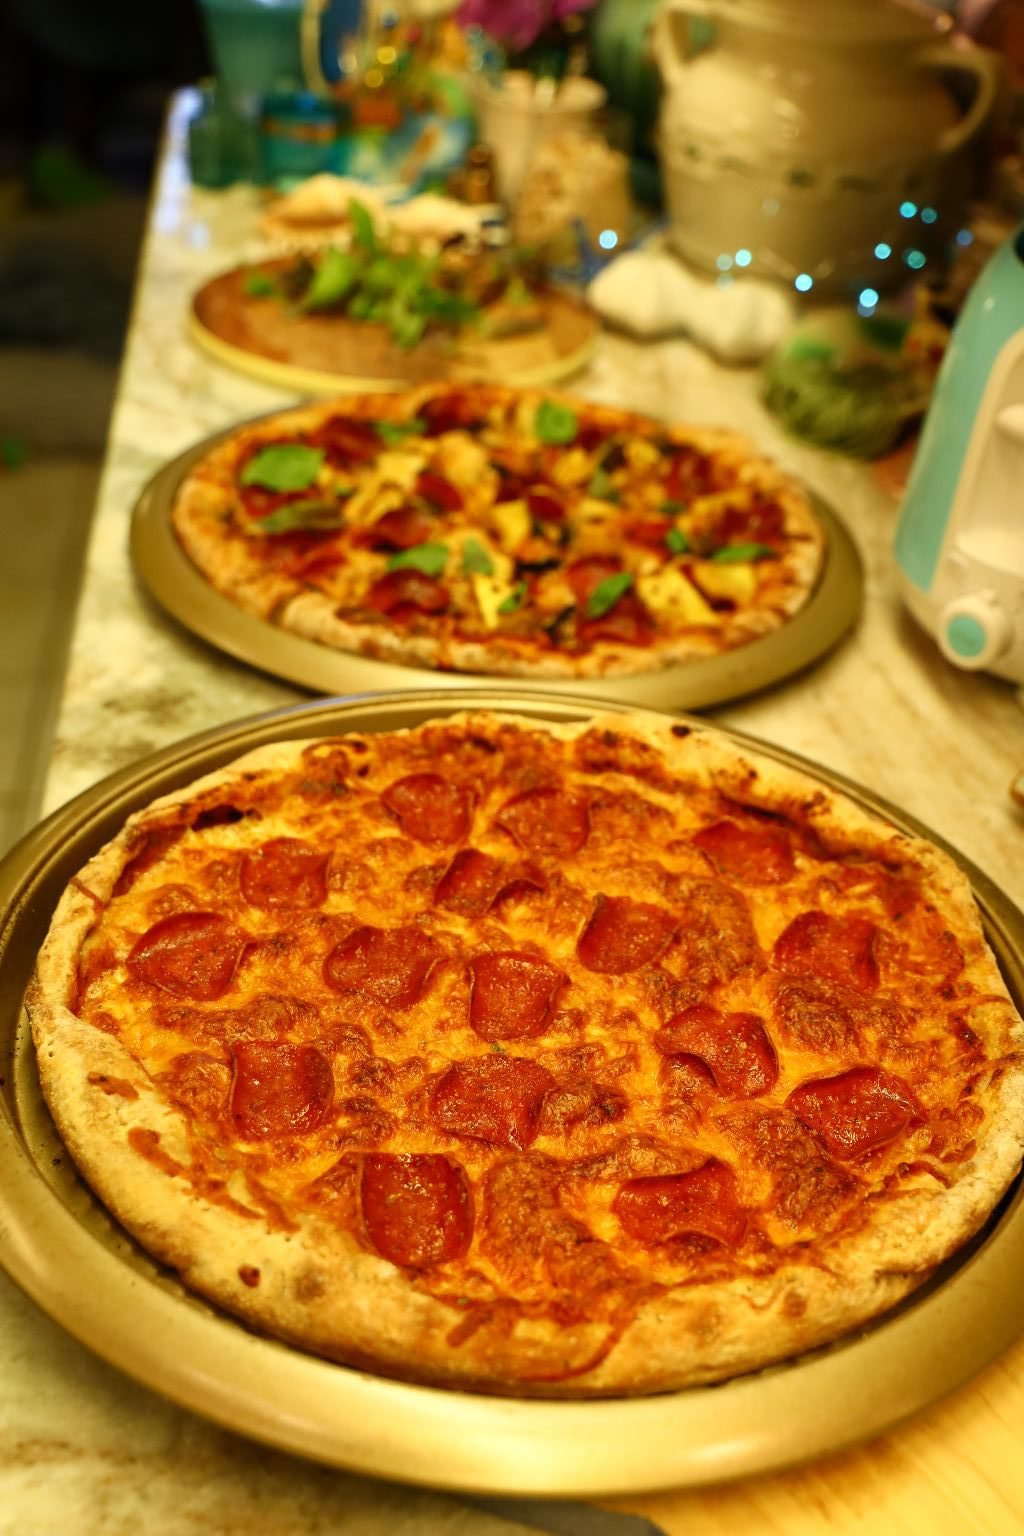
Repeat the same process for your other pizza’s and enjoy!
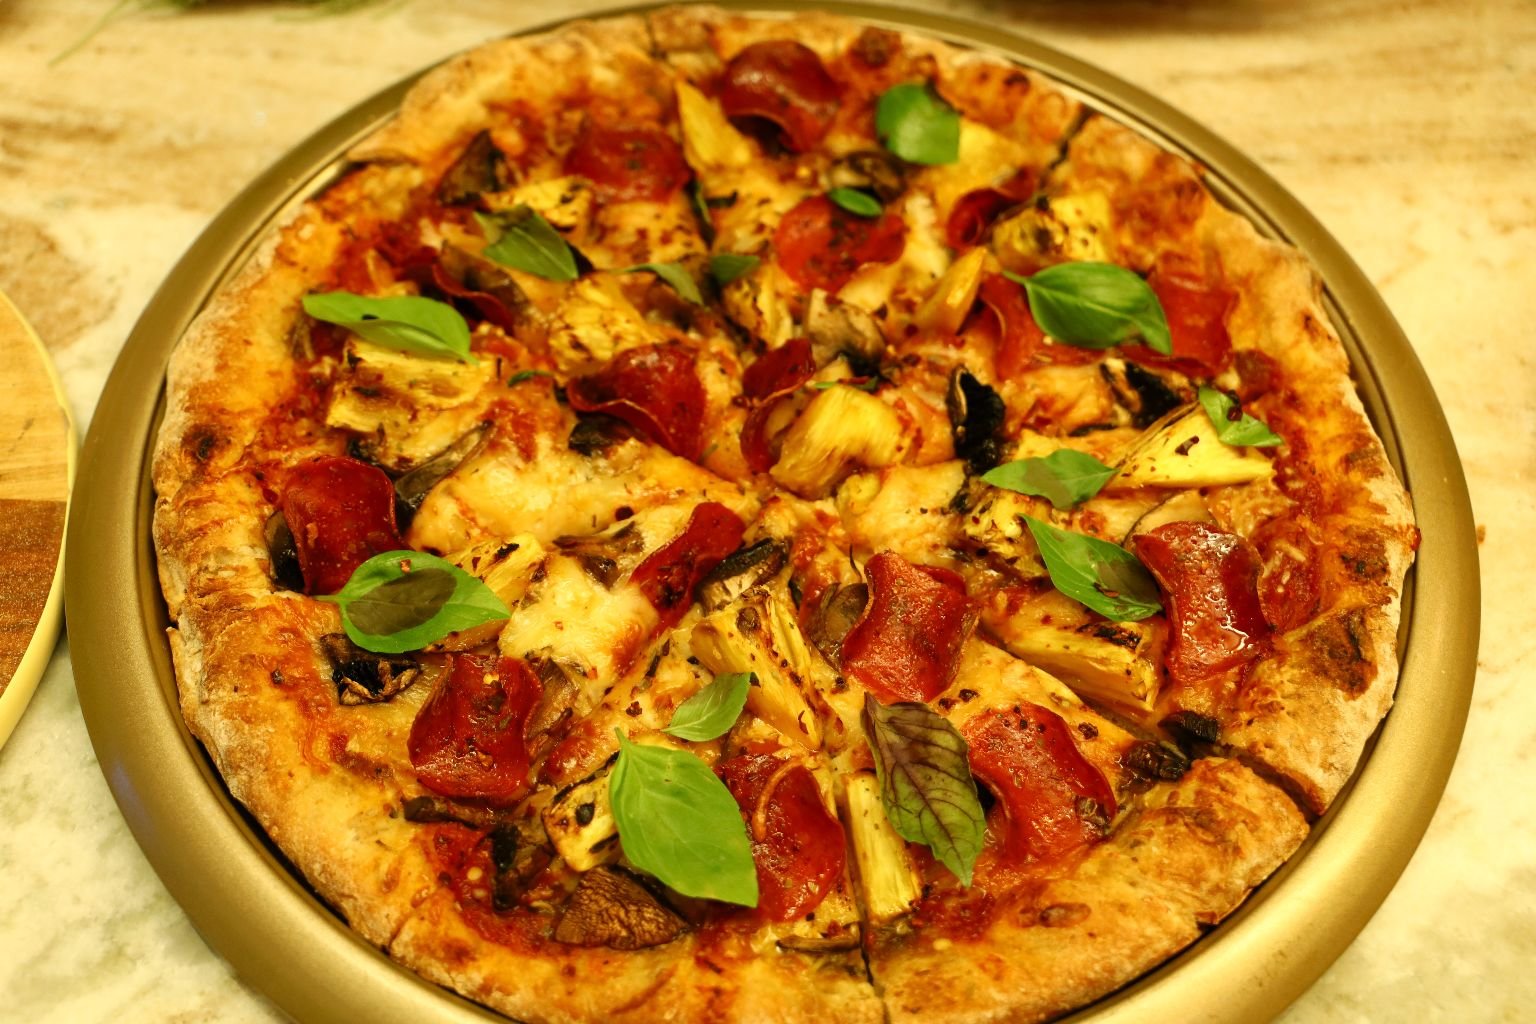
Right after you remove your pizza from the grill, place your fresh basil evenly over the top as shown.
Enjoy!
——————————————————————–

——————————————————————-
Honolulu LAVA Rocks!
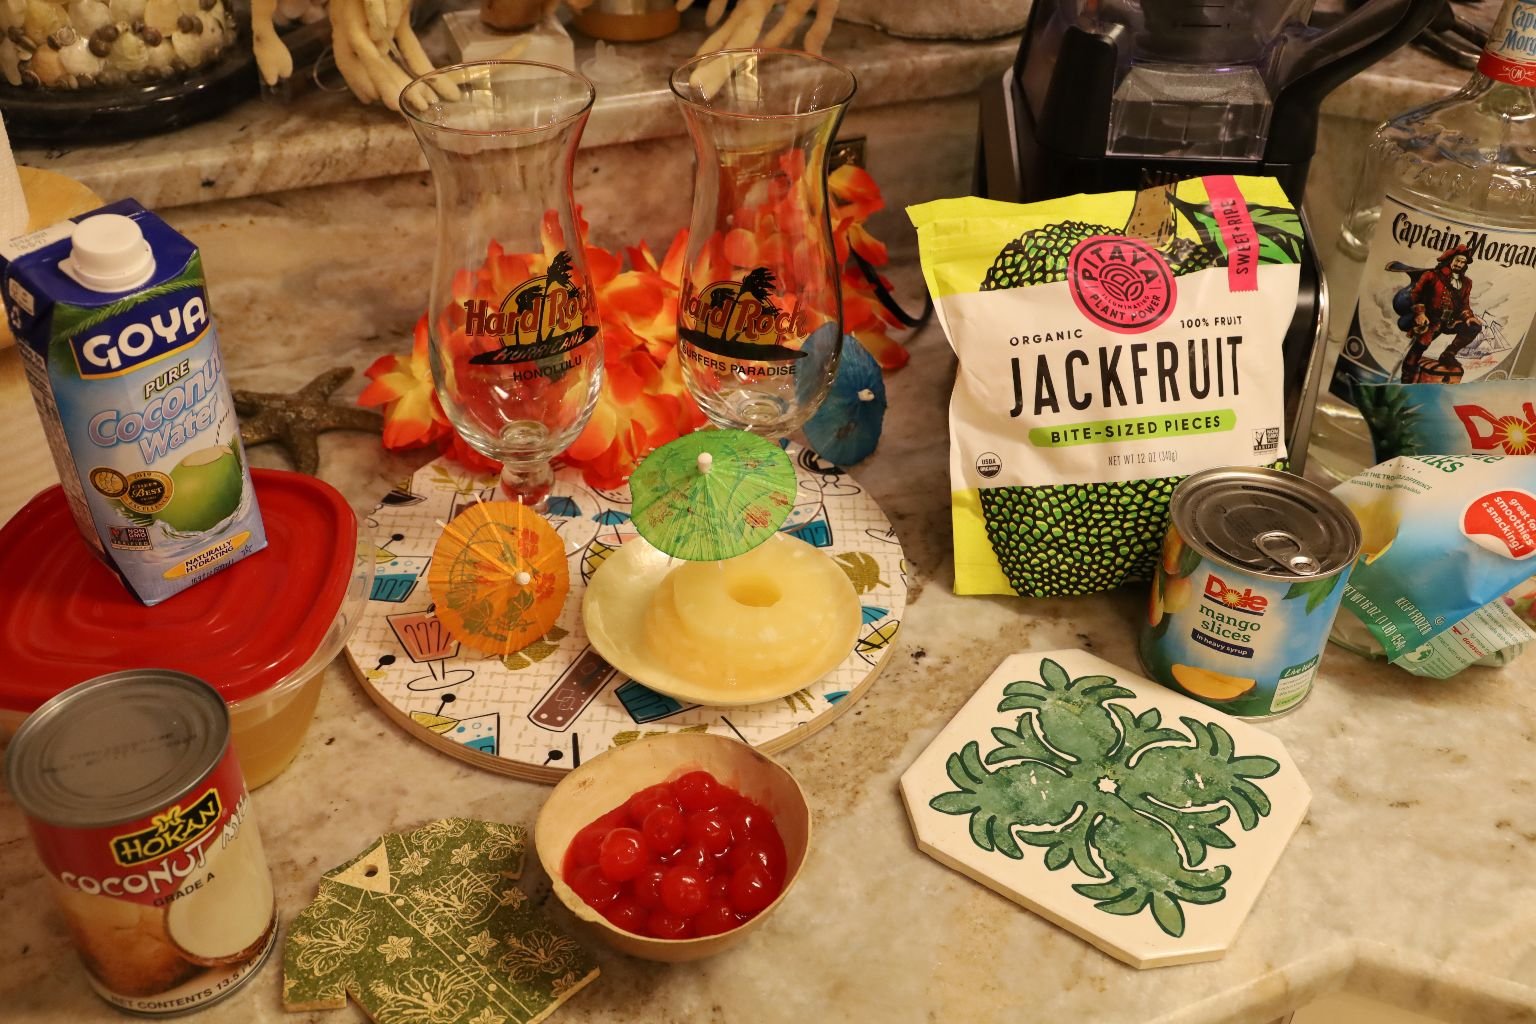
Ingredients:
This recipe makes 4 large drinks
1/2 Blender full of ice
About 8 ounces Coconut Water, or more to taste
~1/2 Cup Pineapple Juice
~1/2 Can Coconut Milk
4 Slices Canned Mango Slices
1 1/2 Cups Frozen Pineapple Chunks
2 Cups Frozen Jackfruit Bite Sized Pieces
4 Shots Malibu Rum – add more to your taste
4 Shots Captain Morgan White Rum – add more to your taste
Cherry Juice to make the molten lava
Garnish with large straw and Orchid Flower and or Pineapple Rings and Stemmed Cherries
————————————————————
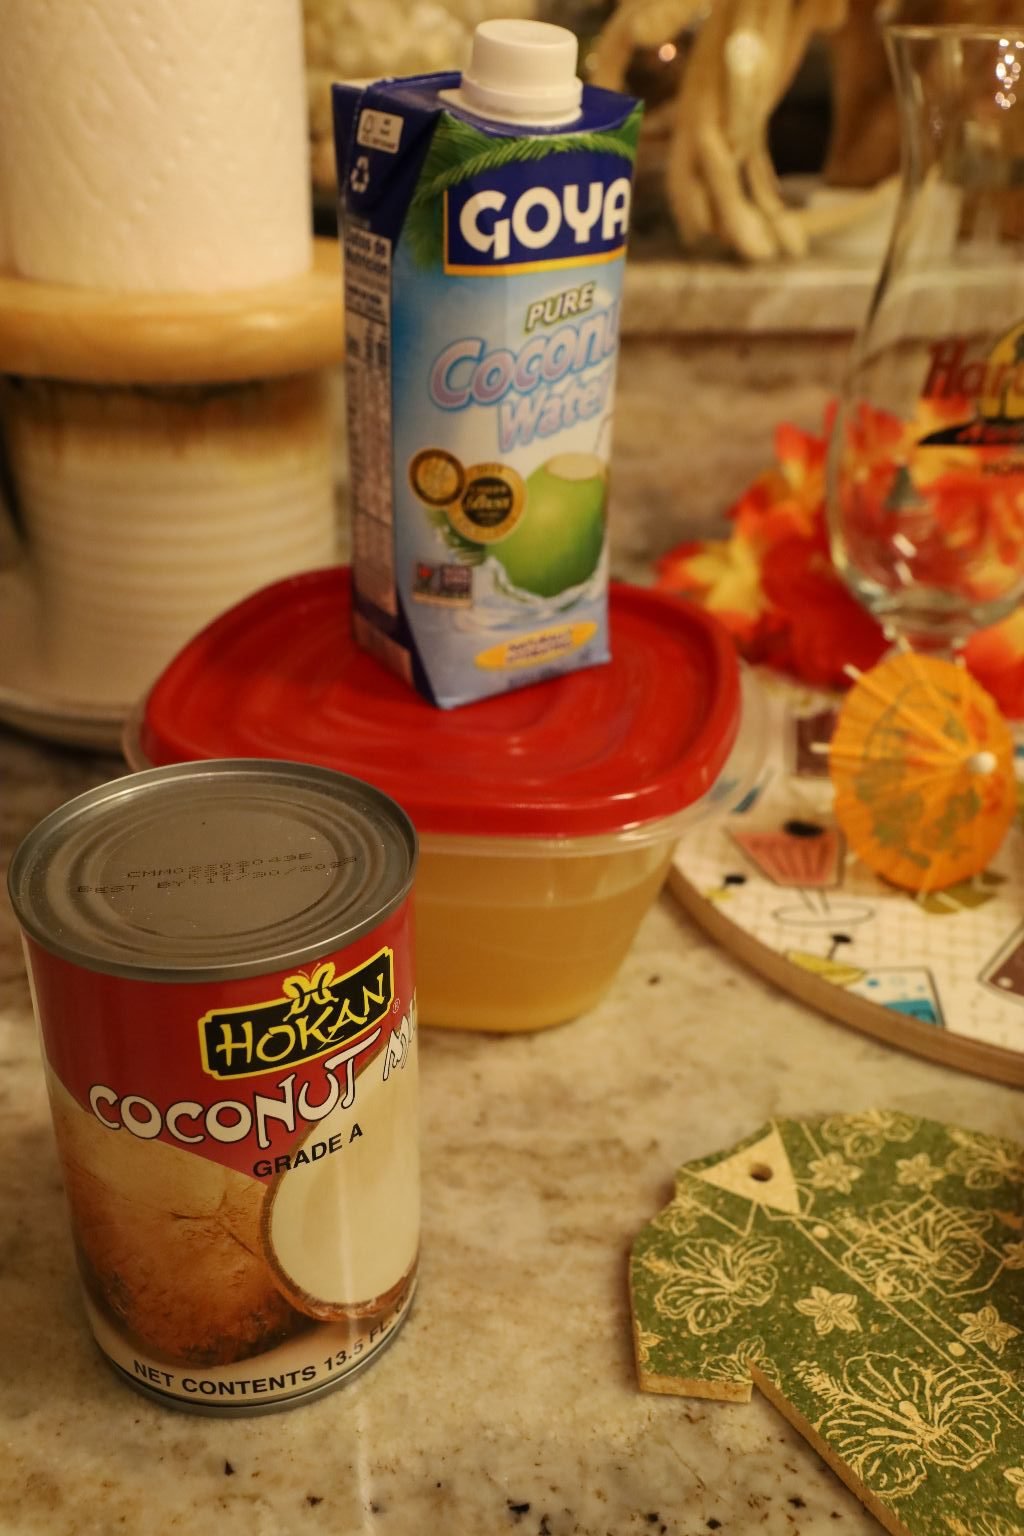


Place the ice into your blender.
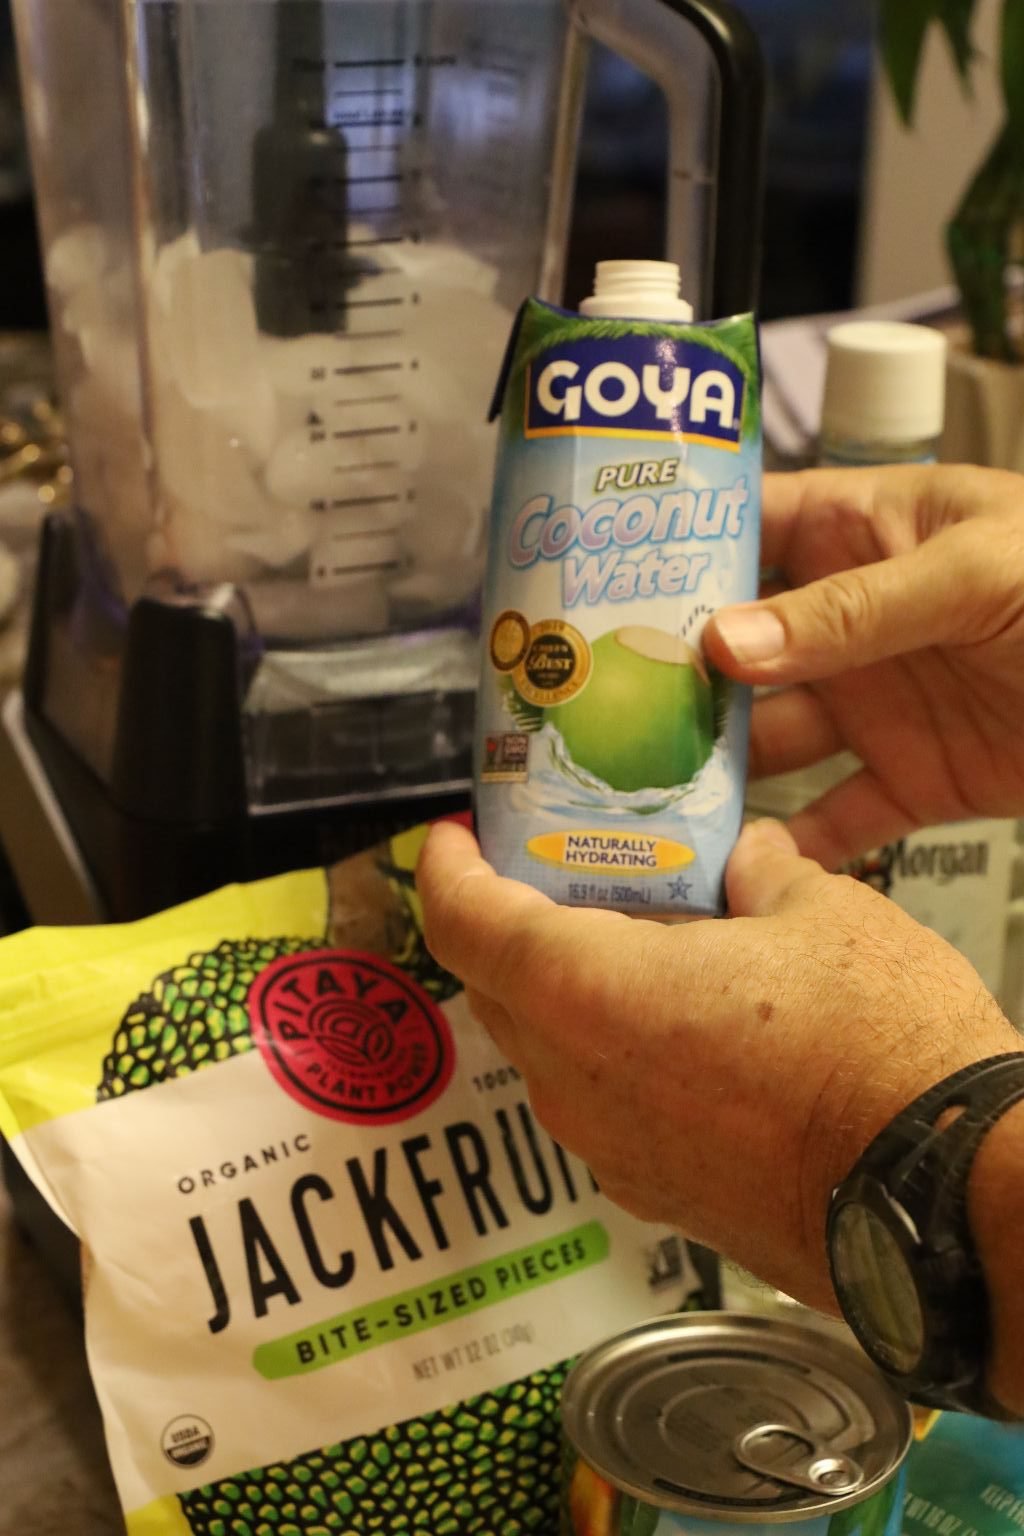

Add your Goya Coconut Water…
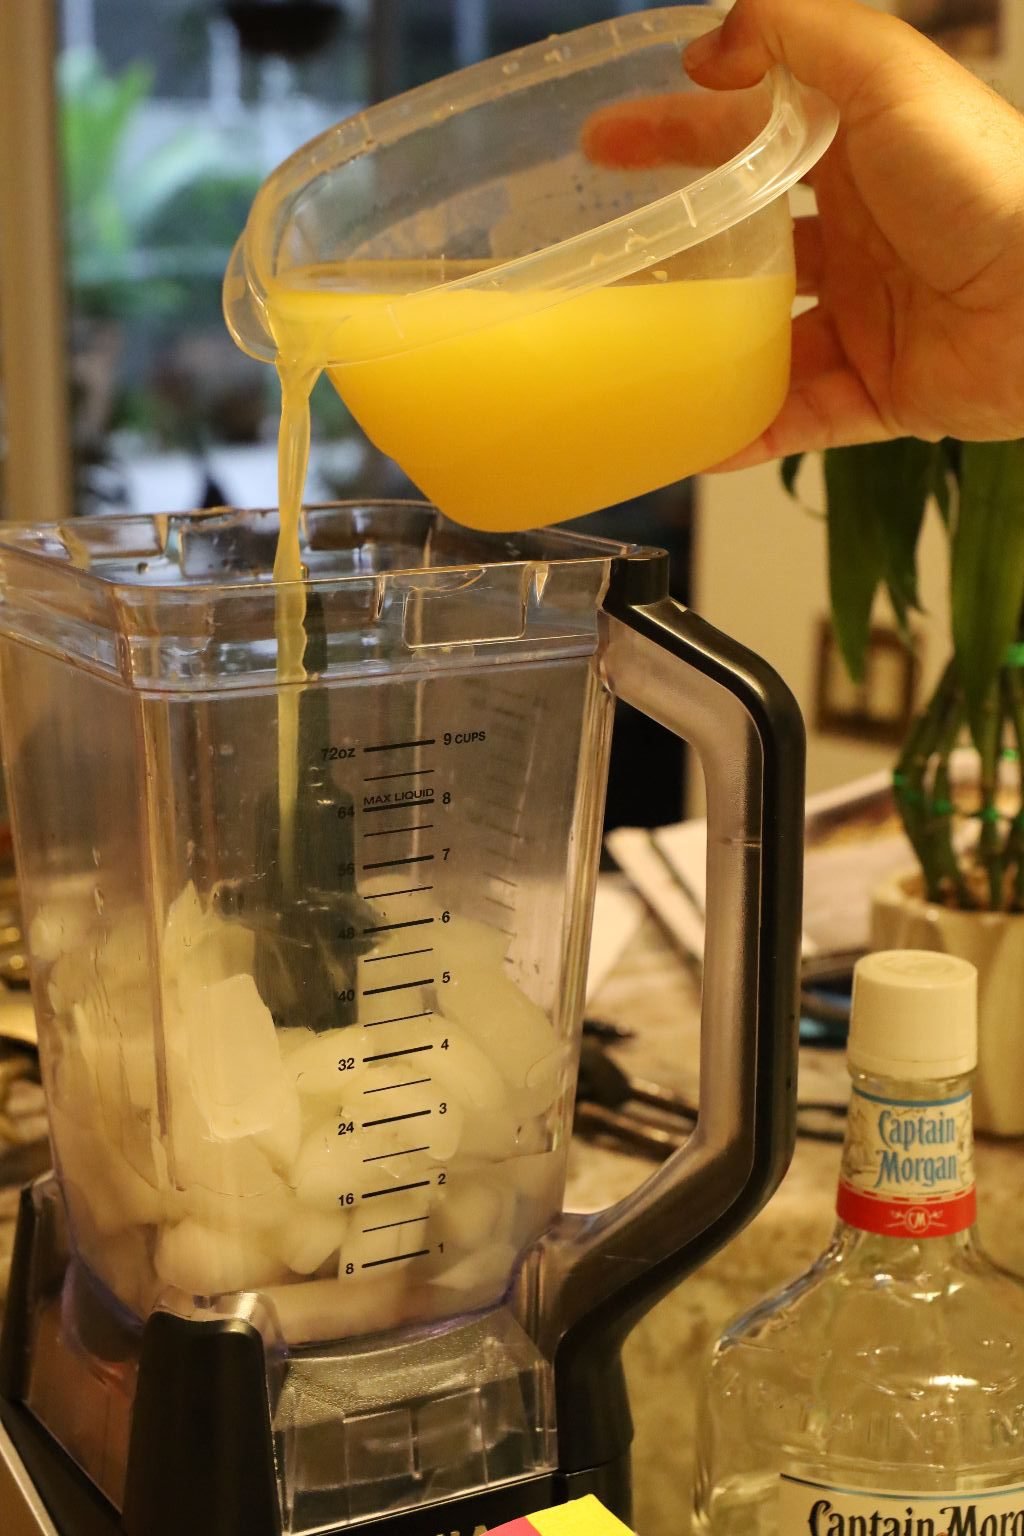
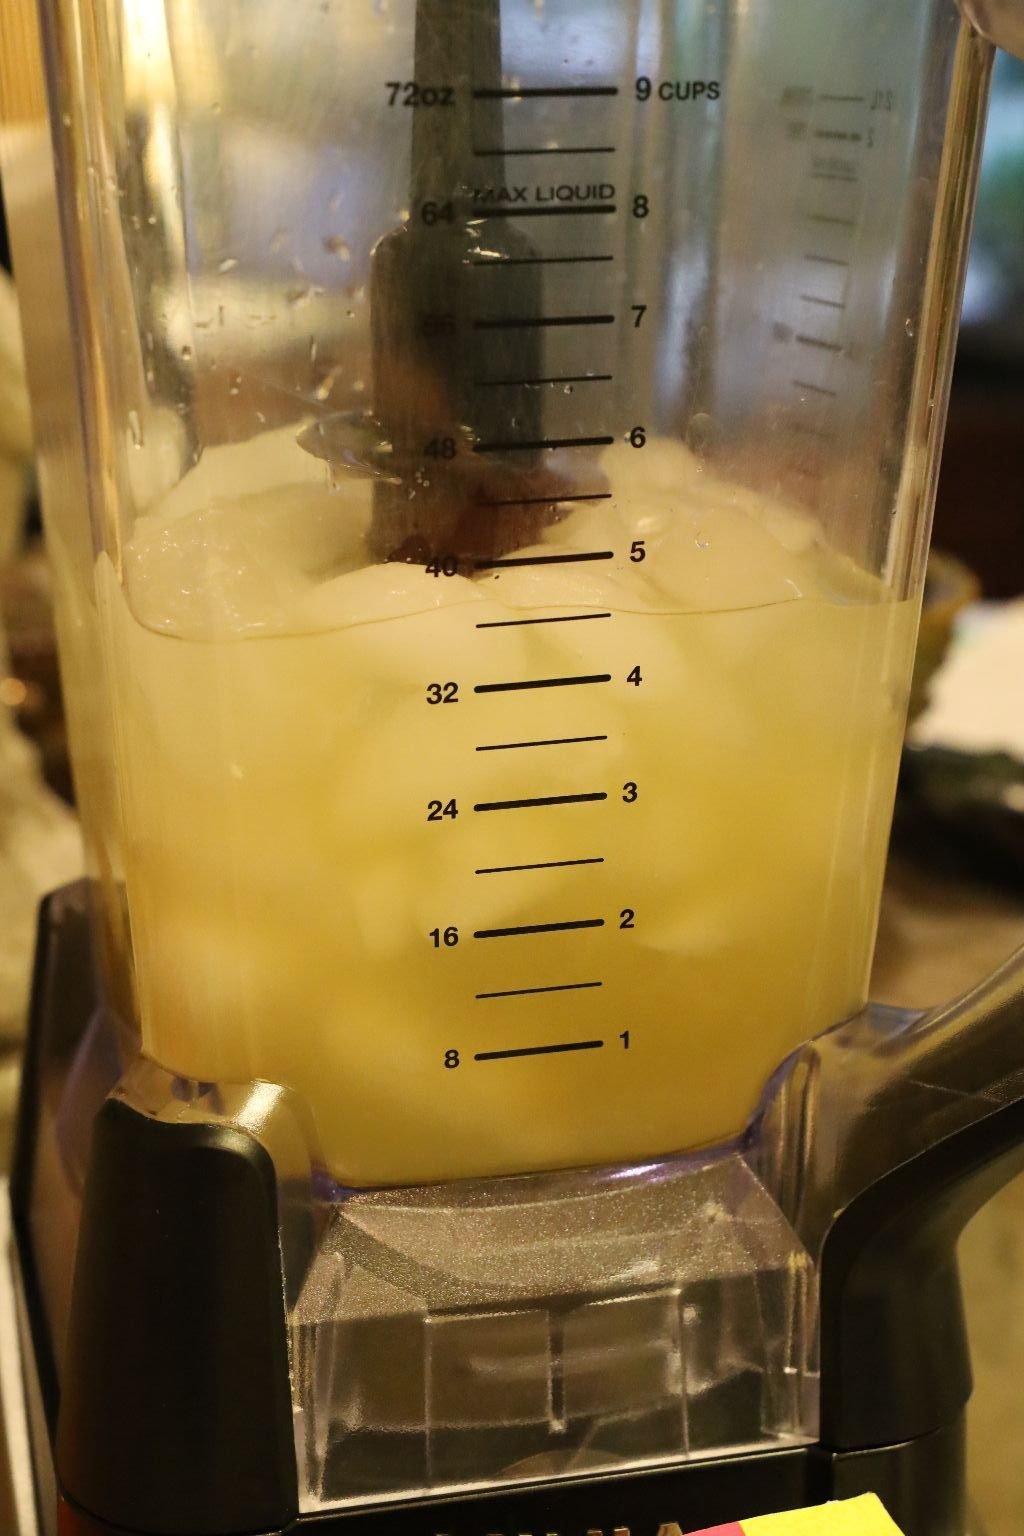
then your Pineapple Juice.

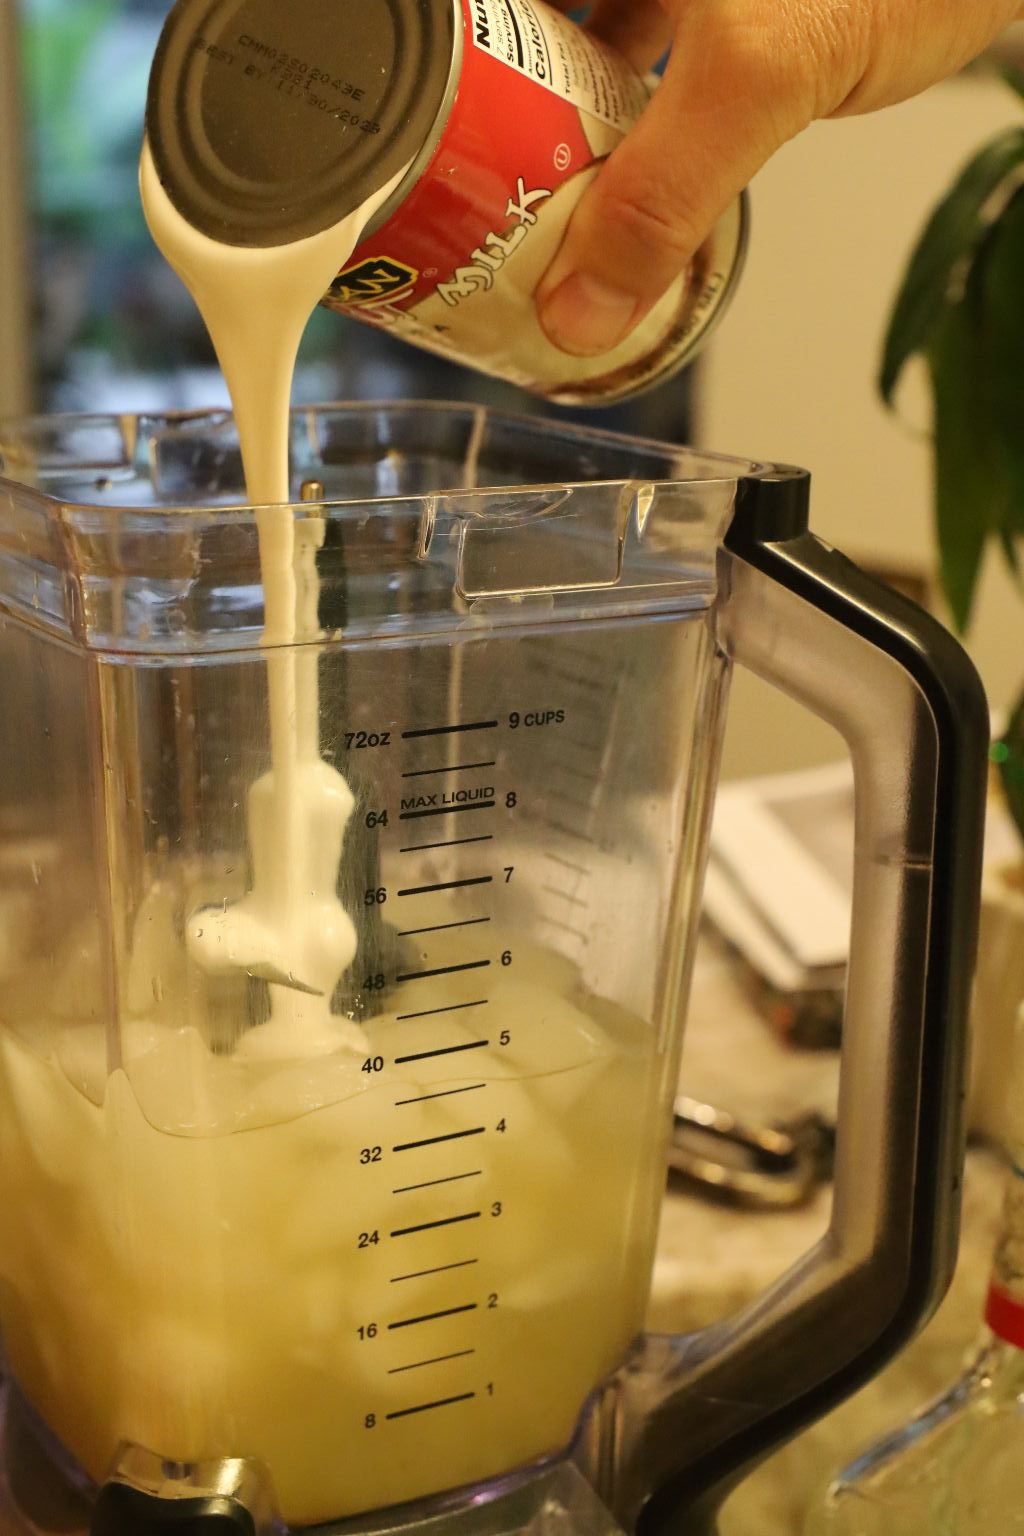
Now add your Coconut Milk
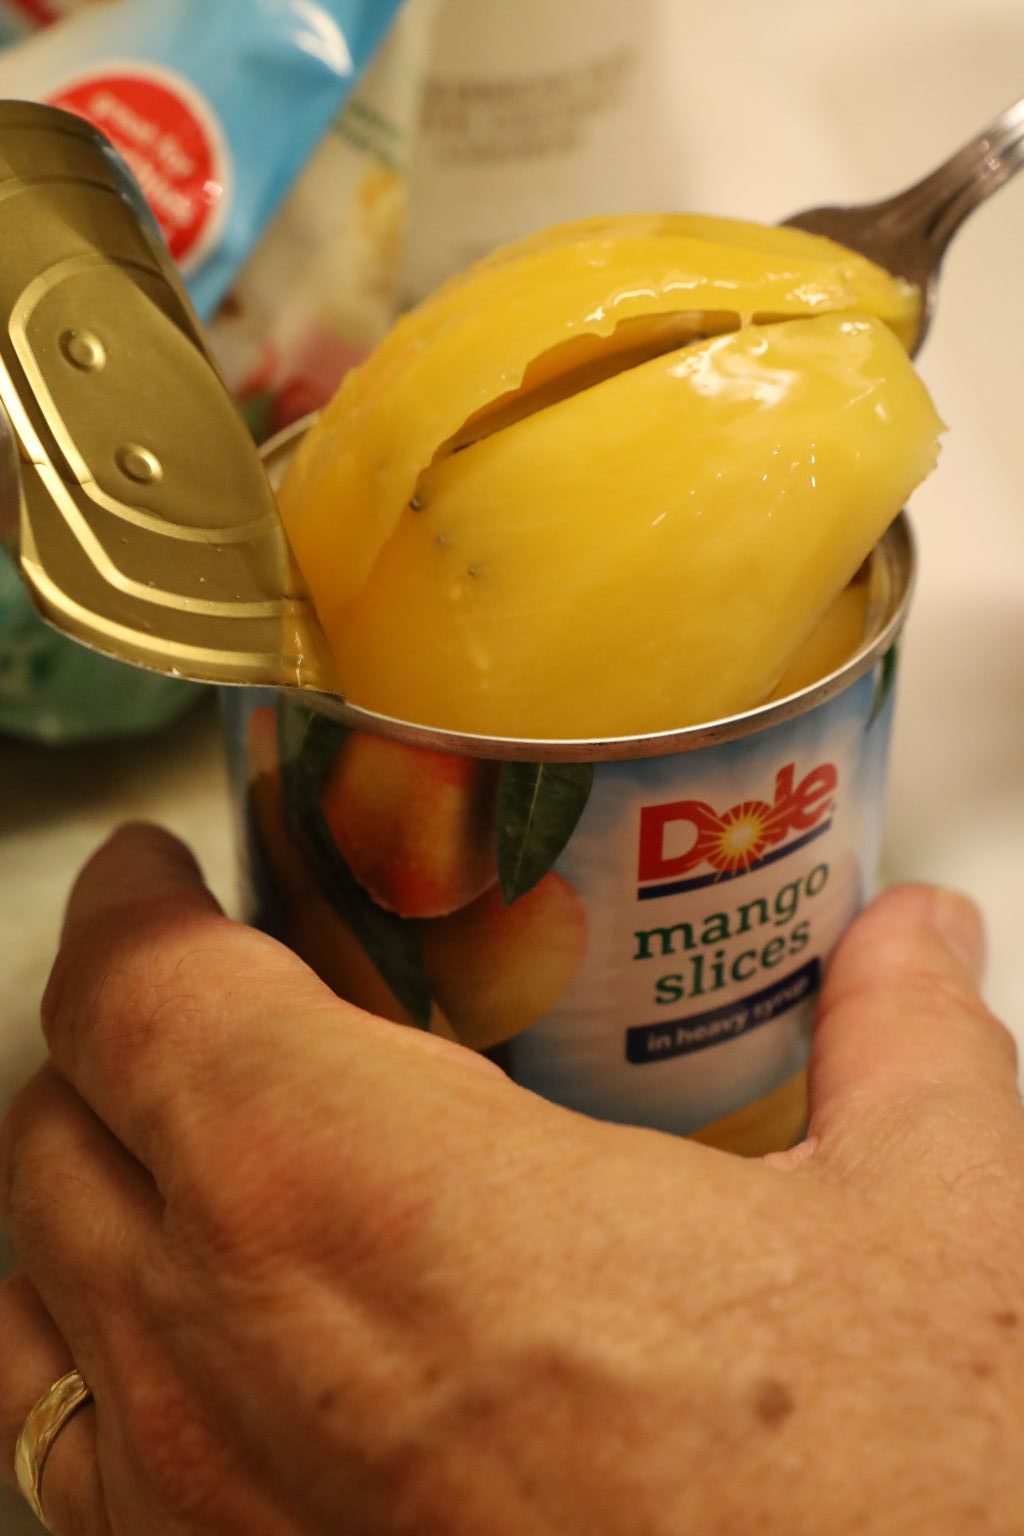
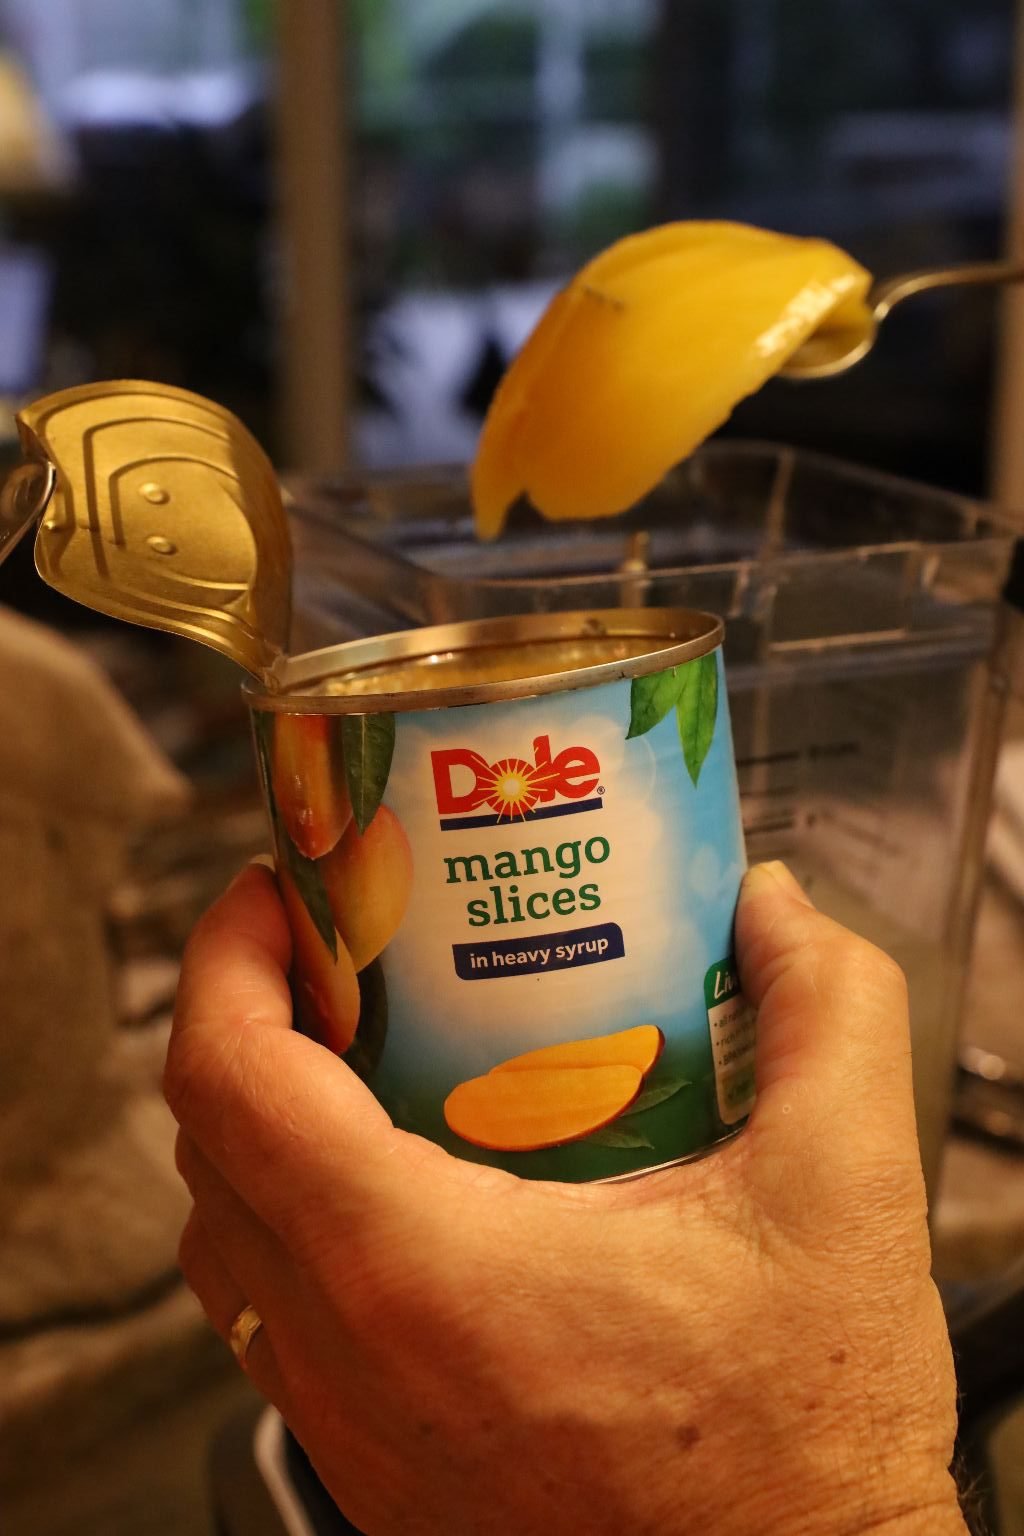
then your Mango Slices to the blender.


Now, add your frozen Pineapple Chunks…
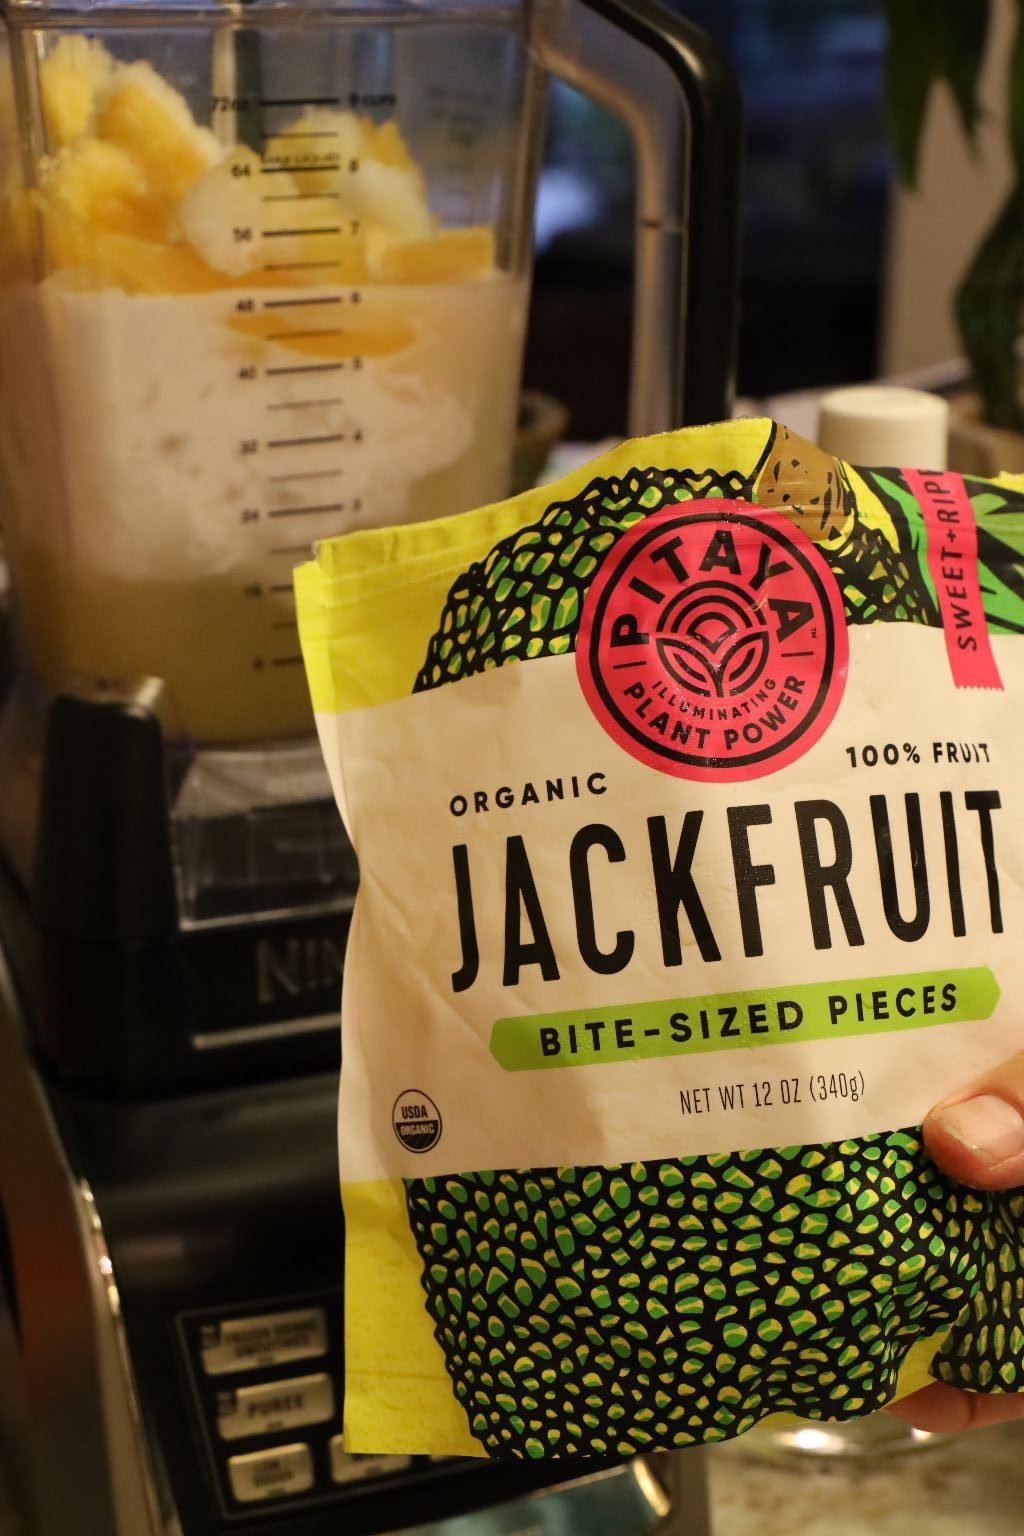
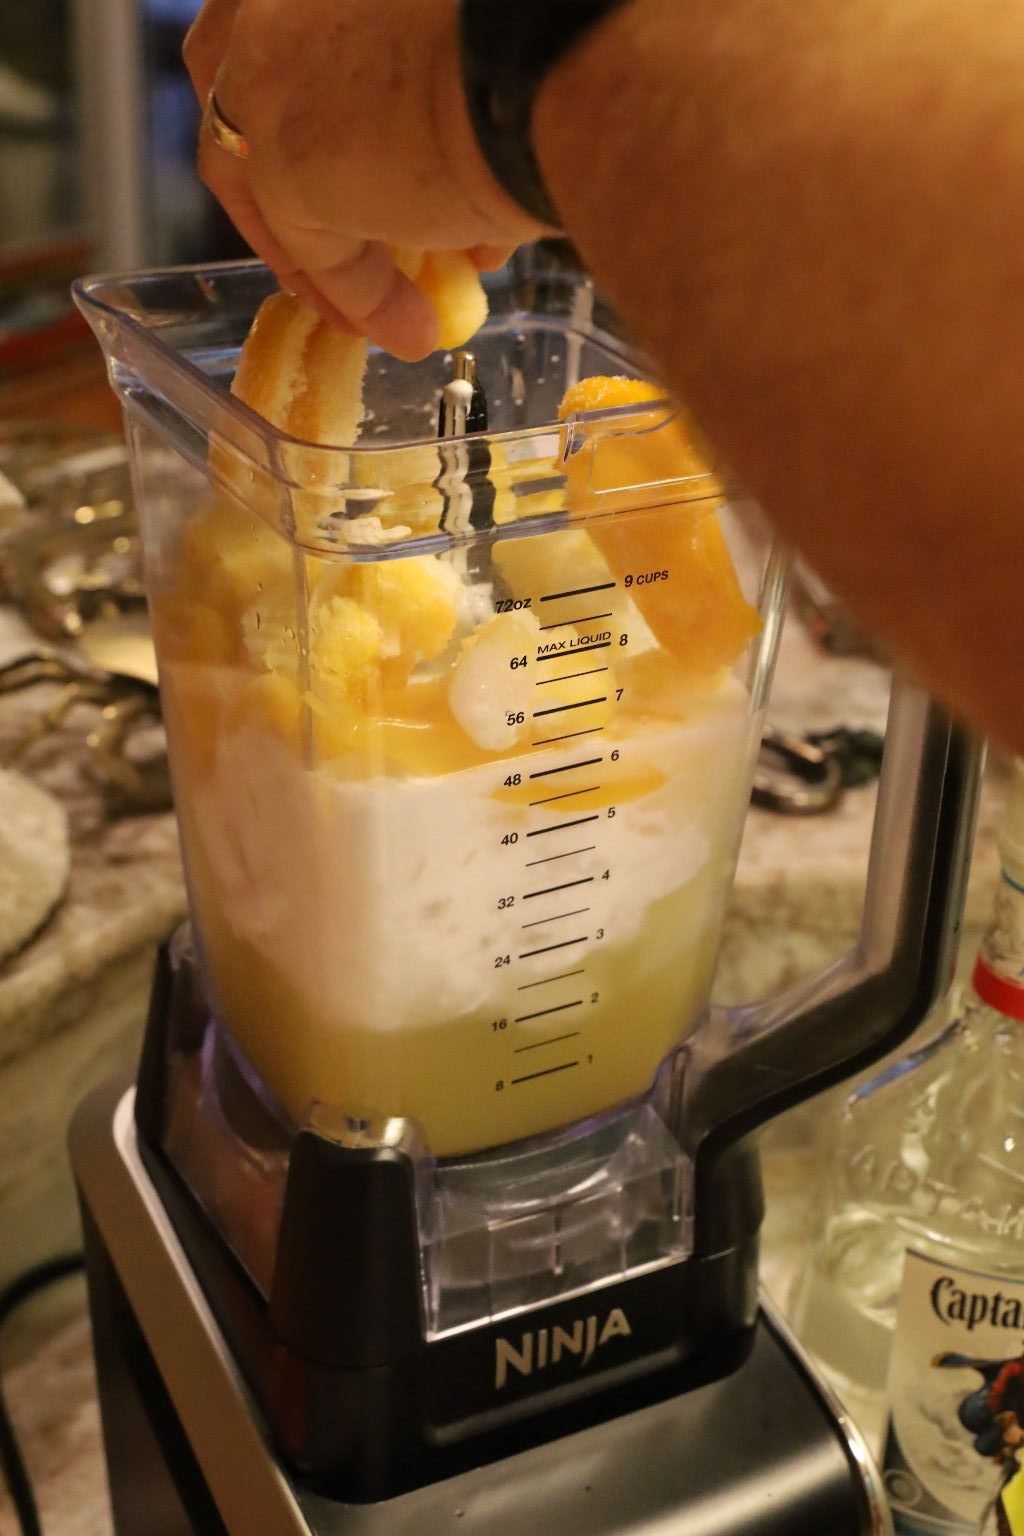
and Frozen Jackfruit pieces.
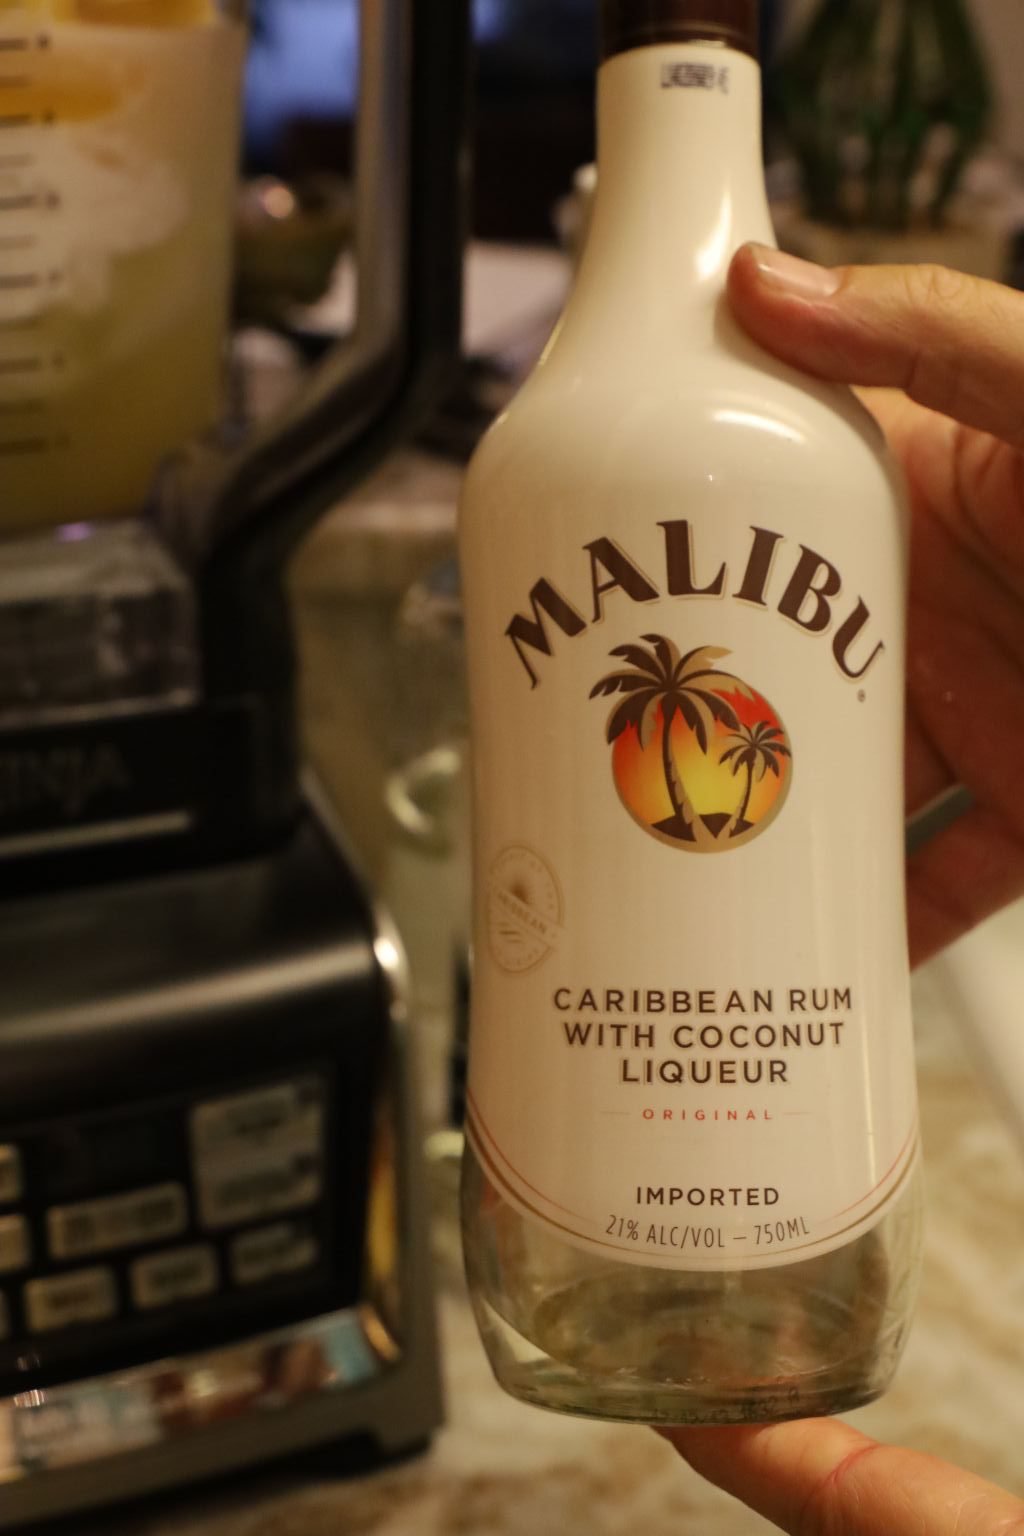
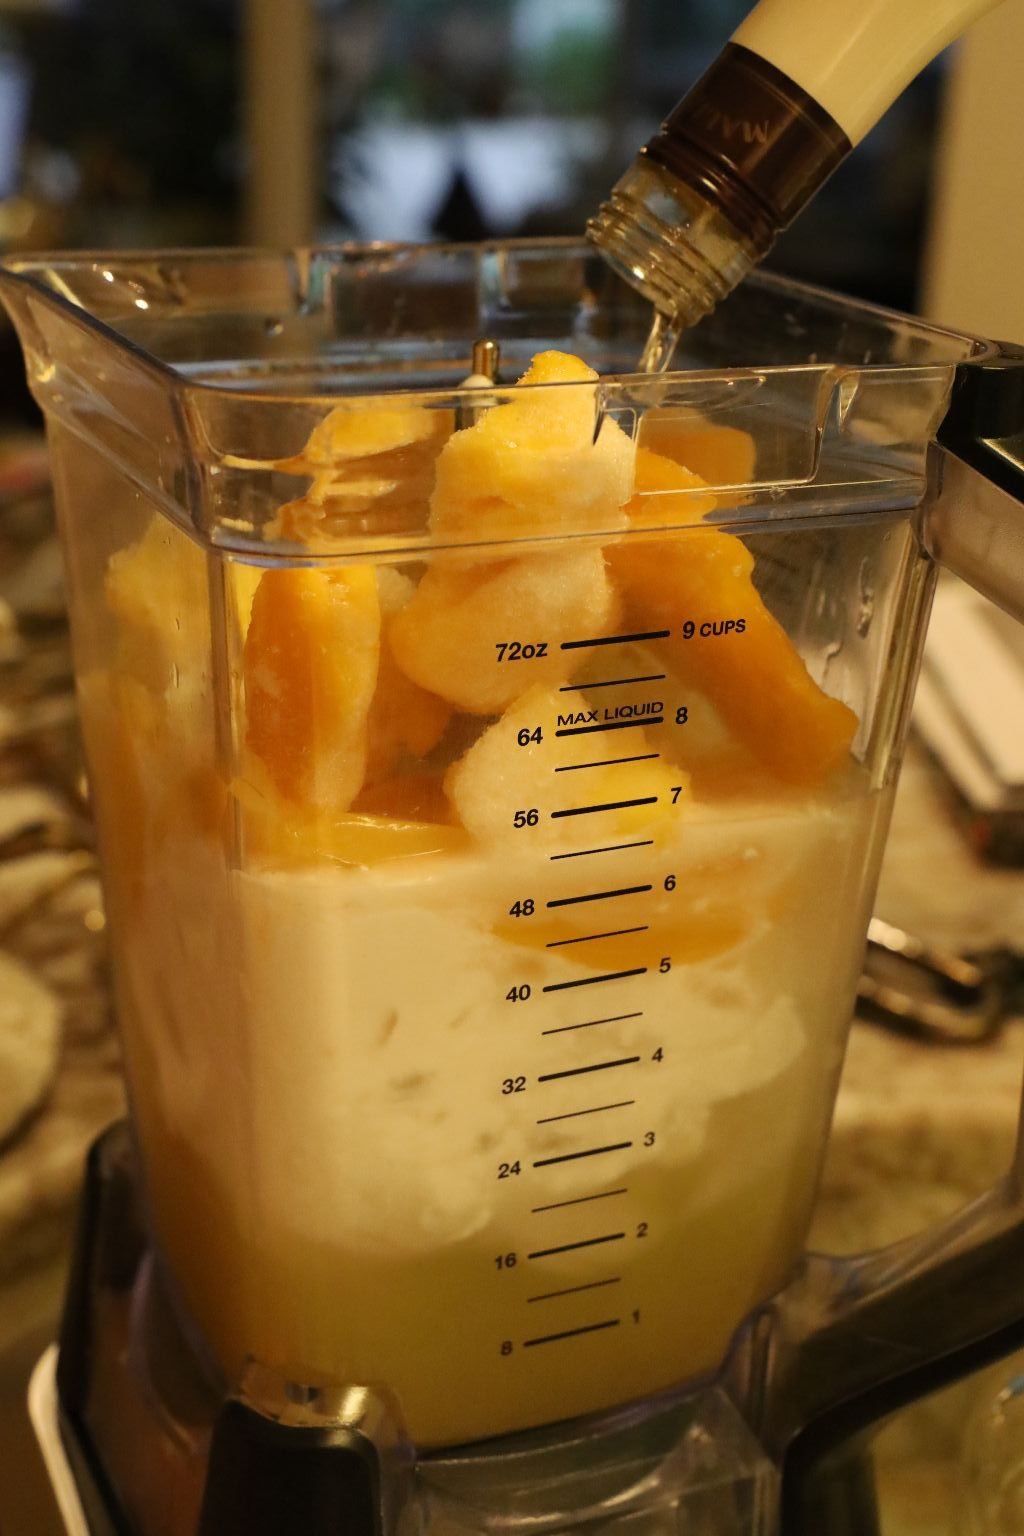
Here you blend it for the kids,
then you can add as little or as much of your Malibu Rum for the adults.
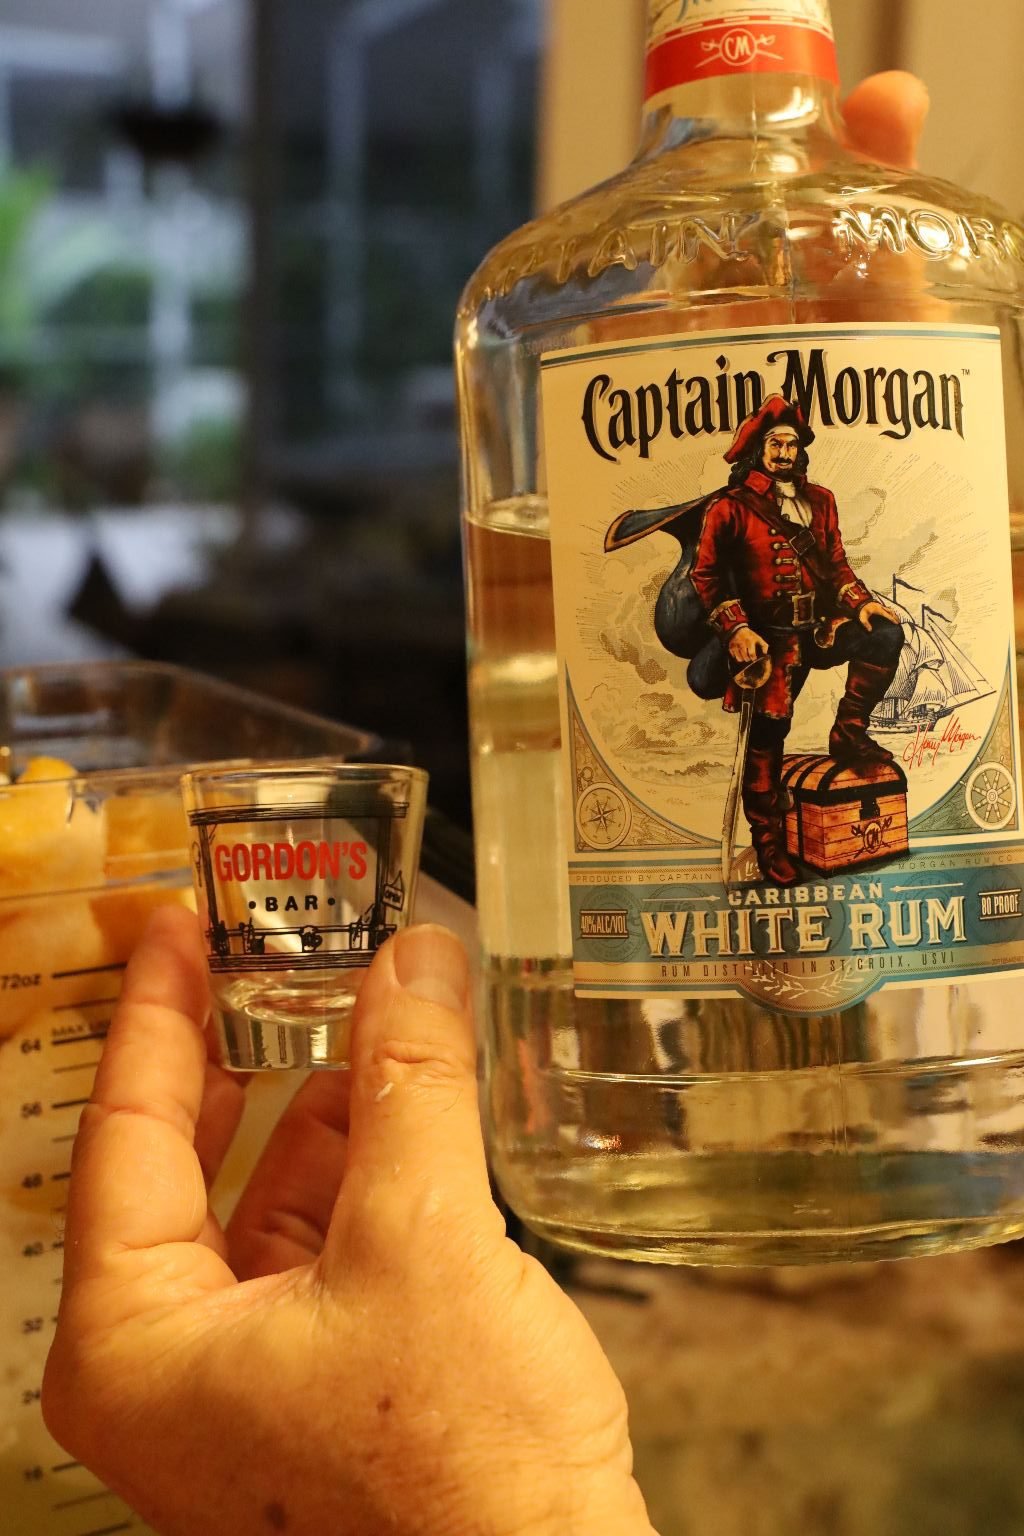
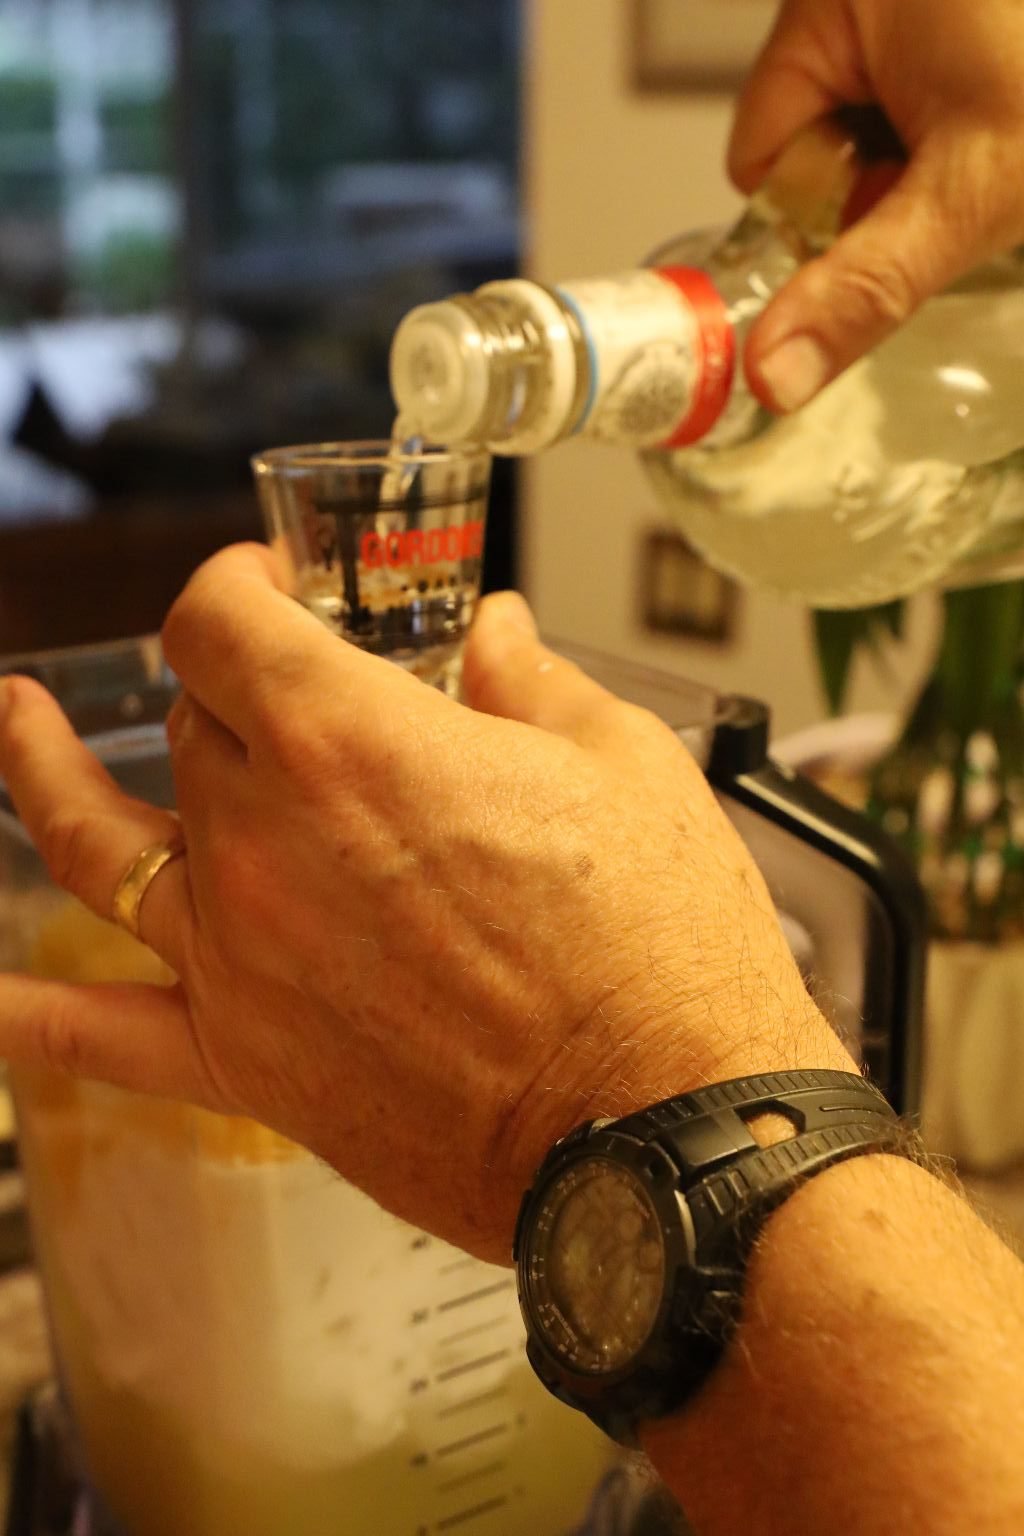
Now, add your White Rum of which we used Captain Morgan.
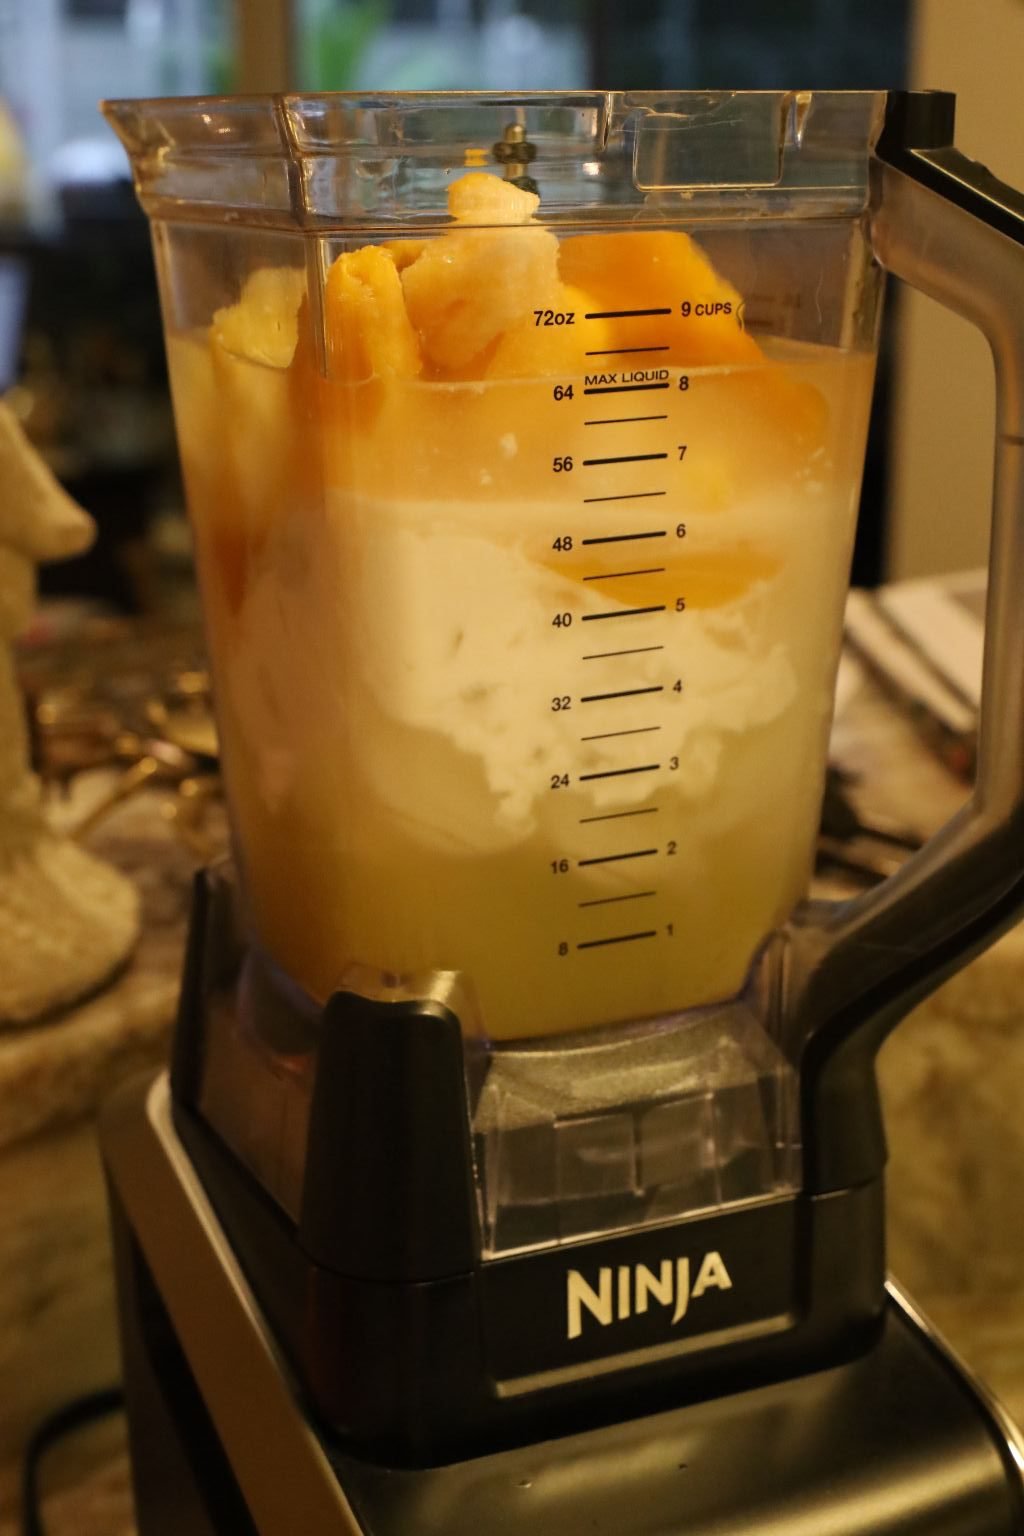
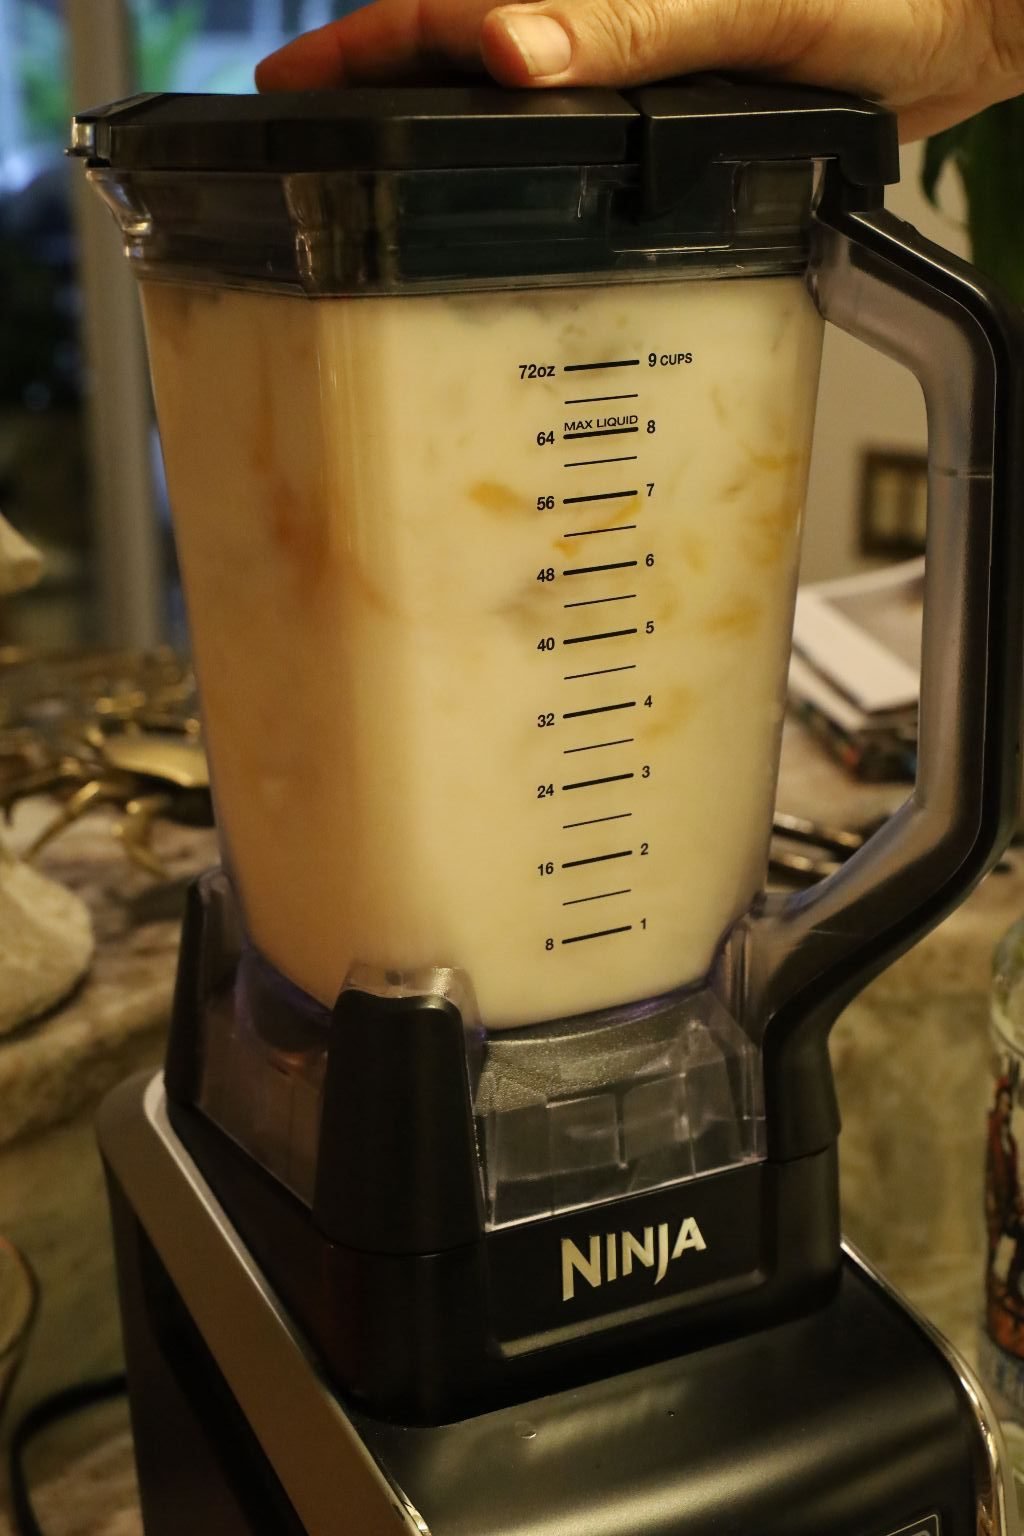
Blend the mixture until smooth and taste the mixture.
Add more ingredients or alcohol to your liking.


By adding the cherry juice close to the inside of the glass will give you this Lava Flow look.
Garnish with a wide straw and an Orchid. Attach the Orchid using a vine clip usually found with live Orchid plants. You could also slice through a pineapple ring and attach it to the glass. The Asian Umbrellas are also a nice touch!
————————————————————————–
Pineapple Coconut Relish from my Mom’s collection of great recipes!
Here we placed the relish in a bowl and grilled pineapple halves.

Pineapple Bowls and Pineapple
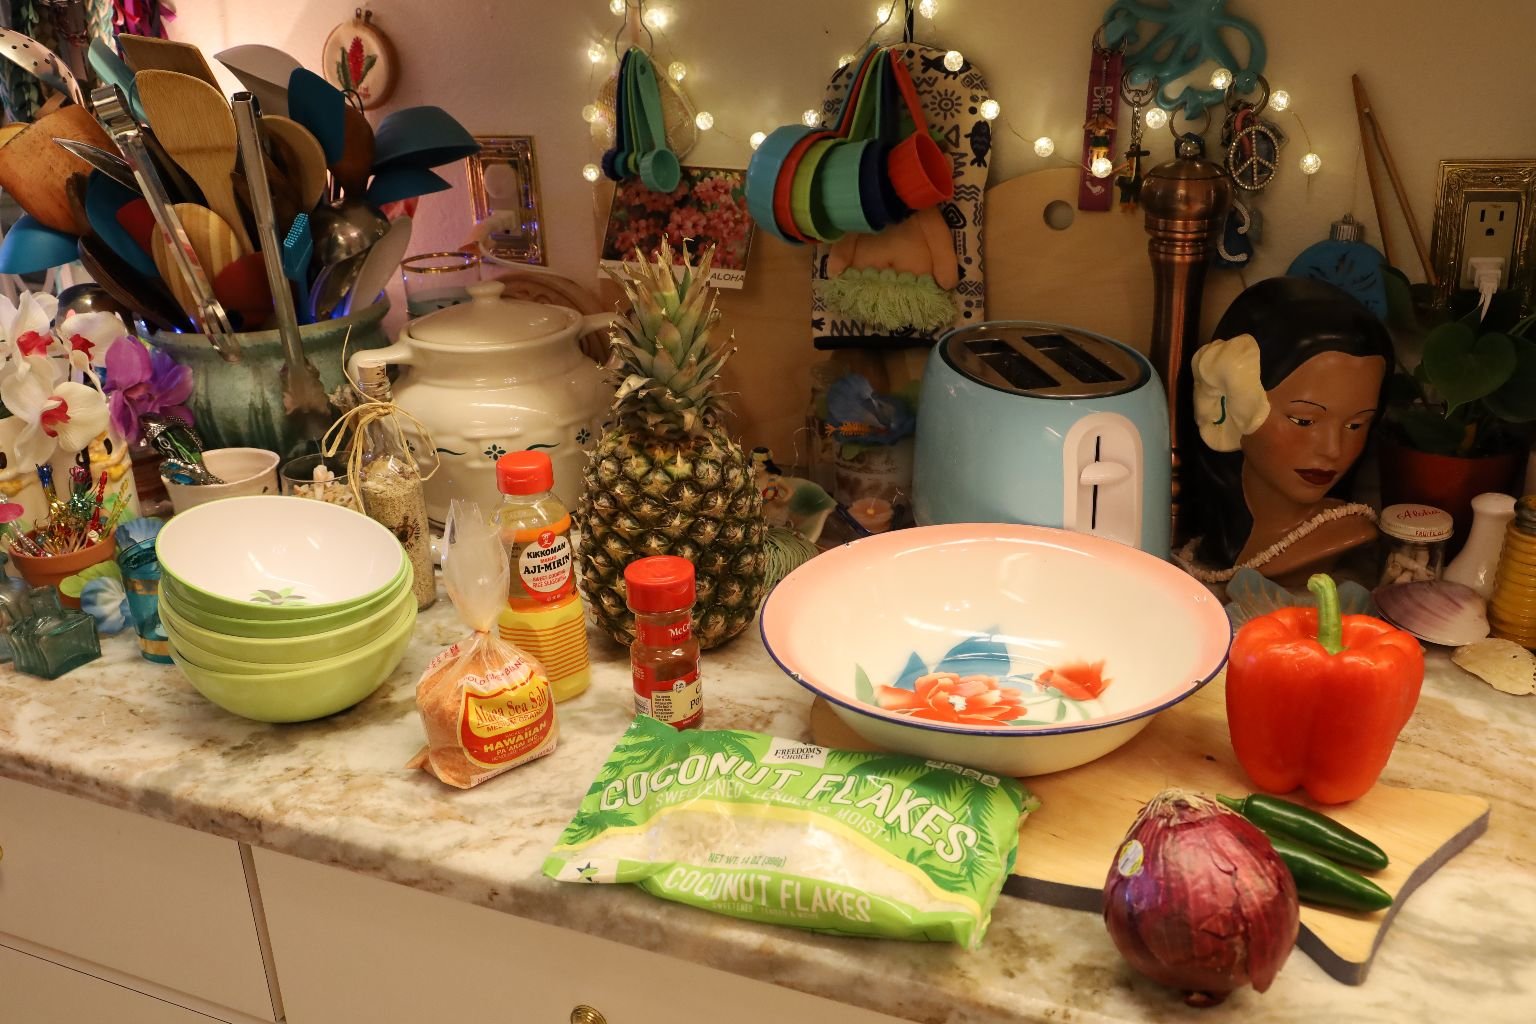
Ingredients:
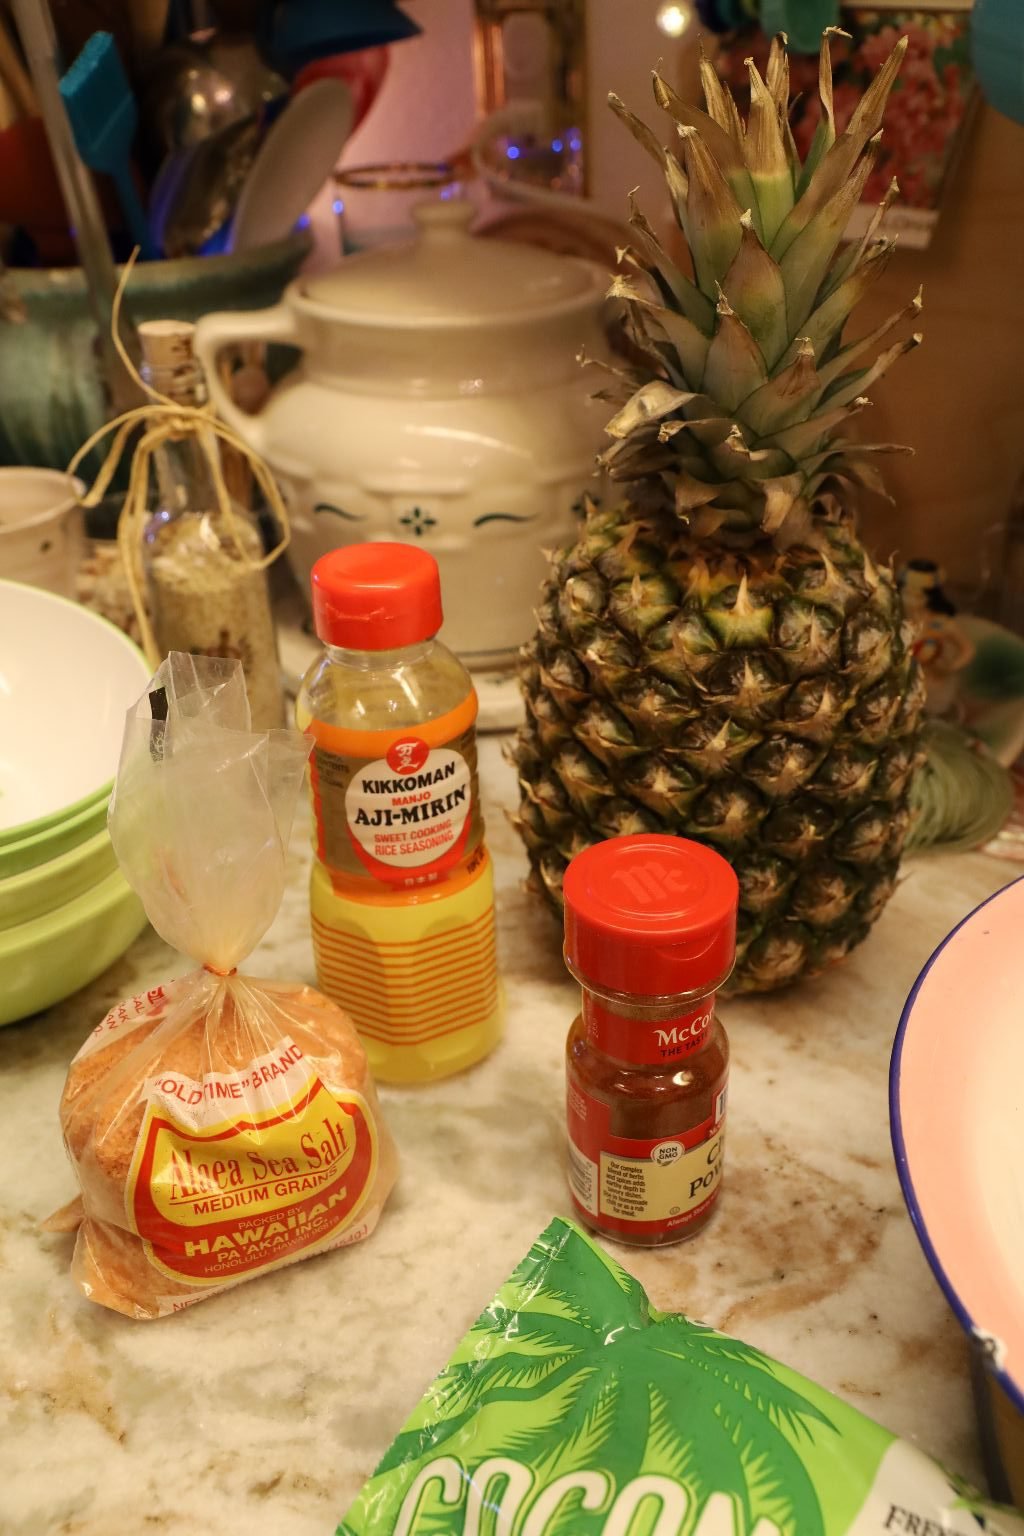

~1 Cup Red Onion – diced
~1 Cup Red Bell Pepper – diced
1 Jalapeno Pepper – diced
1 Canned Crushed Pineapple – drained
1 Canned Pineapple Chunks – drained
3/4 Cup Sweetened Coconut Flakes
2 Tbsp. Aji-Mirin Sweet Cooking Rice Seasoning
1/2 Tbsp. Hawaiian Sea Salt
1/2 Tbsp. Chili Powder
—————————————————————–

I used canned pineapple in this recipe for the convenience.


Here you can use as much or as little of the ingredients to suit your taste as well as depending on how much you want to make. I used about a cup of Red Onion. Place all the ingredients into a large bowl.


I also used the same amount of diced Red Bell Pepper. Slice the Bell Pepper in half, then into thin long strips, then dice.


Slice the Jalapeno the same way but into much smaller pieces.
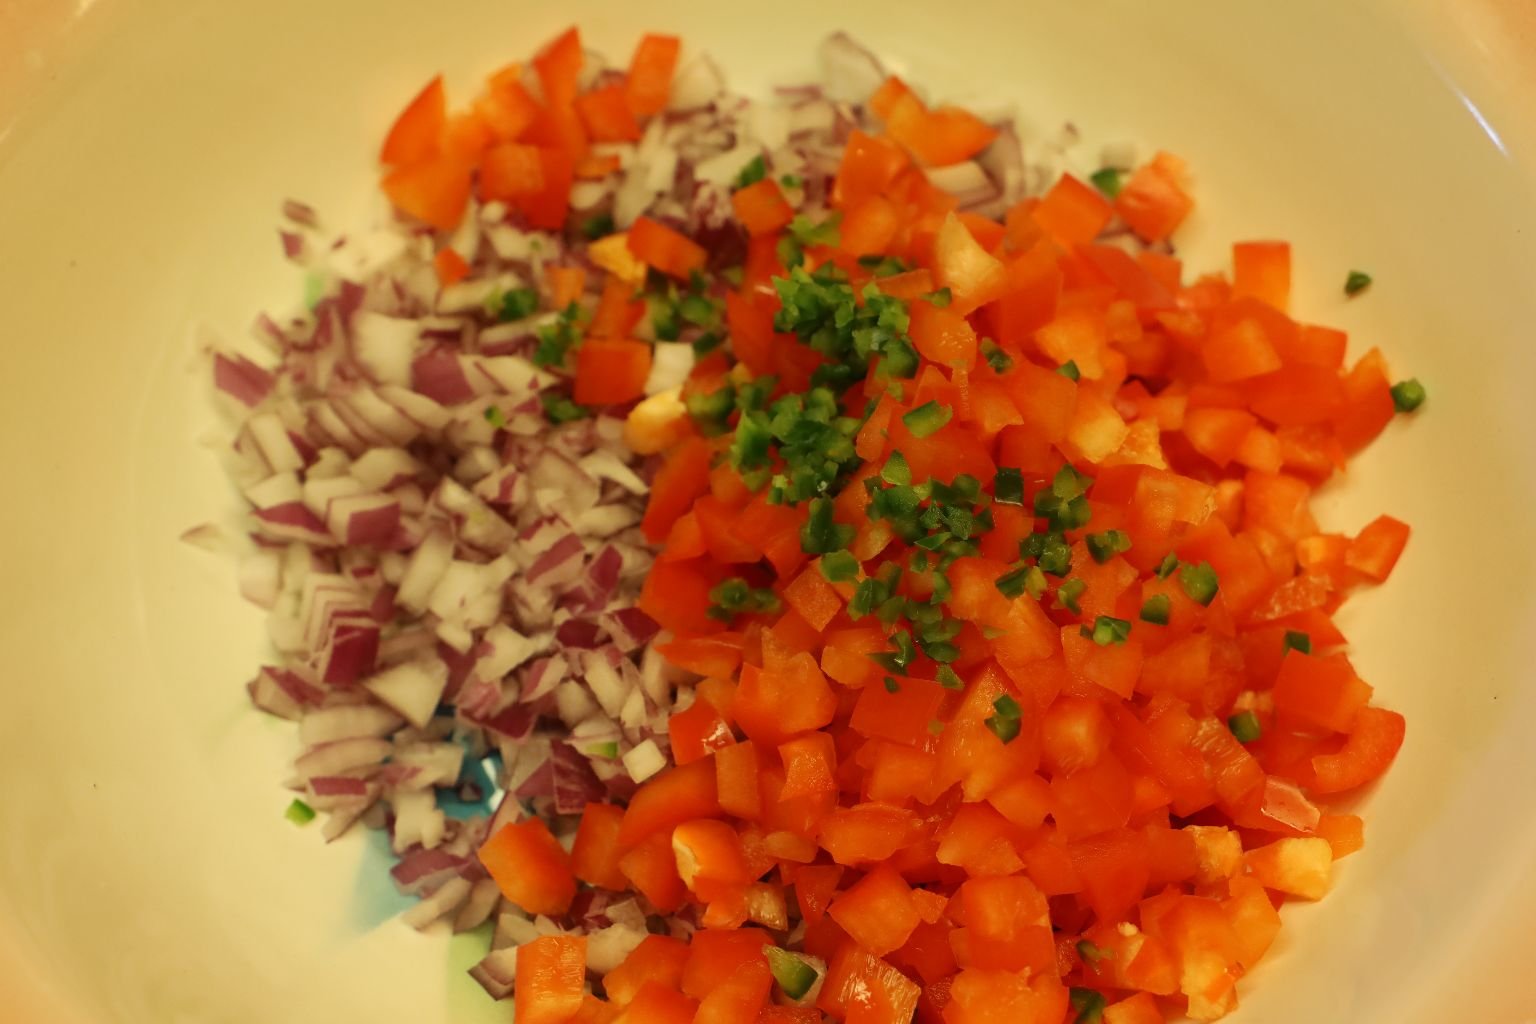
——————————————————————


Drain your pineapple well before placing it into the bowl.
Reserve the pineapple juice for drinks later.

———————————————————————


Here I also drained the Pineapple Chunks.
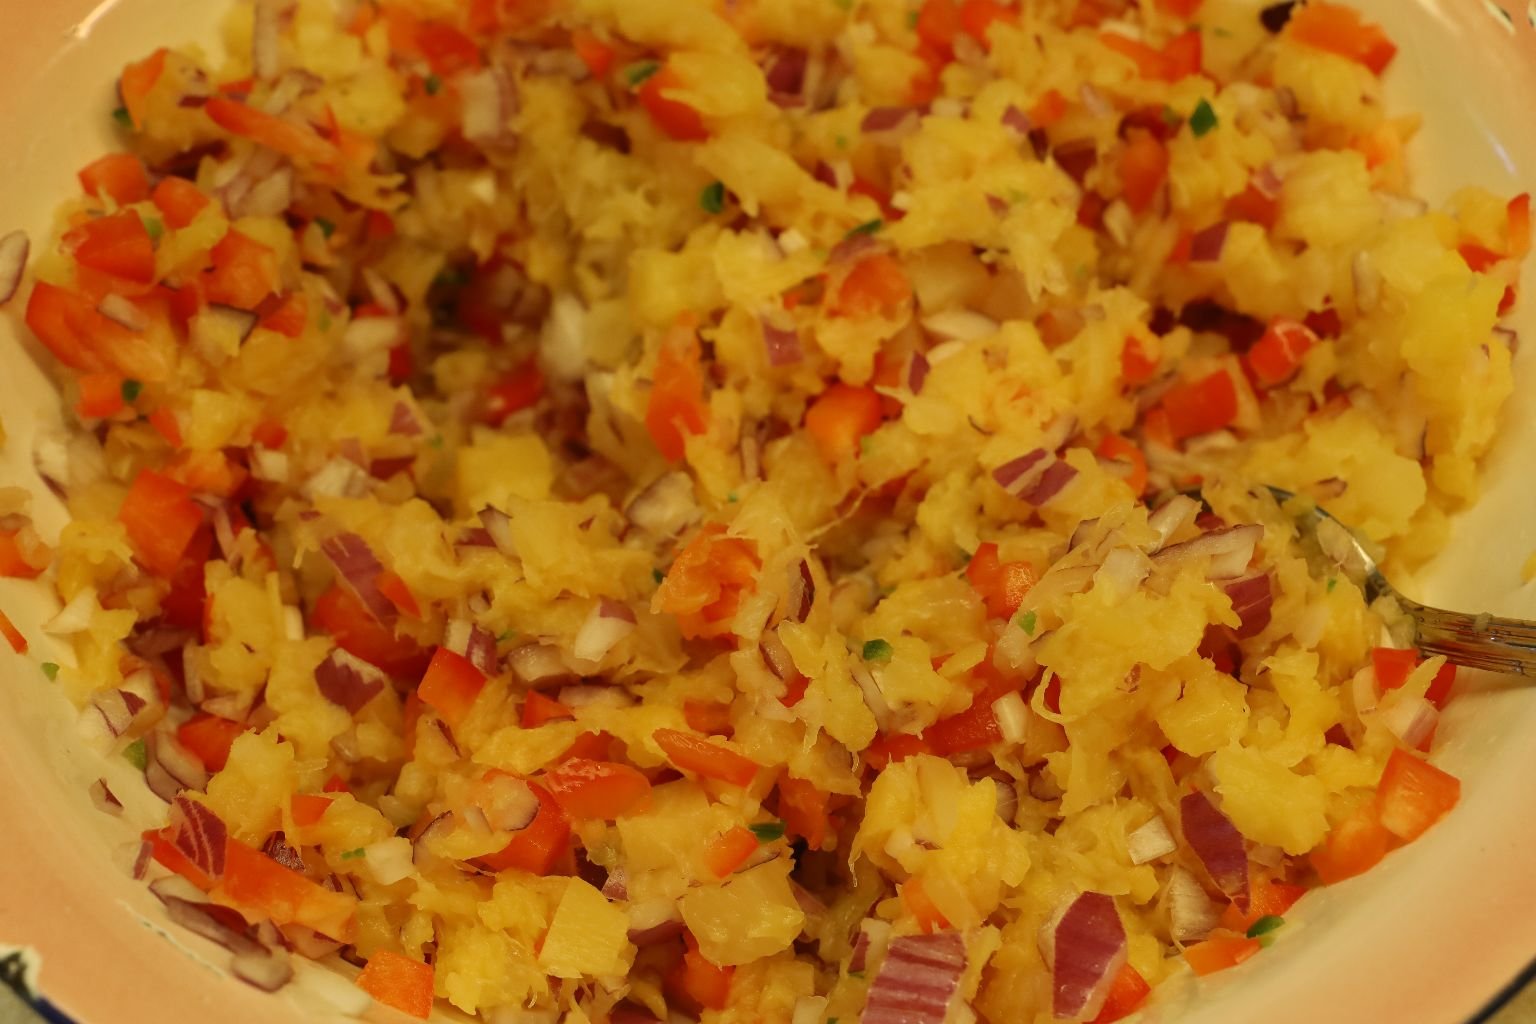
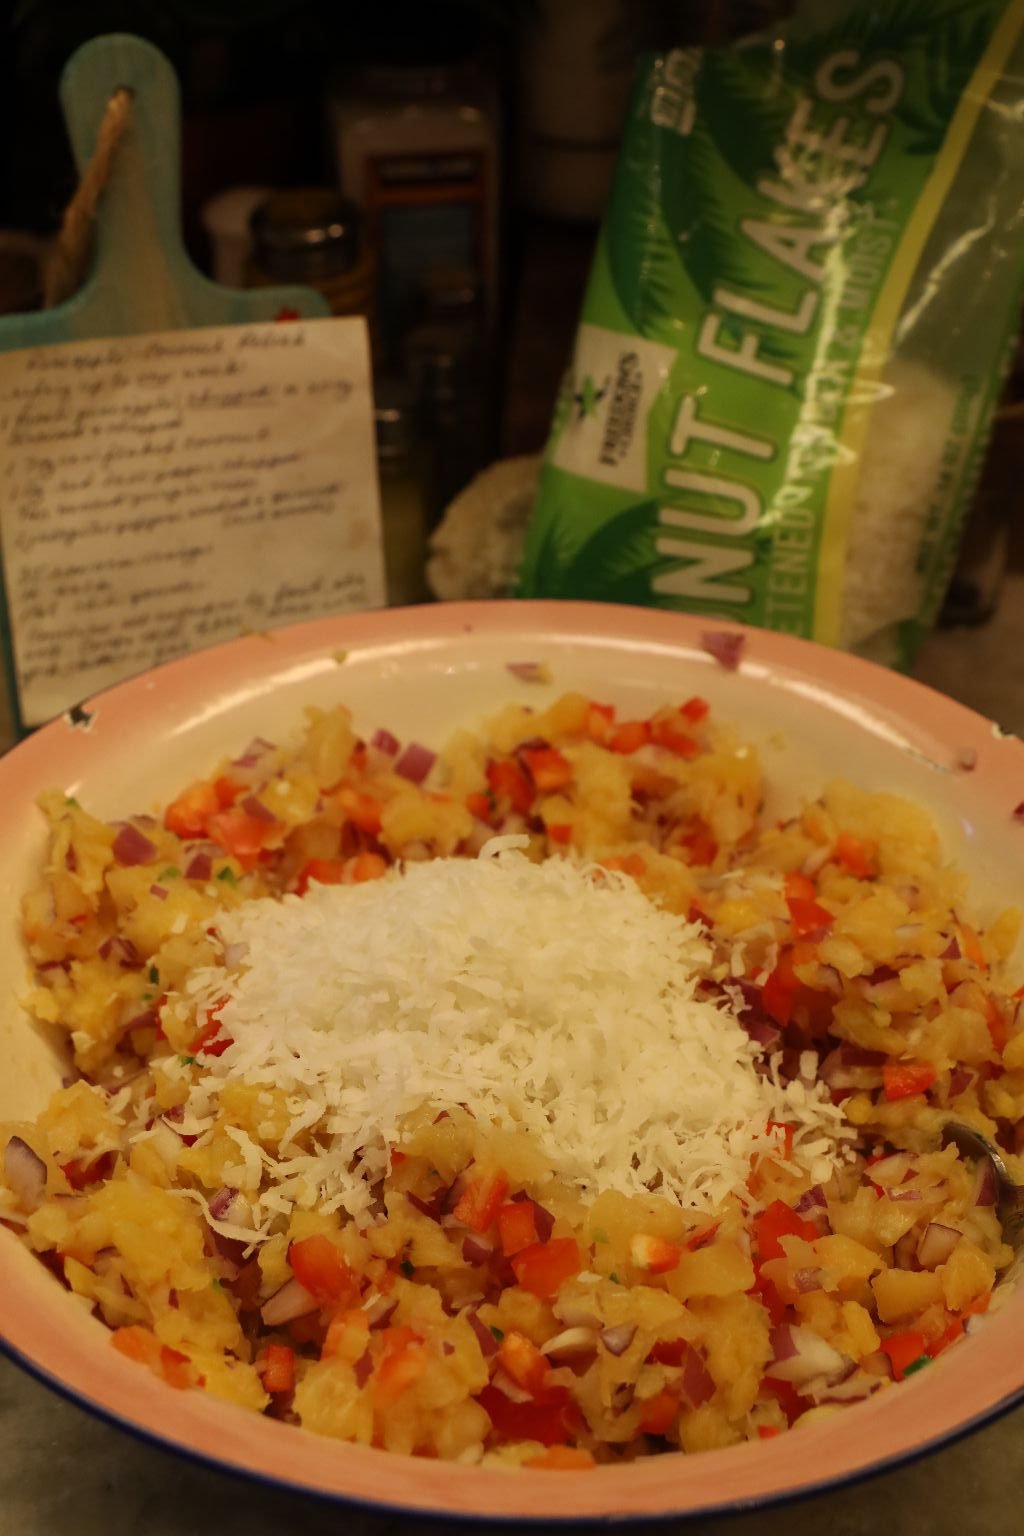
Mix all the ingredients together then I added the Sweetened Coconut Flakes. You could toast the coconut if you wanted.

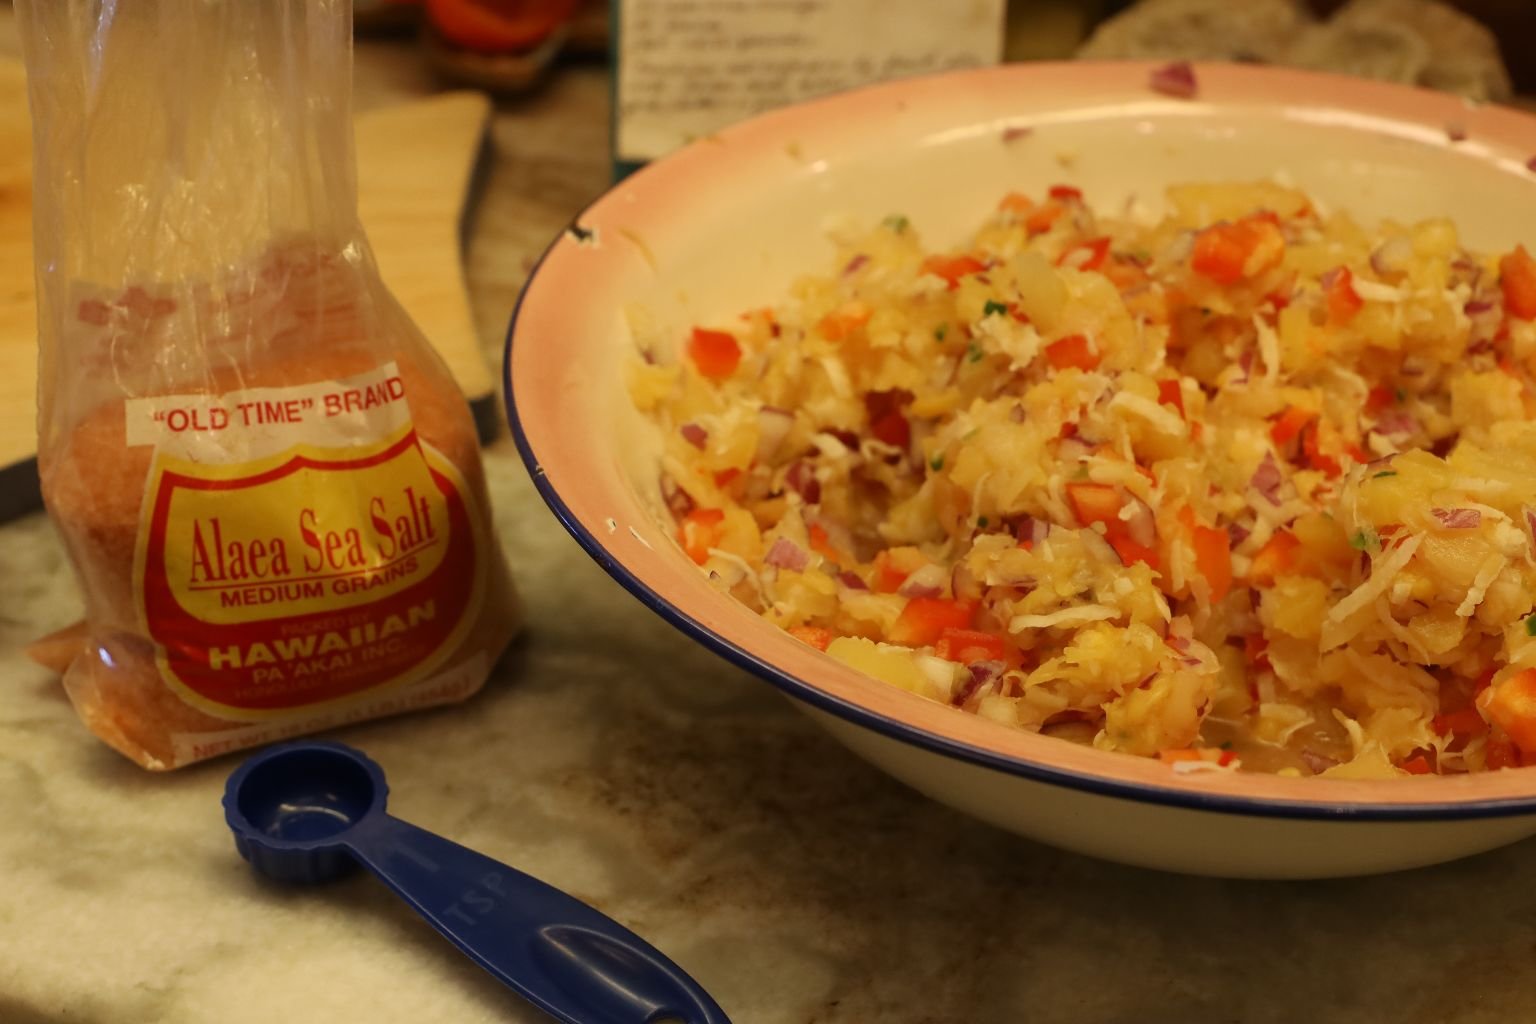

I love to add Mirin, for the sweetness.
Also add your Hawaiian Sea Salt and Chili Pepper to taste.


Mix all the ingredients well.
Add any other ingredients to suit your taste.

What a great looking relish.
————————————————————
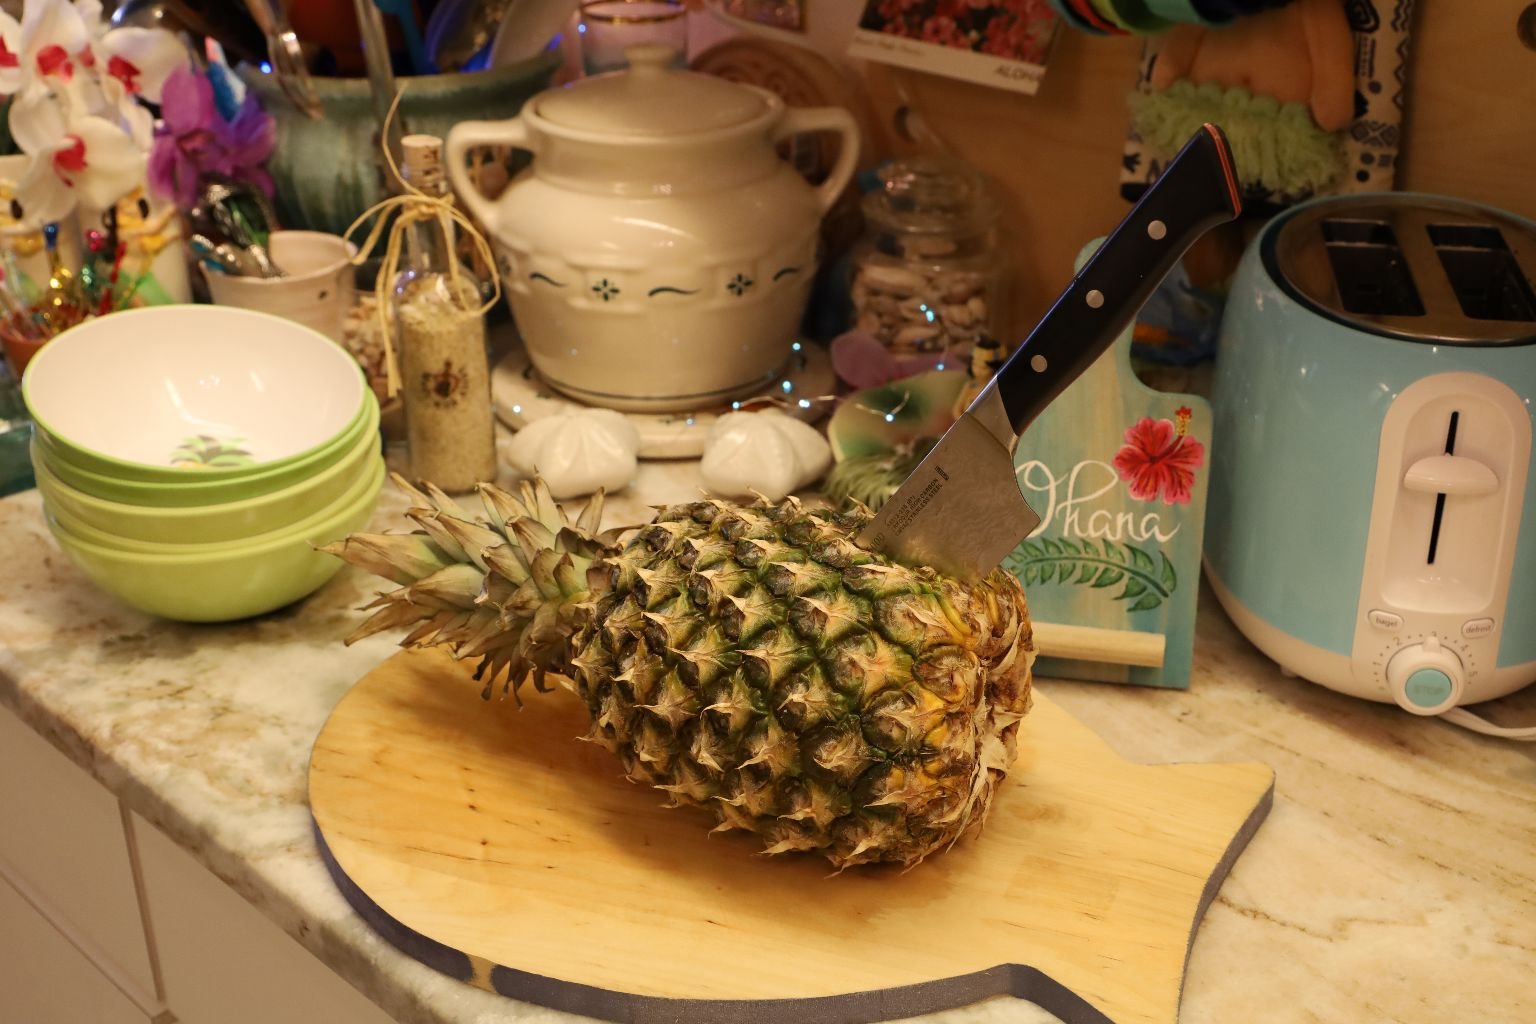
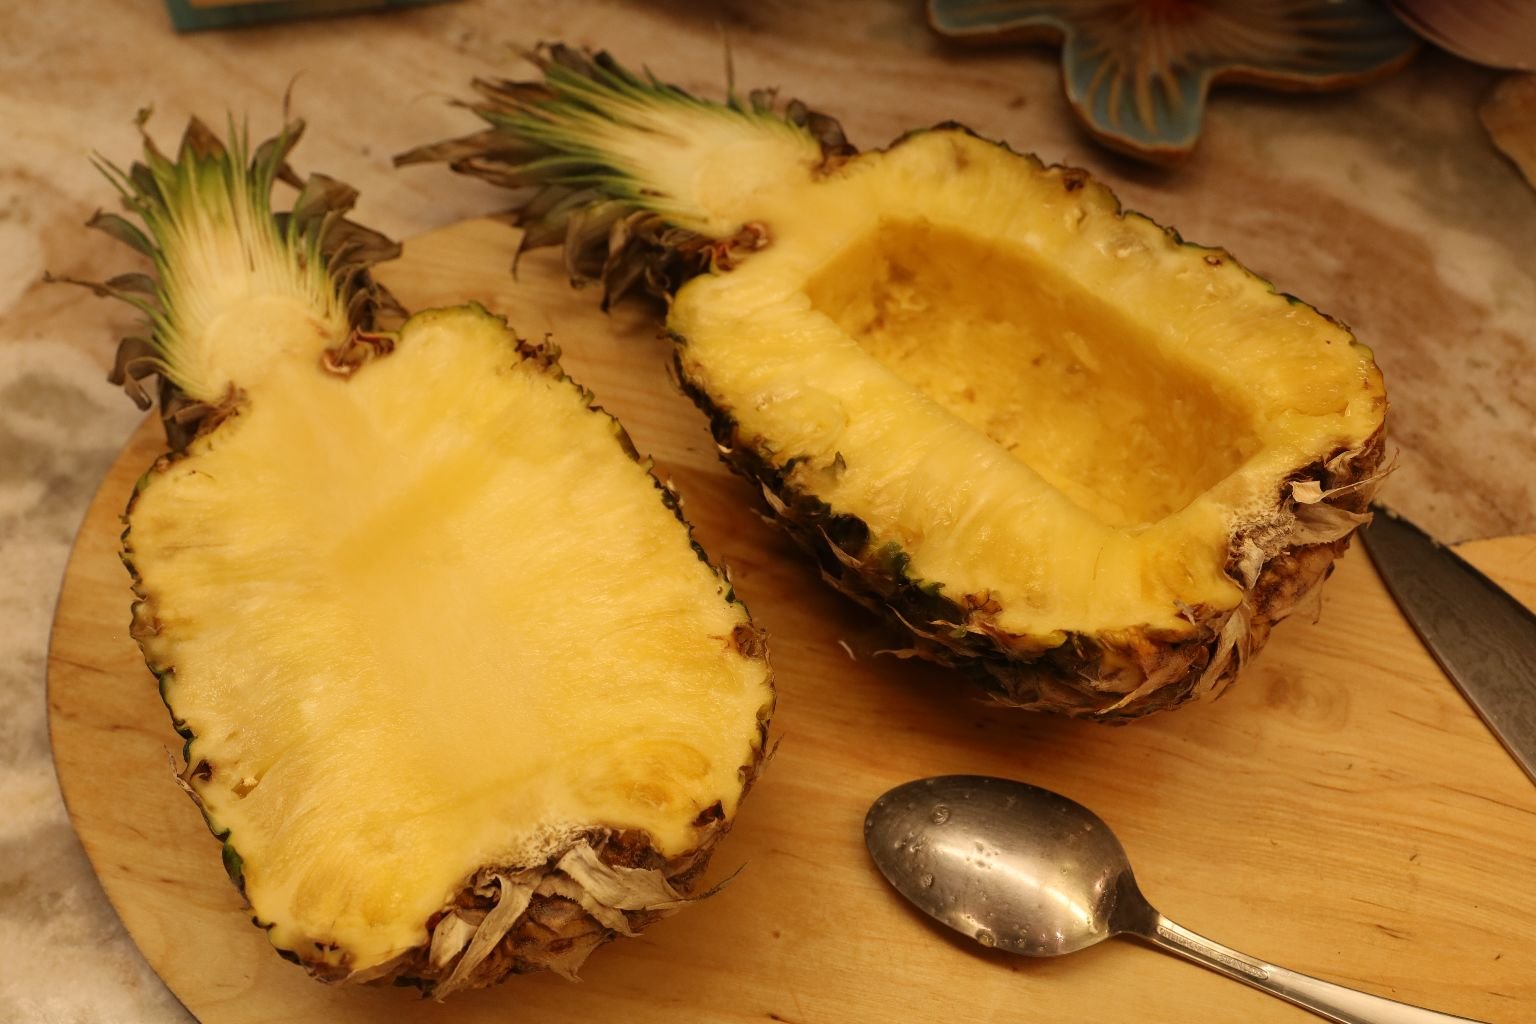
To make the Pineapple Bowl, slice the pineapple in half then use a spoon to remove some of the center.


I kept the Pineapple Juice for later.
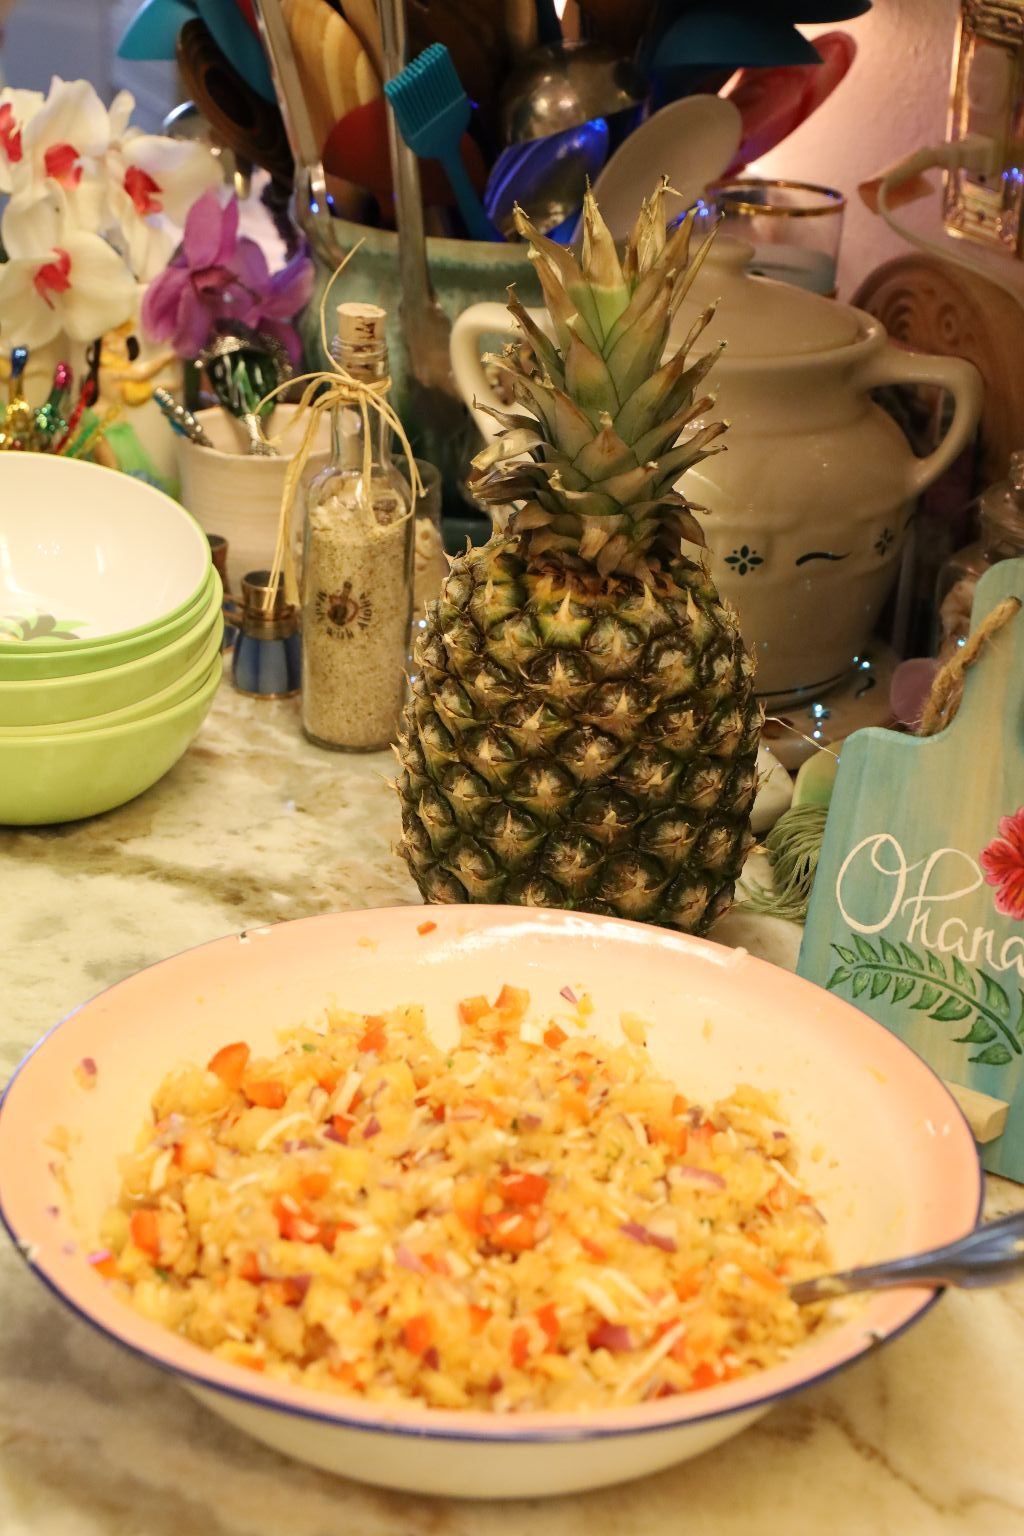
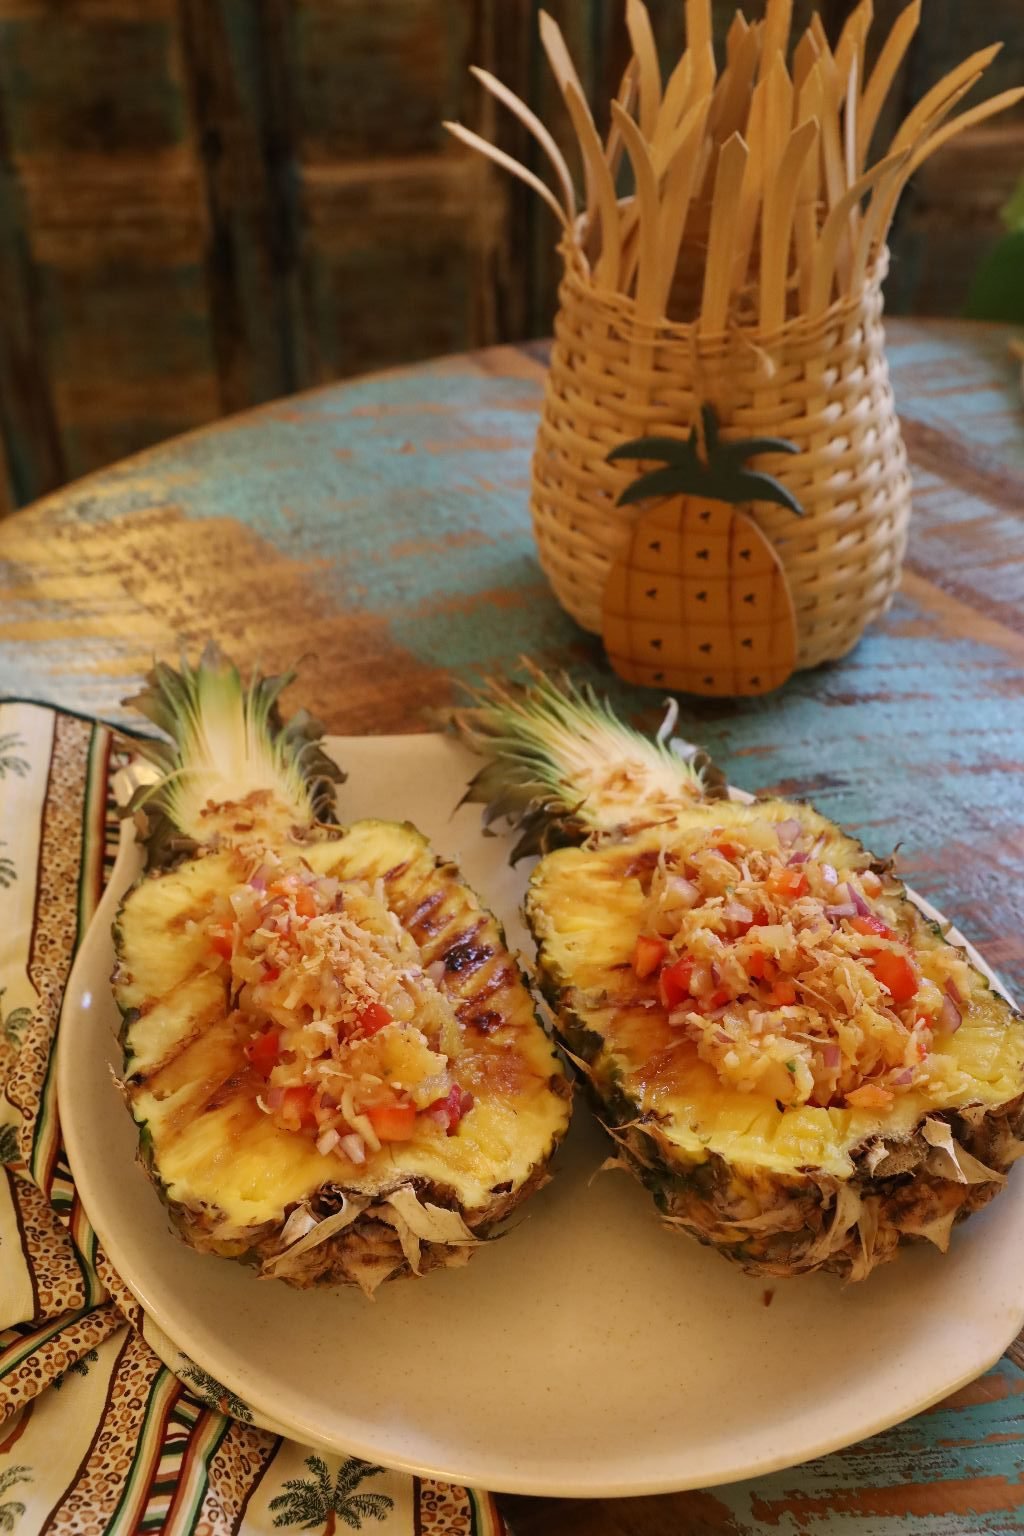
Spoon the relish into the pineapple and place it on a large platter.
————————————————————–

Serve the relish with some nice chips and dig in.
This recipe is also great on fish and chicken!
Cook or grill your fish on one side, flip it over to cook on the other side and top the chicken or fish with some of the relish.
————————————————————————

Grill It! 🙂
Also, great topped on a grilled Pork Tenderloin.
Enjoy, and Thanks Mom, for the Recipe.
——————————————————————–
Gordon’s Tropical Hawaiian Wings
—————————————————————-

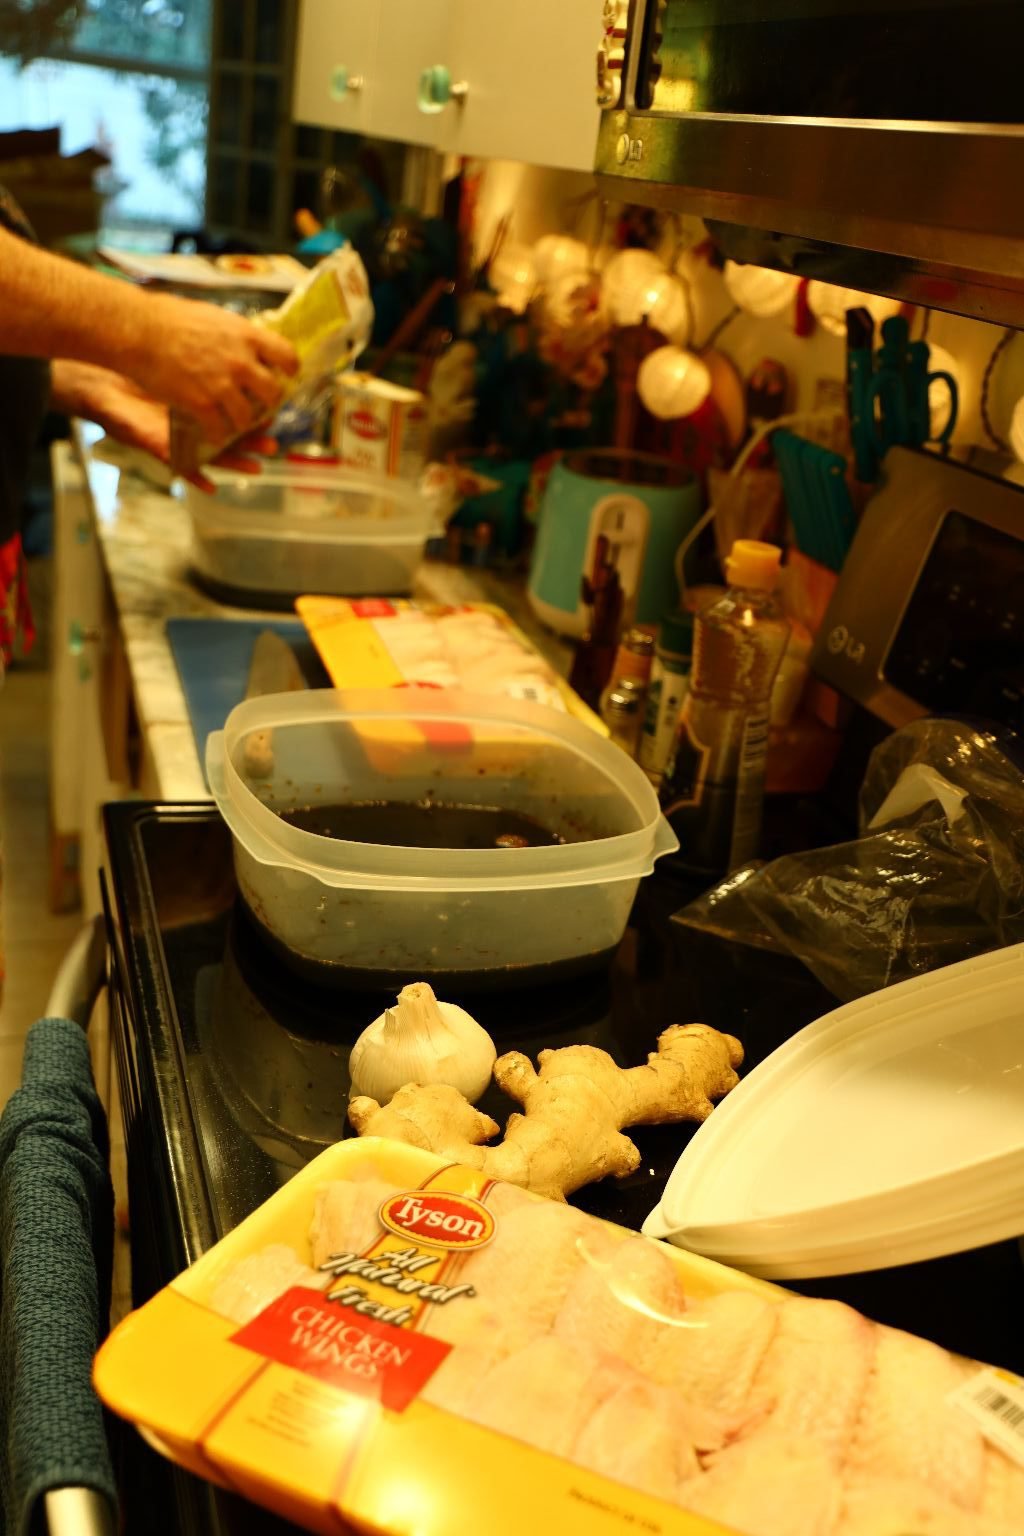
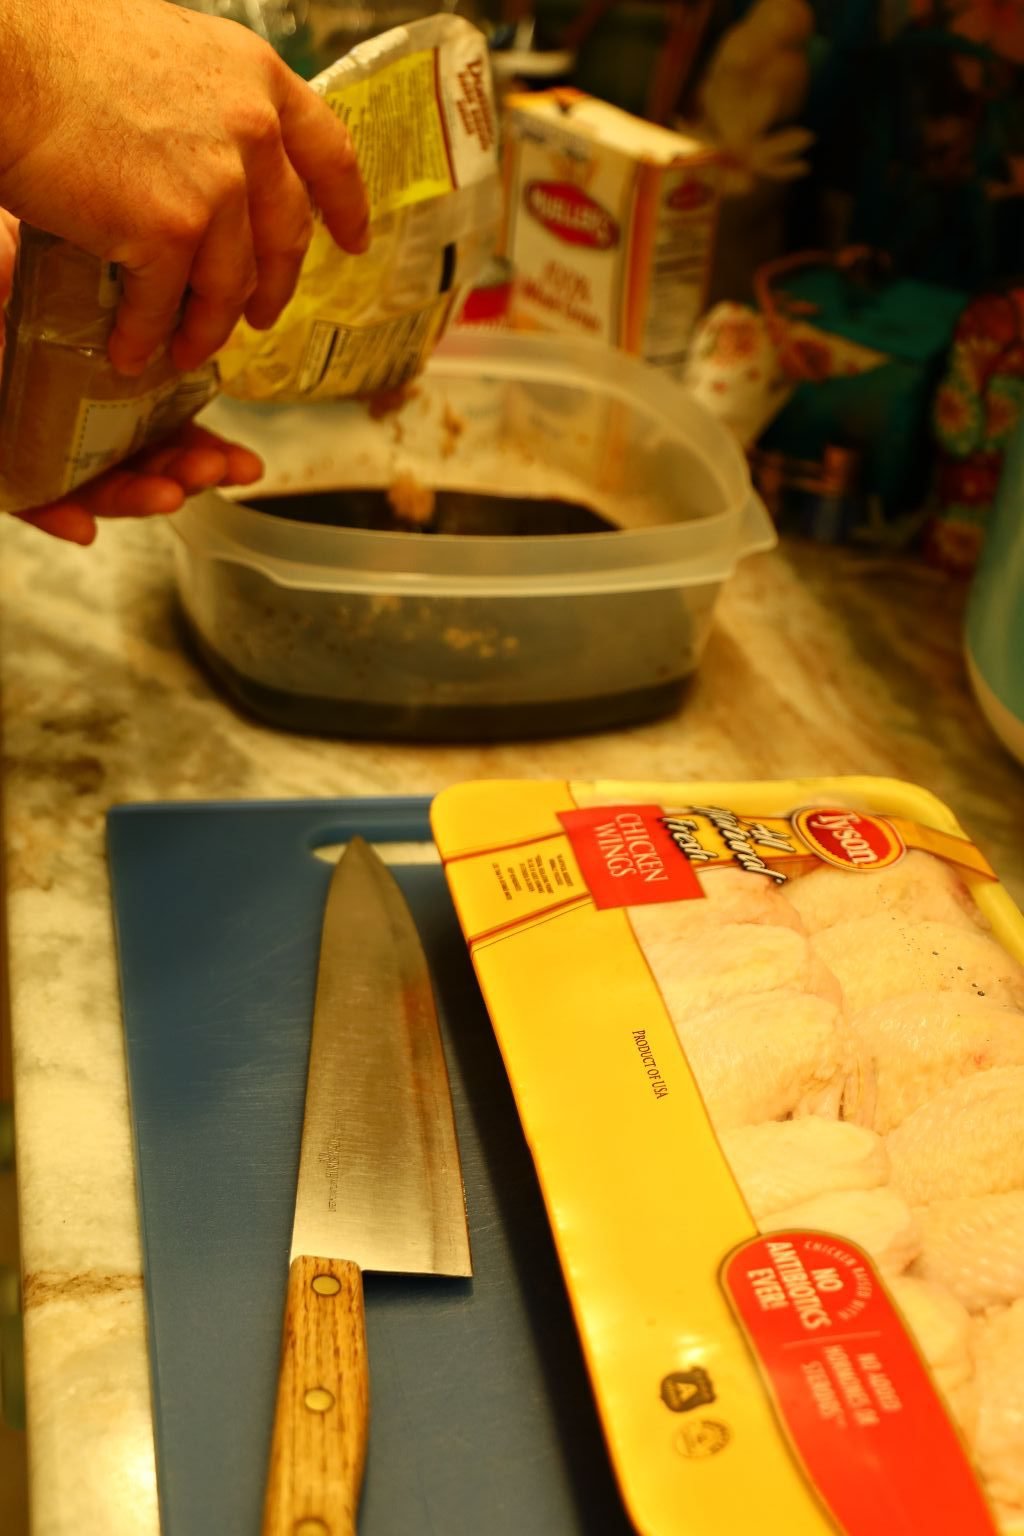
Ingredients:
Halve the ingredients if only making 1 Family Sized pkg of Chicken Wings.
2 Bottles (750ml each) Datu Puti Soy Sauce – Aloha brand is also great to use
2 pkgs. Family Size Chicken Wings
~1 1/4 Cups Brown Sugar (You can use any, or a mixture of sweeteners (Brown Sugar, Honey, White Sugar, Sweet Soy Sauce for this step)
8-10 Tbsp. Sweet Soy Sauce
4 Tbsp. Sesame Oil
1 large piece of Ginger ~5 inches long – sliced thinly
8 Garlic Cloves – sliced thinly
3/4 pkg. Sweetened Shaved Coconut – Roasted at 350’F on a sheet pan until golden brown, mixing as needed to brown the coconut evenly
1 Jar Pineapple (Smuckers) Preserves
5 Tbsp. canned Crushed Pineapple and 2 Tbsp. Pineapple Juice
——————————————————-
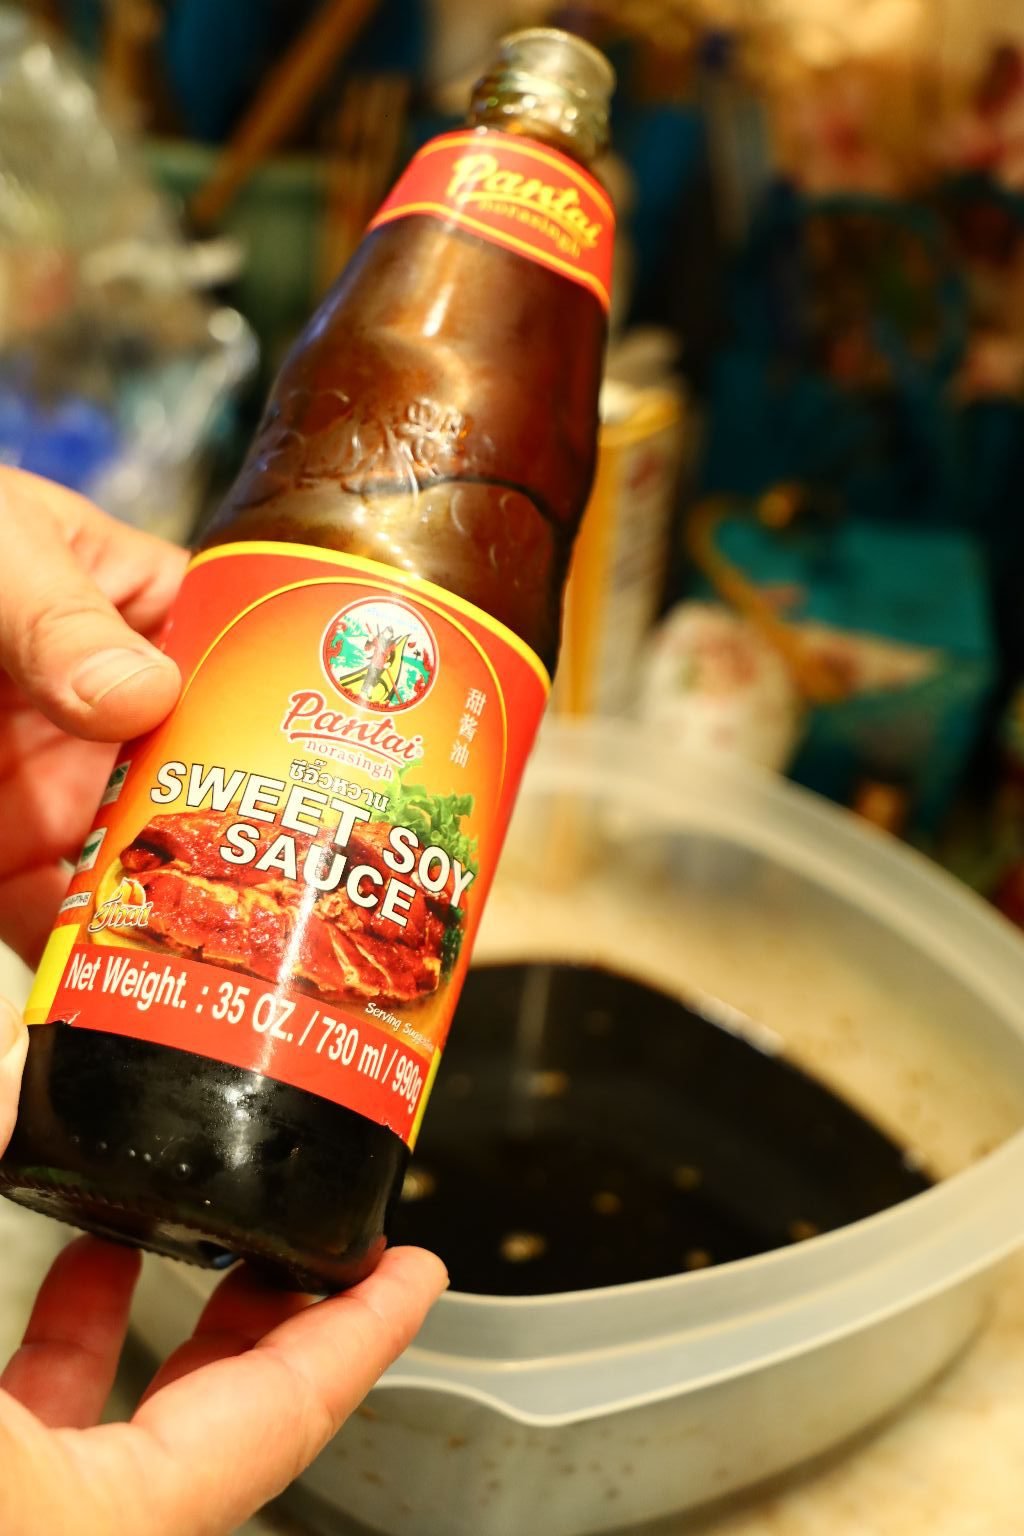
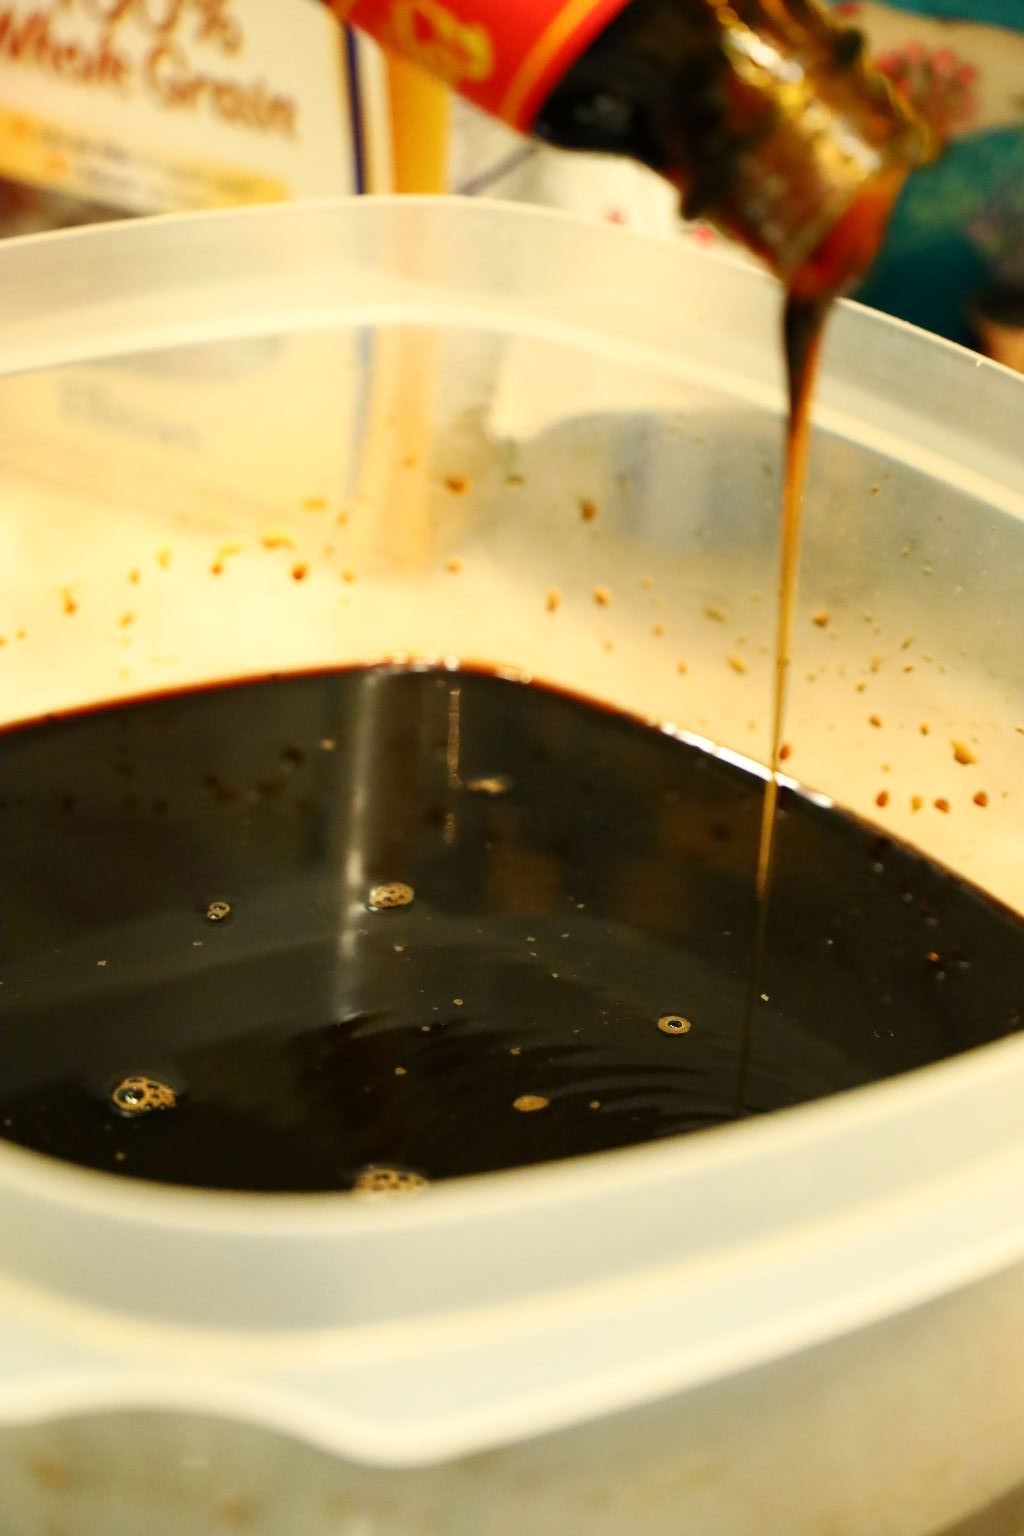

To make the Teriyaki marinade I used two containers, because I didn’t have a single container large enough to hold all the marinade and wing sections. To start, pour one bottle of your Soy Sauce into each large container then add half of your brown sugar into each container. Now add 2 Tbsp. Sweet Soy Sauce to each container and mix all the ingredients making sure the sugar is fully dissolved. If the sugar isn’t fully dissolved you will not get an accurate taste in the next step. Taste the mixture ensuring it is a little more sweet than salty. Add more sweetener (Brown Sugar, Honey, White Sugar, Sweet Soy Sauce) as needed to make it sweeter than salty. If you mess up, you can always use a touch more Soy Sauce to balance out the flavor. Once you have the taste to your liking, you have made your Teriyaki Sauce! Easy right! Now add your Sesame Oil.


Make sure your wings are fully thawed if previously frozen.

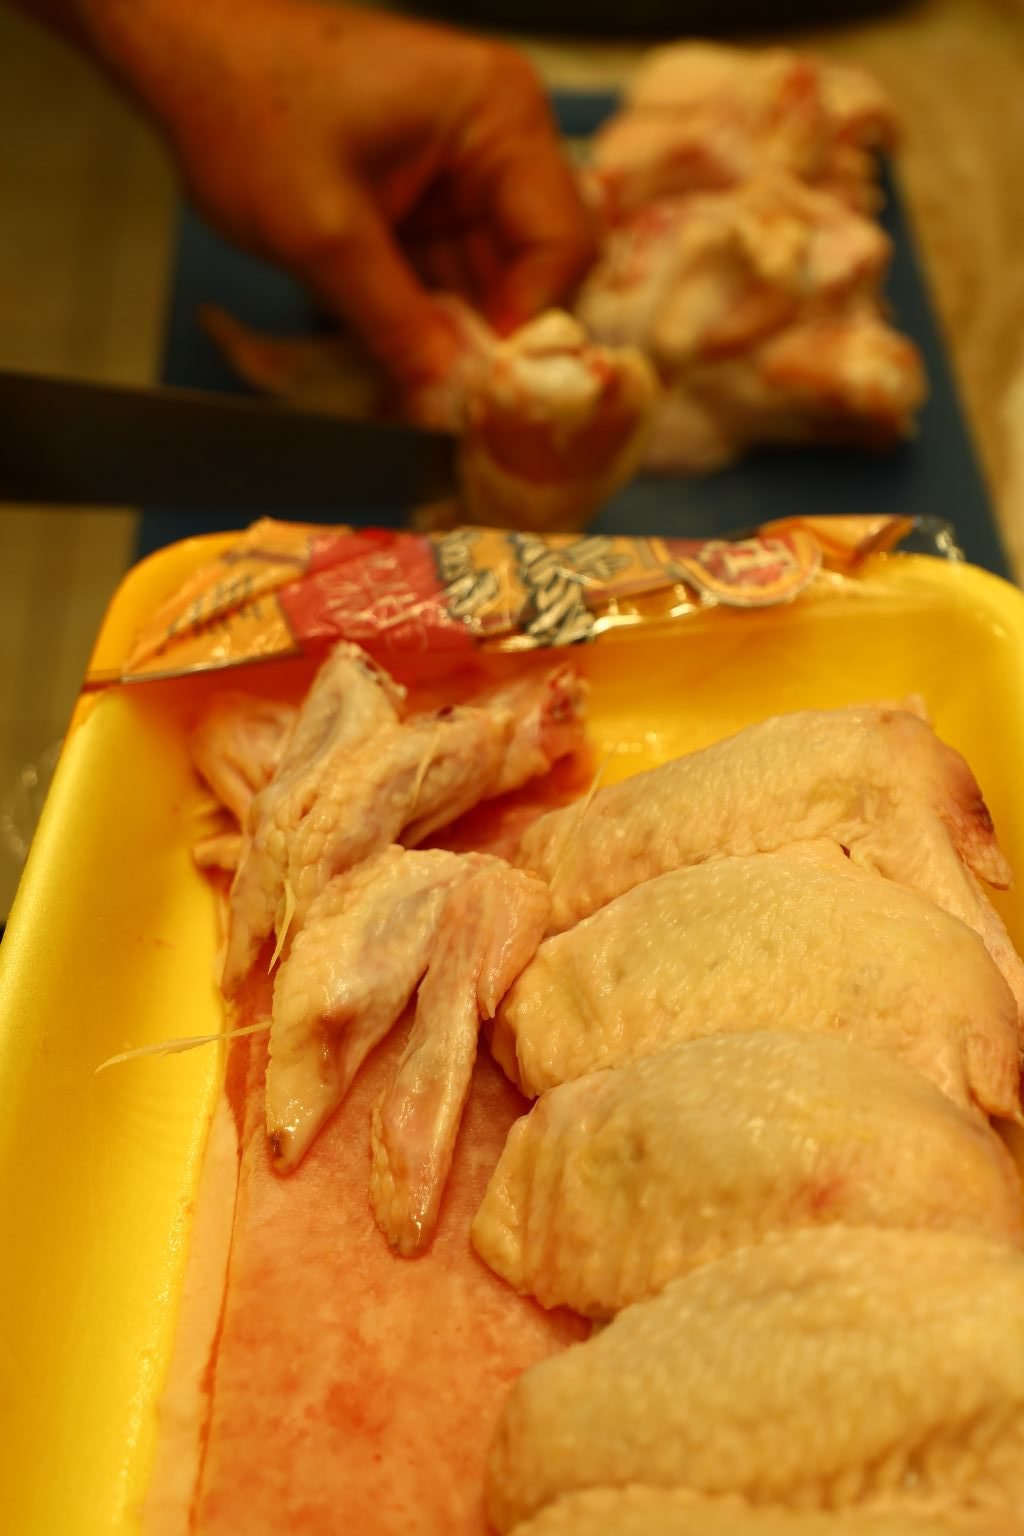
Using a sharp knife, separate the Wingette from the Drumett slicing right between the joint. Then slice off the Tip of the Wingette at the joint and throw the Tip in the trash. Do this for all the chicken then using a colander, rinse the Wingett’s and Drumett’s with cold water to remove any excess bone fragments and blood that may have been left behind.
Here is the Teriyaki marinade showing the Sesame Oil on top.
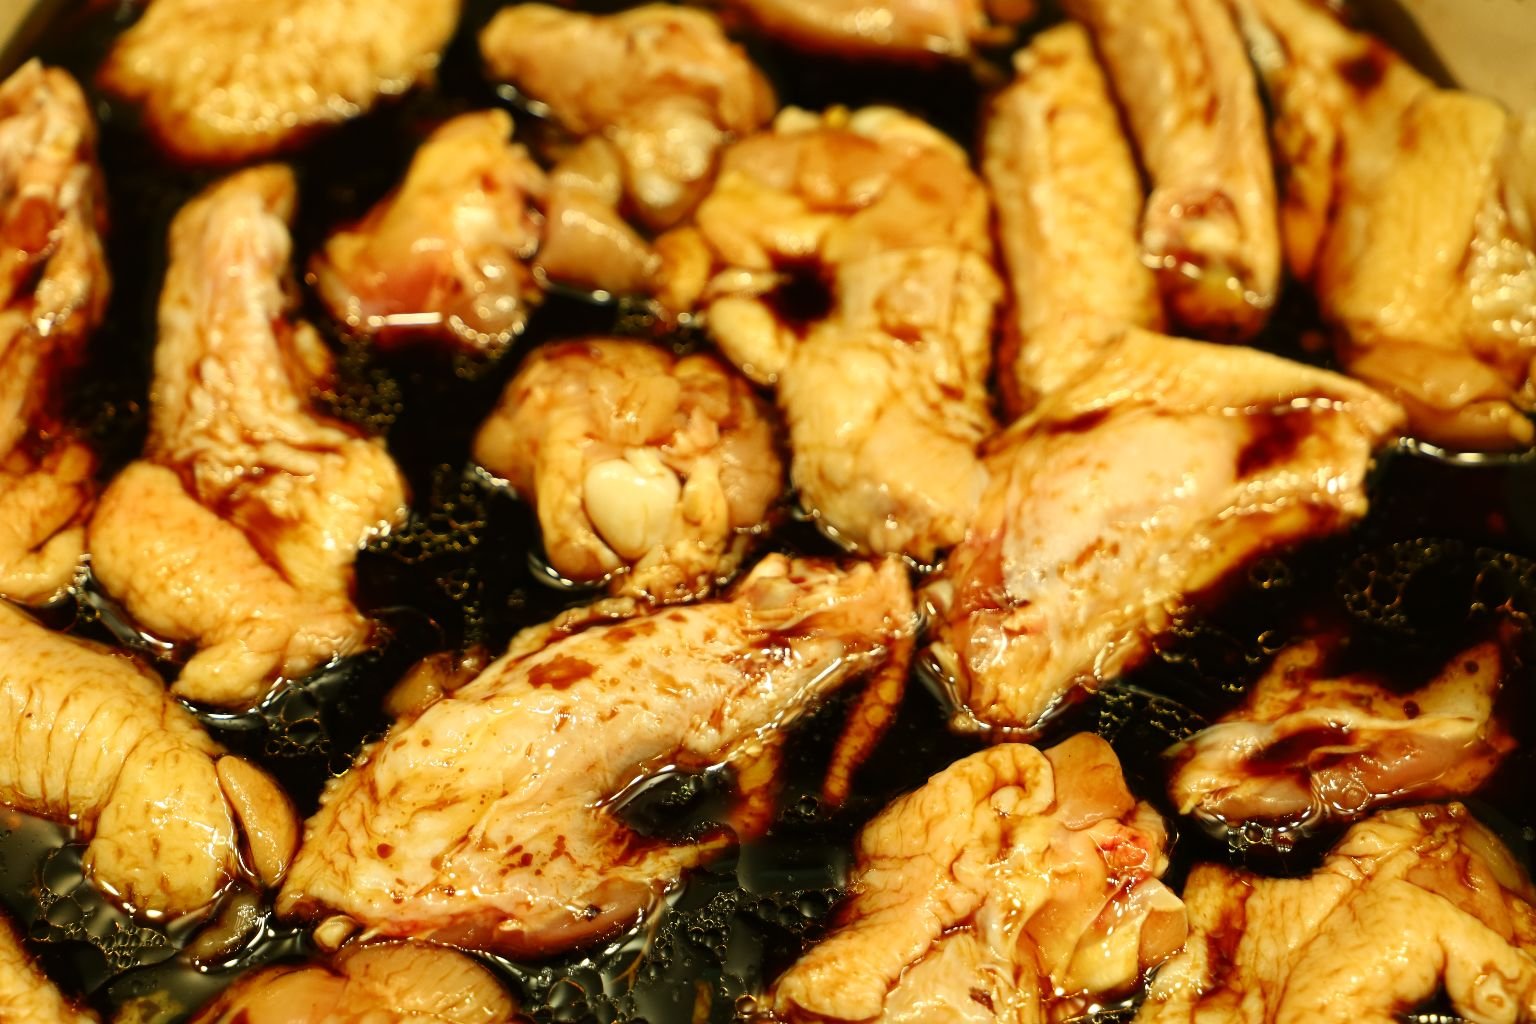
Add your sliced wings to the Teriyaki marinade. Make sure you don’t add too many to each container if making two batches, so they will marinate evenly.

Pictured is the large section of Ginger I used.
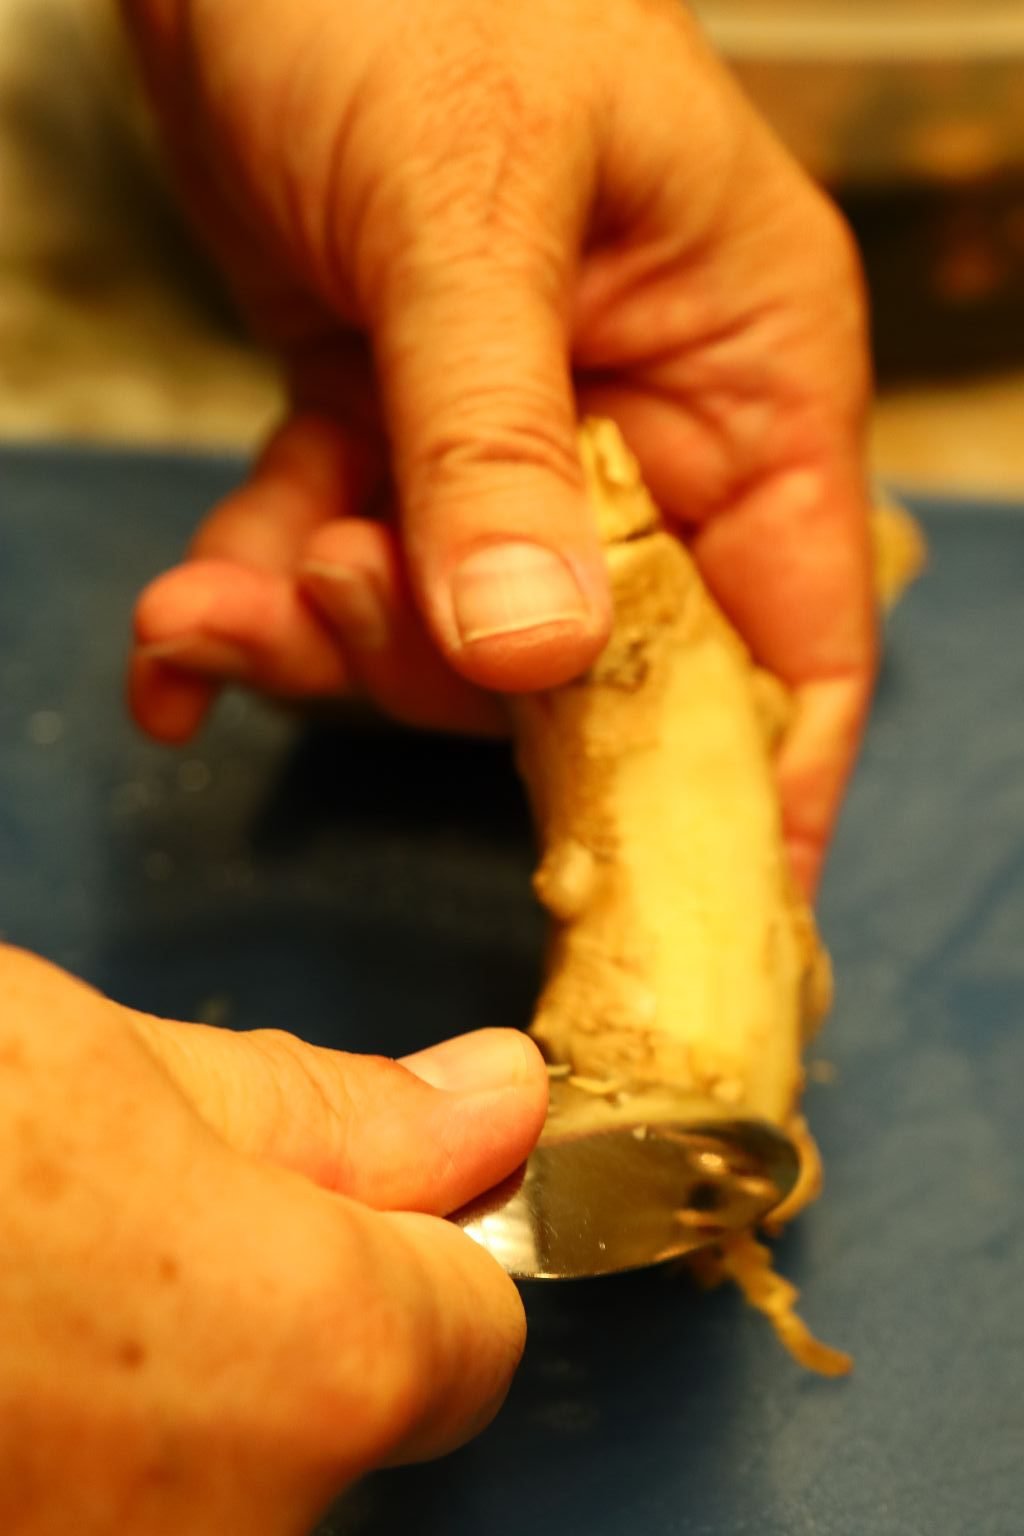
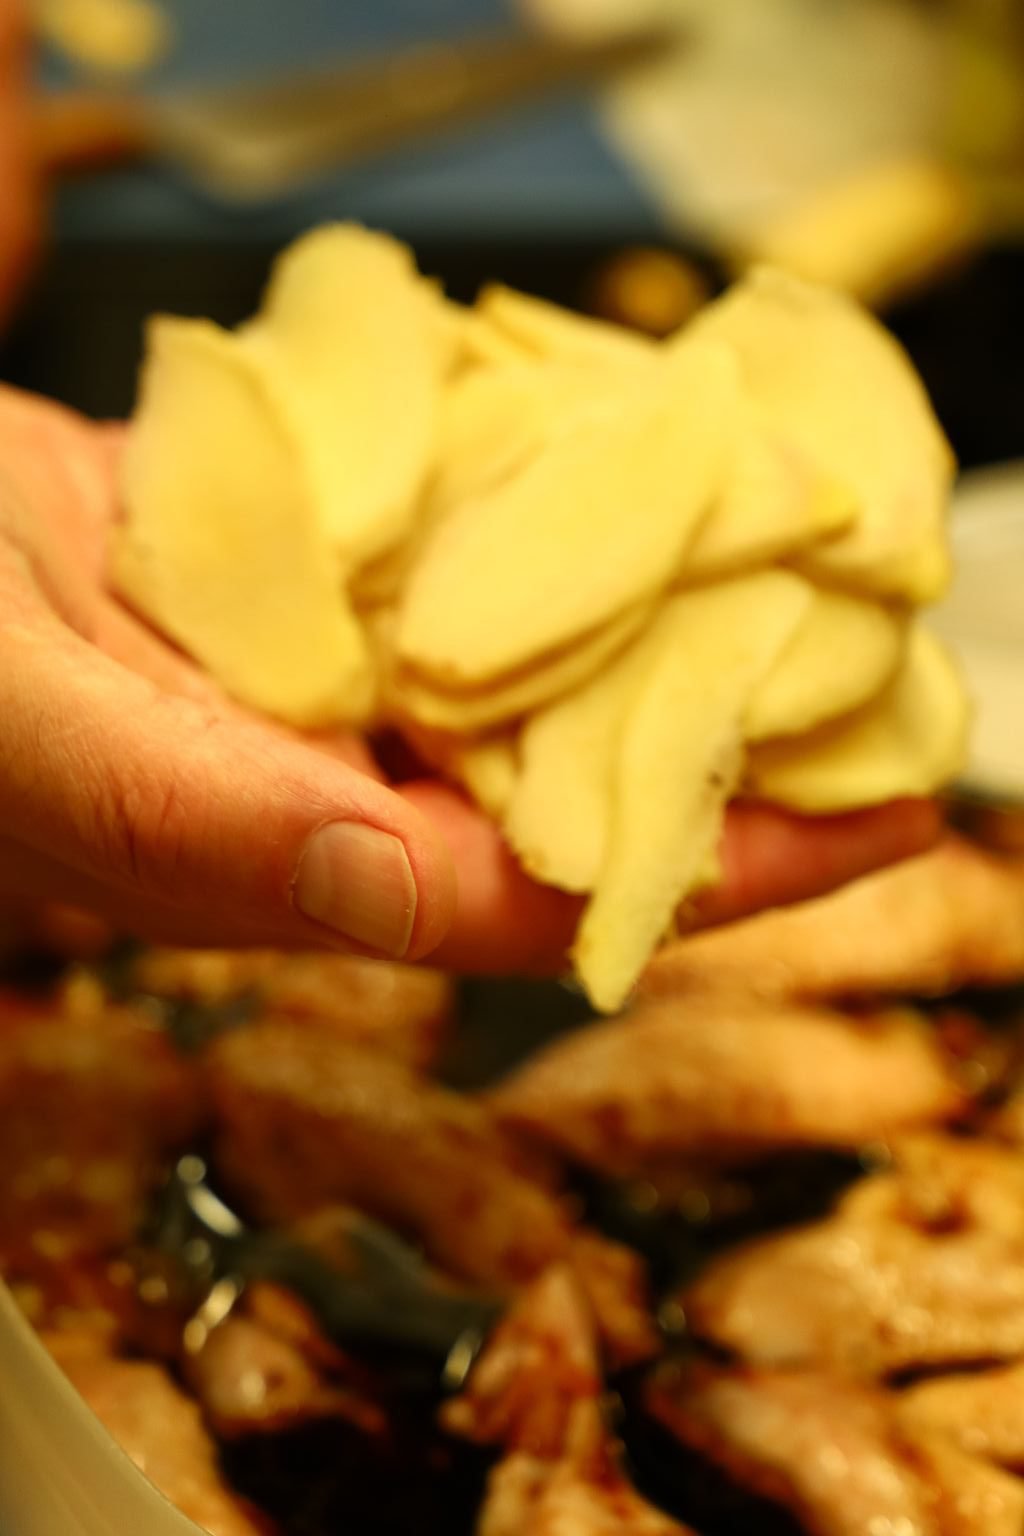
Use a spoon to remove the outer skin of the Ginger. Once removed, slice the Ginger thinly as shown.
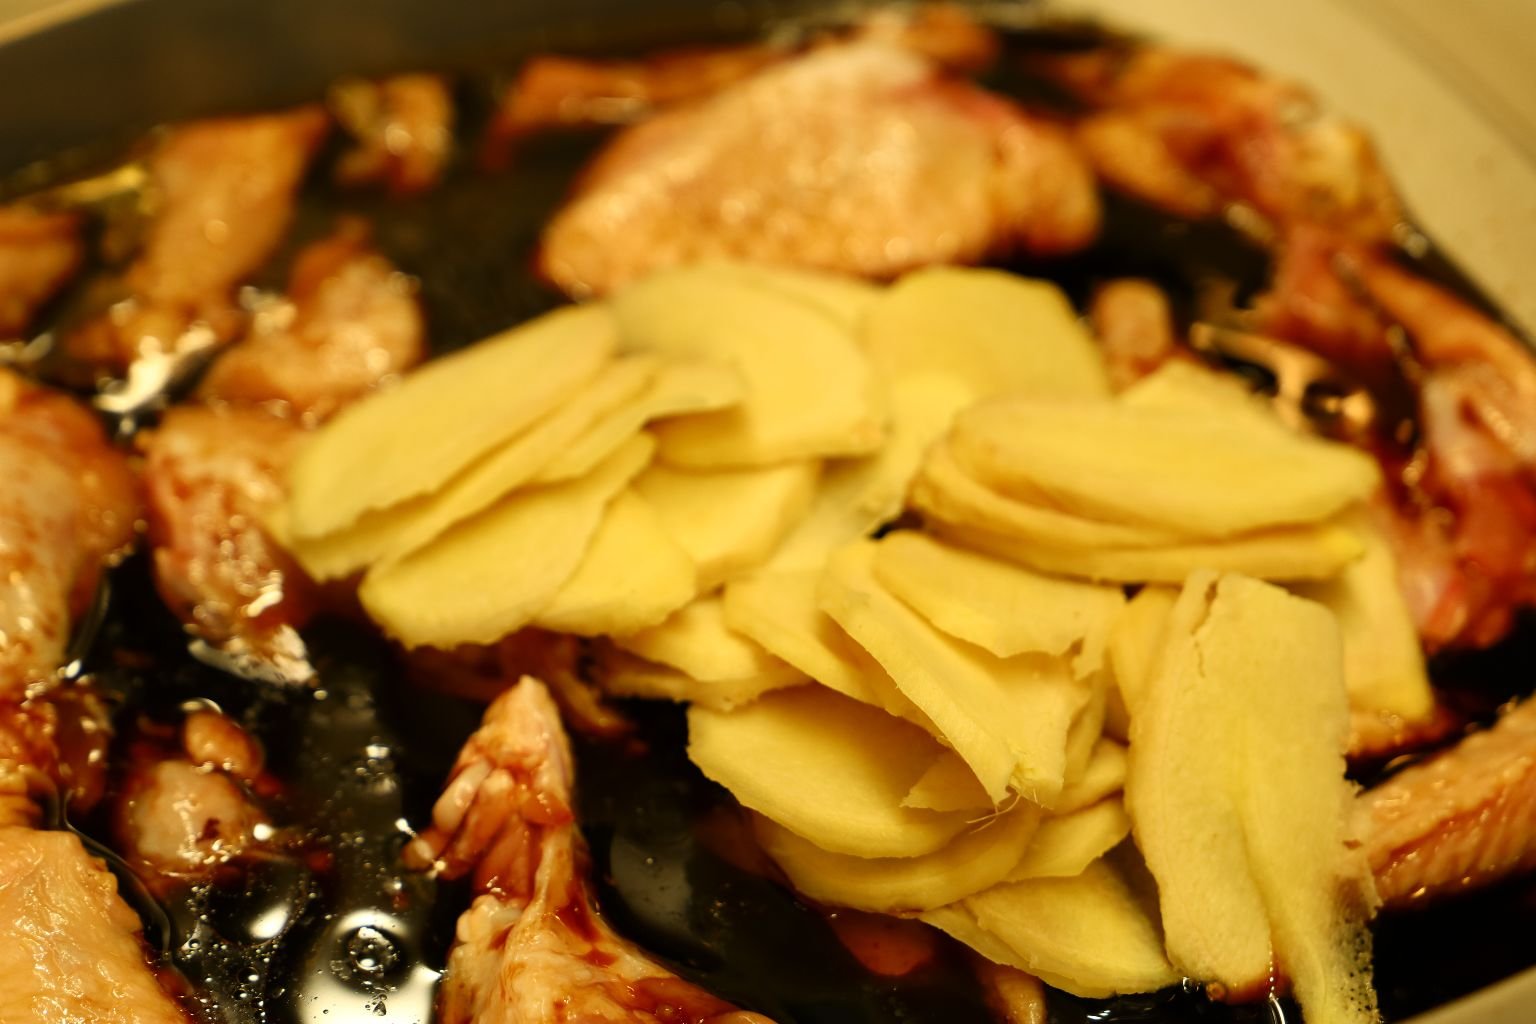
Add as much or as little of the sliced Ginger to the wings.

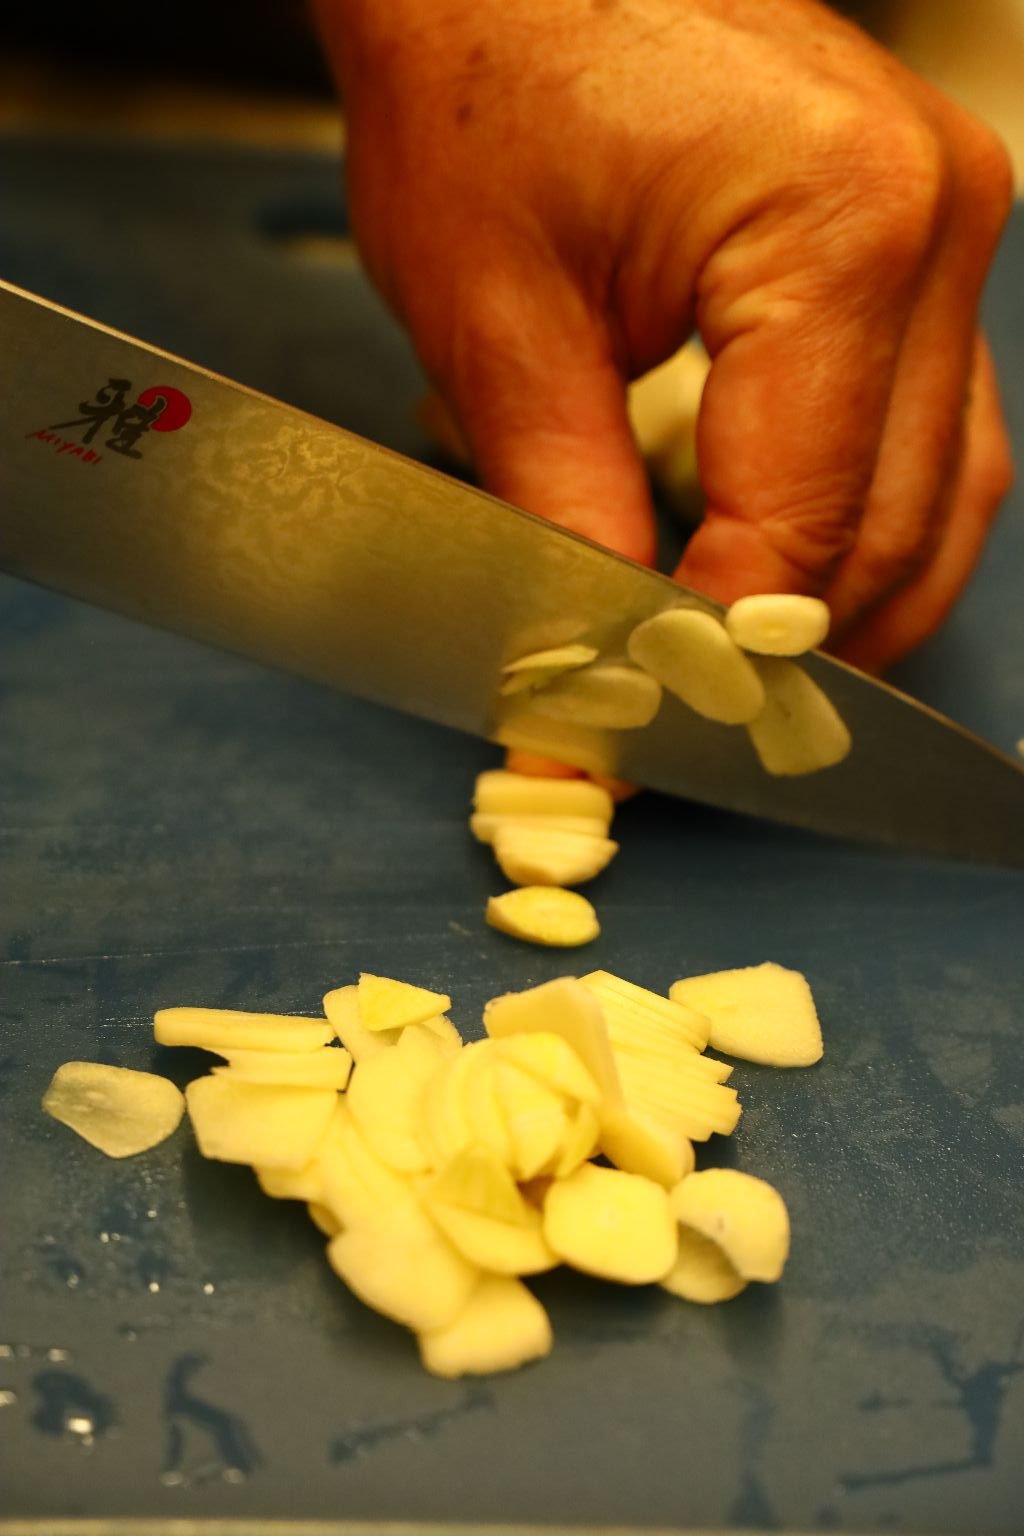
Peel and slice the Garlic thinly as shown.
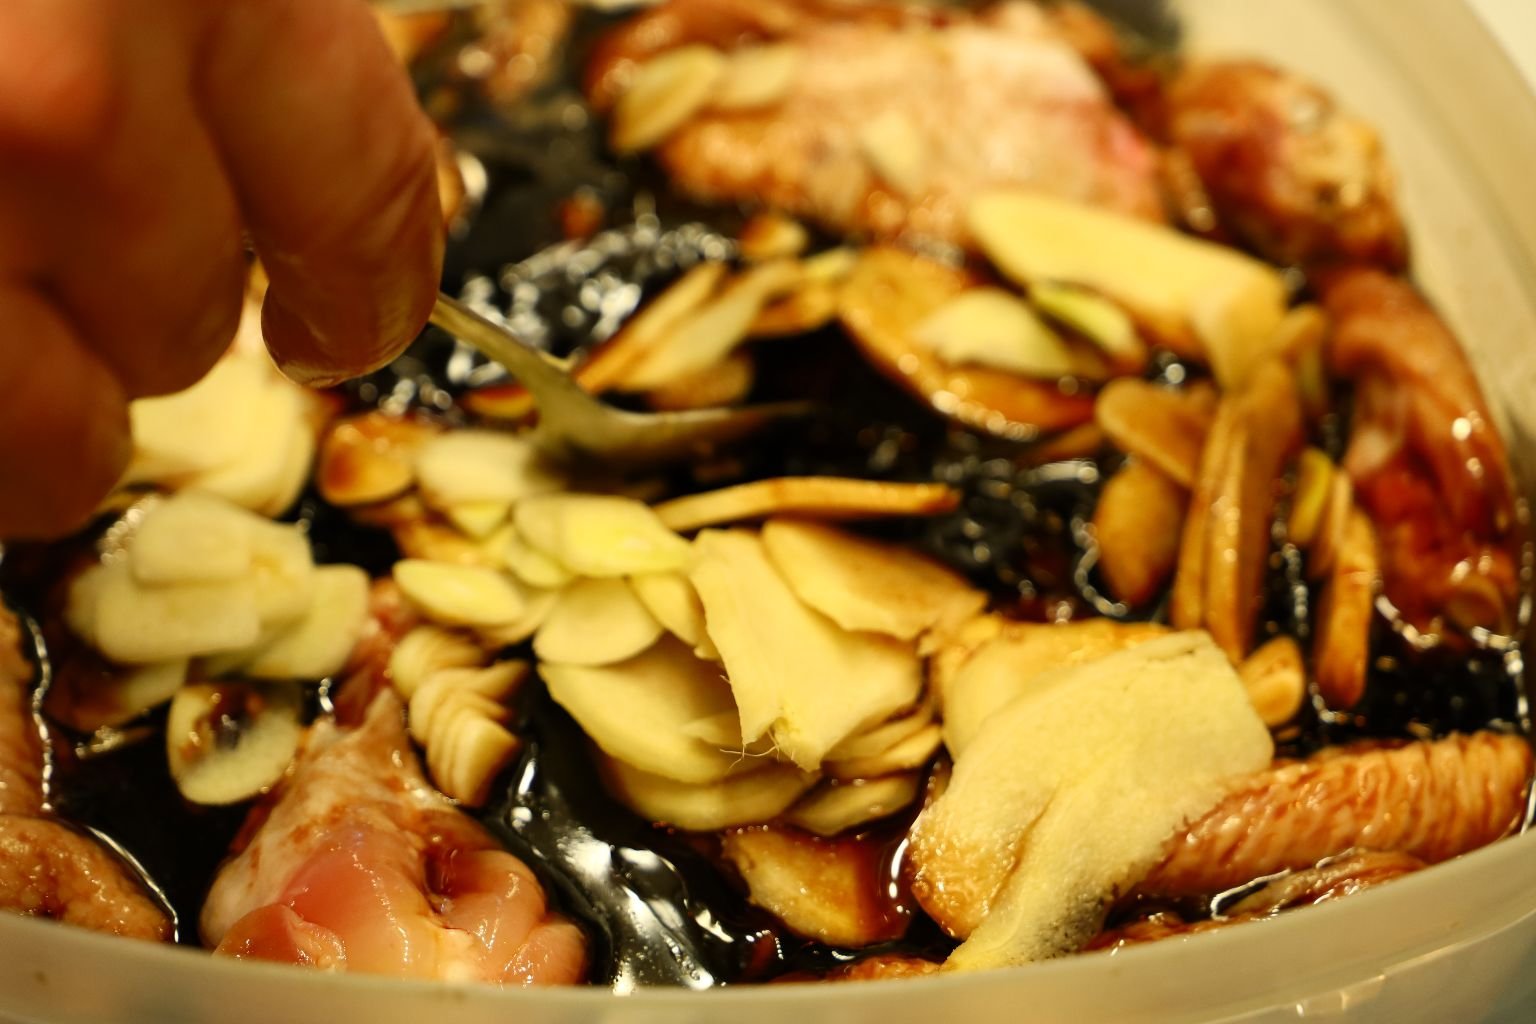
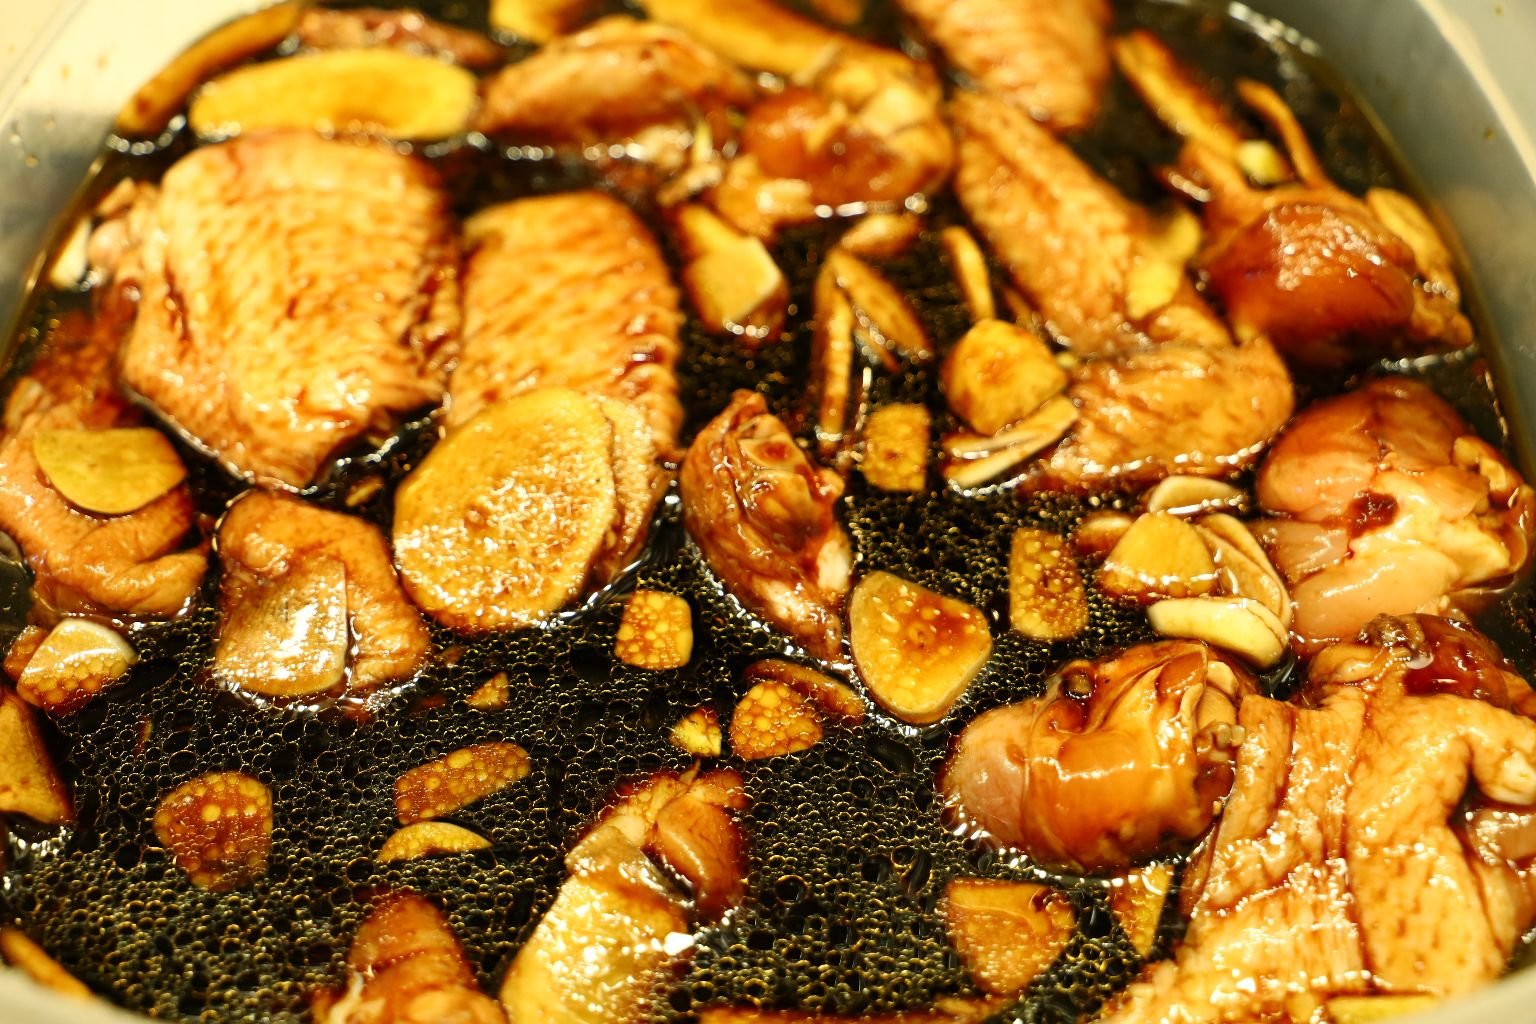
Add as much or as little of the Garlic to the containers of wings and mix well.
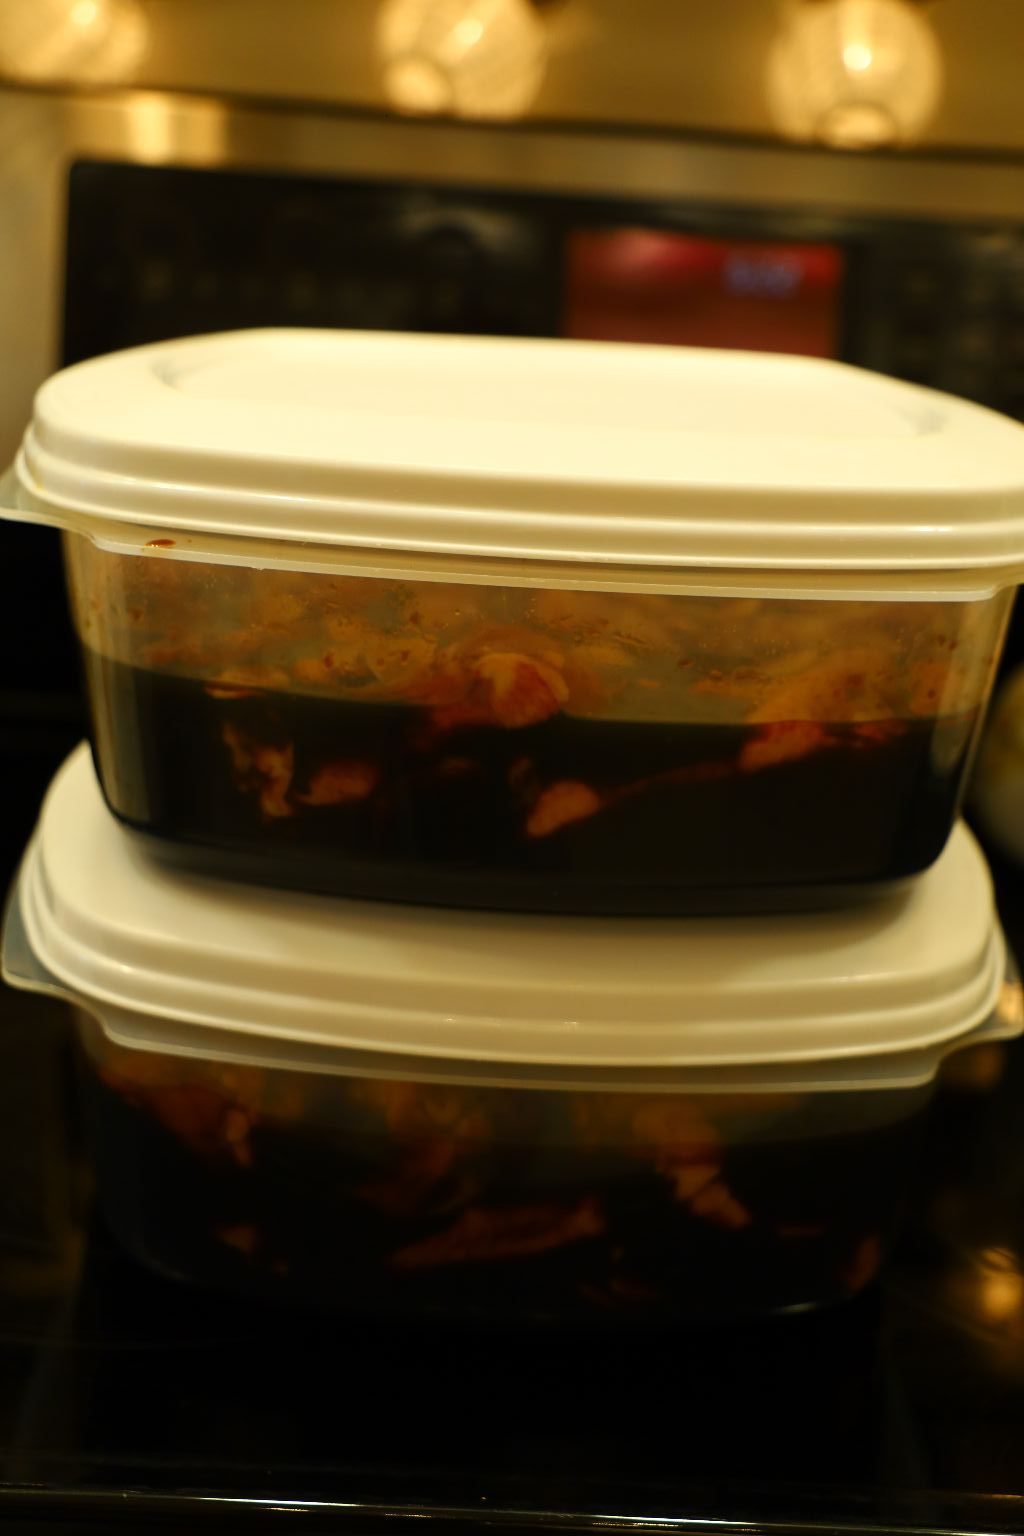
Here you can see the two containers of wings marinating in the Teriyaki sauce. Refrigerate these for at least 24 hour or up to 36 hours. Be sure to gently shake the containers around every 12 hours to ensure the marinade penetrates the wings evenly.

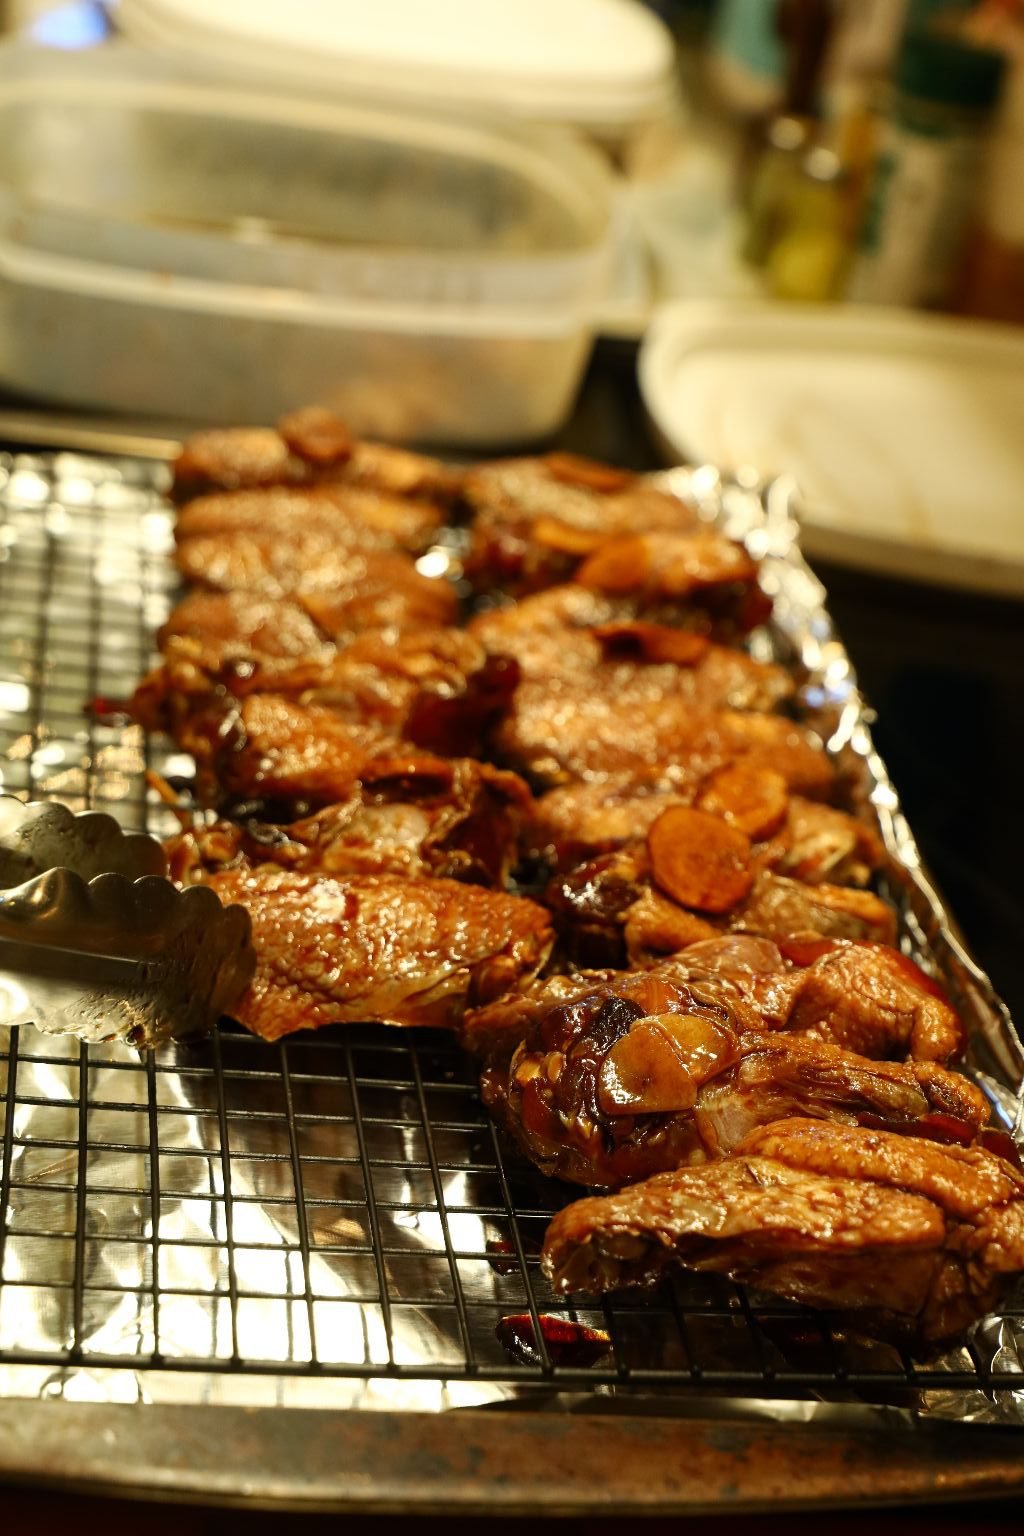
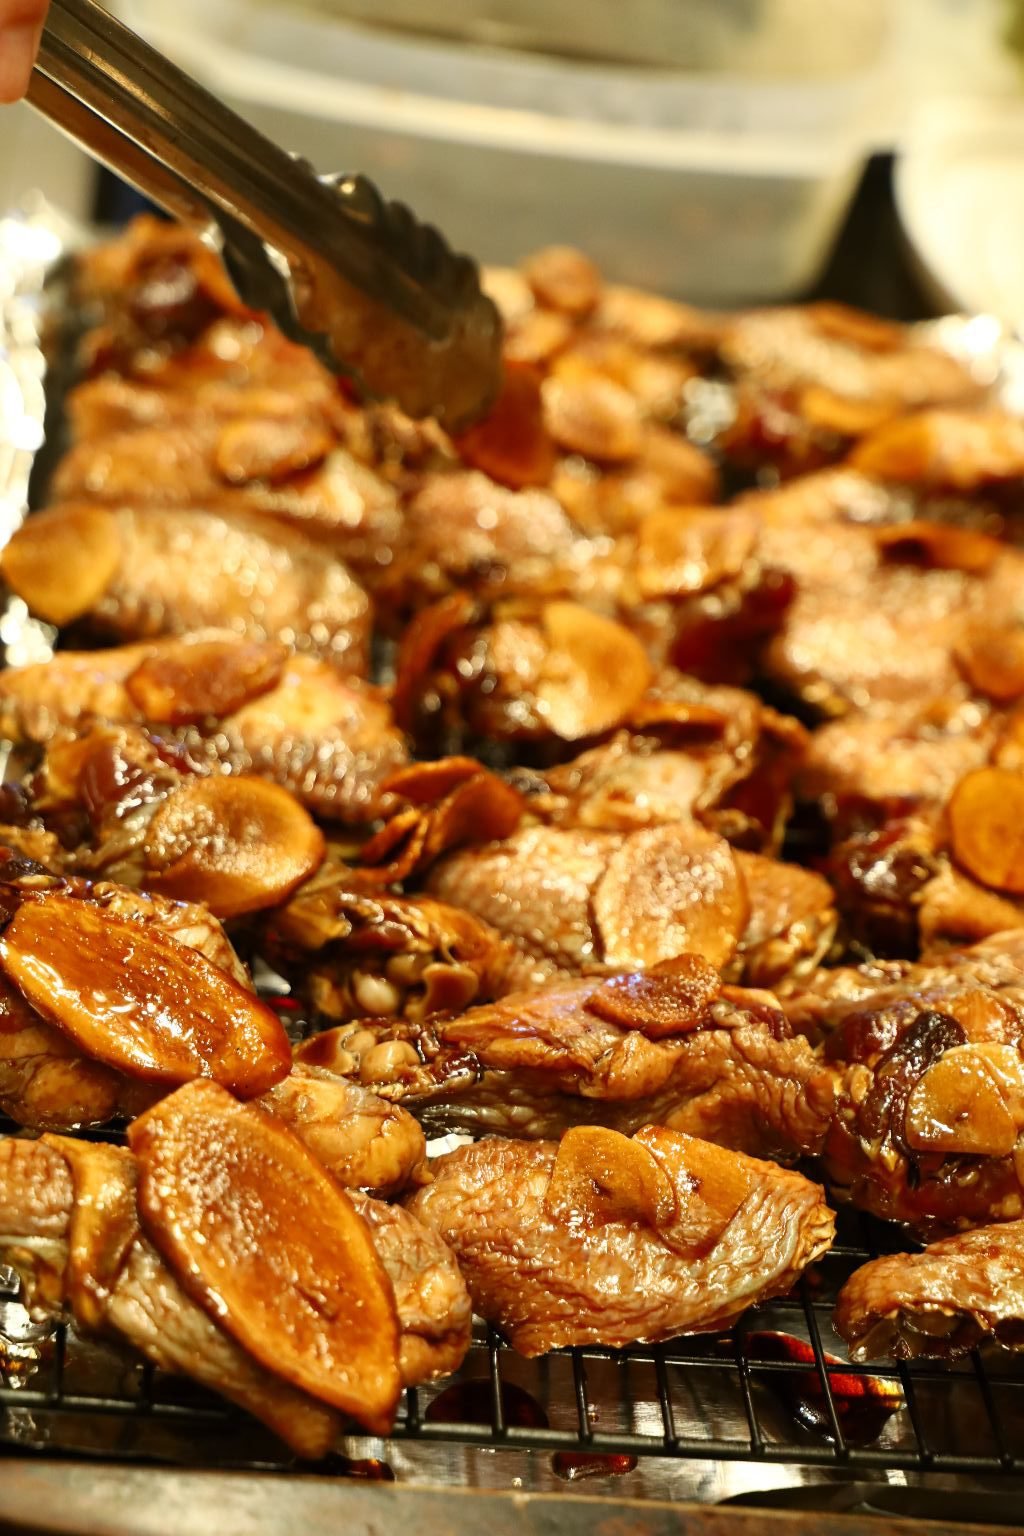
Turn your oven to 400’F. As your oven heats, remove the wing sections and place them on a cooling rack that is on top of a large sheet pan that has been lined with aluminum foil. Ensure your wings have a little space between them so they evenly cook. I like to add the marinated Ginger and Garlic slices to the tops of the wings as when cooked they add a great flavor.
TIP: If you boil the marinade, killing any bacteria, you can use it over rice to make another great addition to this meal.
To kill the bacteria simply place the marinade into a sauce pan and bring the sauce to a boil on a medium-high heat for about 10 minutes. It will then be safe to eat.
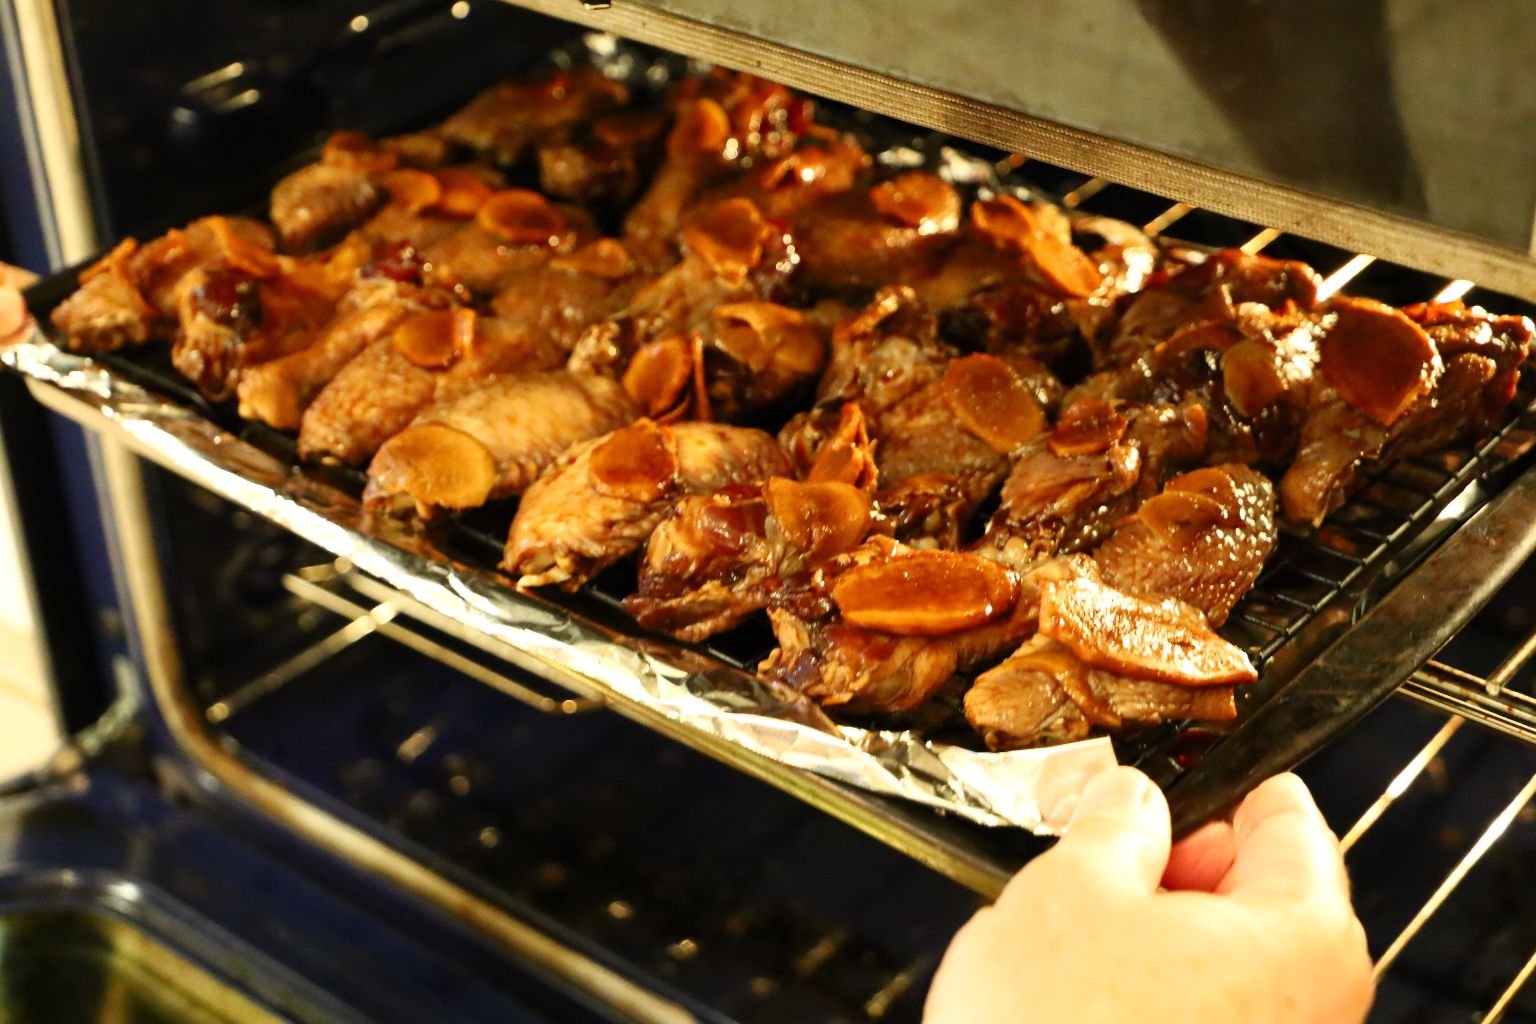
Place your wings into the oven and when at temperature, cook them for about 30 min.


Here I am adding the second batch of wings to the sheet pan. The last picture shows the large section of Ginger on top of the wing to be cooked.

Here I am placing the second set of wings into the oven.
———————————————————————-

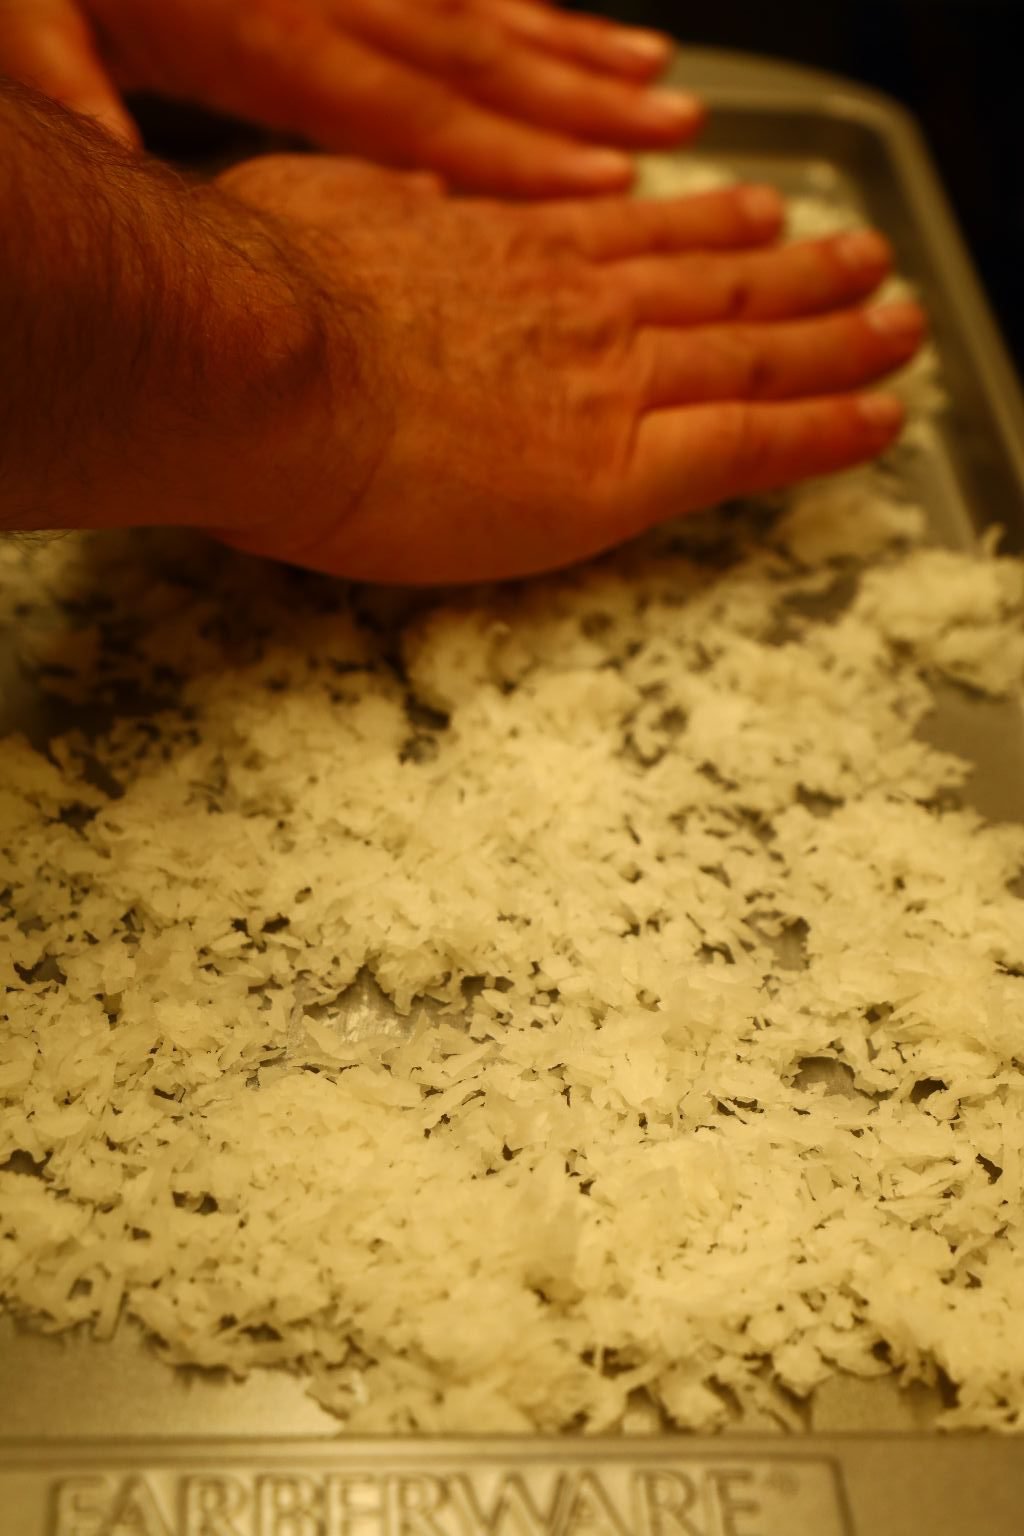
While the wings were marinating, I used about 3/4 of a bag of Sweetened Shaved Coconut and spread it evenly over a sheet pan.
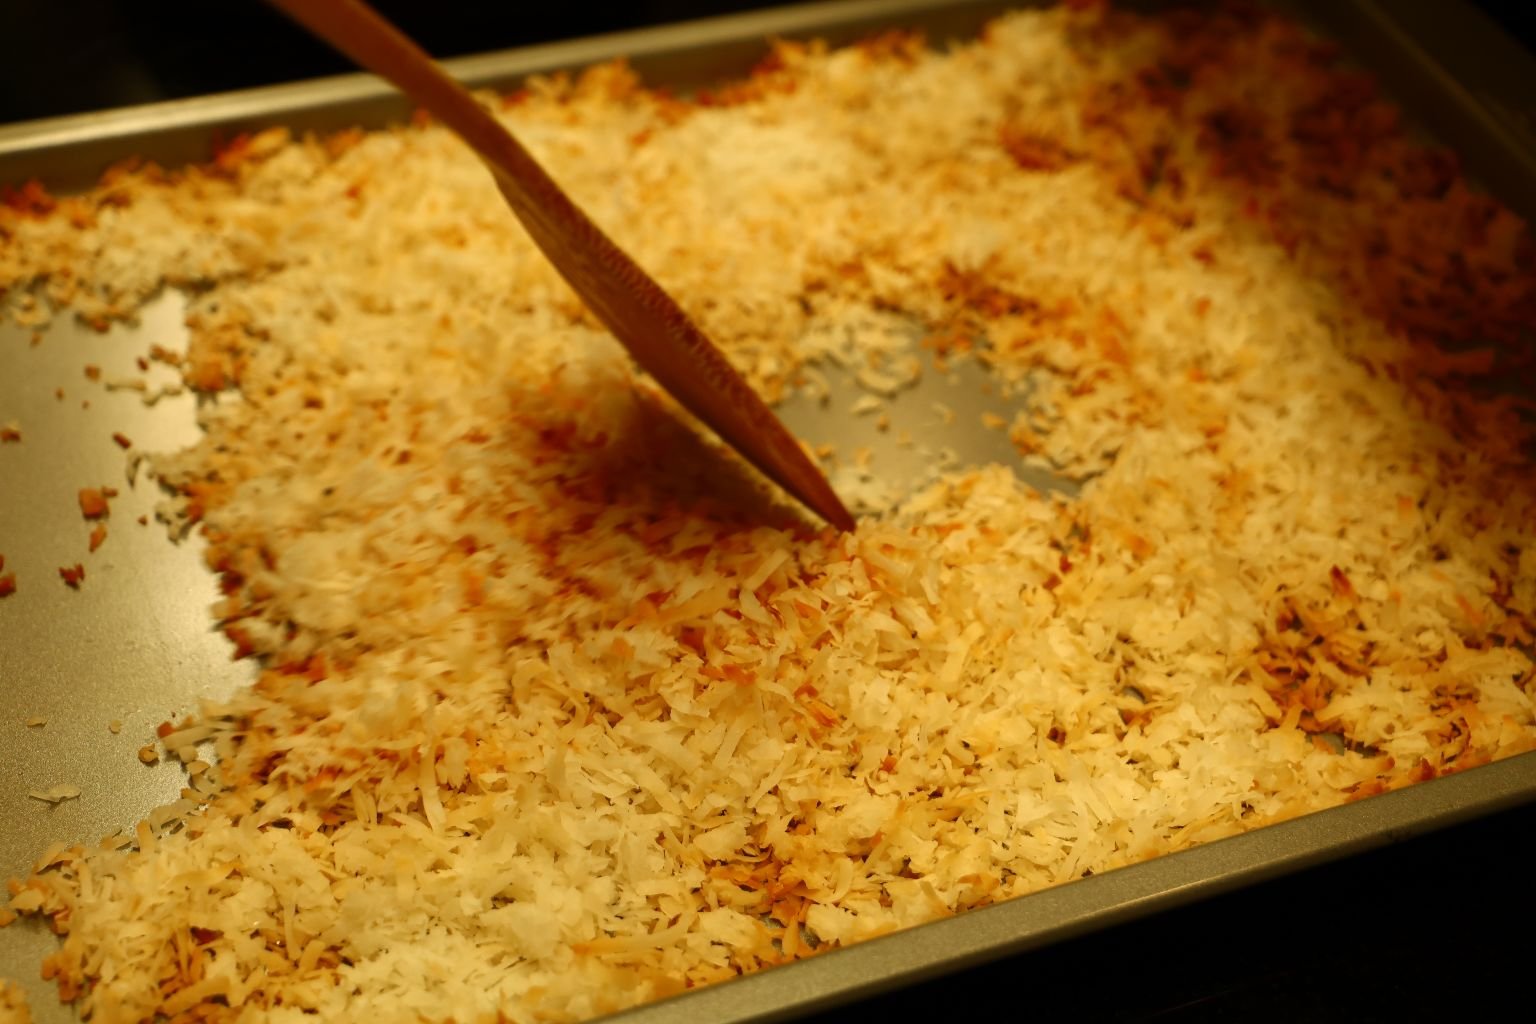
Roast the coconut in a 350’F oven for about 10 min. then use a spatula to mix the browned coconut evenly with the white uncooked coconut. Place the coconut back in the oven for a few minutes at a time, mixing it so that it cooks evenly. Remove the coconut from the oven when cooked and browned to your liking and place in a bowl when done.
——————————————————————–
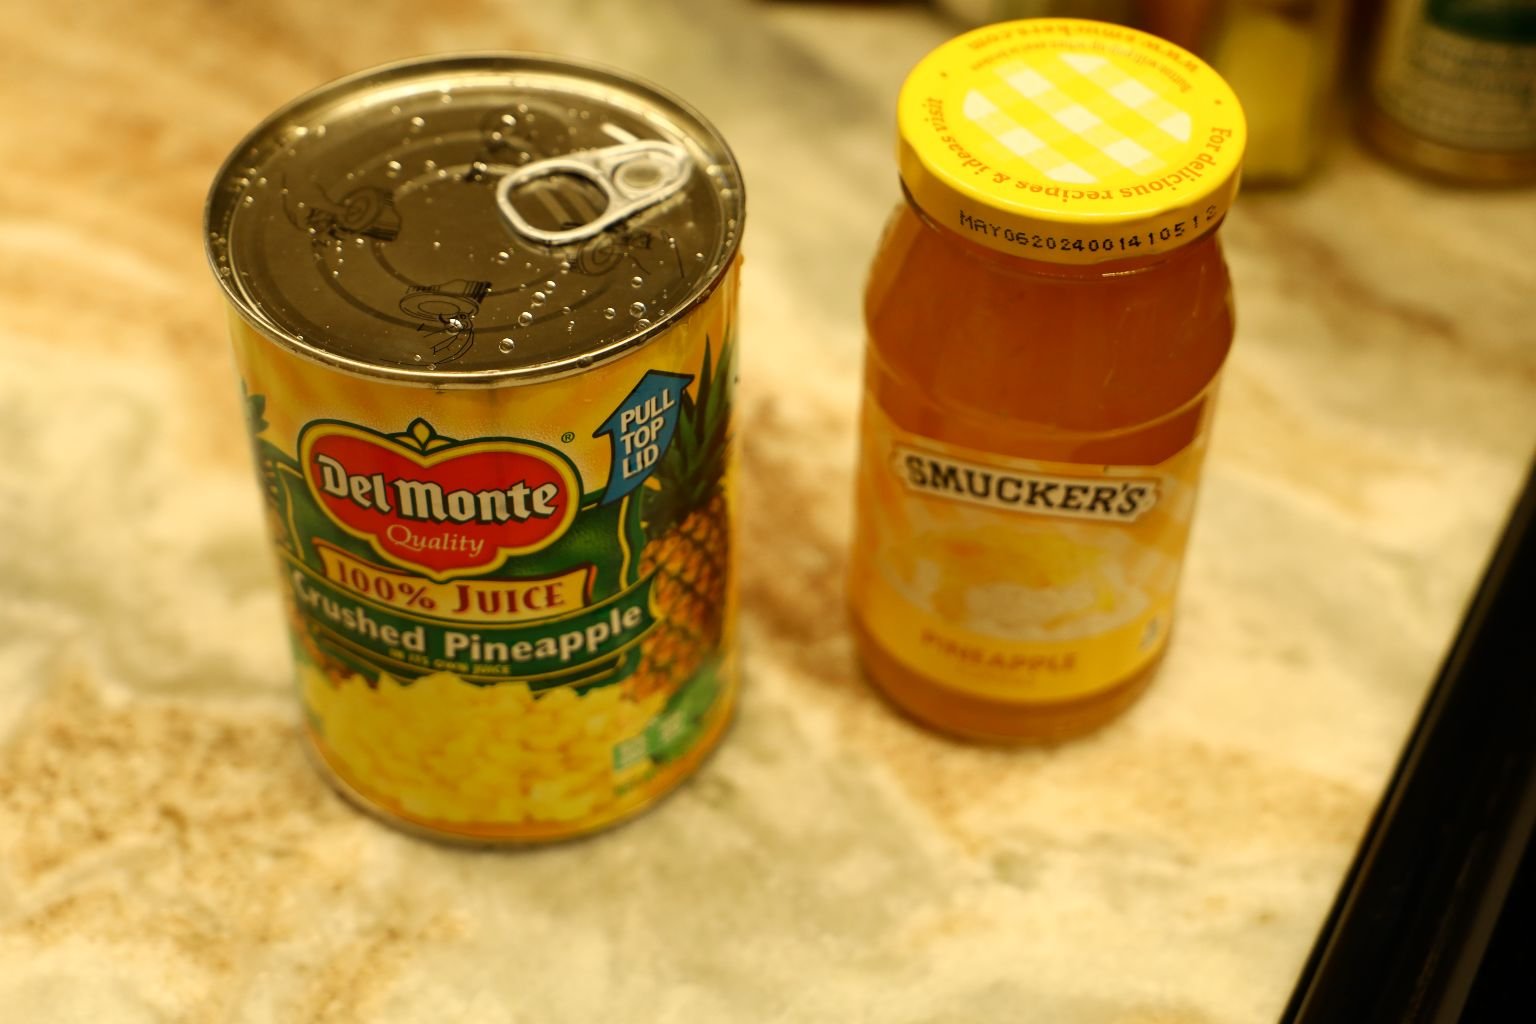
Pictured is the Pineapple Preserves and Crushed Pineapple that I used.


While the wings are cooking, add your Pineapple Preserves, Crushed Pineapple, and juice to a small pot and boil the mixture to slightly reduce the ingredients, making a somewhat thick glaze. Stir as needed.

Here I have cooked the wings for about 30 min. and they look great!

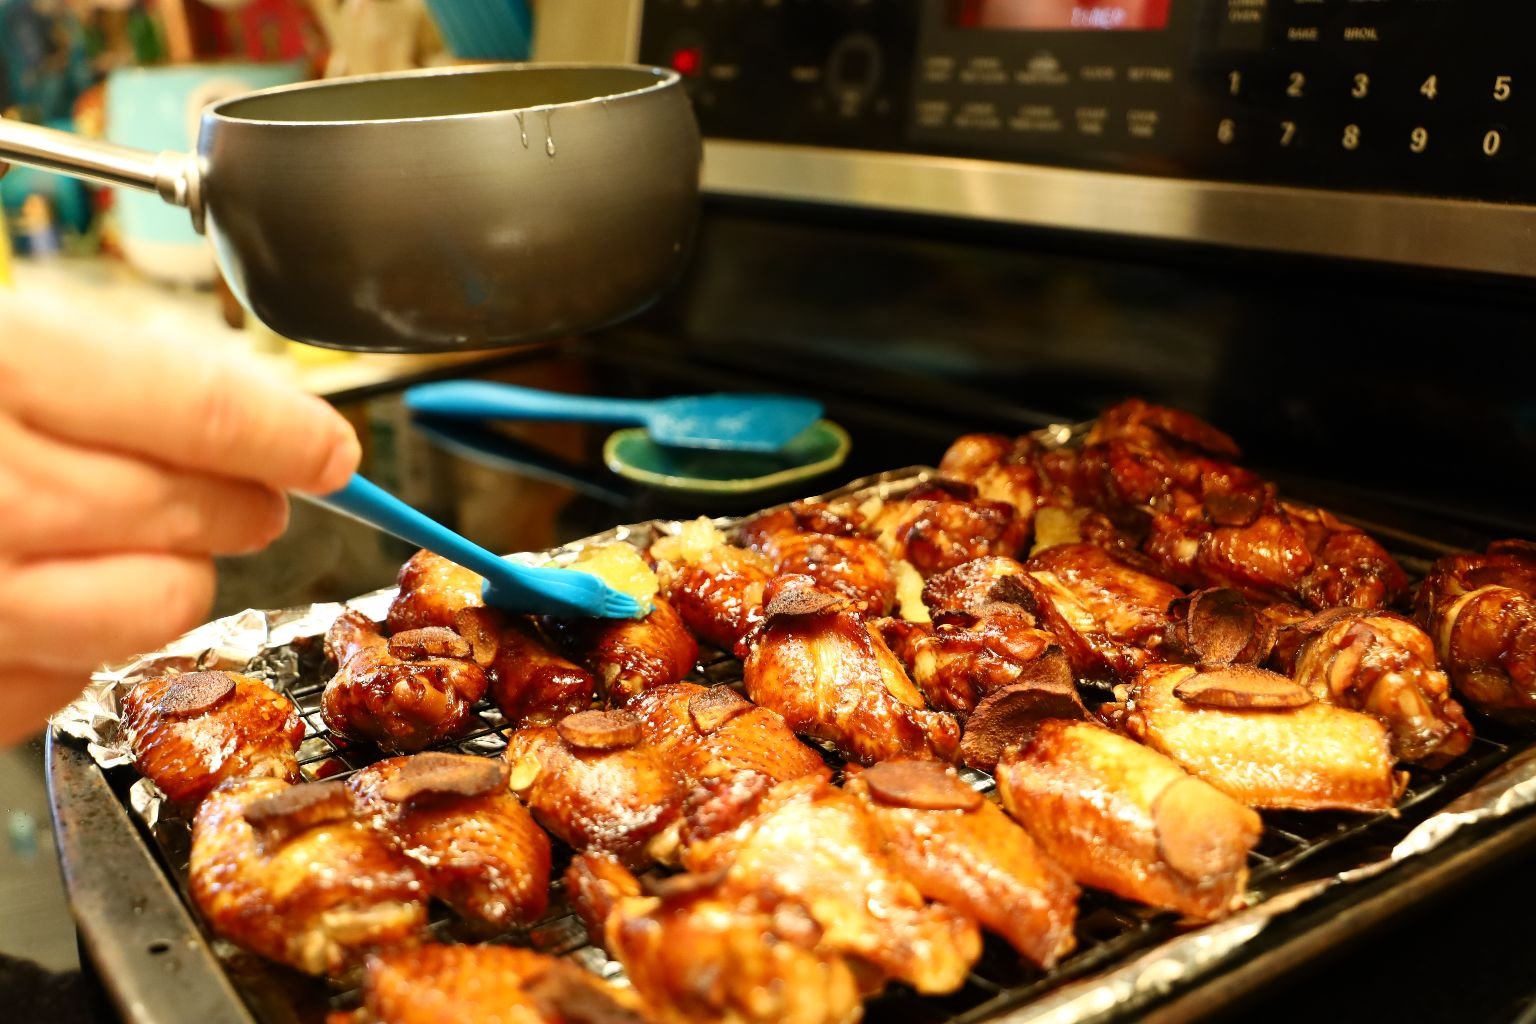

Liberally brush your Pineapple Glaze and Crushed Pineapple onto the tops of each wing.
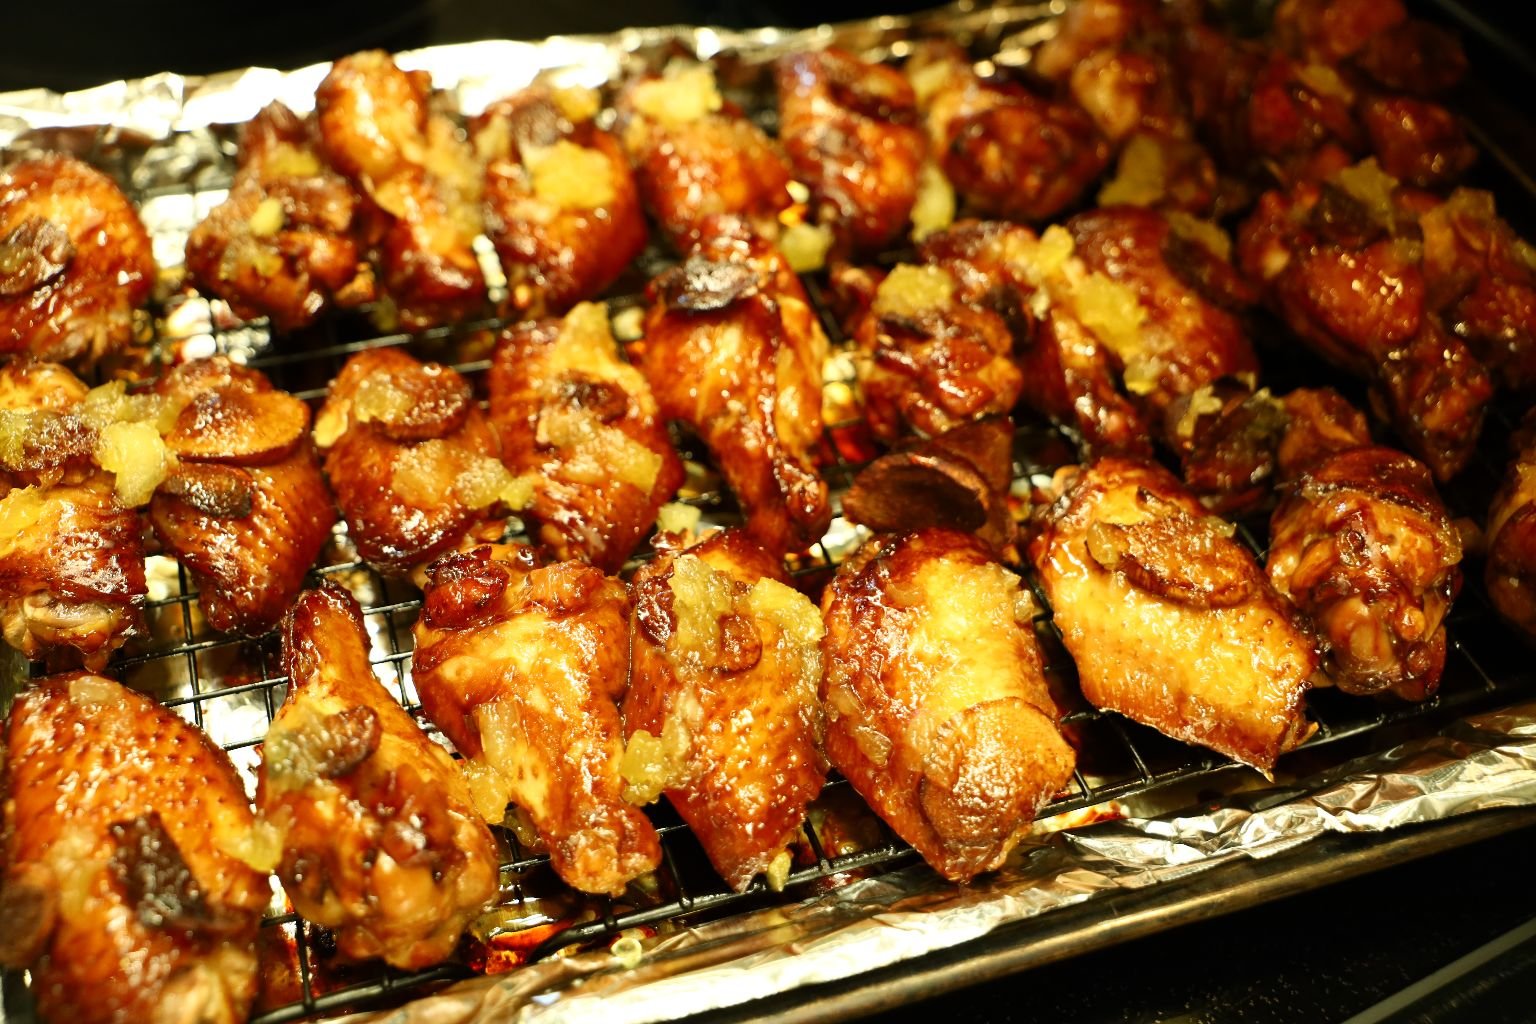
Now, place the wings back into the oven and cook for another 5-10 min. or until the wings reach an internal temperature of 160’F. If they go a little over, this is fine as when the wings rest out of the oven, the super heated juices (400’F) on the outside of the chicken will go back into the center of the meat and bone, cooking them to ~165’F.
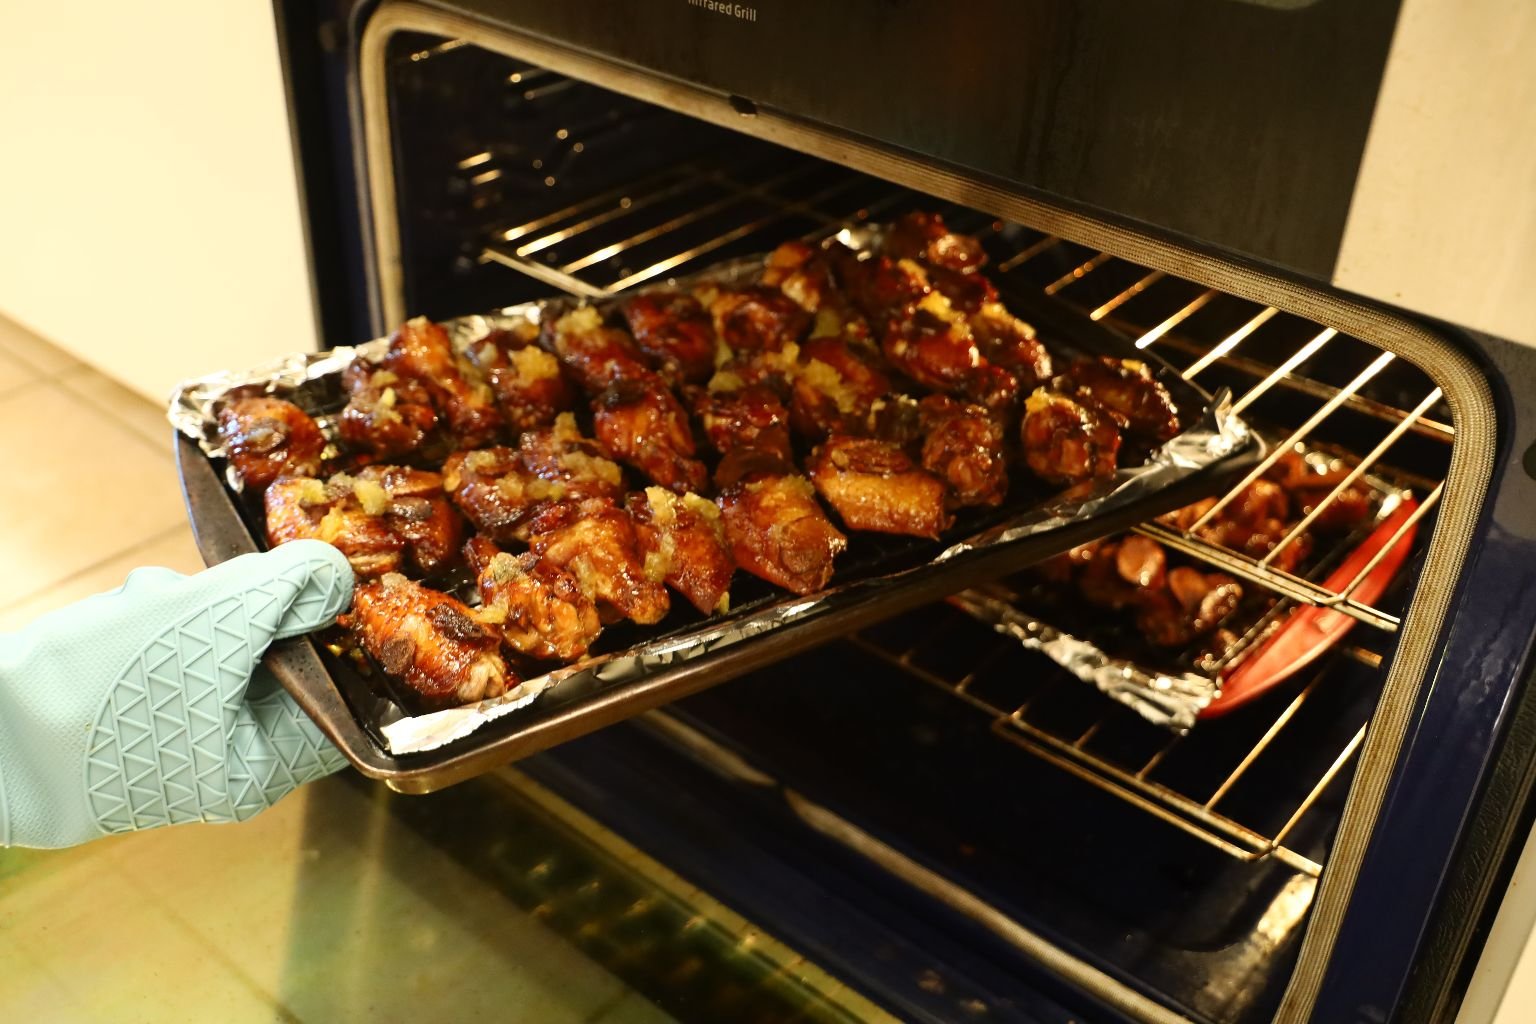
Here I am removing the first set of wings from the oven to let them rest.
————————————————————-

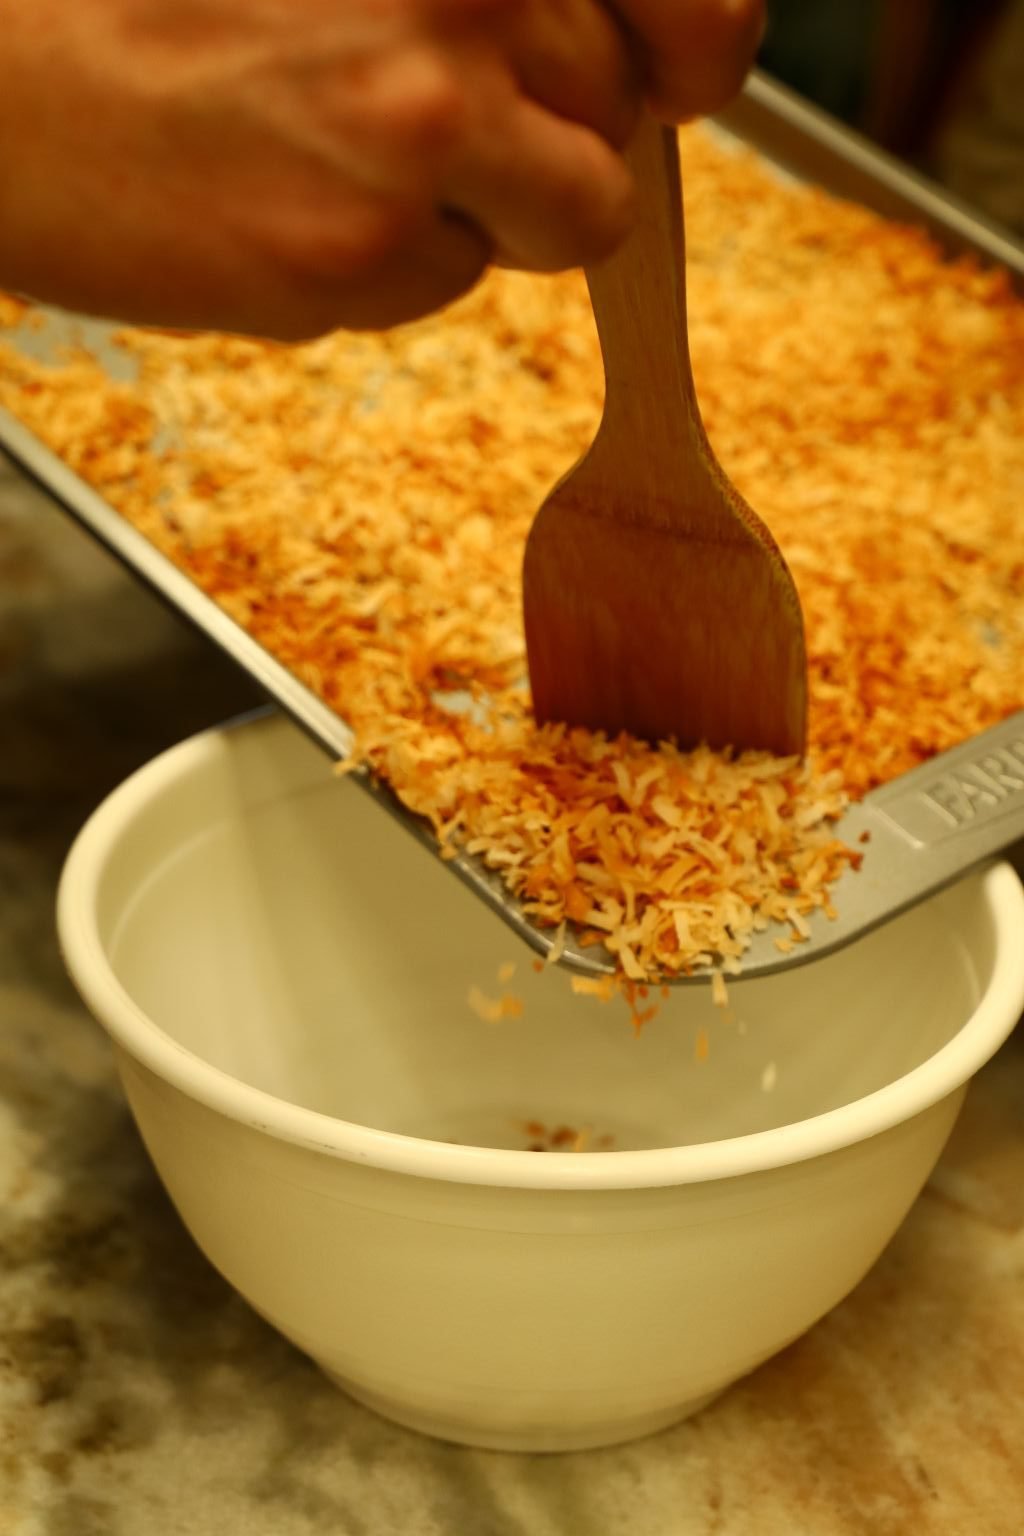

As explained before, I stopped the cooking of the coconut when it still had some variations of color.
—————————————————————–
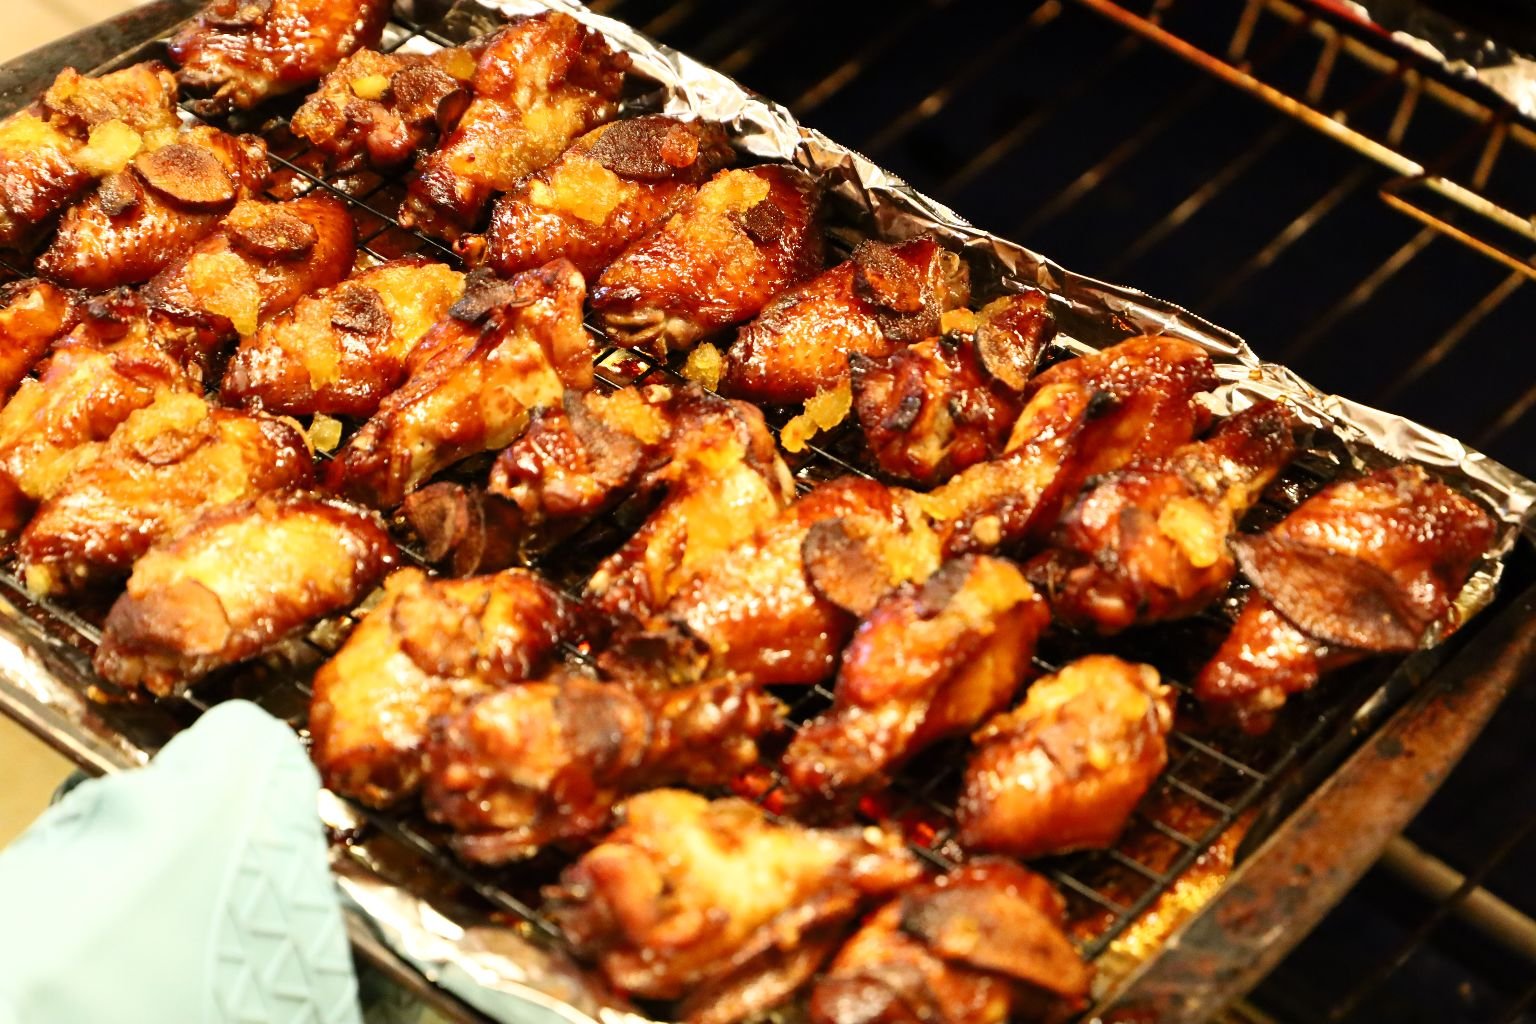
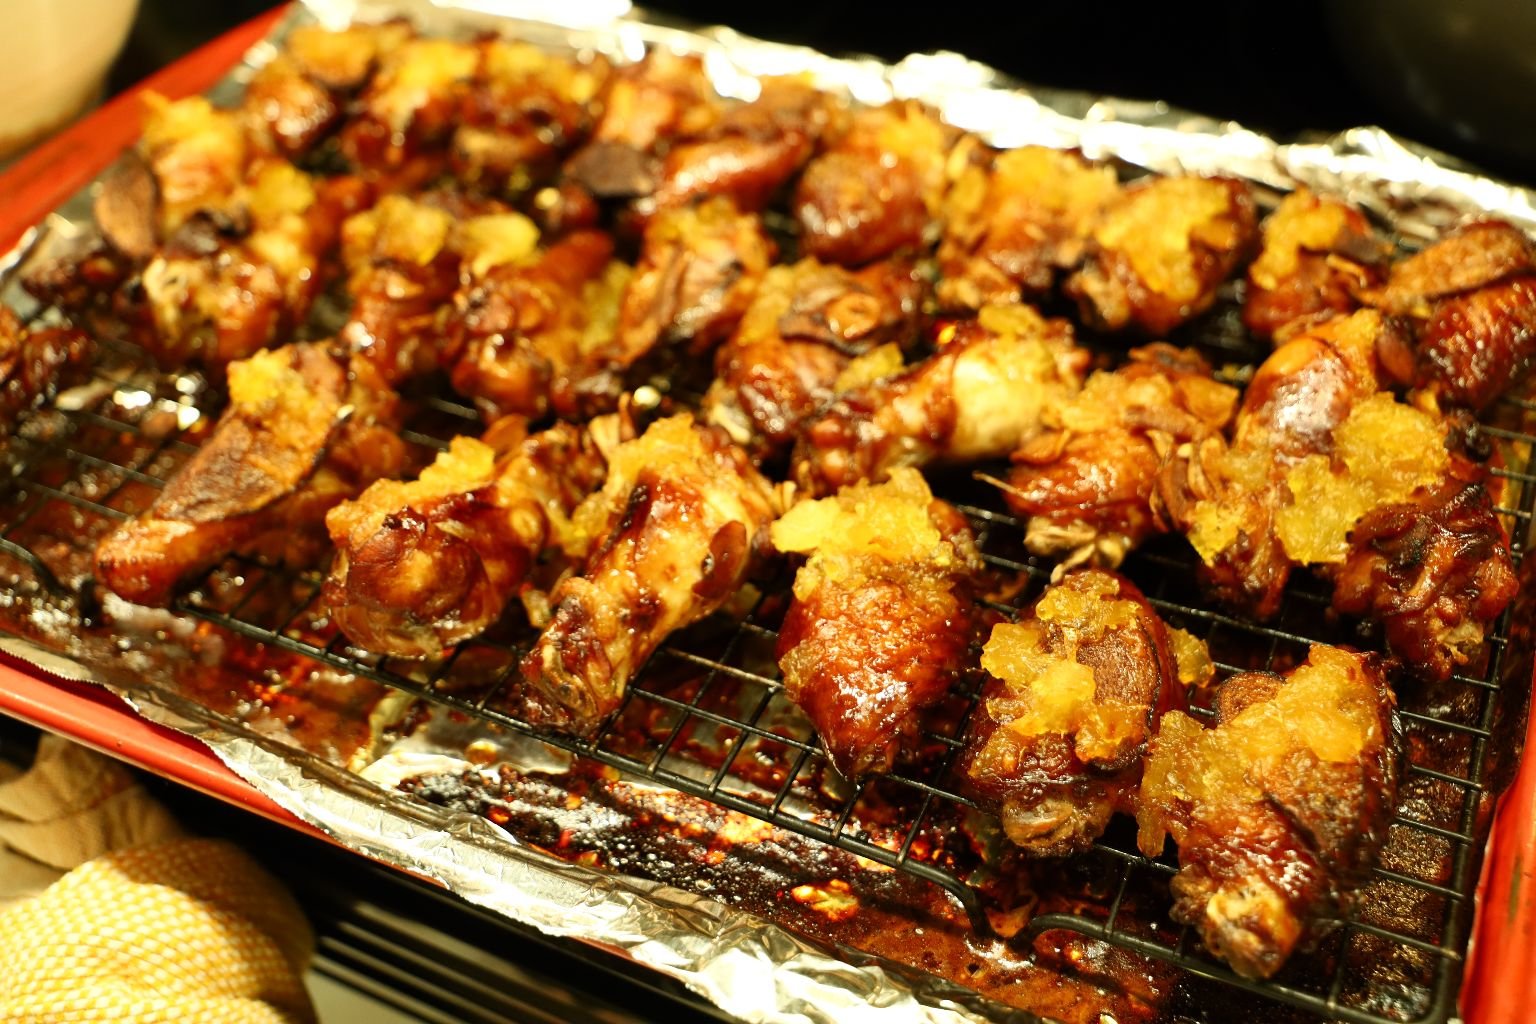
I just pulled these wings out of the oven as they are nice and sticky from the glaze.

I wasn’t sure how to adhere the roasted coconut onto the wings when Julie thought of putting it into a bowl and dunking the wing into it as shown above, and below.
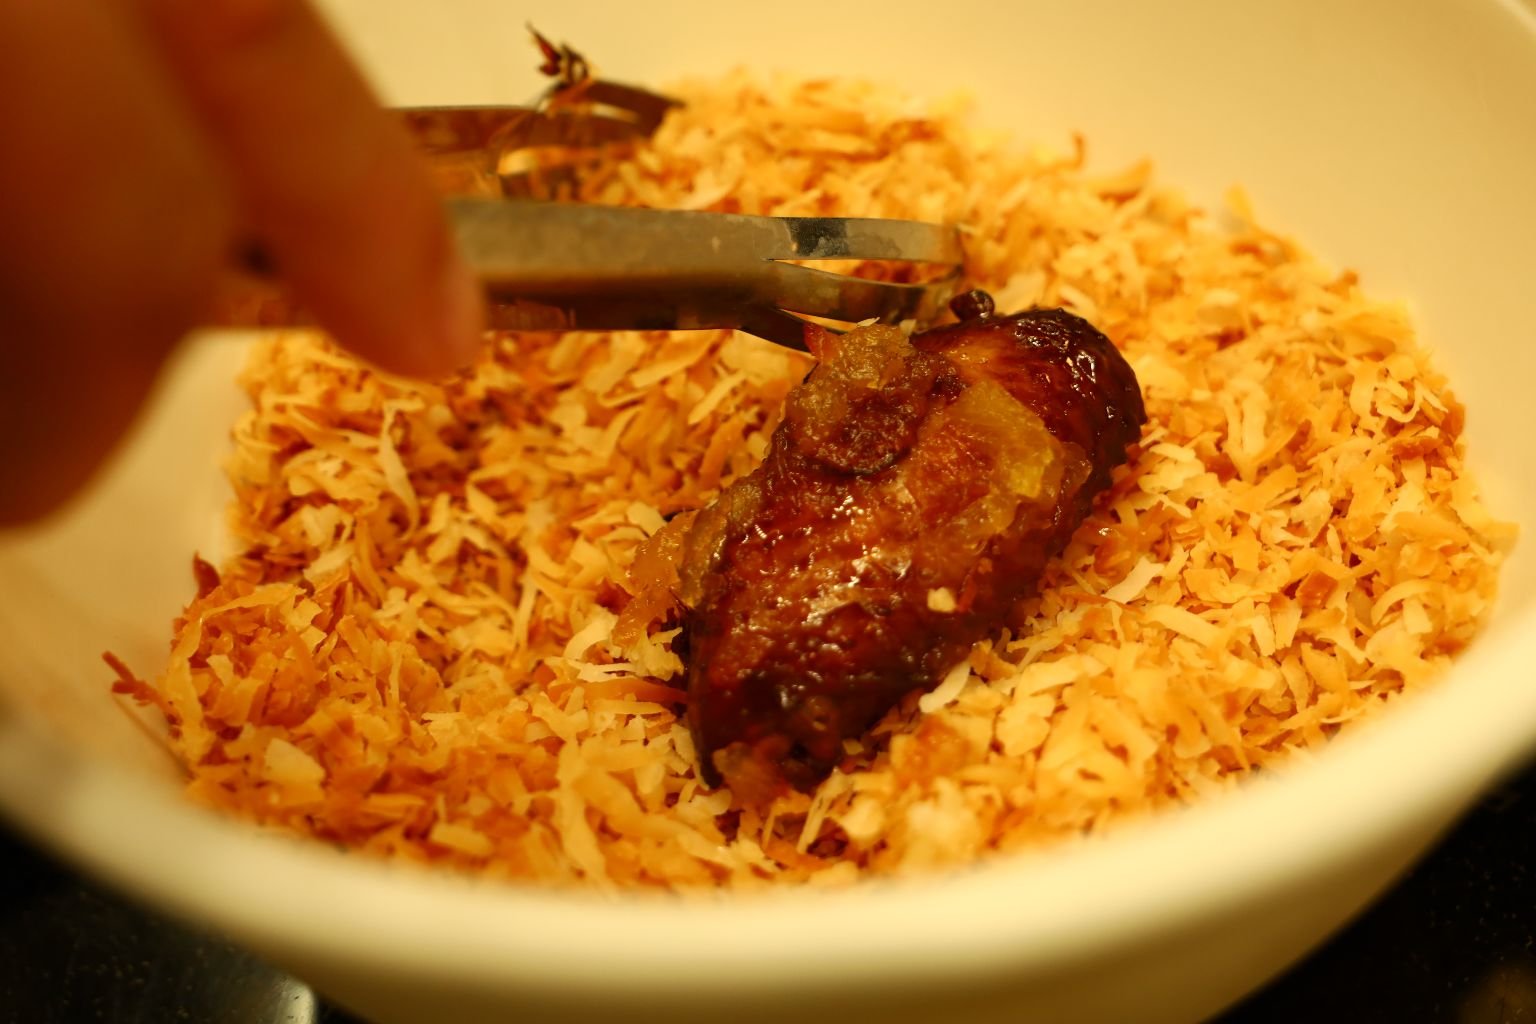
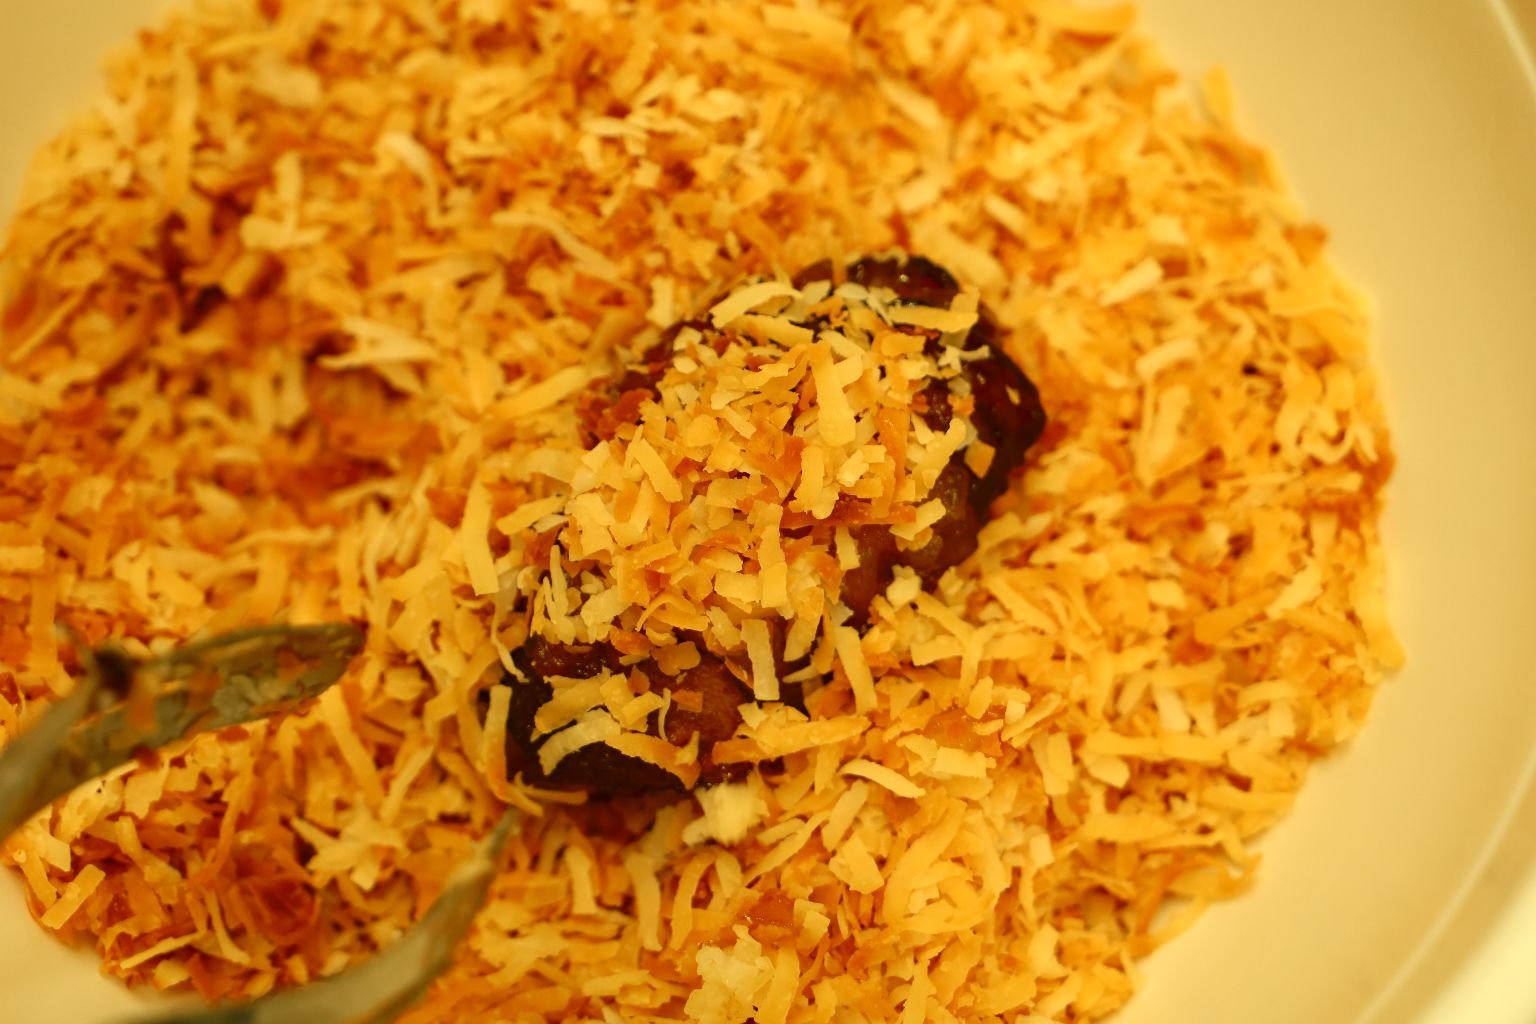
Toss the coconut over the wing and press down gently.
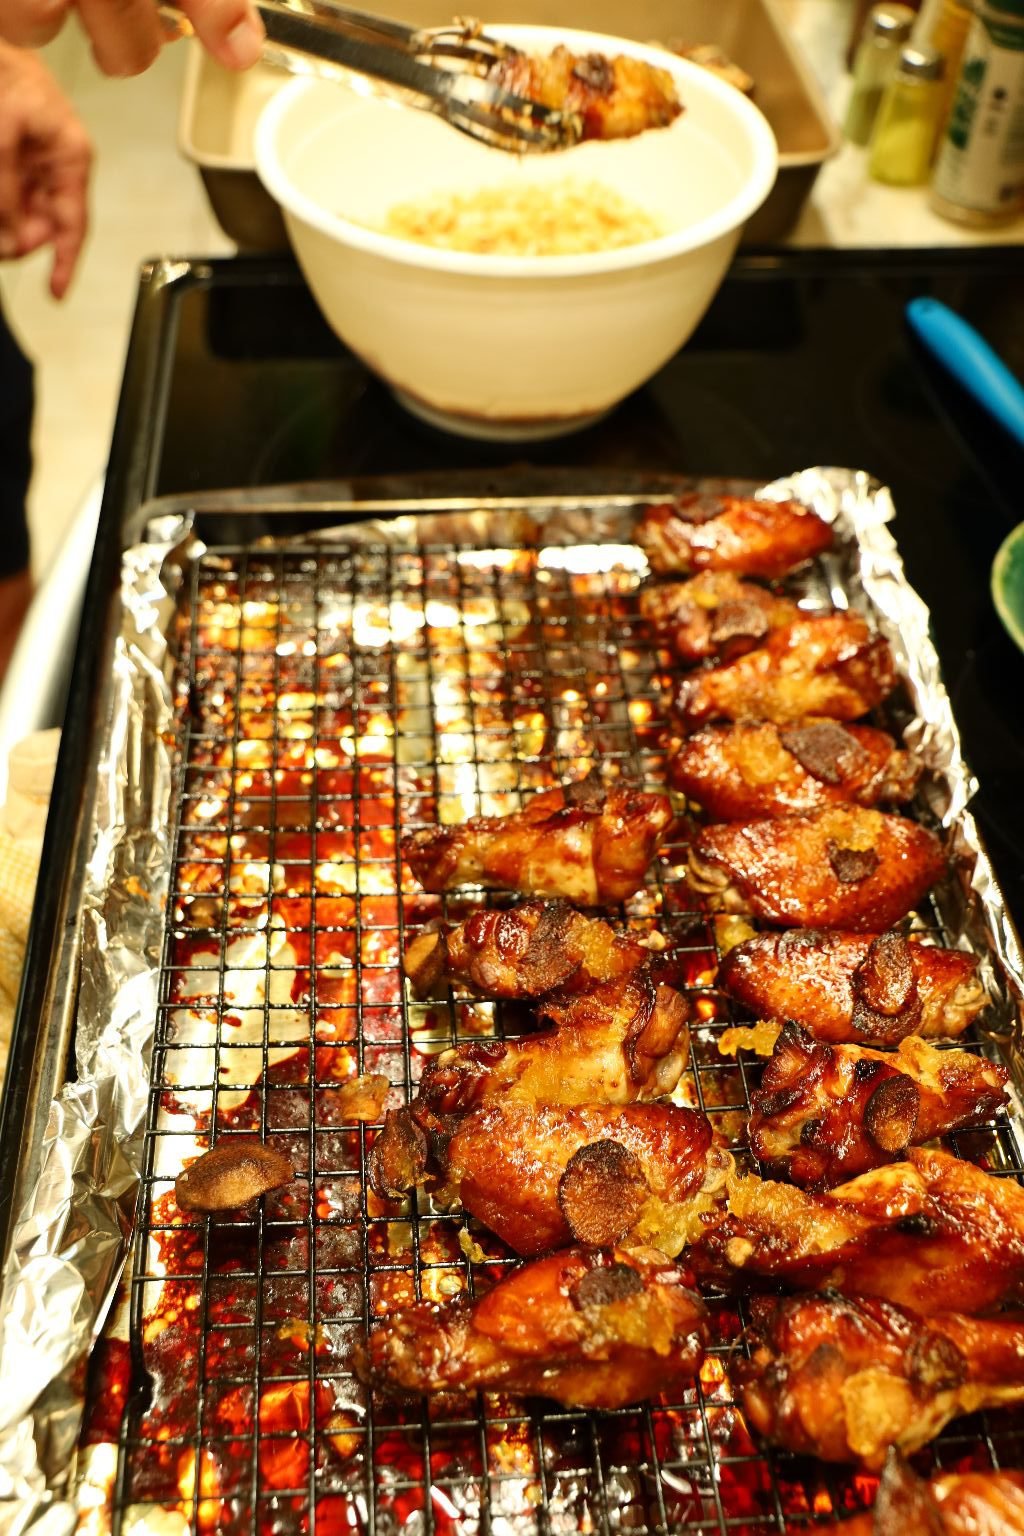
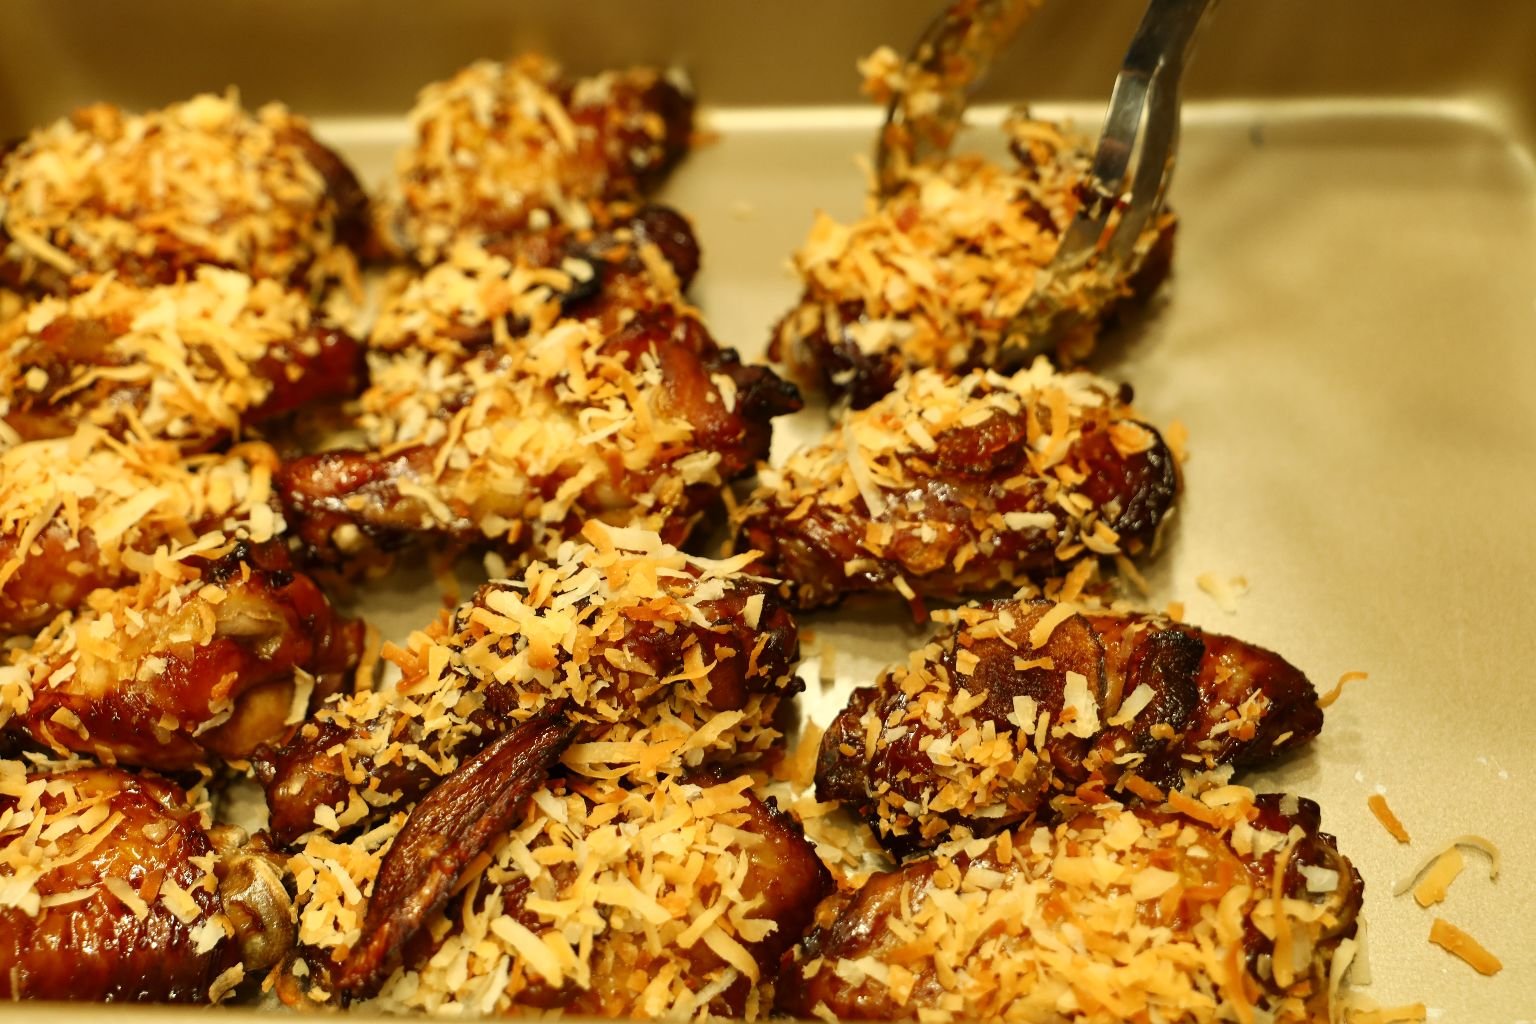
Place the coated wings on a sheet pan to fully rest for about 8 min.
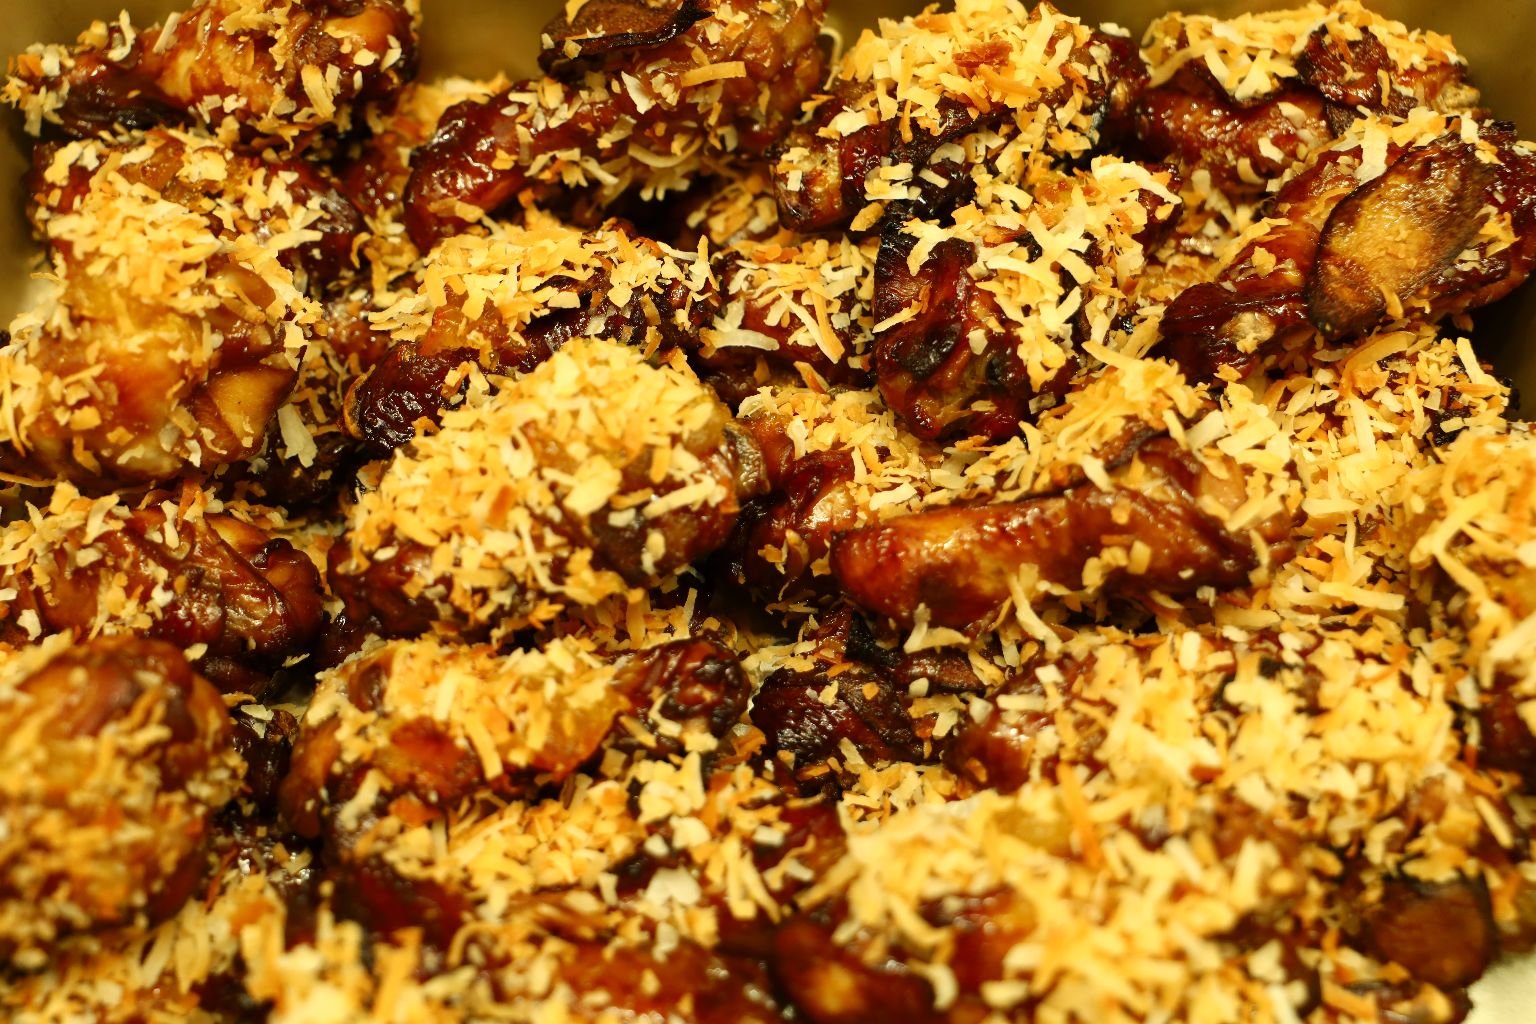
These are some tasty wings!
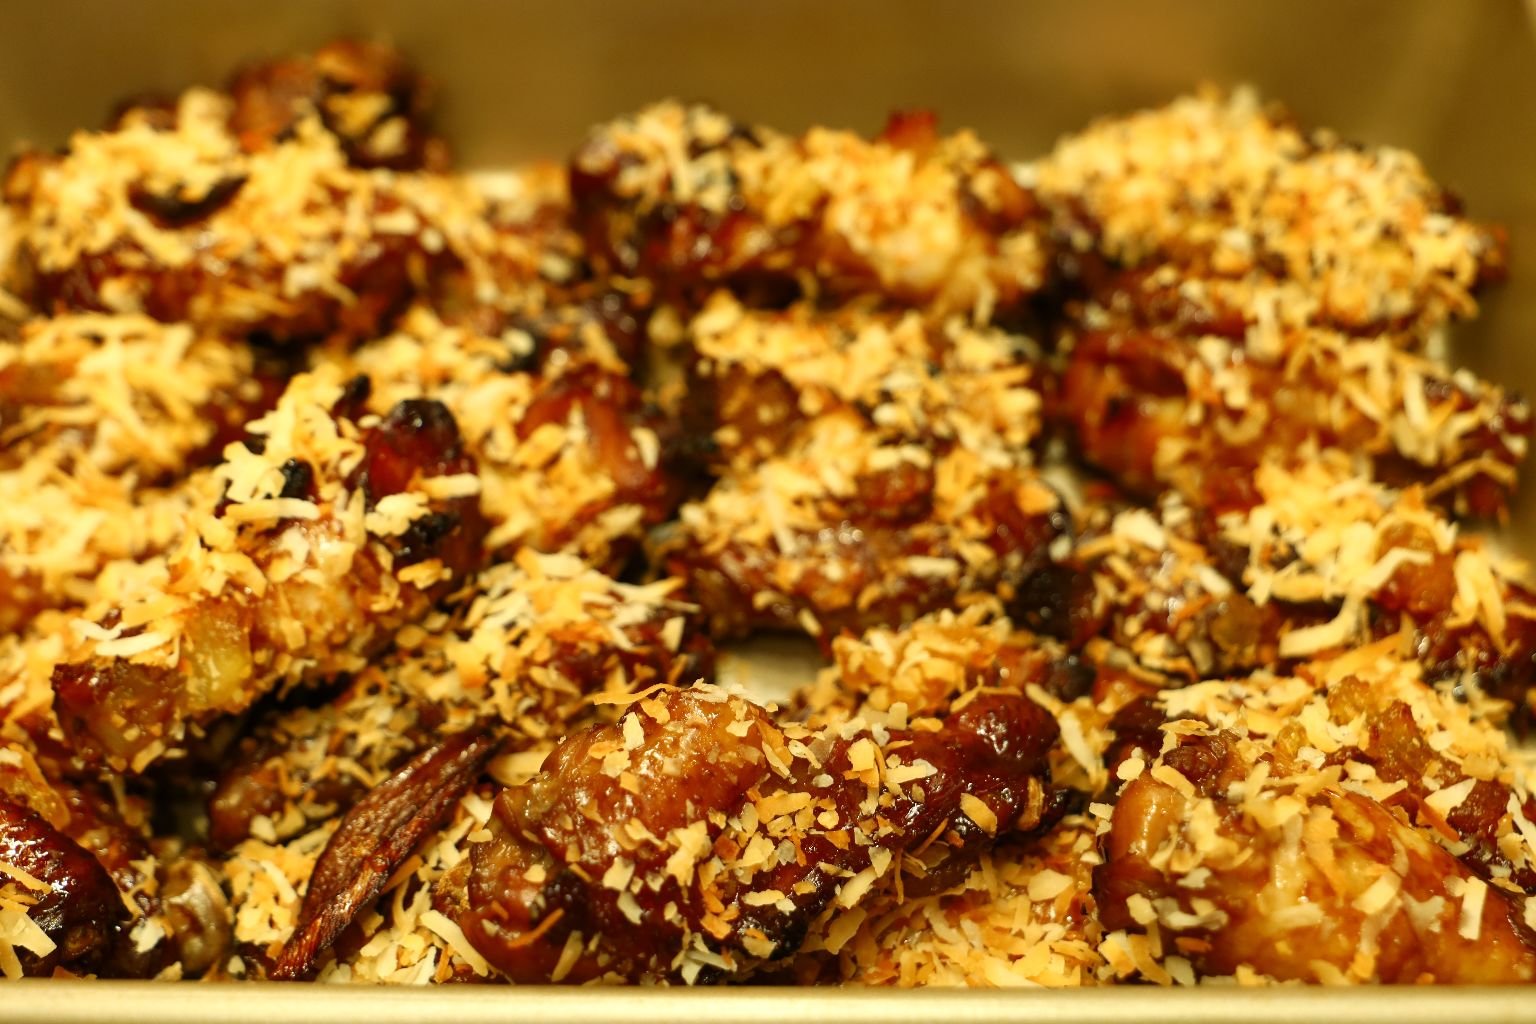
——————————————————————-
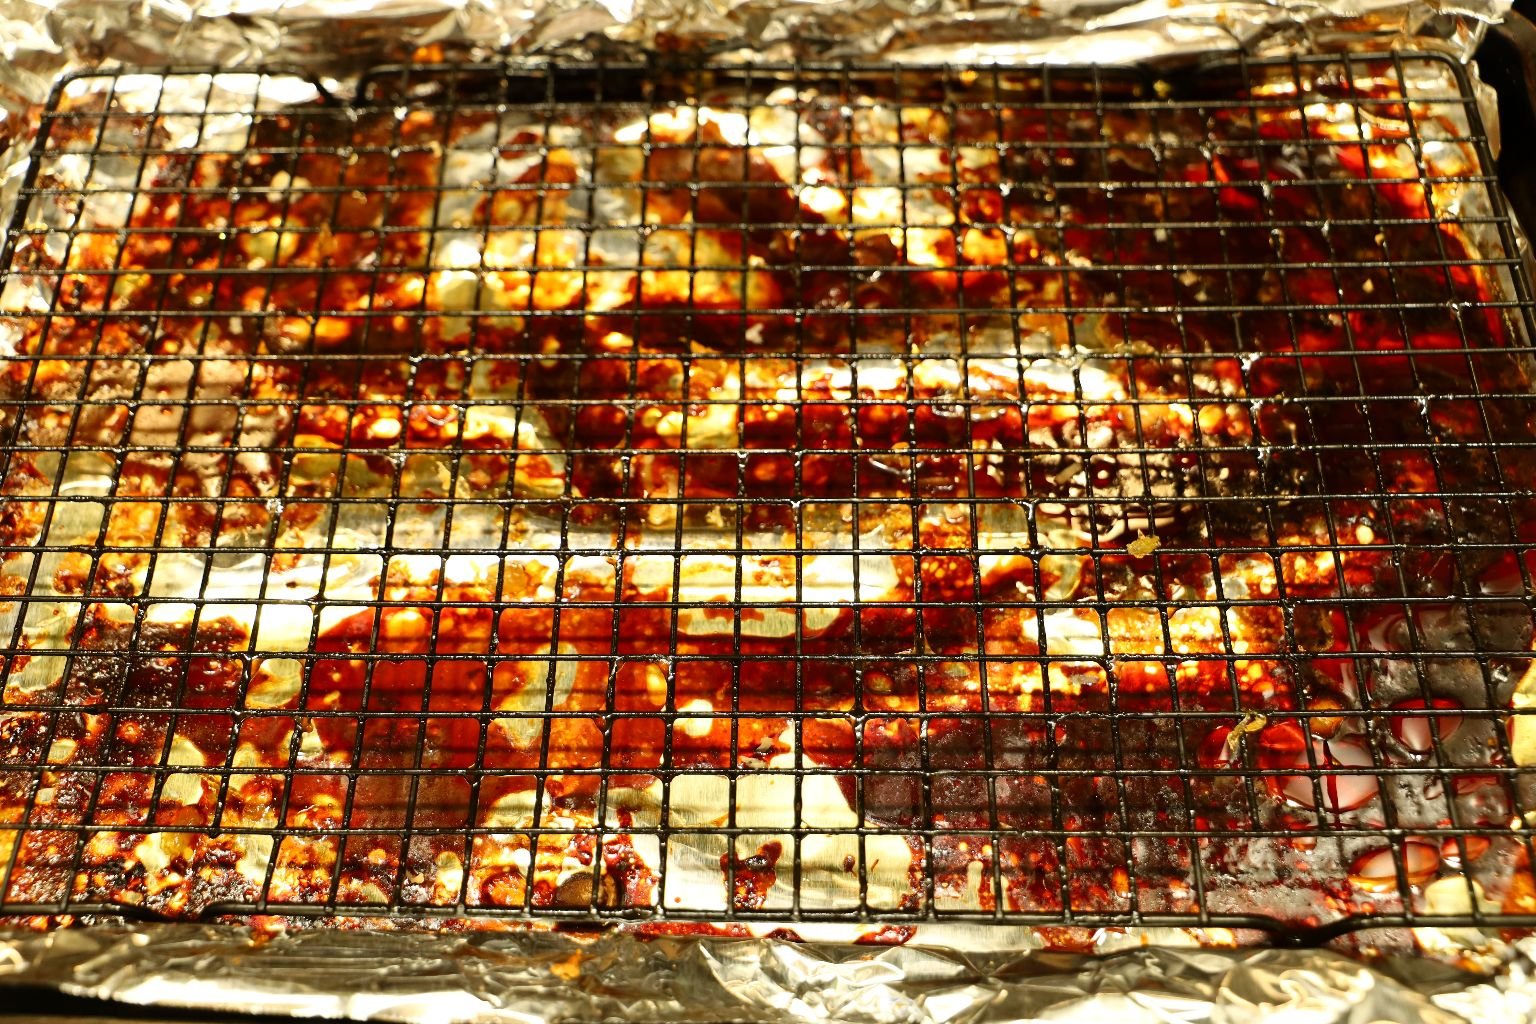
Here is the cooling rack and sheet pan as it looked after we cooked the wings. Be sure to gather and eat all the garlic and ginger that may have fallen off the chicken as it is delicious. I used non-stick aluminum foil for an easier clean up.
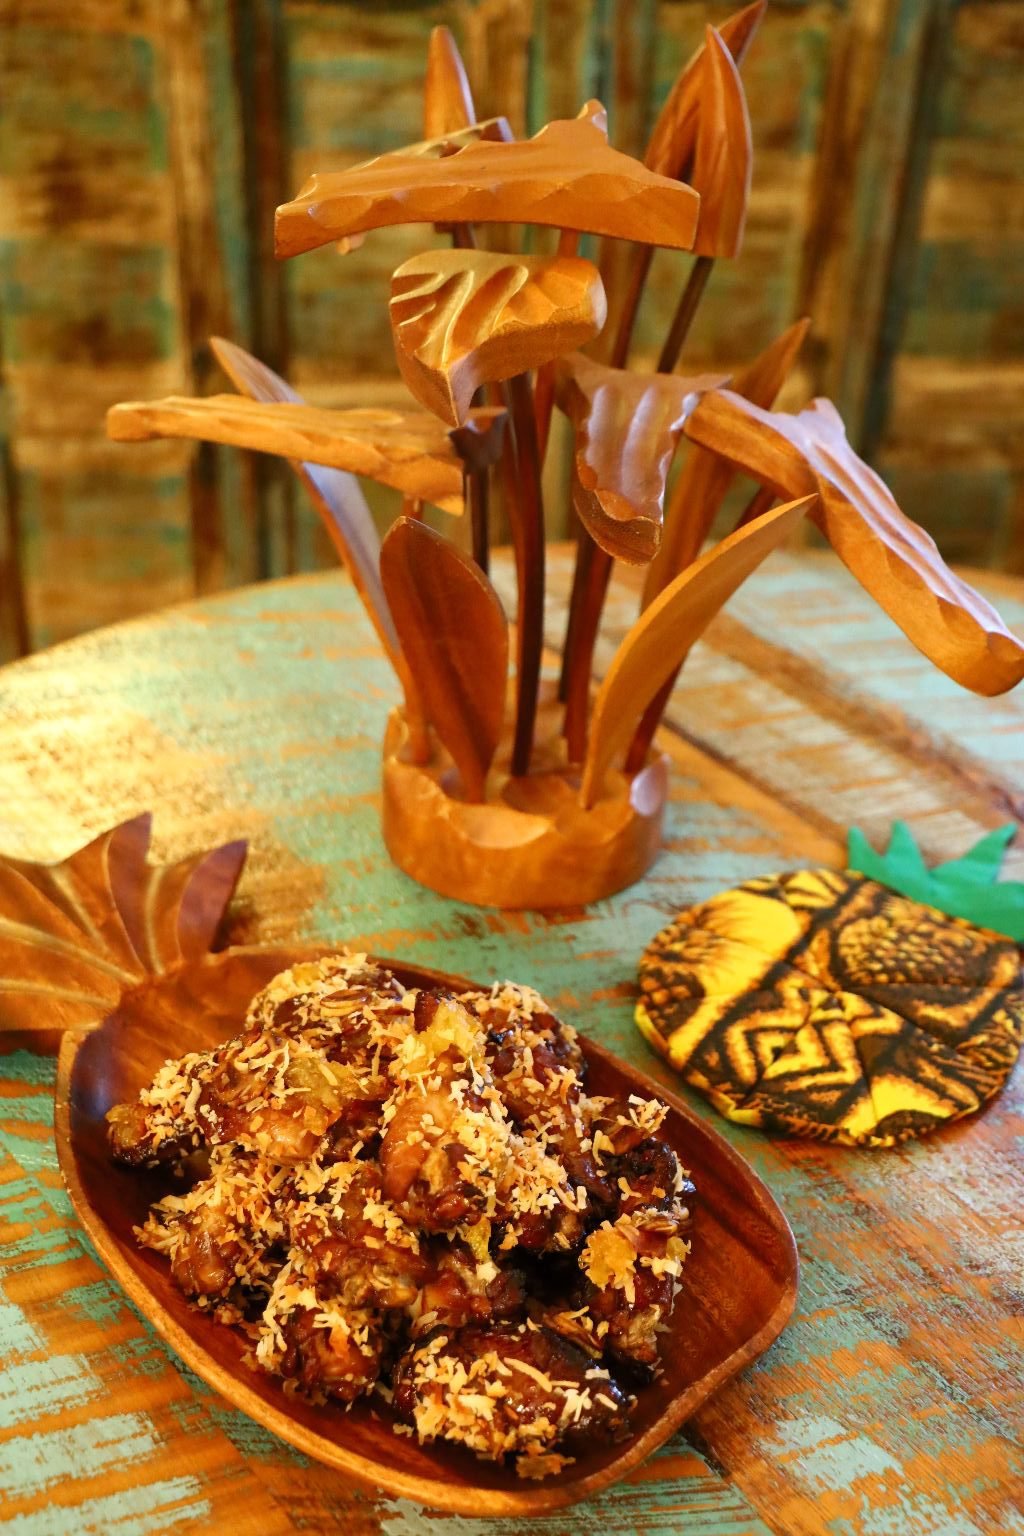
Here is how Julie beautifully displayed our newly invented Tropical Hawaiian Wings!
———————————————————————

Aloha and Mahalo,
Julie and Gordon
————————————————————–
Check Out Our Other Hawaiian Pages:
Click Here For: Whann Way Aloha
AND,
Click Here For: Whann Way Aloha, Hapa Elua (Part 2)
AND,
Click Here For: Blue Hawaiians and Huli Huli Chicken
AND,
AND,
AND,
Click Here For: Weekend Spamin’ Spam Musubi
AND,
Click Here For: Julie’s Lunchbox
AND,
Click Here For: Gordon’s Hawaiian Potatoes and Huli Huli Pork Chops
AND,
Click Here For: Whann’s In Not Always Paradise
AND,
Click Here For: Julie Barefoot Cookies and Beachy Edible Gifts
AND,
Click Here For: Grillin’ With Aloha
AND,
Click Here For: Julie’s Vintage Hawaiian Mango-Mac Nut Bread Cake w/ Pasta Flowers
AND,
Click Here For: Gordon’s Dole Pineapple Outrigger Canoe and Cocktail
AND,
Click Here For: Hawaiian Hum Lum Sun Prunes
AND,
AND,
AND,
Click Here For: A Mother’s Day Aloha
AND,
Click Here For: Aloha Wahine Jezebel Sauce
AND,
Click Here For: Whann Way Hawaiian Luau
AND,
Click Here For: Hawaiian Popcorn and Moana Maika I’ Loa
AND,
Click Here For: Beachy Hawaiian Thanksgiving Pu Pu’s
AND,
Click Here For: Barefoot Beach Teas
AND,
AND,
Click Here For: Hawaiian Kalikimaka
AND,
Click Here For: Christmas/Kalikimaka Oysters on the Grill
AND,
Click Here For: Tropical Hawaiian Cranberries and our Mele Kalikimaka Me Ka Hauoli Makahiki Hou
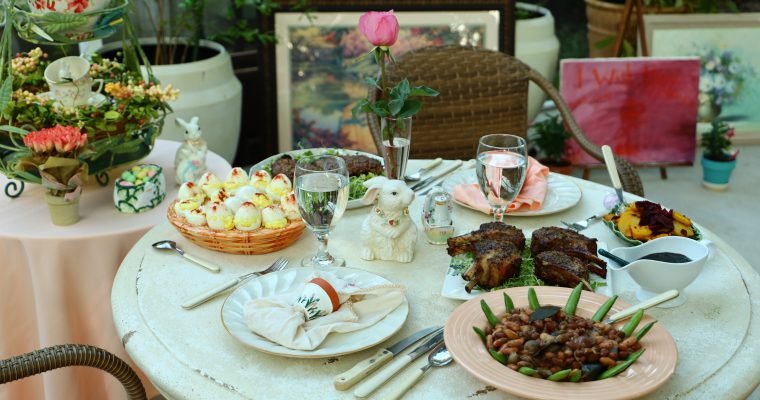
Happy Easter Everyone! Welcome to our Artsy Easter (We shot this in 2021) This Easter is actually based on cleaning out the attic and going through many storage containers in our attic, in an attempt to get rid of some of …

Welcome to My Sixty’s Currently Aging to Perfection (Or Rotting and Disintegrating? But I swear this to you, as long as there are moisturizers and Loreal Superior Performance Medium Blonde, I will always be here for you.) 🙂 When I look …


Welcome to Barefoot Beach Teas

I got the idea about 3 years ago to create a nice tea and have it look like the beach. I even thought of putting some sort of seashell candy inside of the tea so that when you came across it you will squeal with delight at finding a pretty sea shell in your very own beach tea. Hopefully, reminding you of that time long ago when you were on vacation at the beach and finding pretty beachy shell souvenir’s to take home and show your friends.
My original thoughts were to just make one type of tea, a sandy colored tea. But I then realized that I would like to create a Varie-tea. 🙂 But as I put more thought into it, I realized how great it would be to make several teas and have them look like my most favorite beaches. For example, here in Florida we have bright white powdered sand. (Hence, a coconut tea.) On some of the beaches in Hawaii, where we lived for 13 years, they have sandy colored thick sand beaches, as well as black sand beaches, and there is even some green colored sand beaches. The black sand being powered volcanic rock on The Big Island and the green sand beach of Papakolea Beach, also located on The Big Island of Hawaii, it’s gets it’s green color from the Olivine sand eroding out of the enclosing volcanic cones.
————————————————————
At this Barefoot Beach Tea debut I still have a few more teas to add as I get around to it.
—————————————————————-

Here are my Coral Beach and Sandy Beach Teas
with little Candy Sea Shells.

The Beach in a Jar
How many of you collect sand from the beach when you go on vacation?
Perhaps placing it into a jar to bring home? Well, that was my inspiration.
————————————————————–

My Sandy Beach Tea
This tea I based on that tall bottle full of sand and shells you see in the photos, top and bottom. It is the sand that I collected from our beach when we lived in Ewa Beach, Hawaii. Our home was right across the street from the beach. Granted, there was a Marine barracks blocking our view of the beach but, we would walk a block away and enter our beach from there. I collected that sand in several bottles to bring with us when we moved back to The Mainland.

I Decorated the Jars With Shell Stickers
This is a Ginger Tea, Meant to be Consumed Hot
——————————————————————
Coral Beach Tea
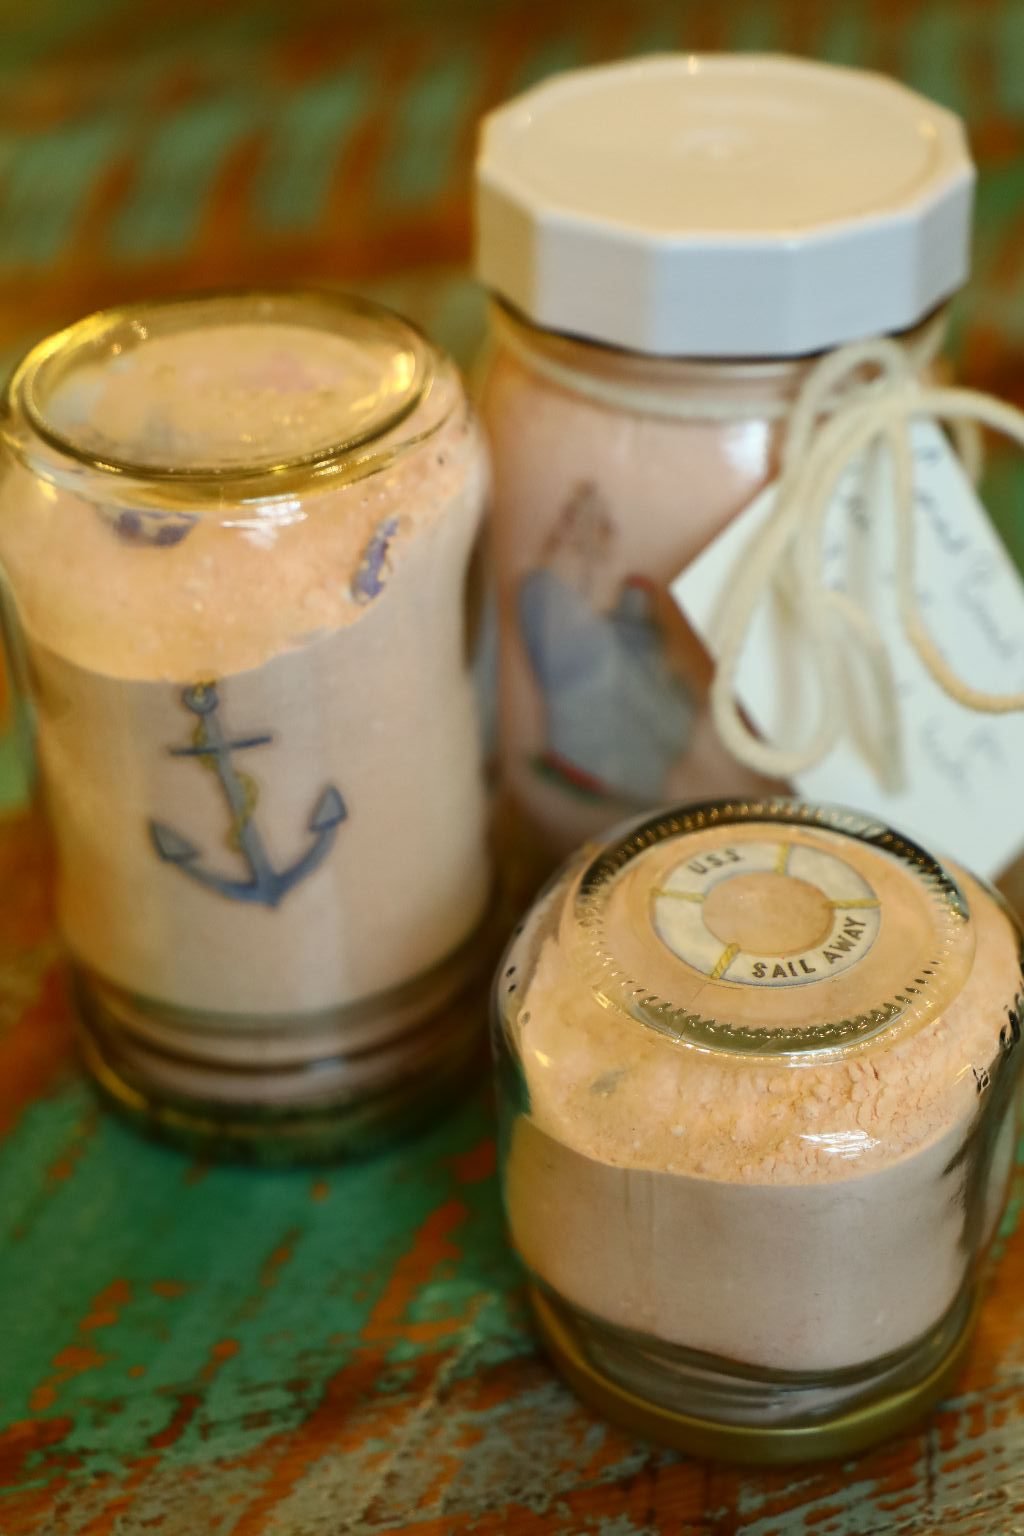
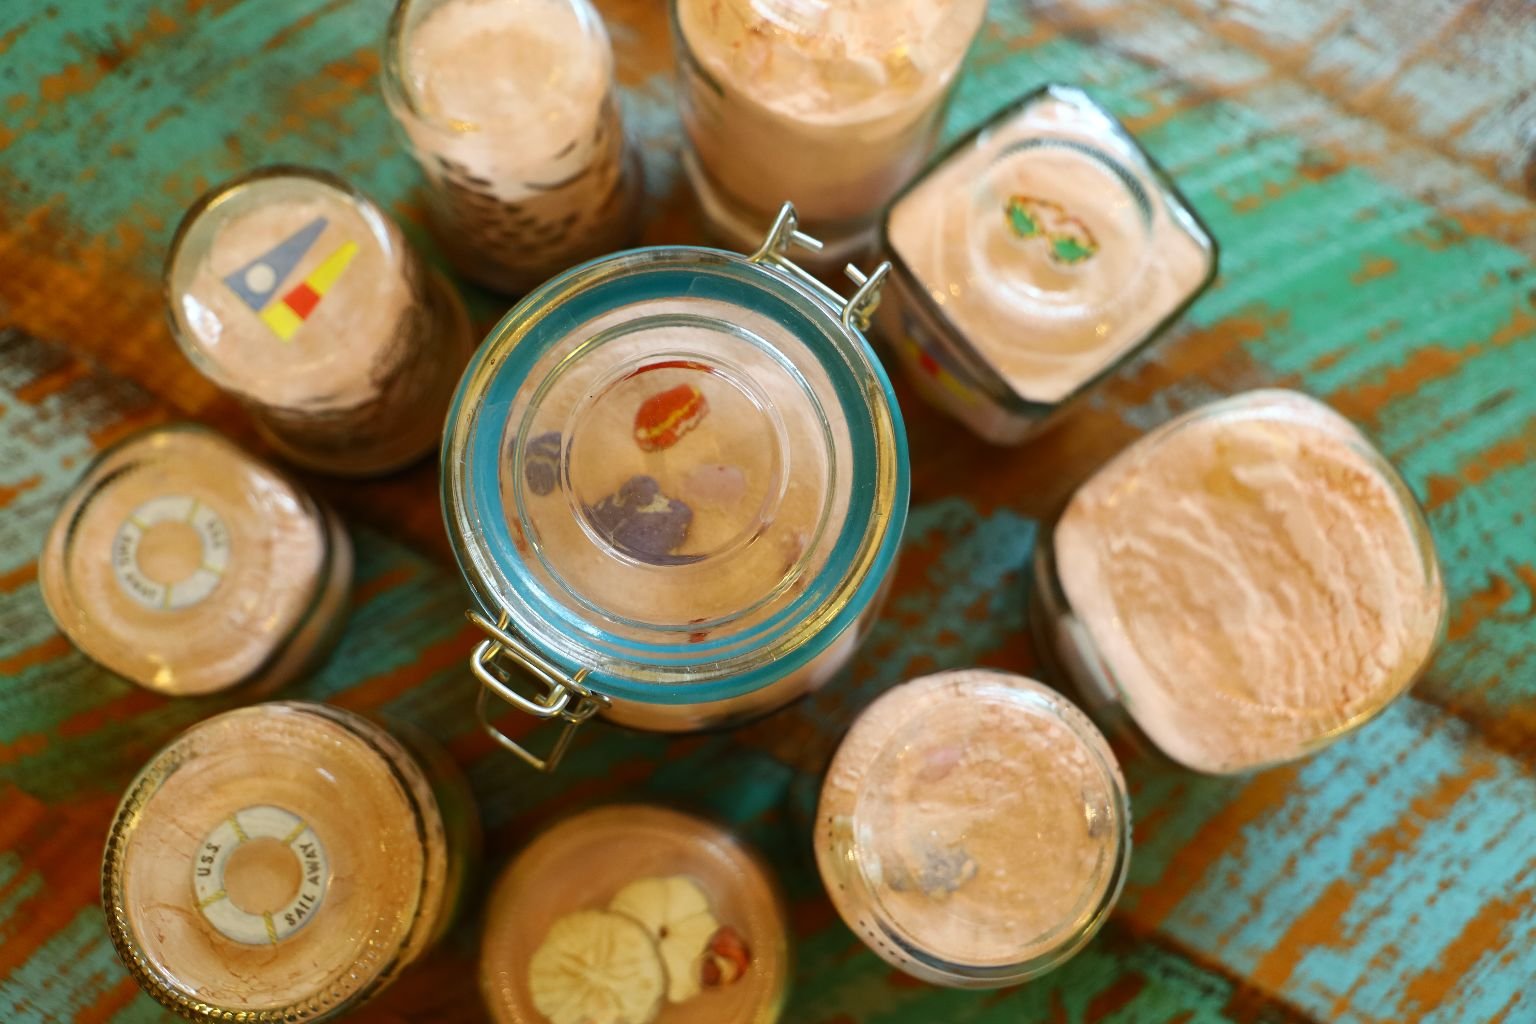
Based on a Lovely Pinkish Coral Beach
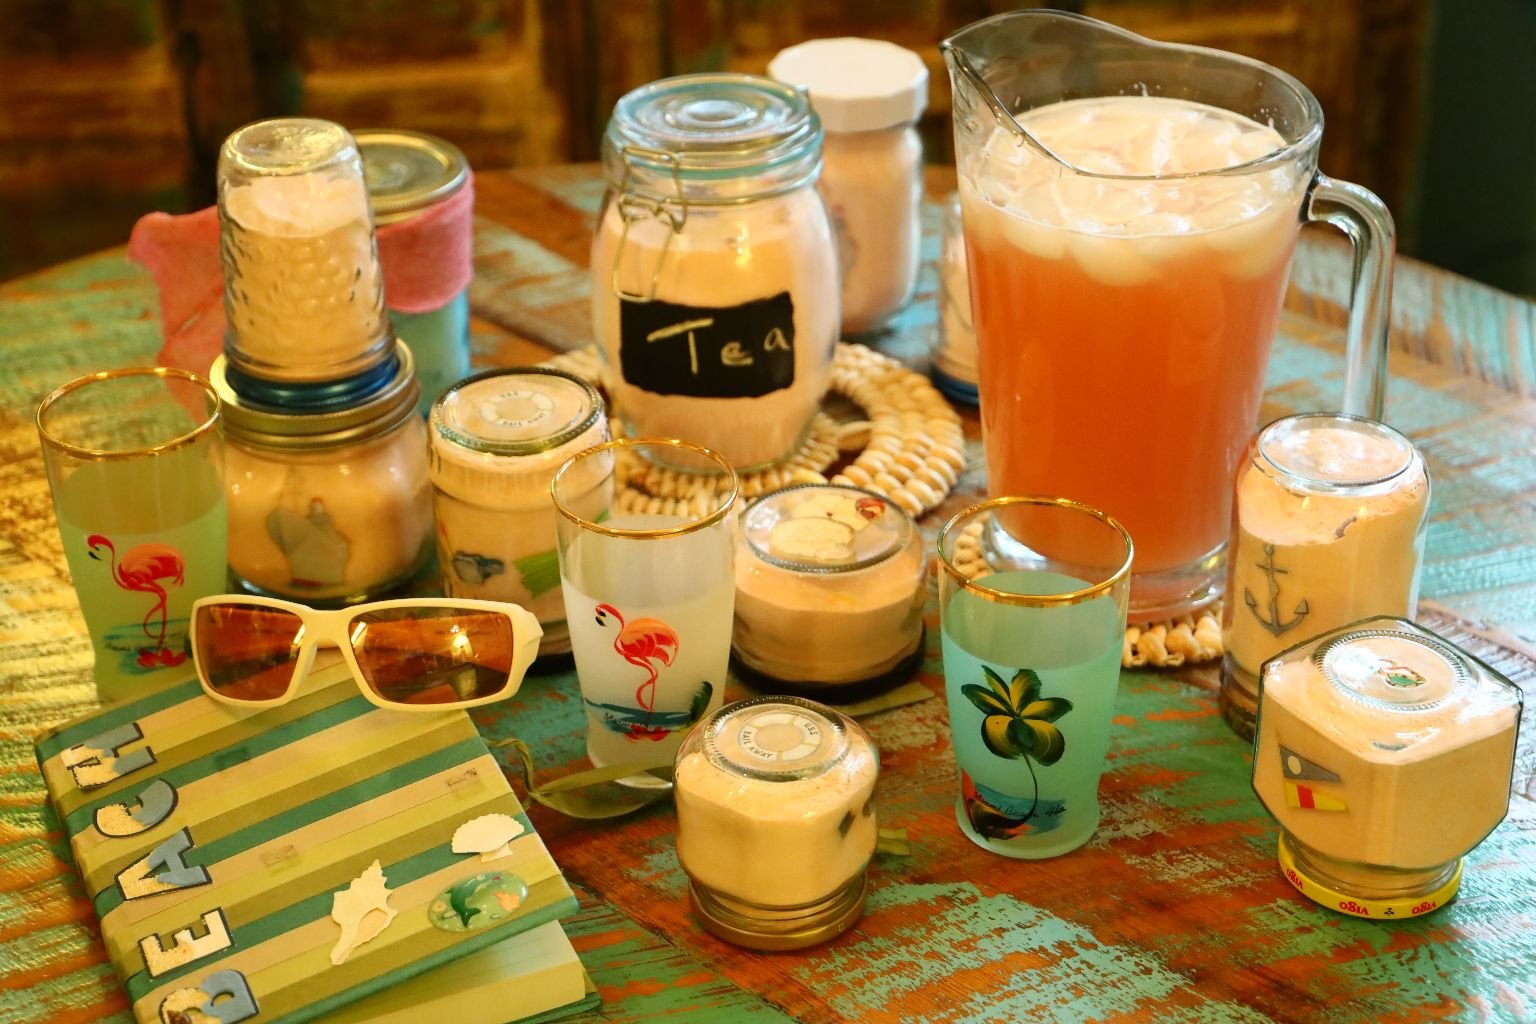
This Tea is Meant to be Consumed Cold


My Old Beach Diary and Classic Shades, Along with my Sandy Beach Tea

Our Sandy Beach Tea is a very Healthy Ginger Tea
(I gave this gift along with some Ginger Cookies.)

I like the presentation of the teas with the jars upside down so that you can see the candy sea shells on the “beach.”


Just place 1, 2, or 3 teaspoons of tea per 8 ounces of water.
The ratio’s are up to you and your personal tastes.
If you find you would prefer them sweeter then add more sugar. But I do ask that you learn to enjoy them as they are and not loaded with sugar. Besides, lots of sugar makes you stupid and we are surrounded with sugar in all of our foods and beverages as it is.
So, let’s try to enjoy something that is not as sweet.
——————————————————————-

Welcome to Cocoa Beach
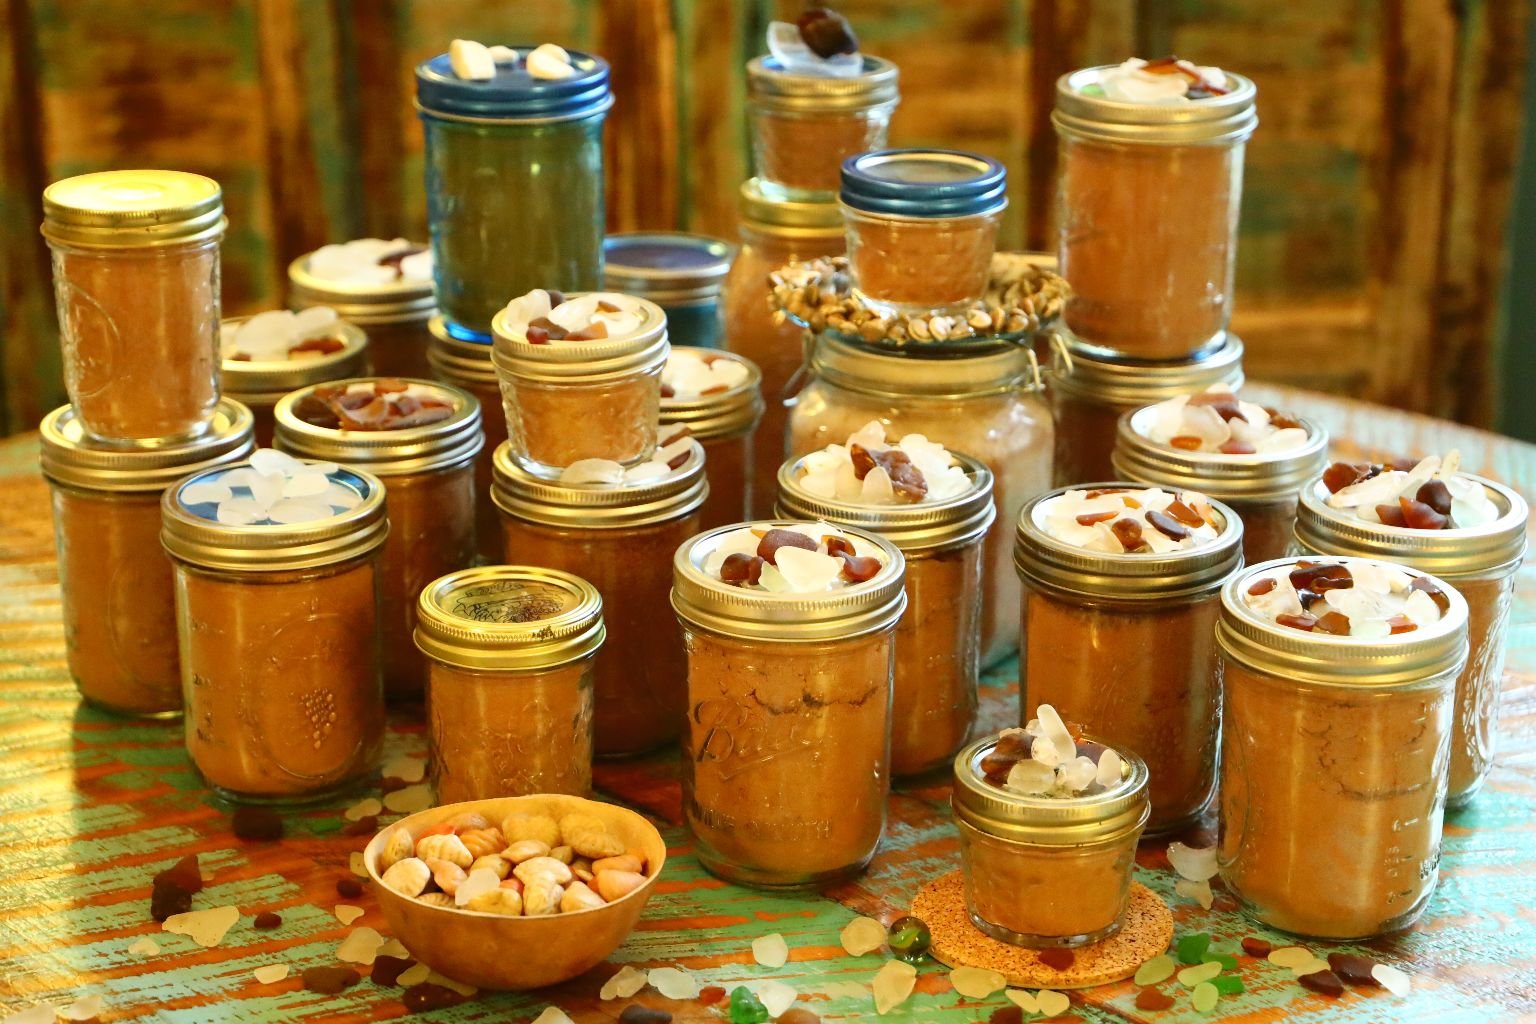
Think Fancy Organic Hot Chocolate

I decorated the jar lids with some beach glass that I found in Hawaii. Candy sea shells inside, but I also do like to give this tea as a gift with some coconut cookies and mini marshmallows.

This is a Healthy Hot Chocolate
———————————————————-
Our Russian Tea
(On top of Brodie’s old I SPY Sand Castle Puzzle that I found in our Garage)
This recipe goes back to when Gordon was 11 years old and attended his very first square dance in Charlotte, North Carolina, along with his brother Jeff, and sister Heather. A lady was serving Russian Tea and Gordon loved it so much he asked her for the recipe and she gave it to him. It’s been a Whann tradition ever since.
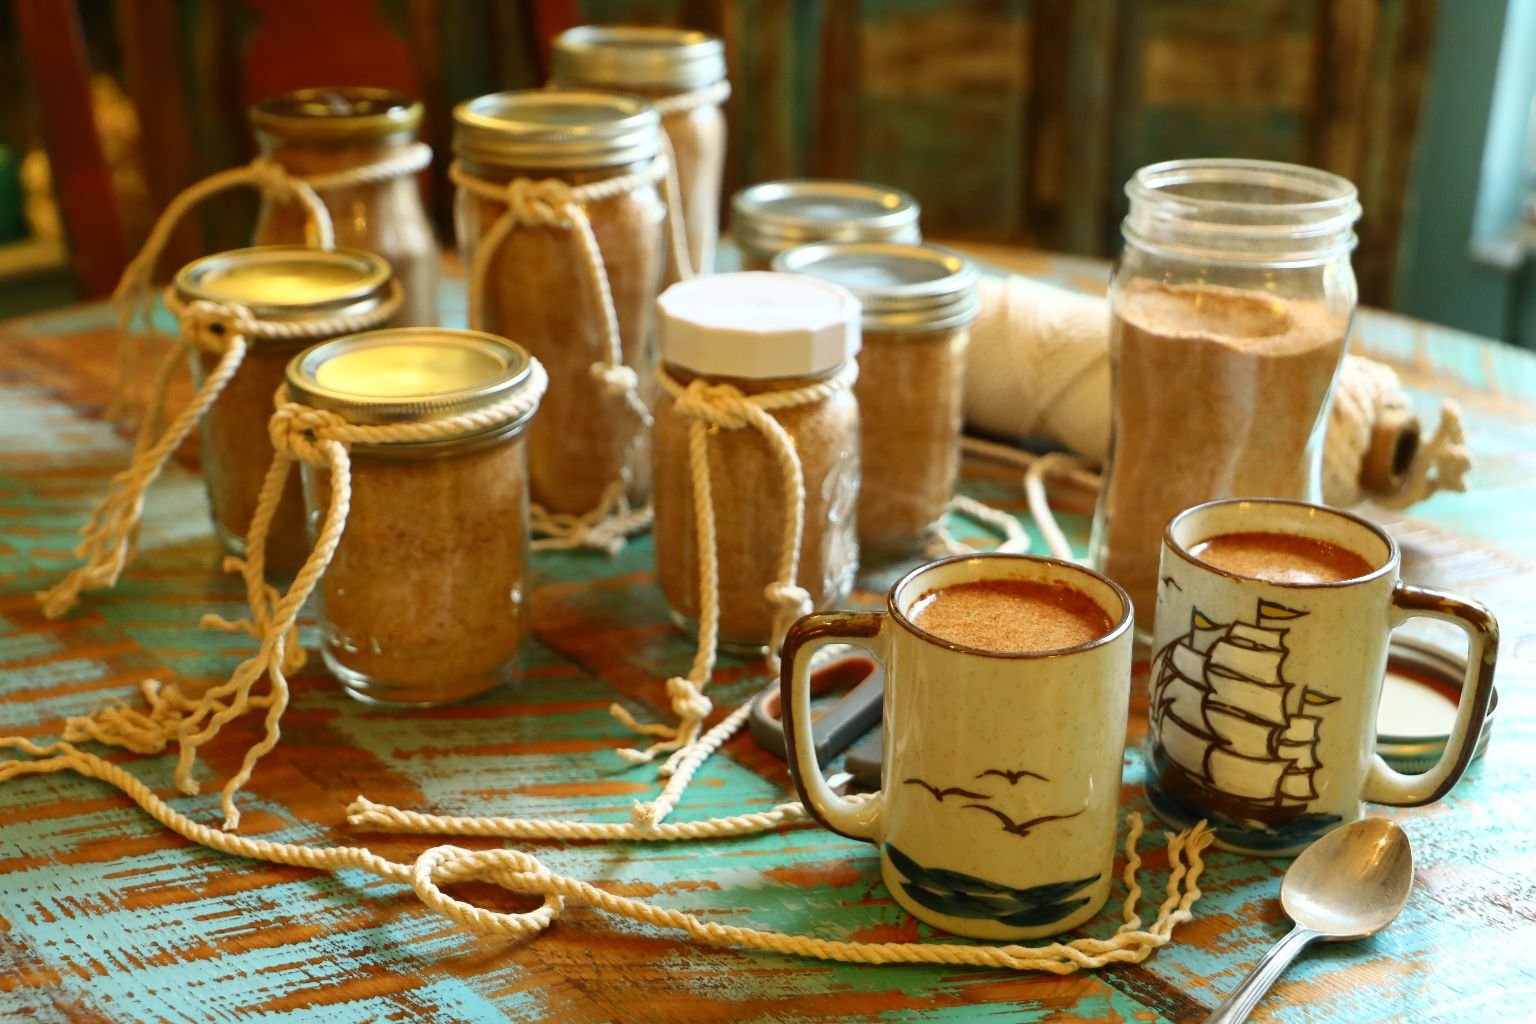
Enhancing our Russian Tea with some Nautical Rope and Knots


Lovely Gift of Tea
—————————————————————–
Some of the Ingredients We Used

————————————————————

The Beginnings of Making the Teas
(I wanted to include my star fish bowl and some of my shells.)
When it came to the making of these teas I pretty much had it in my mind the ingredients that I wanted to use, I just didn’t know how they would taste together? But, that was the fun part. Putting the ingredients together and coming up with something that passed the taste test, but that was also healthy.
In this Covid 19/Cold and Flu Season I wanted these teas to be something that would help to heal the sick. Sooth that sore throat. Give that boost to the immune system. And not necessarily give in to your sweet tooth cravings. For these teas are more about your health than your sweet pleasures.


Organic Ginger Powder, Organic Cocoa, Cocoa, Organic Acai Powder, Powdered Sugar, Coconut Water Powder, Watermelon Powder Tea, and Organic Pomegranate Powder
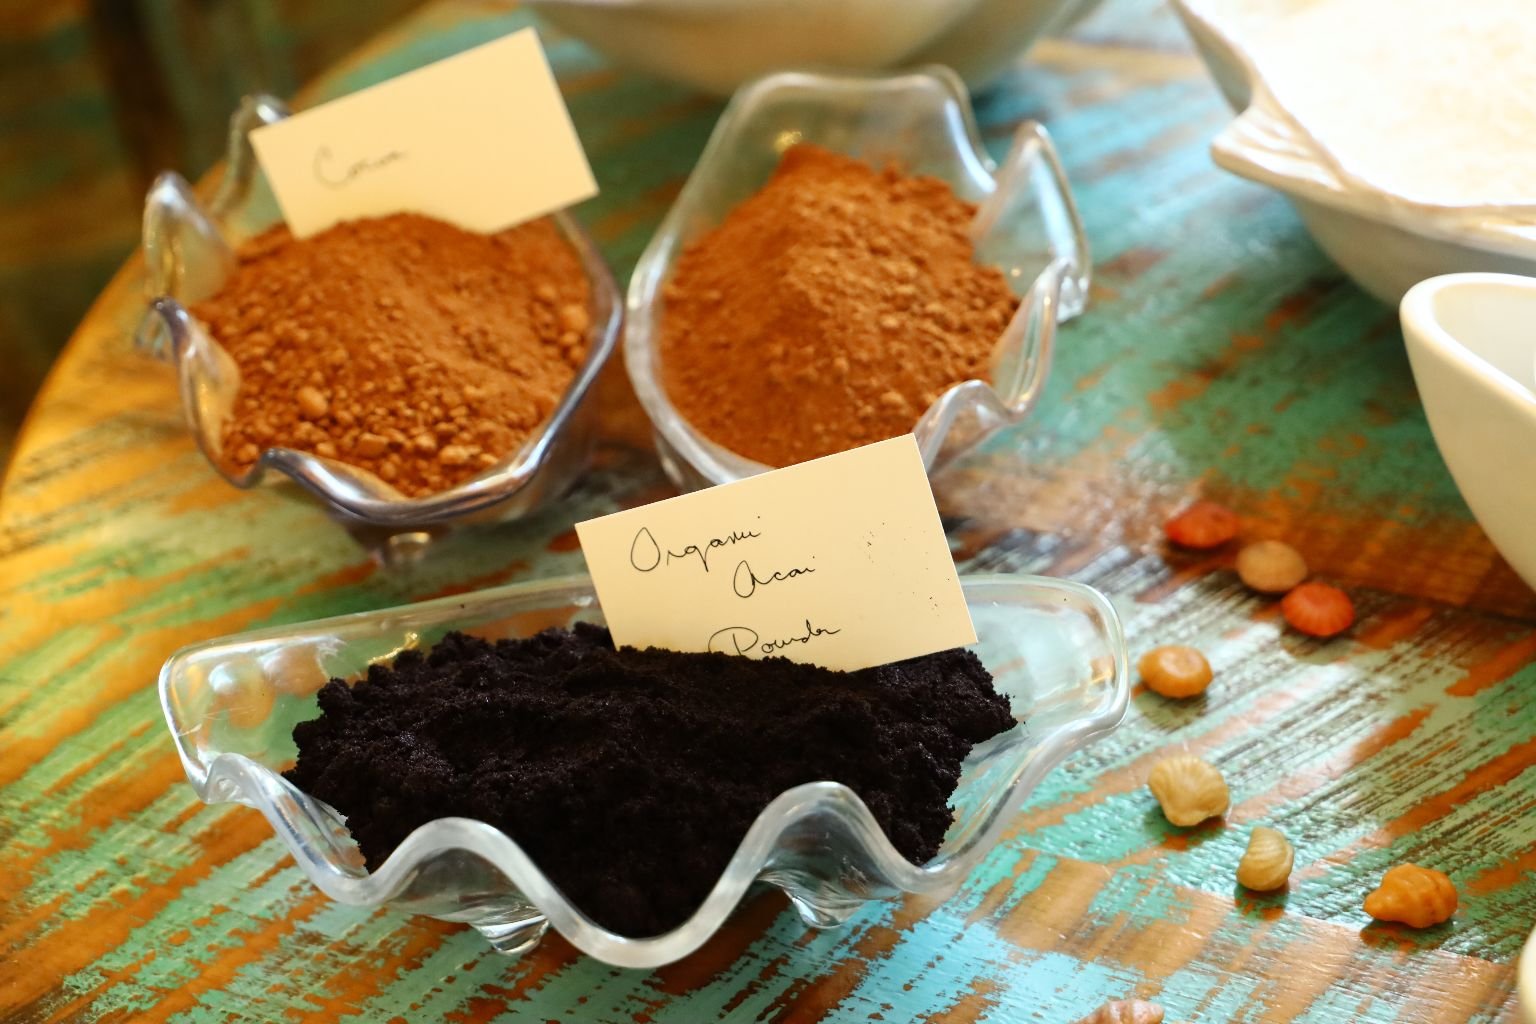
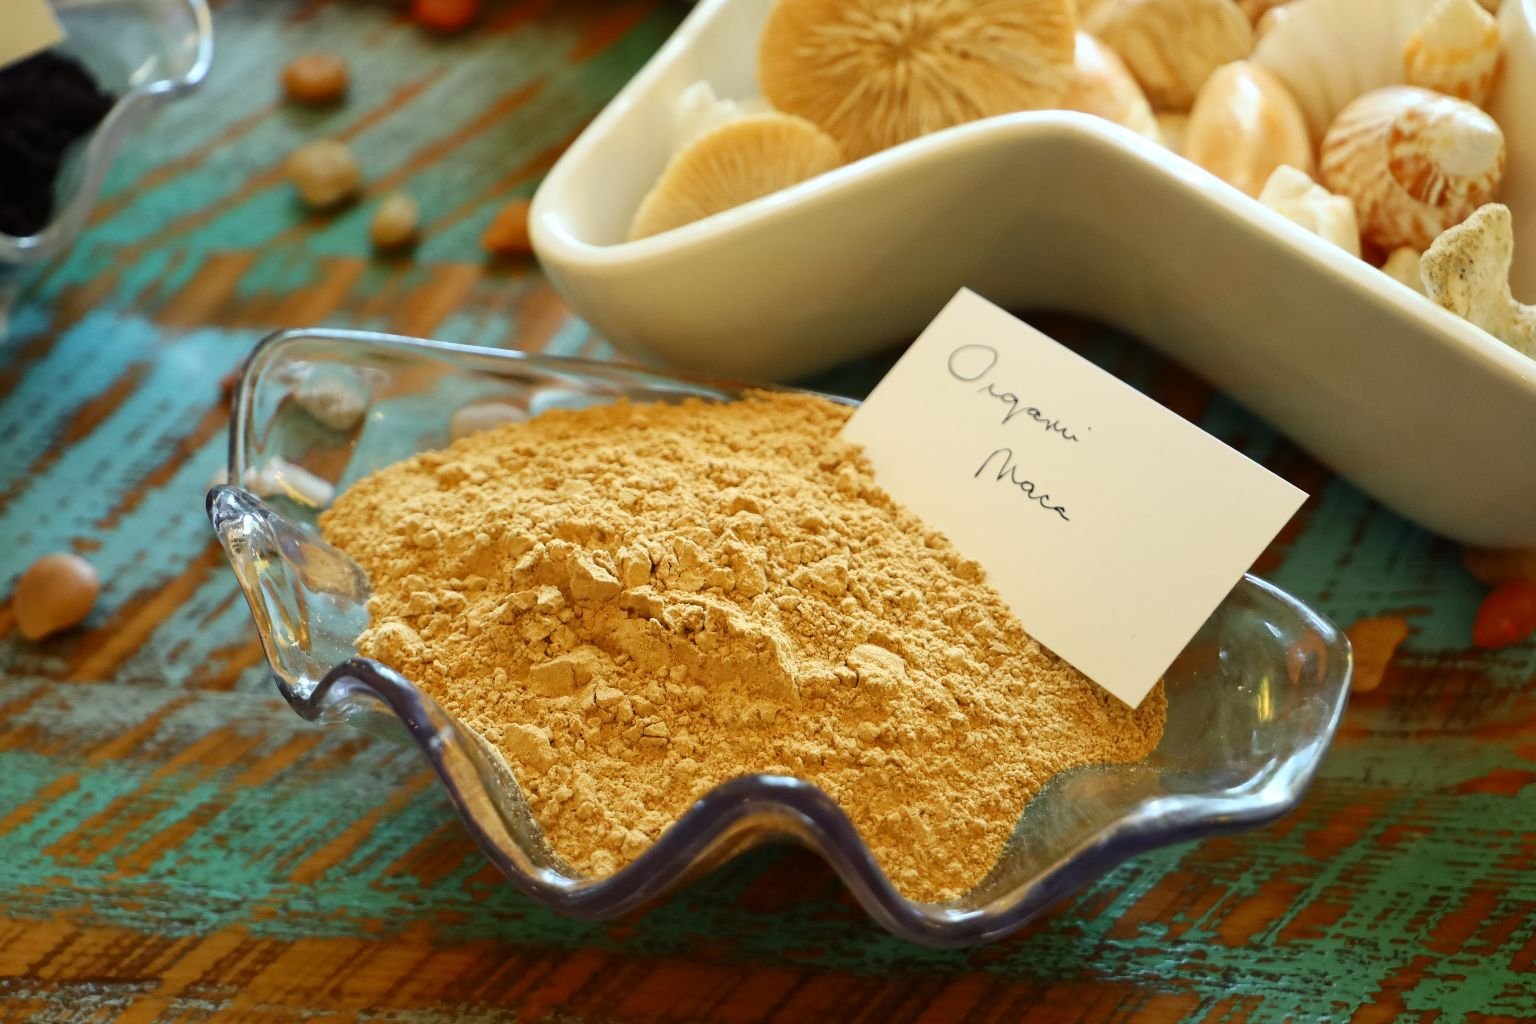
Organic Maca in Photo Top Right
——————————————————–

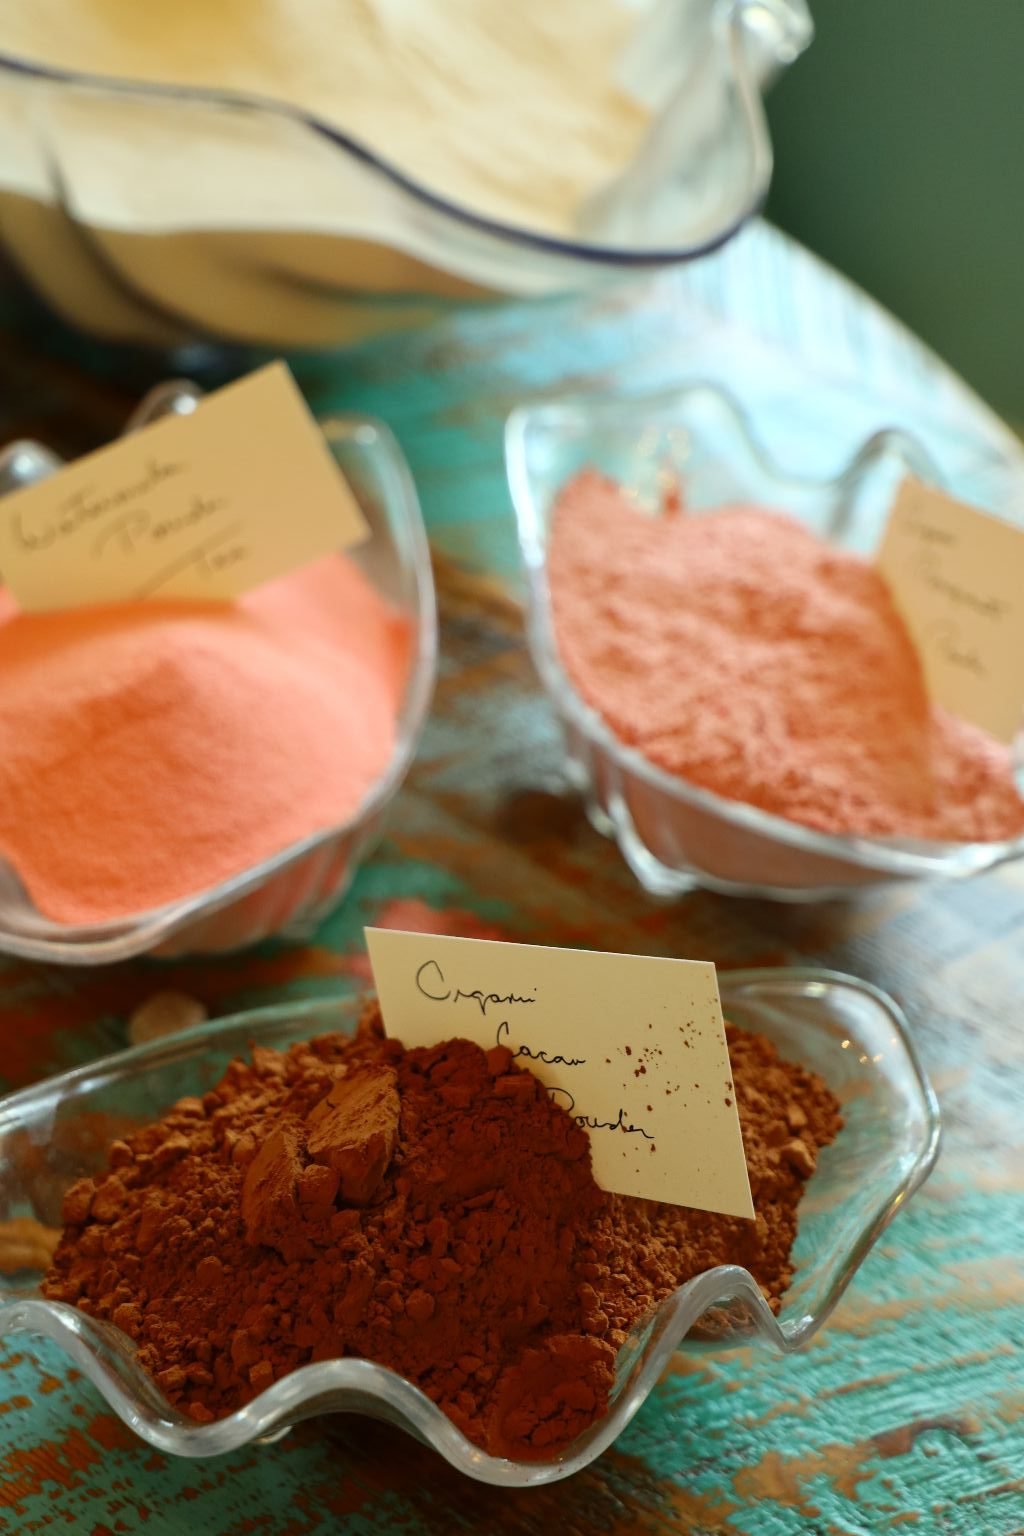
The Powdered Pomegranate tends to harden quite quickly when exposed to air.
Remember that.
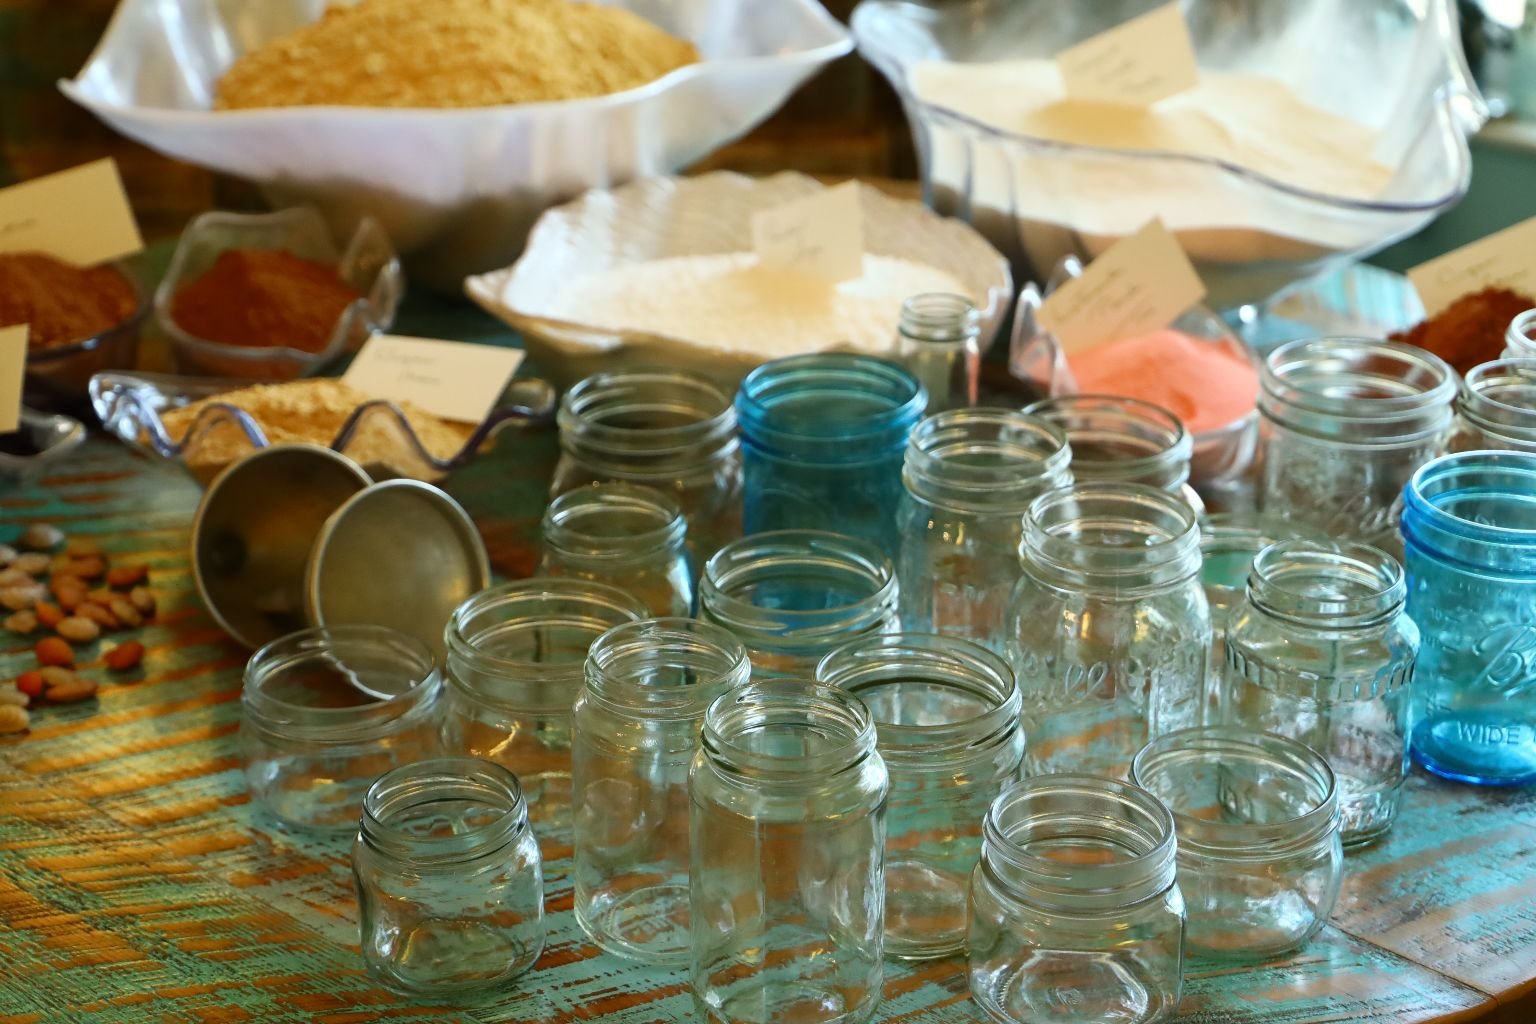
You will need lots of clean jars and lids. We washed the jars in the dishwasher but didn’t touch the insides. I did hand wash the jar lids and seals by hand and let them dry.
————————————————————-

Welcome to Sandy Beach

Ingredients:
3 Cups Powdered Ginger
(If you aren’t a big fan of Ginger then you may want to reduce the amount here.)
2 Cups Confectioner’s Sugar
3 Cups Unsweetened Tea
3 Cups Sweet Tea
2 Cups Organic Maca
——————————————————-


Ignore the dry milk in the photo left, that didn’t go into this tea but the Nestea Sweet Iced Tea did.


Nestea Unsweetened Iced Tea
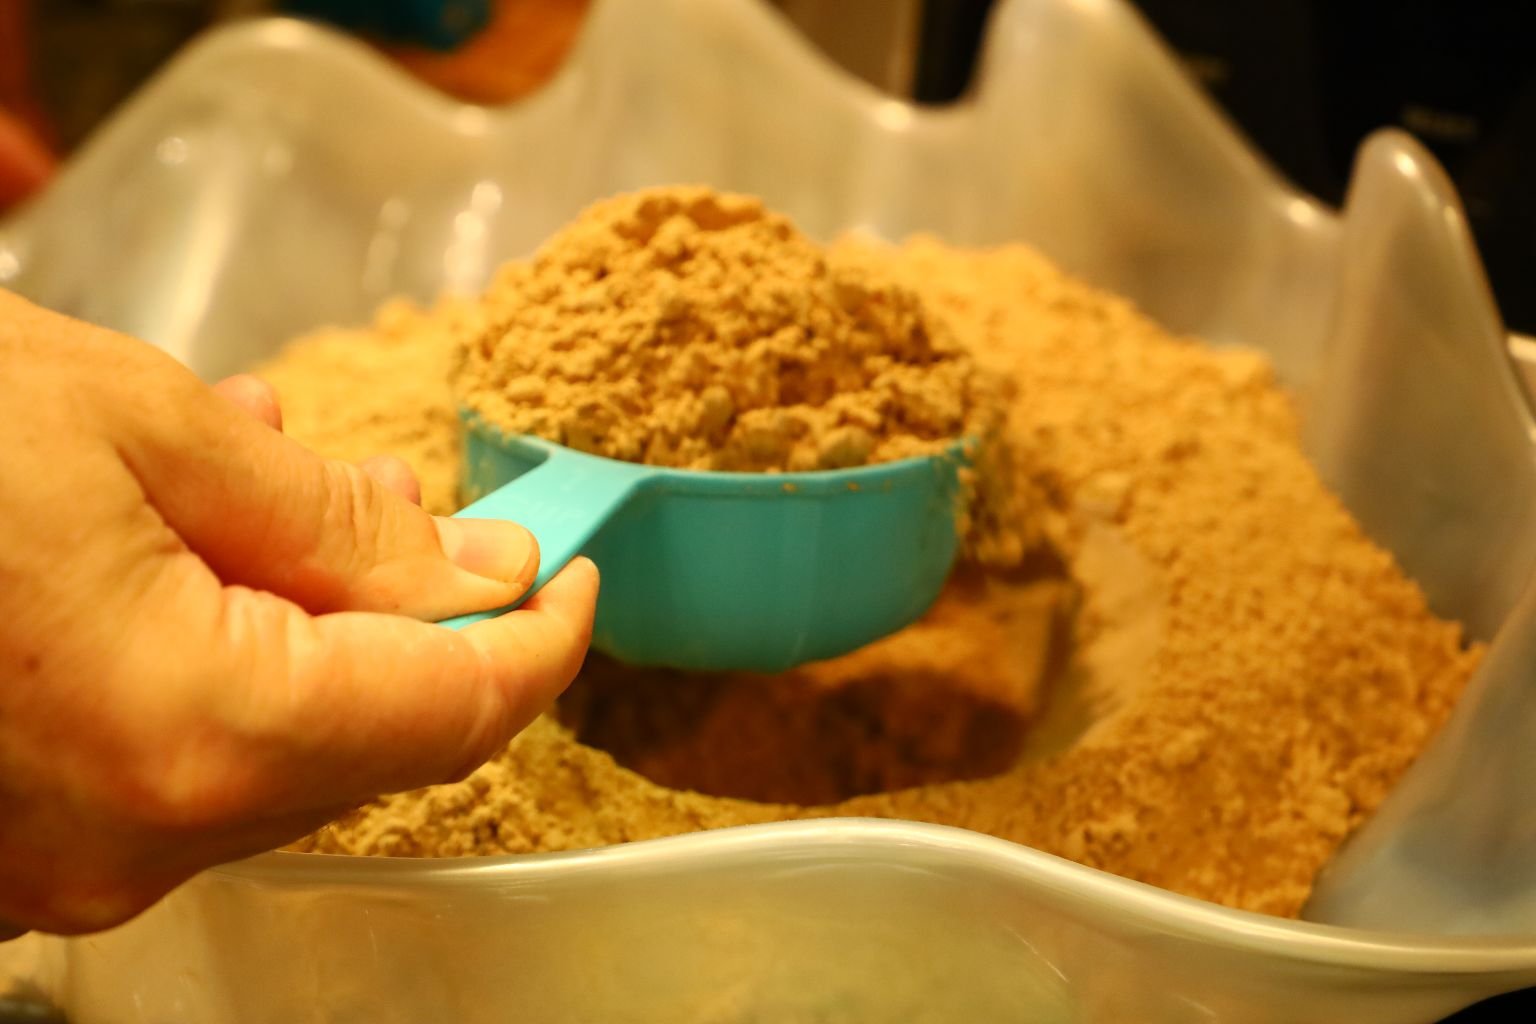

Organic Powdered Ginger
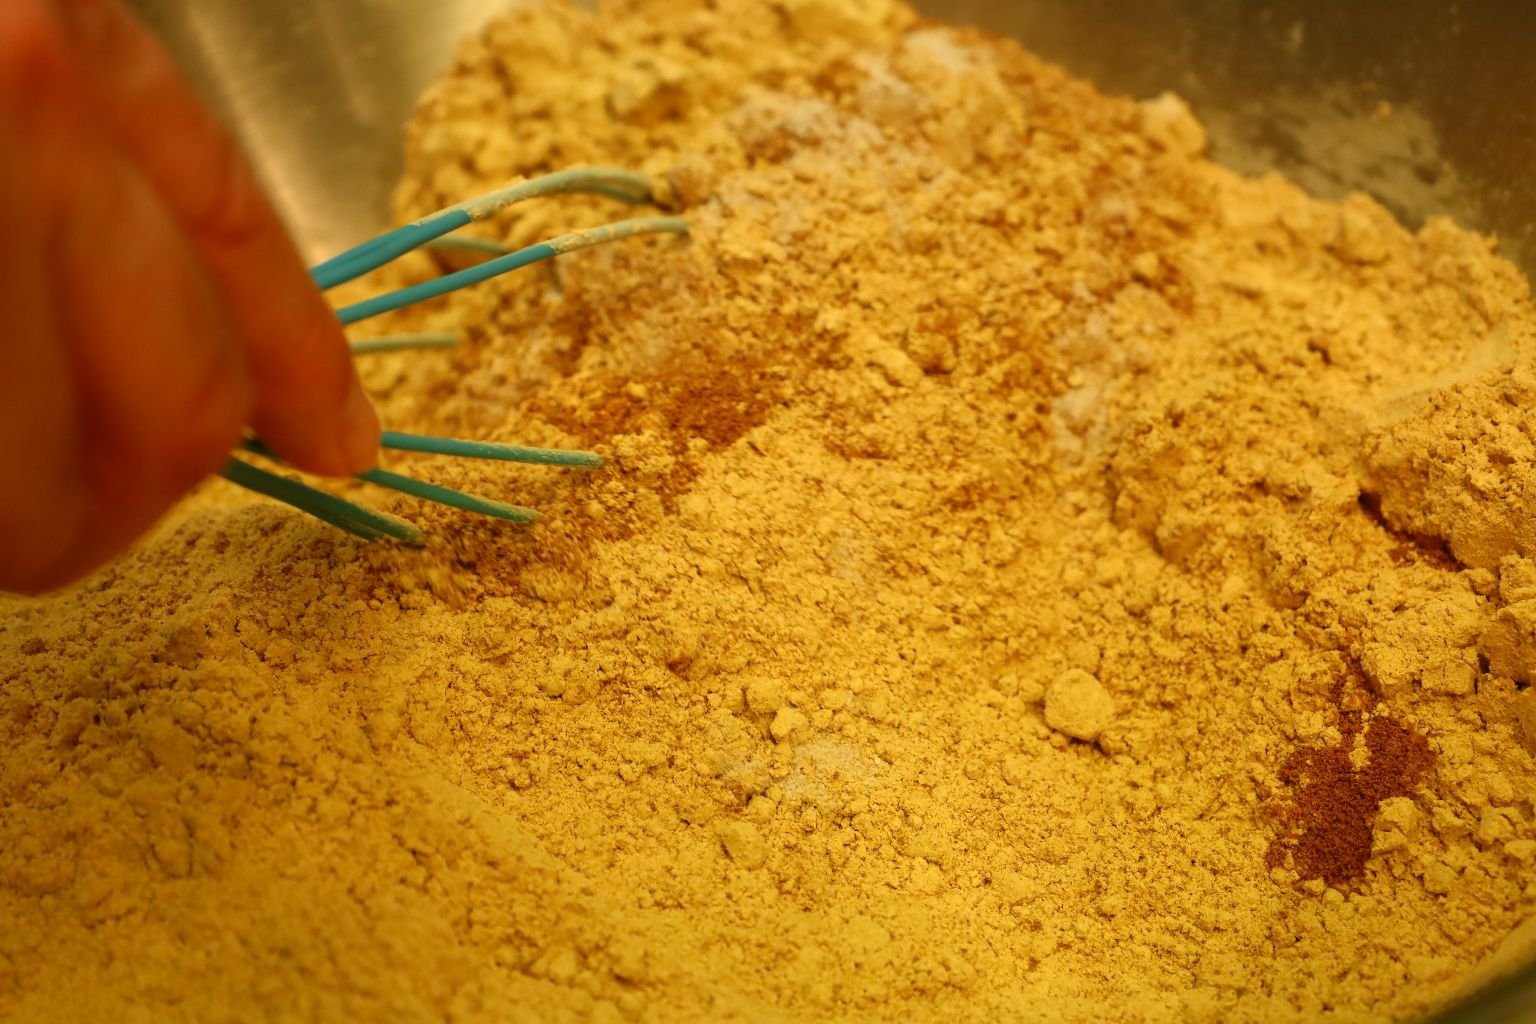
Just place all the ingredients into a large mixing bowl…..
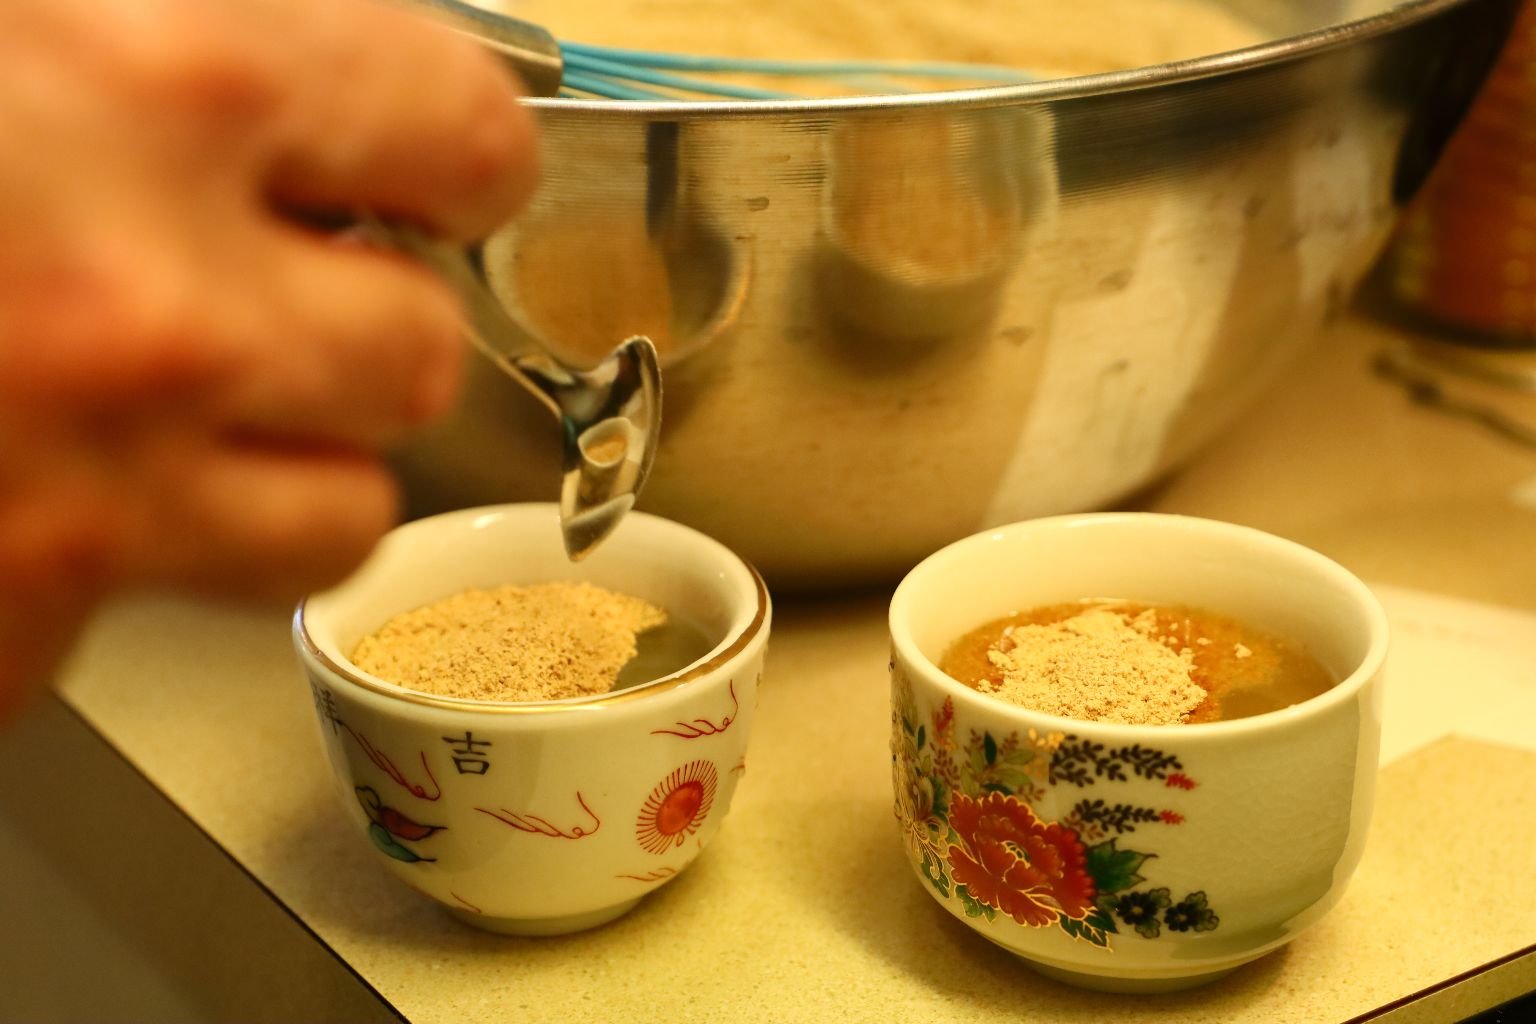
…then TASTE.

Here we are adding a bit more of this, and a bit more of that….
——————————————————–

Adding the Confectioner’s Sugar….


I wanted to use Confectioner’s Sugar in these teas because I thought it would add to the texture.
……………………………………………………………………………………………………………………………………….

Now place the Tea into the jars…….
And add a few Sea Shell Chocolates.
You don’t have to place the shell chocolates into the hot tea when you make it.
You can just snack on them as you find one.
——————————————————-
Spooky and Sparky


Cute Sleepy Doggy Break
————————————————————————
Welcome to Coral Beach
(I wanted this tea to be consumed iced cold on a hot day.)
————————————————————-
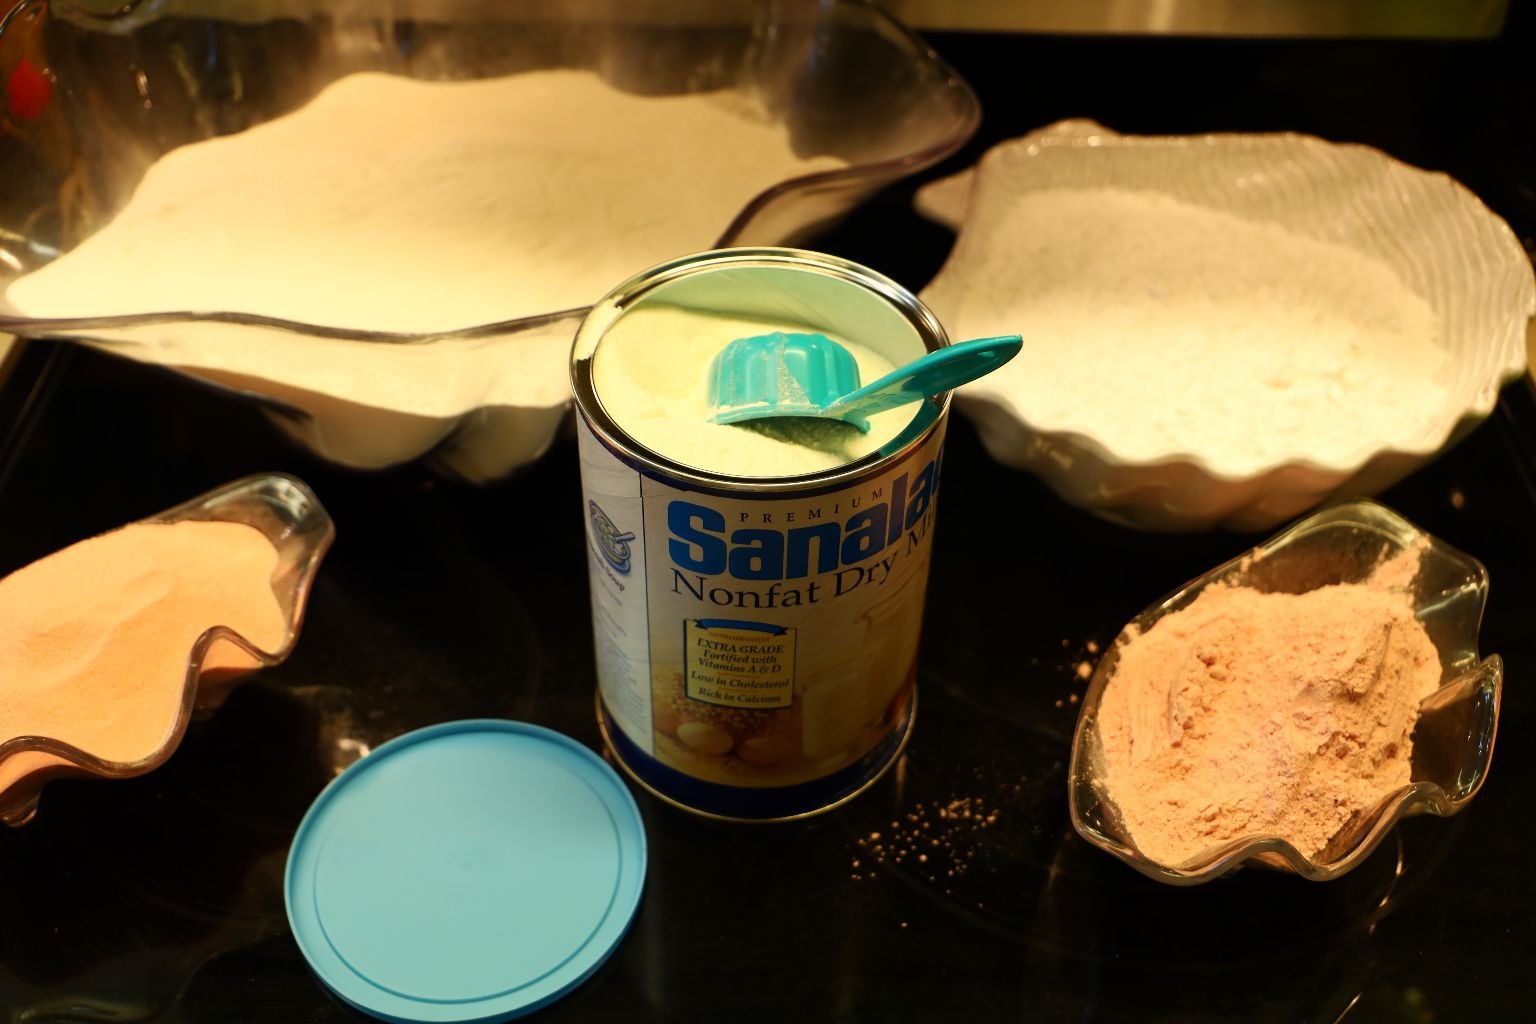
Ingredients:
7 Cups Powdered Coconut Water
3 Cups Watermelon Tea
3 1/2 Cups Confectioner’s Sugar
1 Cup Organic Pomegranate Powder
1 Cup Dry Milk
————————————————————
Making The Coral Beach Tea


Photo left: Our Organic Coconut Powder and Watermelon Tea.
Photo right: Our Confectioner’s Sugar and our Organic Pomegranate Powder

Combining all of the Ingredients to a Large Mixing Bowl


This Organic Coconut Powder was Wonderful!
This is an ingredient that we would like to see how we can use it in other recipes.


The Organic Pomegranate Powder Dries Fast so add to Recipe Quickly

Adding Our Watermelon Tea

Powdered Milk helped to make this recipe a bit creamy.
I also recommend keeping Dry Milk in your pantry. It has come in handy quite a few times during our self-isolation when we would run out of fresh milk.
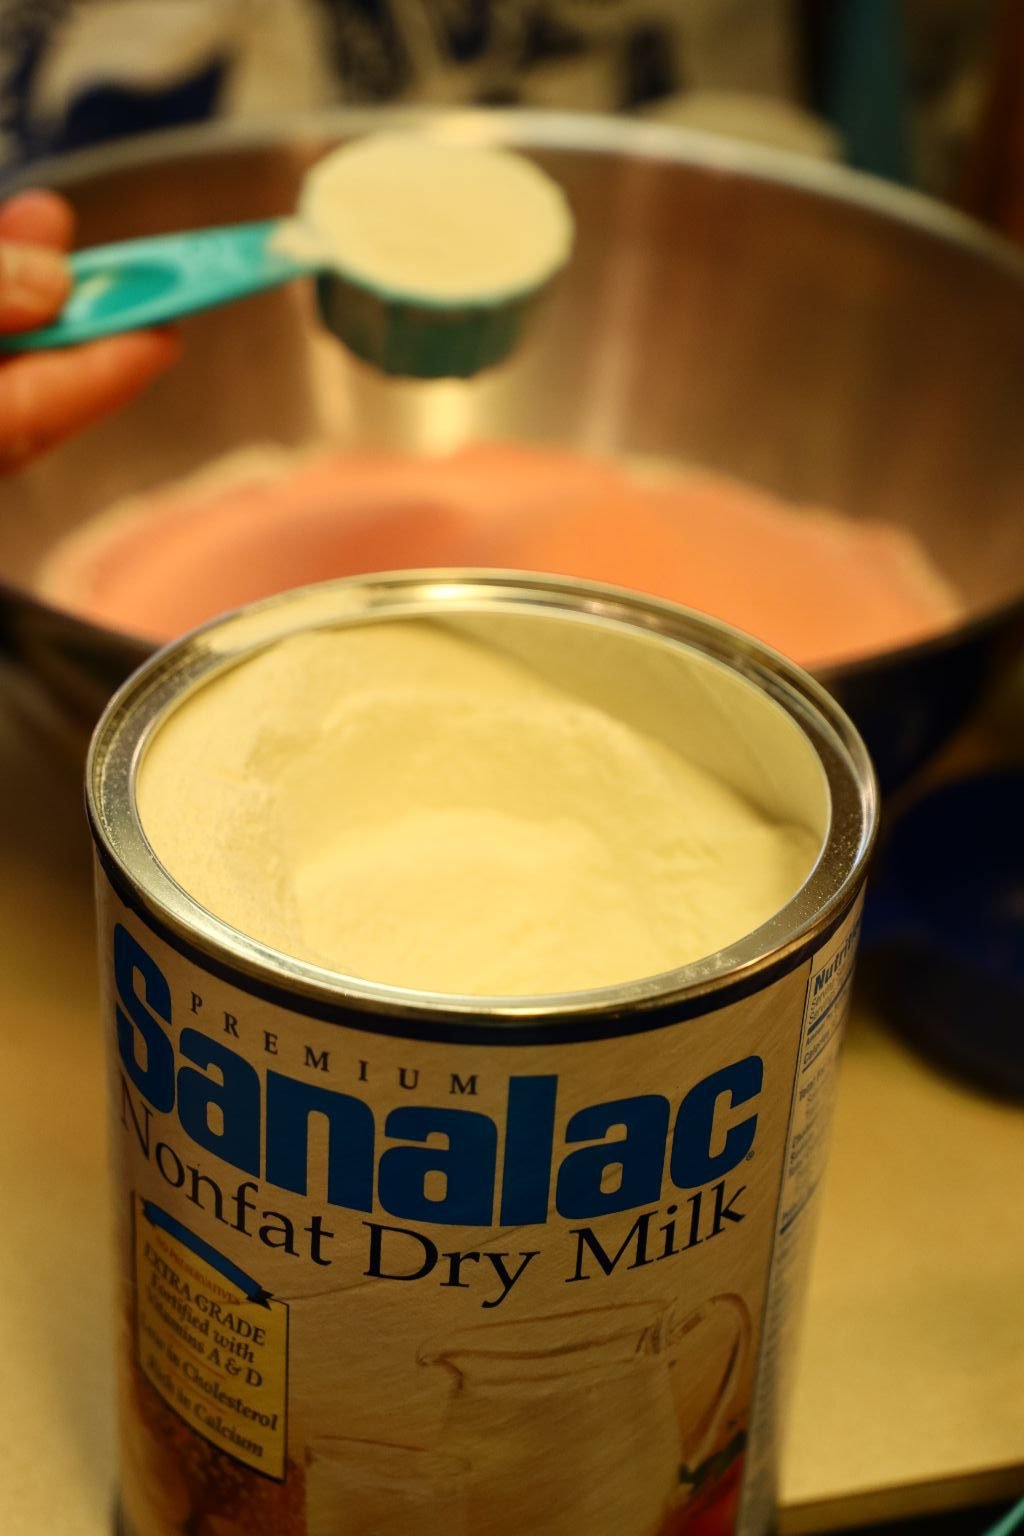

—————————————————————-

————————————————————-


Adding our Confectioner’s Sugar


Stir to Combine….
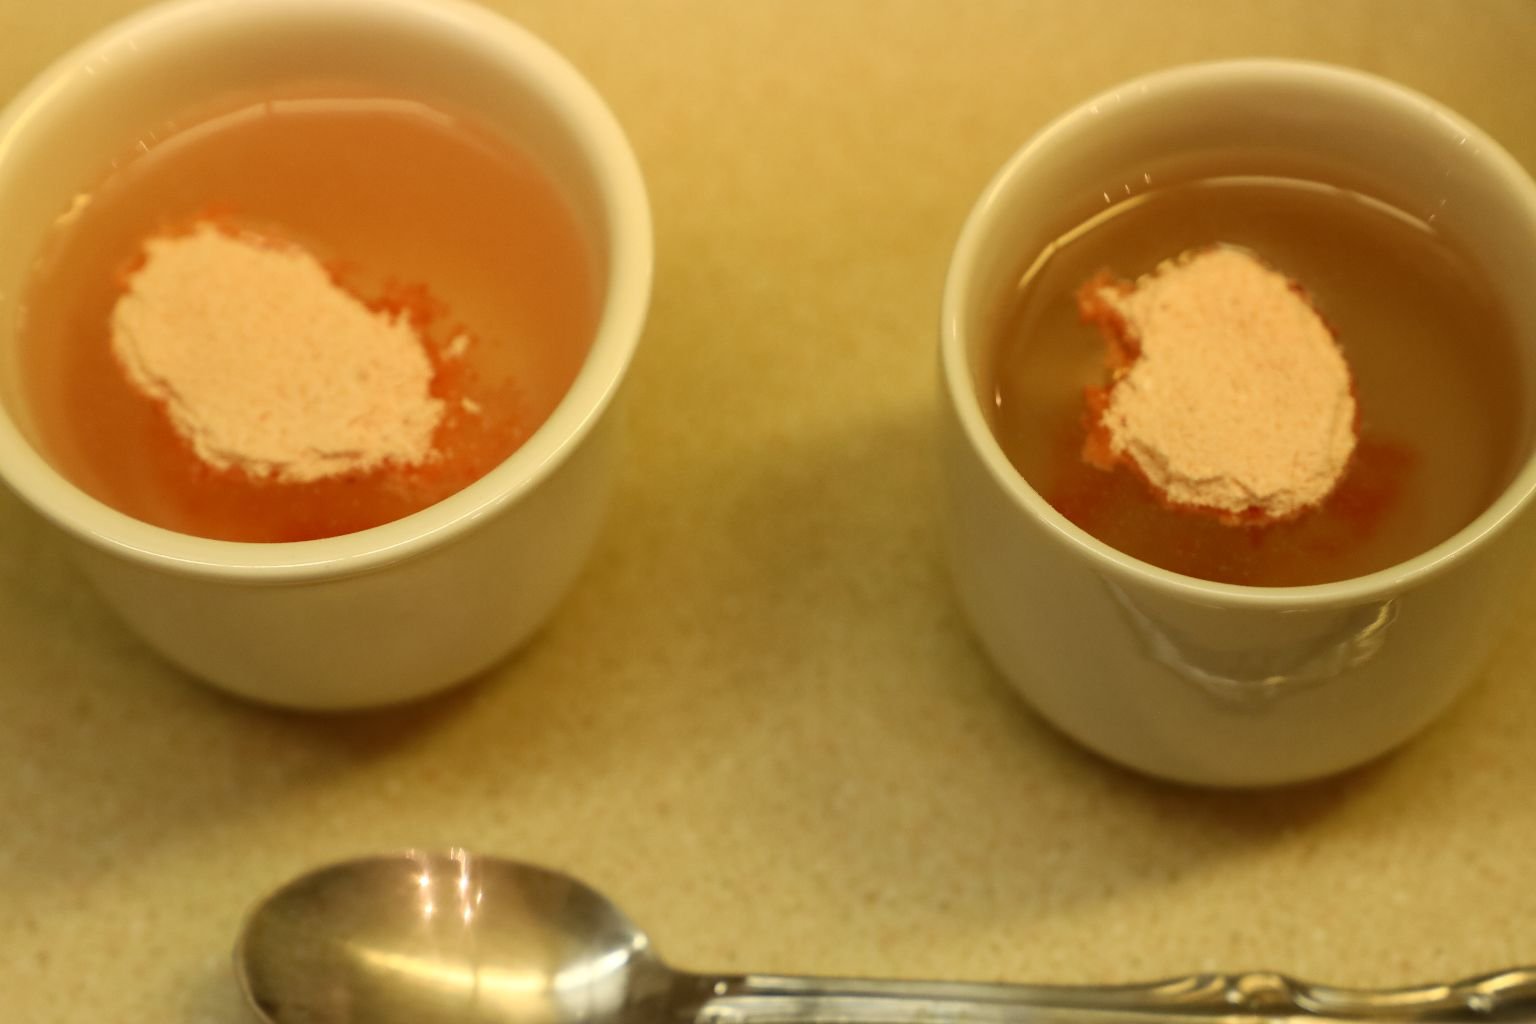
Time for a Taste Test
Then When Satisfied…

Time to Place into Jars and add the Candy Shells

———————————————————–
Making Our Organic Cocoa Beach Tea
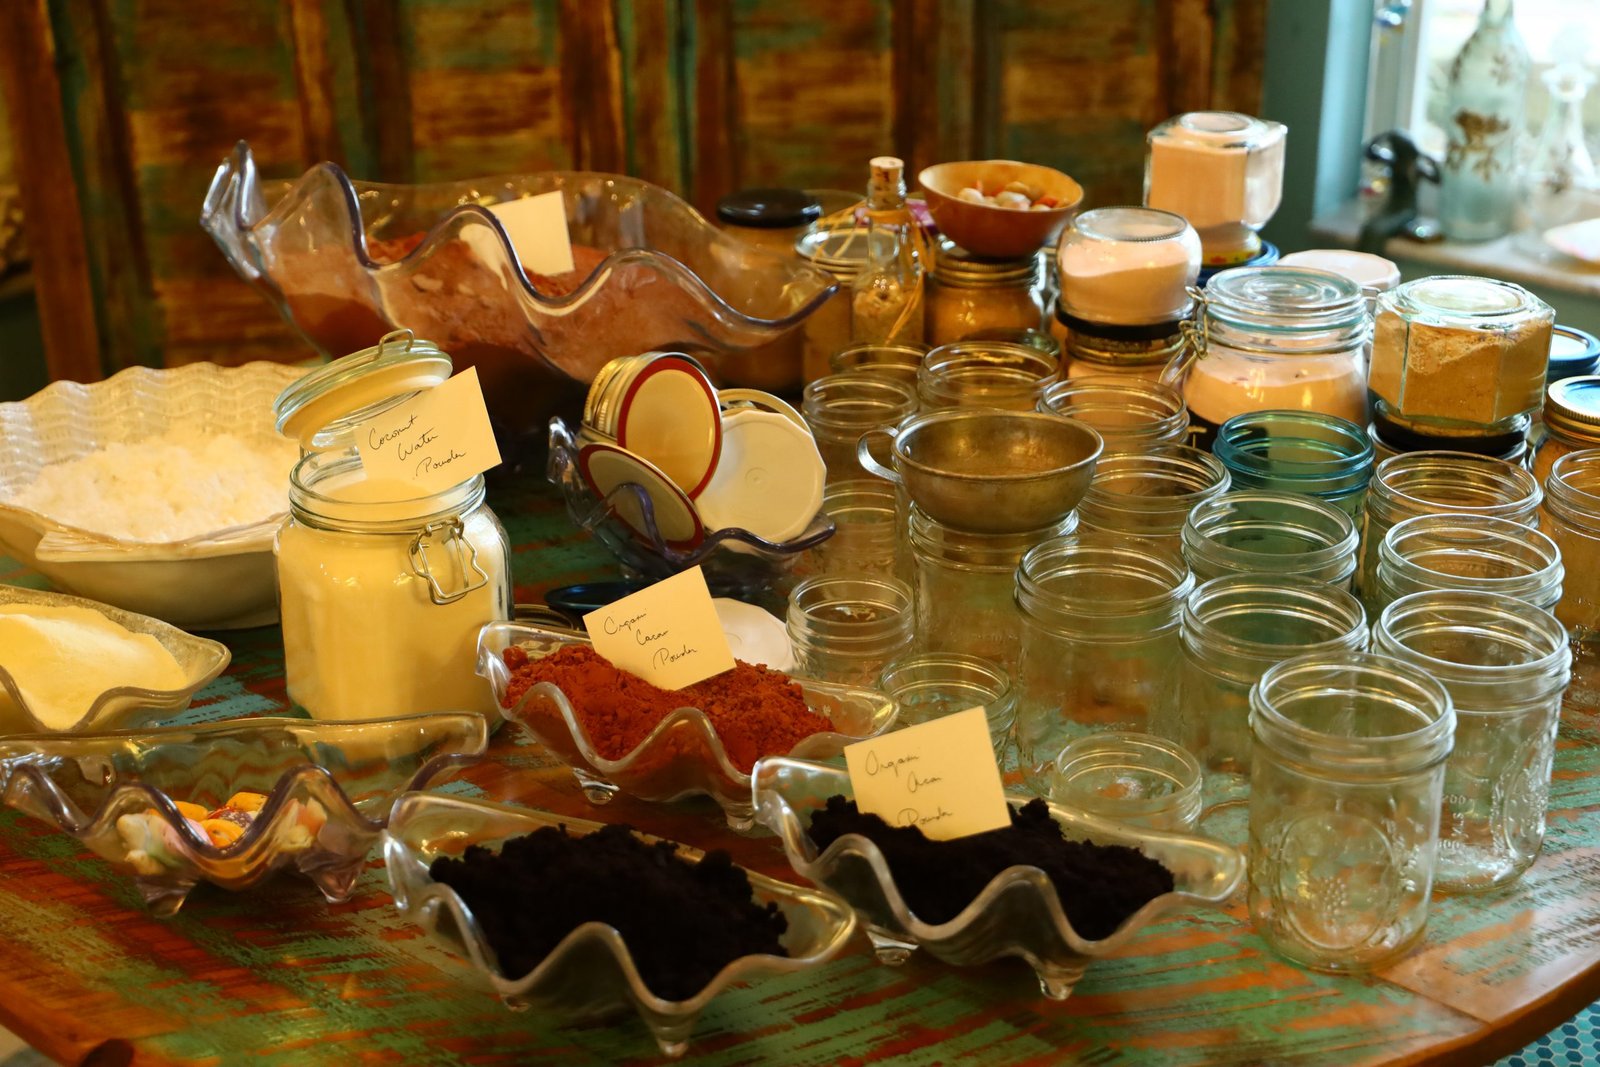
This is a Healthy Organic Hot Chocolate

We topped the jars with some Candy Shells and some Shredded Coconut.


Everything Ready to Make This Tea


——————————————————–

Organic Cocoa and Acai Powders
This Acai Powder has so many health benefits.
Gordon and I need to find other ways that we can consume it in the future.

Ingredients:
7 Cups Cocoa Powder
3 Cups Acai Powder
2 Cups Confectioner’s Sugar
2 Cups Organic Cocoa Powder
3 Cups Powdered Milk
3 1/2 Cups Powdered Coconut Water
5 Cups Granulated Sugar
——————————————————–
Combining All of Our Ingredients into a Large Mixing Bowl
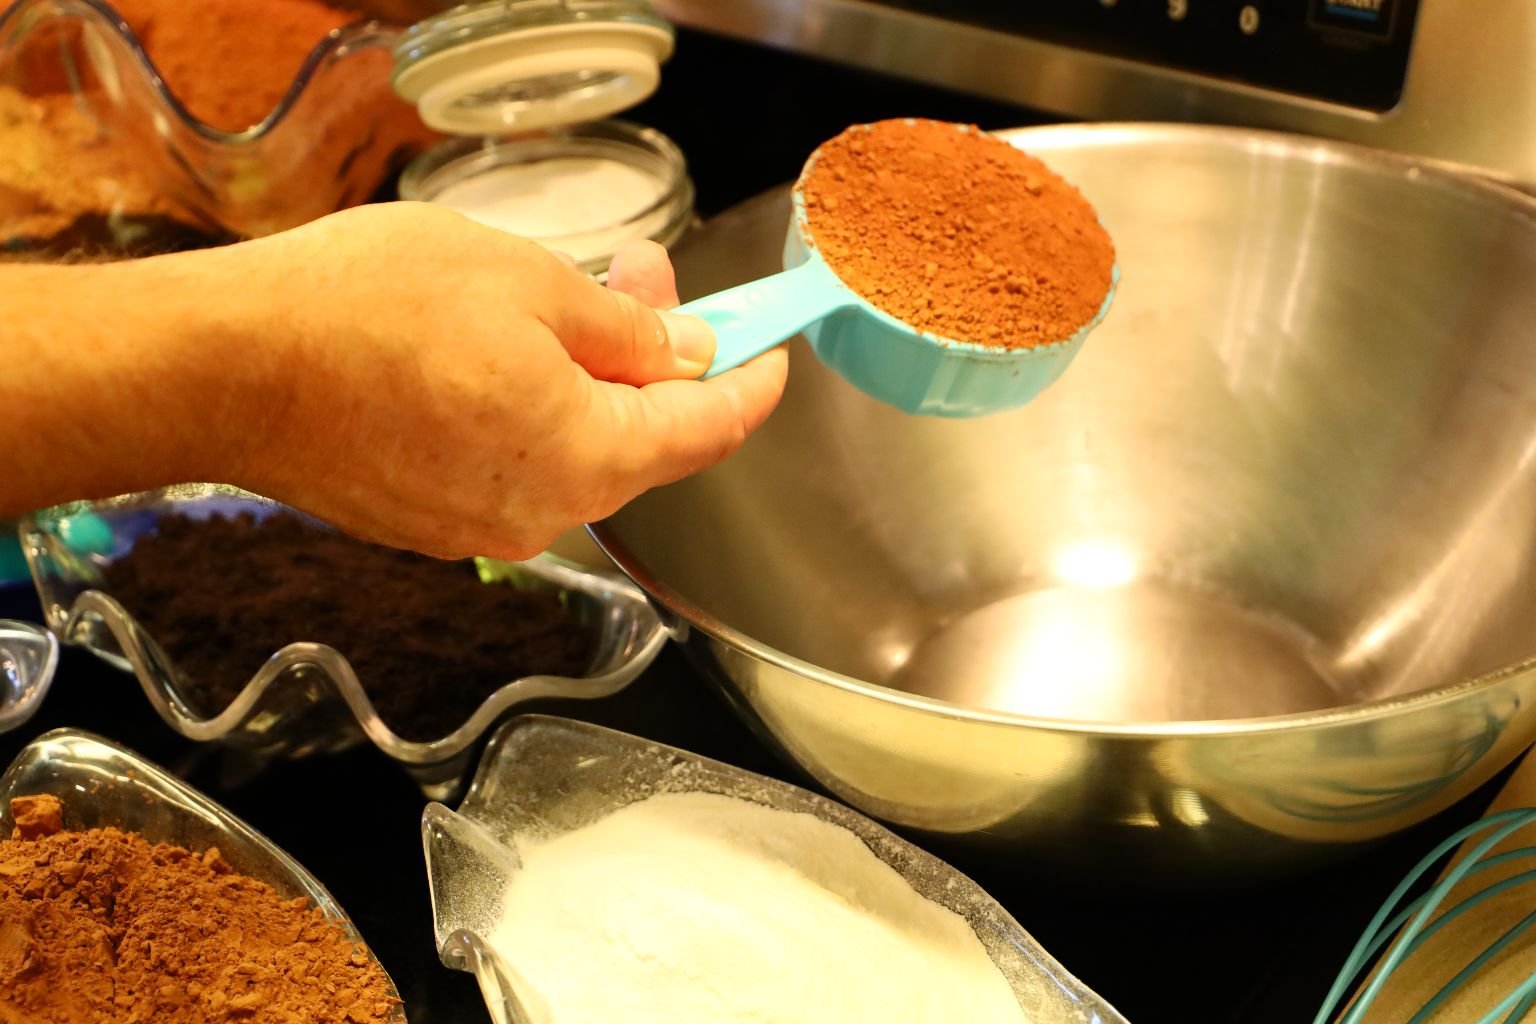

We did use a combination of Organic Cocoa Powder as well as regular Cocoa Powder.


———————————————————-

—————————————————————–


The Confectioner’s Sugar

———————————————————–

The Last of our Powdered Coconut Water Being Added


————————————————————–

——————————————————–


All of this Powdered Coconut Water is giving this drink a lovely coconut flavor.
————————————————————


Mix Together…..

————————————————–


Now It’s Time for a Taste Test


Needs More Granulated Sugar

—————————————————–
Now It’s Time to Create our Jars


——————————————————————

Here Gordon got the Idea to Add Shredded Coconut to Some

——————————————————————-
Deliciousness 🙂
————————————————————-
![]()
Another Cute Doggy Break
When Blankets are Right Out of the Dryer 🙂
———————————————————-
Making Russian Tea

—————————————————————
A Gordon Whann Tradition

——————————————————————-


Ingredients:
2, 18 oz. Orange Tang
2, 18 oz. Pineapple Orange Tang
3 oz. Jar Nestea Unsweetend Iced Tea Powder
3 Cups Nestea Sweet Iced Tea Mix with Lemon
3, 6 oz. pkgs. Orange Jell-O
2.37 oz. Cinnamon
3 Tbsp. Ground Cloves
2 Tbsp. Nutmeg
———————————————————

Add your Orange Tang, and Orange/Pineapple Tang to a large bowl.


Then add your Unsweetended Nestea Ice Tea powder to the bowl.
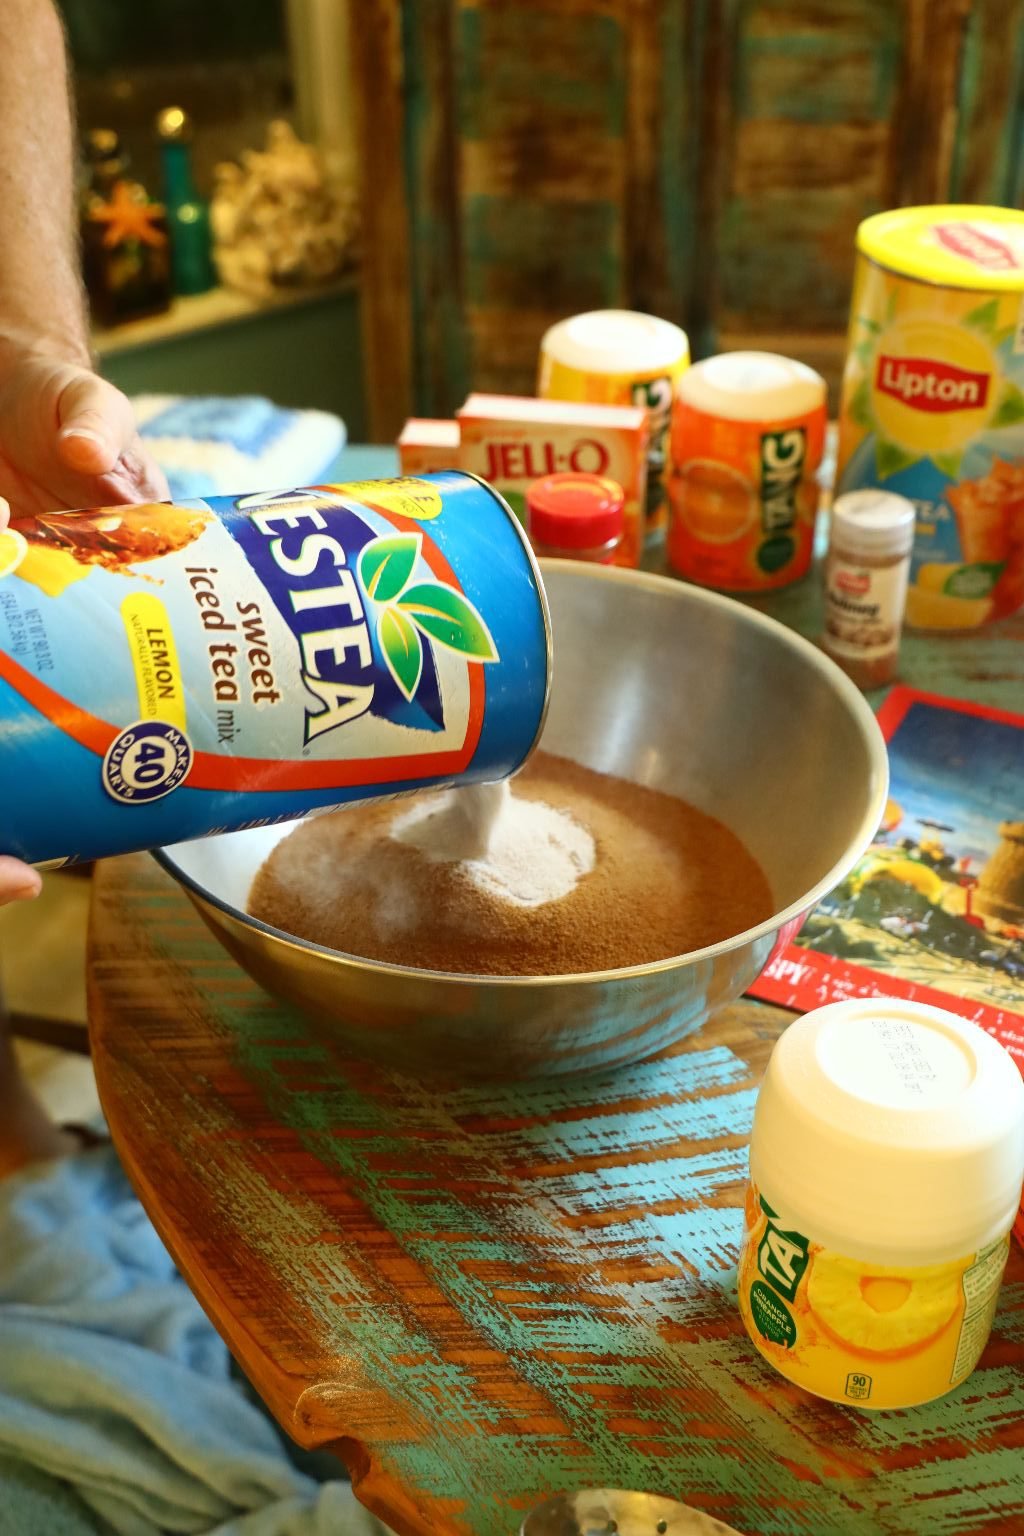

Now, add your Sweetened Nestea with Lemon to the bowl.


Then add your Jell-O to the bowl.

Here, we were thinking about making 2 batches of Russian Tea then saw that all the ingredients would fit into the one bowl. This is why I am adding additional Tang to the bowl. The initial recipe ingredients are correct to make this entire batch of tea.
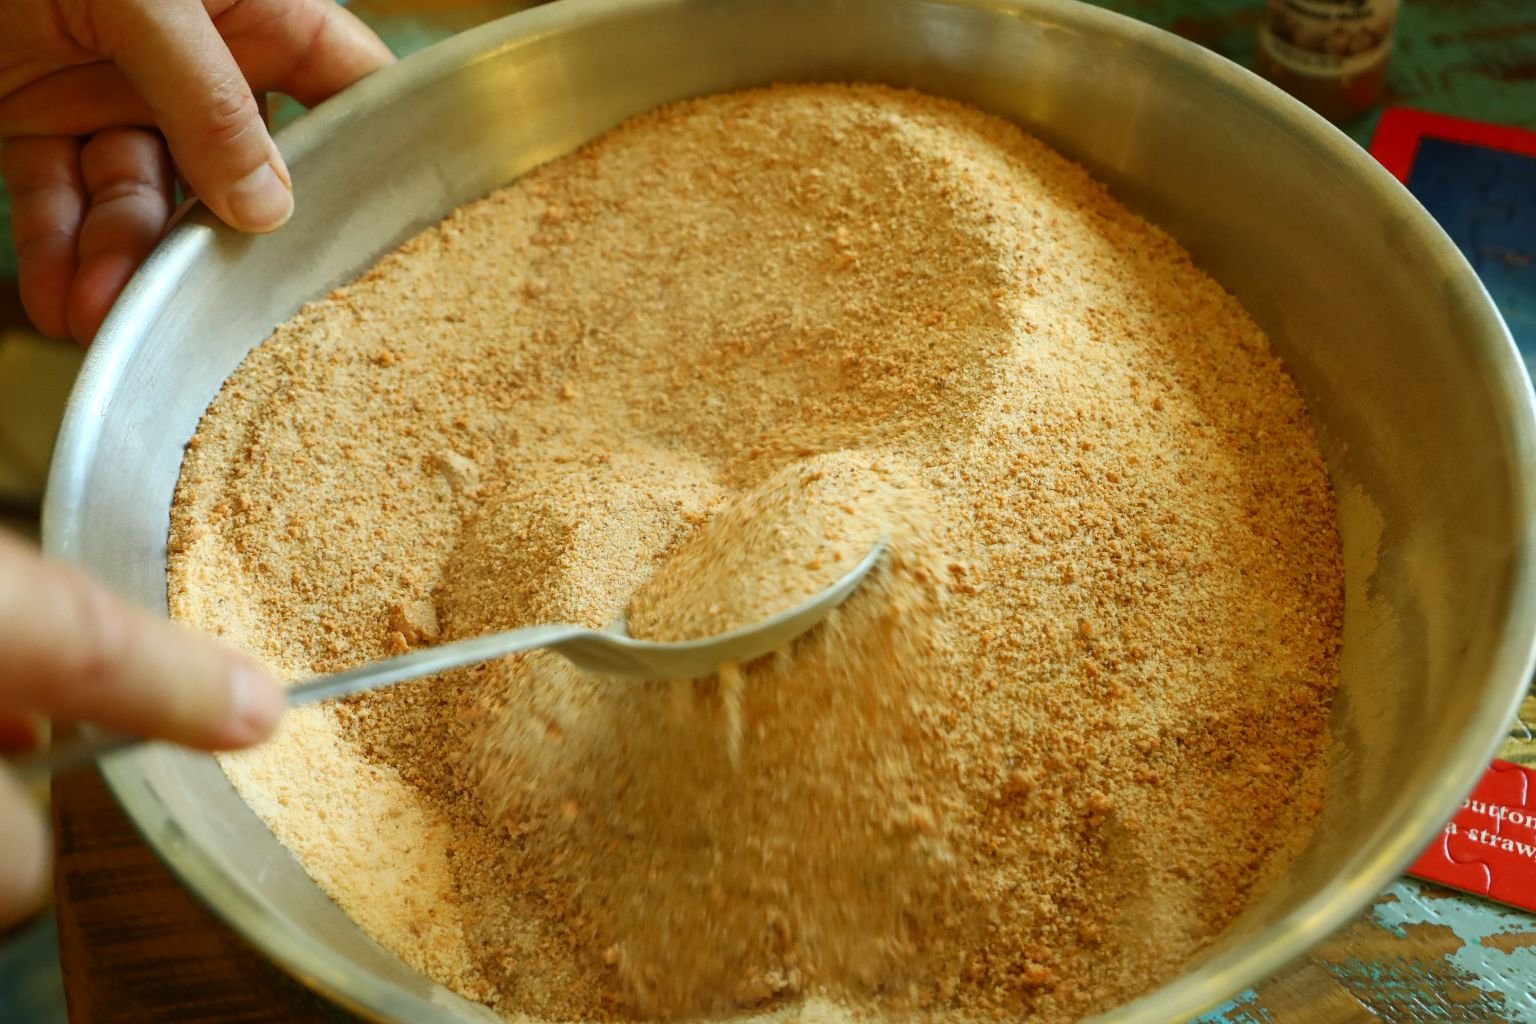
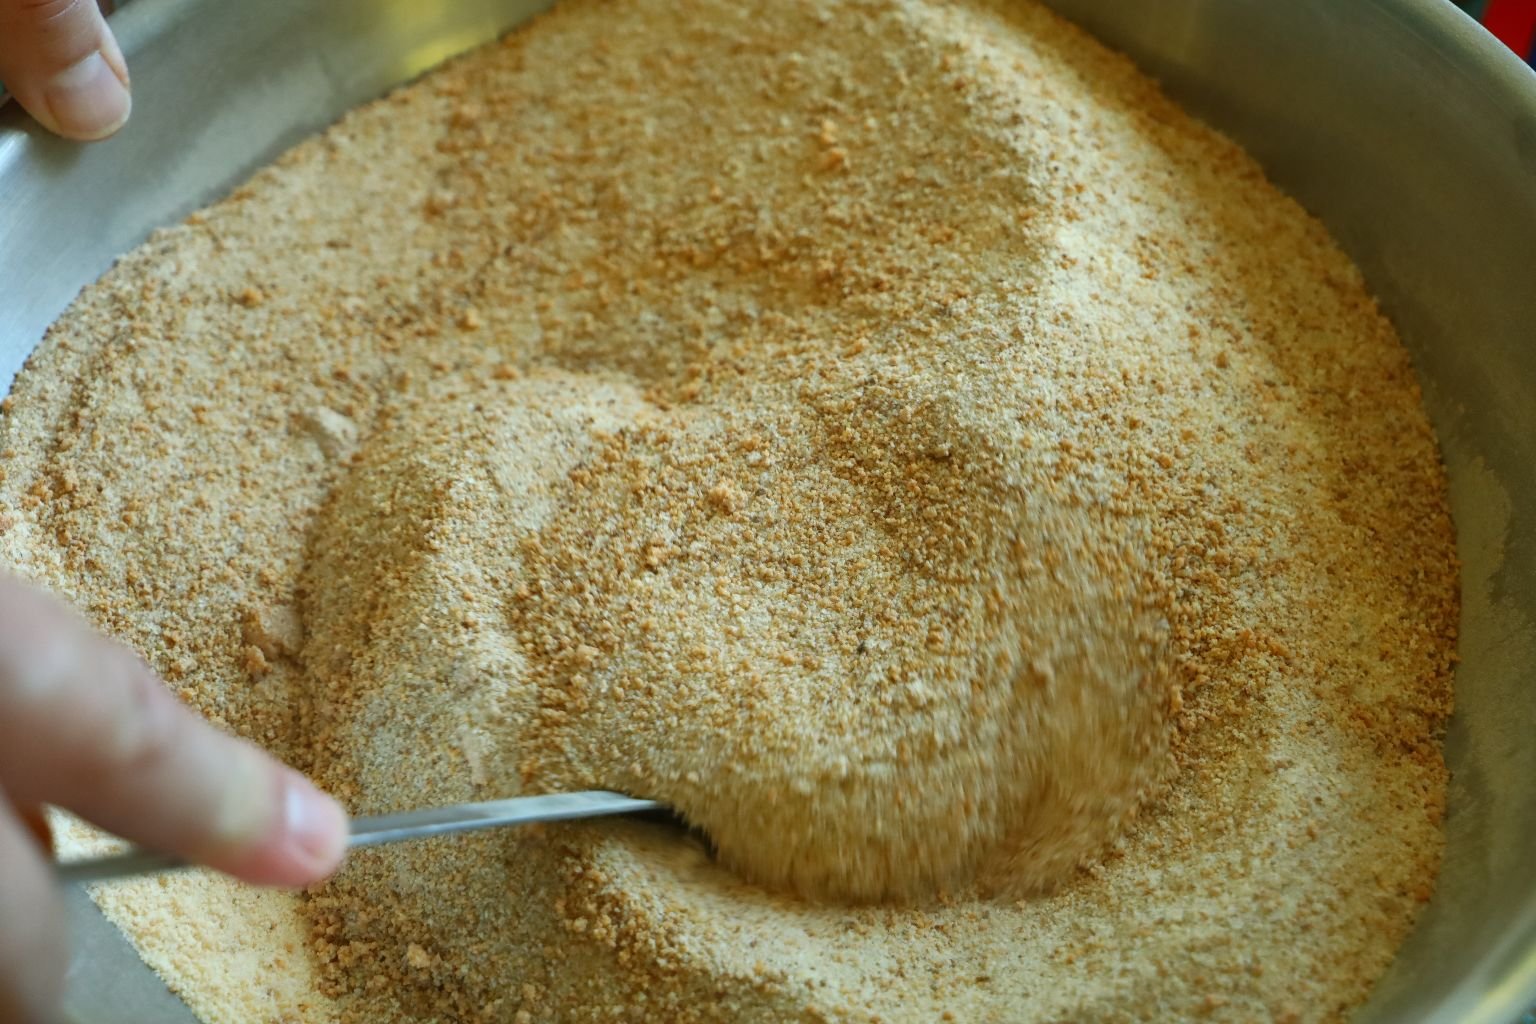
Mix all the ingredients together using a slotted spoon.

Here you see the spices involved in making this tea. These do not dissolve into the mix, so it is important that you don’t put too much of these into the mix. They are important though to give the tea that holiday spiced flavor.


Add your Cinnamon to the bowl.


Now the Cloves and Nutmeg to the bowl. Stir all the ingredients together well.

Here you see all of the clean and sterile jars and lids.
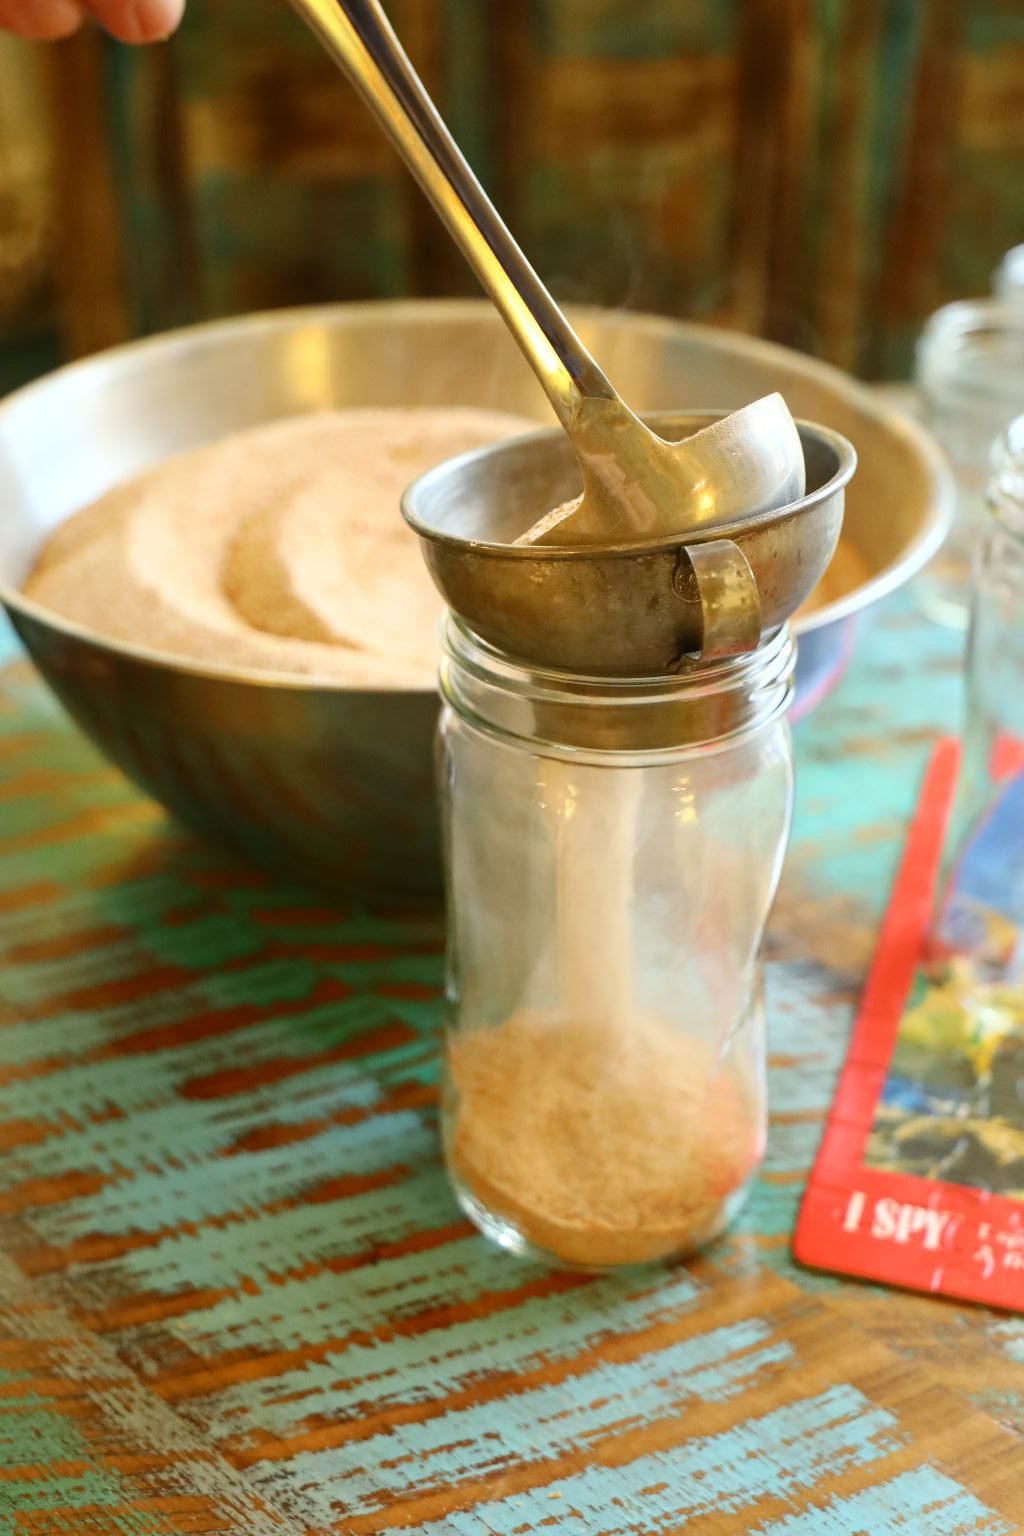
Use a large ladle and funnel to pour the tea into the jars.


————————————————————–
Here you can see all the jars we were able to make.
These make great gifts for anyone.
Here, Julie dressed the jars with some pieces of white line or rope.
What a simple detail to dress the jars up nicely!
Russian Tea automatically makes me think of Christmas and is one of our holiday traditions to drink this around those winter months. Julie even sent me some when I was deployed overseas which helped both my mood and spirit with a taste of home.
—————————————————–
See you at the beach!
Julie and Gordon
————————————————————–
Check Out Our Other Hawaiian Pages:
Click Here For: Whann Way Aloha
AND,
Click Here For: Whann Way Aloha, Hapa Elua (Part 2)
AND,
Click Here For: Blue Hawaiians and Huli Huli Chicken
AND,
AND,
AND,
Click Here For: Weekend Spamin’ Spam Musubi
AND,
Click Here For: Julie’s Lunchbox
AND,
Click Here For: Gordon’s Hawaiian Potatoes and Huli Huli Pork Chops
AND,
Click Here For: Whann’s In Not Always Paradise
AND,
Click Here For: Julie Barefoot Cookies and Beachy Edible Gifts
AND,
Click Here For: Grillin’ With Aloha
AND,
Click Here For: Julie’s Vintage Hawaiian Mango-Mac Nut Bread Cake w/ Pasta Flowers
AND,
Click Here For: Gordon’s Dole Pineapple Outrigger Canoe and Cocktail
AND,
Click Here For: Hawaiian Hum Lum Sun Prunes
AND,
AND,
AND,
Click Here For: A Mother’s Day Aloha
AND,
Click Here For: Aloha Wahine Jezebel Sauce
AND,
Click Here For: Whann Way Hawaiian Luau
AND,
Click Here For: Hawaiian Popcorn and Moana Maika I’ Loa
AND,
Click Here For: Beachy Hawaiian Thanksgiving Pu Pu’s
AND,
Click Here For: Barefoot Beach Teas
AND,
AND,
Click Here For: Hawaiian Kalikimaka
AND,
Click Here For: Christmas/Kalikimaka Oysters on the Grill
AND,
Click Here For: Tropical Hawaiian Cranberries and our Mele Kalikimaka Me Ka Hauoli Makahiki Hou
The Smith House History Cookbook (Only in the south do you find teaspoons. Especially in silverware sets.) —————————————————– Easter, 1970 Me, my little brother Johnny and my mother, Mary Keith in our front yard in Dahlonega, Georgia. (Although my mother does …
Good Morning! Rise and Shine! Our Sunny Kitchen Table —————————————————————– Is Everybody Hungry? Juice? Coffee? Oh, I know, how about our: Whole Wheat Heaven and Heat Breakfast Muffins? Don’t they smell absolutely delicious? If you’d like the recipe scroll down the …