Summer Seafood, Sides, and Salads


I SEA You’ve Caught Us!
Enjoying a Summer of Seafood, Sides, and Salads
We decided to start another seafood webpage.
If you would like to check out our other one, then click here:
We plan on bringing you many more recipes to this post.
And hope you will check back occasionally with us to see what we’ve caught.
Hook (Catch) You Later,
Gordon and Julie
——————————————————————

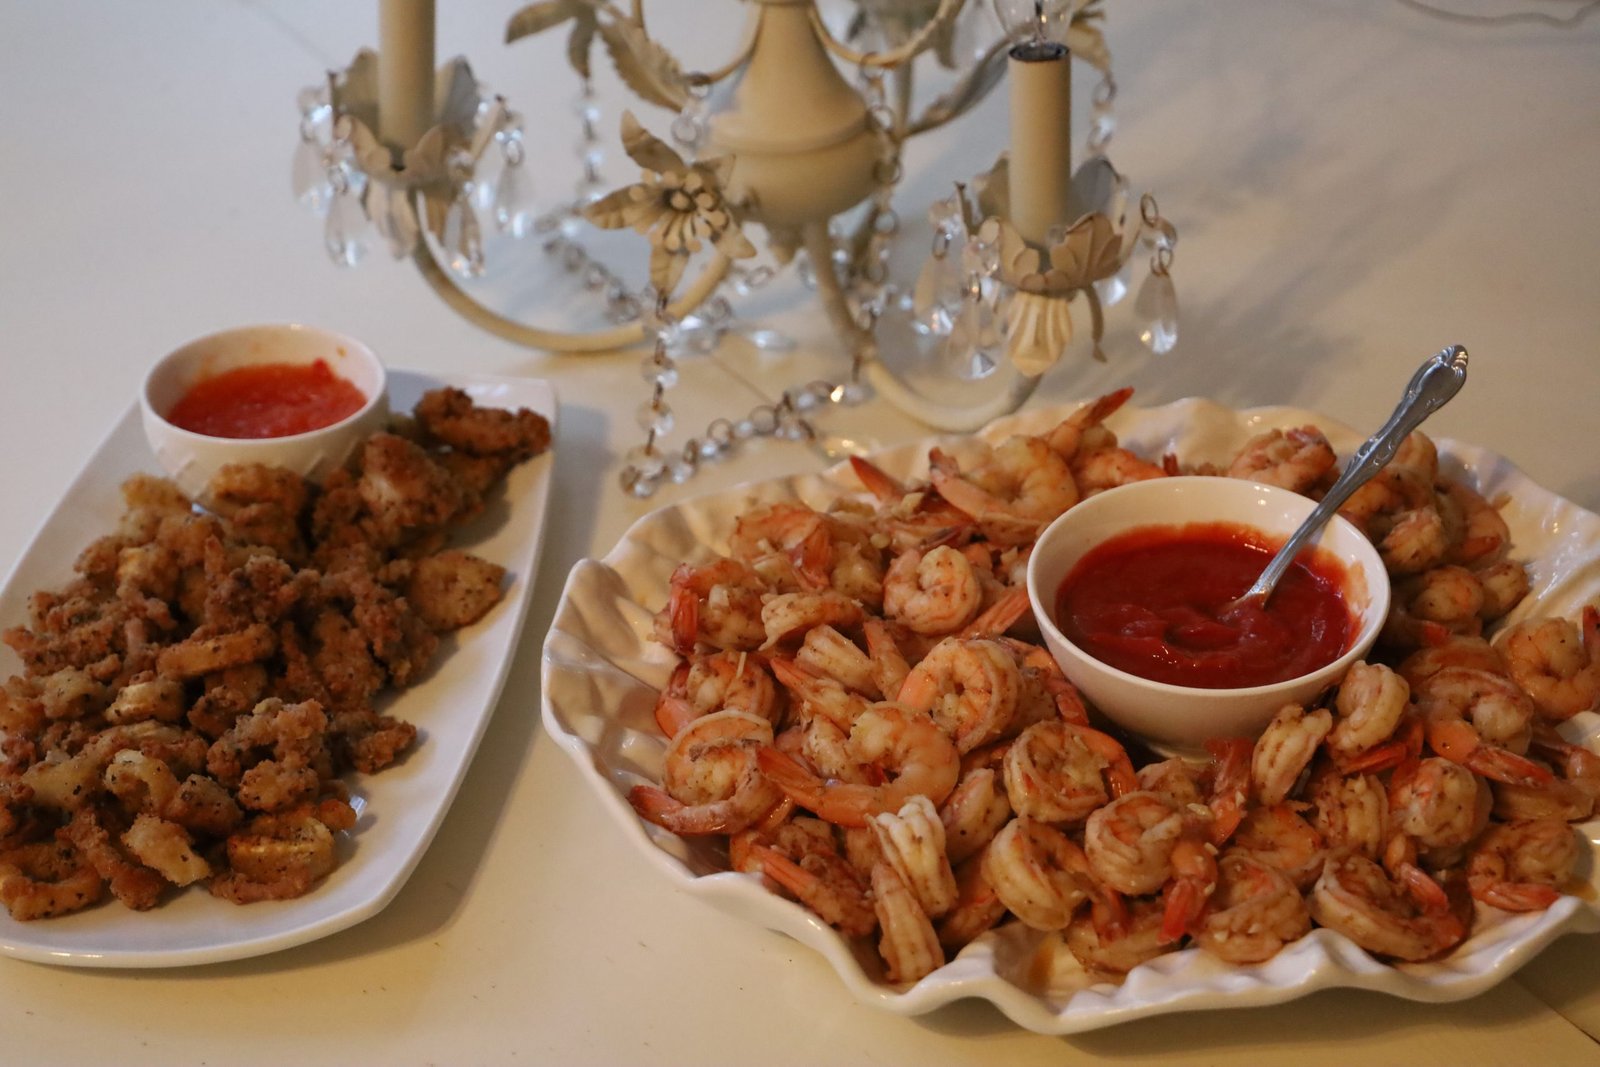
Appetizers of Blue Crab Salsa and Blue Corn Chips
Fried Clam Strips with Key Lime Tarter Sauce and Cocktail Sauce
———————————————————-
First Up:
Herbed Hasselback Potatoes (Our Way)

Buttered, Herbed, Grilled Mini Lobsters w/ Grilled Lemons

And Fried Scallops
——————————————————-
Making our Hasselback Potatoes


I used Russet potatoes, Blue Potatoes, and Yams to make this recipe. Here you can see I used chopsticks on the side of a yam to ensure I didn’t cut all the way through.

First, find the flat side of the potato and place that side down on your cutting board. Place your chopsticks snugly against your potato as shown above. Using a sharp knife, make cuts about 1/4 to 1/8 inch apart.


Here you can see how the multiple cuts begins to separate each individual section producing a cavity to where you can insert butter and various seasonings.


Here you can see all the potatoes cut. The yams were very firm and took more force to slice.

Beautiful Colorful Potatoes
————————————————————-

I went out to our herb garden and picked some fresh herbs to season the potatoes.

For the yams, I used Jalapeno, Cinnamon, and Ginger spices. I liked the contrast in heat the Jalapeno would provide and the Cinnamon and Ginger are common flavor pairings with Yams.
Recipe:
3 Yams
2 Blue Potatoes
4 Tbsp. Butter
4 Pineapple Sage Leaves – sliced Chiffonade
1/2 tsp. Cinnamon
1/2 tsp. Ground Jalapeno Powder
1/2 tsp. Ground Ginger
1/4 tsp. Salt and Ground Pepper


I then used pineapple sage to also provide another added flavor. Simply place the leaves on top of each other and roll them up tightly as shown. Now, slice the leaves perpendicular to the roll. This slicing technique is called Chiffonade.

I placed 1/2 a stick of butter into a microwave safe dish.


I then added the sage chiffonade, Ground Cinnamon, Ground Jalapeno, and the Ginger.


Lastly, add your Ground Pepper and Salt.

Place the ingredients into your microwave and cook the mixture for about 25 seconds on High or until the butter is mostly melted.

Stir the ingredients together.

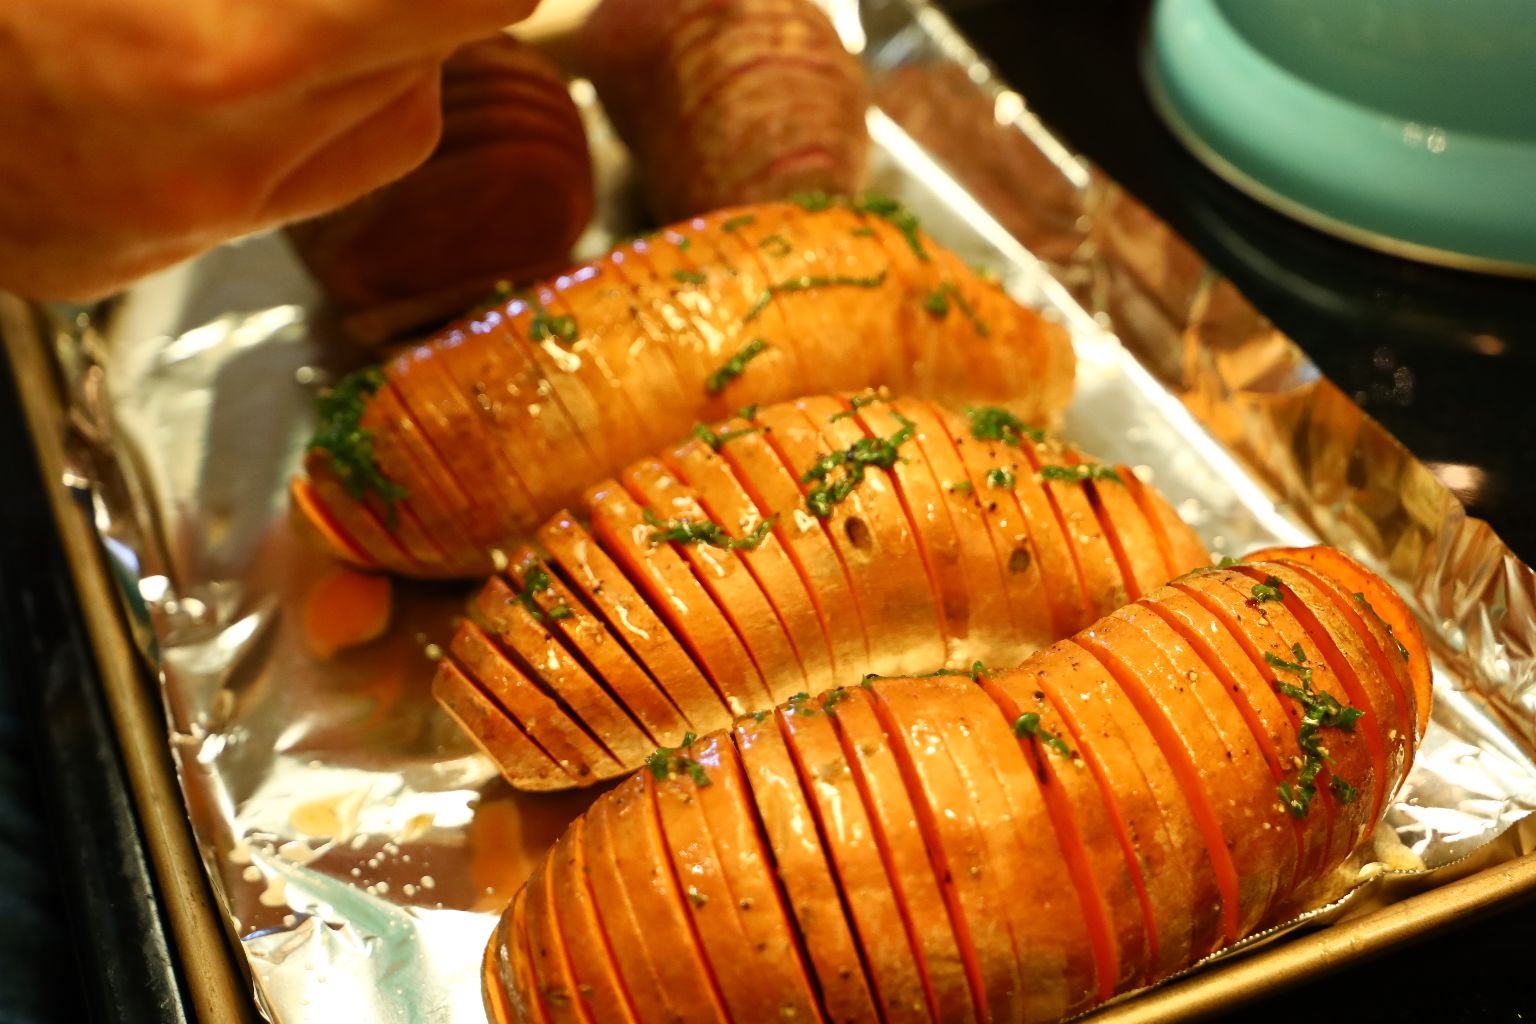
Use your basting brush to coat the Yams and Blue Potatoes with your butter mixture between all their slices. Roast the potatoes at 400’F for about 45 minutes or until tender. The outside slices will be slightly crispy.
————————————————————–
Russet Hasselback Potatoes

The Herbs


Making the Hasselback Russet Potatoes
Ingredients:
8 Russet Potatoes
1 Stick of butter (8 Tbsp.)
Ground Roasted Garlic
1/2 Tbsp. Fresh Oregano Leaves
6 Sage Leaves – sliced Chiffonade
1 Tbsp. Fresh Chives – sliced thinly
1/4 tsp. Salt and Pepper

Slice your Russet potatoes as shown previously using the Hasselback method. Place your Butter and Roasted Garlic Powder in a microwave safe bowl.


Chiffonade your Sage leaves and add them to the butter.


Now, slice your chives as shown and place them into the bowl.


Then, slice your Oregano leaves thinly and place them into the bowl.


Now, add your ground Pepper and Salt to the bowl.

Microwave all the ingredients until the butter is mostly melted and then stir the ingredients together.
——————————————————————

Using your basting brush, coat the russet potatoes with your butter mixture being sure to get the seasoning between all the slices.


Roast the potatoes in a 400’F over for about 45 minutes or until they are tender.
————————————————————–

Perfect, and out of the Oven

——————————————————————-
While our Hasselback Potatoes are cooking in the oven, it’s a good time for us to work on our appetizer.

Fried Clams in the Oven


Just following the package instructions…..

When done, allow to cool.


2 of our favorite dipping sauces/salsa’s.
Nice Appetizer While we Wait for Dinner
———————————————————-
Buttered, Herbed, Grilled Mini Lobster Tails w/ Grilled Lemons

Beautiful Lobster Tails


Preparing the lobster tails is easy and can provide a beautiful presentation. Using some kitchen sheers, cut down the top center of the shell all the way down to the end of the tail meat. Try not to cut the tail meat in the process.

This is the underside of the lobster tail.


Slightly spread open the top of the shell as you should hear some cracking. Now, use your thumb under the tail meat to push and separate the meat away from the shell. Pull the tail meat out of the shell so it rests between the shell halves as shown.

Clean off any shell fragments and adjust the meat for a nice appearance.

—————————————————————–
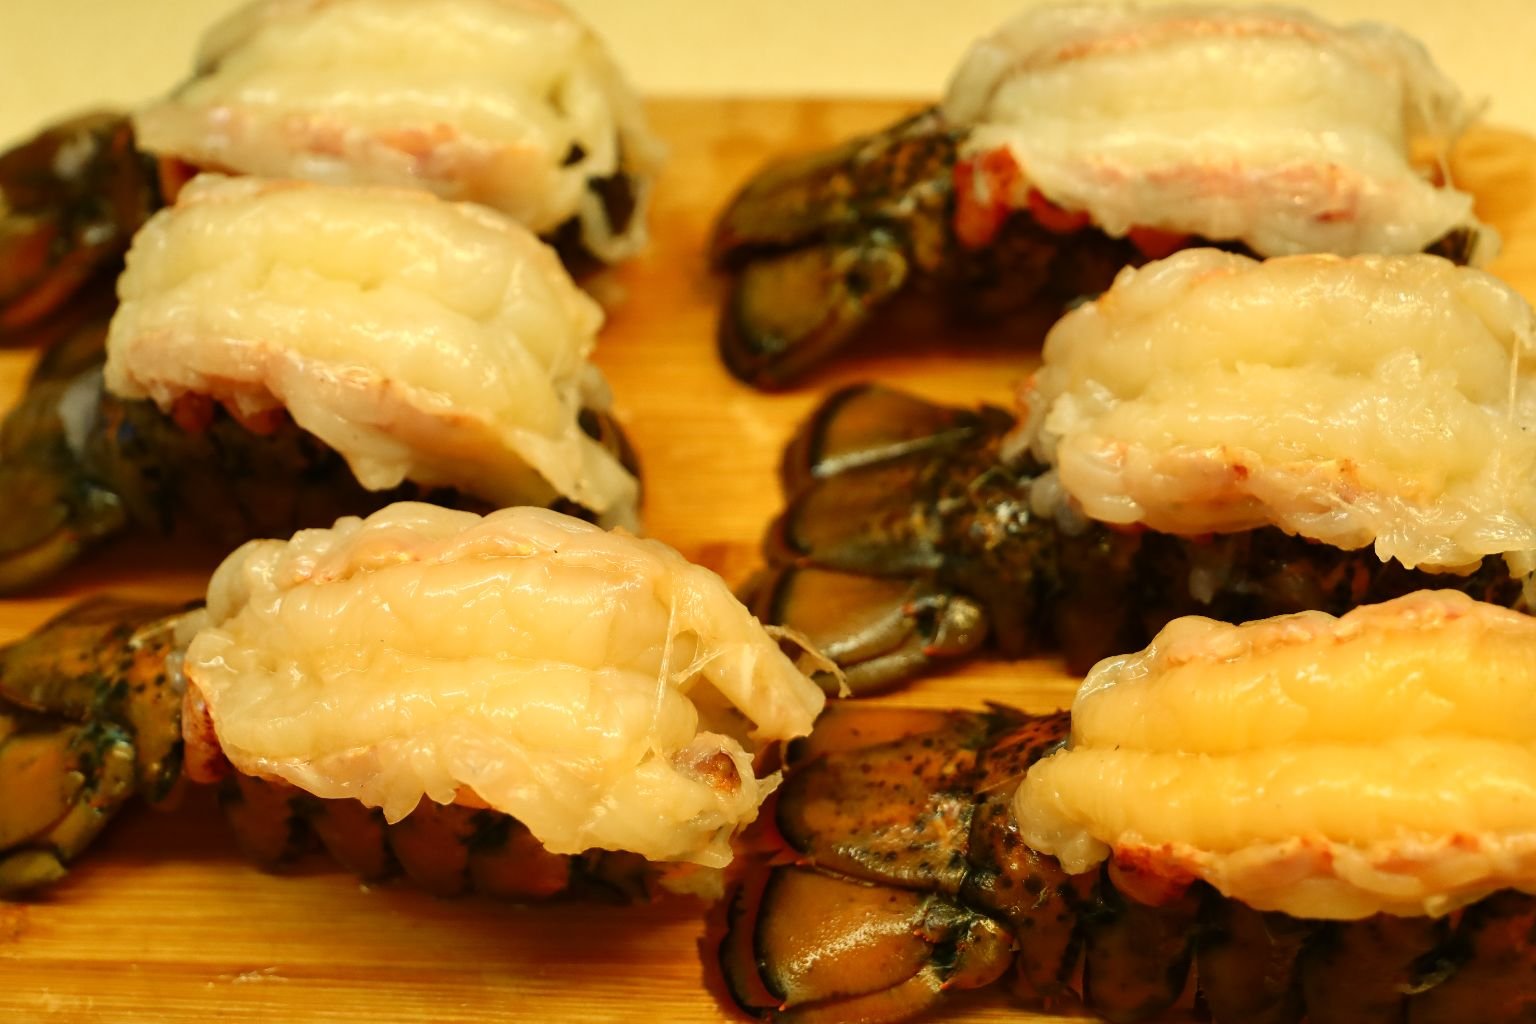
Here the lobster tails are all ready for the grill.
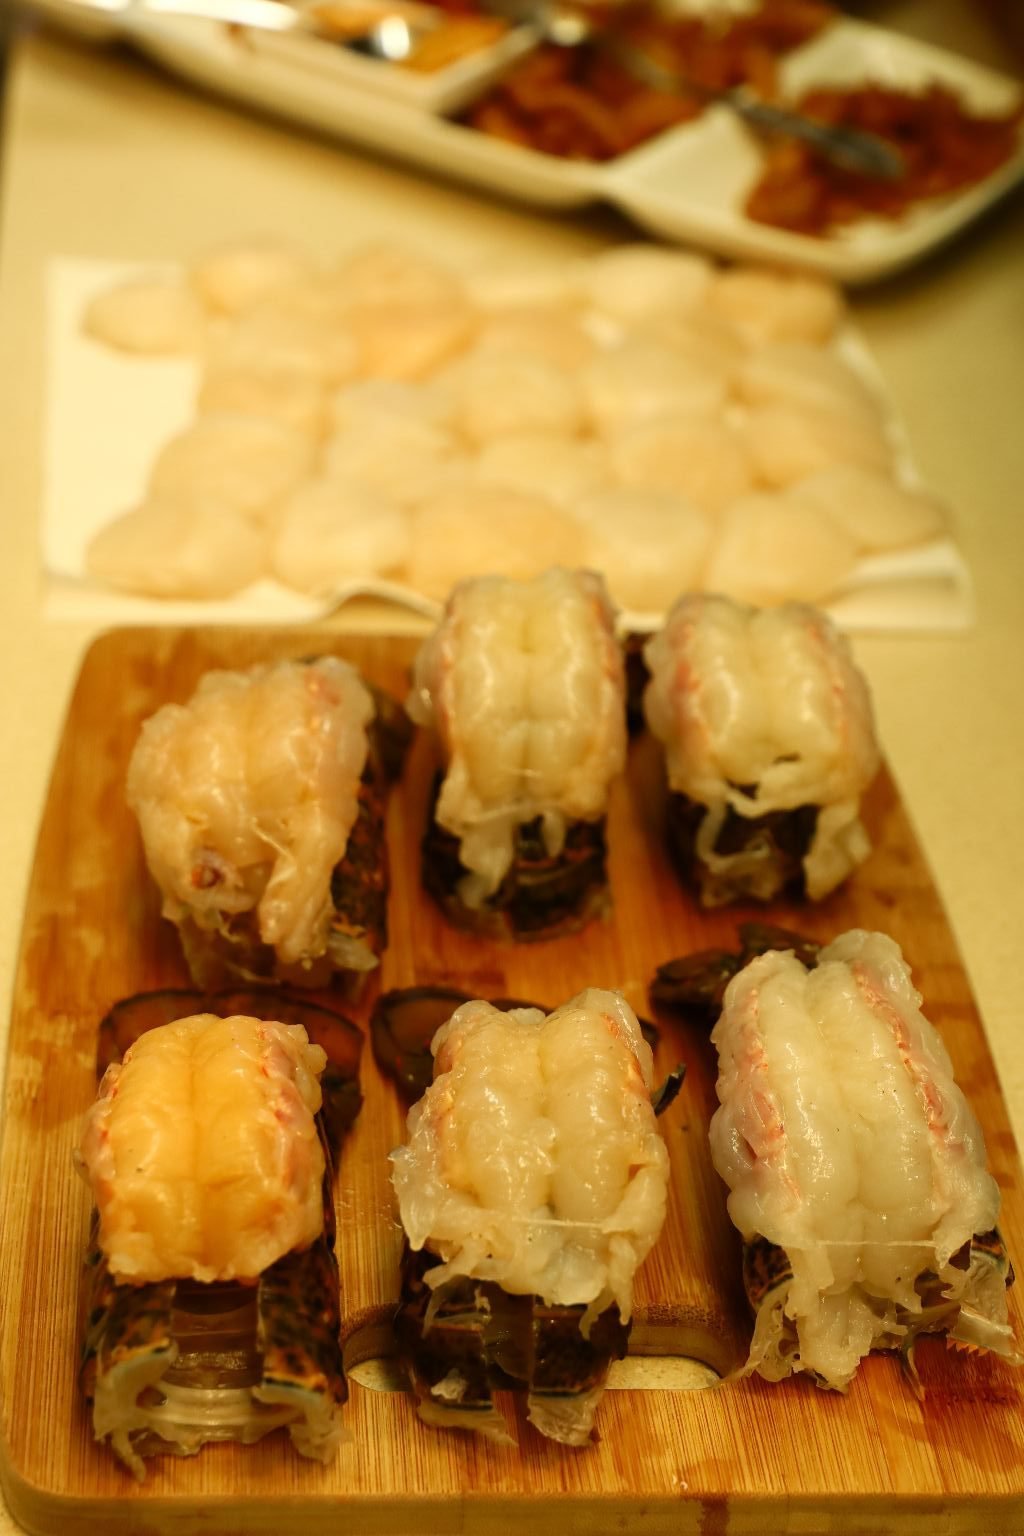
You can also see the beautiful scallops in the background.

Ingredients:
6 Tbsp. Butter
6 Garlic Cloves – sliced and chopped
3 Tbsp. Chives – chopped
2 Tbsp. Dill – chopped
1 1/2 Tbsp. Oregano – chopped
1 tsp. Sweet Paprika
1 tsp. Celery Salt
1 tsp. Roasted Garlic Powder
1 tsp. Onion Powder


Slice and chop the garlic cloves.

In a microwave safe bowl, add your butter, then the chopped garlic.

Julie being creative… nice!


Slice your chives as shown and add them to the bowl.
We are lucky enough to grown them in our herb garden.


Then slice your fresh dill… and yes, we grow this also.

Add your dill to the butter and other herbs.


Remove the oregano leaves from the stem and roughly chop them… and add them to the butter mixture. We grow oregano as well.


Now add your Sweet Paprika and Celery Salt to the butter and herb mixture.


Then add your Roasted Garlic and Onion Powder to the mixture.


Place the butter mixture in the microwave and heat for ~45 seconds or until the butter is mostly melted. Mix all the ingredients together.

—————————————————————–


Turn on your grill to a medium high heat. I placed the lobster tails on a plate in order to catch all the drippings. Using a basting brush, cover the lobster tails with the butter and herb mixture.

——————————————————————

Place the lobster tails on the upper rack section of your grill to avoid flare ups from direct flames. The butter will produce high scorching flames which will tend to burn the tails. With your lobster tails well above the direct flame they will basically bake.

————————————————

If your grill doesn’t have this upper section, you could place your lobster tails above a section of your grill that isn’t turned on. This is indirect cooking. Pending on the heat of your grill, it will take about 15 min. for the lobster tails to cook on the upper rack. If you cook them directly on the flames of your grill, it will take considerably less time. When they are done, the shells will be bright red and the meat will be bright white and be around 135’F.

Here, I am grilling the sliced lemons on the hot spots of my grill. The grill had been on for about 10 min. now which made the grates very hot, producing great grill marks on the lemons.

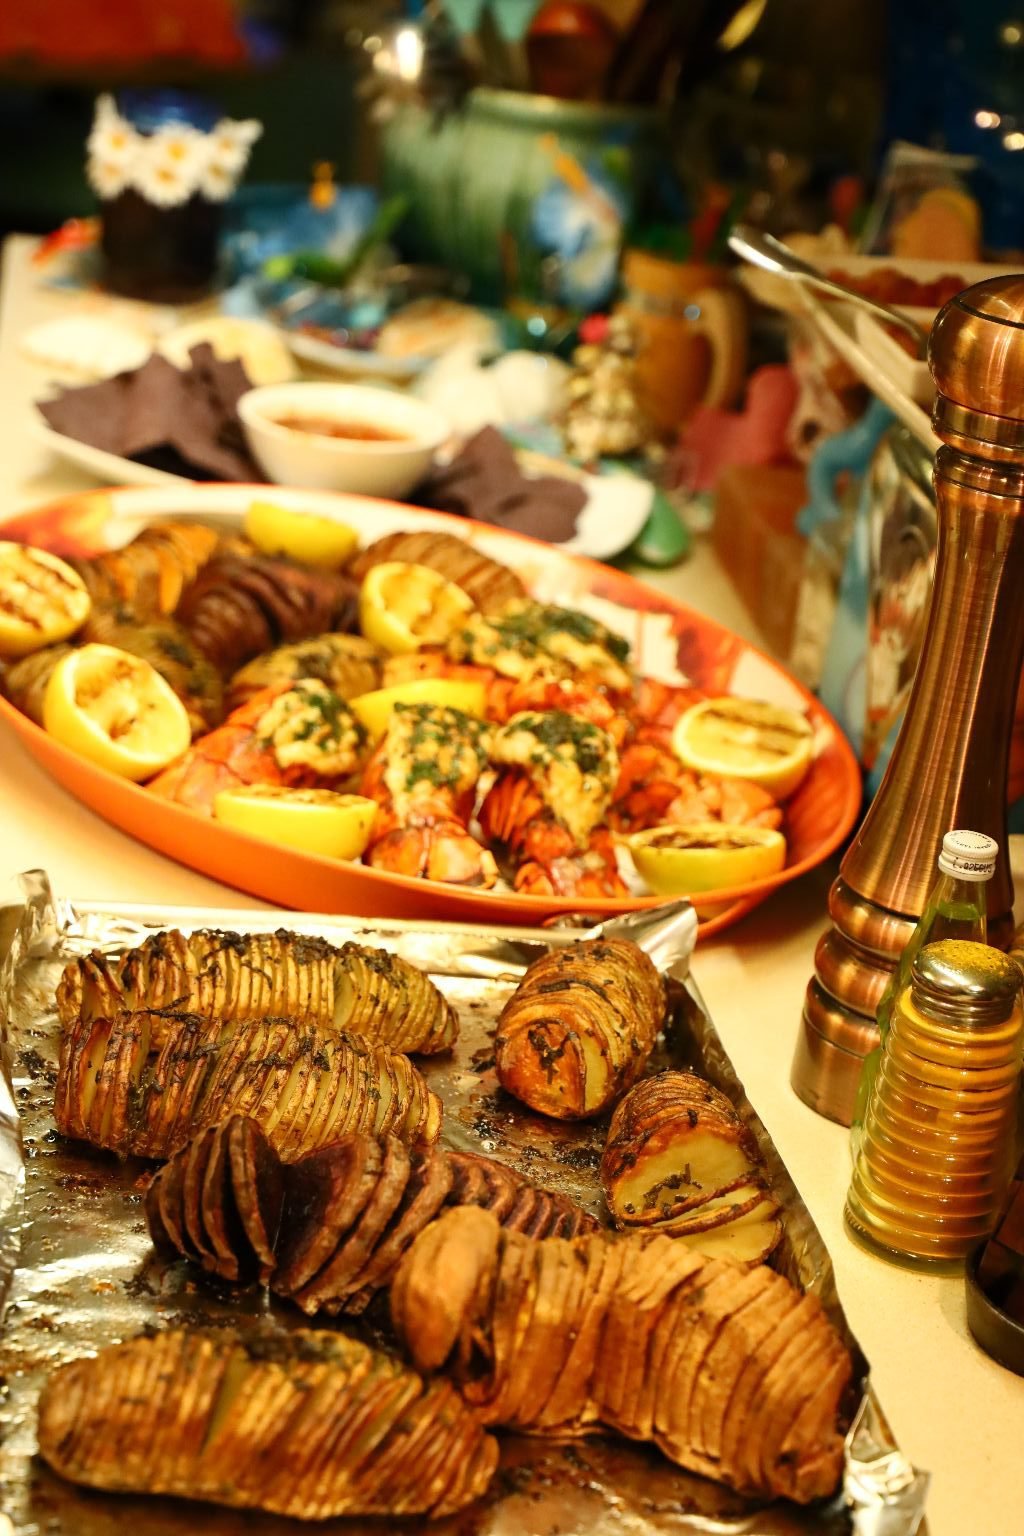
Here is a great meal, Hasselback potatoes and yams, grilled lobster tails and lemons. 🙂
————————————————
Seared Scallops
Sea Scallops Pan Seared in Butter and Oil
~25 Sea Scallops – rinsed and dried
3 Tbsp. Butter
3 Tbsp. Peanut Oil

We bought just over 2 pounds of Sea Scallops for over $20.00, just to give you an idea of the average cost.


These are some really beautiful Sea Scallops. You can tell they are Sea Scallops and not Bay Scallops as they are very large. Unwrap your scallops and rinse them off using a colander.


Lay the scallops out on a few sheets of paper towels to dry them. The scallops need to be perfectly dry on the outside to sear properly. If they are wet, the scallops will only steam in the pan.
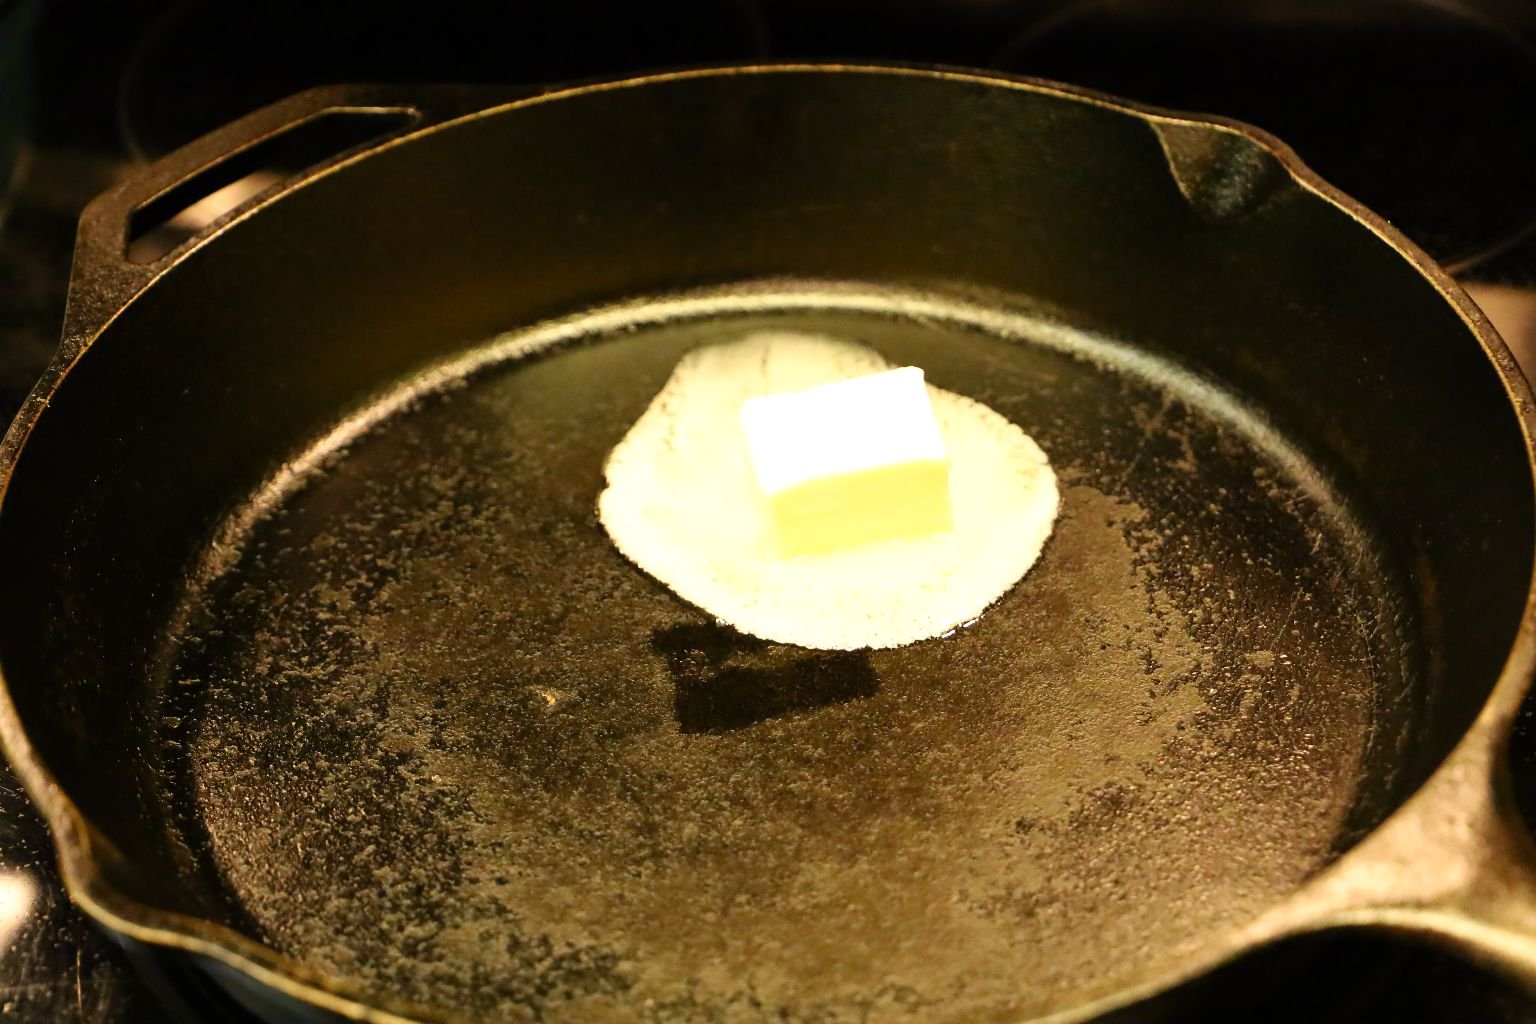

I am using a large cast iron skillet to sear the scallops, because the cast iron heats evenly and retains its heat longer when loaded with food items. Add your butter to your cast iron skillet that is heated to medium high heat.


Now, add your peanut oil to the butter as the oil will inhibit the butter from burning.

Place your dry to the touch scallops into the pan on its natural top or bottom. They should look like biscuits. I placed 12 scallops in to cook without the skillet loosing much heat. If you don’t have a cast iron skillet, you would probably only place 6 into the pan.


Here you can see all the scallops searing in the skillet. As they cook, you can see the scallops start to change color up the sides going from a dull white opaque to a more solid white color. Look at some of the first scallops you placed in the skillet to check the sear. If your skillet is too hot, you will sear the scallop too quickly and not cook it properly.

Using tongs, turn the scallops over when they are seared and cooked about half way up the scallop. As you can see, I didn’t turn some of the larger ones as they aren’t ready.

When they are fully cooked, place them on a paper towel to absorb the excess oil and sprinkle with a touch of finely grated sea salt. Here you can see that nice restaurant quality sear. This was a favorite seafood of mine to cook in culinary school. Great picture Julie!
When ready, plate the sea scallops and dig in. These were especially tender and sweet!
—————————————————————-

————————————————————-
Also Check Out Our Other Seafood Related Posts:
Our July 4th. Tribute to the Movie JAWS

And,
Check Out Our: Summer Seafood, Sides, and Salads
And,
Stay Out Of The Water! JAWS Week
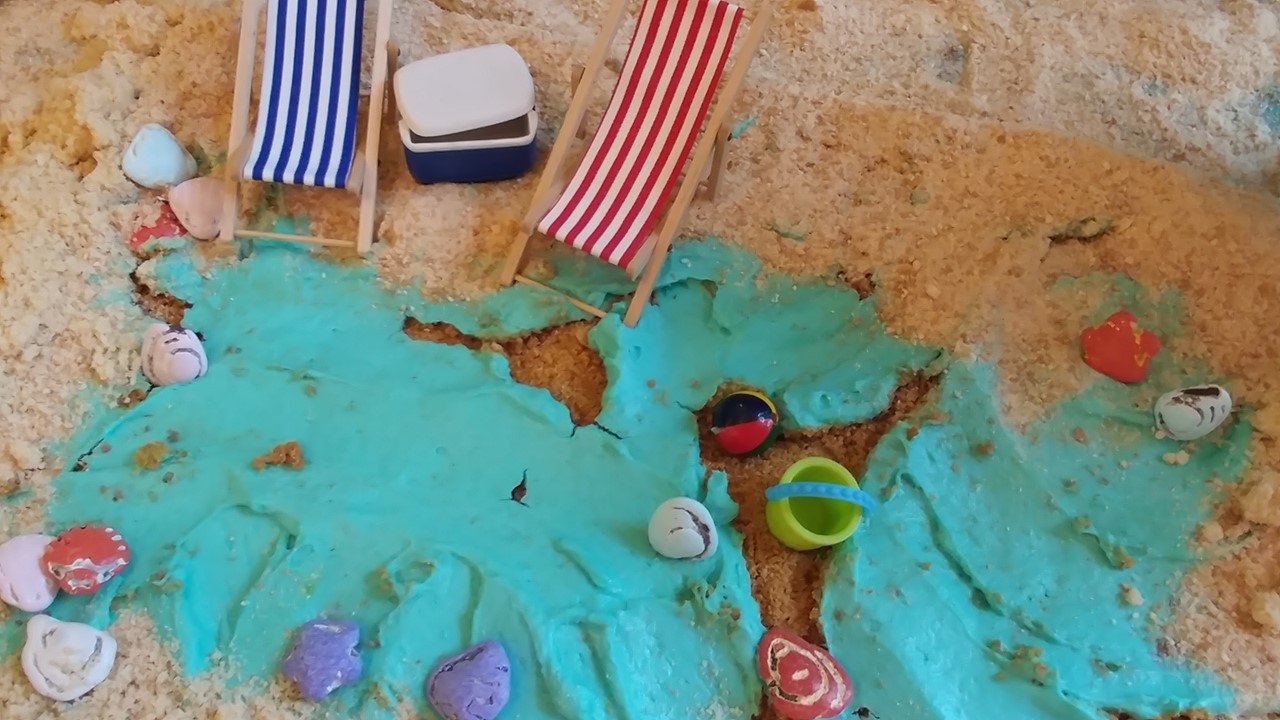
How to Make a Beachy Cheese Cake
———————————————————–
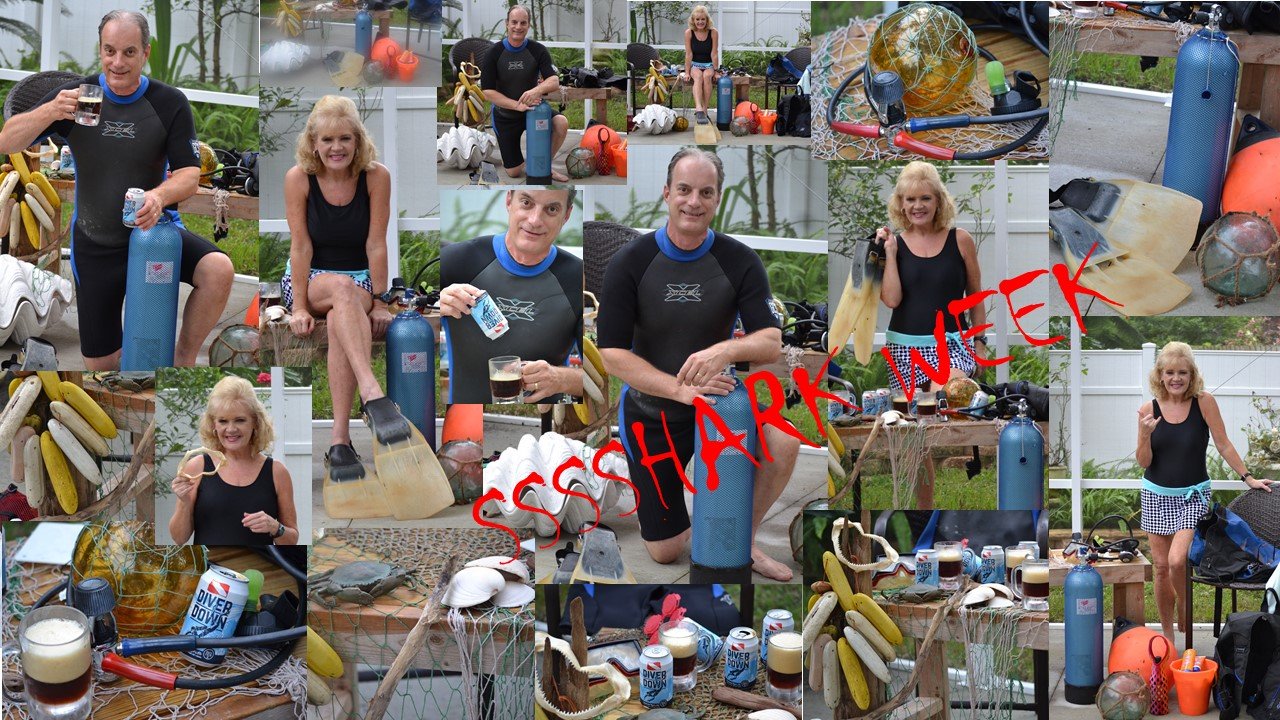
You can also view our Sh..sh..sh..sh..SHARK!!! Week here……..
—————————————————
AND,
Click Here For: Our Southern Shark Week Table

Just a few great recipes that you can make for Shark Week as well.
Also Check Out:

AND,
AND,

STAY OUT OF THE WATER!!!!
Gordon and Julie