Asian Steamed Buns, Bao and Manapua

Gordon’s Homemade Manapua
———————————————————————————

Aloha!
Steamed buns, such as Manapua, are very popular in the islands of Hawaii.
We should know as we lived there for 13 years. Our children were raised on Manapua. They were the perfect little lunch or snack for them to eat on their own. Think Char Siu pulled pork in a bun. We used to buy them frozen in a pack of about 8 and Veronica and Brodie could use the microwave to heat them up. They felt grown up being able to “cook for themselves.” 🙂
As much as we all loved the frozen Manapua that I would buy at the commissaries, it just doesn’t beat making them yourself from scratch in your own kitchen. The sweet Char Siu pulled pork, the soft steamed buns…..like pillows from the Hawaiian heaven’s, or perhaps Lono, the God of Agriculture had something to do with their perfection.

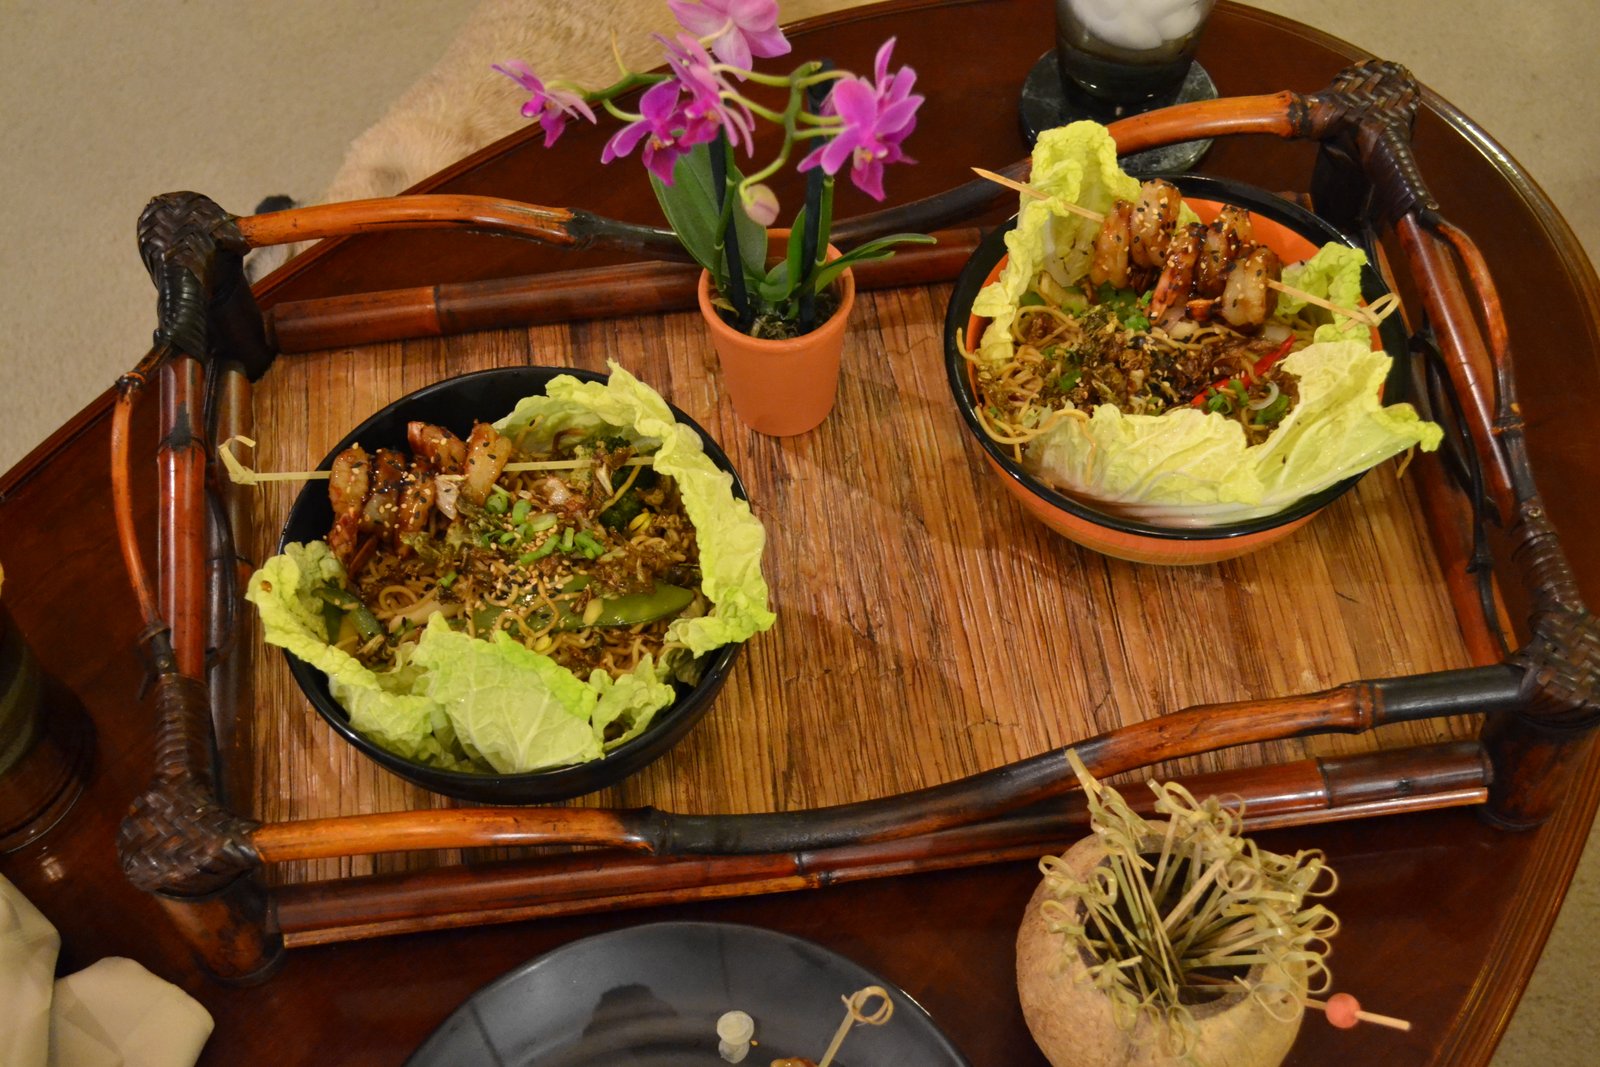
Most people just eat Manapua alone just as they are, but they also taste great when eaten with some Hawaiian Sticky Rice, or Fried Rice, and even some Pot Stickers.
————————————————————————-
We hope you will give them a try whether you decide to make them yourself or look for them at your local grocery stores. I’m sure you can find them at your neighborhood Asian Supermarket.
Aloha and Mahalo,
Gordon and Julie
p.s. Aloha means Hello, Goodby, and I Love You.
—————————————————————–
Also, Check Out:
Our Purple Sweet Potato and Taro Stuffed Steamed Buns and Asian/Pacific Sliders

————————————————————————
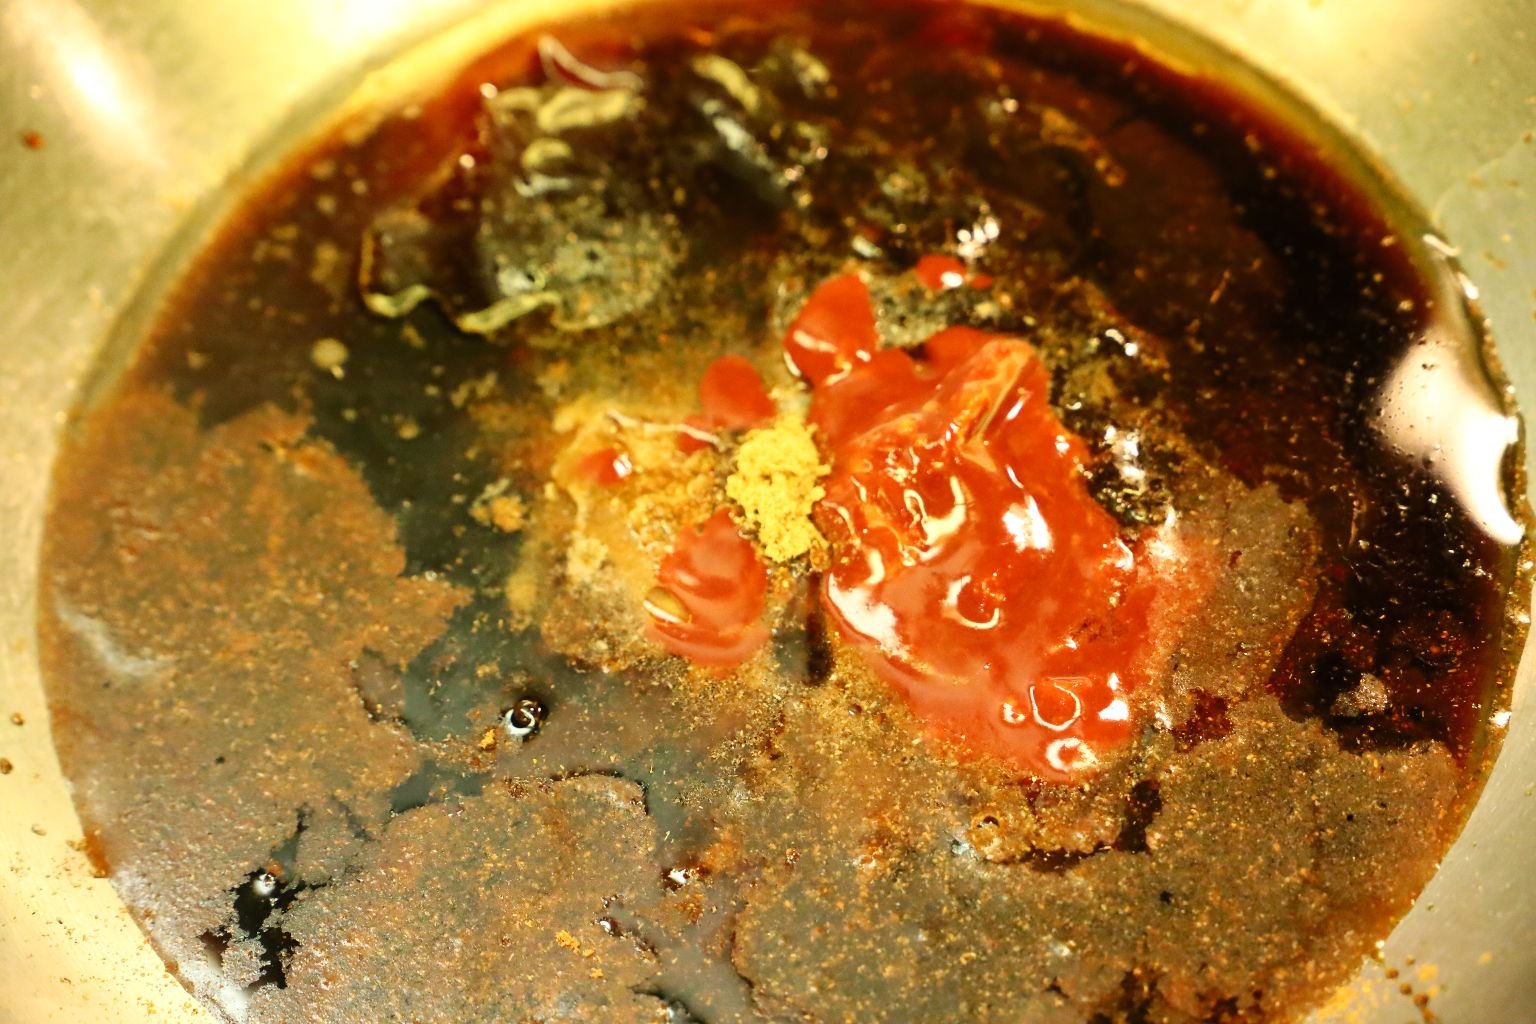
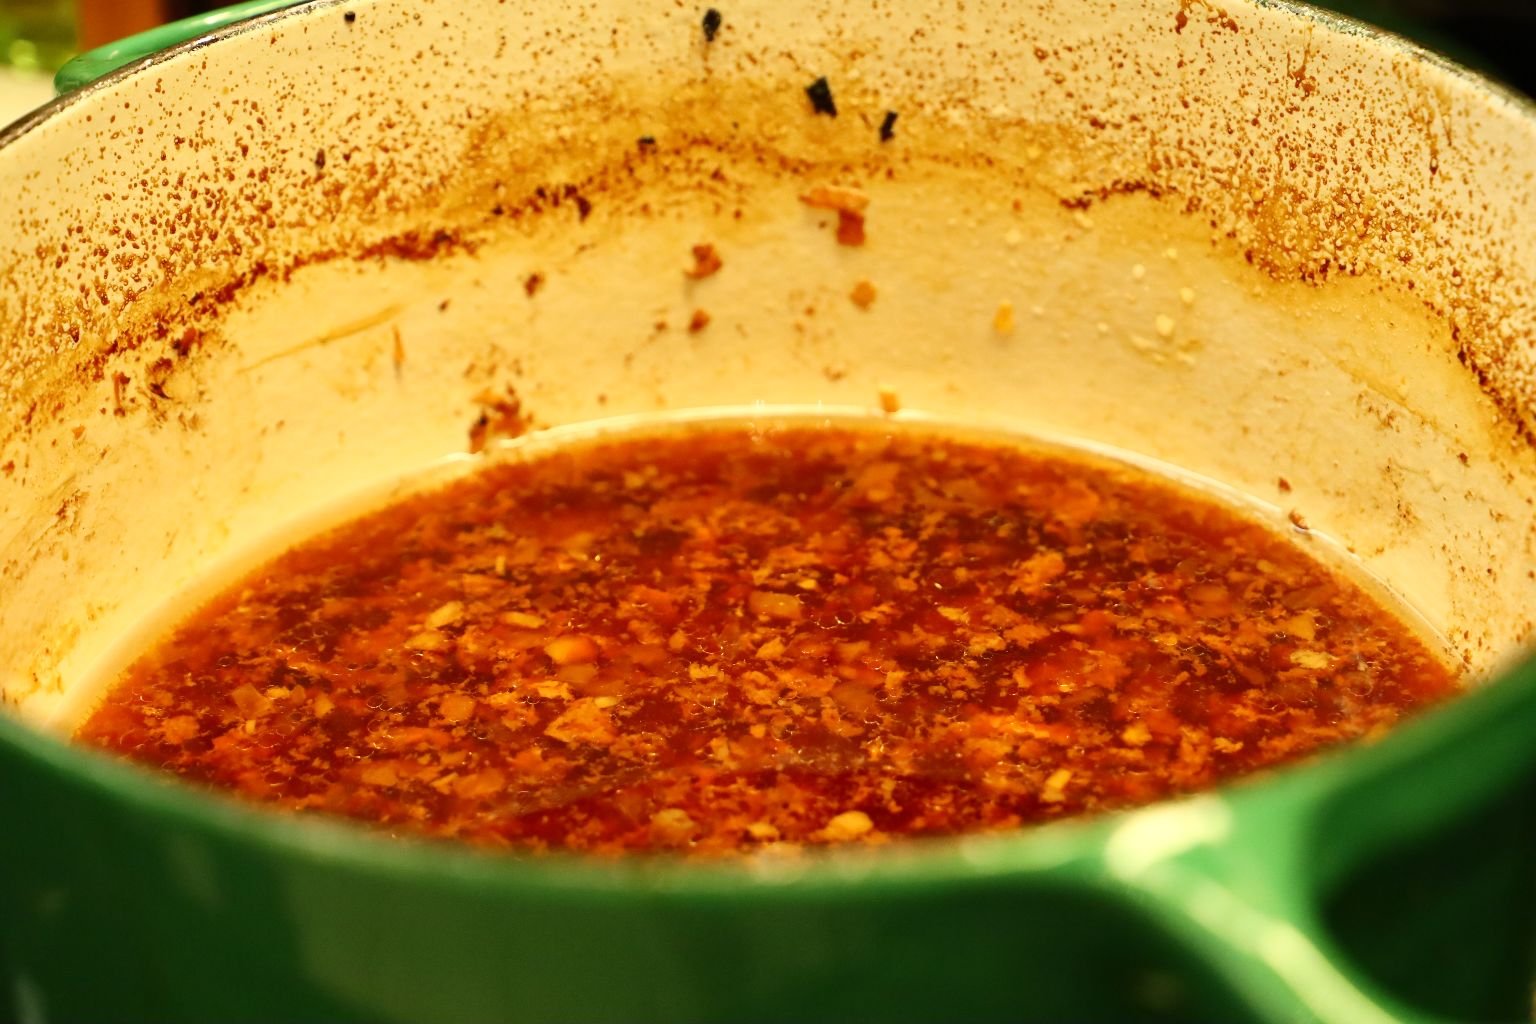
Manapua Starts With This Delicious Goo
Followed by this delicious Char Siu Pork…

———————————————————————

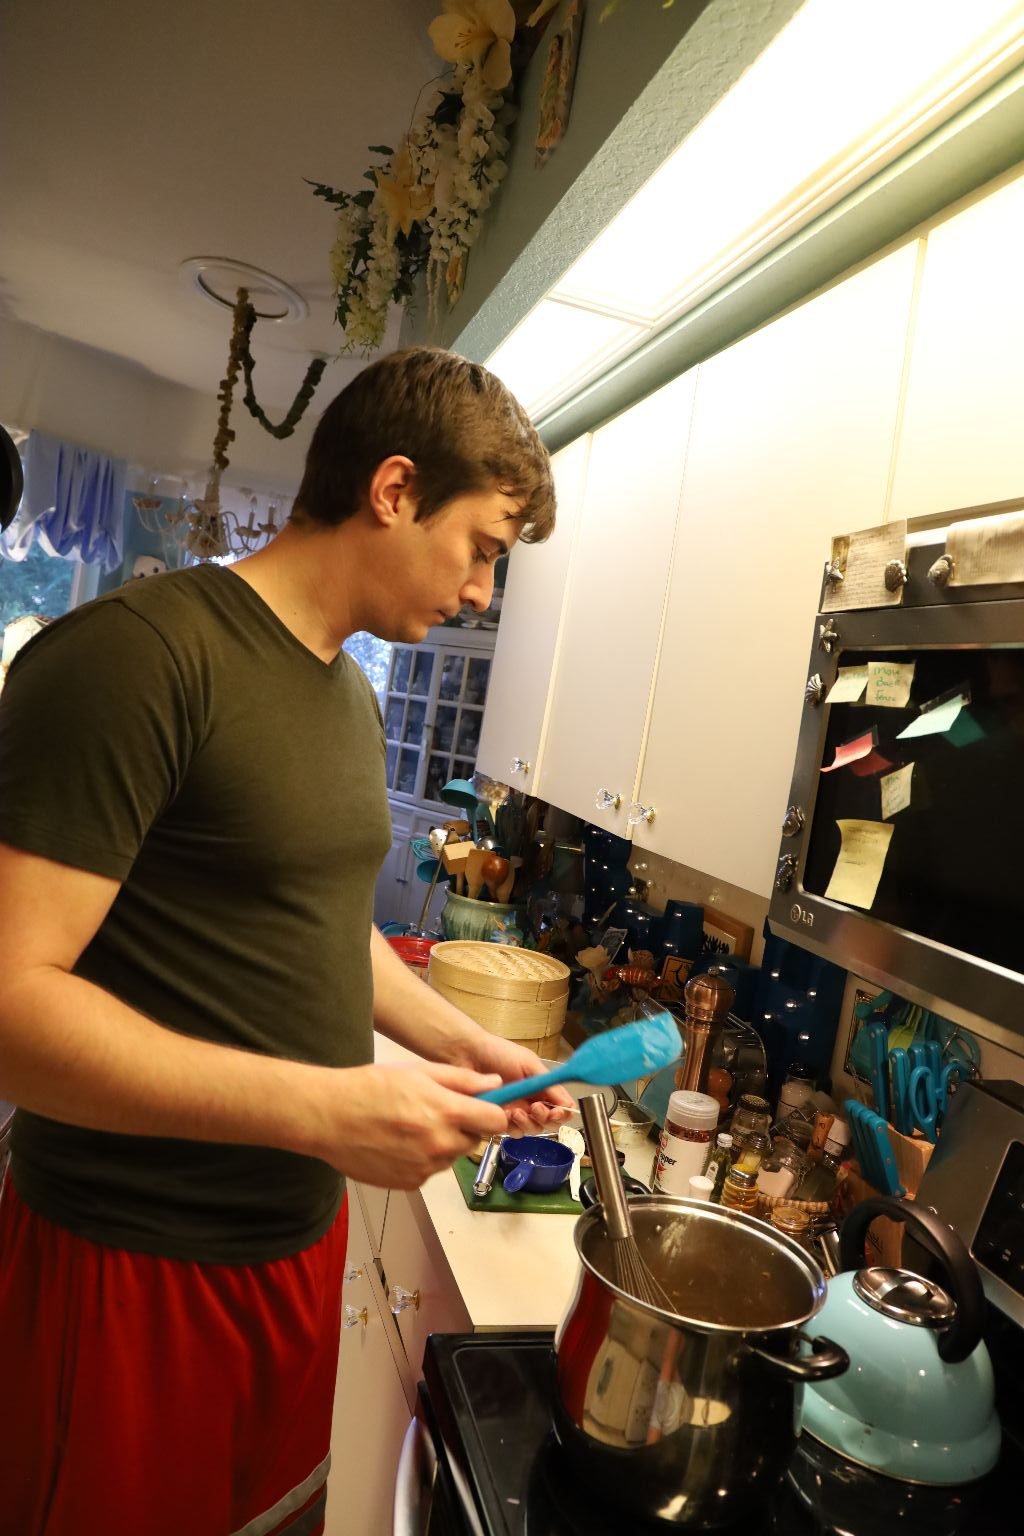
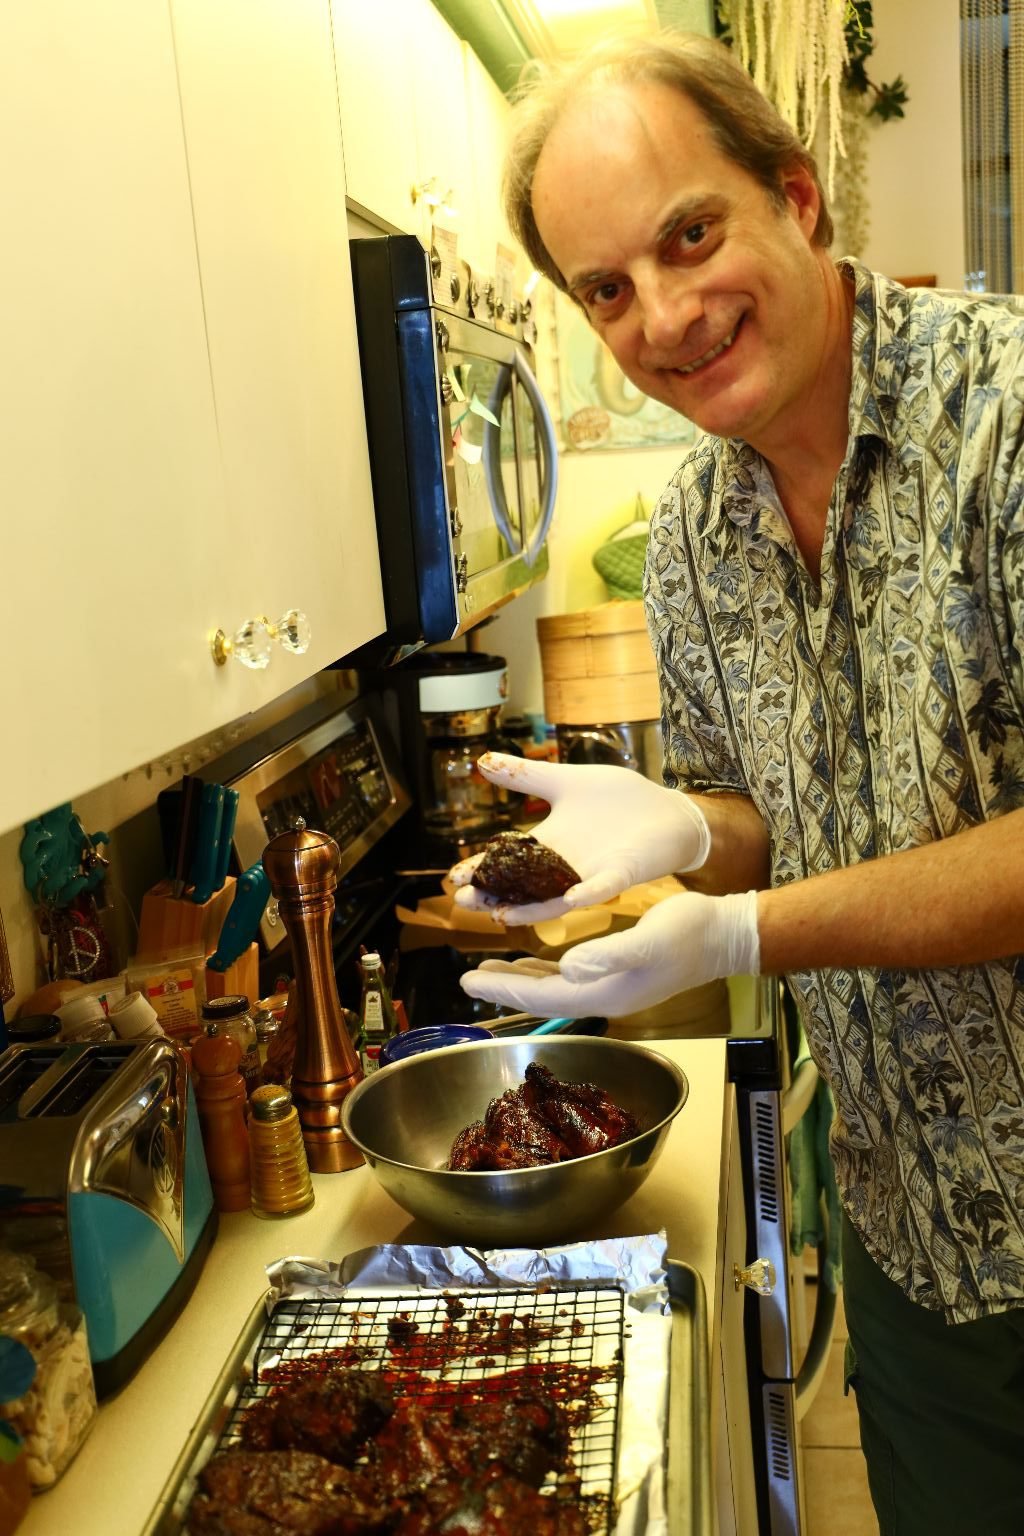
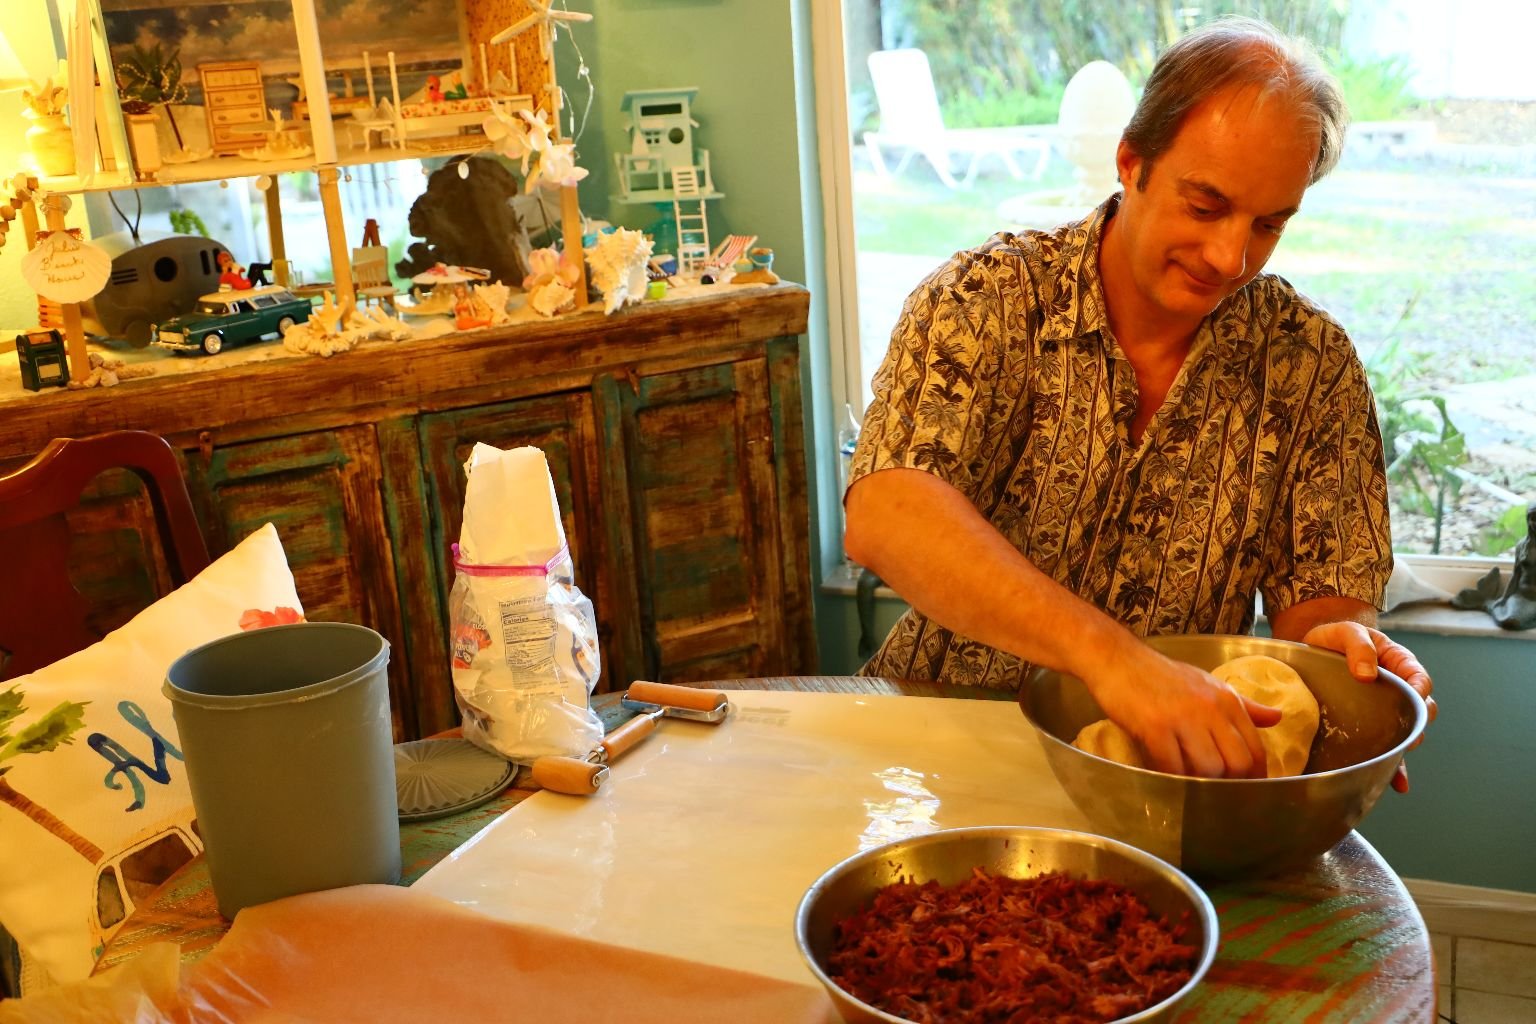
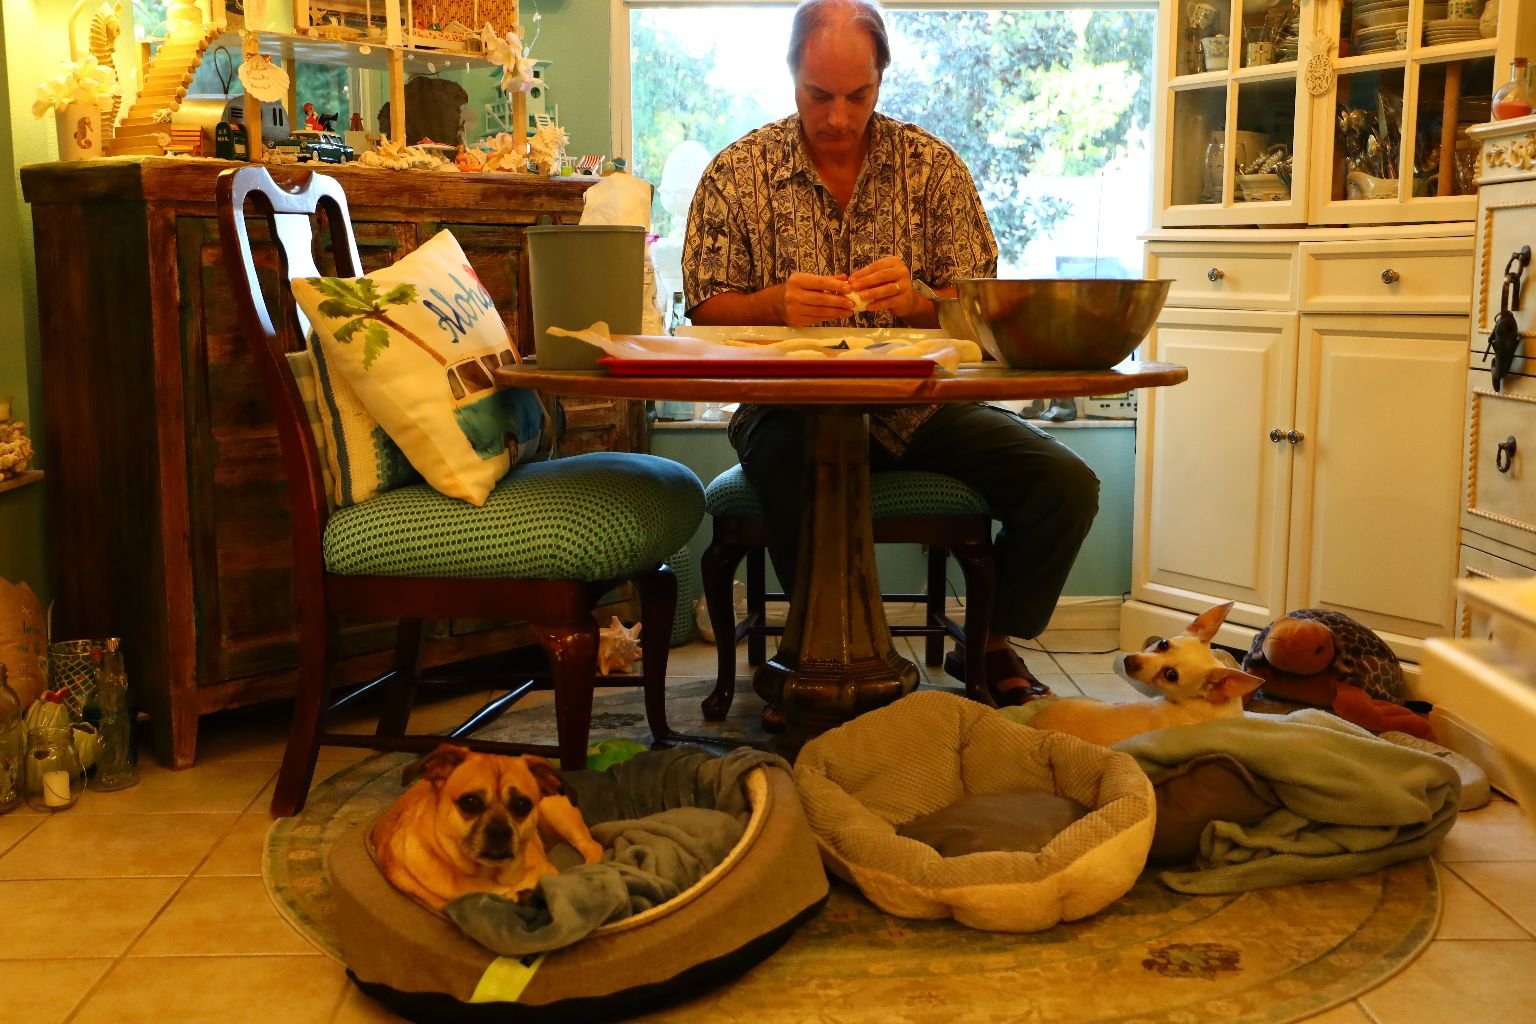
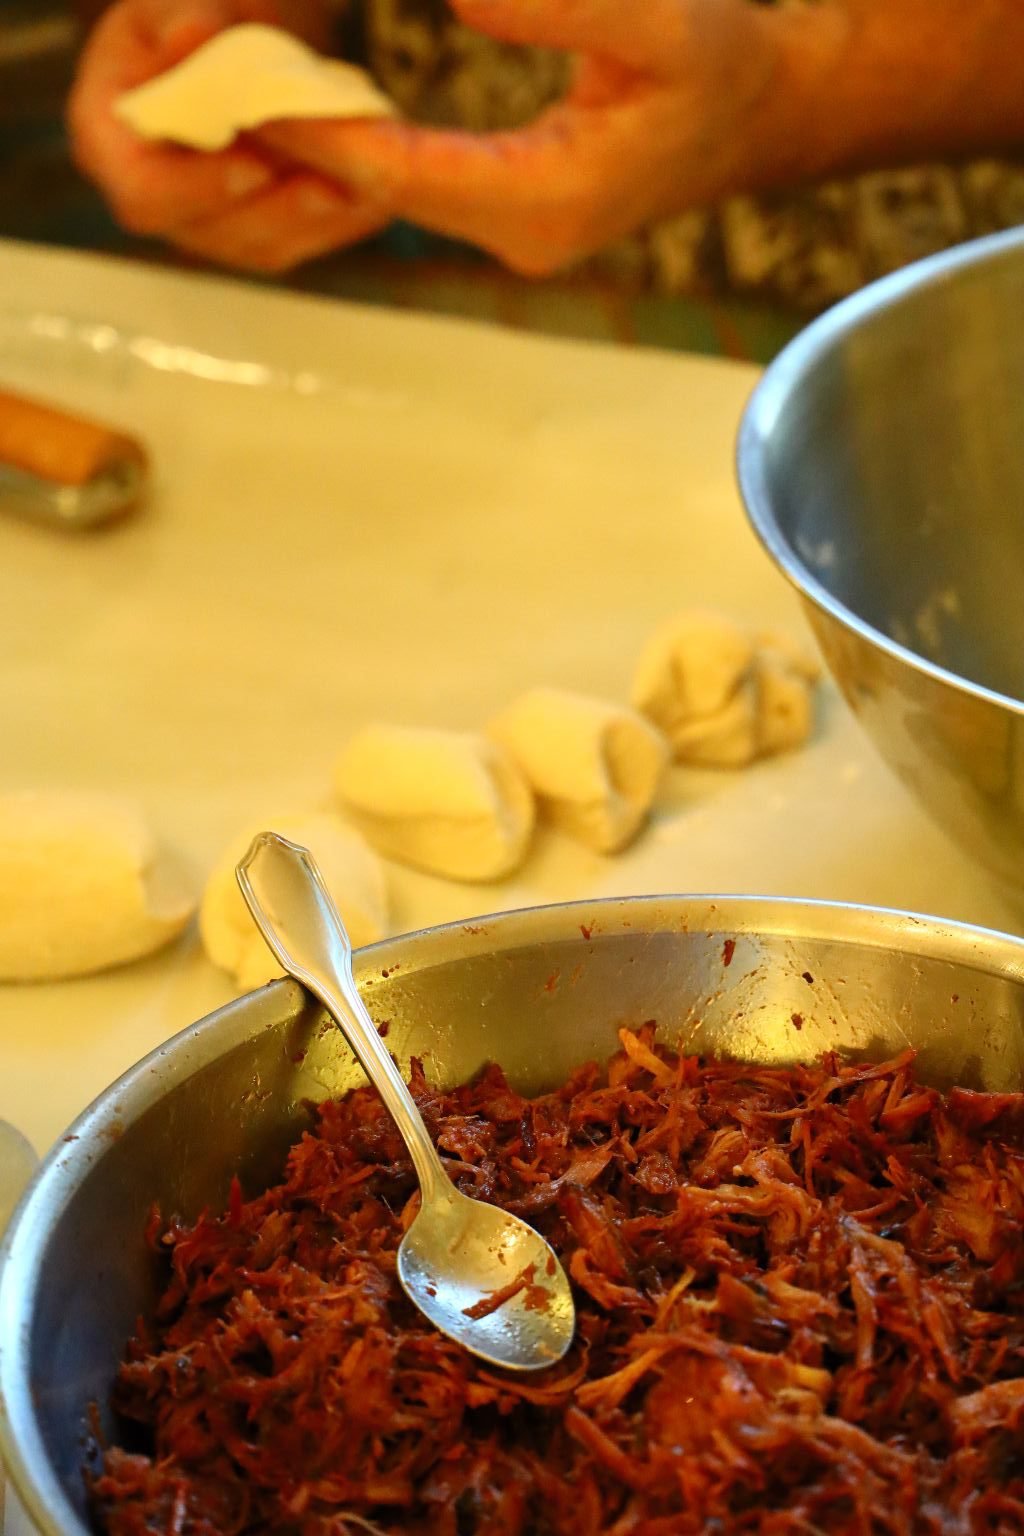
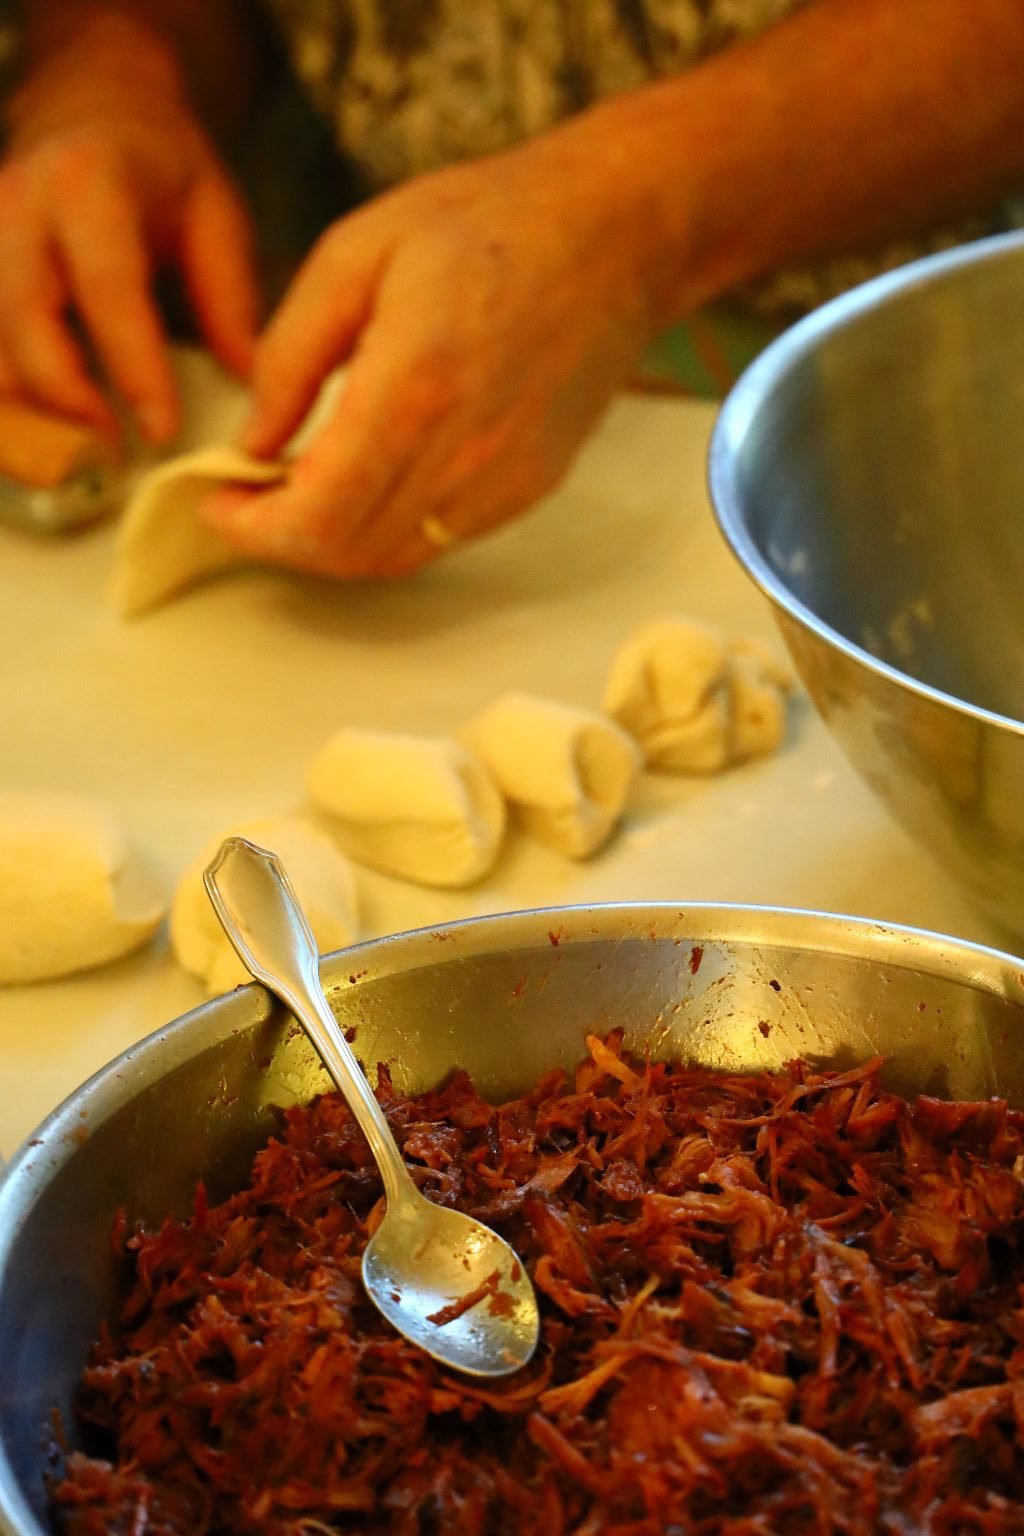
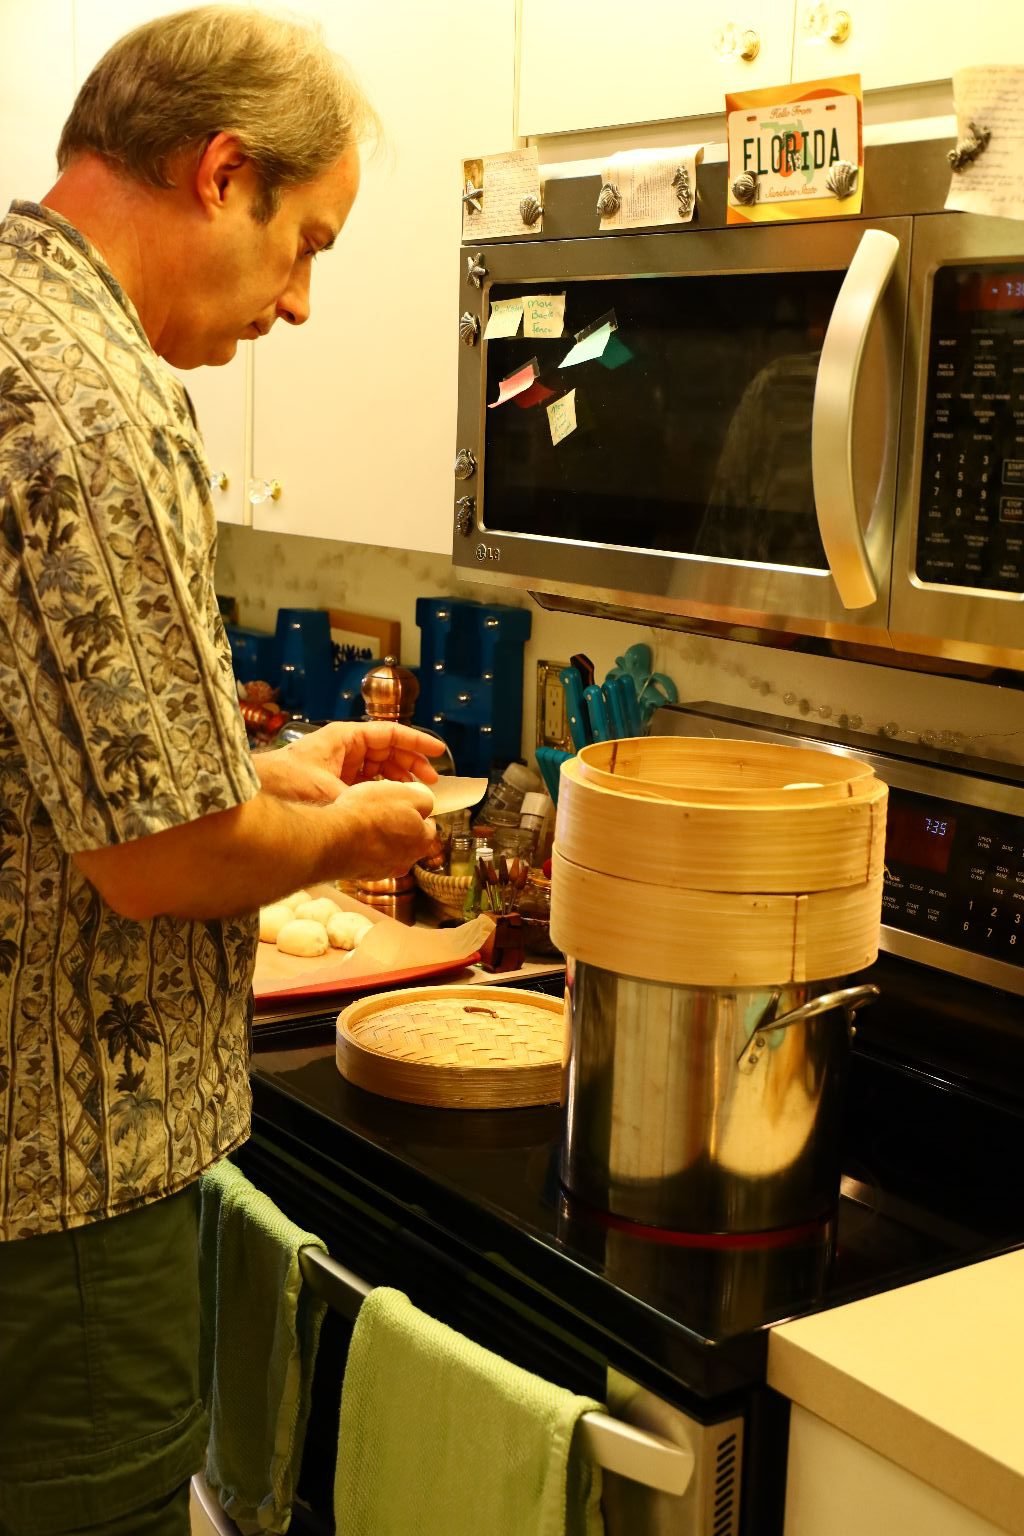
Here Gordon is Assembling the Manapua
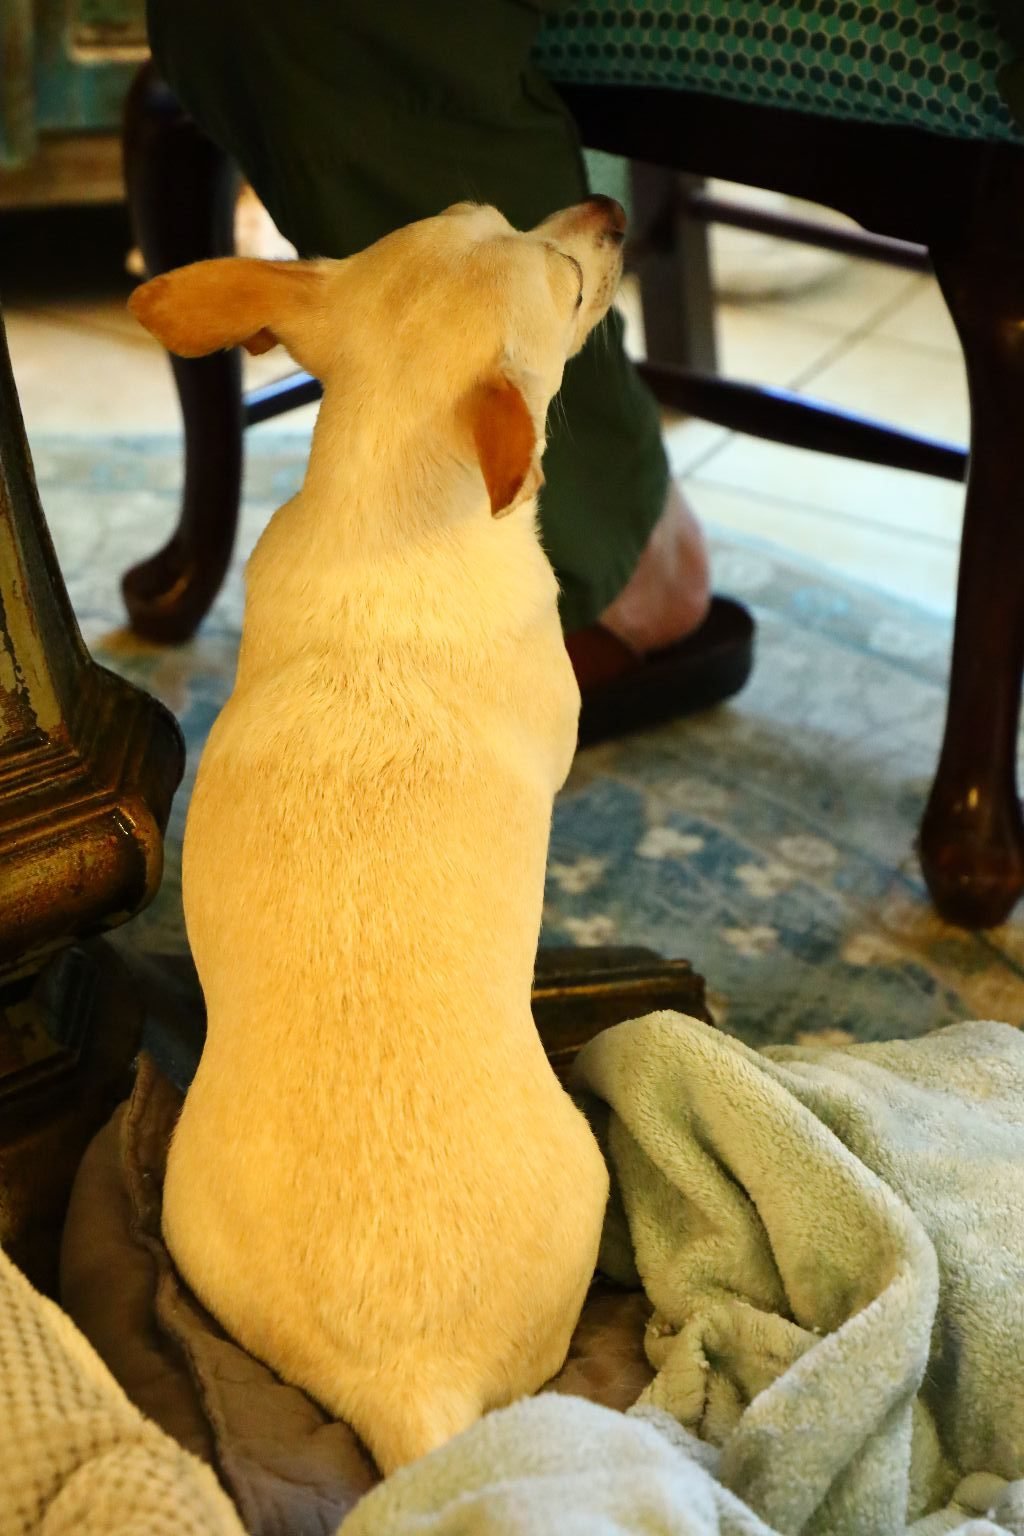
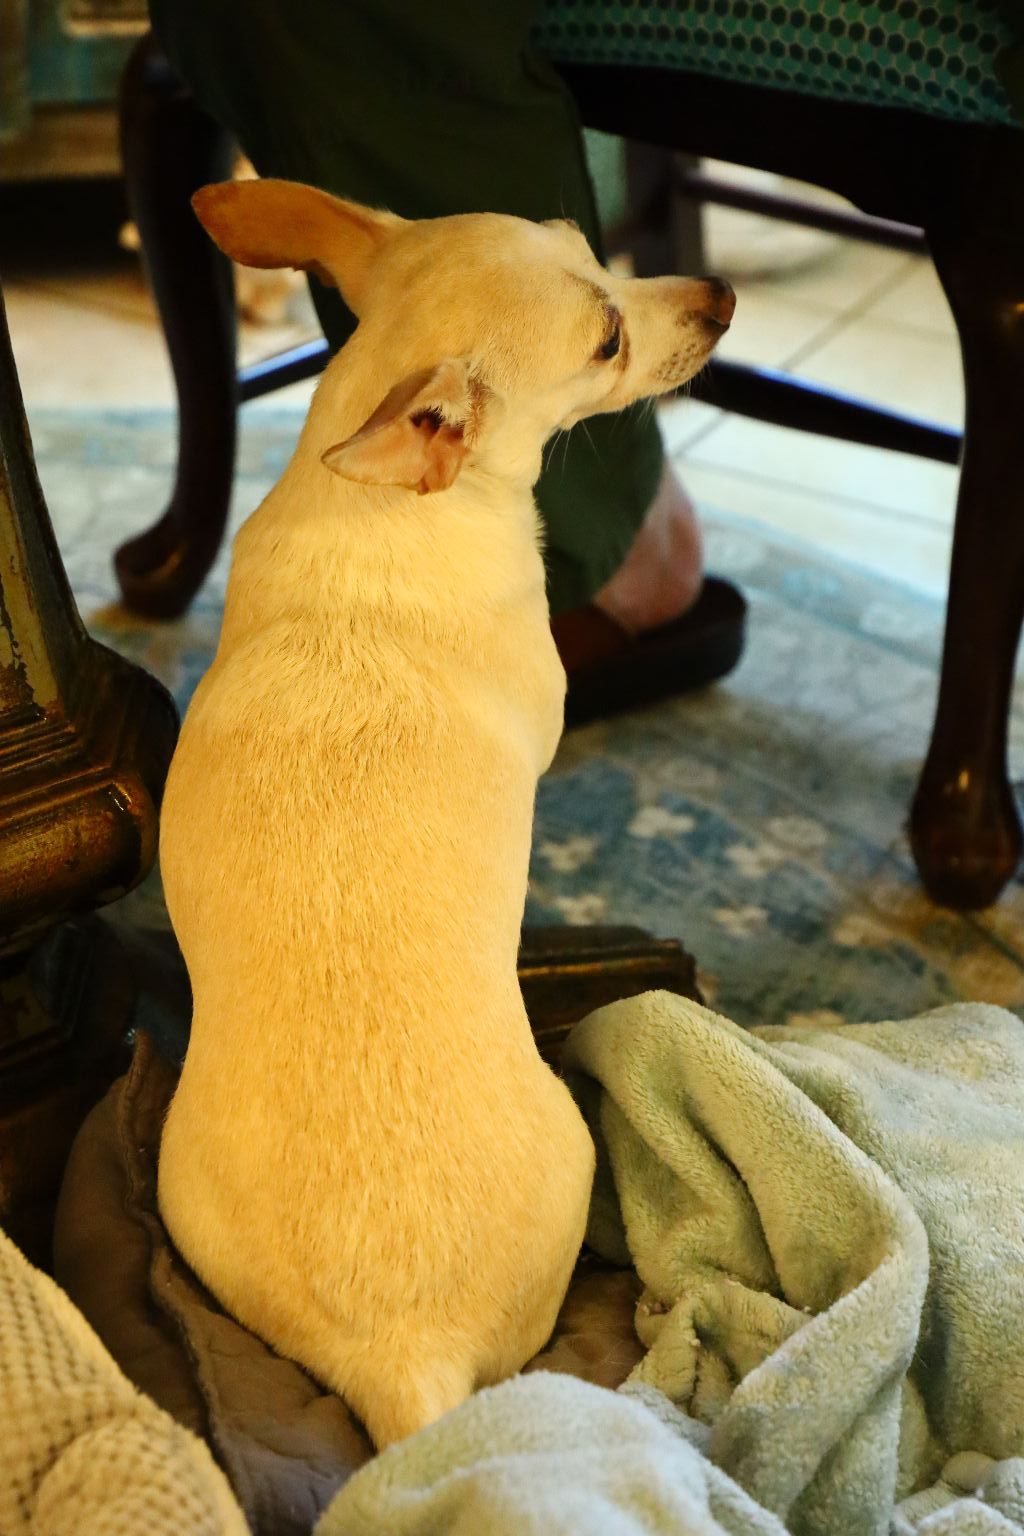
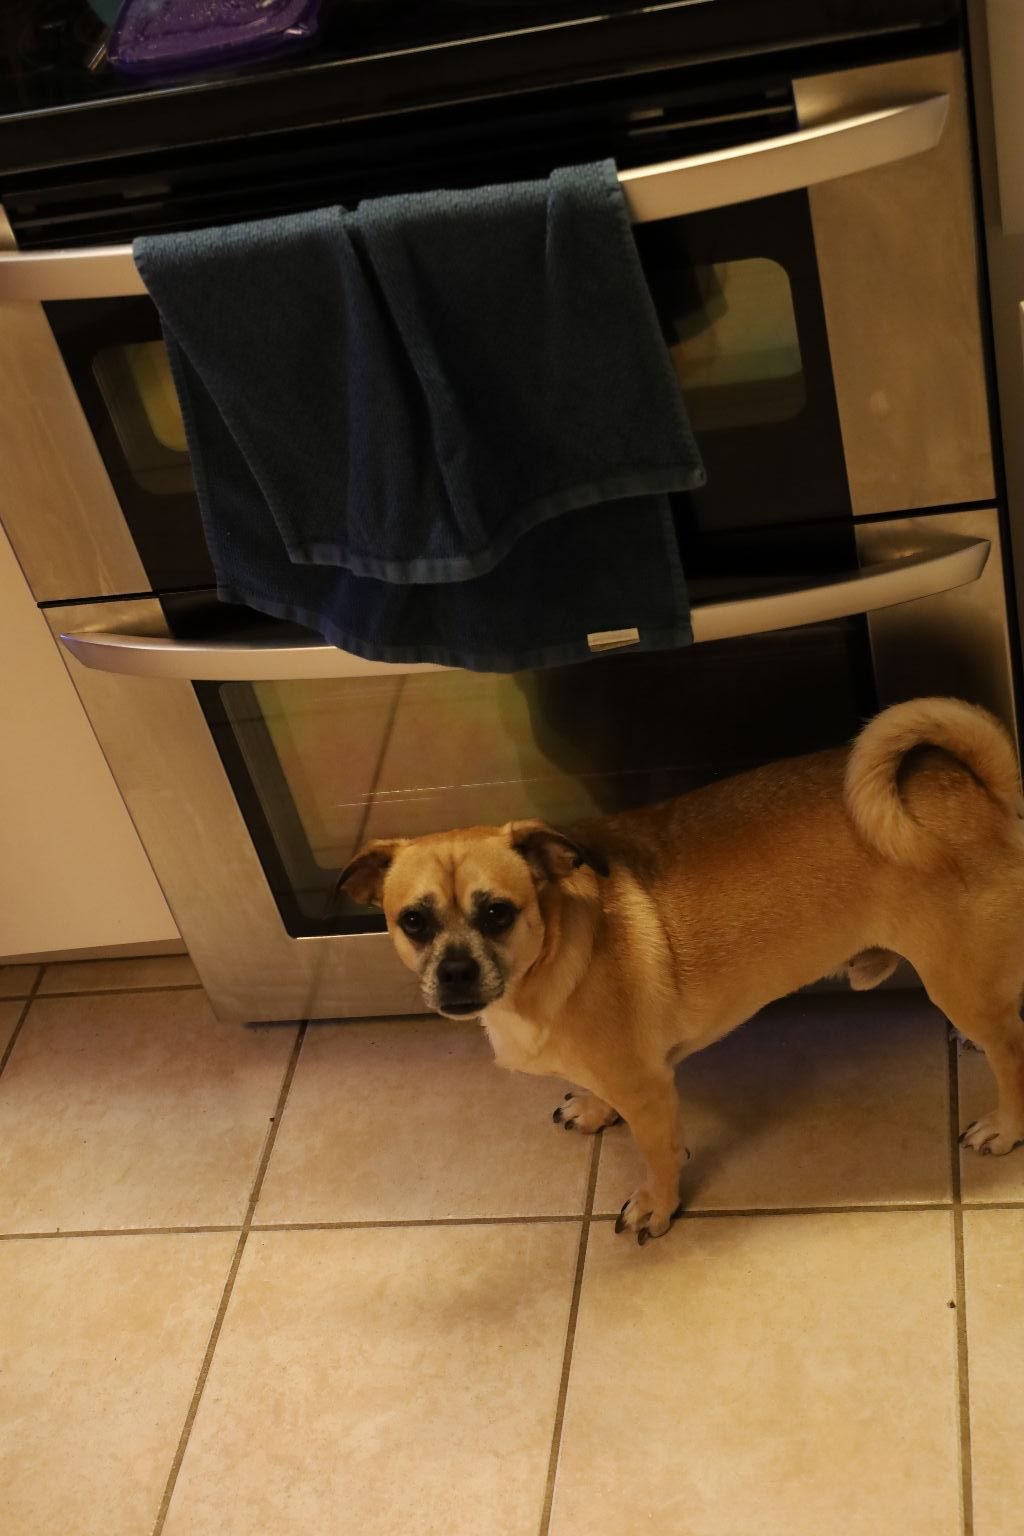
Spooky is Ready Just in Case Something Falls on the Floor

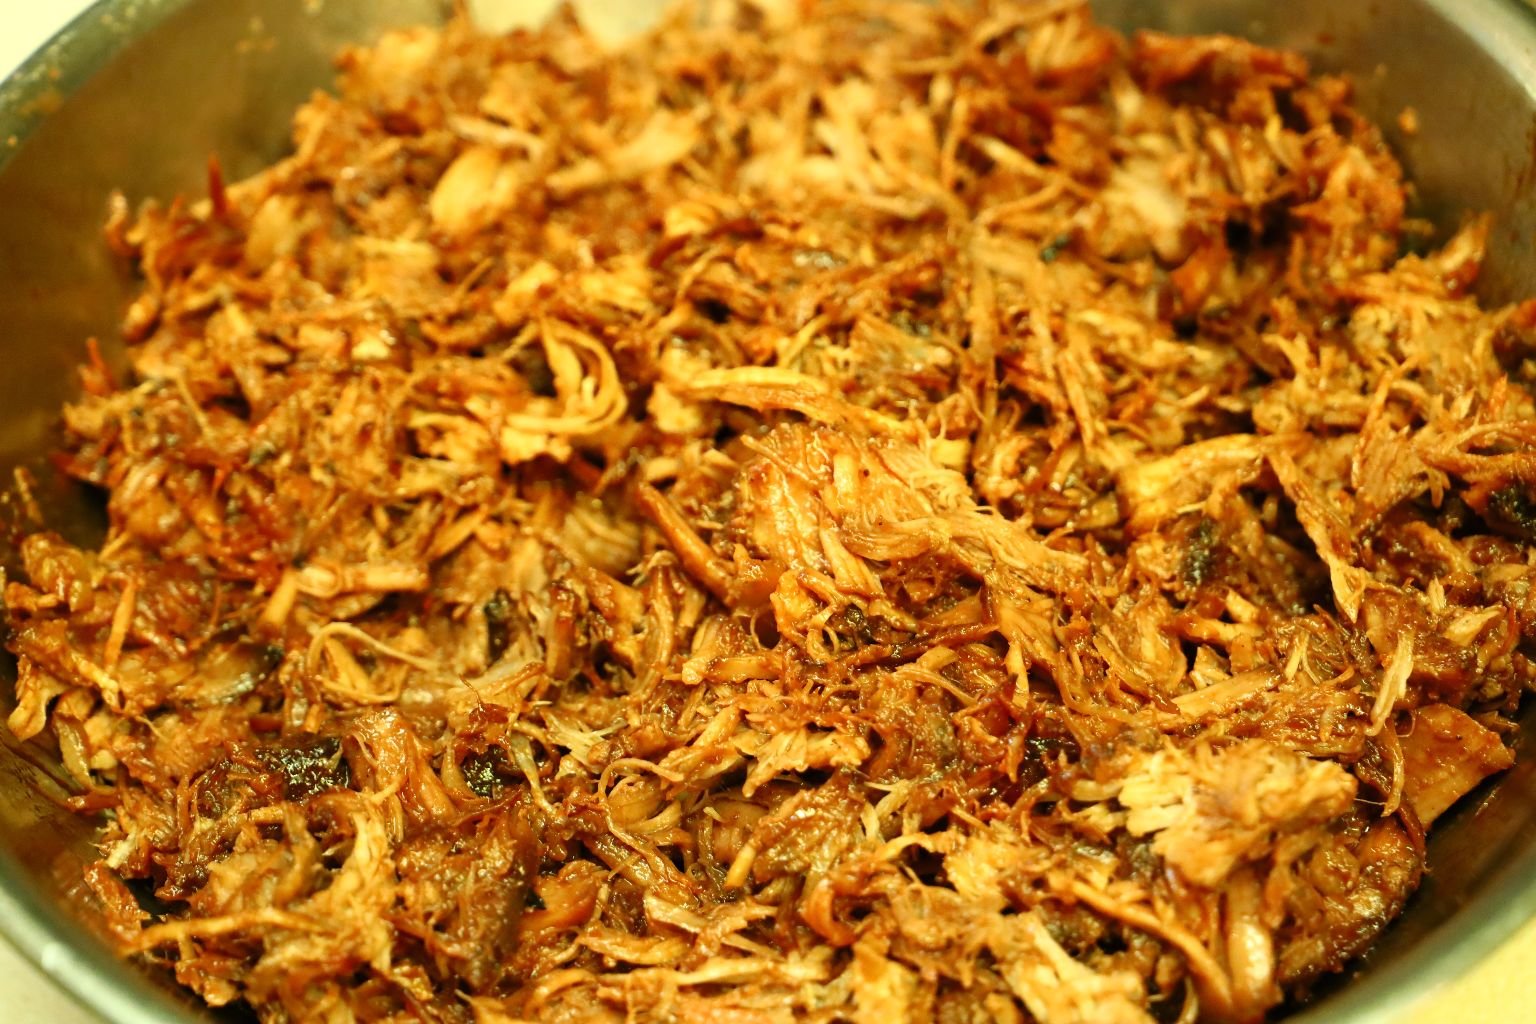
The Char Siu Pulled Pork

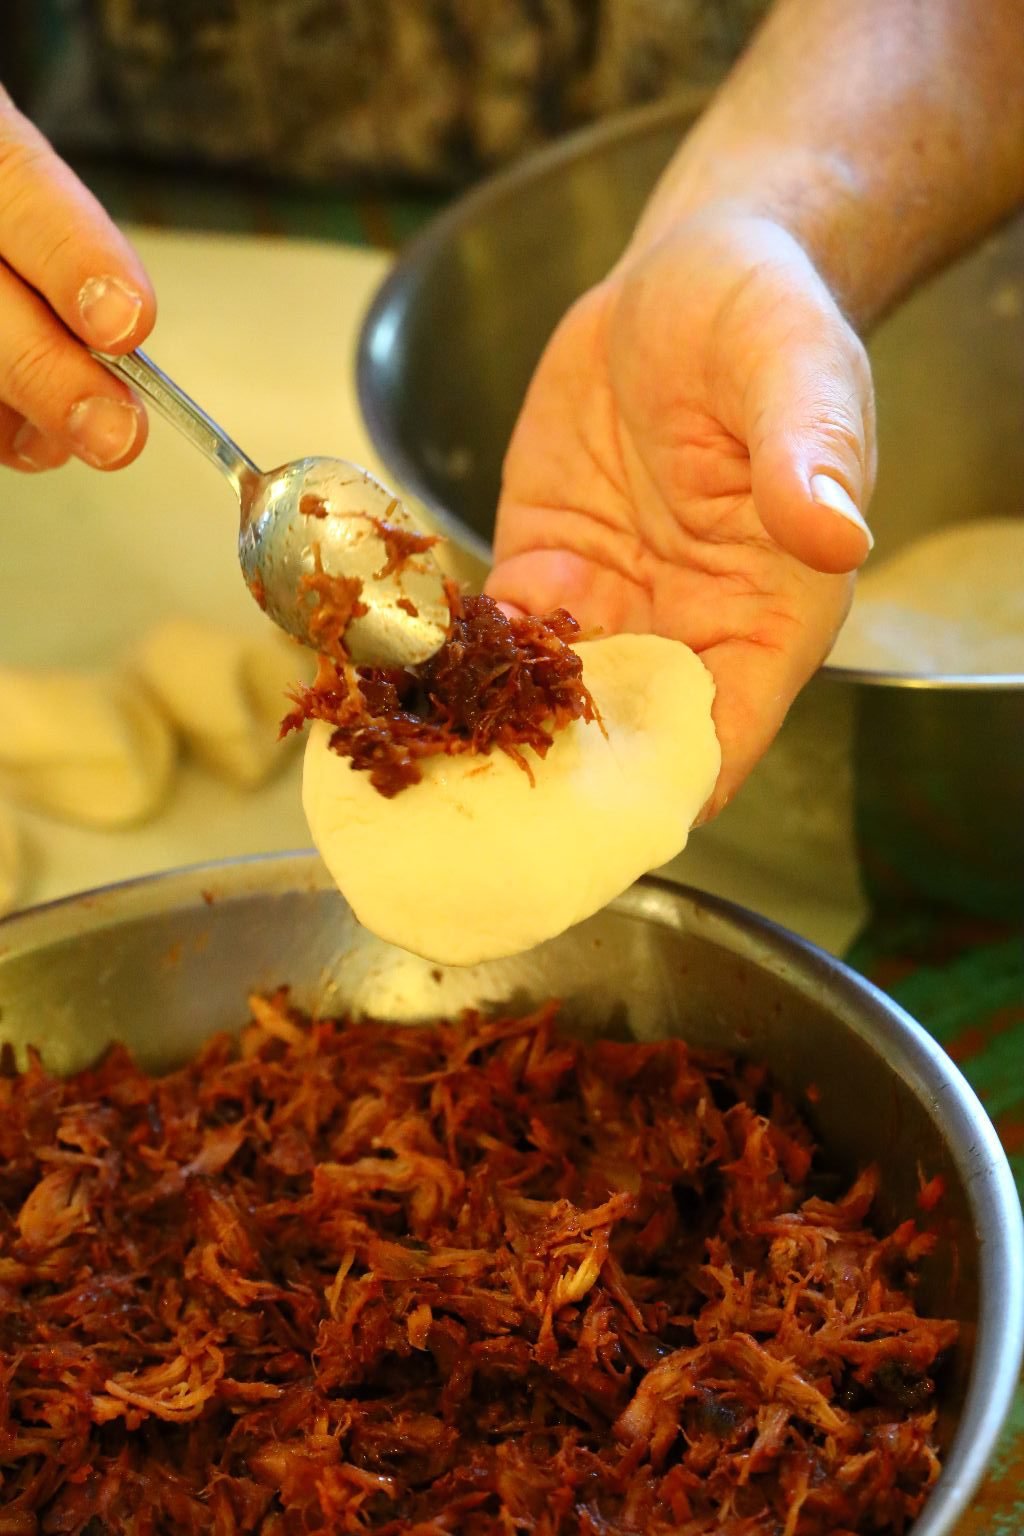
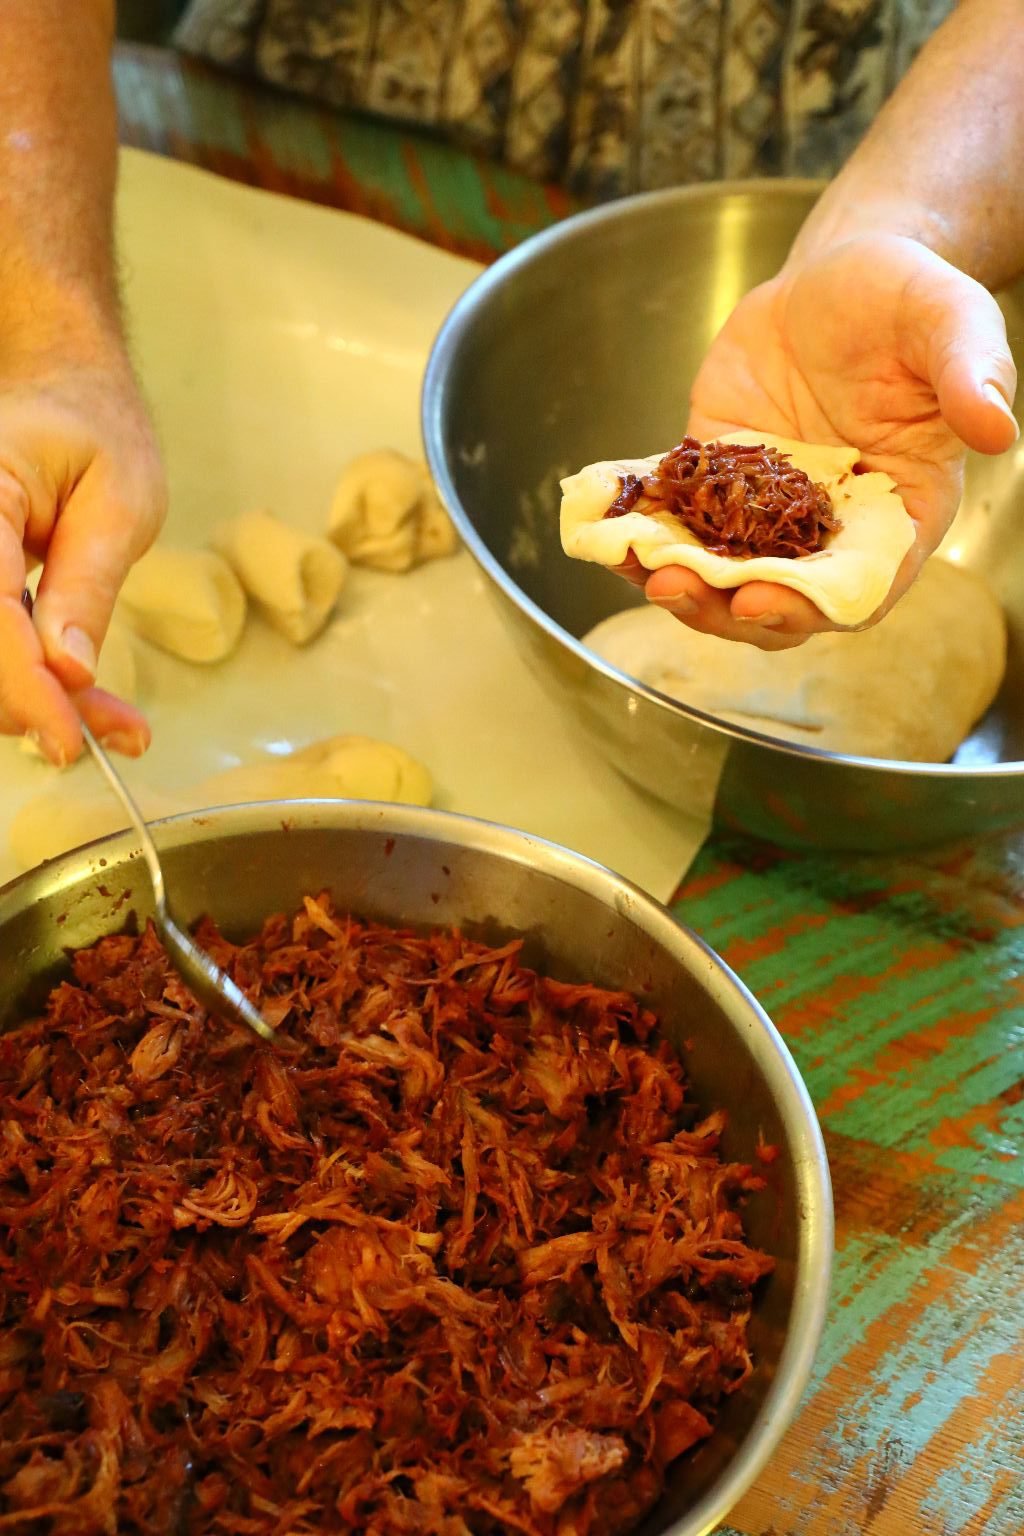
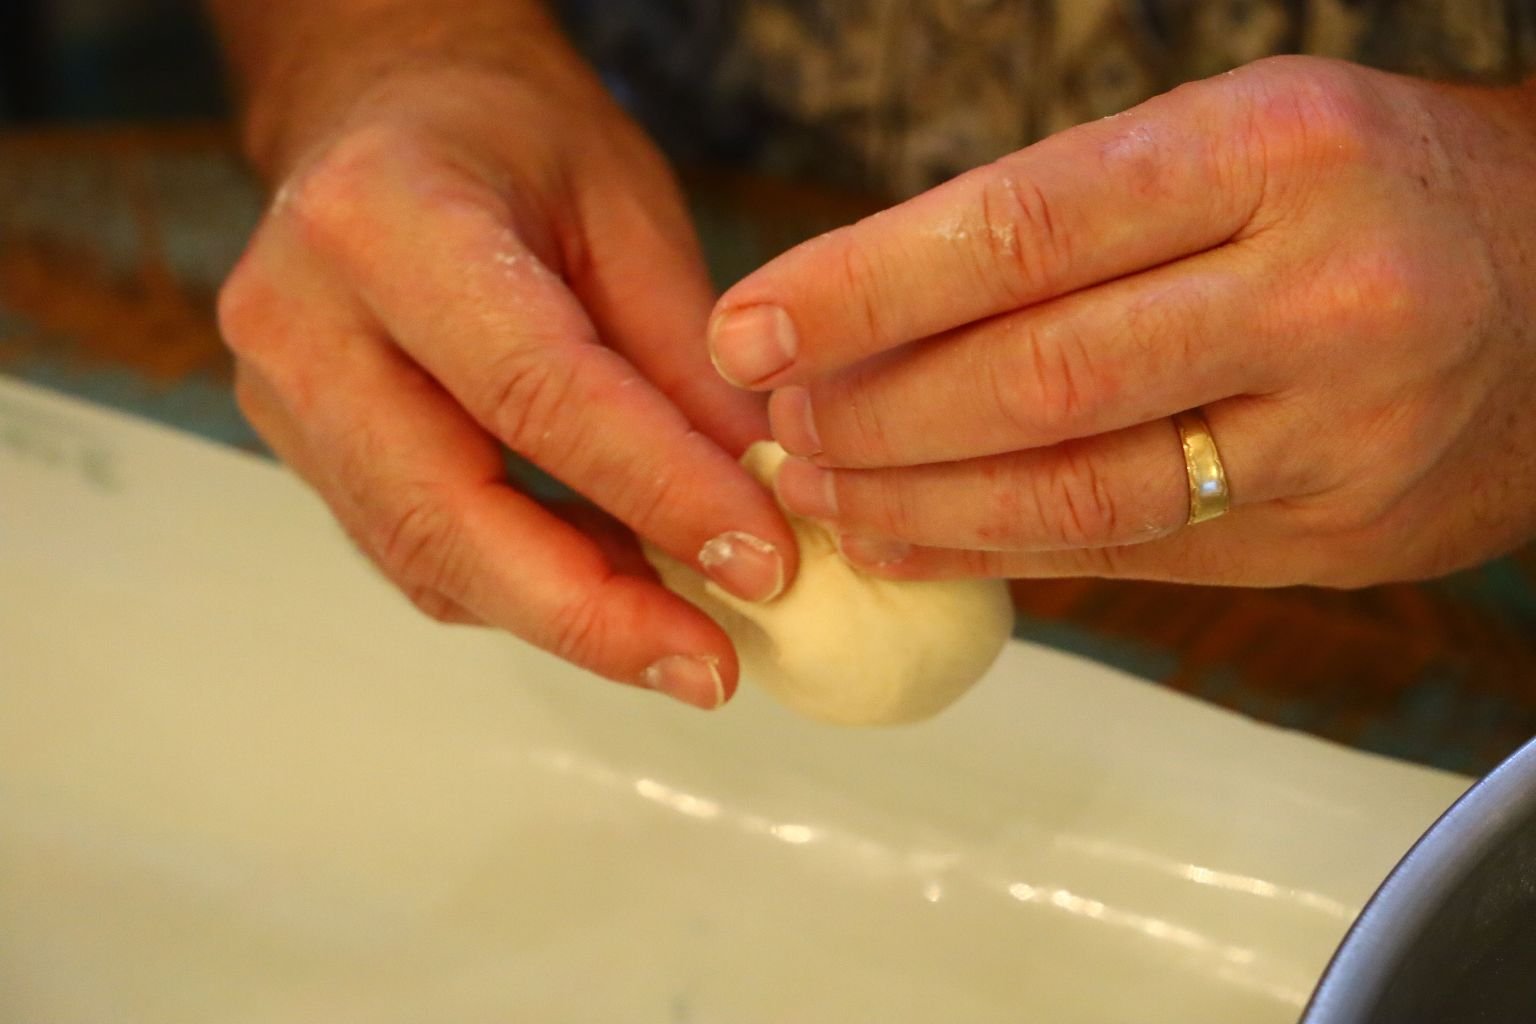
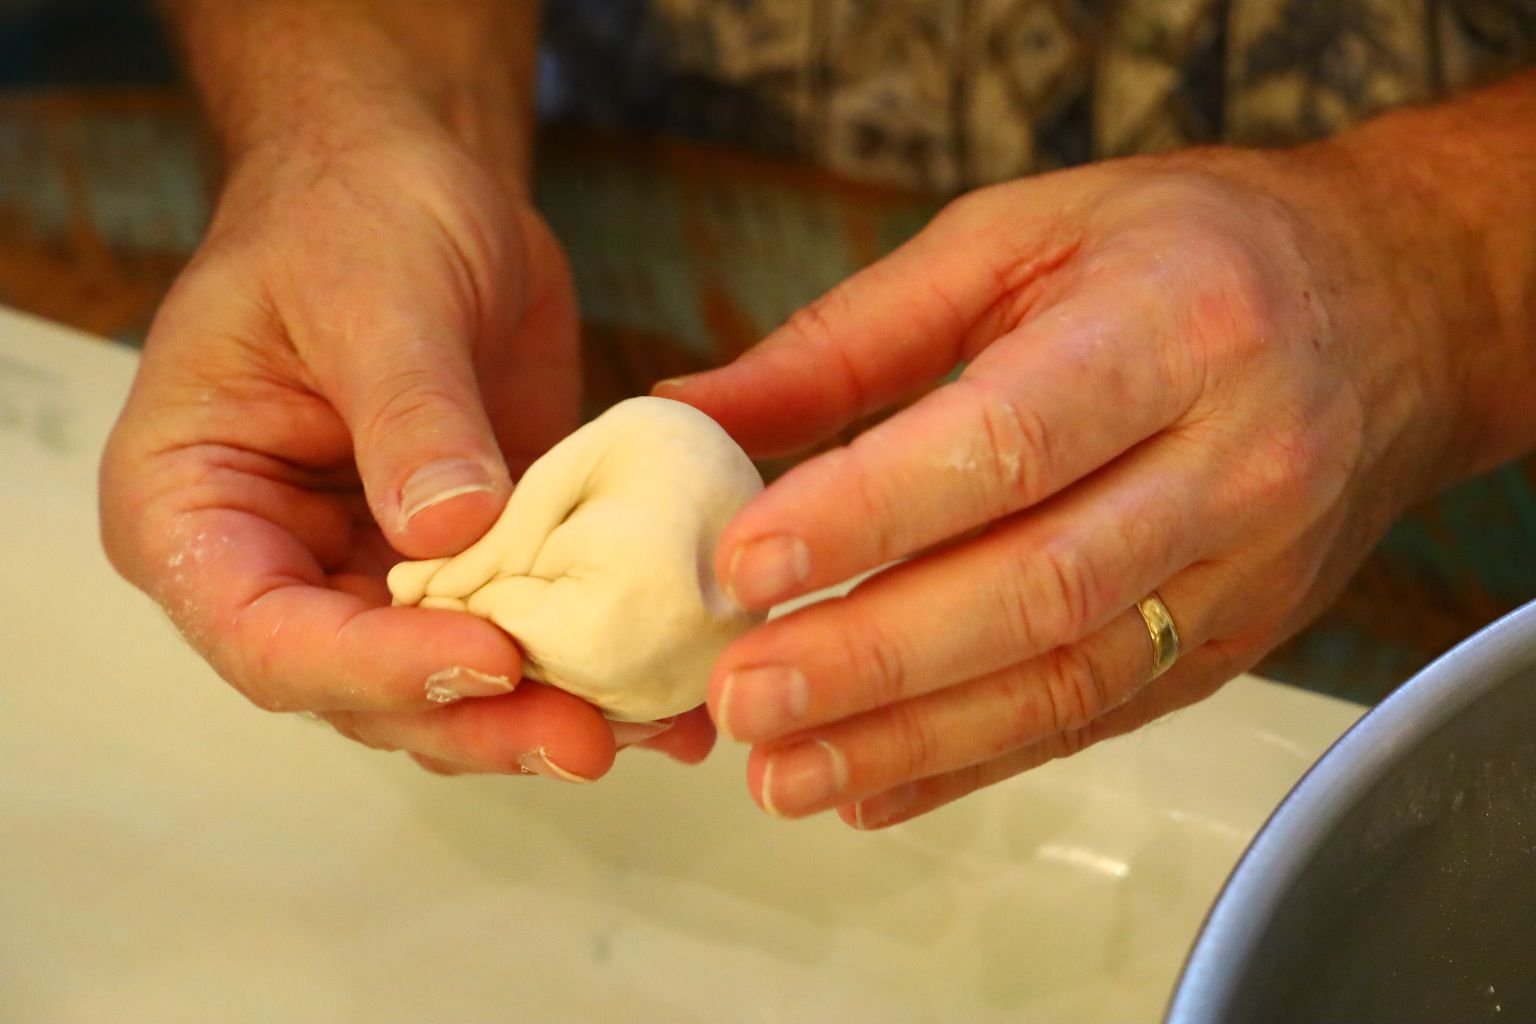
Gordon Stuffing the Dough with the Pork
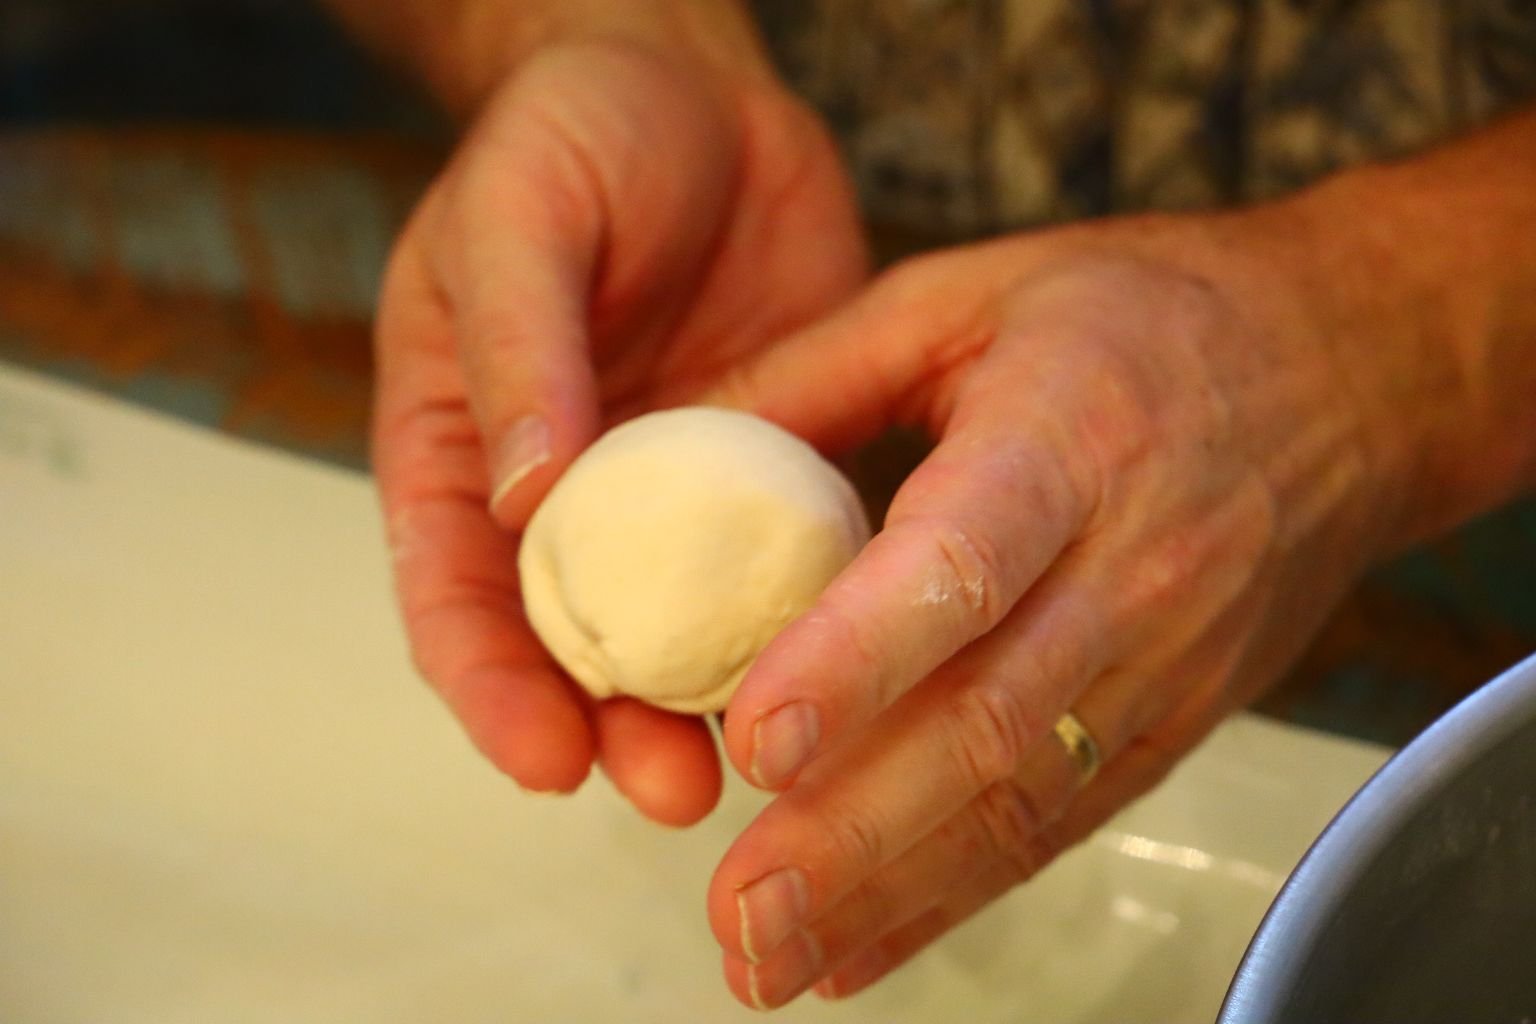
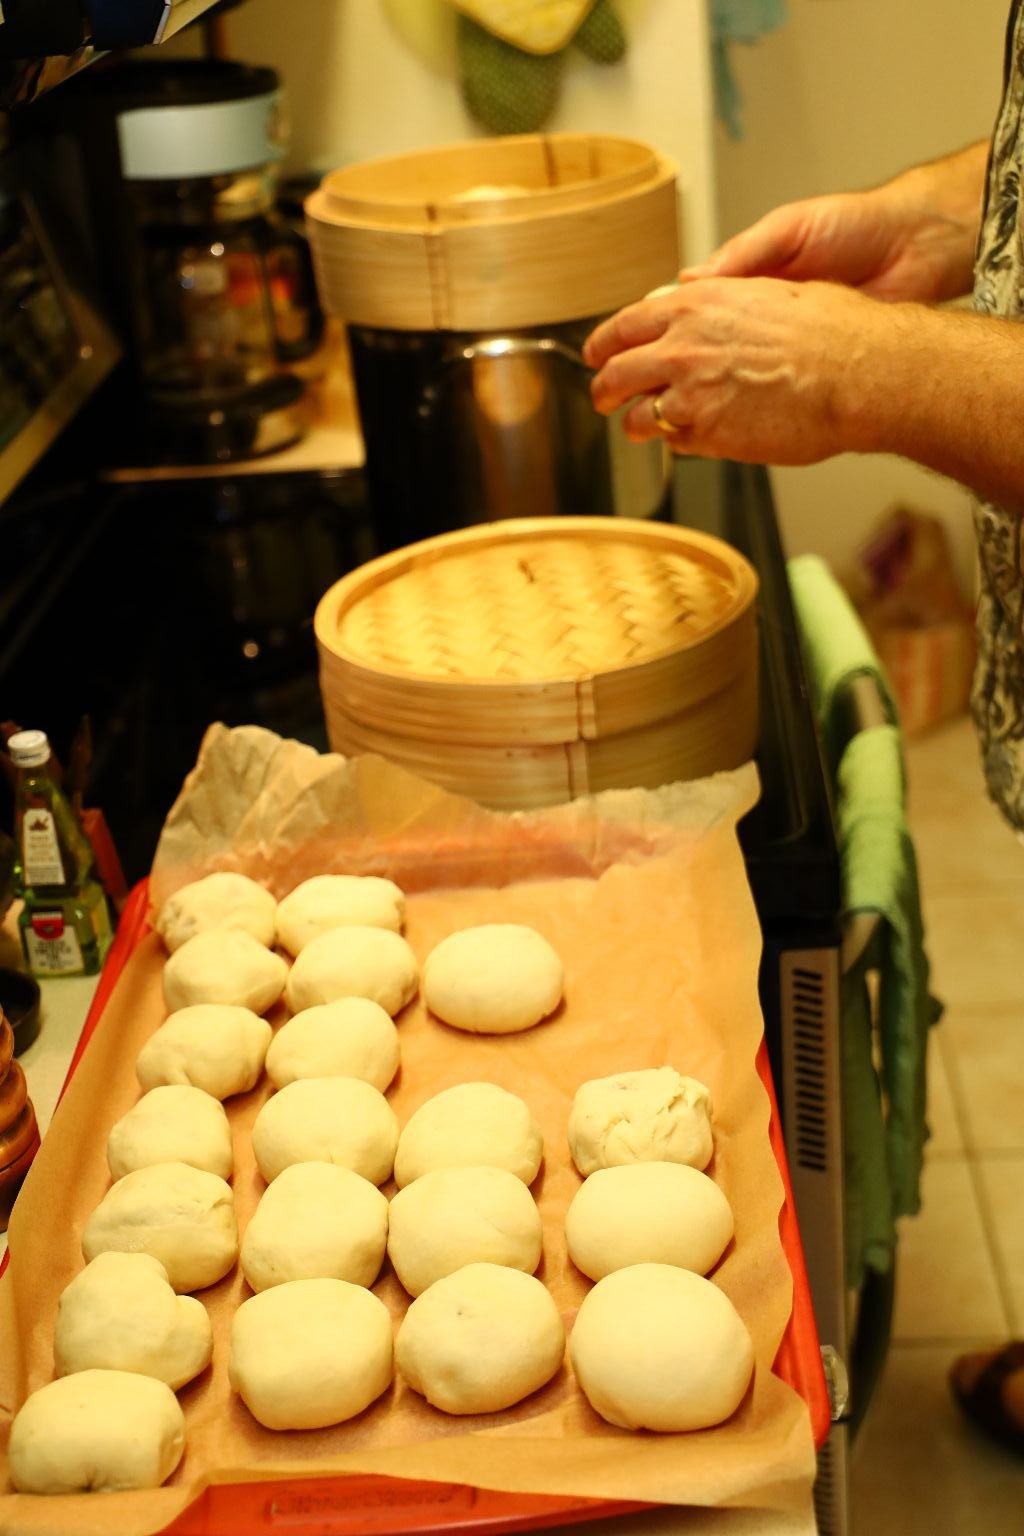
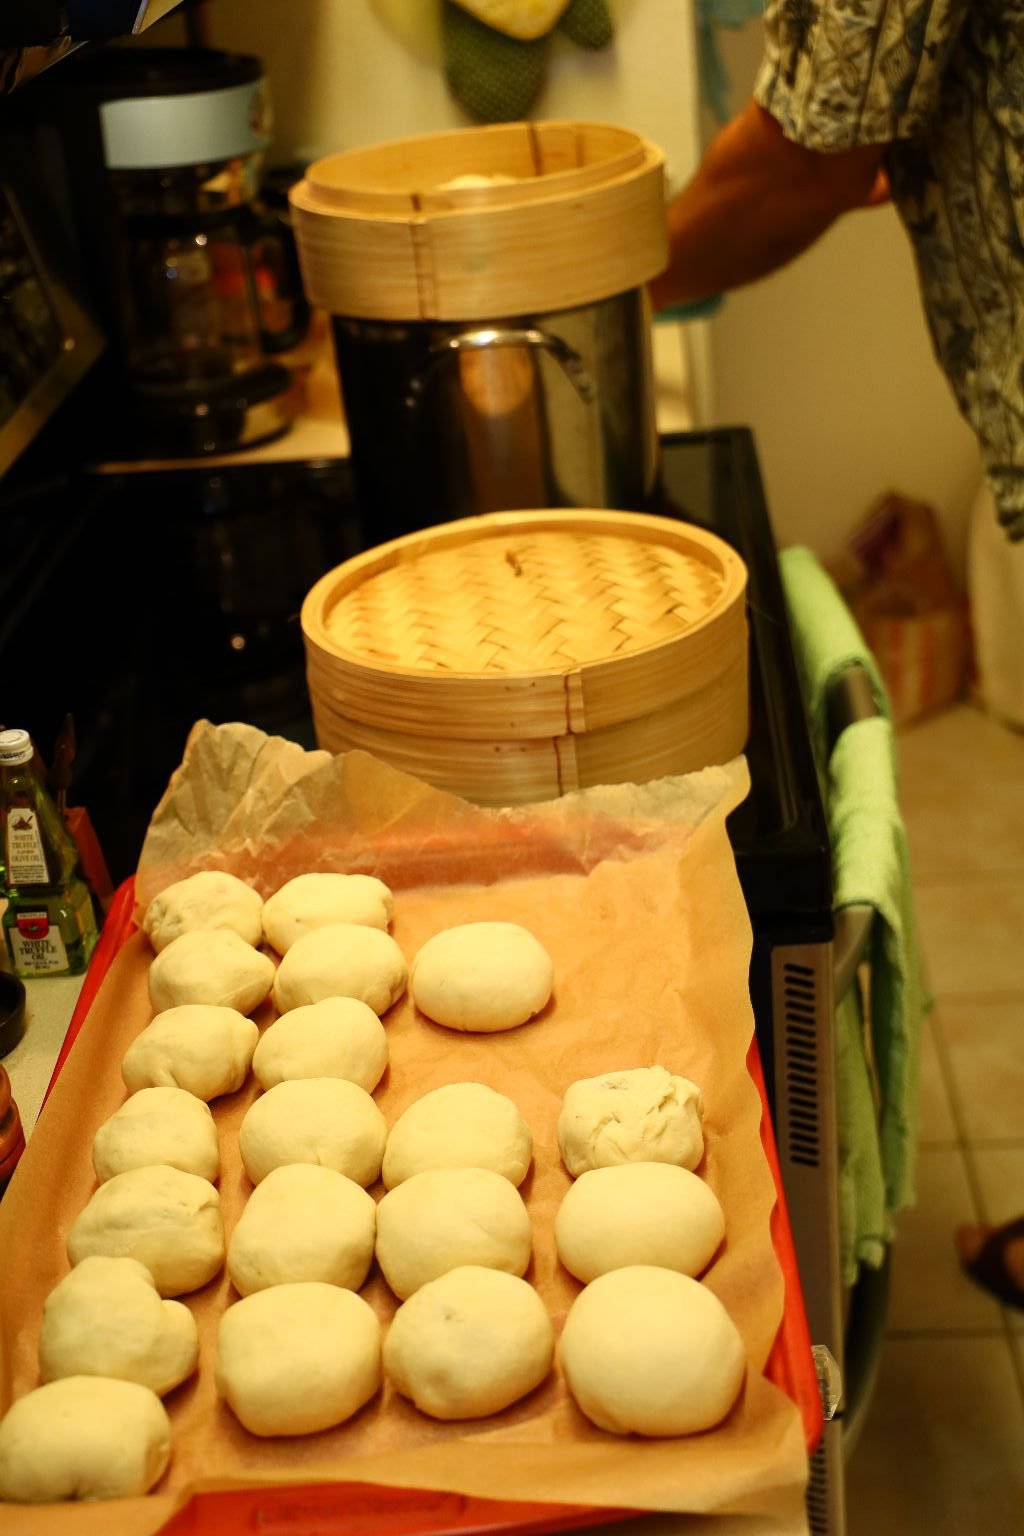
Stuffed and Ready to be Steamed
(The dough will rise even more as it sits there.)


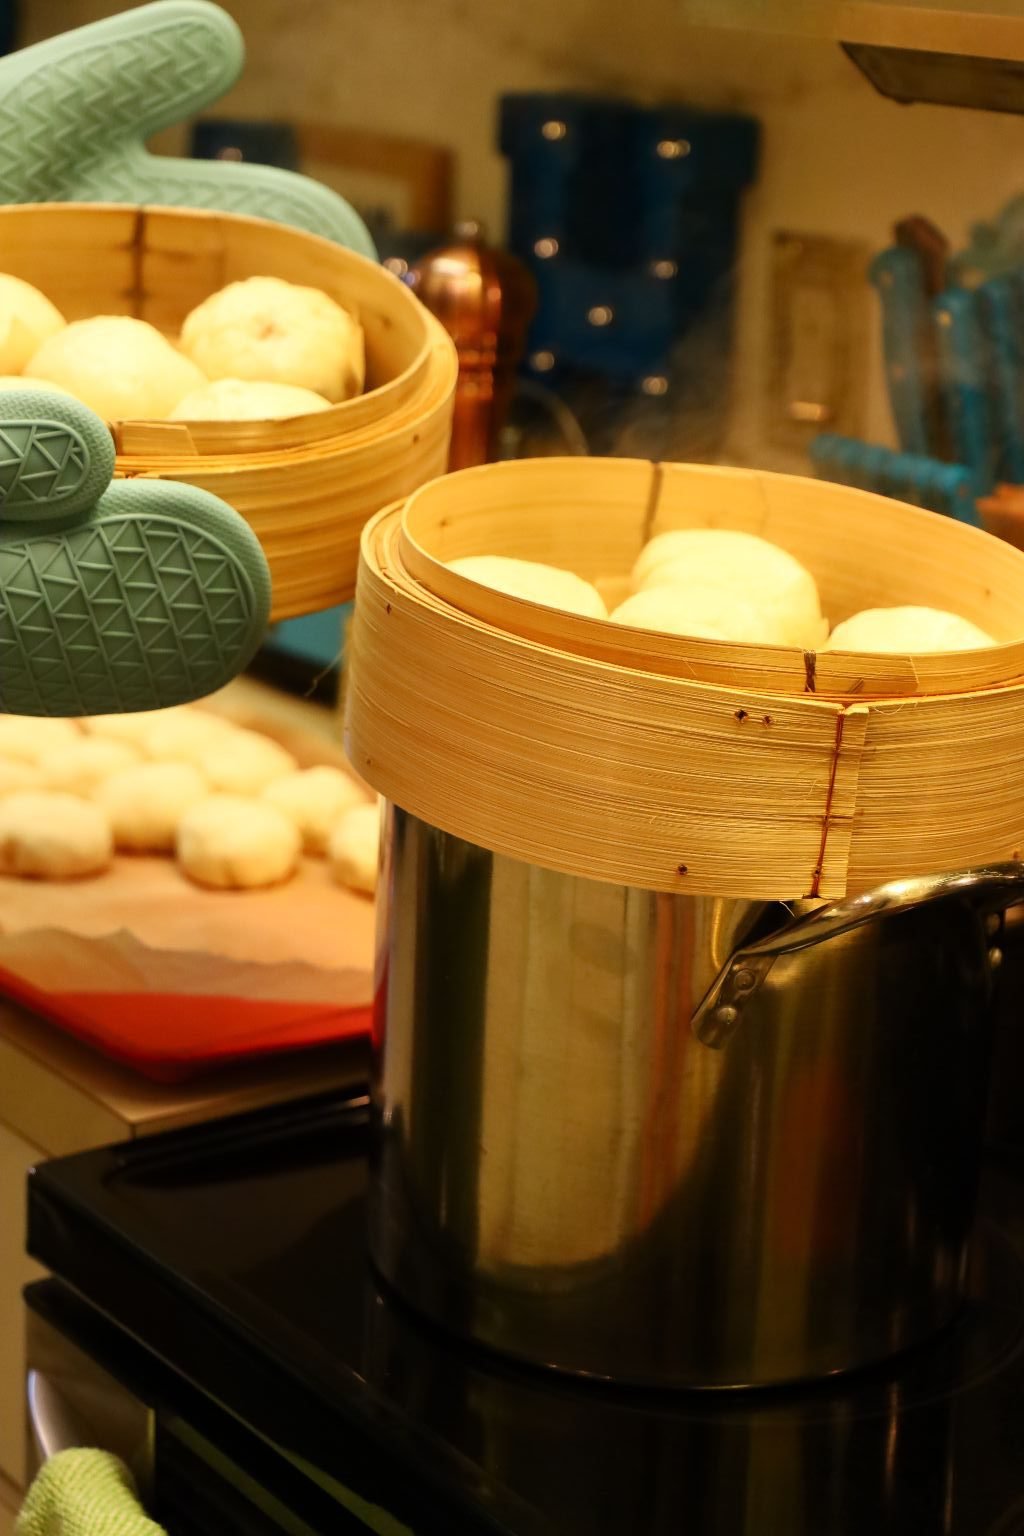
Ready for the Bamboo Steamer
If you would like the recipe so that you can make these yourself then just scroll down below for our Manapua recipe.
But first we’d like to introduce you to Brodie’s Bao Buns…..
————————————————————————
Brodie’s Bao Buns
————————————————————————-
Brodie’s Sweet Diced Pork Steamed Bao Buns
(Photos By Mackenzie Parrish)
Write Up By: Gordon Whann

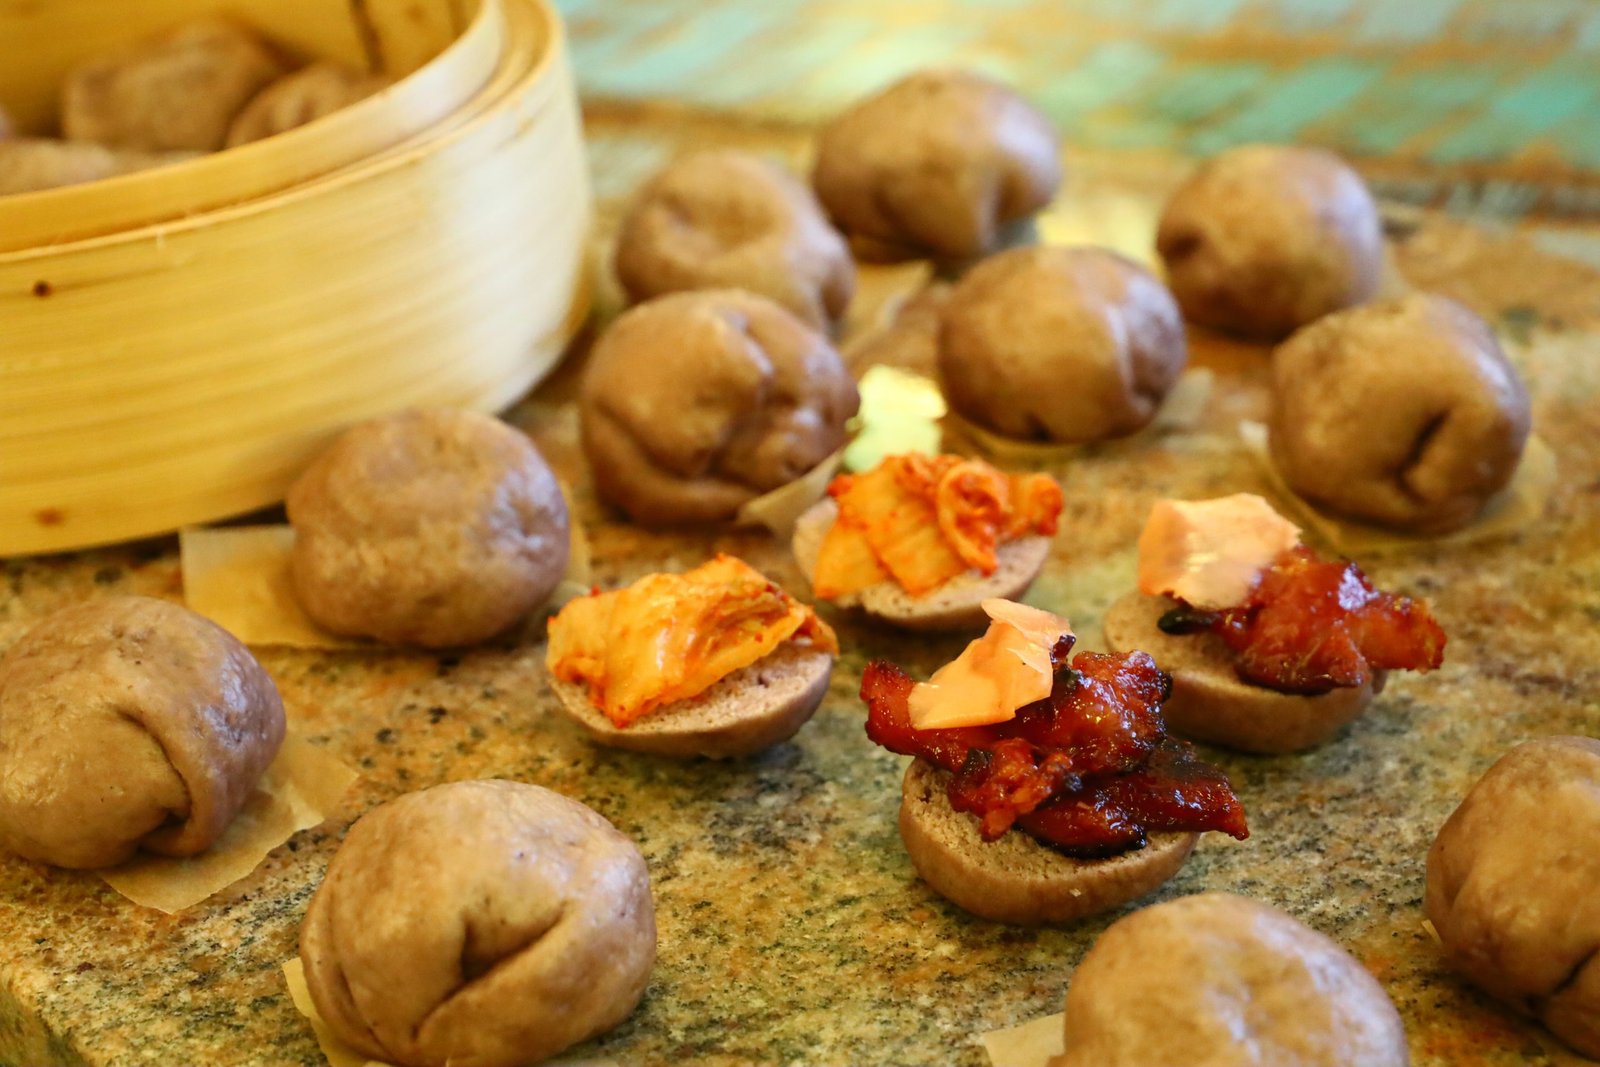
Brodie Pinching the Dough Around the Pork
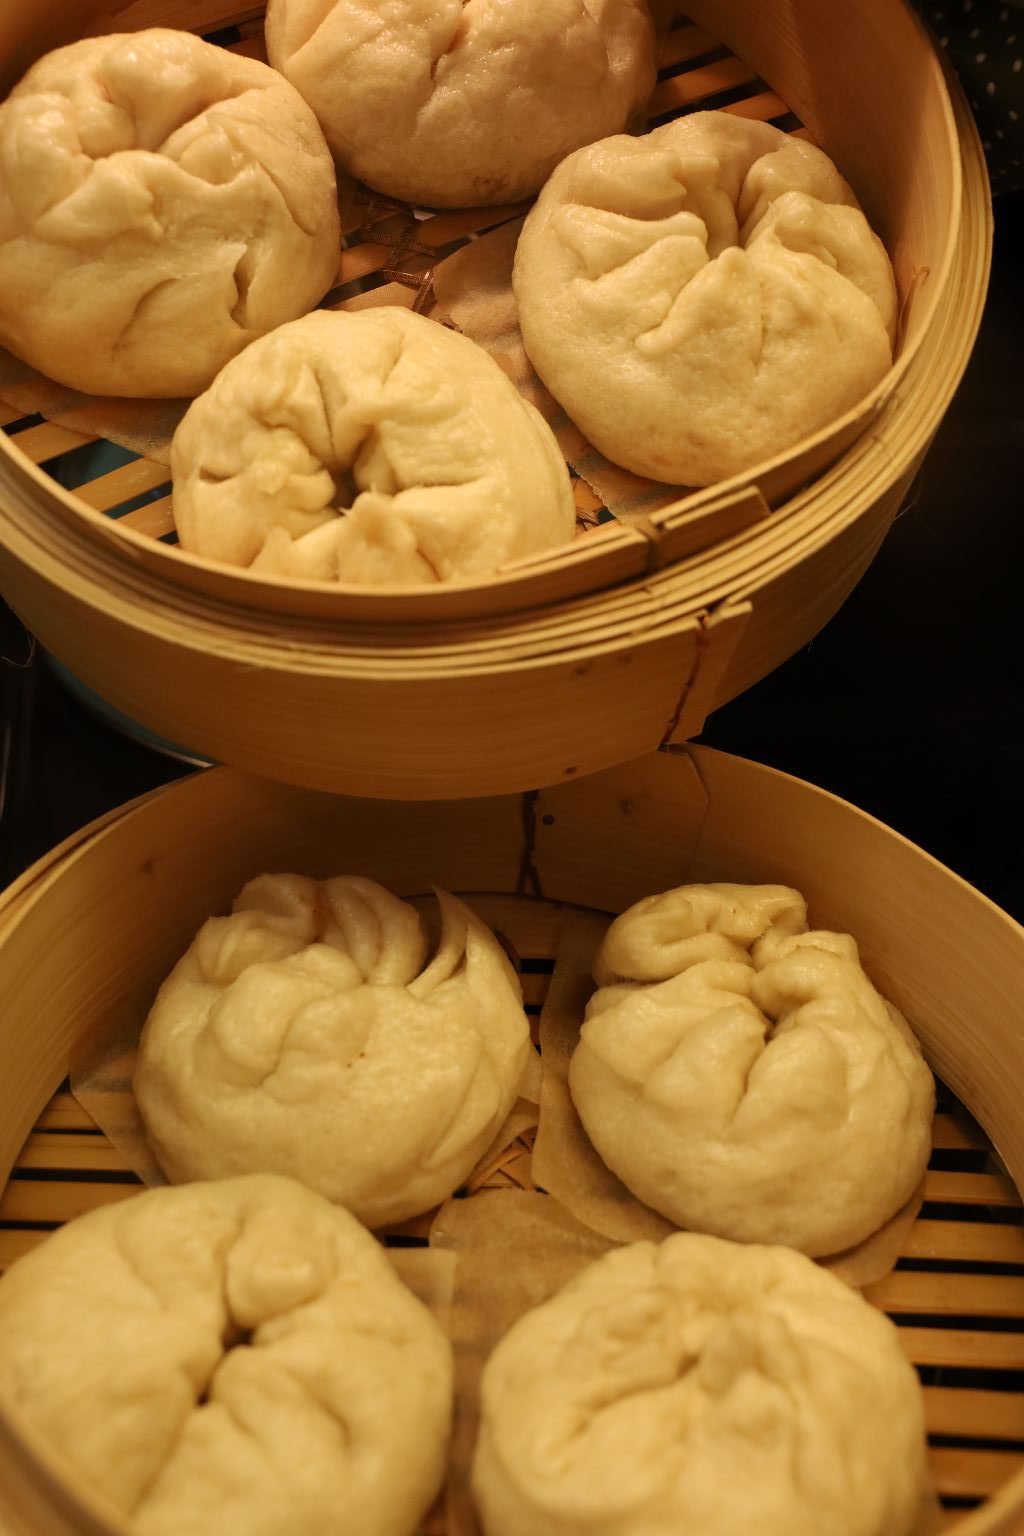
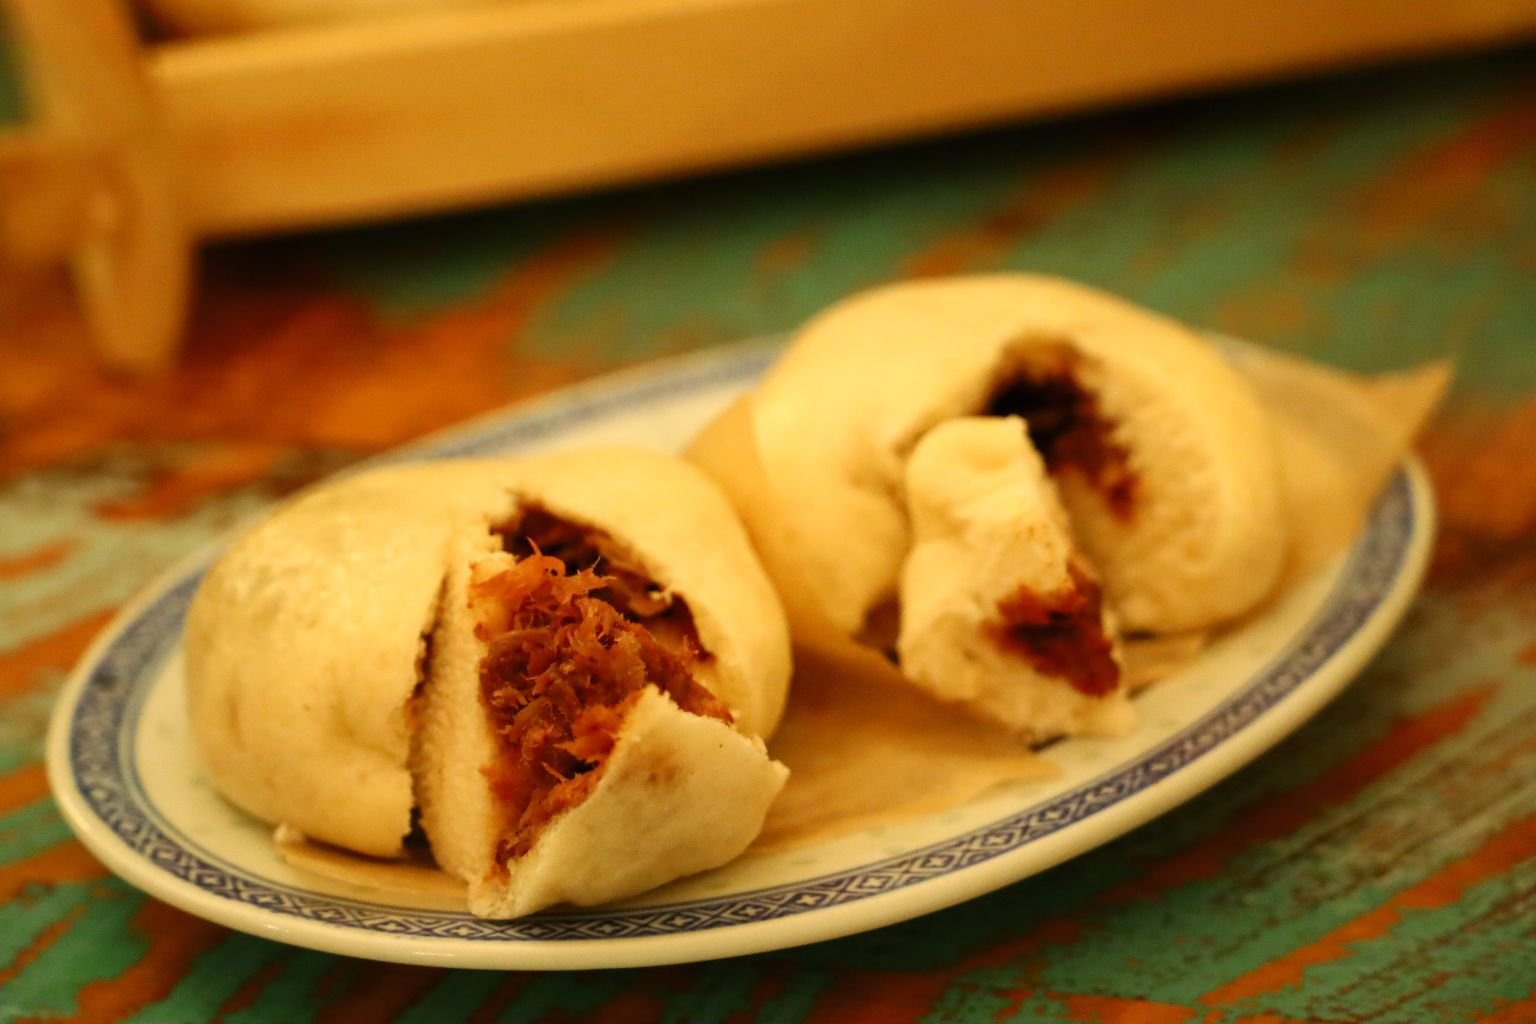
Steamed and Delicious
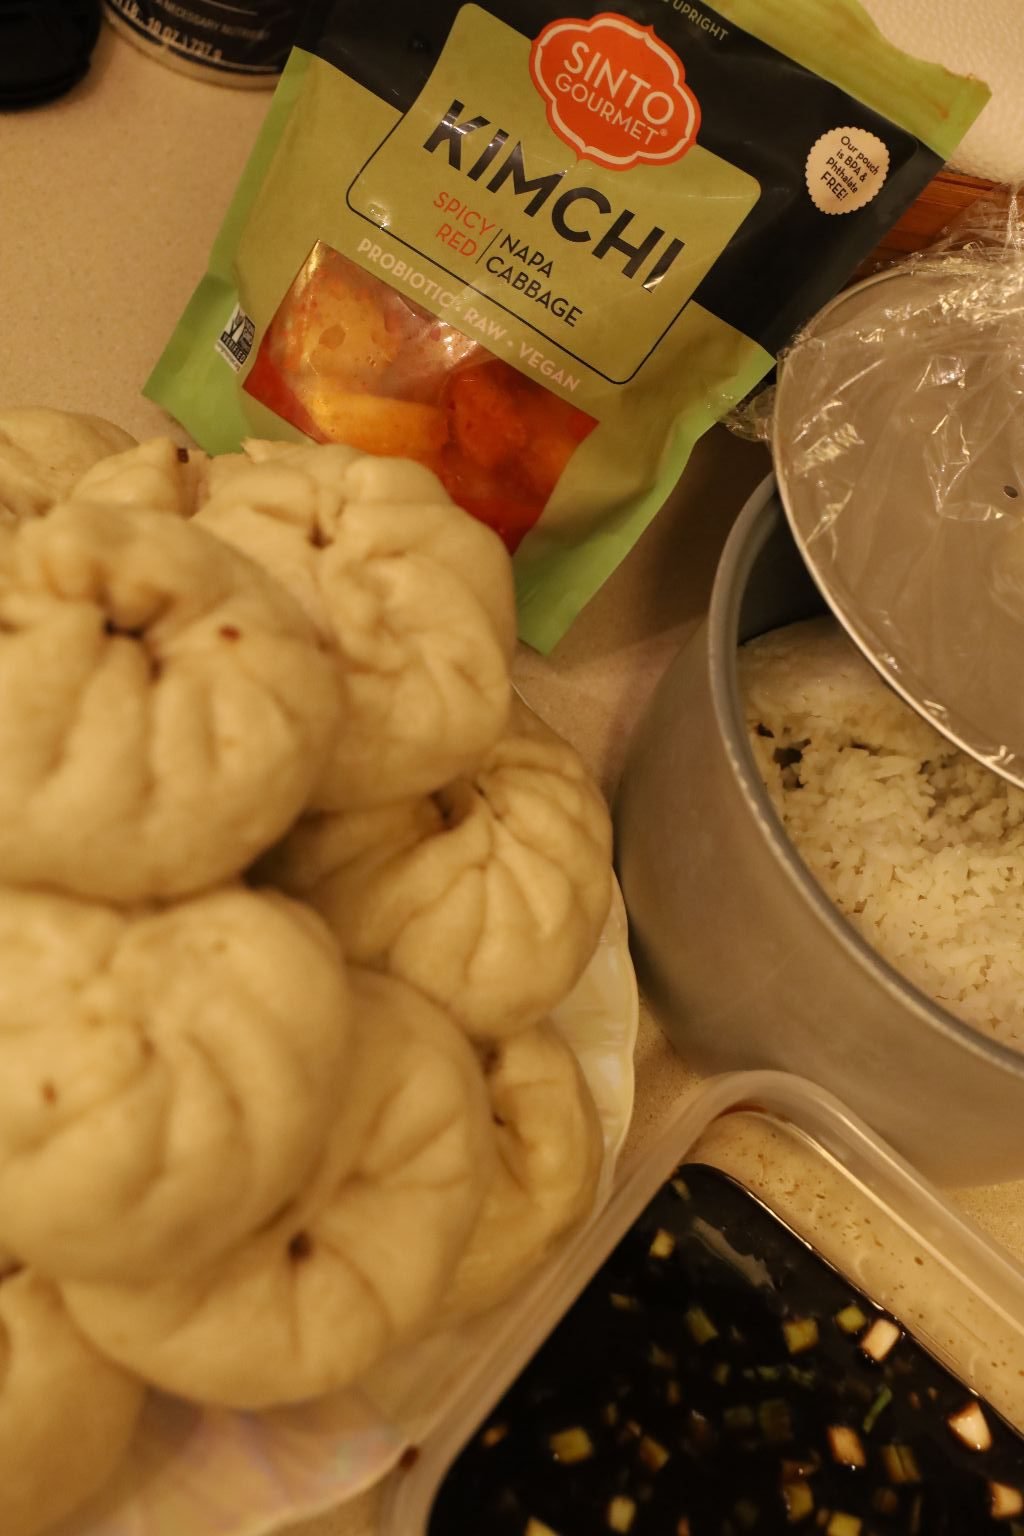
Steamed rice and Kimchi are great sides to have with this meal.
————————————————————–
But, before we eat, here is how it starts….
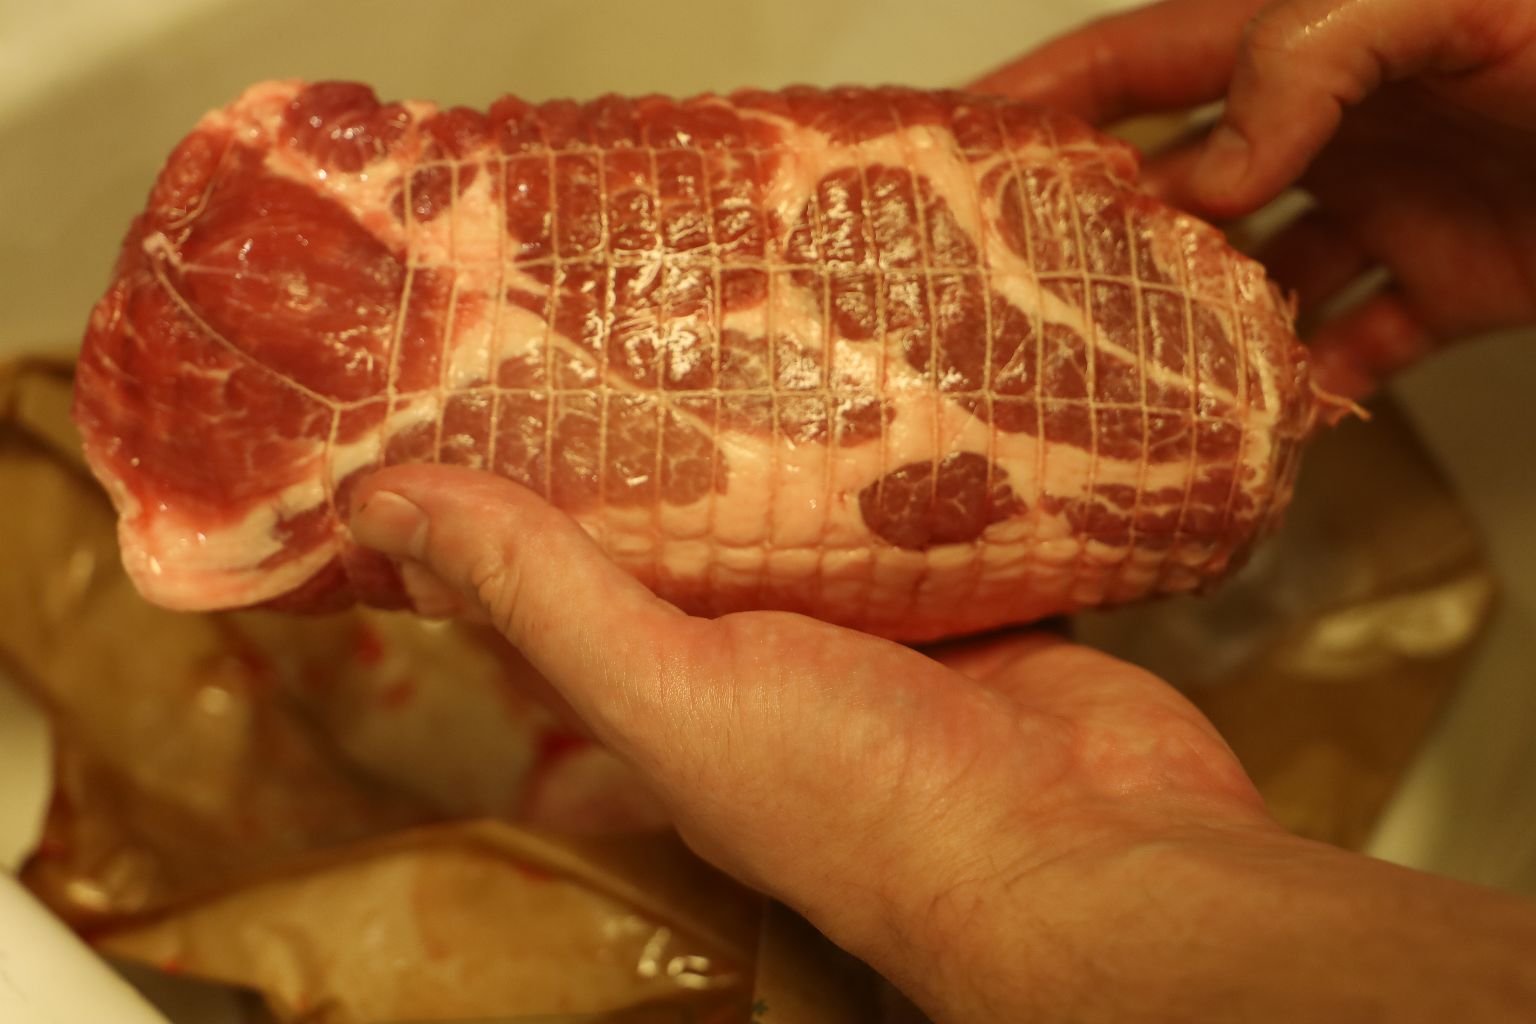
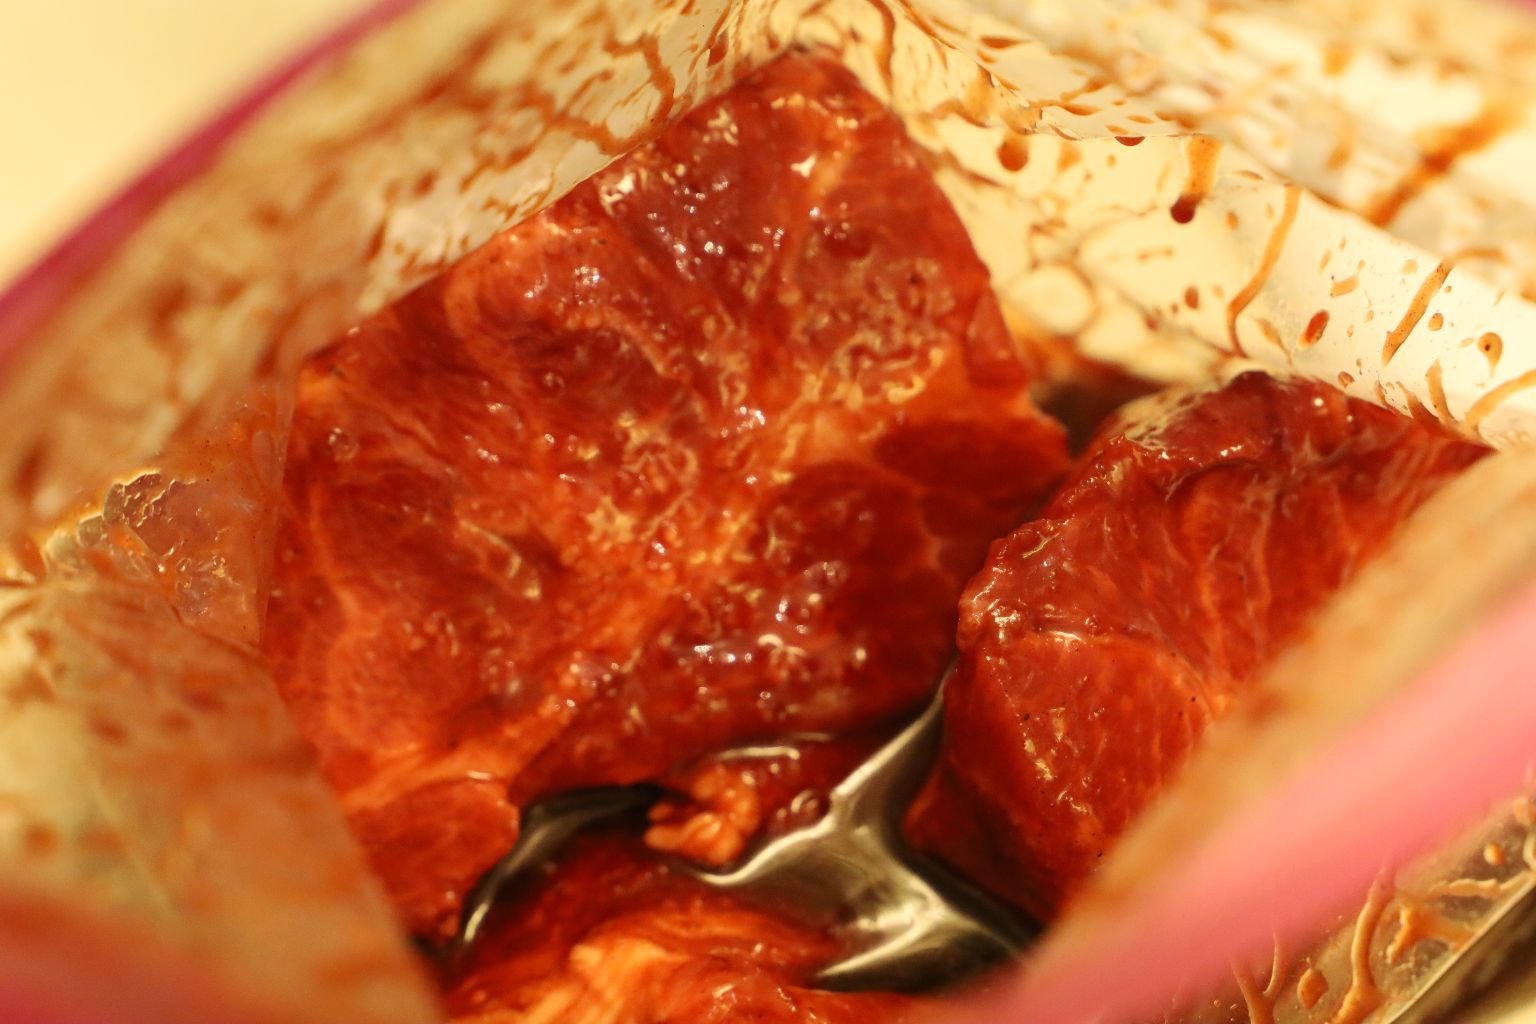
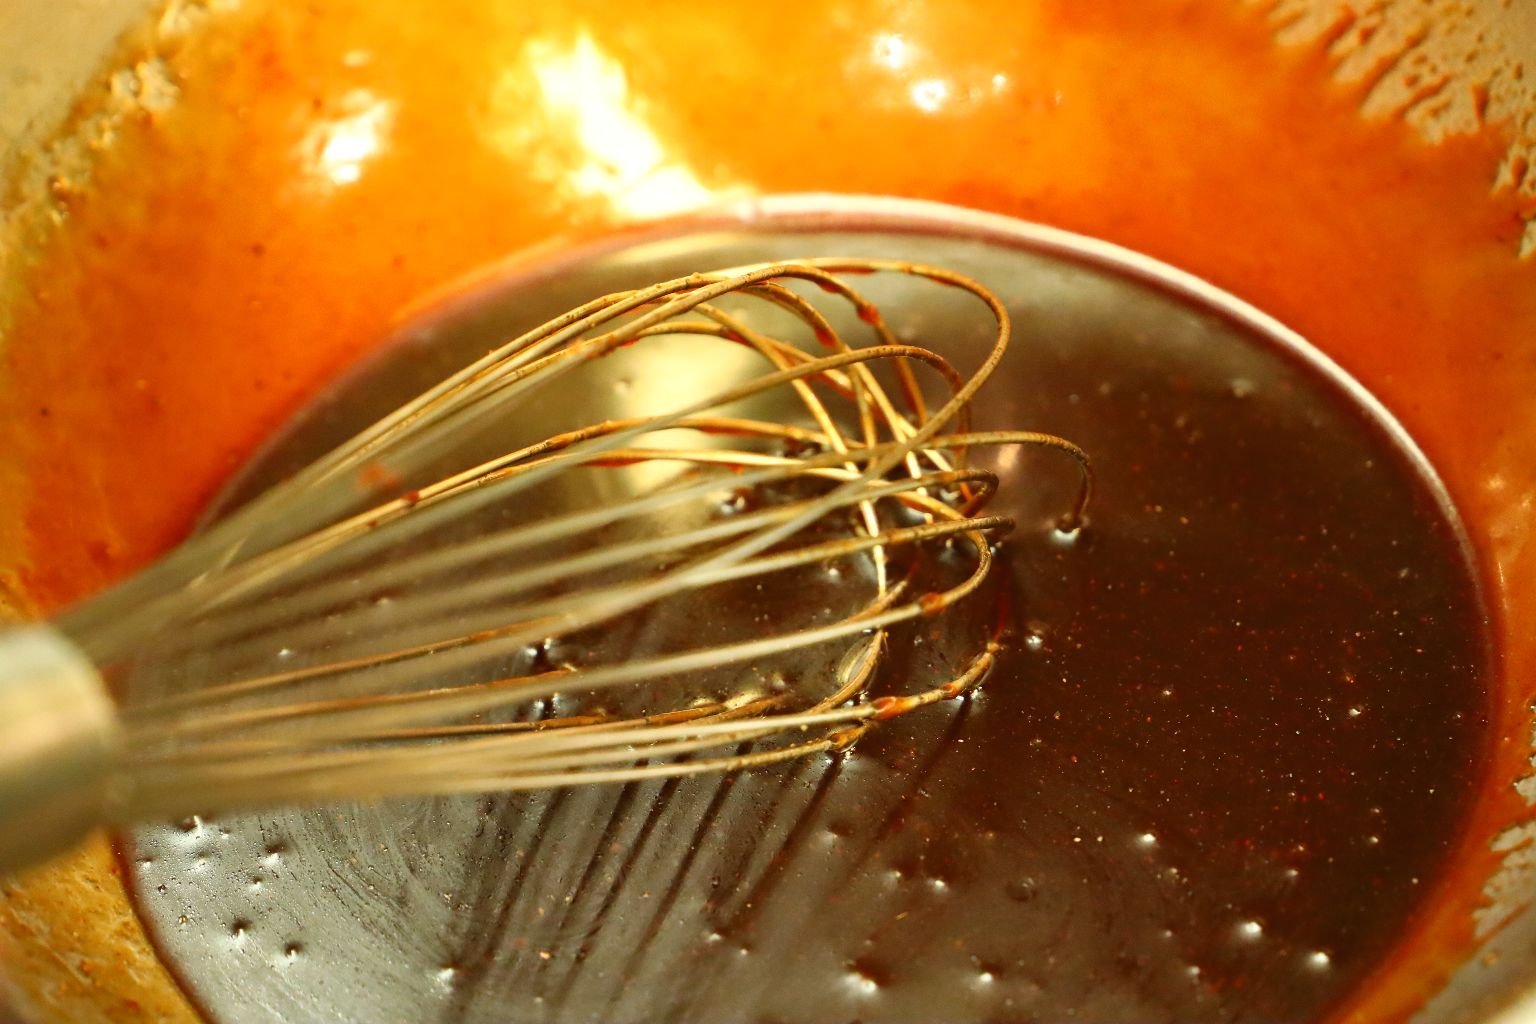
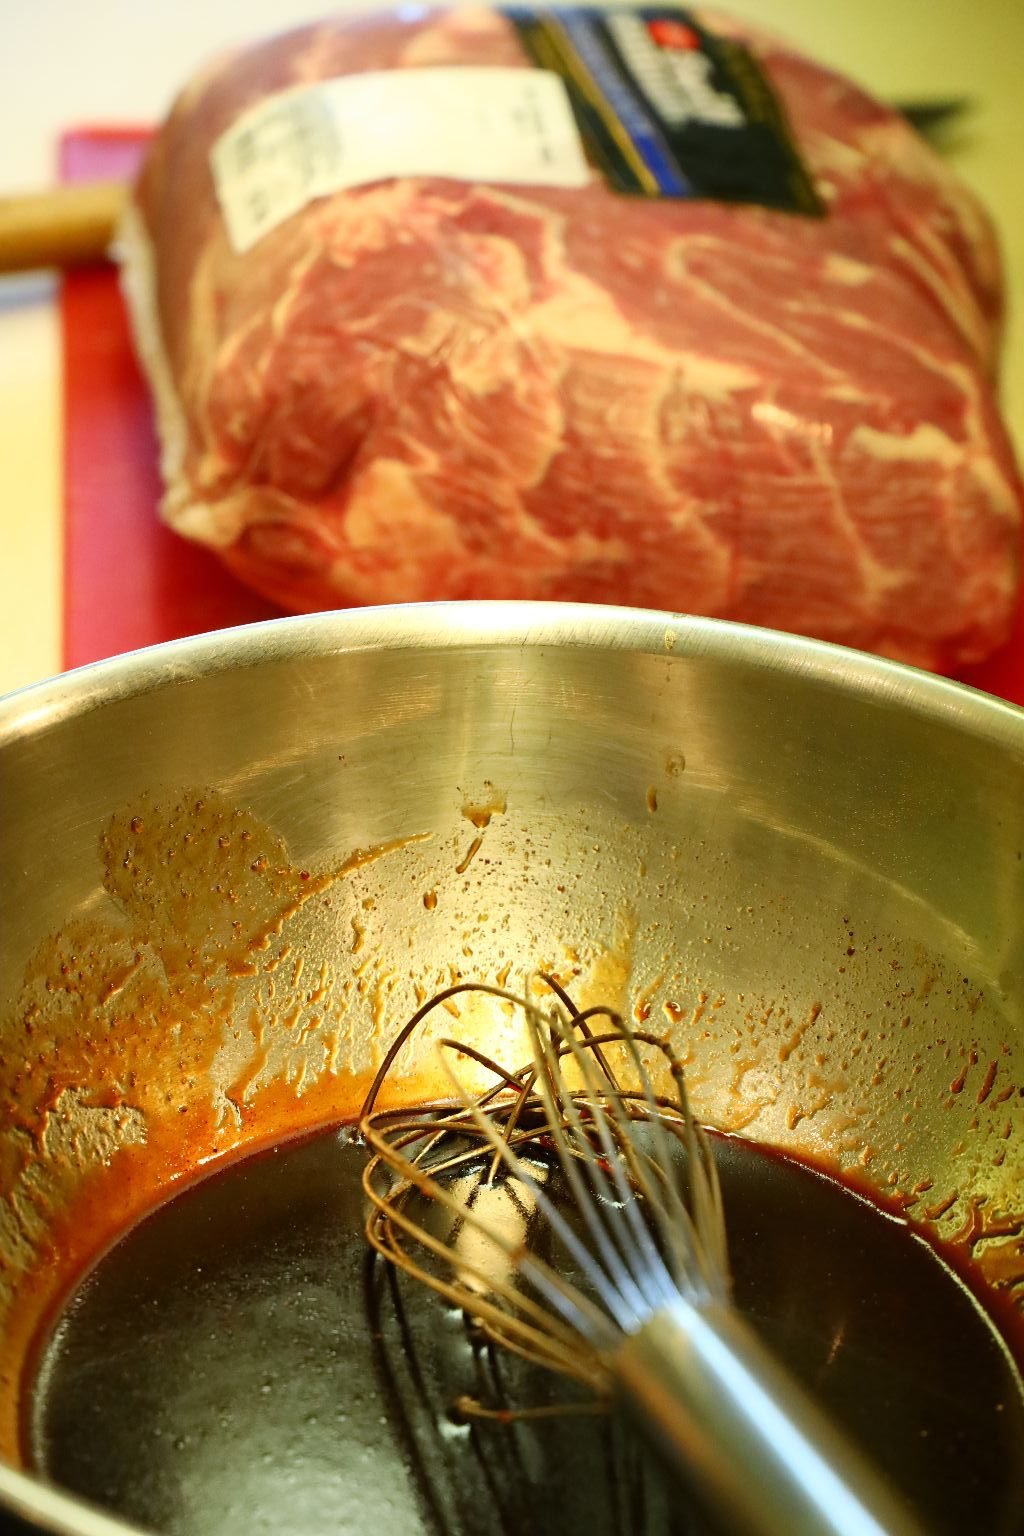
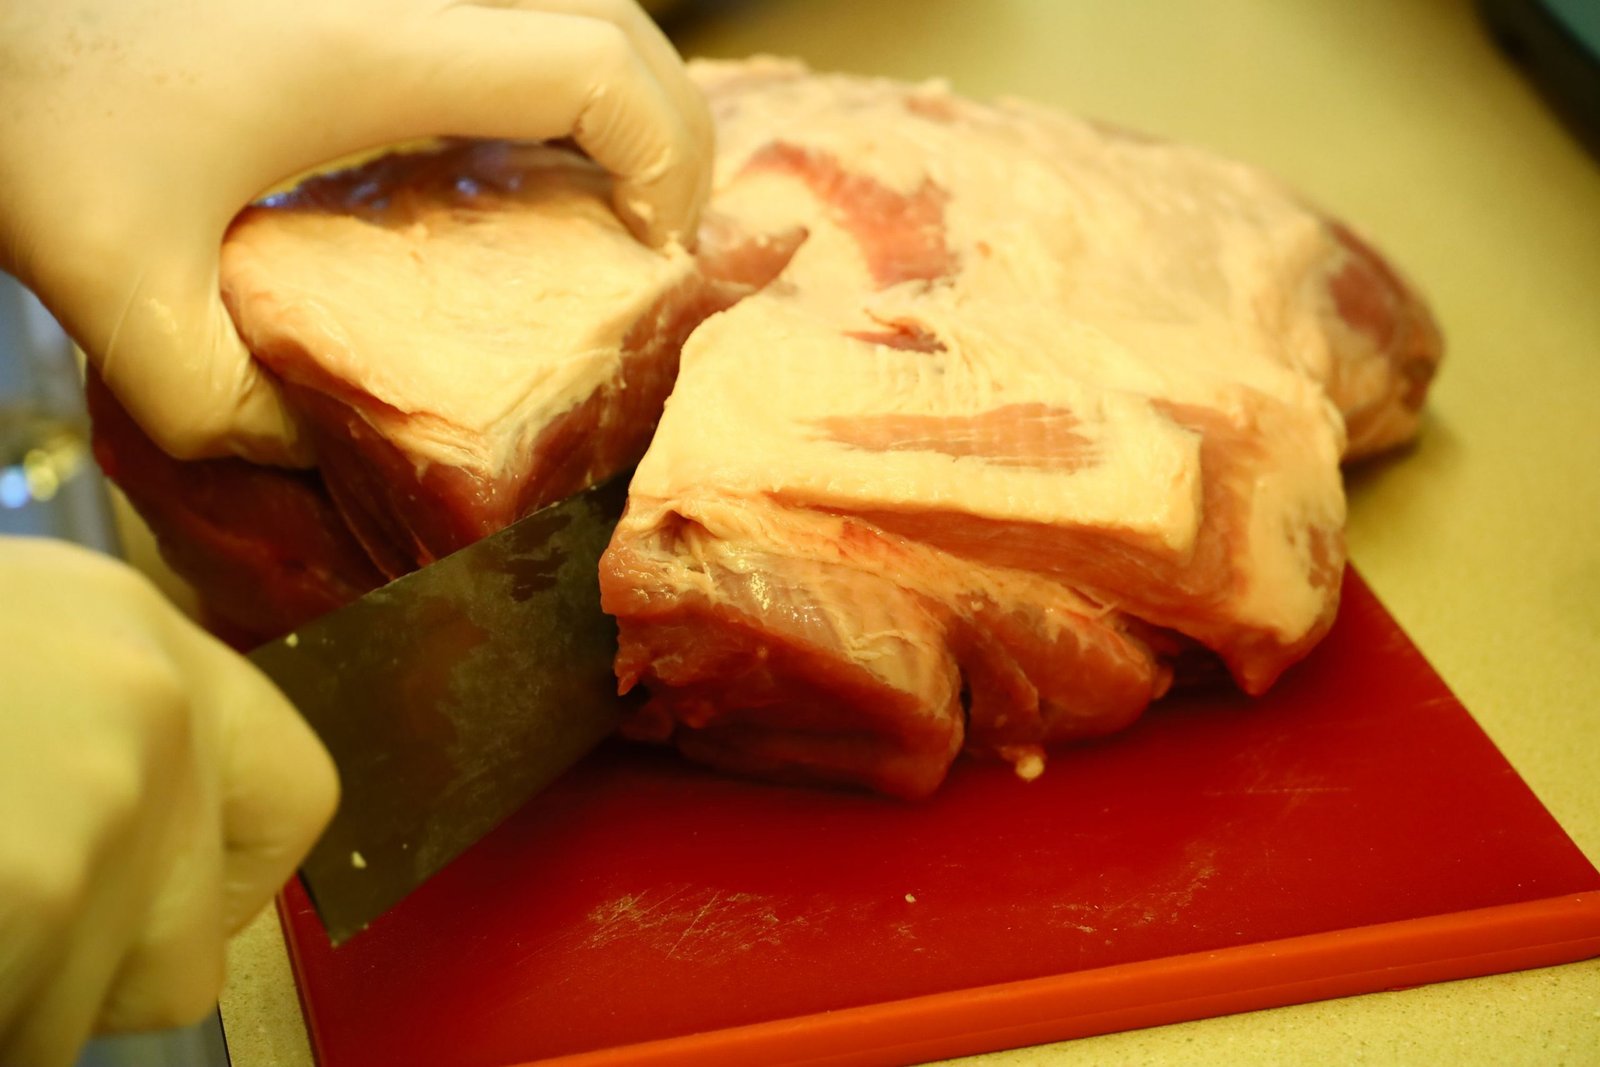
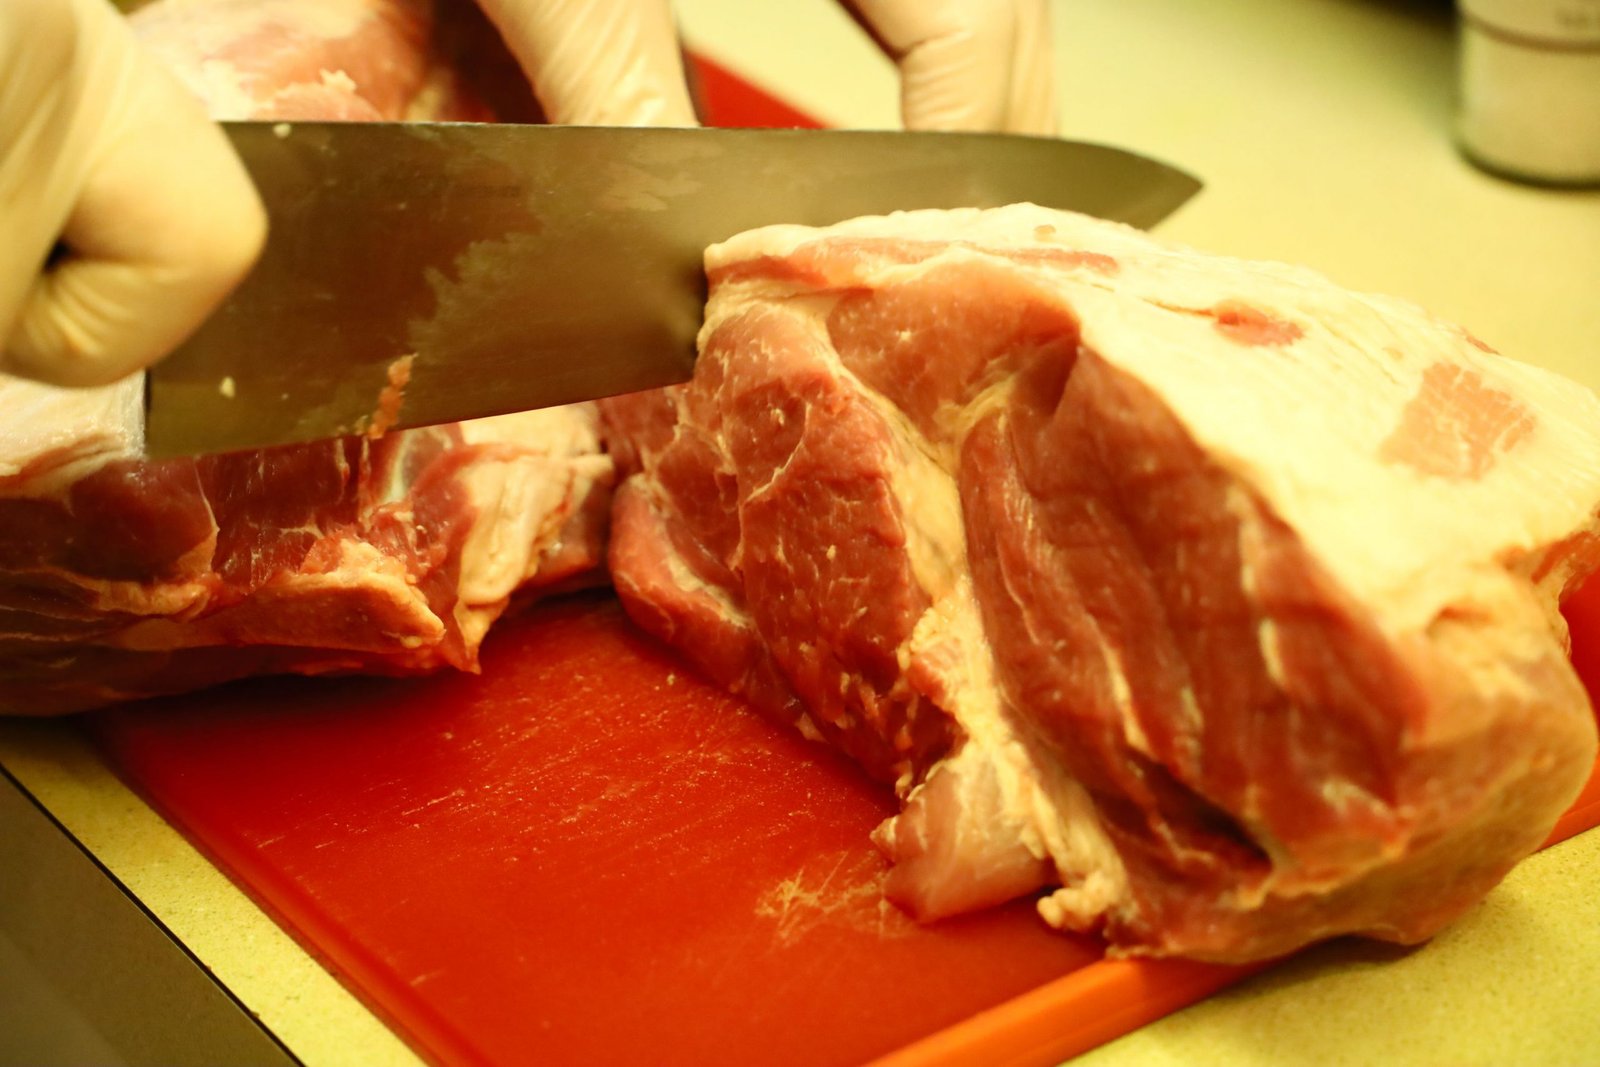
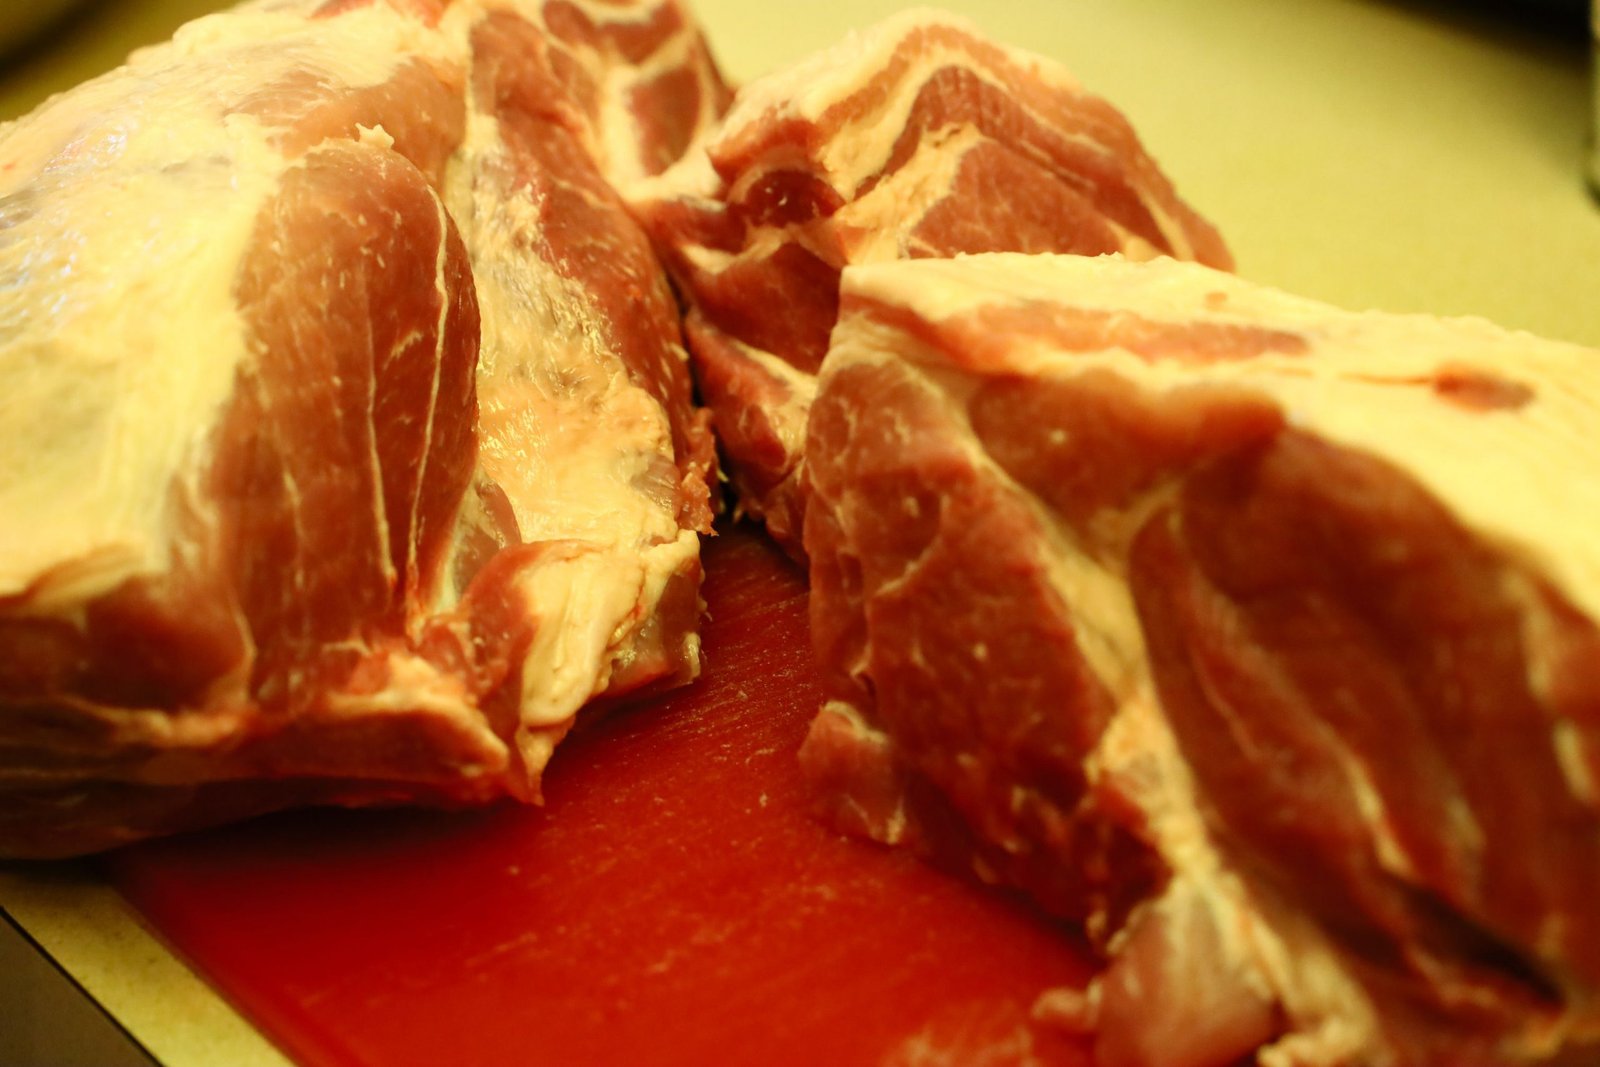
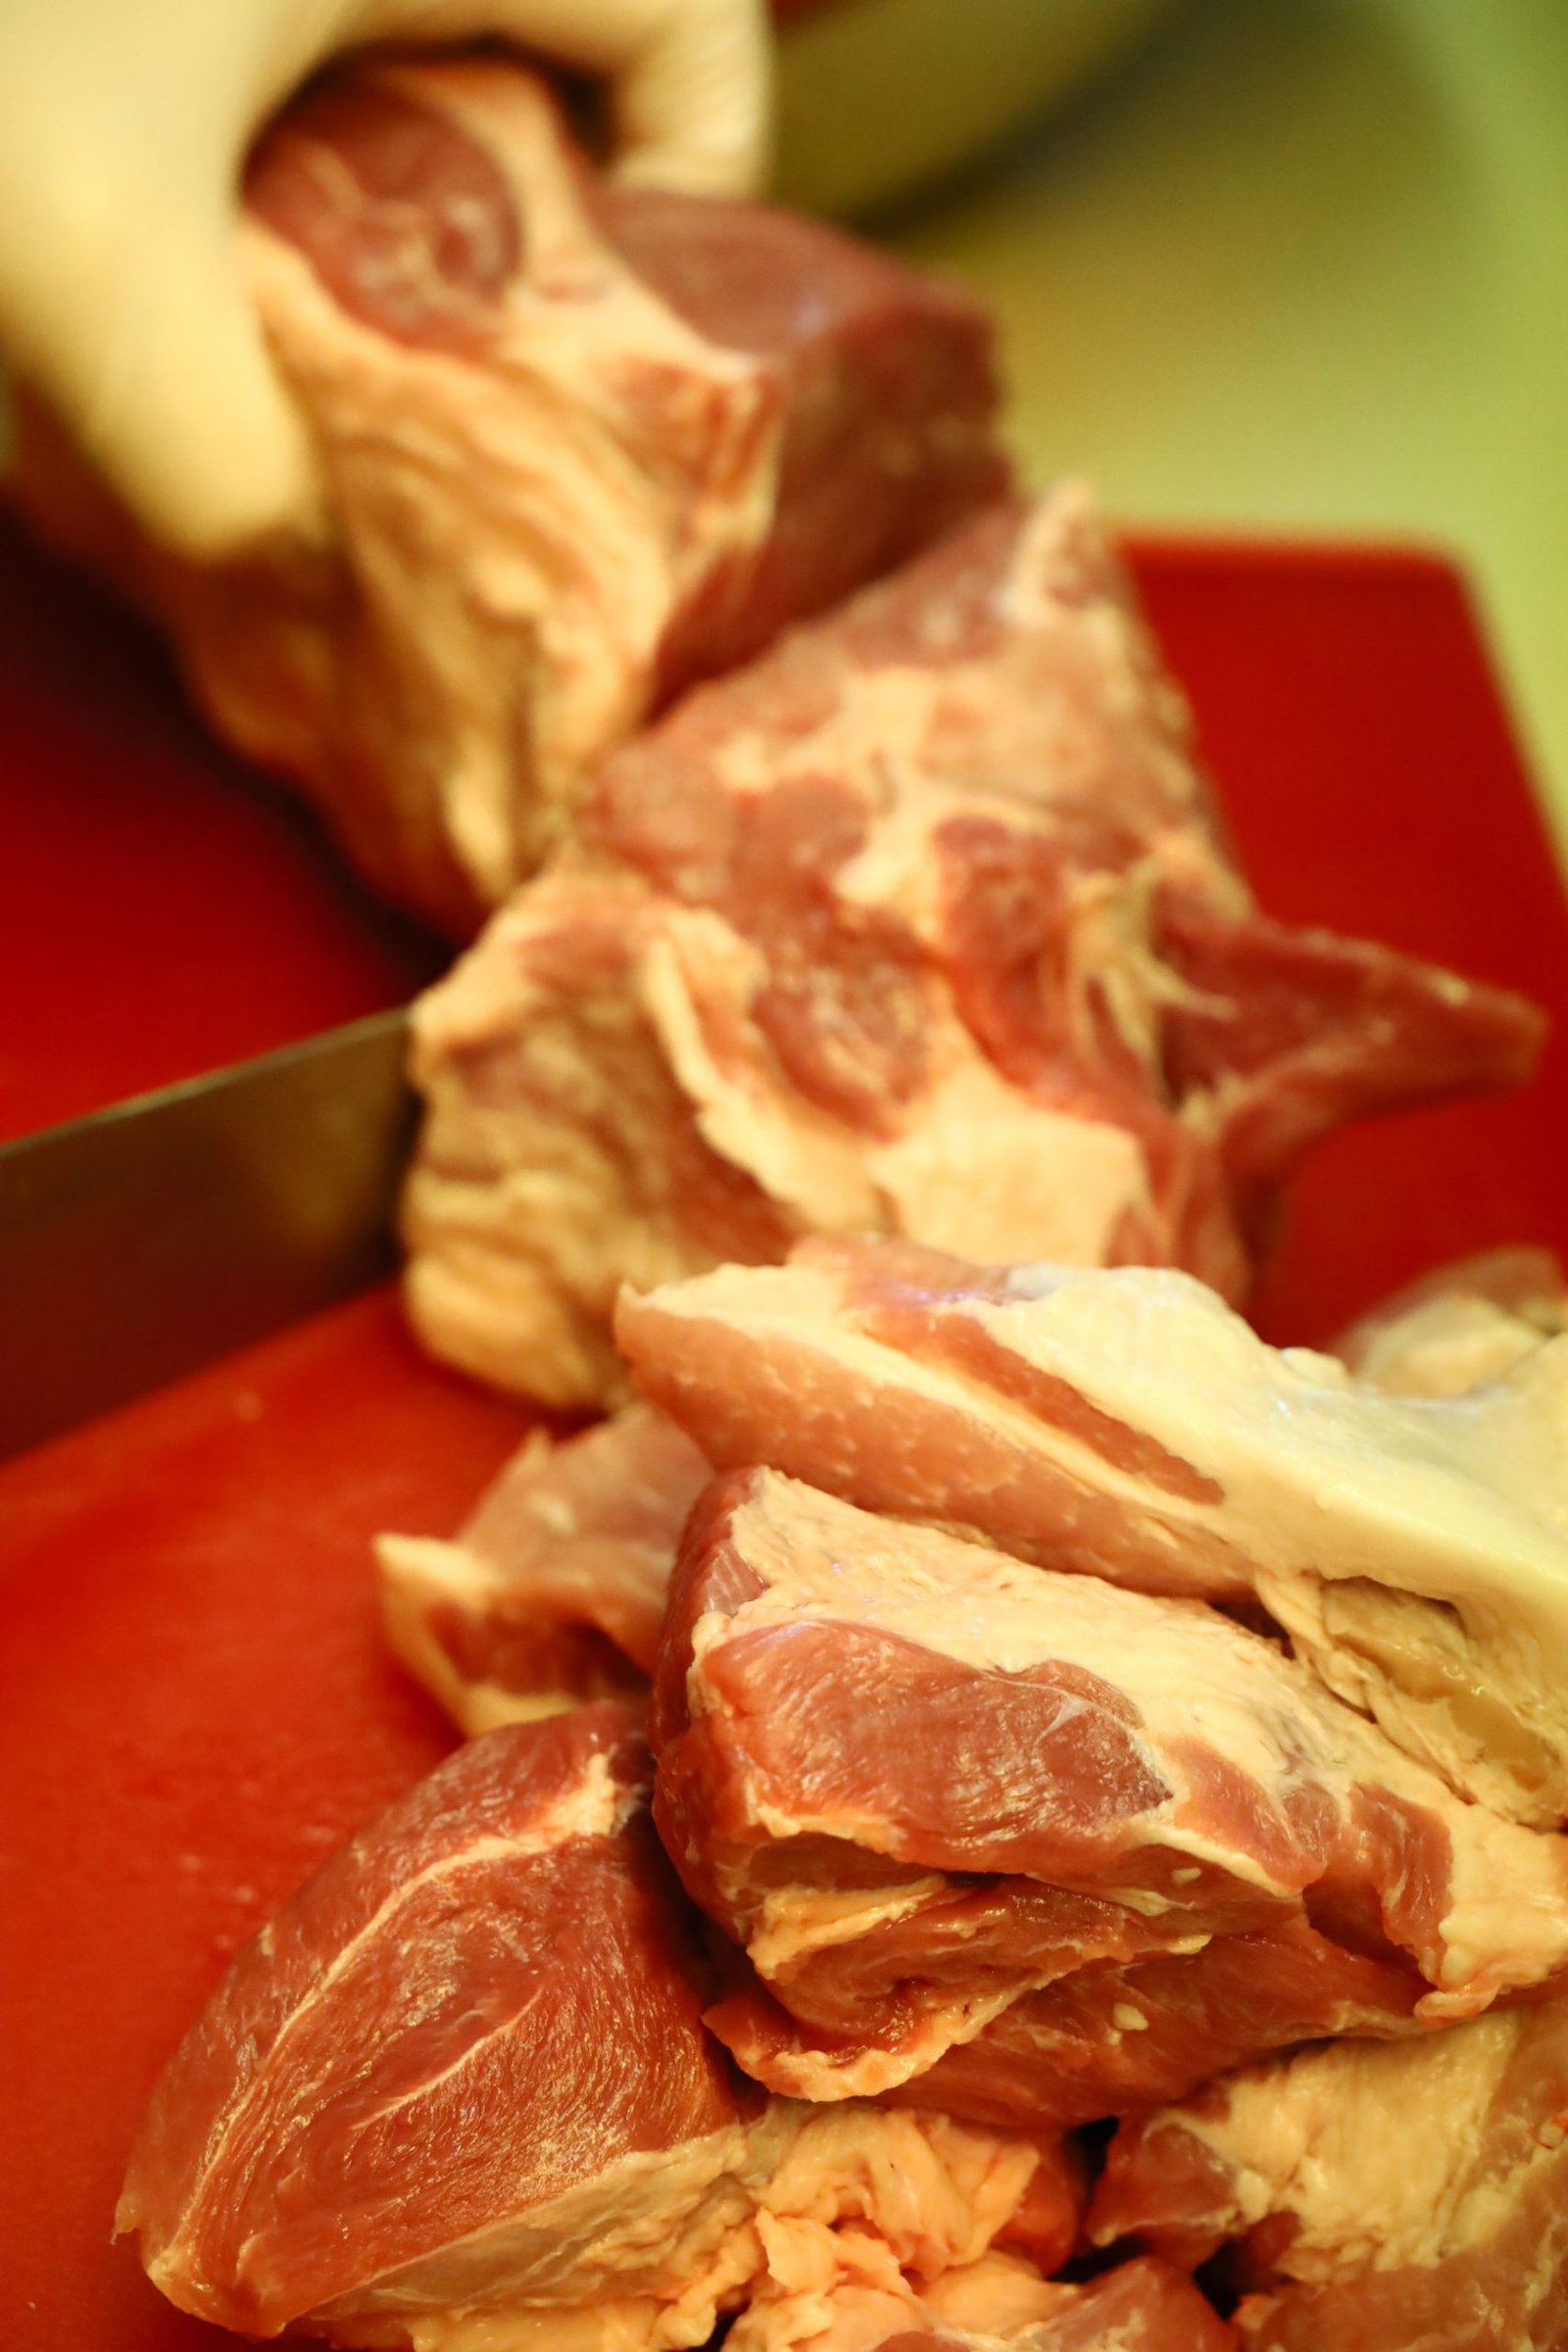
Shown is a 1 lb. netted pork roast which Brodie removed the netting and sliced the pork into 4 even sections. He then let the pork sections marinate in a Char Siu recipe for 24 hrs. To do this, mix all the below ingredients together using a whisk in a small bowl, then pour the marinade in a plastic container large enough to contain the pork sections. Coat the pork with the marinade by turning the meat over and over in it. Let the meat sit in the marinade for 24 hrs. covered in your refrigerator, being sure to turn the meat a few times. Wear food safe gloves while turning the meat to prevent your hands from turning bright red.
Ingredients
Char Siu Marinade Recipe:
3 Tbsp. Brown Sugar
1 1/2 tsp. Chinese Five Spice
2 Tbsp. Rice Wine
1 Tbsp. Soy Sauce
2 Tbsp. Hoisin Sauce
1 Tbsp. Fermented Red Bean Curd
2 tsp. Sea Salt
8 Drops Red Food Coloring
——————————————————
And 1/2 Cup Honey for Basting
————————————————————-
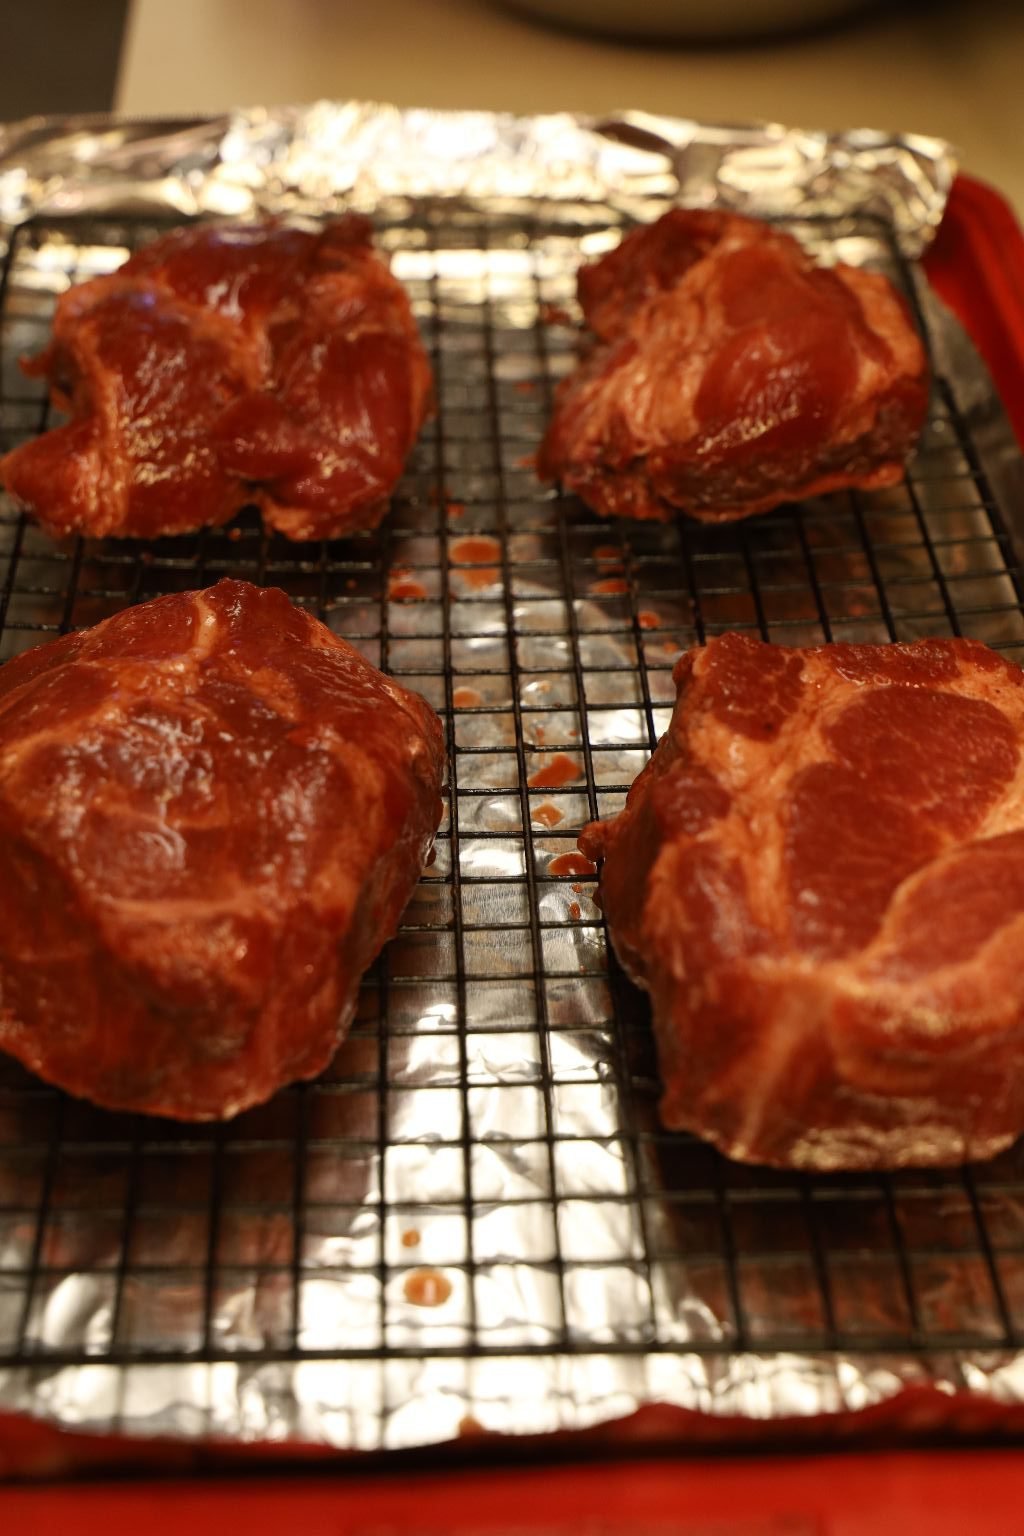
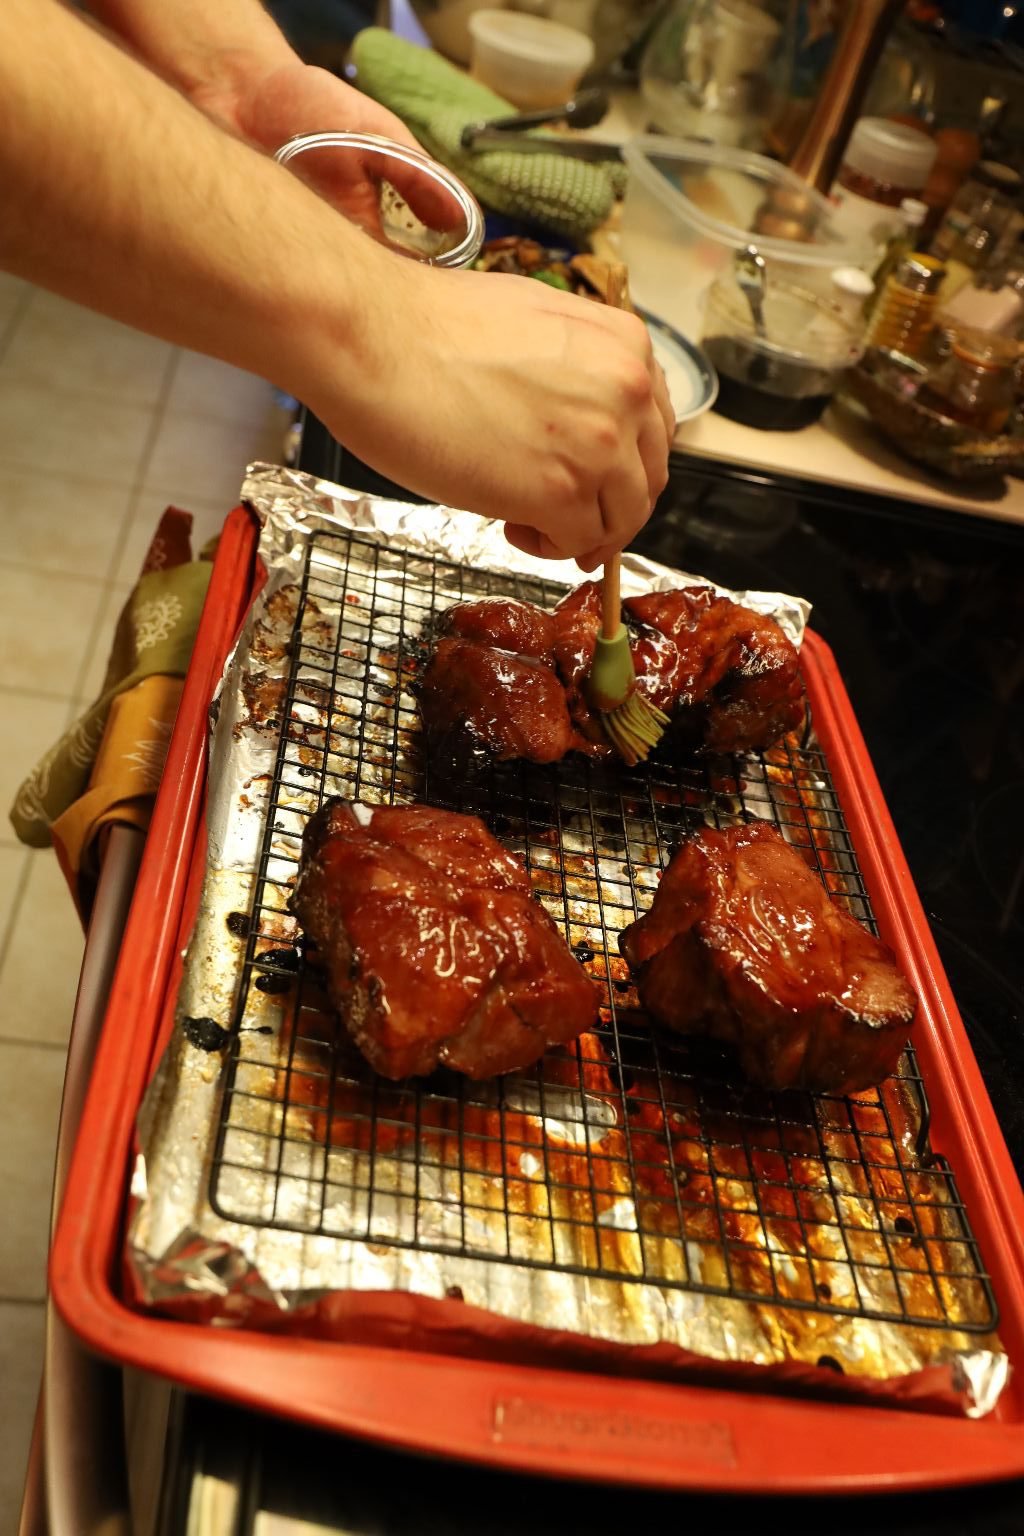
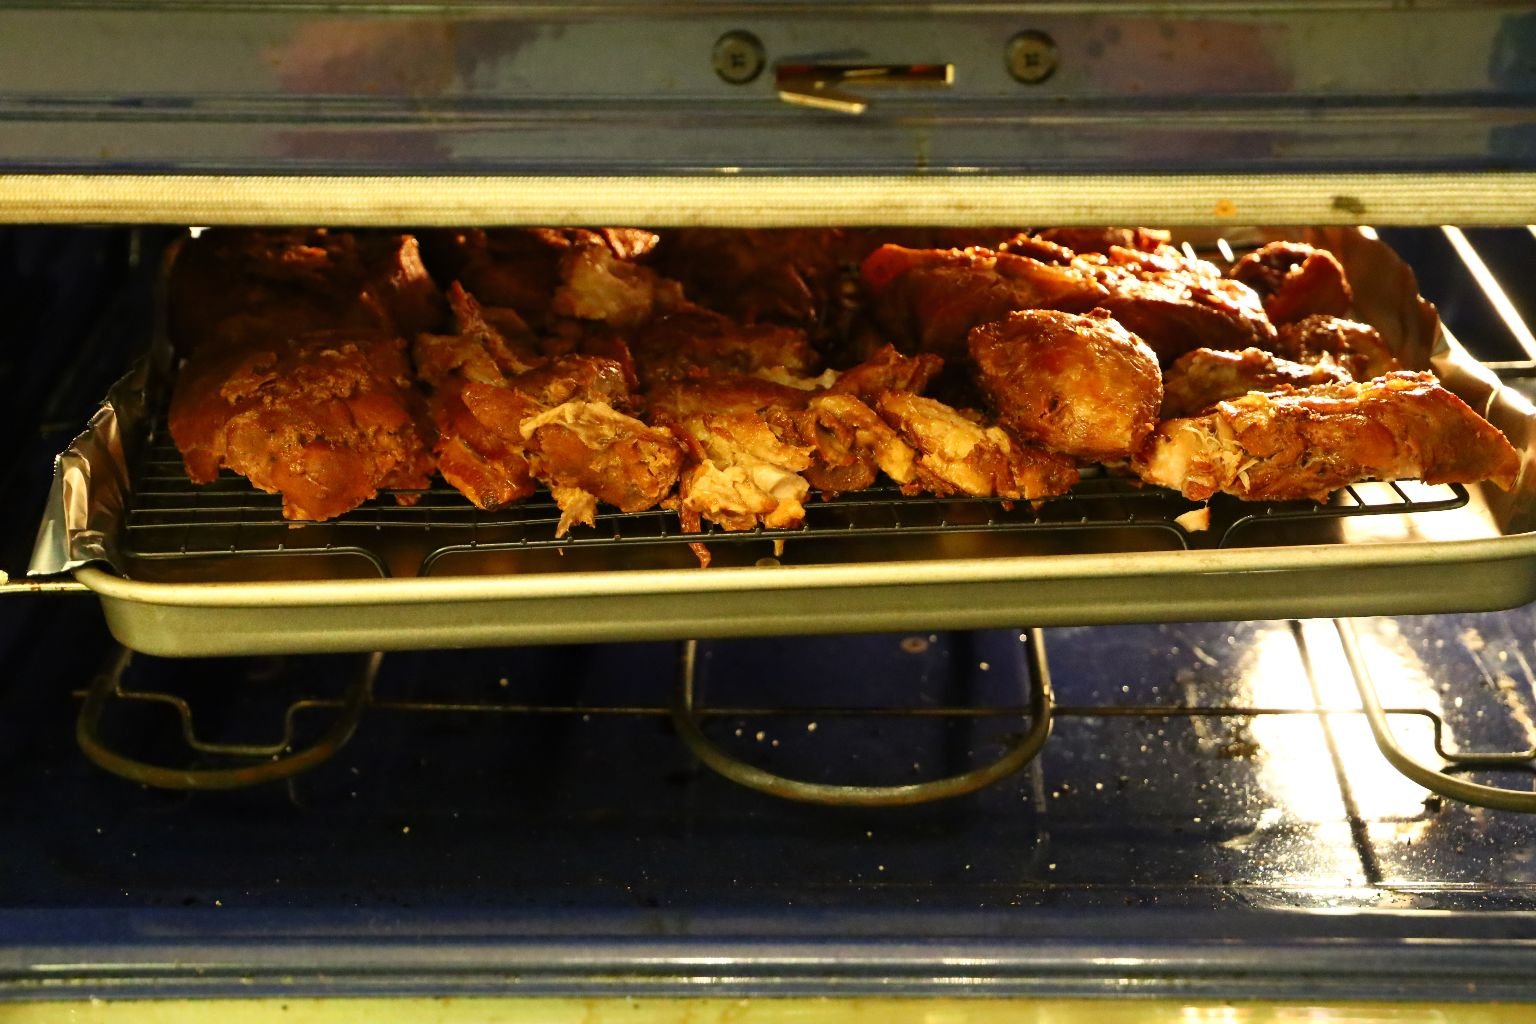
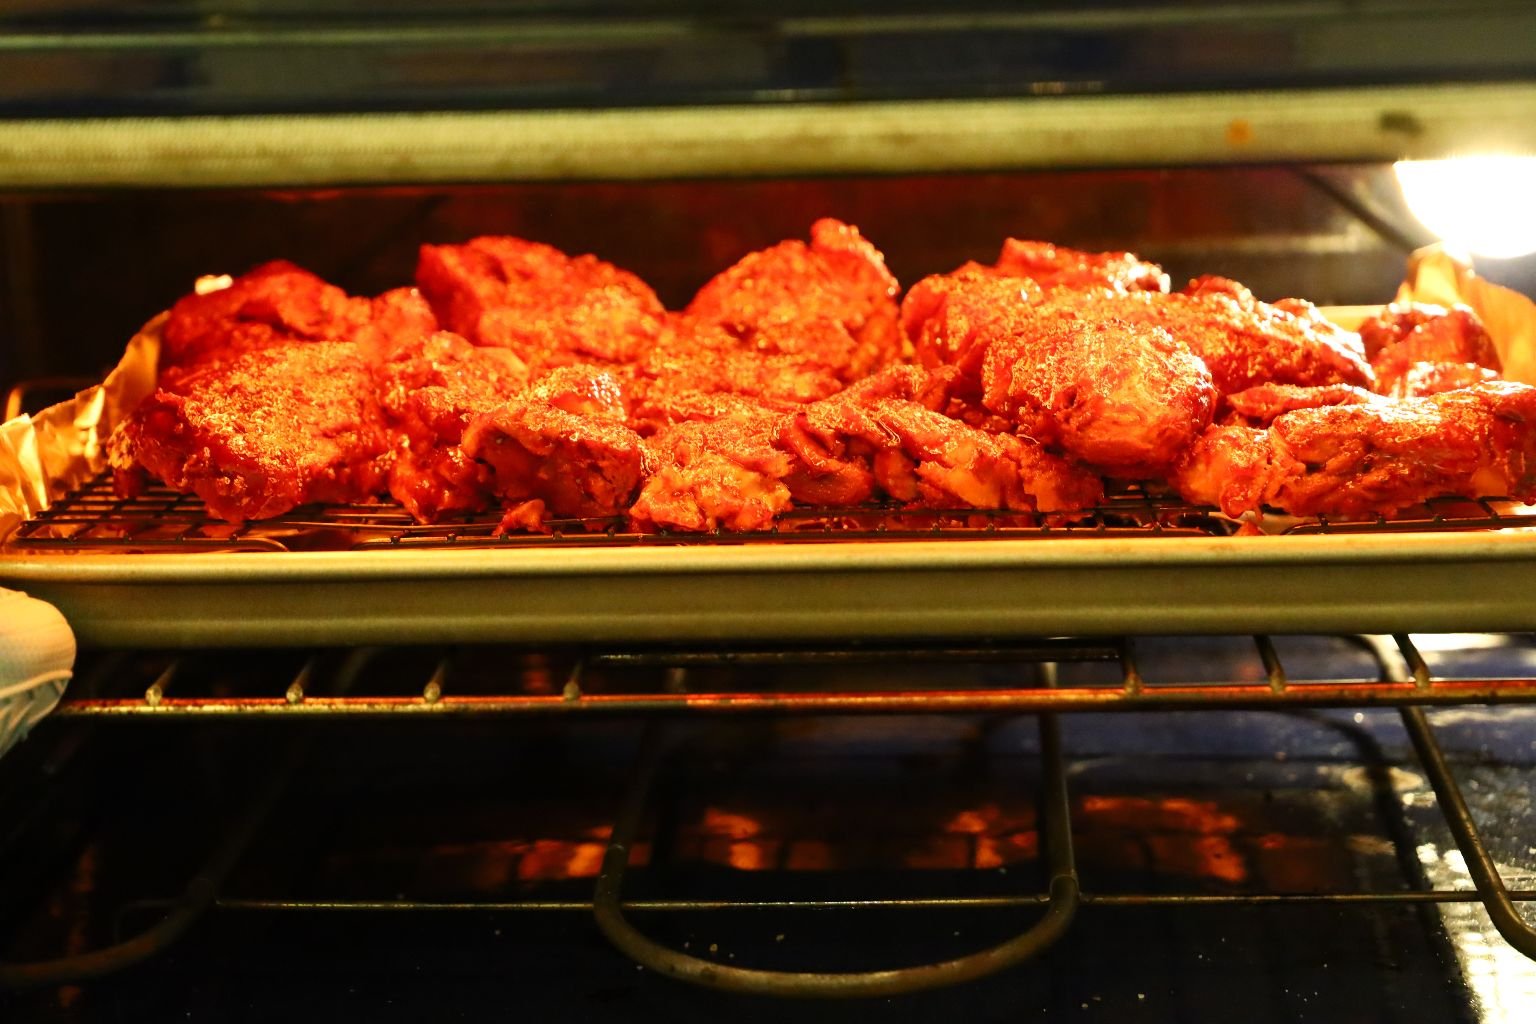
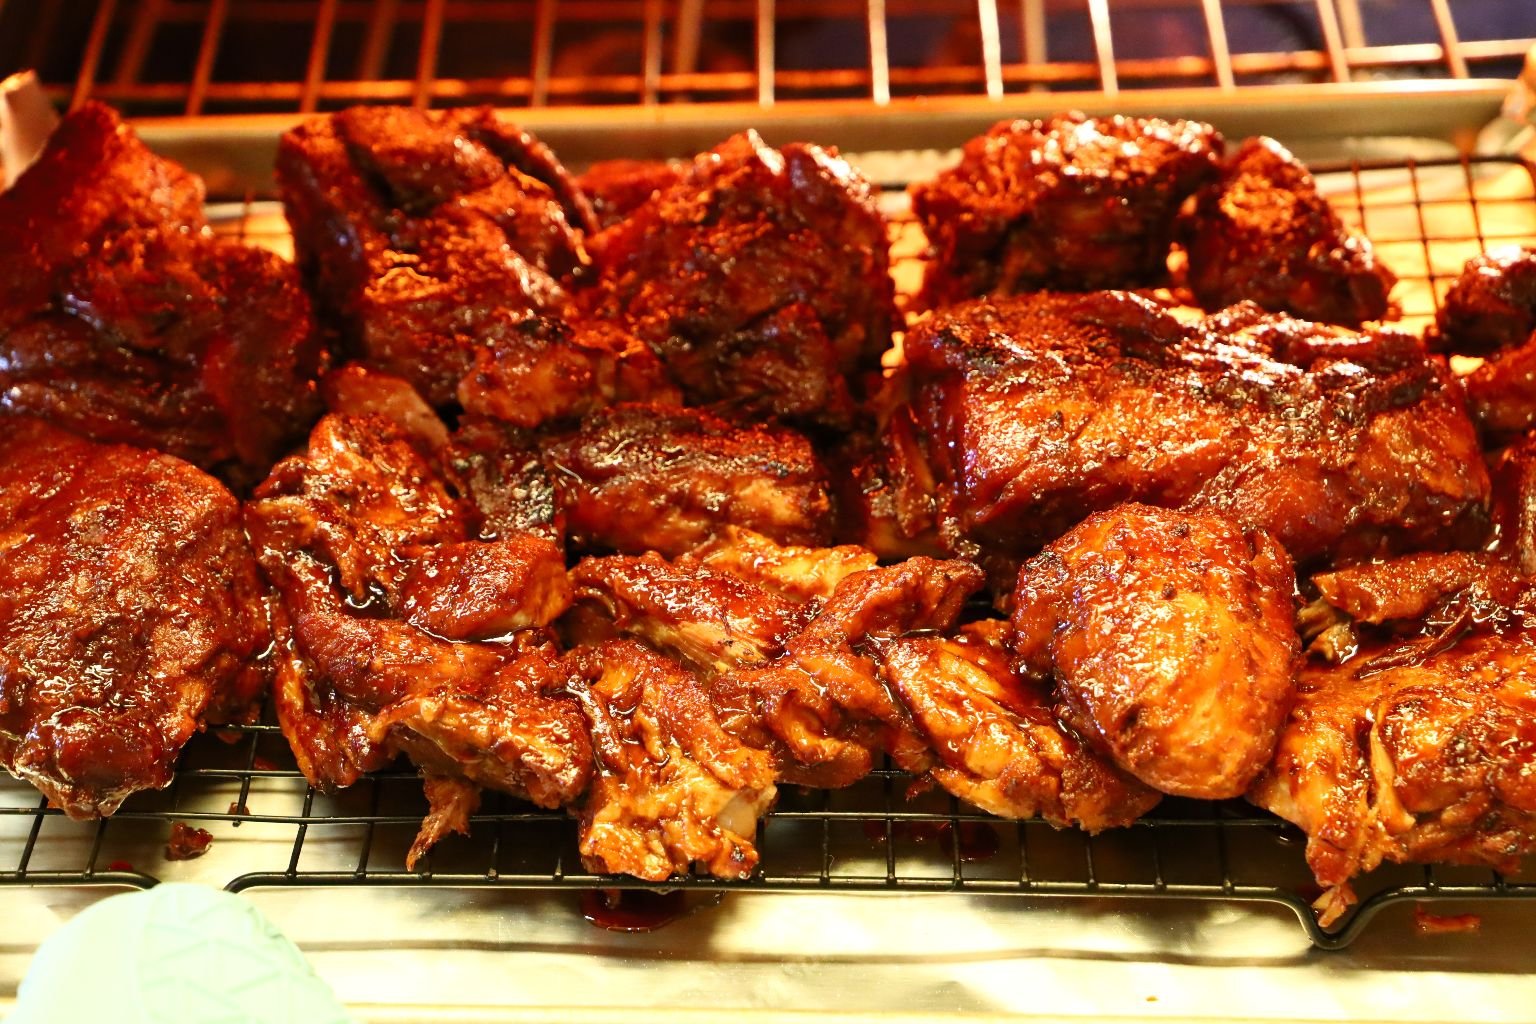
Place the Char Siu marinated meat on an aluminum foil lined cookie sheet which has a cooling rack on top of it. Doing this will let the heat cook the meat all the way around and prevent it from burning.
Brush the pork with honey and roast it at 425’F for 20 min.
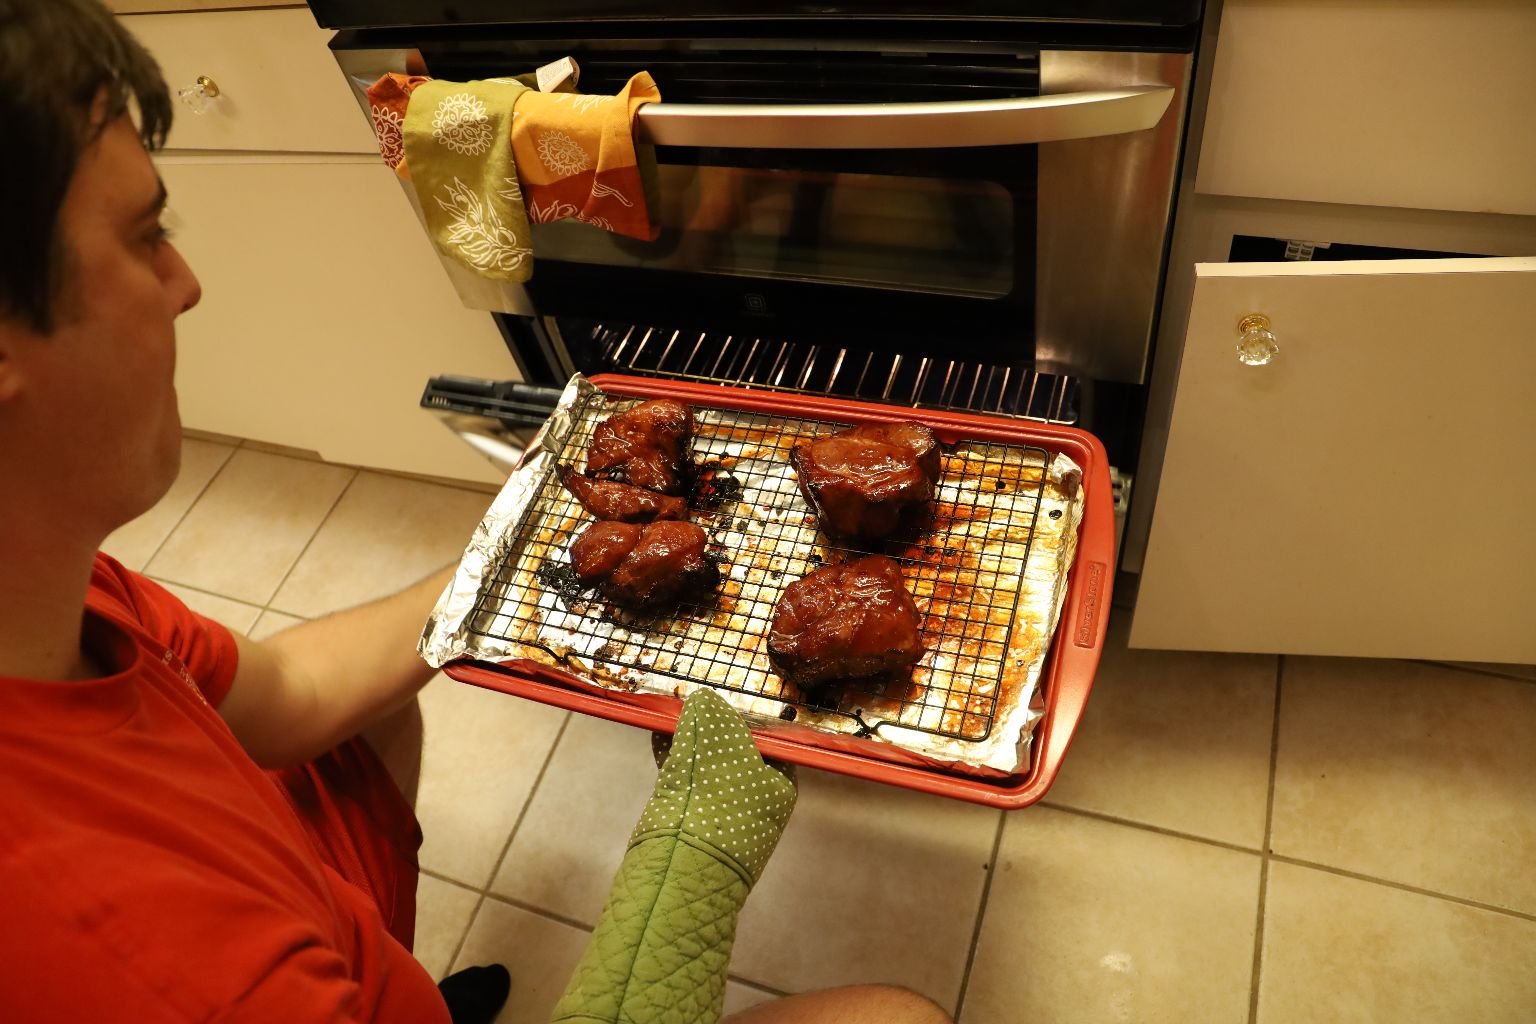
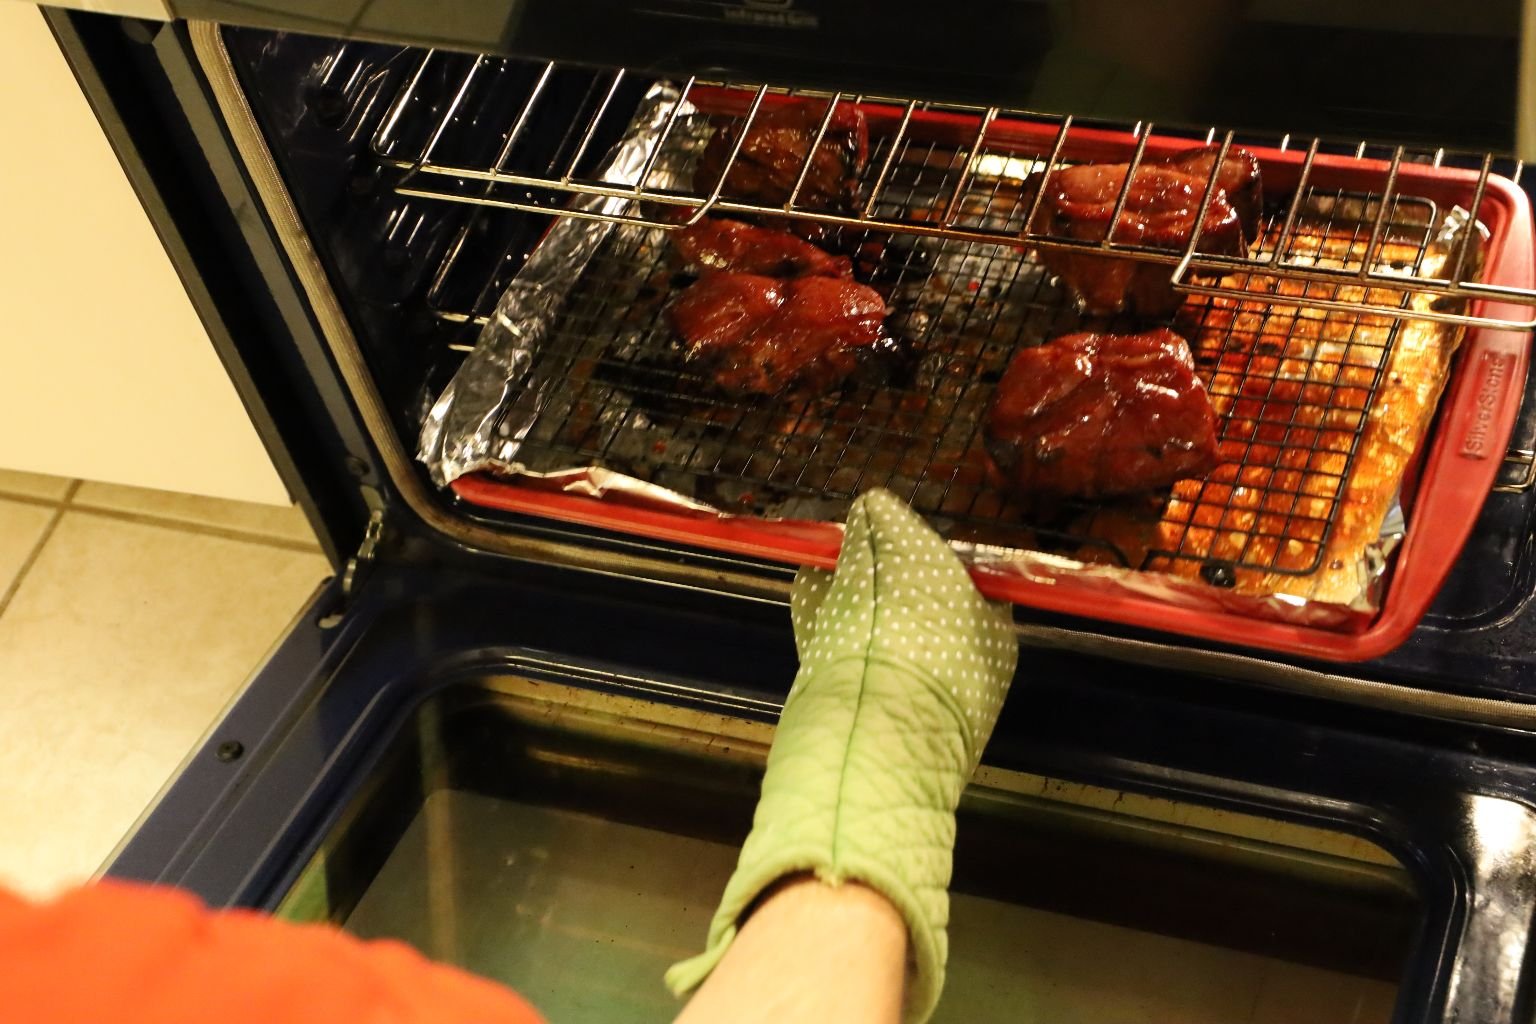
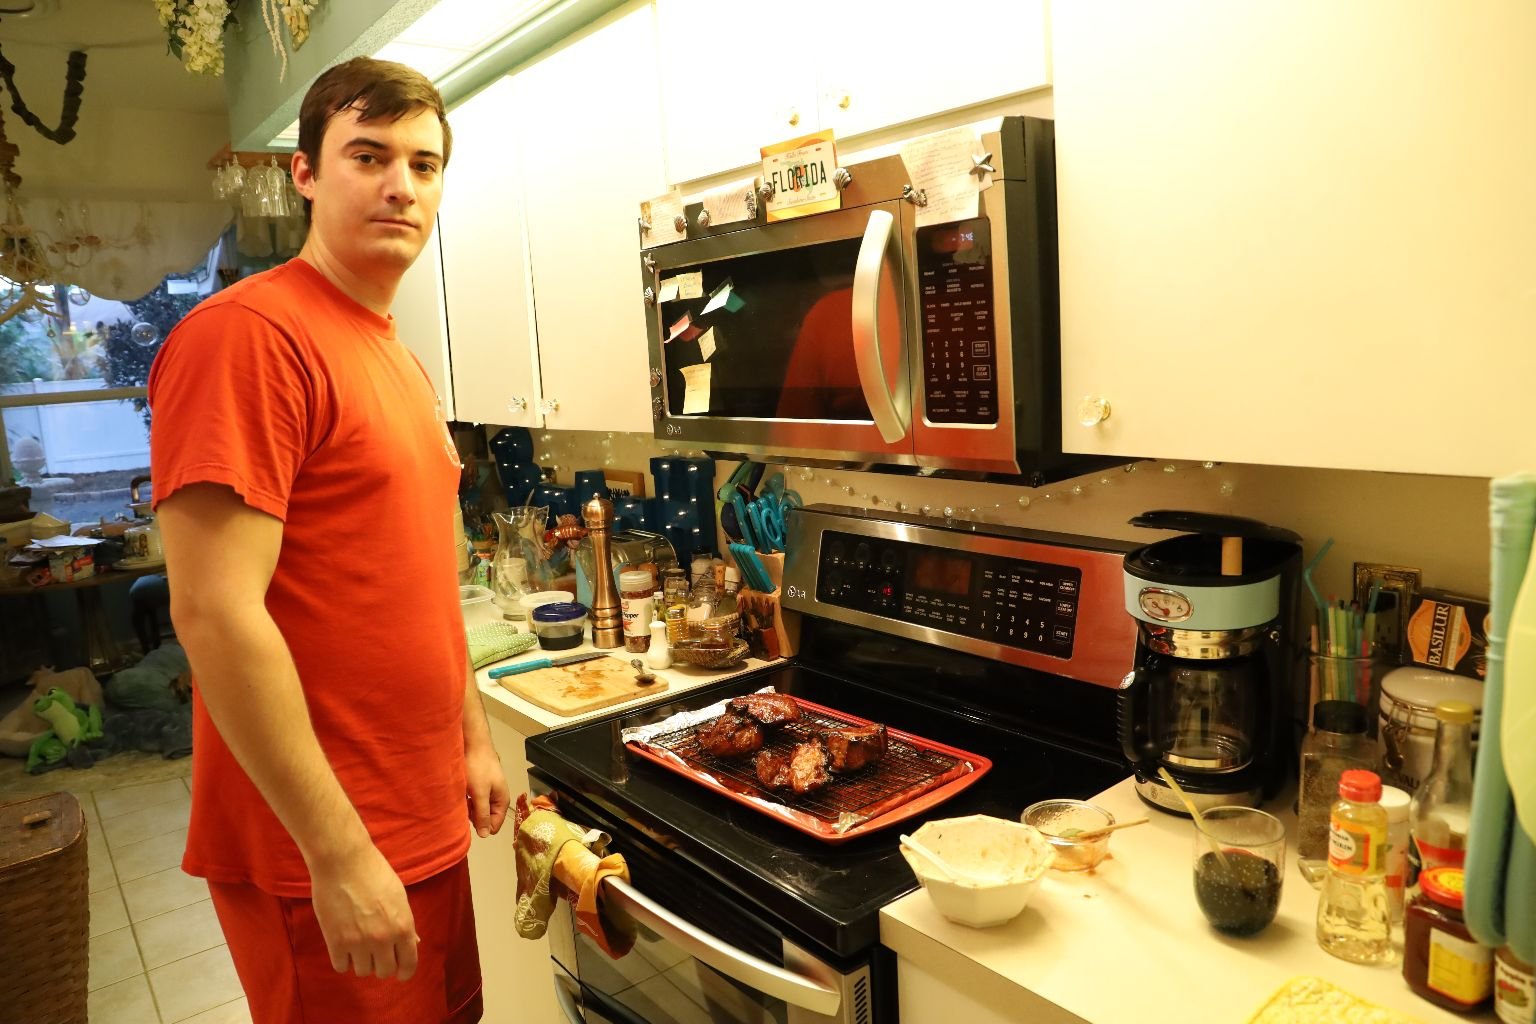
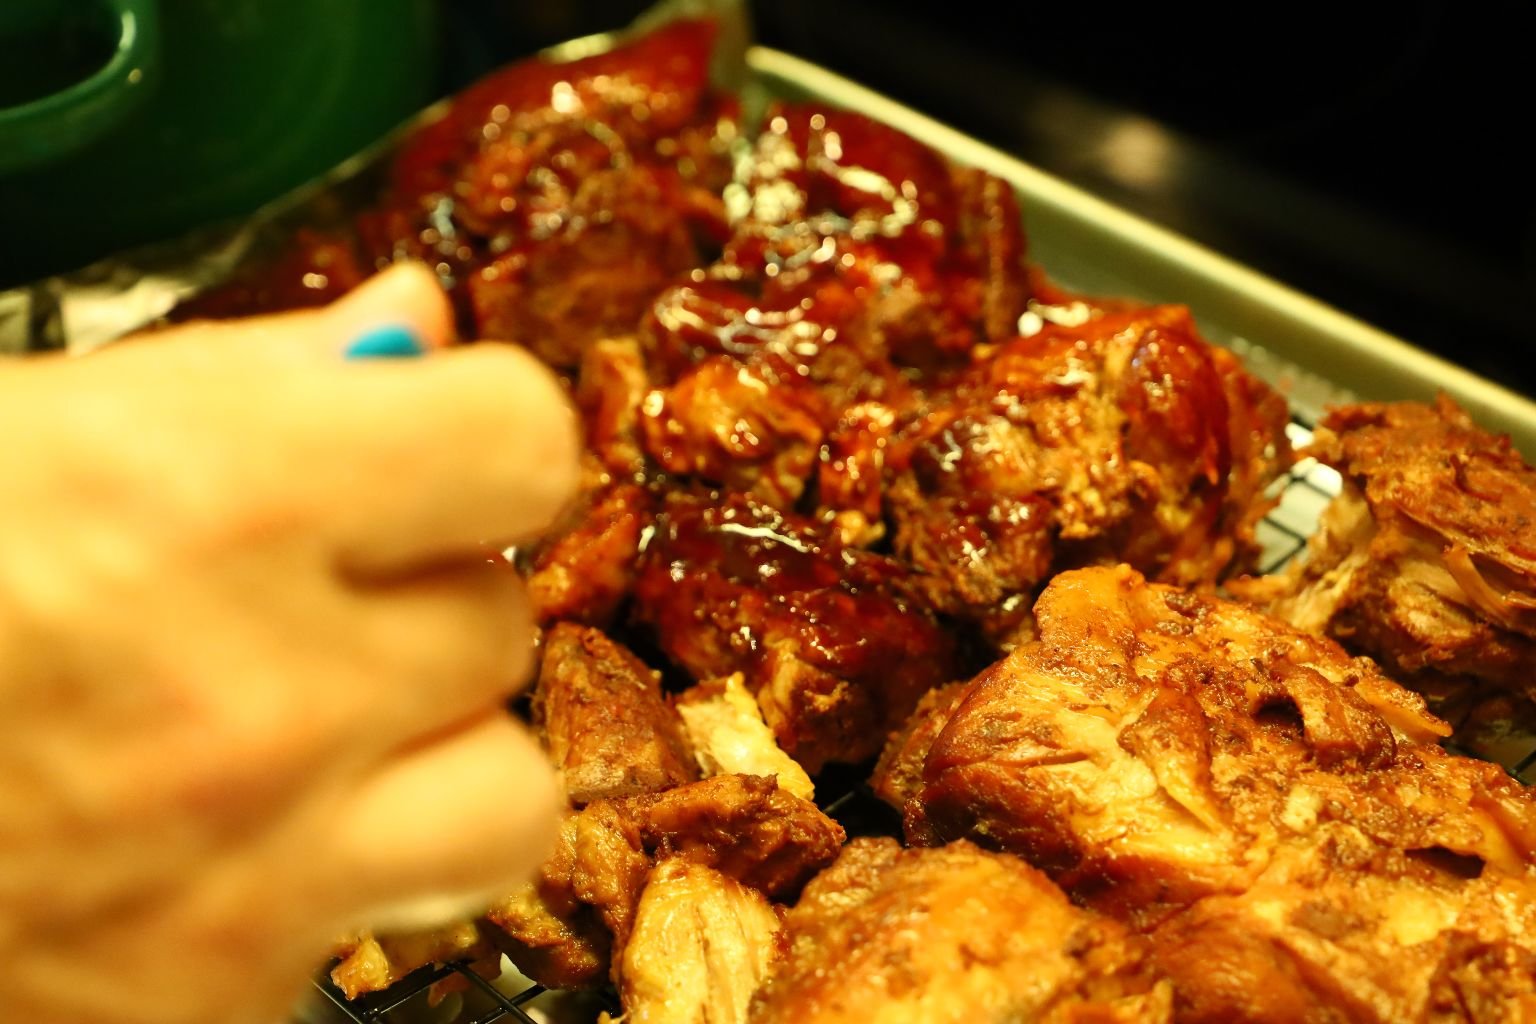
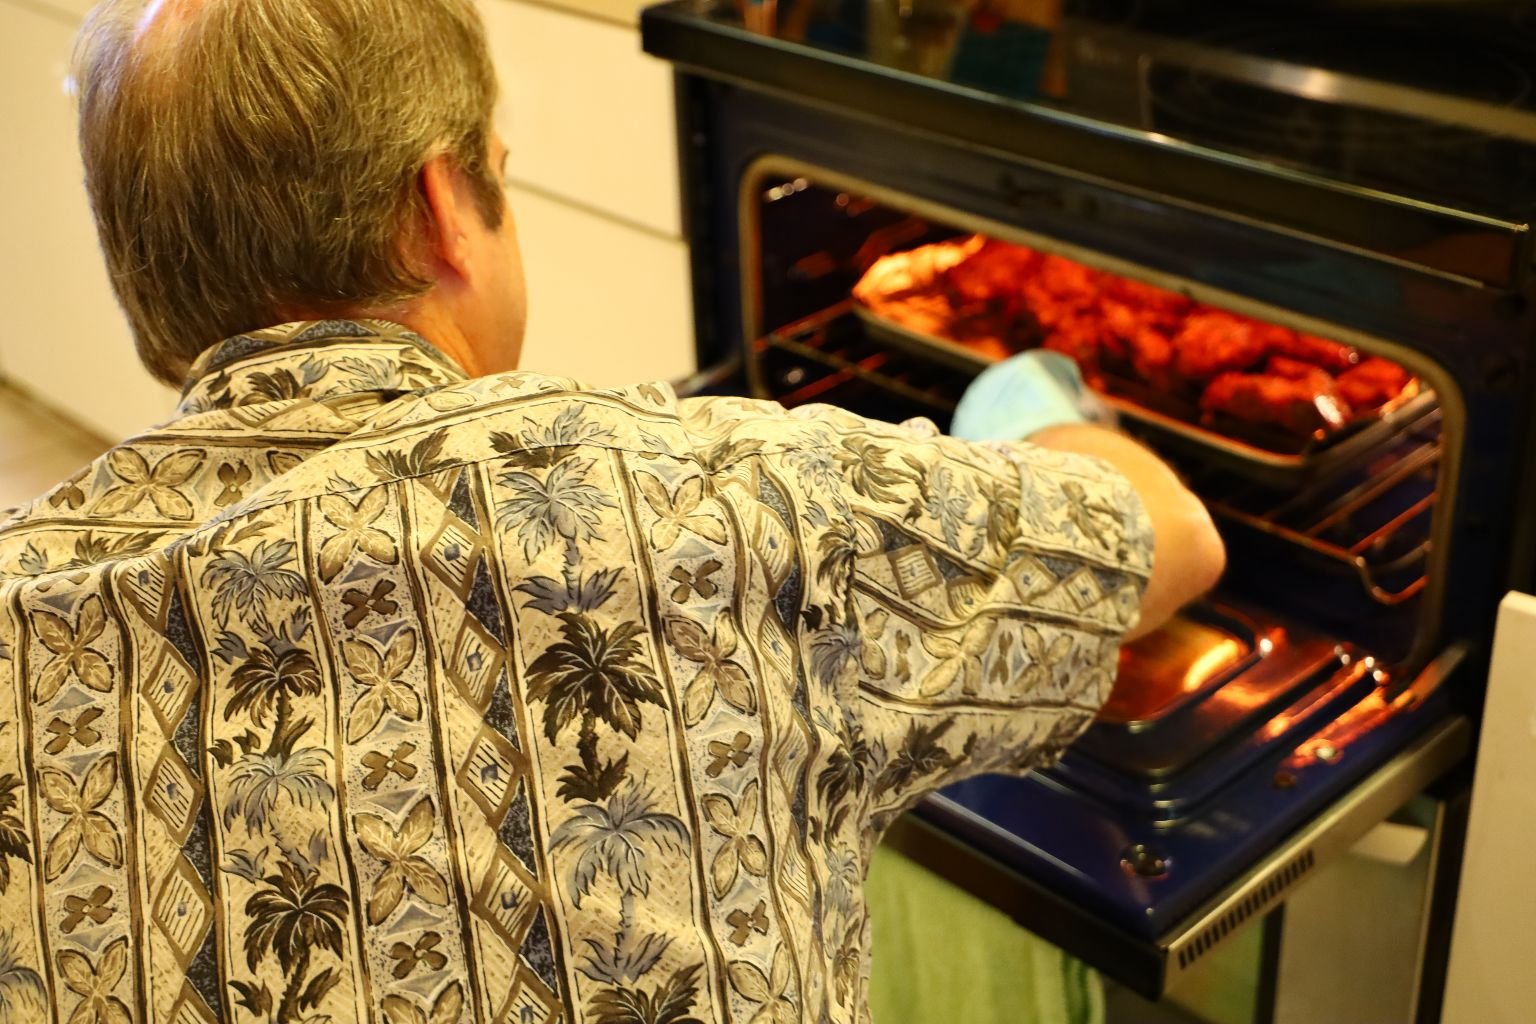
Here Brodie is Checking on It
———————————————————-
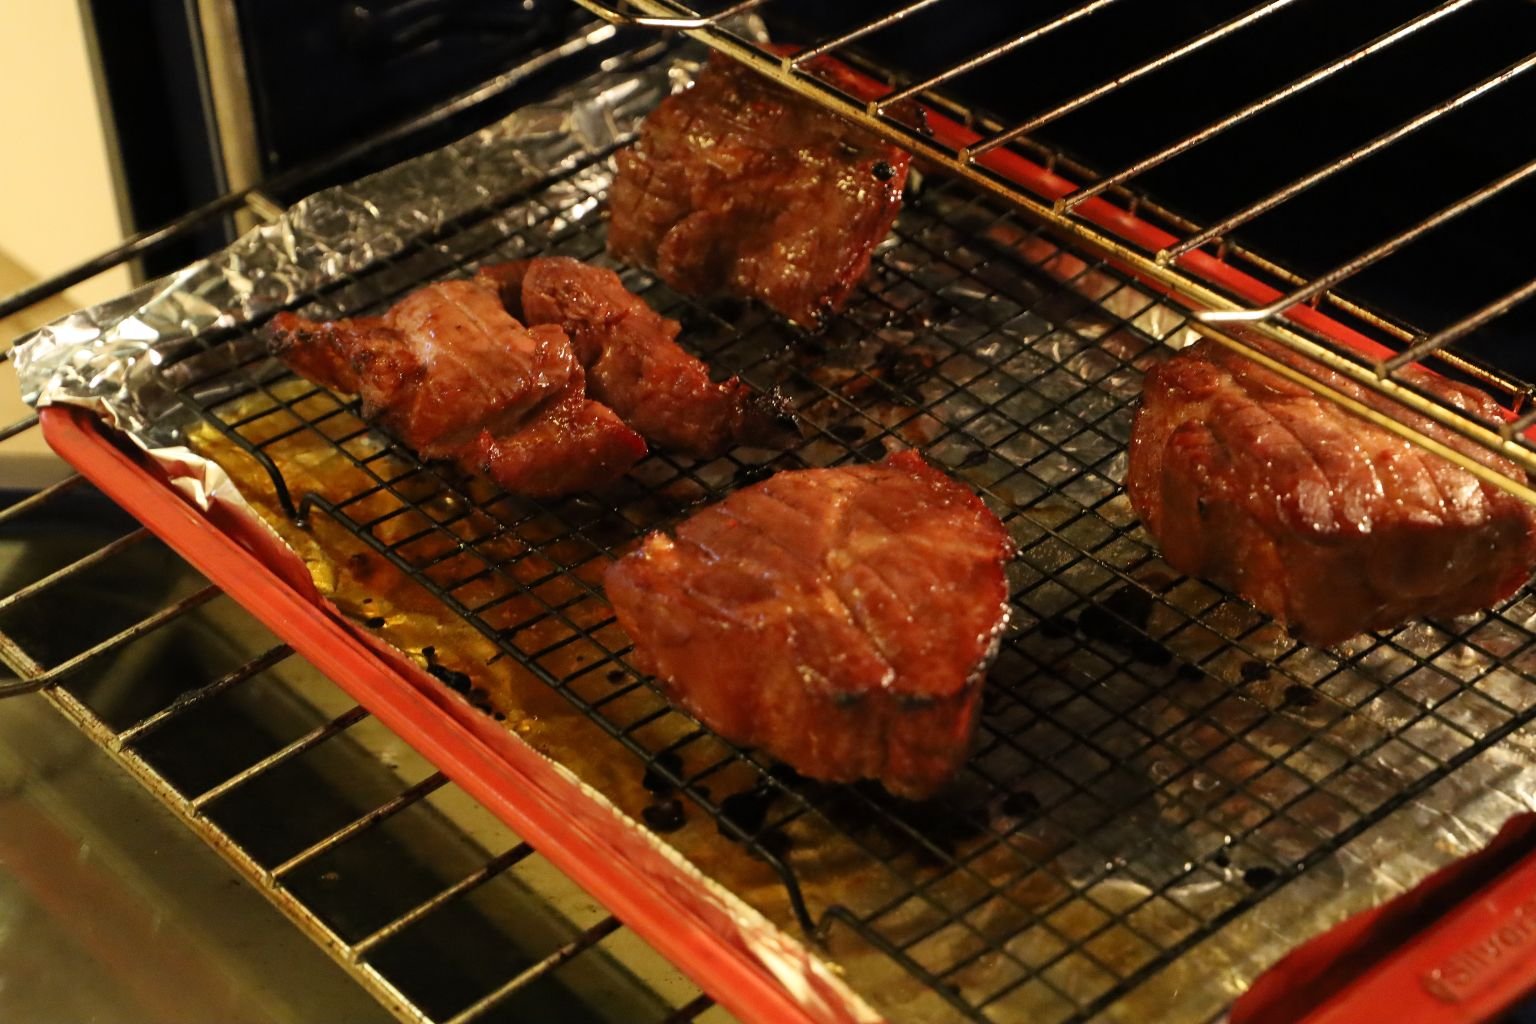
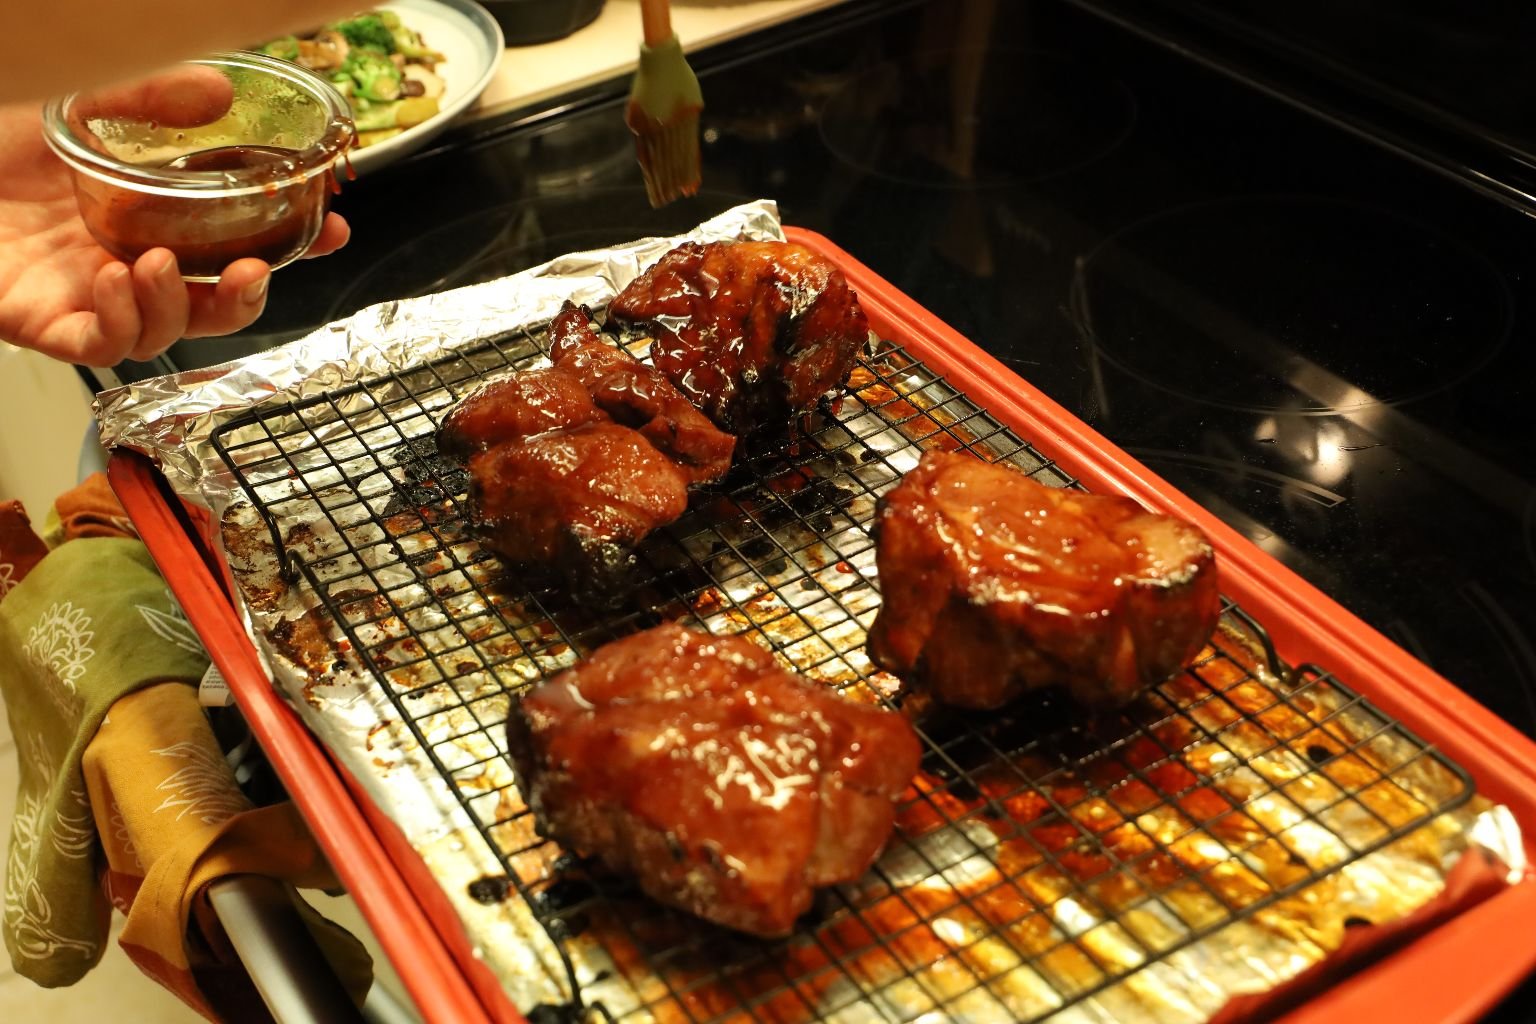
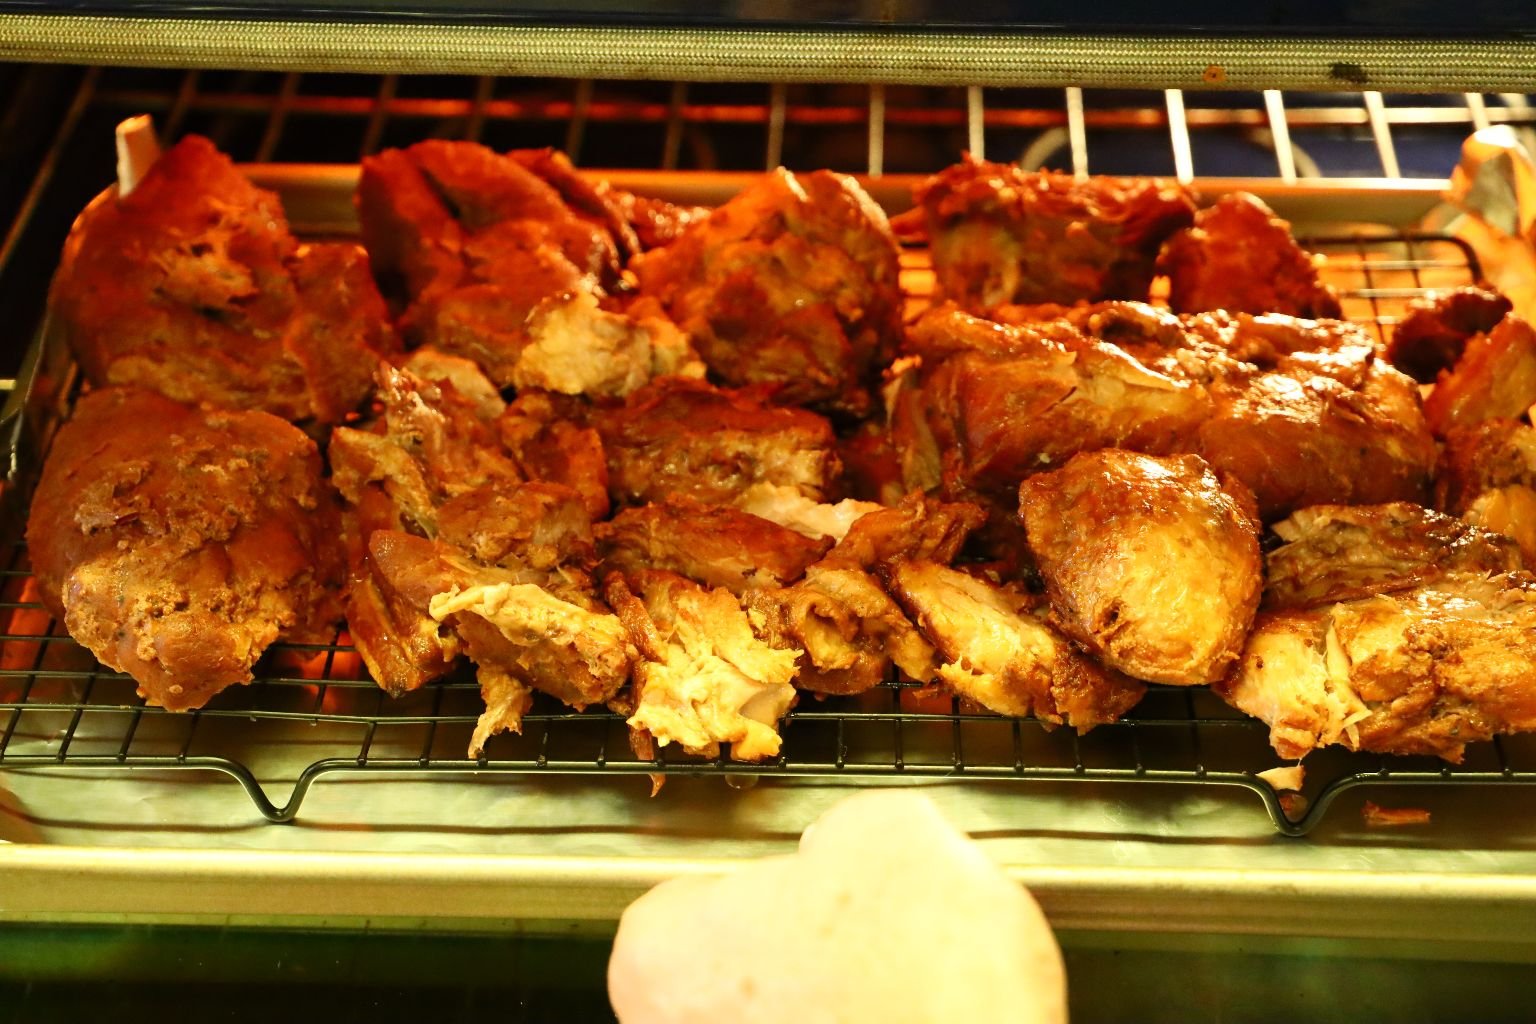
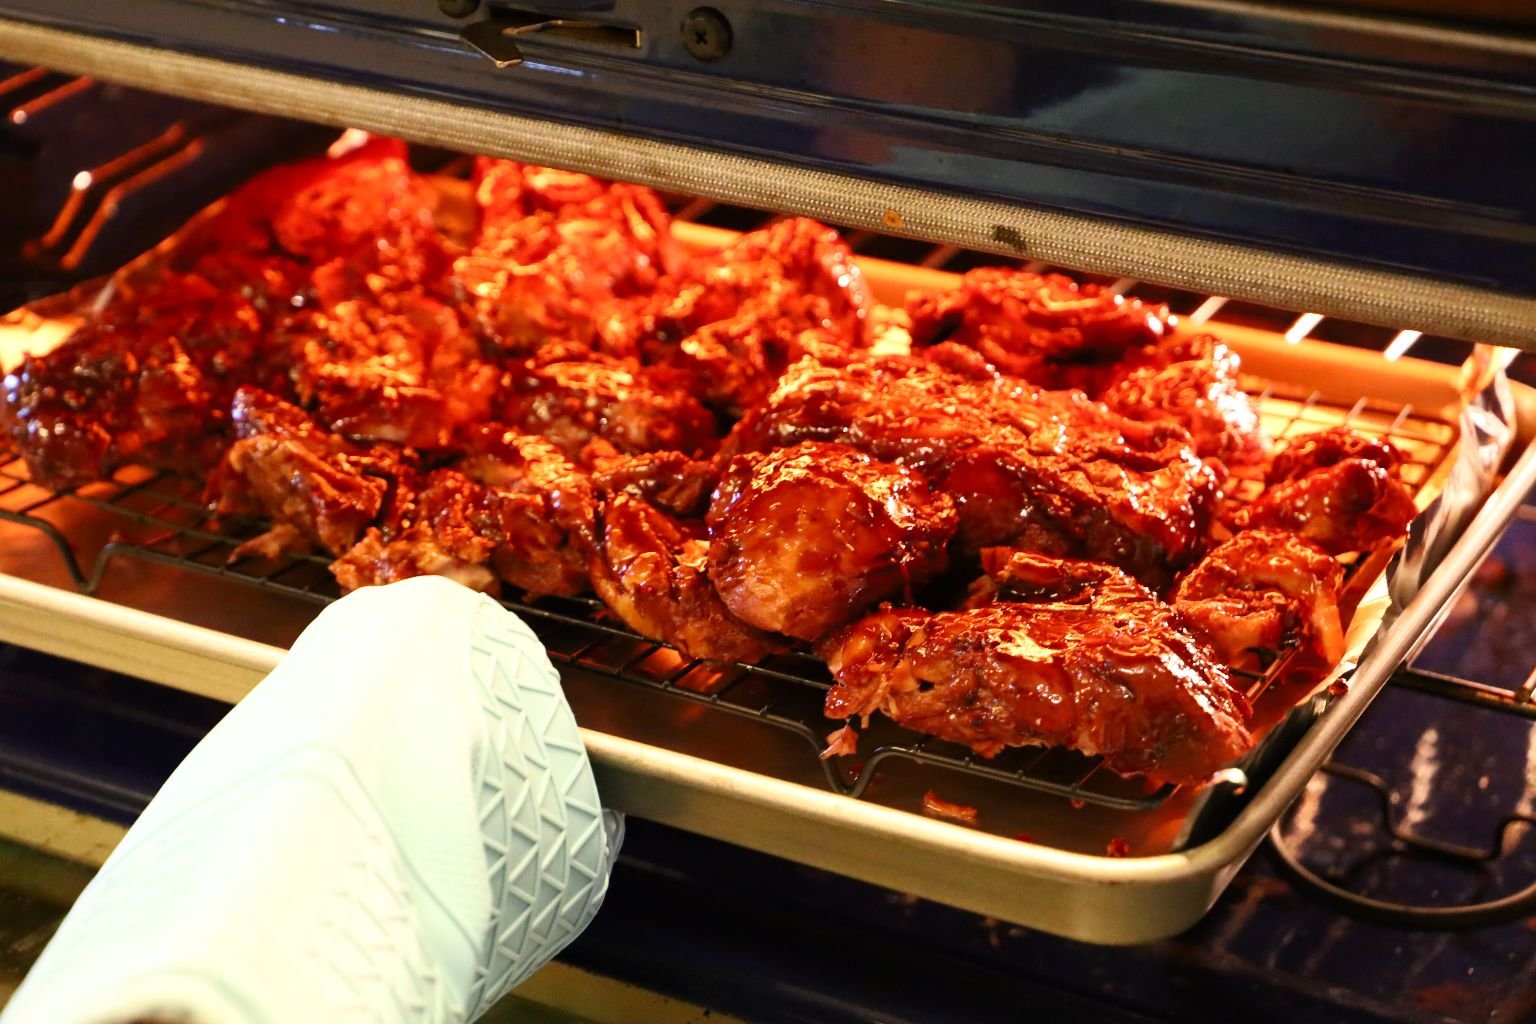
When done, turn the pork over, baste it again with honey and roast it for another 20 min. or until the pork’s internal temperature reaches 158’F.
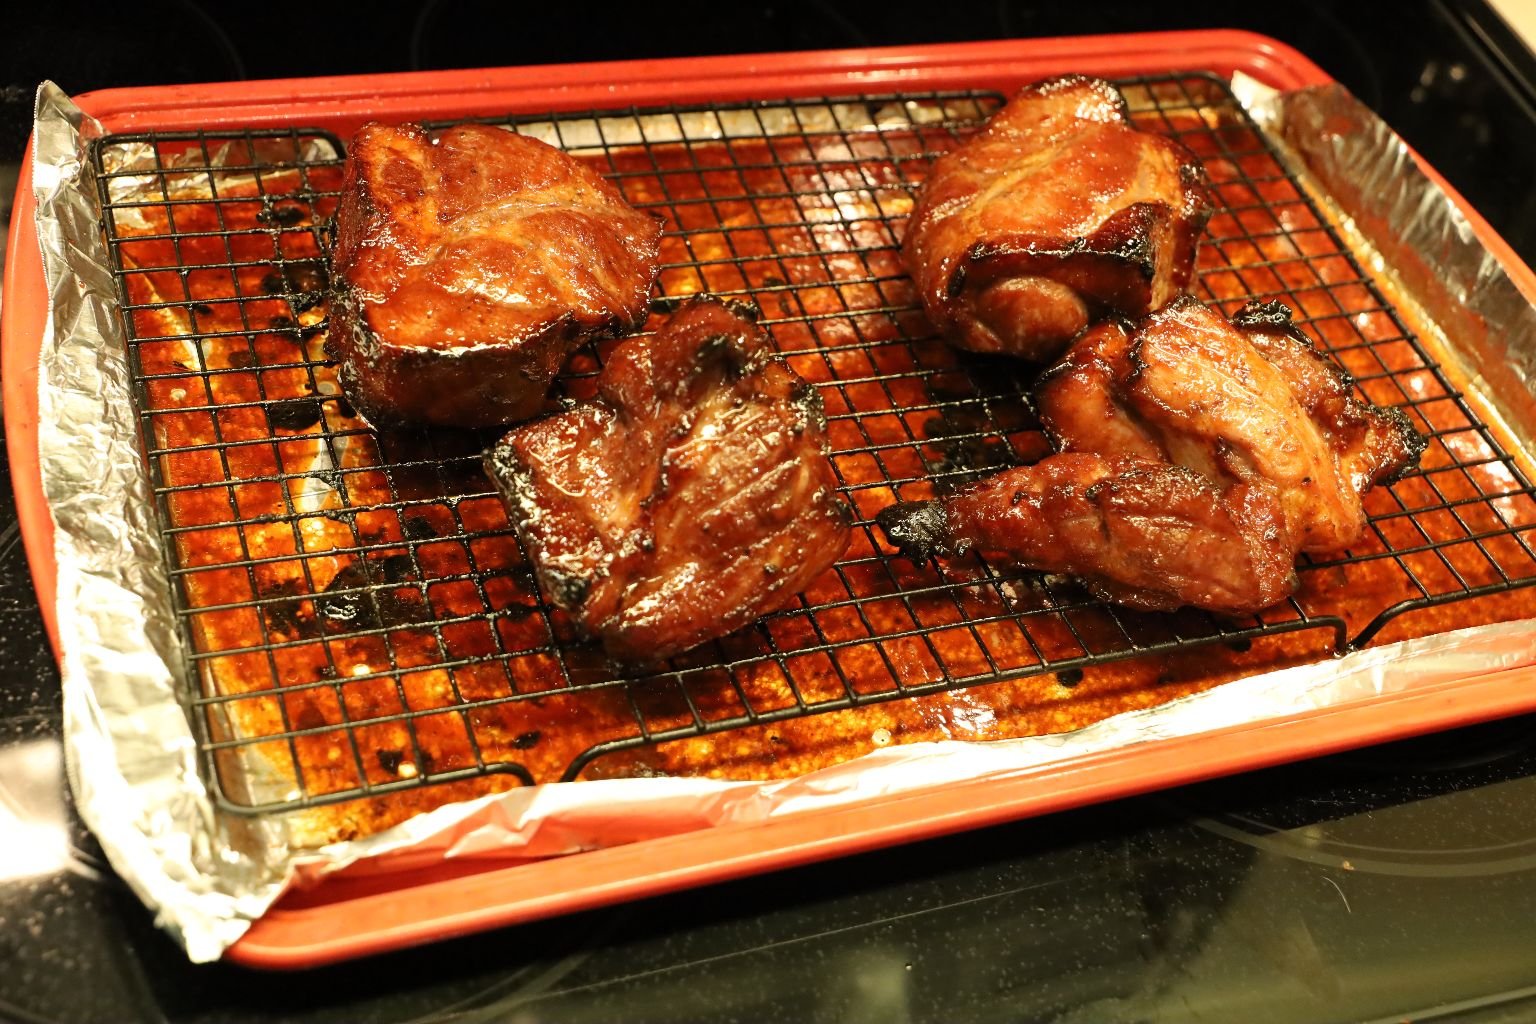
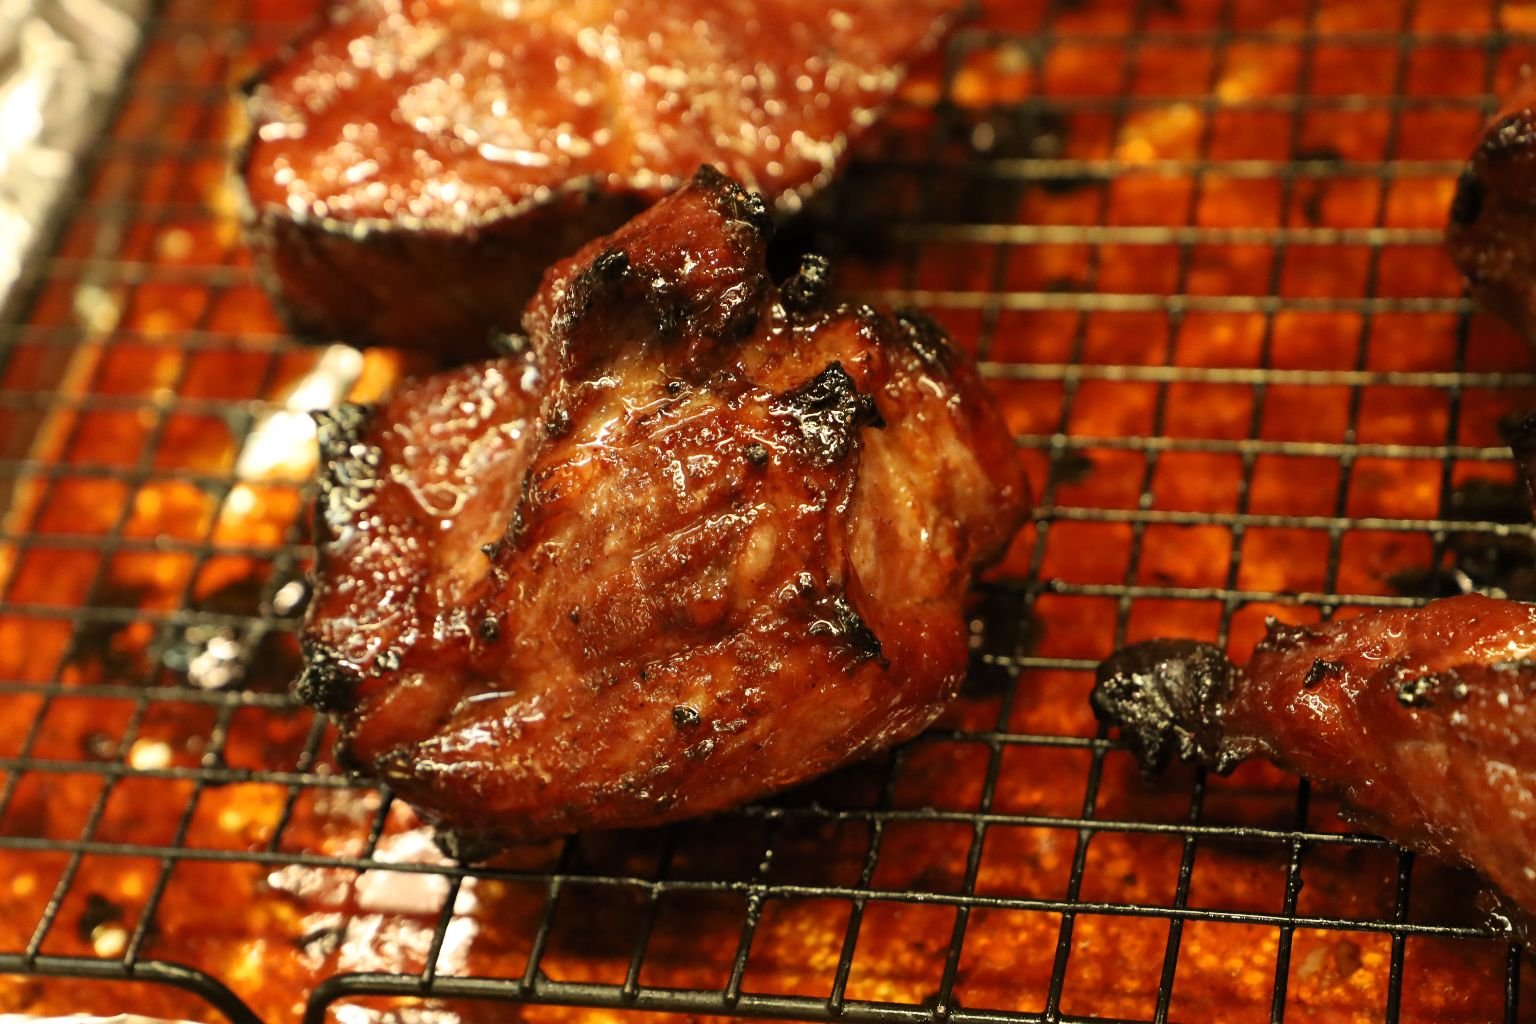
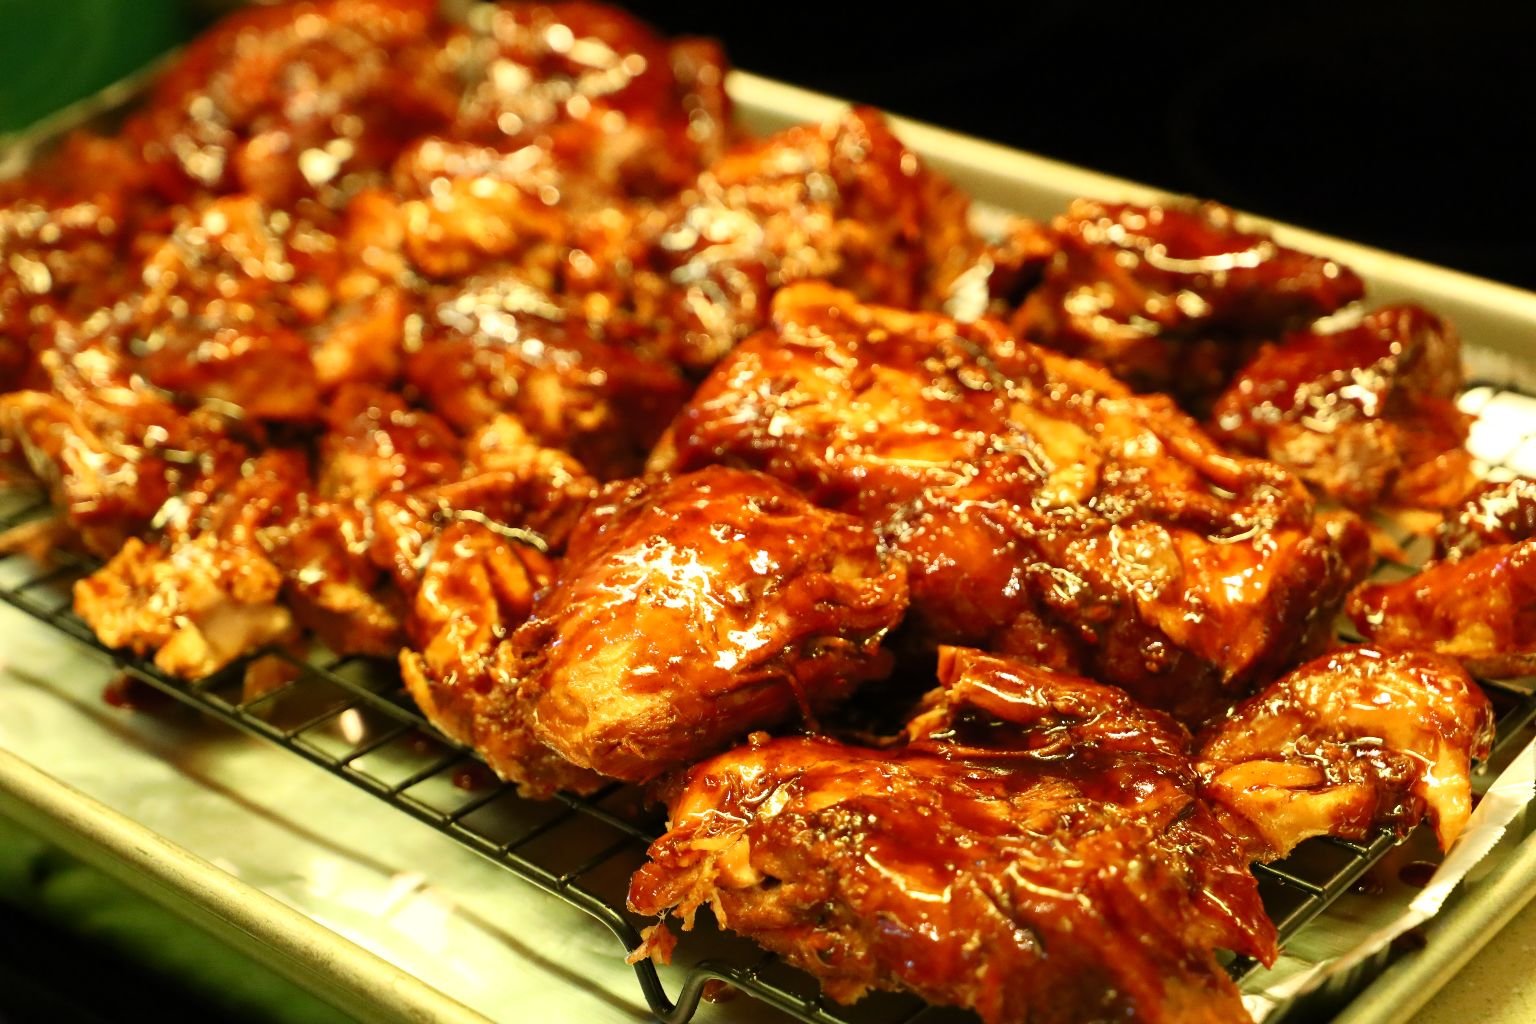
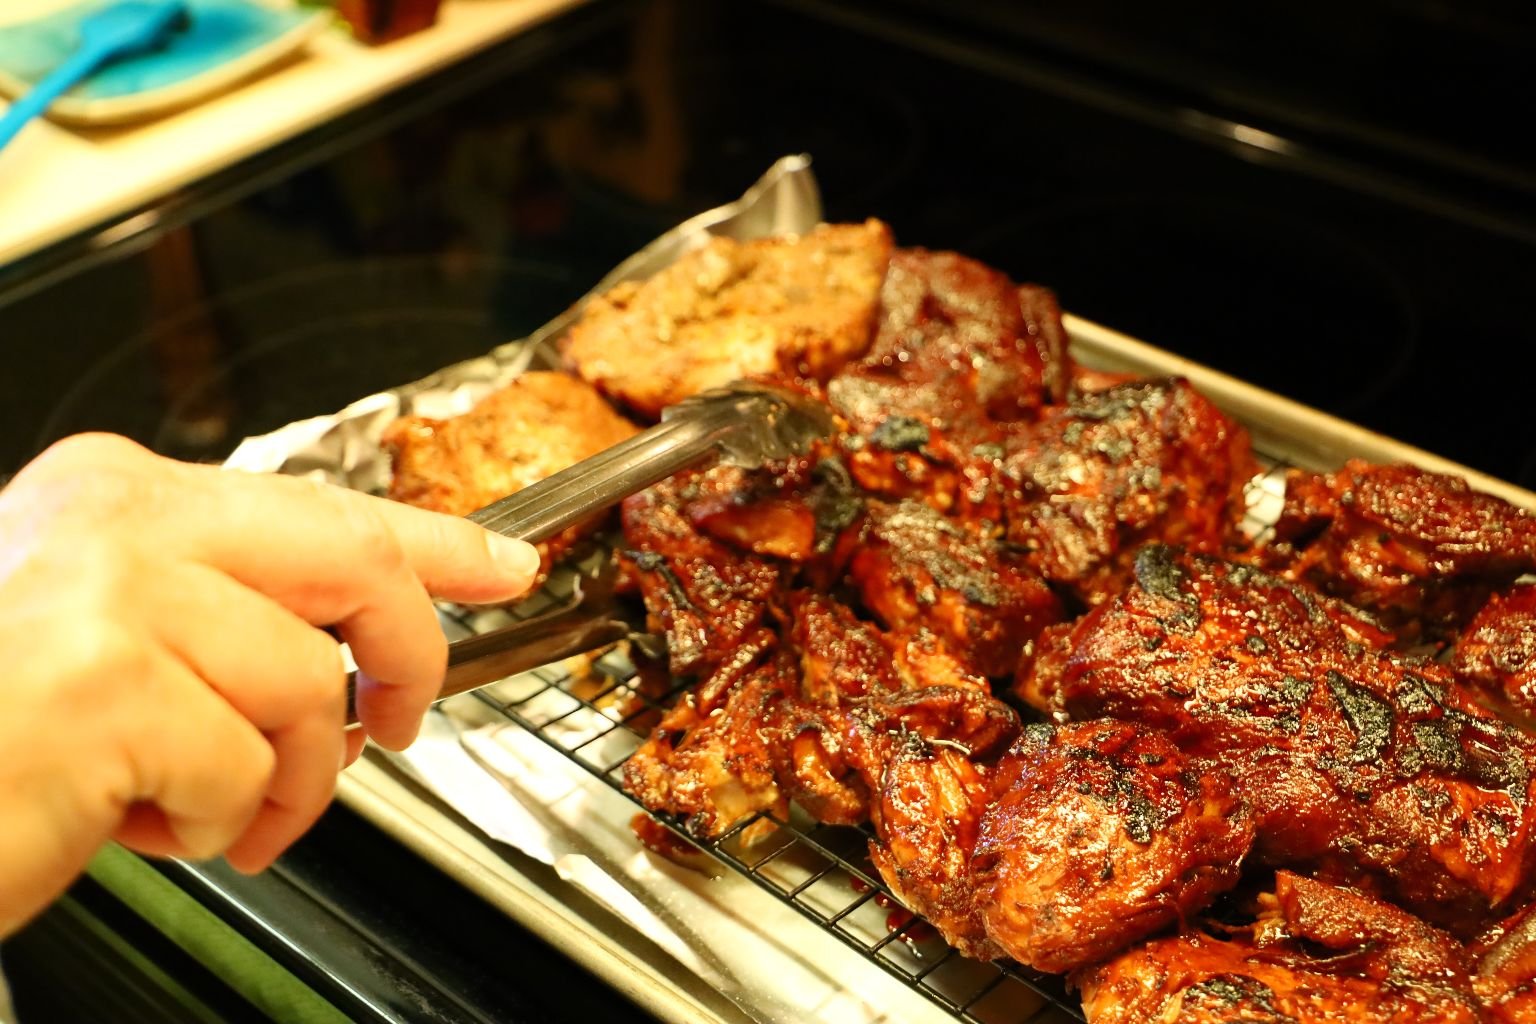
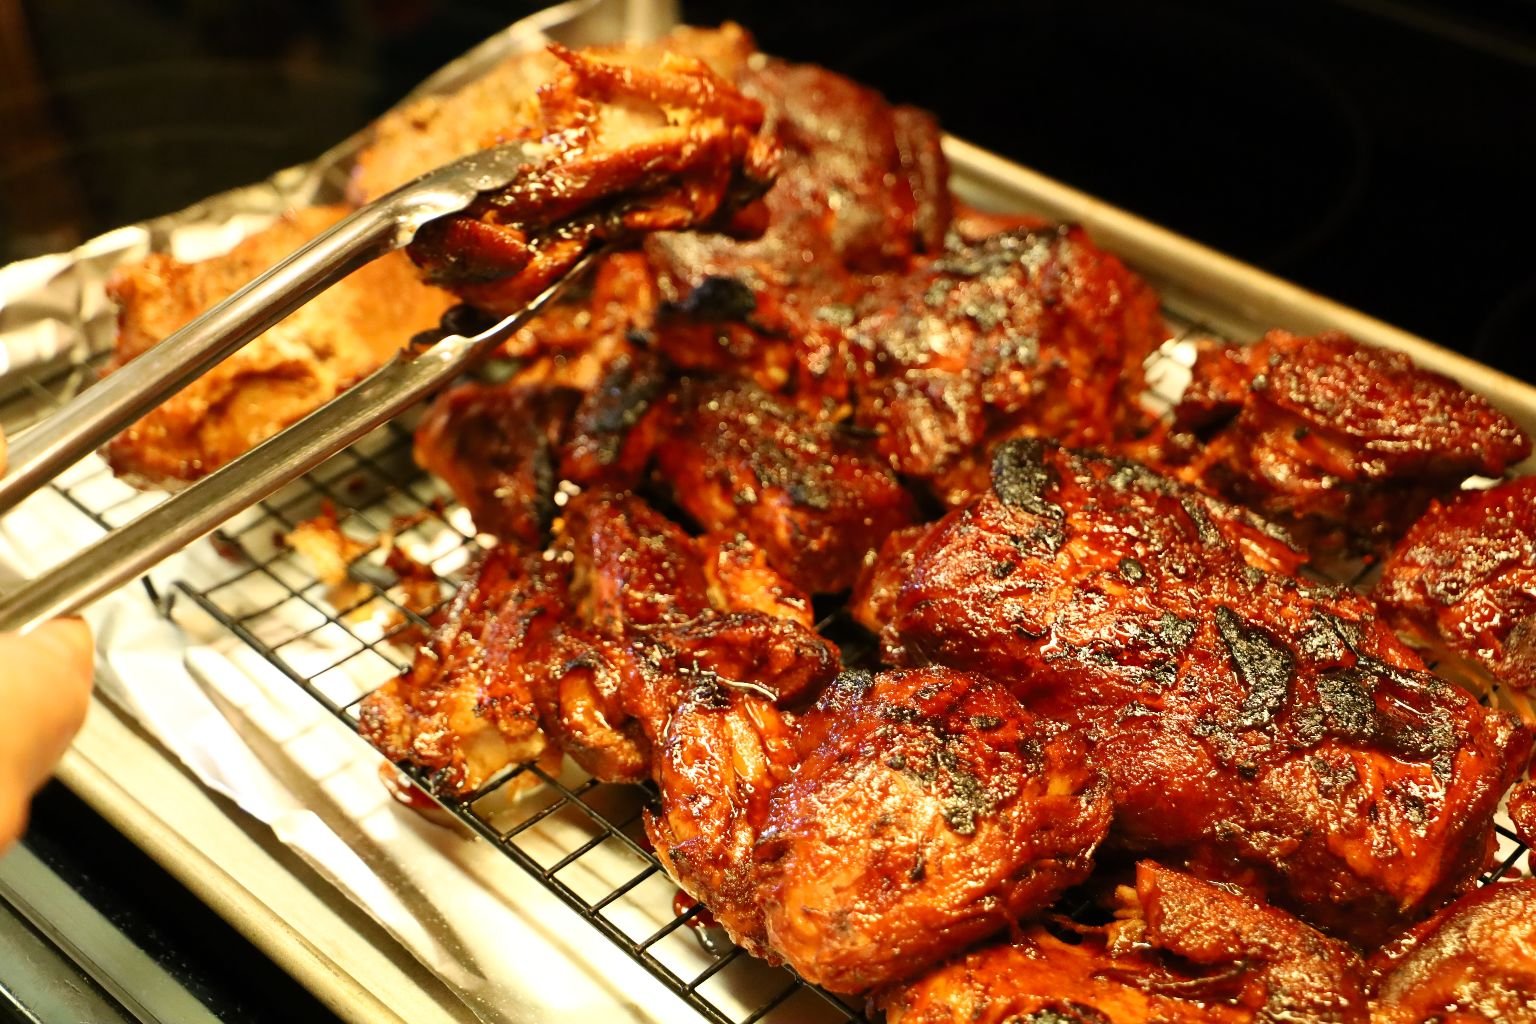
Here you can see the pork looks as though it was cooked on the grill. To obtain this effect, broil the meat for about 3 min. or until you obtain the char you desire.
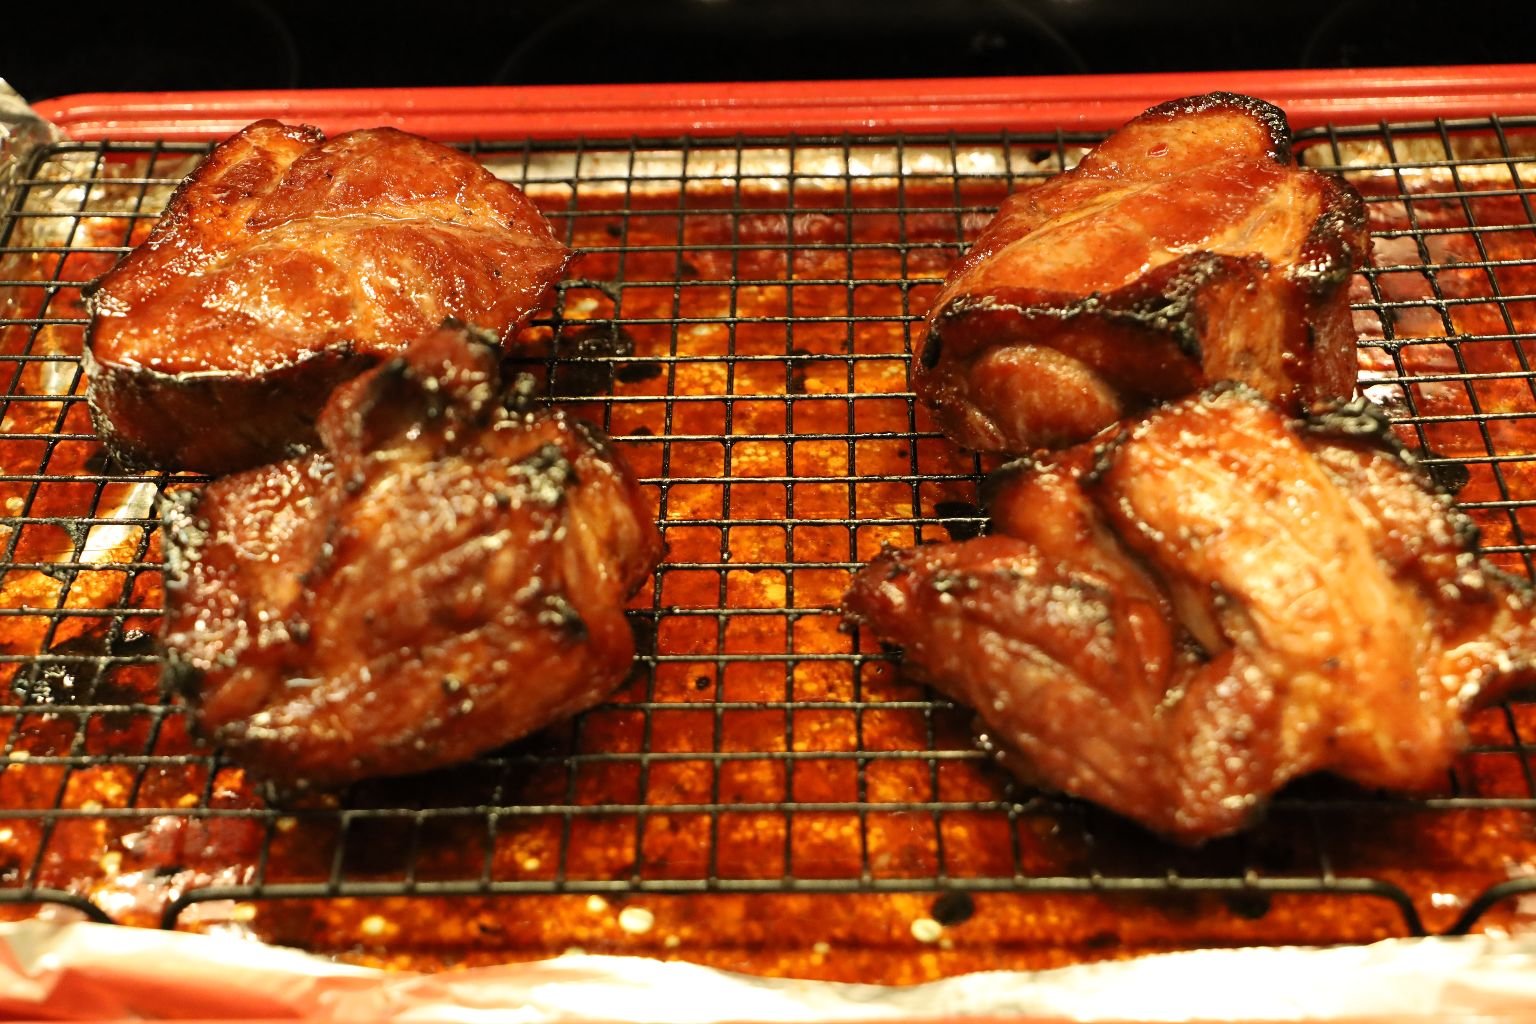
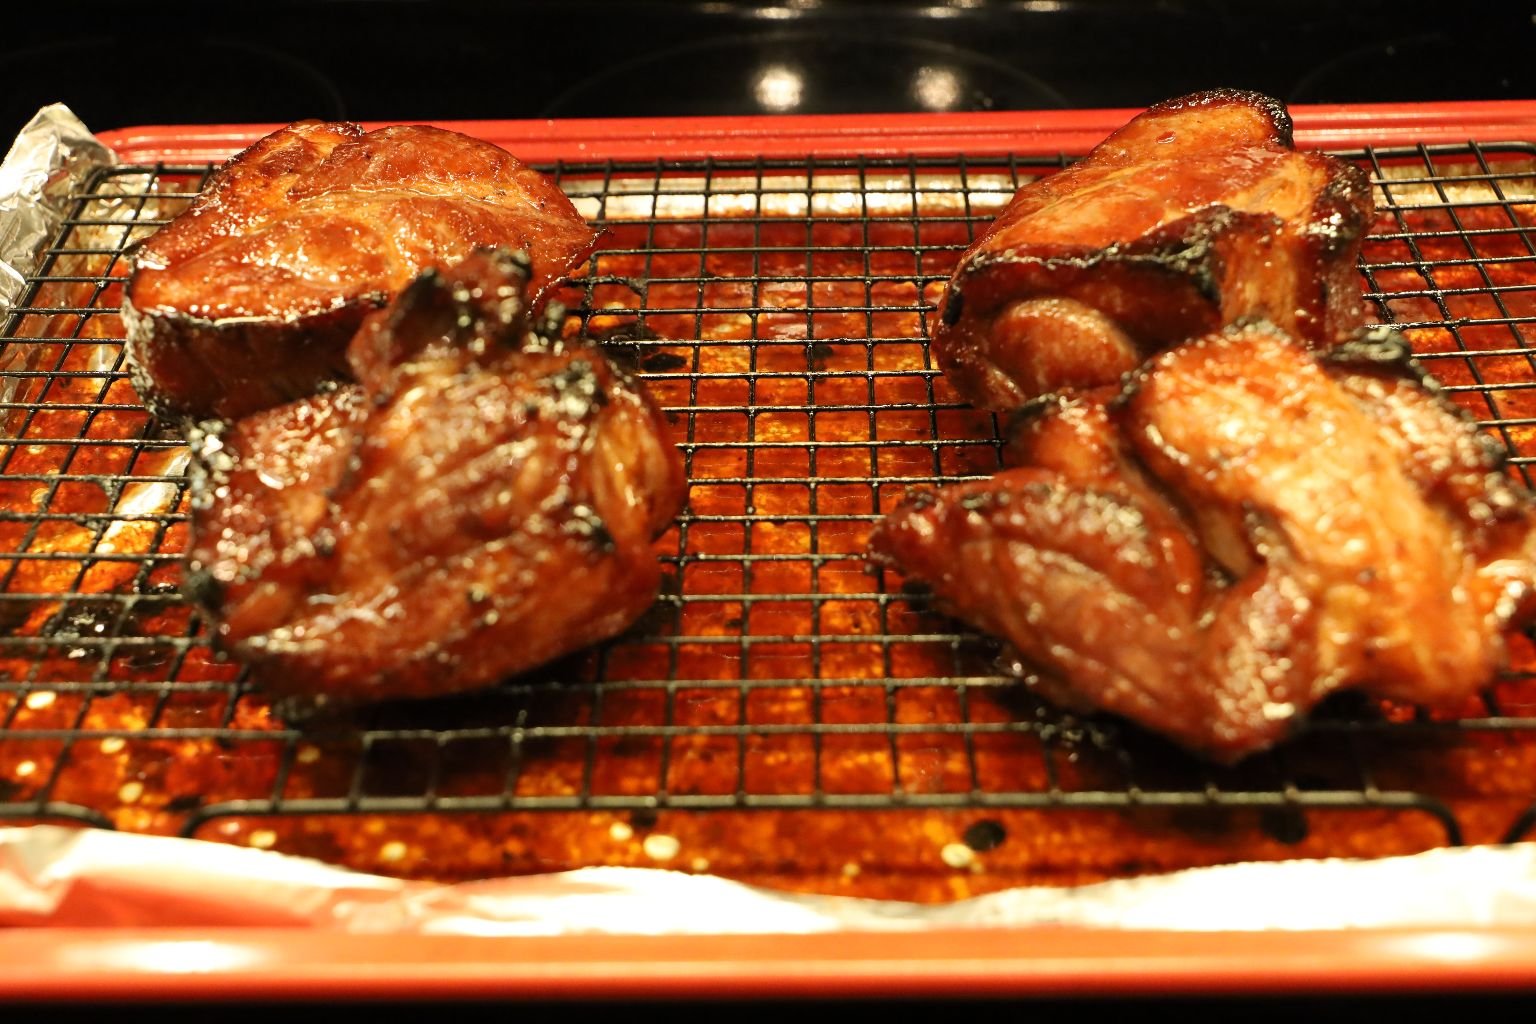
Broil the meat on both sides brushing on more honey as desired.
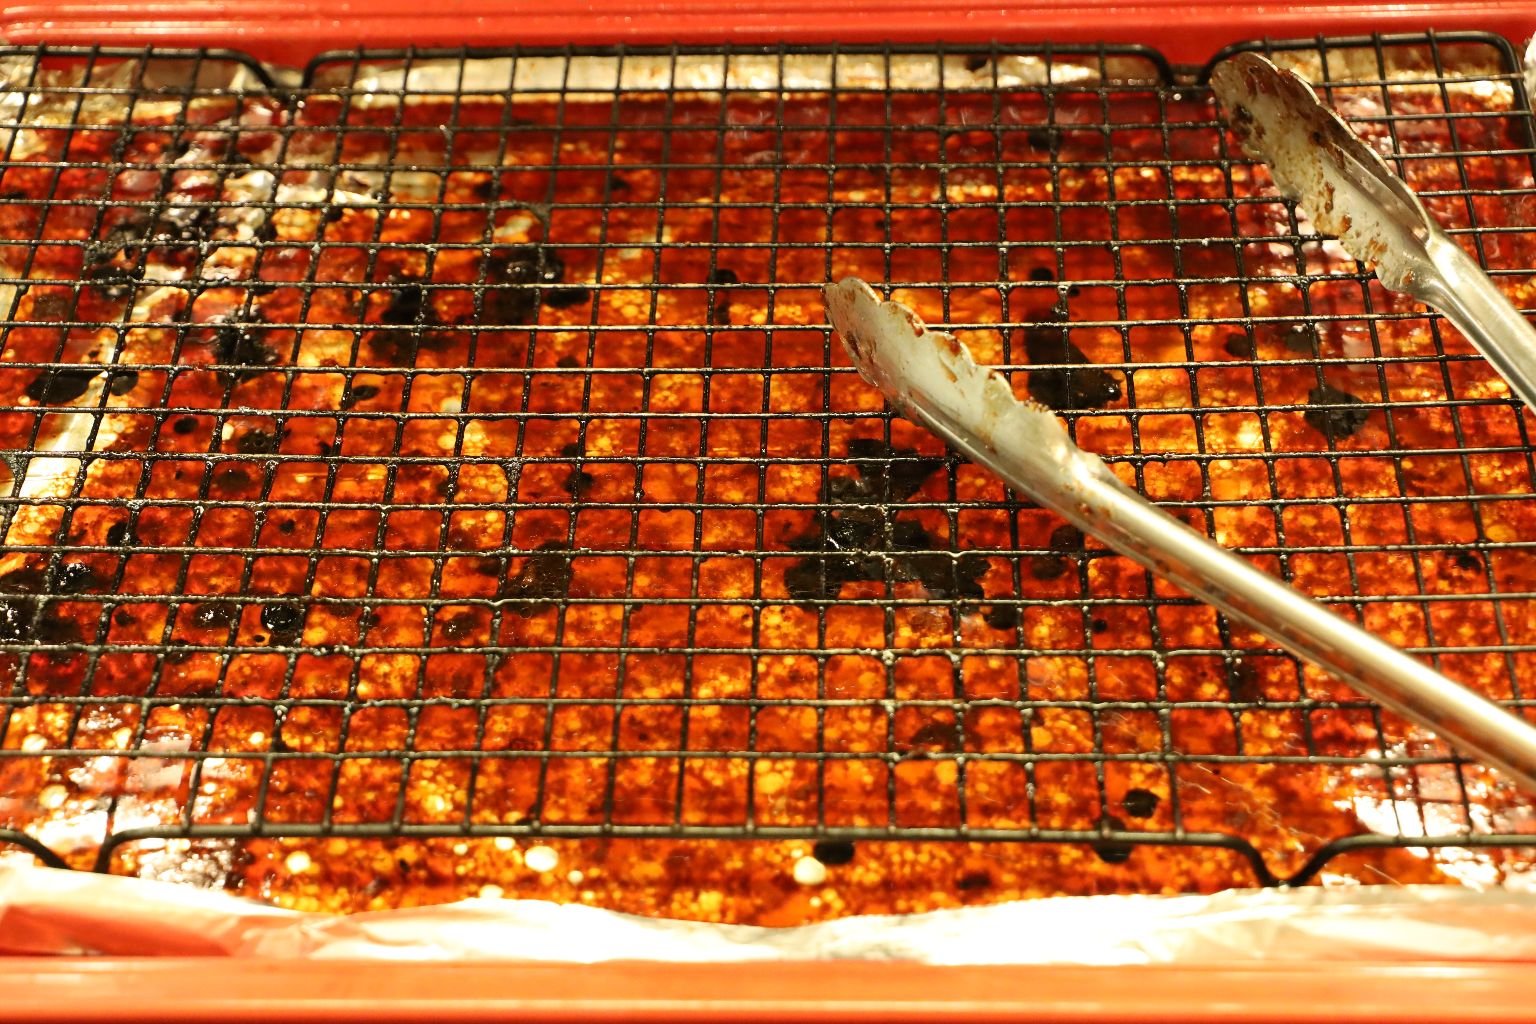
Here you can see the fat that was rendered from the meat during the roasting process.
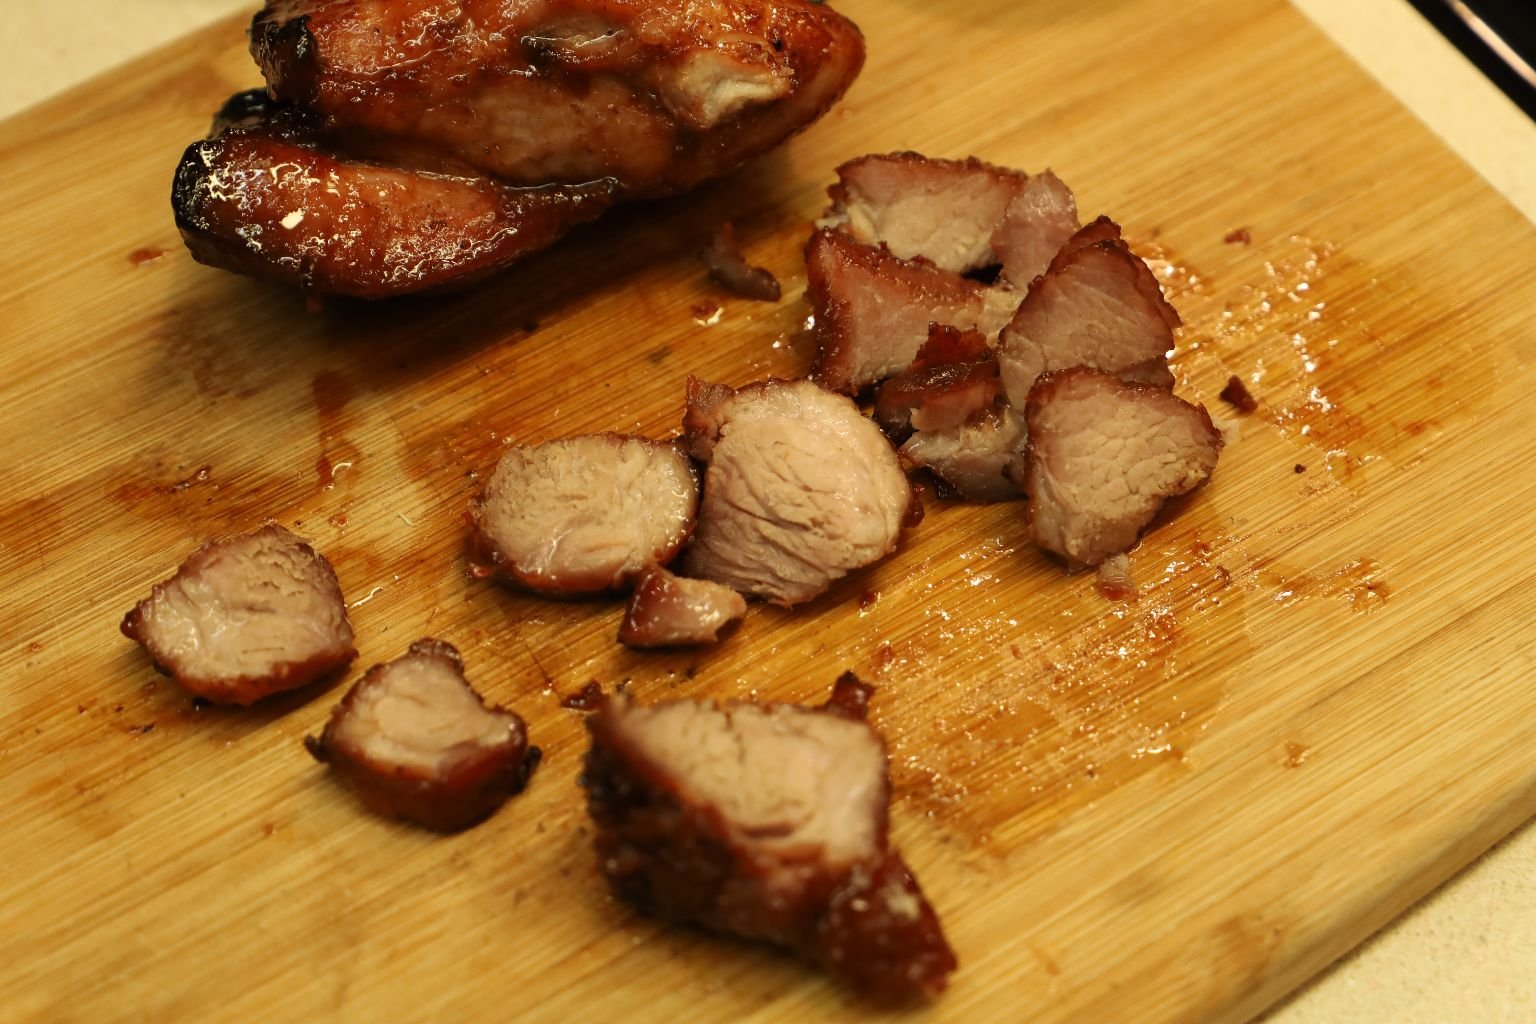
Don’t cut into the meat for about 20 min. giving the juices time to settle back into its center. If you don’t let the meat rest, the moving juices will simply run out on your cutting board, giving you dry Char Siu.
——————————————————————–
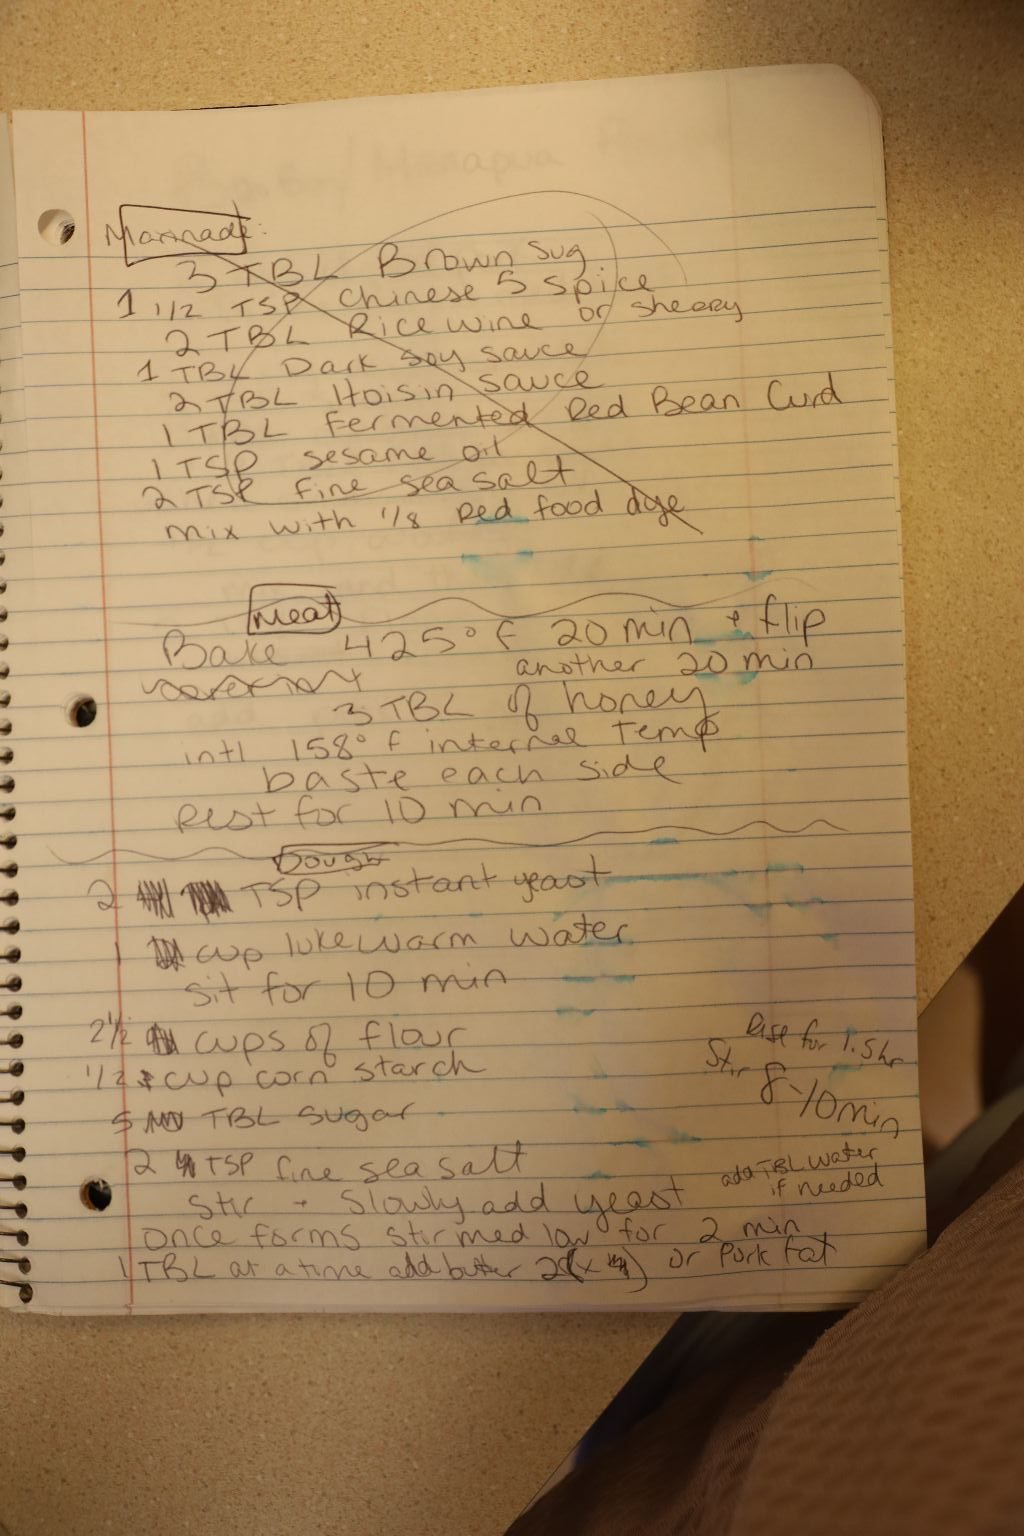
Mackenzie’s Recipe Notes
Dough ingredients:
2 tsp. instant yeast
2 Cups warm water (Near 110’F but not over)
2 1/2 Cups All Purpose Flour
1/2 Cup Corn Starch
5 Tbsp. Sugar
2 tsp. sea salt
1 Tbsp. Bacon Fat
——————————————————-
Brodie and Mackenzie doubled the recipe which is why it looks like more ingredients then stated in the recipe.

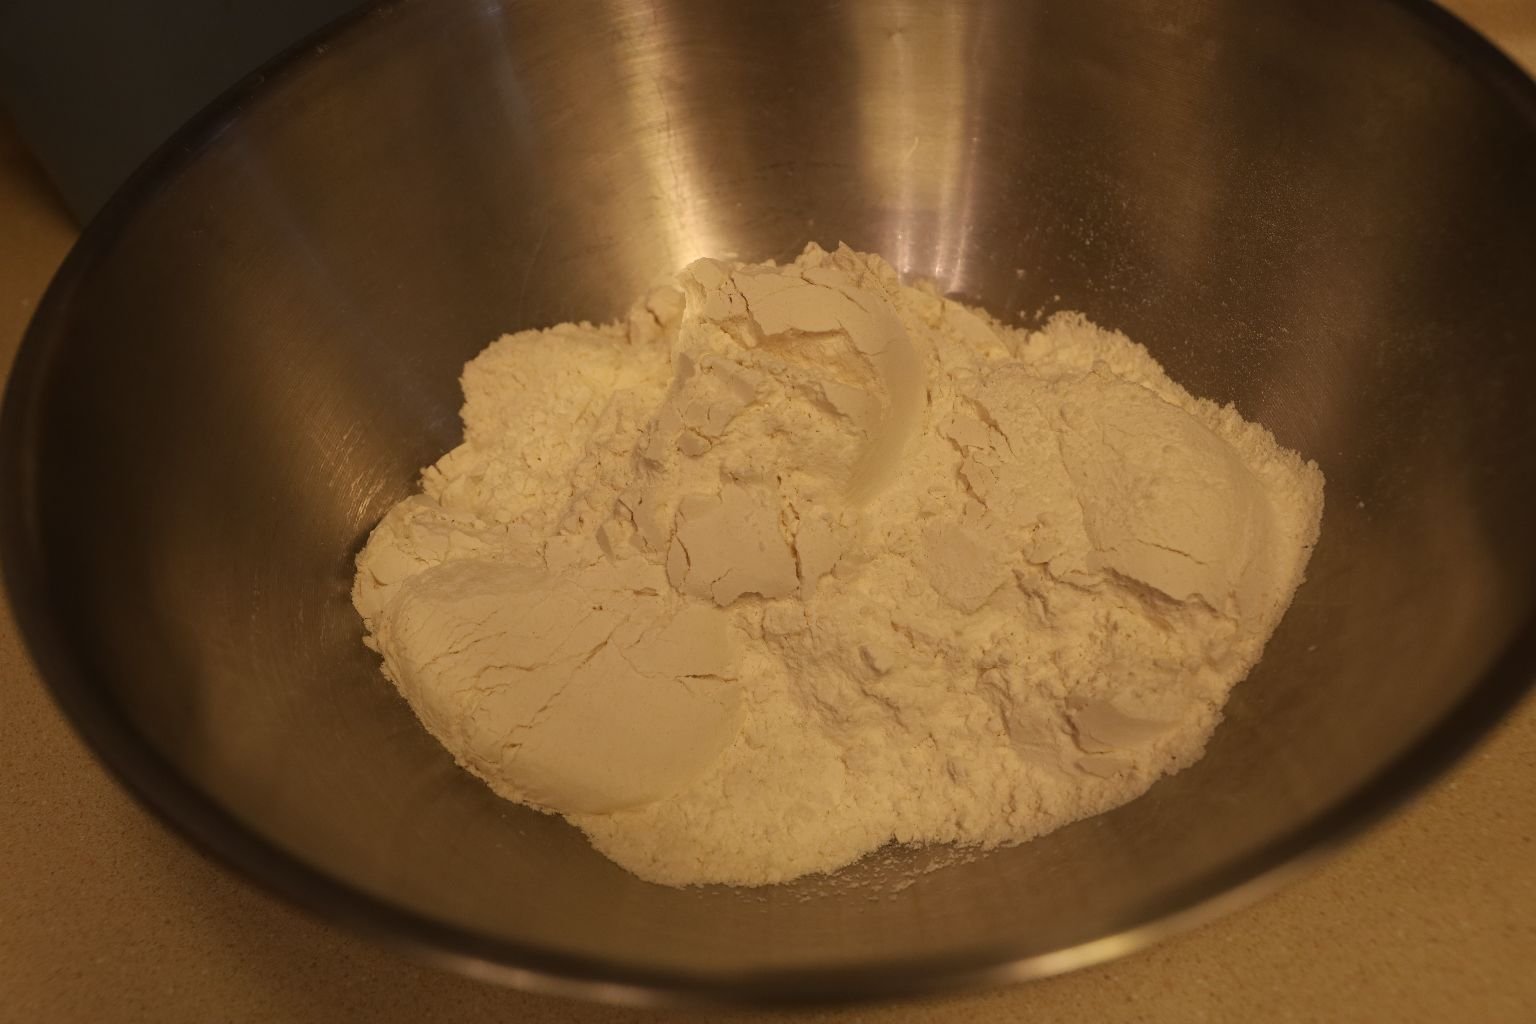
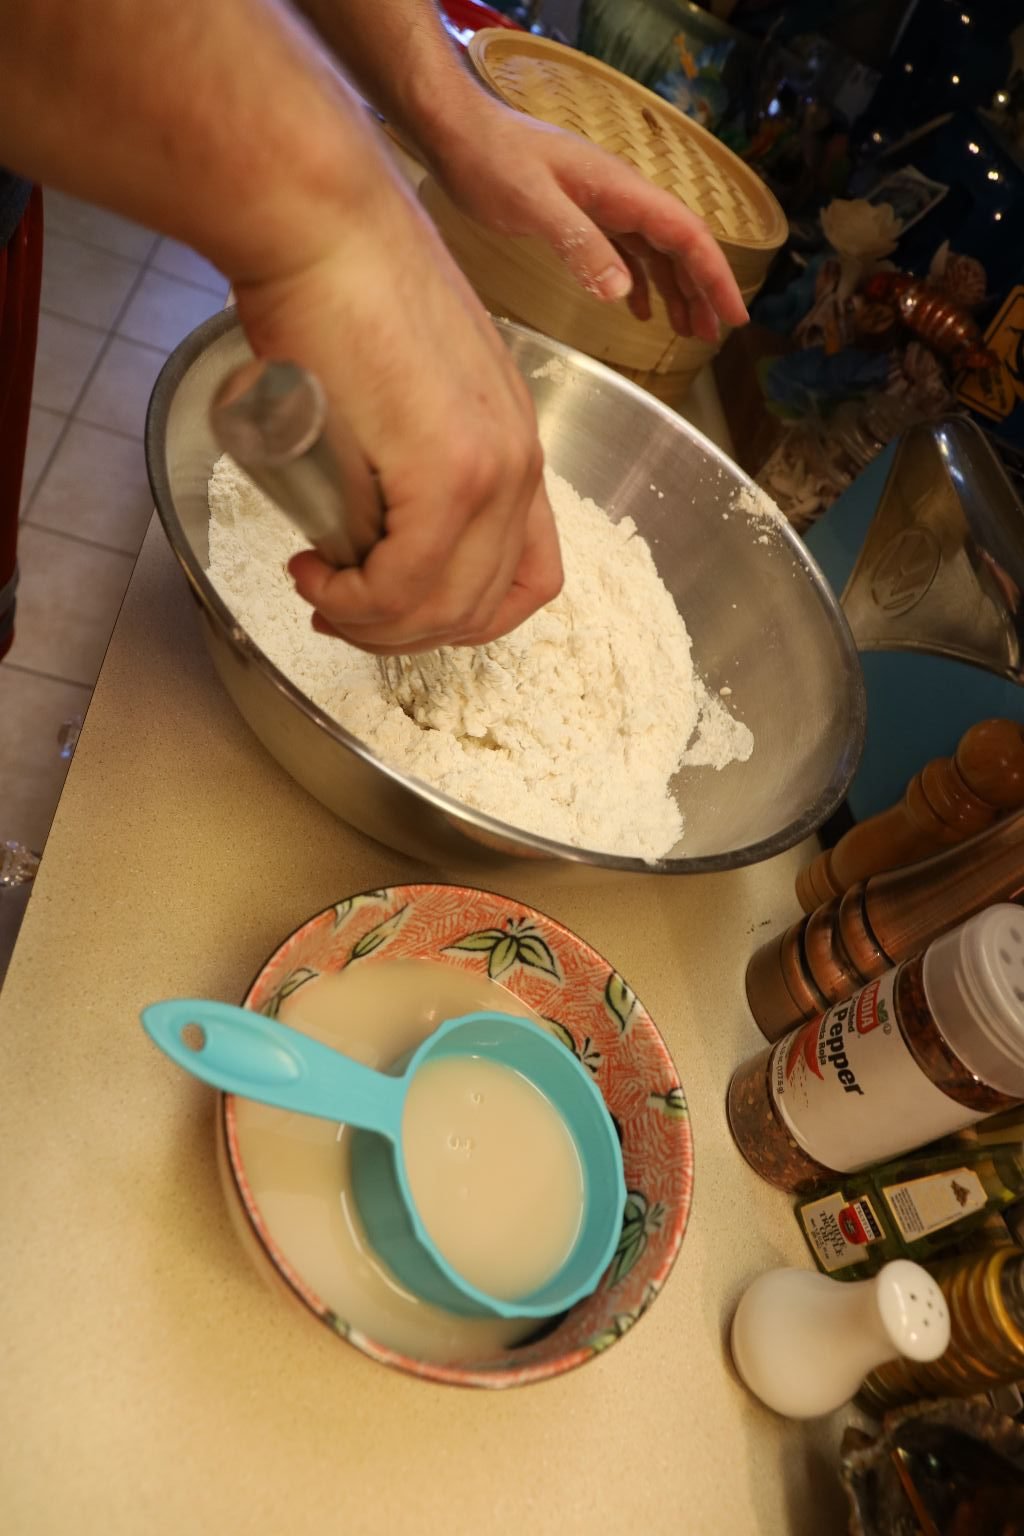
Add your flour and corn starch to a large bowl.

Then add your sugar and mix all the ingredients well with a whisk.
———————————————————-

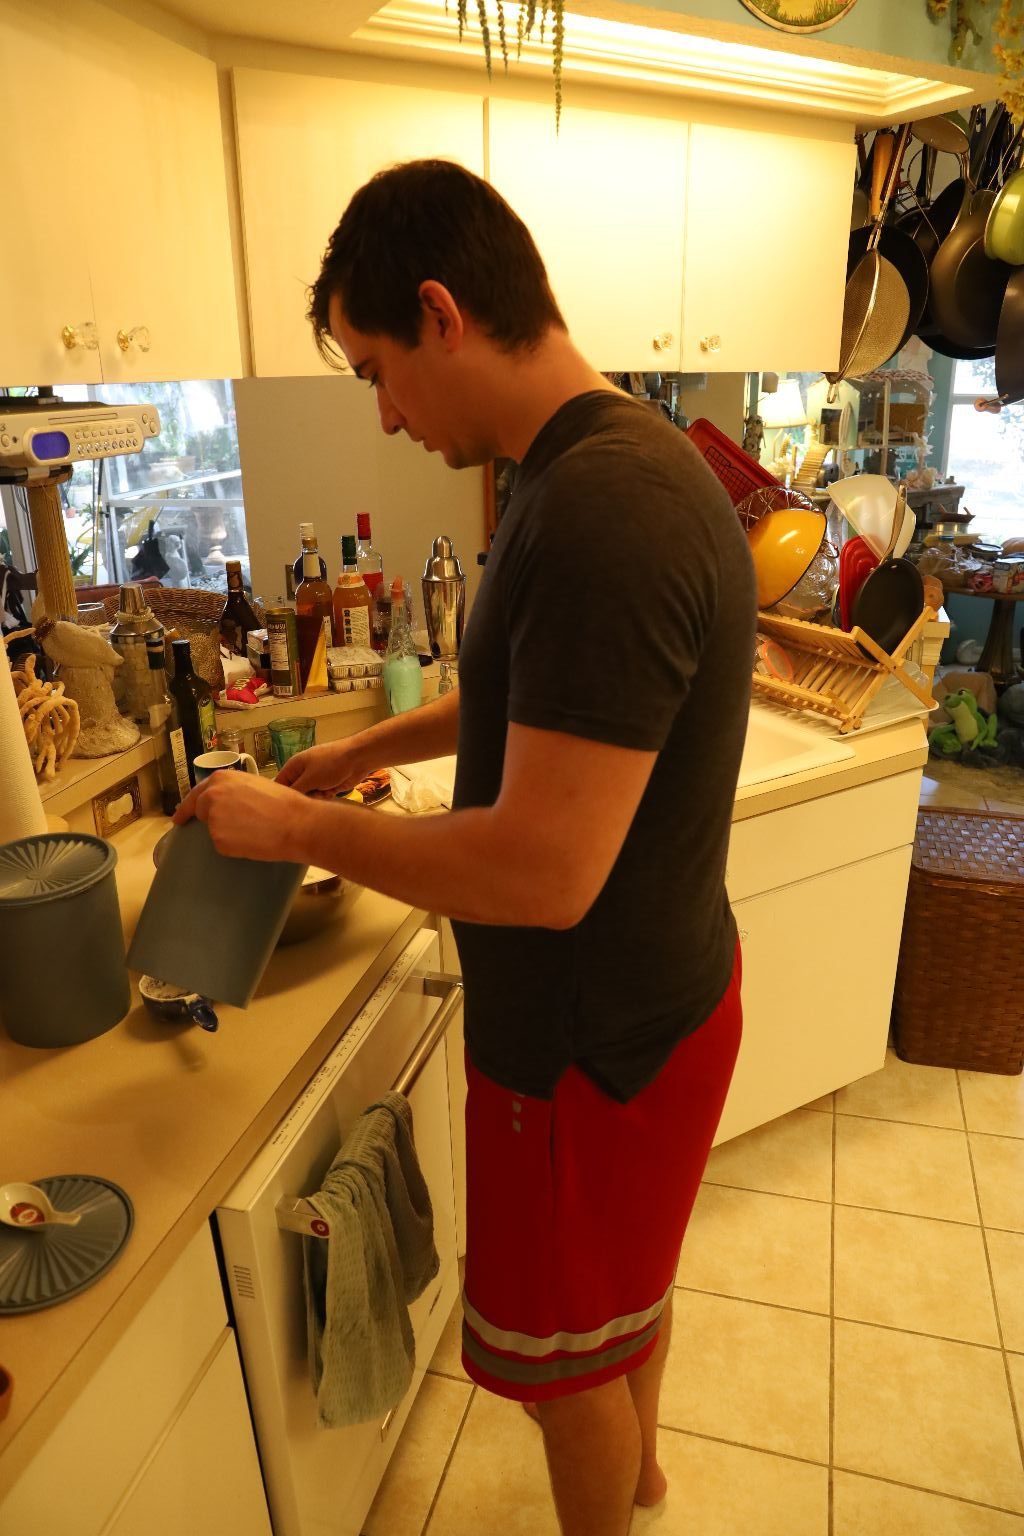
Here, Brodie is testing how hot the water is, and when at temperature, adding it to the measuring cup.
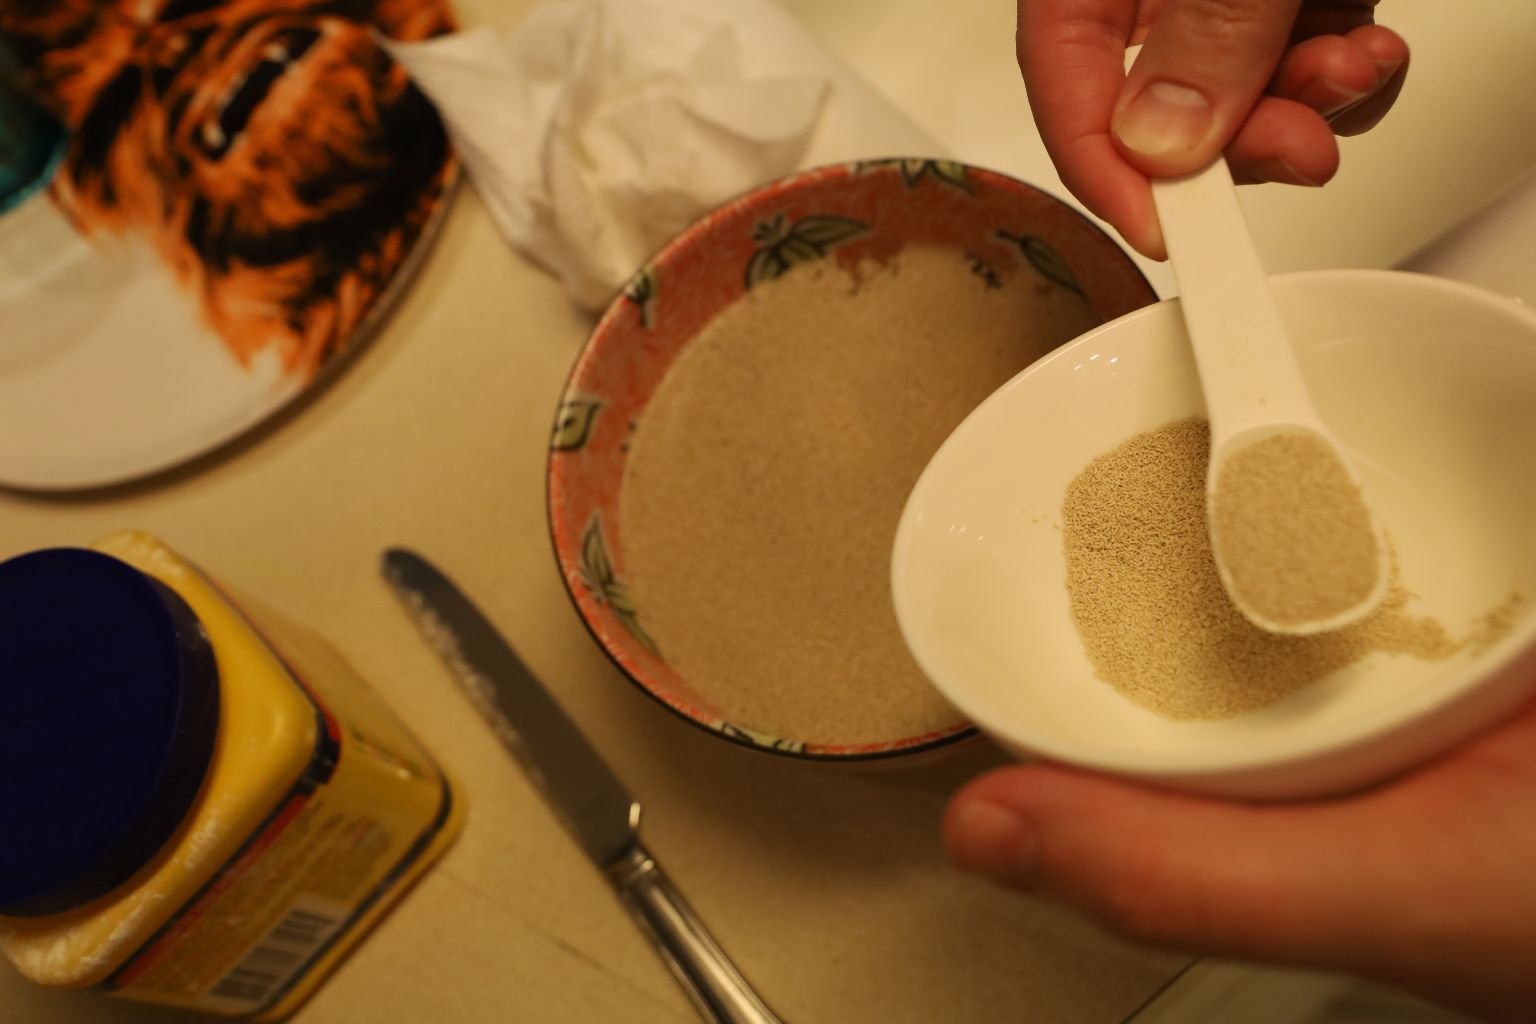
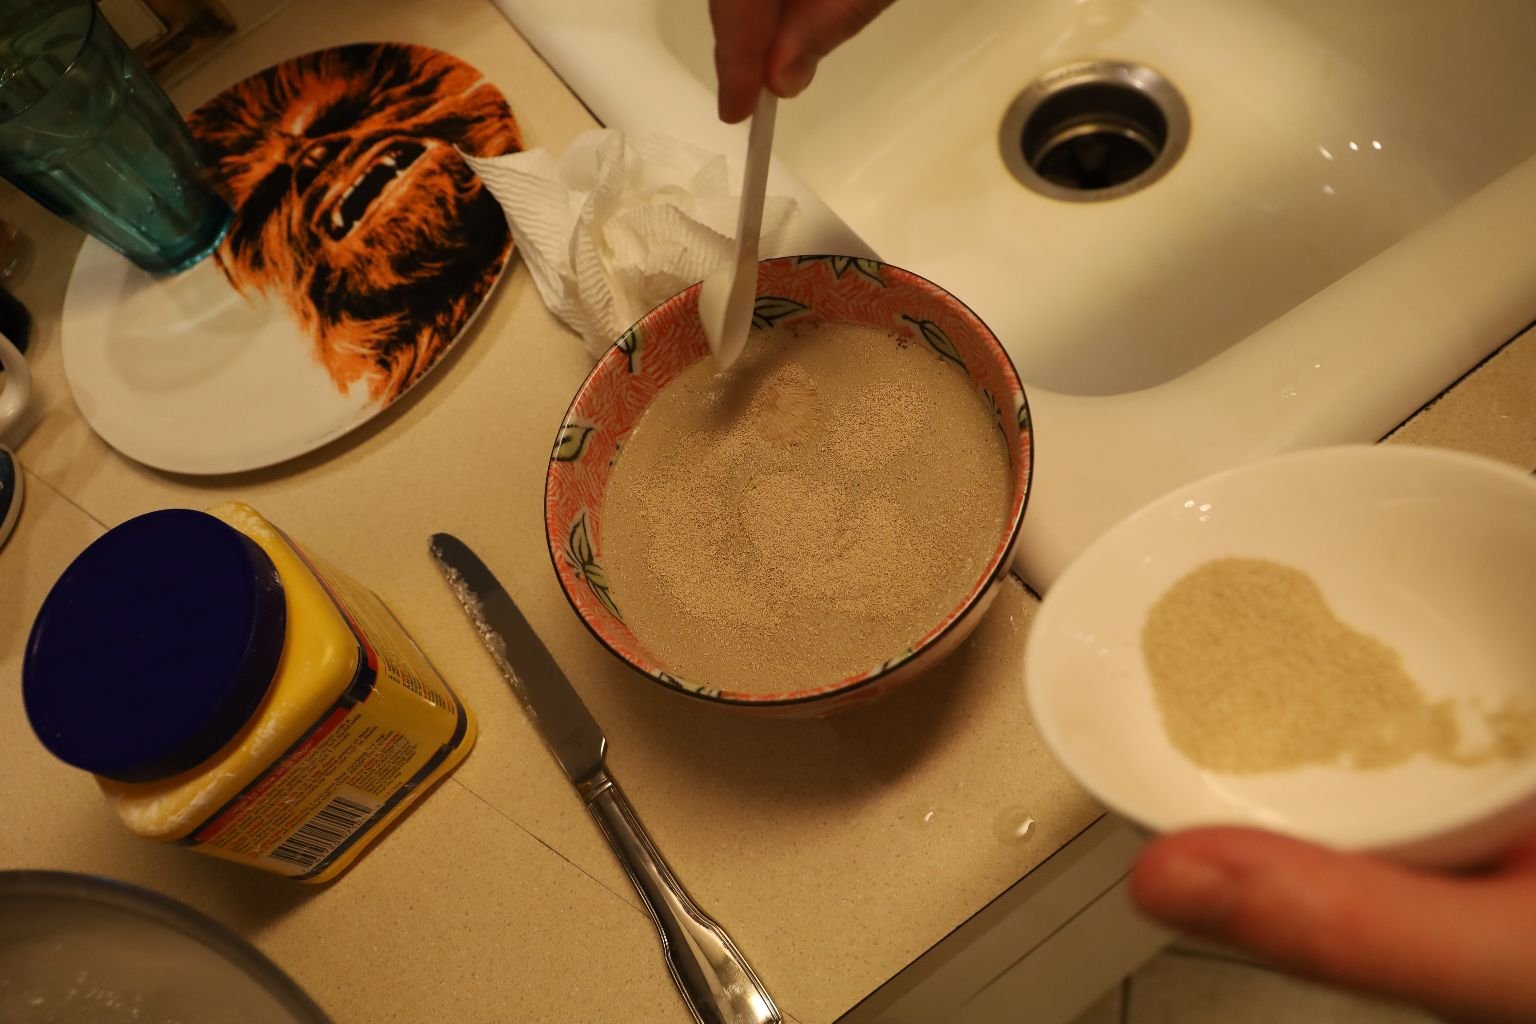
Pour the warm water into a medium sized bowl and add your yeast.
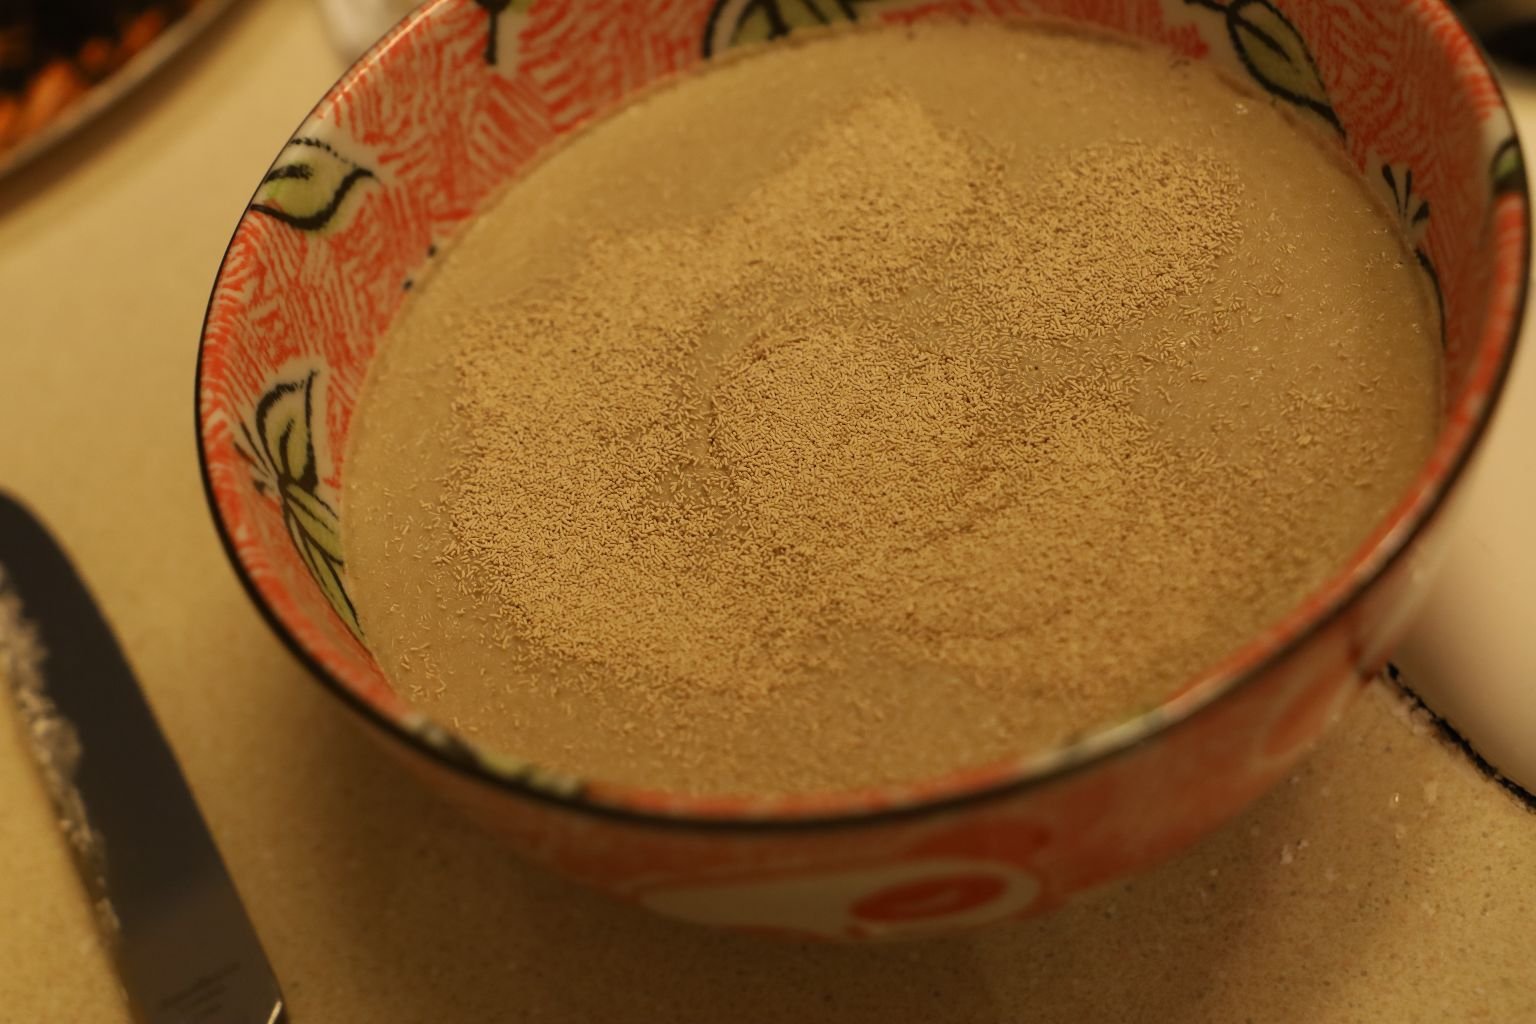
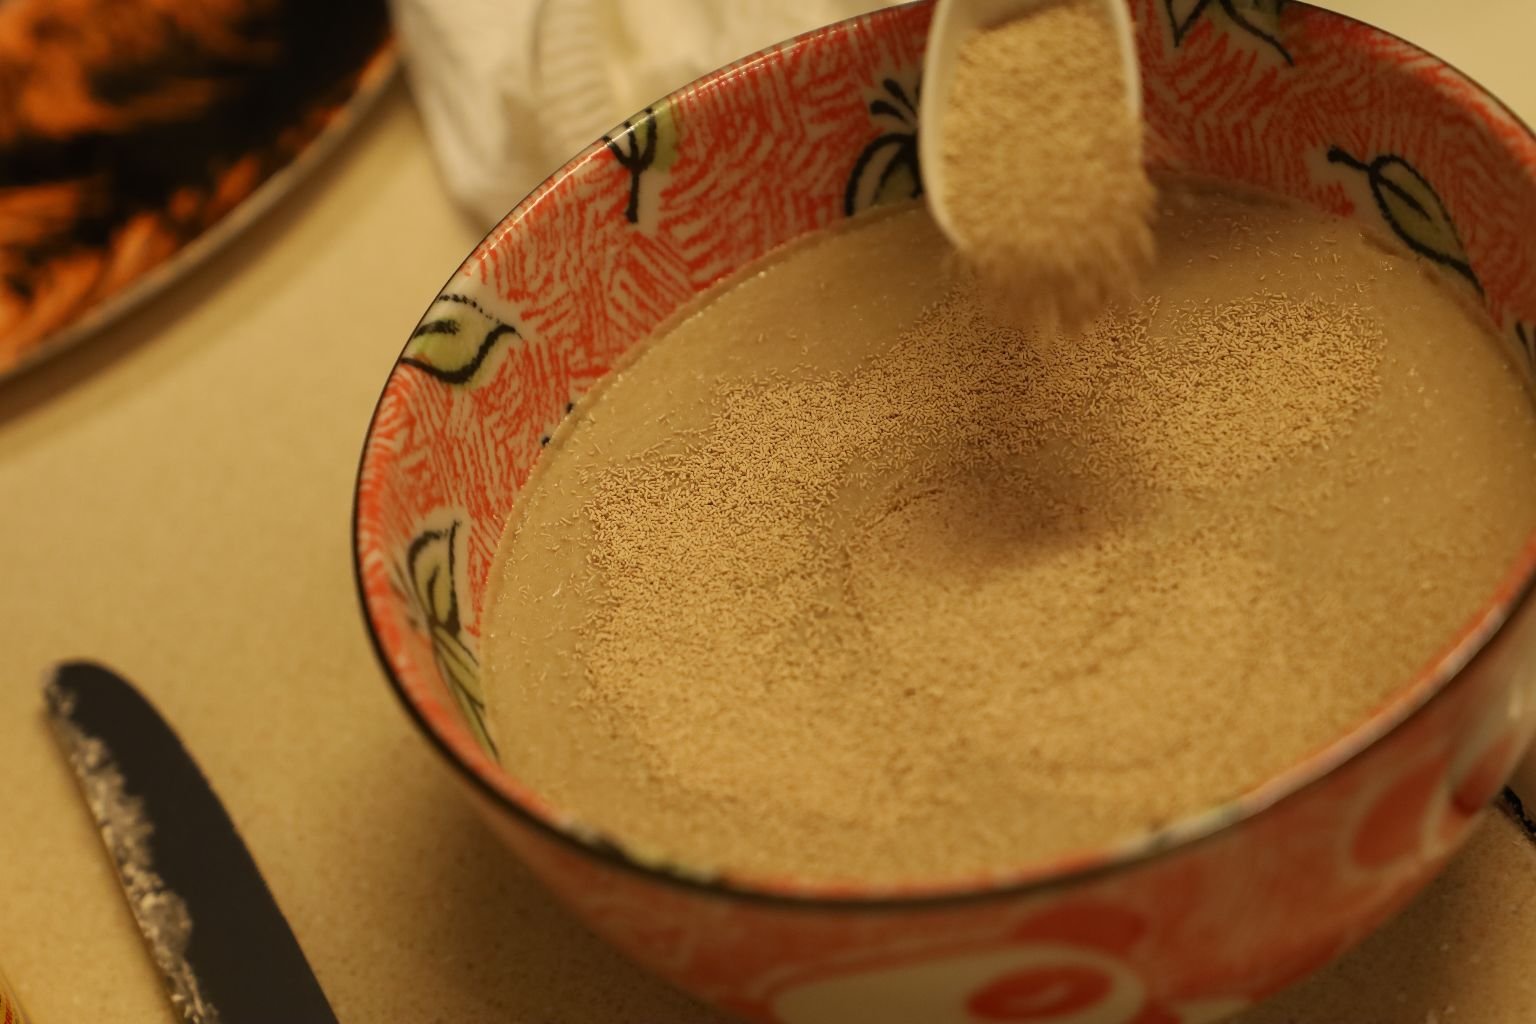
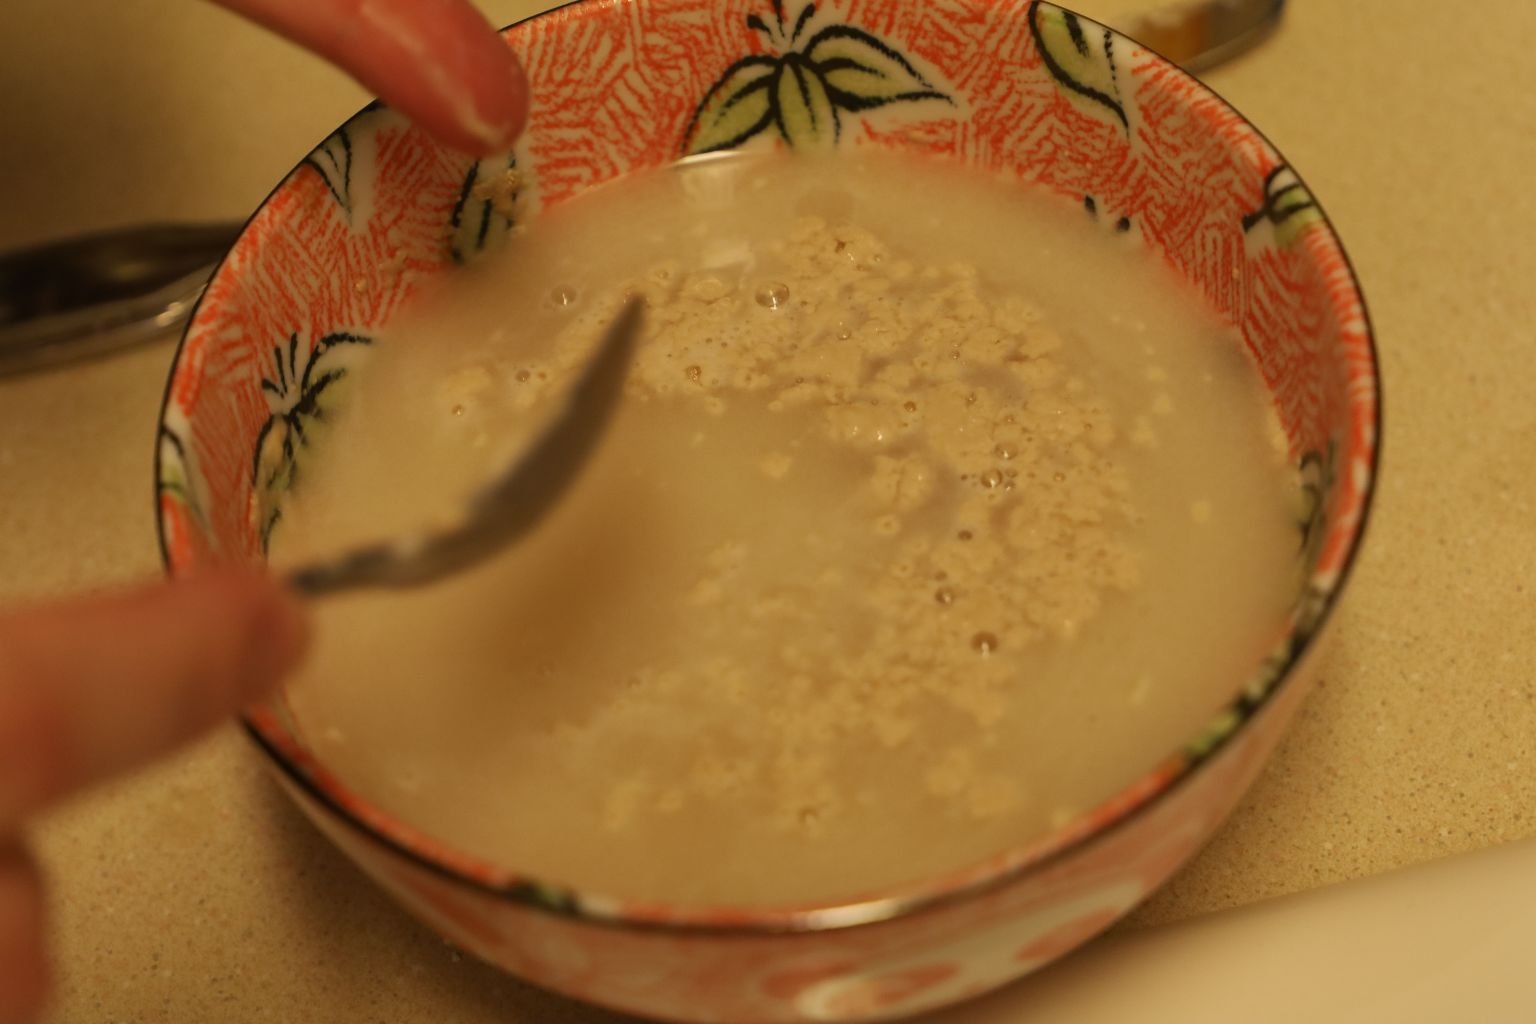
Start your yeast in warm water and let it sit for about 10 min. to activate. Stir in a touch of sugar to the water to help it. You will know the yeast is activated when bubbles start to form.
——————————————————————
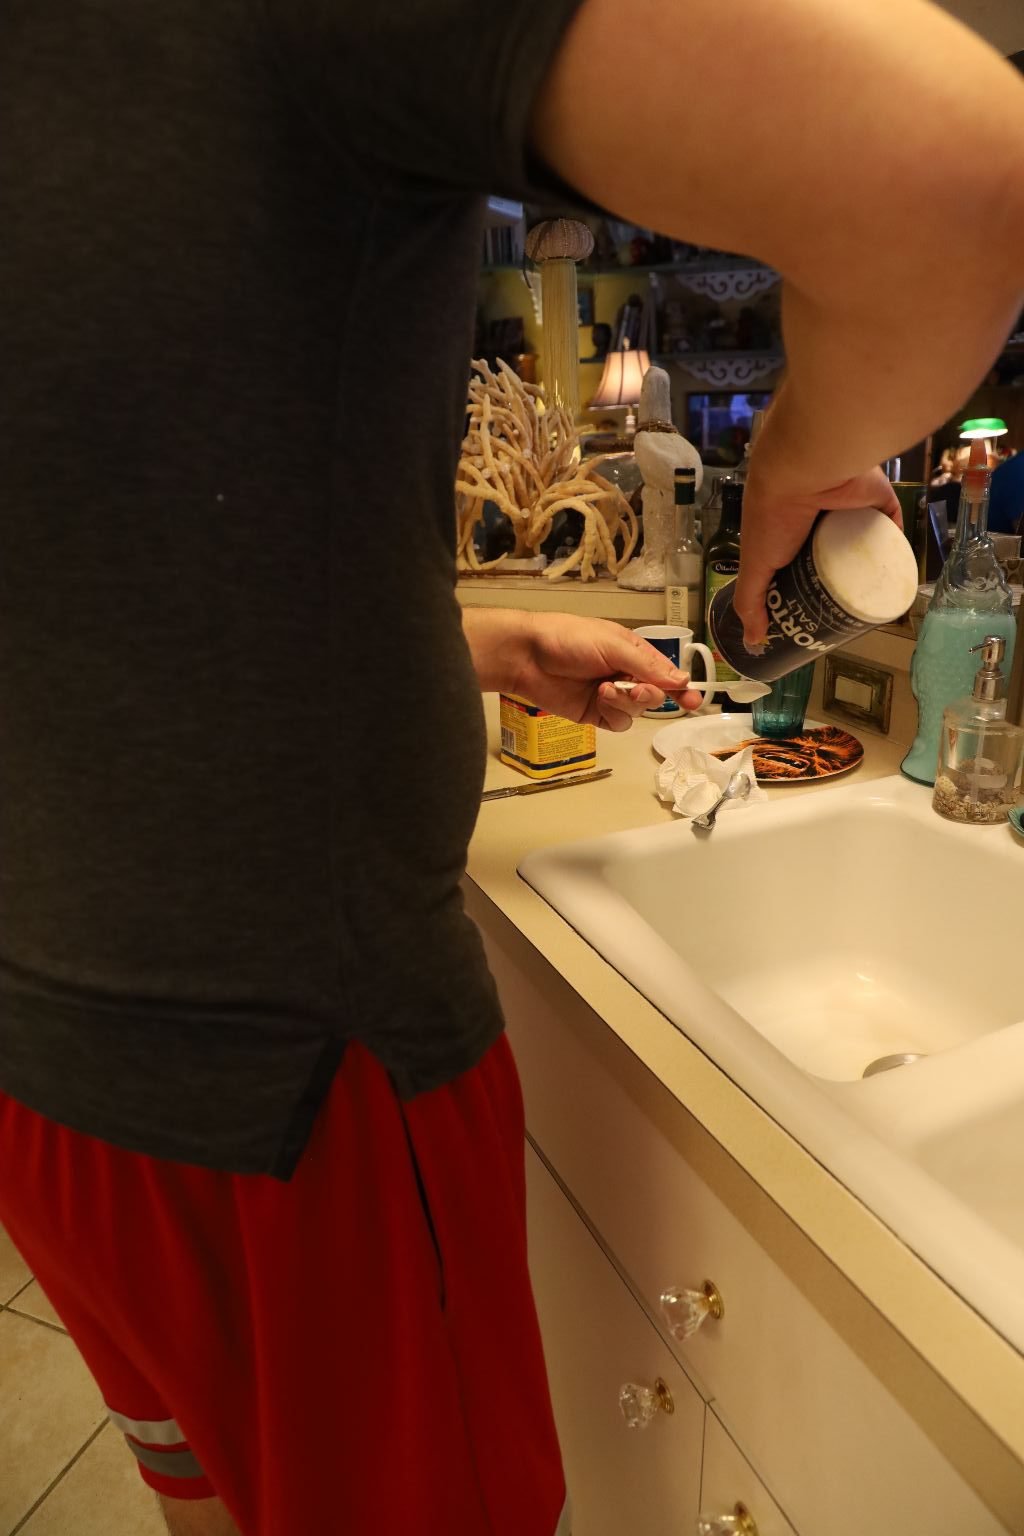
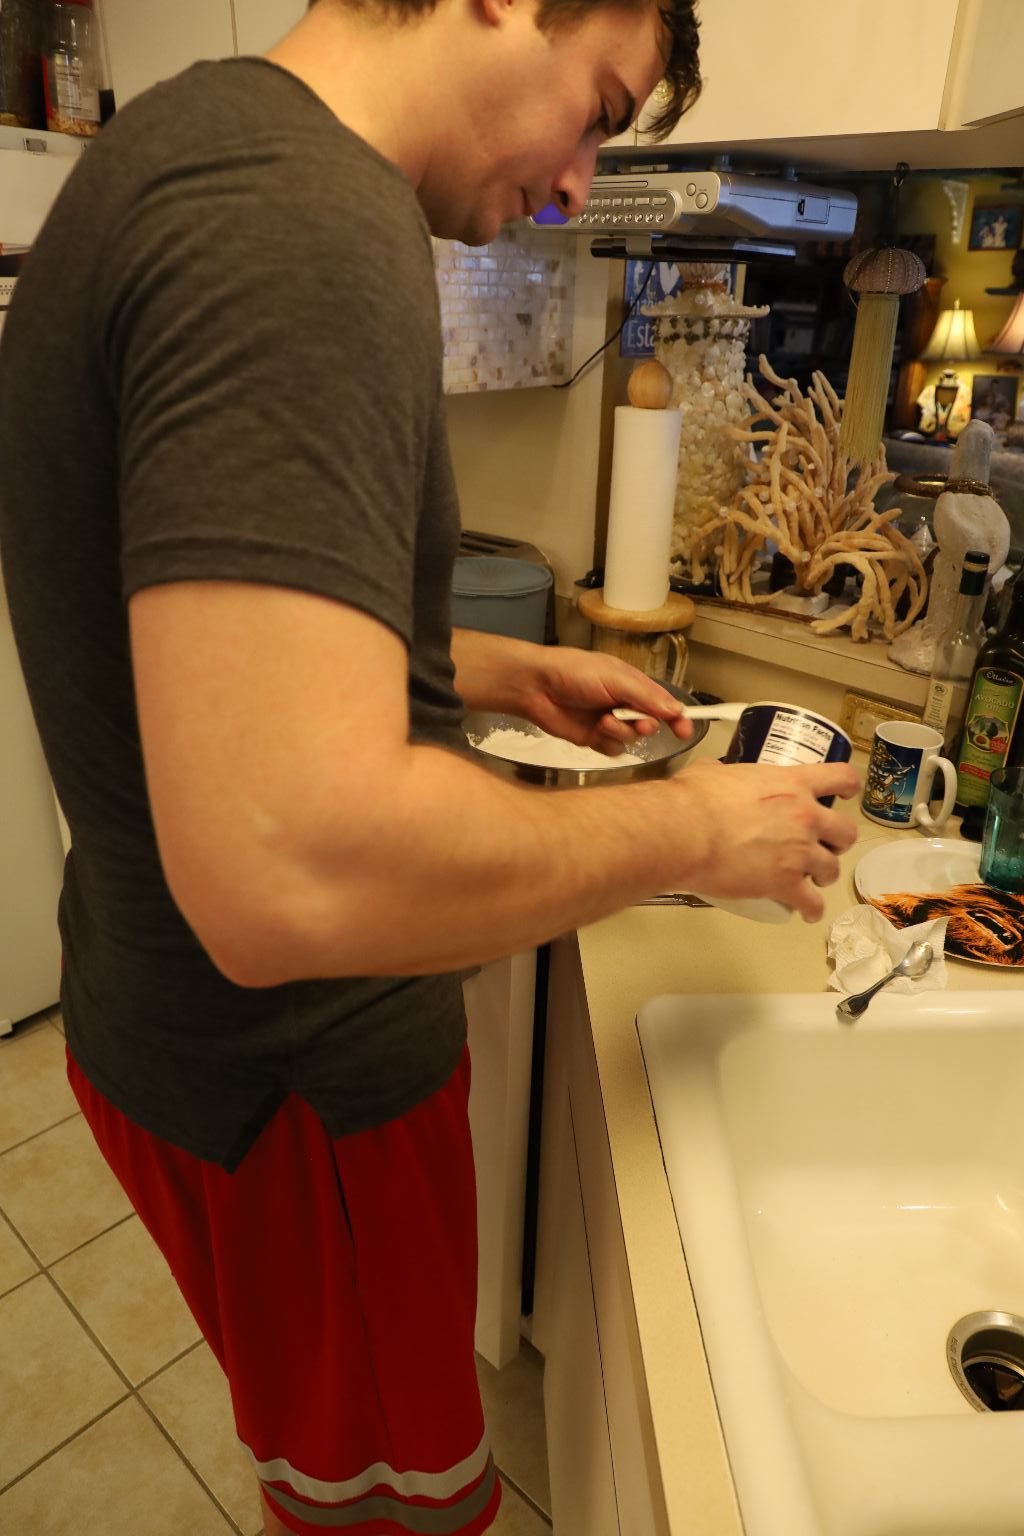
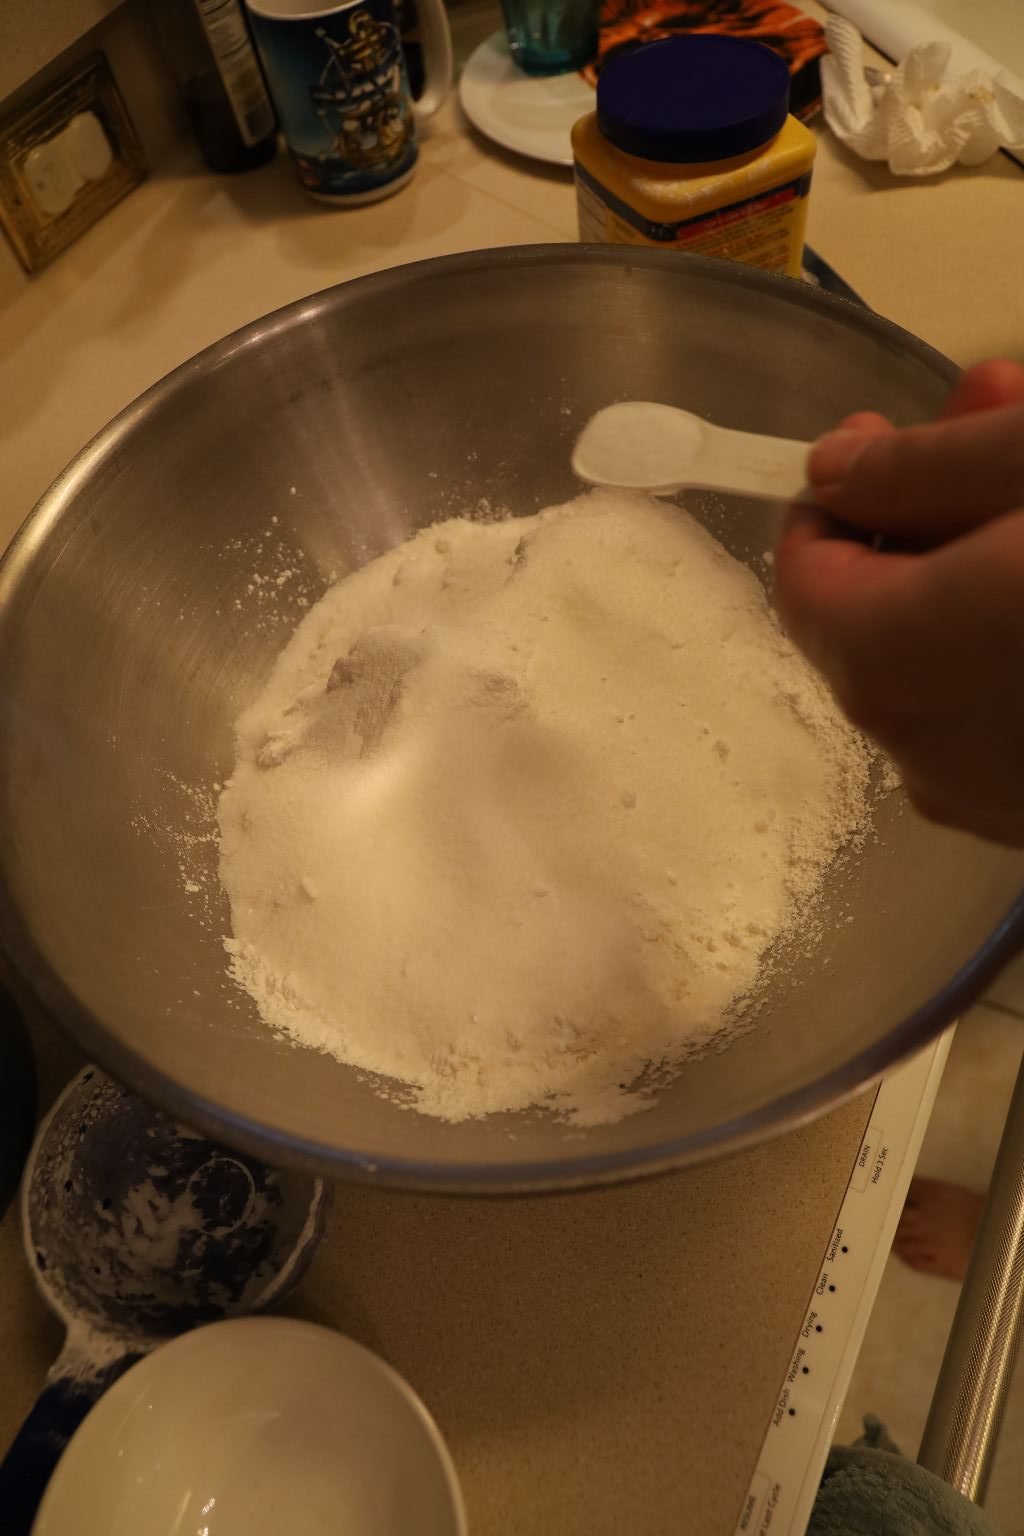

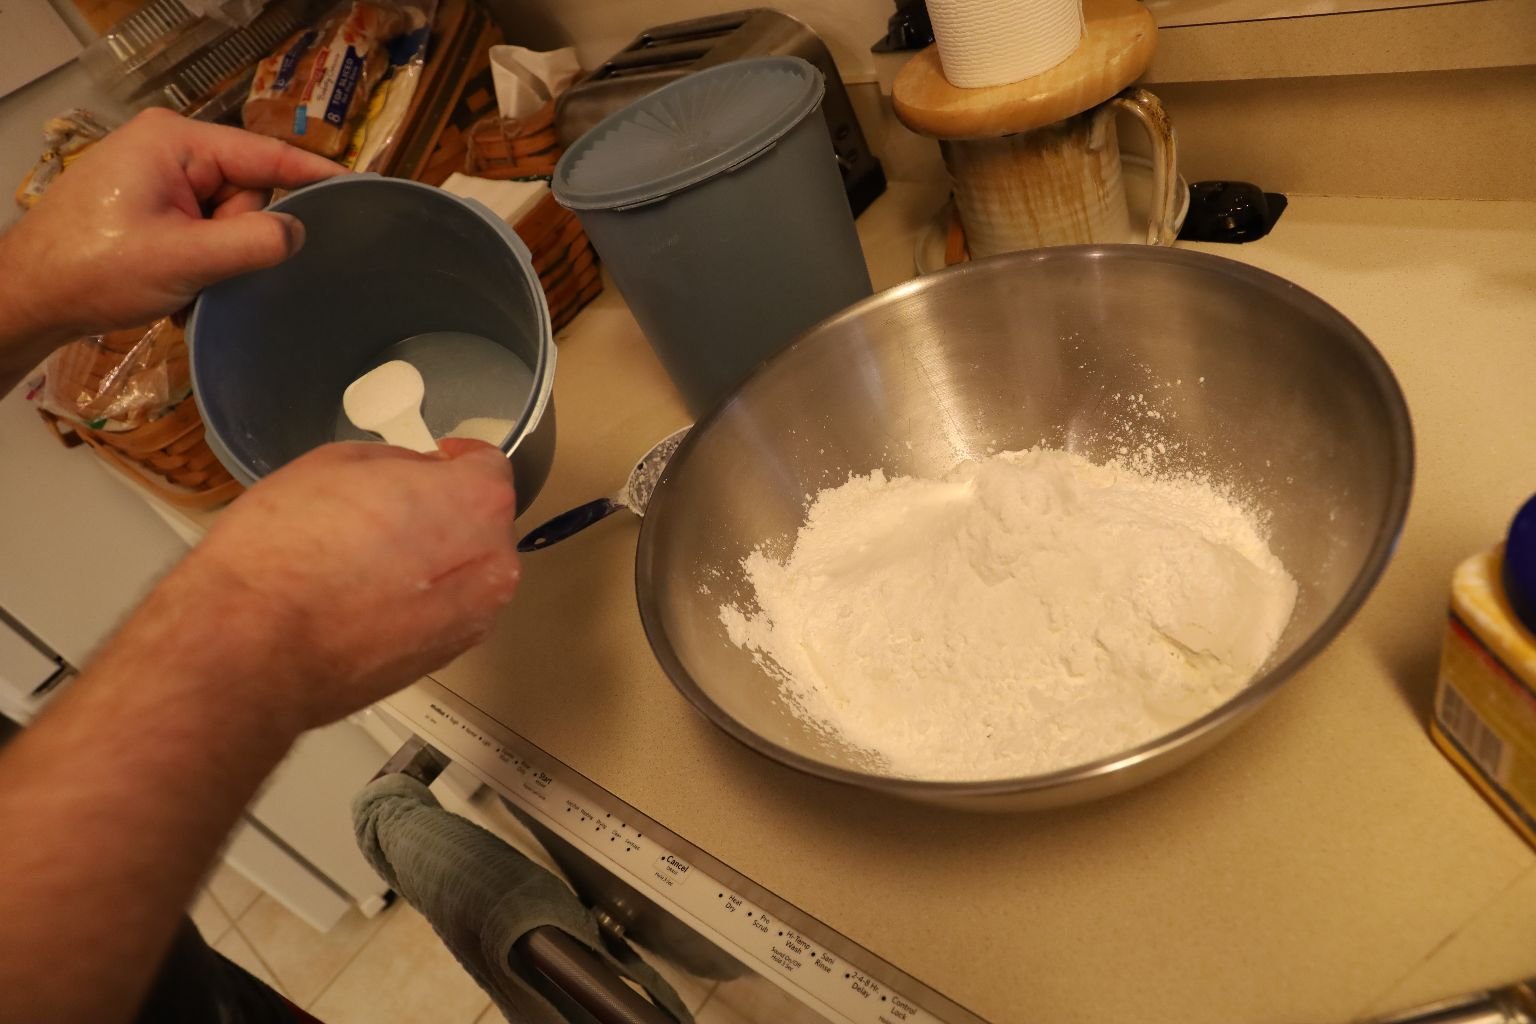
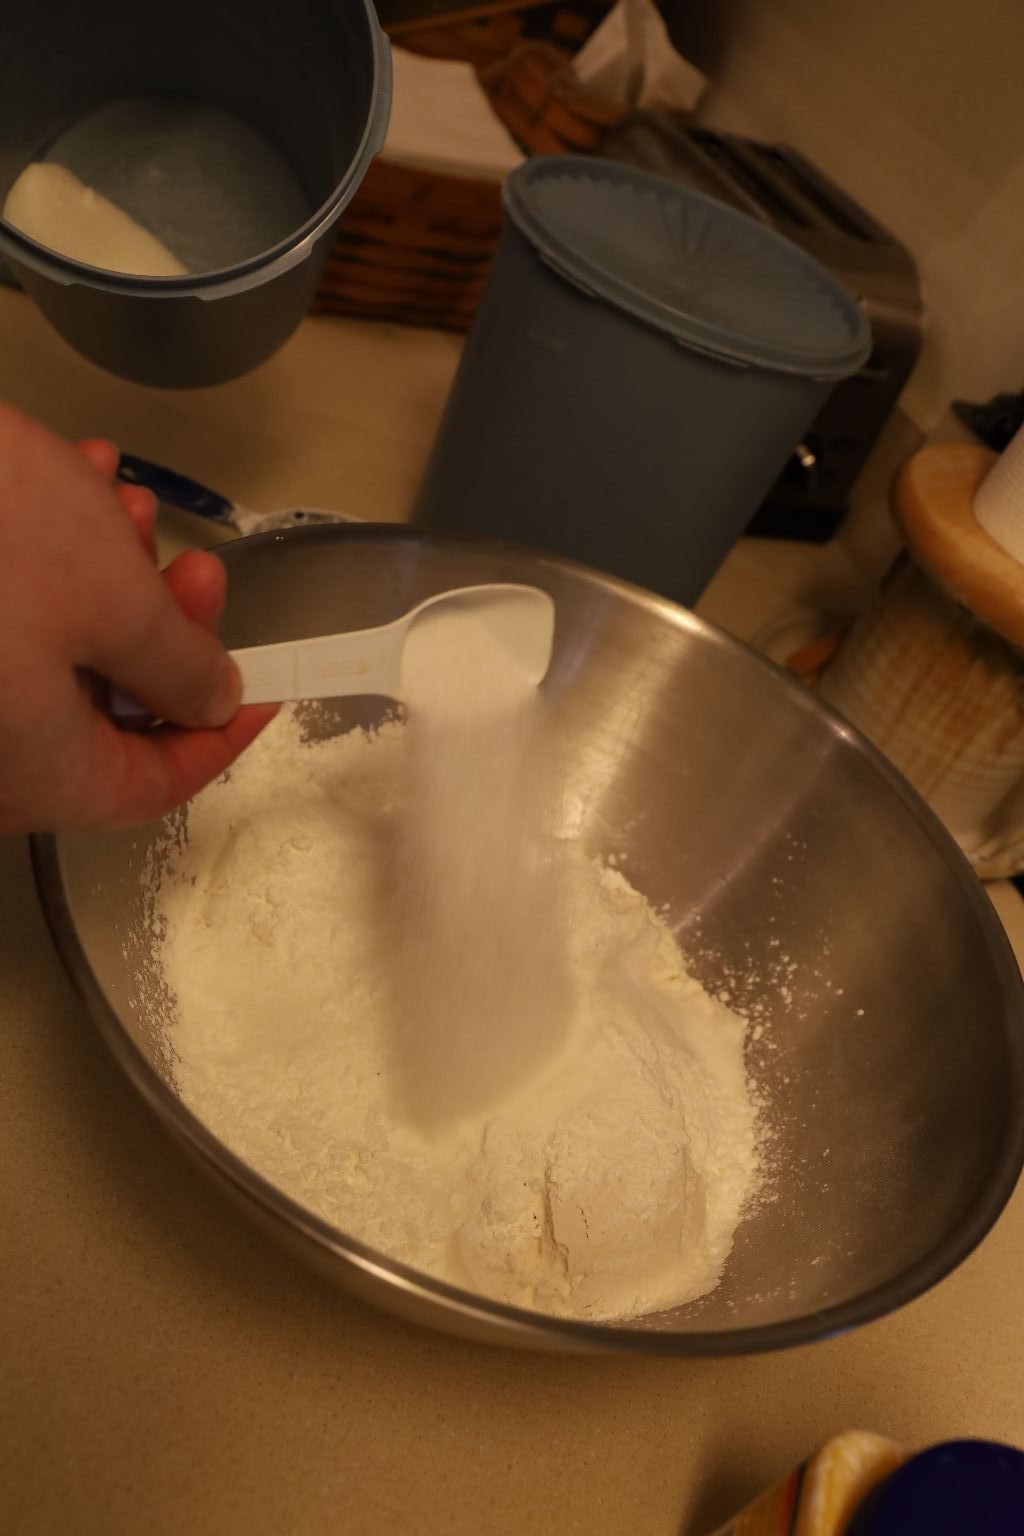
Add your salt to the flour mixture
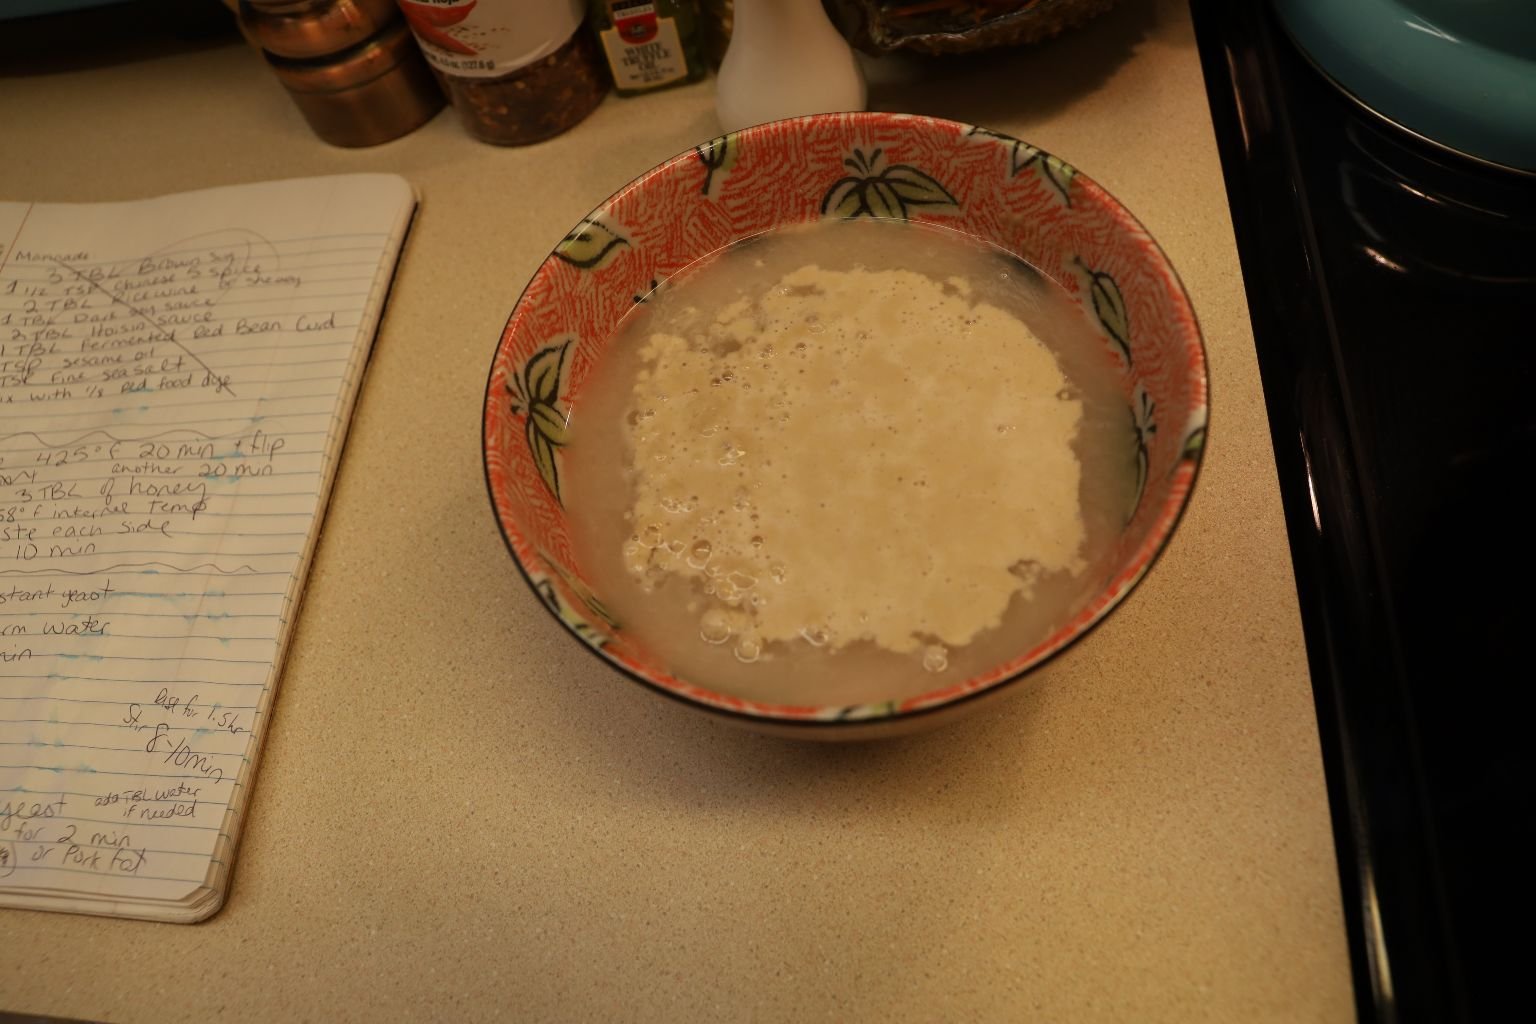
Here you can see all the bubbles forming from the yeast.
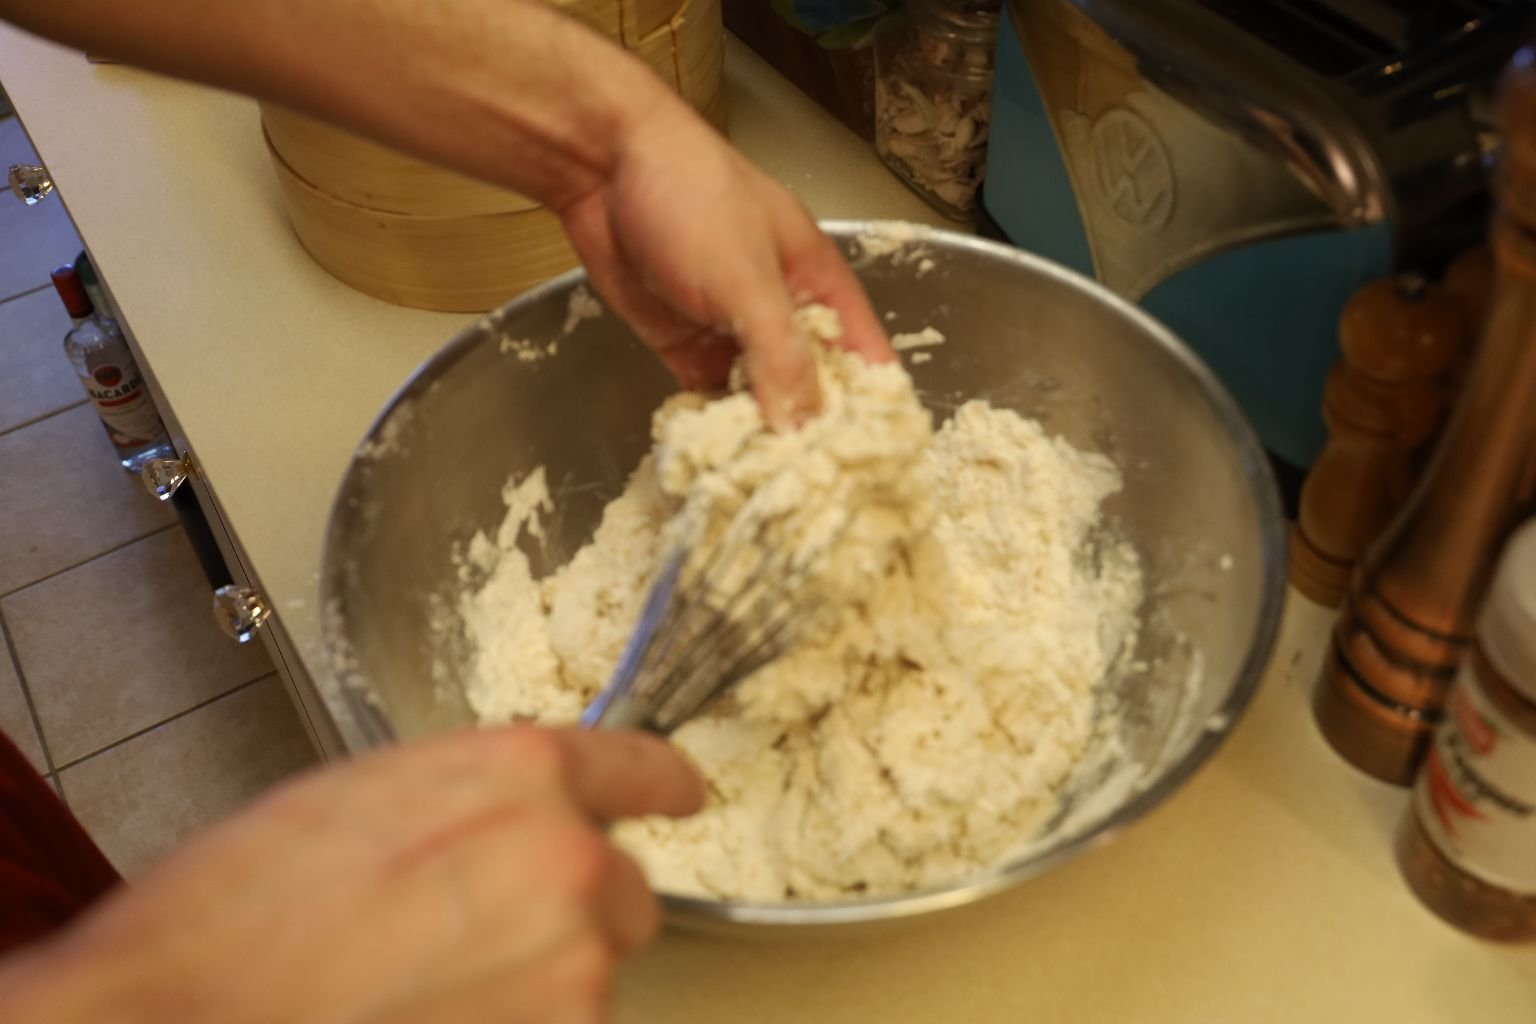
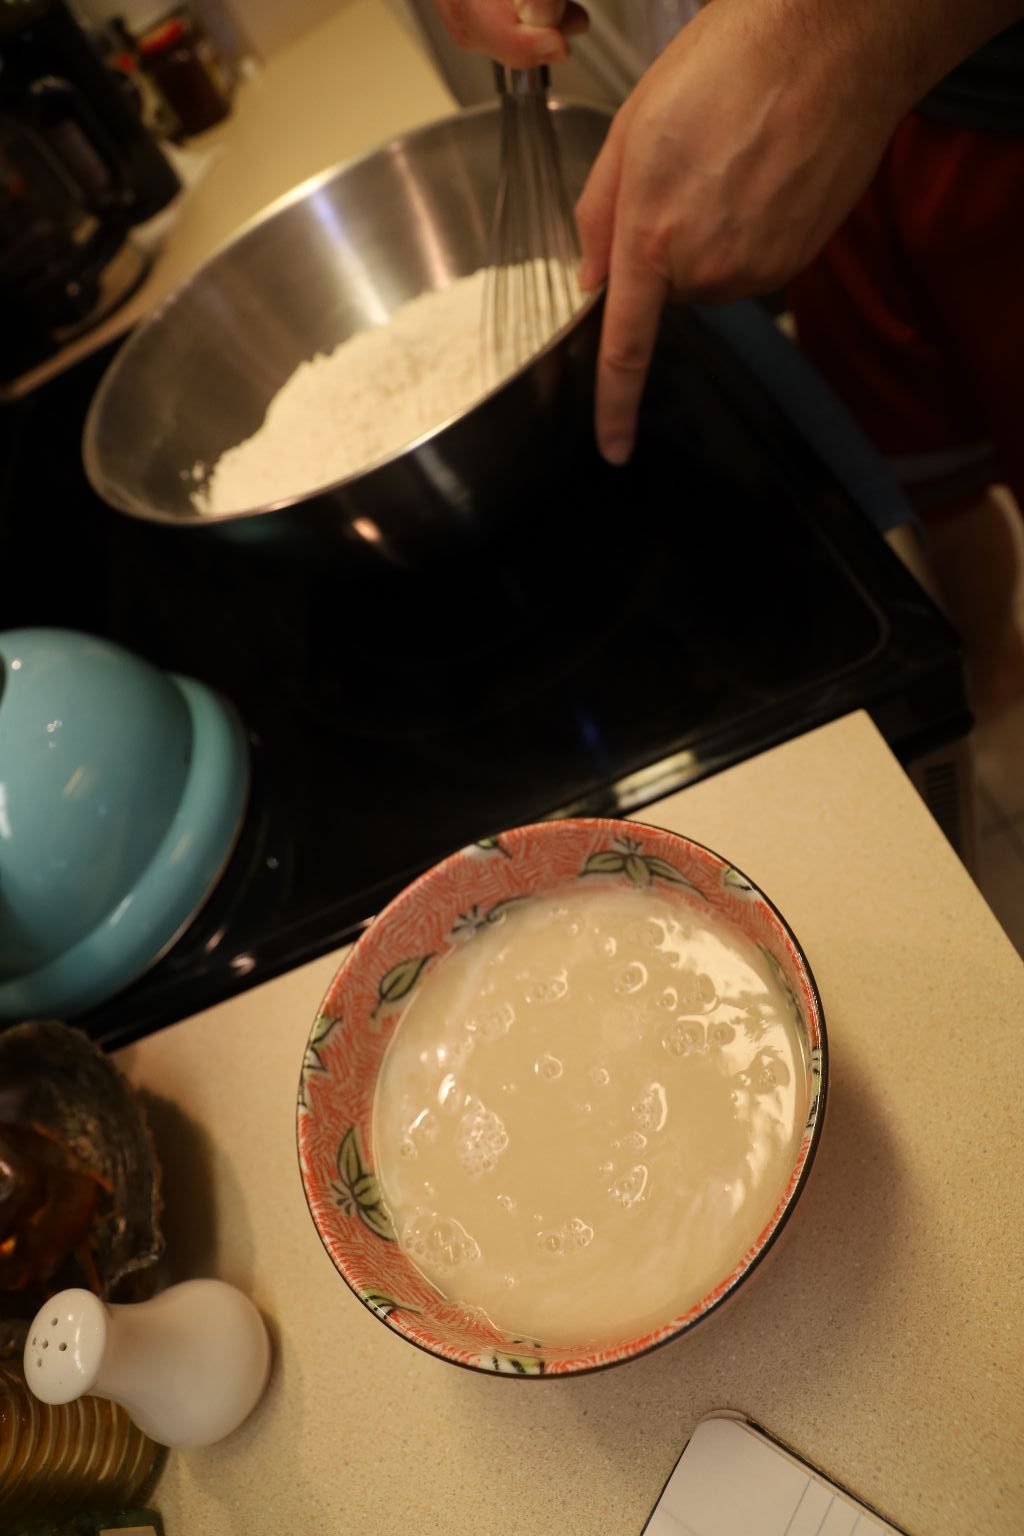
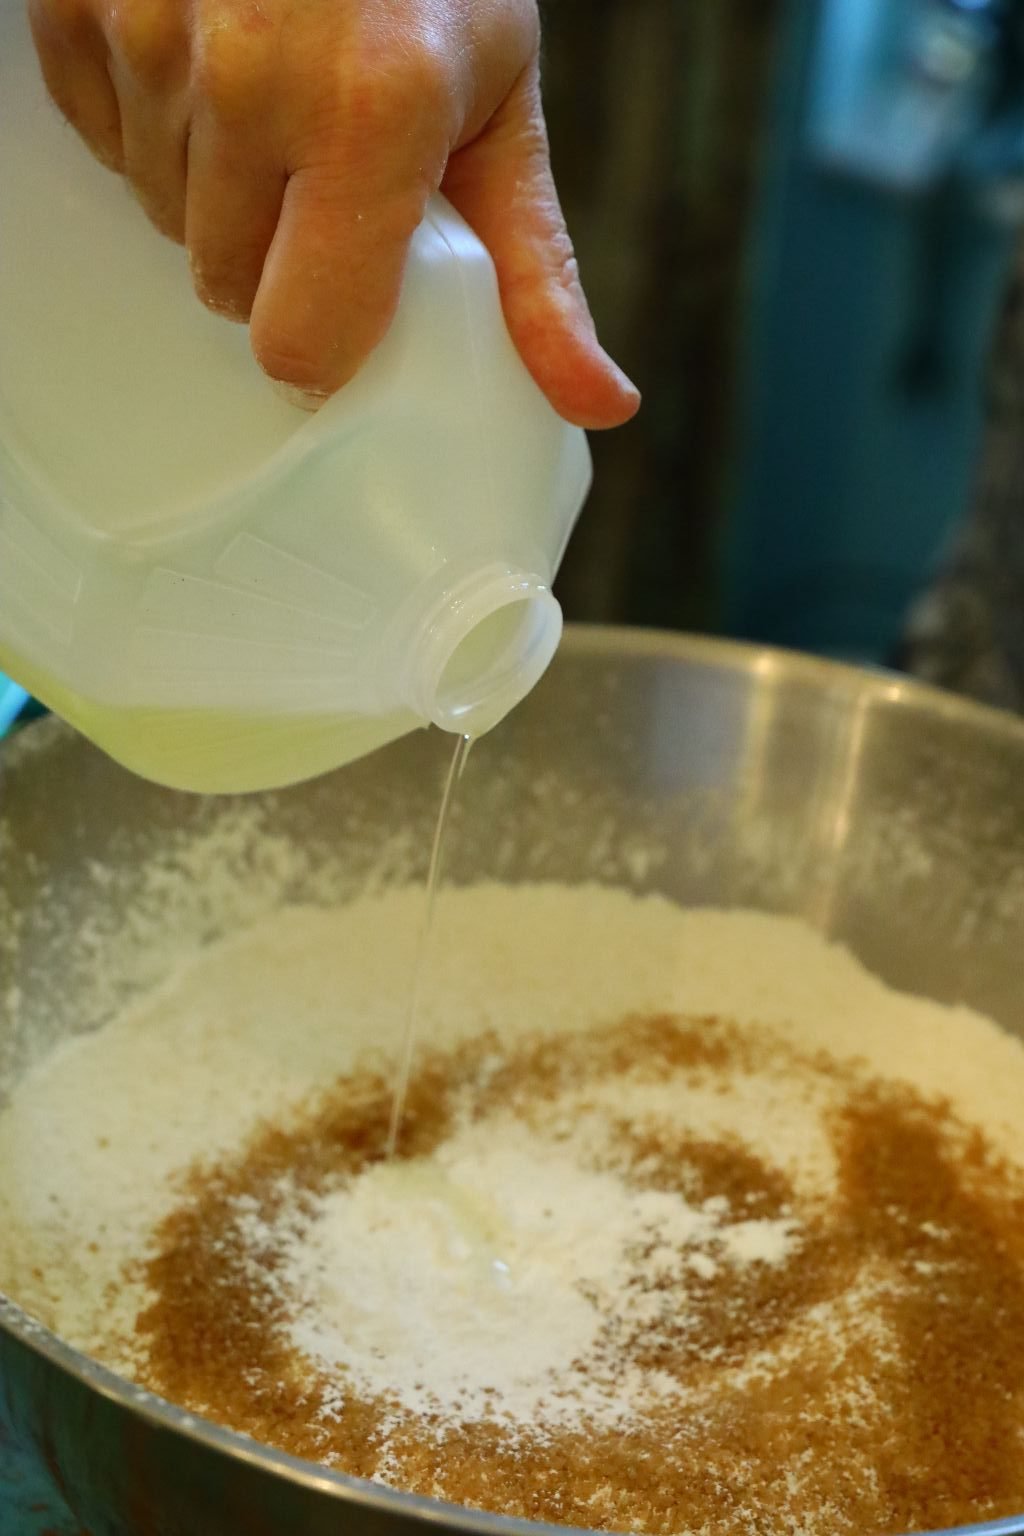
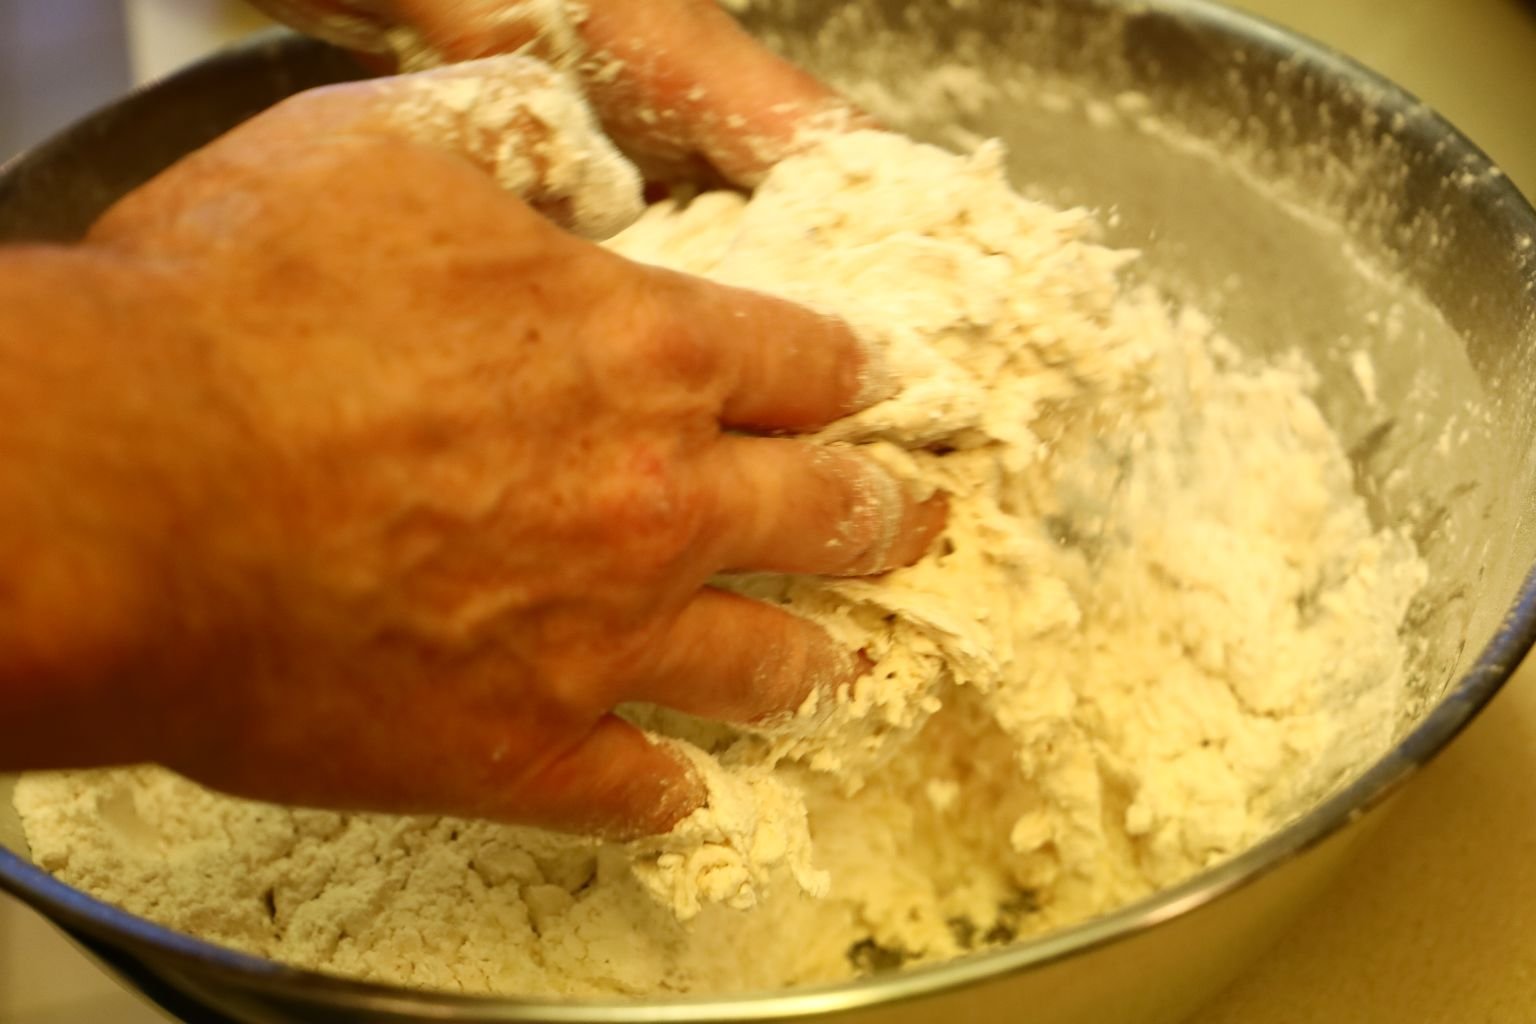
Add some of your liquid to the flour mixture and gently whisk together.
Remove the whisk and add the remaining liquid to the flour mixture.
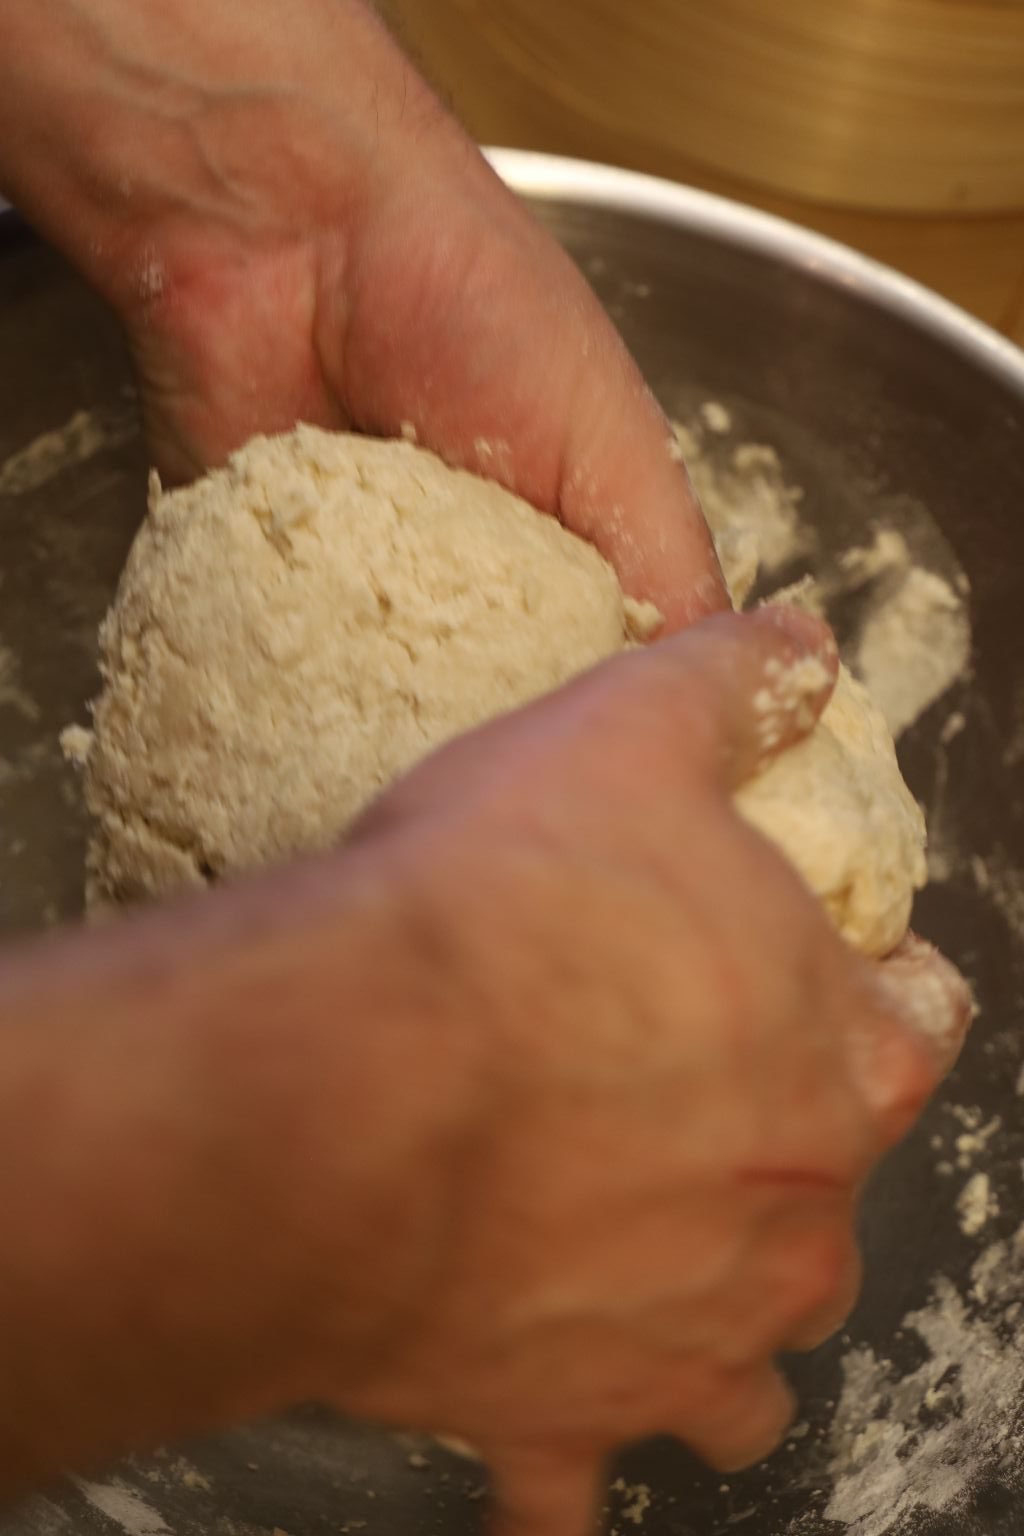
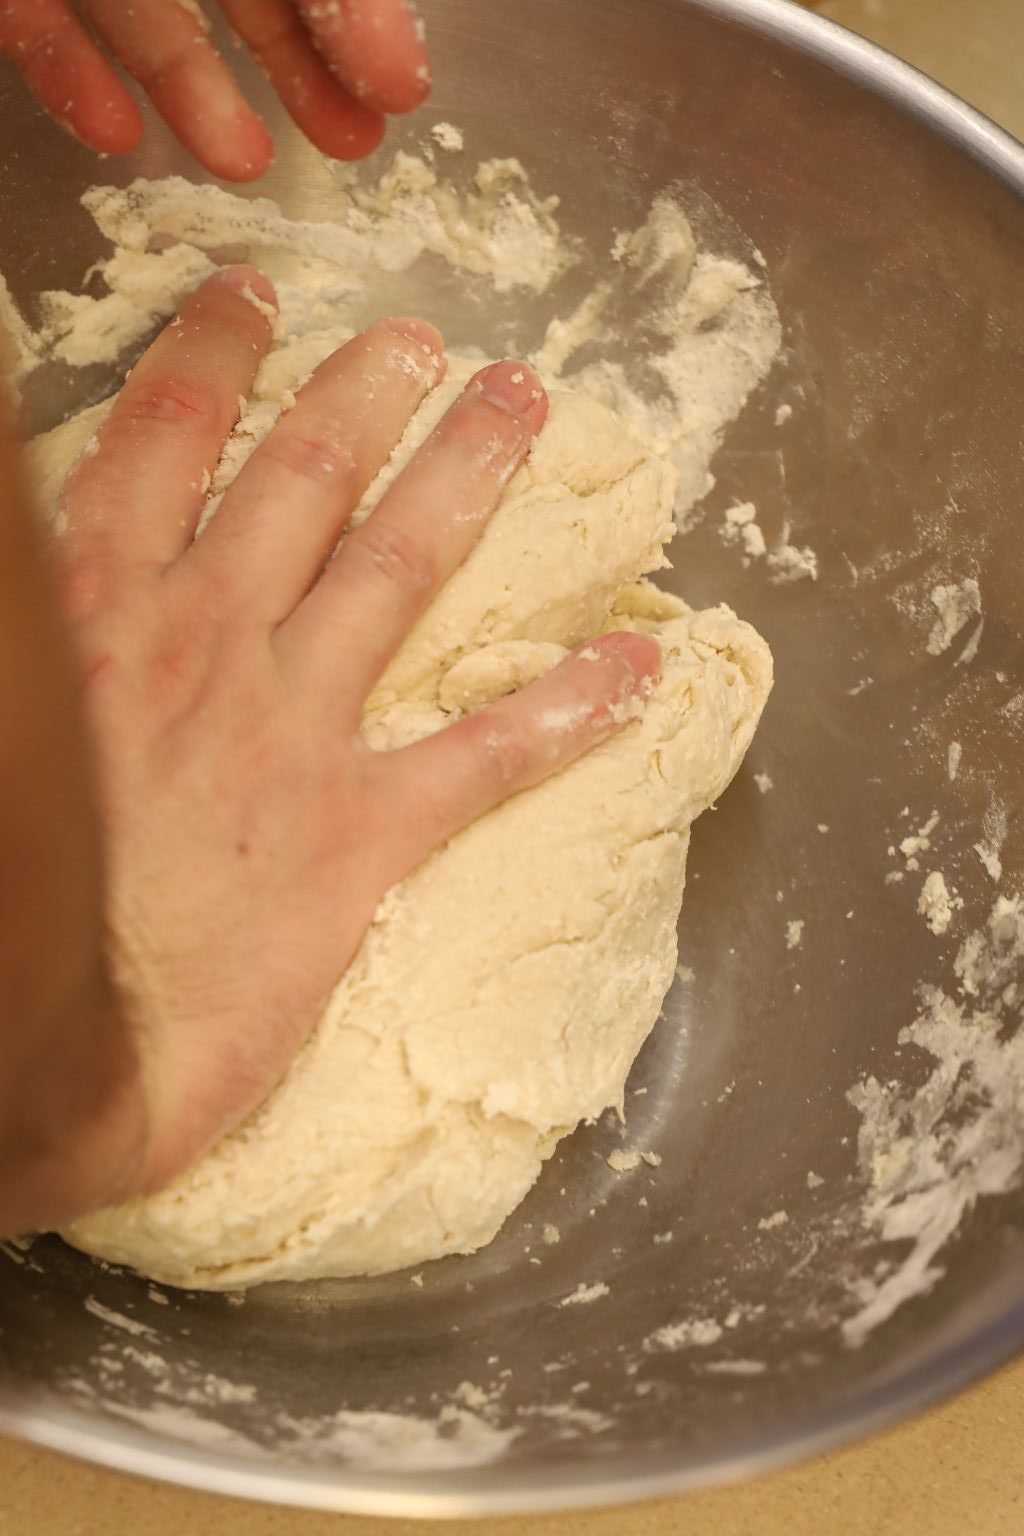
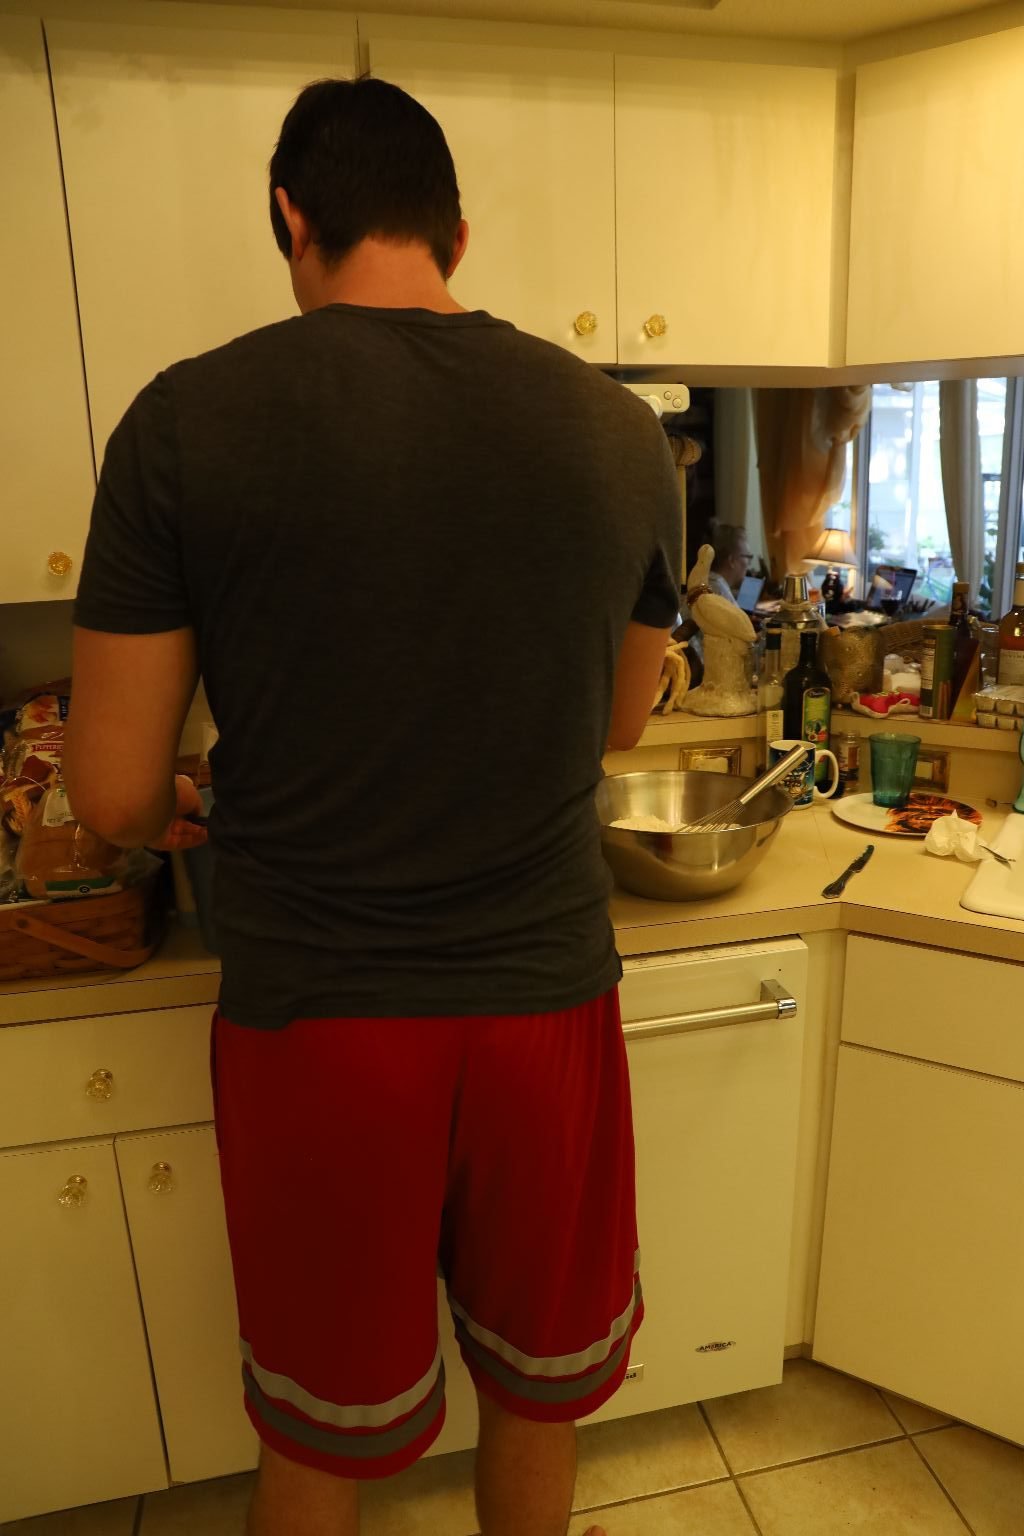
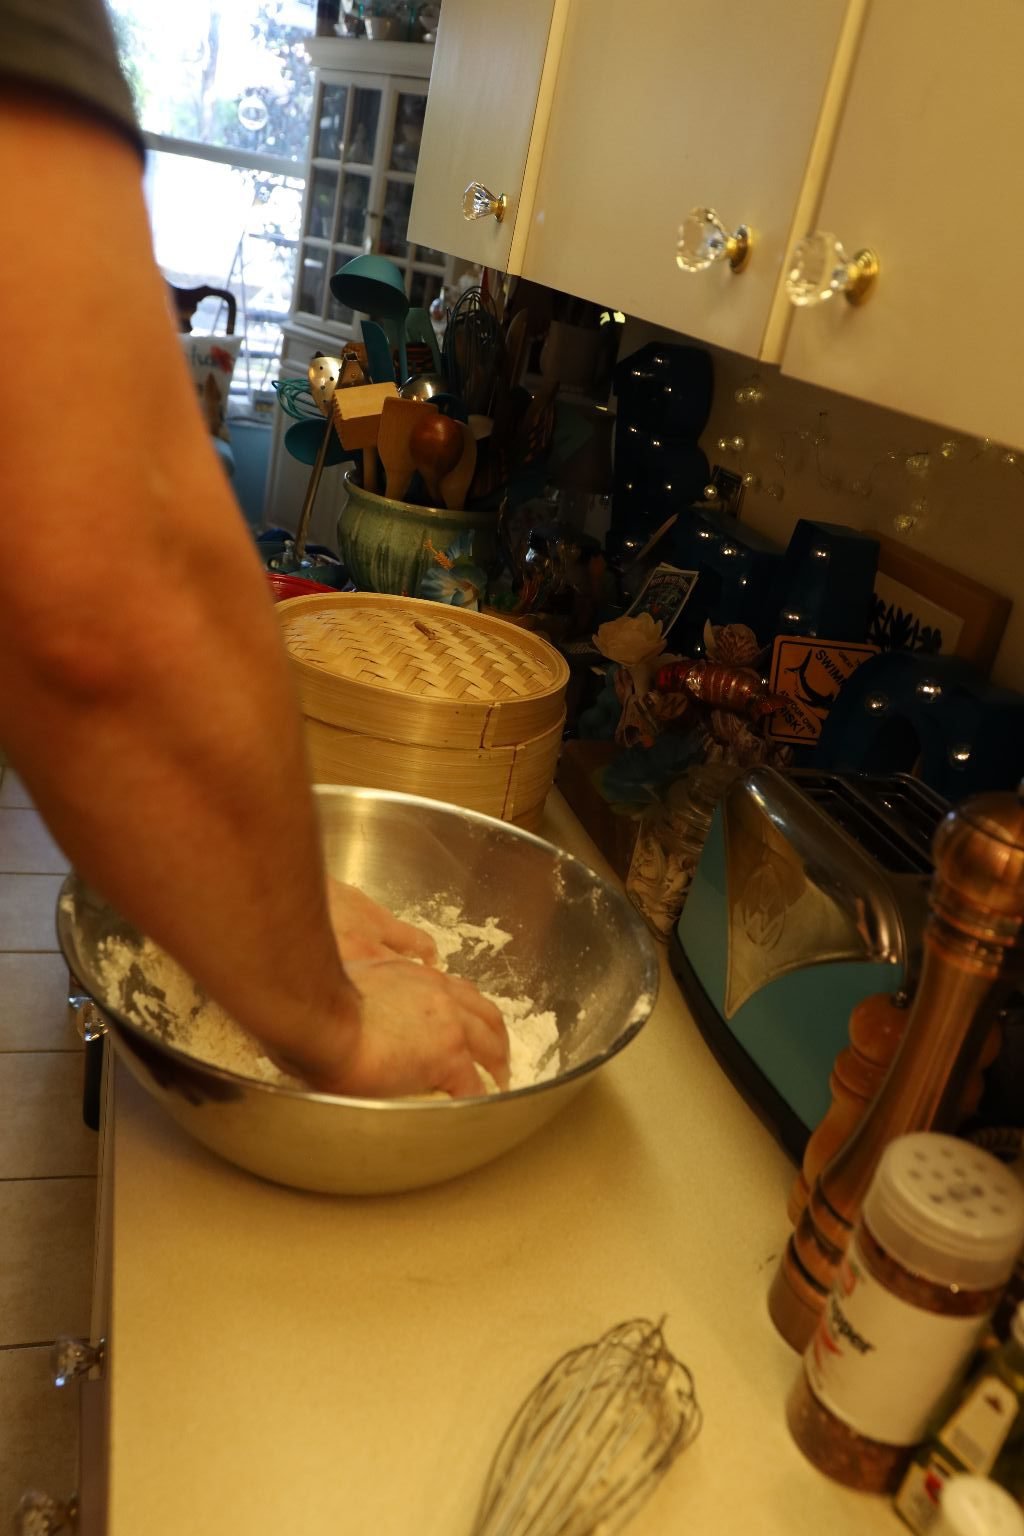
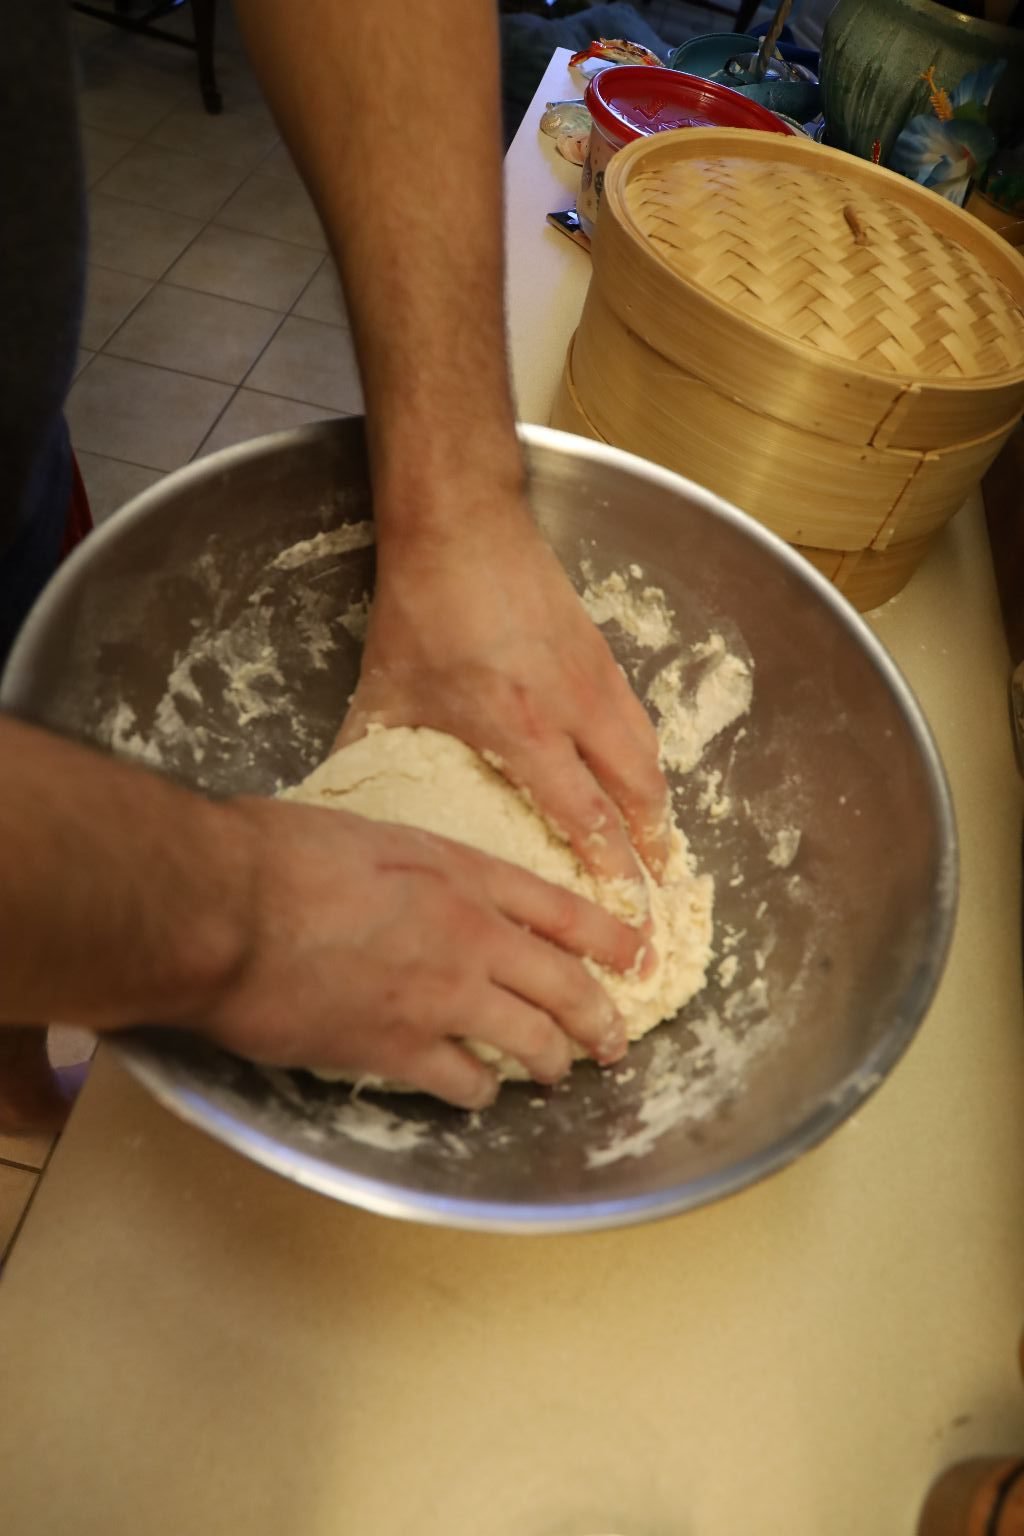
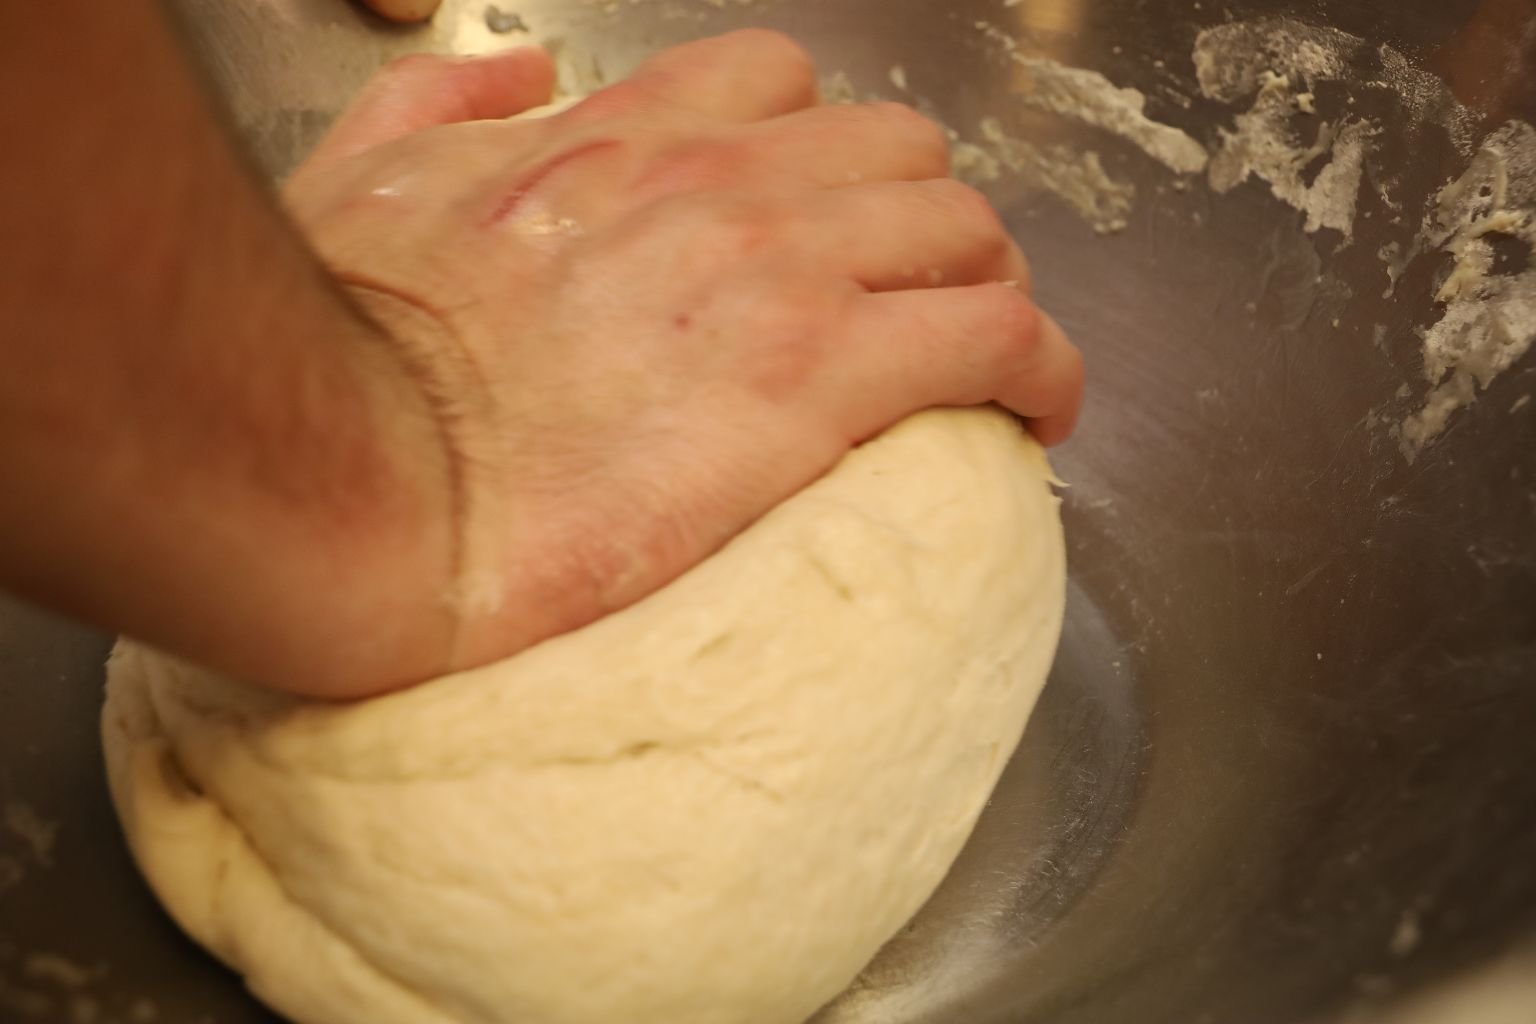
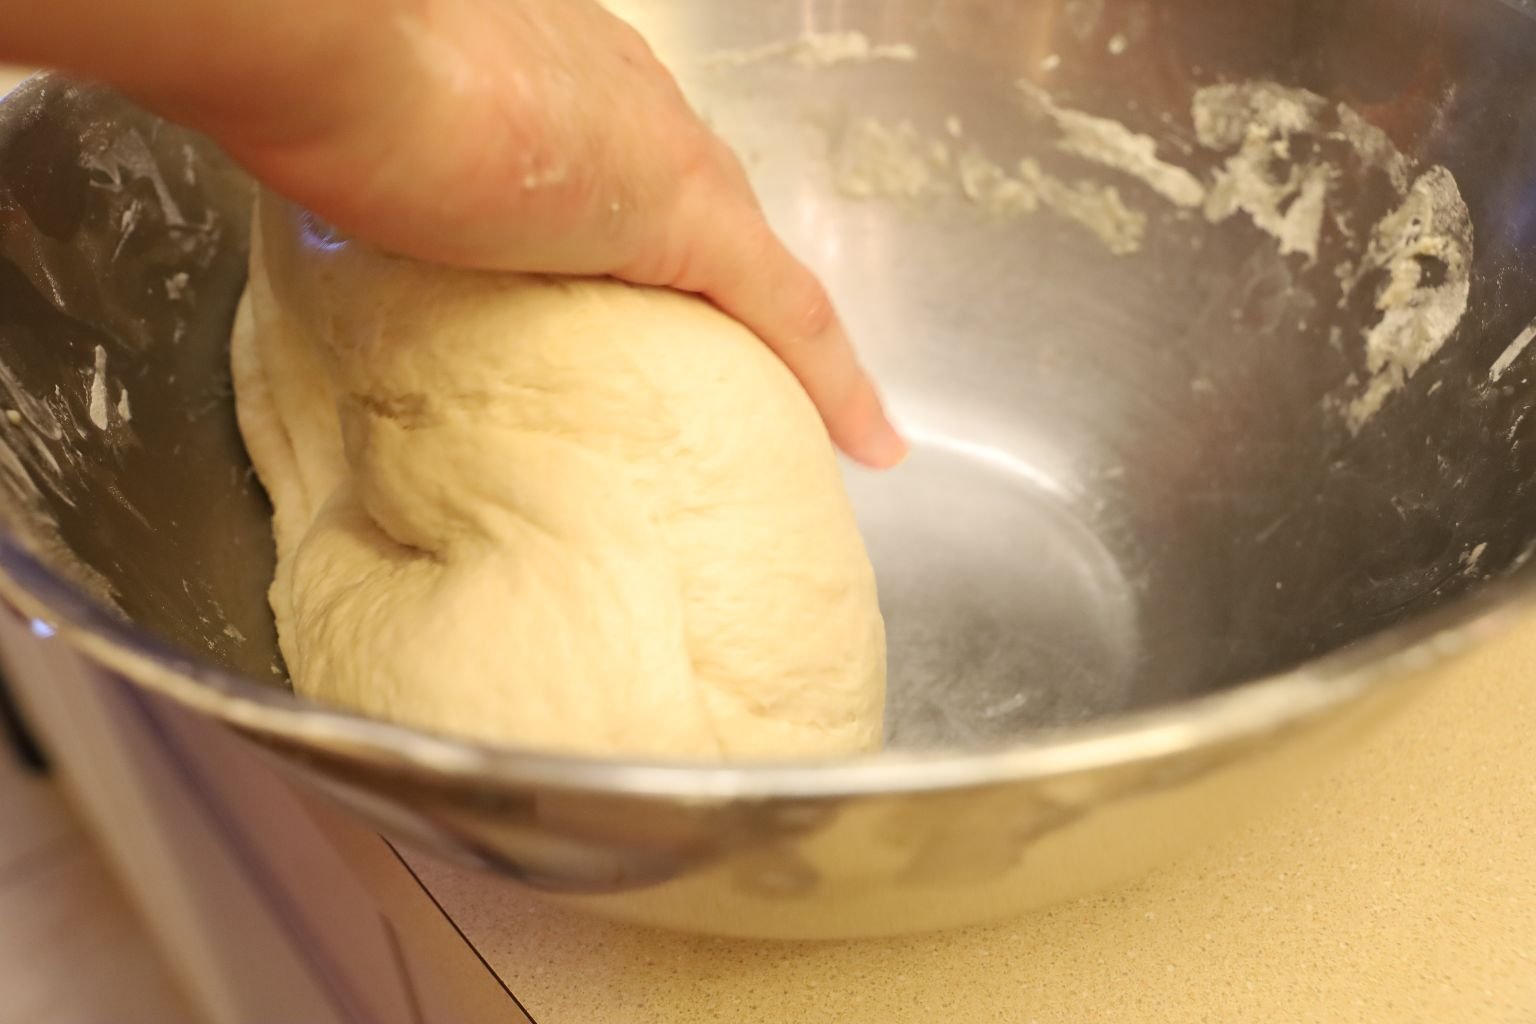
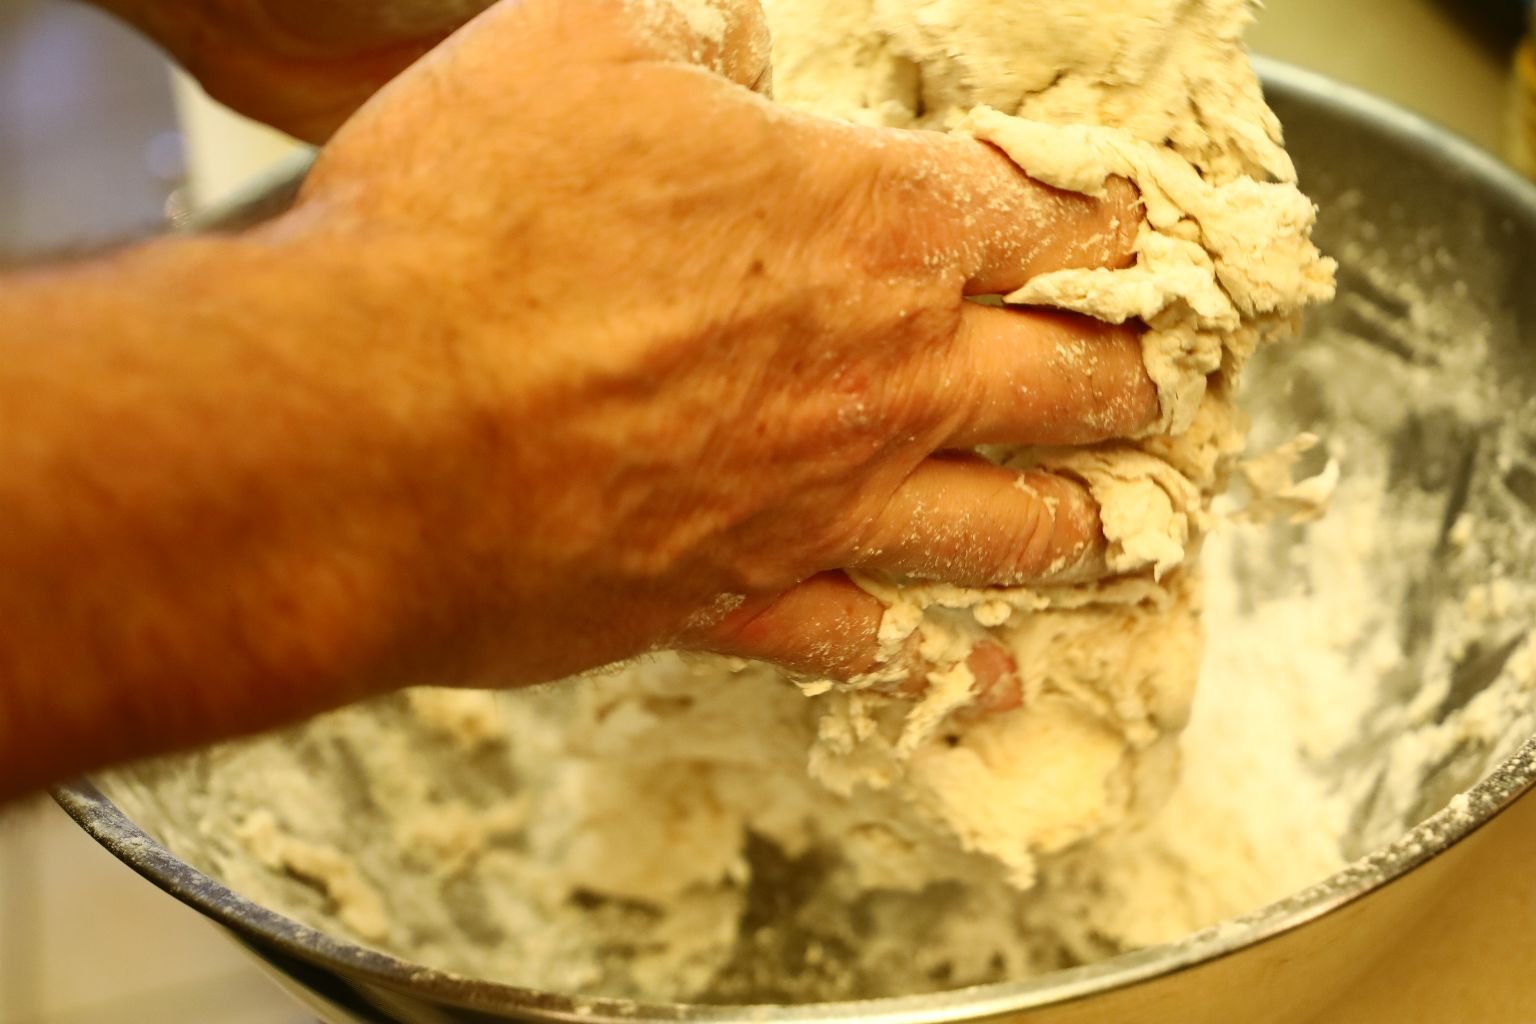
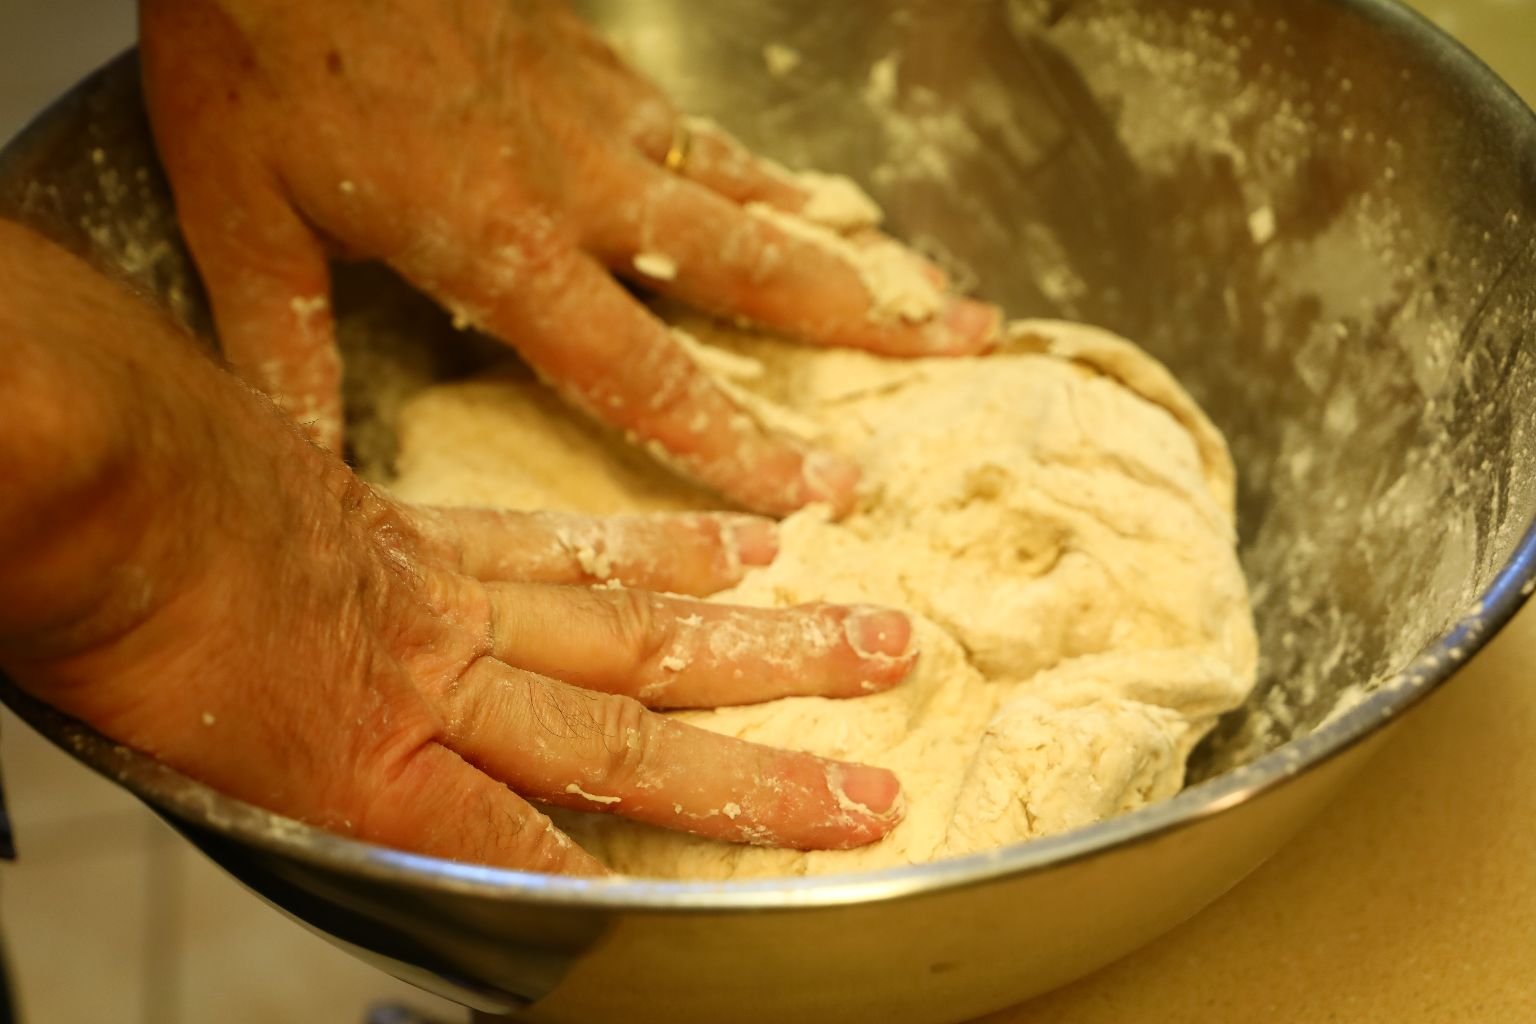
Using your hands, combine all the ingredients folding it over and over again kneading the dough.
Knead the dough for about 5 min.
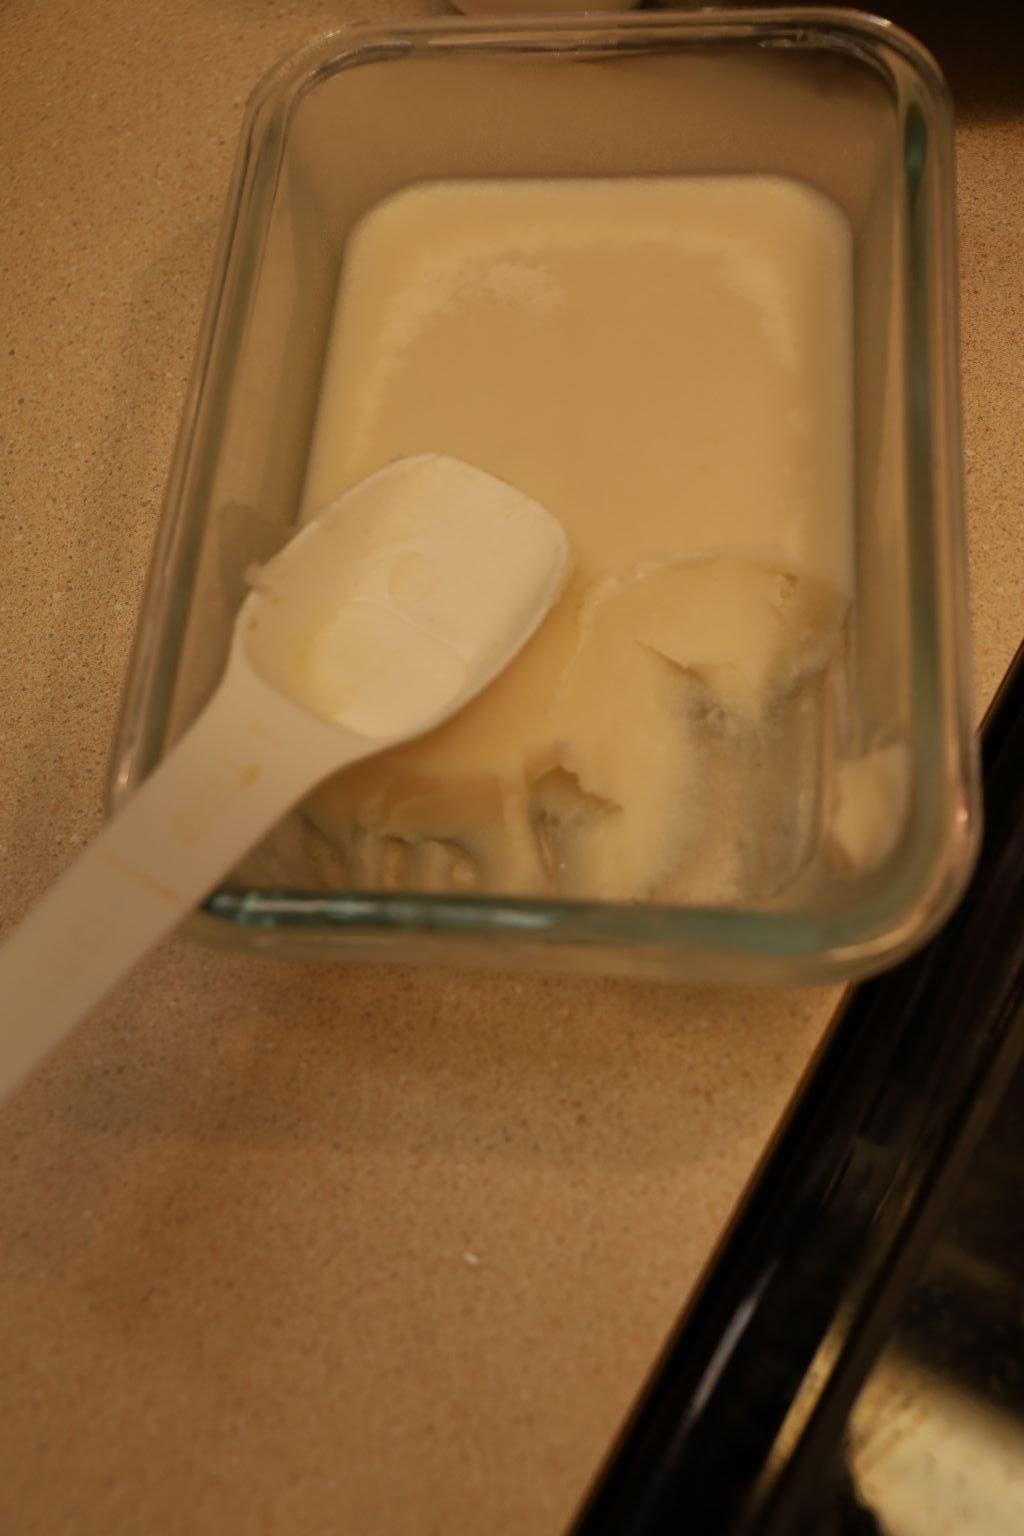
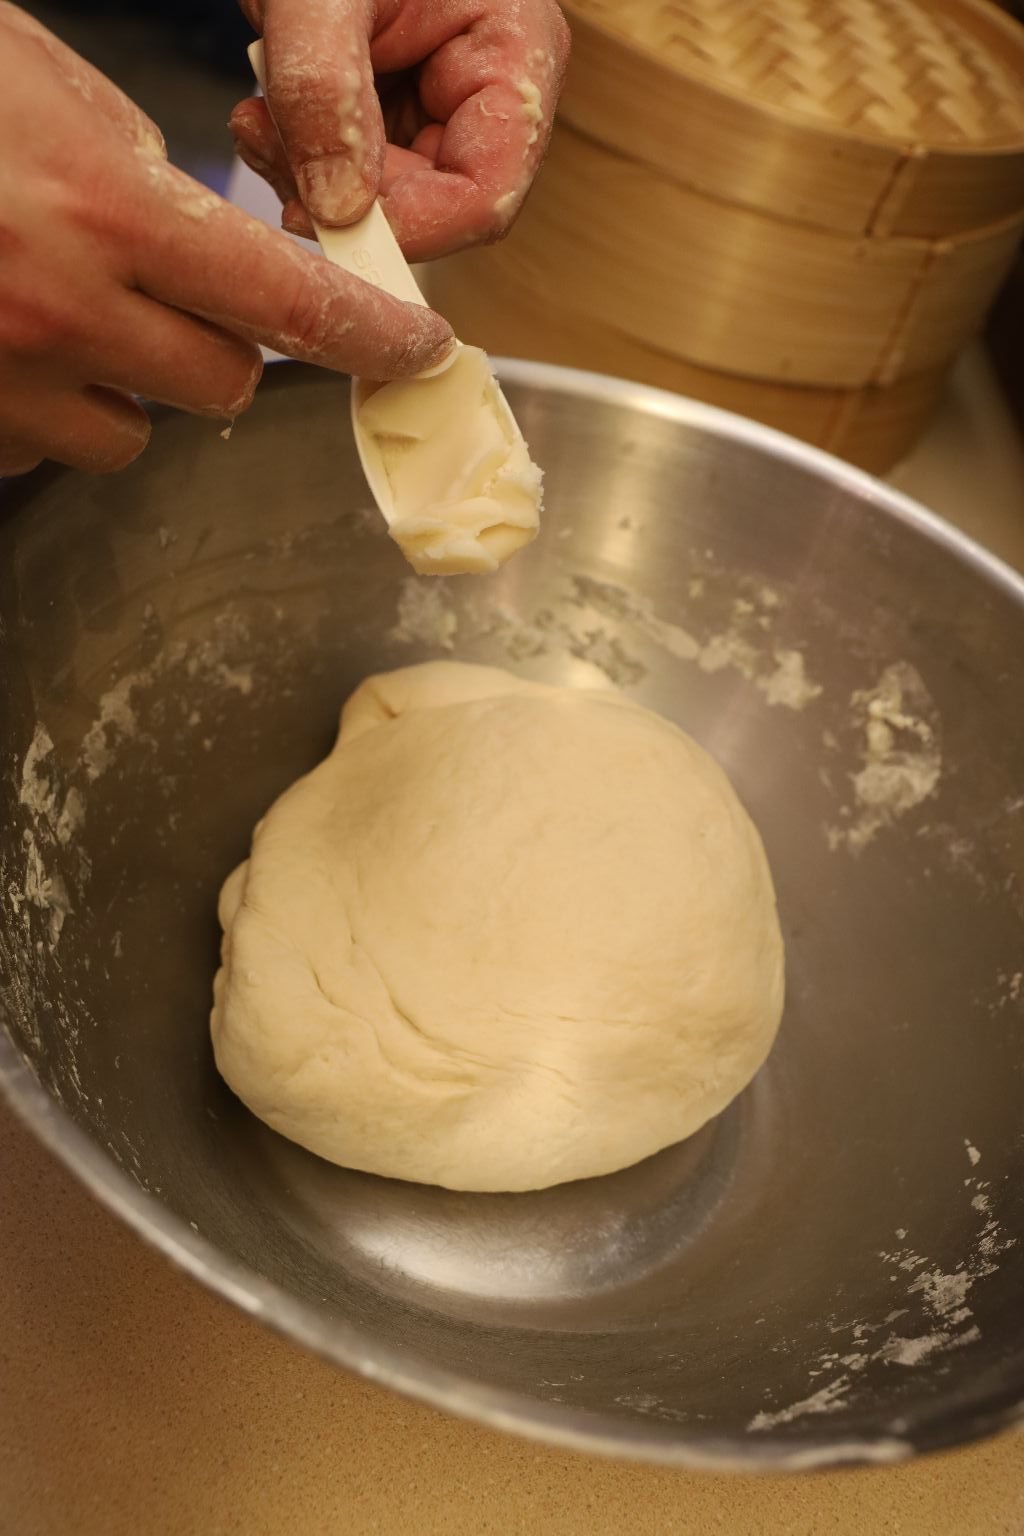
When done, add your bacon fat to the dough and knead the dough again for another few minutes to incorporate the fat.
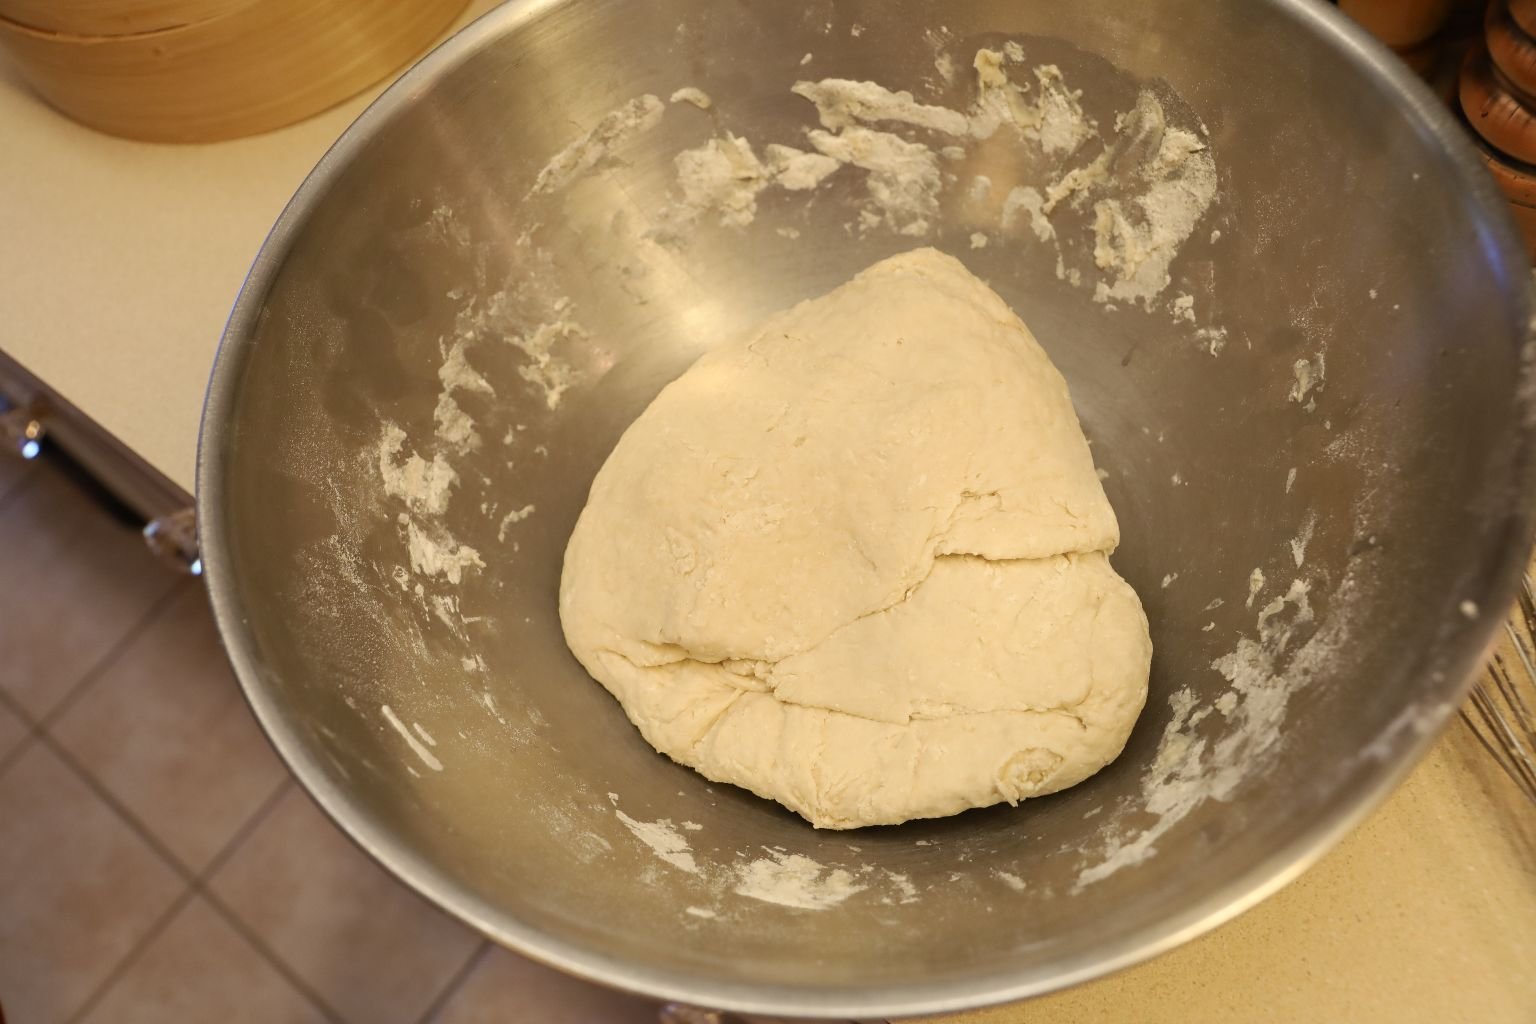
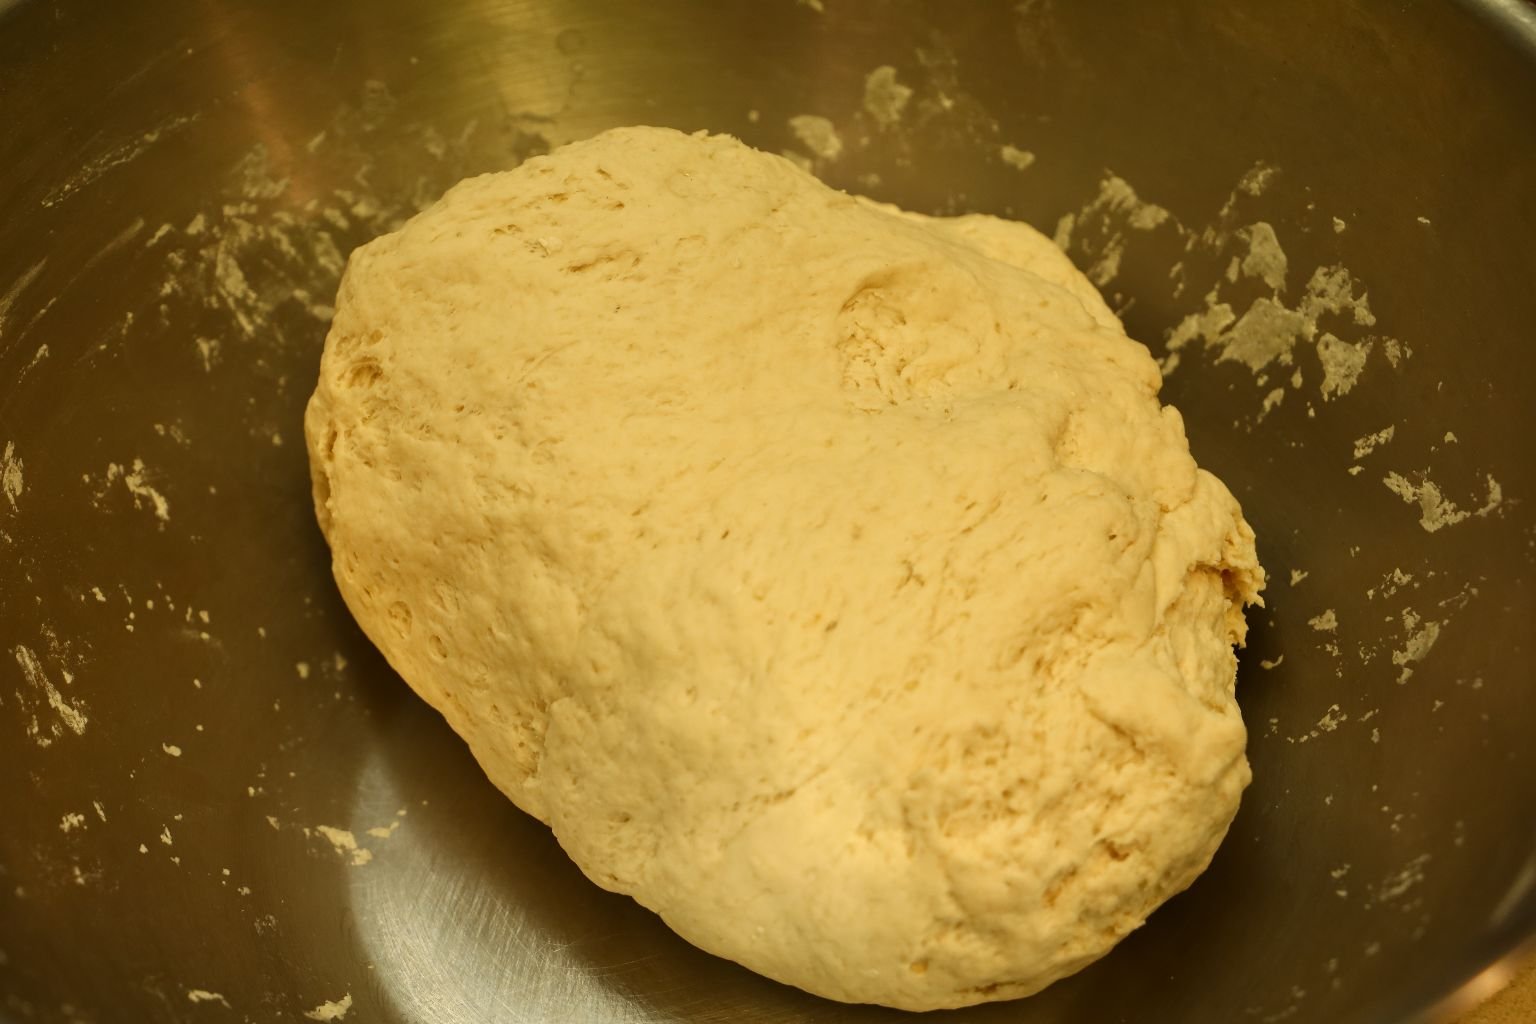
Cover the dough with a large kitchen cloth and let it sit in a warm location for 1 1/2 hours or until it doubles in size.
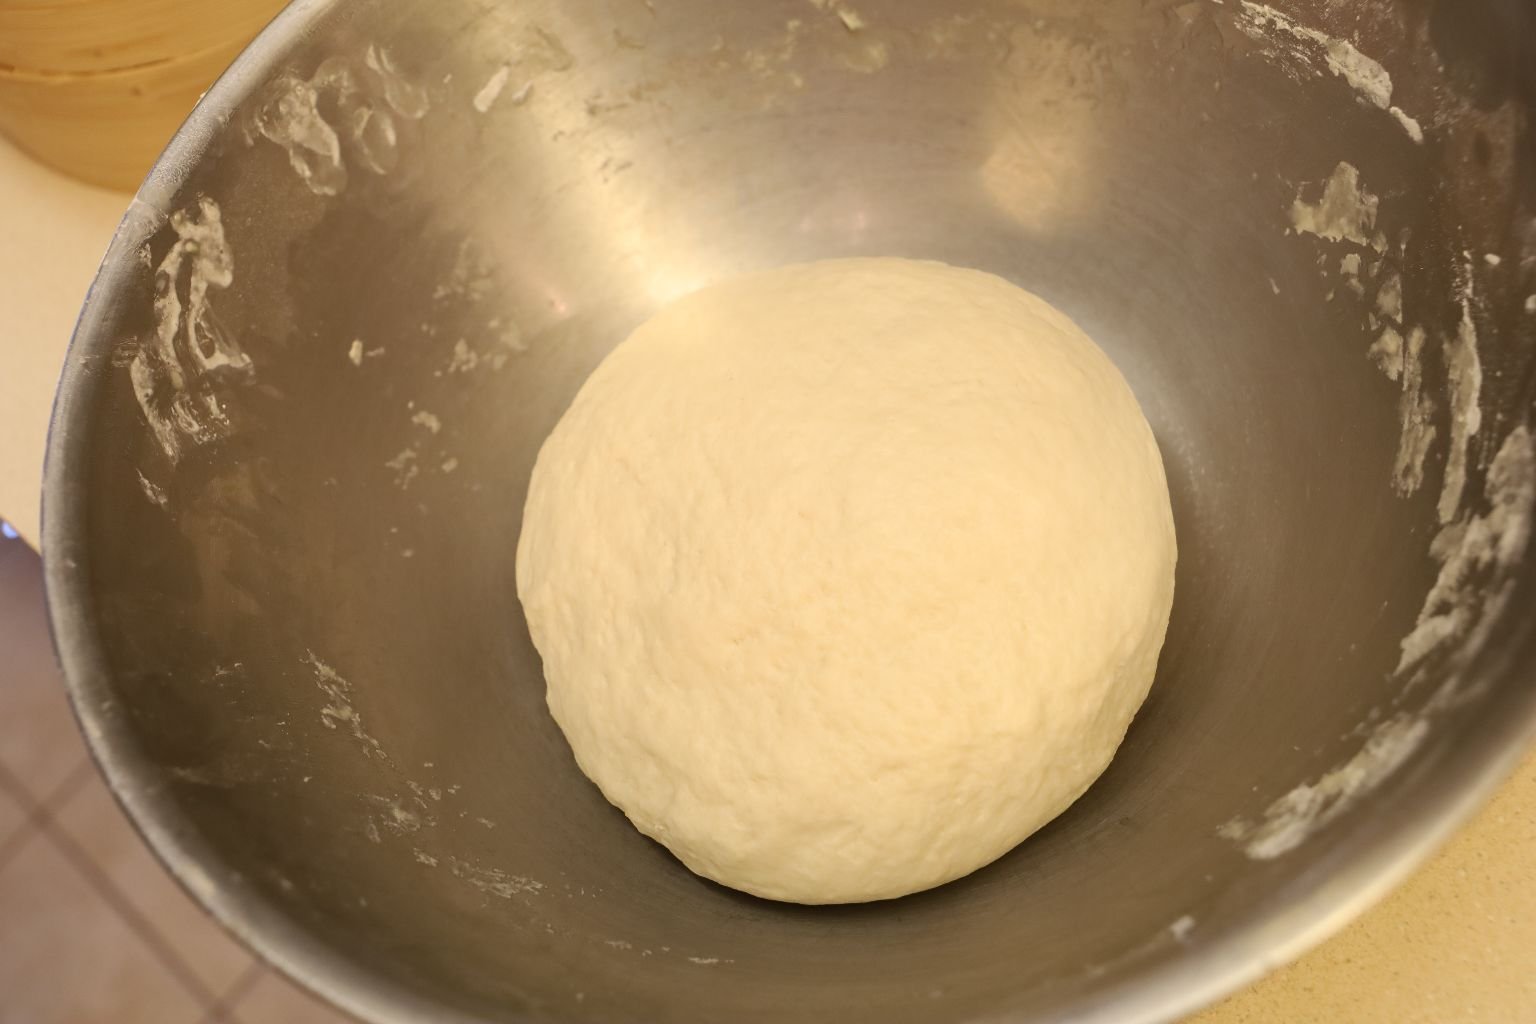

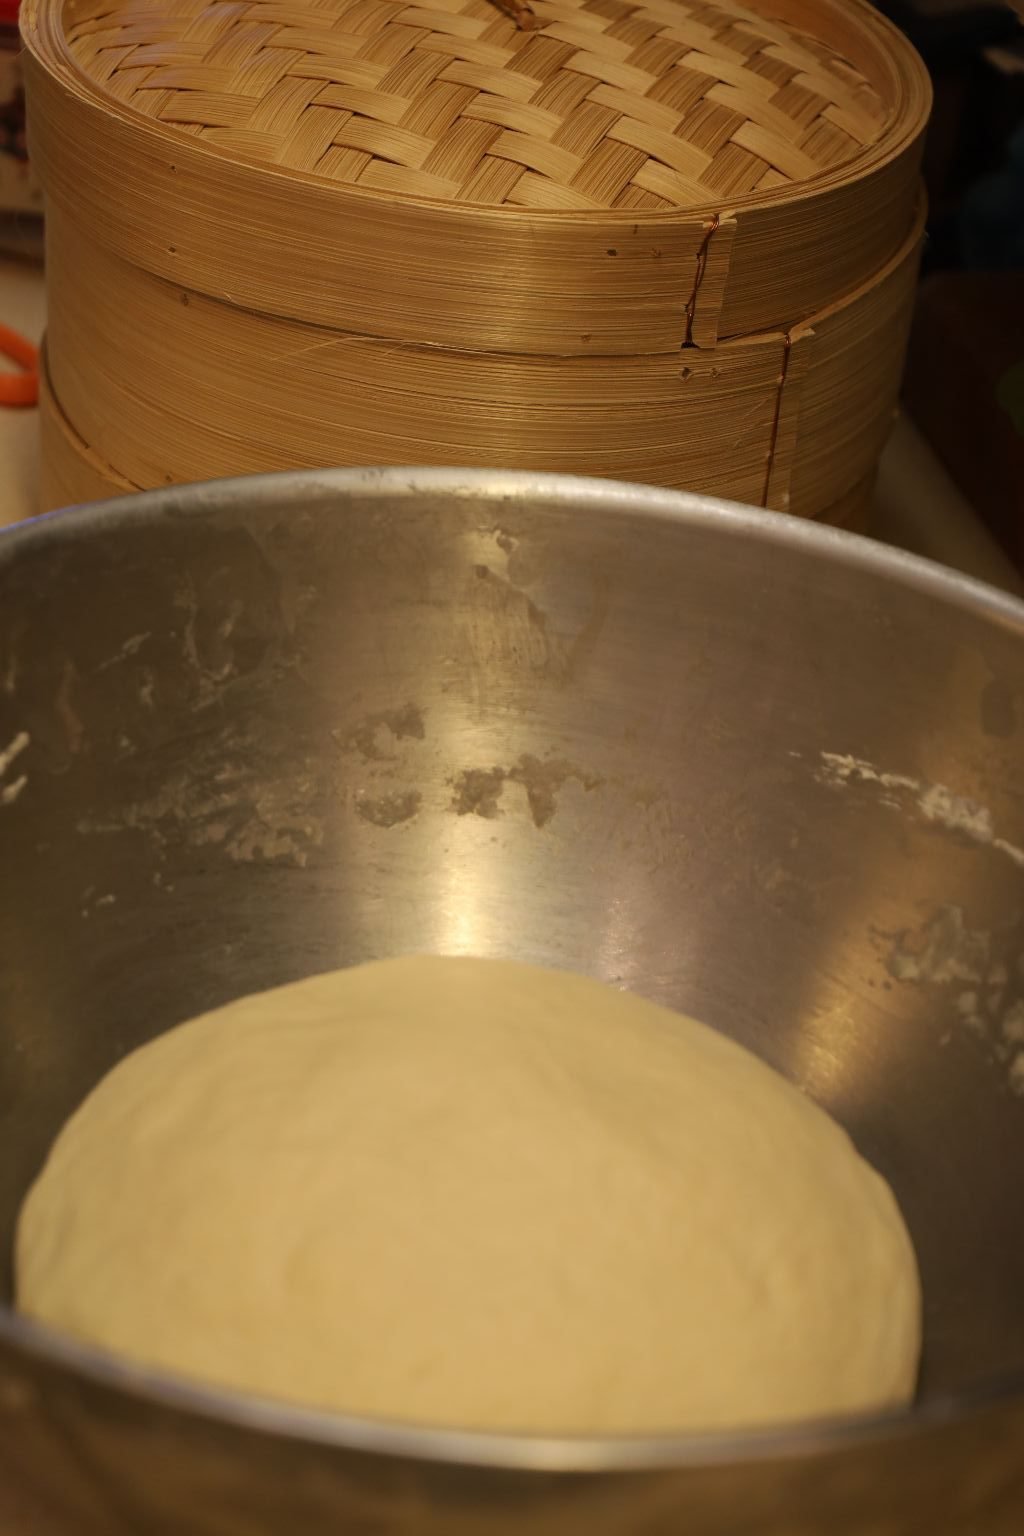
Here you can see the dough doubled in size.
————————————————————
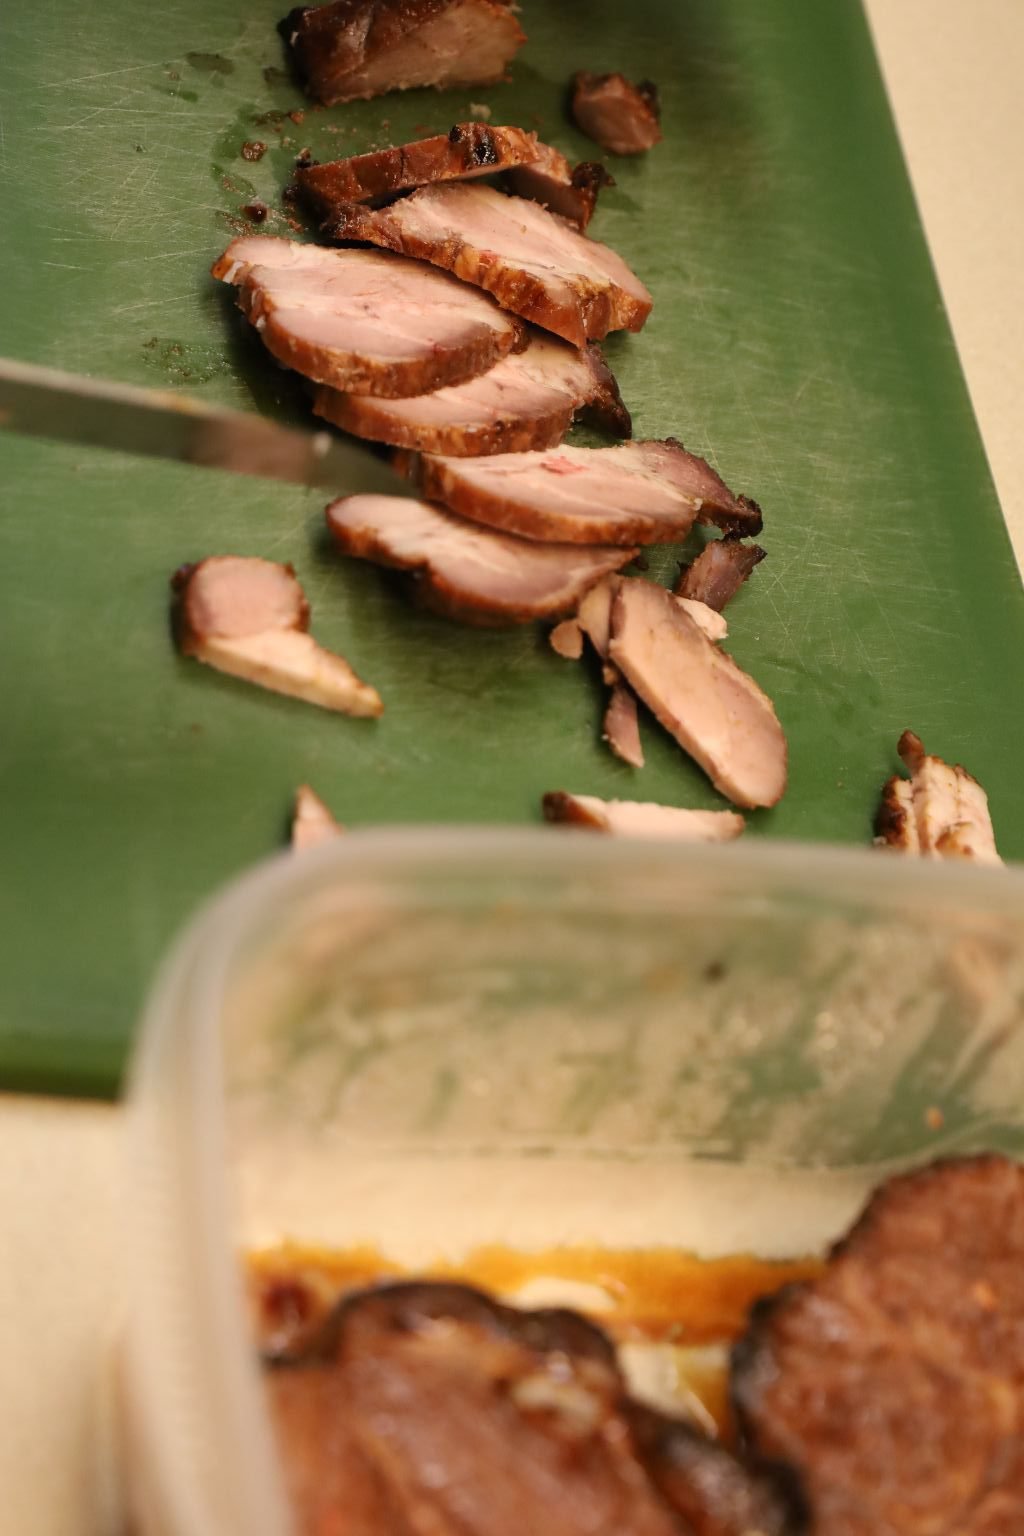
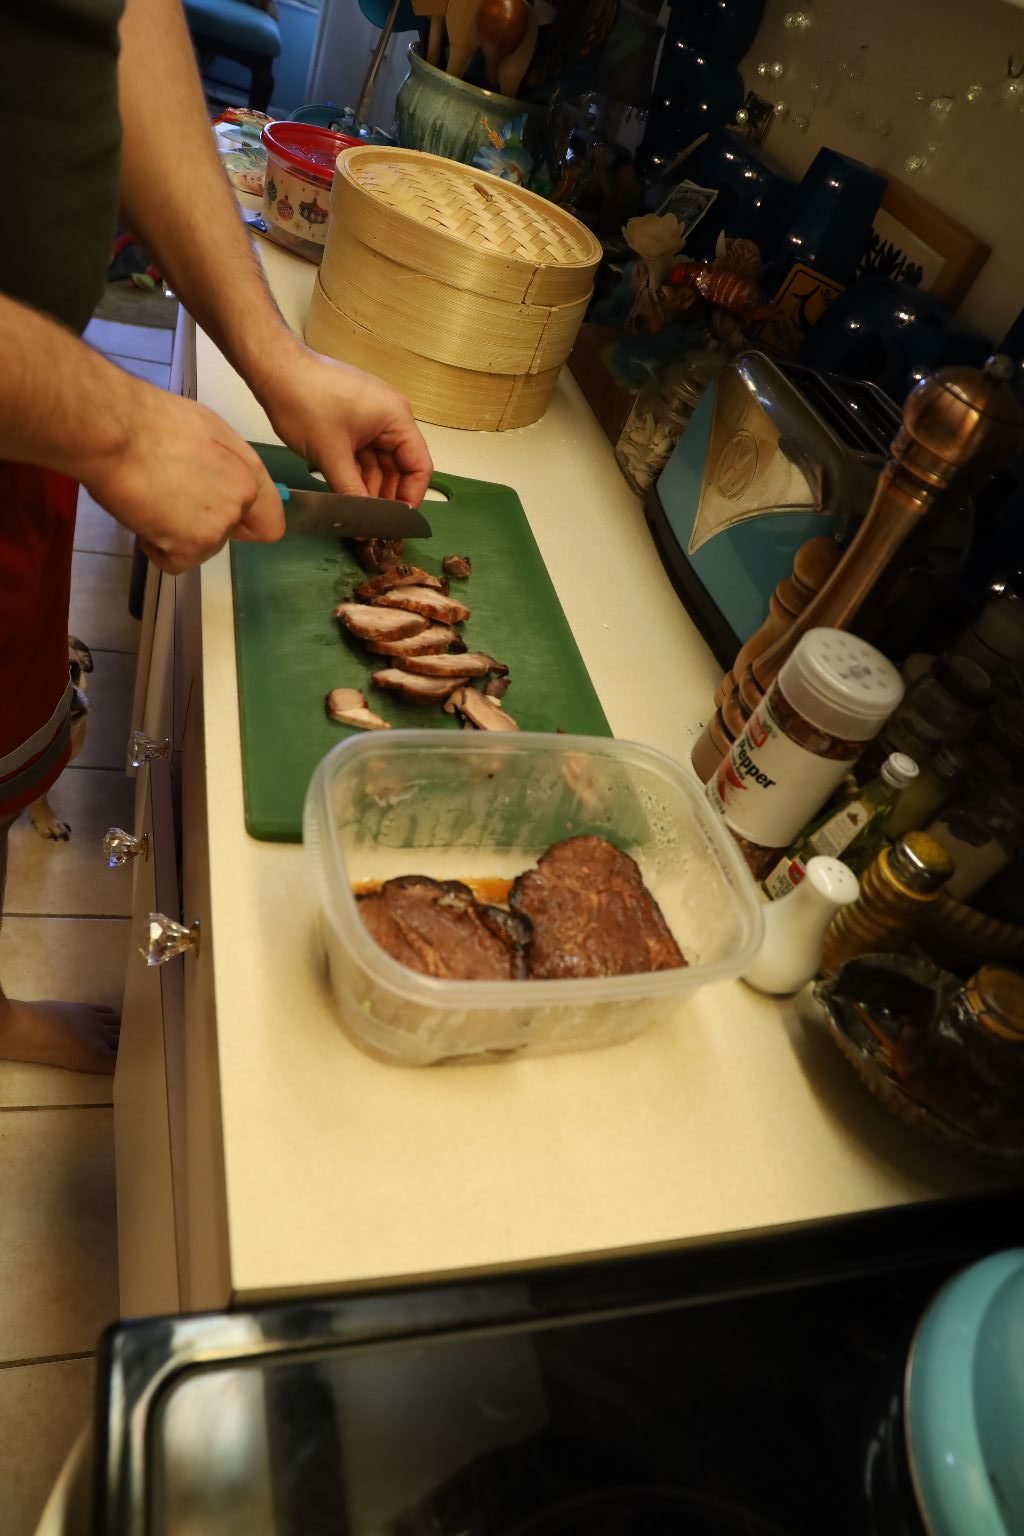
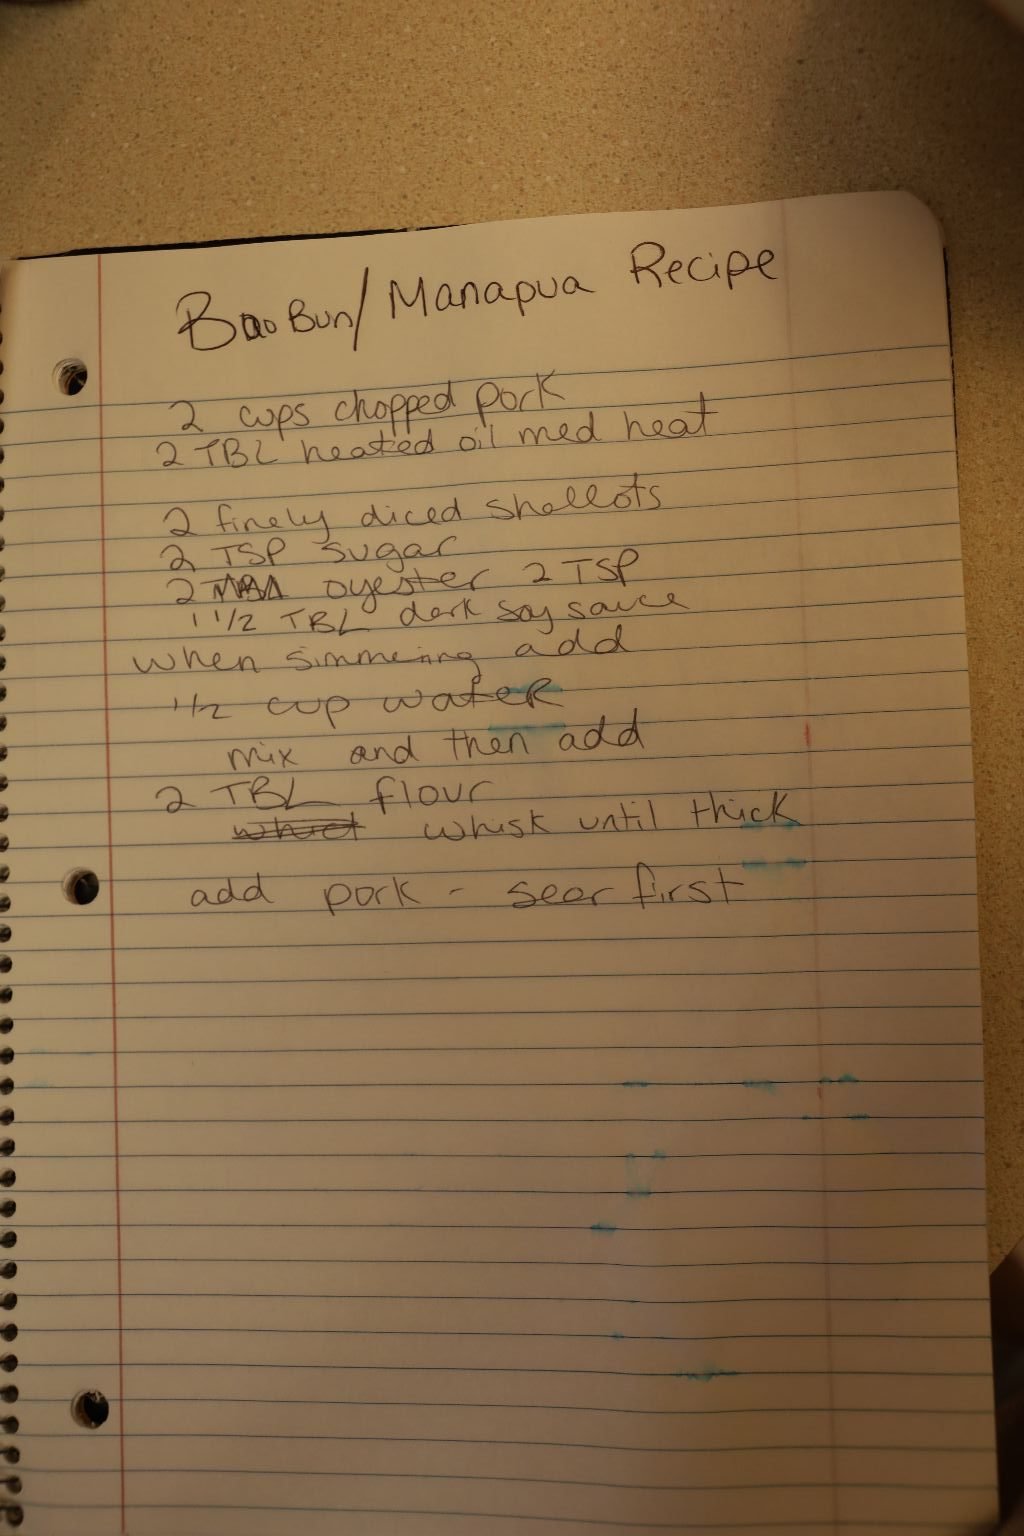
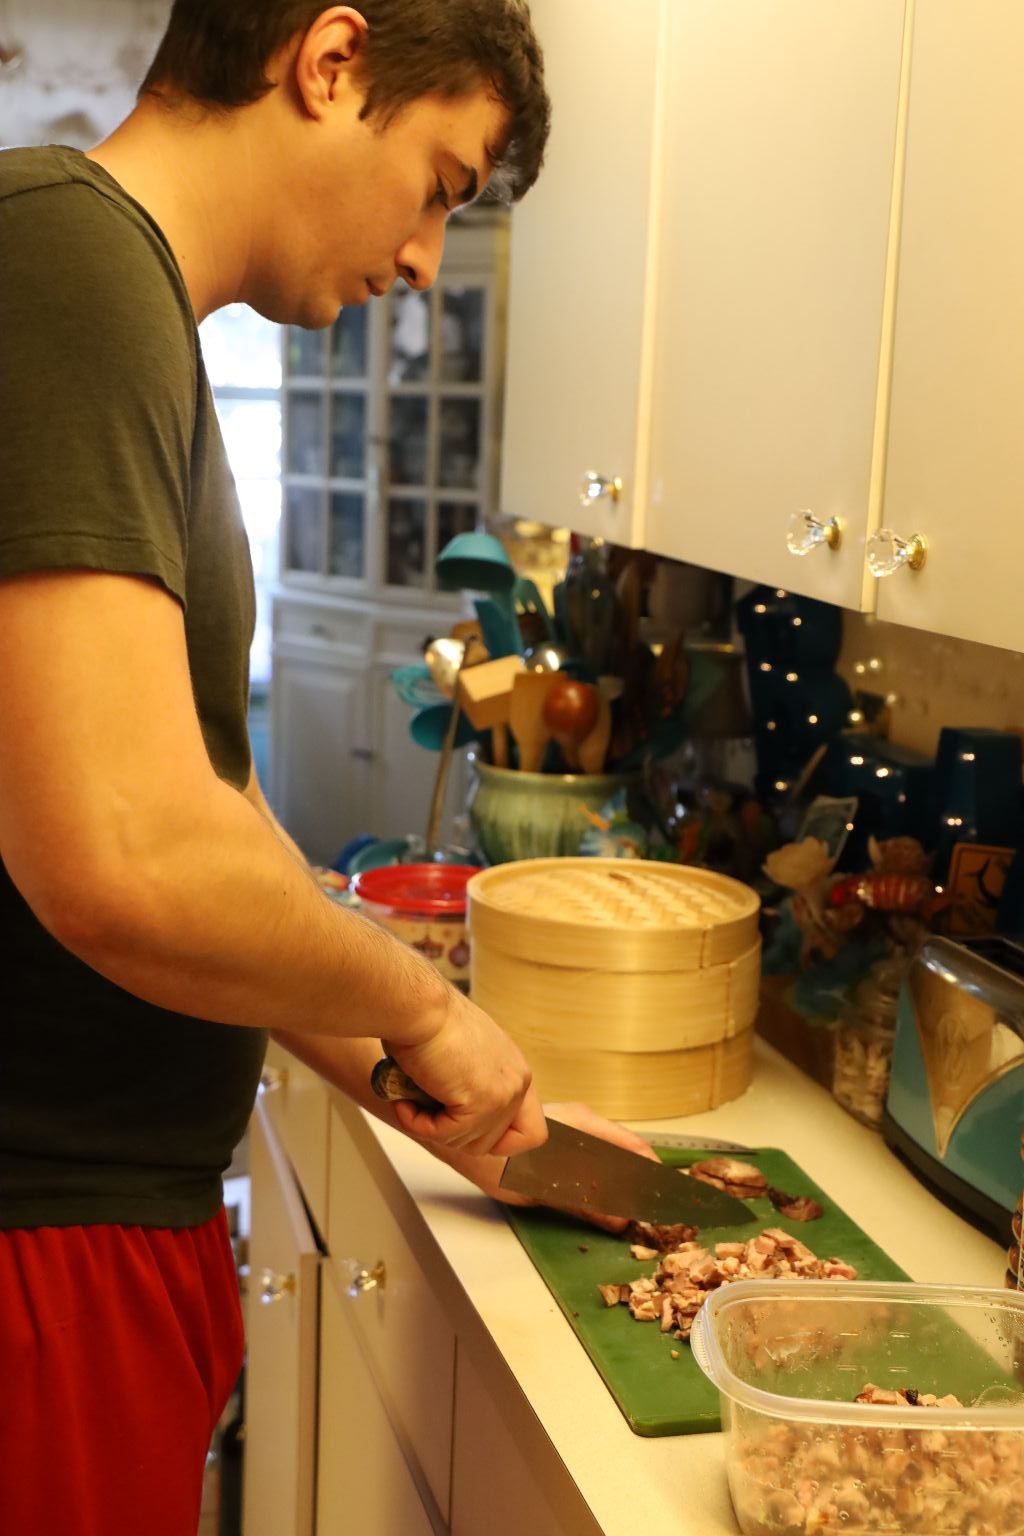
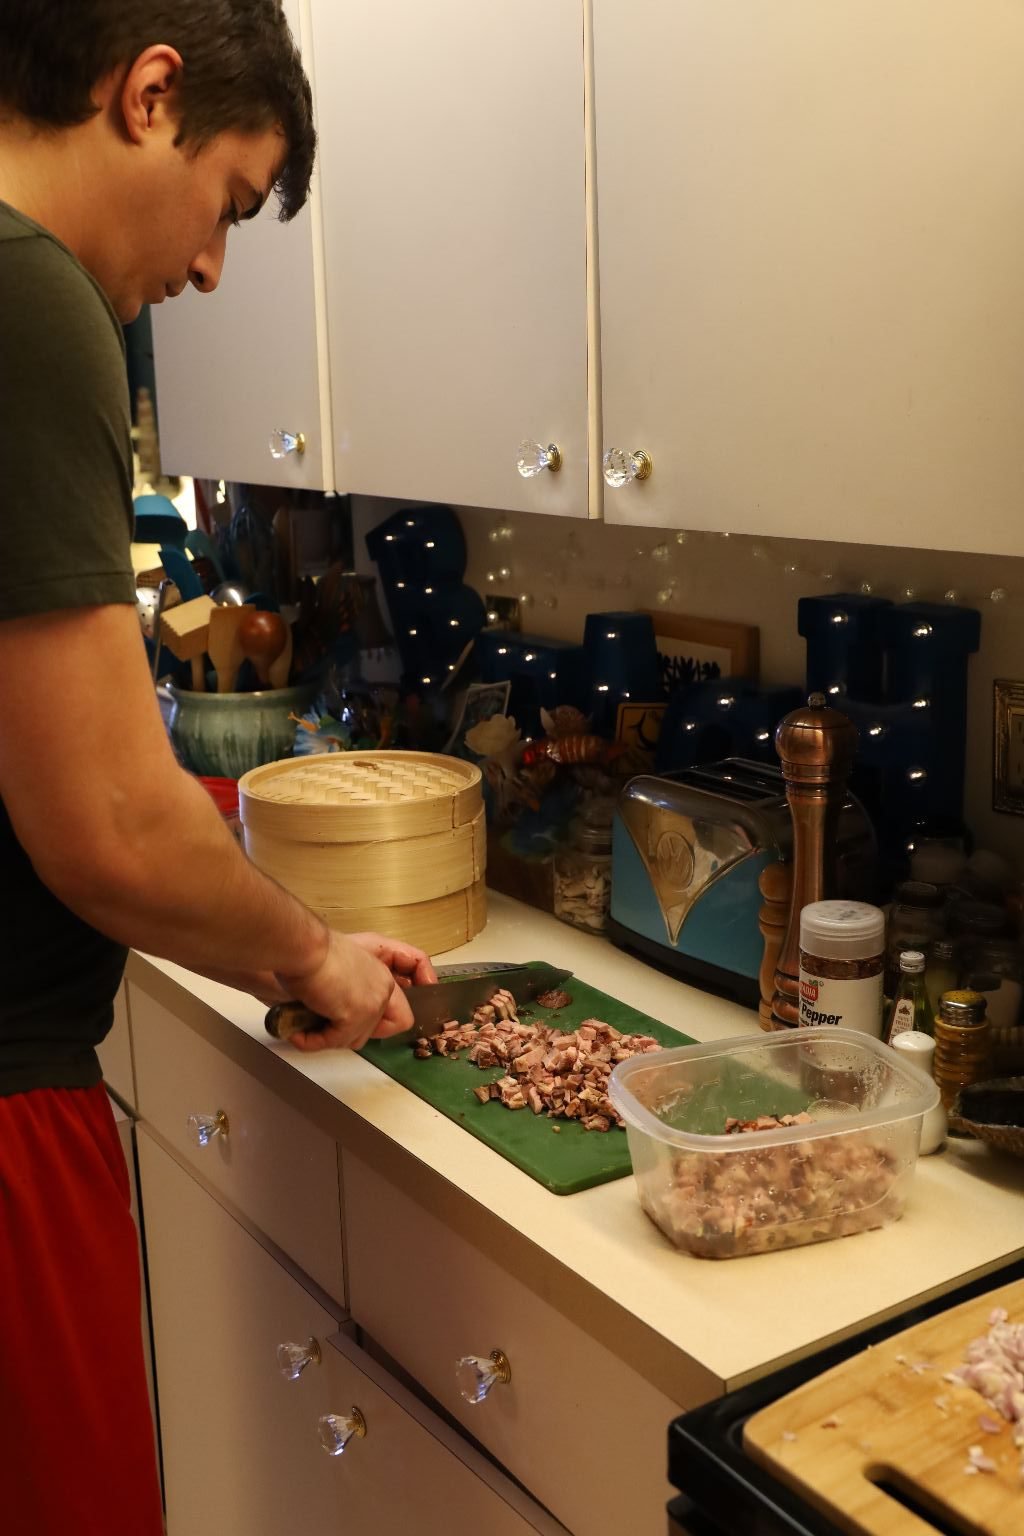
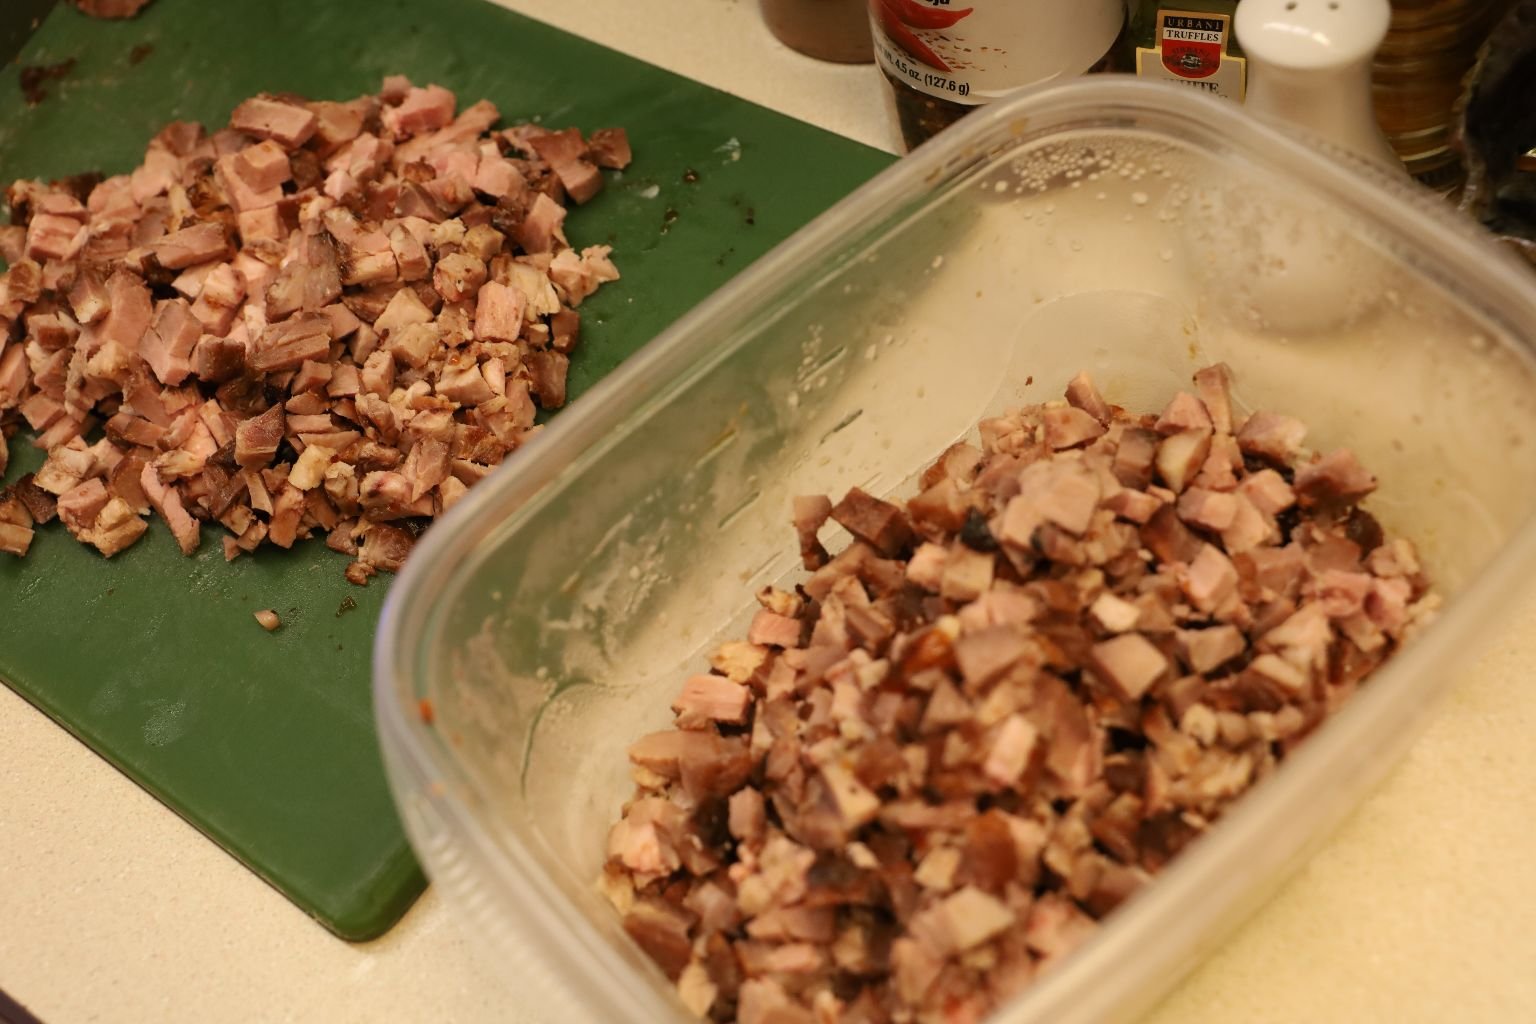
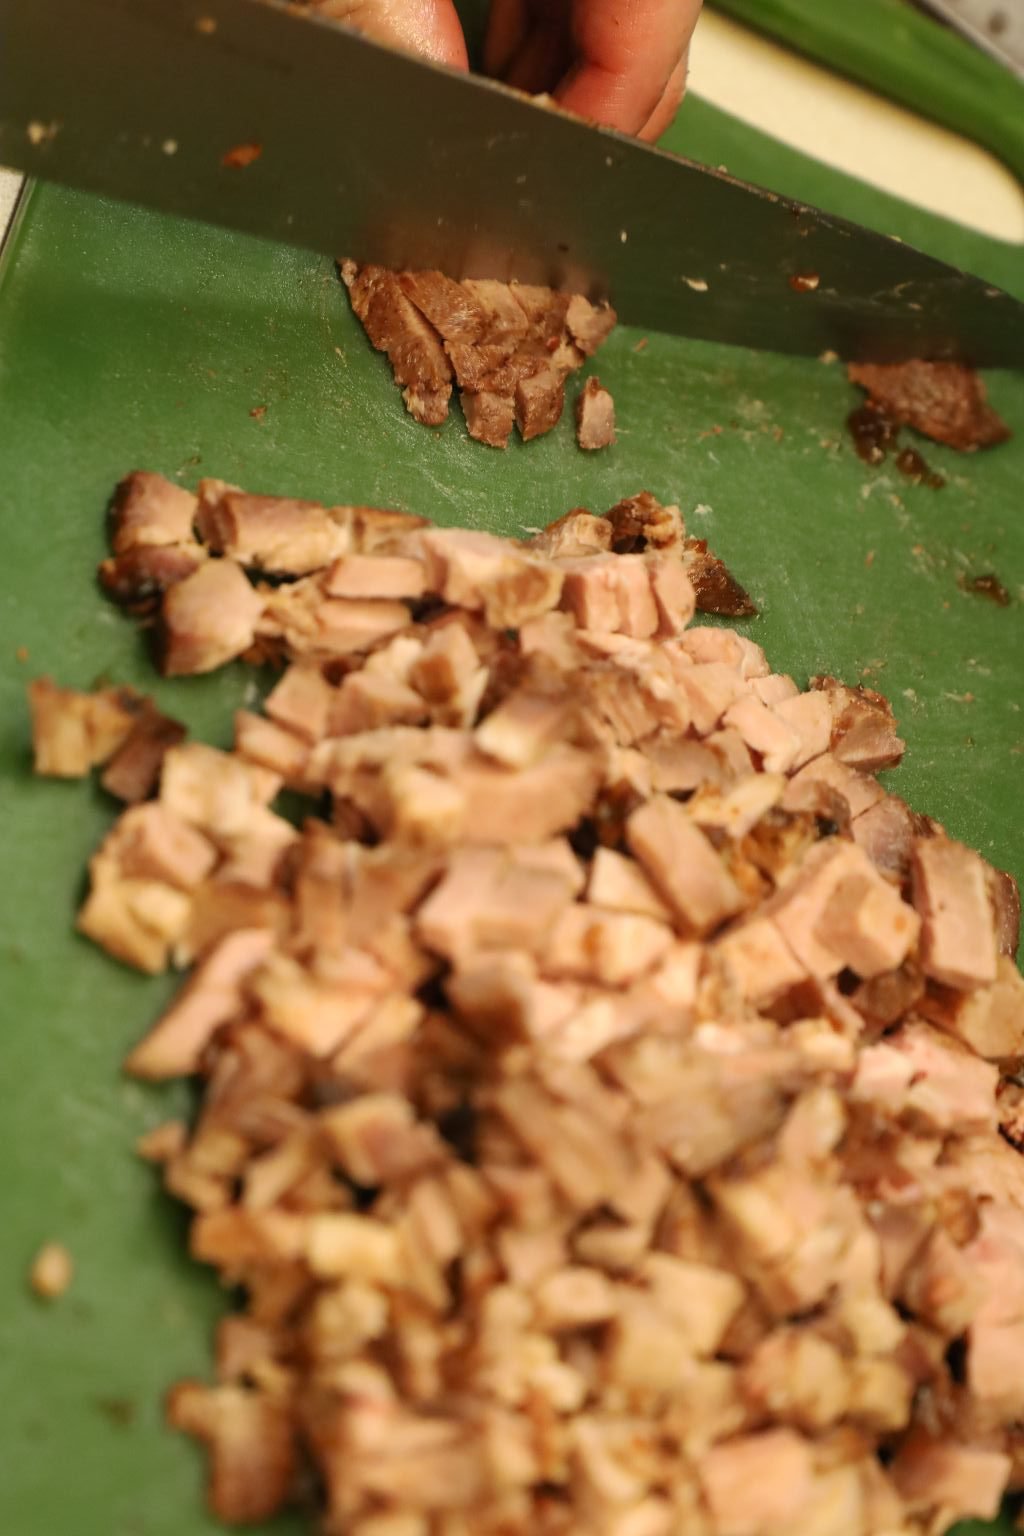
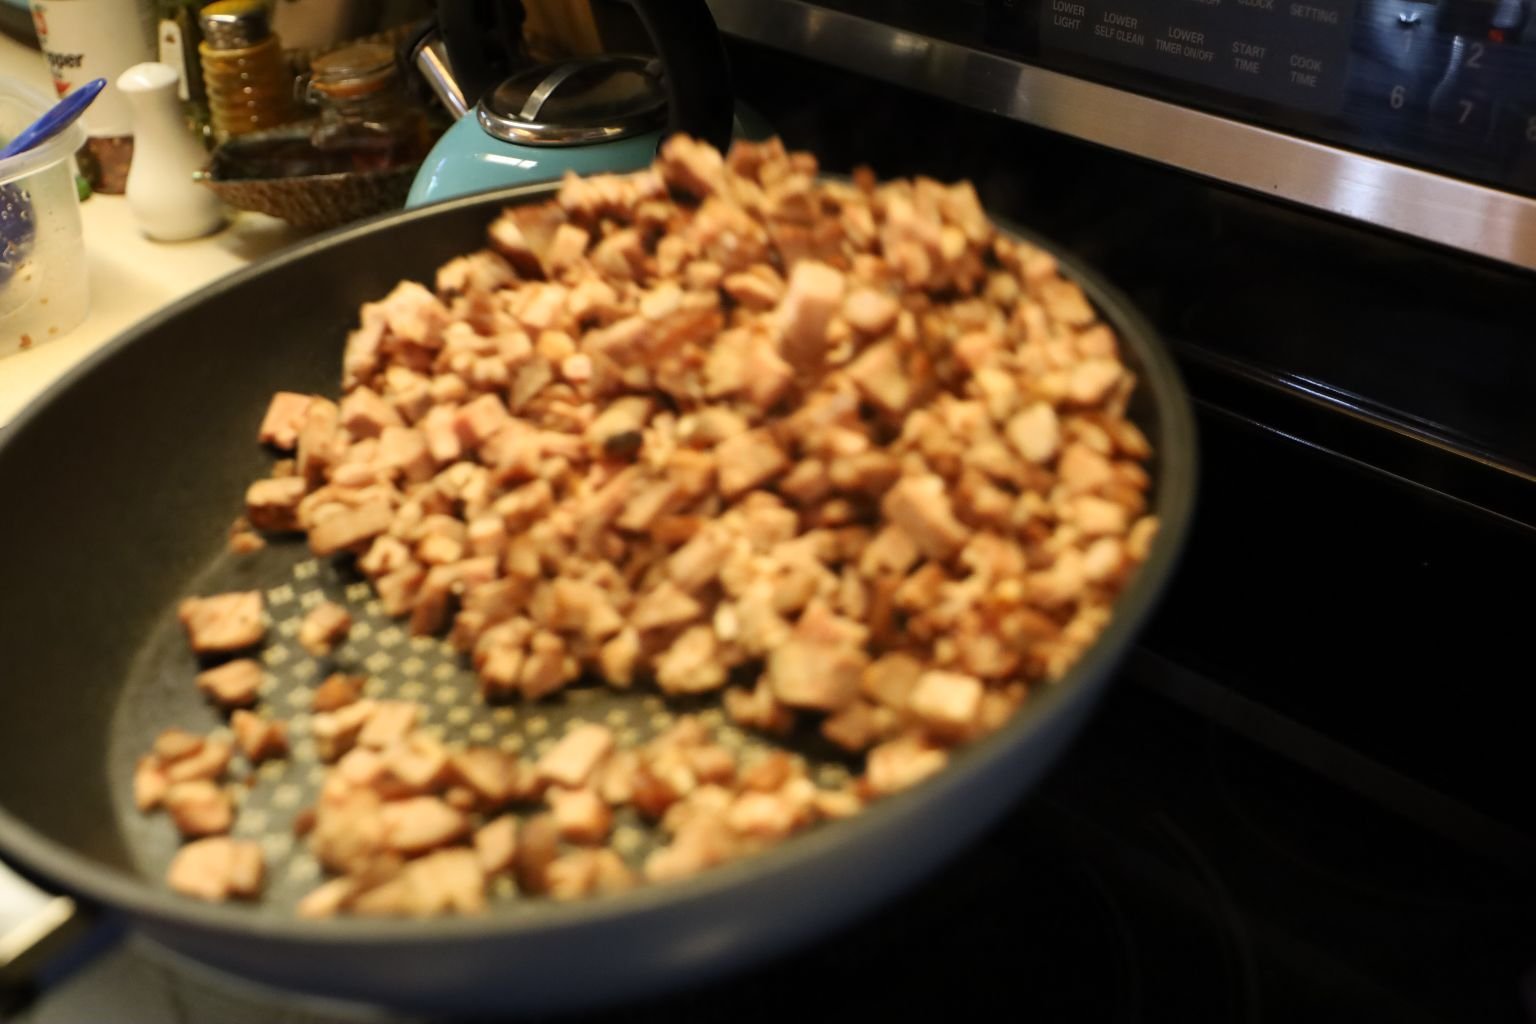
Continuing with the Char Siu meat preparation. Slice the meat into 1/4 inch slices then into a small dice.
Per 2 Cups of Char Siu meat add:
2 Tbsp. oil
2 Shallots – finely diced
2 Tbsp. Sugar
2 Tbsp. Oyster Sauce
1 1/2 Tbsp. Soy Sauce
1/2 Cup Water
2 Tbsp. Flour
——————————————————
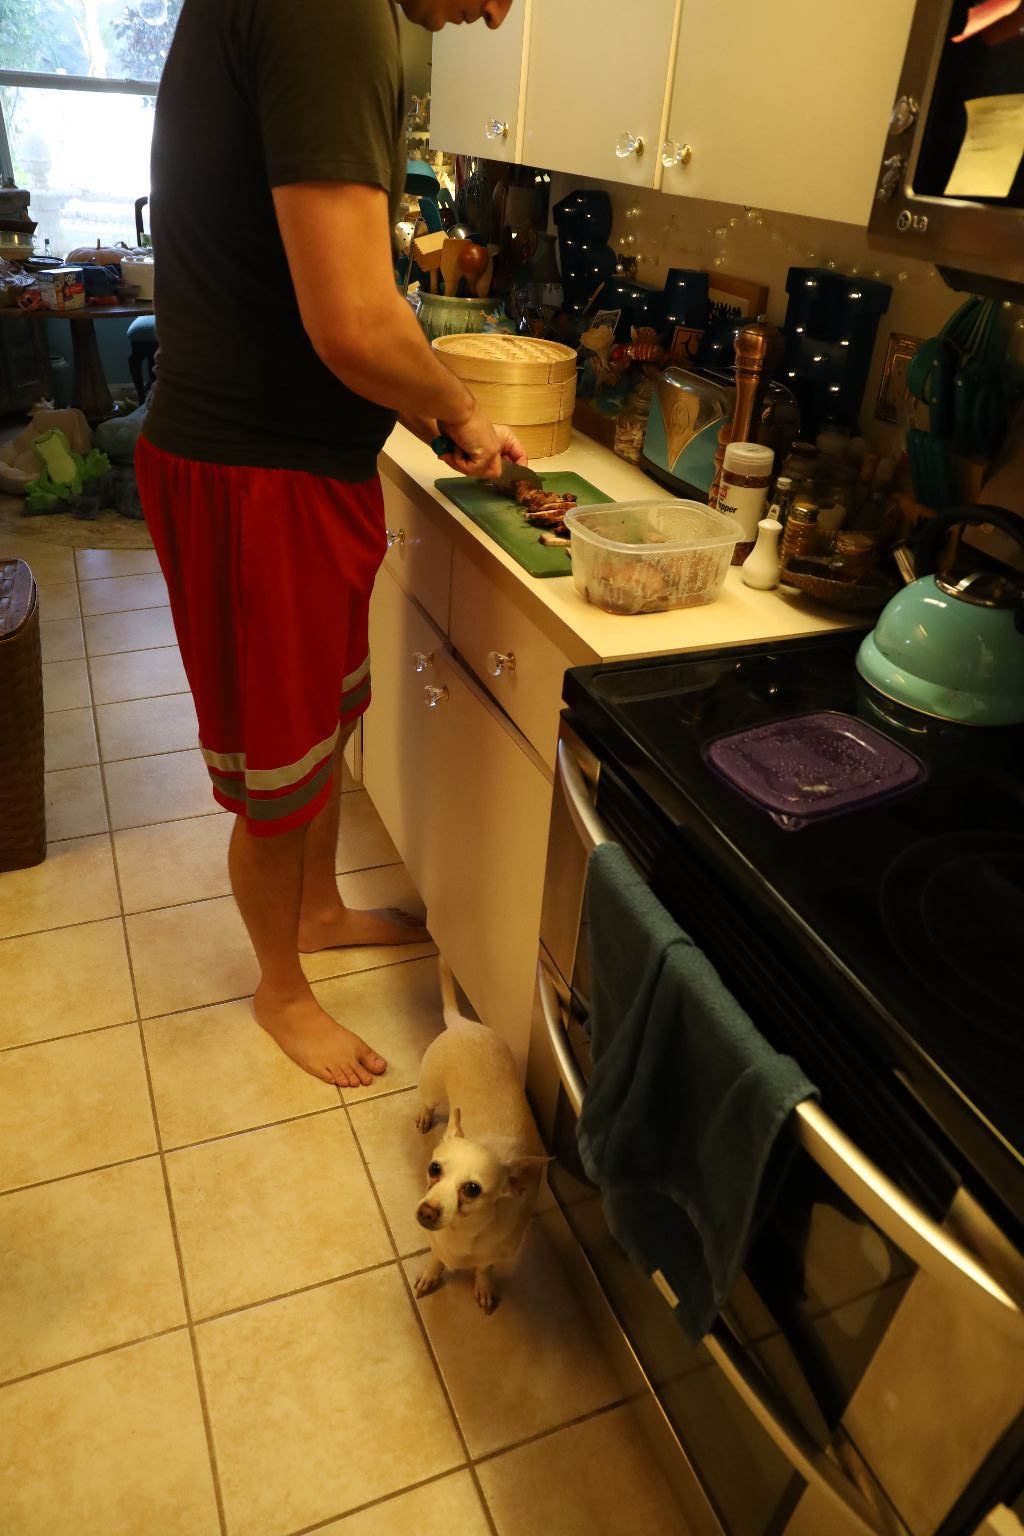
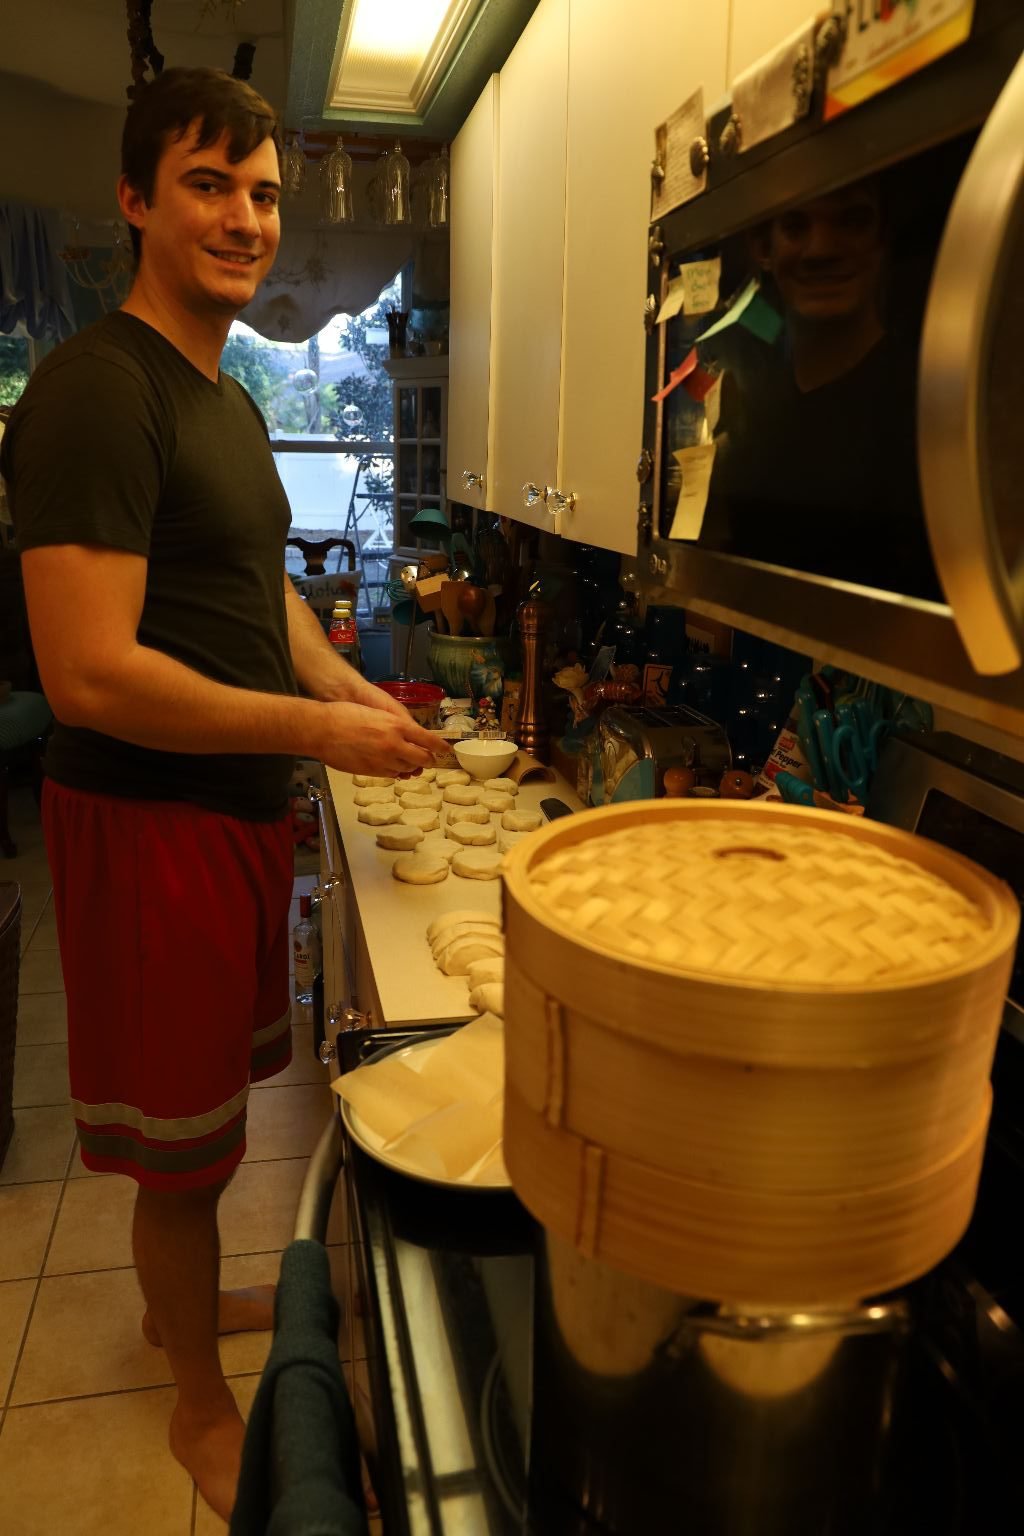
Brodie always has help around the kitchen from Spooky and Sparky. 🙂
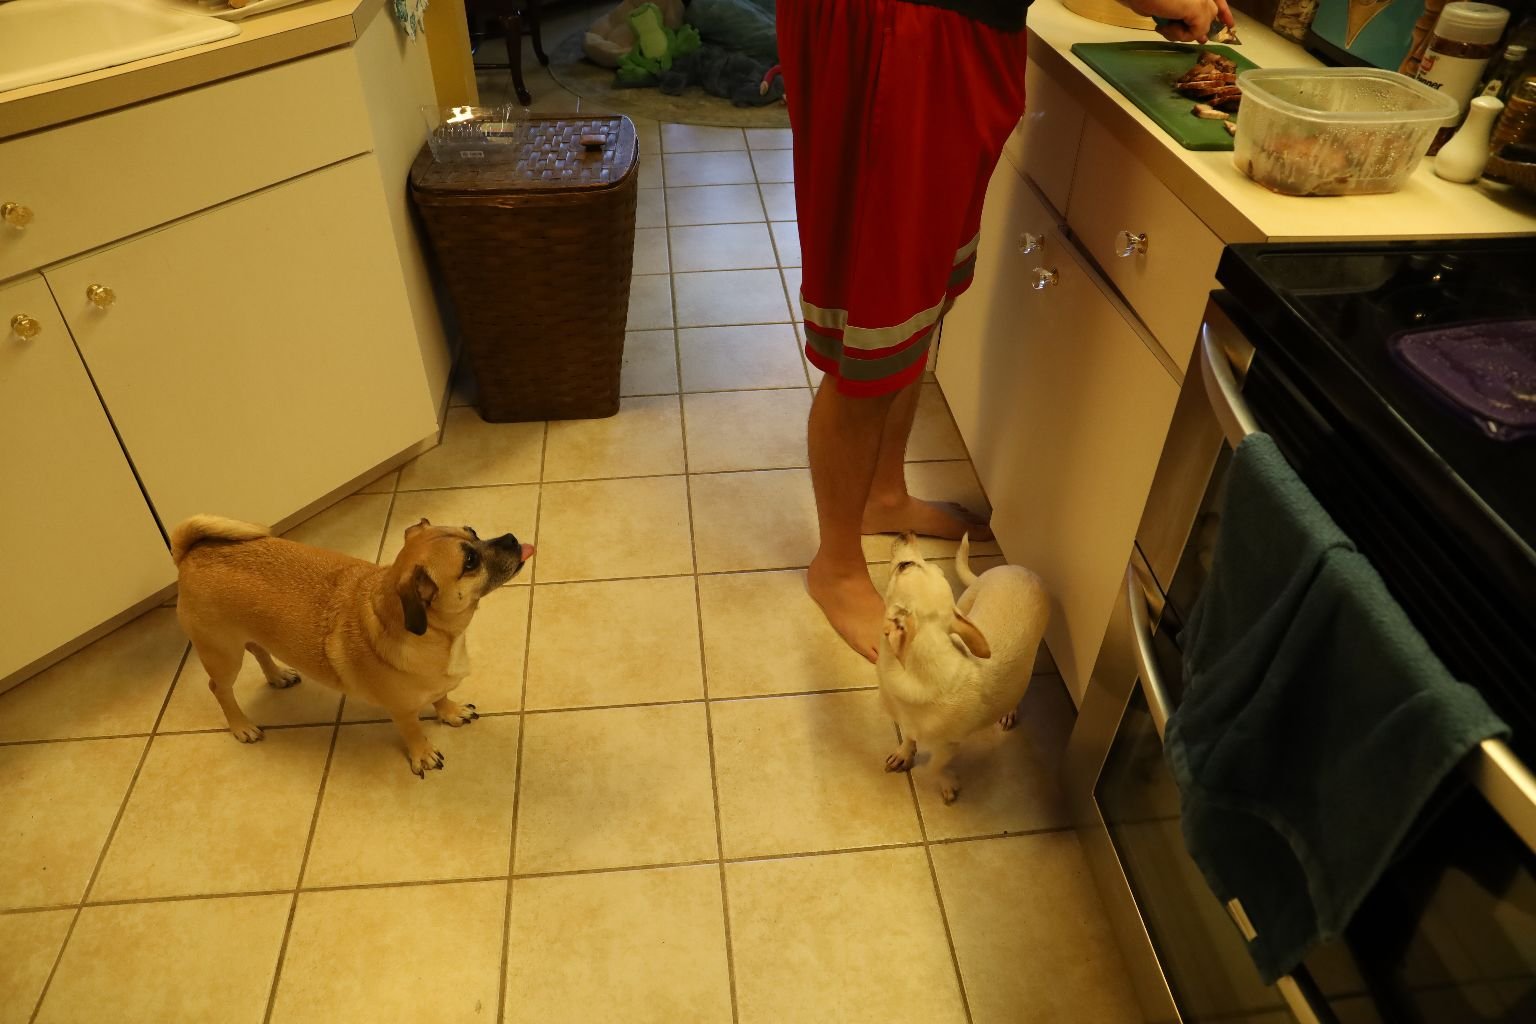
————————————————
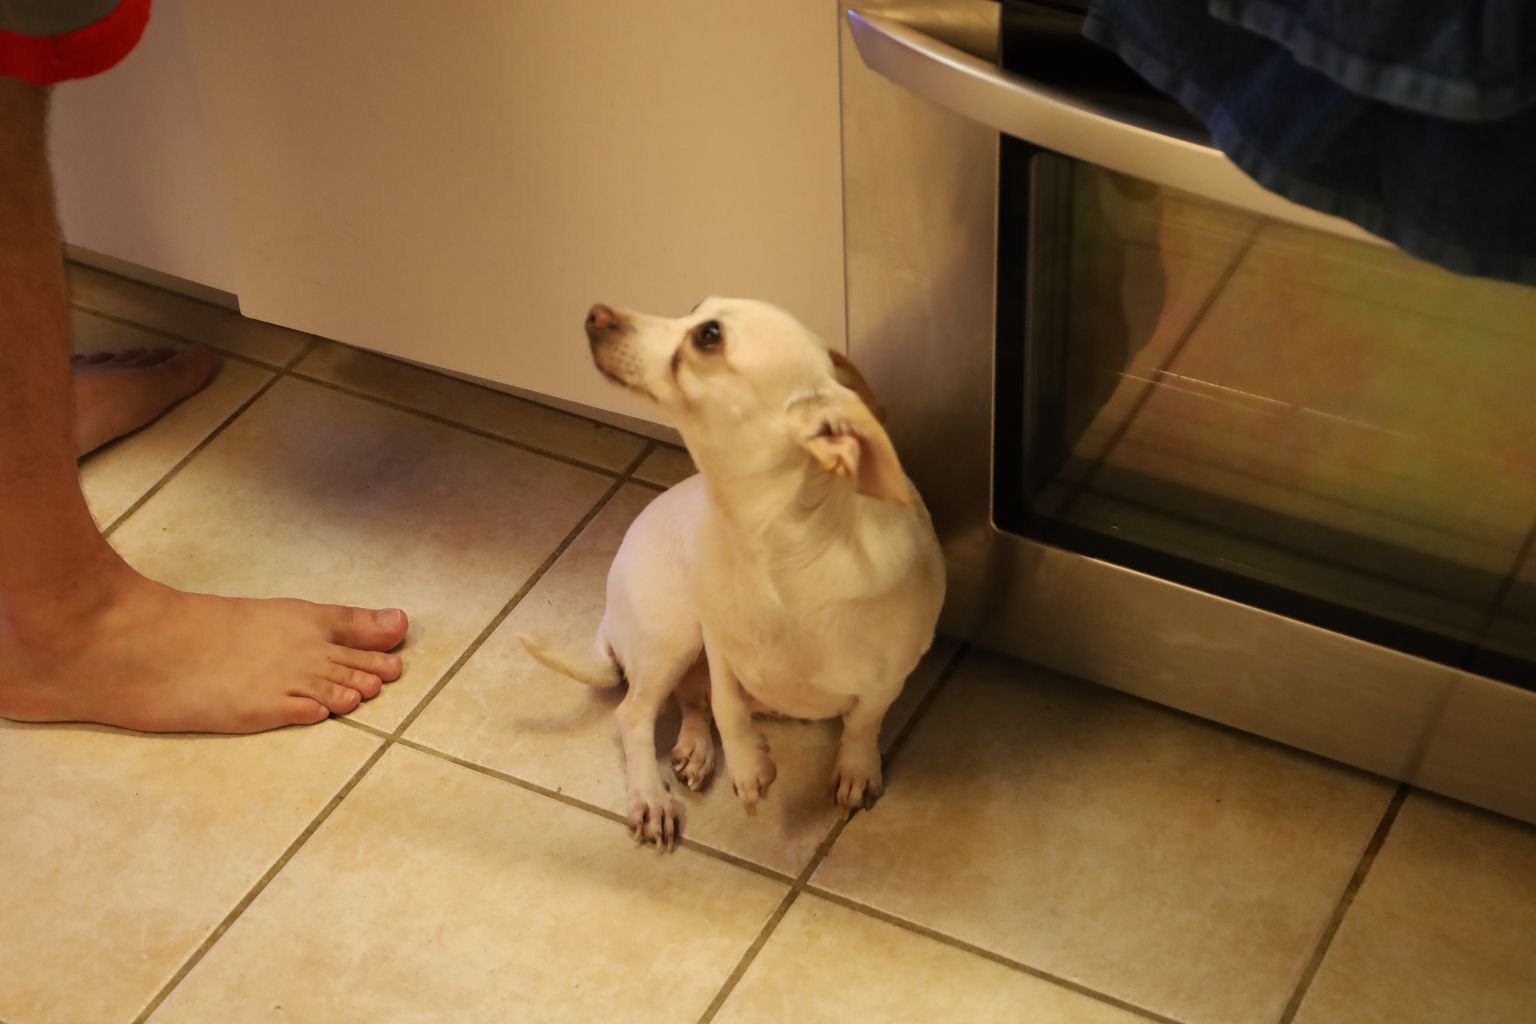
Here, Sparky and Spooky are waiting for some nice scraps… keeping the kitchen floor spotless.
——————————————————
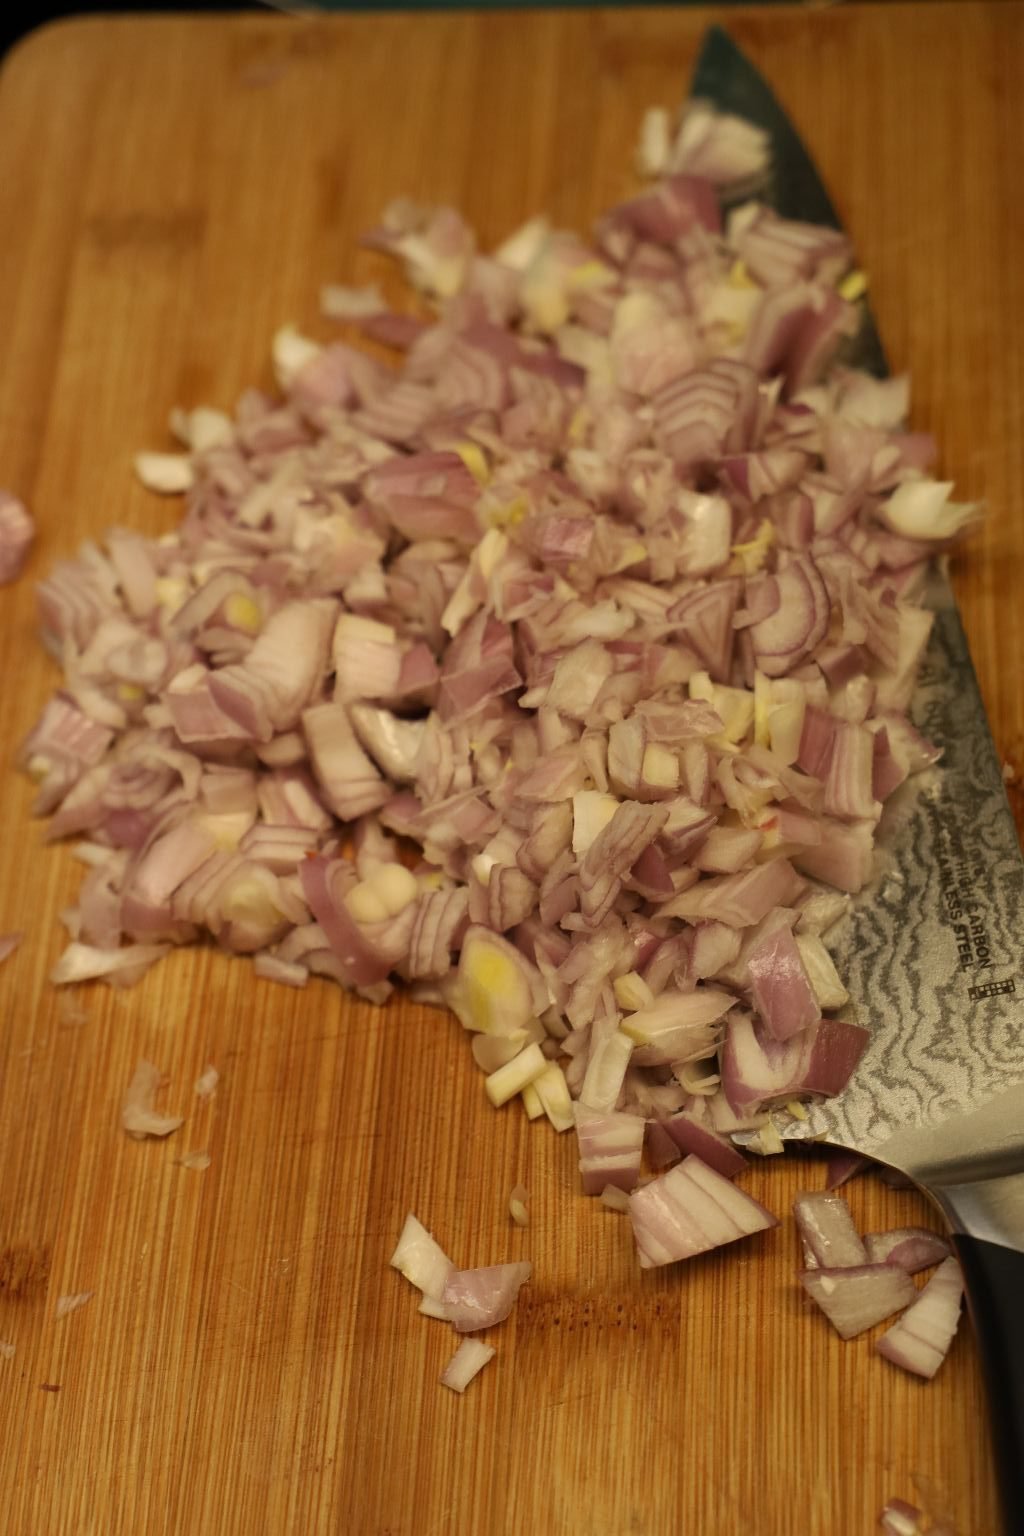
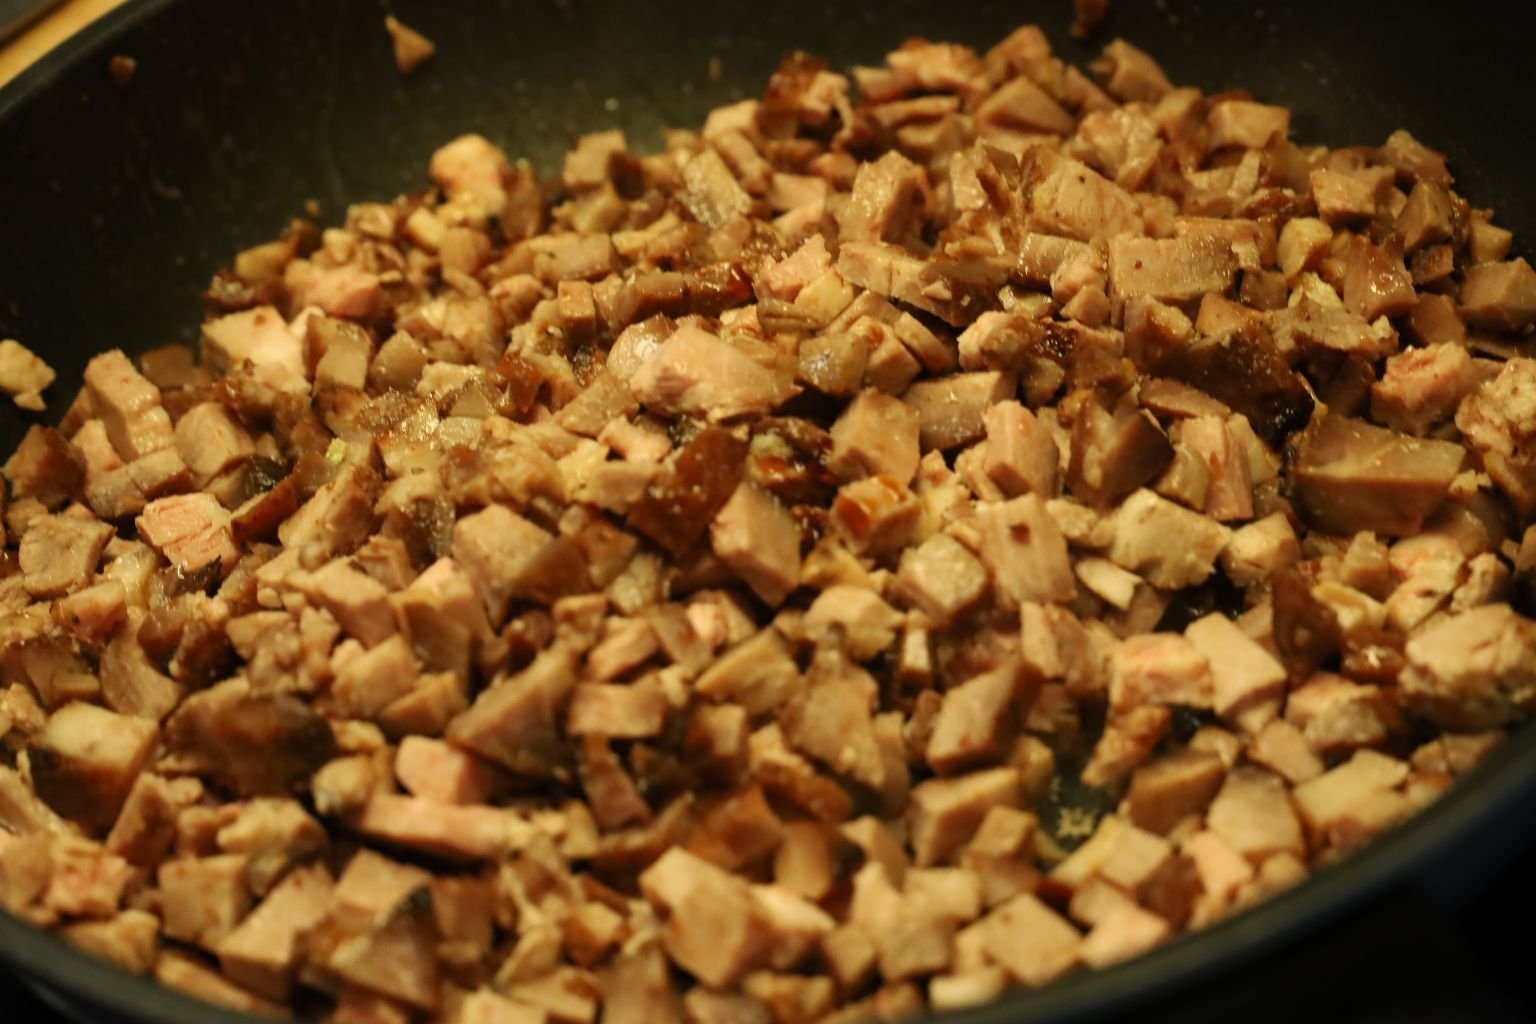
Here, Brodie sliced the two shallots into a small dice.

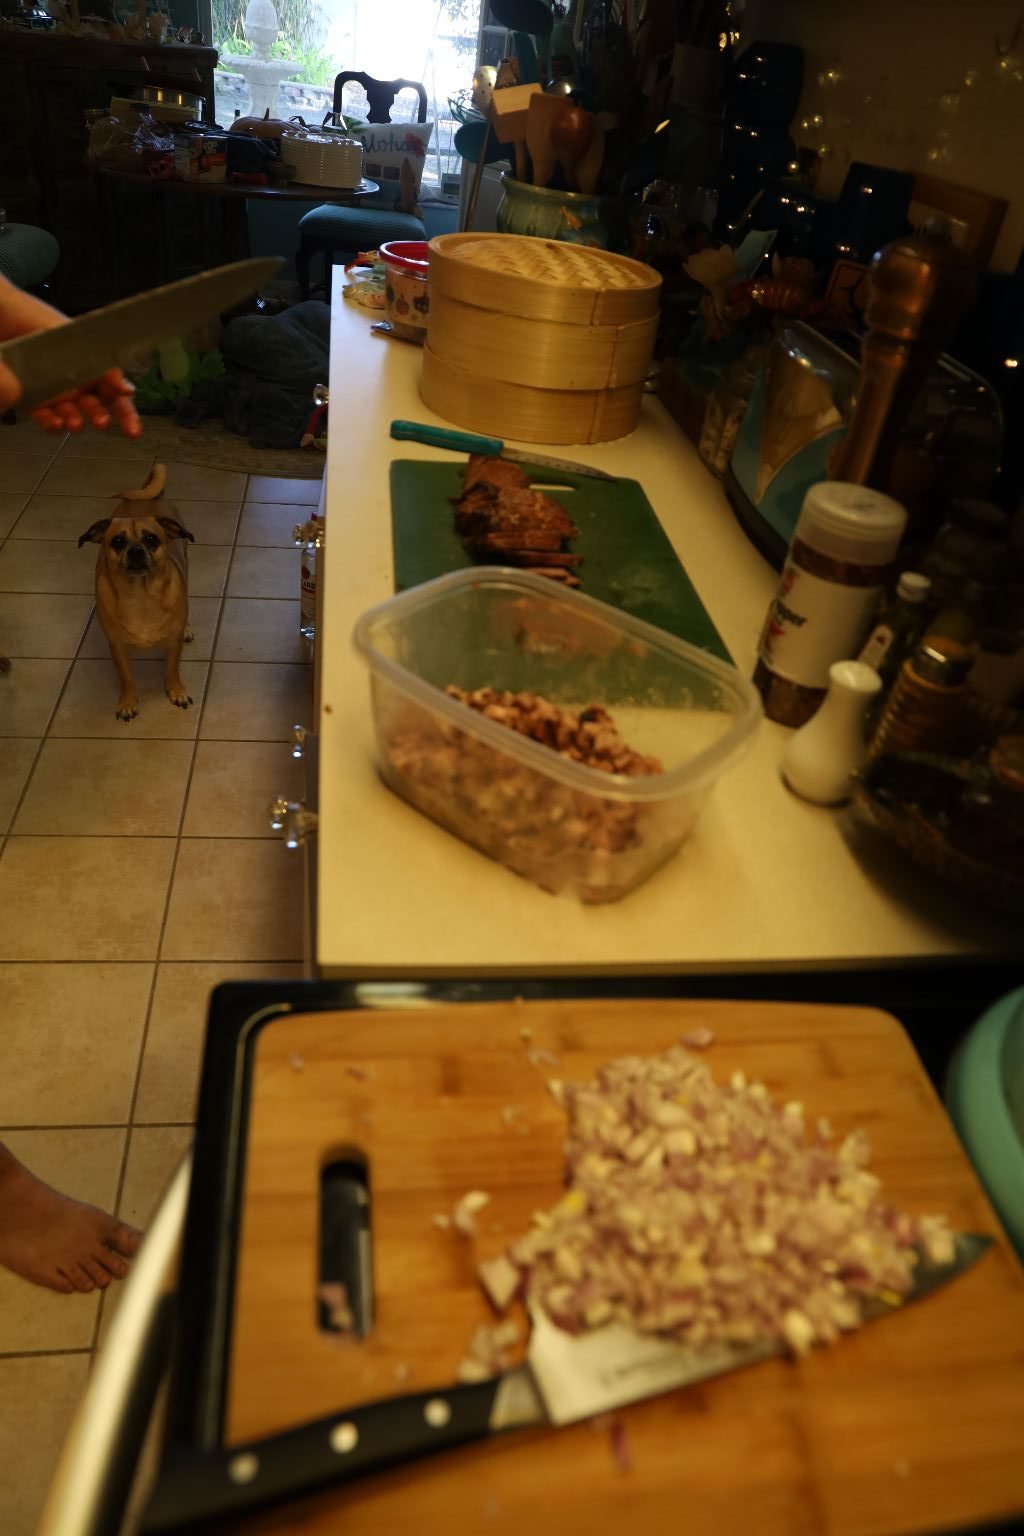
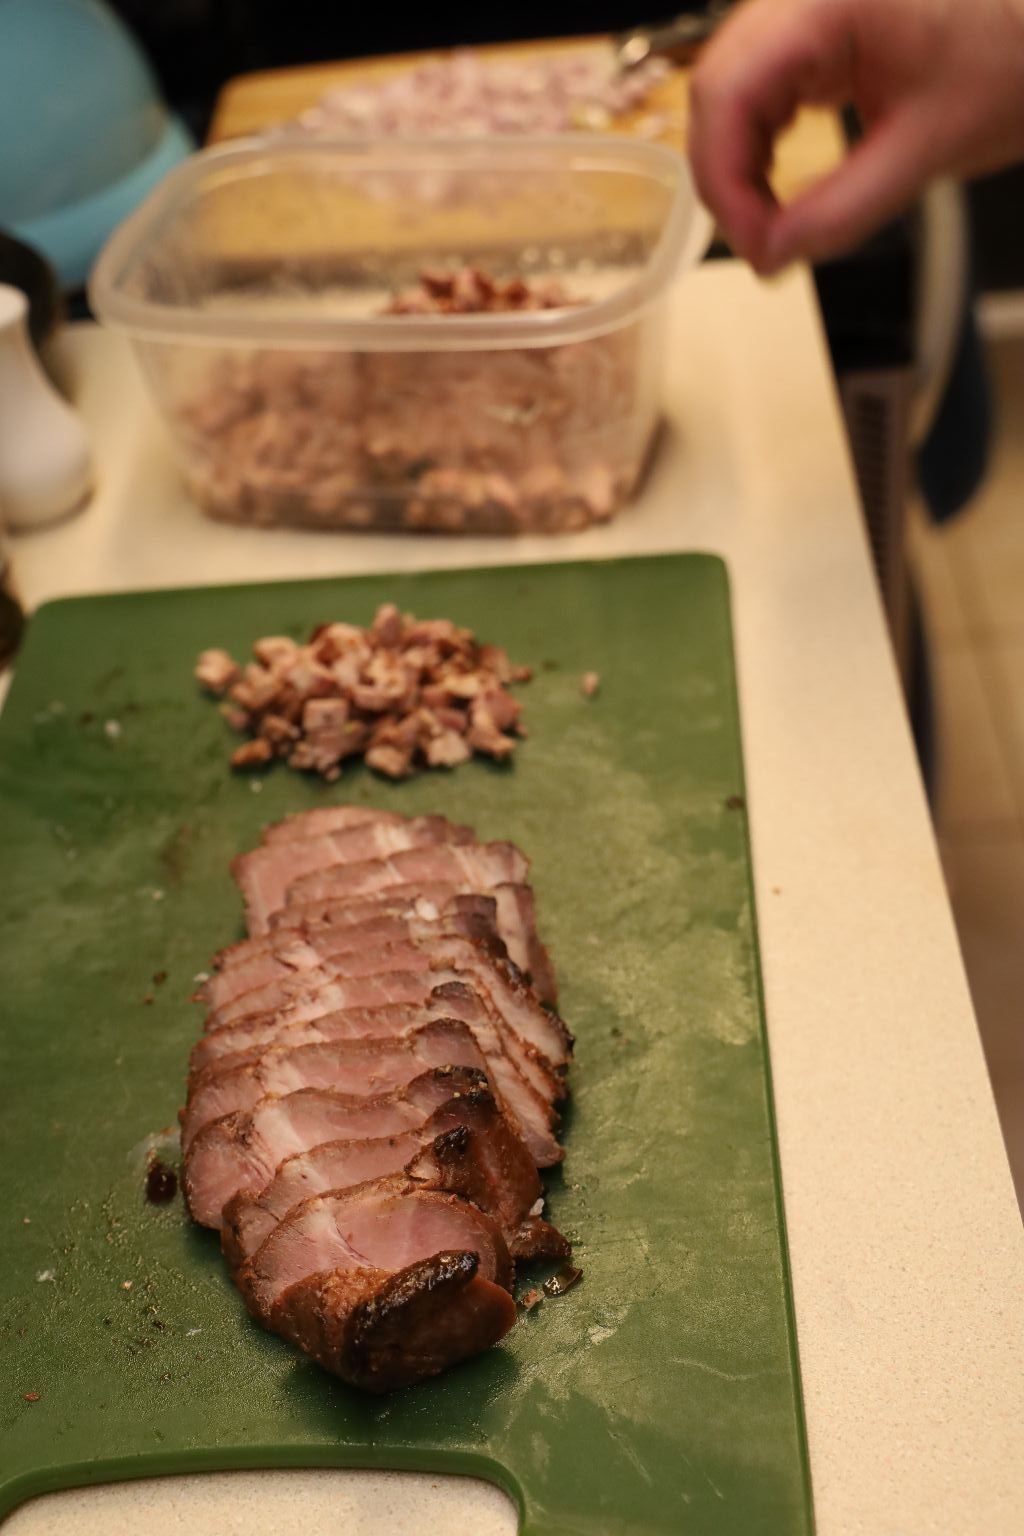
Slice the meat into a small dice as well.
——————————————————————
Once you have your items diced…
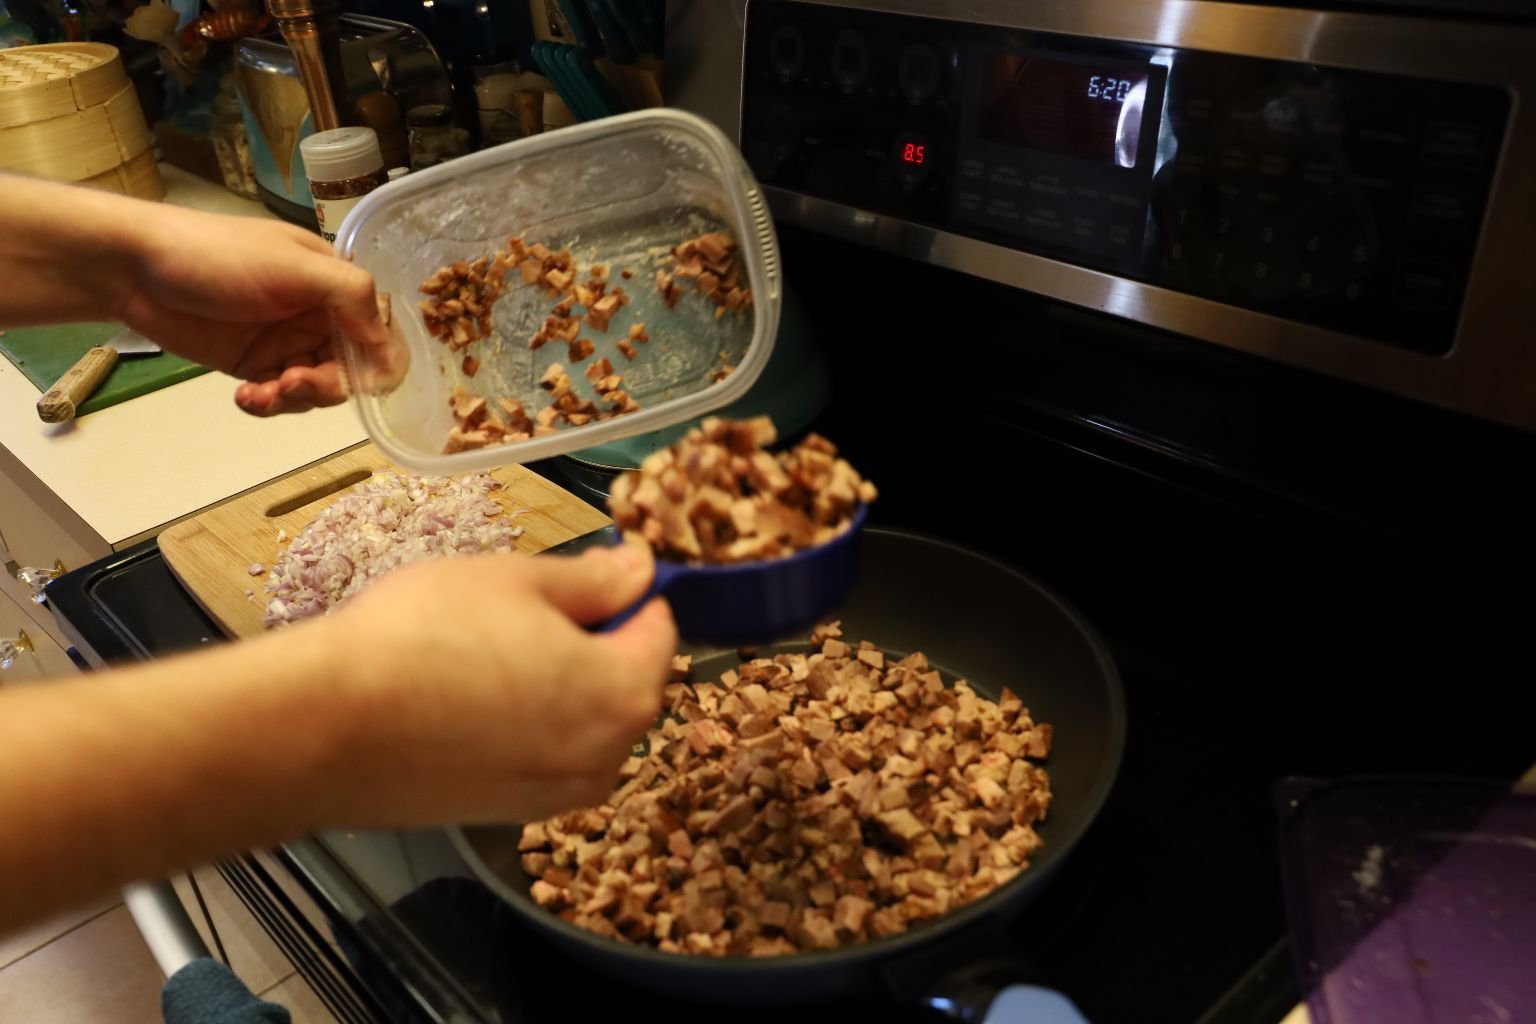
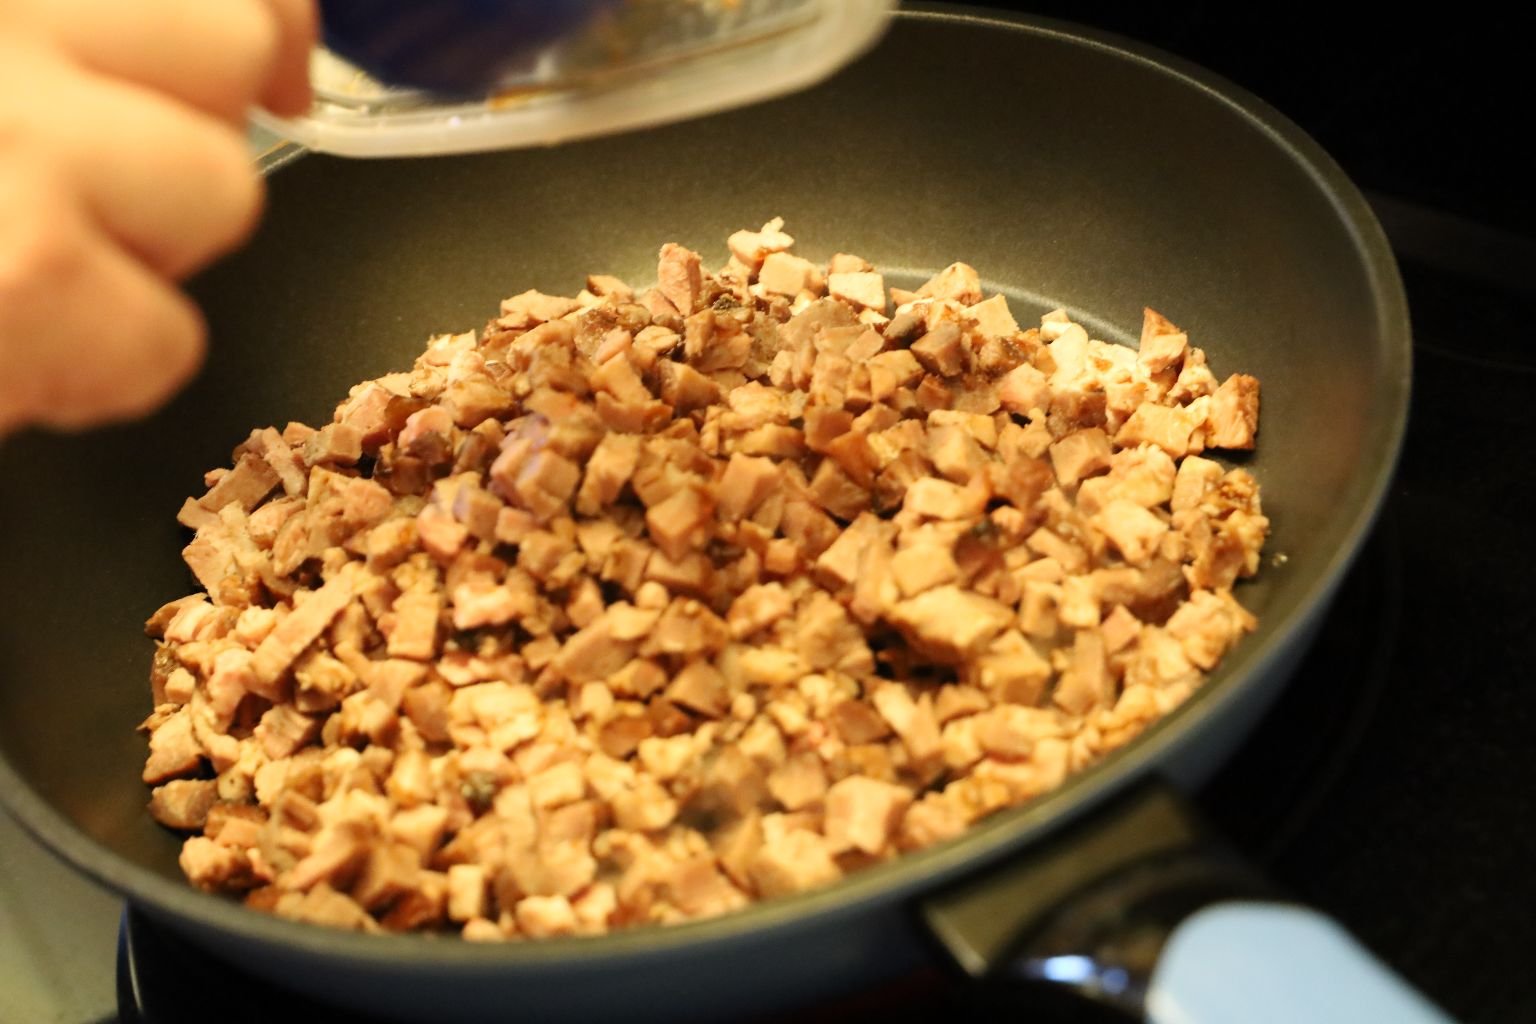
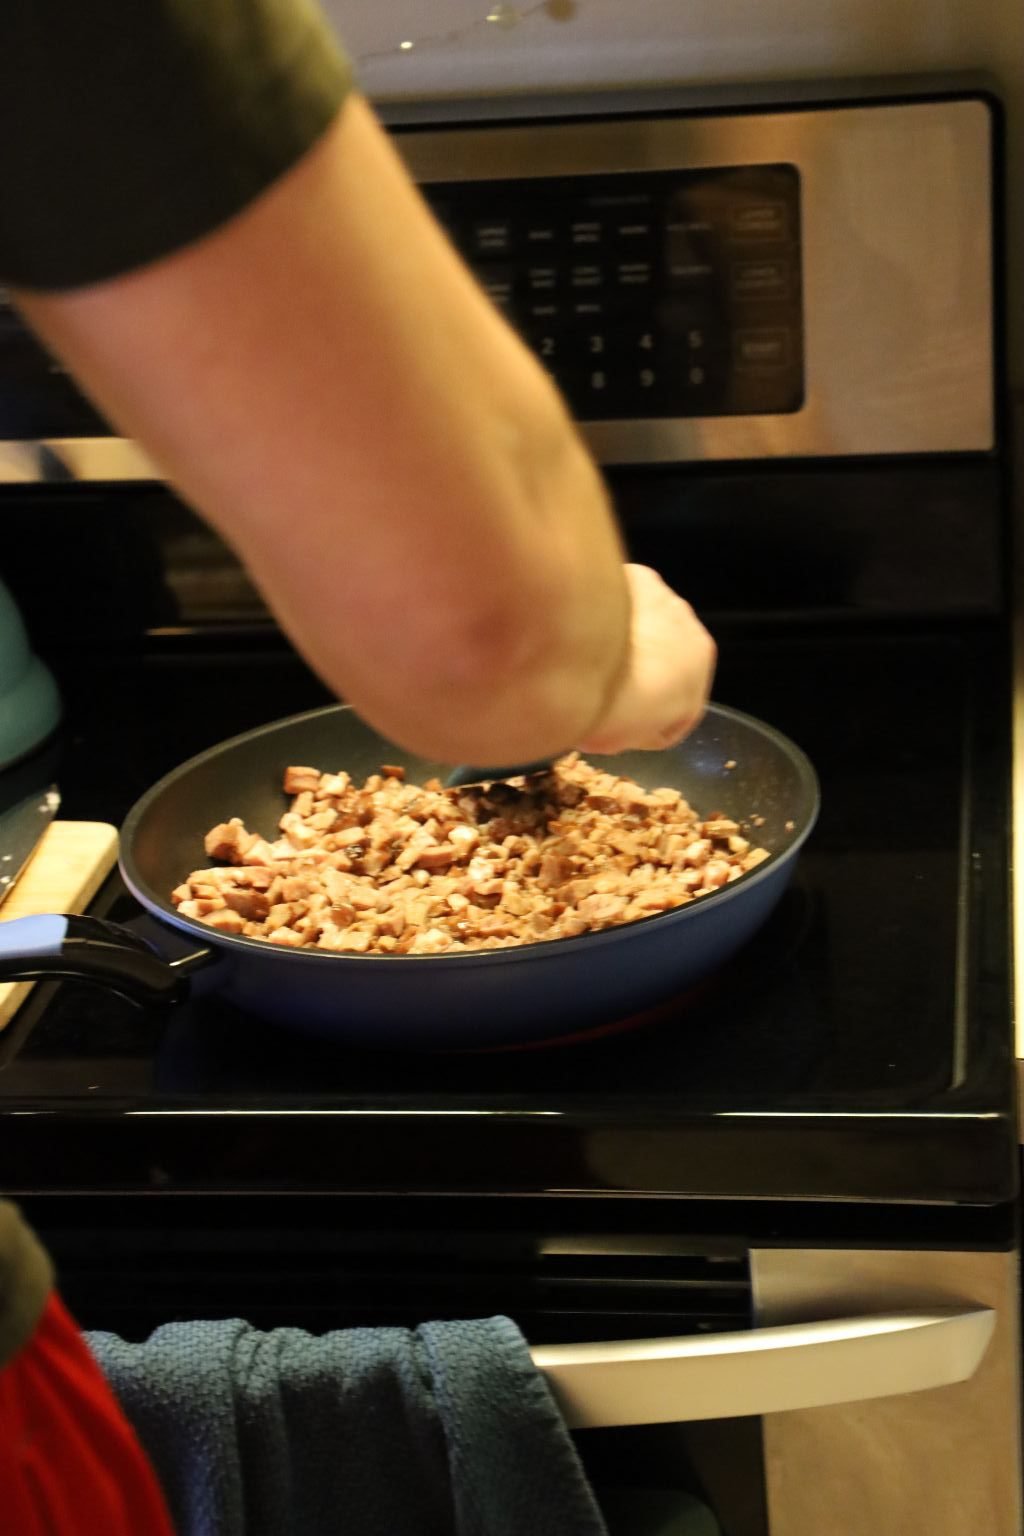
In a large pan add 2 Tbsp. oil then add your diced Char Siu to a pan and gently heat.
Toss the meat in the oil and add your diced shallots.
———————————————————
———————————————————-
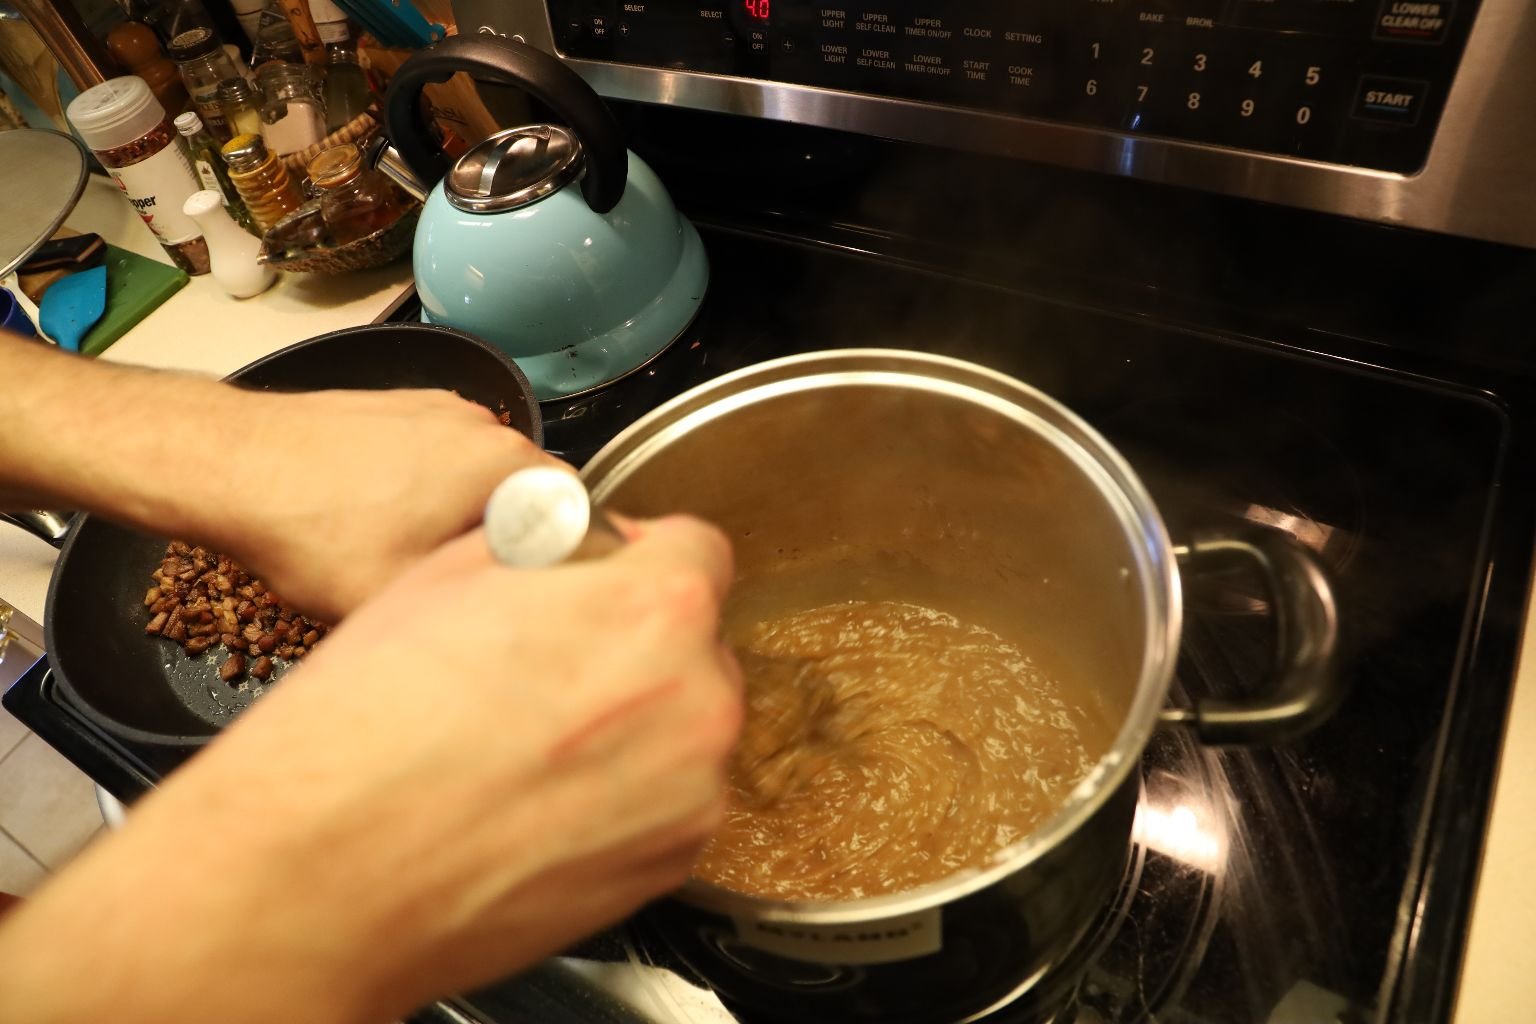
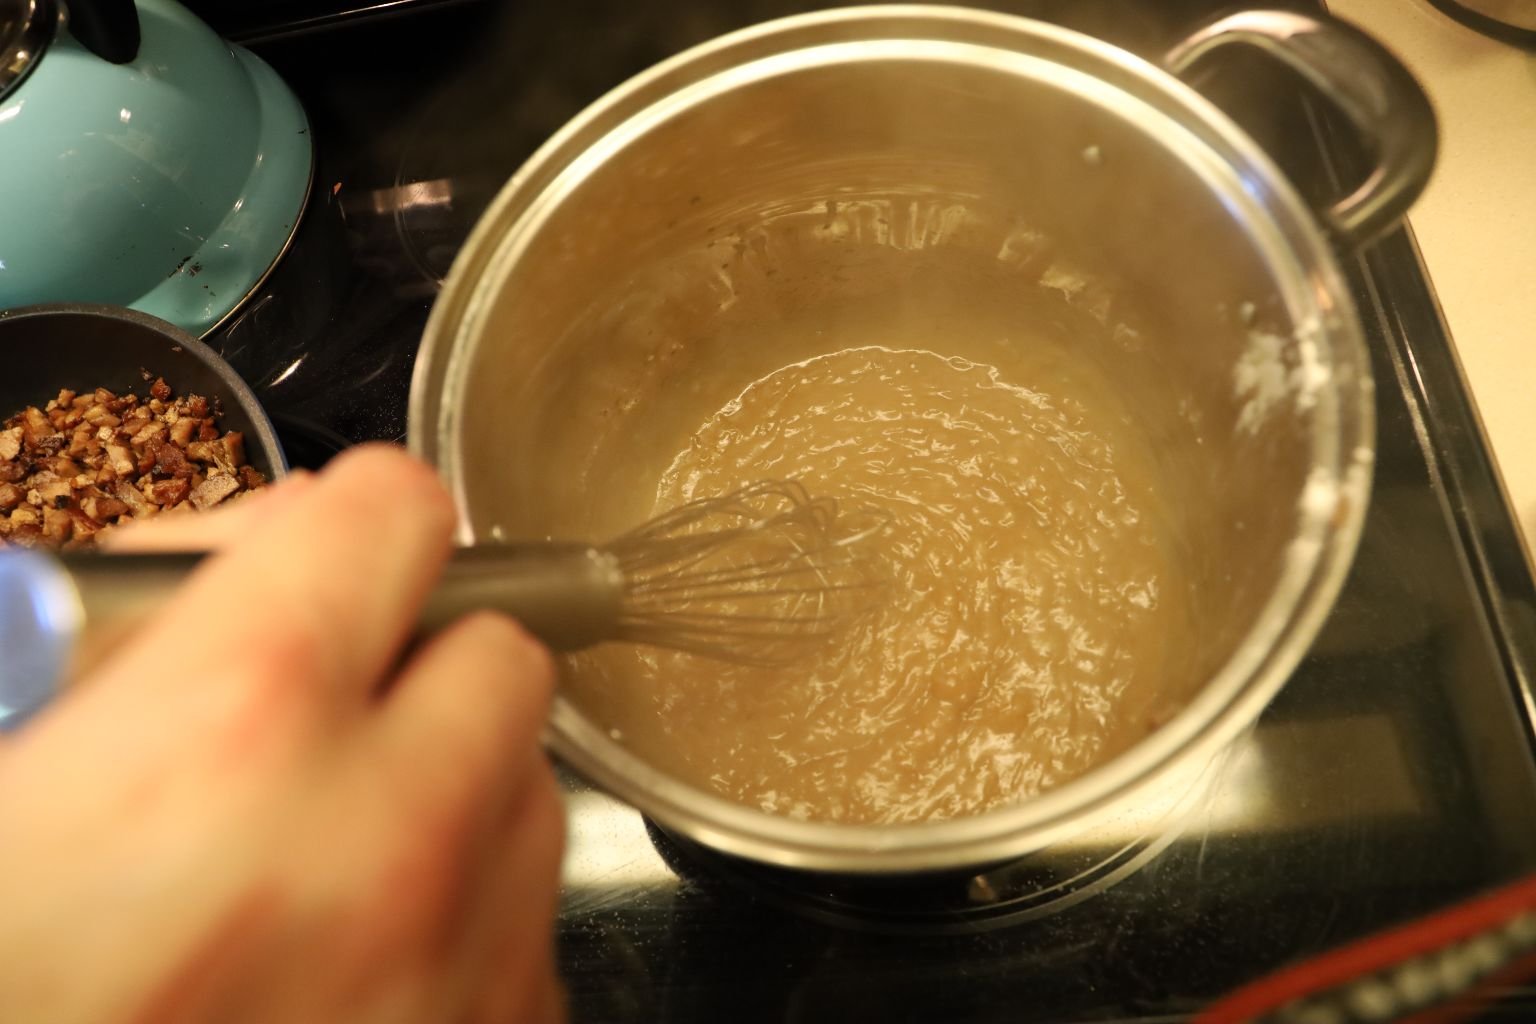

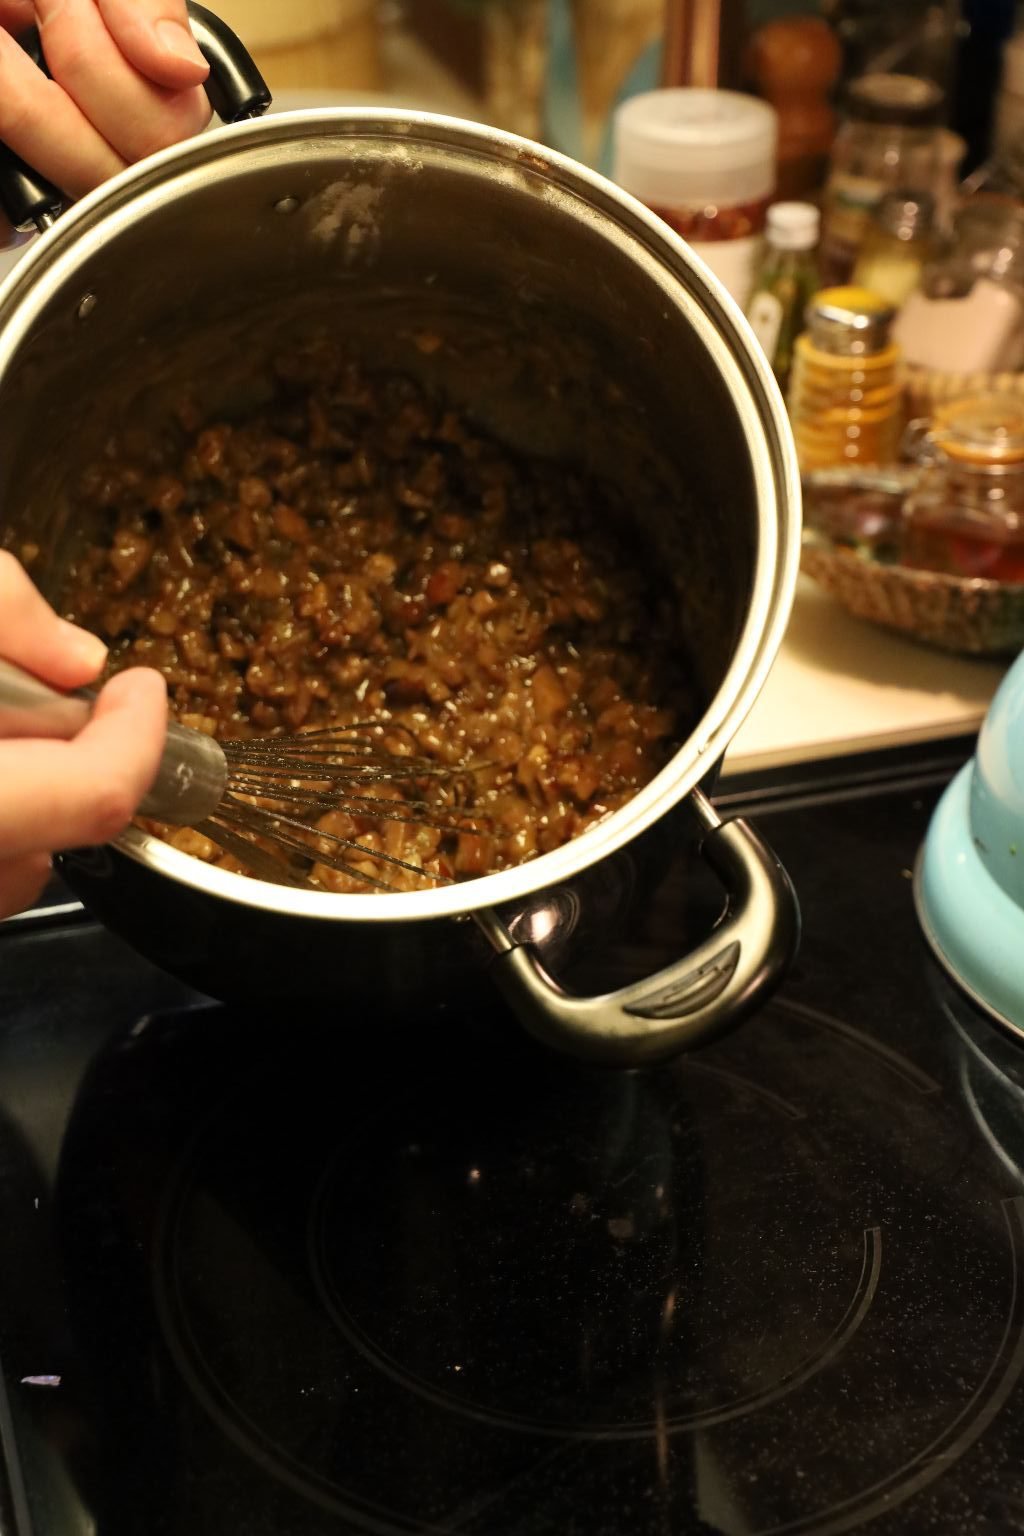
In a large pot add 1/2 water and 2 Tbsp. flour to the pot and whisk to combine over medium heat. When combined and smooth, slowly add your Char Siu meat and sauteed shallots.
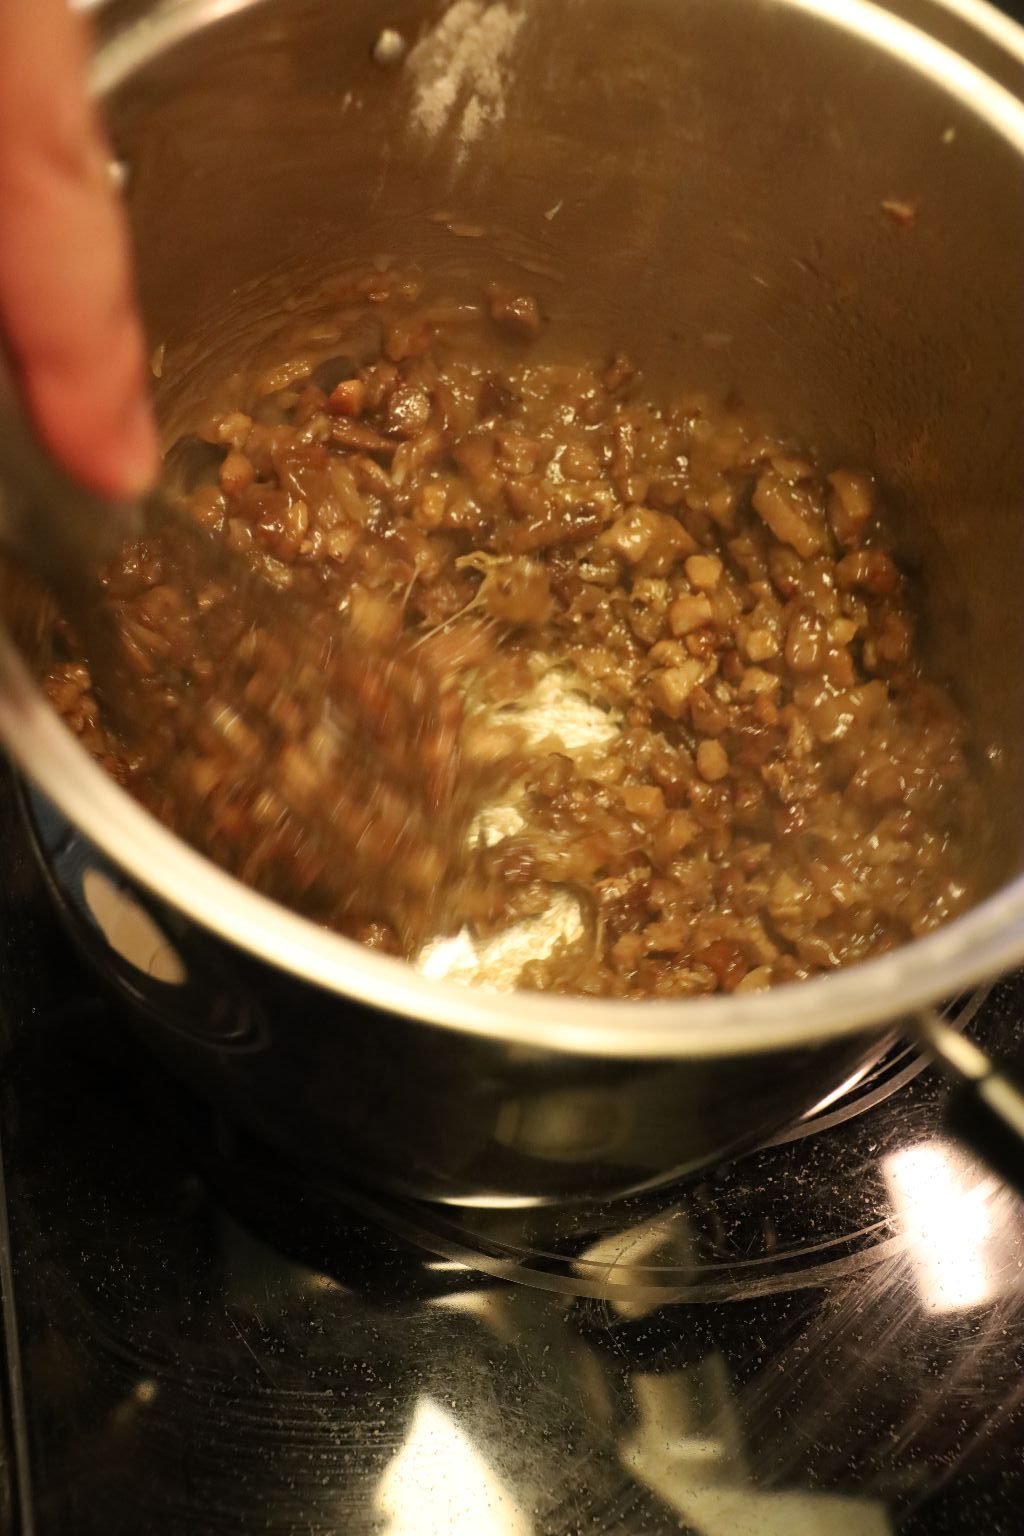

Turn off the heat and remove the pot to cool.
————————————————————
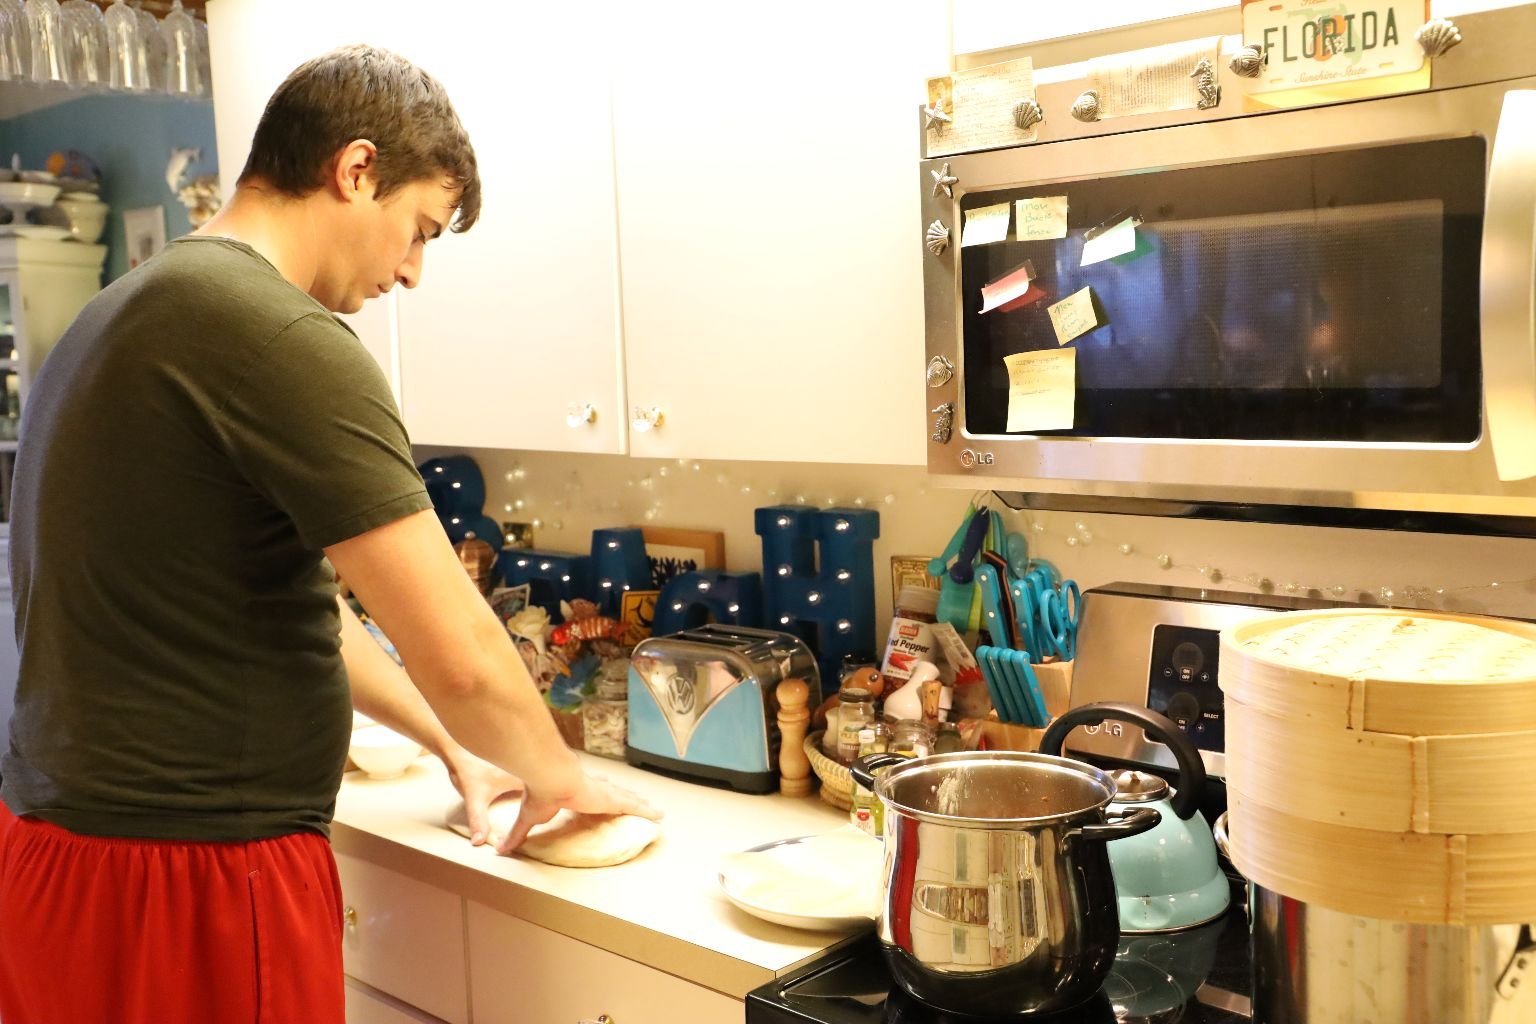
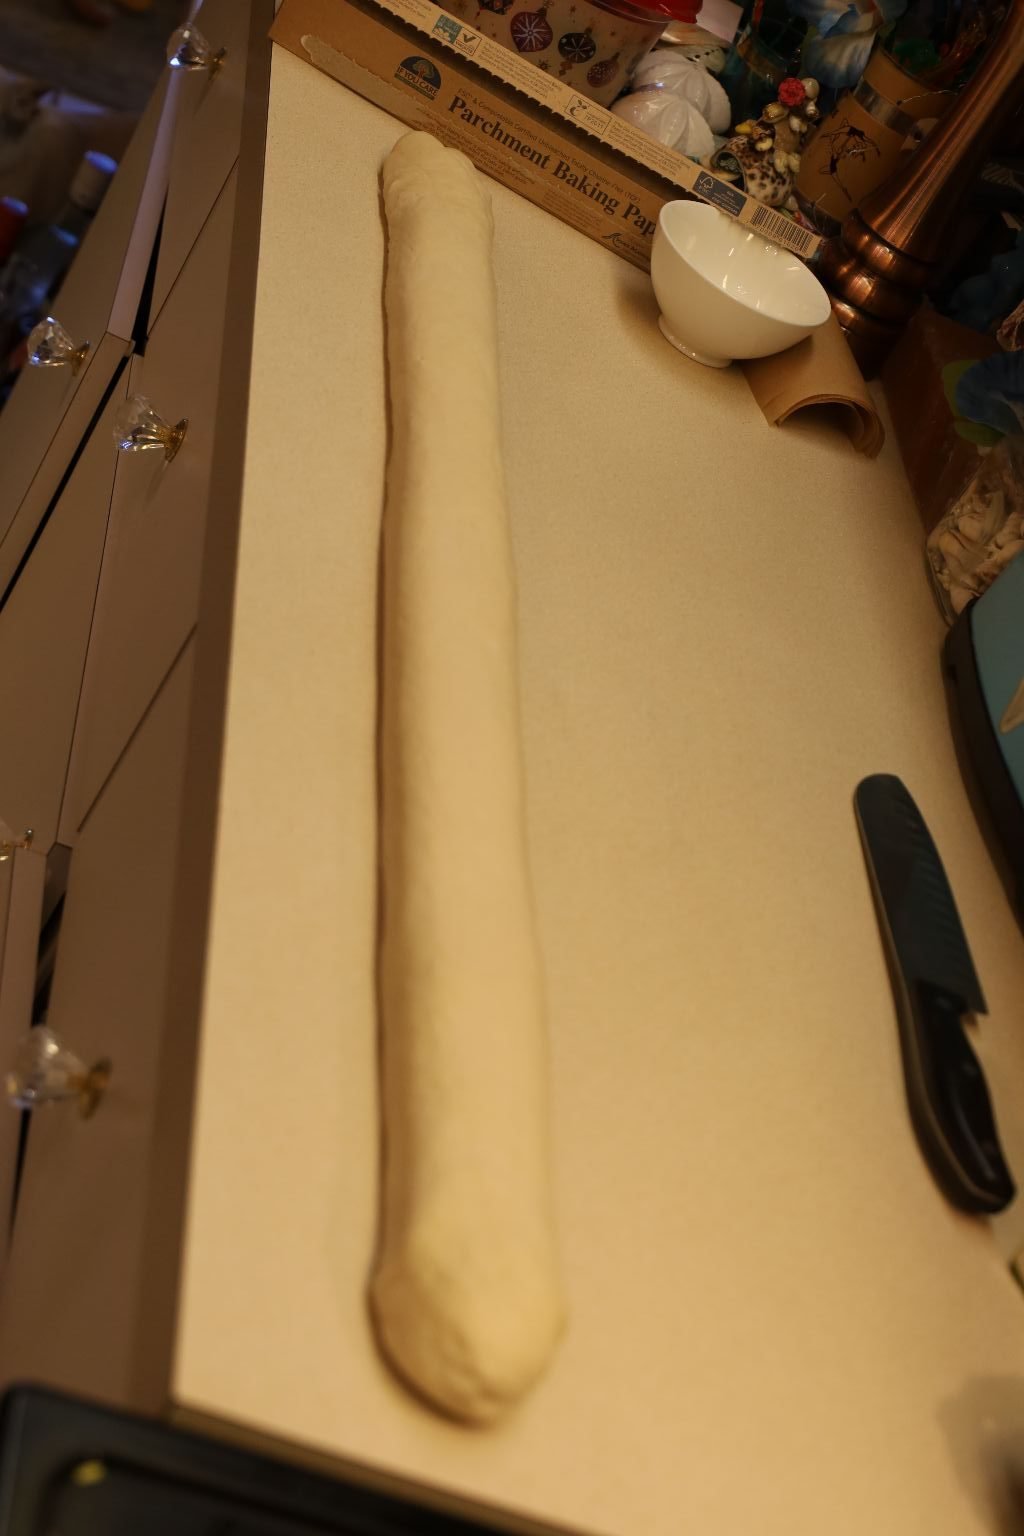
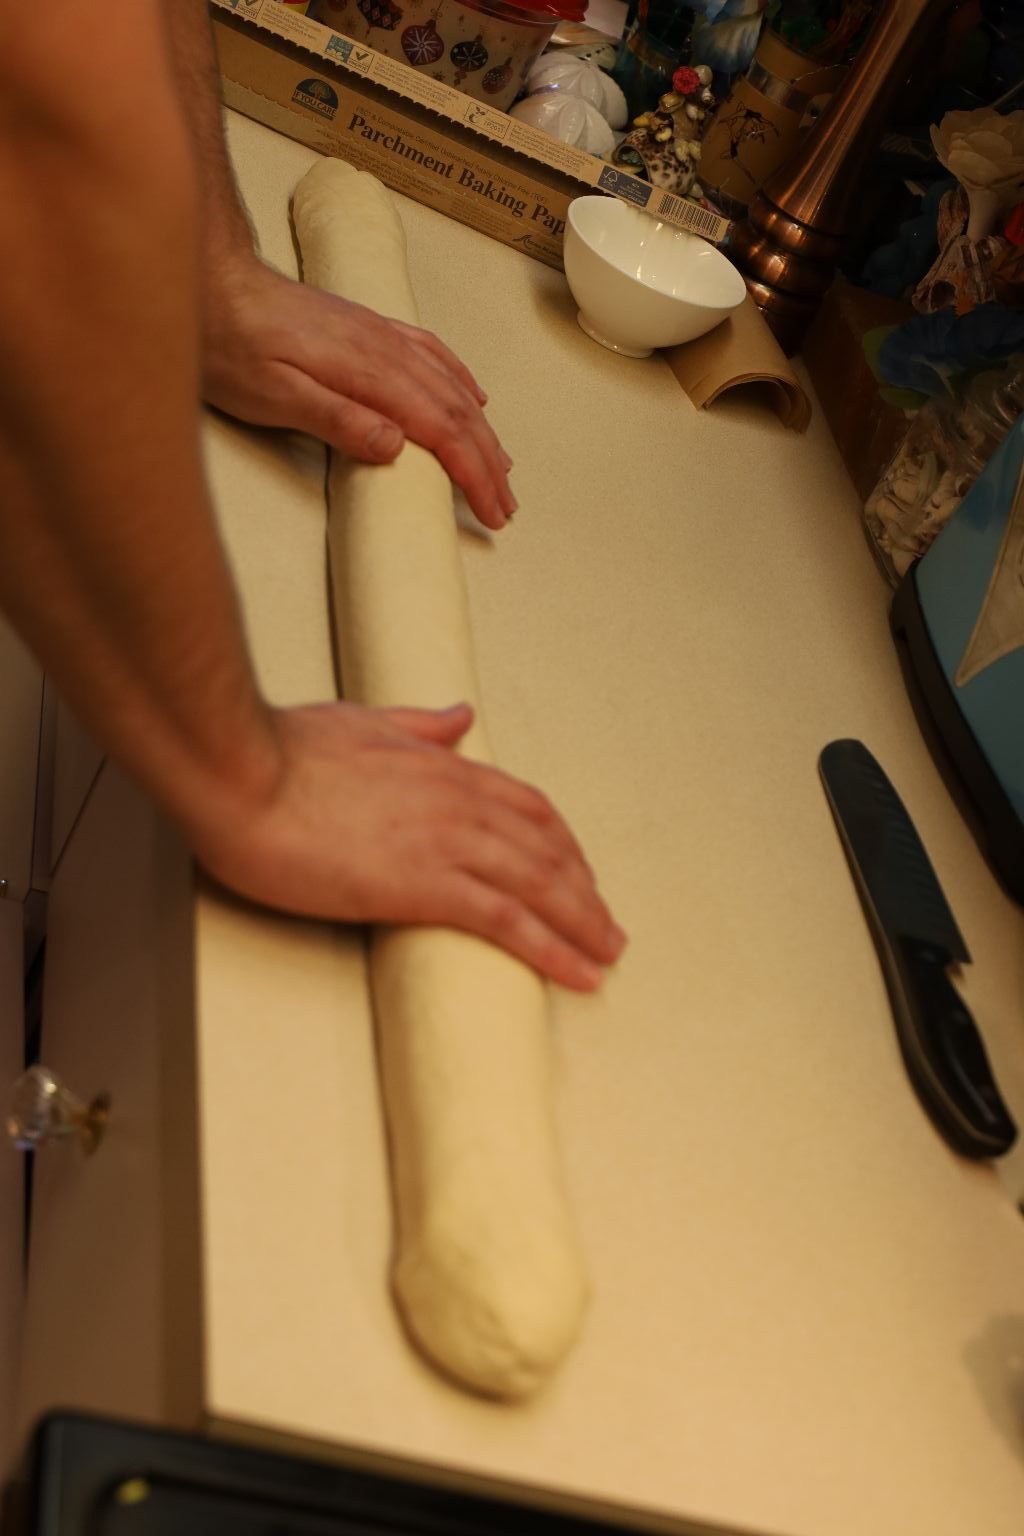
Remove your dough from the bowl and roll into a long log.
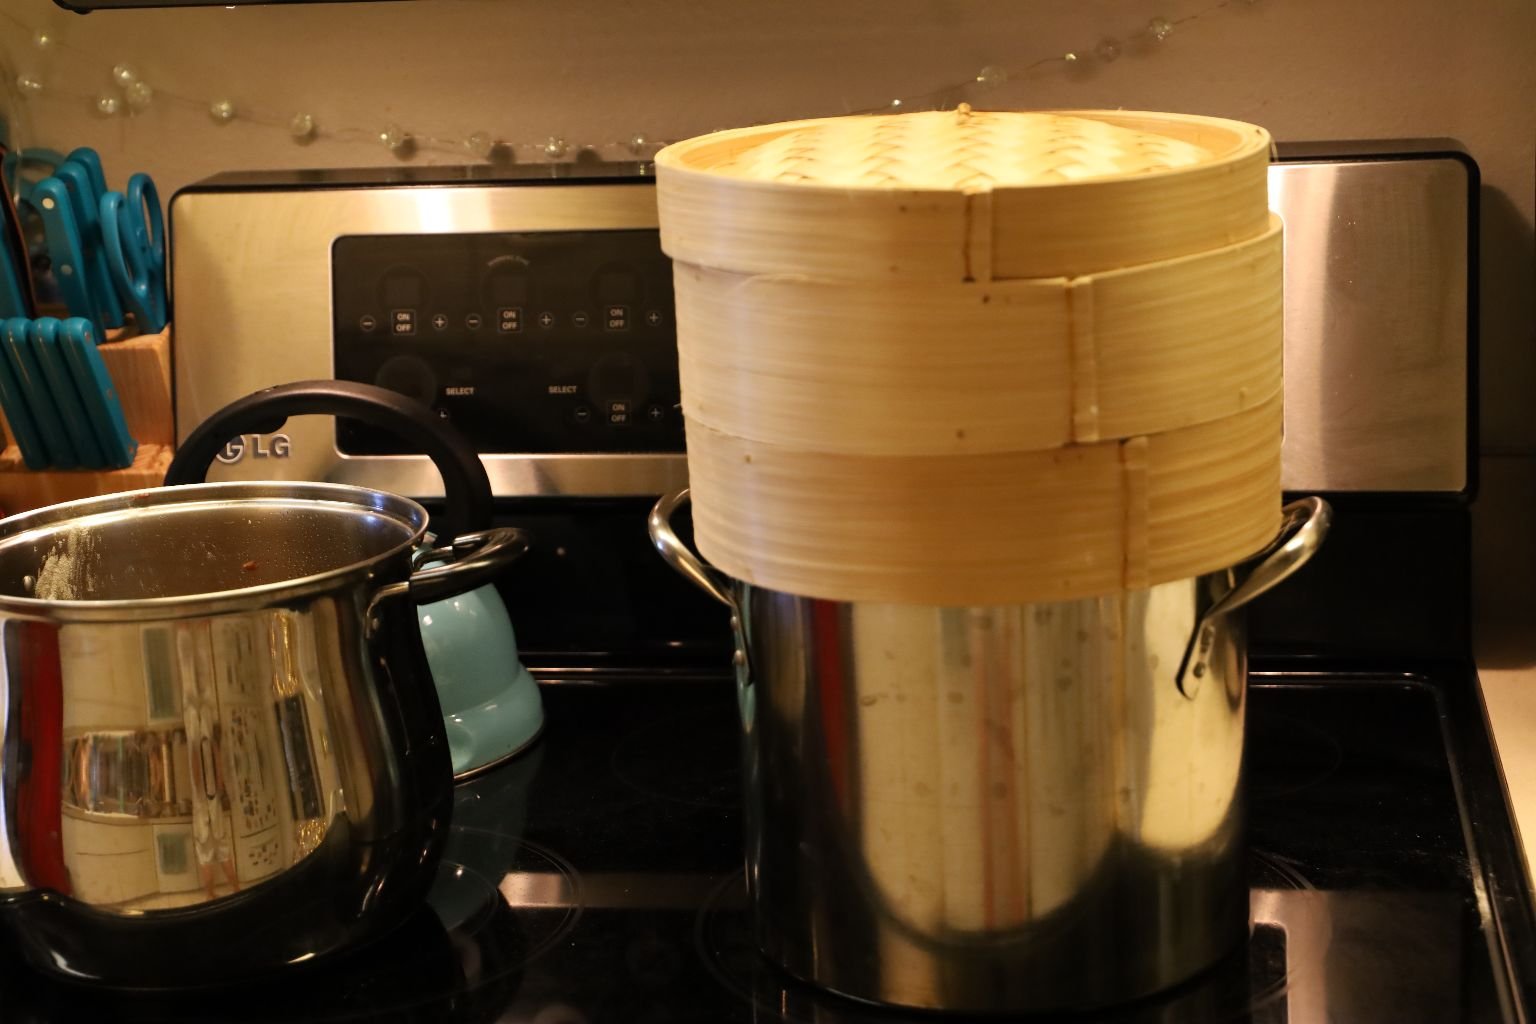
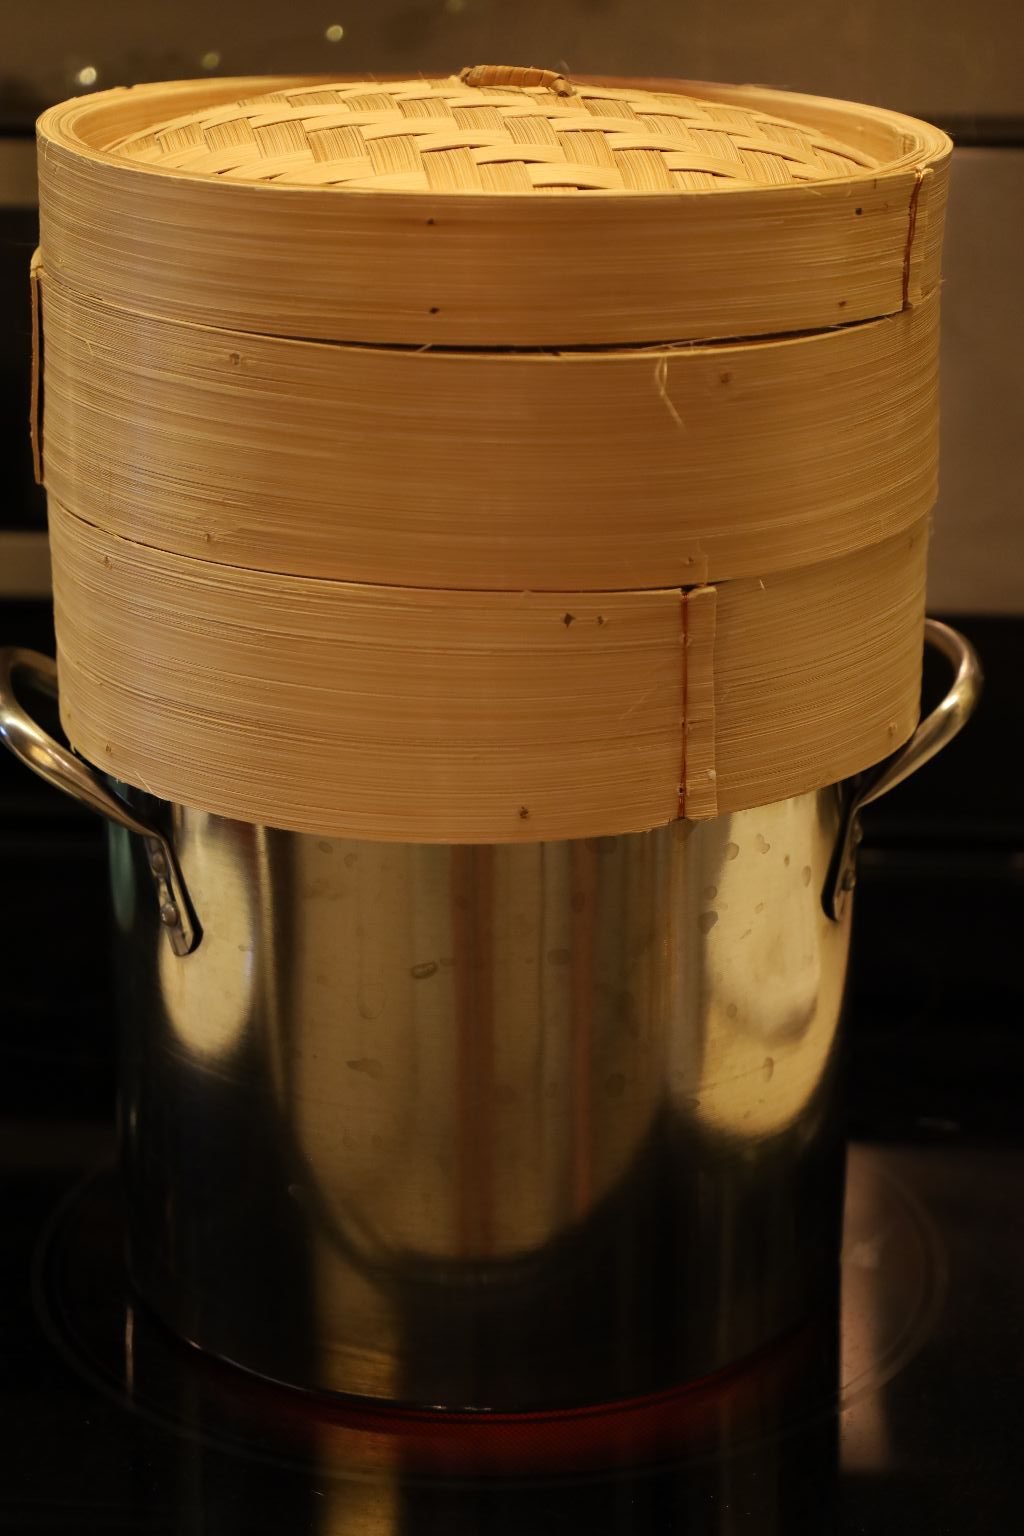
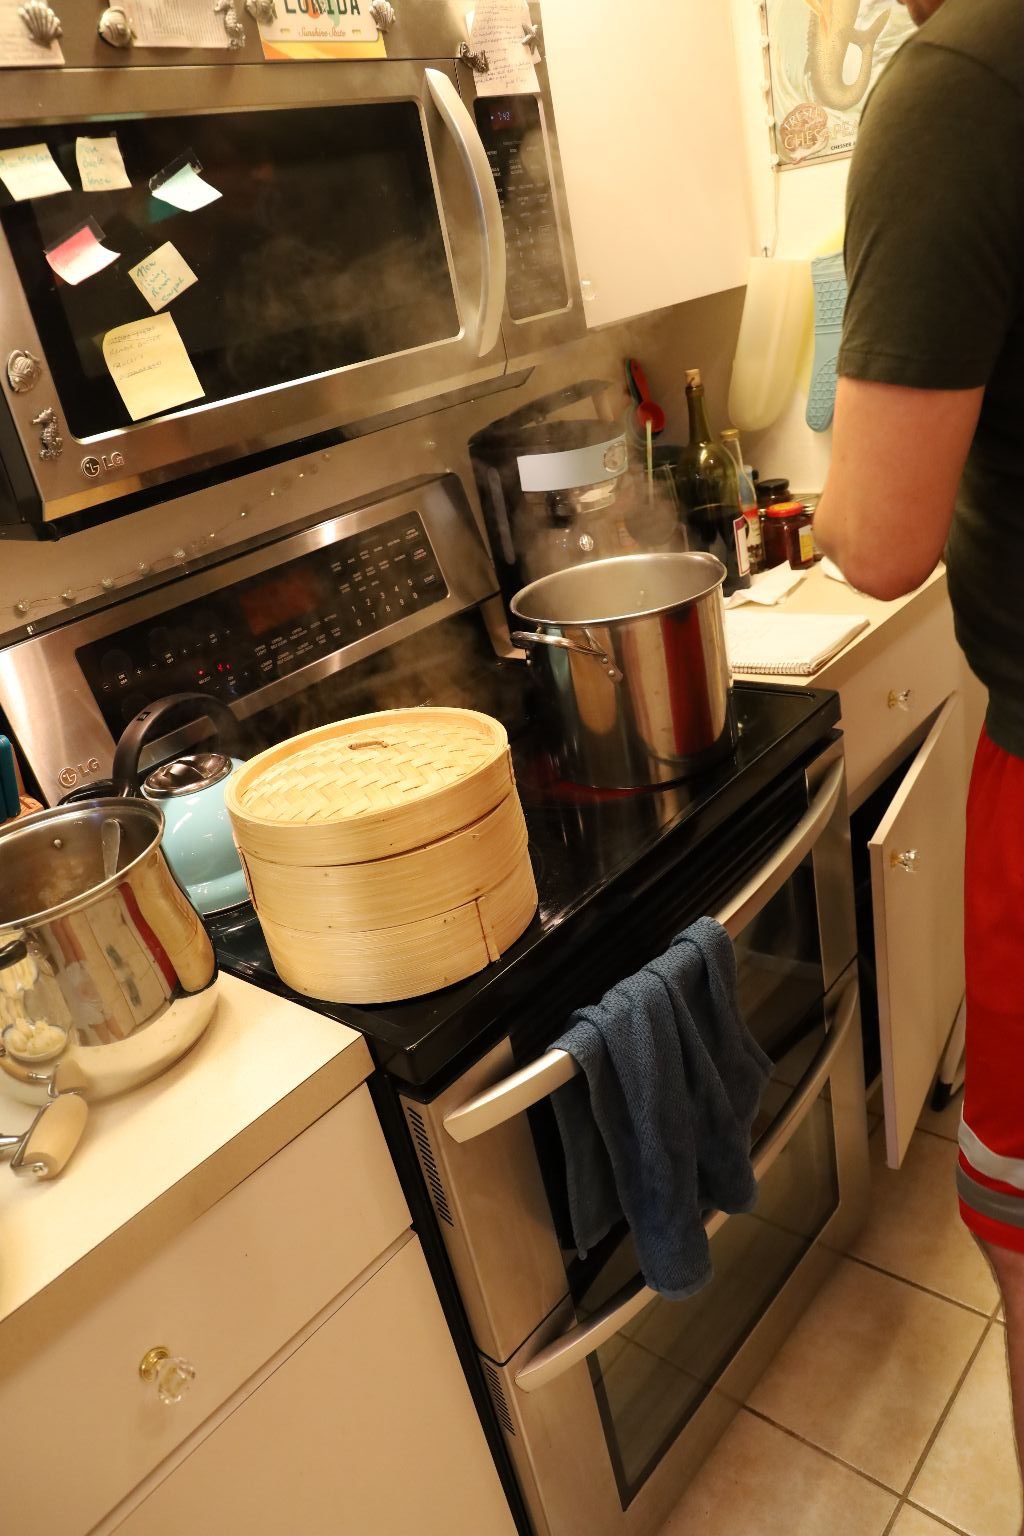
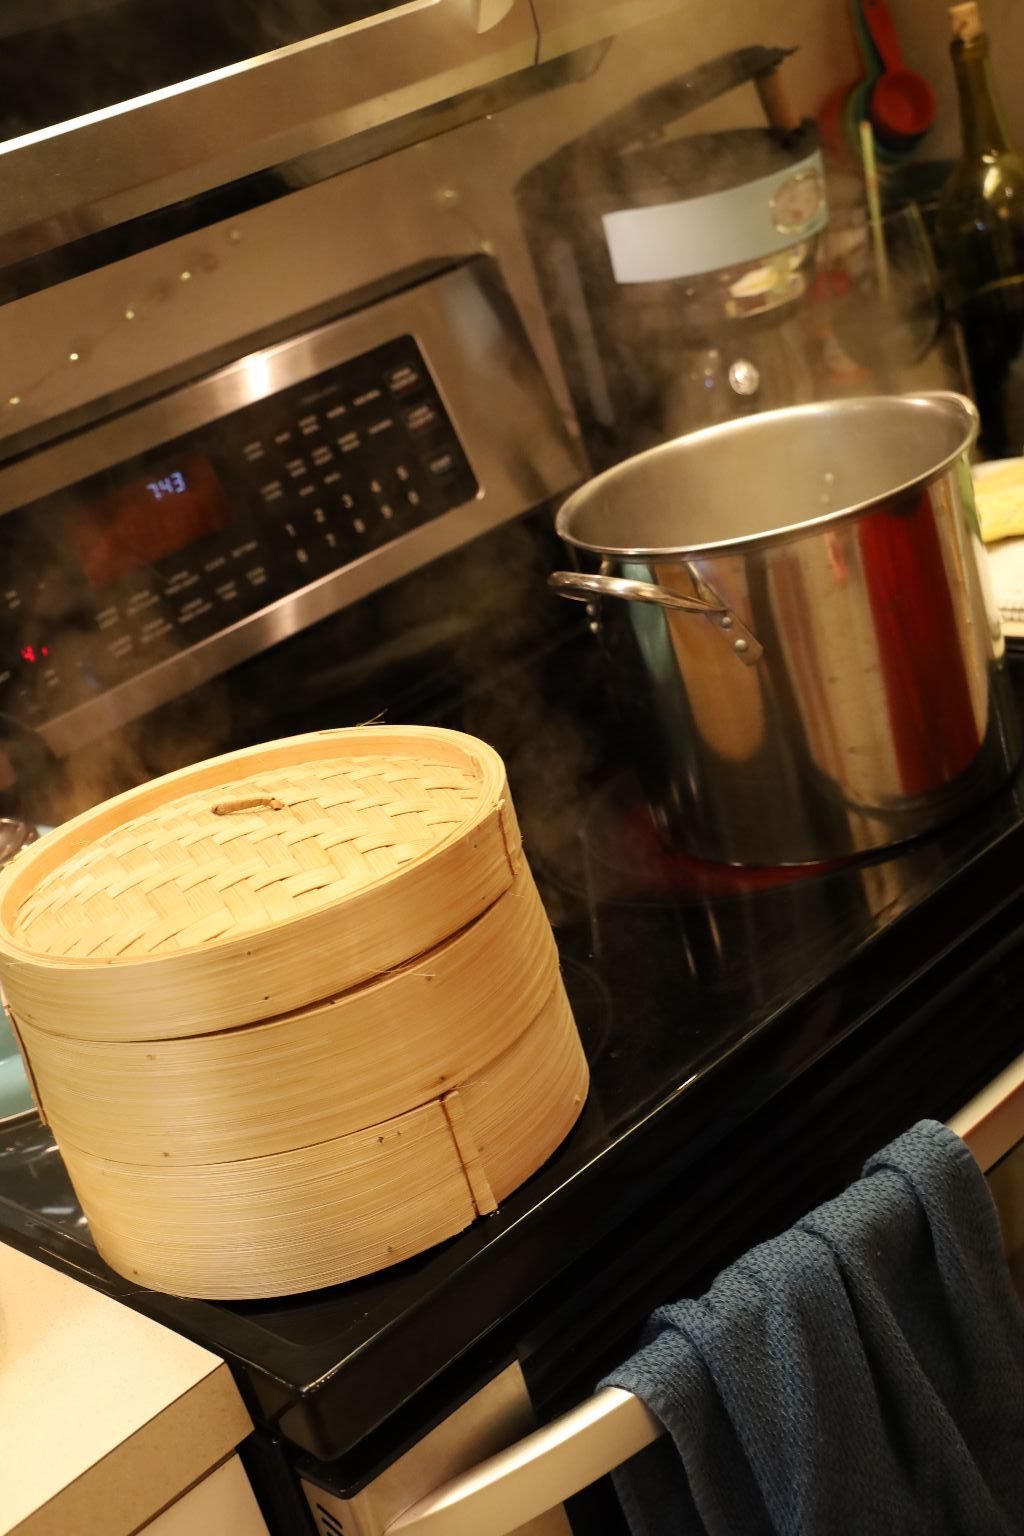
Here you can see our Asian steamer on top of the pot filled with about 3 inches of water.
——————————————————————–
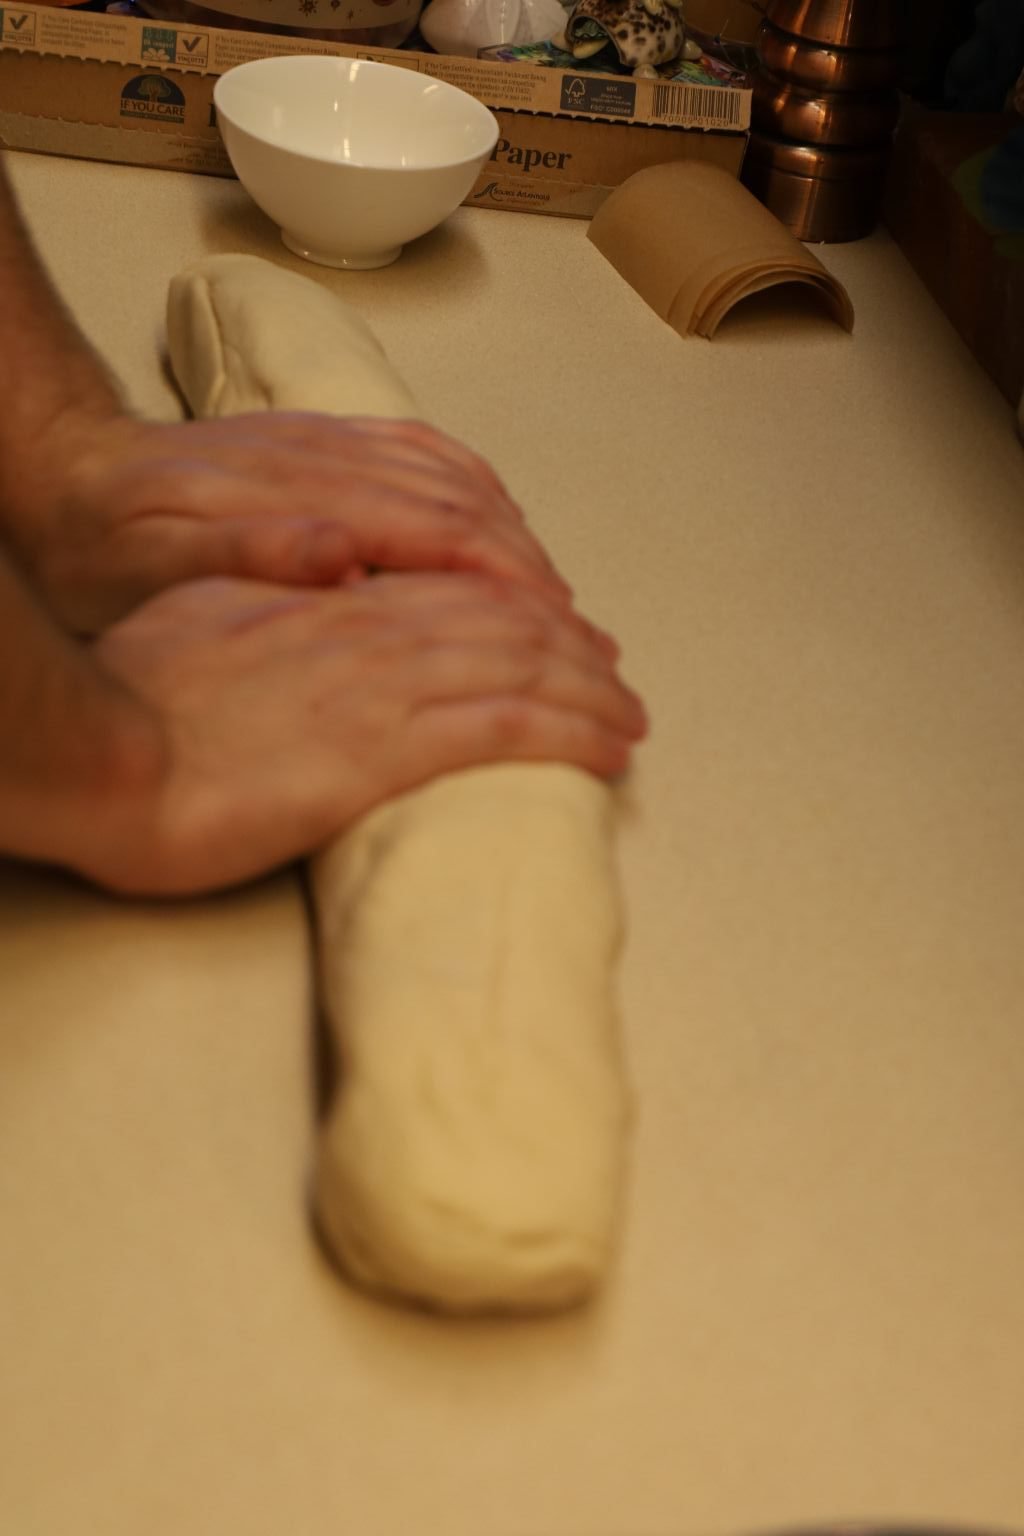
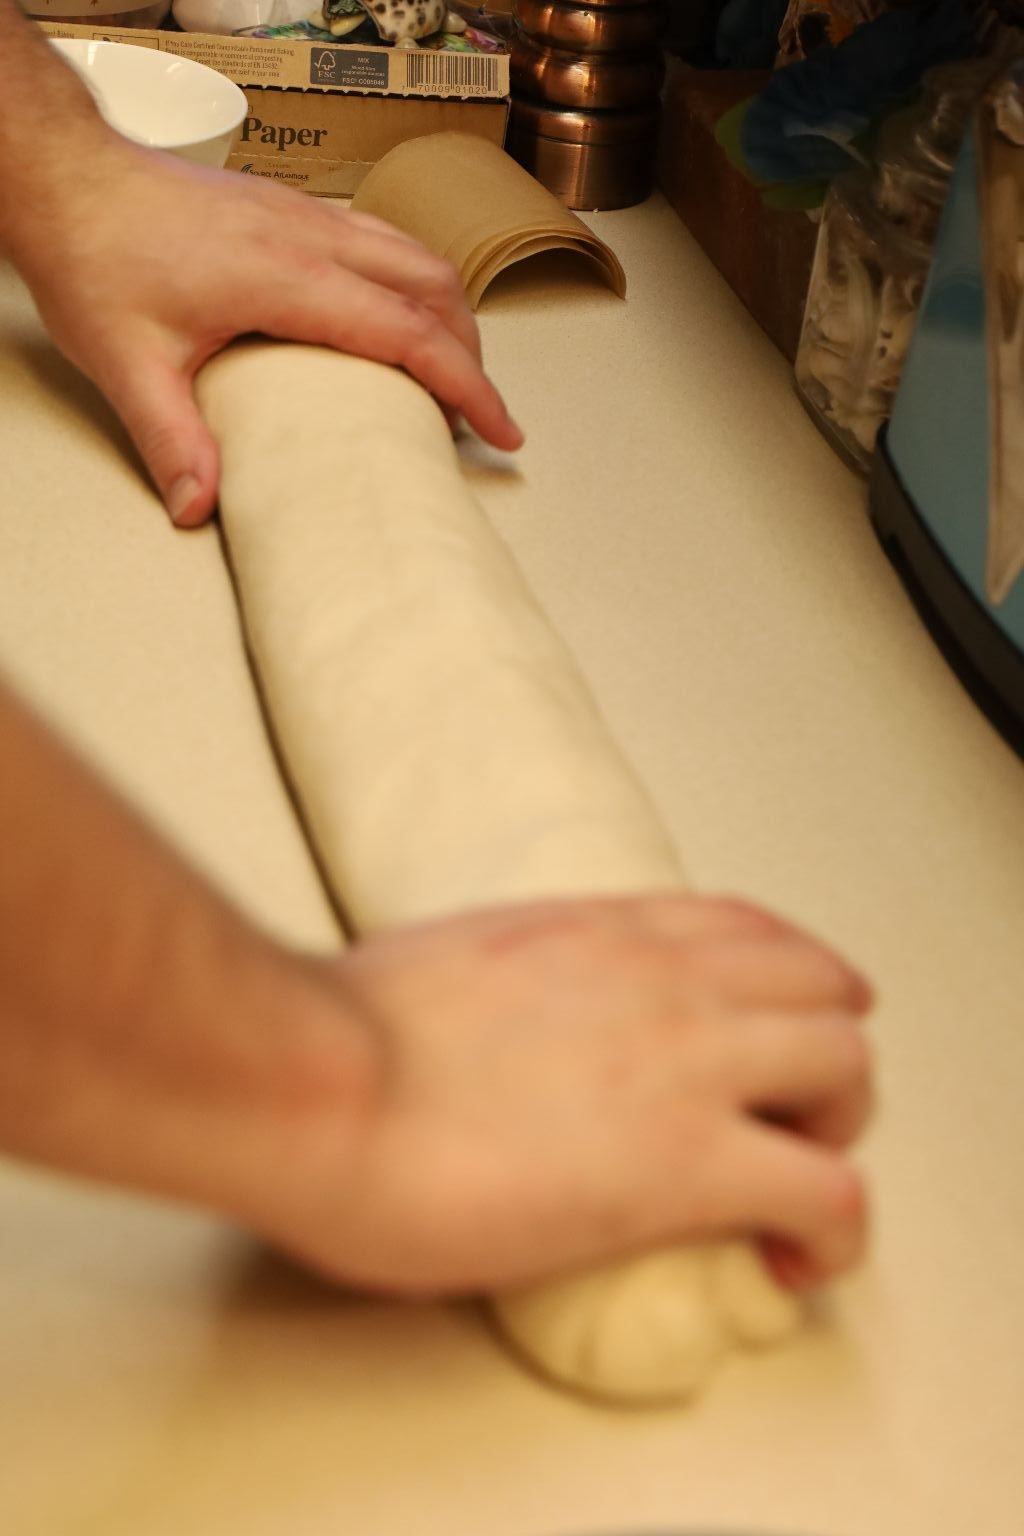
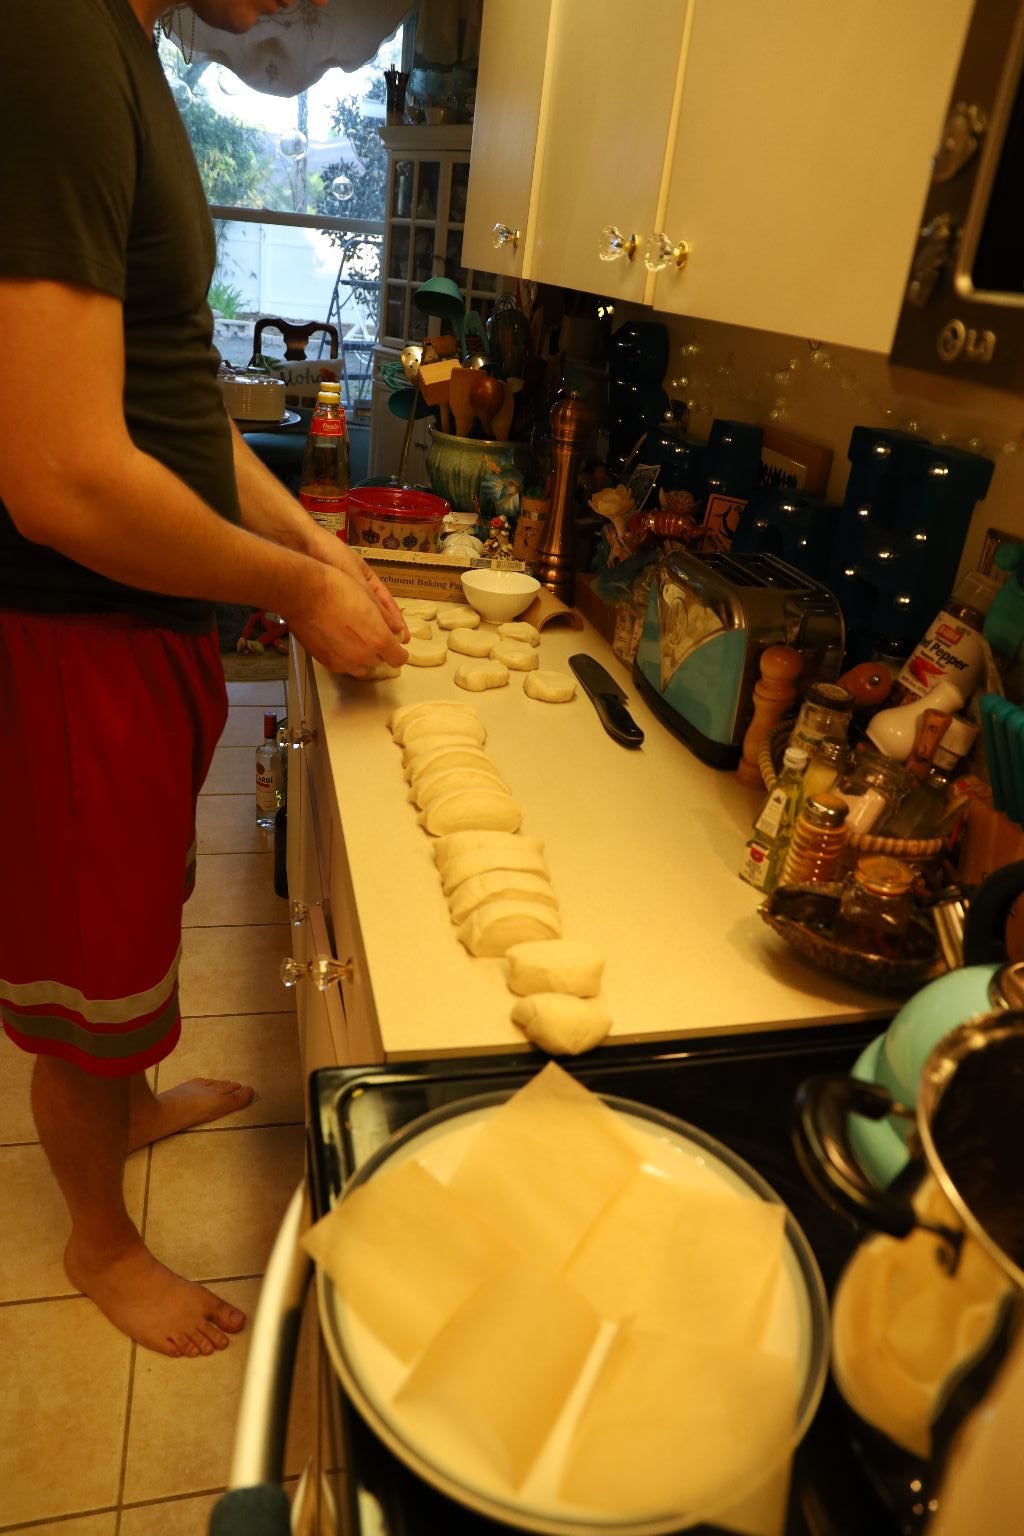
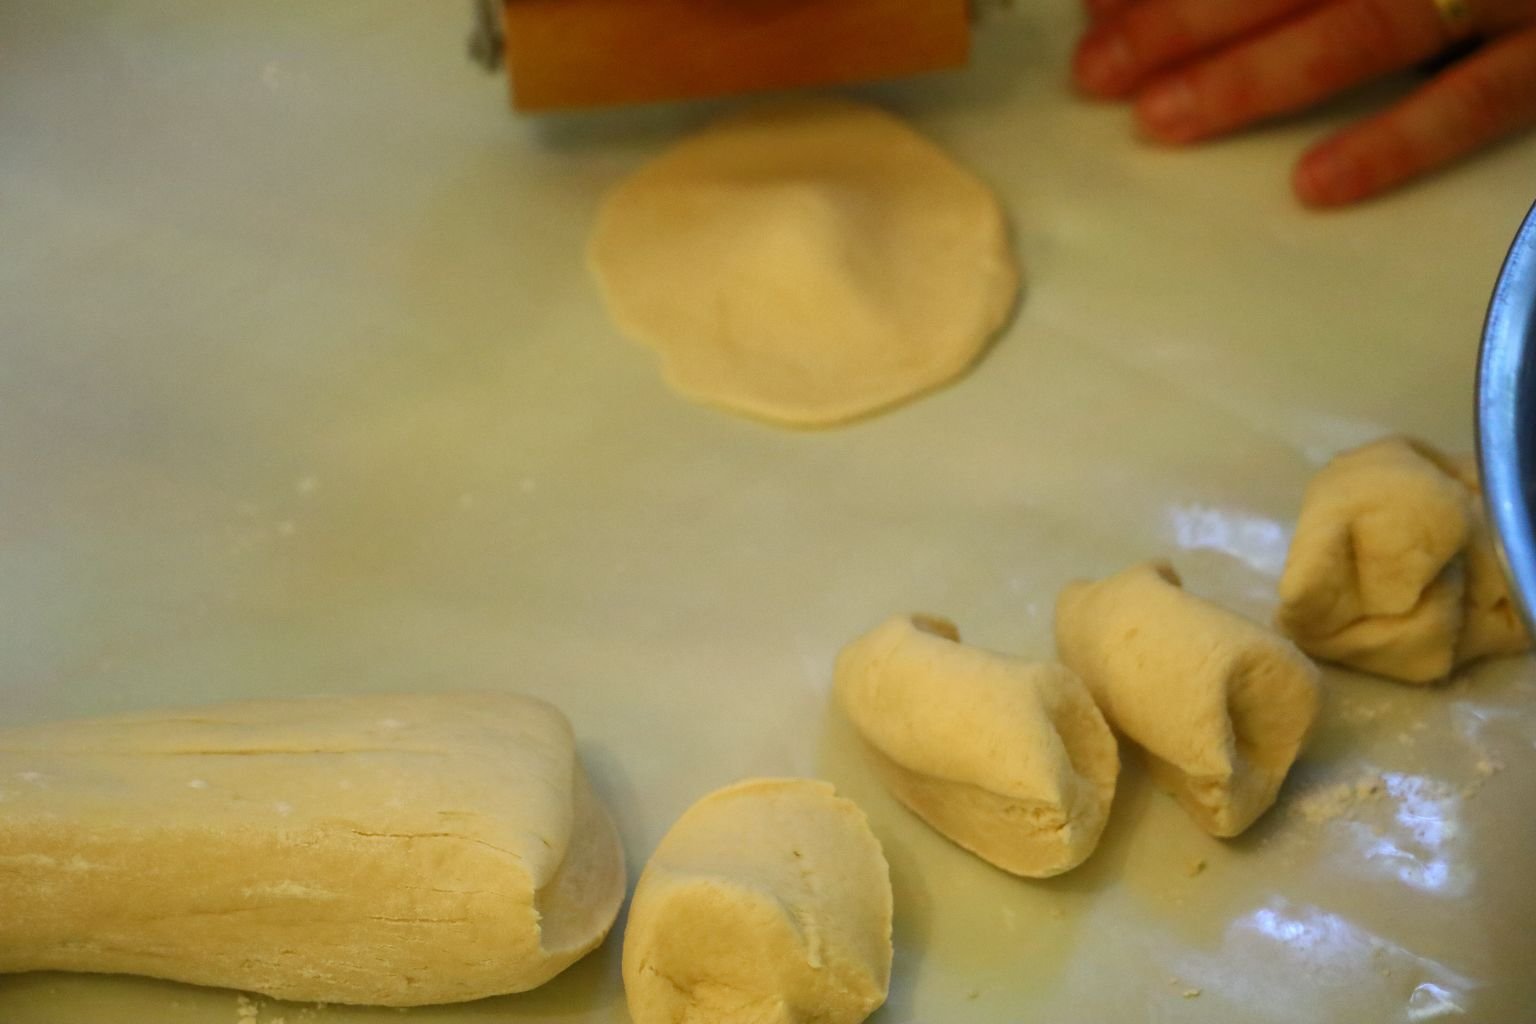
Here, Brodie is rolling out the dough into a nice log about 2 1/2 to 3 inches in diameter.
———————————————————–

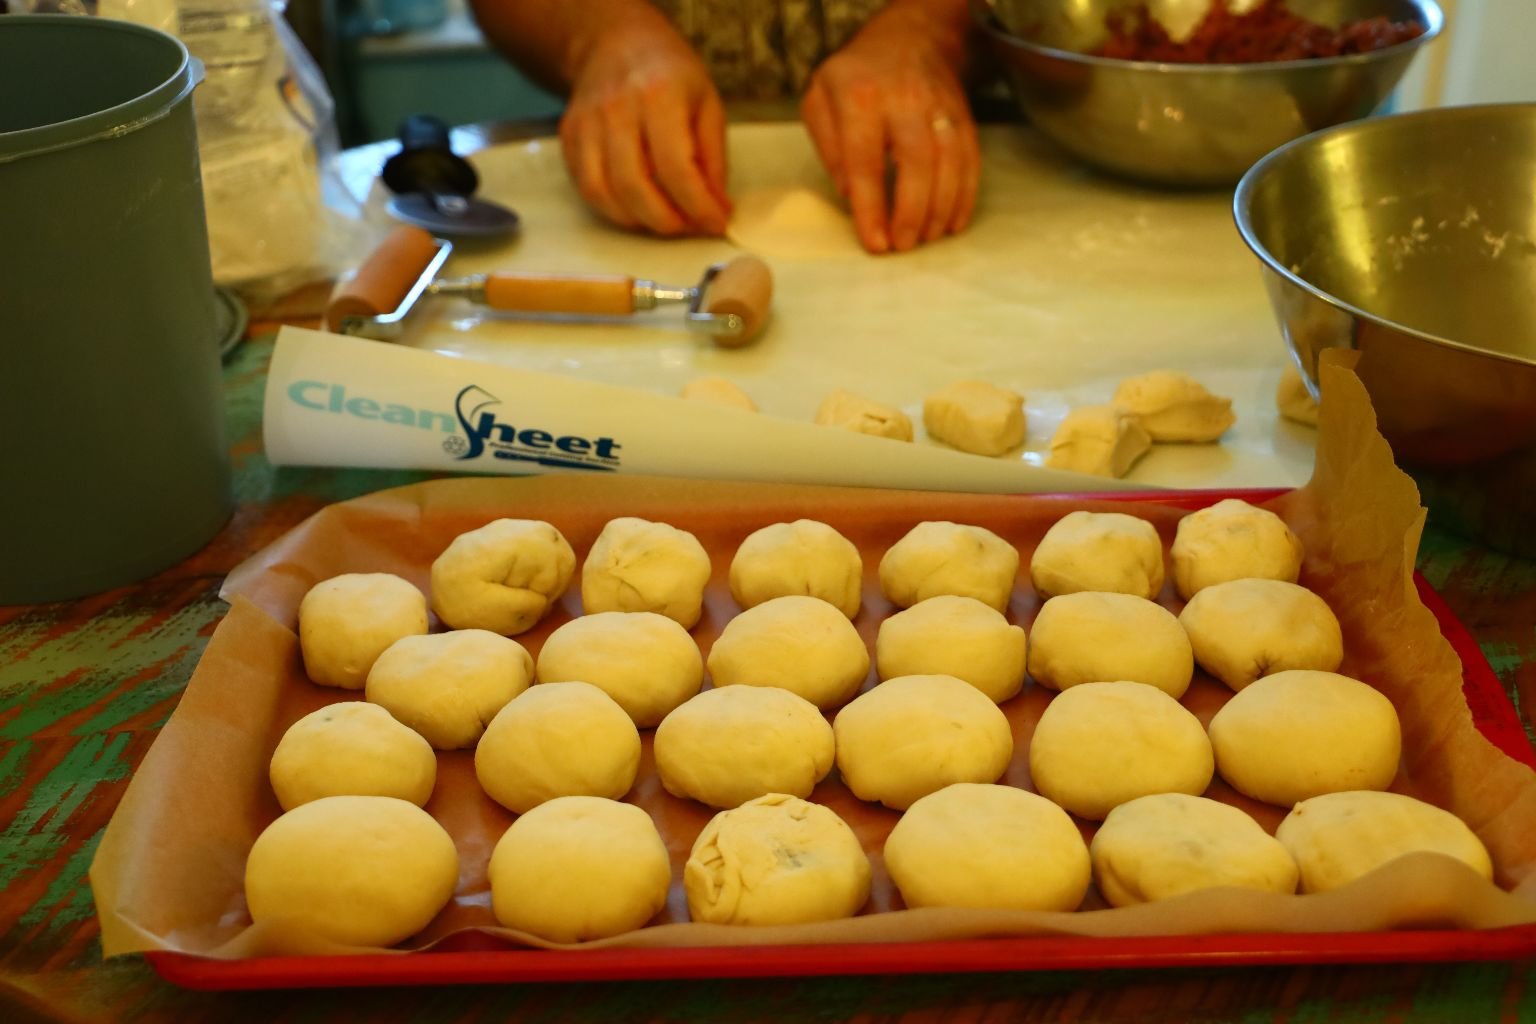
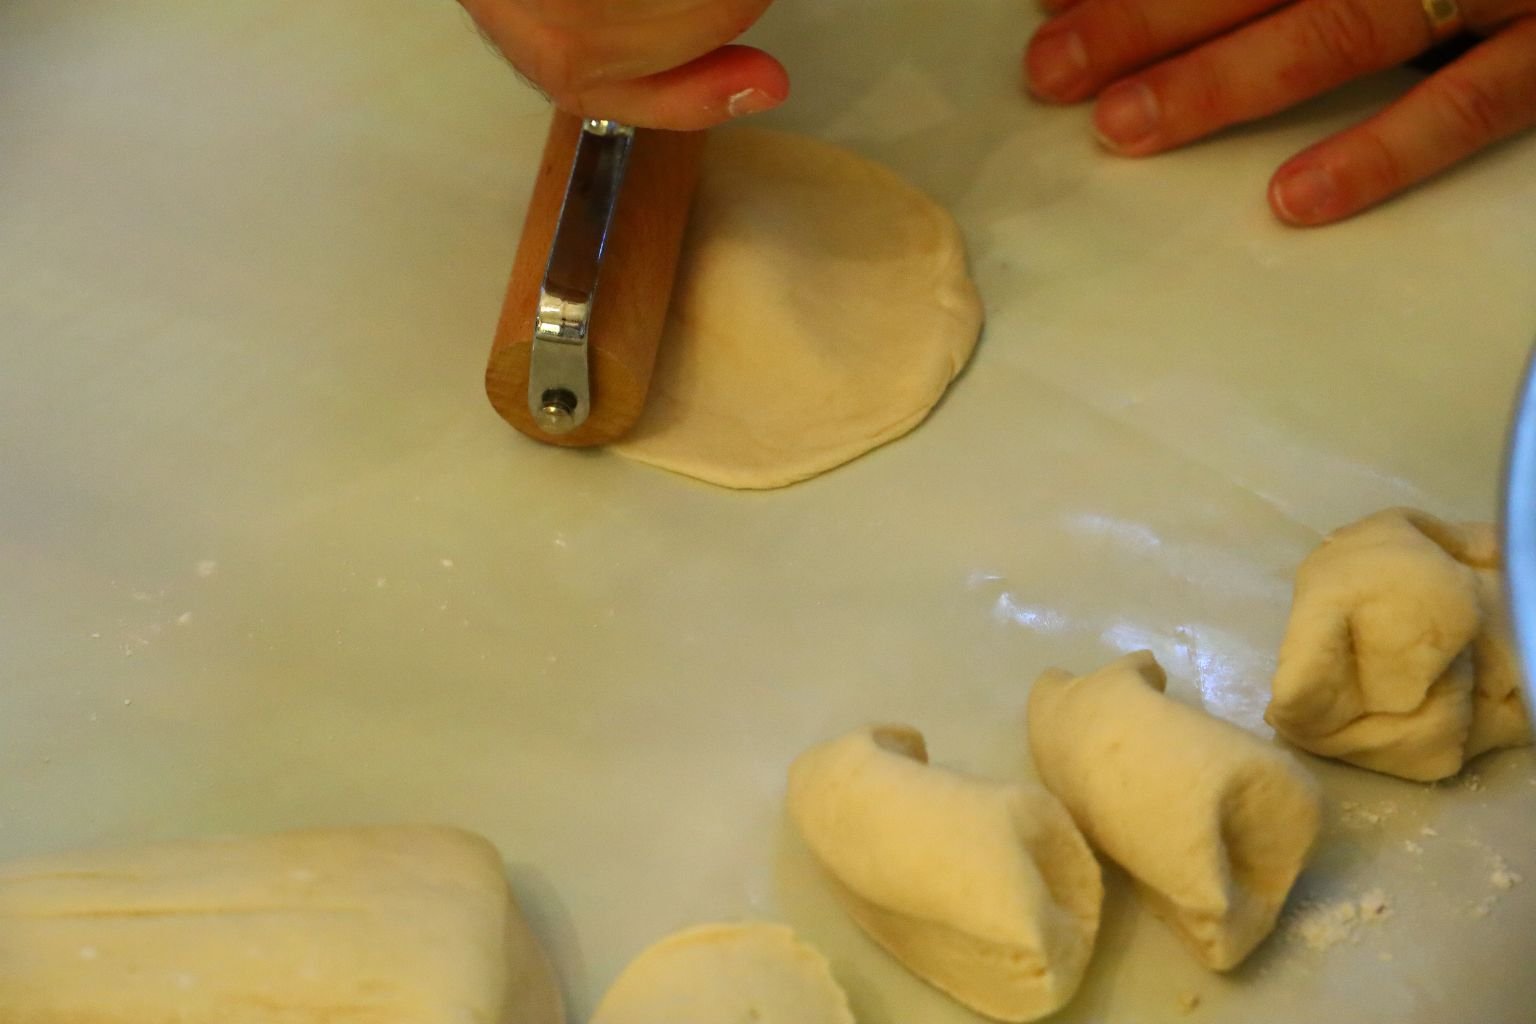
Slice the dough into 1 inch sections as shown.
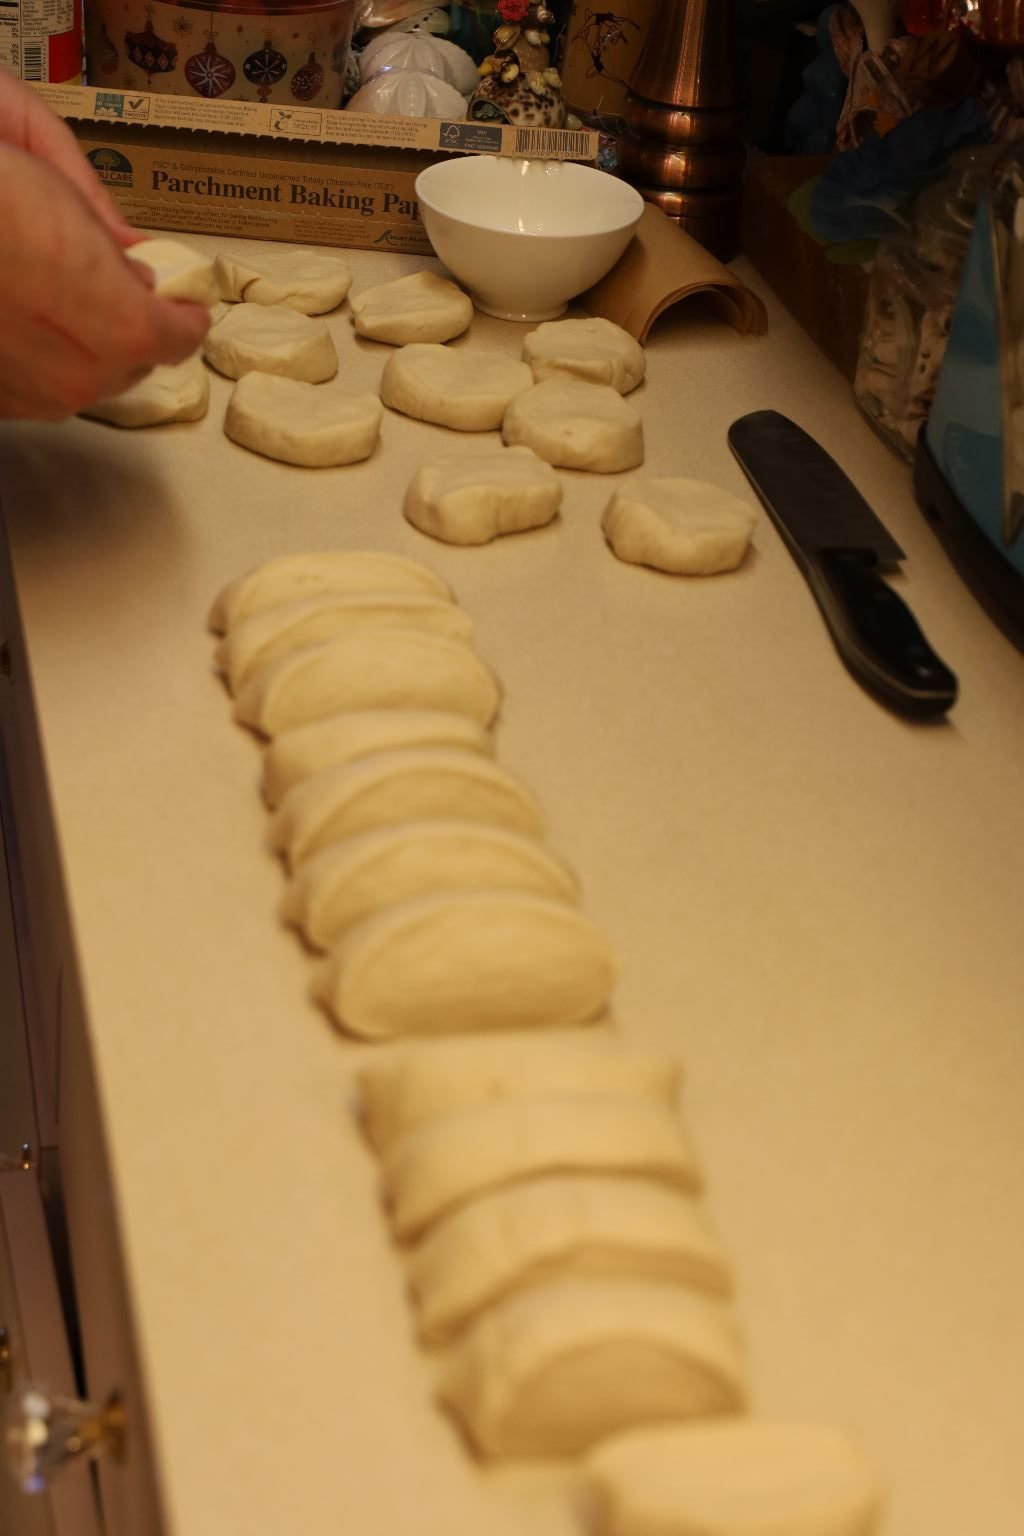
Lay the cut sections down flat.
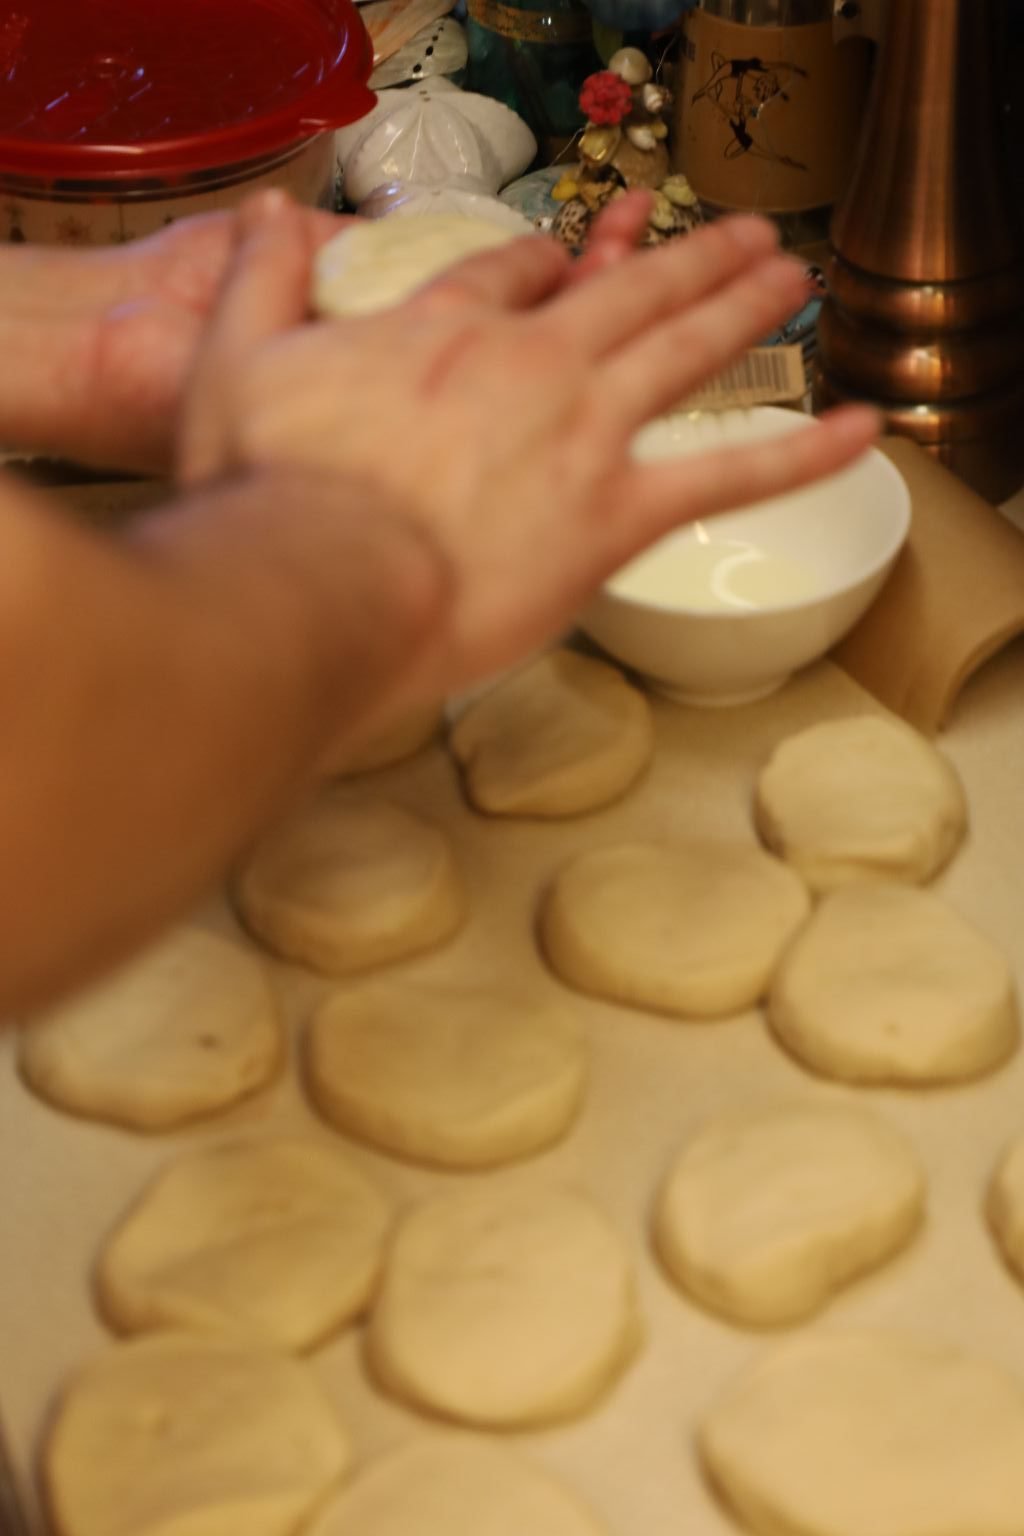
Moisten the tops of your fingers with a little bit of water to prevent them from sticking to the dough.
——————————————————–
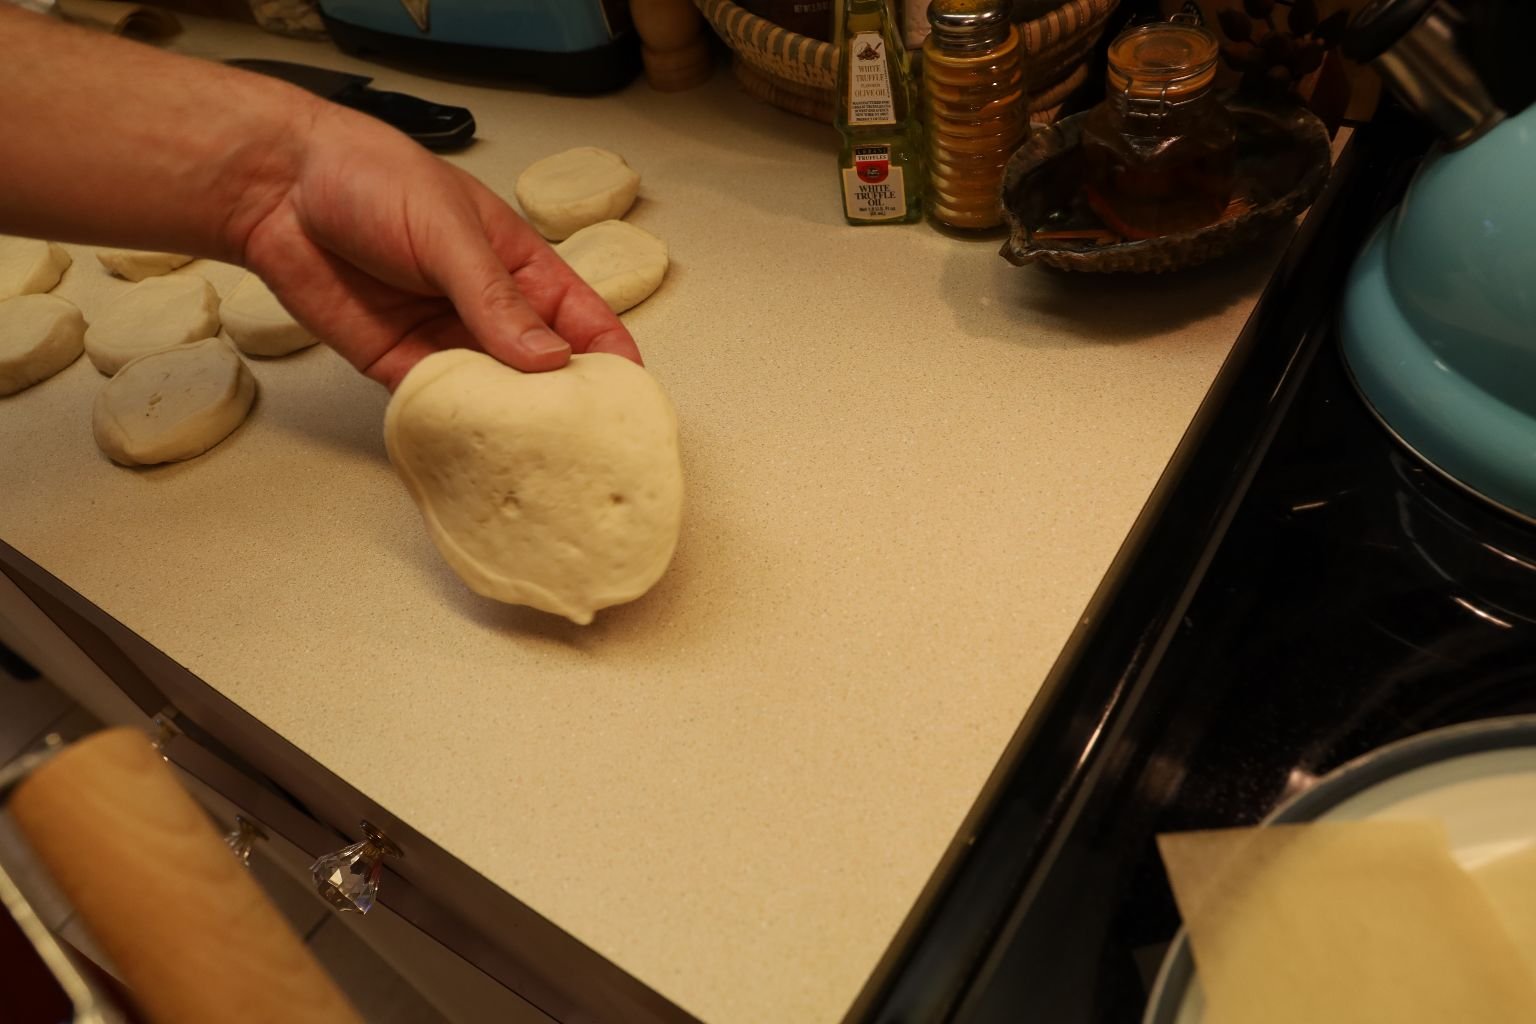
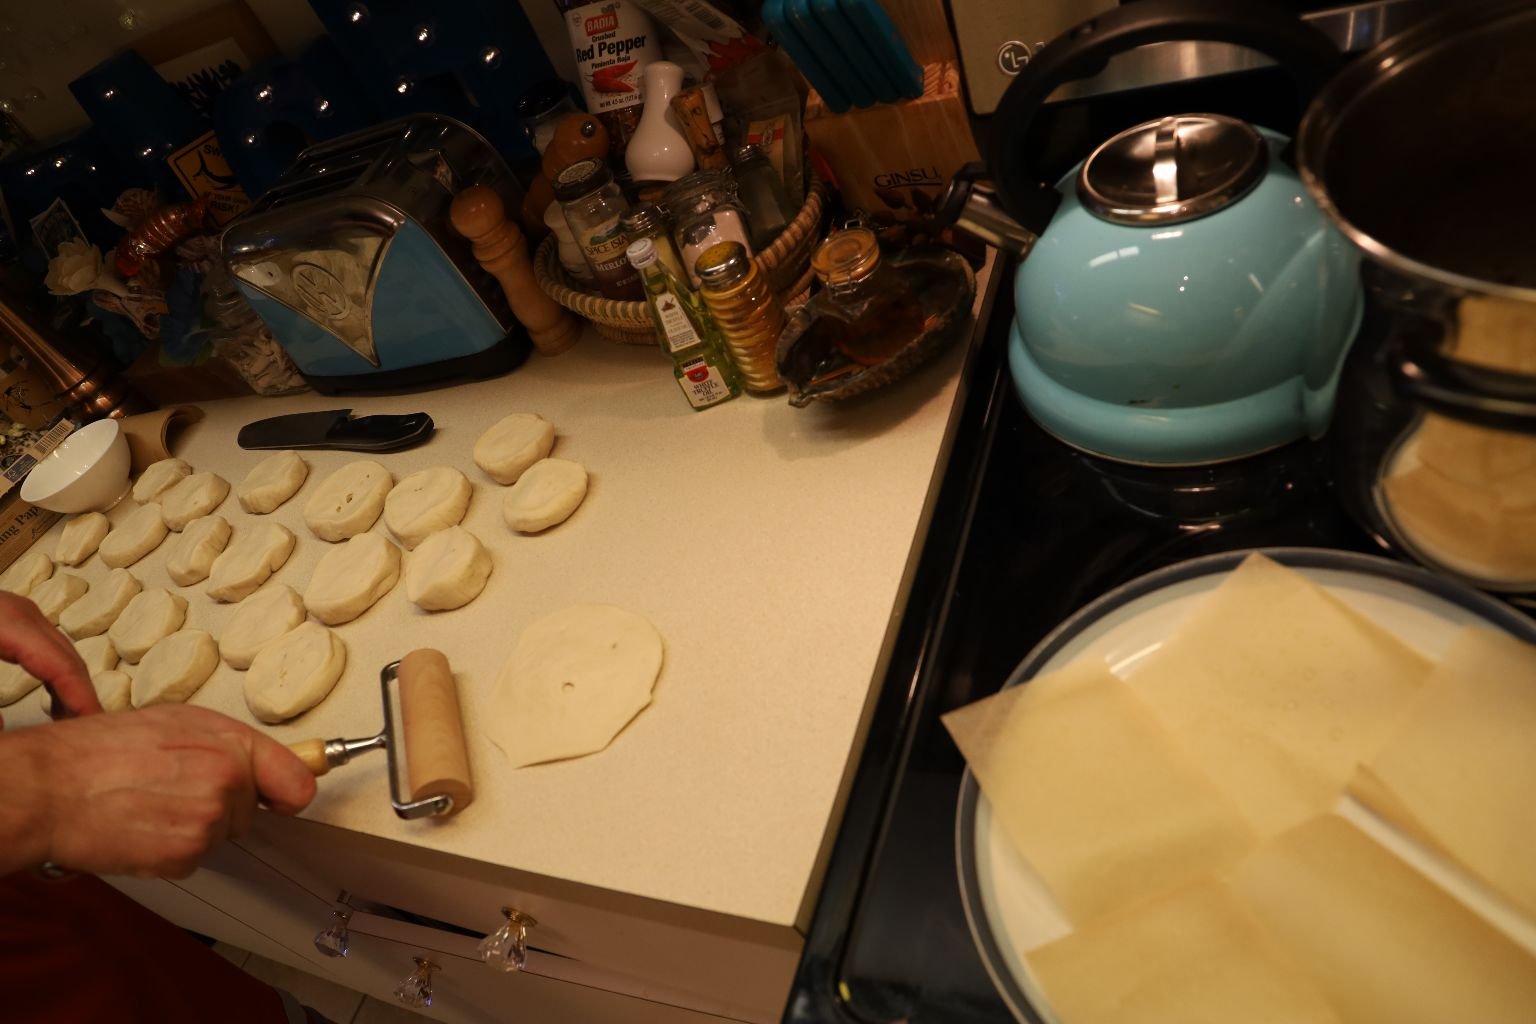
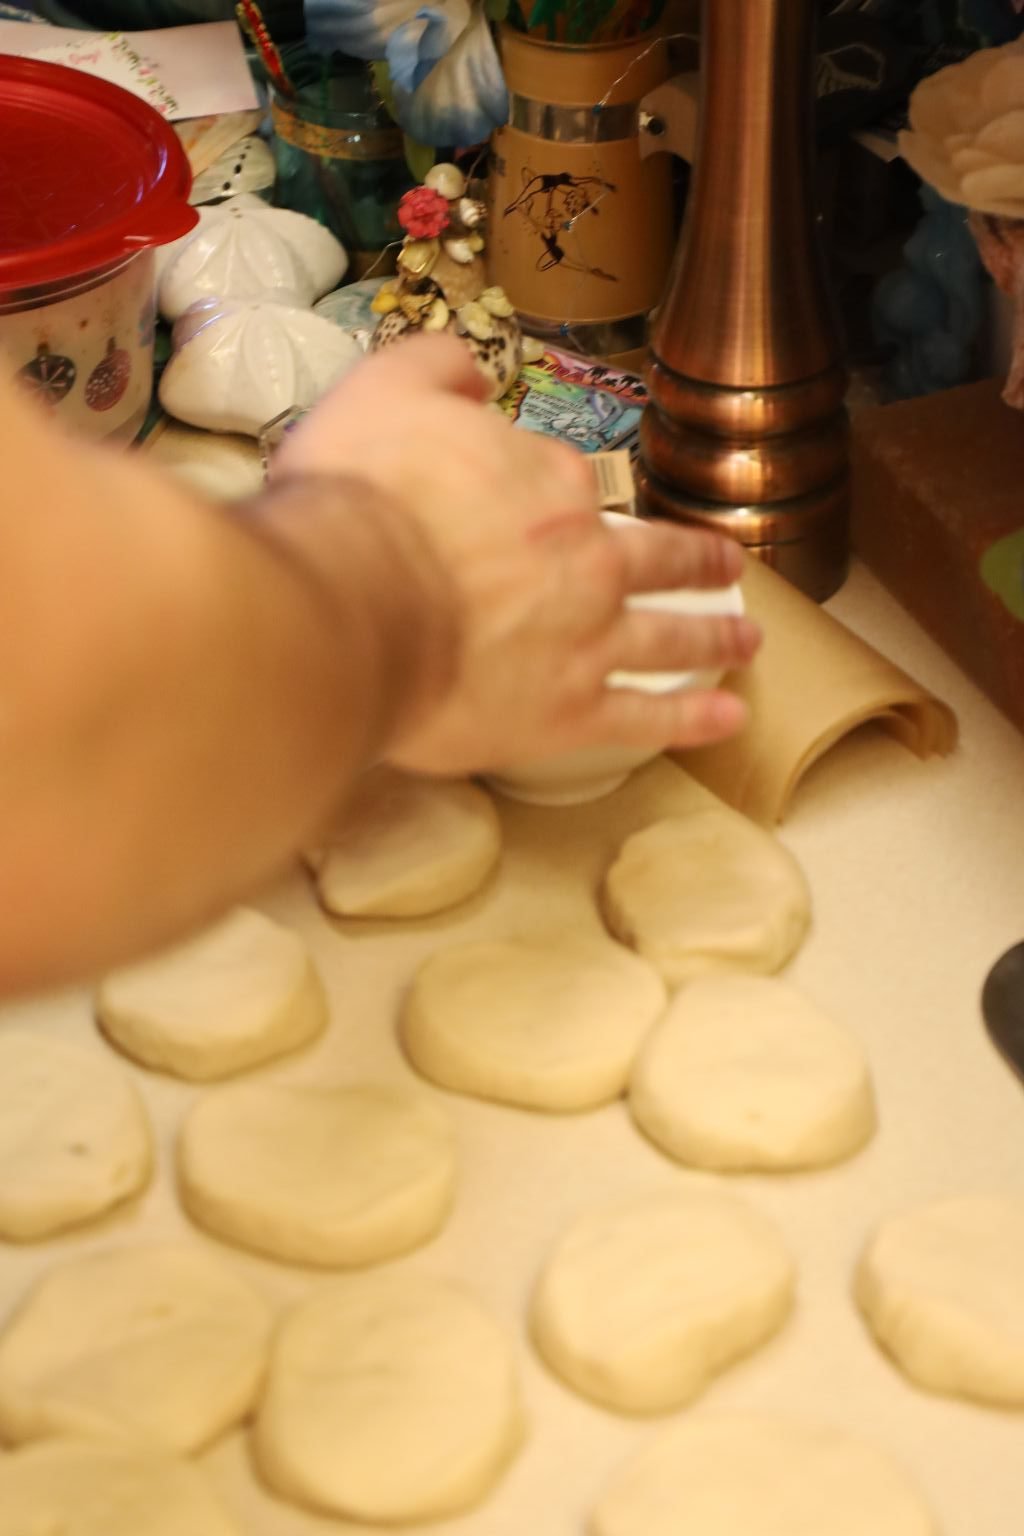
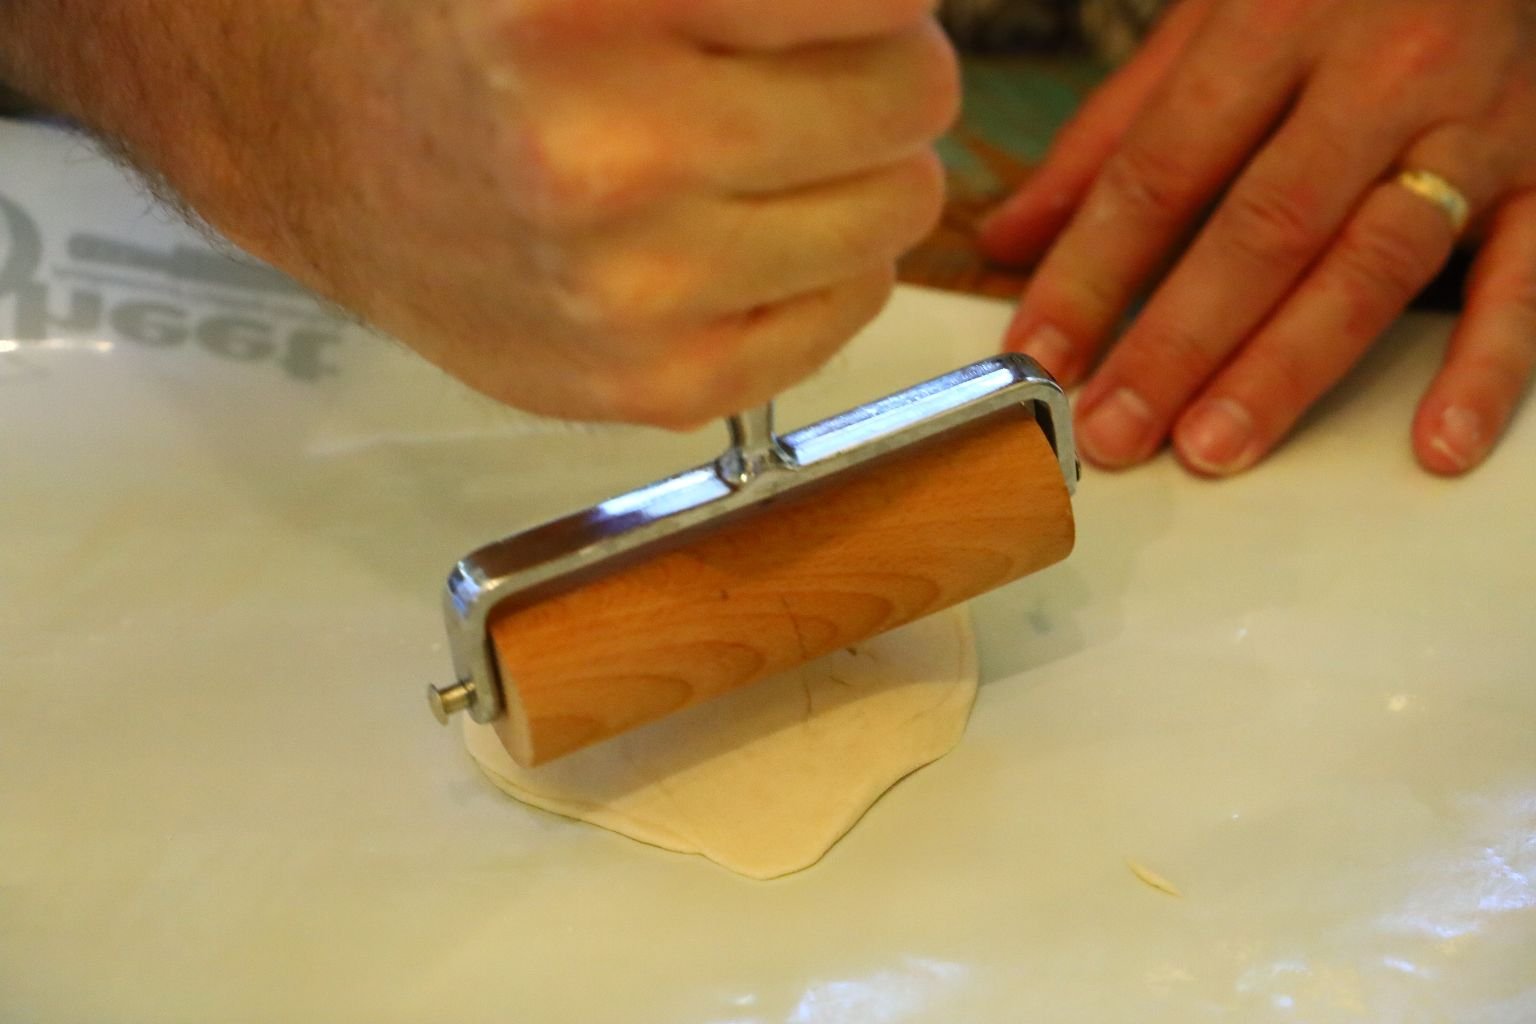
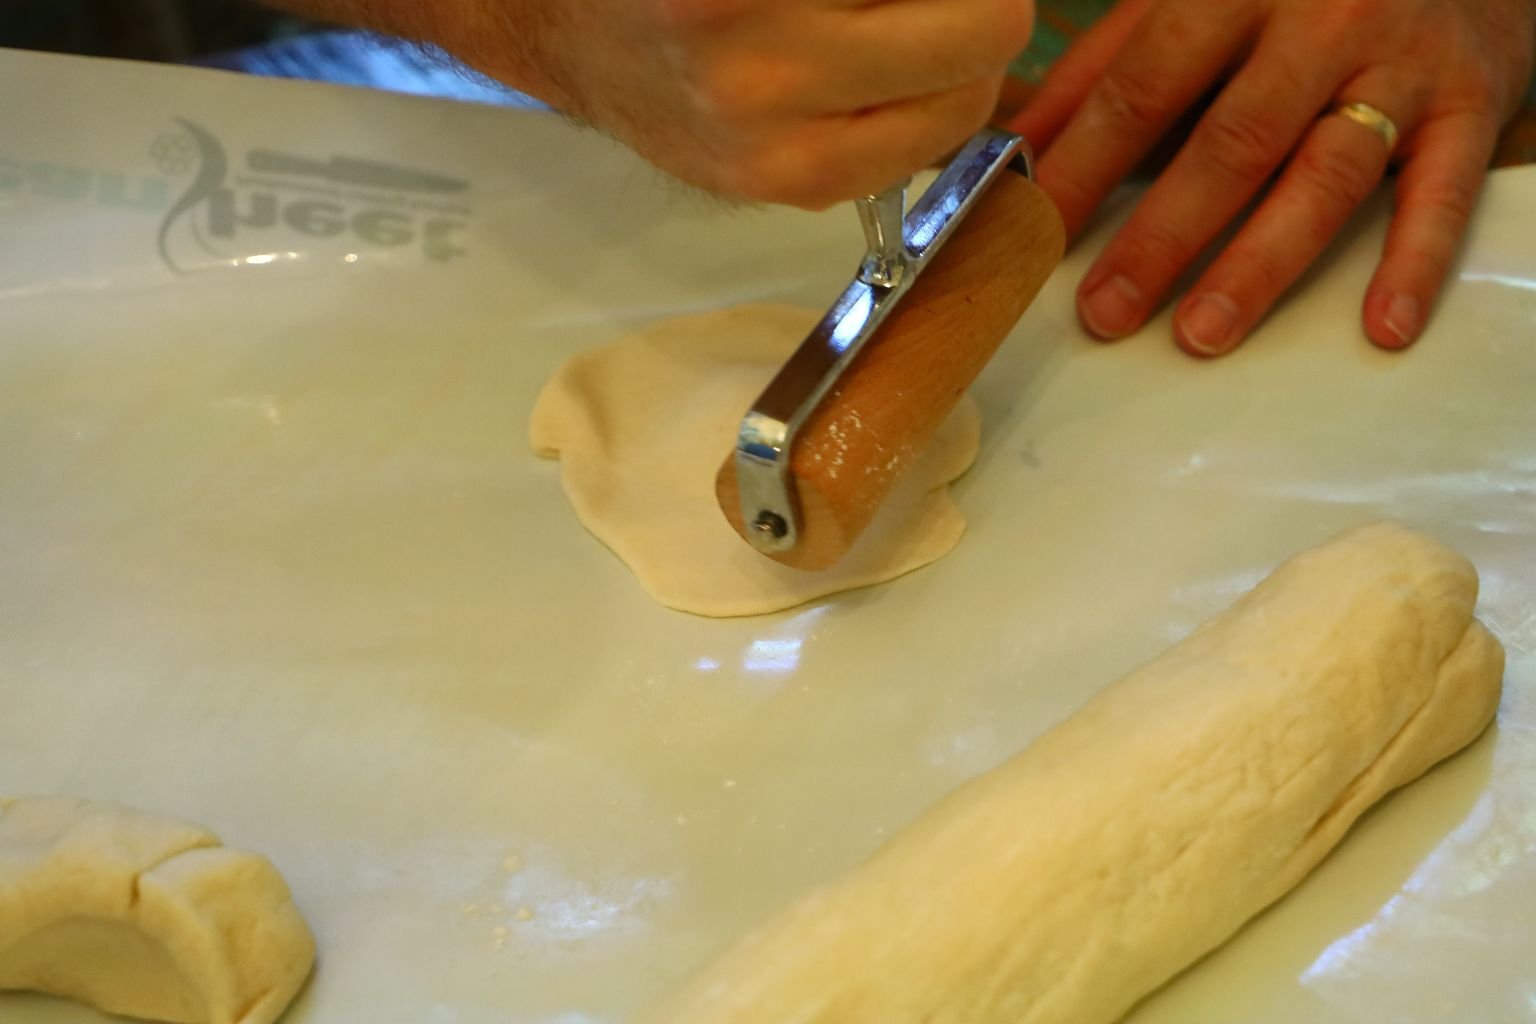
Place the dough on your counter top.
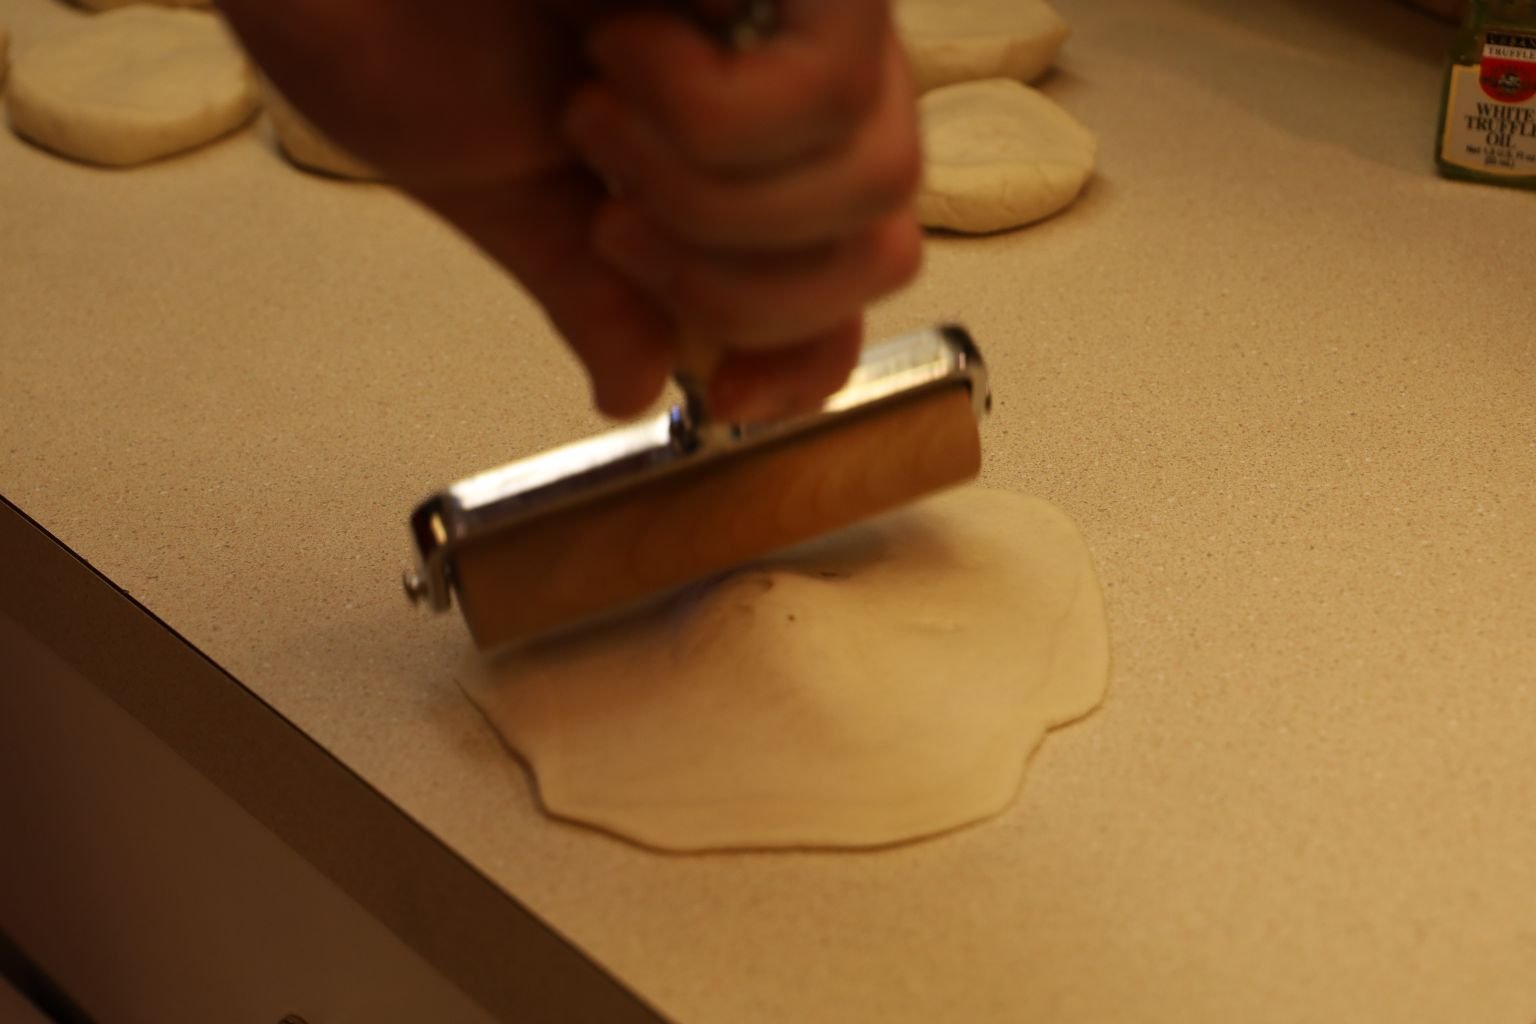
Use a small roller to spread the dough out leaving the center alone as shown.
The dough should be spread into about a five inch circle. The untouched center will be used to help spread the dough around the meat. If you didn’t do this step, when you folded the dough around the meat the dough would become very thin and likely break during the steaming process.
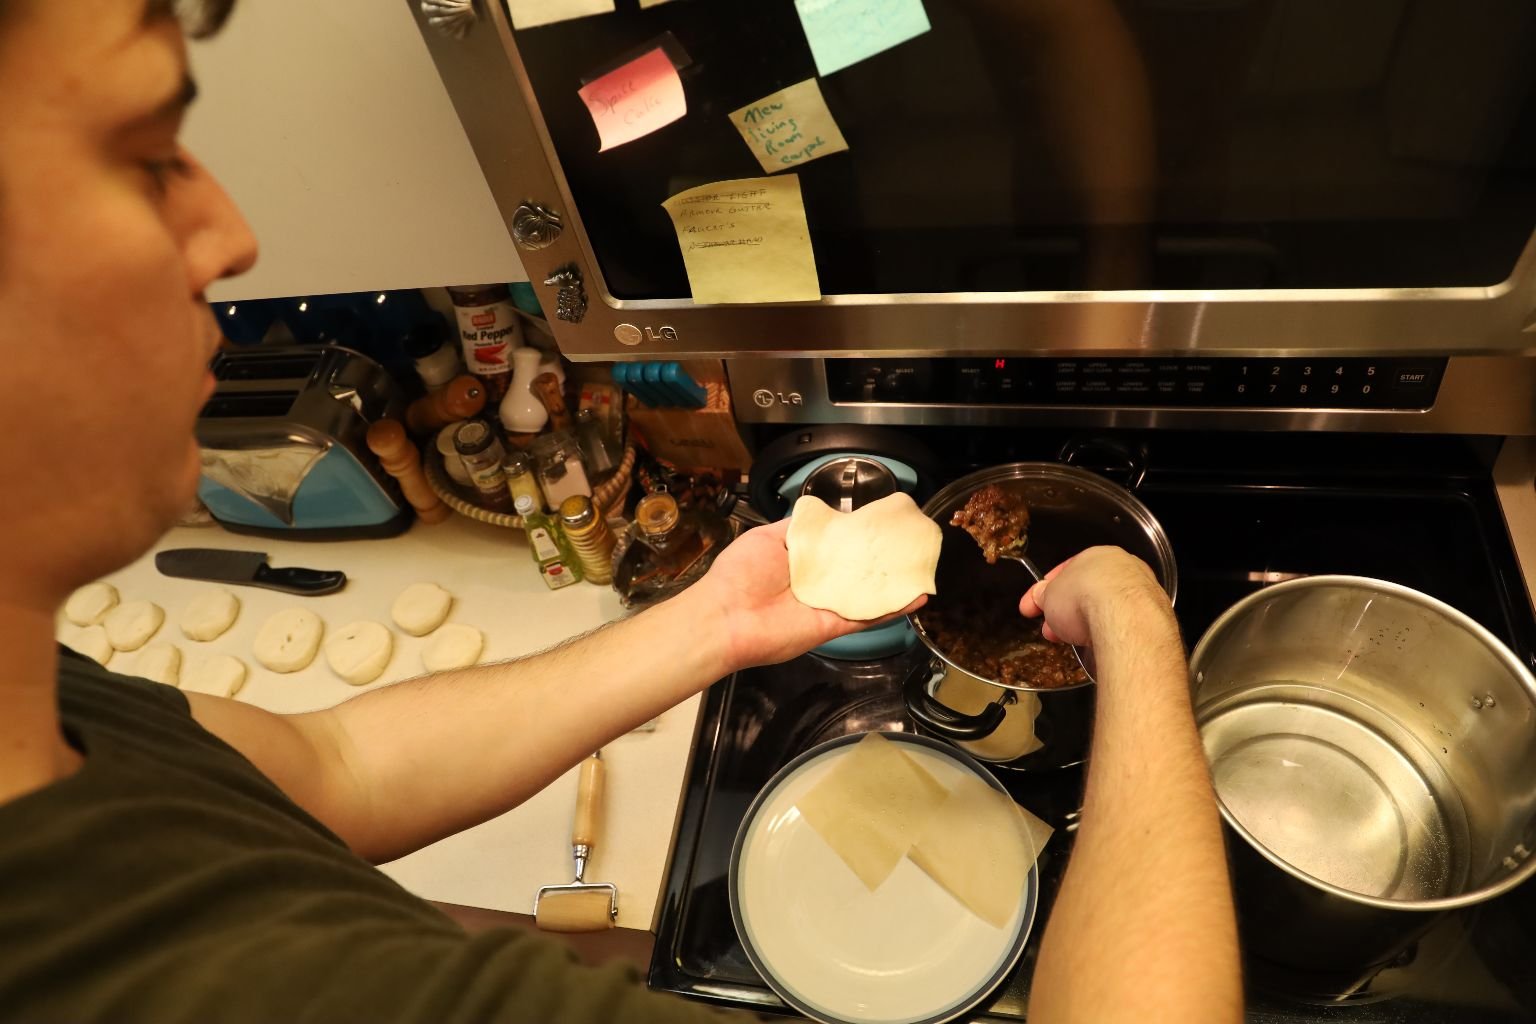
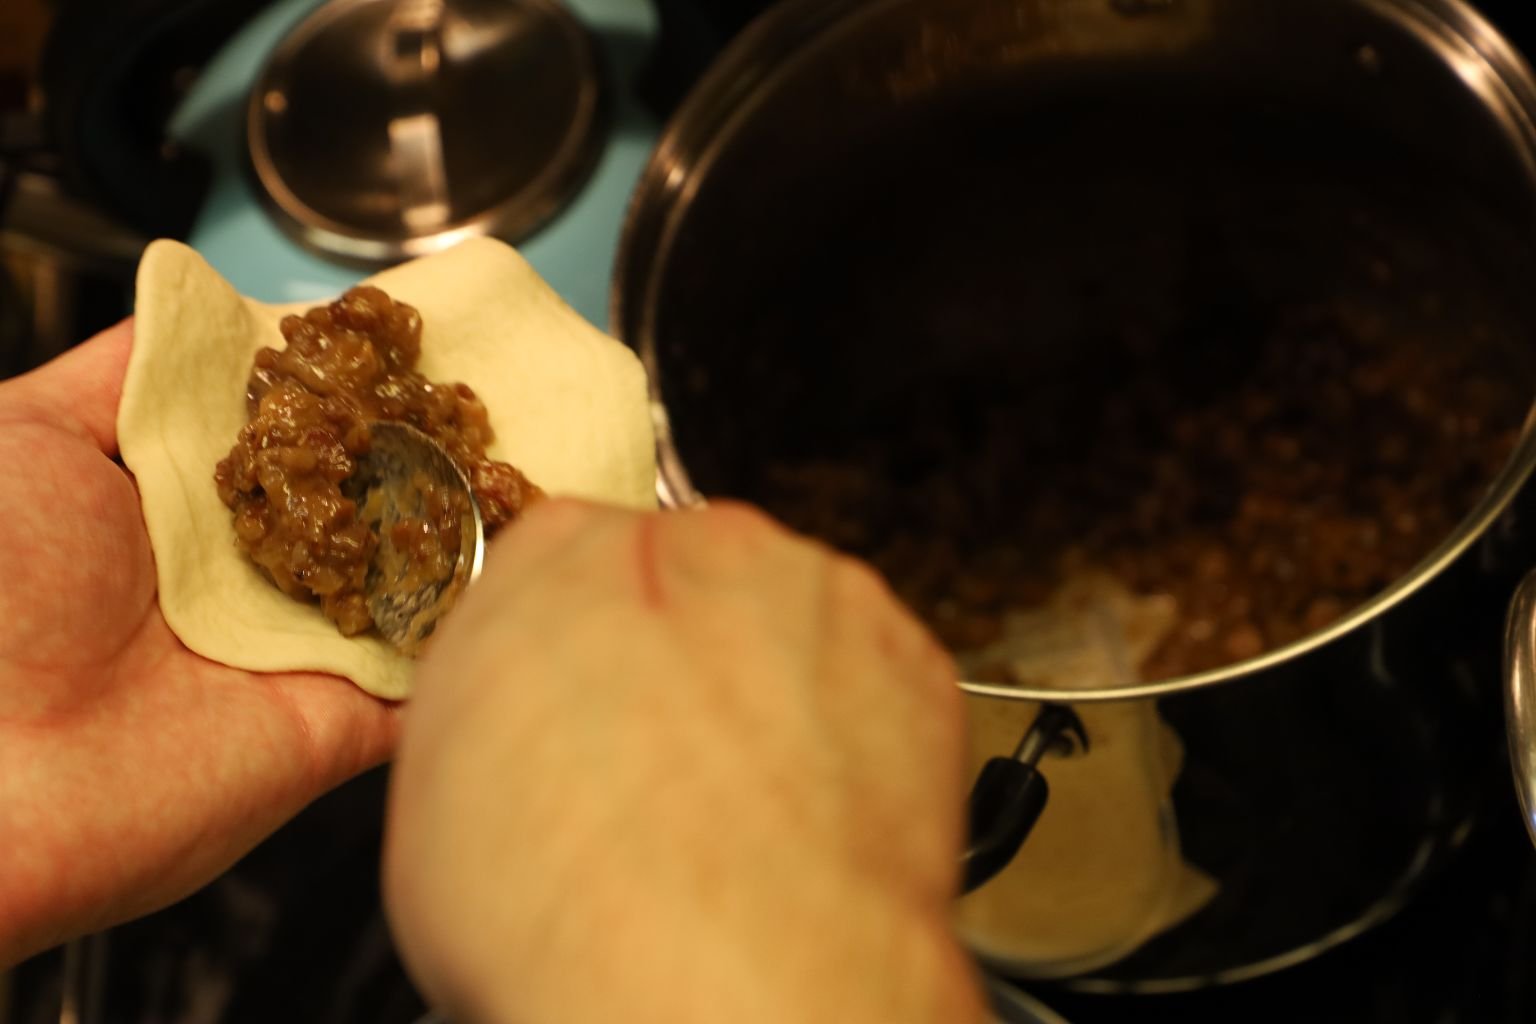
Add 2 heaping Tbsp. of Char Siu meat to the flattened dough.
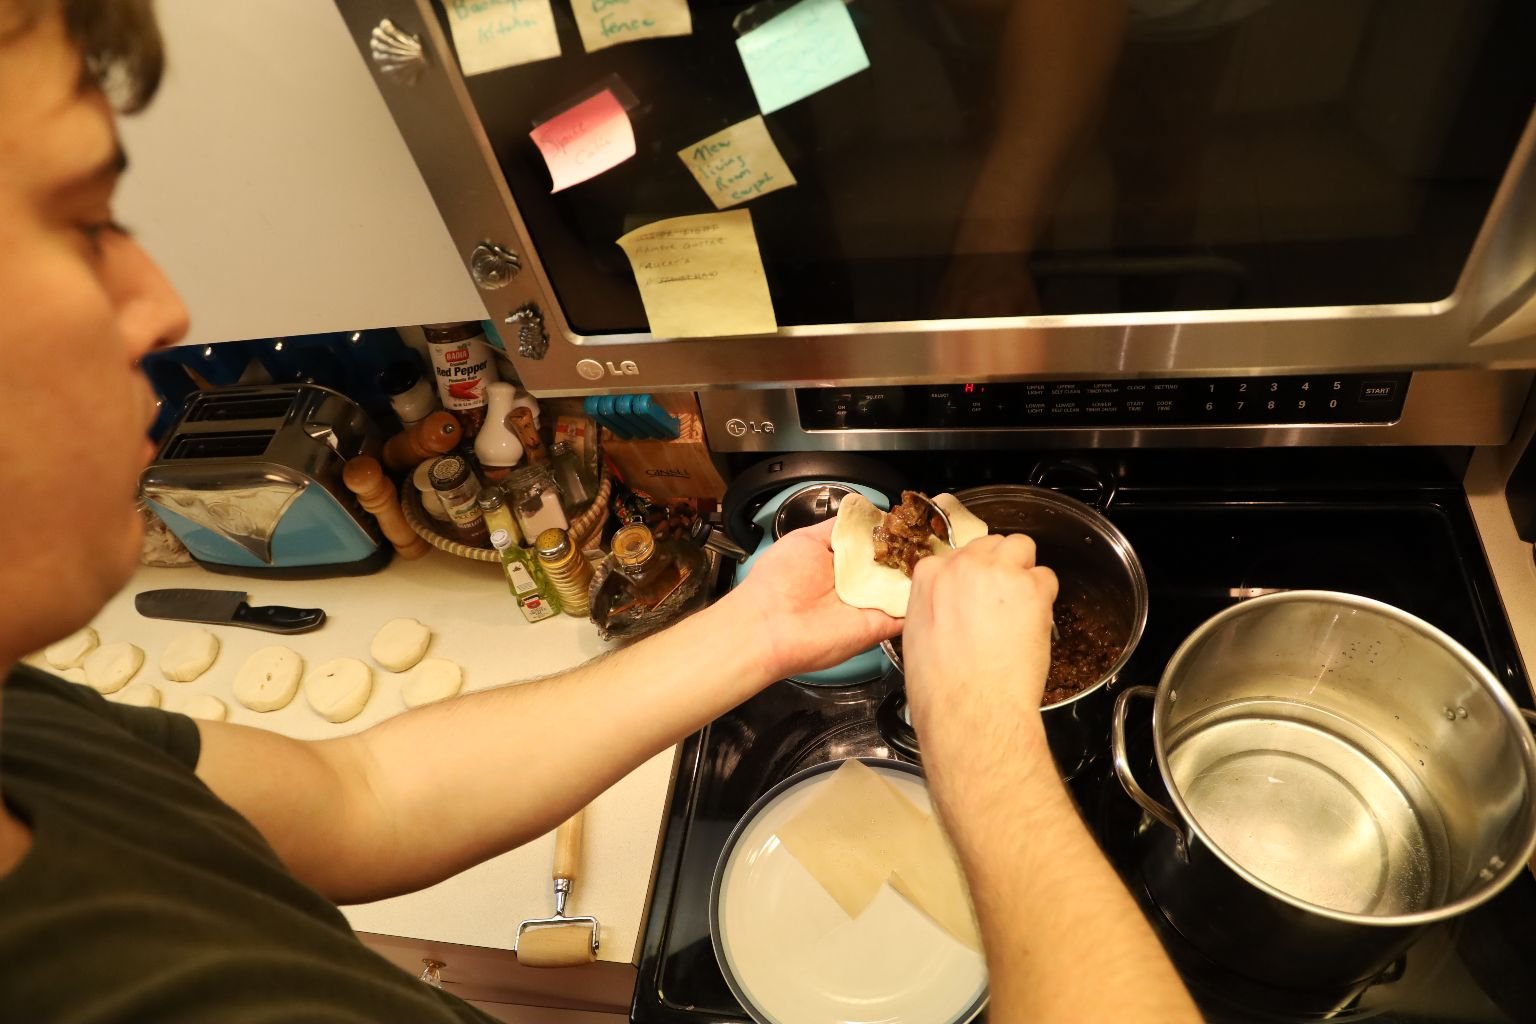
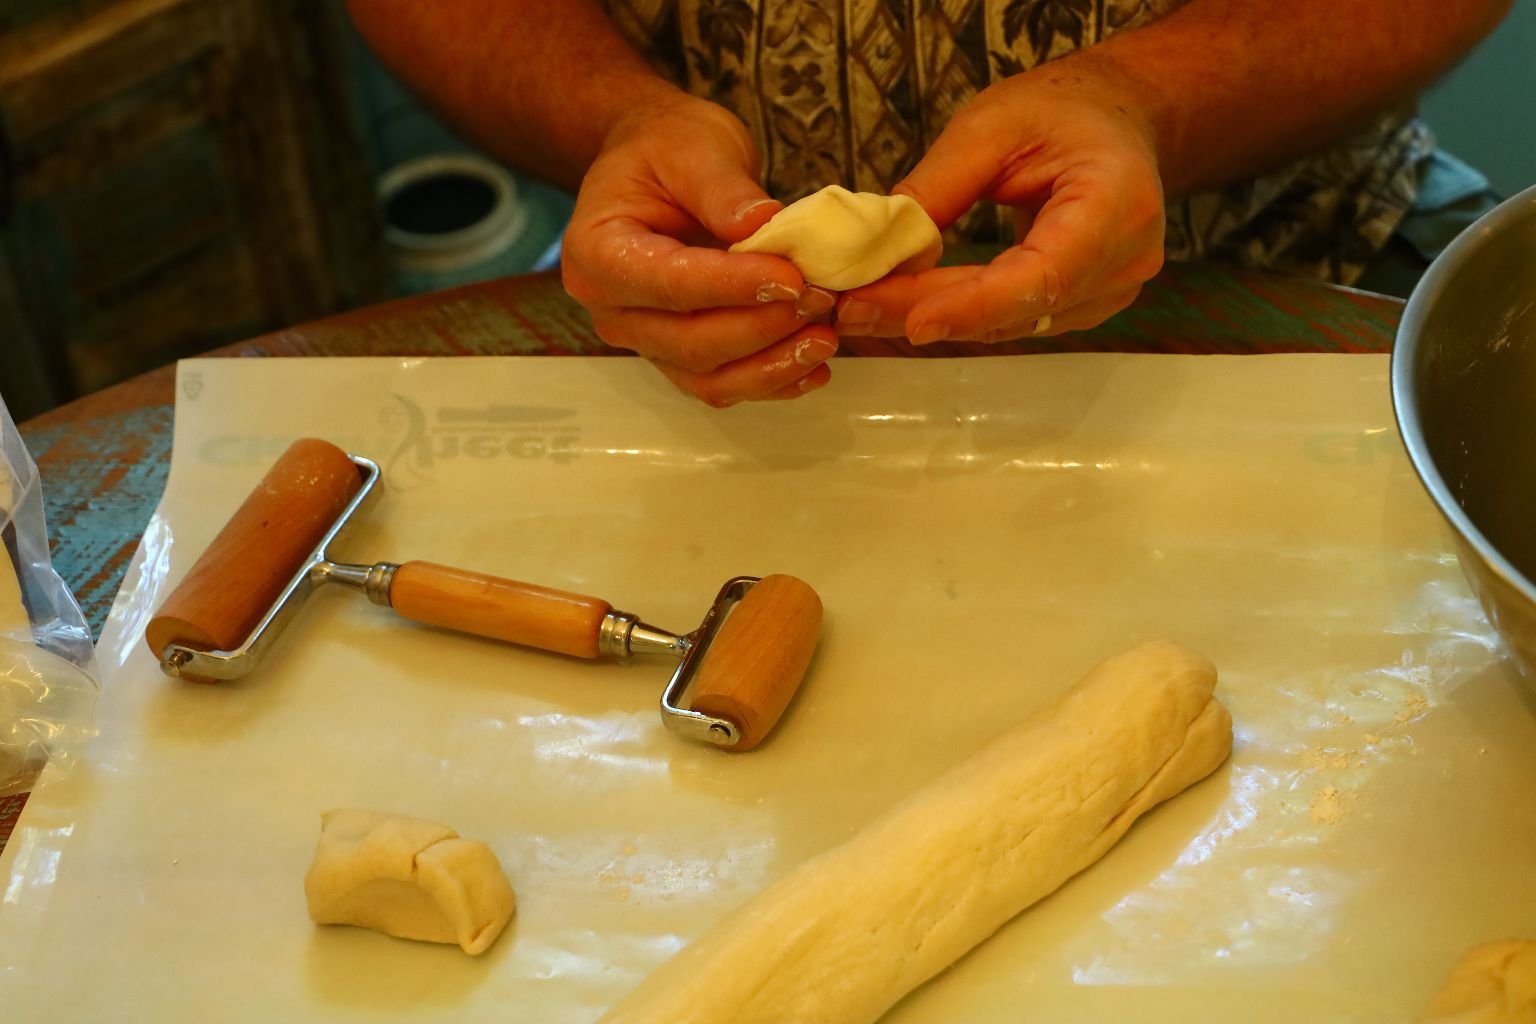
Here you can see Brodie ready to pinch the dough around the meat mixture.

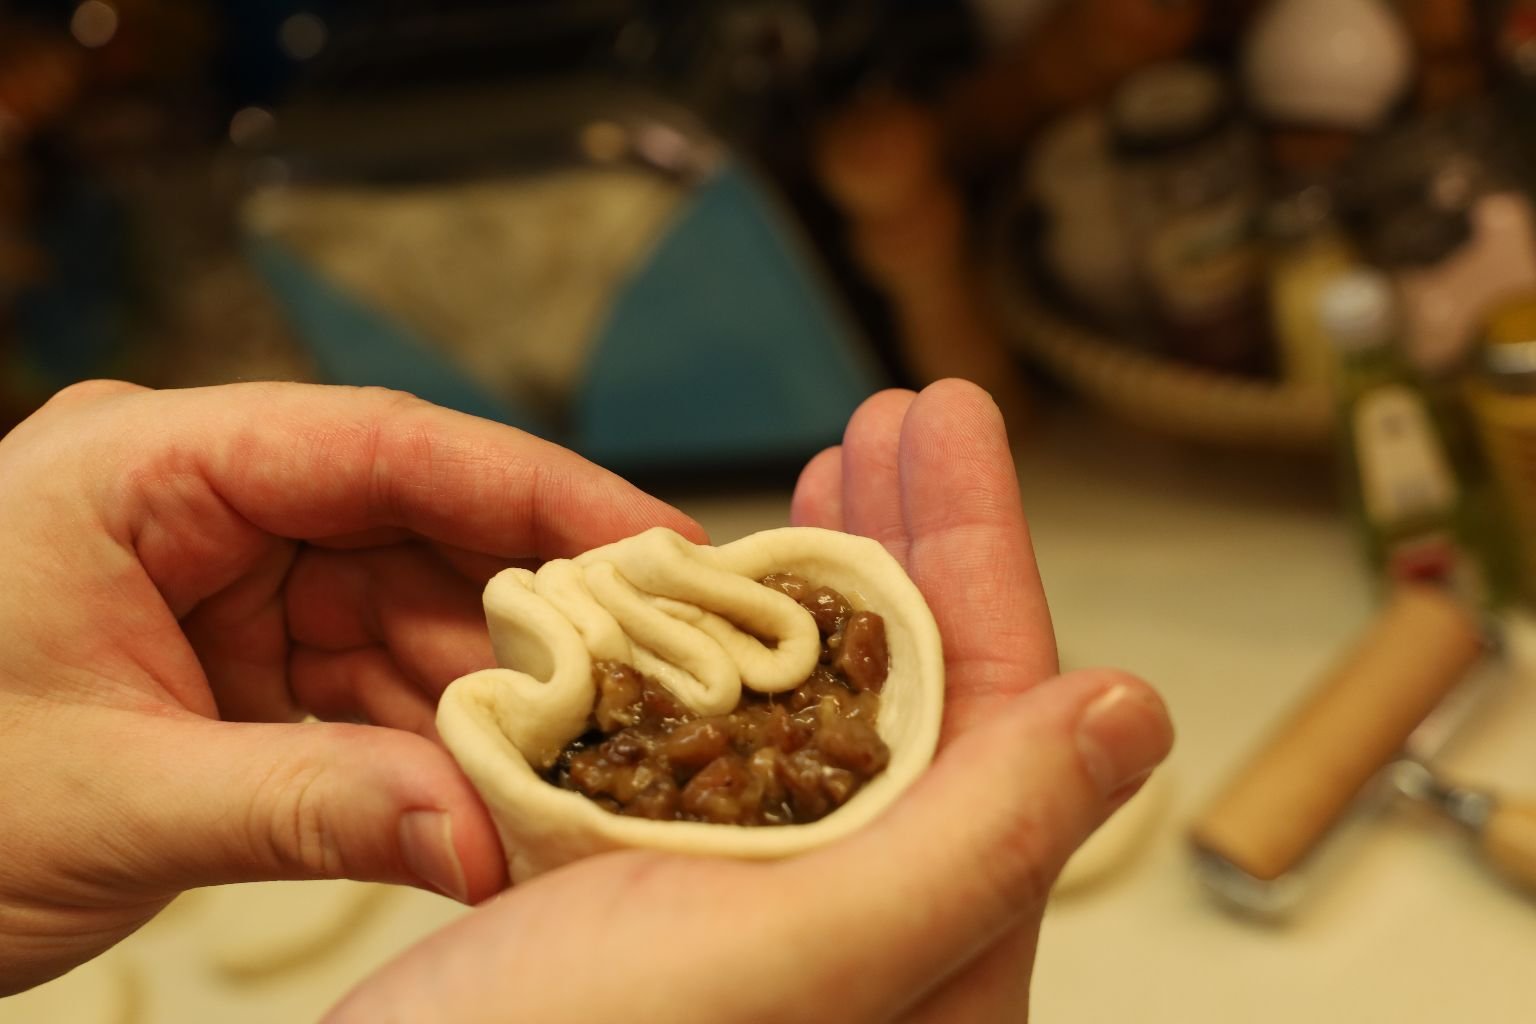
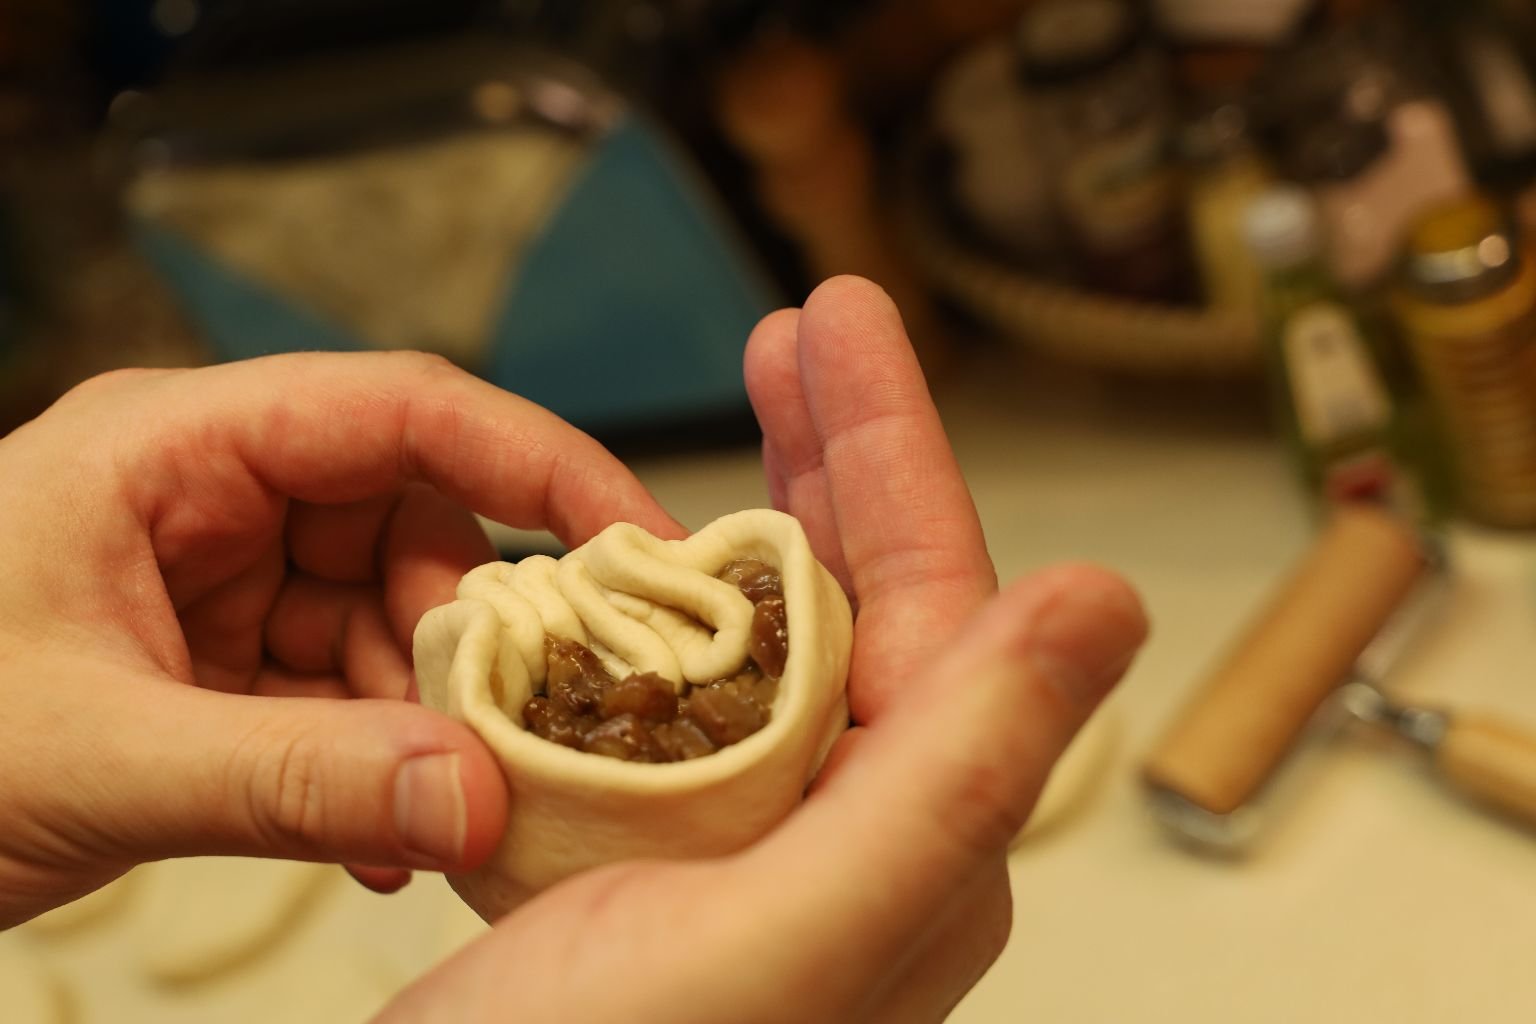
Begin to pinch the edges of the dough as shown…
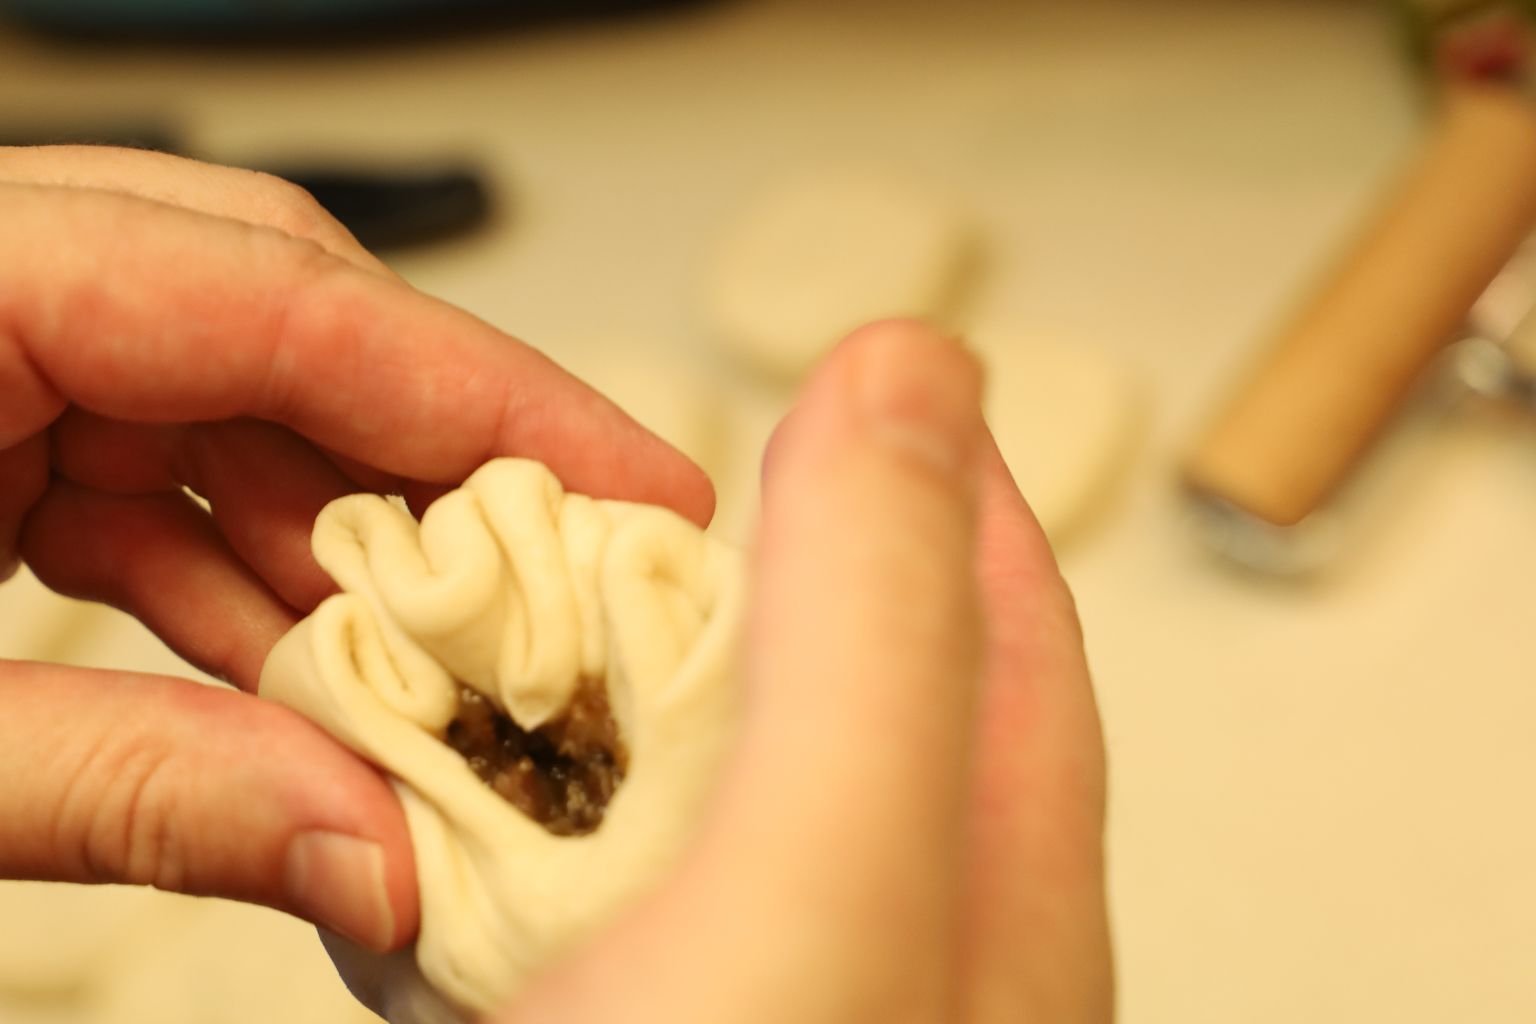
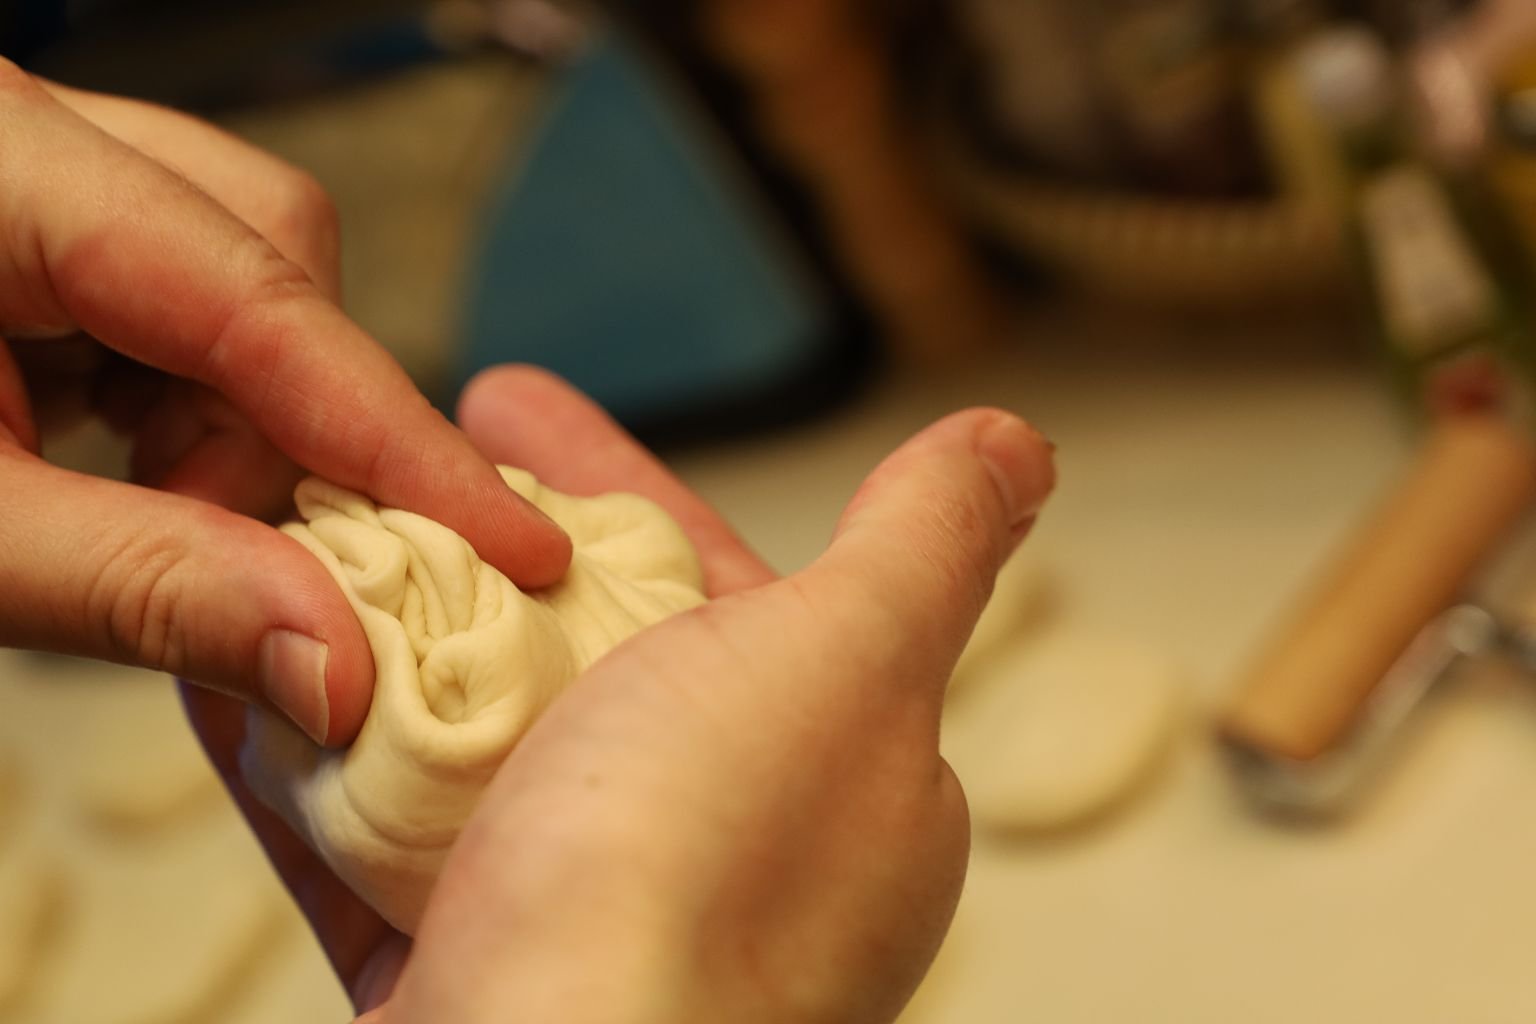
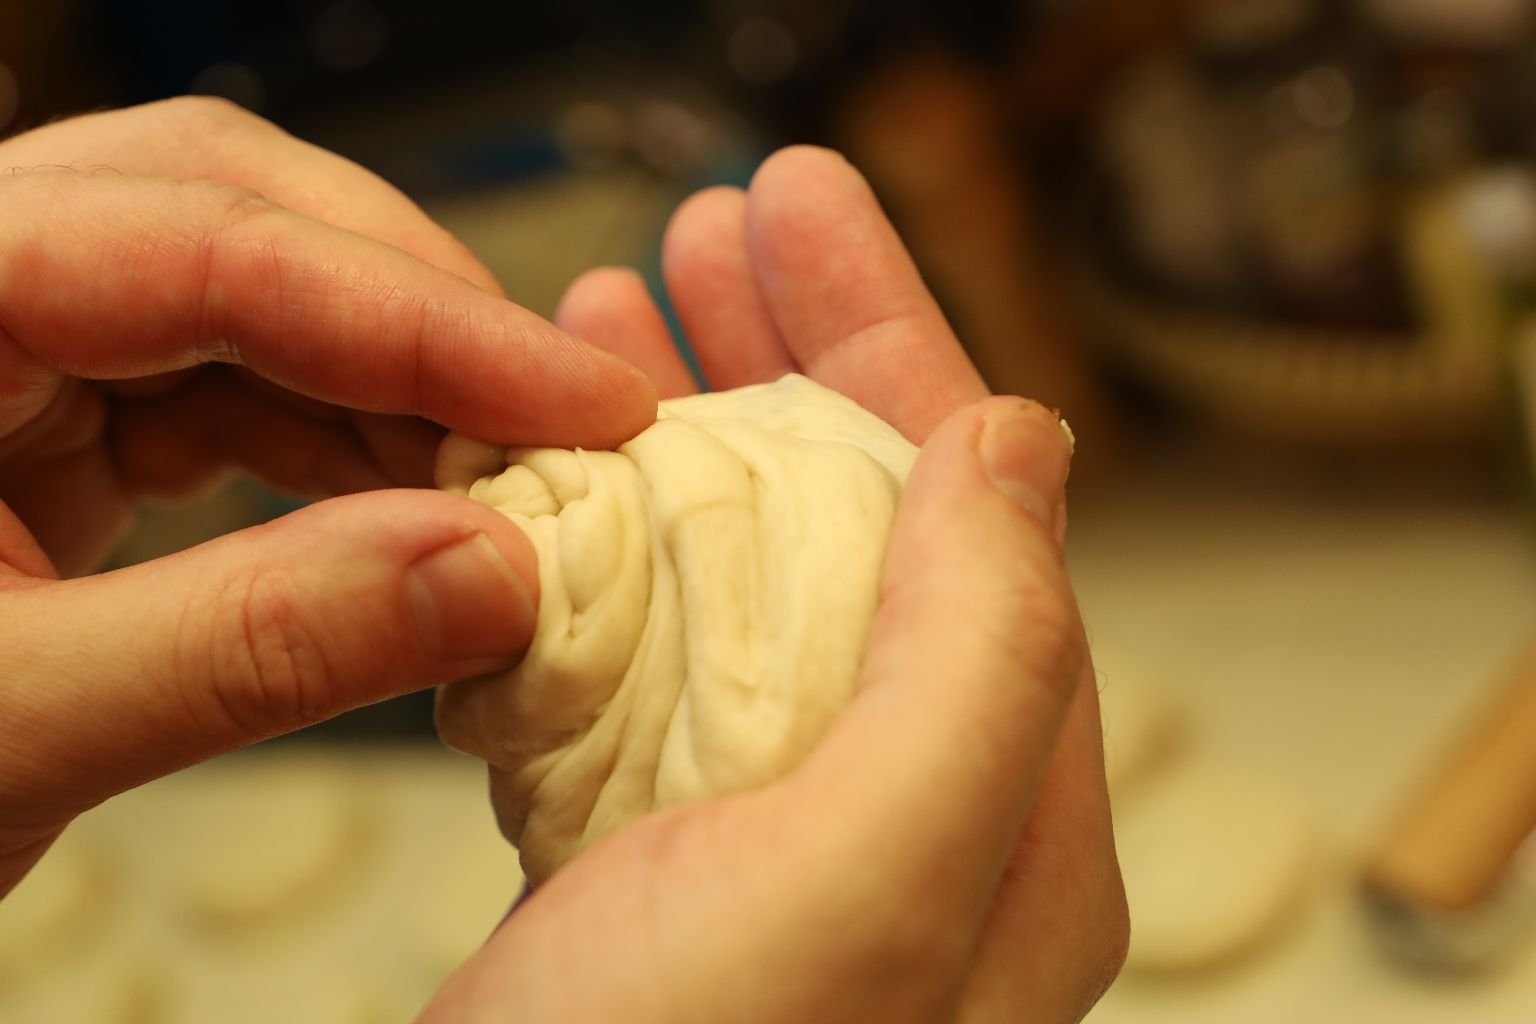
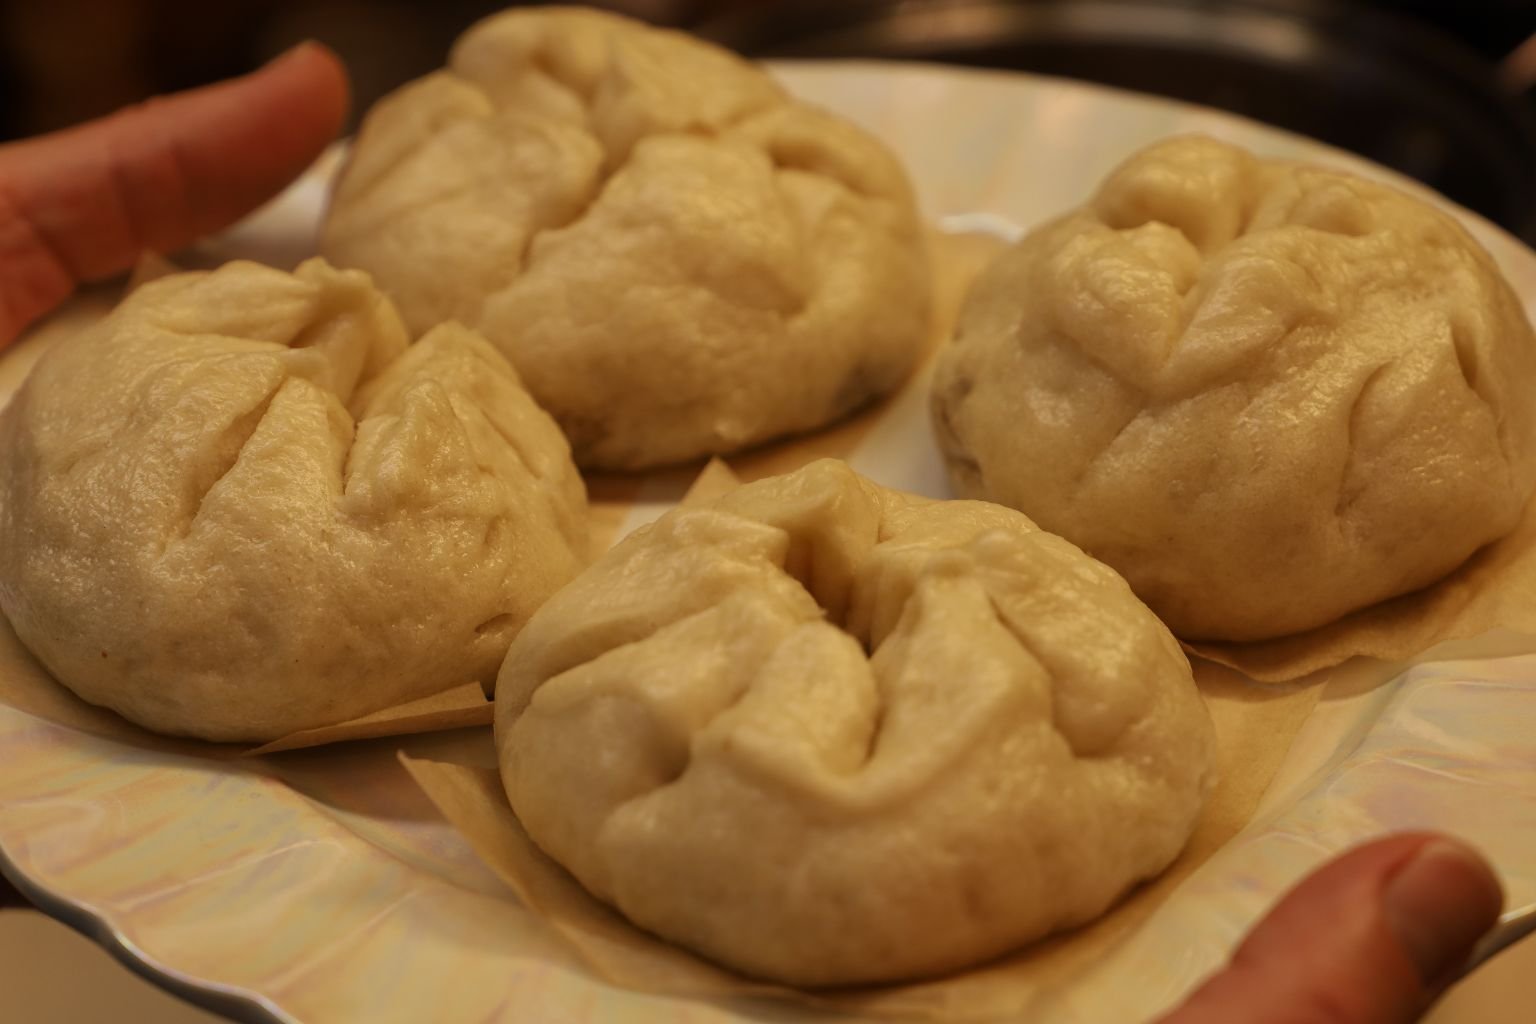
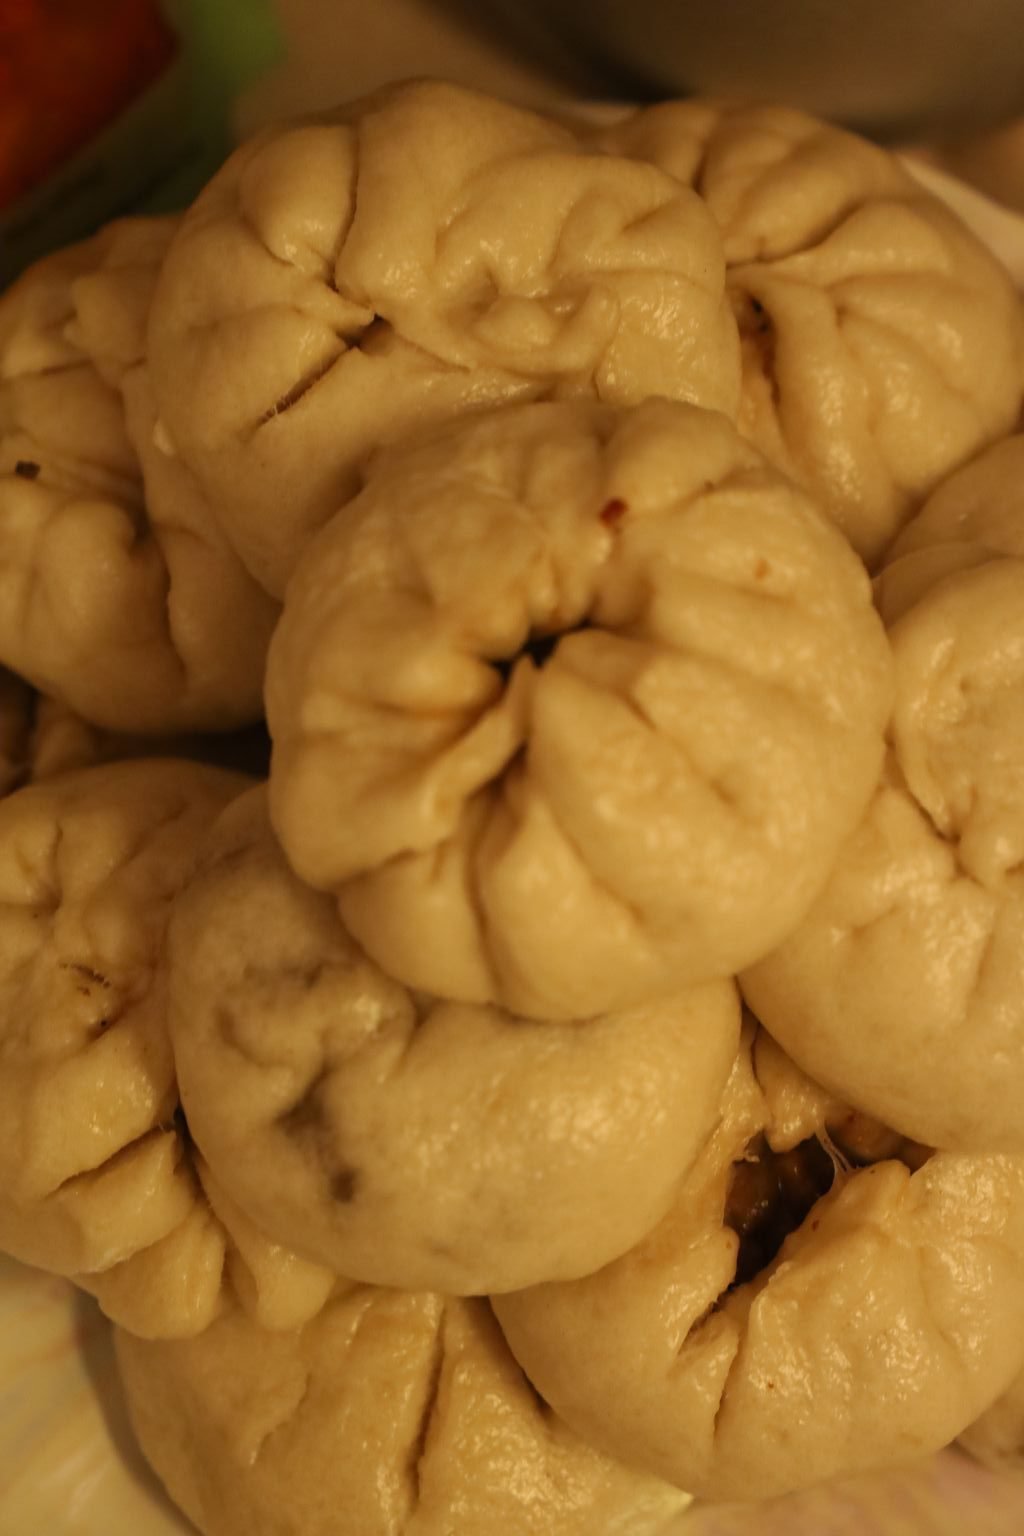
As you continue to pinch the dough, the dough will begin to close around the meat as shown creating this beautiful pattern in the dough.
Cut large square sections of parchment paper and spray lightly with cooking oil. Place one of your Bao Buns on top of the paper.
Continue the previous steps until you fill your steamer. Turn your pot onto high and begin to boil the water. Steam the Bao Buns for 12 to 15 minutes.
———————————————————
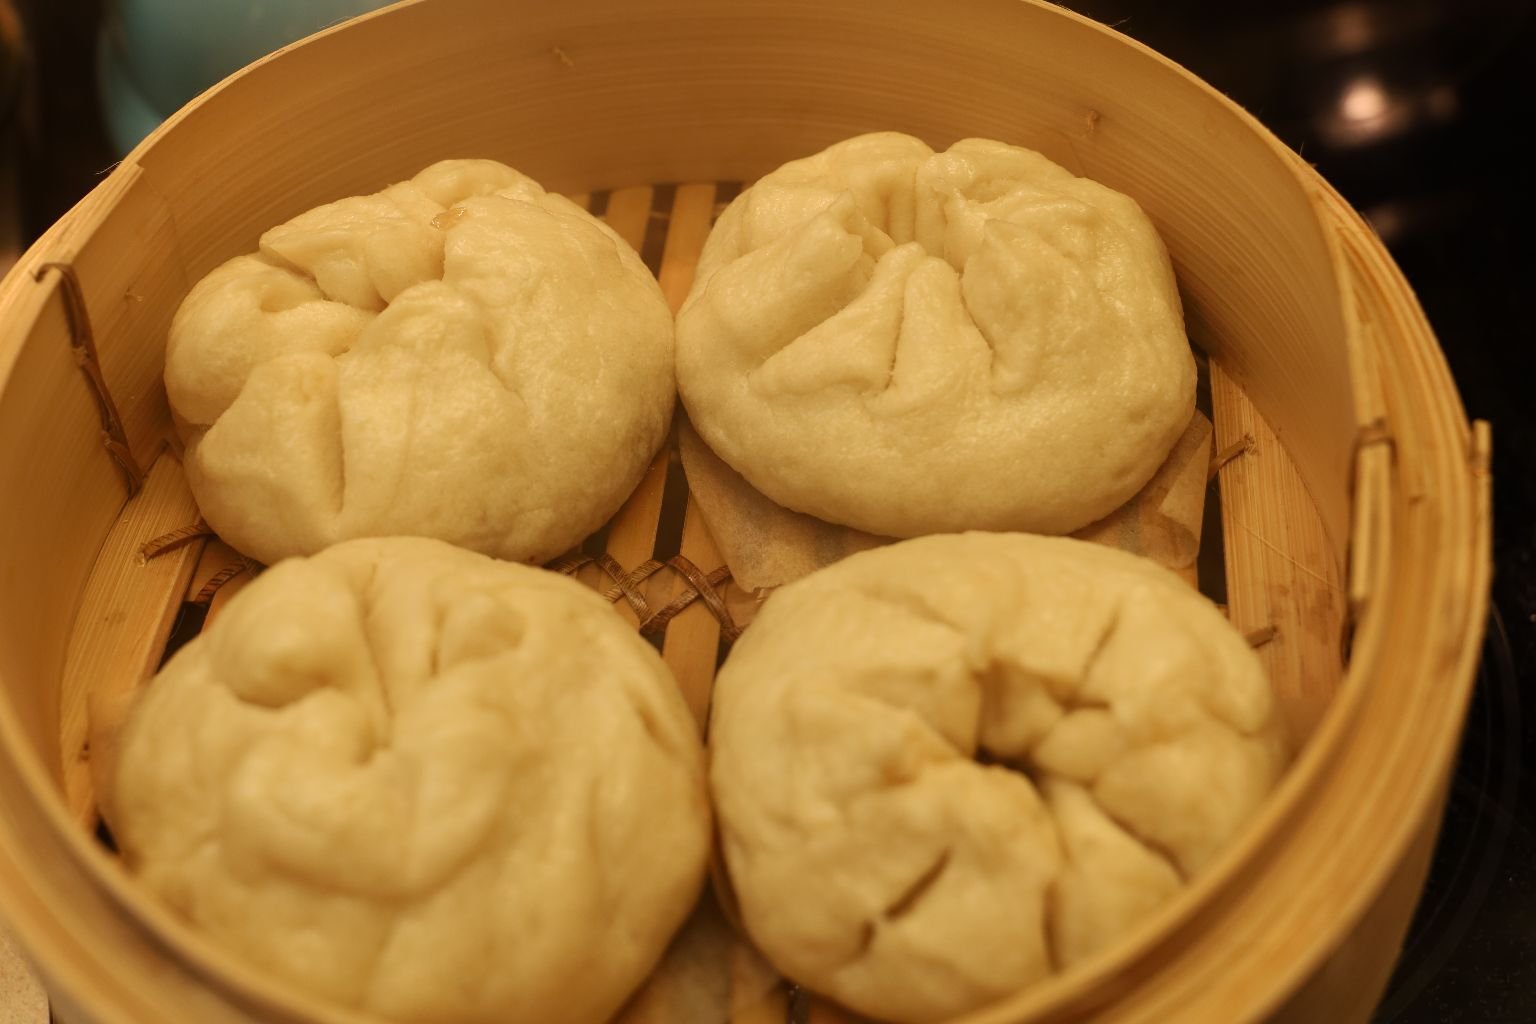
Here you can see the Bao Buns have increased in size during the steaming process.

Let the buns cool before removing them.
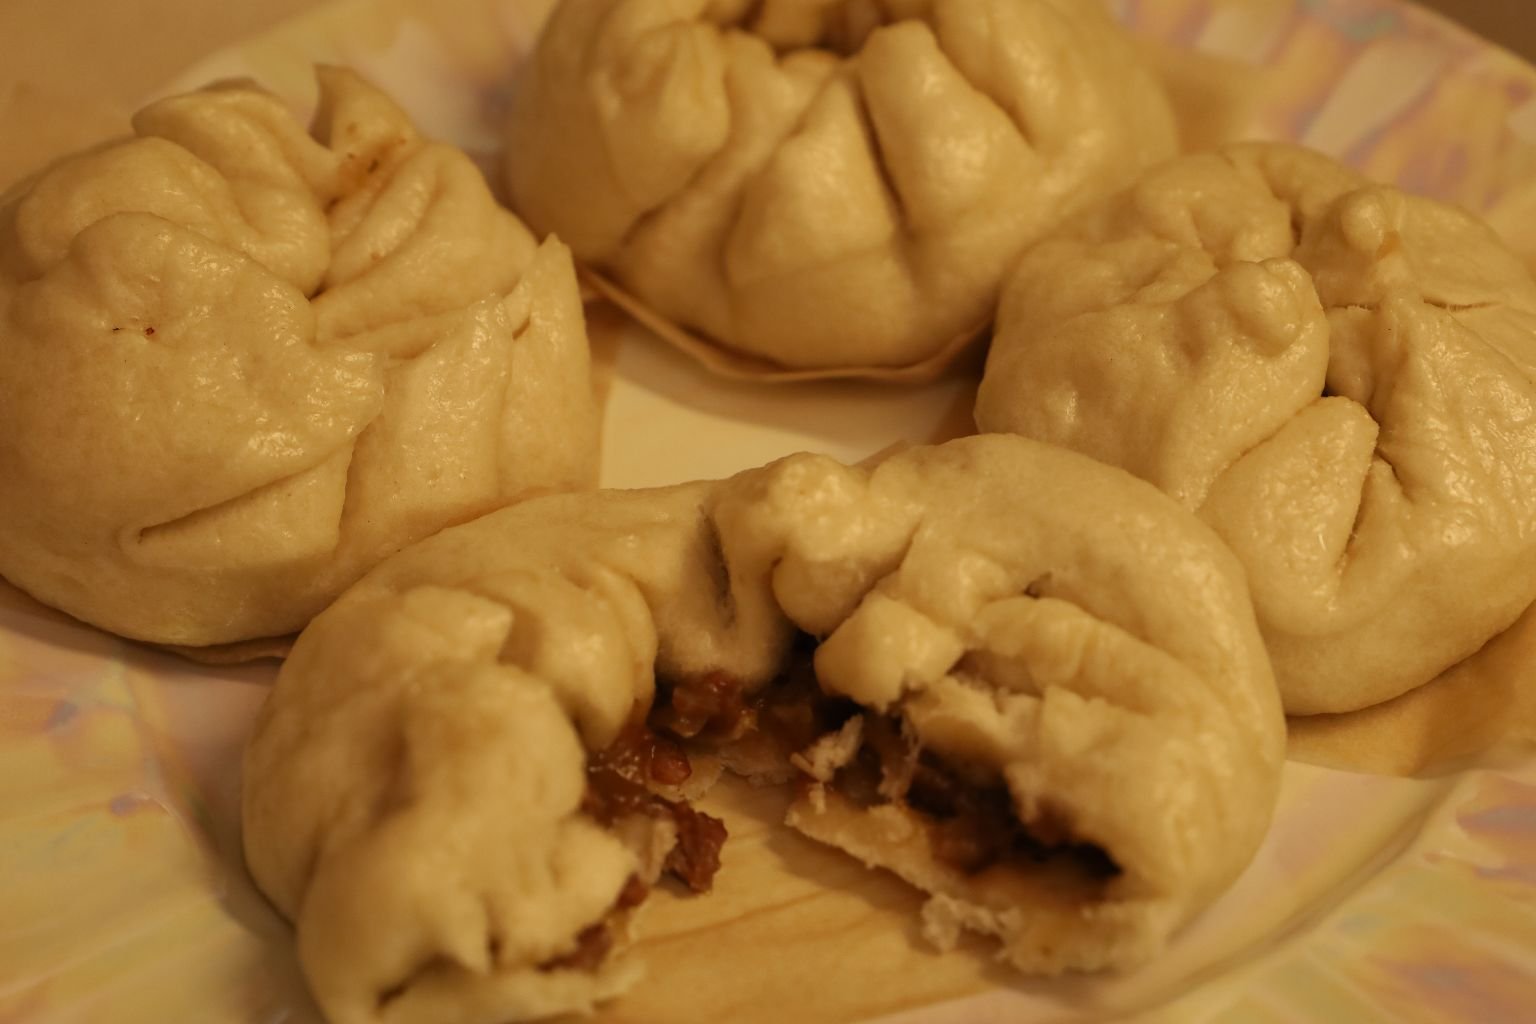
Delicious just as they are!
————————————————————————————
Hawaiian Manapua
(Photography by Julie)
——————————————————————-
First Step: Making the Marinade.
Make this recipe twice as you will use it as a marinade and as a glaze when broiling the meat.

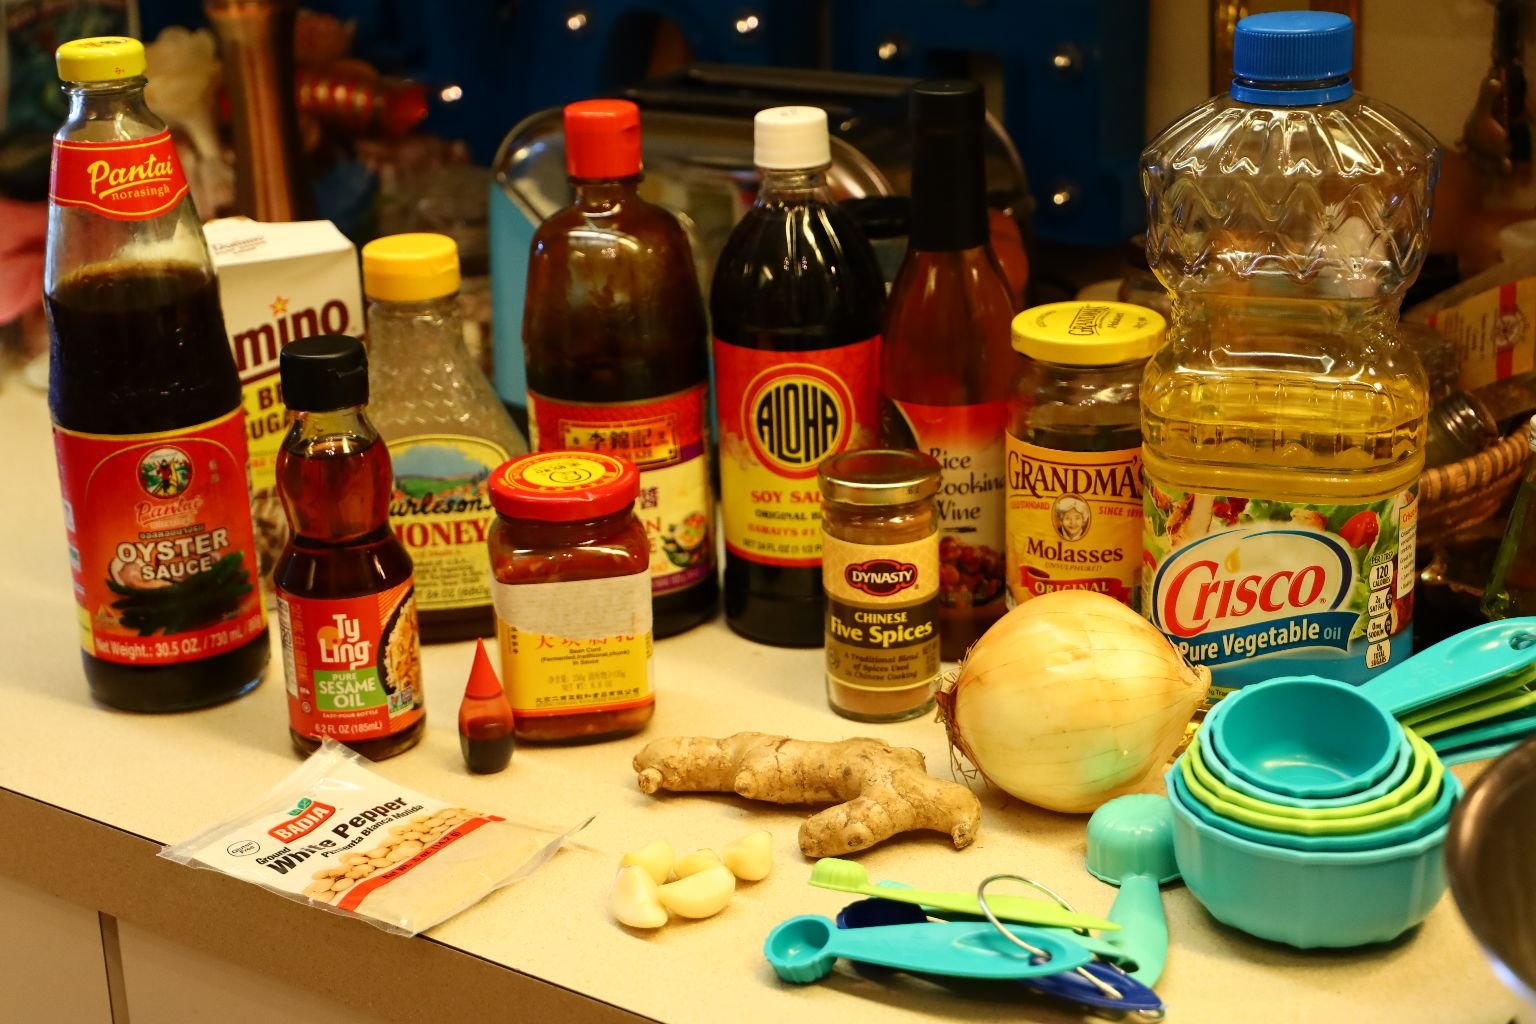
Ingredients:
3 Tbsp. Dark Brown Sugar
1/4 Cup Honey
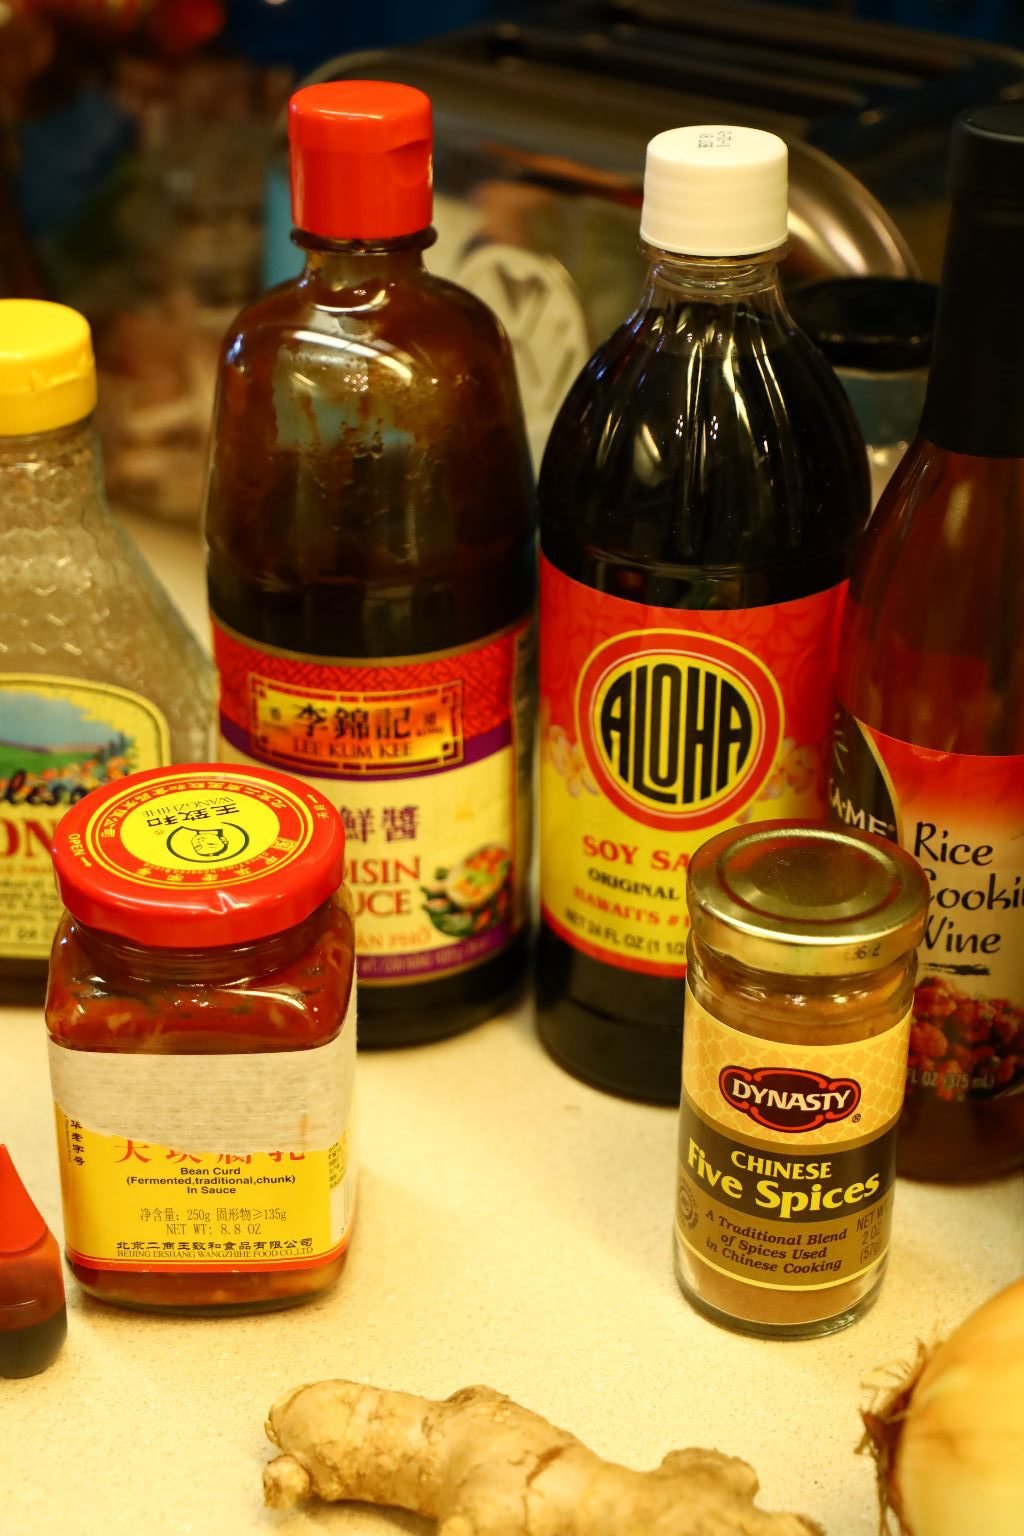
1/4 Cup Hoisin Sauce
2 Tbsp. Soy Sauce
2 Tbsp. Chinese Five Spice Powder
1 Tbsp. Vegetable Oil plus 2 Tbsp. in the Dutch Oven
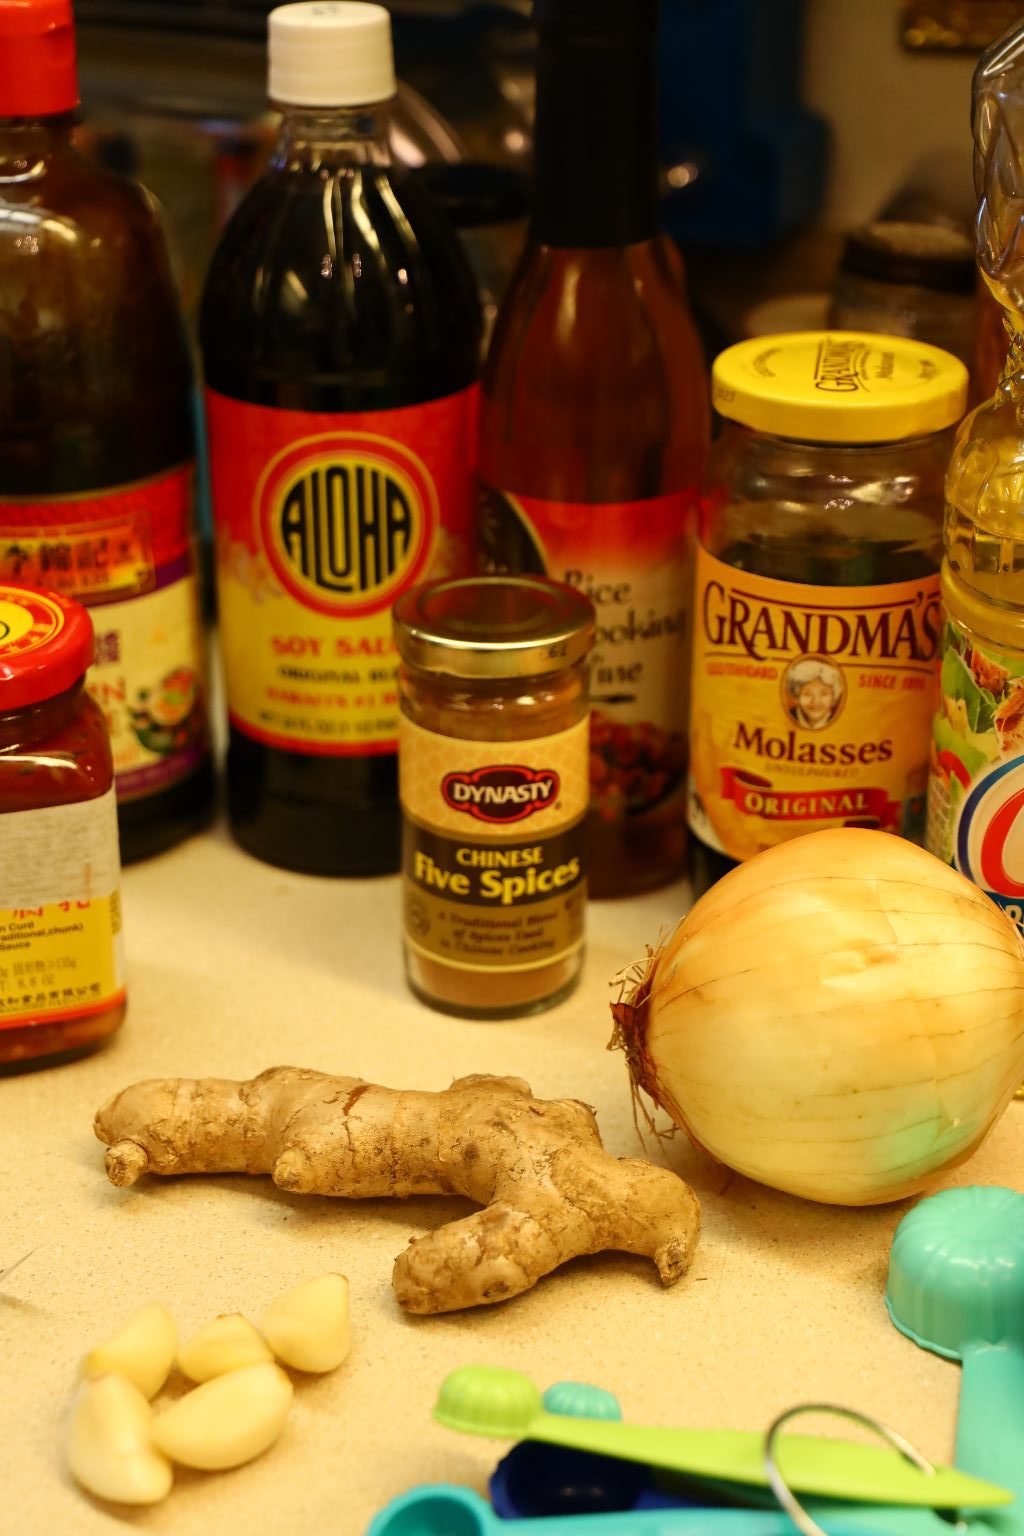
2 Tbsp. Molasses
1 Tbsp. Chinese Rice Cooking Wine
1 Tbsp. Oyster Sauce
1/4 tsp. White Pepper
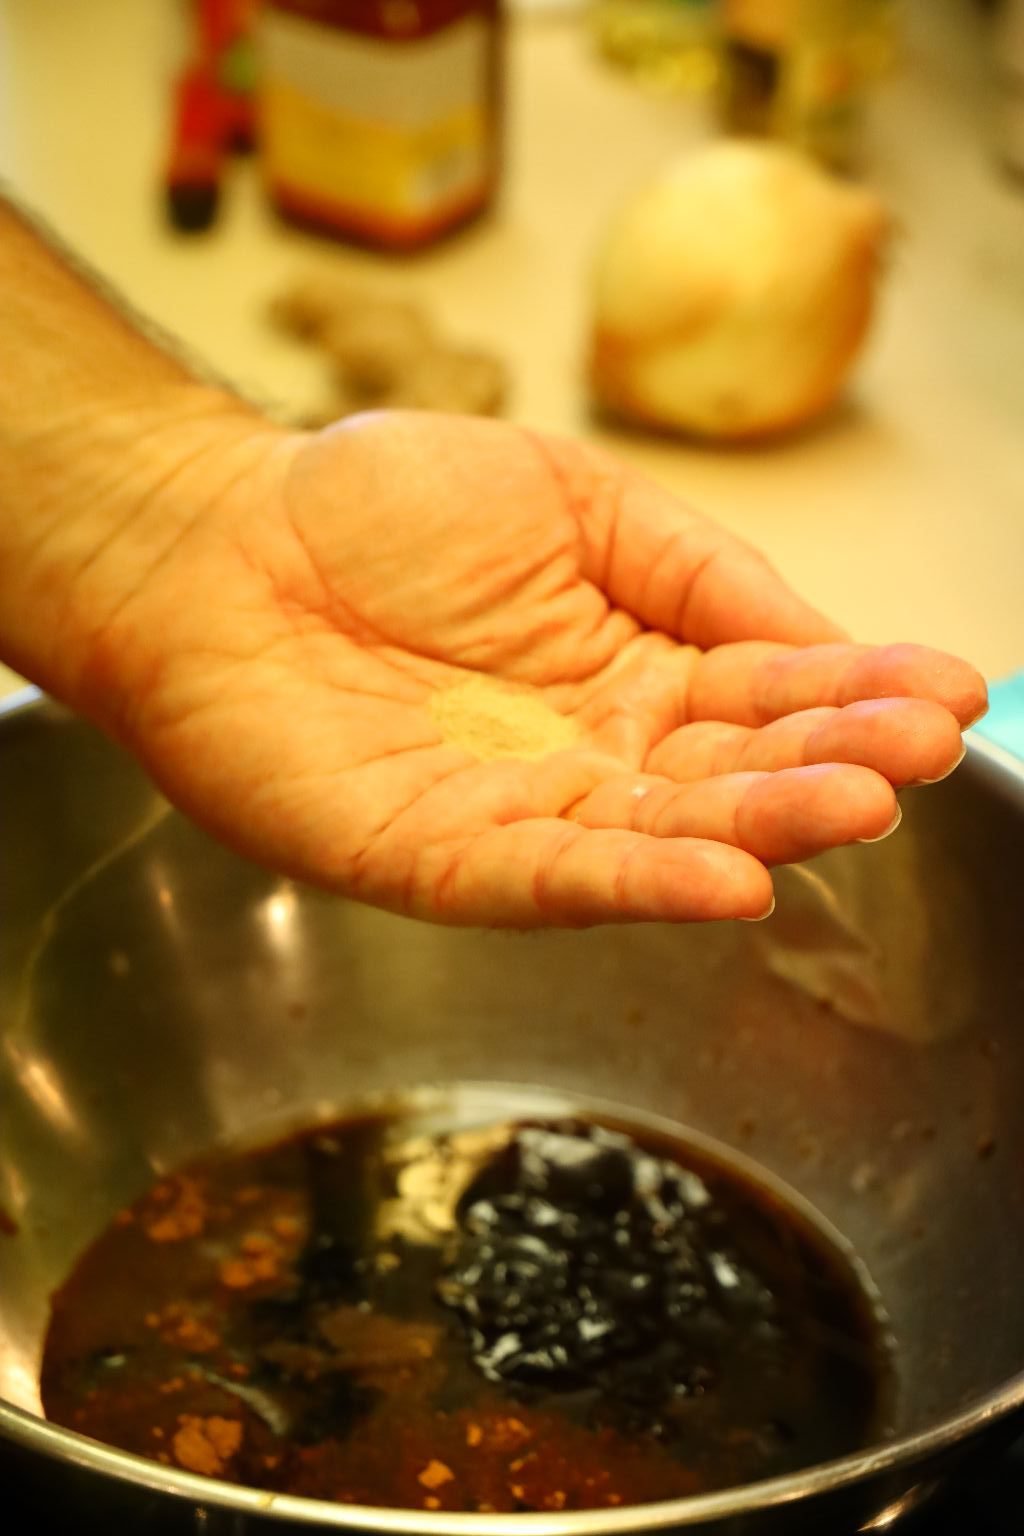
1/4 tsp. Powdered Ginger
2 Tbsp. Sesame Oil
2 Tbsp. Red Bean Curd
~15 Drops Red Food Coloring – Add more until you get the desired color
1/2 Yellow Onion – Small Dice
5 Garlic Cloves-Minced
Fresh Ginger – (About the size of your thumb) Minced
8 1/4 Lbs. Pork Shoulder/Butt
——————————————————————————
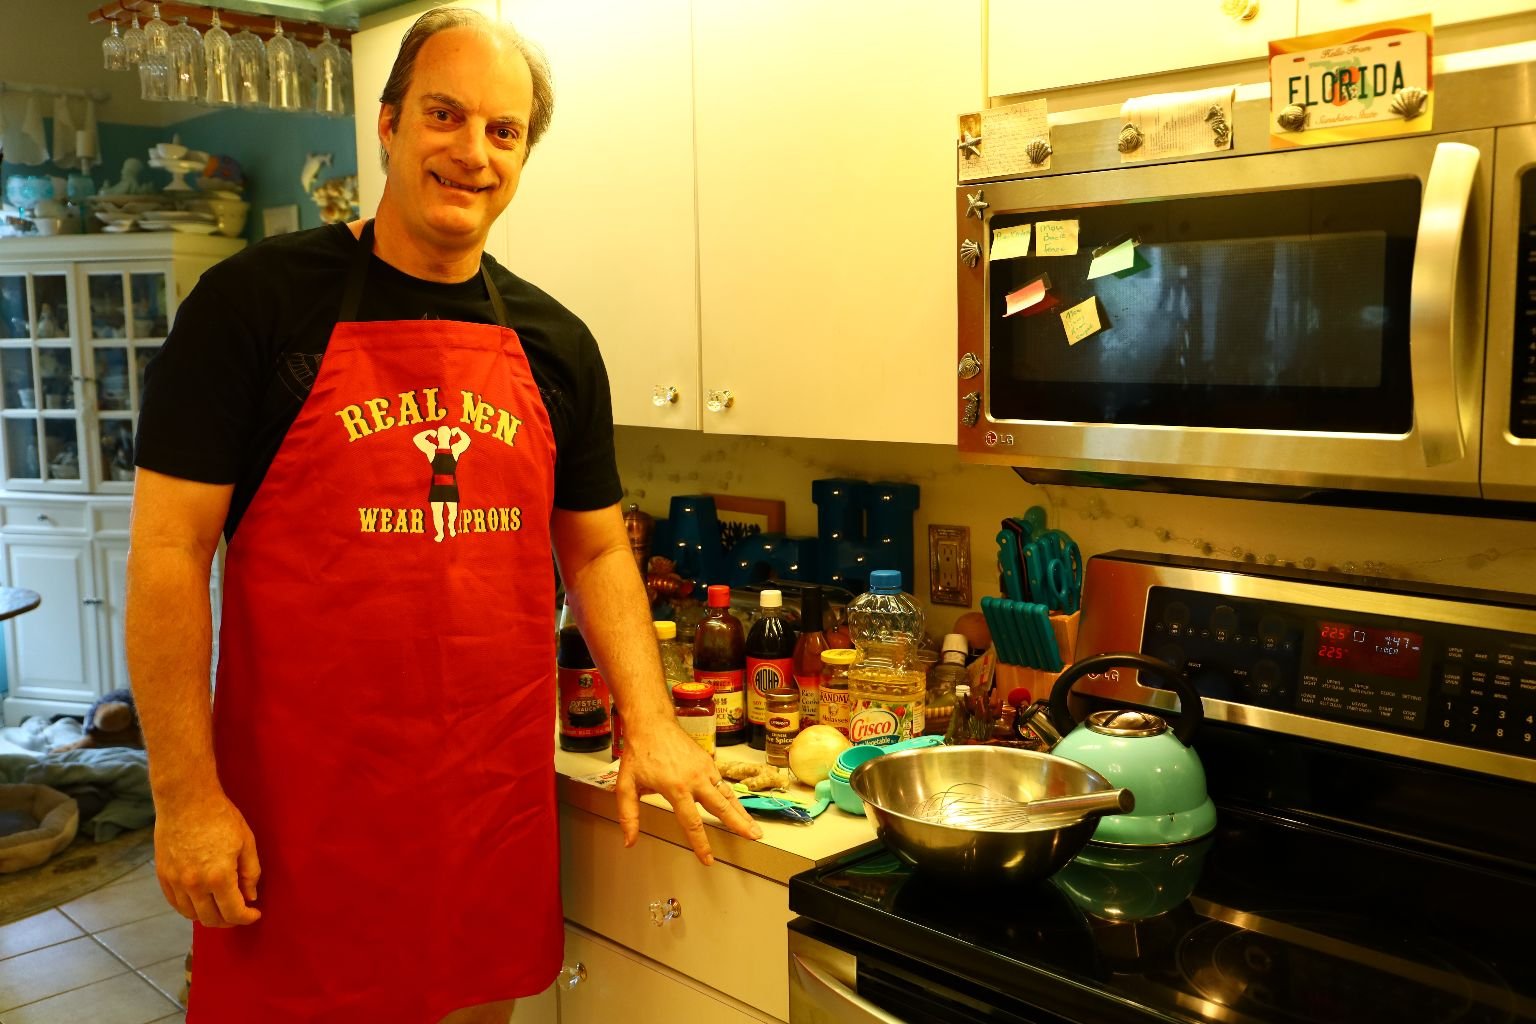
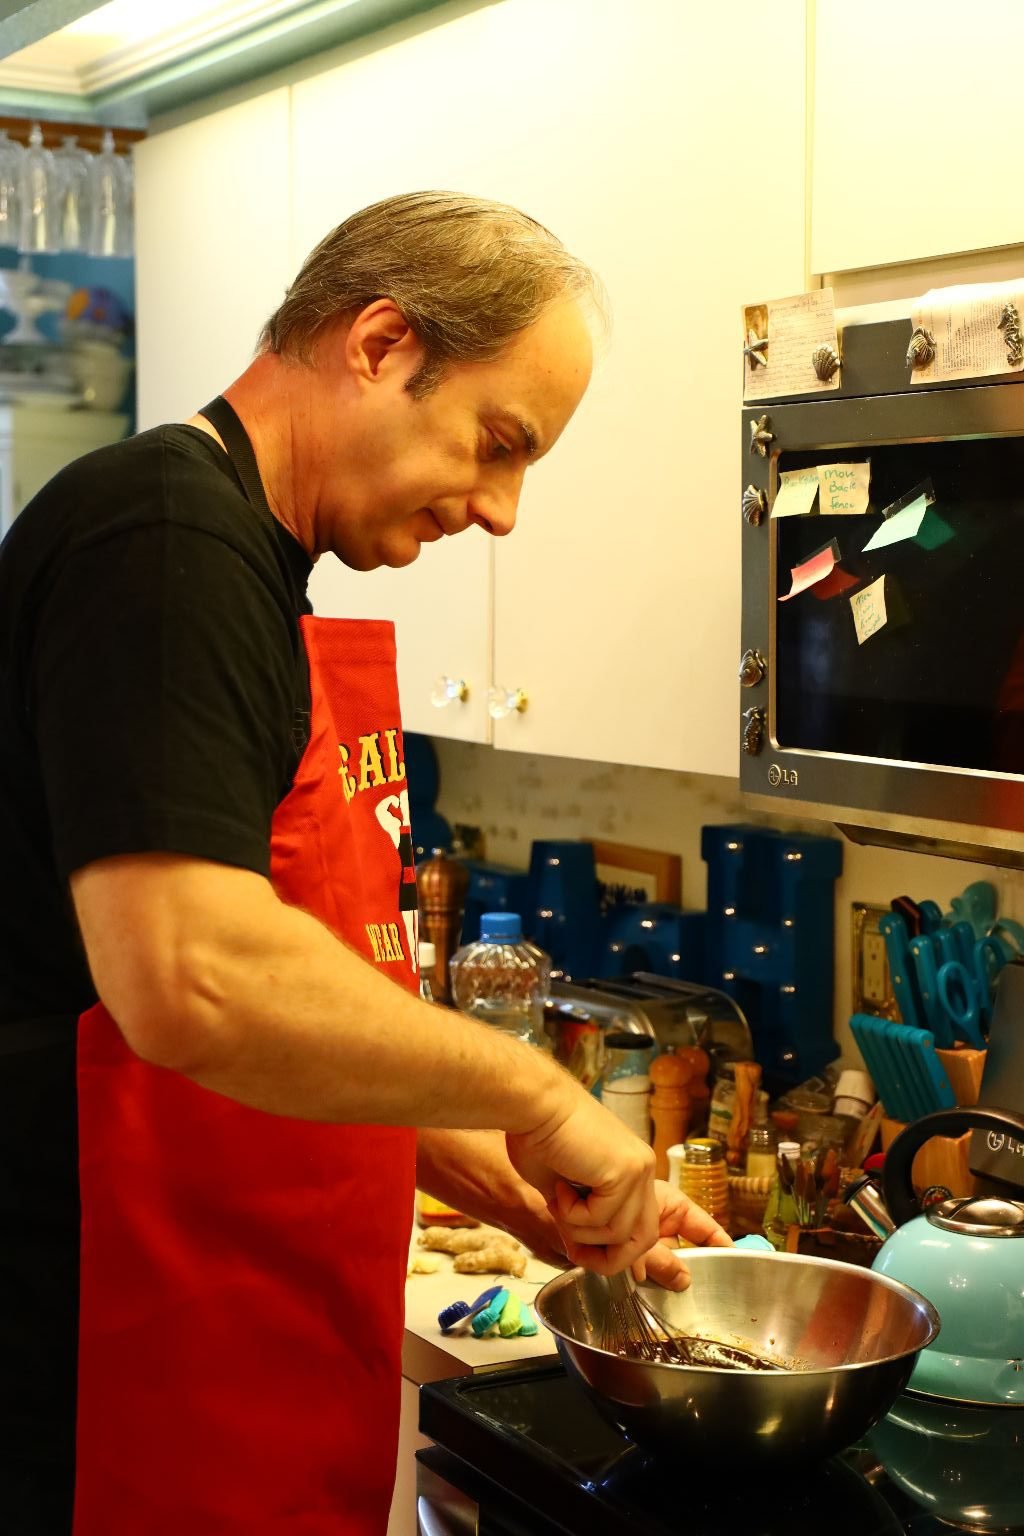
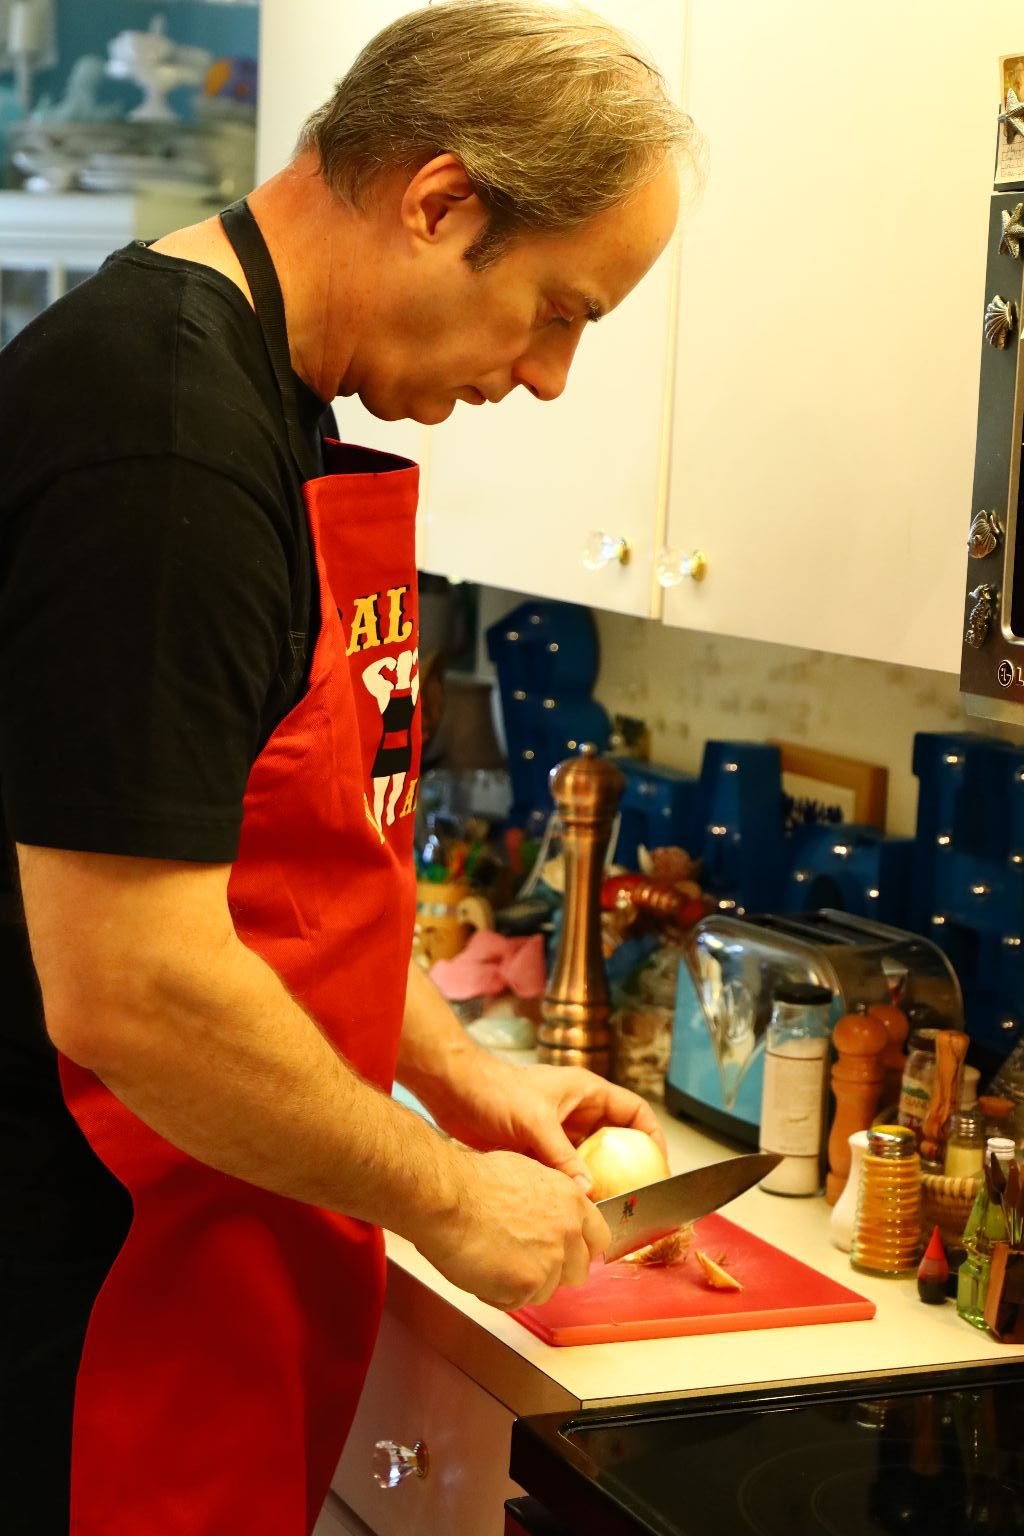
This mixture will stain your clothes, so wear an apron!
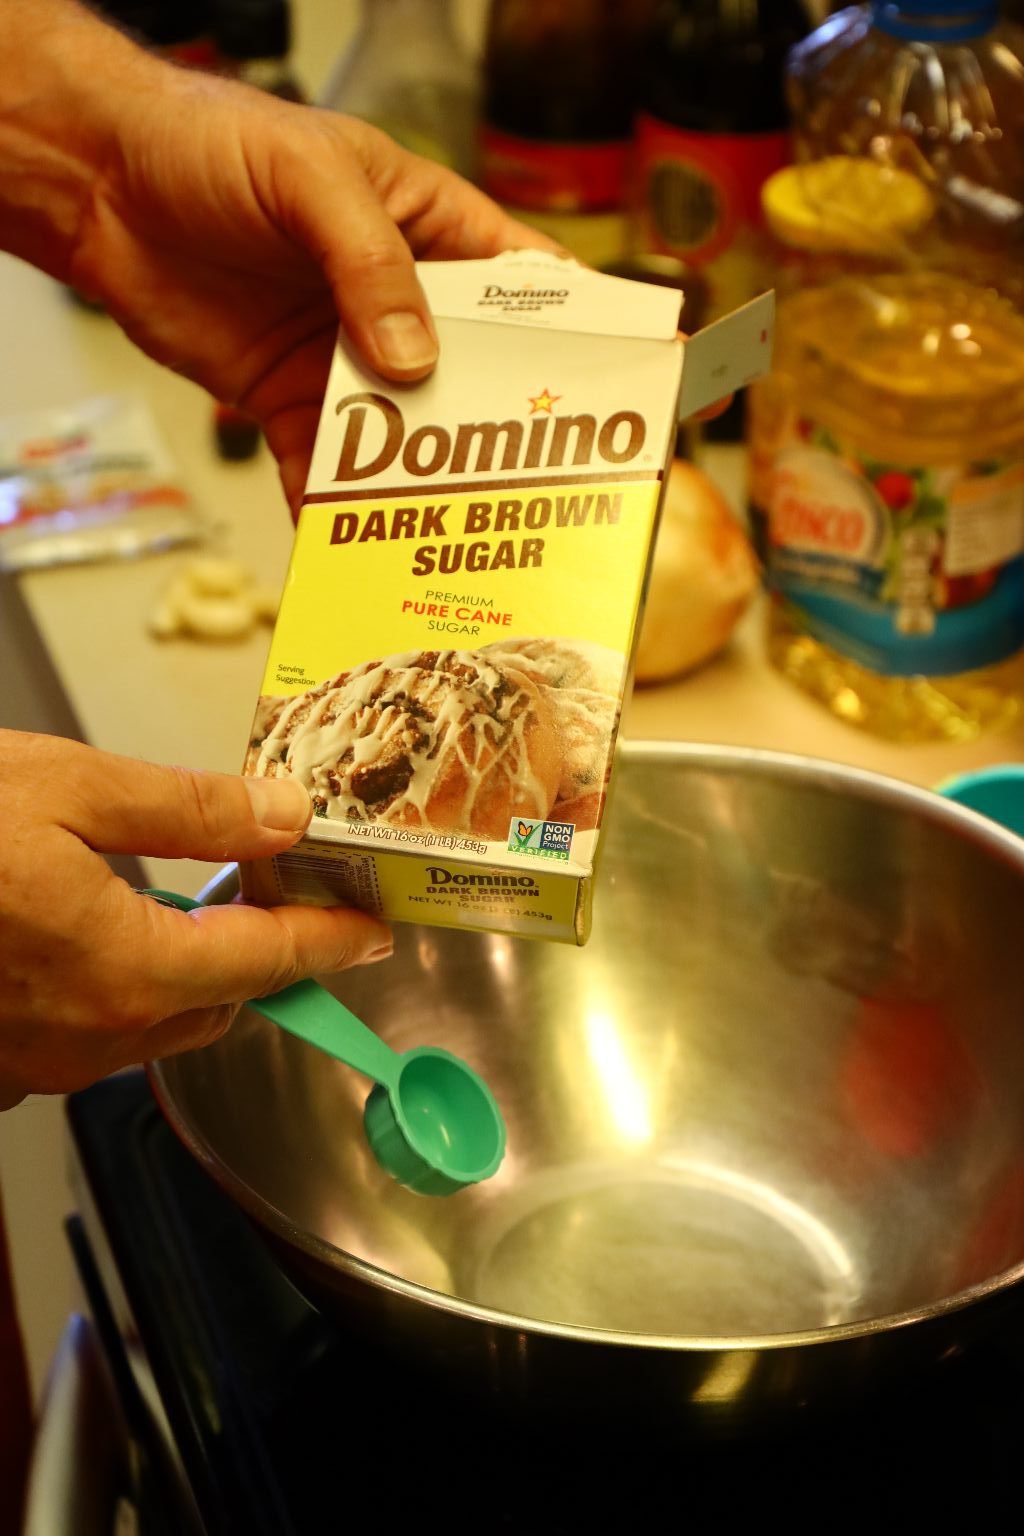
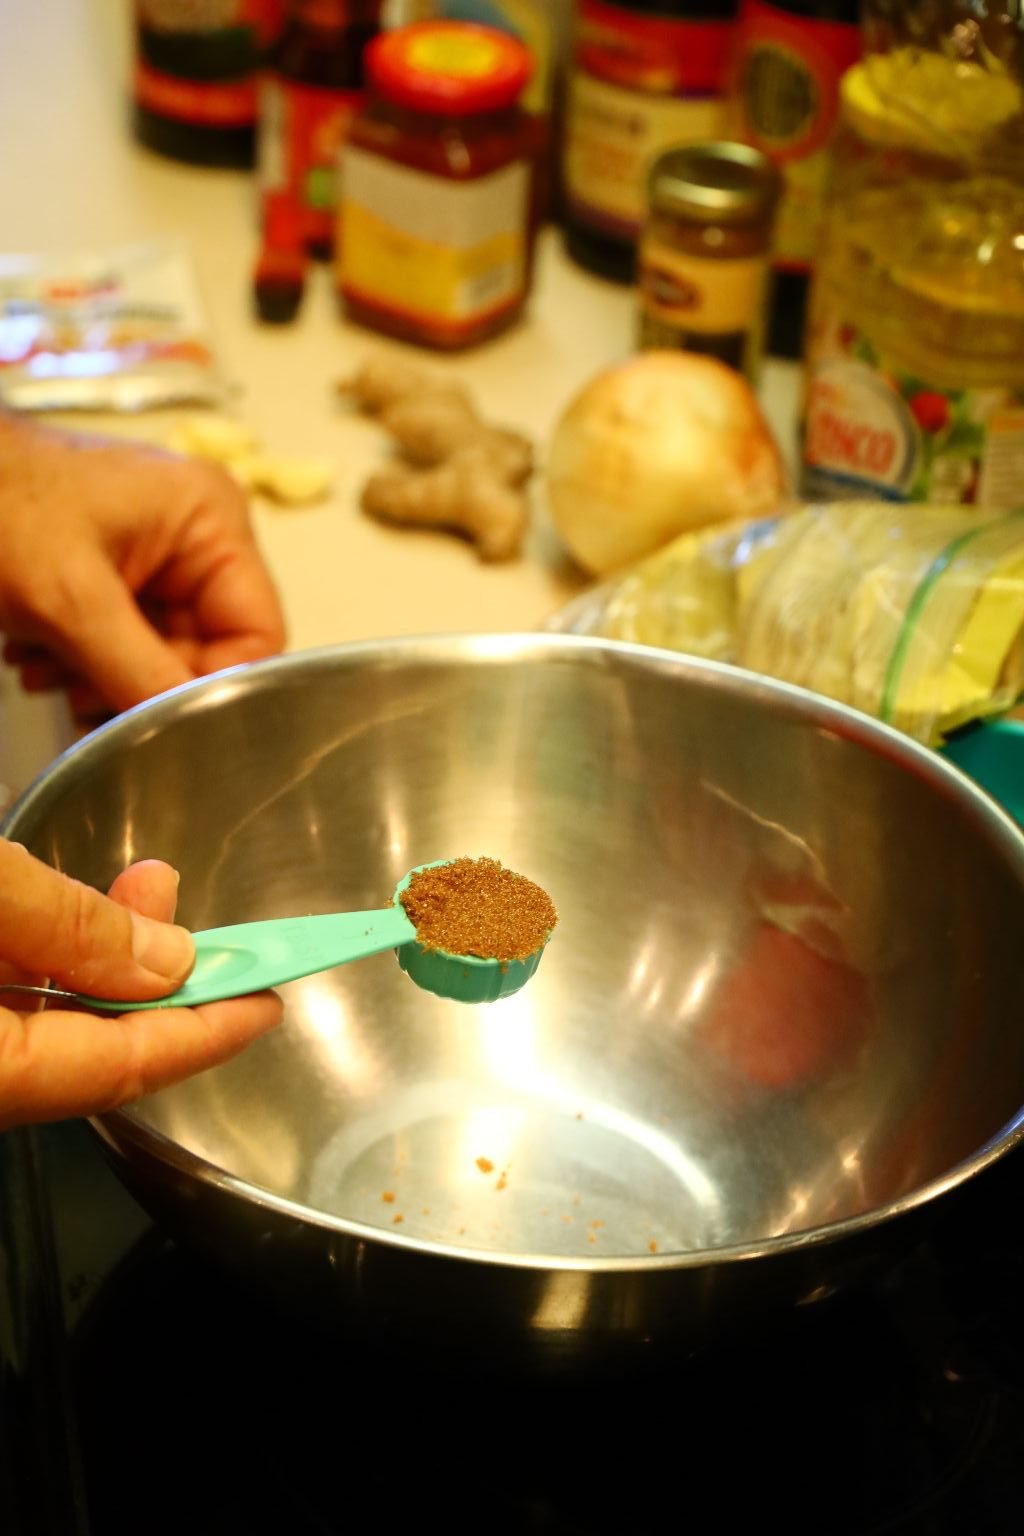
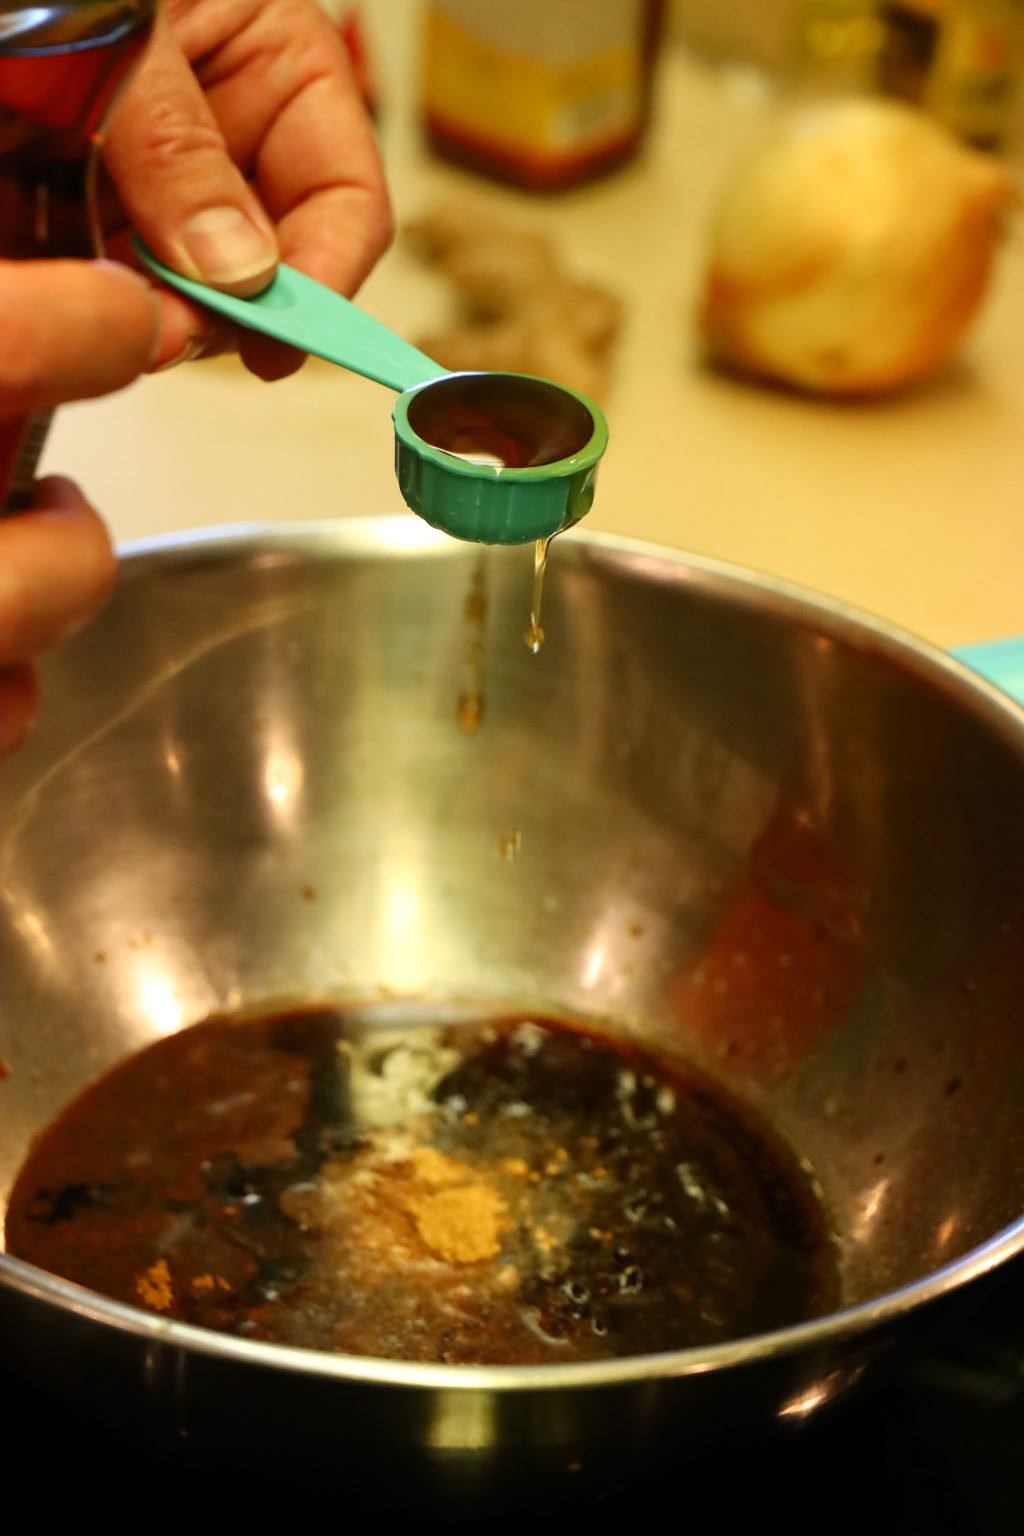
Using a large bowl, add your ingredient starting with the Brown Sugar.
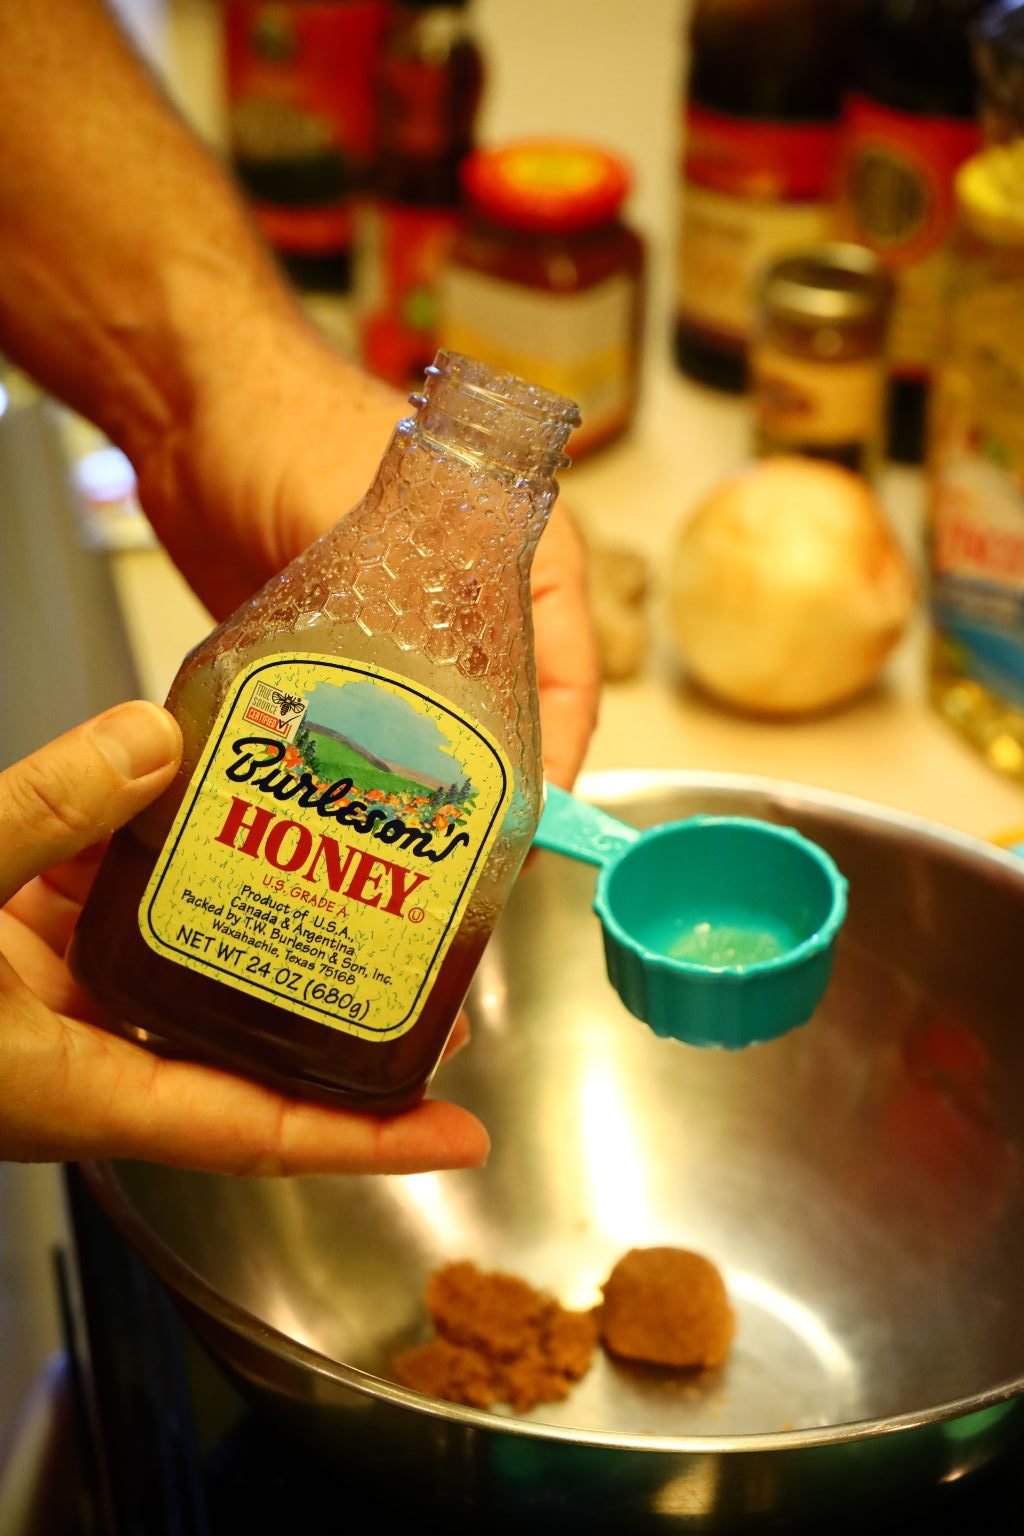
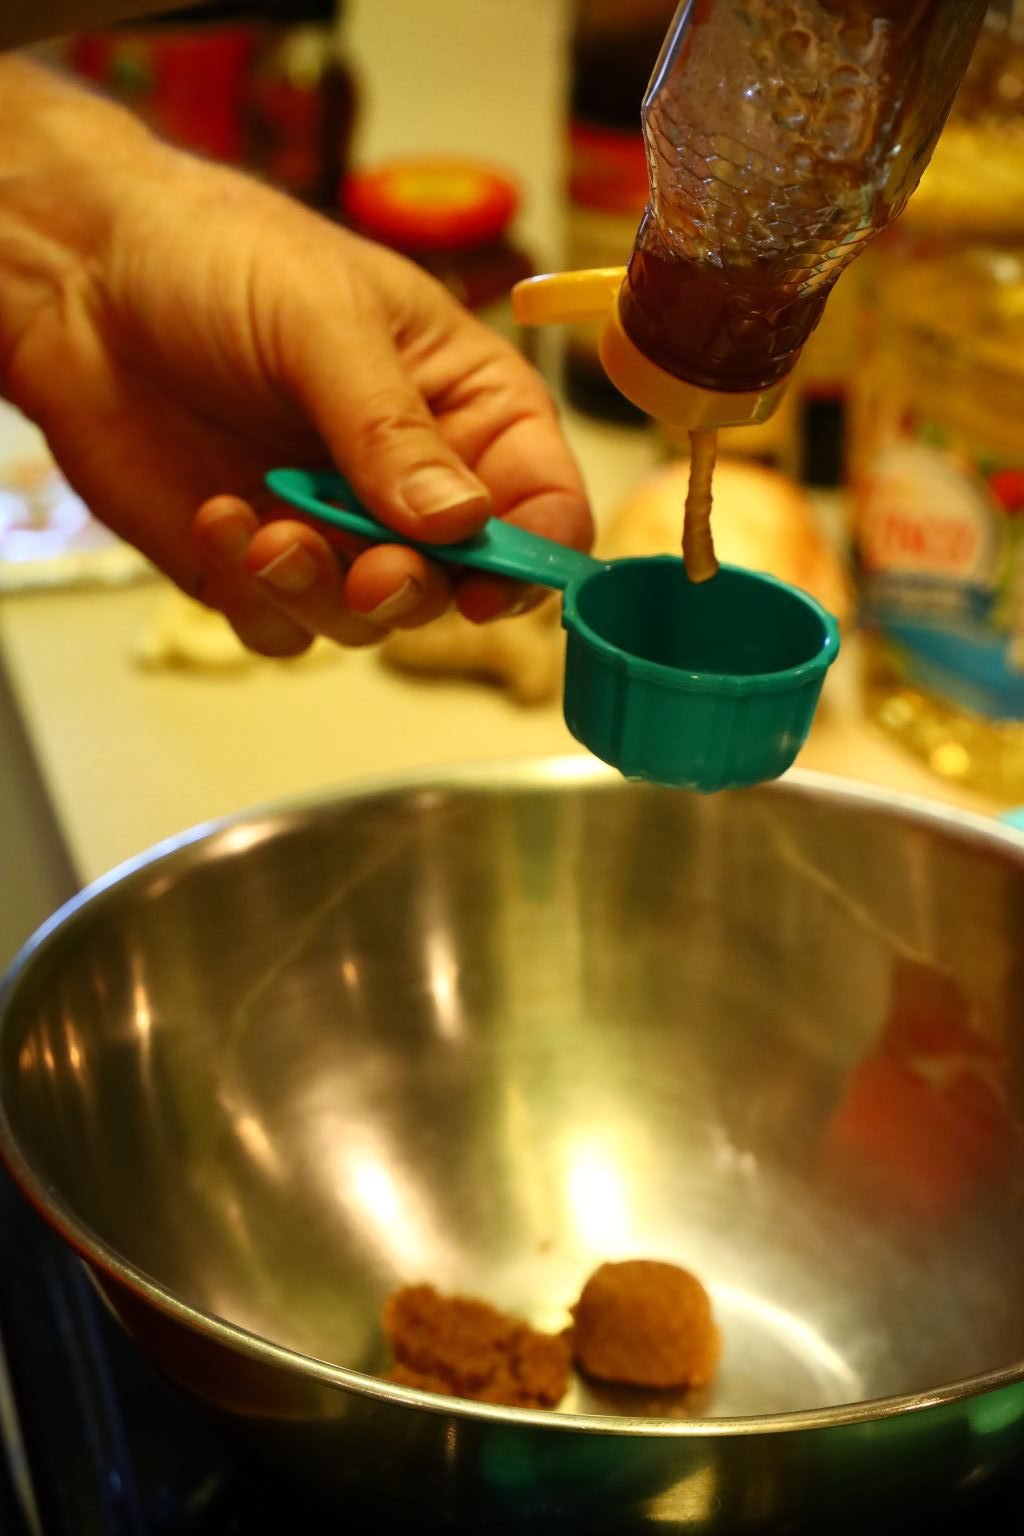

TIP: Before measuring out your honey, spray the measuring cup with a little cooking oil. This will ensure the honey doesn’t stick to it. Add your honey to the bowl.

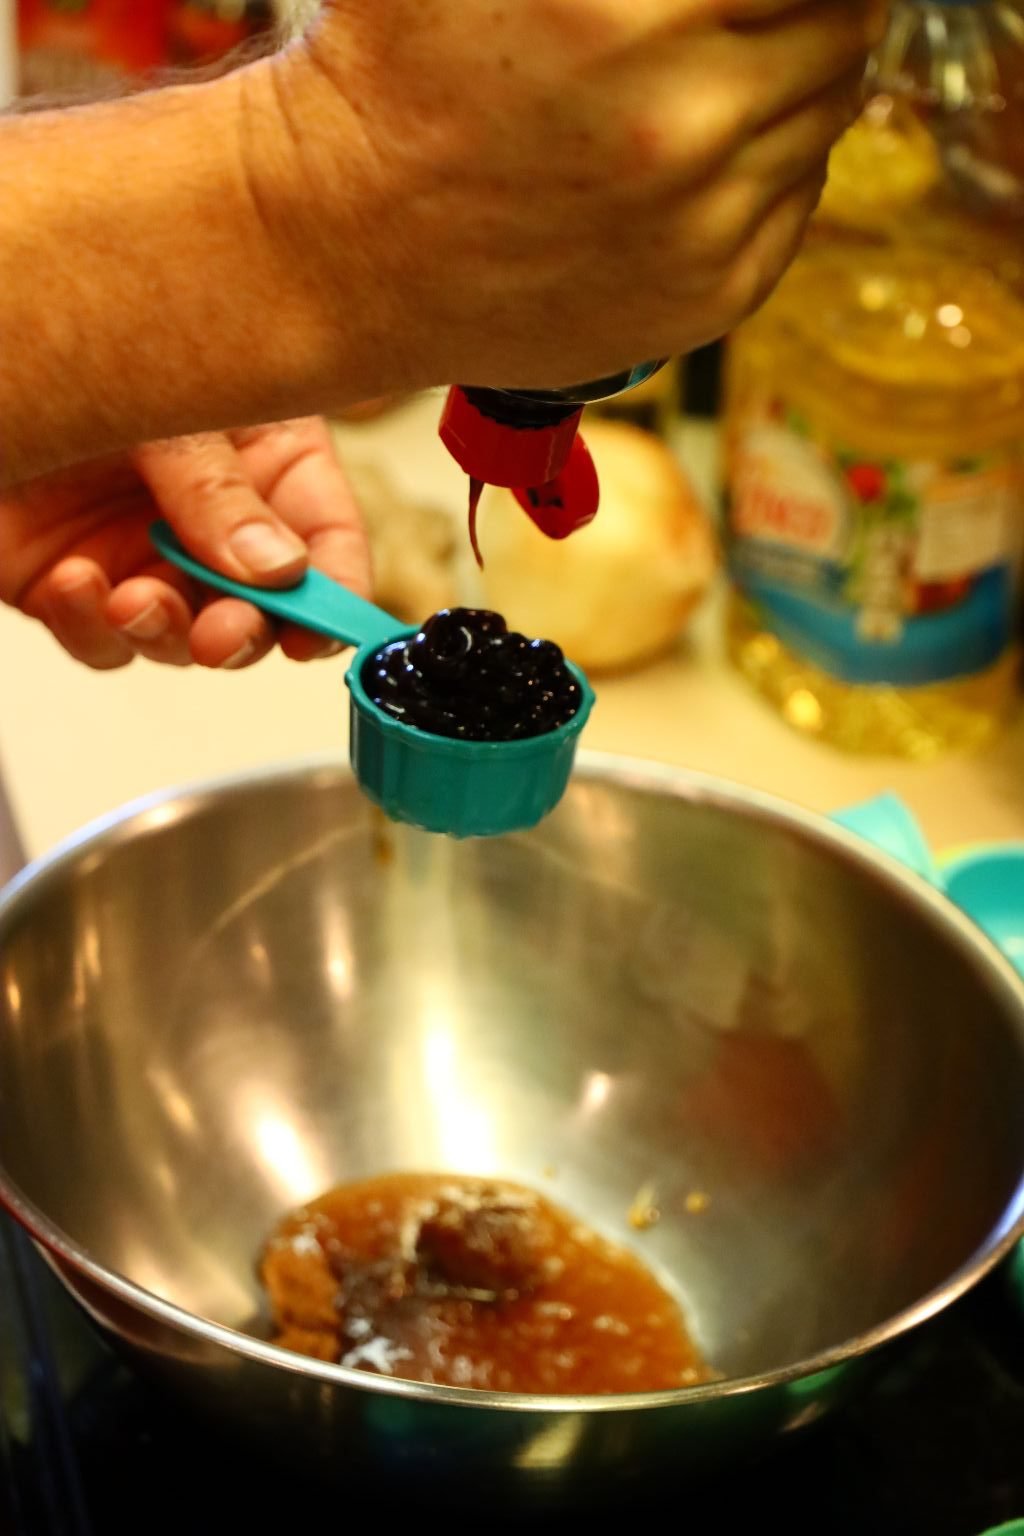
This brand of Hoisin Sauce is our favorite as it really tastes good. Adding it to the bowl.
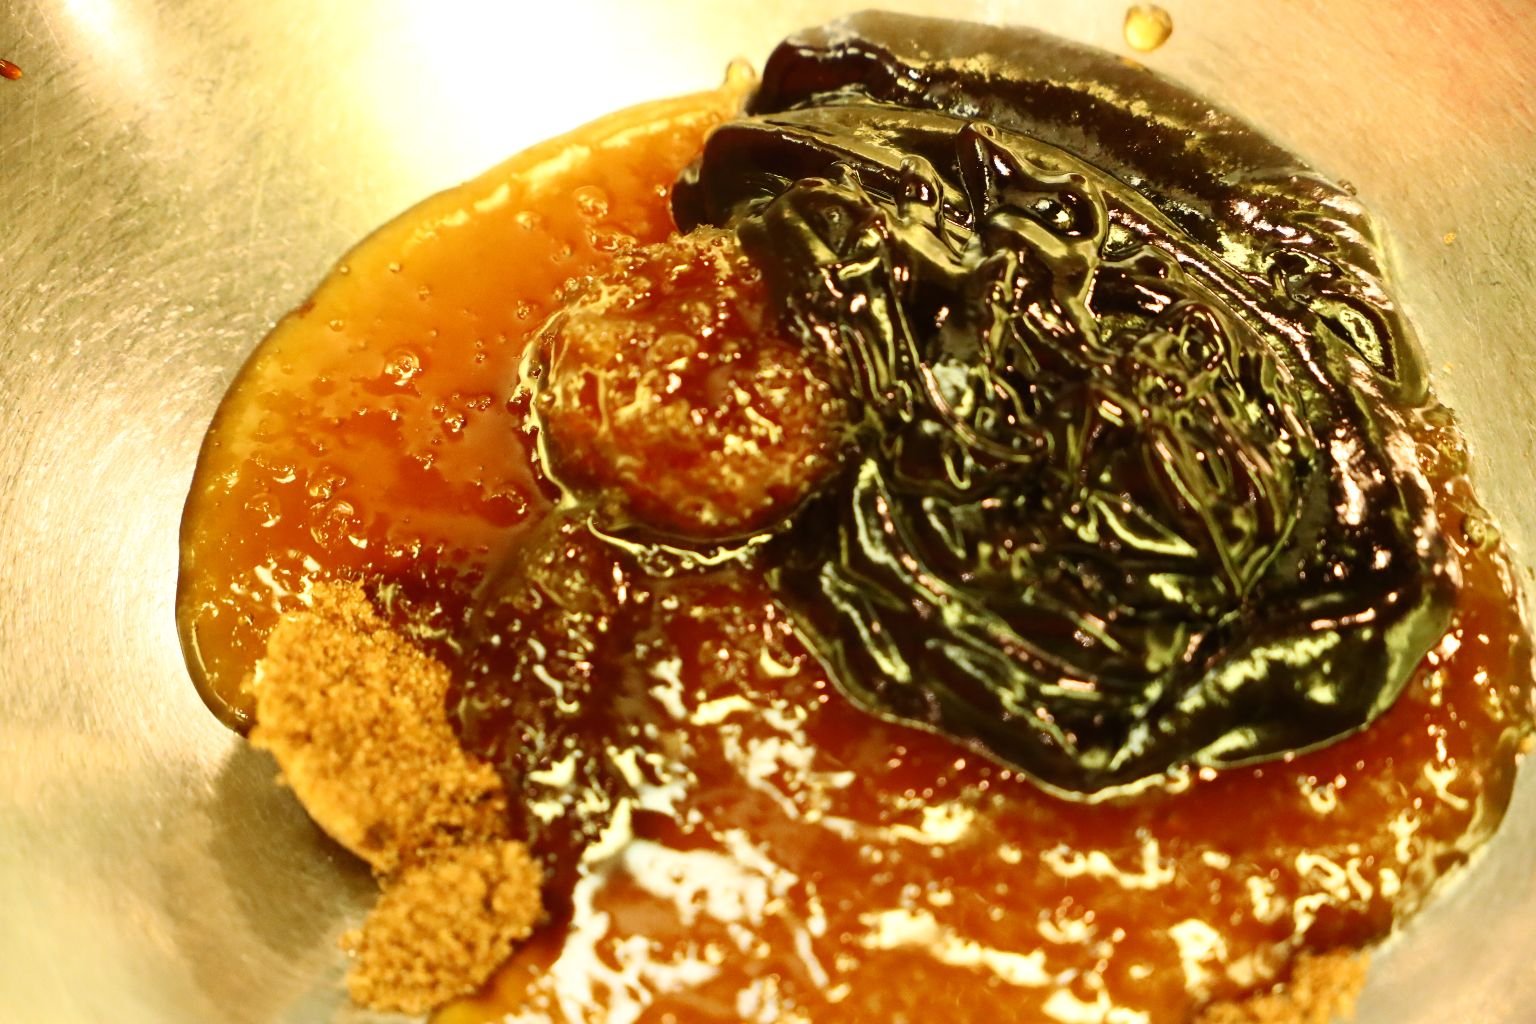
Here is how the ingredients look so far!
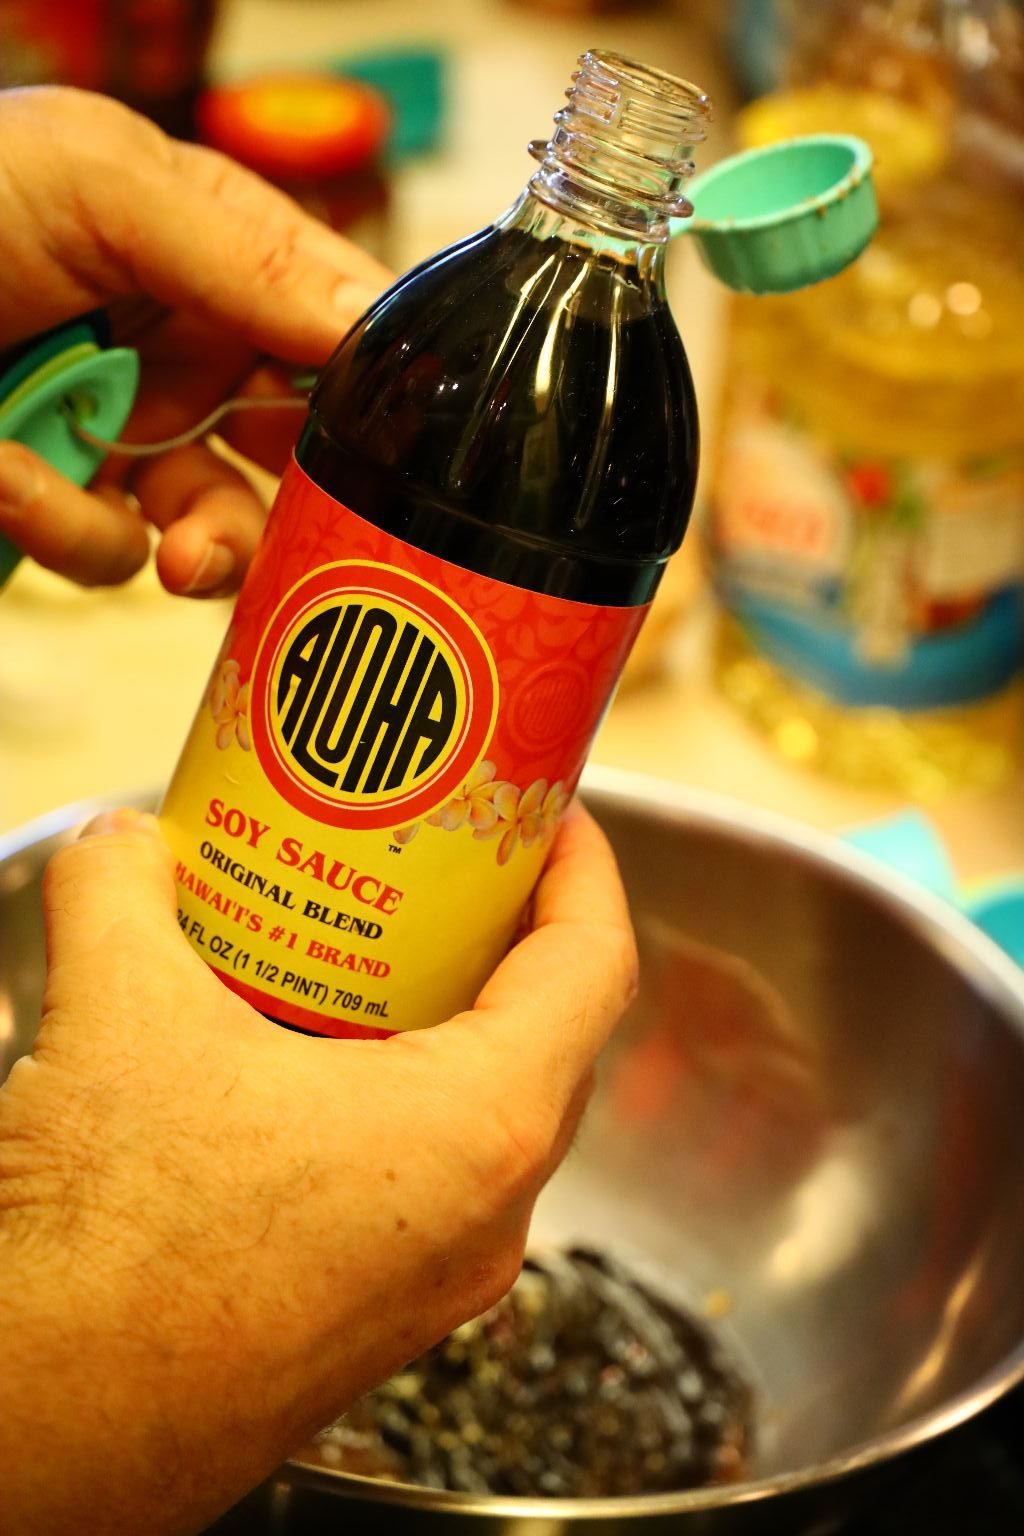

Now, add your Soy Sauce. This is again our favorite brand as it is made in Hawaii. It isn’t too salty, and simply tastes good, and doesn’t have a winy taste like Kikkoman does. I never use Kikkoman.
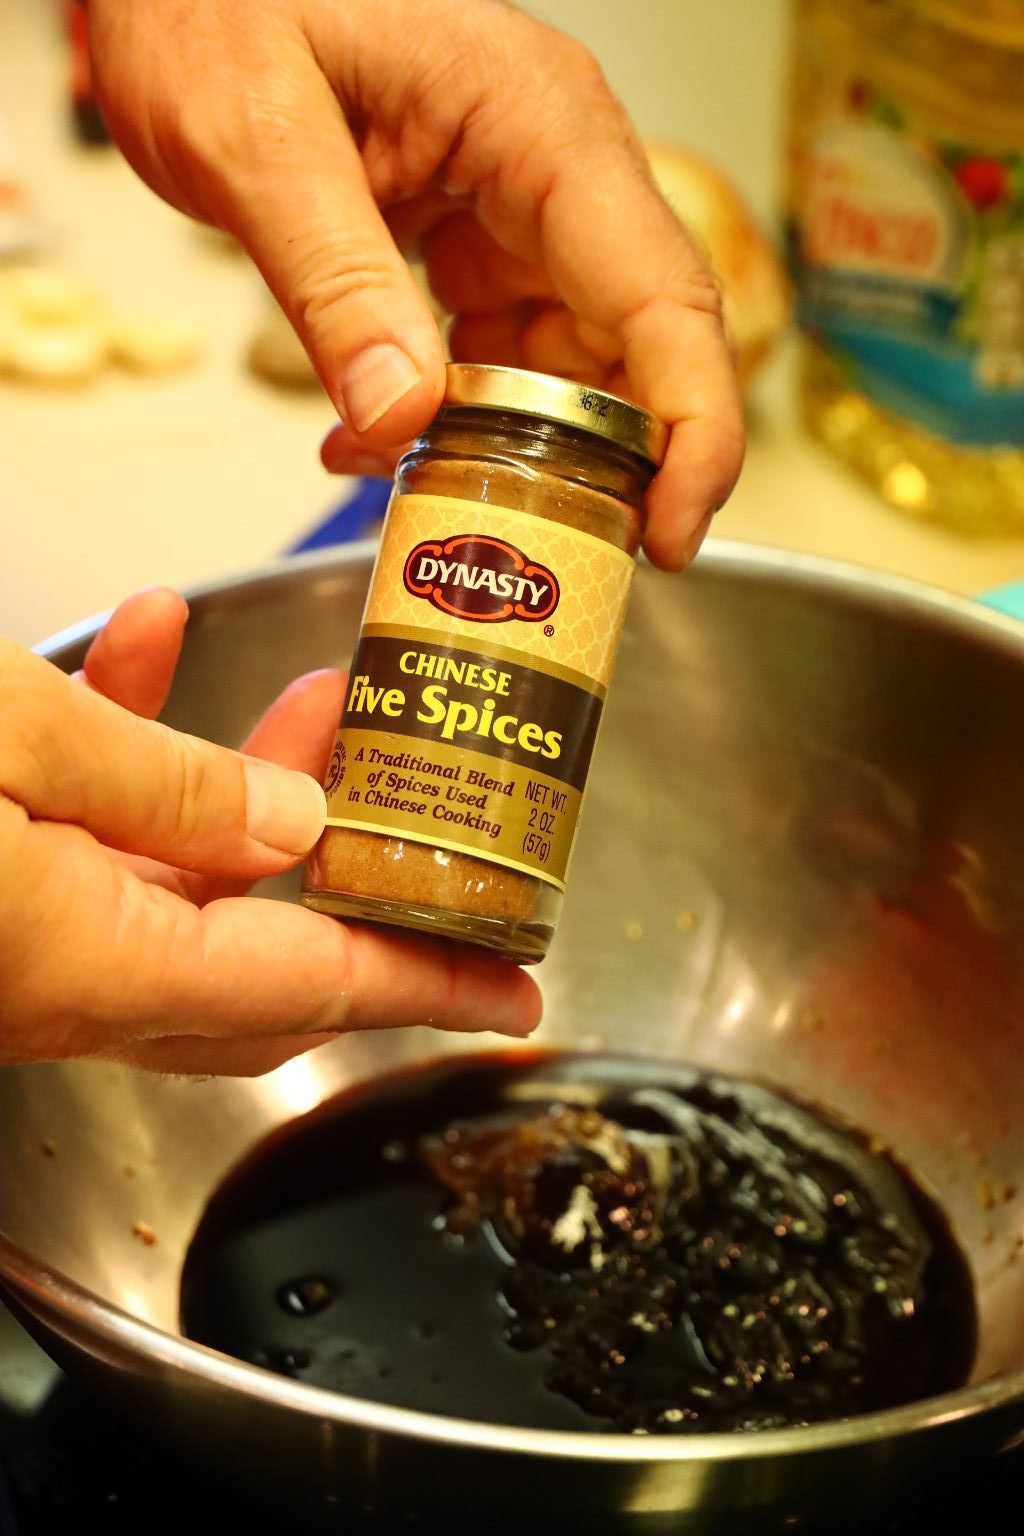
Then add your Chinese Five Spice to the mixture.
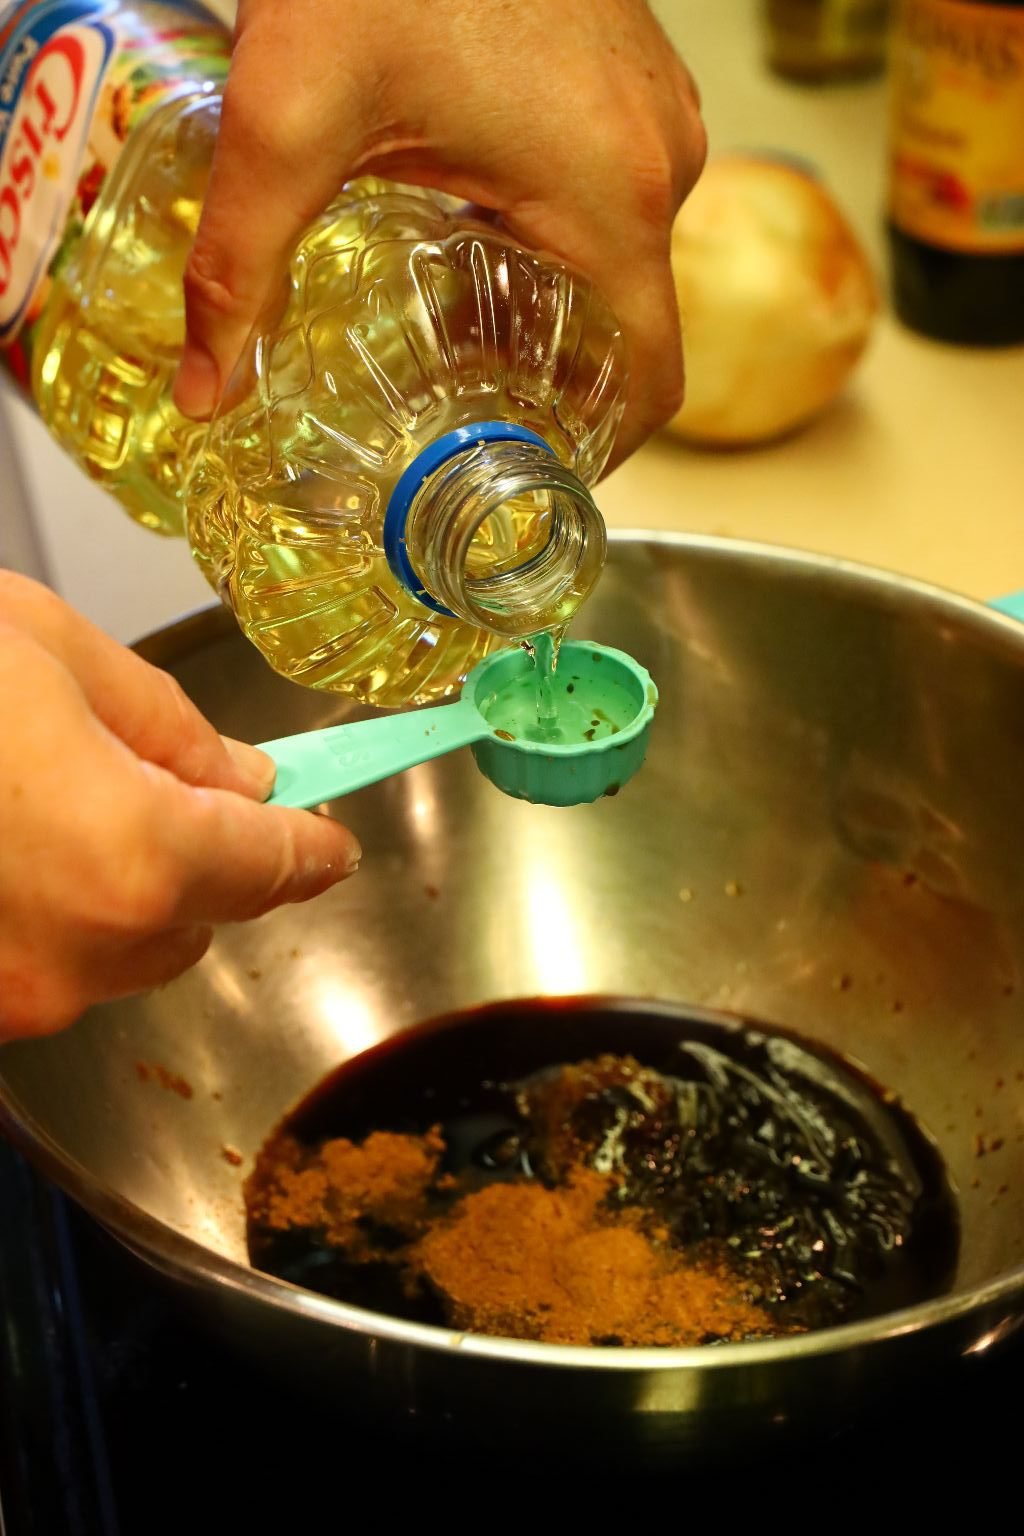
Then add 1 Tbsp. Vegetable Oil.
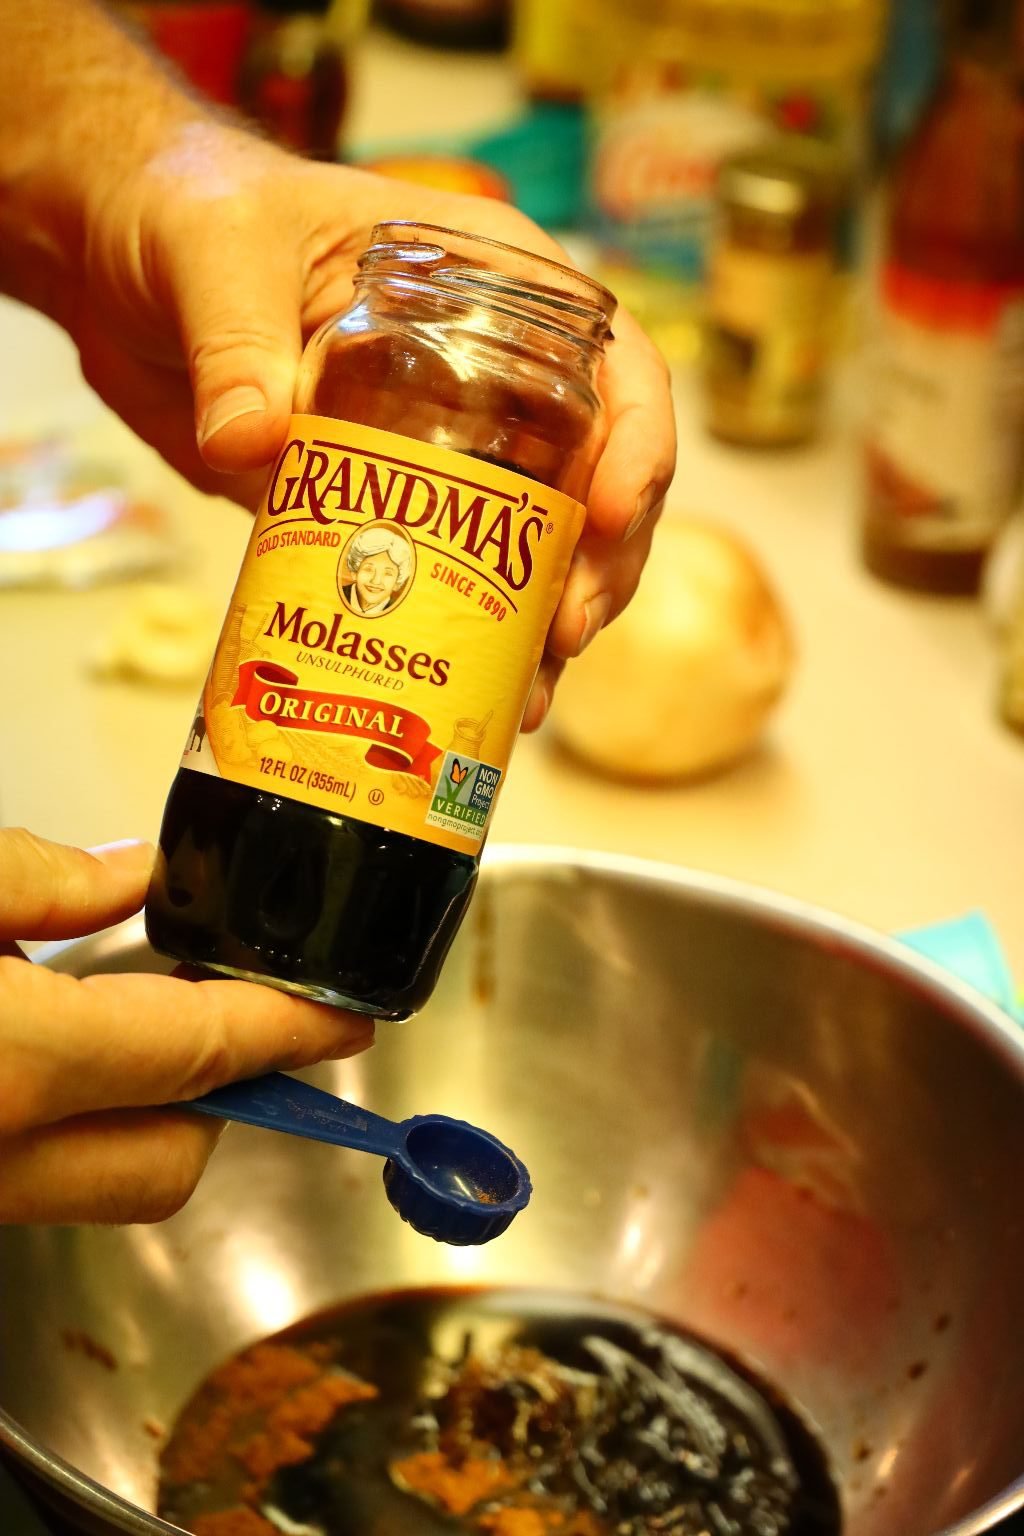
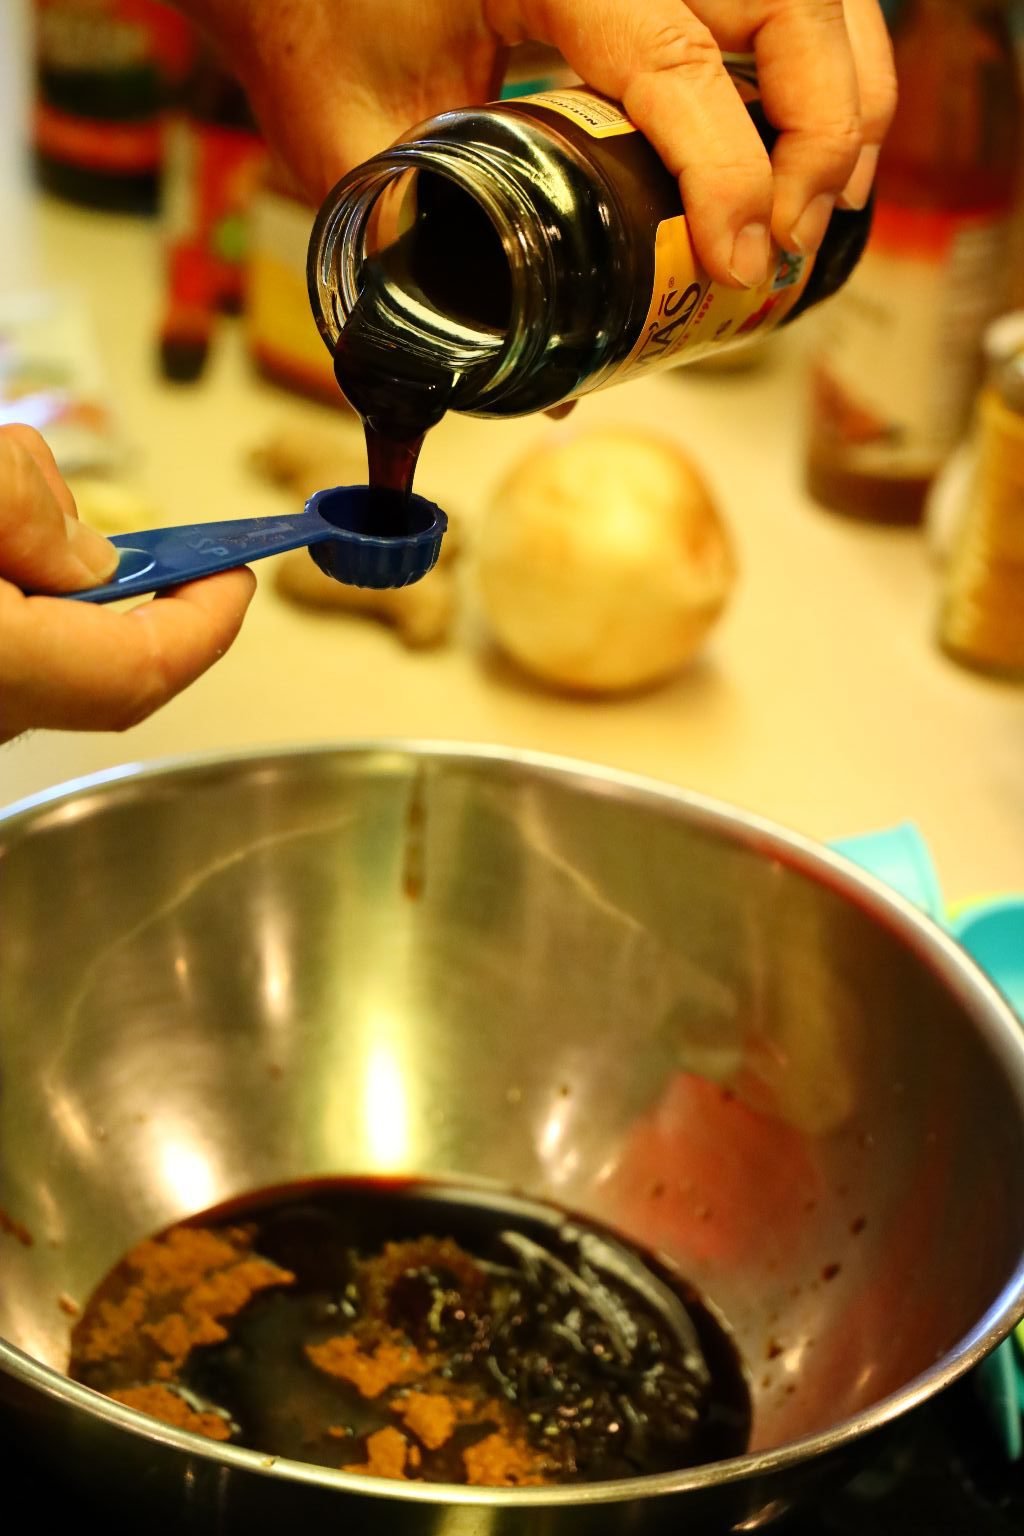
Then add your Molasses…
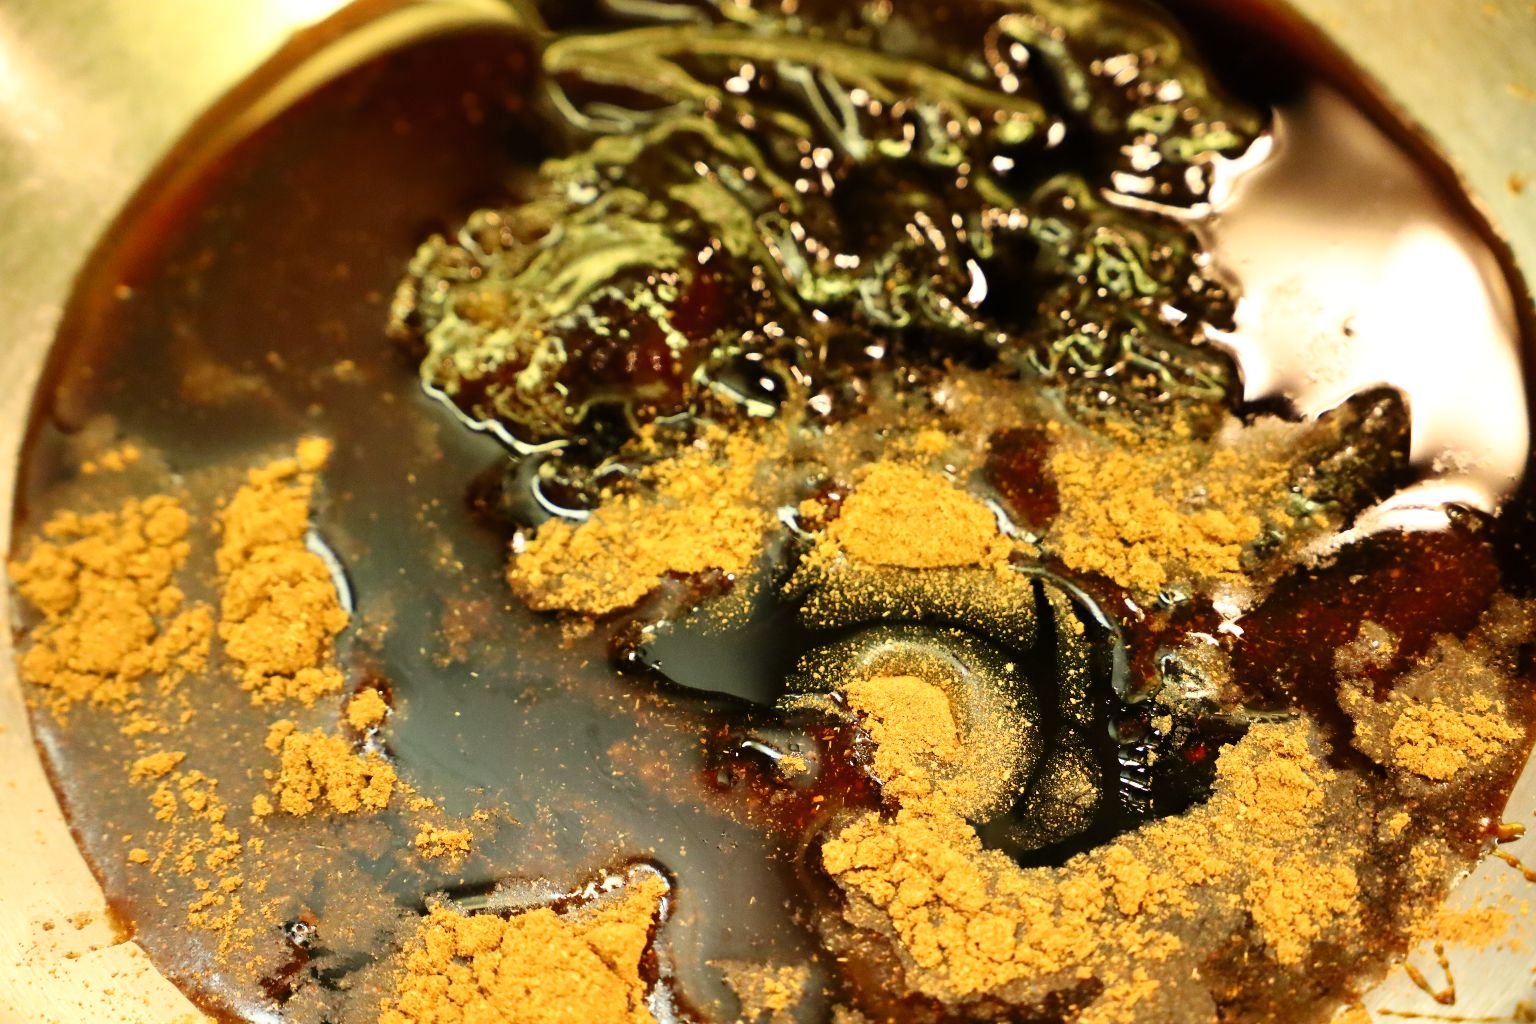
Still looking good!


Then add your Chinese Rice Cooking Wine to the bowl.
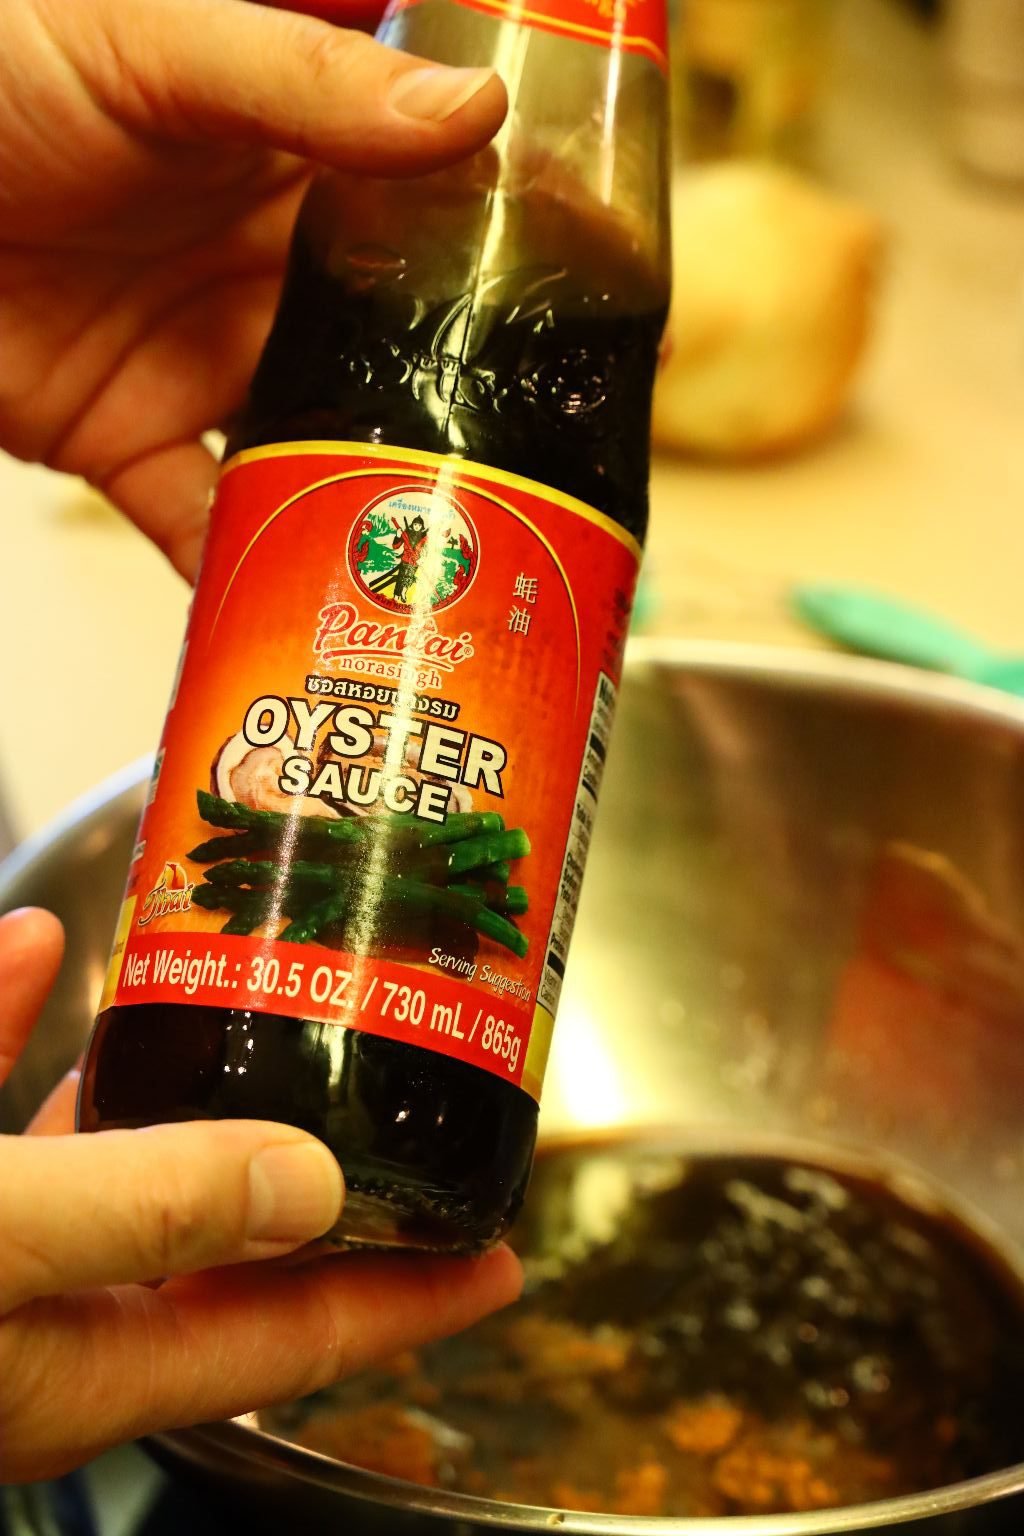
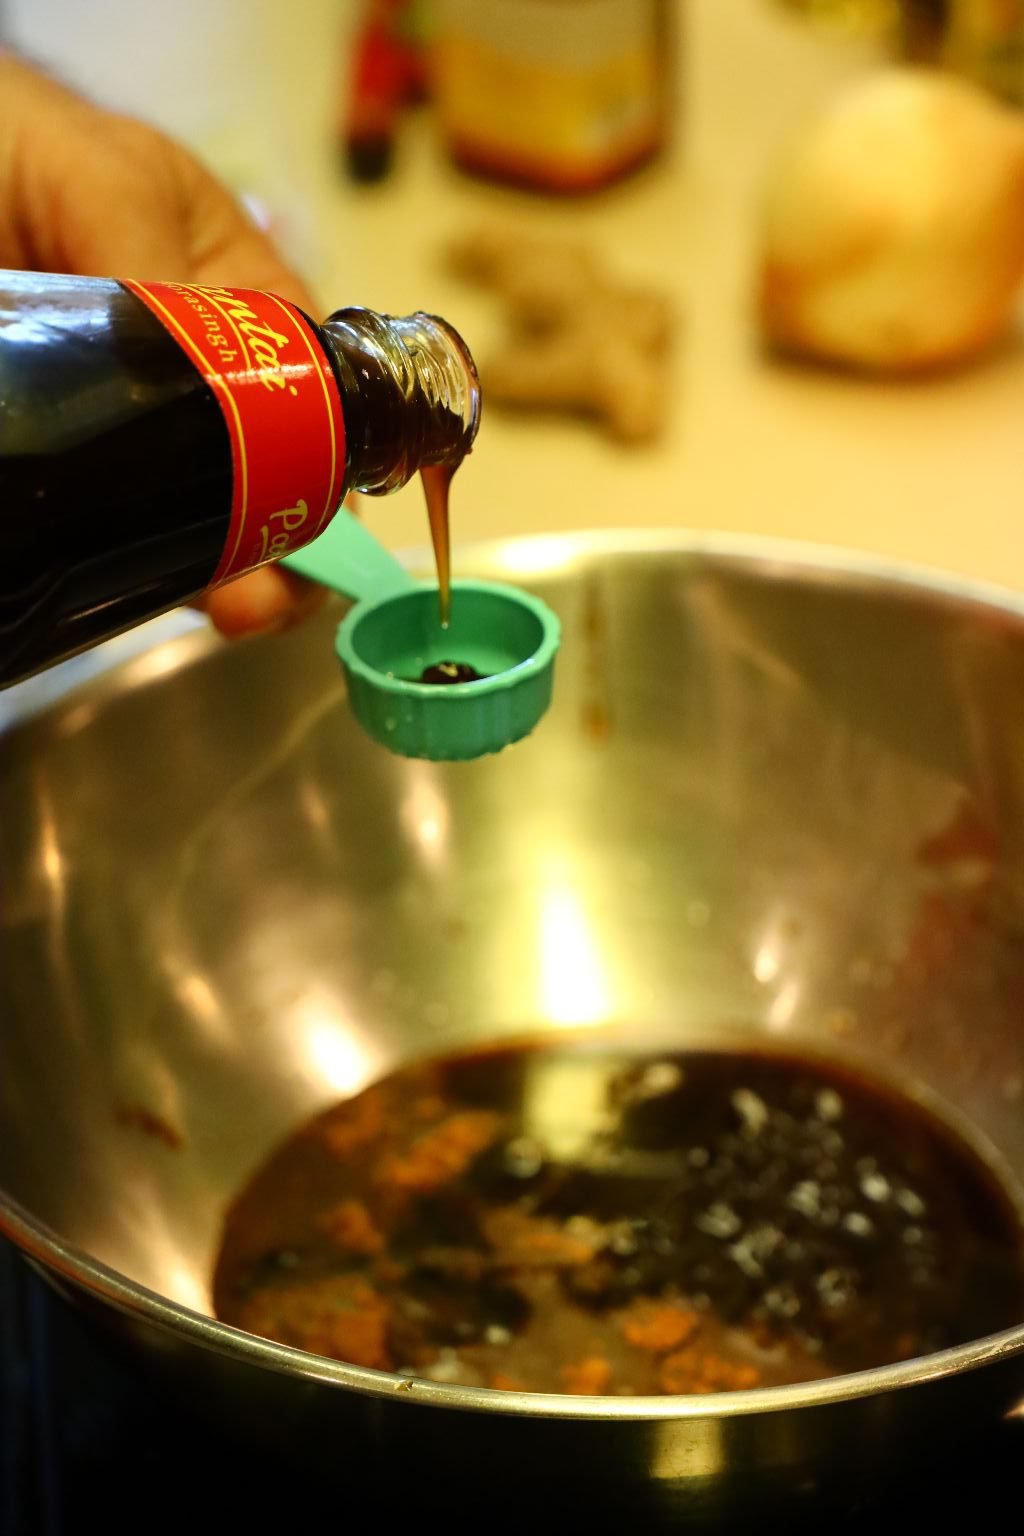
Now your Oyster Sauce. This too is another good tasting brand I like to use.
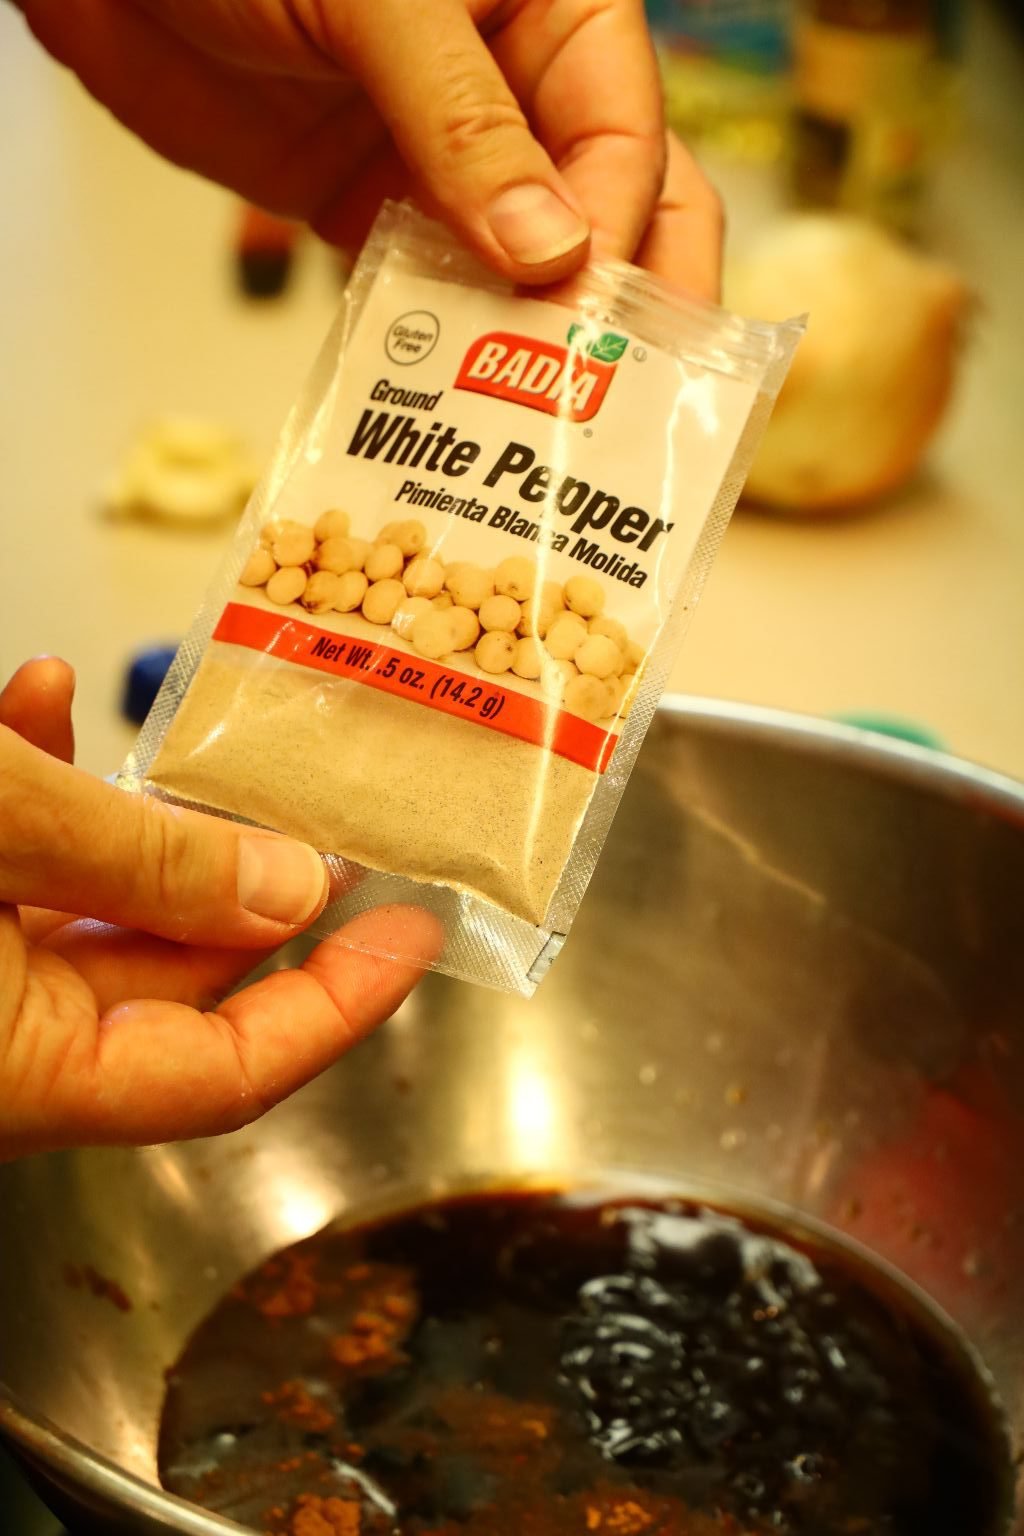
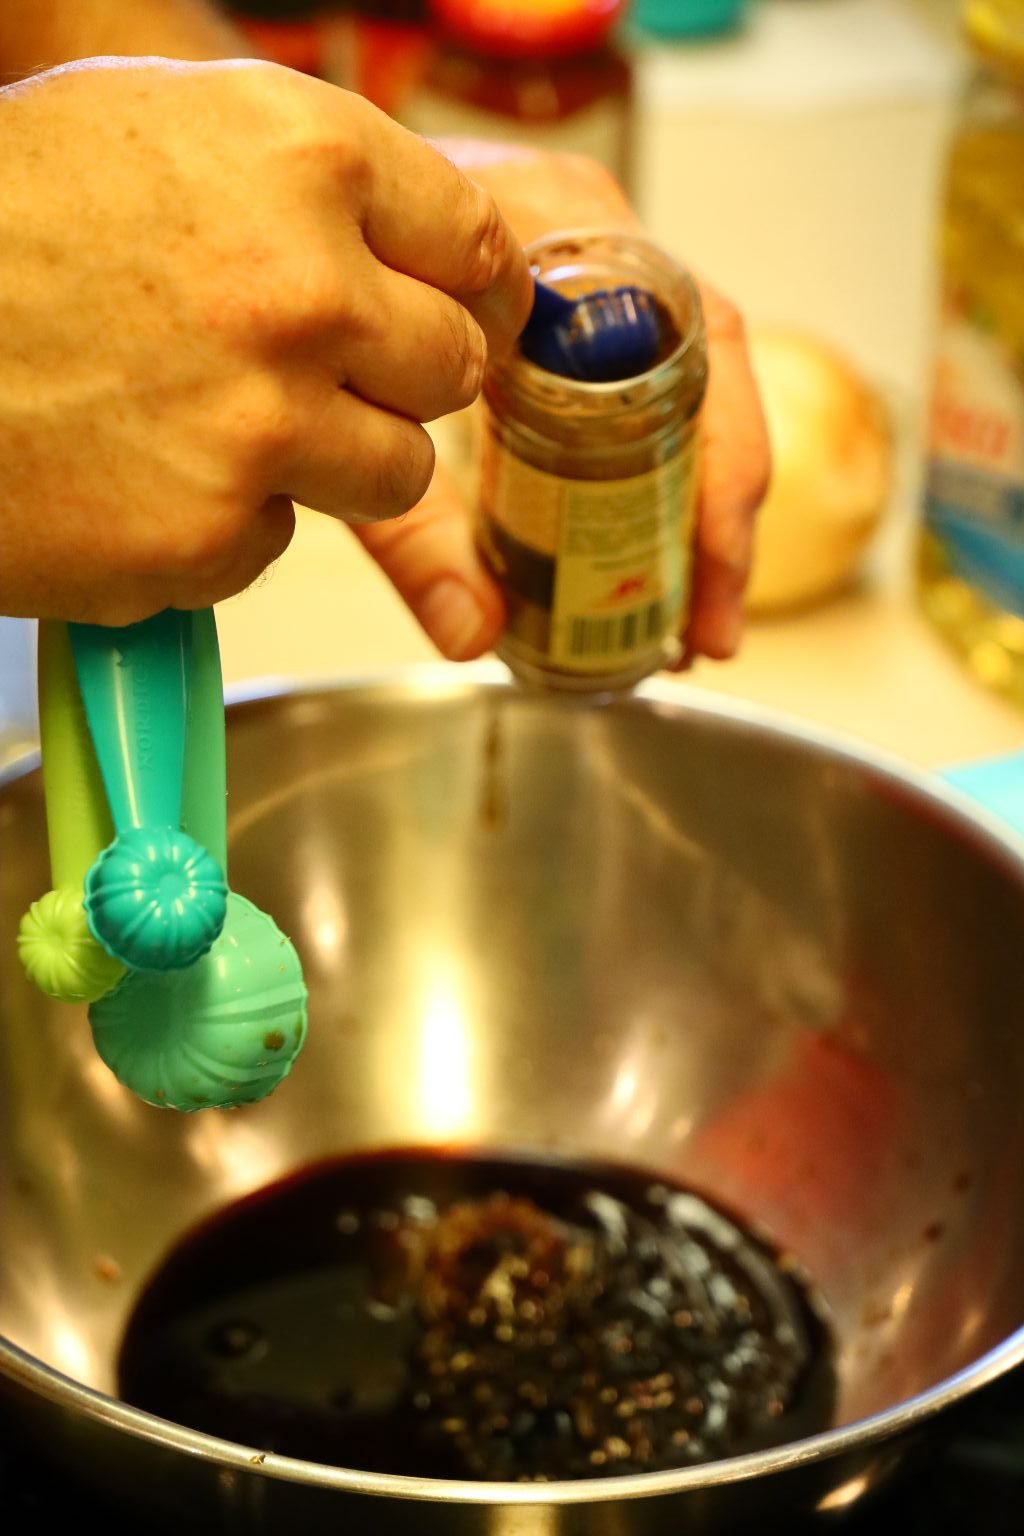
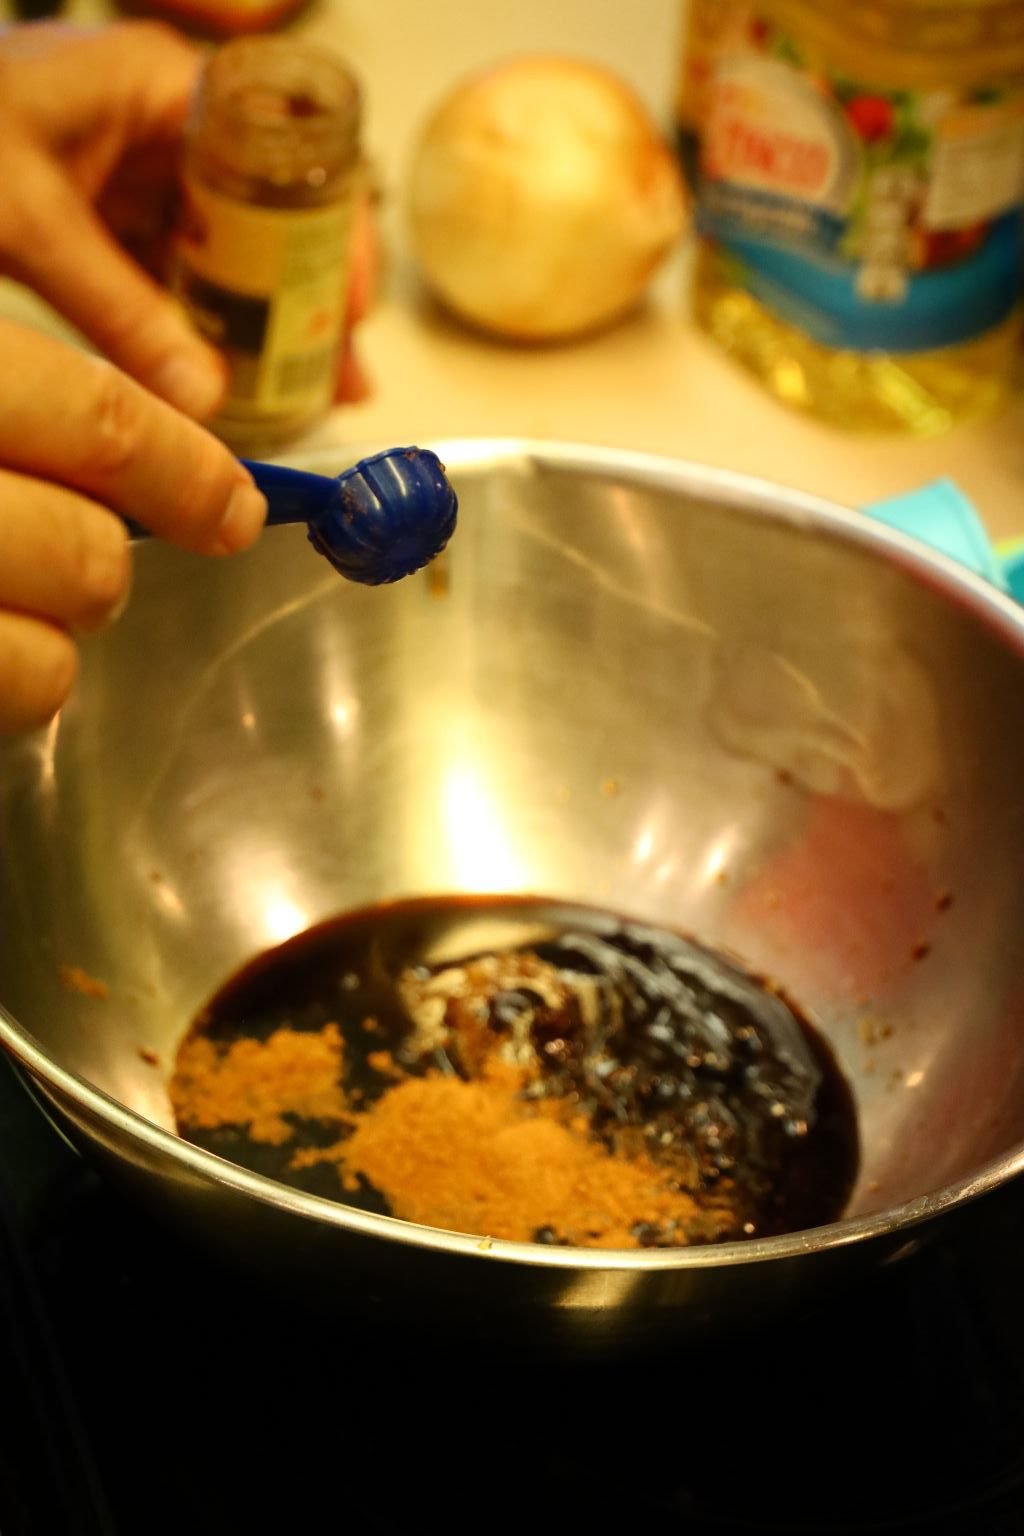
Add your Ground White Pepper to the mixture.
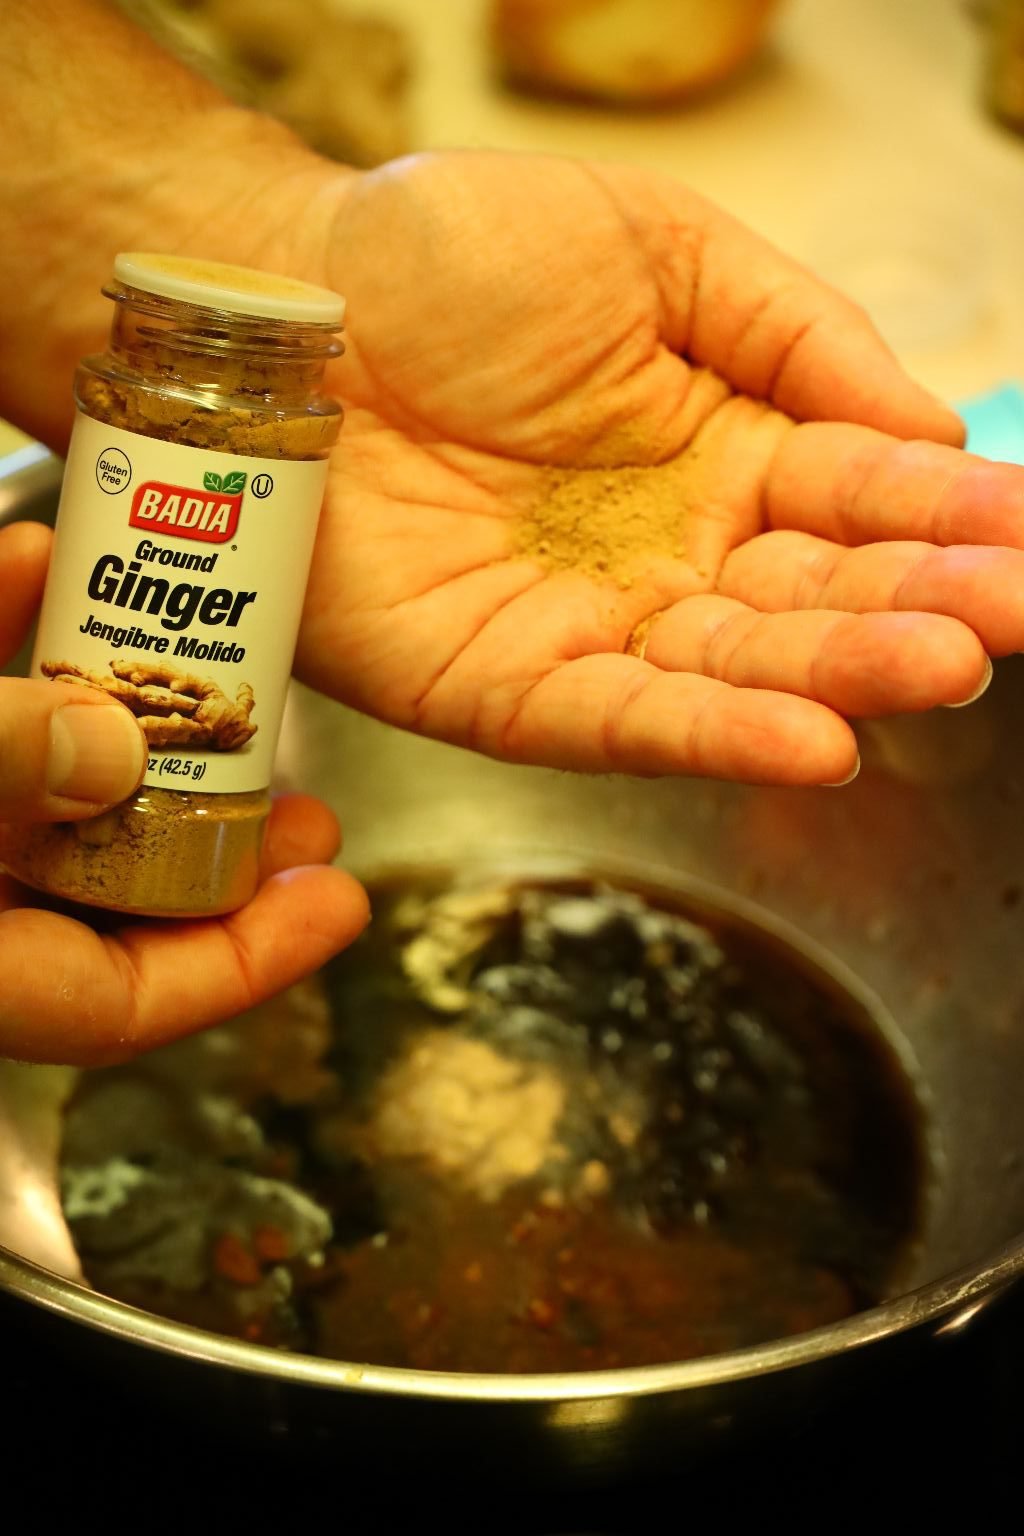
And then your Powdered Ginger.
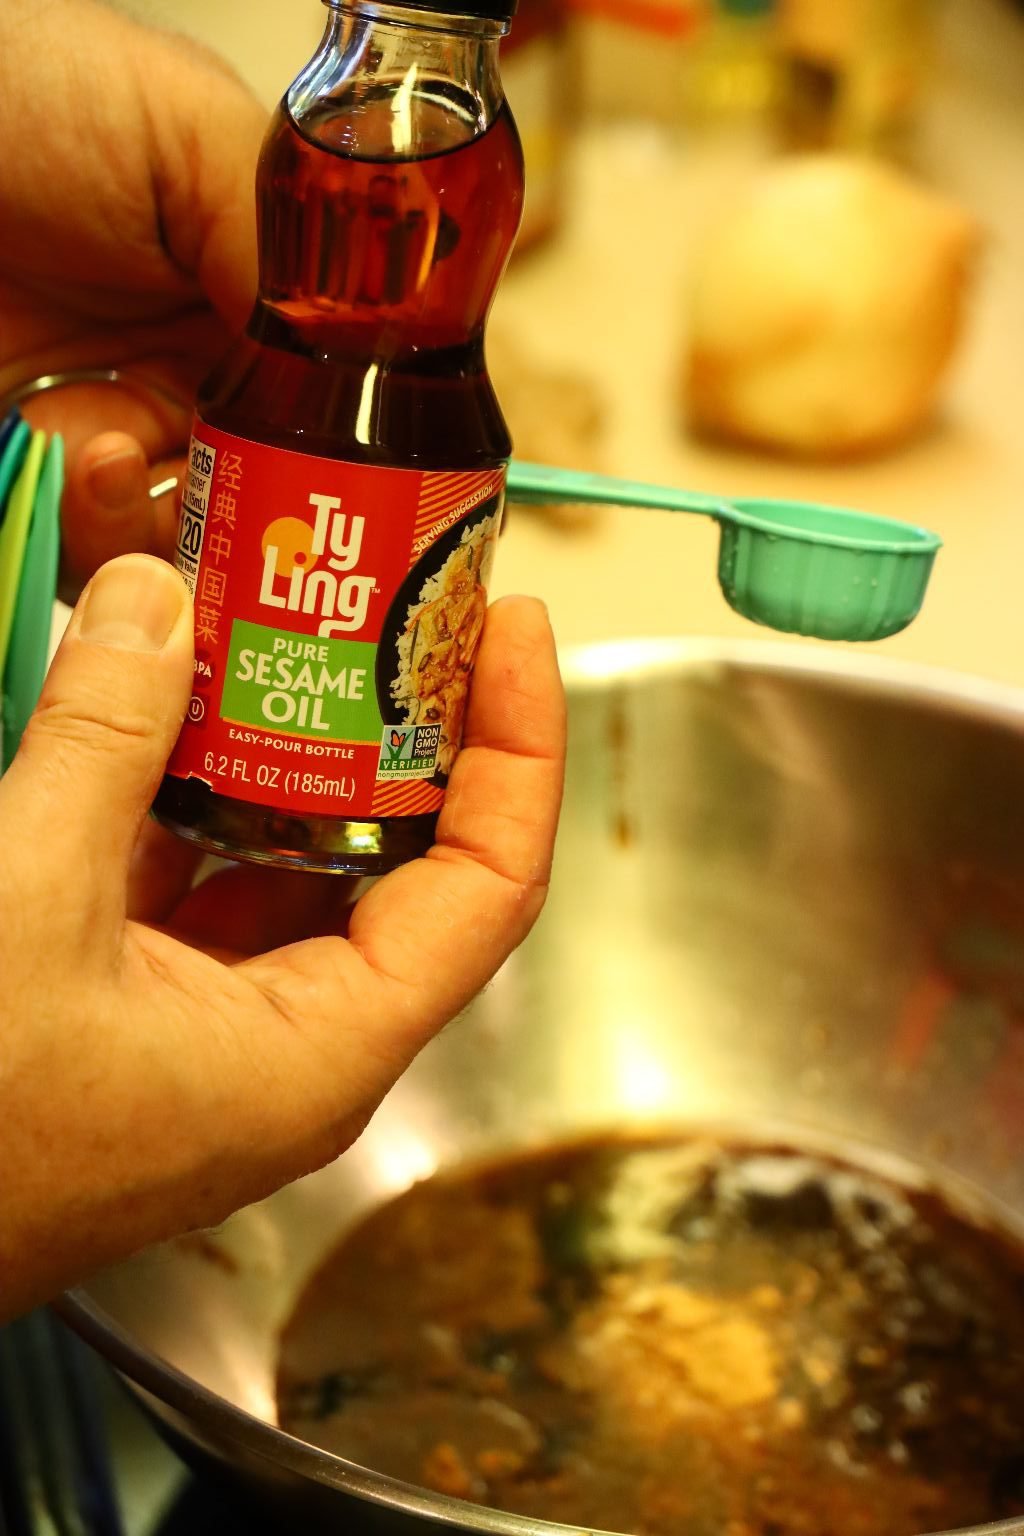
And now your Sesame Oil.

And then your Red Bean Curd.
This ingredient really gives the marinade that Char Siu flavoring.

Delicious Goo!
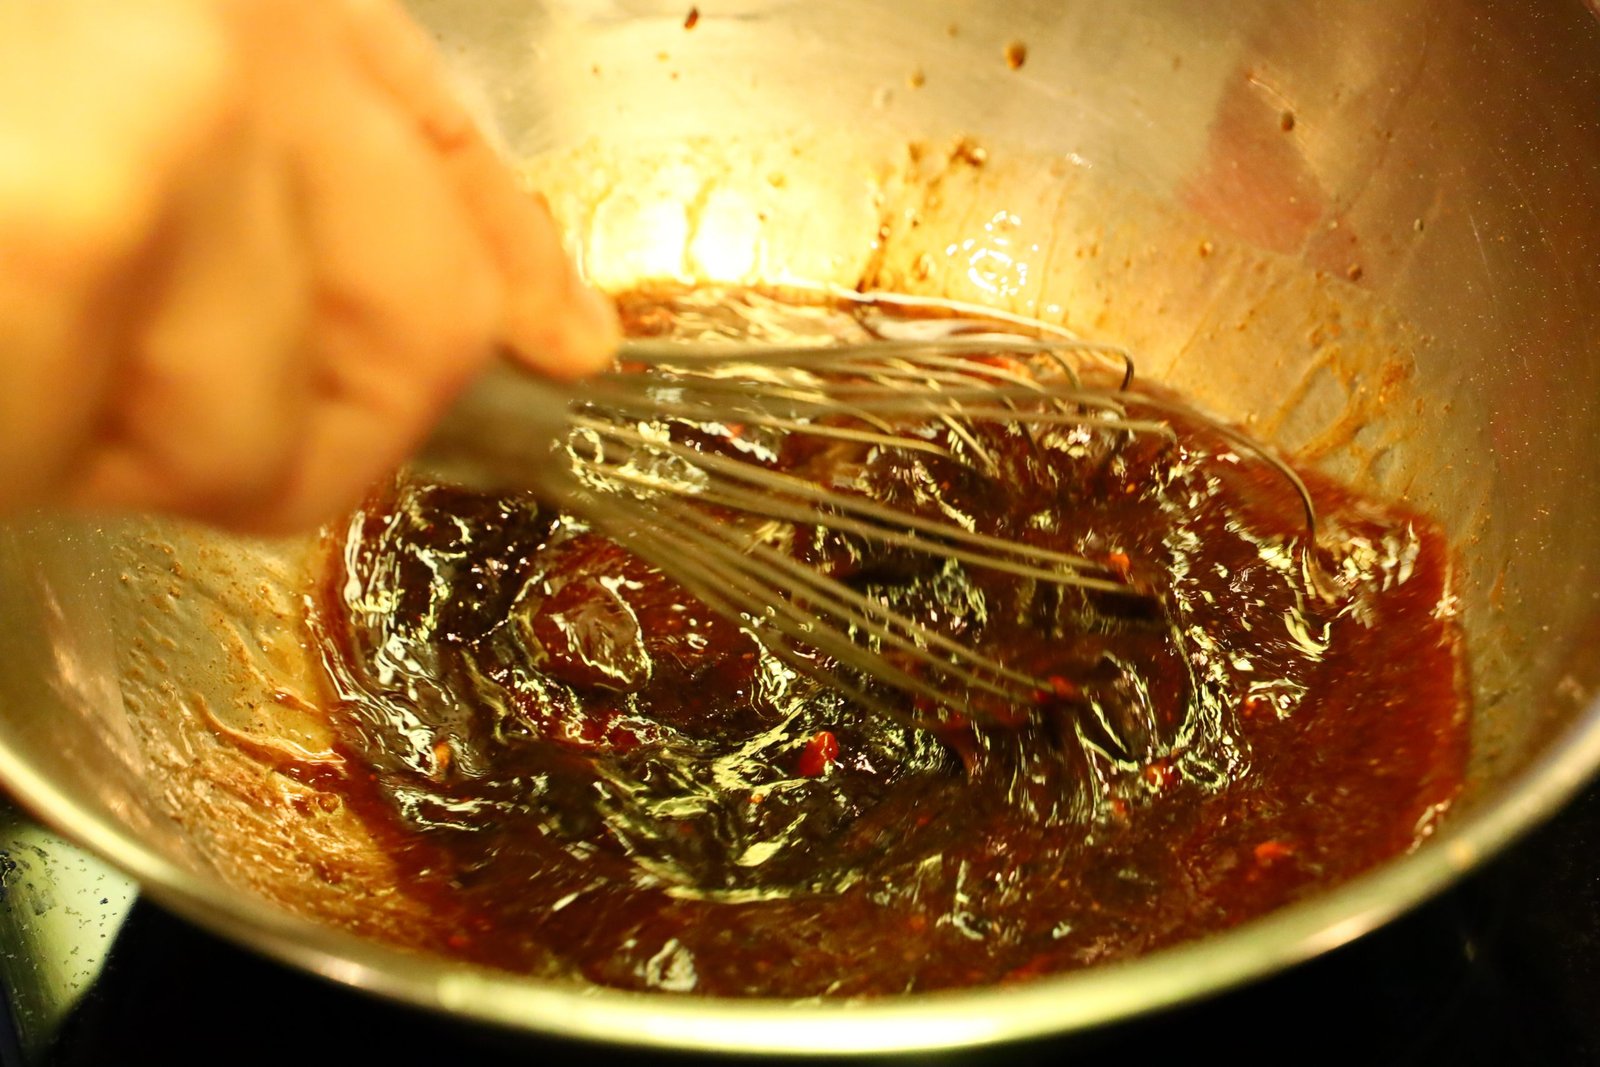
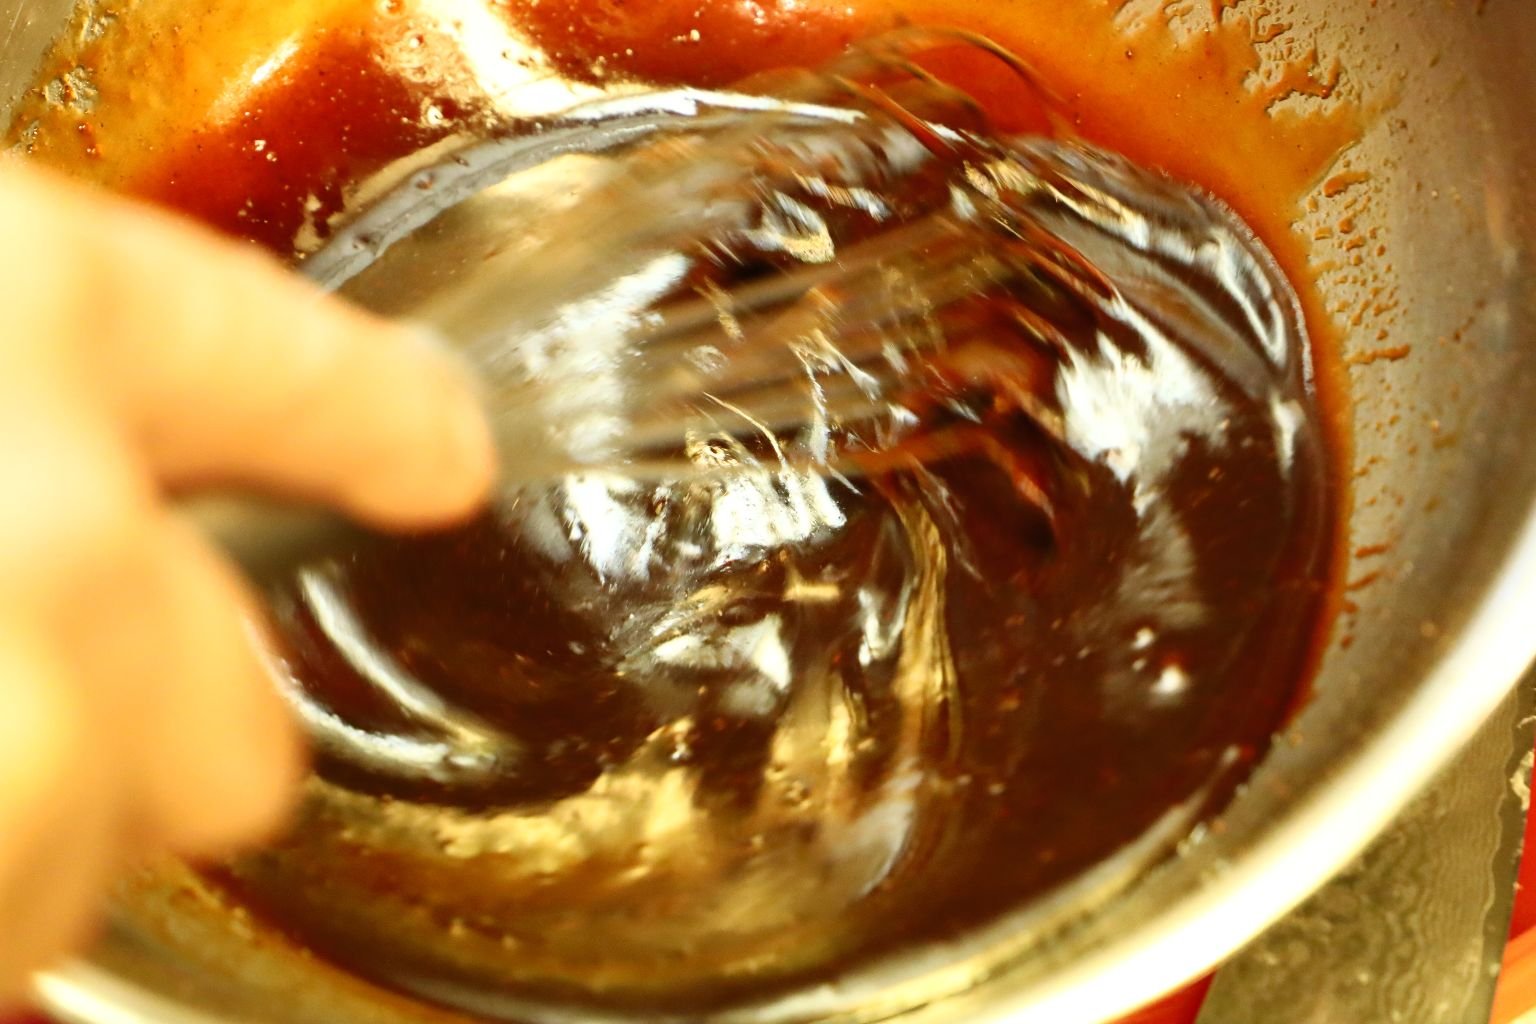
Use a whisk to mix all the ingredients well.
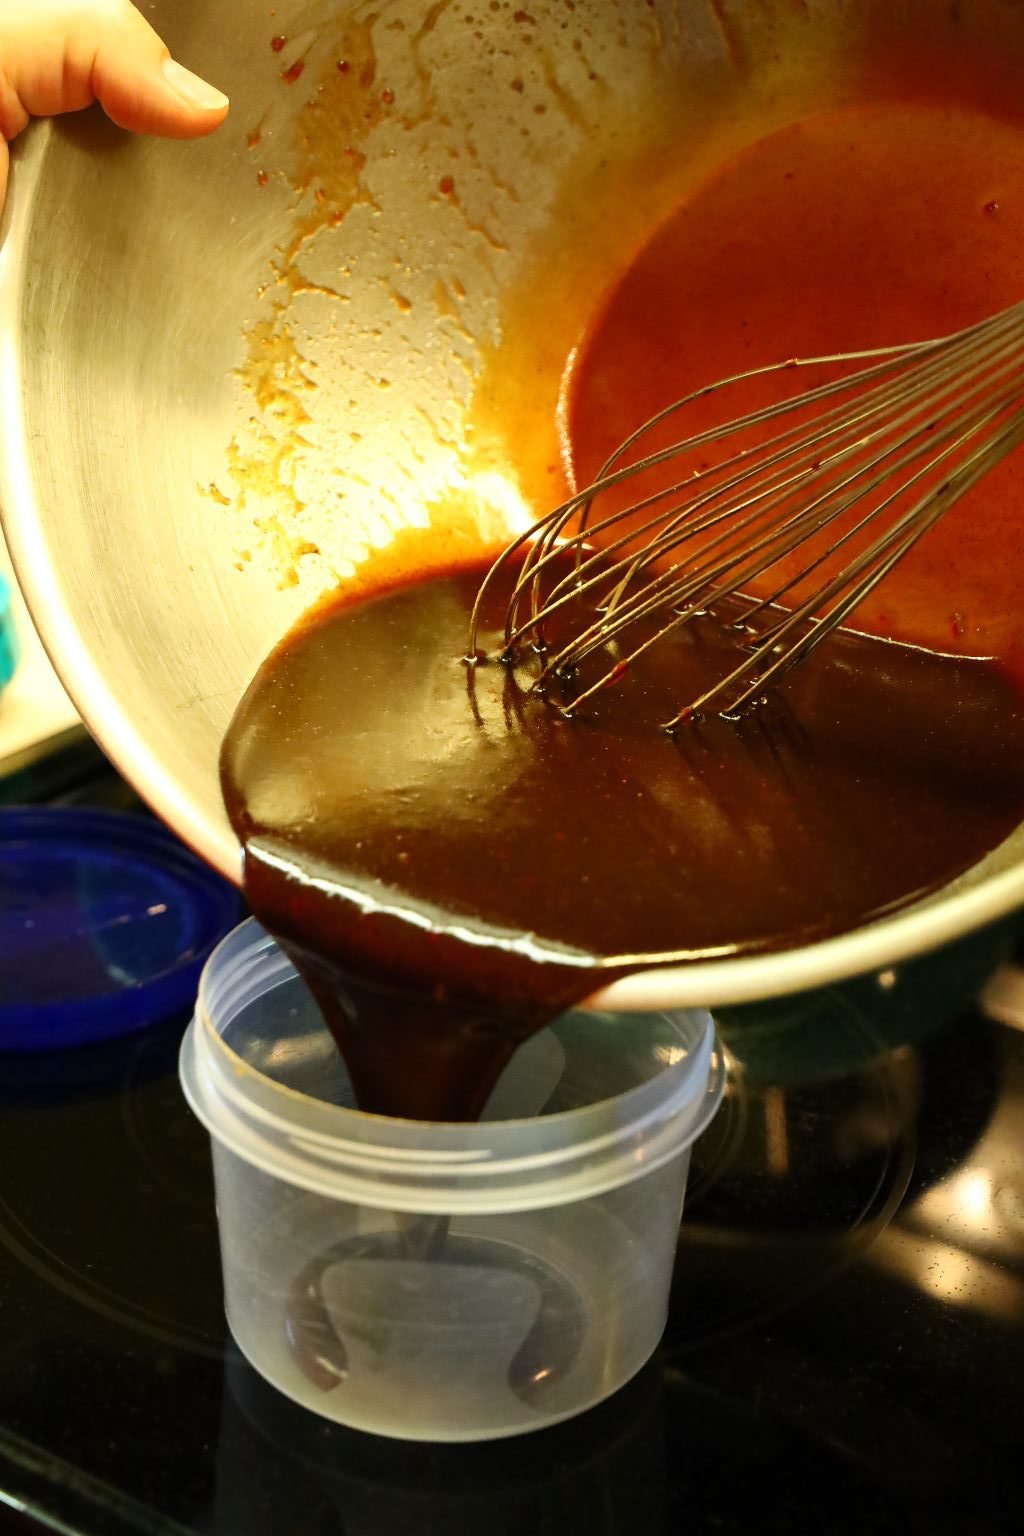
This recipe will give you about 1 1/2 Cups of marinade. Taste the mixture and see if you like it, adding any more of any one ingredient to adjust the seasoning to your liking. I loved the taste, so I poured it into a seal-able container for later use. This will also let the ingredients blend together. Again, make this recipe twice as you will use it as a marinade and as a glaze when broiling the meat shown later.
————————————————————————–
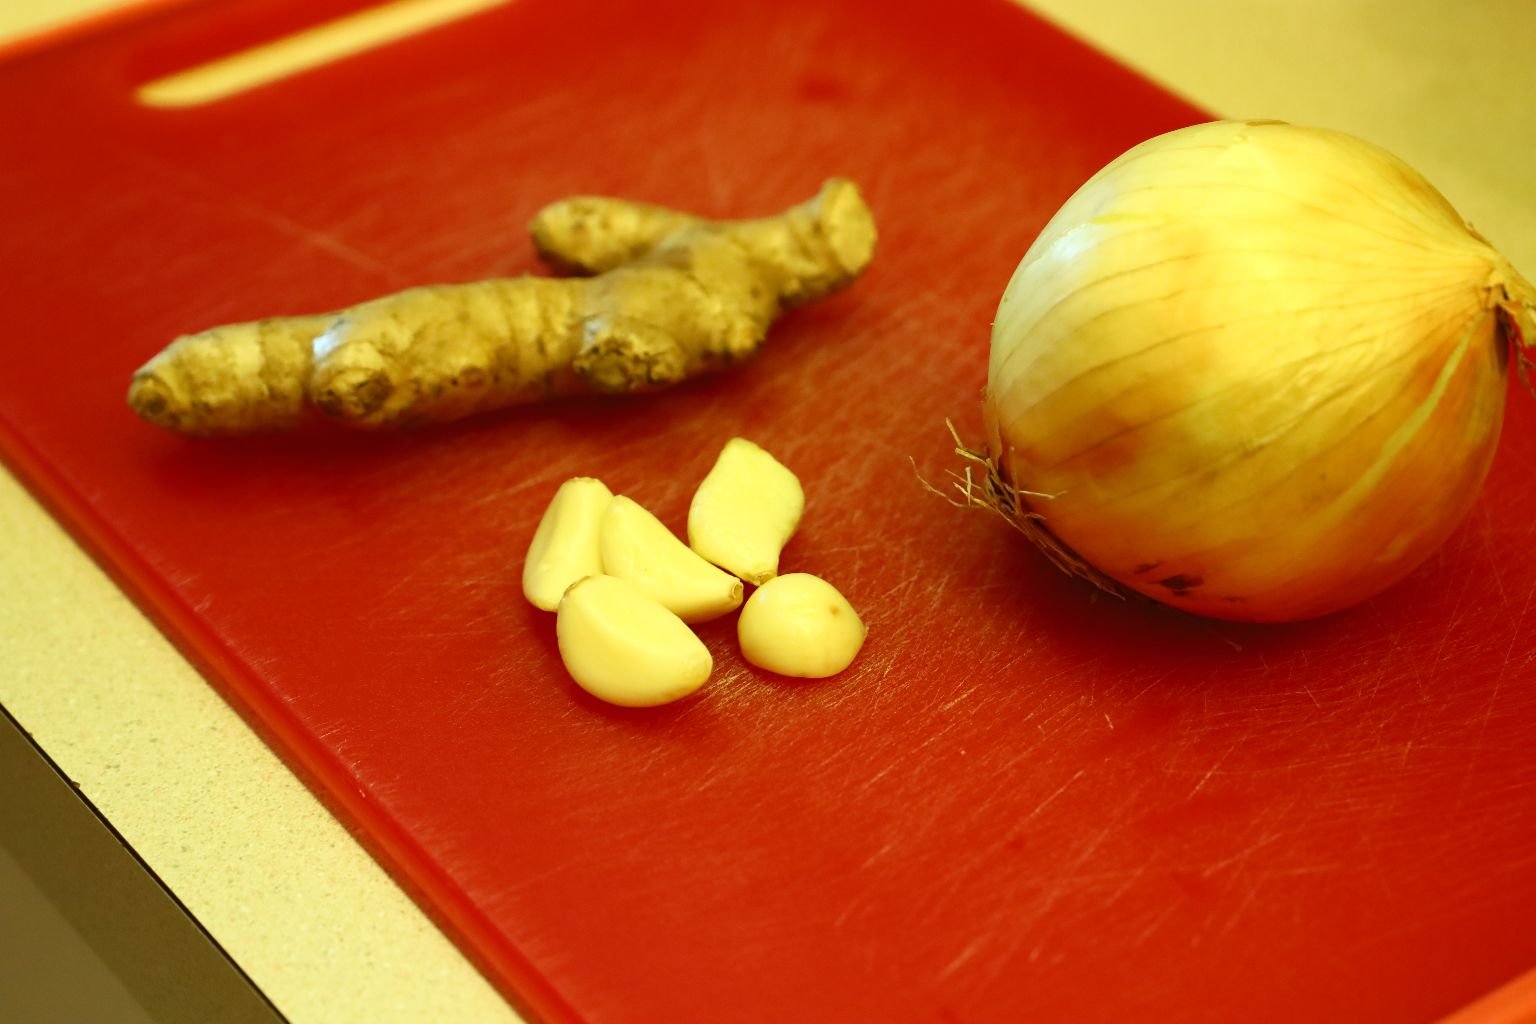
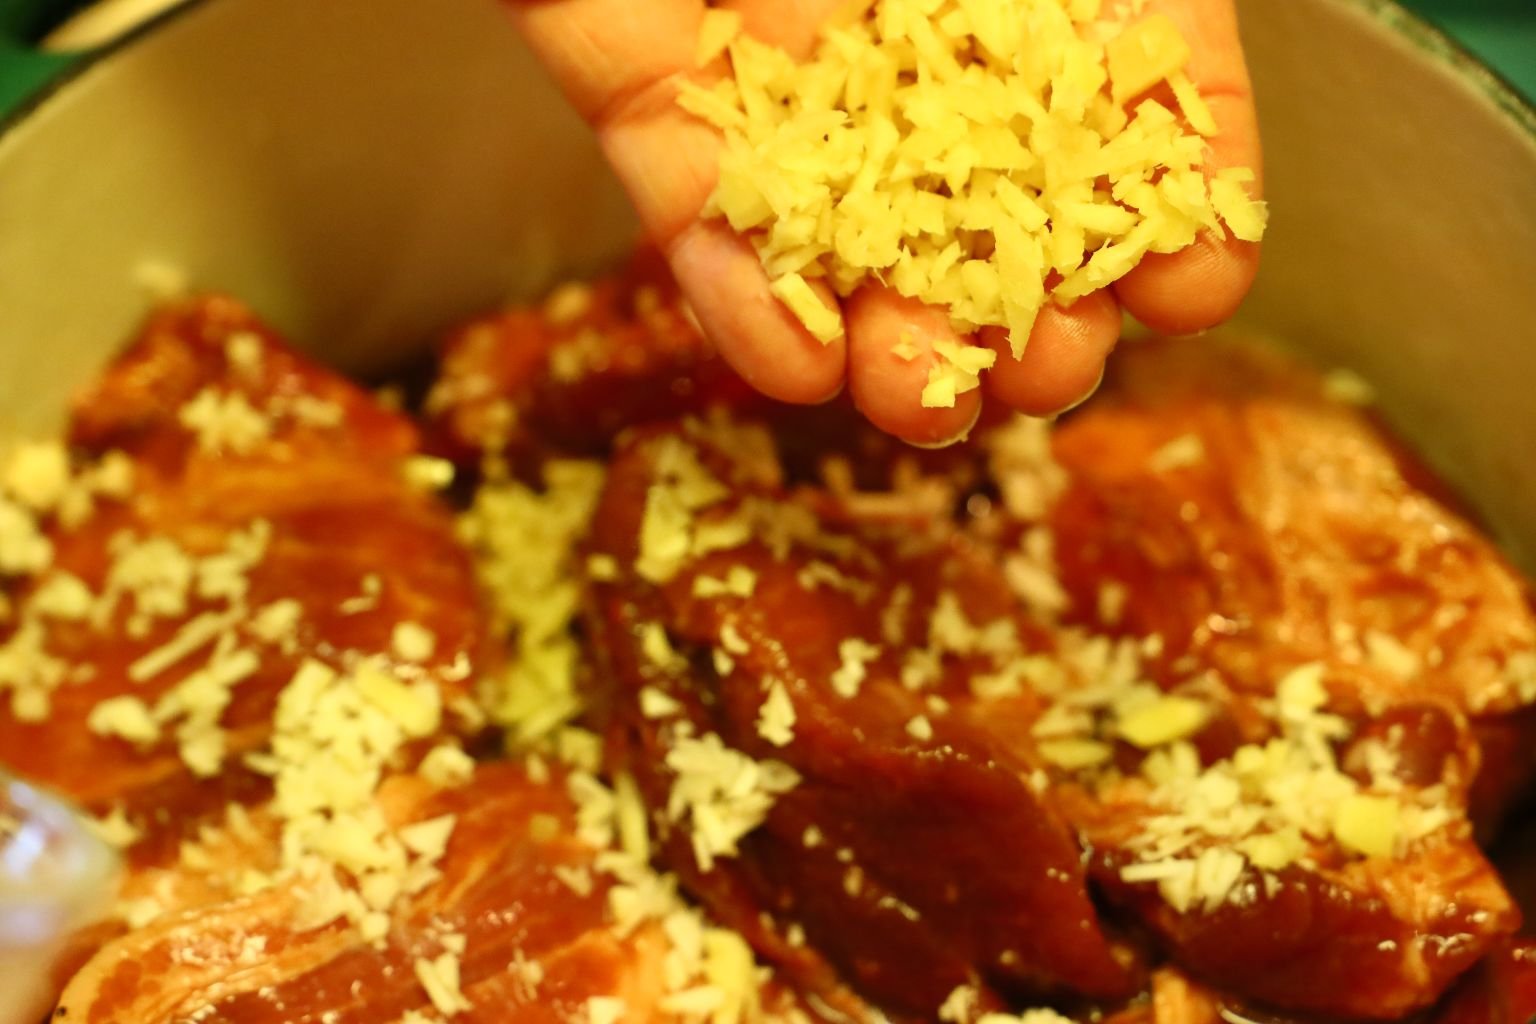
Pictured above are the ingredients (Onion, Garlic, and Ginger) I will add to the meat and marinade when I begin to cook them.

Here, I am getting those mentioned ingredients ready to be minced.
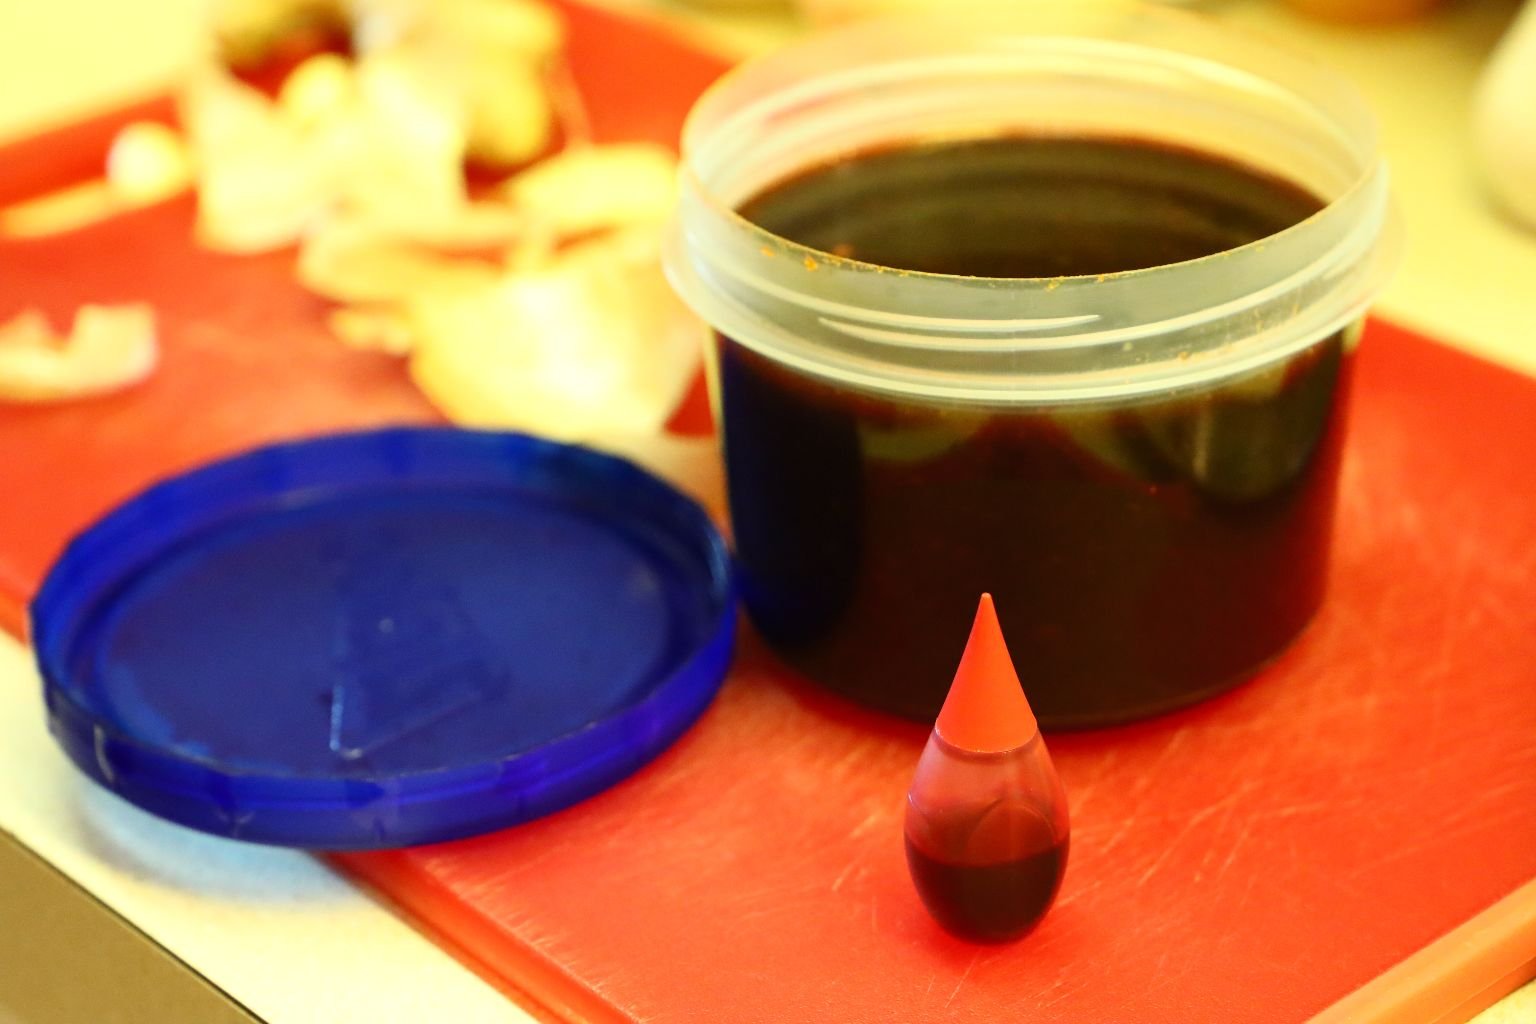
The marinade above I made the day before and kept in the refrigerator overnight.
So, the following day I was ready to add the Red Food Coloring. If you added it before when tasting it, your tongue would become very red.
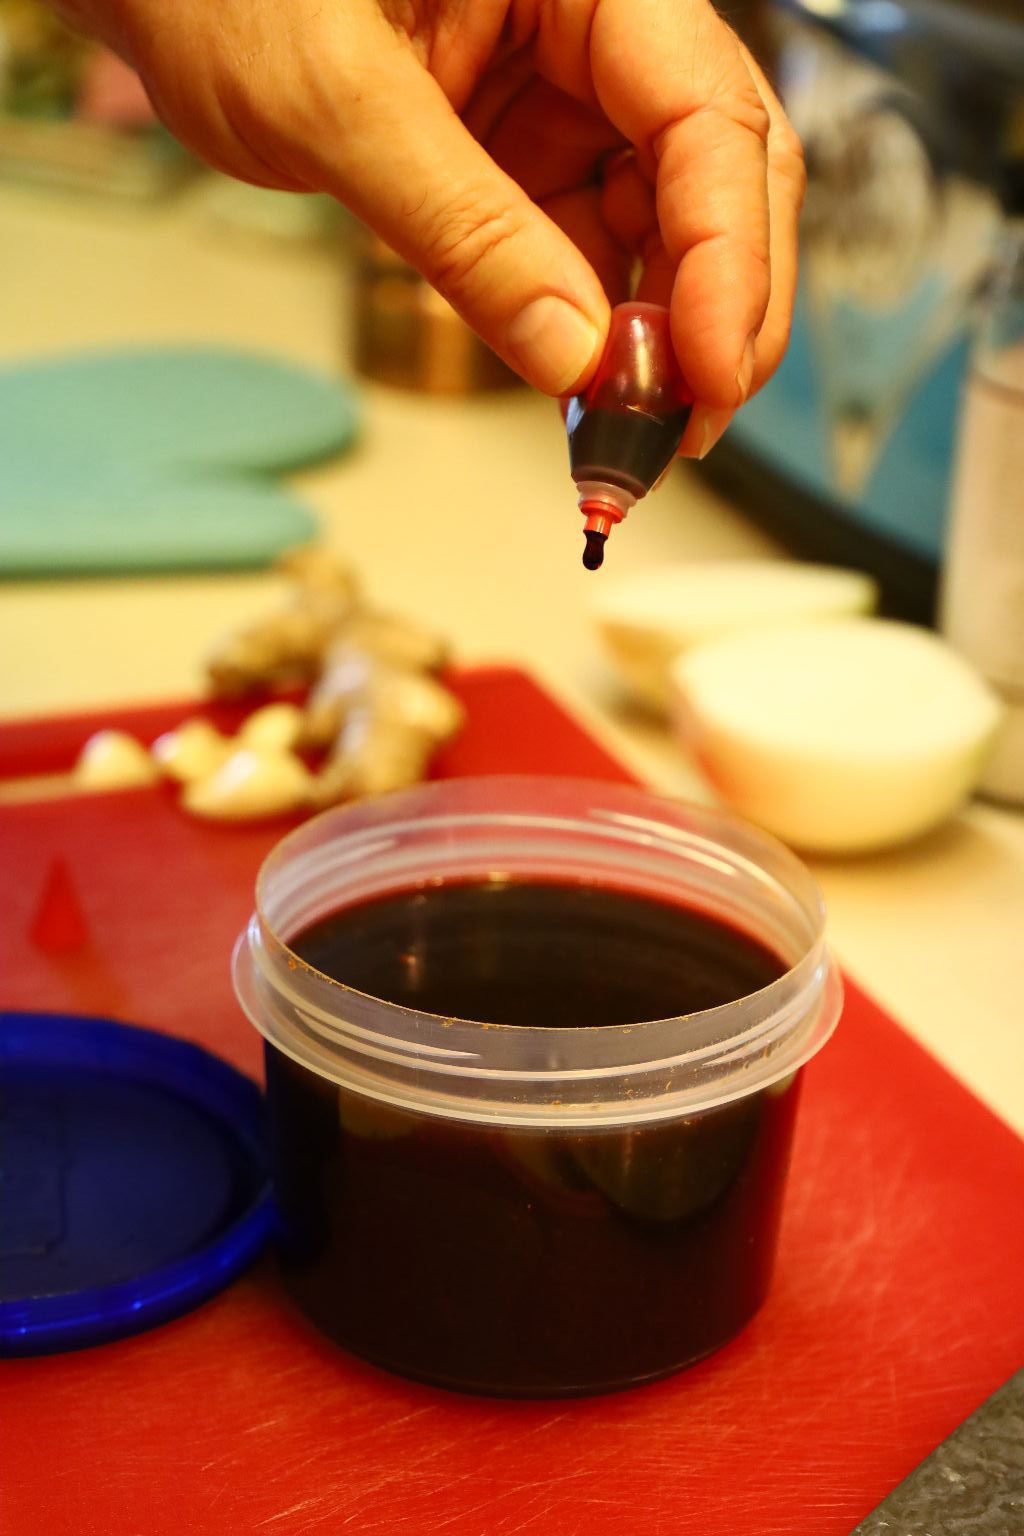

I placed a few drops in the container, then I add the marinade to a bowl and add a few more drops until I got the color I wanted.
Whisk the ingredients well. You can see the beautiful red I achieved on the side of the bowl.
————————————————————————
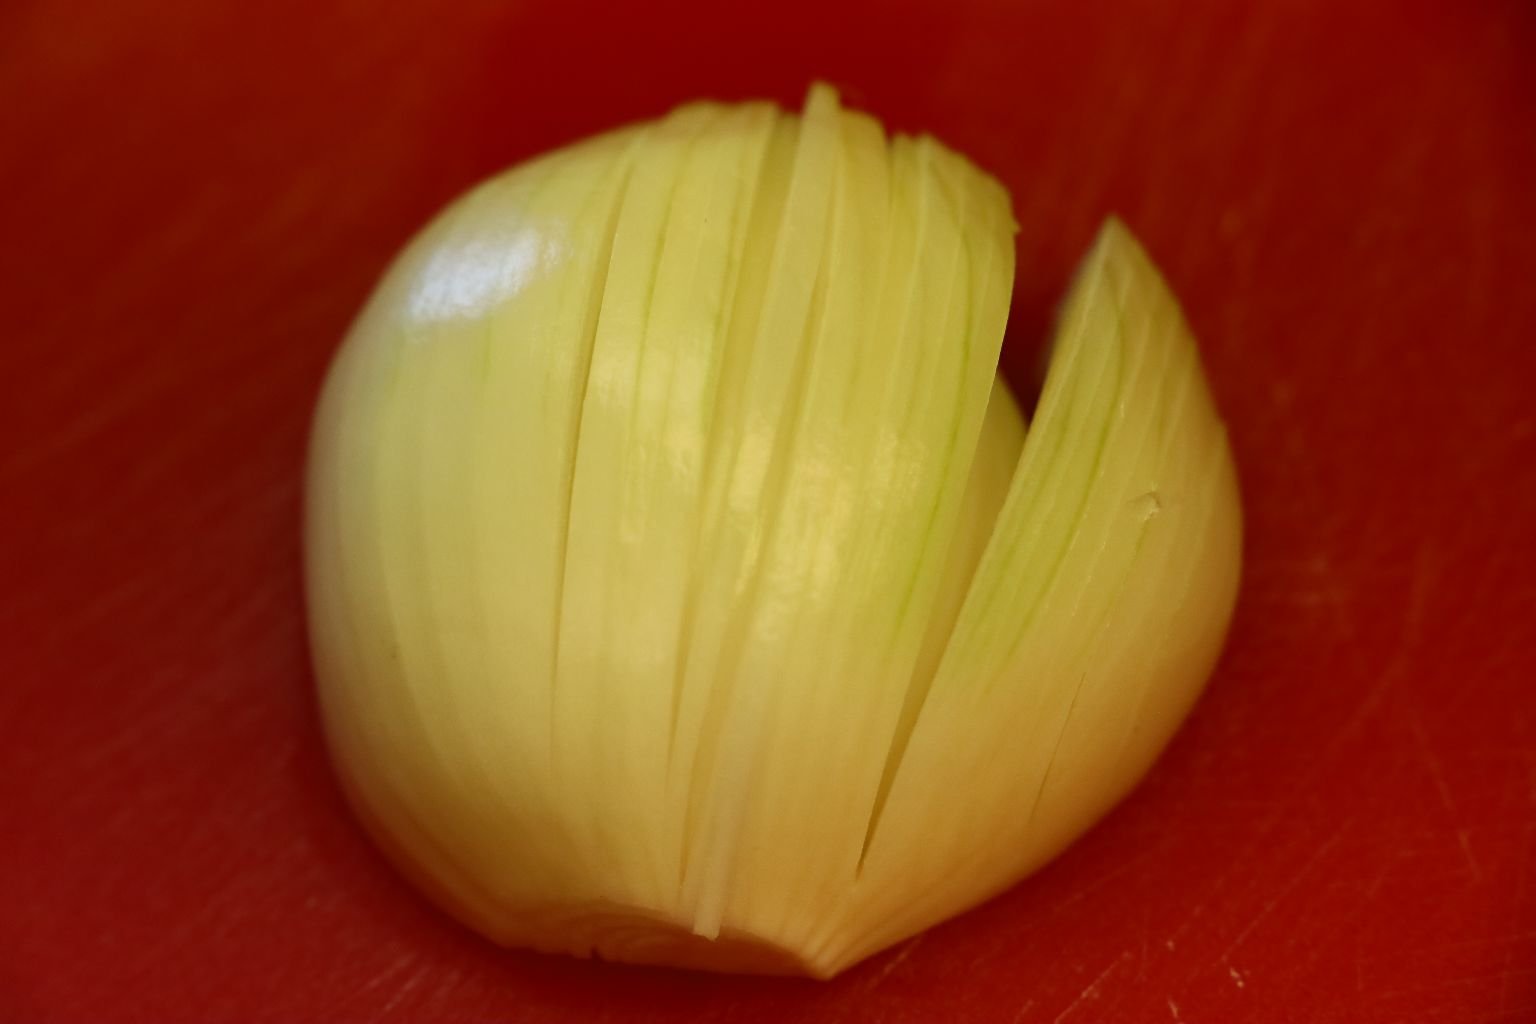

Slice your onion in half then into thin slices as shown.
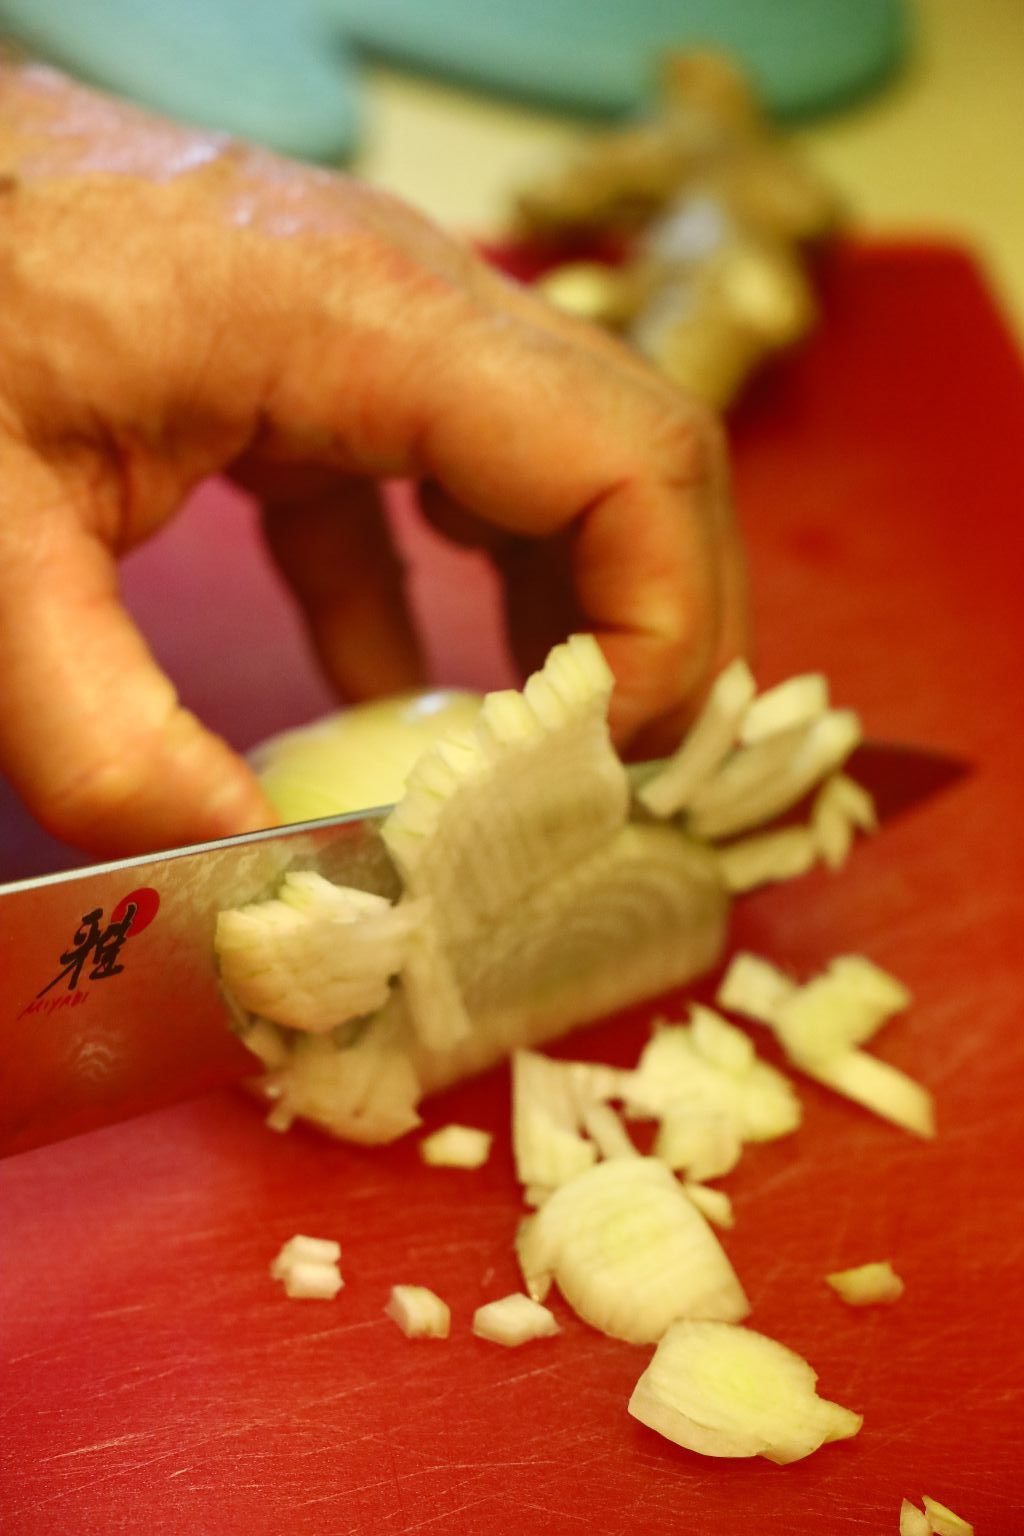
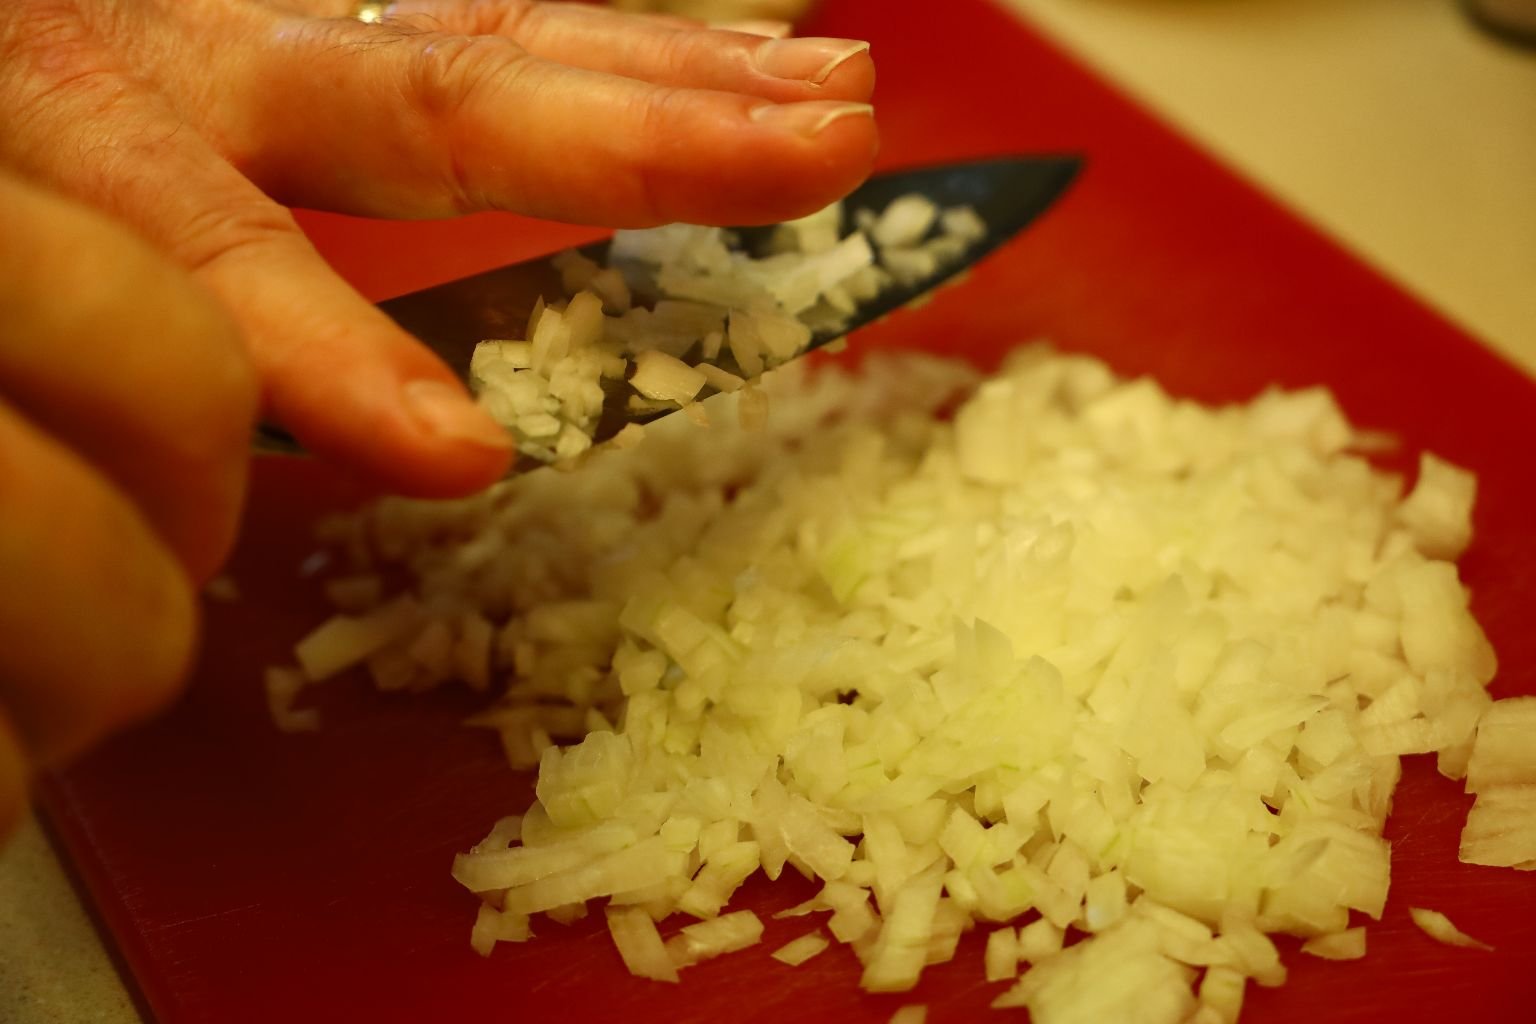
Slice the onion into a small dice.
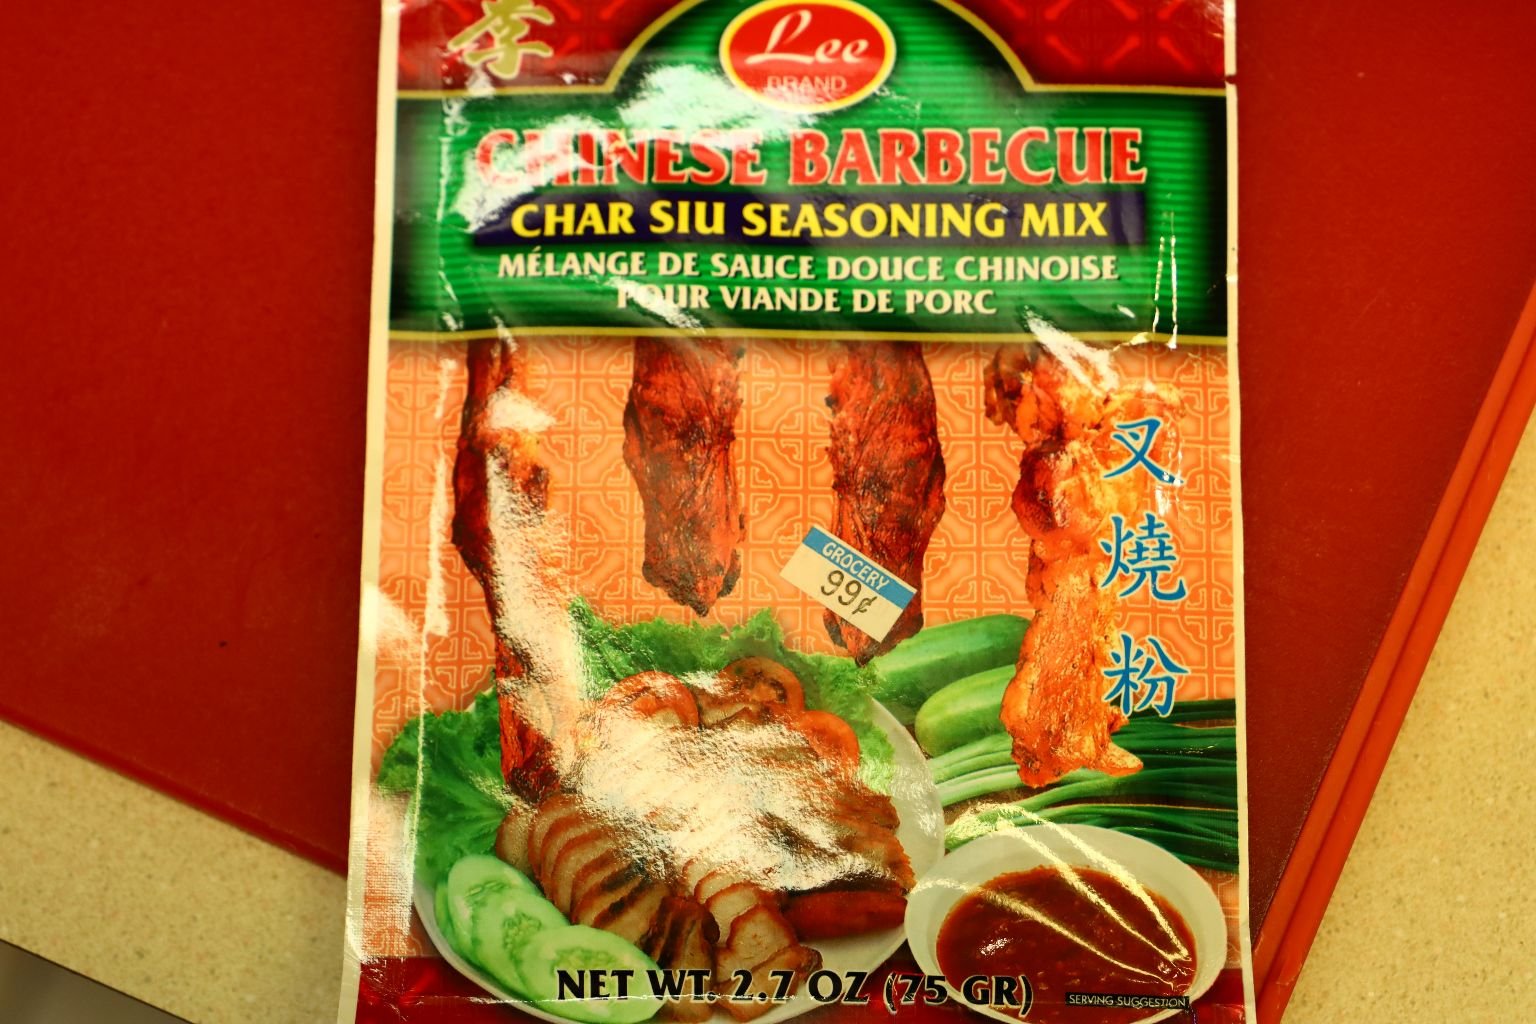
Here, you can purchase a ready made packet of the sauce if you wanted to, but making your own is so much better.
——————————————————————-
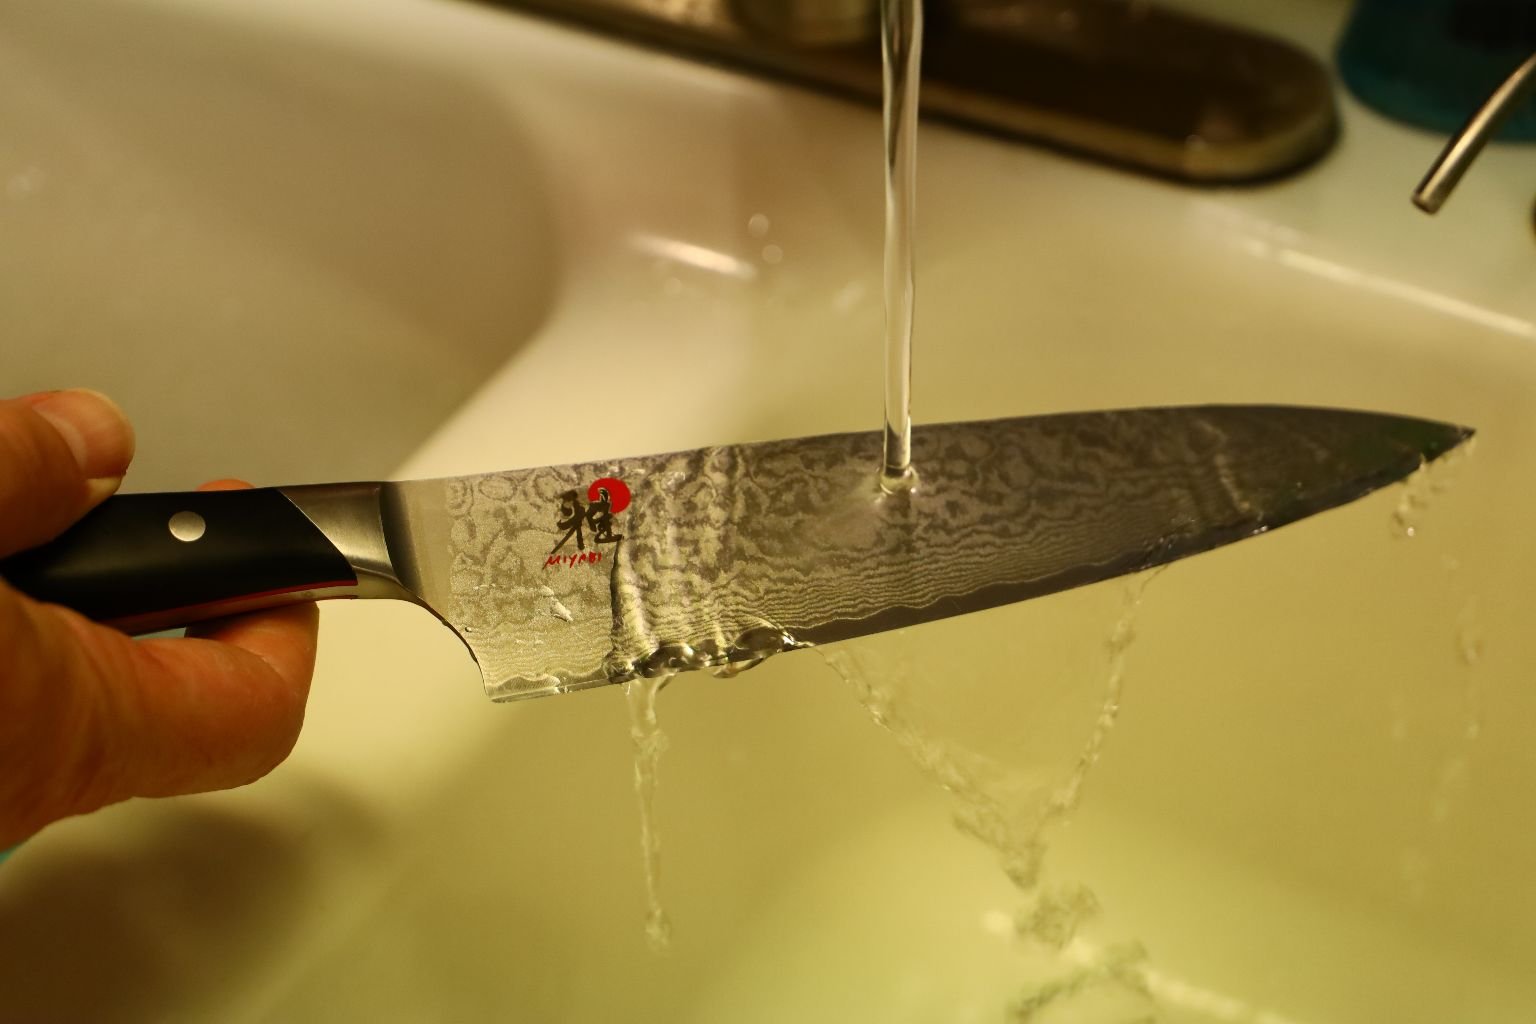
TIP: Wet your knife before slicing garlic to keep the slices from sticking so much to your blade.
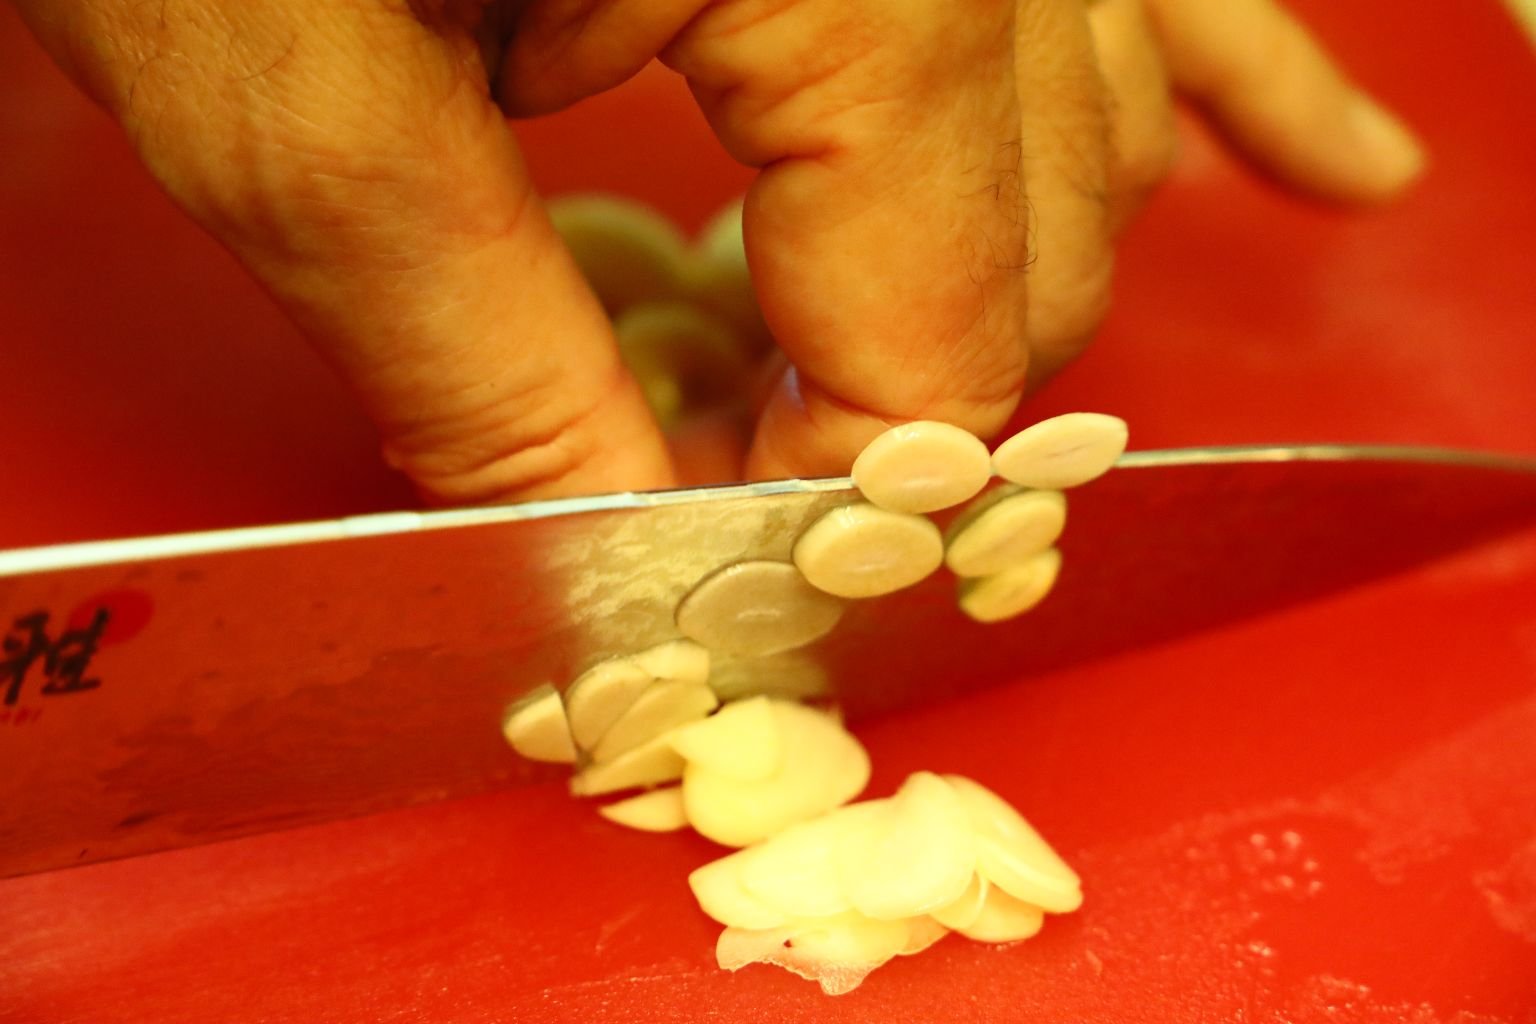
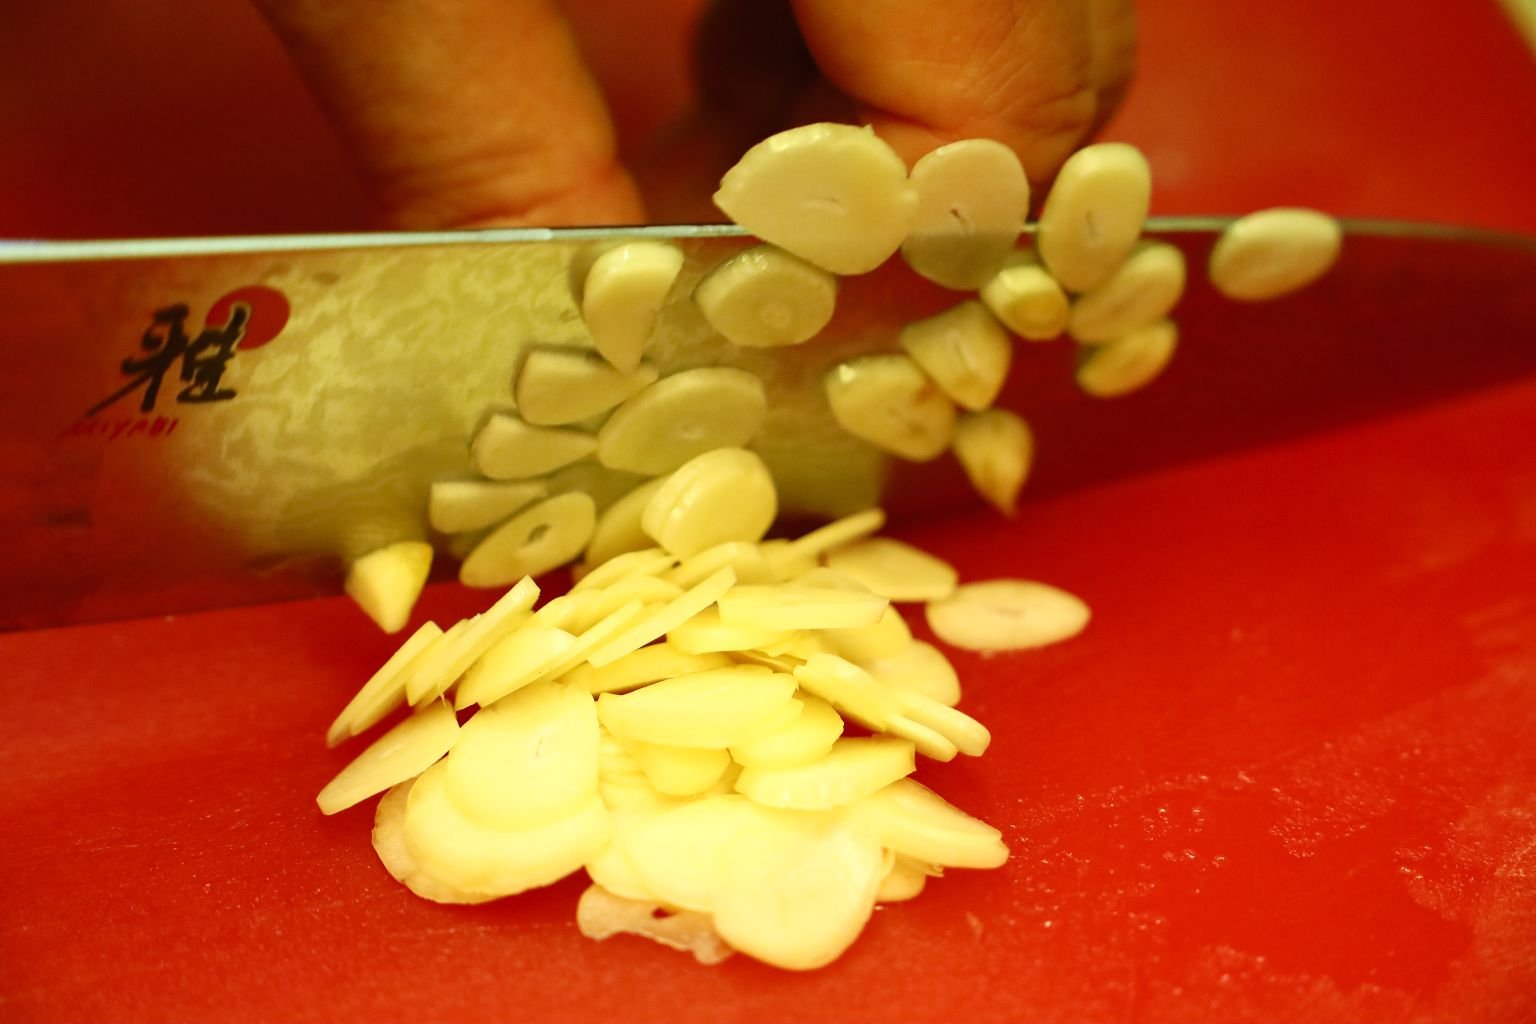
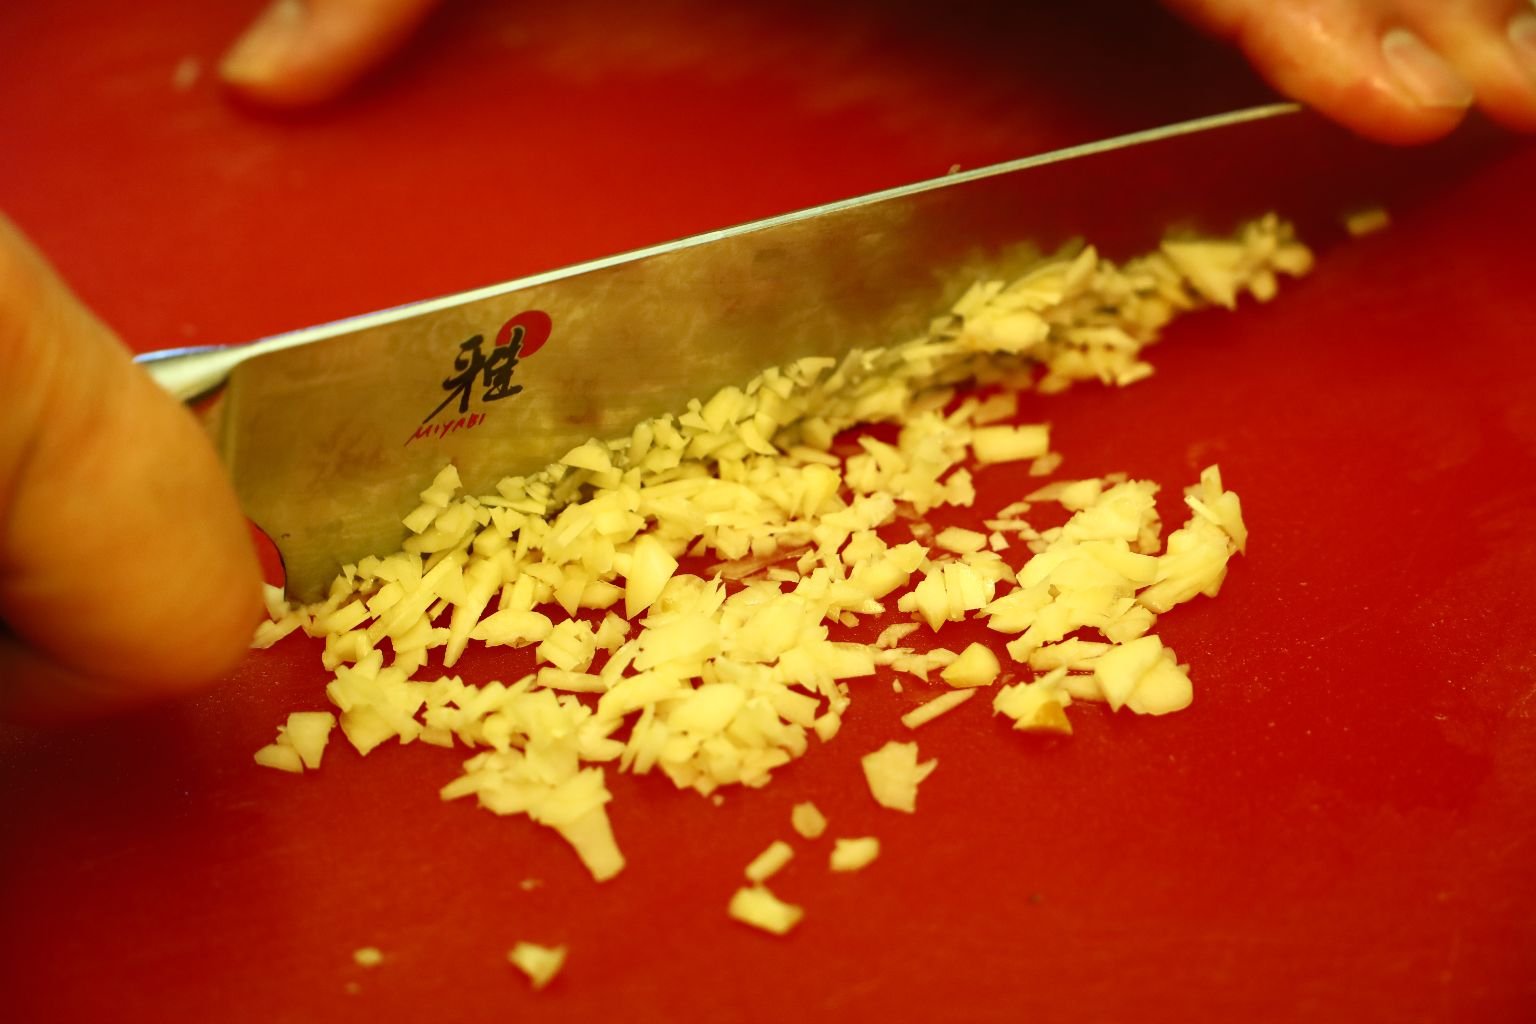
Slice, then mince your Garlic as shown.
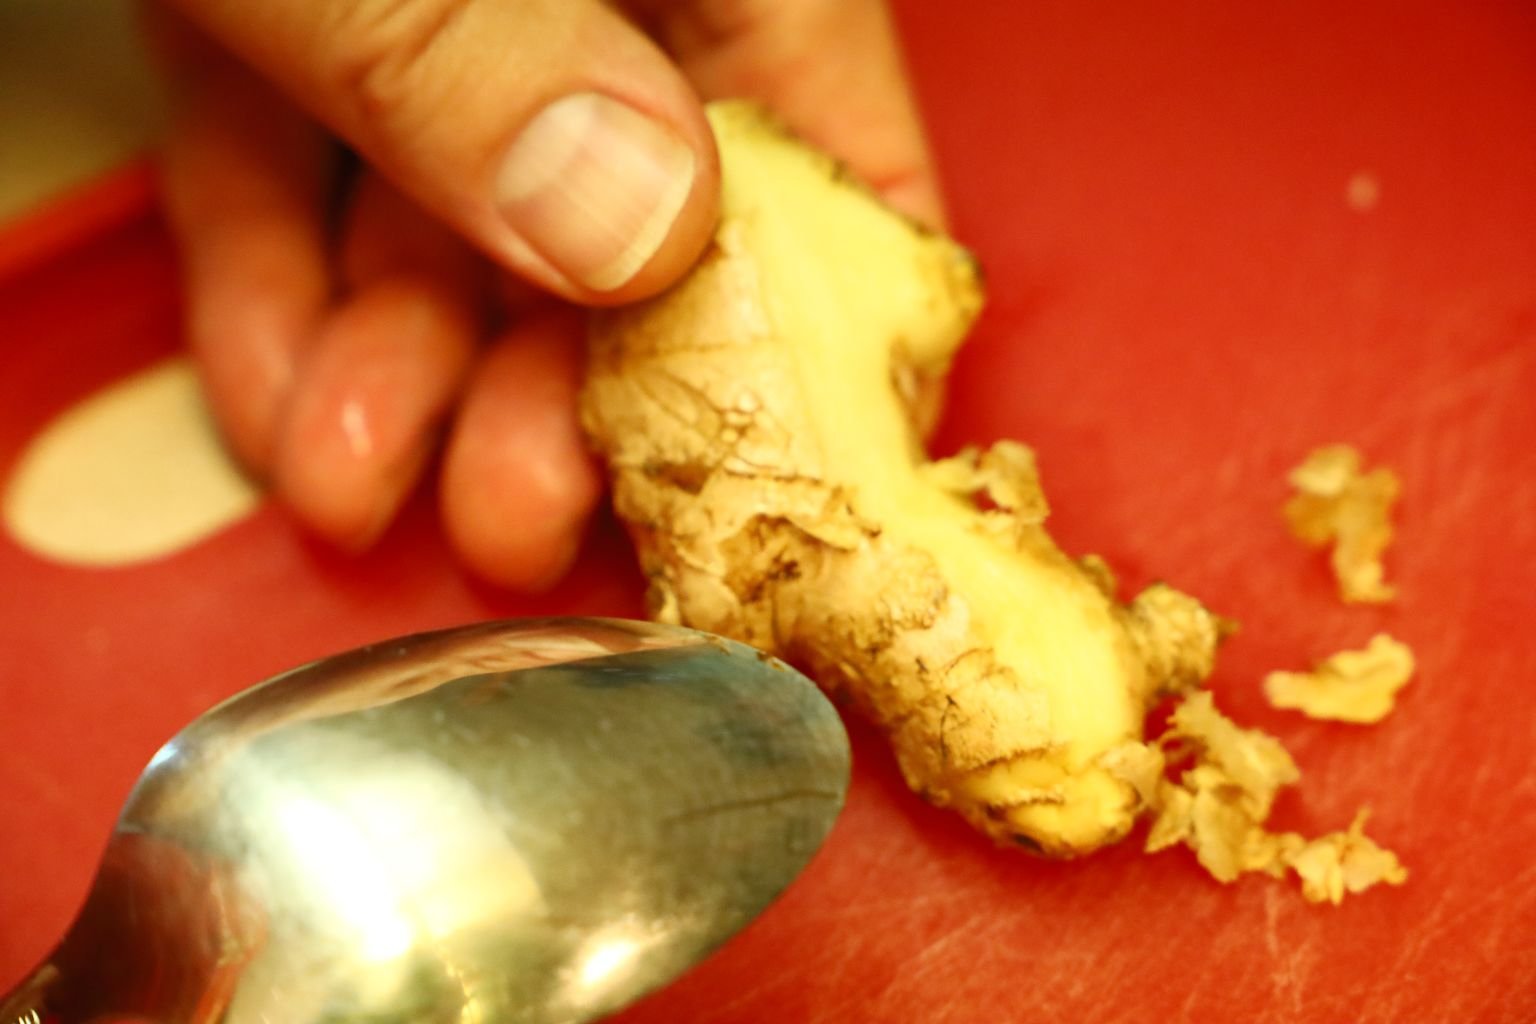

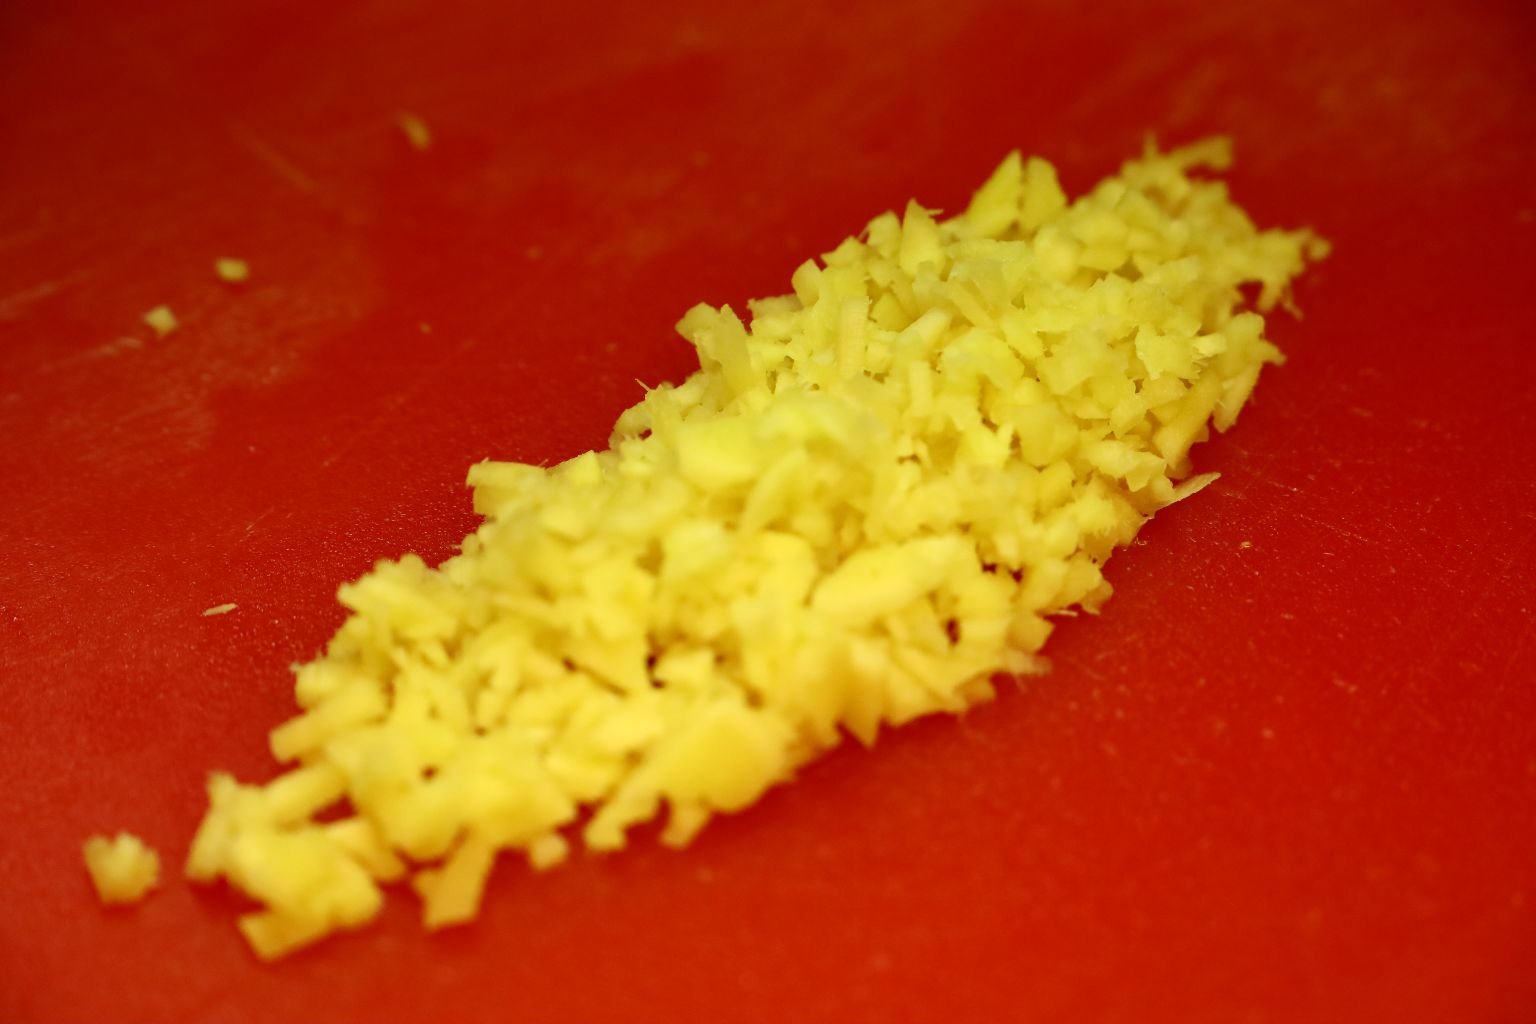
TIP: use a spoon to remove the outer ginger’s skin. Then slice your ginger and mince it.
Set Aside The Onion, Garlic and Ginger…..
—————————————————————–
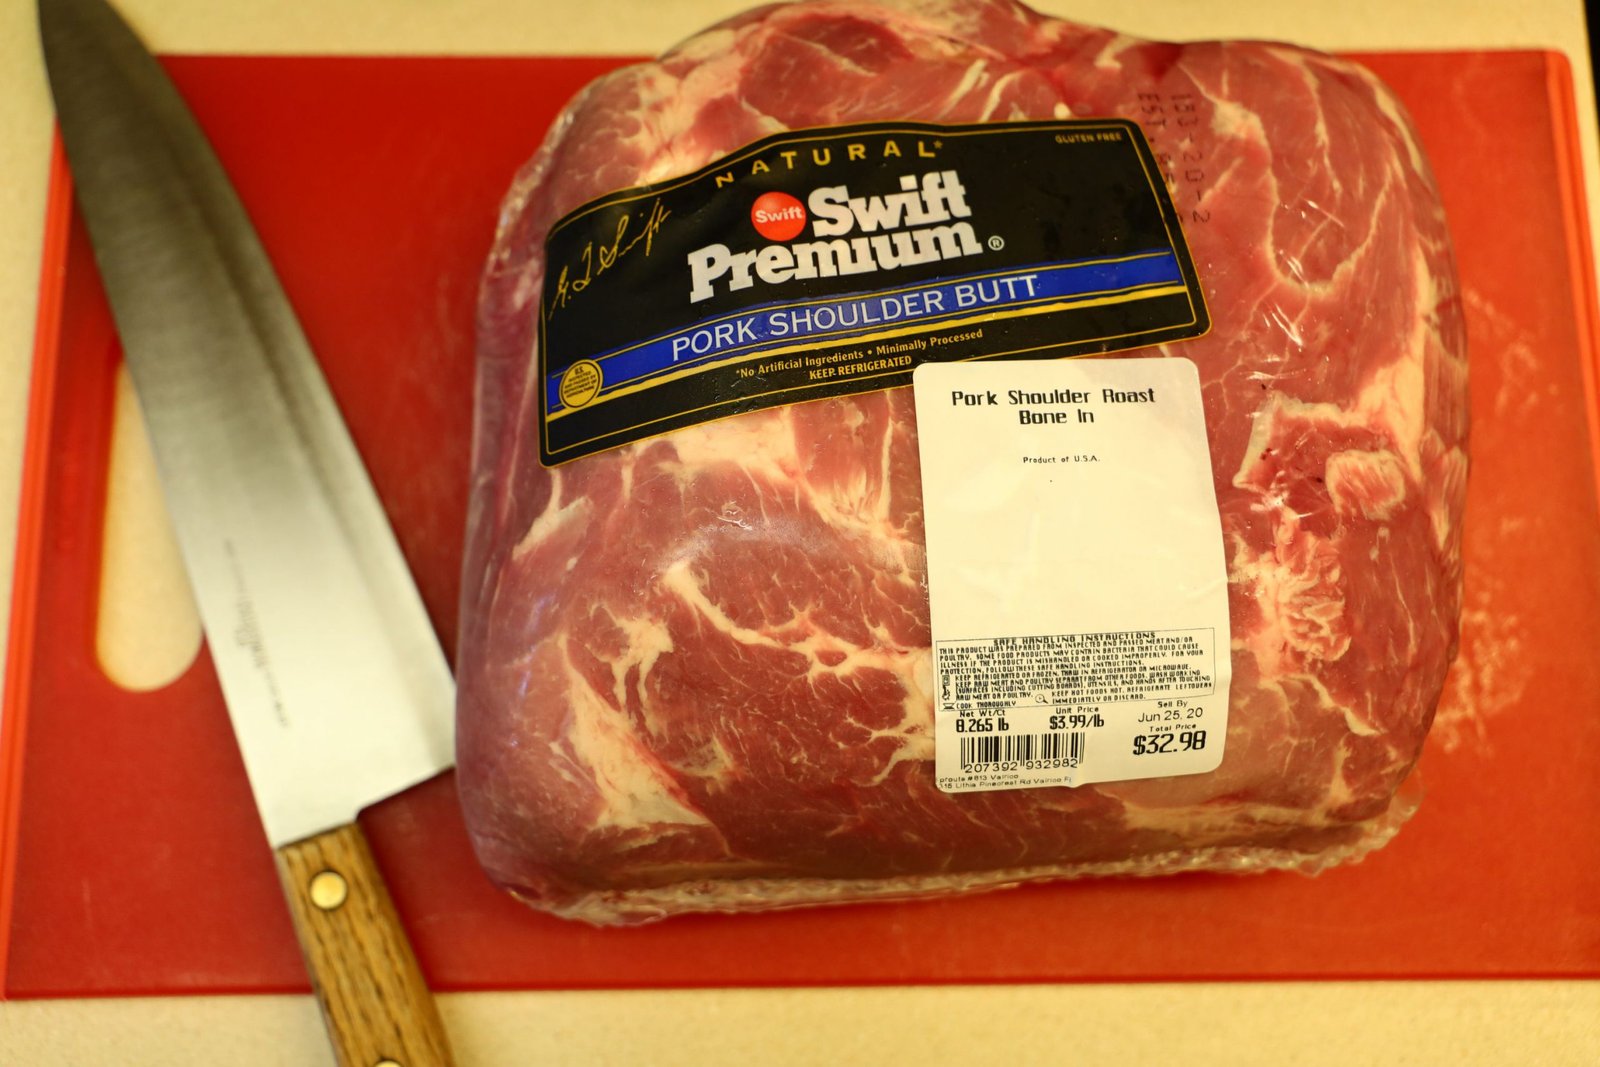
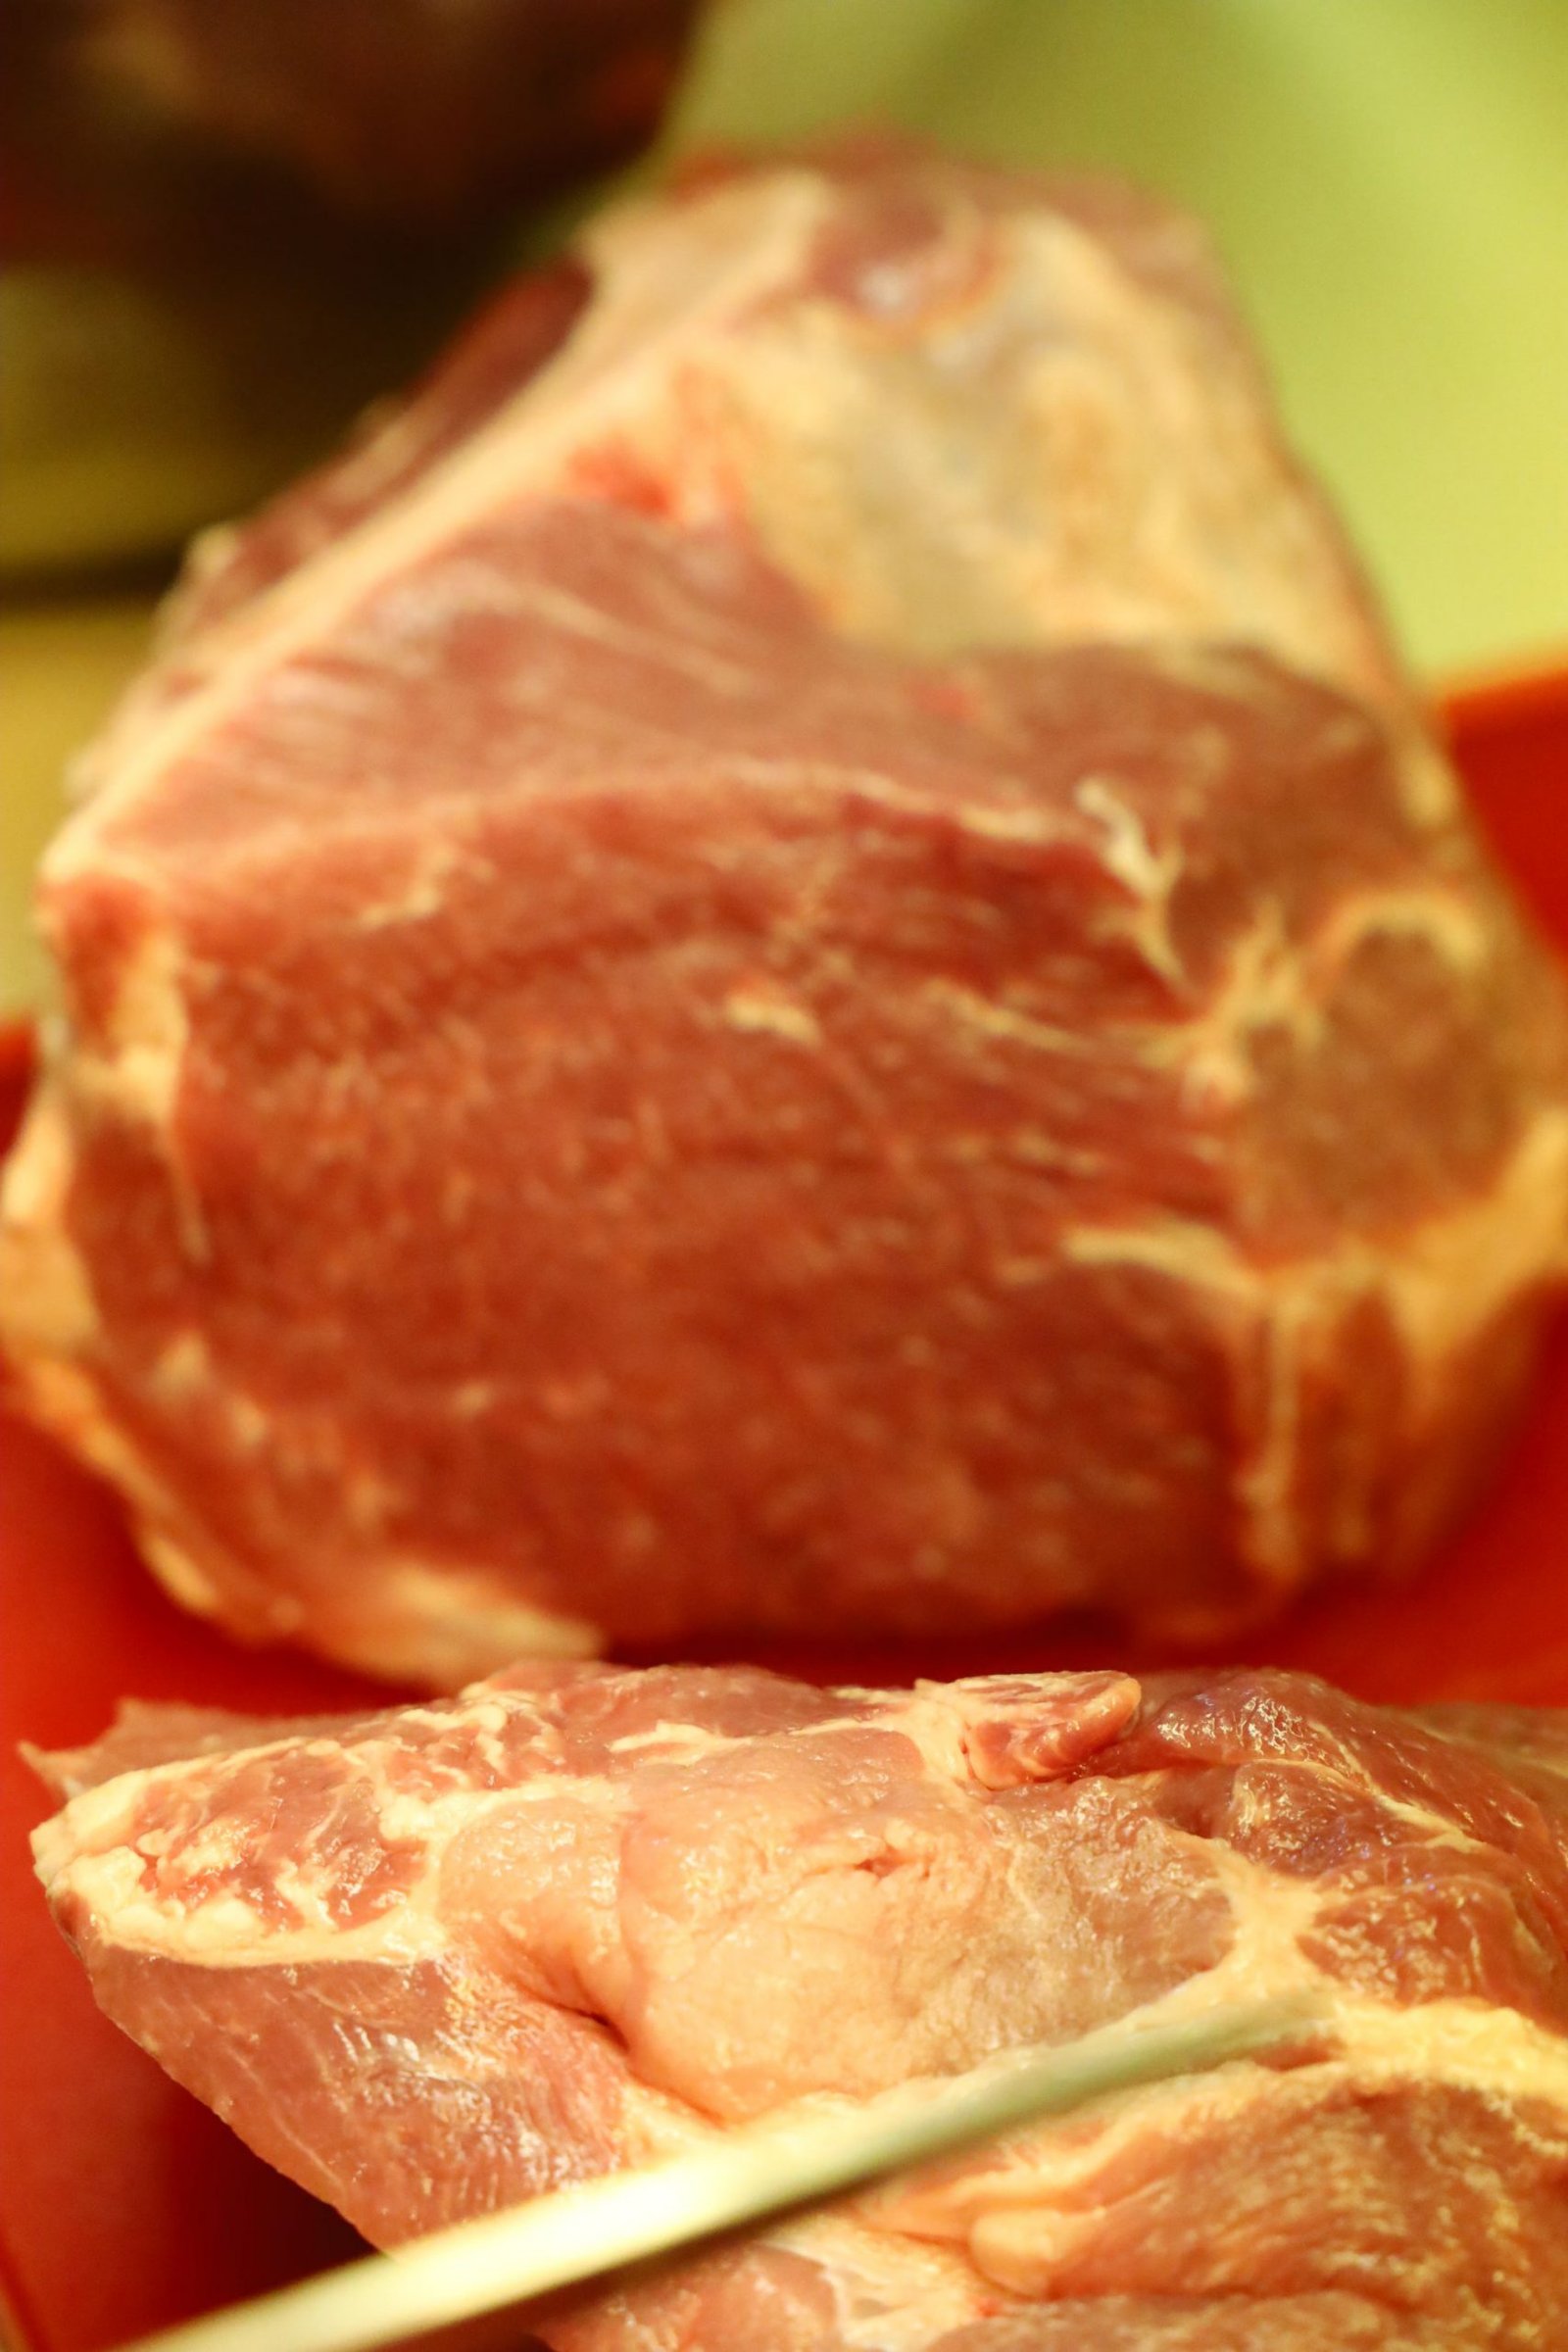
Here is the Pork Shoulder/Butt that I used.
Remove the meat from the packaging and rinse with water to clean off the old blood and bone fragments.
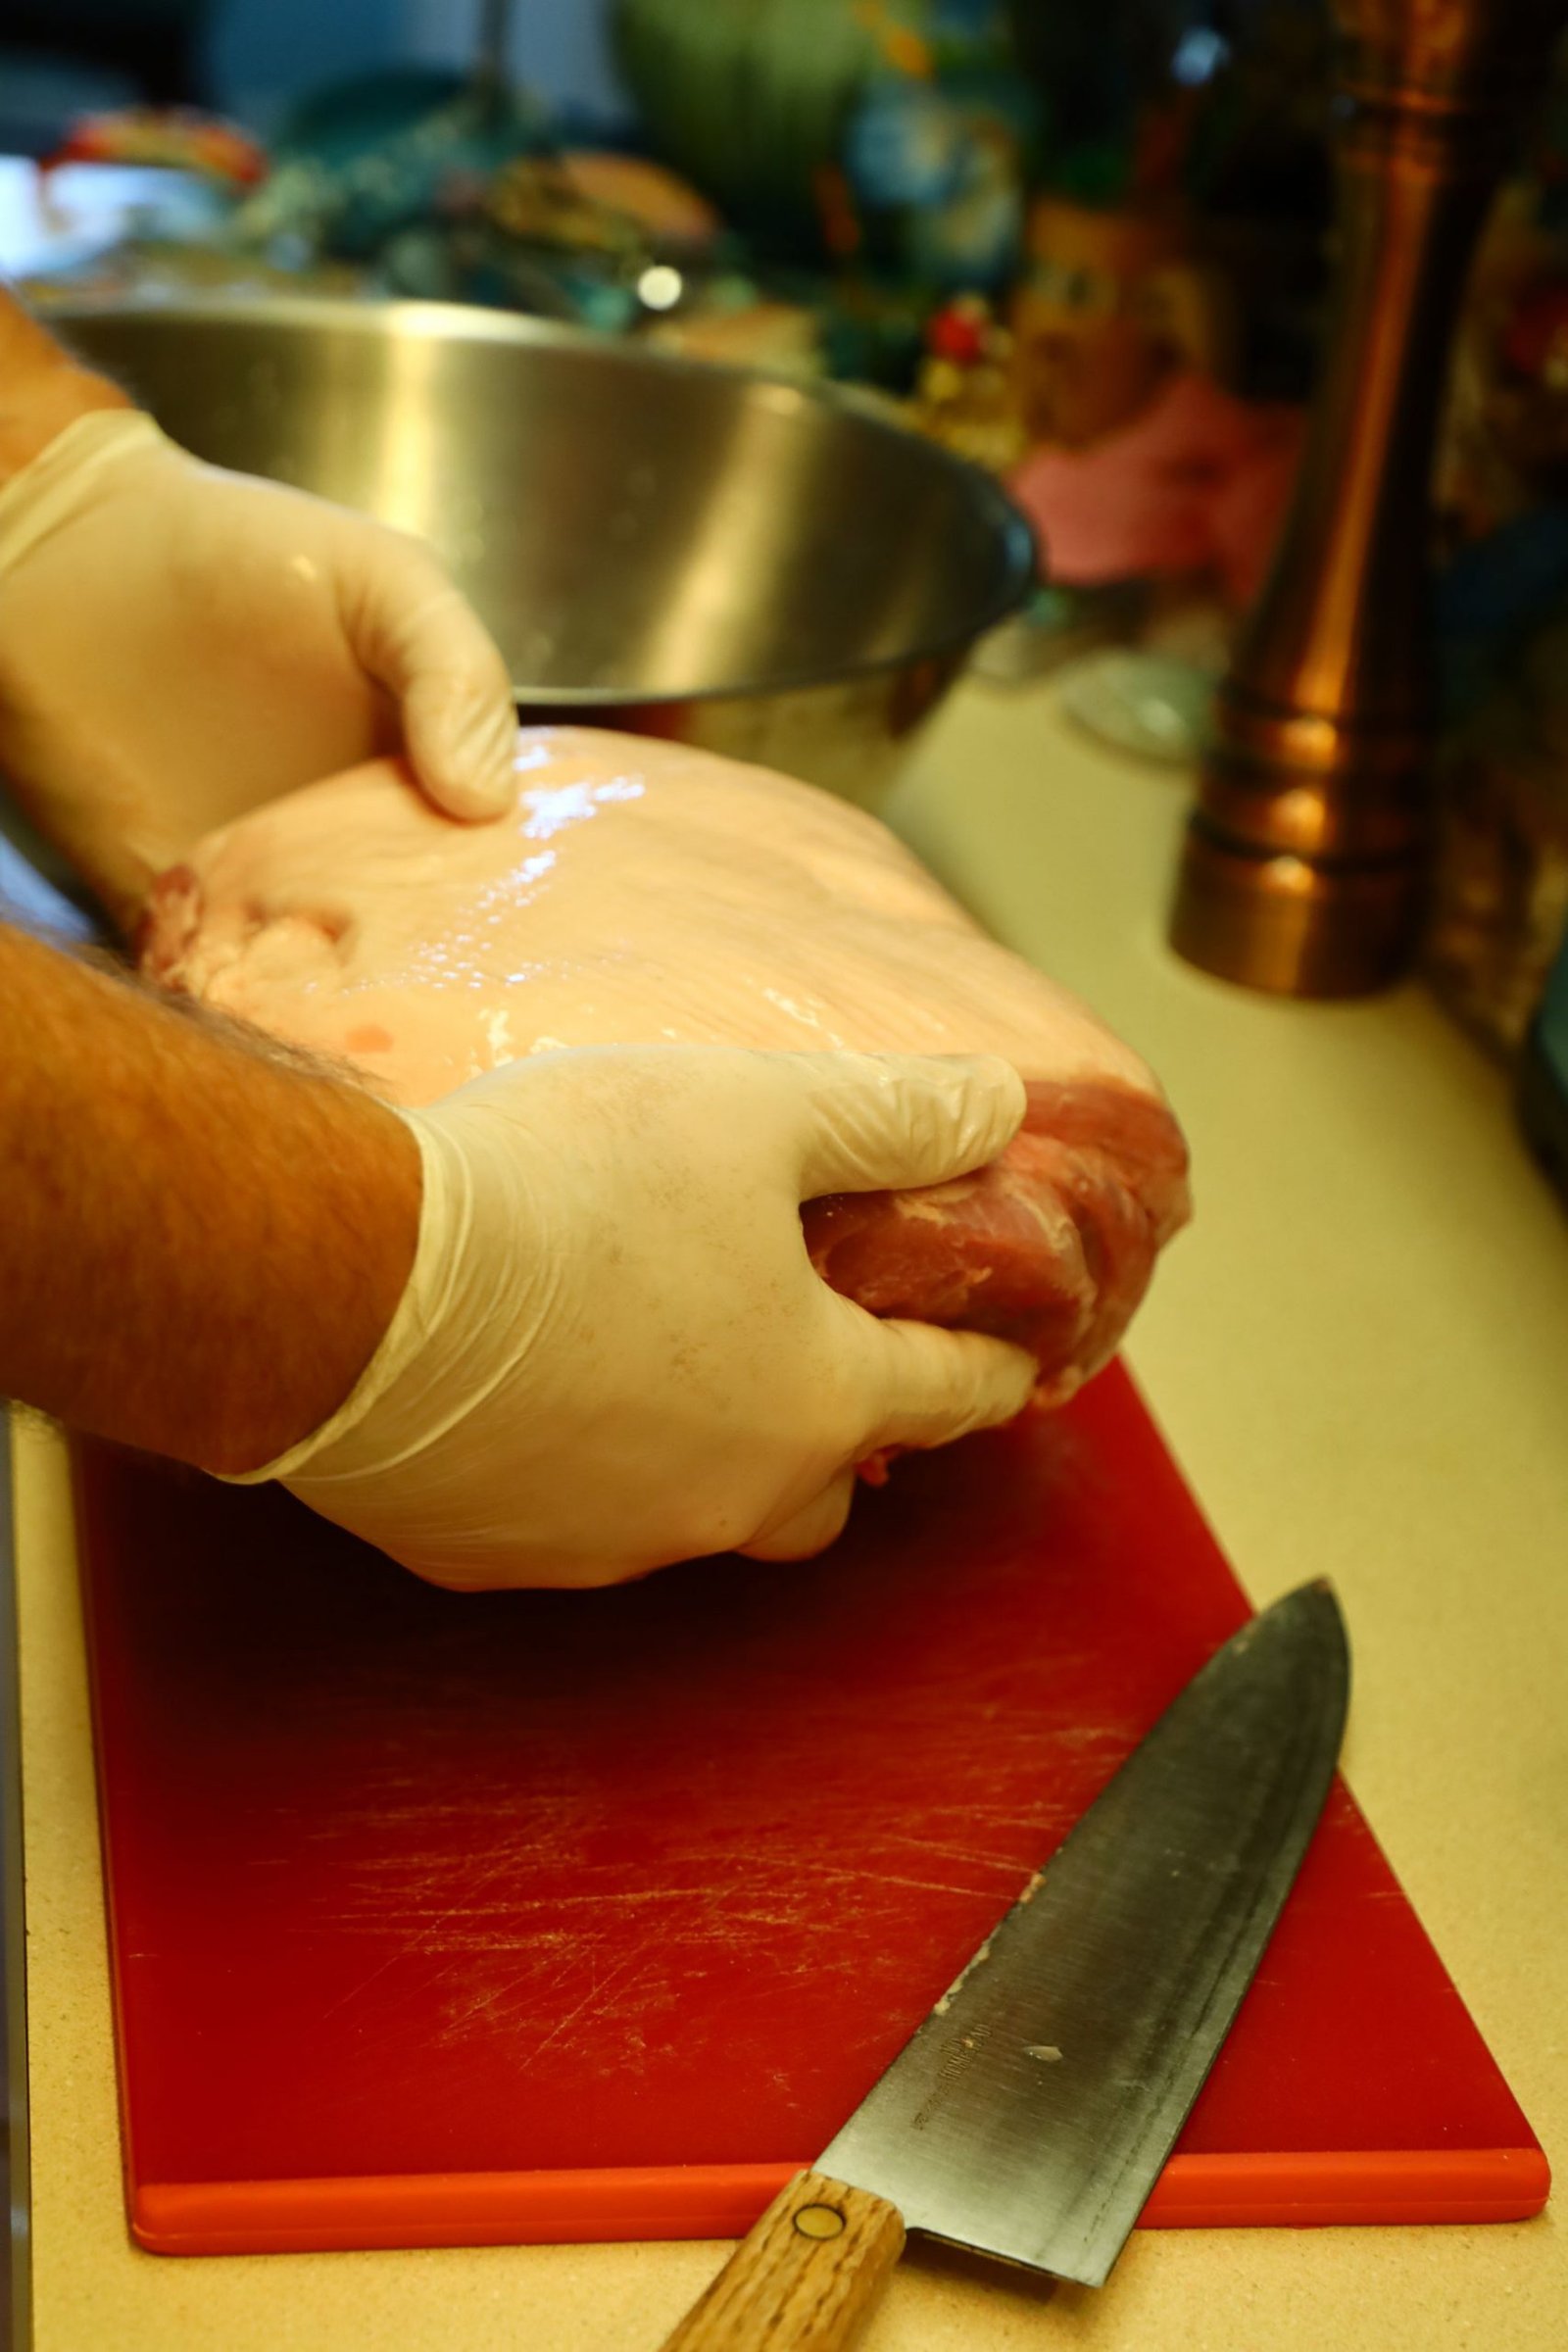
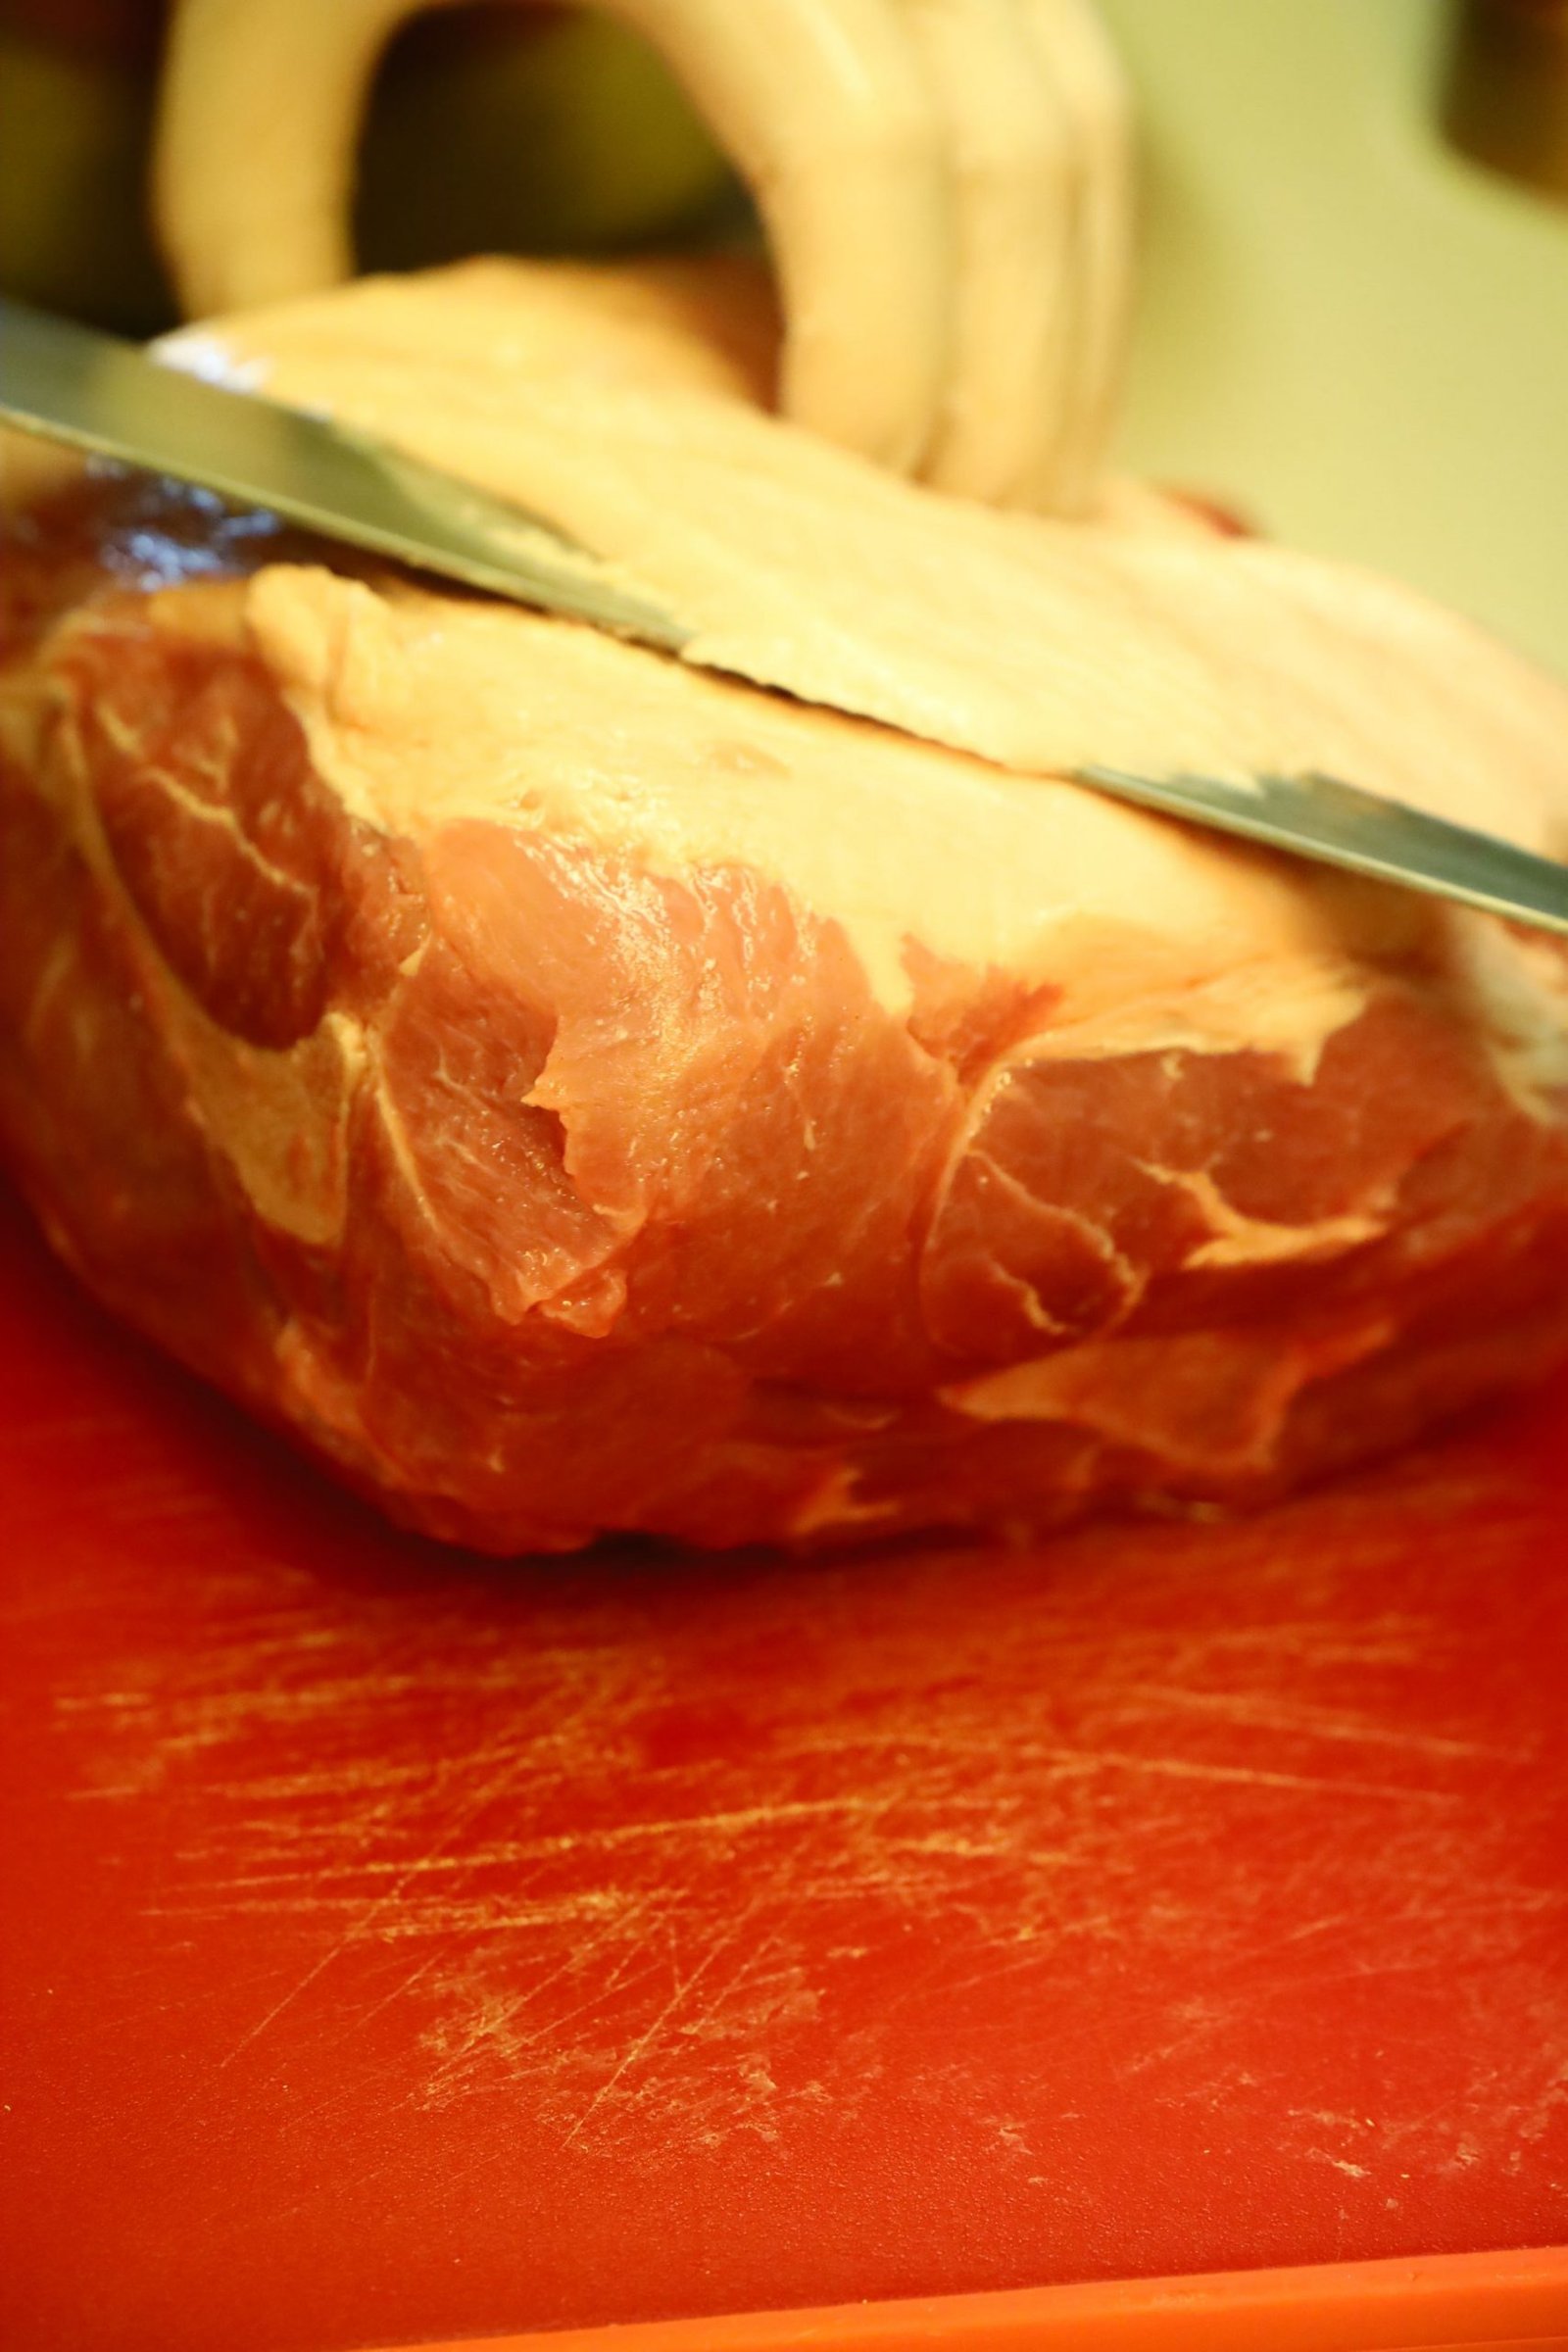
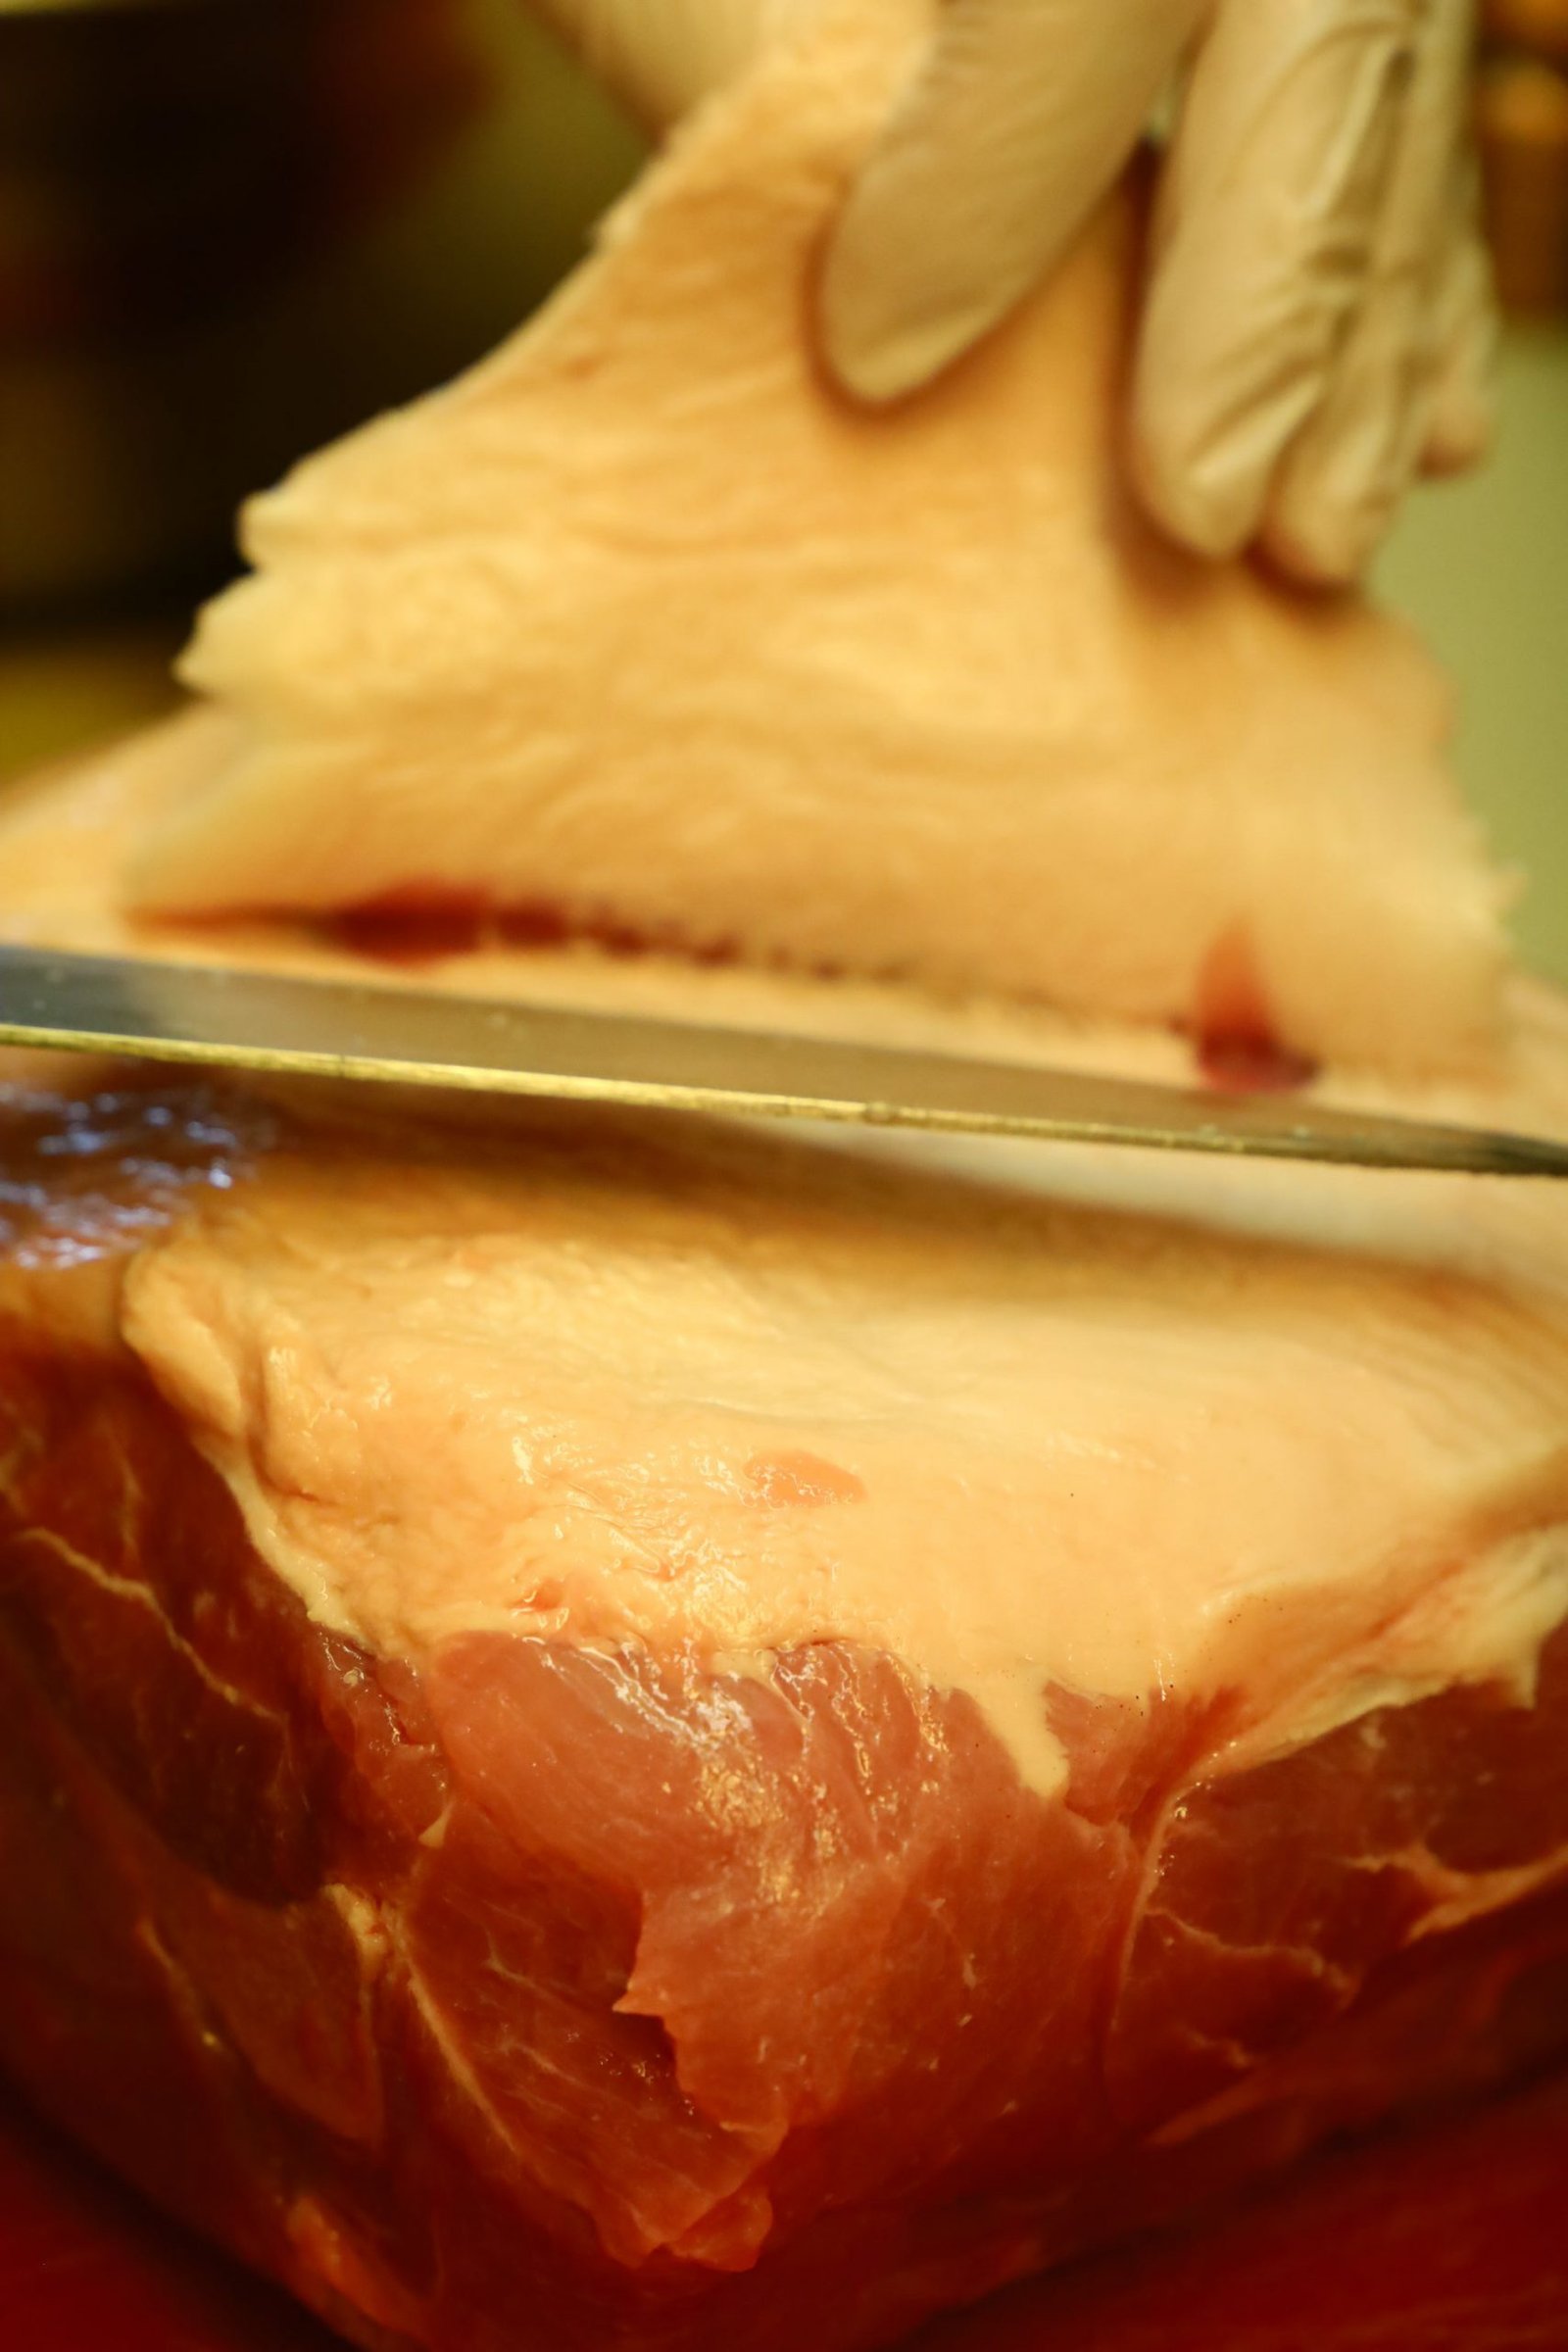
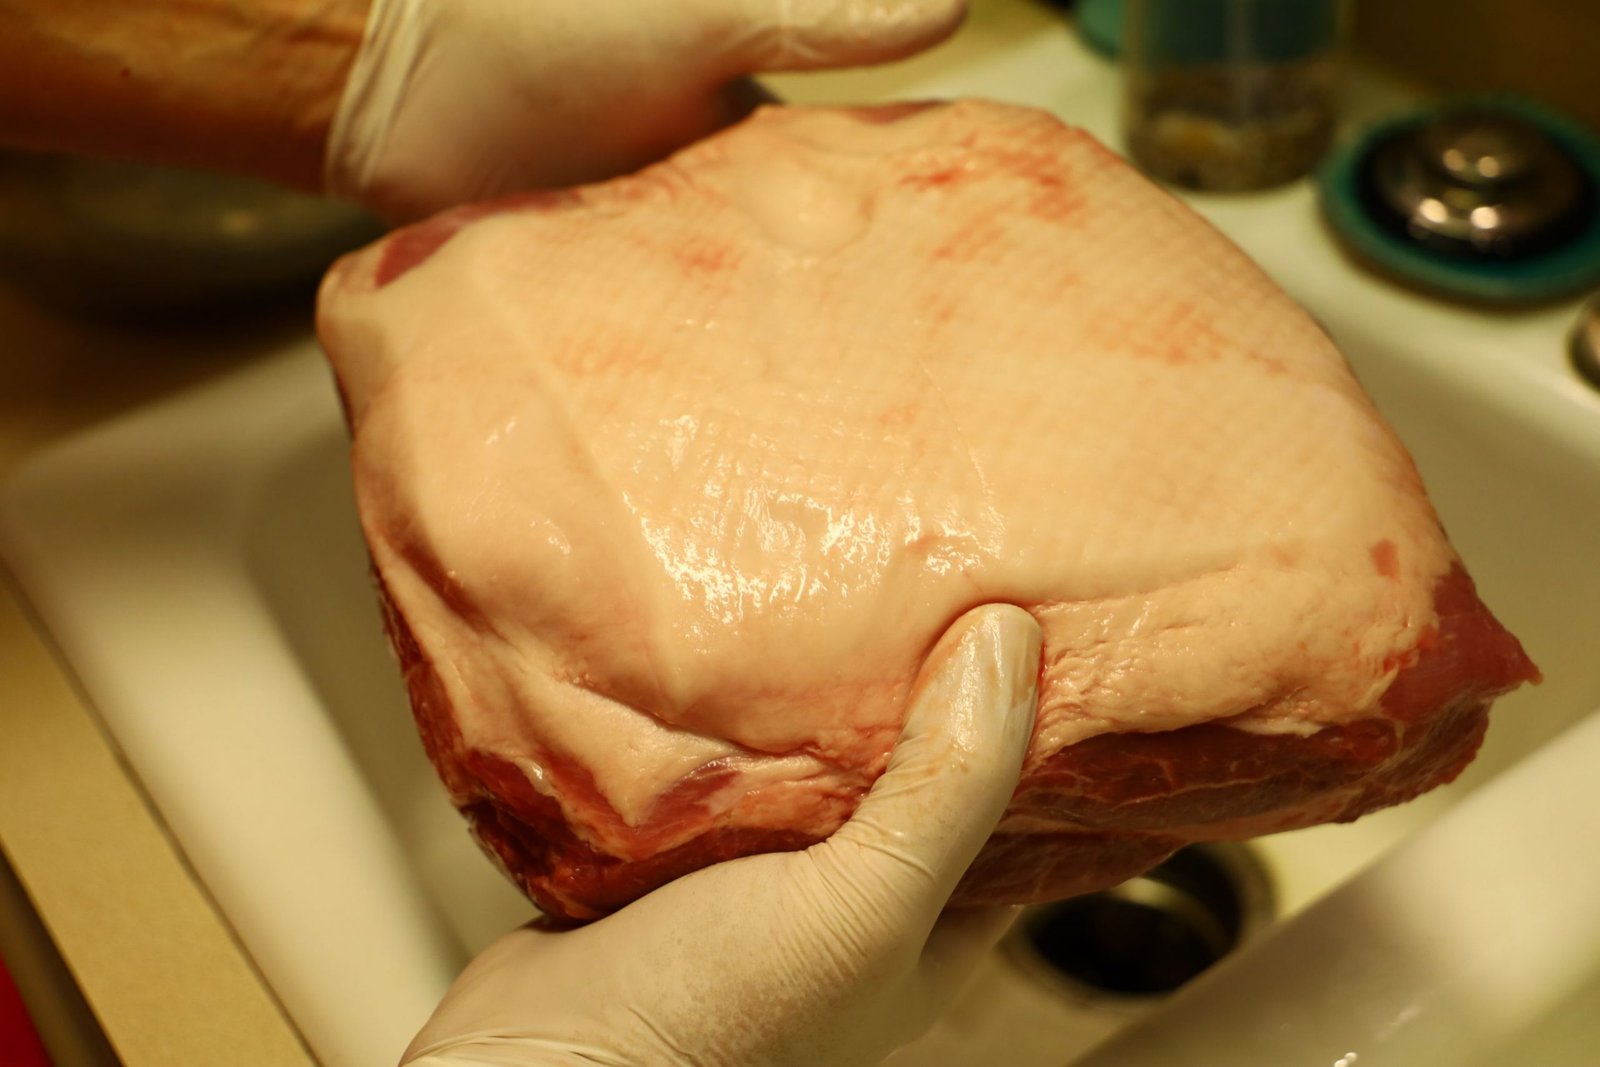
The Pork Shoulder has a fat cap on it which needs to be mostly removed. Yes, fat is flavor, but not in this case as we want mainly the meat. Trust me, there is still plenty of fat in the cut of meat.

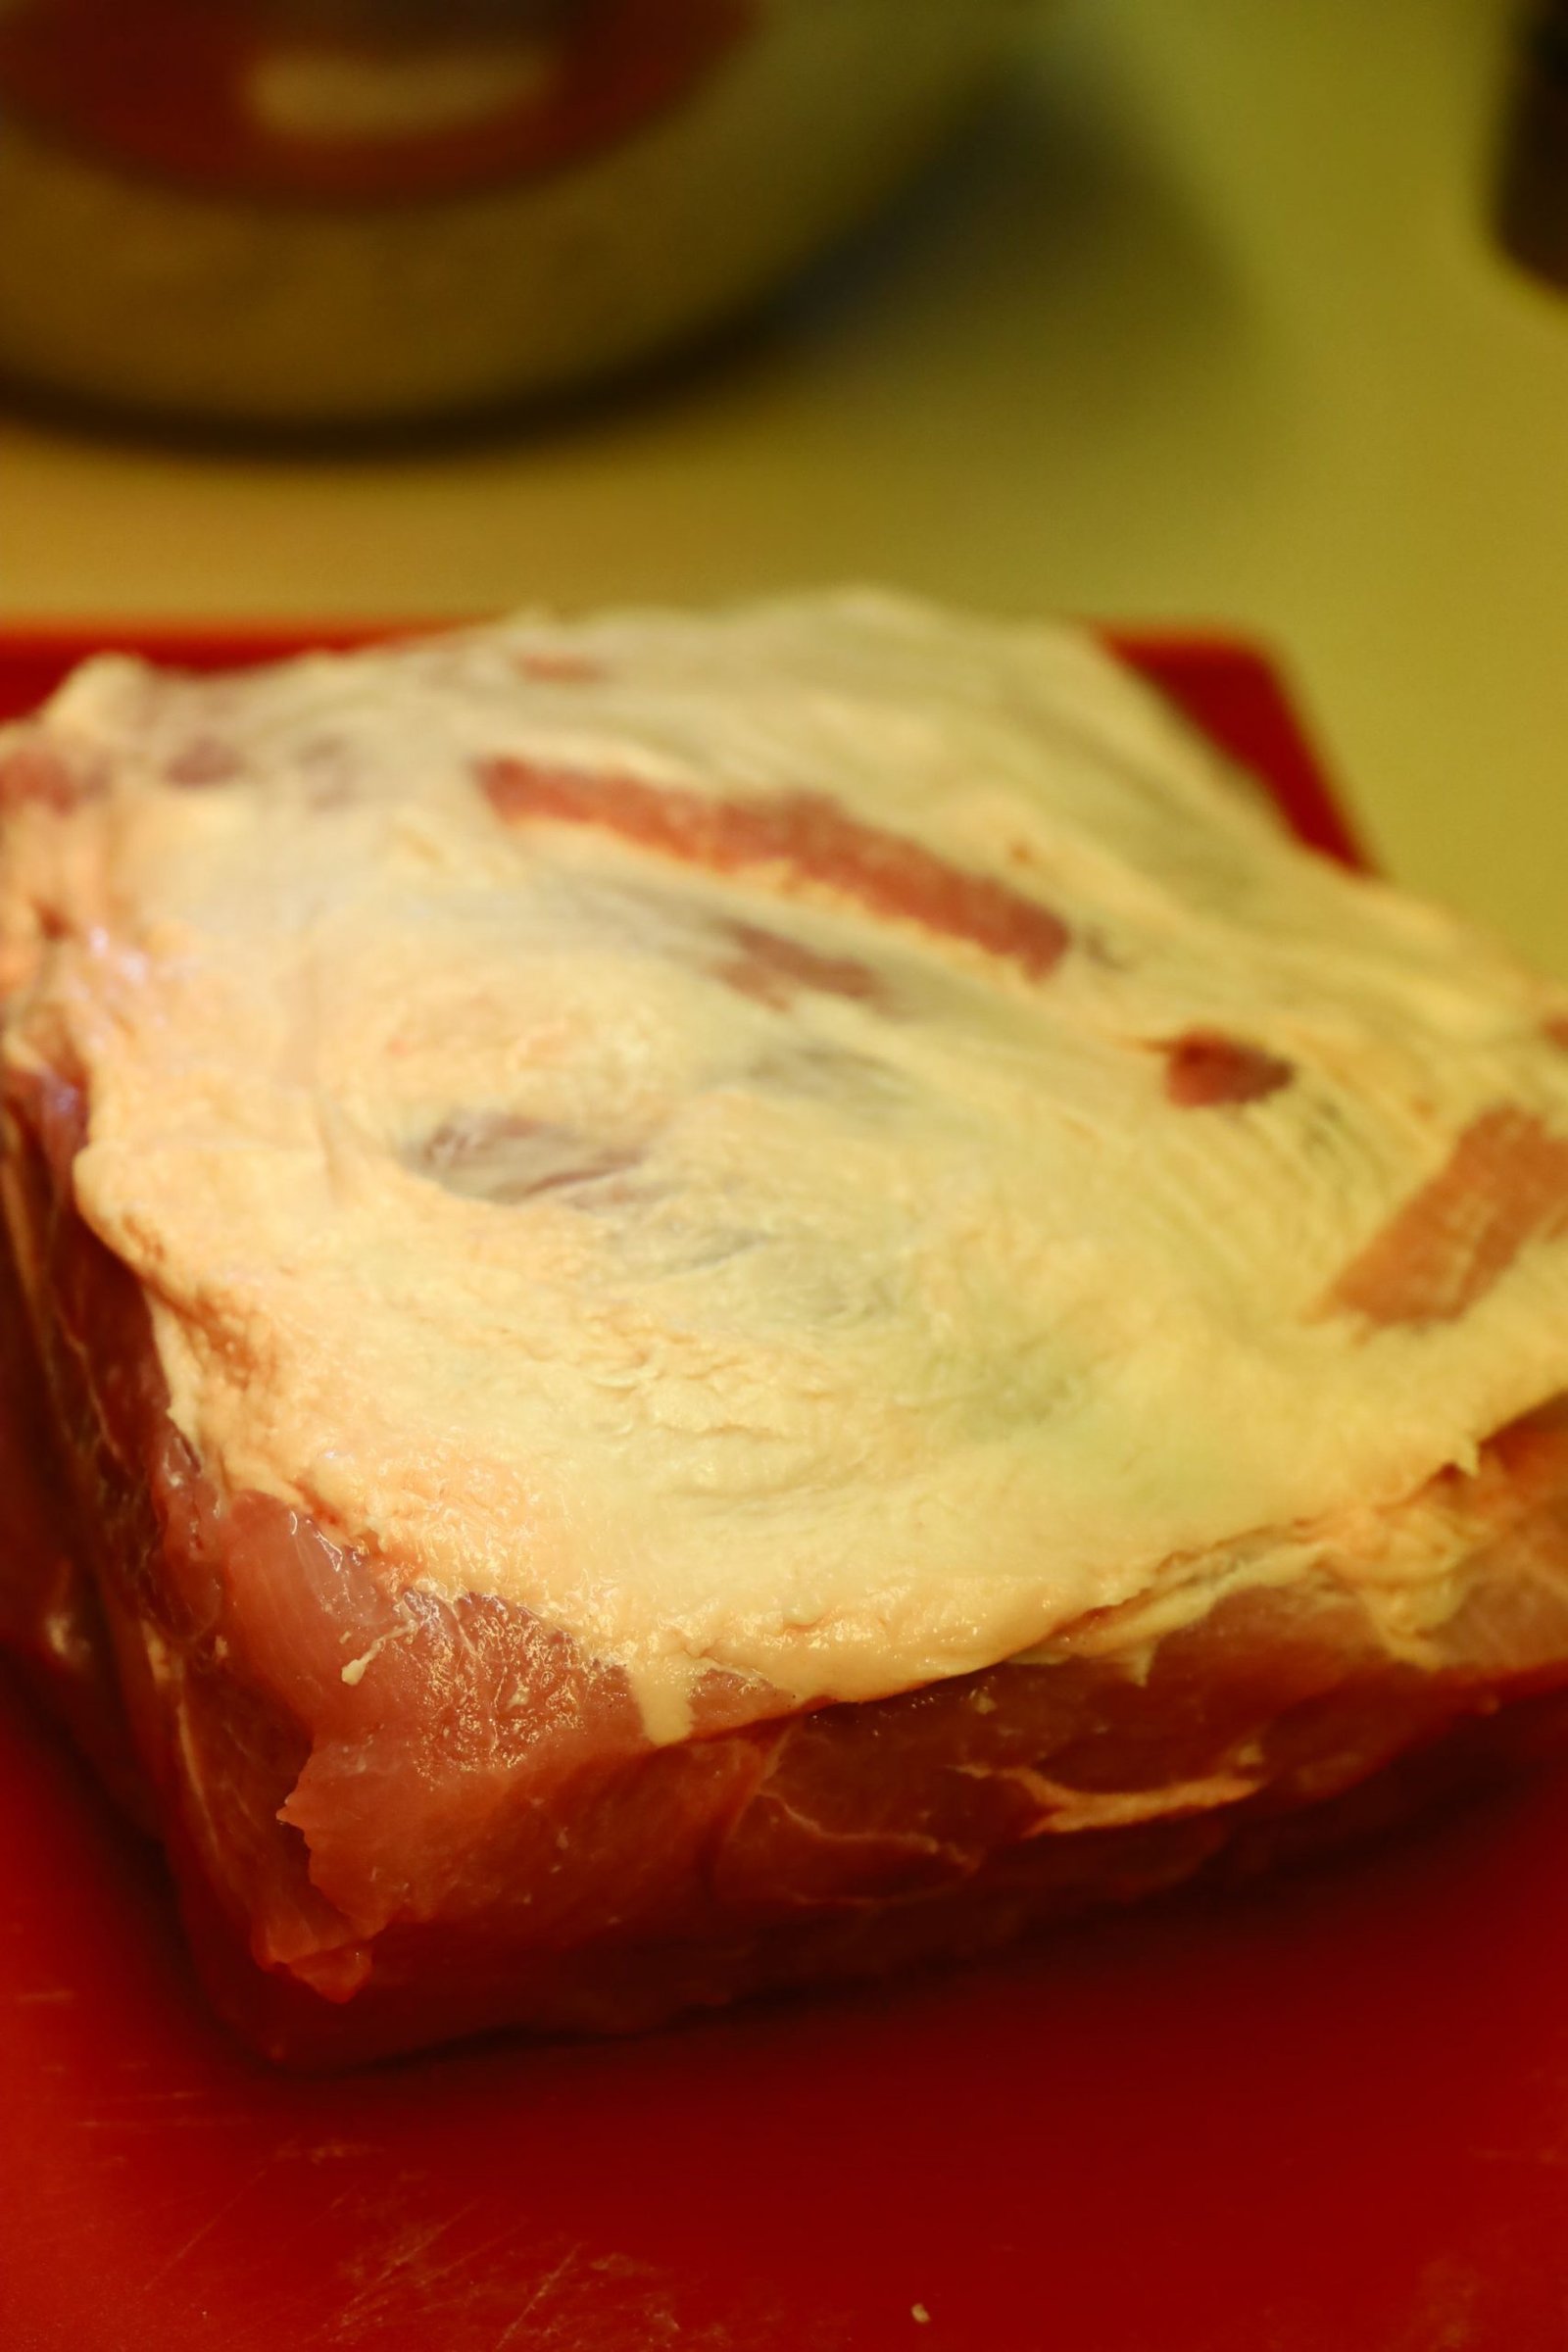
Here is the fat I cut off.
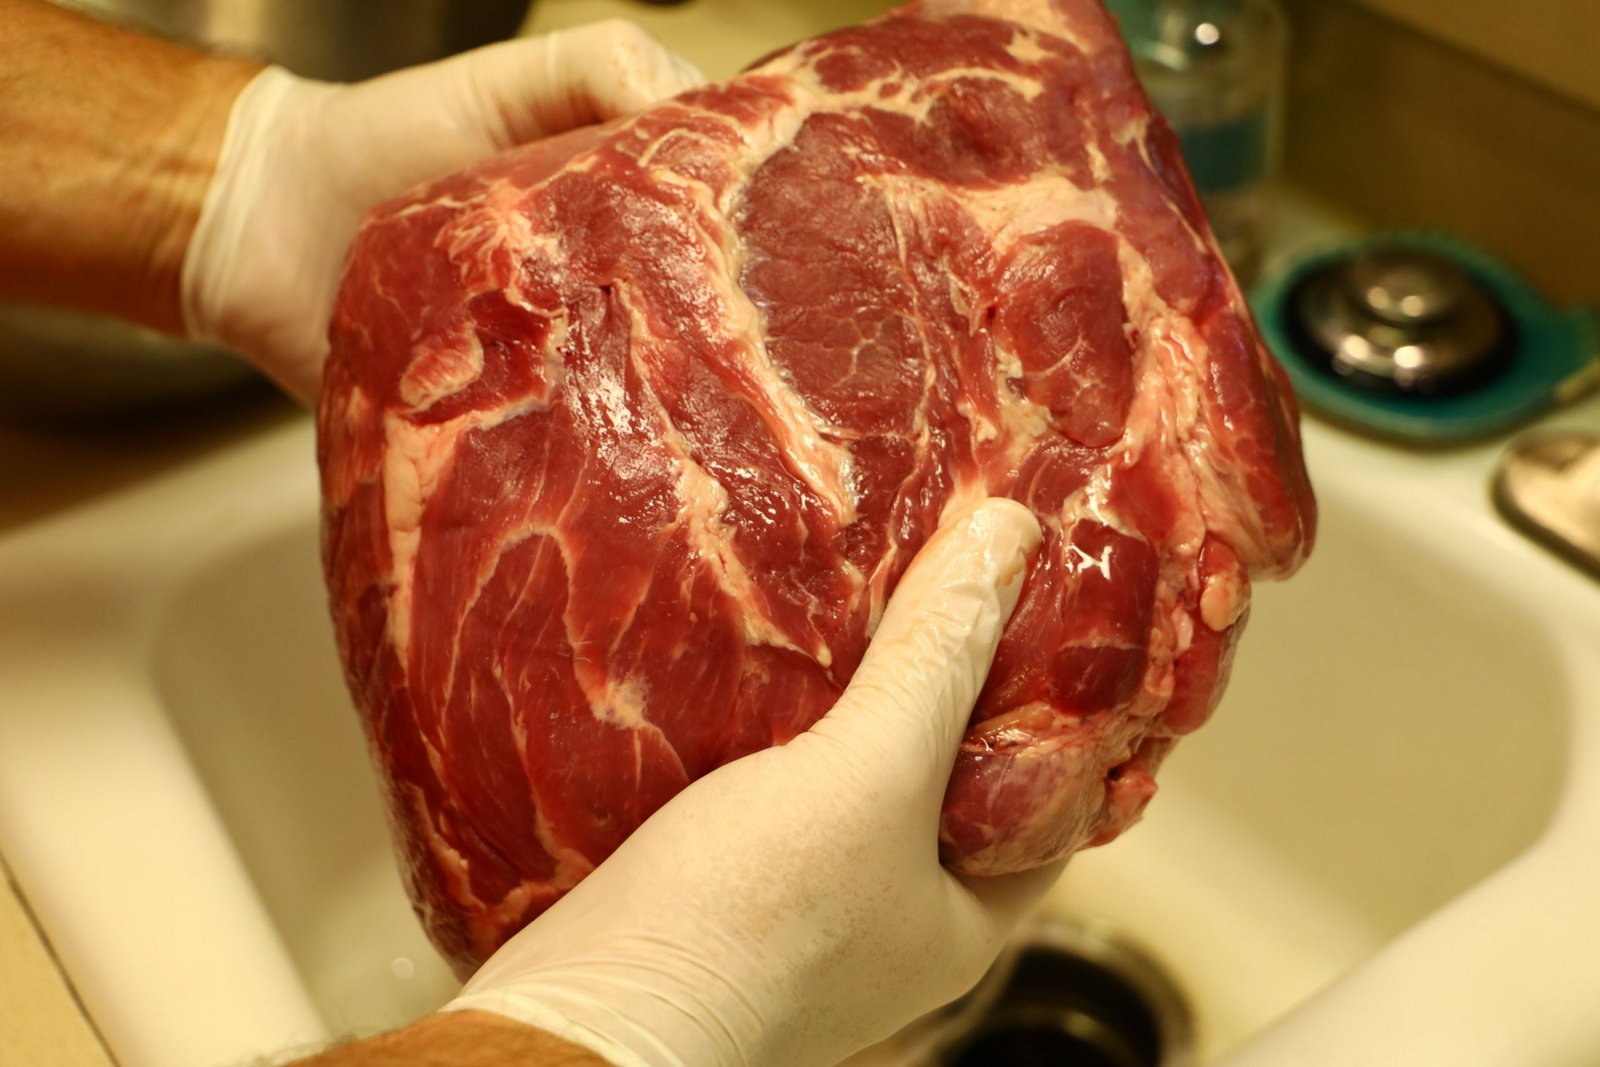
Now, slice the meat into smaller sections for easier marinating and then cooking.
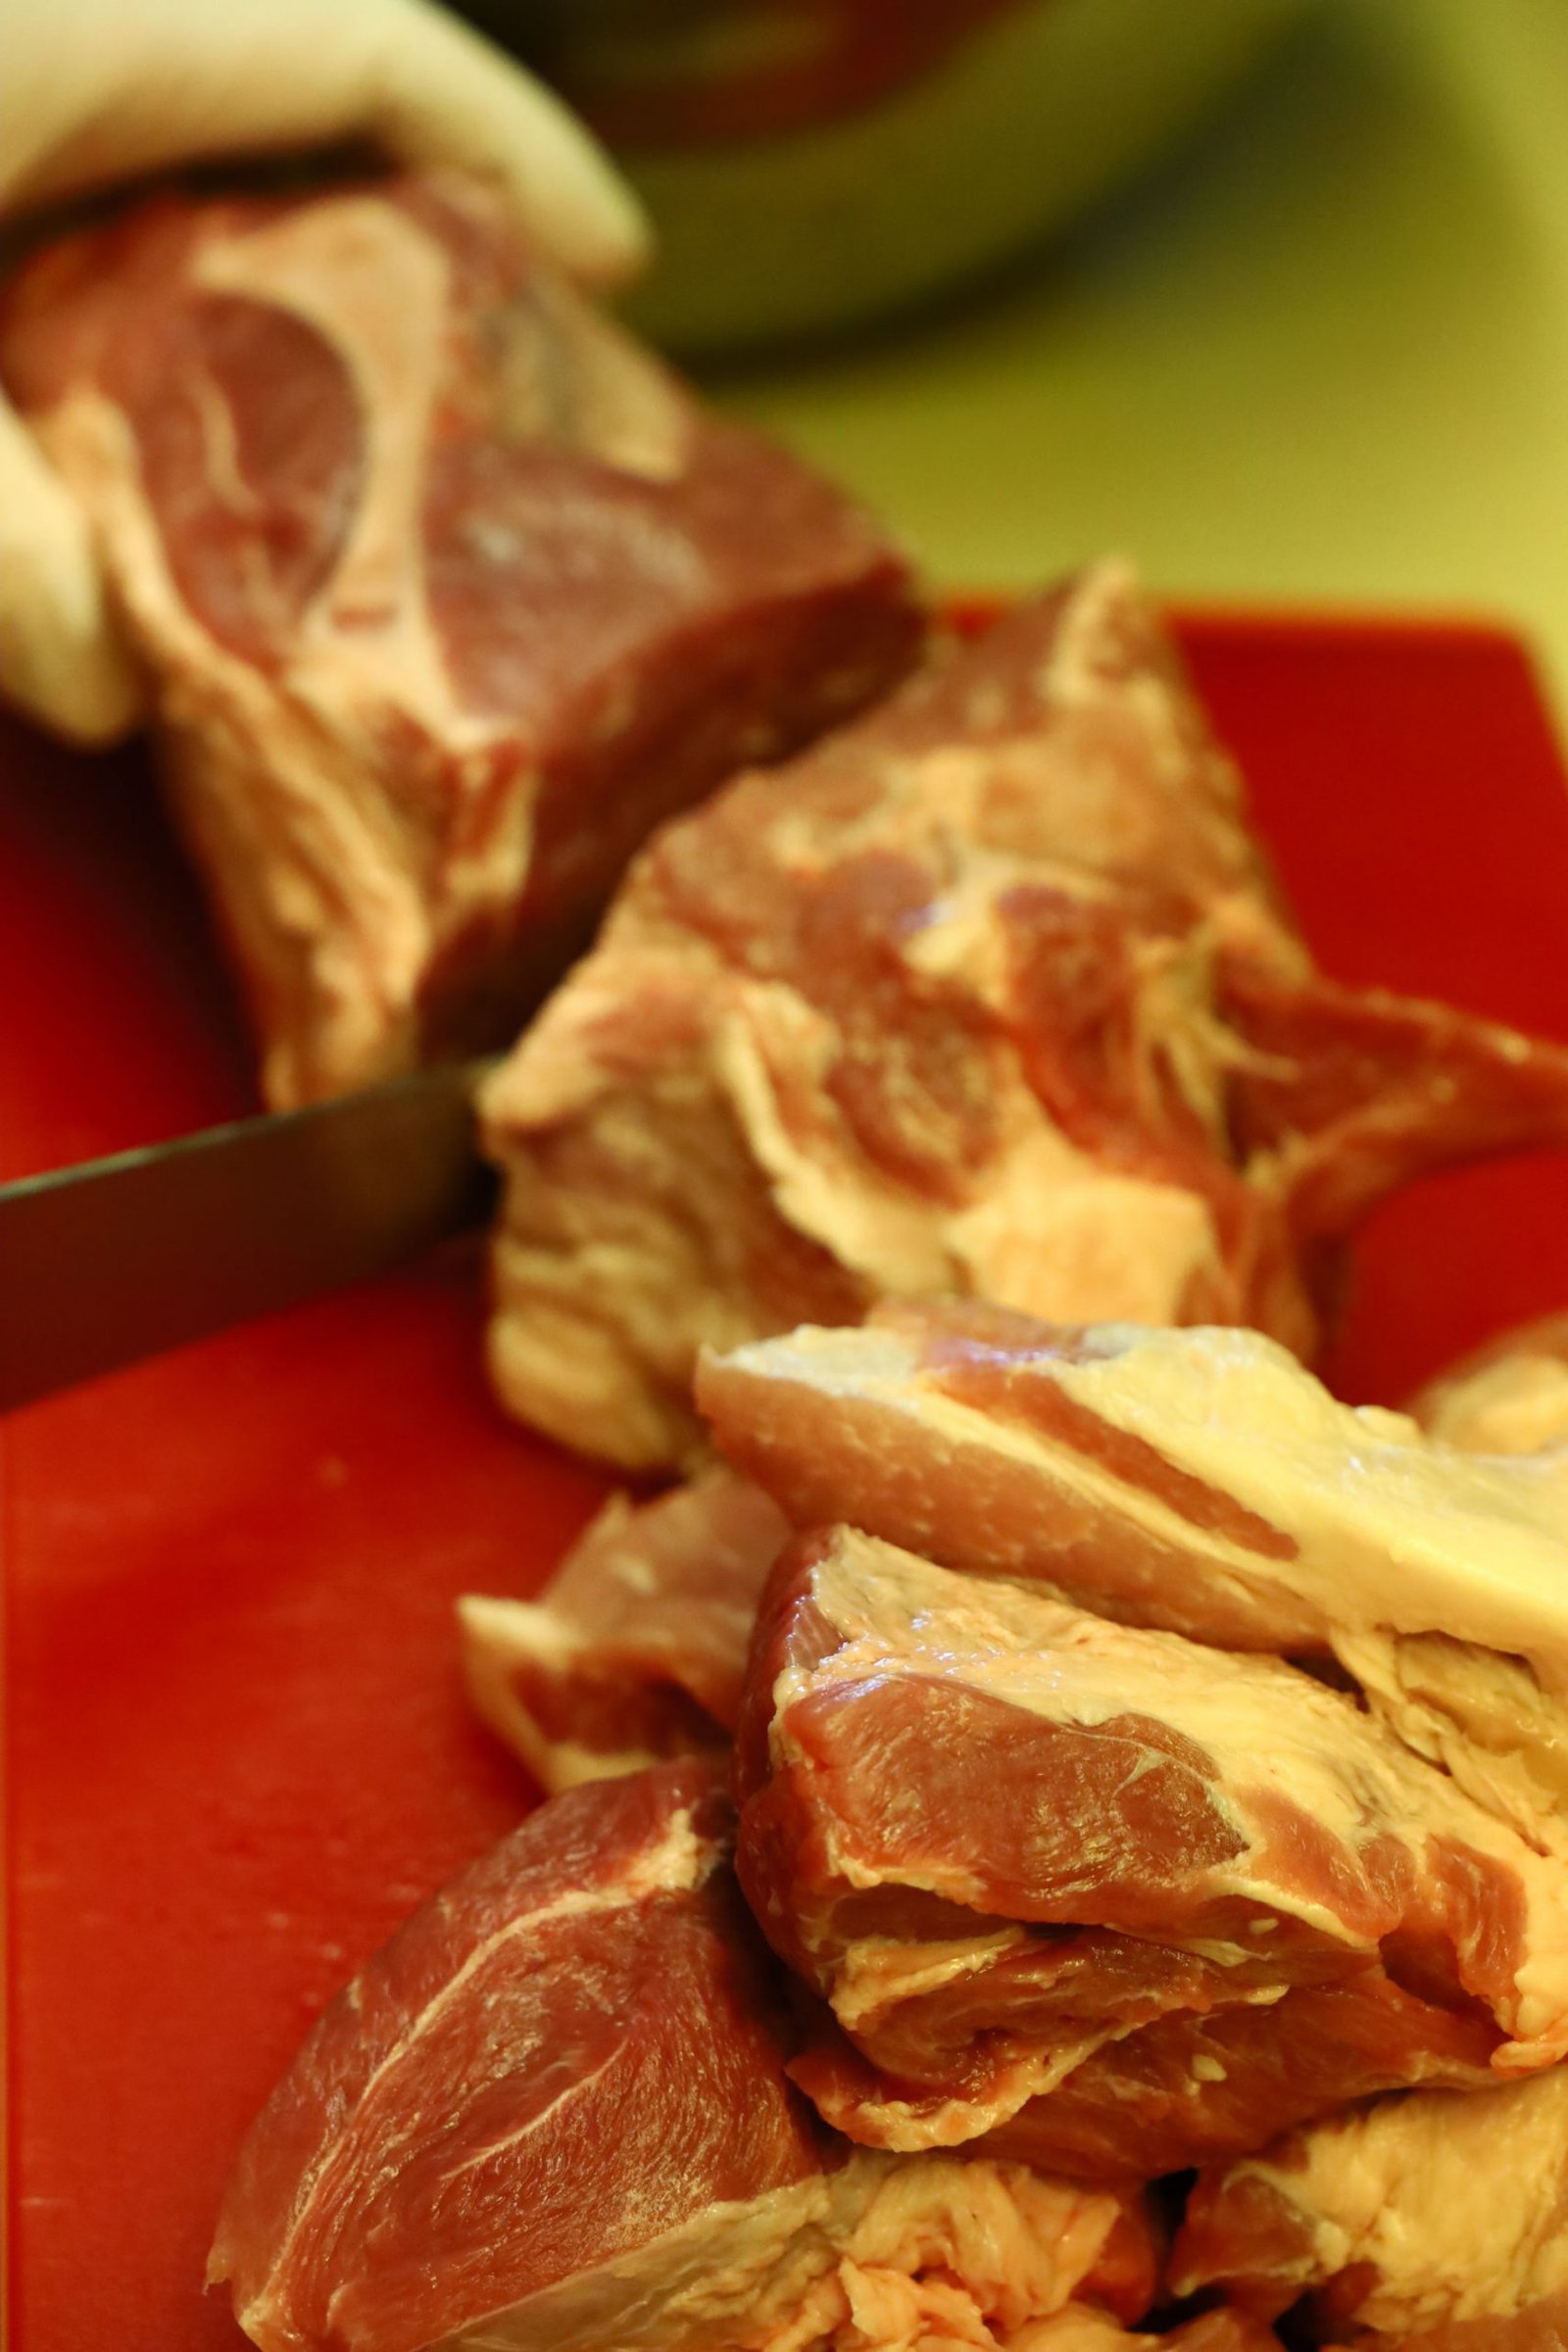
Here you can see there is still plenty of fat within the meat.
————————————————————————–
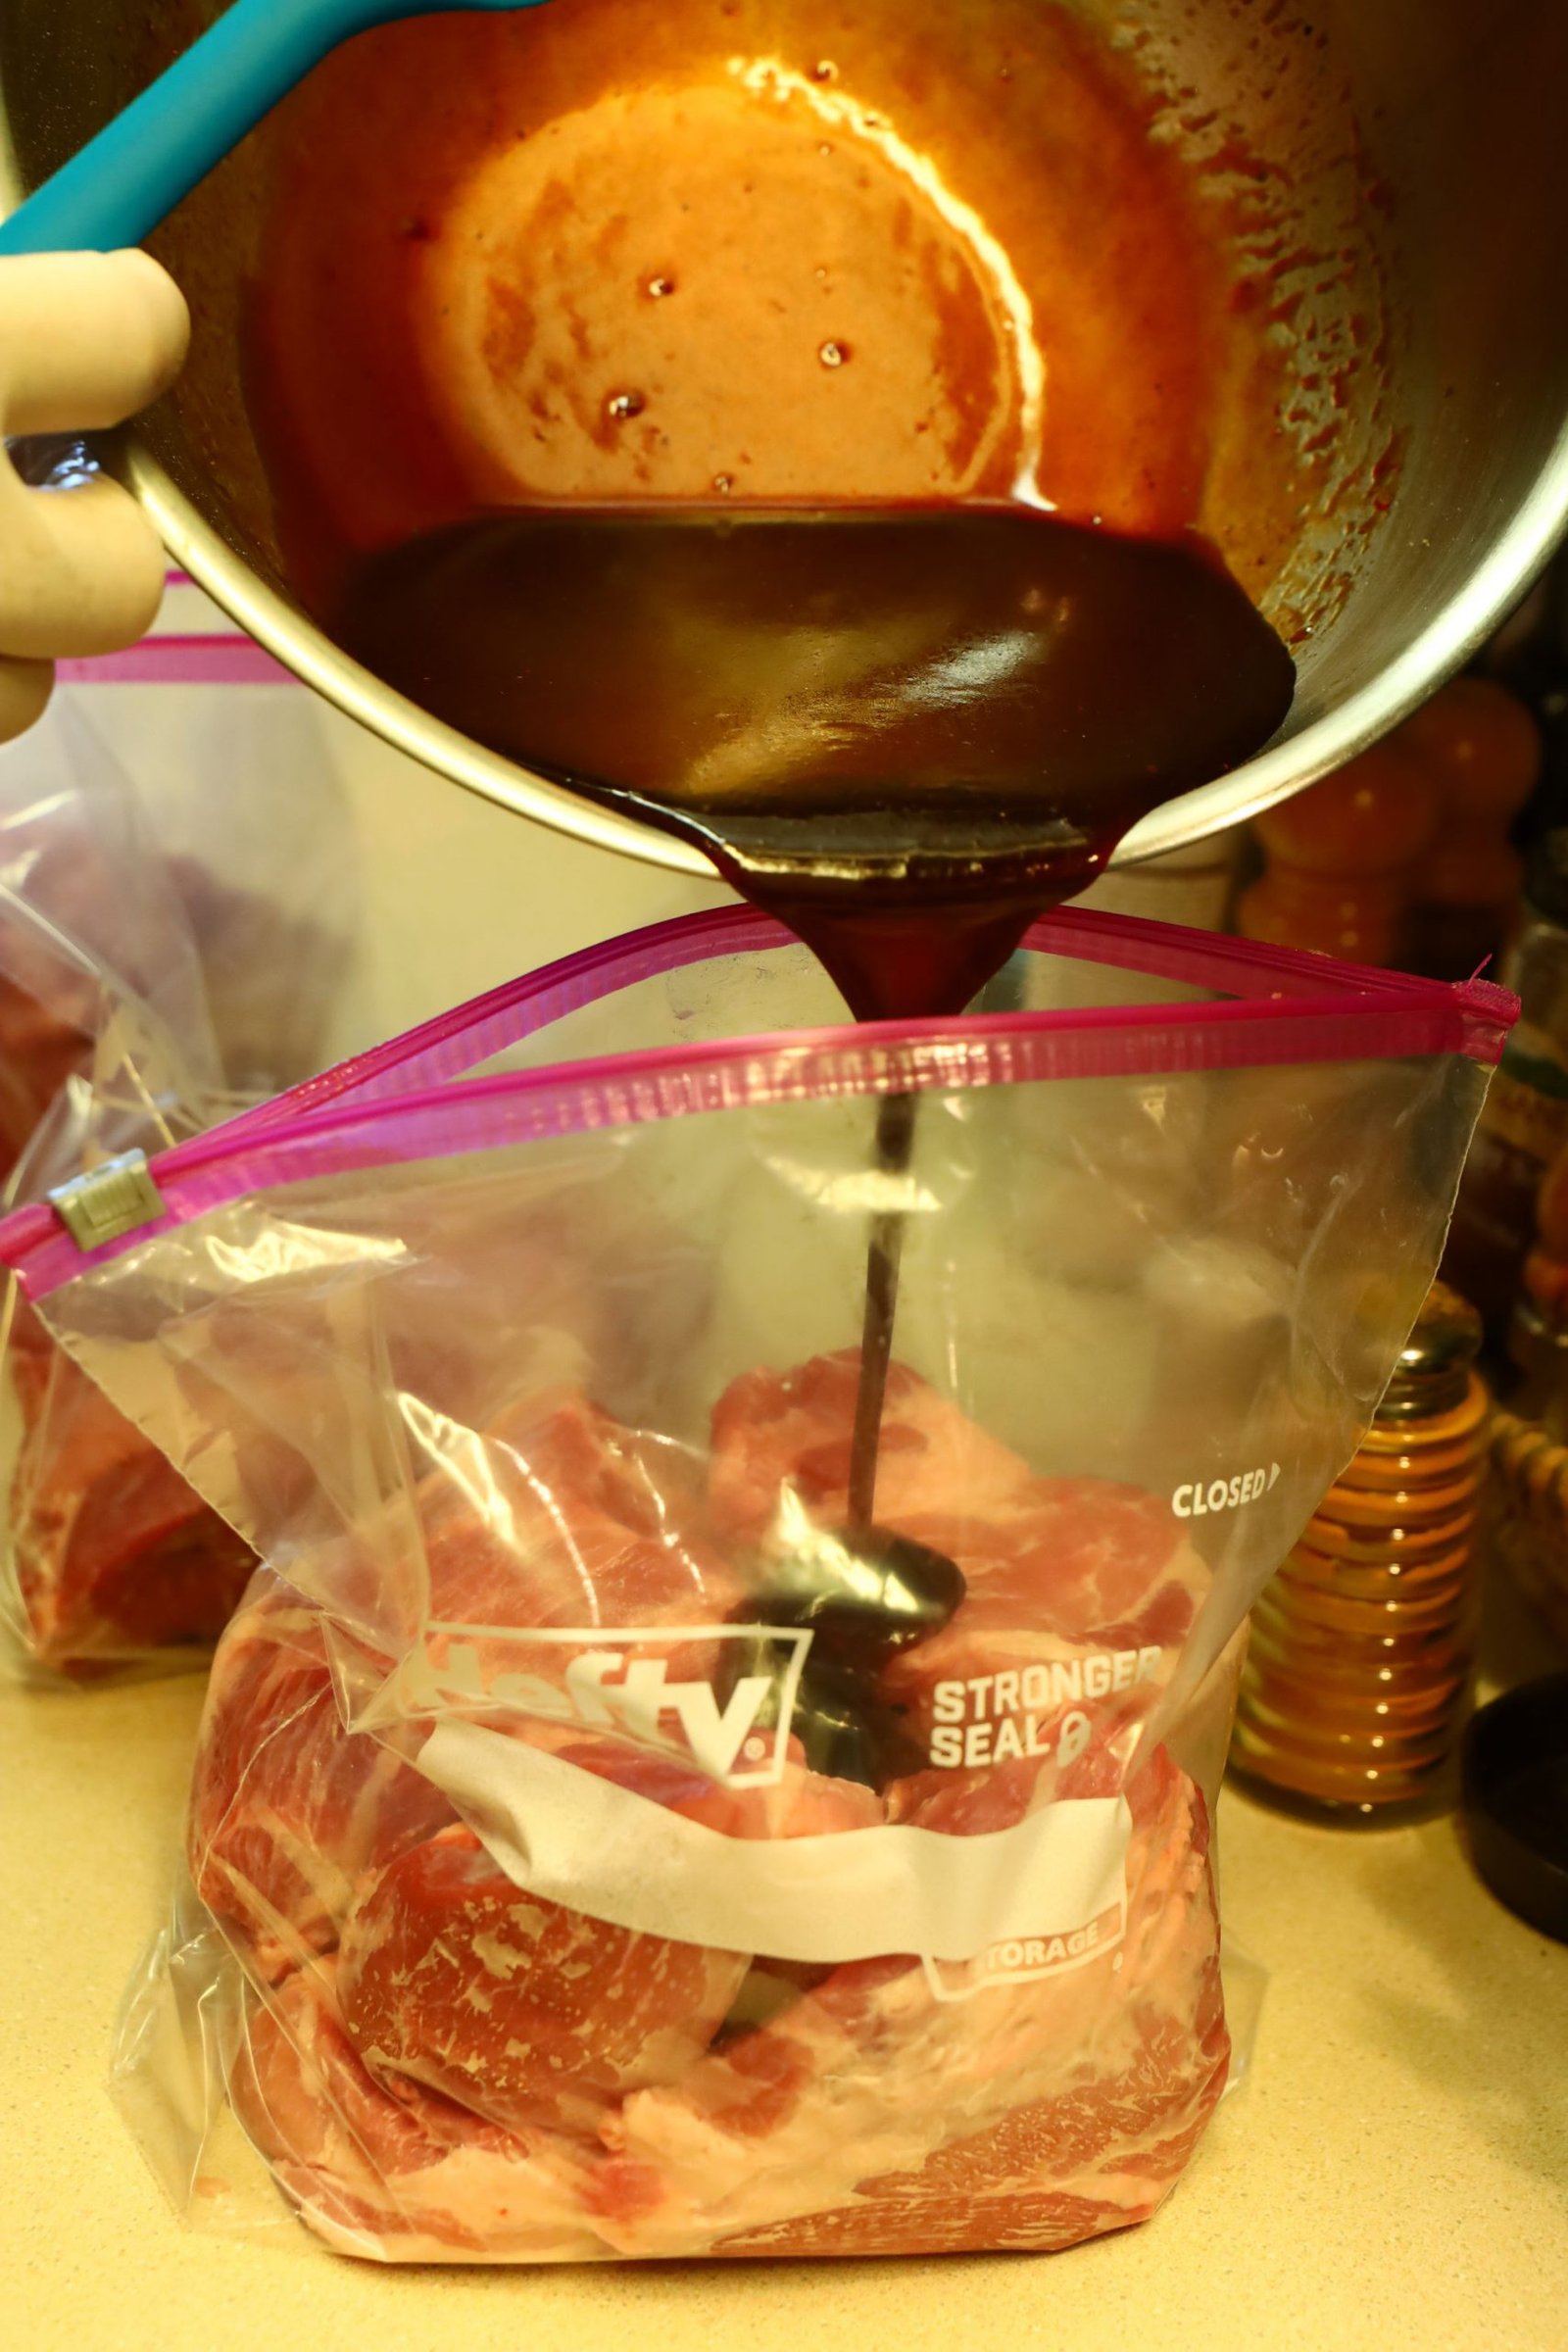
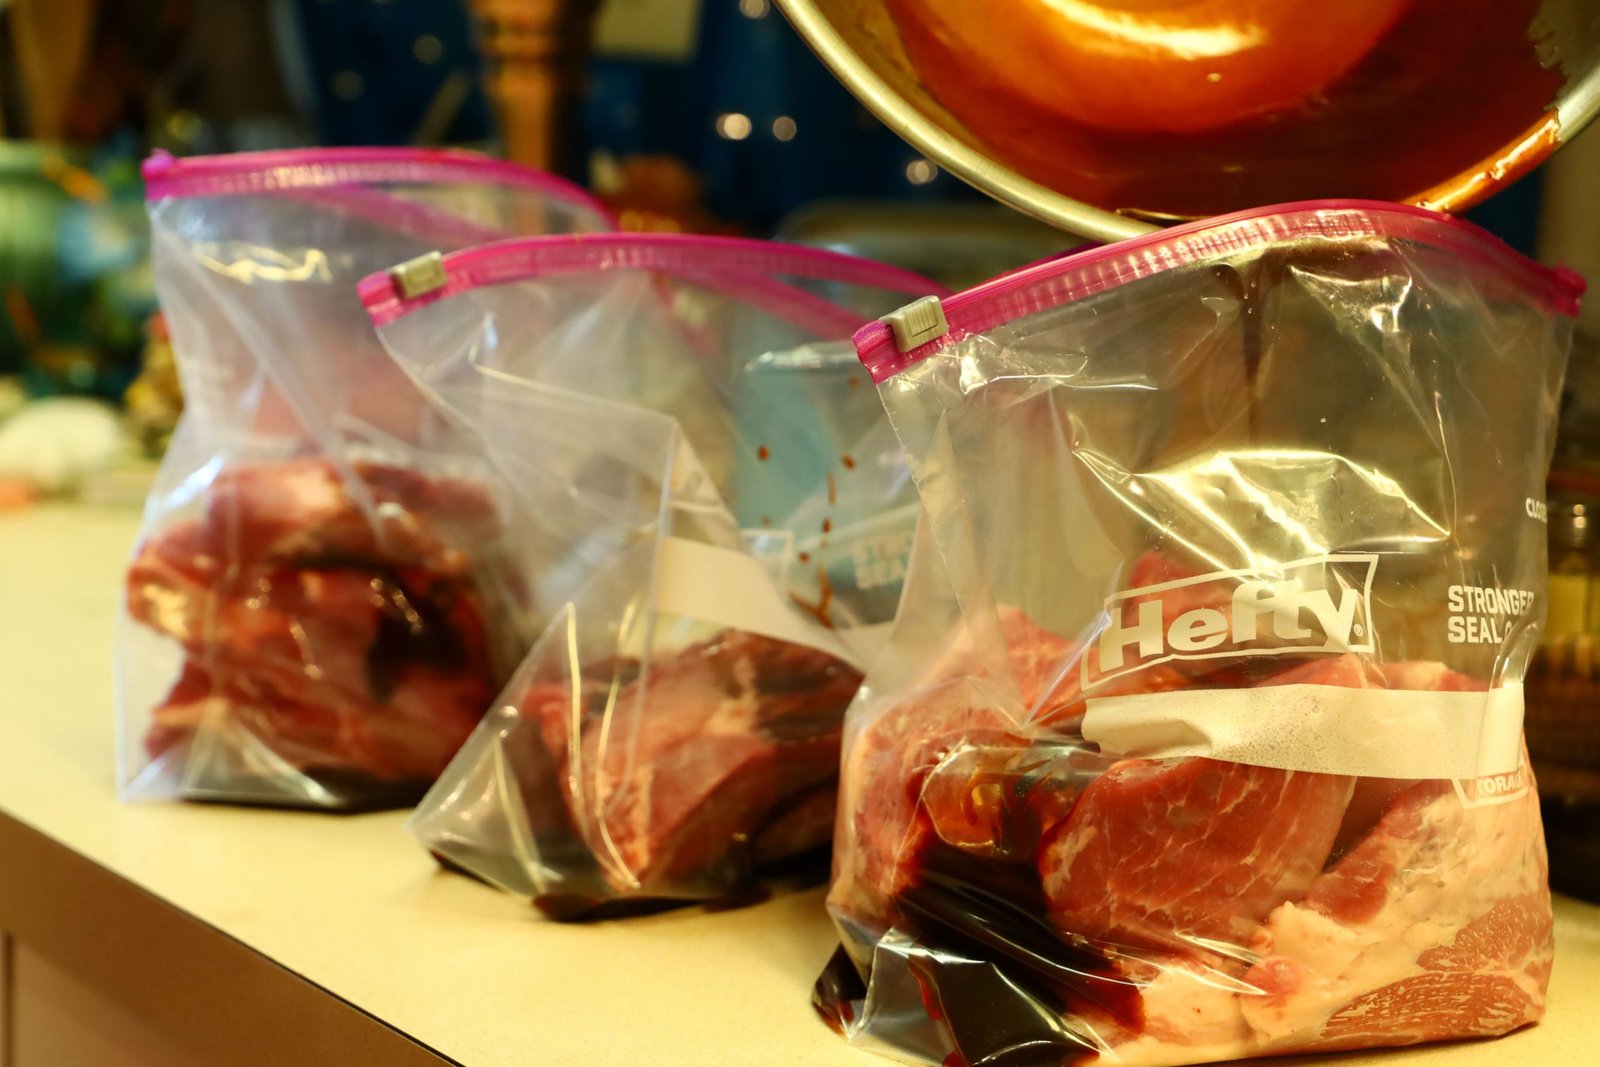
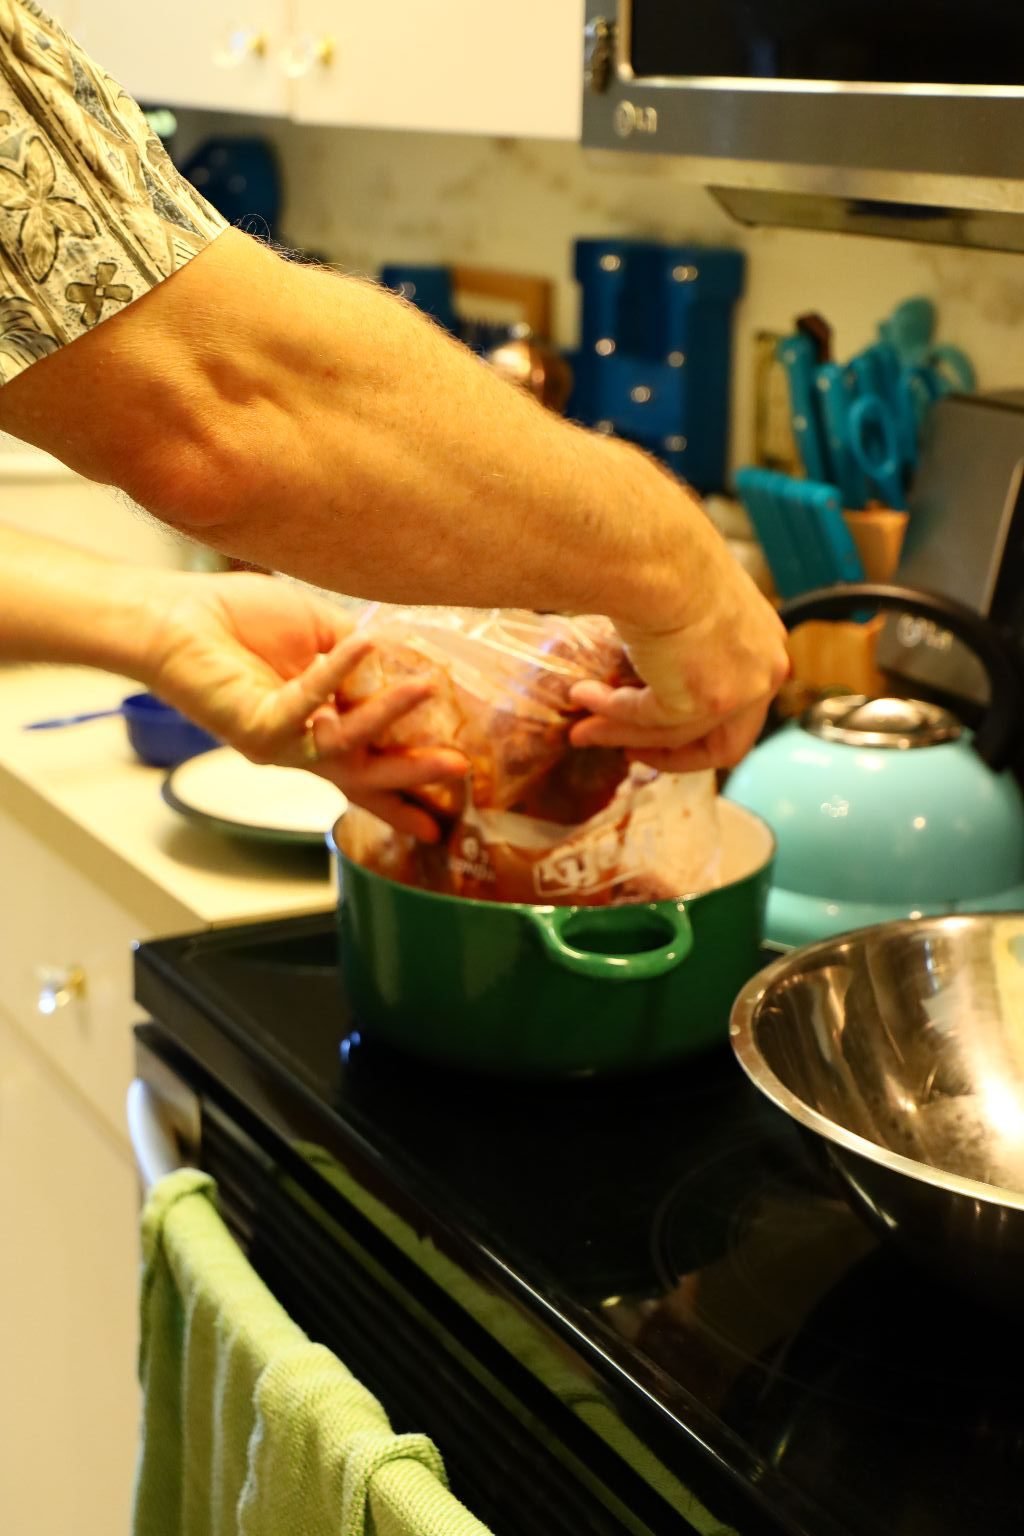
Place the meat into strong freezer bags and pour the marinade evenly over it as shown.
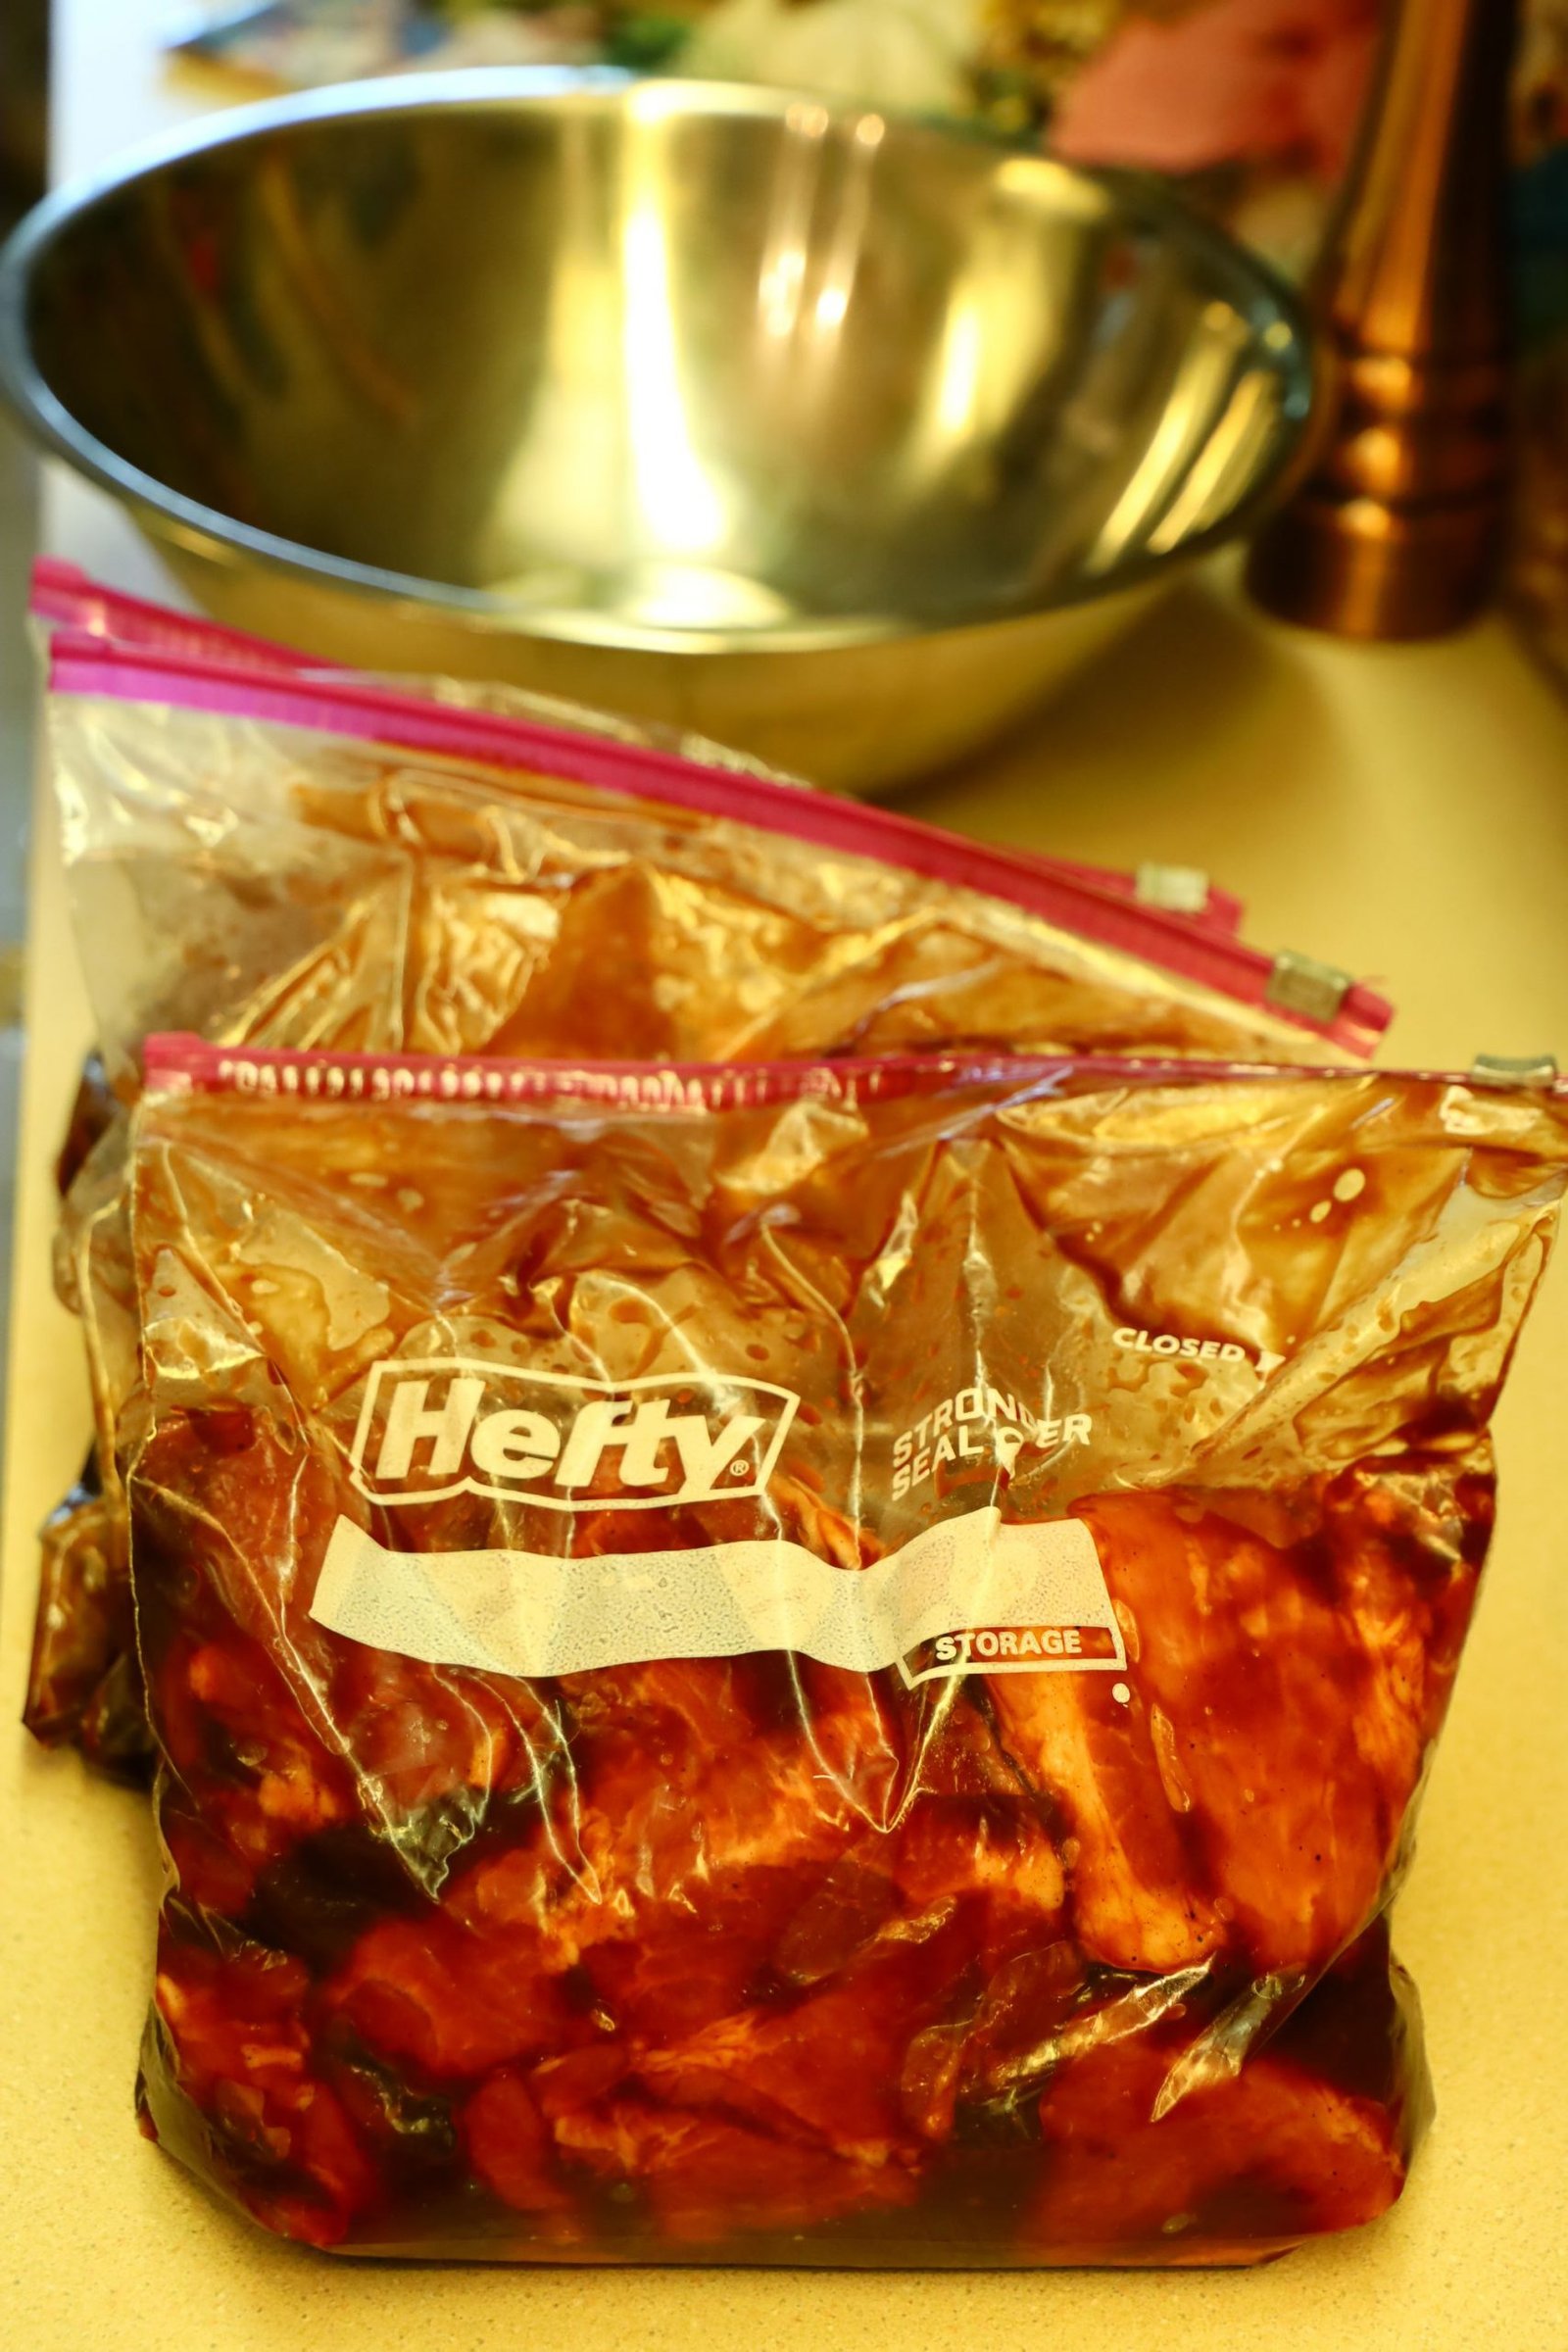
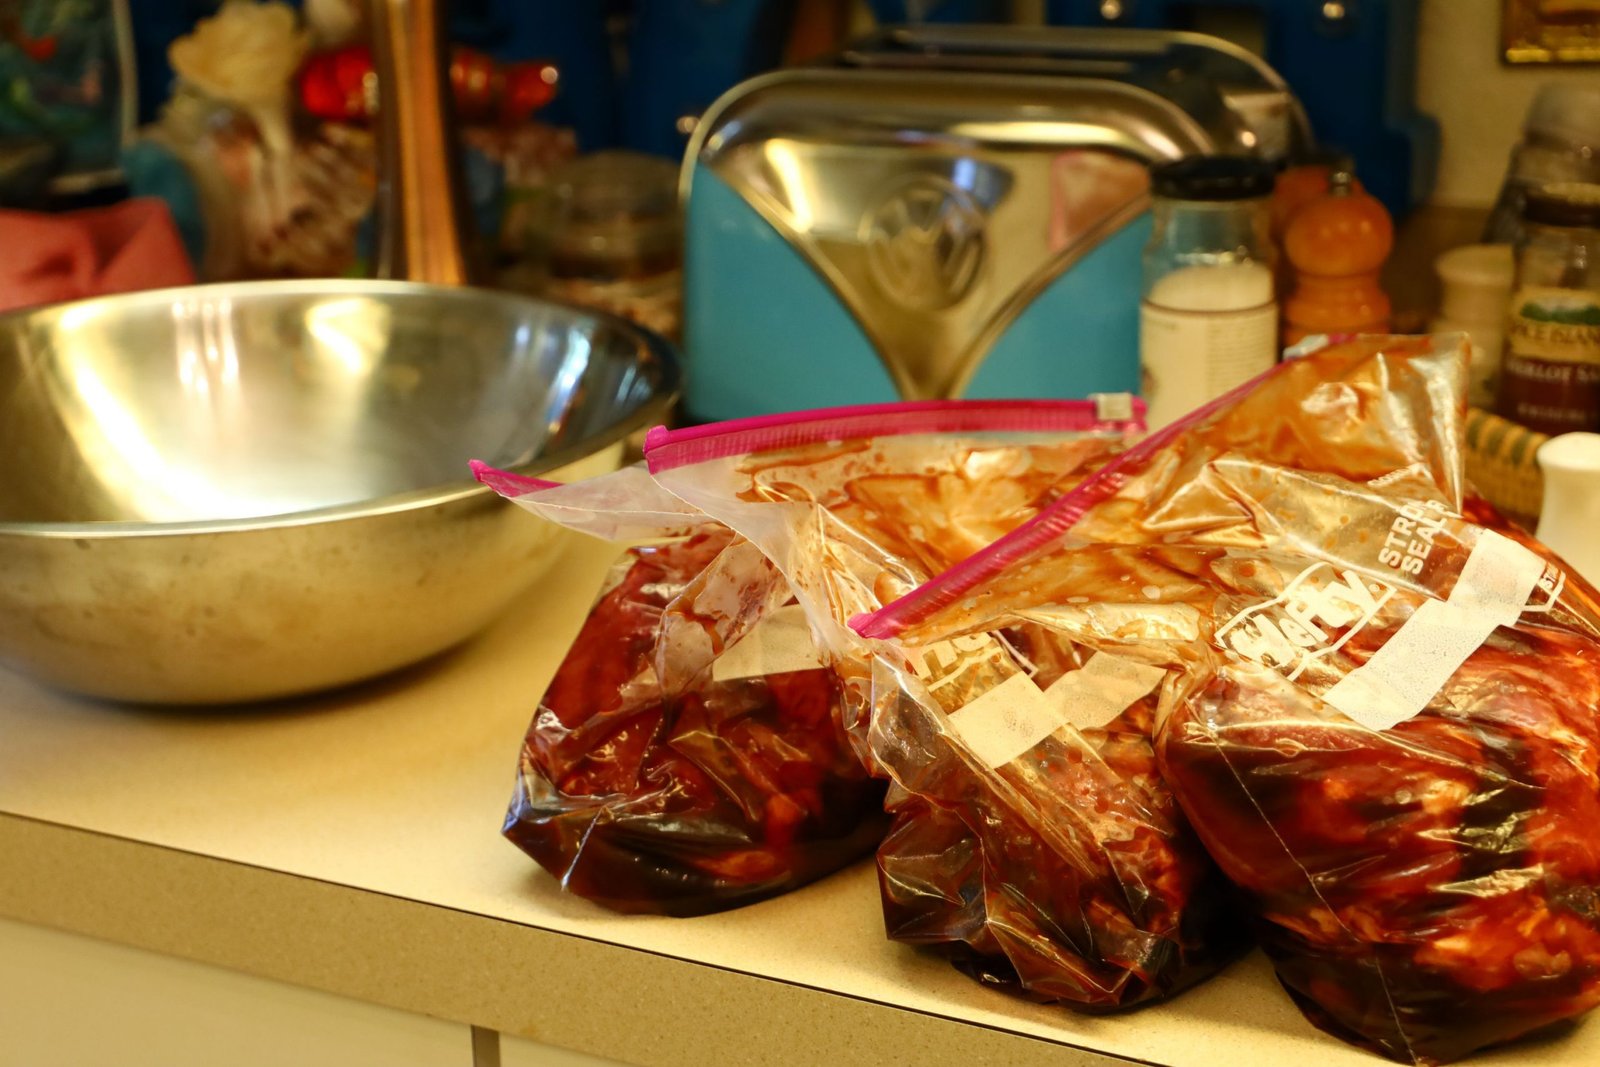
With the bags sealed, mix the marinade around the meat with your hands in order to coat. Open the bag back up, move the meat to the bottom of the bag, then fold over the top of the bag removing the air. Seal the bag and lift it up… your bag should be basically vacuumed sealed as shown in the above left picture. Doing this will help to push the marinade into the meat. Let the meat marinade in the refrigerator in a large bowl for at least 24 hours or up to 48 hours. The bowl will prevent any leaking bag from messing up your refrigerator.
————————————————————————-
The Following Day

We let the pork marinate for 24 hours overnight.

———————————————————————-
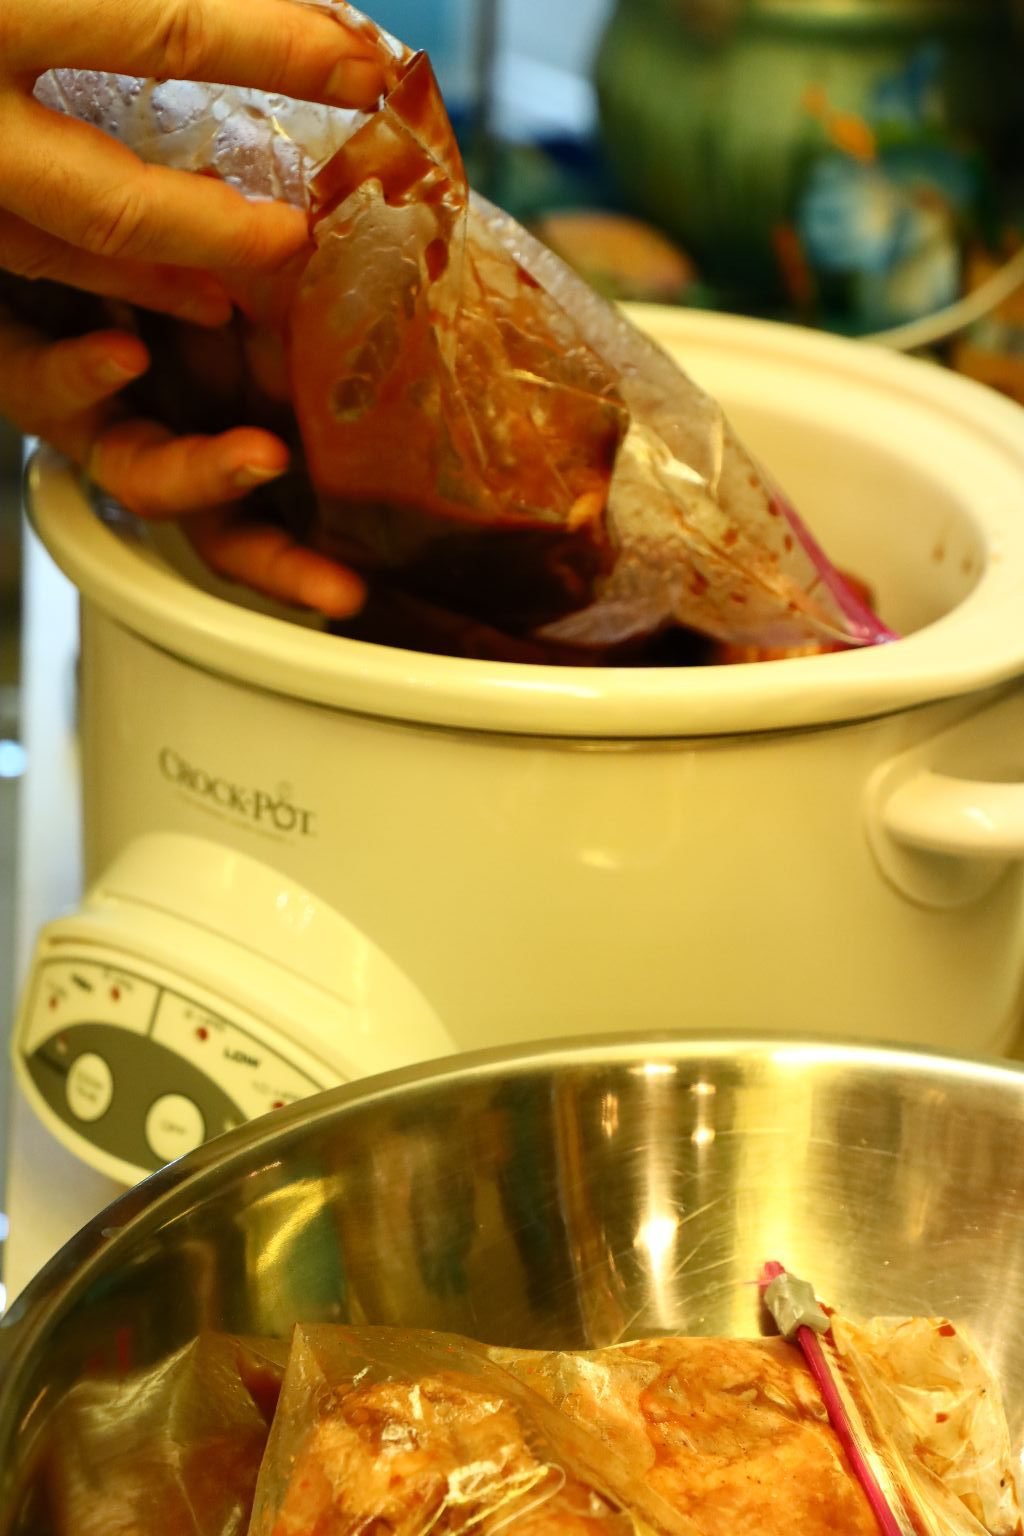


We split our marinaded cuts of pork between our slow cooker and our cast-iron Dutch oven.
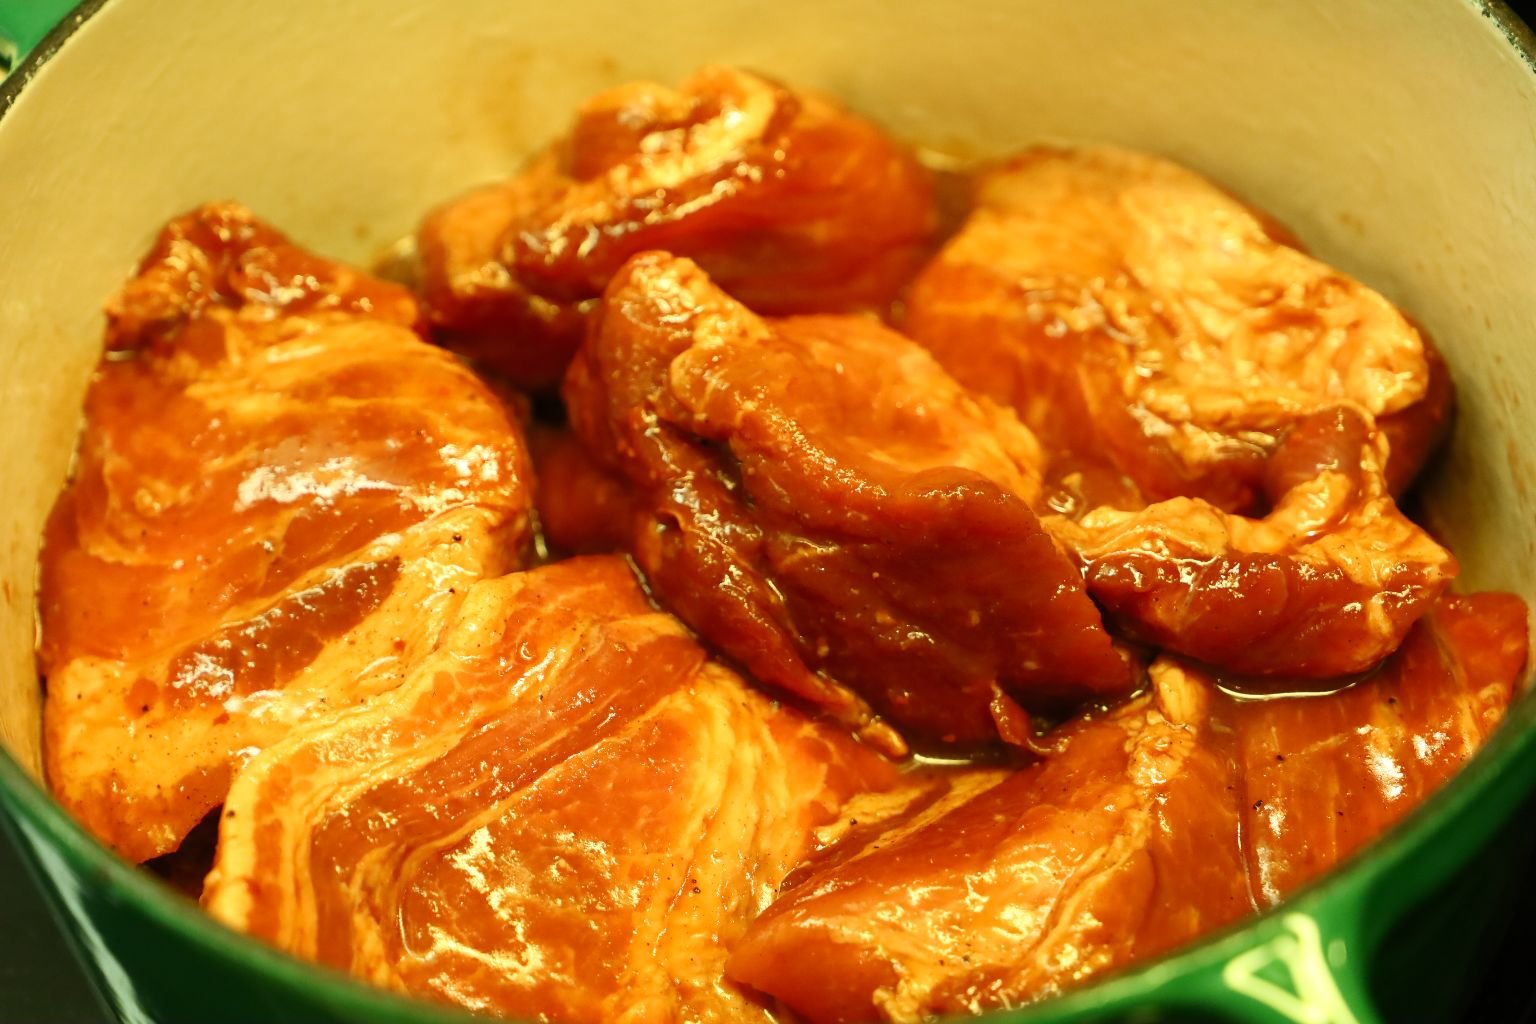
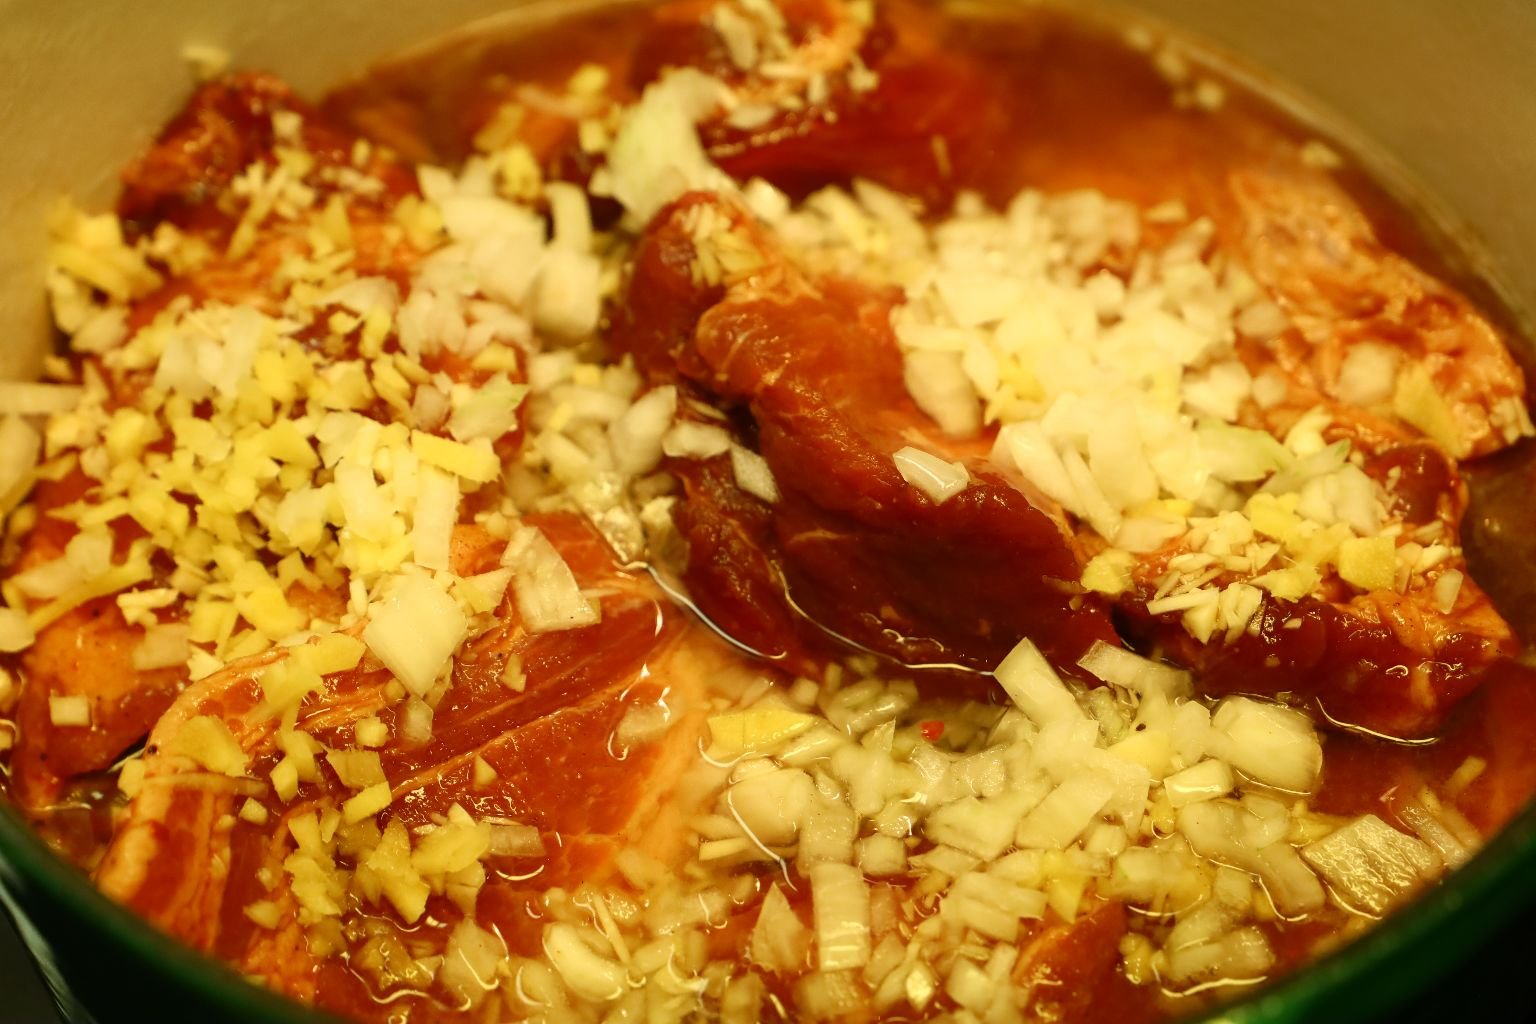
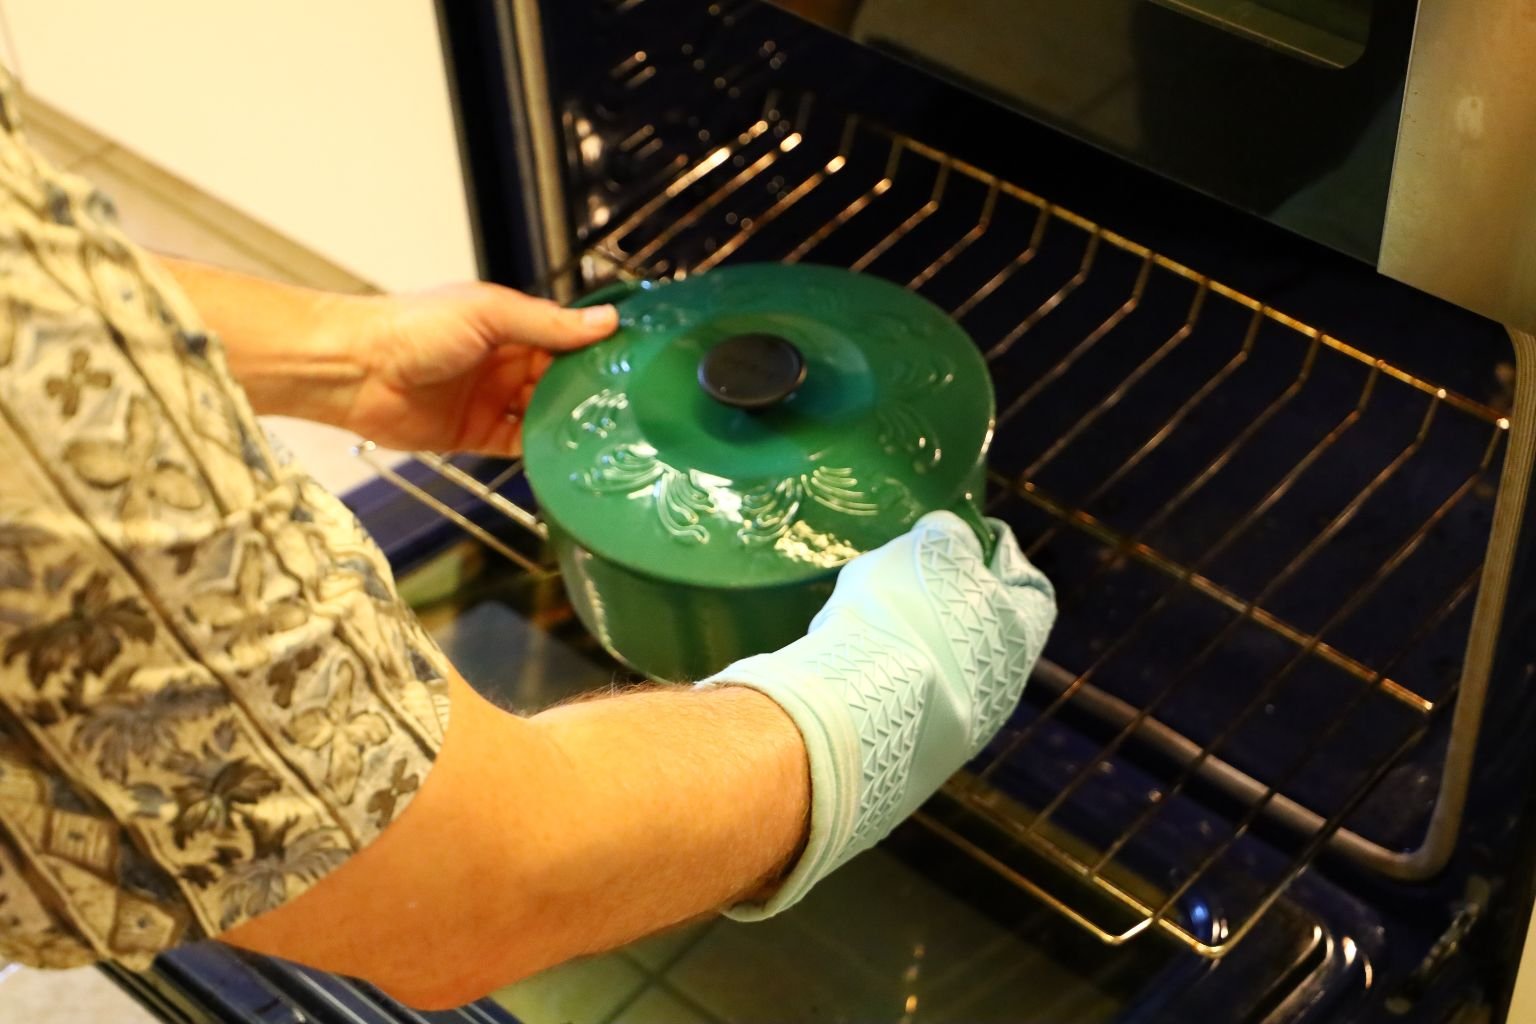
Place half the pork in the Dutch oven as shown…
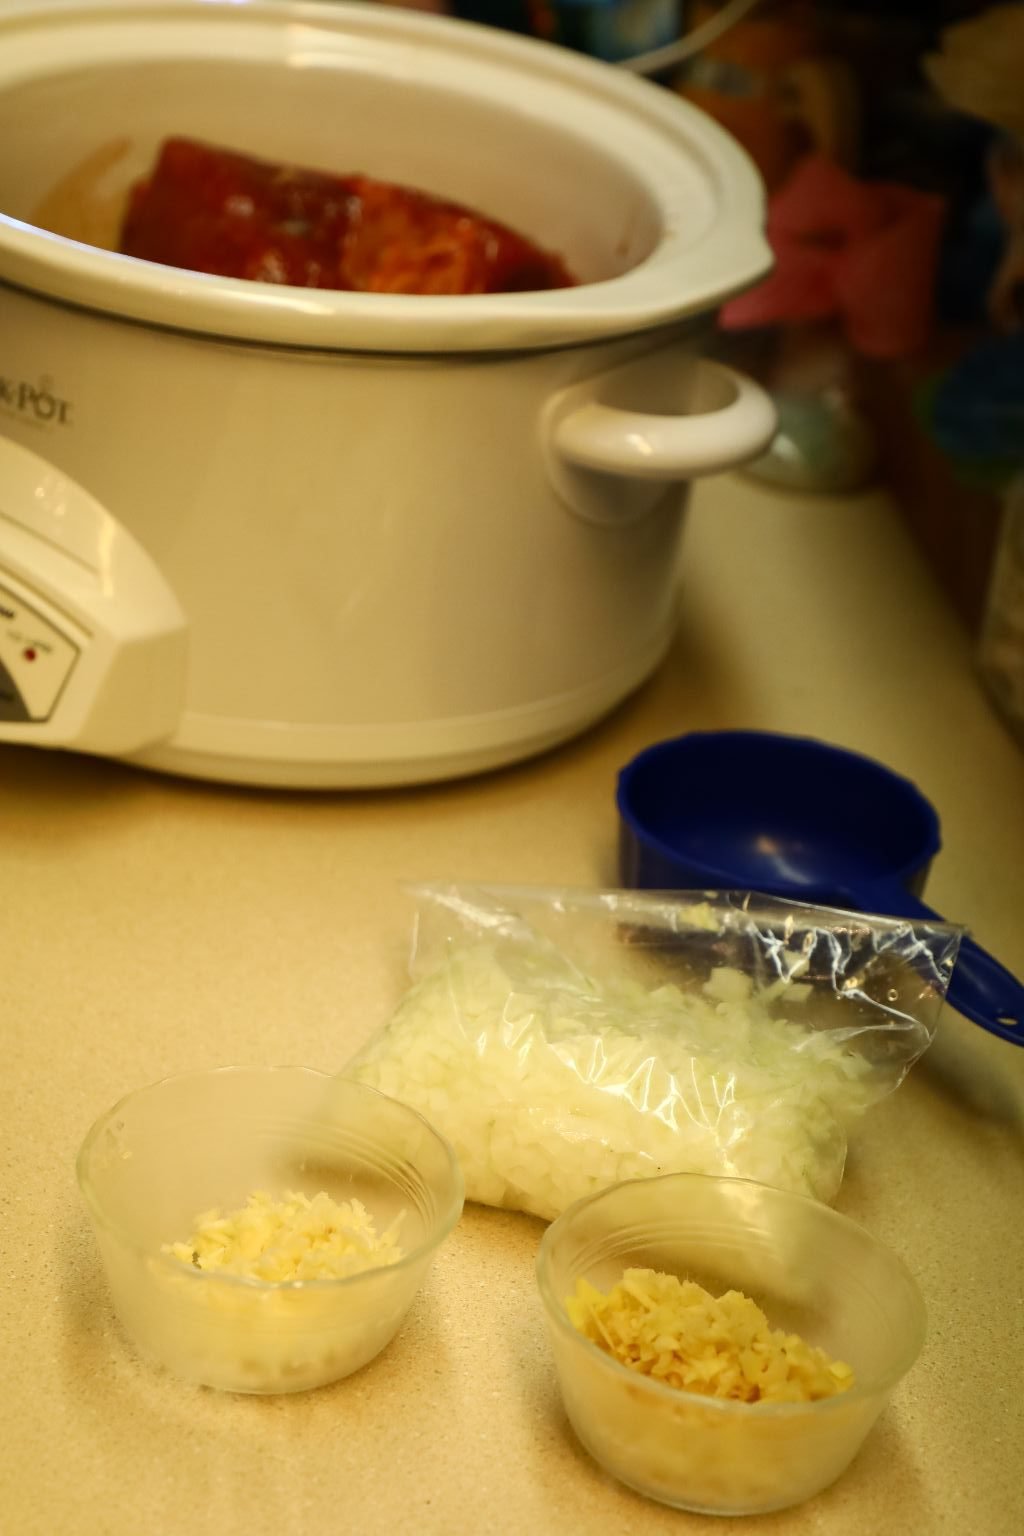


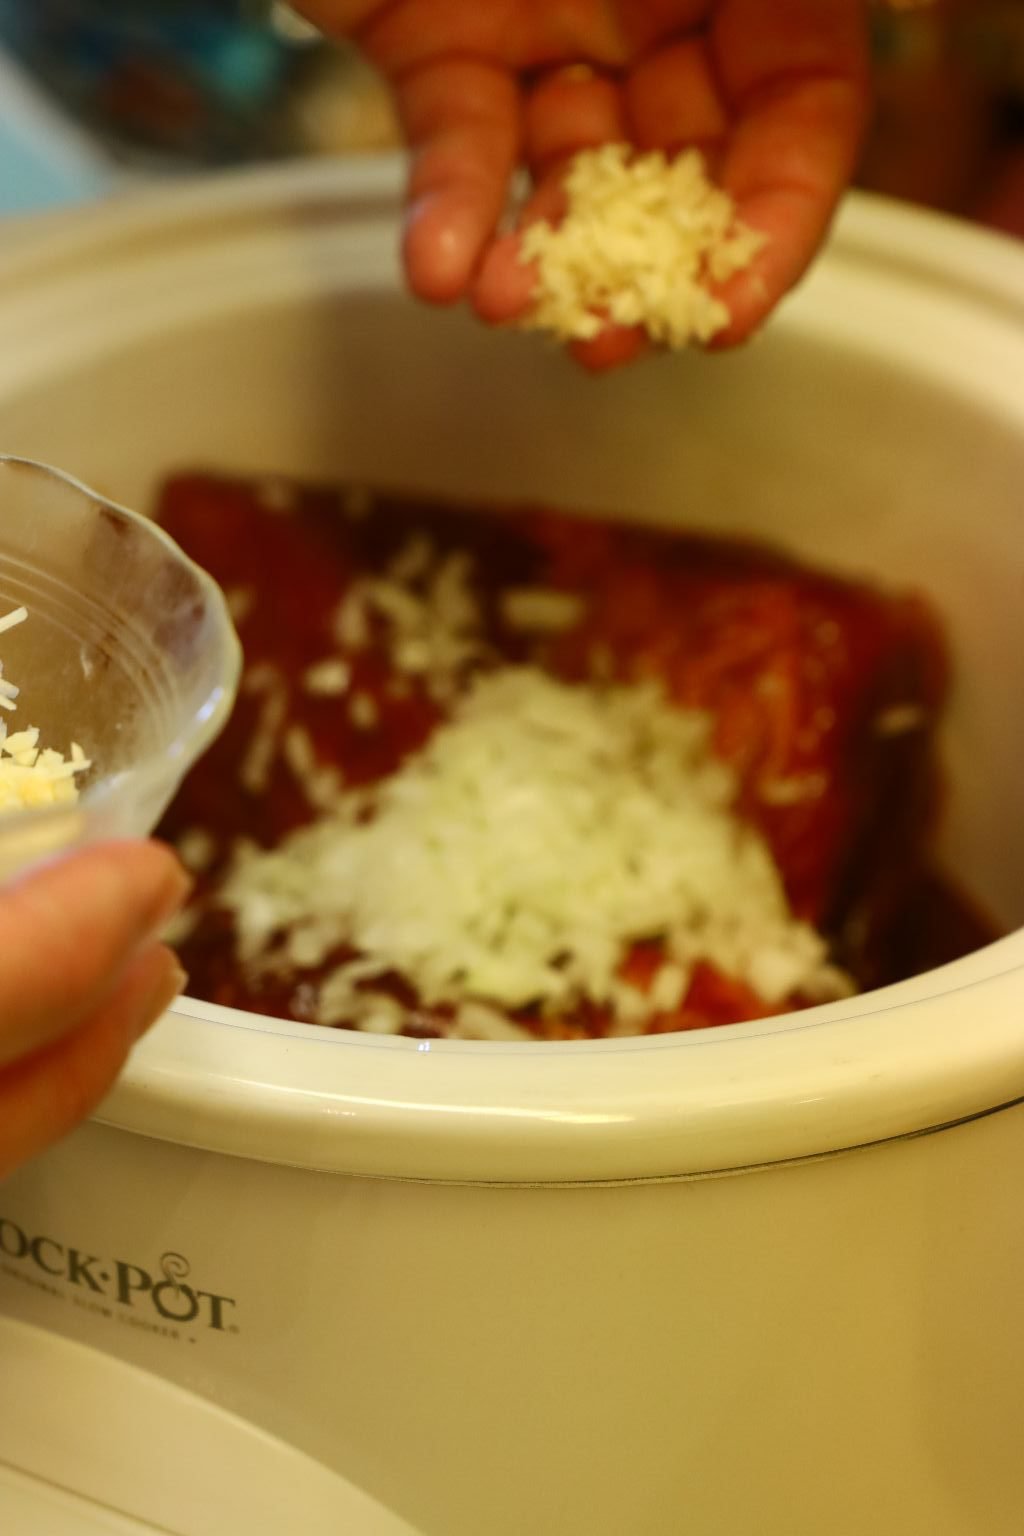

and sprinkle half of your chopped onion, garlic, and ginger over the meat.
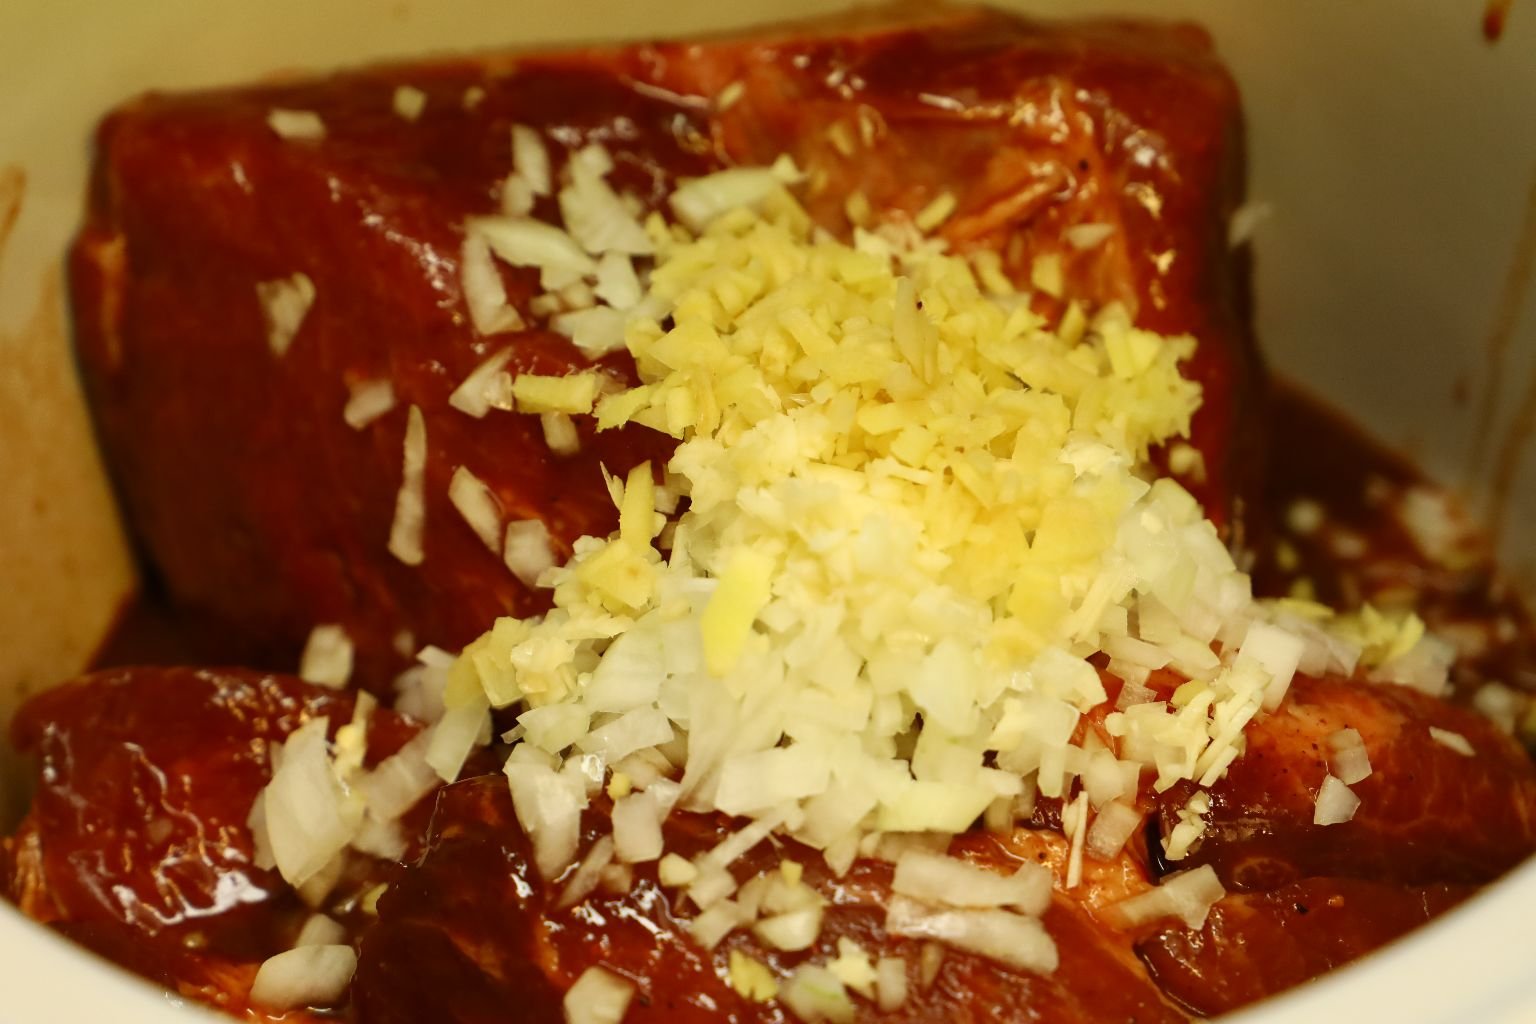
——————————————————————————–

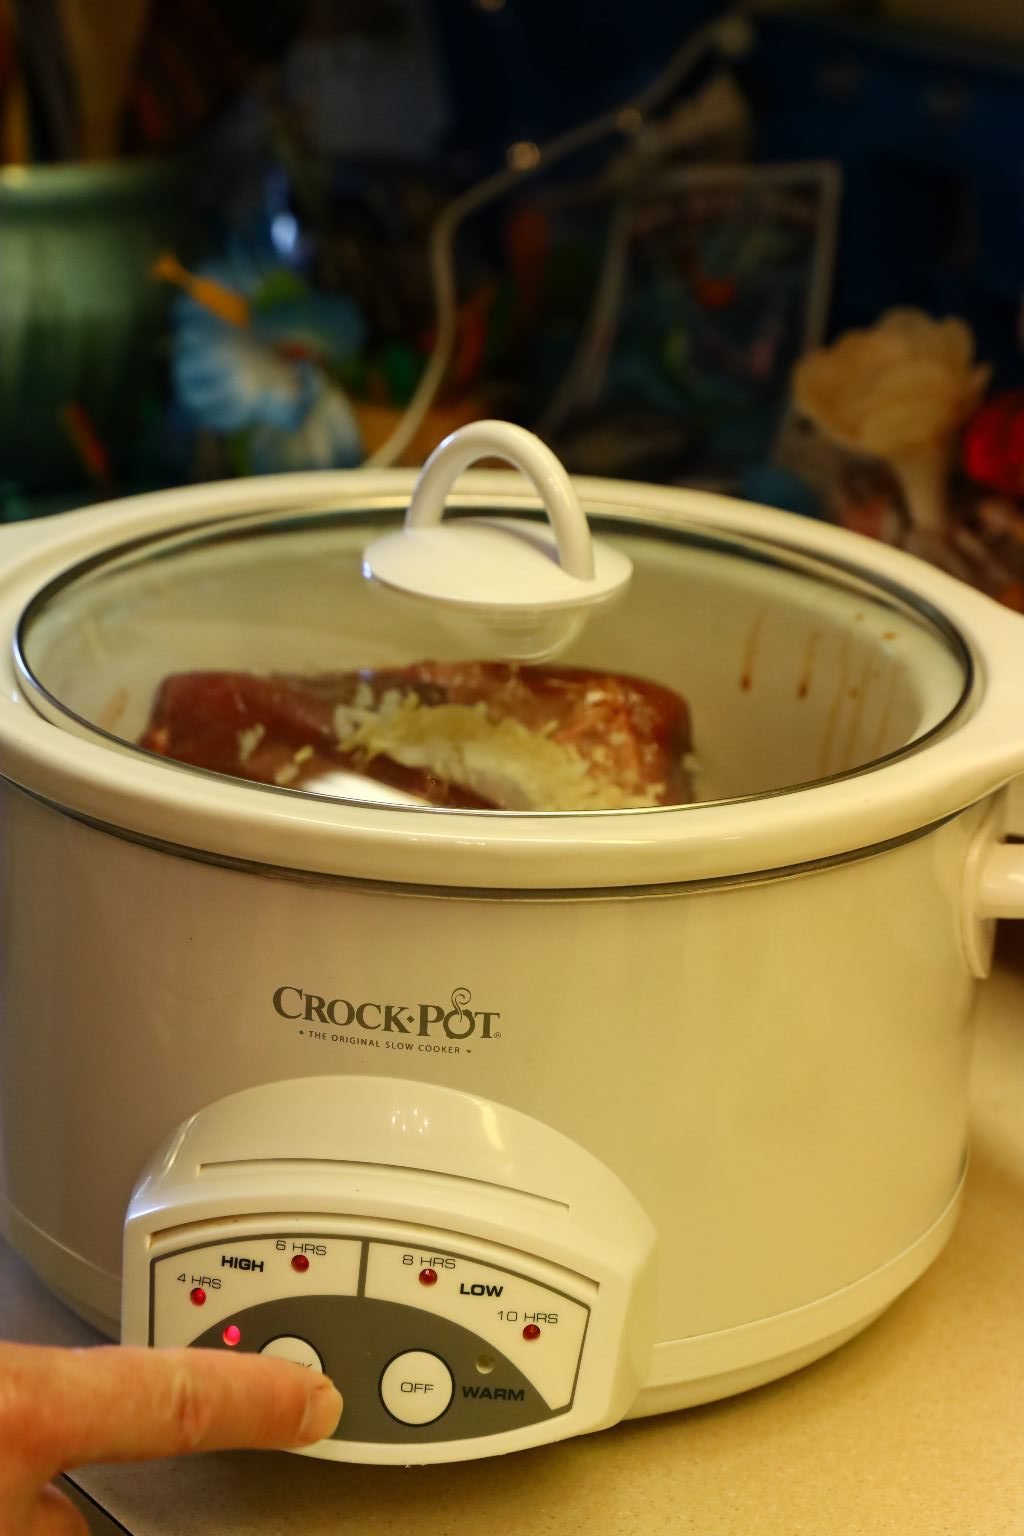
Add about half a cup of water over the meat to help the pork braise in the juices.
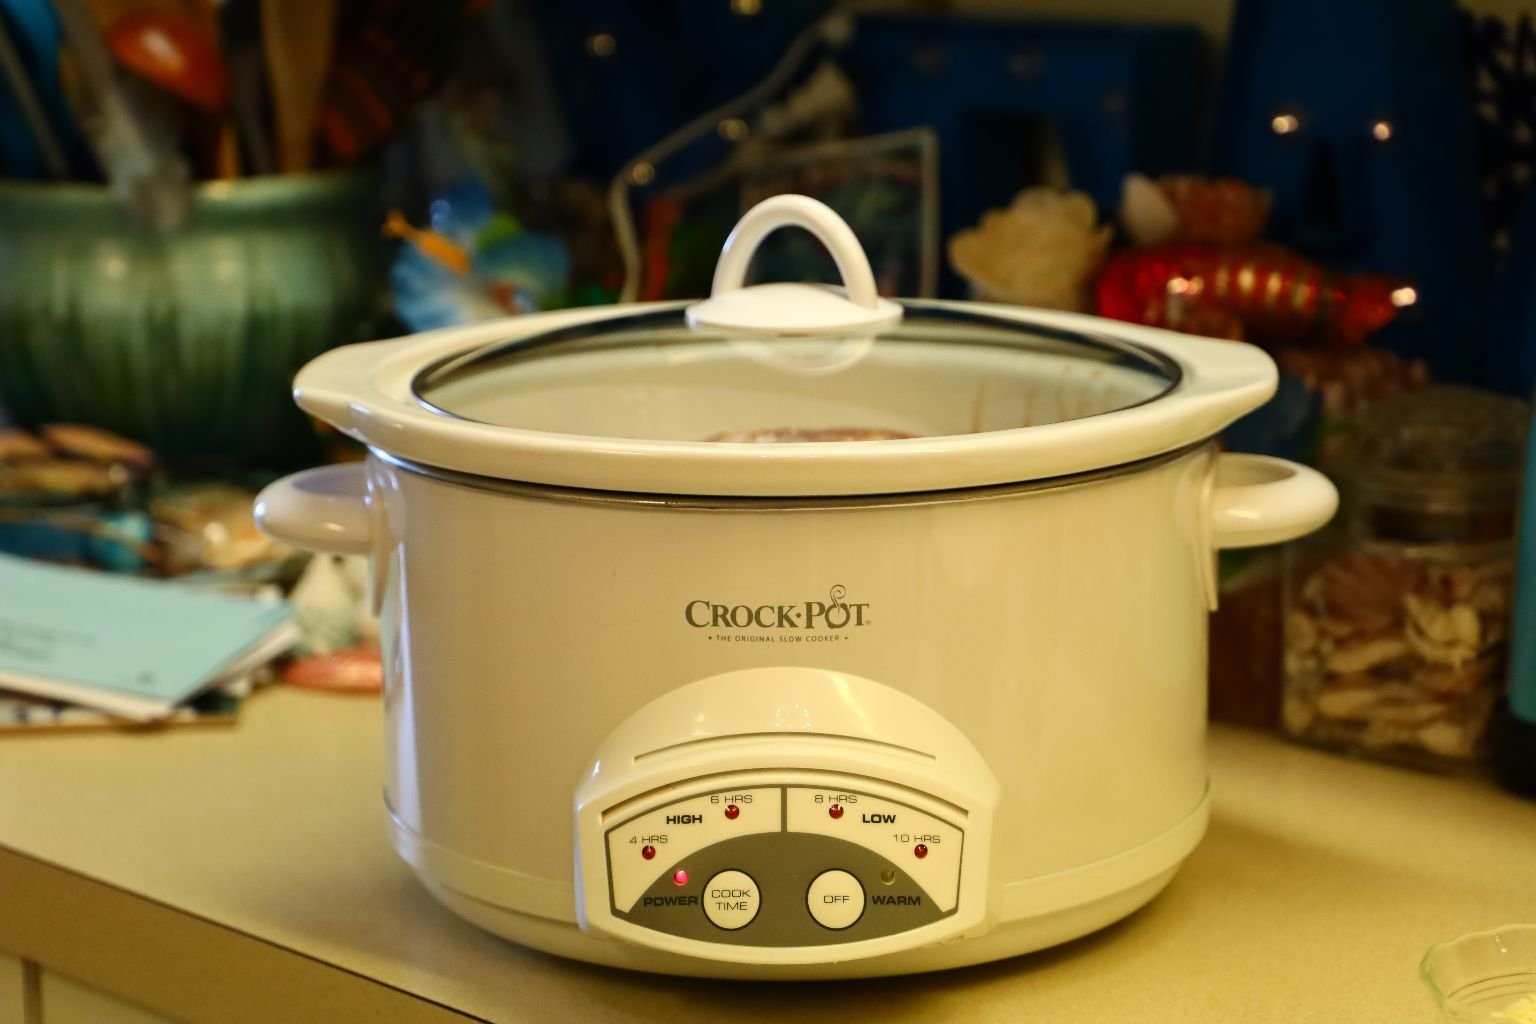
Turn the Slow Cooker on High for Four hours.
——————————————————————-
Now For The Dutch Oven
Turn Your Oven to 400F
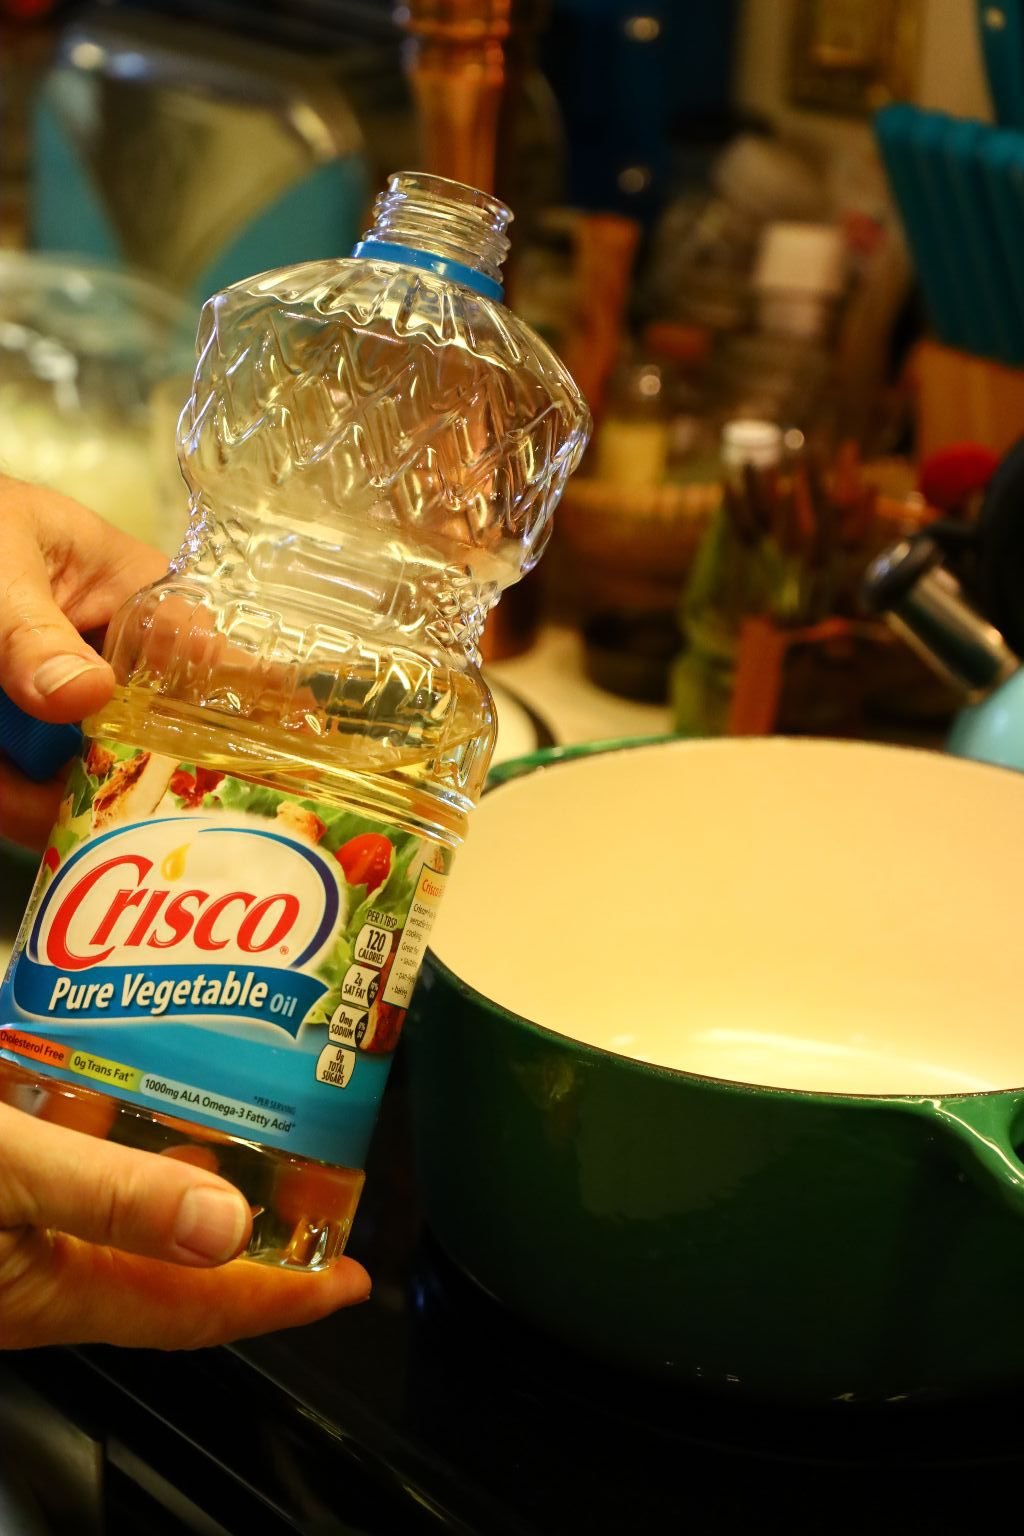

Pour about 2 Tbsp. Vegetable Oil into the Dutch oven to keep the meat from sticking.

Then just as before …

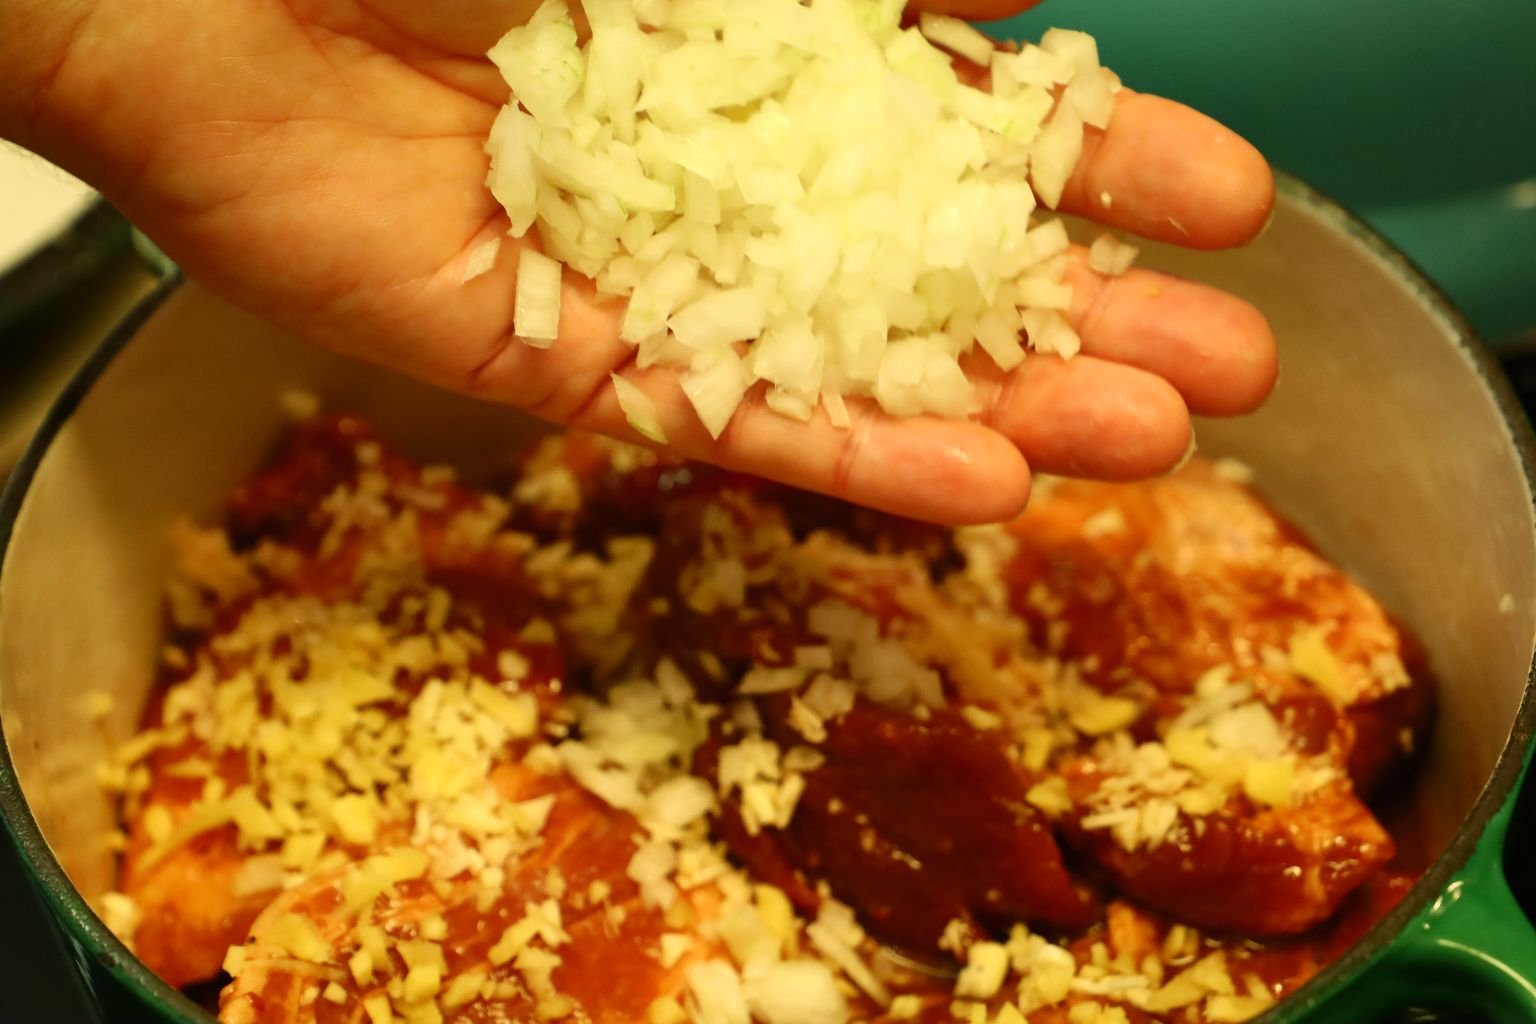
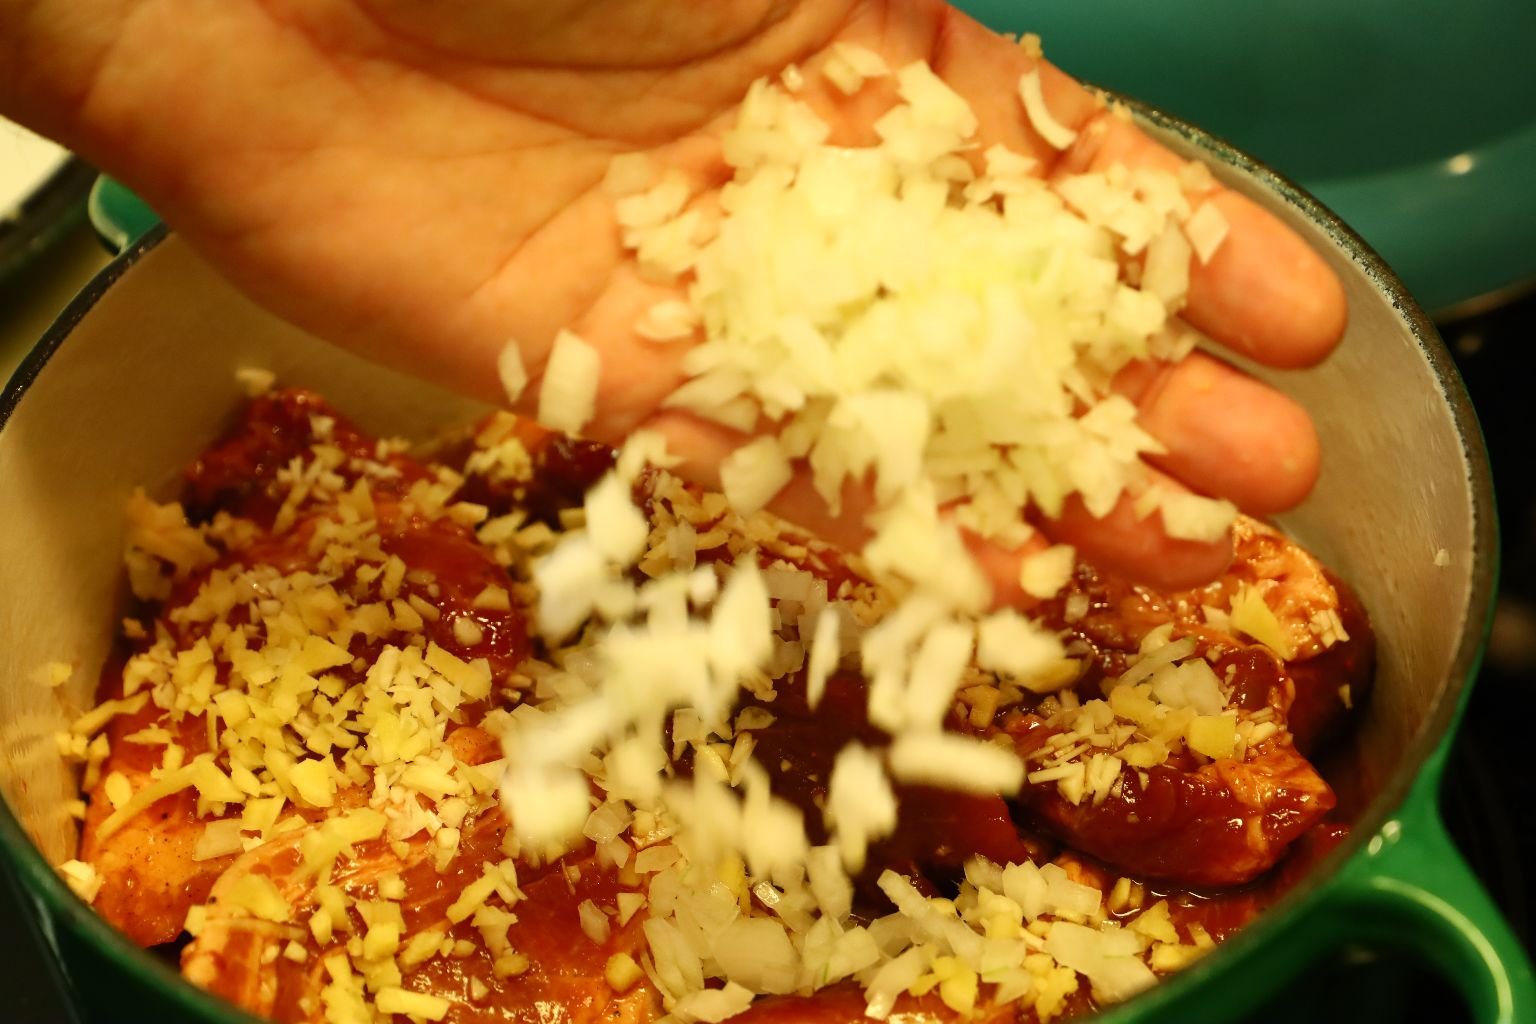
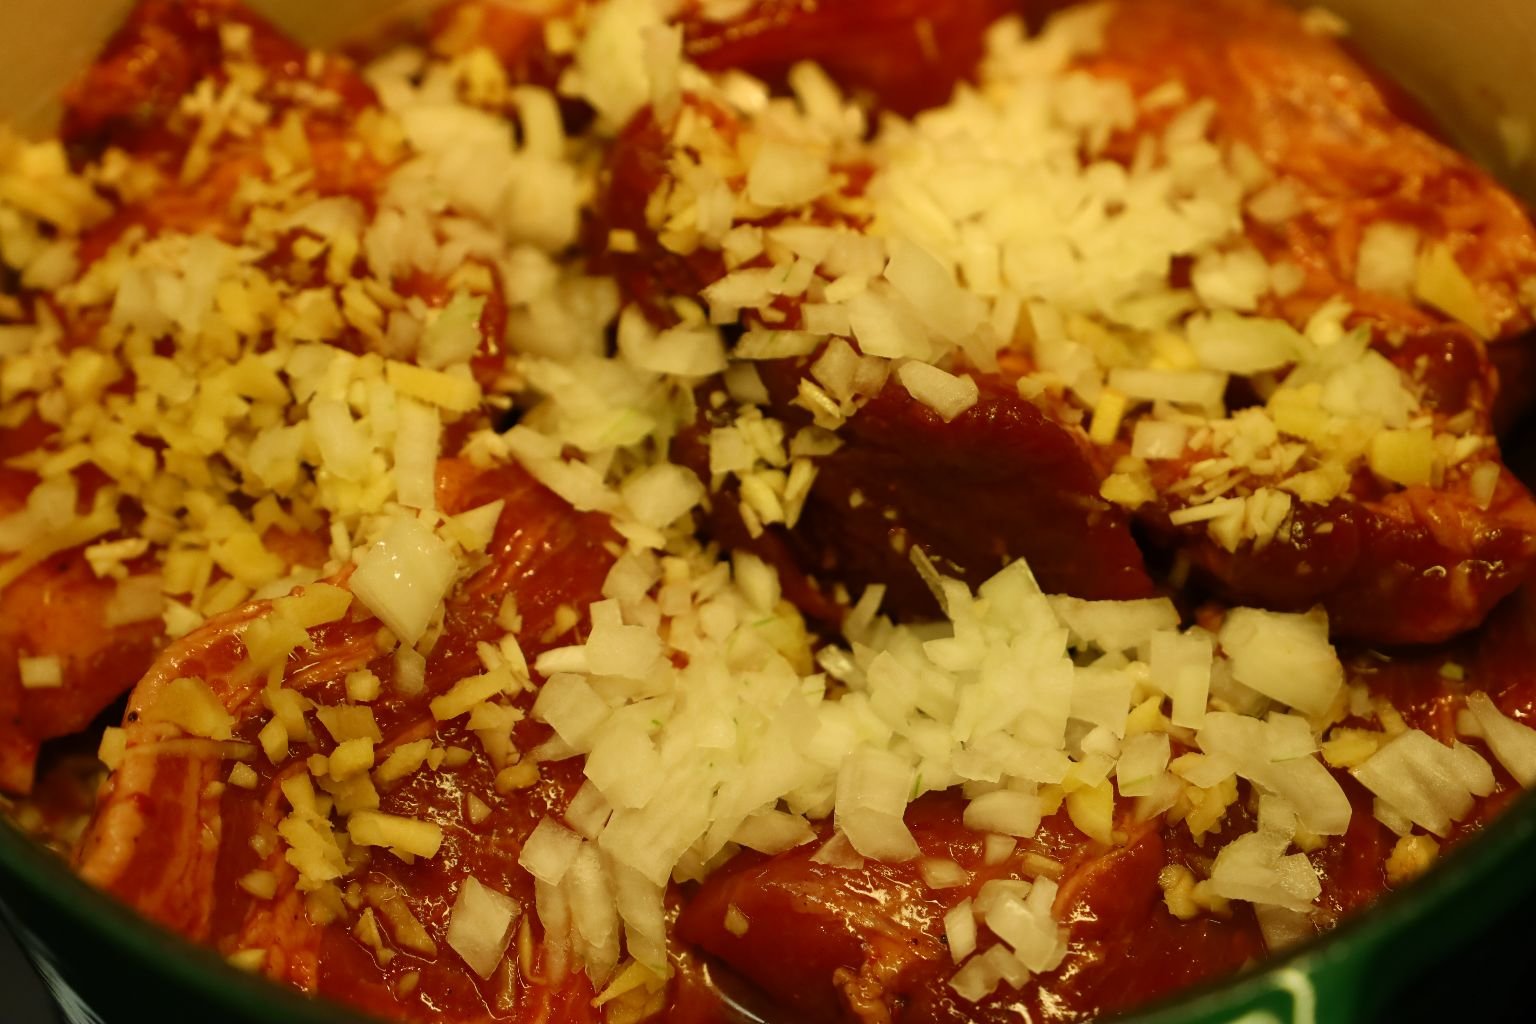
add the remaining onion, garlic, and ginger to the pork.

Add about 1/2 Cup of water to the Dutch Oven to braise the meat.
Now place into the 400F oven for about 4 hours.
You can check the meat before then to make sure it is cooking nicely.
———————————————————————-
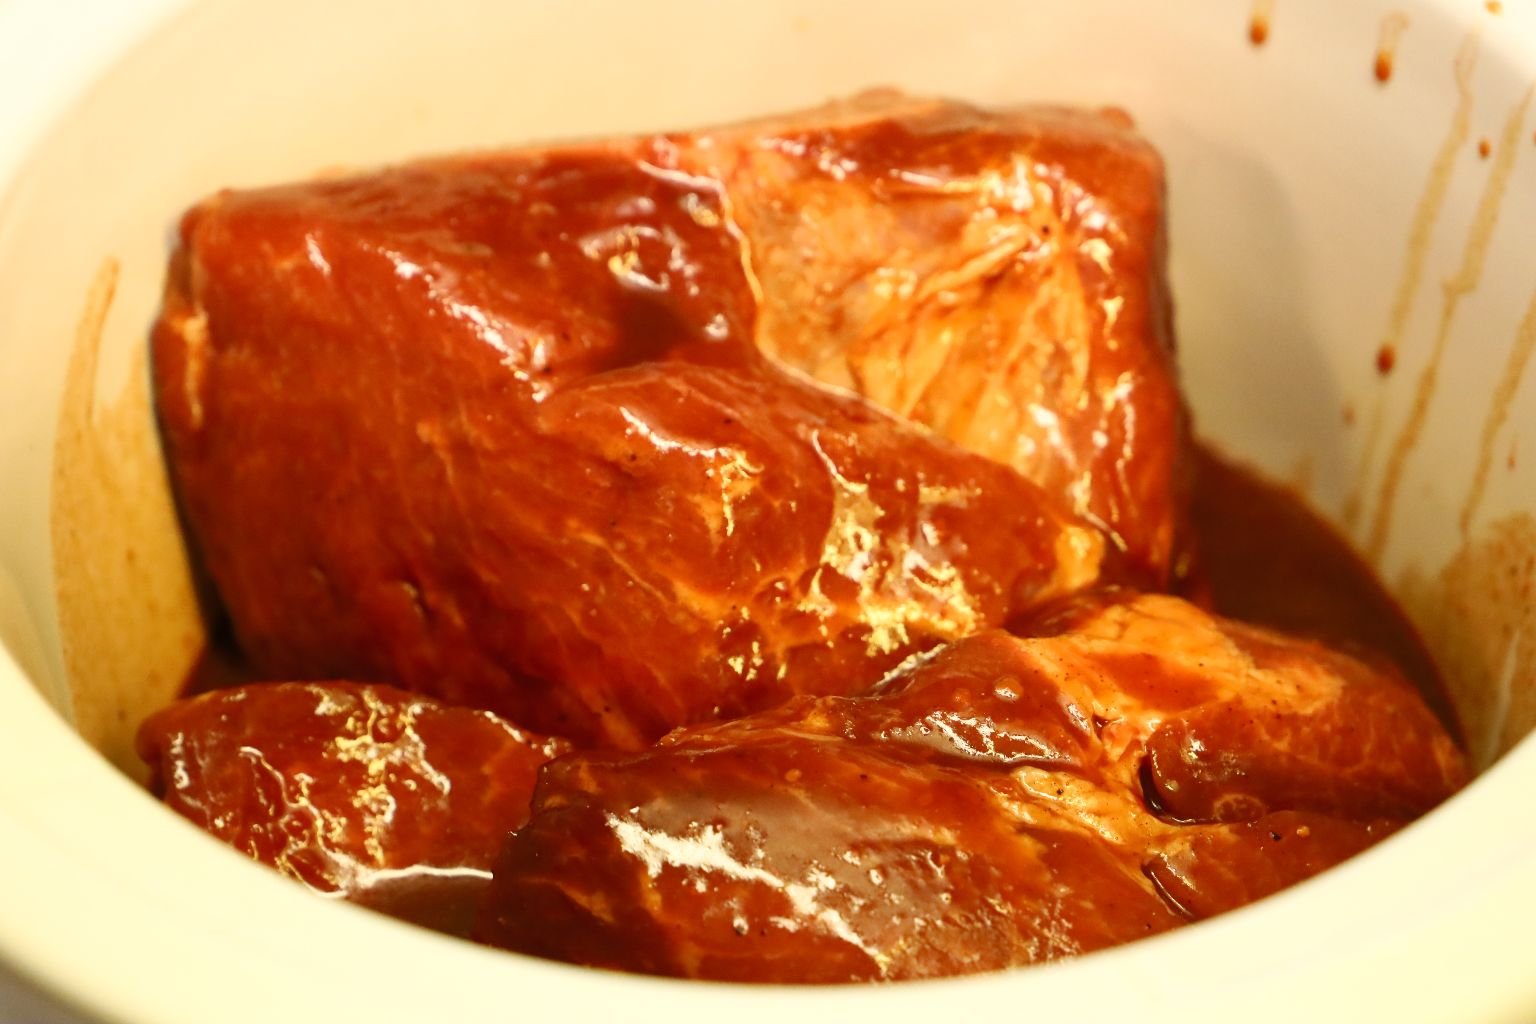
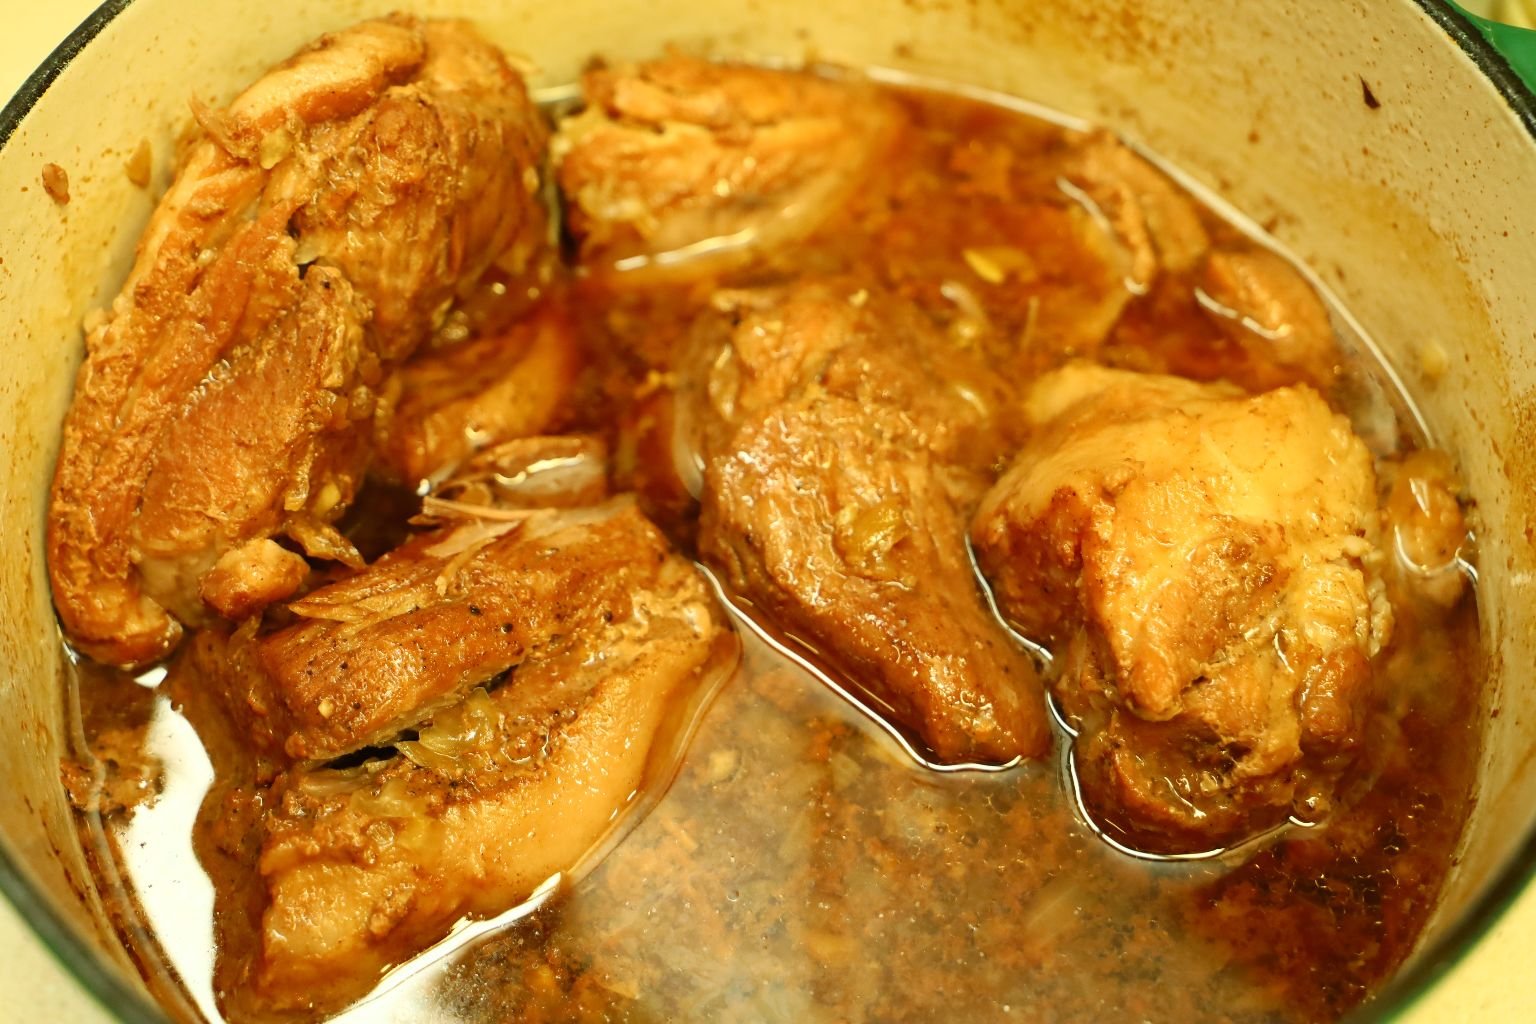
The Slow Cooker
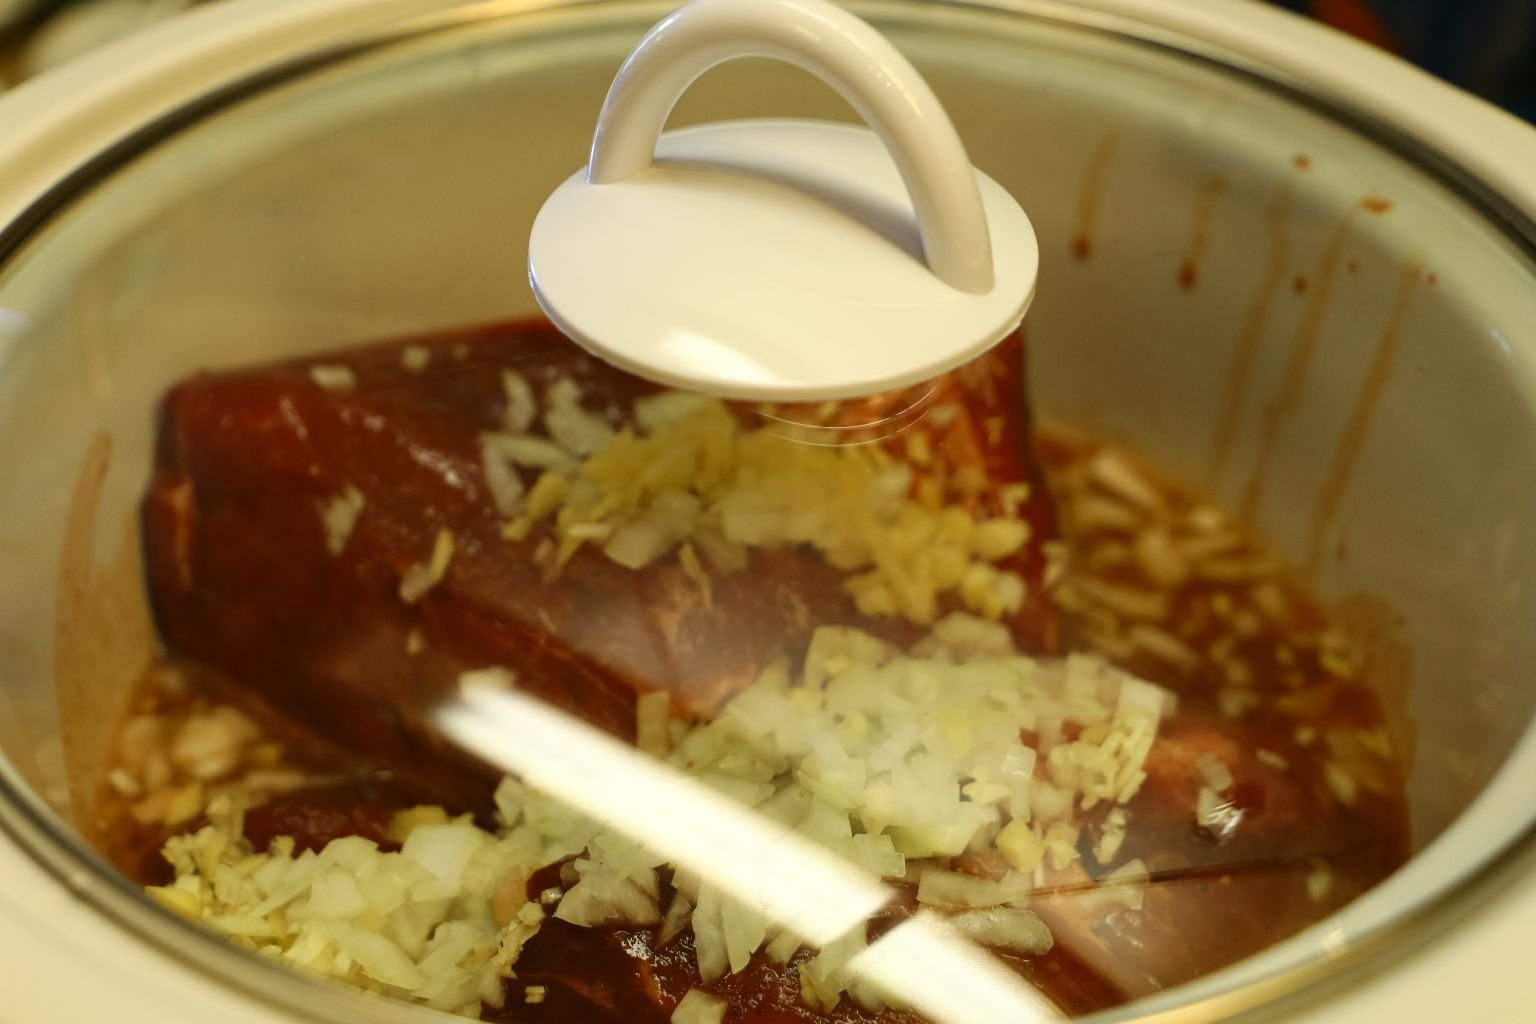
Here, you can see the meat is cooking in the slow cooker.
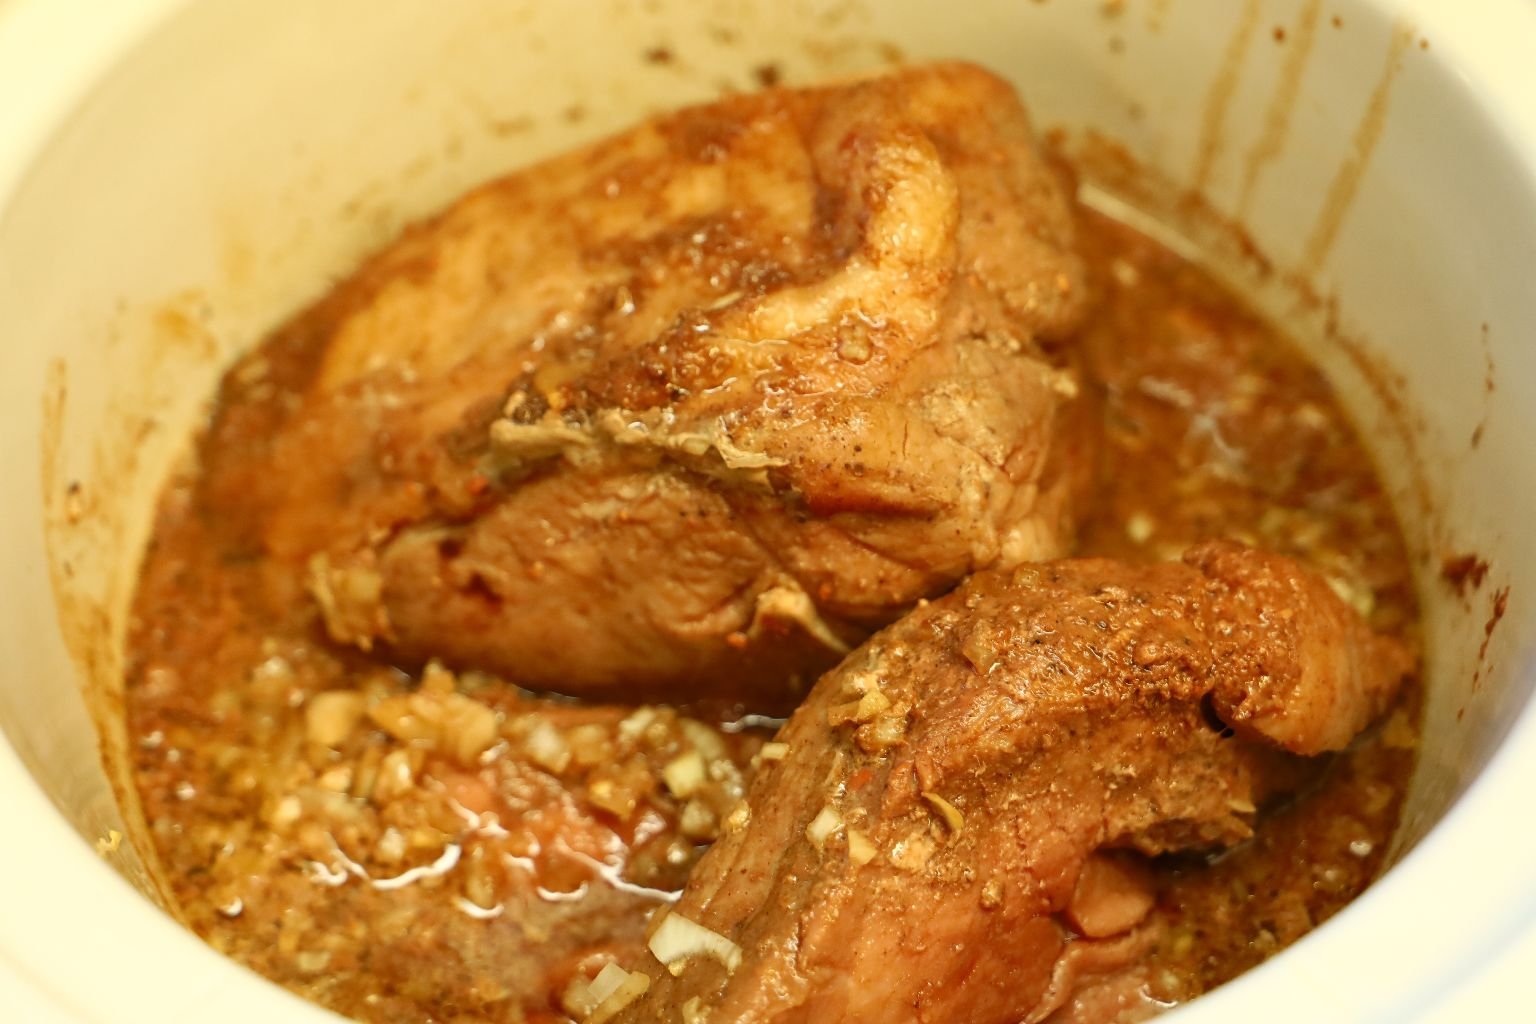
When the four hours are done, the meat will look like this.
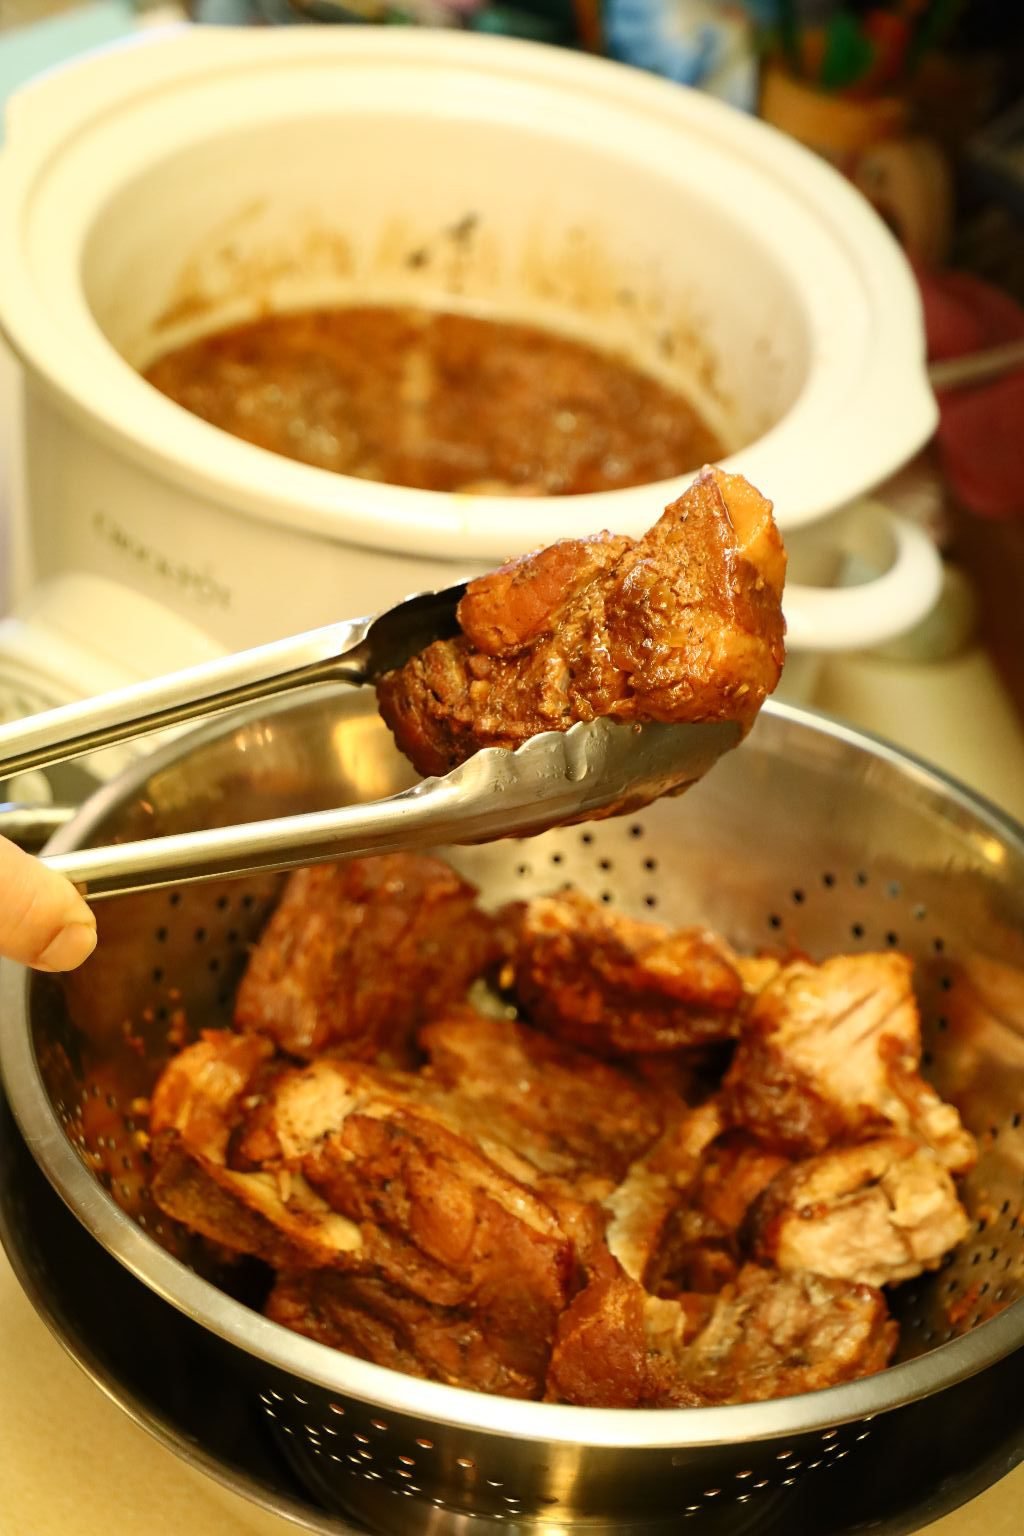

Remove the meat with tongs and drain in a colander.
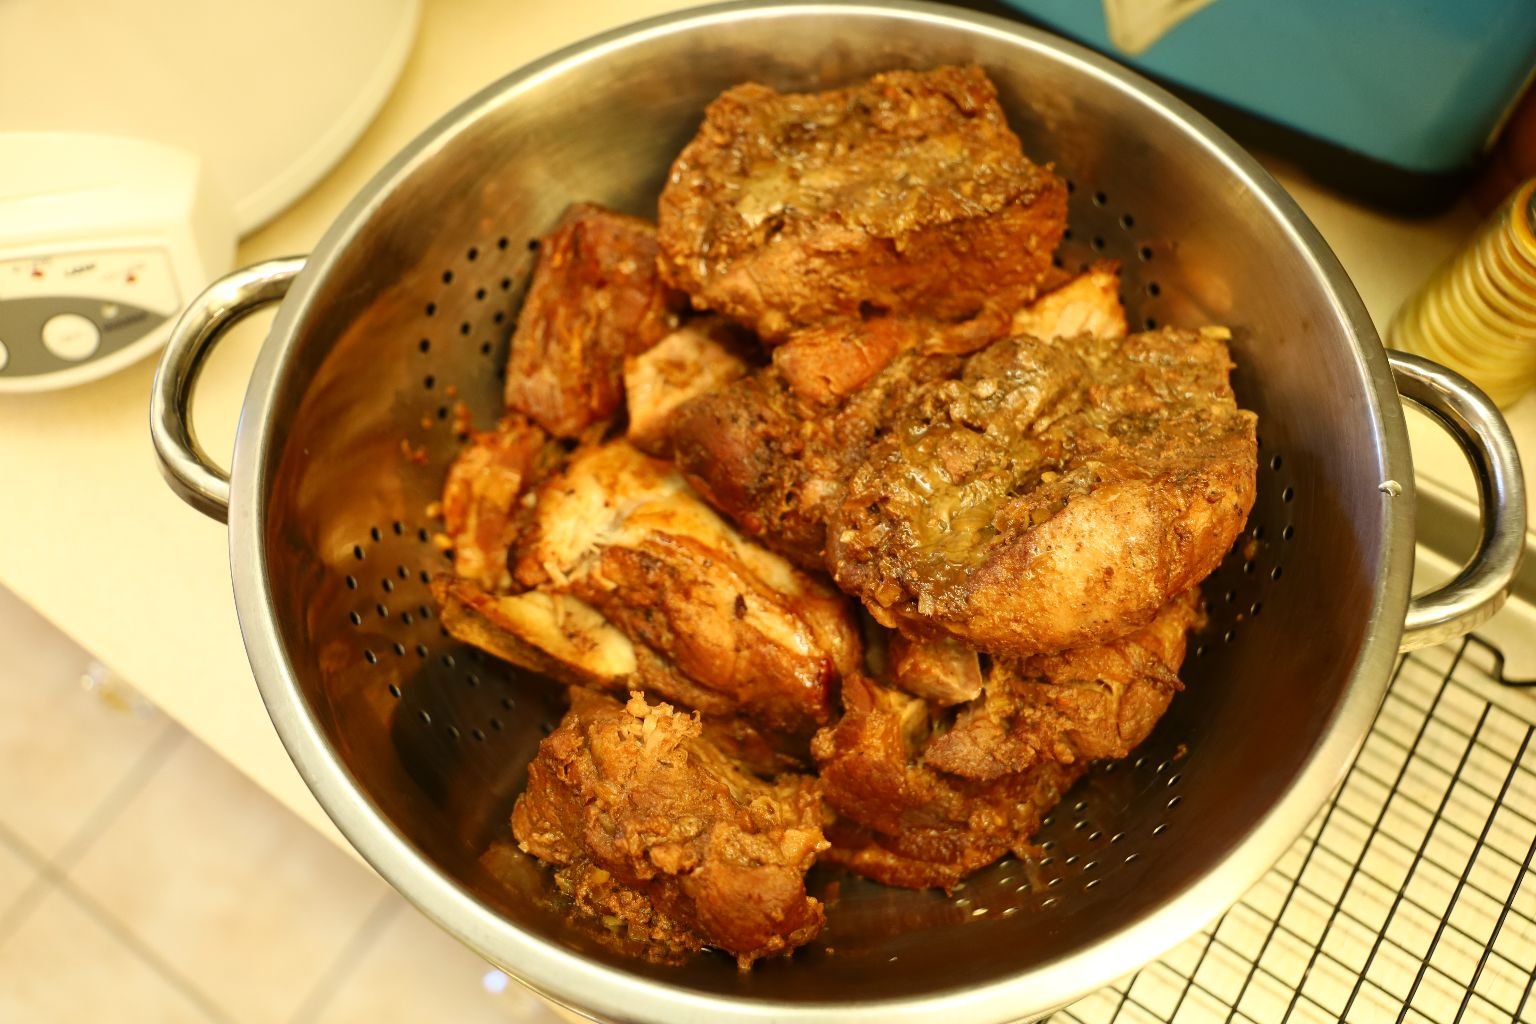
Doesn’t it Look Delicious?
—————————————————————————————————
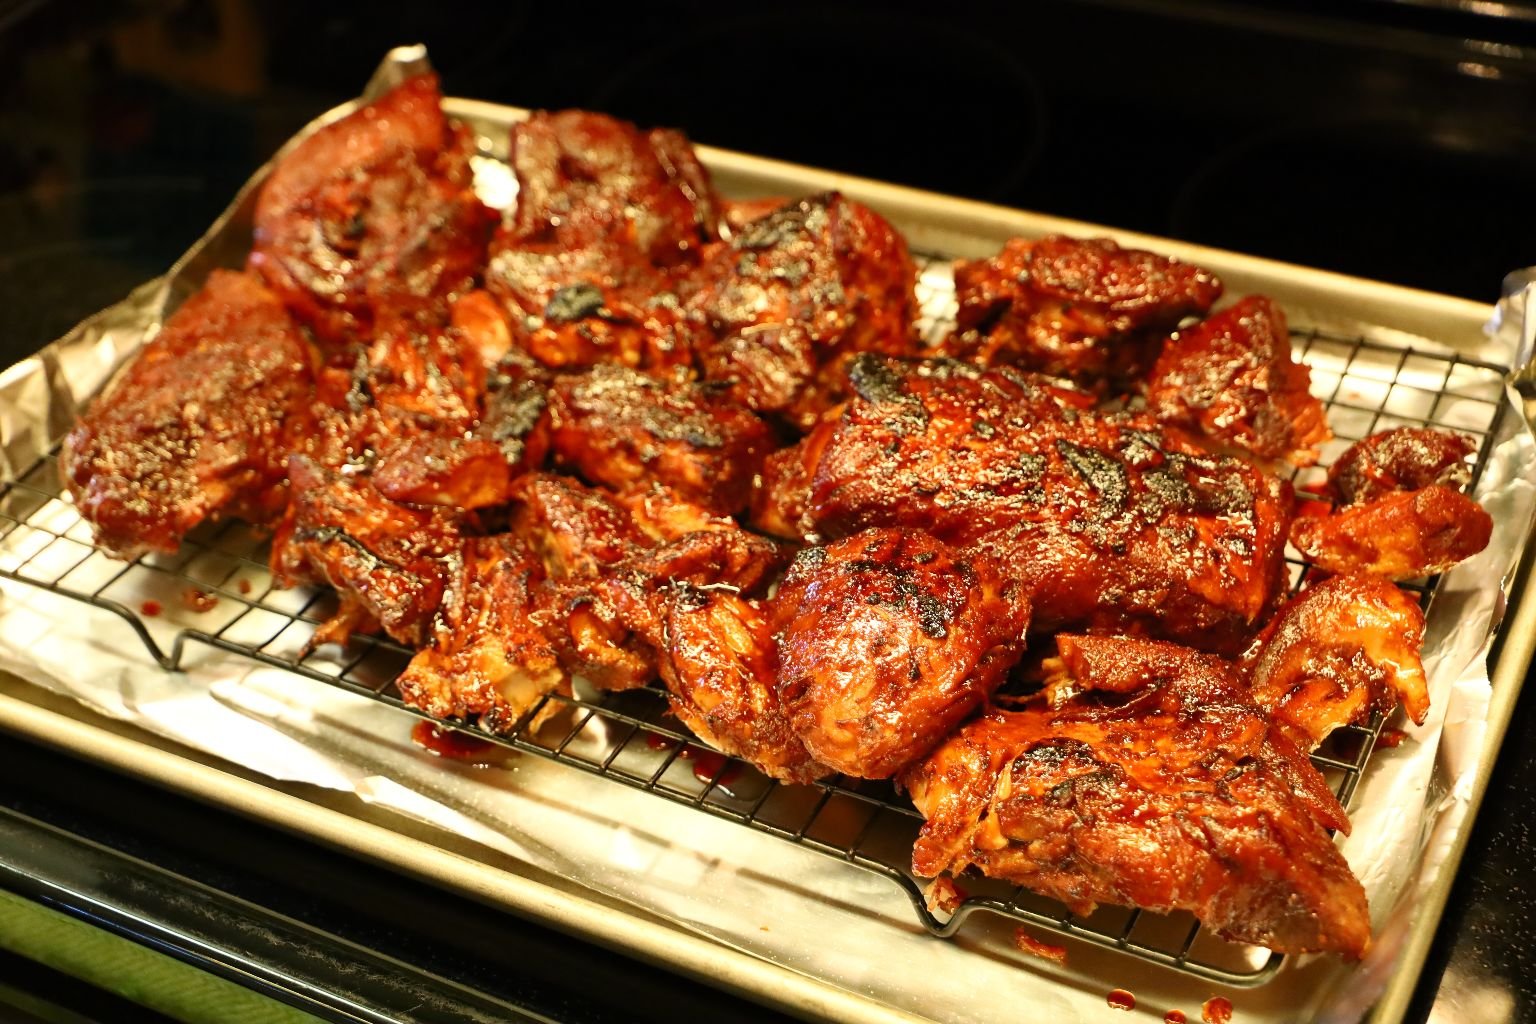
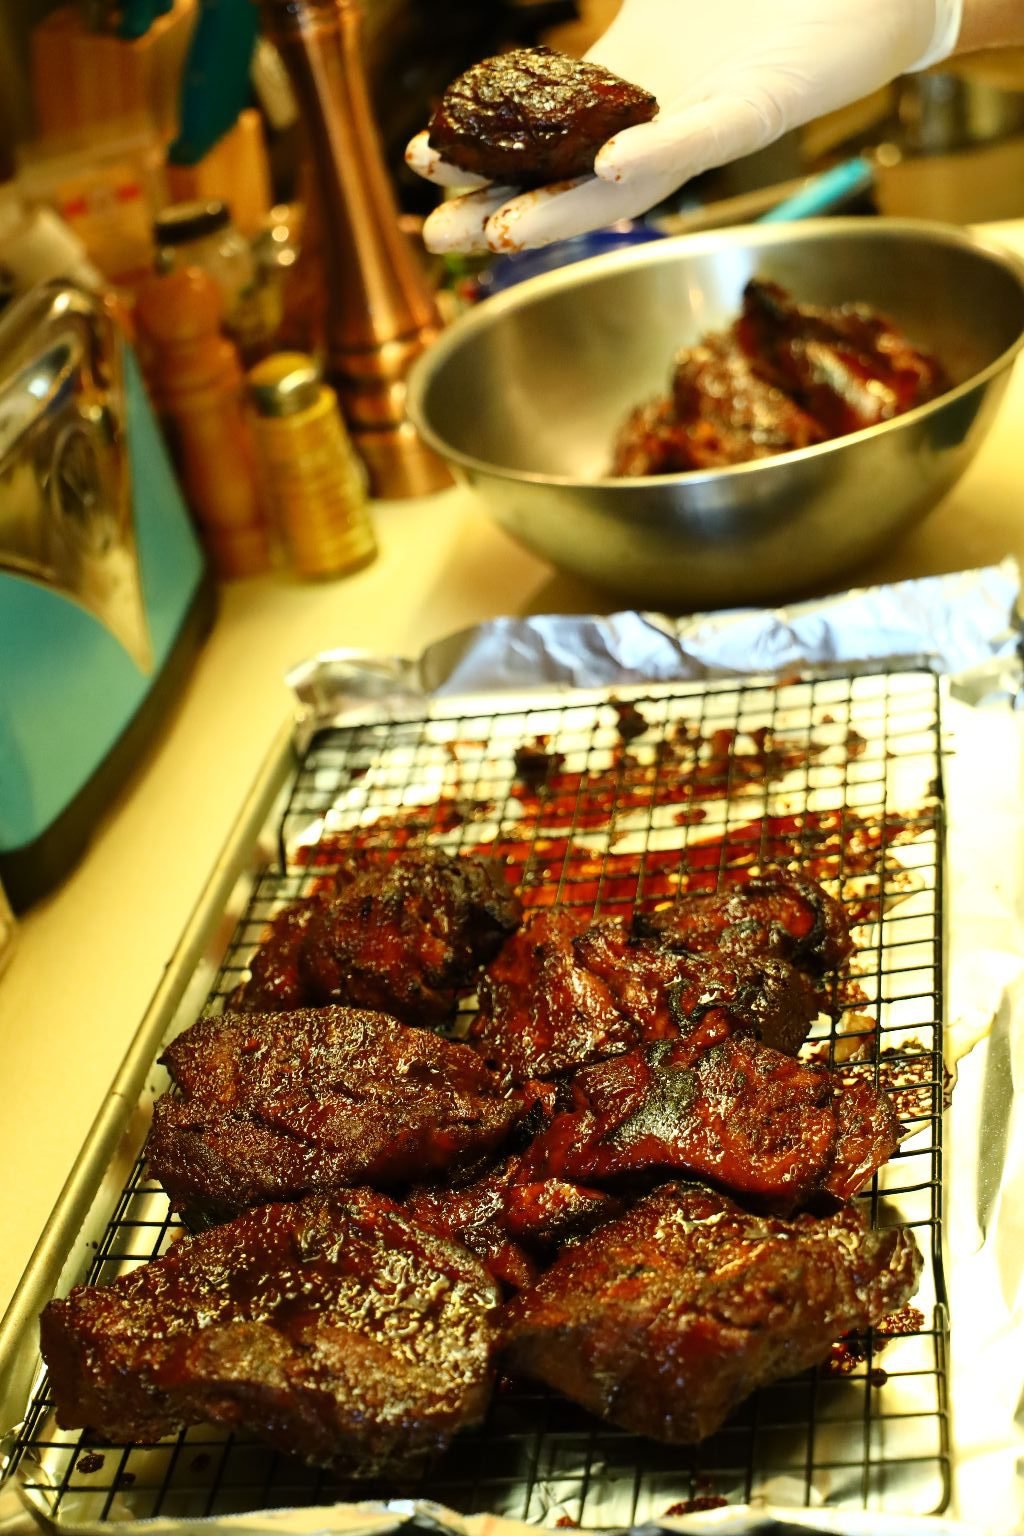
Time to Char the Meat

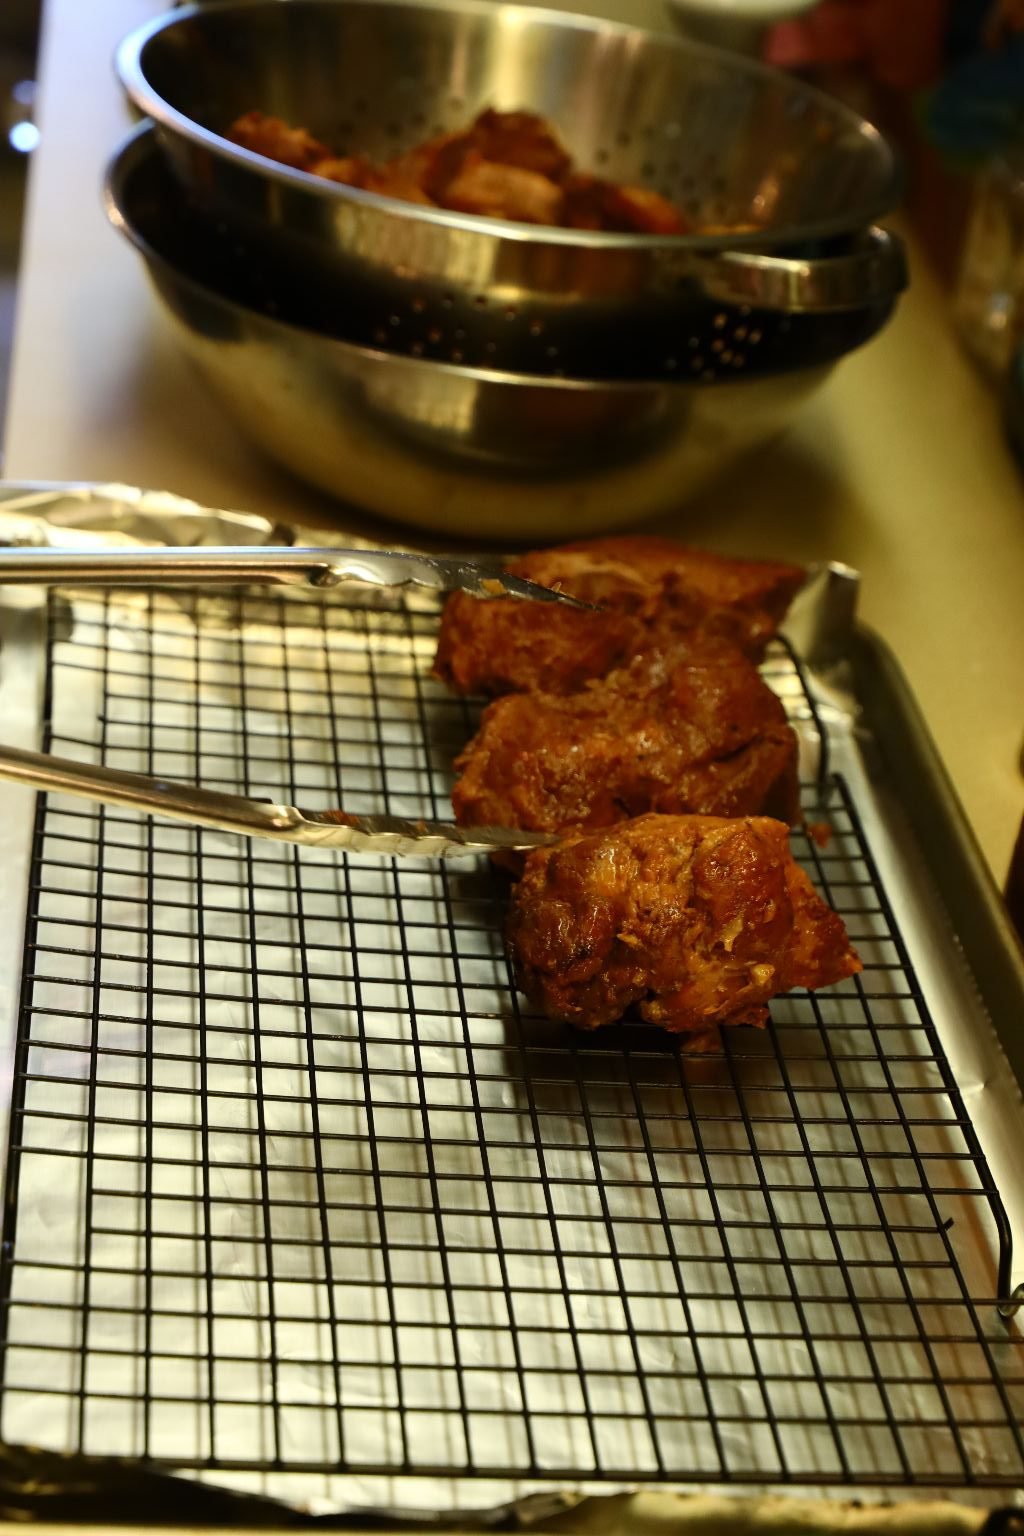
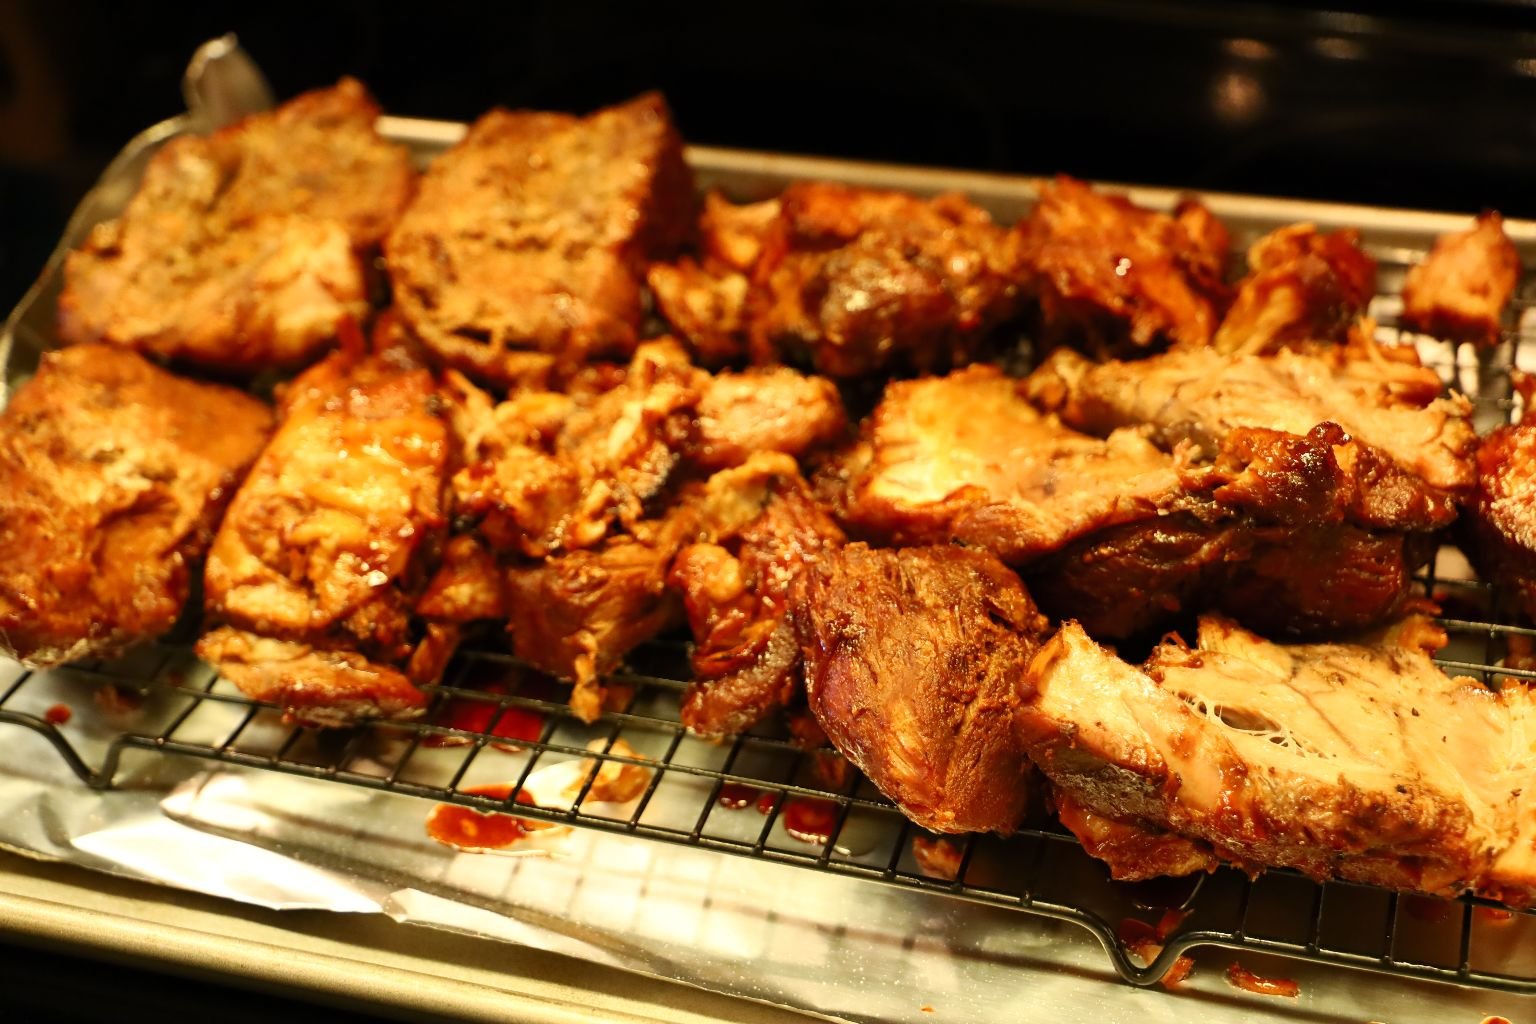
Place a cooling rack on a sheet pan lined with aluminum foil. Place the cooked chunks of meat on top of the cooling rack.
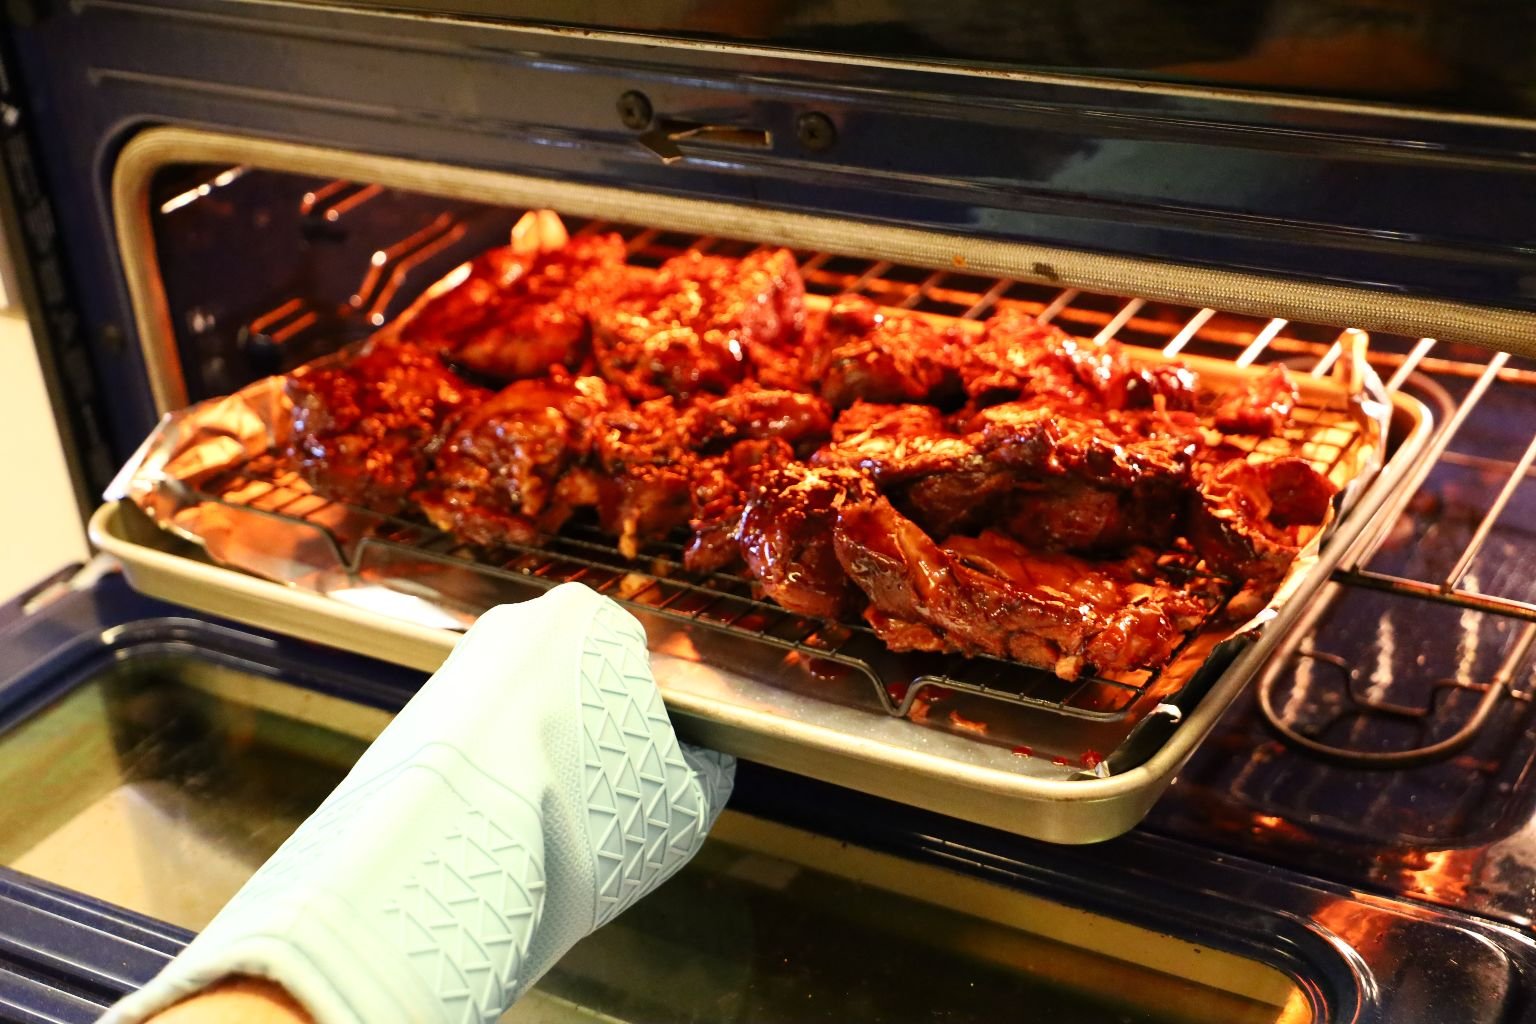
Now Turn Your Broiler to High
Using your broiler, cook the meat until just a little char begins and remove the meat.
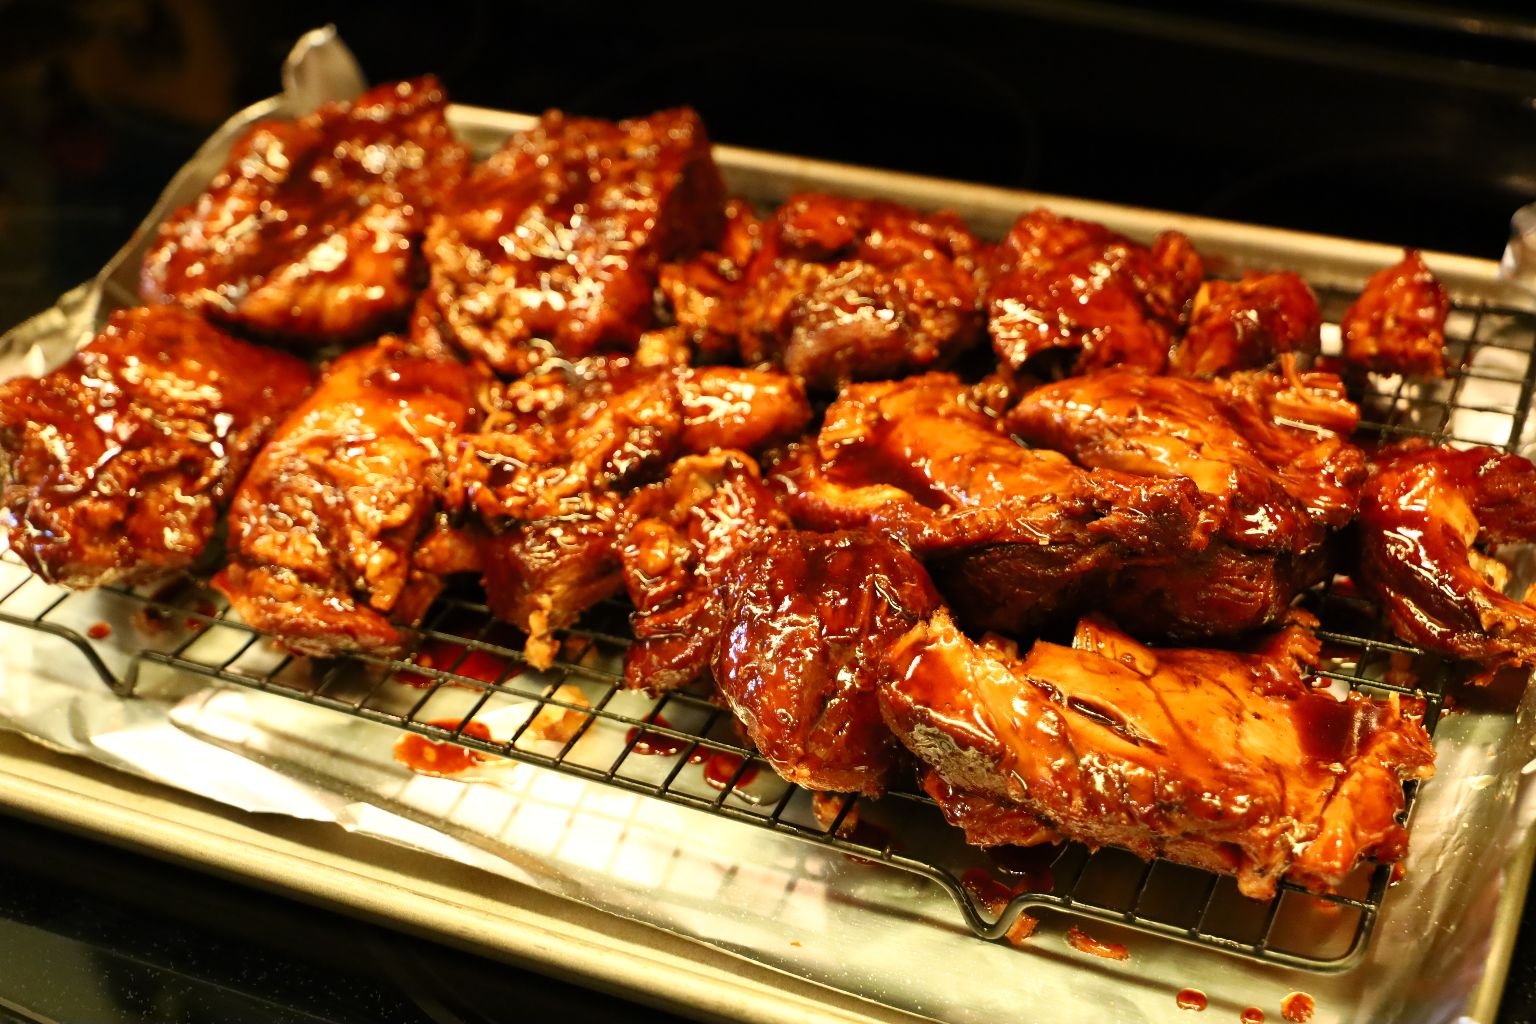
Brush your marinade over the meat until every piece is covered.
(Remember, you made 2 batches of the marinade earlier. One to marinate and cook the meat in, and now the 2nd. batch to use as a sauce to brush on to the meat like a BBQ sauce.)
Coat Very Well
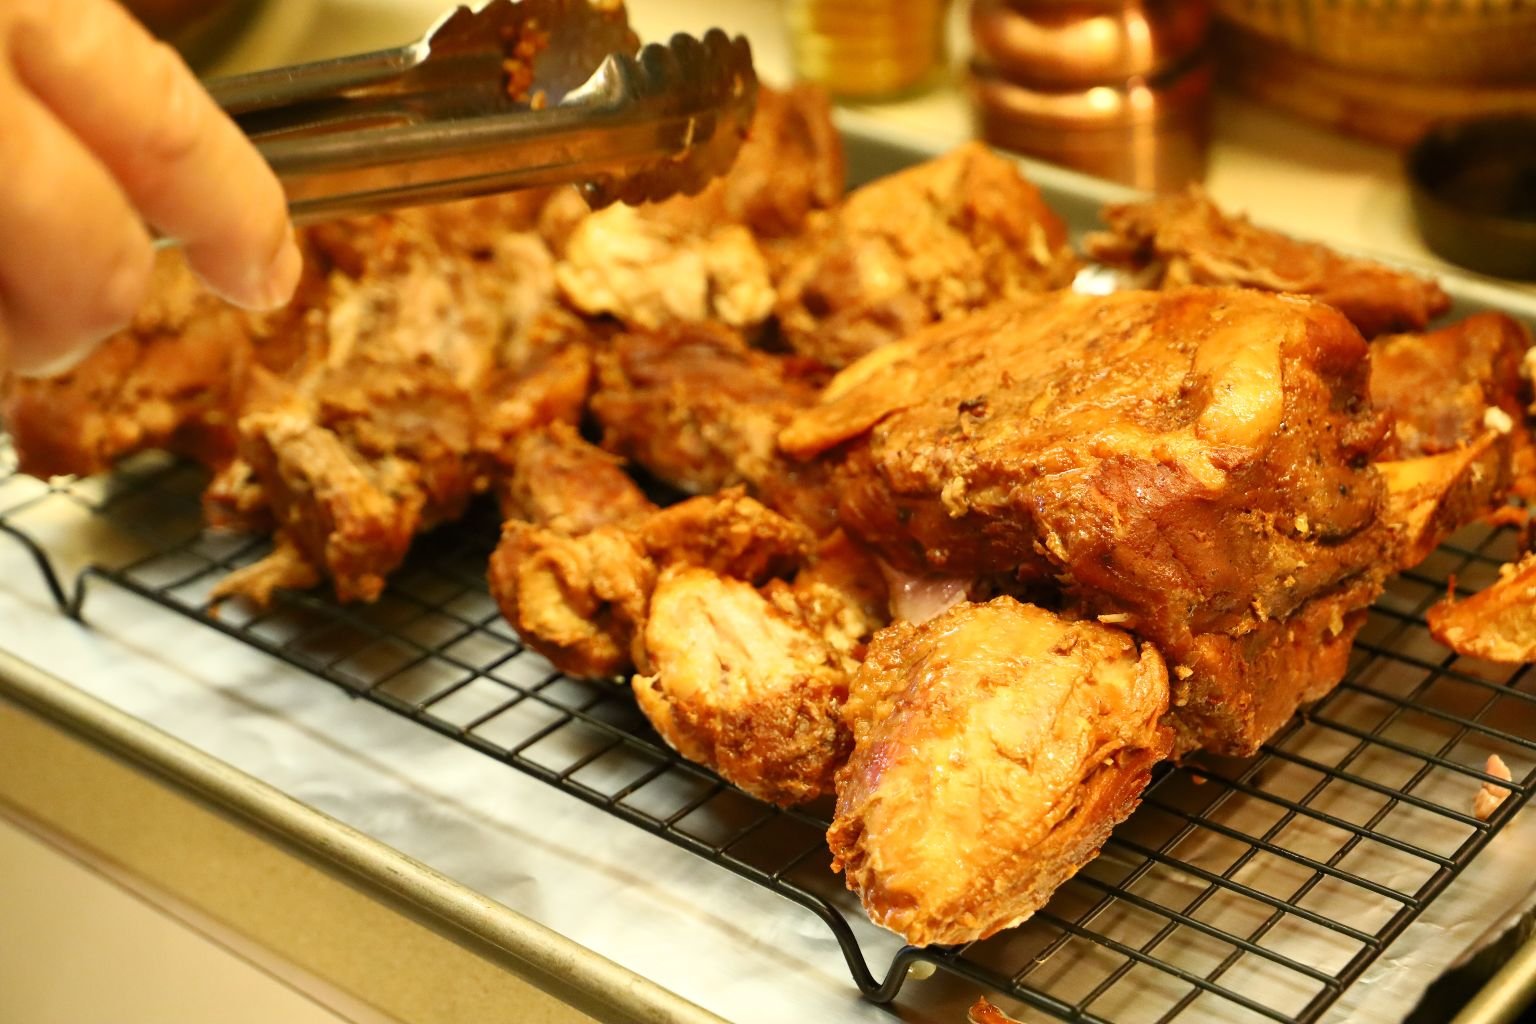
Place your meat back under the broiler and cook until it starts to brown.
———————————————————————-

You can see the meat turning that nice char color.
Turn the meat over …
and brush this side with the marinade, then broil the meat again until is browns.
When it is cooked to your desired look, set it aside to cool.
—————————————————————
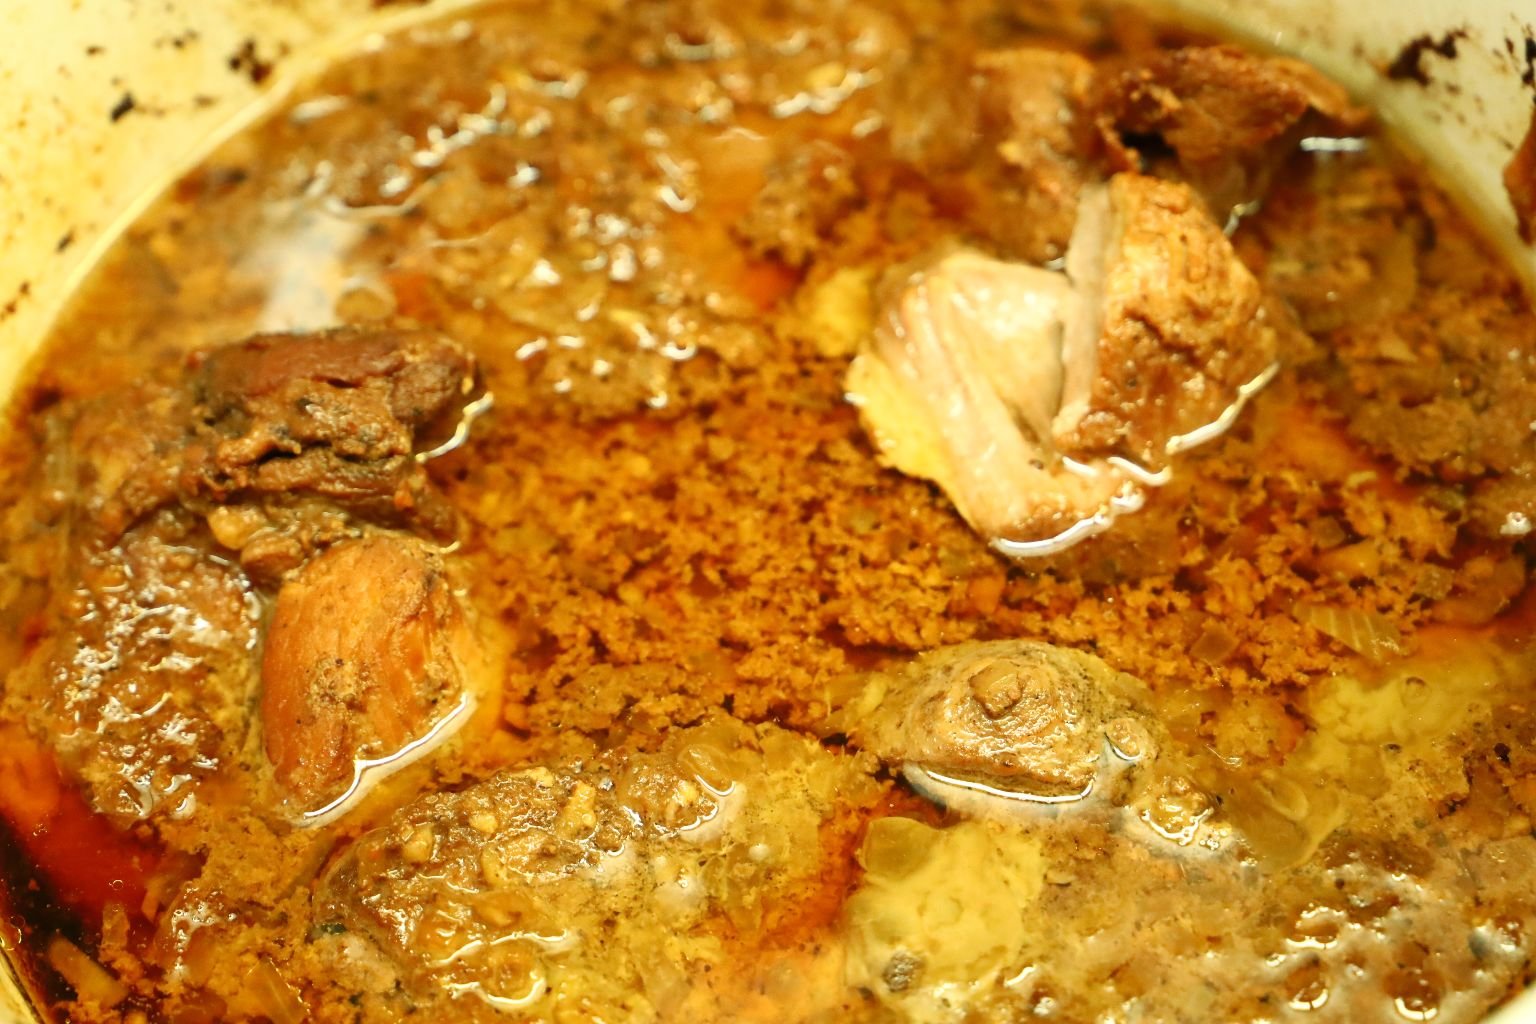
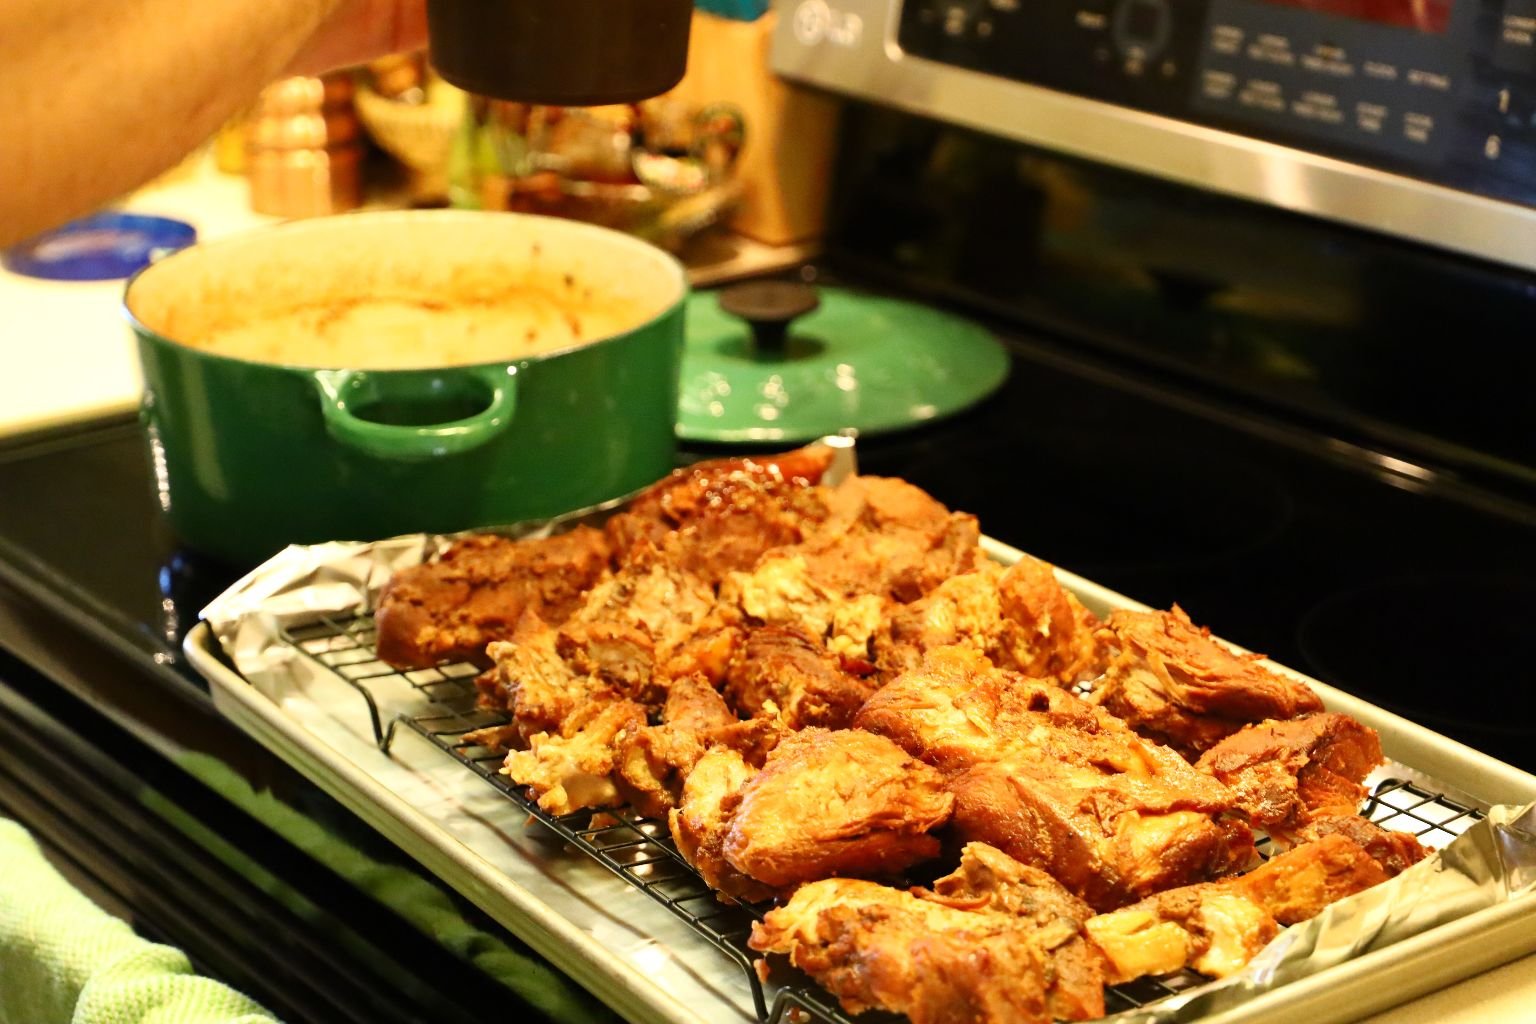
Dutch Oven Pork is Ready
———————————————————-
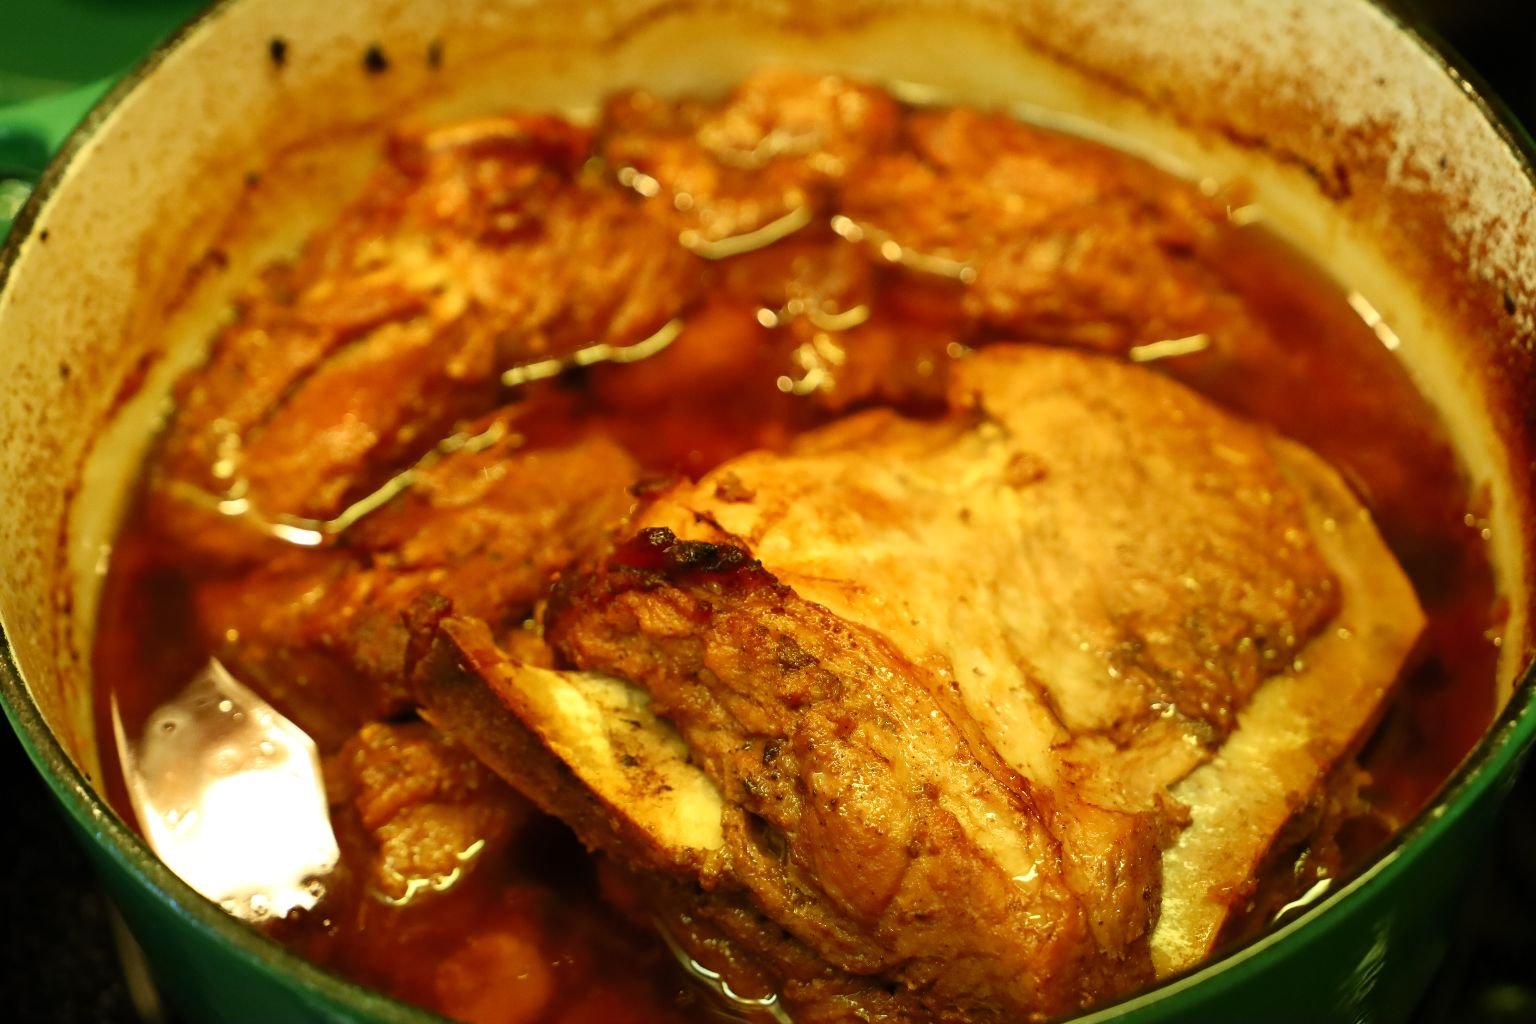
When cooked it will look like this!

Here is the Dutch Oven along side the pot and steamer we will use later for our Manapua.


Remove the meat with tongs and drain in a colander.
You want to do the same thing we did above. This is just another way to cook the pork. Some people prefer a slow cooker/crock pot, and other’s prefer oven cooking. We like both!
——————————————————————————

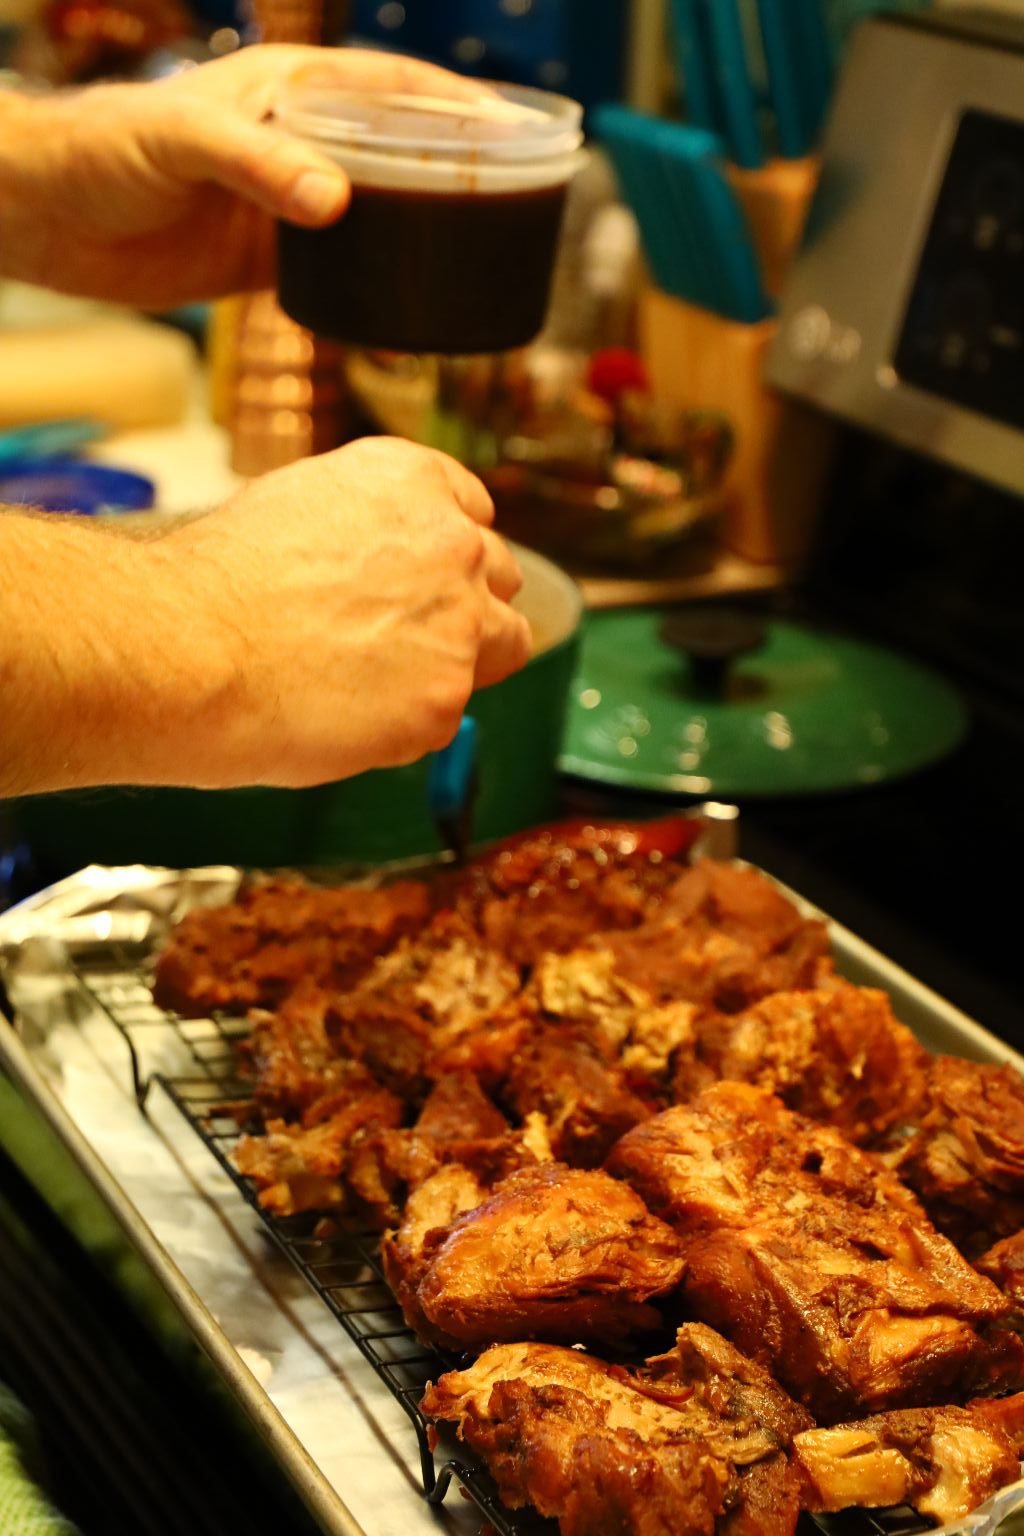
Again, brush your marinade over all the meat.
Broil the meat on both sides as before… it looks great!
————————————————————————–
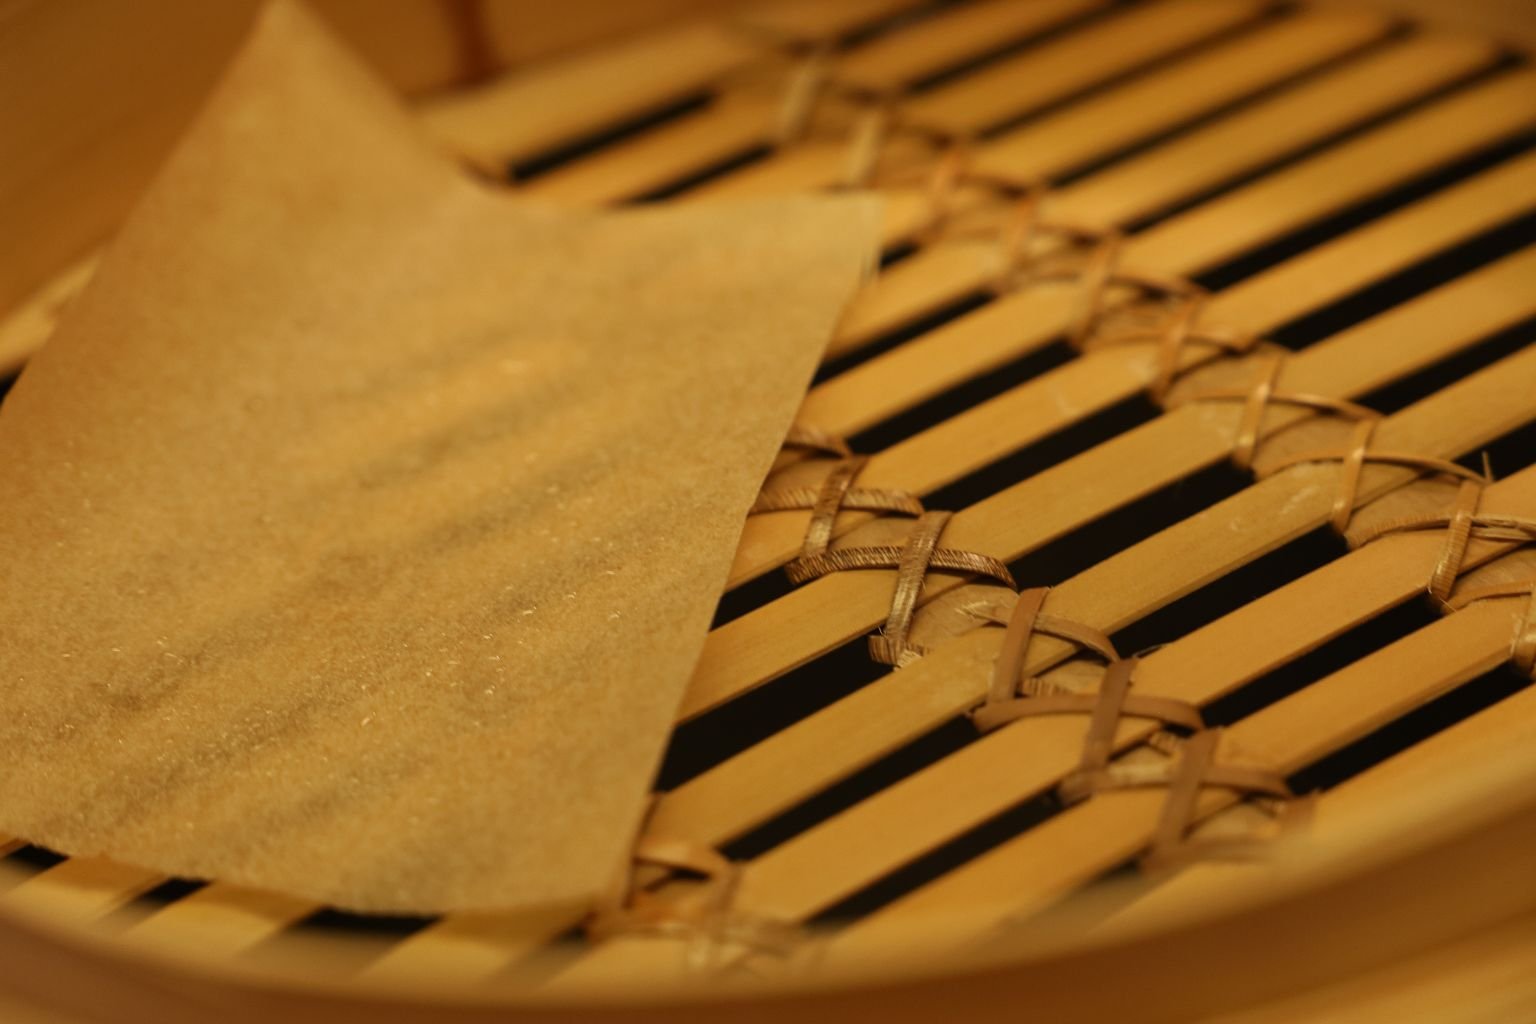
Parchment Paper
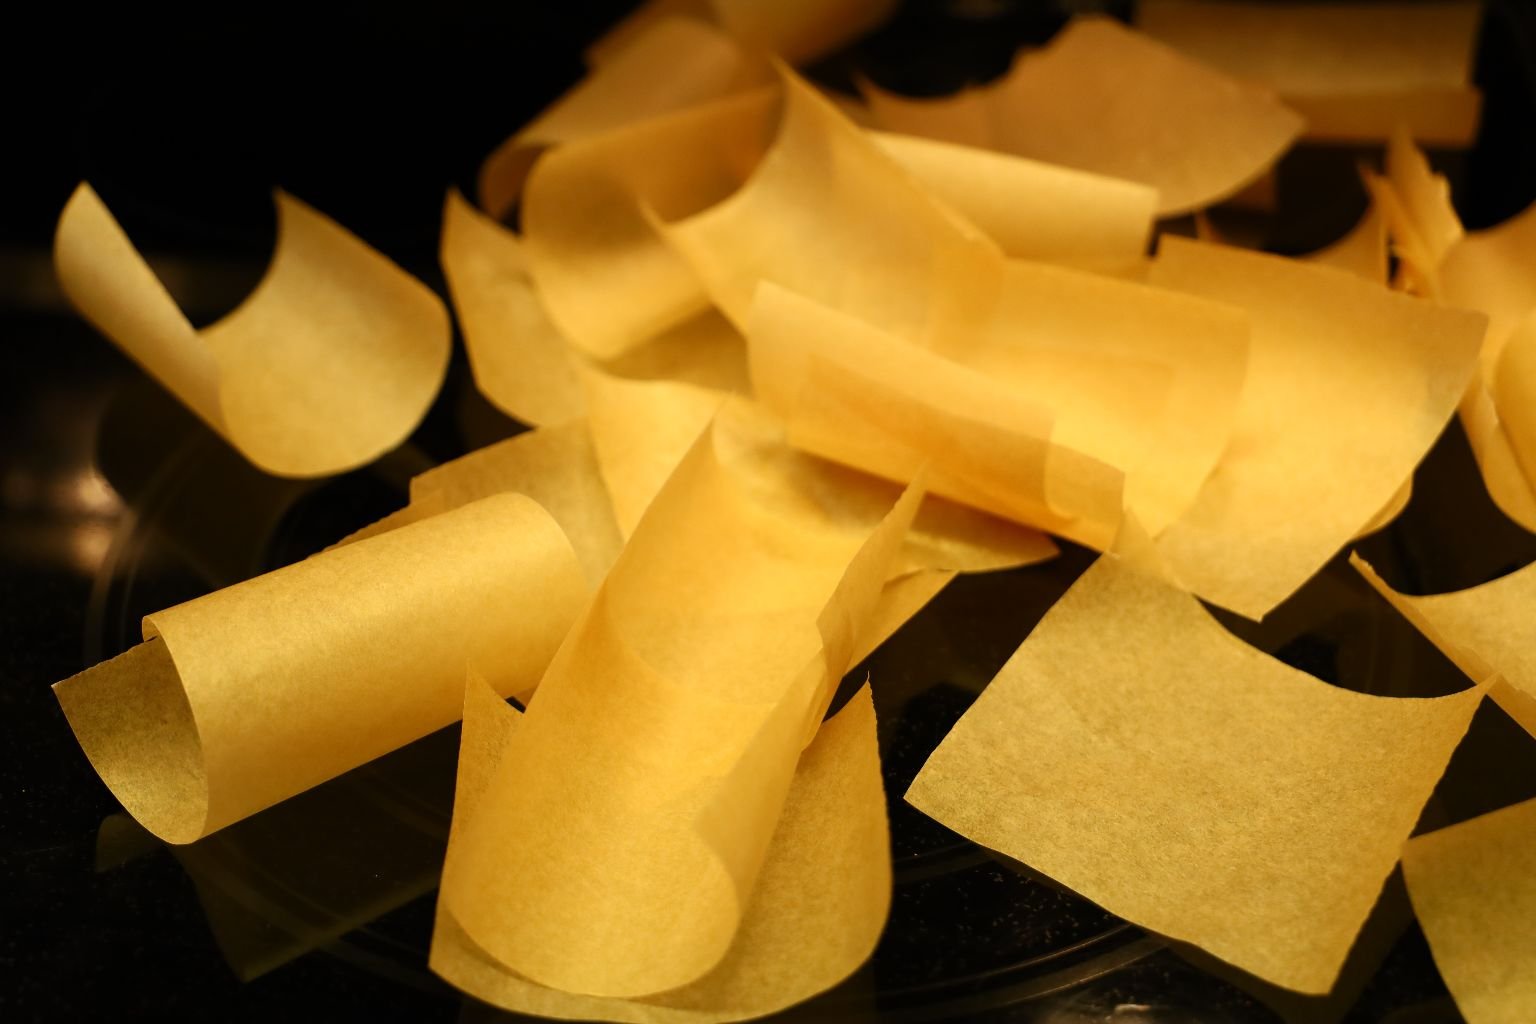
Here we cut 3 inch squares of Parchment Paper to be placed under the Manapua when steaming it in our bamboo steamer. Just another step you can do ahead of time.
Here you again can see the beautifully broiled meat.
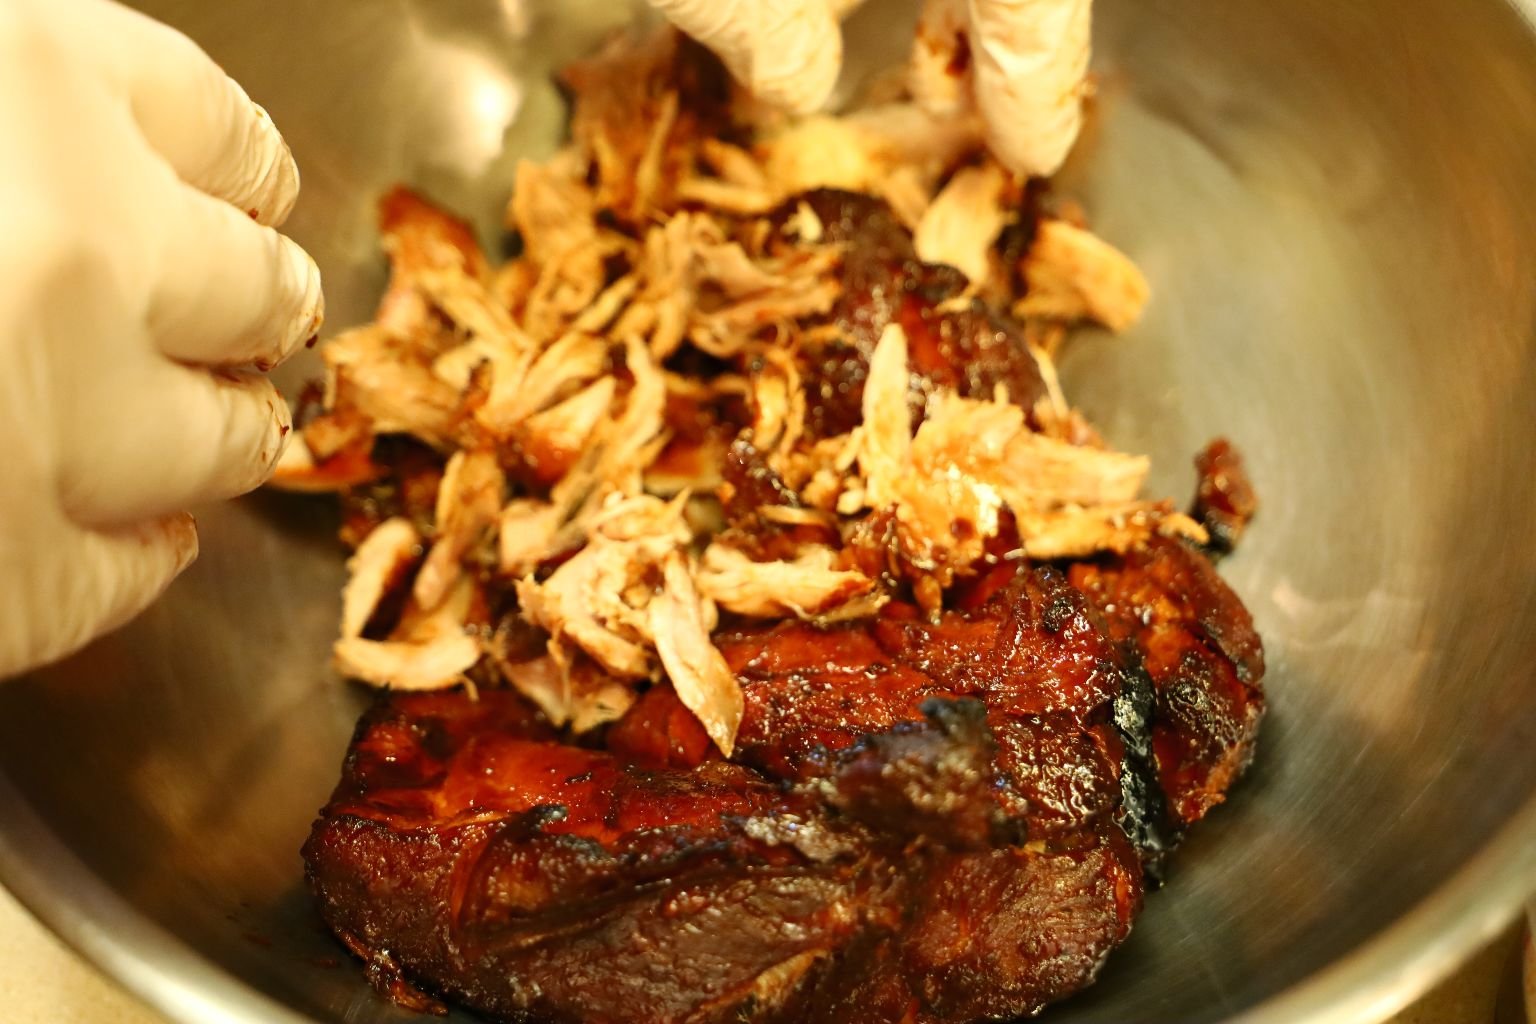

Place the cooked meat into a large bowl and shred it as shown.
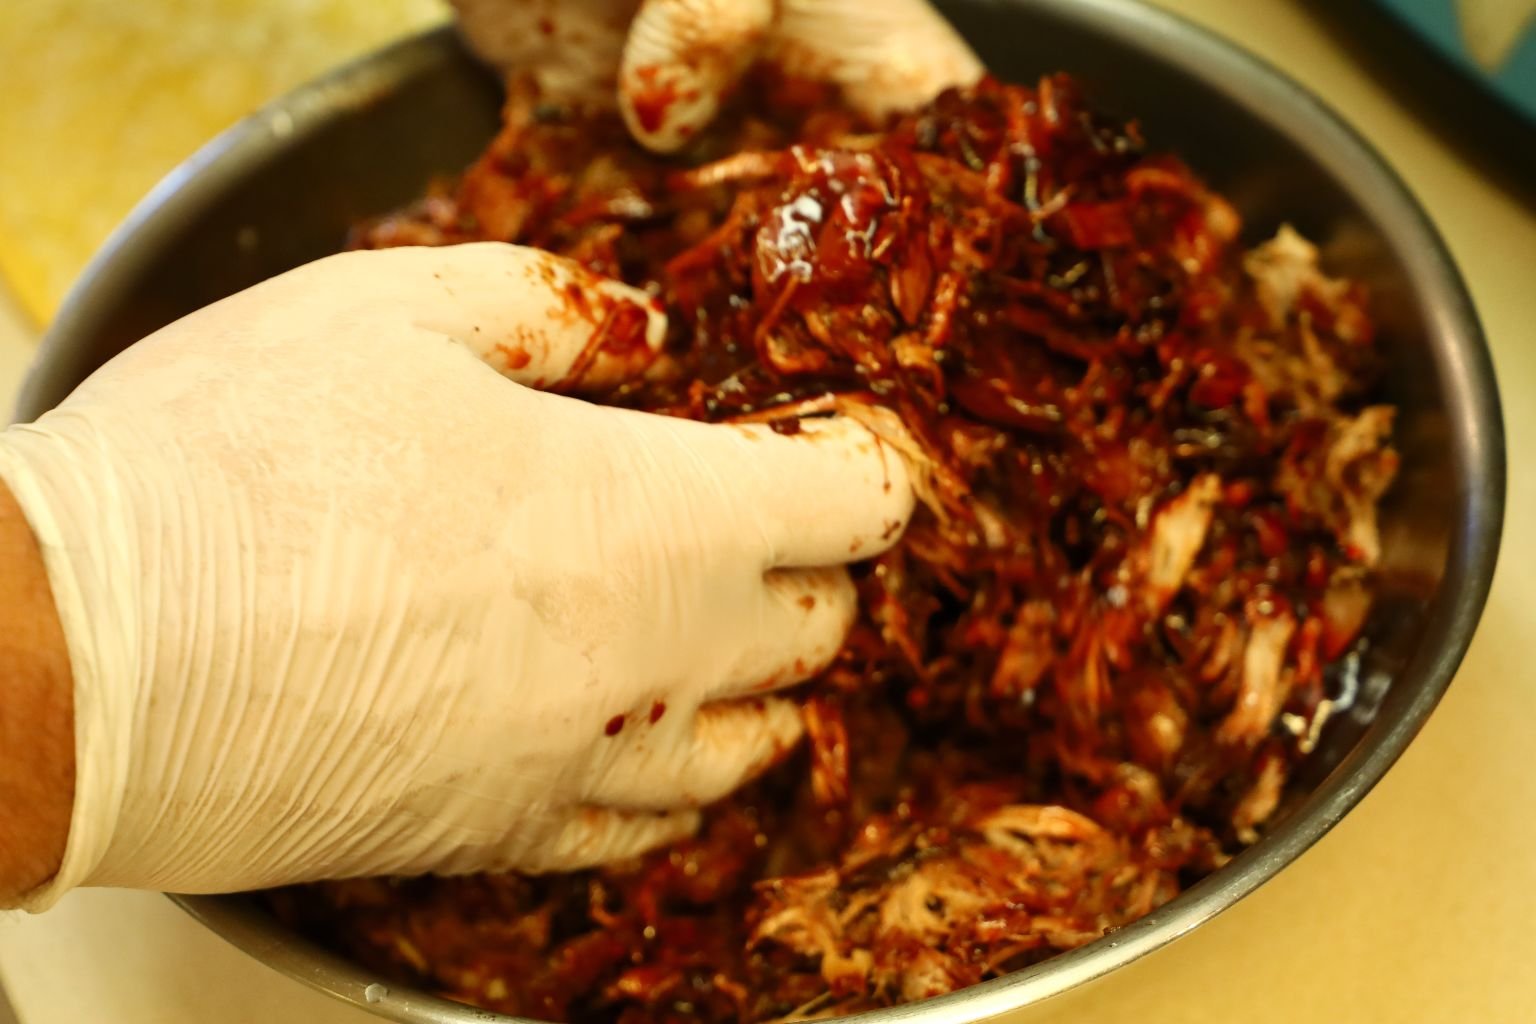
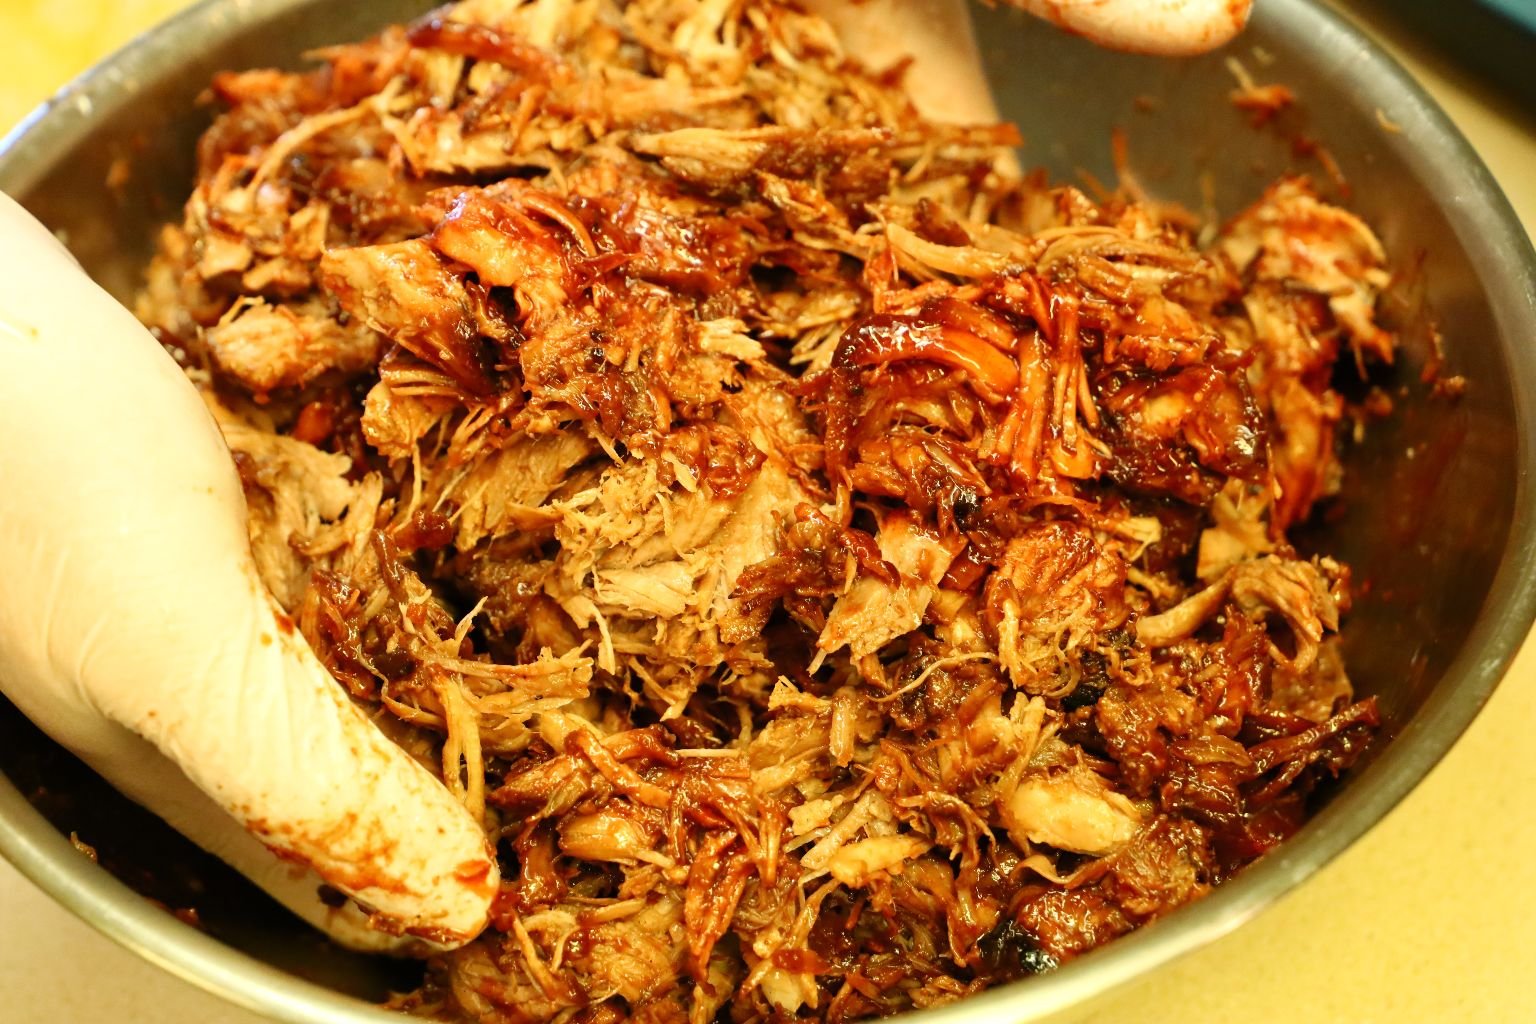
Wearing some food handling gloves, mix the meat and the remaining marinade/sauce.
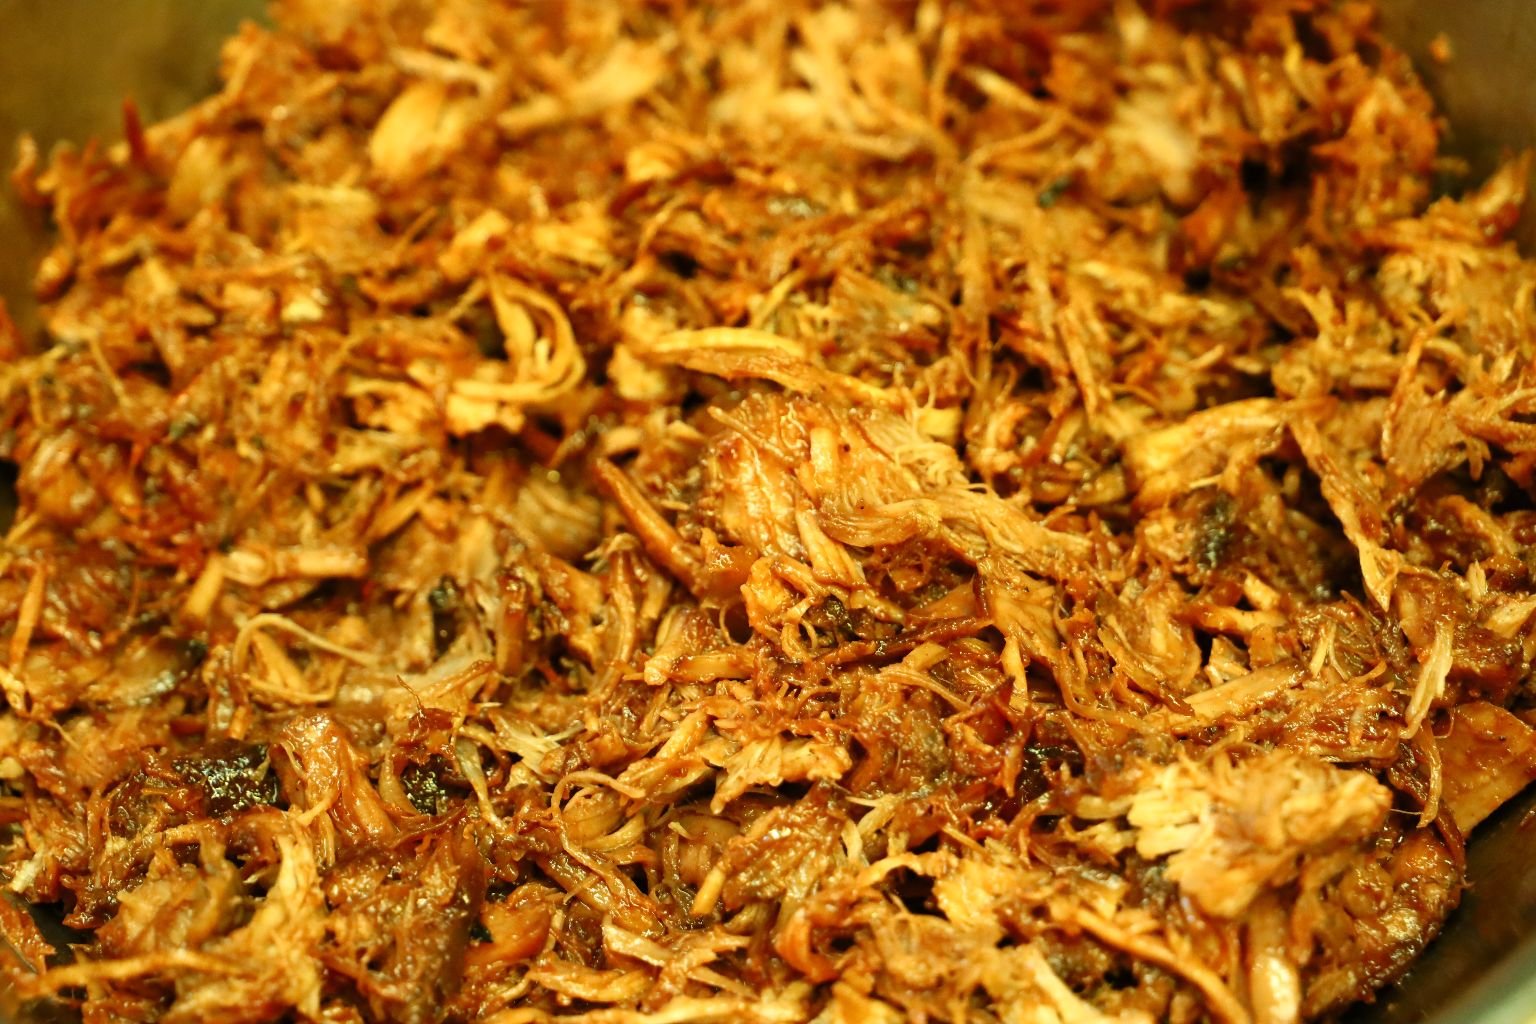
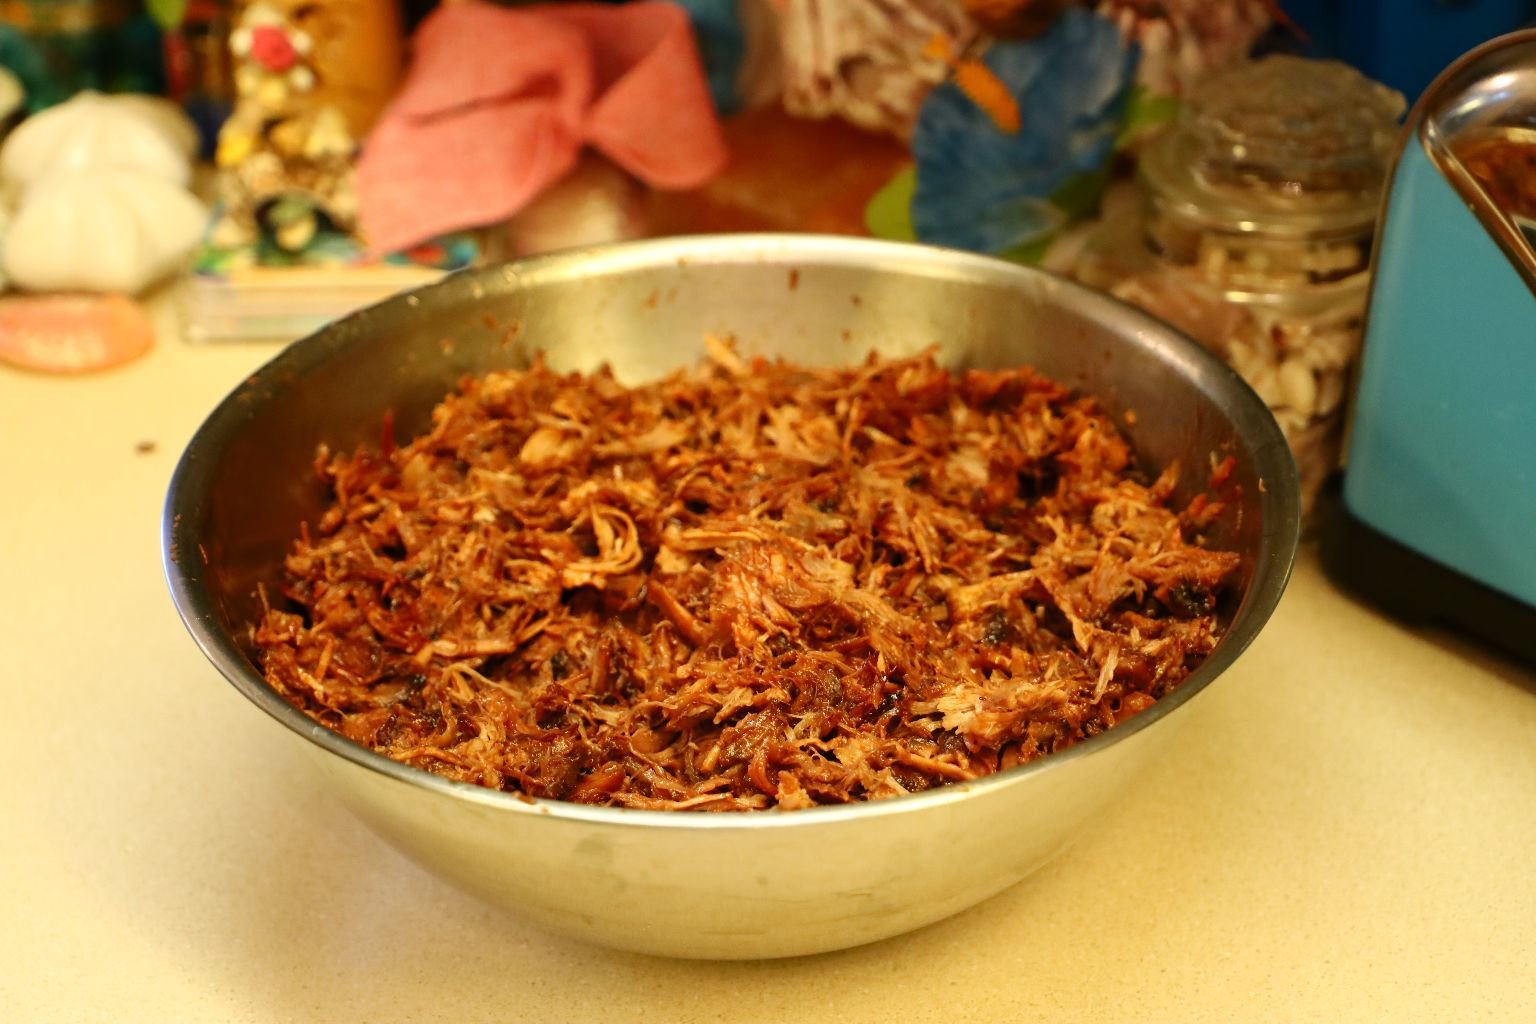
This is what it looks like when ready. And it taste’s wonderful!
——————————————————————————————–
Making the Manapua Dough
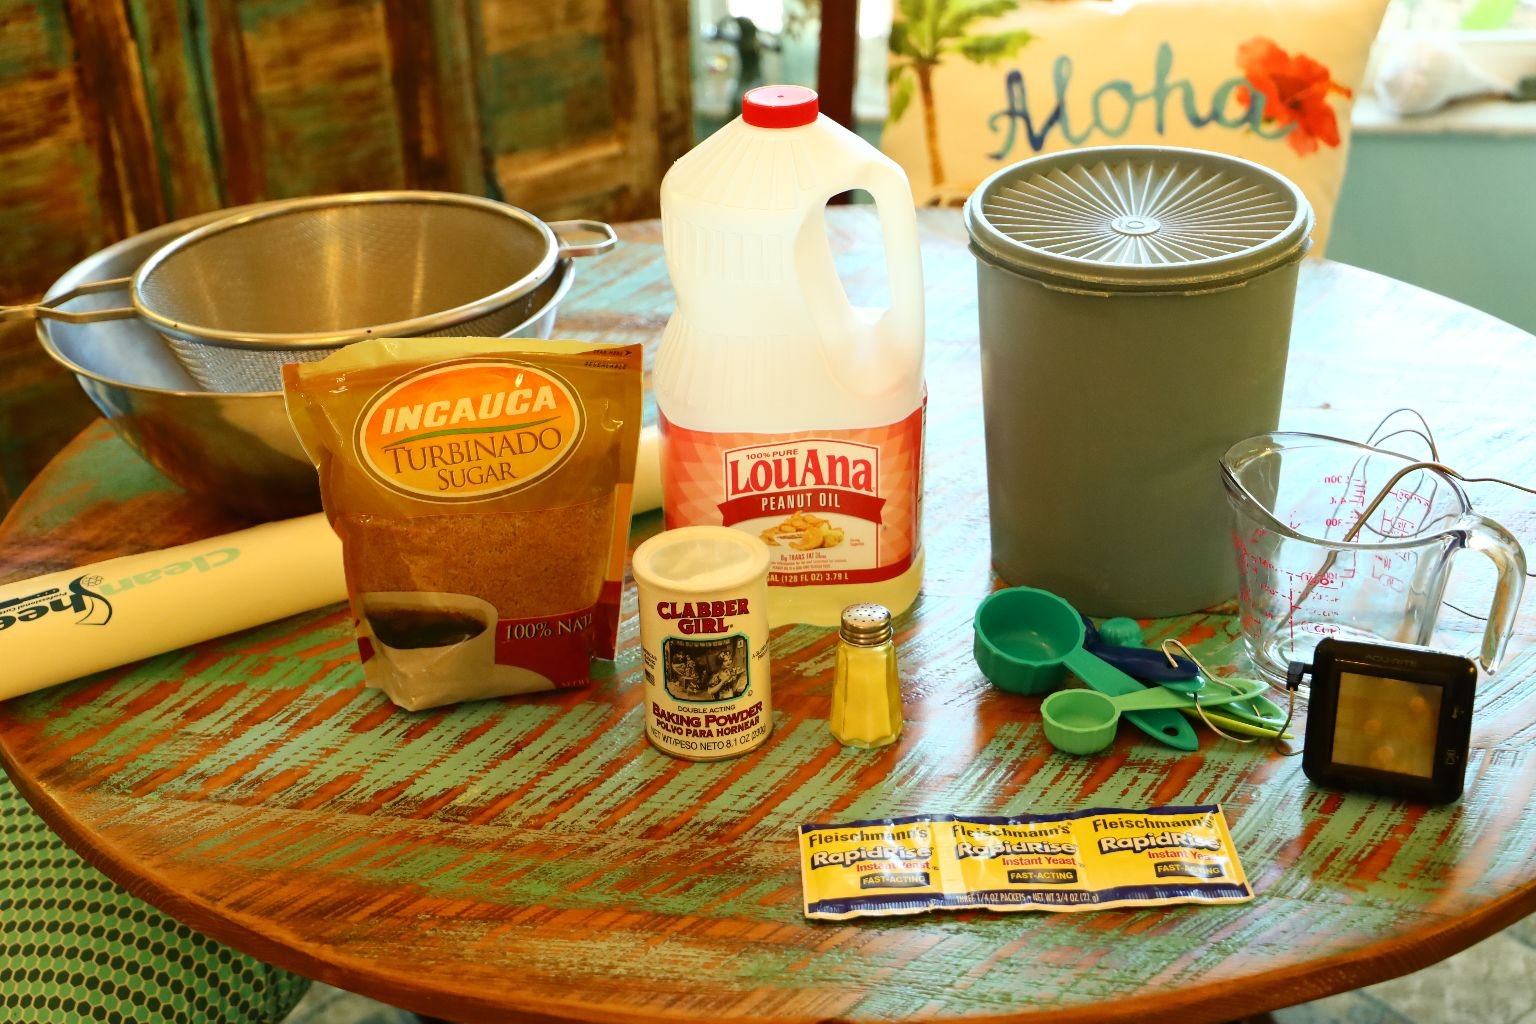
Ingredients:
1 Tbsp. Rapid Rise Instant Yeast
6 Cups Flour – sifted
~1 1/2 Tbsp. Peanut Oil
1/4 Cup Turbinado Sugar
4 tsp. Baking Powder
3/4 tsp. Salt
2 Cups Water at a temperature just less than 110′ F
1 tsp. Sesame Oil
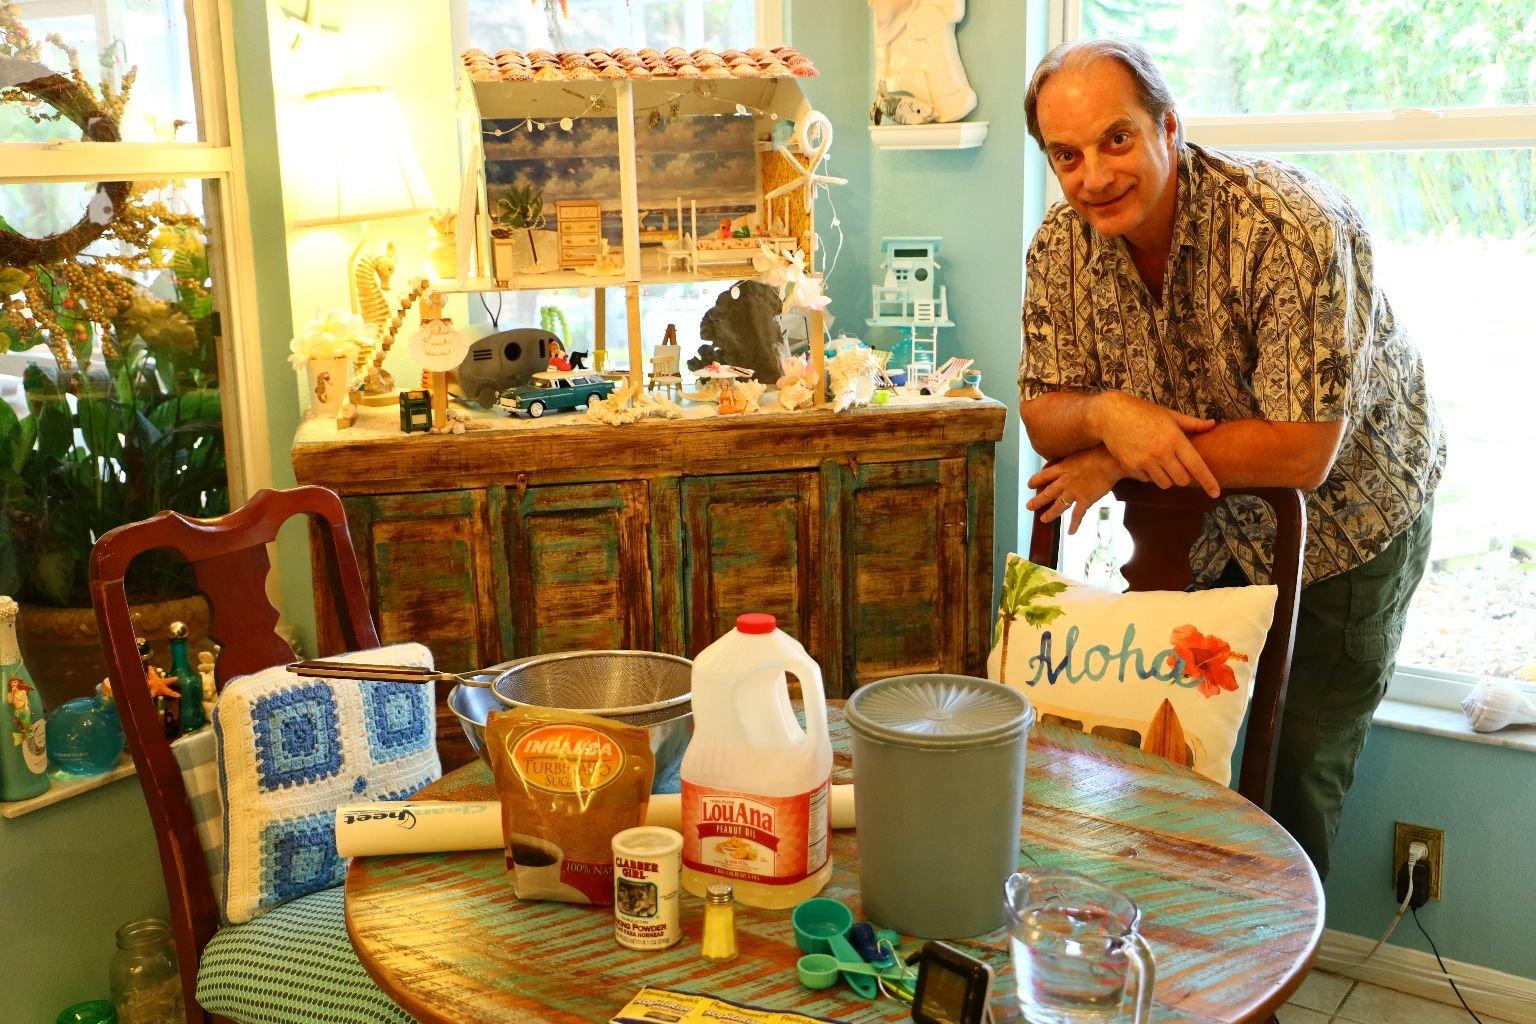
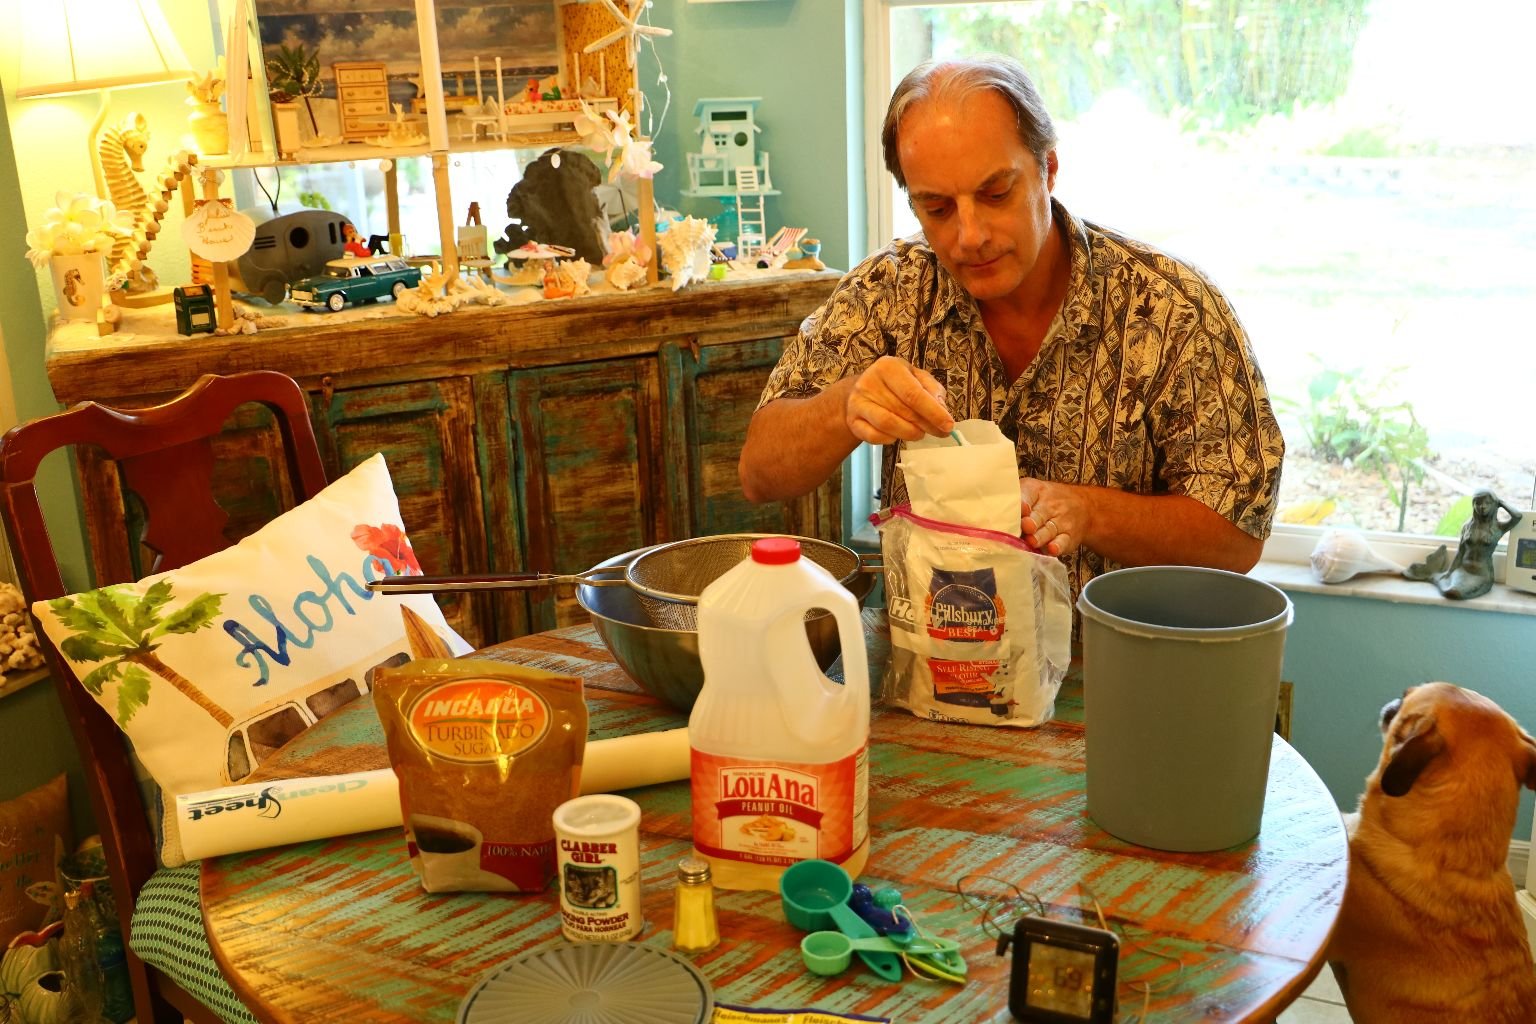
Ready to Get Started
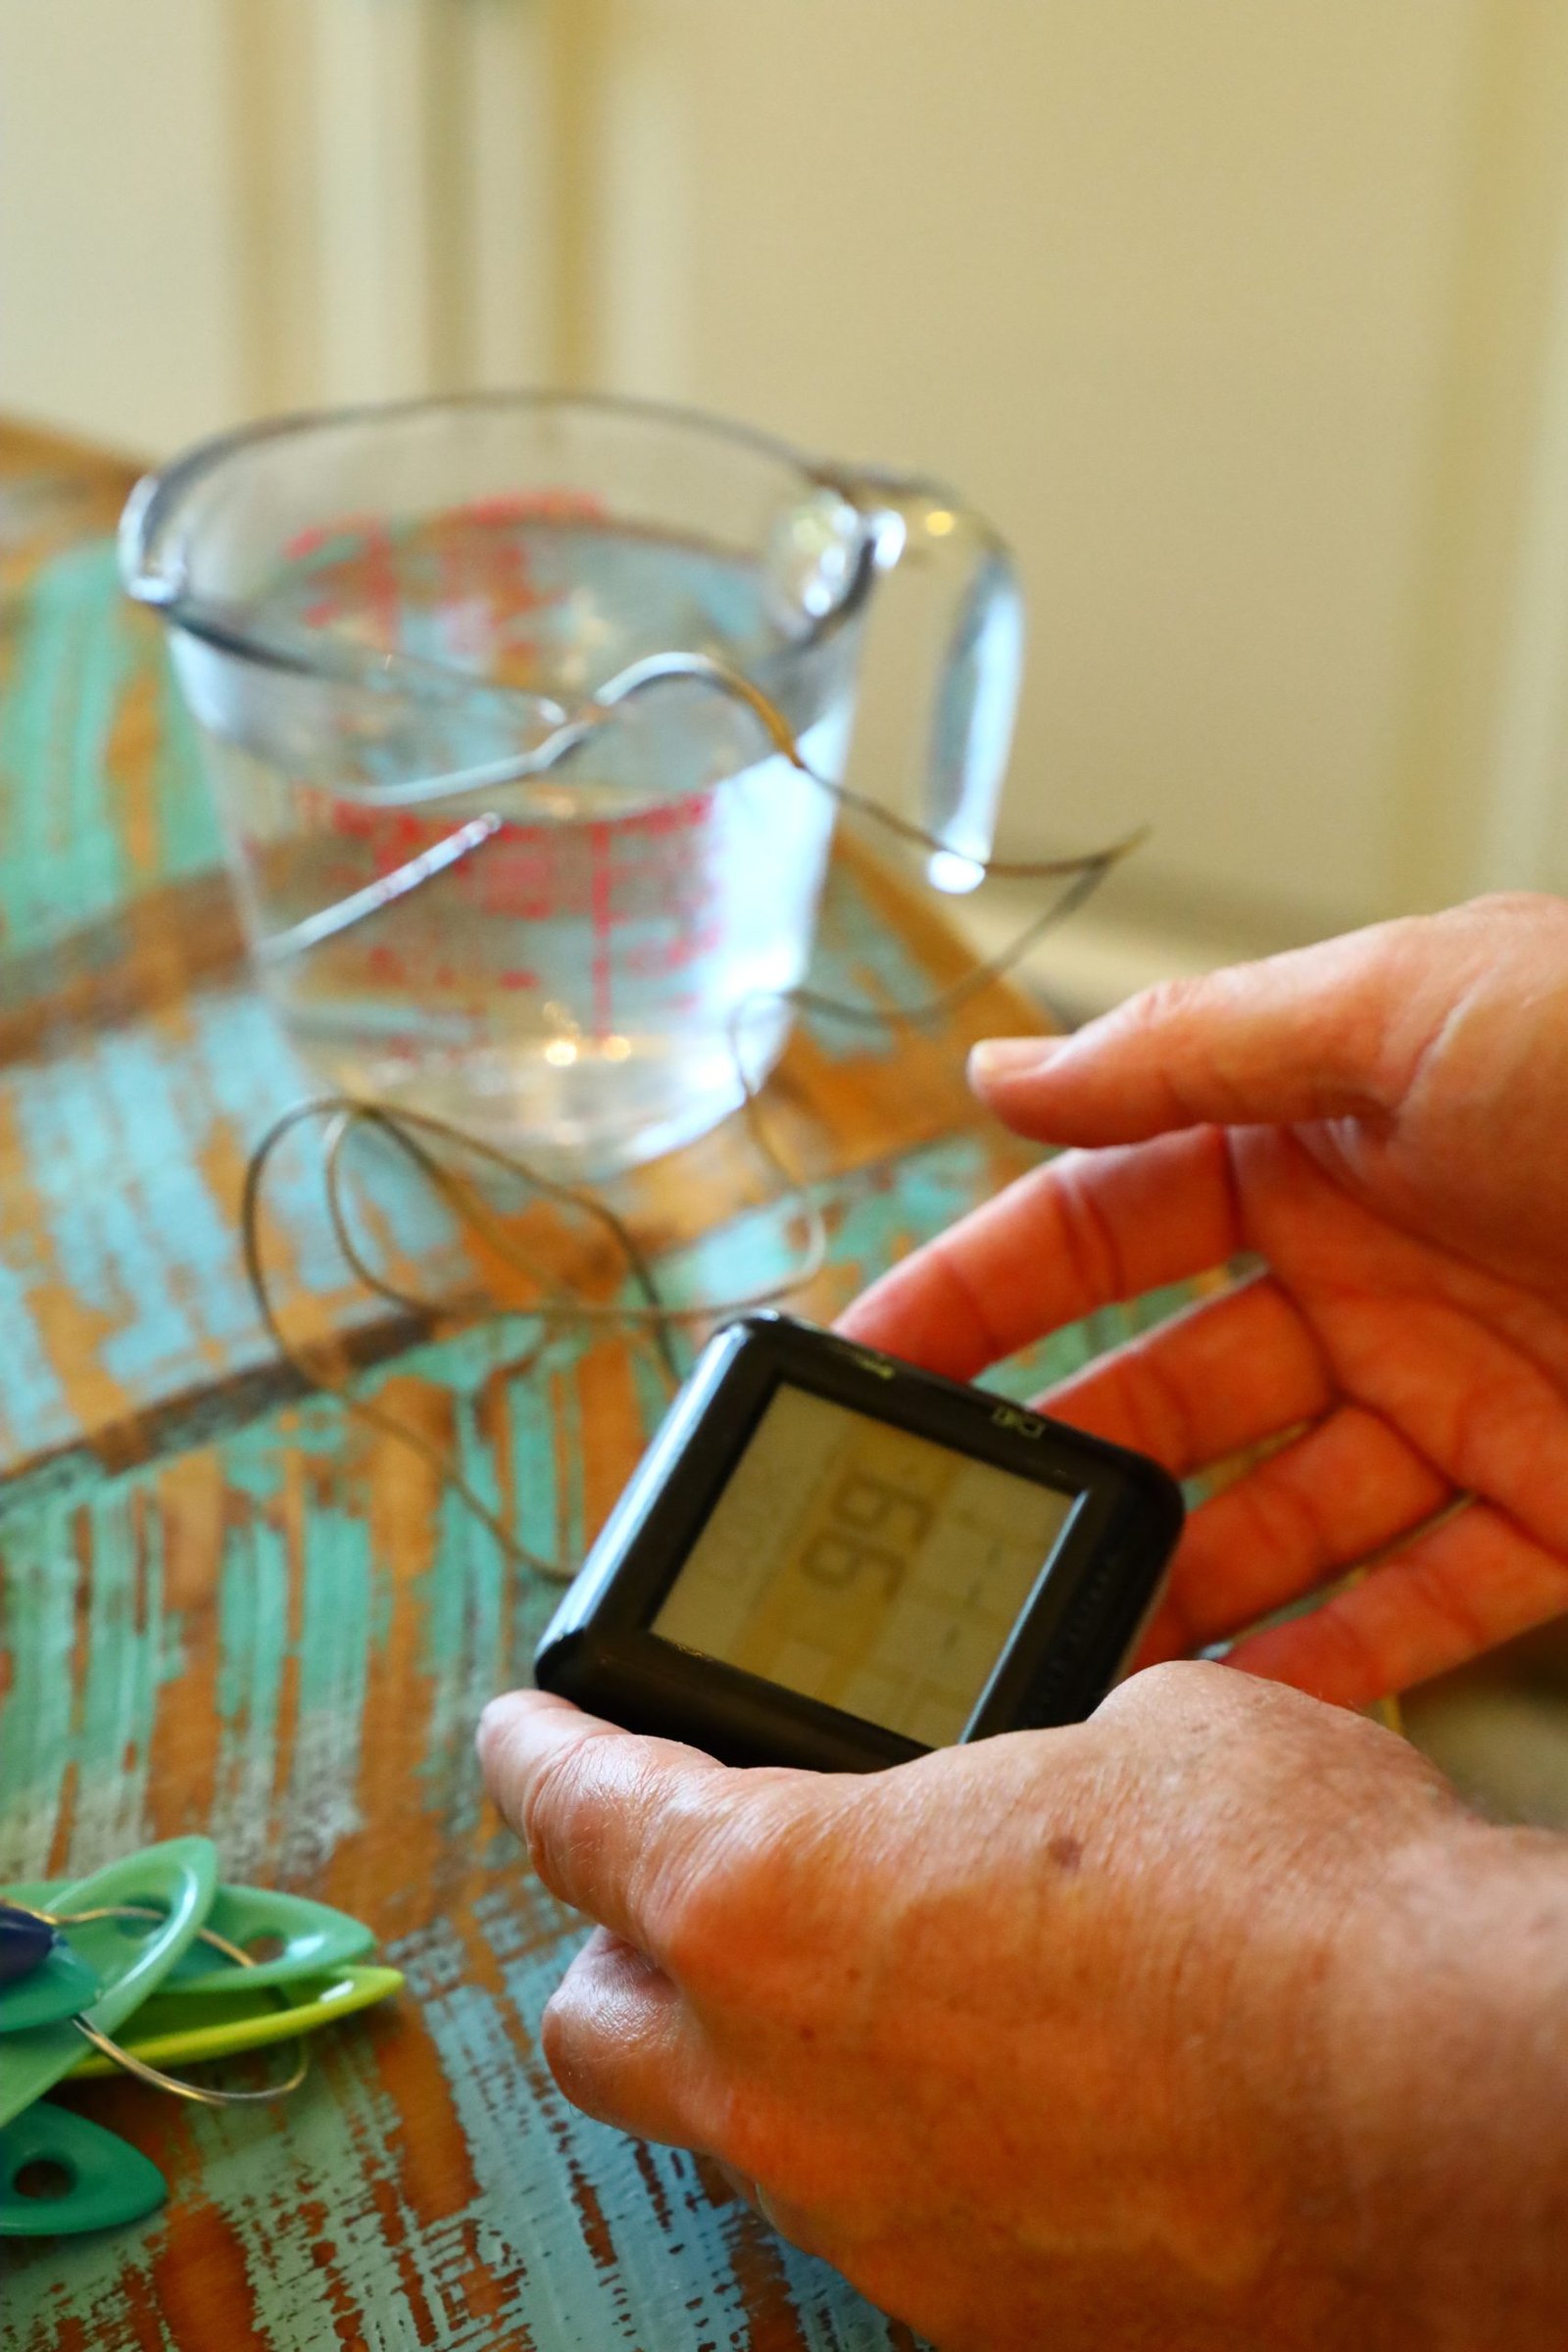
I use a digital thermometer to check the temperature of the water.
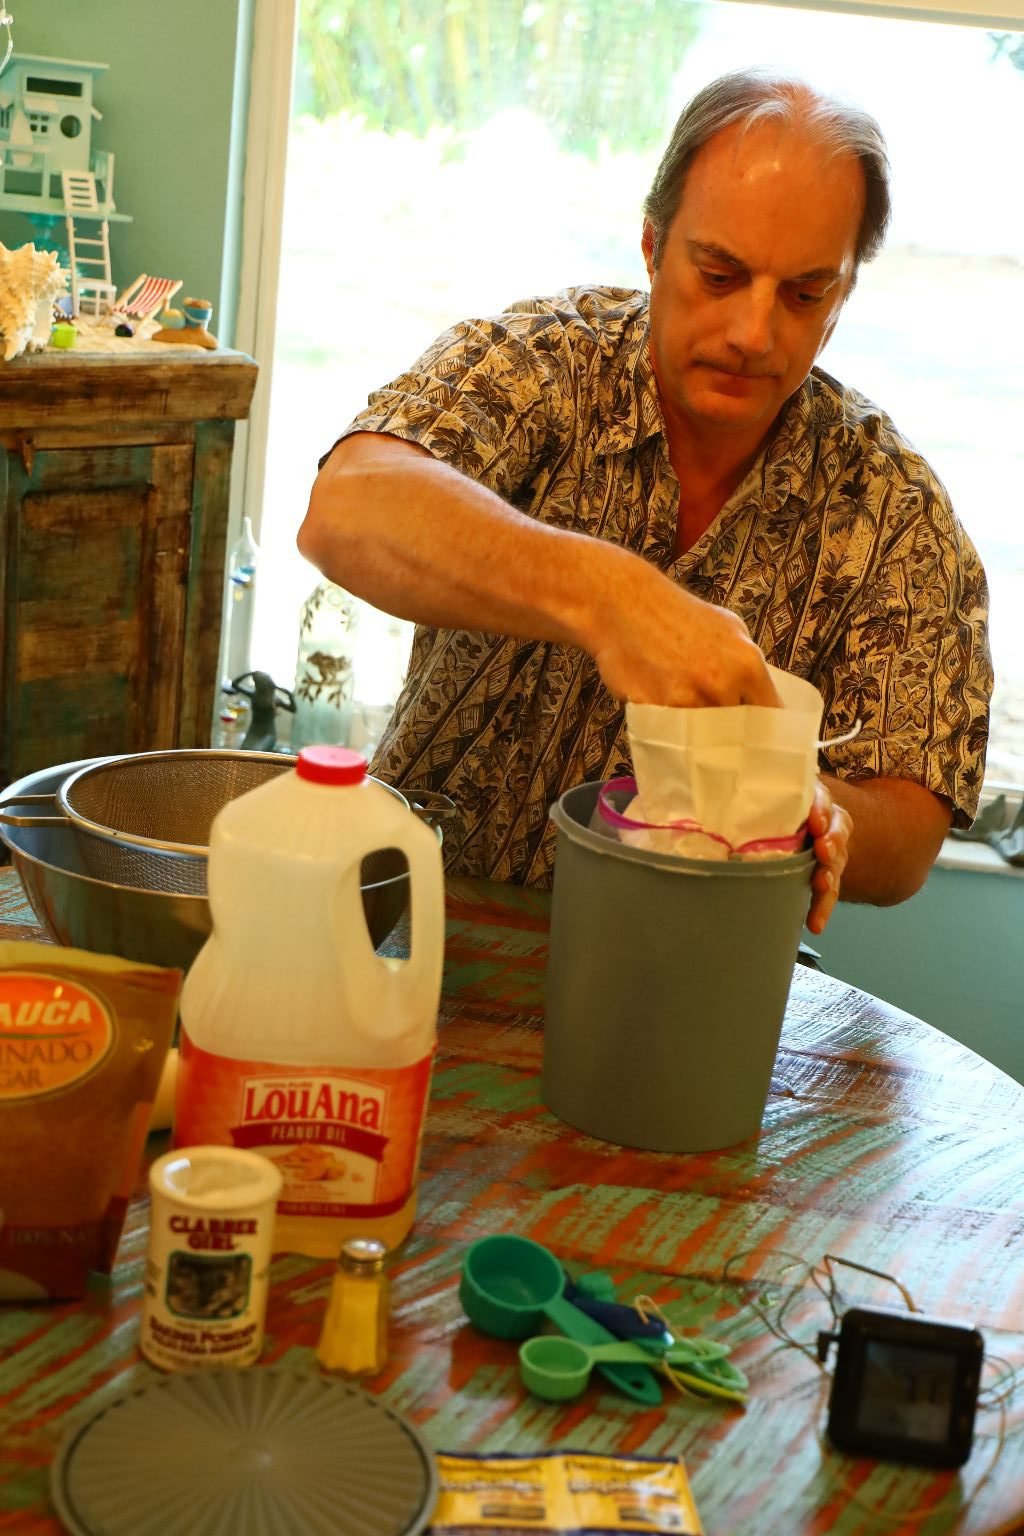
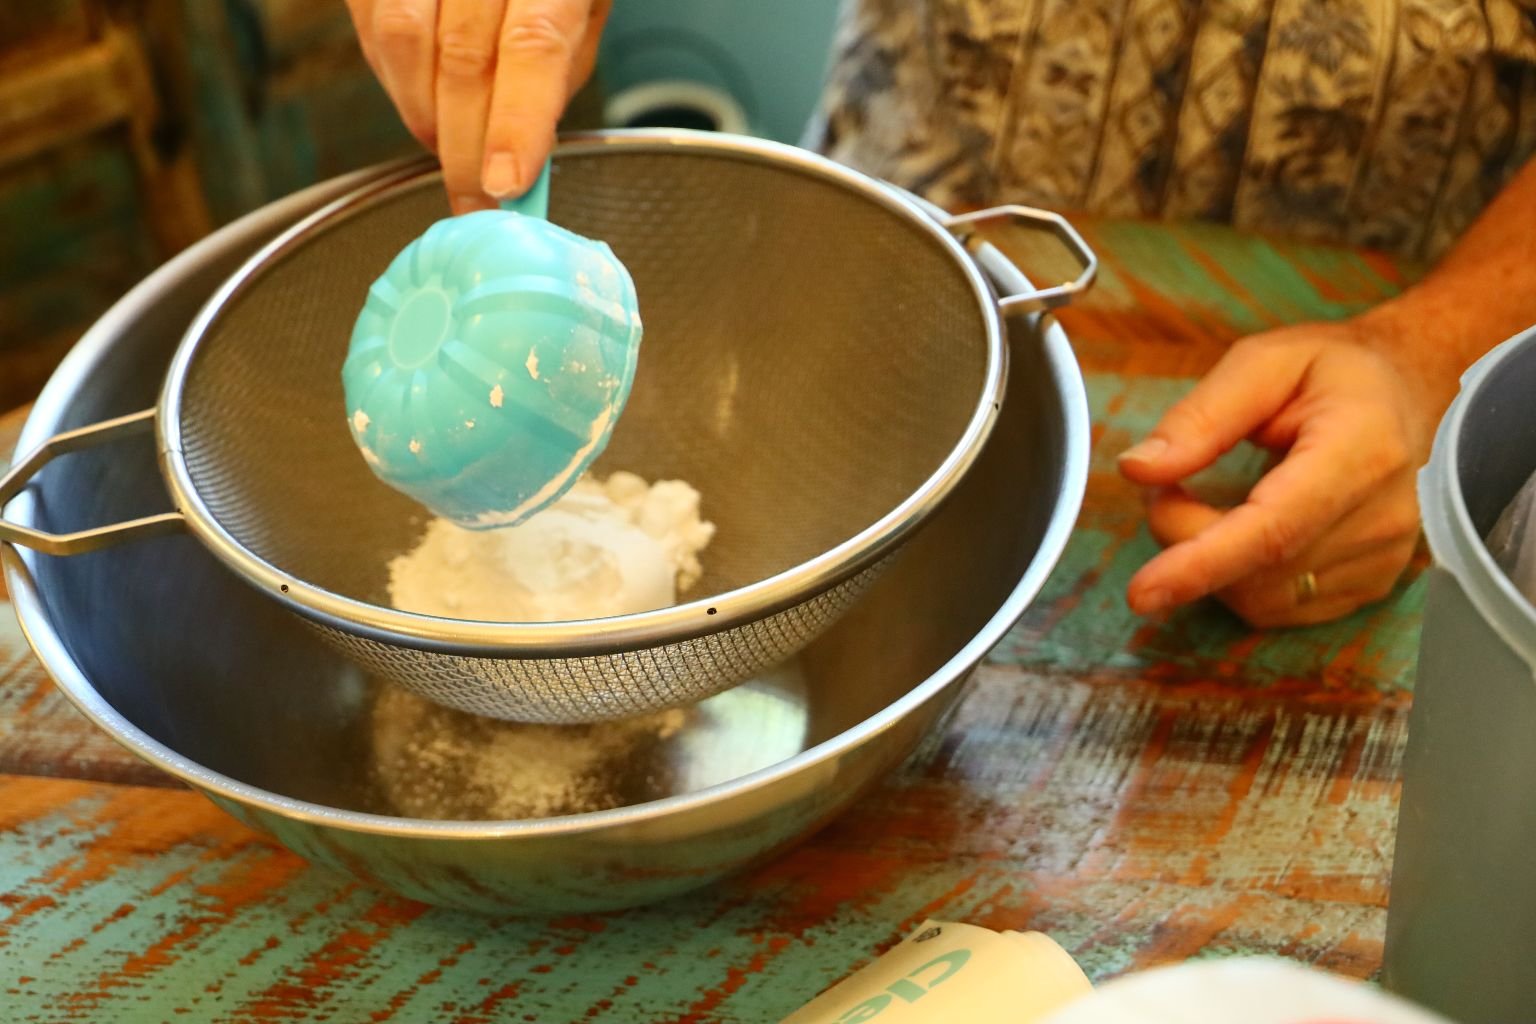
Here I am using a large bowl with my sifter on top.
Adding the All Purpose Flour
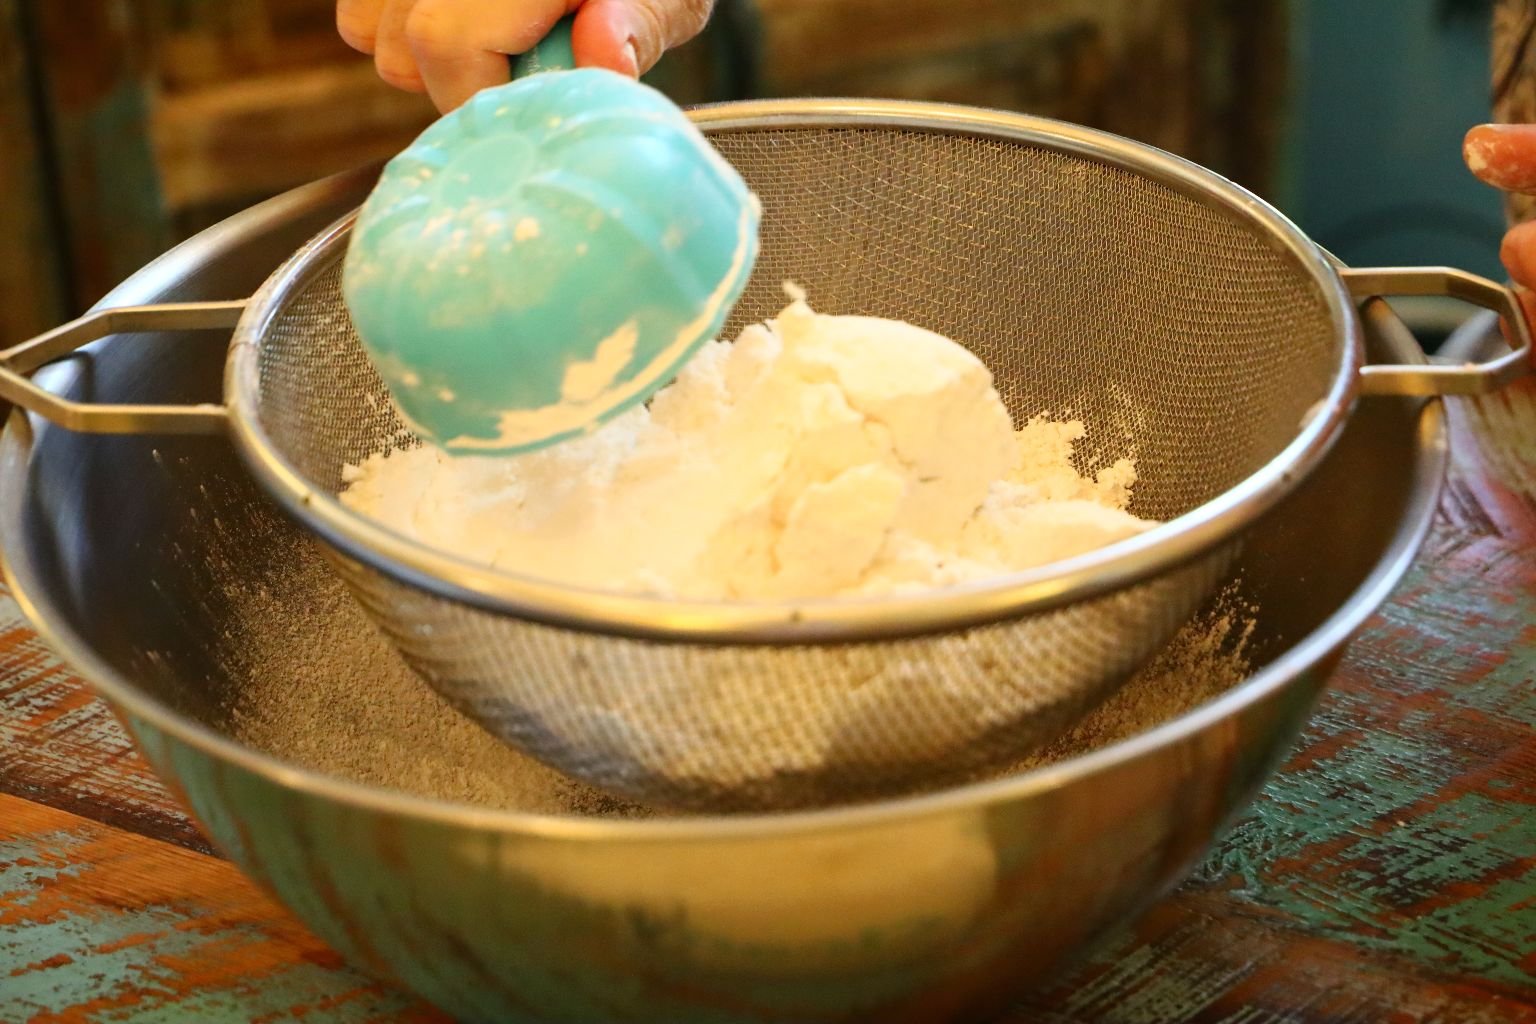
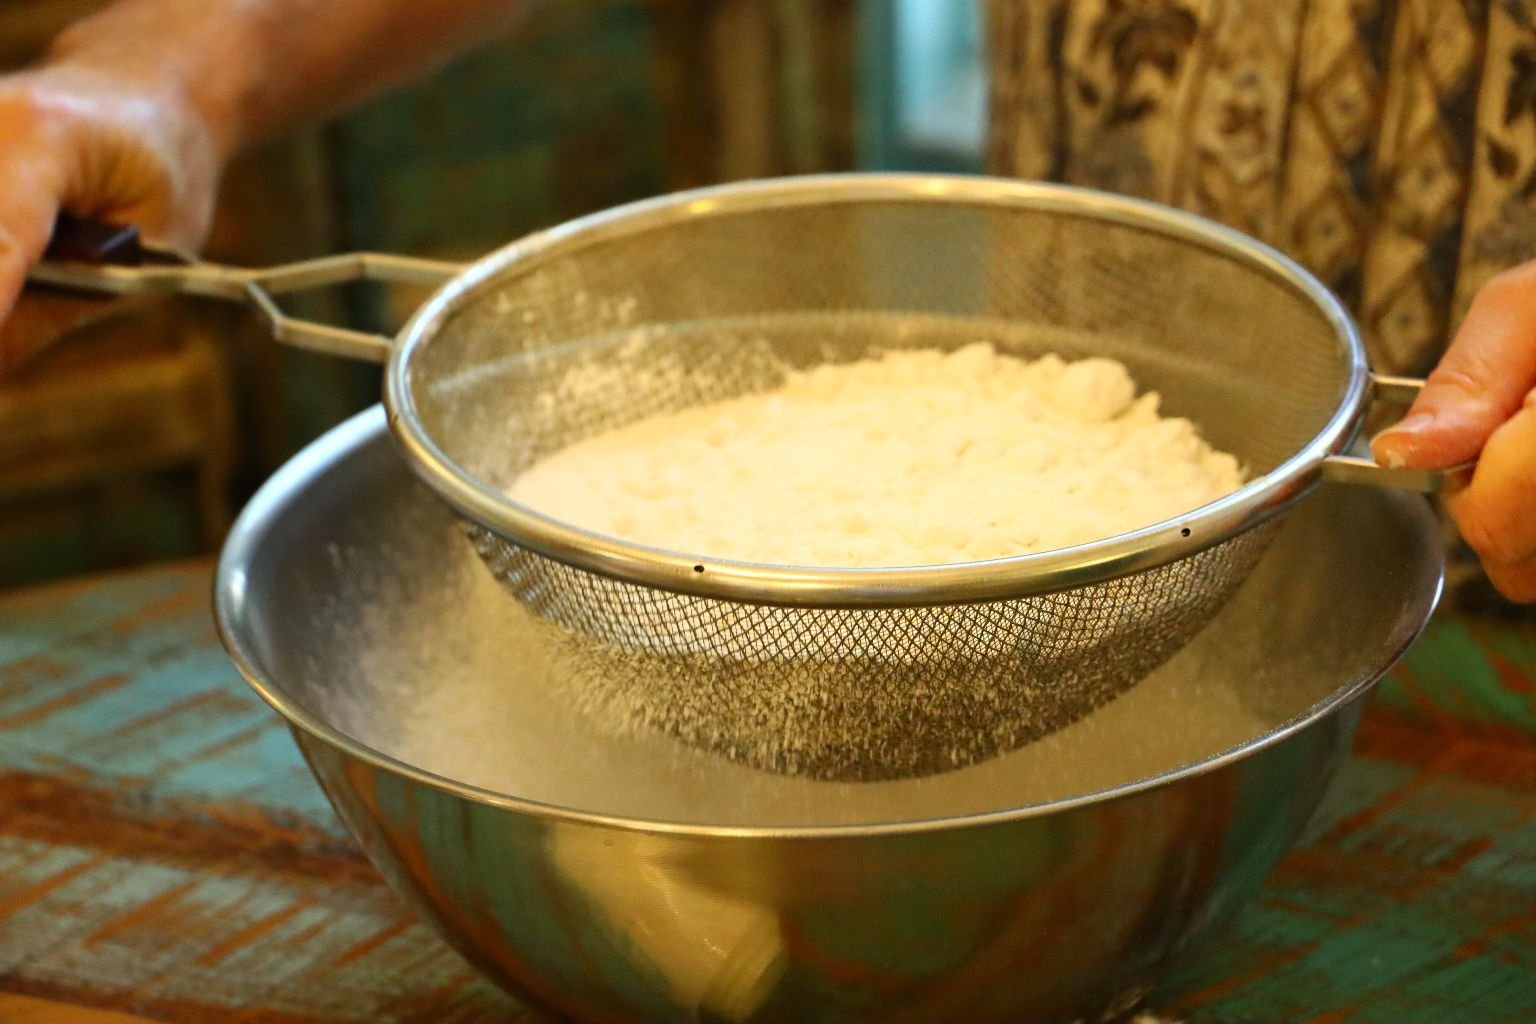
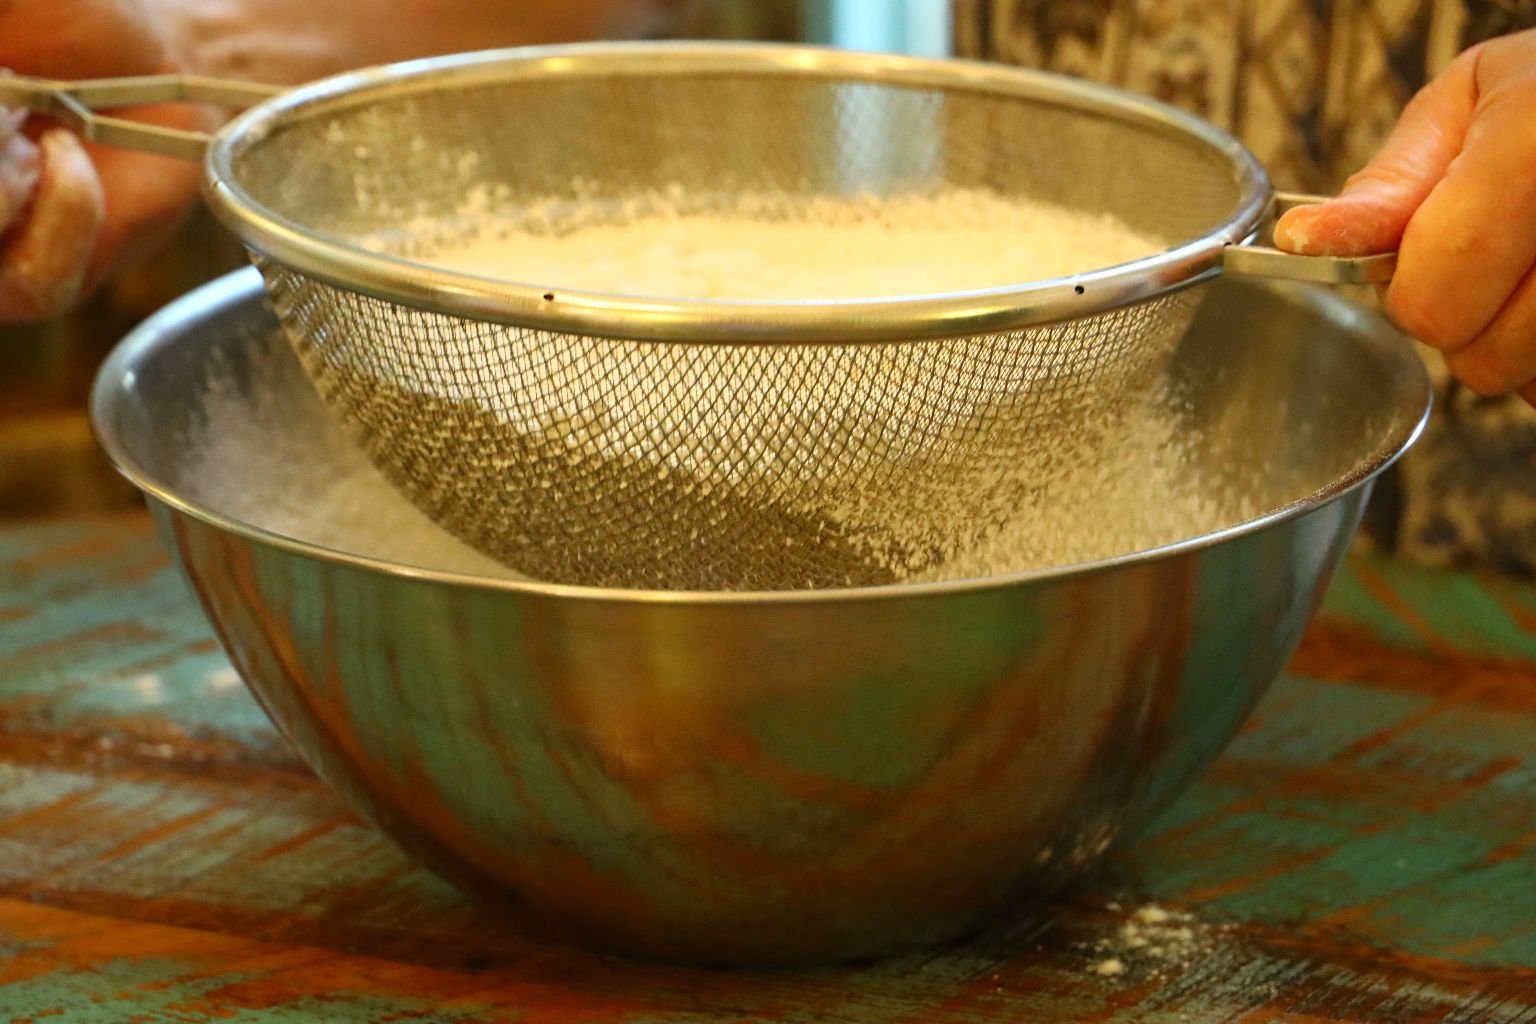
Sifting Into the Bowl
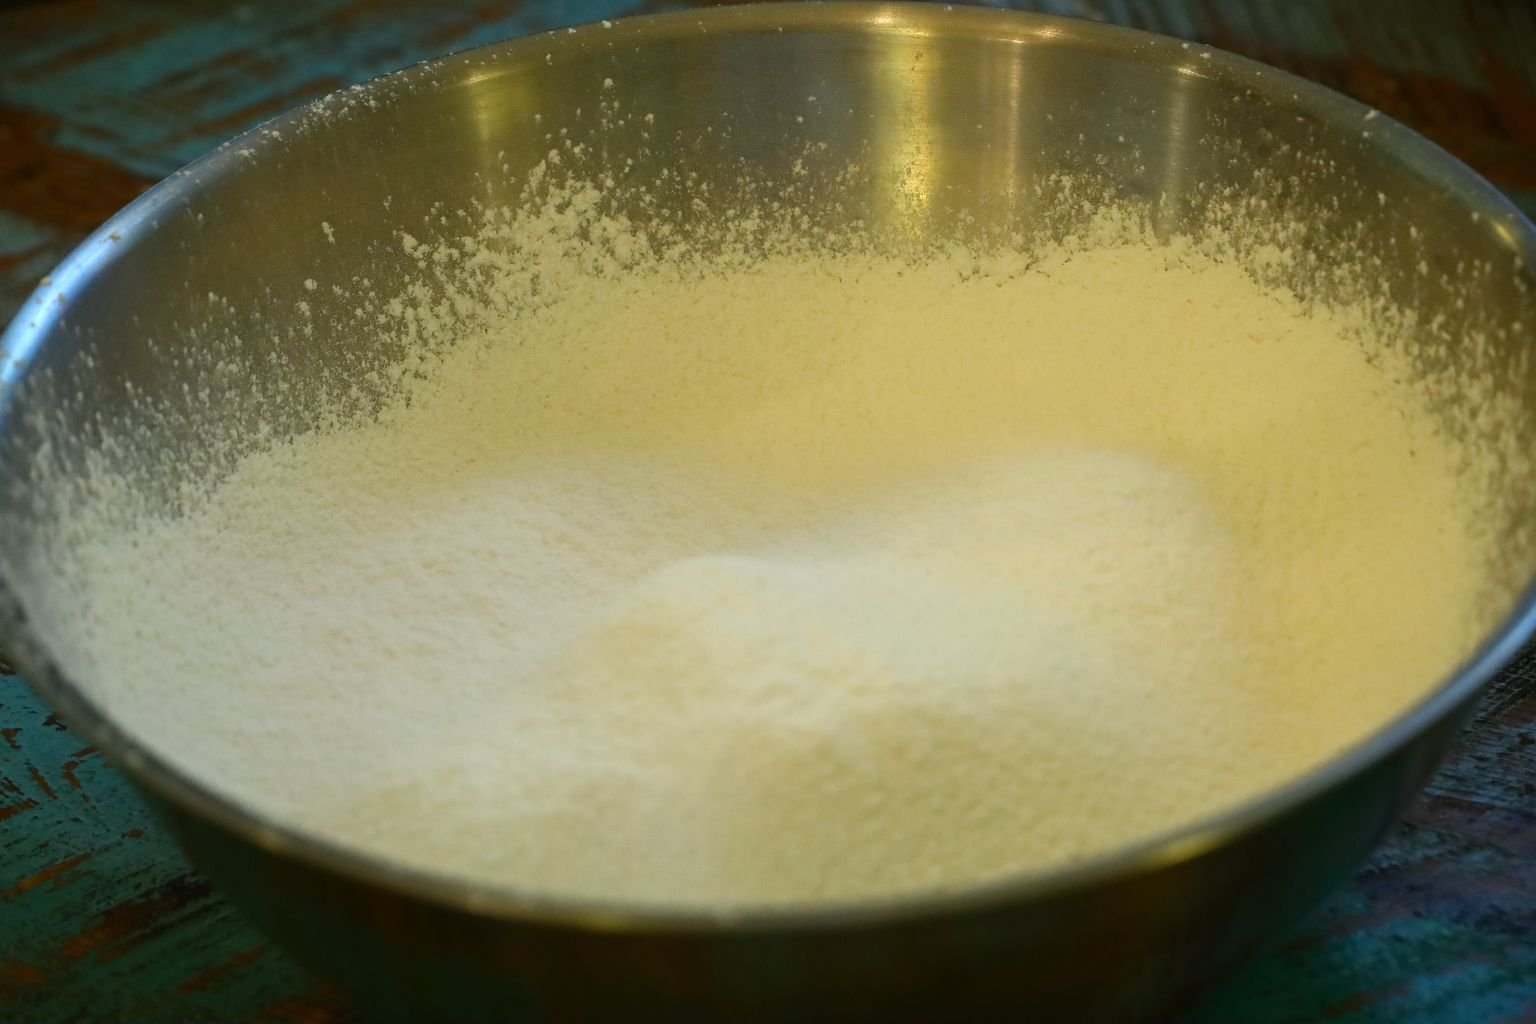
Sifting the flour makes for a lighter dough without having any lump.
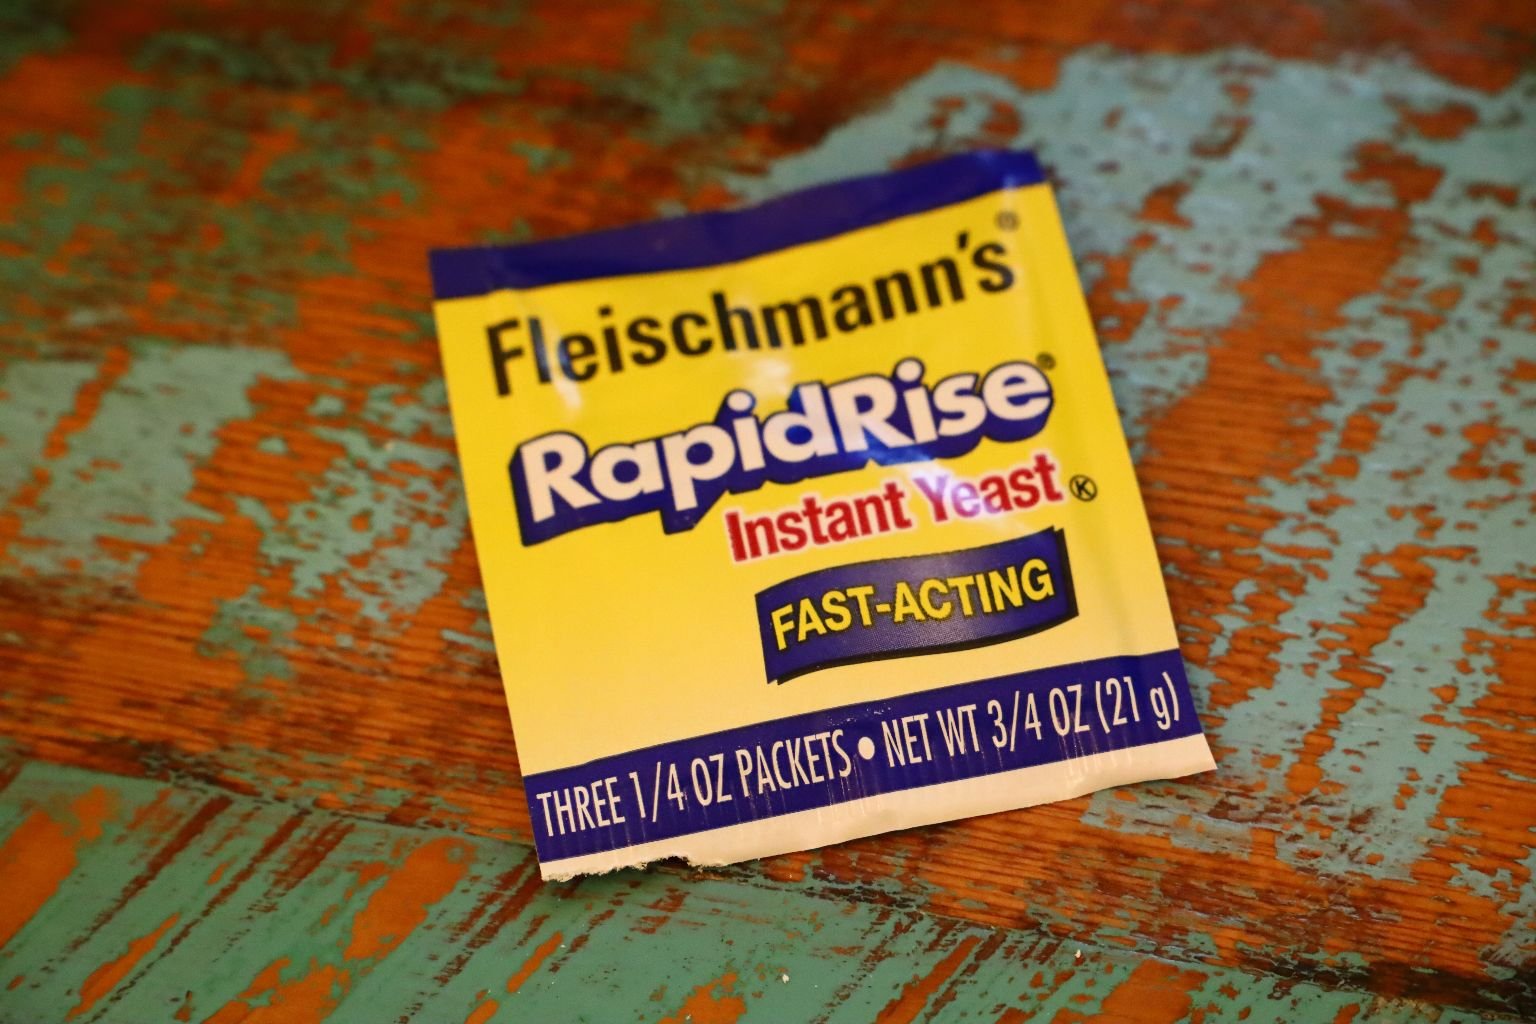
YEAST
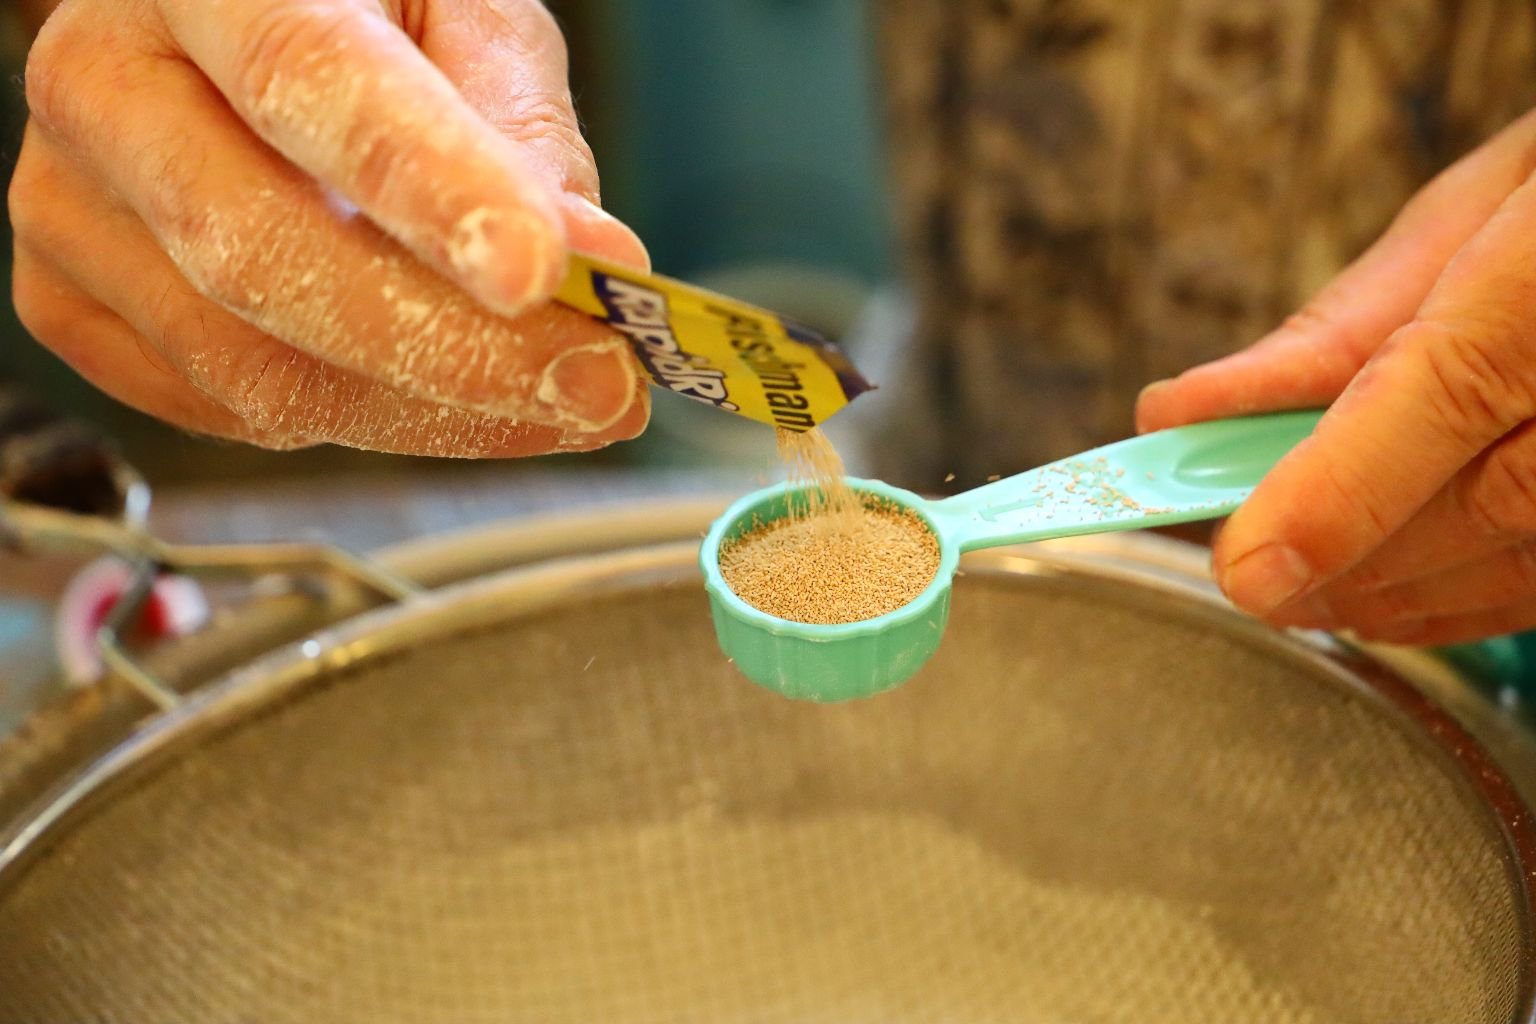
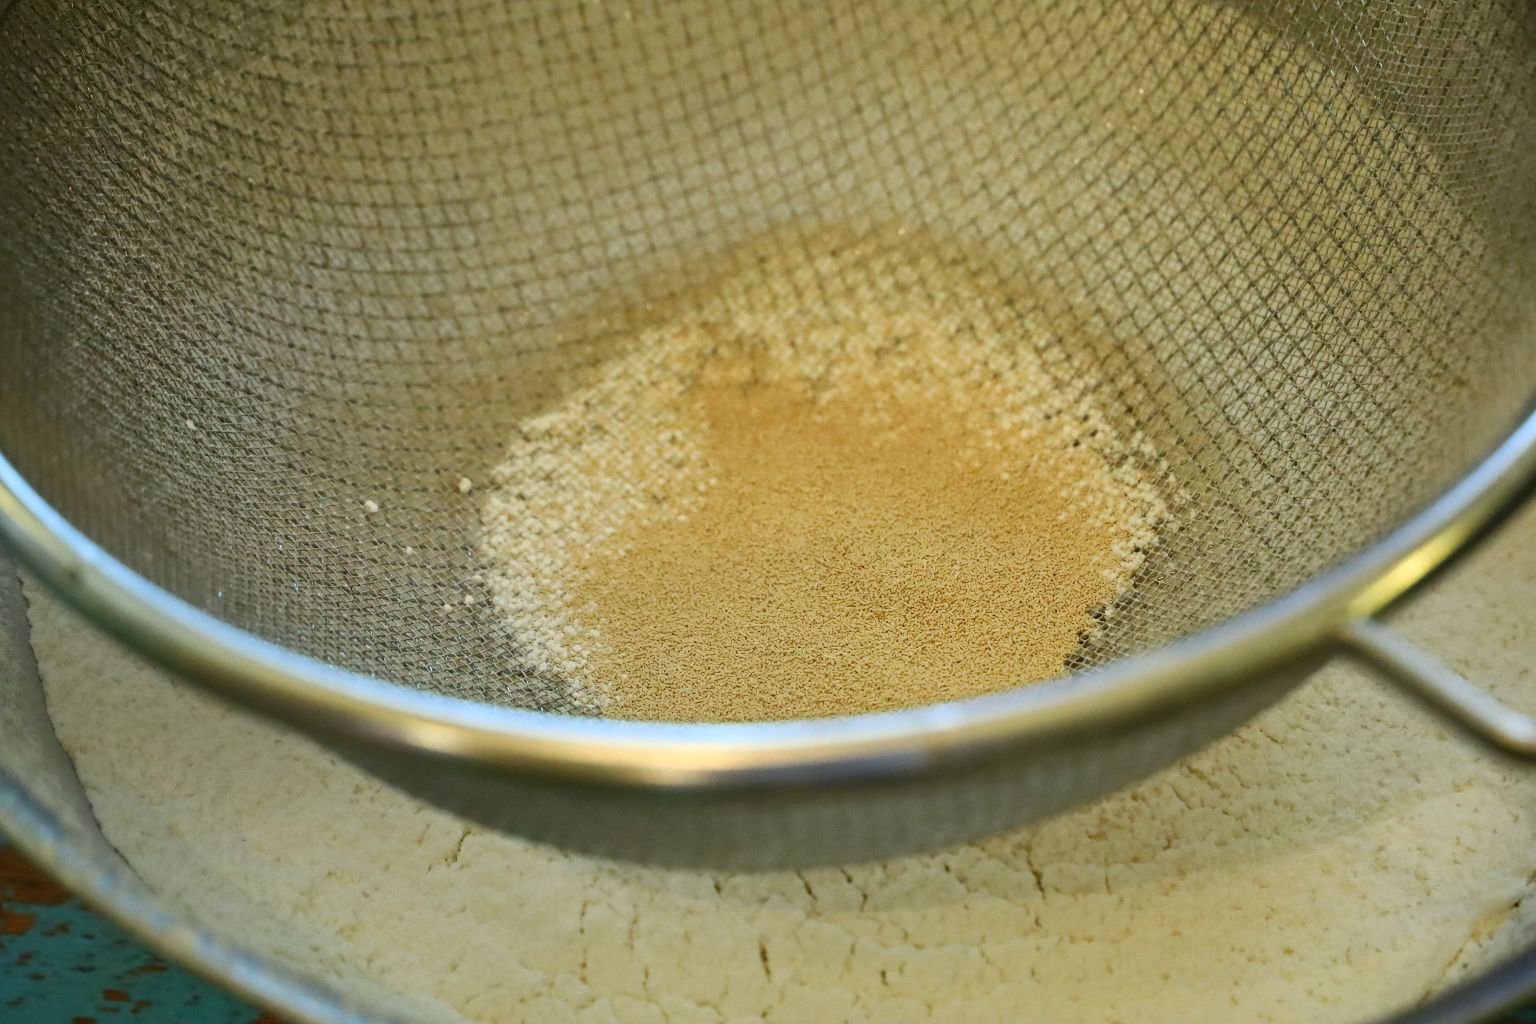
You don’t have to sift the yeast as I did.

Then pour in your salt.
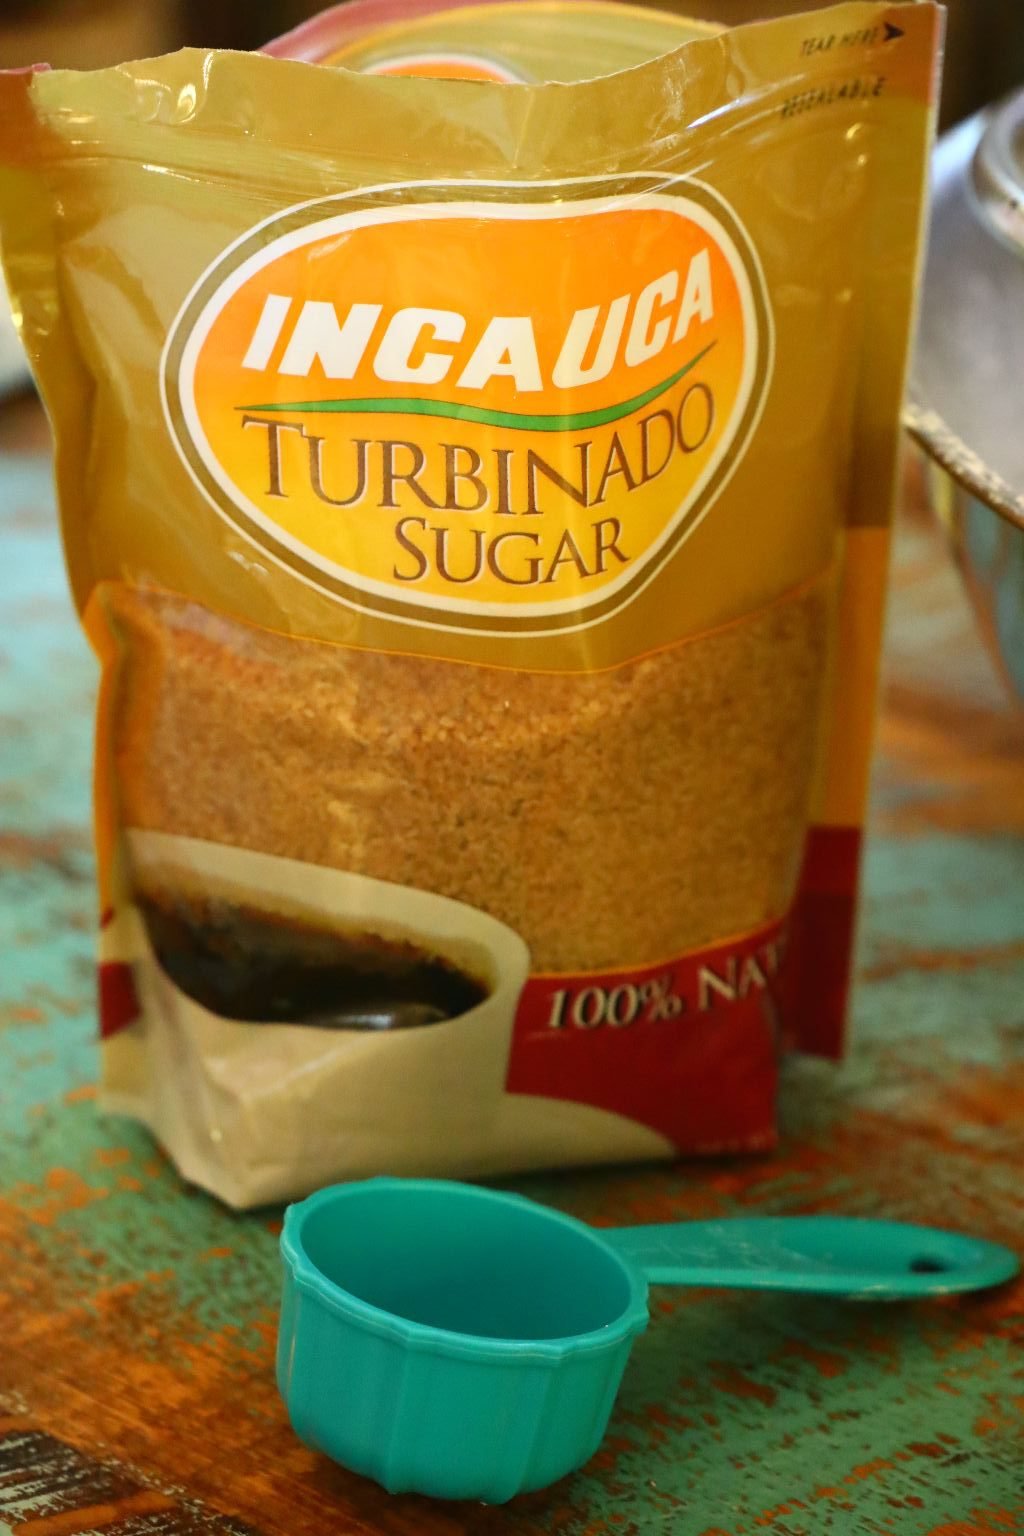
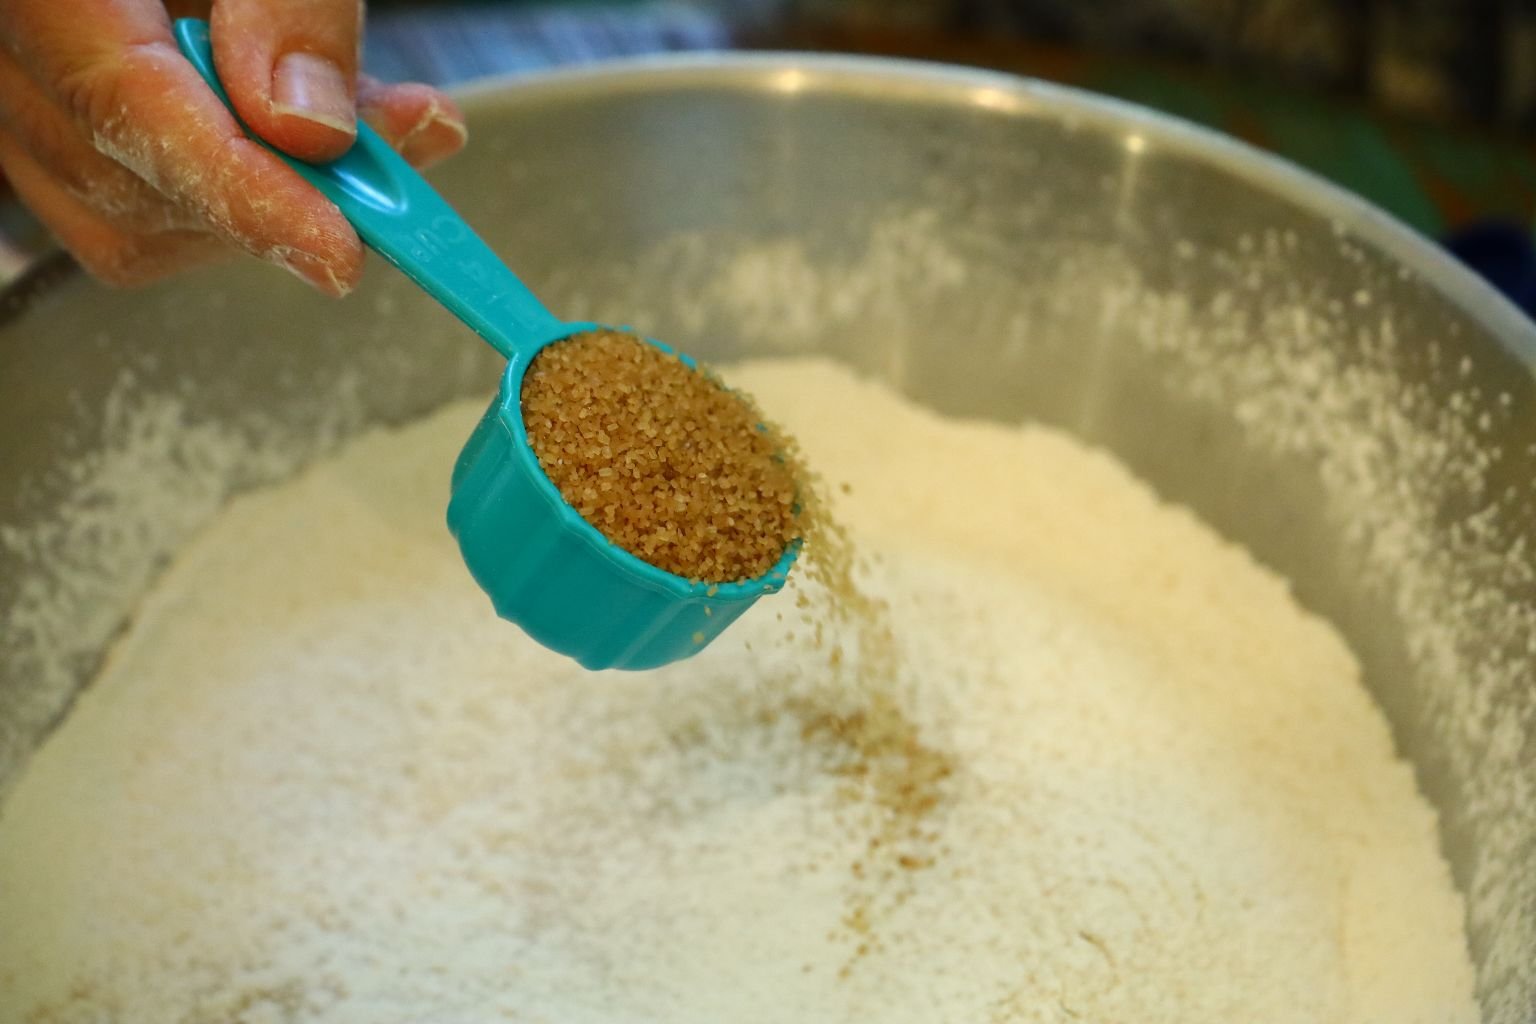
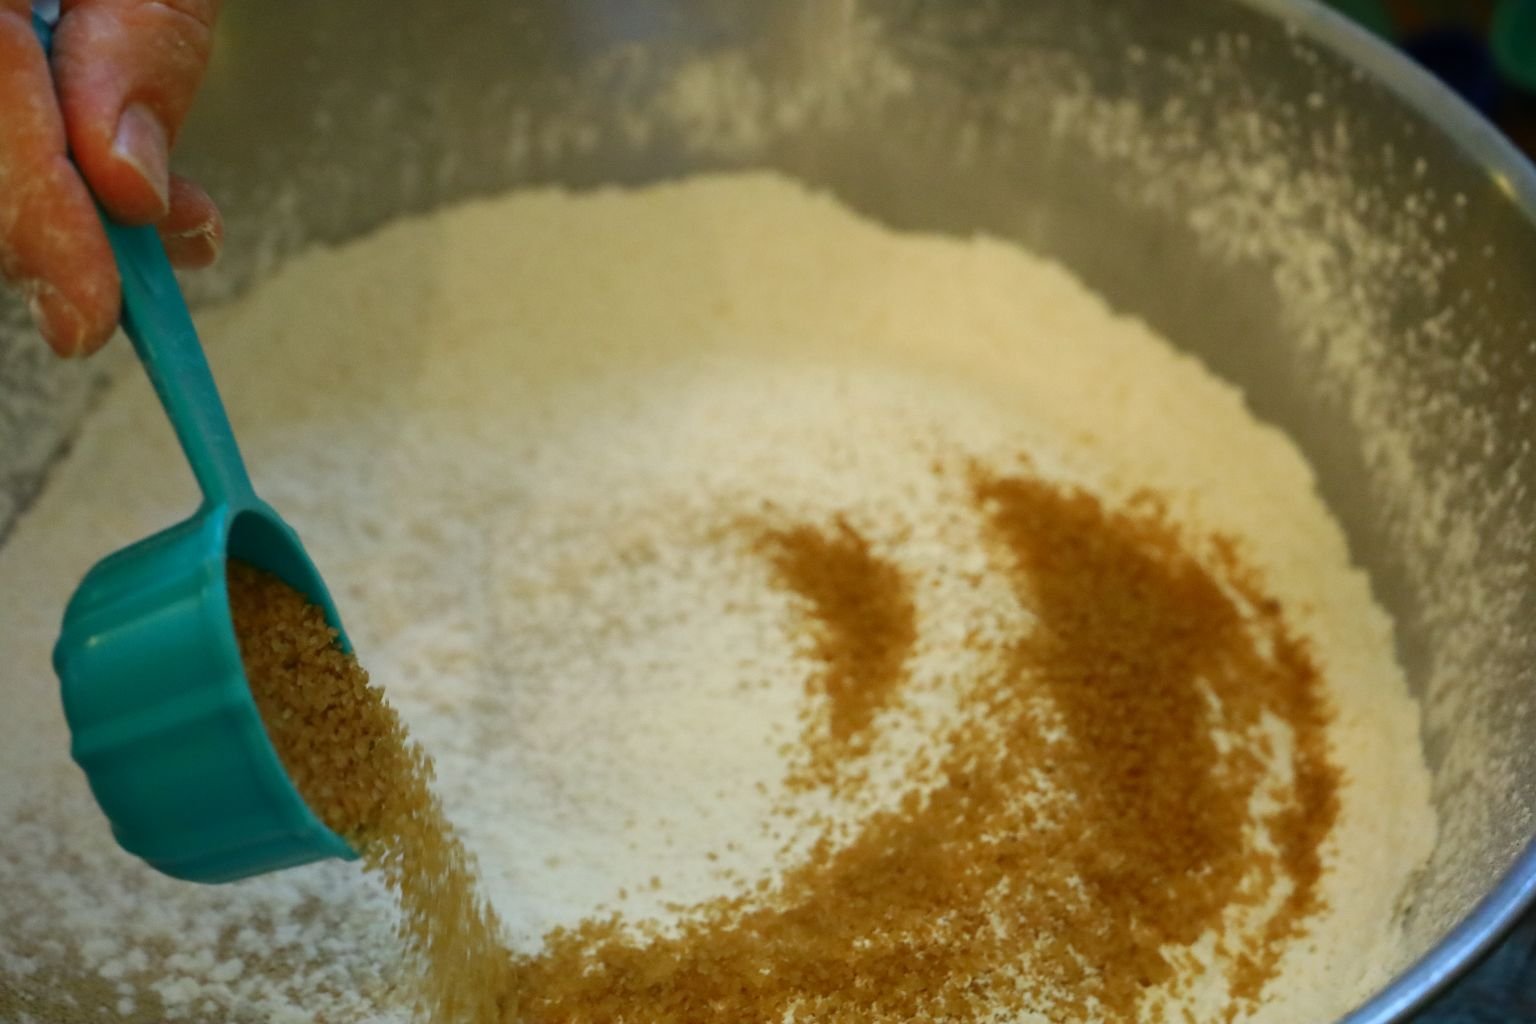
I used Turbinado Sugar as it has a lighter sweet taste.
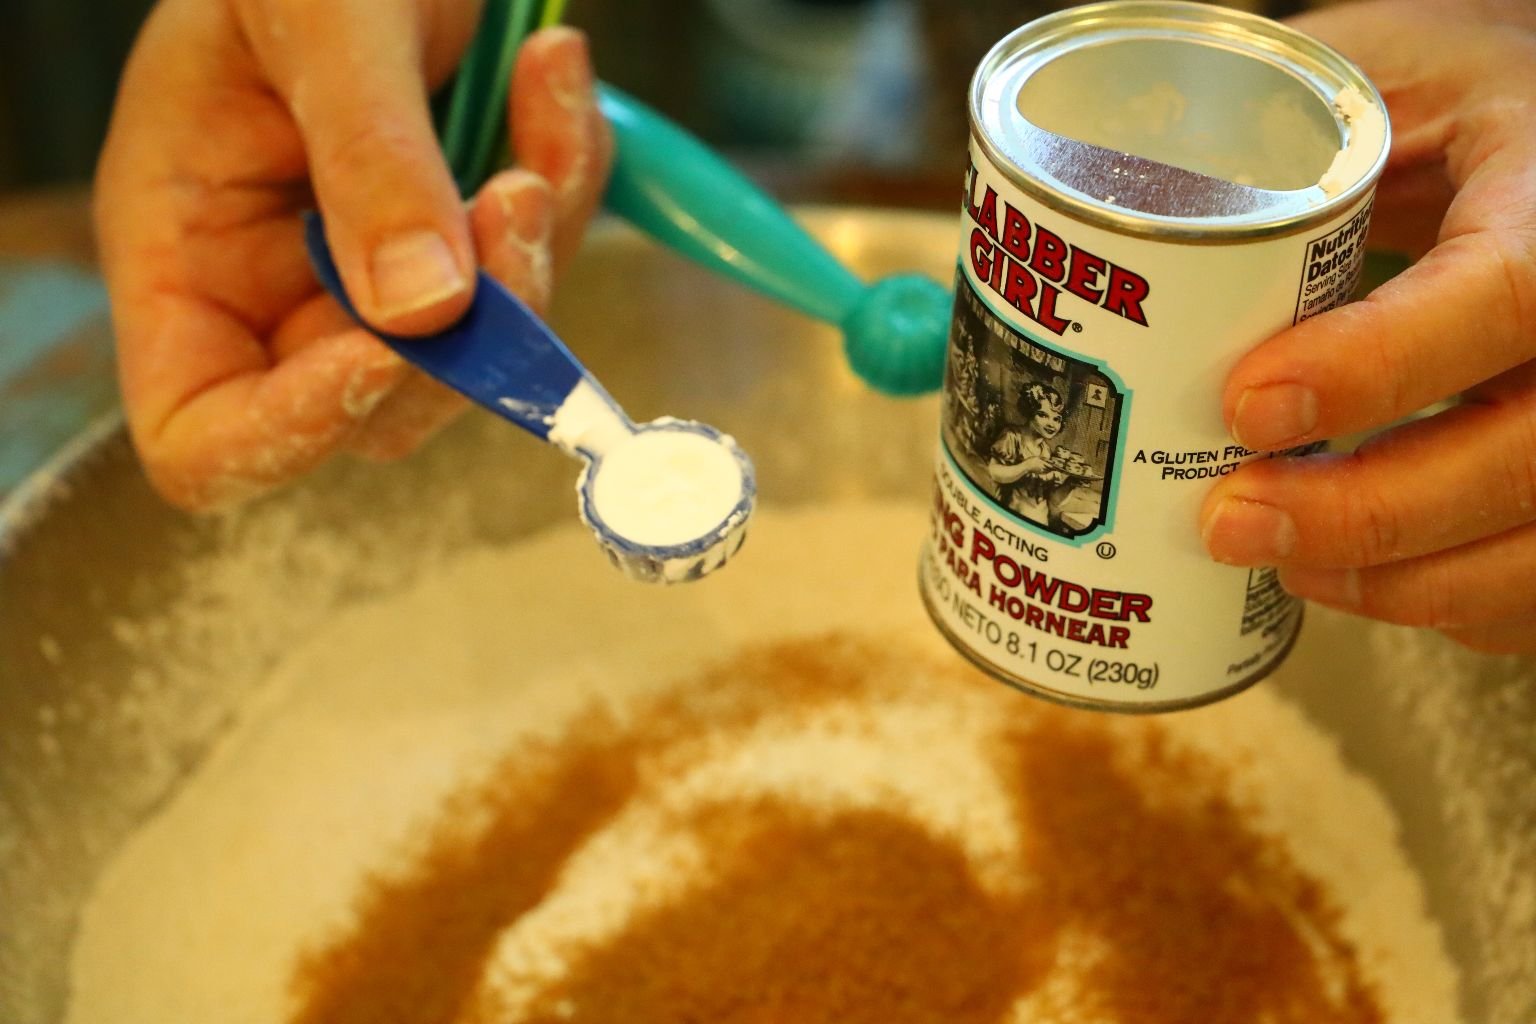
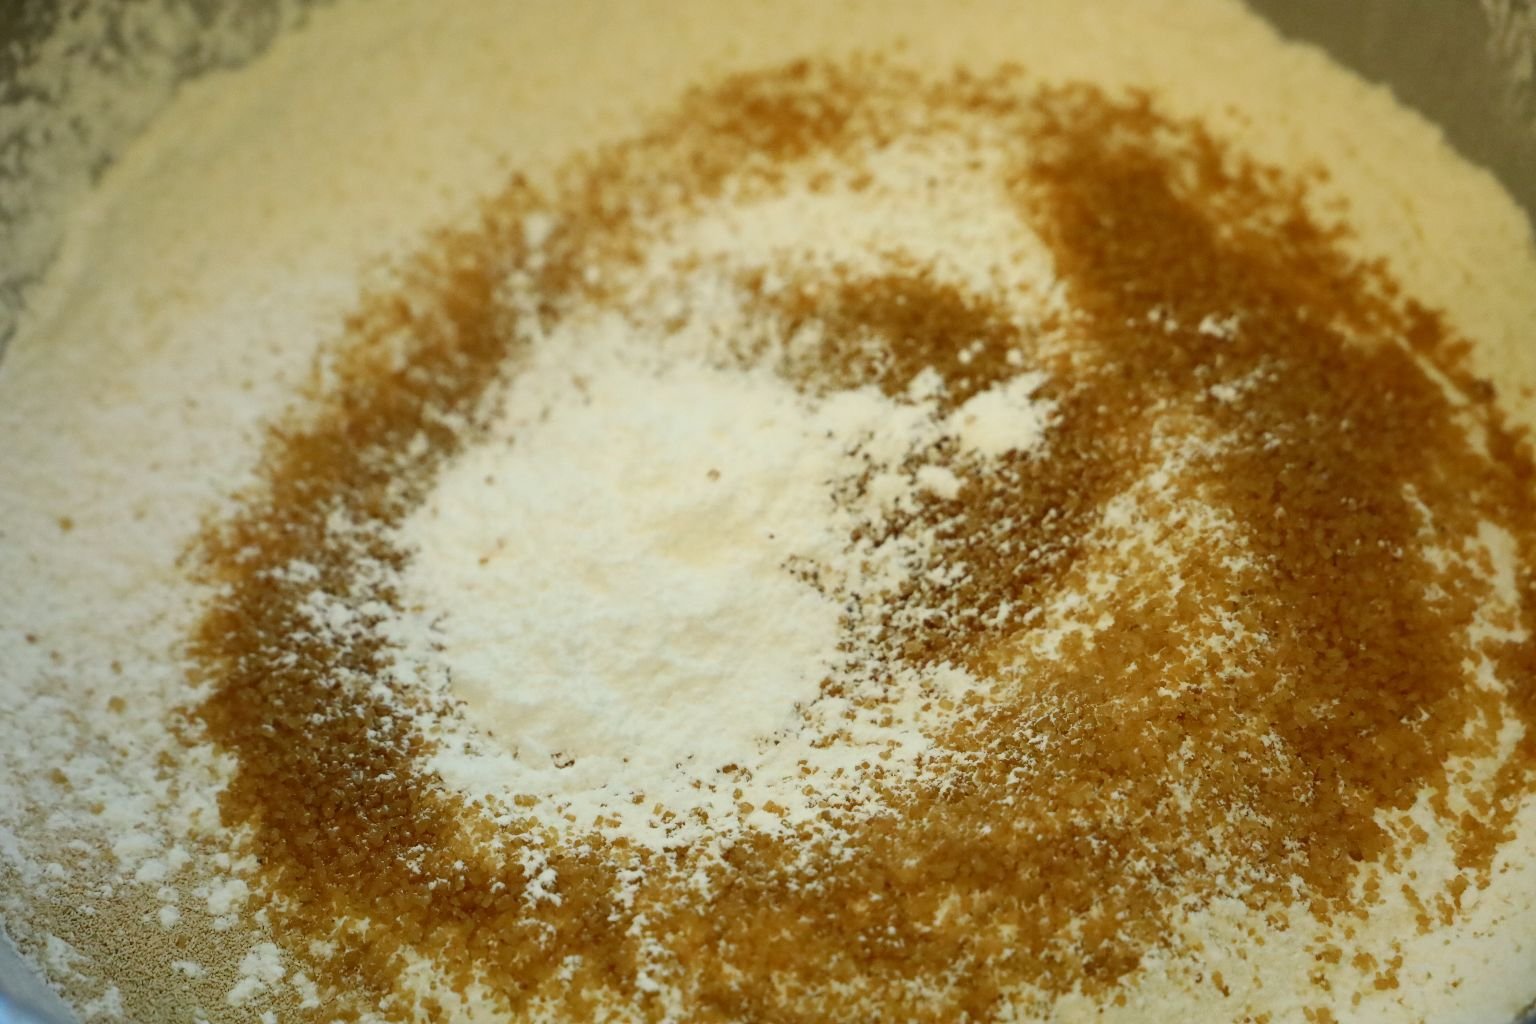
Adding the Baking Powder
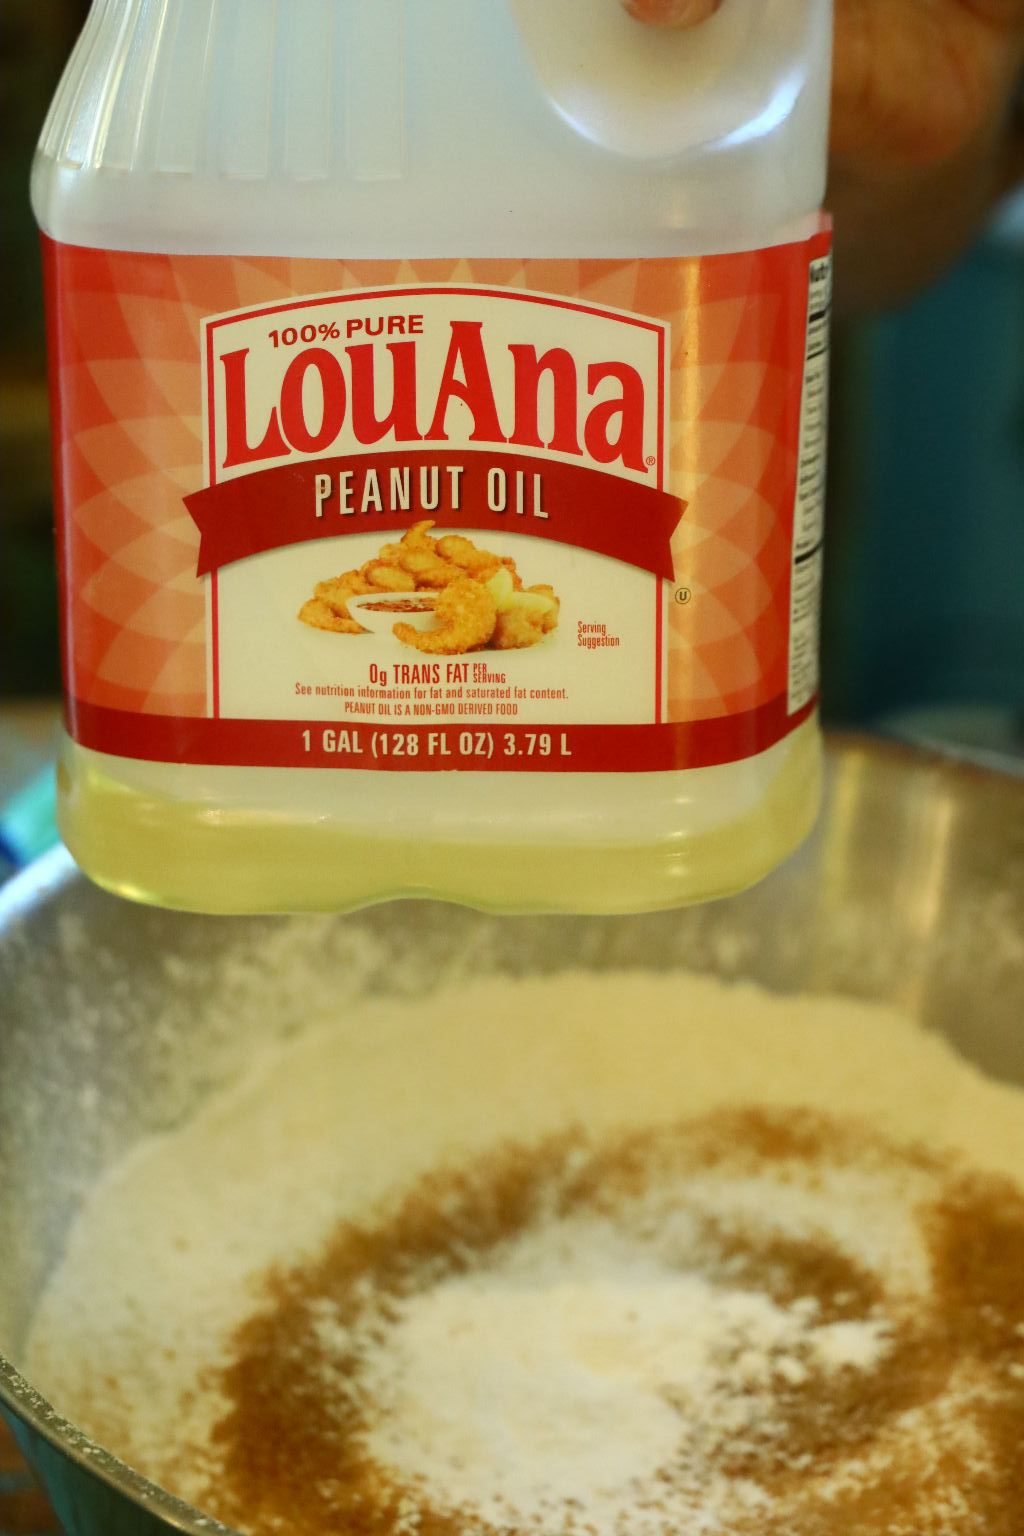
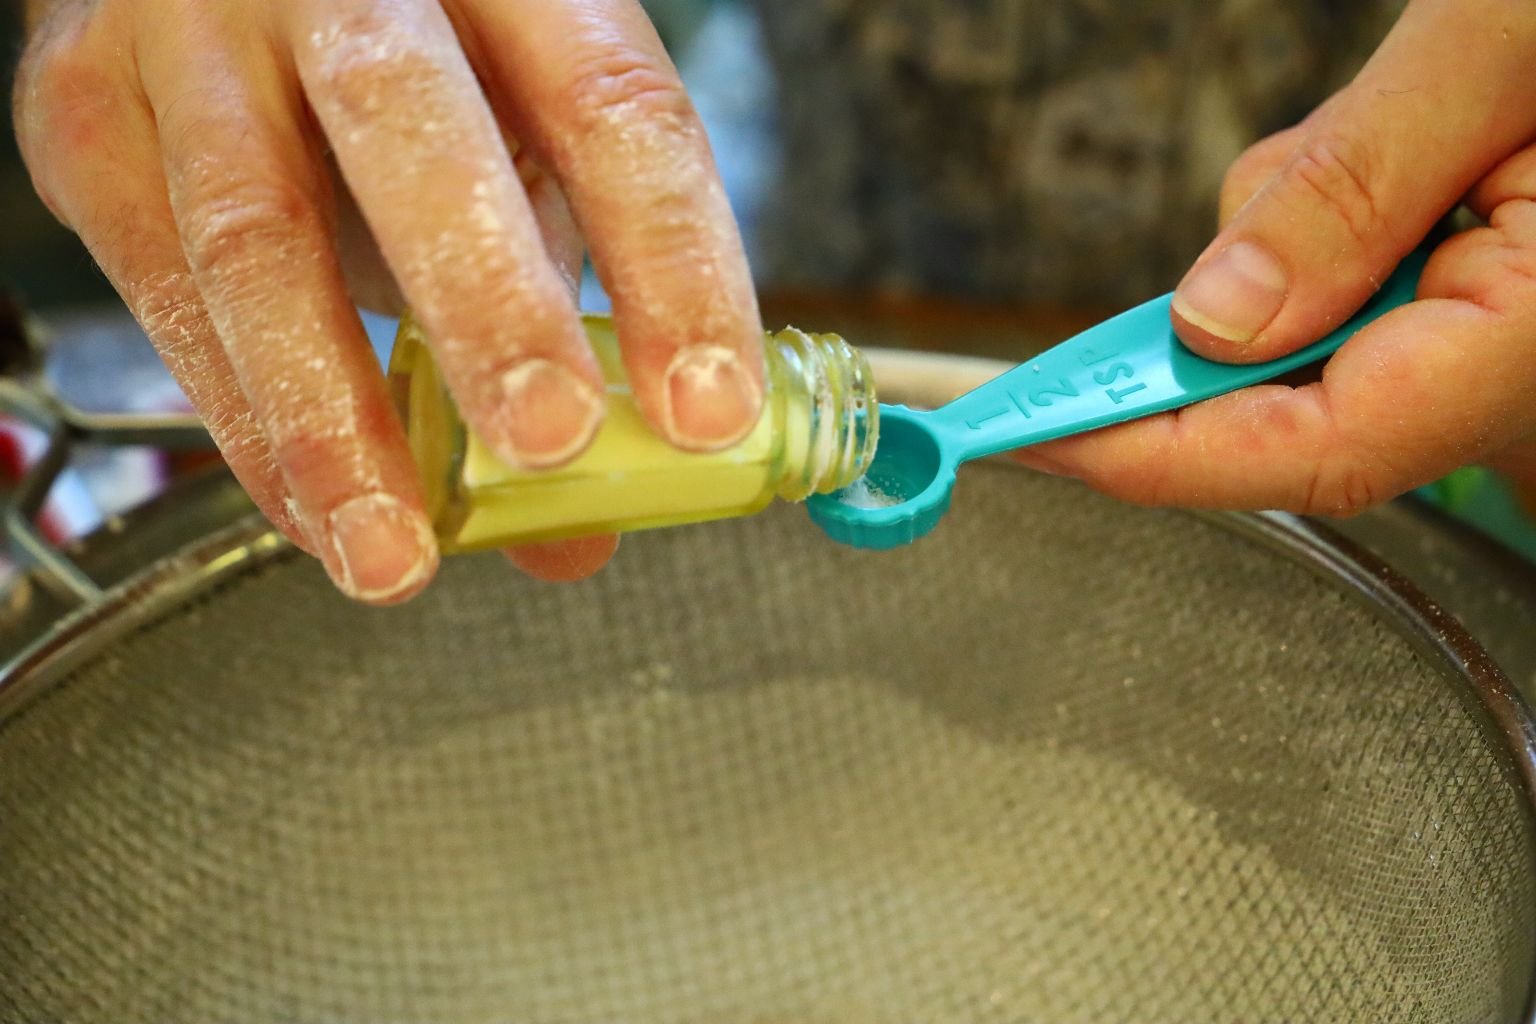
Add your oil to the ingredients in the dough.
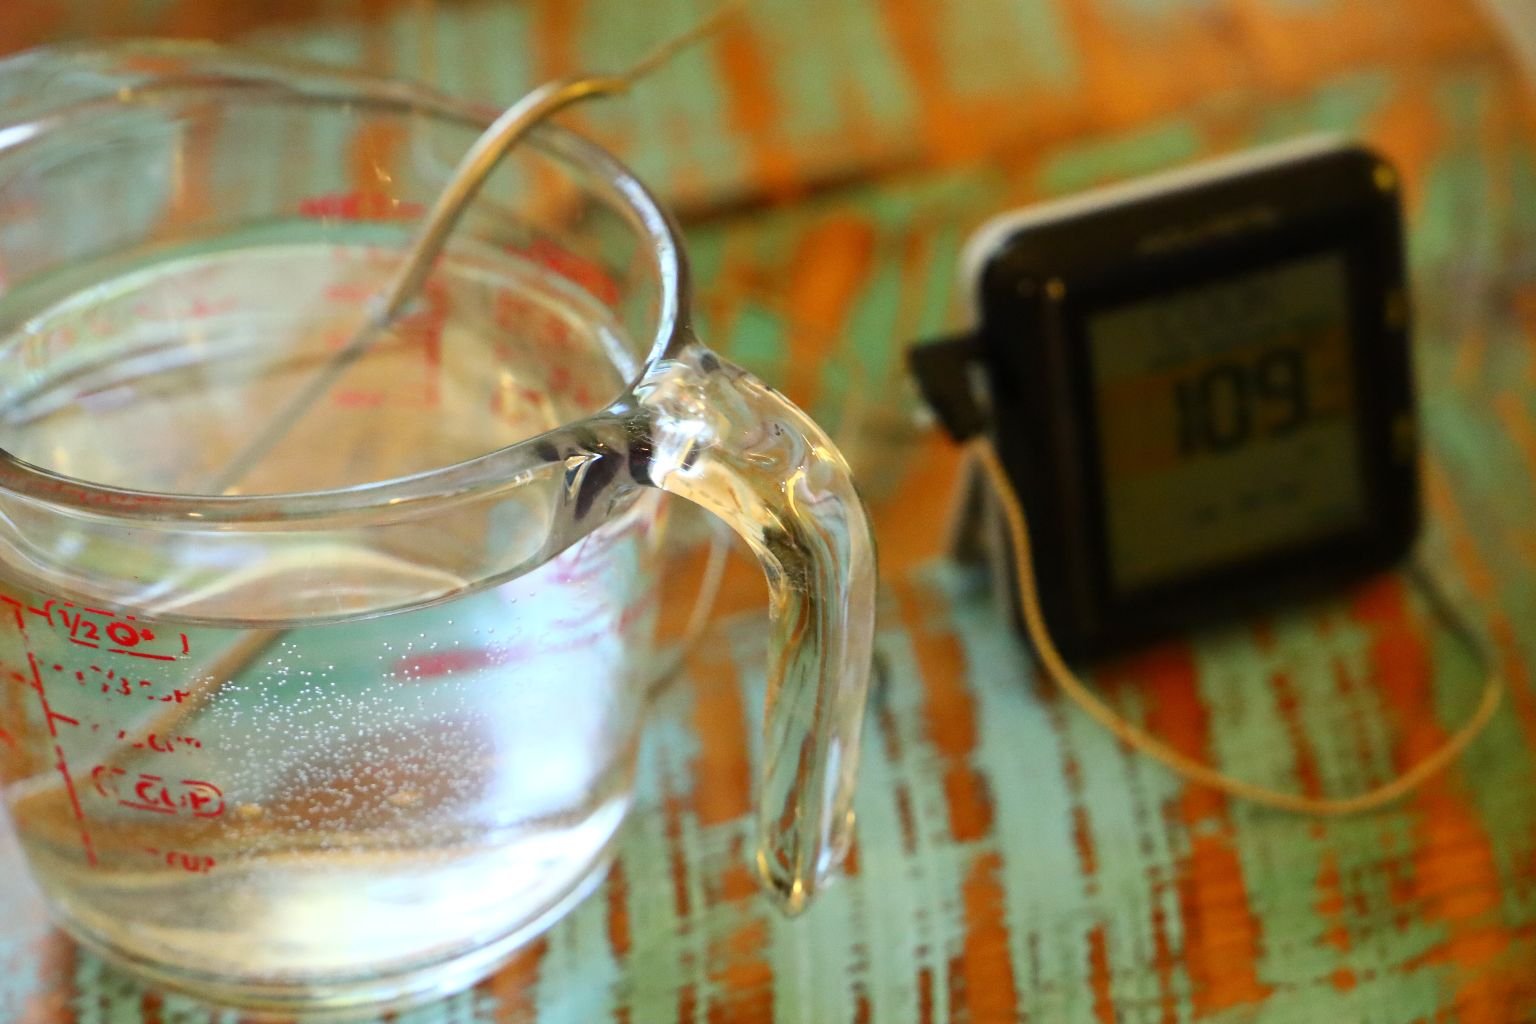
Here you can see the temperature of the water is at 109’F.
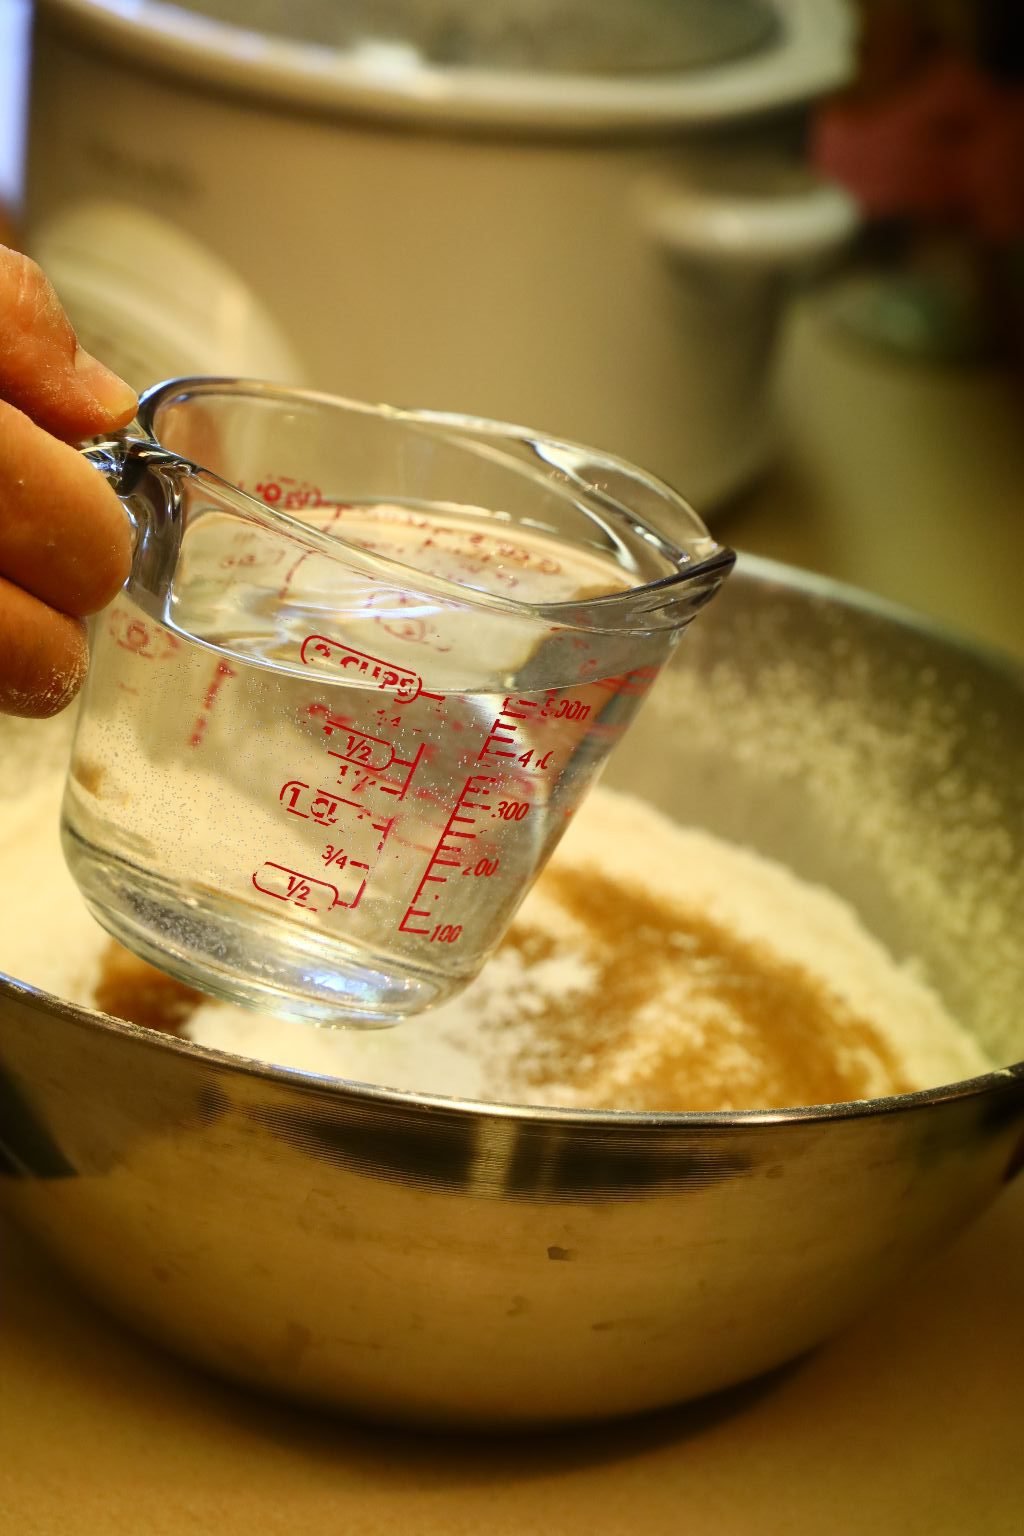
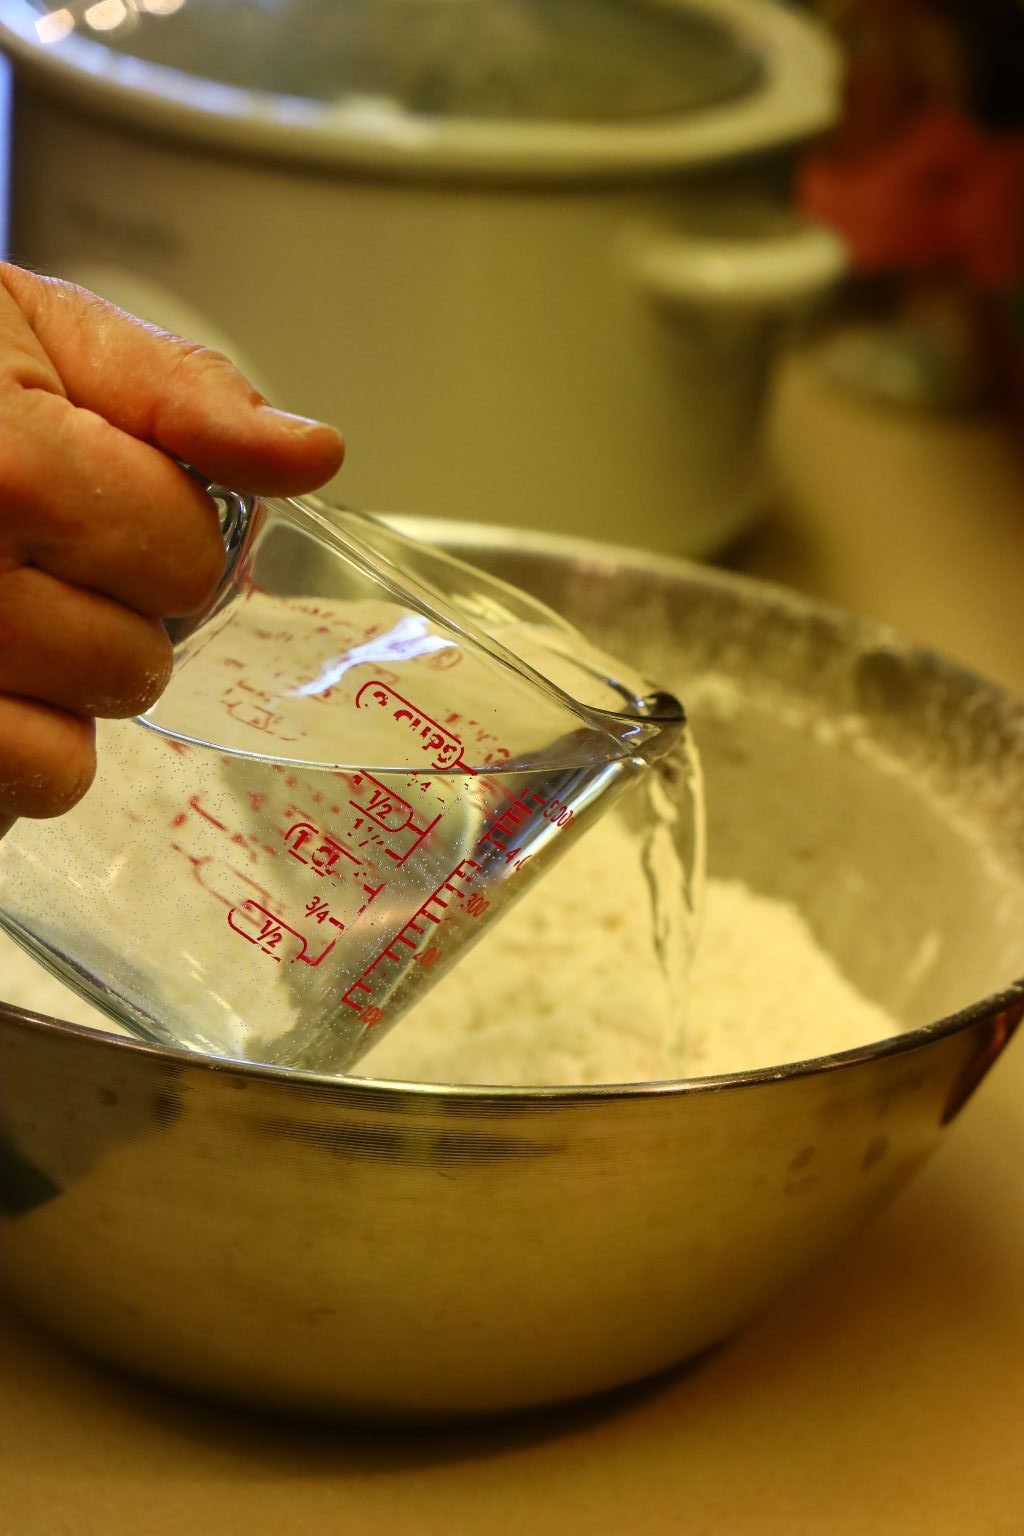
Pour the water into the flour with the other ingredients…
and begin to mix/knead the ingredients to form a dough. The dough will form fast, but continue to knead it until it becomes smooth to the touch. The entire process should take about 10 min. Kneading the dough helps to build the gluten in the dough which makes it more elastic and smooth.
——————————————————————–
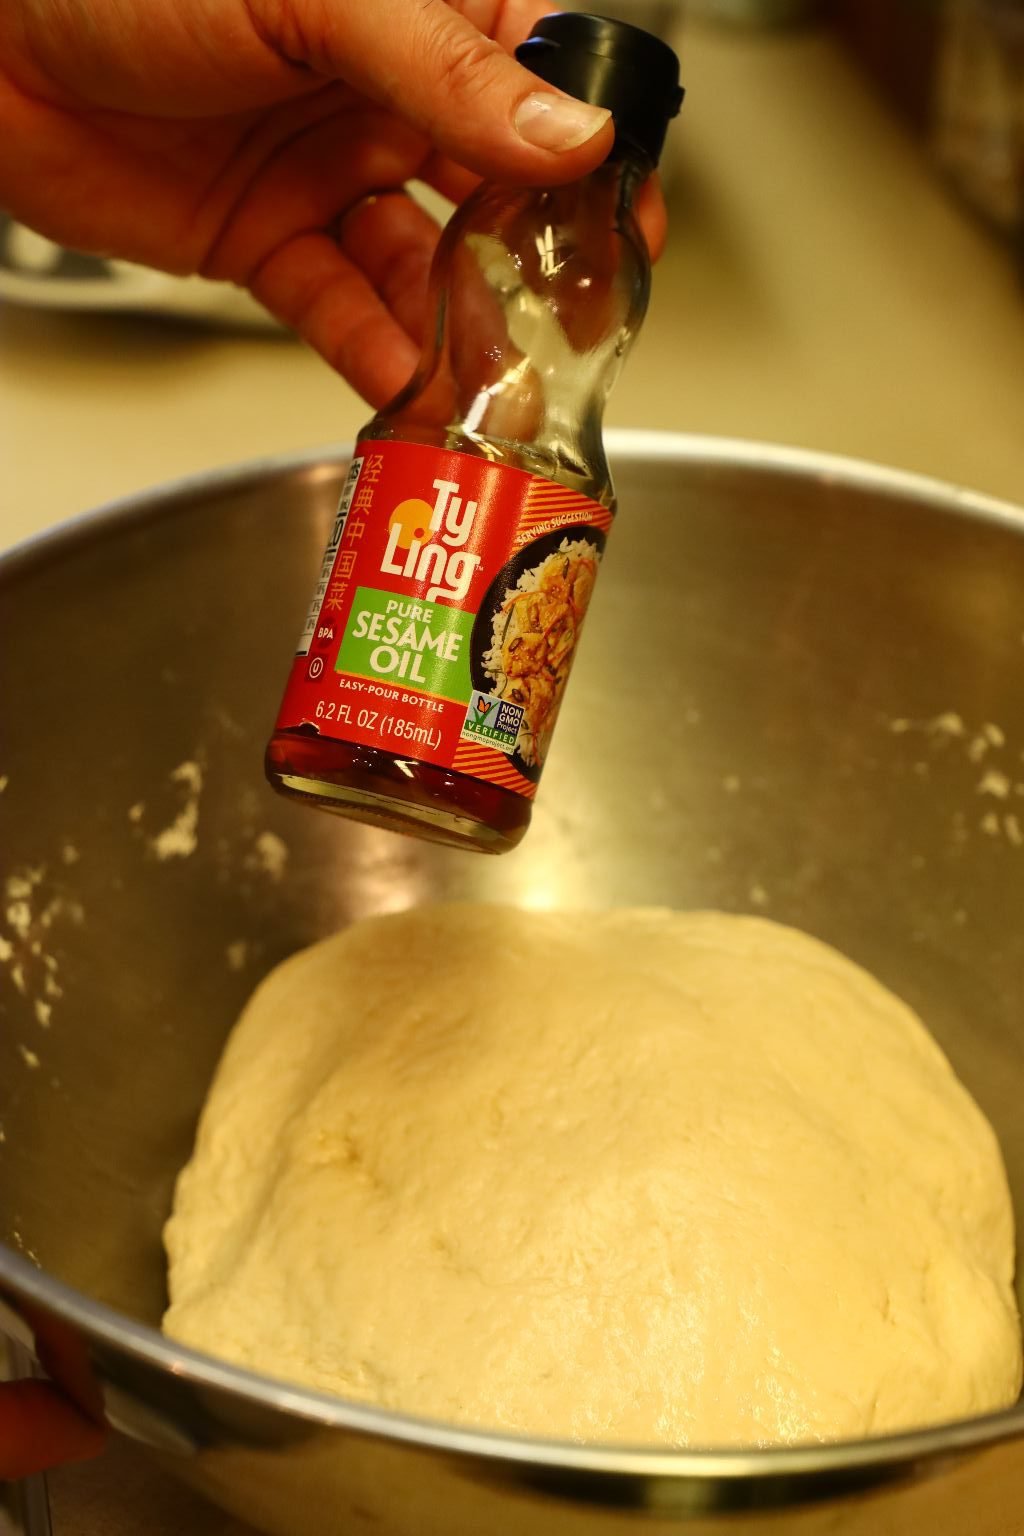
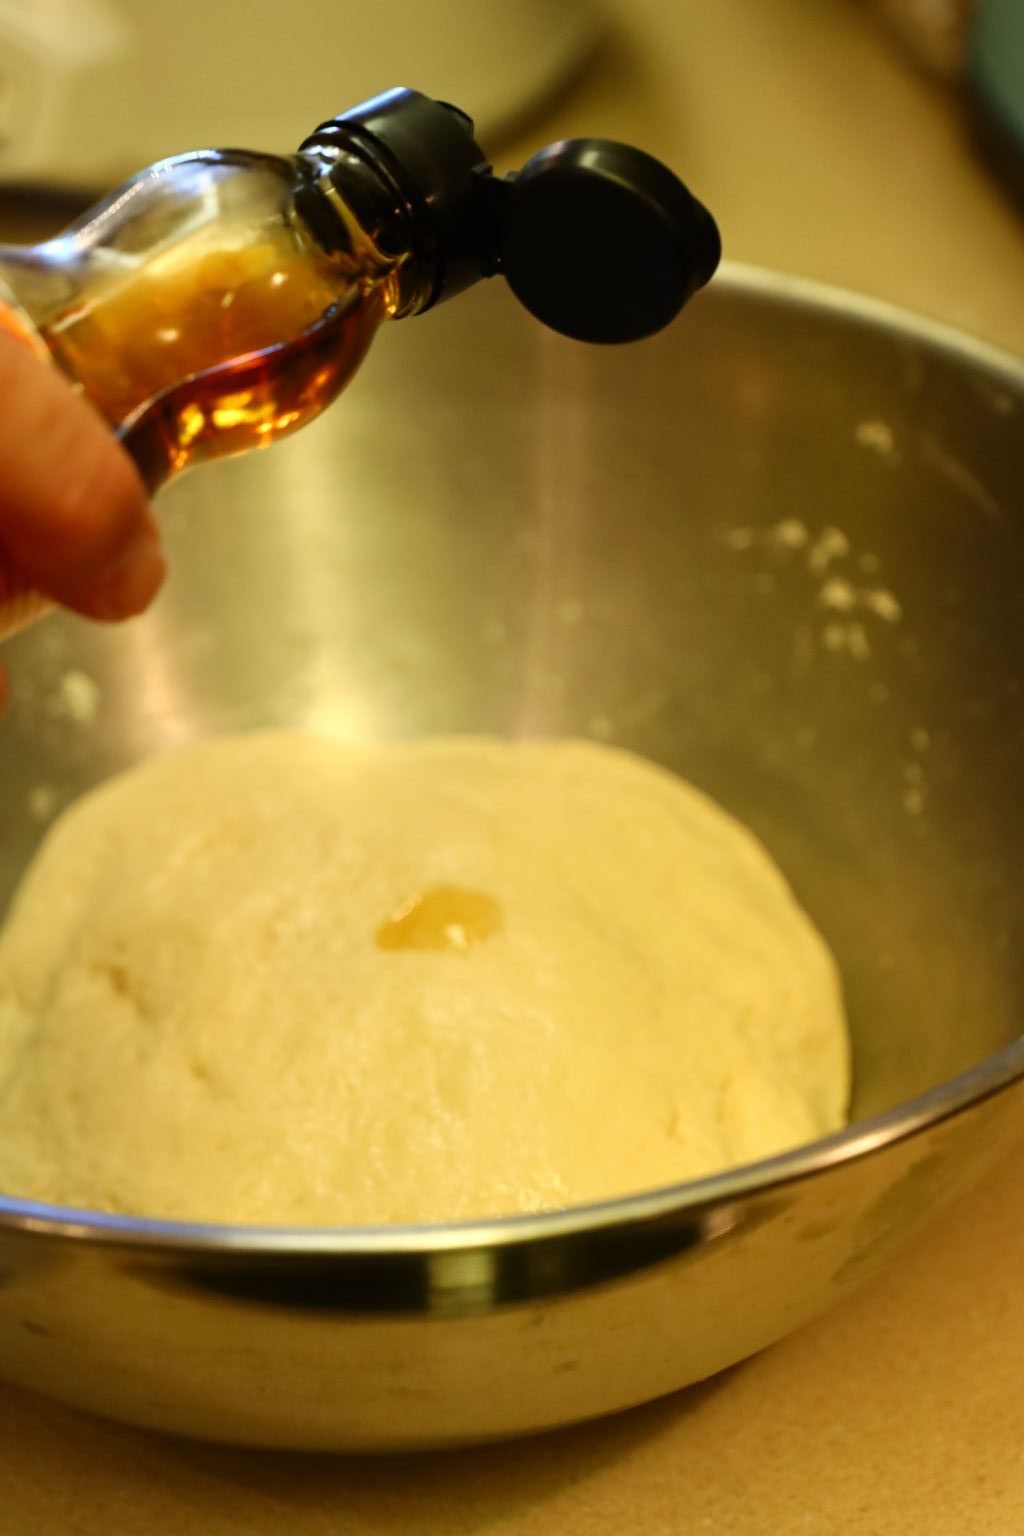
To keep with the Asian taste, I added Sesame Oil to the outside of the dough to help it smoothly rise in the bowl.
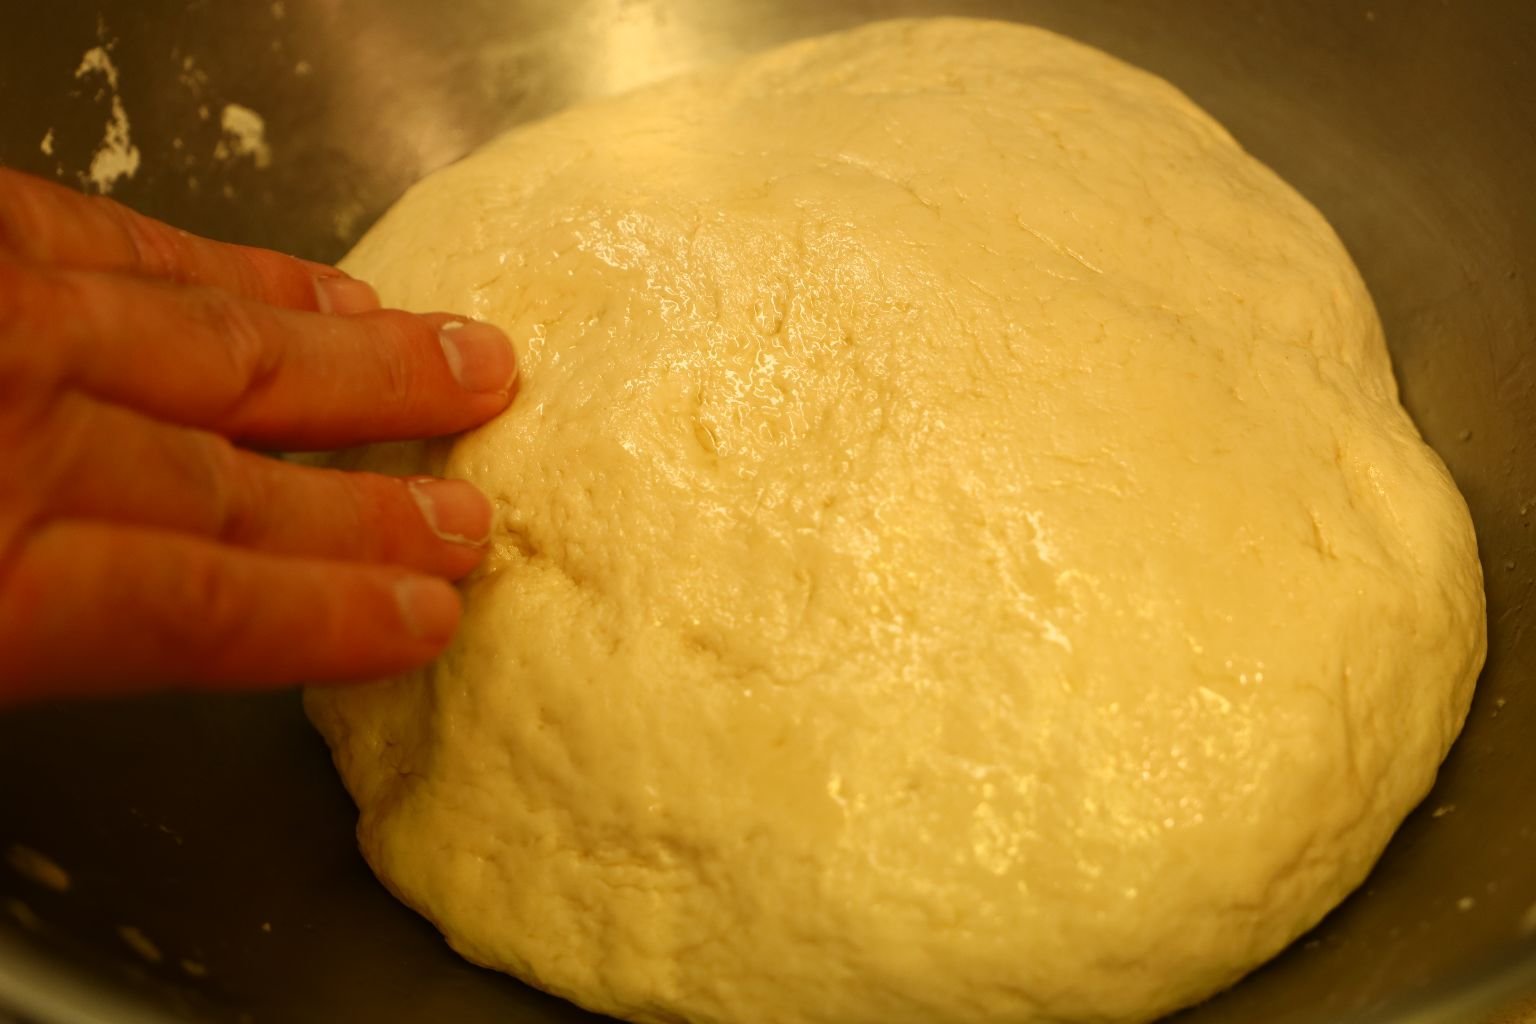
Cover the bowl with a clean hand towel or plastic wrap and place it in a warm environment to allow the dough to rise until nearly doubled. This will take about an hour or so depending on the temperature of the room. I usually turn my oven on warm for about 2 min. then shut it off and place the dough in there providing it a nice environment to rise. This step in making dough is called proofing.
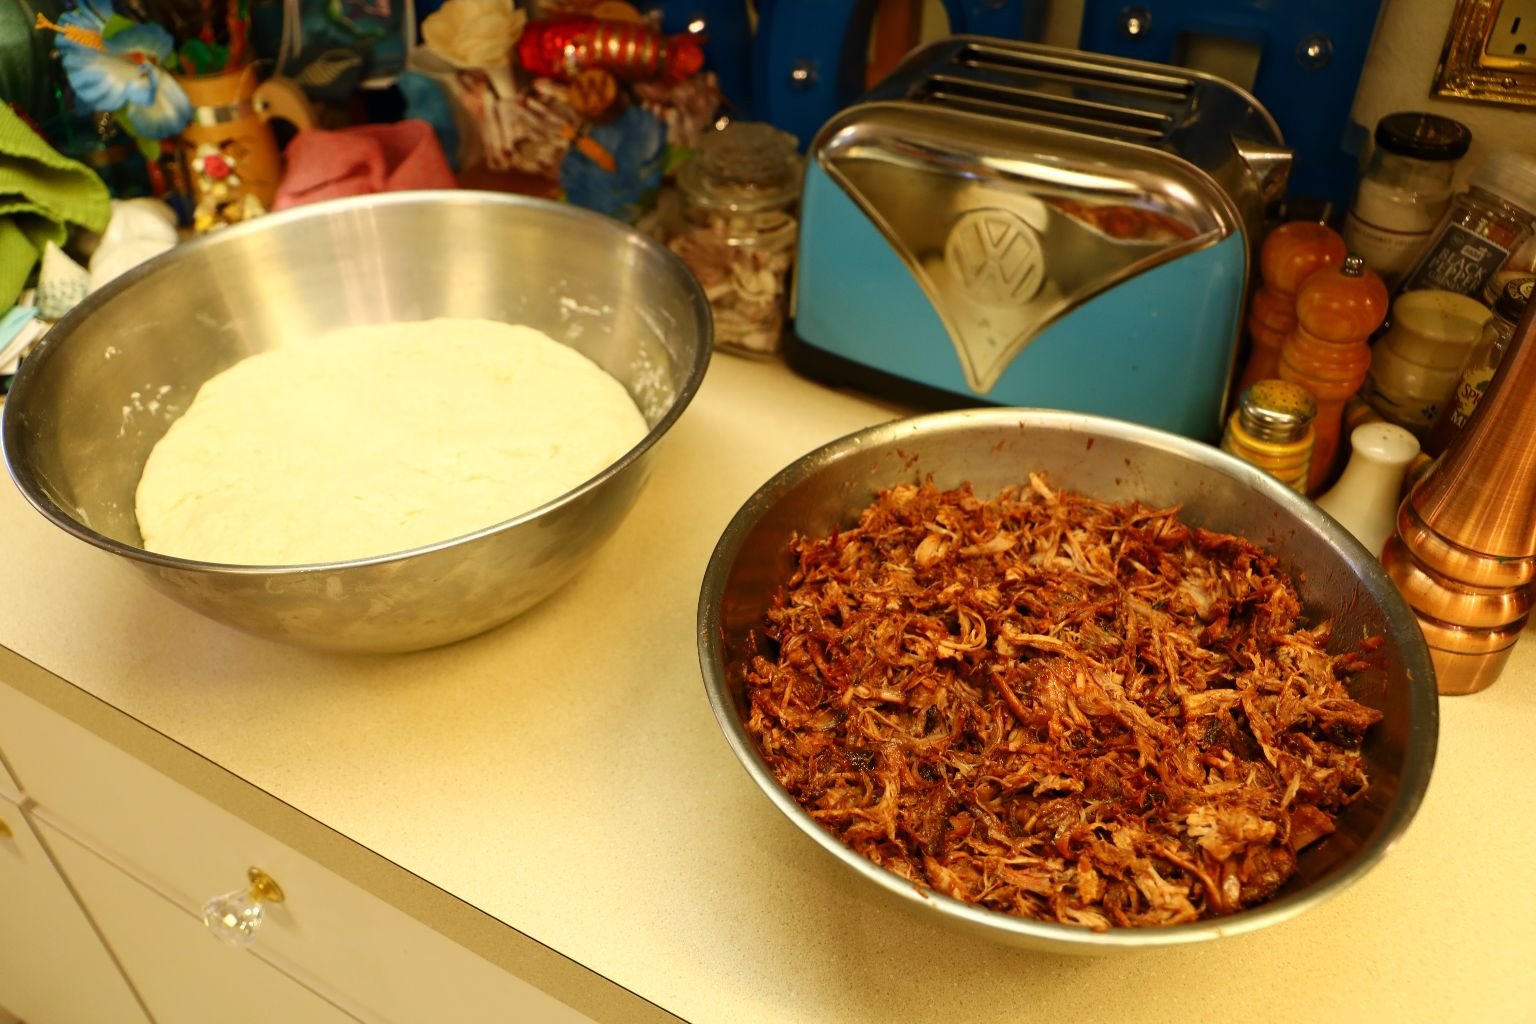
Here you can see our dough is ready, and the Char Siu pork.
——————————————————————————-
When the dough is ready,
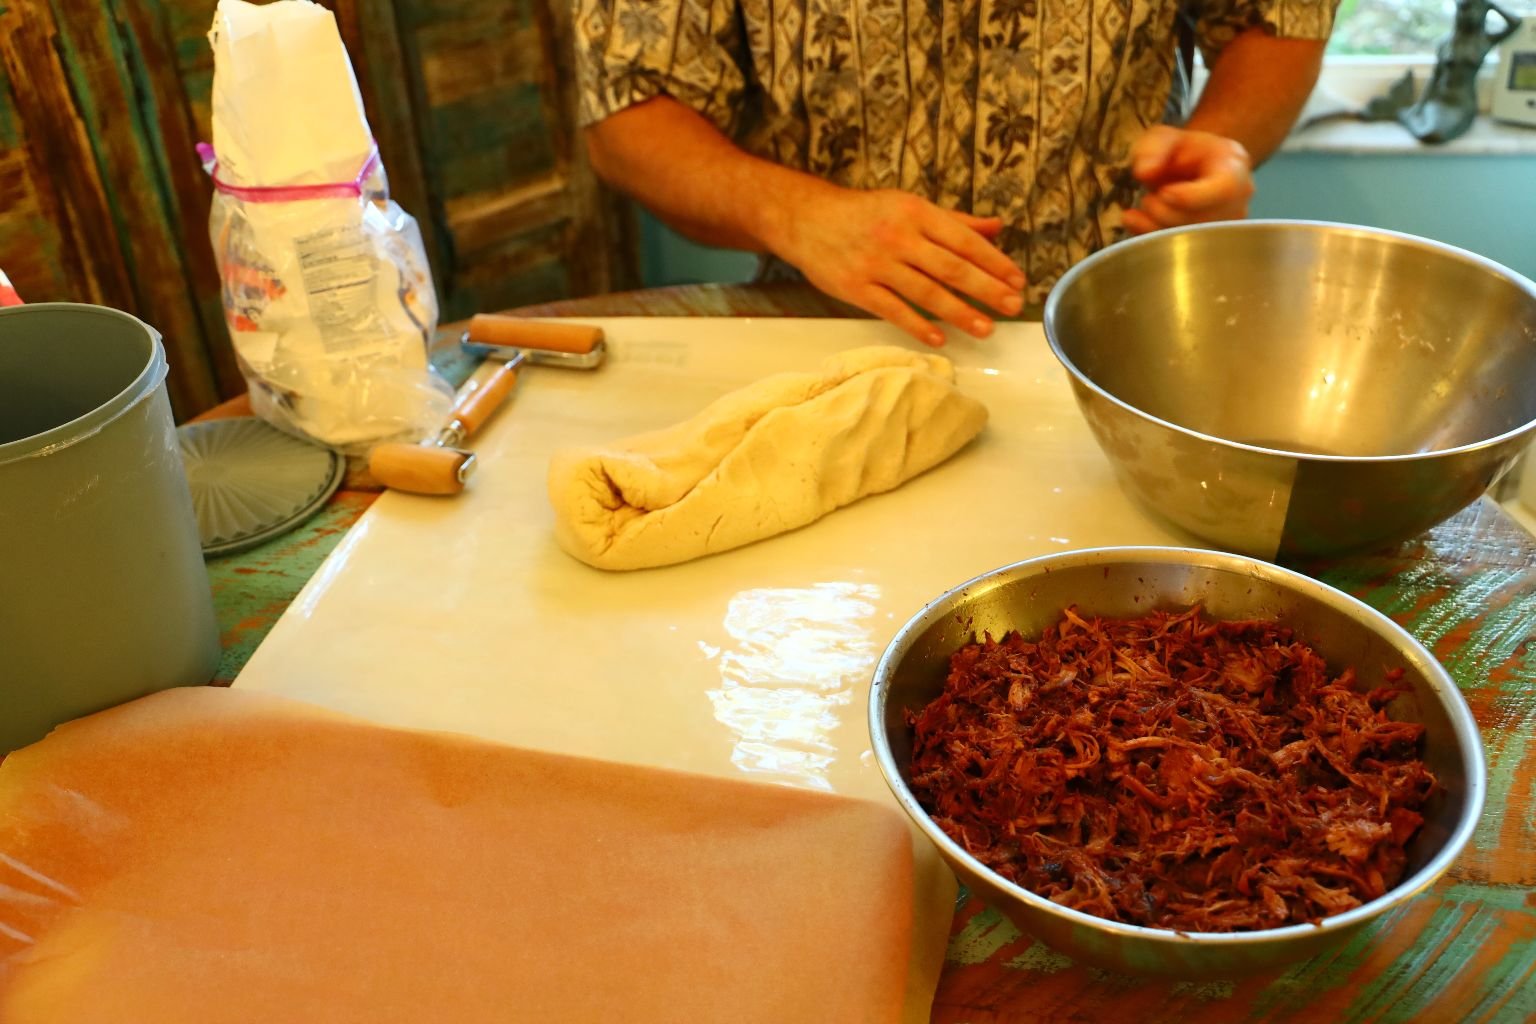
place the dough on a lightly floured surface …
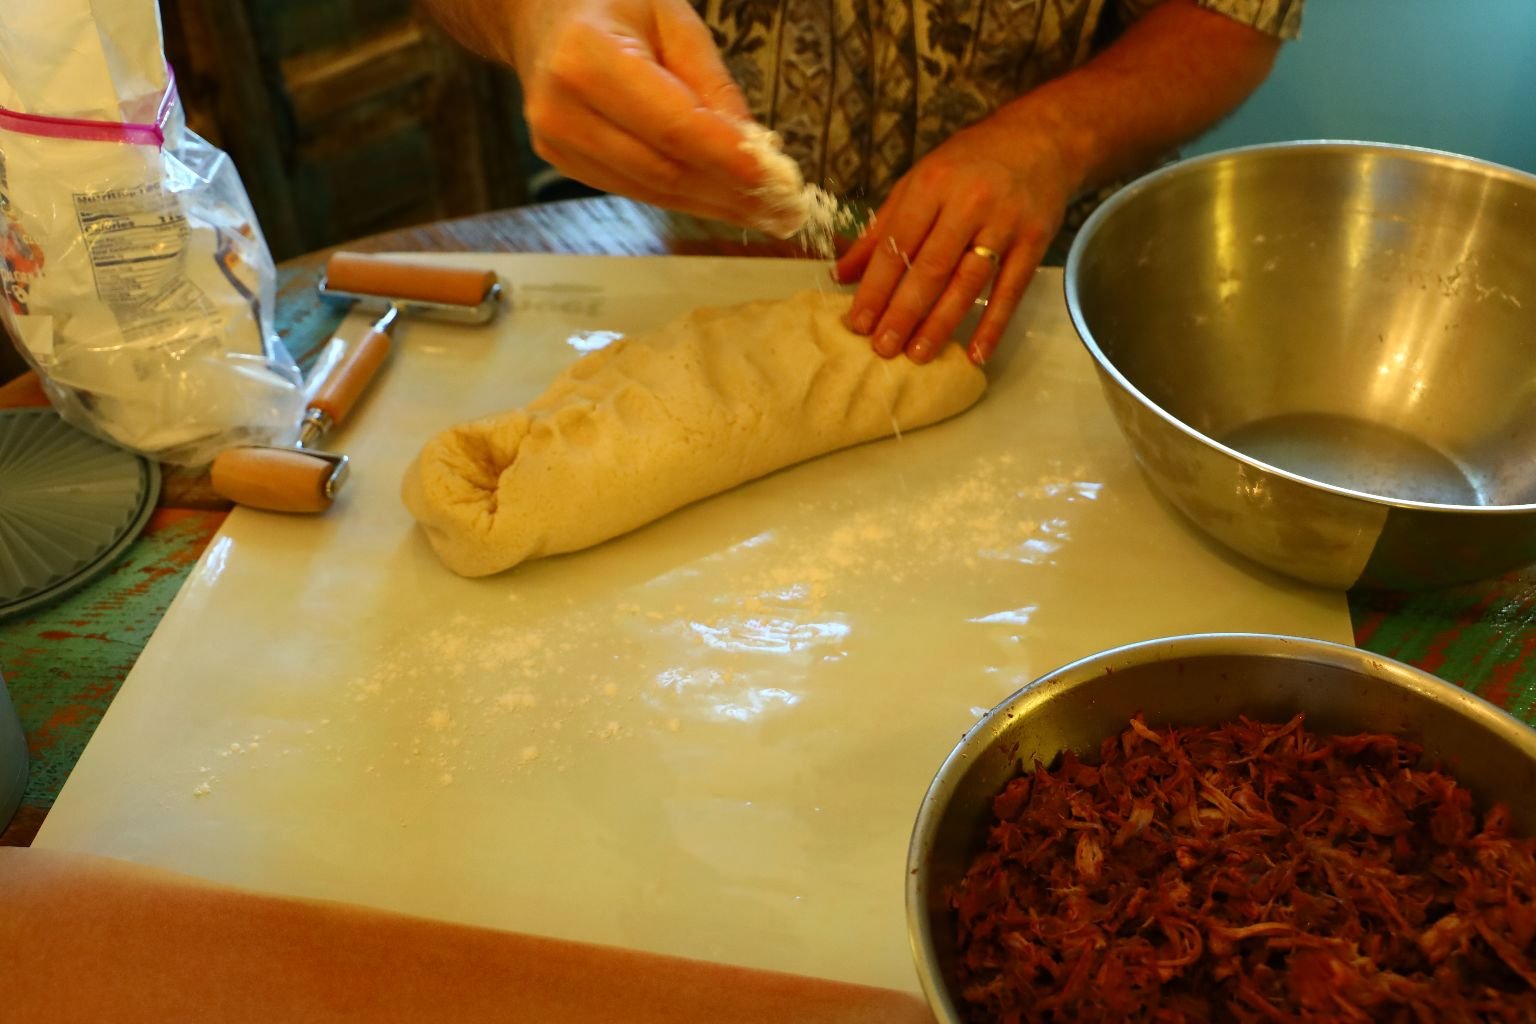


and divide it in half to make it easier to work with.
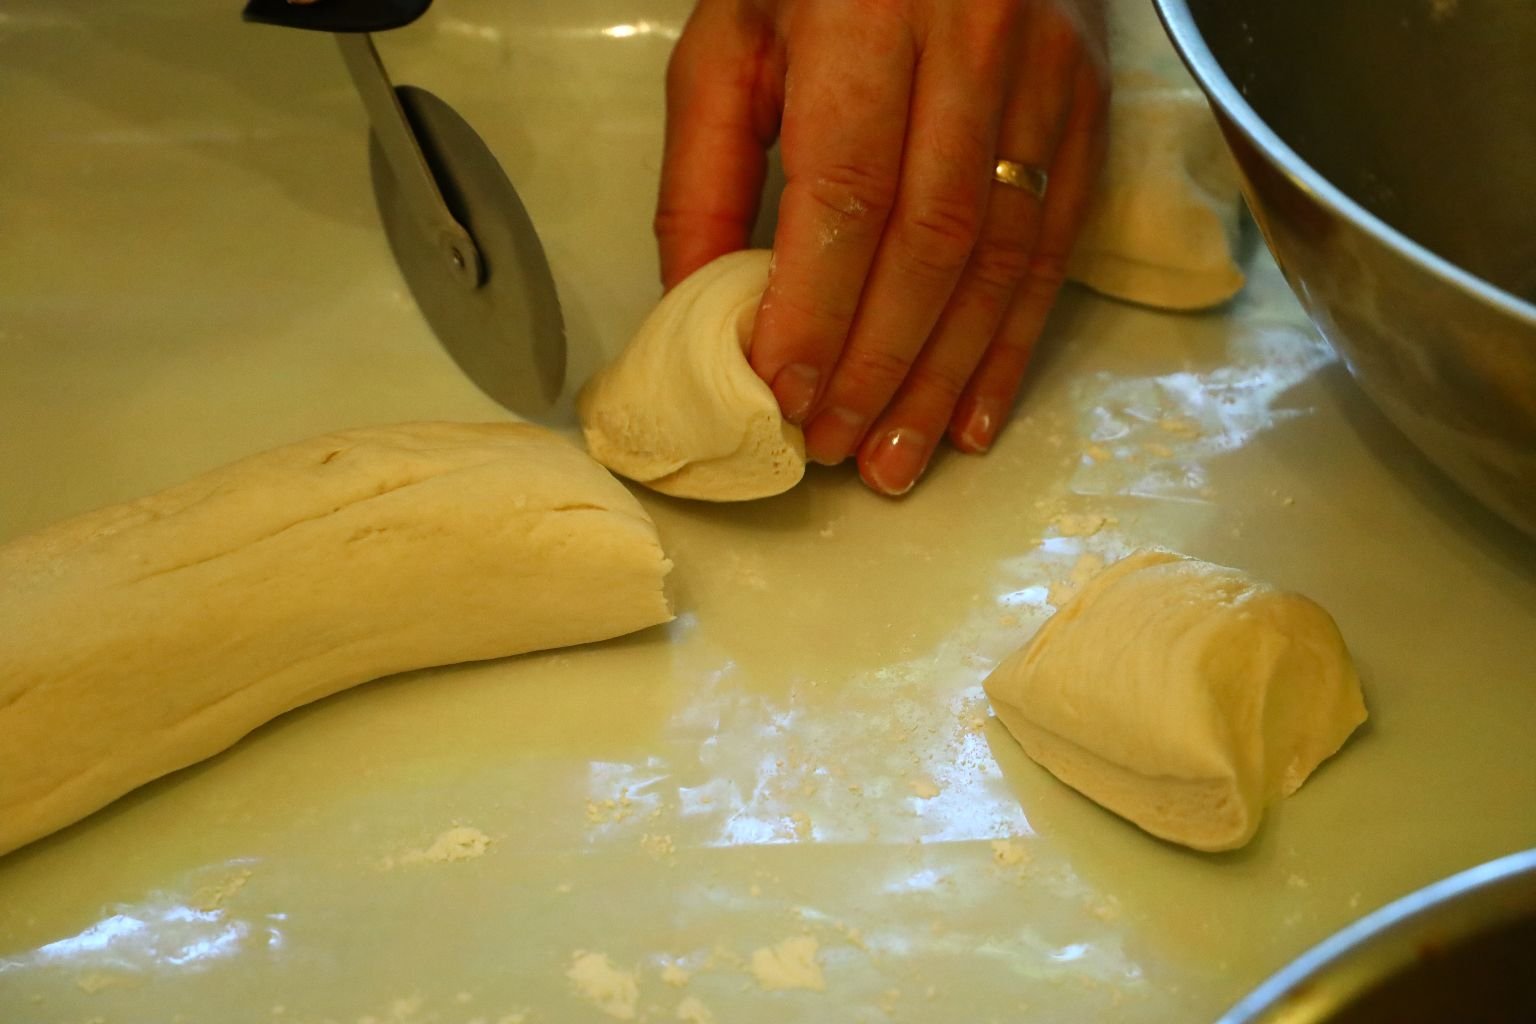
Roll the dough into a long log about 2 inches in diameter. Using a pizza cutter slice the dough into 1 inch pieces as shown.
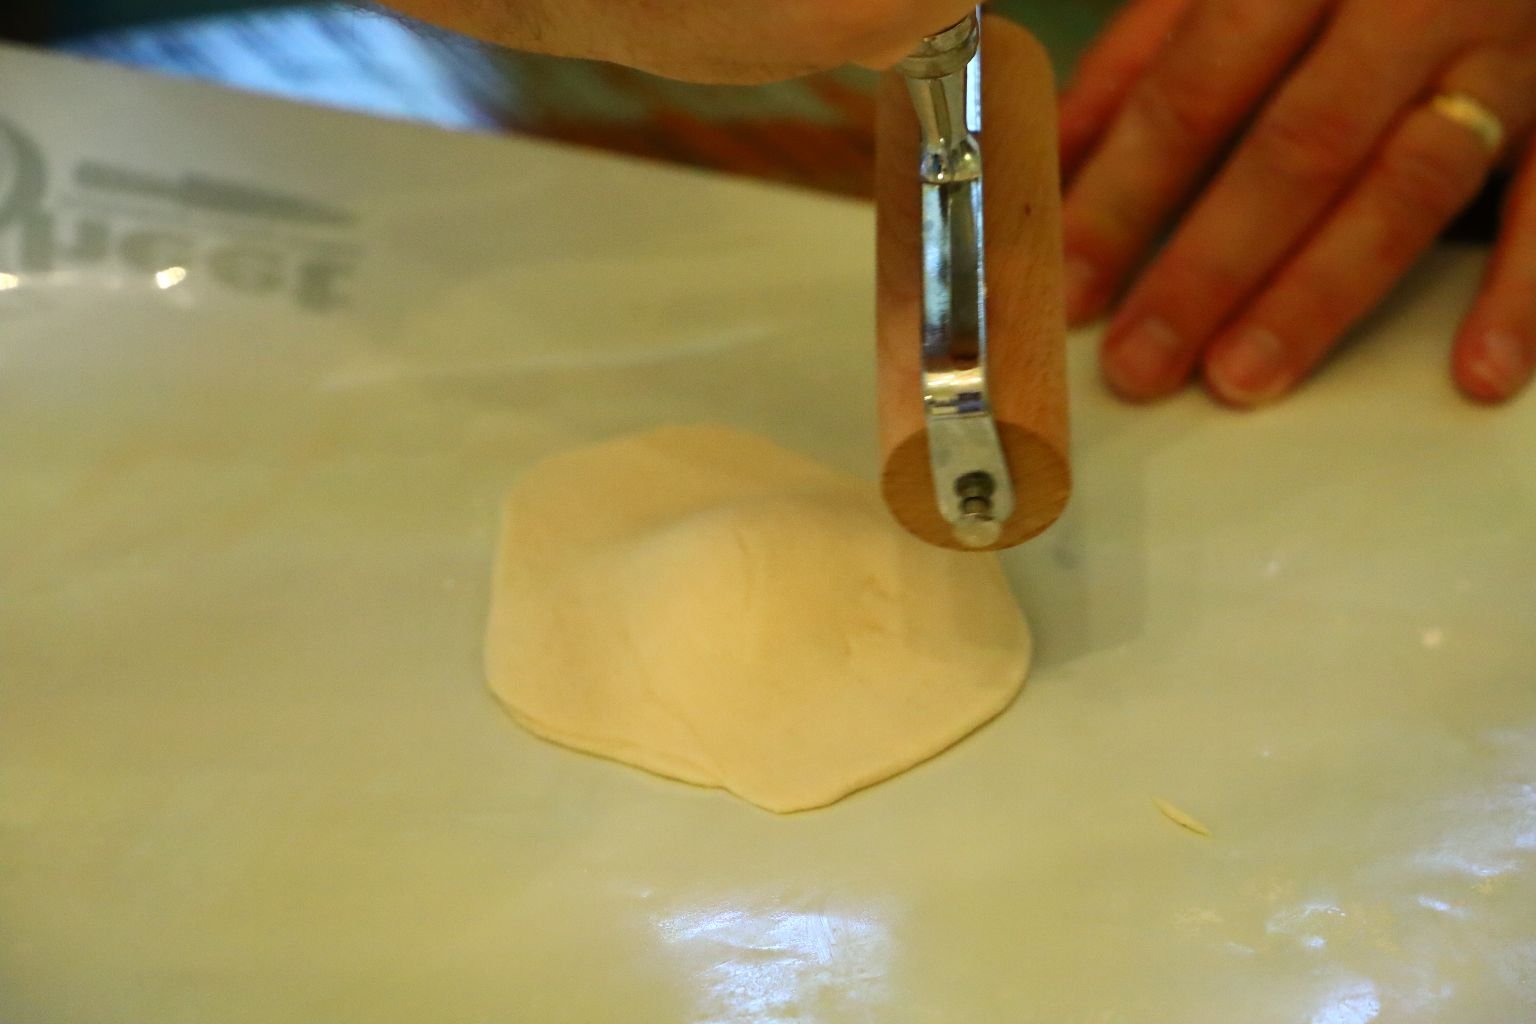
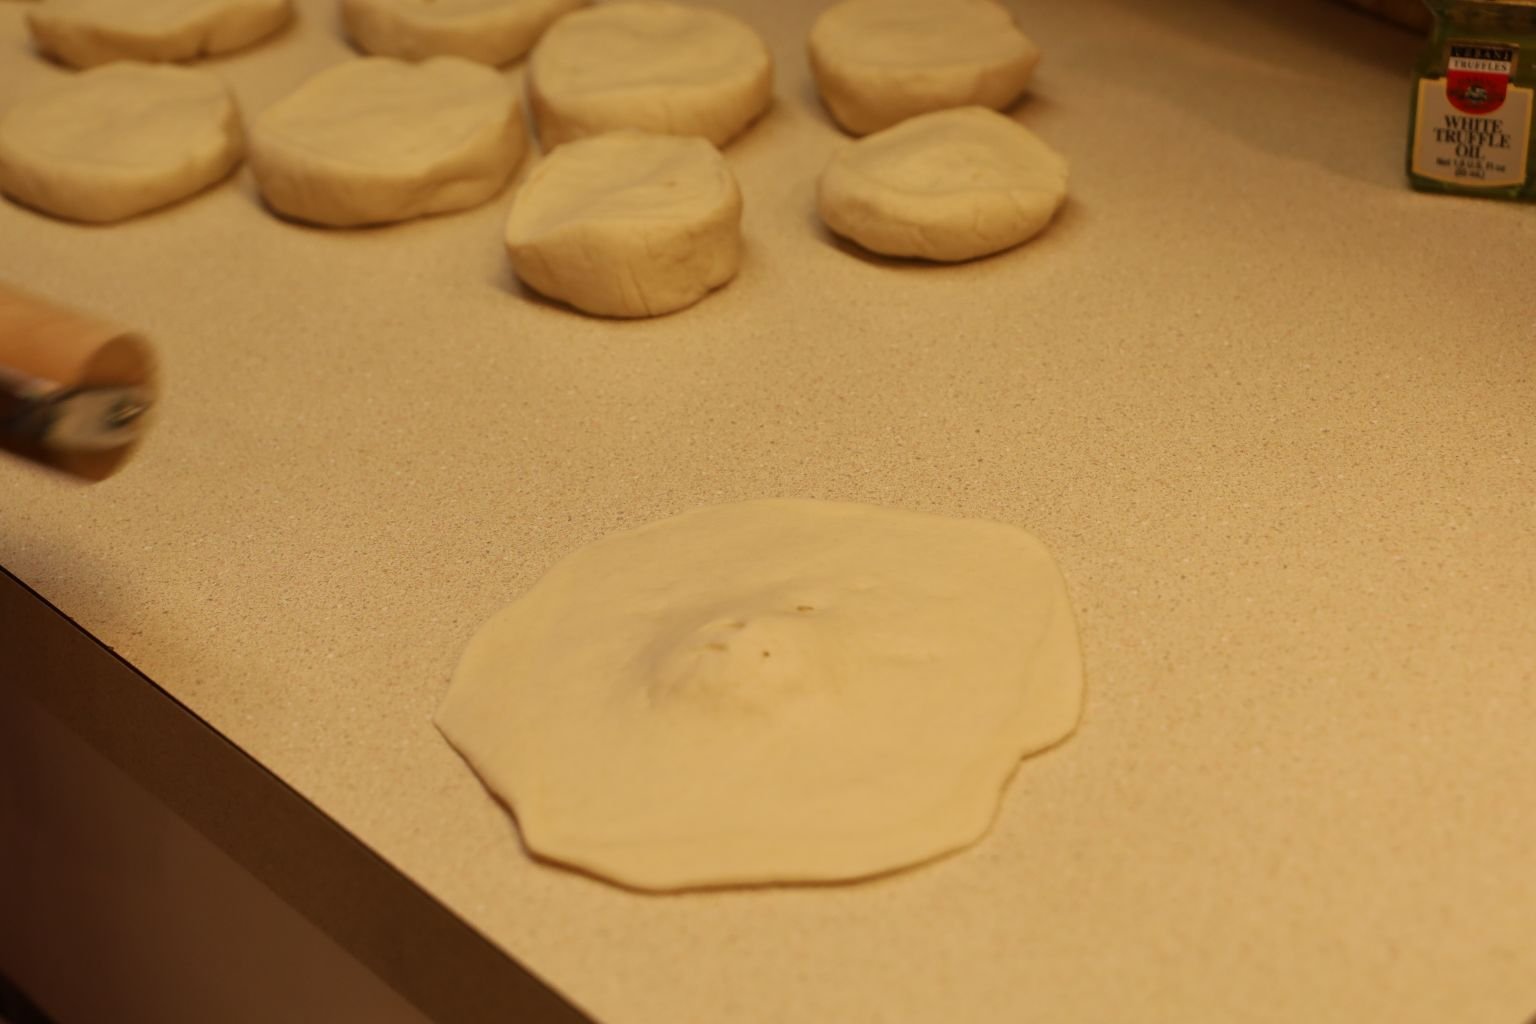
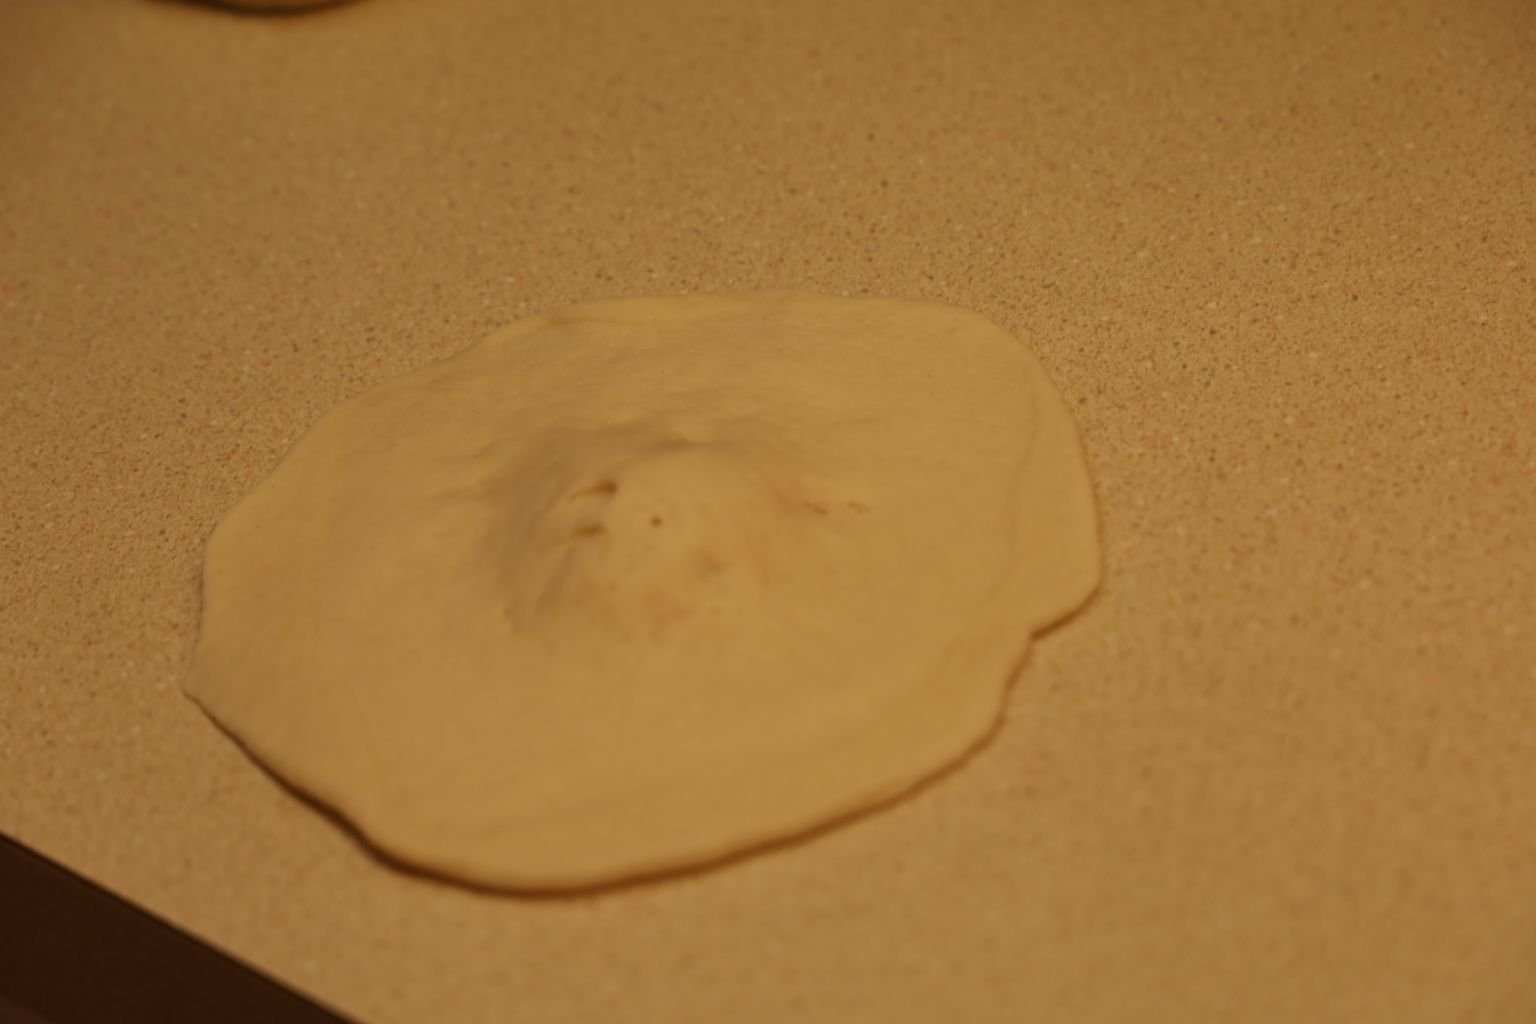
Use a small roller or your hands, and keeping the center untouched, roll out the edges of the dough to about 4 1/2 to 5 inches in diameter.
Like So
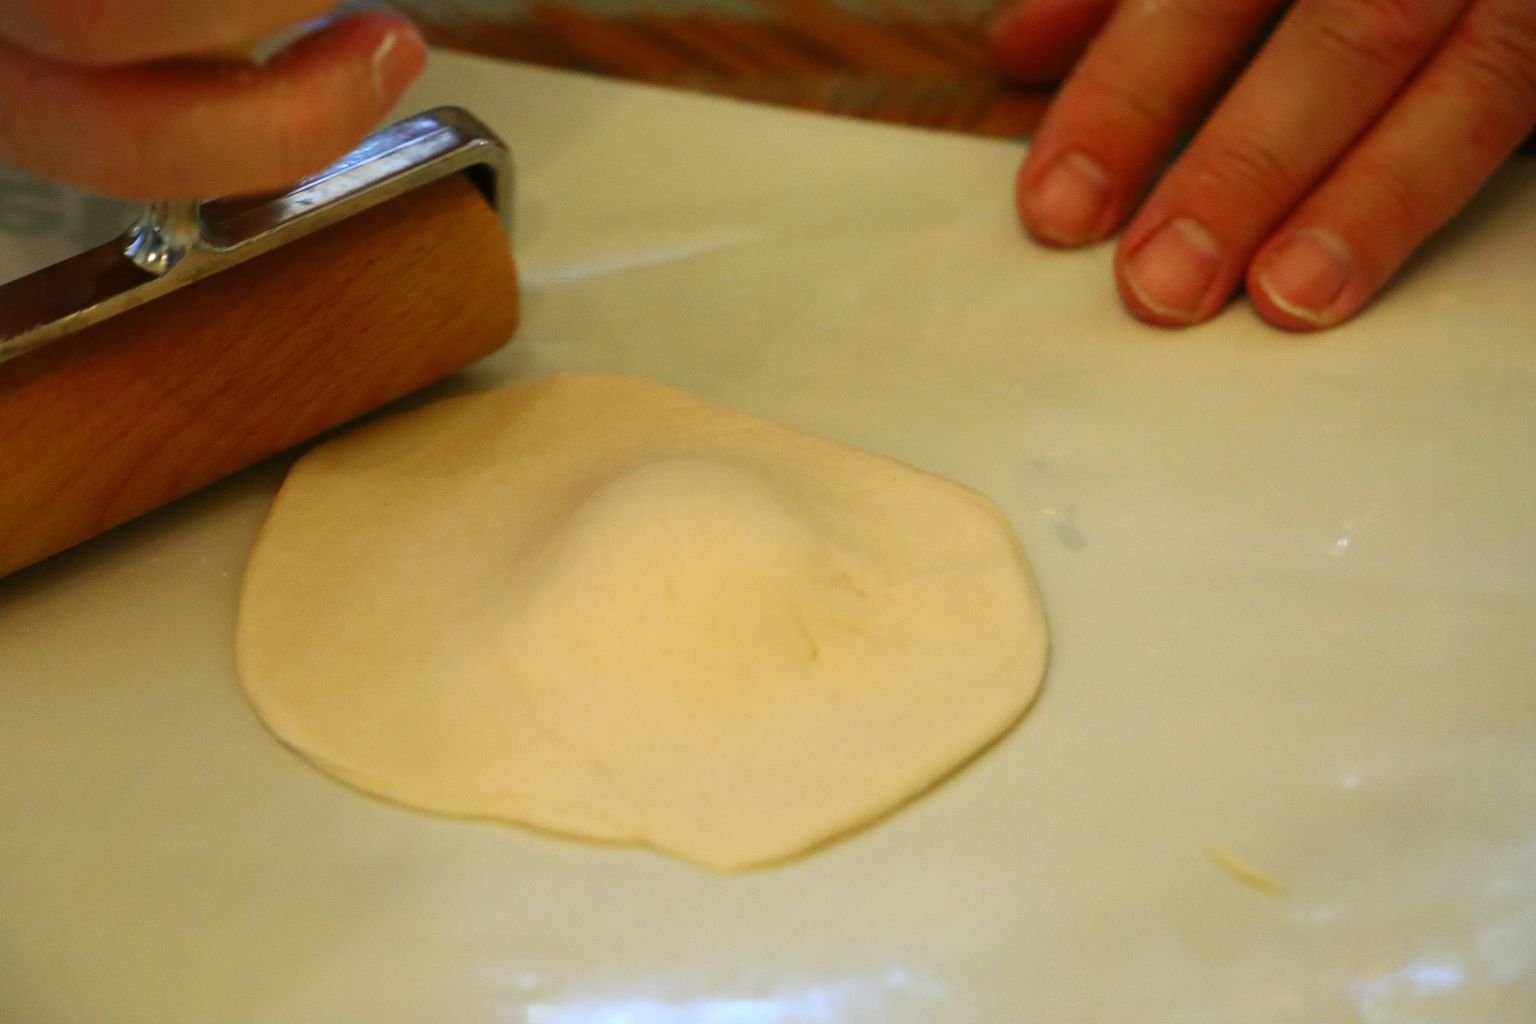
Here you can see the center area of the dough which was left alone.
This is done to allow the dough to stretch around the filling.
This is a Calming Task
The amazing Char Siu meat filling.

Here is a jump to what the Manapua will look like when filled.
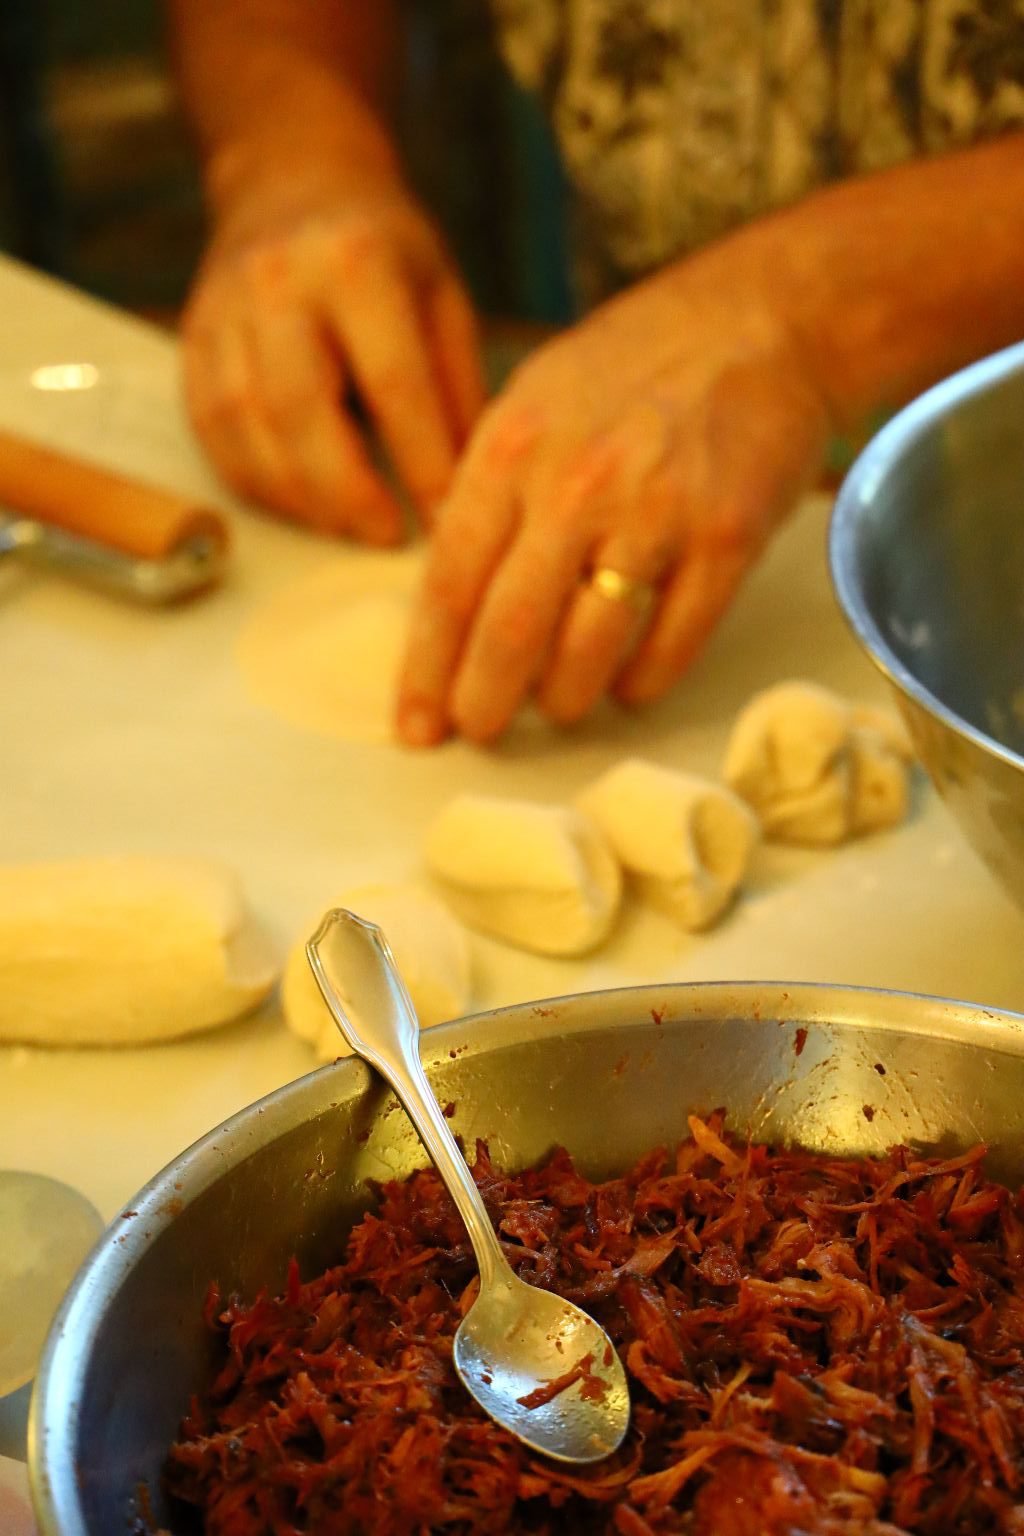
I used a tablespoon to ensure I had the same amount of meat in each Manapua.

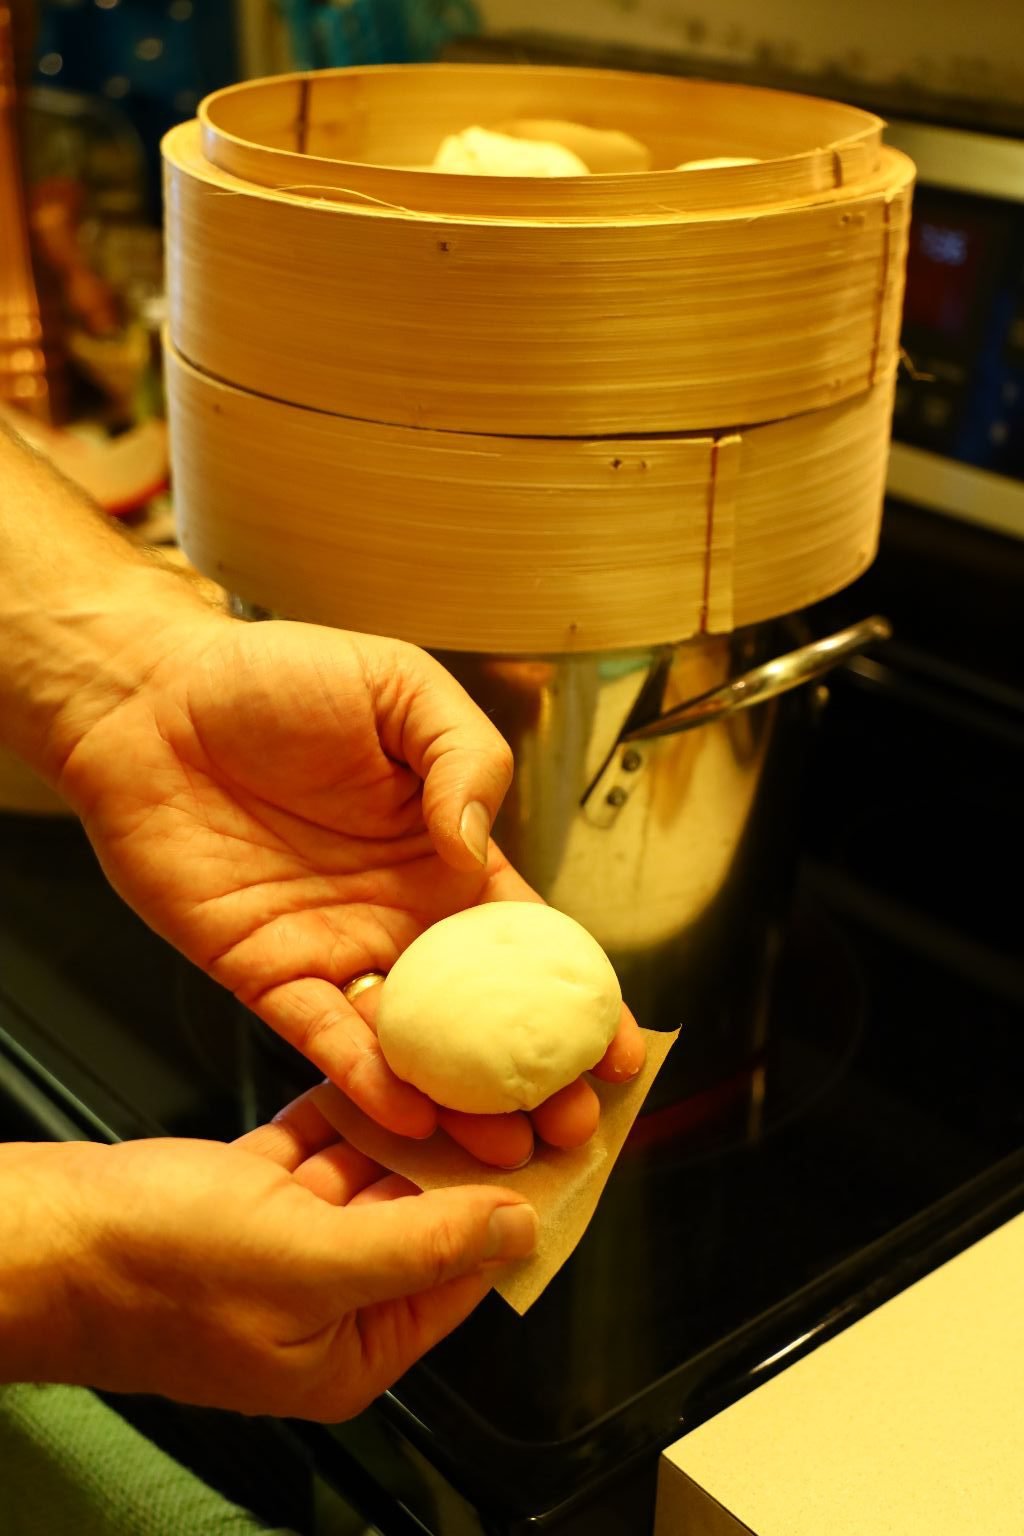
Place a tablespoon of meat in the center of the dough. Fold the edges of the dough evenly around the meat and close the edges together.
Turn the meat filled dough ball over and let it sit to proof for a second time, before the next step in the process.

Continue until you have about a tray full.
Here you can see the dough further away from me has risen and is larger than the others I just made.
Place about 5 cups of water into a large pot that is just smaller than your steamer and turn the water on to boil.
Here is our Parchment Paper Ready to Use
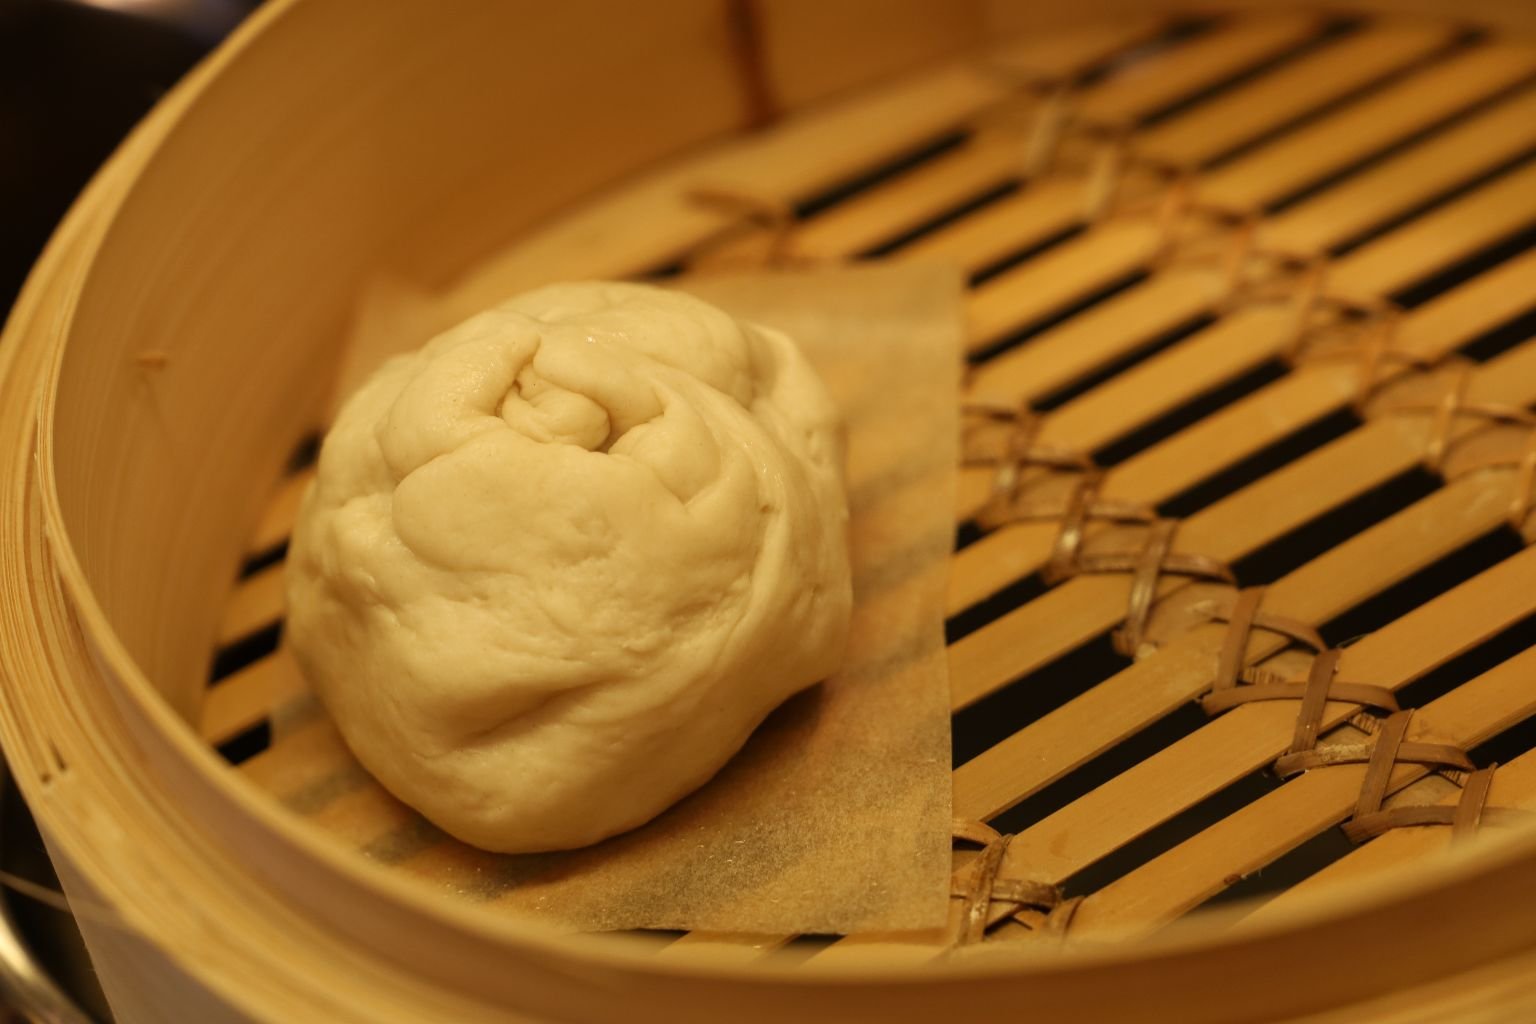
Place the dough balls on top of the parchment paper in your steamer as shown. They will grow slightly in size during the steaming process, so be sure to leave room between each Manapua.
———————————————————-
—————————————————————
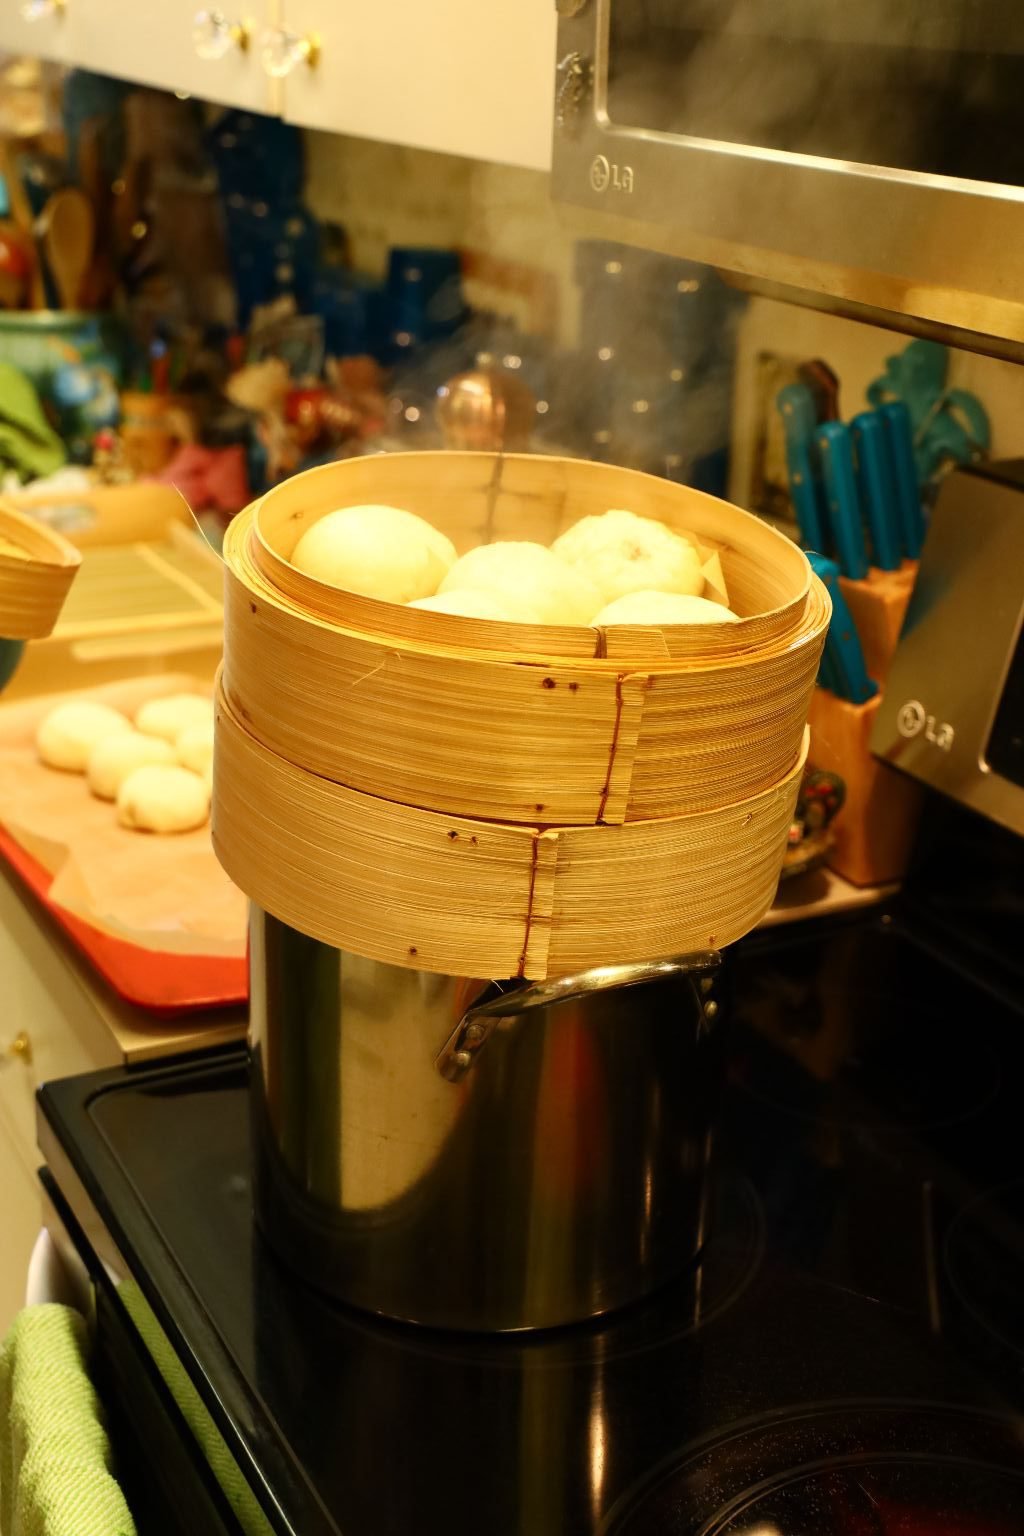
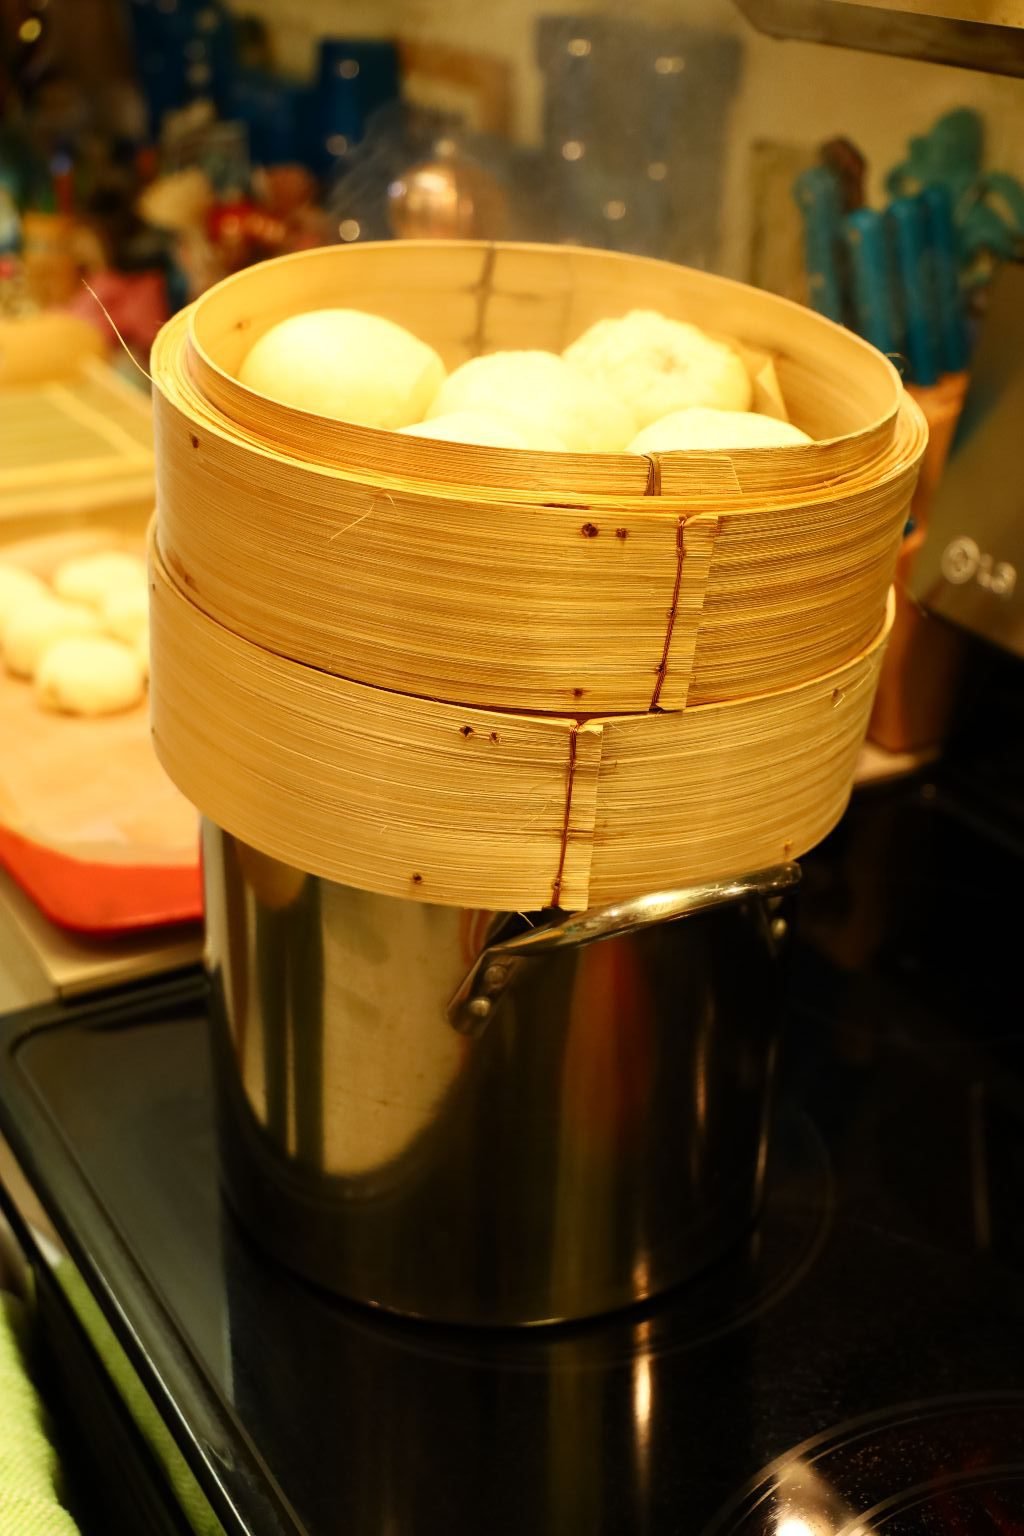
When the water is boiling, place the steamer baskets on top of the pot and steam them for 12-15 minutes.
Although not shown in the photo above it does need the lid on top while cooking.
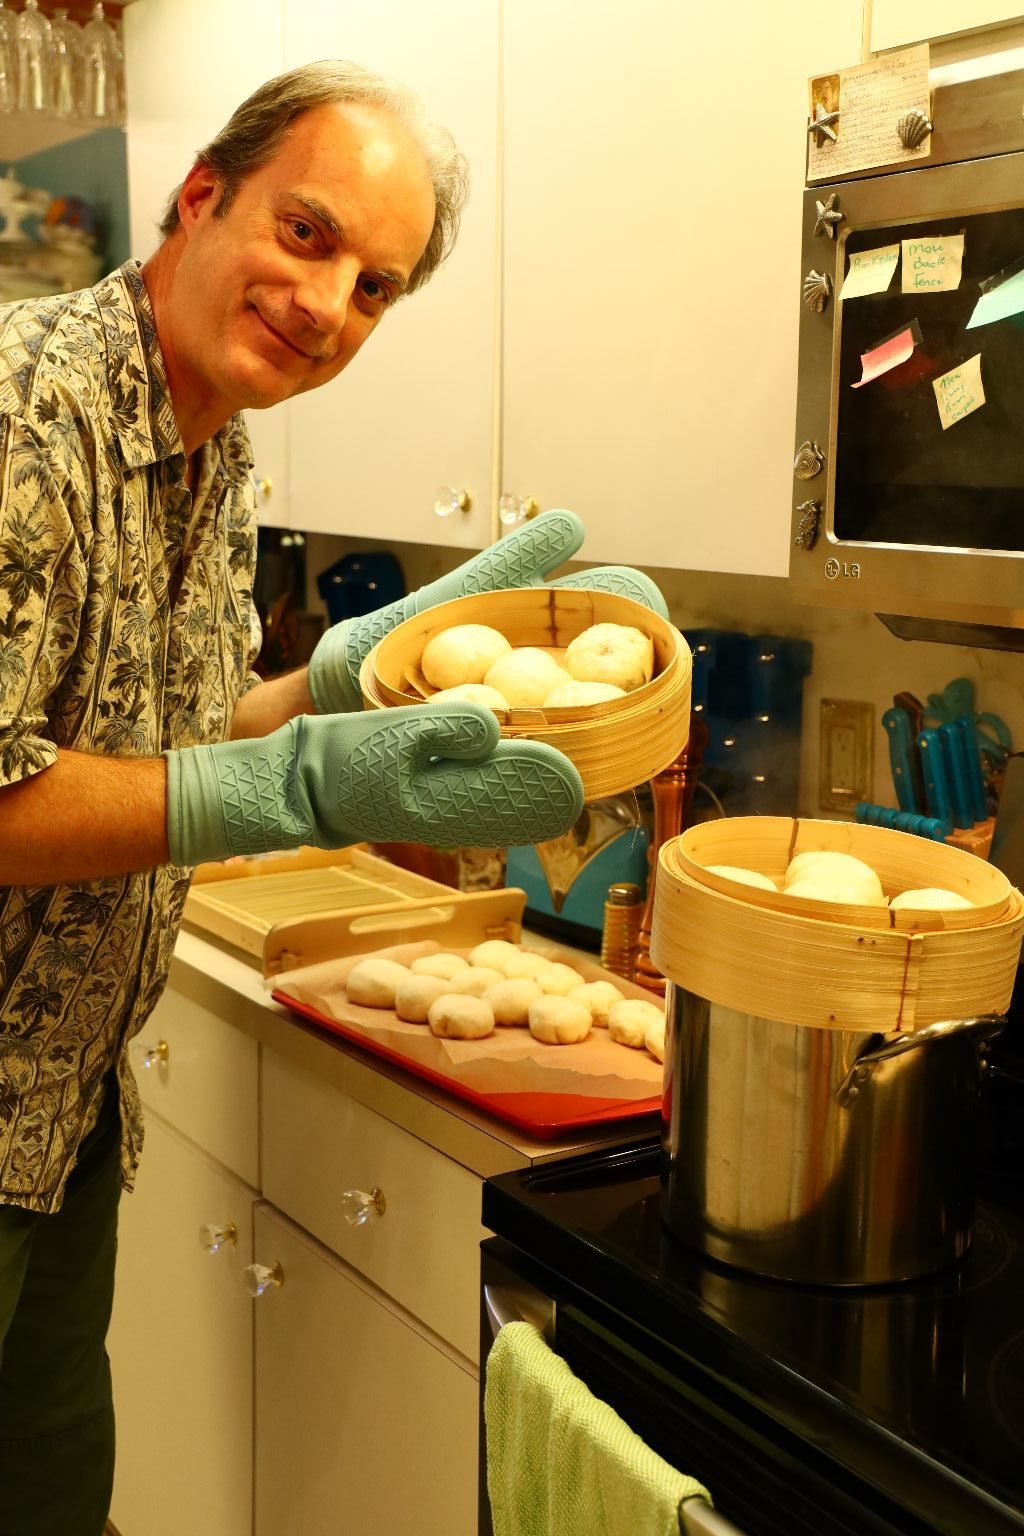
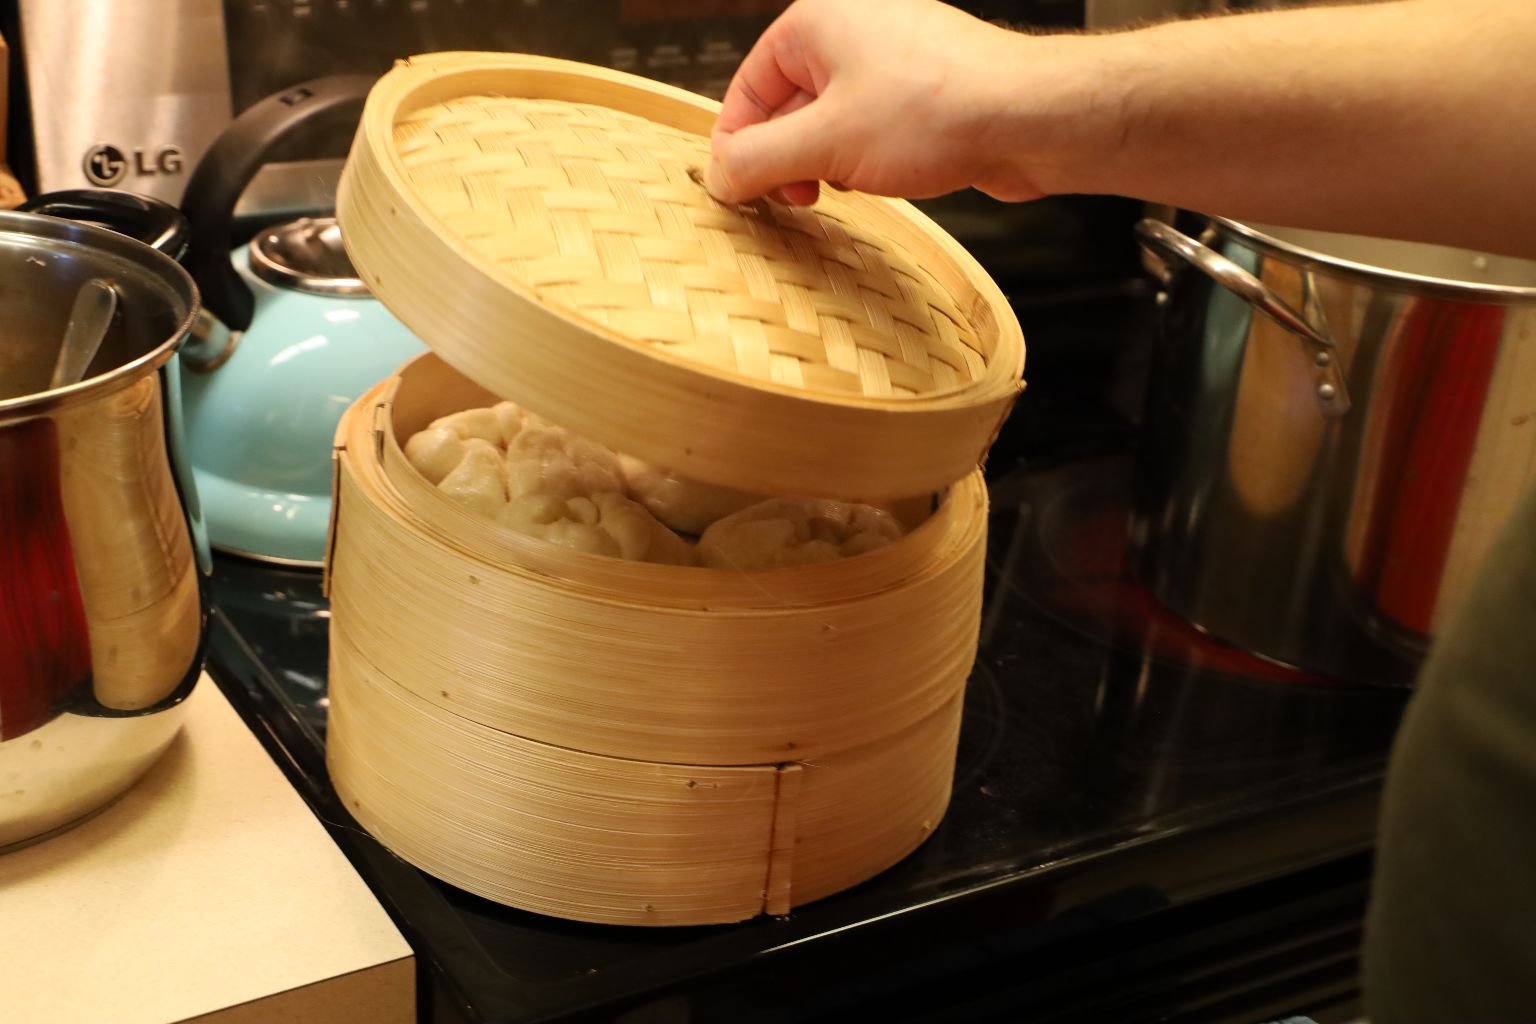
When done, remove the steamer basket as shown.
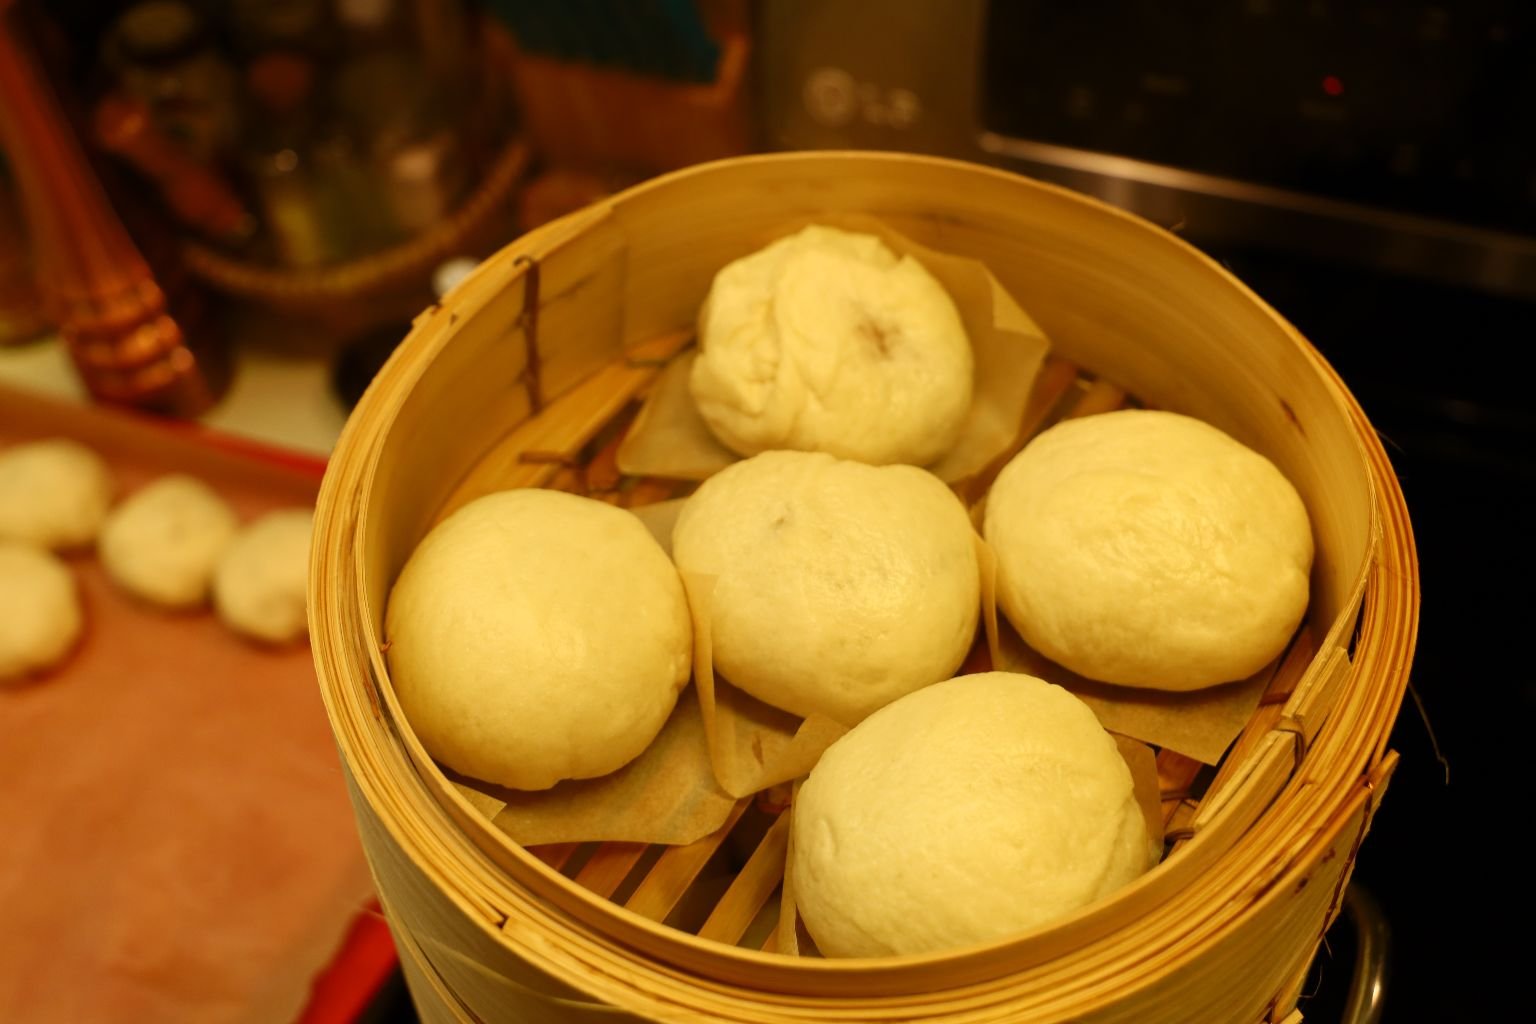
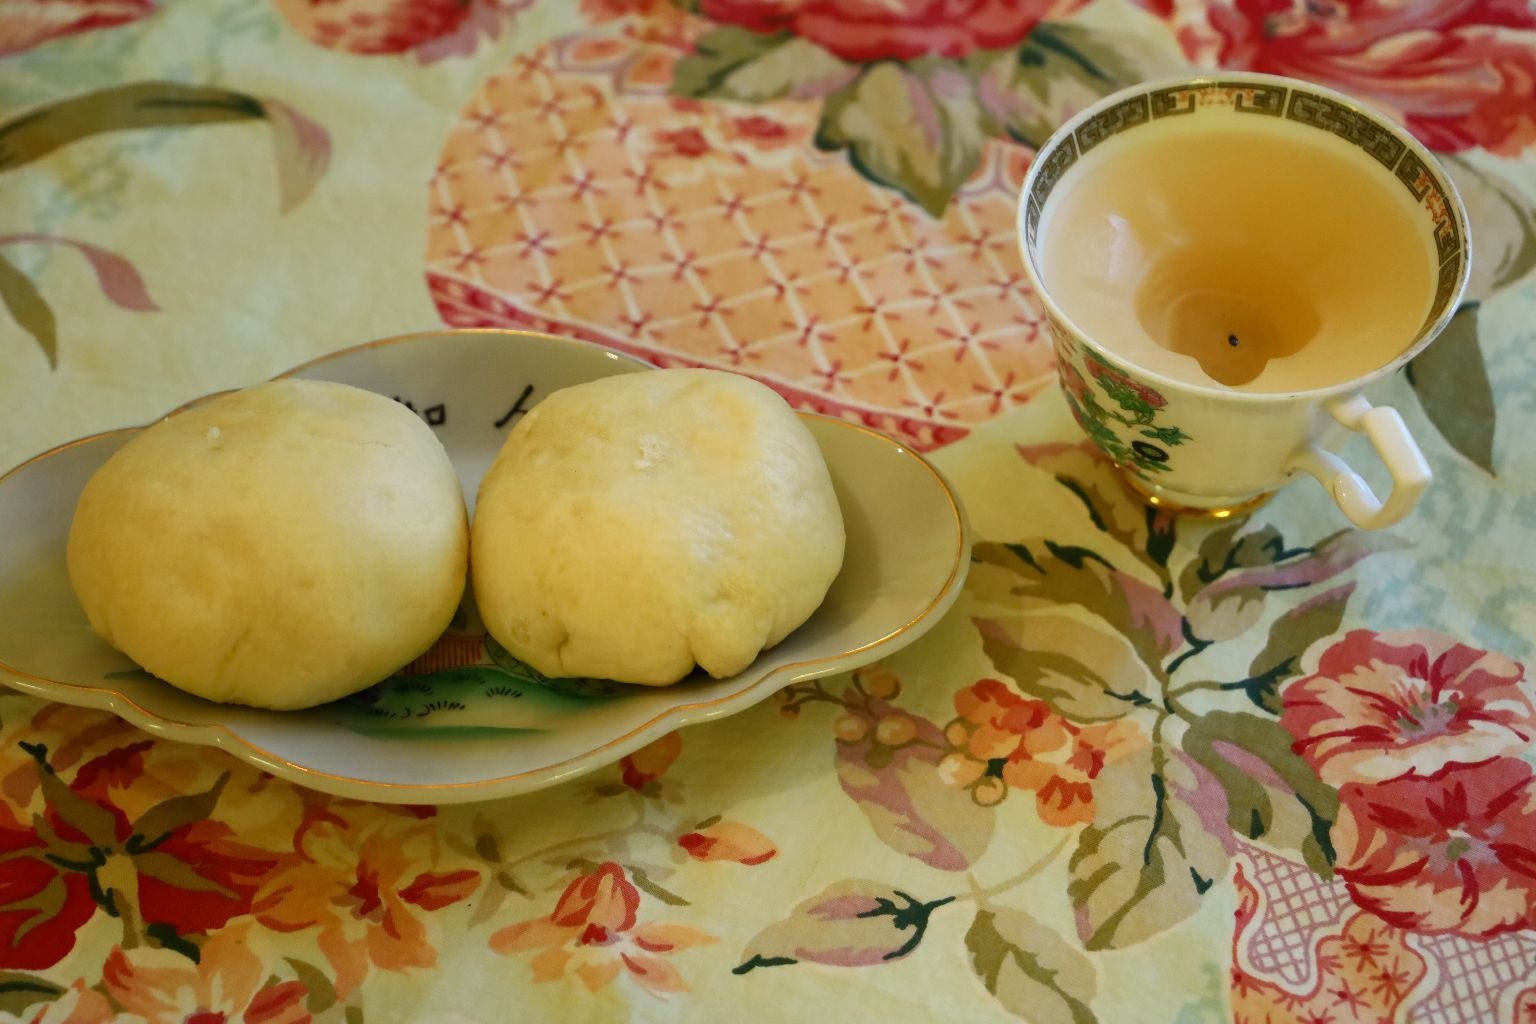
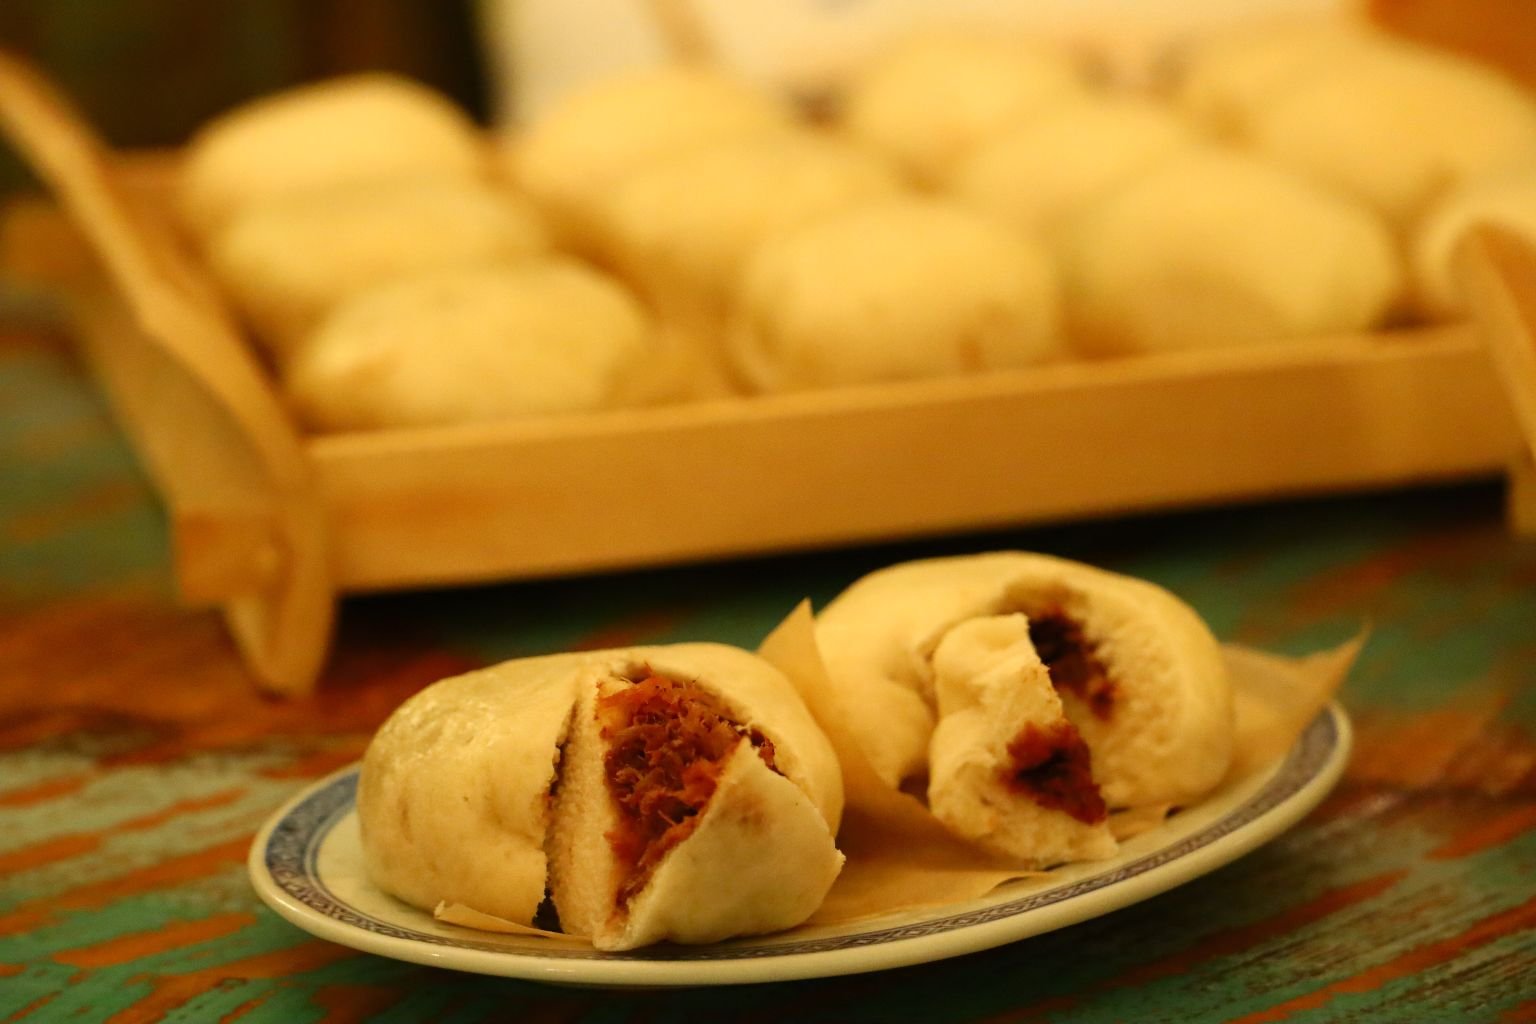
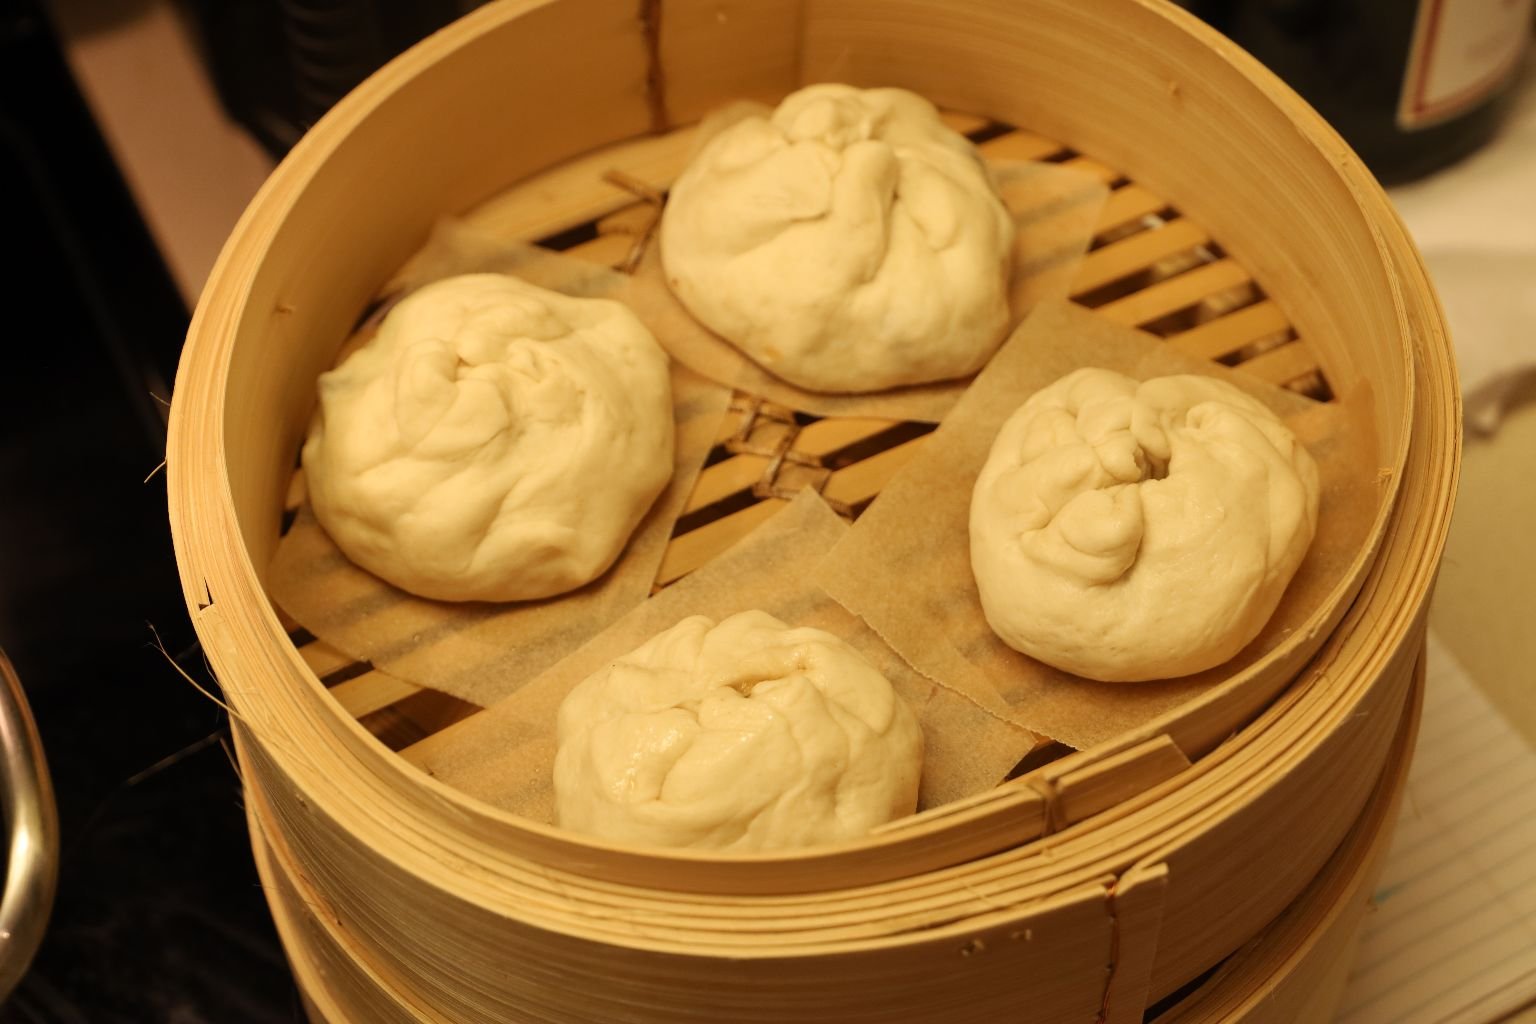
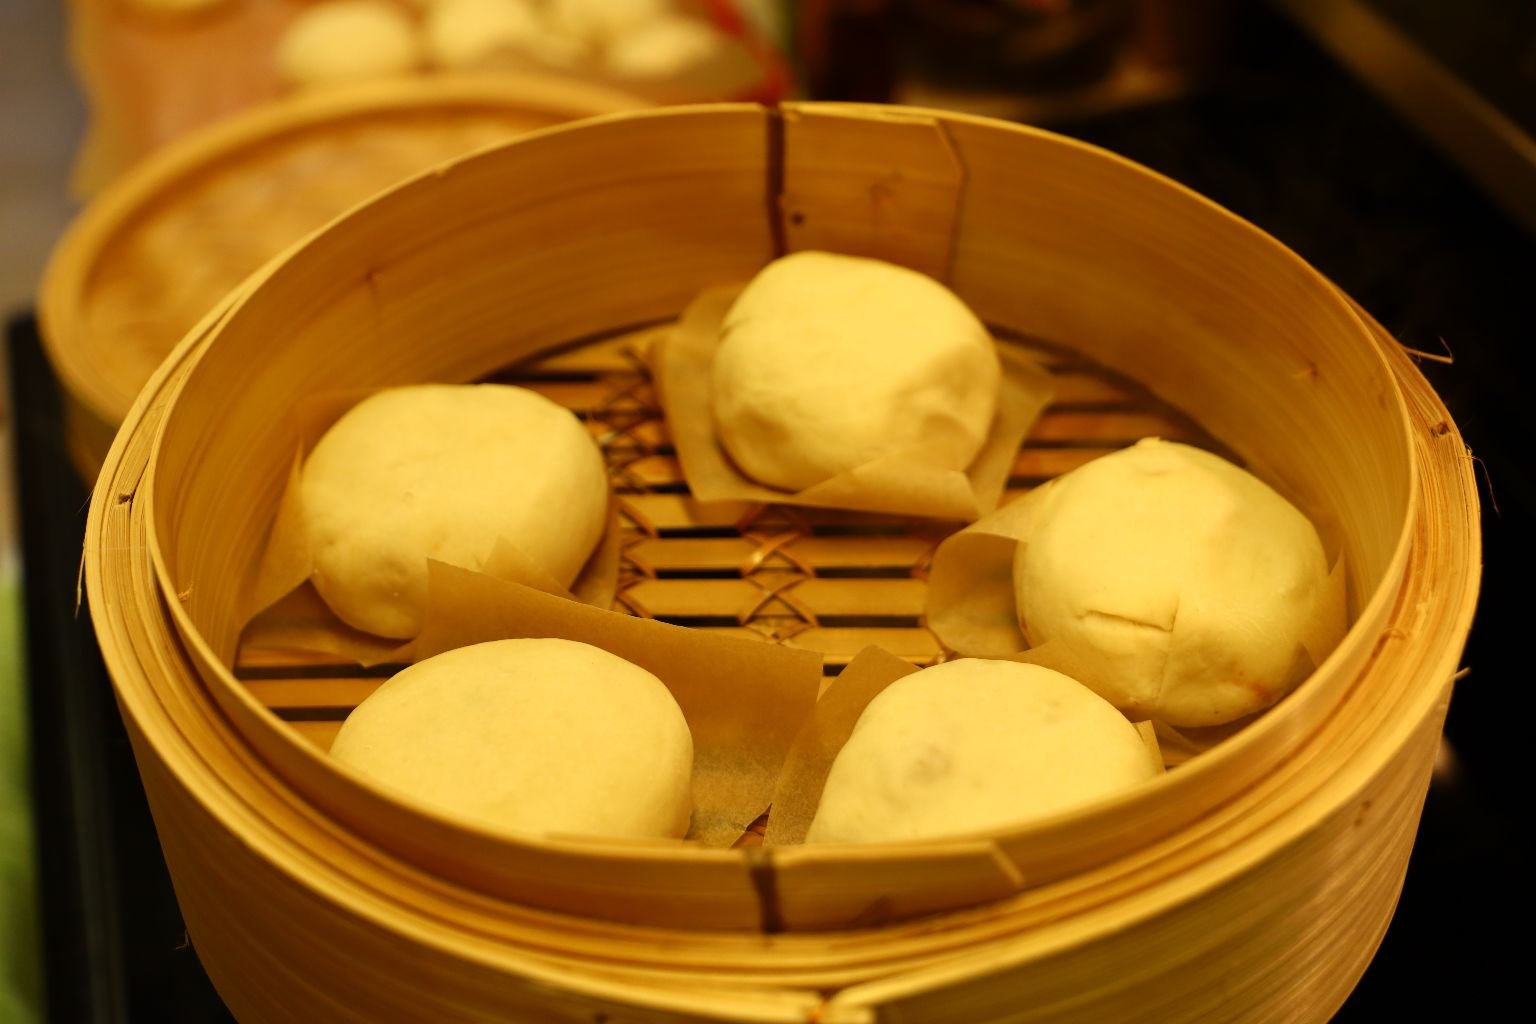
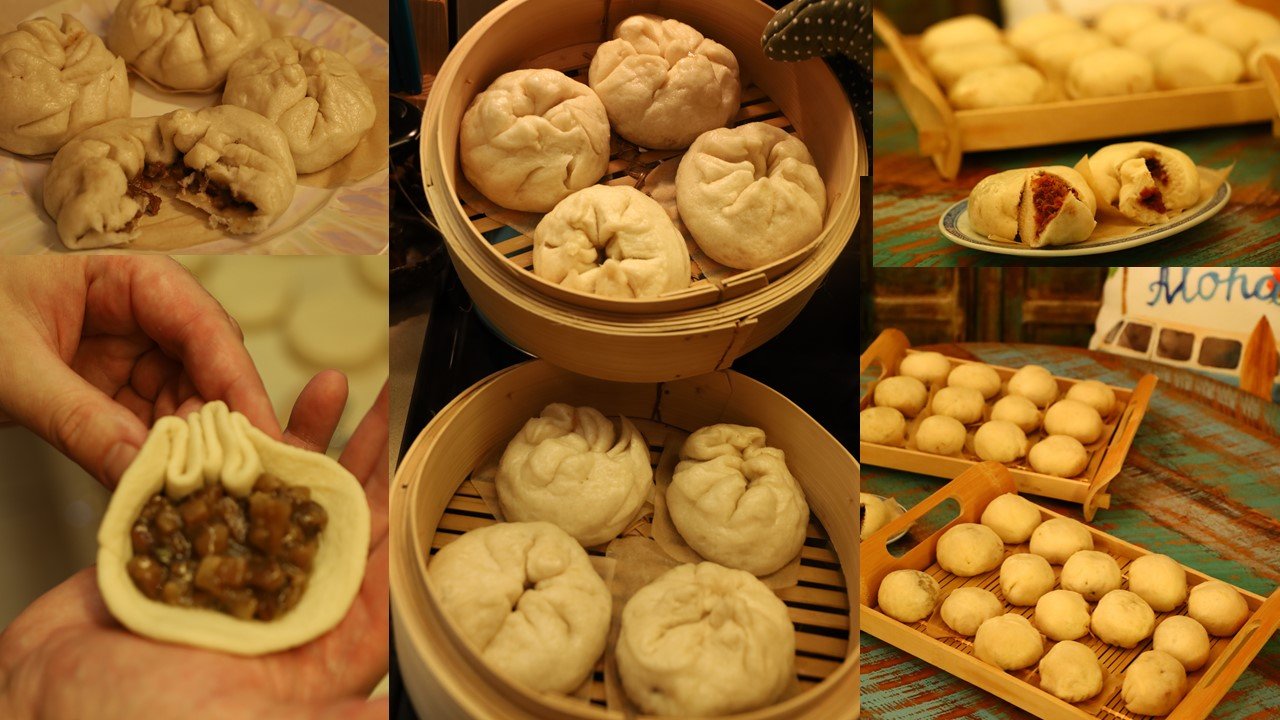
Here you can see the nicely steamed buns!
Soft like Pillows, Sweet and Delicious too!
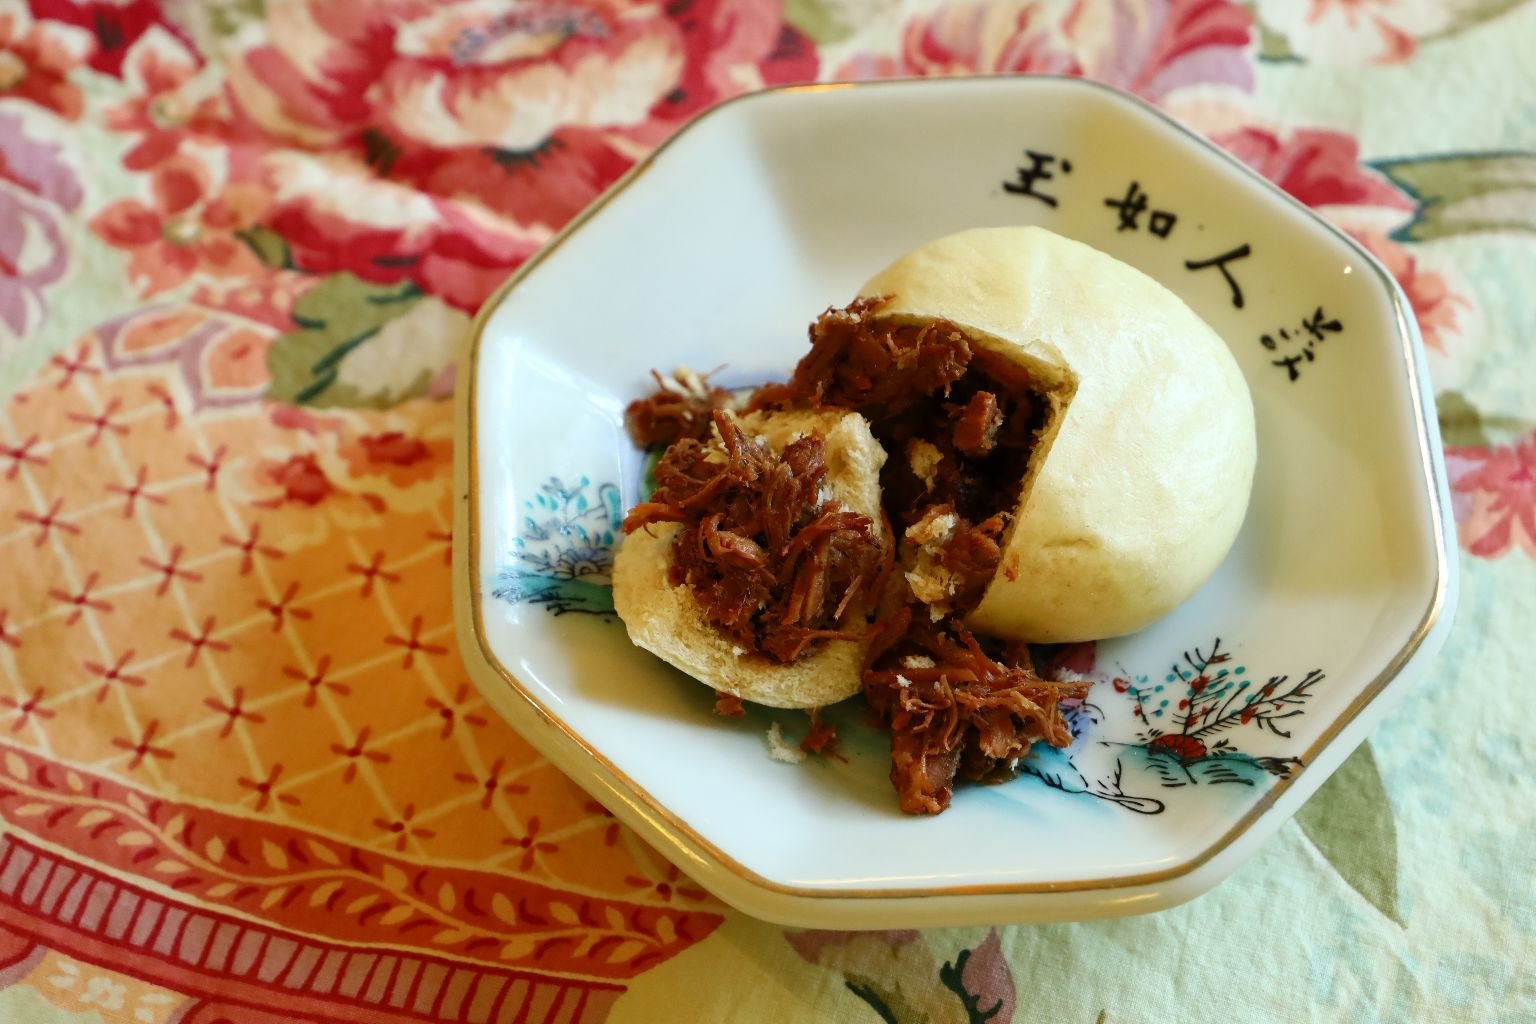
Here we sliced open the Manapua to show the beautiful red meat inside.

Here, Julie displayed the buns on bamboo trays!
Everyone just grab one, or two, or three, and enjoy!
—————————————————————
If you would like to view our other Asian pages:
Click Here For: Whann Way Asian

AND,
Click Here For: Whann Way Asian, E Ho ‘Omau (Continues)
AND,
Click Here For: Julie Loves Asian

AND,
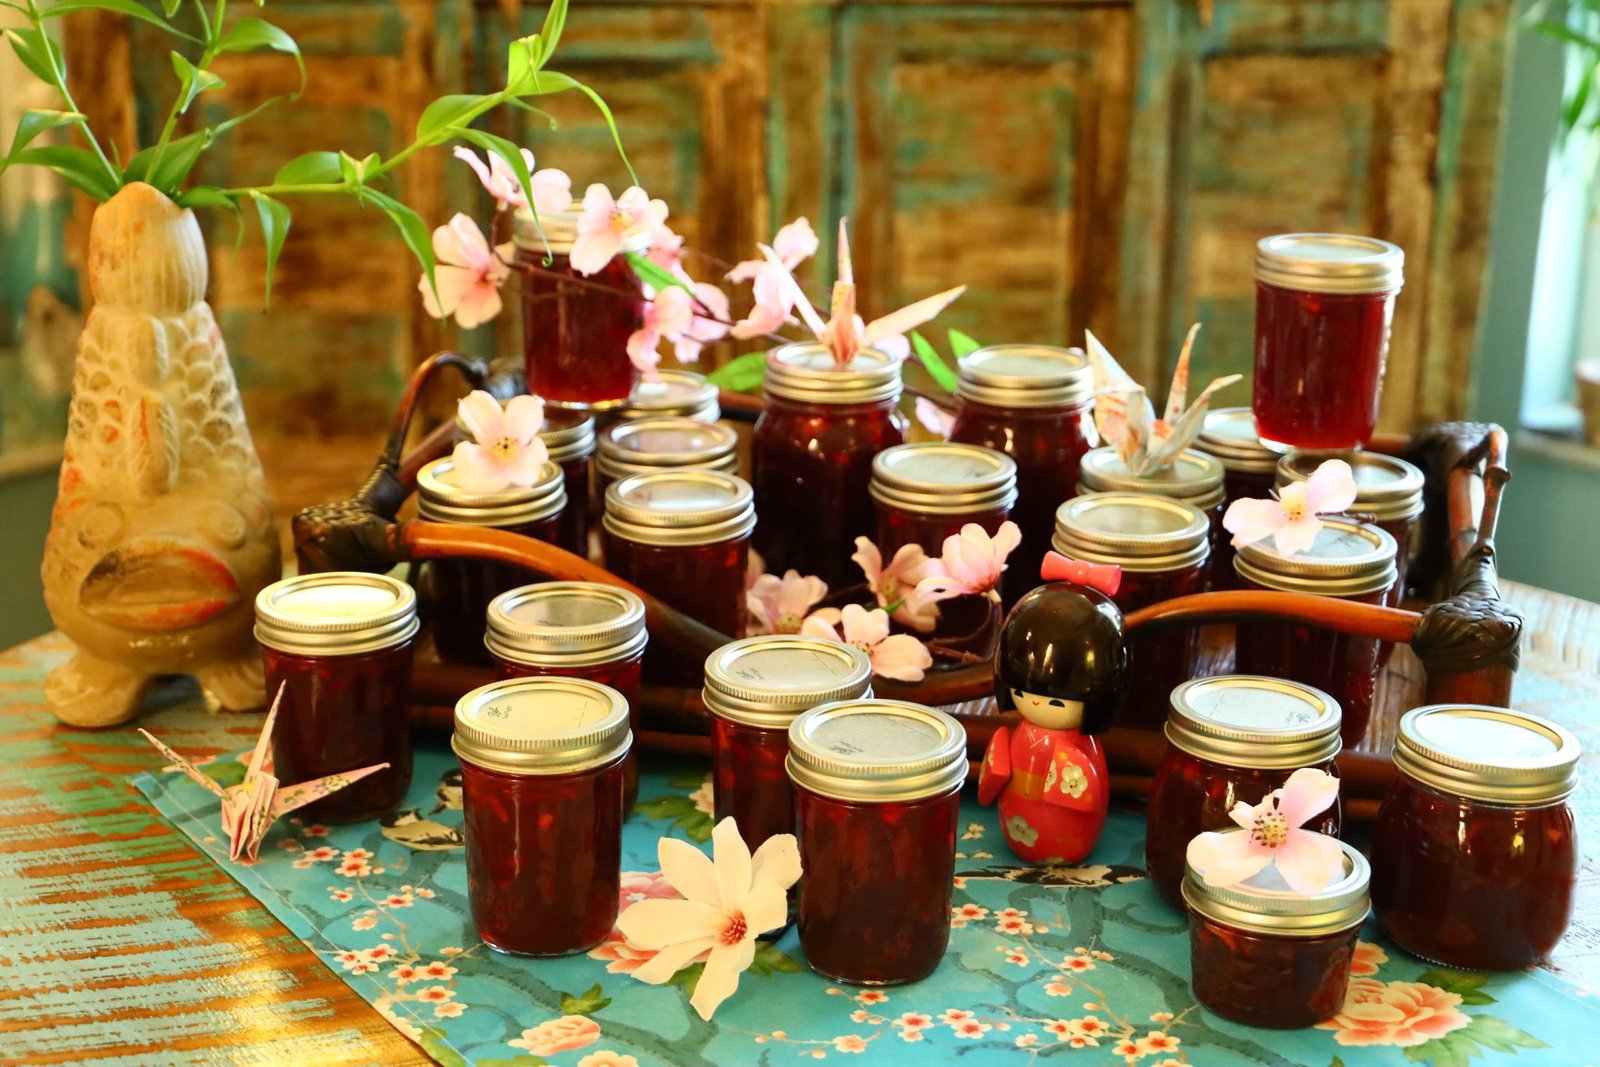
Click Here For: Asian Edible Gifts

AND,
Edible Gifts of the Asian Variety

(Note: Edible Gifts of the Asian Variety is the same post as Asian Edible Gifts. I have both listed here for accuracy, but one is a Page and the other is considered a Post. Confusing, I know.)
AND,
Click Here For: Our Asian Easter

AND,
Click Here For: Whann Way Sushi

AND,
Click Here For: My Love Affair With All Things Asian

AND,
Click Here For: Asian Steamed Buns: Bao and Manapua
AND,
Click Here For: Our Purple Sweet Potato and Taro Stuffed Steamed Buns and Asian-Pacific Sliders
AND,
Click Here For: Our Asian Inspired 4th. of July

AND,
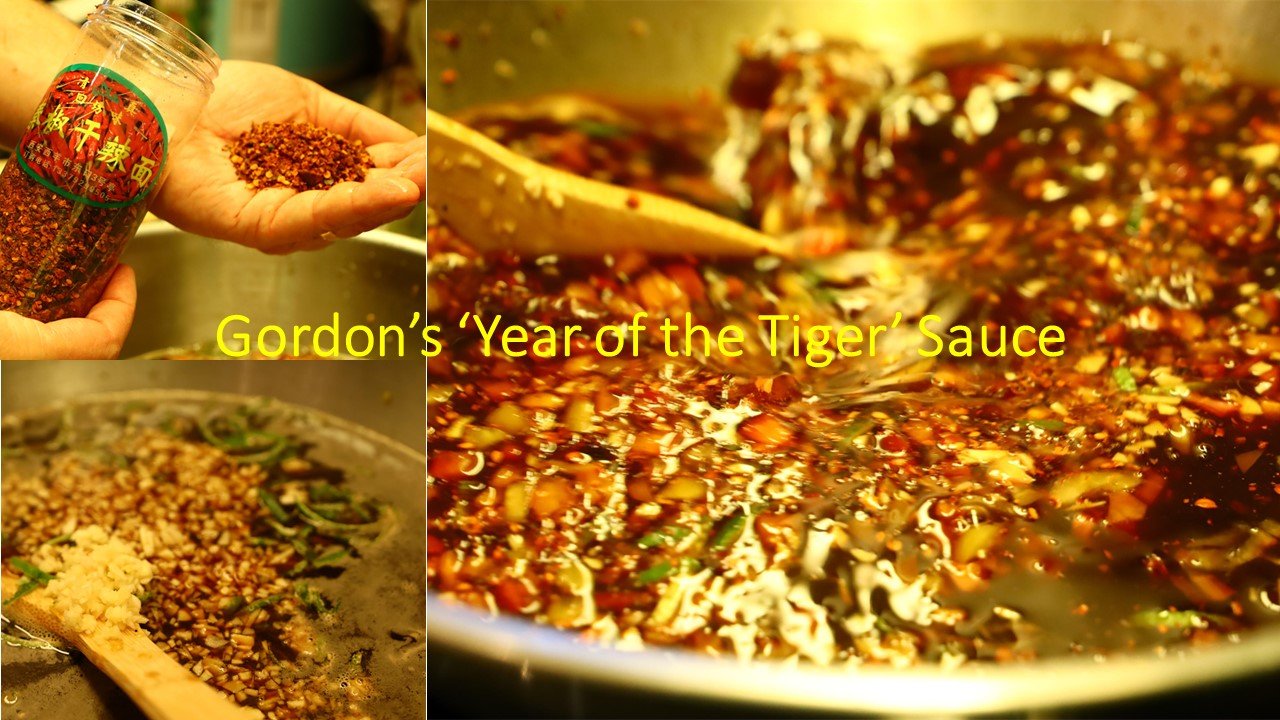
Click Here For: Gordon’s ‘Year of the Tiger’ Sauce and Nam Jim Jaew
AND,
AND,

AND,
Chisana Atsukau (Small Treats in Japanese

AND,

AND,
Japanese Girl’s Day (Hawaii Tradition)

AND,
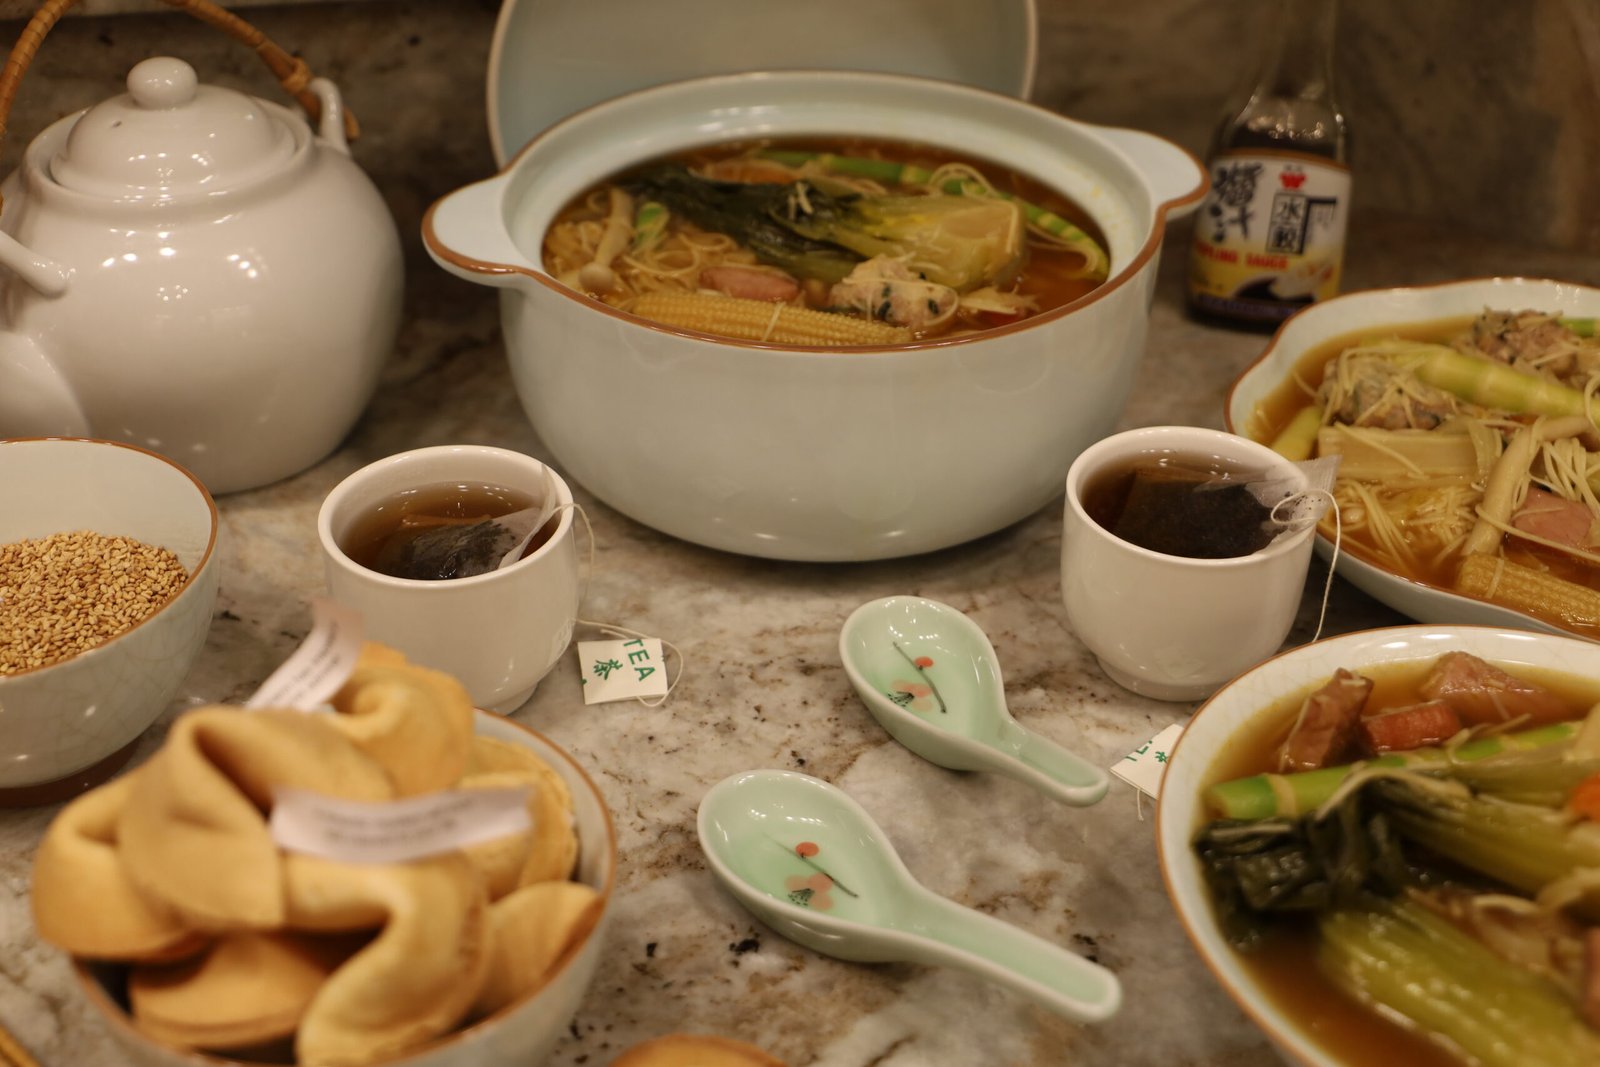
Asian Eats (More Great Recipes to Enjoy)

AND,
AND,

AND,

AND,

——————————————————————-