Spring Landscaping Project for the Backyard
Welcome to our Spring Landscaping Project for our Backyard

When we bought our home several years ago we knew that there would be many changes that we wanted to make to the landscaping, mainly additions. We want to transform our front yard and back, into what we want from our property. Here is yet another one of our projects that not only improves the aesthetic, but also helps to raise our property value as well.
We decided to upgrade this side of our house and yard to have it flow more evenly with the other landscaping projects that we had done in our backyard. So we added a new retaining wall, and a patio area for our new potting bench.
Here is how we did it.
———————————————

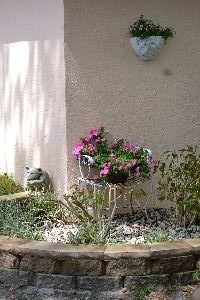
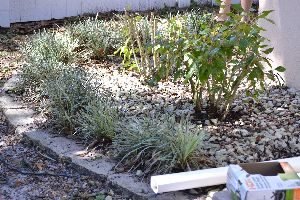
The Before Photos
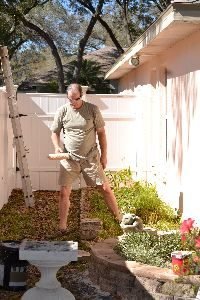
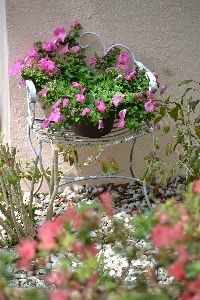
I think that everyone has seen this photo of me sitting out on our bench by our fountain.

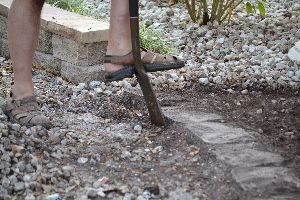
Gordon built that retaining wall that you see to your right, he also added the gray stone slate and rock path to the water hose area, and we also added the pretty white rocks to our landscaping beds as well.
But what you don’t see is what is to your left of me.
Well, now you know.
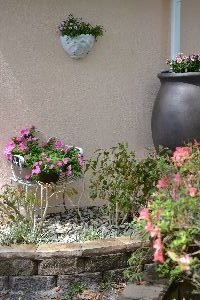
Actually This Photo Above is an AFTER Photo From our Original Work
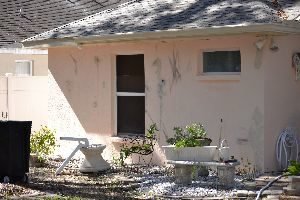
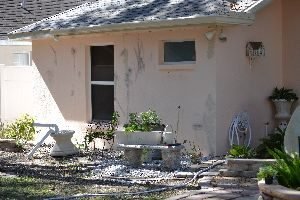
This side of our yard used to look like this:


This was a lovely idea but it just didn’t stay that way. We just had too many big oak trees that surrounded our property and our neighbors as well, that would litter their leaves all over the lovely rocks and stones that we had laid down. When we raked up leaves we were raking up our ground pebbles as well. This just wasn’t a good backyard design for us.
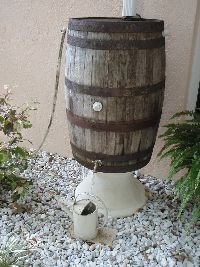
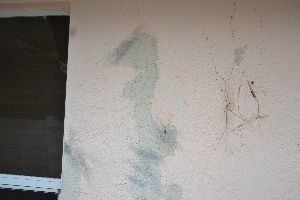
Our wooden water barrel eventually deteriorated after two years from the Florida humidity and the lovely sconces of vines that I had growing along the side of the house eventually embedded into our wall making it look like this:
So we started from scratch and built it back up again to make it beautiful.

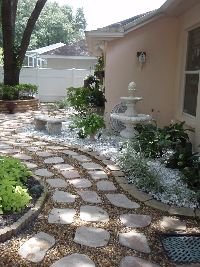
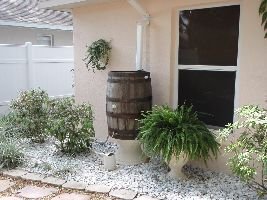
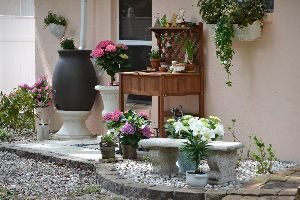
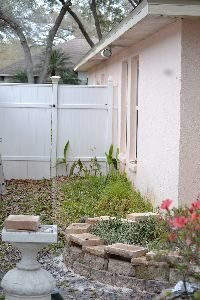
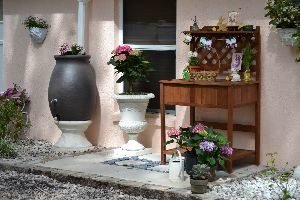
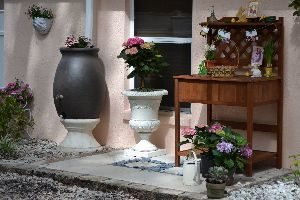
This is the AFTER photo, Just in time for Easter
We not only wanted to make this area attractive to match the rest of the landscaping that we had in our backyard, but we also wanted to make it functional seeing as how we both do a great deal of gardening.
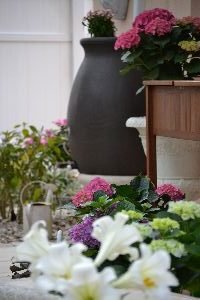
In the photo above you can see that we have replaced our wooden water barrel with a hard plastic one. It may not look as rustic but it will work better for our hot/humid climate.
We also added a potting bench, the rest is pure aesthetic.
——————————————–
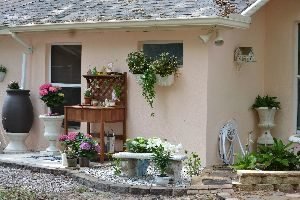
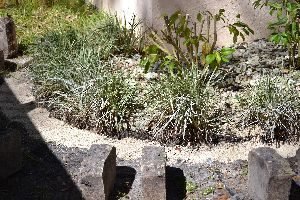
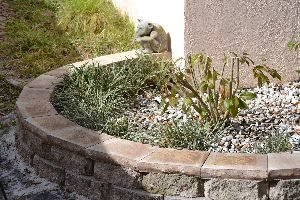
The Area is Now Beautiful and Functional
————————————
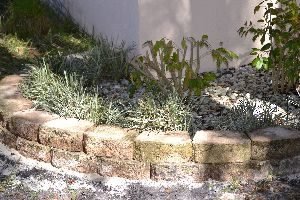
But First a Small Retaining Wall Had to be Built
This retaining wall would tie our entire backyard landscaping around our house, together.
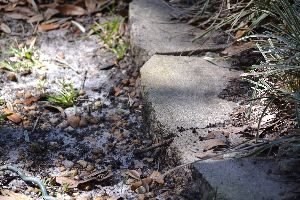
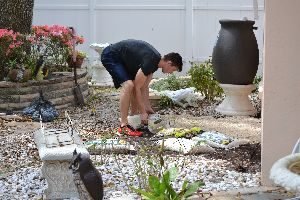
The Area BEFORE

Isn’t it Pretty?
The area was already bordered off, it was just a matter of Gordon building it up.
You can see what a mess that it was. Before we got started on this project though, we needed to clean the area up so that we could see what we were doing. We cut down the variegated hibiscus and trimmed all the spider plants that border the area.
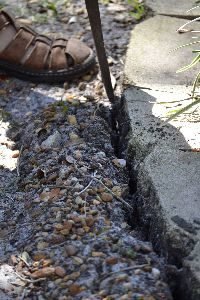
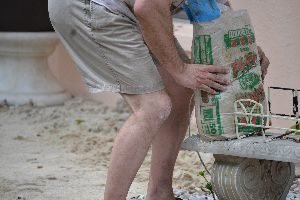
Next Gordon had to dig out these stones that had sunk into the ground over the many years they were there.
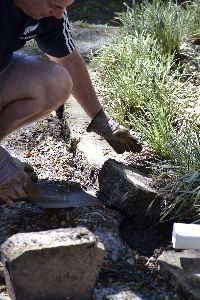
Pulling up the Stones and Reusing Them
Most people might want to buy new stones, but we don’t like to spend money when we don’t have to and to us it is recycling. They were really just dirty and in need of a clean.
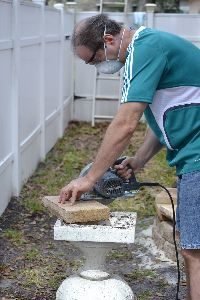
Gordon Cleaning Them Off
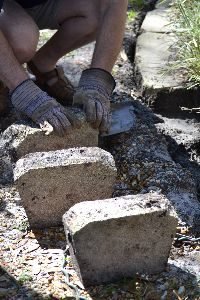
Once the stones are removed Gordon is filling in the ‘trench’ with some paver sand, then followed by the regular sand. This will elevate the stones to more of a ground level and help prevent them from’ sinking’ in the future.
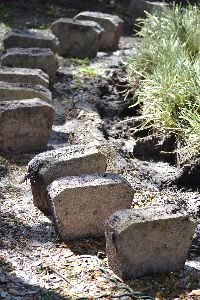
Now It’s Time To Build This Wall
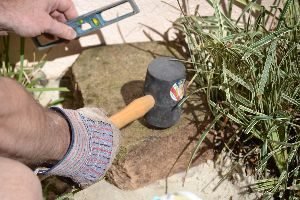
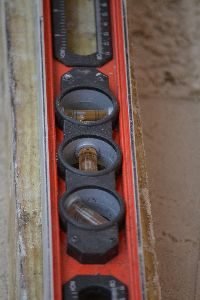
You will of course need a rubber mallet and a level in order to make sure the stones are all level with each other.
Gordon does use his feet to stomp down the sand.
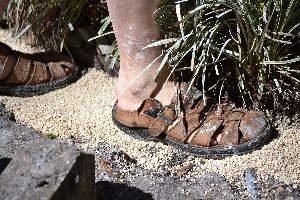
Neither one of us ever wears appropriate shoes for any of our projects. So don’t try this at home!
———————————————
Cute Lizard Break
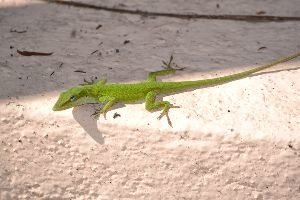
Kermit The Lizard?
———————————————-
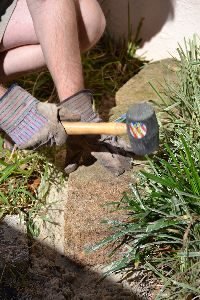
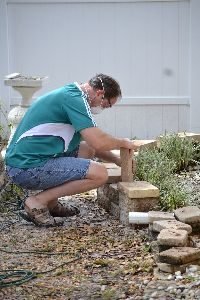
To start the project, I always begin leveling the stones at the end of the run as I did here next to the wall. The first run of stones is the hardest as they set the course for the other stones and need to be perfectly level, so the other stones on top of them will be level. Doing this will take time as the sand under them needs to be firm and level. I usually stand on it as Julie stated to ensure it is evenly packed down. You will likely have to hammer the stone down some from edge to edge ensuring it is level. Use the first stone as a guide for the rest of them and then move to the next stone.
Gordon has Started the Second Row of Stones
It’s starting to look like a retaining wall.
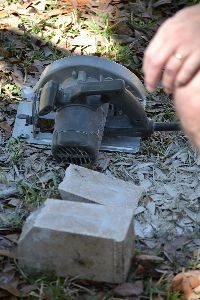
Gordon Cutting the Stones
Here I cut a stone to start the second level up against the wall. The stones go on top of each other slightly back from the first as the lip underneath them hold them in place, locking them together. As the path curves, the distance covered gets slightly shorter and you may have to cut more stones to ensure you stay with the common brick pattern. To do this, slightly take off some of the edge if needed to keep the pattern if only making a short wall. For longer walls, it may be easier to simply cut one on each side just a little to make it not so obvious the stone was cut. Then start with another full stone and begin the row again.
Hey, we make due with what we have.
Gordon Can Turn Anything into a Work Table
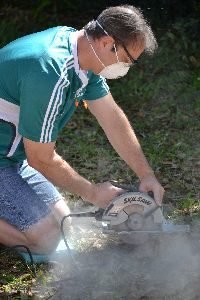
If you want capstones to top your wall, simply lay one capstone on top of the other making the curve as if it hadn’t been cut. Now with a marker, simply scribe a line at the front of the stone, marking where the cut should be to make the angle of the curve. This method keeps the straight edge of the stone to the back or aft. Using a circular saw with a masonry blade (NO WATER REQUIRED) cut the capstone on the line. Place your capstone in position and now work the next one the same way working your way around your retaining wall. Below right you can see the uncut straight edge of the capstone which ended exactly where I wanted it to. If it didn’t, simply cut the capstone to even them out.
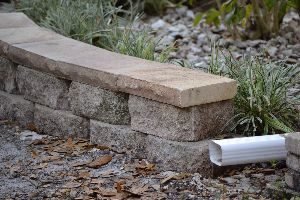
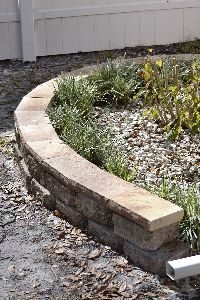
Retaining Wall All Finished!
—————————————–
Spring Intermission

The above section of the yard may look bad but that doesn’t mean everything does.

Spring Is Here!

——————————————-
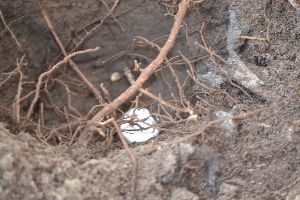
What you don’t see among all this beauty is THIS!

Spring in Florida is when we lose all our leaves.
YUCK!
——————————————–
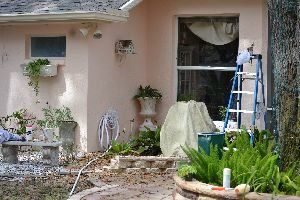
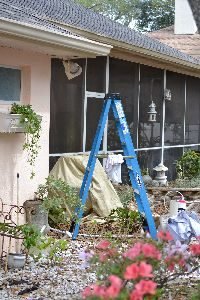
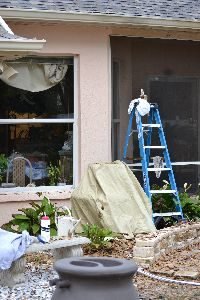
Painting and Waking up the Backyard
Our Florida climate is pretty mild compared to most.
We do have a few cold days, but nothing that lasts very long. We tend to live outside about 9 – 10 months of the year, but for those two – three months of indoor activity, we cover everything up outside and prepare for the onslaught of LEAVES!!
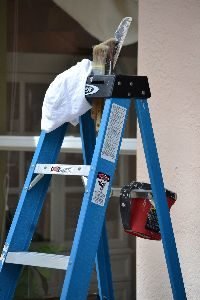
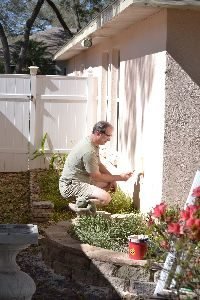
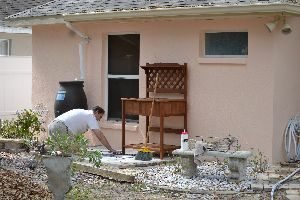
It’s my job to do the painting.
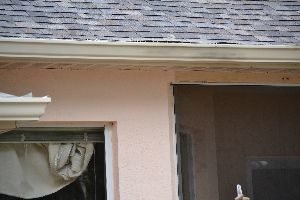
The entire back of the house needed freshening up. Also the gutters and the trim.
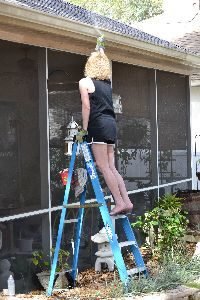
A Paint Brush in One Hand and a Can of Spray Paint in the Other
As usual, always wearing my ‘sensible’ shoes.

The dogs are tired and dirty.
Painting the Back of our House

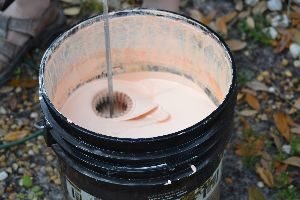
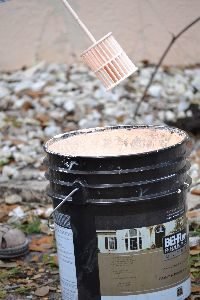
The Color of our House is Peach
It is about to get a refresher!
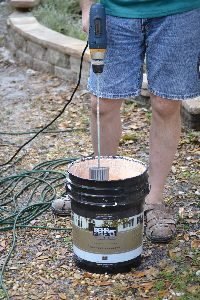
Gordon adding the drill attachment to stir the paint.
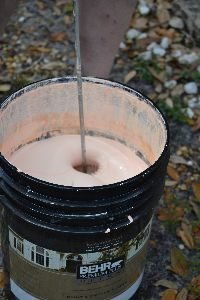
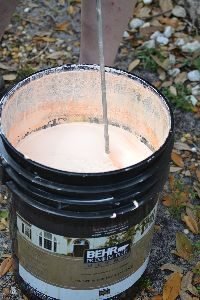
Works Great!
I had painted this side by myself but Gordon decided that it needed another coat.
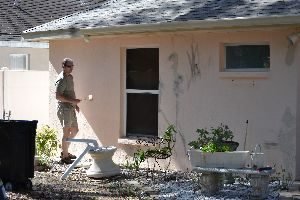
This back section Gordon did paint himself. It was horrid!
———————————————————
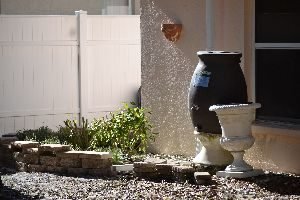
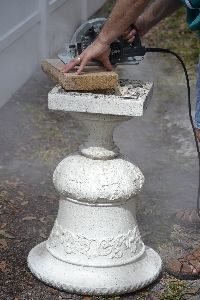
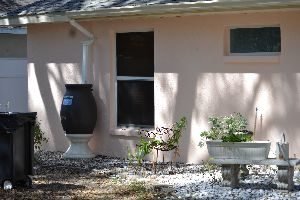
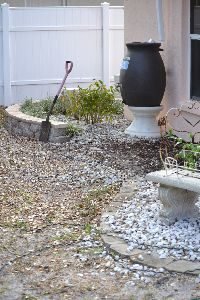
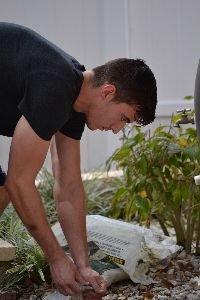
The New Water Barrel
Using the old water barrel base, which is the bottom of an old broken fountain.

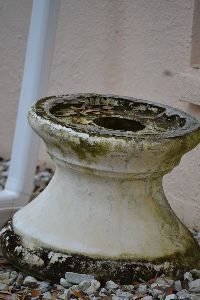
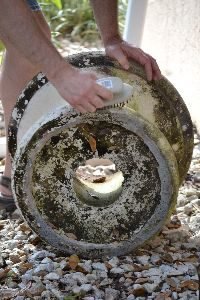
Look how horrible this fountain base looked like? All it needs is to be cleaned up. Gordon is scrubbing all the mold off of it, then we give it a good spray of bleach that penetrates down into the pores of the white cement.
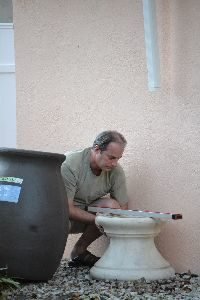
Gordon making sure the base is level.

Once everything is cleaned up, Gordon adjusting the rain barrel on the base and attaching the drain spout for rain water.
Things are starting to come together.
——————————————-
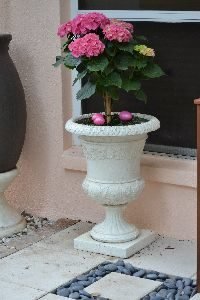
Finding my Old Neglected Pot
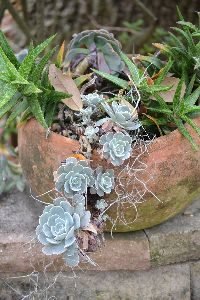
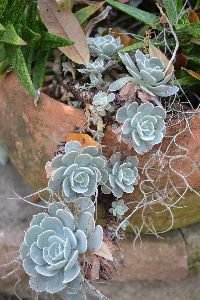
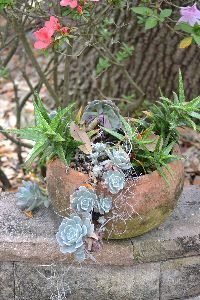
Two years ago I just threw everything into this pot in the backyard and then just set it aside. Now I think it looks beautiful no thanks to anything that I have done to it.
————————————-
Spray Painting
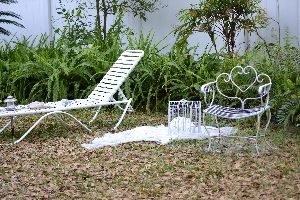
It’s amazing what a can of white spray paint can do.
I refreshed an old vintage chair and a birdcage.
——————————————–
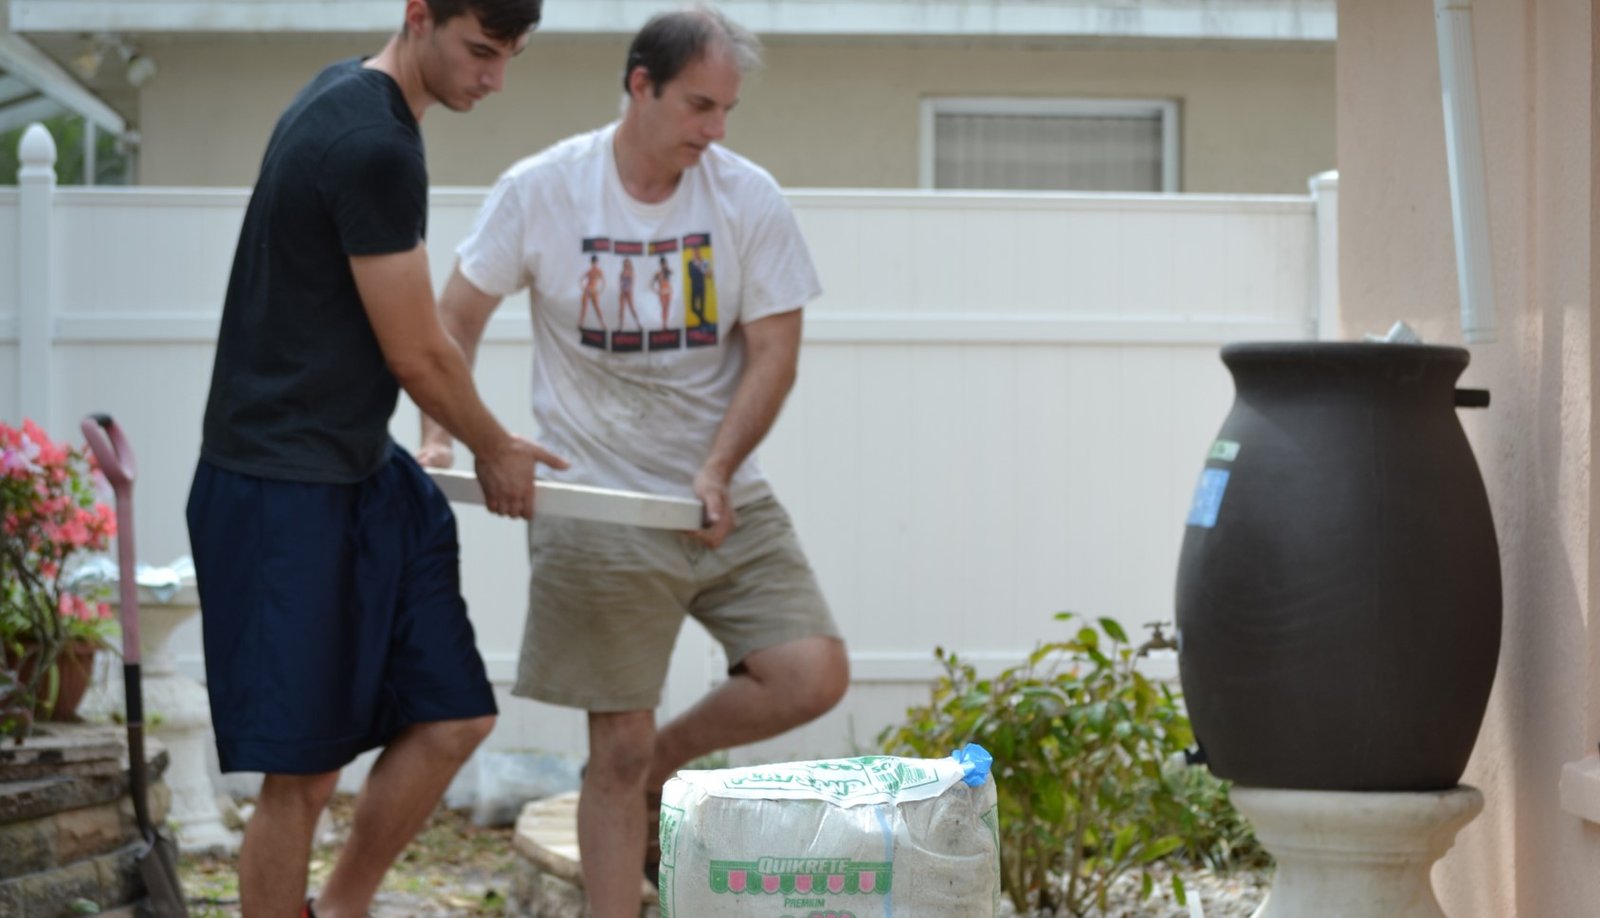
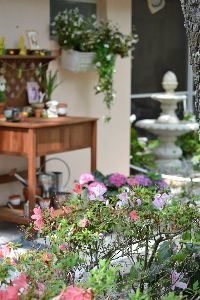
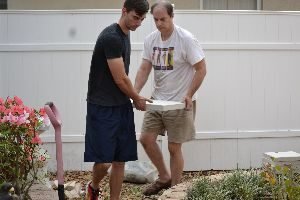
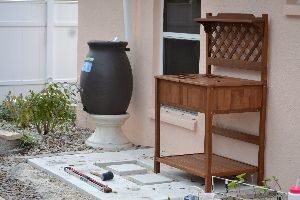
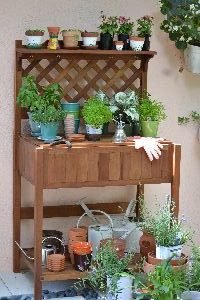
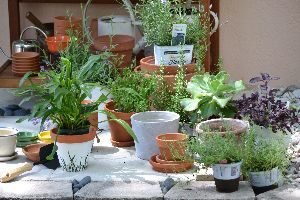
Patio Potting Bench
Gordon and Brodie finished this project just in time for Easter.
Here is How They Did It

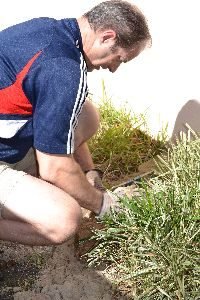
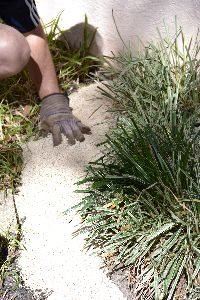
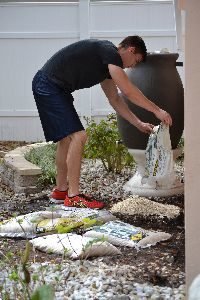
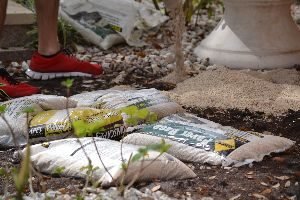
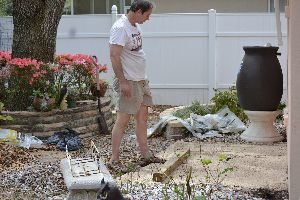
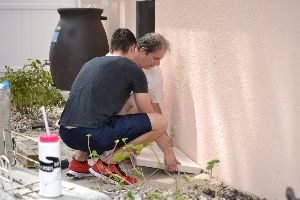
First you want to clear away the area as much as possible. Here Gordon is removing some of our white rocks from the area as well as the stones that lined the landscaping.
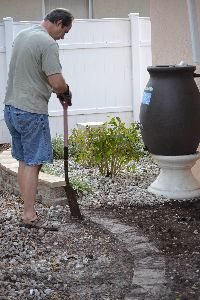
You can see how the old cement blocks had sunk into the ground. Gordon is digging them back up here by inserting a shovel underneath them.
————————————————

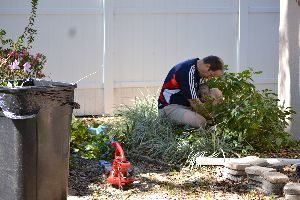
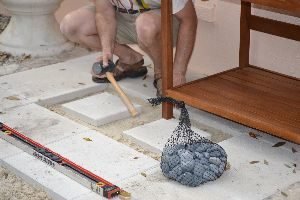
Brodie is a big help to Gordon with these projects.
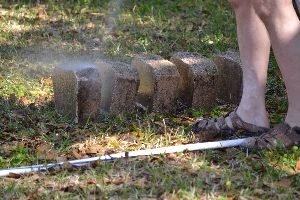
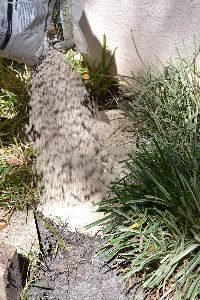
Here he is covering the area with paver sand to help even out the base of the area and to ensure the large concrete paver stones don’t sink into the ground over time.
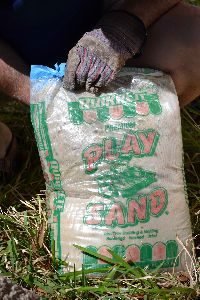
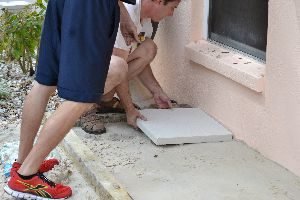
Paver Sand and Play Sand
Again, stomp it down flat to assist in leveling it out.

First the Paver Sand goes down and then the Play Sand
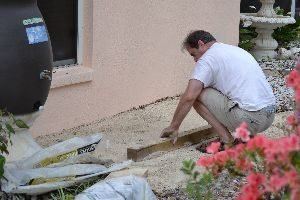
Gordon Using a Board to Smooth out the Area
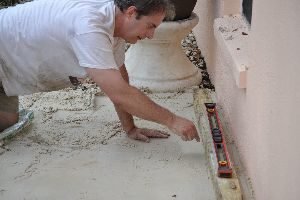
Gordon is making sure the area is level.
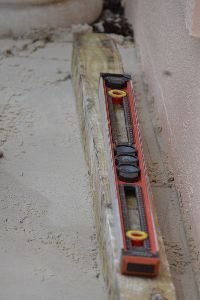
Place your level on top of the board to make sure everything is even.
—————————————–
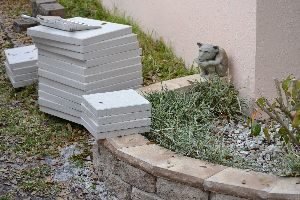
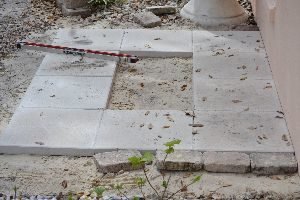
2 Different Sizes of White Cement Stones
Here Comes our Patio

Once your area is level then it’s time to start building it up.
Gordon and Brodie bringing in the stones.
Using the same process as before with the retaining wall stones, even out the paver by using a rubber hammer starting at the end and up along the wall first as seen below left.
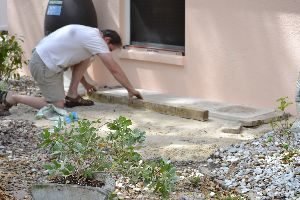
Next you start laying the stones that you want to use, while still smoothing the area to allow for more.
I chose (No Gordon, I Chose Them.) 🙂 these white cement blocks, I wanted them to tie in with all our other white cement attractions that we have in our backyard.
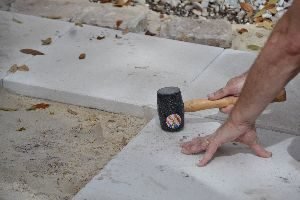
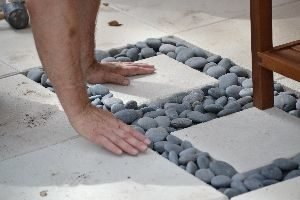
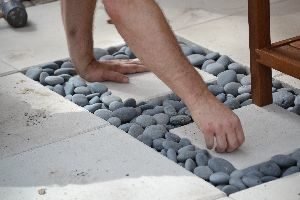
You still need to use your rubber mallet and your level to make sure everything is perfectly level.
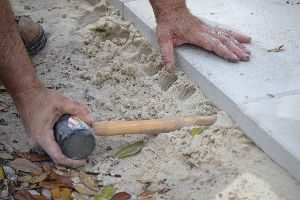
You can use the end of your mallet to push the sand underneath the stones and fill in those ‘gaps’ in order to make them even.
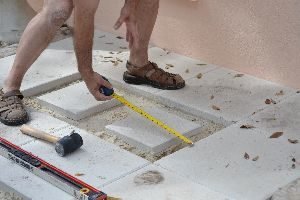
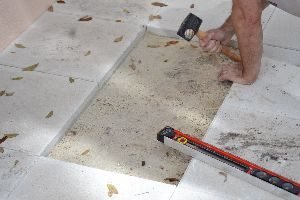
The project is starting to come together nicely.
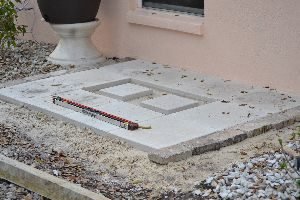
It was my idea to create some sort of ‘cut out’ in the middle of the patio.
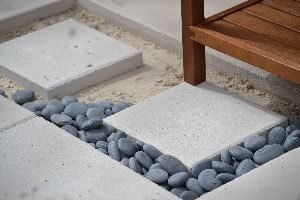
We Bought Gray Stones as an Accent Here
It was an easy design to do.
The Patio Area is starting to Take Shape
Next Gordon needs to place the stones that will border the area in front, and along the sides.
Sadly, I didn’t get to take the photos of Gordon positioning the stones in front of the patio area. But you can see them in this photo.
In these photos you can see the brick outline that sections off this patio from the rest of the landscaping.

We used different stones to border the sides of this project.
—————————————
Capping Off/Removing a Sprinkler
Sometimes it is necessary to cap off a sprinkler which is in the way of a project and isn’t needed to work anymore.
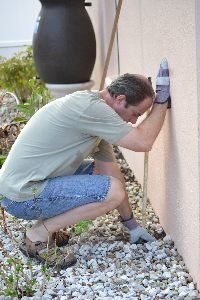
First, you need to remove the rocks and dirt around the base of the sprinkler pole down to where it joins with the main sprinkler piping.
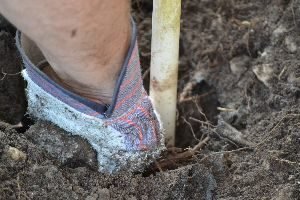
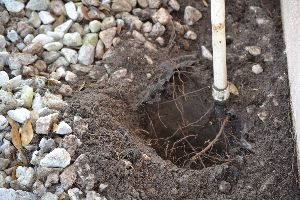
This type of pole sprinkler is connected to the main system by screwing it into the main system. Here, all you then do is just unscrew the sprinkler pole and remove it. Next, find a proper cap at your local hardware store which will fit either the screw in type or as shown below the regular caps which slide onto the pipe. If my sprinkler pole didn’t unscrew, then I would have cut off the pole just above the joint using a hacksaw or PVC cutting tool to allow enough room for the cap.
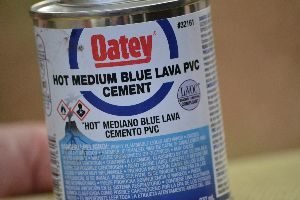
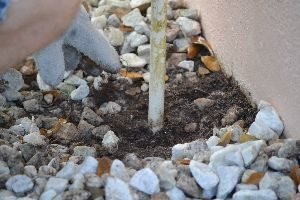
Using the PVC Cement glue above, simply use the brush provided under the glue cap and coat the inner cap and the outer pole with glue. Then simply push the two pieces together until both fit snugly together. The glue over time will chemically melt the PVC pieces together making a tight, waterproof seal. Below right you can see the capped pipe.
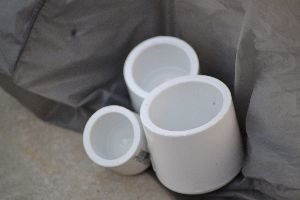
Shown above are three different sizes of caps which you might use for this type of job.
———————————————–
Another Cute Lizard Break
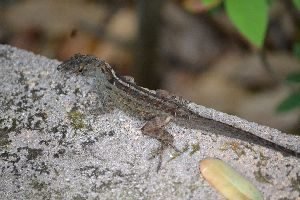
They help keep our backyard bug population down.
—————————————–
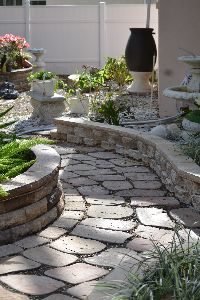
We are thoroughly Enjoying our Patio Area


Whether we use the area to eat, or garden, this is now a favorite space in our backyard.
We hope that you enjoyed our backyard spring project.
Happy Spring!
Gordon and Julie