How to Carve a Pumpkin
HOW TO CARVE A PUMPKIN
This is a great How-To, Step-By-Step, instructional on How to Carve a Pumpkin.
Anyone can do it!
You just need some tools, (many of which can be found in your home), a pattern from a magazine or one you have printed out online, a nice pumpkin, AND a little bit of patience.
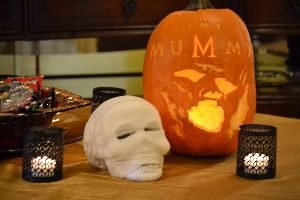
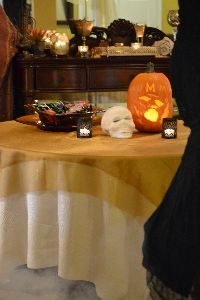
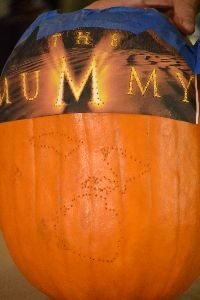
The Mummy
The Mummy is a favorite movie of ours, we even have featured on our website, Our Mummy Halloween, so it made sense to carve a mummy themed pumpkin for Halloween.
We have probably seen this movie a thousand times and never get bored with it.
It has everything that we love, comedy, adventure, exotic location, beautiful, intelligent female heroin, handsome leading man, ancient artifacts, pyramids of Egypt, and of course, THE MUMMY.
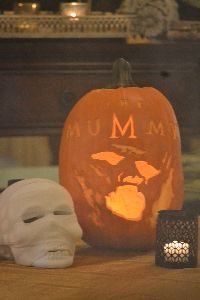
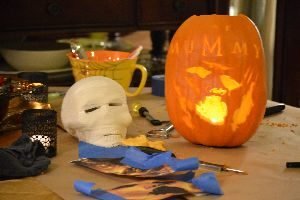
The Mummy’s name is Imhotep so we had to have a skull wrapped in bandages to represent Imhotep’s mummification.
Our Mummification Room

Our Mummy Halloween
Above you can see our beautiful mummy, Anck-su-namun, Imhotep’s beloved.
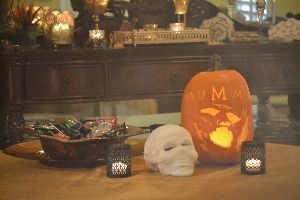
Add some lovely fabric draped all around, some mummy props, and don’t forget the fog machine.

———————————————————————
Click Here For: The Mummy Halloween

————————————
How To Carve A Pumpkin

Gordon Whann
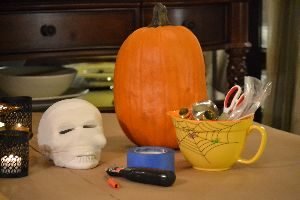
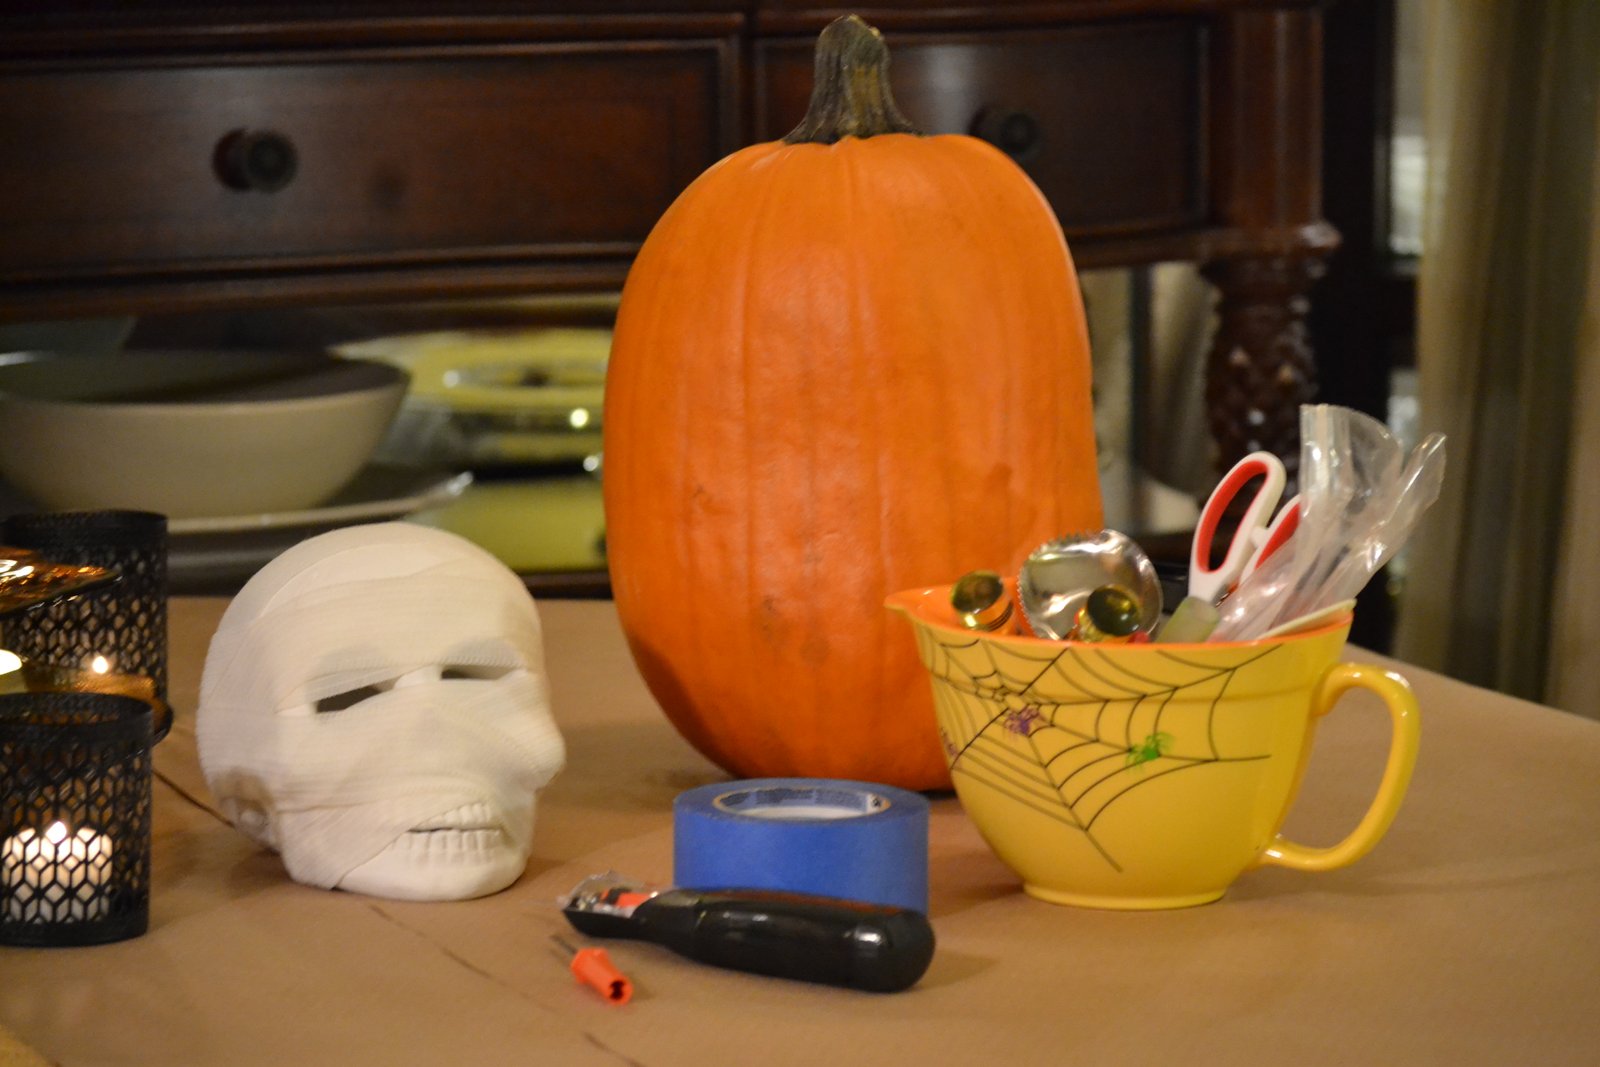
Pumpkin Carving Tools and Patterns
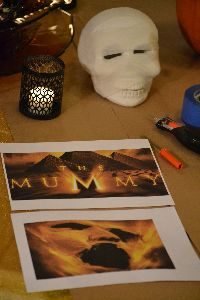
The pattern we just printed out from the internet using regular computer paper.
————————————-
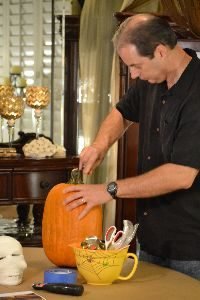
The first thing you want to do is select a picture you want to carve. One that only has two colors is best, because it shows off the areas you will carve better. You then need to choose a pumpkin that will work for your picture. Here, I was able to find a tall one which can easily hold both drawings.
You want to carve on the “flat” surface of the pumpkin.
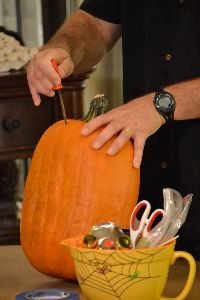
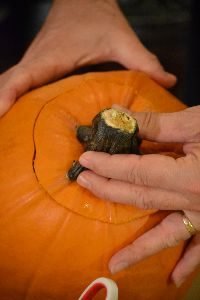
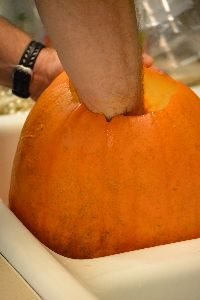
I then use the thin carving tool to carve out the top portion of the pumpkin. You must do this at a slight angle or the top will fall into the pumpkin. I also put a wedge in the top to easily locate its position.
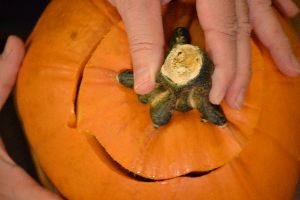
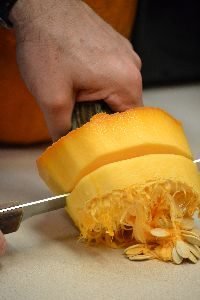
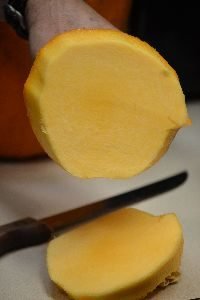
Lift up the top and slice off the excess pumpkin.
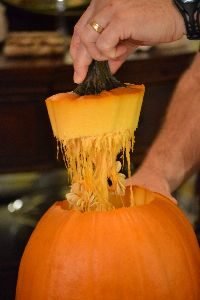
You can slice off a good portion of the pumpkin depending on its thickness.
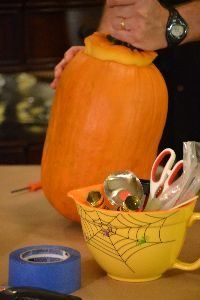
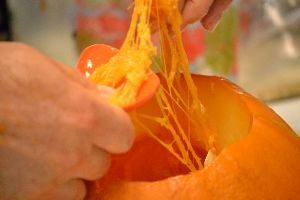
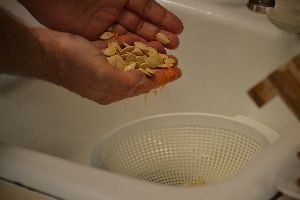
Now, you need to extract the seeds to cook later along with the stringy parts of the pumpkin later on.
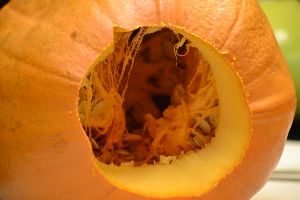
Use the scraping tool which comes with most kits. It is short and has a broad scoop. A rice paddle will work as well.
I usually scrape the inside just enough to make it smooth.
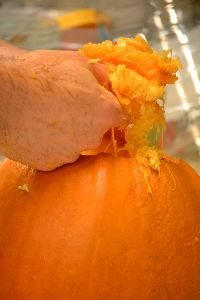
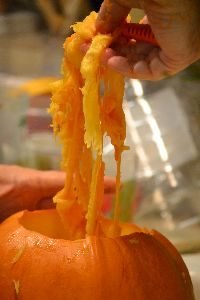
Only save the well formed seeds to eat later.
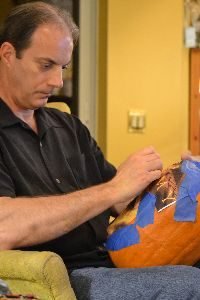
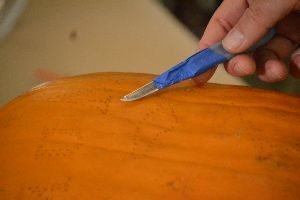
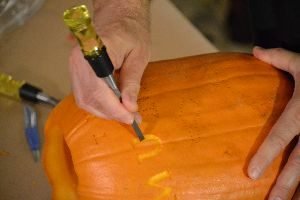
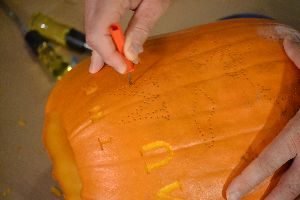
Choose the best side of the pumpkin for your carving and use painters tape to secure your pattern to the pumpkin.
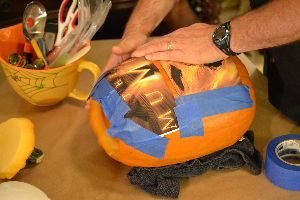
Using painters tape makes it easy to remove your pattern when done.
You may have to fold some of the edges down flat in order to keep the picture flat.
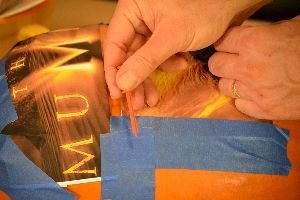
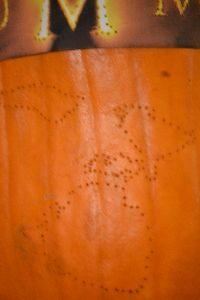
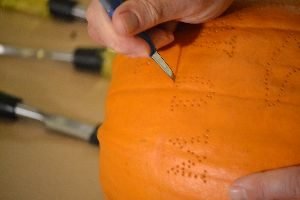
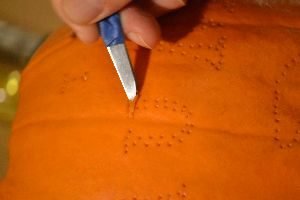
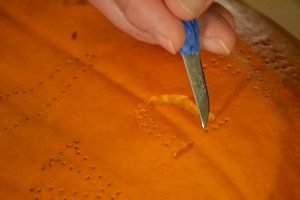
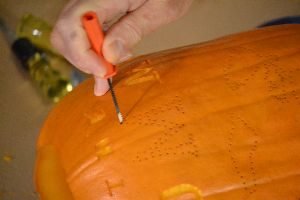
Take the pointing tool and carefully outline your pattern ensuring to pinpoint all the corners and curves.
This will take some time to do.
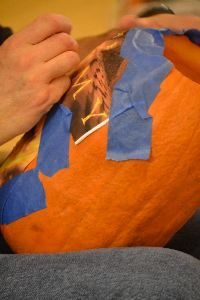
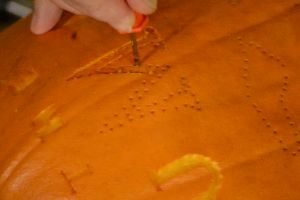
Here you can see the pinpoints in the words.
You could also use strong toothpicks, or even an ice pick to poke the holes.
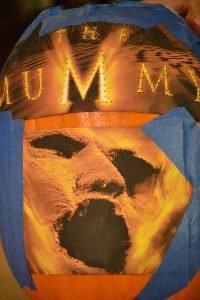
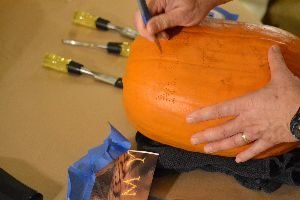
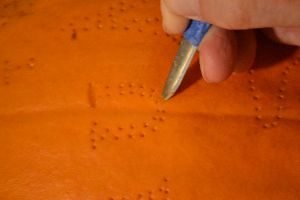
Peel off your picture and reveal your pattern.
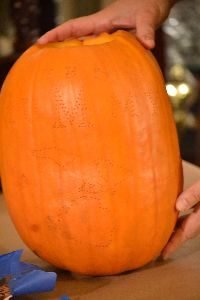
You need to scrape the pumpkin thin in order to allow the light to shine through. You need to gently press on the outside of the pumpkin to test the thickness.
—————————
Cute Pug Break
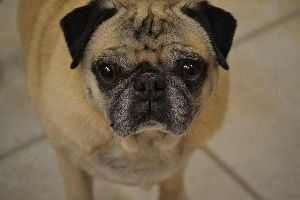
Sugar and Monk Always with Us 🙂
——————————-
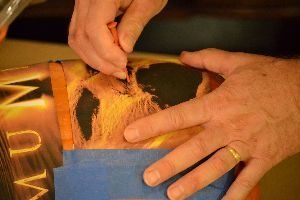
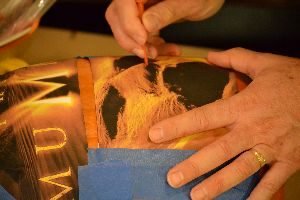
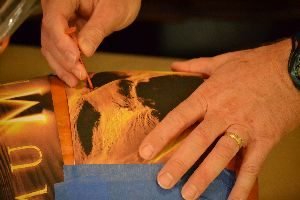
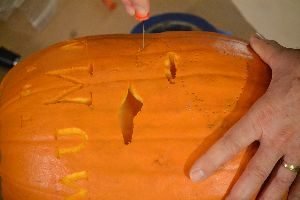
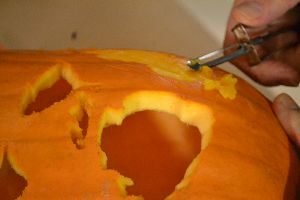
With the pattern now on your pumpkin, choose if you want to just remove the outer skin or carve fully out the letters. You need to think how light will enhance your picture and using a combination of these is very effective.
I use a sharp thin knife to make these cuts.
Take your time and keep your knife at the same angle for the best results.
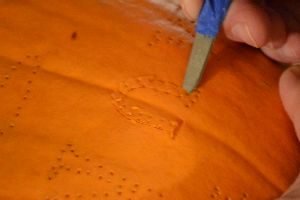
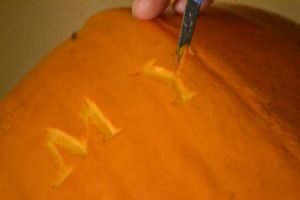
I also use wood carving tools to clean up the edges and smooth the lines.
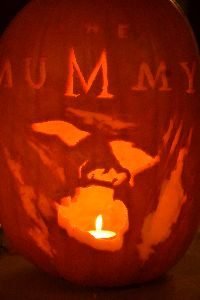
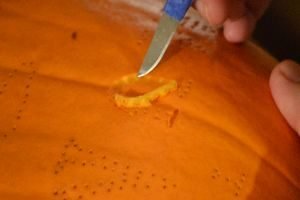
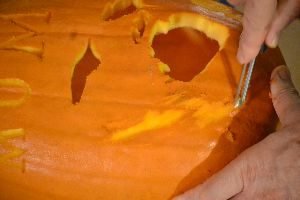
Here, I removed the M to use light to better enhance the word, Mummy.
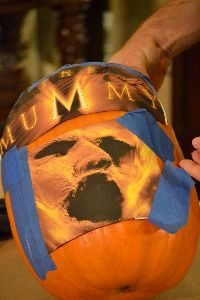
When you carve all the way through the pumpkin, you are able to check the thickness which will let more or less light through.
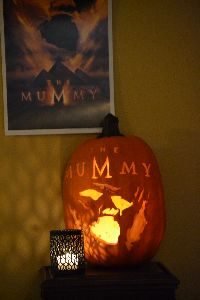
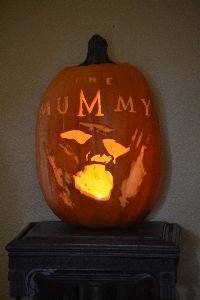
Here you can see the almost finished pumpkin.
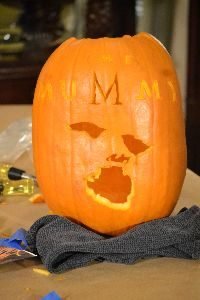
I wanted to use light to highlight the sides of the face in order to match the picture, so I used a potato peeler and took off shavings.
(Gordon actually used two different kinds of potato peelers here.)
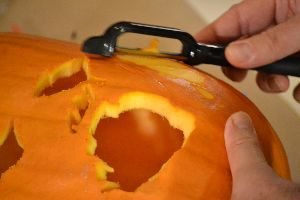
I think it worked, and turned out well!
———————————-
The Pumpkin Seeds
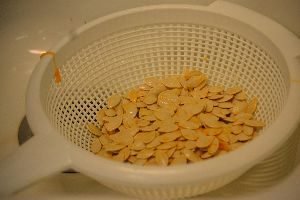
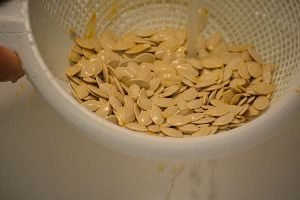
The seeds are important as they will make an excellent and delicious snack.
That recipe will be to follow.
———————————
Behind The Scenes

Me, standing on a stool taking the photos, as always.
Happy Halloween!
Julie and Gordon