Cast Iron, Corn Bread, Corn Sticks, Southern Cooking, and Frying

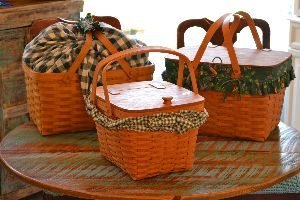
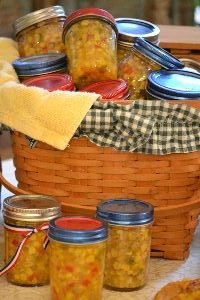
It wouldn’t be the south without lots of picnic baskets. I was looking for somewhere on my website to showcase my picnic baskets and I think this the most appropriate post. I have many memories of delicious southern food in lots of wooden picnic baskets.
So, Welcome!
———————————————

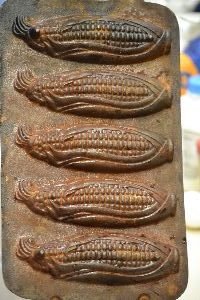
Cast Iron, Corn Bread, Corn Stick, Maker
1985 Christmas Gift To Us from Gordon’s Parents, Milton and Sarajane Whann
I think it all starts right here, corn bread, and cast iron.
I am originally from the south, Gordon migrated down to the south from up north, with his parents and siblings, settling in Charlotte, North Carolina. Anyone that lives in the south will tell you that corn bread is a big part of our lives. It’s a staple, it’s tradition, it’s delicious!
————————————-
We will also feature other southern recipes, our version of them anyway. Hope you will enjoy! It’s good eating!!
We also feature:
Corn Bread, Corn Sticks, with Corn Relish

Fully Loaded Corn Bread
Salmon Patties
Fried Okra with Dipping Sauces

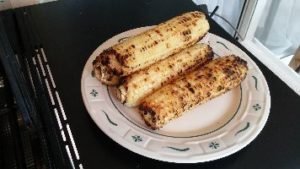
Grilled Corn with Herb Butter


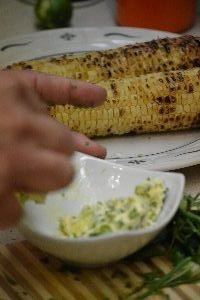
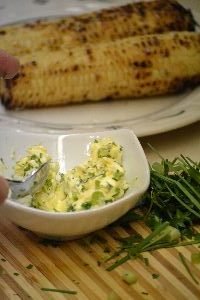
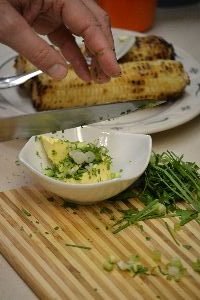
Nuf Said About This
(Mix chopped herbs and scallions in with your butter, then spread onto corn.)
———————————
Grandma Nell’s/Gordon’s Squash Casserole
————————————
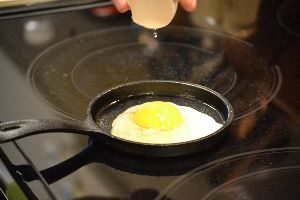
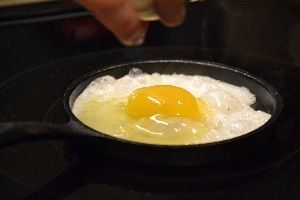
Beautiful Cast ron Cooking
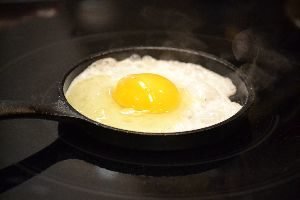
Great way to cook an egg.
———————————–
Southern Biscuits, Turkey Sausages, and Sausage Gravy

THE Sausage Gravy
————————————-
Cast Iron

Cast Iron is something that you pass down to your children, grandchildren, nieces, nephews, etc.
It lasts for generations, all you have to do it to take care of it by seasoning it.
This particular corn stick cast iron was given to Gordon and myself as a gift. We cherish it and will pass it down to our children to enjoy.
———————————-
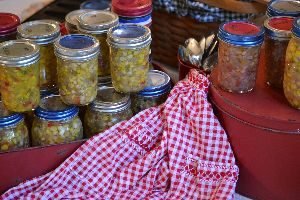
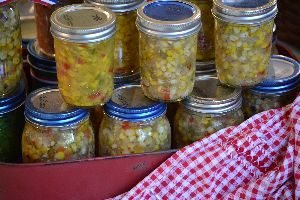
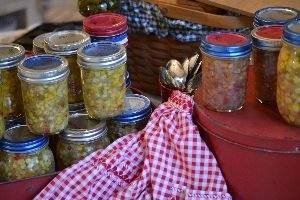
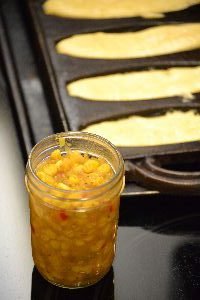
Corn Relish
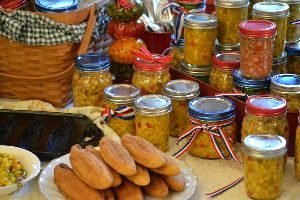
Gordon and I made a variety of Corn Relish this past July, See our blog post:
Corn on the 4th. of July
Click Here For: Corn on the 4th. of July

———————————————-
In this blog post we give you our recipes for making corn relish and how to eat it on other foods.
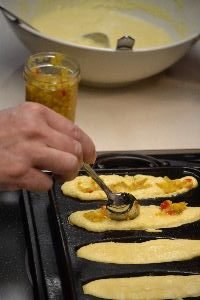
I got the idea to incorporate our corn relish into southern corn bread. I then remembered the lovely cast iron corn stick maker that Gordon’s parents had given us. So we dug it out and made our corn bread recipe, but also added some of our corn relish to it as well.
Here is what we came up with:
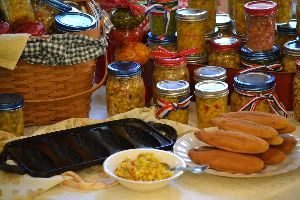
Adding our Corn Relish to our Corn Bread Sticks

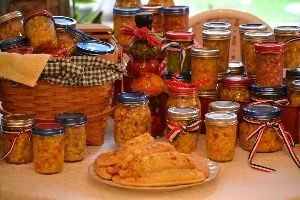
This did turn out to be delicious! We did love it!
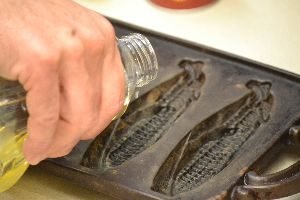
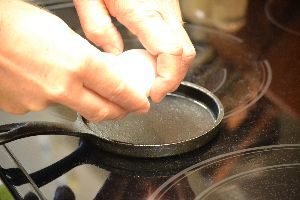
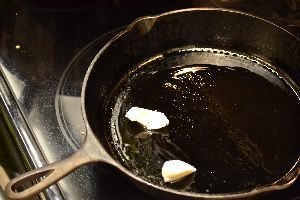
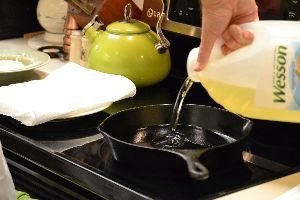
First you want to season your cast iron.
Here Gordon is adding some vegetable oil to the cast iron, coating it all around. Making sure that every bit of it is covered and ready for the corn bread.
It is important to oil your cast iron because then it helps the food not to stick to it while cooking.
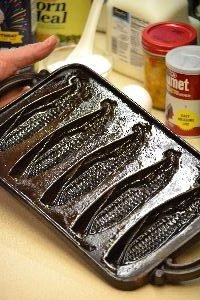
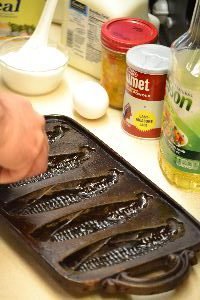
Cast Iron all Shiny and Oily, Perfect!
Making Corn Bread
Click on title below:
Corn Bread, Cast Iron Skillet, Dressing, and Tradition

This is my family ancestors Easter, Thanksgiving, and Christmas Corn Bread Dressing recipe.
Just click on the above blog post.
————————————–
Corn Bread
This is a basic corn bread recipe.
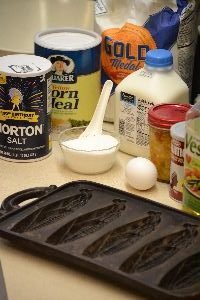
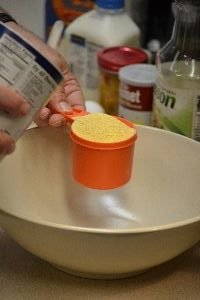
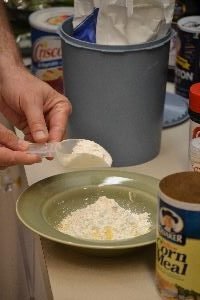
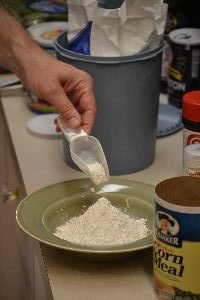
The Ingredients
I did double this recipe.
- 1 Cup Yellow Corn Meal
- 1 Cup All-Purpose Flour
- 4 T. Sugar
- 4 t. Baking Powder
- 1 t. Salt
- 1 Cup of Milk
- 1 Egg
- 1/4 Cup of Vegetable Oil
Preheat the oven to 425F.
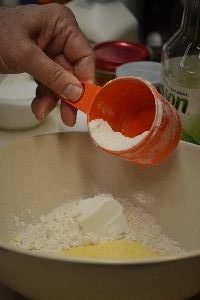
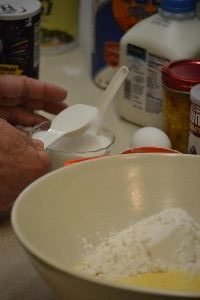
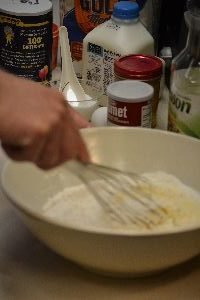
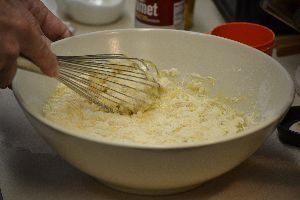
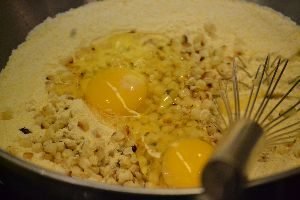
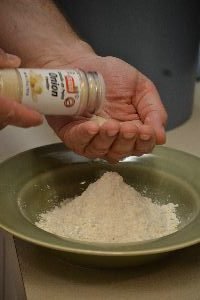
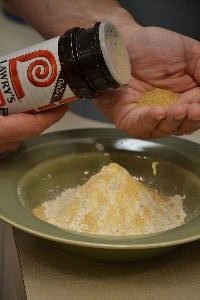
Combine the yellow corn meal, flour, sugar, baking powder, and salt in a large bowl.
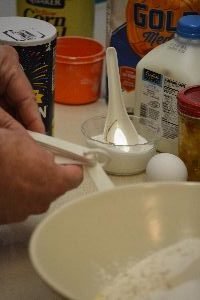
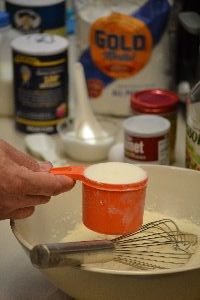
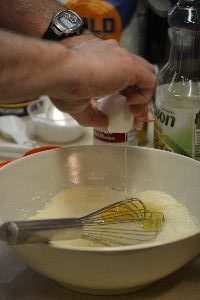
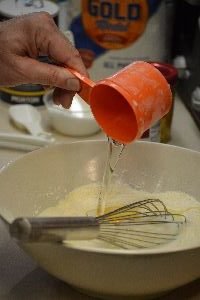
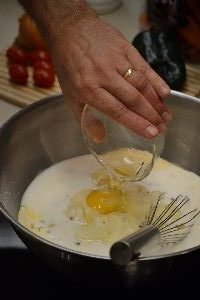
Add the milk, egg and oil.
Mix until the batter is mostly smooth.
We tried this two different ways:
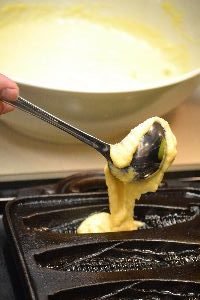
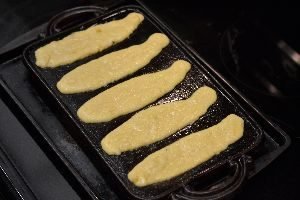
First we added the corn relish to the cast iron skillet, then added the corn bread mixture on top.
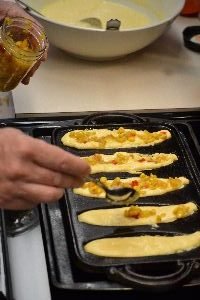
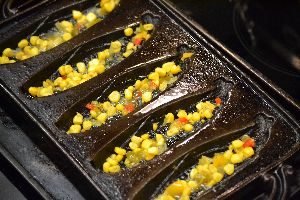
We then tried it another way and placed the corn bread mixture into each corn cob crevice, then added the corn relish on top of it.
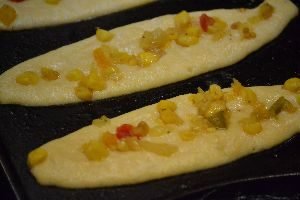
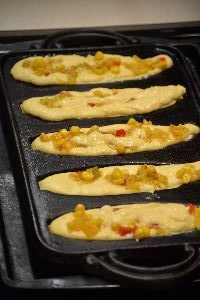
Then you bake in a 400 F oven for about 18 minutes until golden.
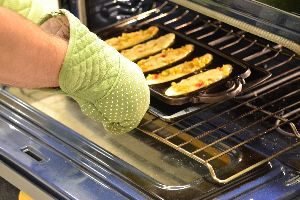
When cool remove from the cast iron and let cool additionally on a wire rack.

They were very good, sometimes falling apart, but that is the charm of home cooking.

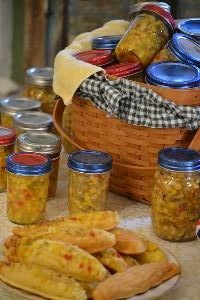
Corn Bread Corn Sticks w/ Corn Relish
—————————————–
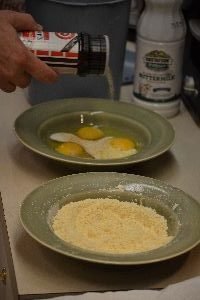
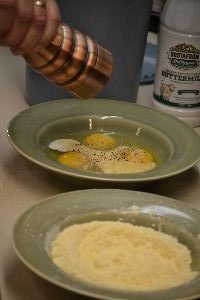
Adding an Egg
This is a very nice way to have a Corn Bread Corn Stick with Corn Relish
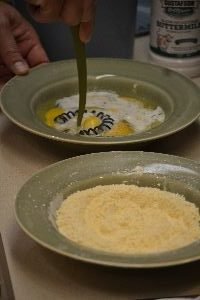
Add an Egg!

Adding a Fried Egg to our Corn Bread, Corn Stick, with Corn Relish

Perfect!

BTW/ Add an egg to your pizza, good!
————————————-
Fried Salmon Patties
Julie’s Salmon Patties

We did experiment here with a few different techniques.
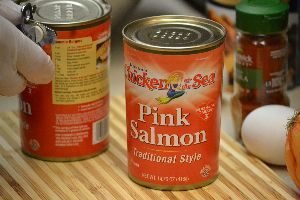
We of course used canned salmon.
Just drain and place into a bowl.
I adore salmon patties, my mother used to make them a lot when we were growing up.
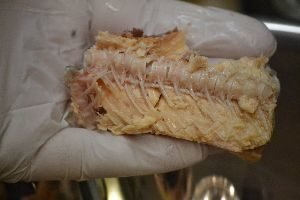
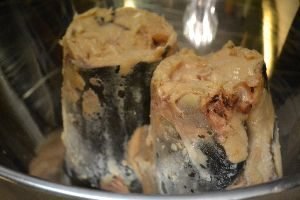
THE BONES
EAT THEM!!
The bones in this salmon are very soft and of course, healthy and rich in calcium. So eat up! Just add them to the salmon pattie mixture.
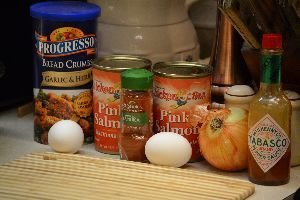
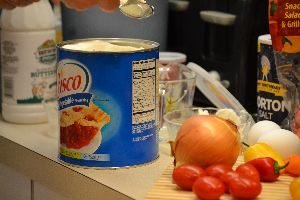
The Salmon Pattie Ingredients
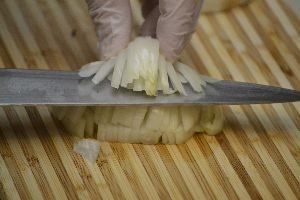

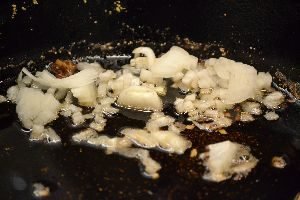
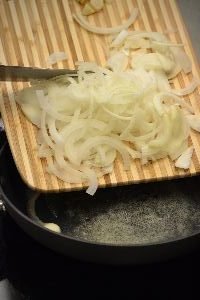
First you want to chop your onions. We used Yellow/Spanish onions, as always. I always chop a few more onions to just throw into the pan for some crunchy bits to snack on with our salmon patties. In total we use one medium to large onion in this recipe.
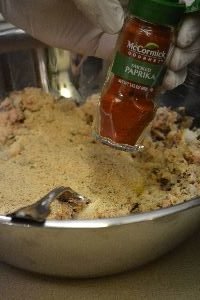
In the photo above you can see that we use two cans of salmon. We do drain the salmon and just squeeze it up with your hands into a medium sized bowl, BONES INCLUDED!!!
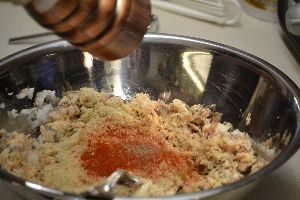
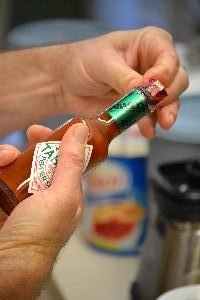
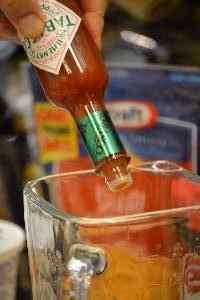
Then we add the chopped onion, freshly ground black pepper, a dash or seven of Tabasco sauce, about a half a teaspoon or thereabouts of Paprika, any kind you like.
Next, add any bread crumbs that you like. You can even use Panko to substitute for the bread crumbs.
We generally just eyeball all these ingredients and gear it toward our own tastes.
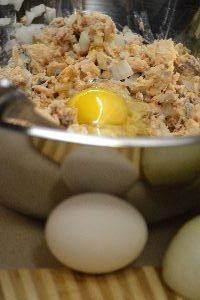
Then stir together and be sure to add an egg or two to bind all the ingredients.
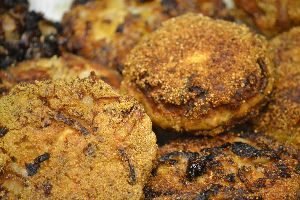
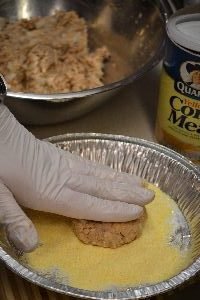
Here we decided to experiment with some outer coating on the salmon patties. I suggested that the press them into chopped onions before frying them in olive oil.
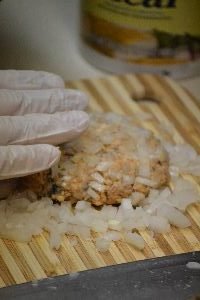
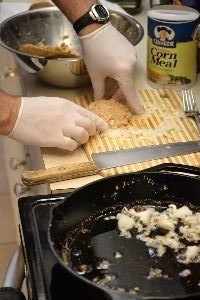
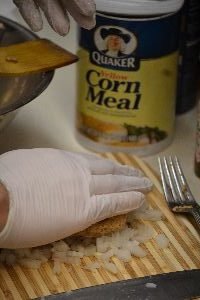
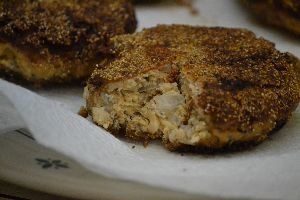
The next experiment we tried was to mash them into chopped onions, then press them into some yellow corn meal.
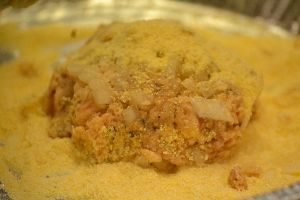
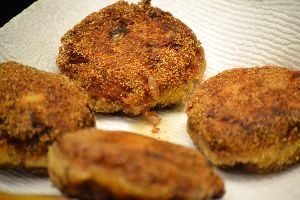
These turned out really well and gave each salmon pattie a nice outer coating crunch.
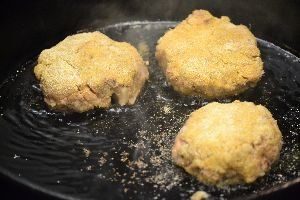
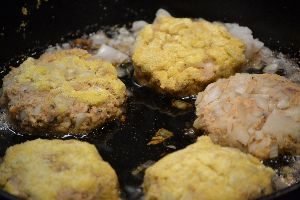
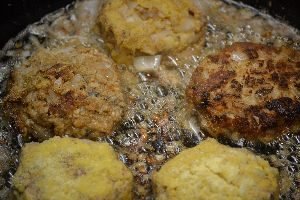
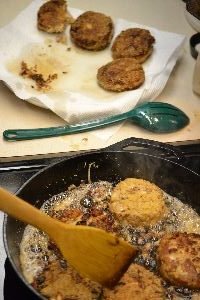
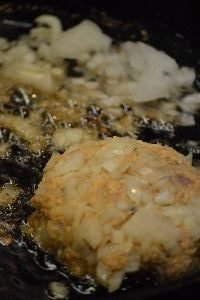
Frying in a cast iron skillet on a medium-high heat, in olive oil.
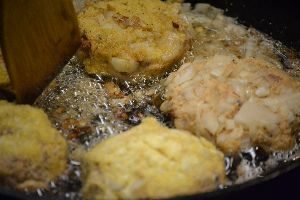
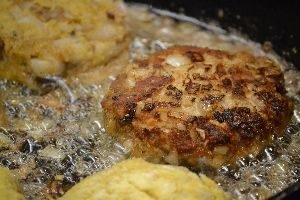
When done always set on a platter with paper towels on top to absorb the oil.
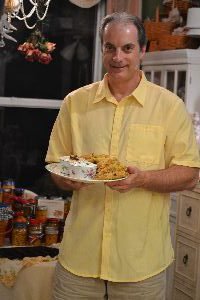
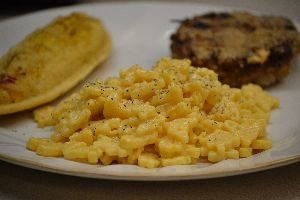
My Simple Dinner Plate
Corn bread, Corn Stick with Corn Relish, Salmon Pattie, Mac N’ Cheese
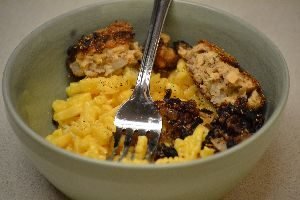
Mac N’ Cheese and Salmon Patties the next day for Lunch
I Do Love The Leftovers
—————————————-


————————————-
Fully Loaded Corn Bread

This was so delicious!
We used the cornbread recipe from the Gone With the Wind cookbook.
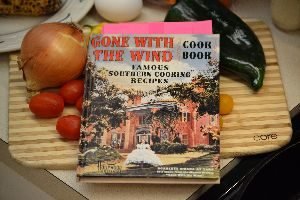
I have been searching for my Great-Grandmother’s cornbread recipe for the past decade. This one is probably the closet that I will get. She lived during this time, she lived in Georgia, she lived not far from where Gone With the Wind originated, so I am assuming this will be the closest to hers.

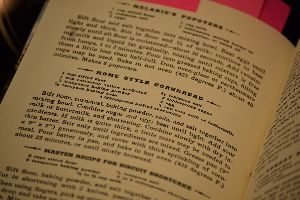
Home Style Cornbread
as taken from:
Gone With The Wind Cook Book
Famous Southern Cooking Recipes
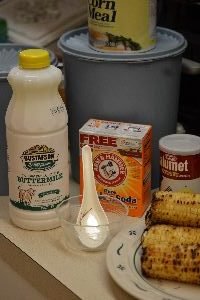
Recipe:
- 1 Cup Sifted Flour
- 1 Cup Cornmeal, Yellow Preferred
- 2 t. baking powder
- 1/2 t. Baking Soda
- 1/2 t. salt
- 3 T. Sugar
- 1 Egg
- 1 Cup Sour Milk or Buttermilk
- 4 T. Melted Shortening (Crisco)
Sift flour, cornmeal, baking powder, soda, and salt together into mixing bowl.
Combine sugar and egg; beat until light. Add sour milk or buttermilk, and shortening. Combine slowly with dry ingredients. If milk is quite thick, a little more may be needed to thin batter. Stir only until ingredients are mixed. Grease pan (9″ x 9″ x 2″) generously, and cover with a thick sprinkling of cornmeal. Pour batter in pan, and bake in hot oven (425 degrees F.) about 25 minutes, or until nicely browned.
(Of course now-a-days we don’t sift ingredients together so do as you like. I was just repeating the original recipe because I think it important to look to how it was done in the past.)
Now that we have the basic corn bread recipe, next is how we did the additions to it.
——————————–
Grill the Corn

Gordon out on our lanai.
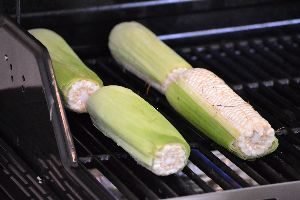
To grill shuck half of the corn and place the shuck side down to get the grill marks.
This will add a different flavor to our fully loaded cornbread.
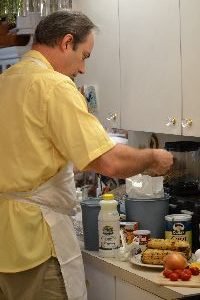
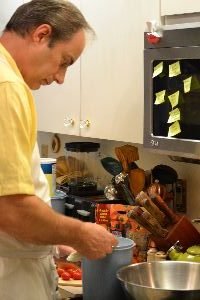
Gordon Making our Fully Loaded Corn Bread
I’ve listed the “Home Style Cornbread’ recipe above, now comes the additions.

The Grilled Corn Added Here Will Be Great

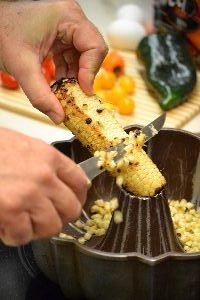
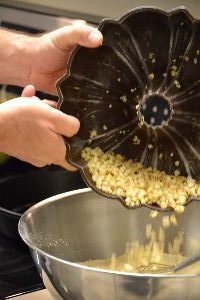
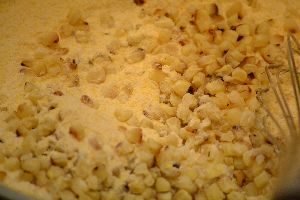
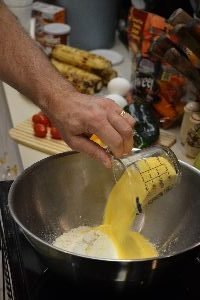
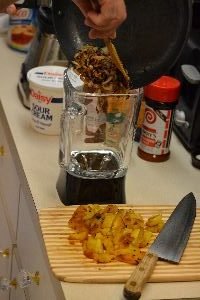
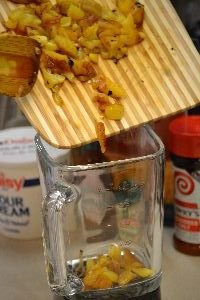
Here Gordon is using our bundt pan to remove the kernels from the corn that he just grilled. That way they don’t fly around the kitchen. Then he adds them to the cornbread mixture. But hold some back to add on top later on.
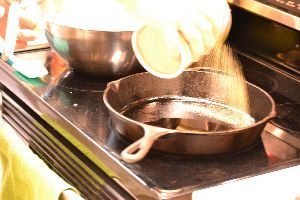
Next Gordon prepares the cast iron skillet for the cornbread by adding some shortening (Crisco) to the pan, then placing it in the oven to melt and to coat the skillet. It also heats the pan to the correct temp.

When the shortening is melted Gordon removes the skillet from the oven and sprinkles a layer of corn meal onto it.
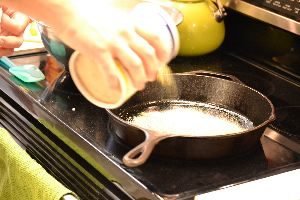
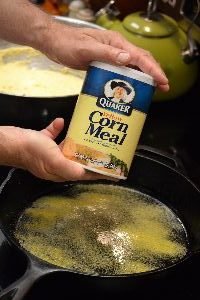
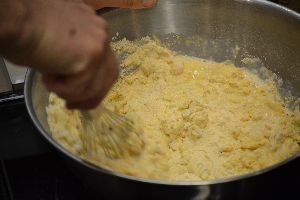
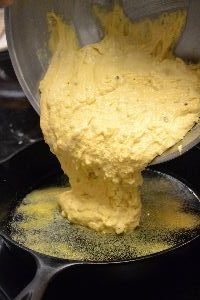
Then he adds the corn bread mixture to the skillet.
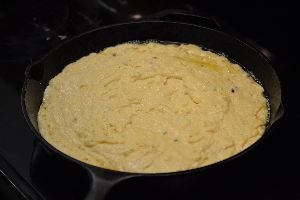
Now place into a 425F degree oven for about 20 minutes.
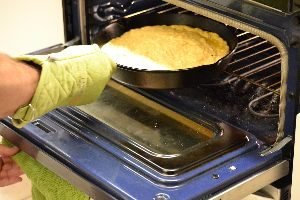

Bake at 425F

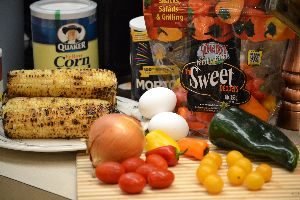
While the cornbread is baking, you want to chop all your veggies for the topping.
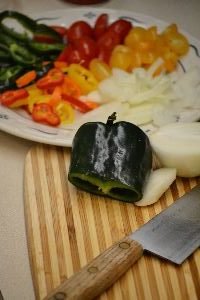
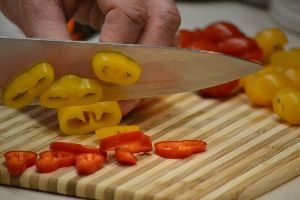
Use your favorites here:
Sliced Poblanos, Sliced Onions, Sliced Mini Bell Peppers, Sliced Yellow and Red Cherry Tomatoes, AND some of the Grilled Corn.
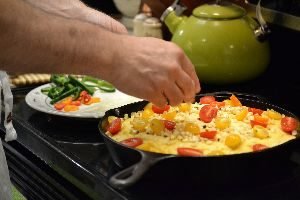
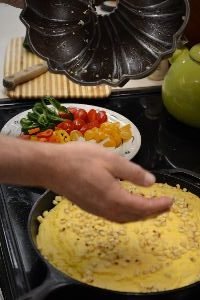
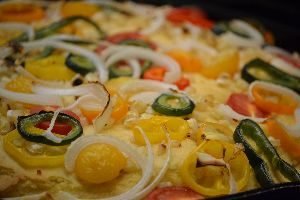
The cornbread isn’t fully cooked as yet, just mostly cooked. Now you apply your toppings, then put back into the oven to finish cooking.
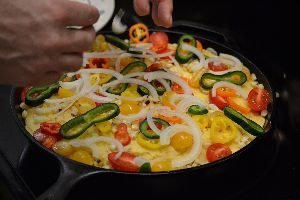
Pretty, Isn’t It?
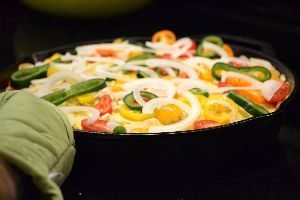
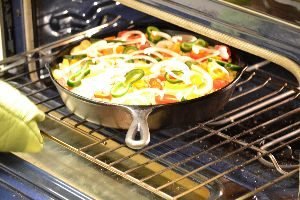
Back Into the Oven
Bake an additional 10 – 15 minutes. Insert toothpick to make sure it is done.
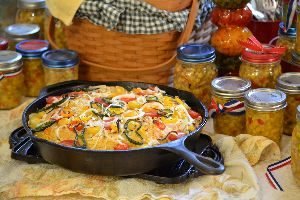
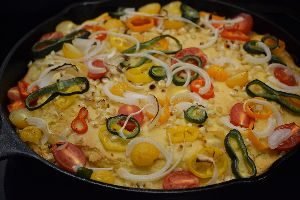
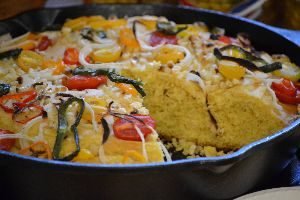
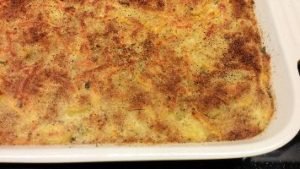
The Finished Results
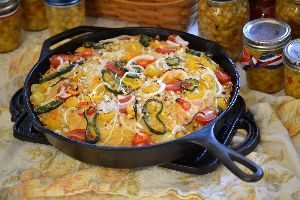
Fully Loaded CornBread
————————————-
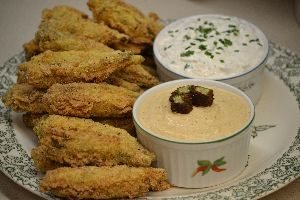
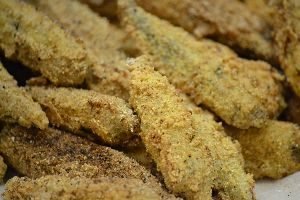
Fried Okra with Dipping Sauces
Gordon Created Two Dipping Sauces For This
Okra is something of a staple that I grew up on living in the south. I like it most anyway but here, Gordon fried them.
First, The Fried Okra

You want to rinse the okra clean.
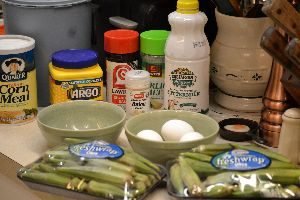
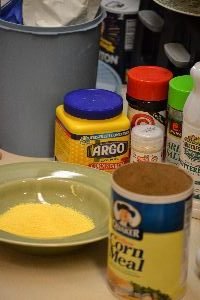
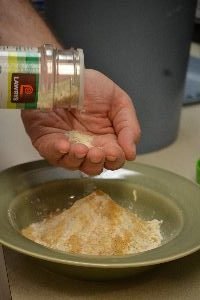
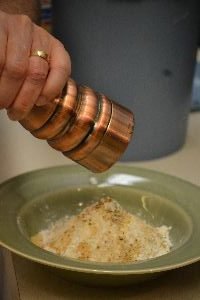
Ingredients for Frying Okra
Dry Mix
1/2 Cup All Purpose Flour
1/2 Cup Corn Starch
1/2 Cup Yellow Corn Meal
1/2 tsp Onion Powder
1/2 tsp Garlic Powder
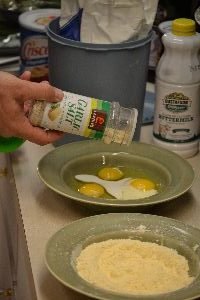
1/2 tsp Lawry’s Season Salt
1/4 tsp Garlic Salt
1/4 tsp Fresh Ground Pepper
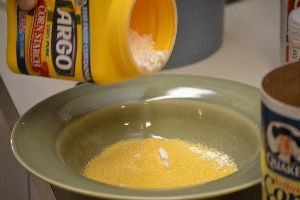
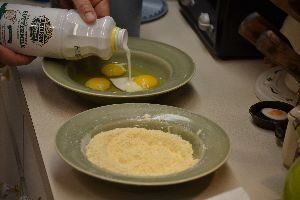
Wet Mix
3 Eggs
1/2 Cup Butter Milk
1/4 tsp Onion Powder
1/4 tsp Fresh Ground Pepper
Mix all dry ingredients together in one bowl and mix all the wet ingredients together in another bowl.


Pour enough vegetable oil in your cast iron skillet to partially submerge your okra.
The oil should be heated to medium high heat. Dip your okra into your wet mixture first to thoroughly coat, then dip into your dry mixture. Once you have a few done, place them into your hot oil.
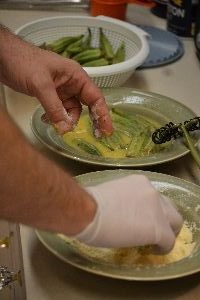
They should sizzle in the oil as seen below. You may need to turn your temperature down, so you don’t burn your battered okra.
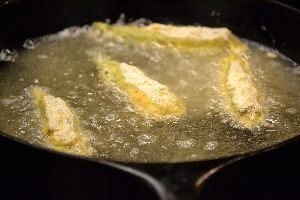
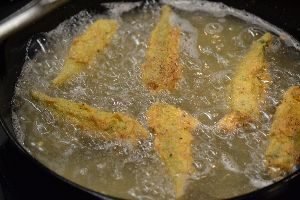
Flip them half way through once golden brown.
When cooked to the same color on the other side, remove them from the oil and start the process over again.
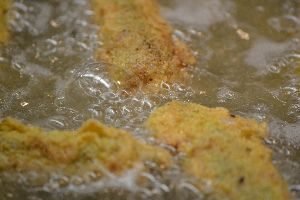
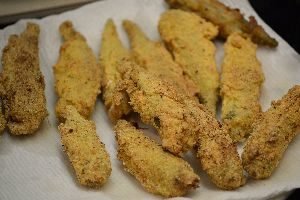
Place okra on a paper towel to absorb the oil from frying and salt and pepper to taste.
————————————-
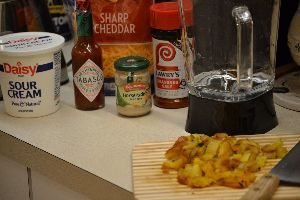
Making the Dipping Sauces…
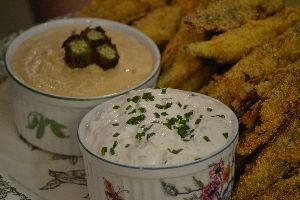
Grilled Pepper, Caramelized Onion Sauce
Ingredients:
1 Yellow Bell Pepper – roasted see below
1/2 Vidalia Onion – caramelized
2 Tbsp butter
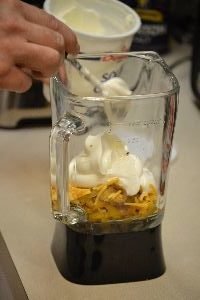
1/2 Cup Sour Cream
1/4 Cup Sharp Cheddar Cheese
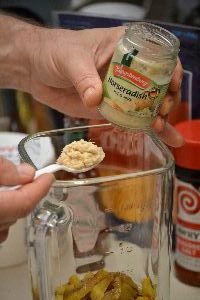
1 Tbsp Horseradish
1/2 tsp Lawry’s Season Salt
Fresh Ground Pepper to taste
6 drops Tabasco Sauce
Grill your bell pepper until charred black all over.
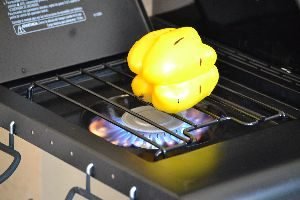
Doing this doesn’t hurt the pepper.
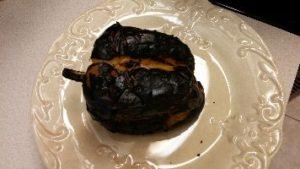
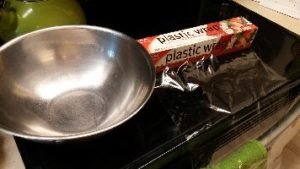
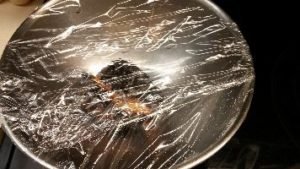
Once charred and still hot, place it in a bowl and cover with plastic wrap.
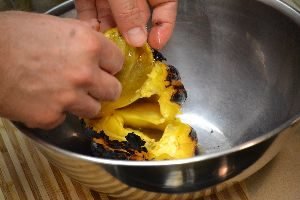
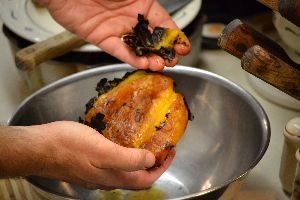
After about 10 min, remove the charred skin of the pepper.

Remove the seeds and slice the pepper into chunks.
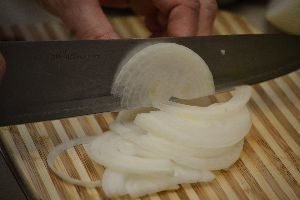
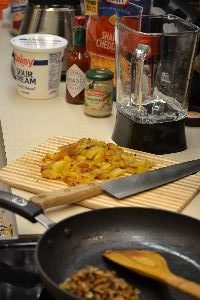
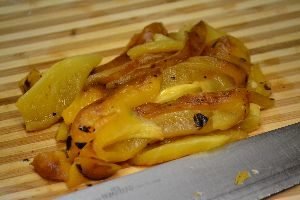
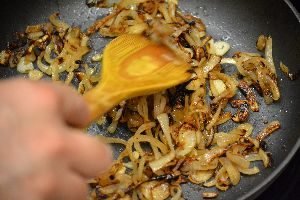
Slice your Vidalia onion thinly into strips and saute to the color of your choice.
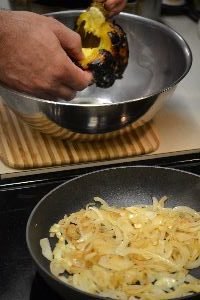
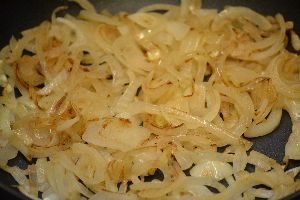
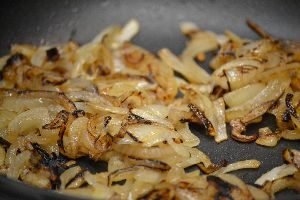
Here you can see the steps of color. I took it to the extreme as to add a bit more char to the dip.
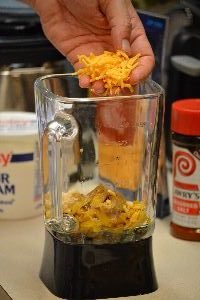
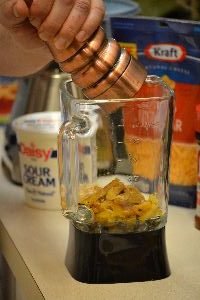
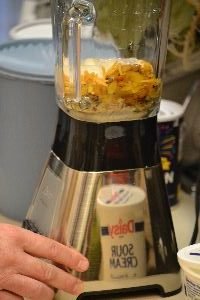
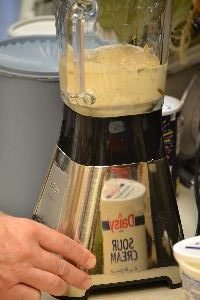
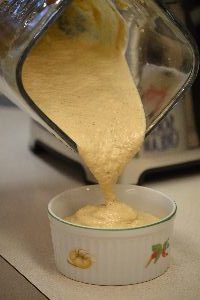
When cooked to your liking, place all the ingredients into a blender and blend until almost smooth.
———————————–
Roquefort Dipping Sauce
(I, Julie, got the idea for this dipping sauce from my Gone With The Wind Cookbook, when I came across a ‘Roquefort French Dressing’ recipe. I could picture the taste of the Roquefort cheese and the fried okra, and I knew it would be good. I just needed Gordon to create the rest of it, which he did!)
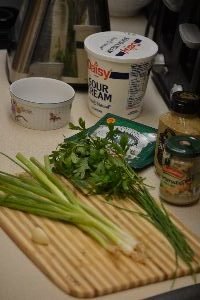
Ingredients:
1 1/2 oz. Roquefort Cheese
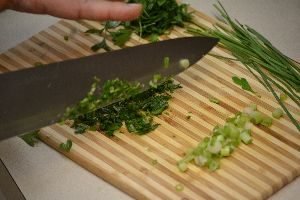
3 Green Onions sliced
1 Clove Garlic minced
1 Tbsp Horseradish
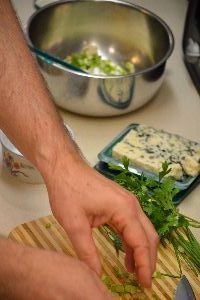
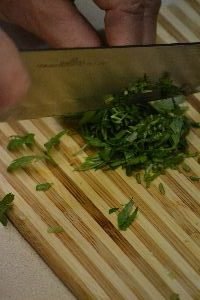
2 tsp Parsley chopped
1 bunch Chives chopped
1 tsp Grainy Mustard
1/2 Cup Sour Cream
Salt and Pepper to taste
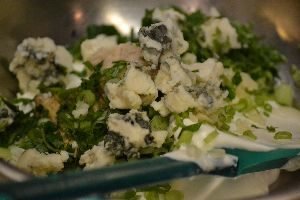
Place all ingredients into a bowl and mix gently to keep the Roquefort Cheese in chunks.
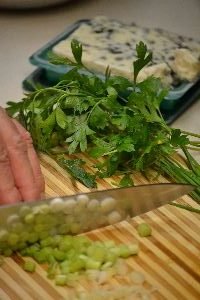
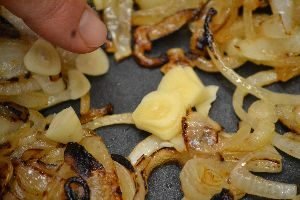
Thinly slice and use both the green and white parts of the Green Onion.
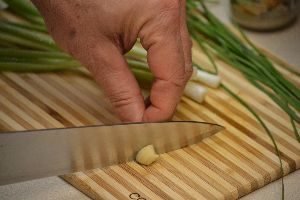
Slice the garlic thin first, then slice it thin in the other direction to get it to minced.
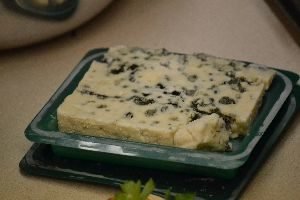
The package of Roquefort Cheese weighed 3.5 oz.
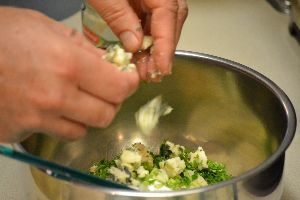
Crumble the cheese into the bowl.
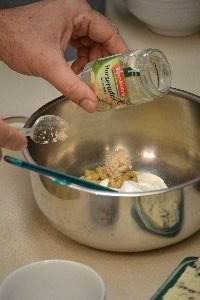
The pungent heat of the Horseradish gives the dip some bite and I believe meshes well with the Roquefort Cheese.
Ball up the Parsley and cut through it with a fine slice.
Mix all the ingredients with a spatula.
The fried okra went very well with this dip.
——————————————
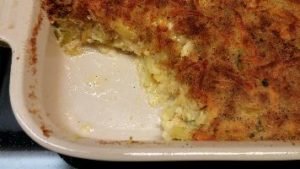
Squash Casserole
Ingredients:
8 Yellow Squash sliced thick
4 Zucchini Squash sliced thick
3 Yellow Onions sliced thin
3 Eggs
1 Cup Miracle Whip
2 Cups Sharp Cheddar Cheese (reserve 1/4 Cup)
1 Cup Seasoned Bread Crumbs

This reminds me, Julie, of my Grandma Nell’s Squash Casserole.
Gordon did her good!

——————————————

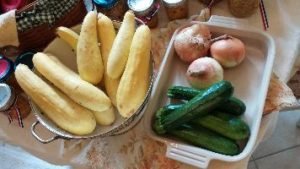
The Ingredients For The Casserole


Chop both the Zucchini and Yellow Squash in 1/4 to 1/2 inches thick.


Slice your onions to 1/8 to 1/4 inches thick.

Place all in a large pot of salted water and until it just covers the vegetables.


Boil the vegetables until just tender about 10 min.
Drain the vegetables in a large colander.

Here, you can see the squash is cooked and all in one piece which is exactly what you want.
Let the vegetable mixture cool. In the mean time whisk your eggs, Miracle Whip, salt, pepper, then mix in the sharp cheddar cheese, being sure to reserve 1/4 Cup of cheese.


Place your cooled vegetables into your egg mixture and carefully combine together with a spoon.


Pour the mixture into a large baking dish which has been coated with olive oil.
I use a spray to evenly coat the dish.


Spread your reserved Sharp Cheddar cheese and Seasoned Bread Crumbs over the top of the mixture.
Cook the squash casserole at 350’F for 25-30 min. or until it is golden brown and firm.
You need to let the casserole rest before cutting into it just as you would a meat.
If you do, it will be firm when taken out as seen below and still be plenty hot.

I learned this recipe from Julie’s grandmother… she was a wonderful southern lady and we both miss her dearly.
I think she would be proud … not bad for a northern born raised southern guy!
XXX OOO Grandma Nell!
——————————–
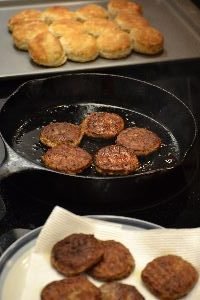
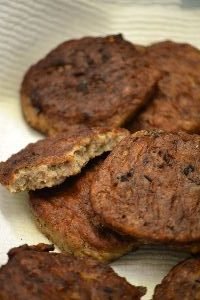
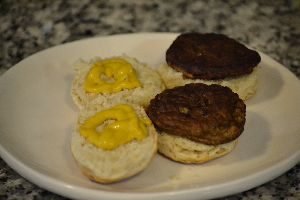
Southern Biscuits, Turkey Sausages, and Sausage Gravy

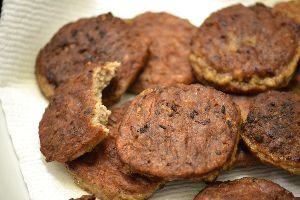
The biscuits we used already prepared that were frozen and just needed to be cooked in the oven for about 20 minutes or so. The turkey sausages were by Jimmy Dean, a favorite of ours, simply cooked in a cast iron skillet on a medium-high heat until browned using a few Tbsp’s of Olive Oil.
As you can see, I took a bite out of one because they were so tempting. 🙂
Ingredients:
3 Tbsp Butter
3 Tbsp All Purpose Flour
Fresh Ground Pepper to taste
1/2 tsp Seasoned Salt
1/2 tsp Onion Powder
~2 1/2 Cups Milk or more as needed
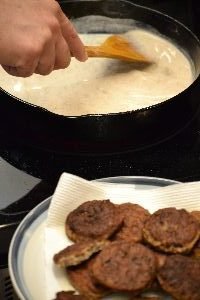
THE GRAVY
First, cook your preferred sausage in your cast iron skillet leaving the fond or little bits of sausage in the skillet. When you cook sausage, you need to be sure to not have the heat up too high or you will burn the fond which will ruin the base for your gravy.
I make this by sight now as I have been making it for many years. It is so much better than that jarred or packaged stuff. If you follow my directions you too will become a fan.
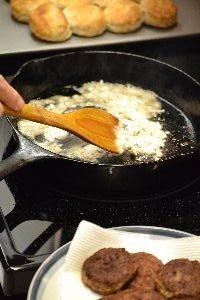
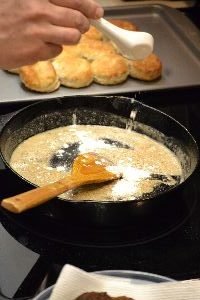
Your fat can be any type of oil or butter. We often use olive oil as it is healthier, but here I used butter.
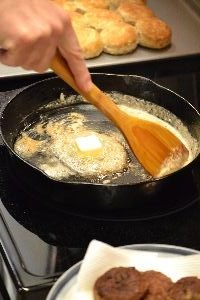
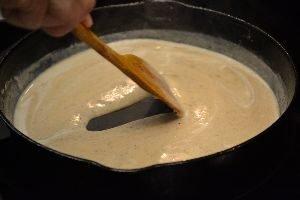
Place your butter into the skillet to melt then add your flour and start to mix well. Your skillet should be on medium low temperature. In the second picture, I added more butter because they should be equal in amount. Your flour and butter mixture should be slightly wet and not dry. As your flour cooks it will start to change colors. If you want a white gravy (or Bechamel Sauce) add your milk shortly after you have cooked the flour while it hasn’t changed in color. In cooking terms you are making a roux. The more you cook the four the less milk/liquid it can absorb. In many Louisiana recipes, they use a red or almost black roux in many of their dishes to thicken the dish.
In culinary school I cooked this and thought it would then be called a Brown Bechamel Sauce, but the Chef said there was no such thing.
A classic Bechamel Sauce is pure white.
If you add cheese to this white Bechamel it is called a Mornay Sauce and goes great with pasta or as a fondue dip.
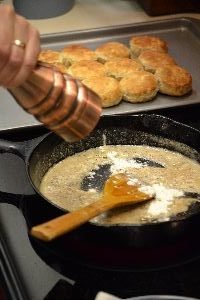

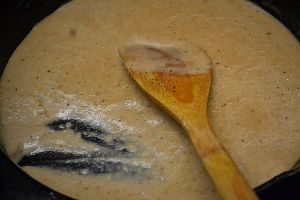
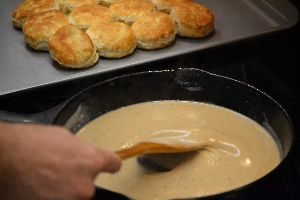
Here you can see I cooked the roux to a dark tan color. Turn your heat down to the lower setting.
In the south, they use a lot of fresh ground pepper, so grind away.

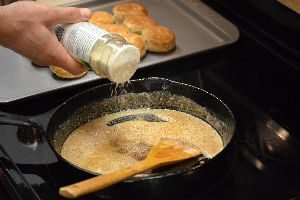
Quickly add your seasonings, mix well then add most of your milk. At first you will think it is too thin.
After a minute or so of stirring, the flour will absorb the milk.

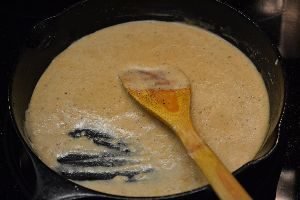
Below, you can see the change happening as you can see the swirls of milk.
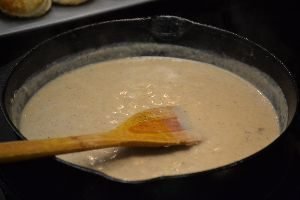
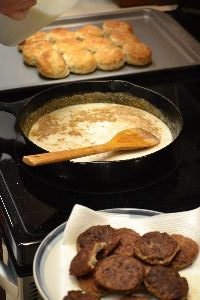
You will need to add more milk as the gravy will be very thick so add a little at a time.
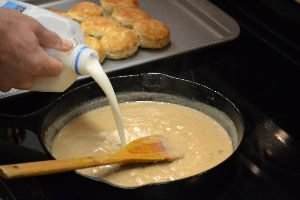
Here you can see the flour continued to absorb the milk. Add milk until it is the thickness you like.
Taste the gravy and add more seasoning if you desire.
Enjoy your Gravy … we did!
————————————-
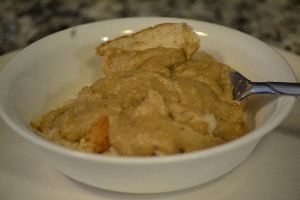
A favorite way for me to eat the leftover gravy is to place it onto a slice of loaf bread, torn into bits.
So delicious. My childhood favorite!