Turning 65, My Haupia Cake with Haupia Frosting
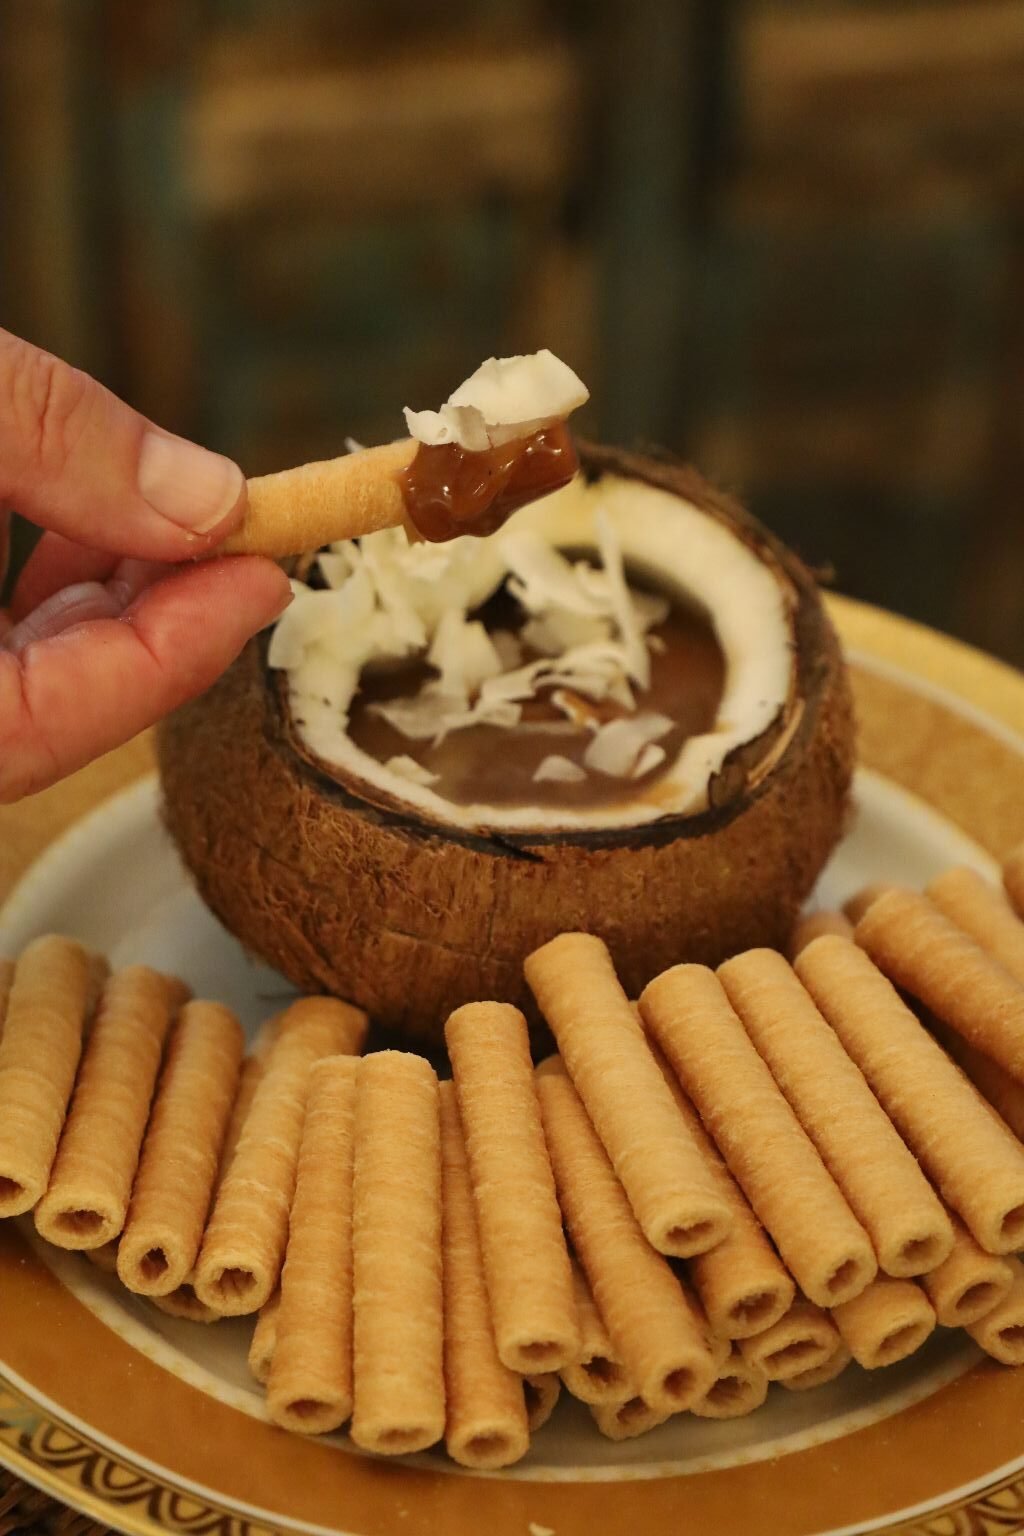
A Fresh Coconut Filled With Delicious Coconut Jam, Topped With Flaked Coconut
And Dipped With Coconut Rolls
A Perfect Little Sweet Snack
—————————————————————————
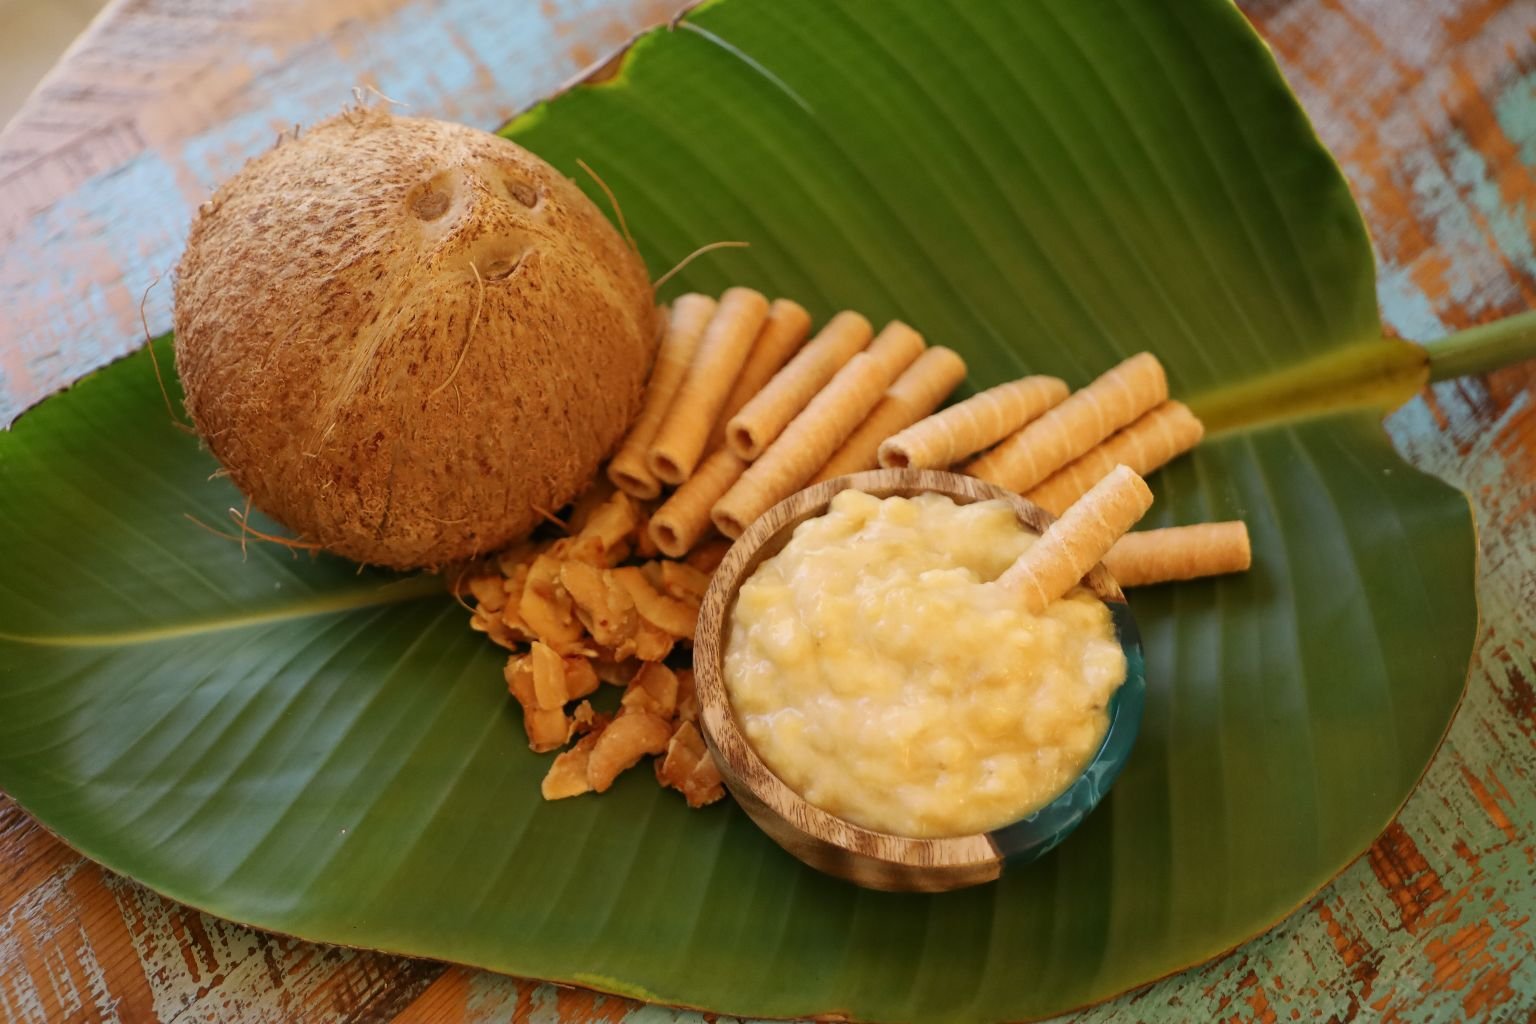
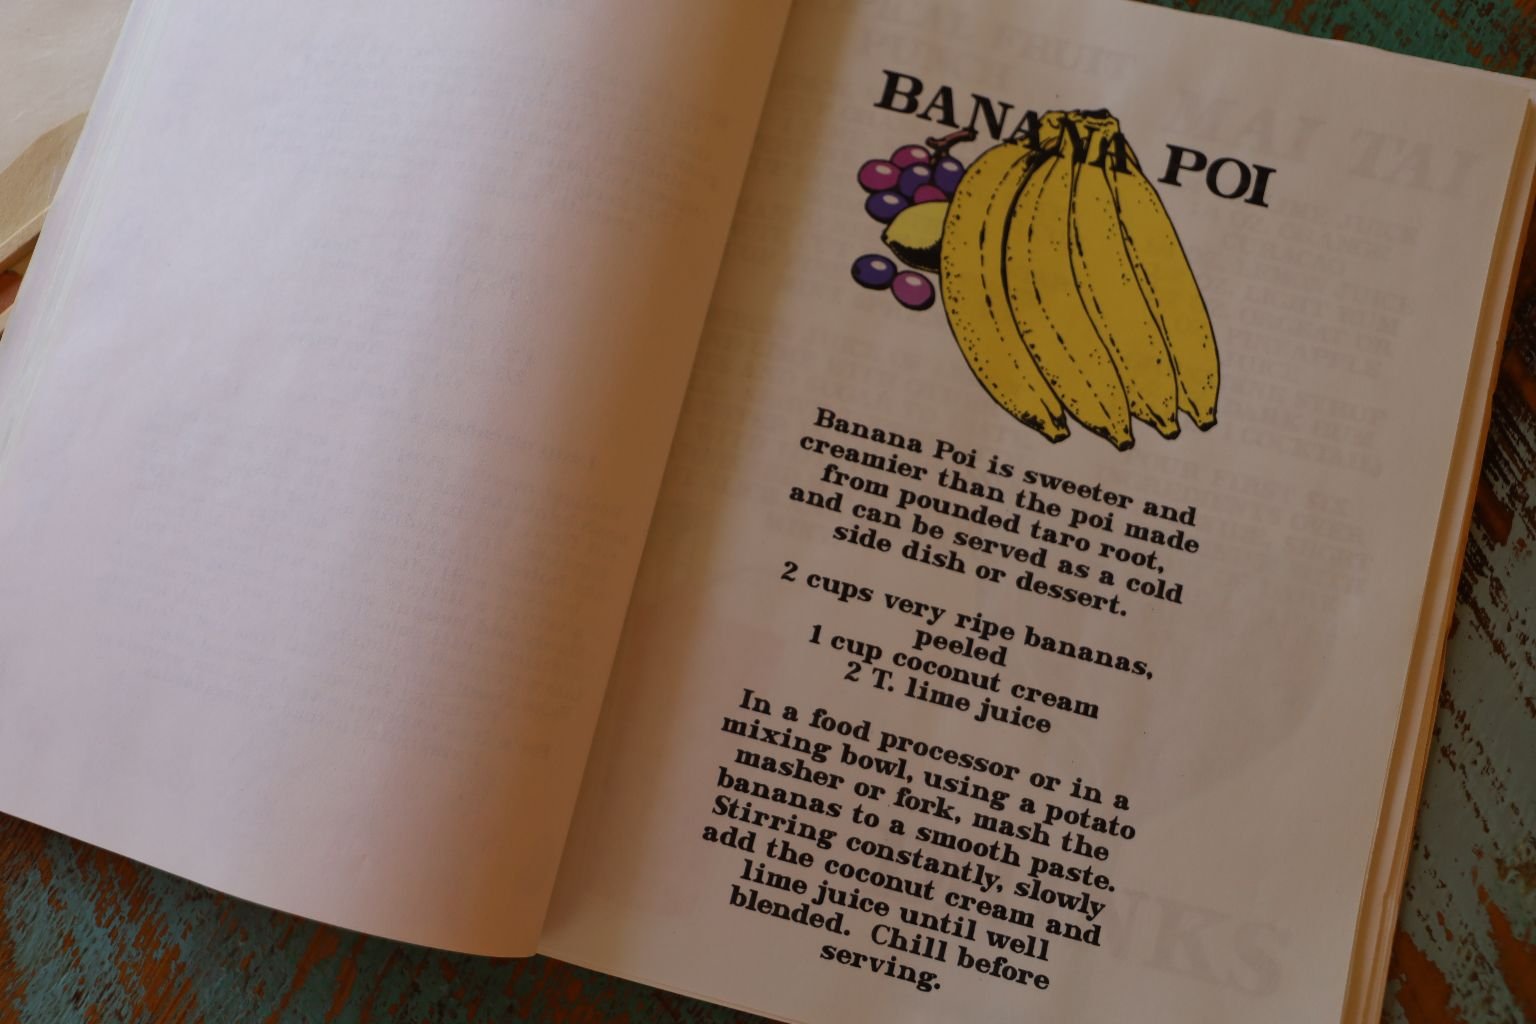
Banana Poi for Isabelle
A great way to use up Ripe Bananas, perfect for the little ones.
The babies and children on the islands of Hawaii grow up eating Poi. I’m talking about the Taro Root Poi, the purple paste served at Luau’s that some say tastes like Wall Paper Paste. (Although, how would they know unless they’ve tasted Wall Paper Paste?) It is very healthy and that’s why the local children of Hawai’i grow up to be so big and strong. We tried feeding Poi to Veronica when she was a baby but our last memory of that is holding her over the sink as a baby while she was throwing it all up. Yeah, so much for that. At the time we did have a Japanese Pediatrician who told us to trying mixing it with some juice to see if that would help. It did. 🙂
————————————————————————————-
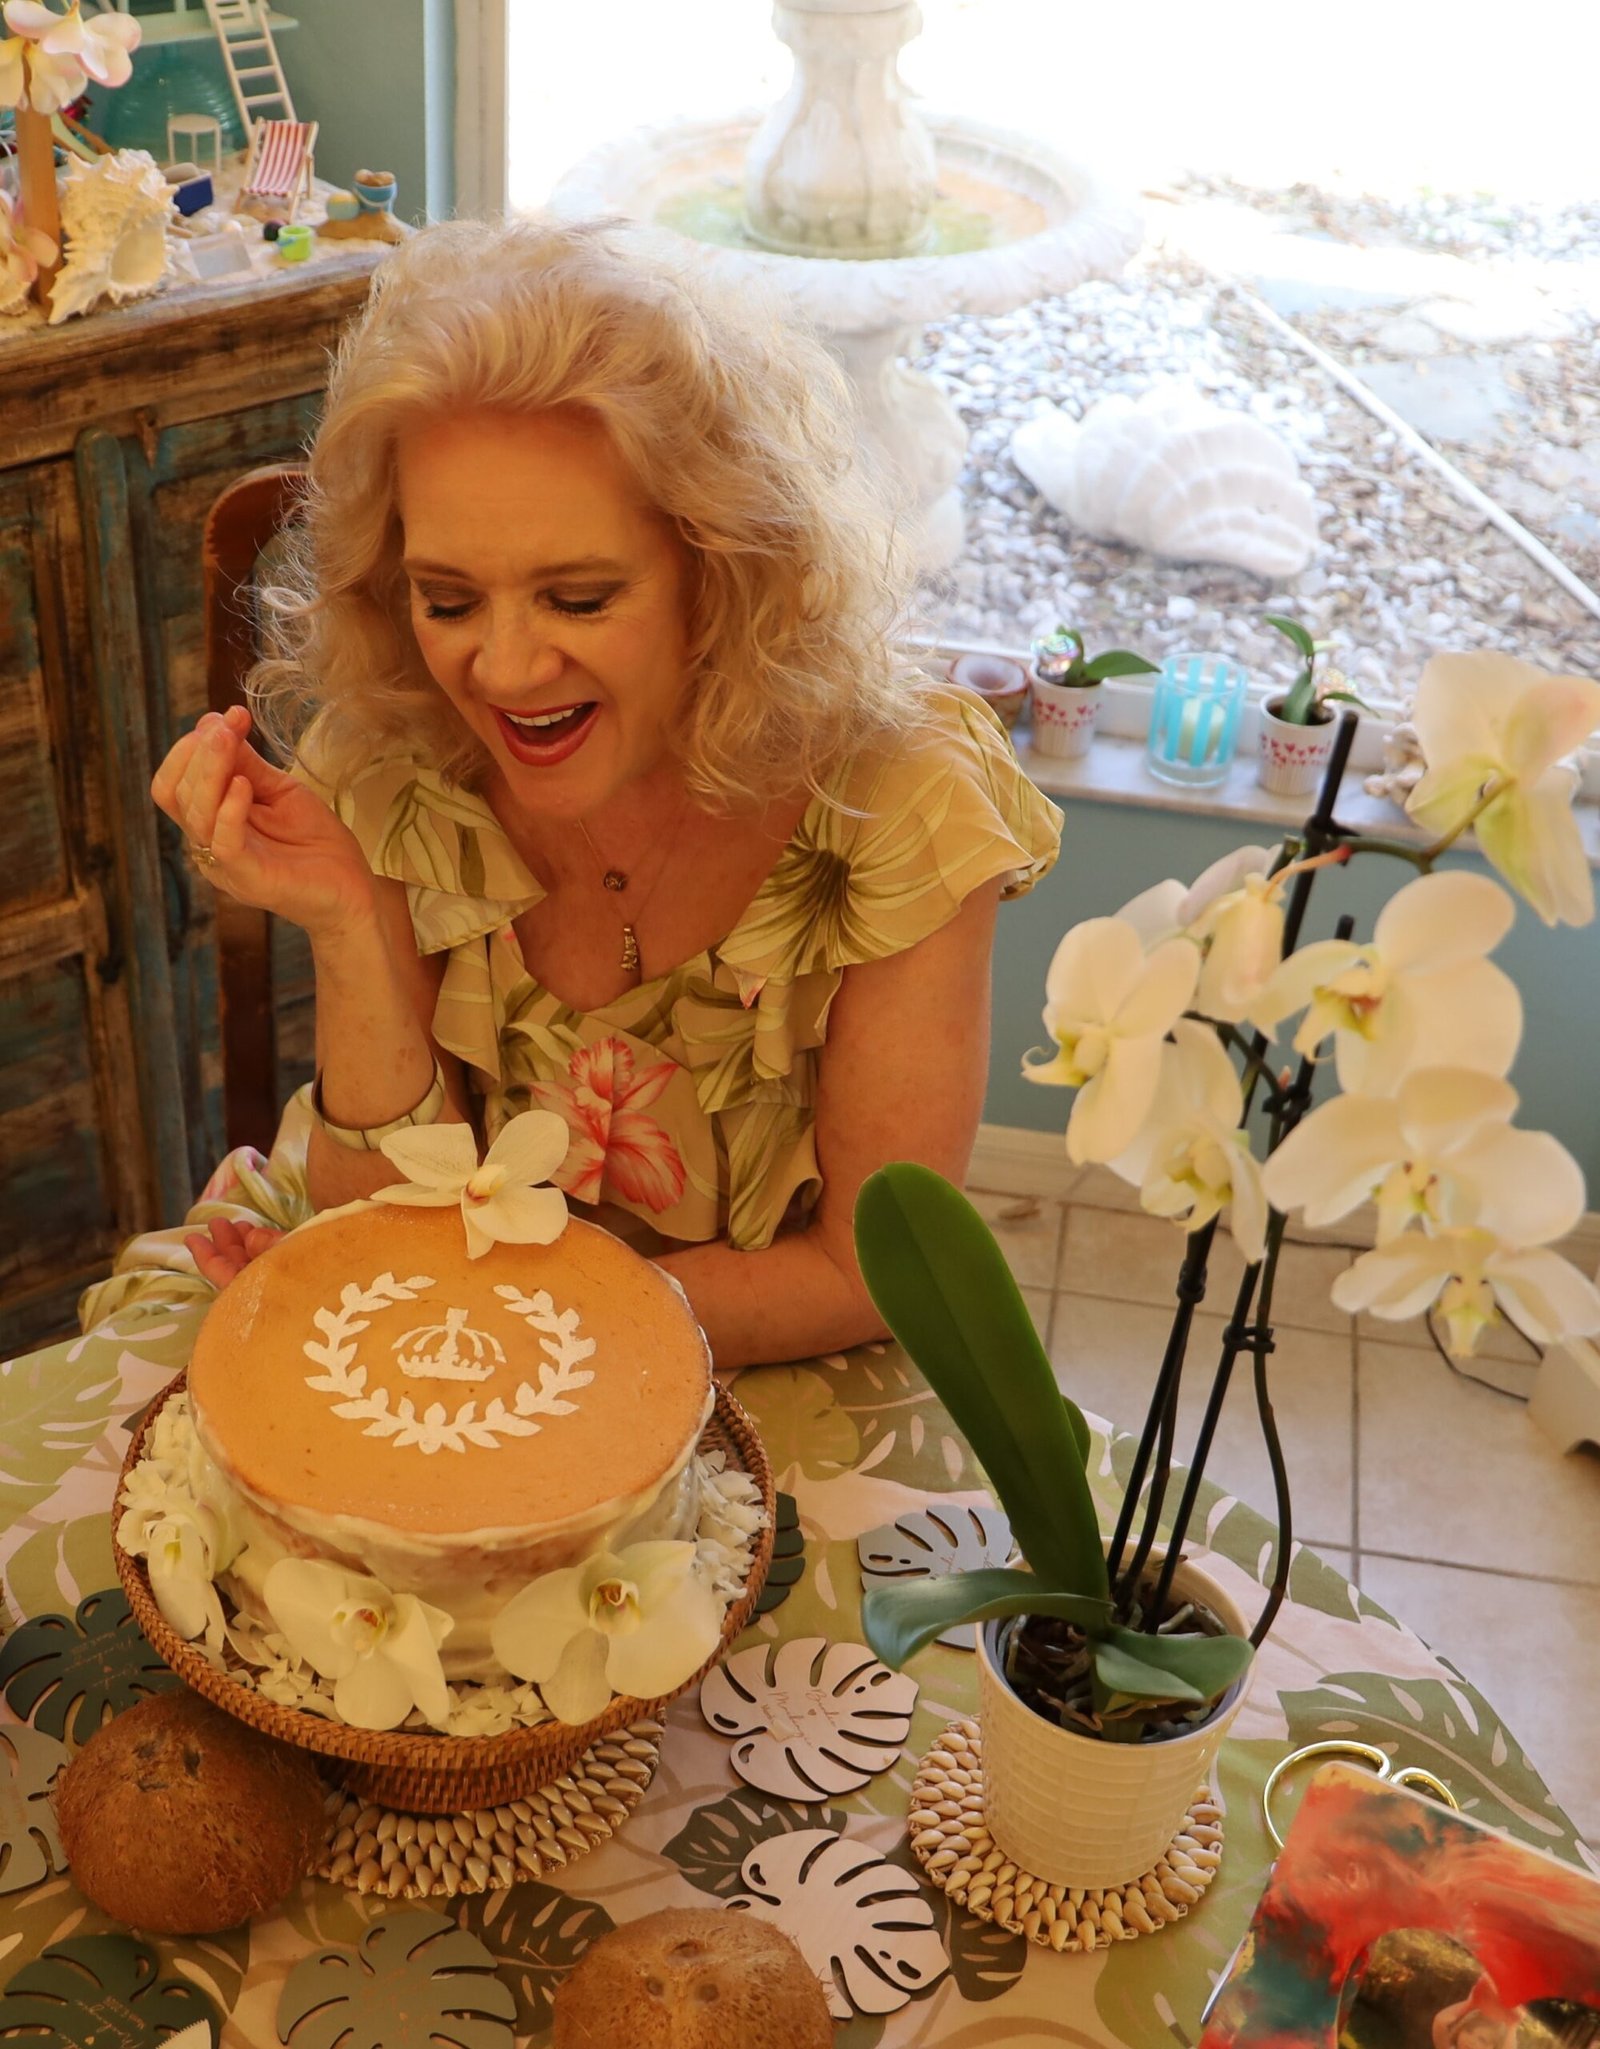
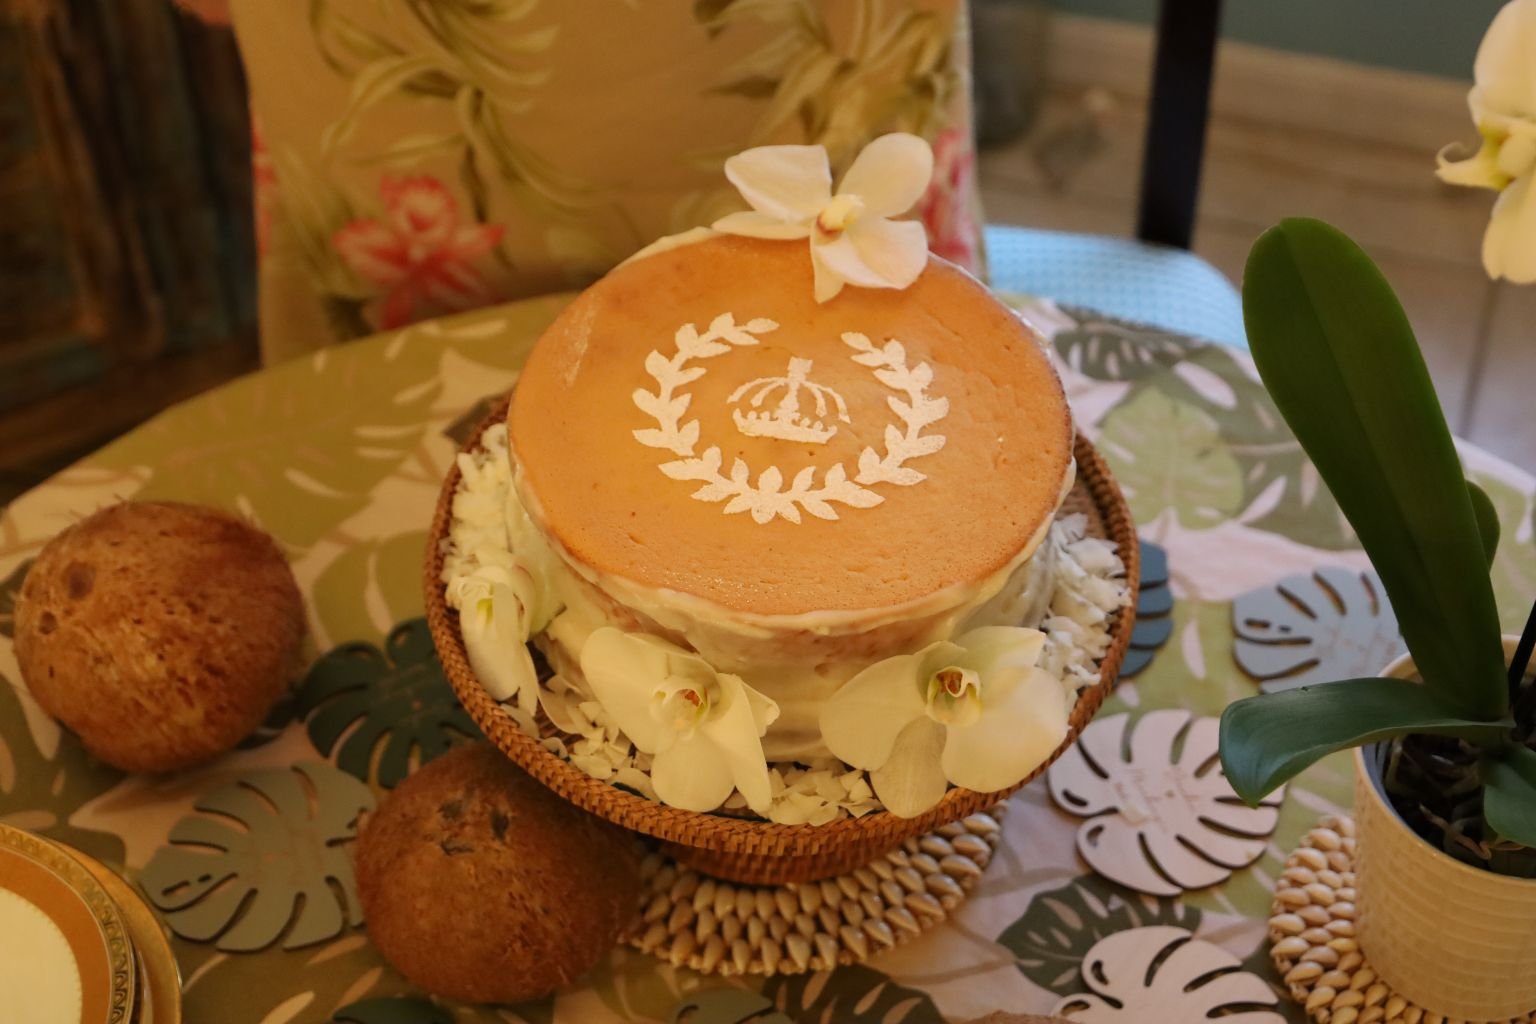
My Haupia Cake w/ Haupia Frosting
I wanted something special for when I turned 65. I wanted something Hawaiian.
I wanted to revise those old taste buds that I took for granted all those years we lived there.
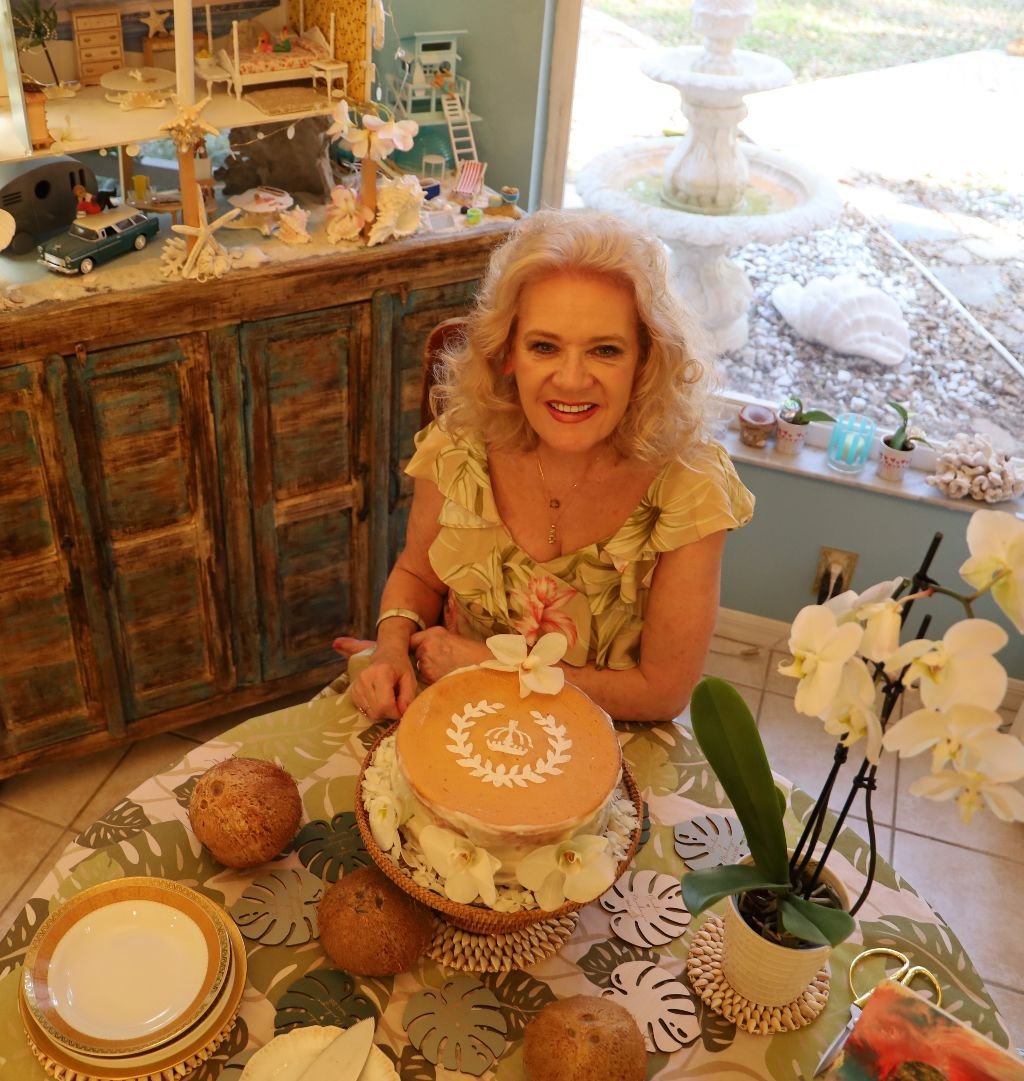
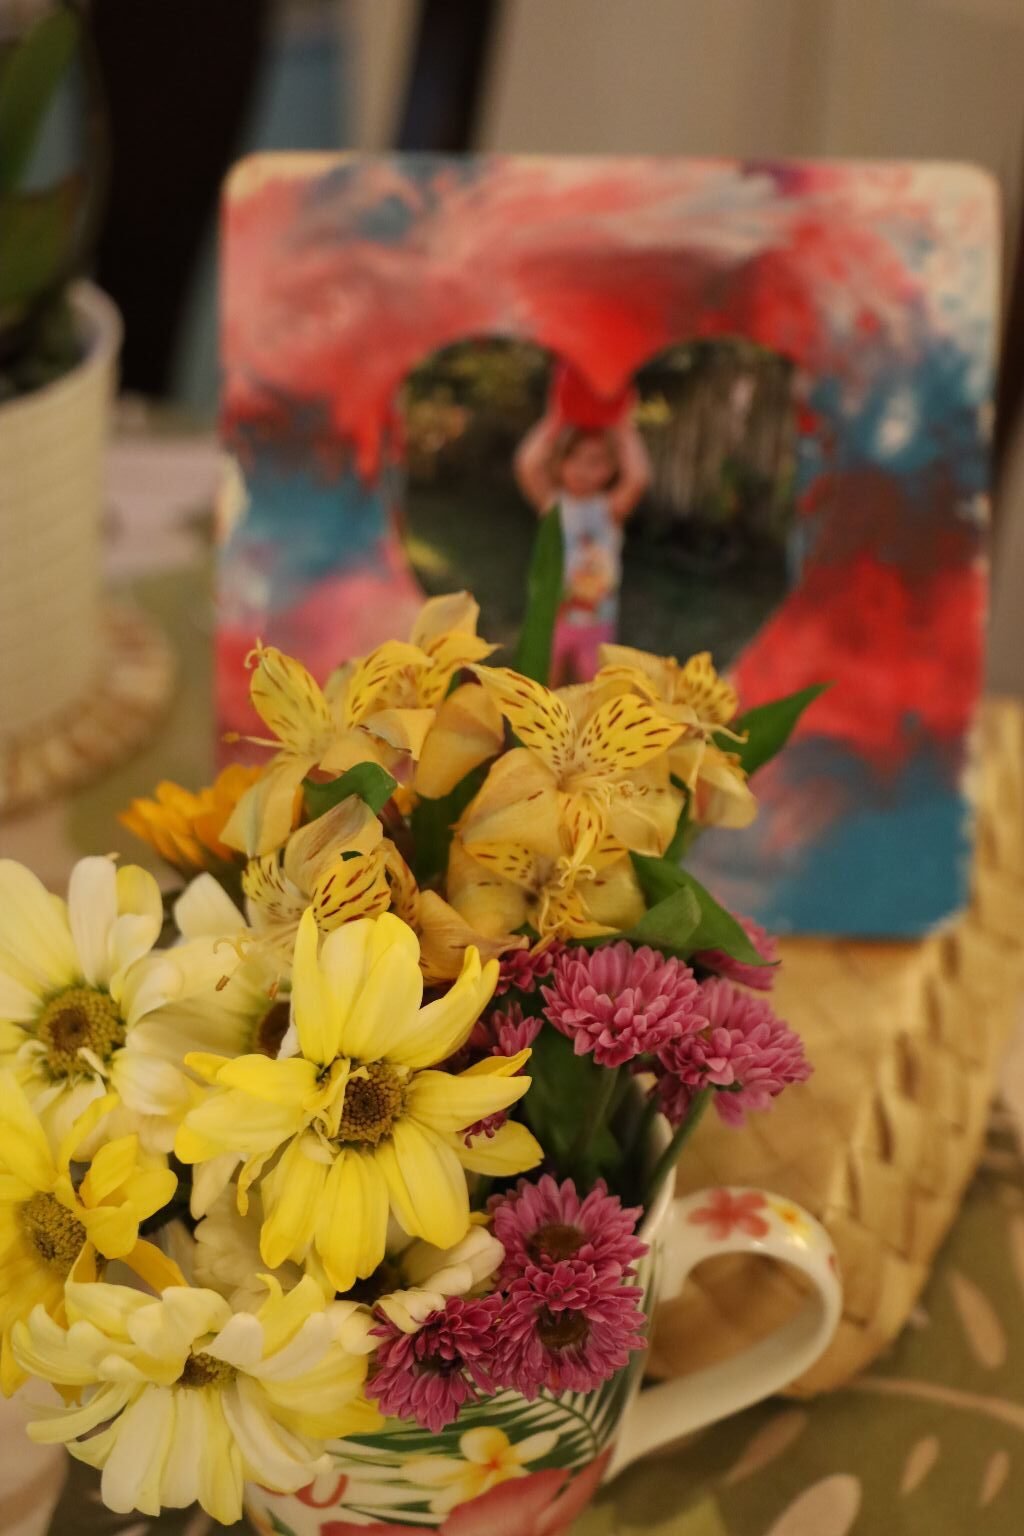
I also wanted to have Coconuts and Orchids around me.
Orchids are a big part of Hawaiian culture. They are a sturdy flower that lasts a long time.
Which is why you will see many a purple lei draped over tourists.
You will also see the lovely flowers ornately placed into foods and food arrangements.
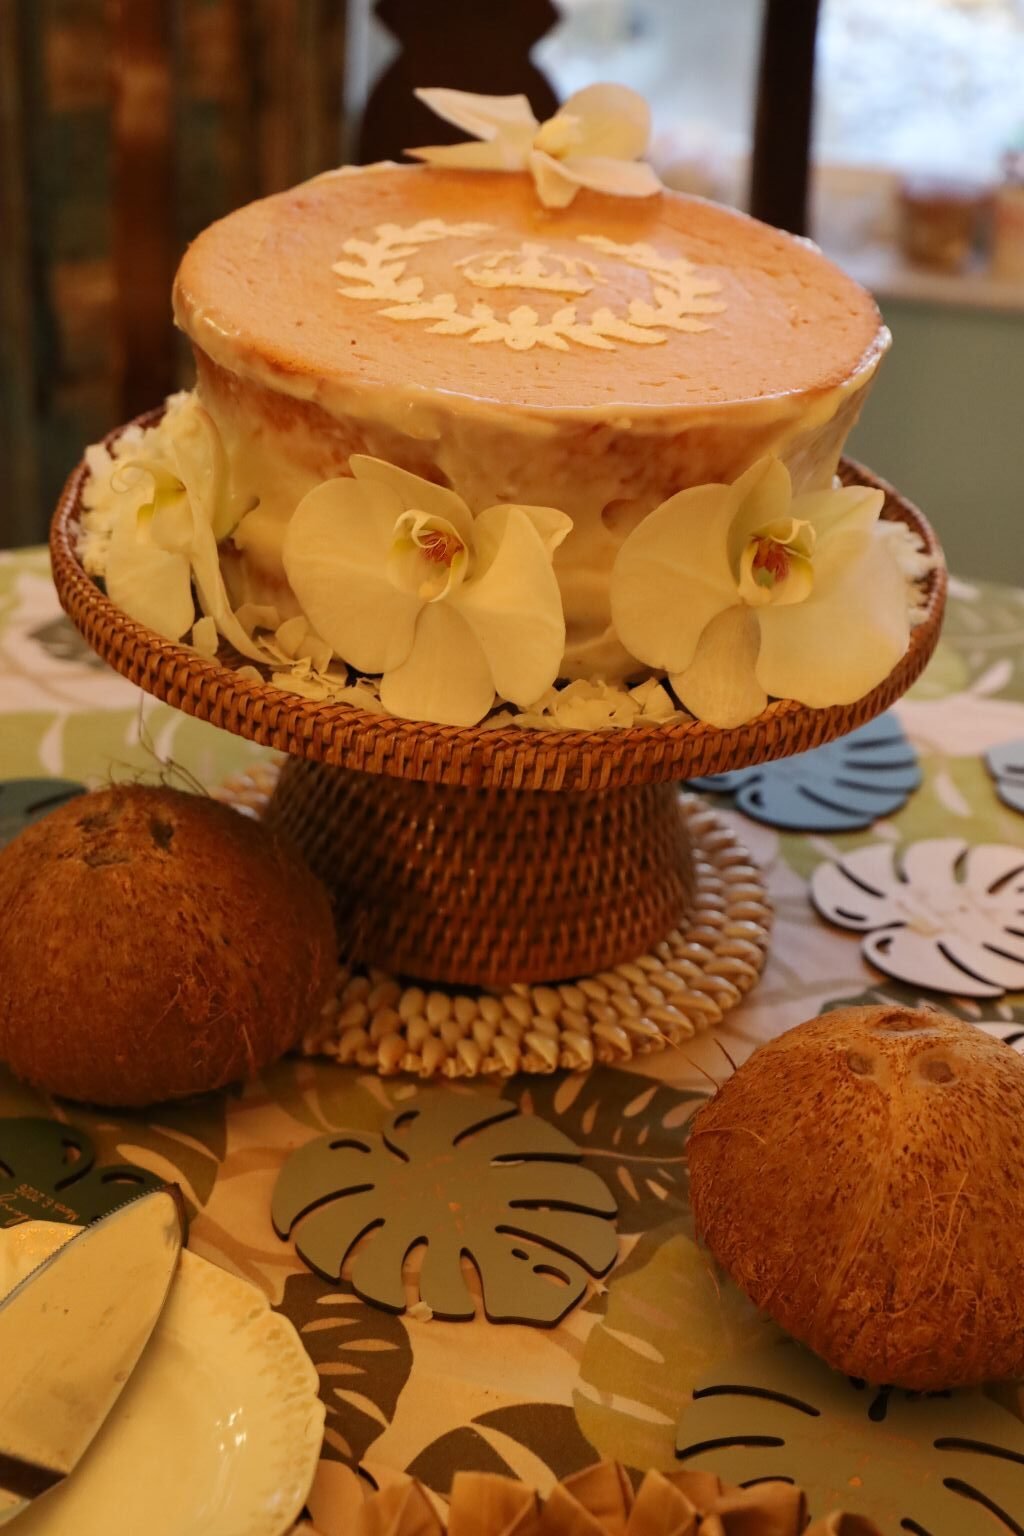
Gordon Made My Cake, But I Designed It
I Wanted White Orchids Here
I Also Wanted To Use One Of My Old Hawaiian Stencils On Top
It’s ONOLICIOUS!
———————————————————————————————
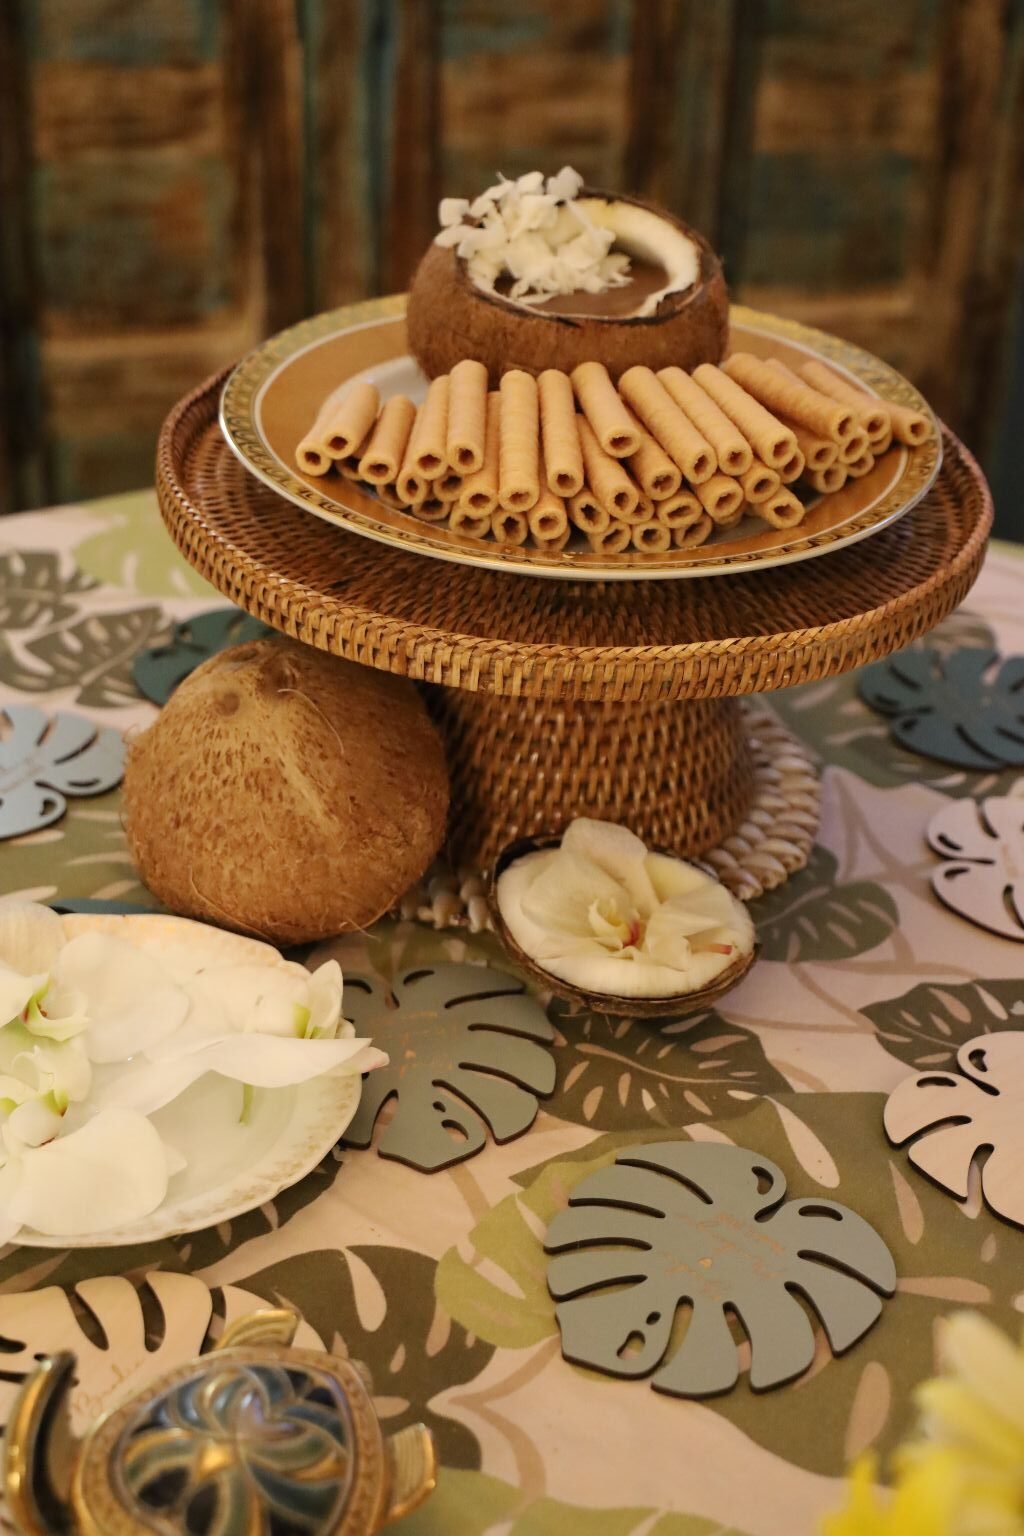
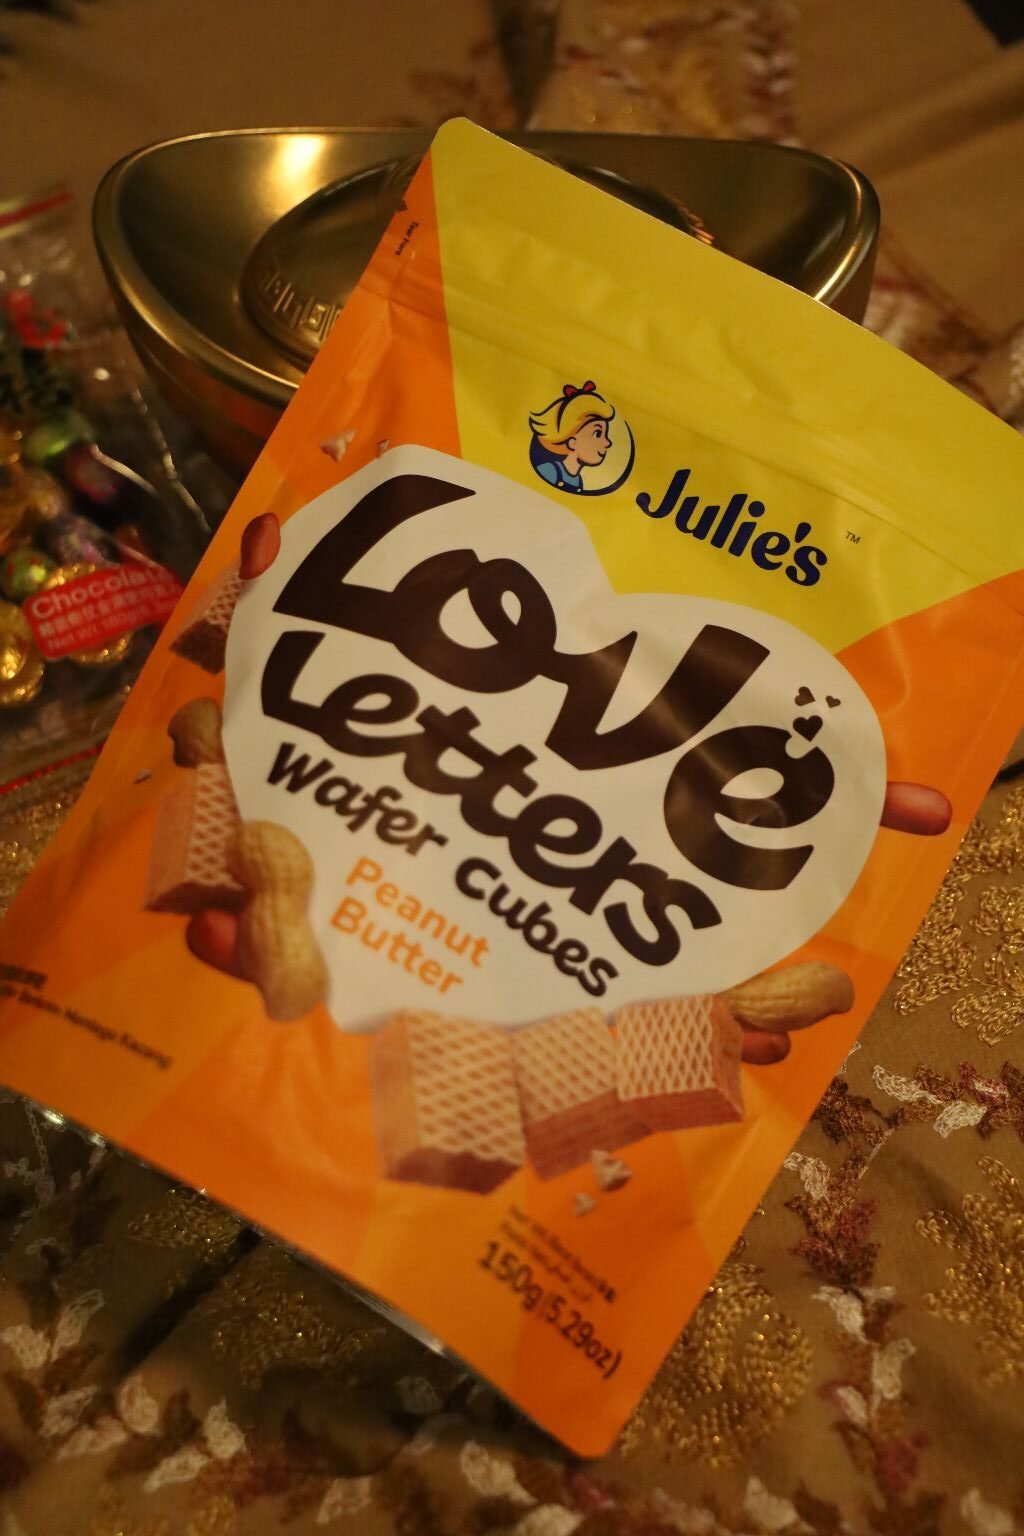
A Few Island Themed Snacks
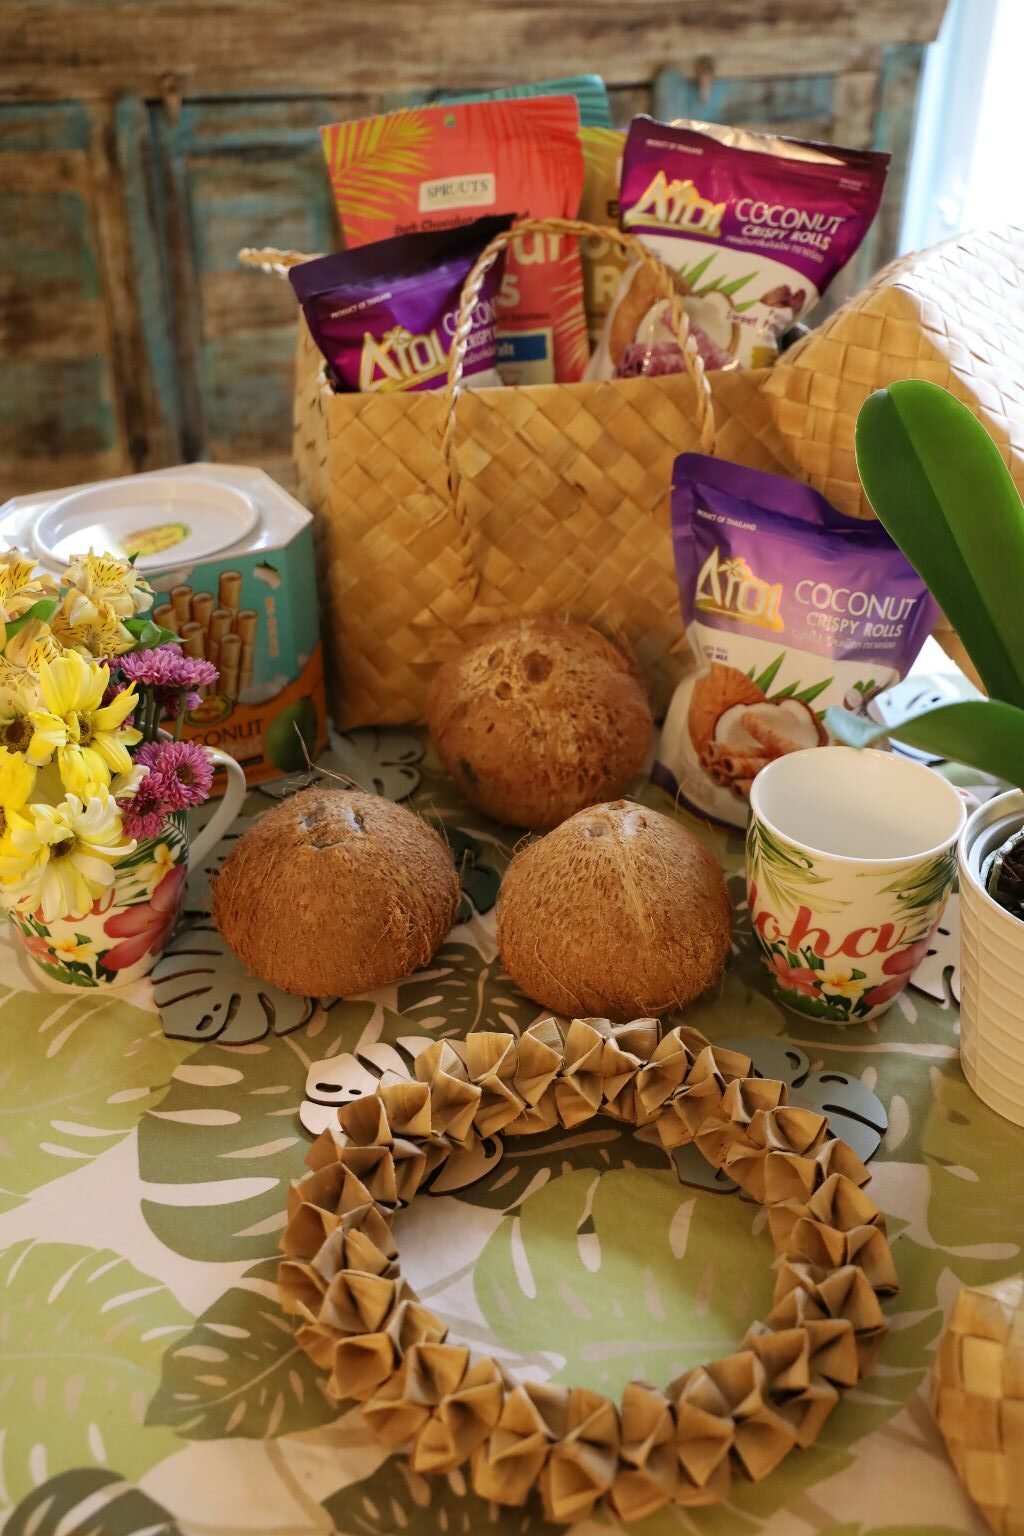
Delicious = ONO!
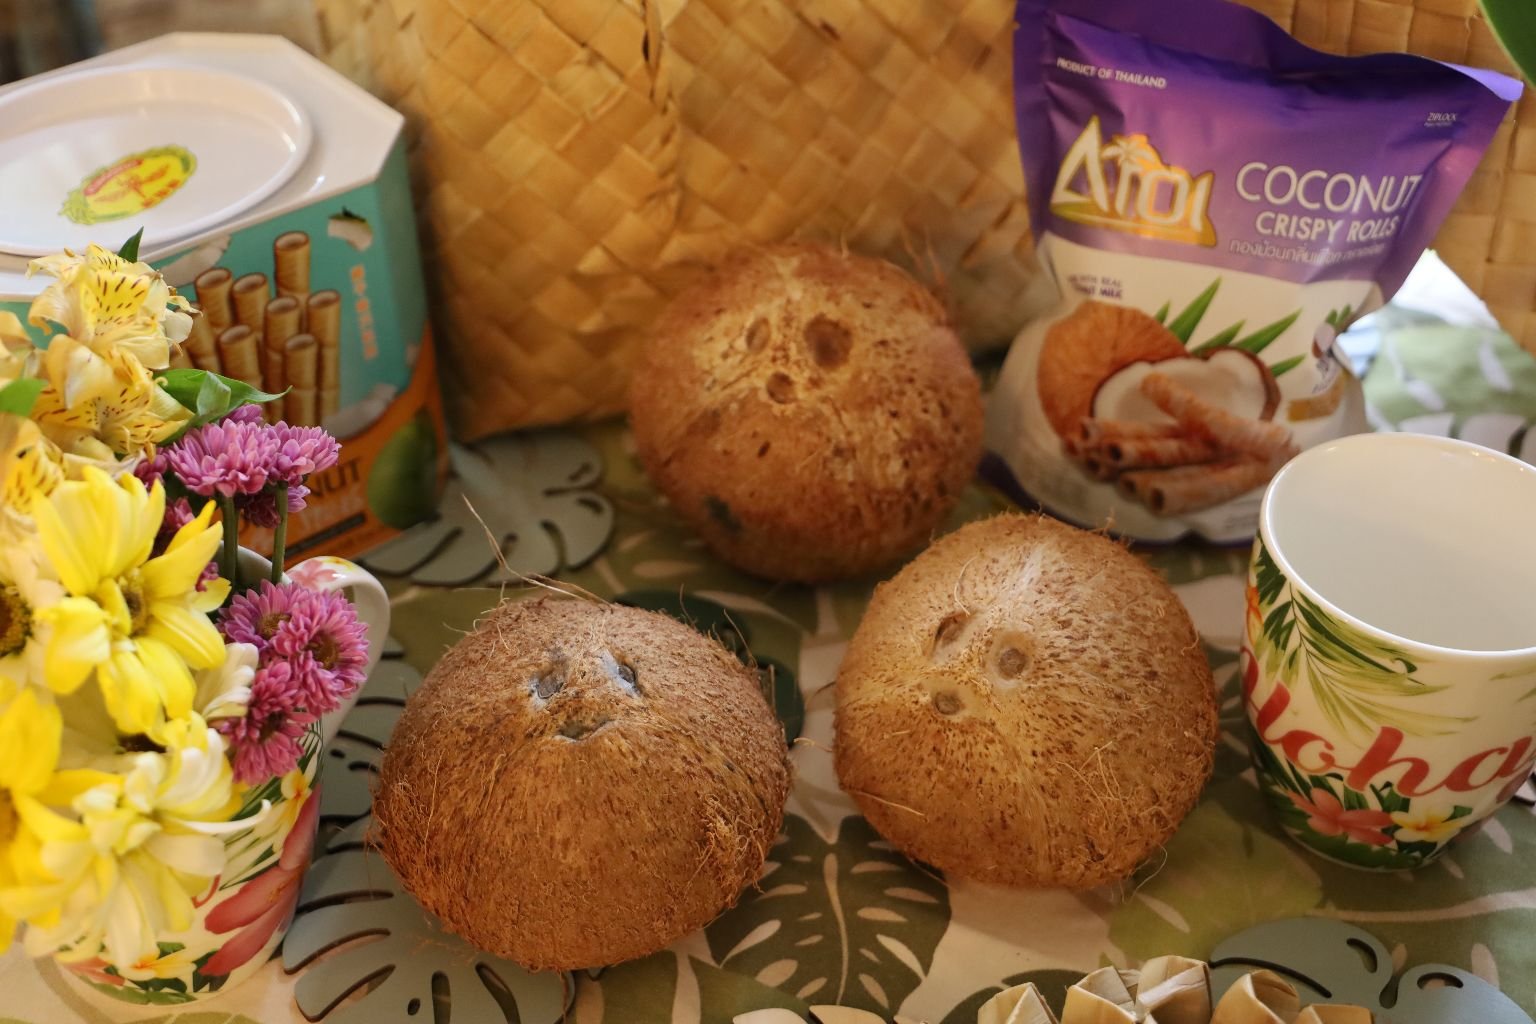
In Hawaiian Legend the Coconut has the face of the Monk Seal.
———————————————————————
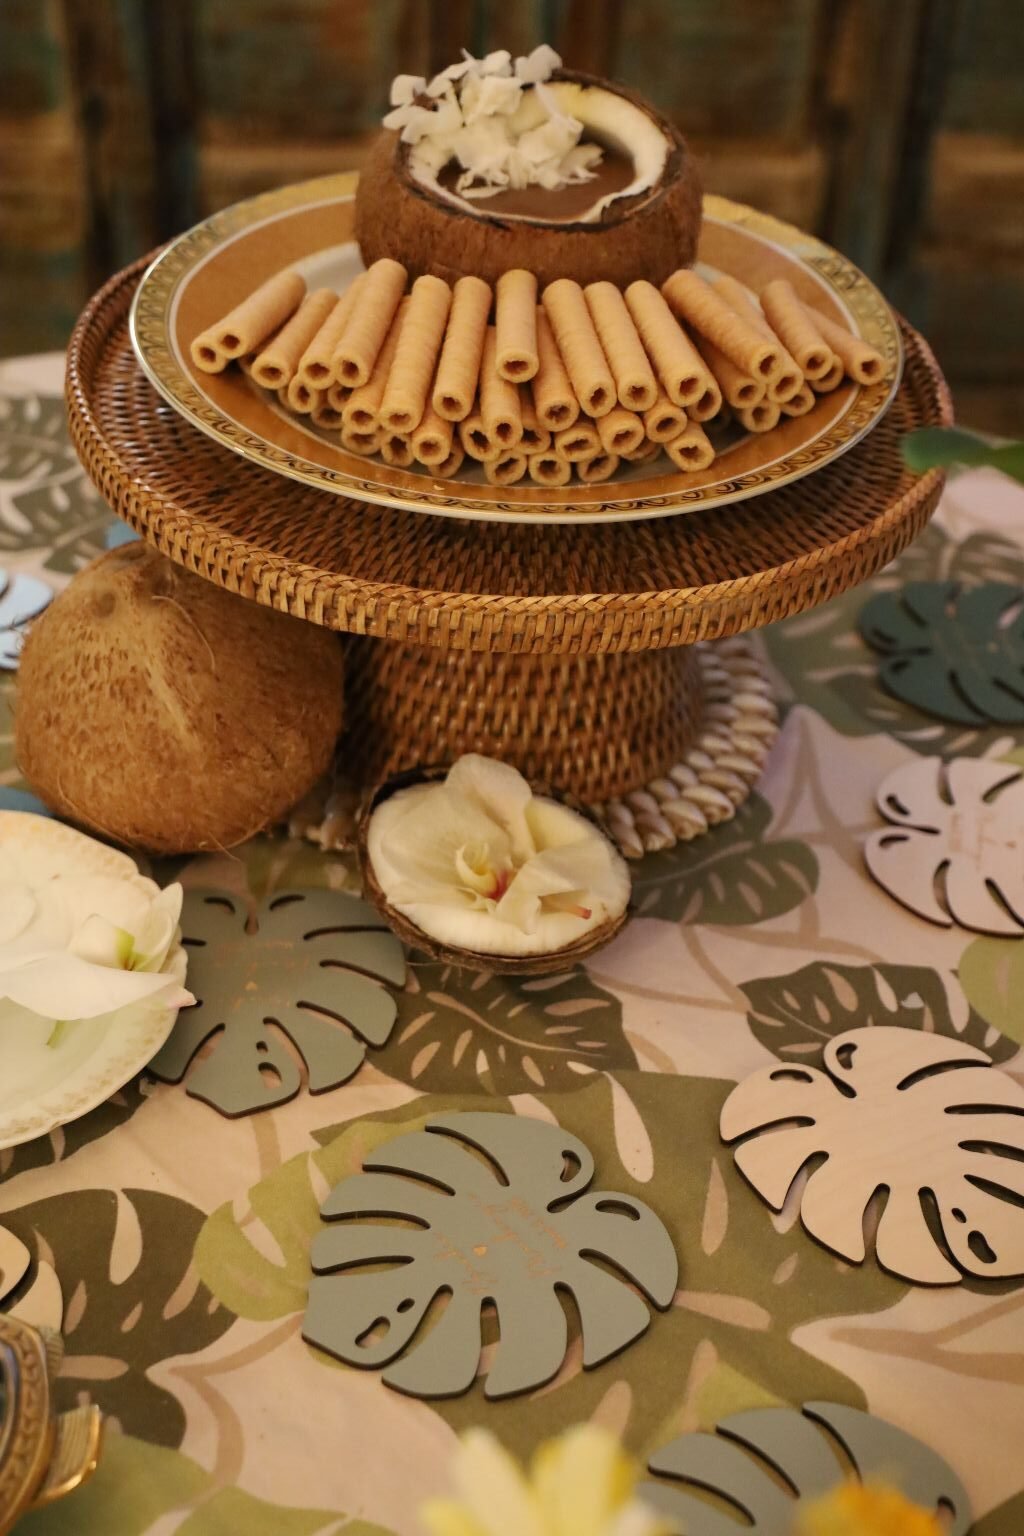
The Coconut Jam in the Coconut above, I found at the Asian Supermarket. It is some of the best Jam that we have ever eaten. I now love eating a Peanut Butter and Coconut Jam Sandwich. Something I would have never thought to eat together until I discovered that Coconut Jam.
Birthday Recipes Start Here
————————————————————————————–
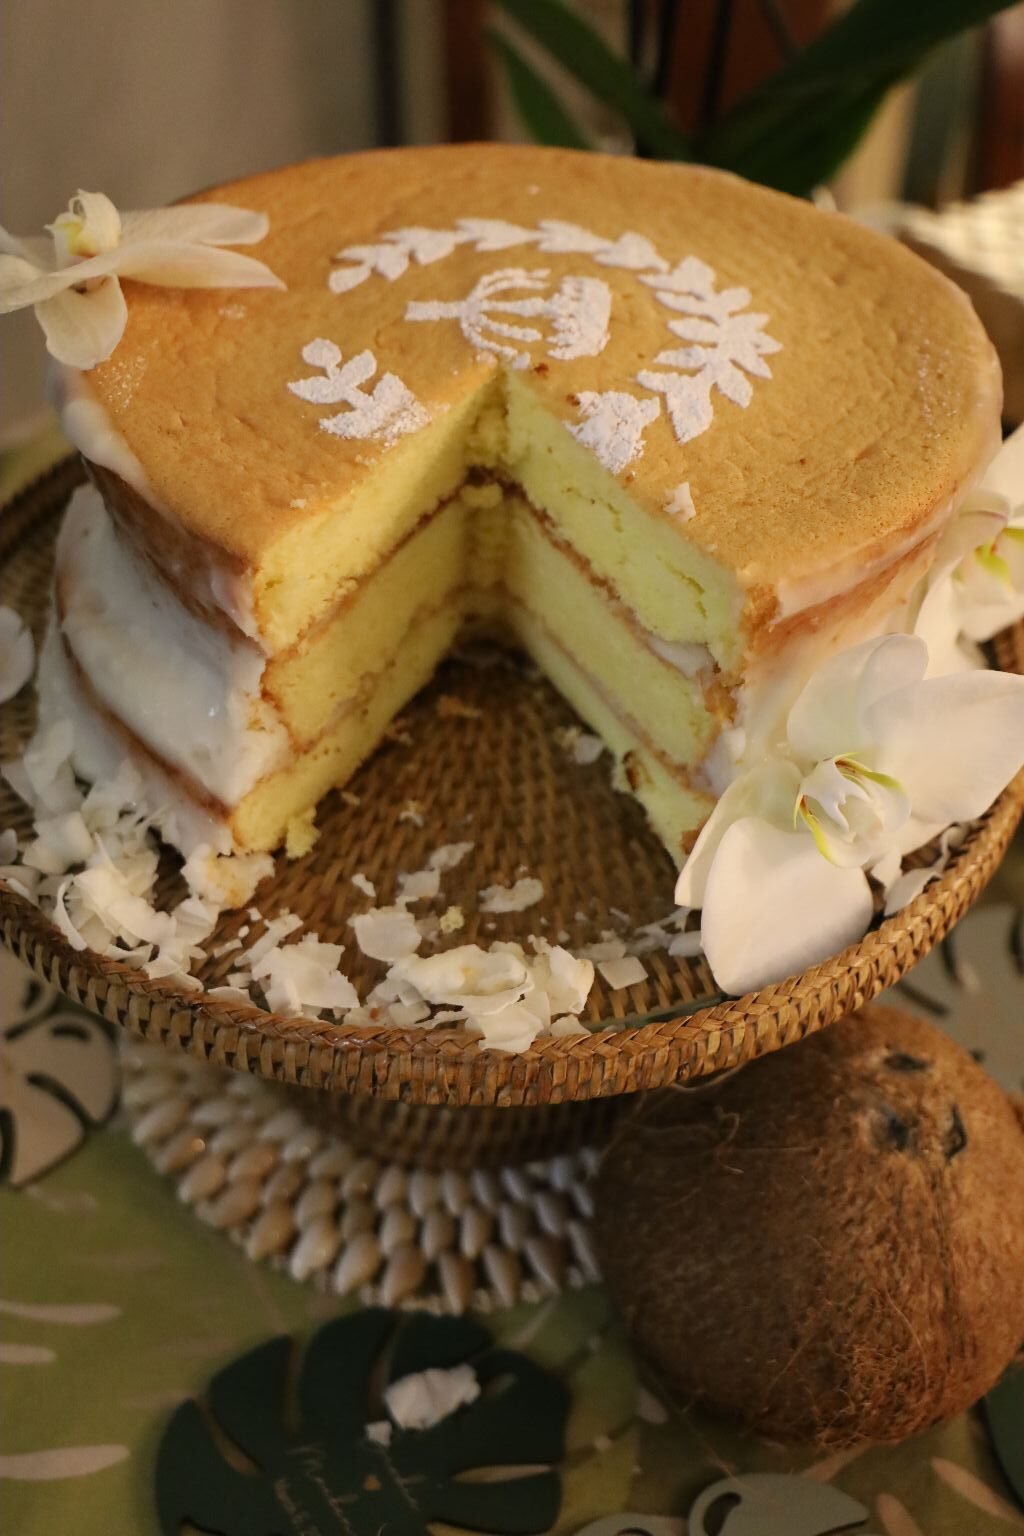
This is a Vintage Hawaiian Cake
It Reminded Me Of An Angel Food Cake, It Had A Bit Of That Consistency
My Haupia Cake w/ Haupia Frosting
Haupia is a traditional Hawaiian Coconut Pudding commonly served at Luau’s.
It is quite nice. It also makes a great Cake, Frosting, and Pie.
—————————————————————————————
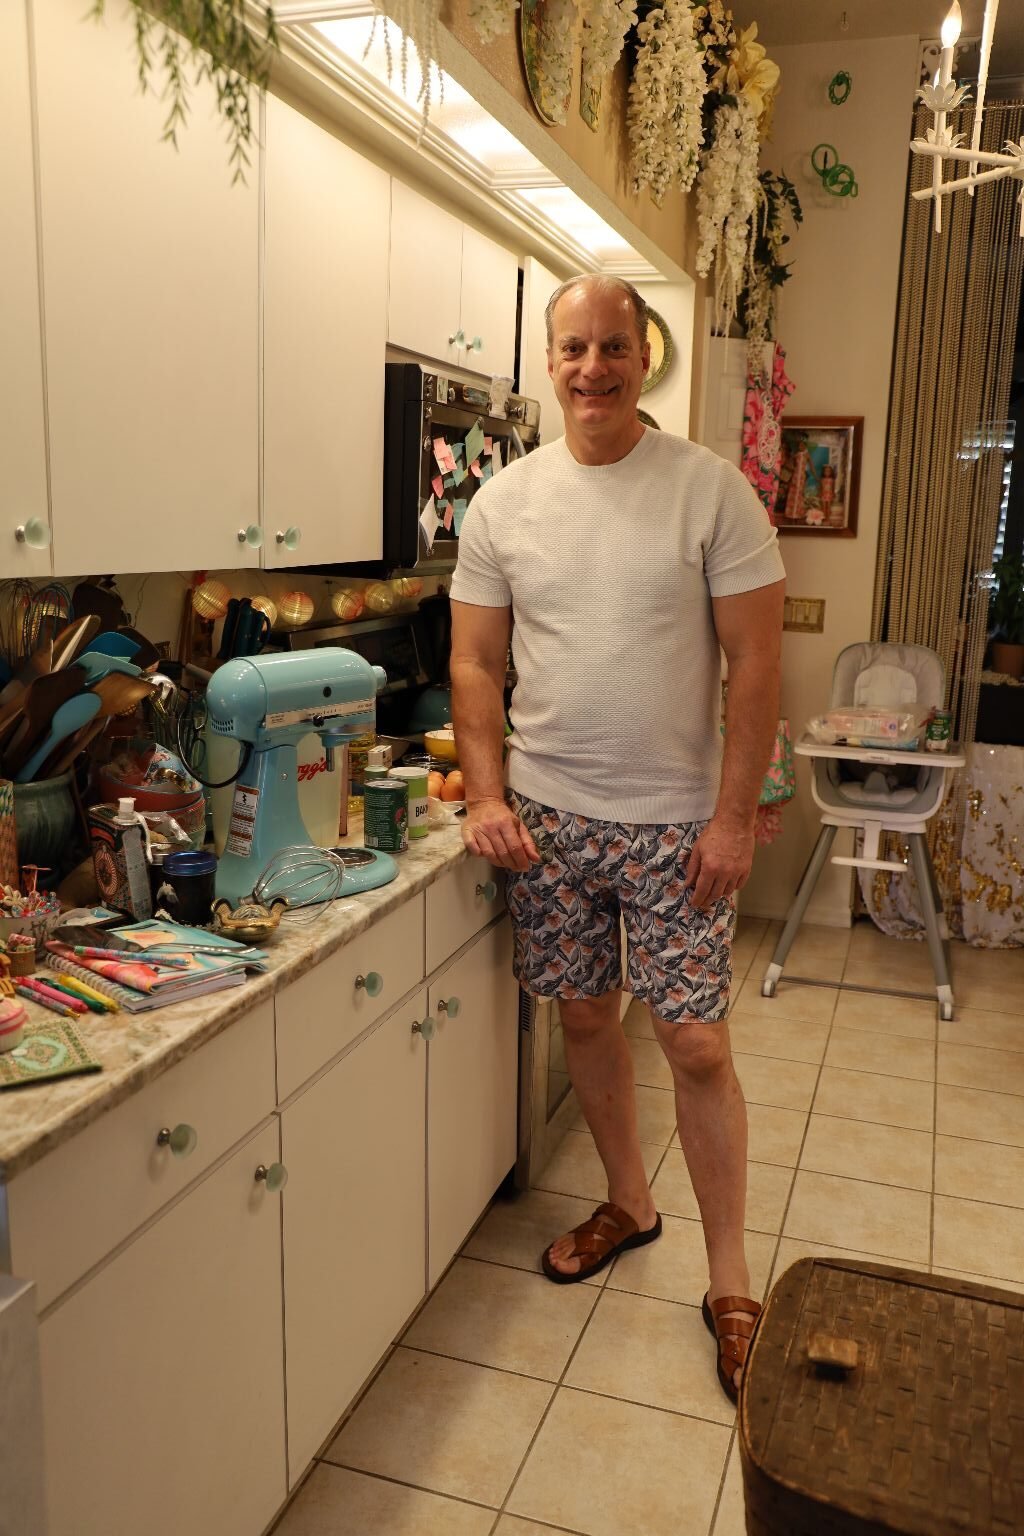
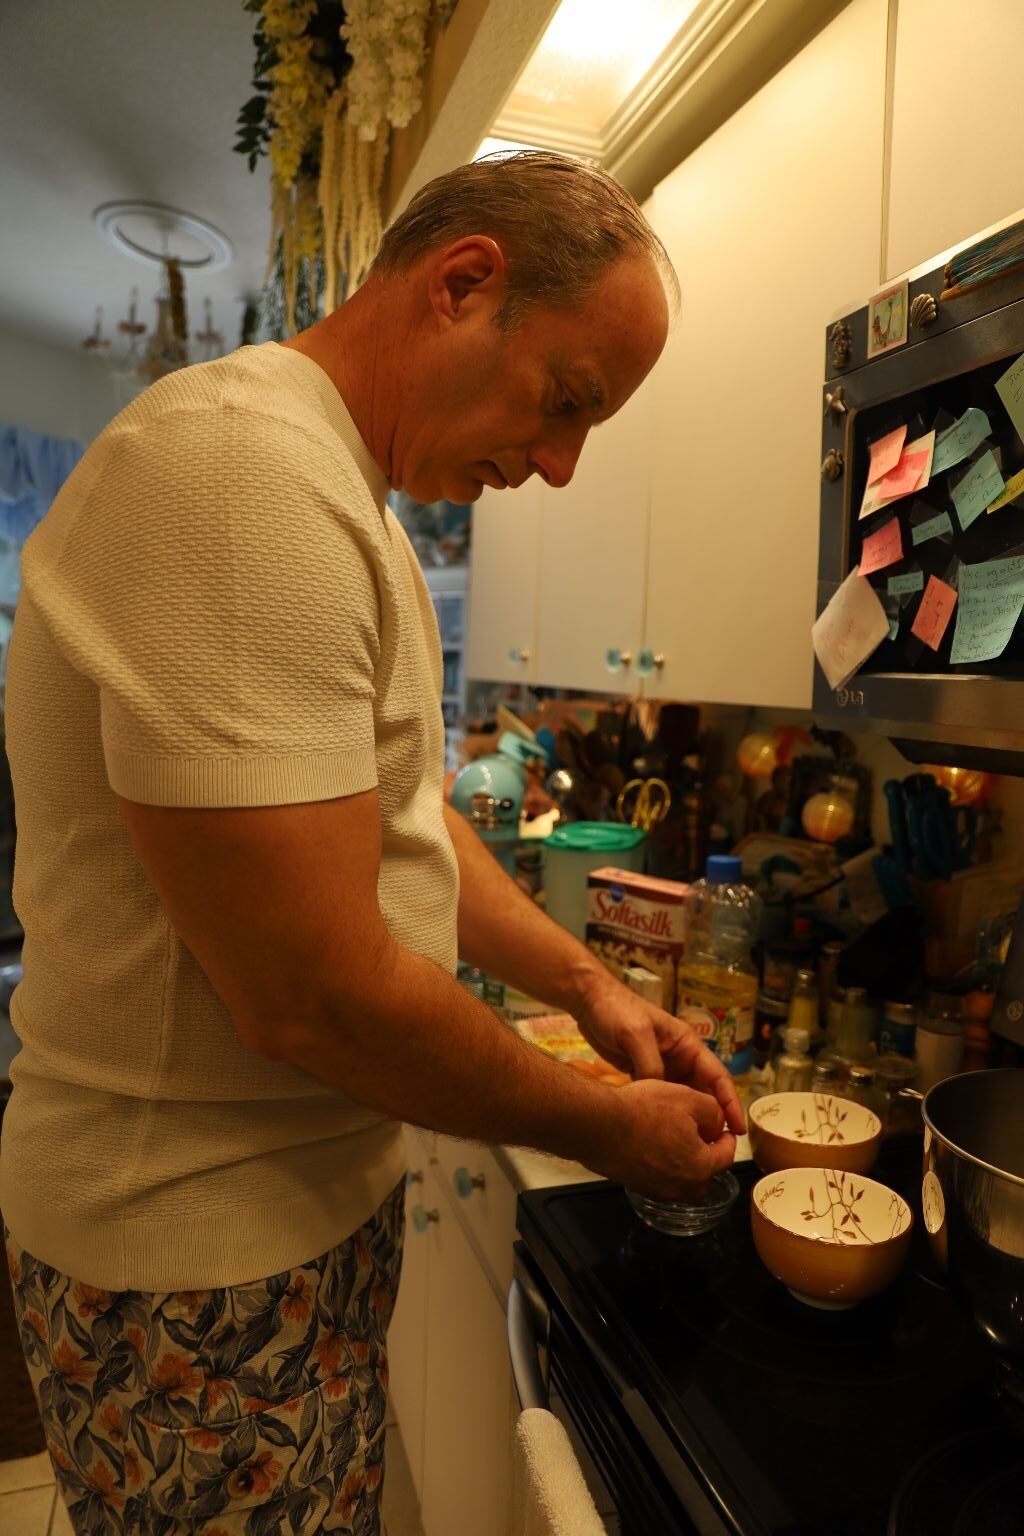
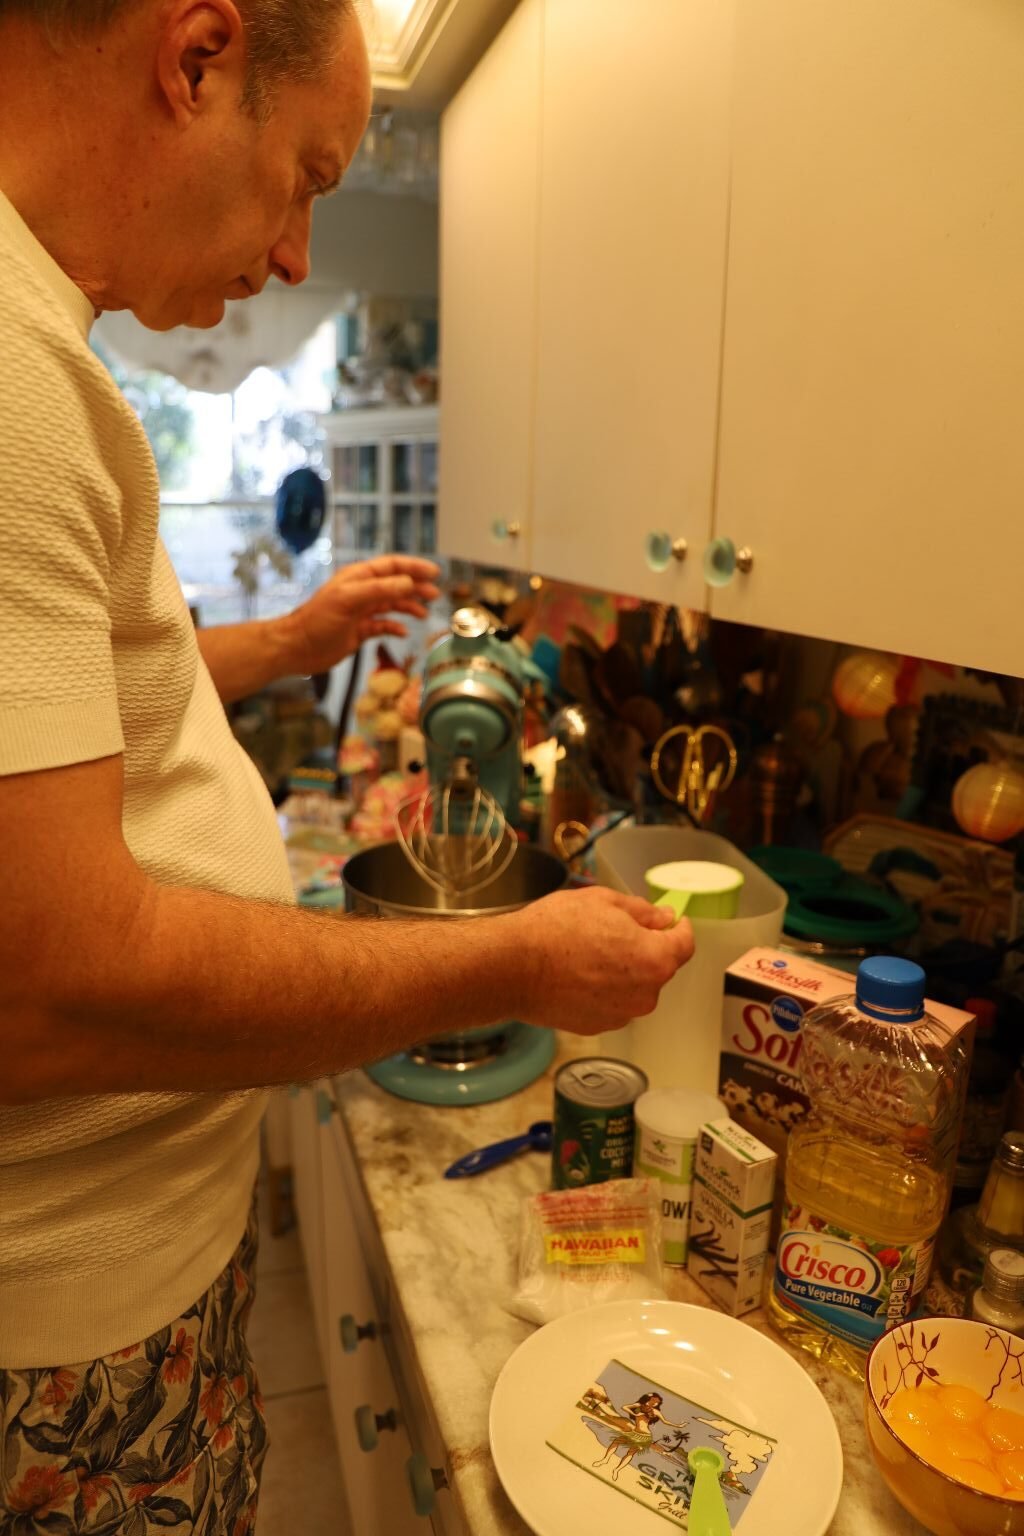
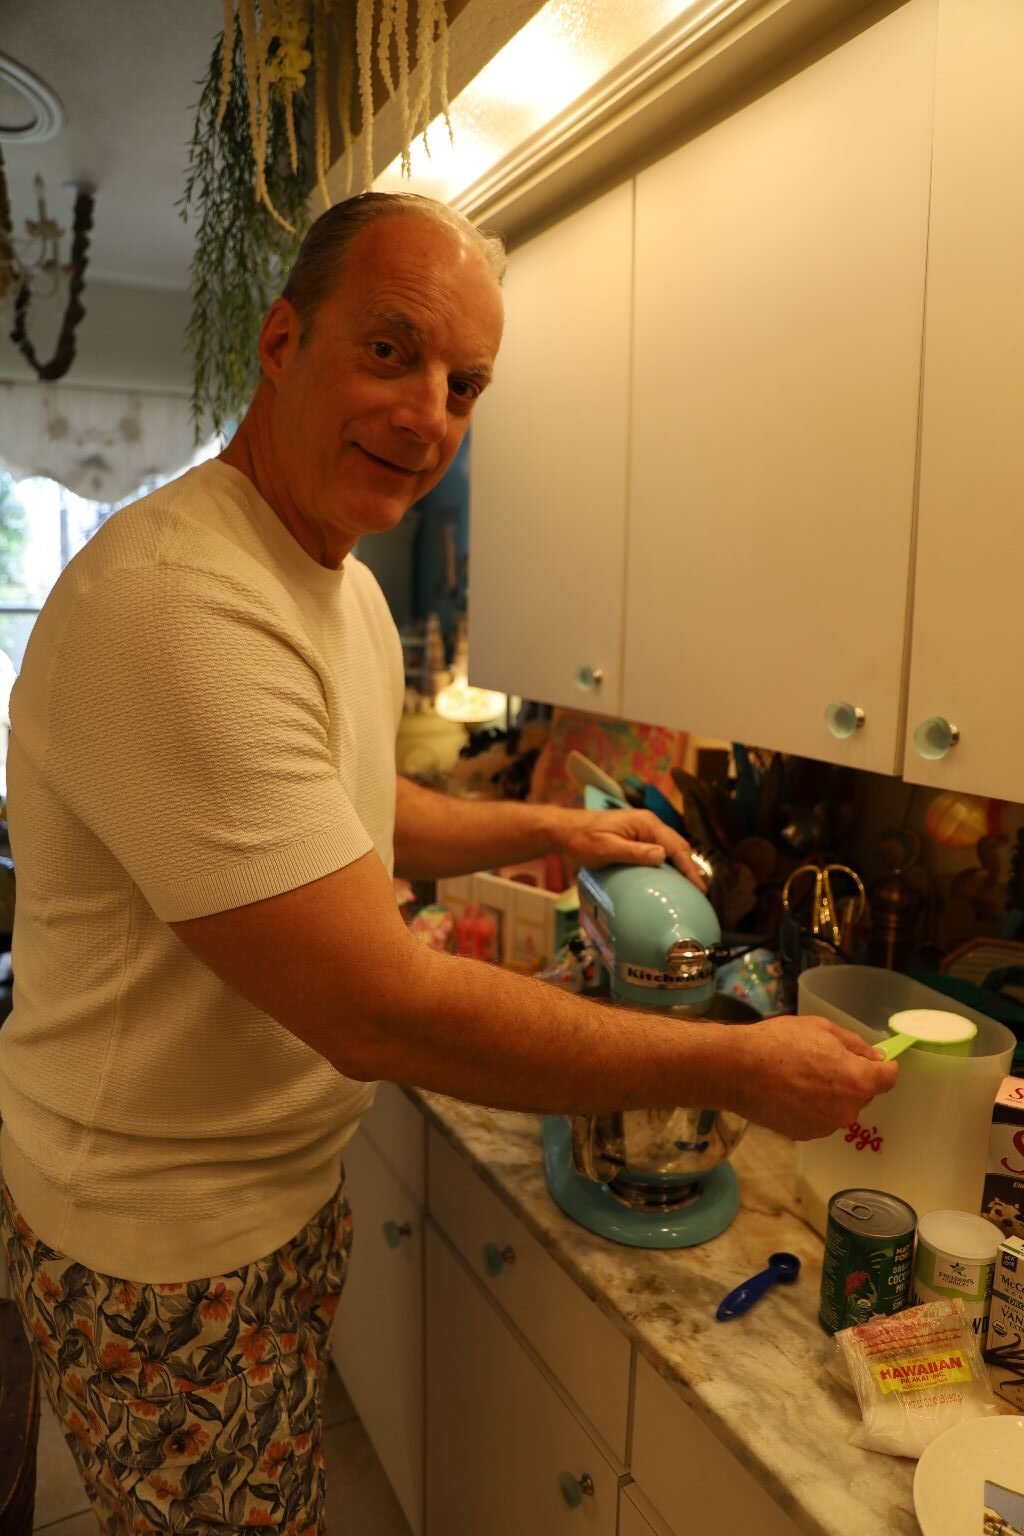
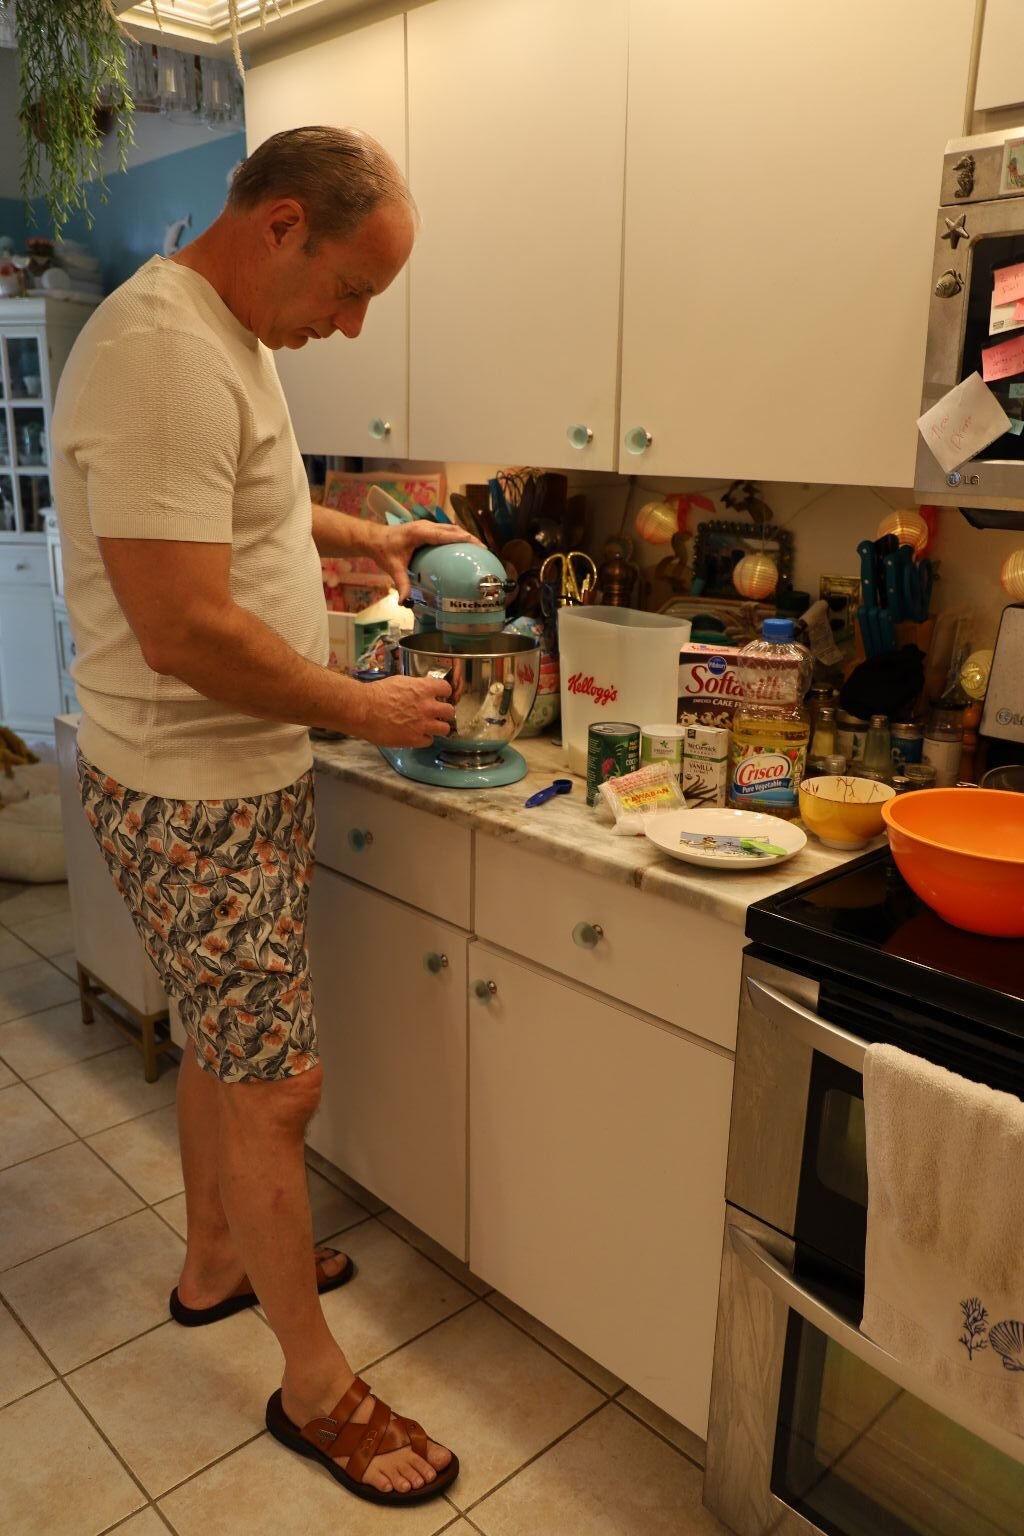
Gordon Ready To Make My Cake
—————————————————————————————–
(Write Up By Gordon)
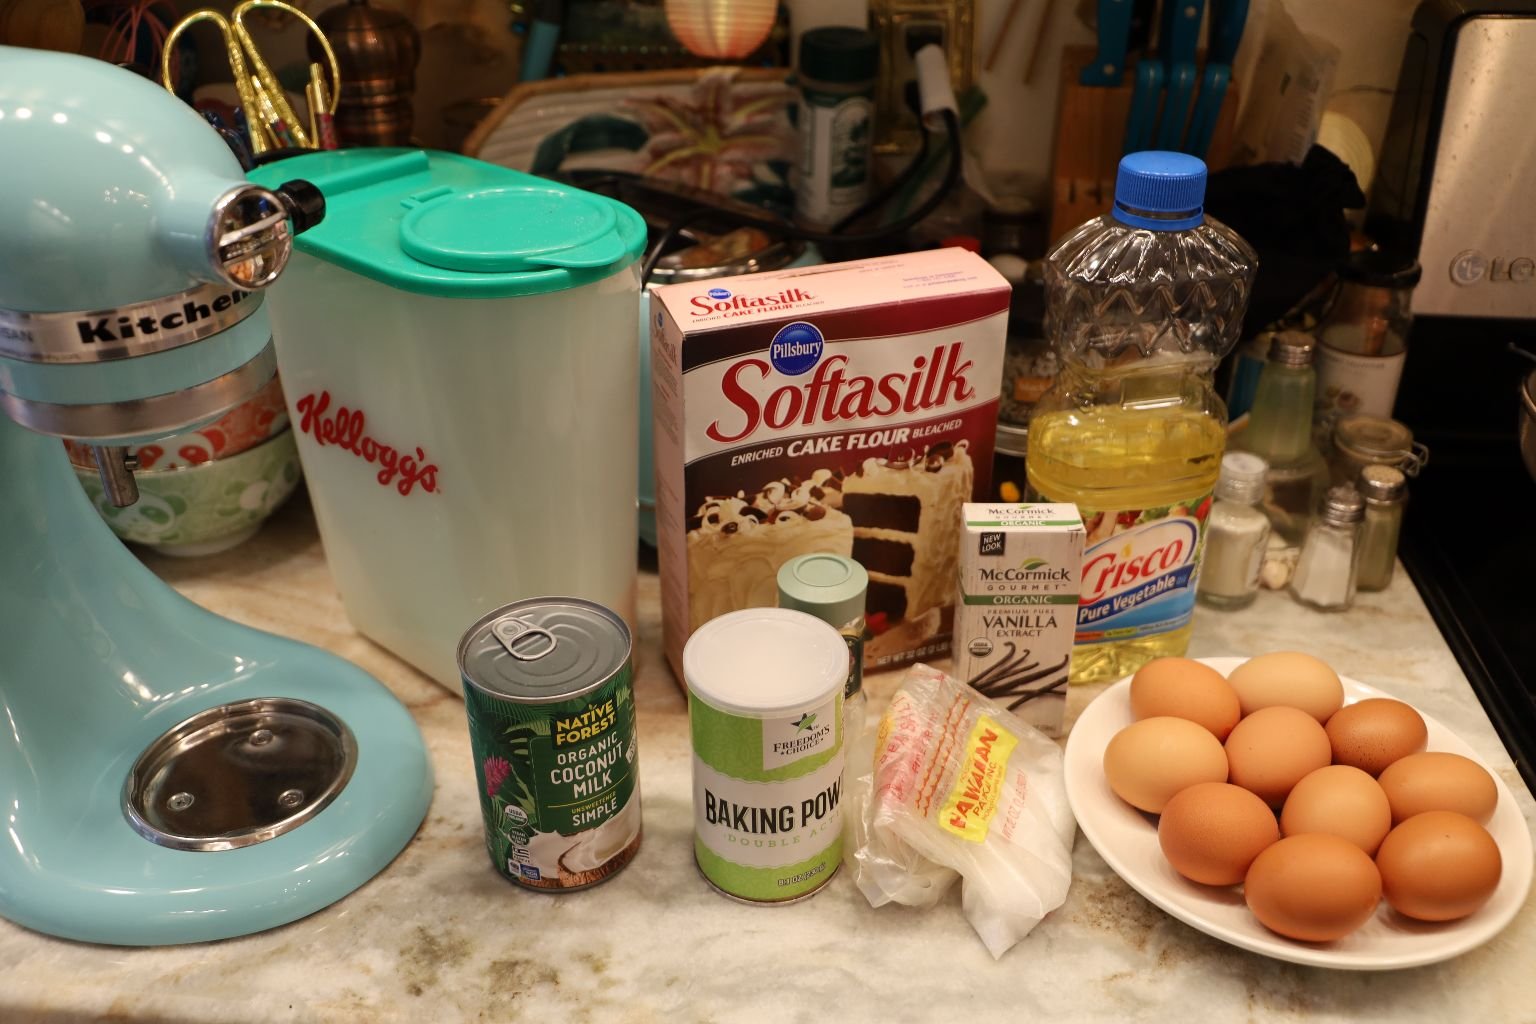
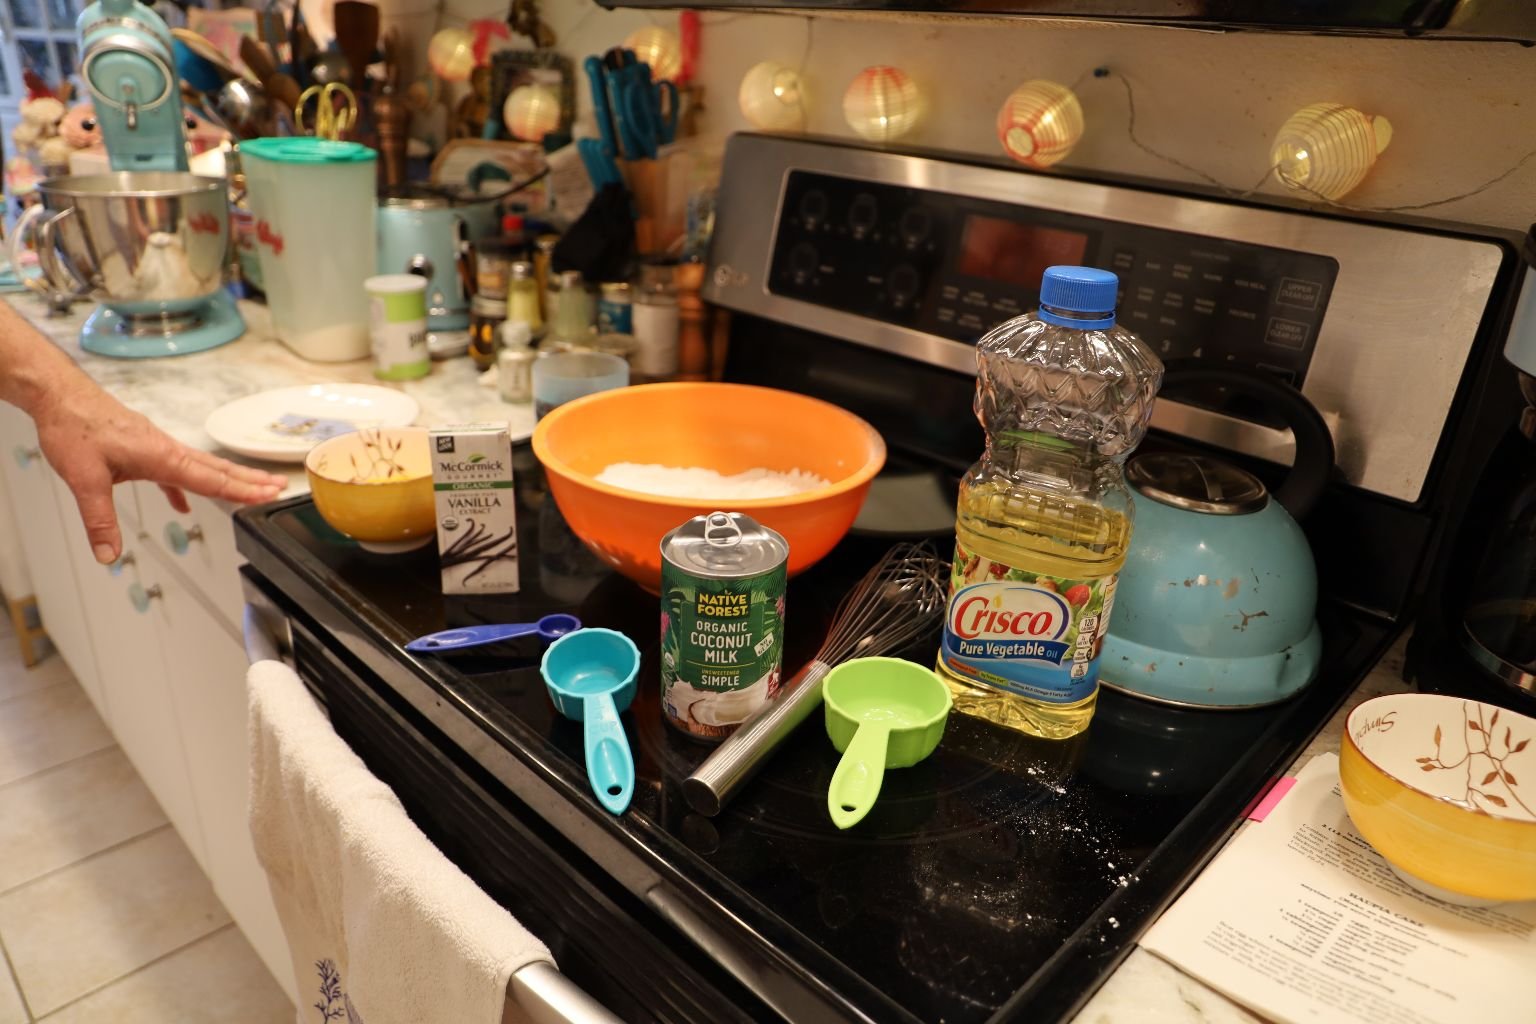
Pictured are the Haupia Cake ingredients…
10 Eggs, to be separated
1 tsp. Cream of Tartar
1 1/4 Cups Sugar total – 1/2 Cup for the egg whites and the rest (3/4 Cup) for the Cake
1 1/2 Cups Cake Flour
1 Tbsp. Baking Powder
1/4 tsp. Salt
1/4 Cup Coconut Milk
1/4 Cup Water
1/2 Cup Vegetable Oil
1 tsp. Vanilla Flavoring
—————————————————————————————–
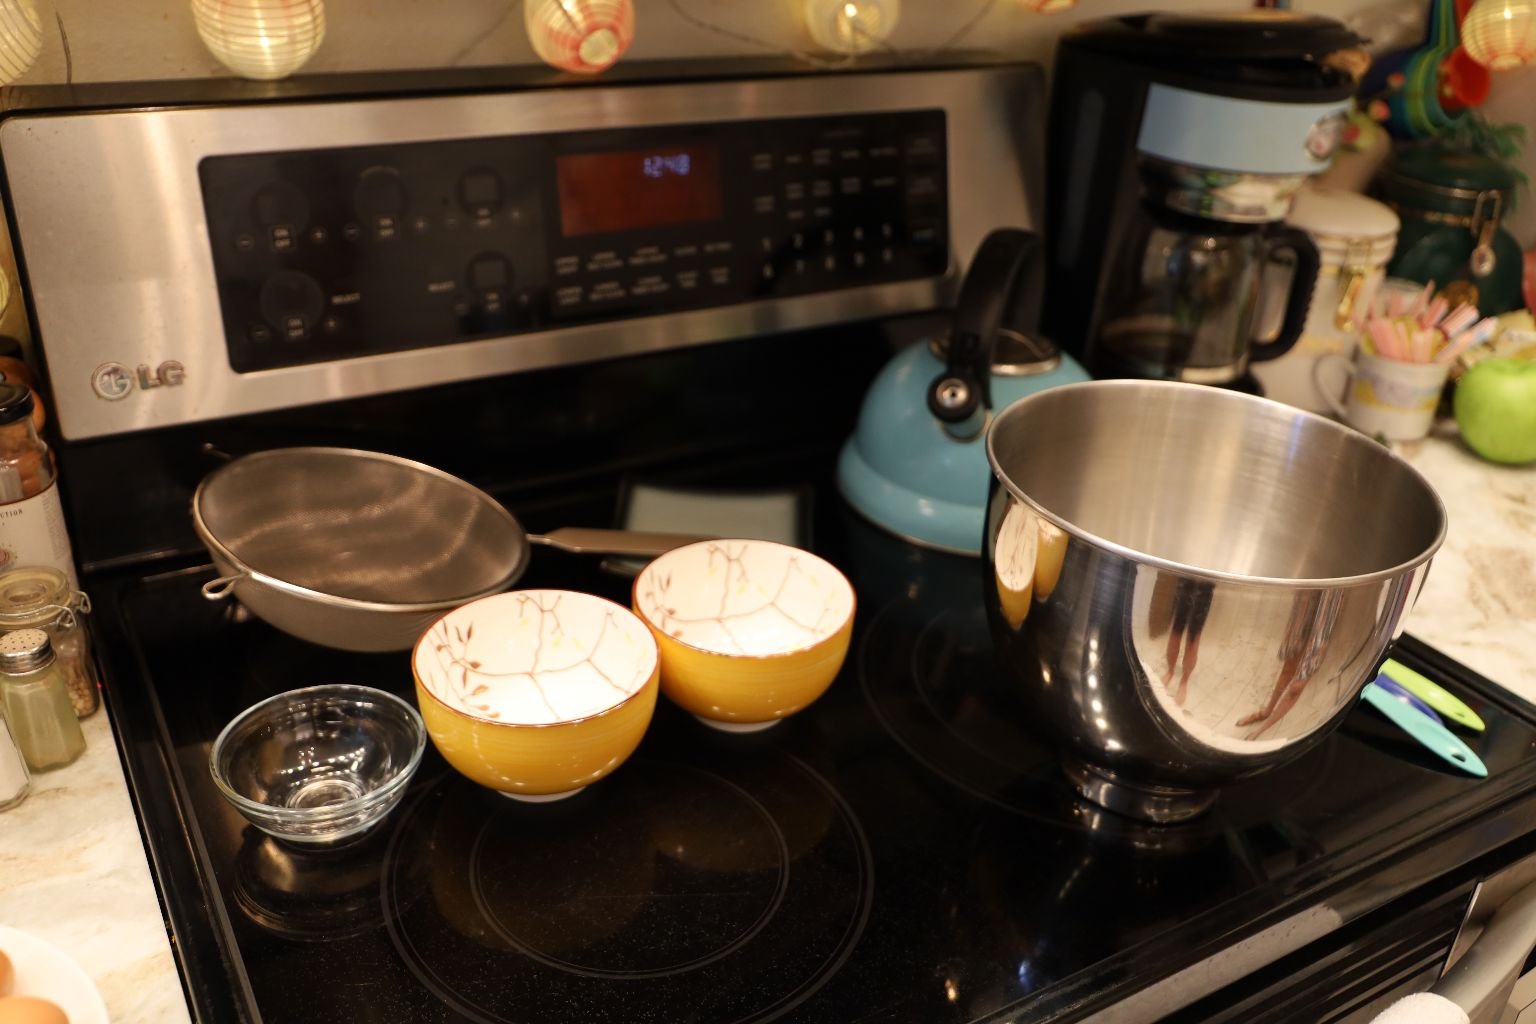
Pictured are all the bowls you will need and the sifter we used.
TIP: If your eggs are old, be sure to float test them. This is done by pouring some water into a cup deep enough to submerge an egg. If the egg sinks the egg is GOOD! if the egg floats the egg is BAD and needs to be thrown out.
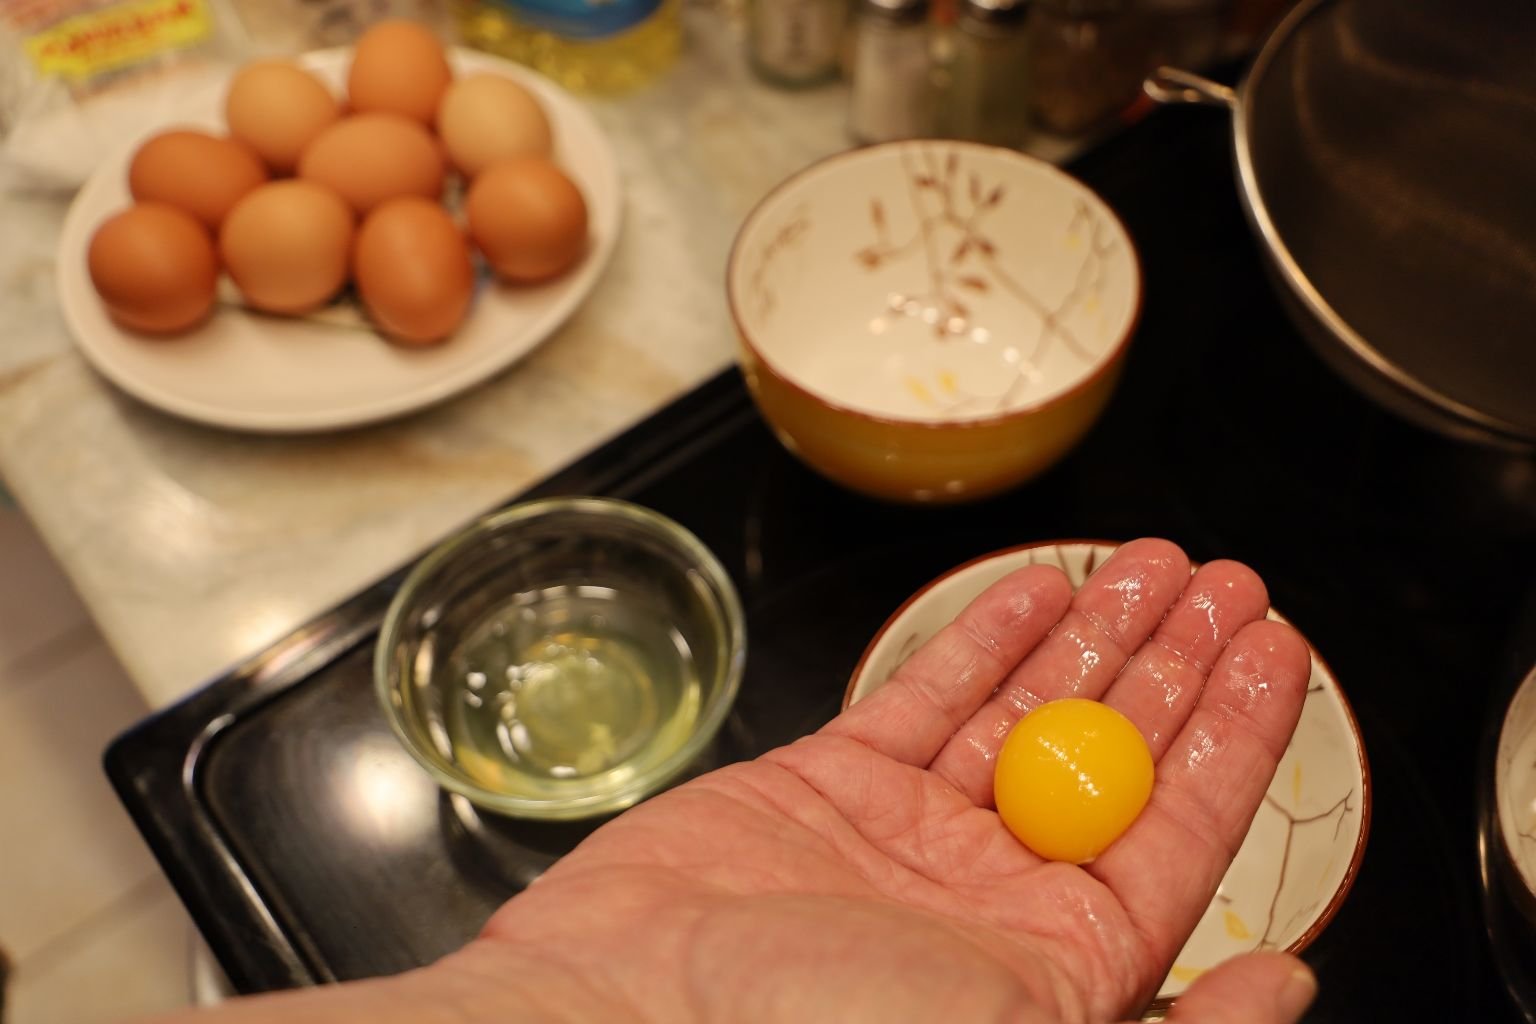
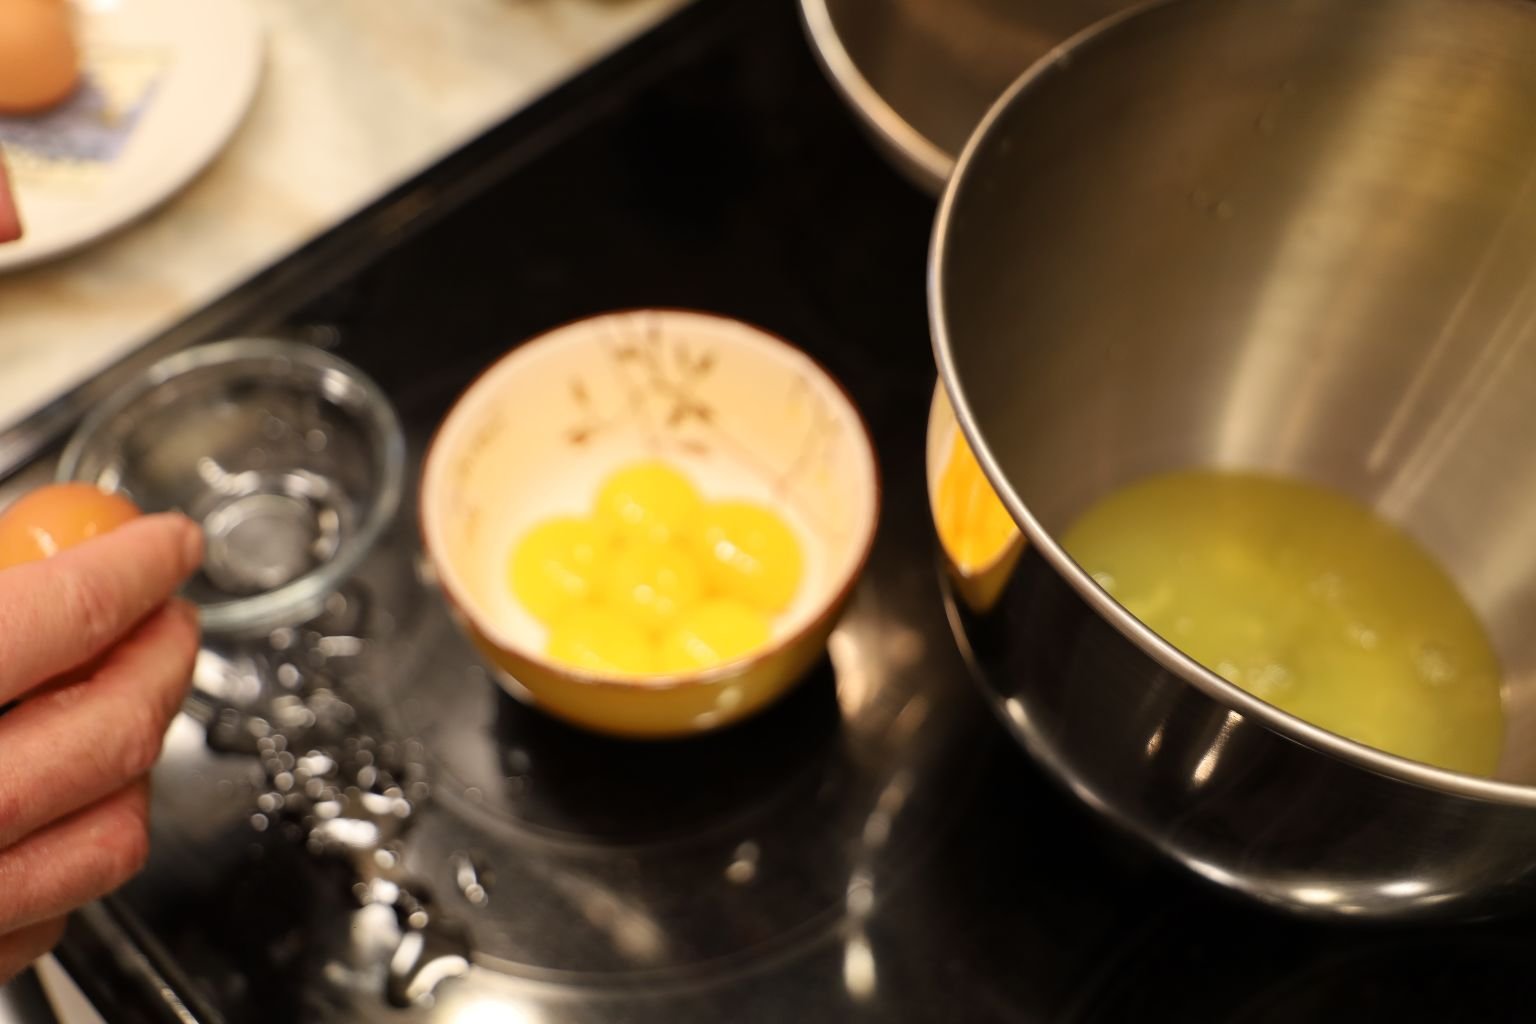
Separating the egg whites from the yolk. Use three bowls for this. One for the egg white, one for the yolk and one to drop the entire egg into. The best tool for this is your hands. Start by breaking the egg on a flat surface, as cracking it on the side of a bowl allows egg shell shards break off and go into the egg. The flat surface simply cracks the shell. Try it! If you don’t have the dexterity, you carefully drop the egg into a bowl. then pick up the bowl with one hand and pour the entire egg into your hand as seen in the picture on the left. Do this over the egg white bowl. Open your fingers slightly and let the egg whites flow through your fingers until you have just the yolk. Then drop the yolk into the yolk bowl. Finally, pour the egg whites into your mixer bowl. You do these steps separately as at times the yolk breaks, and will flow through your fingers into the egg whites. Your egg whites have to be pure to work properly in the next steps of this recipe. Repeat these steps for each egg.
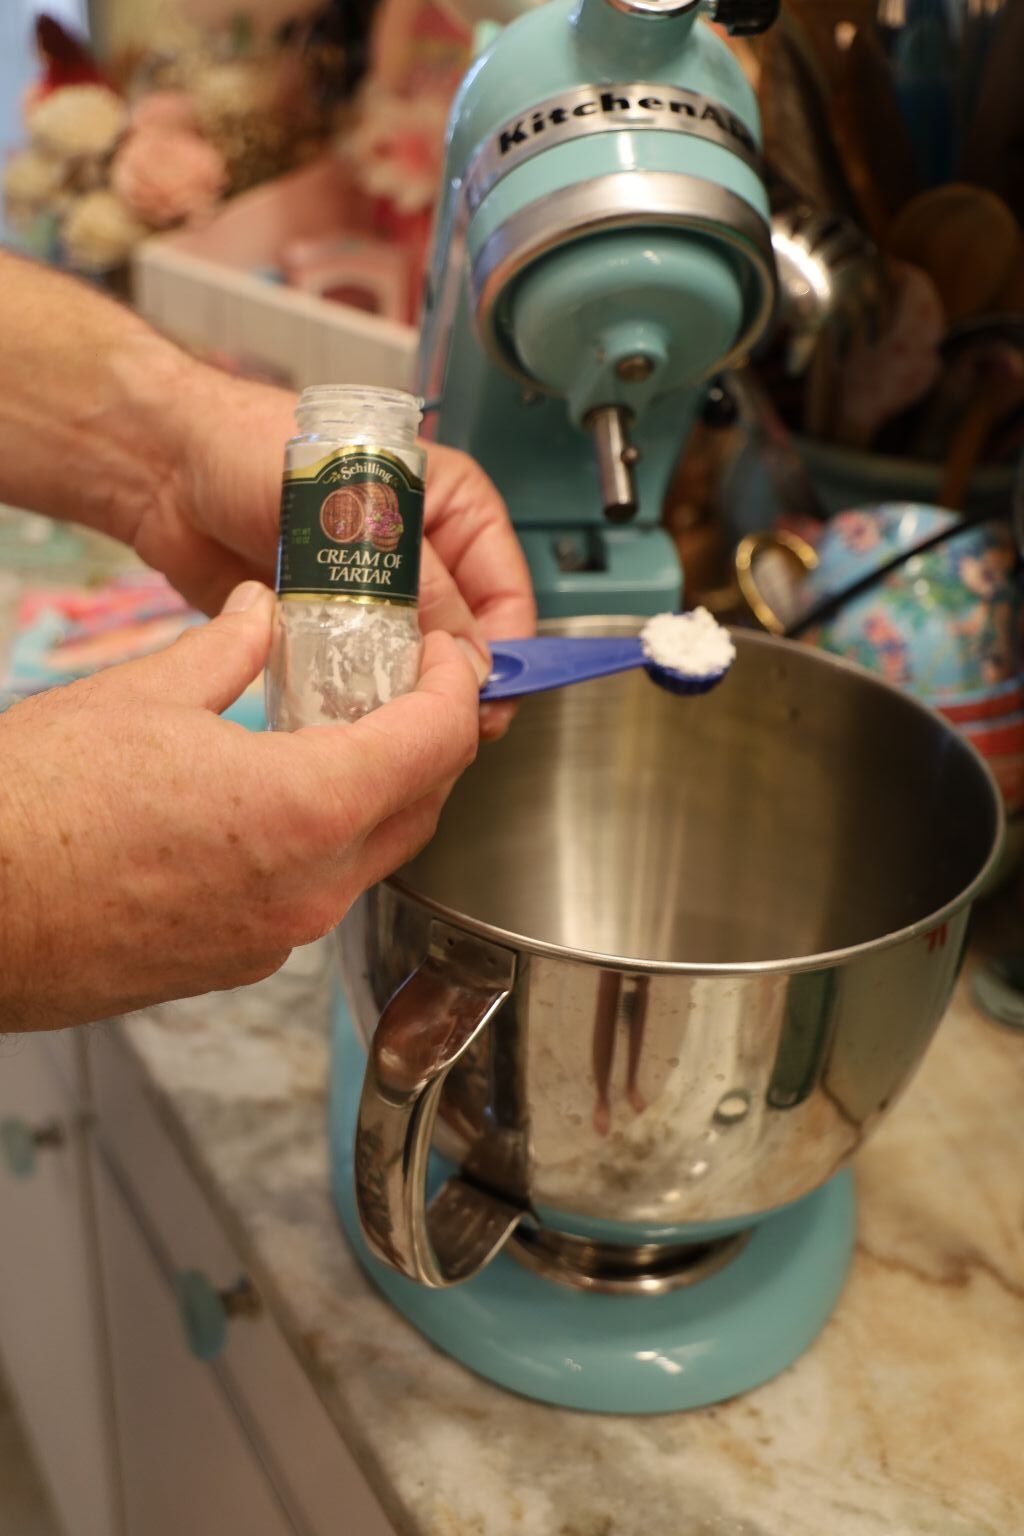
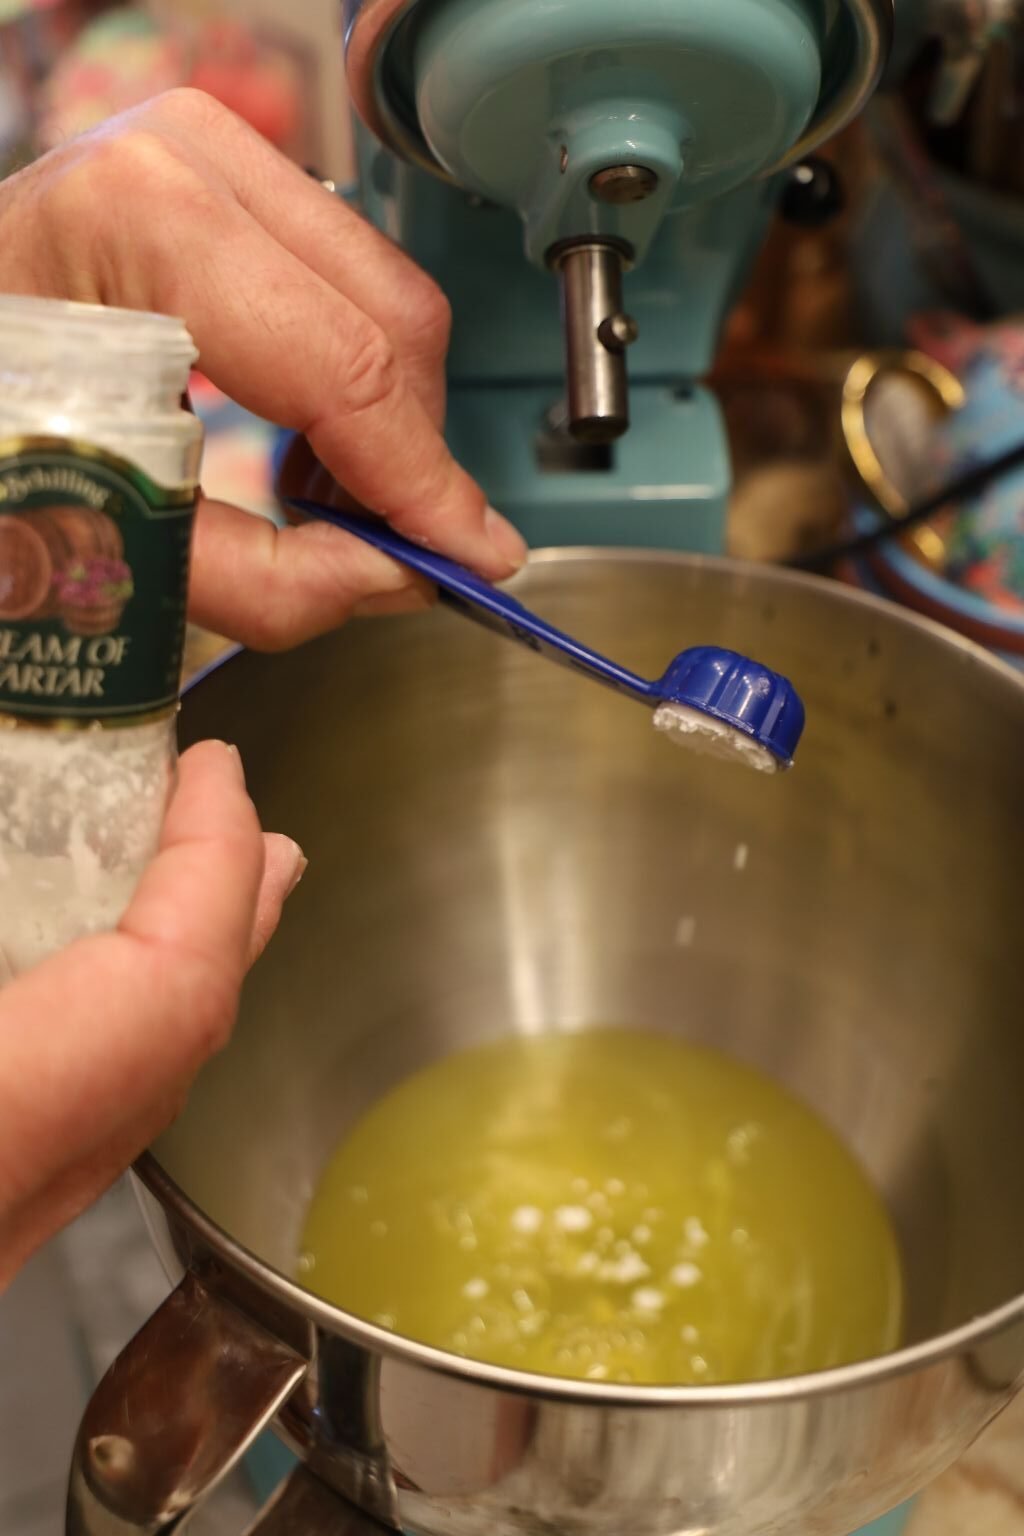
Now that you have all the egg whites in your mixing bowl, add your Cream of Tartar to help the egg whites stiffen.
Start your mixer on a slow speed …
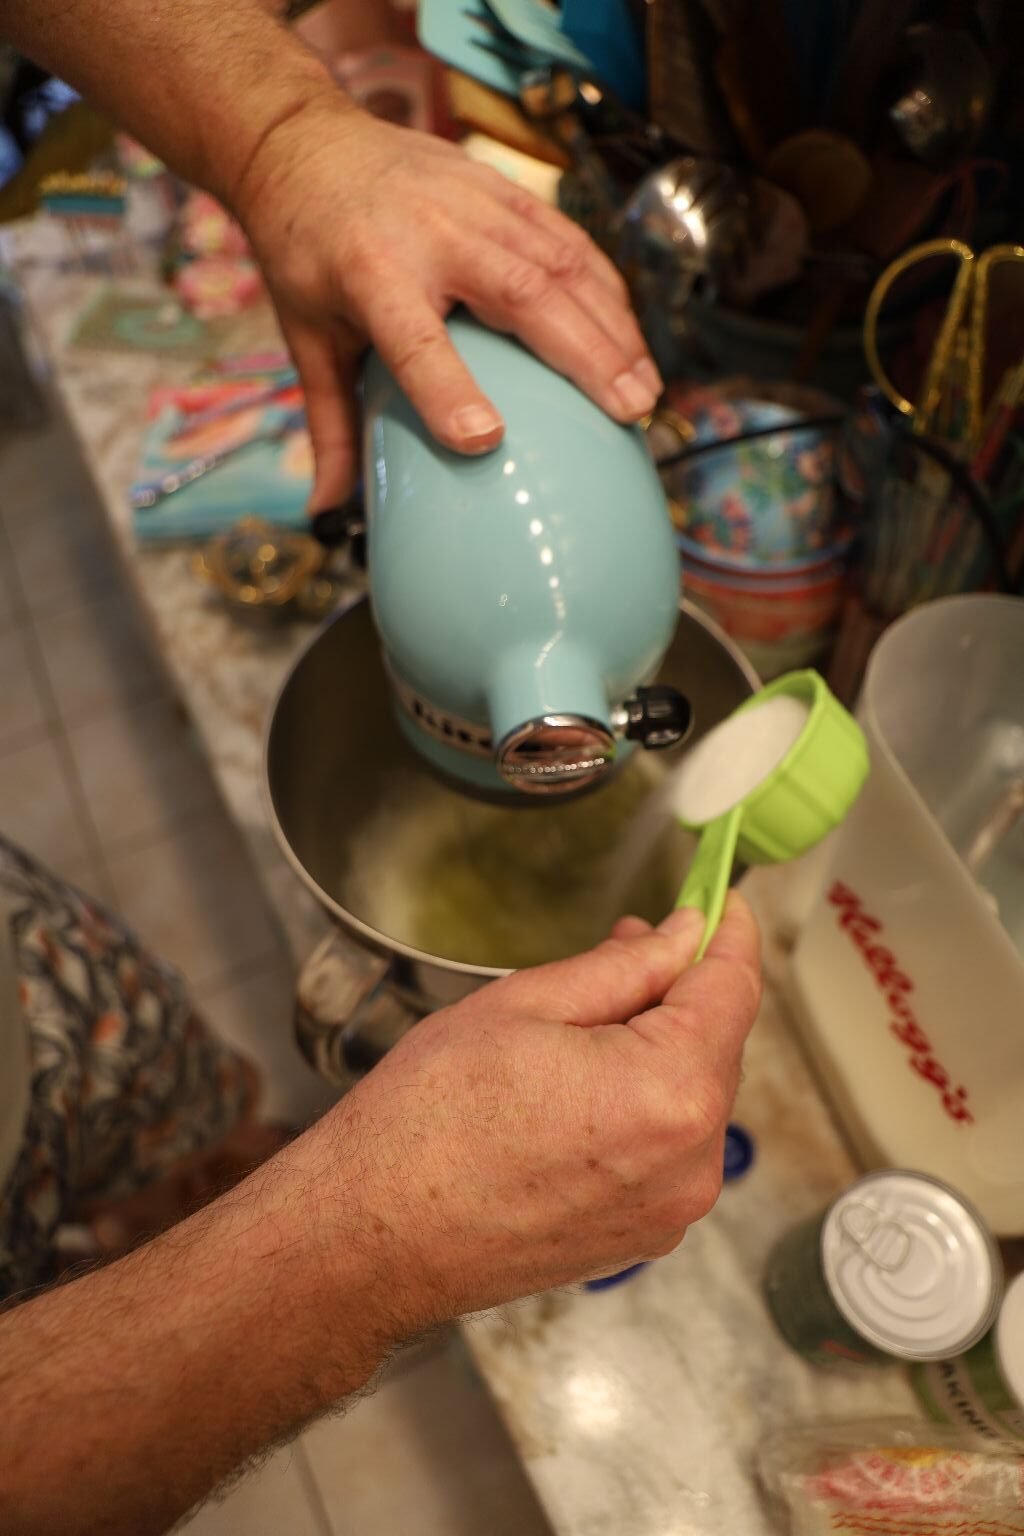
then gradually add your 1/2 Cup sugar.
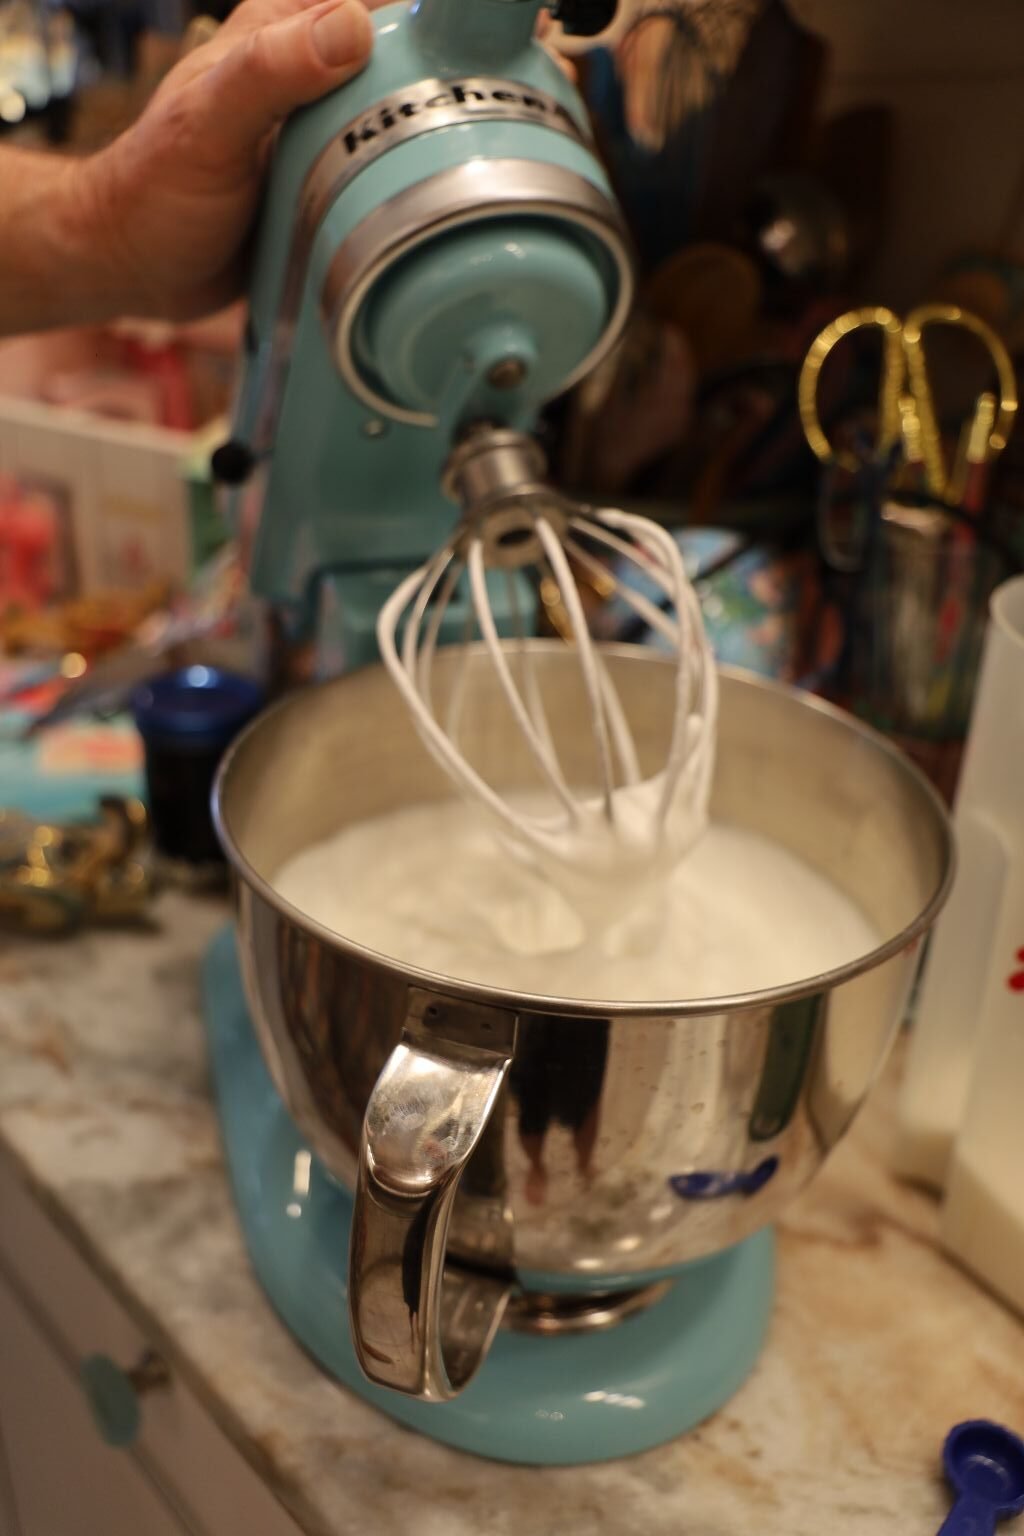
Gradually increase the speed of your mixer, which aerates your eggs and within 5 min. or so, your egg whites will become firm. You want the mixture to make stiff peaks, which means the egg whites will retain their shape and make a point or peak when the beater is removed as shown. You can test this often if needed as there is a fine line between stiff peaks, and over beating the egg whites. Over beating them will actually make the egg whites collapse. If this happens, you will have to start over again. When done set the mixture aside.
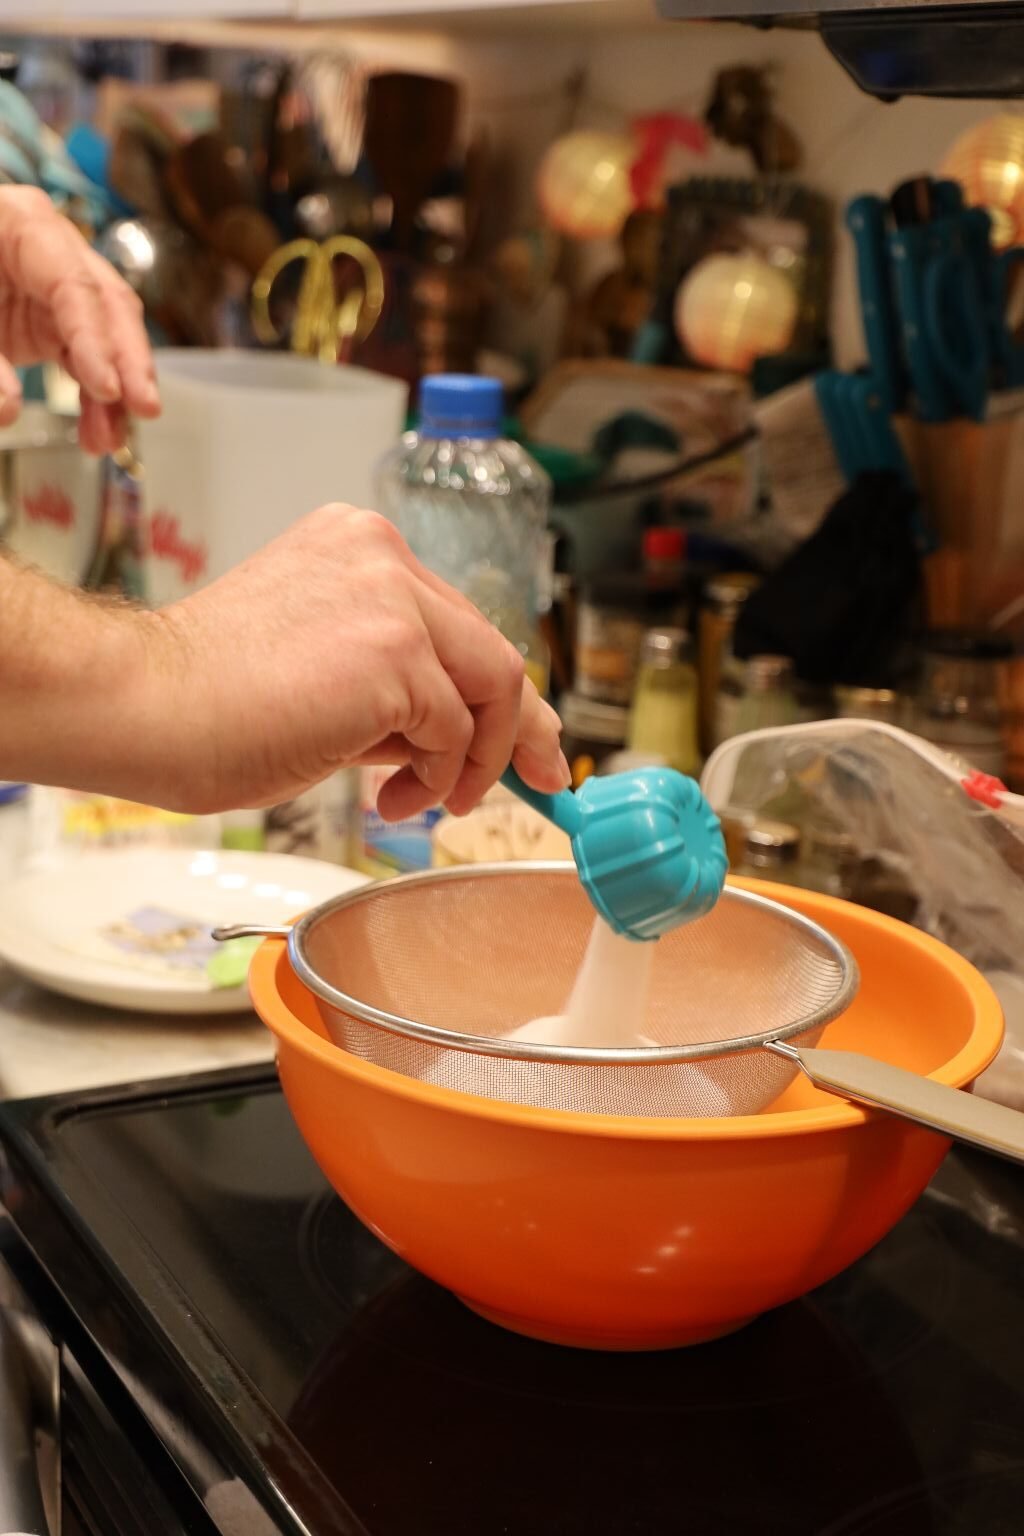
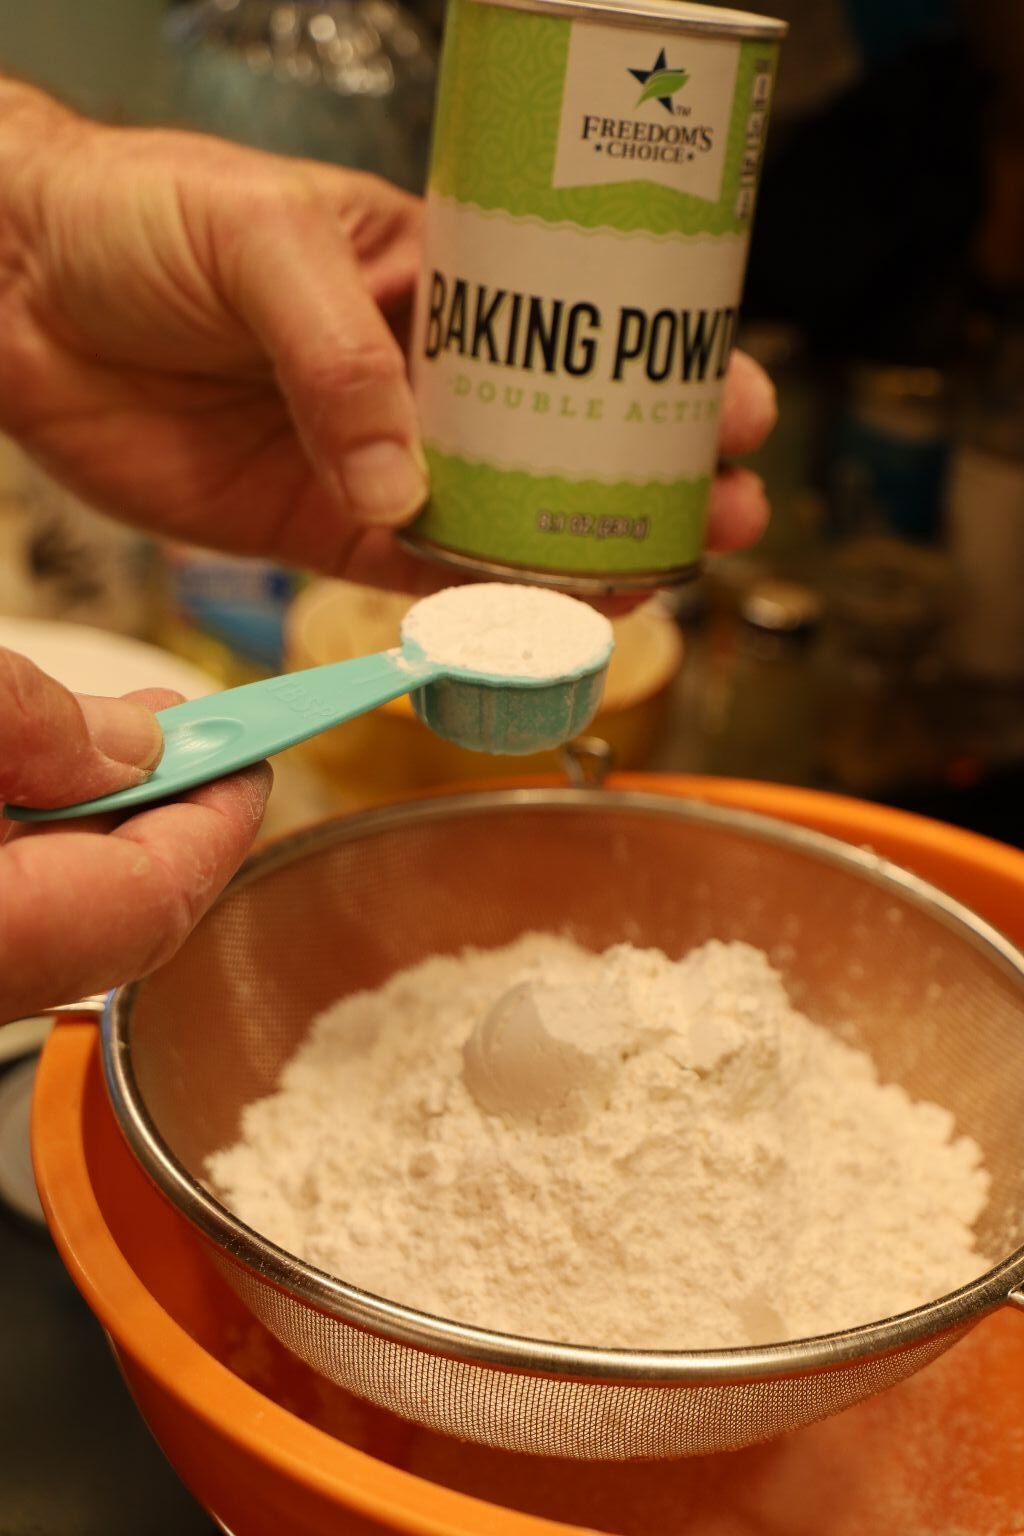

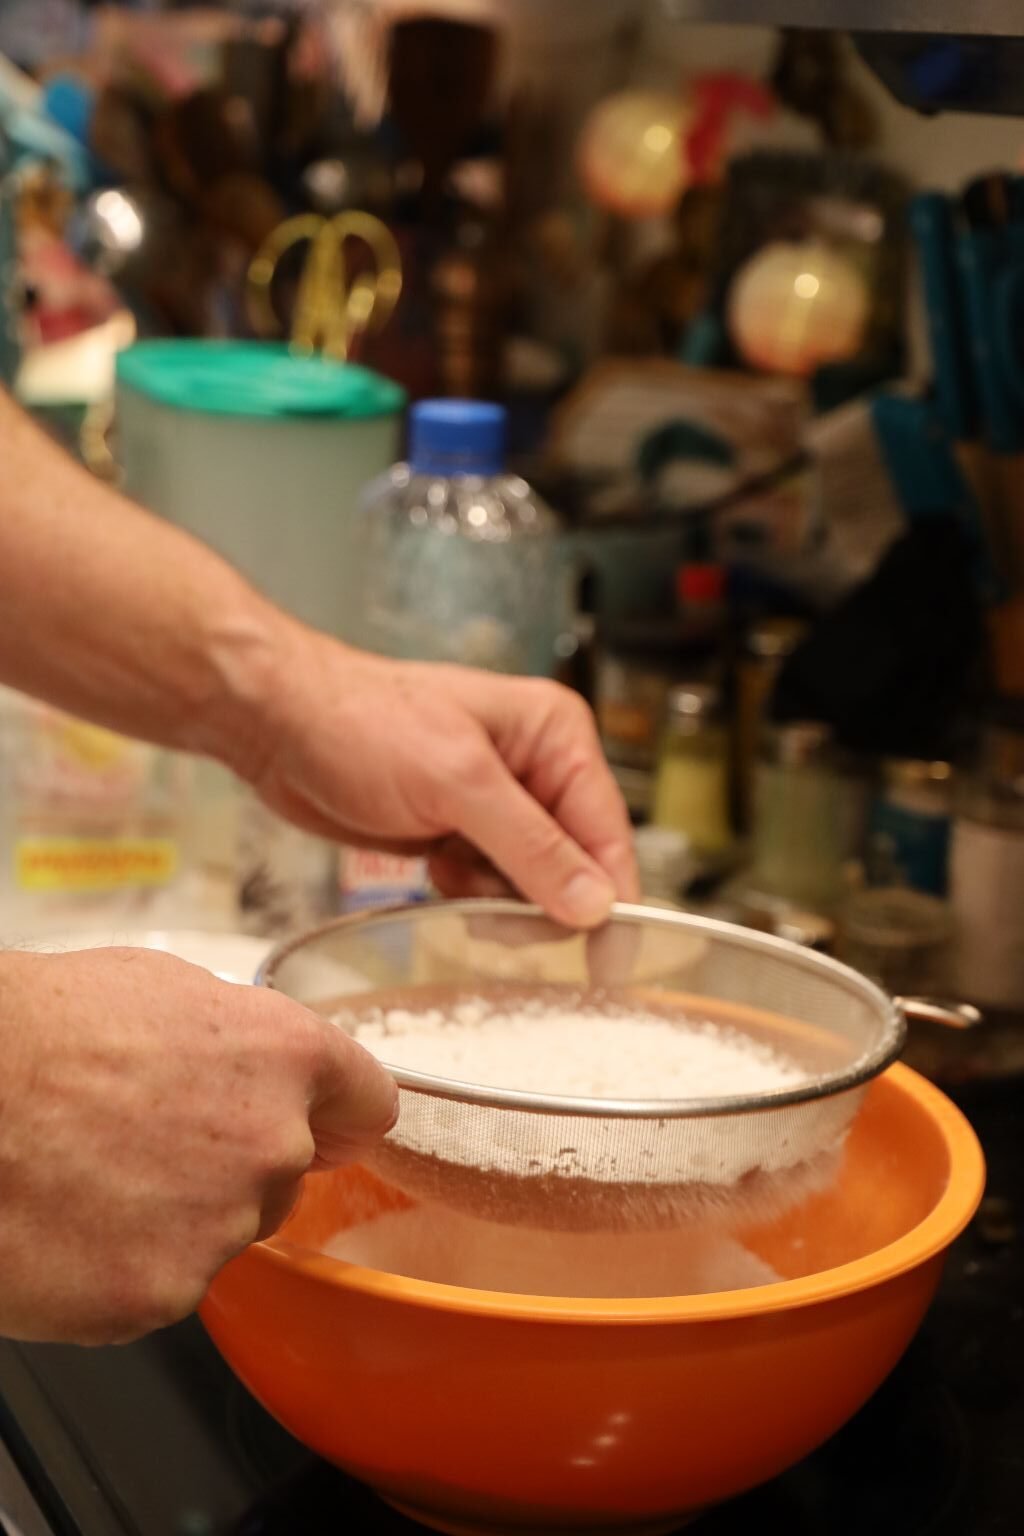
Here we are sifting the dry ingredients for the cake mixture….the remaining 3/4 Cups of sugar, Cake Flour, Baking Powder and Salt into a bowl. Sifting the ingredients does two things… It makes the ingredients lighter, and it mixes them together.
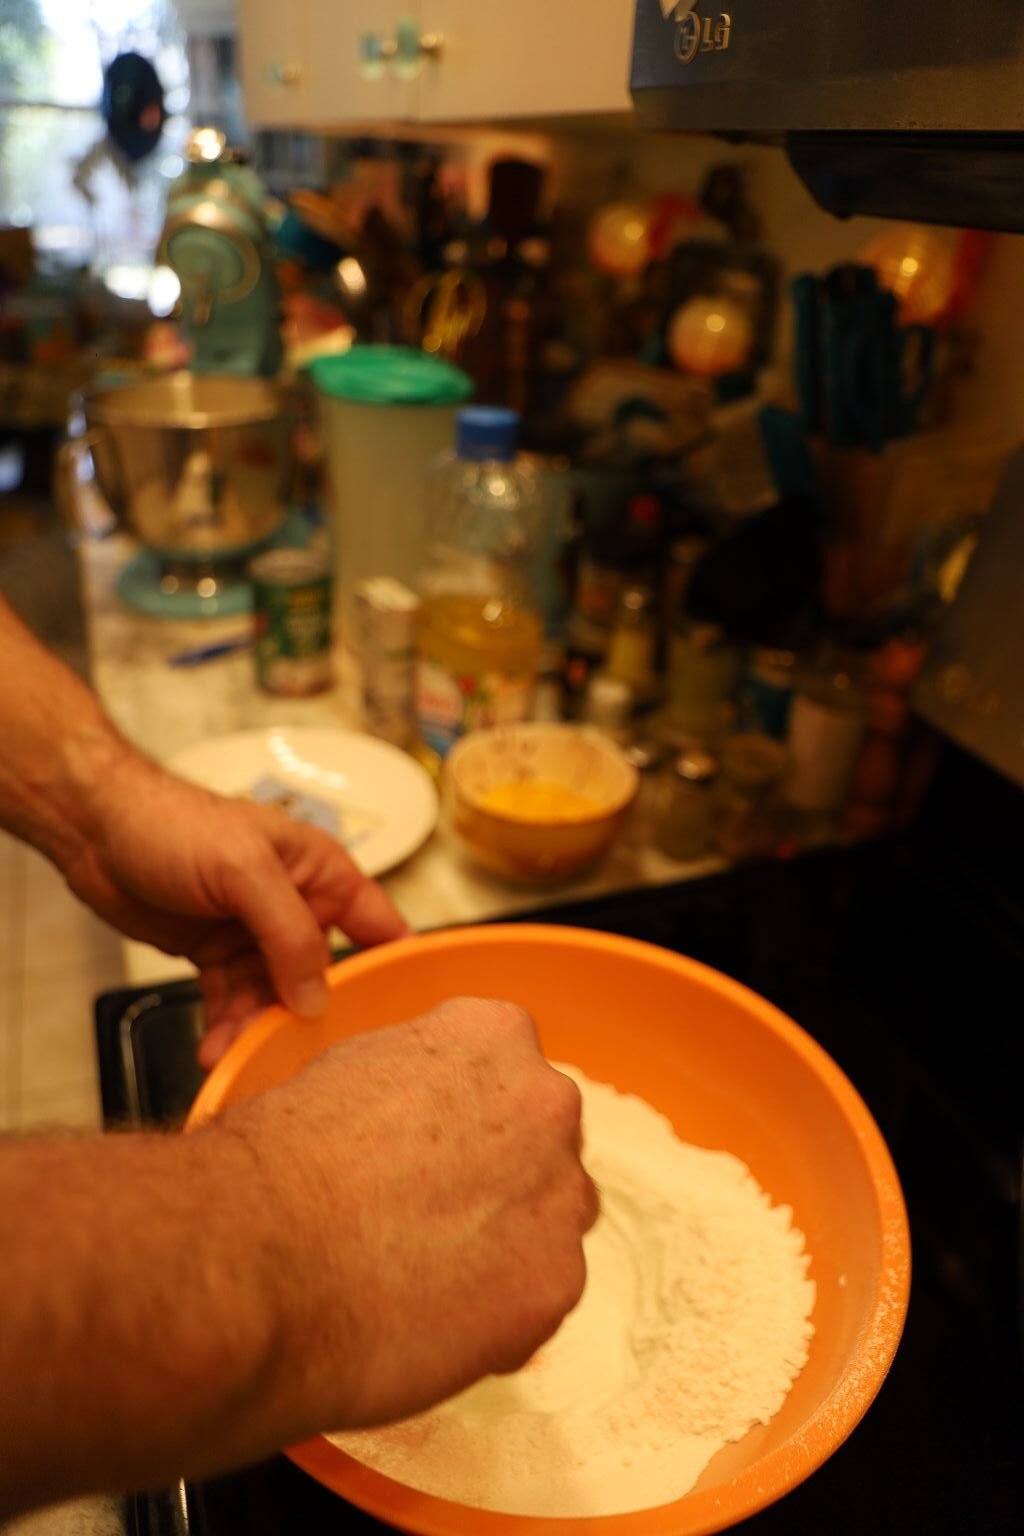
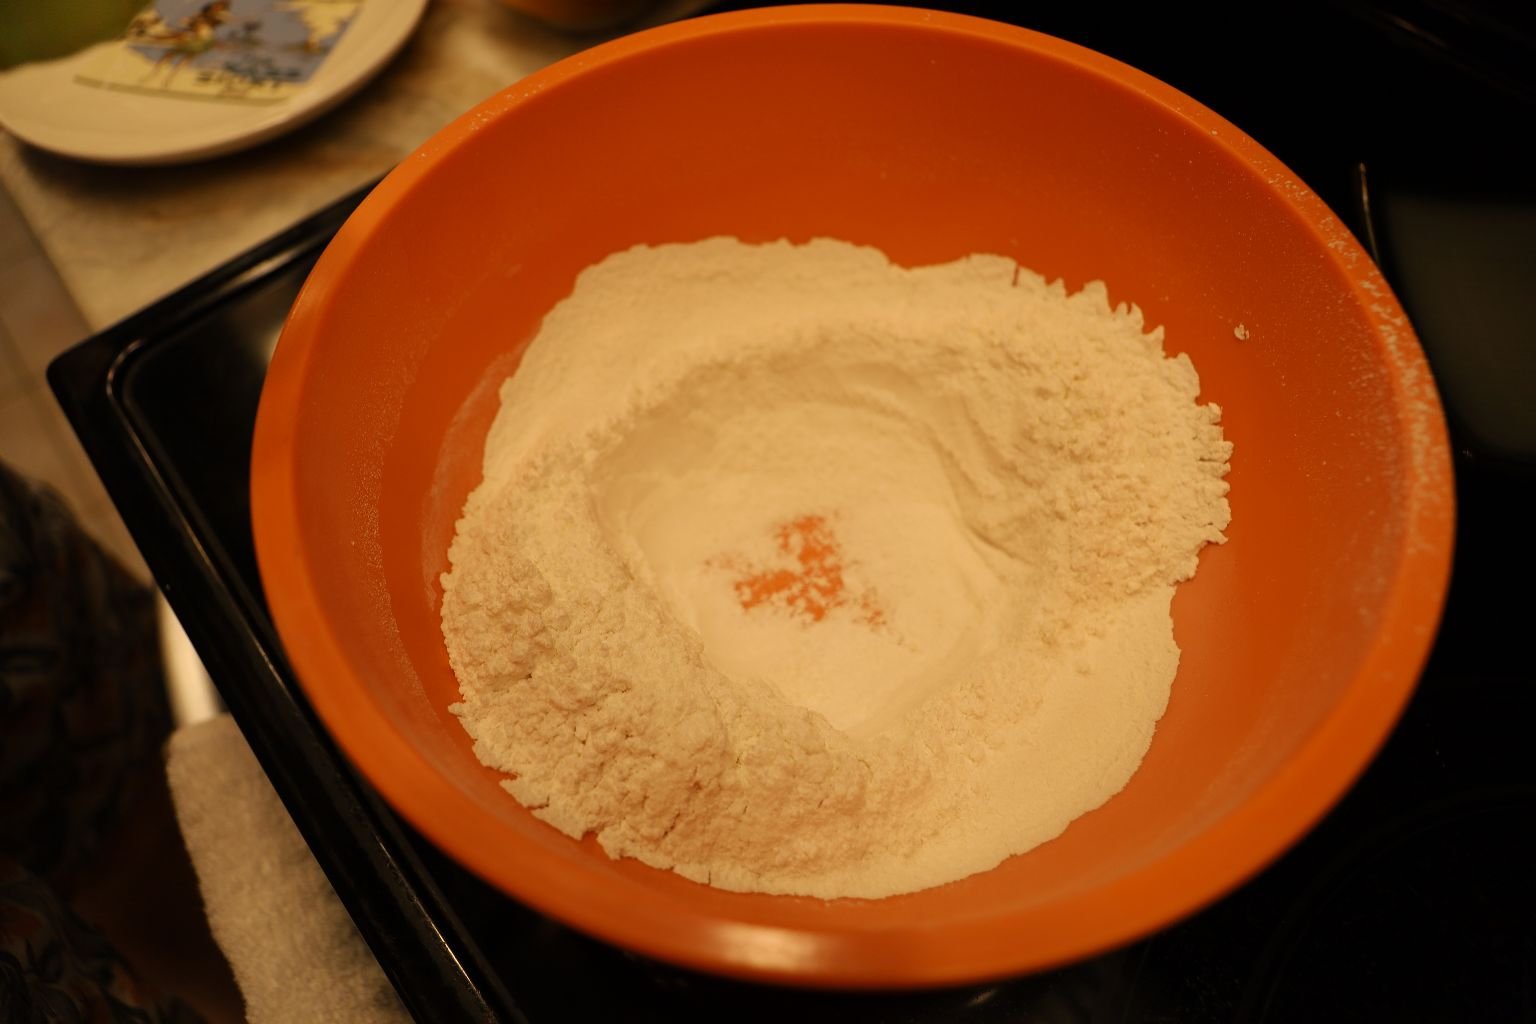
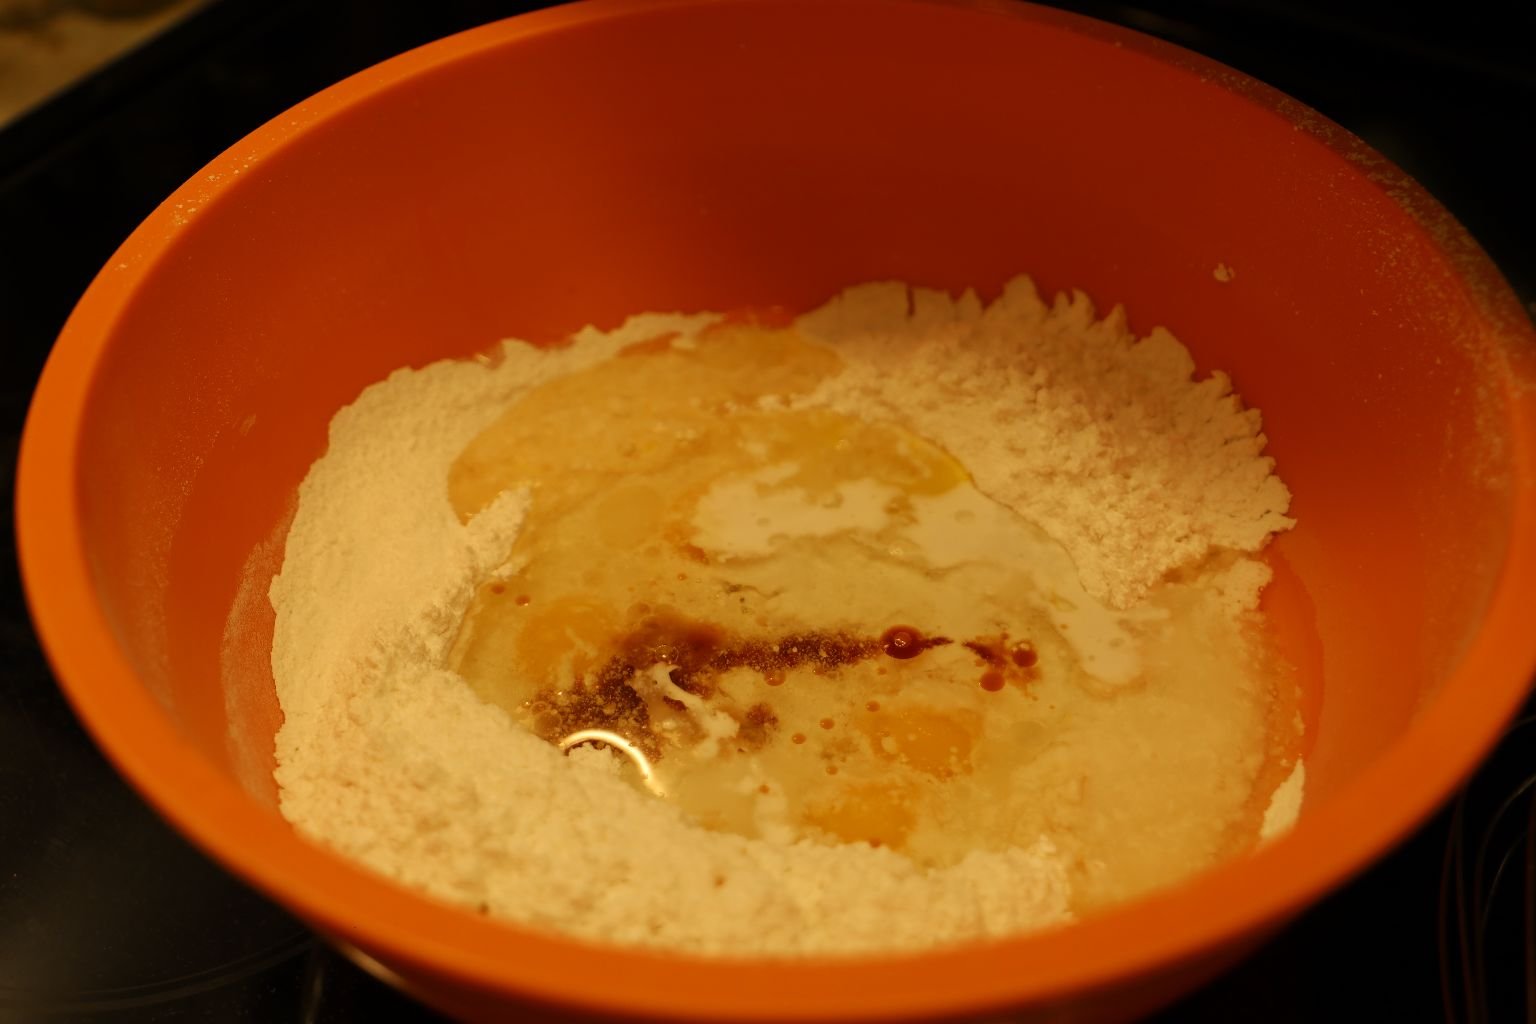
Make a well within the dry ingredients as shown, then add your wet ingredients…
————————————————————————————–
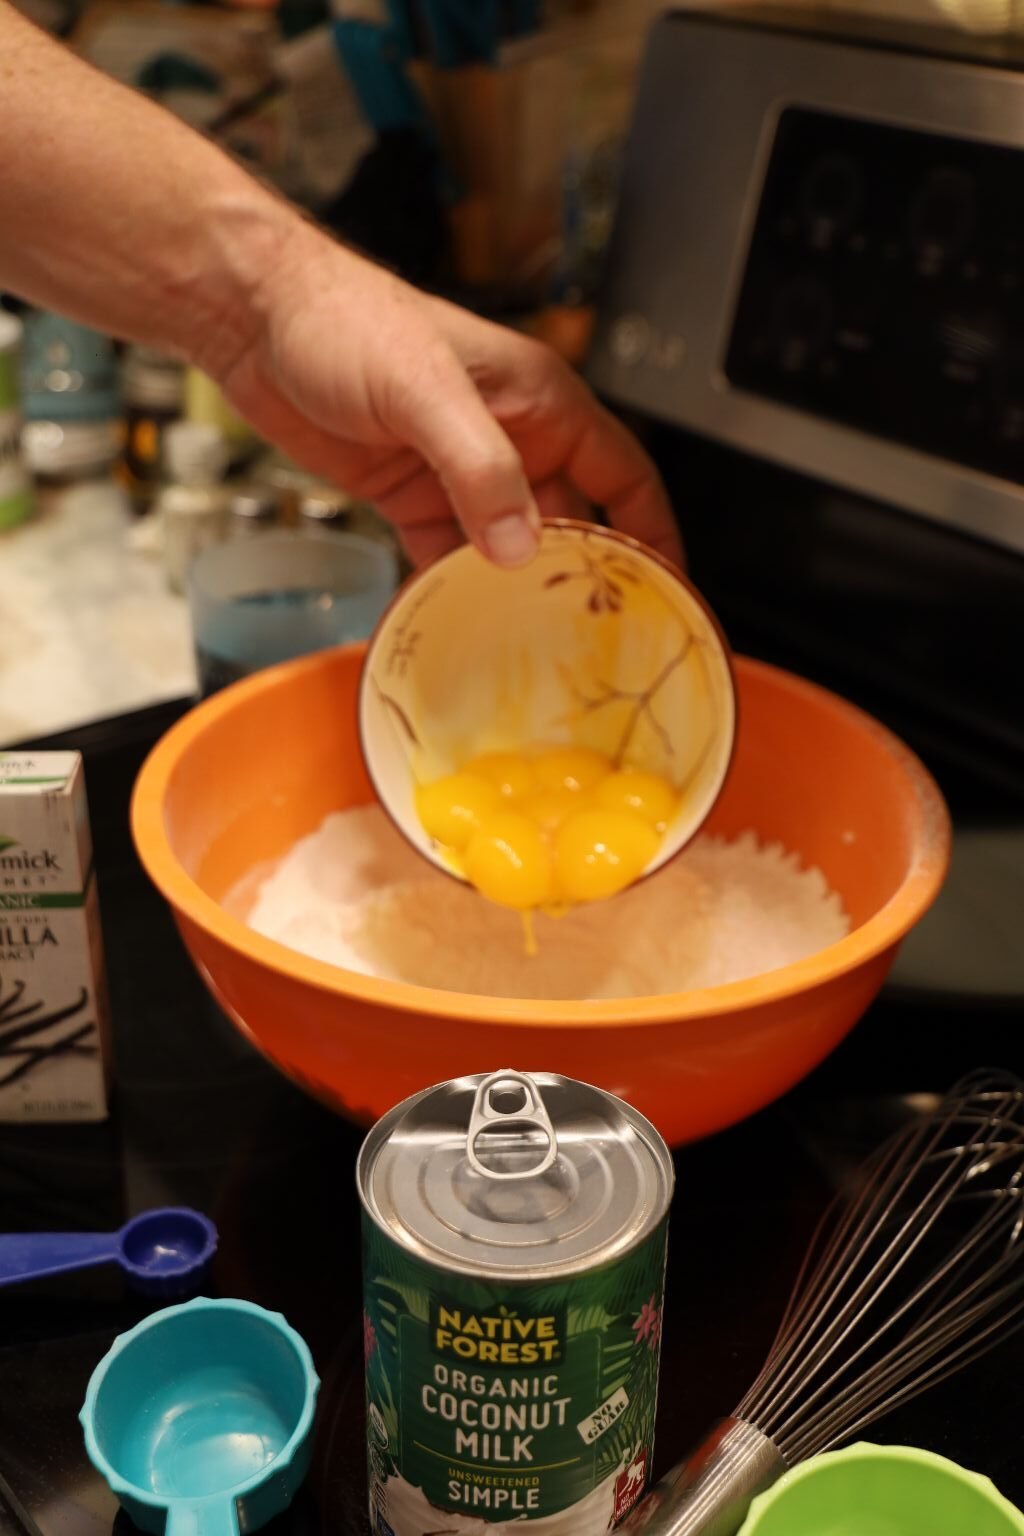
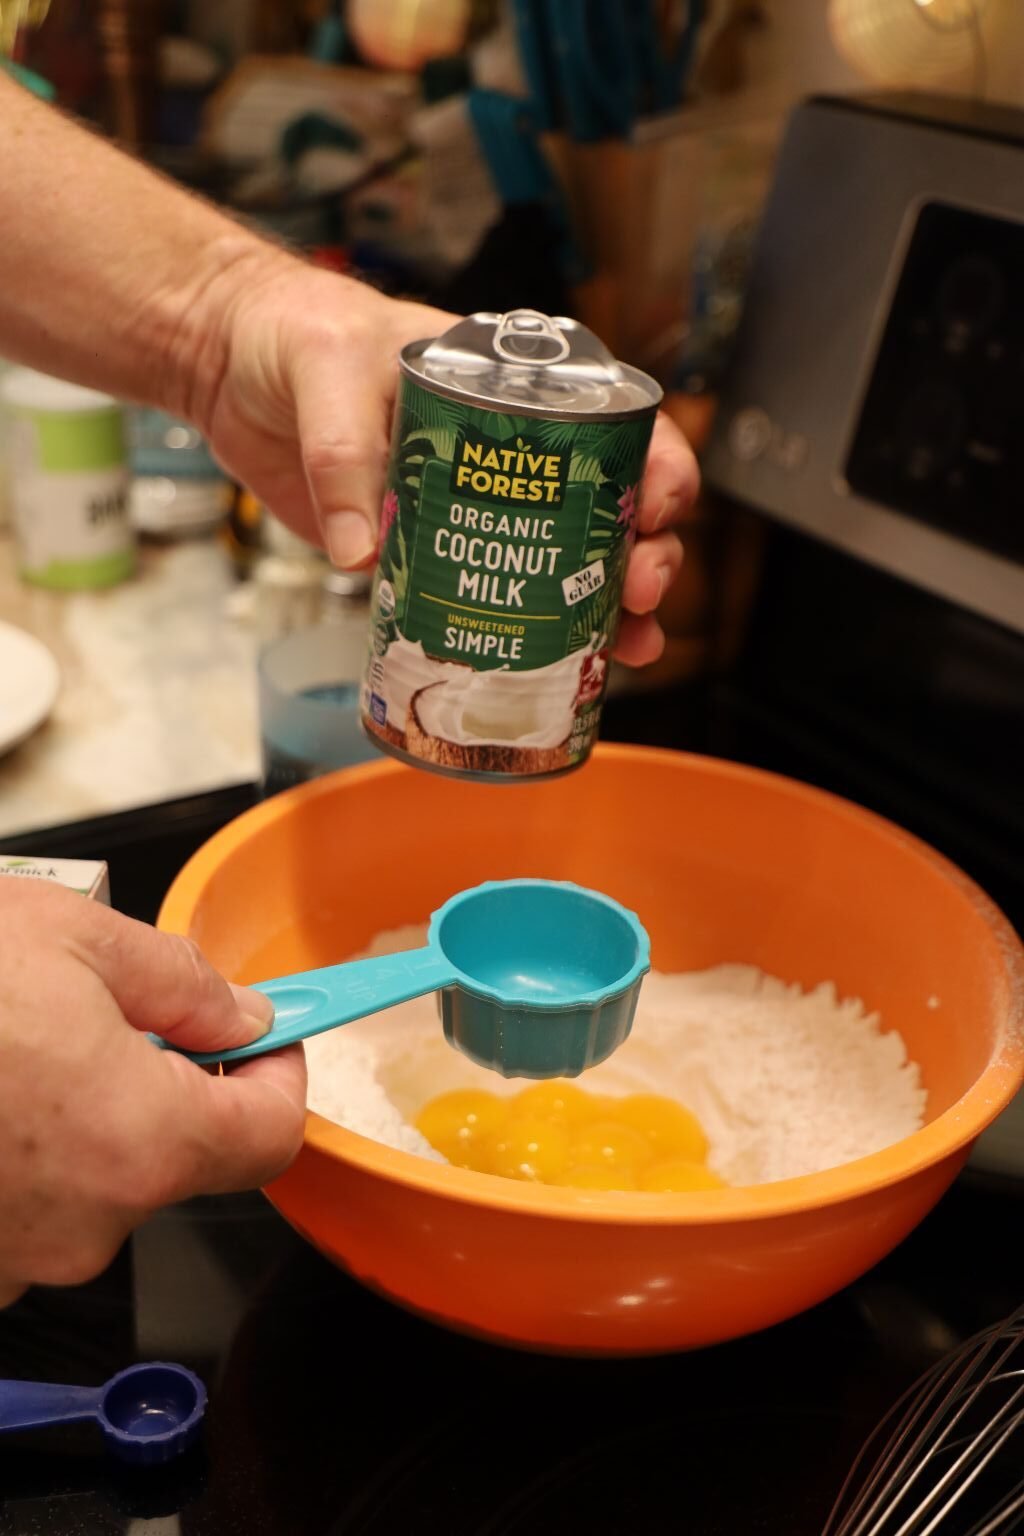
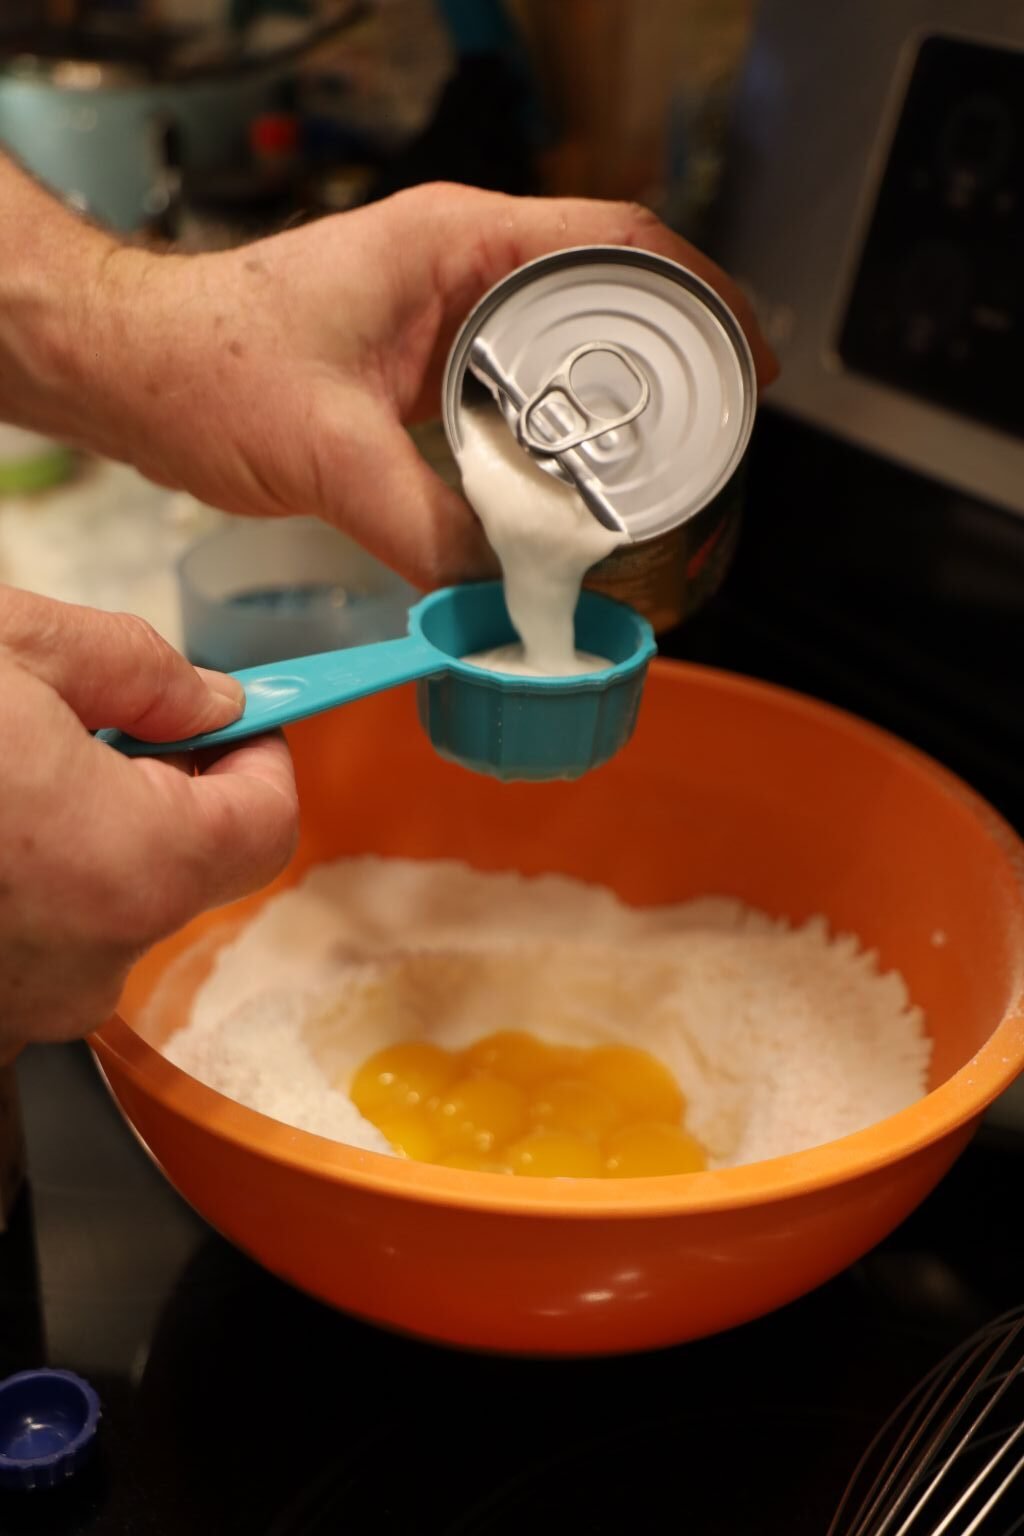
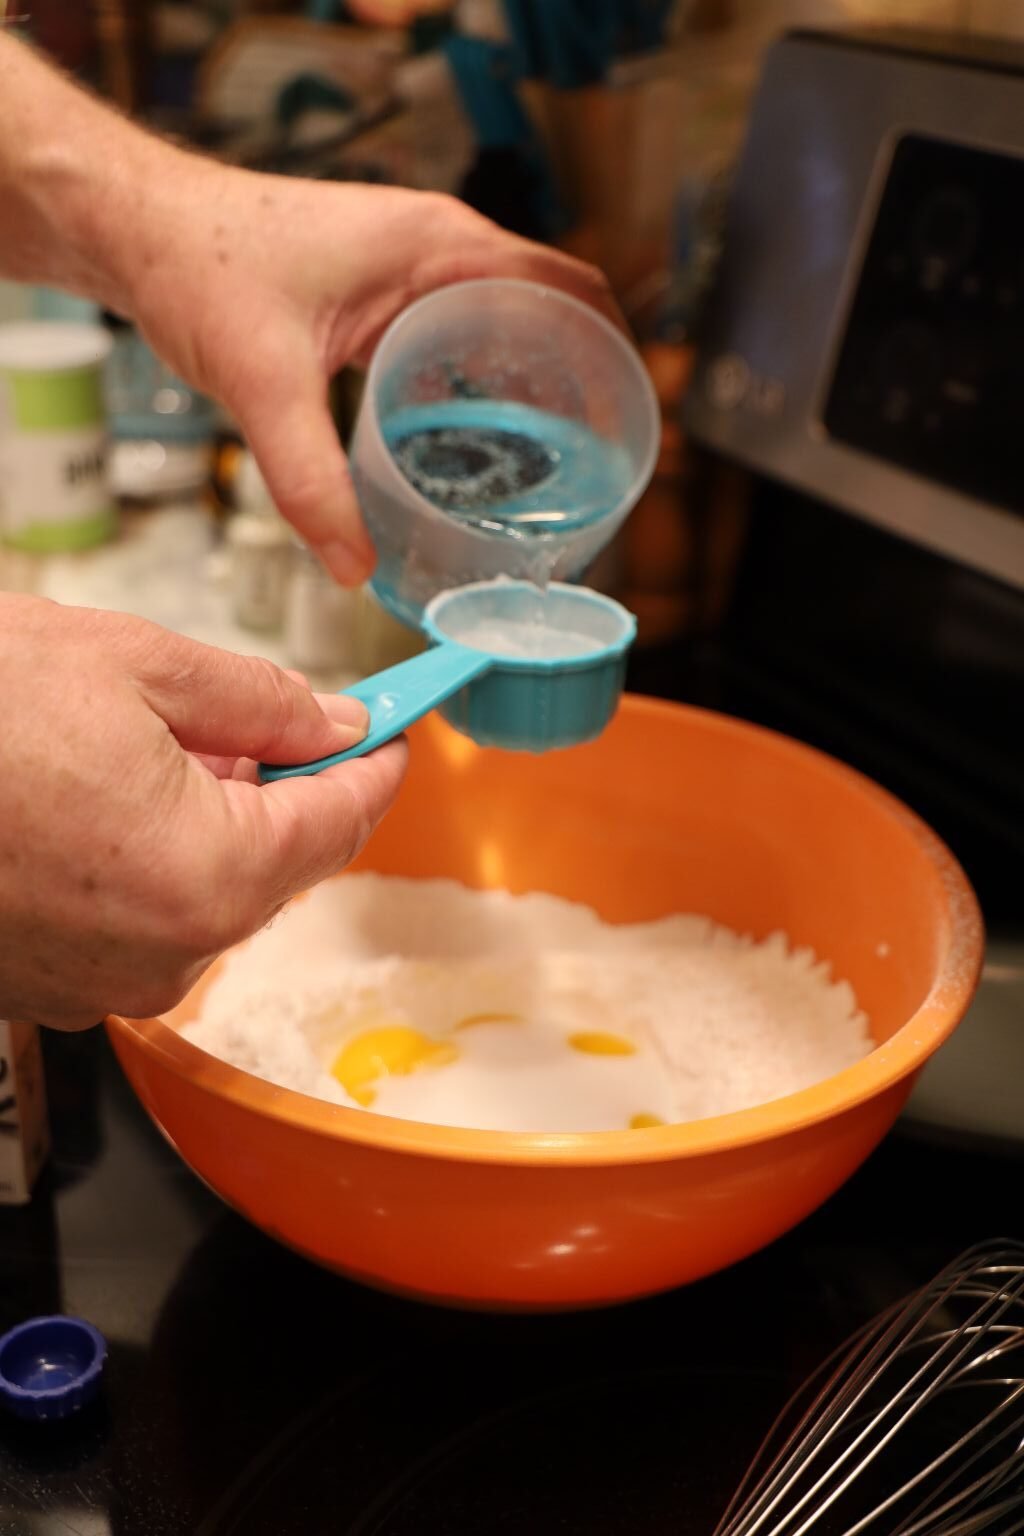
Egg Yolks, Coconut Milk, Water,
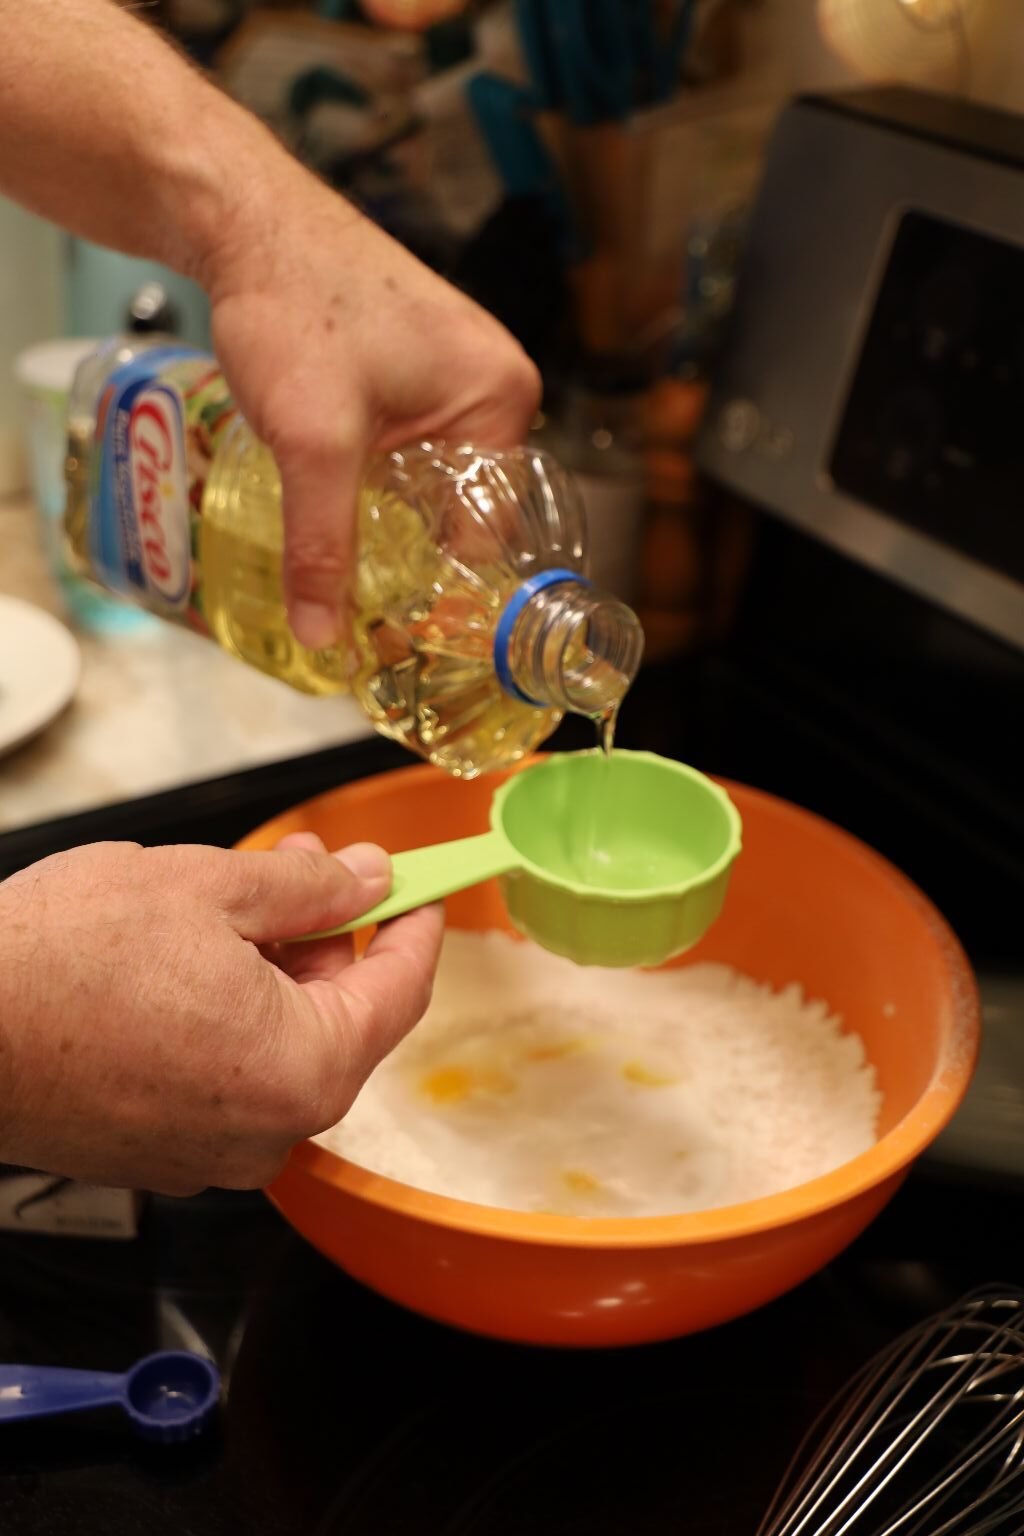
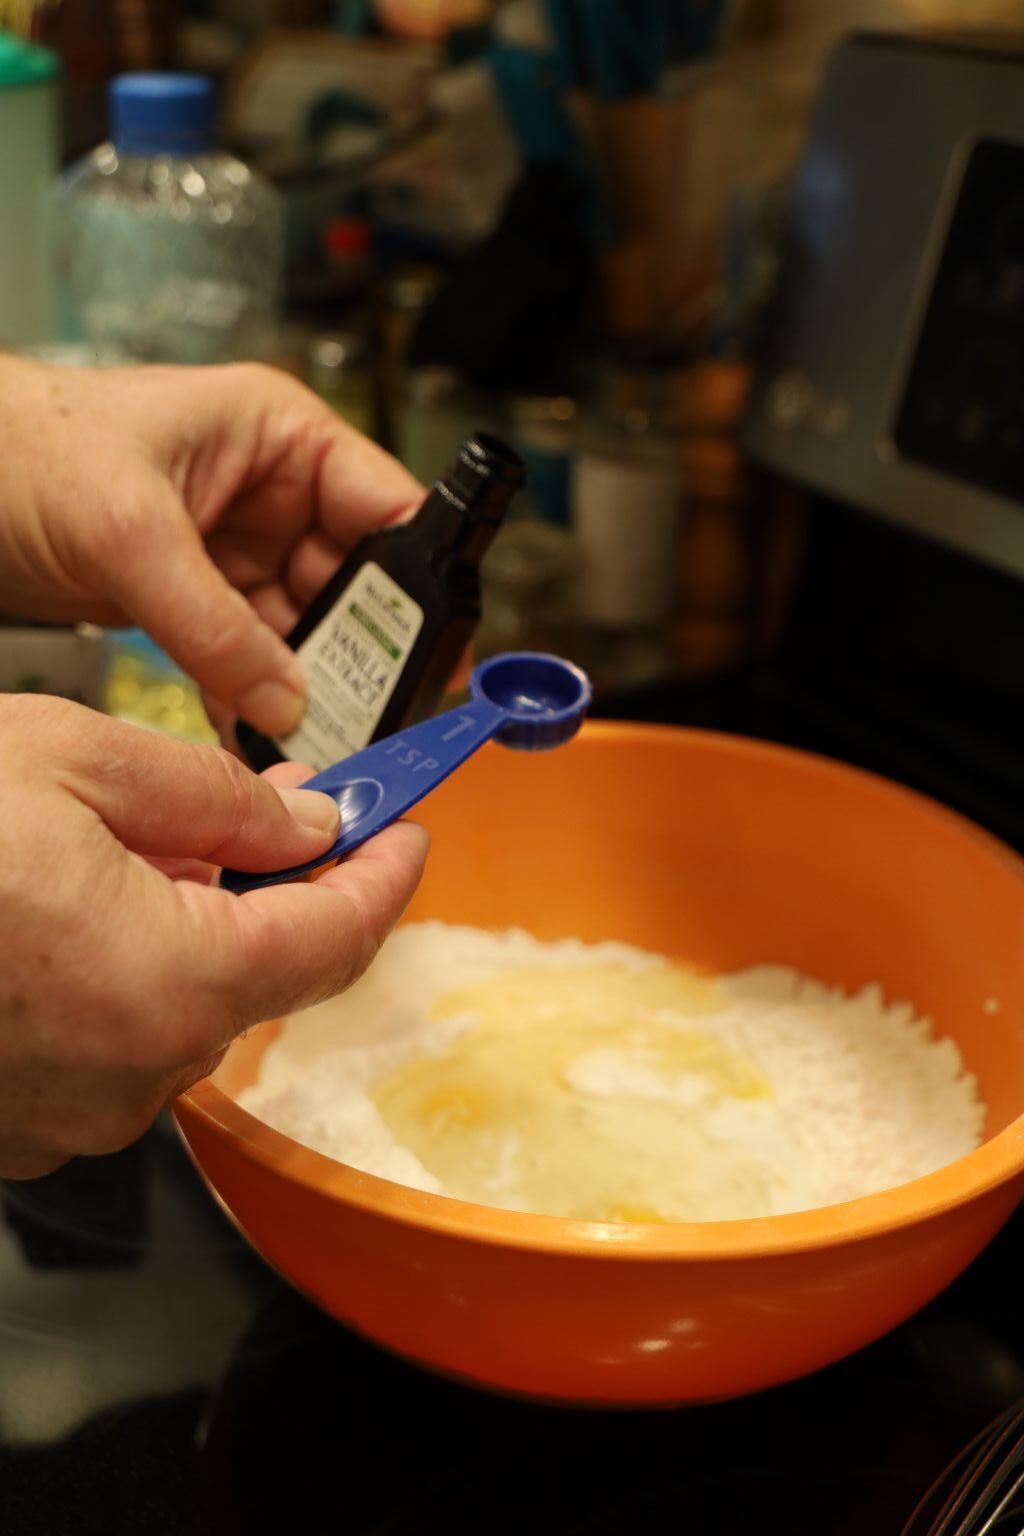
Vegetable Oil, and Vanilla.
—————————————————————————————–
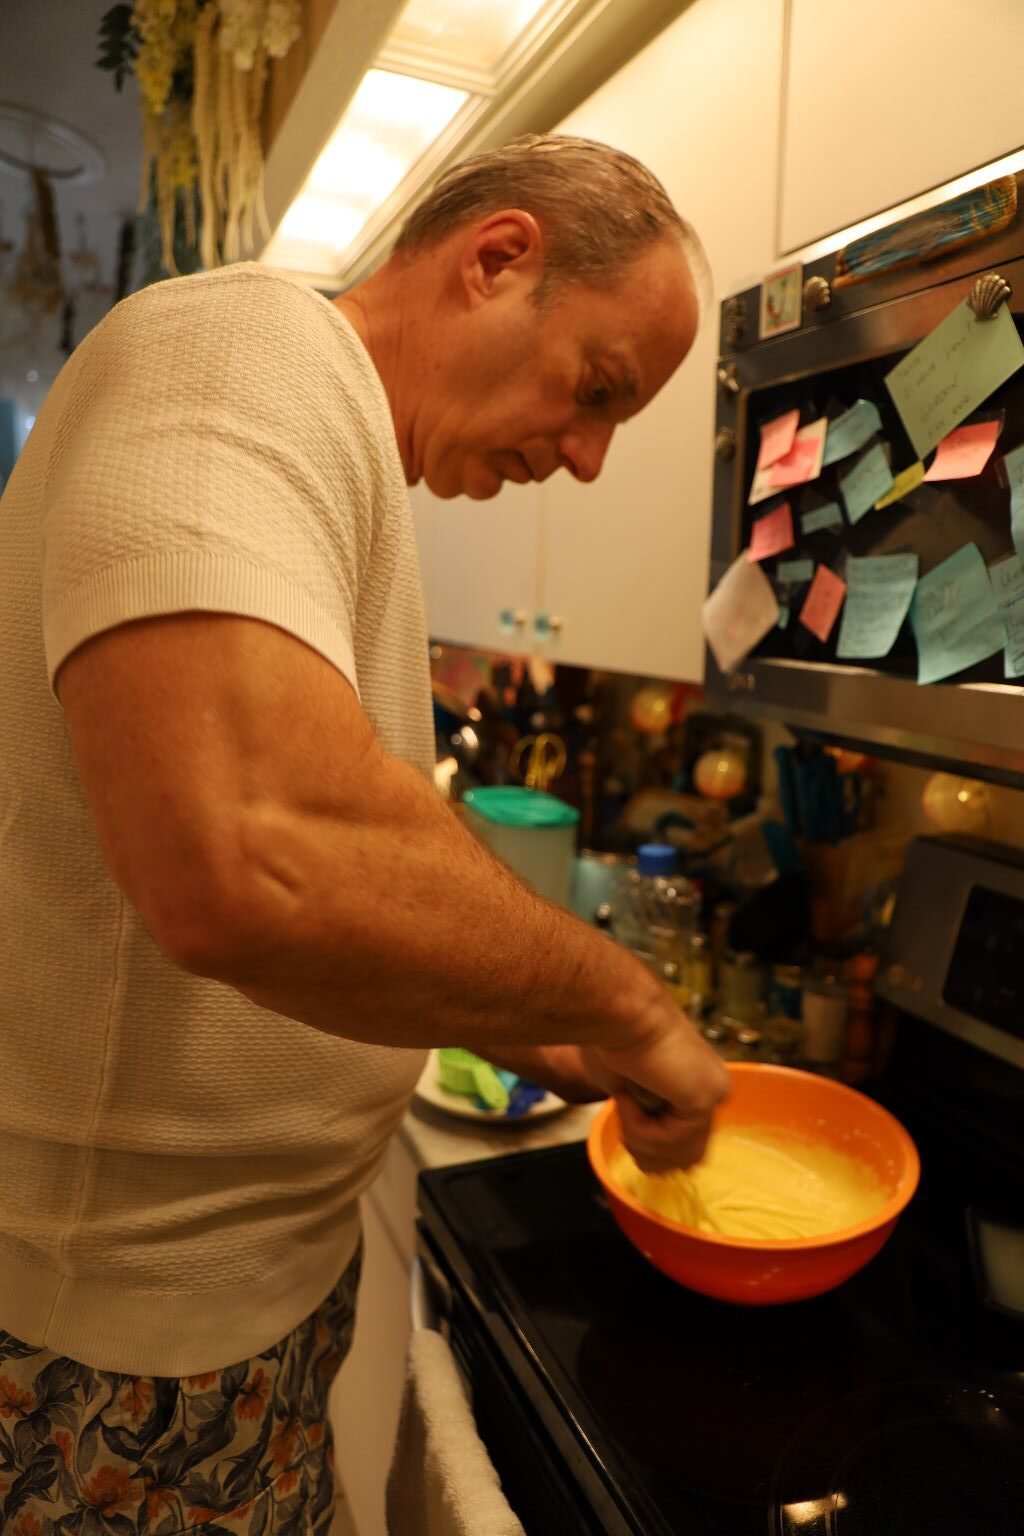
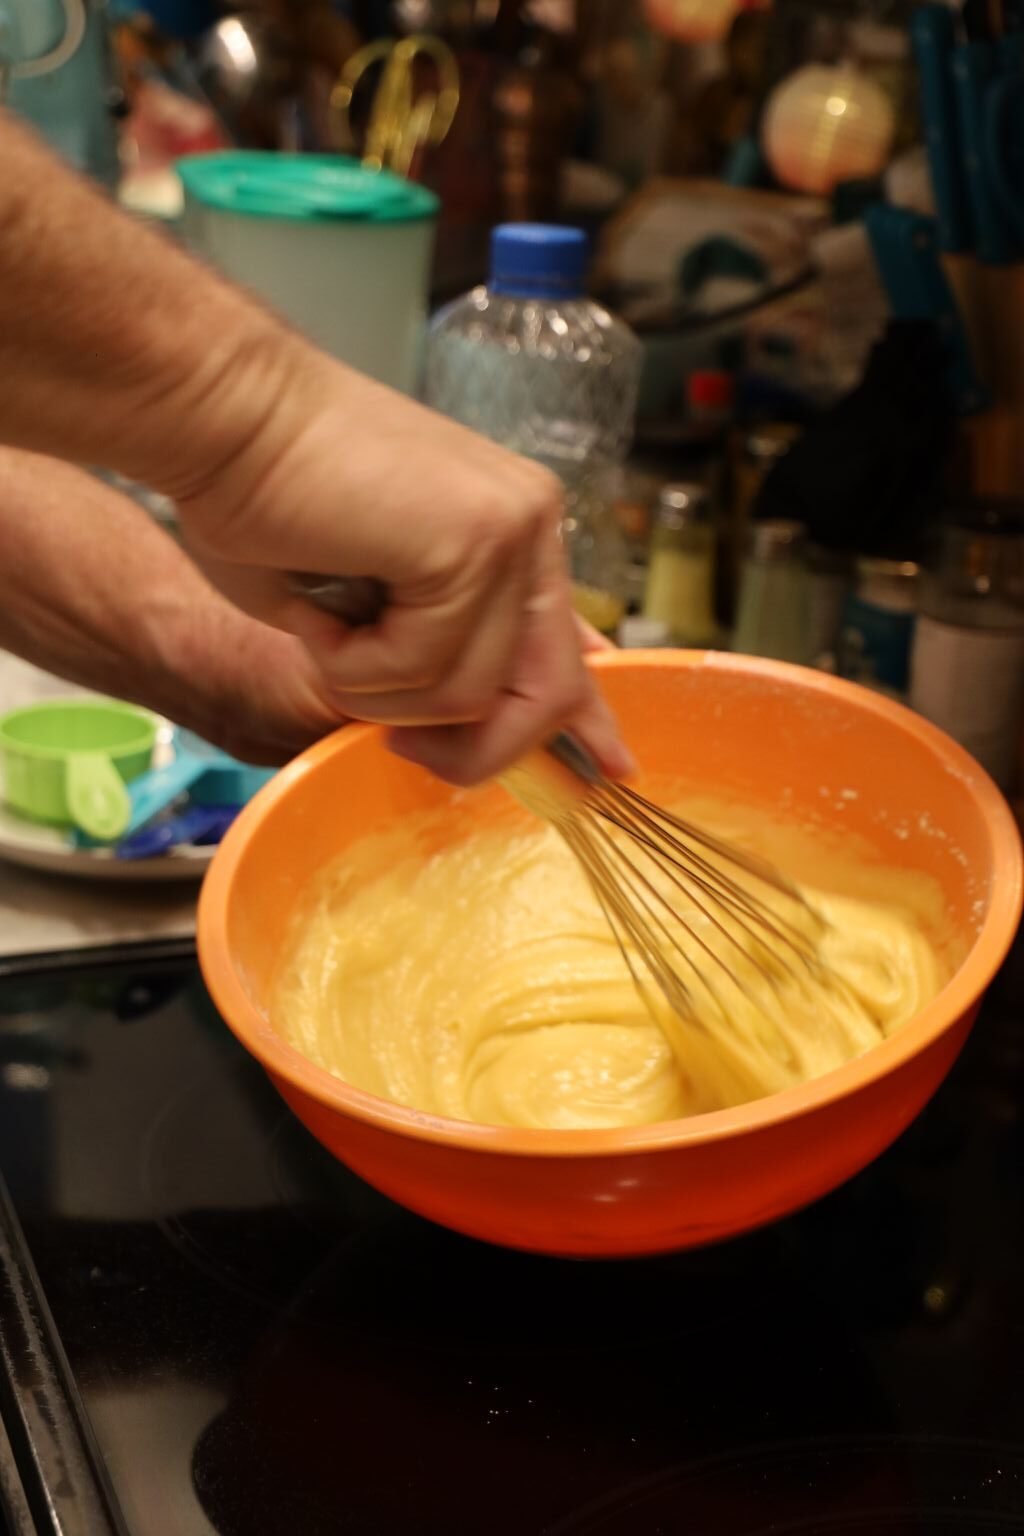
Whisk the ingredients together.
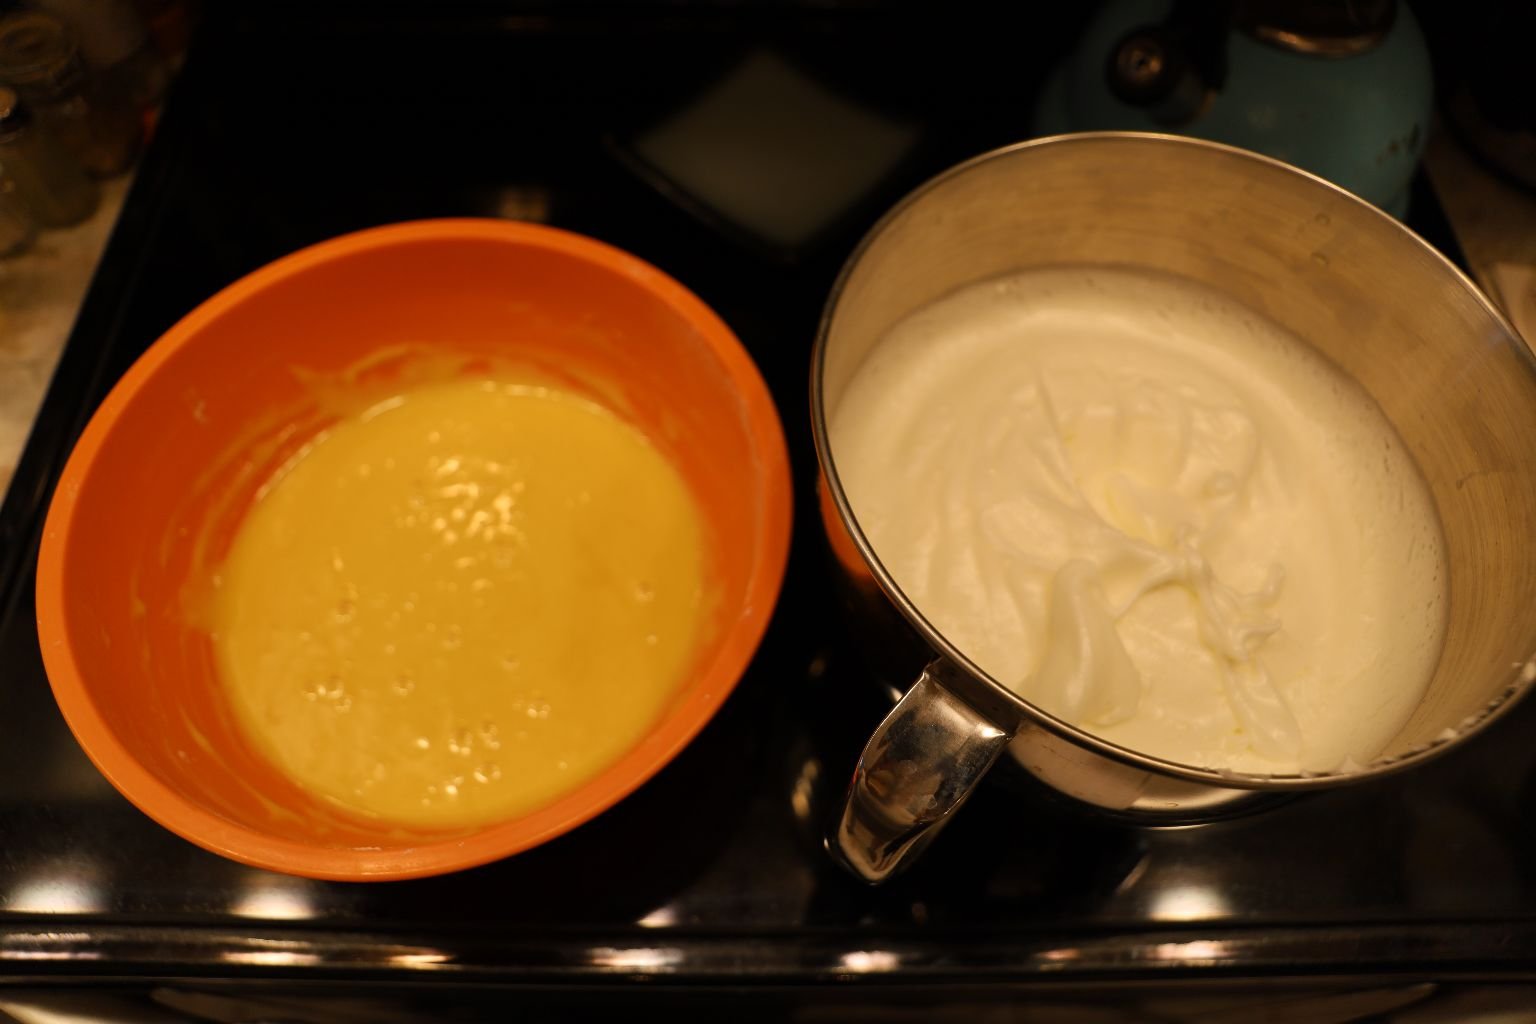
Shown are the cake mixture and the egg whites.
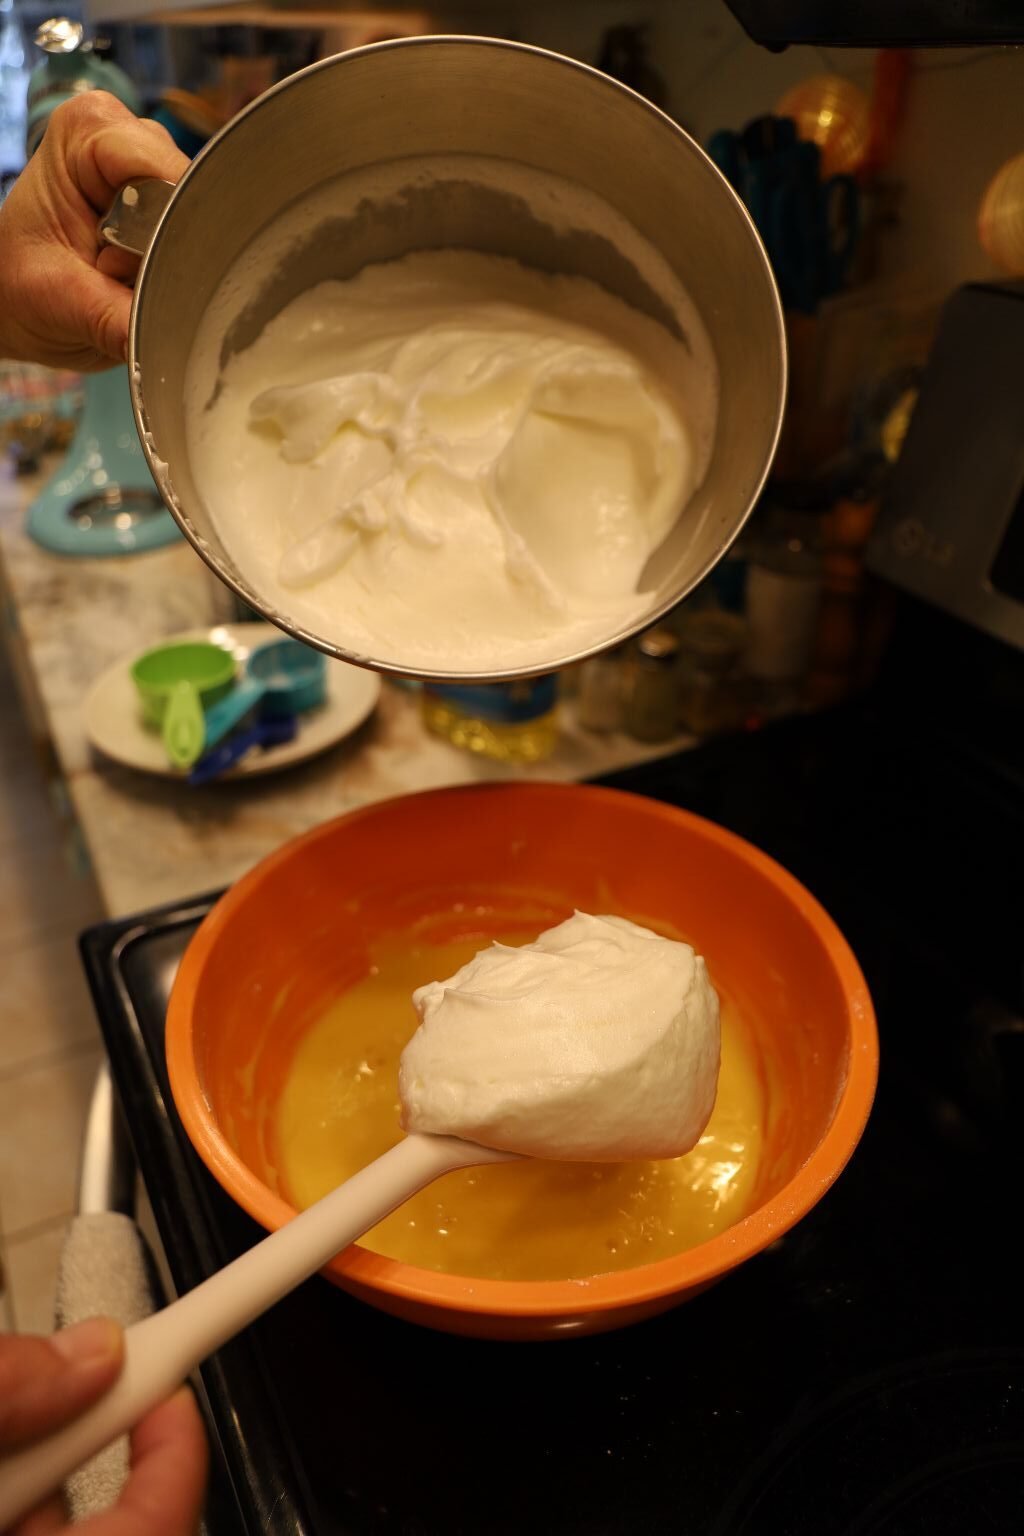
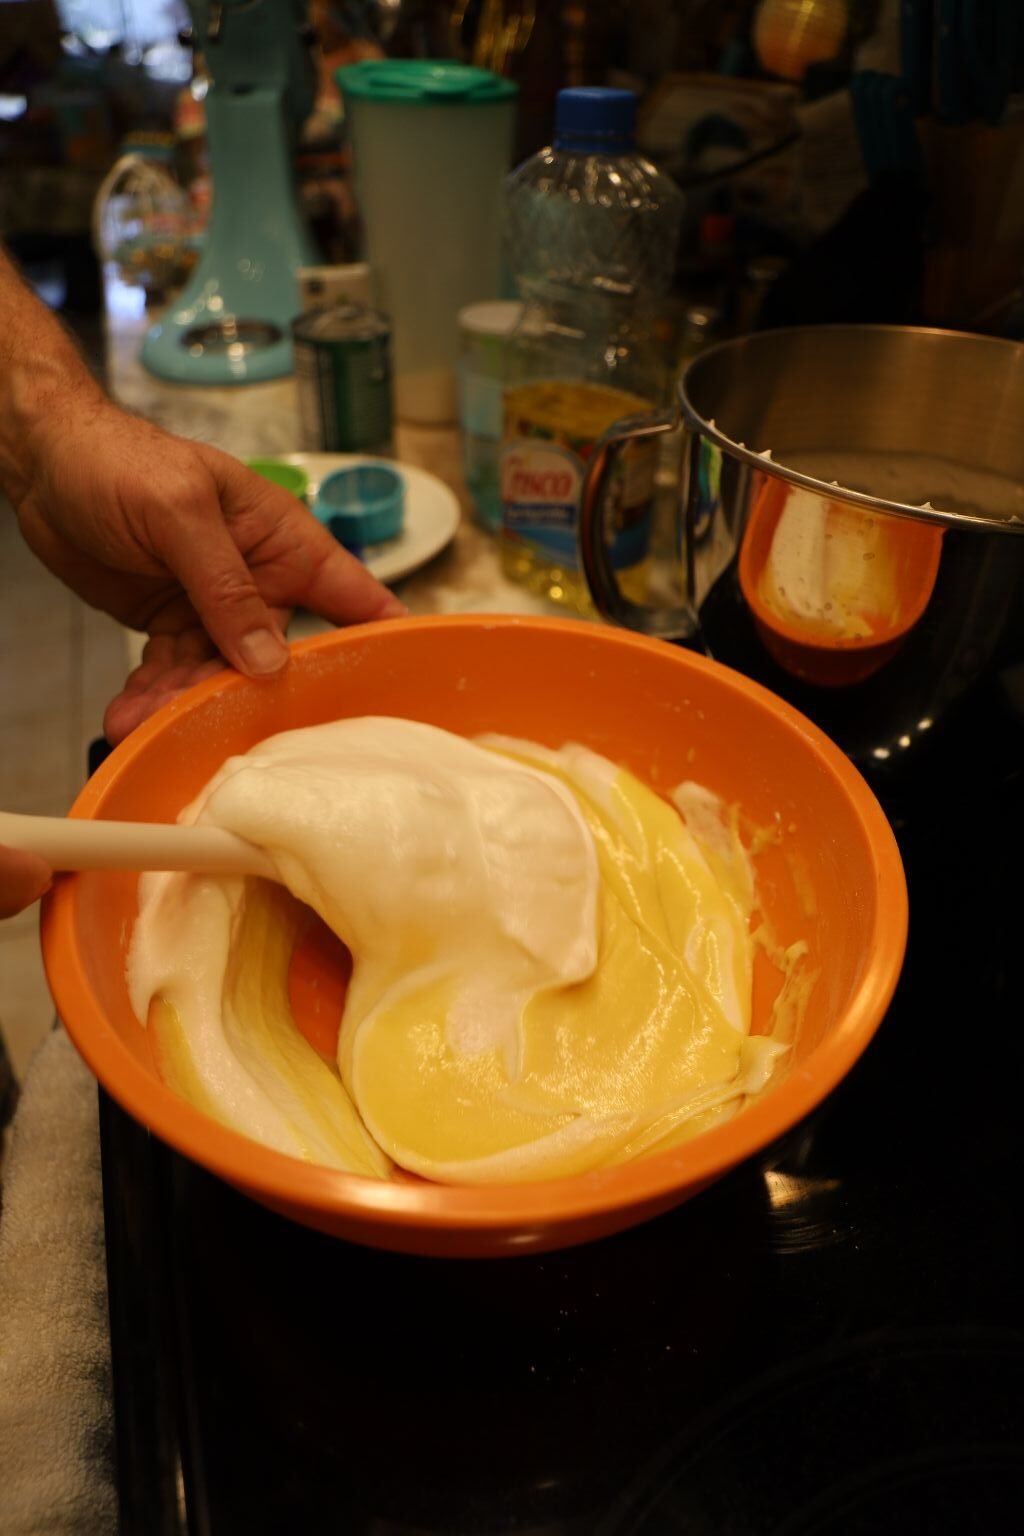
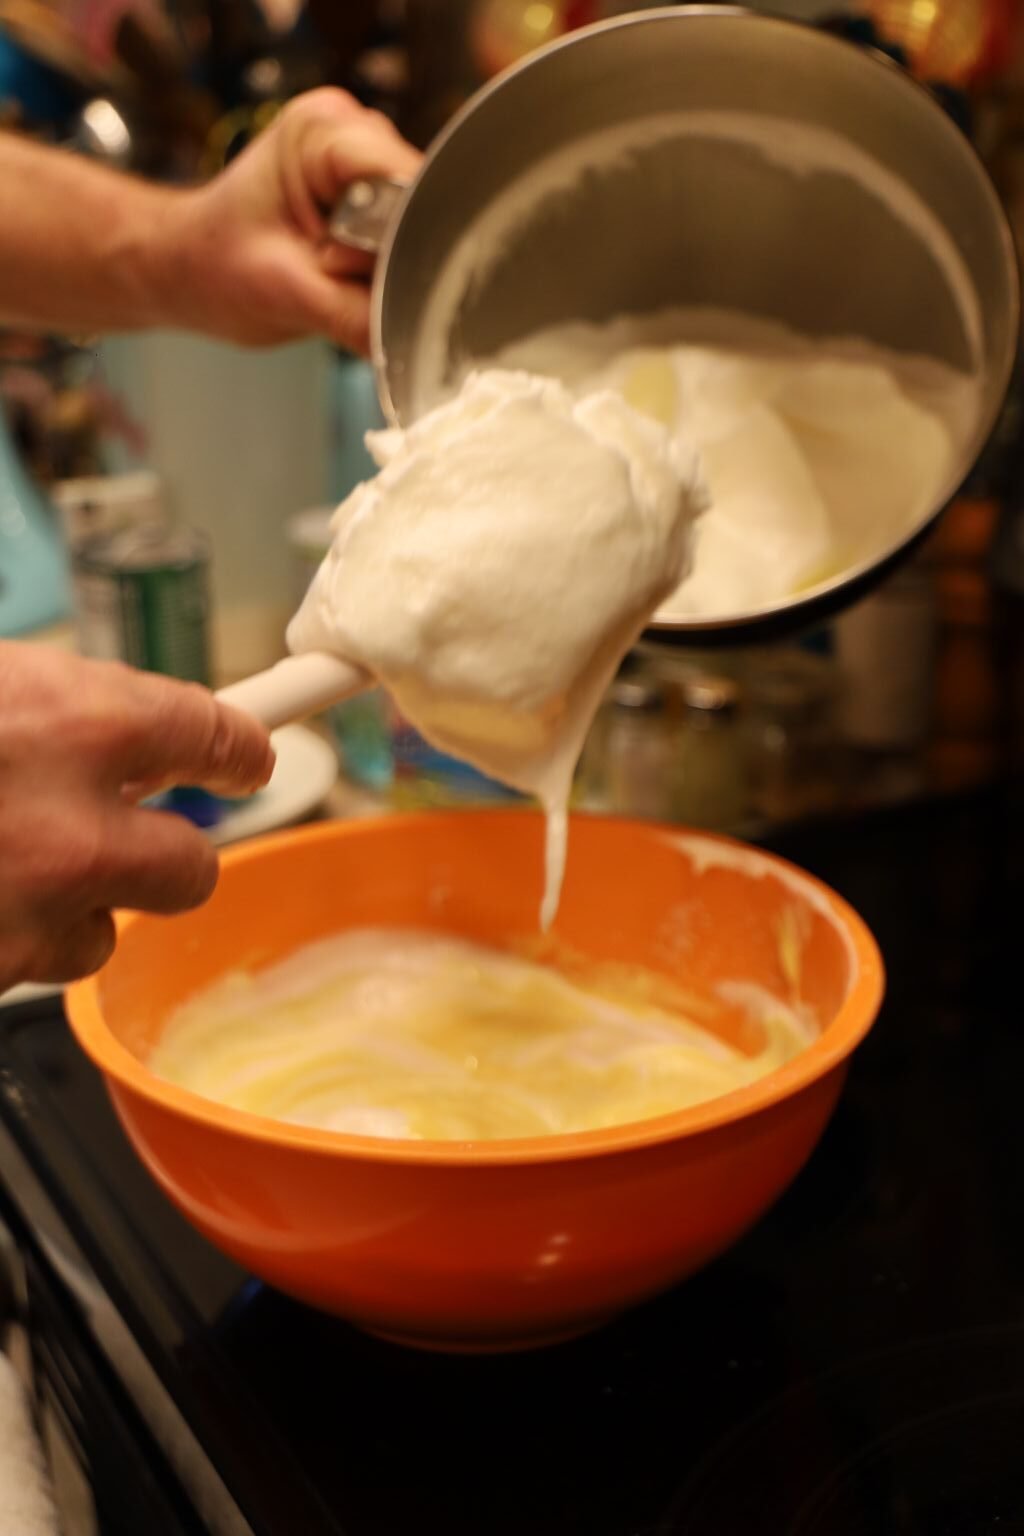
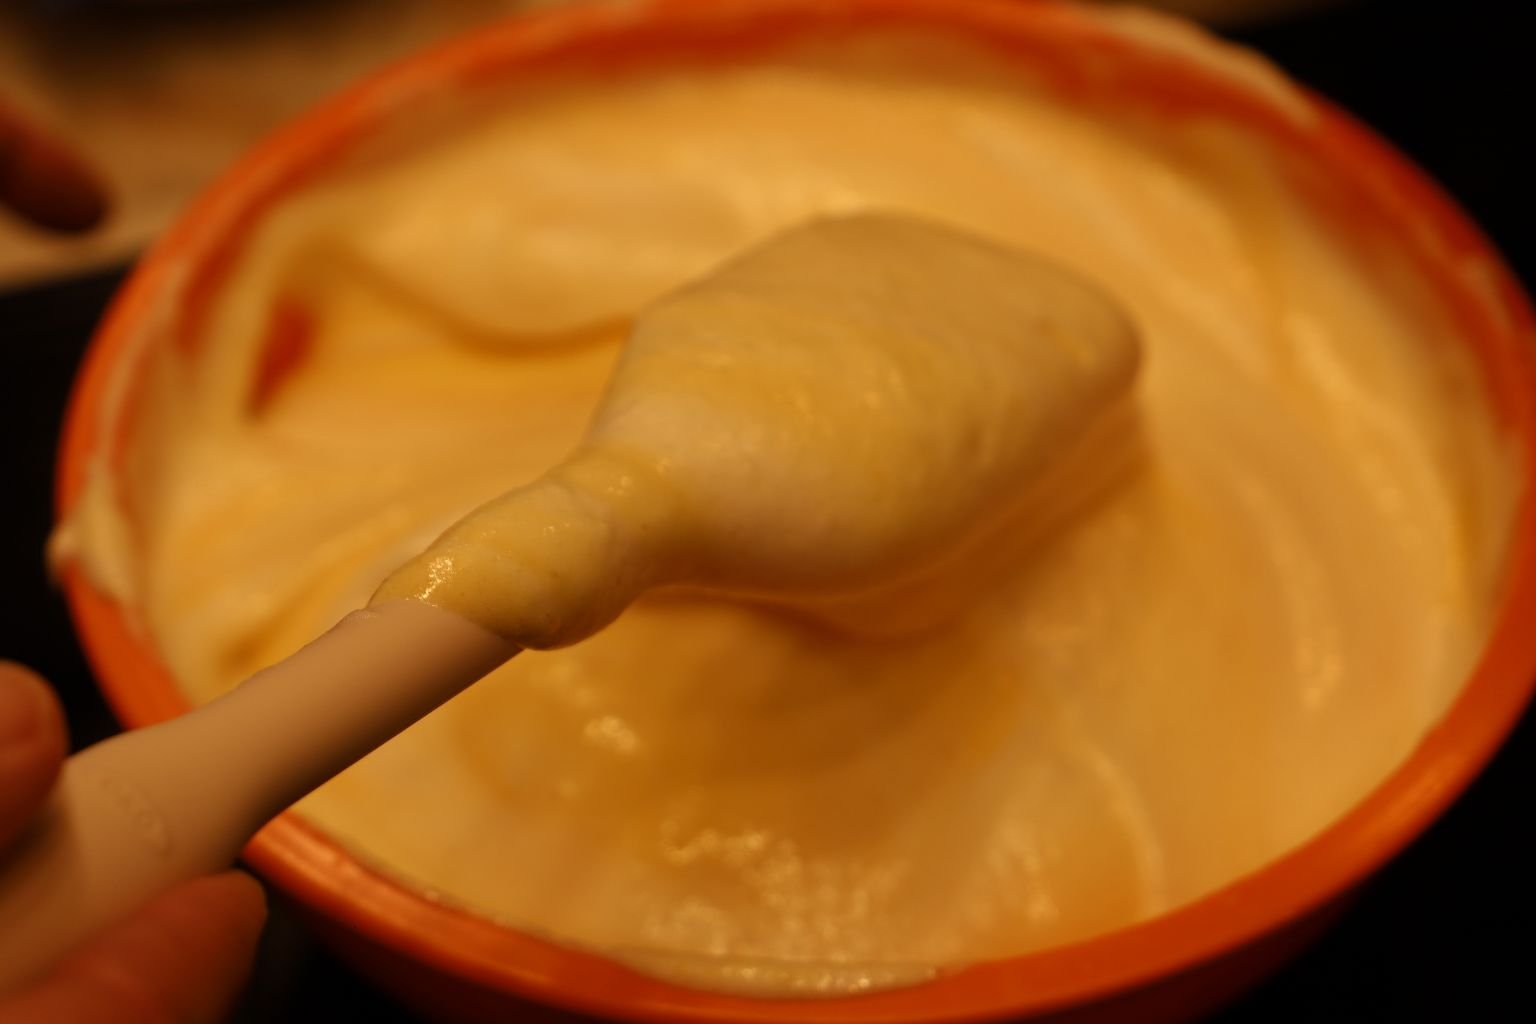

Using a rubber spatula, add a good amount or about 1/3 of your egg whites to the cake mixture. Fold the egg whites into your cake mixture by pushing your rubber spatula point down into the center of the mixture then scraping back up on the sides using a rounding motion and then repeat the process. Fold another 1/3 of your egg whites then the last 3rd until all of the egg whites are incorporated into the cake mixture.
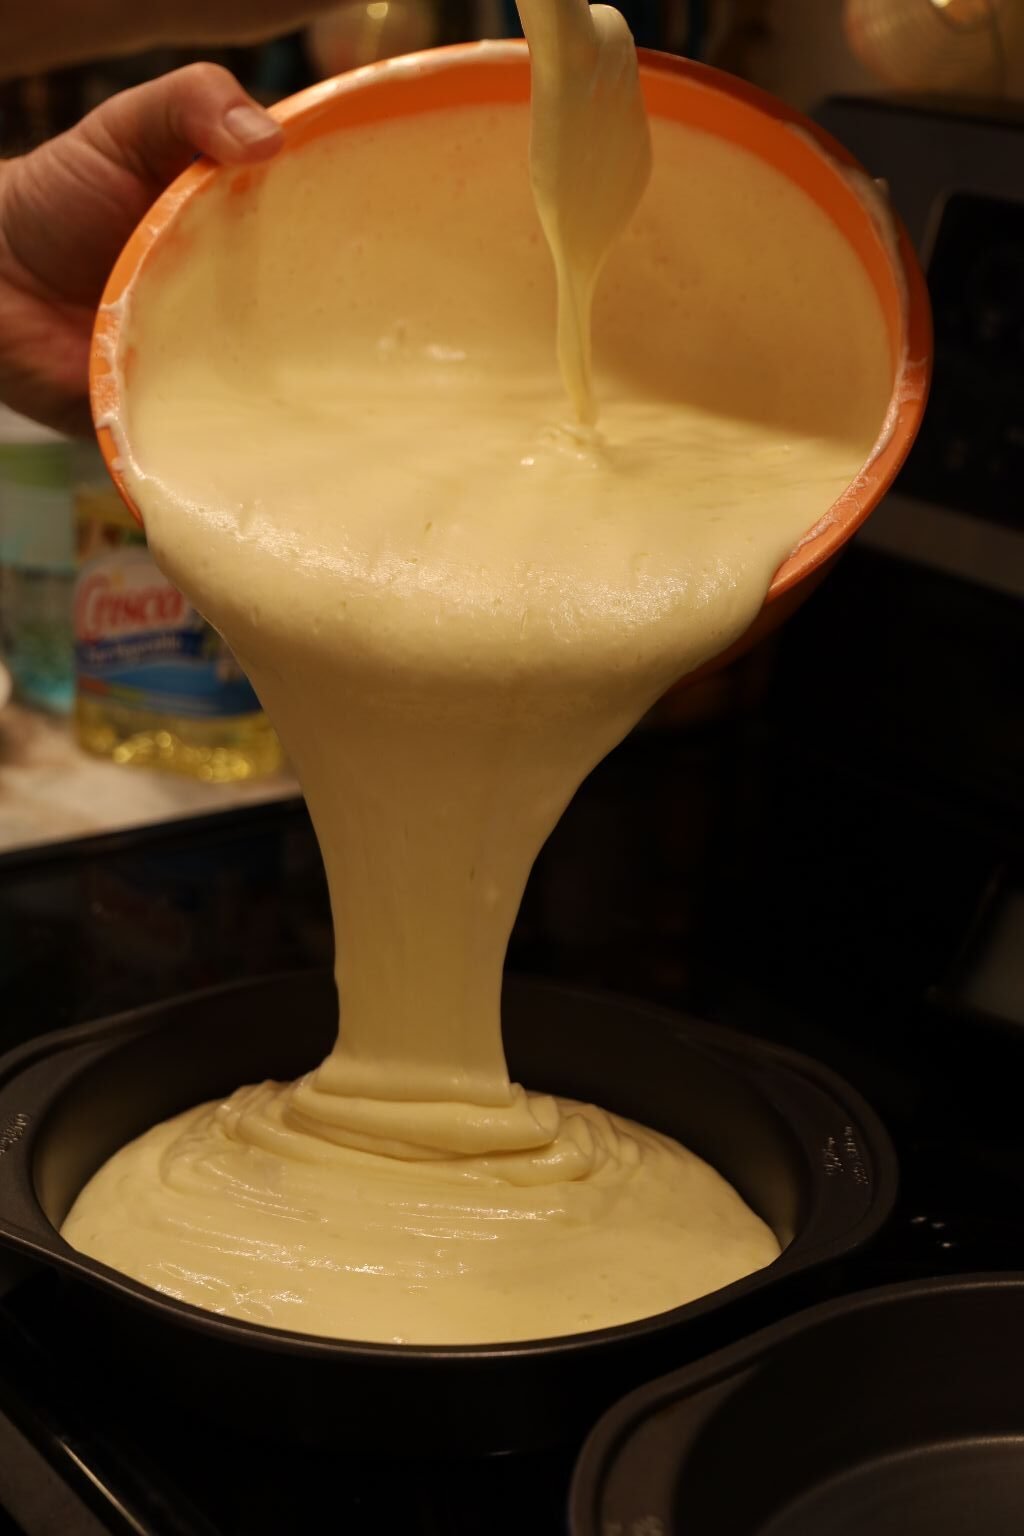
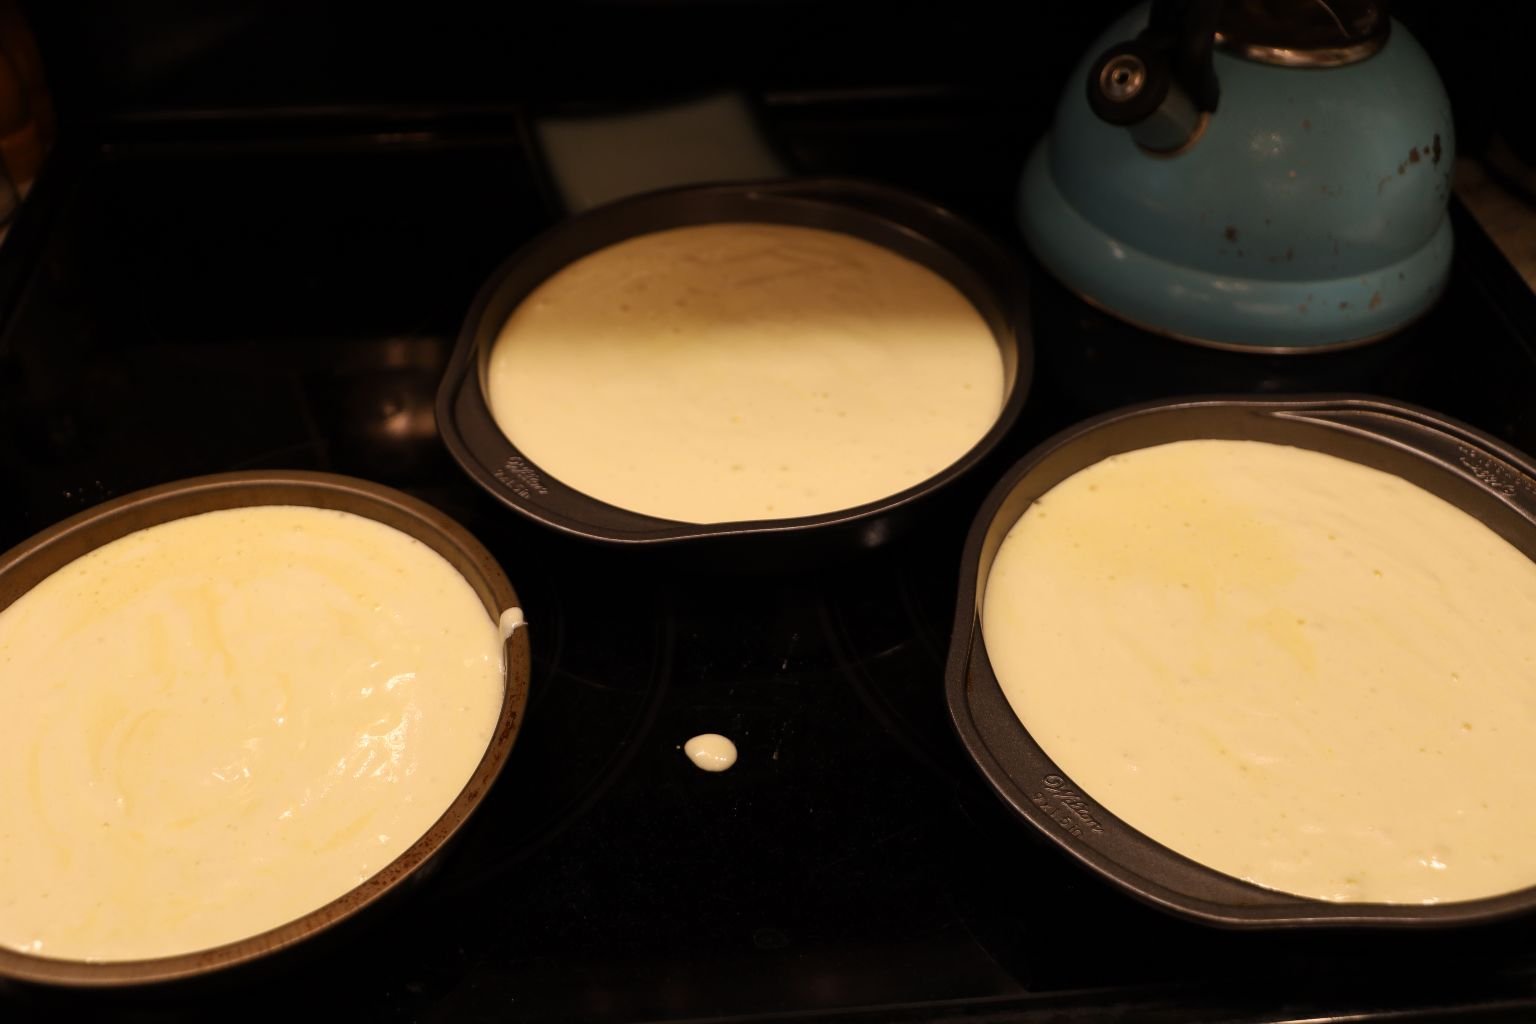
Preheat your oven to 350’F. Pour this mixture into a greased 13 x 9 x 2 inch baking pan. In this recipe, we used three 9 x 1/2 inch round cake pans. We also used ungreased pans and had difficulty removing the cakes. (We followed the vintage recipe and it said not to grease them.)
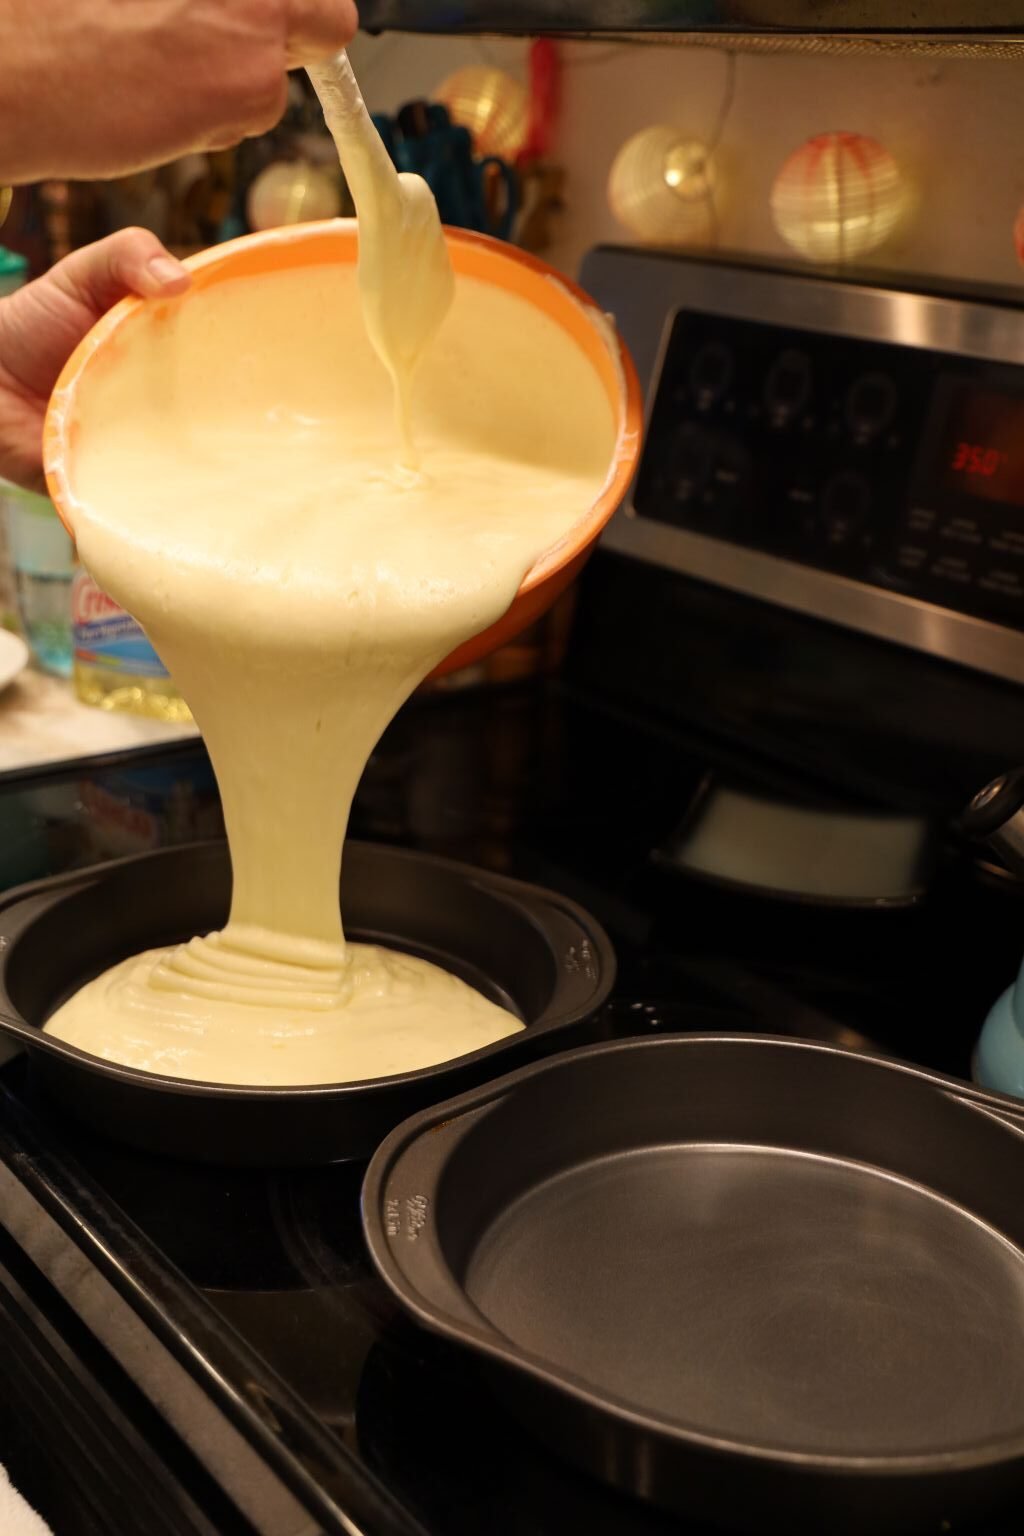
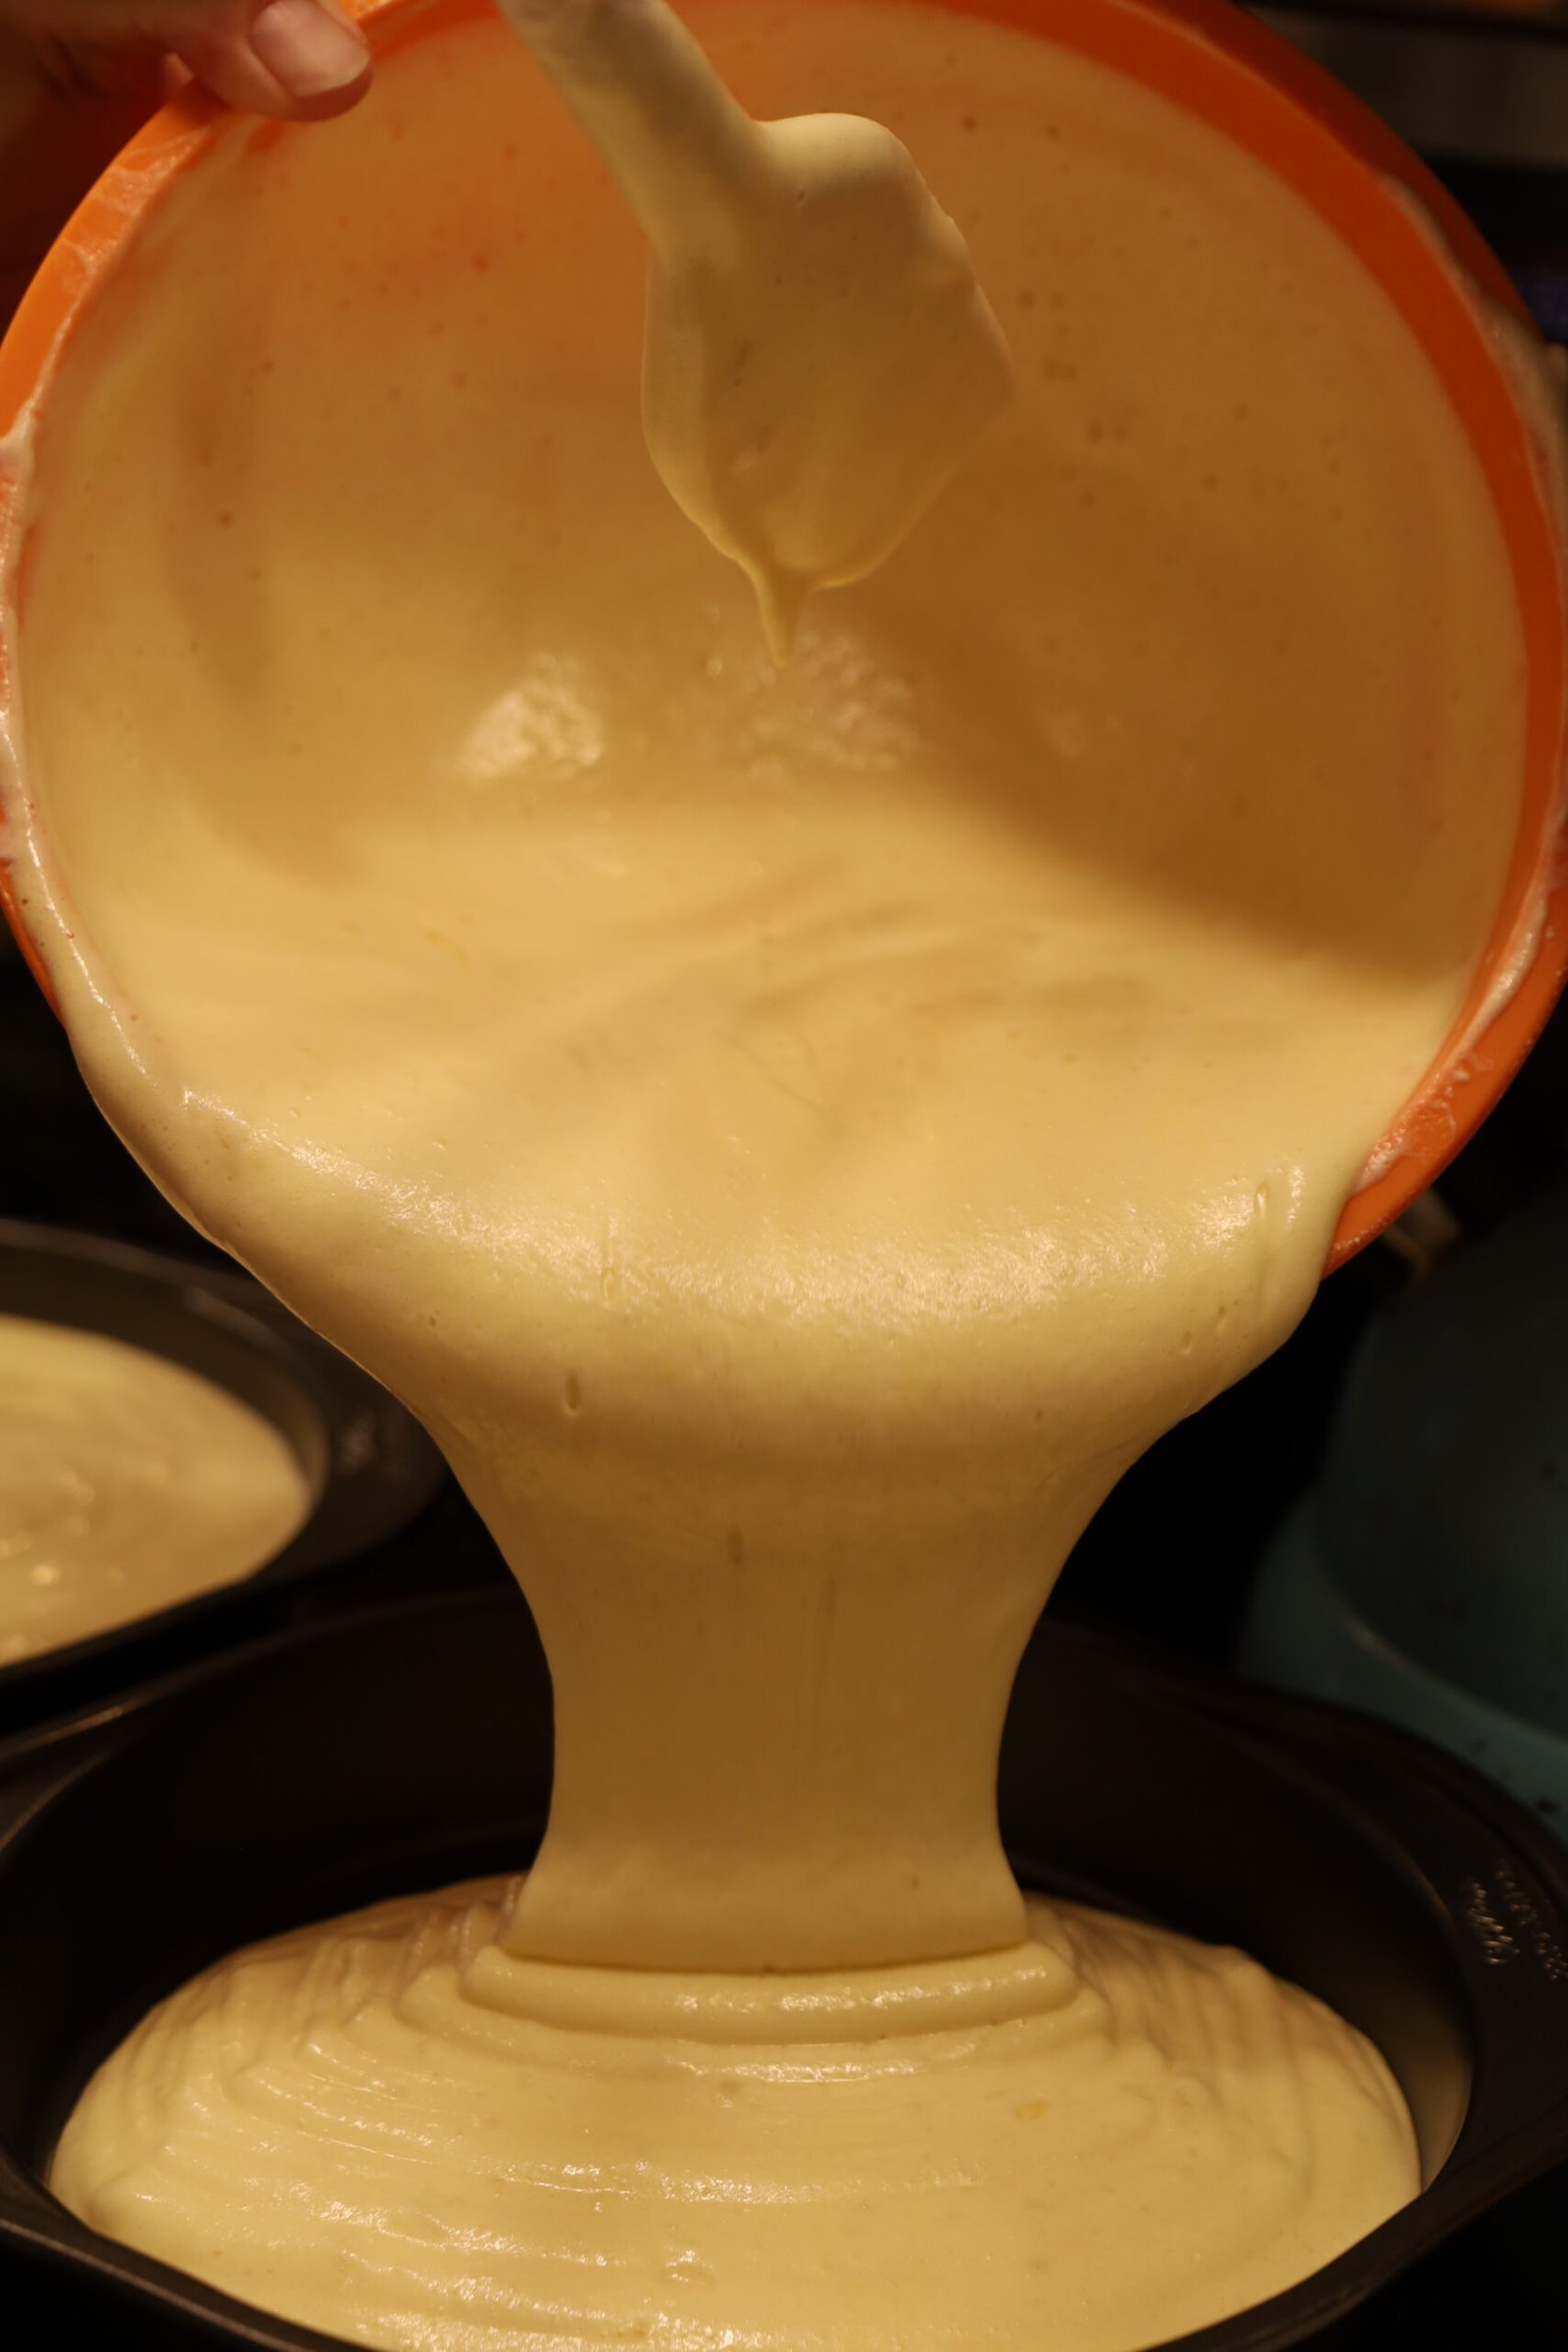
As best you can, evenly pour the cake mixture into each pan.
——————————————————————————————
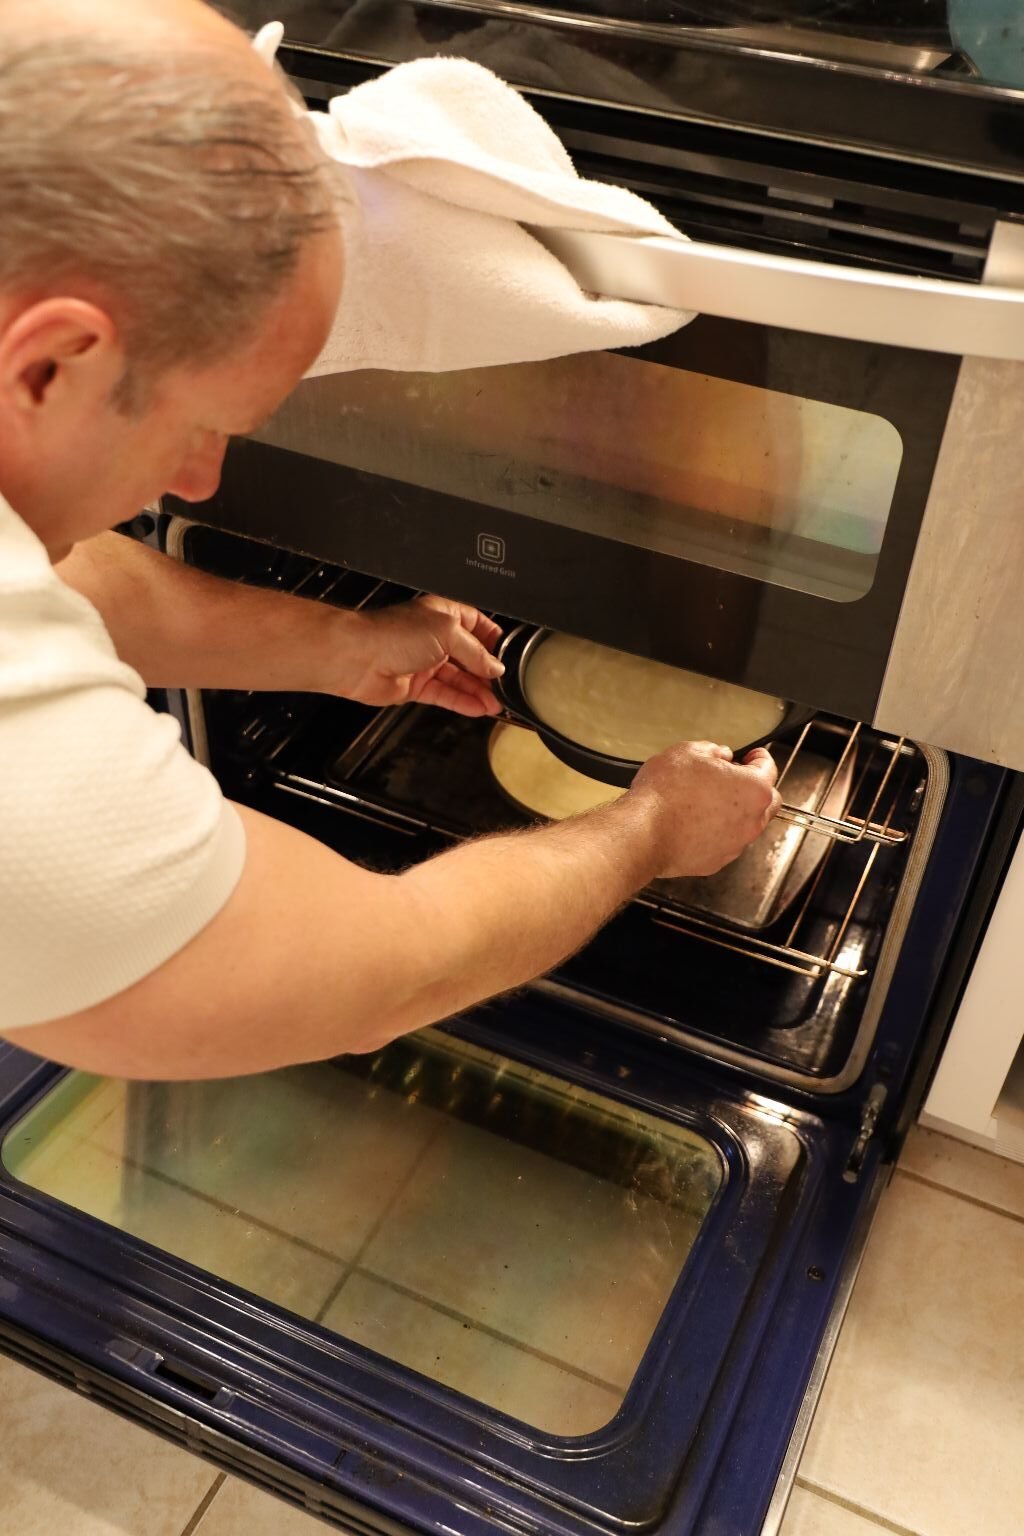
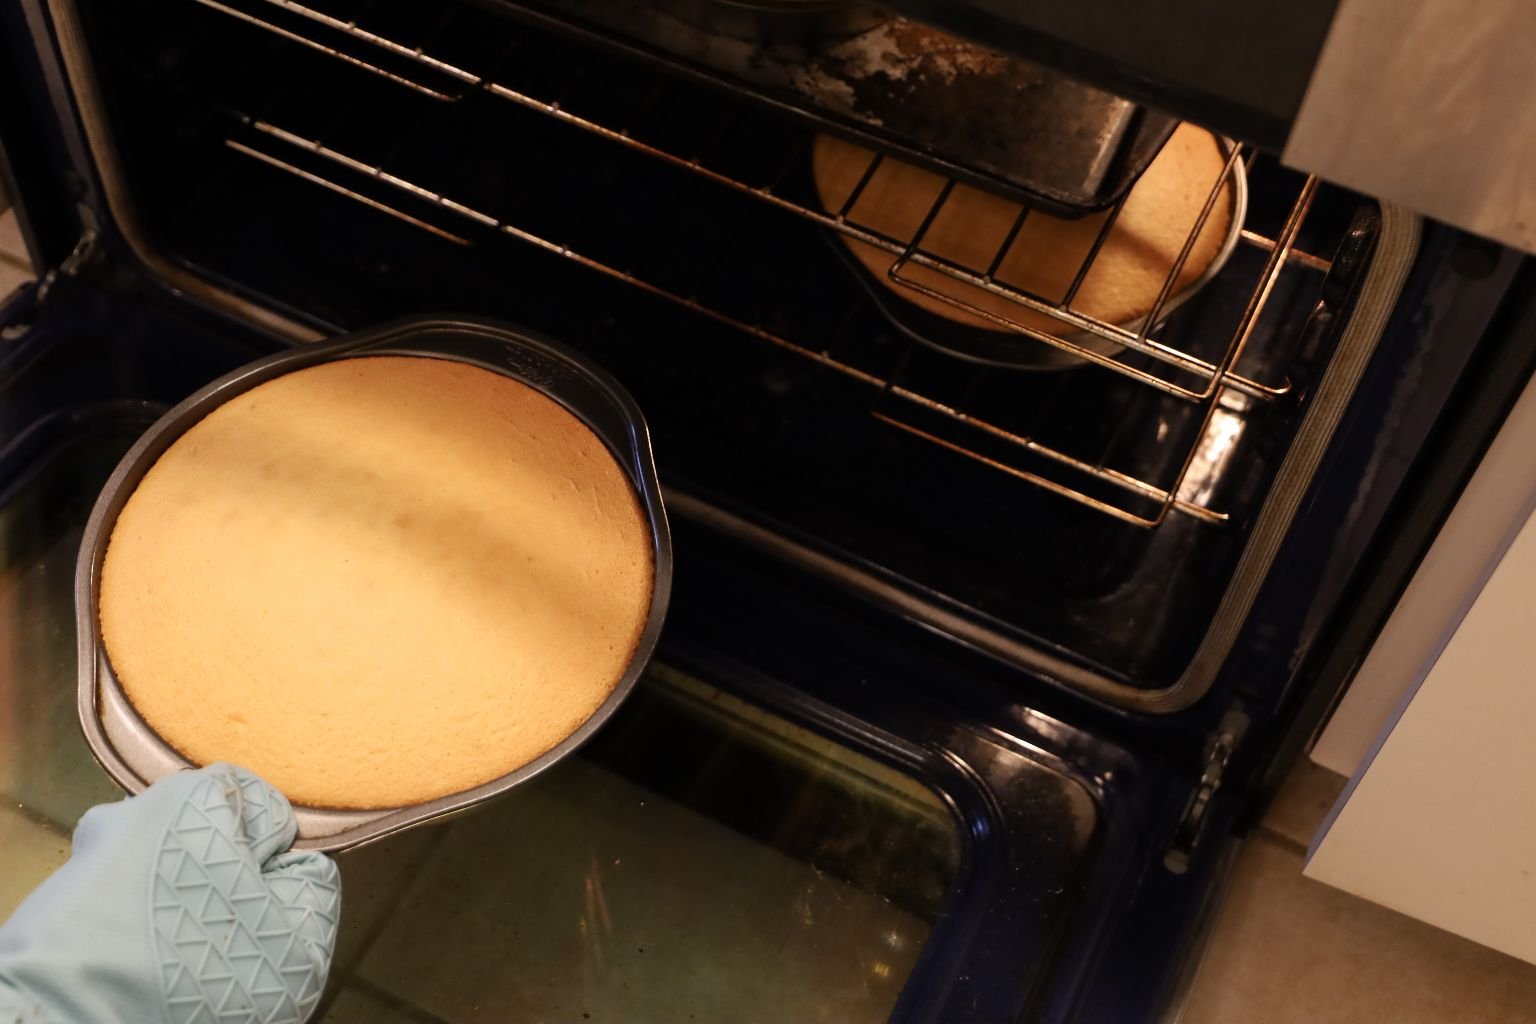
Place all three pans into your oven and bake them for about 35 – 40 min. or until done.
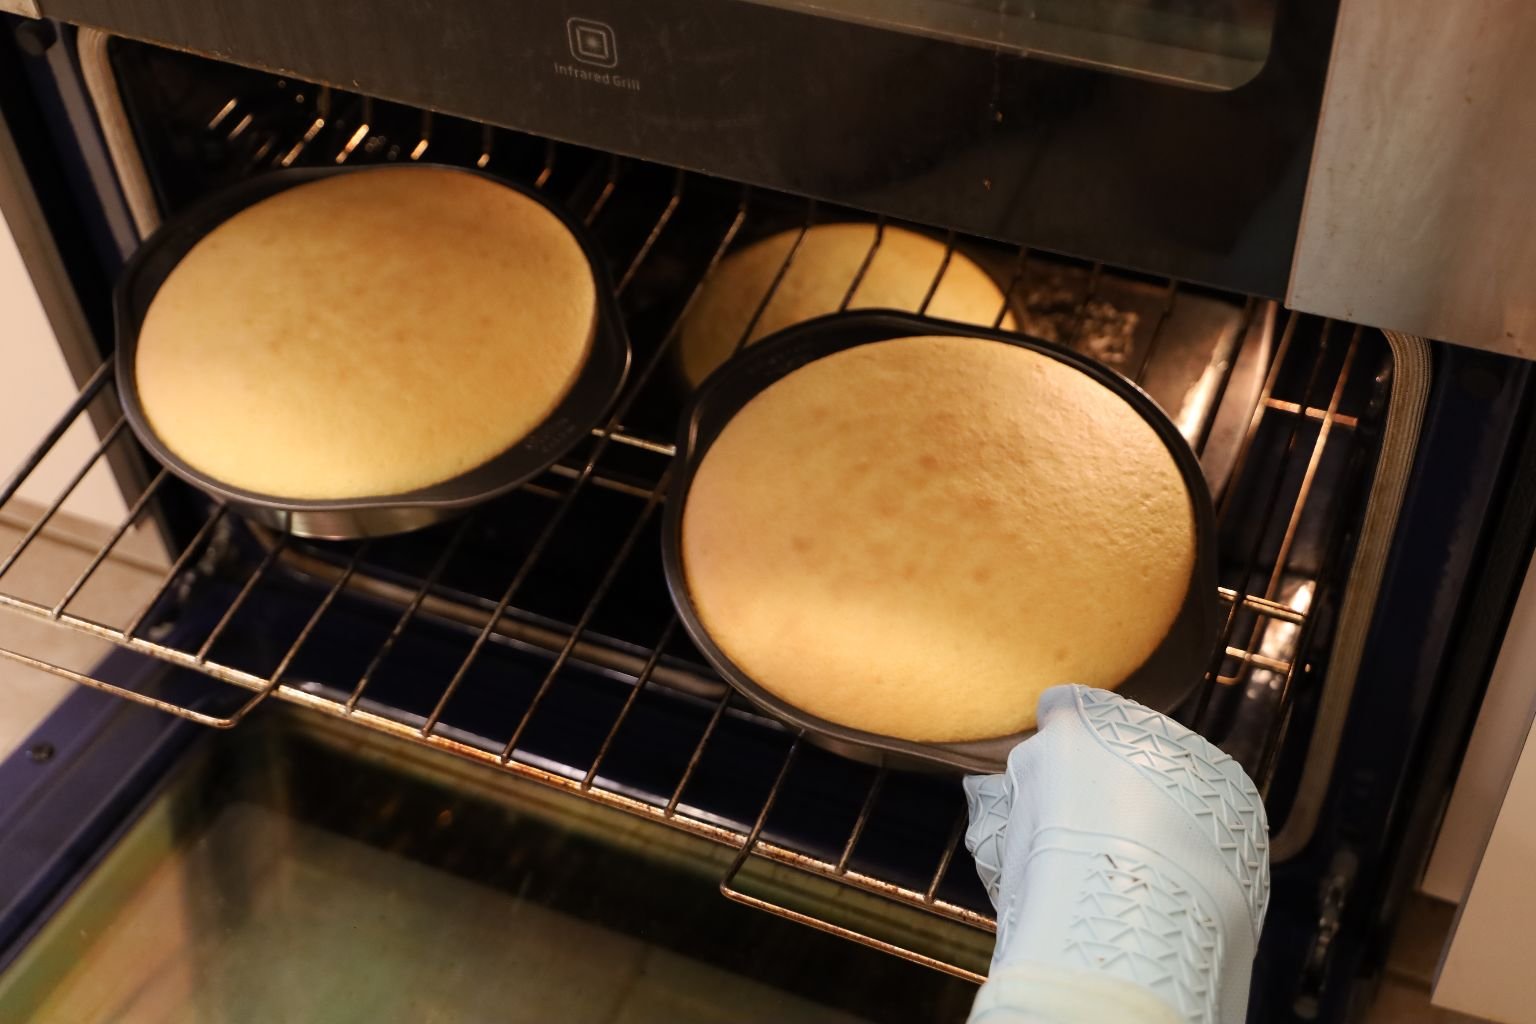
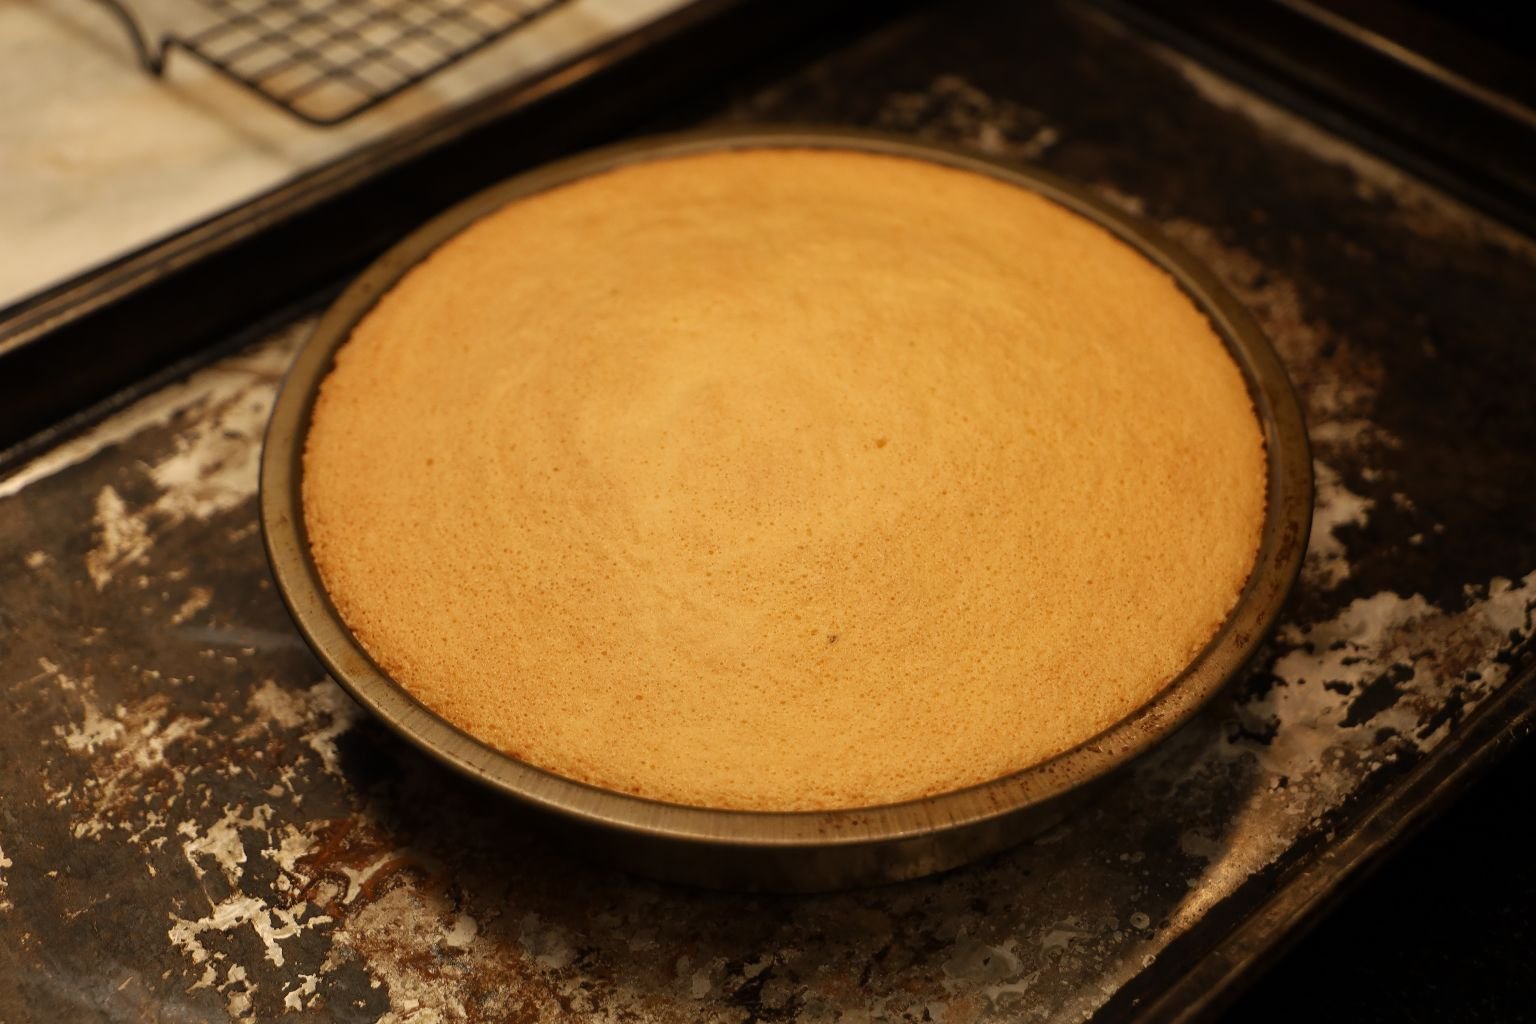
You can test the cake’s doneness by using a toothpick! Push the toothpick into the cake. If the toothpick come out clean it is done. If the toothpick comes out with batter attached, the cake needs to be baked longer.
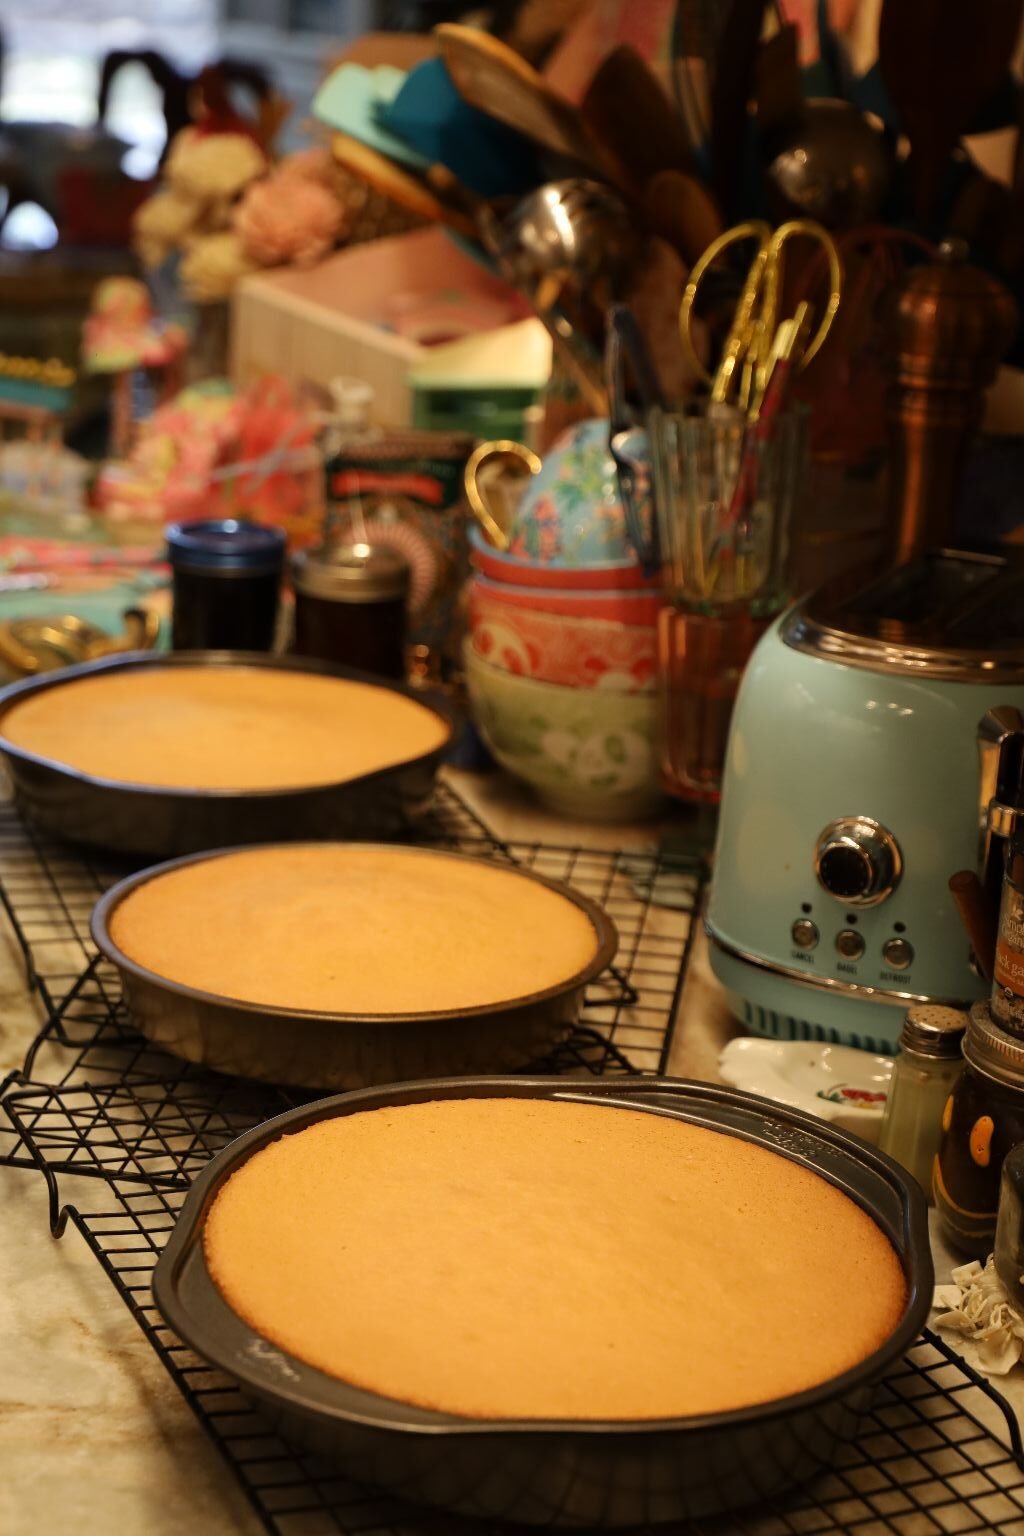
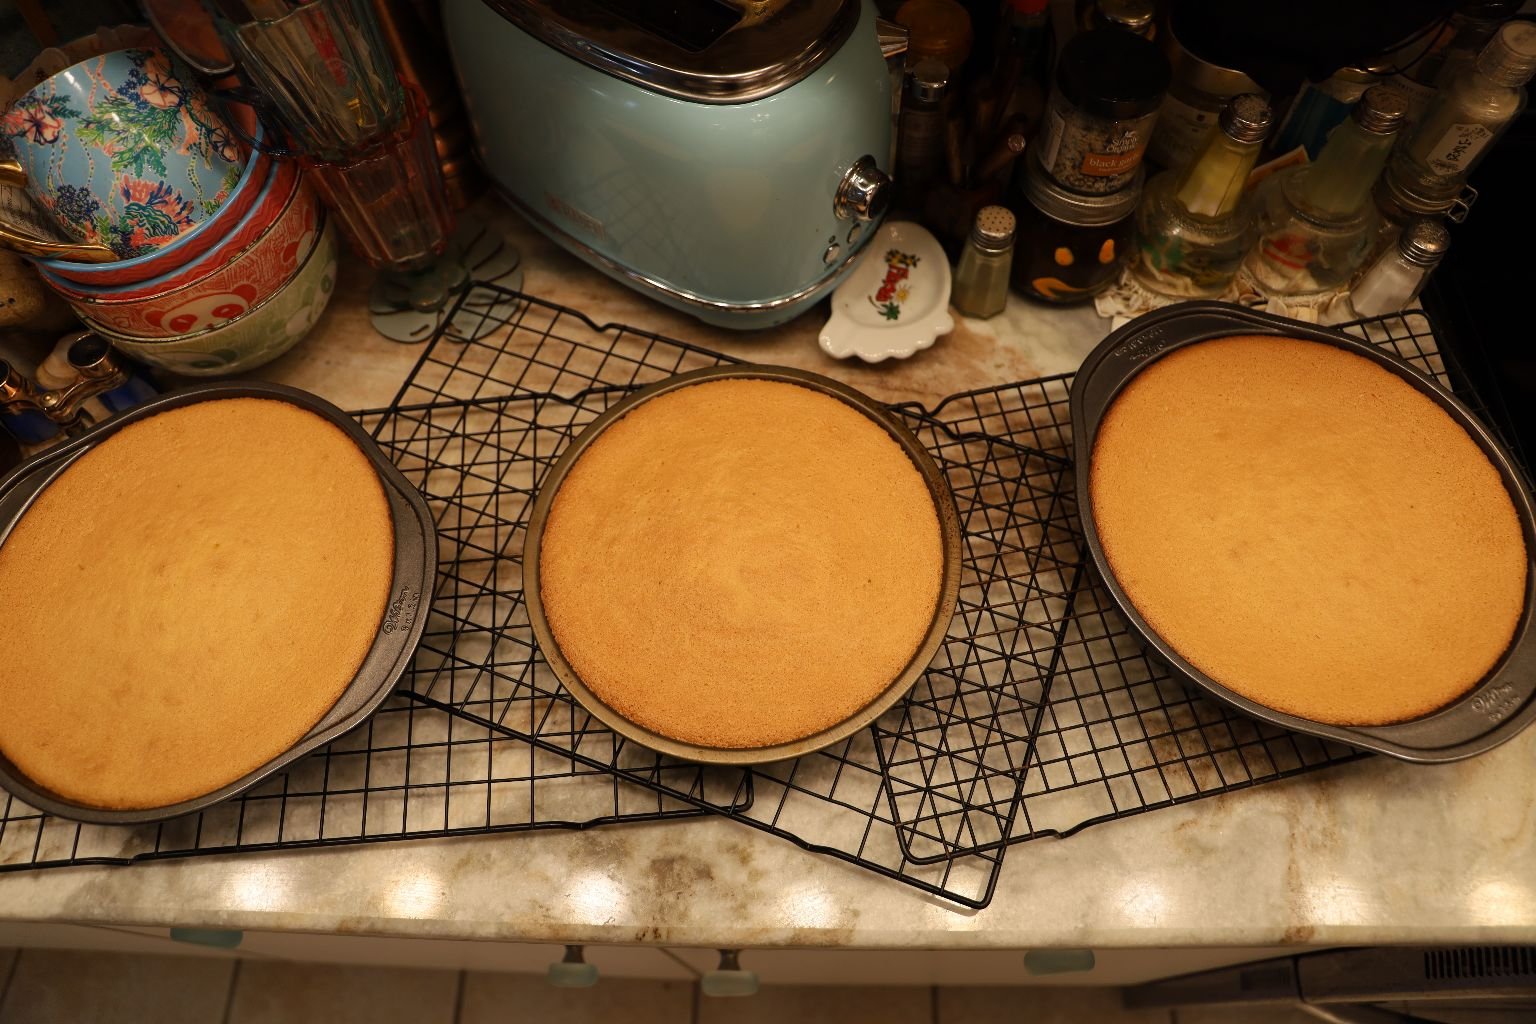
We let the cakes cool on top of wire racks to.
Inverting the cakes on the wire racks might help the cakes removal from the pan.
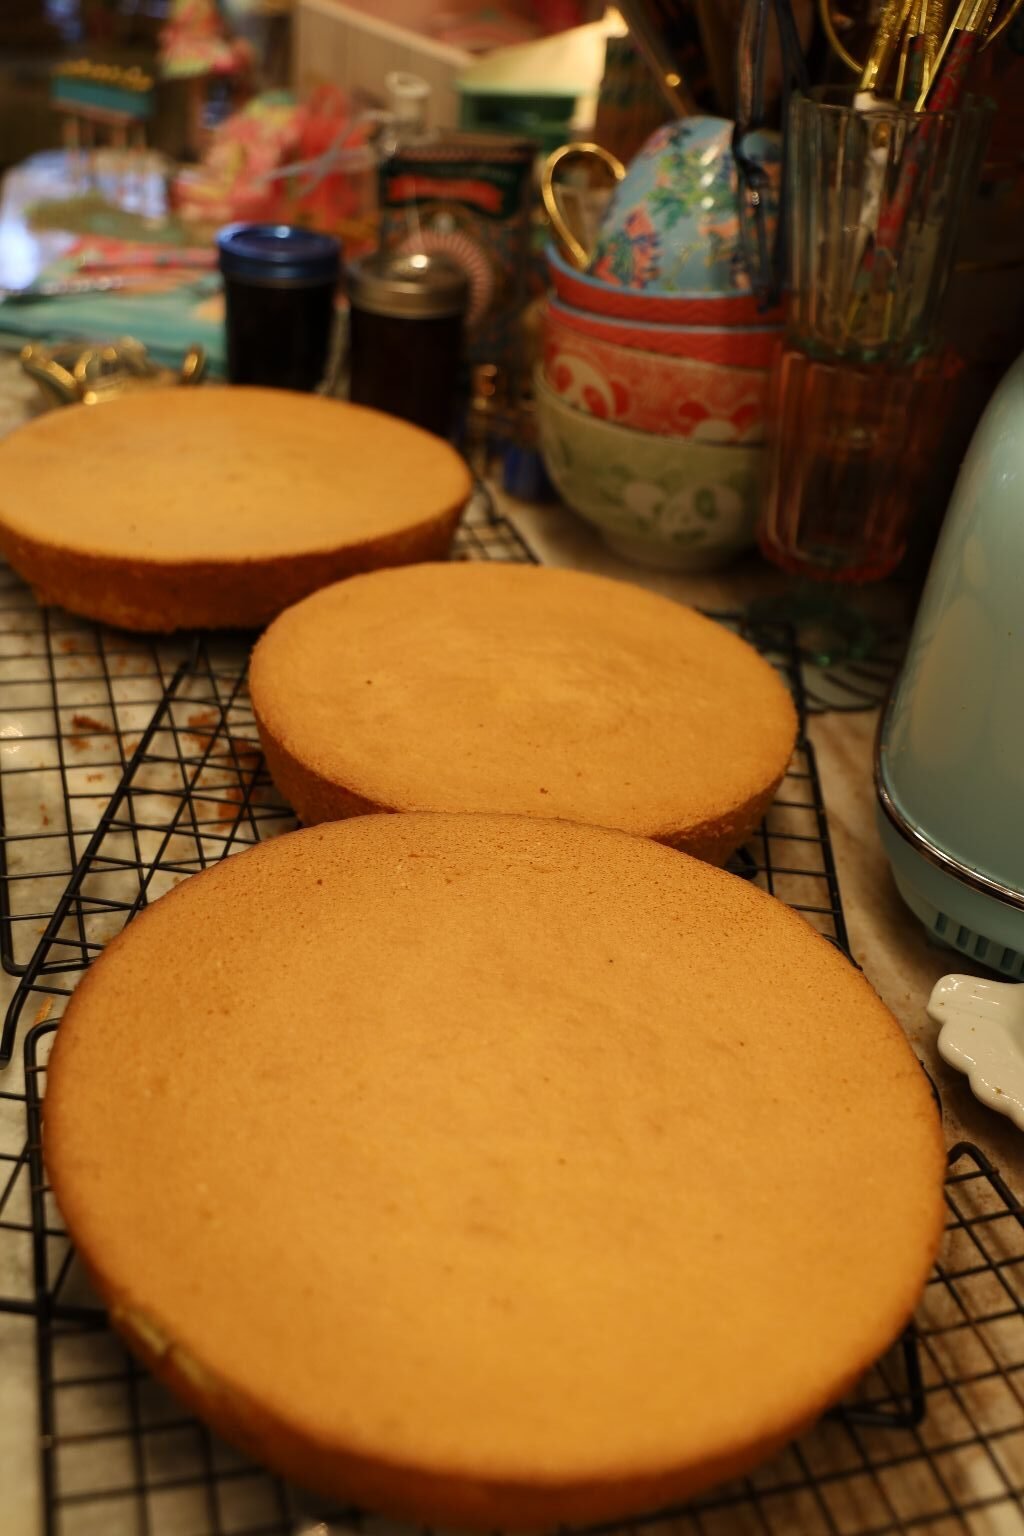
While The Cakes Are Cooling…
——————————————————————————————
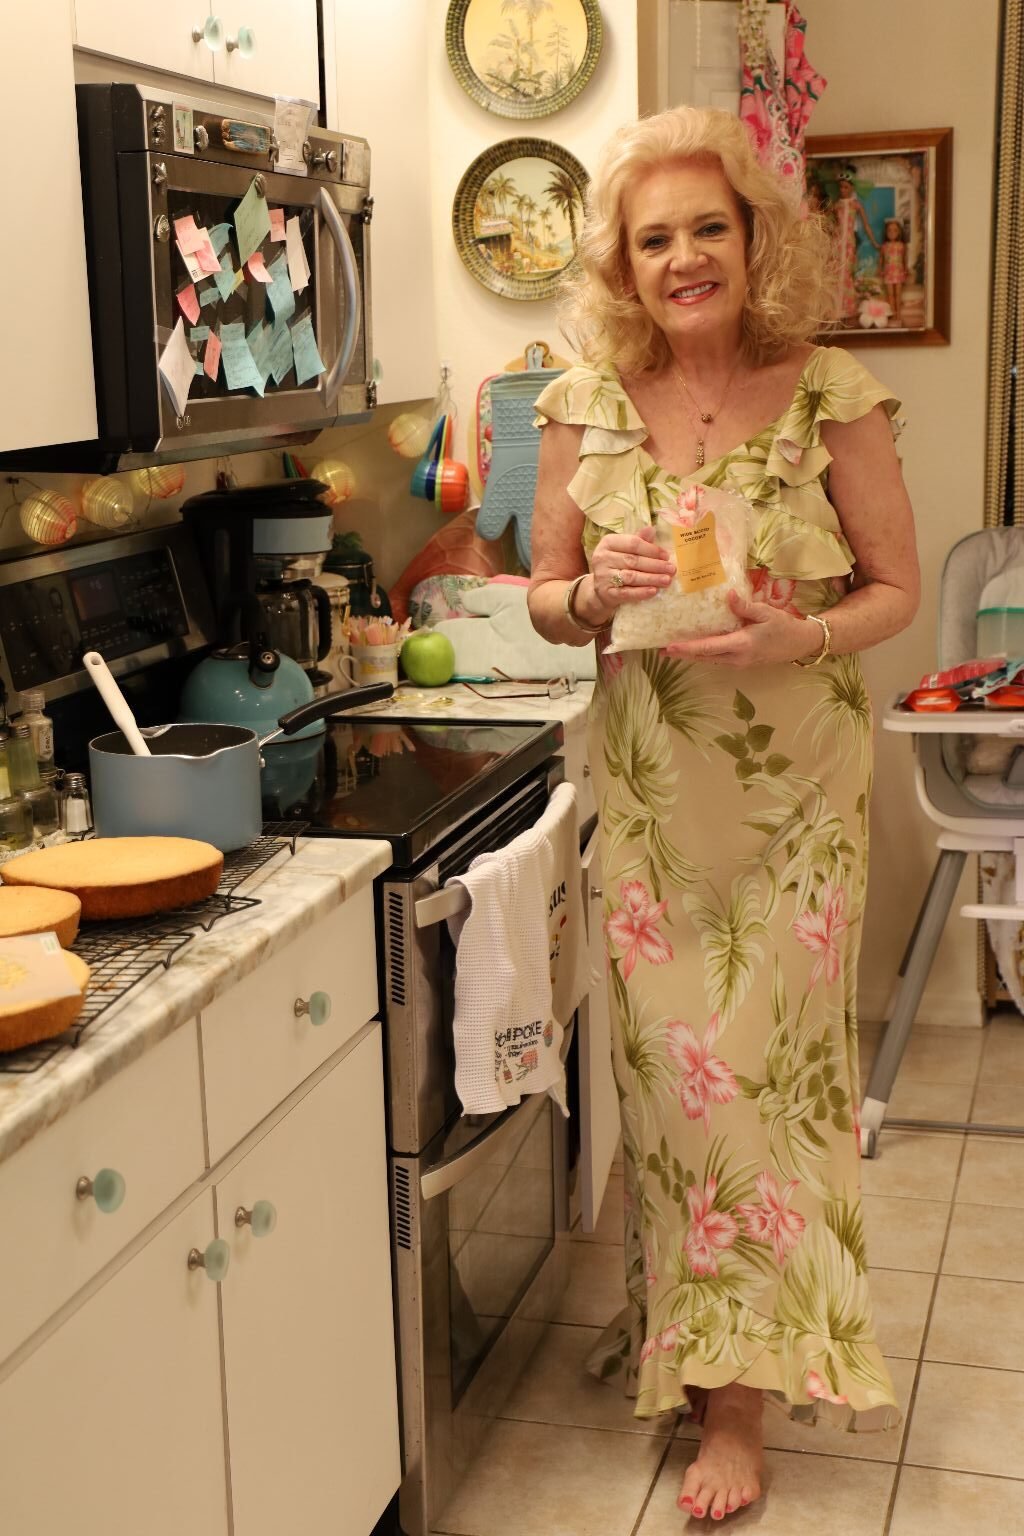
Taking My Wedding Rehearsal Dinner Luau Dress On A Test Drive Through The Kitchen
————————————————————————————————–
Haupia Frosting
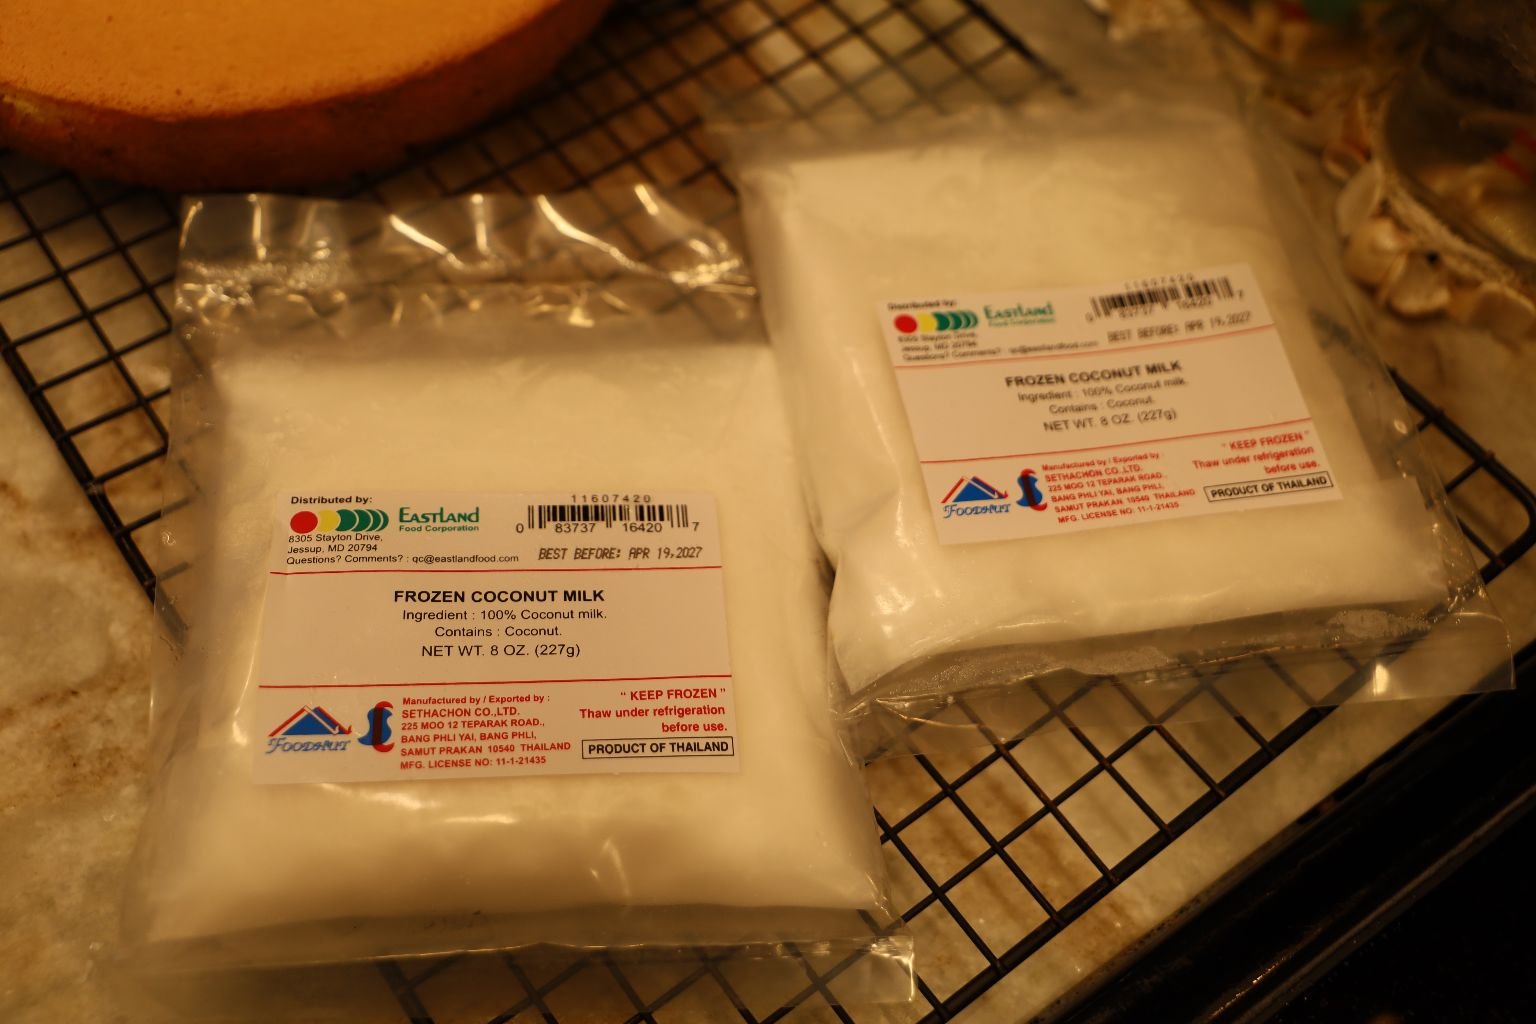
Frozen Coconut Milk
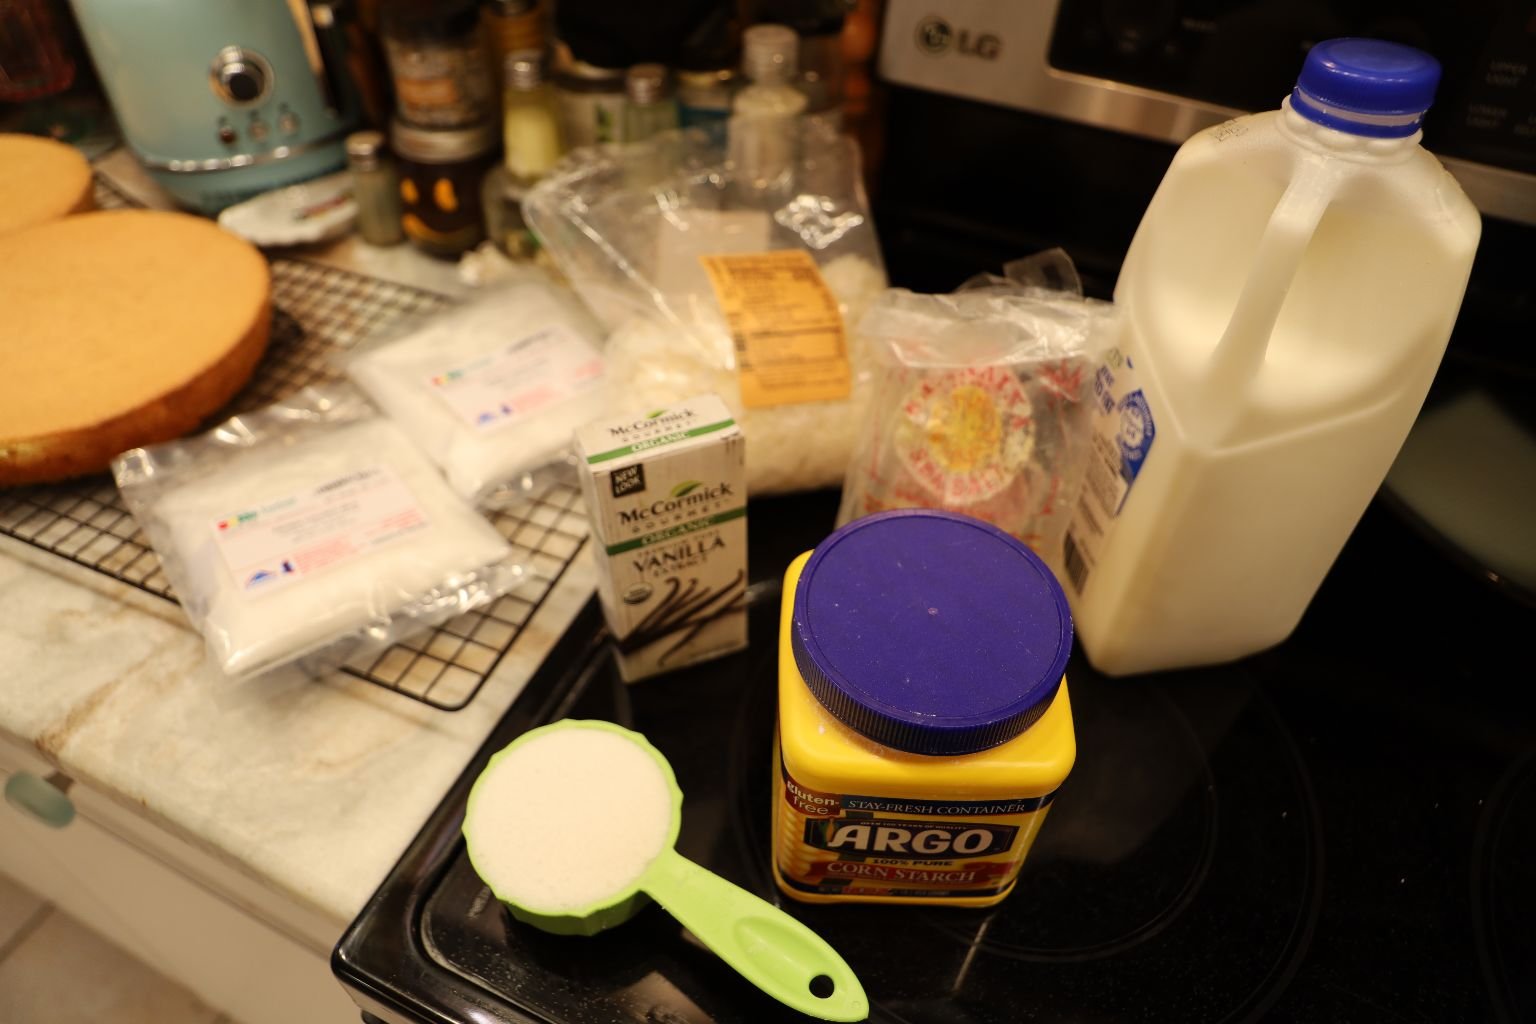
Haupia Frosting Ingredients:
12 ounces Frozen Coconut Milk
2 Cups Milk
1/2 Cup Sugar
1/4 tsp. Salt
6 Tbsp. Cornstarch
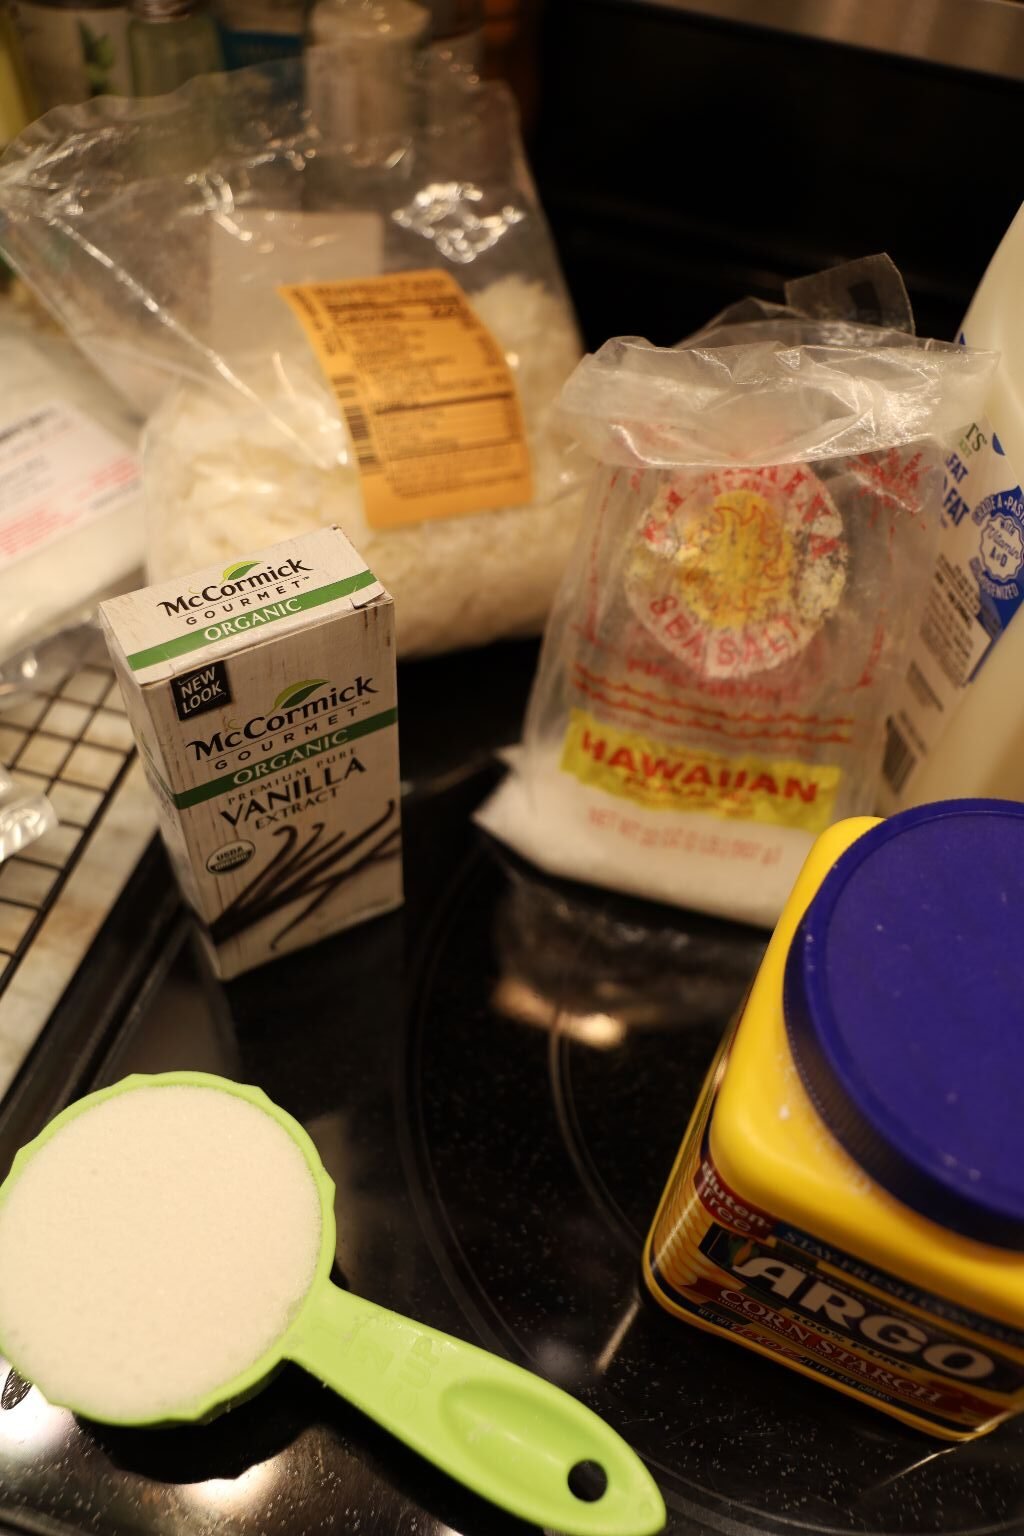
1 1/2 tsp. Vanilla Flavoring
Fresh Shredded Coconut as needed
———————————————————————————-
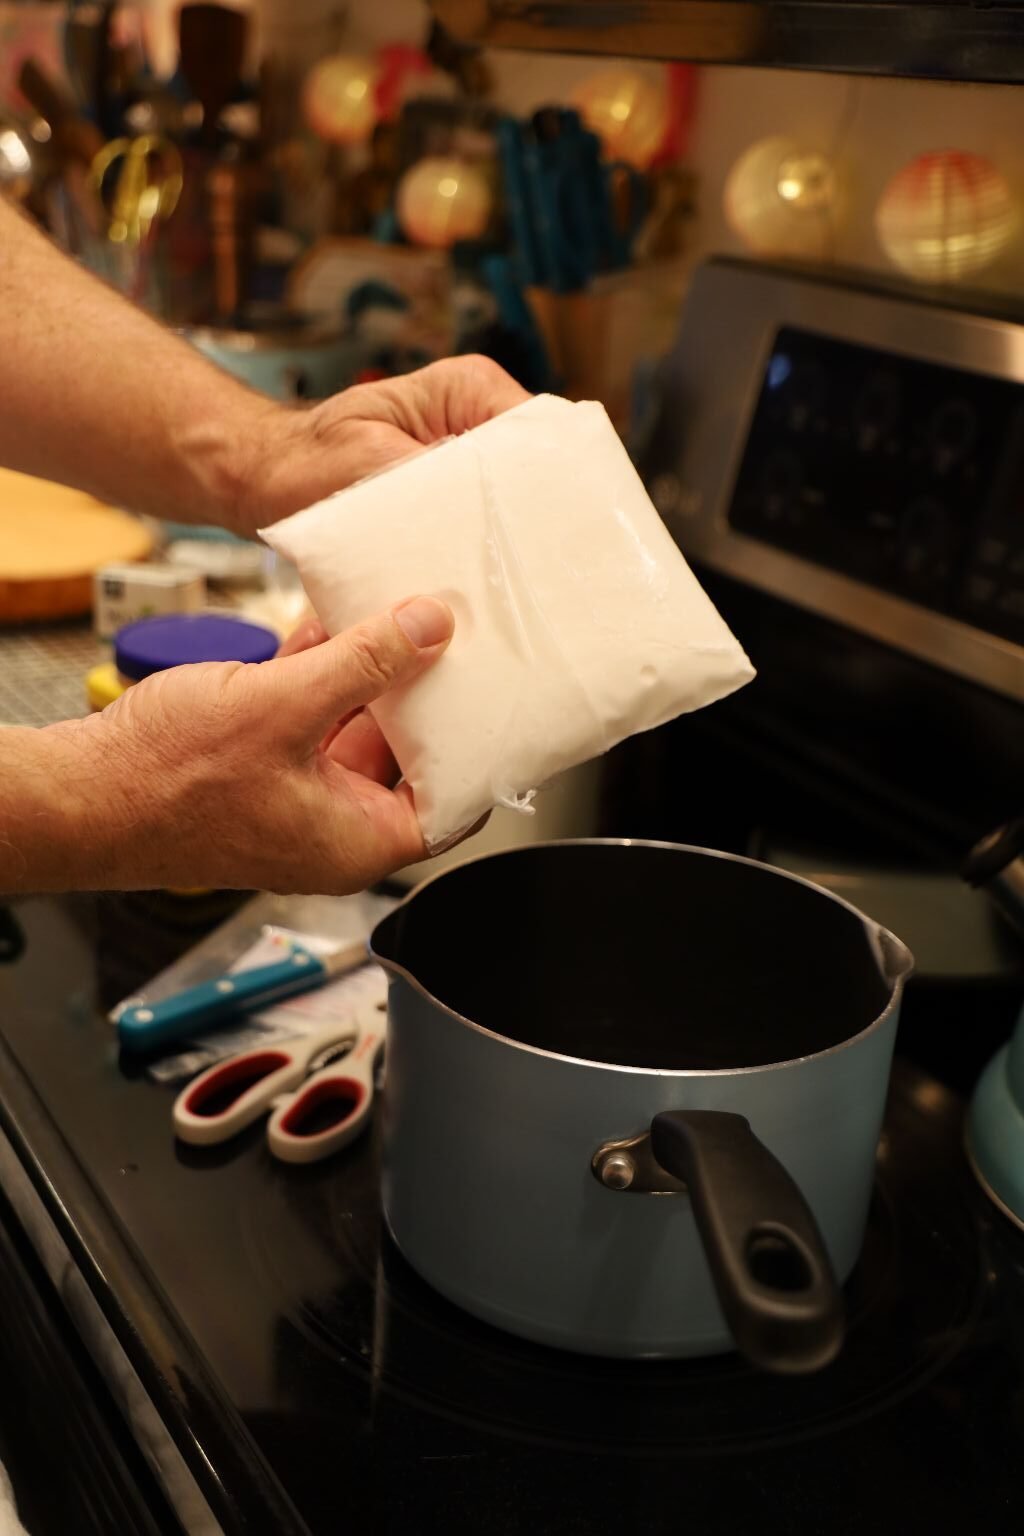
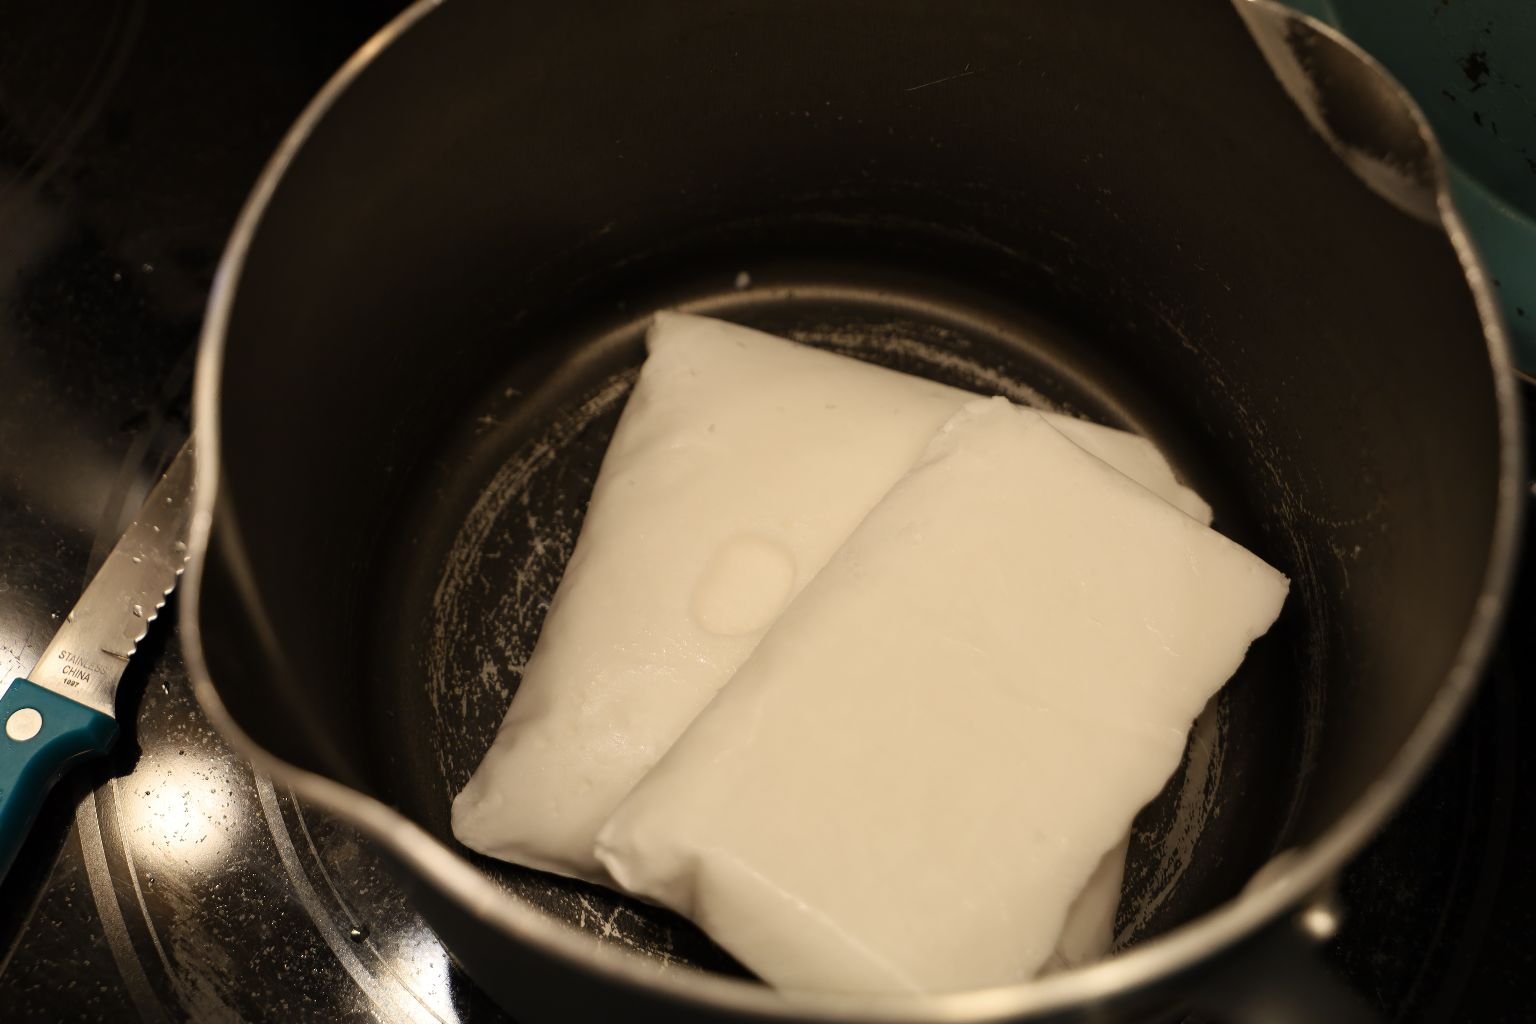
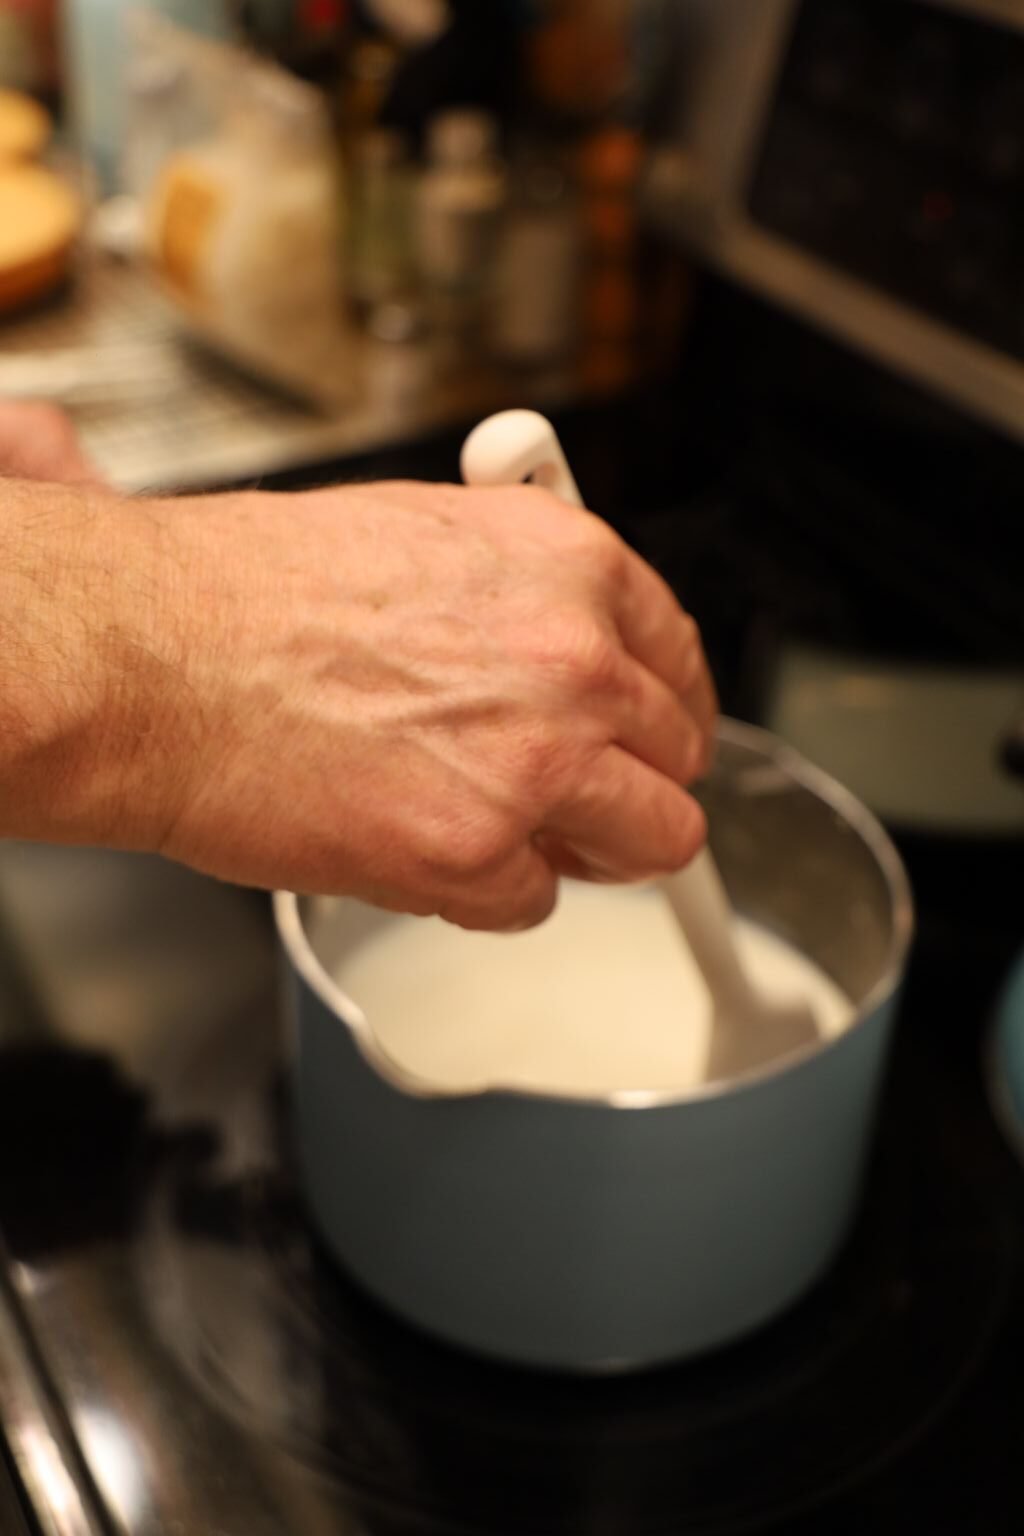
We purchased the frozen coconut milk from the Asian Supermarket, they came in these plastic packages, just remove the plastic and add them to a medium sized saucepan, on a Medium-High Heat.
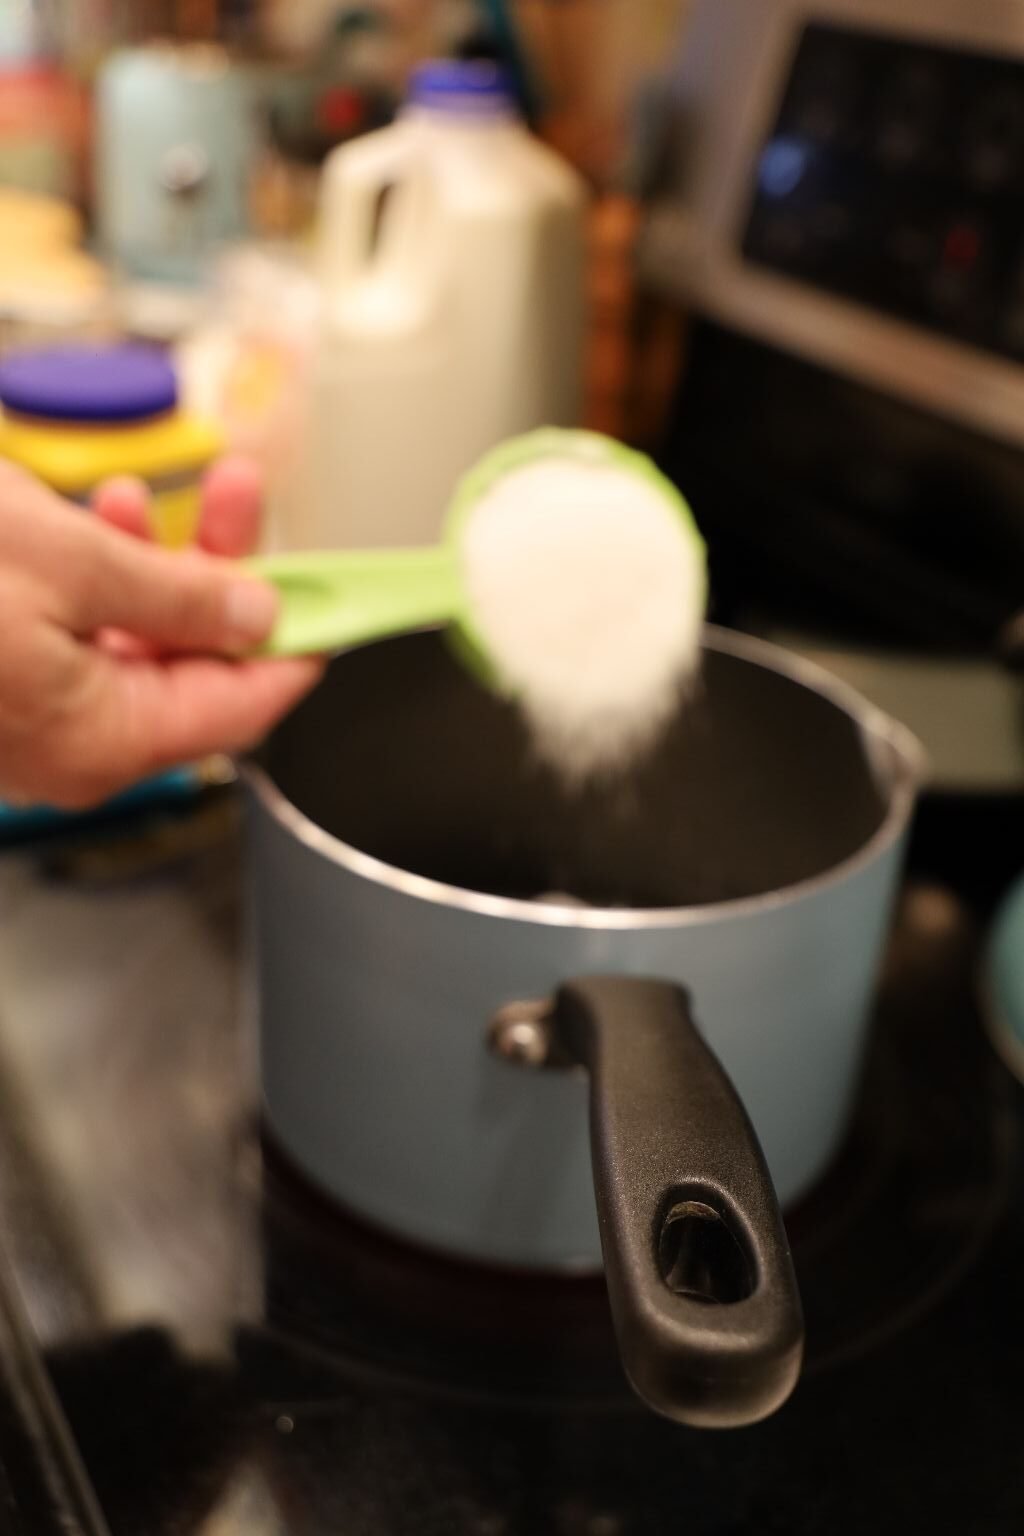
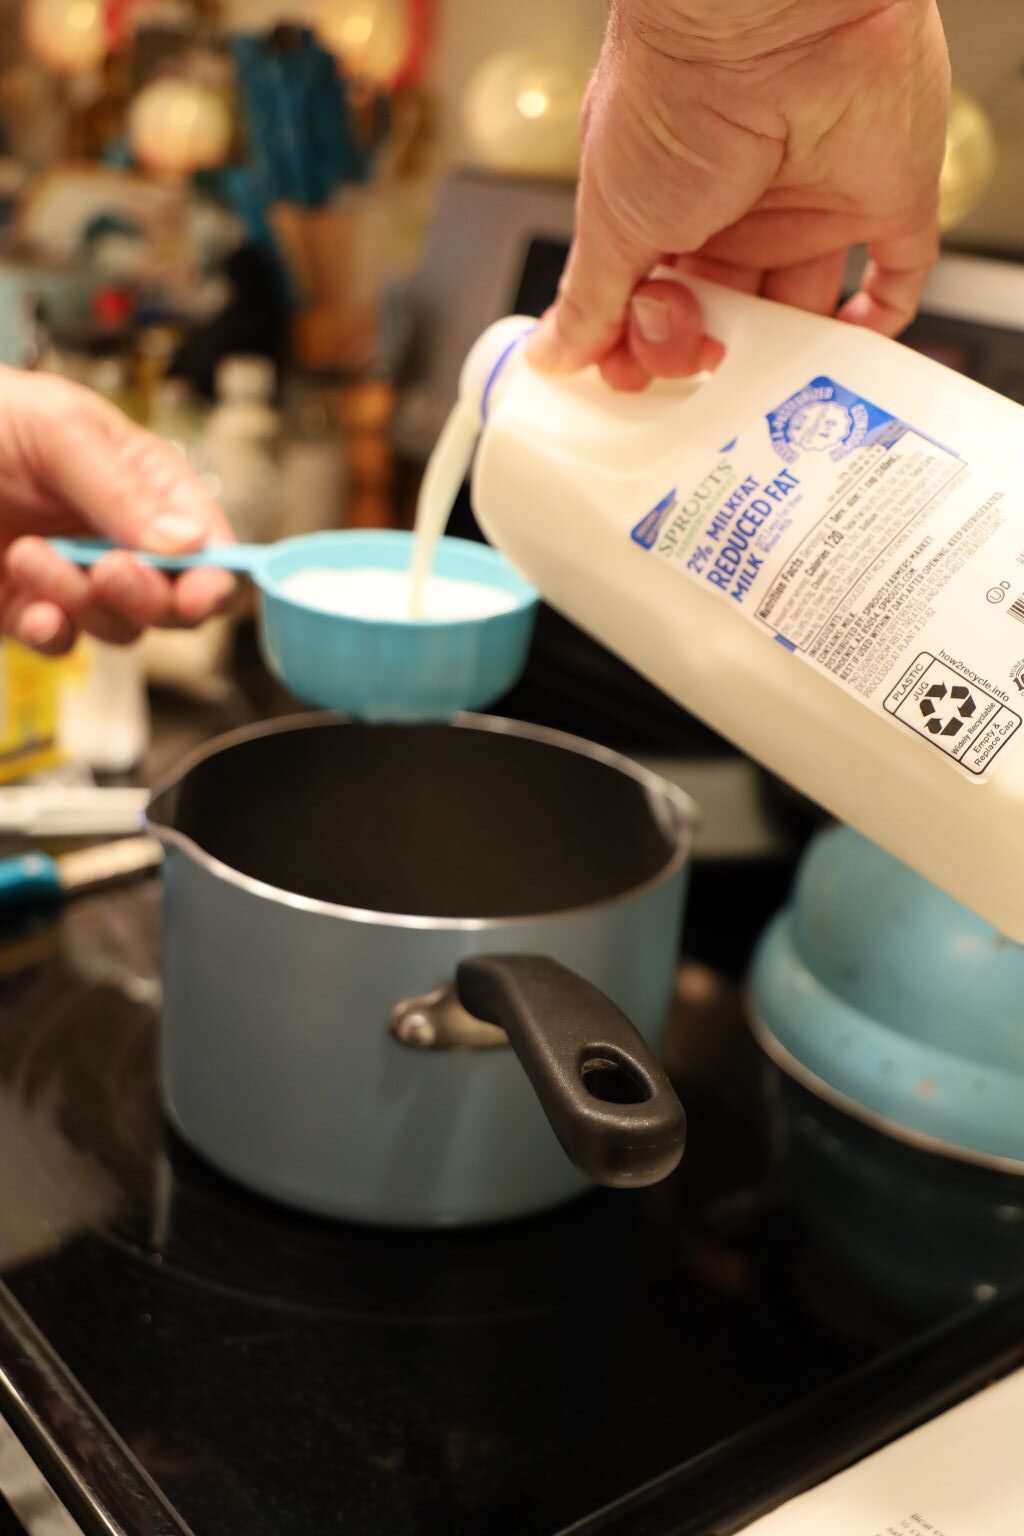
Add your sugar and milk…
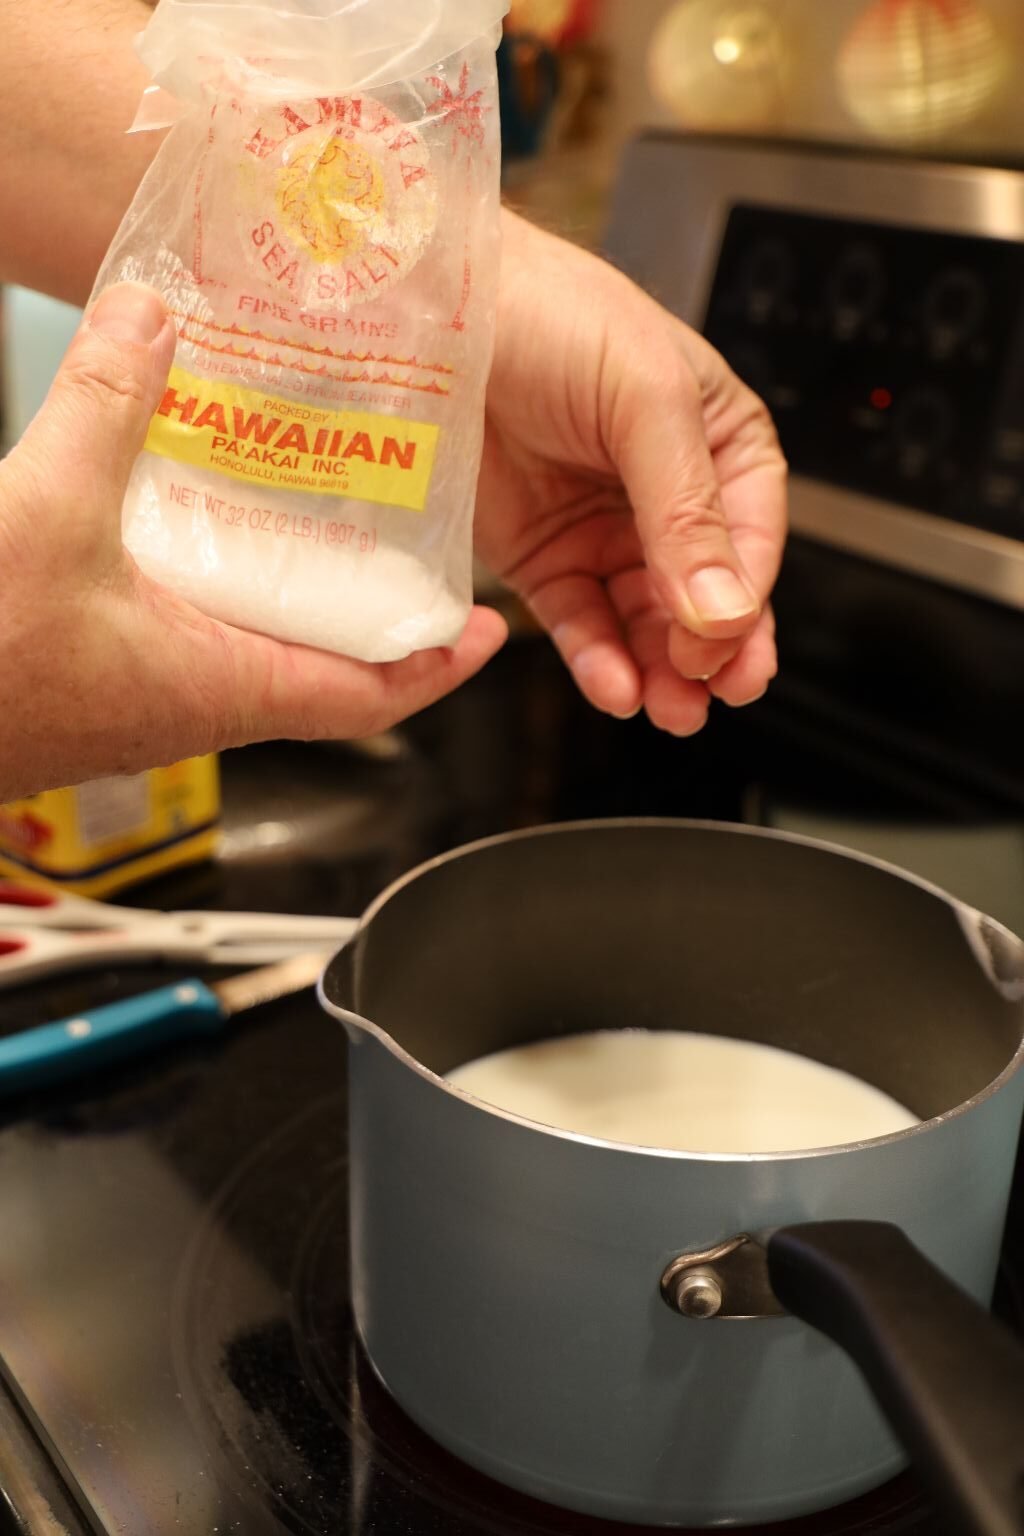
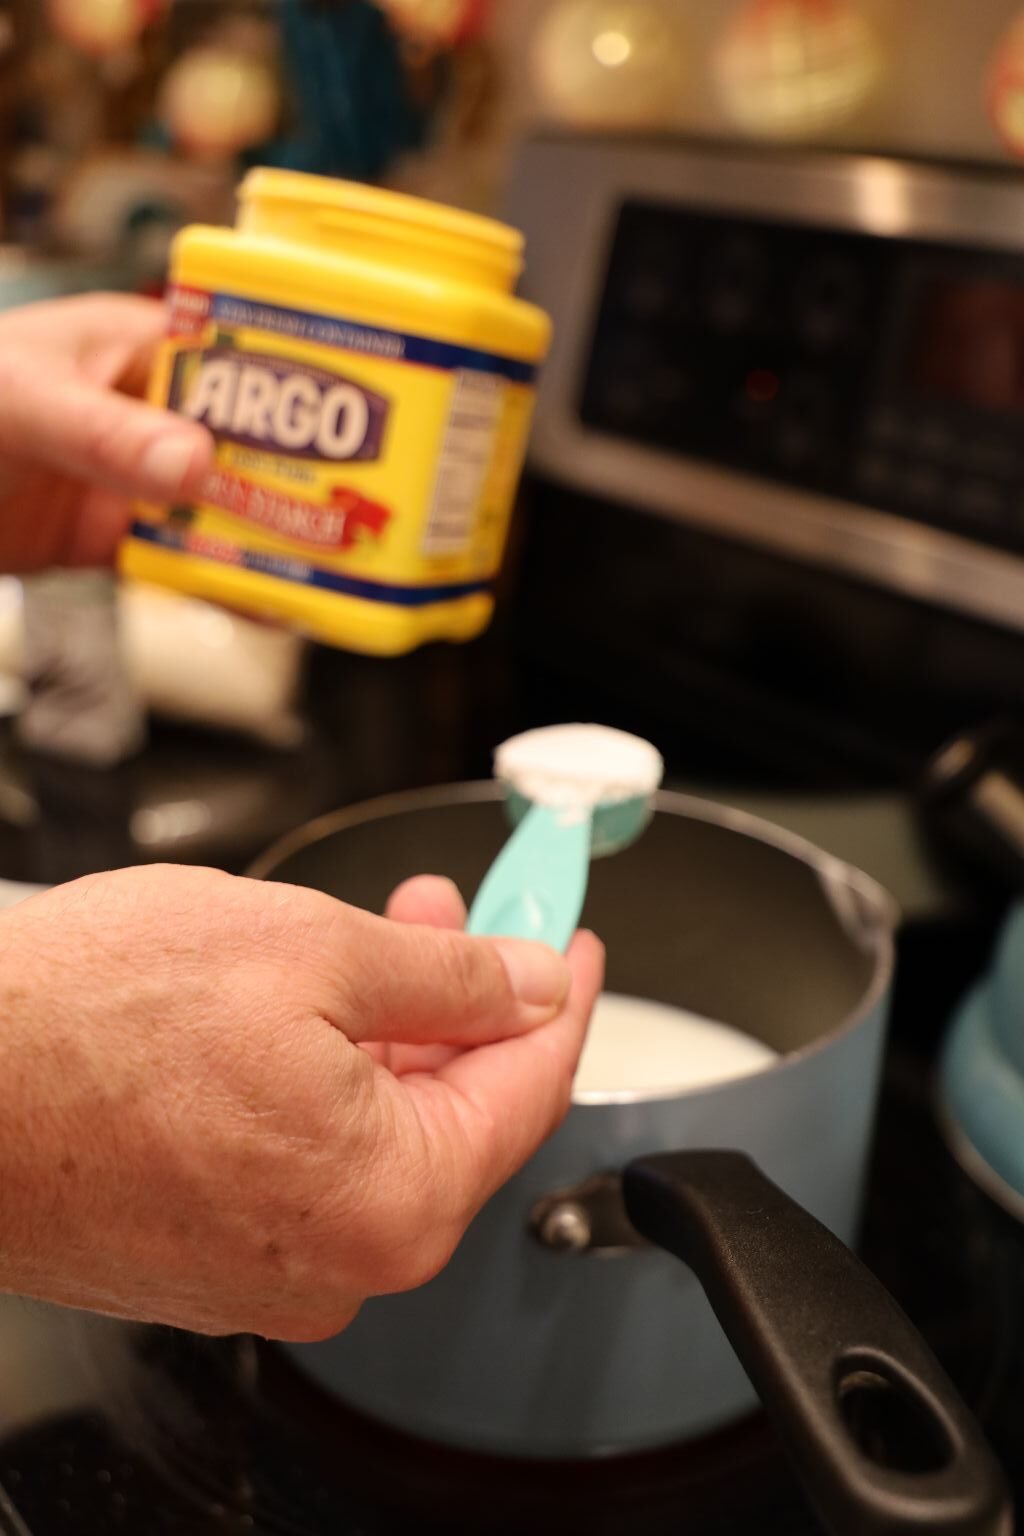
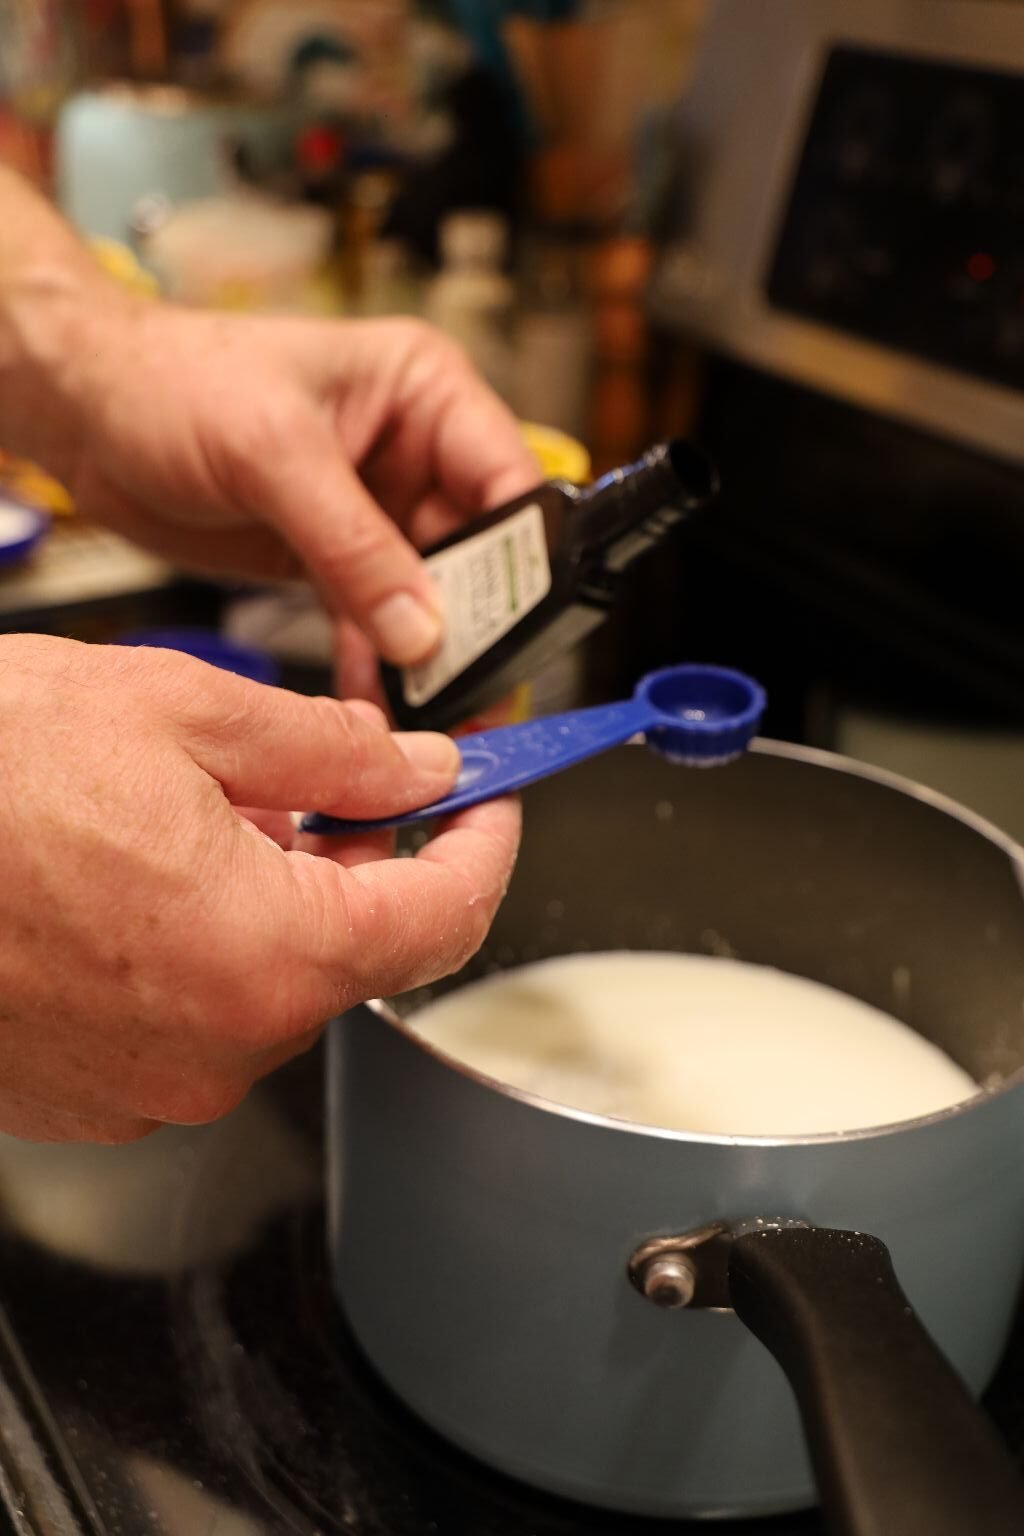
then your salt, cornstarch and vanilla to the saucepan.
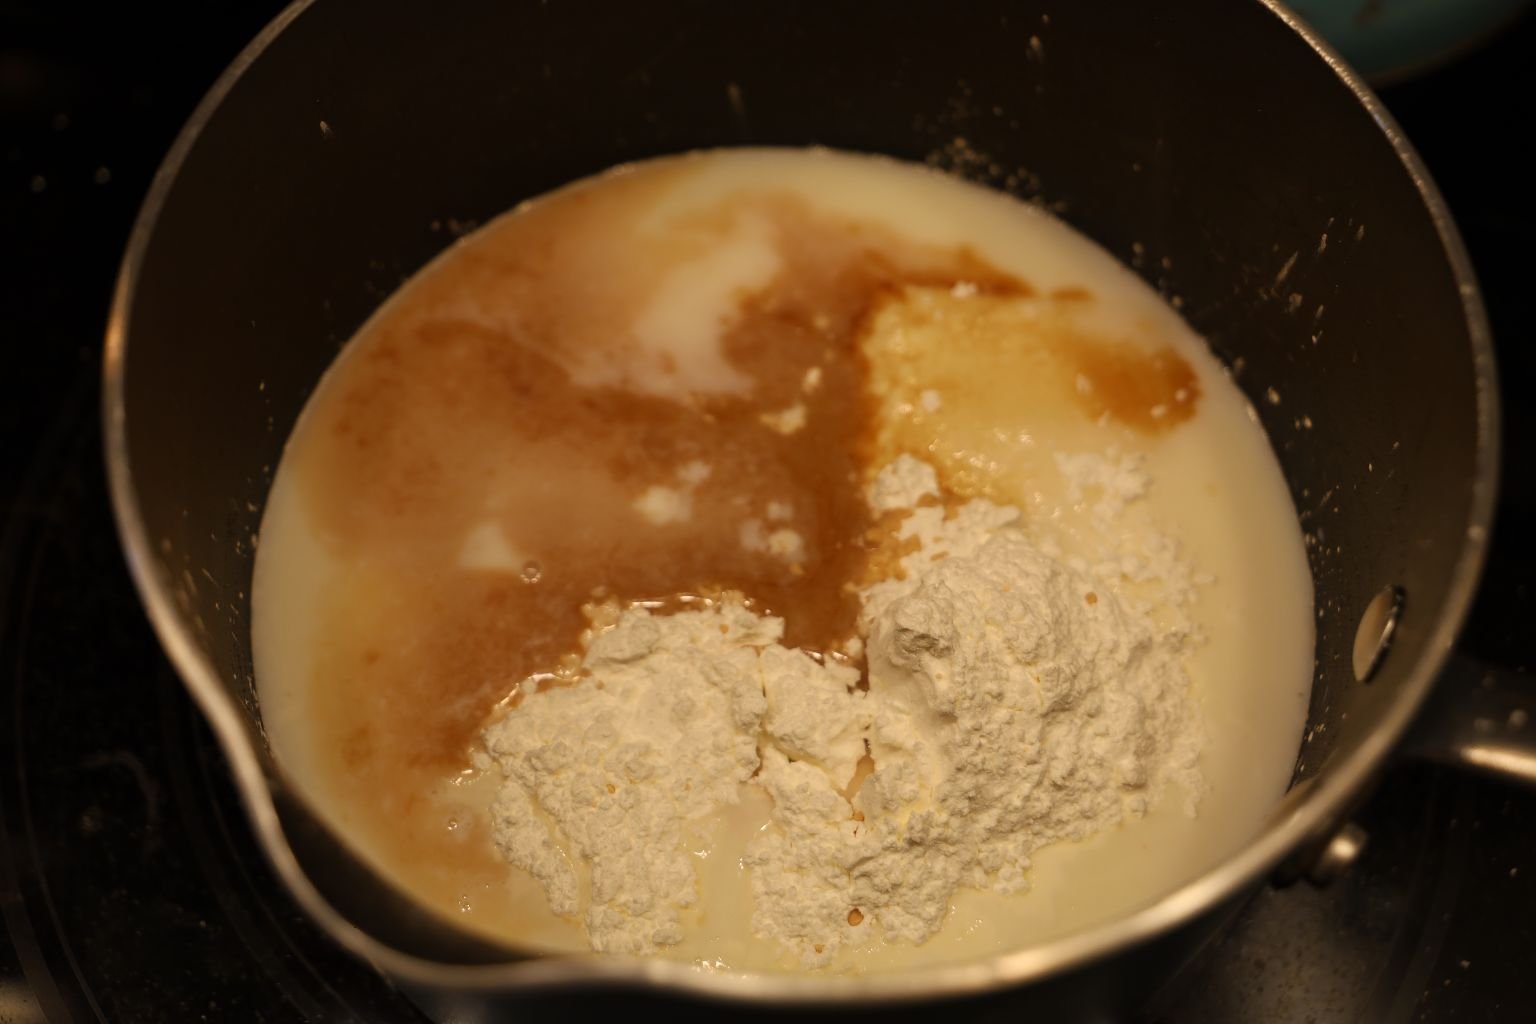
Pictured are all the ingredients in the saucepan.
————————————————————————
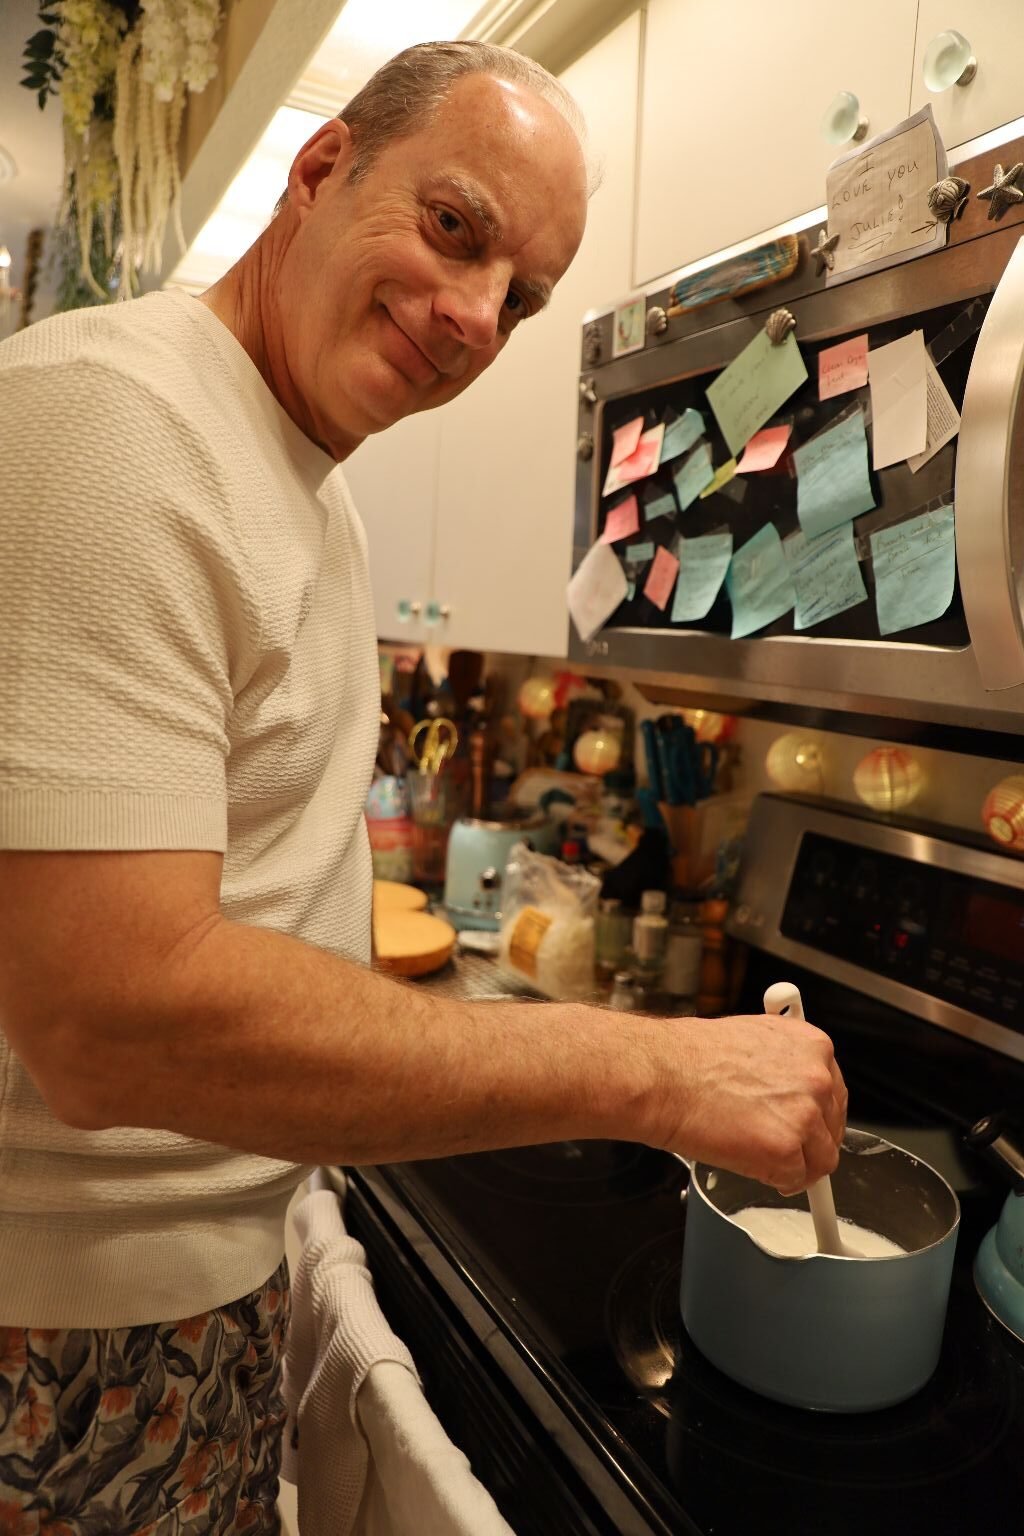
Mix all the ingredients together with a rubber spatula.
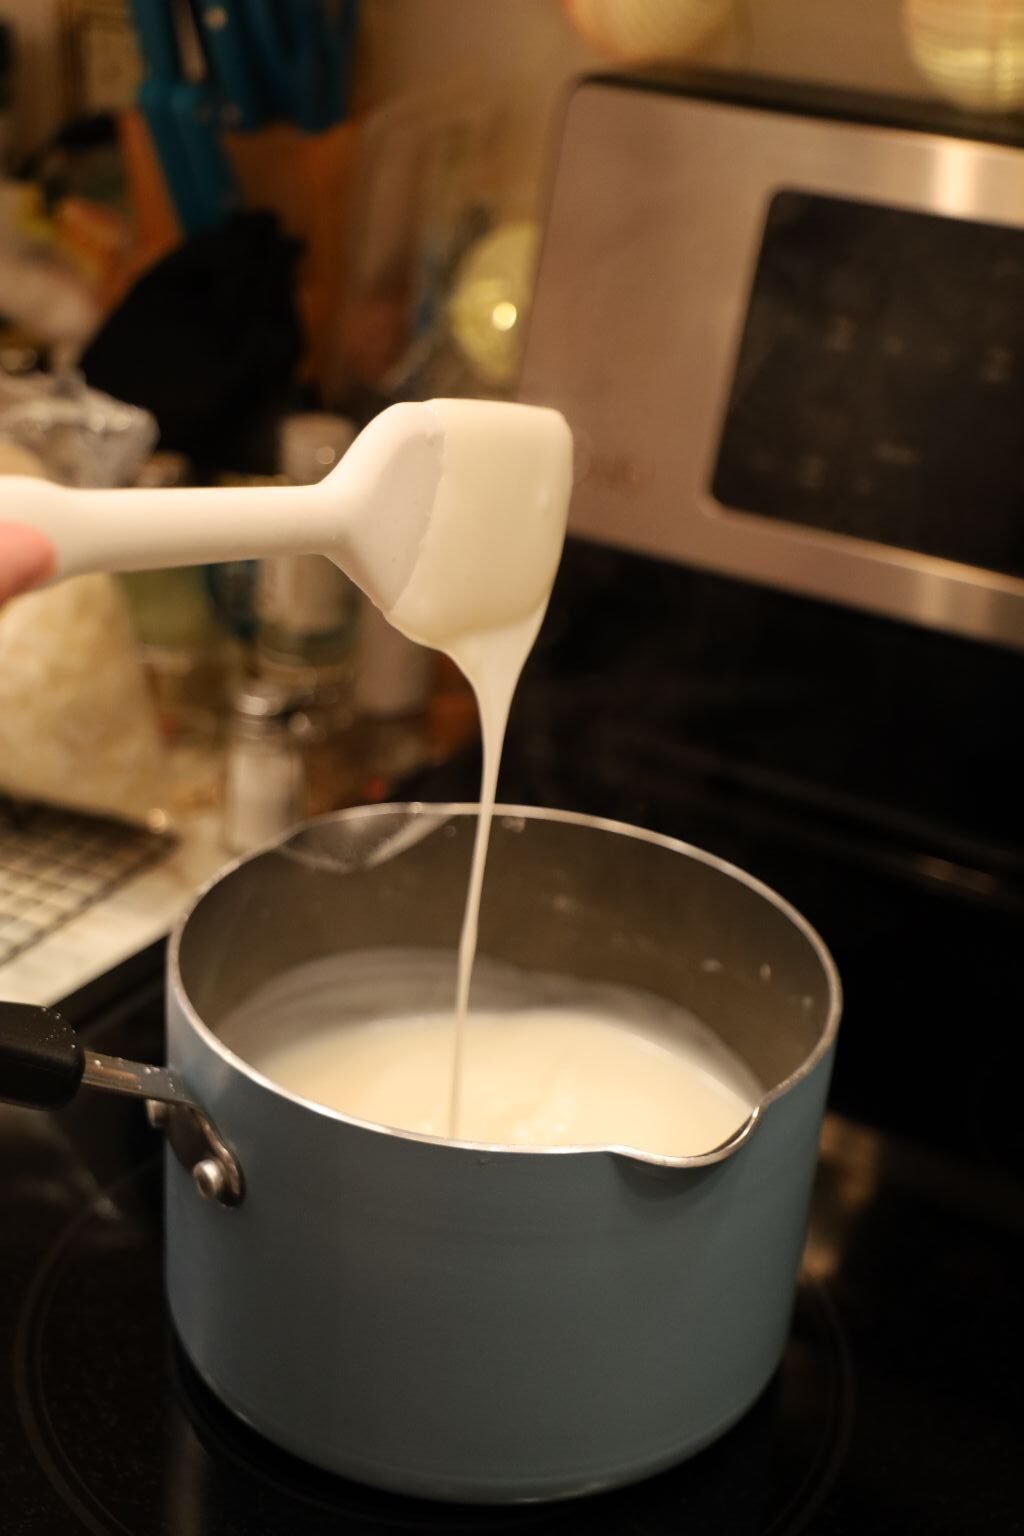
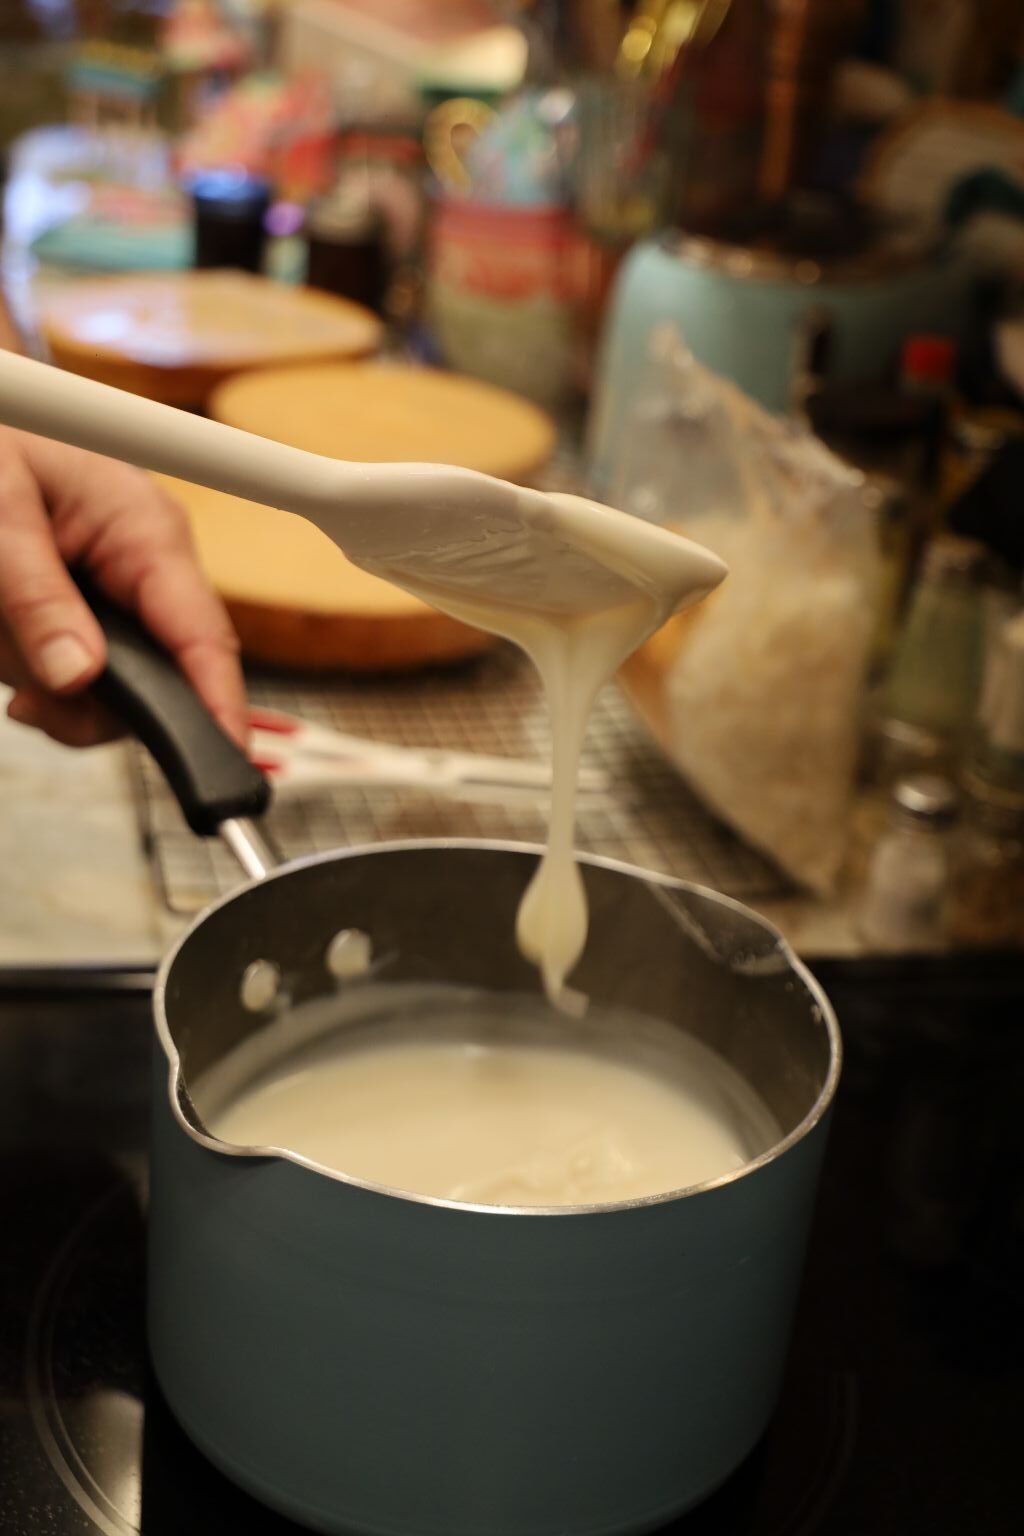
Stir the mixture constantly, and about the time the mixture boils, the icing will become very thick as shown.
Let the icing mixture cool.
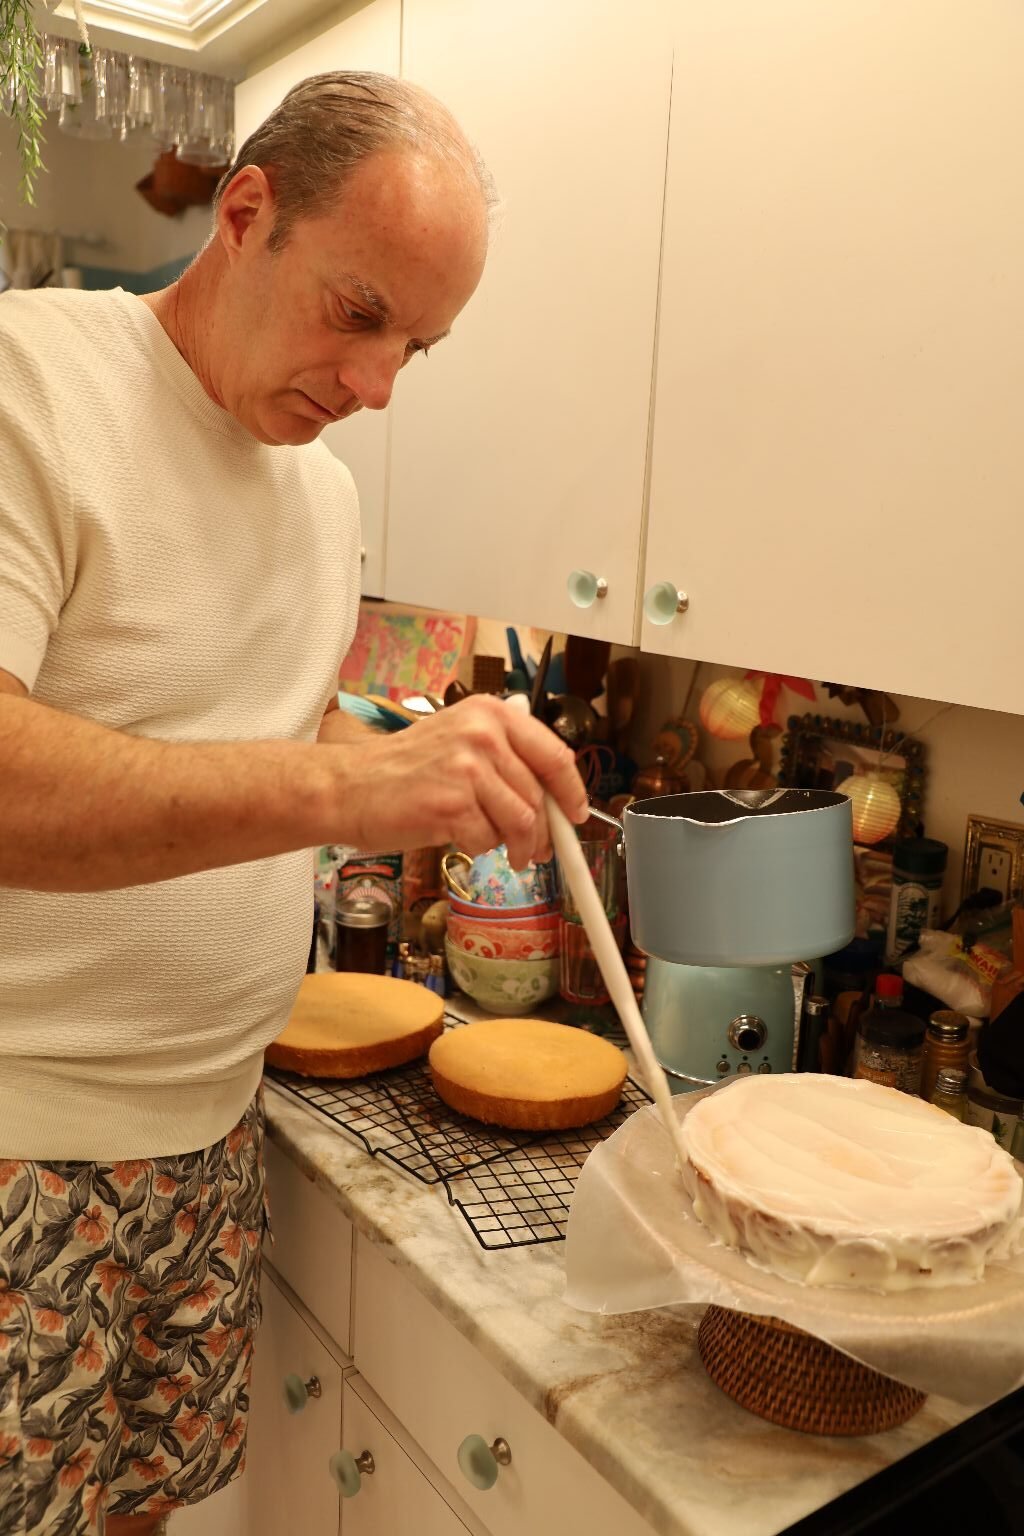
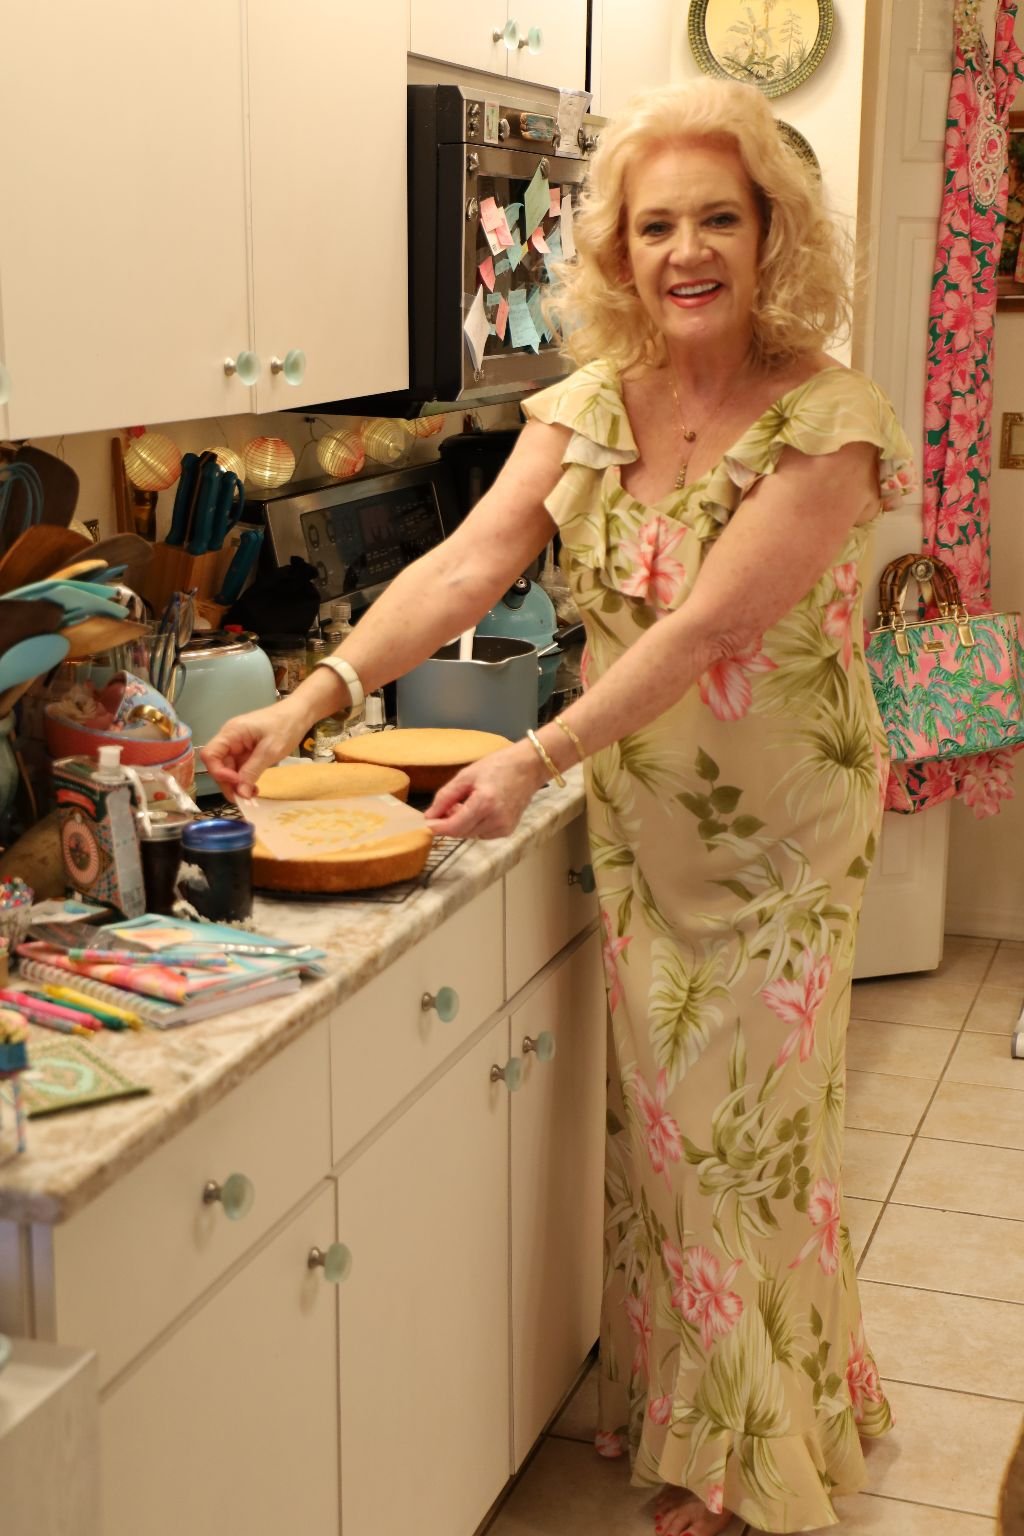
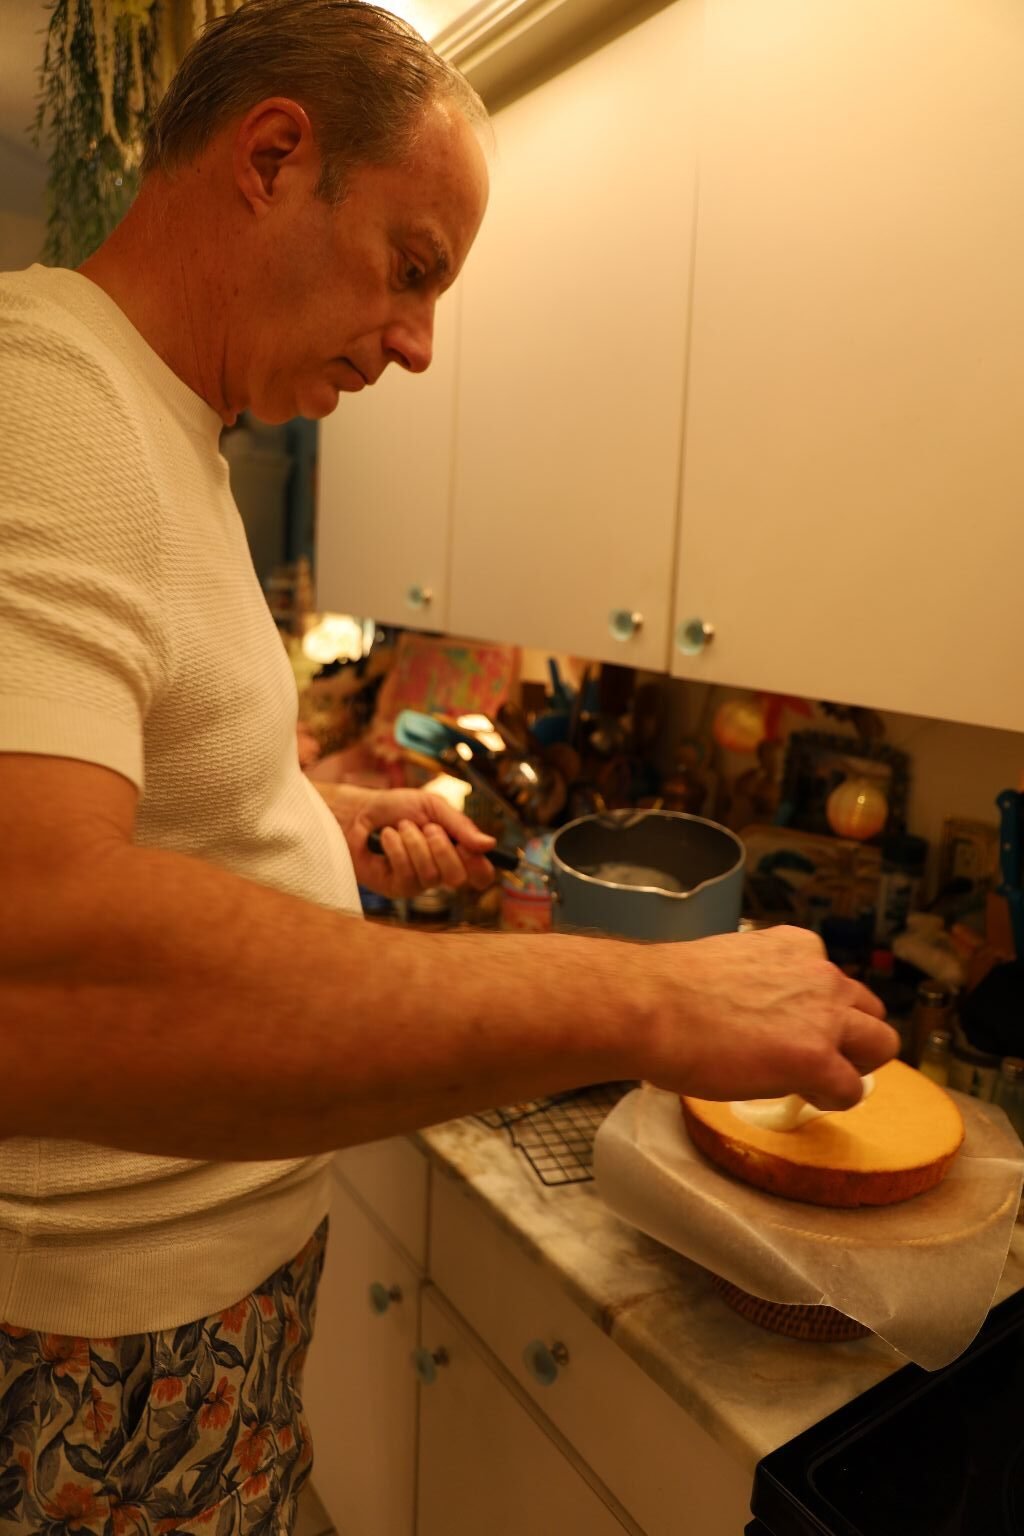
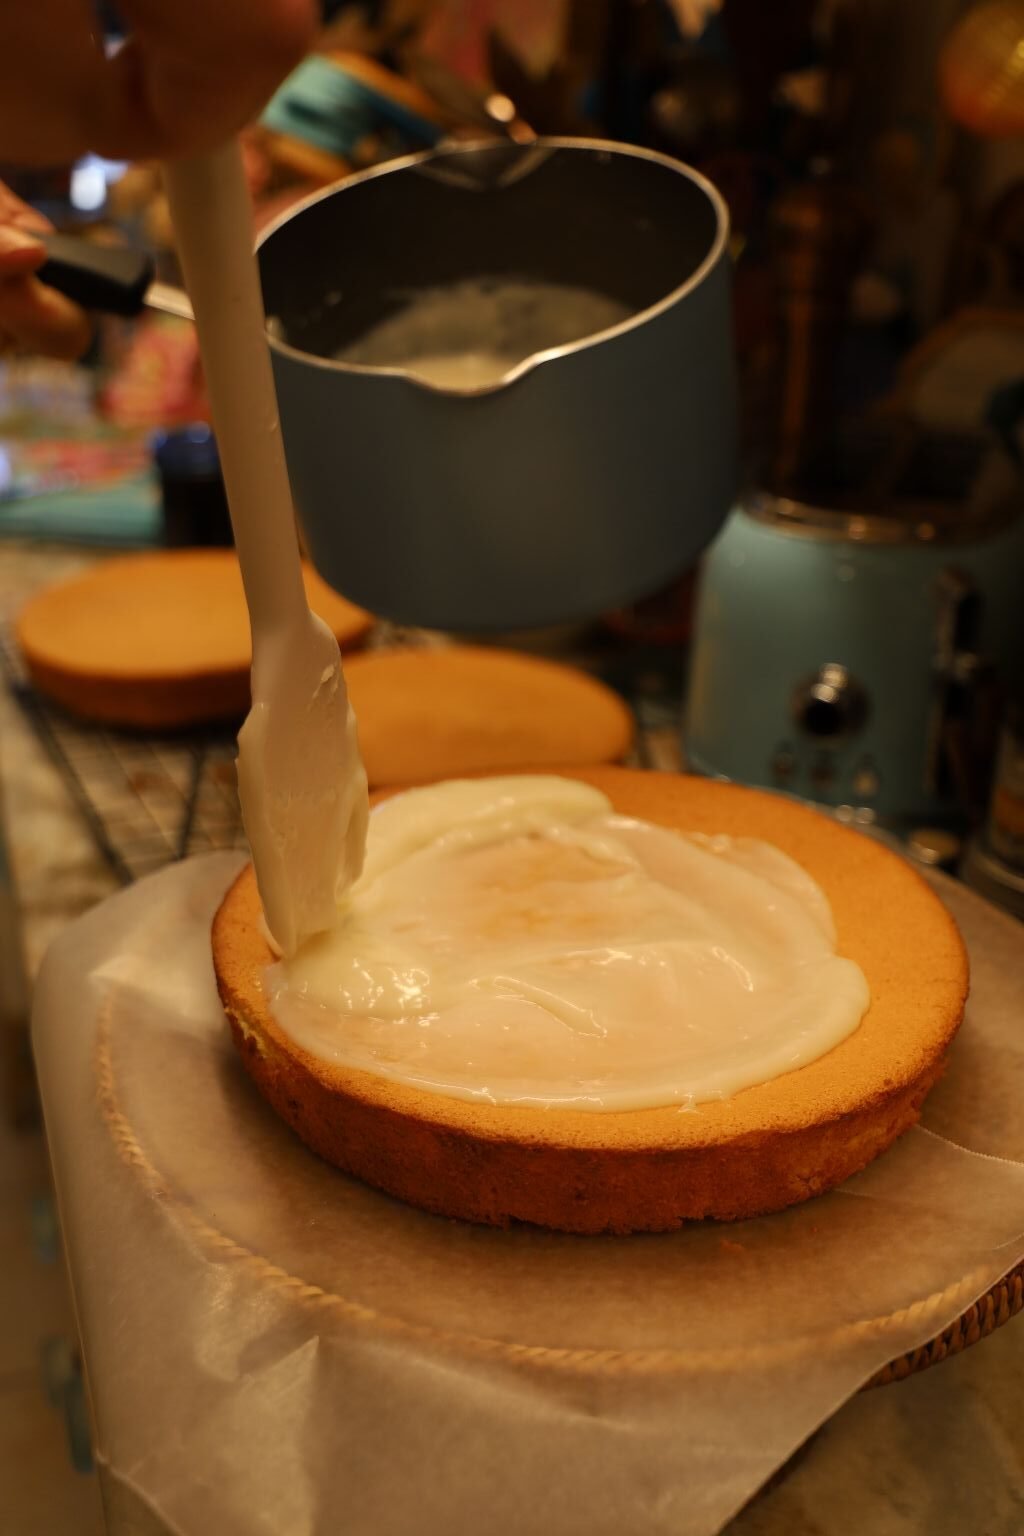
Place some wax paper on top of a cake stand and then add one of your cakes to be frosted. You do this so that the cake stand stays clean. We then added 1/3 of the icing on the top and sides of the first layer down.
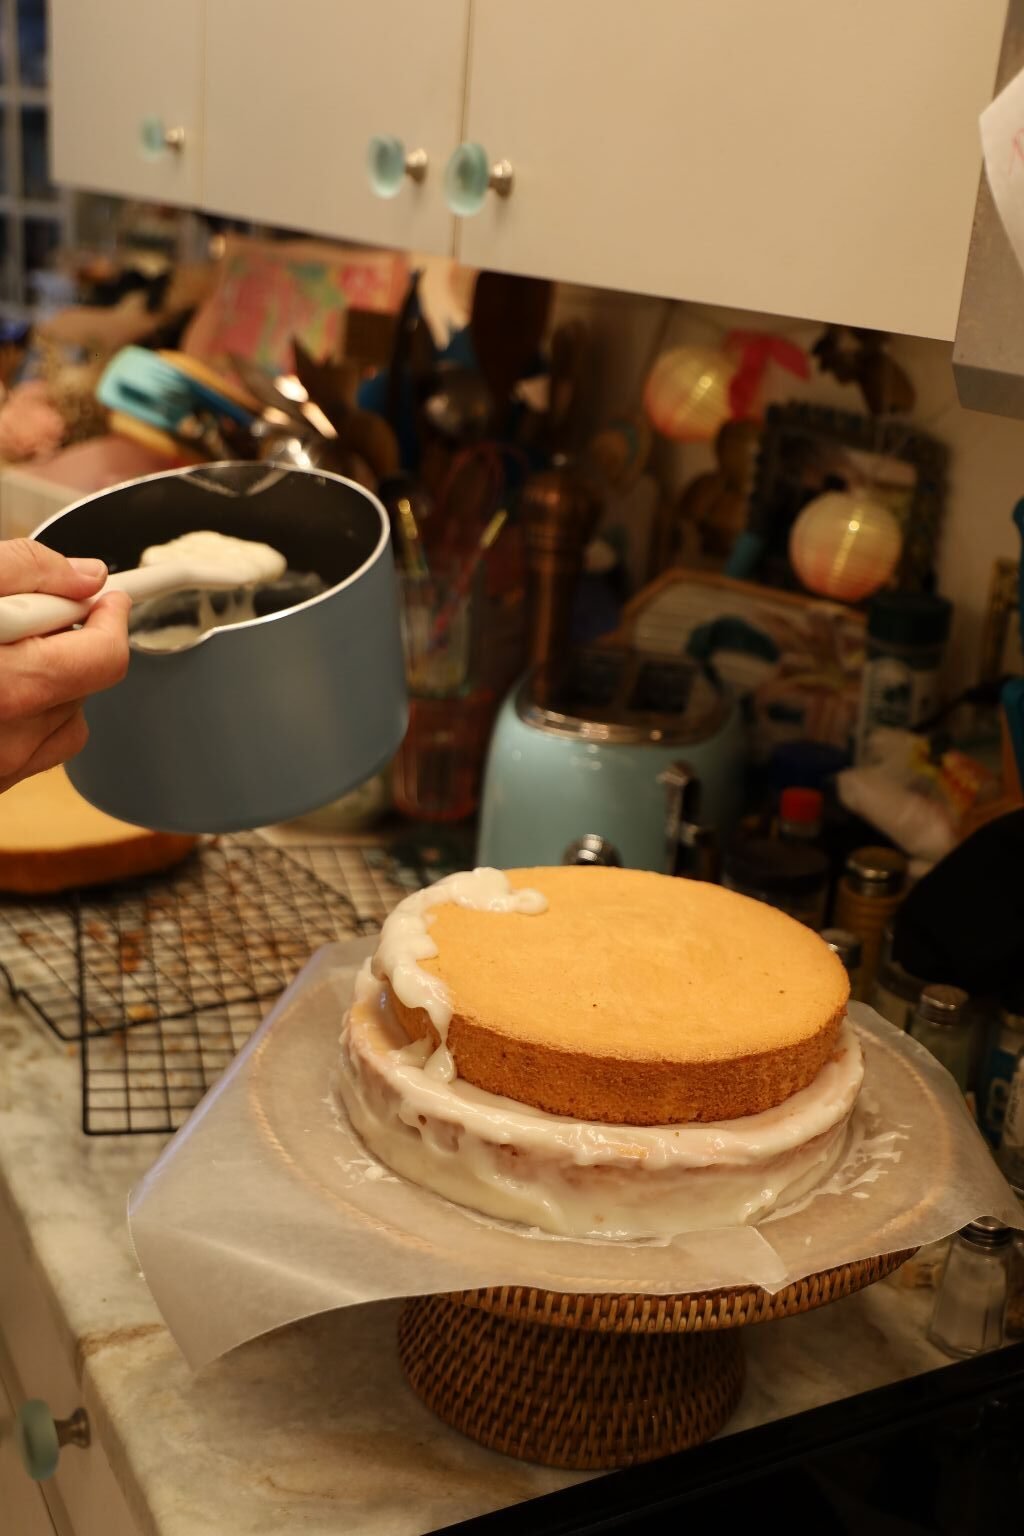
Then, add your second cake and repeat the process.
(I Julie, wanted the smaller cake between the two larger ones. My idea was for the cake to be smaller in the middle, kind of like a waist, and then add the fresh Coconut all around that ‘shelf’ that I had created in the middle.)
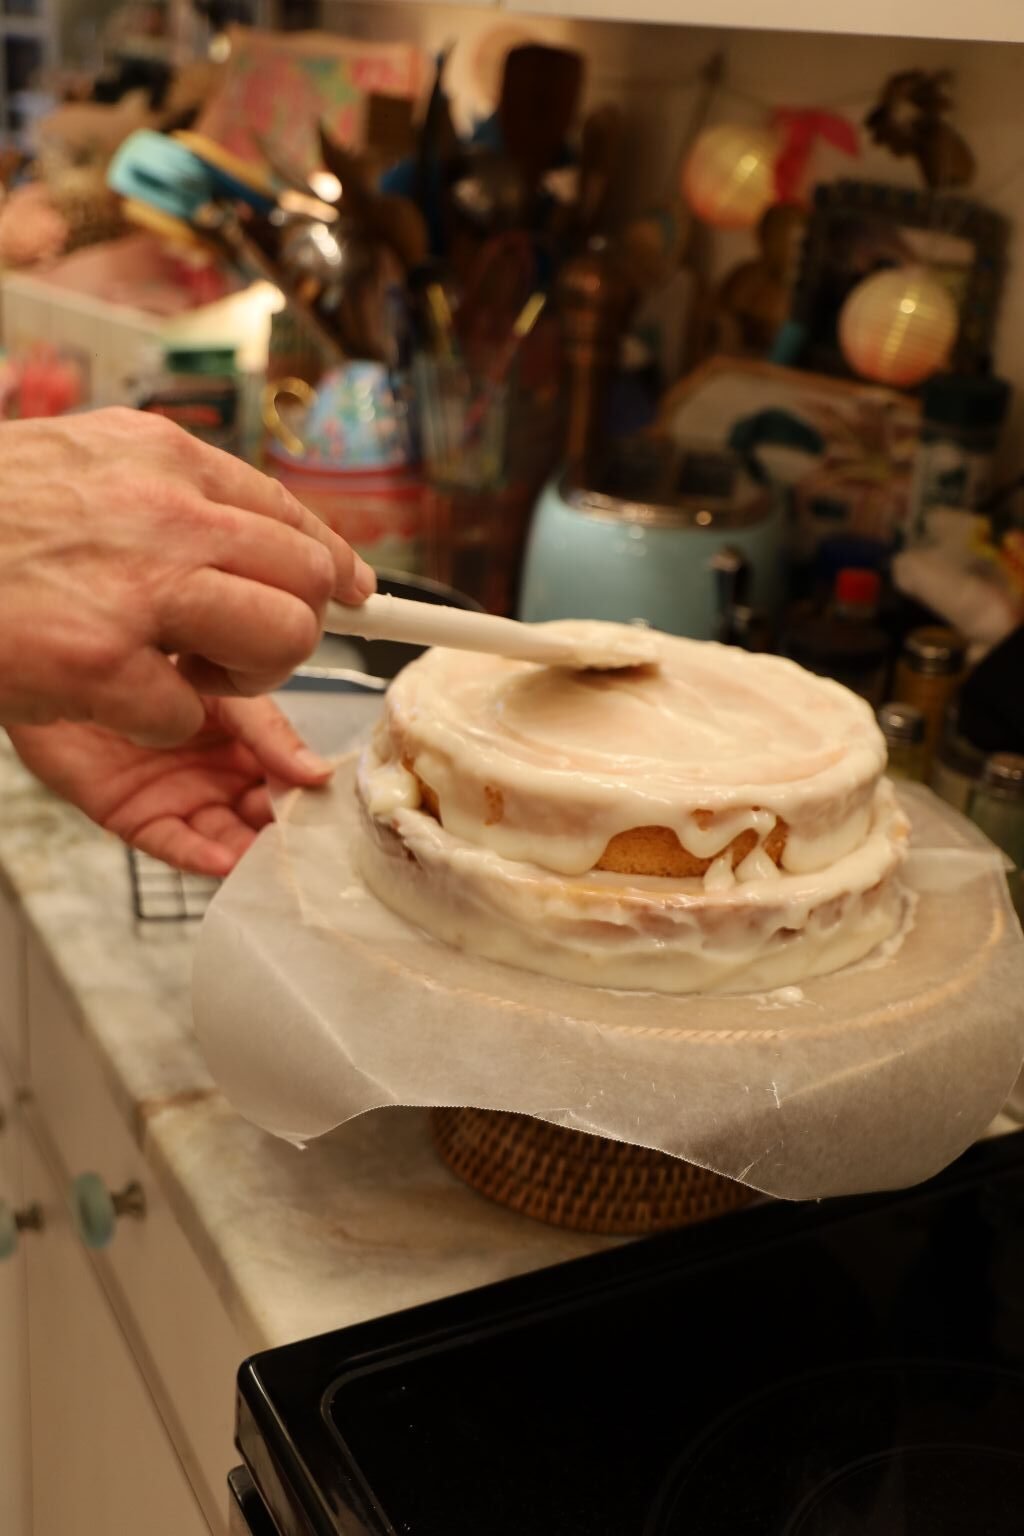
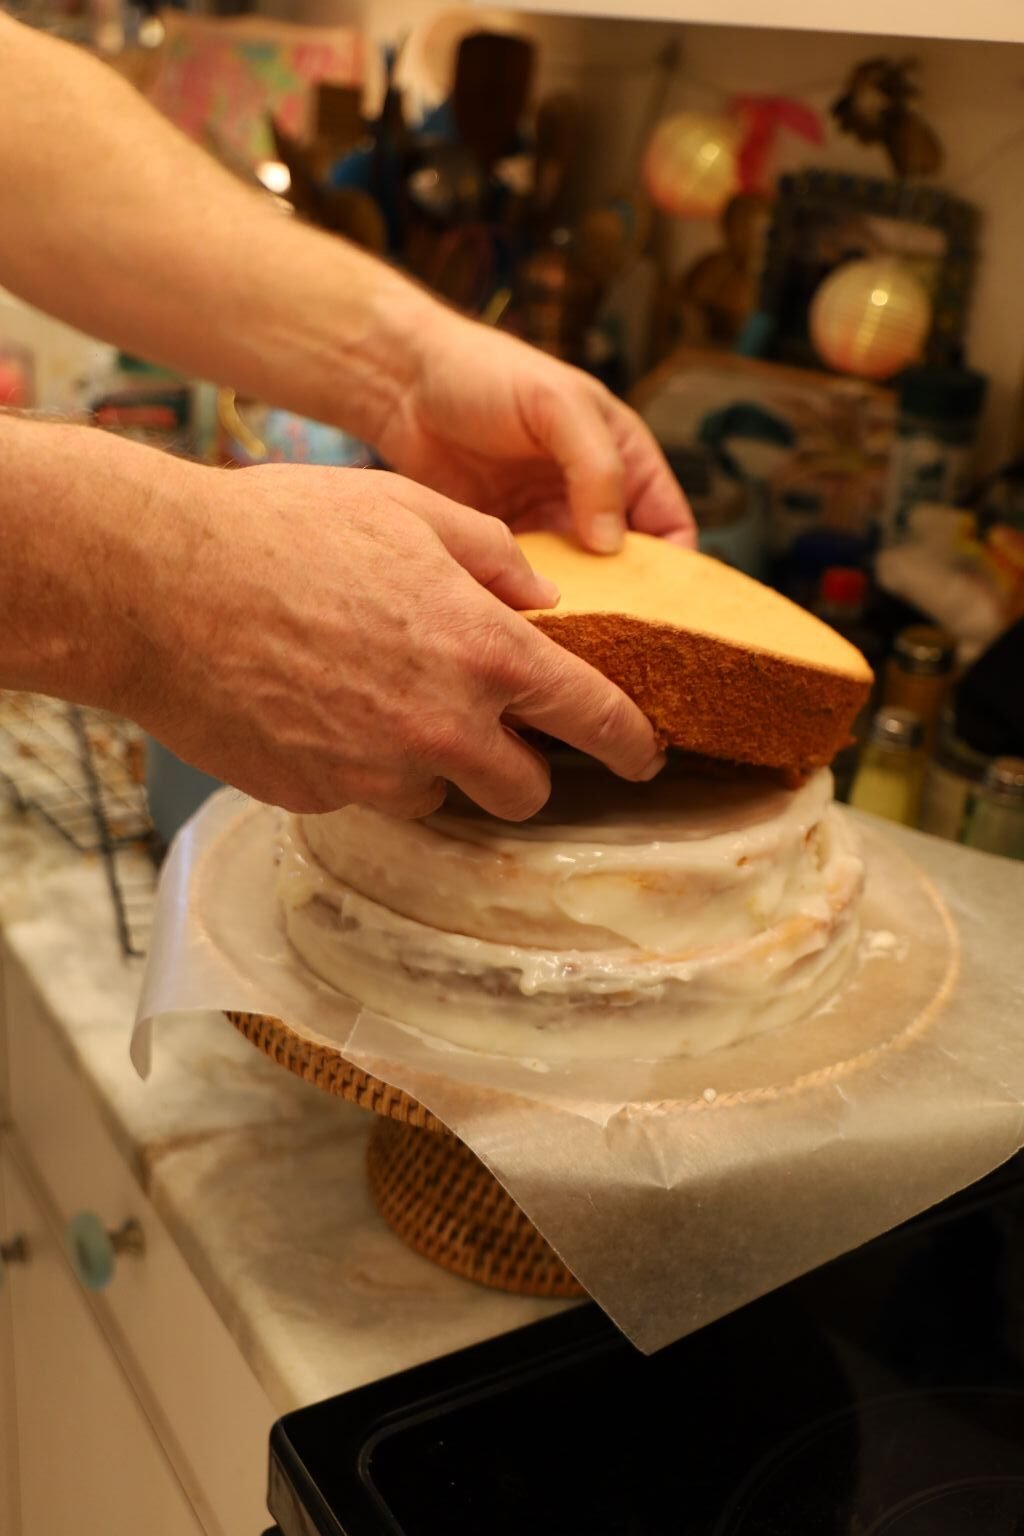
Lastly, add the third cake and spread the icing only on the sides.
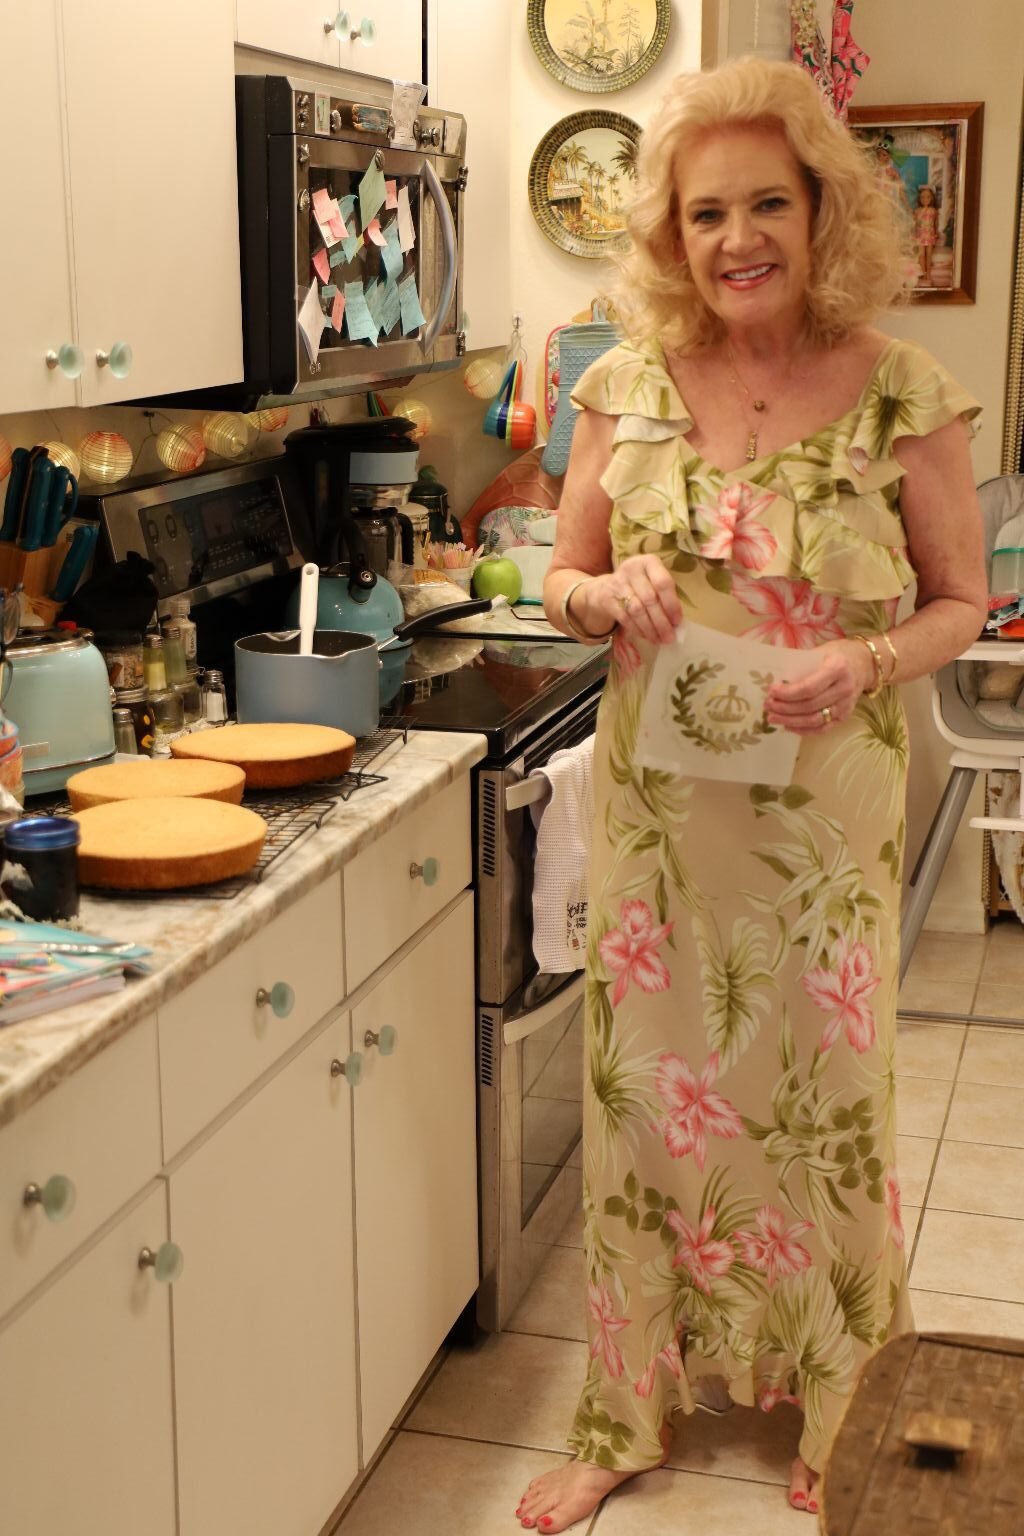
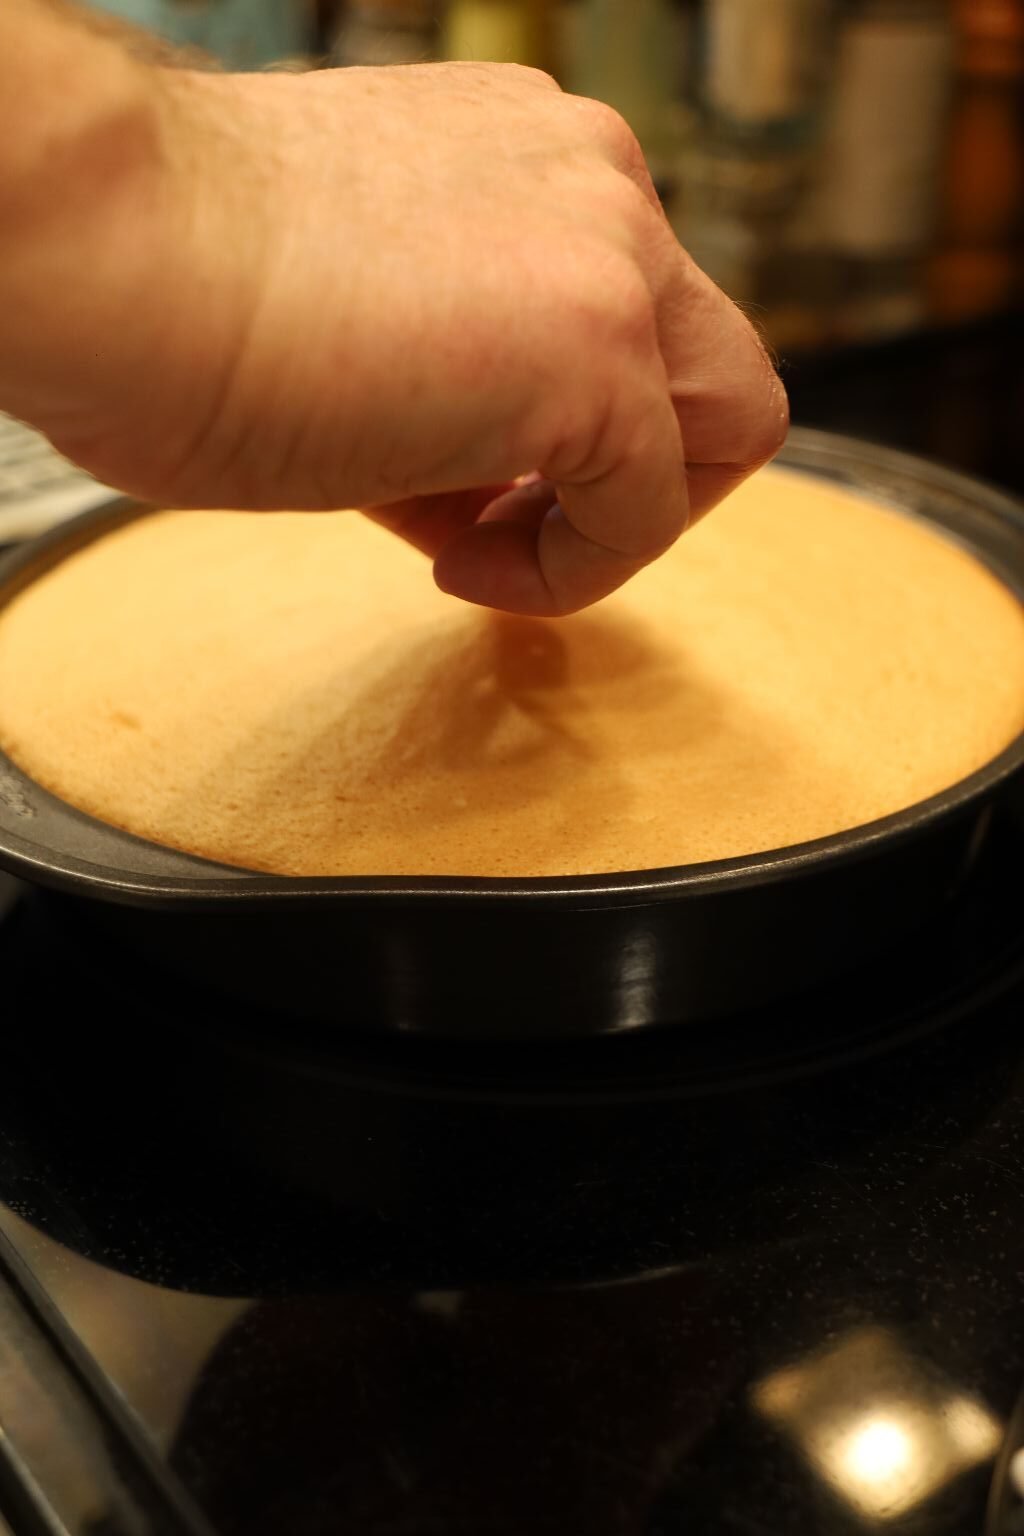
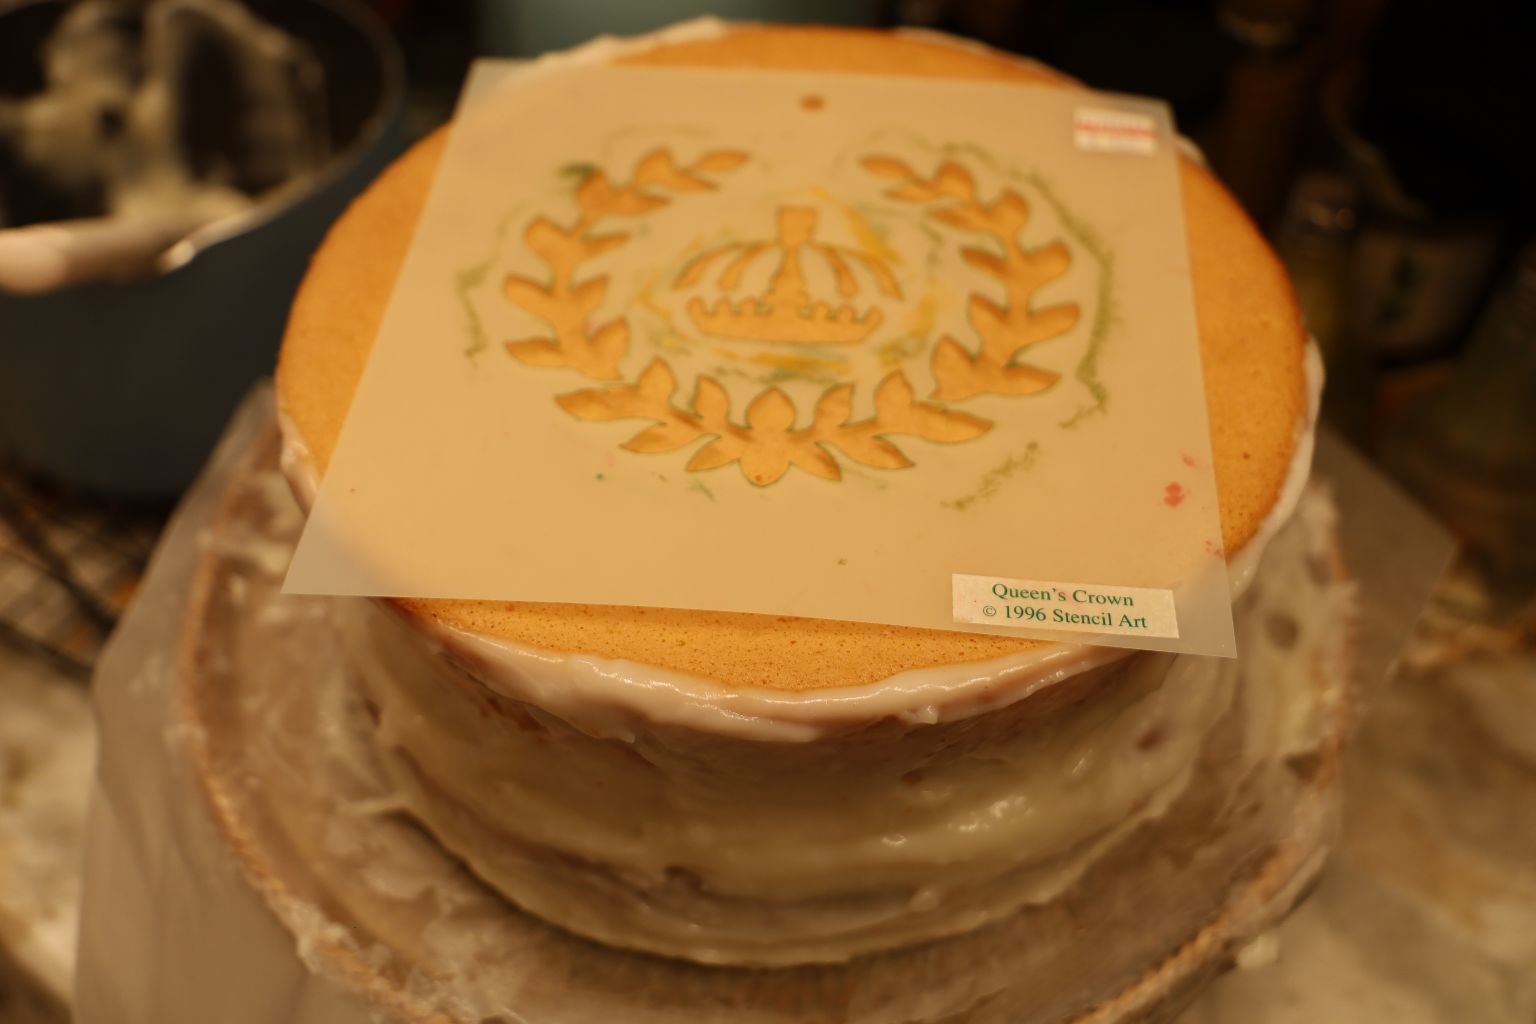
Isn’t Julie Pretty! She had the idea to stencil the top. Here we used a Hawaiian Royal Design stencil from her painting coconut days in Hawaii, and simply dusted some powdered sugar on top. The cake was light in taste like an angle food cake, but was much more flavorful due to the use of the coconut milk. We will be making this delicious cake more often. Happy 65th Birthday Julie! I love you so much!
————————————————————————————————–

65 Feels Pretty Good!
Mahalo Nui Loa,
Julie Barefoot