Stewed Tomatoes, A Whann Family Tradition

Merry Christmas Canning
Stewed Tomatoes

An Original by Susy Whann
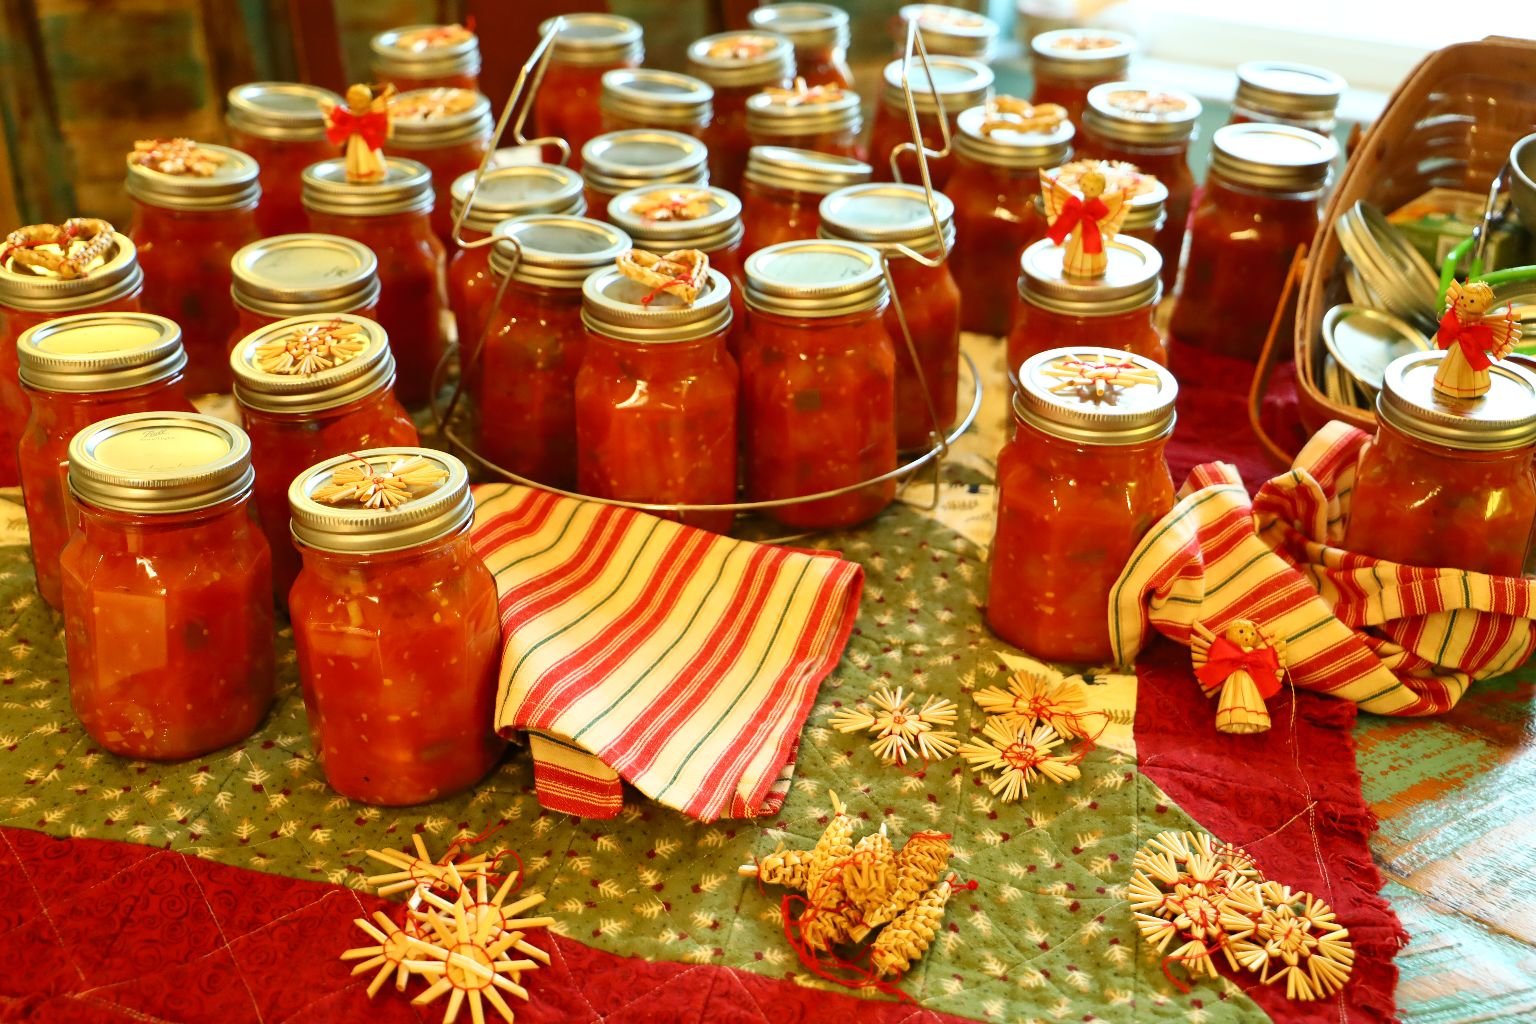
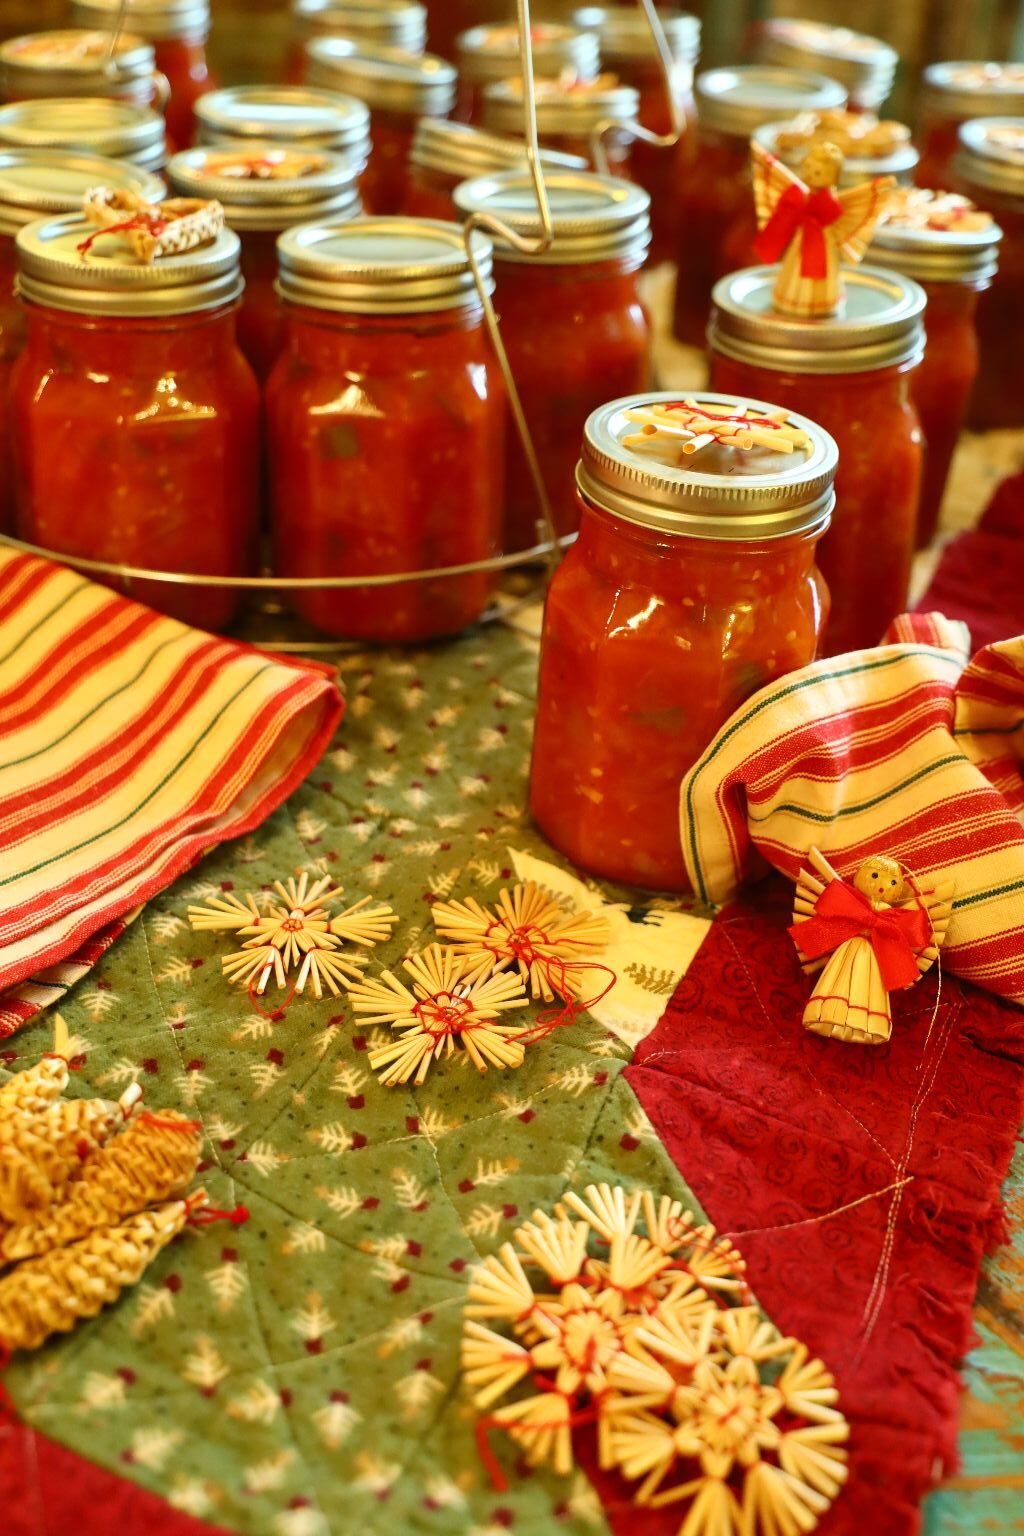
(Gordon’s Aunt Susy made the quilted Christmas Tree Banner. It just seemed appropriate to feature it here. She passed a few years ago. But her caring and craftswomanship, still exists.)
—————————————————————————–
This Canning Project Took 5 Elf Movies To Make
(10 Hours, Start to Finish)

ELF with Will Ferrell and Zoey Deschanel

When we started this project it was on a weekend day. I can’t remember if it was a Saturday or a Sunday, but when we started the project we could hear the movie Elf coming on from the living room T.V. Apparently there was a marathon of the movie and it lasted all day. So, while we were canning we could hear Elf coming from our living room. We enjoyed it. It made the time fly faster for us. So, whenever we think of our Stewed Tomatoes we always think of the movie, Elf.

Our future daughter-in-law is from New York and she recounted how during the filming of this movie that you could see Will Ferrell walking all over New York. Mackenzie’s mother saw him. How fun that must have been?
Julie
—————————————————————————————
Christmas Canning
Stewed Tomatoes… A Whann Family Tradition
When I was growing up, my family canned two things, corn relish and stewed tomatoes. Stewed tomatoes were a staple throughout the year and an easy side dish which you could quickly heat up. My grandmother on my dad’s side, use to grow amazing beefsteak tomatoes in her garden, which she would also use to make her stewed tomatoes. Here we made them, but of course with my twist on the traditional family recipe, which I think turned out to be better. I think my grandmother would be proud!
Gordon
————————————————————————-
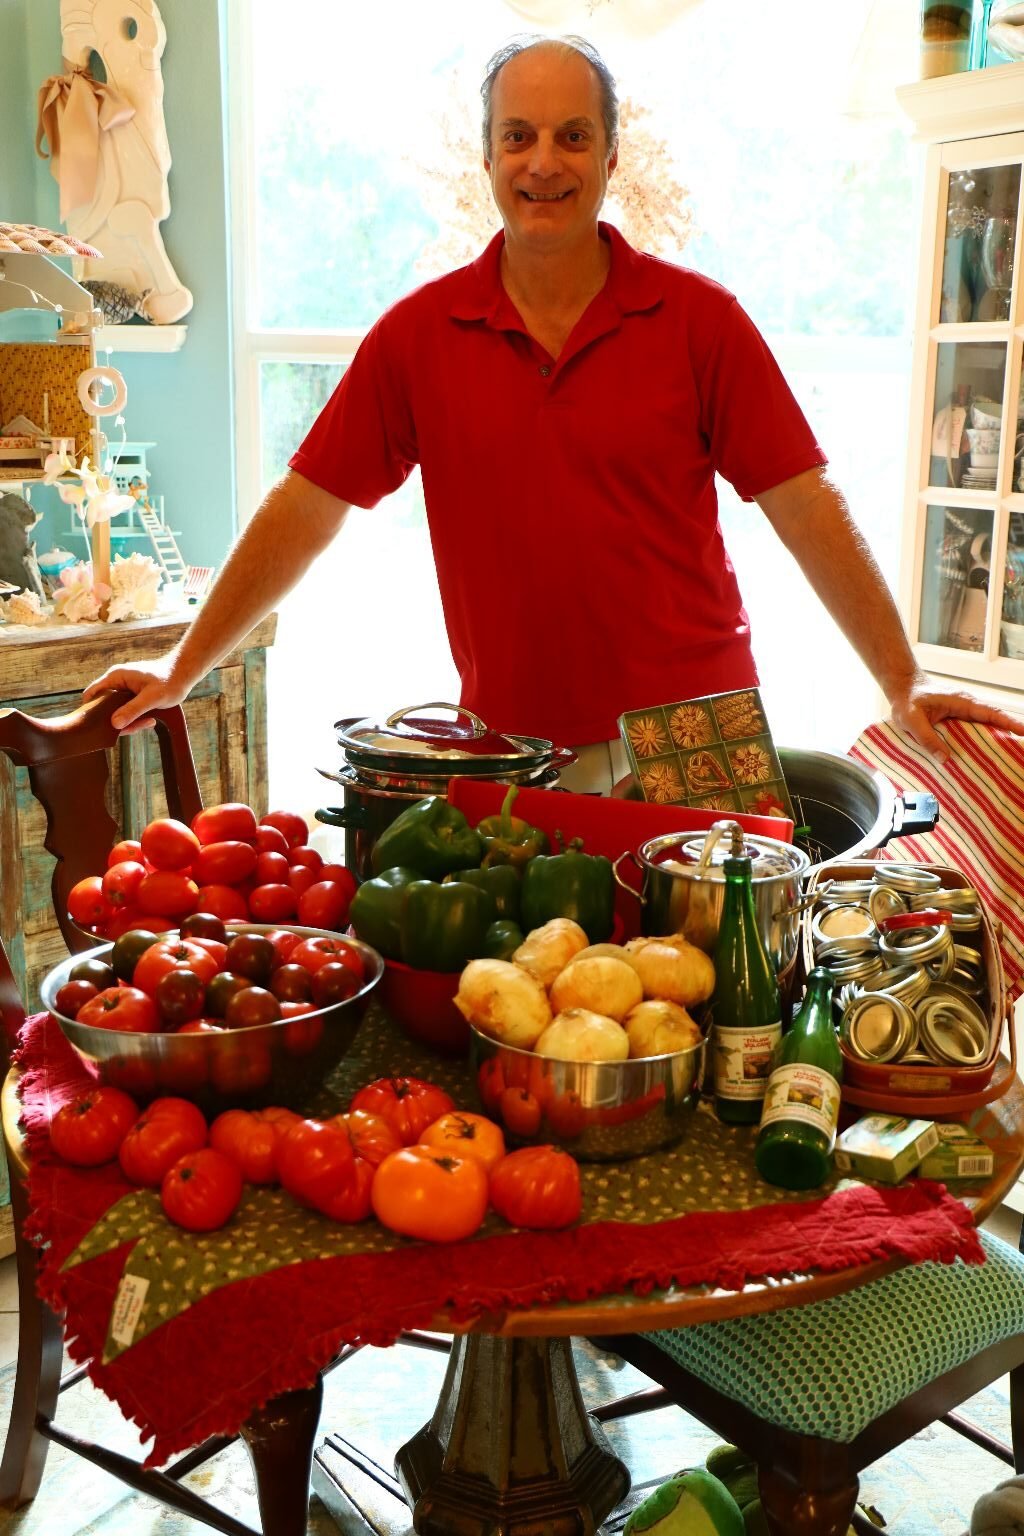
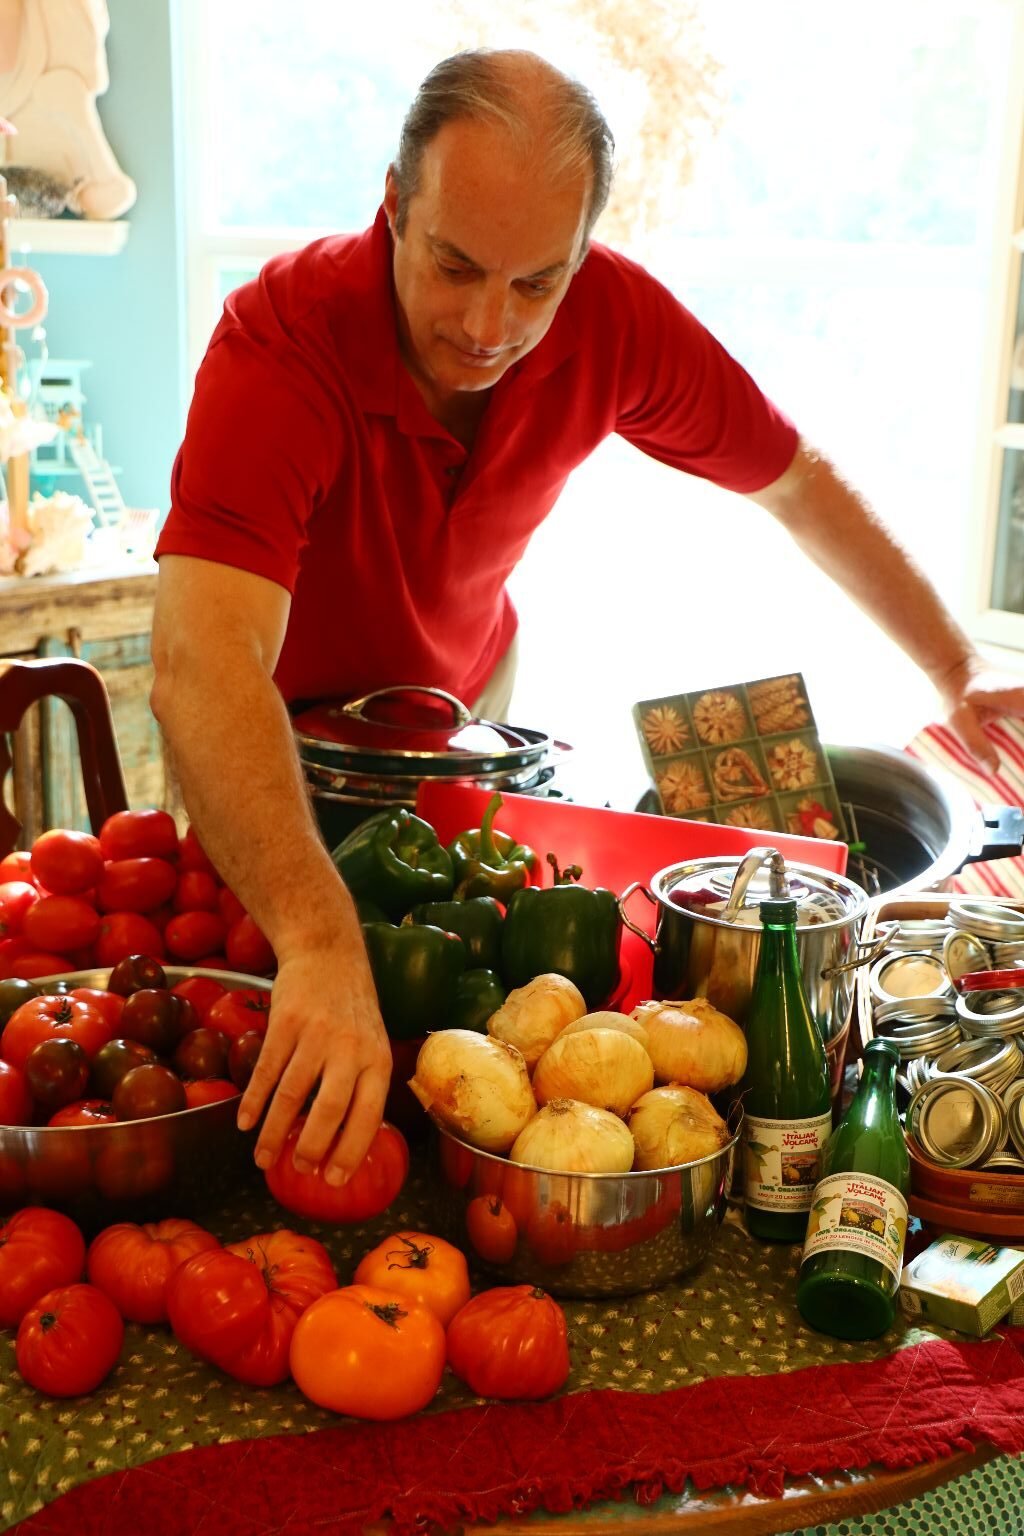
(Stewed Tomatoes Start Here)
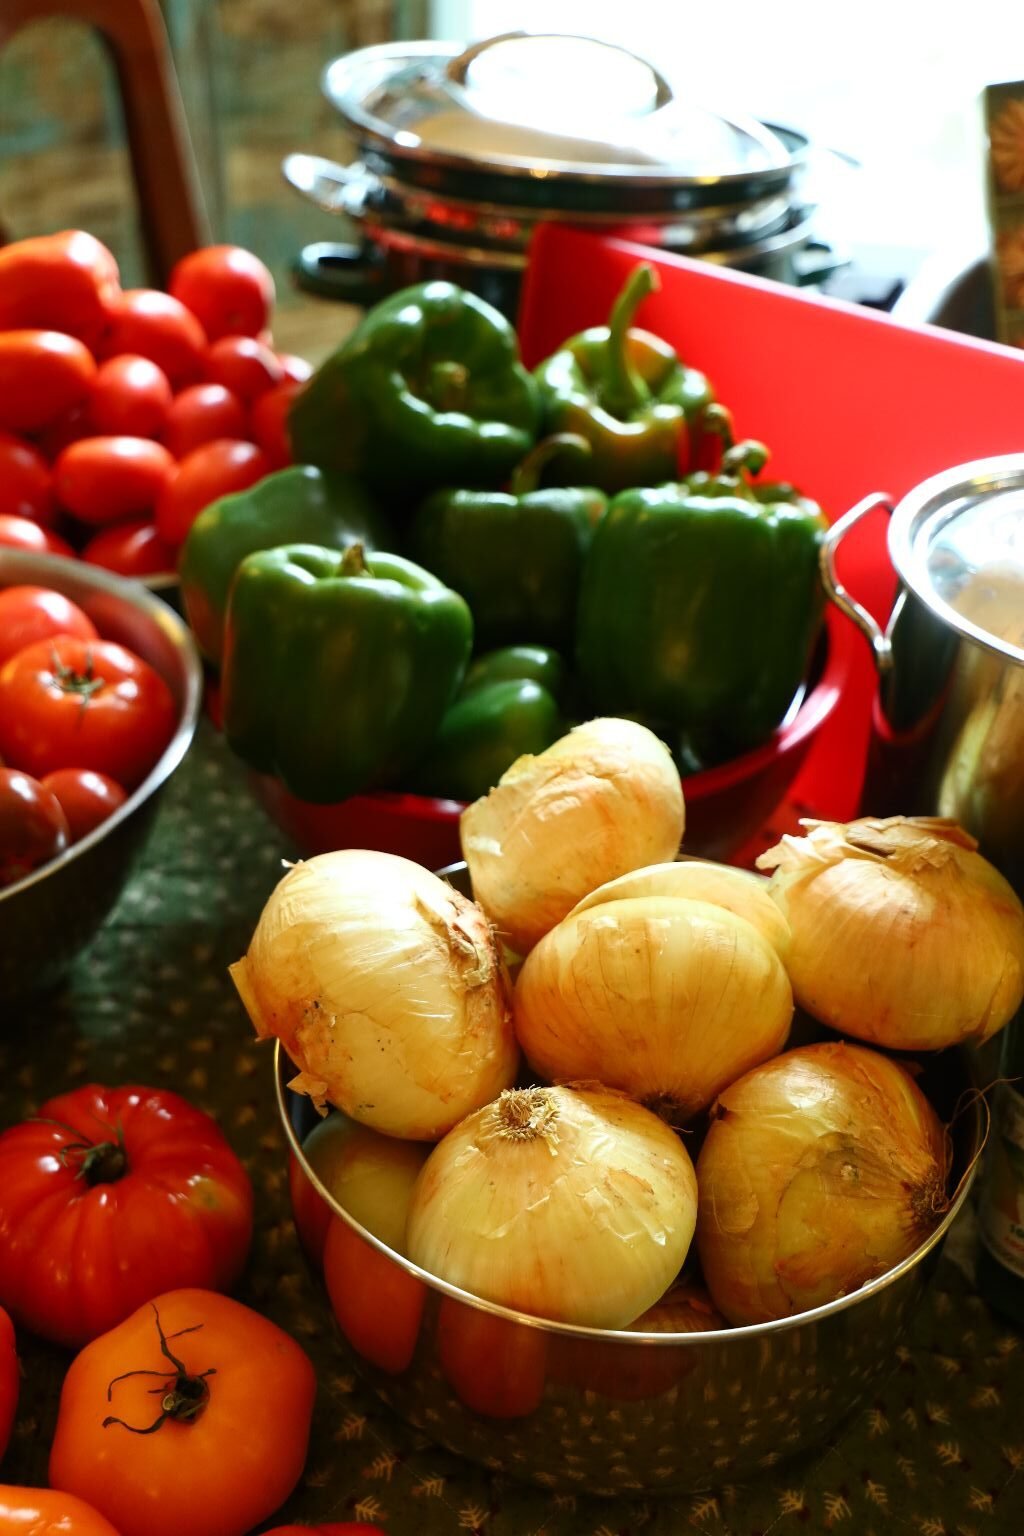

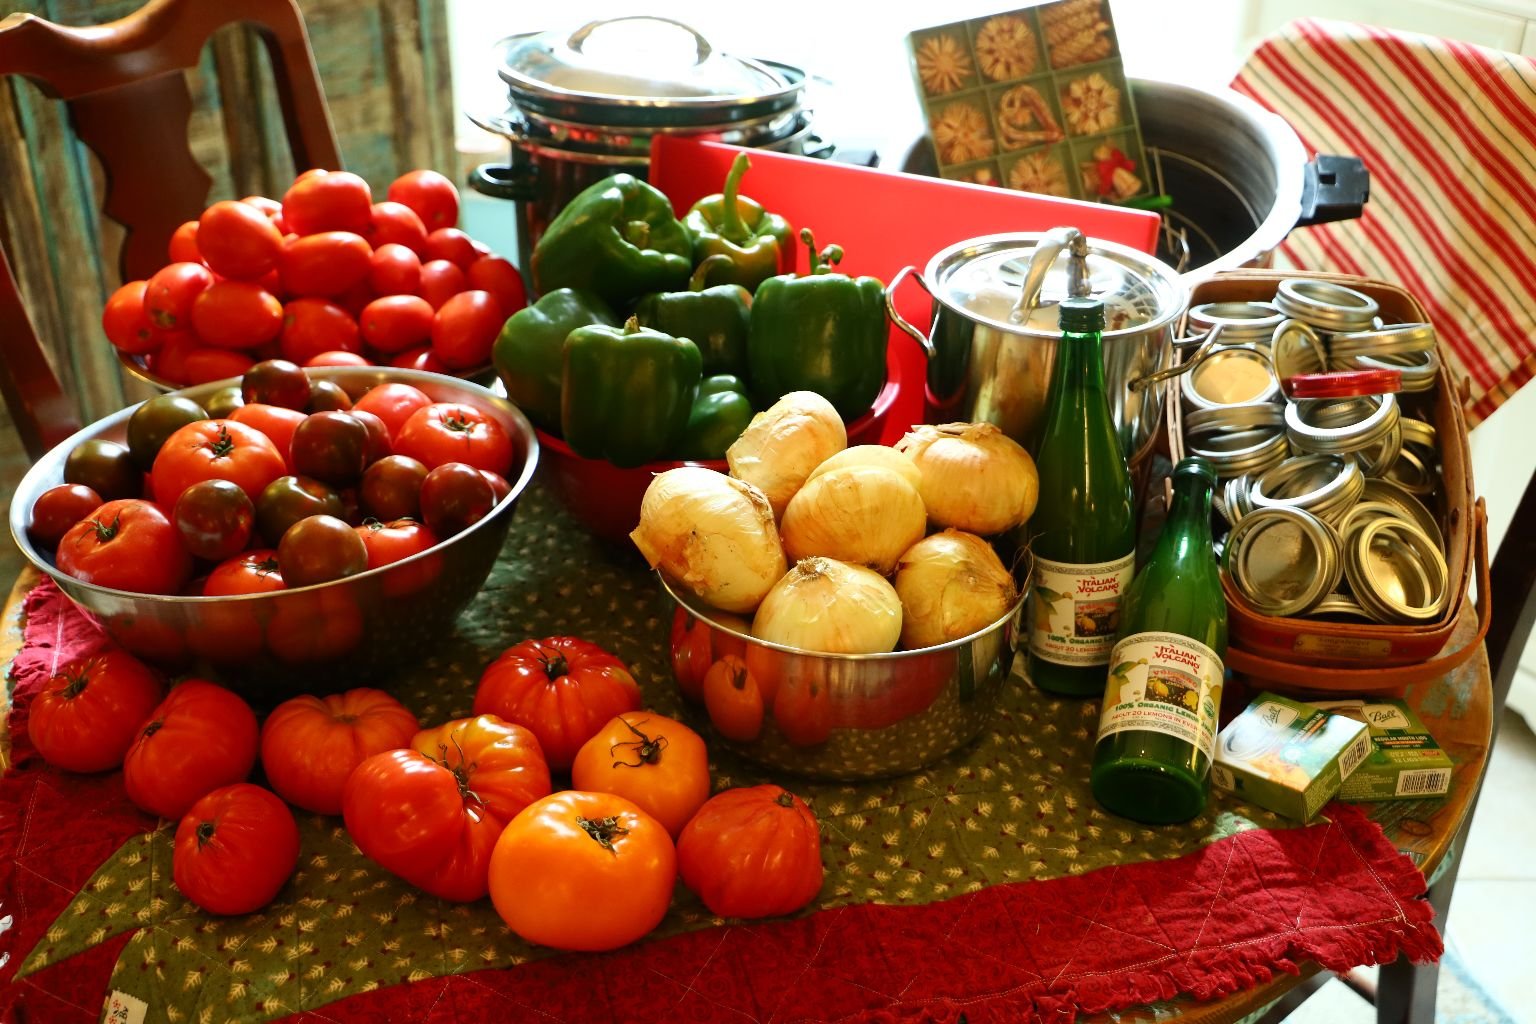
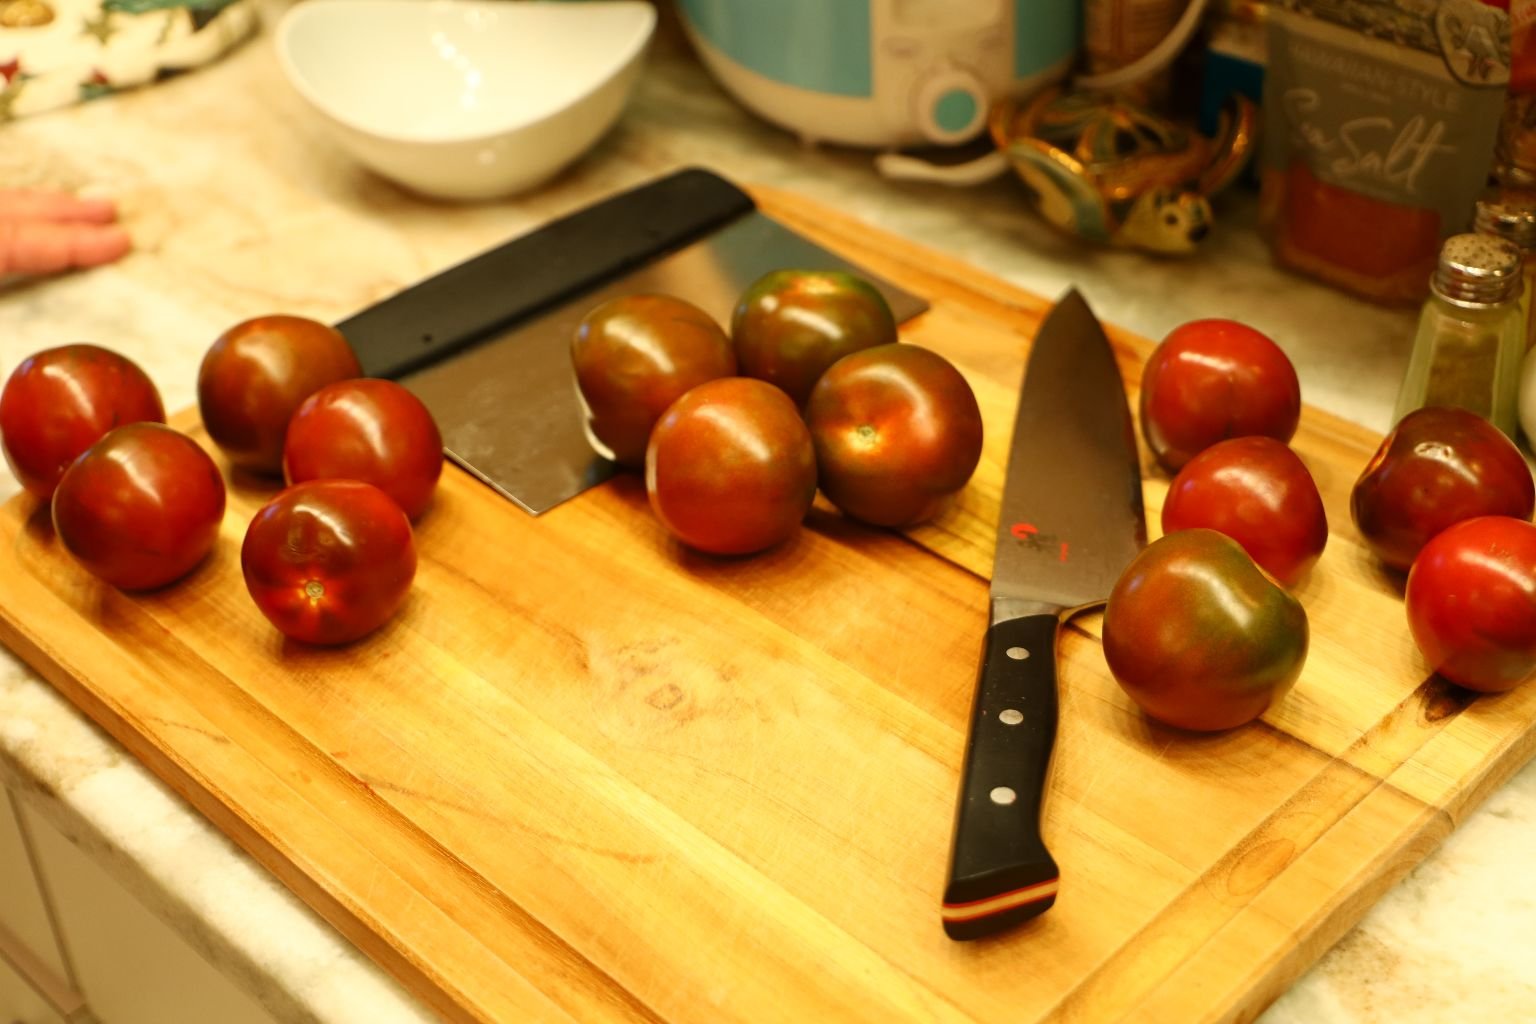
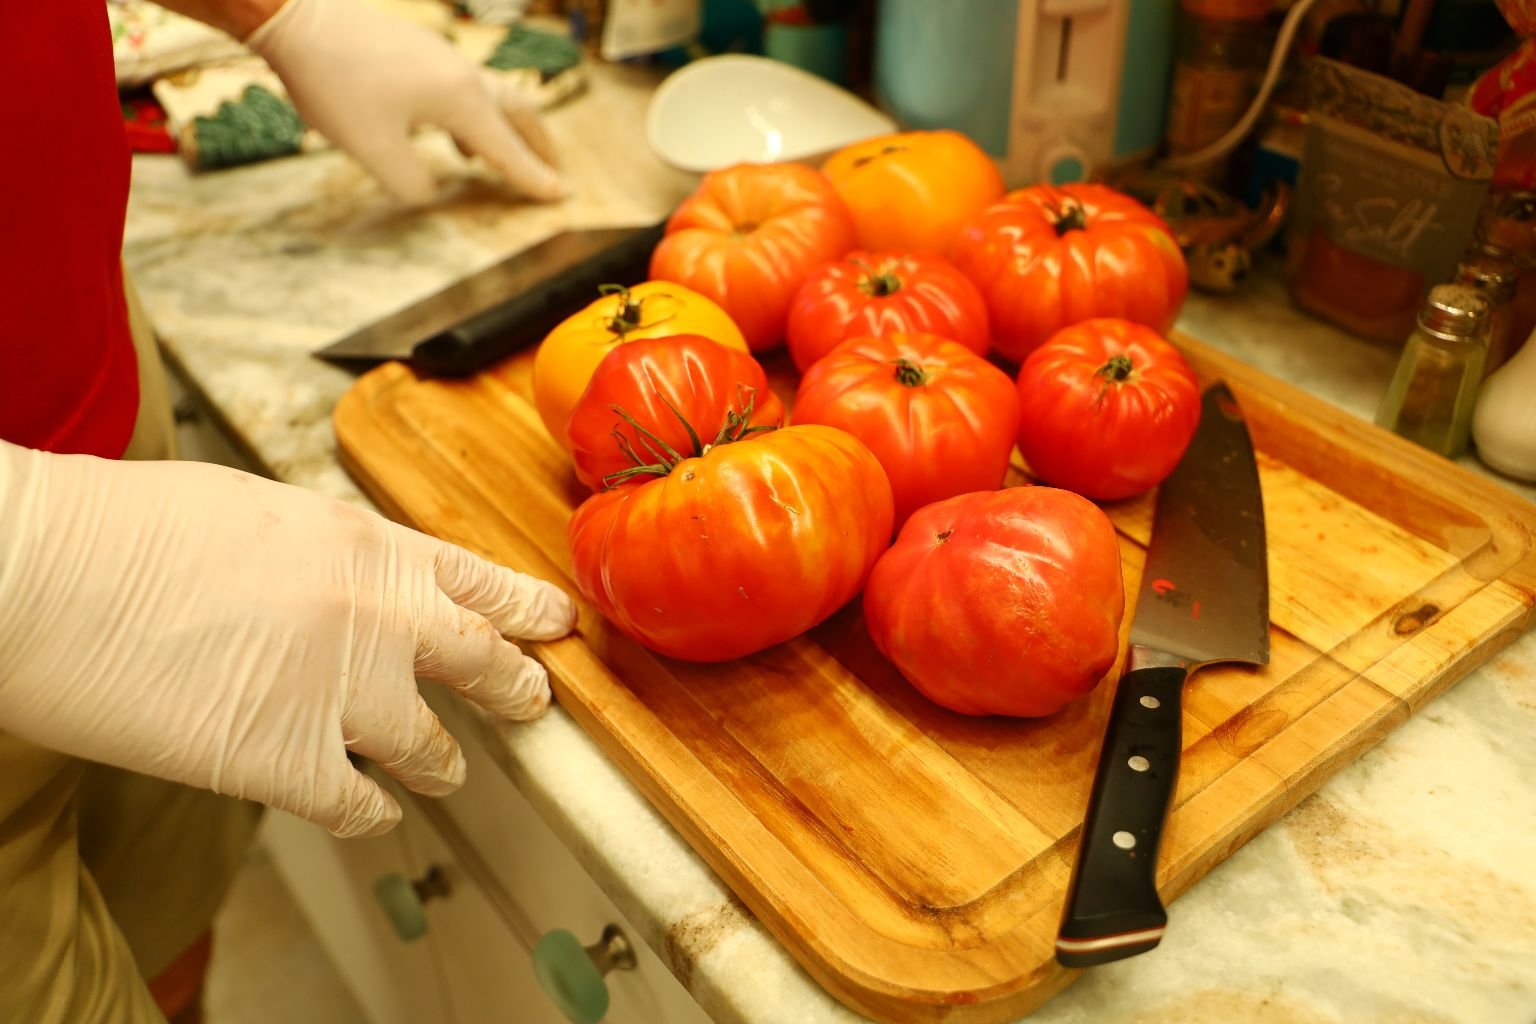
It all starts with the ingredients. Here you can see I have an assortment of beautiful in season tomatoes… Roma, Heirloom, as well as some nice vine ripe ones. We are lucky here in Florida that we can get all these great ingredients as there really isn’t much in the way of fruits and vegetables this state doesn’t grow. The ingredient amounts are not ever exact as I go by what it looks like in the pot. This is Stewed Tomatoes, so you want them to shine and be most of what the recipe is made of. The amount and type of Garlic, Bell Peppers and Onions are up to you and your own taste. These recipes made 35, 16 oz. jars. So, make as much as you like, and just fill your jars until you have no more to fill.

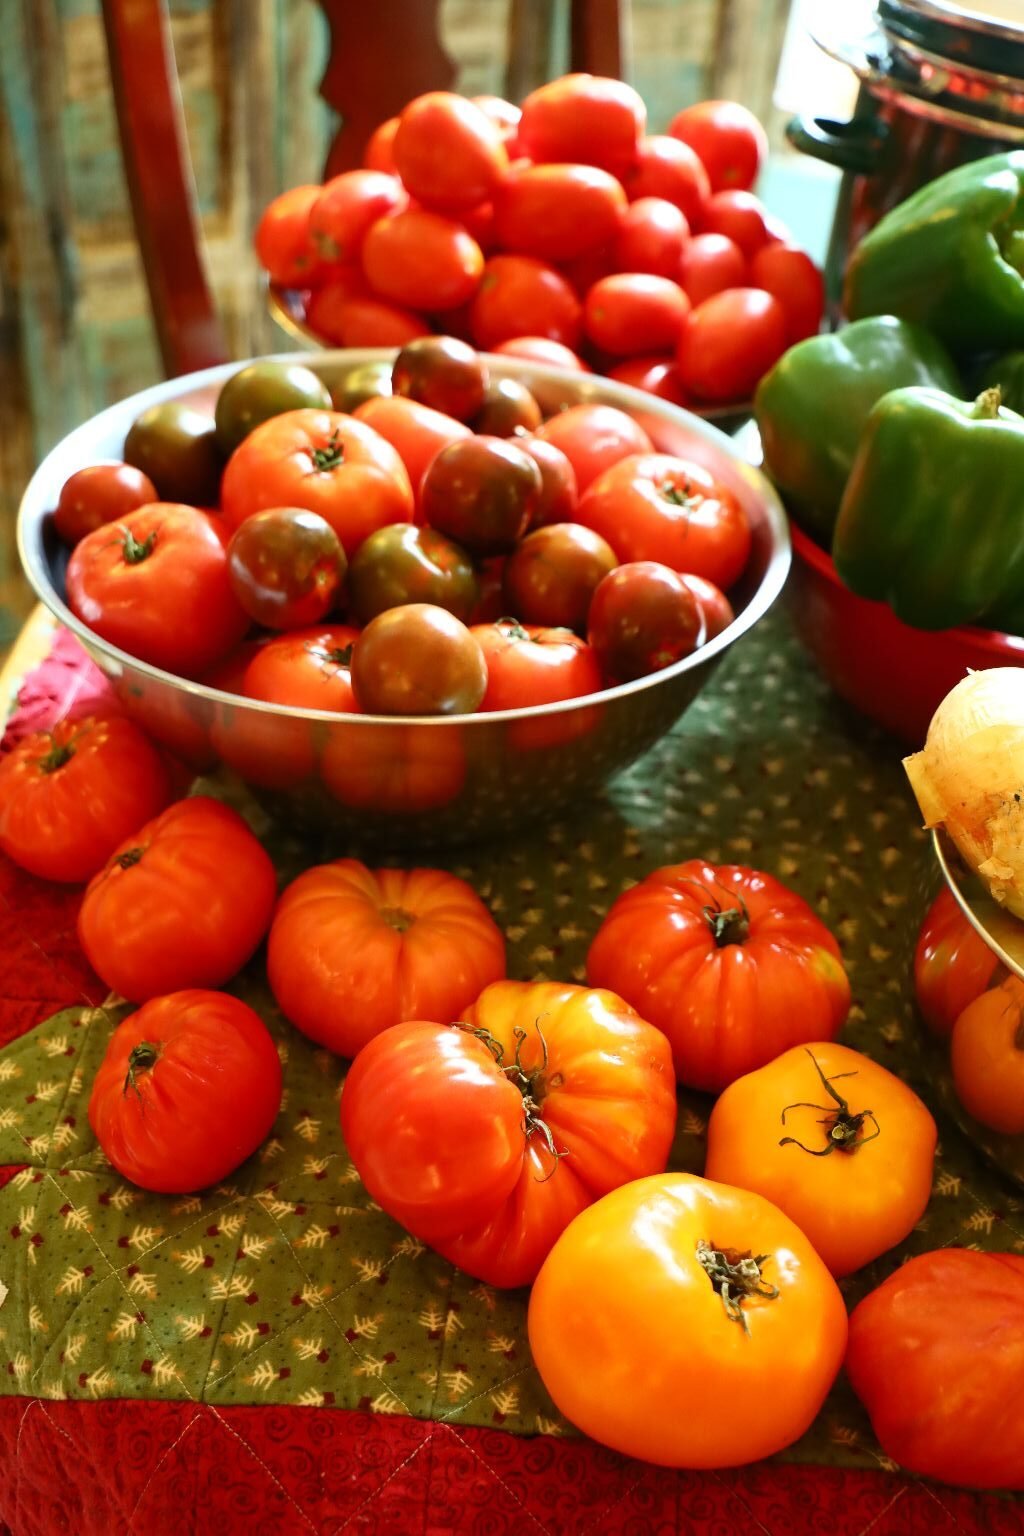
Beautiful and Delicious Tomatoes
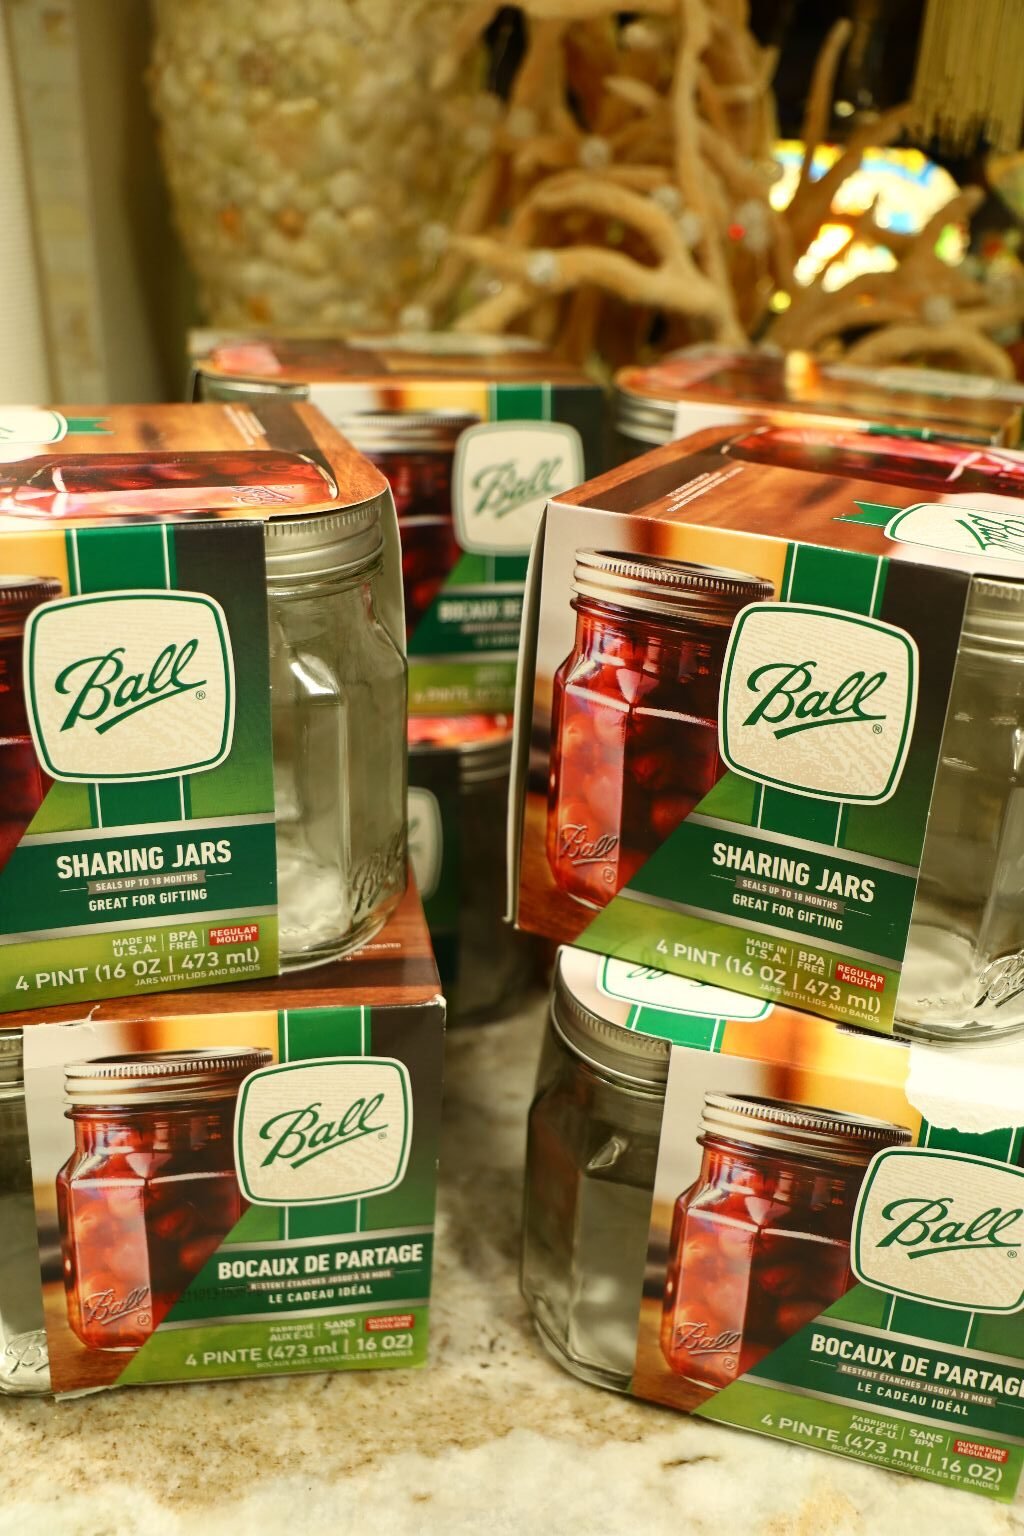
The Jars We Used
——————————————————————————
Stewed Tomatoes Recipes
Wonderful Edible Gift
————————————————————————
This is for Two Different Batches of Stewed Tomatoes
A Southern Recipe, and an Italian Recipe
Ingredients For The Italian Recipe:
5-6 Yellow Onions – Chopped – Here you could also use Vidalia and or Shallots
~15 Roma Tomatoes – Skins removed
~5 Large Heirloom Tomatoes – Skins removed
~7 Red Heirloom Tomatoes – Skins removed
~5 Vine Ripened Tomatoes – Skins removed
~5 Large Green Bell Peppers – here you could use different colors and varieties
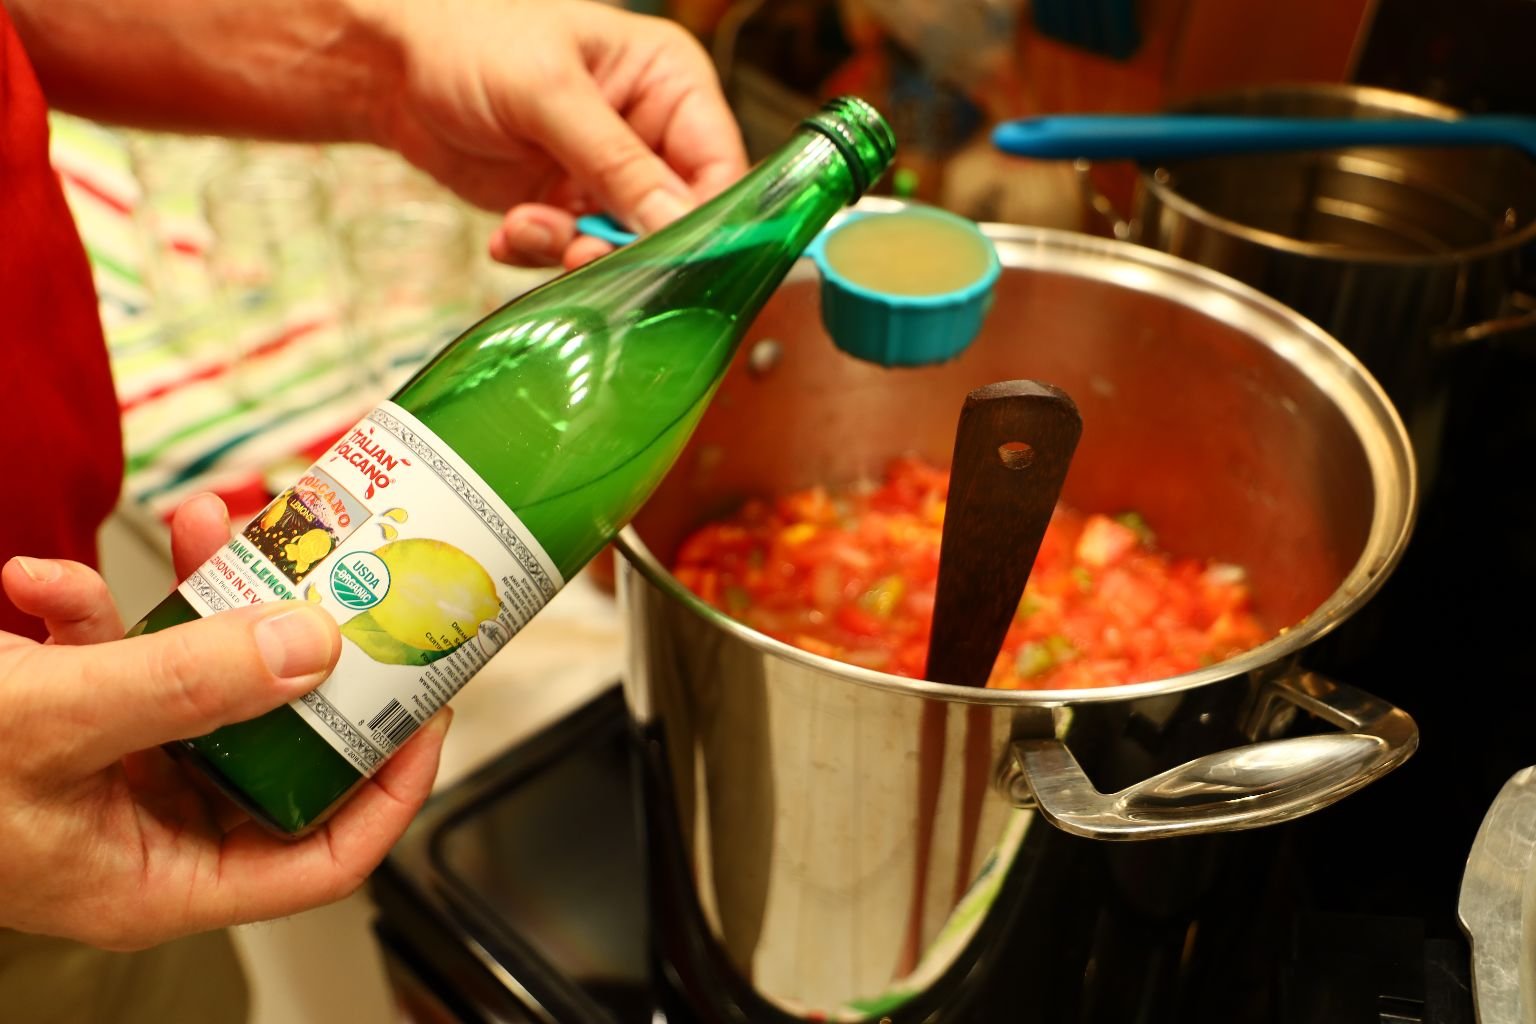
~1/2 Cup Italian Volcano Organic Lemon Juice
~1 Heaping Tbsp. Dried Basil
~1 Heaping Tbsp. Dried Oregano
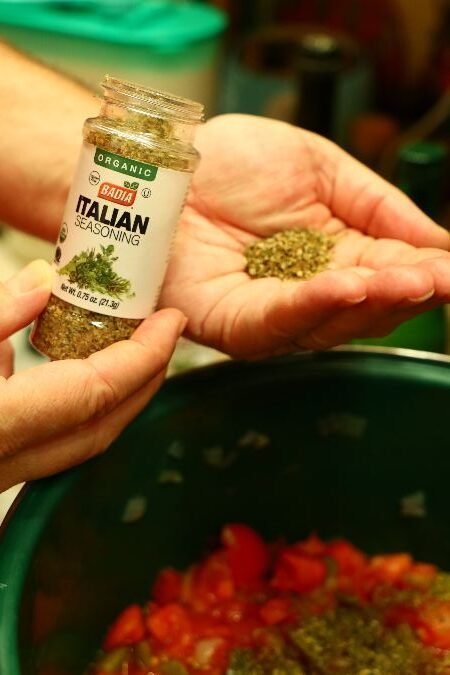
~1 Tbsp. Italian Seasoning
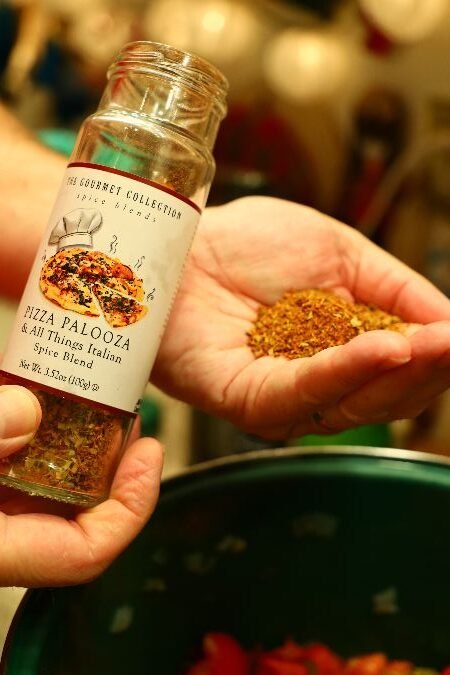
~4 Heaping Tbsp. Pizza Palooza Spice Blend
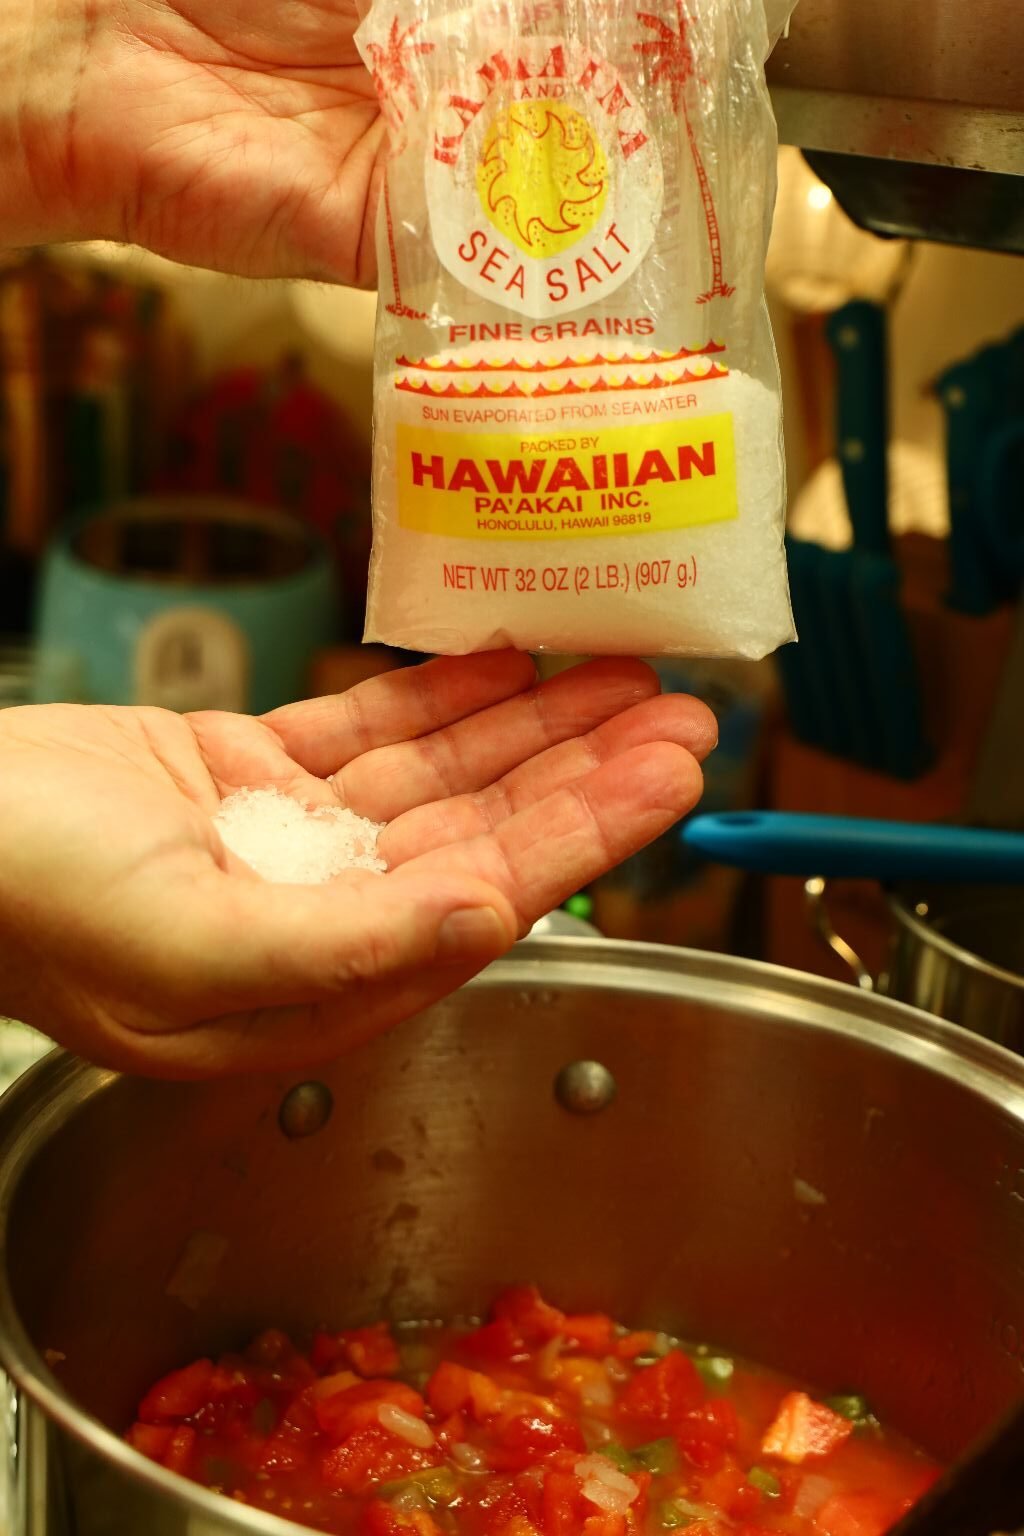
~1 Tbsp. Hawaiian Sea Salt
—————————————————————–
~1/4 Cup Olive Oil
5-6 Yellow Onions – Chopped – Here you could also use Vidalia and or Shallots
~15 Roma Tomatoes – Skins removed
~5 Large Heirloom Tomatoes – Skins removed
~7 Red Heirloom Tomatoes – Skins removed
~5 Vine Ripened Tomatoes – Skins removed
~5 Large Green Bell Peppers – here you could use different colors and varieties
~1/2 Cup Italian Volcano Organic Lemon Juice
~1 Tbsp. Sugar
~1 Tbsp. Hawaiian Sea Salt
———————————————————————————-
Prepping all the ingredients. Make sure your knife is sharp and all your ingredients have been washed.
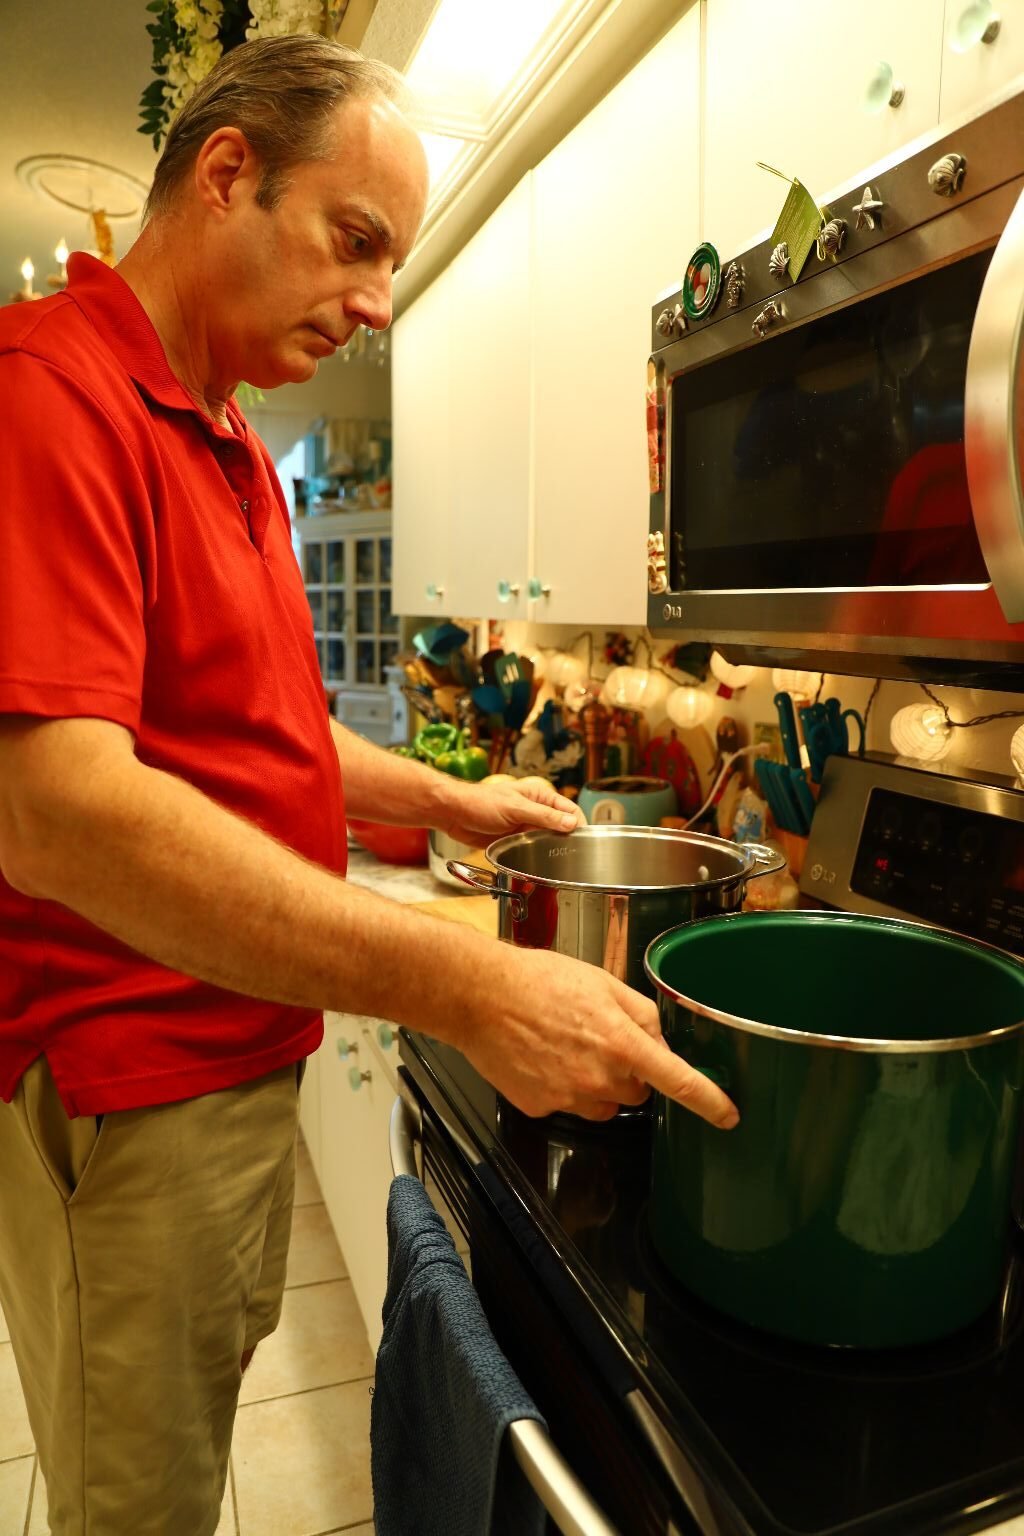
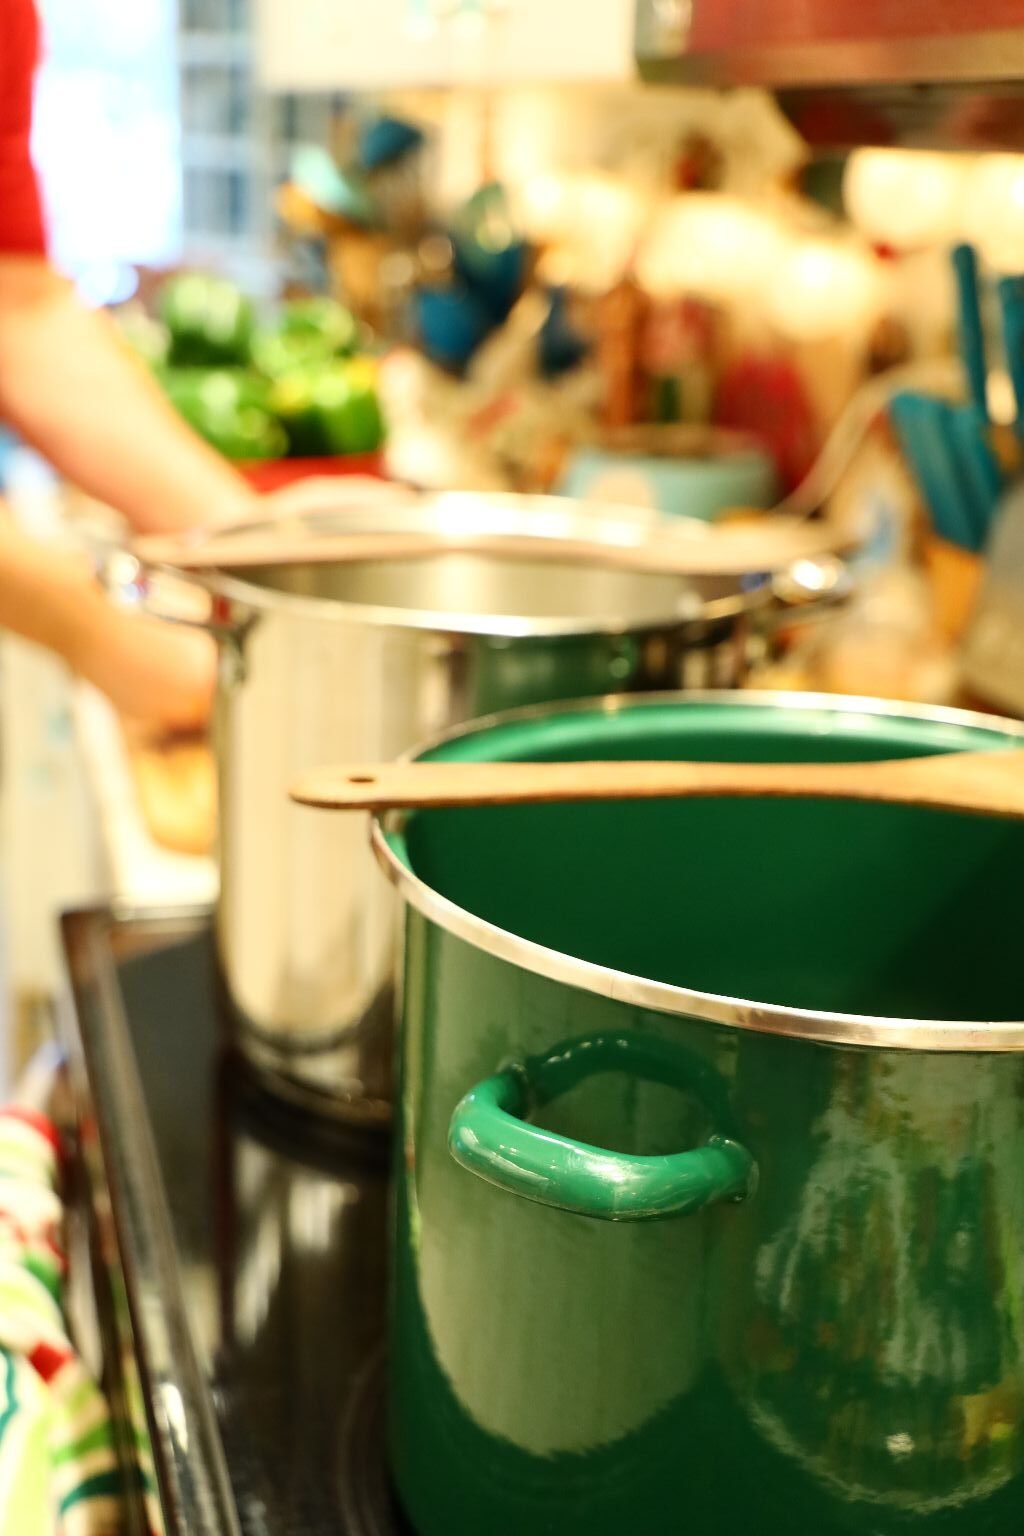
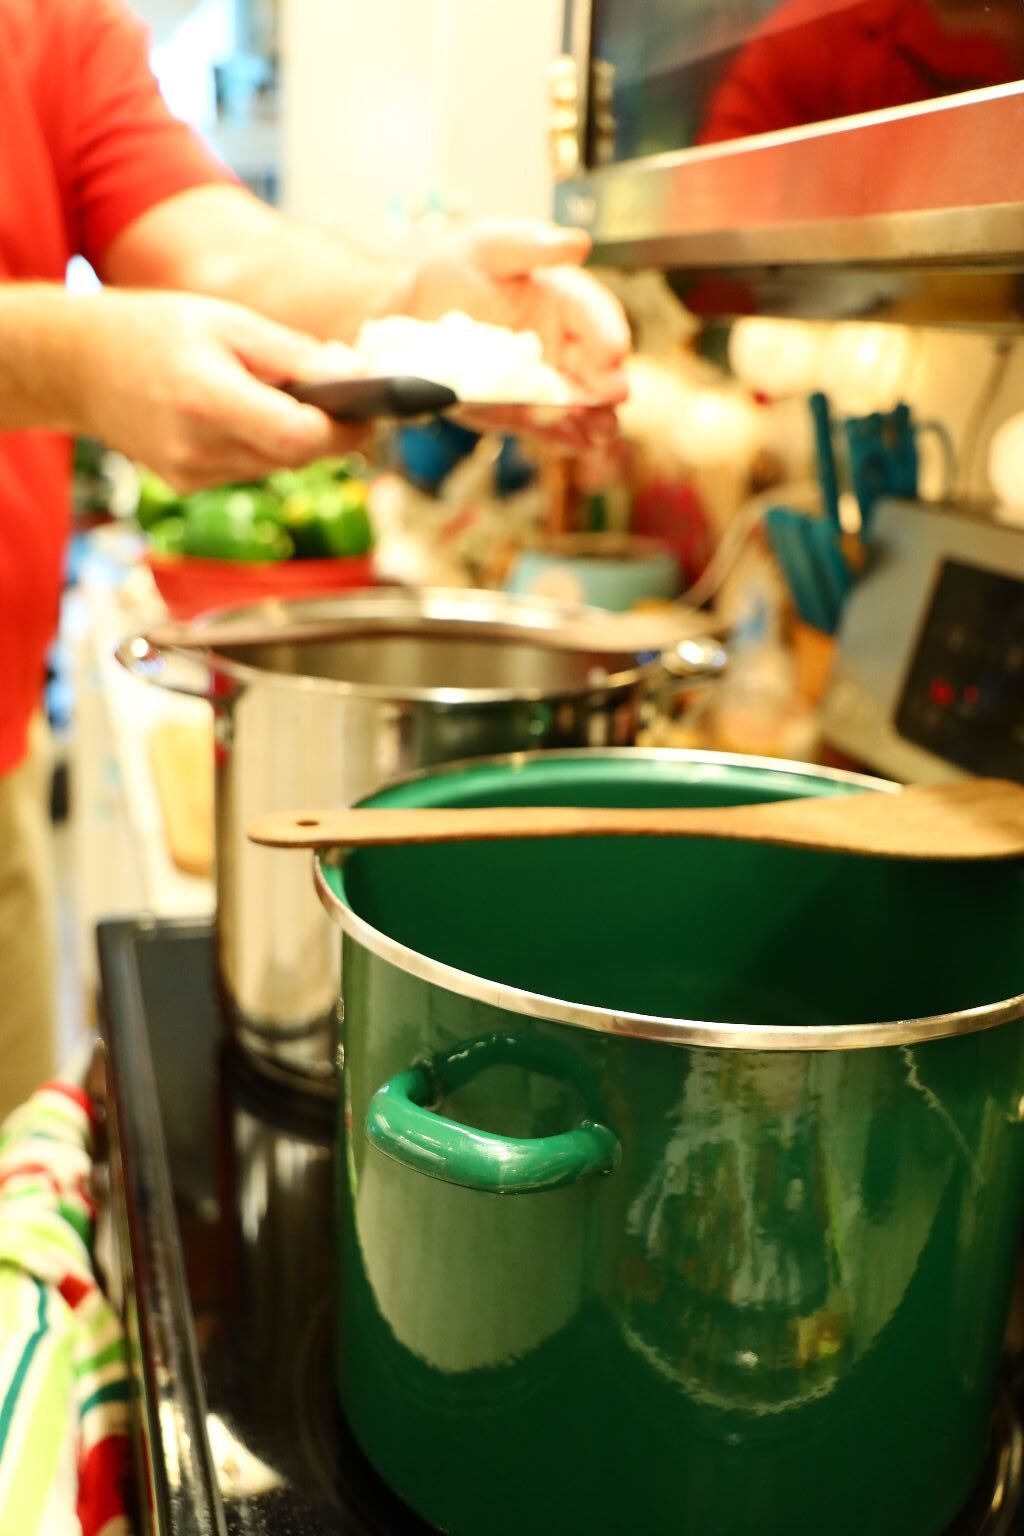
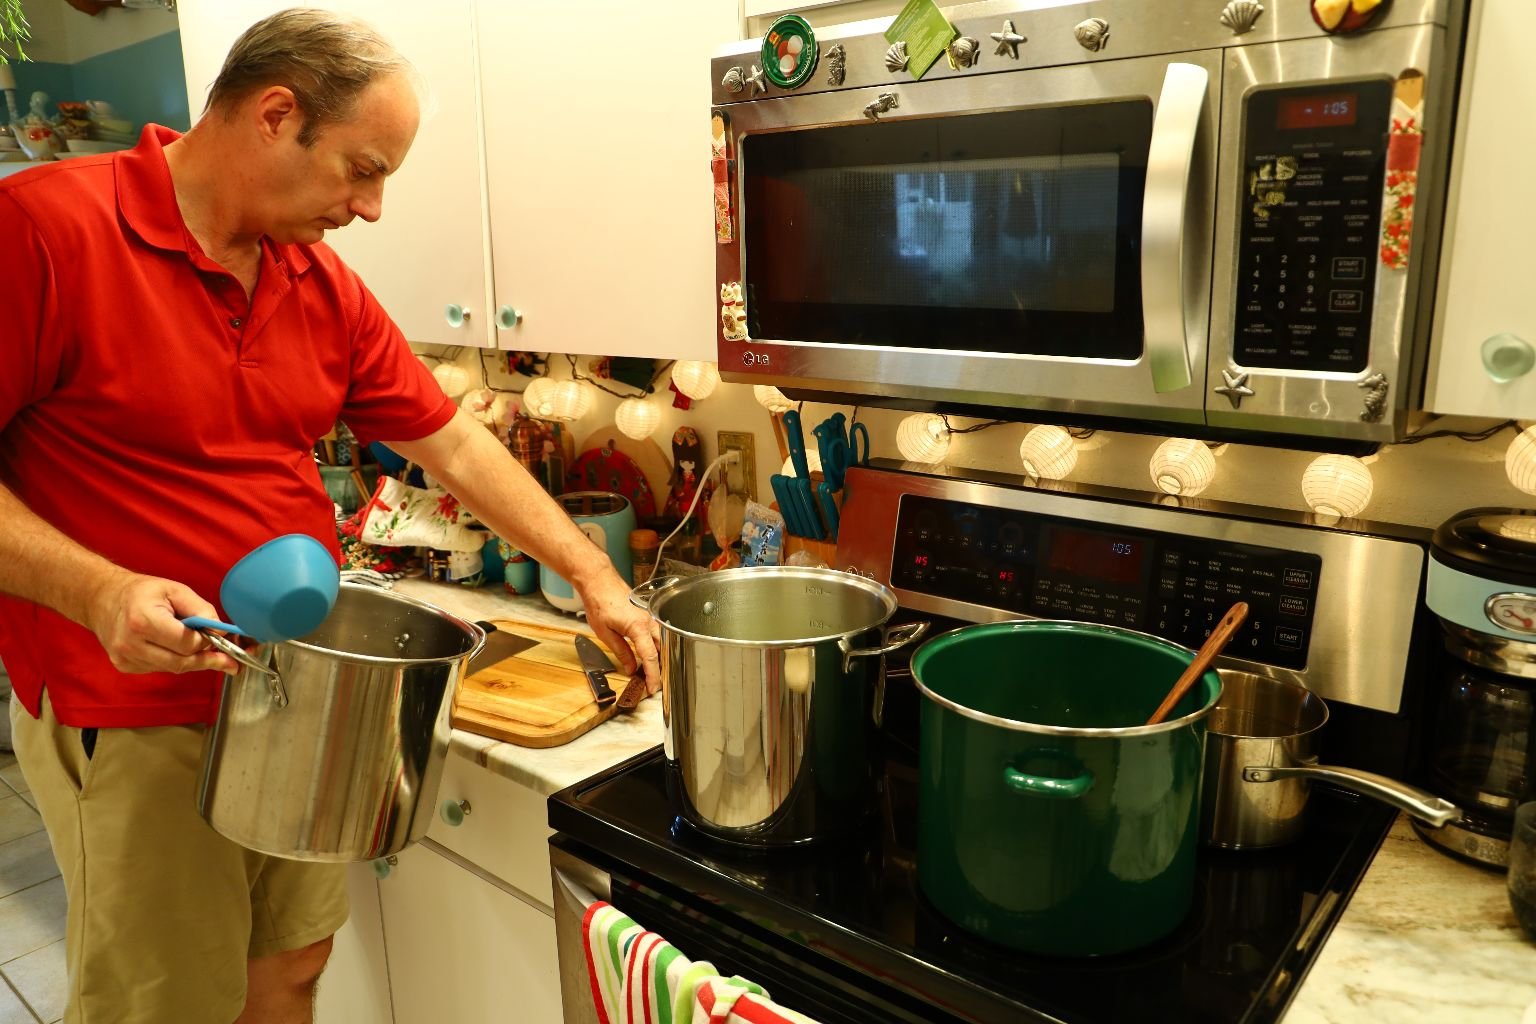
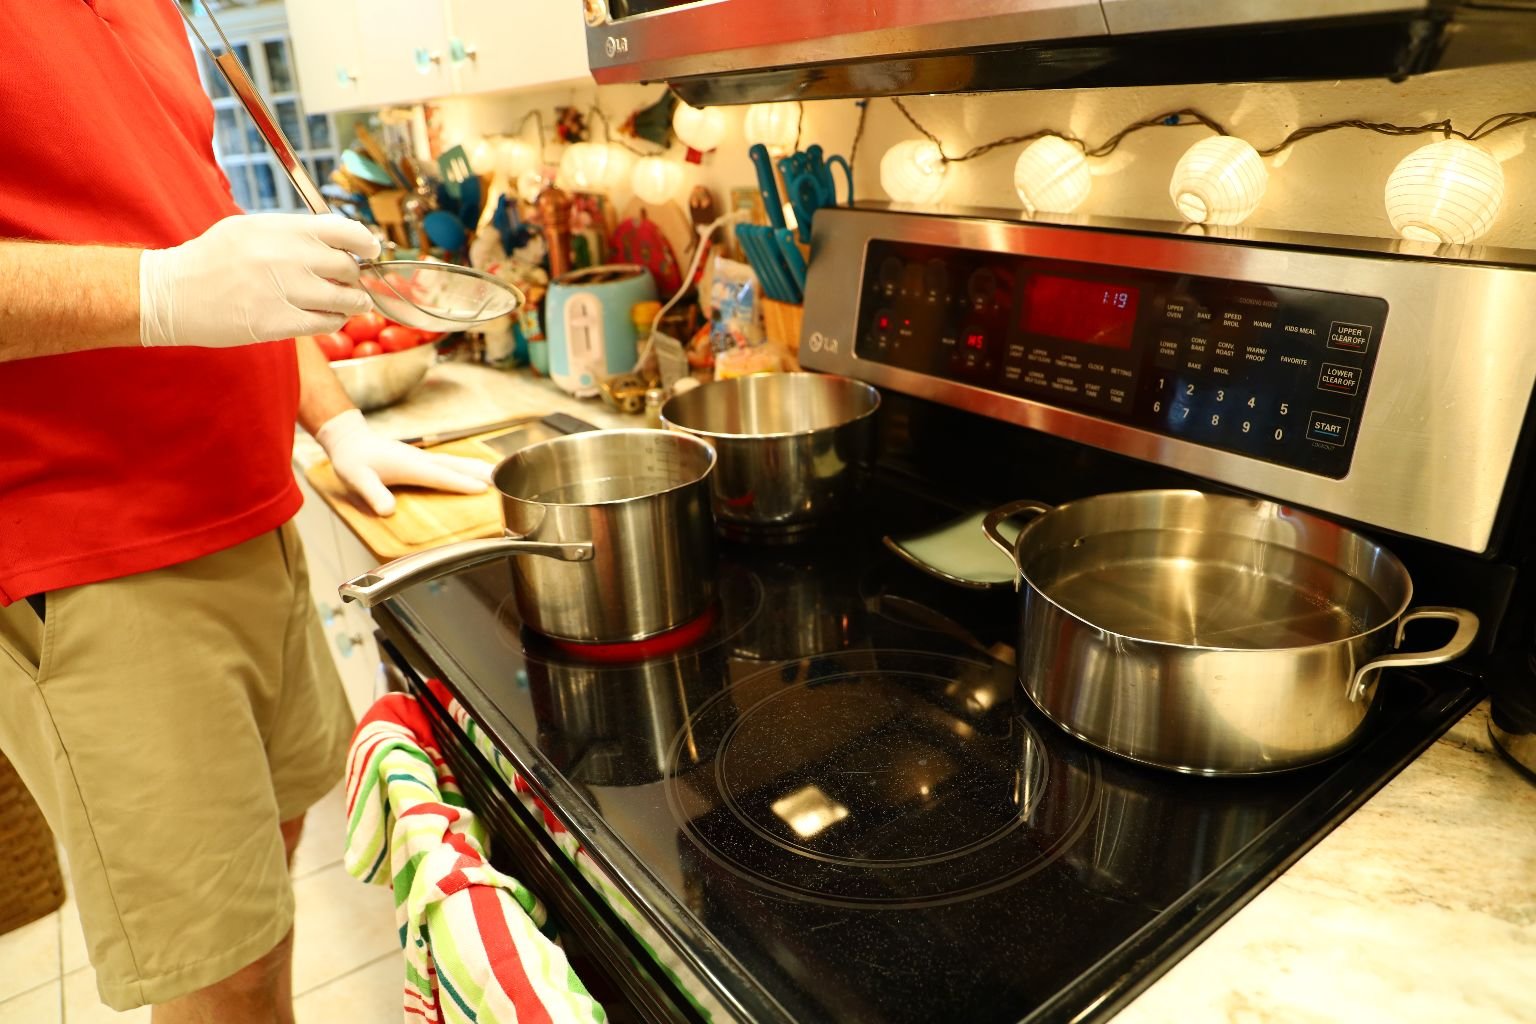
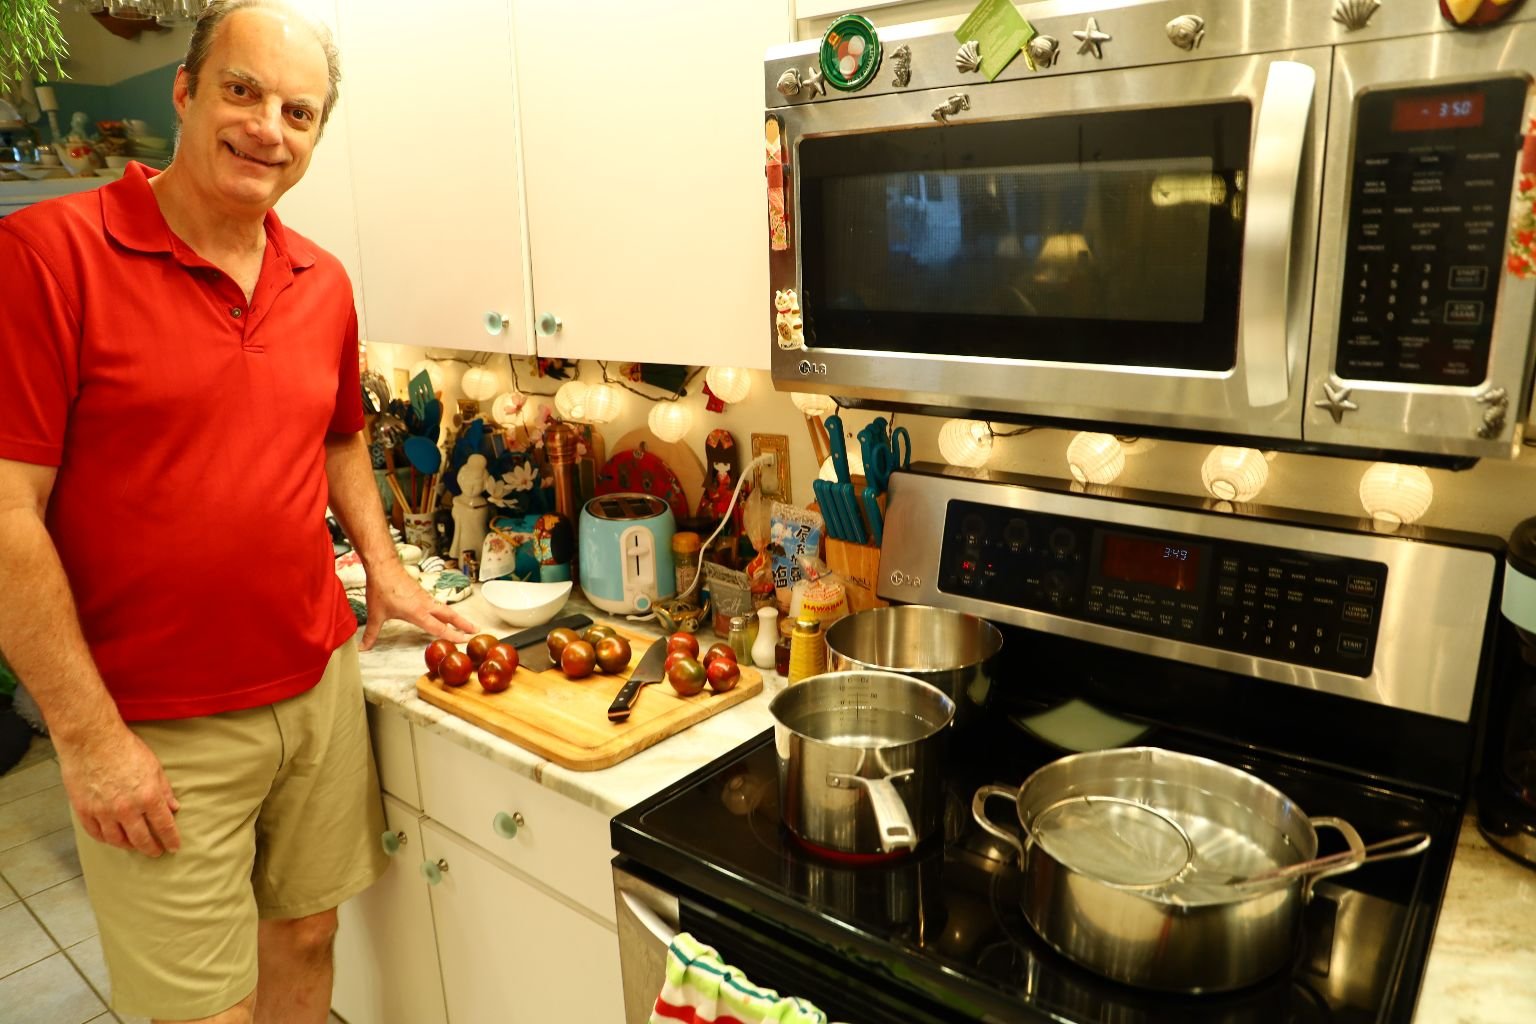
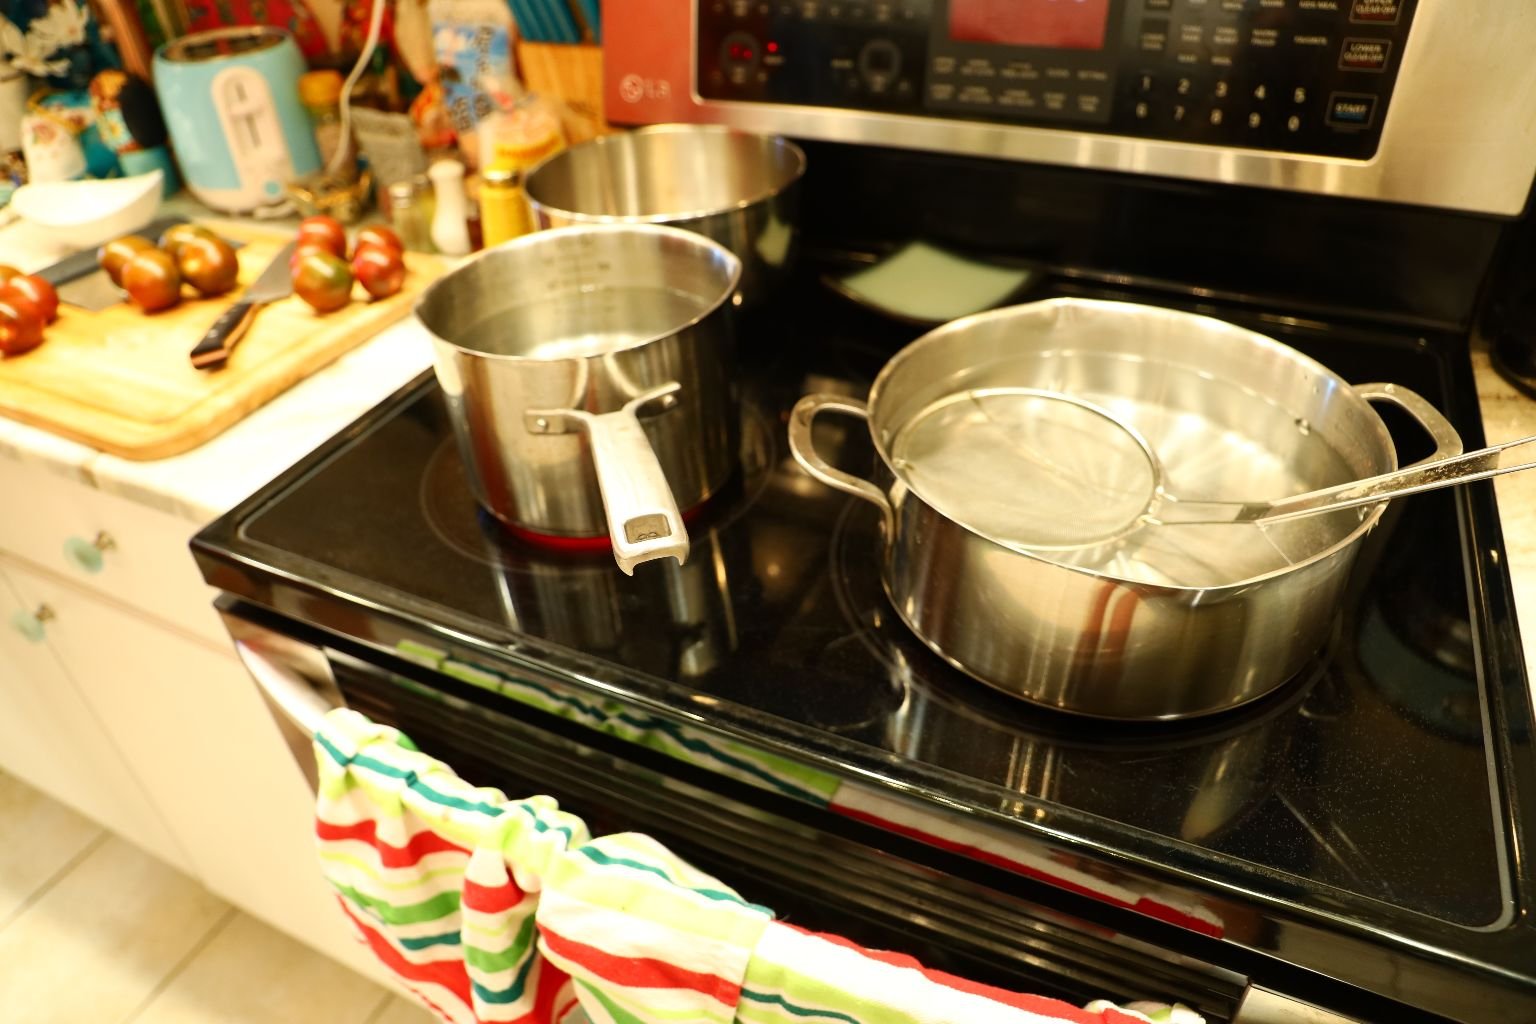
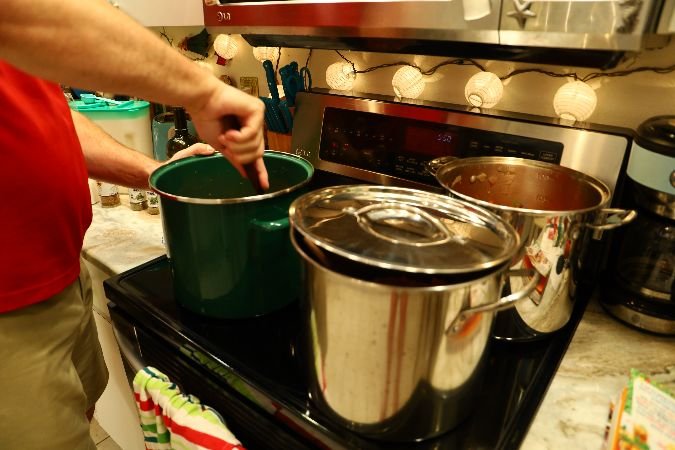
Getting the large pots ready to be filled.
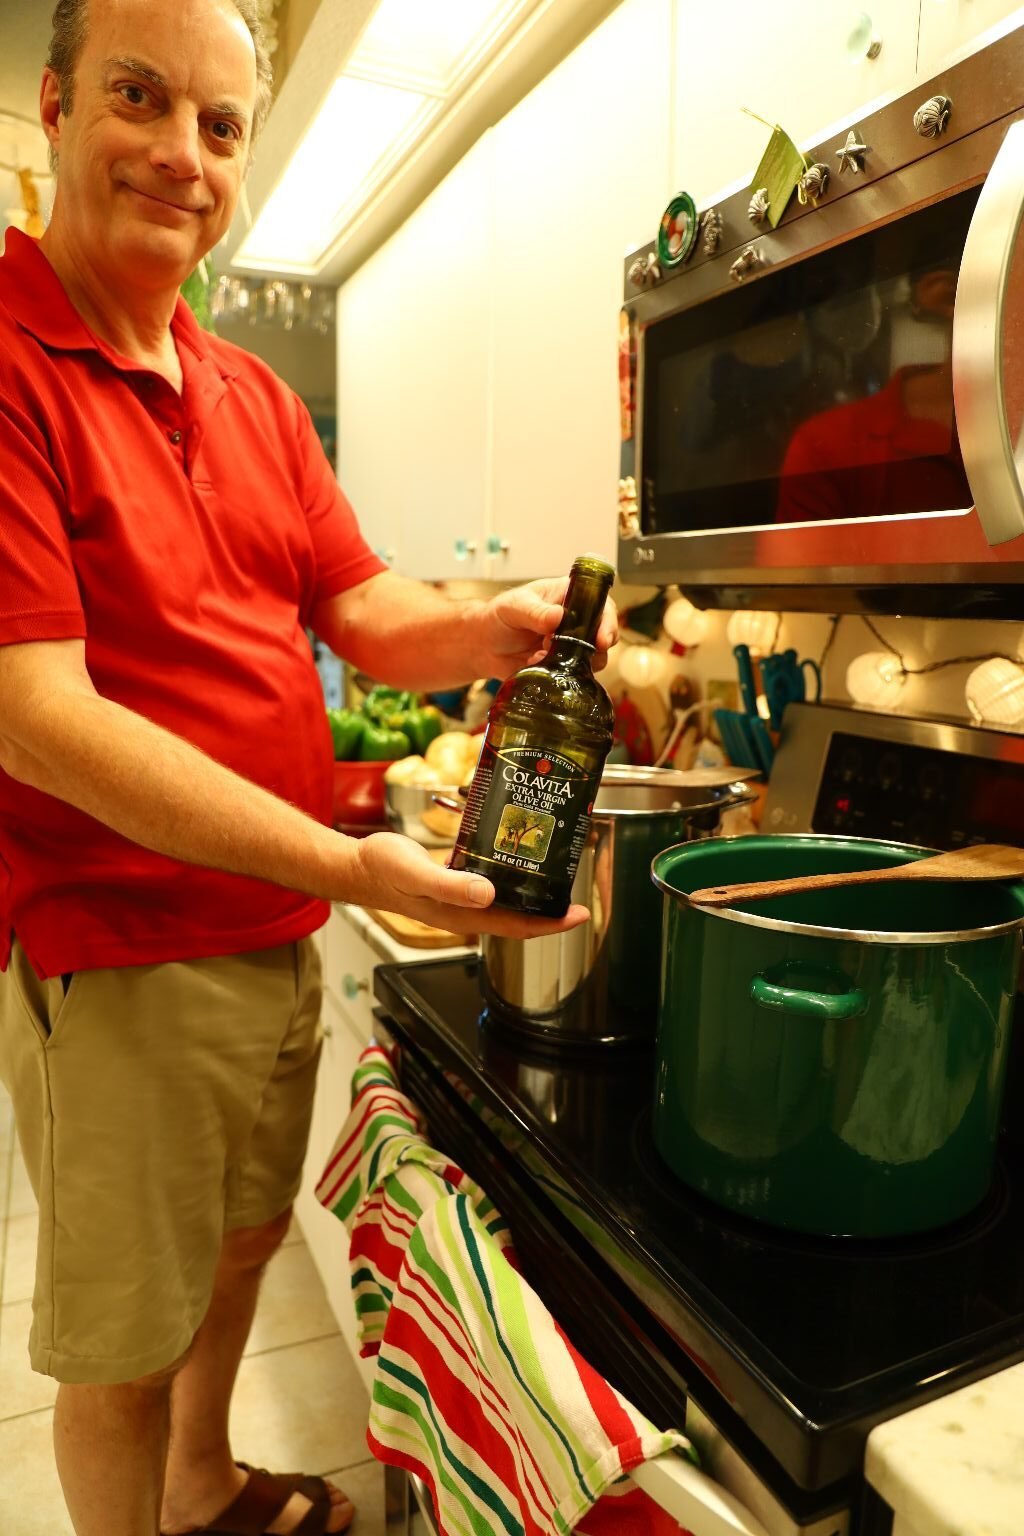
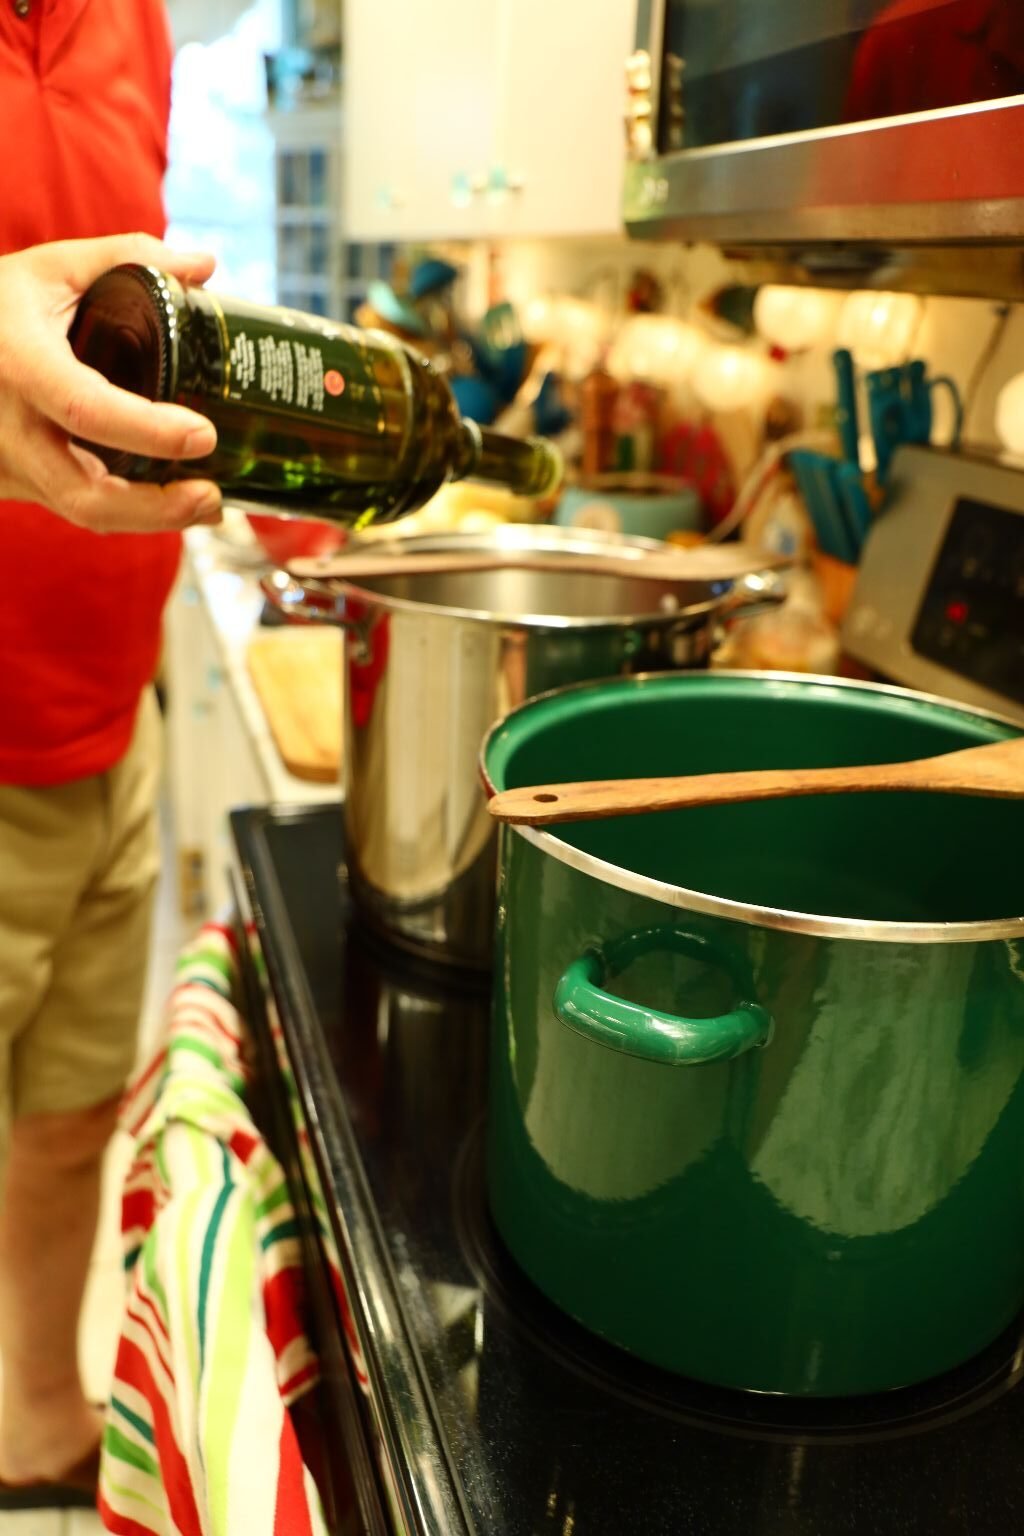
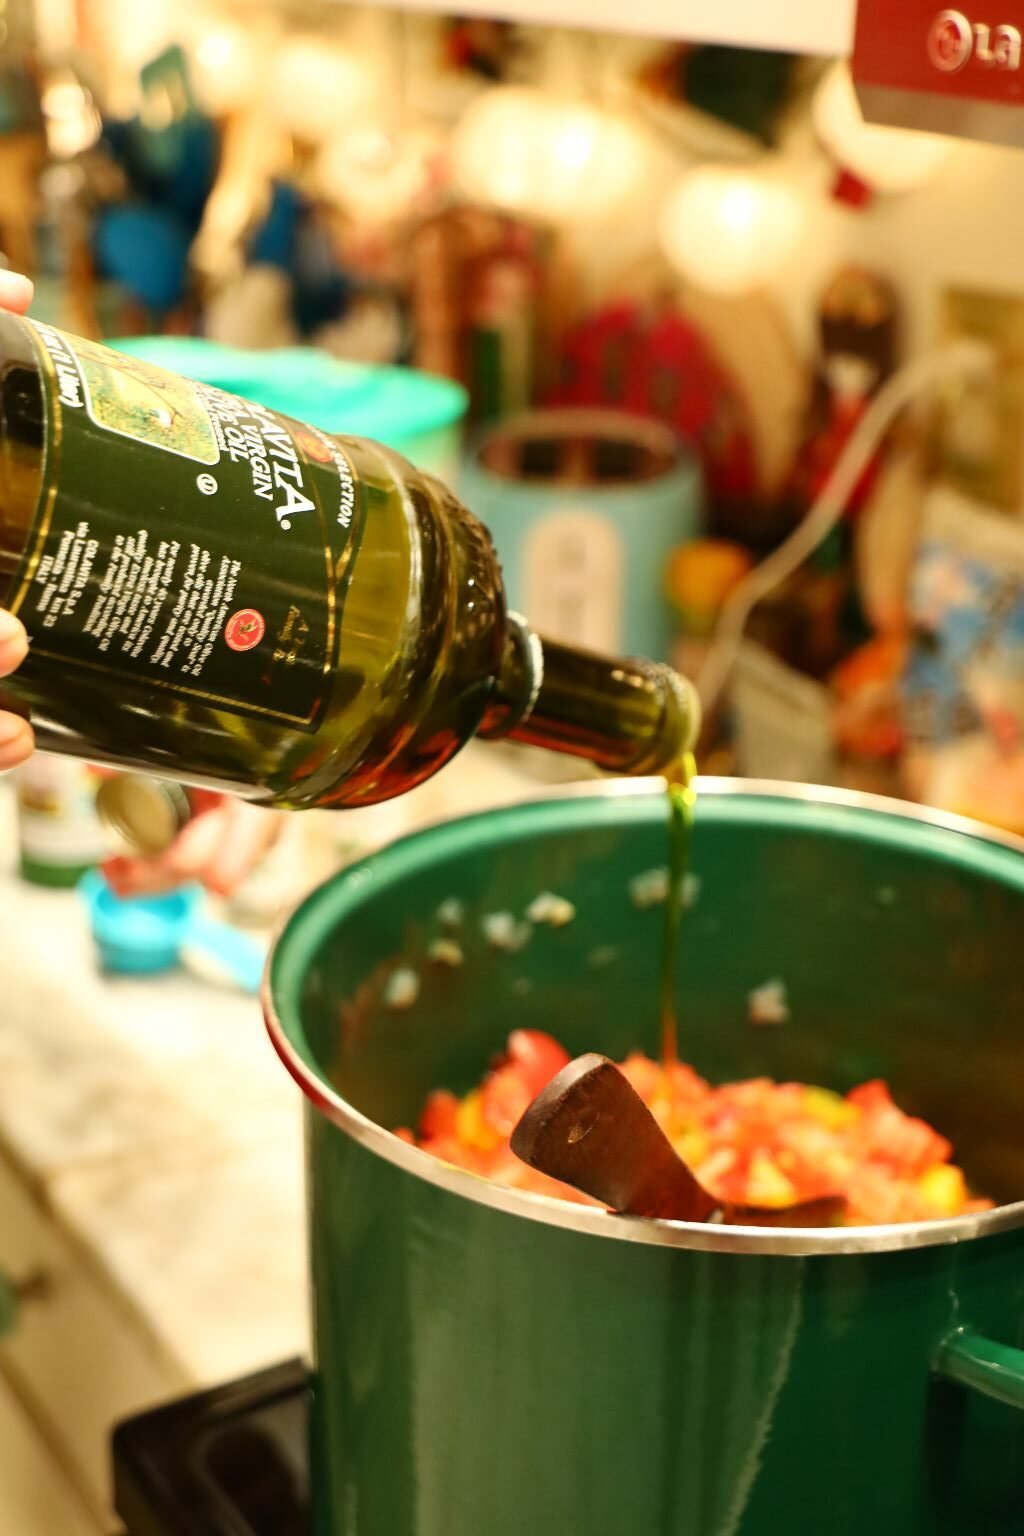
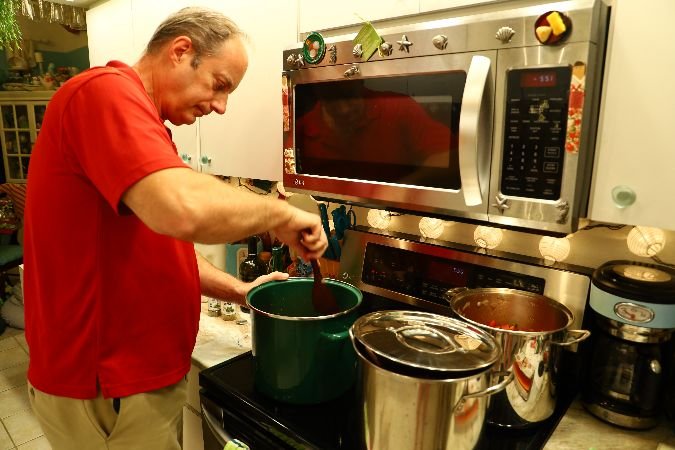
Start by adding some very good Olive Oil to each pot and turn the heat to medium. This is also dependent on how fast you can cut your onions as you don’t want your Olive Oil to burn. I am pretty fast, so I turned it on now and you can add your sliced Onions as you cut them. Just be sure to stir them around some.
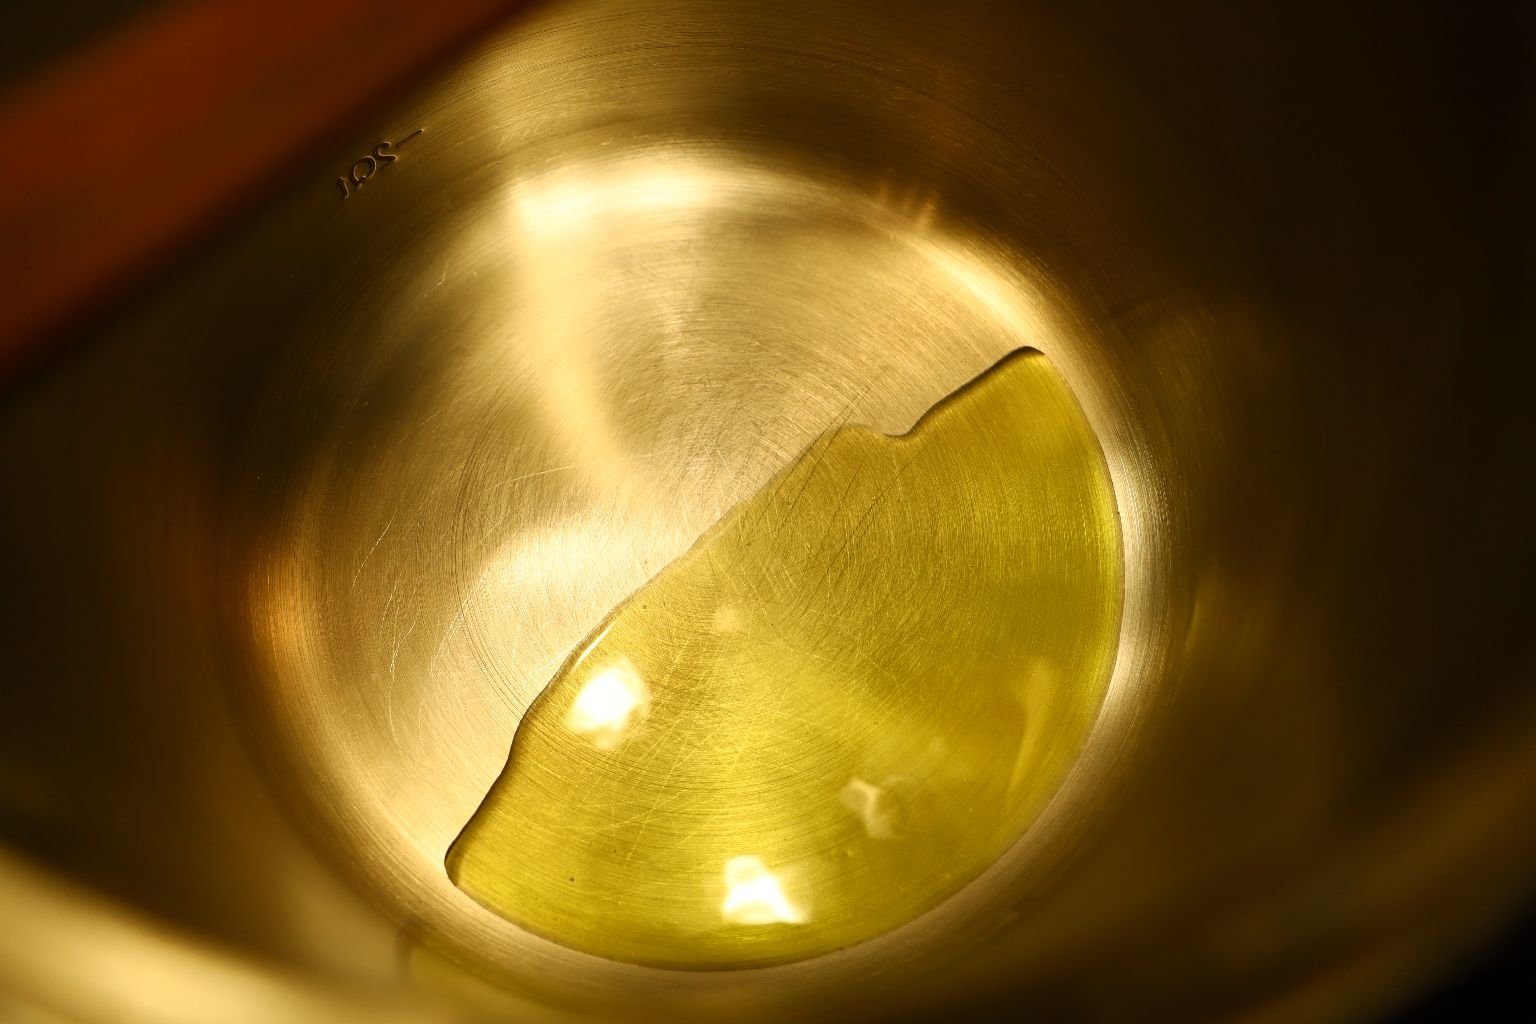

This is a good start as it is just enough to sweat the onions. We will add more Olive Oil later, just because it tastes good.
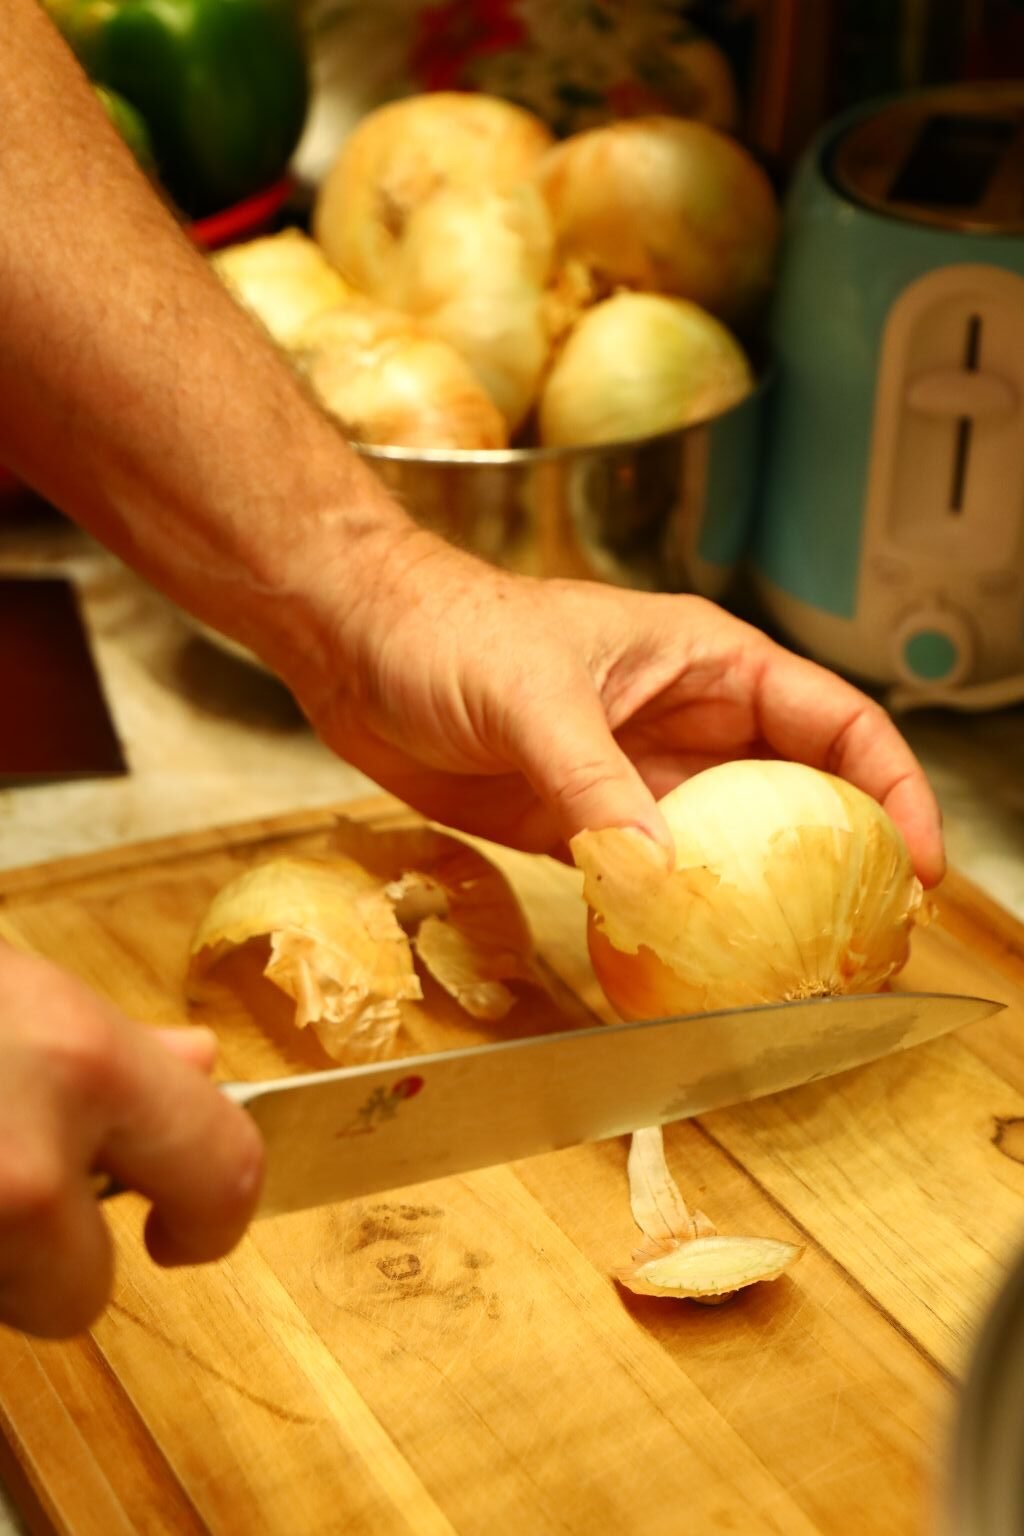
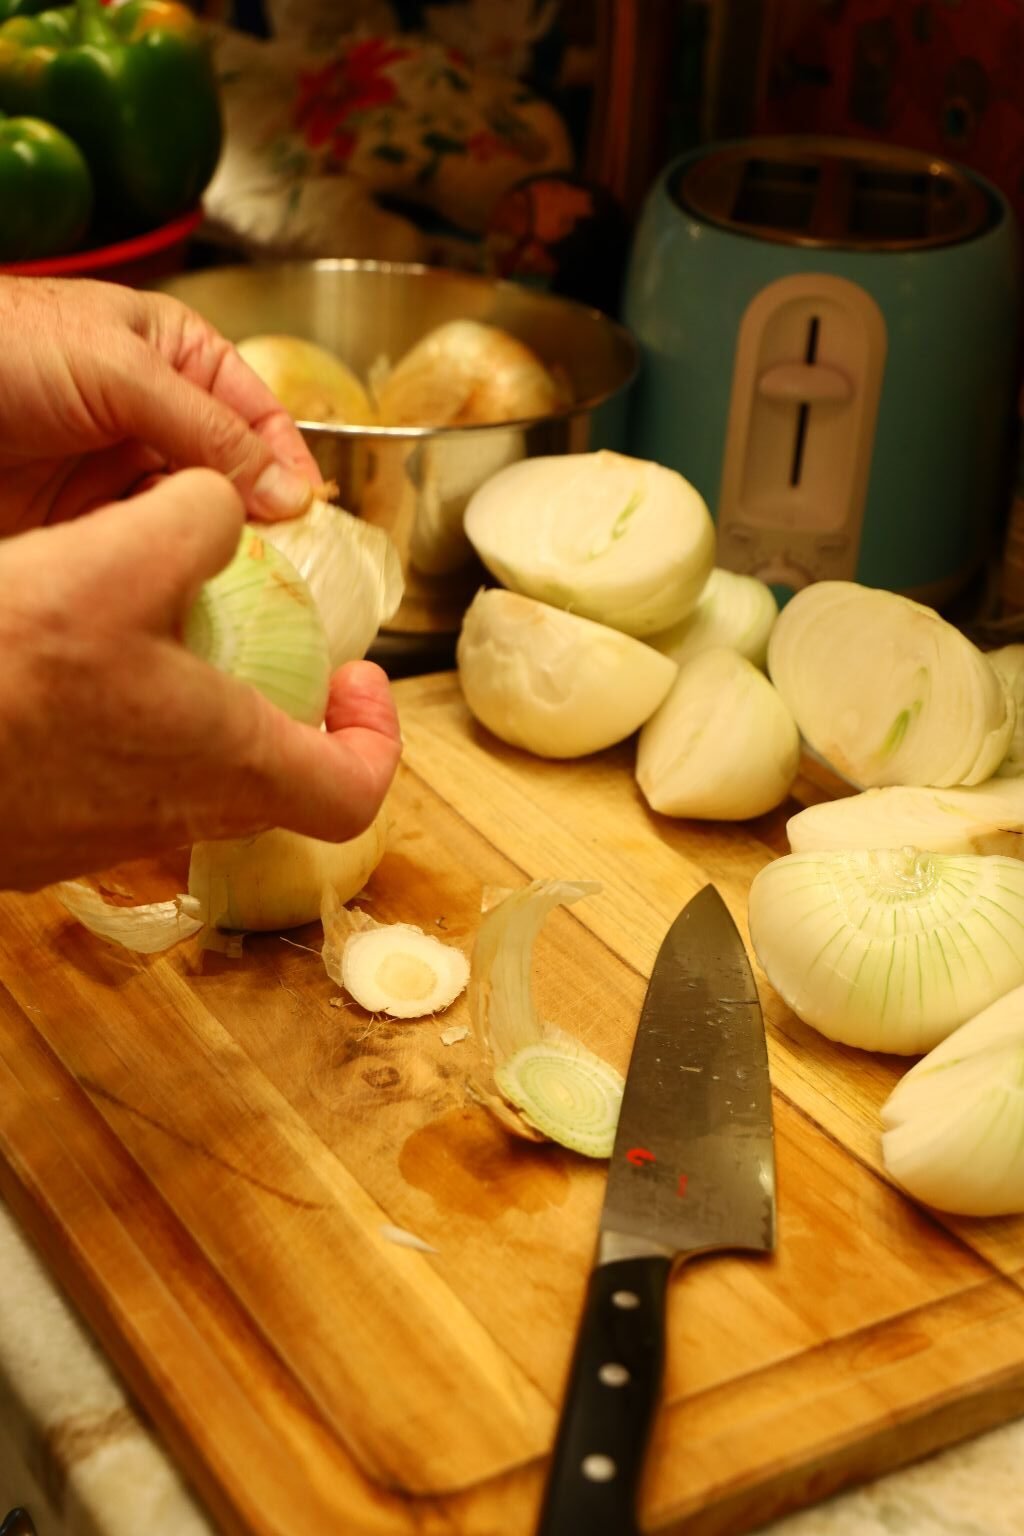
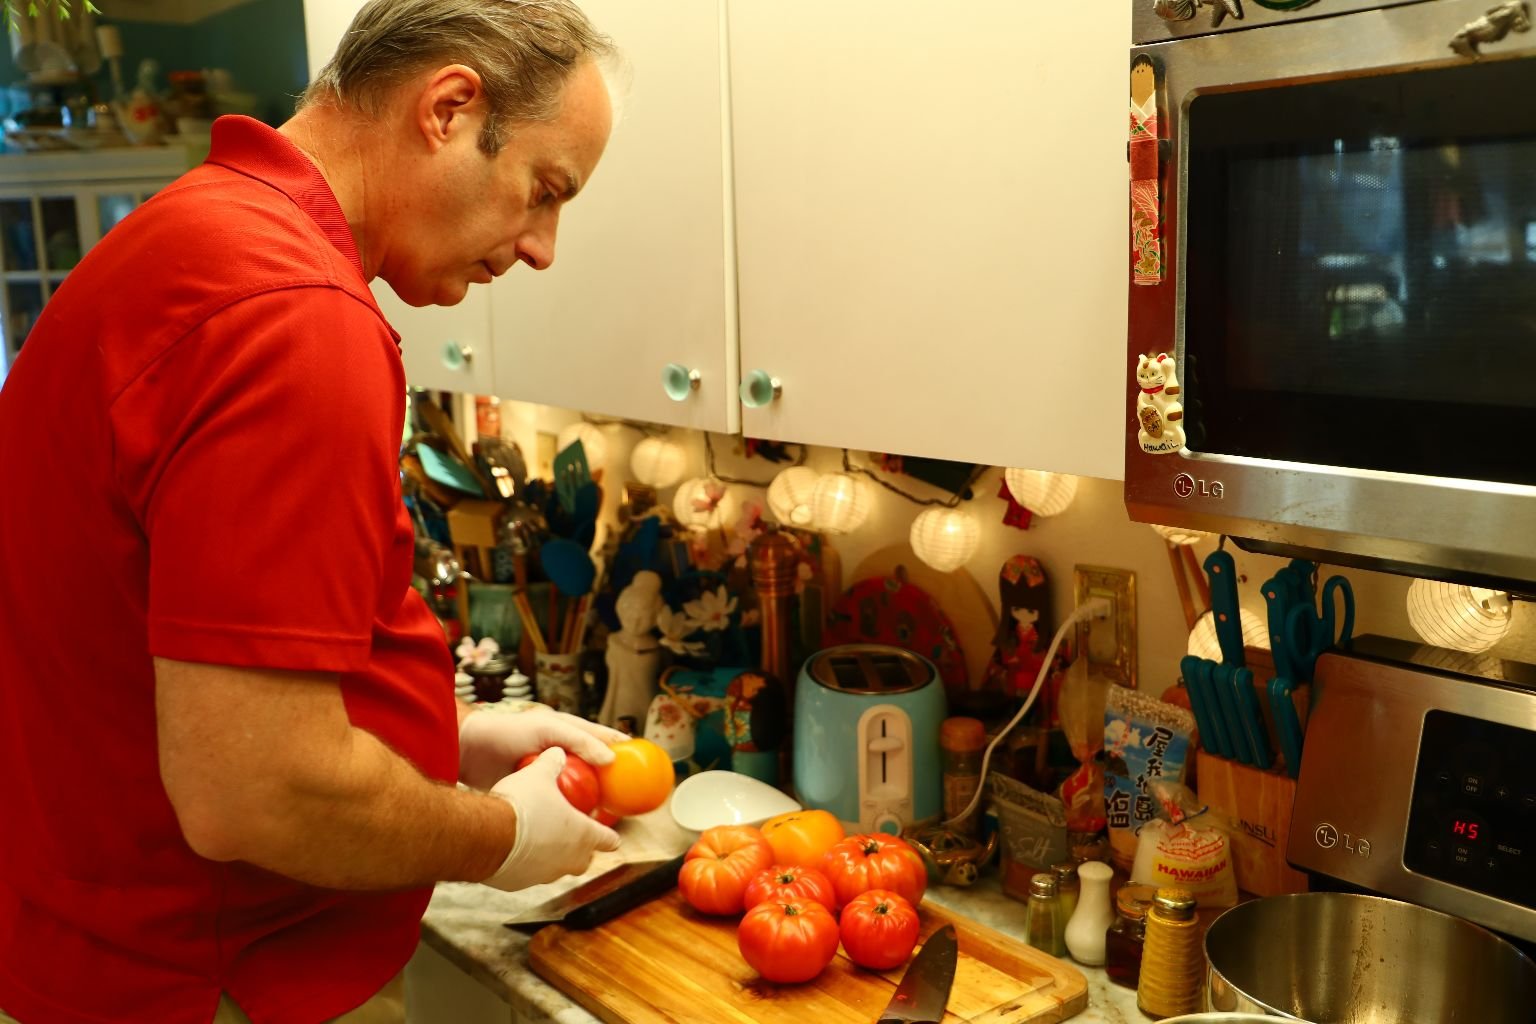
Peel all your onions first, this way any dirt and skins left over can be washed off your cutting board. To do this, you cut a little off the top and bottom of your onion and peel away the skins. Again, do this step for all the onions.
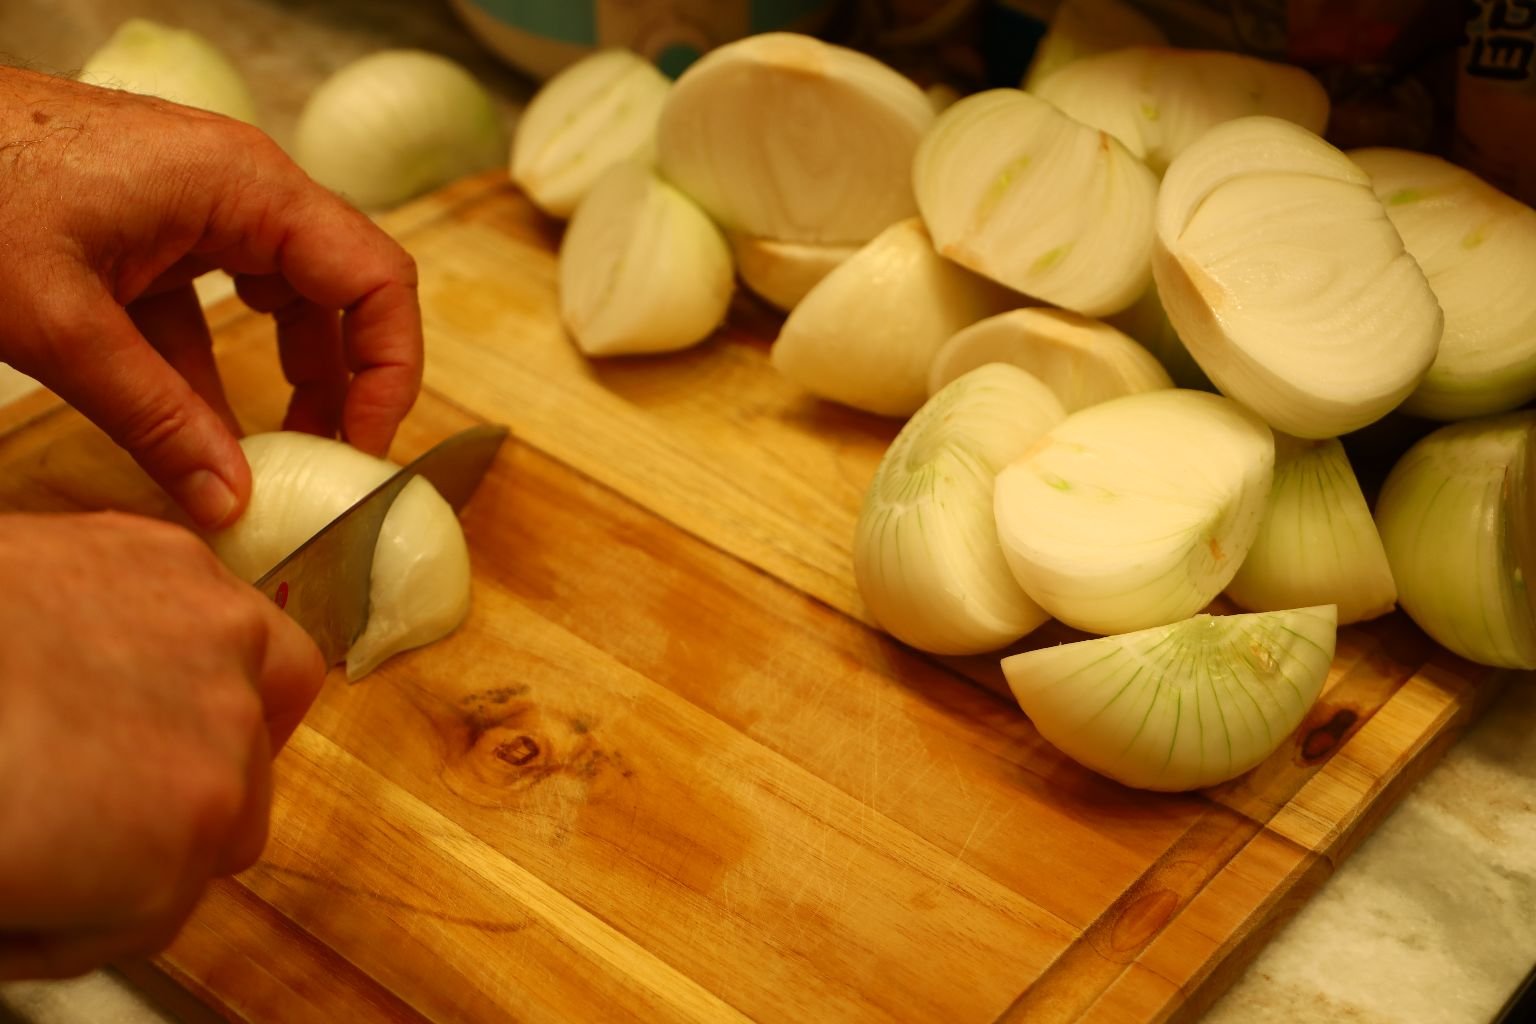
Slice your Onion in half using the root side up on your cutting board as your guide. Do this for all your Onions.
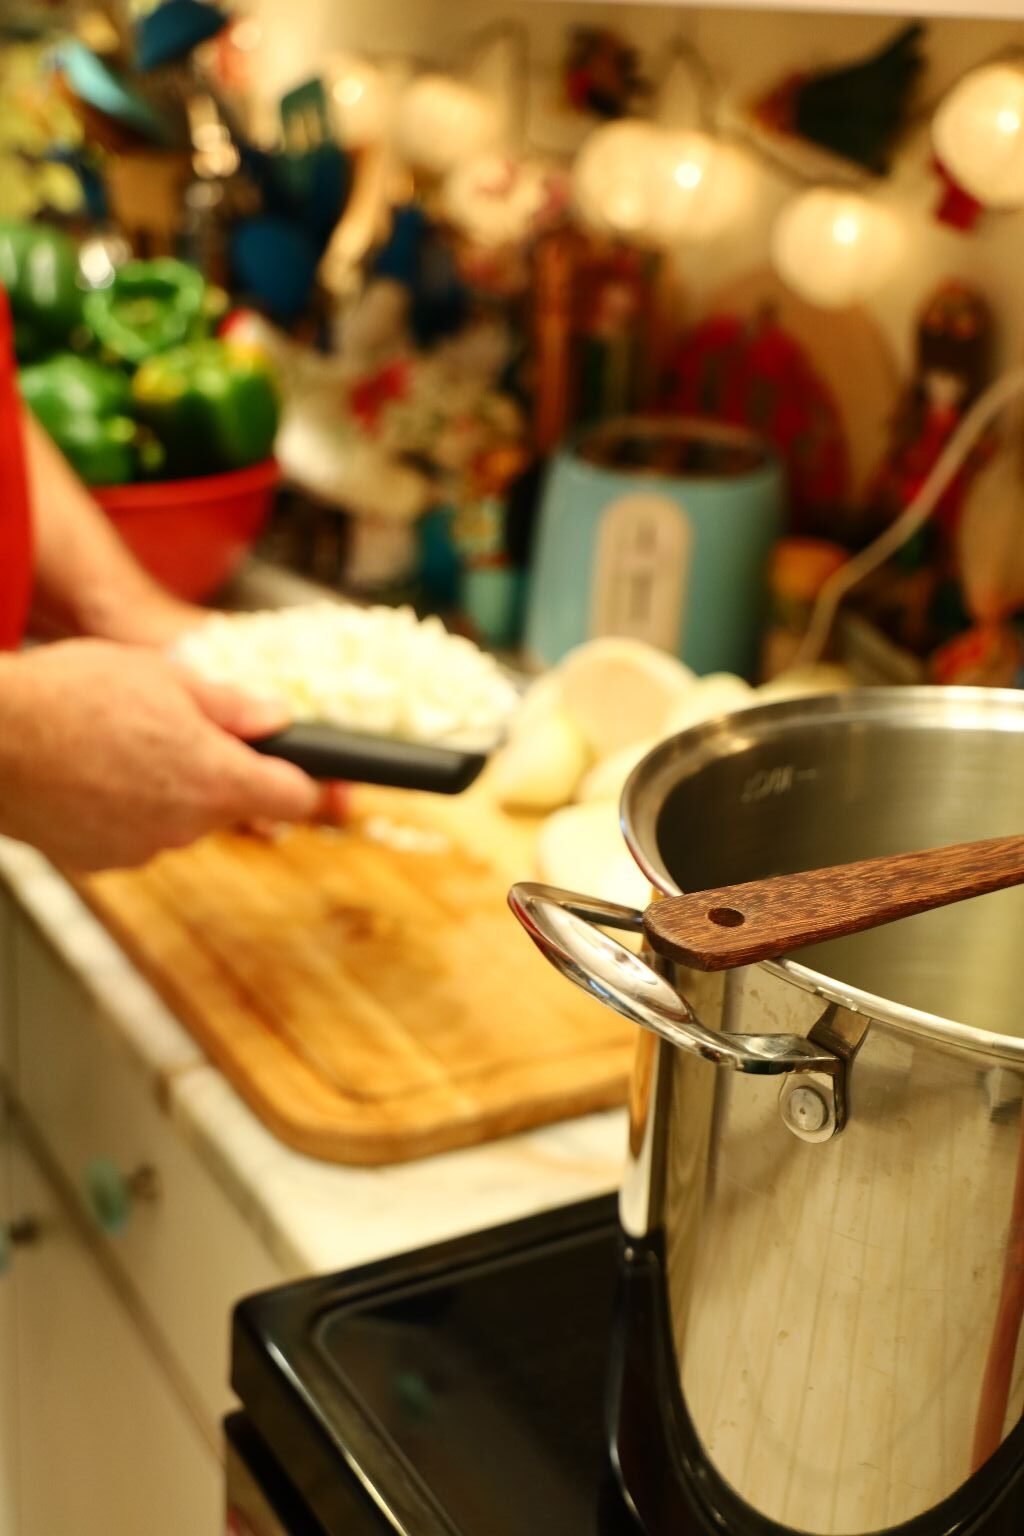
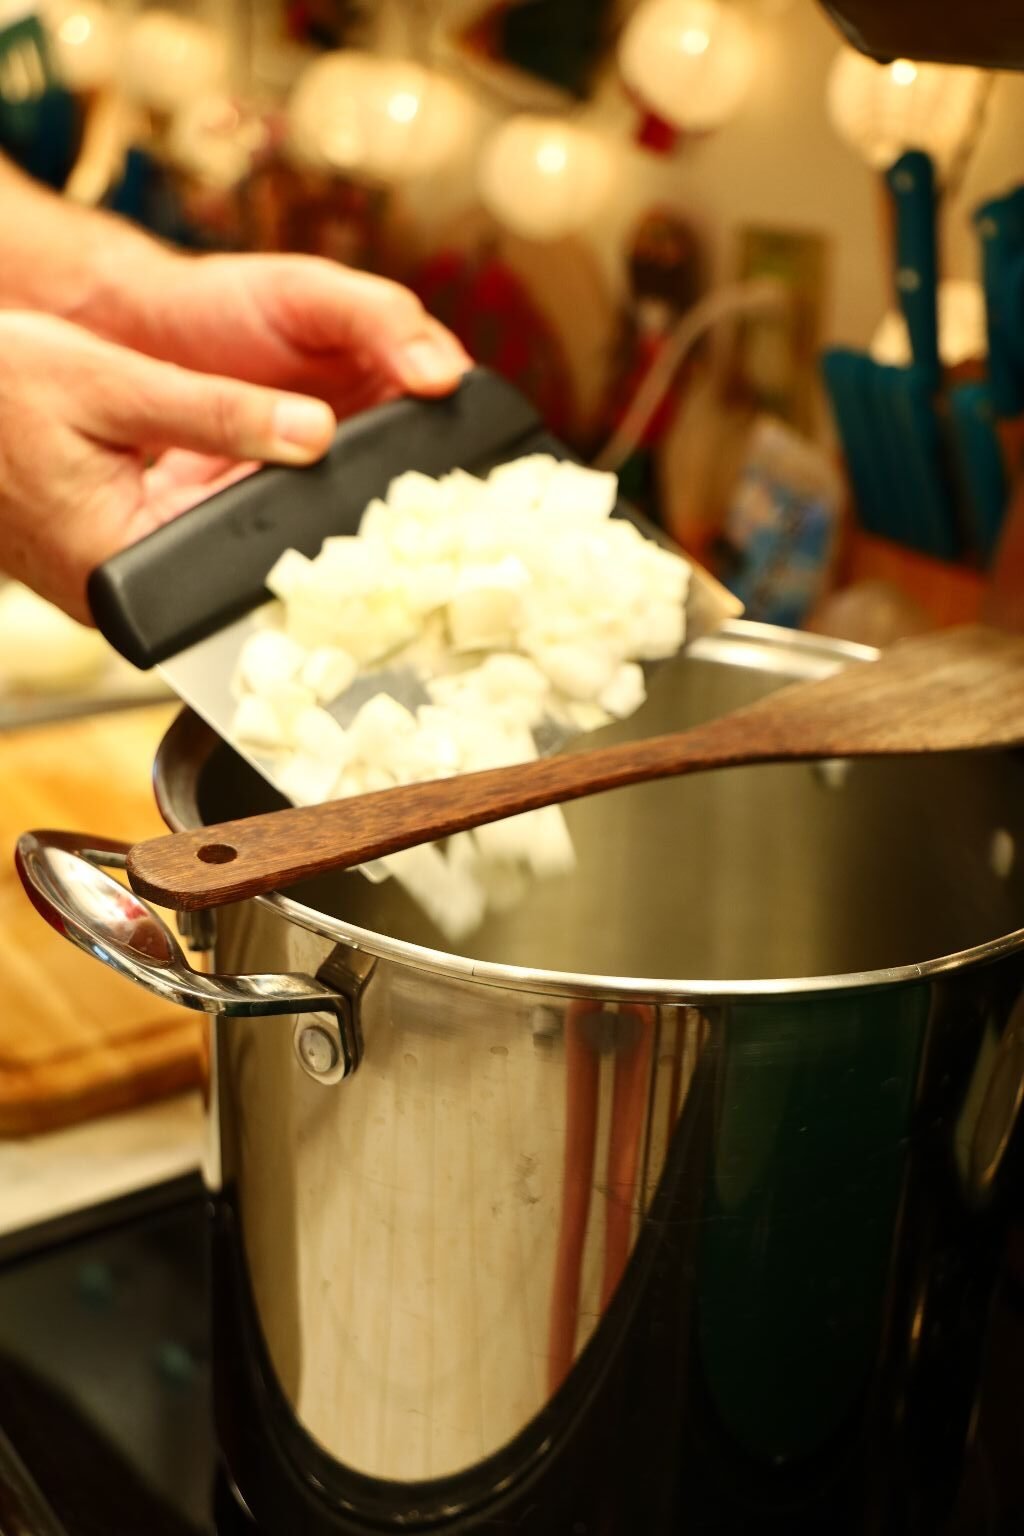
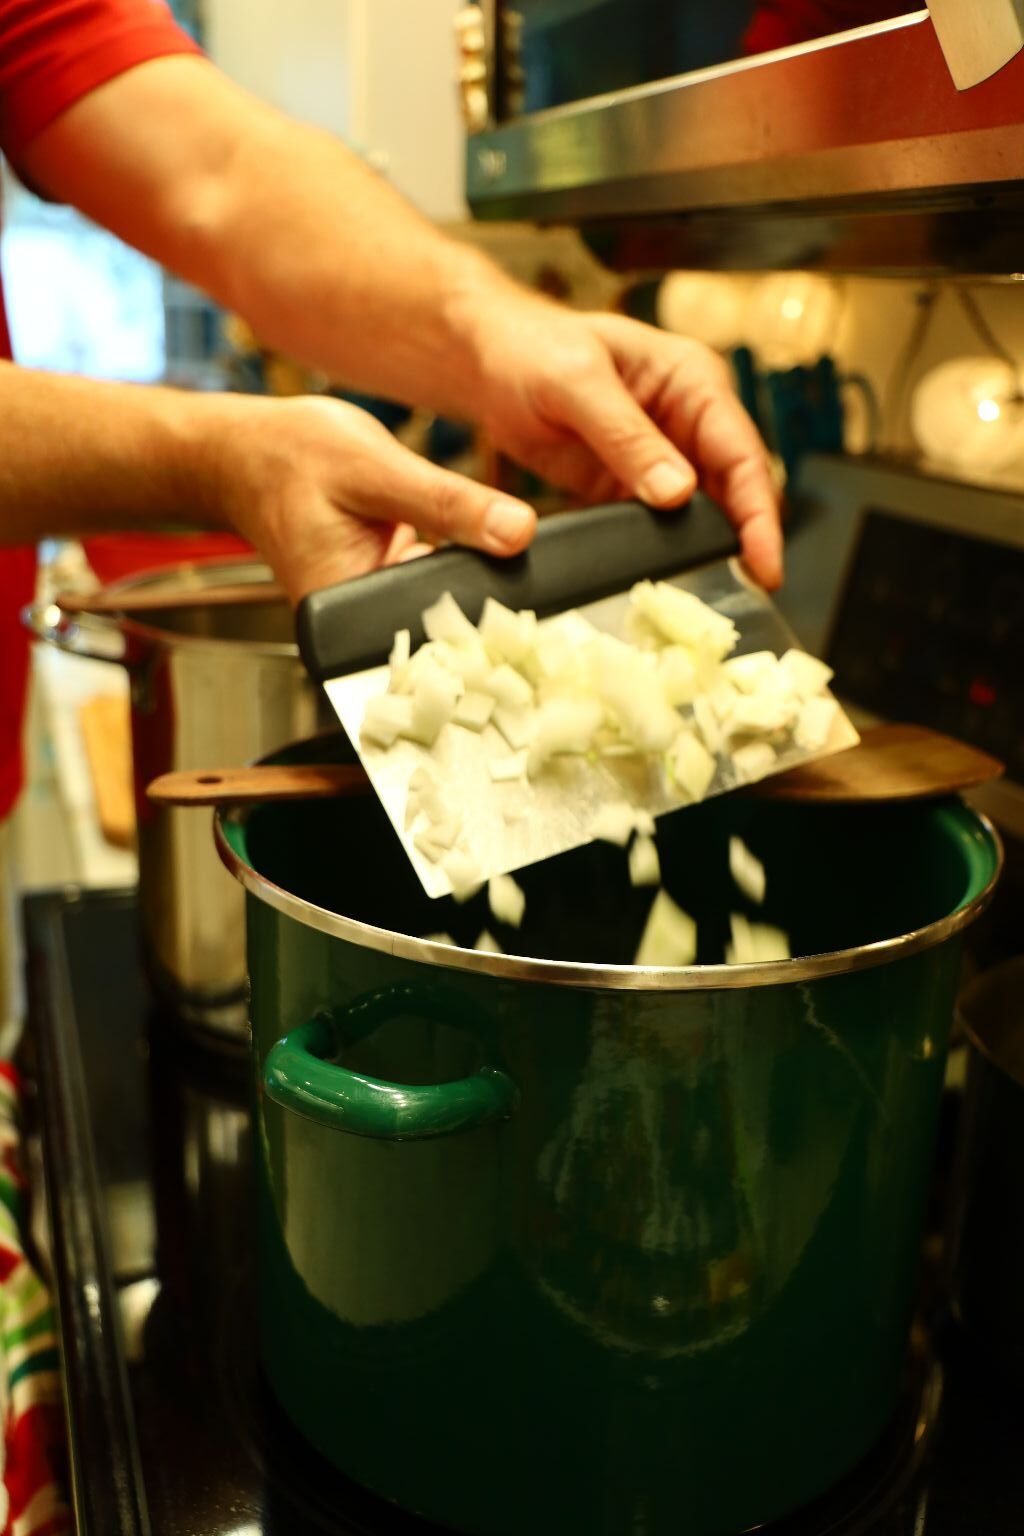
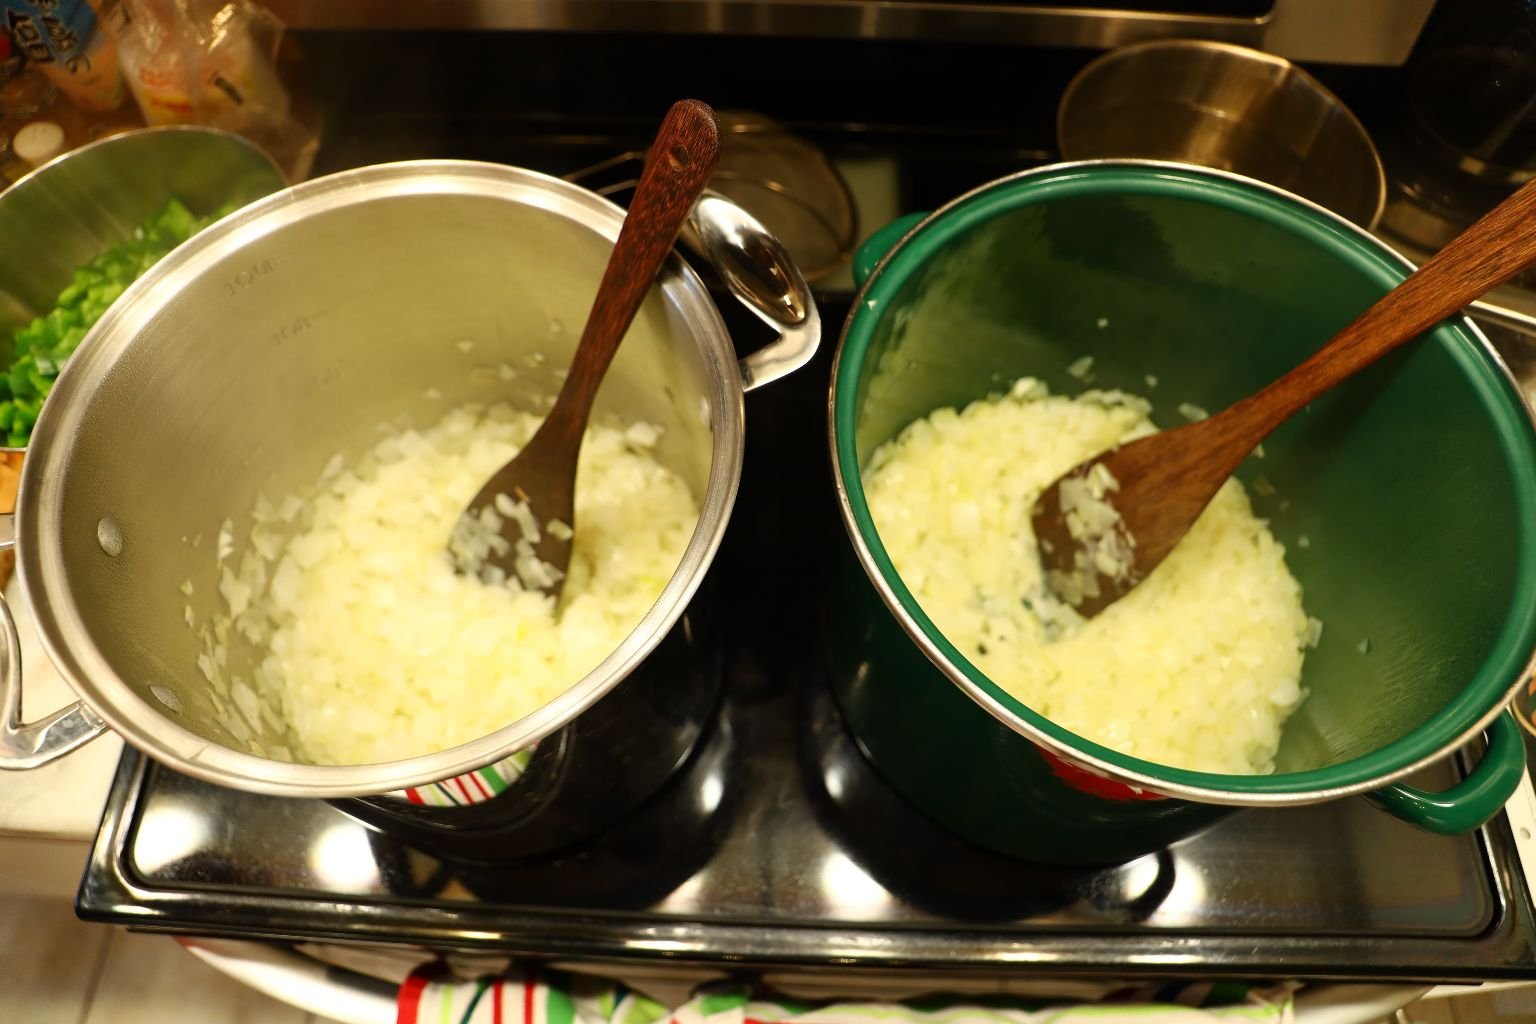
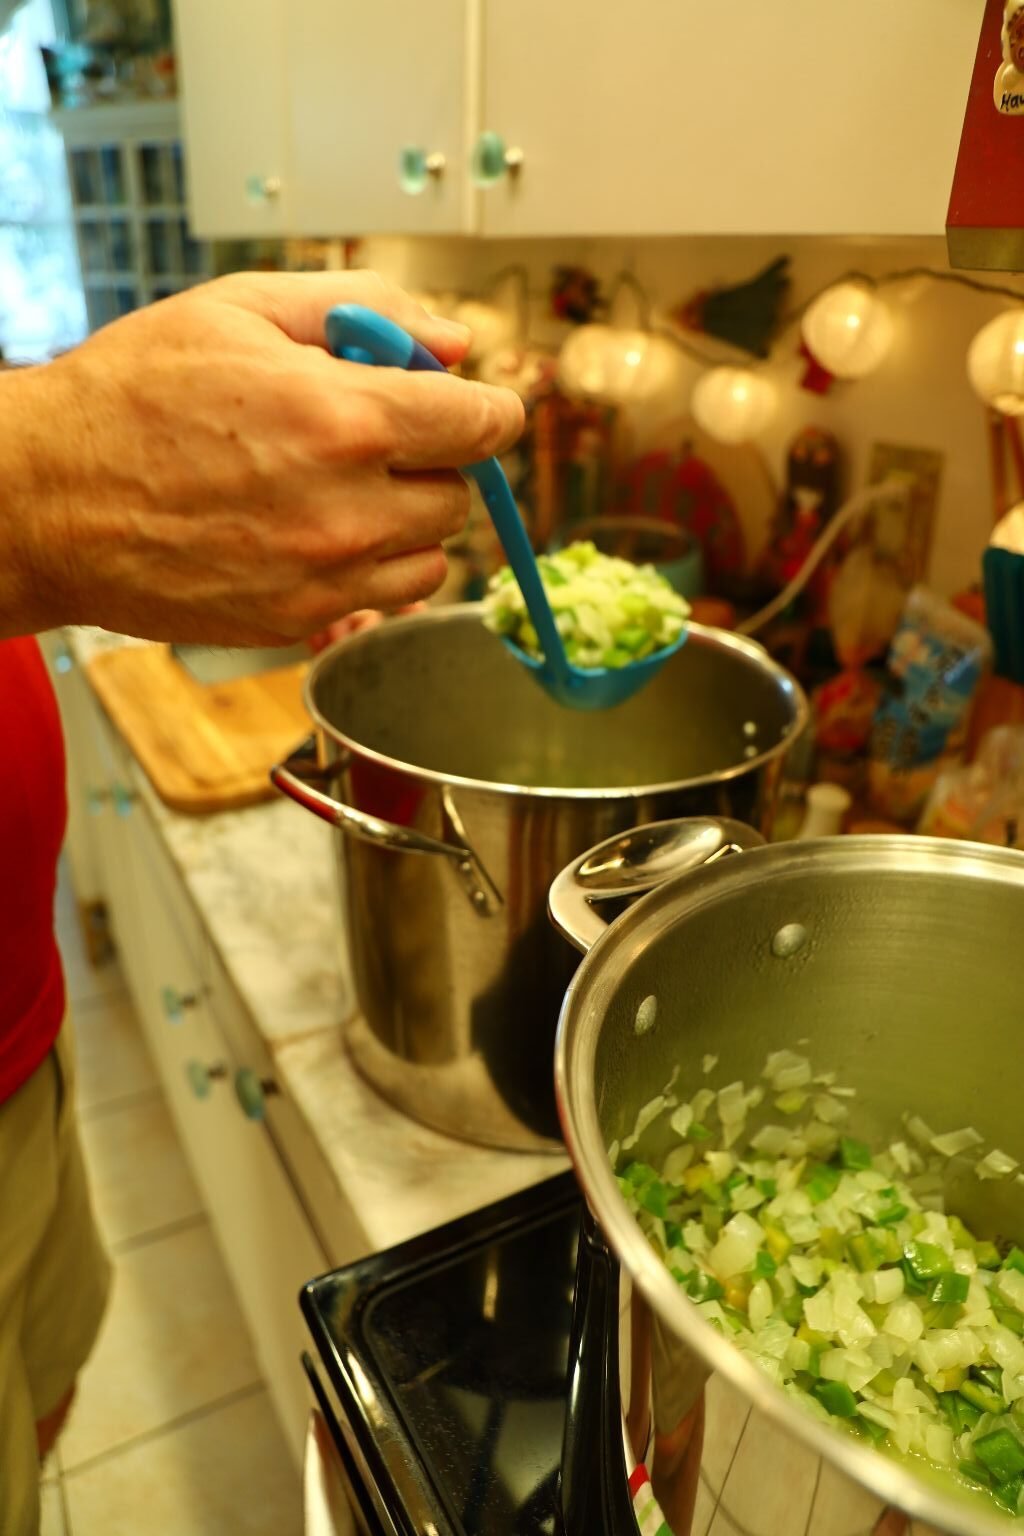
Then proceed to slice your onion into dice sized pieces starting length wise, then cross cutting them to finish. Here I am using a pastry tool to scoop up the onions off the cutting board. Place your cut onions into the pots evenly and add a touch of Sea Salt to help the Onions sweat…NOT SHOWN.
Now the kitchen is starting to smell good!
Still slicing and dicing the onions giving them an occasional stir.
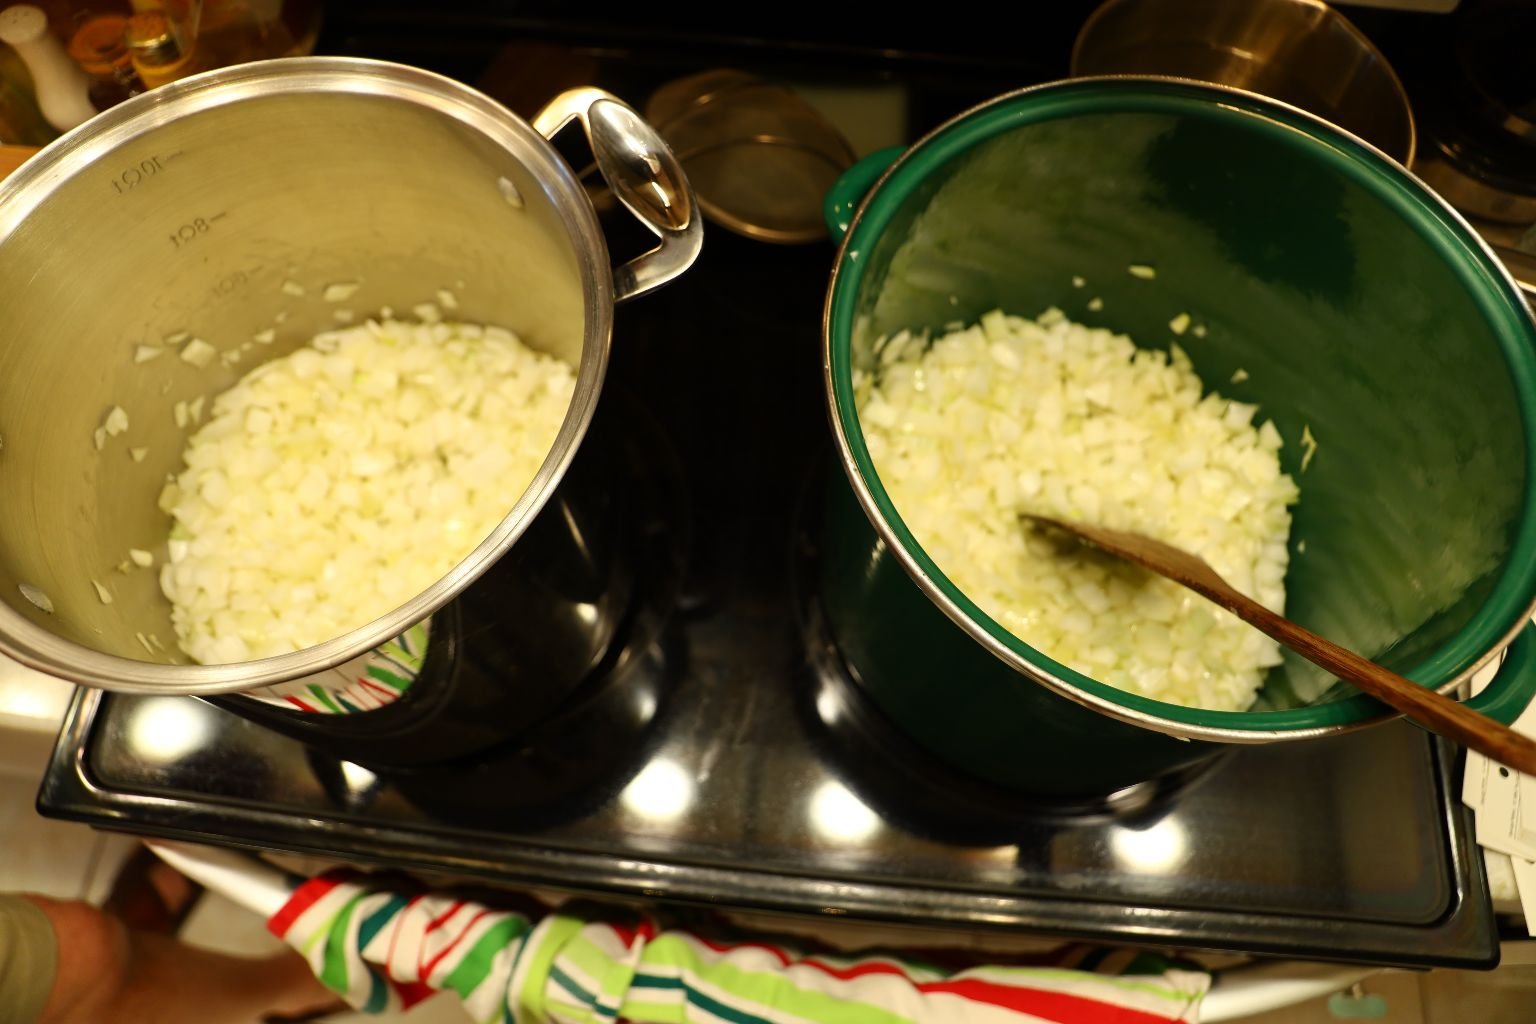
Looking good! I really want them to sweat and not caramelize, so have a low heat is a must. You could caramelize them if you wanted, which would add some sweetness, I just didn’t want to break tradition that much.

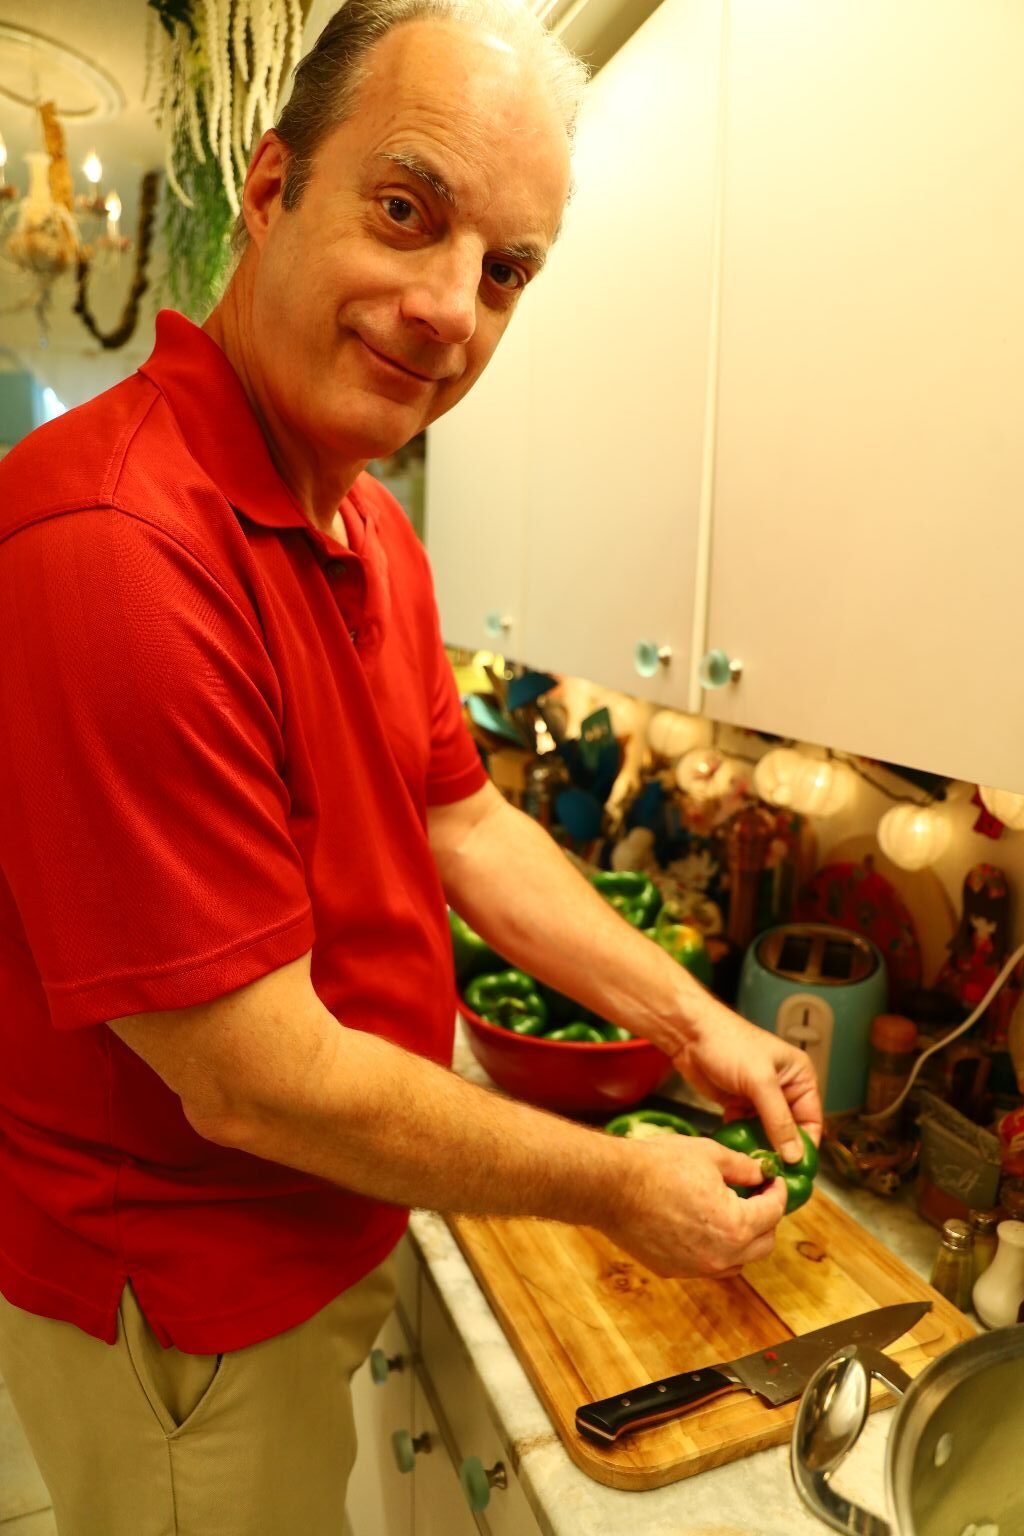
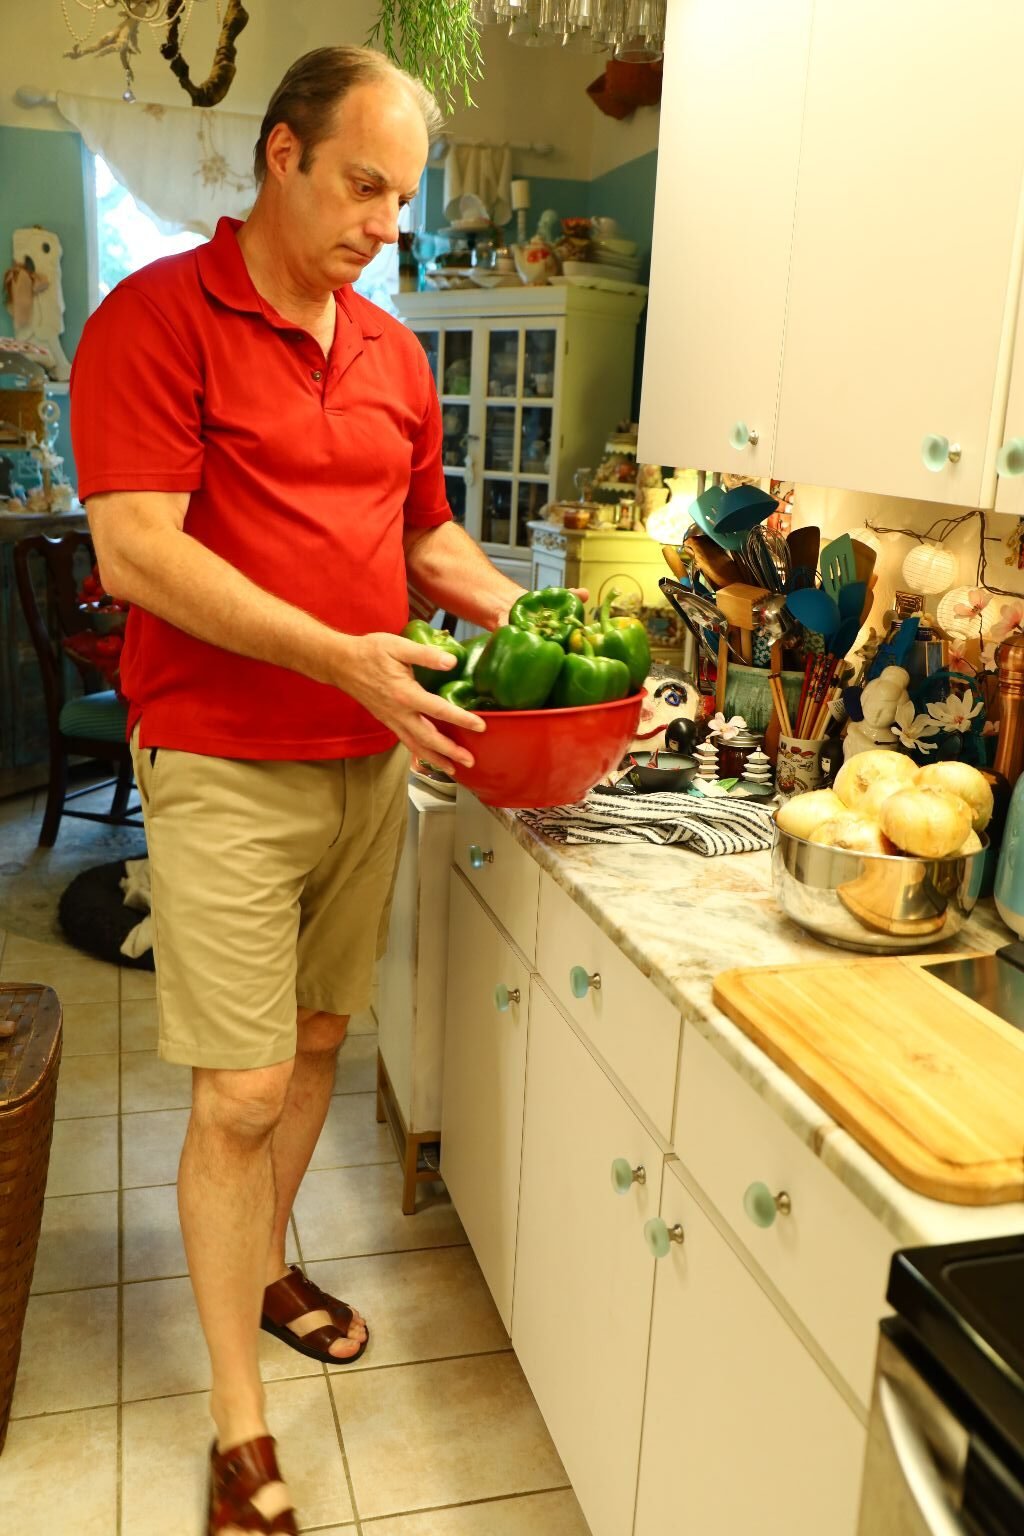
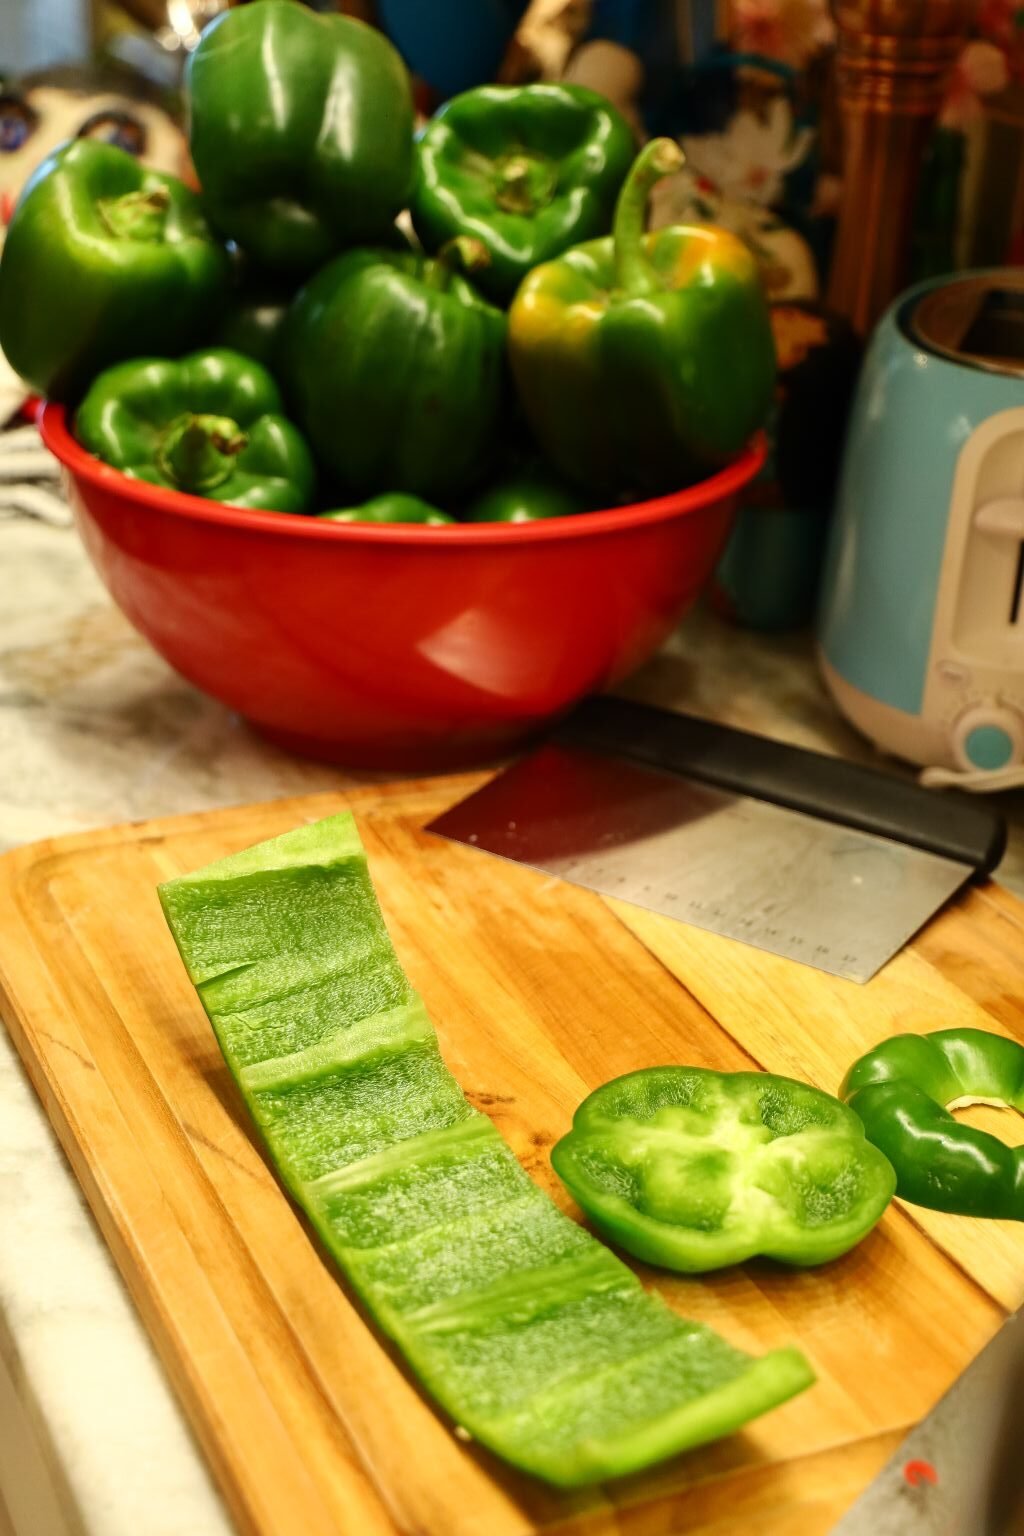
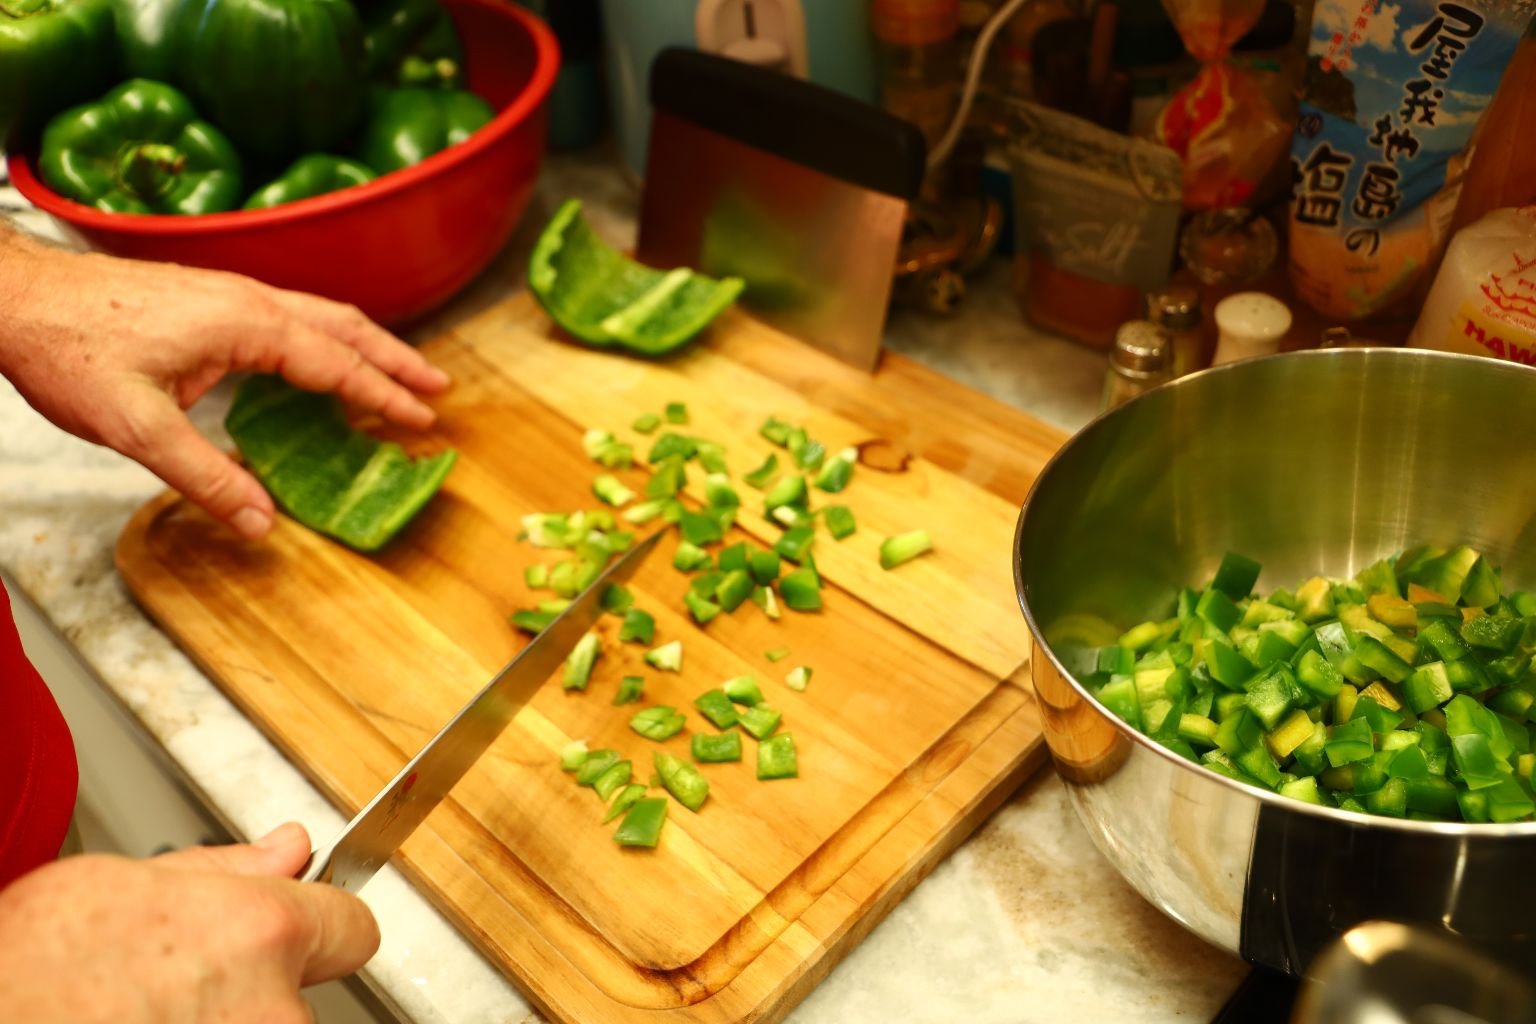
Now it is time for the Green Bell Peppers! Again, you could use any color of Bell Pepper as the various colors provide different flavors. I just didn’t want to break from tradition.
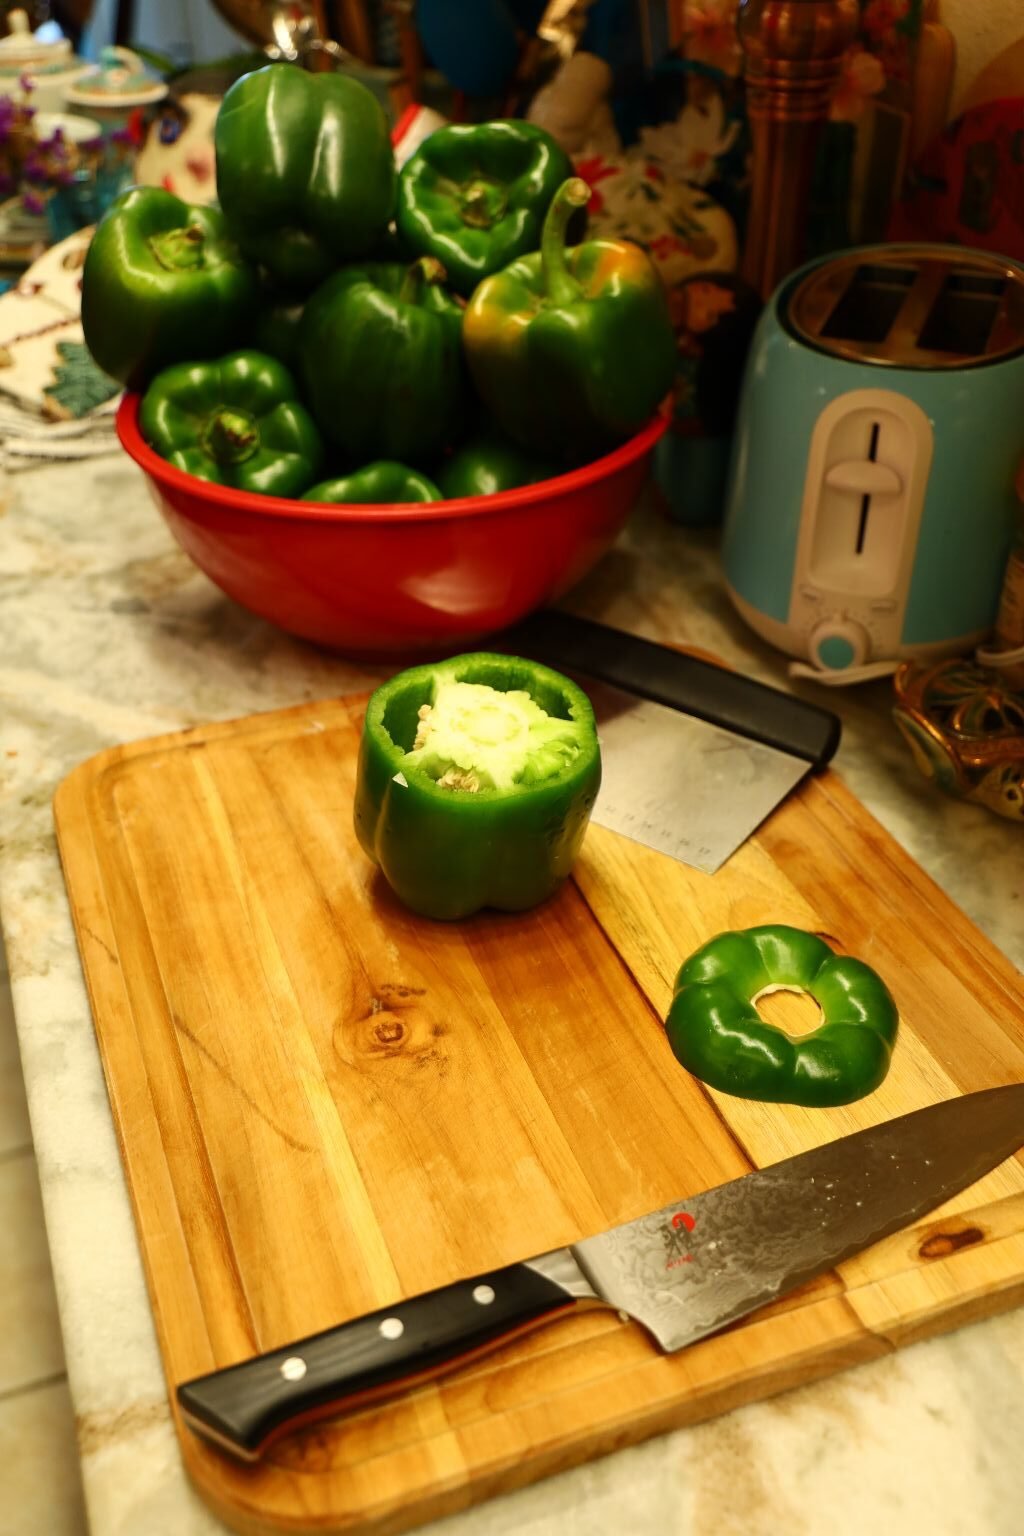
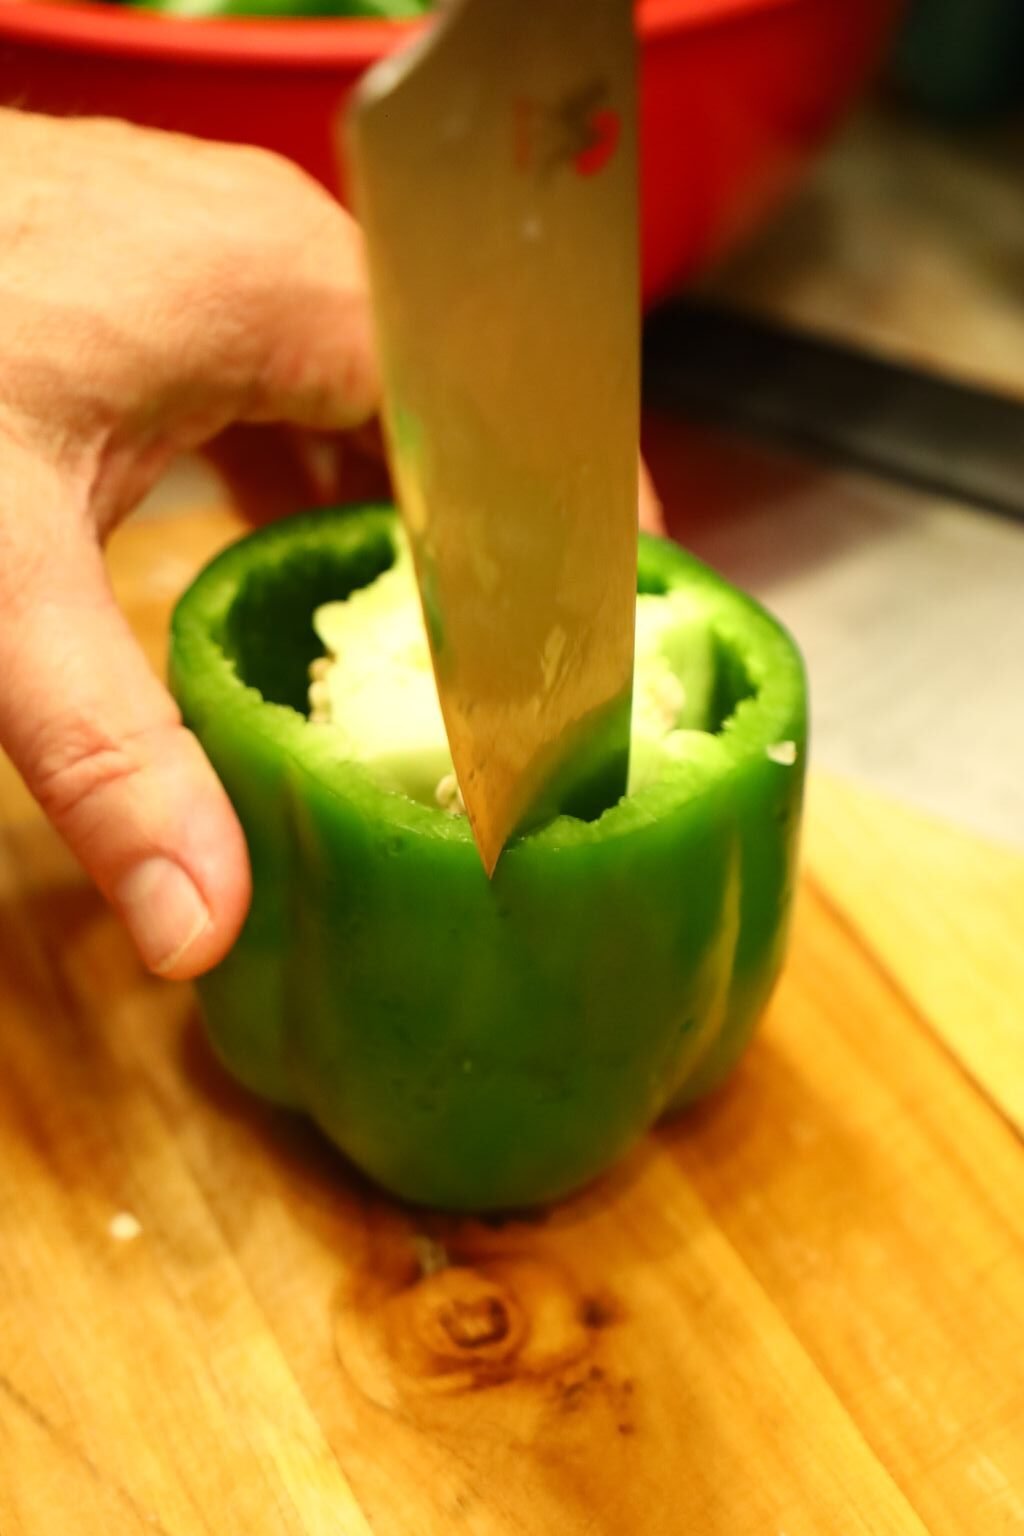
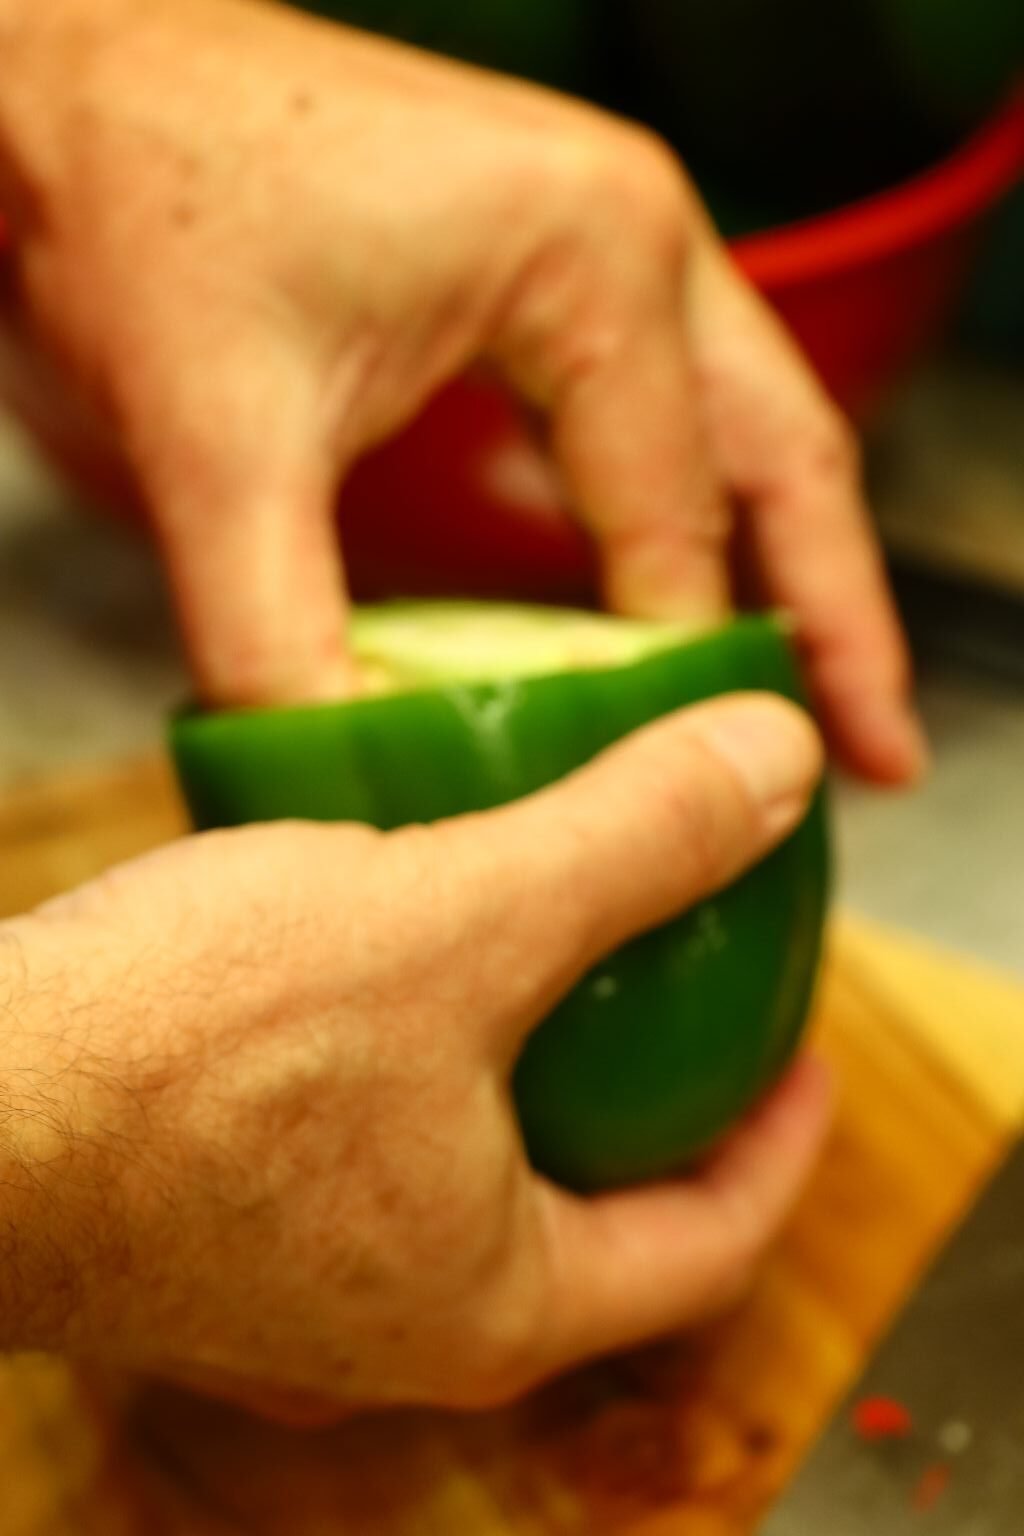
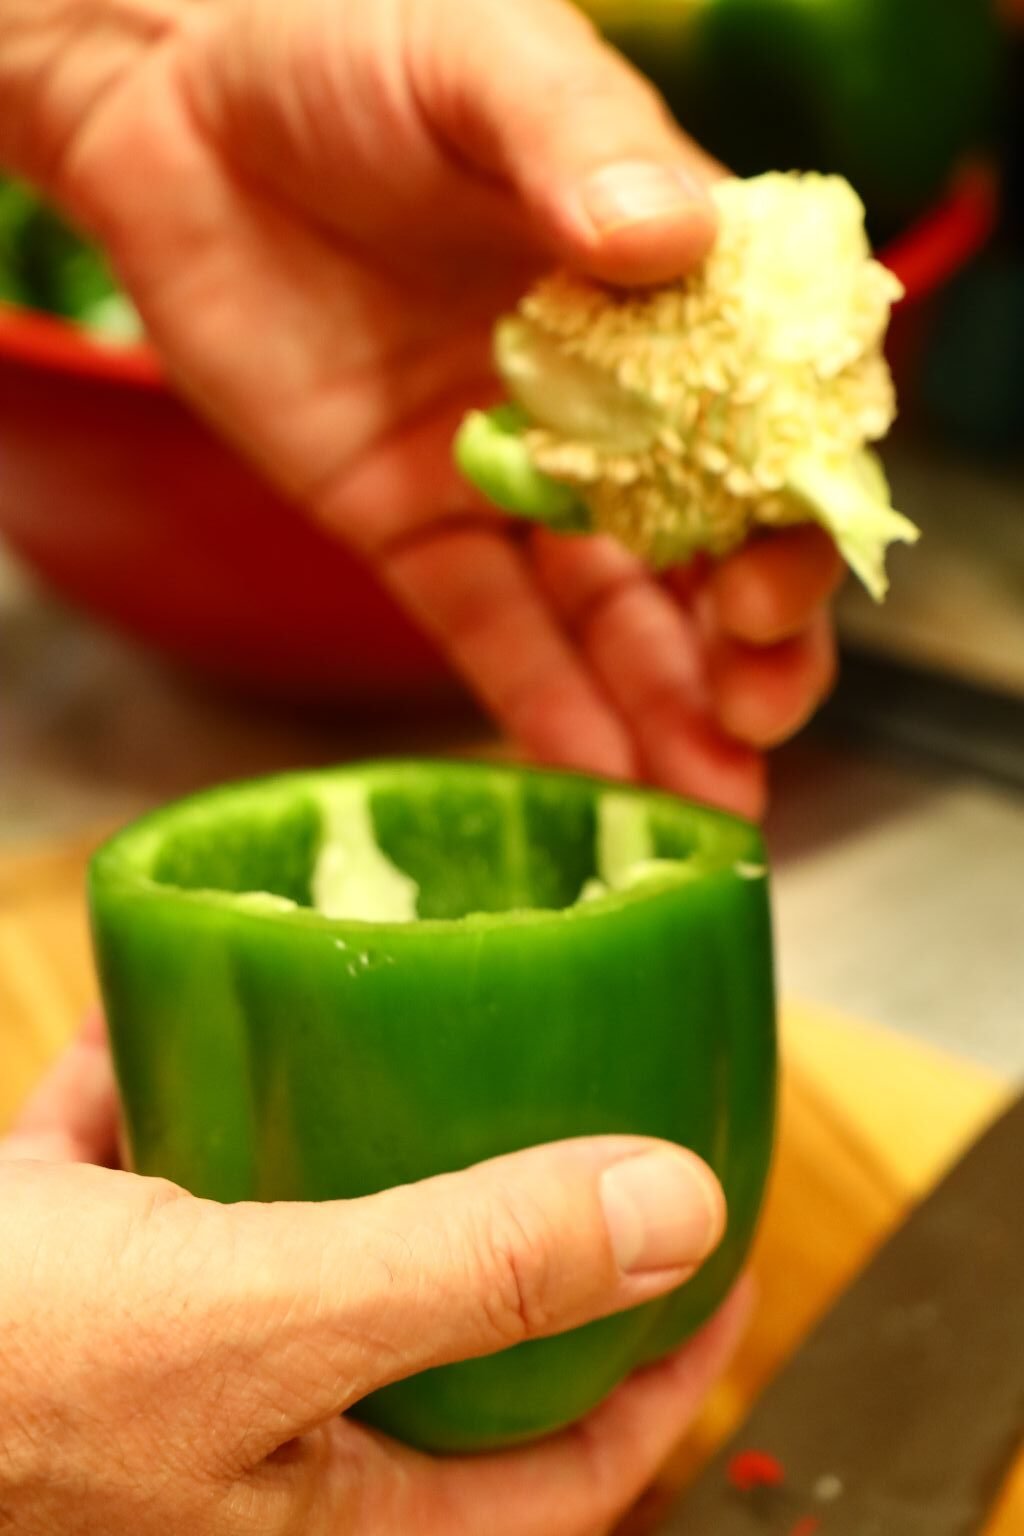
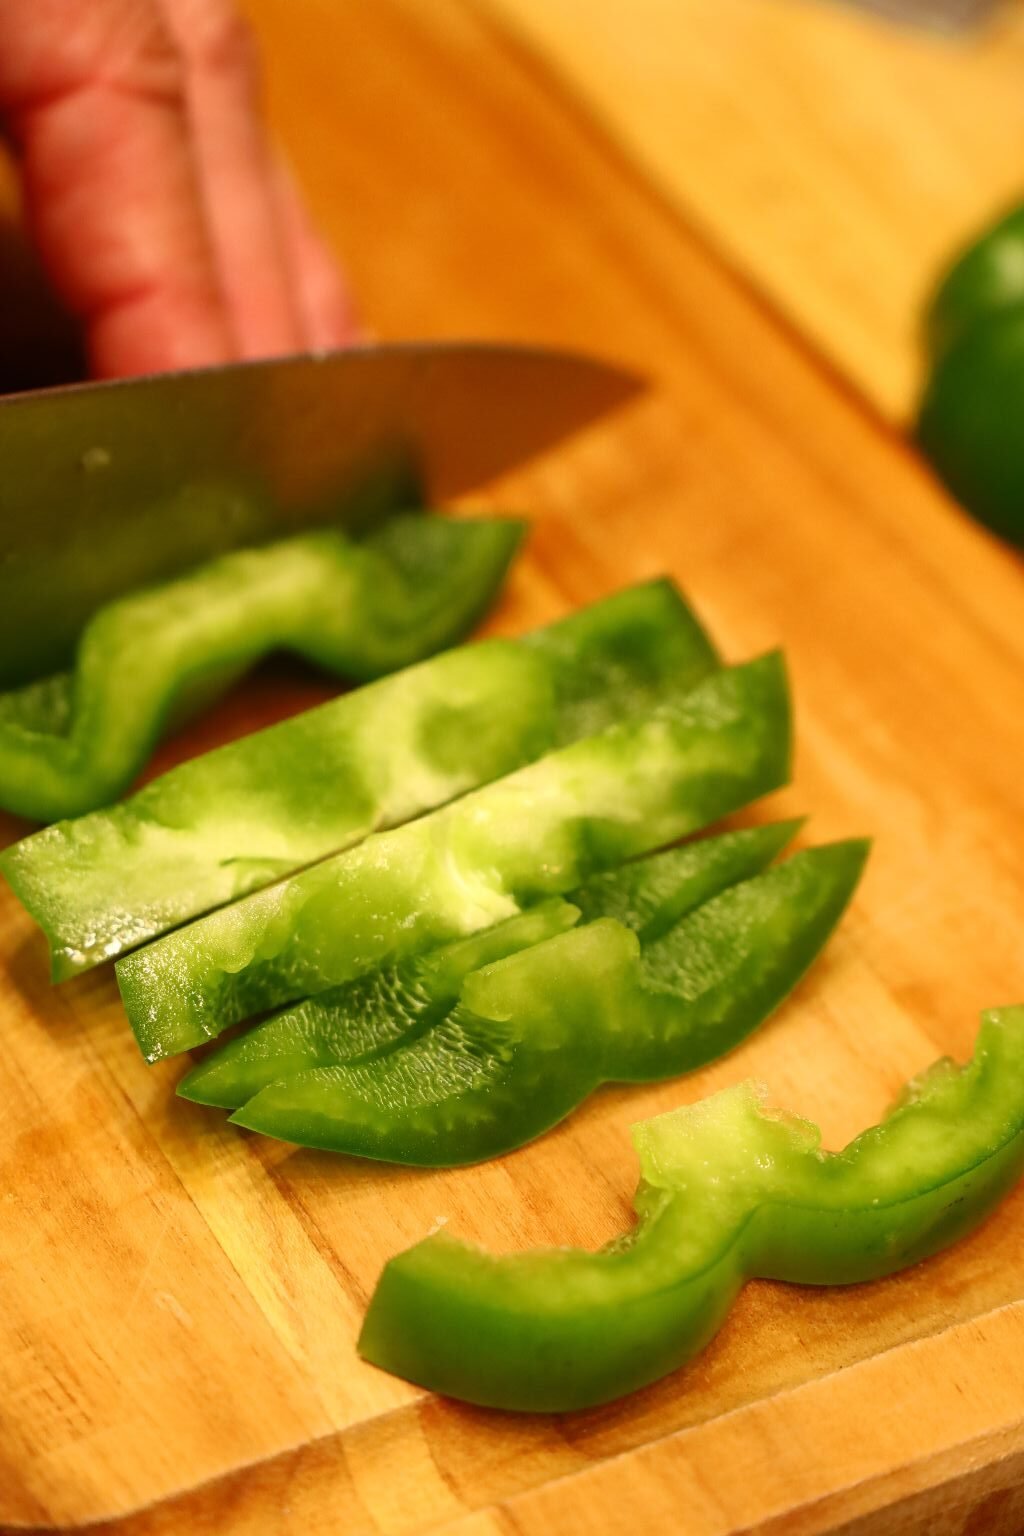
Since the ingredients will be on display in the jar, I like to make my cuts very precise. To do this, start by cutting a small portion of the top and bottom of the Bell Pepper off as shown. Then make one cut down the side and remove the seeds.
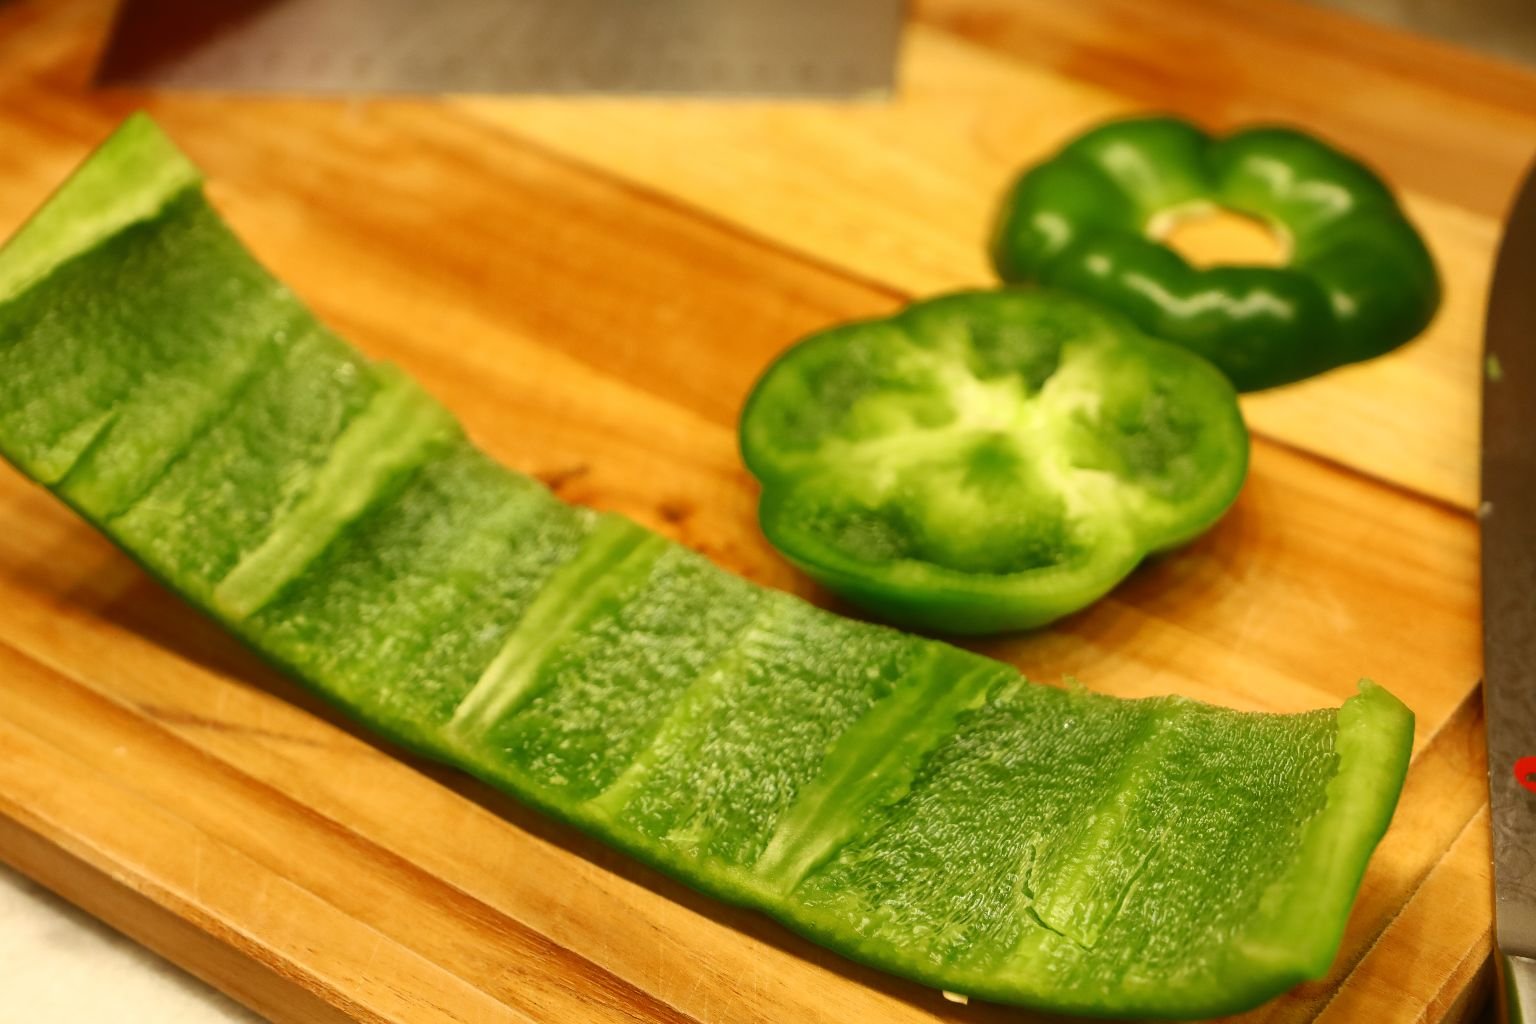
Roll out the Bell Pepper as shown and cut away any of the white insides as they are not really all that tasty.
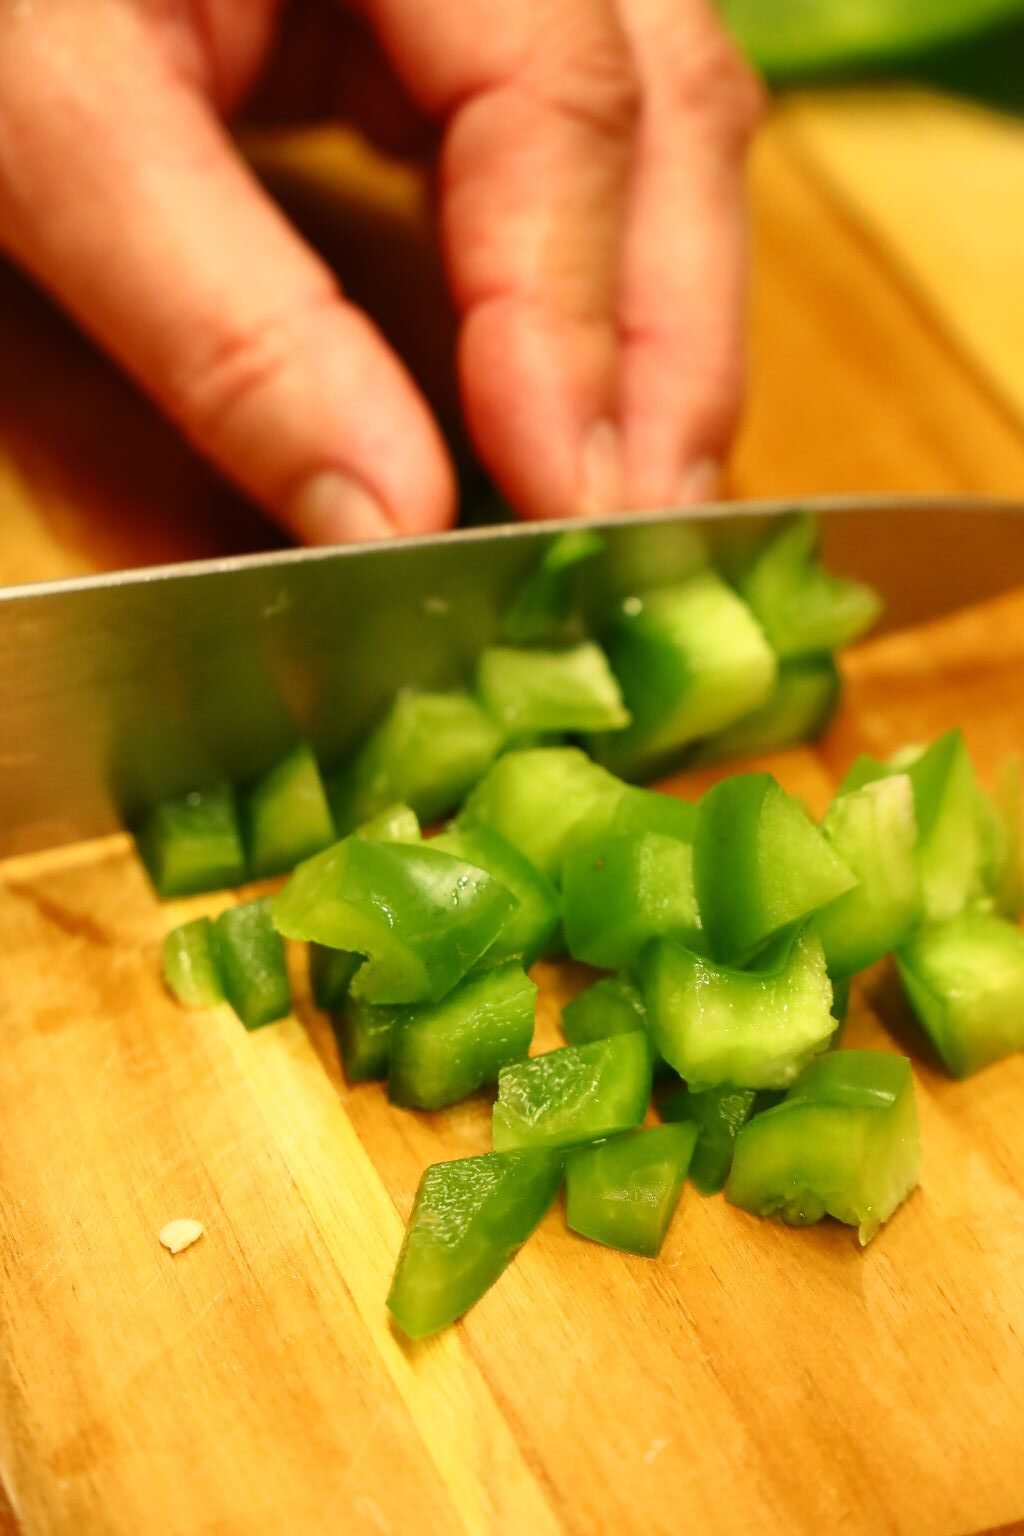
Slice your Bell Pepper into strips then into dice as shown. Be sure to do this with the top and bottom section of the Bell Pepper.
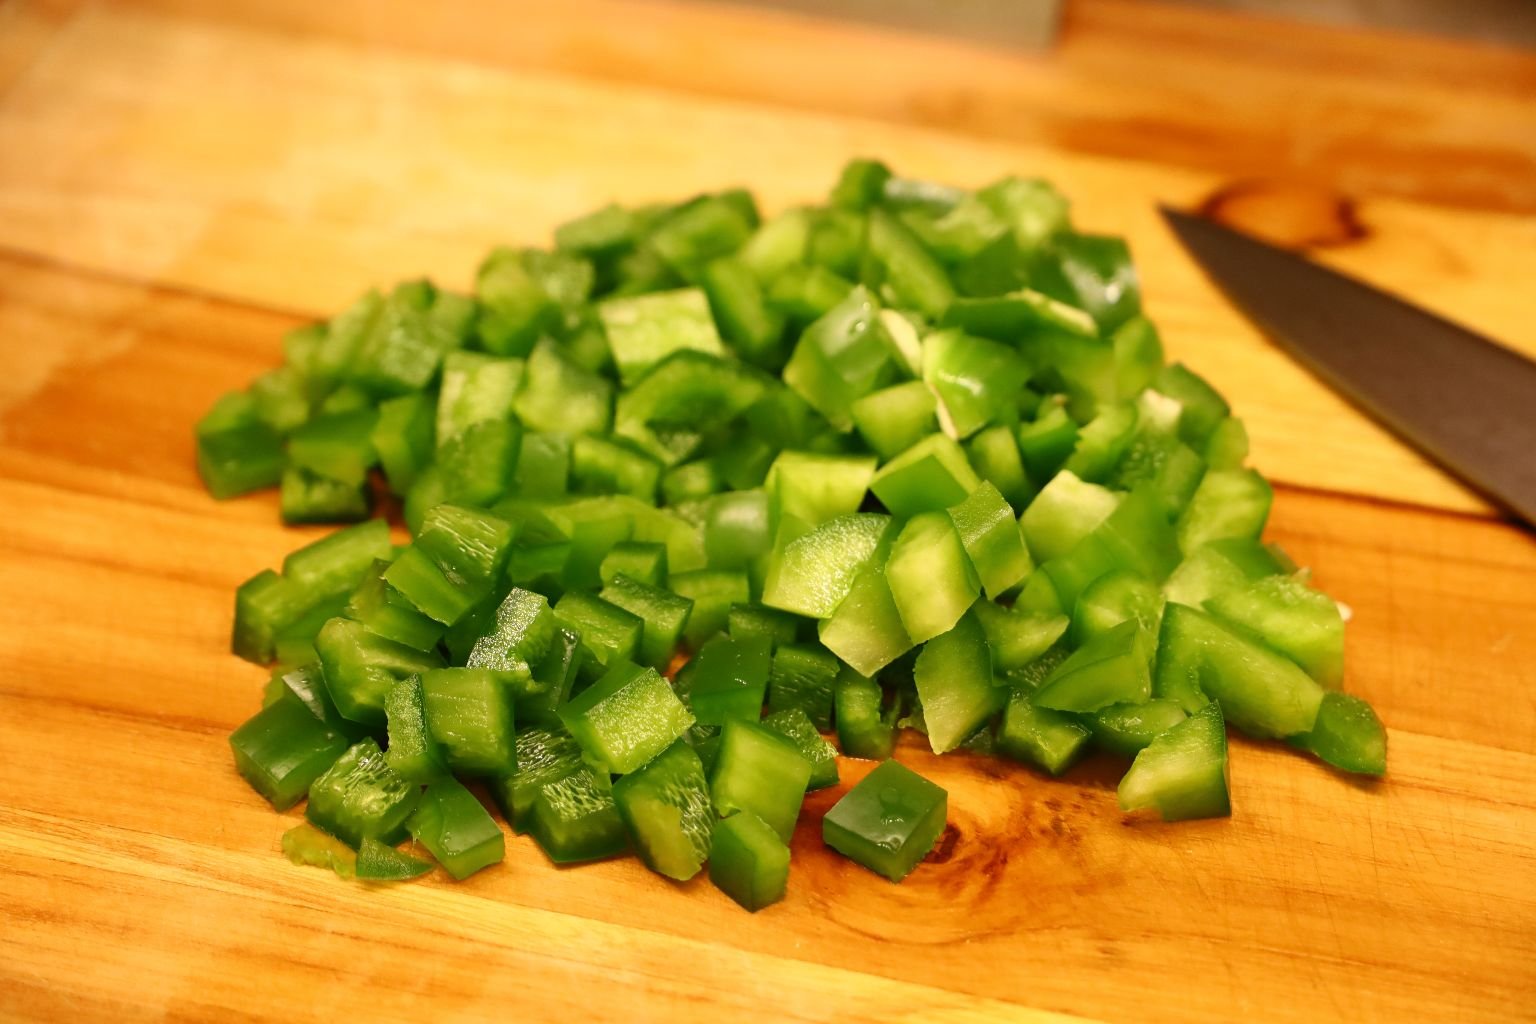
My nicely sliced Bell Peppers.
——————————————————————————–
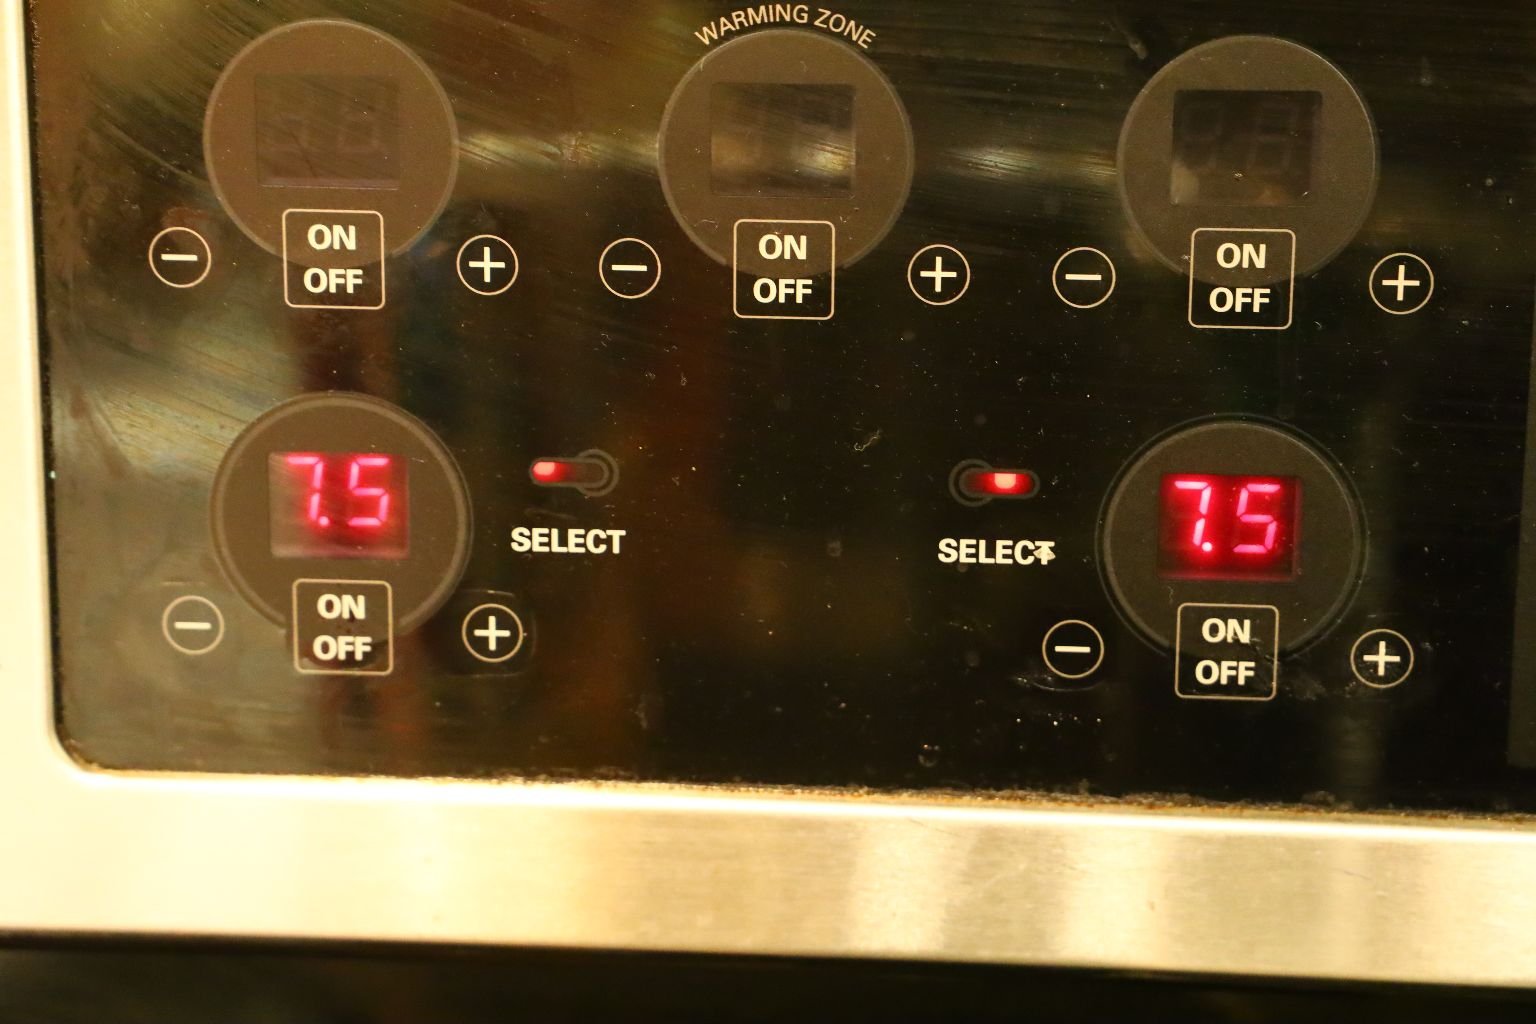
This picture shows the Medium High temperature setting on our two pots.
—————————————————————————–
Cutting more Bell Peppers. By the end, you should have your cuts looking very nice.
———————————————————————–
Don’t forget to stir your Onions.
———————————————————————
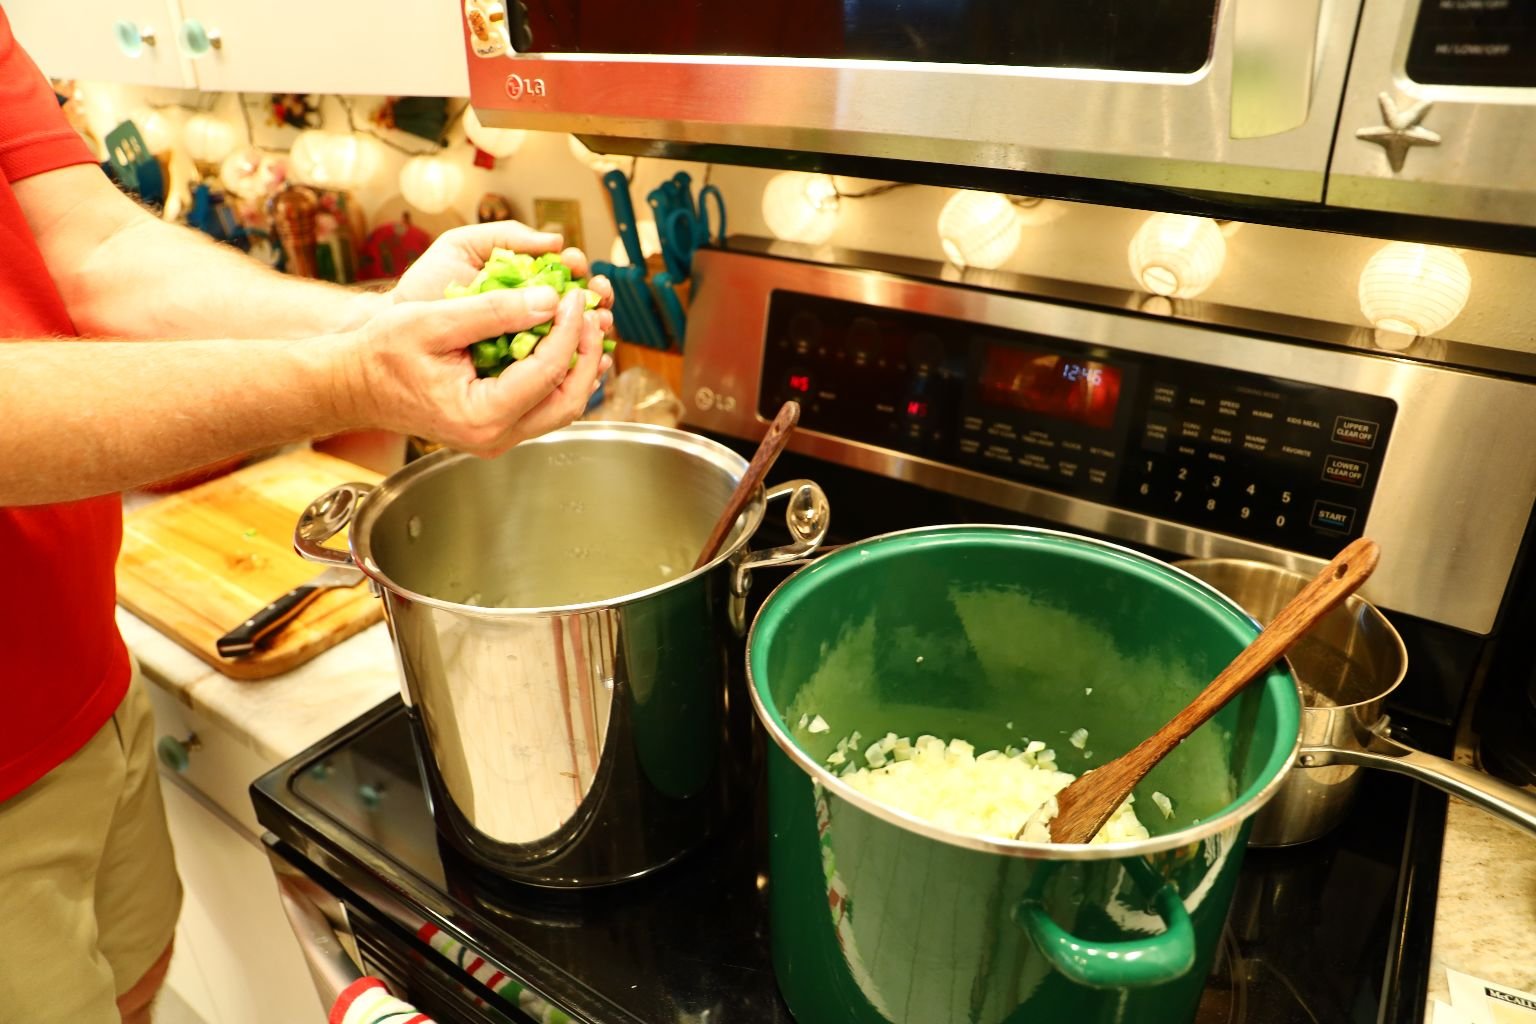
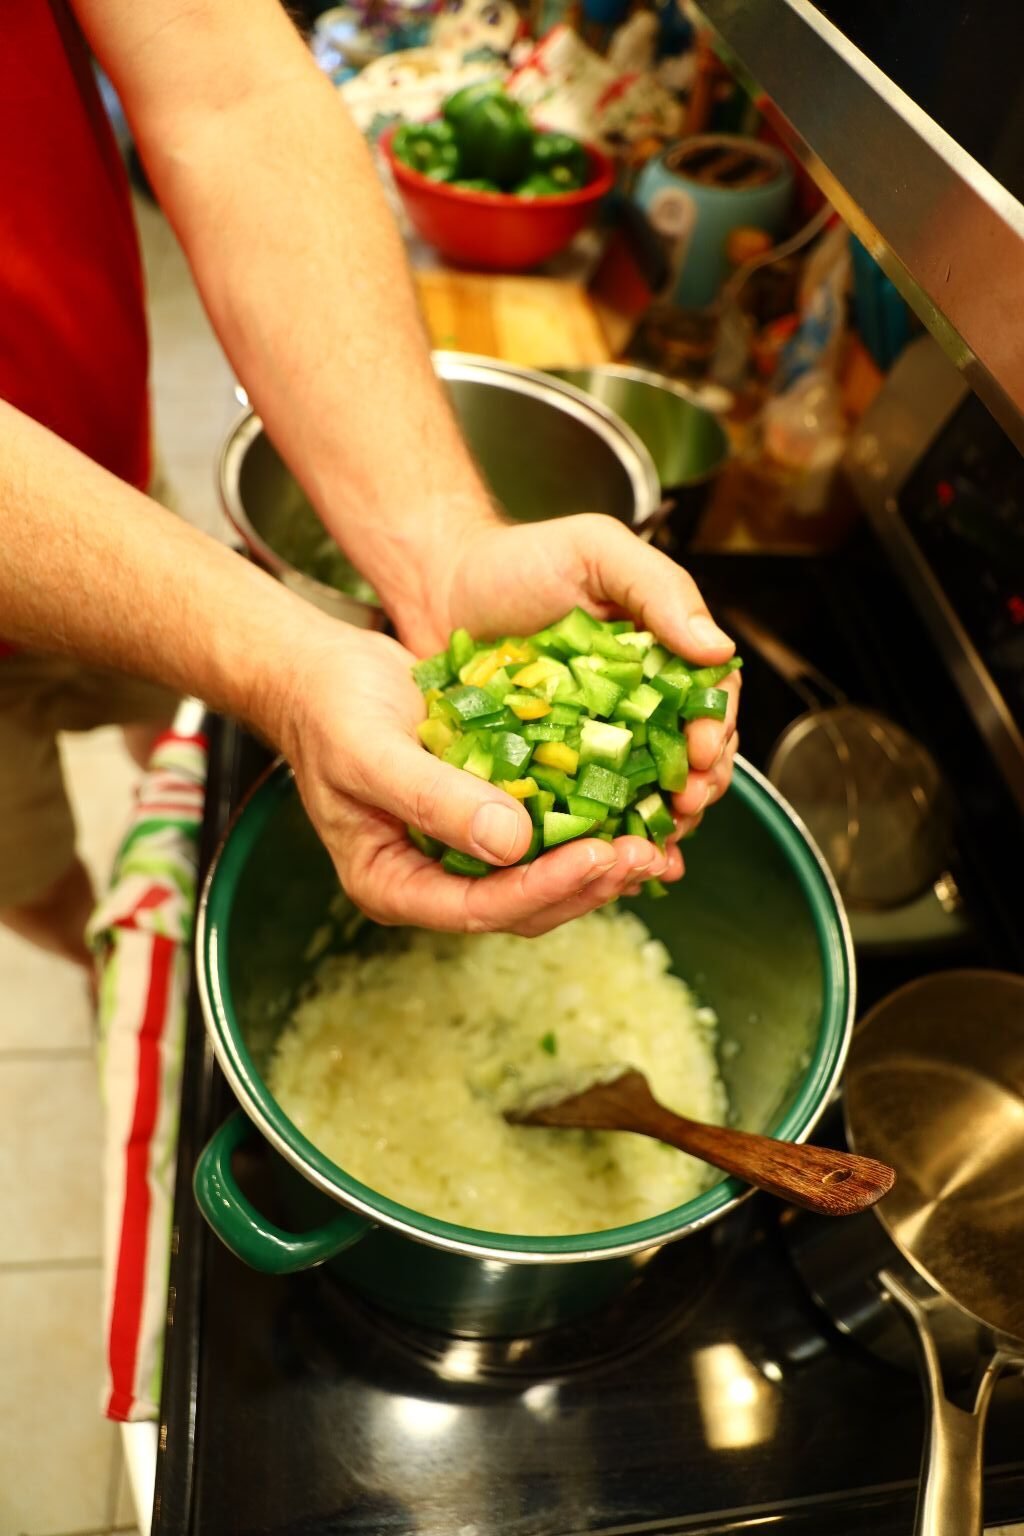
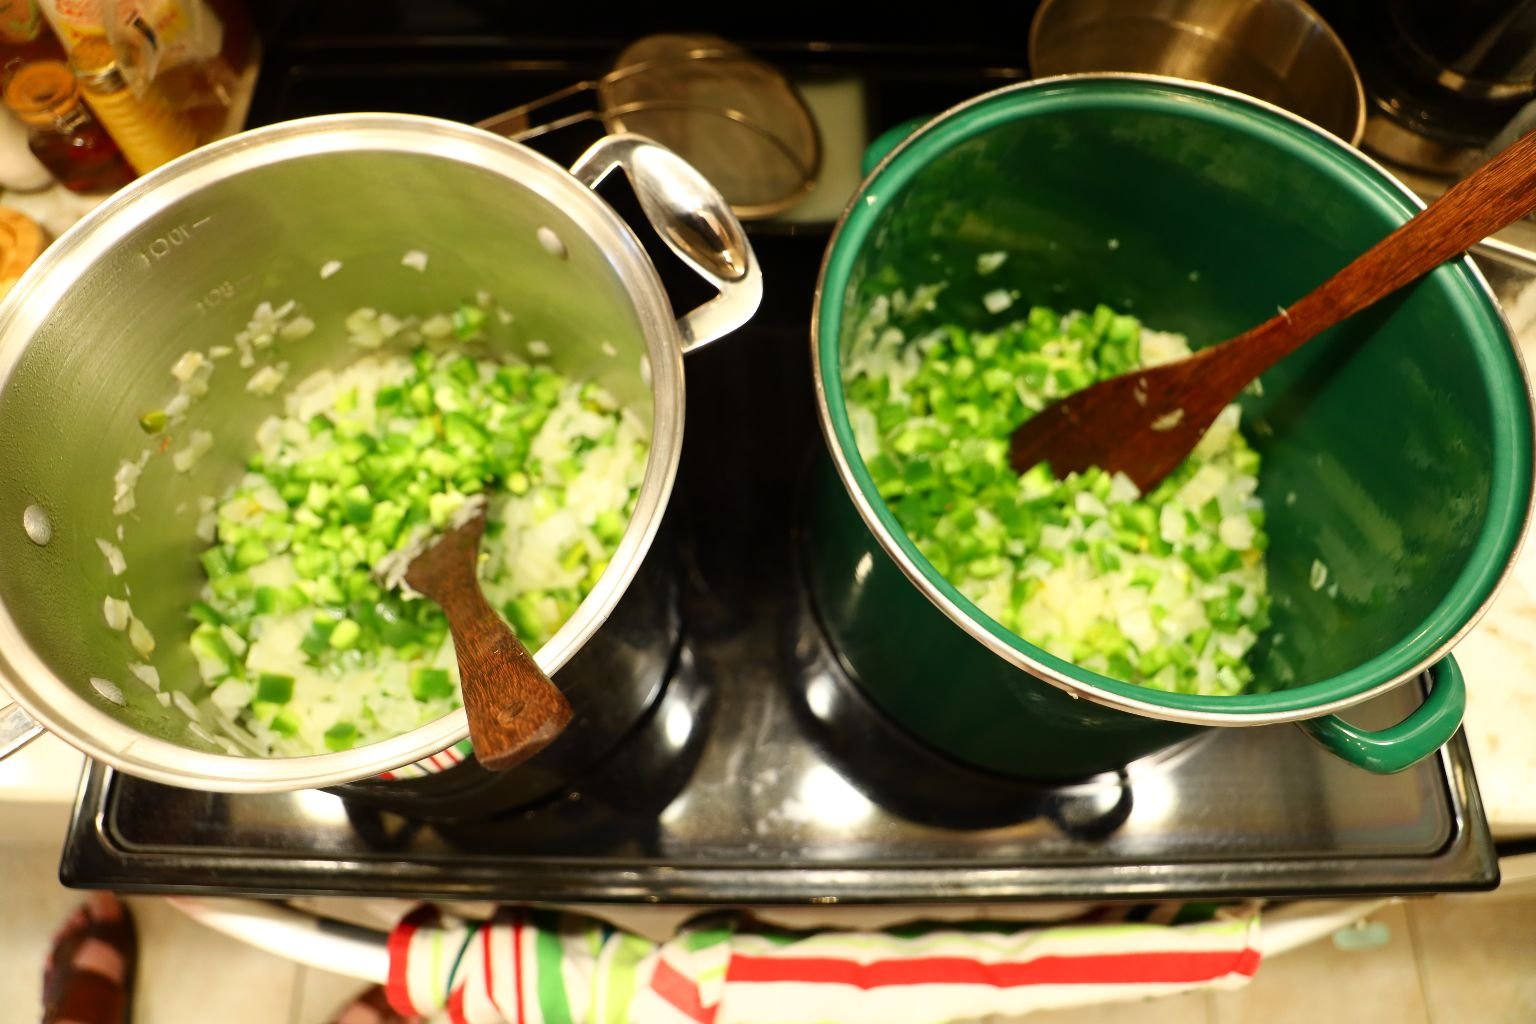
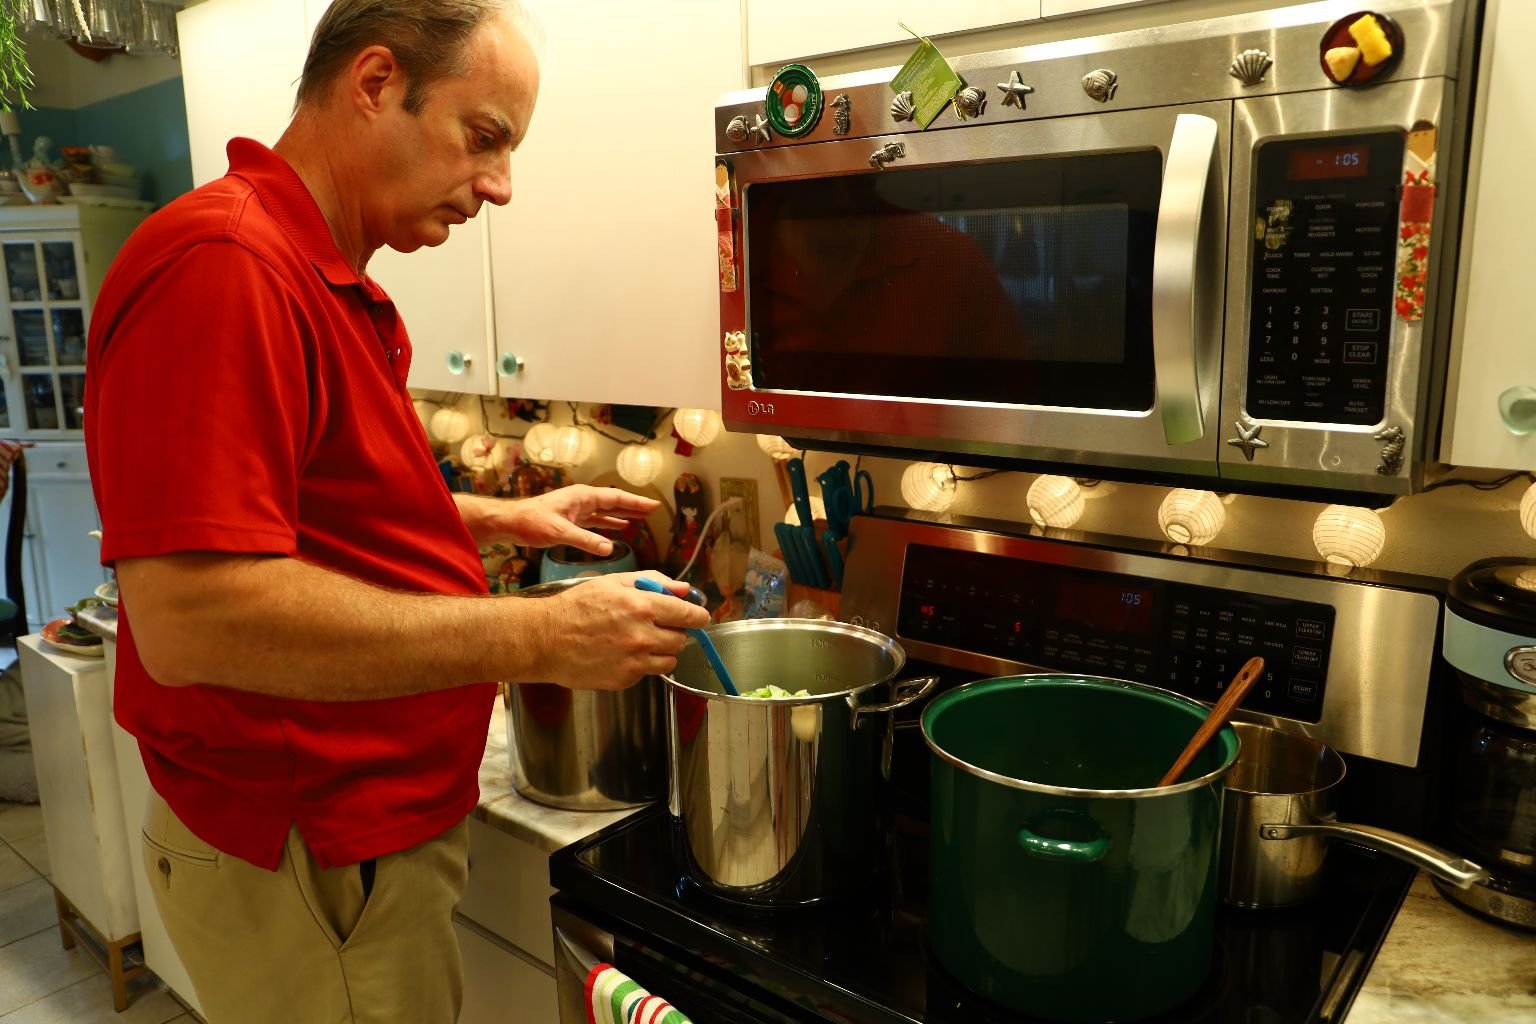
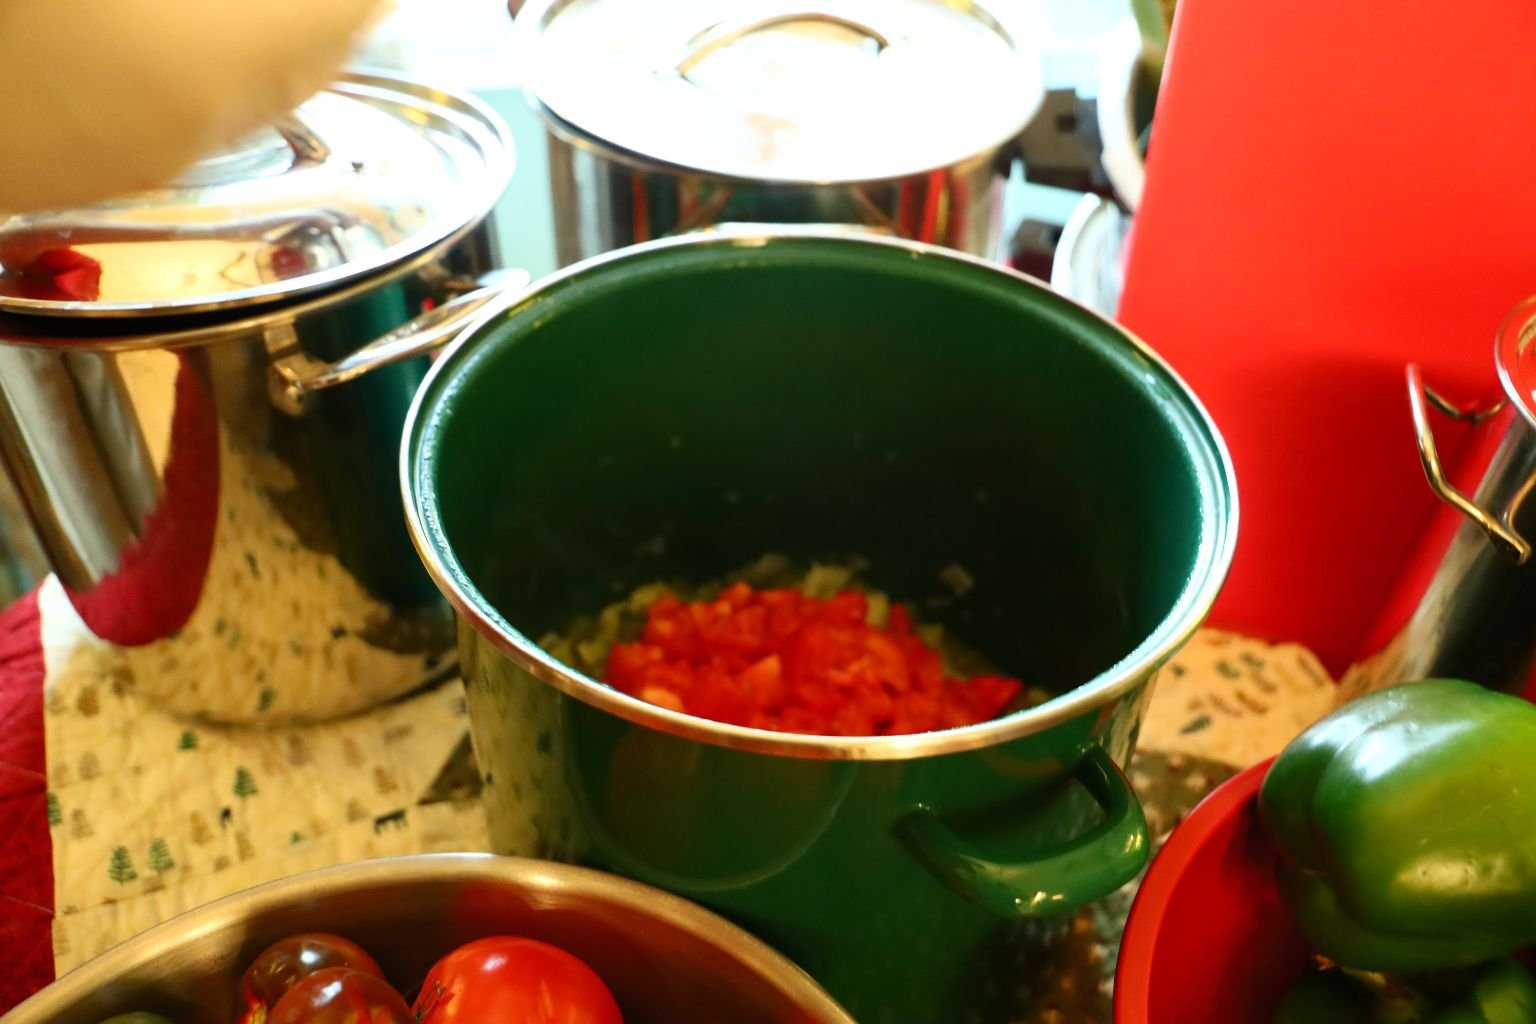
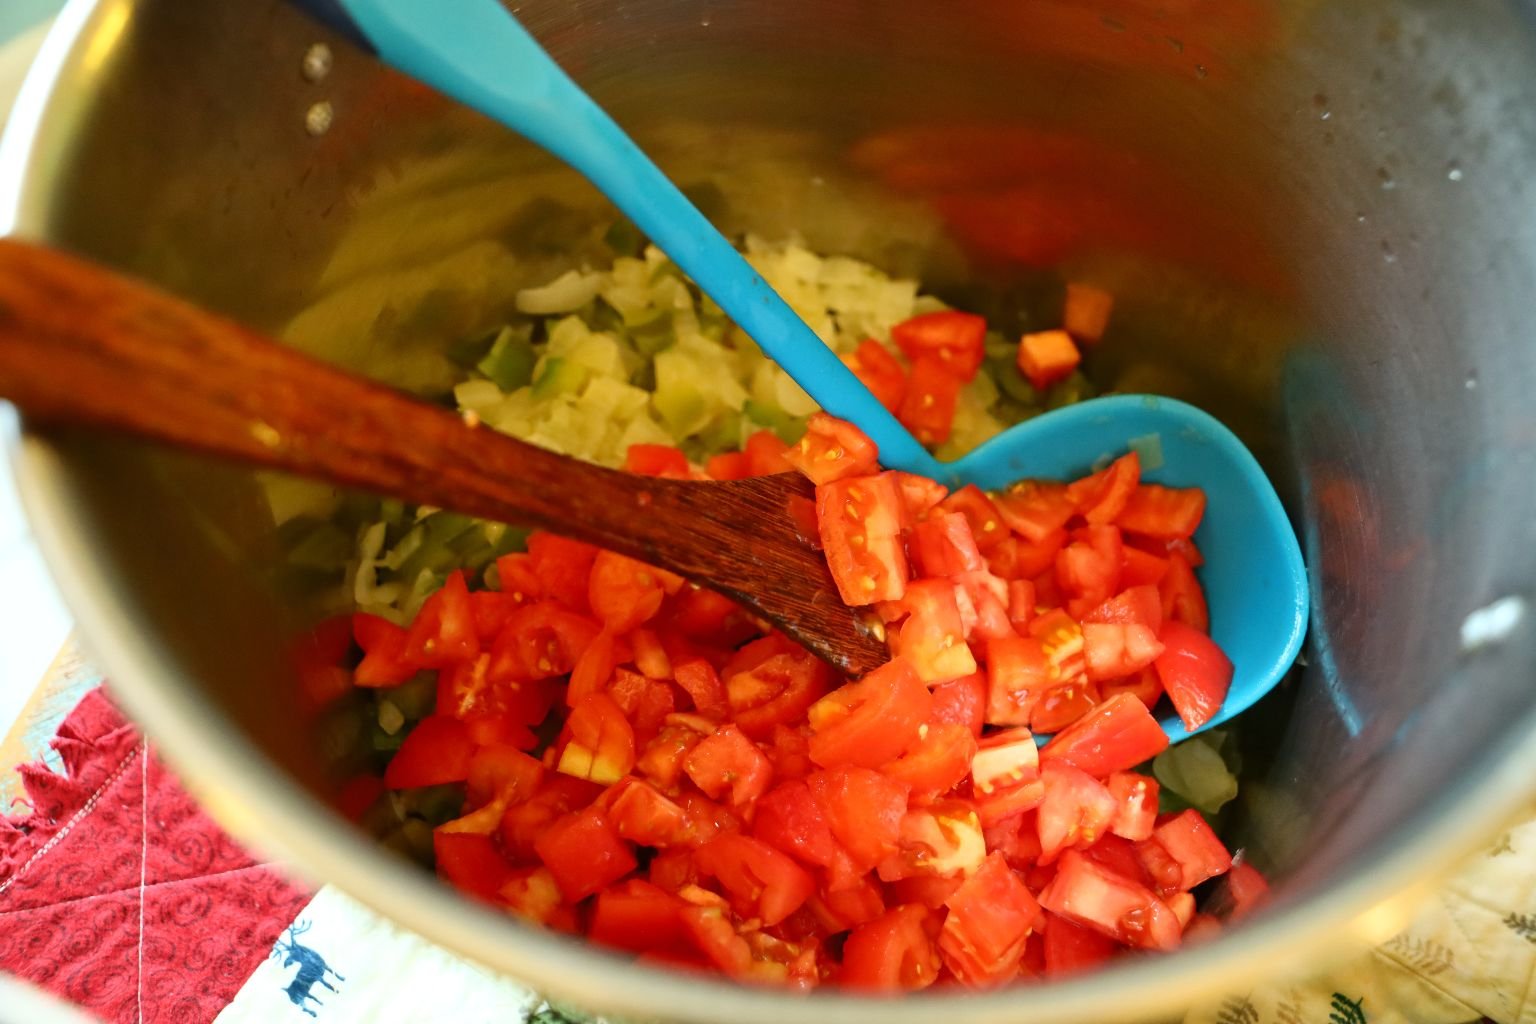
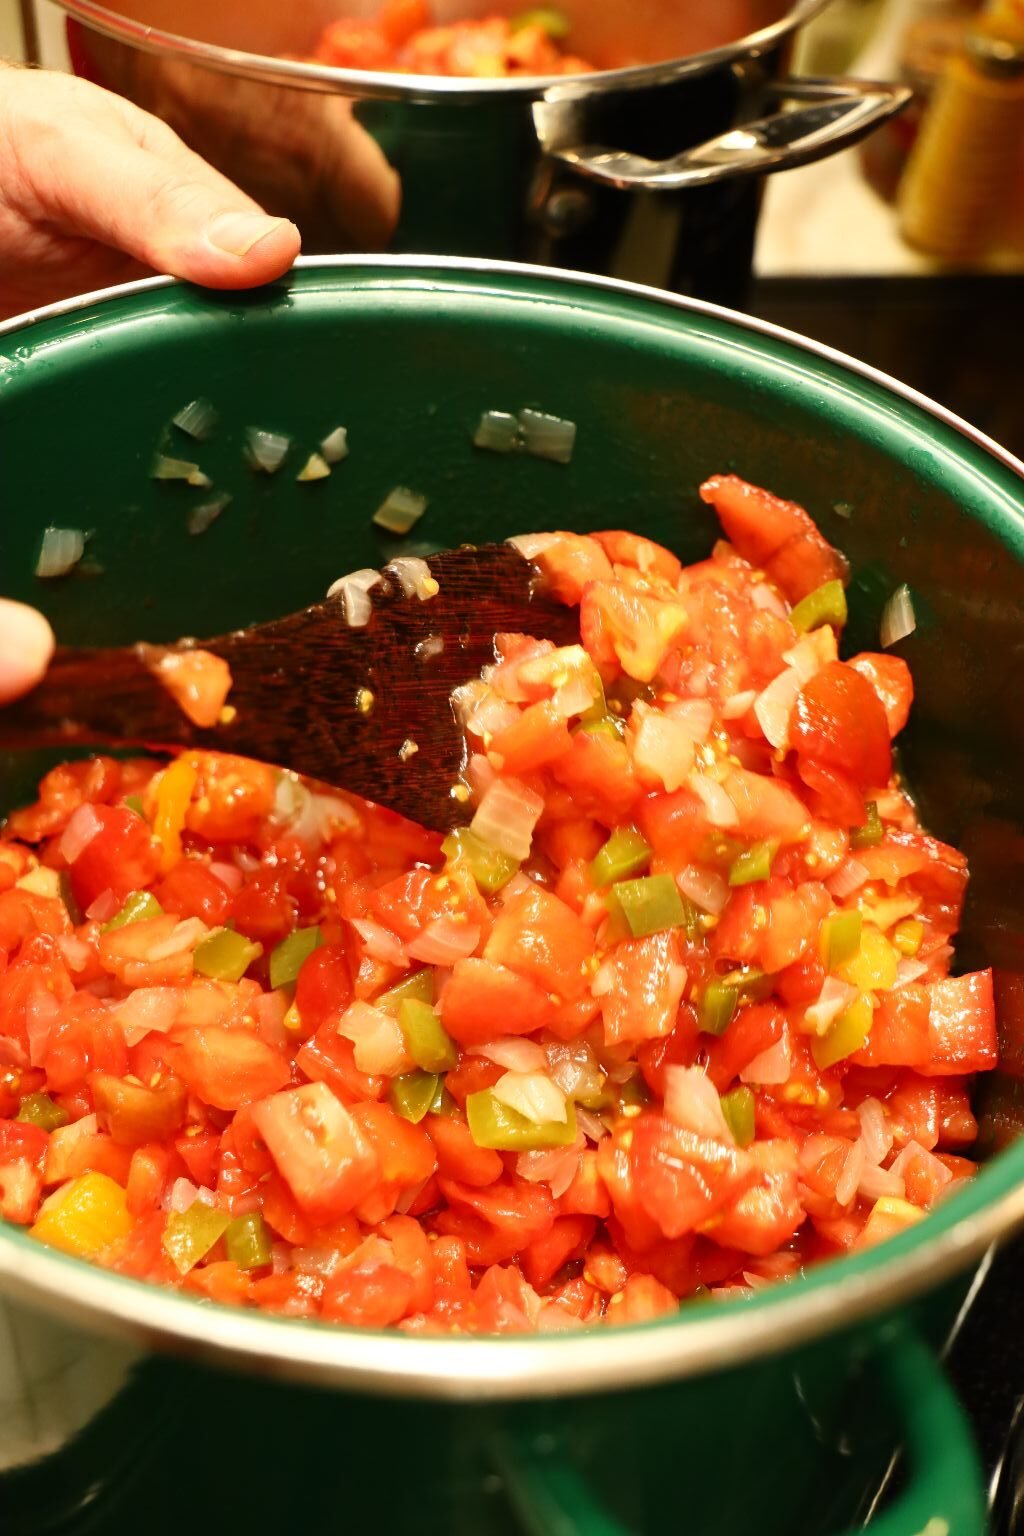
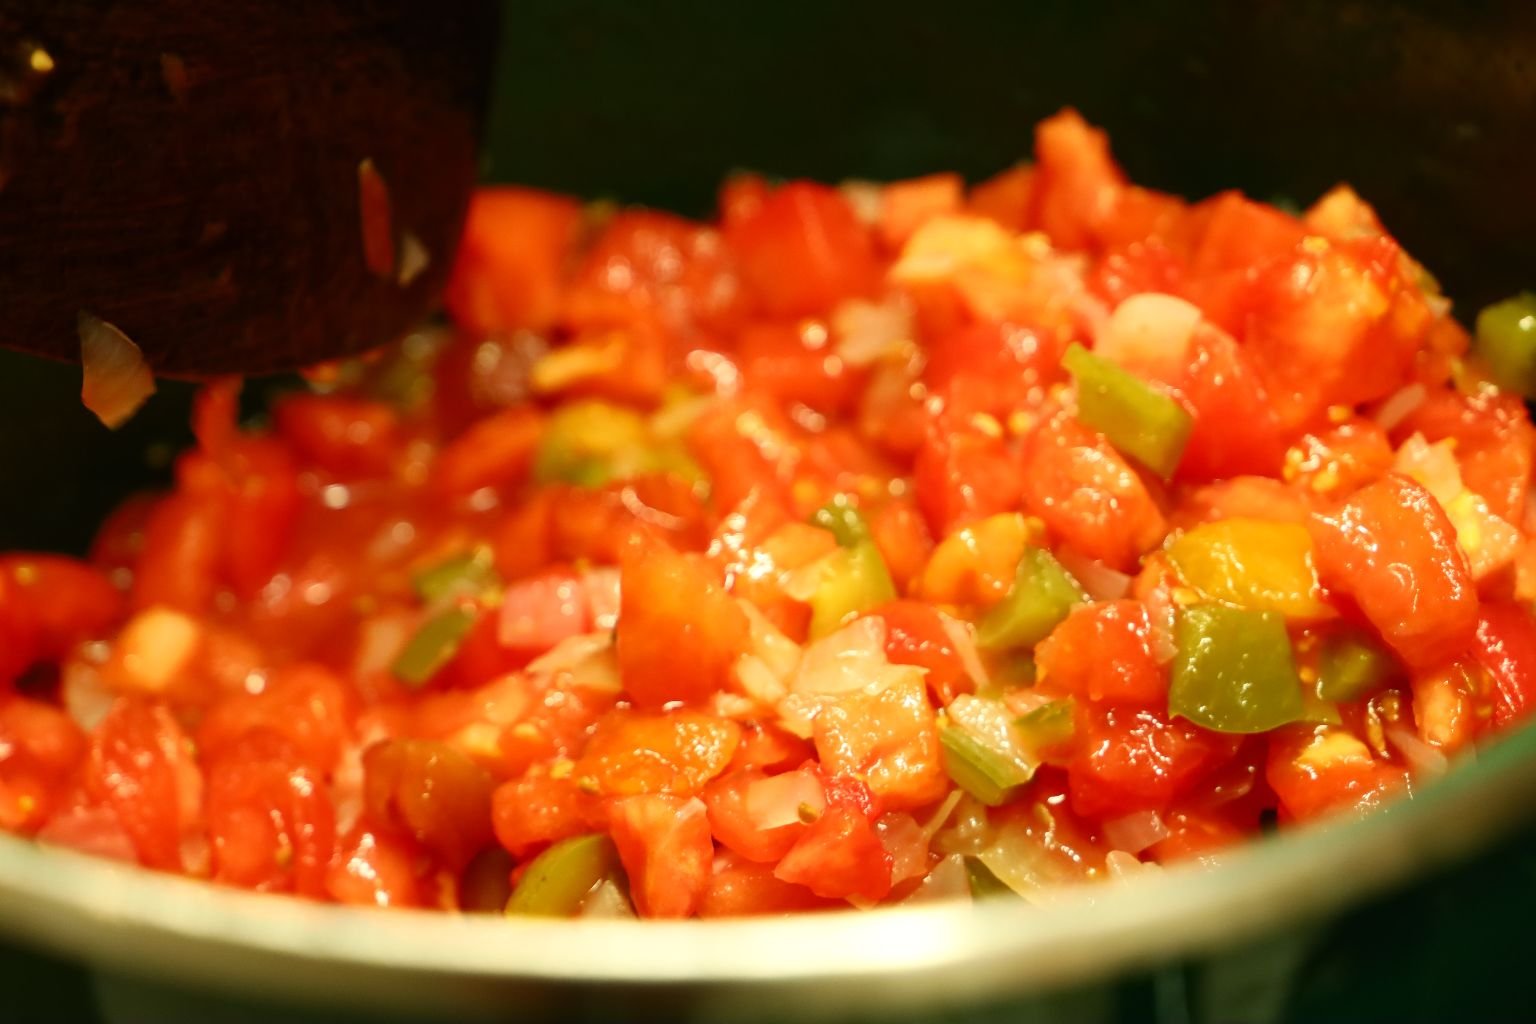
Here I am adding my Bell Peppers to the pot using handfuls as my base measurement. Be sure to stir all the ingredients together.
Cleaning up and stirring the ingredients.
Checking how the cooking process is doing… looking great!
—————————————————————-
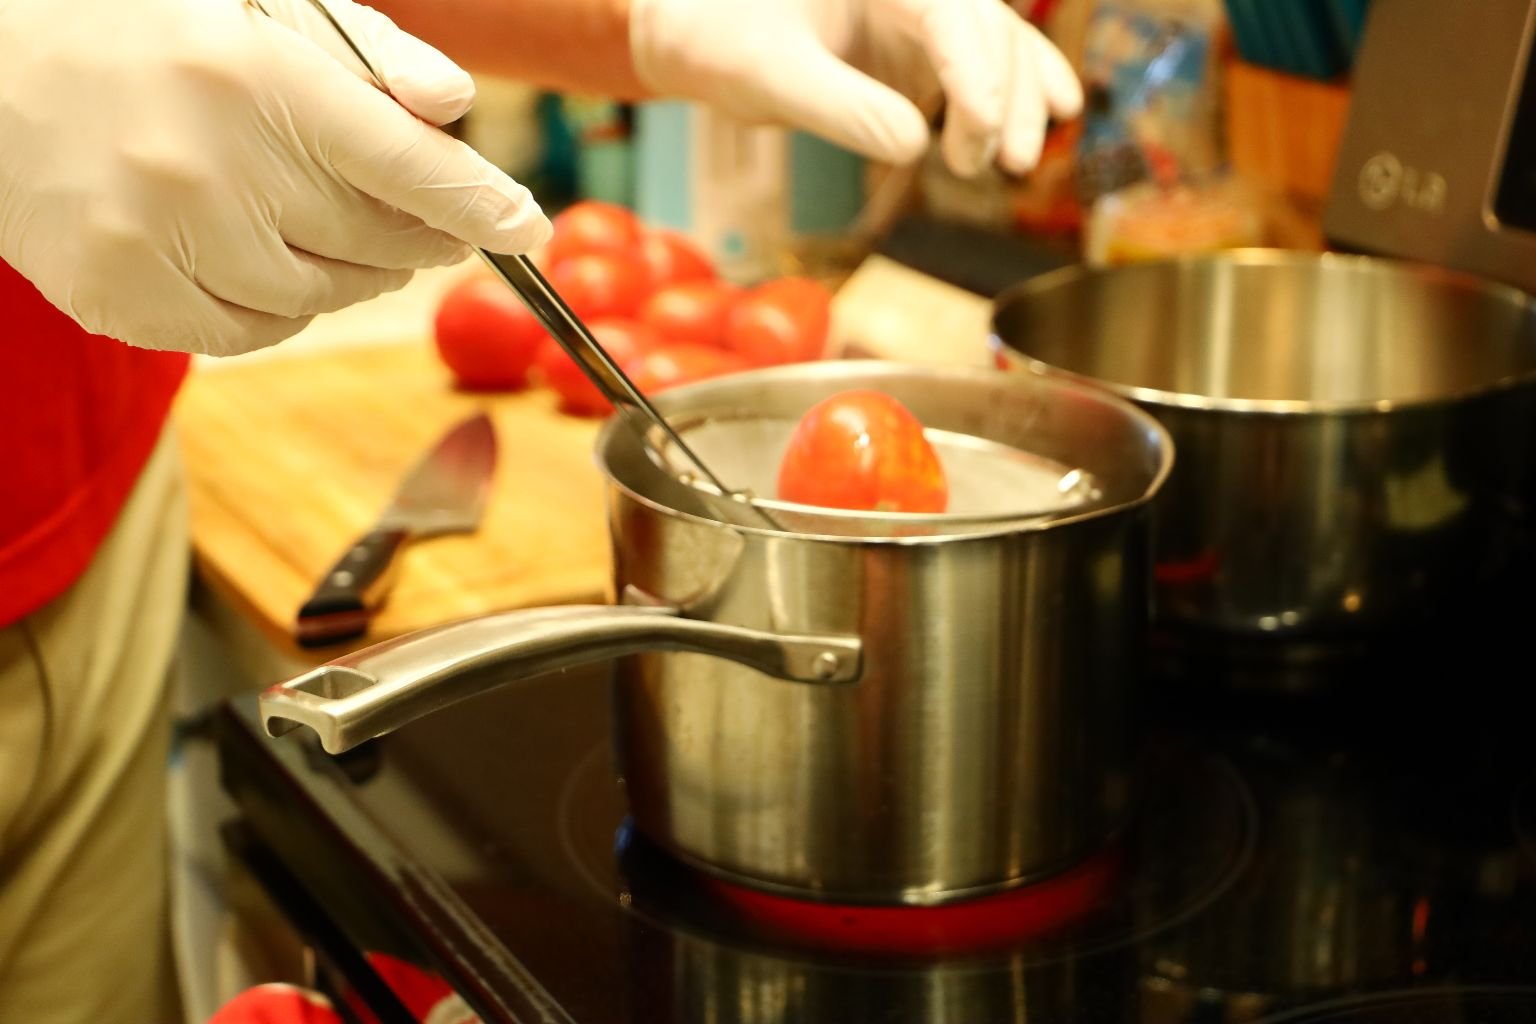
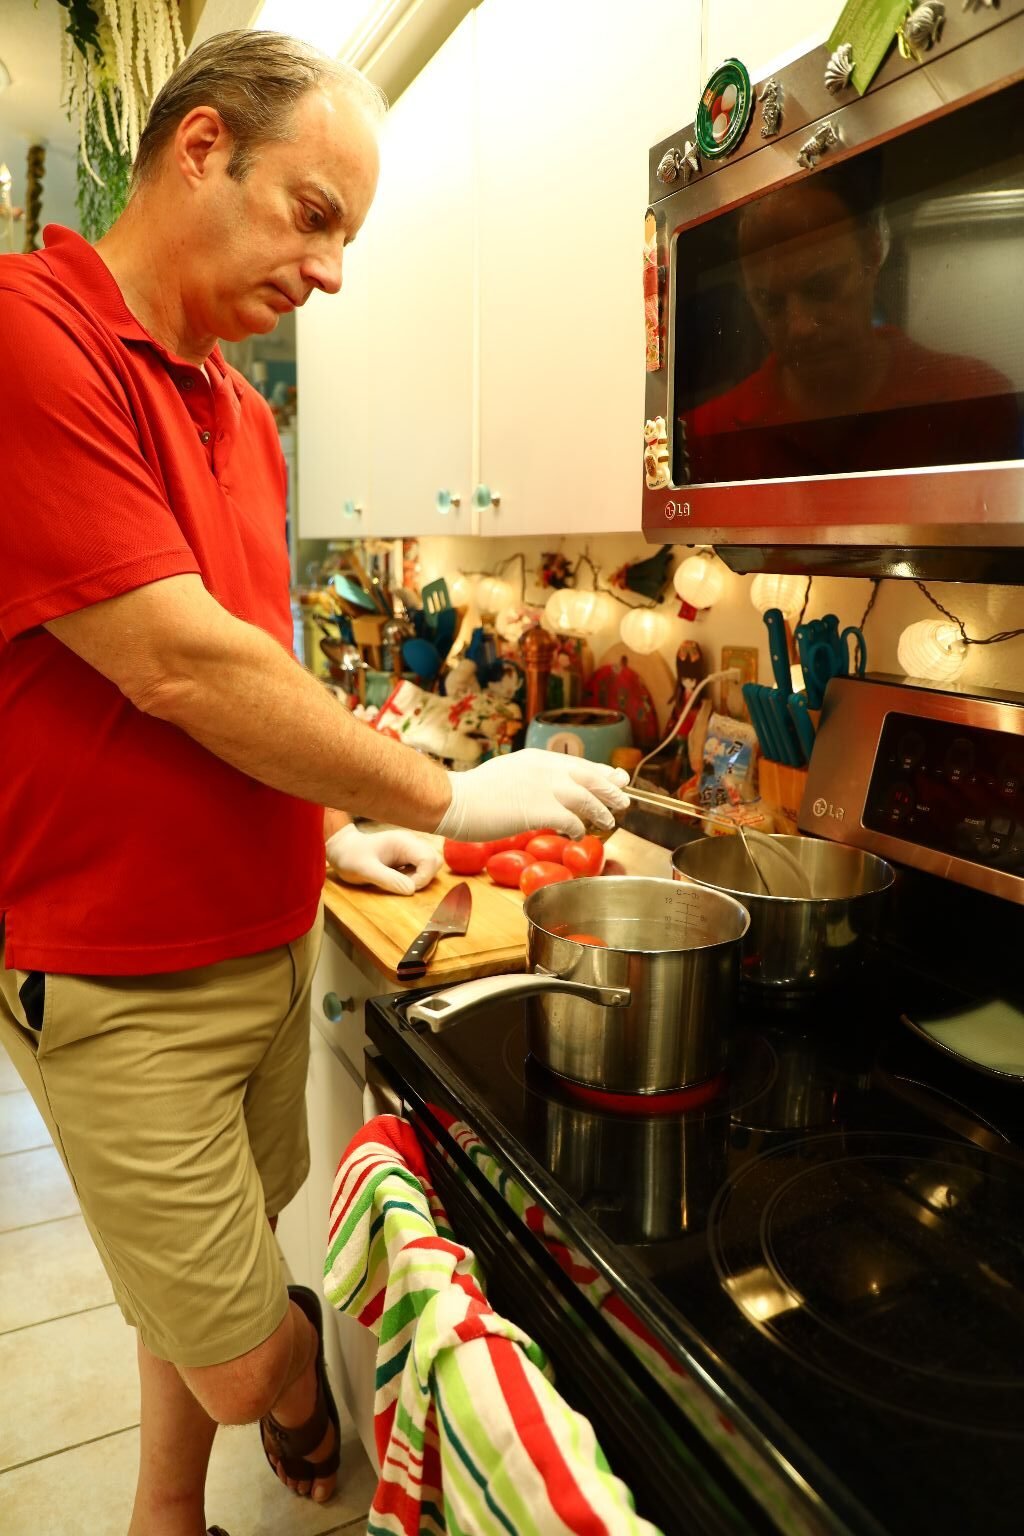
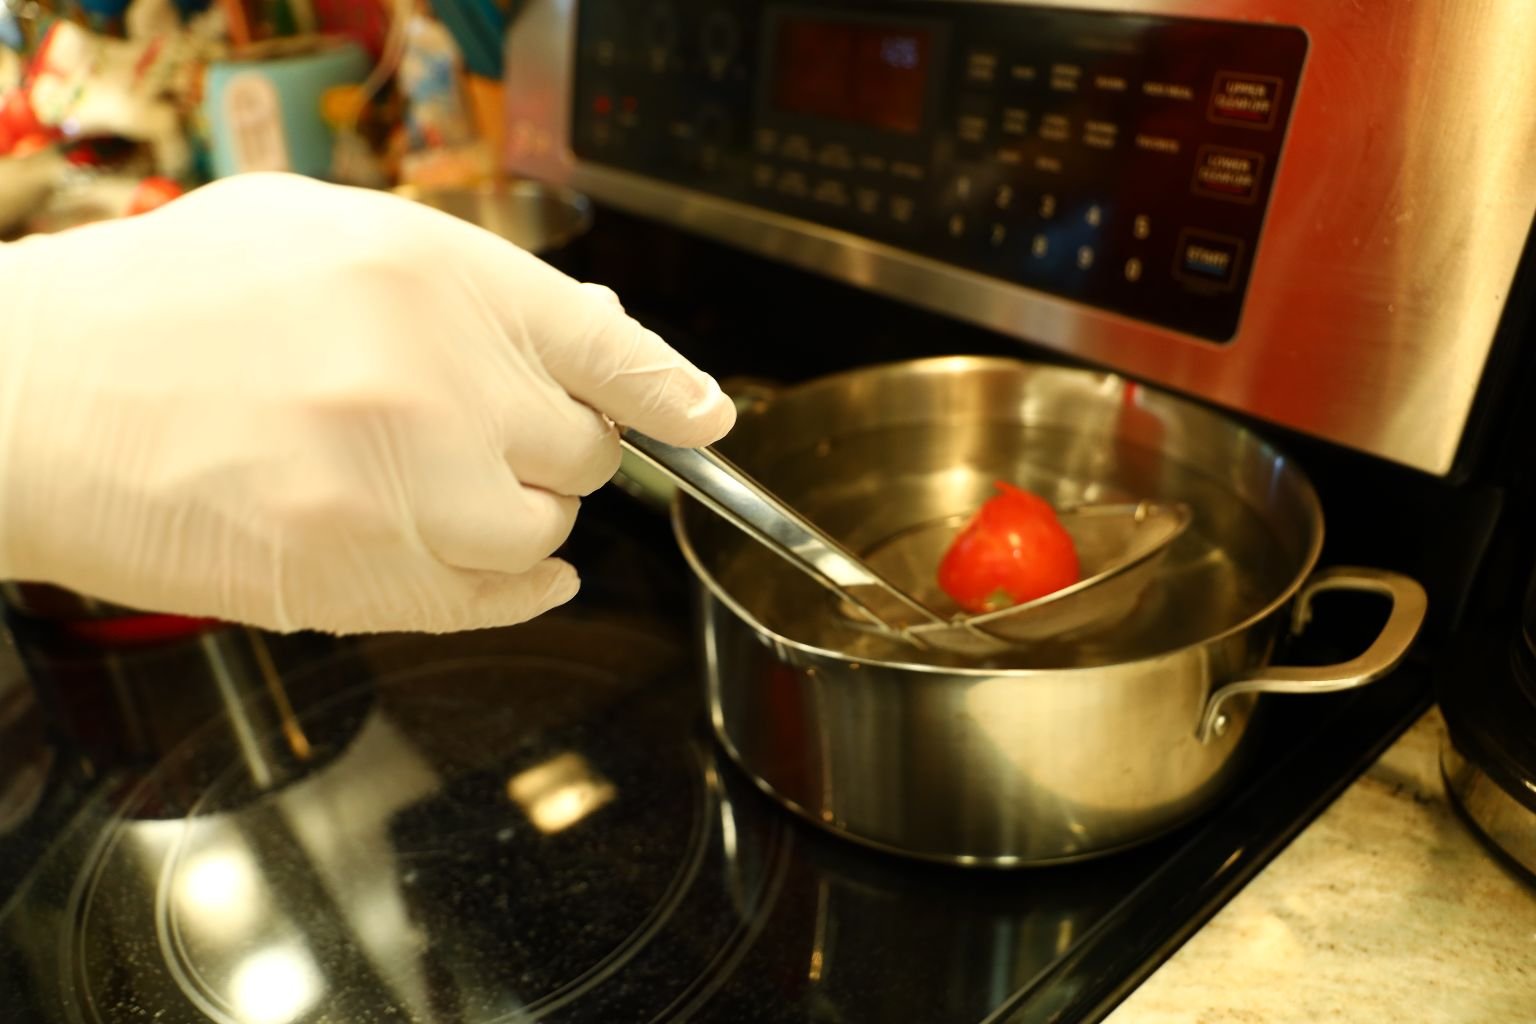
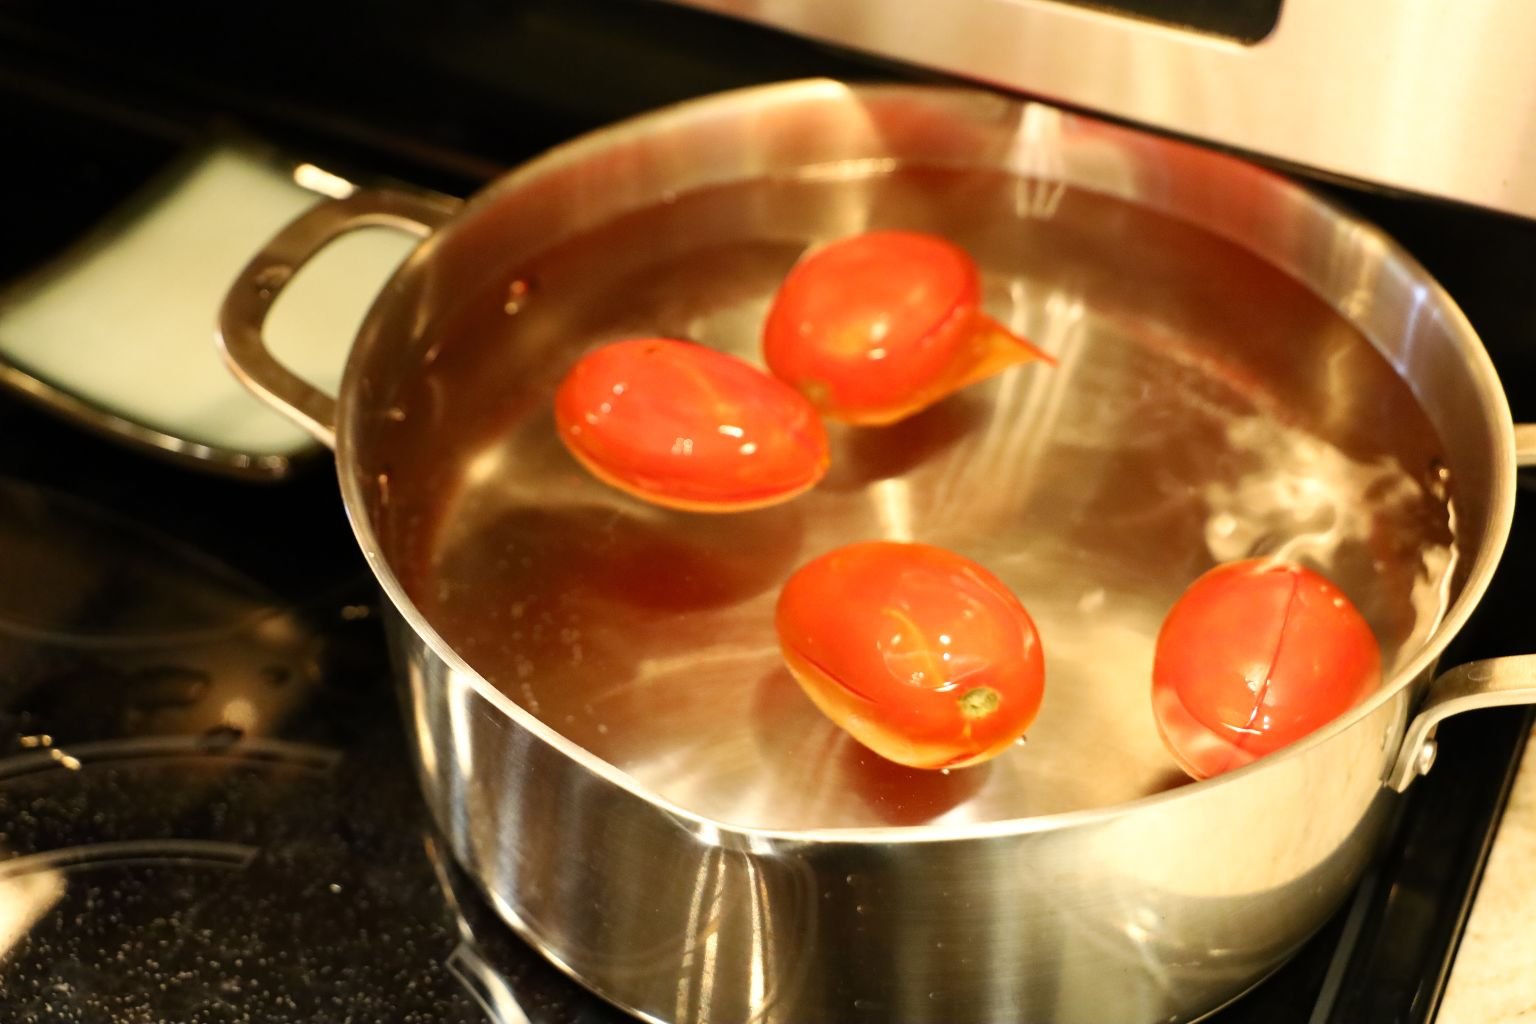
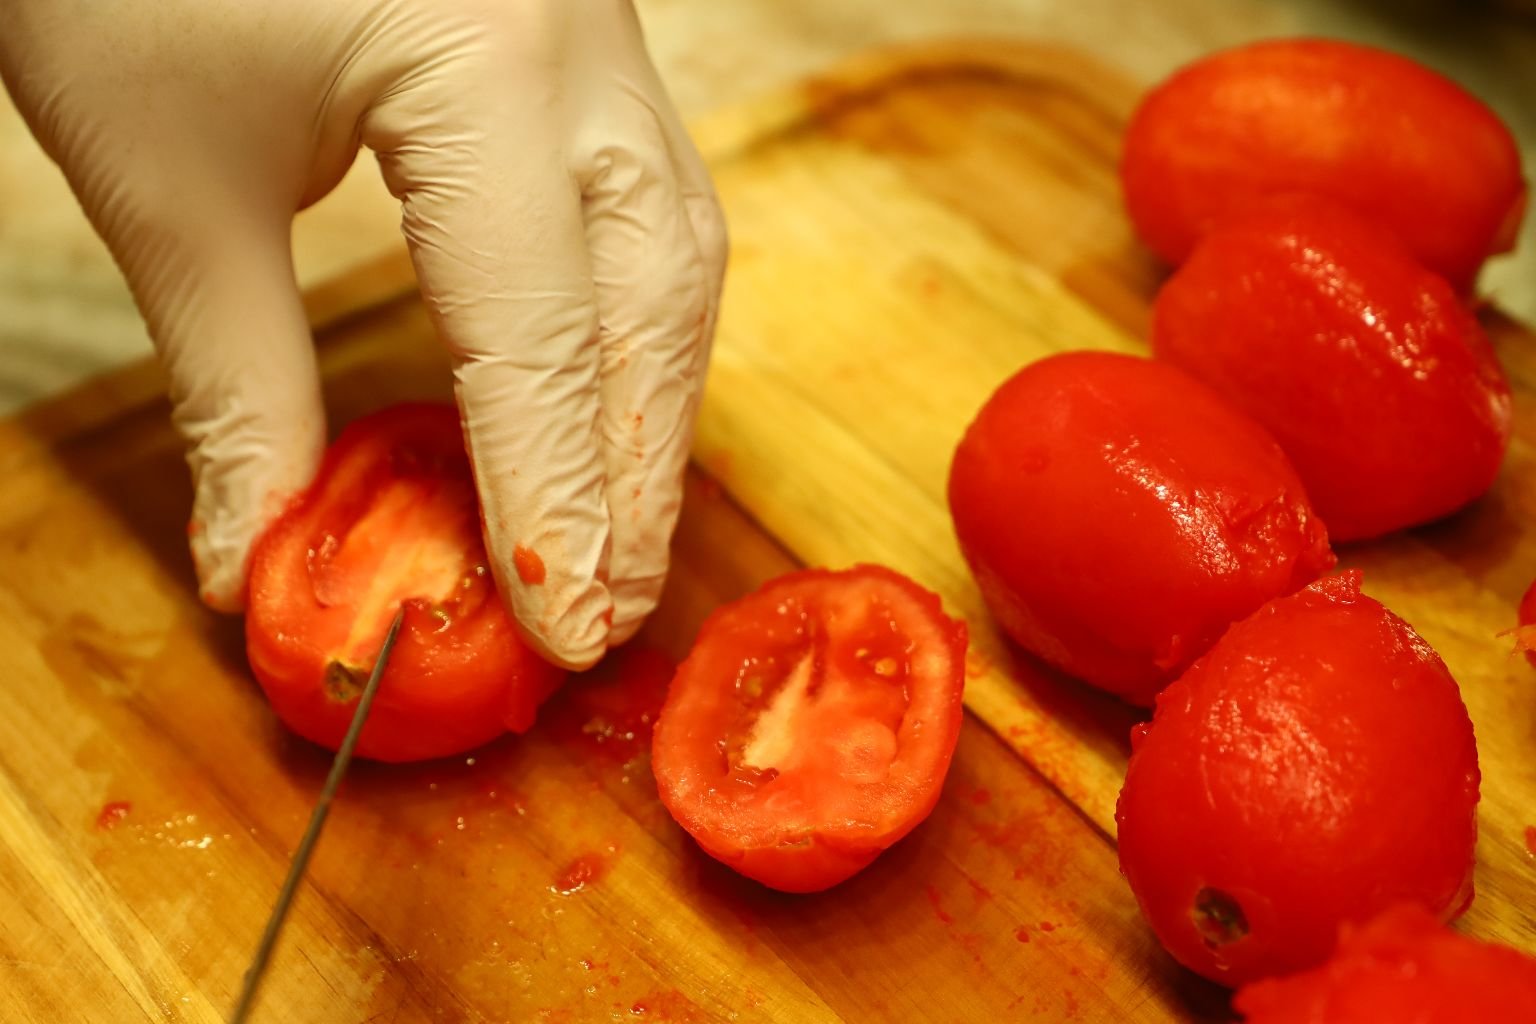
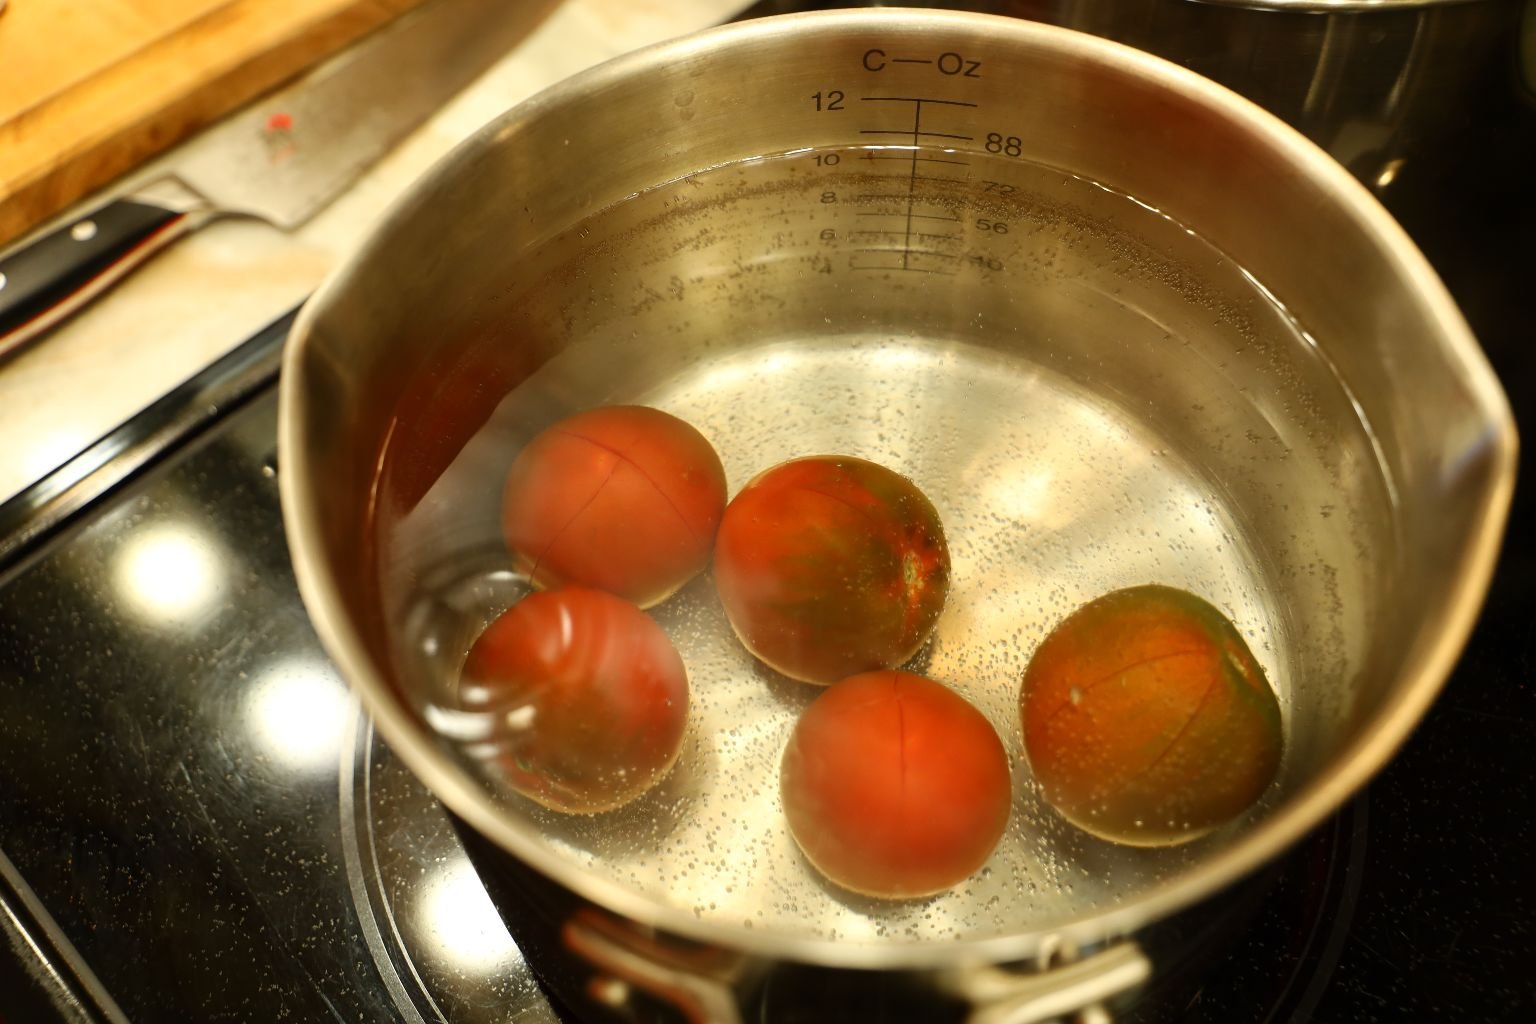
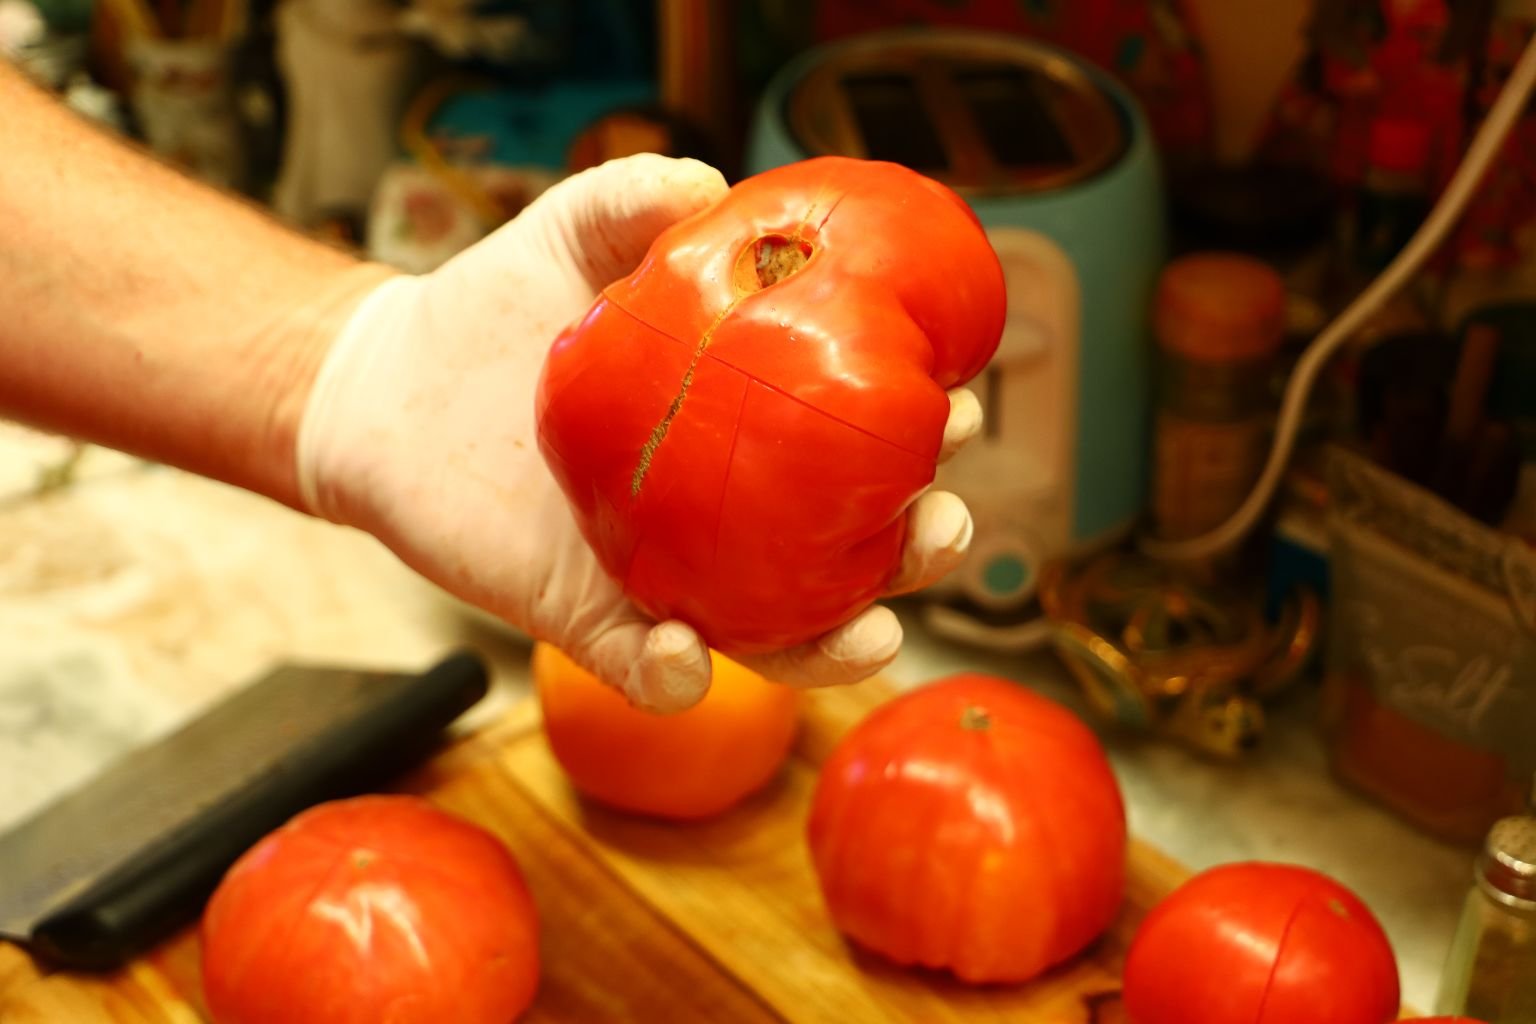
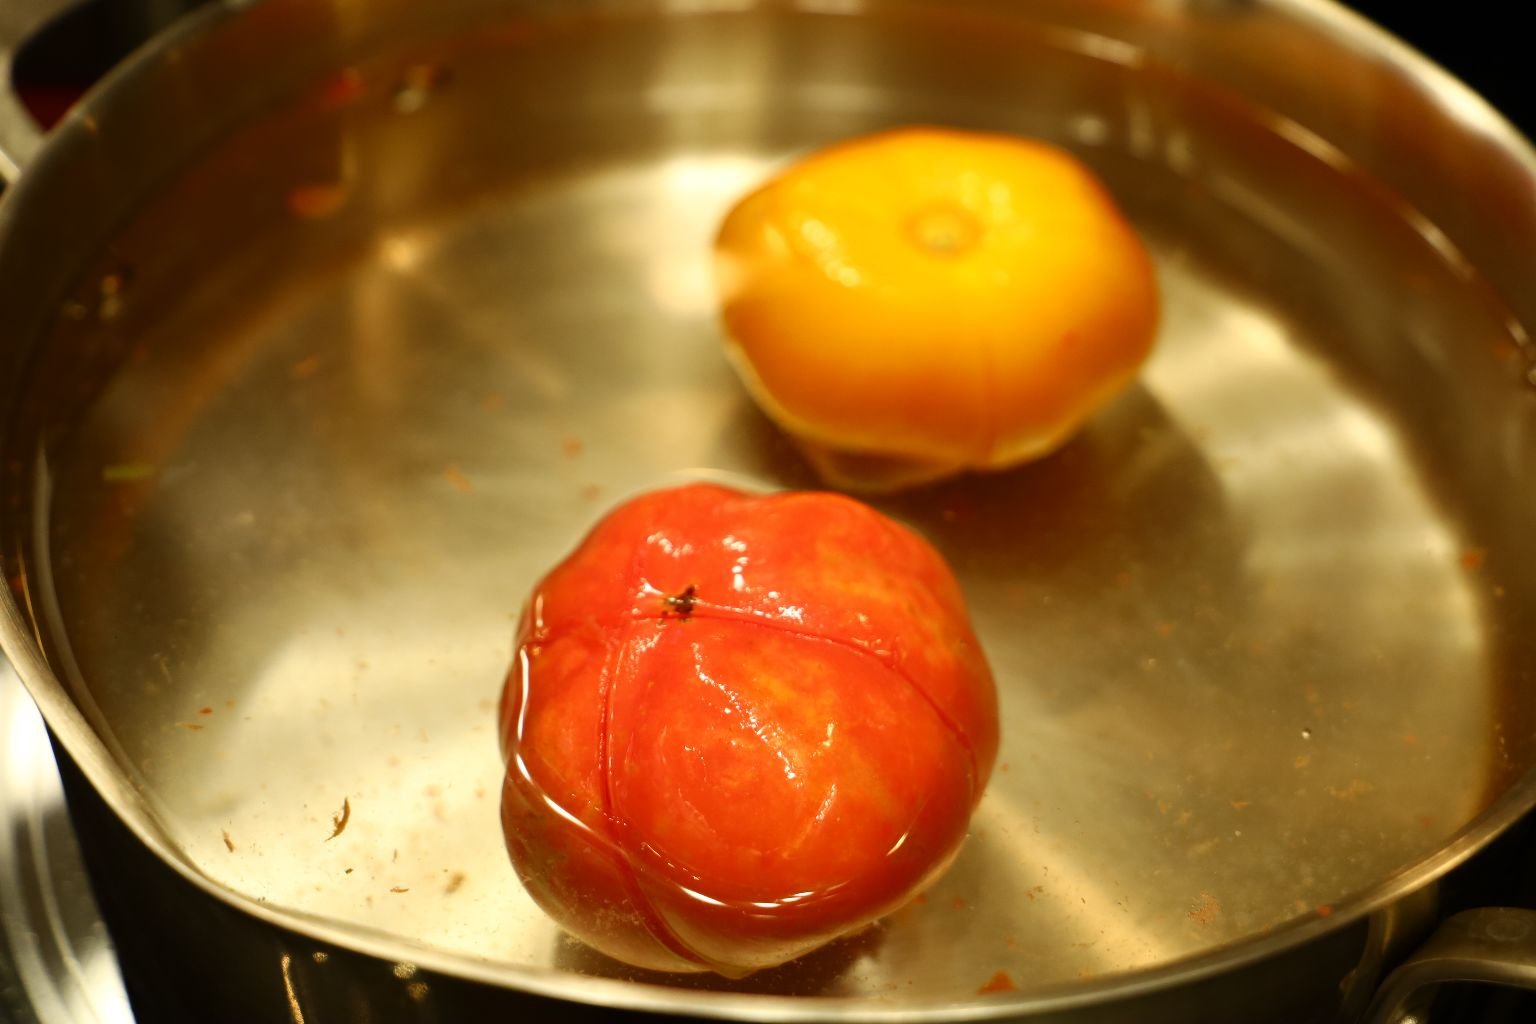
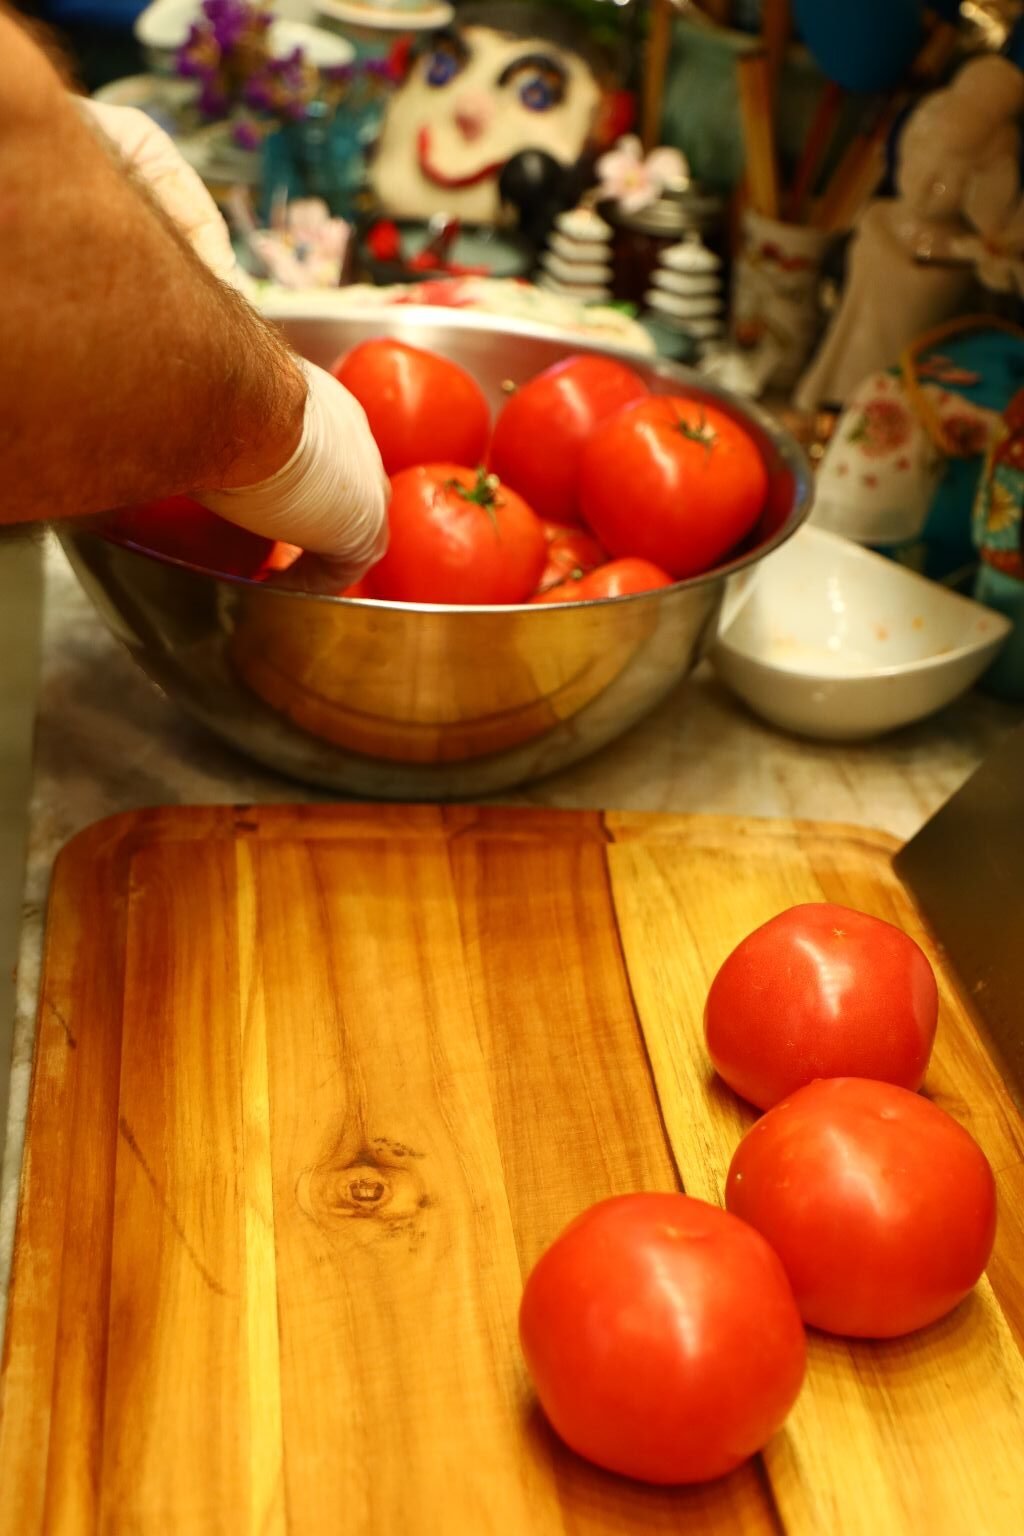
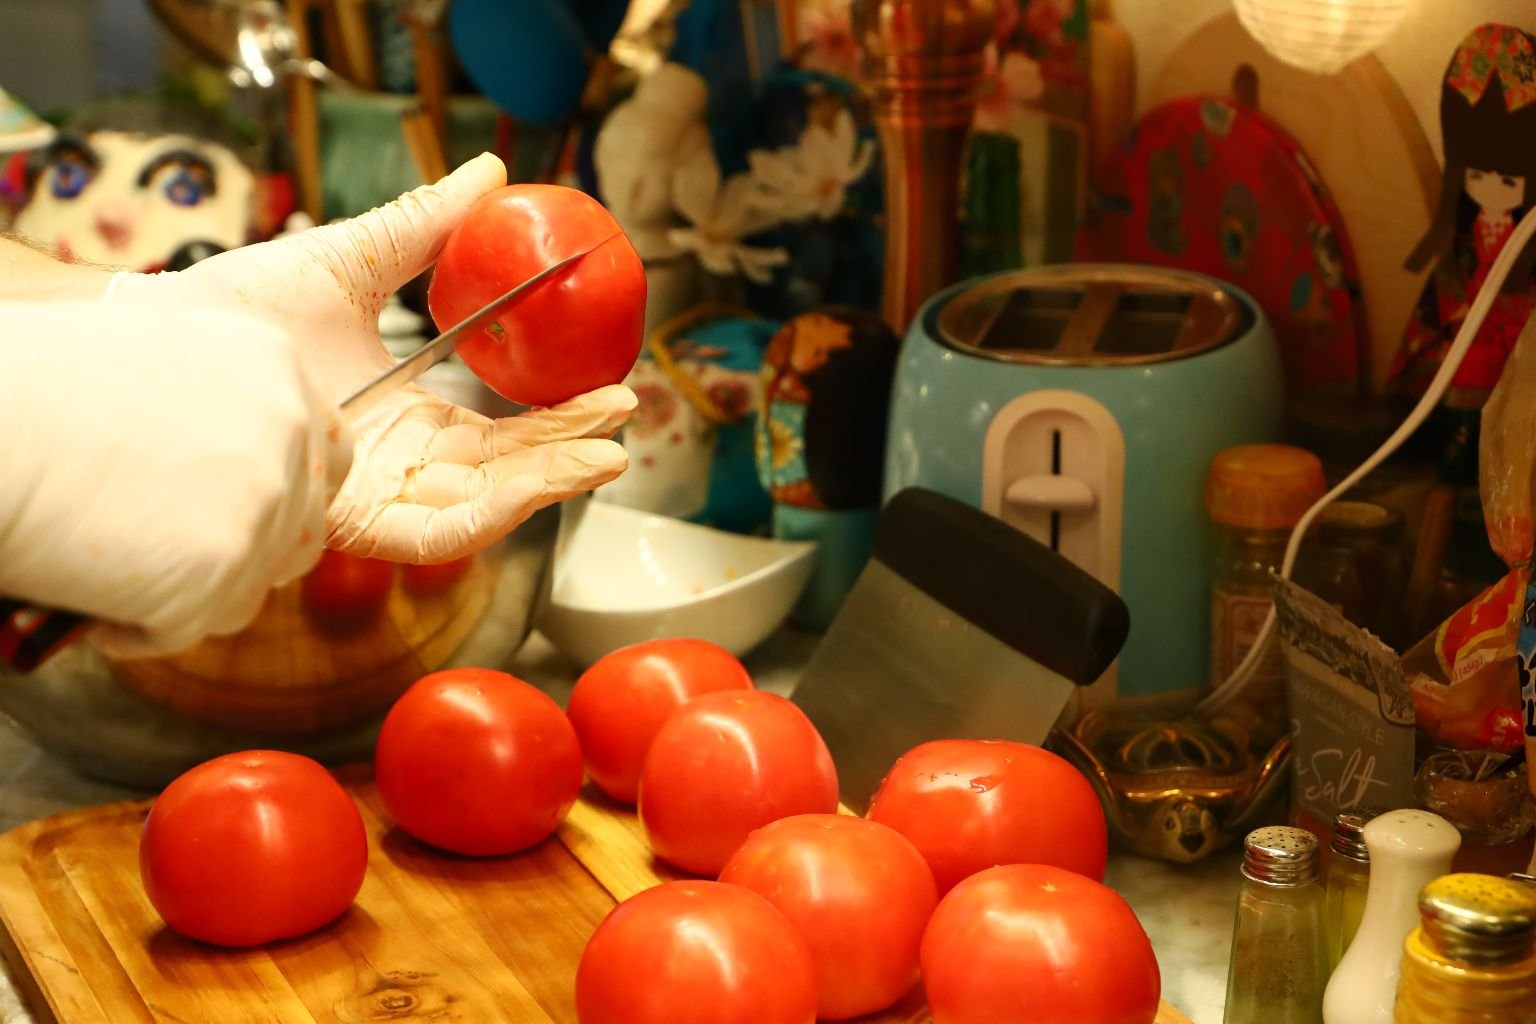
Now it is time to blanch the Tomatoes. I am wearing gloves because I am allergic to nickel which is in Tomatoes… although it is just touching them, not eating them… I know weird. I have two large pots with almost boiling water.
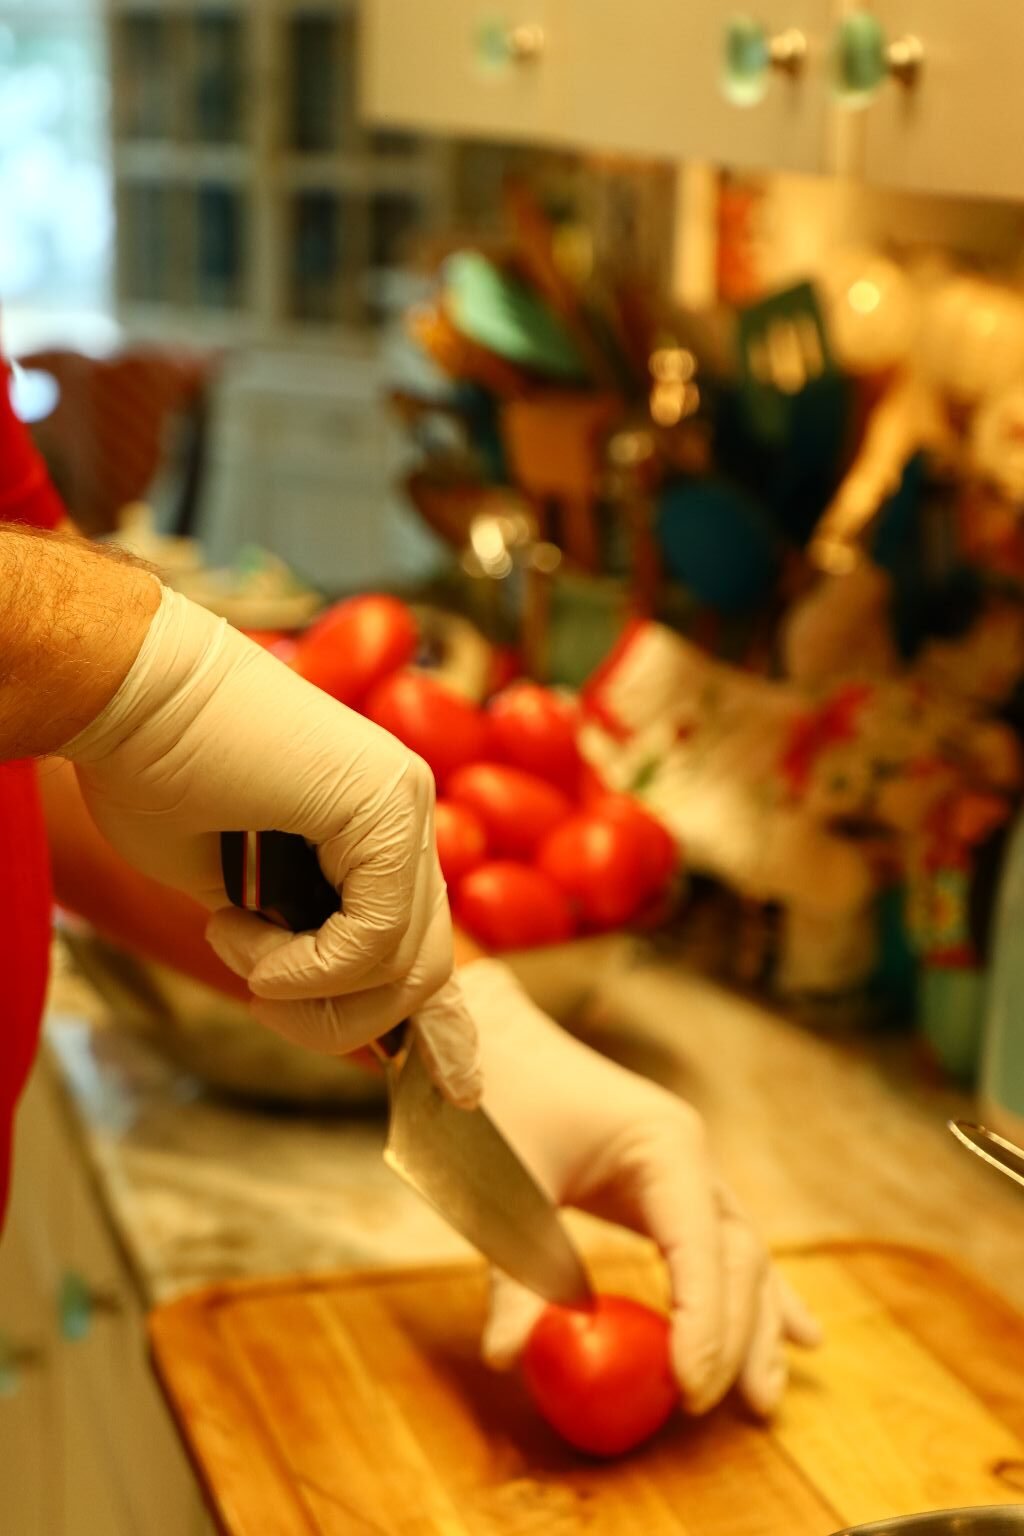
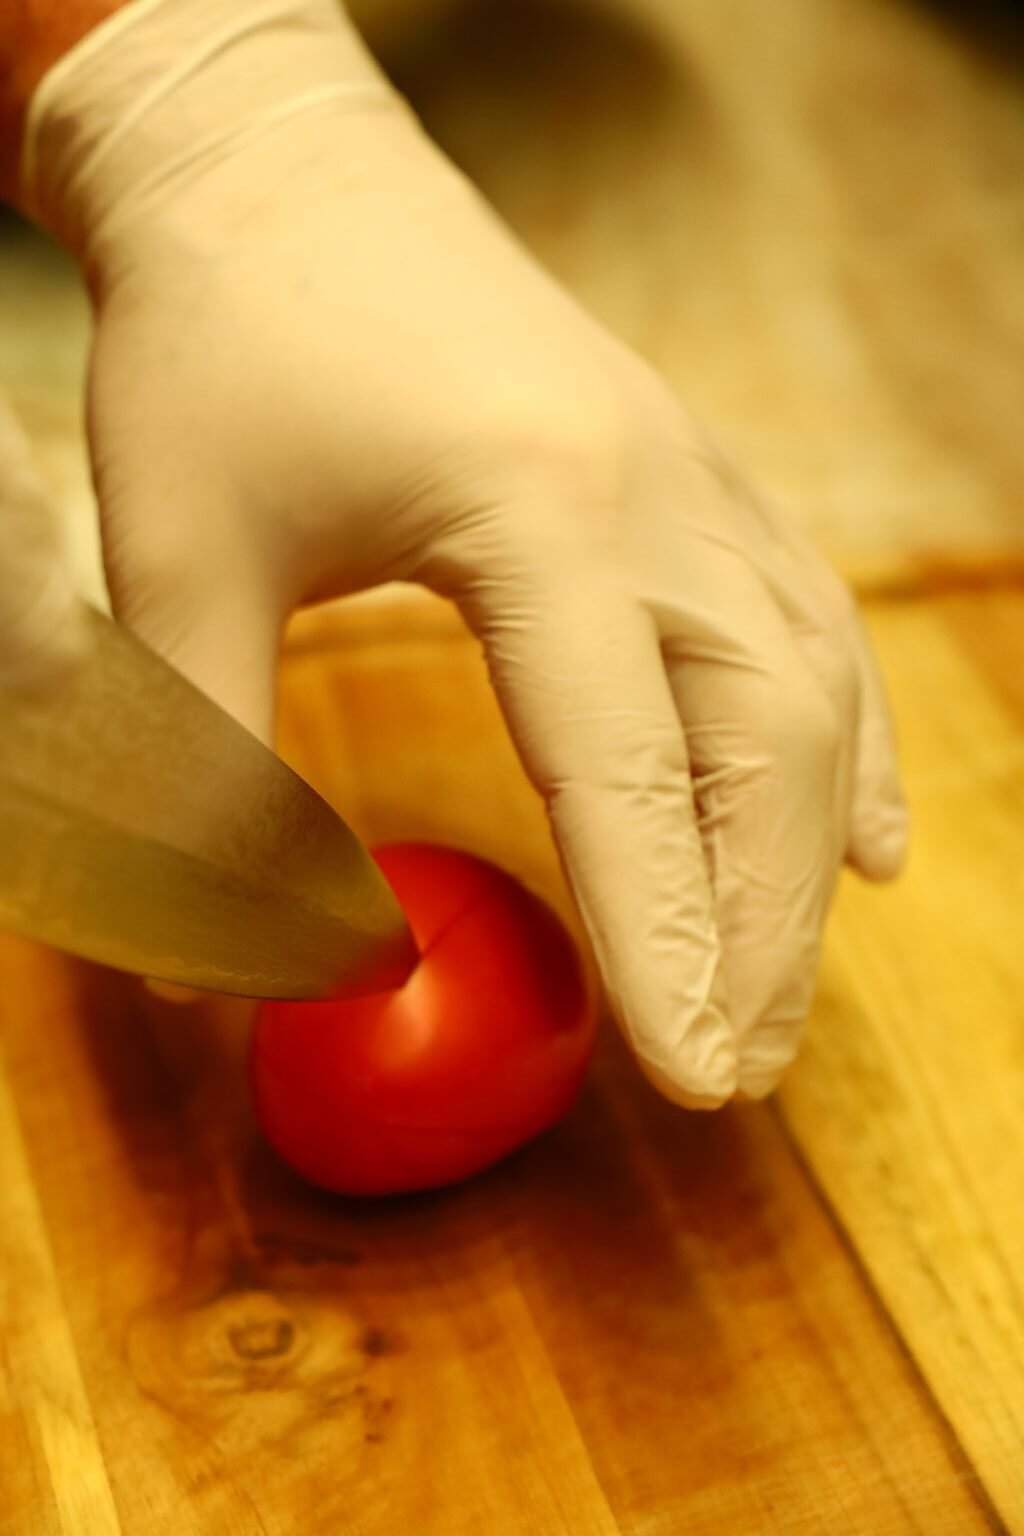
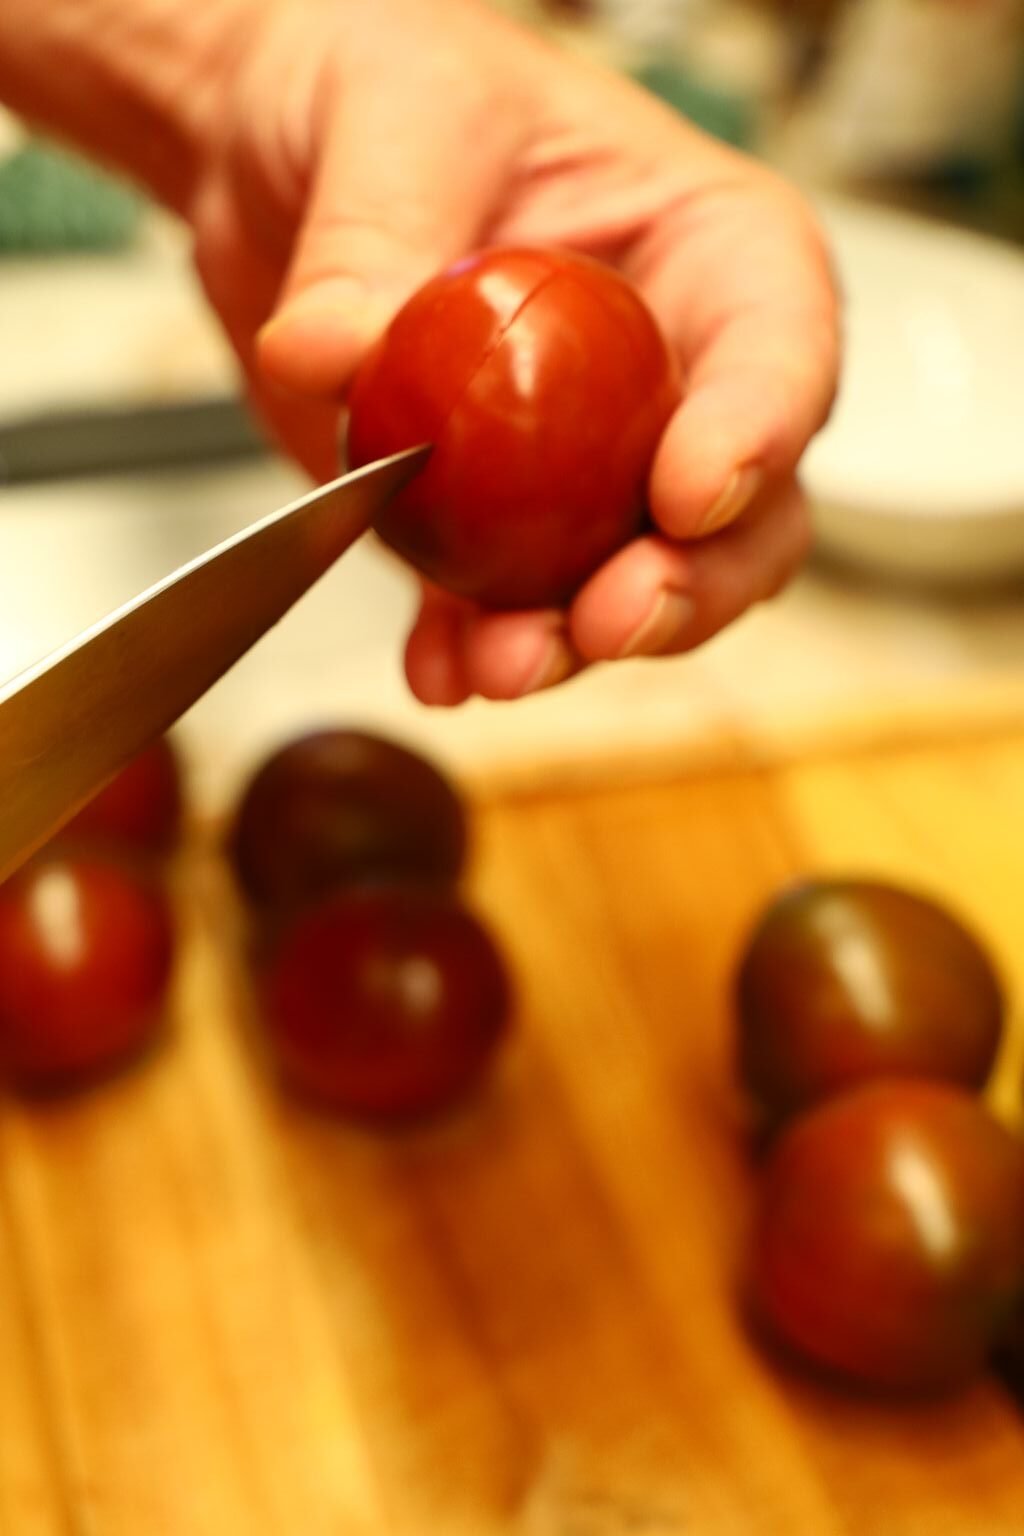
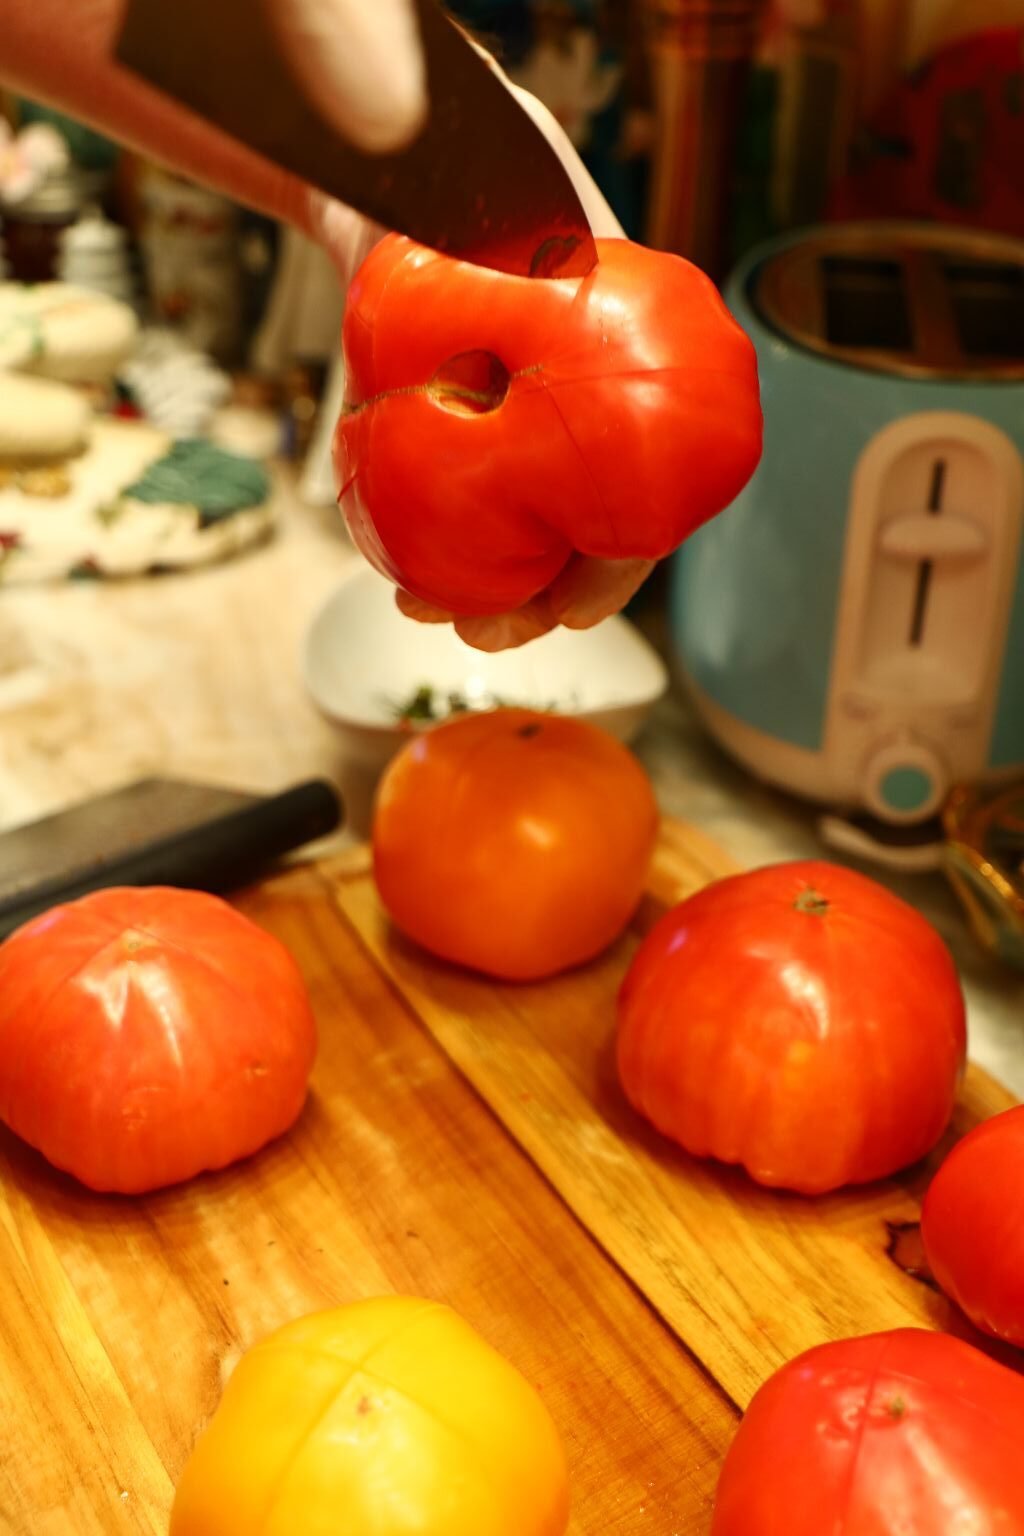
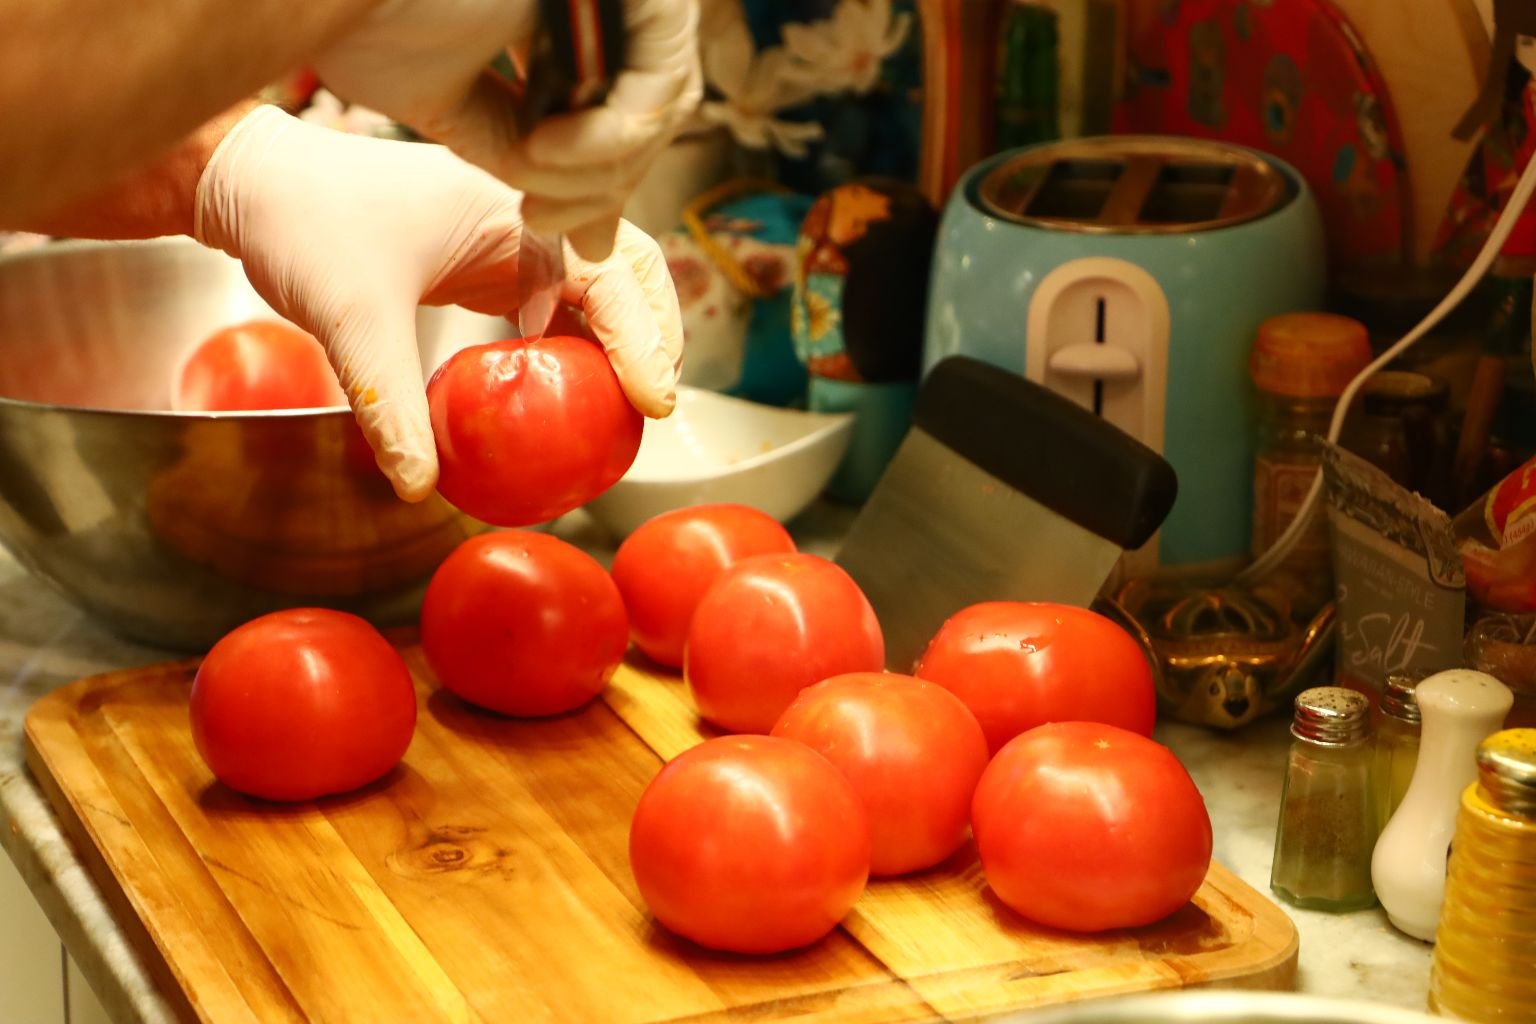
Using your knife, make a shallow X cut on the Roma Tomatoes. Basically, you just want to cut the outside skin.

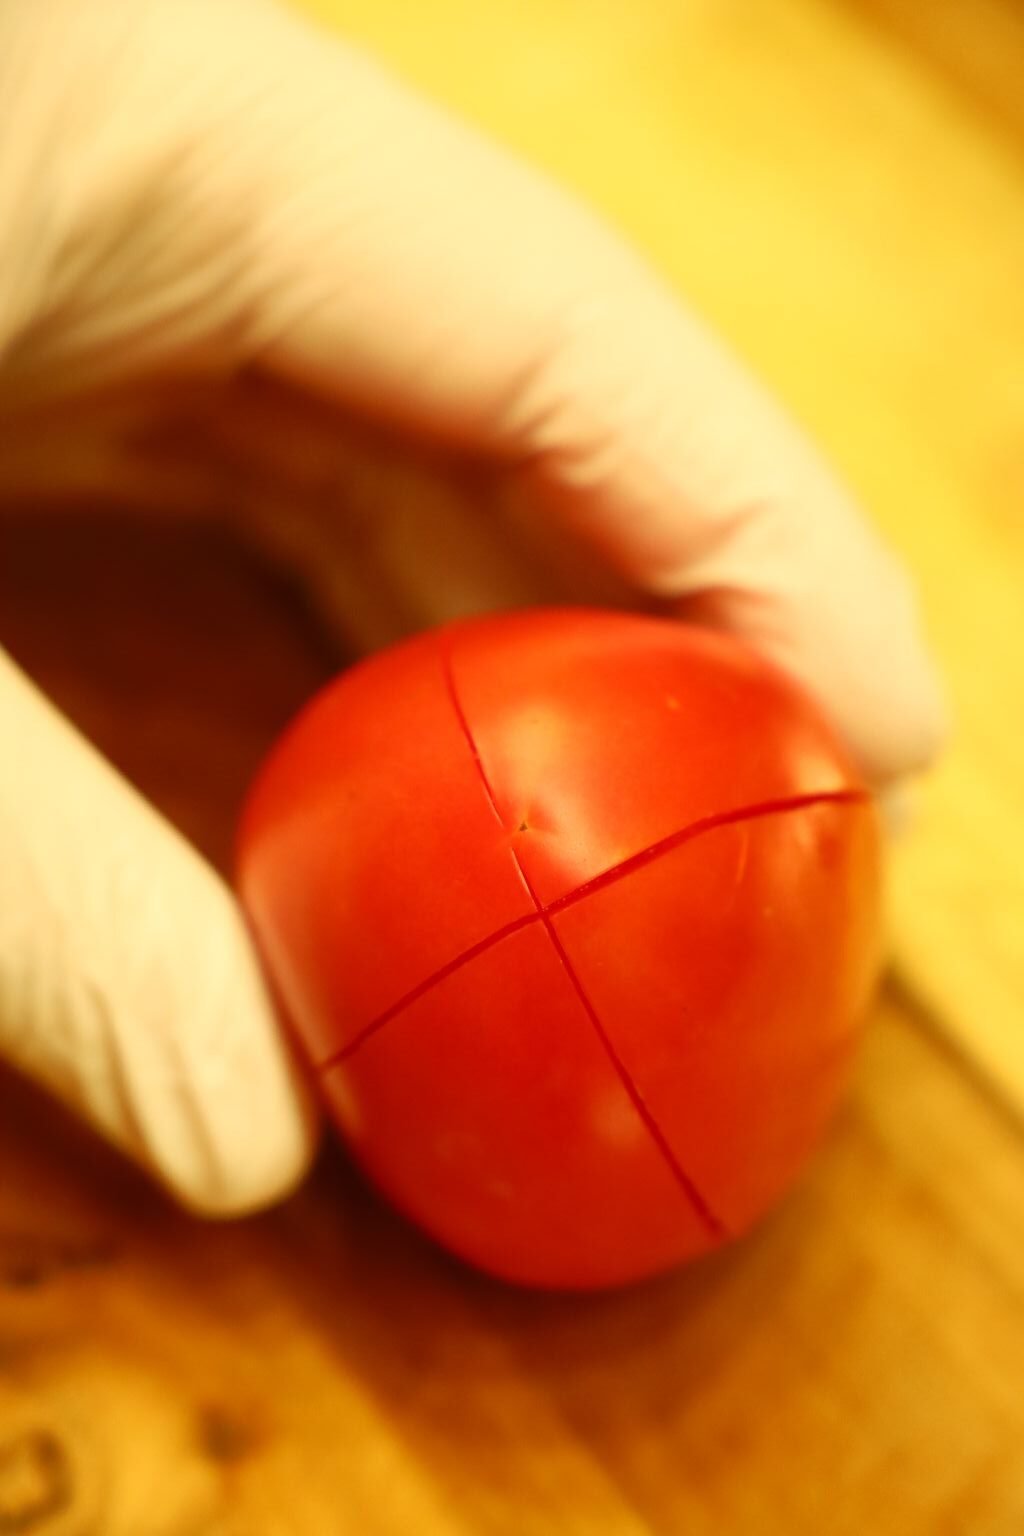
Nice picture Julie!
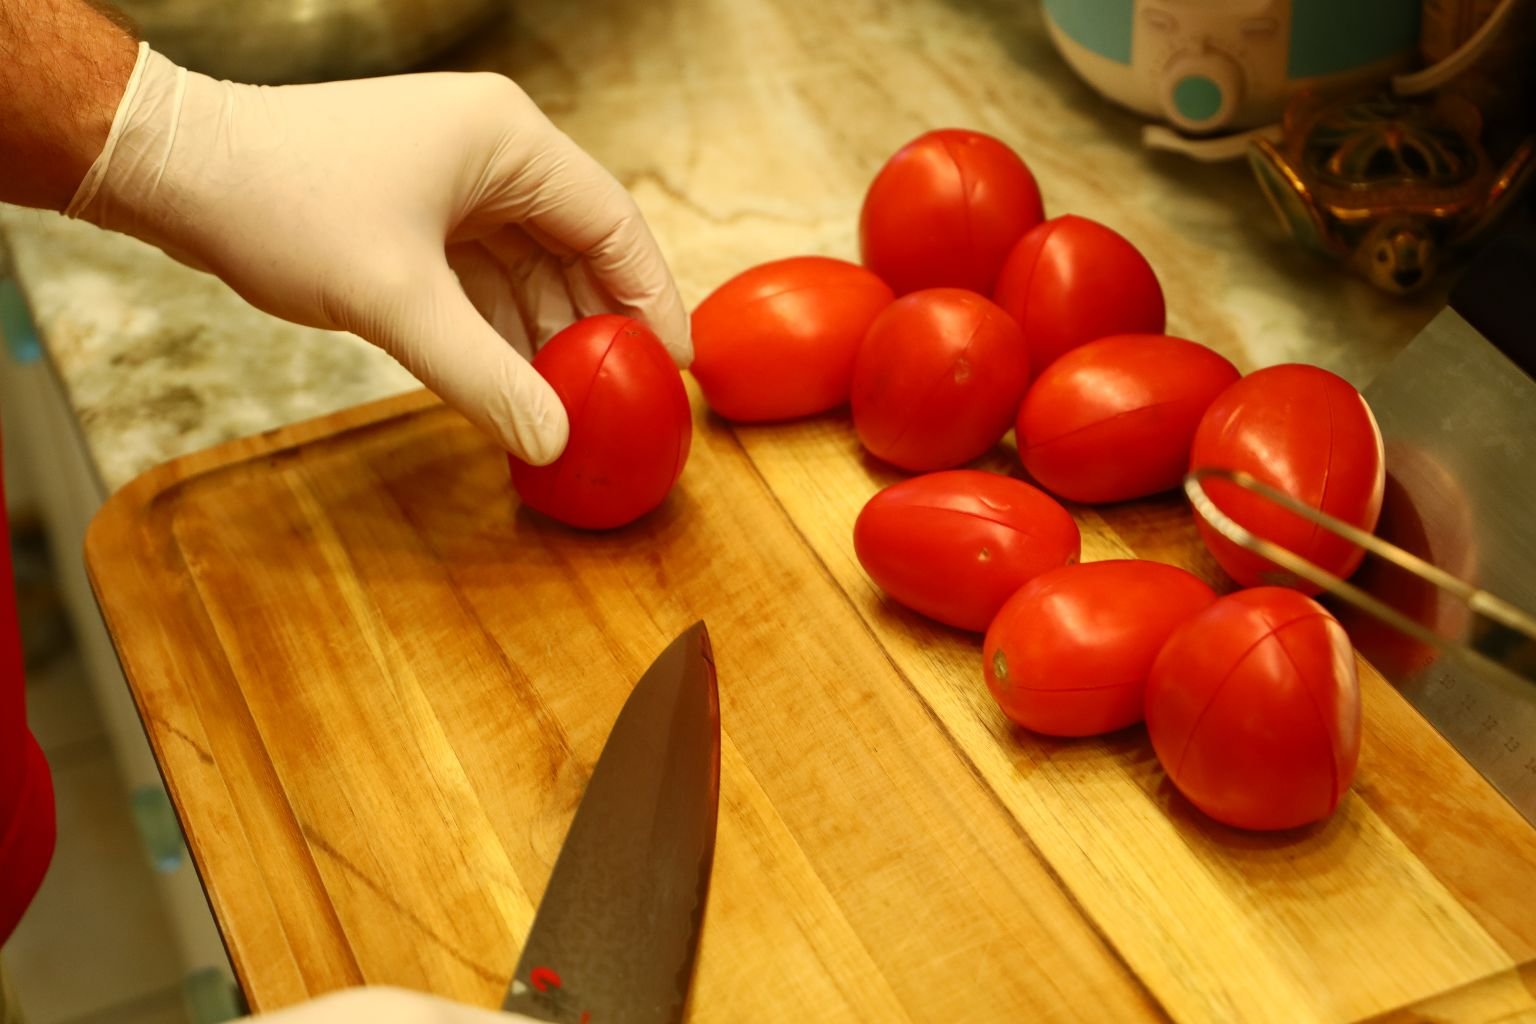
Do this for all your Roma Tomatoes.
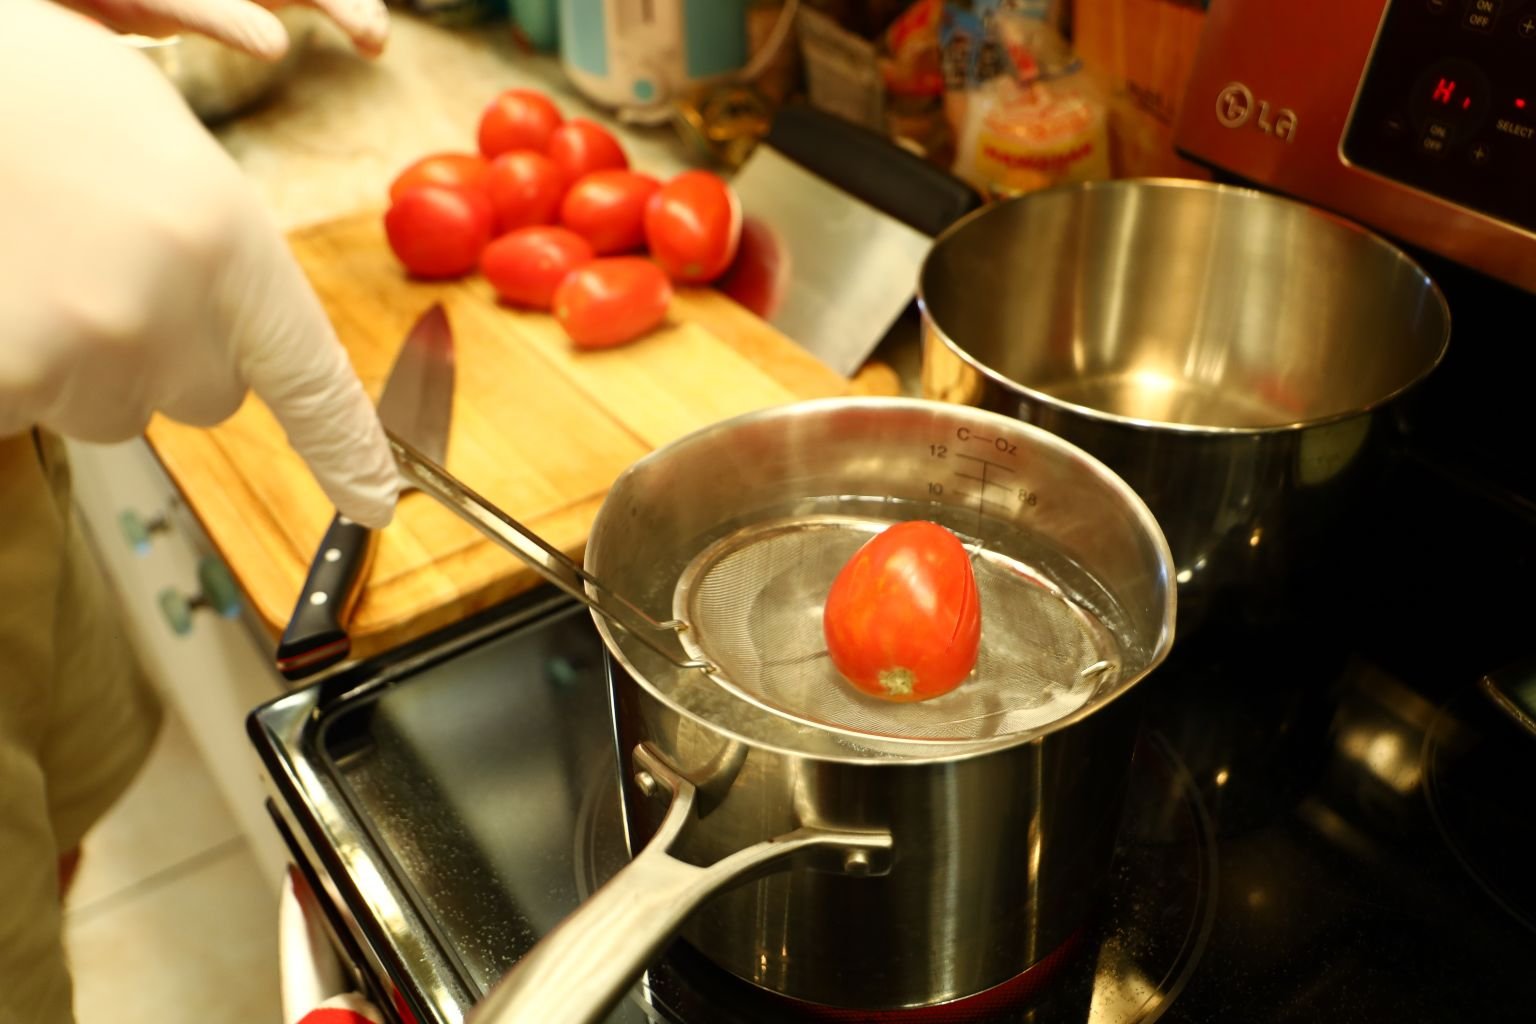
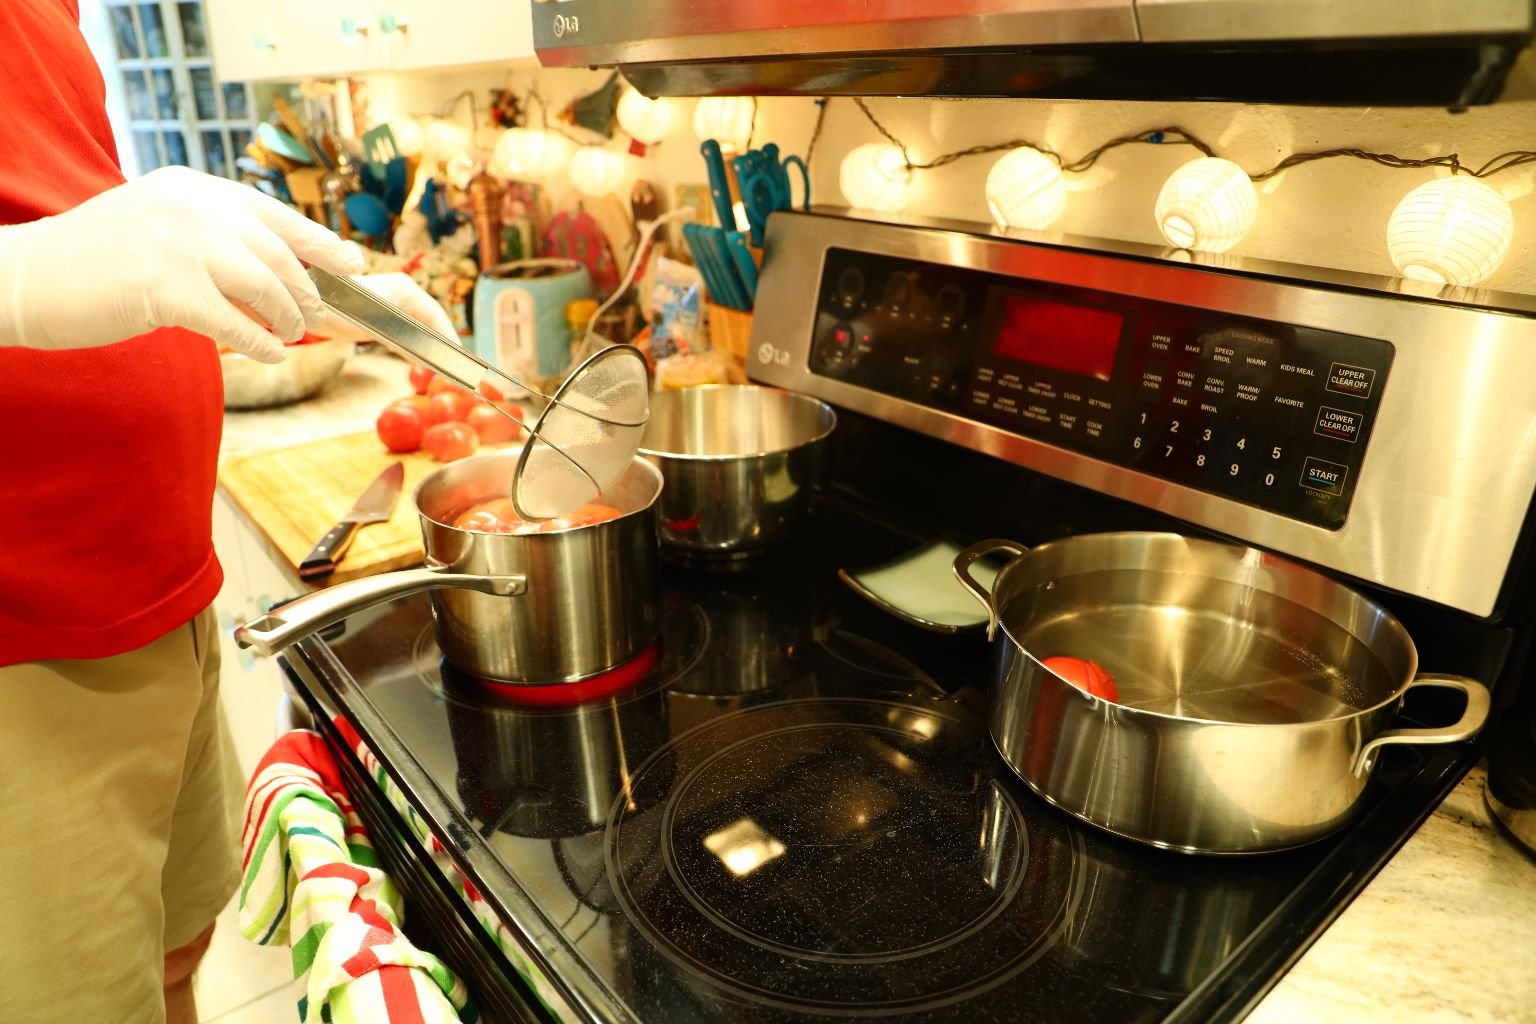
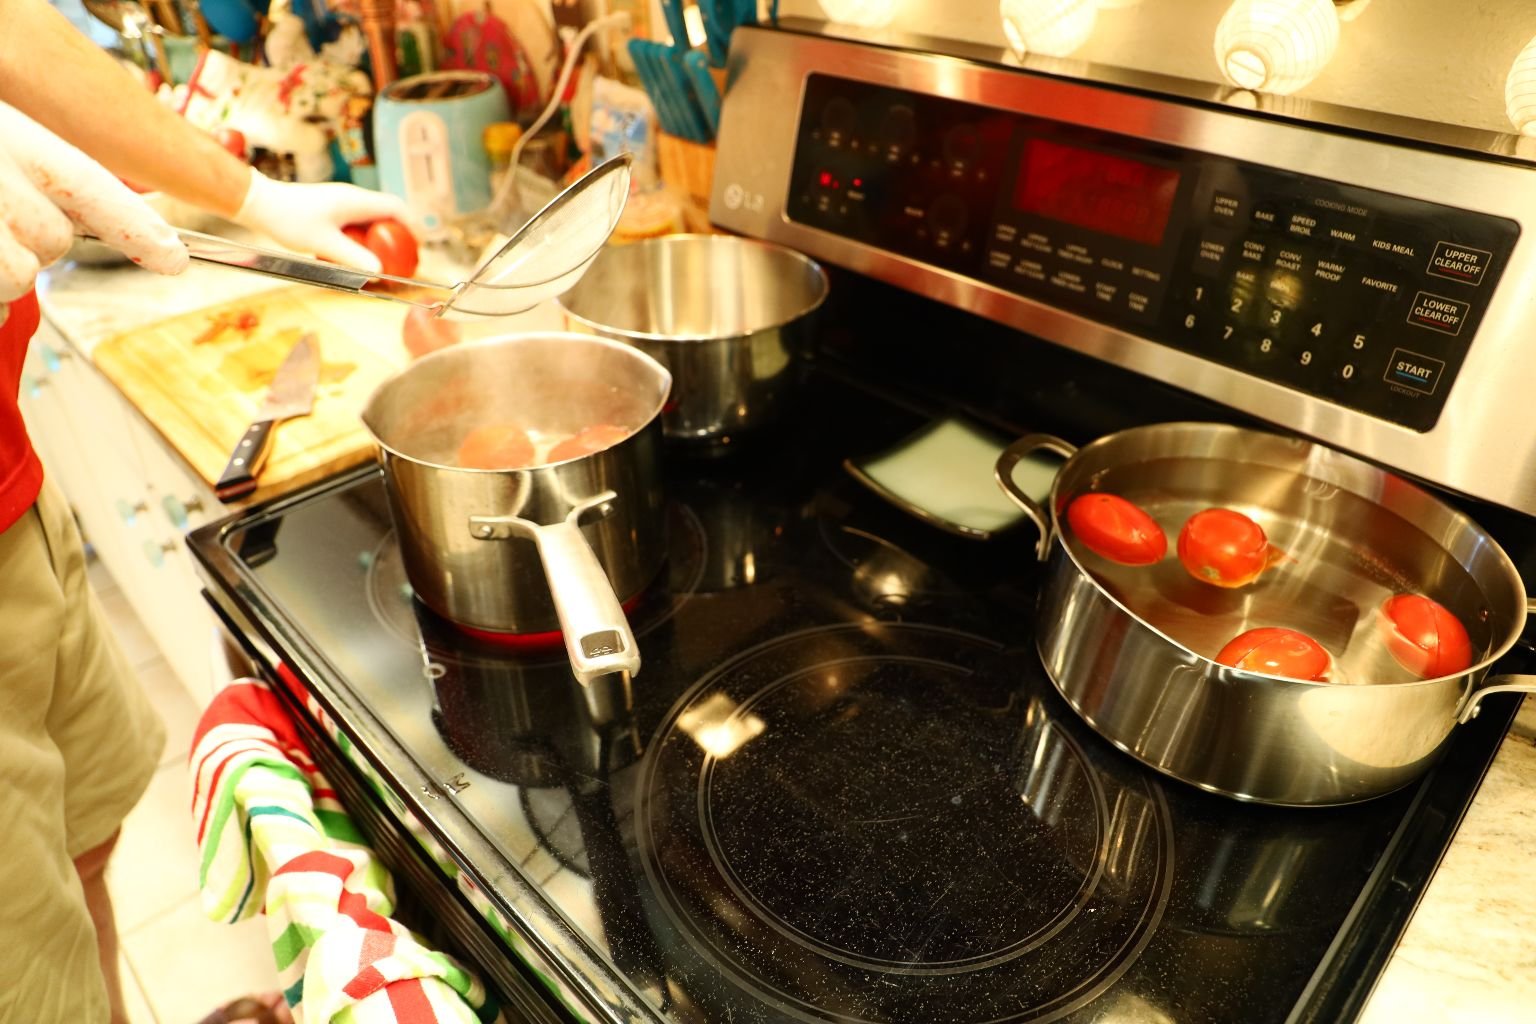
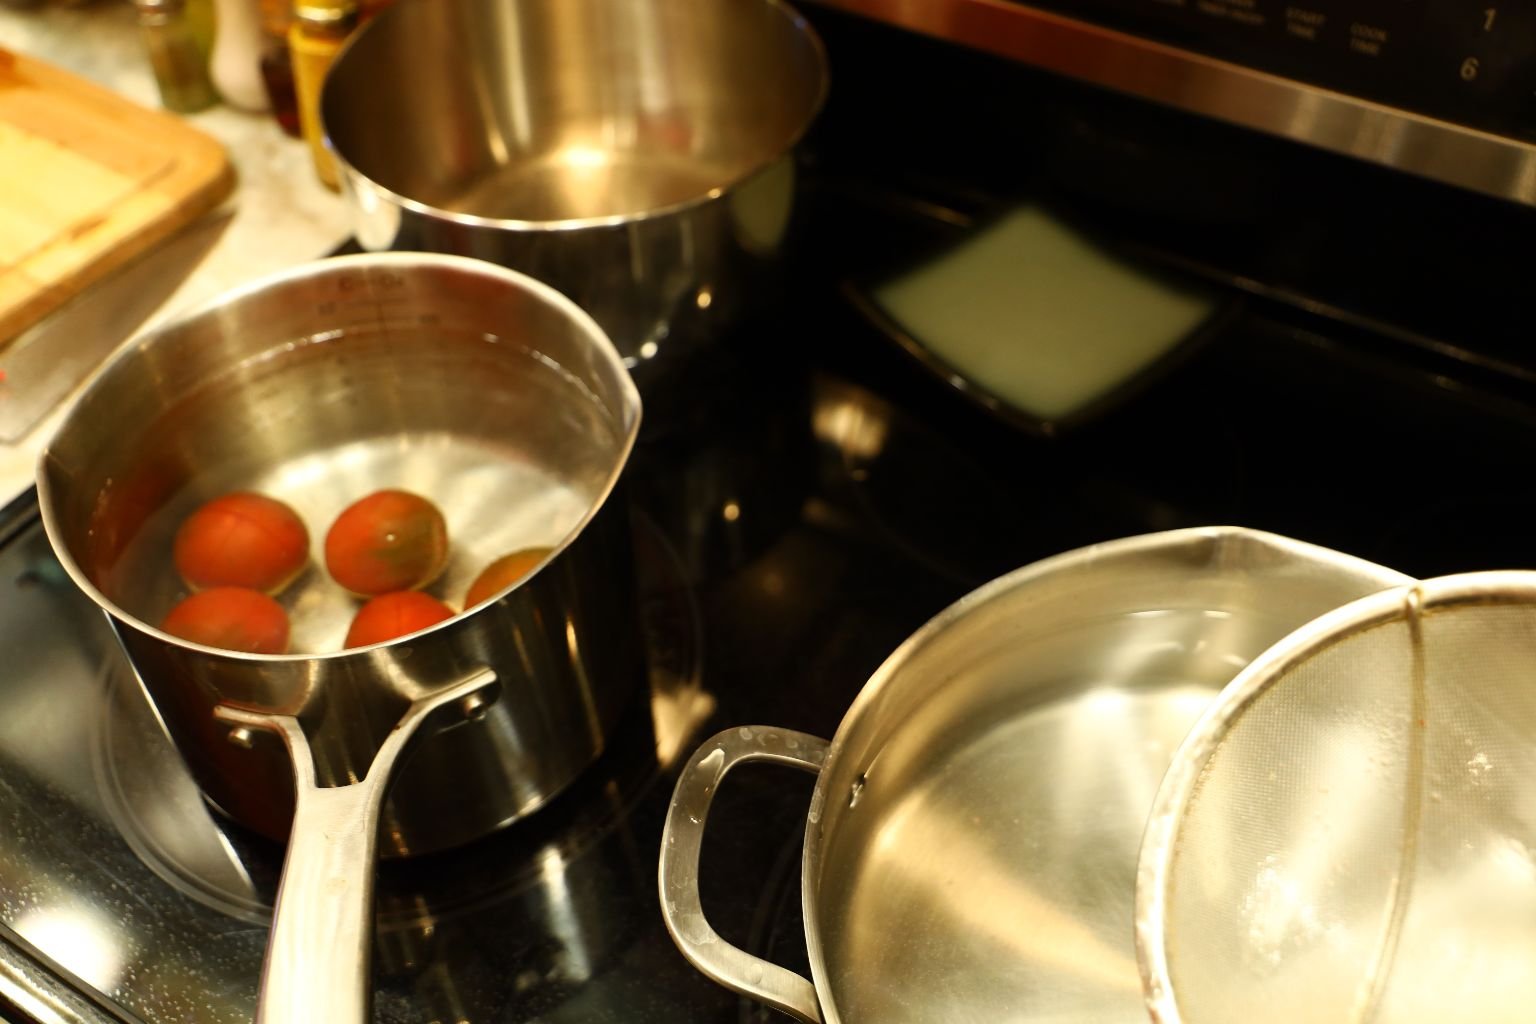
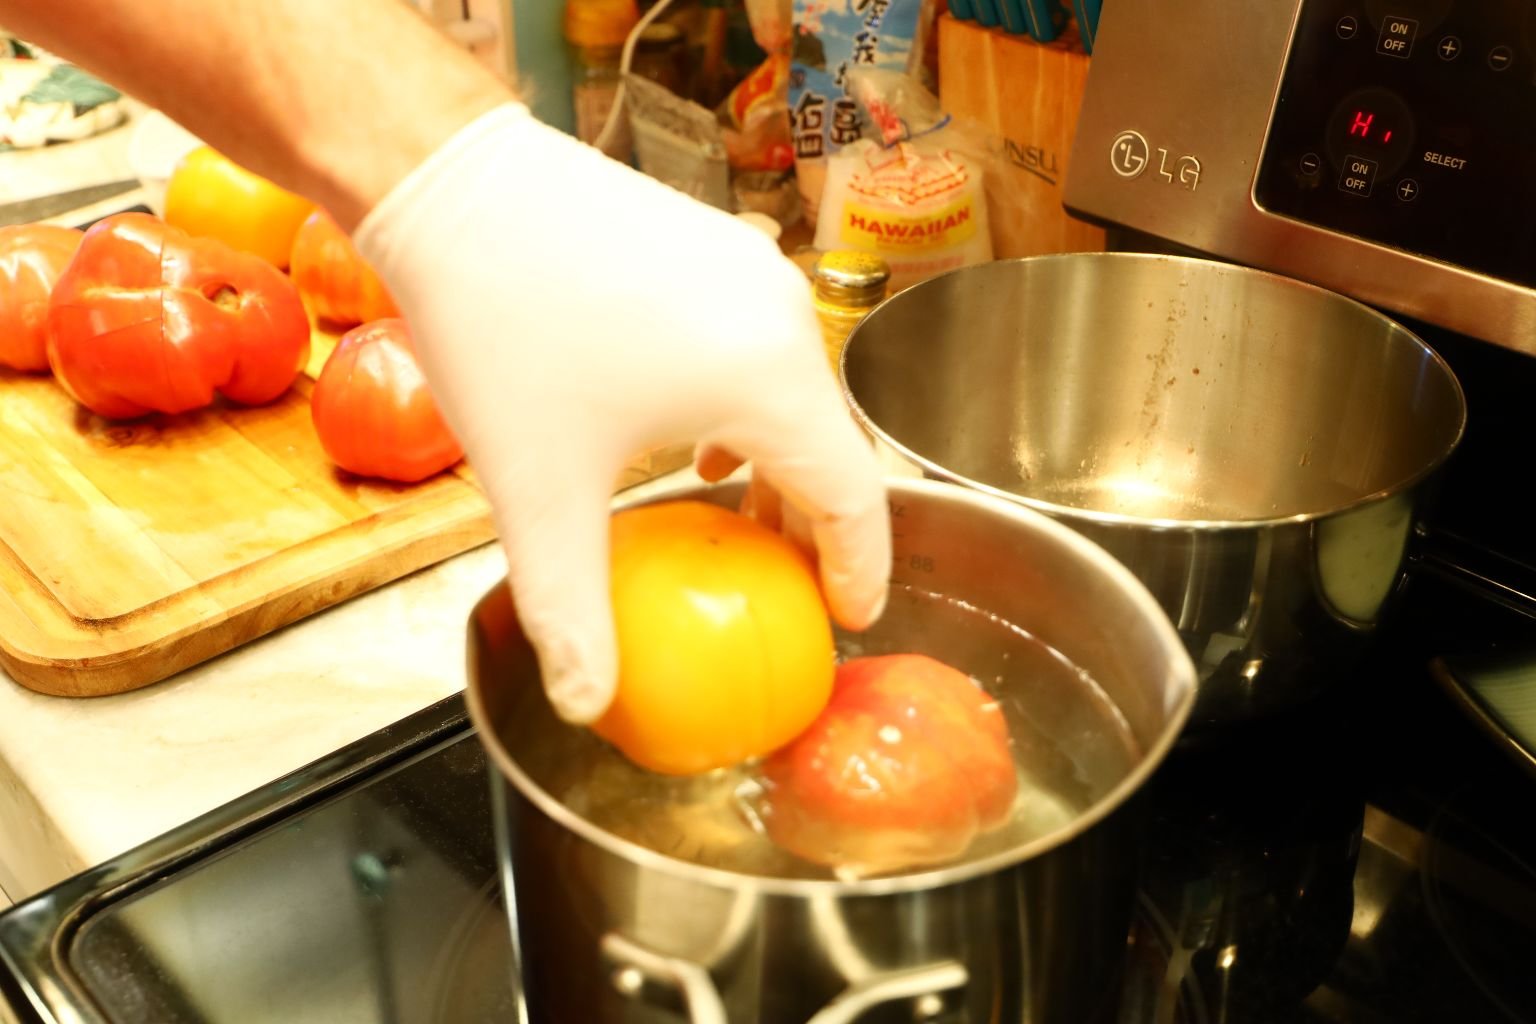
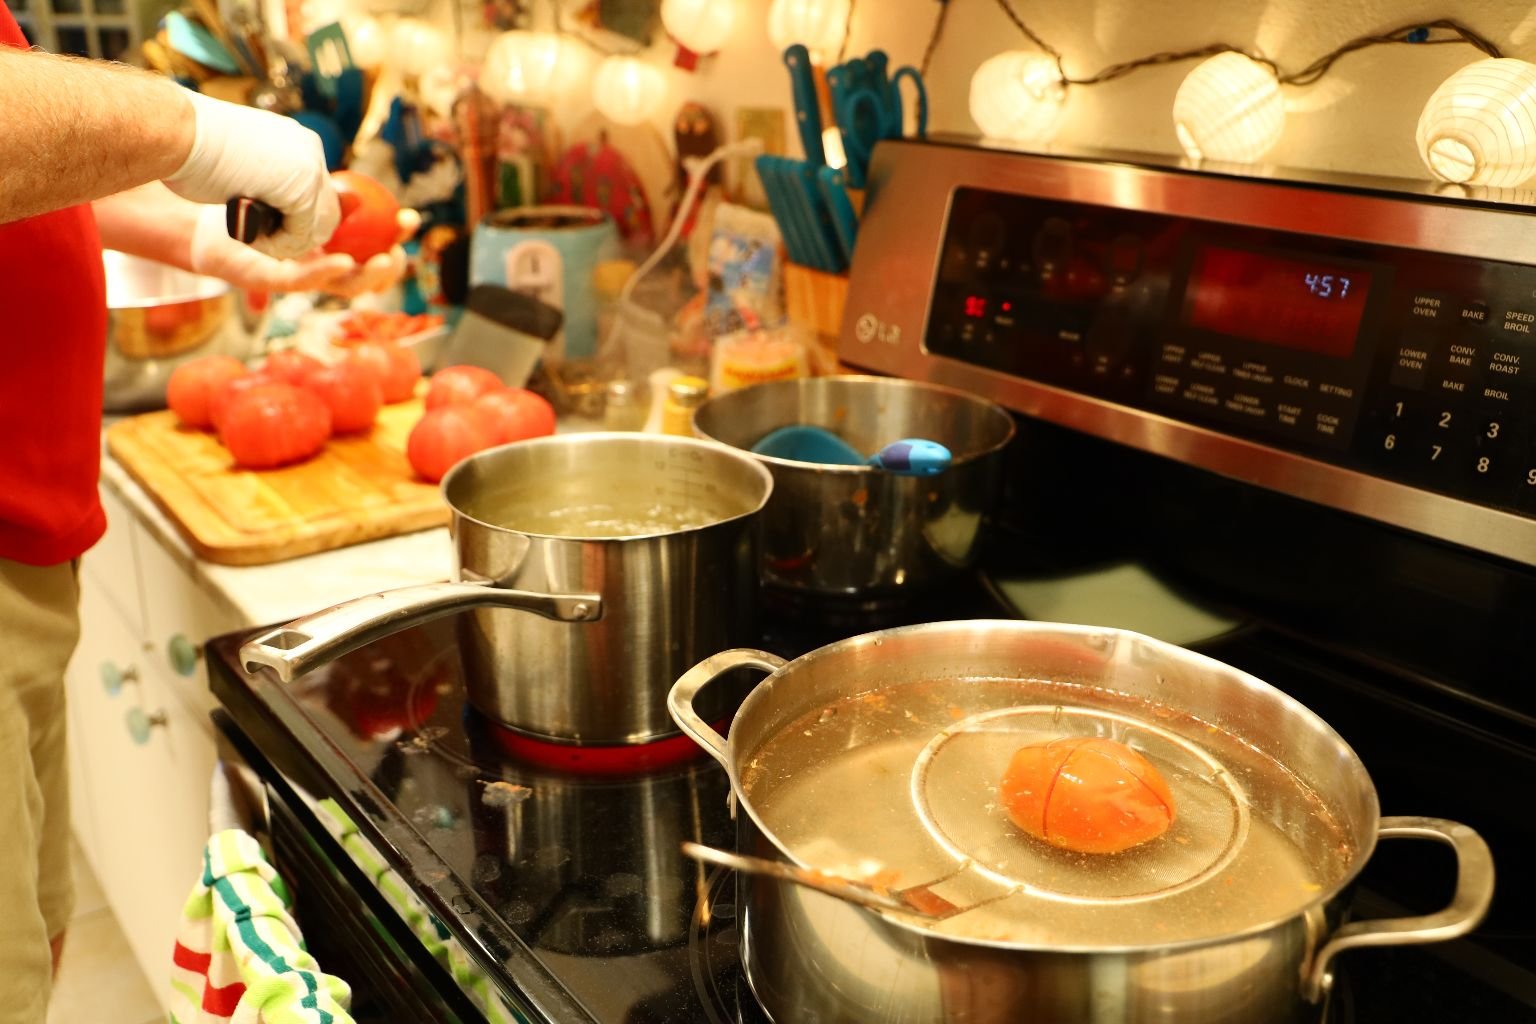
Place your Tomato into the almost boiling water. This straining tool works great for this process.
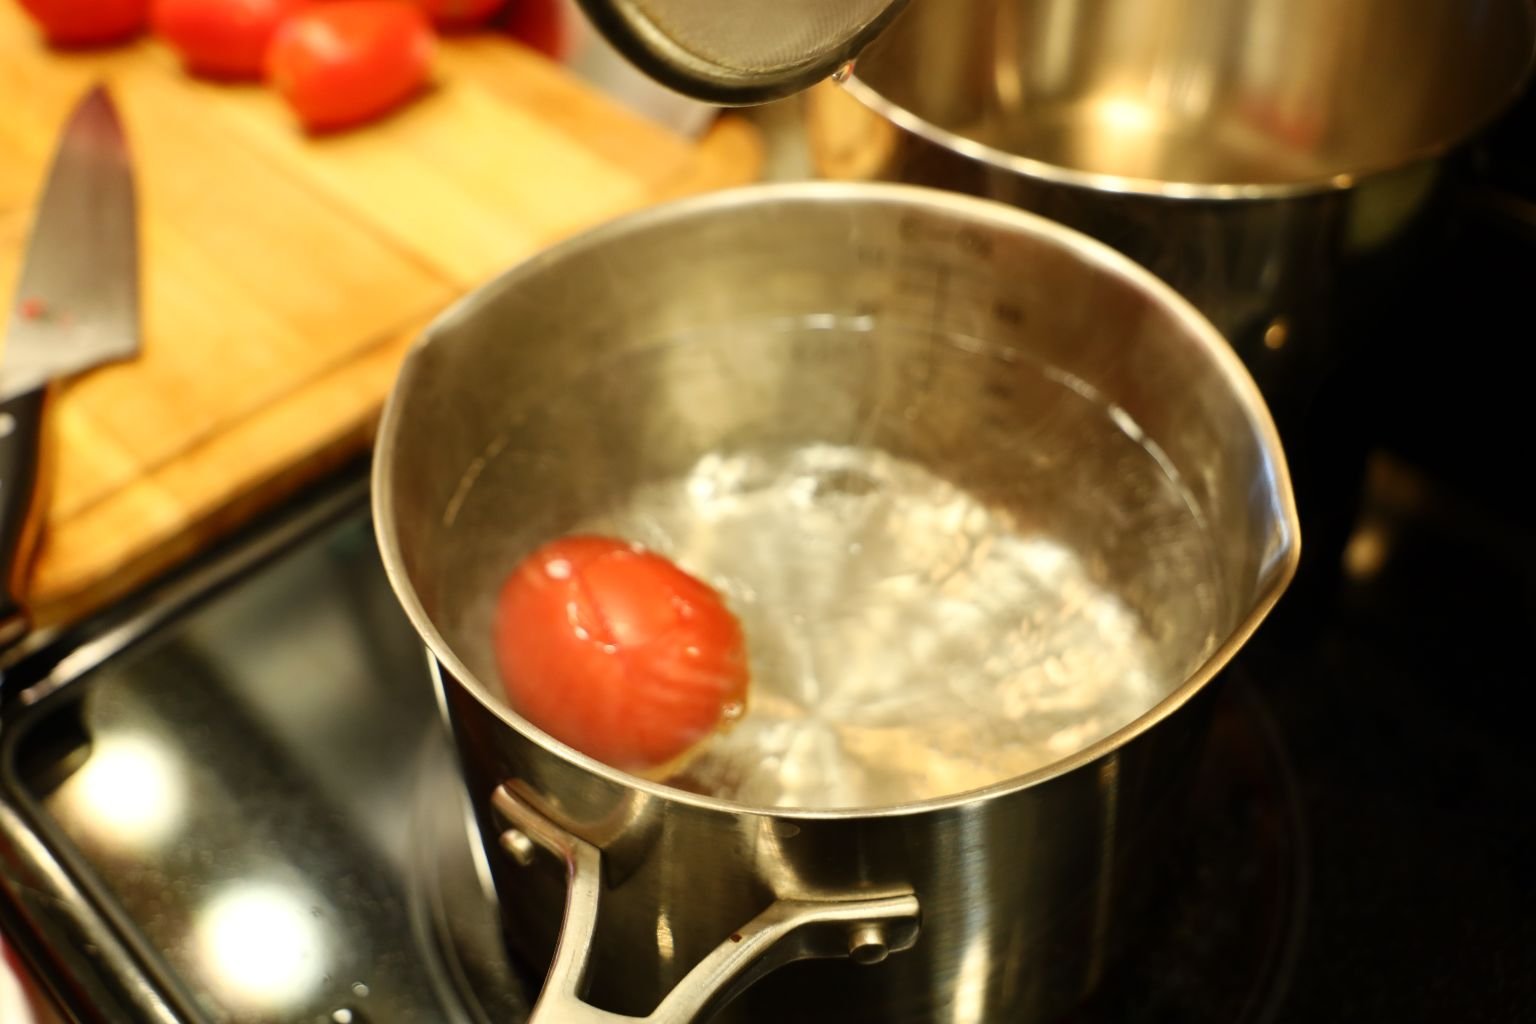
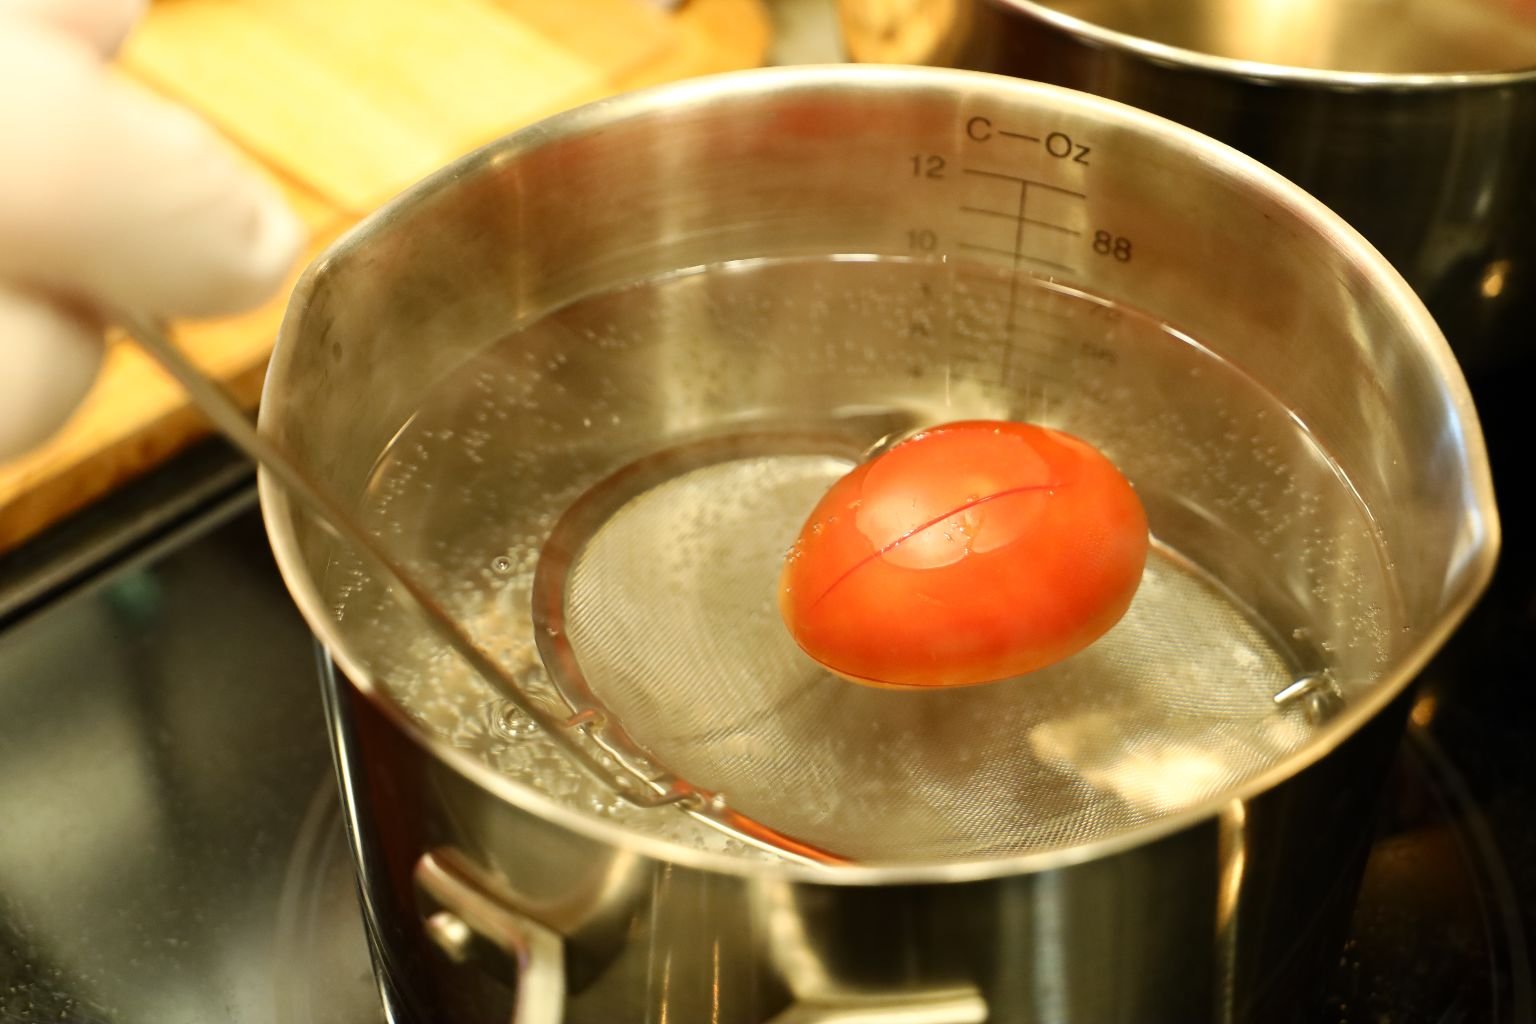
Move the Tomato around in the water to get the entire surface heated. Depending on the temperature of your water, this should only take a min. or so.
————————————————————————
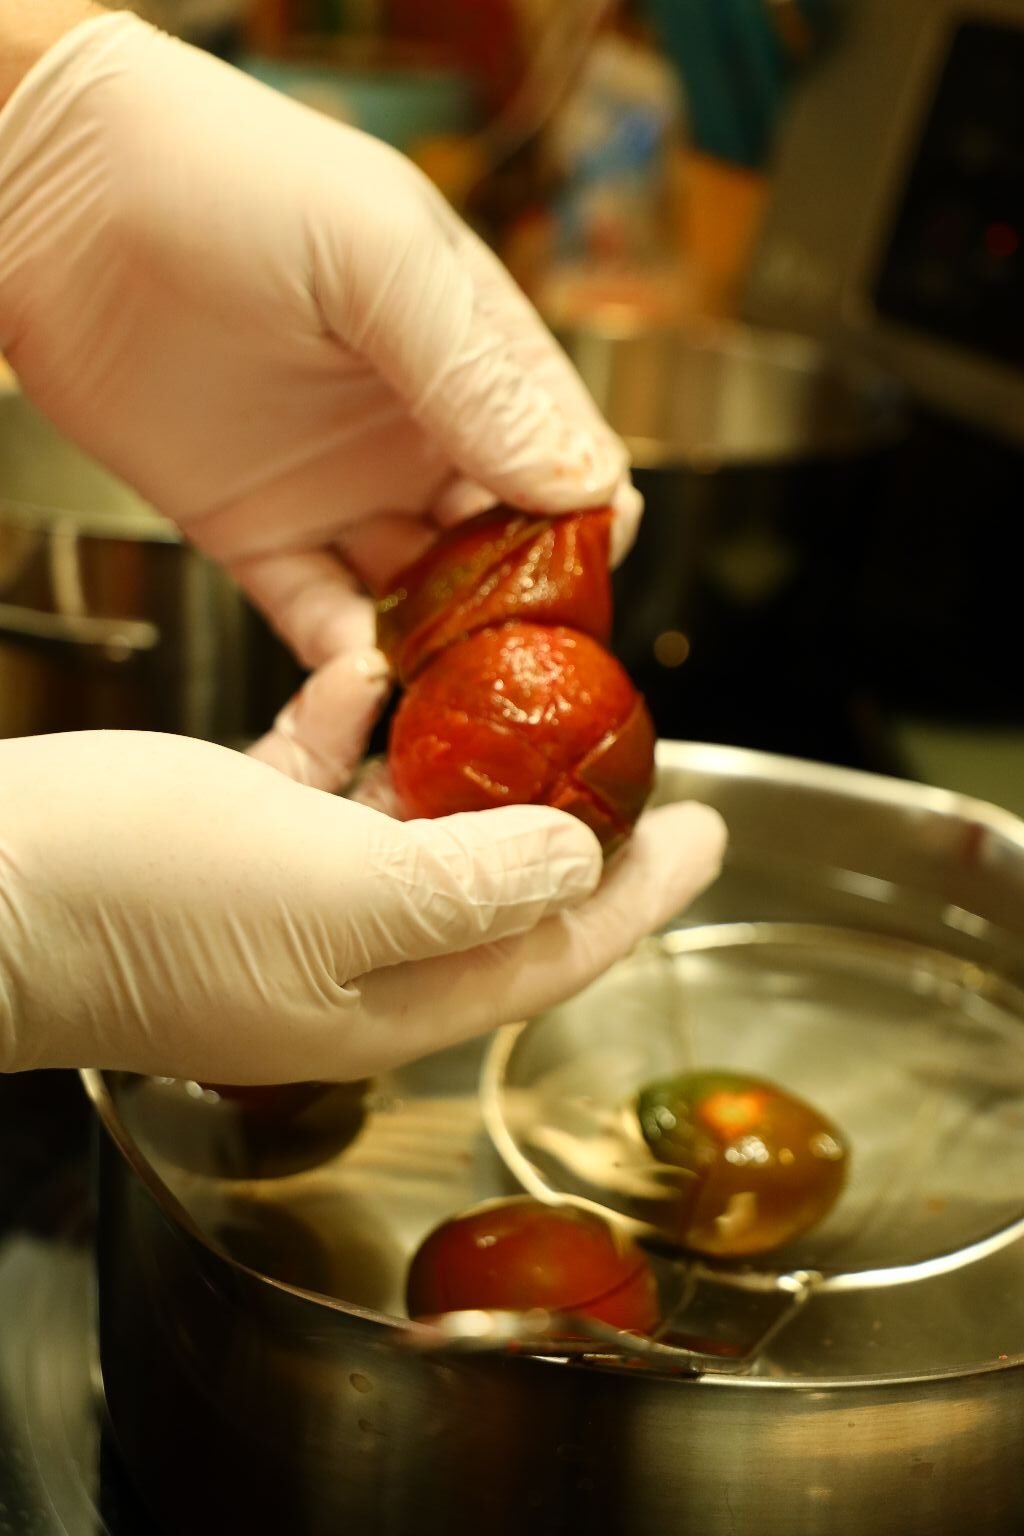
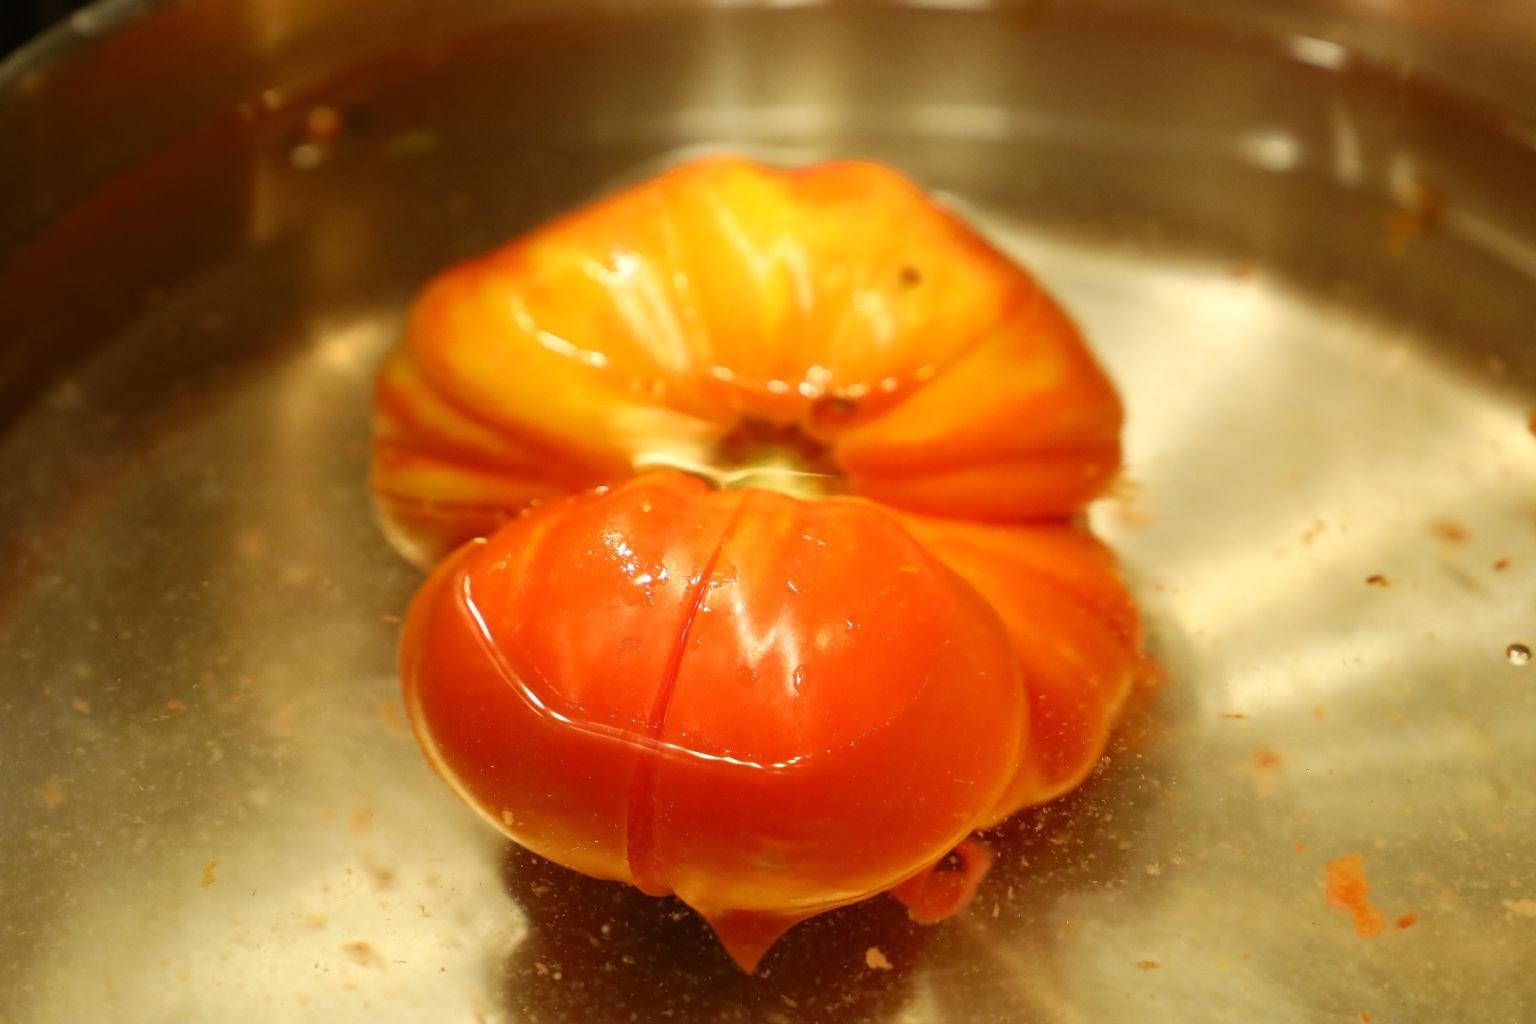
Here I am doing this to a few tomatoes at once.
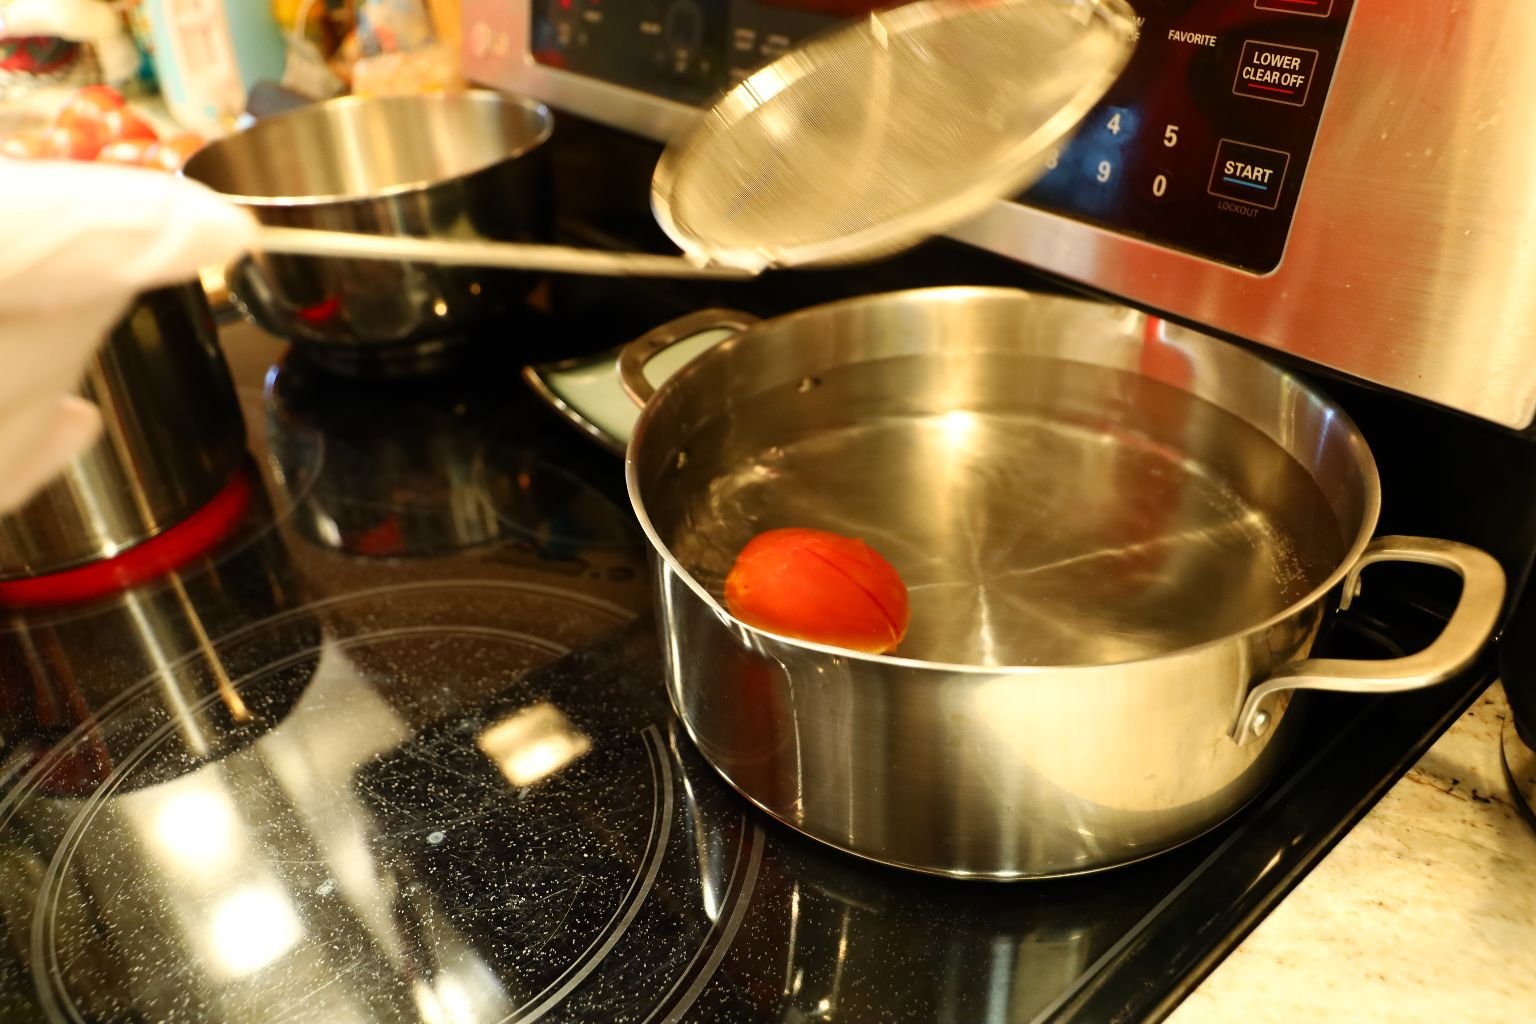
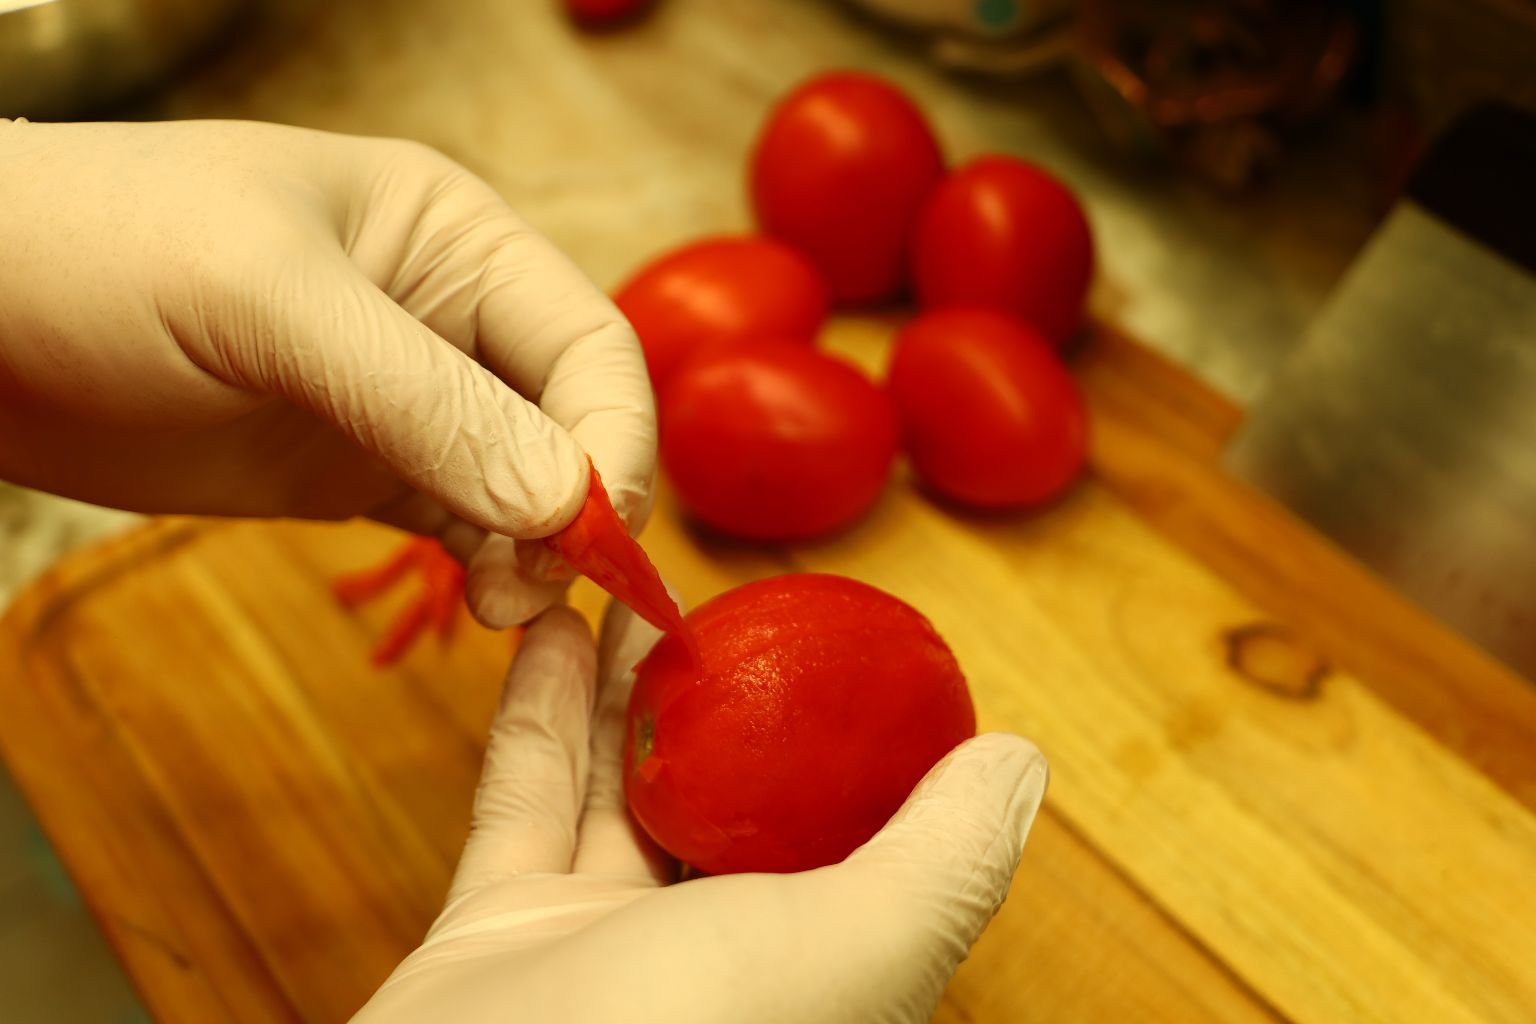
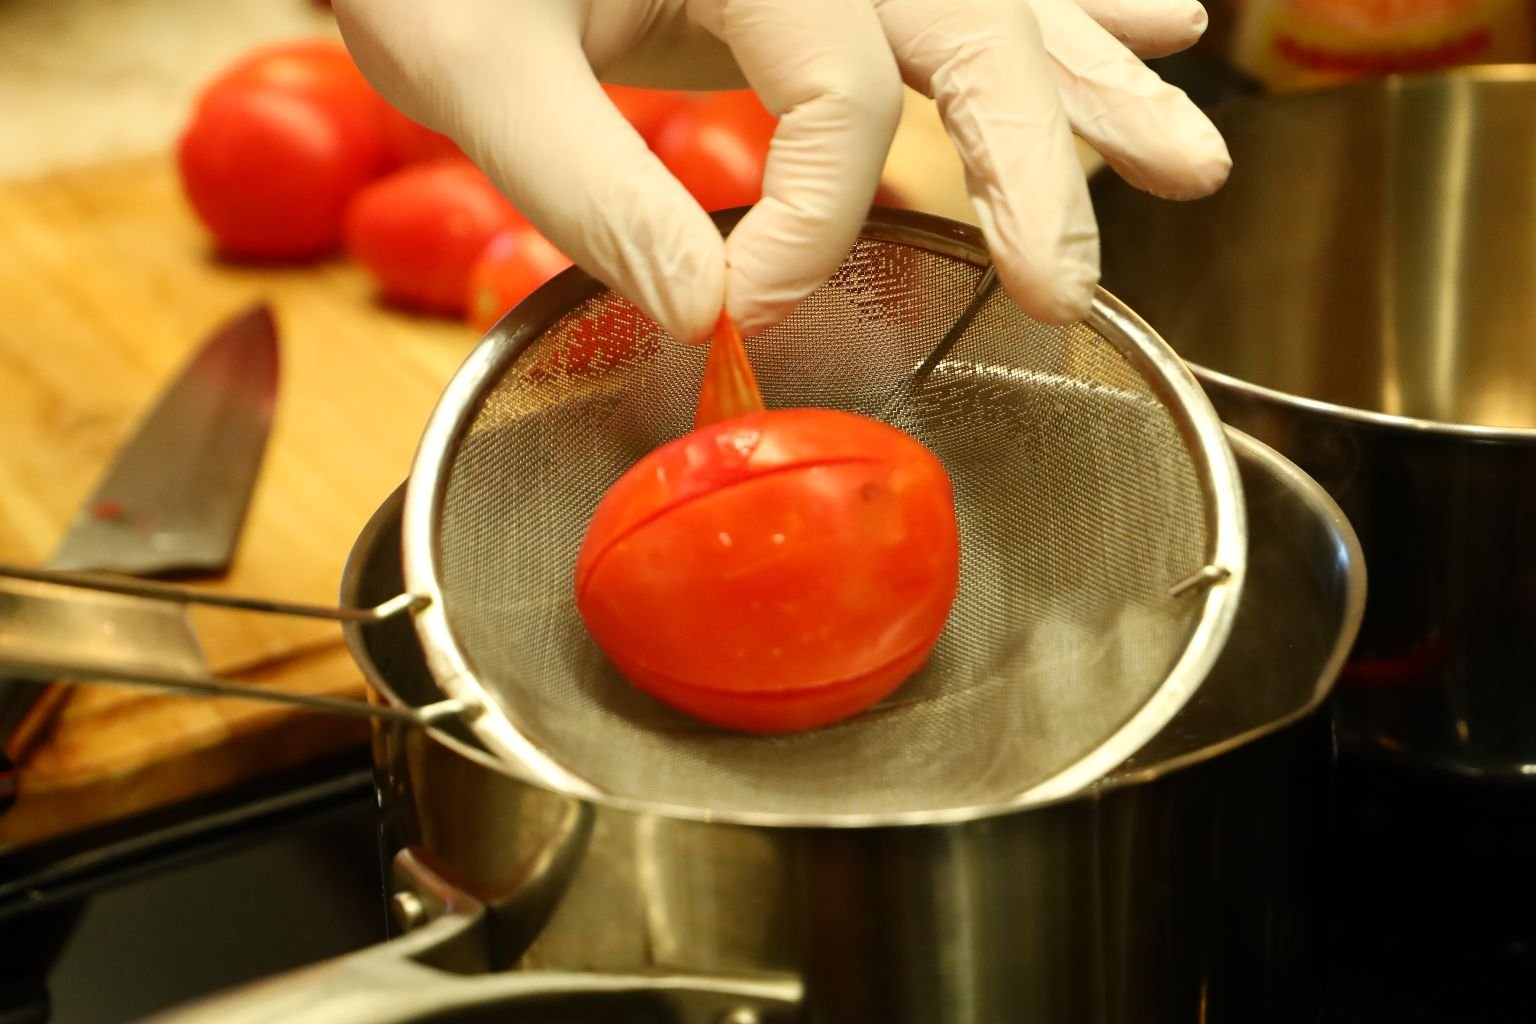
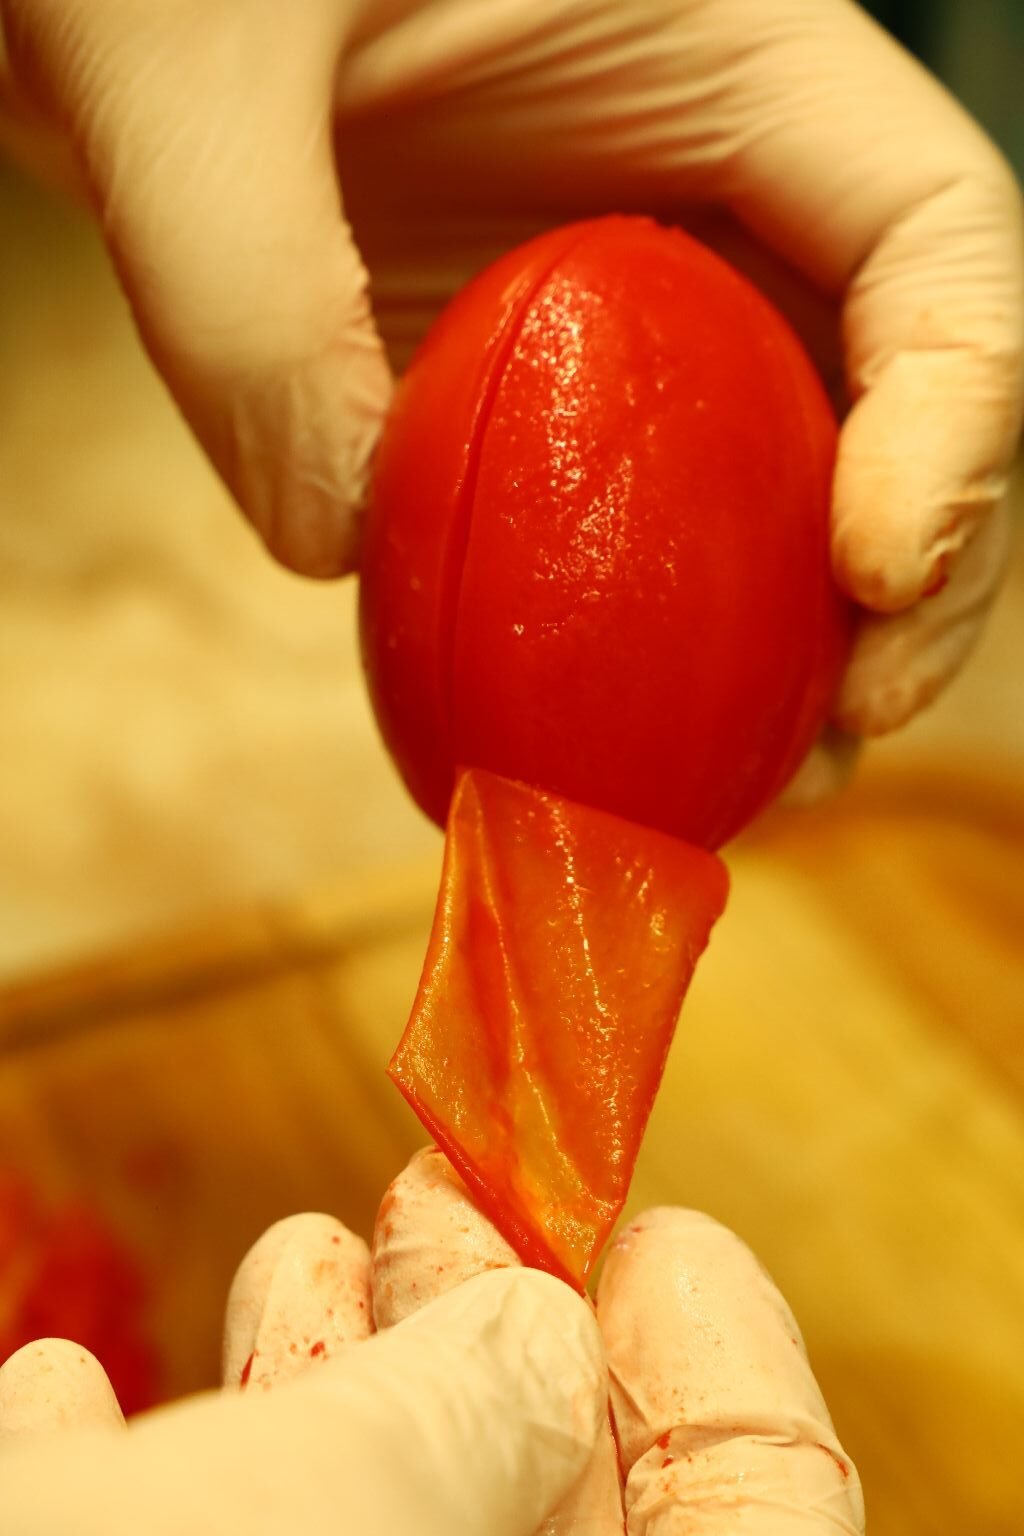
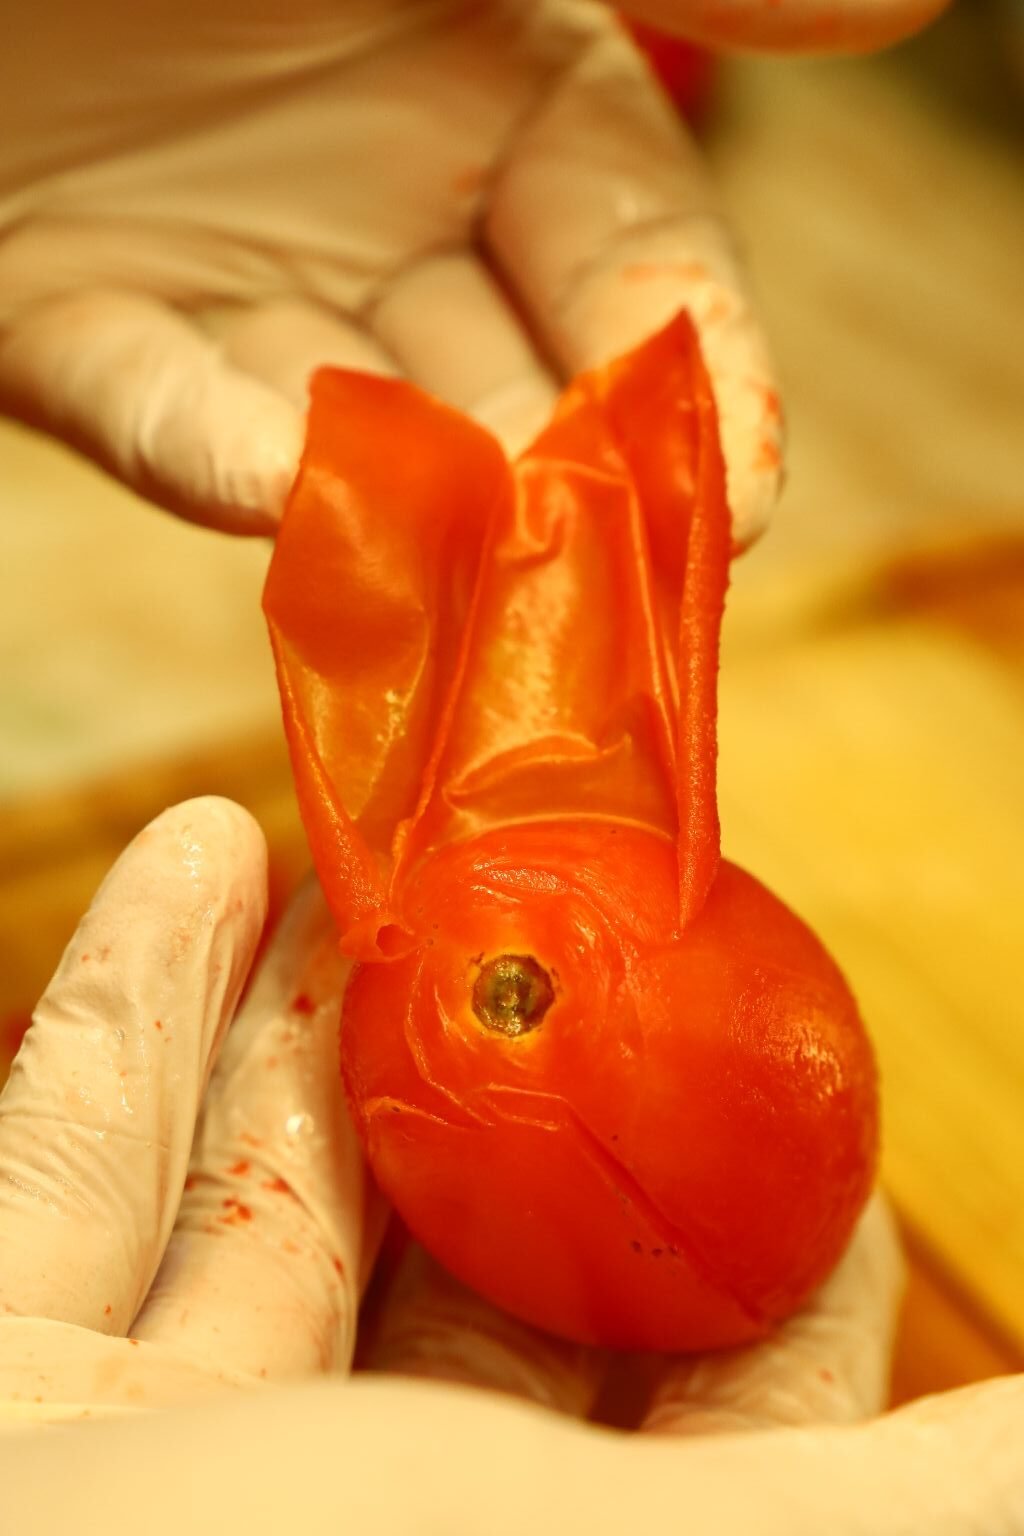
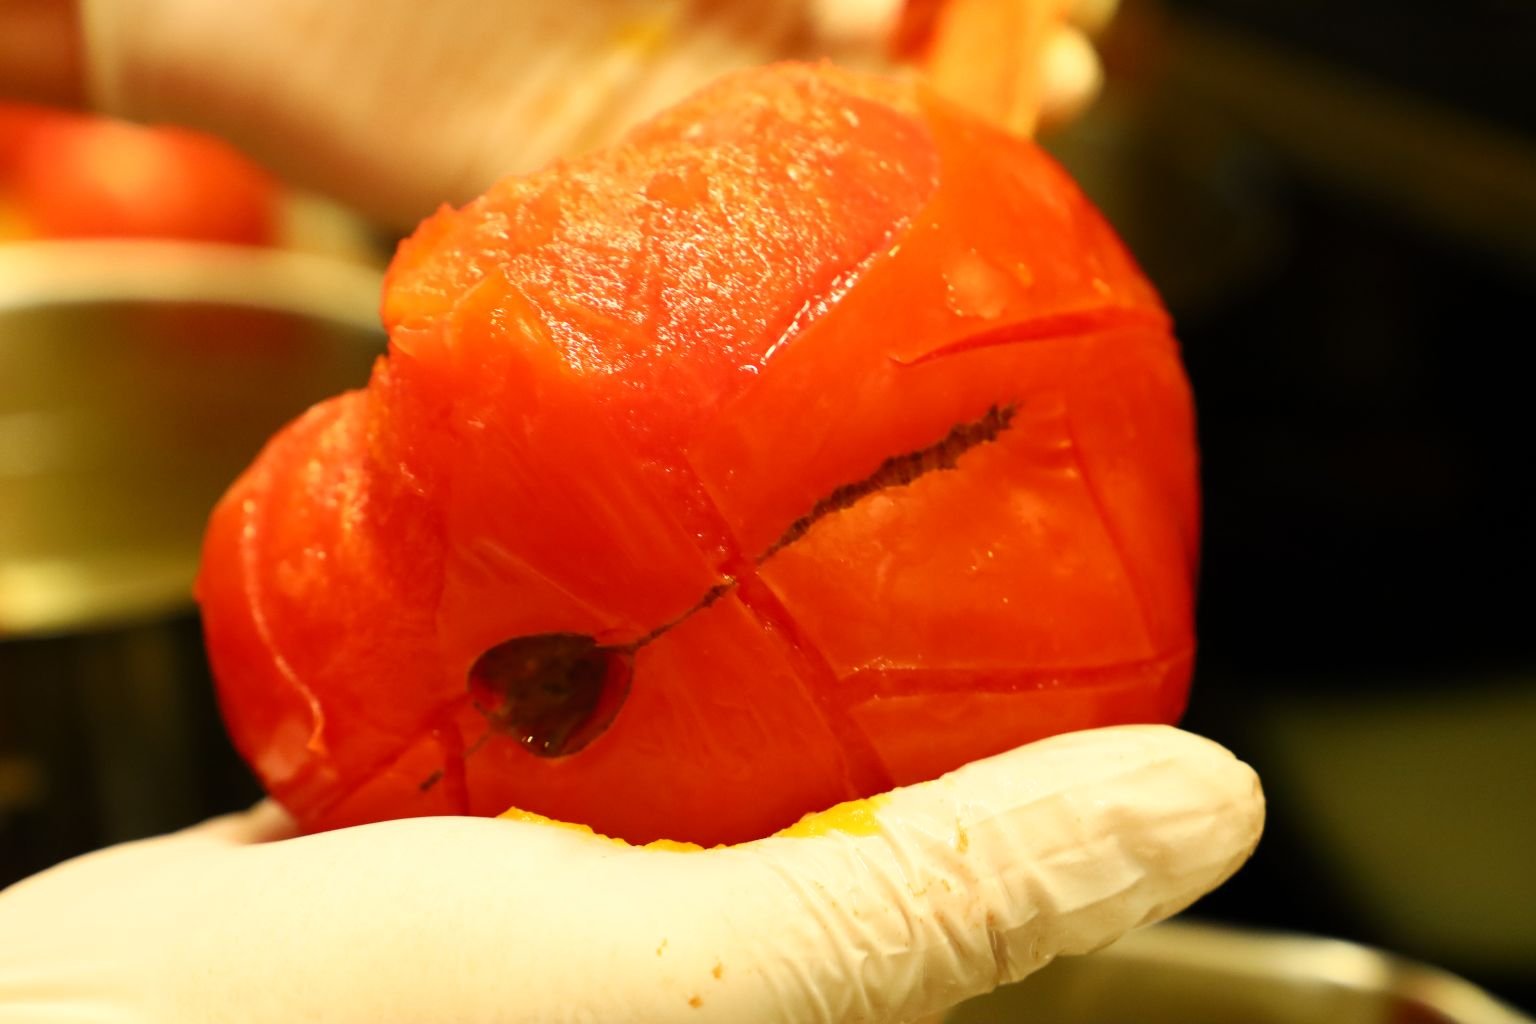
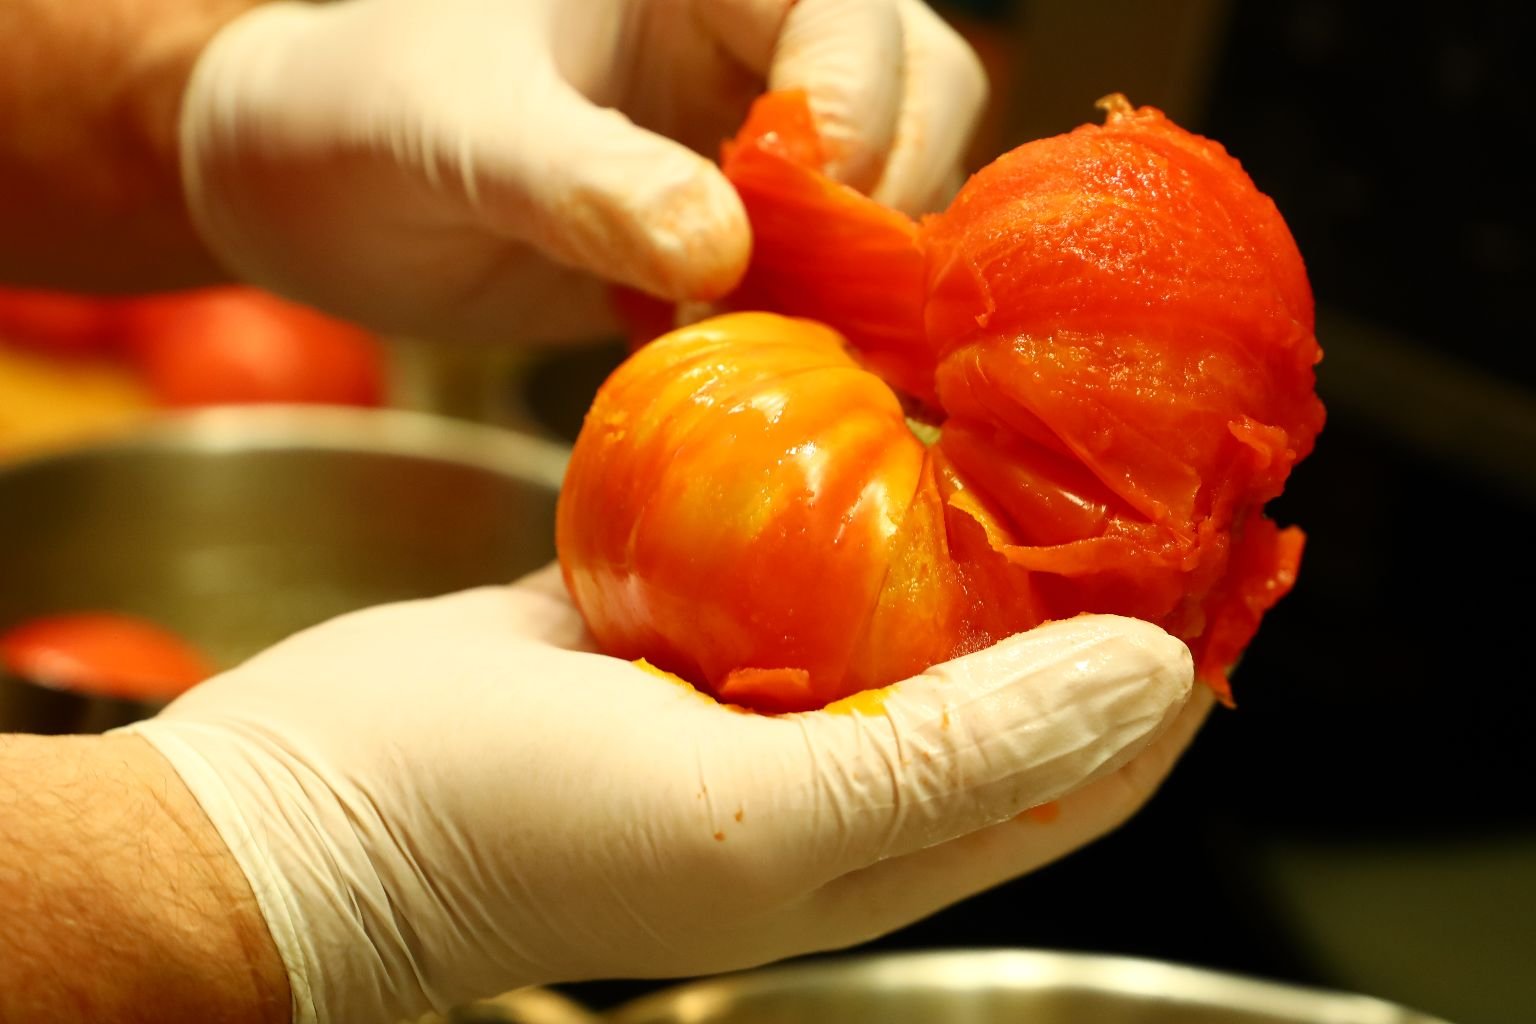
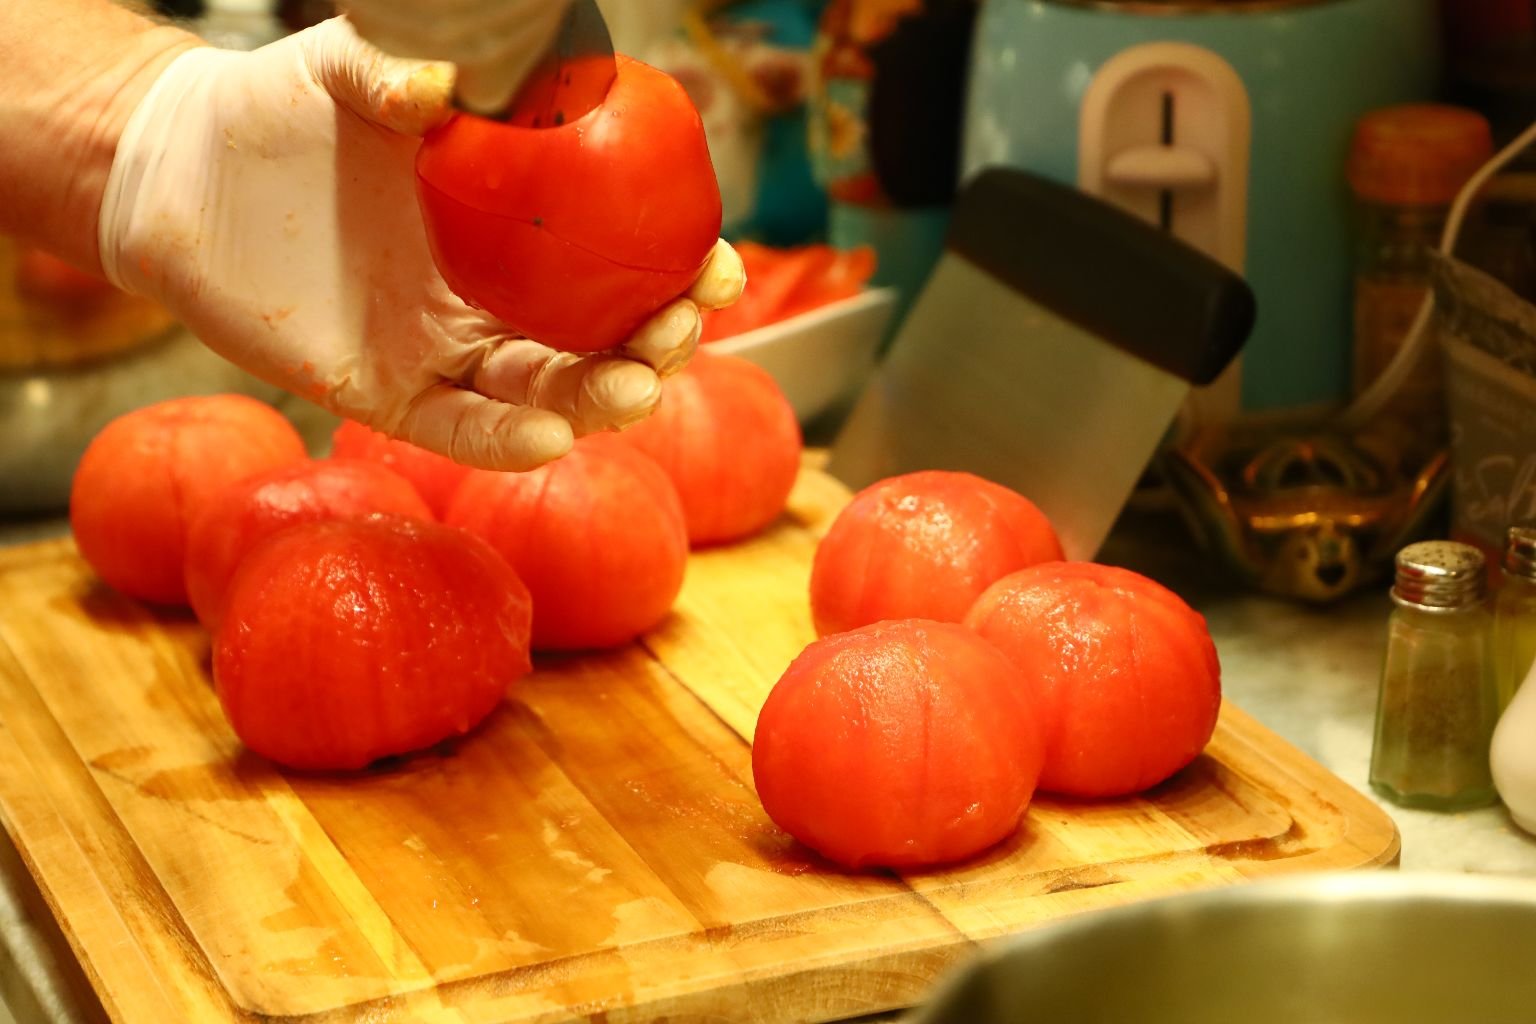
You can see the skin just lifts off the Tomato. If all of it doesn’t come off, dunk the Tomato back into the water for another 10 –15 seconds.
Time to do more of them.
NICE!
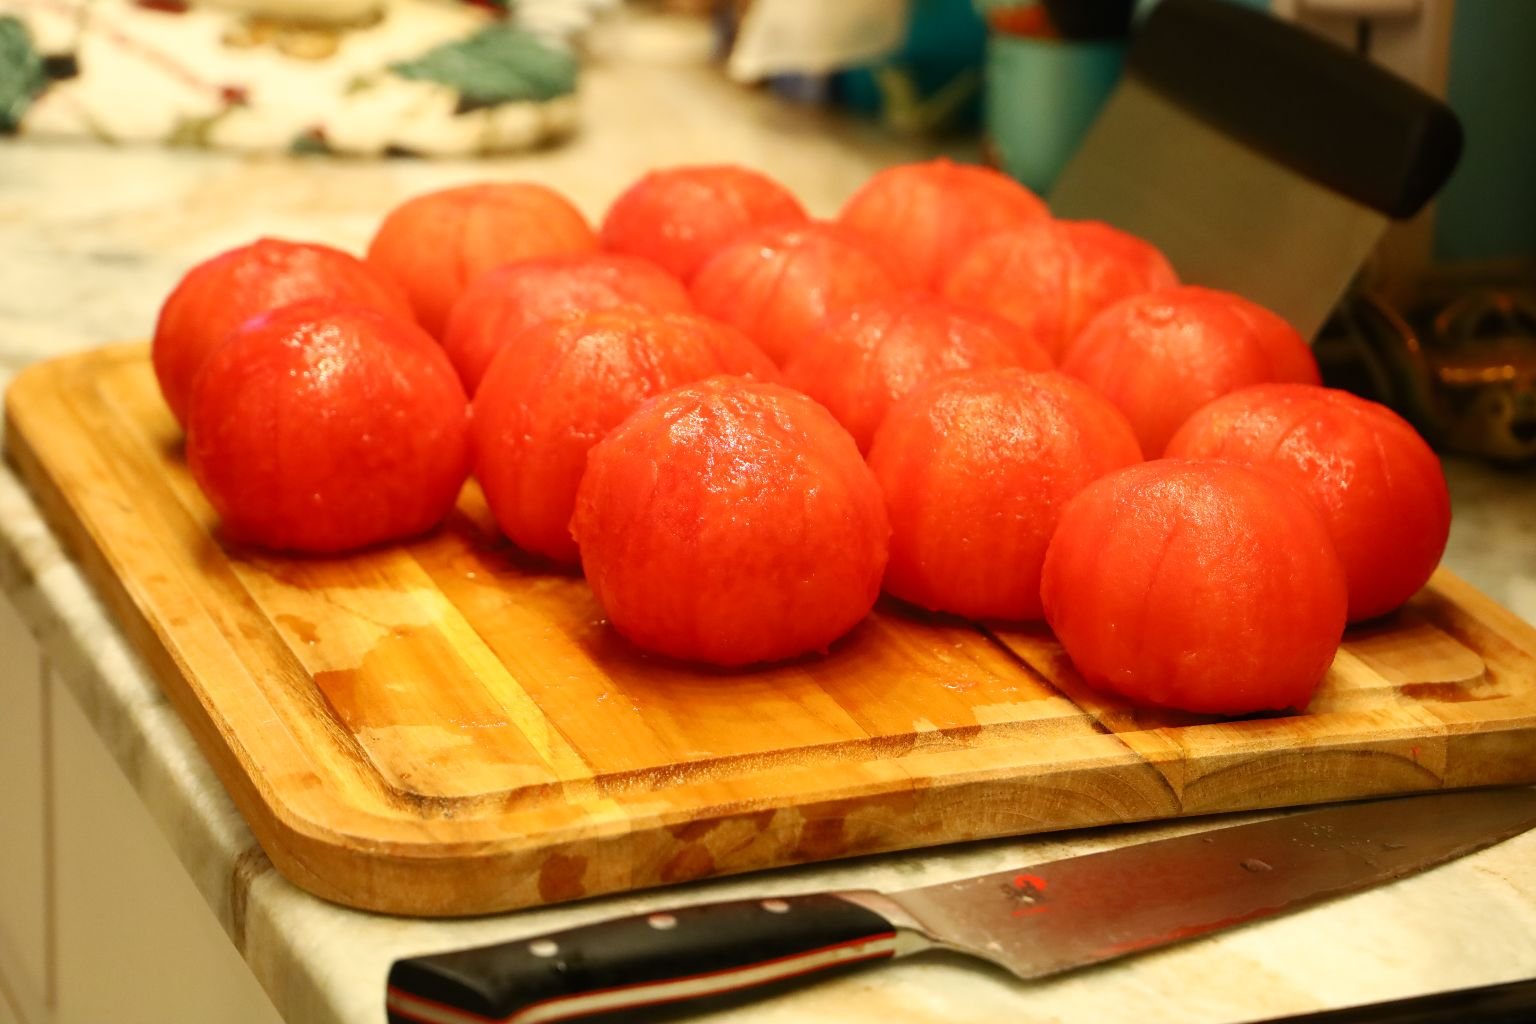
They peel very easily. I am blanching them as I don’t like the skins in the Stewed Tomatoes… which was NOT a family tradition.
————————————————————————-
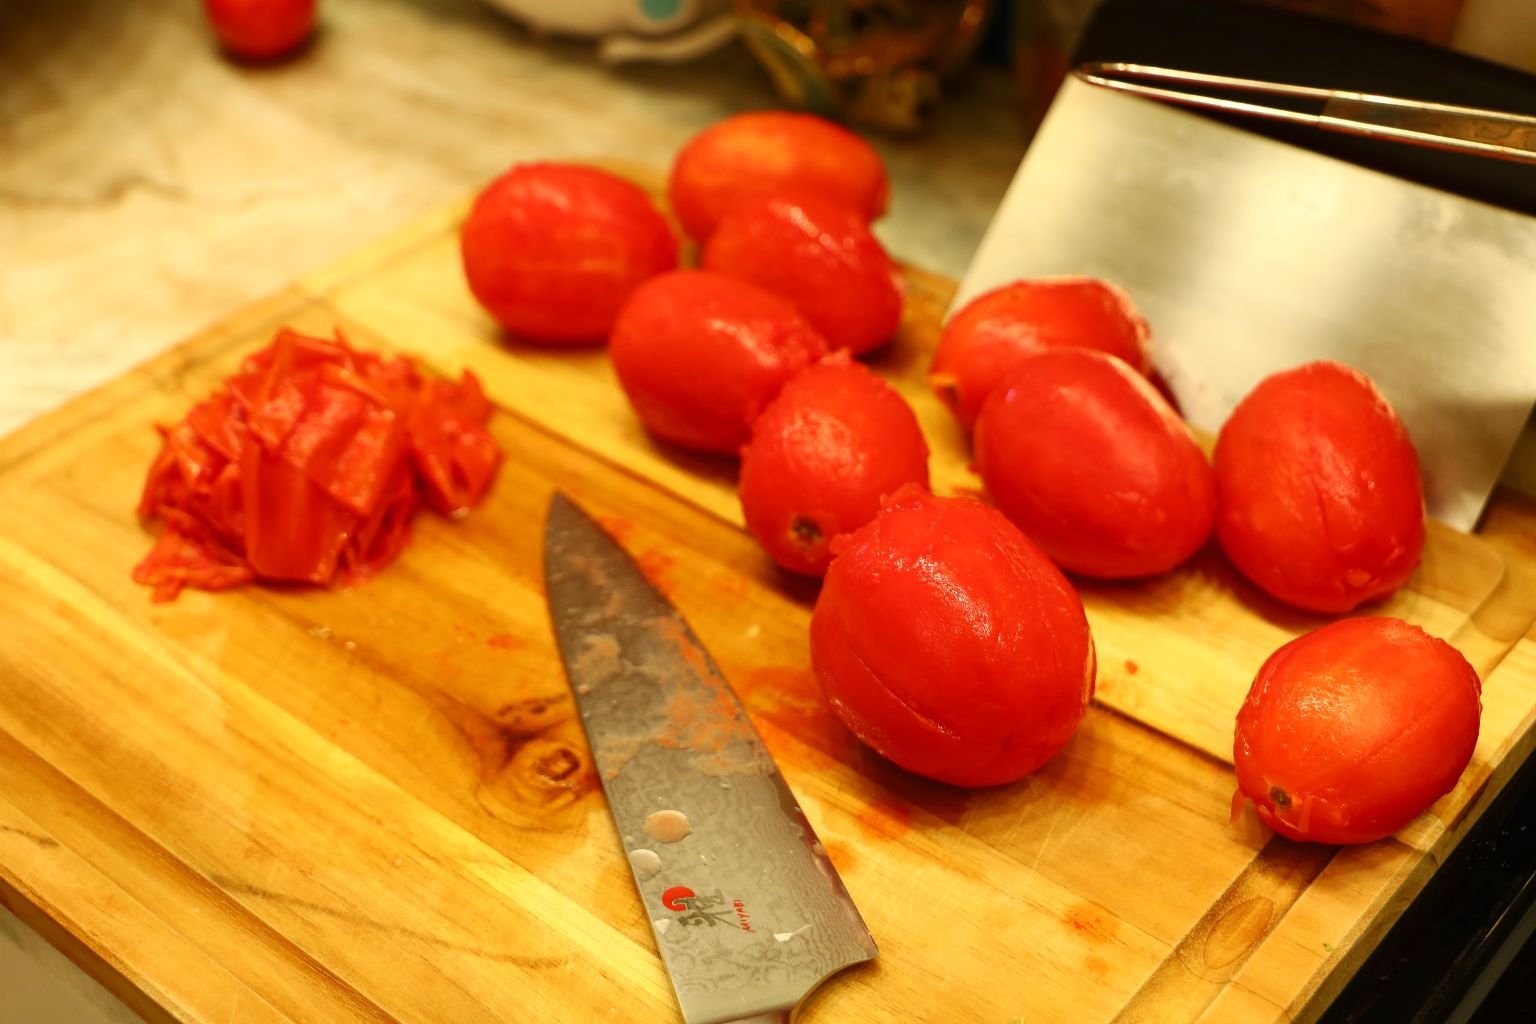
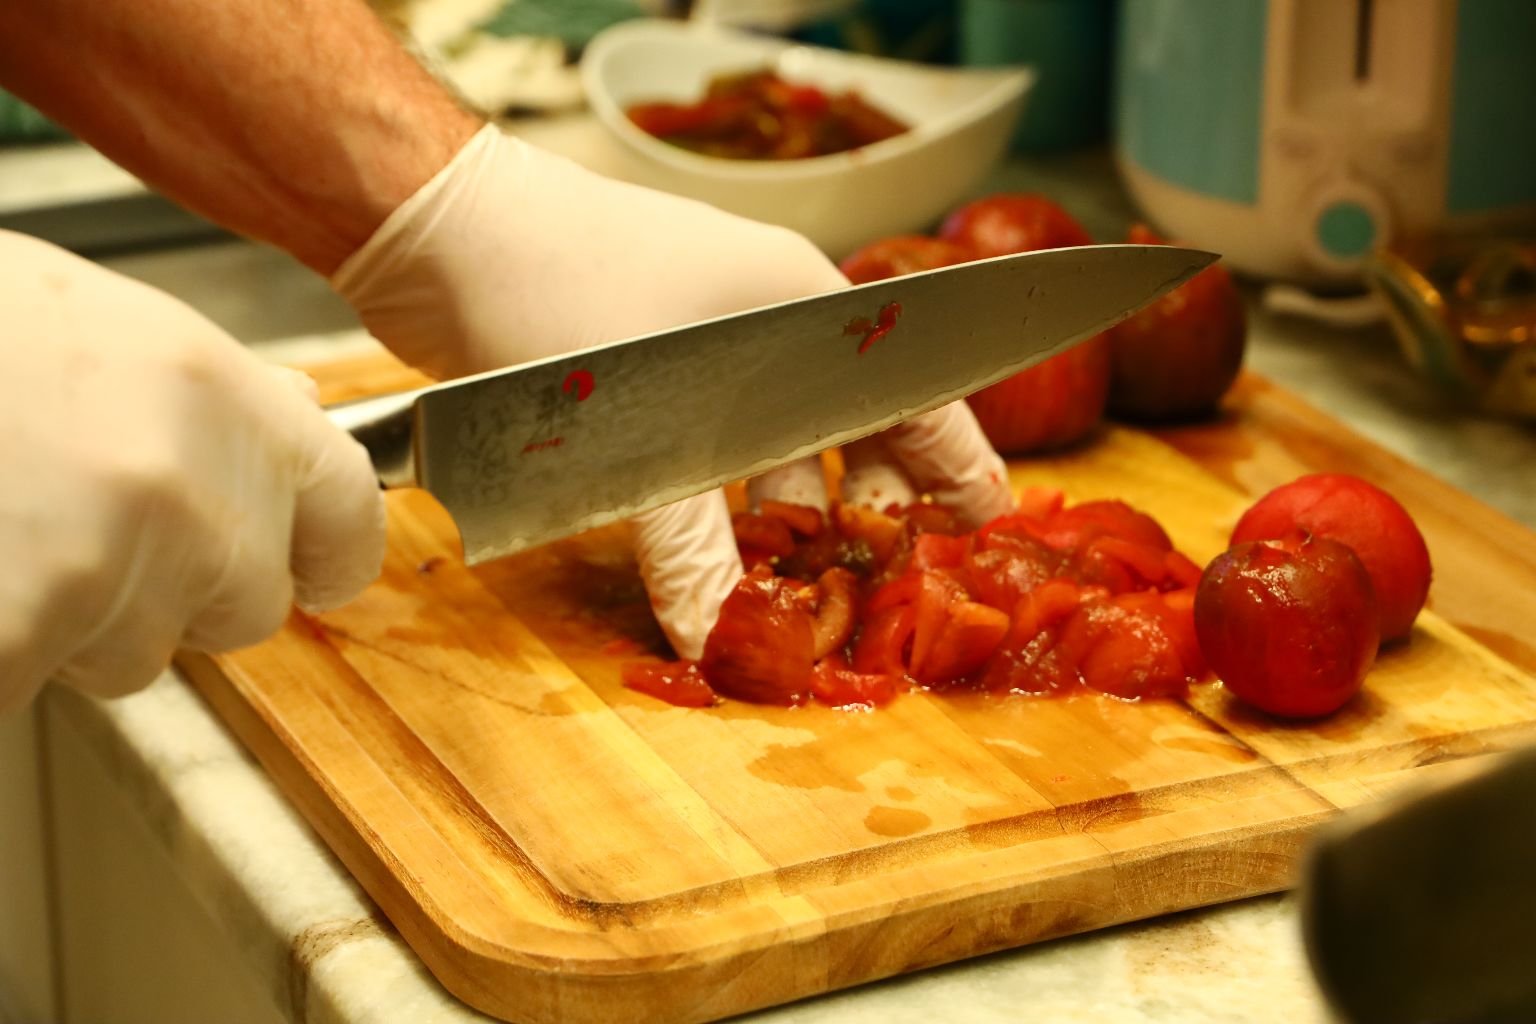
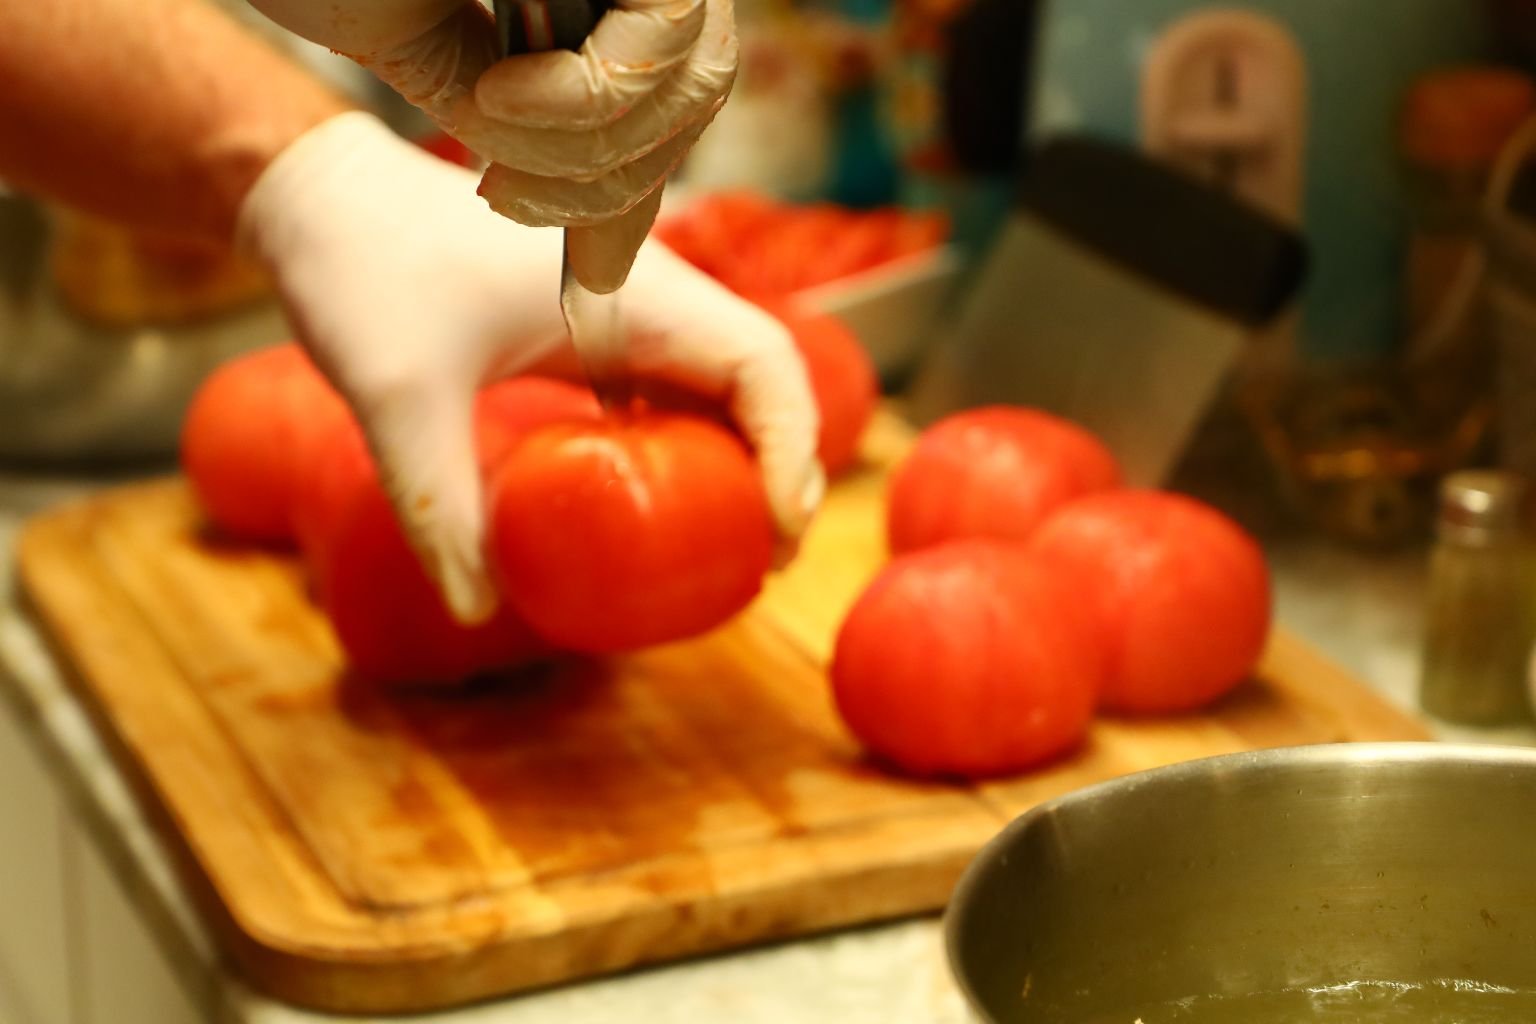
Place them on your cutting board to let them cool down some.
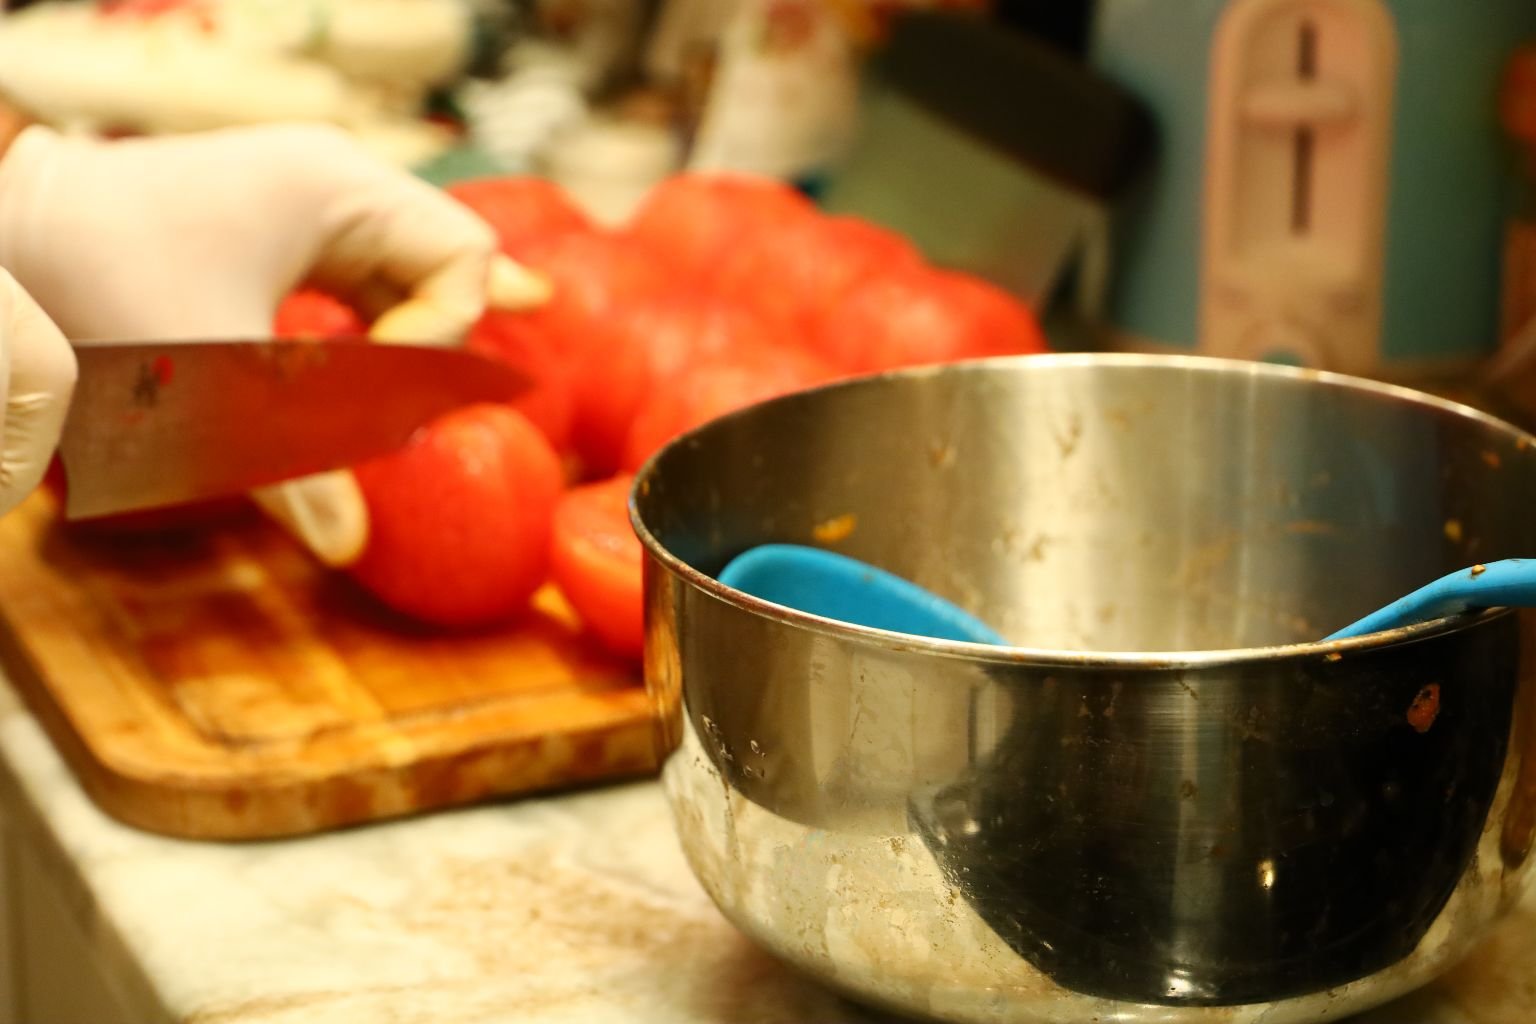
Cut them in half and make a wedge cut to remove the leftover stem.
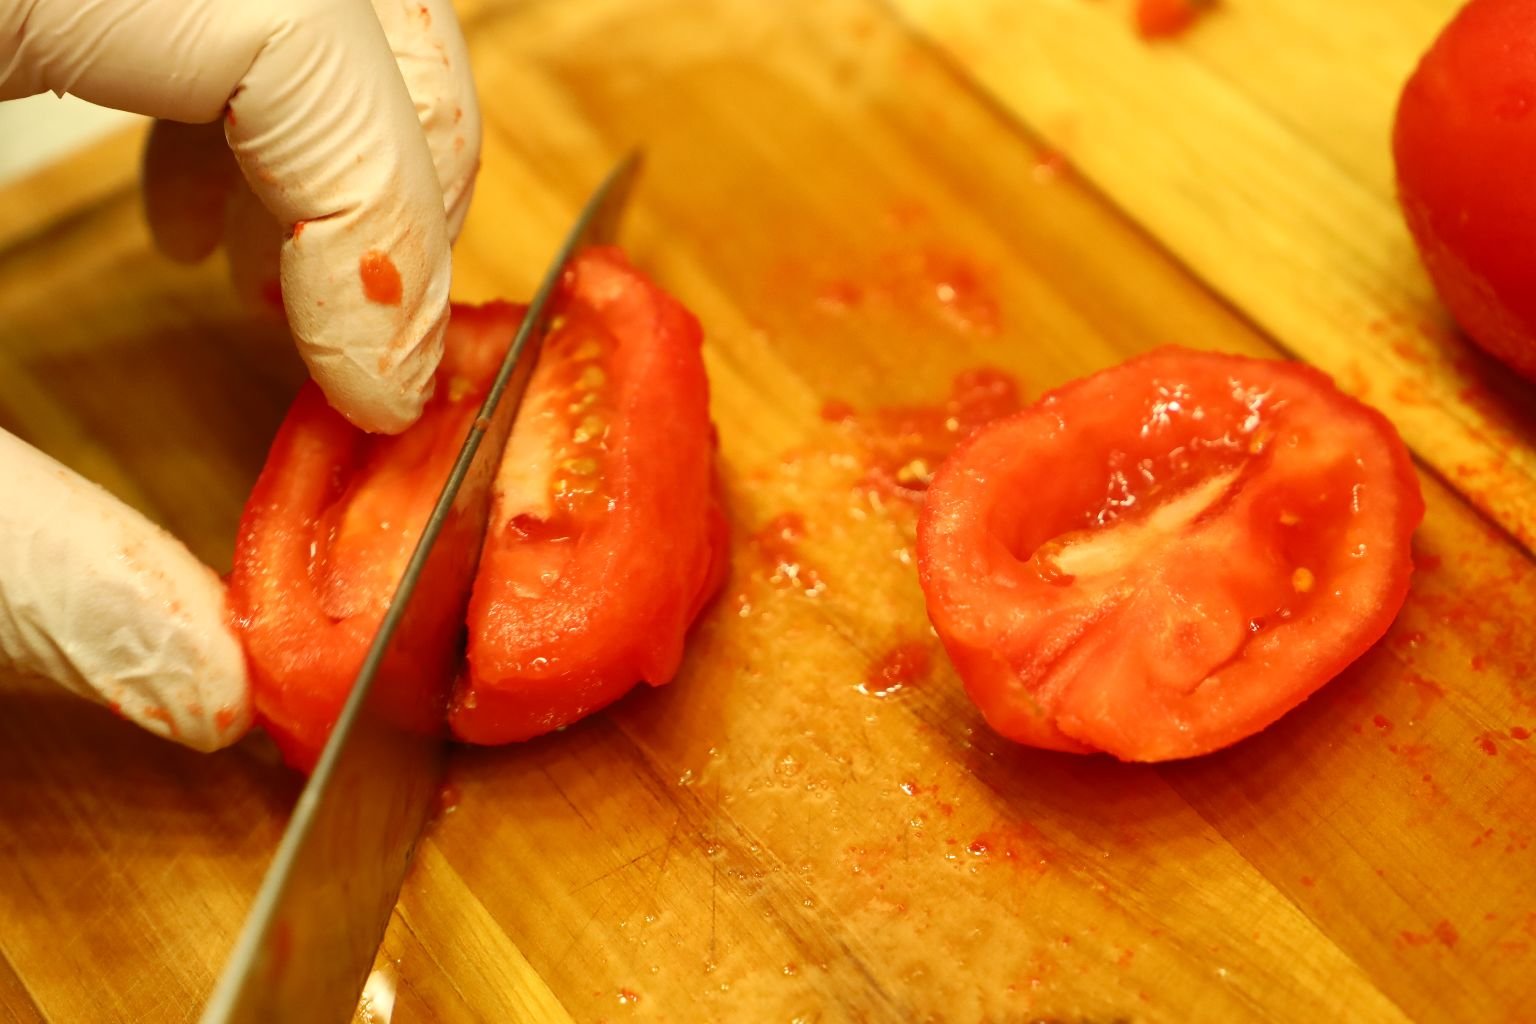


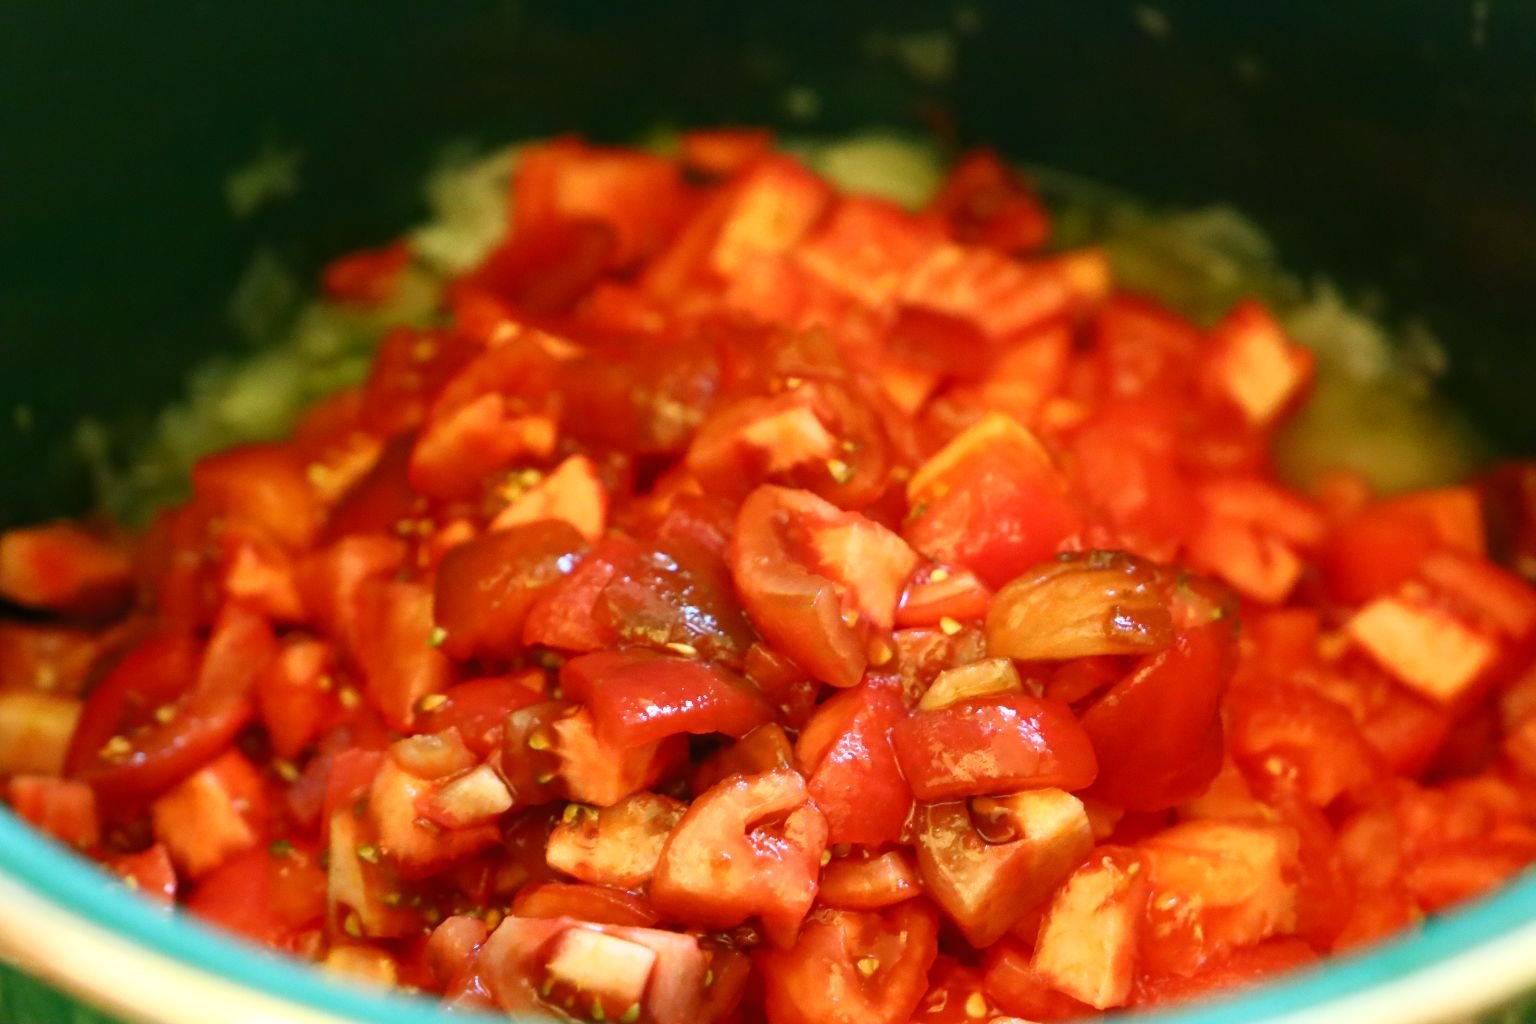
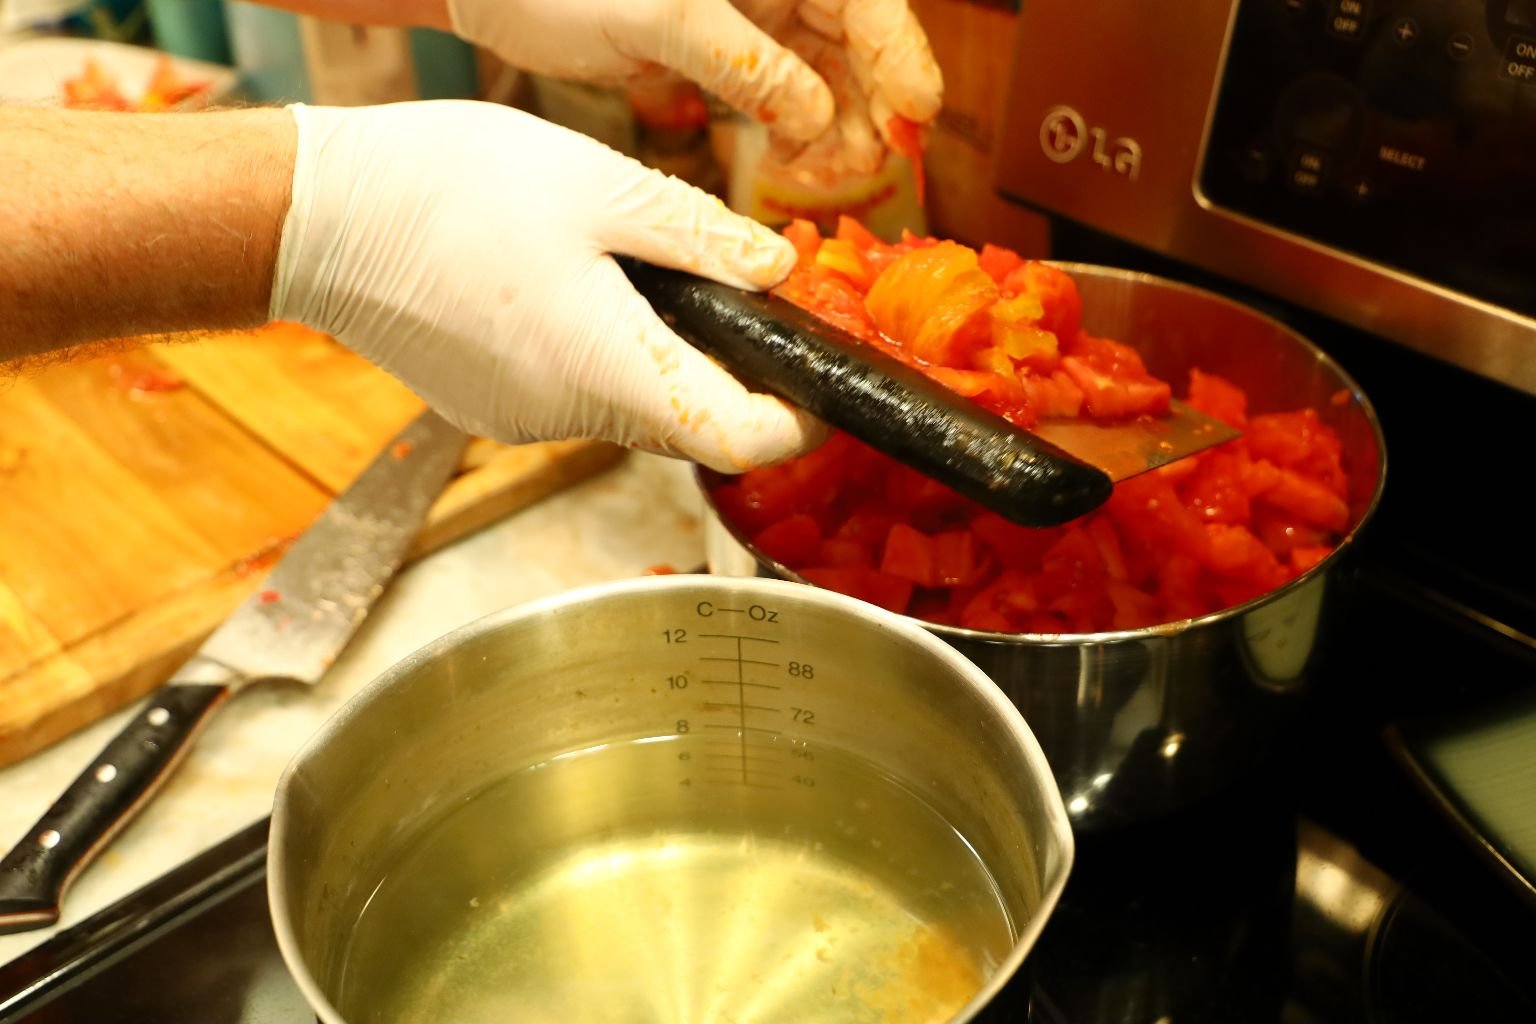
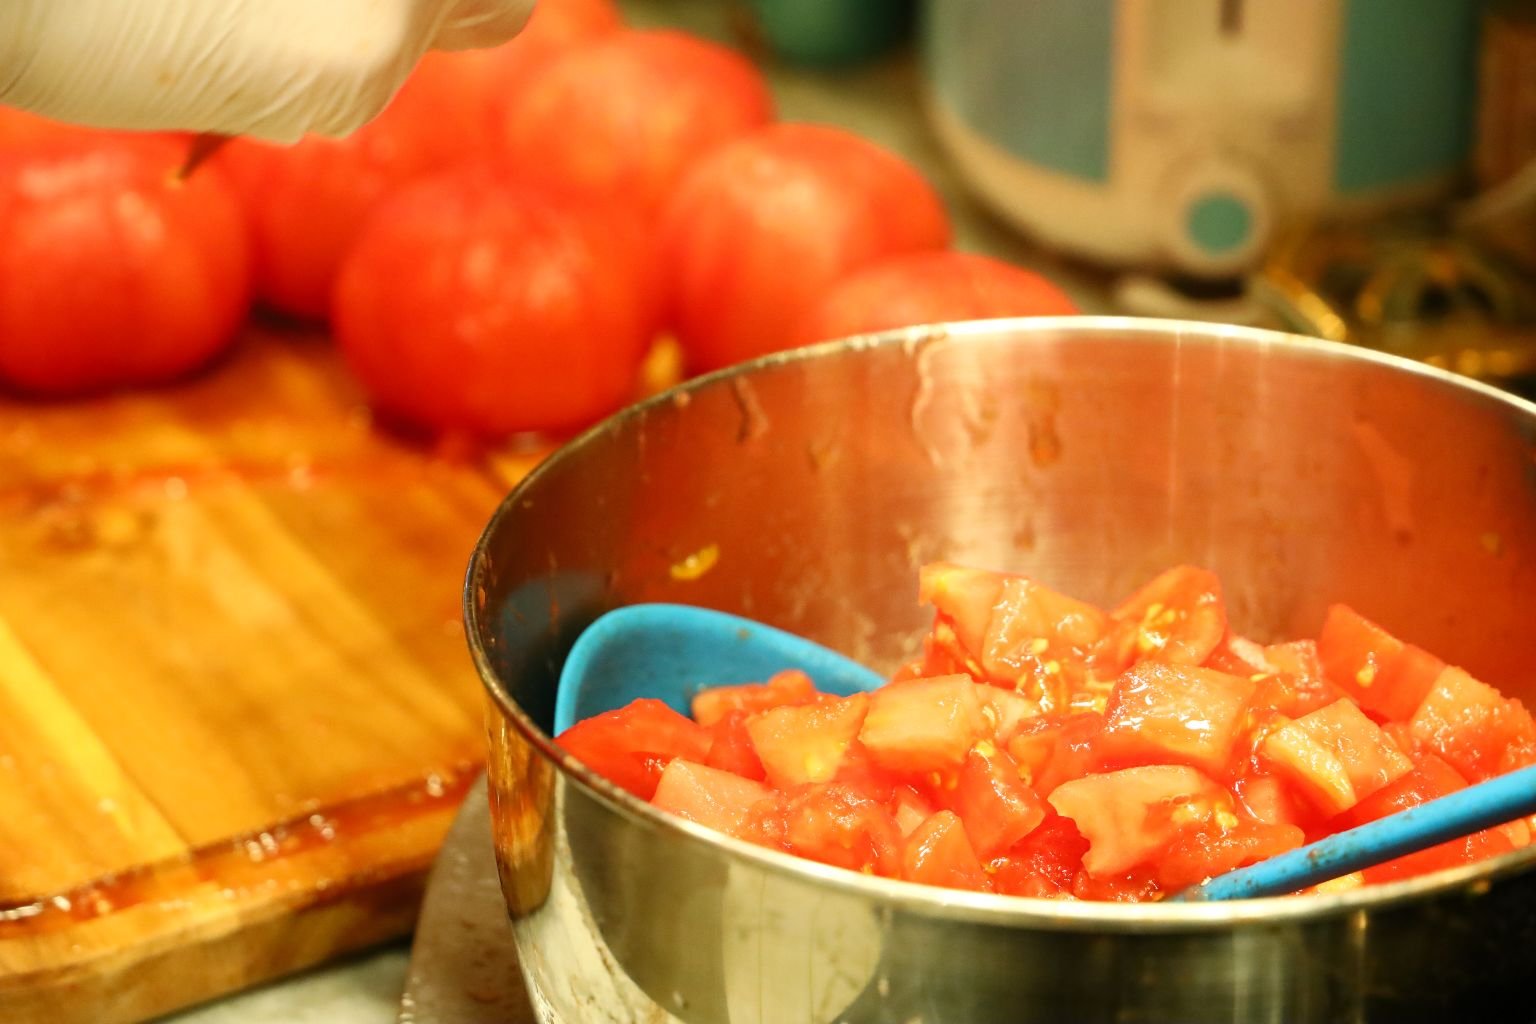
Now slice them into chunks as shown.
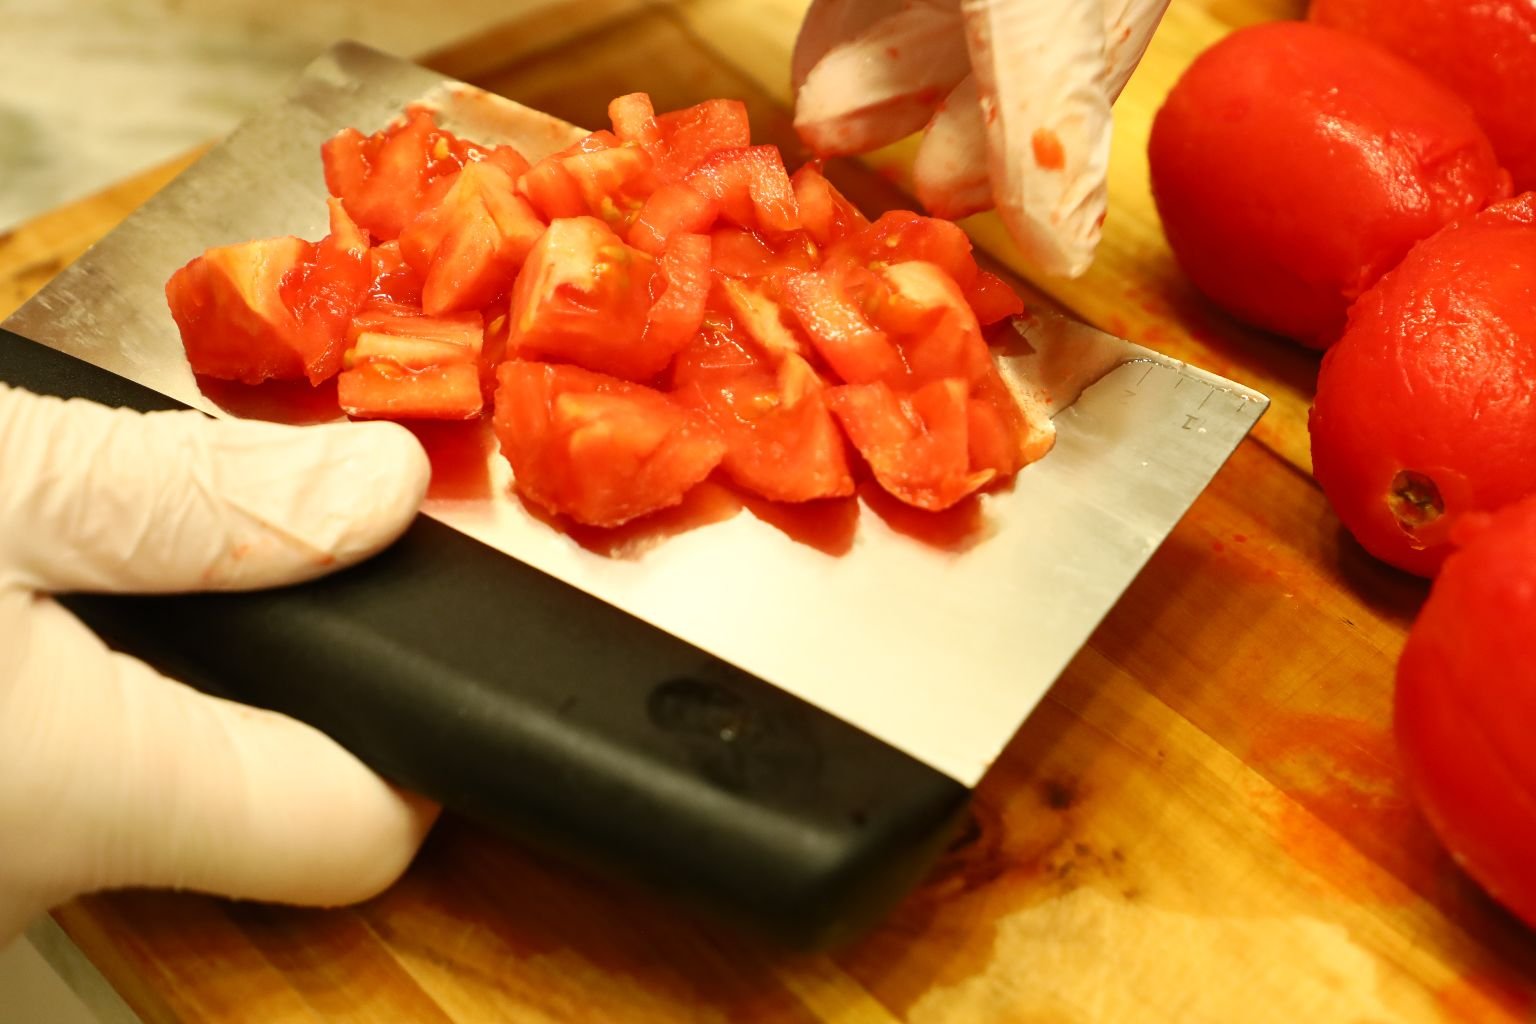
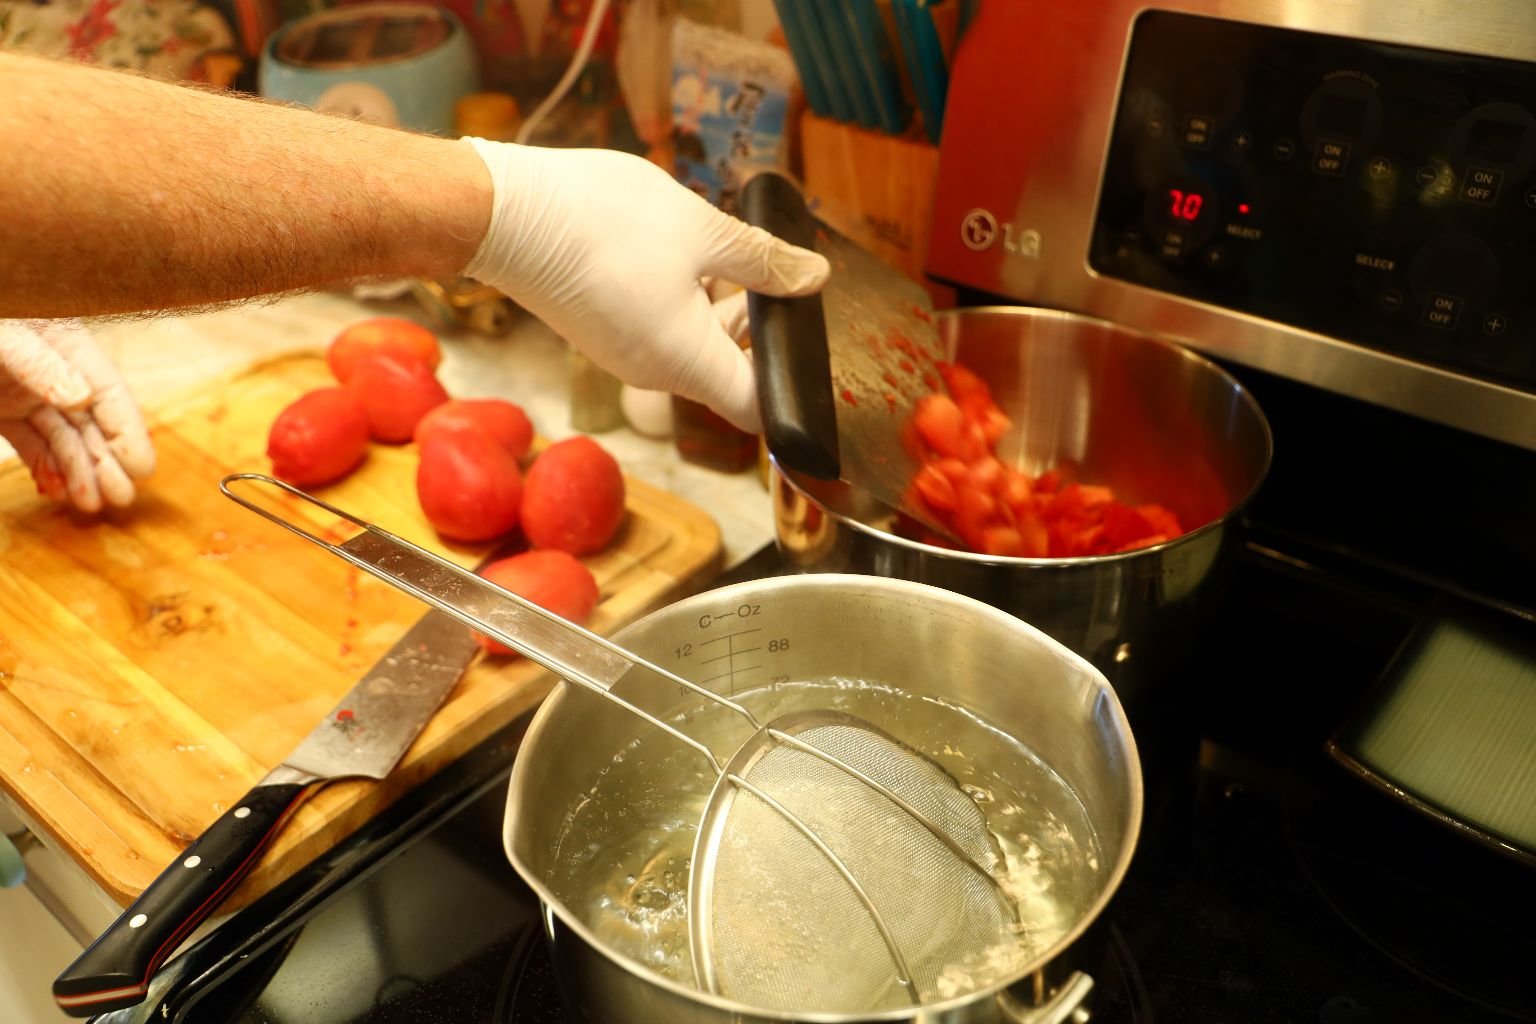
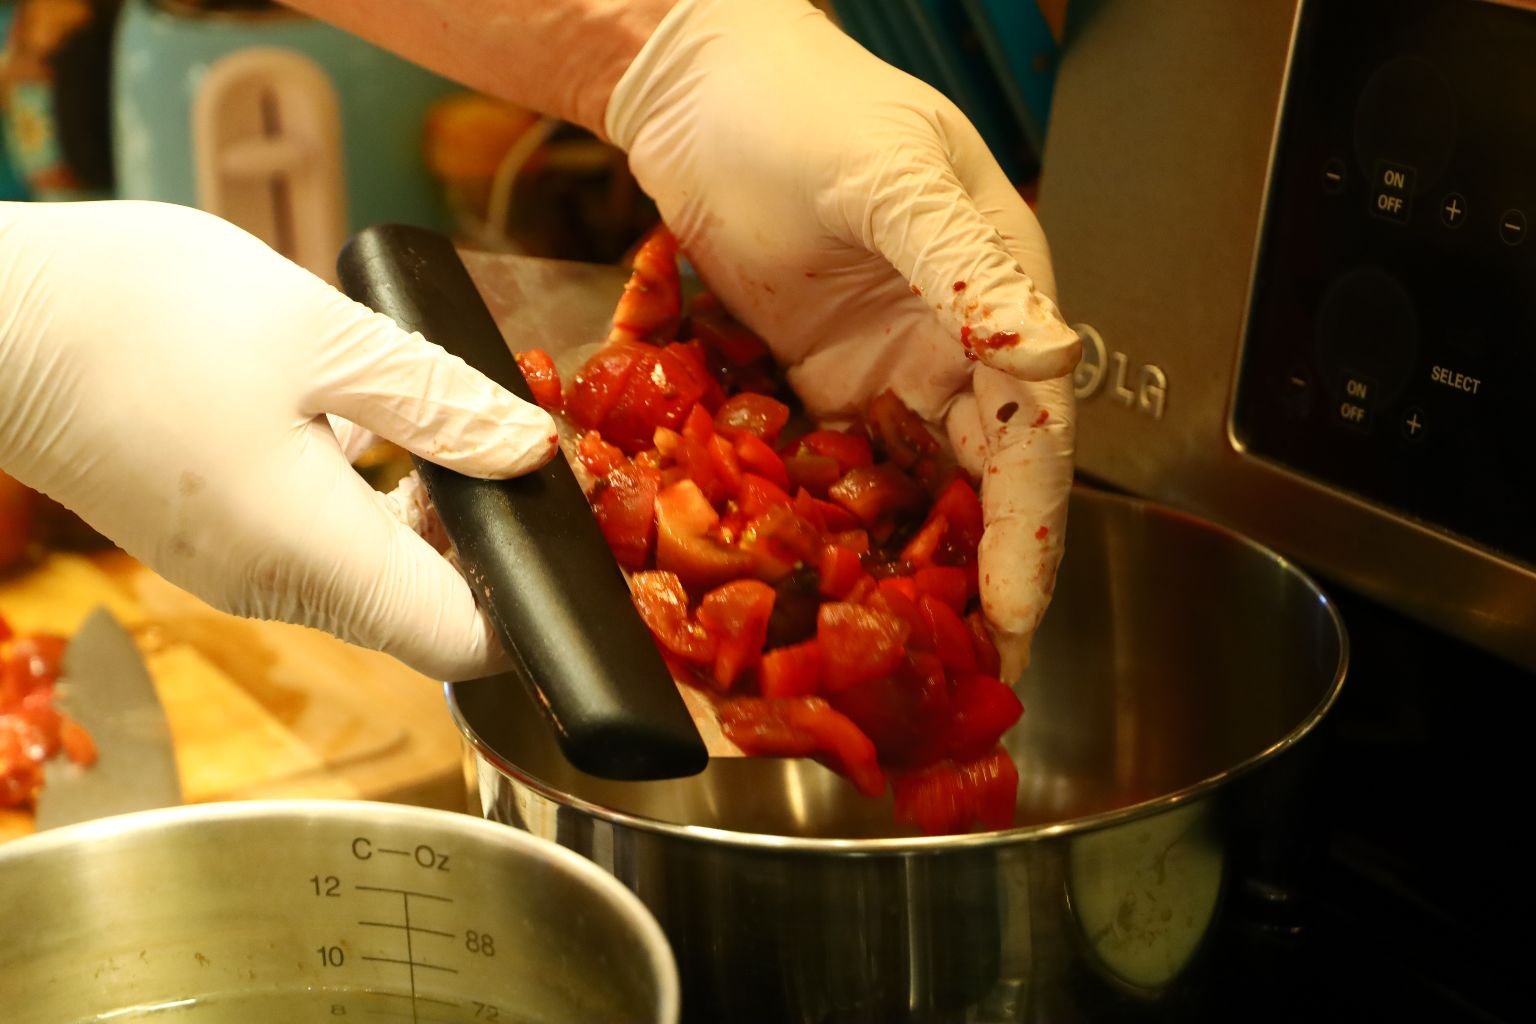
Scoop up the cut Tomatoes and place them into a bowl.
Doing this will let me keep track of how much I put into each large pot.
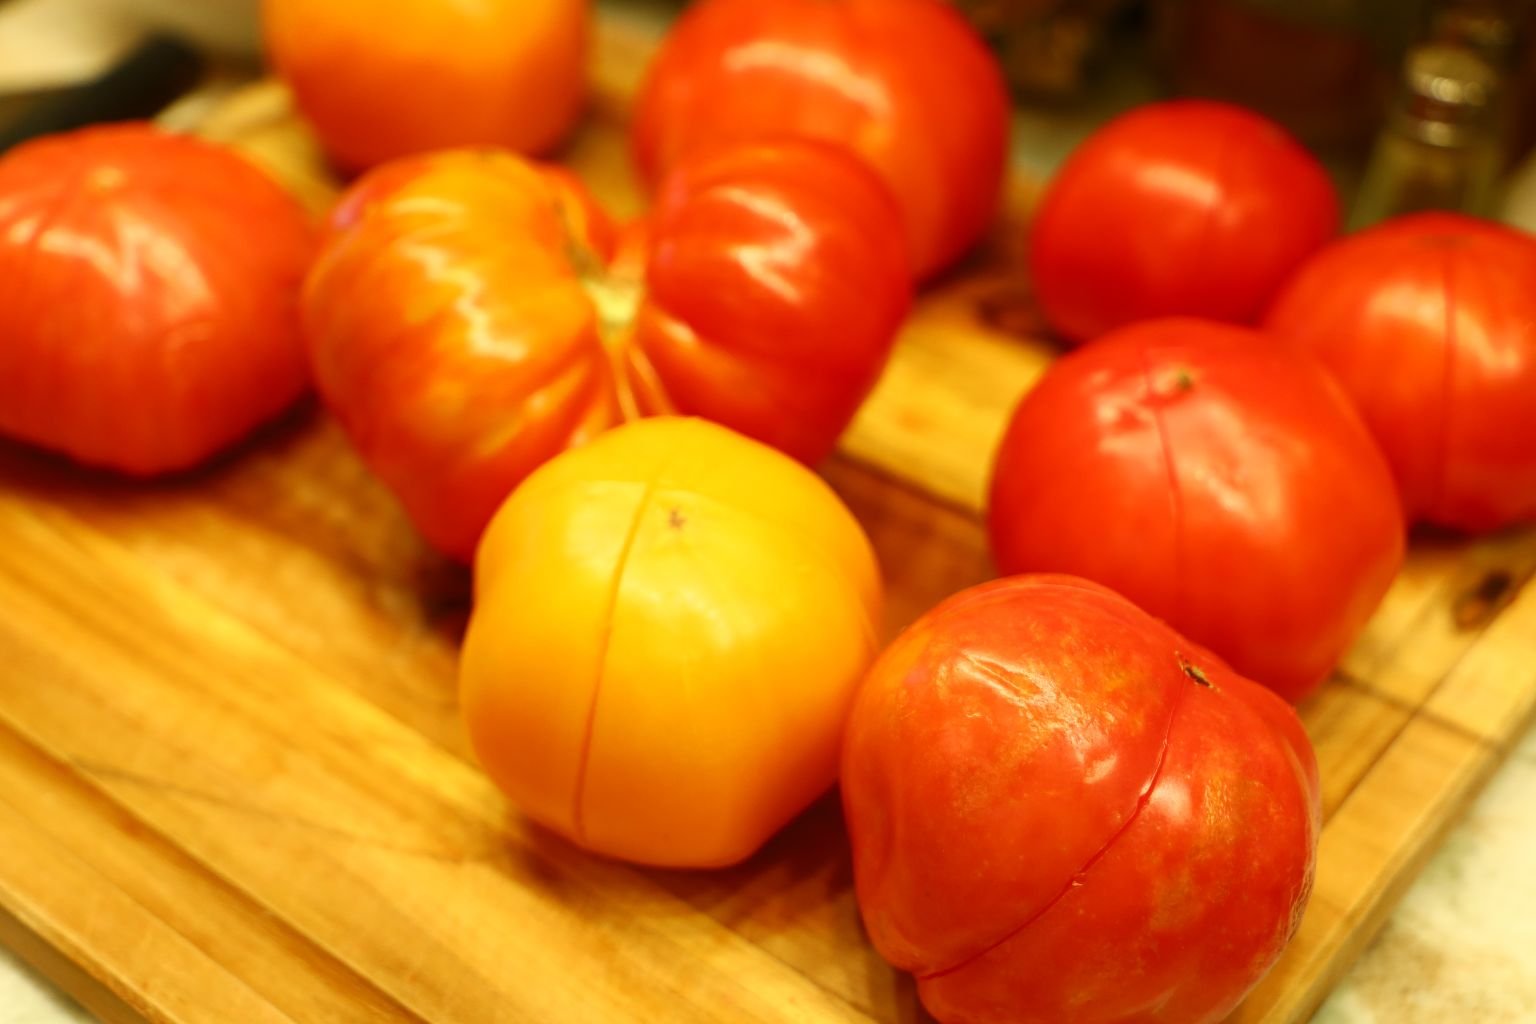
Nice Colors
———————————————————————–

And now some for the other pot.
Looking good!
—————————————————————————-
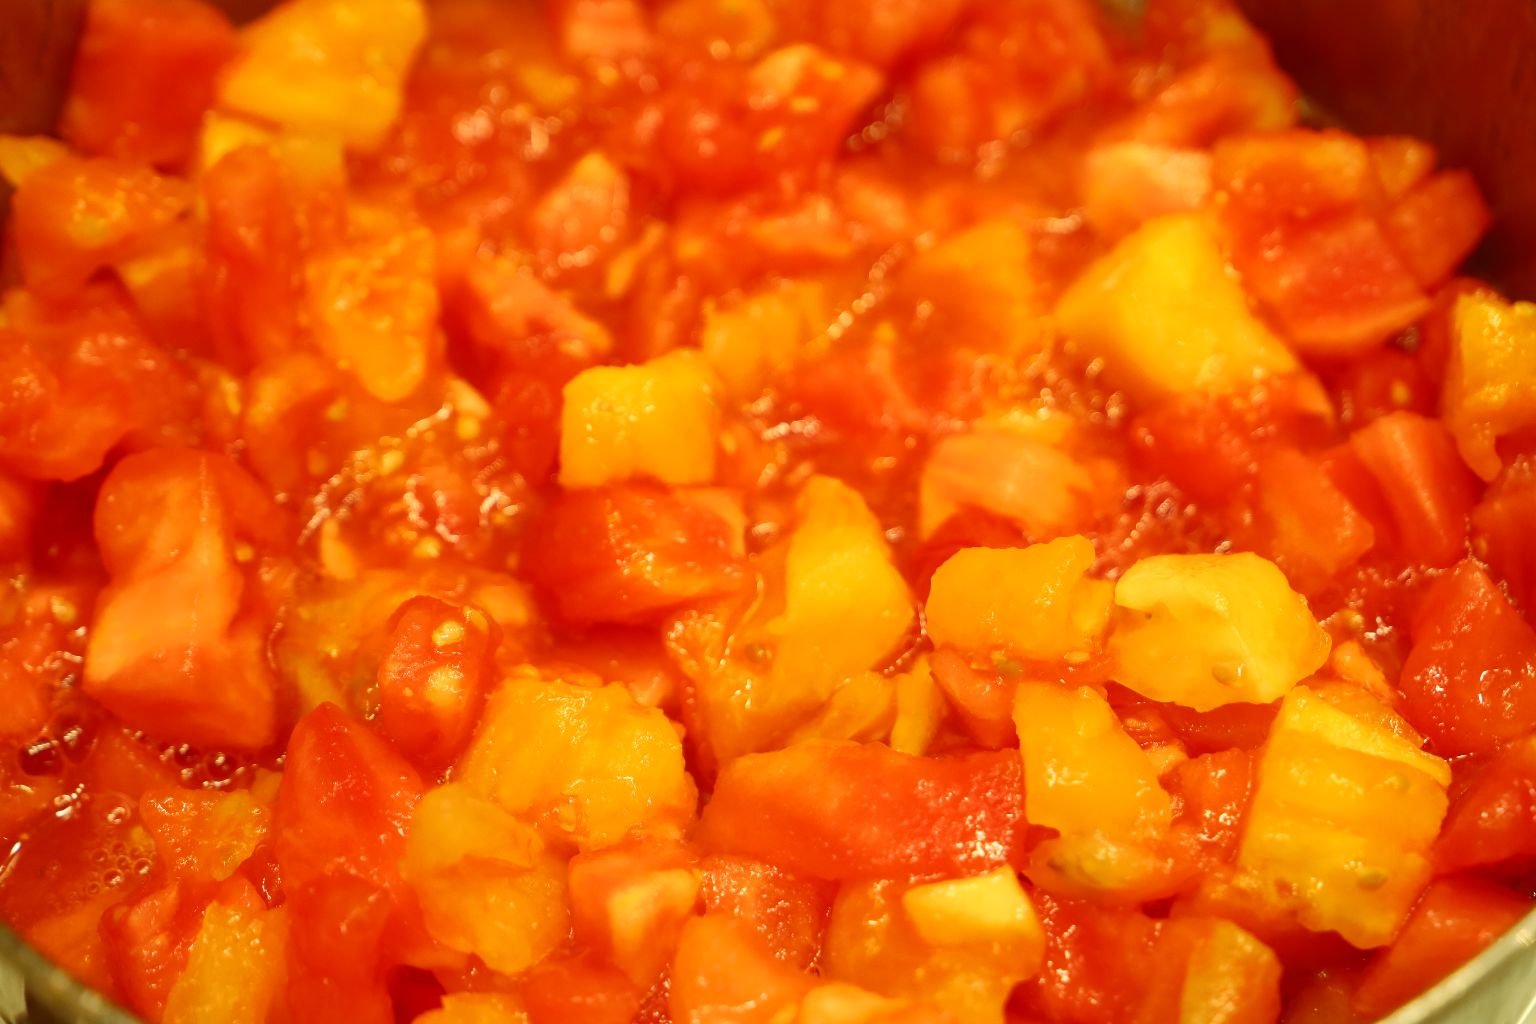
Just look at these beautiful Heirloom tomatoes.
The flavor of these is amazing.
Repeat the process with the Heirloom Tomatoes.
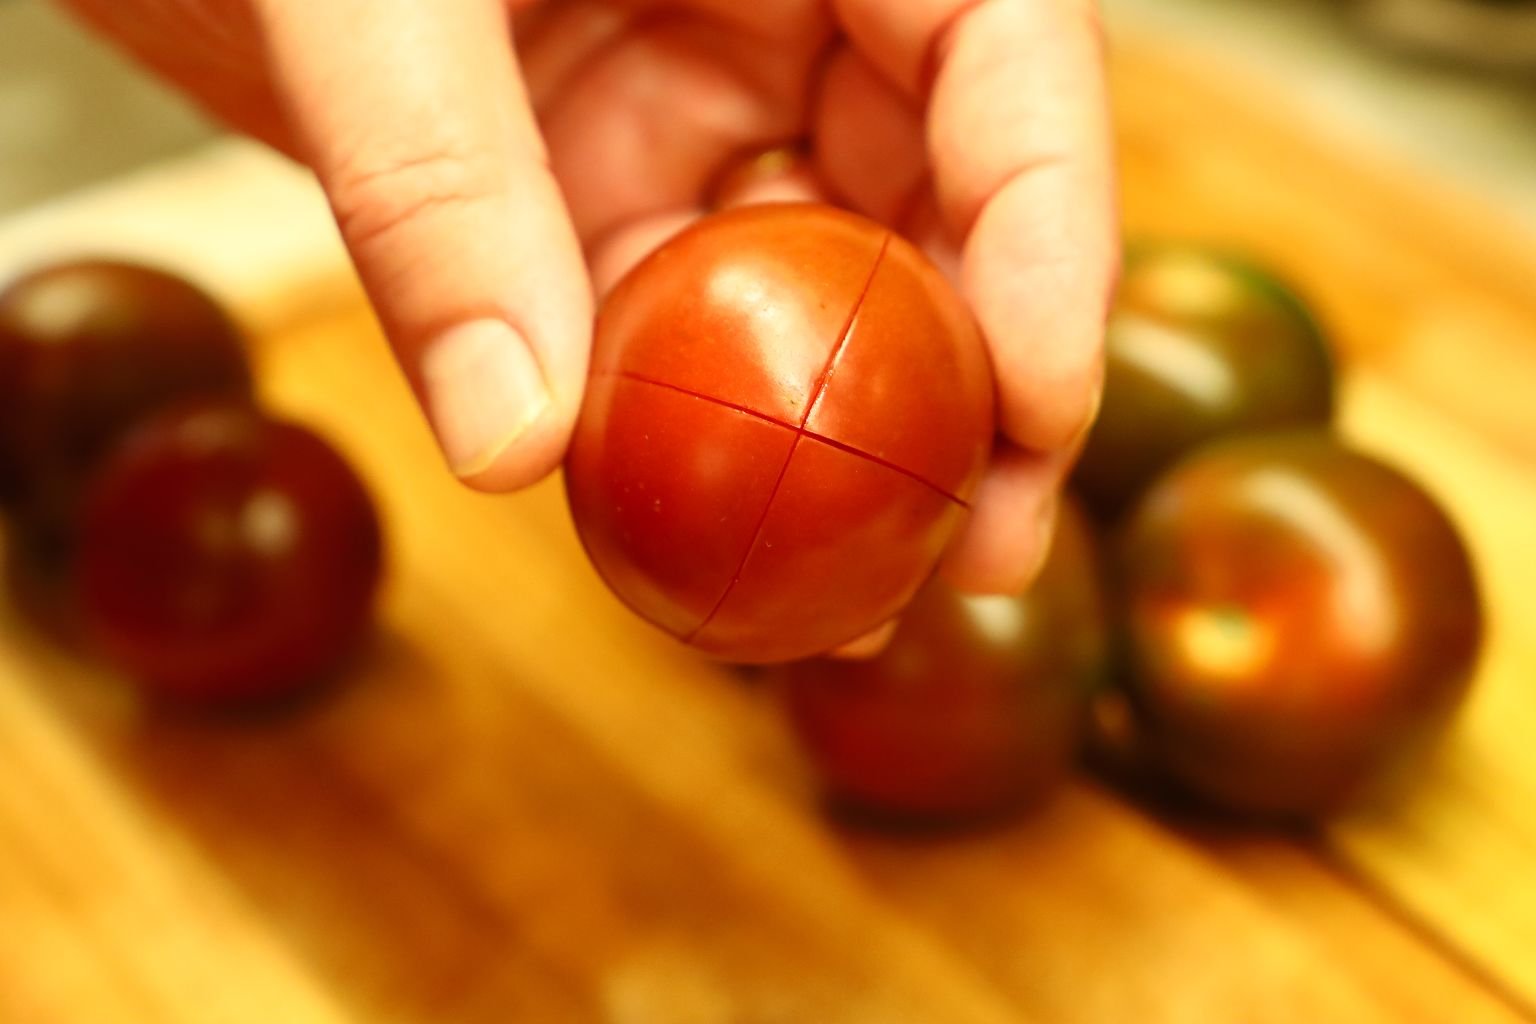
Here I am making my X cut.
Letting them sit in the almost boiling water. These are peeling nicely.

Slice, chop, remove the stem piece and repeat.
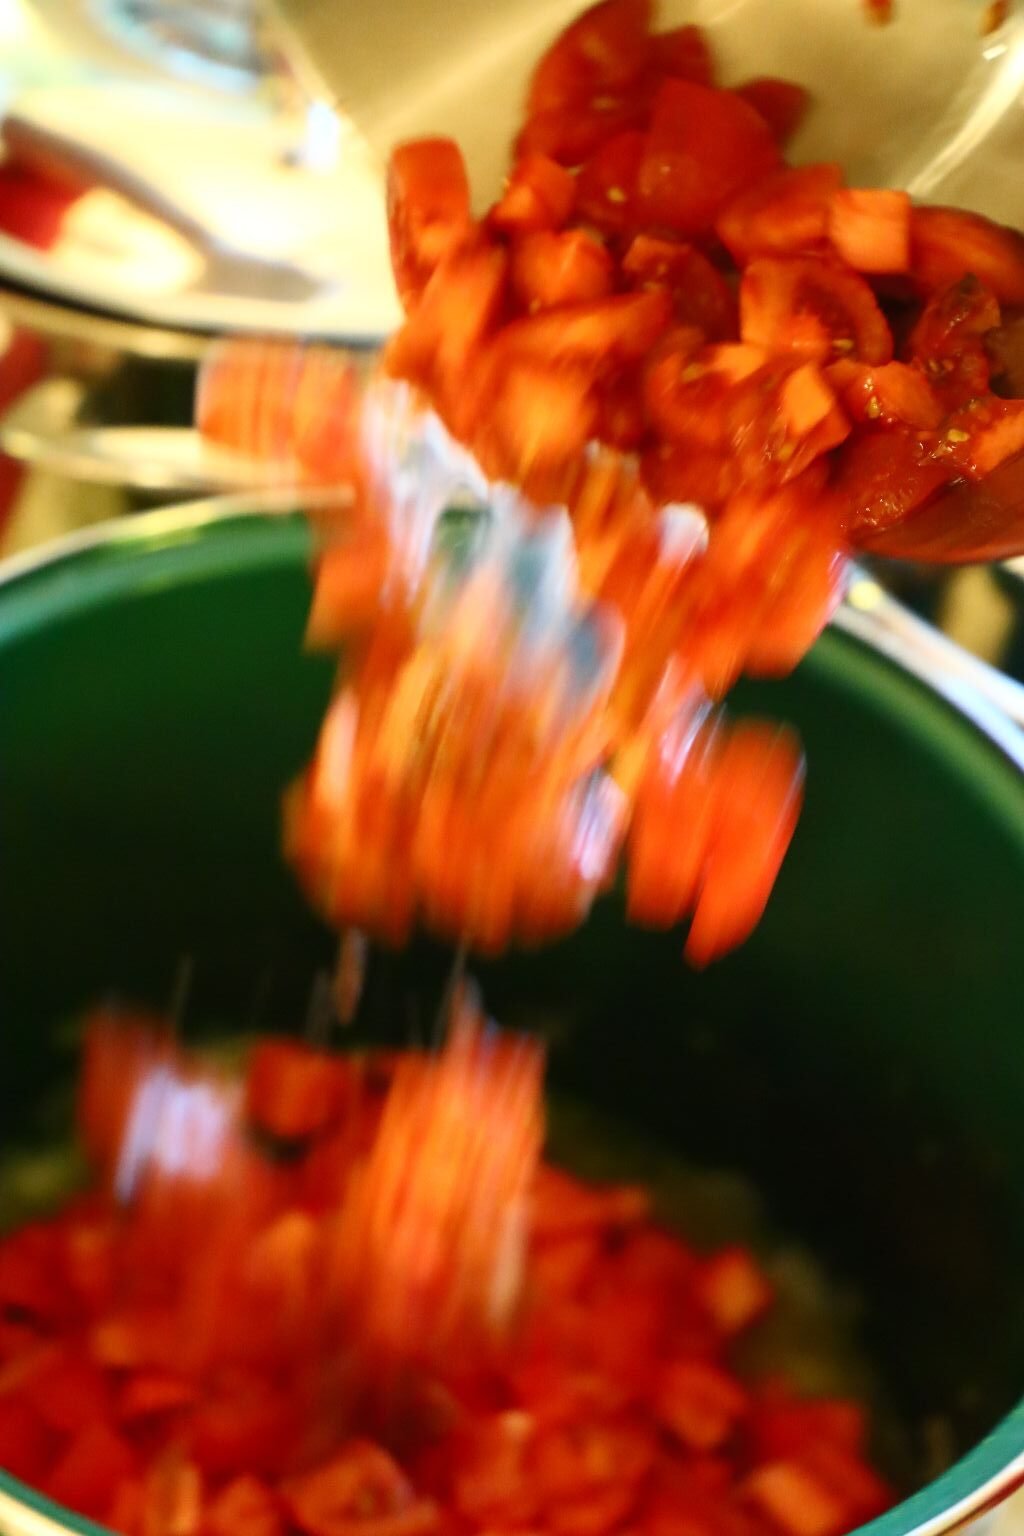
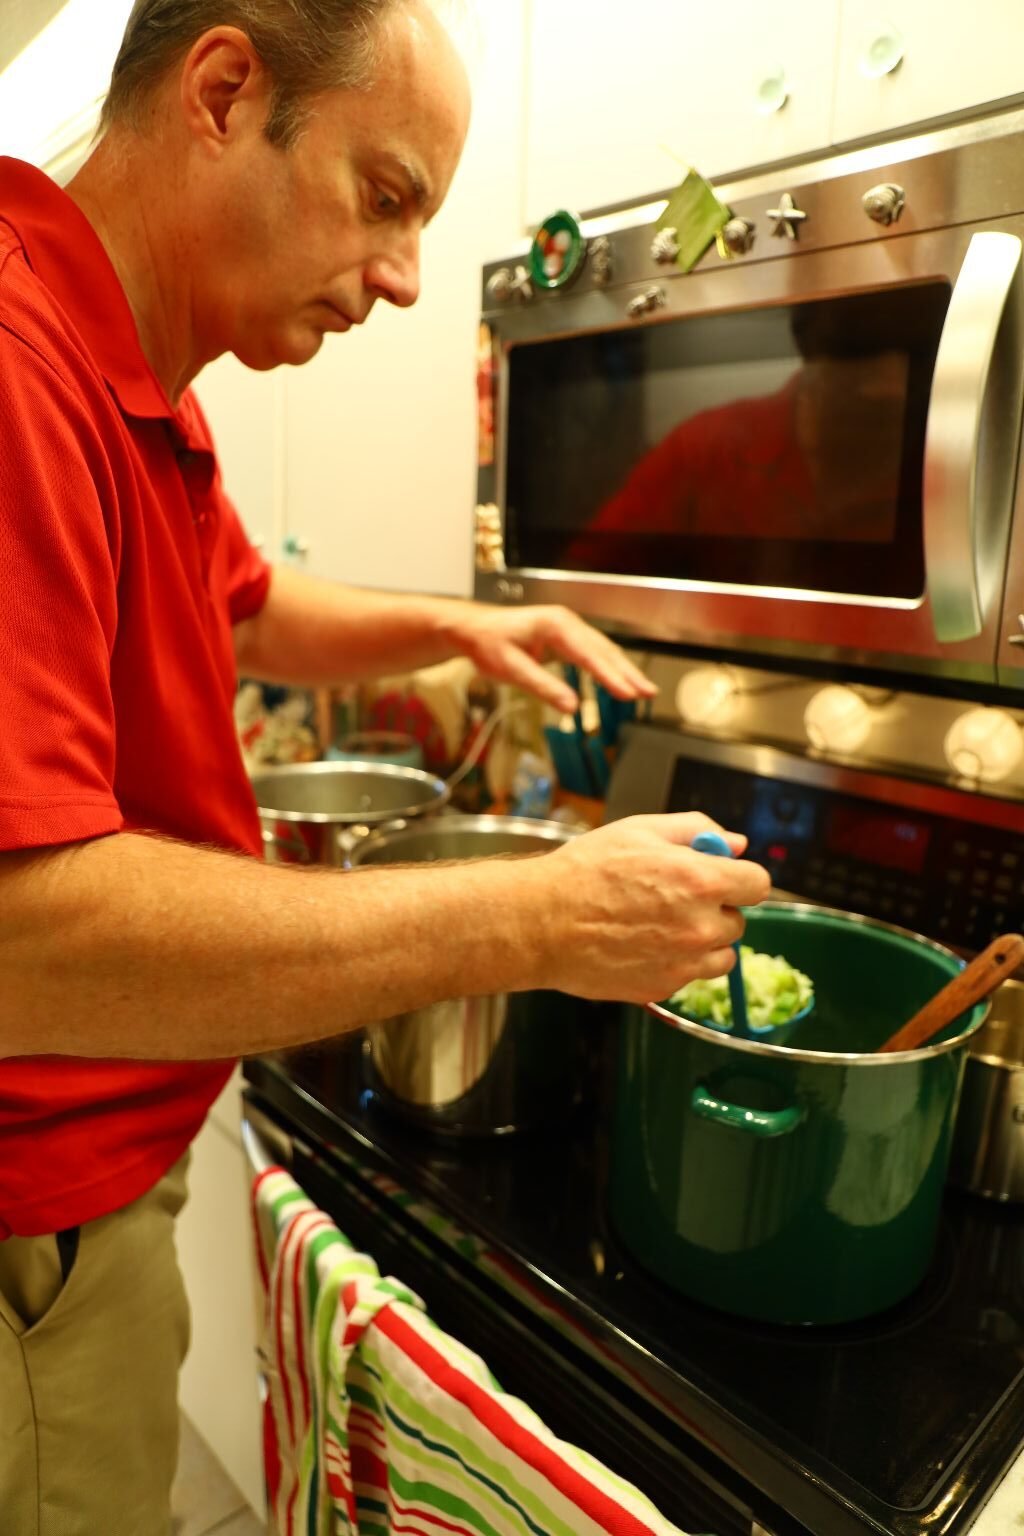
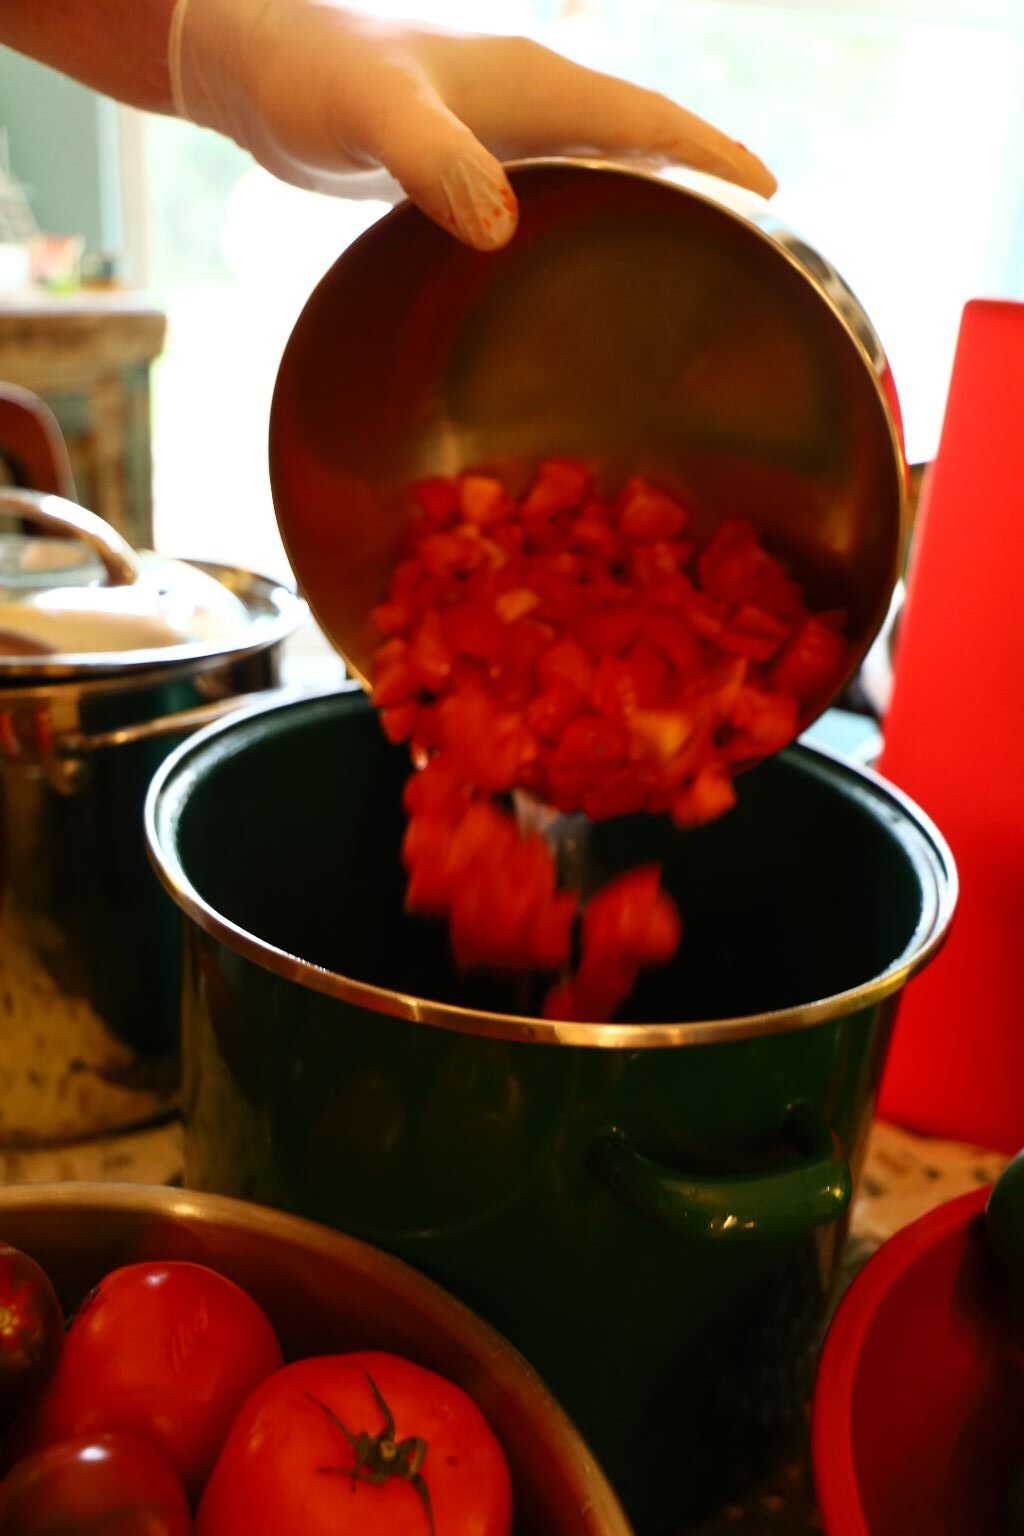
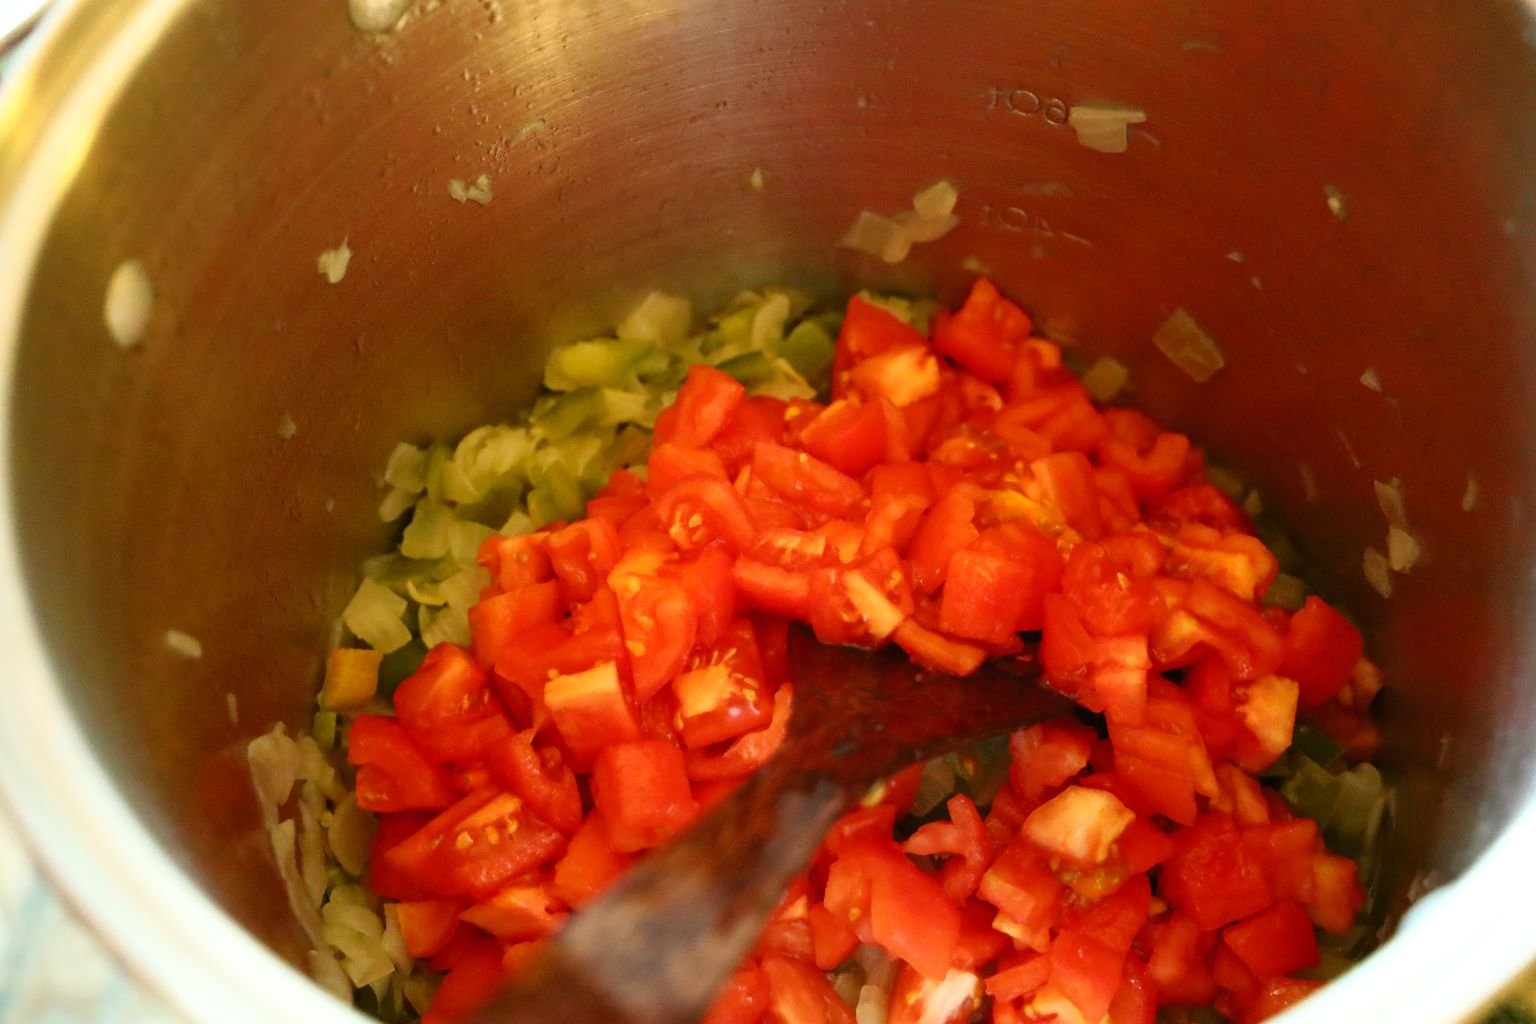
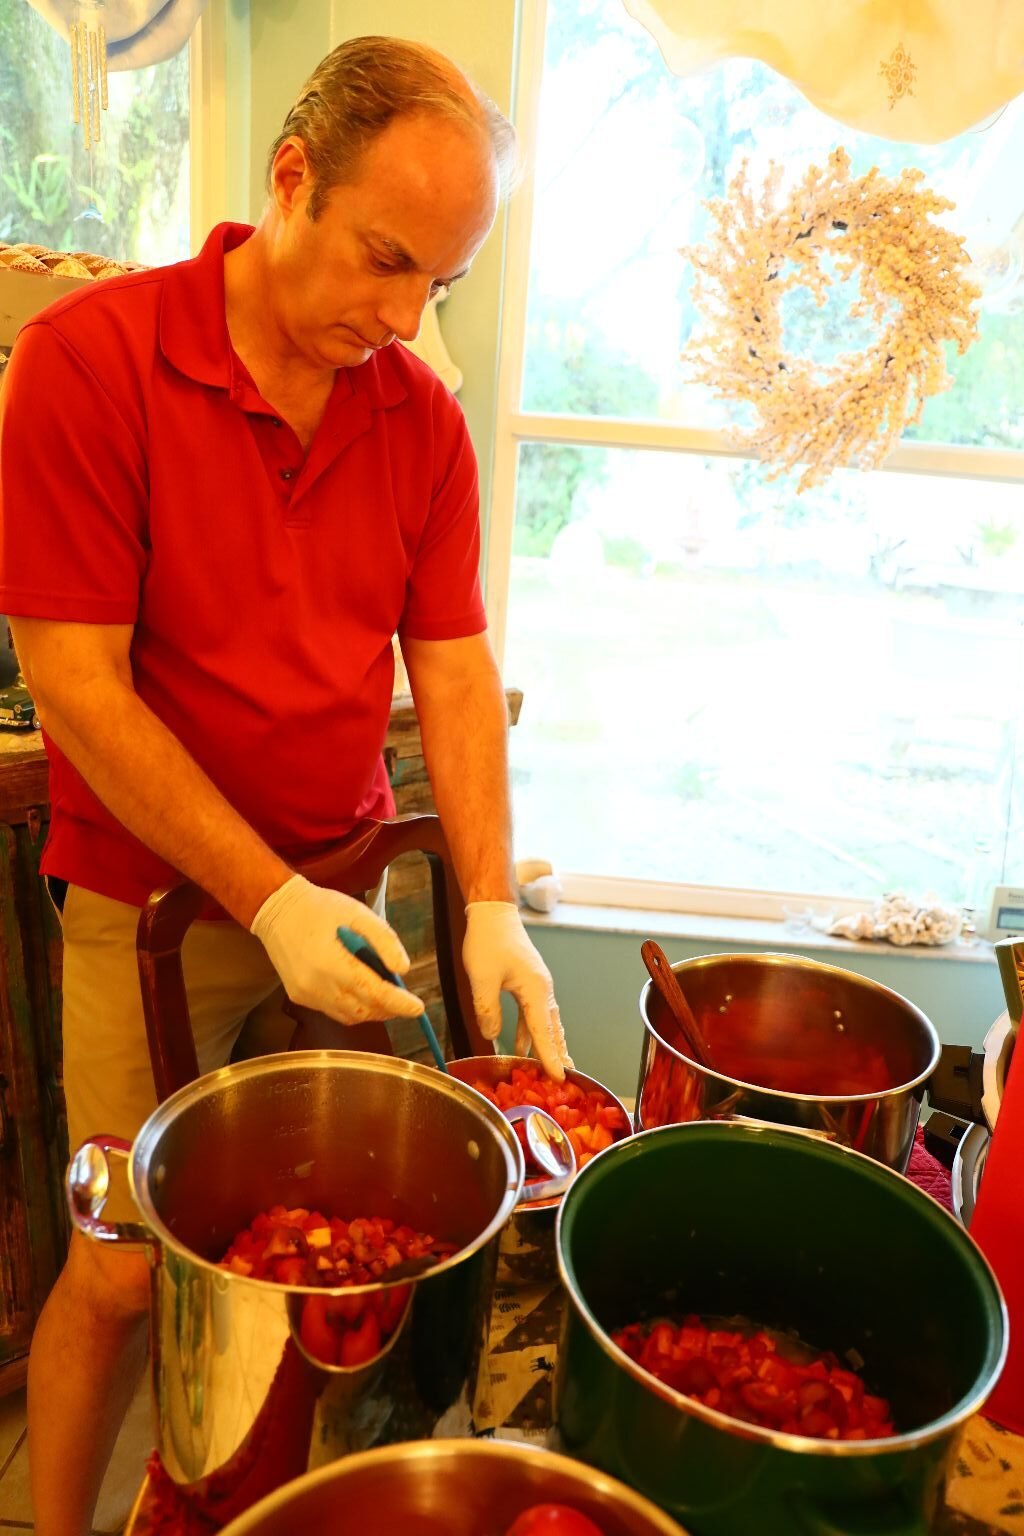
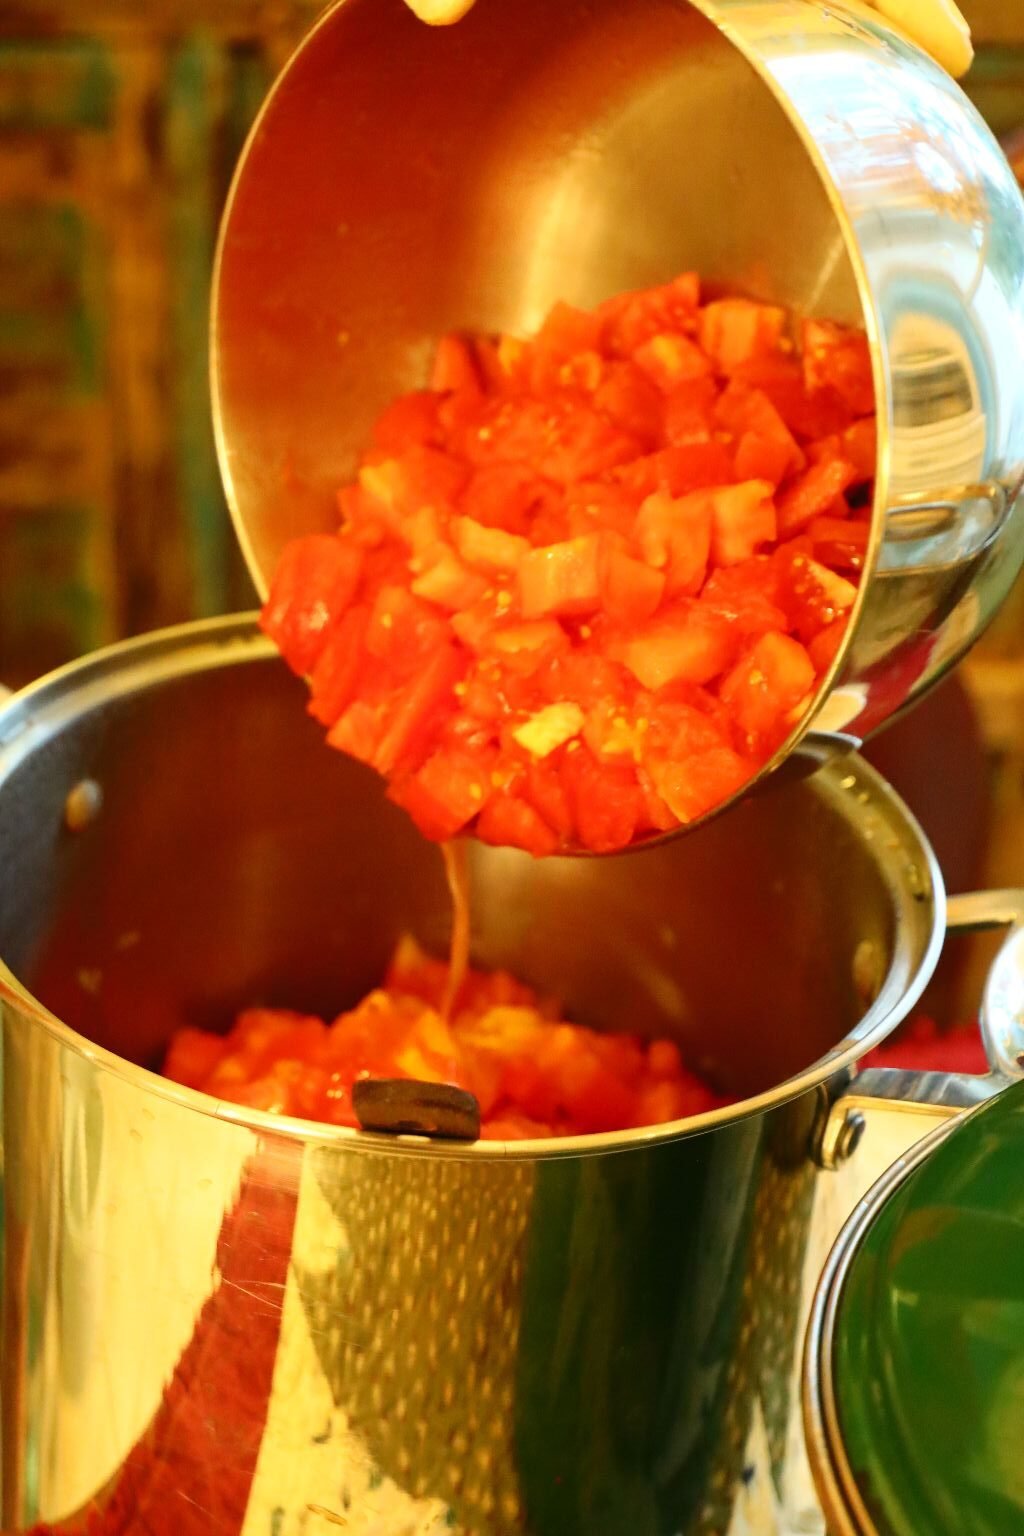
Evenly add them to the pots.
————————————————————————-
Time for the other Heirloom Tomatoes!

You will have to cut a large X in these.
You should be a pro at this step by now.

Adding these Tomatoes evenly to my pots. Yes, I now have three!
Still adding cut Tomatoes. I really like the hint of Yellow.
Peeling Them

Letting them cool some before slicing them.
The regular Vine Ripe ones are next.
These are really looking good. You can see our cutting board has a well on the side to capture the juices.
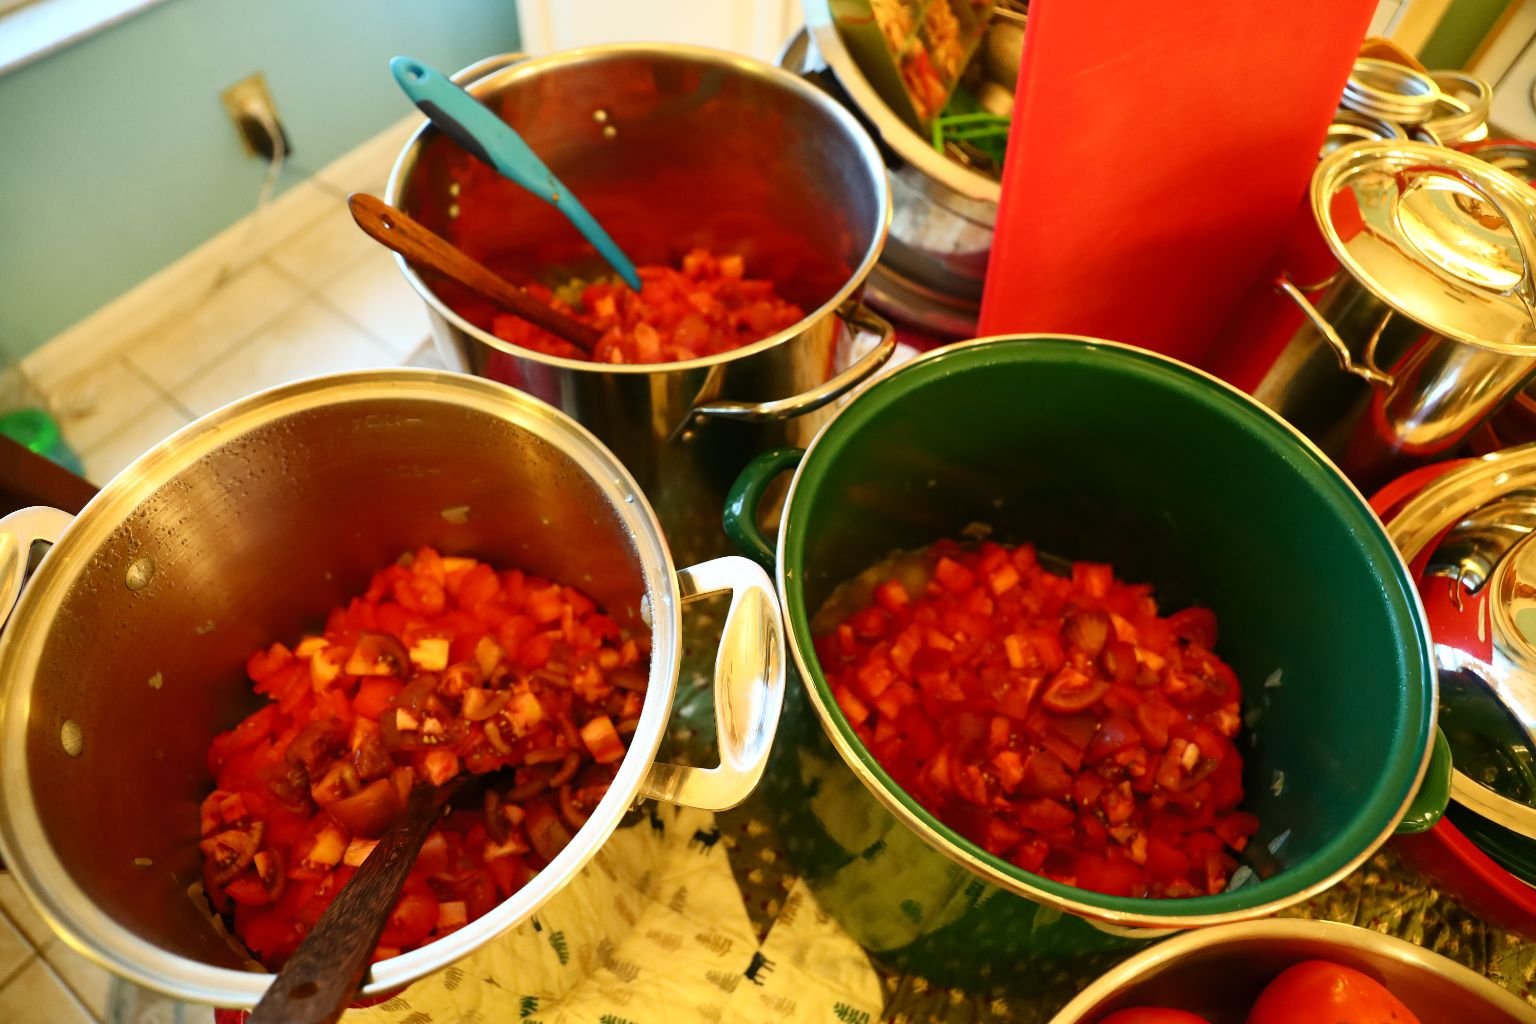
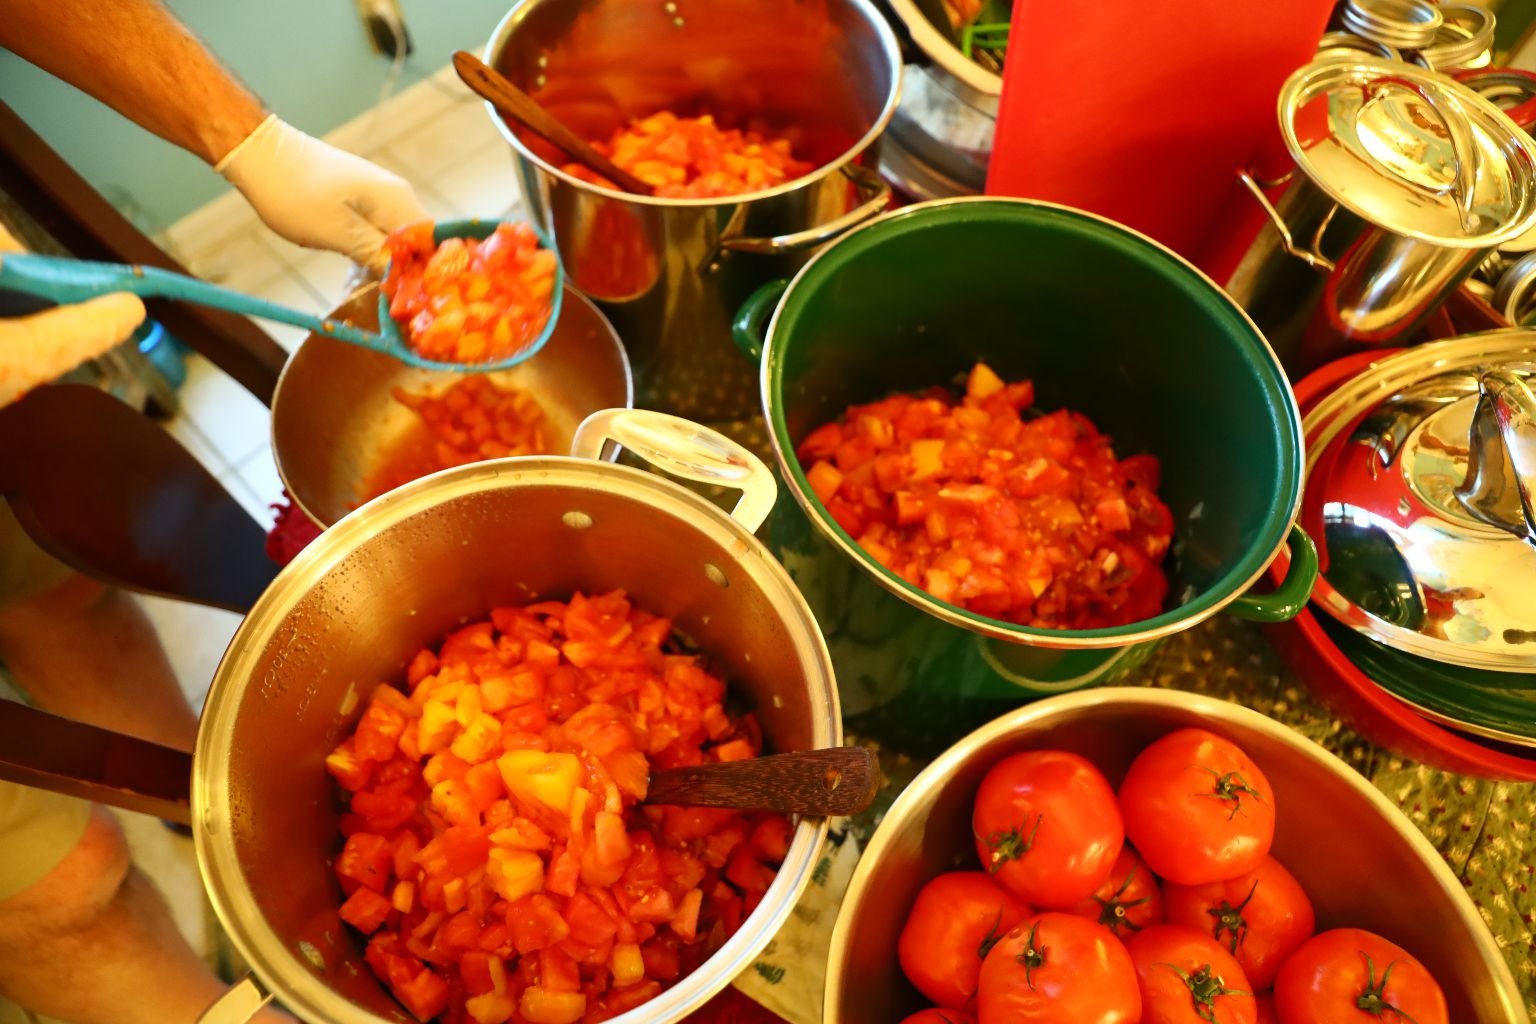
Making all the pots even.
——————————————————————————
————————————————————————-
———————————————————————————–
Vine Ripe Tomatoes
These Next Few Steps Are A REPEAT Of Above
—————————————————————————-
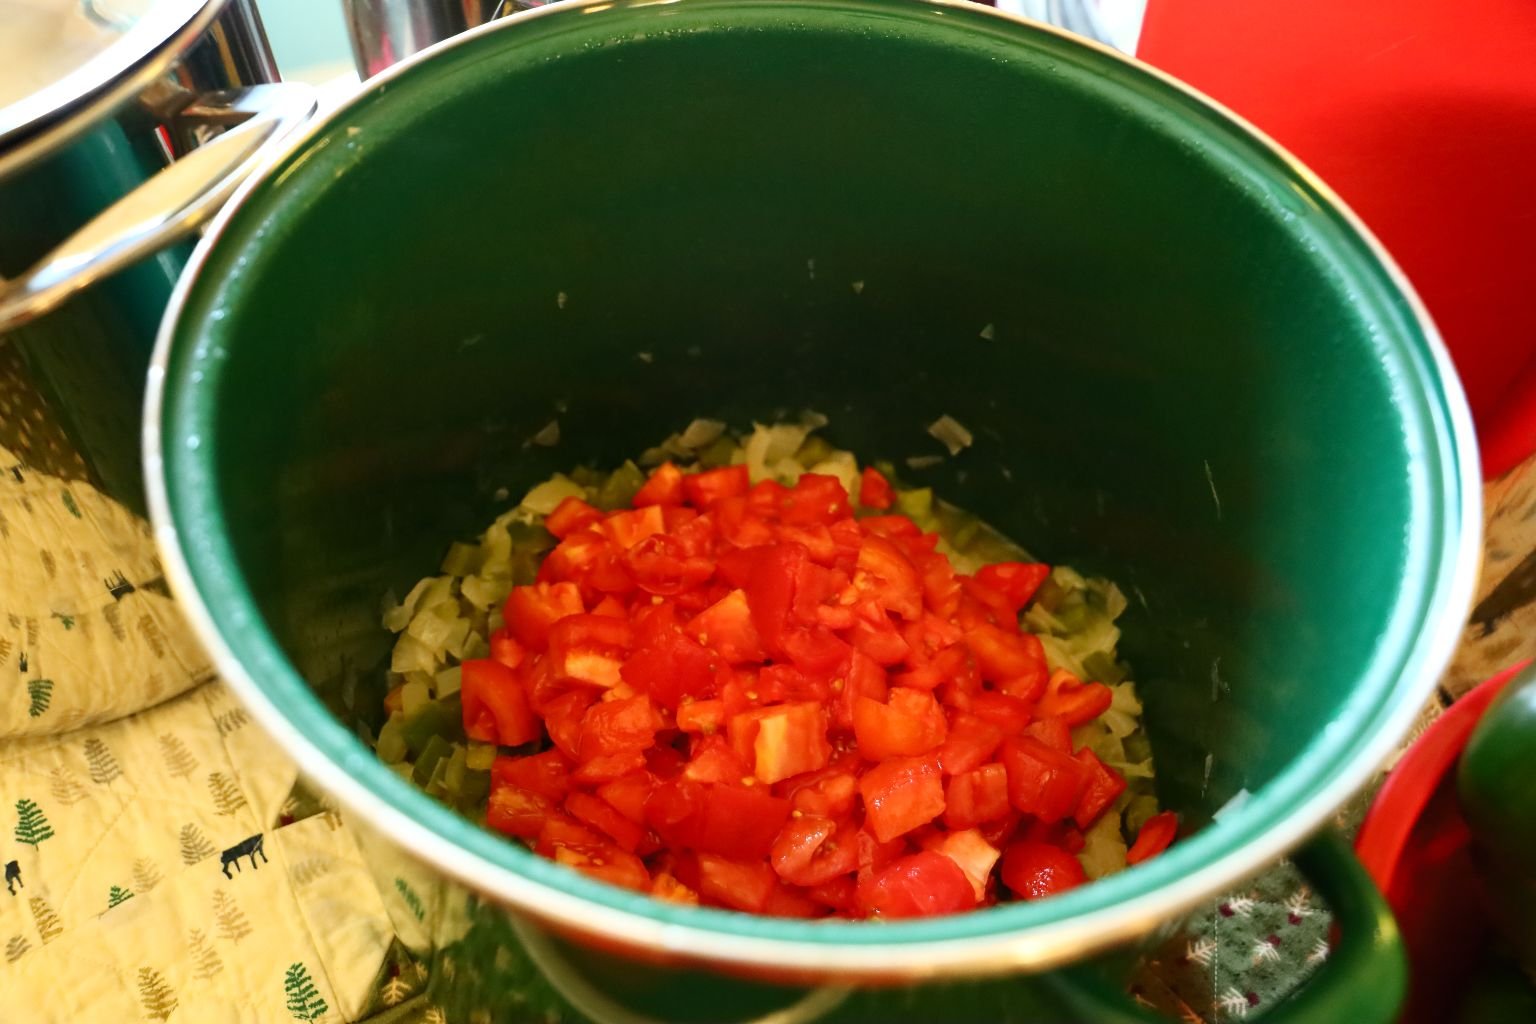
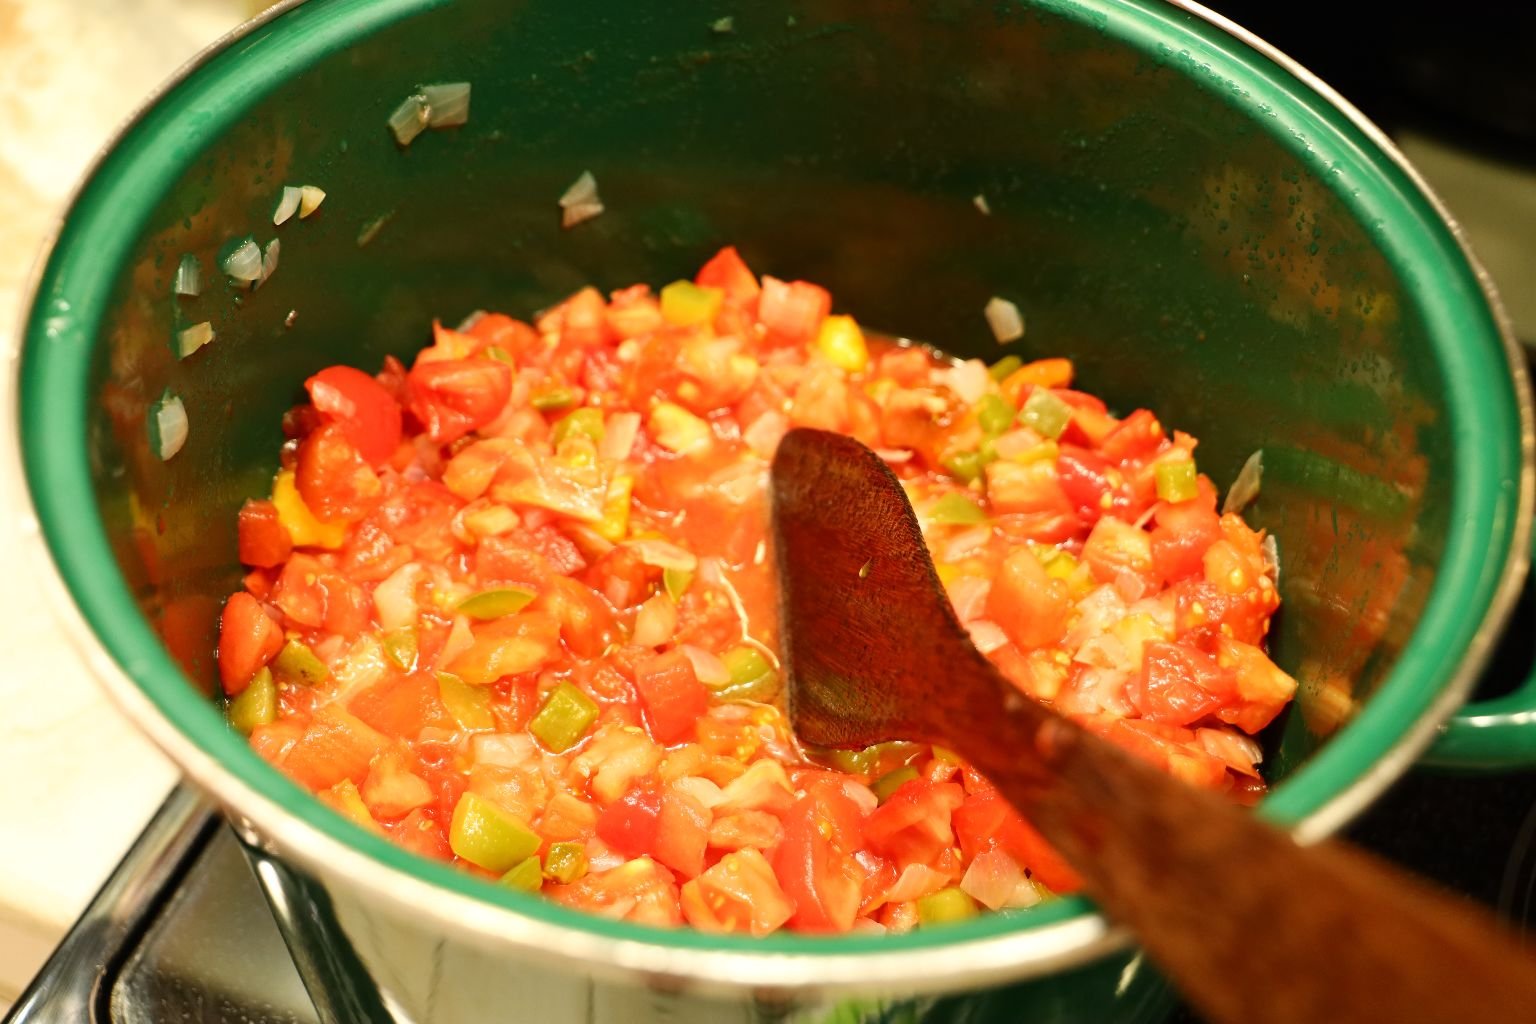
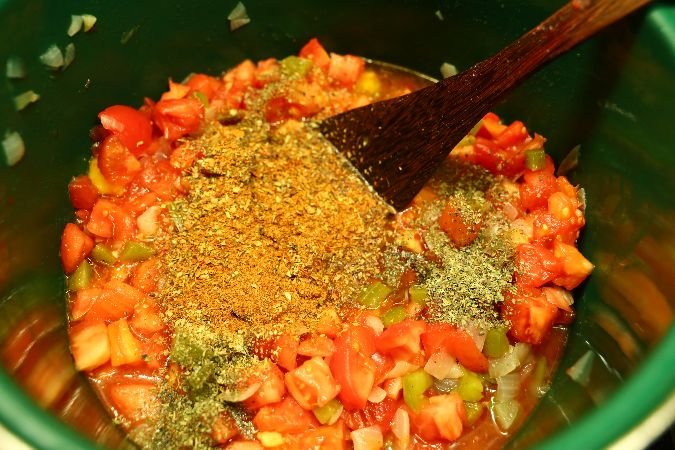
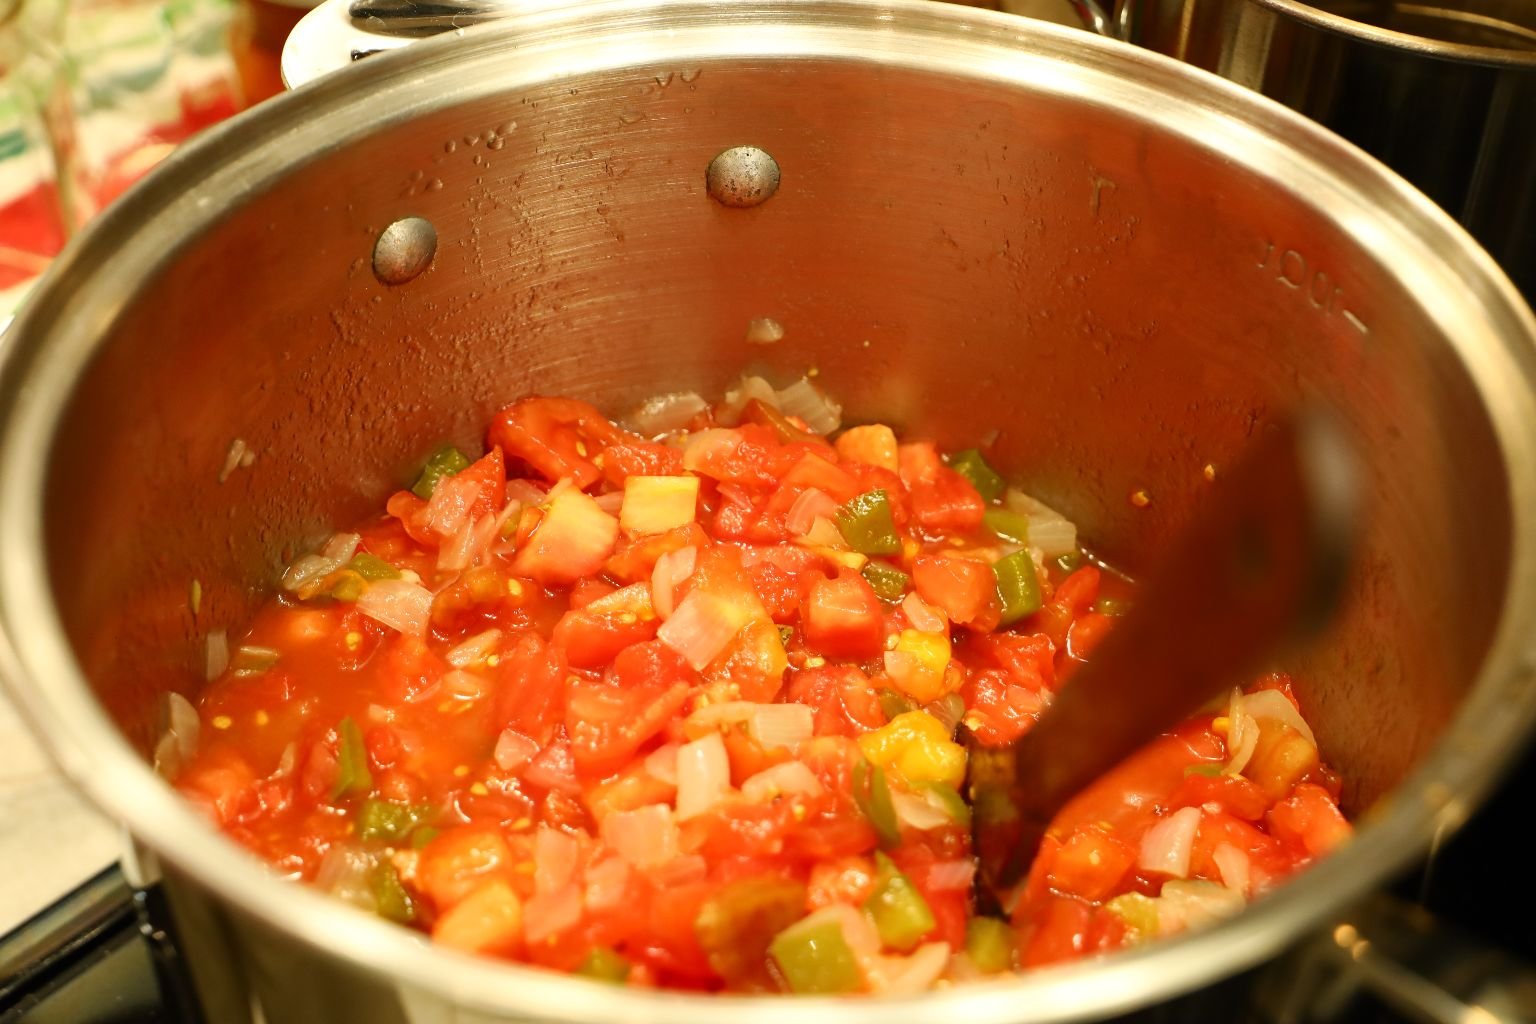
I am very happy with how they are looking. Lets get some seasoning in them now.
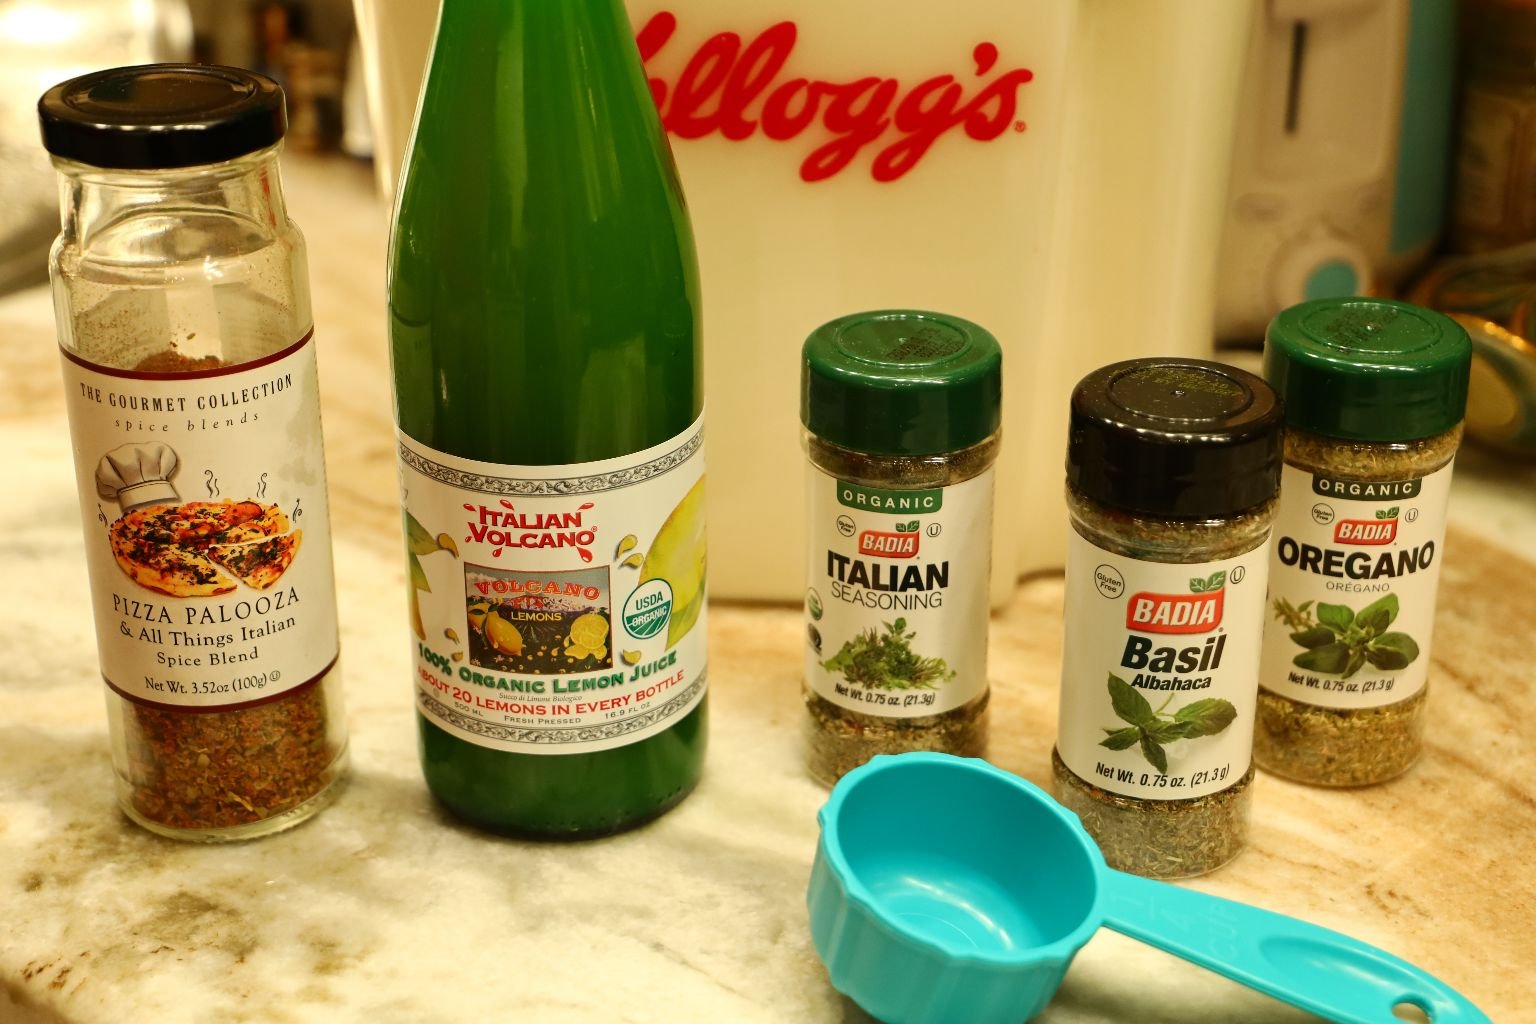
This is the Italian Seasonings
——————————————————————————
Into ONE Pot…

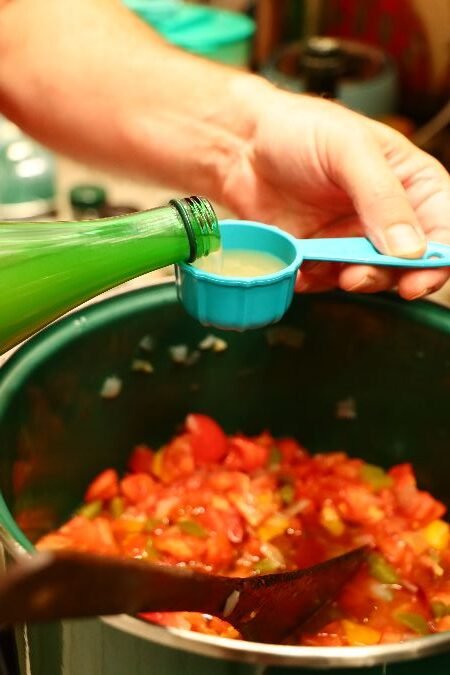
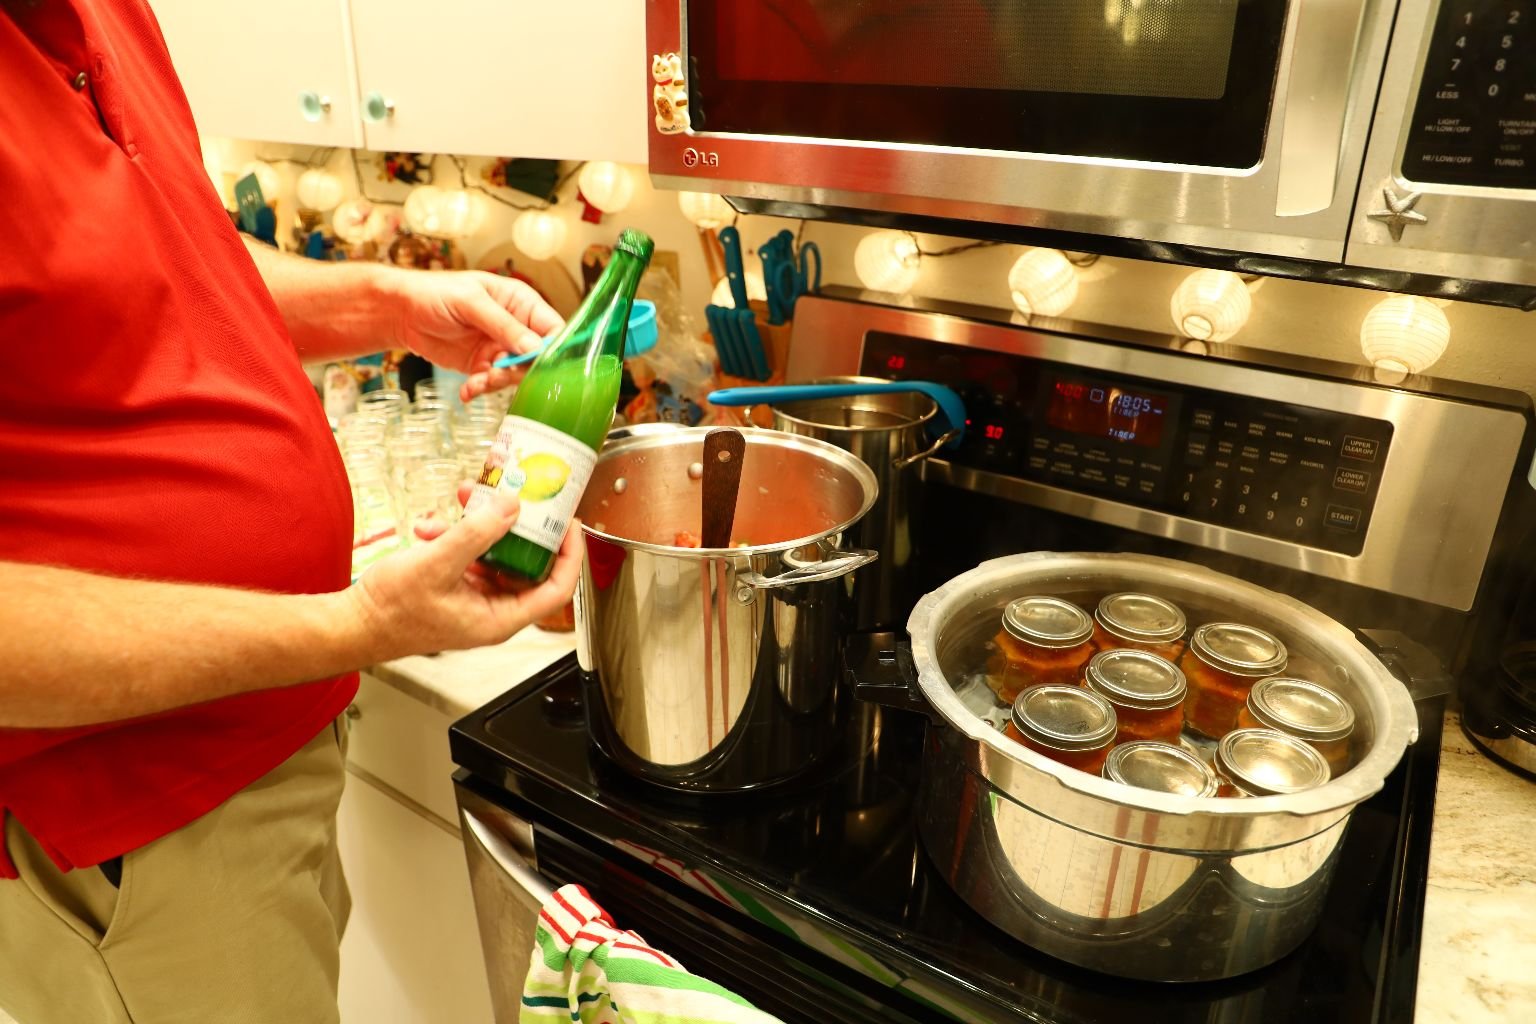
The Olive Oil will add some nice depth of flavor so be sure it is a good one. This Italian Volcano Lemon Juice is so good, and it will add some nice acidity while making it taste bright and fresh. Add a little at a time then taste it as you can always add more.
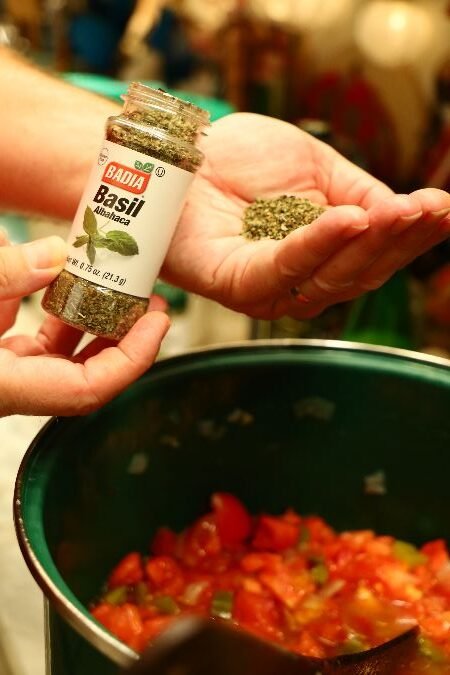
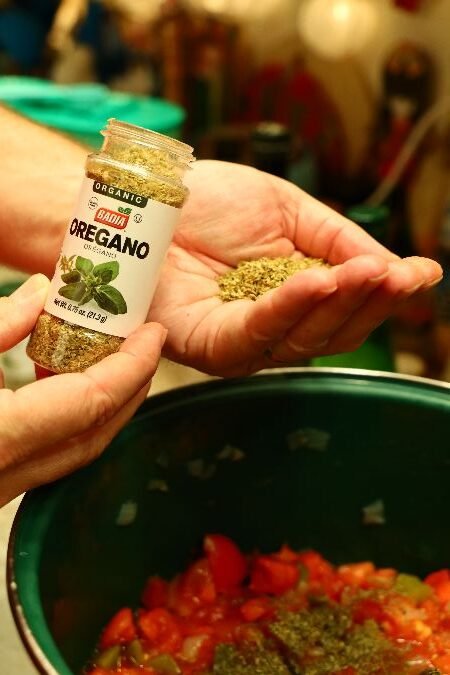
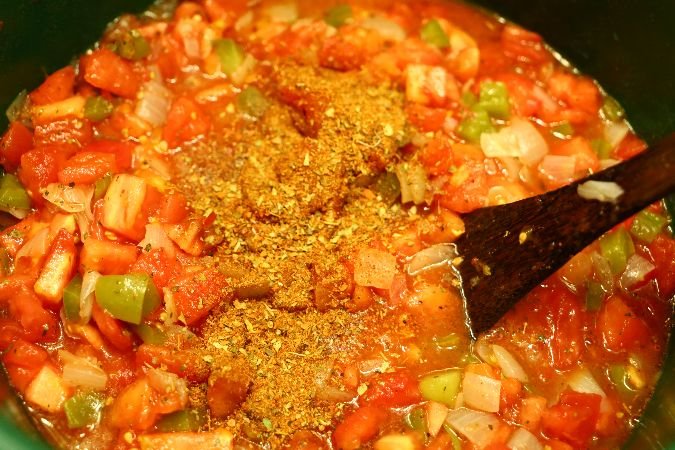
Now for the Dried Basil and Oregano.
Again, add a little now. After it cooks a bit, taste it and adjust your seasonings.
This Italian Seasoning is also nice, as is the Pizza Palooza.
Nice picture Julie!
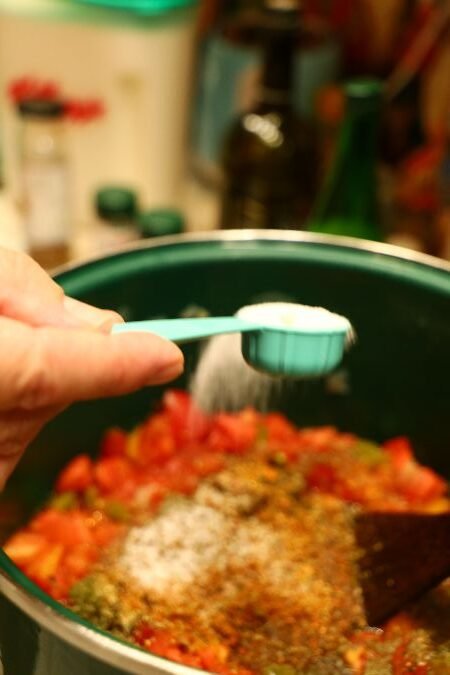
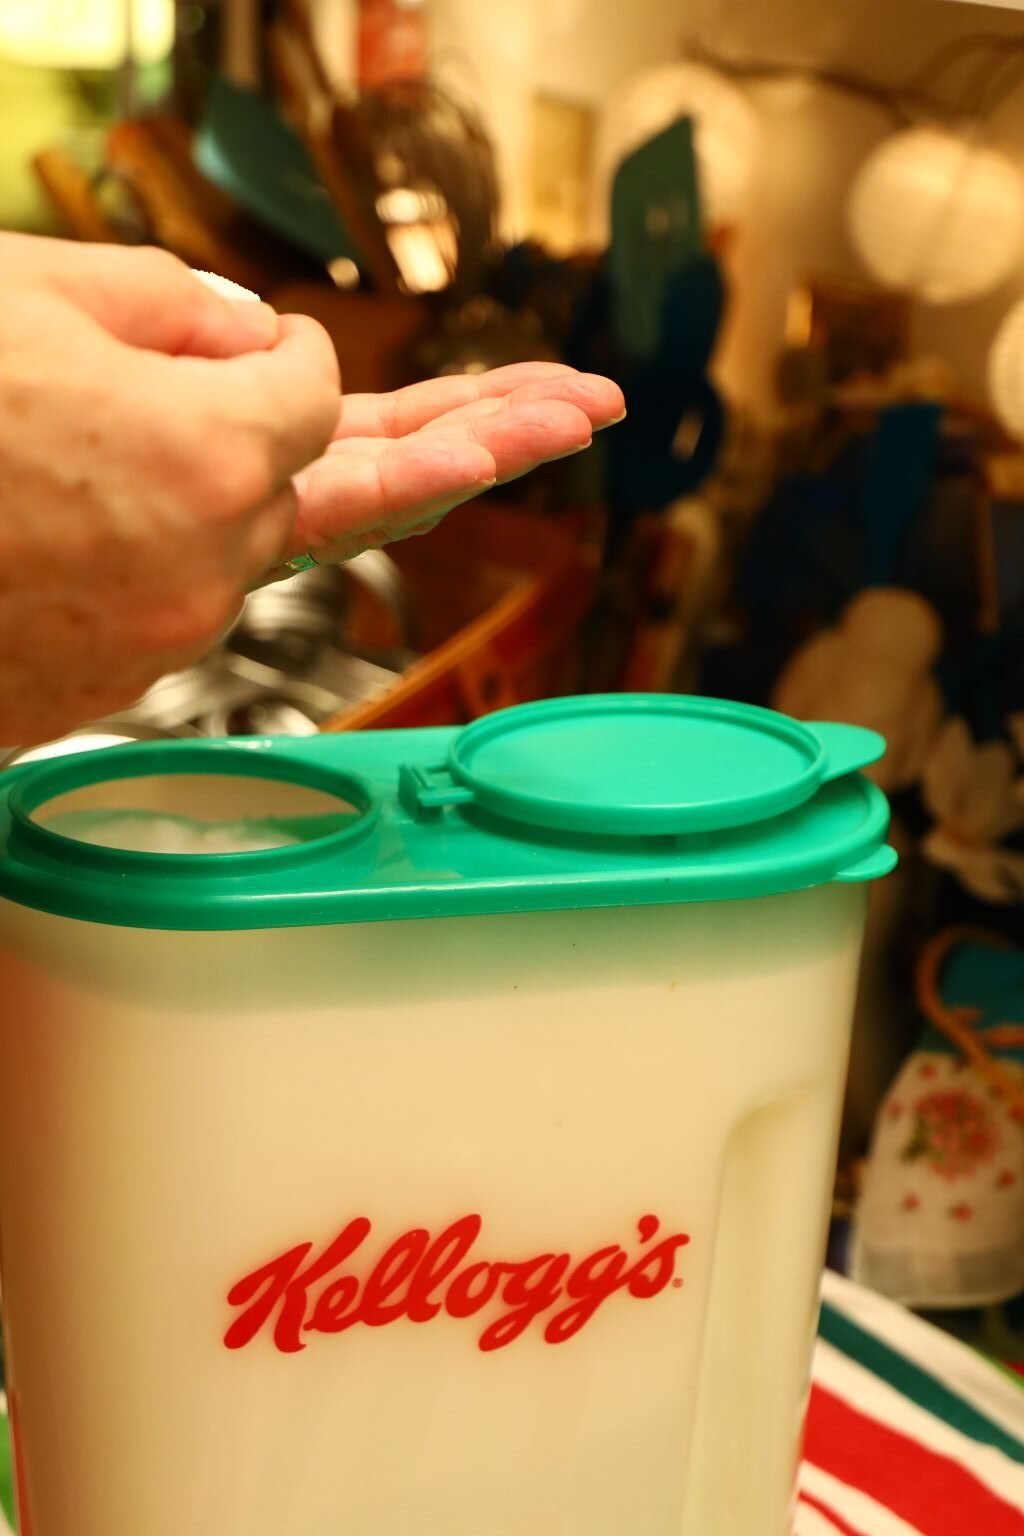
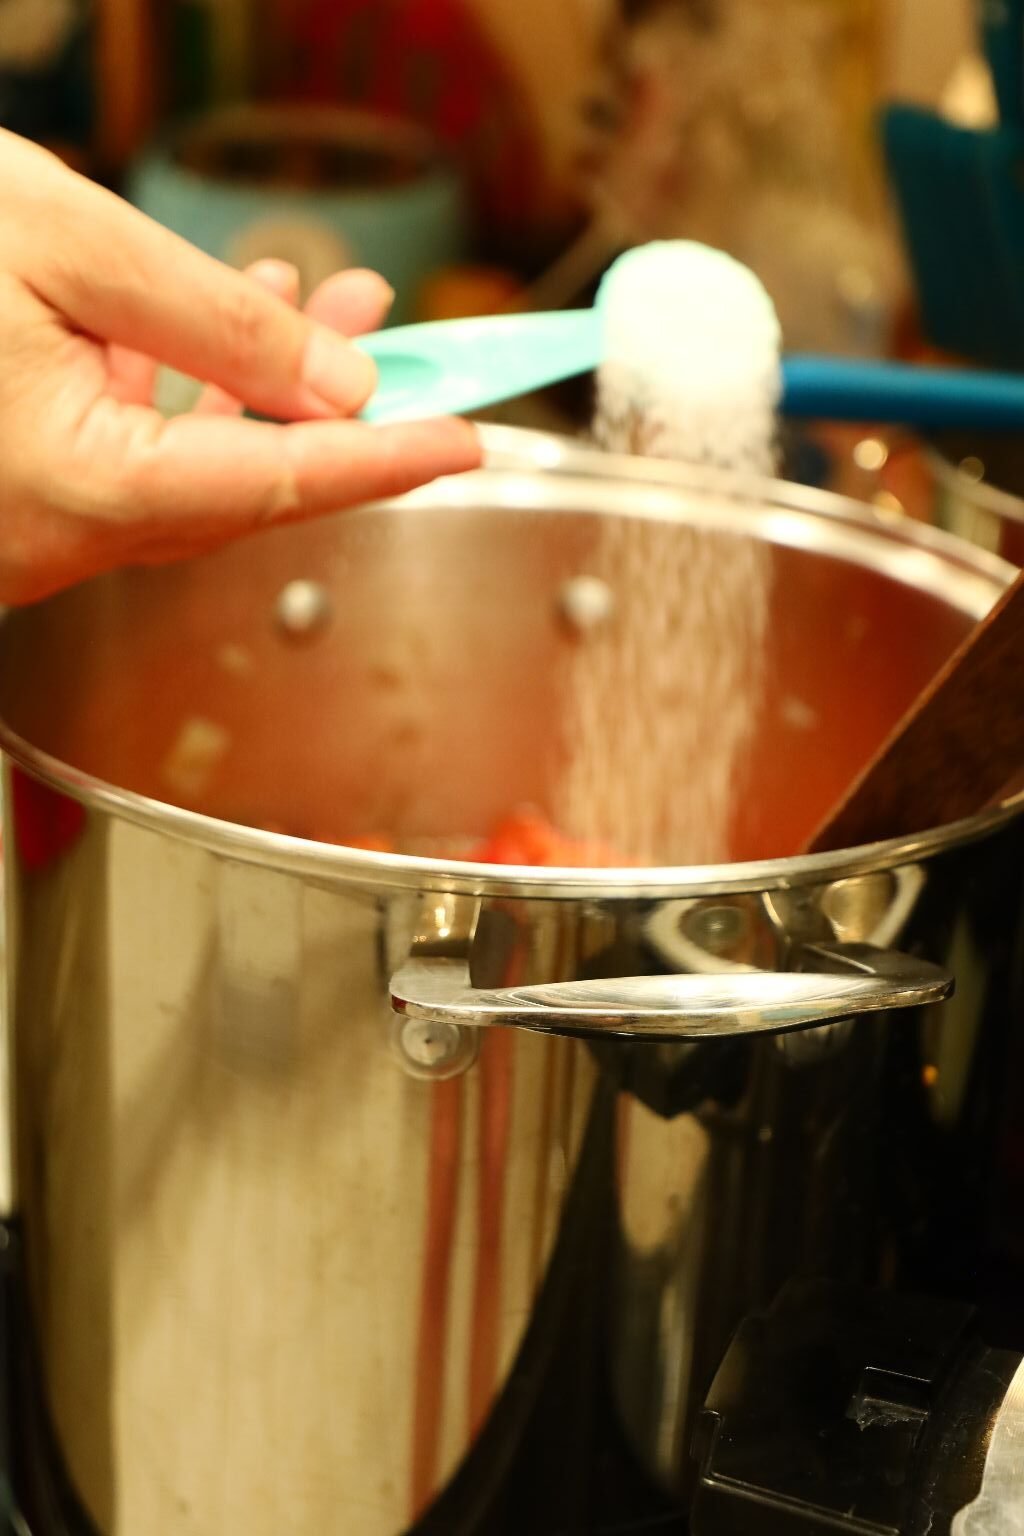
Adding the Hawaiian Sea Salt. Be sure to do this sparingly.
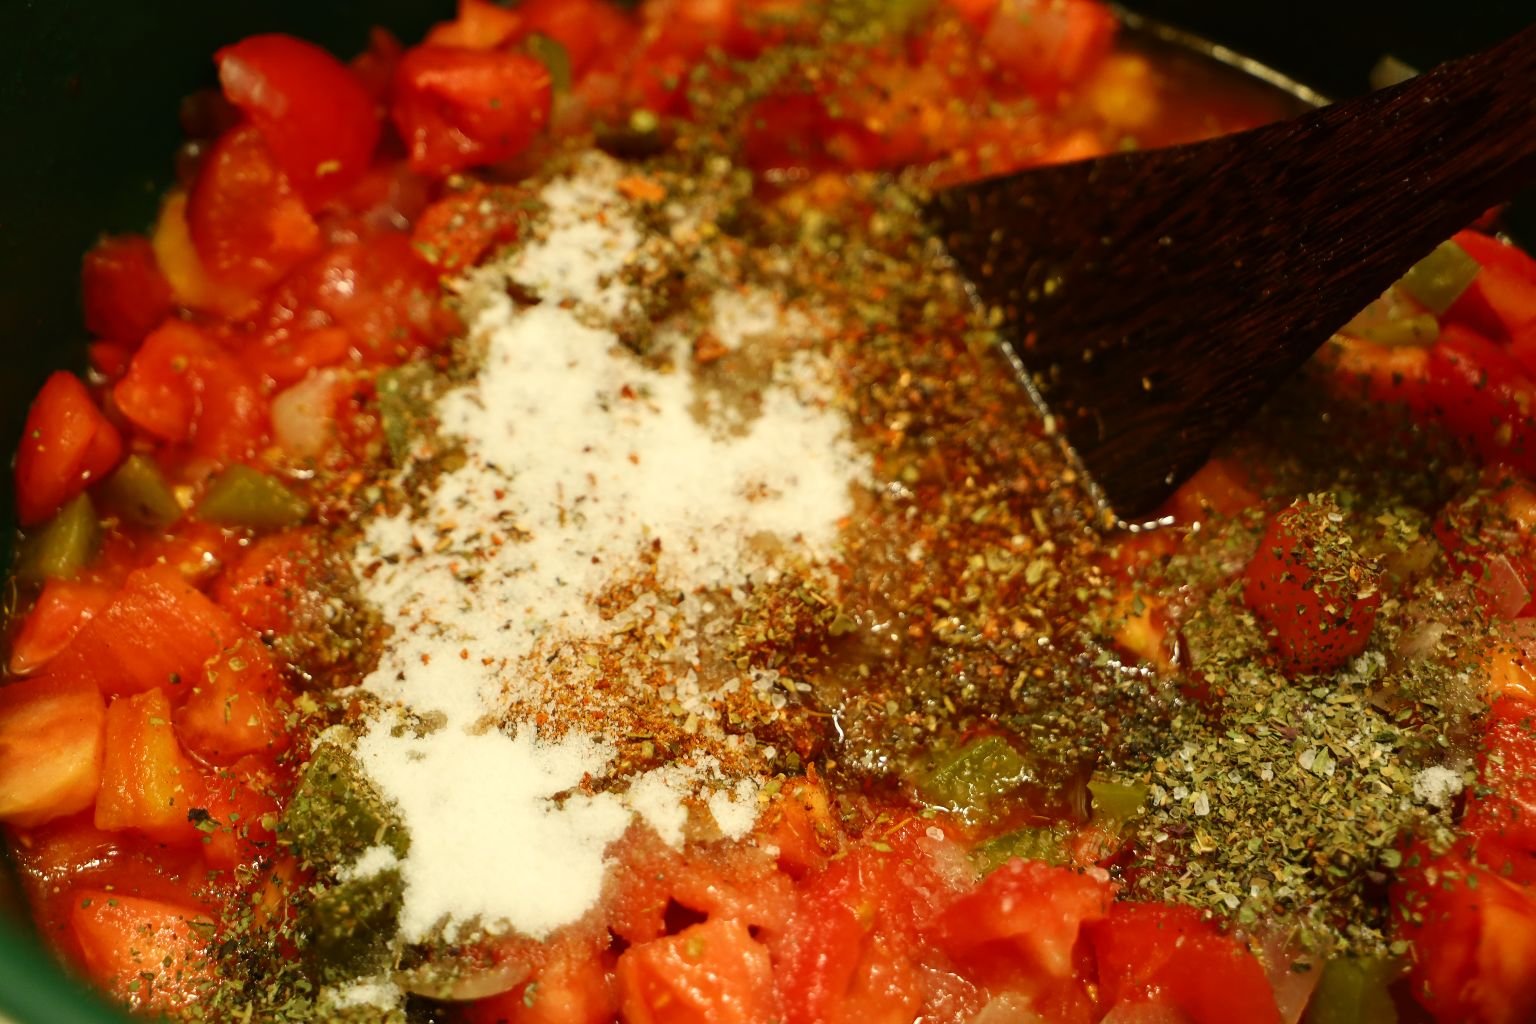
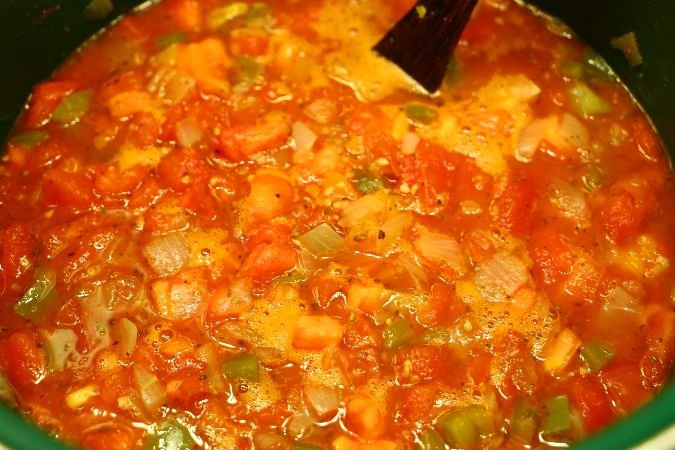
Stir all the ingredients together and let it cook for a bit.
It looks great!
They are all still cooking at a Medium High Temperature.
——————————————————————————–
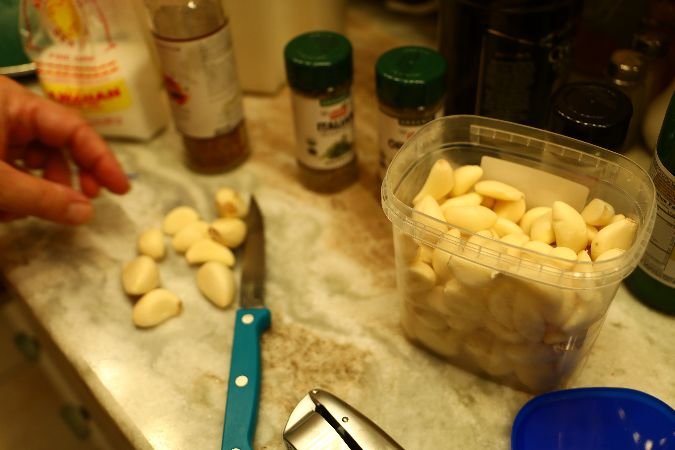
Time to add the Garlic!
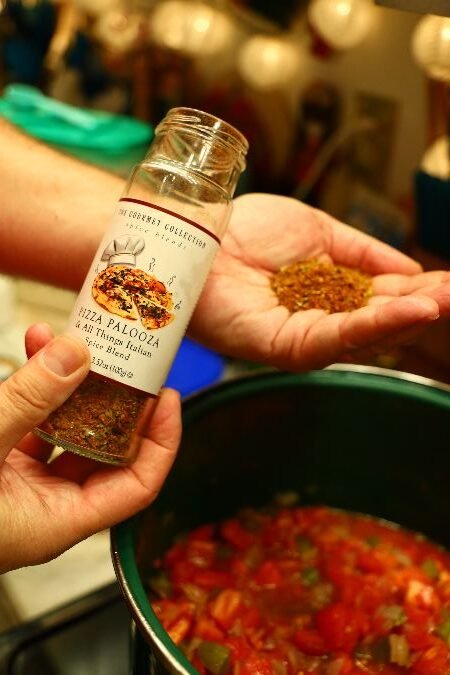
I think it could use some more Pizza Palooza.
—————————————————————————-
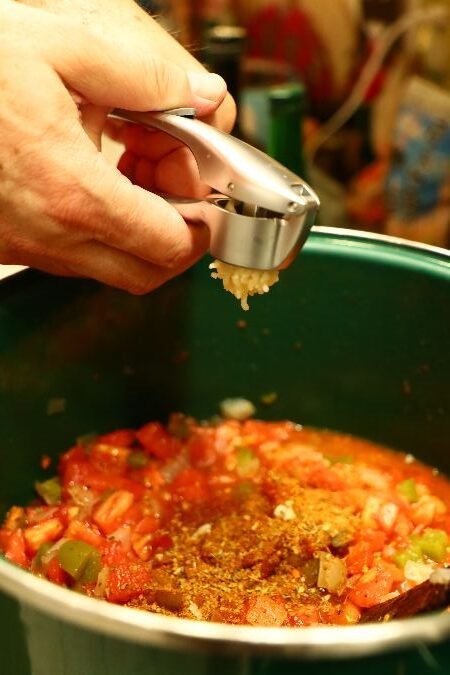
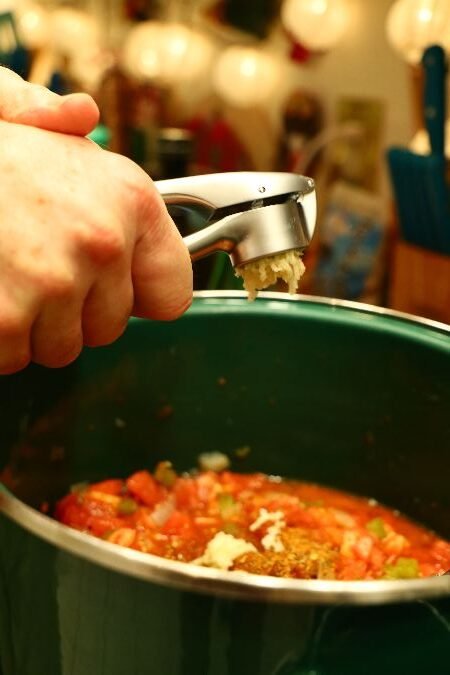
Using a tool to mince the Garlic.
————————————————————————————
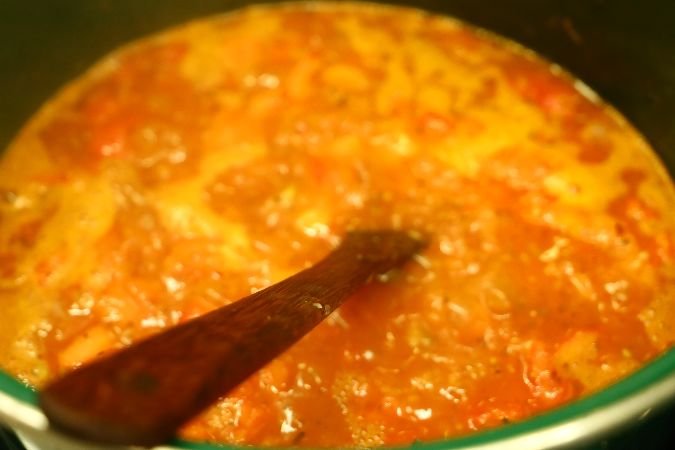
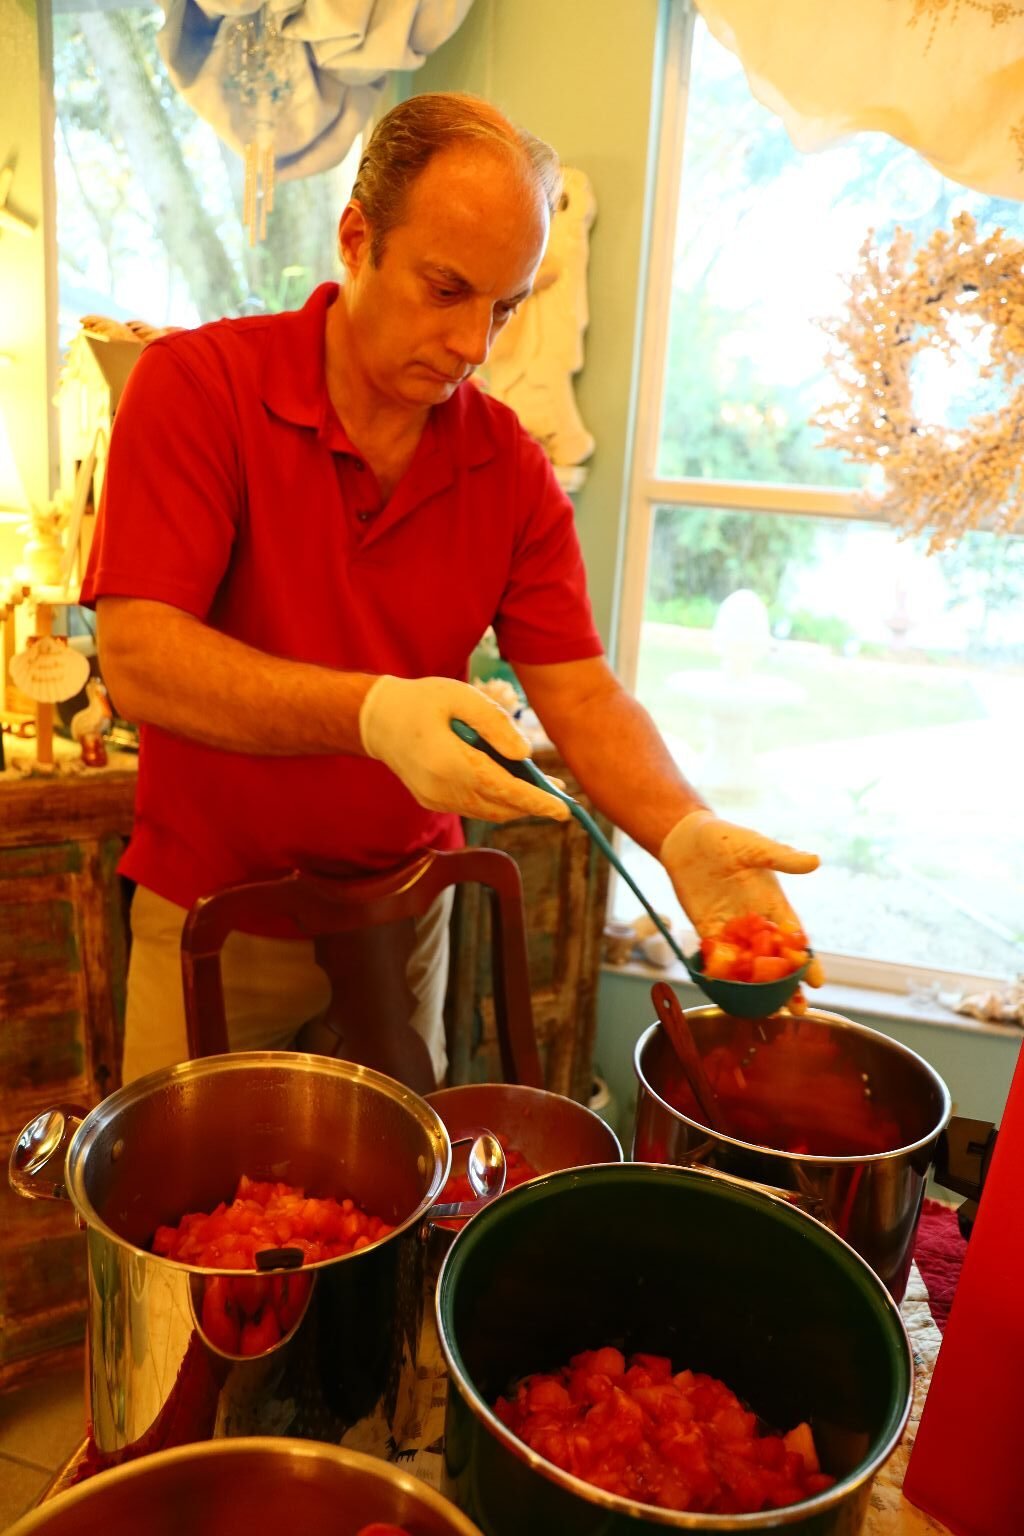
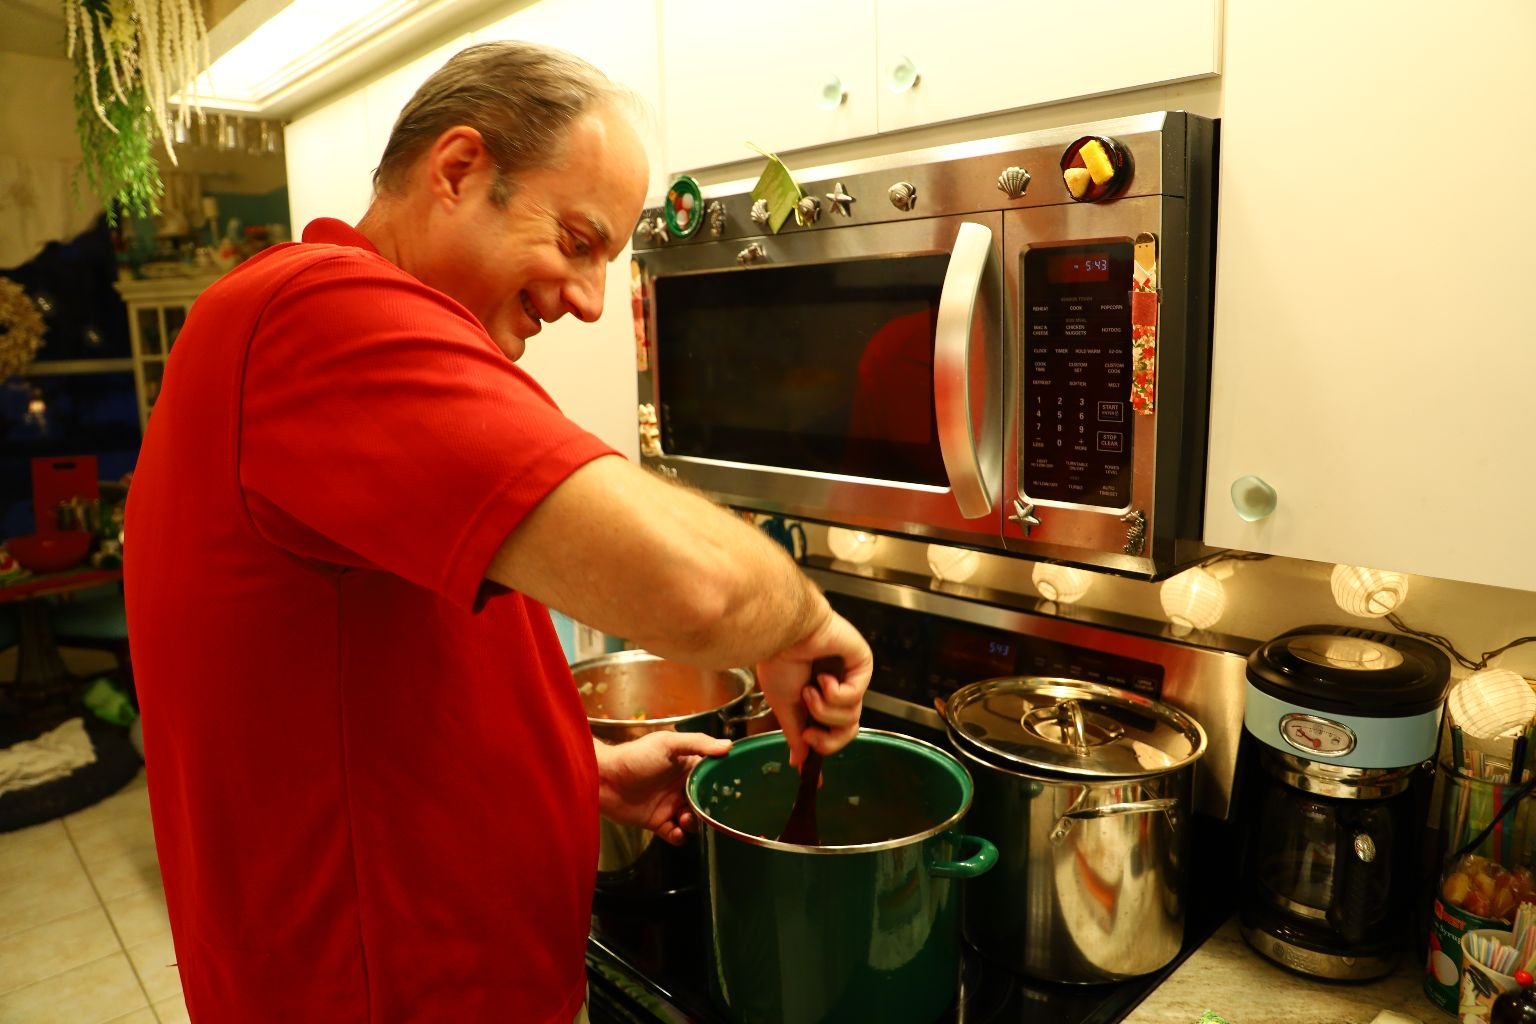
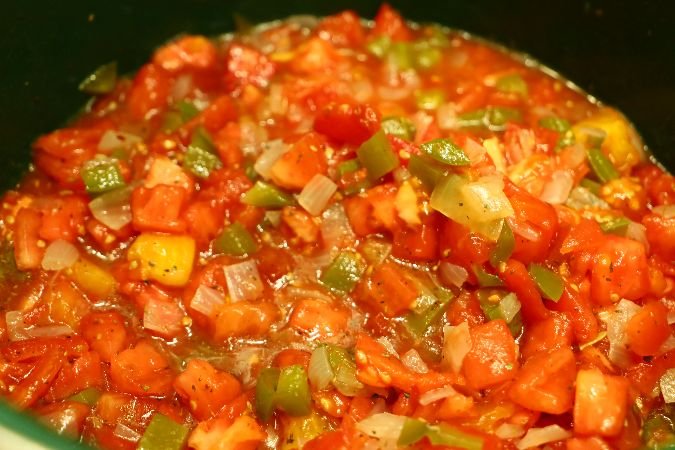
When your stir the pots, make sure you go all the way down making sure the ingredients are not sticking to the bottom. This Stewed Tomatoes are now done and ready for the canning process.
——————————————————————————————-
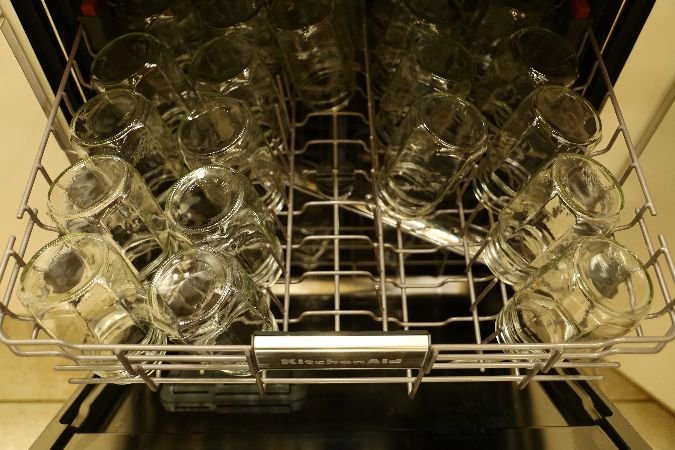
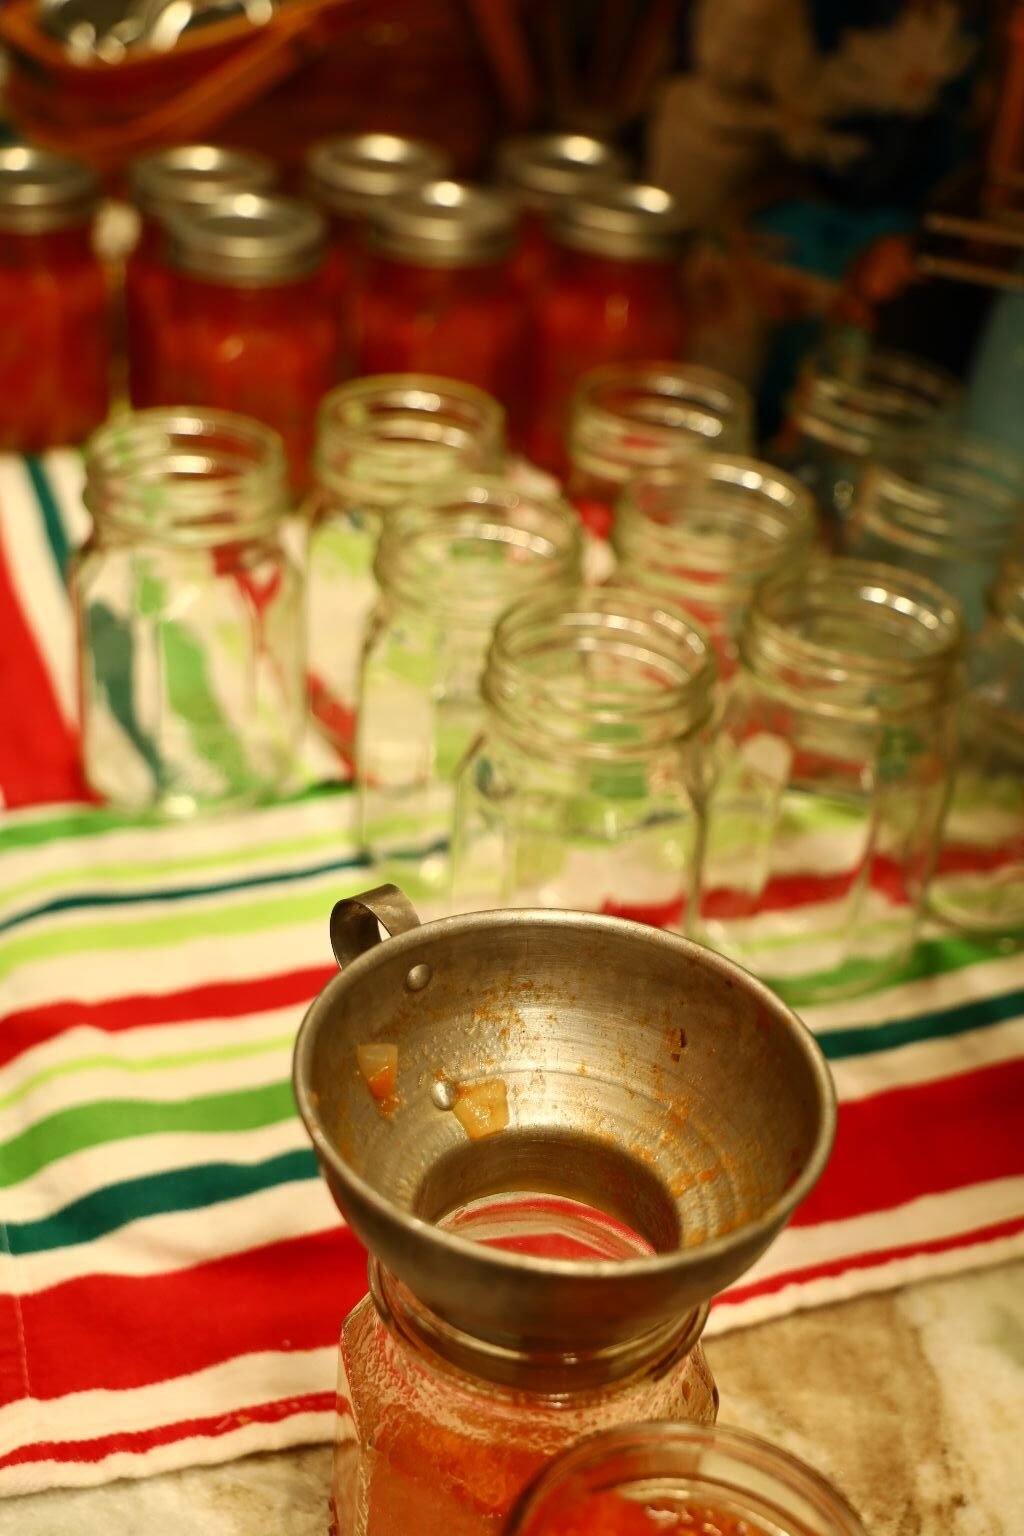
We washed our jars in the dishwasher and let them stay in there to keep them sterilized and clean.
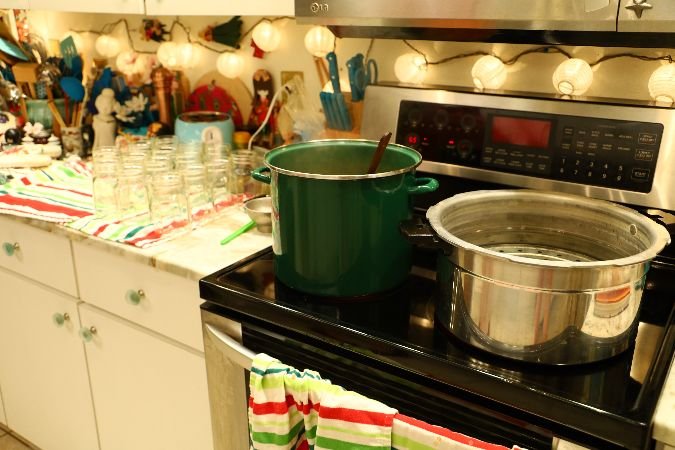
I use our largest pot to can the Stewed Tomatoes.
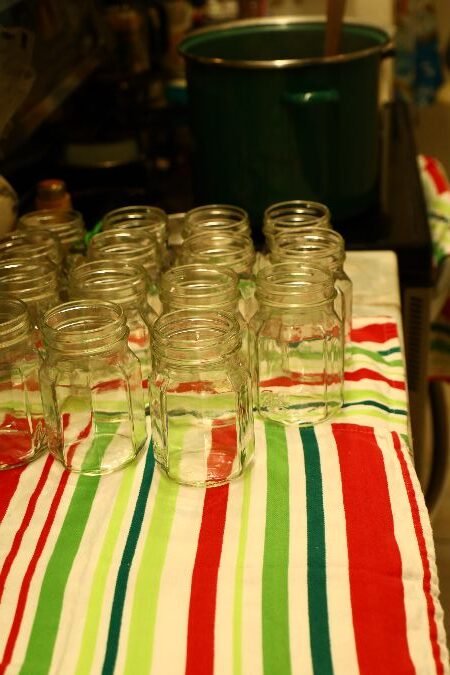
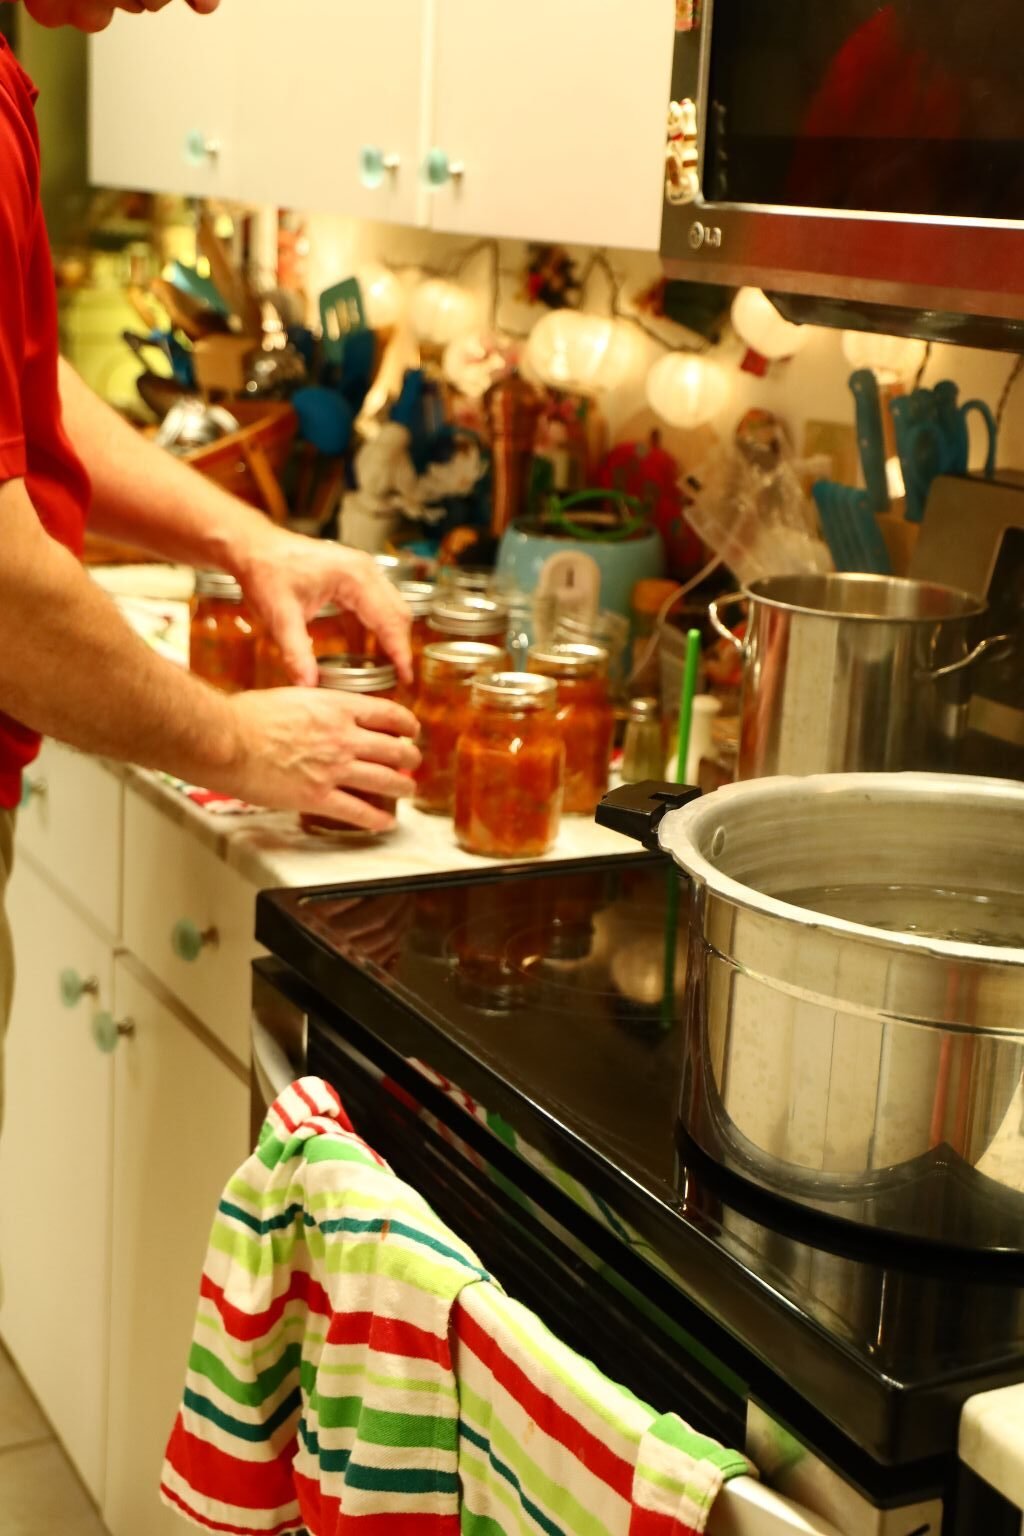
Here we placed the jars on dishcloths.
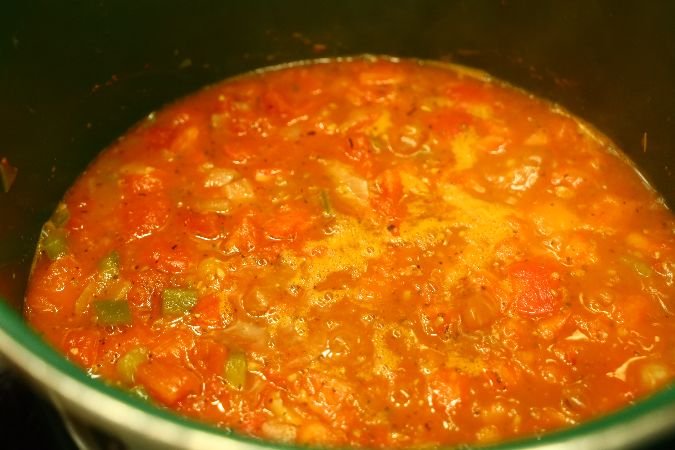
The Stewed Tomatoes look great!
————————————————————————
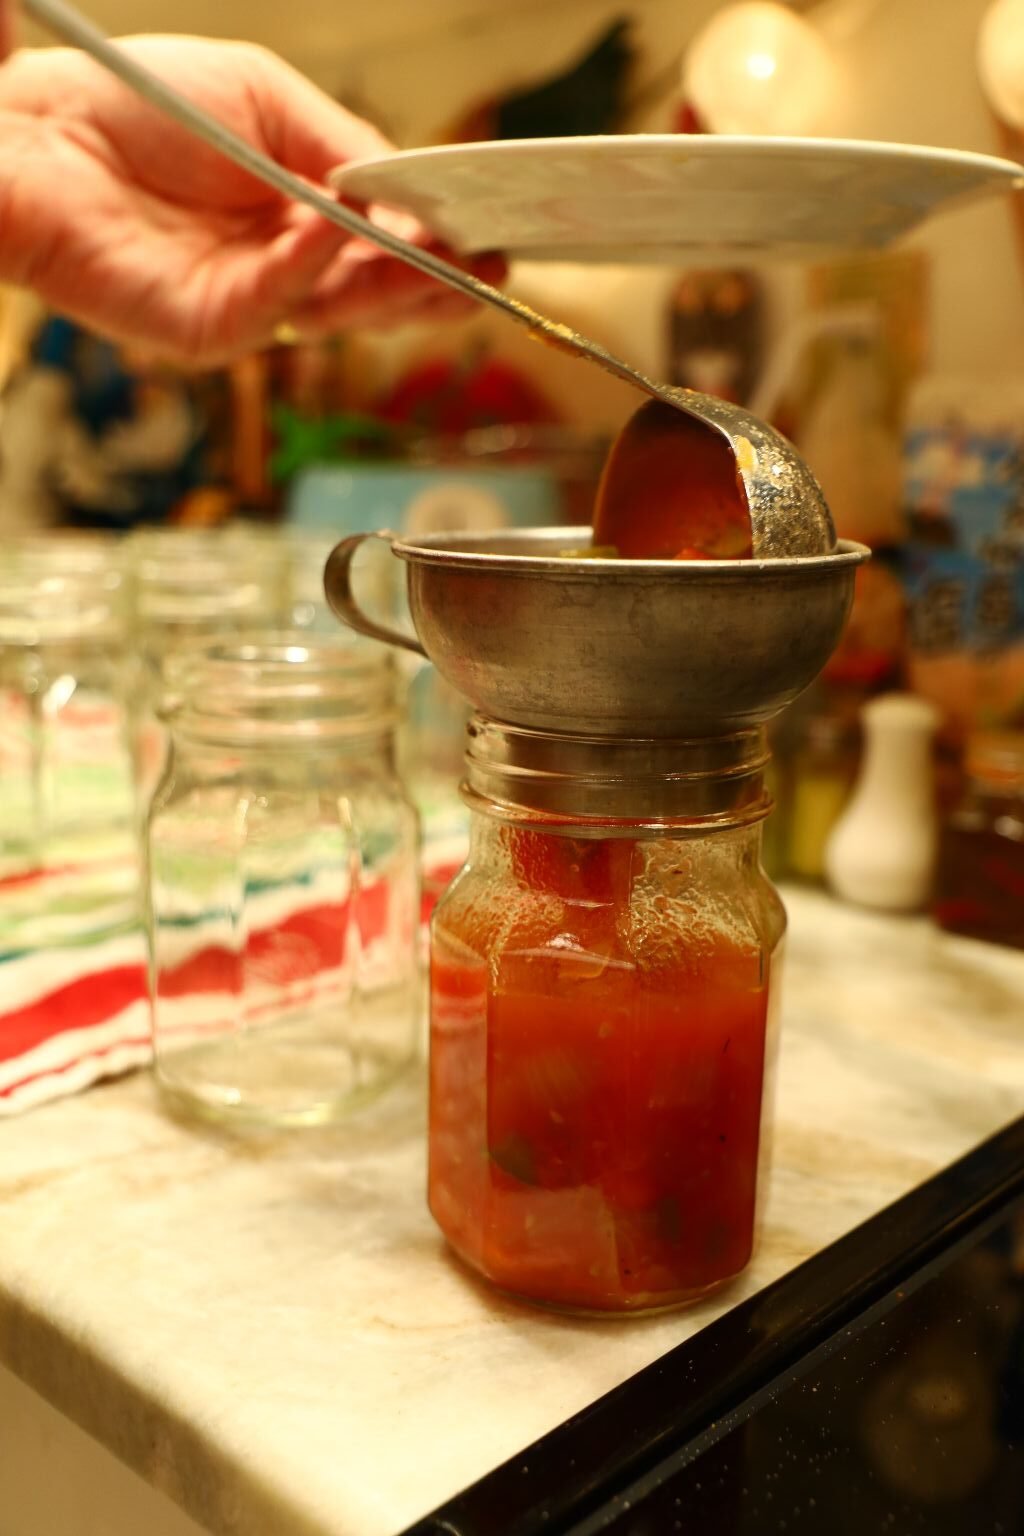
Time For The Canning Process
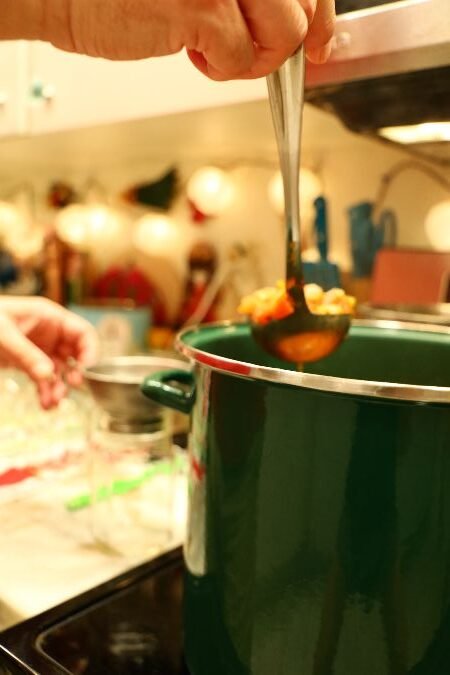
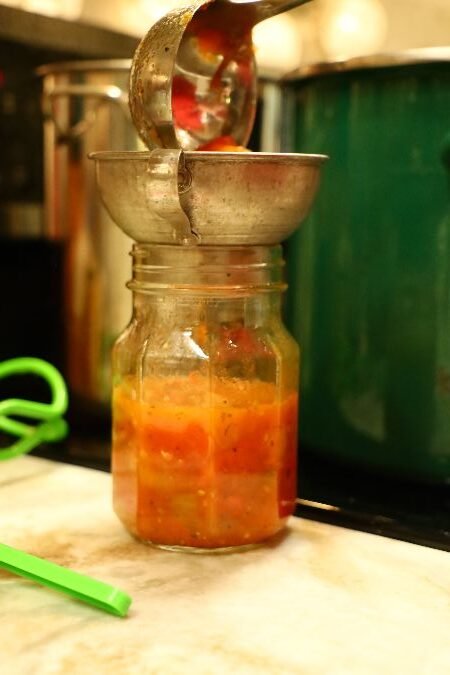
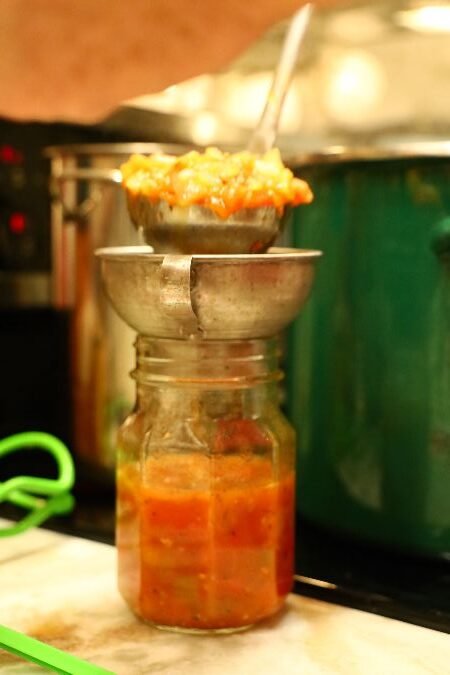
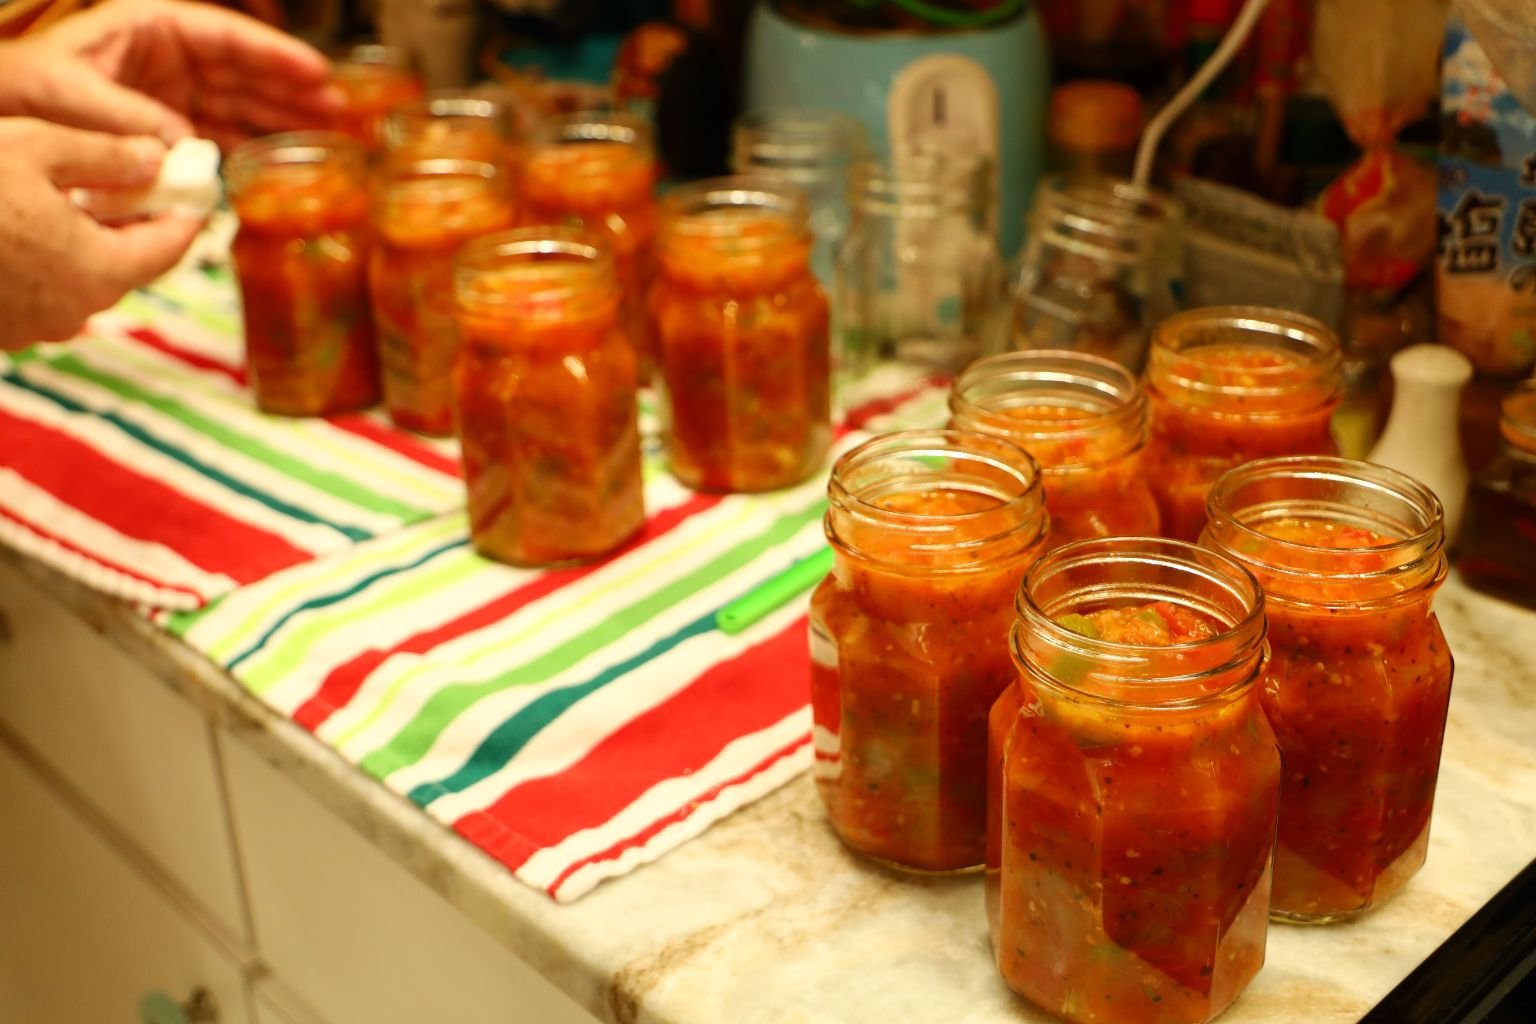
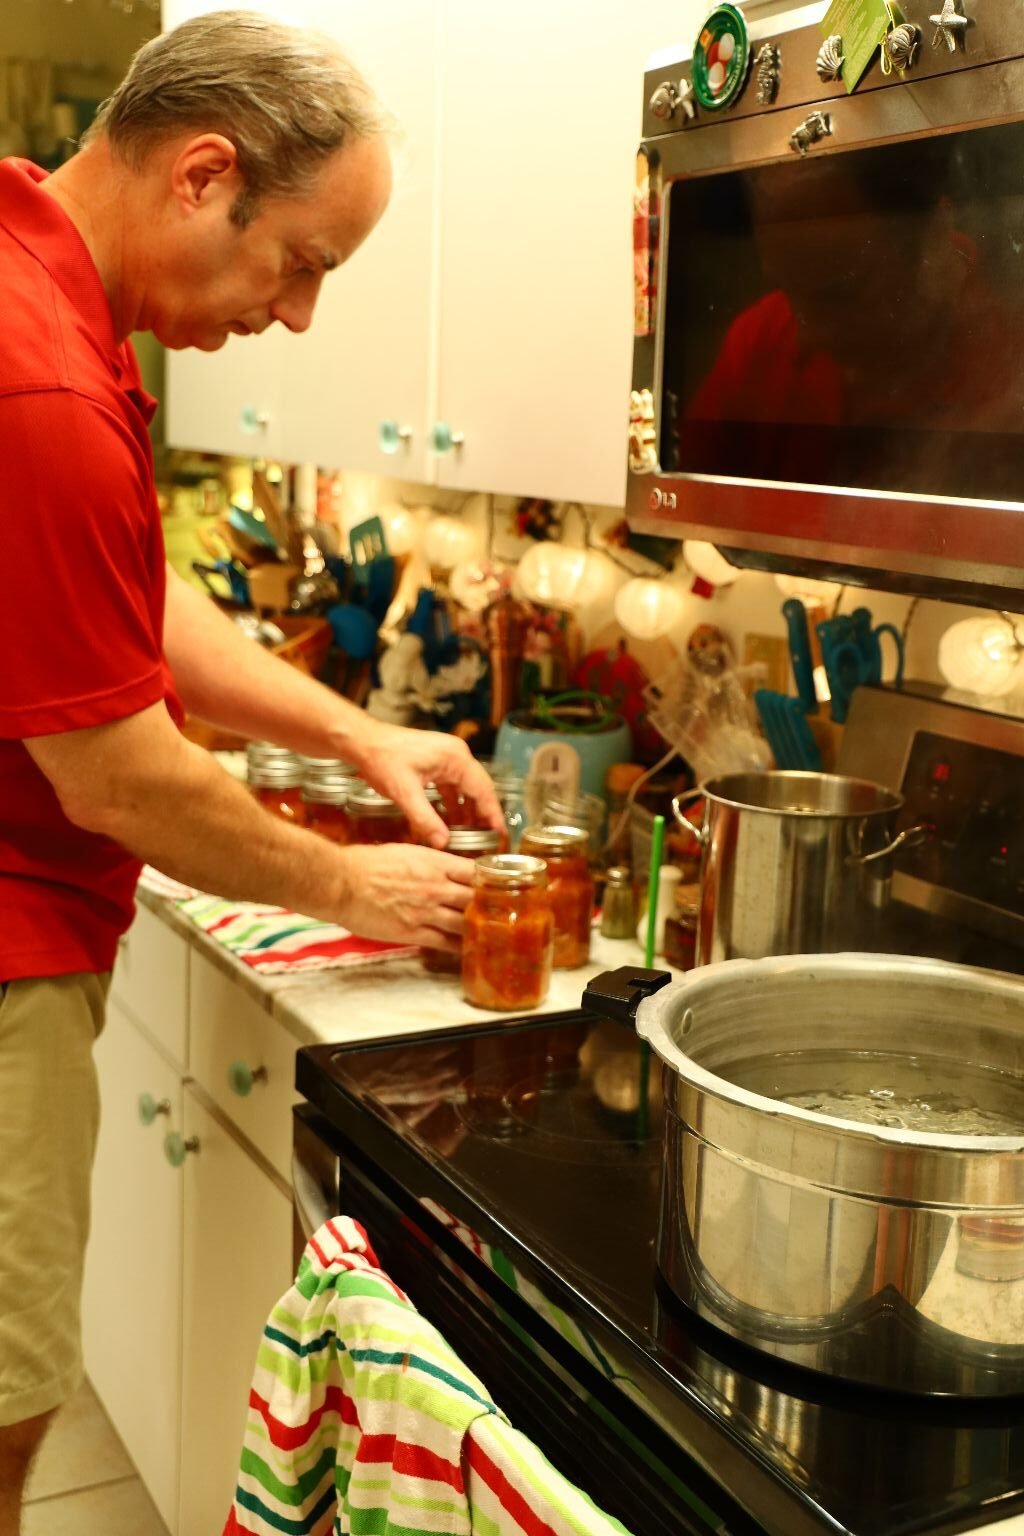
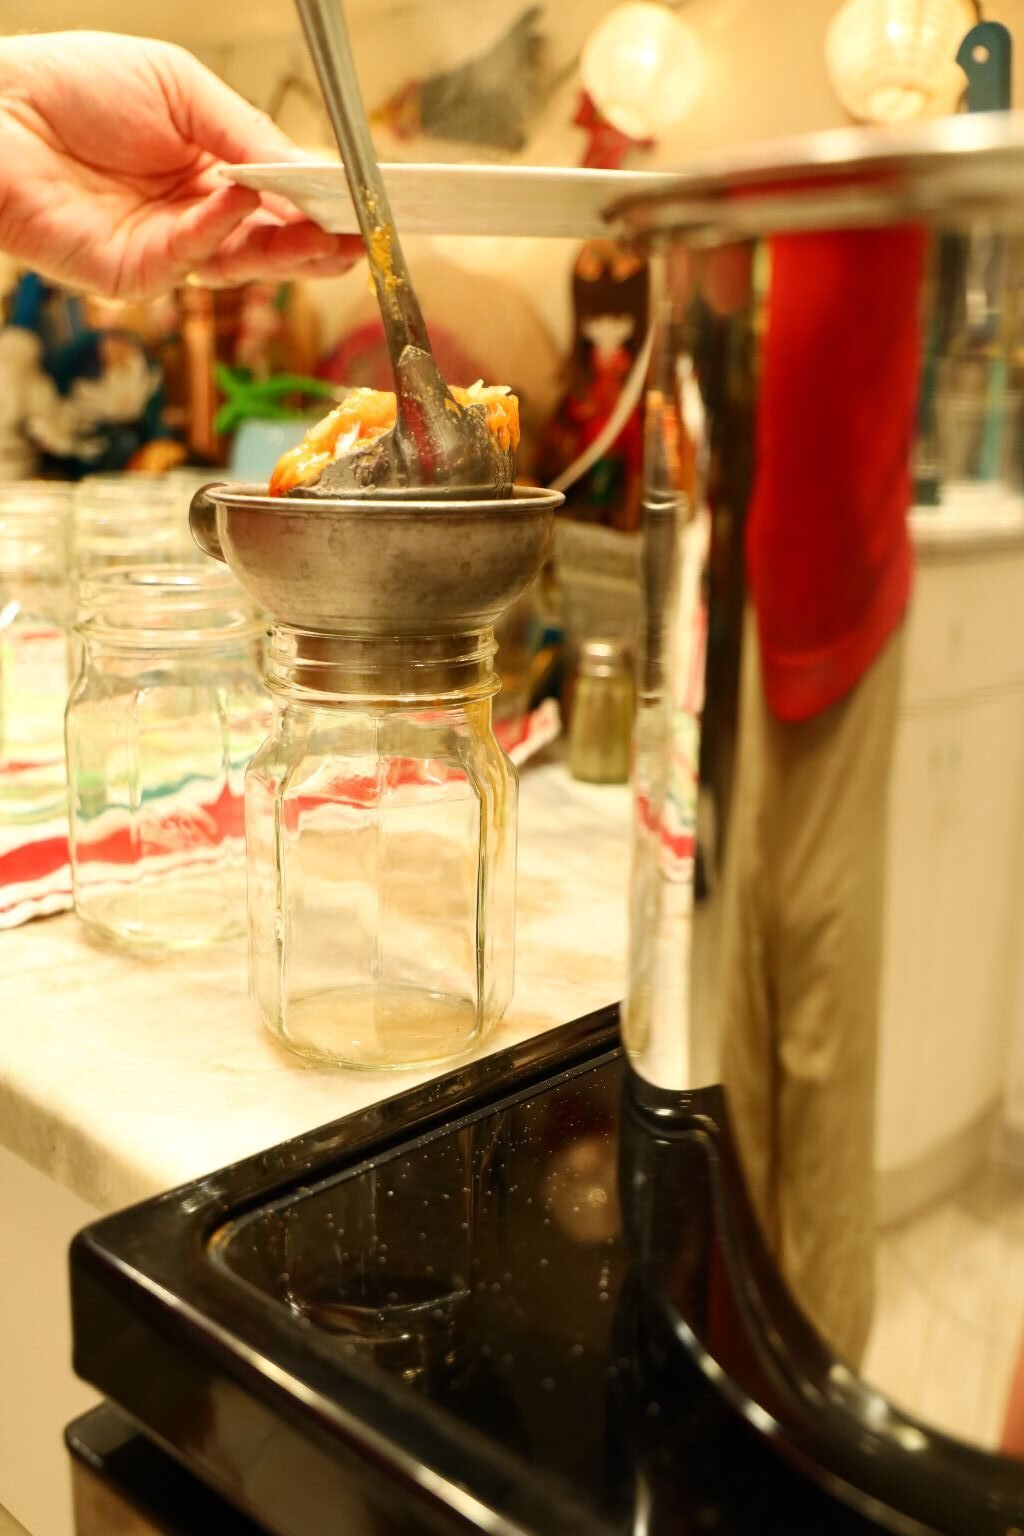
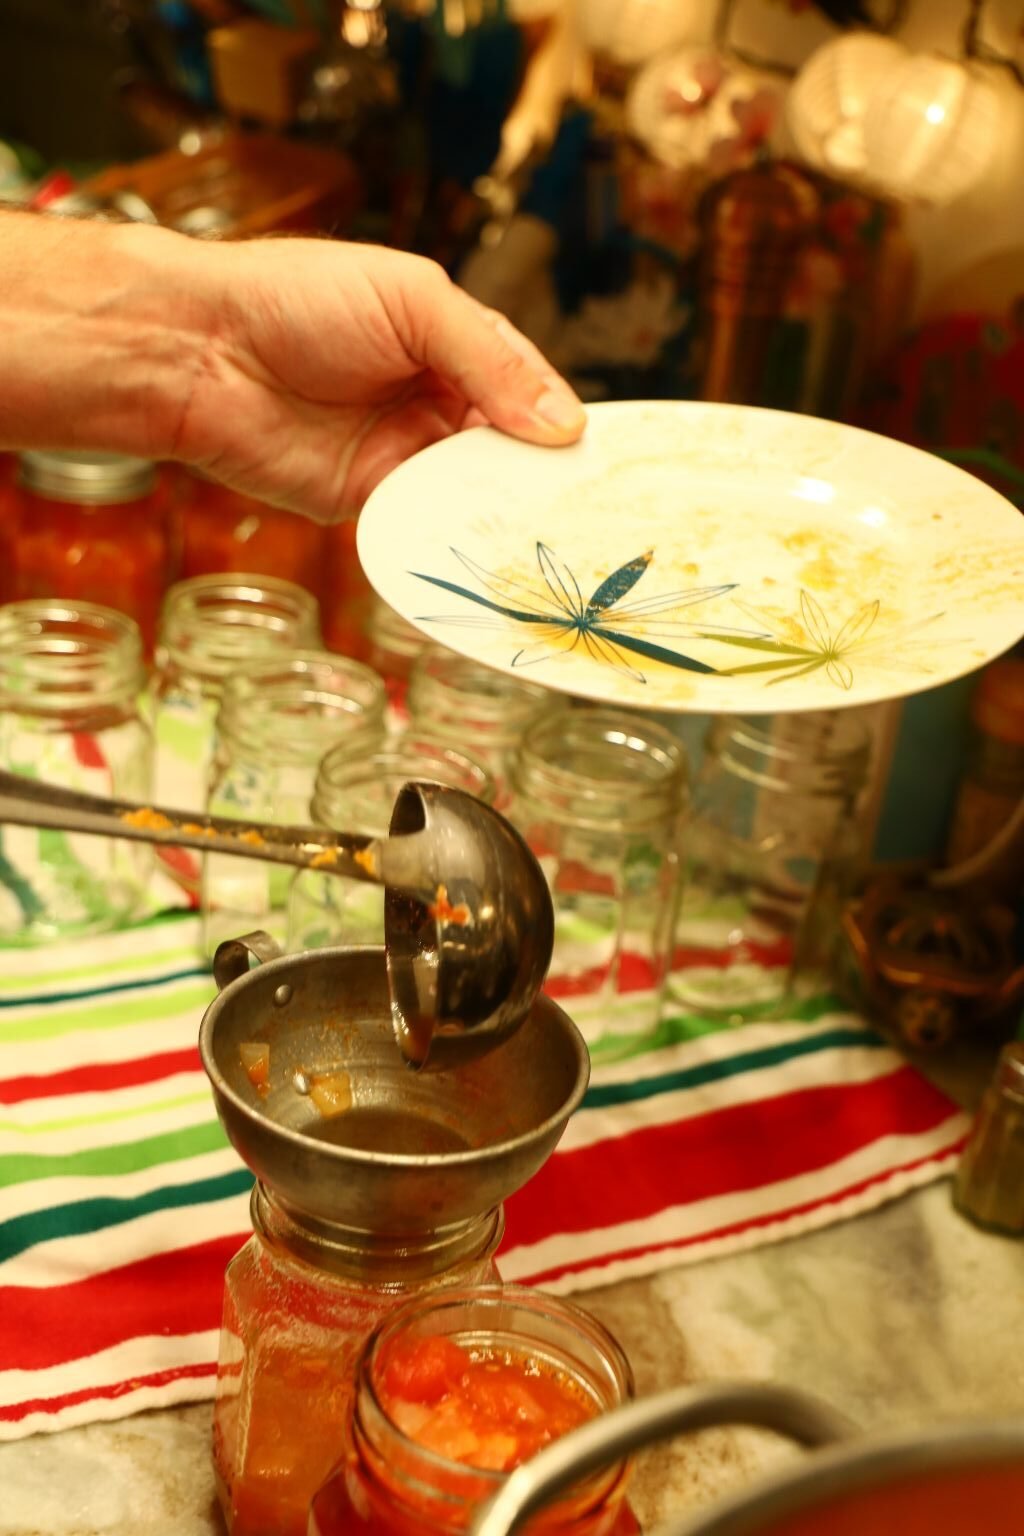
Ladle your Stewed Tomatoes into the jar. I am using a small plate to catch any of the drippings. You must use a large funnel to help with this process.
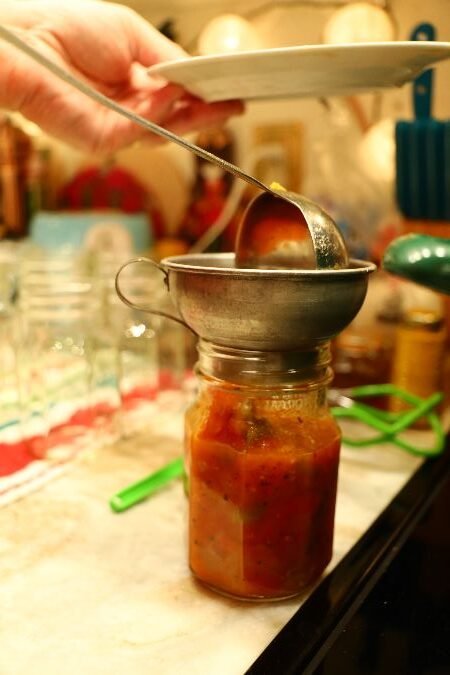
Fill the jars leaving at least 1 inch of air or Headspace at the top of the jar. This is needed to create a vacuum and seal the jar.
Great picture Julie!
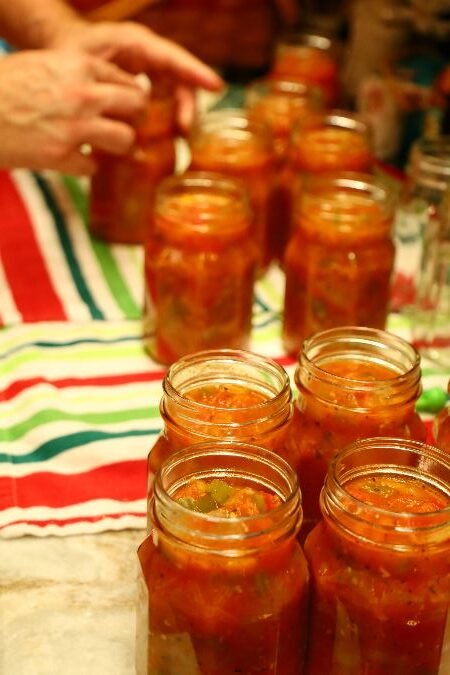
When you are done with one, move onto the next jar.
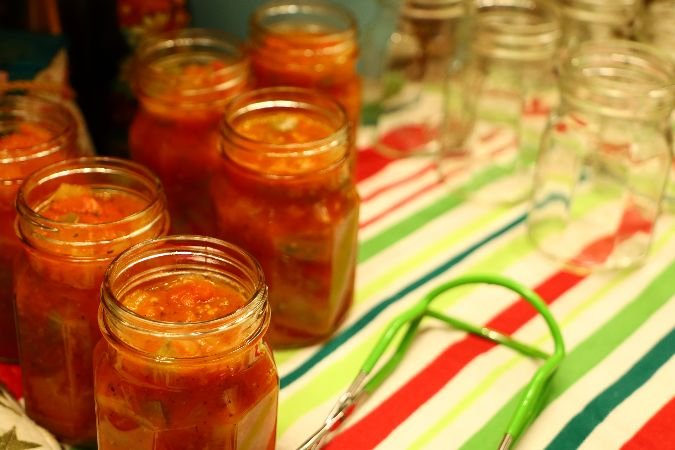
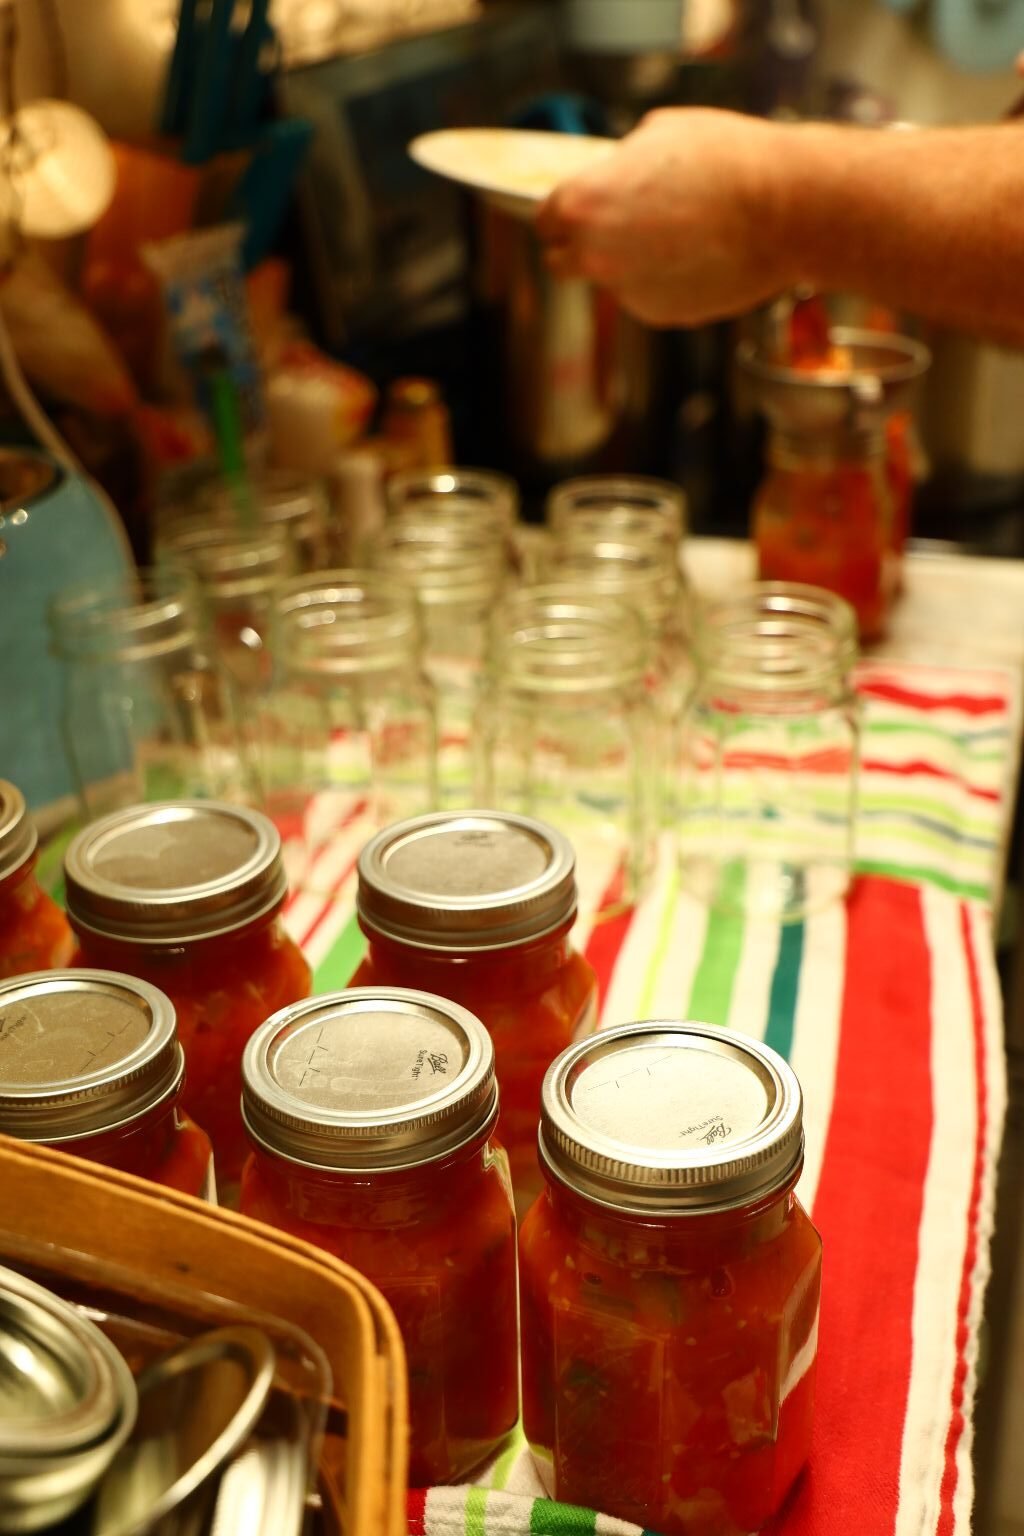
I completed filling all these jars and now it is time to start the next step of the process.
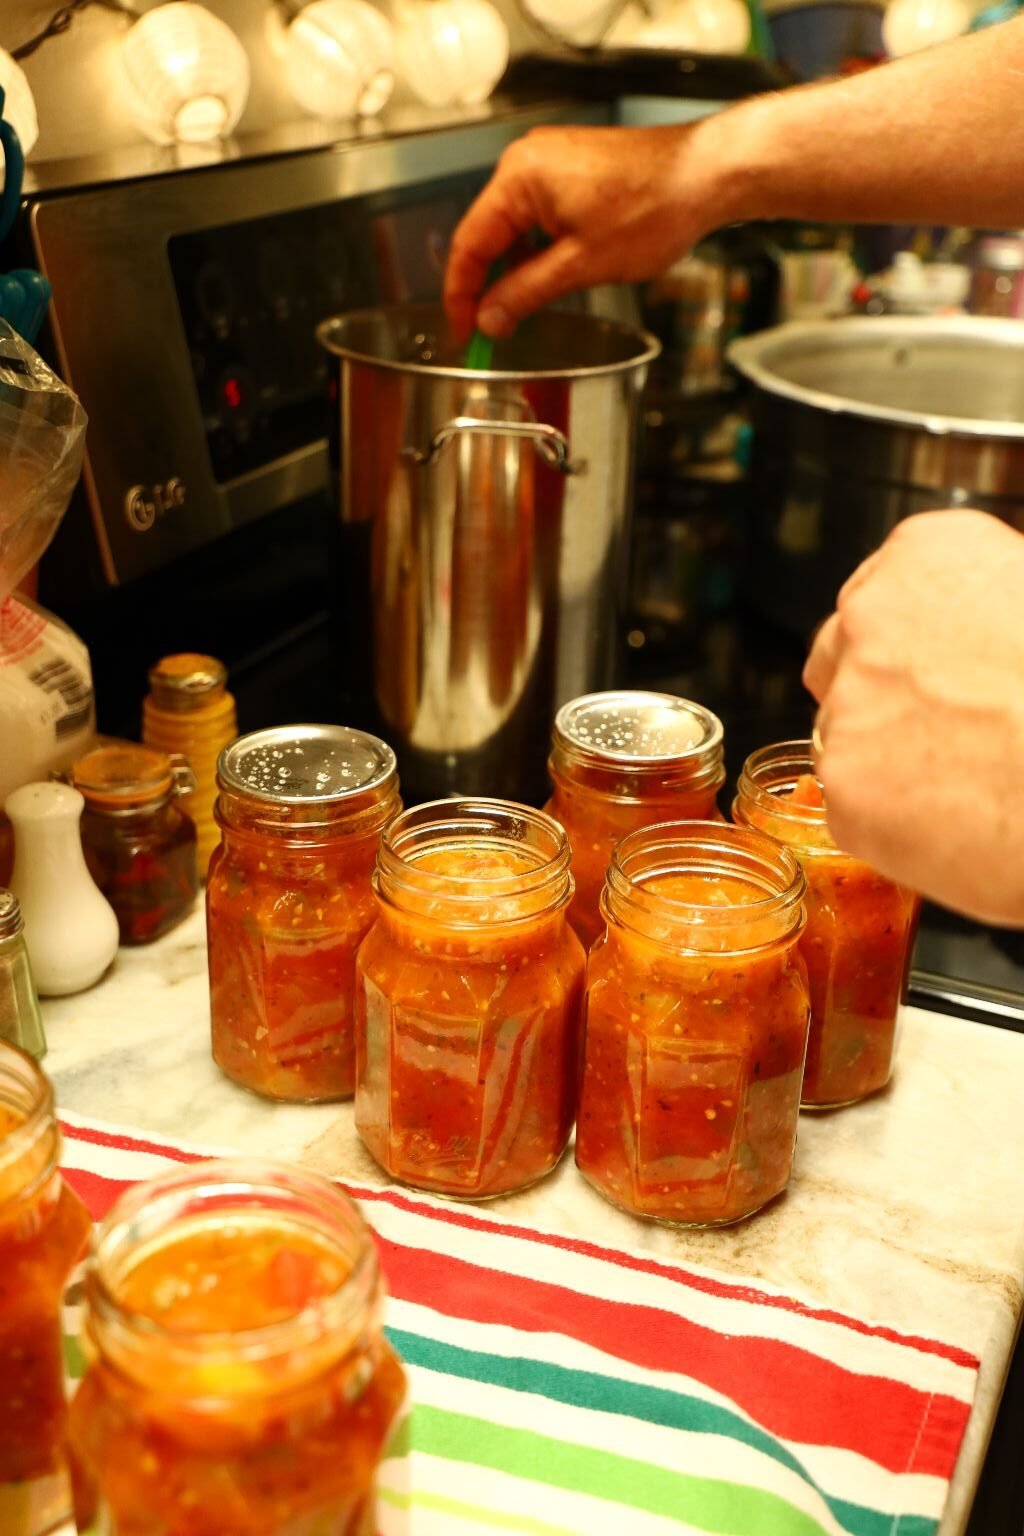
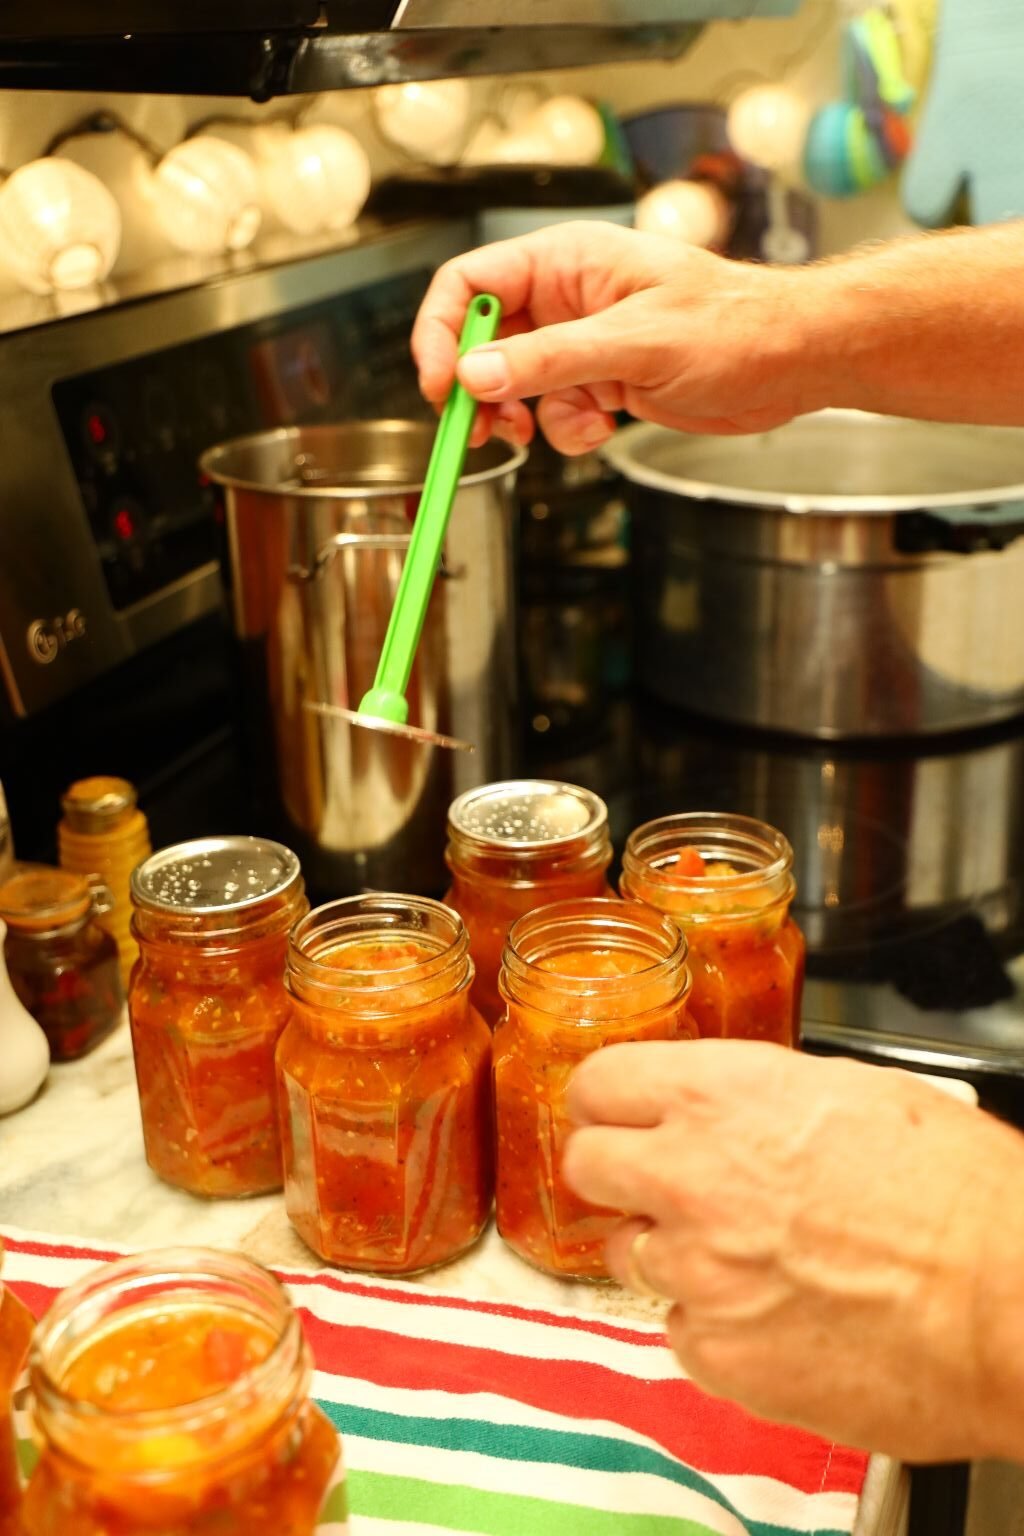
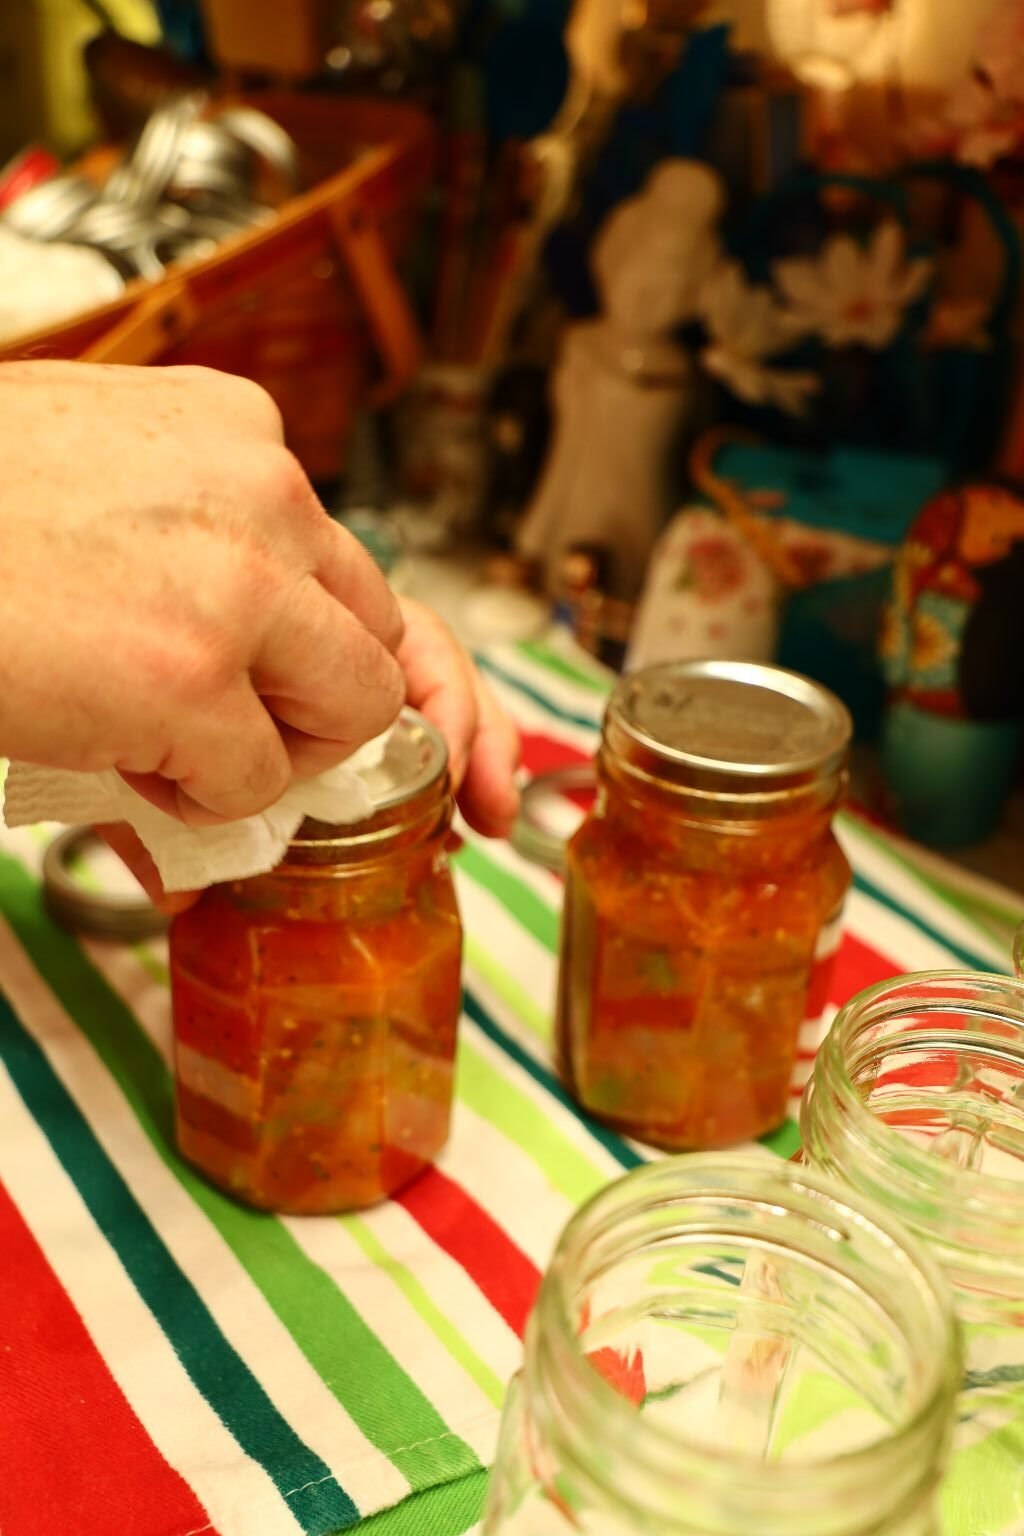
Using a wet paper towel and a dry towel to wipe the top of the jars clean. It may take a few times to get it perfectly clean and dry.

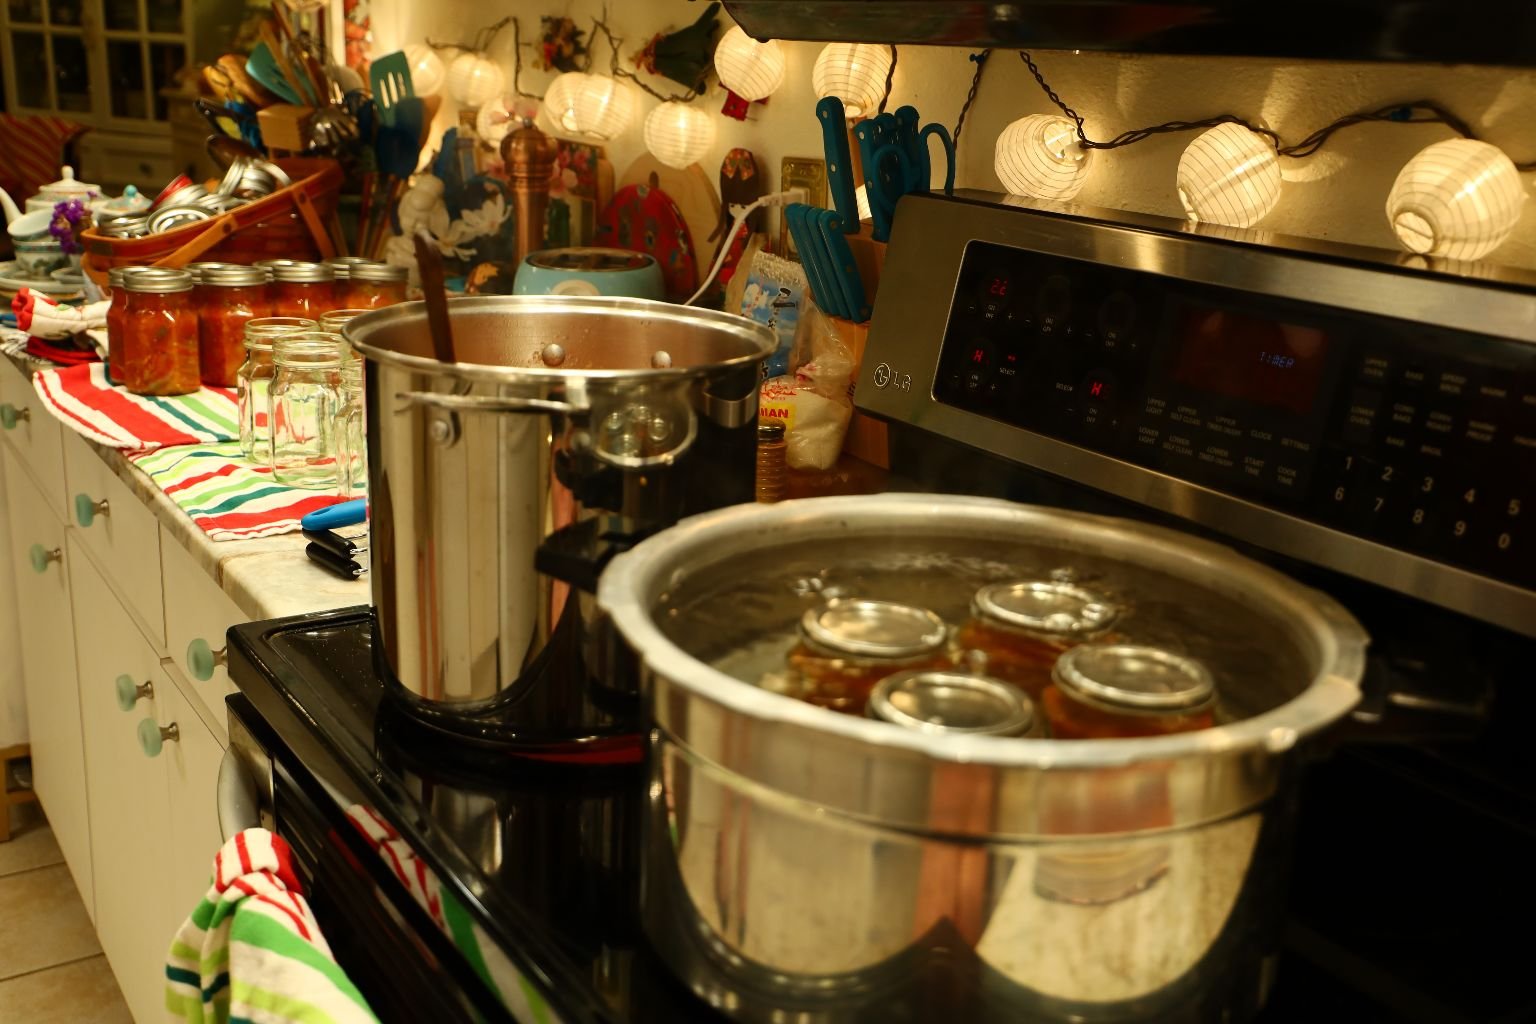
Behind the large pot you can see a tall slender pot. This is where I am heating my lids in almost boiling water. Doing this will help to make the rubber seal underneath more pliable and seal the jar. You can also see the water almost boiling in the large pot, which is used to can the jars.
—————————————————————————-
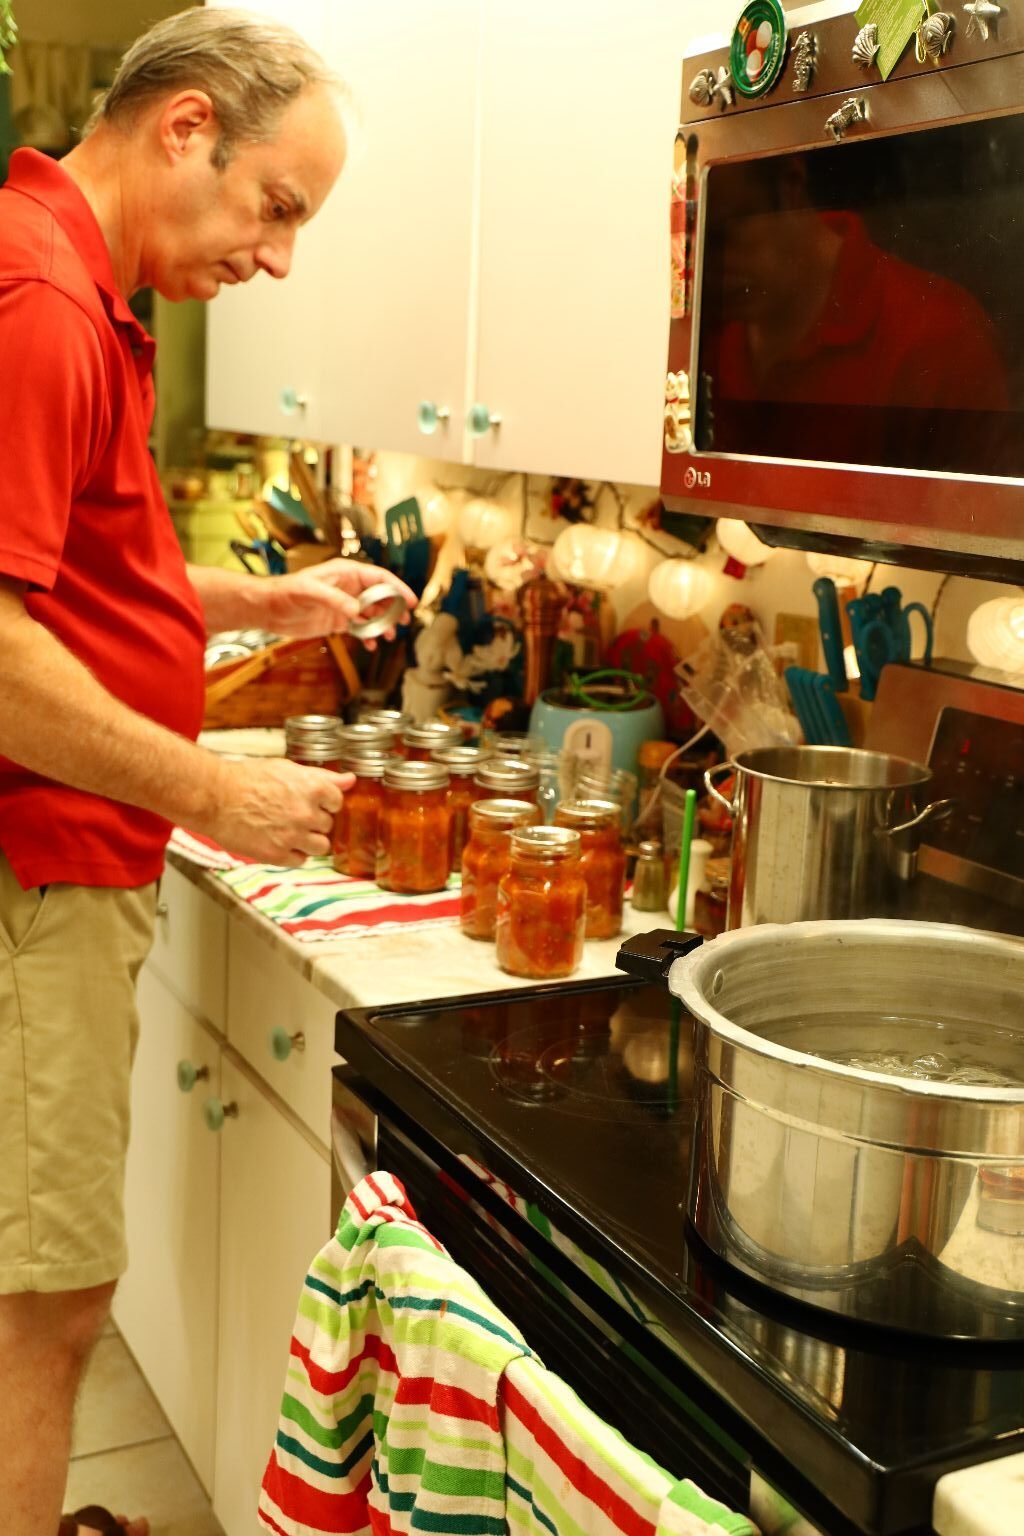
I am still wiping down the lids as you want to ensure they are perfectly clean.
I keep my lids sterile by using this tool to retrieve the lids from the hot water. This tool usually comes with canning kits.

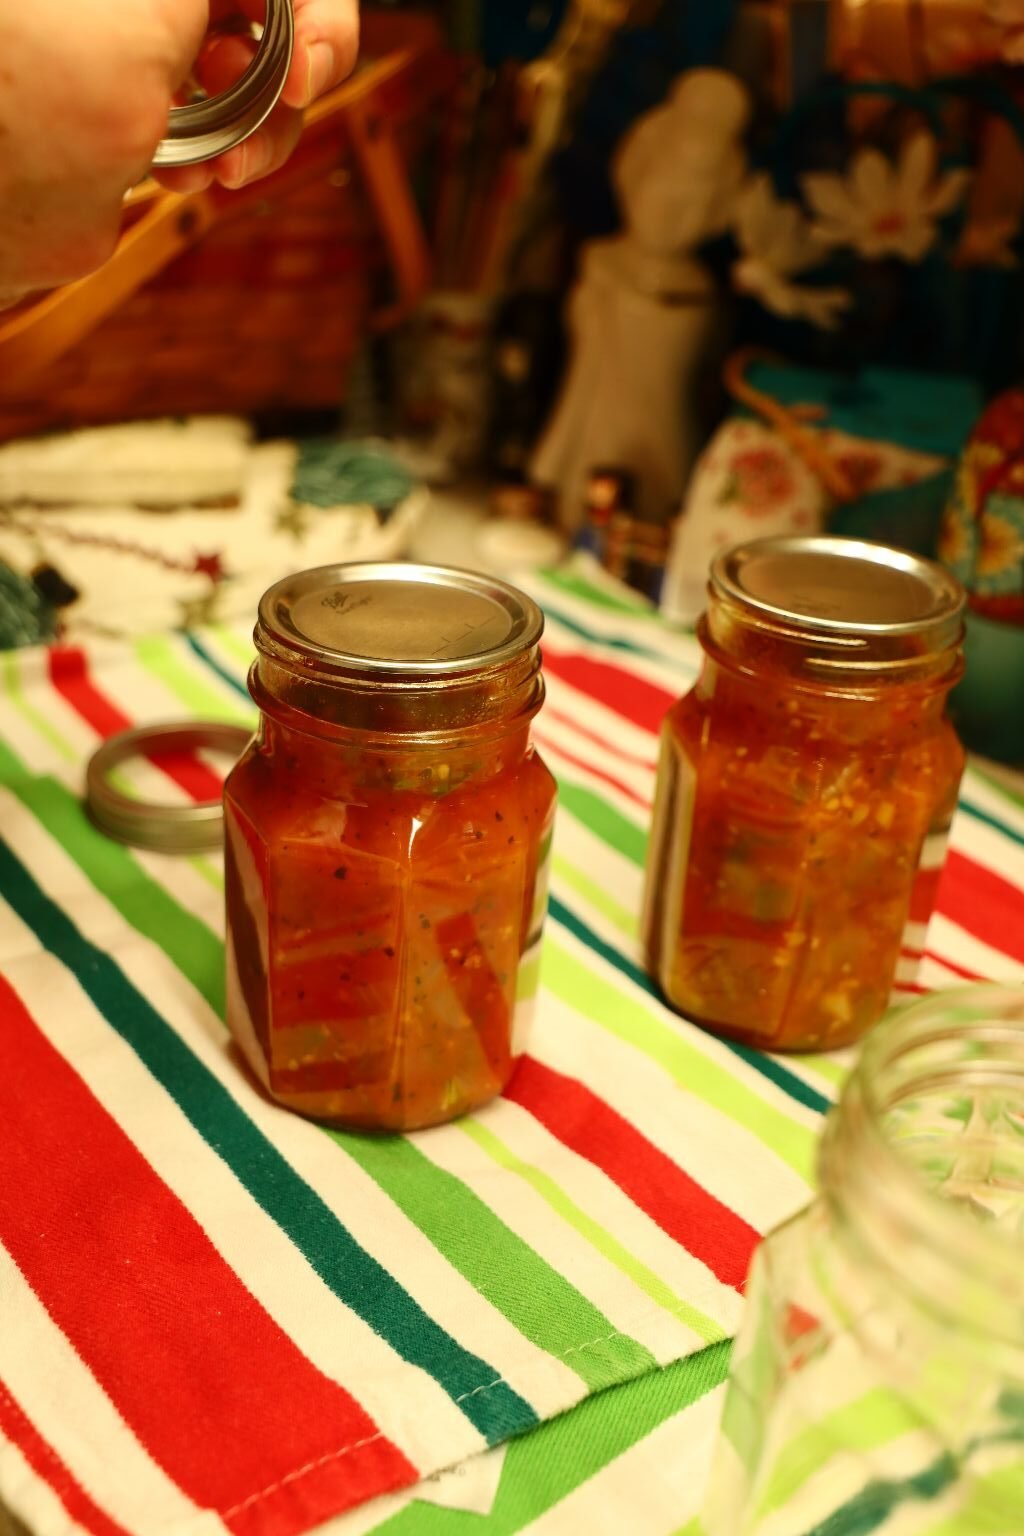
Place the lid on the jar and push it off with your finger or remove the magnet, moving the rod to the side.

Place a lid on all the jars.
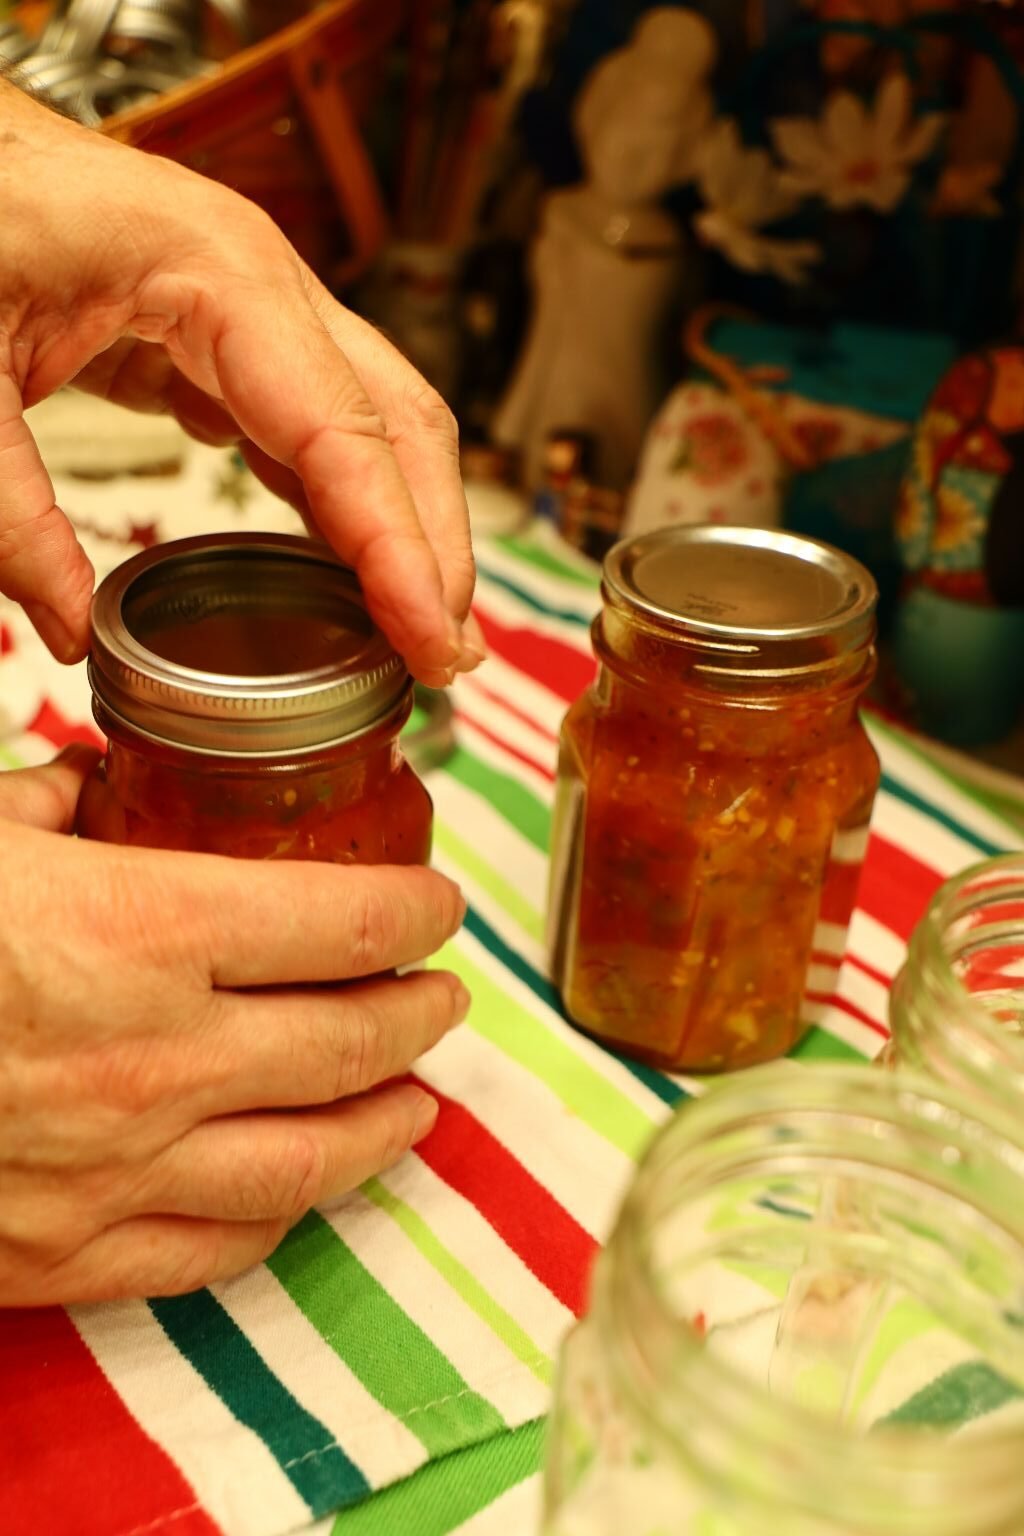
Once this is done, place your ring or band on the jar to just tight. This is hard to explain as you don’t want to place it on too tight that air can’t escape when the jar is heated in the boiling water.
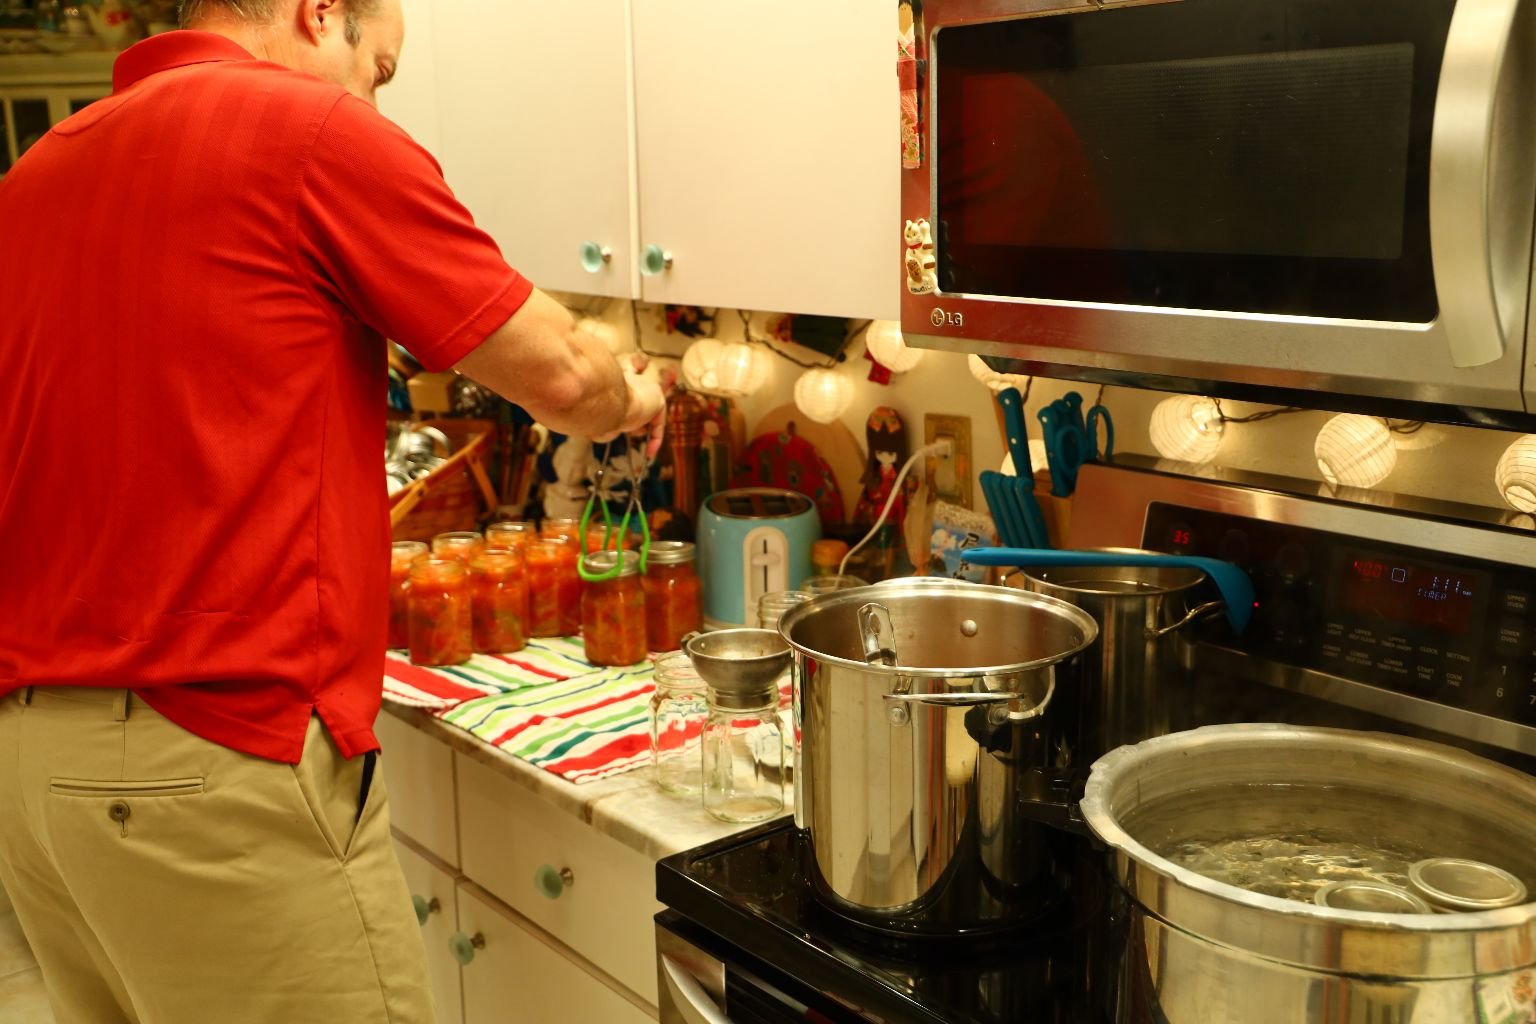
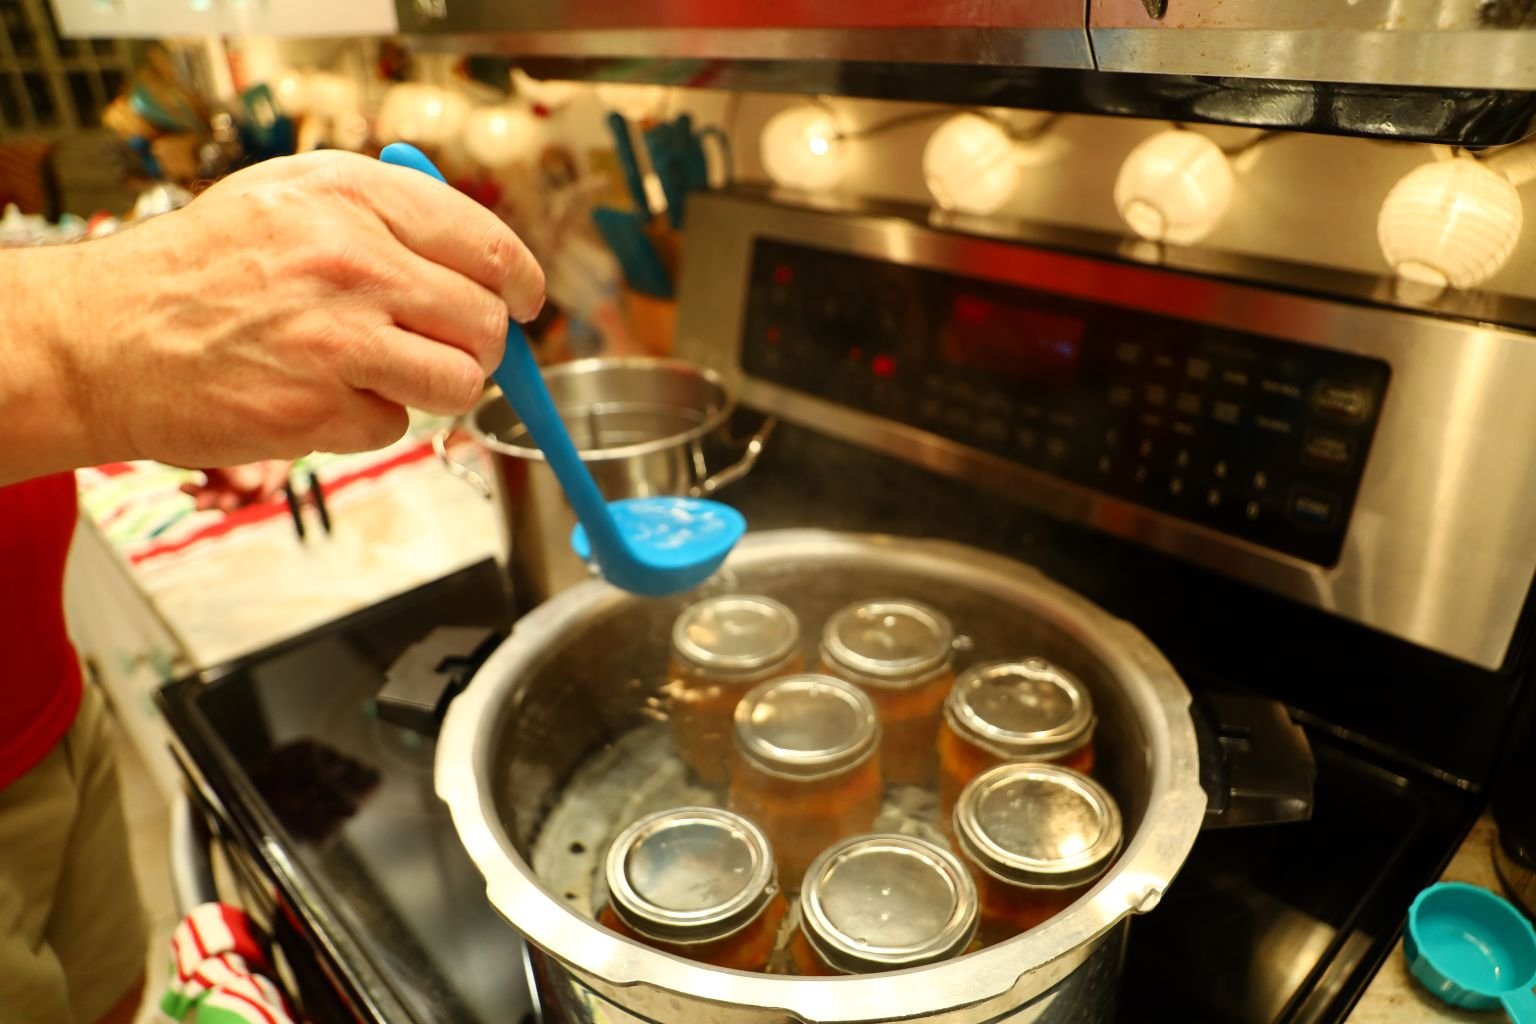
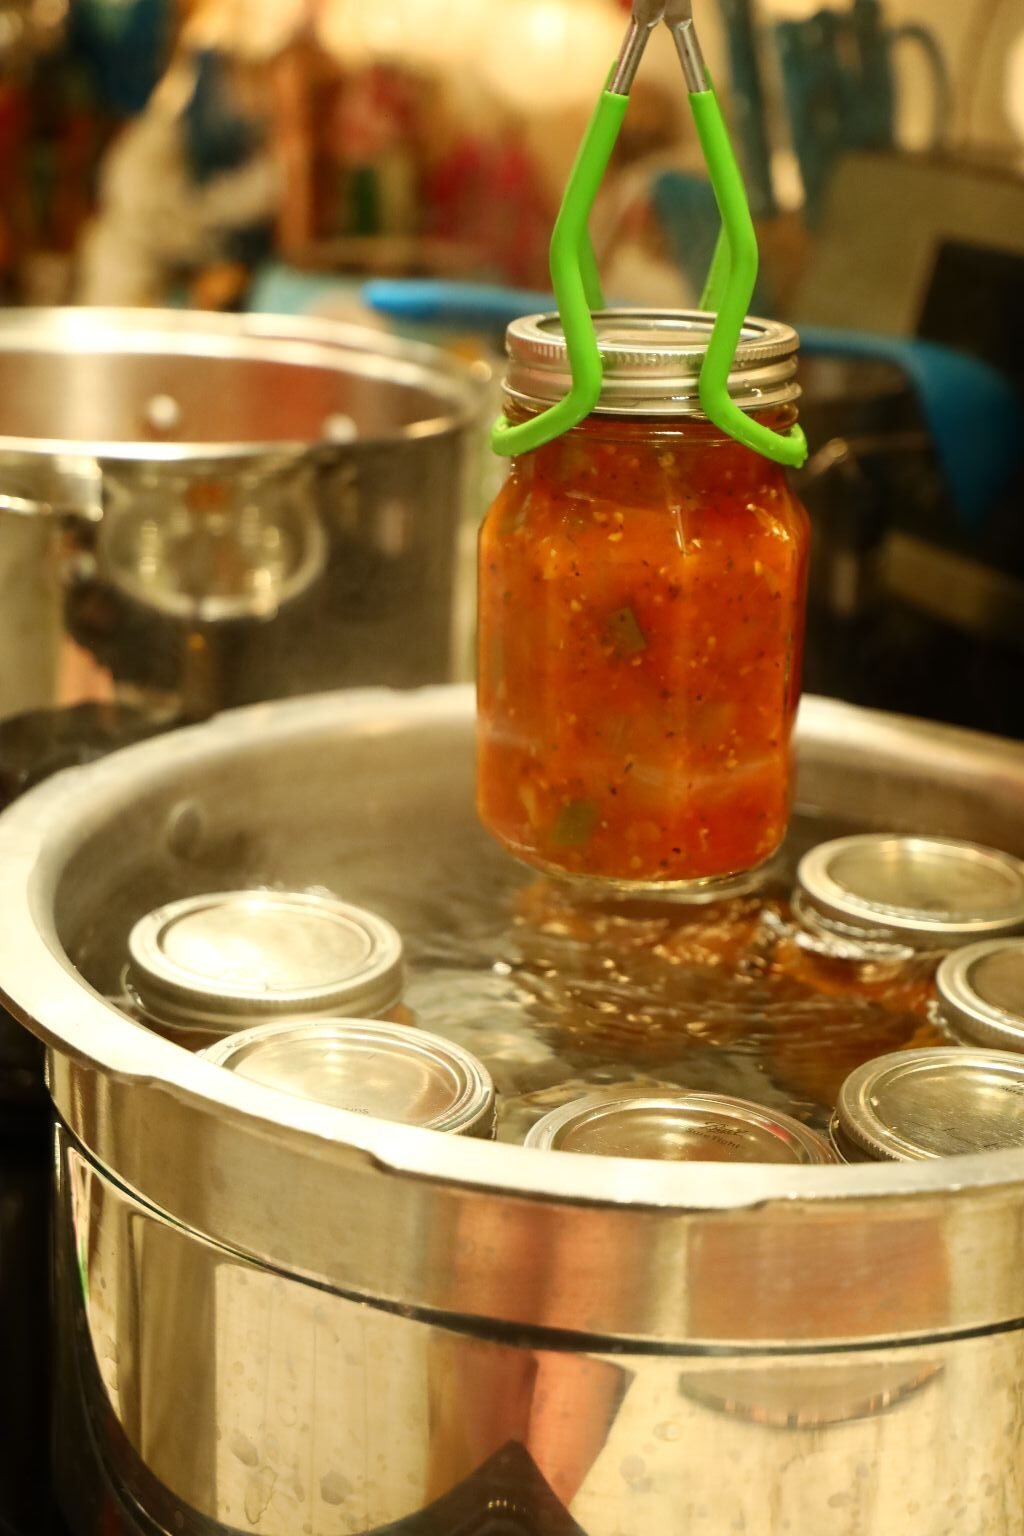
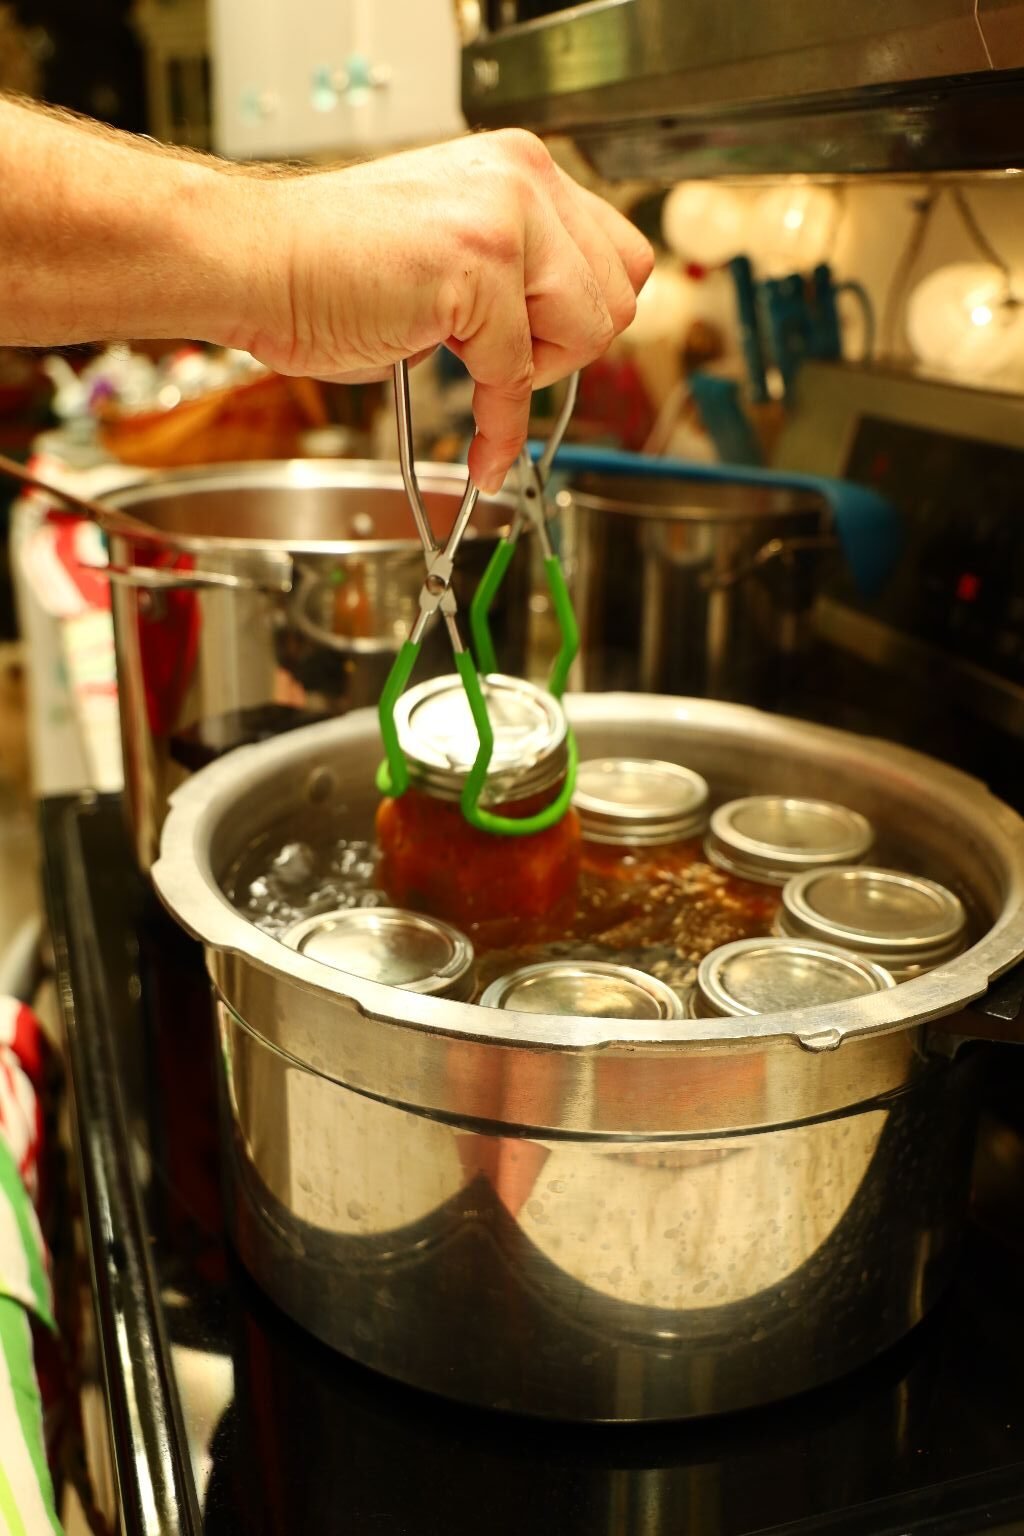
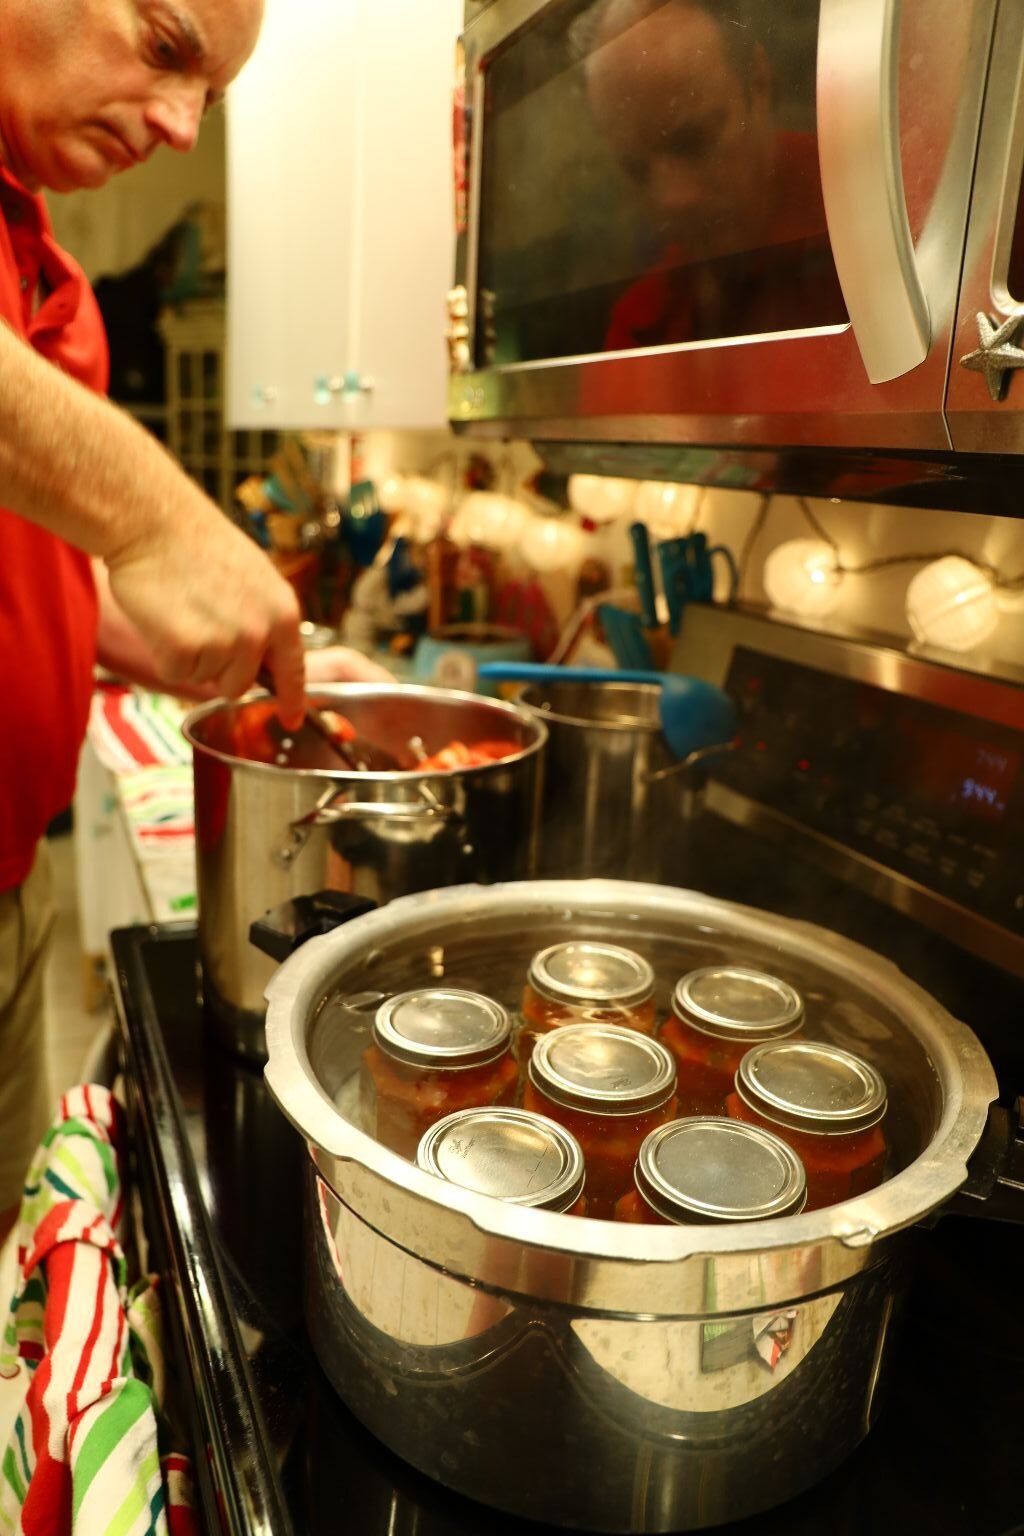
Use your jar lifter to place the jars into the pot of hot water.
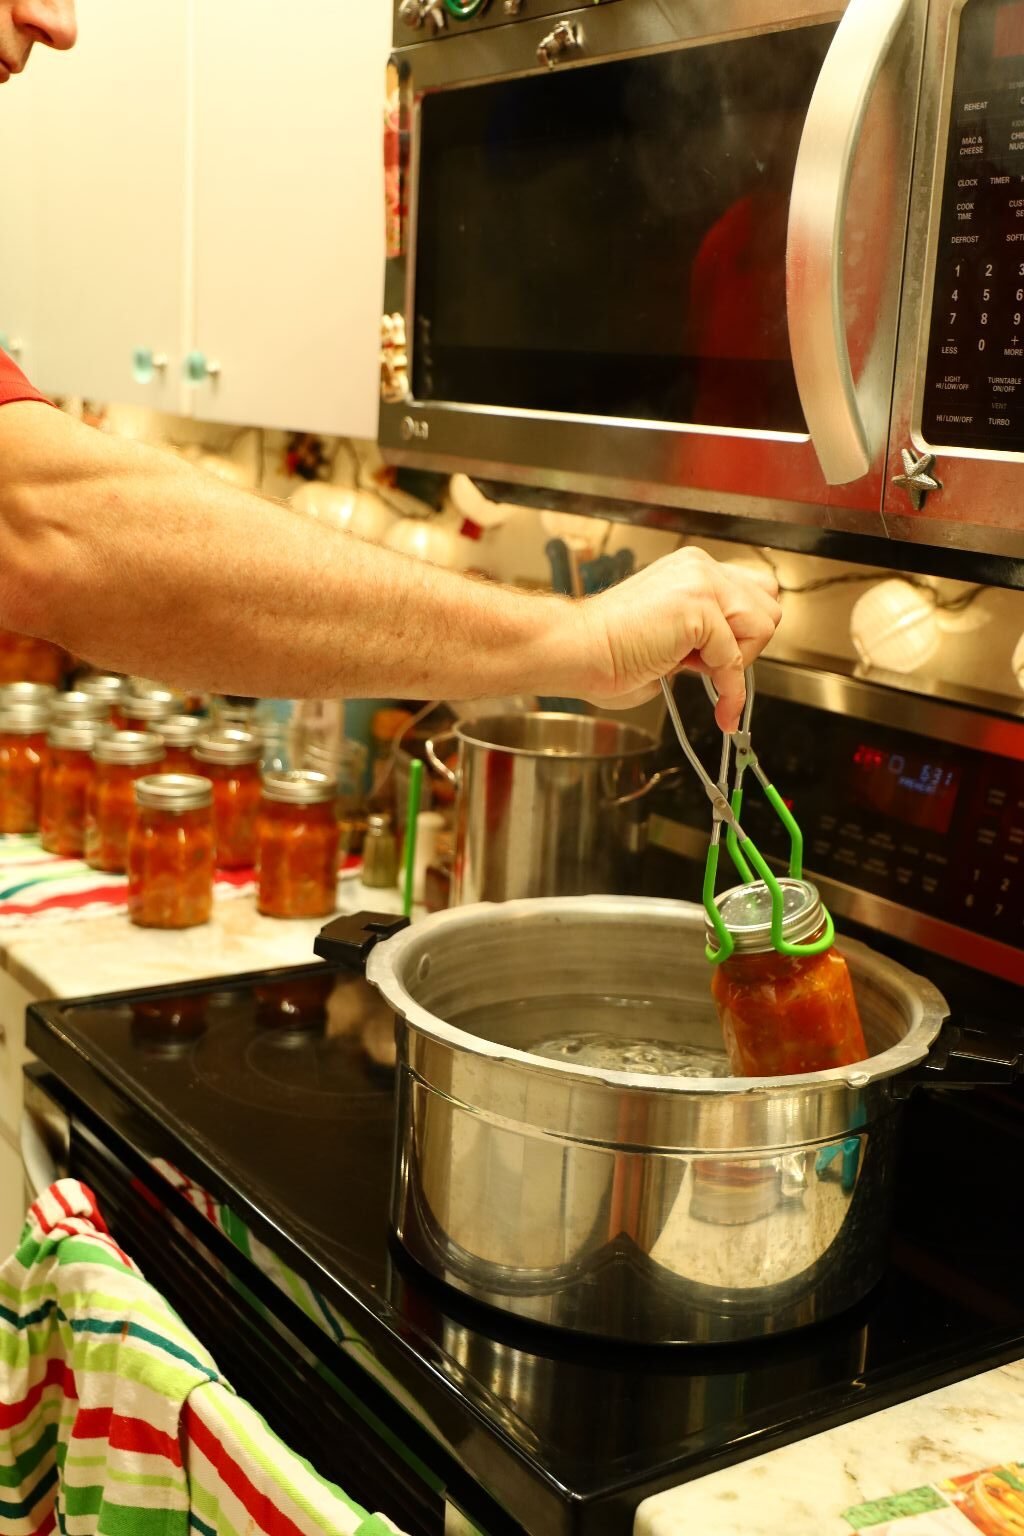

Adding the jars to the pot.
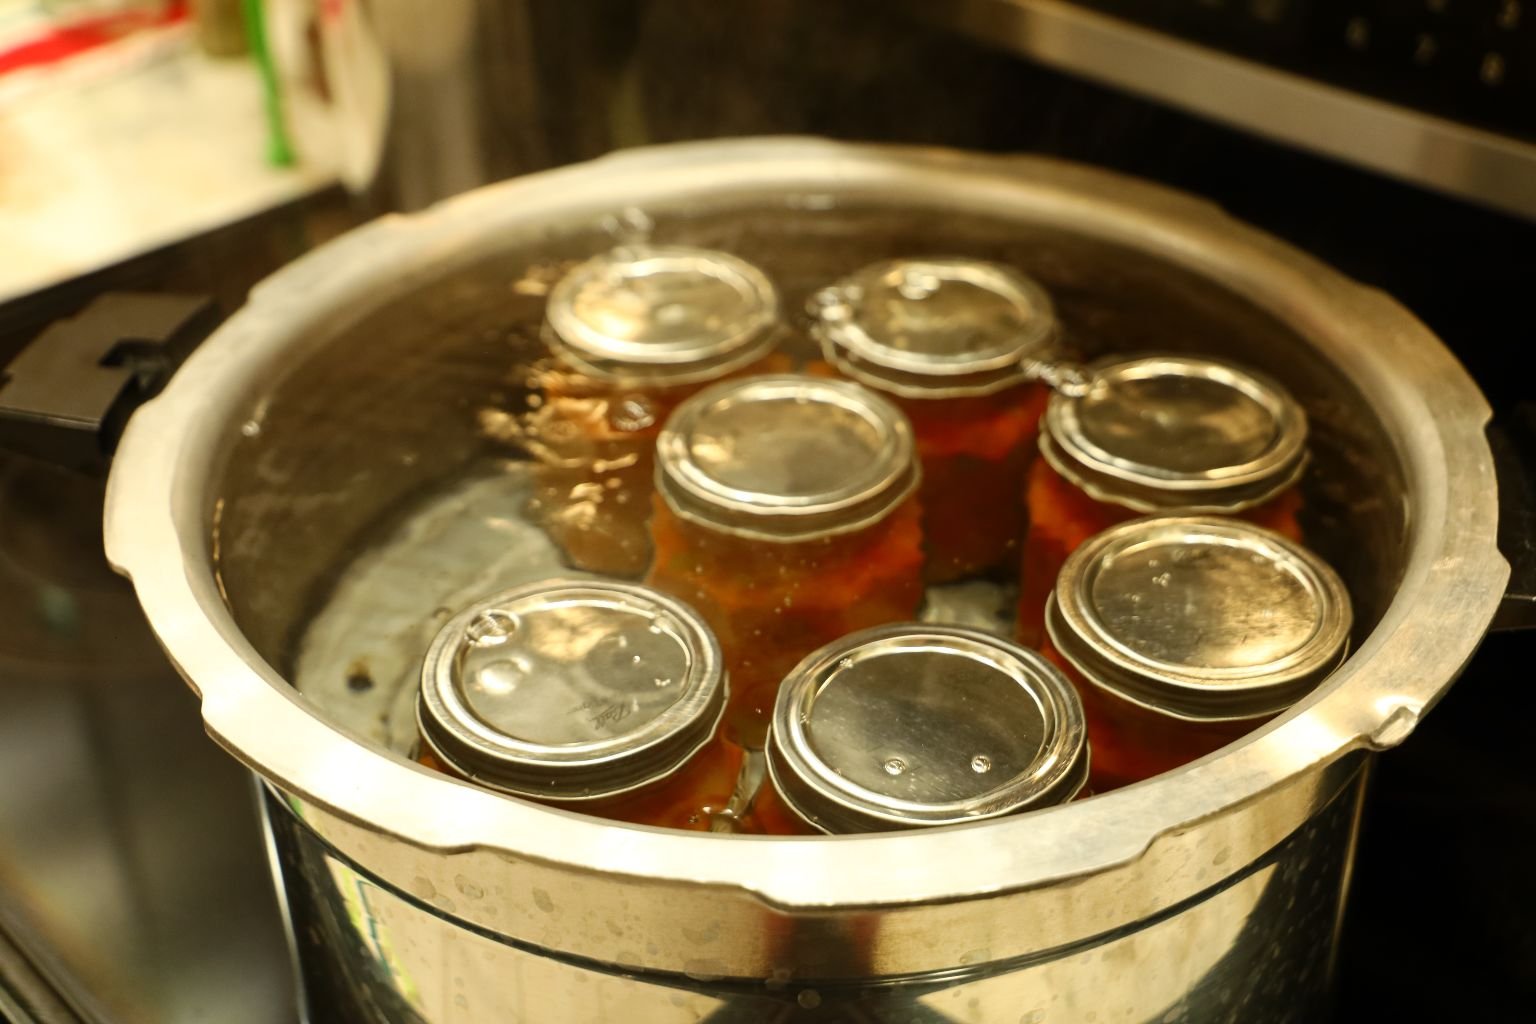
This pot is just deep enough to submerge the jars. You can see the air starting to escape from the Headspace which is creating a vacuum. Let the water boil over the jars for 15 min. then remove them. You should start to hear some pops which is the sound of success as the jars are sealing themselves and bringing the lid down on top of the jar.
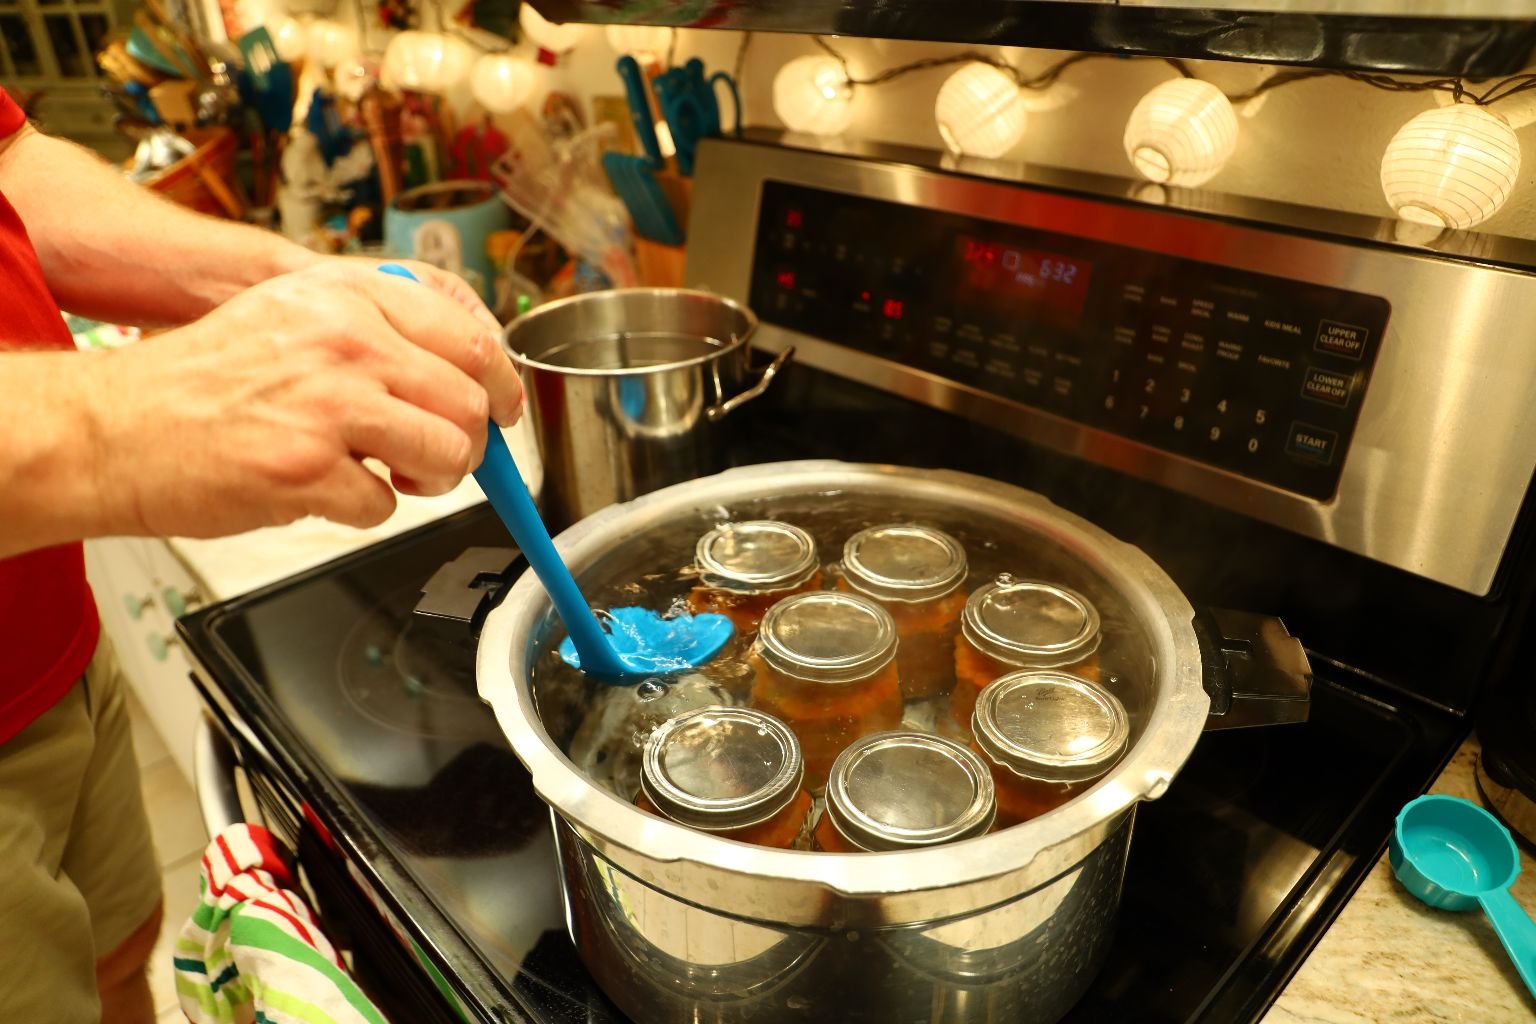

I needed a touch more water, so I am taking it from the pot holding my lids.
——————————————————————————
The Southern Stewed Tomatoes
With this batch, I wanted a little more acid, so I am adding a bit more lemon juice. This will also keep the bacteria at bay and not let it have an environment to grow.
I am also adding a touch of sugar as this also helps to prevent bacterial growth.
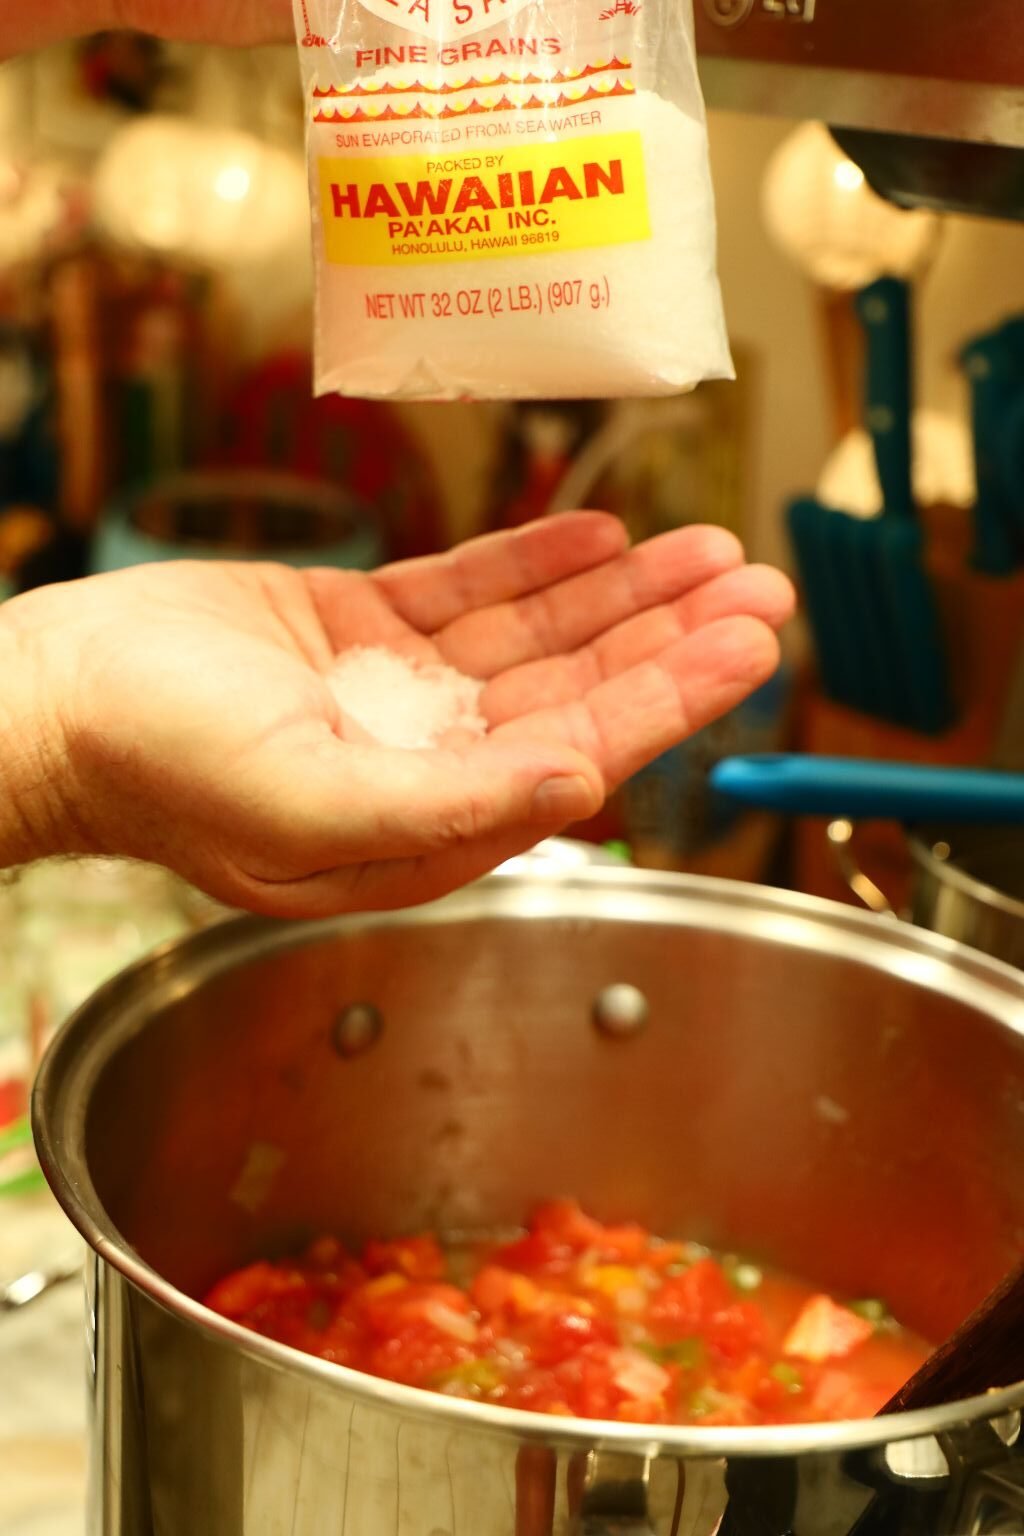
After tasting it, I also thought it could use a bit more salt… as you can guess, also helps to prevent bacterial growth.
It looks and tastes great!
Here I am canning the Southern batch.
Let the jars cool a bit then remove the bands. The bands are now only used to ensure that nothing pries up the lid by accident. The vacuum inside the jar is keeping the lid on tight. I use a wet paper towel then a dry paper towel to clean the lids. I also wipe the band dry as this prevents it from rusting over time. If a lid doesn’t seal, remove the lid, and wipe the top of the jar down and remove a bit of the Stewed Tomatoes to create a bit more Headspace in the jar. Place a new lid on top of the jar, and repeat the canning process.
———————————————————————————–
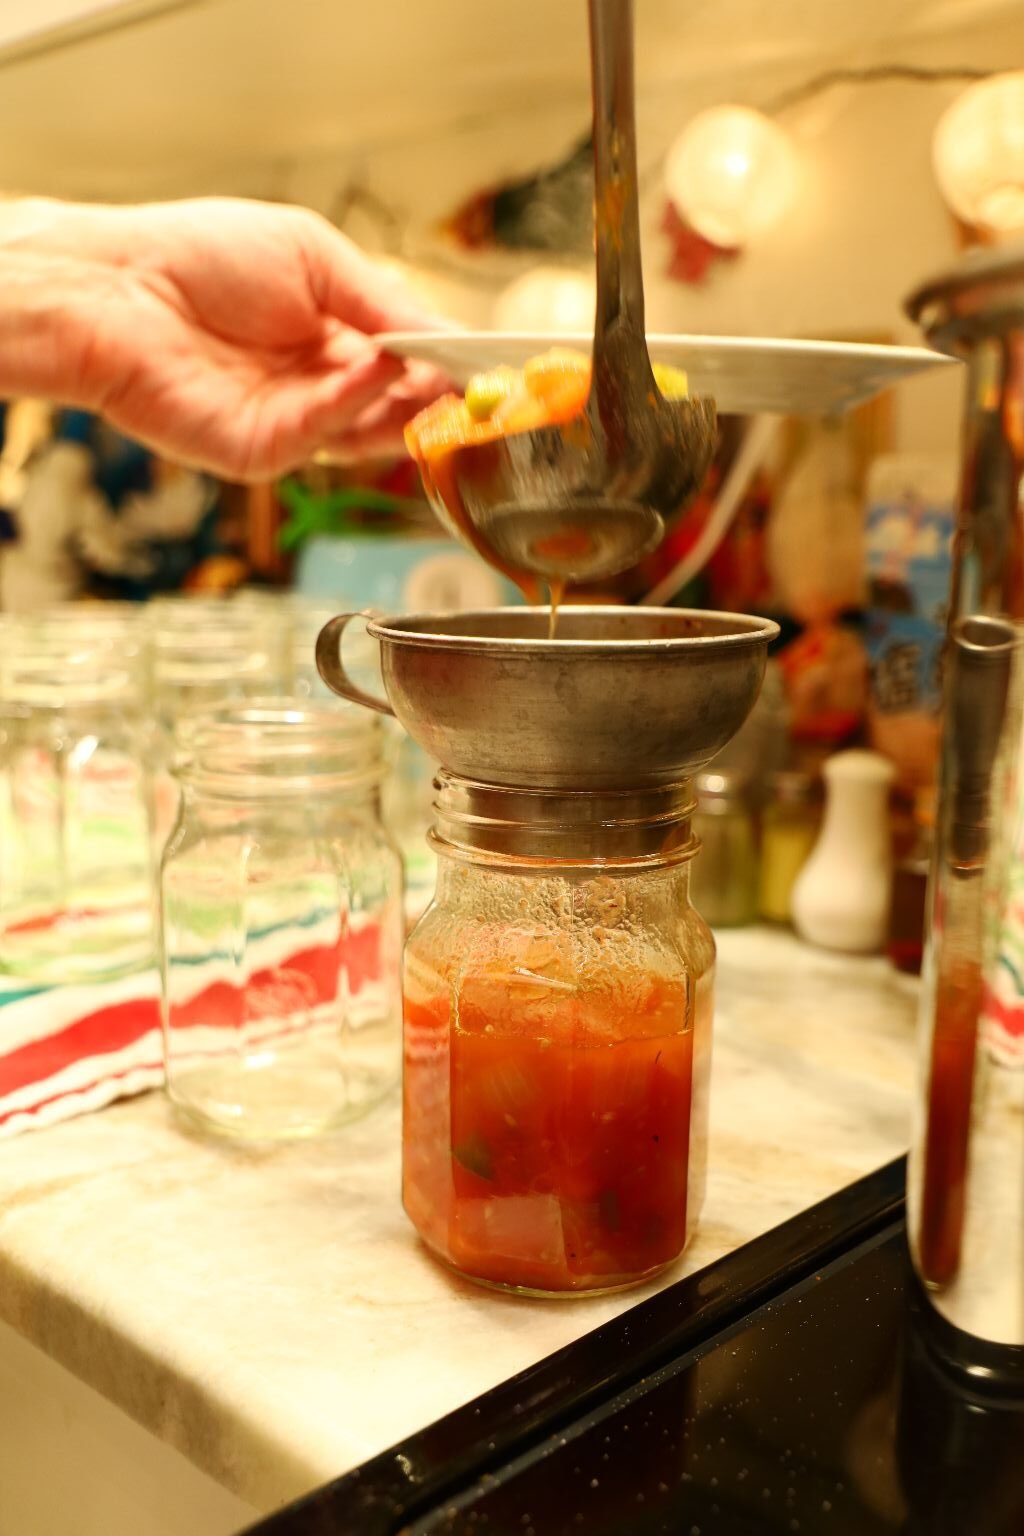
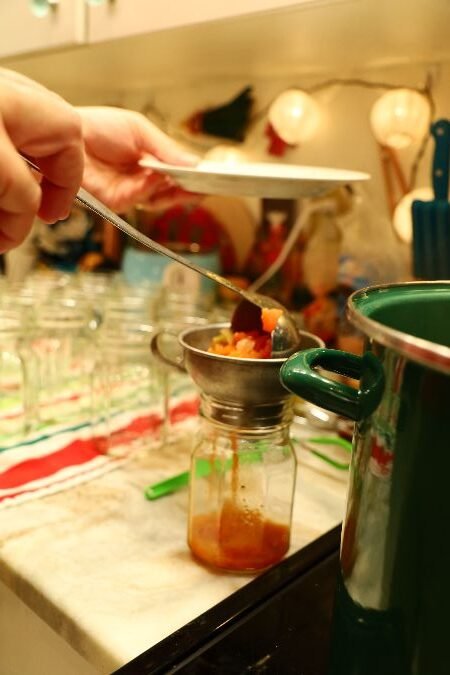
Filling the jars with our Southern Stewed Tomatoes.
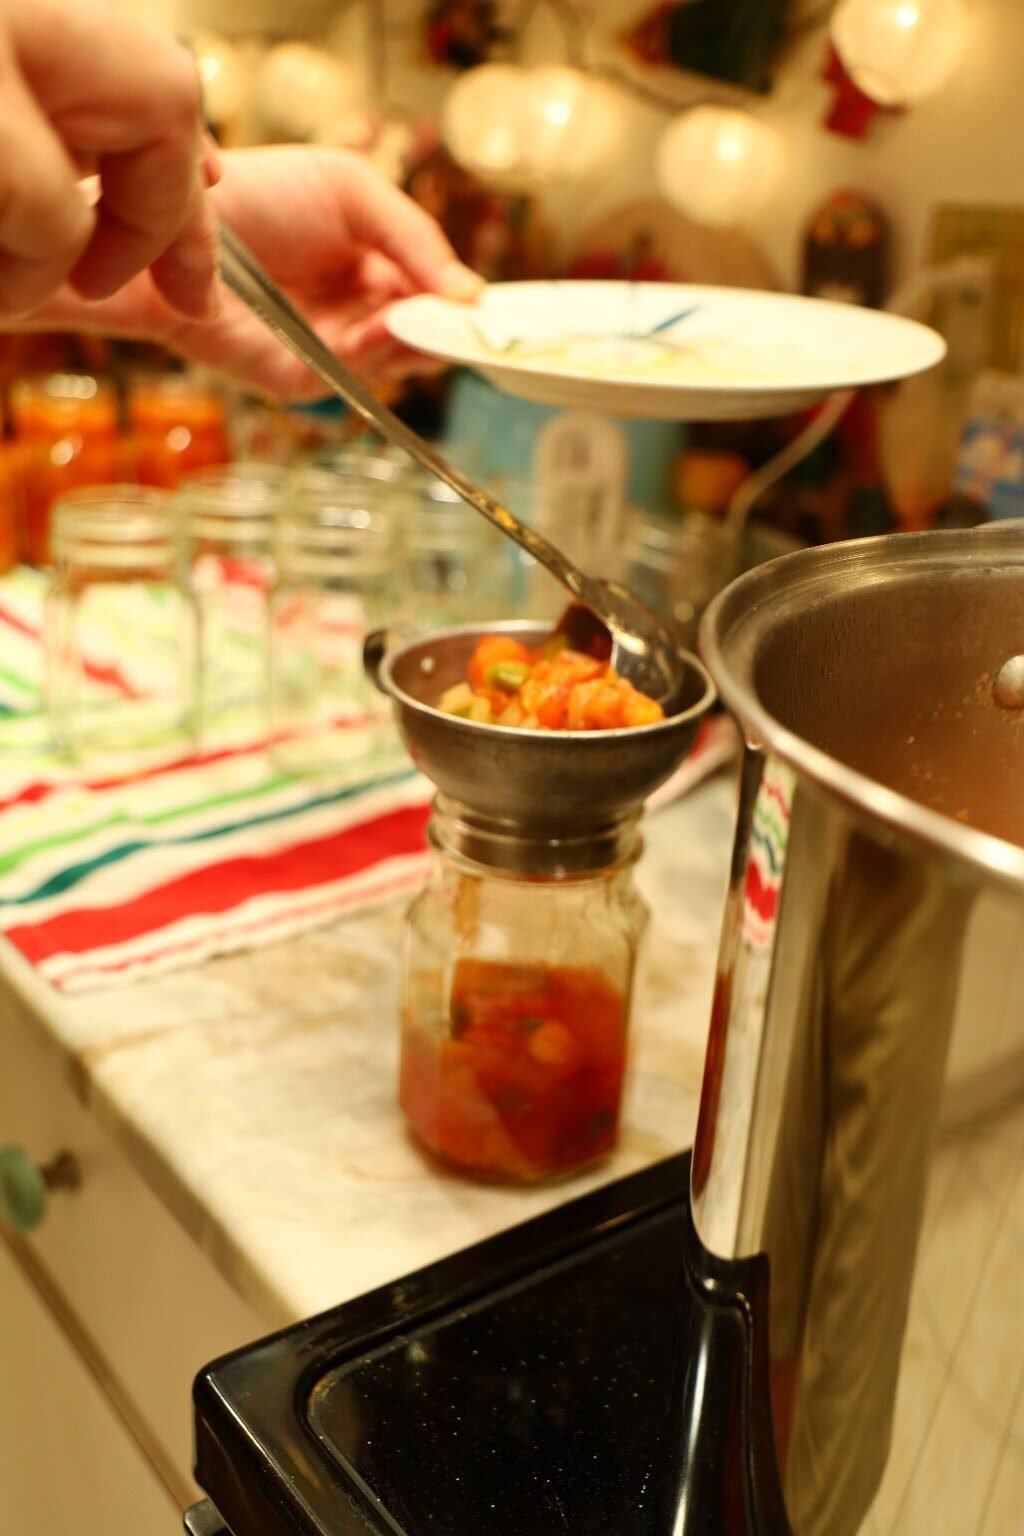
The plate helps to catch the drips from the ladle.
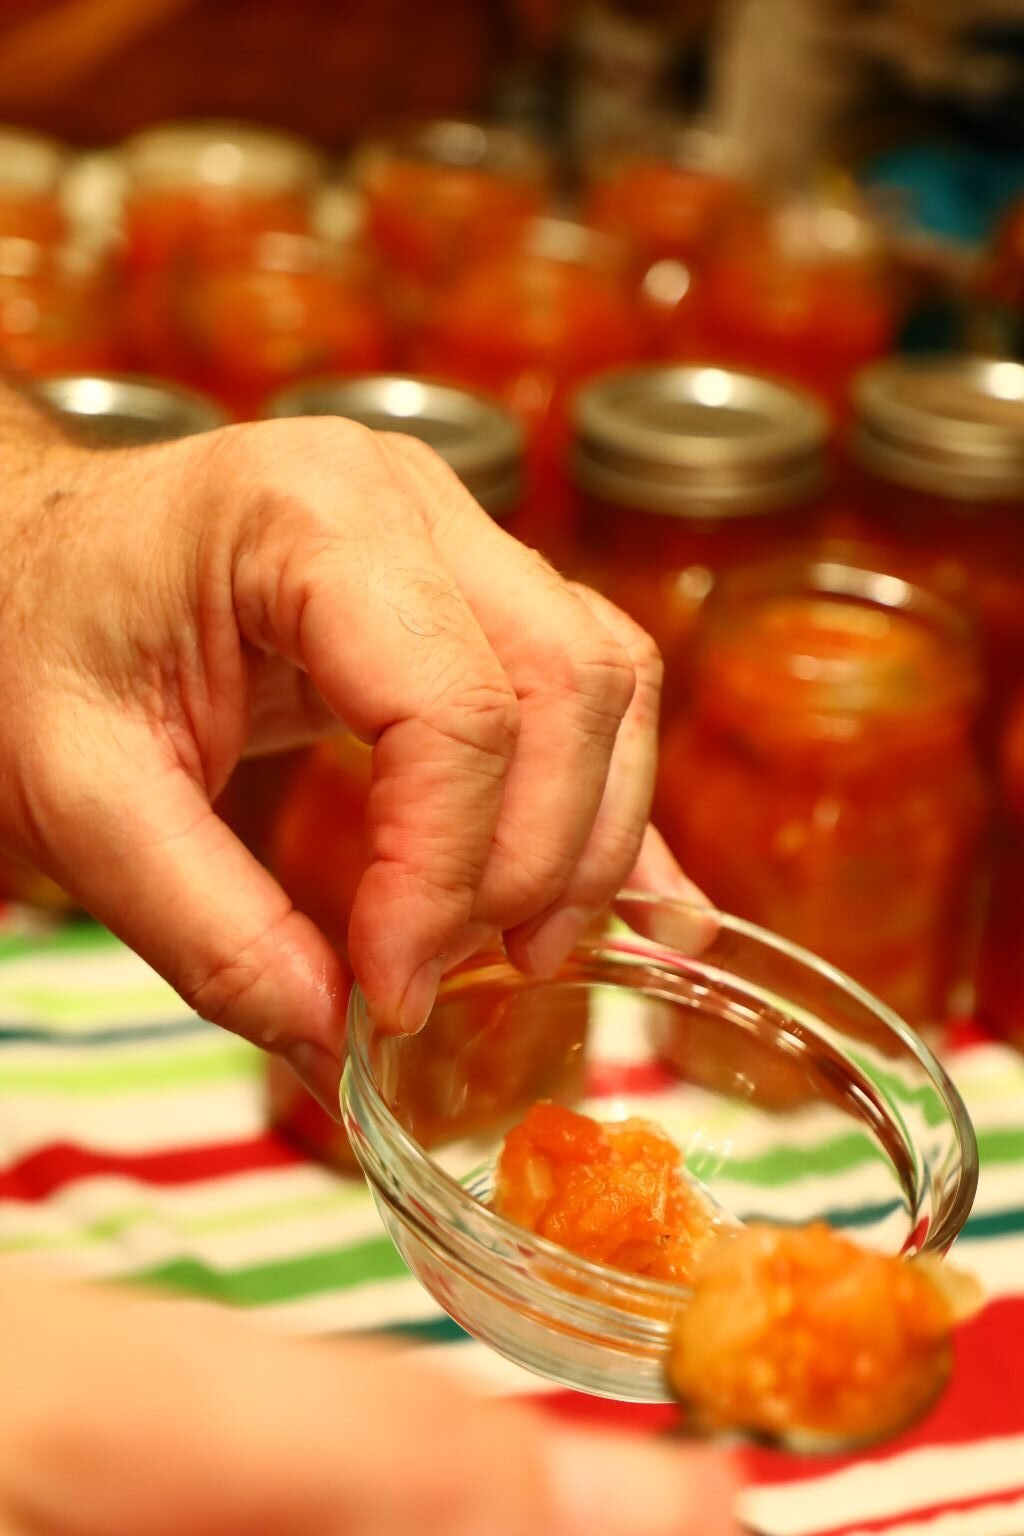
I filled one of the jars up a little too much, so I am removing some of the Stewed Tomatoes using a spoon.
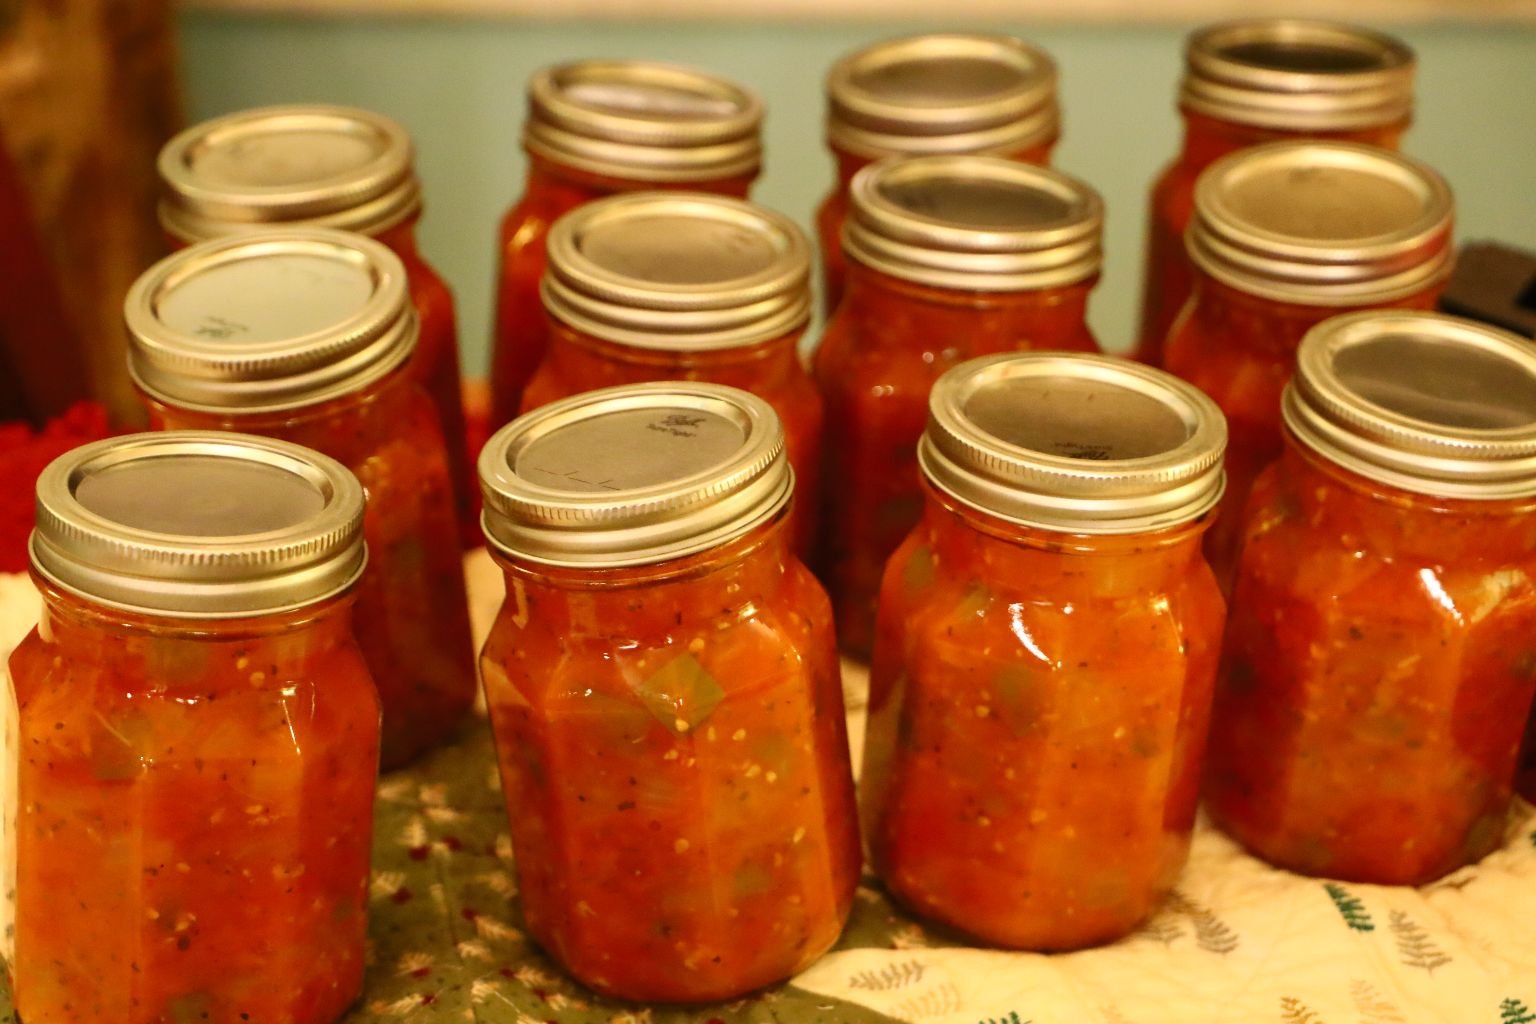
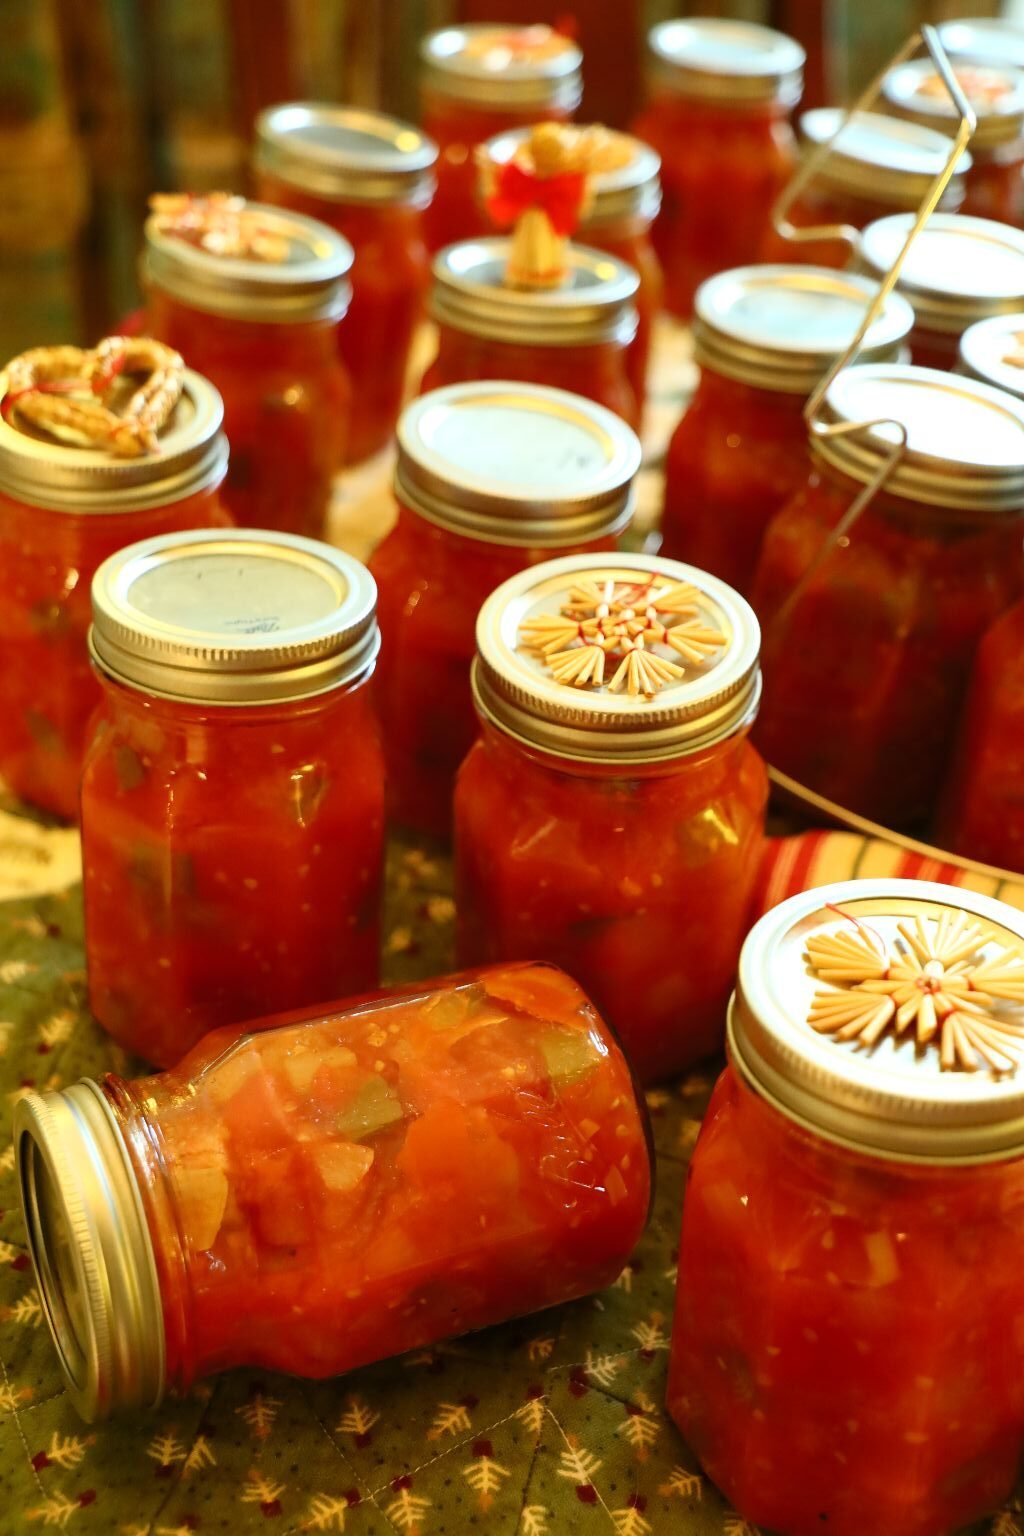
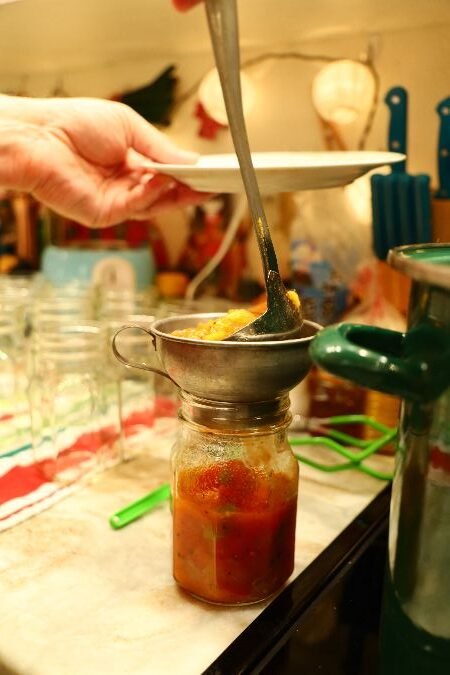
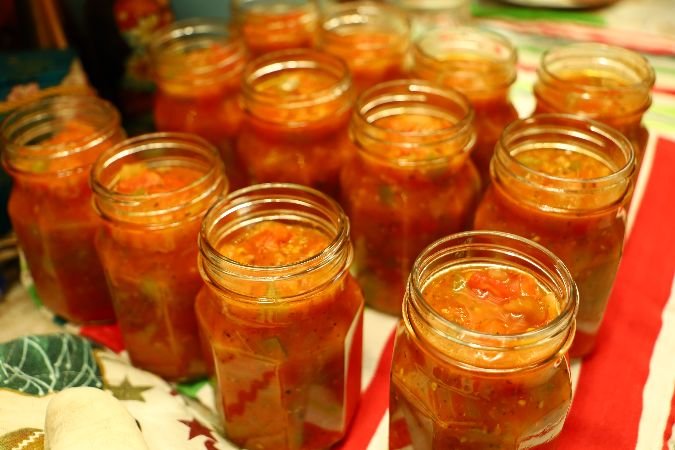
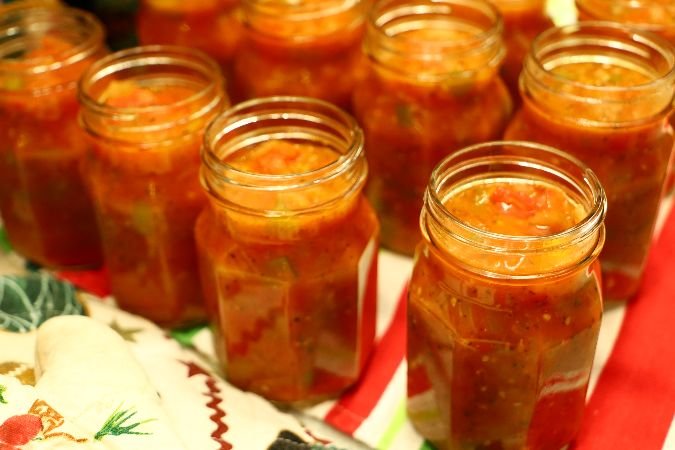
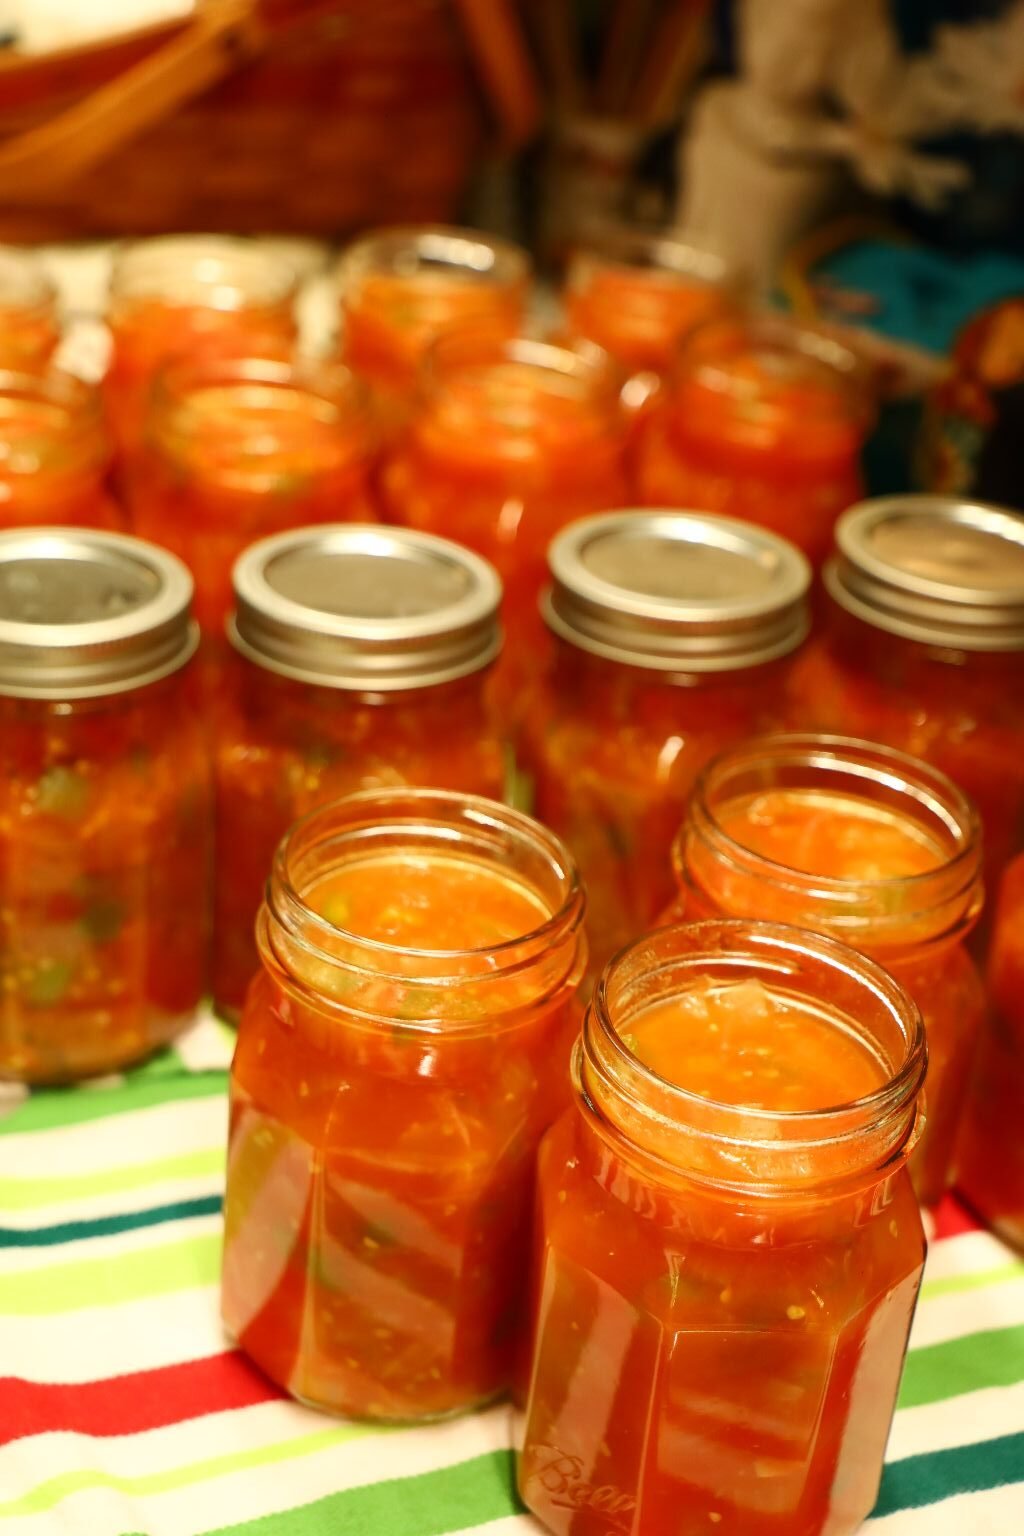
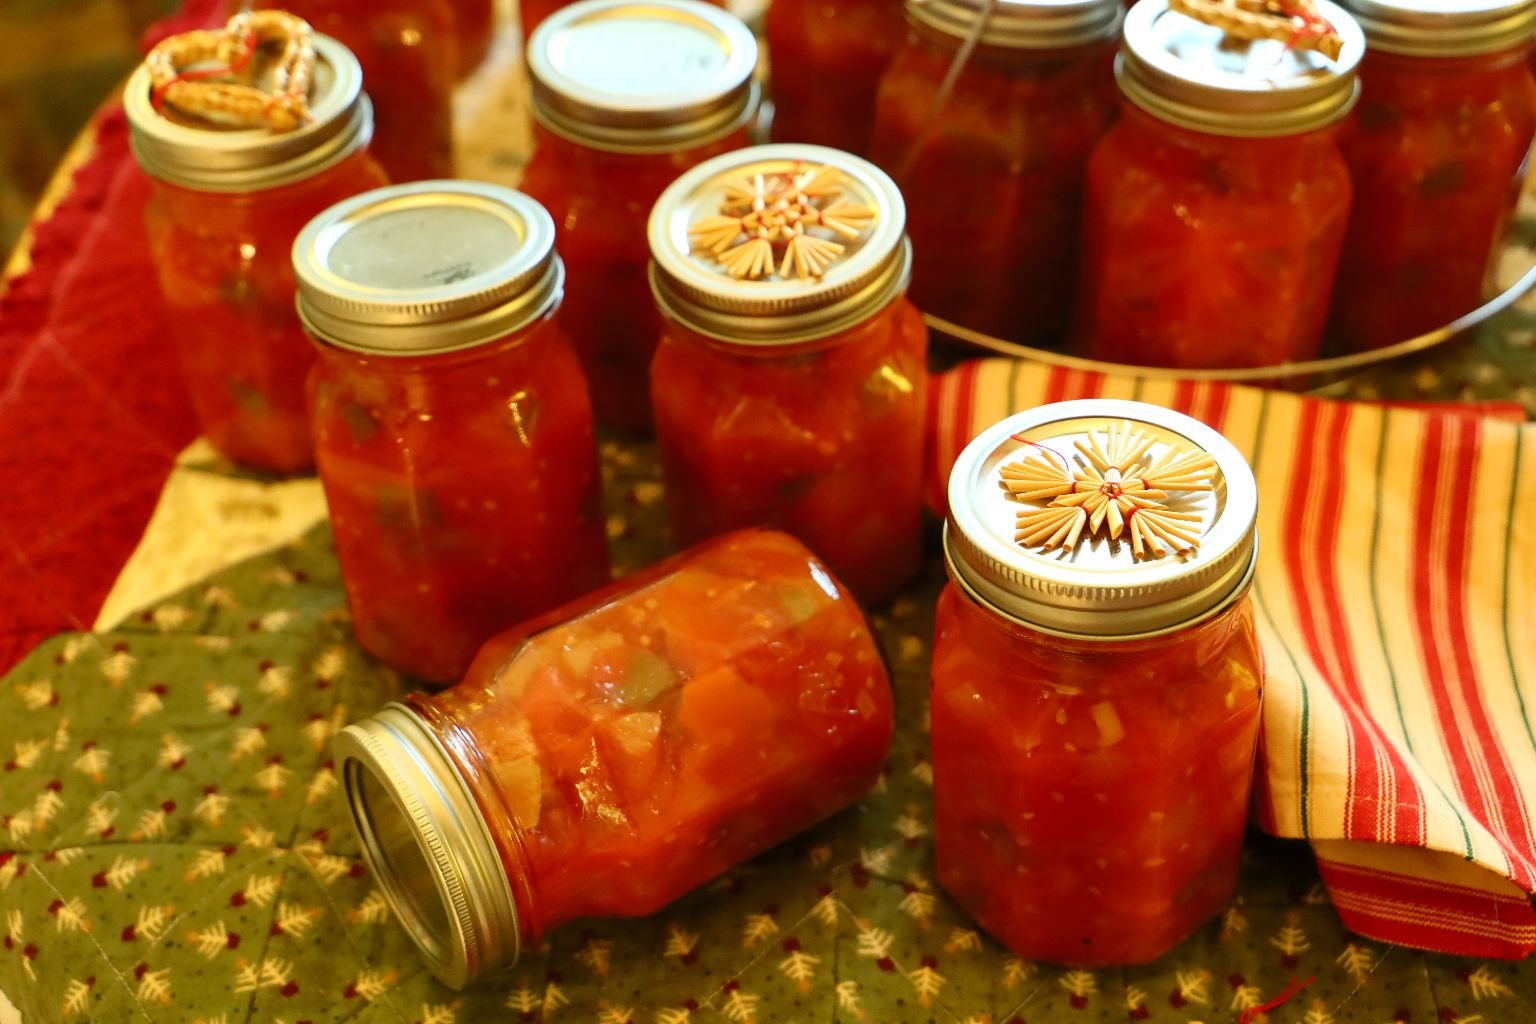
I love the look of these jars. You can see the nice cuts of the vegetables.
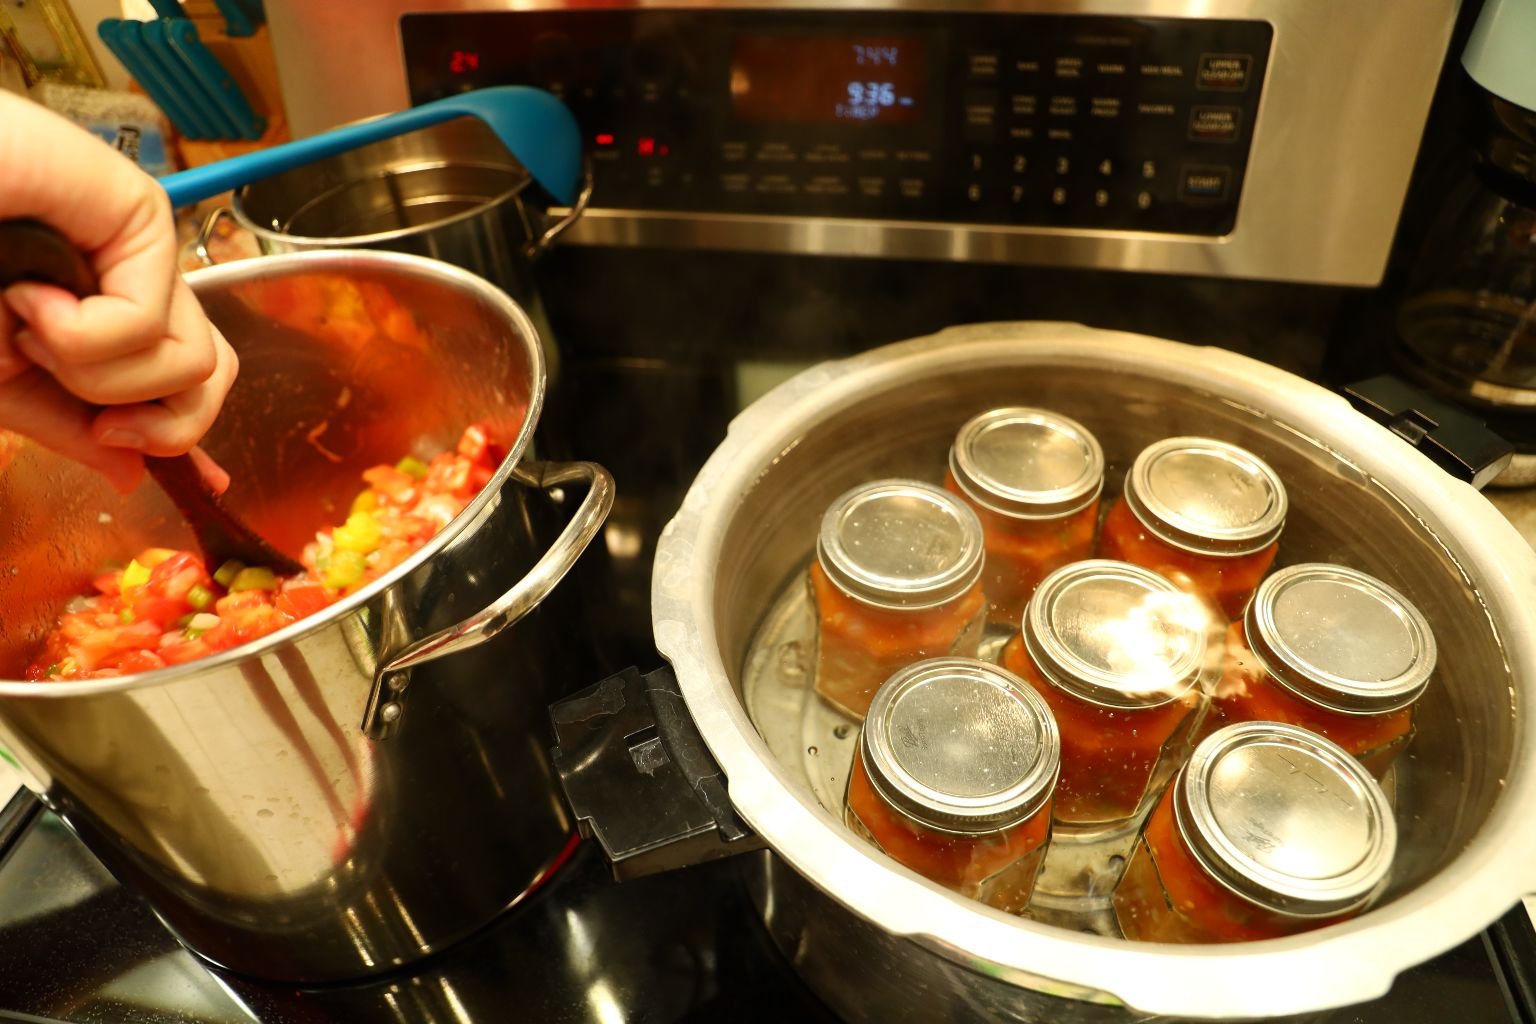
While the jars are completing the canning process in the boiling water for 15 min., I am filling the other jars to be canned.
It may be a mess, but it is so worth it to have this stock of a food supply in your pantry throughout the year.
—————————————————————————————–
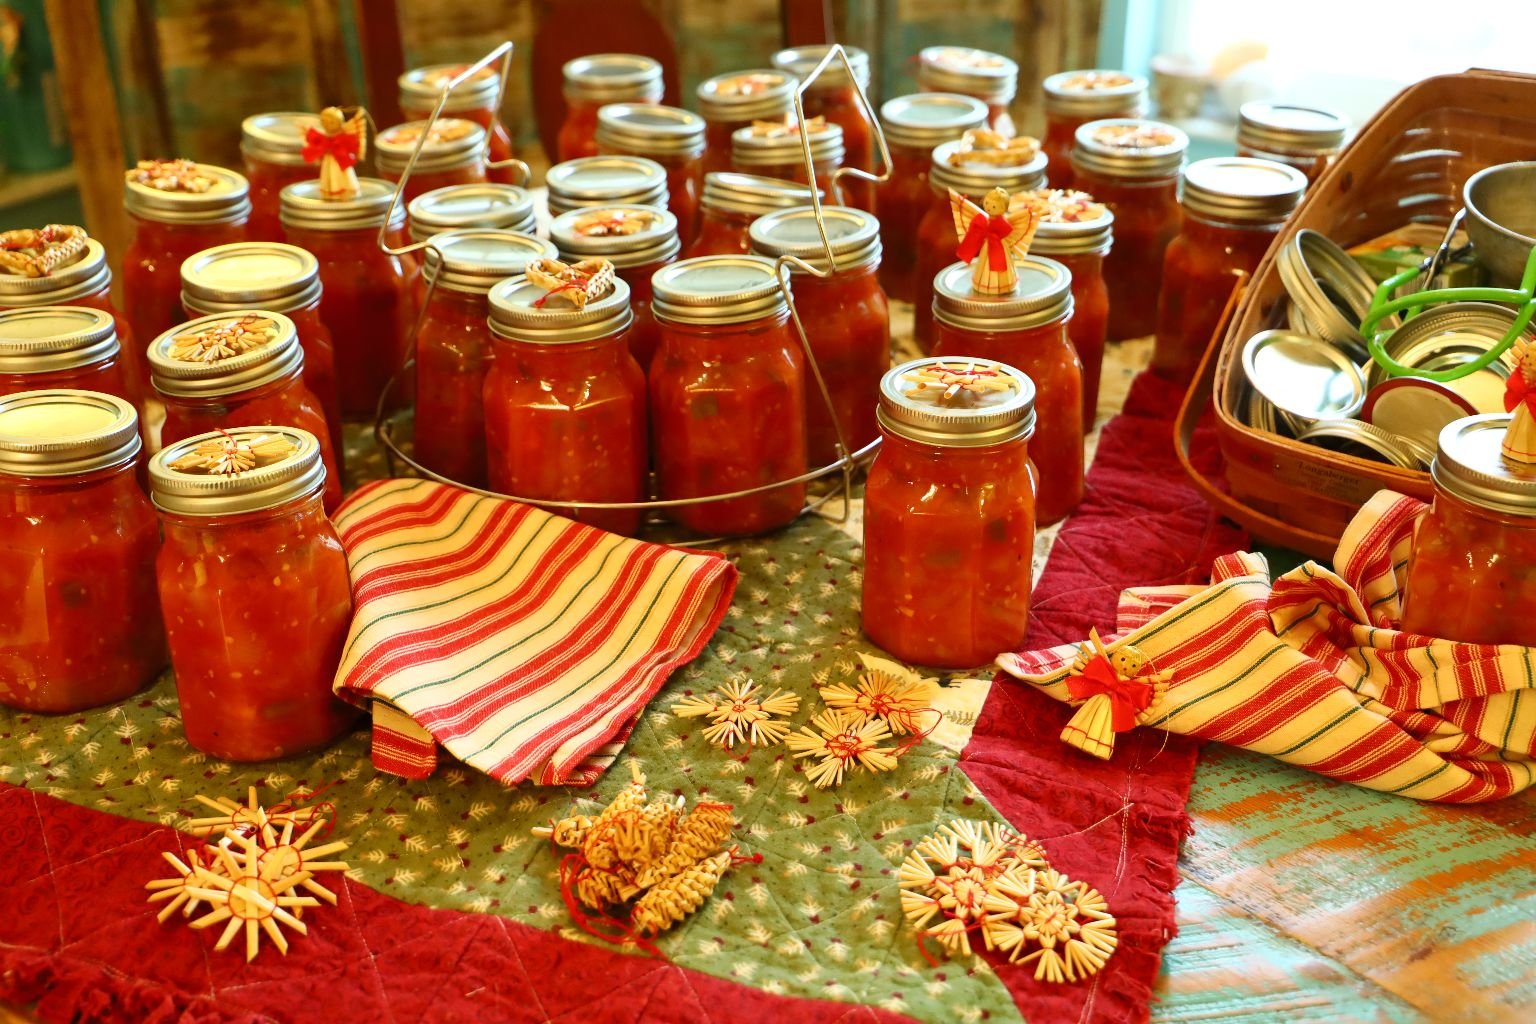
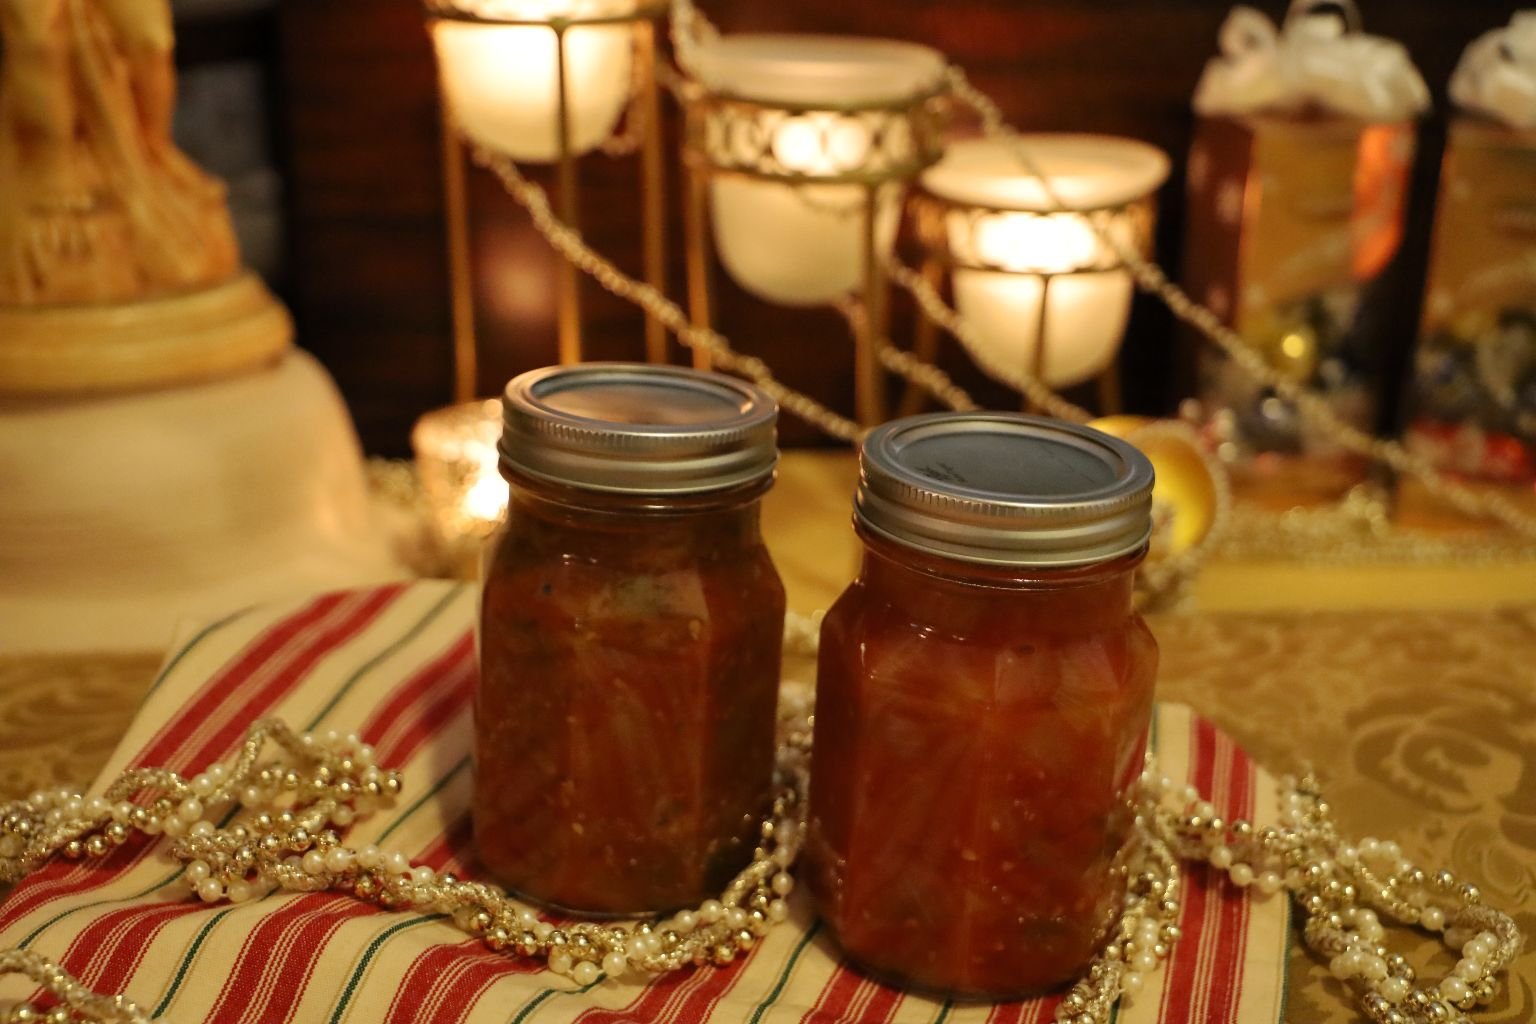
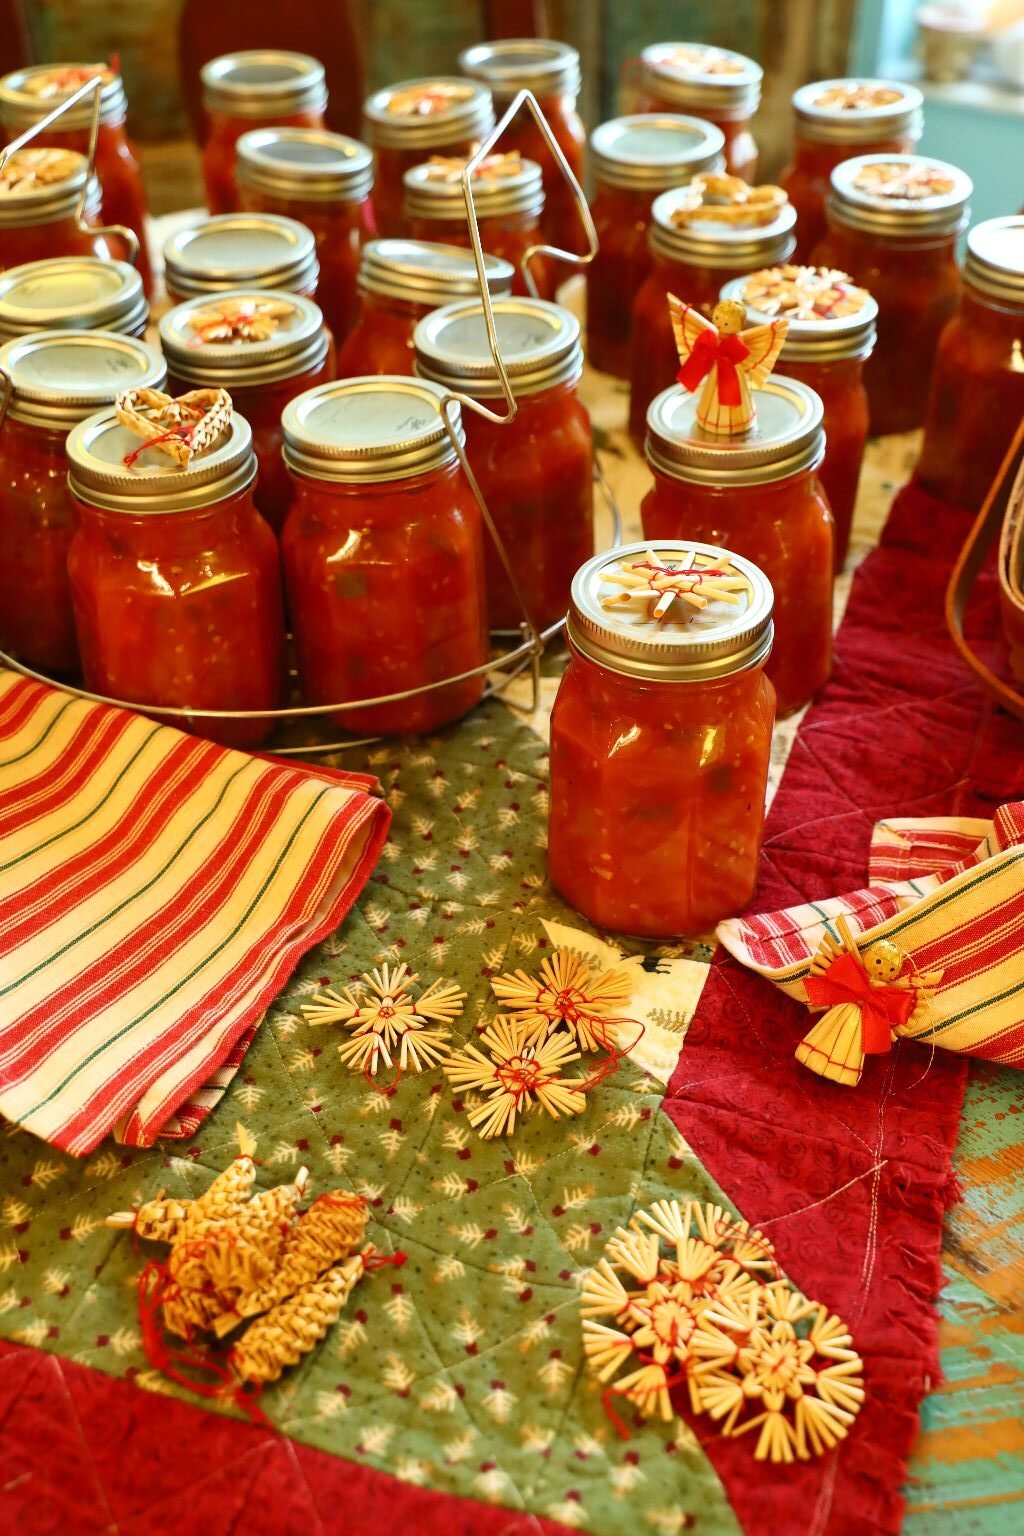
Julie decorated the tops of them to make them extra special.
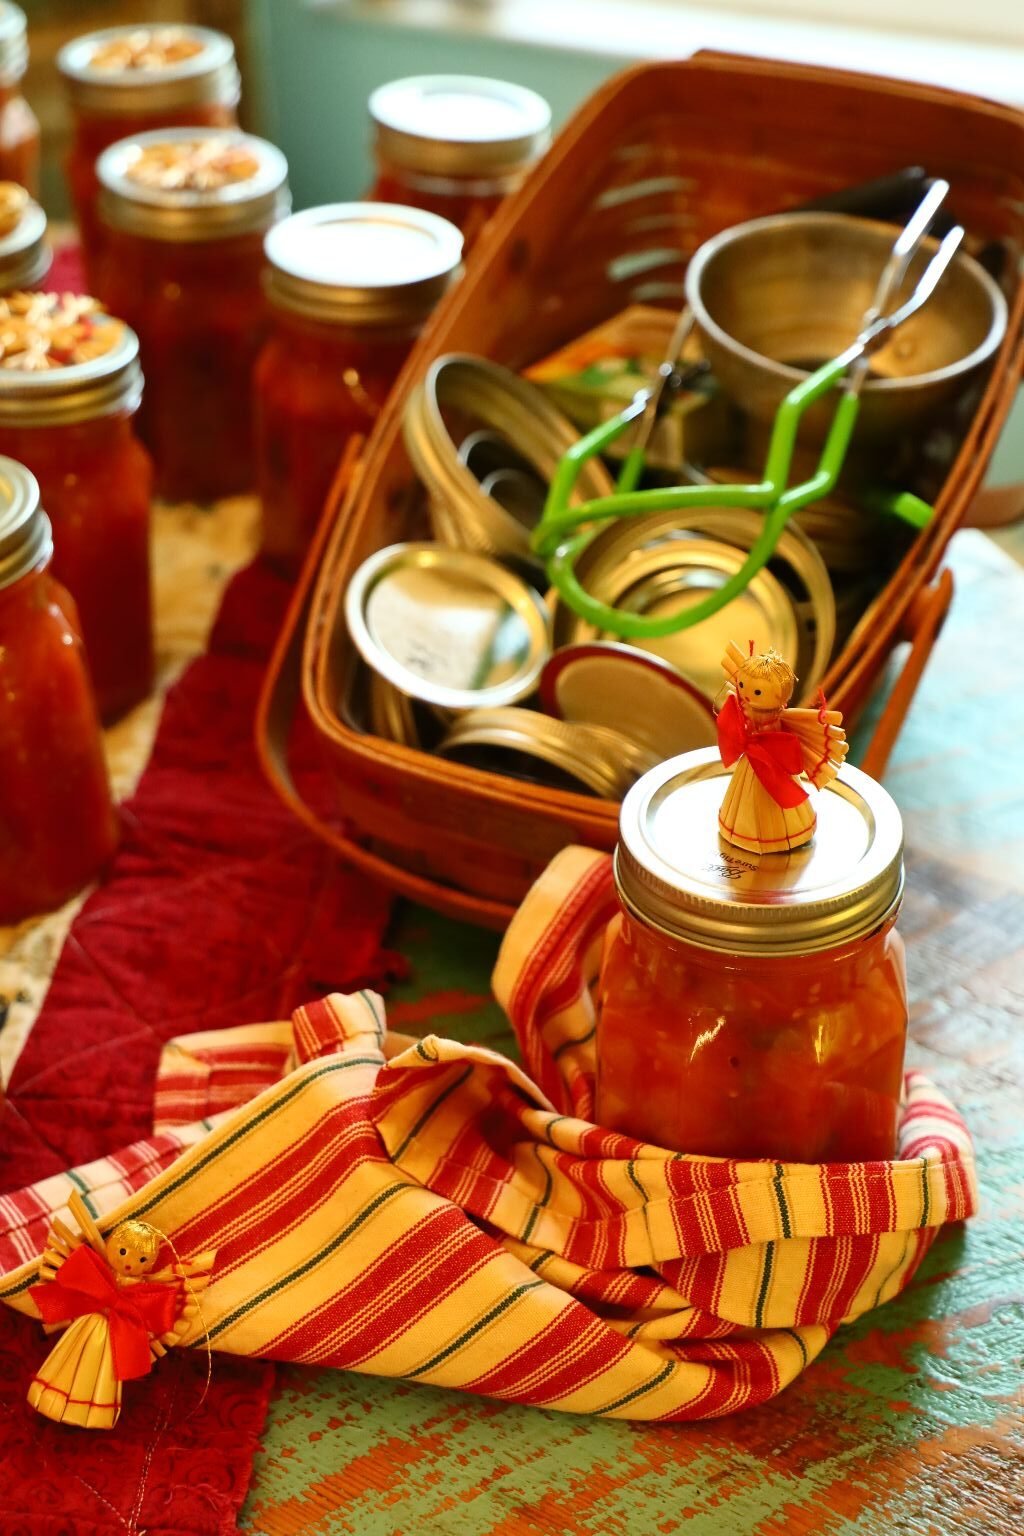
They will stay like this for over a few years. If they are bad, you will see the lid rise at the center and not be at a downward curve. This means bacteria is growing and it needs to be thrown away.
———————————————————————————-
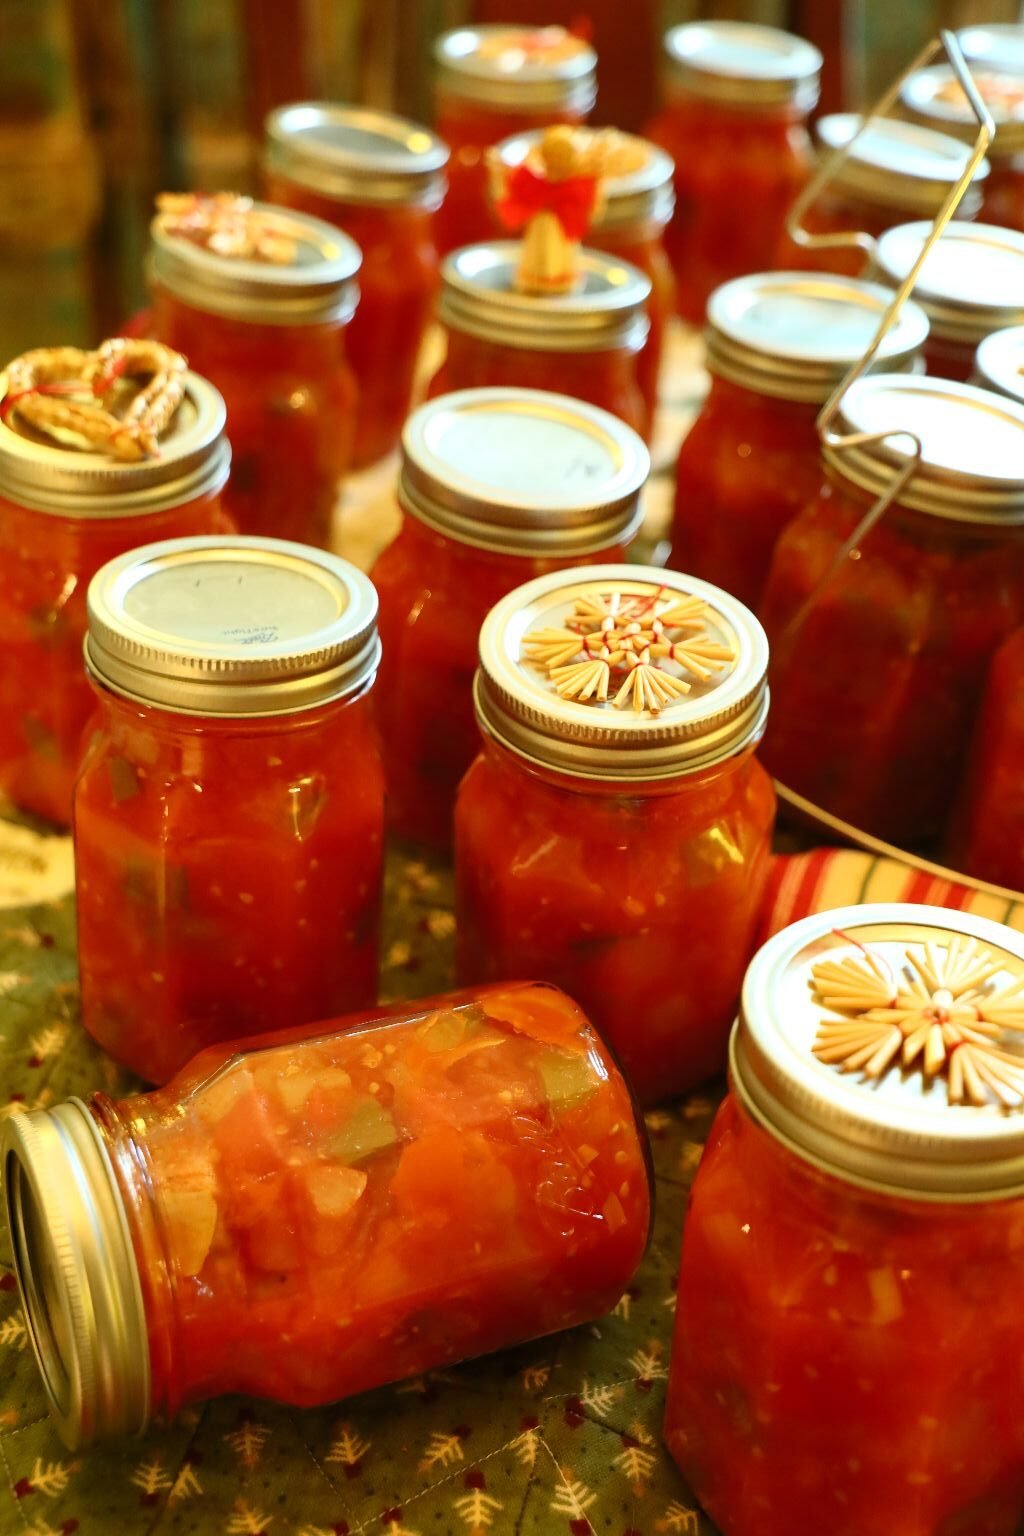

Place the jars on a table to cool, which will take a few hours to accomplish. Now you have some great gifts to pass out to family and friends. You also have a ready side dish for any meal. I hope you enjoy these very special to my heart Stewed Tomatoes.
————————————————————————–
Merry Christmas Canning,
Gordon and Julie