It’s a Mermaid Thing…


Just a Tails up, everything is going to be Mermazing….

What with the popularity of Mermaids now, I would like to welcome you.
I love Mermaids!

At this writing (2022) I am a 61 year old woman on the outside, but a 7 year old girl on the inside. I love childhood things. Yet, I don’t consider the Myth of Mermaids to be childish. I find the mythology quite fascinating. I also enjoy putting together website pages such as this one, filled with ideas for food and decoration. I especially enjoy sharing these ideas with you.
Whether you are 6, or 60, you are most welcomed here!
Julie
————————————————————-


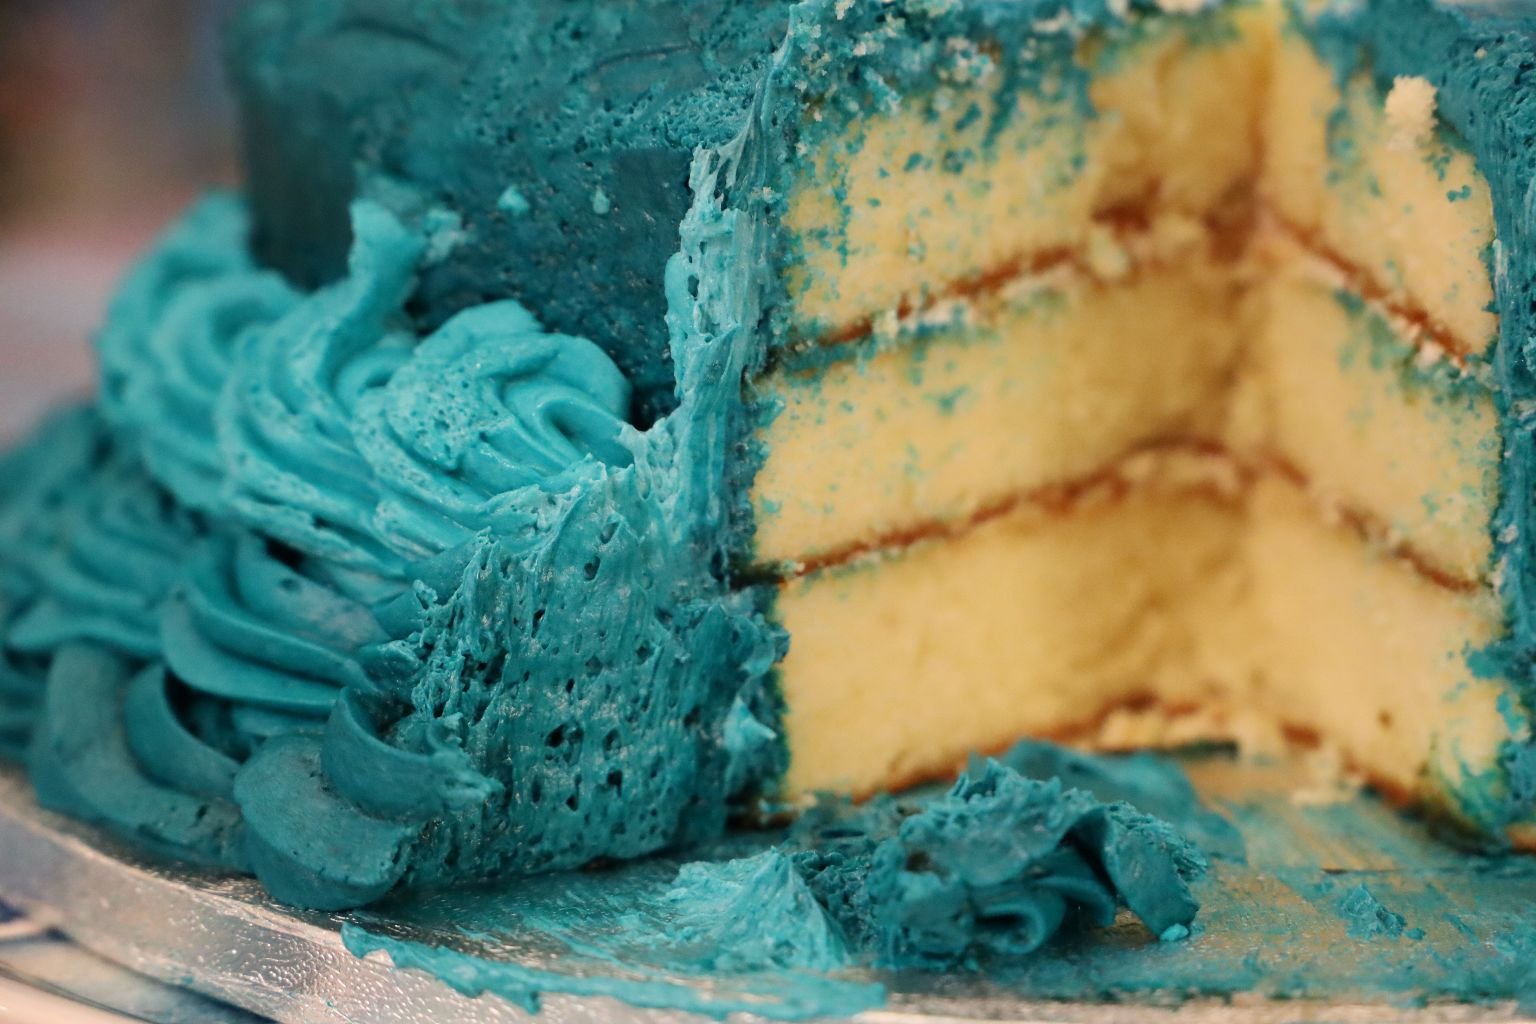
During the Pandemic (2020) we celebrated our son’s girlfriend Mackenzie’s birthday.
We made her a favorite cake of mine, Angel Food with Sea Foam Frosting. 🙂
—————————————————–

What a Mermazing Morning!

Ah, and such a Mermazing Breakfast…
(Simple: You can buy these ready made waffles in your frozen section of your local supermarket. Just heat them up, add some excellent syrup, perhaps a garnish or two, and then enjoy.) 🙂
———————————————————————-

Edible Beach Glass Candy
———————————————————————
My Mermazing Nook

Working On A Mermazing Project

Enjoying My NOOK

My Nook is Very Cluttered and Crowded, Just as I Like it!
————————————————————————-

My Mermaid Trays Veronica Gave Me

Our Beach Glass Candy

(Recipe Down Below)
————————————————————————–
The Princess Ariel Land to Sea Castle
(2024)

I realize that this extremely elaborate castle is for ages that start at 3, but in my defense, I didn’t know it was this big! I honestly thought it was about half this size. My first thought was that I had better return it, it’s just too big. However, when my son Brodie put it all together I fell in love with it! To me, it’s kind of like a Christmas Tree. It’s big and beautiful with lots of pretty things that light up that we can look at and admire all the time. I mean, we don’t ‘play’ with our Christmas trees, we look at them and admire them.


I ended up getting two of these, one here with me and Gordon at our house, and the other with Veronica and Brian for Isabelle at their house.


Also the two Ariel’s I bought. One for here, and the other for Isabelle’s house.


Isabelle Loves Things That Light Up
I realize that there are parts of this playhouse that can cause choking, etc. but, I am a very hands on Tutu. I’m on the floor with her every step of the way. With the exception of when she takes a nap, we are joined at the hip. 🙂

I thought it looked really nice here underneath our Mermaids, and the Shrimp Mobile that Gordon and I made for Peanuku.

—————————————————————————–


Peanuku and Tutu

Jesus Painted the Jacket 🙂
Veronica works with some wonderful artists. She herself is a really good artist. Some of her paintings look like photographs. Her co-worker Jesus painted the jacket above for Isabelle. How special is that?!

———————————————————————————

Thank you so much Uncle Brodie for putting this together for your niece, Isabelle!
We always appreciate you!
——————————————————————————
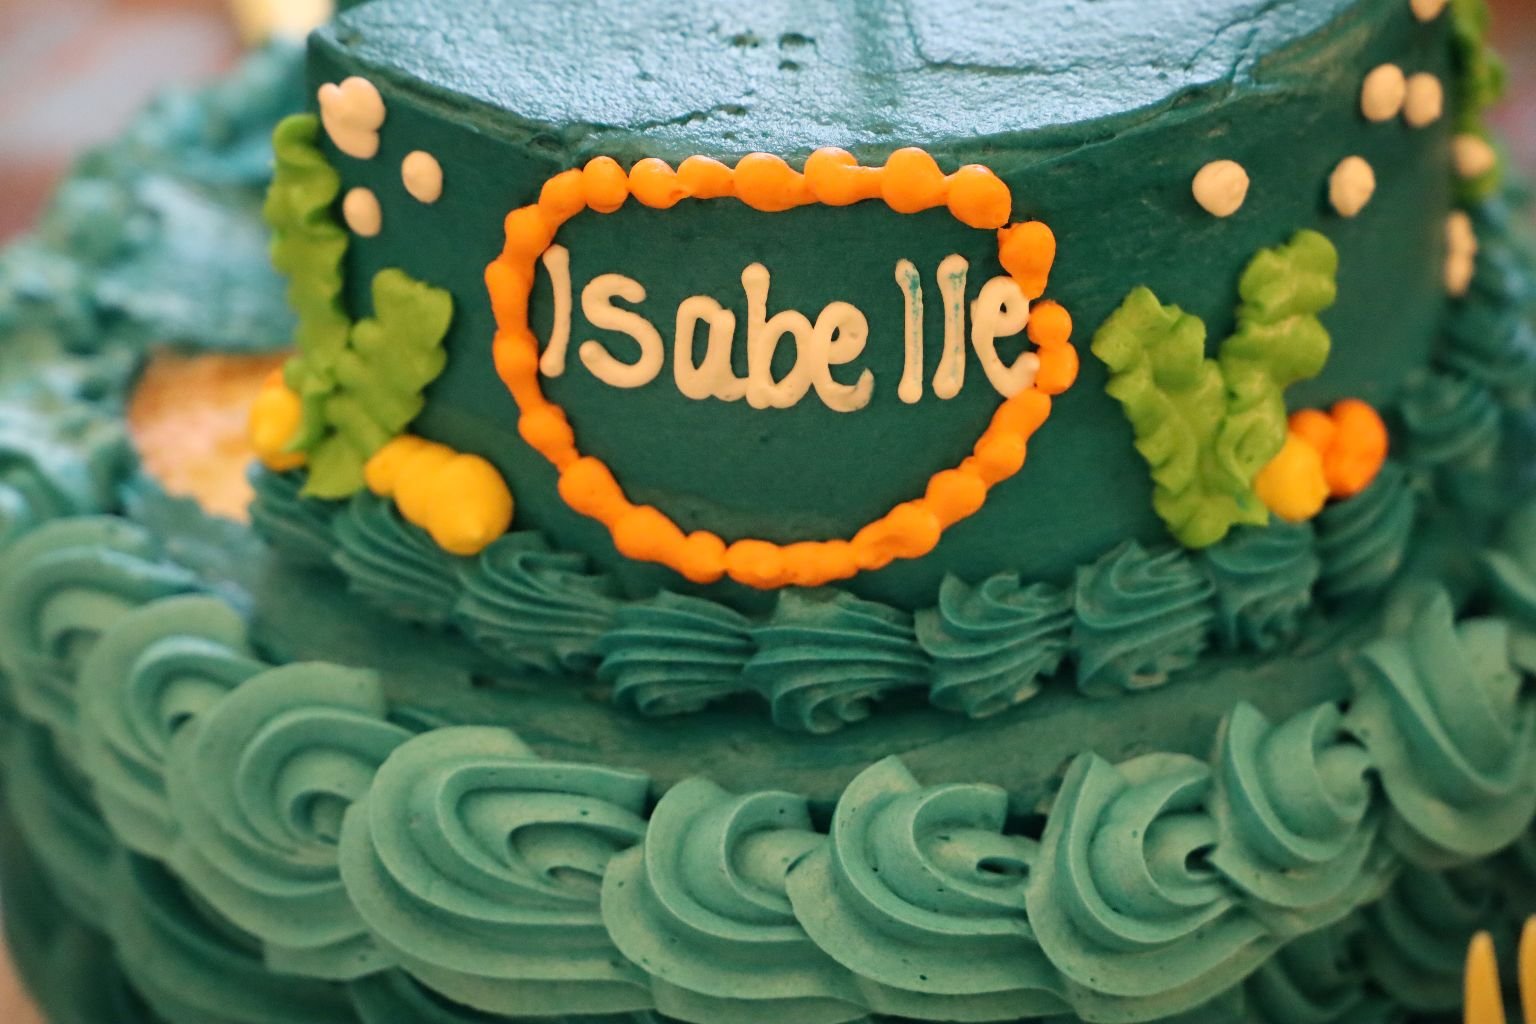
Wine With Cake For Me!


Happy Birthday to our Isabelle!
—————————————————————————–
Our Mermazing Beach

This Would be Great upon a Cake

I however, just wanted to create a beach…


This calls for Graham Cracker crumbs, totally crushed up.


(The bowl at left are the plain crumbs. The bowl at right have been mixed with Brown Sugar.)
You now want to spread them on a surface. I placed them on a tray.
They would be really nice on top of a sheet cake though.


That is a Beach!
I wanted this to look like a beach.
Once I placed down the “sand”, I then added some of my homemade beach glass candy and a few chocolate seashells. Oh, and don’t forget the mermaid. 🙂
—————————————————————–

Mommy’s (Private) Mermaid Shelf
(This page isn’t just for children. It is also for a more mature mermaid, if you catch my drift?)


A Mermazing Cocktail…

…for the Mommies


Ingredients:
Mermaid Vodka, or any Vodka you Prefer
Watermelon Lemonade Snapple, or any you Prefer
—————————————————————
My Leftover Strawberry Marinade..

…it consists of Orange Zest, Orange Juice, Strawberry Wine and Triple Sec
You however, could substitute with whatever you like.
Perhaps an Orange Juice and Zest mixed with Triple Sec?
—————————————————————-

Garnishes:
Star Fruit, Sliced
Pomegranate Jewels
Swedish Fish
Grapes
————————————————————–

———————————————————————–


The Sushi is Ready, Time to Make the Cocktail
————————————————————–

‘Of Course I Drink Like a Fish, I’m a Mermaid.’
(Note: I wanted to explain our ugly black fountain outside the window. Every year our backyard frogs lay their eggs that turn into tadpoles, that will eventually grow into frogs. The sticky kind. 🙂 So, we leave them alone to create a habitat that suits them while they grow. We feed them our rotten lettuce, which they love! Once they all leave then we clean up our fountain and enjoy it until next year when the frogs do it all over again.)
—————————————————————-


To Make One Drink:
Add Ice to your Cocktail Shaker, half way up.
Next, add one shot glass of your Vodka, two shot glasses of your Snapple, and one shot glass of your Orange Juice and Triple Sec.
Shake together until the shaker is too cold to hold.
Then pour into your glass.
Don’t forget to Garnish!
(Sprinkle the Pomegranate Seeds into the bottom, and skewer the rest and drape on top of the glass.)
————————————————————

Sushi By The Beach….. (Sort of.) 🙂

Swedish Fish

ME, Enjoying It All!
————————————————————————-
My Mermazing Siren Cake


———————————————————————-

Welcome To The Boudoir


I wanted this cake to look as if it were the bedroom of a teenage mermaid girl.
She has her Seahorse pet, and her Shell Phone, along with all her Pearls scattered about.
—————————————————————————–

Both the Mermaid, and the Dolphin are made from Sugar

(Recipe and Instructions Down Below)

The Back of my Mermaid Cake
——————————————————————————-
Our Teriyaki Salmon Sandwiches…


…with Fresh Seaweed, Onions Caramelized in our Homemade Teriyaki Sauce, and Pickles from the Asian Supermarket

A Dash of Rice Seasoning on our Salmon Patty’s


(Recipe Down Below)
——————————————————————————

Julie’s Seaweed Mer-Mac and Cheese

(Recipe Down Below)

Stuffed Clams


This isn’t actually a recipe.
We just followed the package instructions on how to cook them.

We did add a bit of Old Bay Seasoning though.
—————————————————————————-


Mermaid Jellyfish Snacks

Nata de Coco in Syrup (Coconut Gel)
PINK, BLUE, AND GREEN
The jars of noodles that you see above, we found at the Asian Supermarket. We were looking for something “mermaid” for a project when we noticed these. Pink, Blue and Green! Looks a bit “mermaidish” to me!


It was at this point that I decided that I wanted to create some sort of mermaid snack that looked as if Ariel, The Little Mermaid, would eat and serve her friends. So, I got out some of my sea tin molds and I bought some Knox Gelatin. I wanted this Knox Gelatin because it is a clearish color and I knew that I could add food coloring to it if I so desired?

White Cranberry Juice


I didn’t want to just use water to mix the Gelatin in, so I bought some White Cranberry Juice.
I knew that it would give the Gelatin a nice taste.
Just follow the package instructions.

Here I’ve poured some of the Gelatin into a measuring cup and added some blue food coloring.


Some of the molds don’t require any sort of greasing, but the older tin ones do.
I just used a baking oil spray that has a buttery flavor.


Just pour the Gelatin into the molds and then place the tray into a refrigerator to harden.
————————————————————————————


When we initially purchased the PINK noodles above they were much PINKER. The color did start to fade. So, I added some of my PINK food coloring to bring back the vibrant PINK color.


Here I am Draining the Noodles into Colanders in the Sink
—————————————————————————–

I had some trouble when I tried to remove the Gelatin from the molds, so I placed some warm water into the sink and put them in so as to loosen them up a bit.

——————————————————————————————–

(My Daughter Veronica’s The Little Mermaid Book, Little Mermaid Doll, and Stuffed Flounder.)
I placed some of the colorful noodles onto a plate and then added some of the Gelatin from the molds.
They do look a bit like Jellyfish.
I also placed some chocolate seashells around.
What a great Mermaid Snack!
———————————————————————–


My Inspirational Table
I always have to have an inspirational table full of inspirational things of whatever it may be I am working on.
It usually consists of flowers, some form of vases, and my little knick-knacks that make me happy.

Making Beach Glass Candy

The Table is Ready

The Mermaid Handbook

The Candied Beach Glass Recipe I Used
———————————————————————-
Beach Glass Candy Recipe Starts Here
(This isn’t just a candy to eat, it is also an edible decoration.)

Ingredients:
2 Cups Sugar
One Cup Water
1/2 Cup Light Corn Syrup
1 t. Oil Flavoring (We used Coconut and Orange)
Food Color (We used Blue and Green)
Confectioner’s Sugar
——————————————————————

Our Orange and Coconut Flavorings

Jars, Lids, Food Coloring…

Mixing Everything Together…


Combine Sugar, Water, Corn Syrup in a large saucepan.


——————————————————————-

I sprayed our pans with a non-stick cooking oil spray.
———————————————————————


You want to bring this mixture to a boil. Use a Candy Thermometer to bring the temp to 300F.


You then add the food coloring and flavoring to the mixture.

Once it reaches temperature….


Pour into a pan and let set until solid.
————————————————————

In this batch I did the same thing as above…


…except I didn’t add any food coloring….


..I did add flavoring though.


Pouring the Melted Candy into a Pan


I also poured some of the melted candy into a Mermaid Mold onto a non-stick surface.
I used a funnel to do this.
—————————————————————————-


In this batch, I made it the same as the above batches, except this time I used a green food coloring.

I also created another Mermaid in the mold.


Now, we just let everything set.
——————————————————————–
While Setting On The Table

Becoming Beach Glass

———————————————————————–

Time To Create The Beach Glass


I started by sprinkling some Confectioner’s Sugar onto a Cutting Board and then Placing one of the Cooled Containers of candy on Top
I Then Placed Some Saran Wrap Over The Candy and Used a Wooden Mallet to Smash Into It

Thus, Breaking It Up Into Chunks and Chards
![]()
I Then Placed The “Glass” Into a Bowl

Here, I Did The Same Thing With The Blue “Glass’


Always Remember To Coat The “Glass” With Powdered Sugar So That It Won’t Stick Together
—————————————————————————
The Green Glass

Same Procedure As Above


You DEFINITELY Want To Cover In Saran Wrap Before Pounding!!!!
(If any of that “glass” went into your eyes you could go blind.)

All The Beach Glass Into A Bowl
——————————————————————————

Now It’s Time To Create The Jars Of Beach Glass

Fill To The Rim, Beautiful!
(A Lovely Edible Gift)
————————————————————-

My Mermazing Siren Cake
A Teenage Mermaid Boudoir
—————————————————————-
The Recipe

I just followed the White Cake Mix instructions…


…using my Mixer.


Pouring the Batter into a Loaf Pan and two small Cupcake Cups.


Ready To Bake, The Finished Results
(Letting Them Cool)
——————————————————————————-
Making More Beach Glass Candy

I just wanted to make some accents for my Mermaid Cake.


I followed the same recipe for Beach Glass as above.
This time, I wanted to make a few dollops, and blobs here and there.


——————————————————————-


I also wanted to make a Seahorse and a Dolphin.
Here, I poured the liquid candy into the mold and then squirted some of the food coloring into the molds quickly as they hardened.
————————————————————————
Making The Icing

The Ingredients Are Simple:
Confectioner’s Sugar, Lemon Juice, Food Coloring


The Amounts and Thickness Depends on YOU!


What you want to do is to place some of the Confectioner’s Sugar into the mixing bowl. Now, add the Lemon Juice to your satisfaction. You can control how thin, or thick you want it. Just experiment.

These are the Cakes I want Covered in the White Icing


Here I placed them onto a rack so the Icing could fall through that I didn’t want on the cake.


Everything is Coating Nicely

———————————————————————————-

Here, I wanted to try and create some accents for my cake using the Beach Glass Sugar.

So Loving My Beach Glass Accents

——————————————————————————–


Seahorse, Dolphin and Mermaids
———————————————————————-
Making The Blue Icing


This Icing is to go on top of the white icing.


Again, this is just eyeballing the Confectioner’s Sugar and Lemon Juice to create this blob.
———————————————————————
Time To Decorate The Cake


This is the FUN part! Time to use your creativity!
I would like to suggest that if you were to use this as a theme for a birthday party, depending on your budget, I think the kids would love to decorate their own cakes. This doesn’t have to be such a huge expense either. The Royal Icing and the Sugared Mermaids, etc. don’t cost that much. You could also use Chocolate Seashells. I found these excellent looking ones at The Dollar Tree.


————————————————————————–

Having So Much FUN!

Although it may be a bit hard to see, I’ve got my Mermaid laying on top of her bed, I also have one of the sugared rounds that I made, behind her. It’s as if it is a mirror or a Head Board to a bed.


———————————————————————

Do you notice the little “pillow” on the left side of the bed? That is one of the little cupcakes I made above. You can also see her Seahorse pet. He is at the foot of her bed, just like any pet would be. Also, I have some candied “pearls” scattered about. After all, she eats Oysters and collects the Pearls. You can also see some of the beach glass designs around the cake. Sort of like some kind of seaweed or plants.

I even used a flower or two of mine to use as some sort of underwater plants.

I am actually quite proud of it!
I am at my happiest when I am using my hands to create something.
Here is the back of my cake.
If I were a Mermaid, I would LOVE this bed!
————————————————————————
Our Teriyaki Salmon Sandwiches…
…with Fresh Seaweed, Onions Caramelized in our Homemade Teriyaki Sauce, and Pickles from the Asian Supermarket

Add a Few Tempura Shrimp Chips and Some Asian Pickles…


We will Also Give You the Recipe for a Great Sandwich Sauce
————————————————————————

Tempura Shrimp Chips From the Asian Supermarket (Not Bad!)
(I would like to suggest that sometimes it’s just important to try something new and different. It’s the only way we learn and grow. Besides, you just might like that new and different thing. And if not? Then you have a story to tell about that time you tried those Shrimp Tempura Chips.) 🙂
—————————————————————-
It’s SALMON Time!


Ingredients:
Salmon Fillets – enough for three nice sized fillets
1 Medium Sweet Onion – sliced into rounds
1 Tbsp. Butter
1 Tbsp. Peanut Oil – for the Cast Iron Skillet
3 Ciabatta Buns – sliced in half
Rice Seasoning – Seto Fumi Furikake
Romaine Lettuce
Japanese Seaweed Salad (Purchased from our Commissary Sushi Chefs)
———————————————————–
Marinade:
2 Cup Soy Sauce – Datu Puti brand
2 Tbsp. Sweet Cooking Rice Seasoning – Aji Mirin
2 Tbsp. Sesame Oil
2 Tbsp. Oyster Sauce
3 Tbsp. Sweet Soy Sauce
~1/2 Cup Brown Sugar
—————————————————————–
Spread for the Bread Rolls:
1 Tbsp. Horseradish
1/2 Tbsp. Chinese Style Hot Mustard
2 Tbsp. Miracle Whip
1 Tbsp. Sesame Oil
———————————————————
Accompaniments:
Grilled Squid Flavored Chips
Tempura Shrimp Flavored Chips
Asian Pickles
——————————————————————-
The Recipe:
NOTE: This first step you want to do at least 24 hours prior to cooking.

First, check your fillet for any bones that may have been left by your fish monger.


Cut your Salmon fillet into three equal portions. To accomplish this, I cut the fillet just short of half way giving slightly more towards the tail section. Then cut the upper section into half as shown.

Place all three sections in a seal-able plastic bag.


To make your marinade, add your Soy Sauce into a medium sized bowl, then add your Sweet Cooking Rice Seasoning.


Then add your Sesame Oil, Oyster Sauce, and Sweet Soy Sauce to the bowl.


Lastly add your Brown Sugar to the bowl…


..and mix the ingredients well with a whisk.
Taste the mixture to see if it is Teriyaki like, in that it is both sweet and salty.
Adjust the ingredients as needed for your taste.


Add enough marinade to the fillets to just cover them. Remove as much air from the bag as you can then seal the bag shut. Reserve the rest of the marinade for later use.


Place the bag on a tray just in case the bag leaks. Let the salmon marinate overnight.
——————————————————————————-


The next day, slice your Sweet Onion into rounds as shown.


In a small saute pan, add 1 Tbsp. of butter and heat it over medium heat. When mostly melted add your onion slices as shown.

Cook the onion slices until softened.
————————————————————————


While the onions are cooking, remove your fillets from the bag and pat them dry using some paper towels.


———————————————————————-


Place your fillets skin side up in a cast iron skillet that has been slightly oiled with Peanut Oil. Turn on your Broiler and broil the skin until slightly crispy, about 5 min.
—————————————————————————–


When your onions have softened, add some of your reserved marinade to the onions and continue to cook until the marinade is mostly gone.
——————————————————————-


When the skin is to your liking, flip the fillets over and continue to broil the fillets for 2 min.

———————————————————————————–

Here I am continuing to cook the onions in the marinade.
——————————————————————————–

Here the Salmon has cooked for about 2 min. and I removed the pan from the oven so I could brush them with more of the marinade.


Brushing Some of the Marinade Onto the Salmon


After brushing more marinade over the fillets, place them back under the broiler for another 2 min. and repeat this process every 2 min. until the fillets are fully cooked. The fillets are fully cooked when the white fat from the fish begins to appear.
——————————————————————————-


Remove your Bread from the bag and slice them in half as shown.
———————————————————————————–

Here are the fillets after four times of being brushed with the marinade.
They look great!


I am adding some of the Rice Seasoning to the top of the fillets.
——————————————————-
Sandwich Bread Spread
(Just Eye-Ball It)


To make your spread, add your Horseradish to a small bowl.


Then add your Chinese Mustard and Miracle Whip to the bowl.


Lastly, add your Sesame Oil to the bowl and mix all the ingredients well. Taste the spread and adjust the ingredients to suit your liking.


Toast the buns then add some of your Asian inspired spread to one side of the bun.. Top the spread with a Romain lettuce leaf then top that with your Salmon Fillet.


Now, add some Japanese Seaweed Salad to the fillet…

then top that with some of your Teriyaki Onions.
Plate the sandwich and eat it with some Asian Chips and Asian Pickles which were really quite good!
Enjoy this great tasting sandwich!
————————————————————————–
Julie’s Seaweed Mer-Mac and Cheese
———————————————————————————

I love Cooking With Wine
(Just not placing it in my food) 🙂
——————————————————————–

My Seaweed Mer-Mac and Cheese Ingredients
16 oz. Pasta
4 T. Butter or Margarine
4 T. All Purpose Flour
3 Cups Milk
1 Cup Half and Half
3-4 Cups Shredded Cheeses
1 t. Sea Salt
1/2 t. Freshly Ground Black Pepper
1 t. Paprika
1 1/2 Packages Sheets of Dried Seaweed
————————————————————————–


This is actually very Italian as I use Italian Cheeses and Italian Pasta
Asiago, White Cheddar, Parmesan, and Gruyere
This Particular Sea Coral Pasta is so Beautiful! It also looks like Seaweed.
(And, It’s veggie dyed.)
———————————————————————–

I have grated all my cheese. You can save some to top off the casserole when done.
—————————————————————–

The pot to the left is for the Mac’n Cheese Melt, and the pot to the right is for the Pasta.

The Pasta, and The Pot
—————————————————————————-

Melting The Butter Over a Medium High Heat


Next, Add Your All Purpose Flour to the Butter/Margarine


You Want To Stir Frequently! Now Add Your Milk and Continue To Stir.
—————————————————————————


I’ve Added Some Sea Salt to the Boiling Water and Added The Pasta


Cook according to package directions. Once Al Dente, drain into a Colander.
———————————————————————————–


In this Saucepan left, we have the Butter/Margarine, All Purpose Flour, Milk, and Half and Half.
You want to continuously stir until thick. That could take anywhere from 5 minutes to 25 minutes. That depends on how hot the burner is, and how quick the mixture is thickening.
Now, we have added all of our Cheeses in the photo at right. You want to continue to stir, while thickening.
—————————————————————————–


Now We Want To Add Some Salt and Freshly Ground Black Pepper
(I did not add any salt here. The salt I added was to the water to boil the pasta. But, I did add the Freshly Ground Black Pepper here.)
—————————————————————————————-


Time to Add the Paprika, Stir Together


Now It’s Time To Combine The Two
—————————————————————————-

Dried Seaweed Sheets
(These are the brands that we used. They are quite delicious on their own.)


With the Pasta and the Cheese Mixture combined, it’s time to add the Seaweed Sheets.

Time To Mix Together
——————————————————————————

You need to get out a casserole dish and spray it with a non-stick oil spray.


Next, add the Mac n’ Cheese mixture


Here I added some leftover grated cheese and some dried seaweed to top off the casserole.


Place into a Pre-Heated 350F Oven for about 20-25 minutes.

I Added My Vintage Mermaid to Swim Around in it 🙂
——————————————————————–
To View Our Other Mermaid Website Pages:
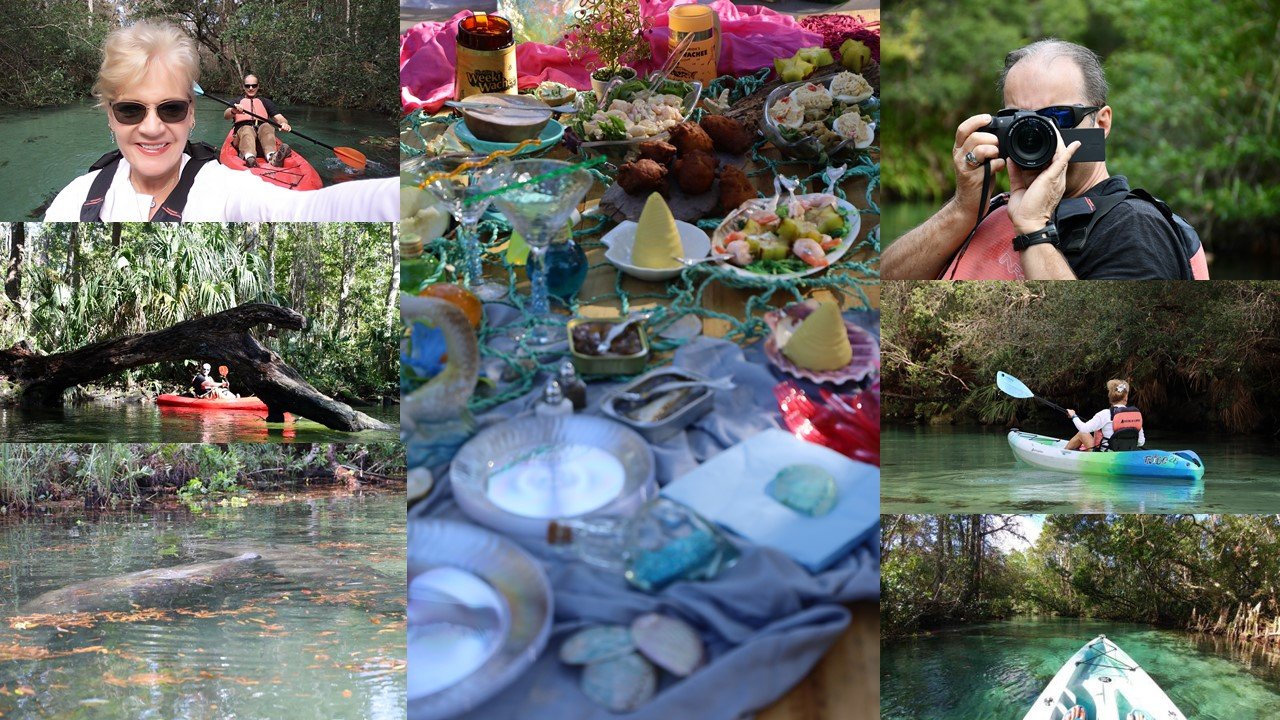
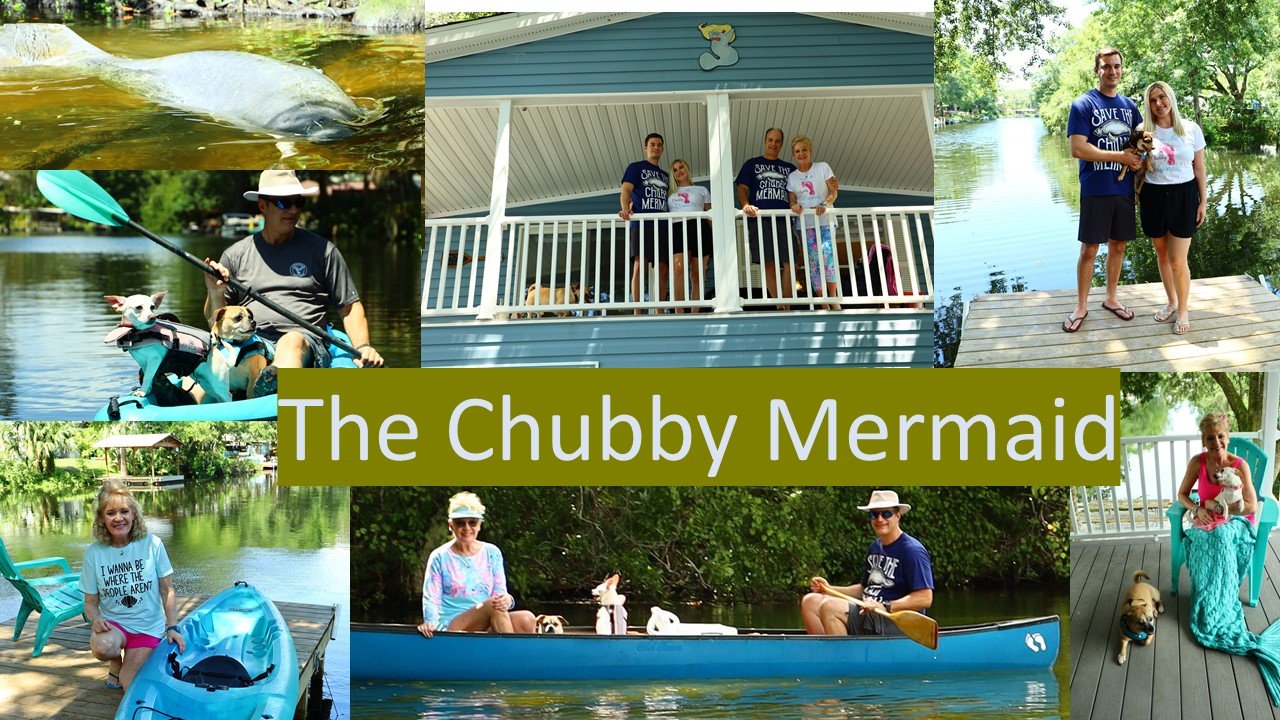
Click Here For: Kayaking in Florida With Julie and Gordon: Adventure, Food and Fun Blogging

AND,
Kayak Weeki Wachee Springs, Florida

AND,
Weeki Wachee Weekend For Christmas
AND,

AND,
My Mermaid Lagoon Christmas in the Nook

AND,
AND,
AND,
——————————————————————————