Autumn Baking

When Autumn is in the air……

Although we do live here in central Florida, we do experience a bit of climate change in the Autumn months.

It does get a little bit cooler and that is when we are in the mood to do some baking. Especially with all the lovely squash and pumpkin that are in season.

———————————-
Although we do have quite a bit more Autumn baking to do, I wanted to start with the Acorn Squash recipe.
———————————-
Falling into Autumn
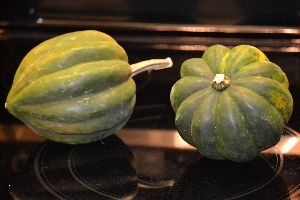
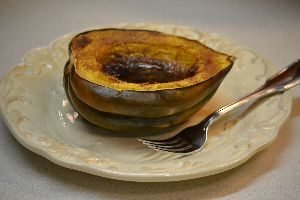
Acorn Squash
(This recipe I, Julie, got from my mother. She loved to bake acorn squash in the oven with all the nice Christmassy spices. This is delicious and it smells up the entire house with it’s aroma.)
————————————-
Pumpkin and Butternut Squash Casserole
See Recipe Write Up Below……
————————————
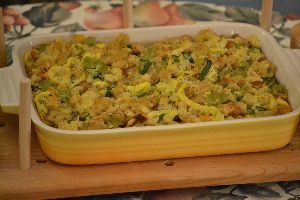
Squash Dressing w/ Pasta
A Delicious Southern Favorite
(Recipe Below)
———————————————–

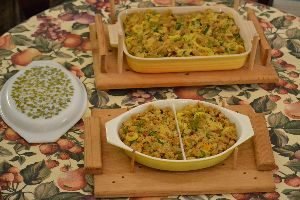
Julie and The Giant Squash

One is Sweet, One is Savory
(Recipe Below)
——————————————————————
Julie’s Autumn Macaroni and Cheese
(Recipe Down Below)
—————————————————————-
Grandma’s
Cheesy/Broccoli/Chicken/Rice/Cauliflower/Mushroom/Cabbage
Casser-All
I Julie, based this idea and recipe on an old favorite of mine:
Except, I wanted to build my recipe by using our Broccoli Cheese Dip as our base.
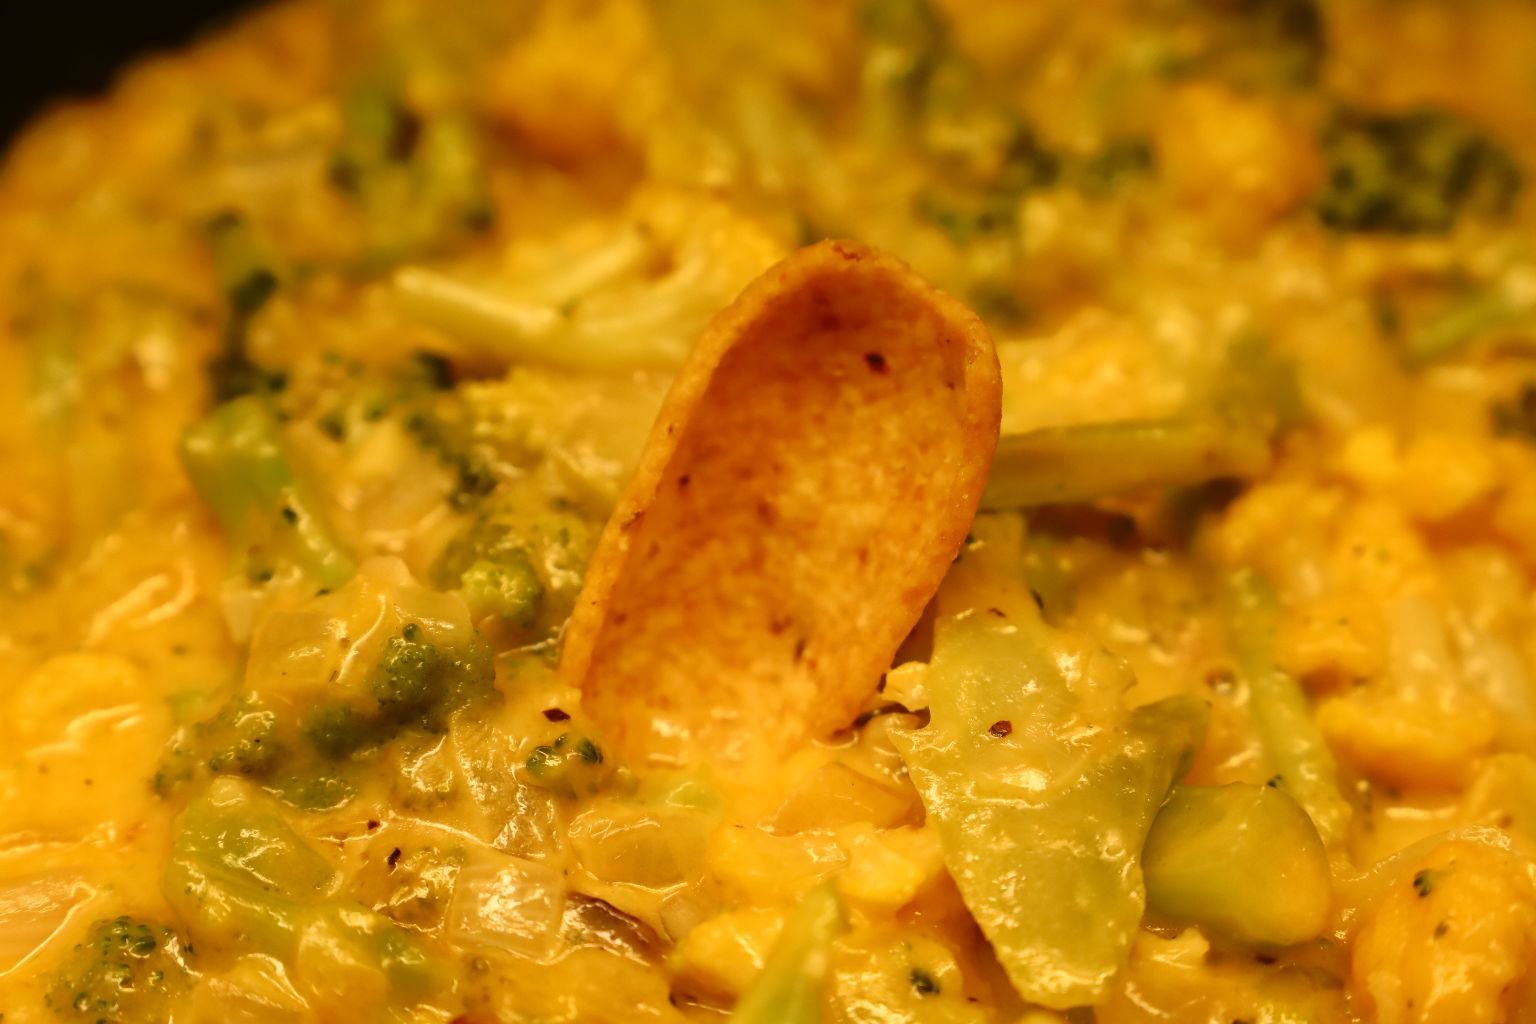
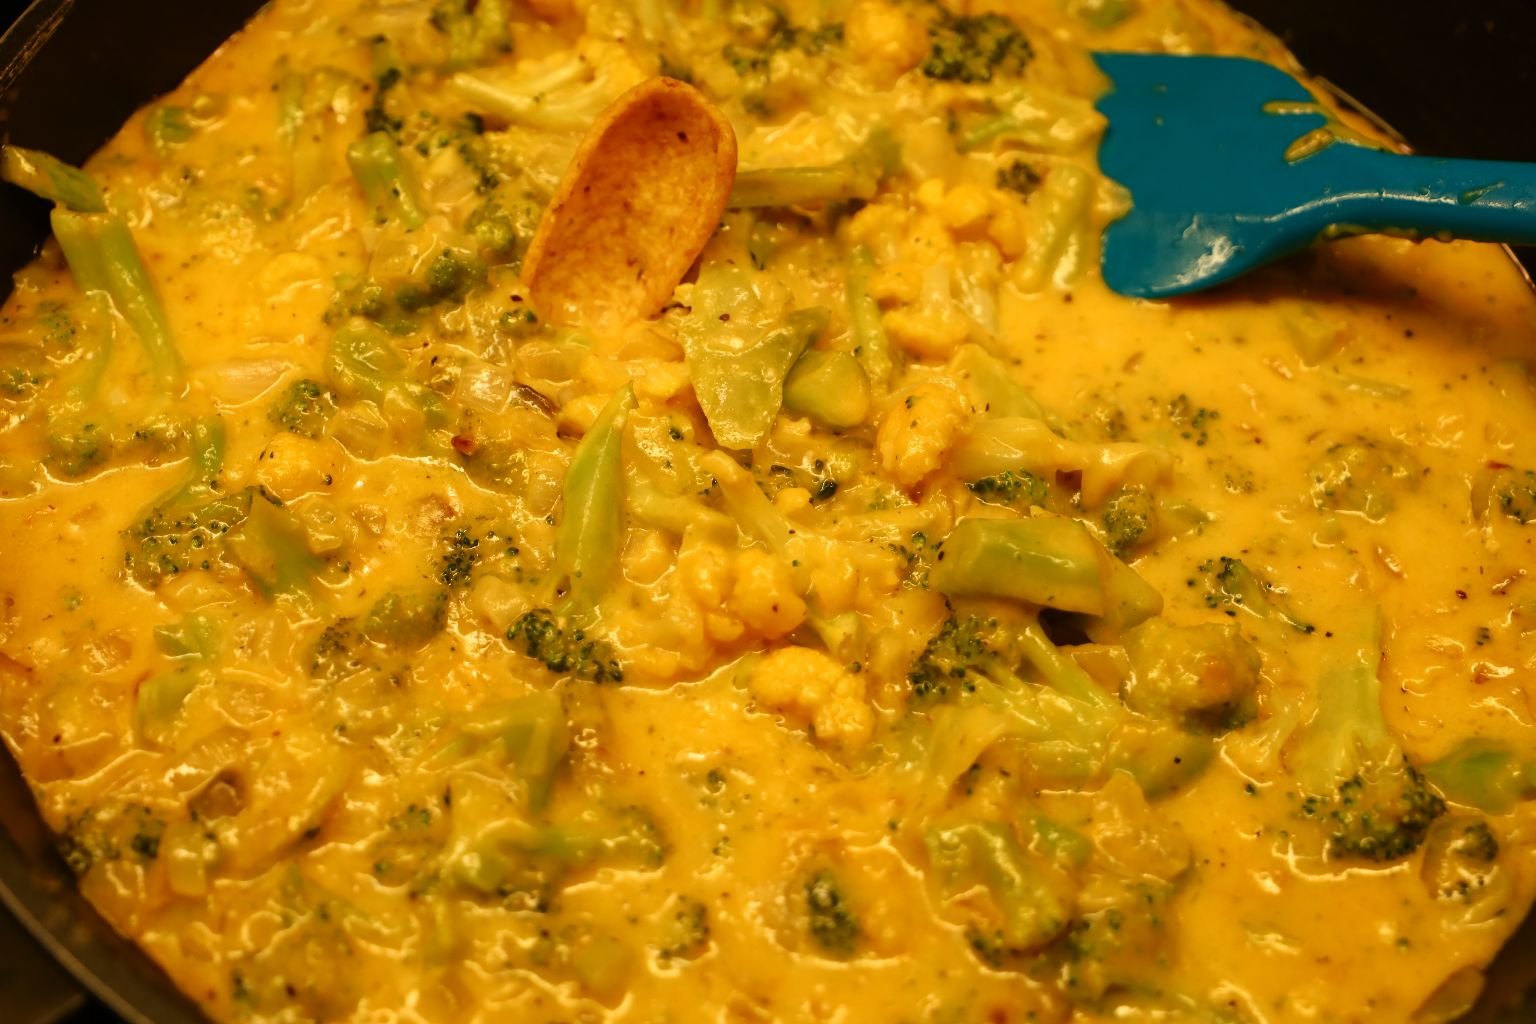
This is our Cheesy Broccoli Dip, we Love it with Corn Chips
In this Recipe we Also Added Cauliflower to the Dip
(I’ll add this recipe below as well.)
This Casser-ALL Has it ALL
(Recipe Down Below)
—————————————————————————

Not Your Mother’s Green Bean Casserole
————————————————————————-


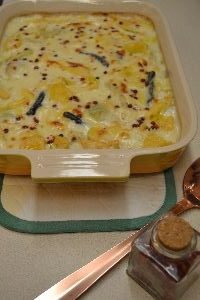
Our Italian Ornamental Squash Casserole
Photo Left: Fresh Out of the Oven
Photo Right: With Crumbled Bacon
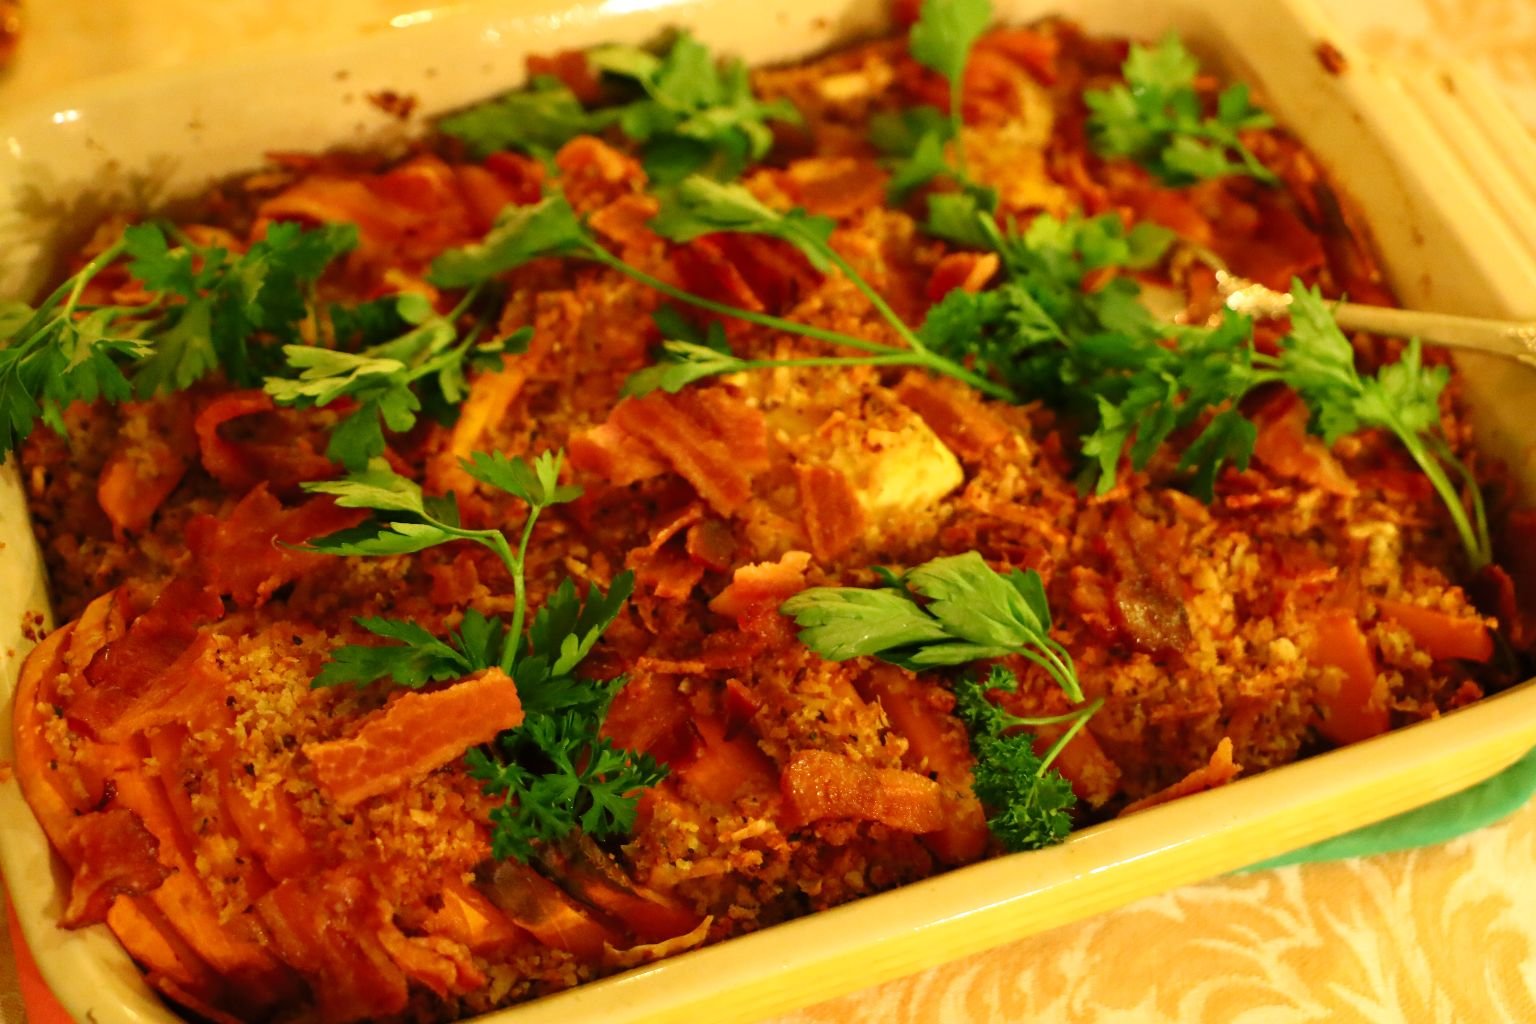
In This Photo it is Topped With Flat Leaf Parsley
(Recipes Down Below)
—————————————
VEG ALL Casserole
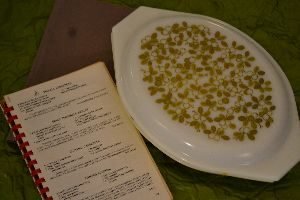
Recipe Taken from Cherished Recipes from The First Christian Church, Rome, Georgia
This was a casserole that my grandmother made quite often because it was quick and easy and inexpensive. Although we bring you the original “canned” version, it would taste so much better by using fresh ingredients. (Although we did use a few fresh ingredients.) Don’t get me wrong, it tastes fine here, but everyone knows that most of the time fresher does taste better. Besides, I really just wanted to relive a food memory.
Although Gordon did have a great idea that next time we could roast all the vegetables and then assemble them into a casserole dish, add few toppings and that would would be delicious. 🙂

——————————————-

Recipe Write Up Below
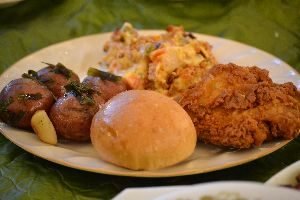
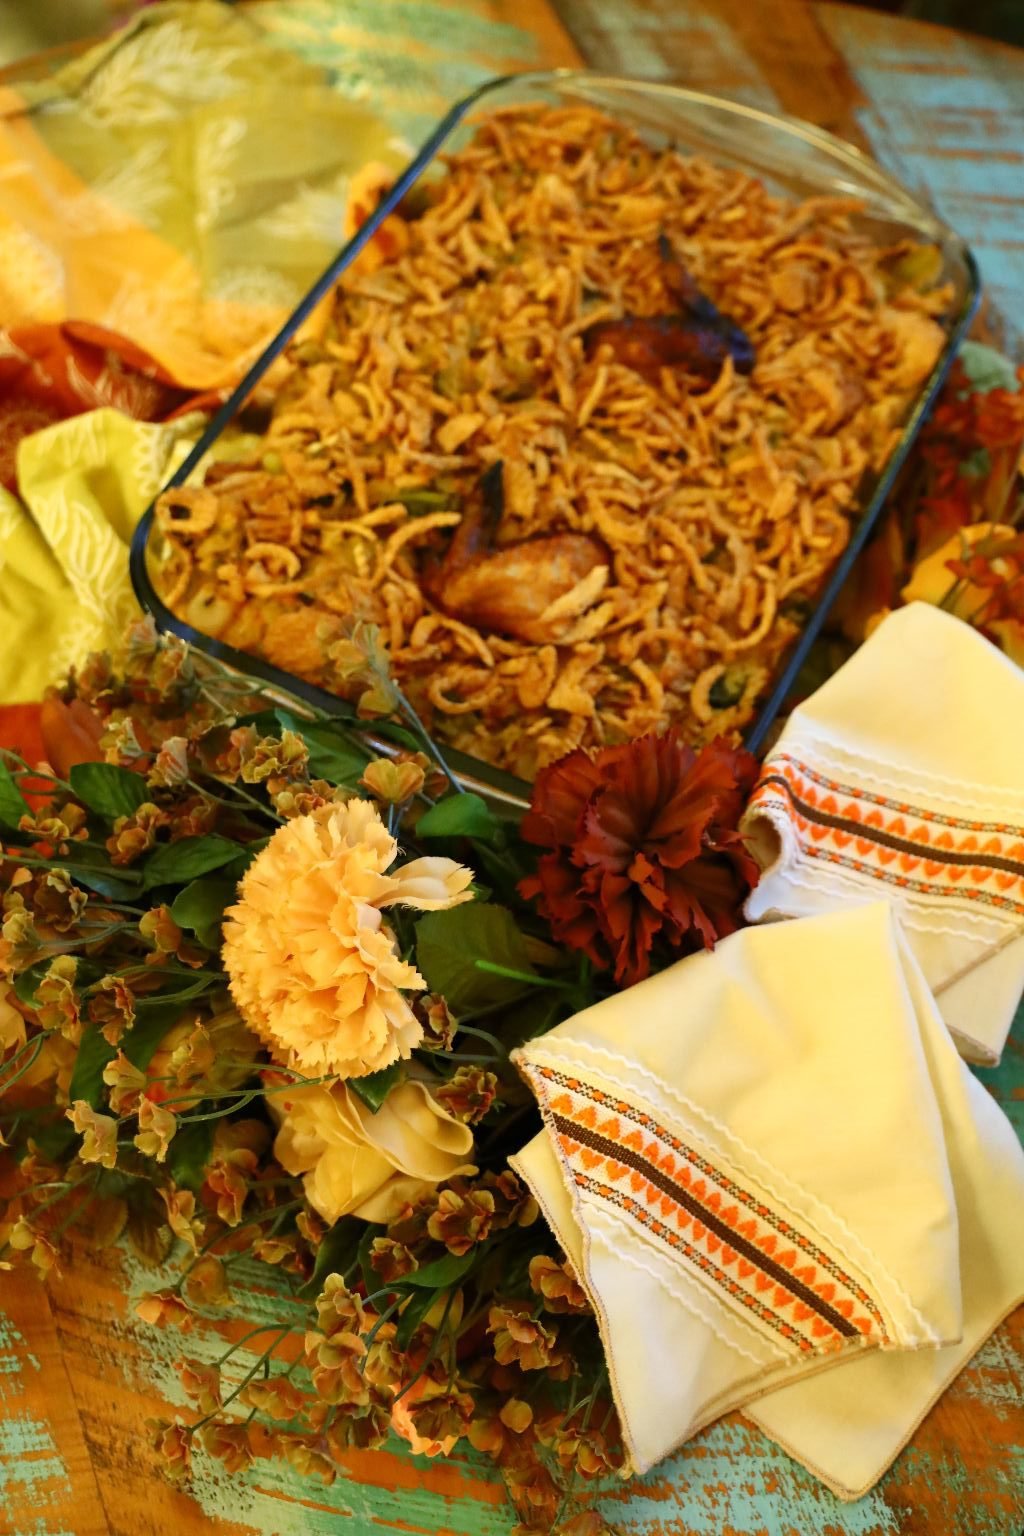
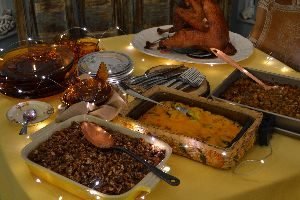
I just wanted to recreate a 70’s meal where the casserole would have been served.
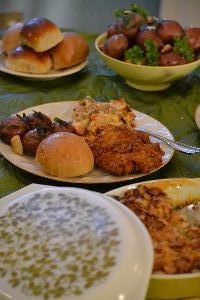
Our Great 1970’s Dinner
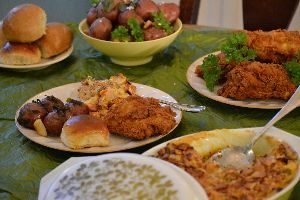
Fried Chicken, Potatoes, Dinner Rolls, and Veg All Casserole
And that green quilted thing all the food is sitting on belonged to my grandmother as well.
—————————————
Grammaw Nell’s Squash Casserole

Currently Baking, see recipe down below……
—————————————
But First…..
Acorn Squash
————————————
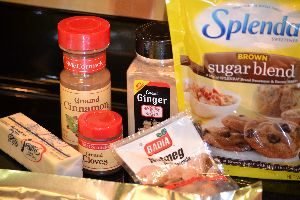
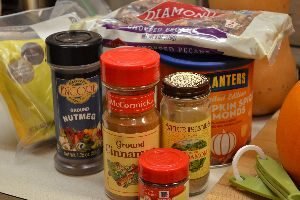
Ingredients:
2 Acorn Squash
2 Tbsp. Ground Cinnamon
1 Tbsp. Ground Ginger
1/2 Tbsp. Ground Cloves
1/2 Tbsp. Ground Nutmeg
4 Tbsp. Brown Sugar
4 Tbsp. Butter
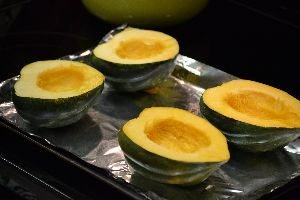
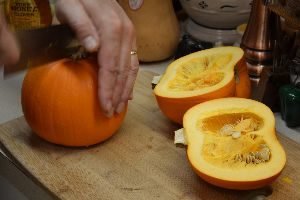
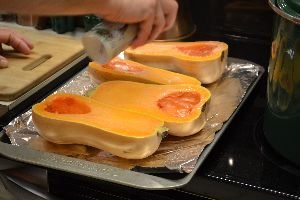
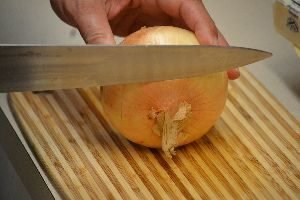
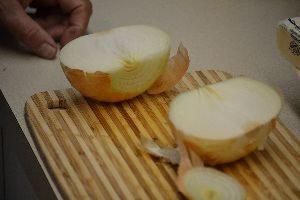
First slice your squash in half and remove the seeds with a spoon.
Then, slice a small part of the squash off to allow it to sit flat.
—————————————-
Preheat your oven to 400’F
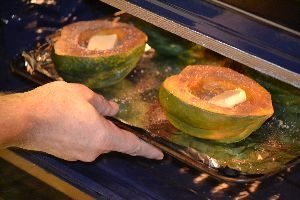
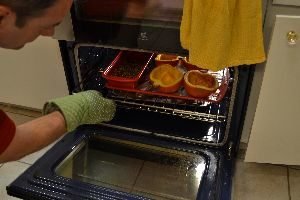
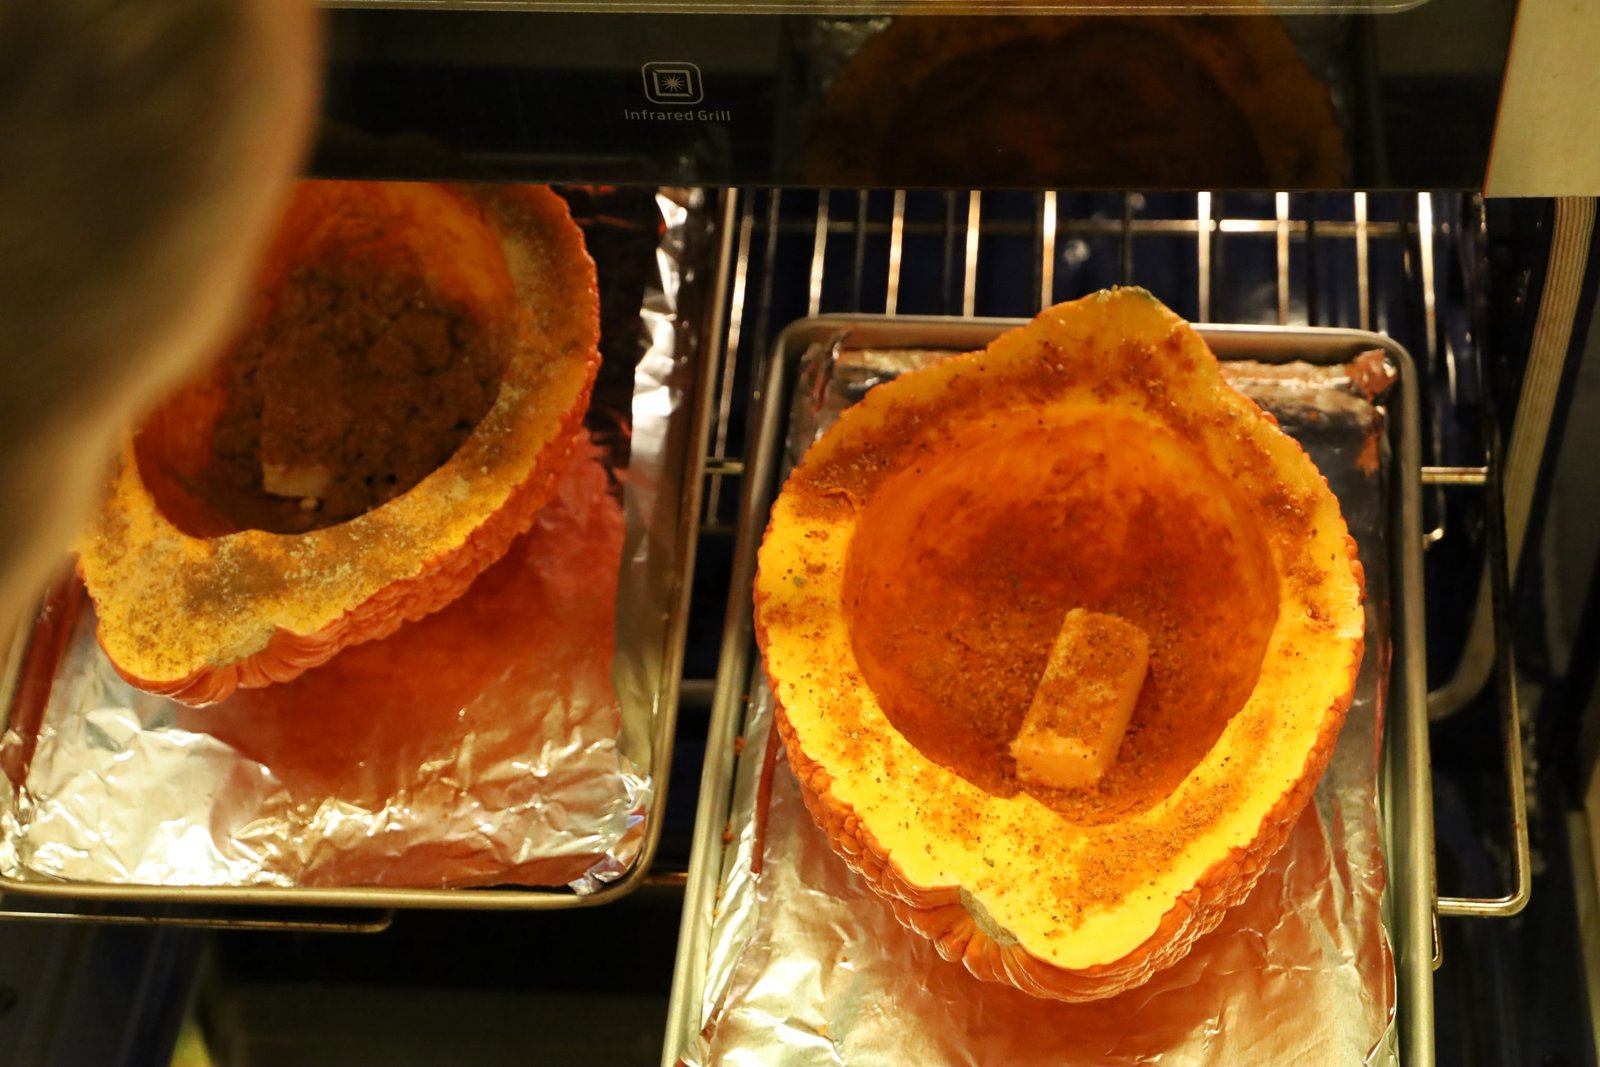
On a cookie sheet lined with aluminum foil, place your sliced squash cavity side up.
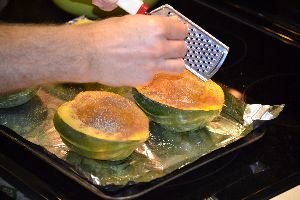
Place your butter, spices, and brown sugar in the cavity of the squash.

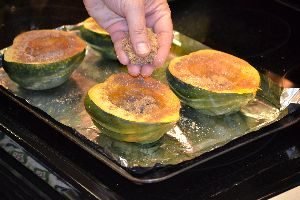
Place your squash in the center of the oven and bake until golden brown and fork tender ~35 min.

Let cool,
Enjoy!
(This is a nice light dinner on it’s own.)
————————————
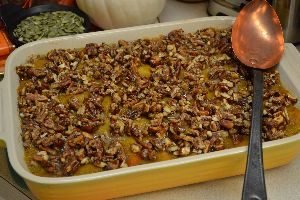
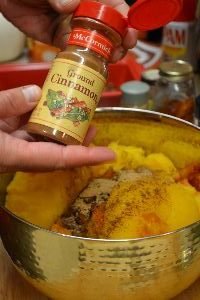
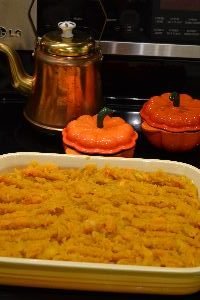
Pumpkin and Butternut Squash Casserole
This is delicious and I think a nice substitute for the traditional Sweet Potato/Yams topped Marshmallow Casserole that so many of us eat every holiday.
——————————————
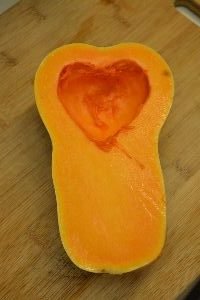
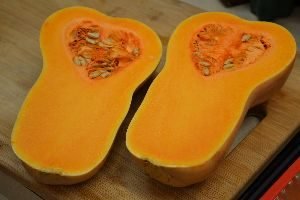
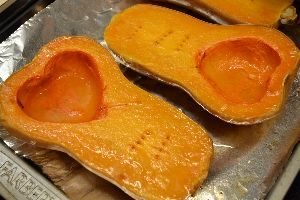
I HEART Squash
(I love the HEARTS inside the squash.)
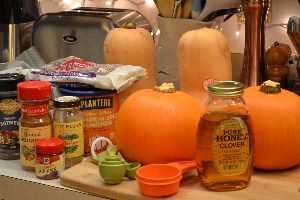
Ingredients:
2 Butternut Squash
2 Baking Pumpkins
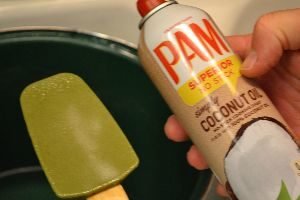
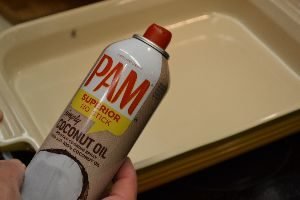
Pam Cooking Spray – coconut oil
For the Nut Topping…
½ tsp. Ground Nutmeg
½ tsp. Ground Cardamom
1 tsp. Ground Cinnamon
½ tsp. Ground Cloves
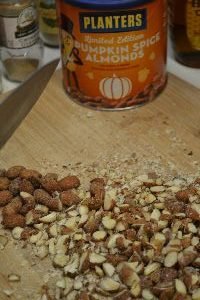
1 ½ Cups Planters Pumpkin Spiced Almonds (or you can use regular almonds)
1 Cup chopped Pecans
1/3 Cup Brown Sugar
~4-5 Tbsp. Honey
For the Roasted Squash and Pumpkin
1 Tbsp. Nutmeg
1 Tbsp. Cardamom
1 Tbsp. Cinnamon
3 Tbsp. Honey
OPTIONAL: Pumpkin Spice Liquor to Drizzle
——————————-
This is going to smell like Christmas!
—————————–
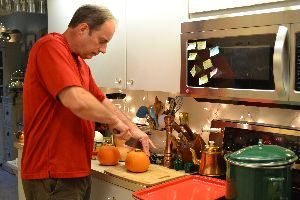
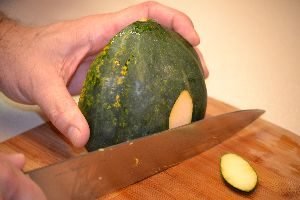
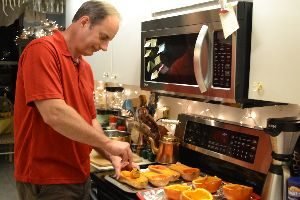
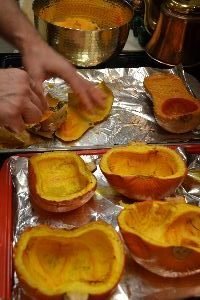
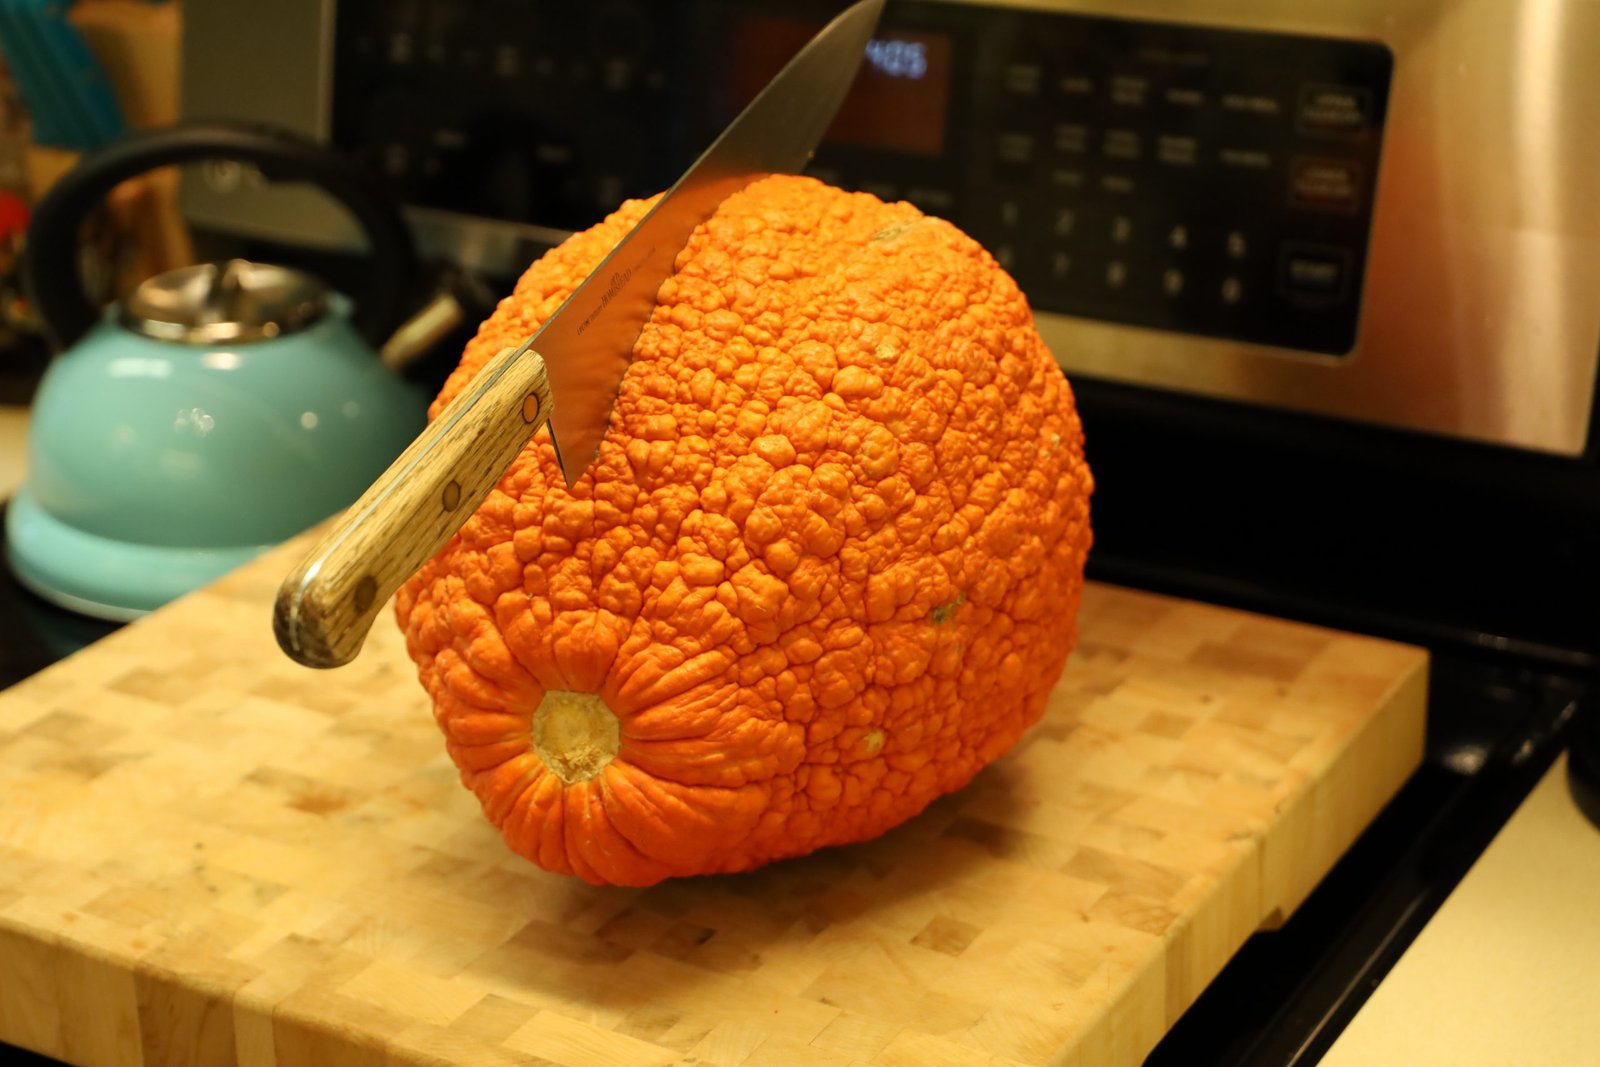
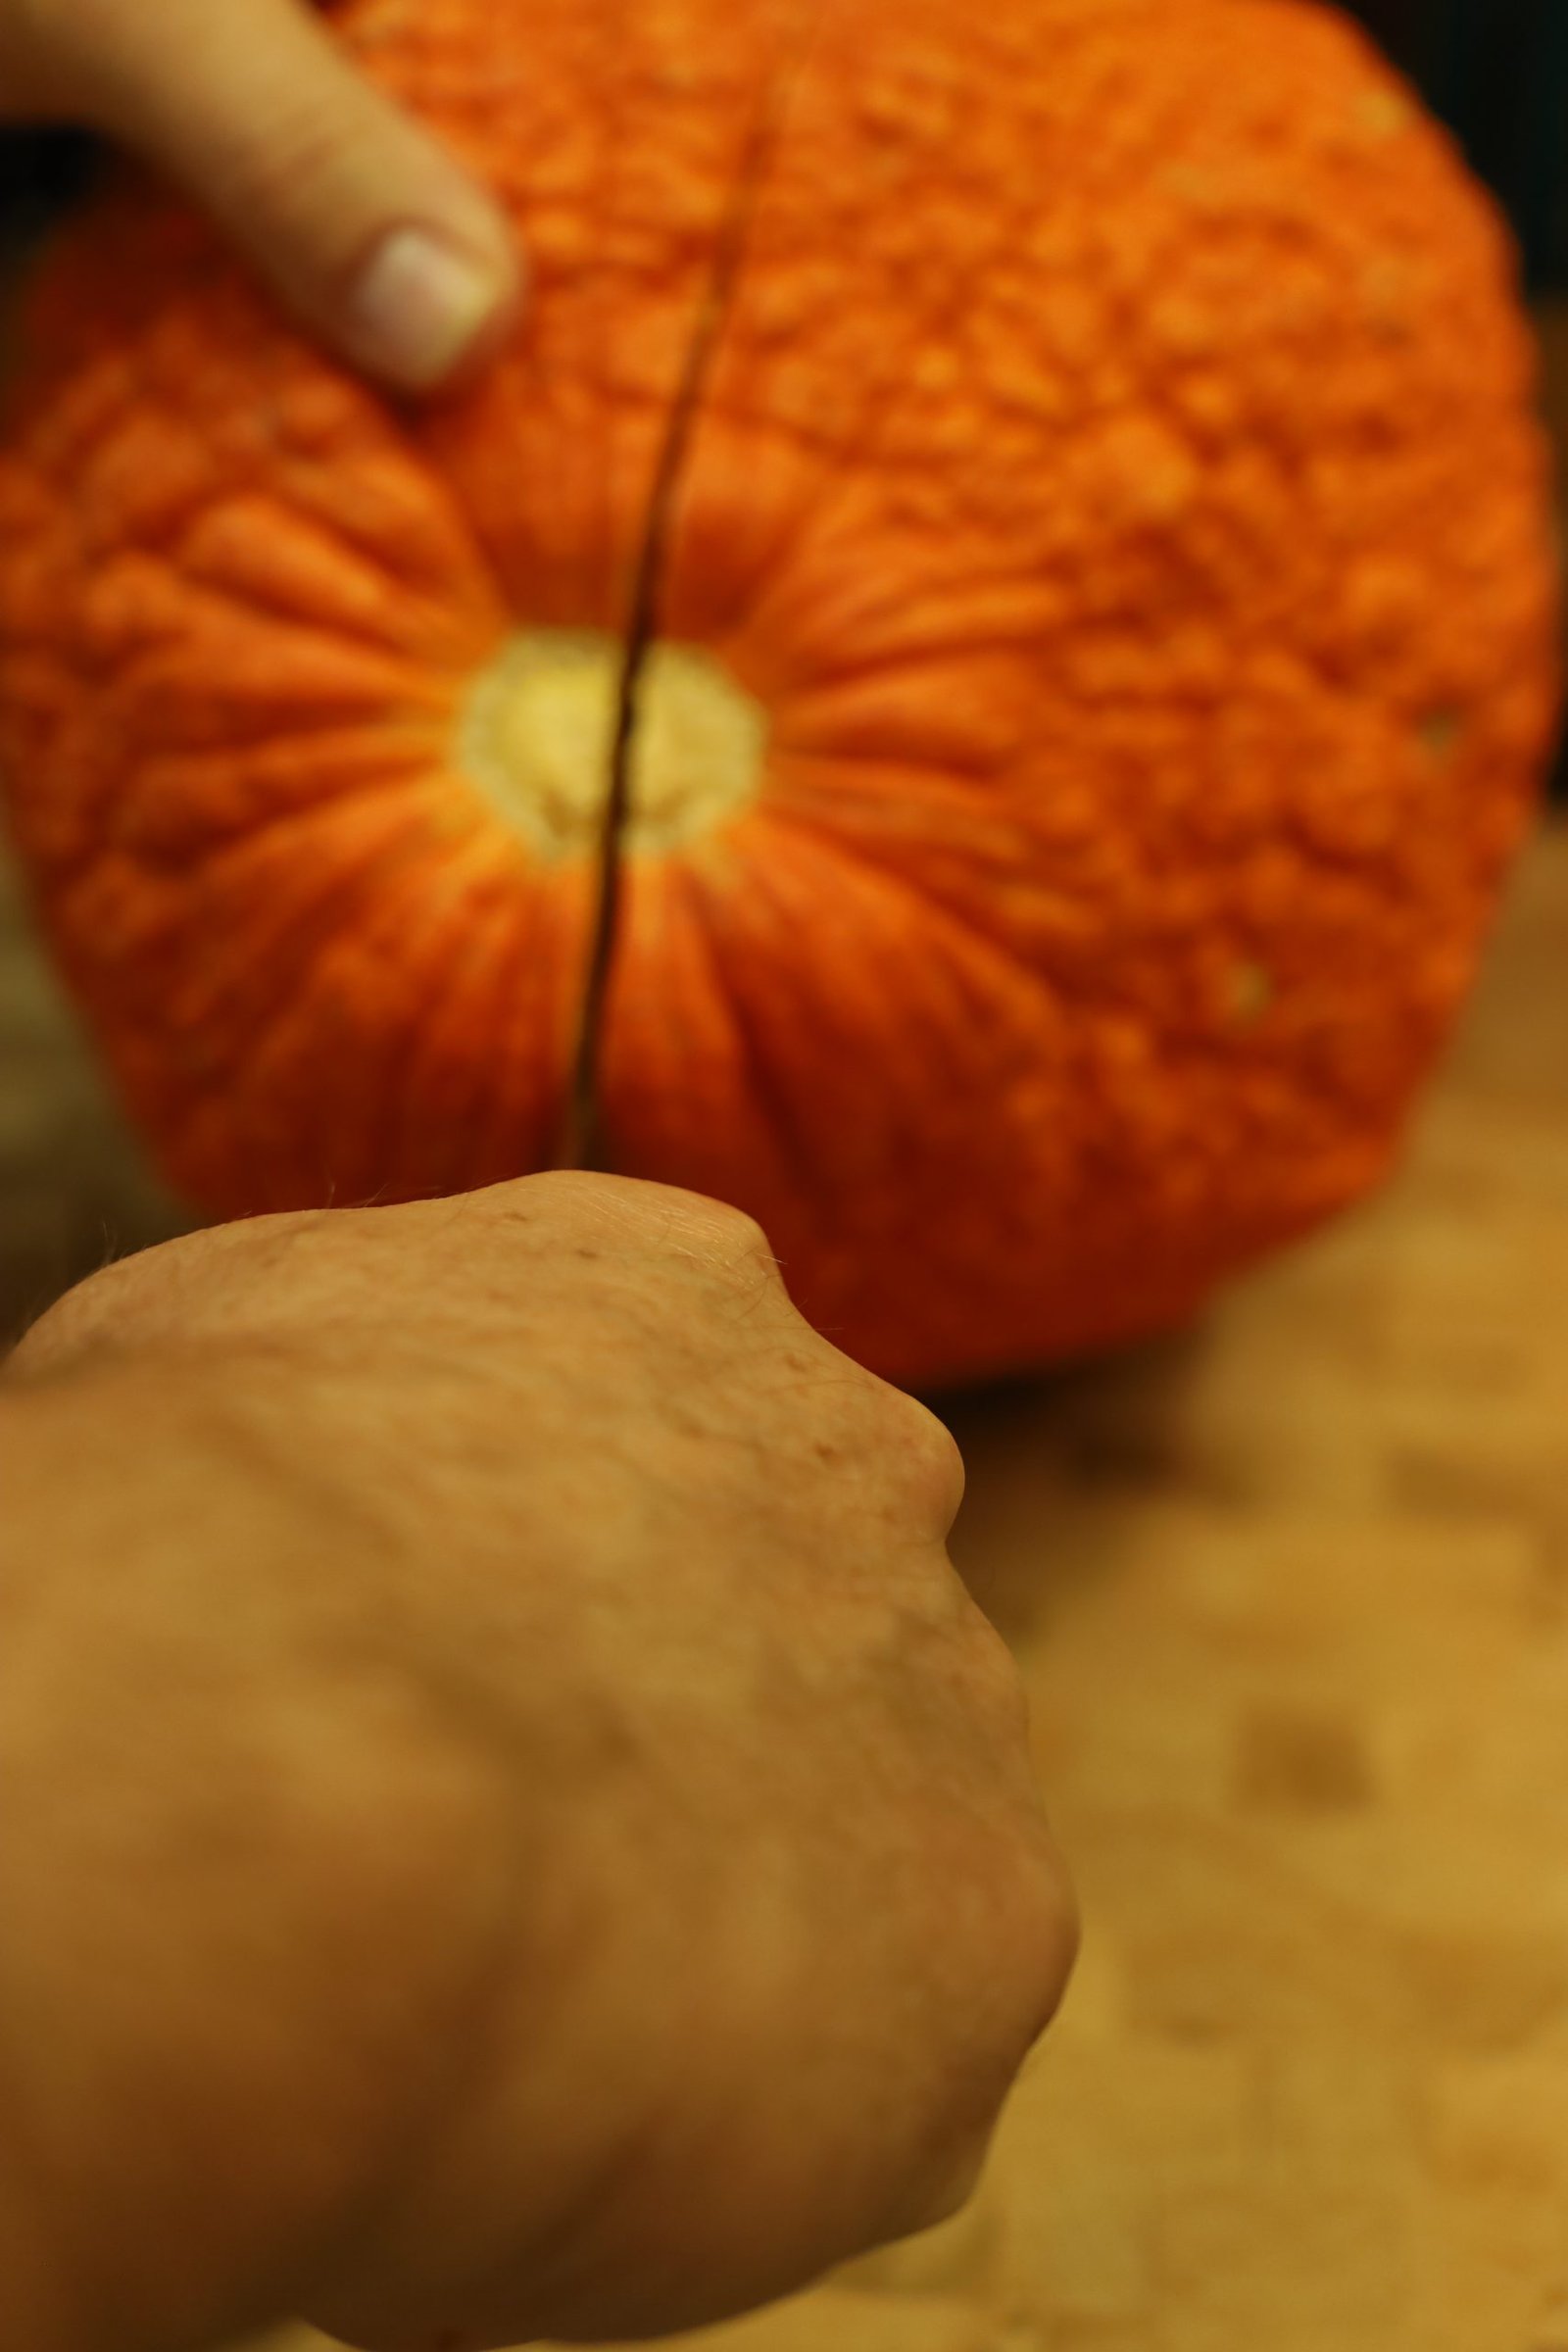
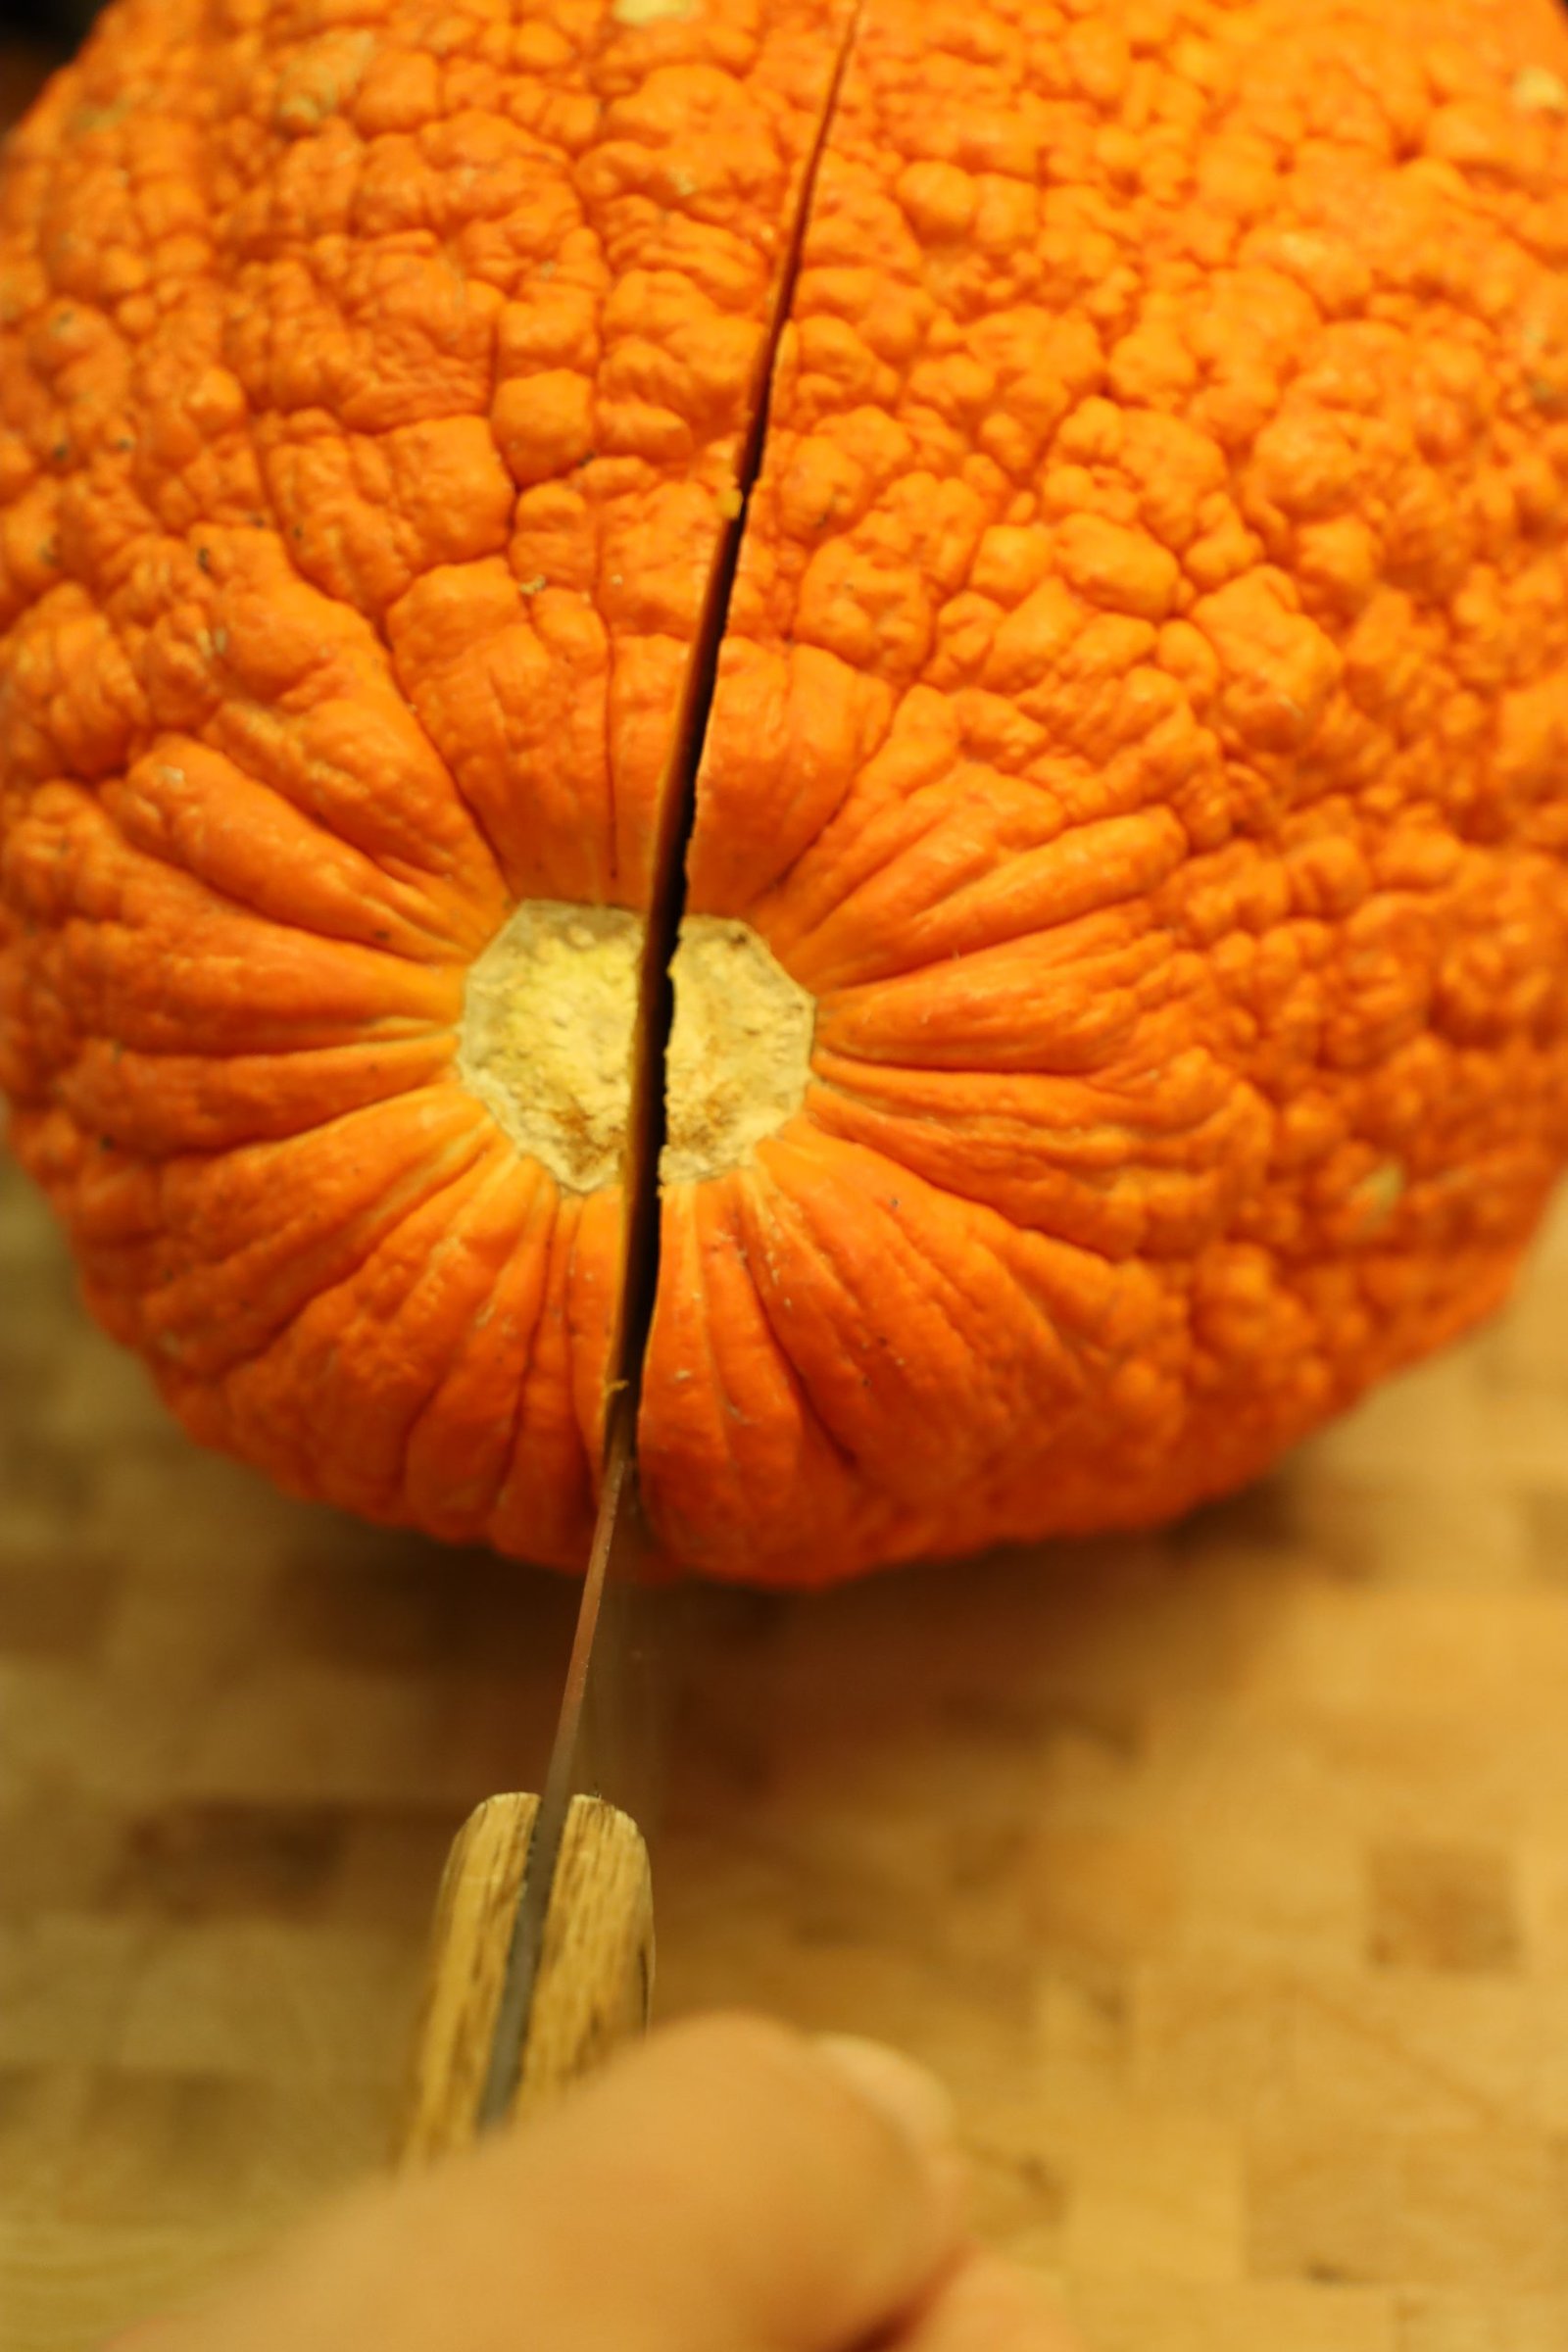
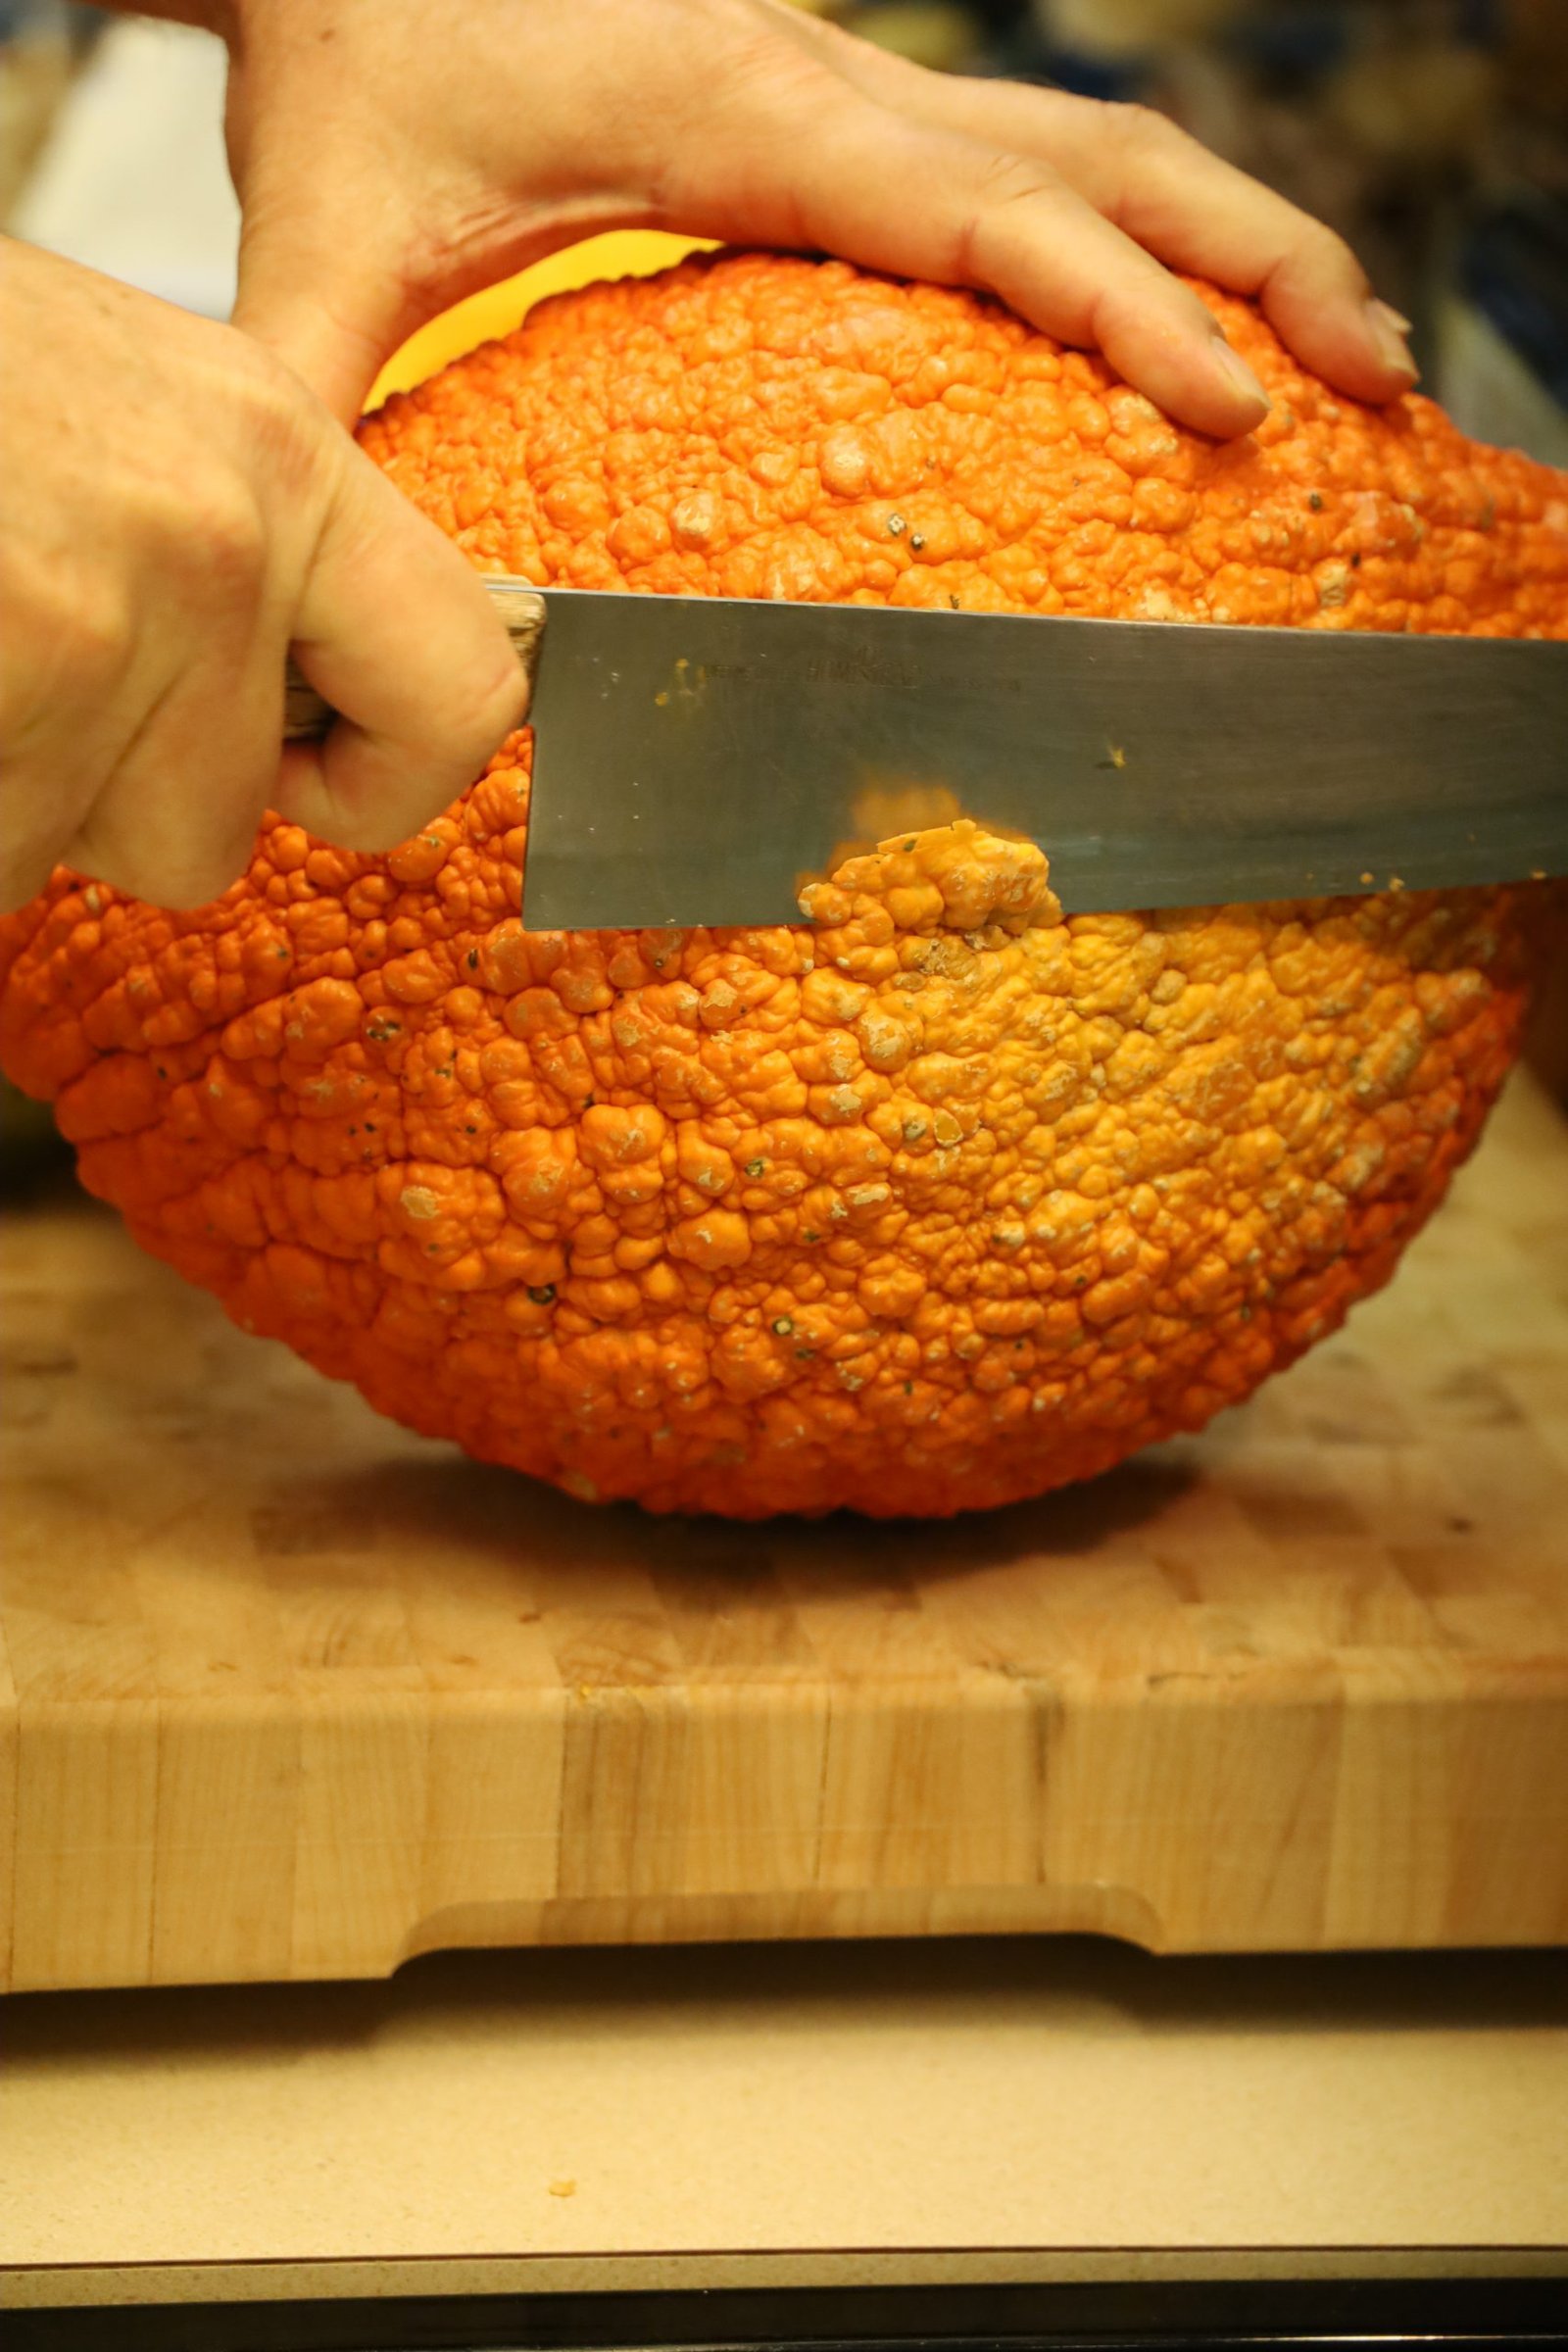
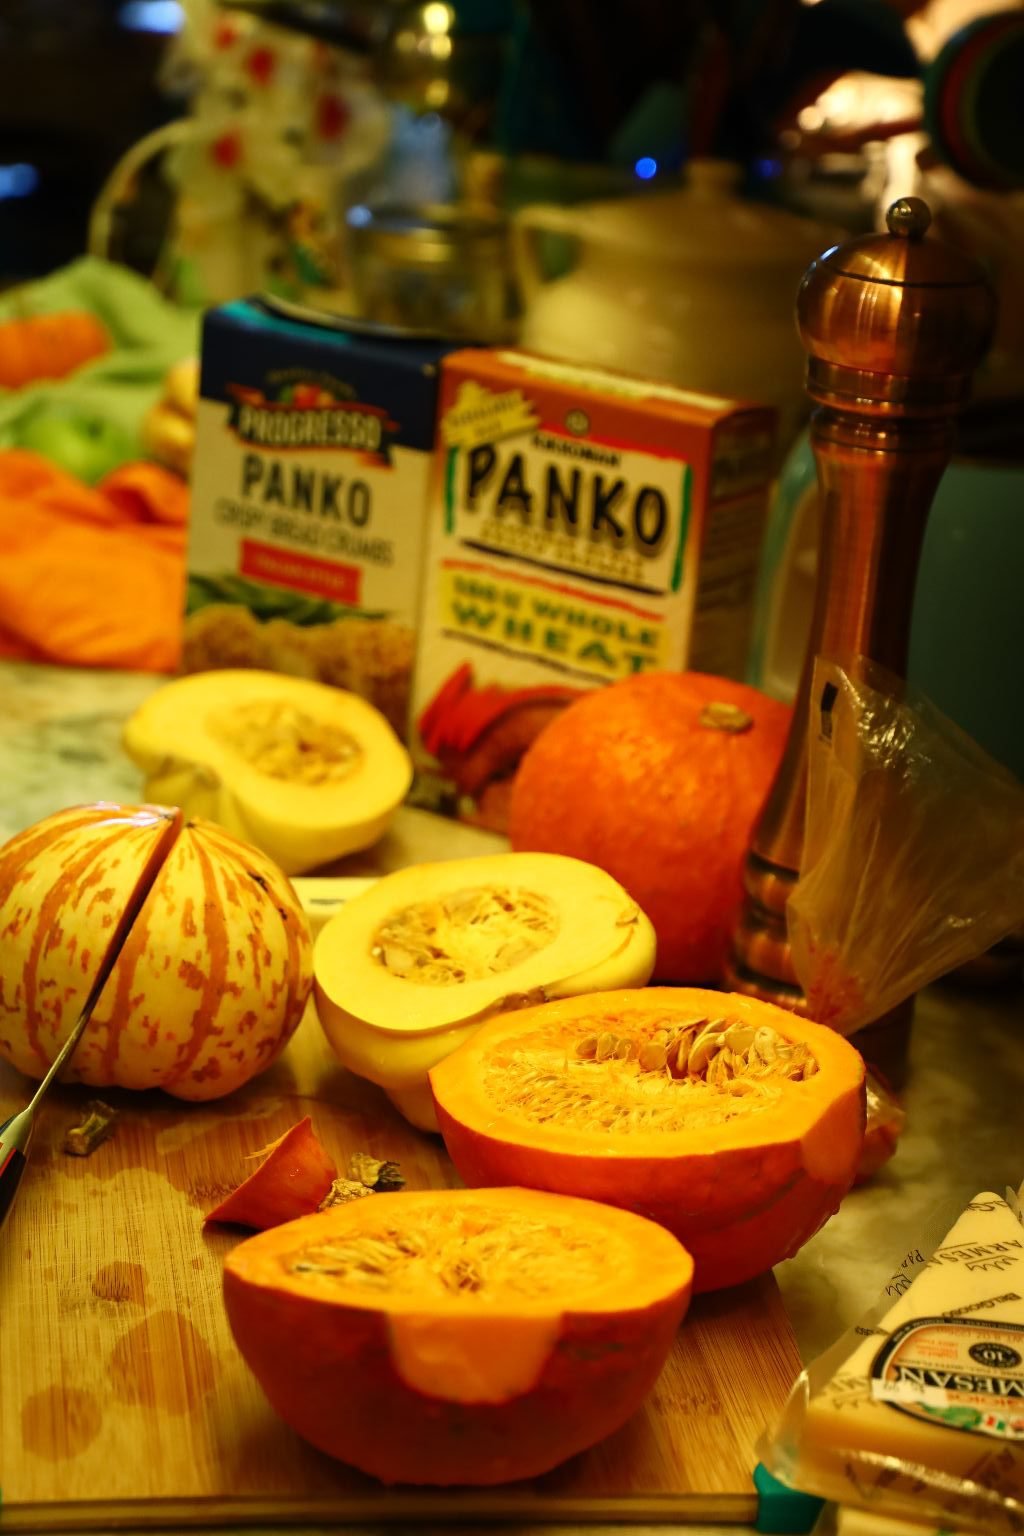
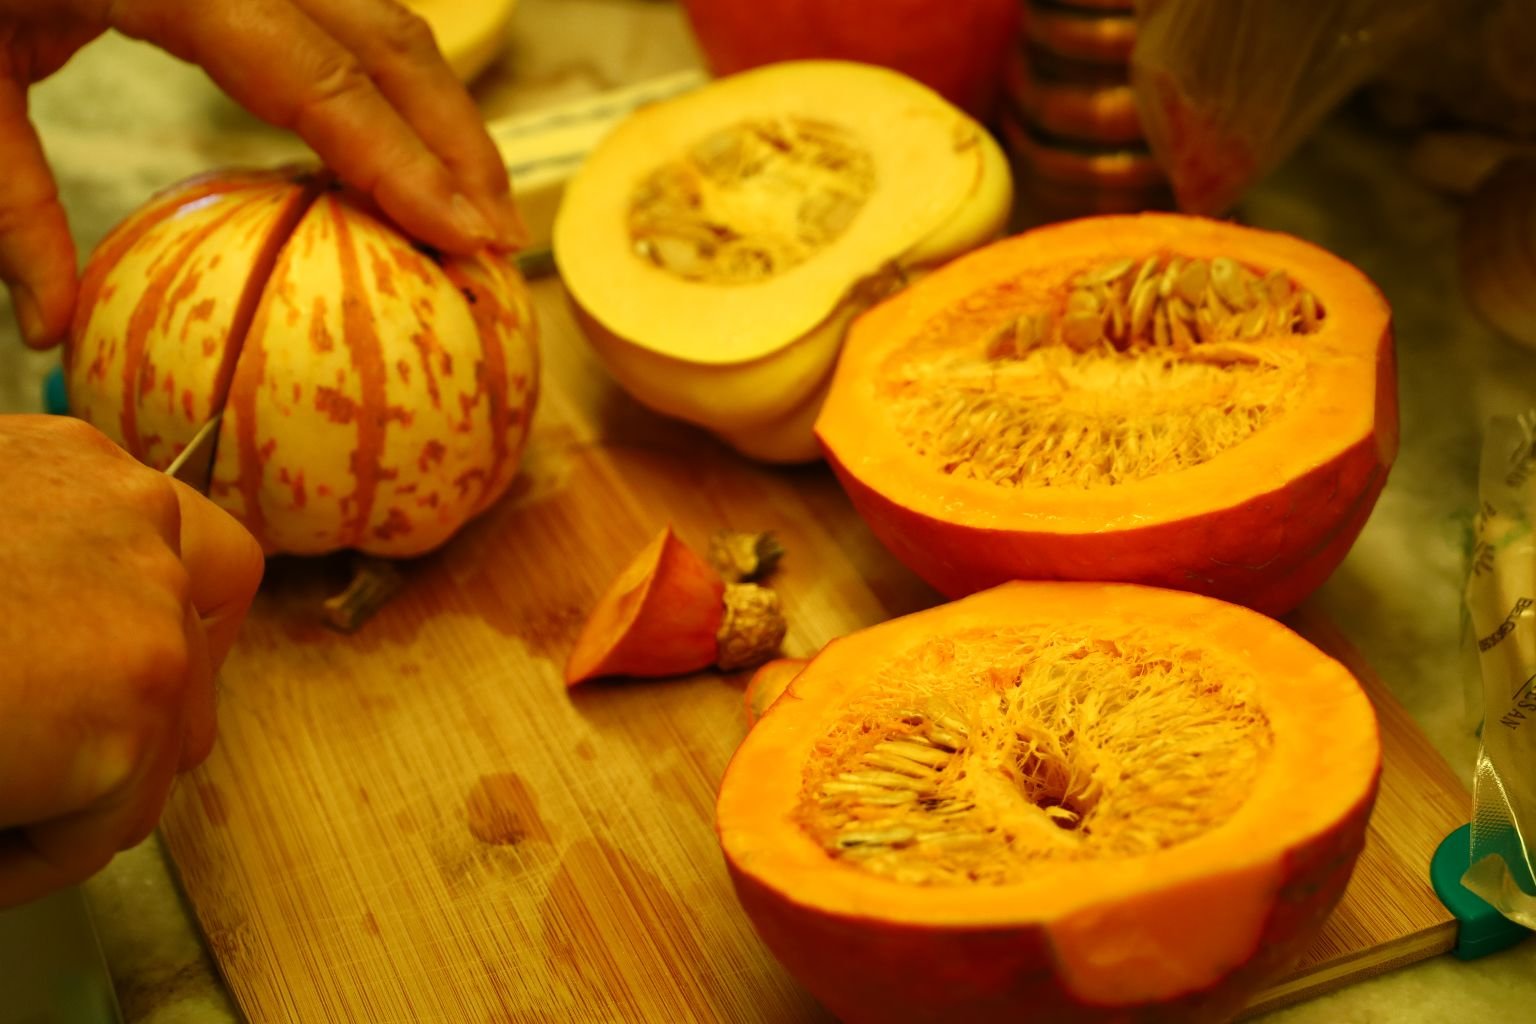
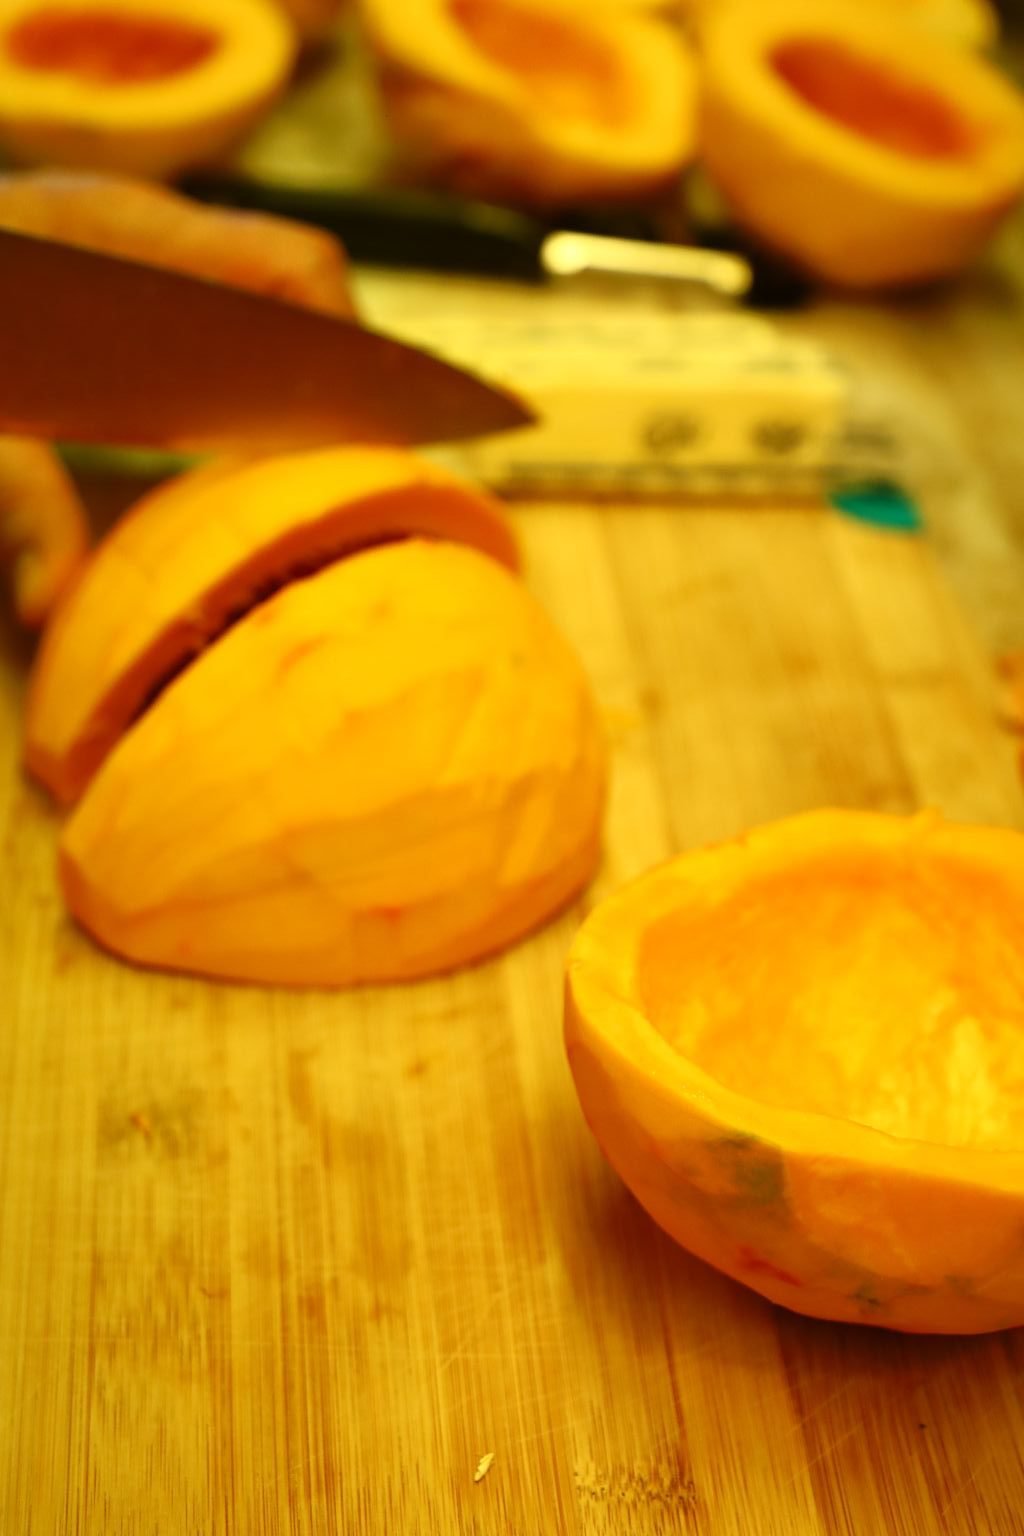
Here Gordon is Slicing the pumpkins in half, as shown
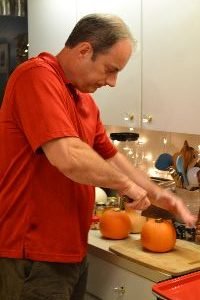
It will take a sharp knife and a little force to do this.
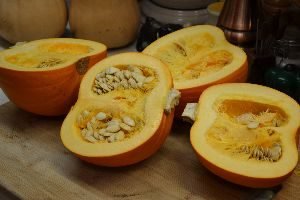

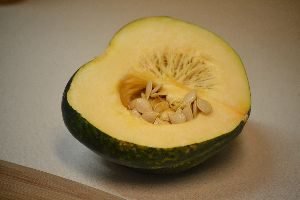
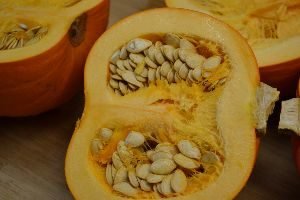
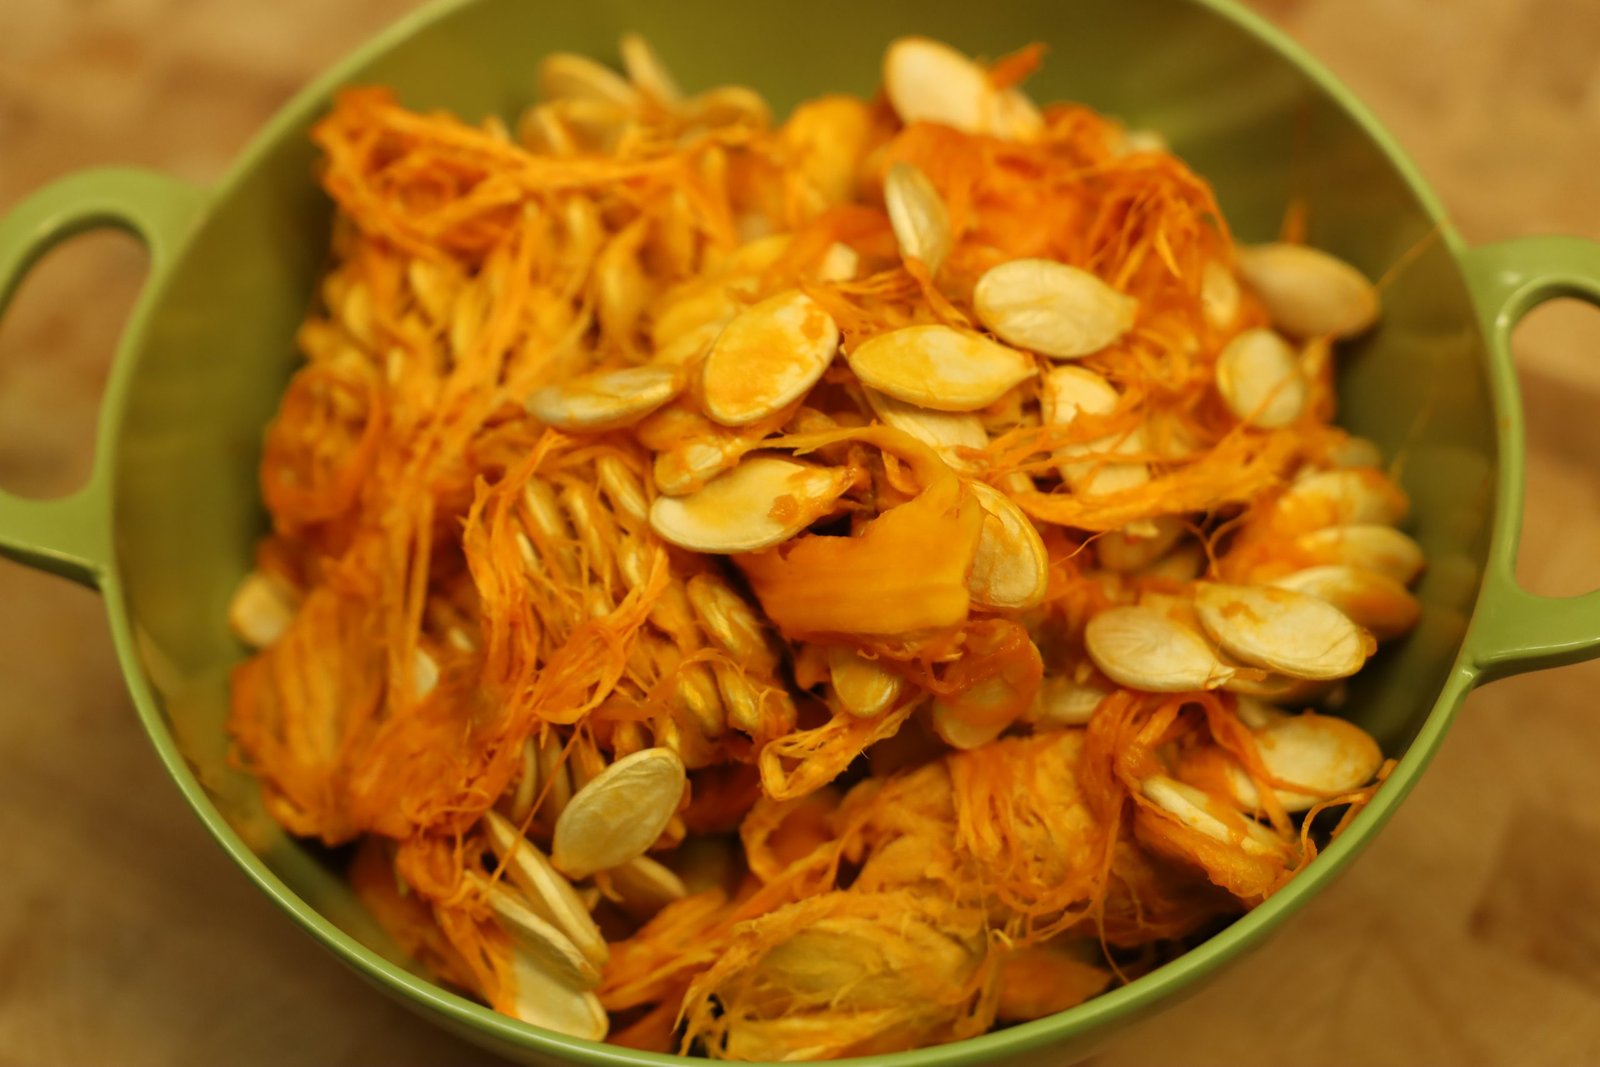
Here you can see all the wonderful pumpkin seeds… save them to roast in the oven with a little seasoned salt and olive oil. Spread evenly on a cookie sheet and roast them at 350’F for about 20 to 25 min. They should be nice and crunchy and make a great healthy snack!
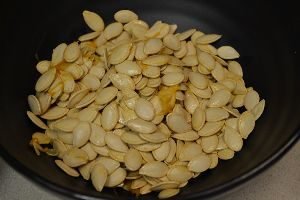
The Pumpkin Seeds
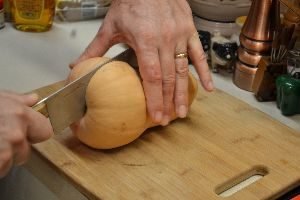
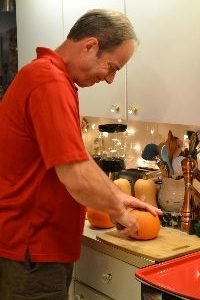
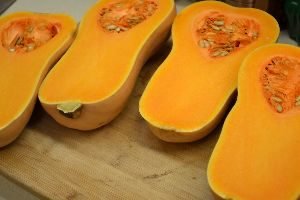
Slice the Butternut Squash in half as shown.
——————————
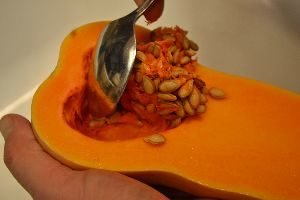
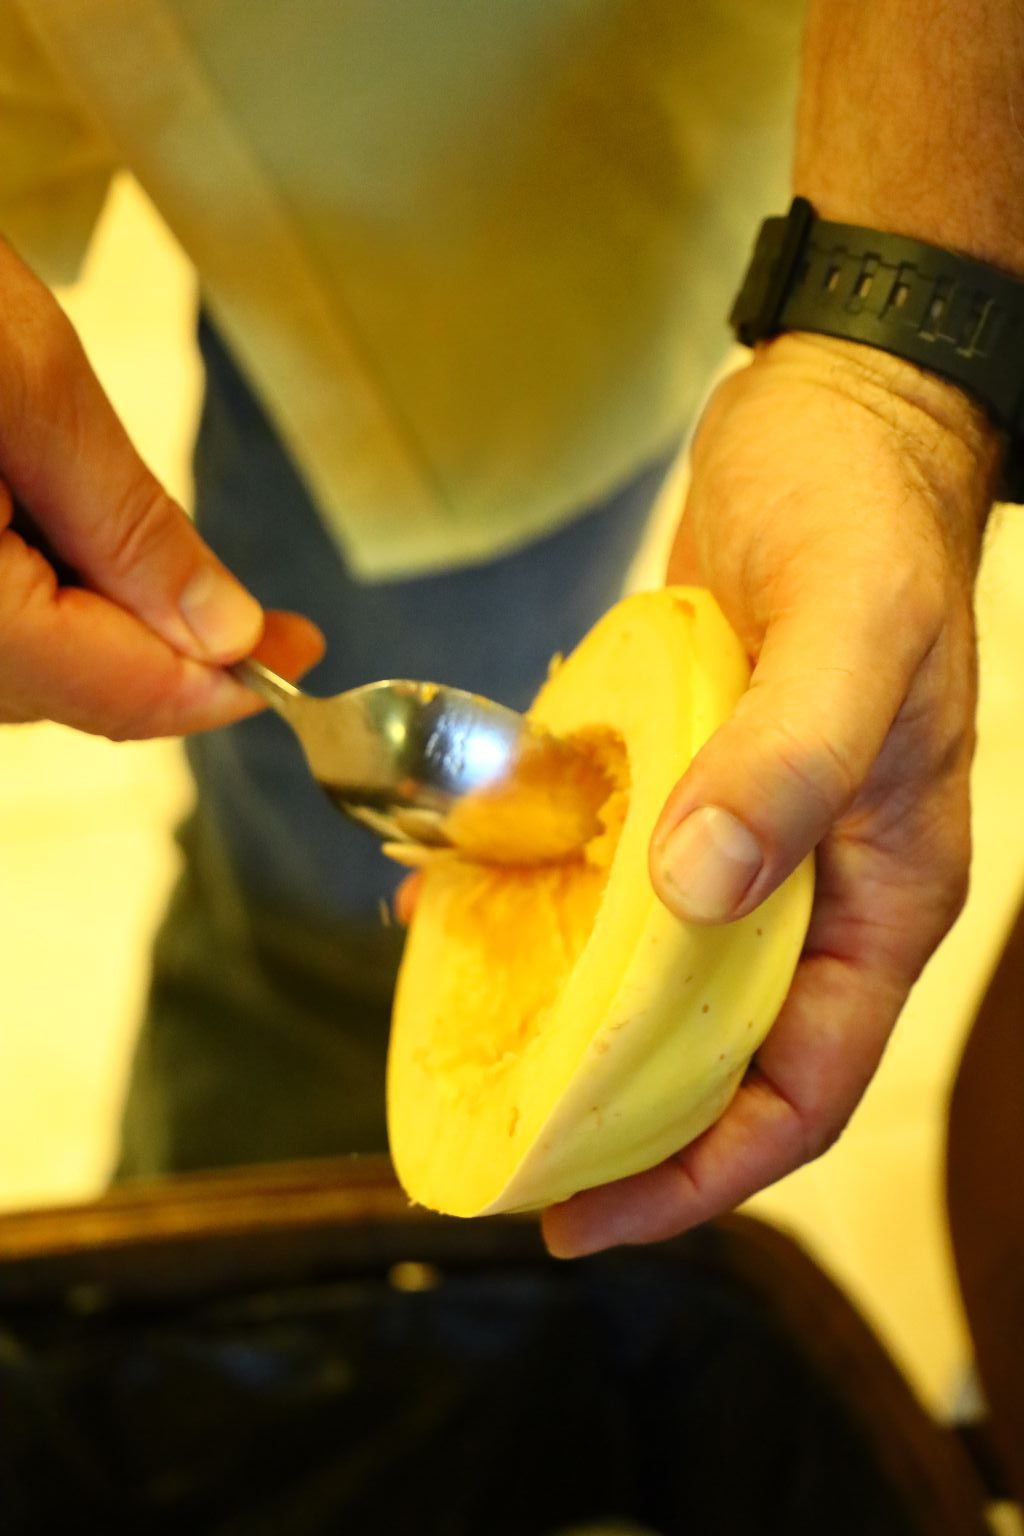
Scoop out the seeds using a spoon.

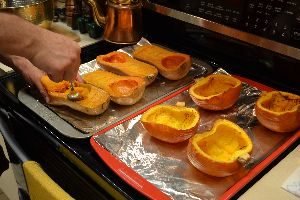
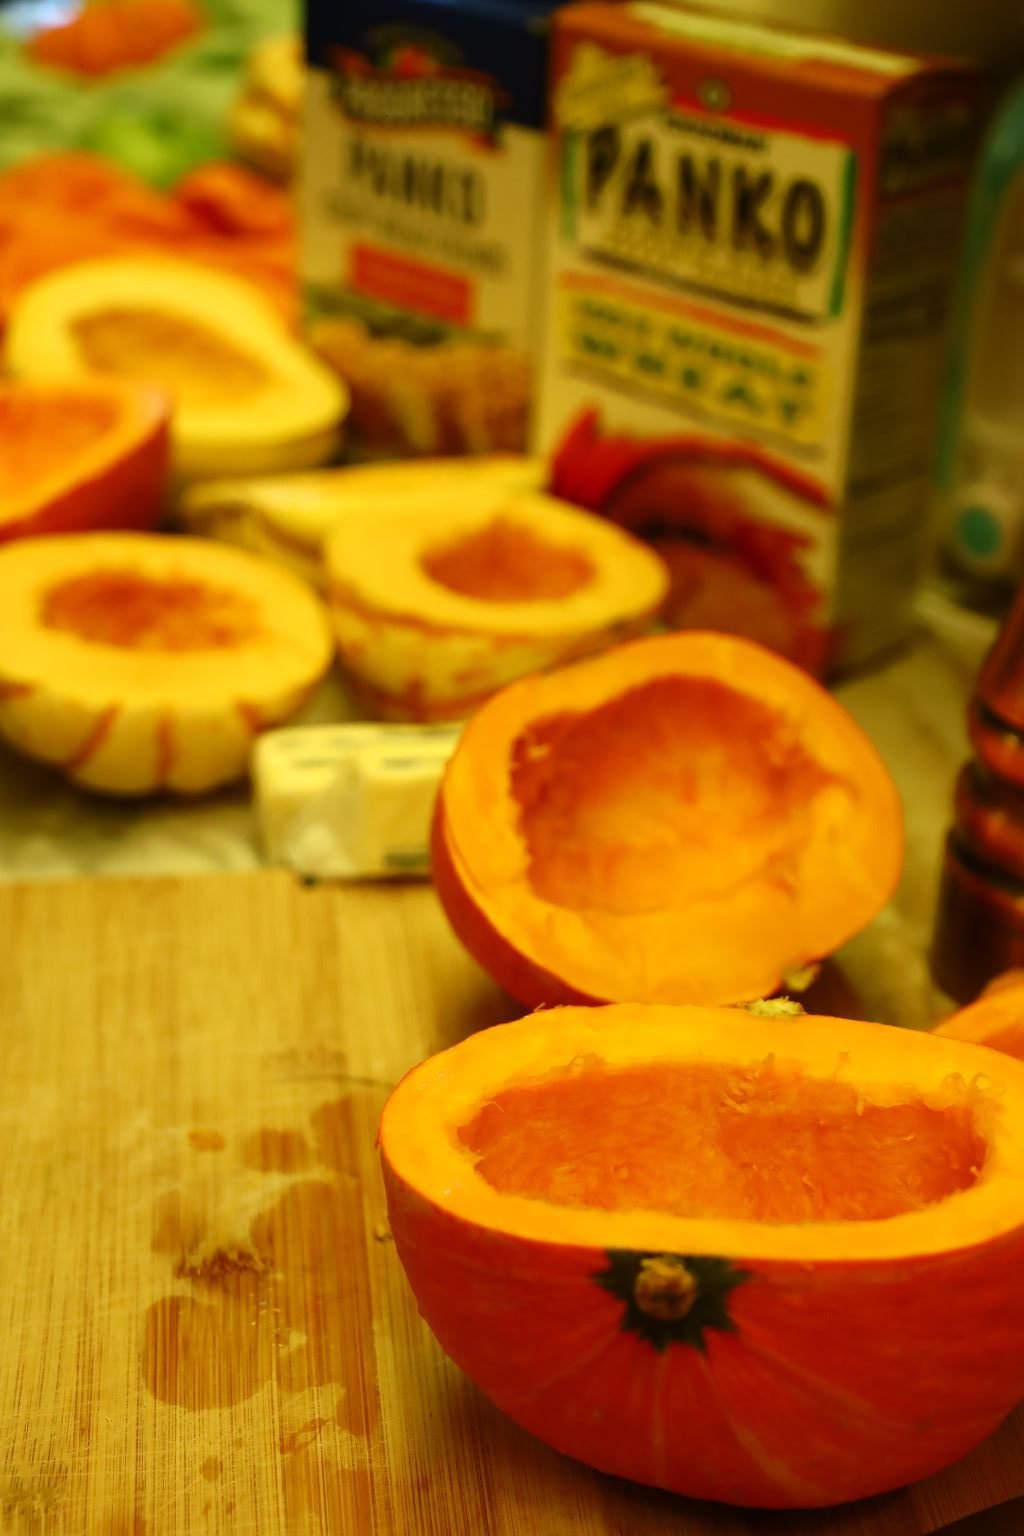
Place the halved squash and pumpkins and a cookie sheet lined with foil. You can see this recipe is made with love! 🙂 (As in the hearts)
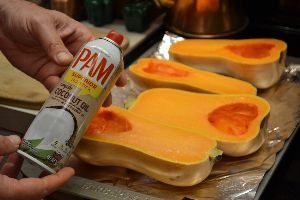
Spray the squash with Coconut oil.

And do the same with the Pumpkin halves.
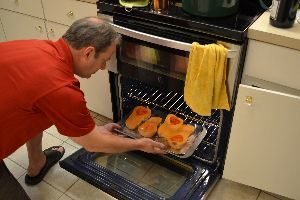
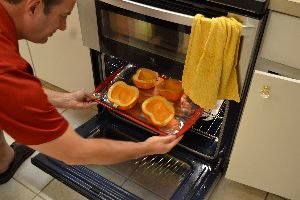
Place your squash and pumpkins in a 350’F oven for 35 to 40 min.
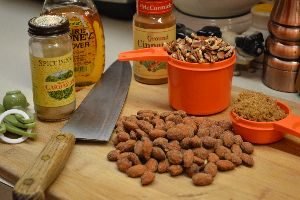
For your spiced nut topping…
Spray a loaf pan with coconut oil
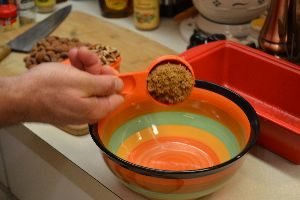
In a medium sized bowl, add your brown sugar, cinnamon, nutmeg, and cloves
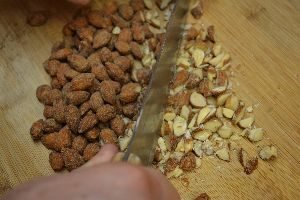
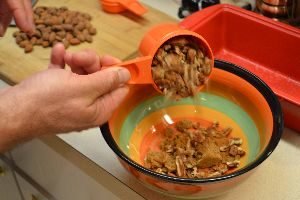
Here I am chopping the Pumpkin Spiced almonds…
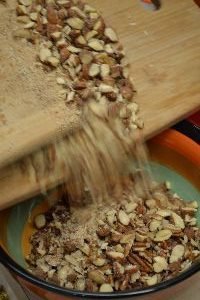
Then your chopped pecans
And place the chopped almonds in the bowl as well
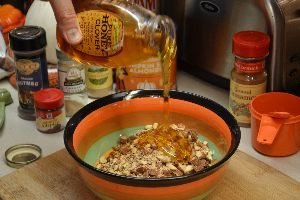
Now, add your honey to the mix
Spray your rubber spatula with the coconut oil to prevent the honey from sticking to the spatula.
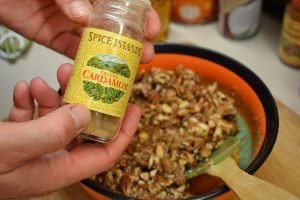
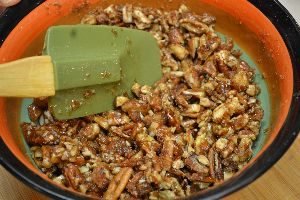
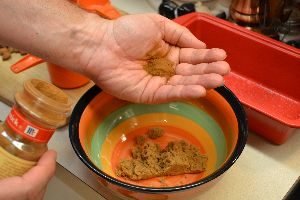
Here I added the Cardamom
Mix the topping well

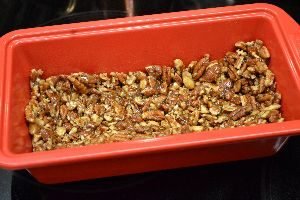
Place the mixture into the loaf pan…
And place in the oven at 350’F for about 10 min.
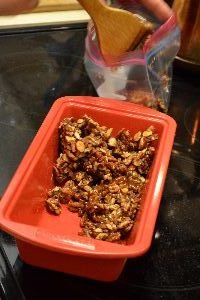
When the candied nut mixture is ready, let cool, then we placed it into a ziplock bag until we were ready to use it.
——————————-
When the butternut squash and the pumpkin is done then remove from the oven. If you can easily slide a fork into them, they are ready.
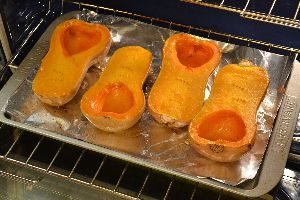

You can see the fork marks in the Butternut Squash as they go in easily.
Place the squash somewhere so they can cool
——————————
Again… this is made with love! 🙂

When cool, using a spoon remove the squash leaving the skin of the vegetable behind
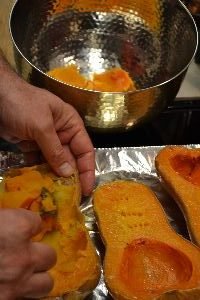
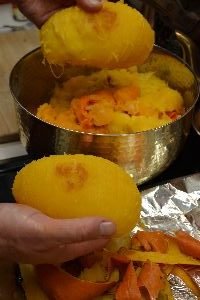
Place the squash into a large bowl.
And the same with the pumpkin.
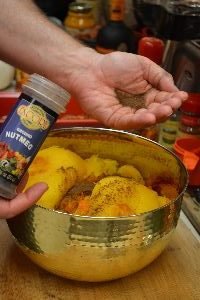
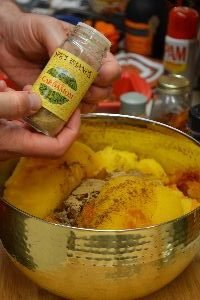
Add your nutmeg and cardamom to the bowl.
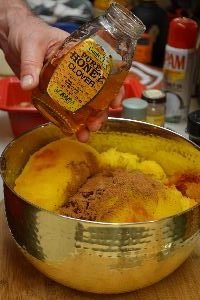
As well as your cinnamon and honey.
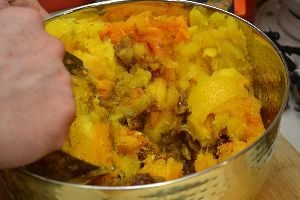
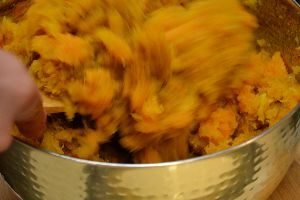
Now, mix the ingredients well until fully combined.
Taste the mixture and add more seasoning and honey to your taste.
—————————–
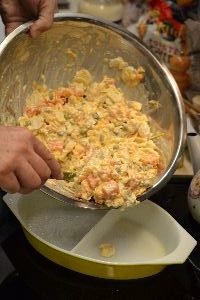
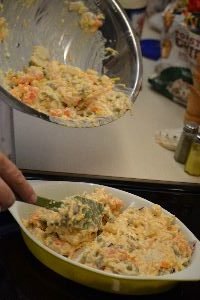
Spray a large casserole dish with the coconut spray.
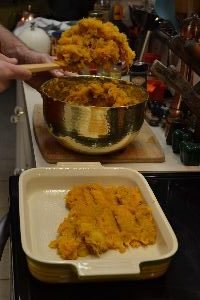
Place your squash evenly into the casserole dish.
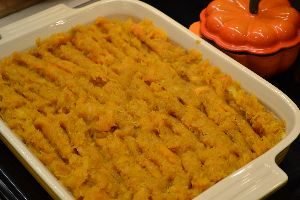
Like so…..
——————————–
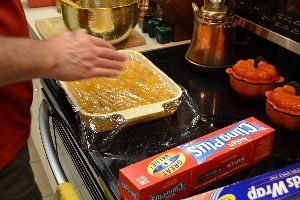
Here we are saving the casserole dish full of the squash for later use.
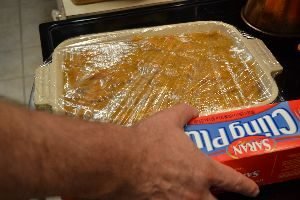
I am wrapping it up with some cling wrap…
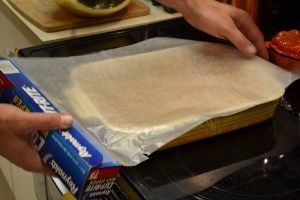
Then I wrap it up with wax/parchment paper.
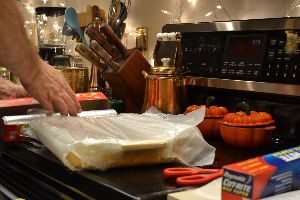
Then I wrap the entire dish up again with cling wrap.
(We didn’t freeze the casserole. We just made it a few days ahead.)
—————————————
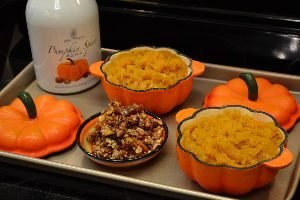
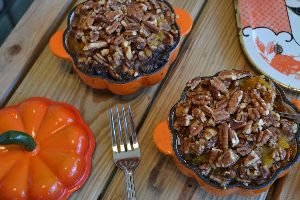
Now we are ready to eat our Pumpkin and Butternut Squash Casserole.
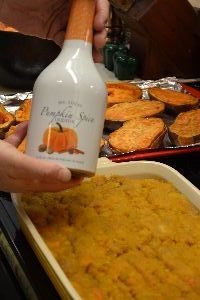
Pumpkin Spice Liquor
(Our Secret Ingredient)
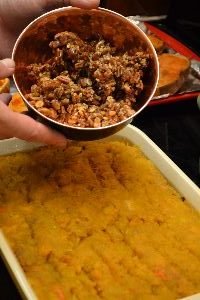
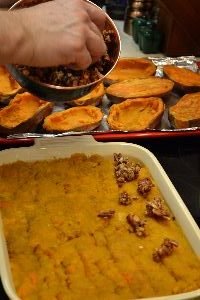
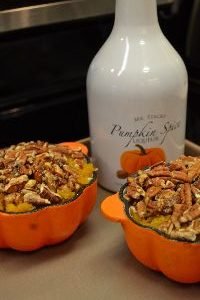
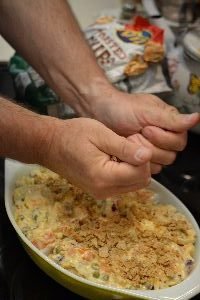
But first we add the candied nuts to the top of the casserole.
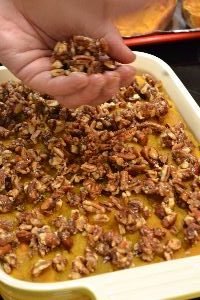
A Generous Amount
——————————————
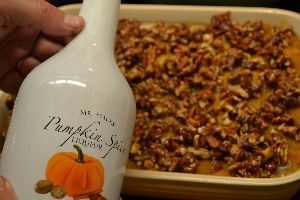
Now it’s time to add the delicious liquor by drizzling all over the top of the casserole.
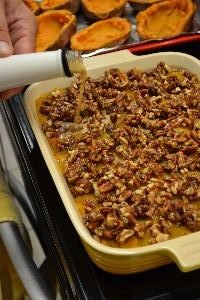
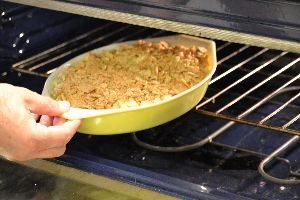
Now it’s time to bake in a 350F oven for about 20-25 minutes.
Everything is already cooked, we just want to warm it through.
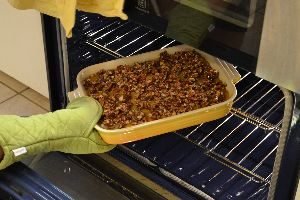
The Aroma is Fantastic!
————————————–
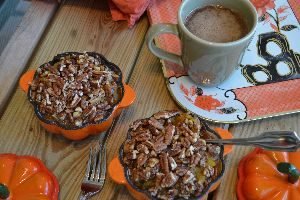
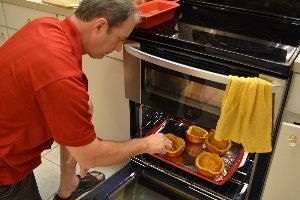
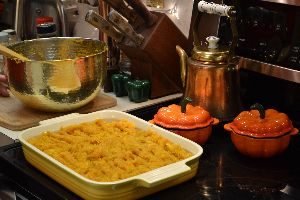
With the extra we placed into these cast iron pumpkin ramekins.

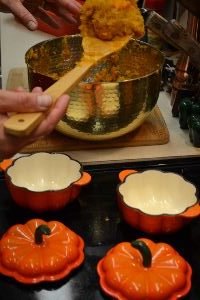
Julie found these great cast iron pumpkin ramekins… spray them with the coconut oil first.
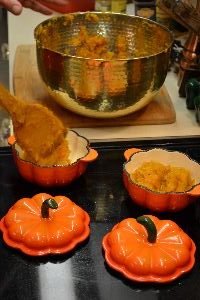

Add the squash mixture to the bowls
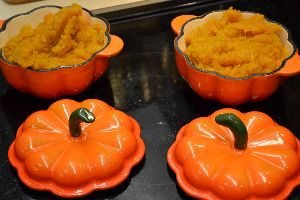
Now we want to bake them at 350F for about 20 minutes.
—————————————–
Top the nut mixture onto the squash and cook for another 5 min. at 350’F and serve immediately!
————————————–
Optional: You can add the nuts at whatever stage you like.
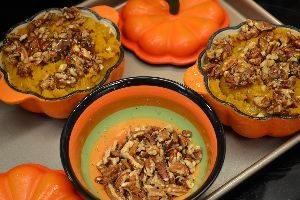
Also Optional: You can add the Pumpkin Spice Liquor a drizzle at a time.
Then Bake with their LIDS on.

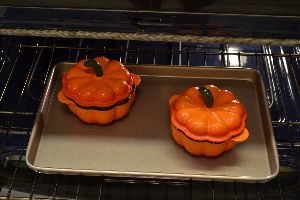
——————————————–

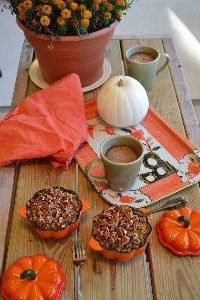
This was our little Autumn Lanai Lunch outside.
Very Delicious, Very Seasonal, Very Relaxing……
————————————
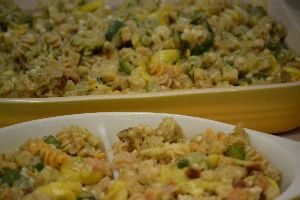
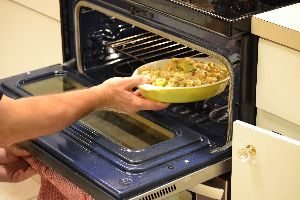
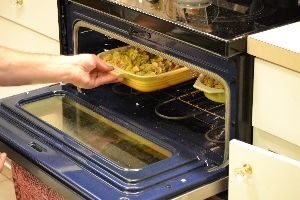
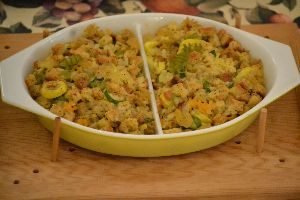
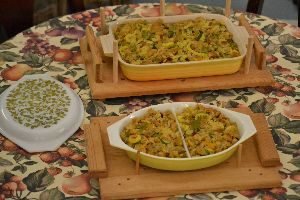
Squash Dressing w/ Pasta
Ready to be taken to a nice Covered Dish Dinner on my homemade wooden casserole carriers.
——————————
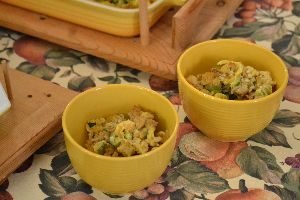
Two bowls of Dressing that just hit the spot and put a twist on the normal dressing your family could serve this season.
I, Julie, grew up in the south and Dressing is a big part of any of our holiday meals. Also, yellow Squash is important as well. This recipe is based on a recipe from a woman that I grew up knowing in my hometown, her name was Anne Shannon. I knew her from my youth of going to church at The First Christian Church of Rome, Georgia.
I came across this recipe in the Recipes to Remember cookbook that all the church women contributed to many years ago.
It brings back such good memories of big church dinners. The ladies working so hard to make everything look so beautiful! The food always being so perfect and homemade and home cooked. Everything always tasted wonderful!
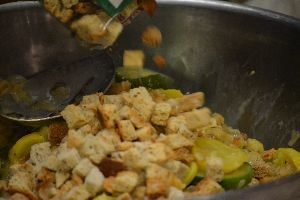
So, when Gordon and I realized that we had some nice squash and zucchini and an old bag of seasoned bread crumbs that if we didn’t use up soon would go bad. We decided to make this excellent dish. It was my idea to add some beautiful colorful pasta as well. Not that pasta was ever included in this recipe. But this southern girl has traveled and lived elsewhere that I want to incorporate those different ingredients in our cooking as well.
We think you will like this….
—————————————-
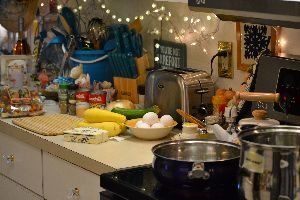
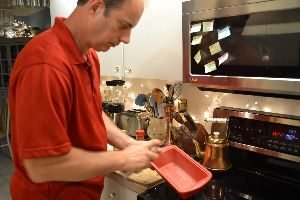
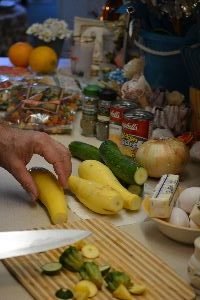
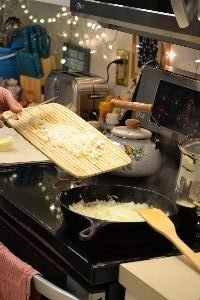
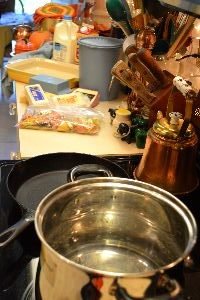
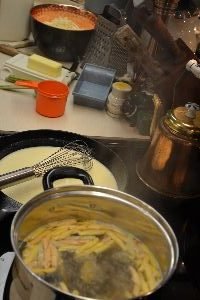
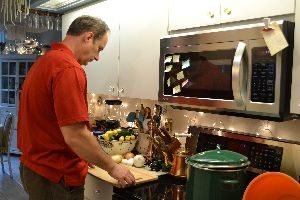
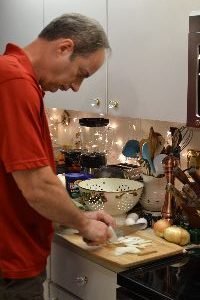
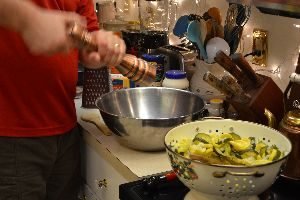
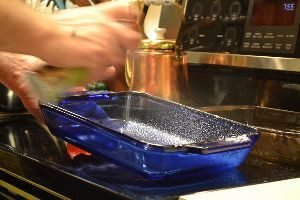
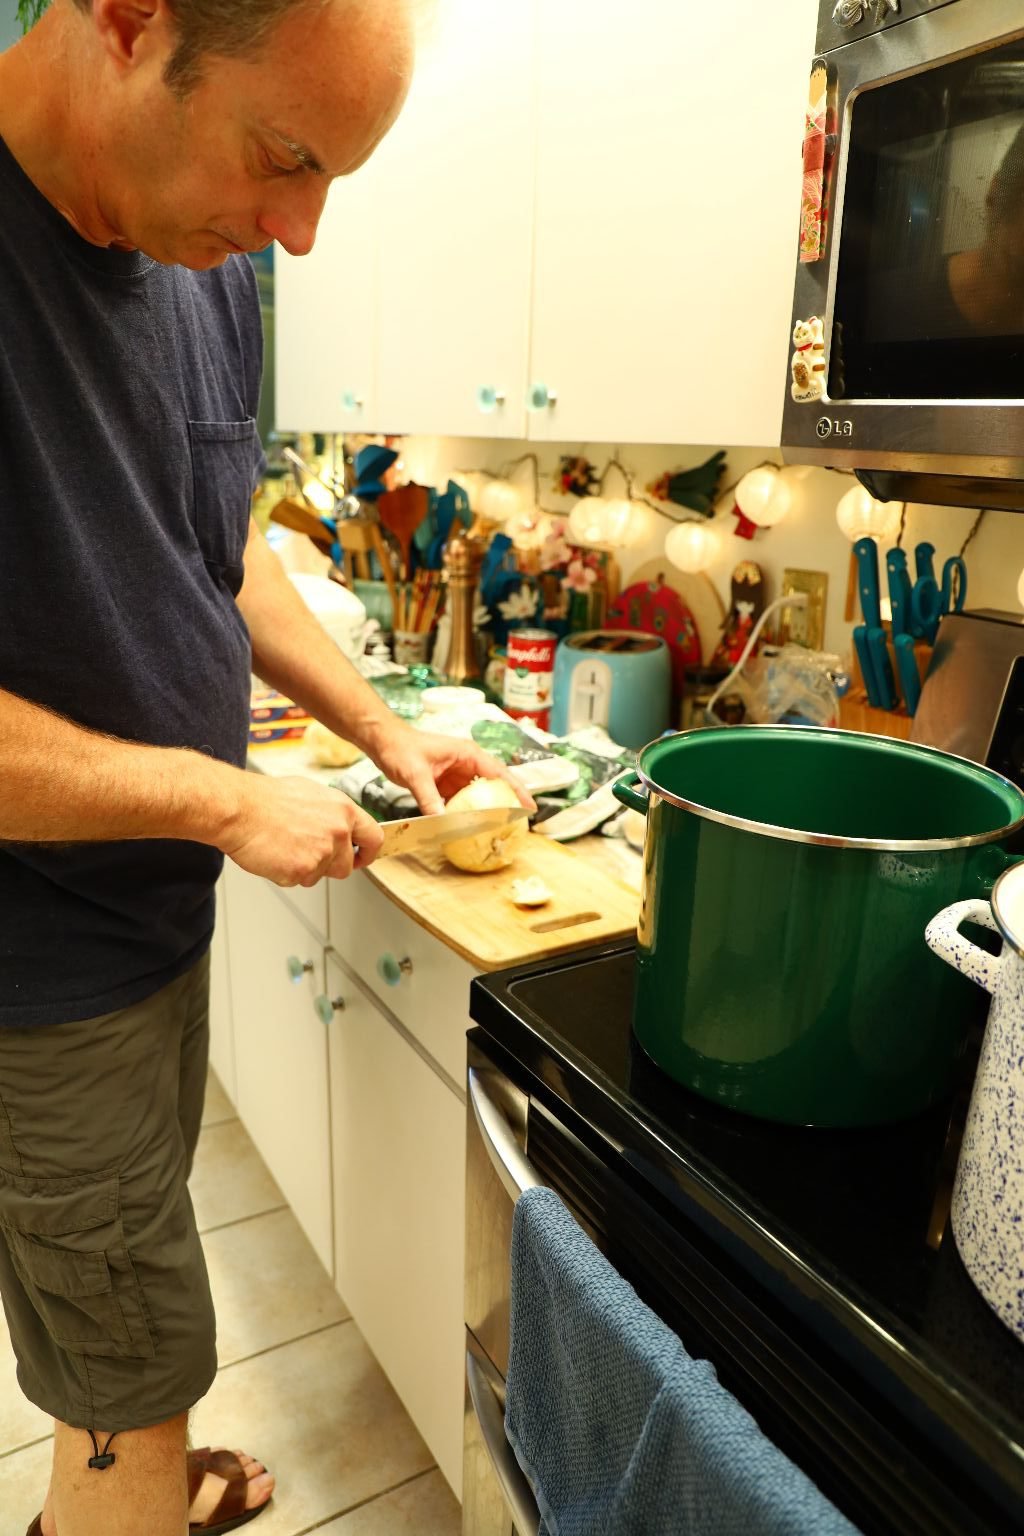
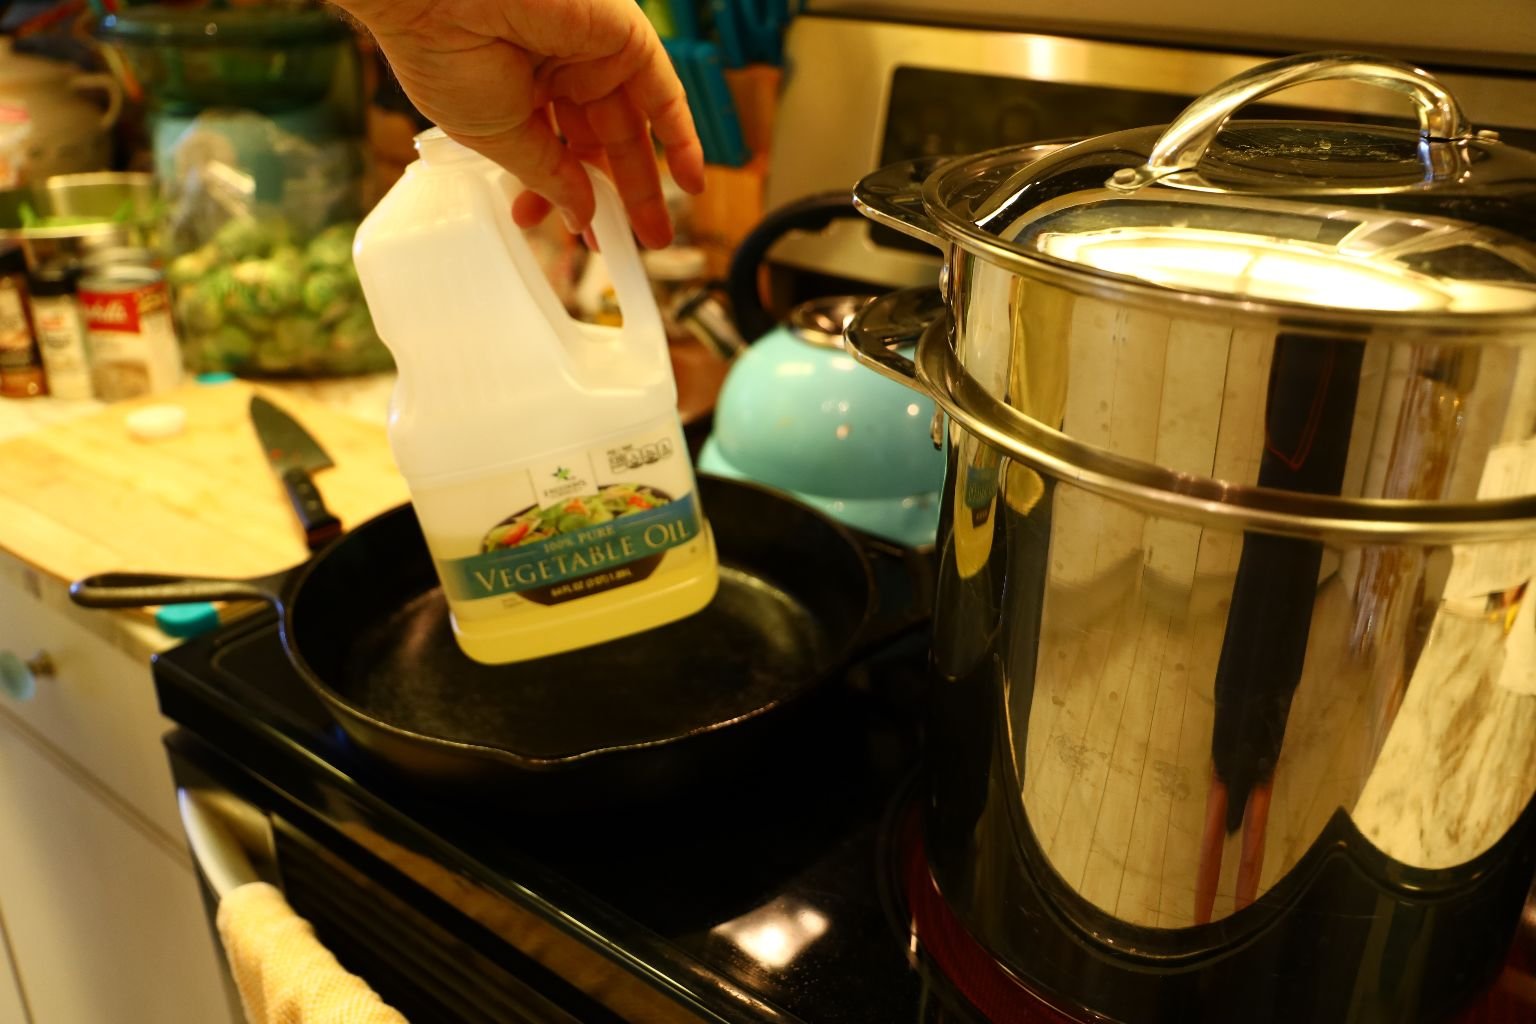
This Kitchen is Ready!
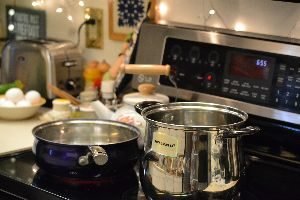
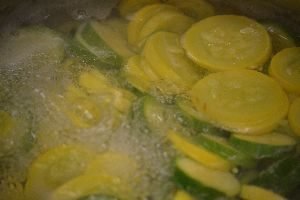
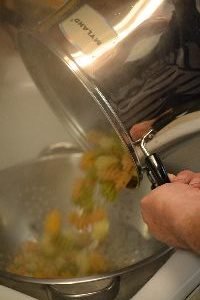
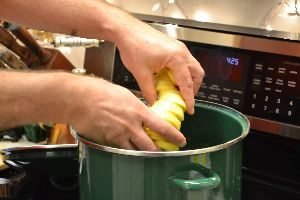
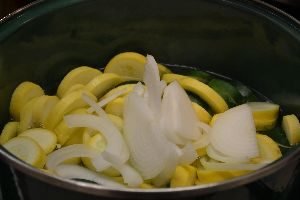
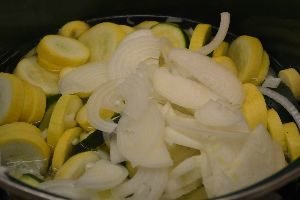
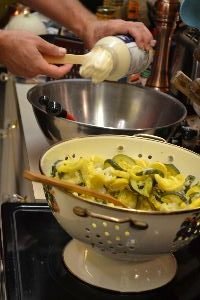
Here Gordon has started boiling the water for the yellow squash and zucchini and onions.
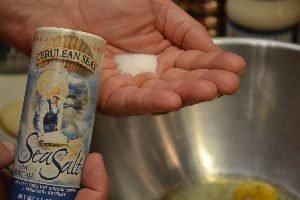
If you want to speed up the boiling water just add salt to it.
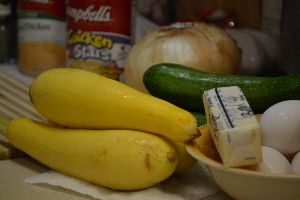
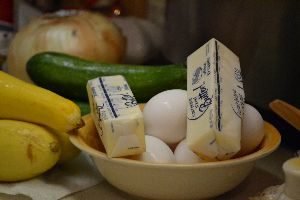
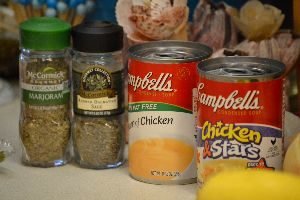
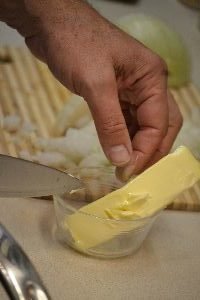
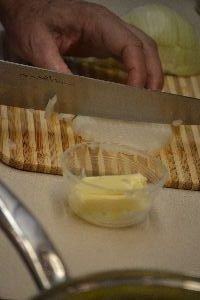
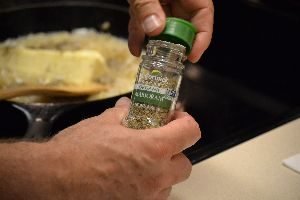
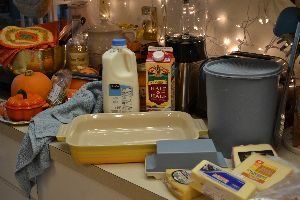
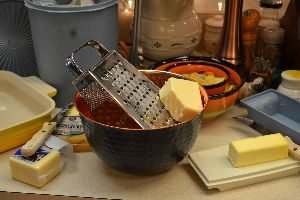
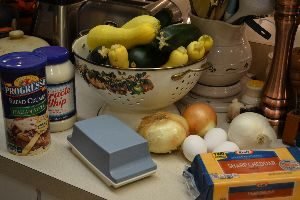
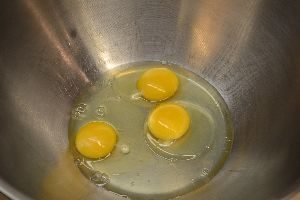
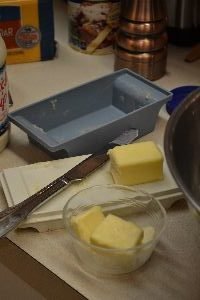
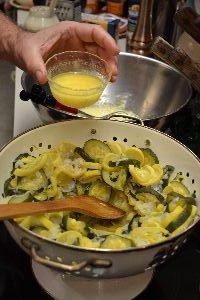
(Here is the squash, eggs, butter and other ingredients used for this recipe.)
Ingredients:
3 Yellow Summer Squash – sliced into rounds
3 Zucchini Squash – sliced into rounds
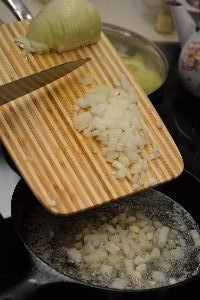
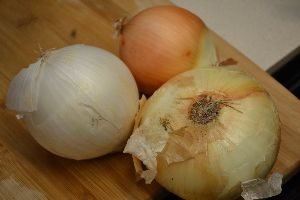
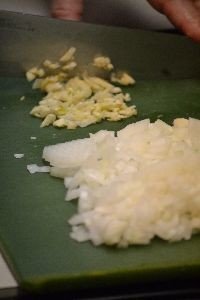
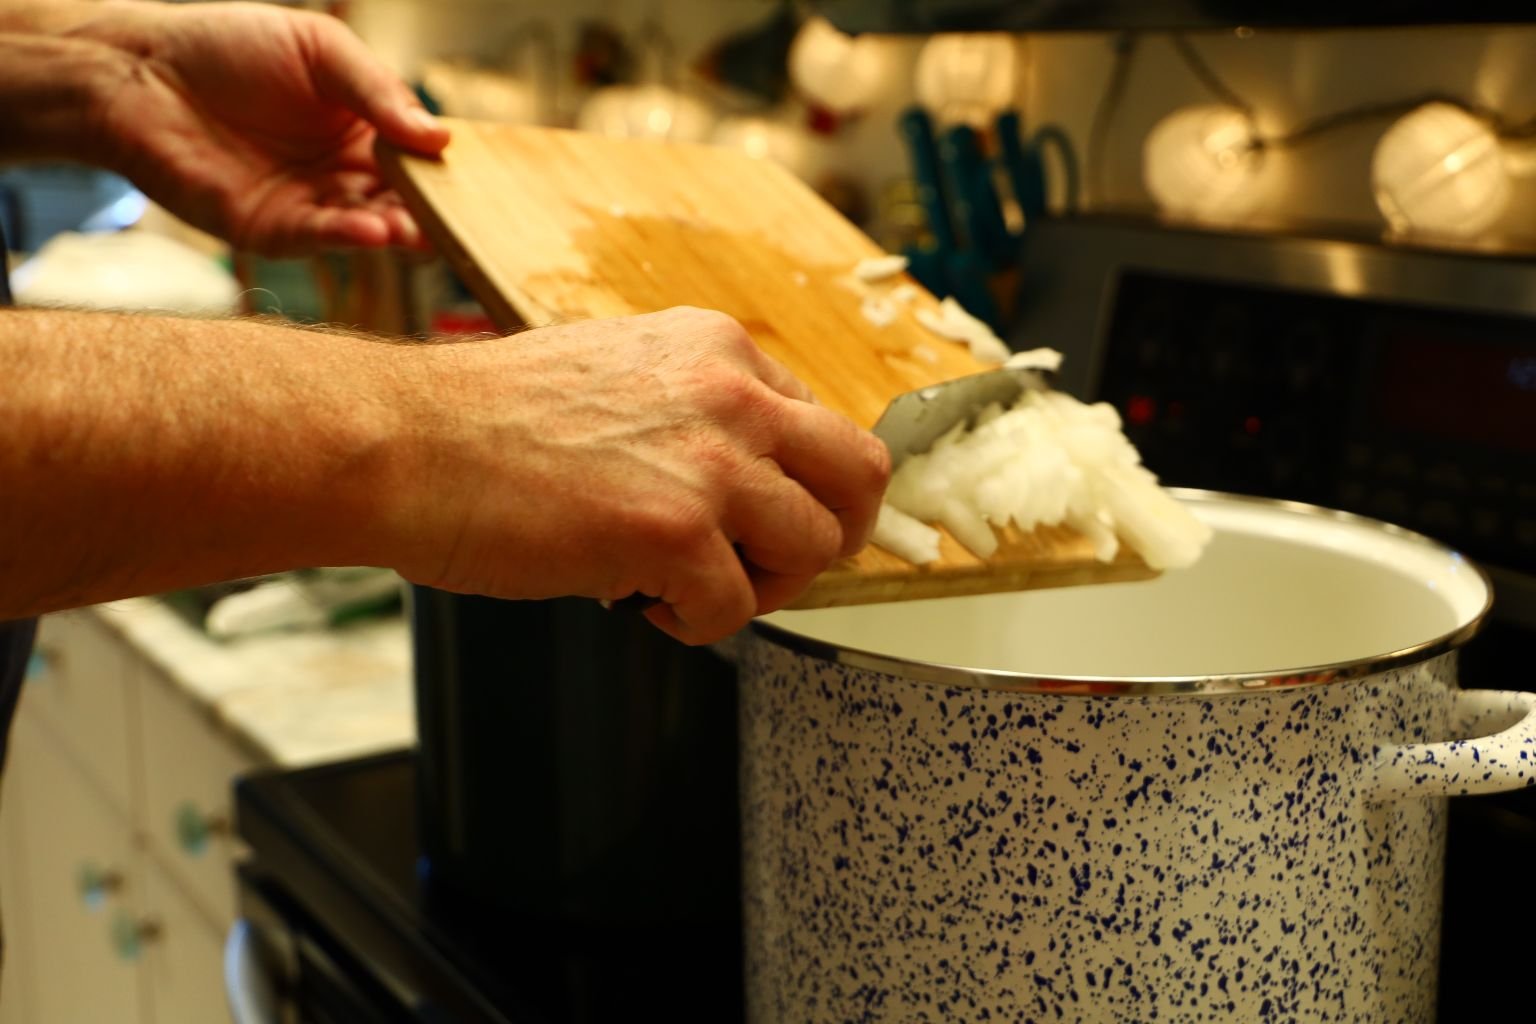
1 Large Sweet Vidalia Onion – Diced thinly
2 ½ Sticks of Butter
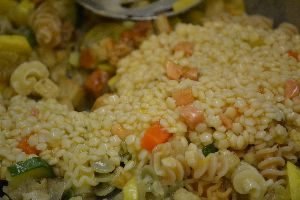
1lb Vegetable Radiator Pasta
5 Eggs – beaten
1 Tbsp Thyme
1 Tbsp Sage
Rosemary
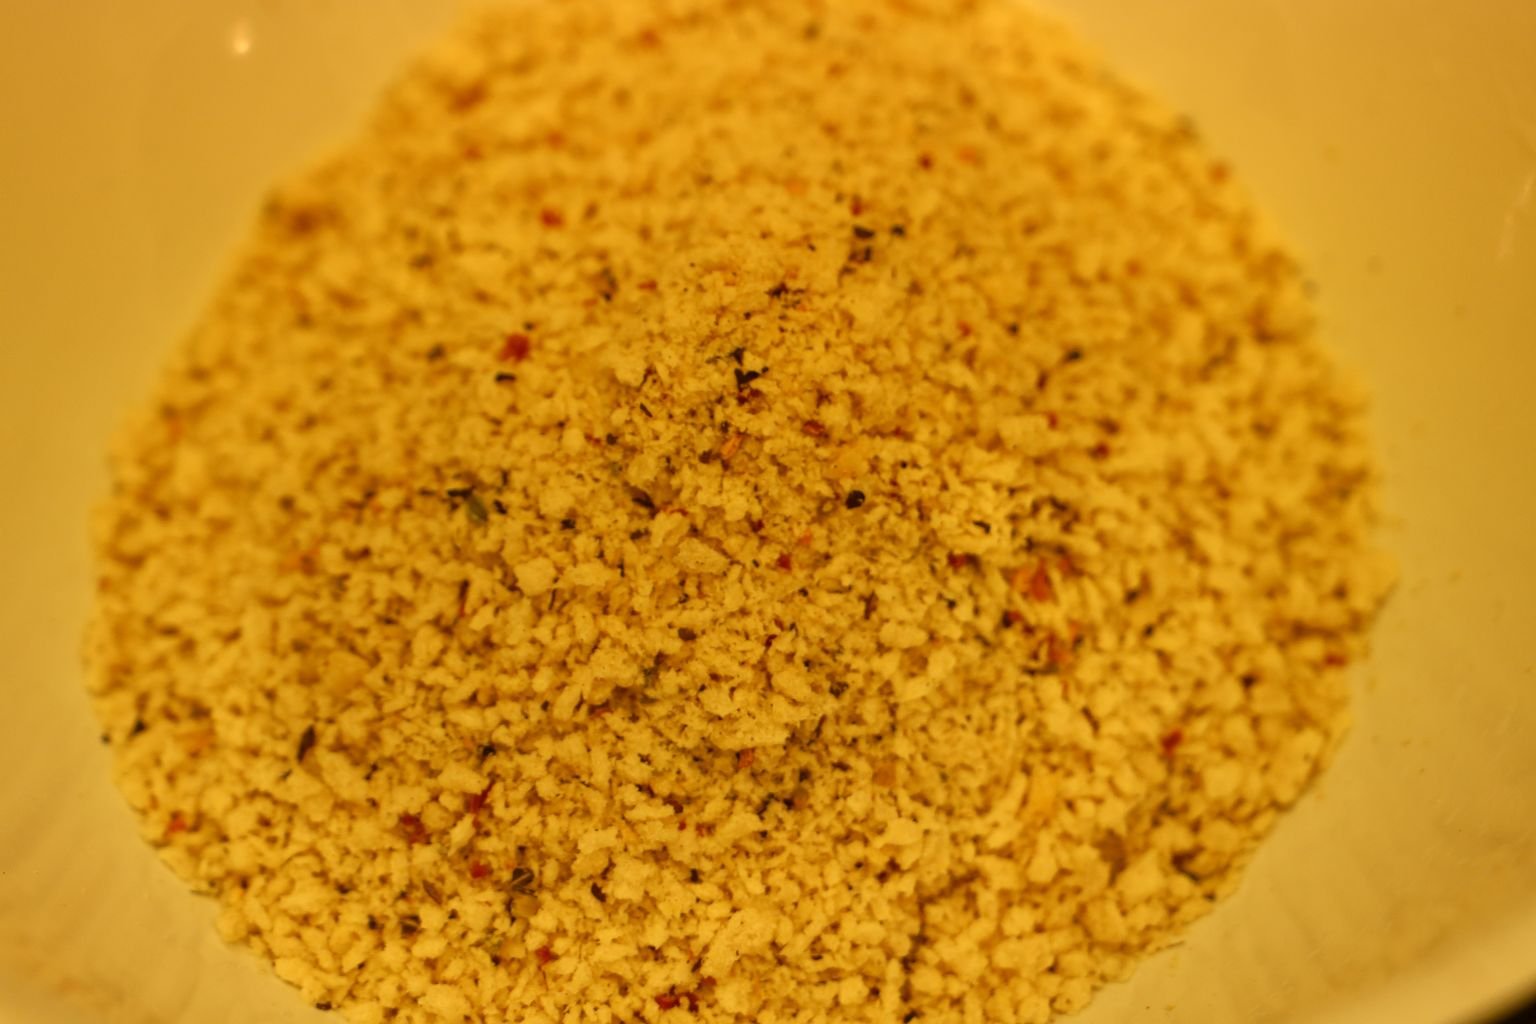
1 bag Herbed Breadcrumbs – Stuffing (Arnold)
1 Can Chicken and Stars Soup
1 Can Fat Free Cream of Chicken Soup Mix
Pam Cooking Spray
Salt and Pepper to taste
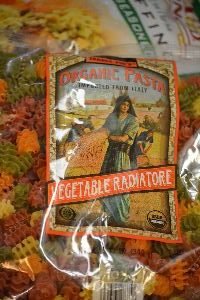
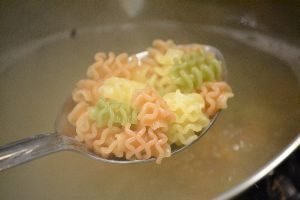
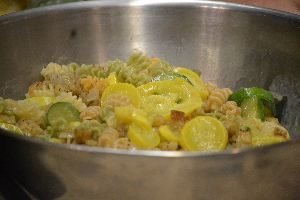
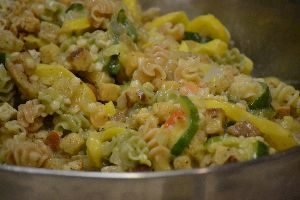
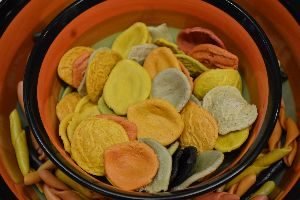
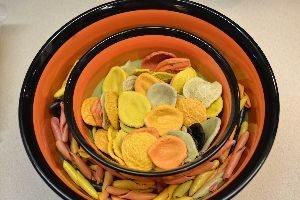
Look at this beautiful Organic Vegetable Pasta and the beautiful Autumn Colors!
——————————————–
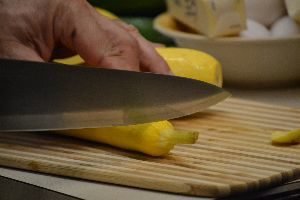

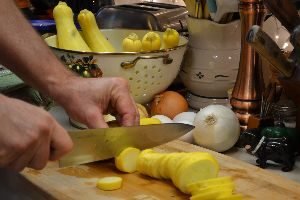
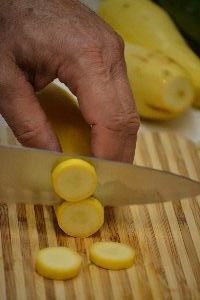
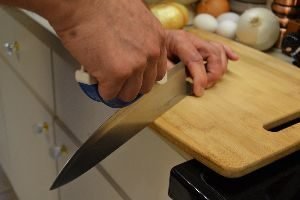
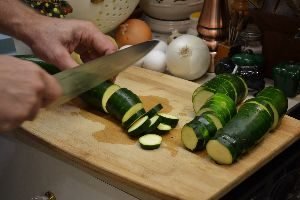
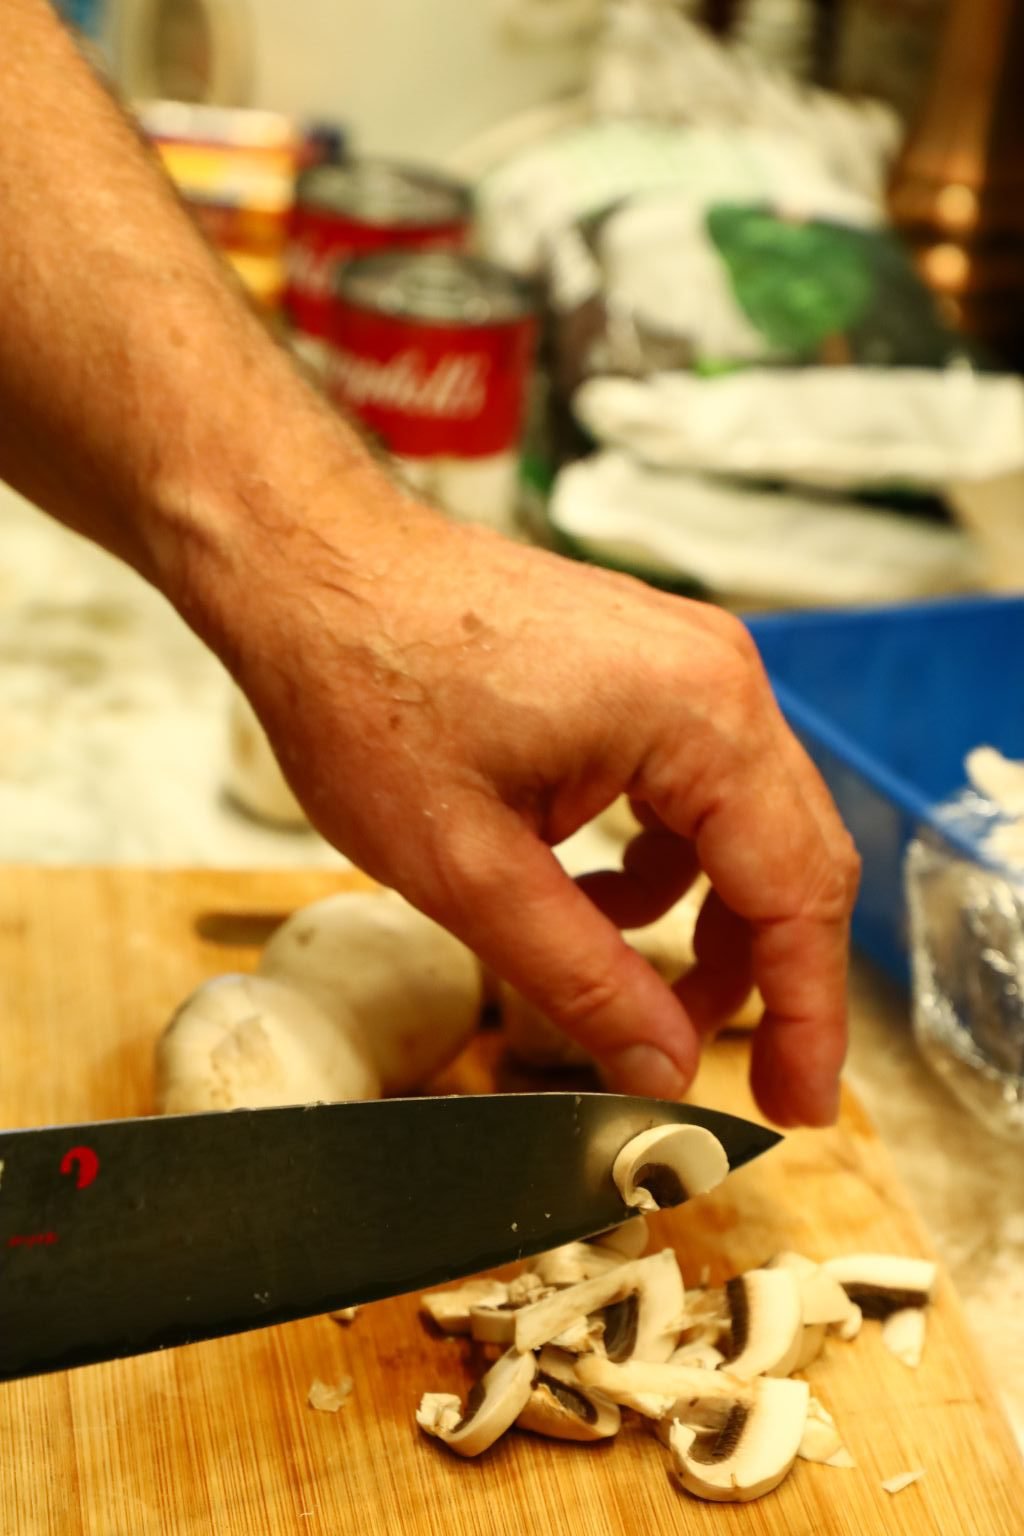
Gordon Slicing the Yellow Squash and Zucchini into Rounds
Slice off the stems of all the squash first and discard off your cutting surface.
———————————–
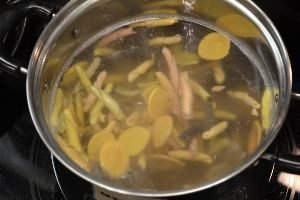
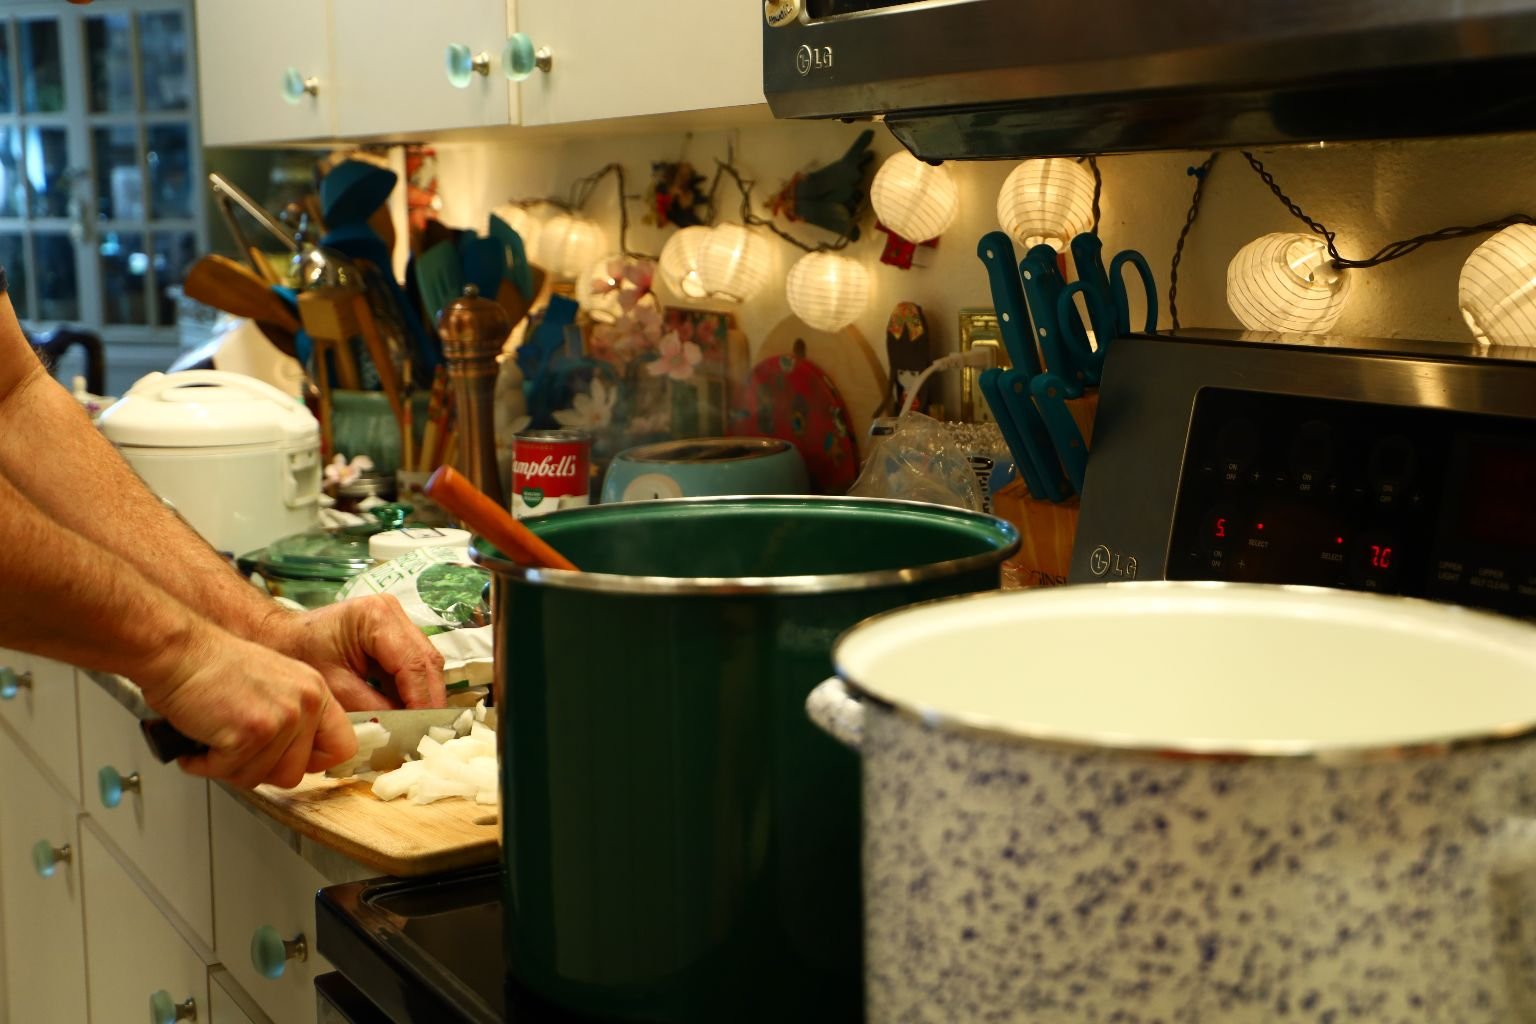
For this next step use one large pot to boil your pasta in and a medium sized pot to boil your squash in.
Add enough water to each pot to boil their perspective ingredients. Turn the heat up on the larger one for the pasta, but not under the squash until you have all the squash sliced into rounds. If you place your vegetables into boiling water, you will scold the outside of the vegetable and overcook them during the entire cooking process. If you have ever eaten potato salad where the outside of the potato is mushy, and the inside is firm, this is a perfect example of someone placing their potatoes into boiling water. Add around 2 Tbsp’s of salt to both pots of water.
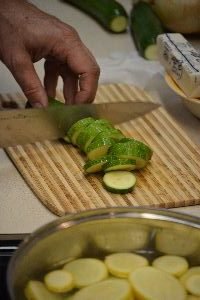
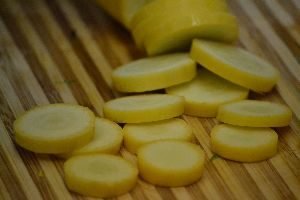
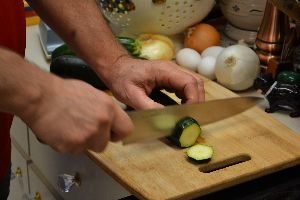
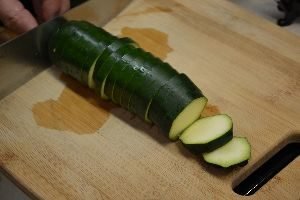
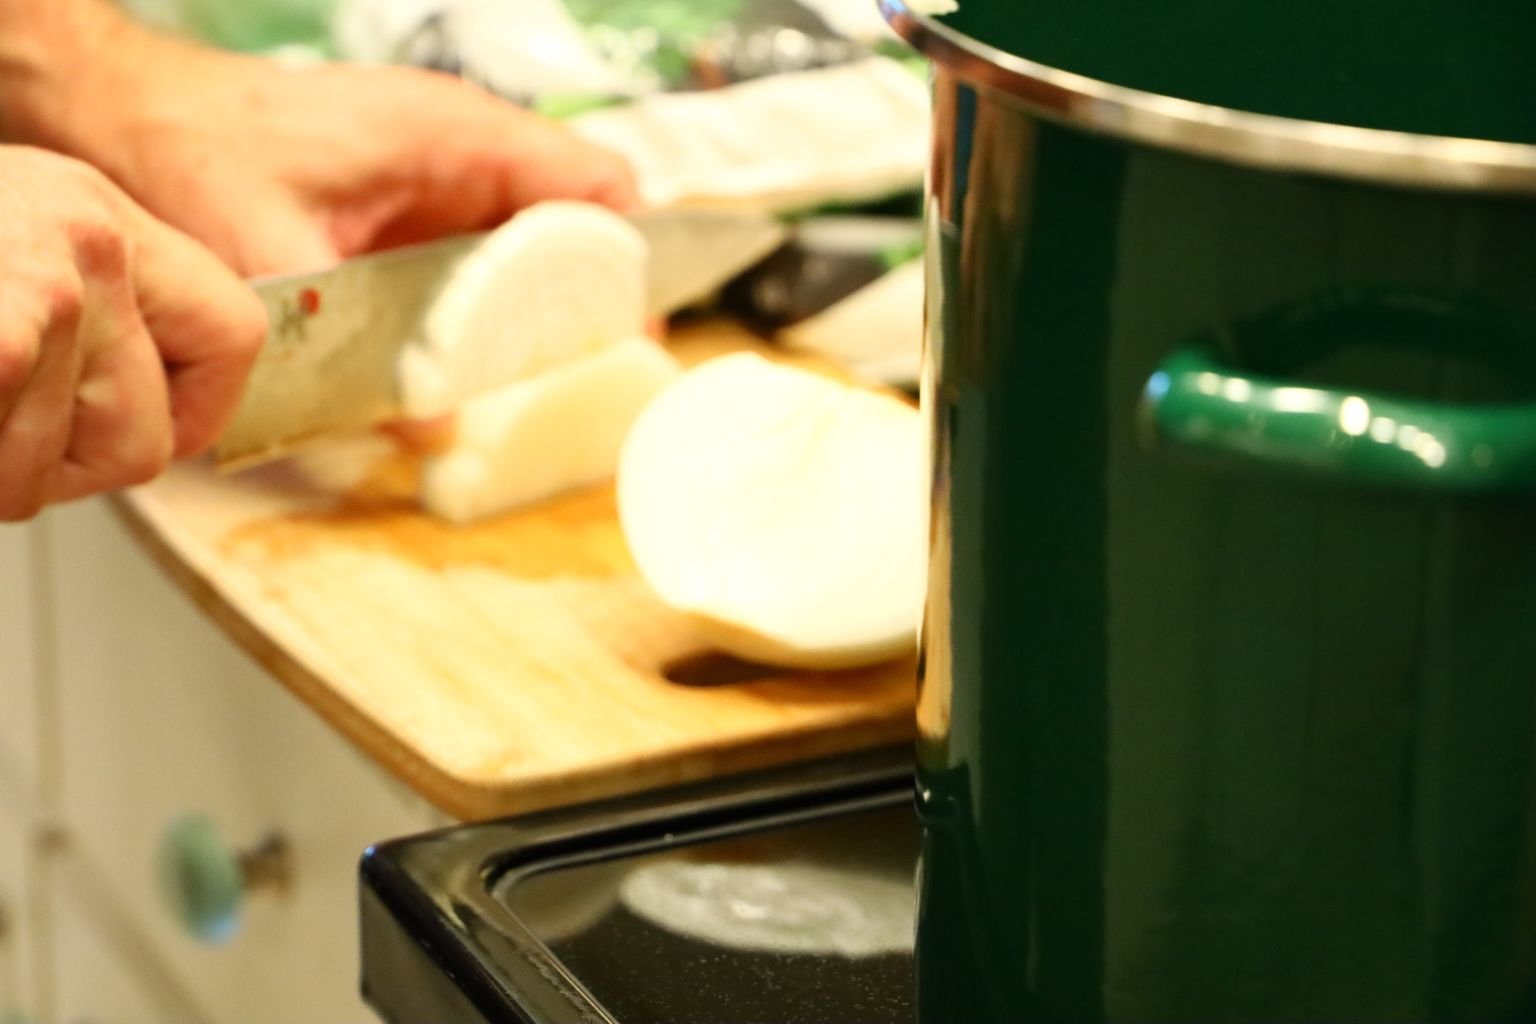
Then slice the squash into rings about ¼ inch thick. Use your index finger to guide the blade to the correct thickness – slice down then move your finger again and slice down…repeat all the way to the end, throwing away the final piece. The slices tend to roll after slicing.
—————————————-
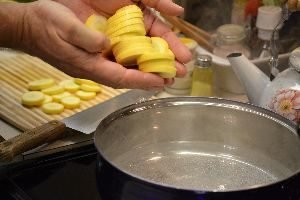
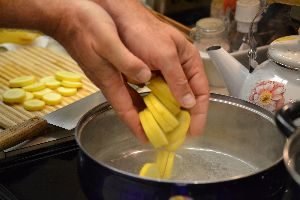
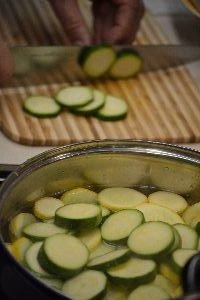
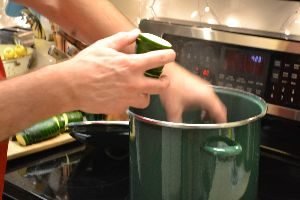
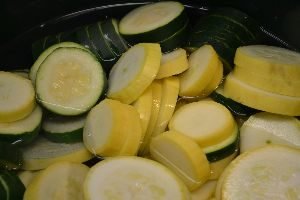
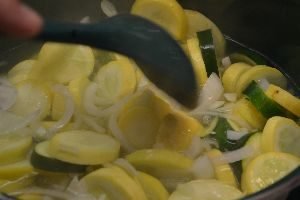
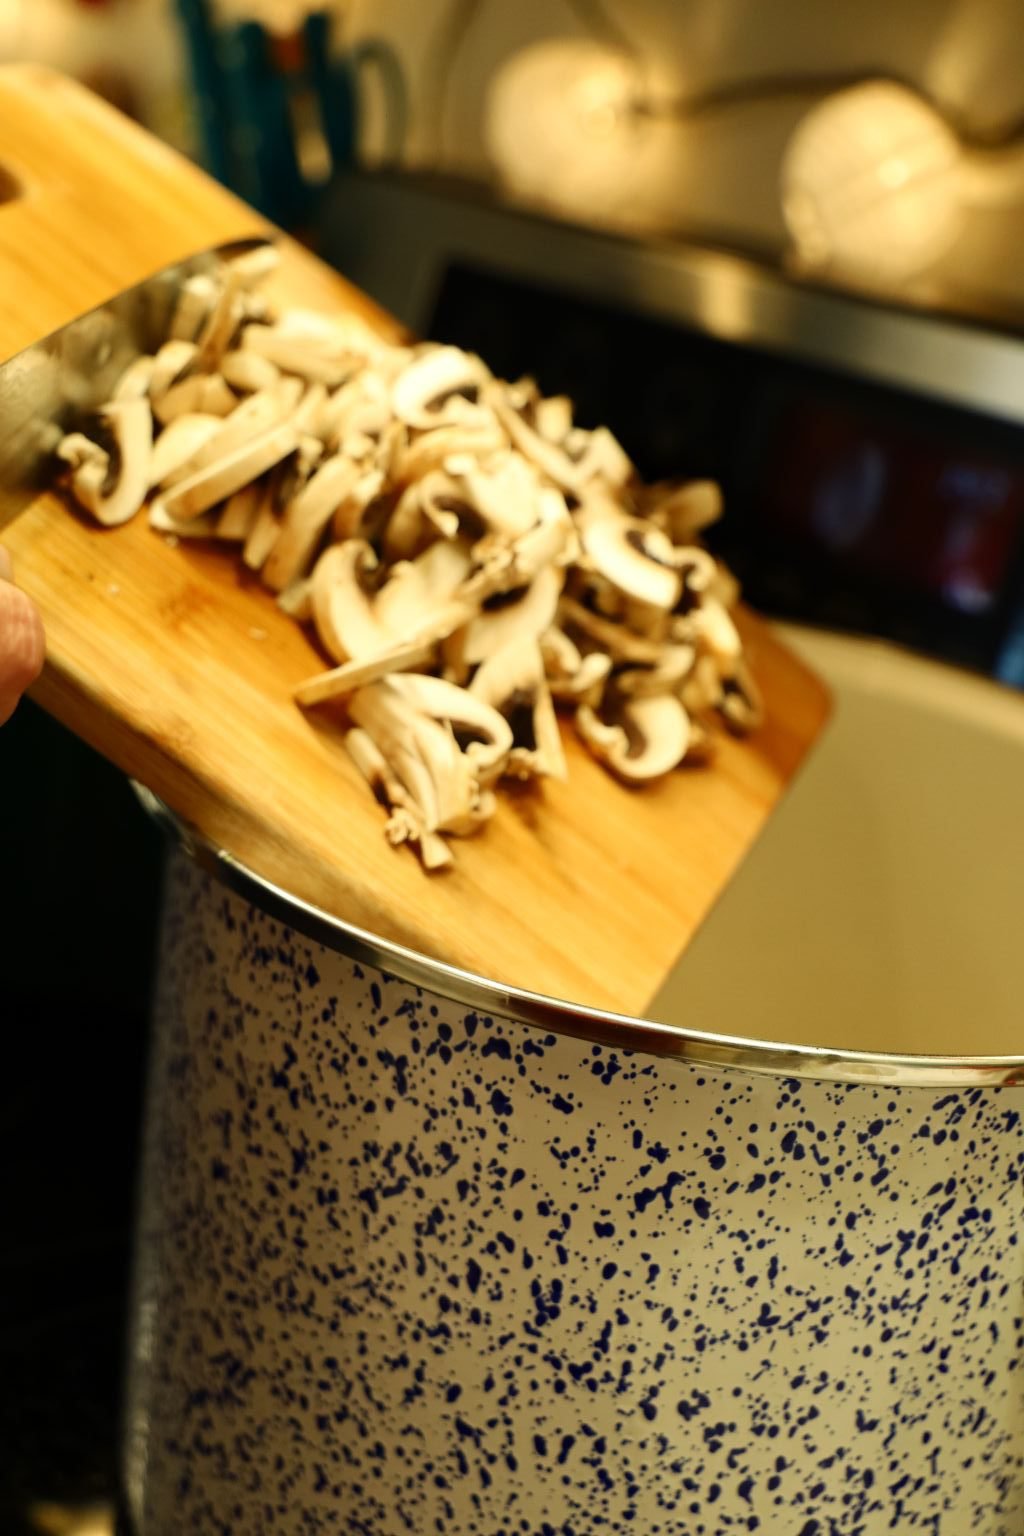
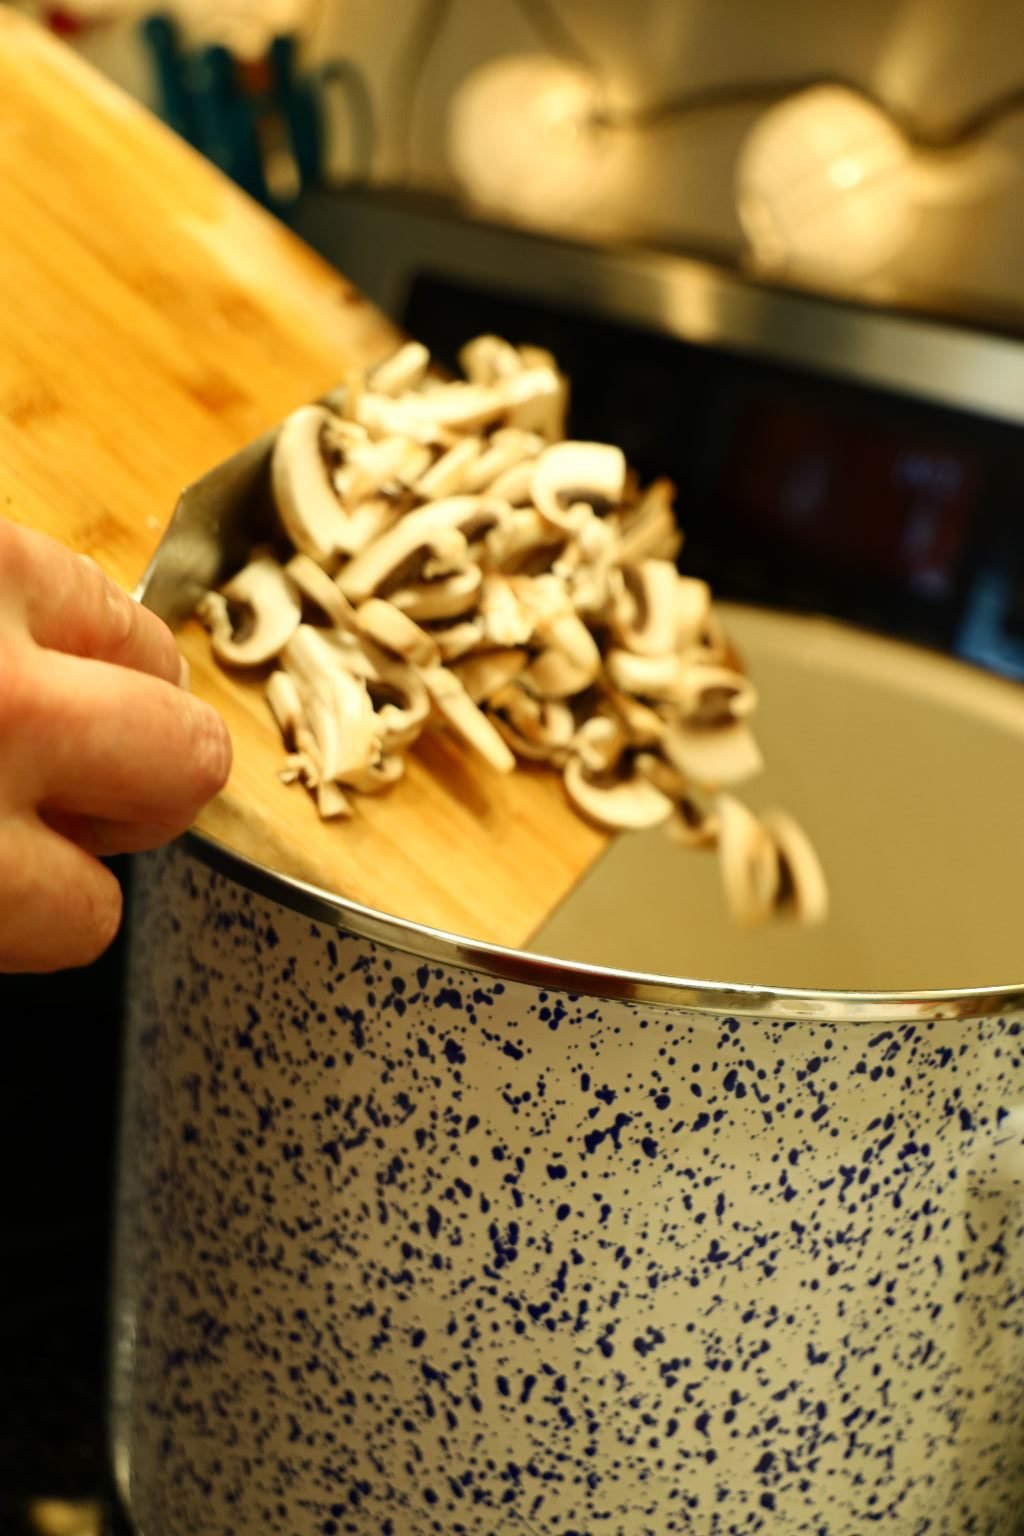
When your slice a good amount of your squash, place them into the water. If you are fast enough, you could have your water already getting hot to speed up the preparation time.
Slice your Zucchini the same exact way and place it too in the water to boil.
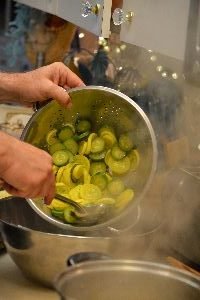
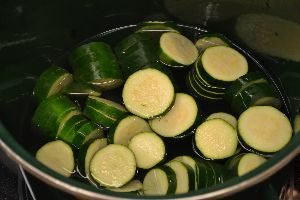
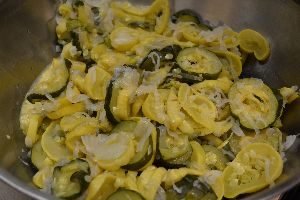
Boil the squash until tender, but not mushy… about 10 min.
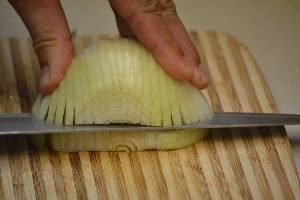
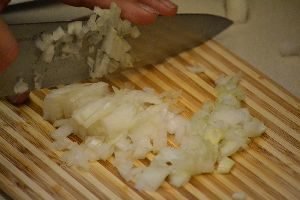
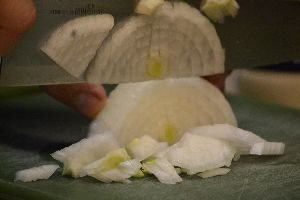
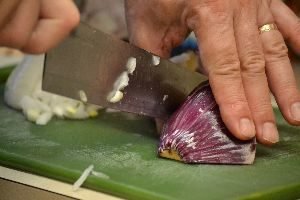
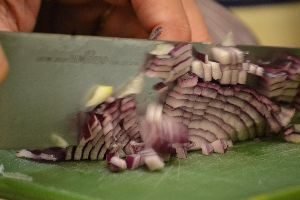
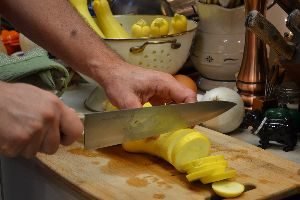
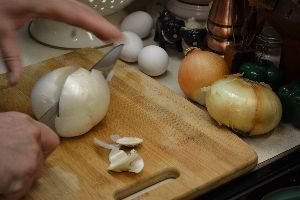
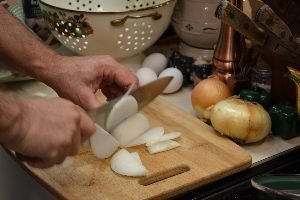
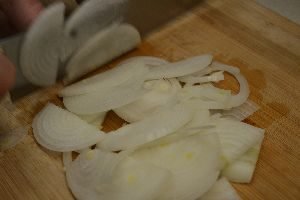
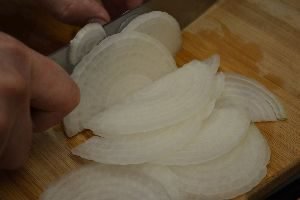
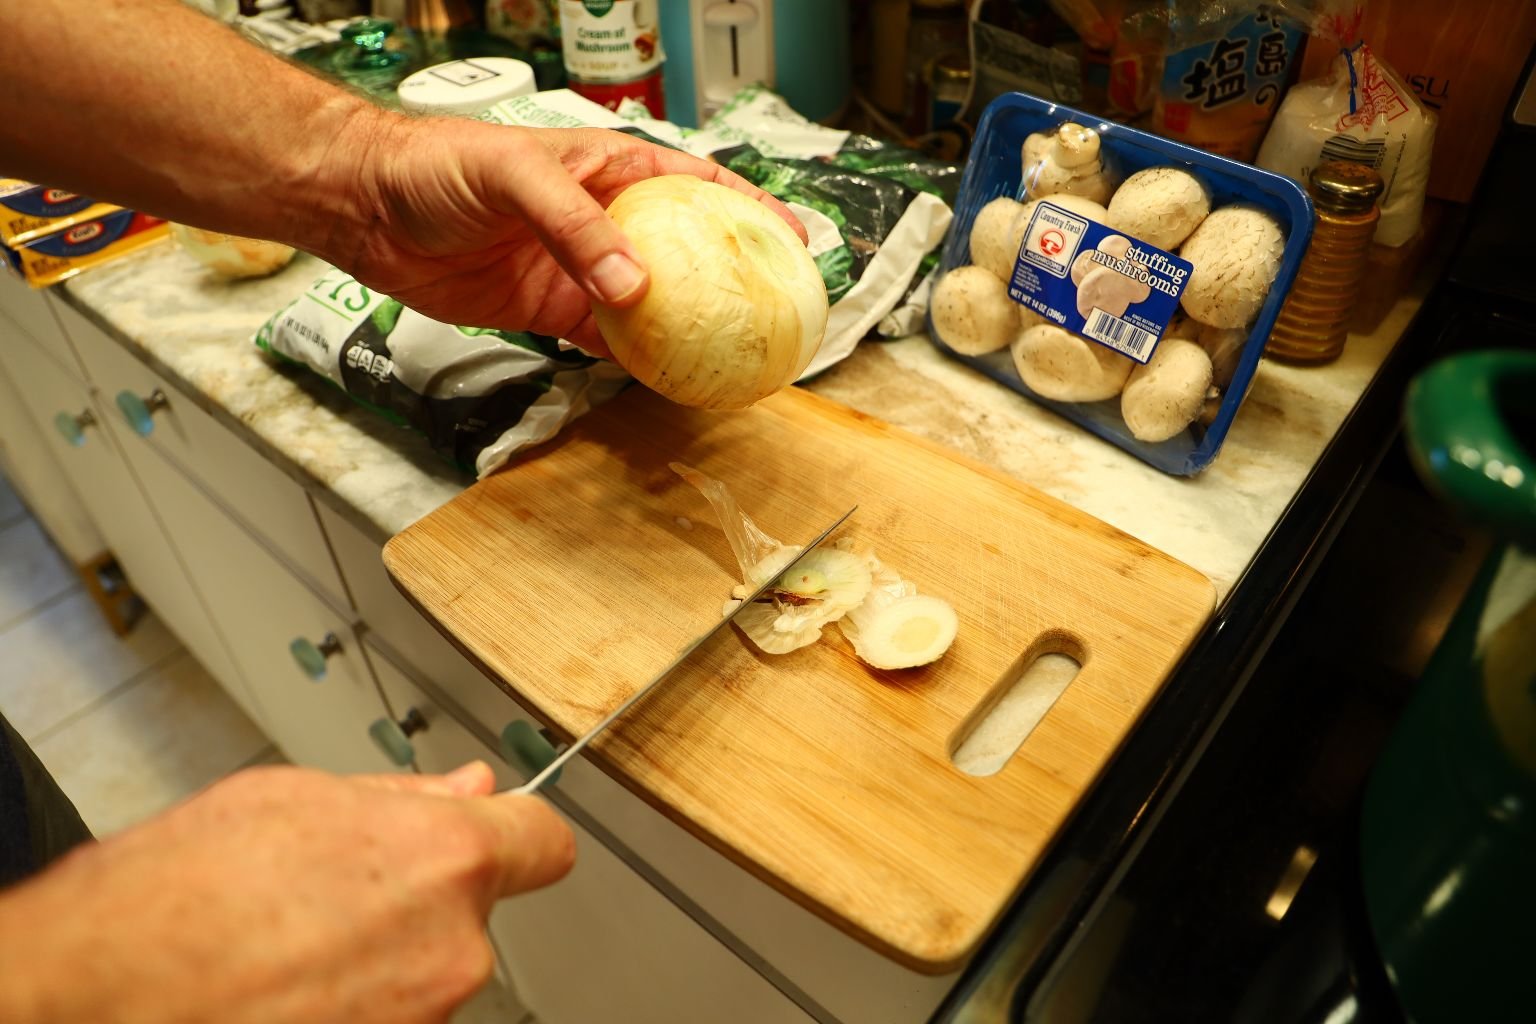
Slice off the stem of your onion first, then slice it in half. Place your onion down on the cut side, then then slice vertically down at 1/8 inches. Now, slice horizontally at ½ inches as shown in the last picture.
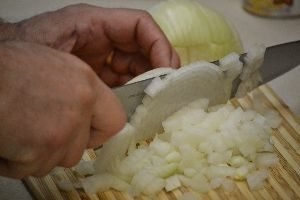
Turn your onion and slice down again at 1/8 inches creating small dice as shown.
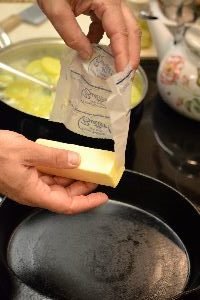
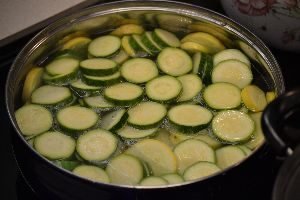
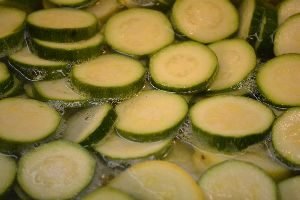
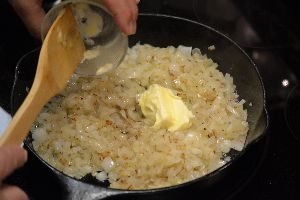
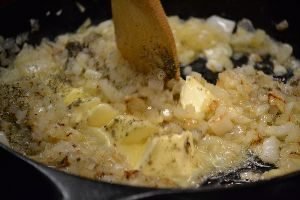
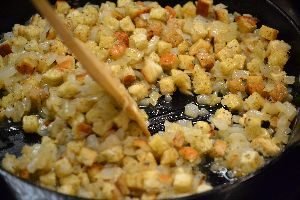
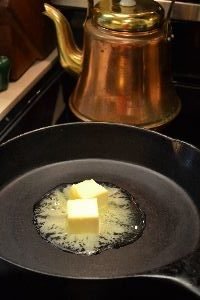
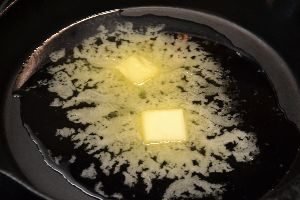
Here, you can see that the squash is cooking nicely and just about done. In a cast iron skillet, melt one stick of butter over medium heat.
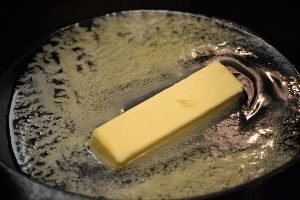
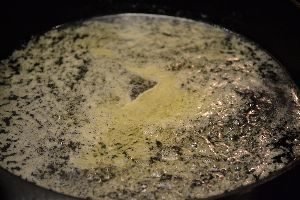
Here you can see the butter melting nicely and not browning.
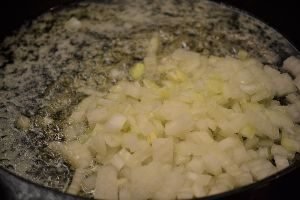
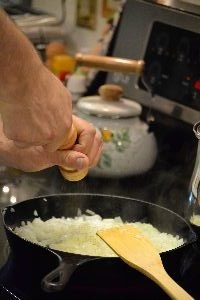
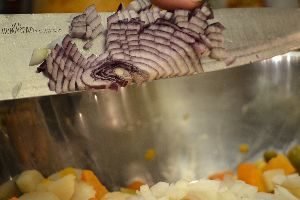
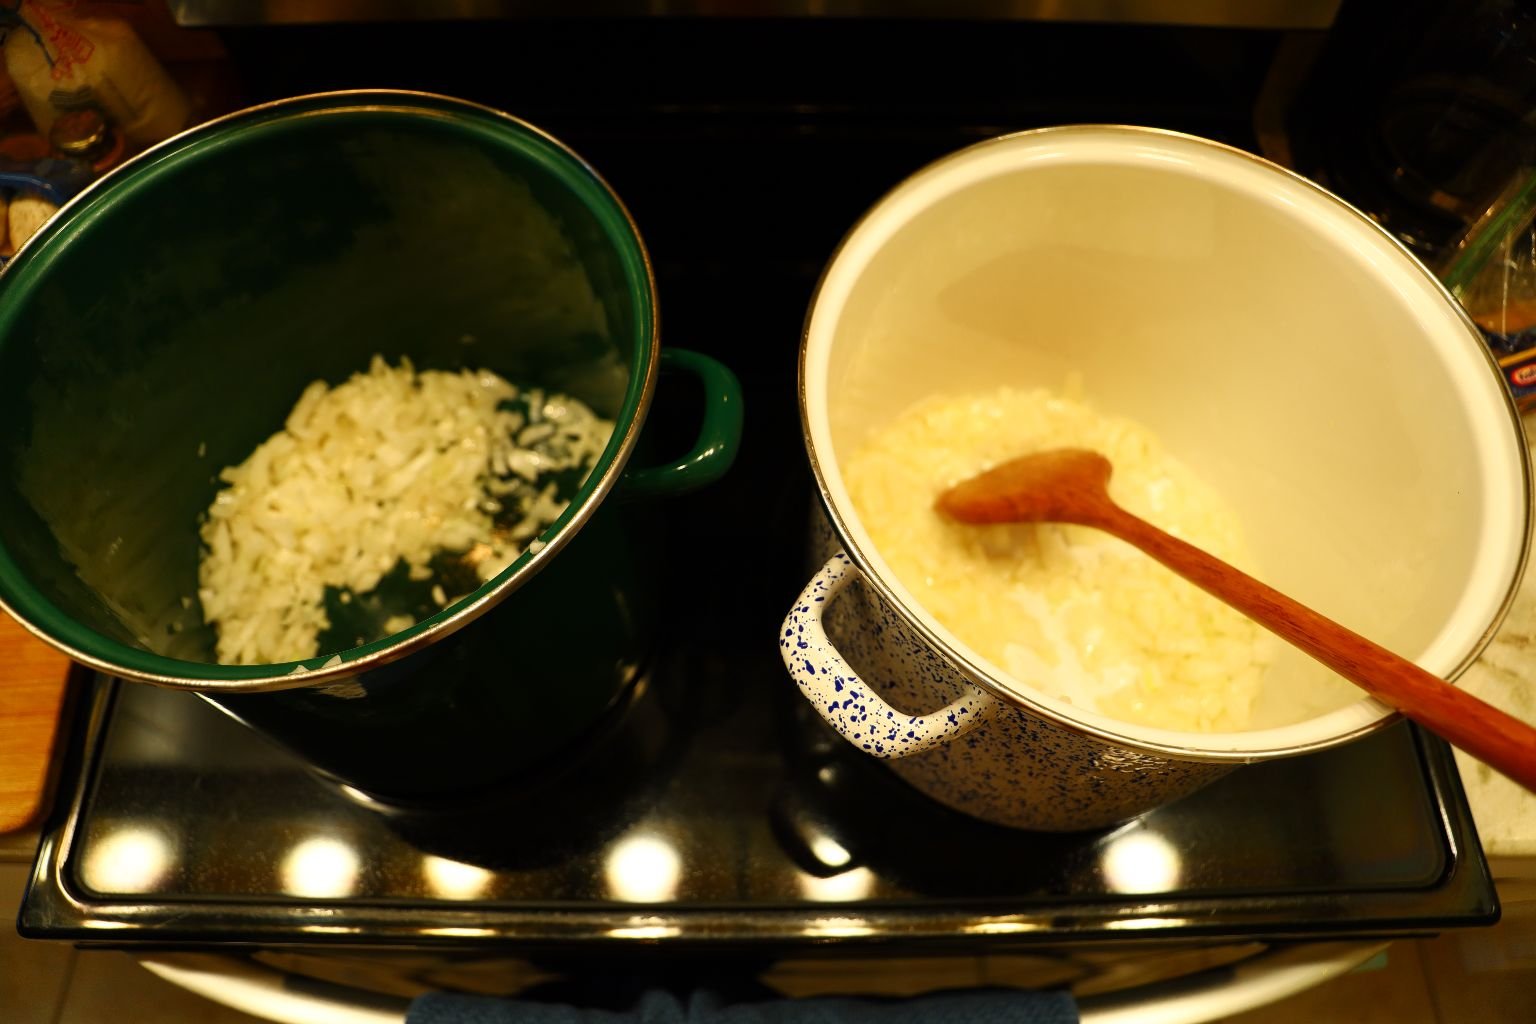
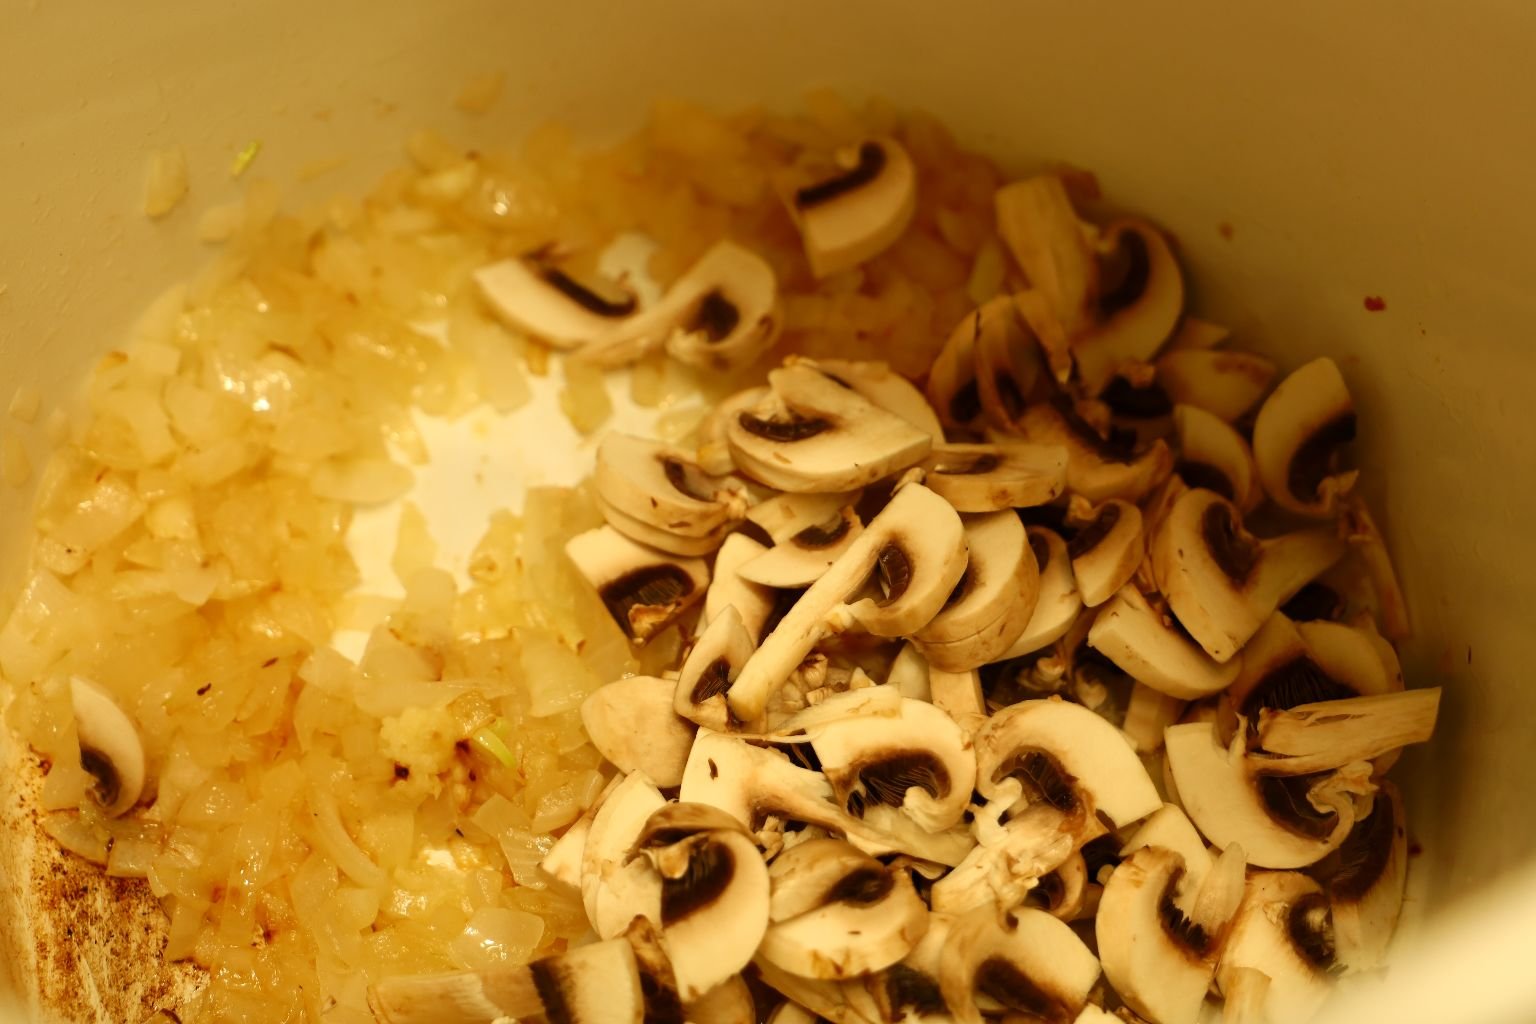
Place your chopped onions from ½ of your onion into the melted butter as shown.
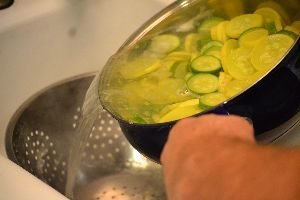
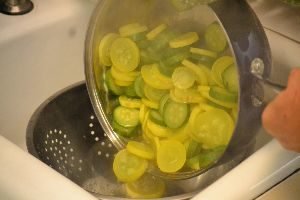
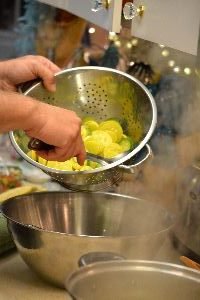
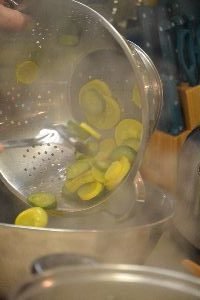
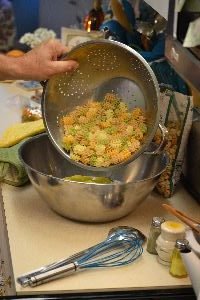
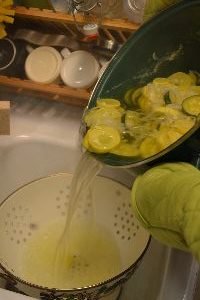
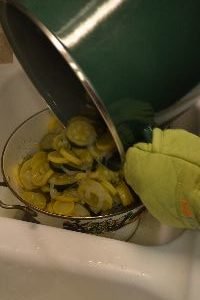
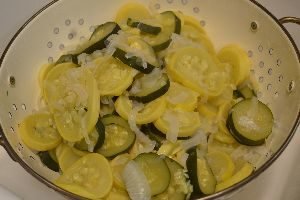
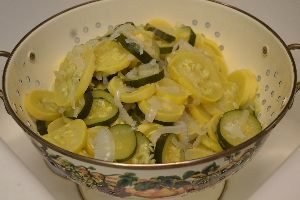
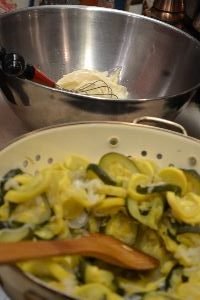
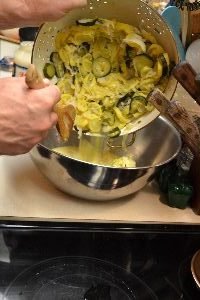
When your squash is cooked, remove it from the stove and pour it out into a colander to drain and cool.
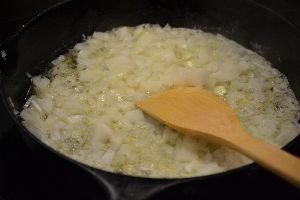
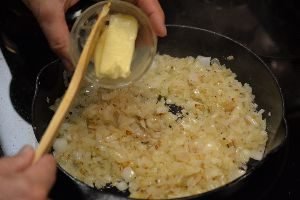
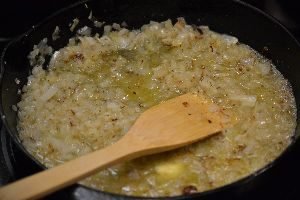
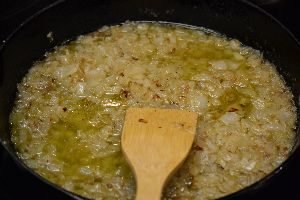
Sauté your onion in the butter as shown until translucent.
Here, we weren’t sure it that was enough onion, so we added more.
We also added more butter to help moisten the breadcrumbs that will be placed in later.
Here, I am slicing some of the onion that didn’t get cross cut very well.
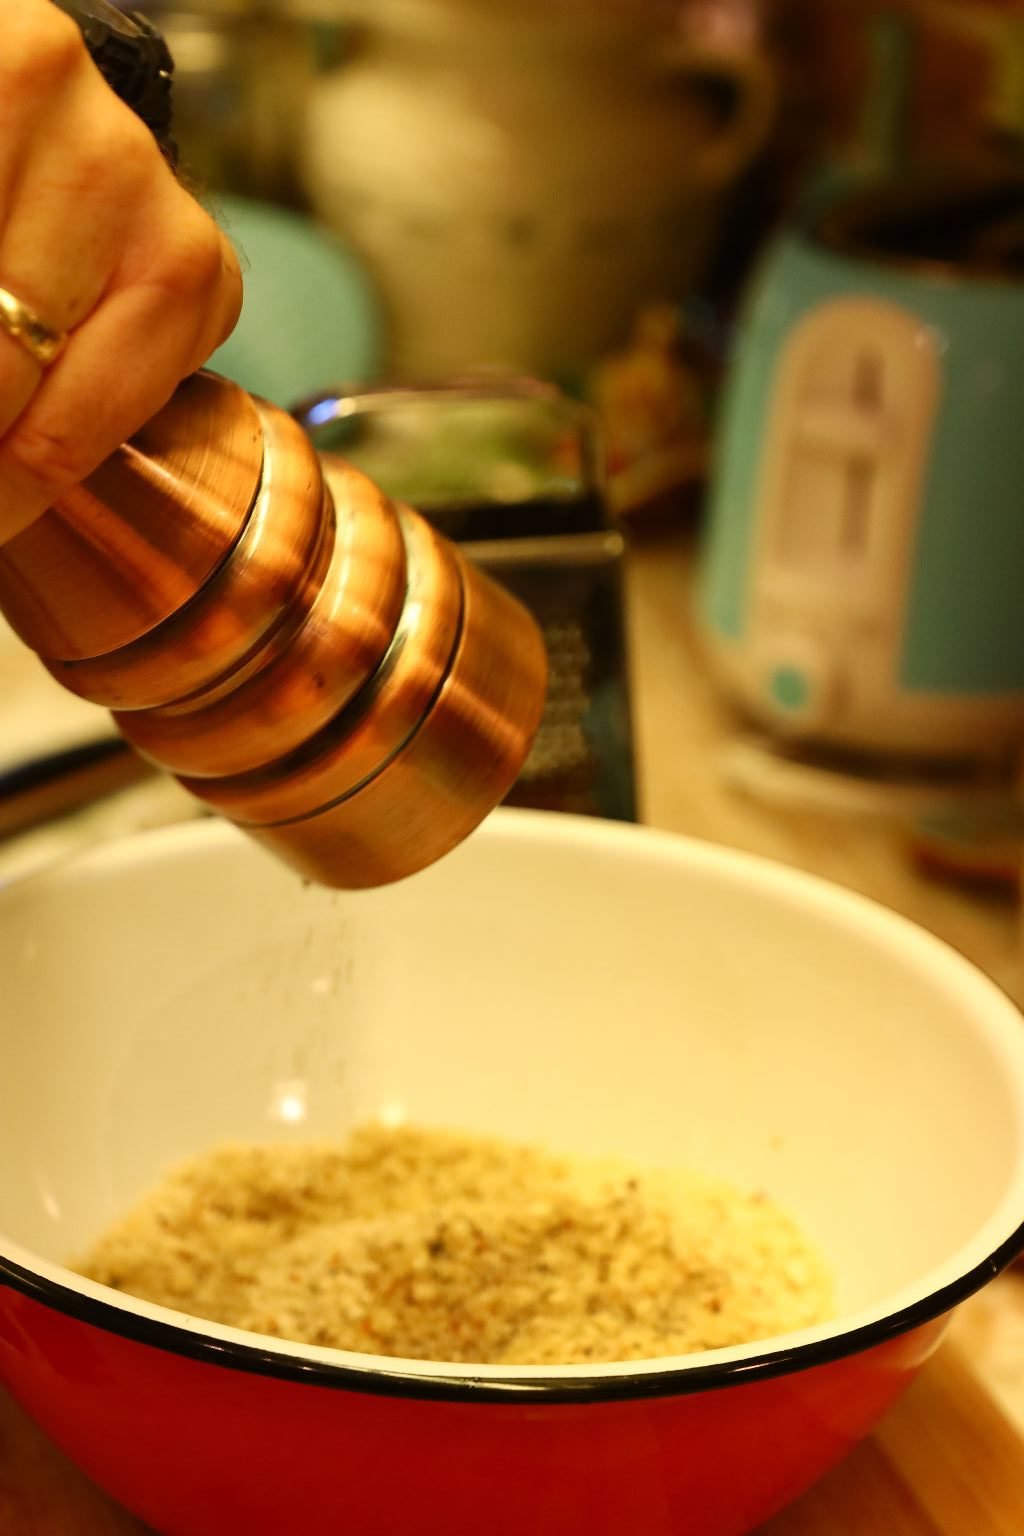
Be sure to add salt and pepper to the onions.
Mix/stir the onions frequently to promote even cooking.
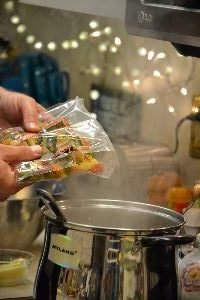
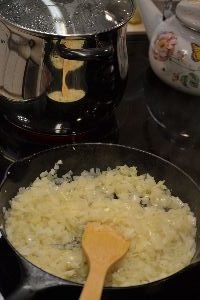
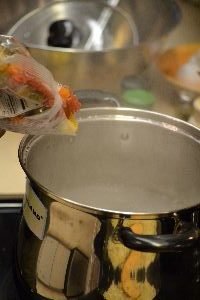
Add your pasta when your pasta water has come to the boil.
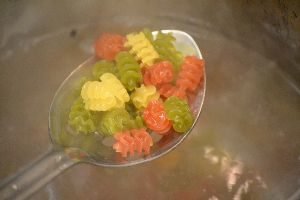
You can really see how vibrant the natural colors of the pasta are.
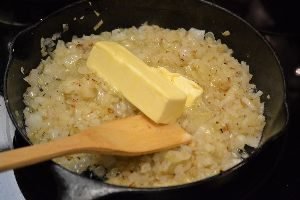
Yes, more butter for a total of 2 ½ sticks.
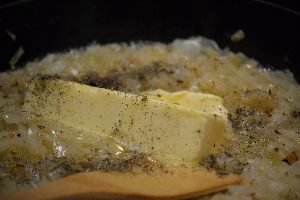
Add more pepper if you like.
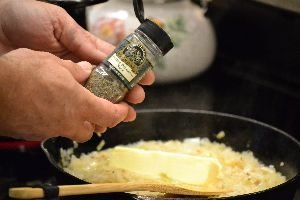
Then and your herbs to the butter and onions.
Mix all your ingredients well.
————————————————
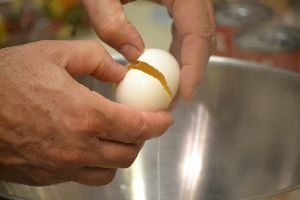

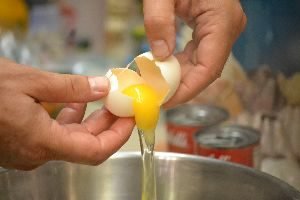
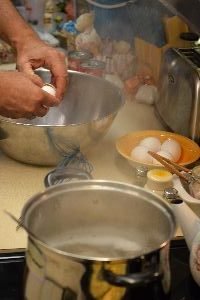
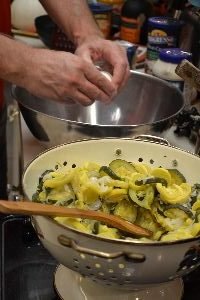
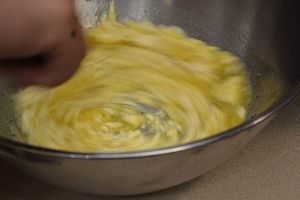
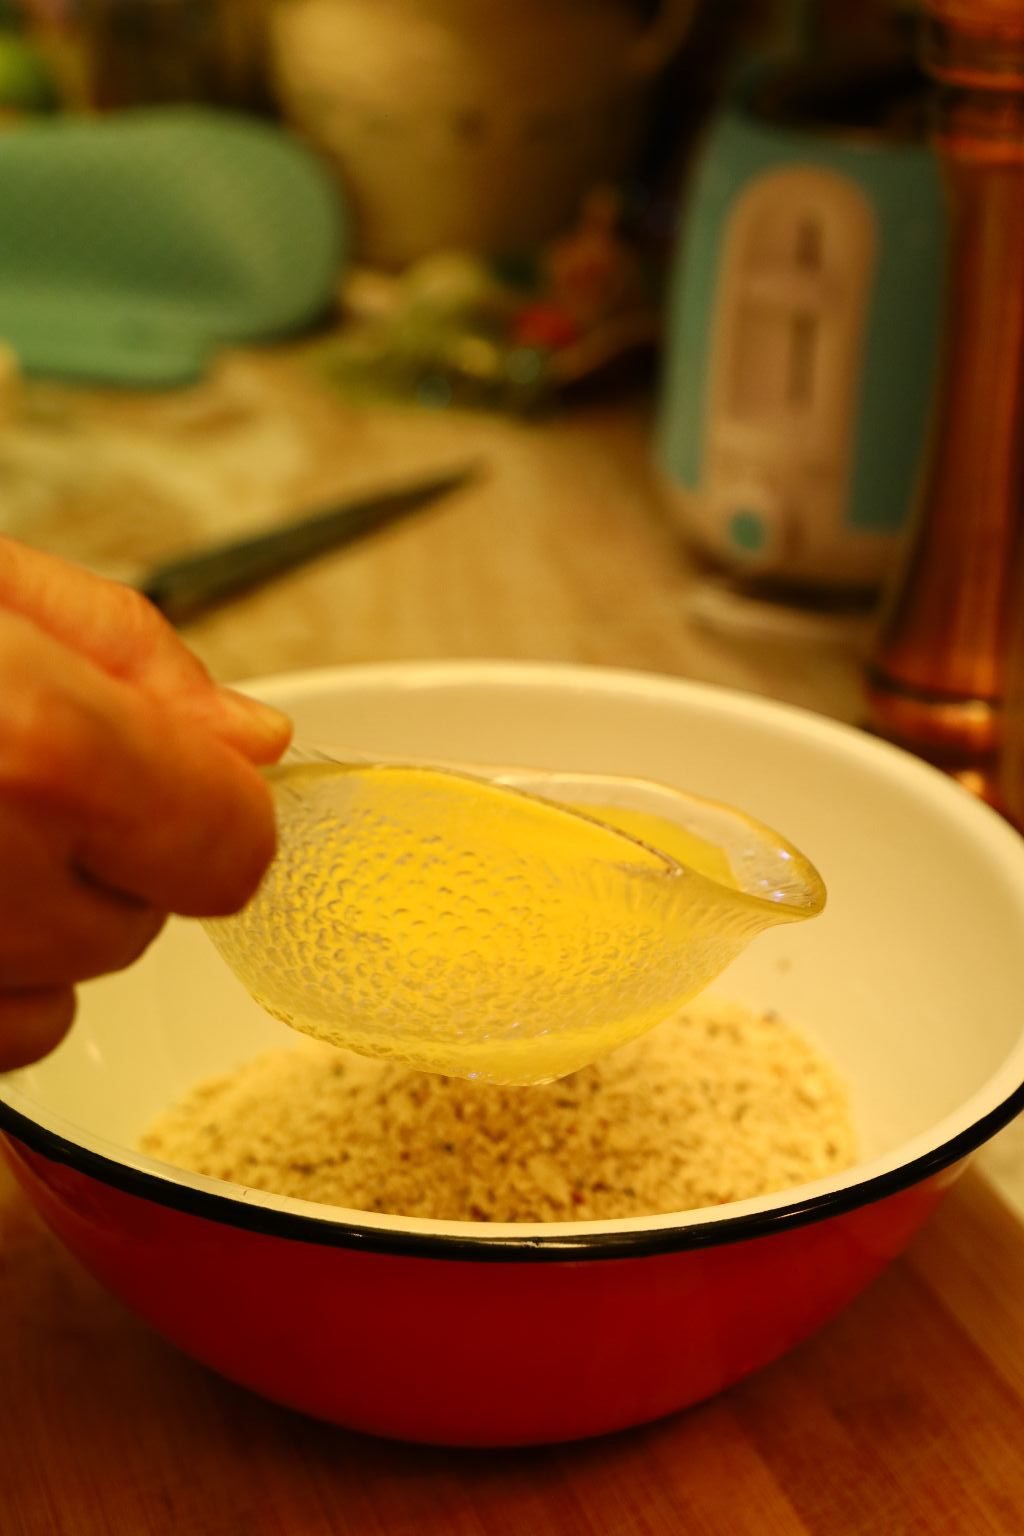
Crack your eggs into a large mixing bowl.
Be careful not to get any shells into the mixture.
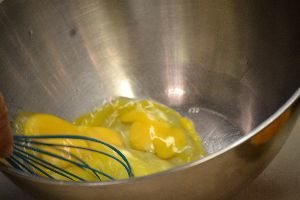
Whisk the eggs and add some salt and pepper.
When your pasta is al dente or “to the tooth”, which means, it is still has some texture to it and not totally cooked and mushy, drain your pasta into a colander.
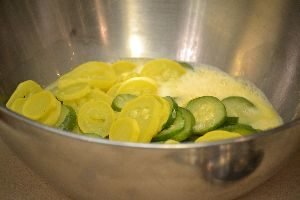
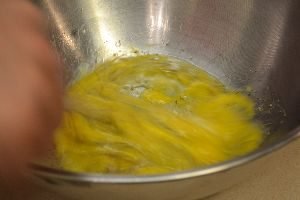
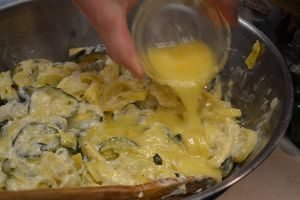
Once your squash has cooled add it to your beaten eggs. You are making sure they are cool, because you don’t want to cook your eggs.
————————————————-
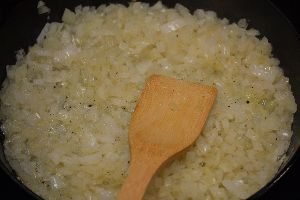
Here is a good look at your cooked onions.
The ones that are brown are caramelized and even more sweet.
—————————————
——————————————-
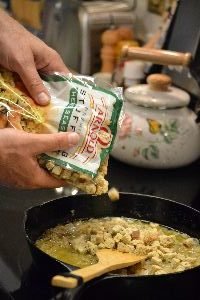
Add some of your Breadcrumbs (1 cup or so) to the cooked onions and stir well. Brown them slightly in the pan getting them moist with the added butter. When slightly cooked remove from the heat to cool.
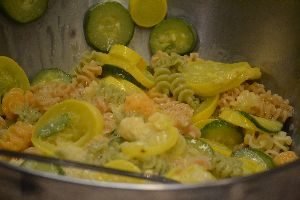
Now, add your cooled pasta to the egg and squash mixture and gently fold all the ingredients together.
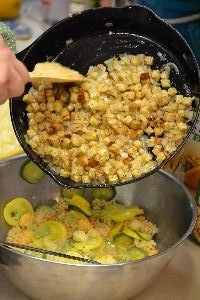
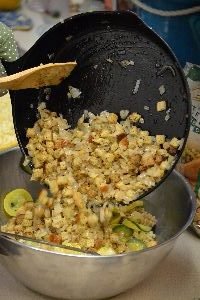
Add your cooled onions and breadcrumbs to the mixture.
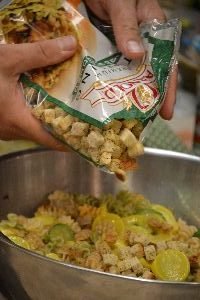
Then add the rest of the bag of breadcrumbs to the bowl.
And fold them into the rest of the ingredients.
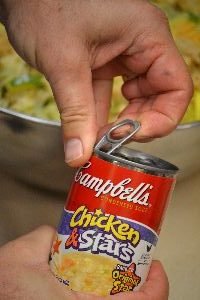
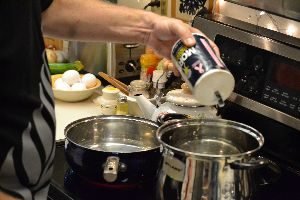
Open your can of Chicken and Stars…
This was more of a childhood novelty. We needed a stock so I grabbed this one. 🙂

And place it with the other ingredients.
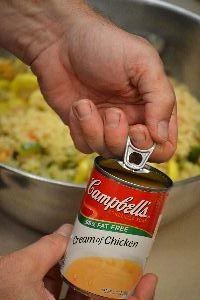
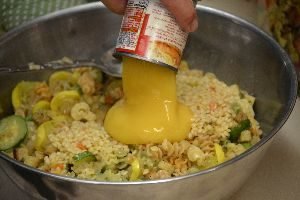
And do the same with your Cream of Chicken Soup.

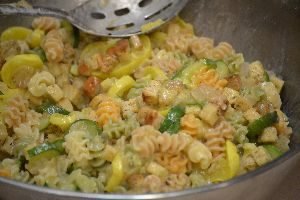
Mix all the ingredients together with a folding motion so you don’t break them in the process.
——————————————–
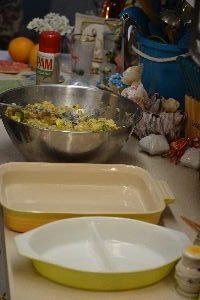
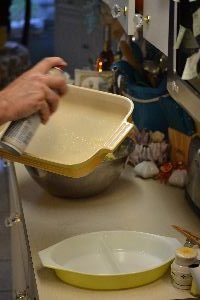
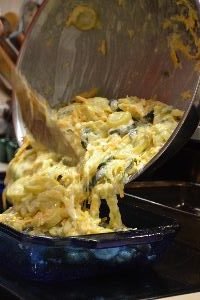
Spray your casserole dishes with Pam or non-stick spray.
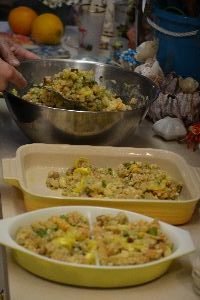
Add your dressing to the dishes as shown.
Nice pictures Julie!
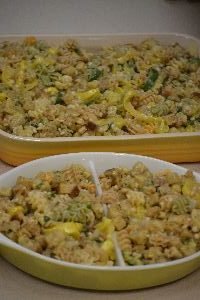
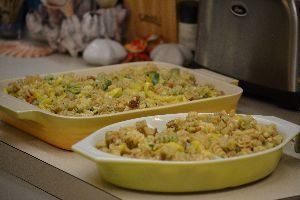
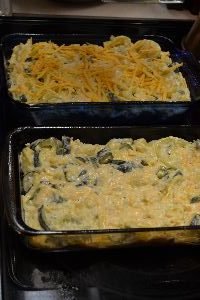
Place your dressing into a preheated oven at 350’F for about 30-40 min. or until browned on top!
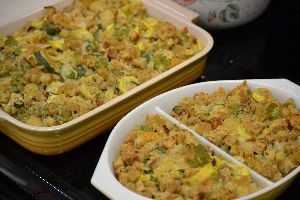
We think you will like this dressing as much as we did!
——————————————-
——————————————————
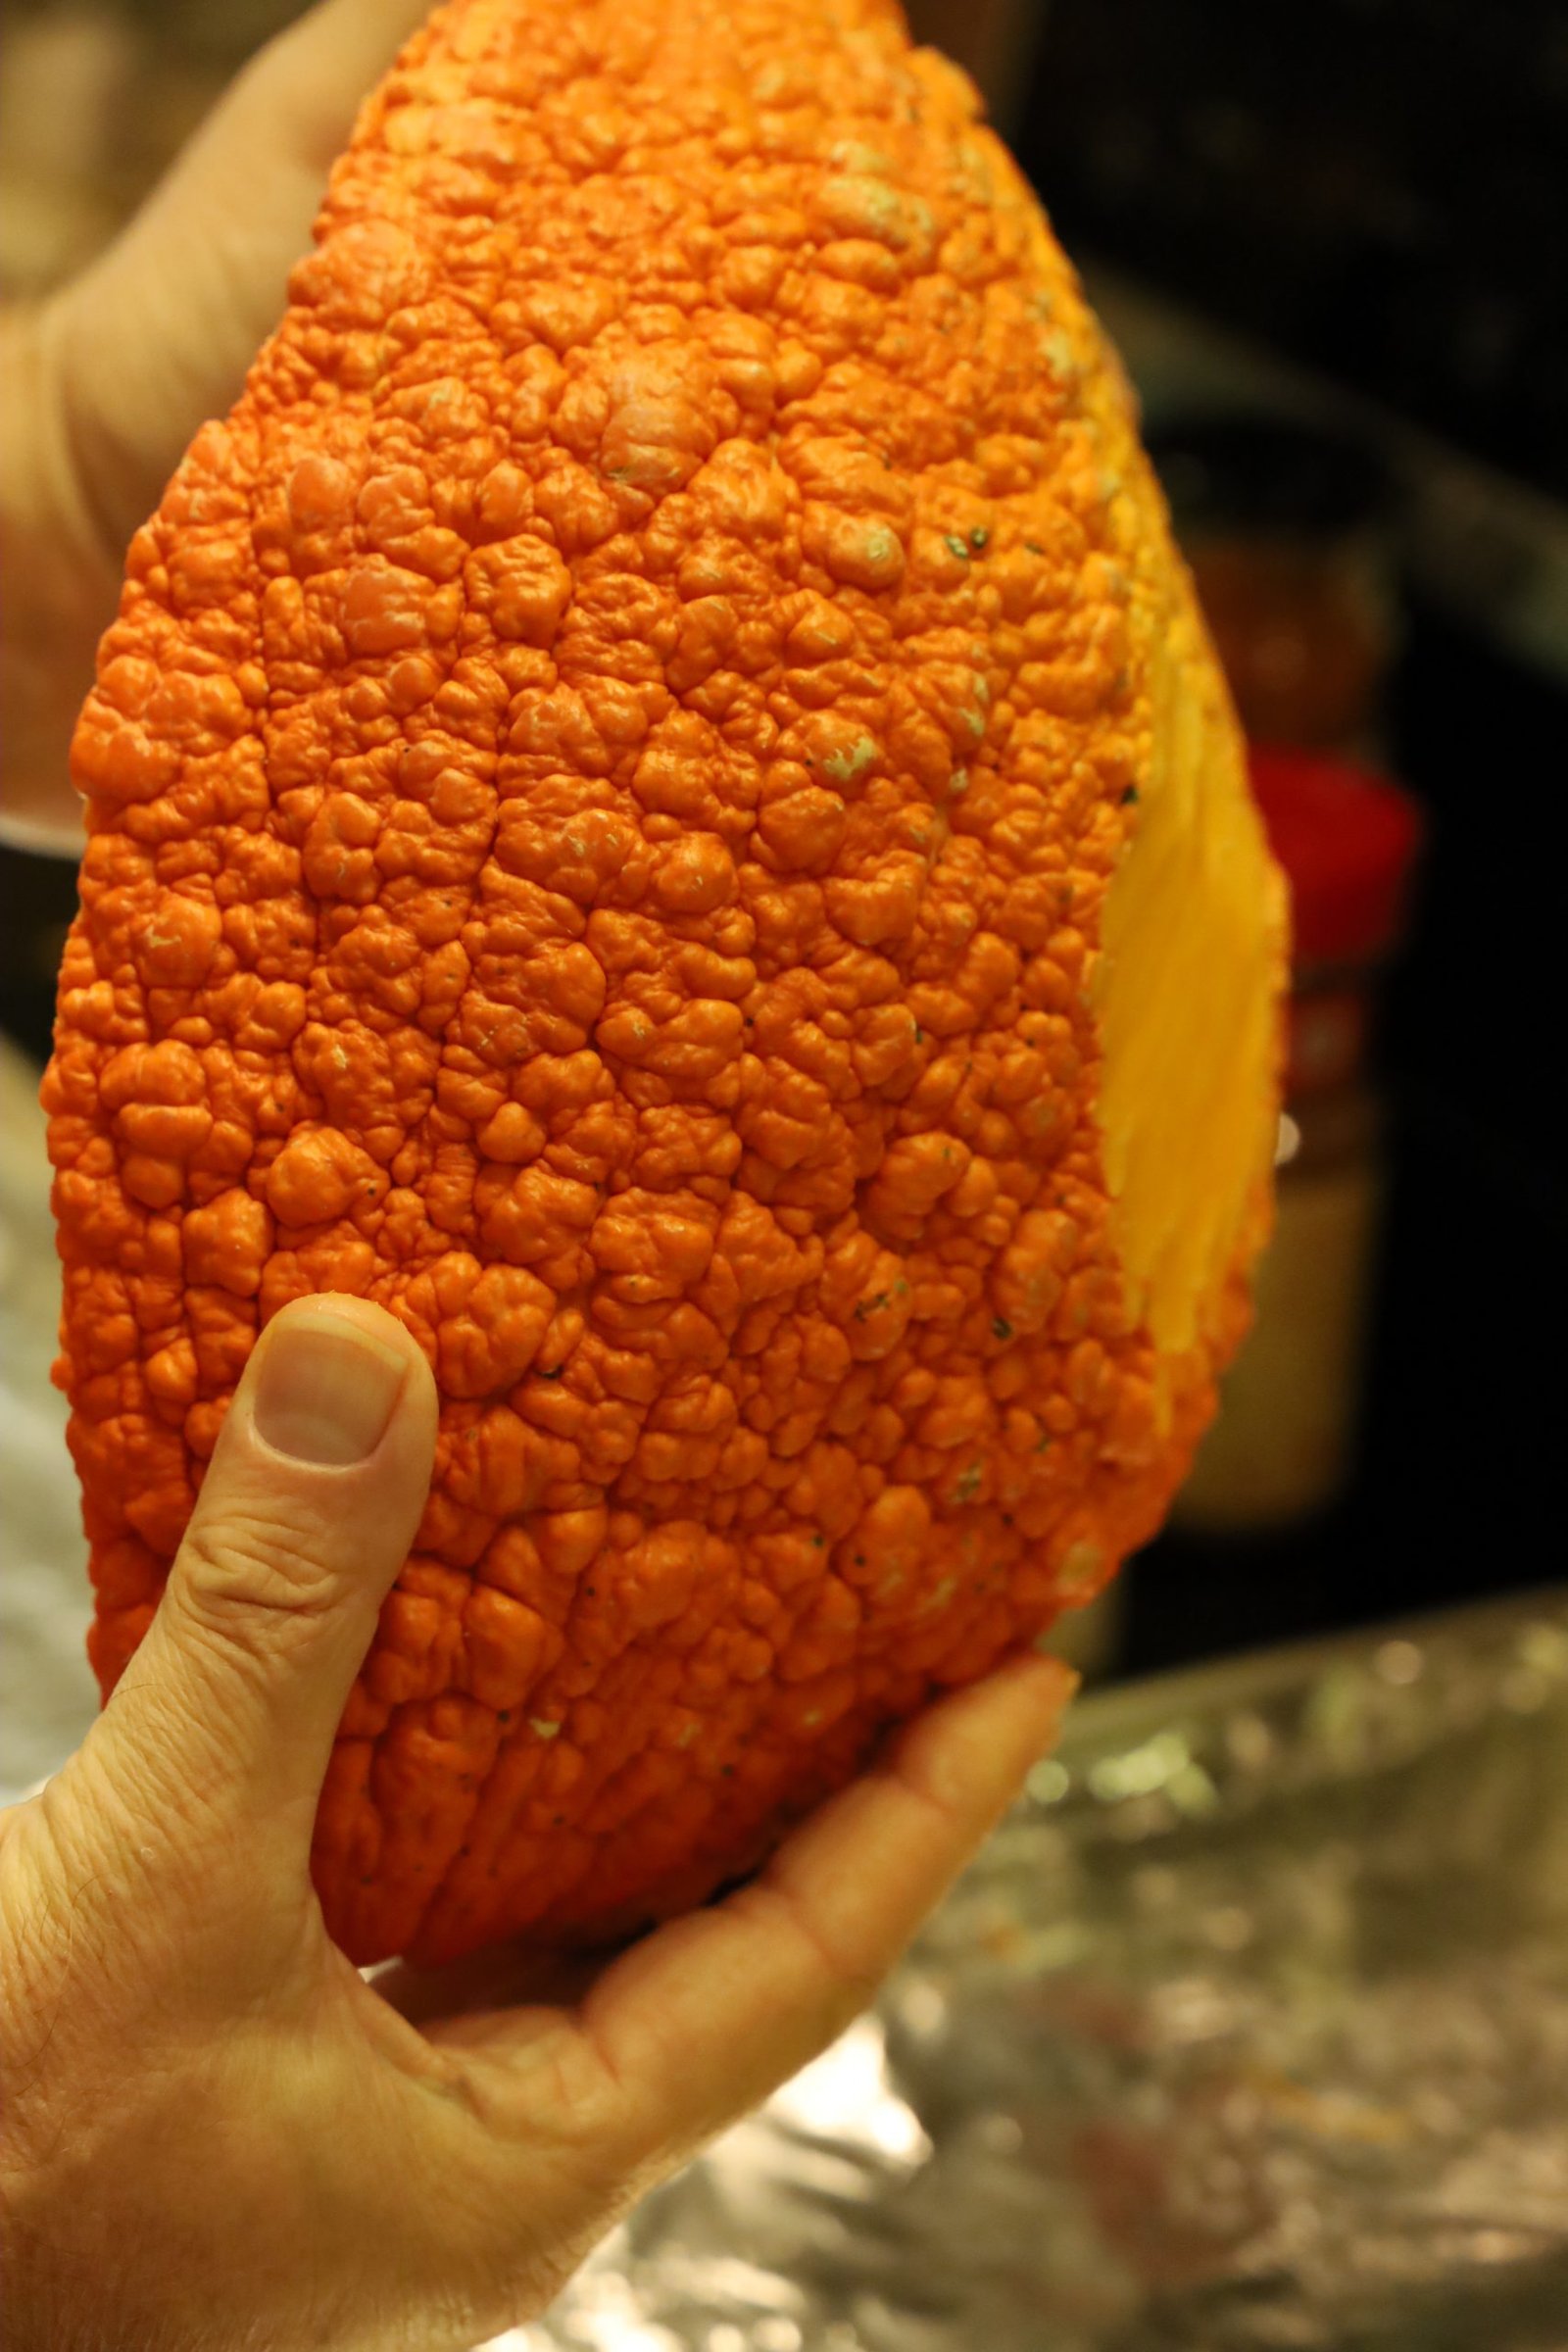
Sweet and Savory Squash
—————————————————-
Squash Preparation: Slice the Squash in half.
Using a long knife makes this task much easier.
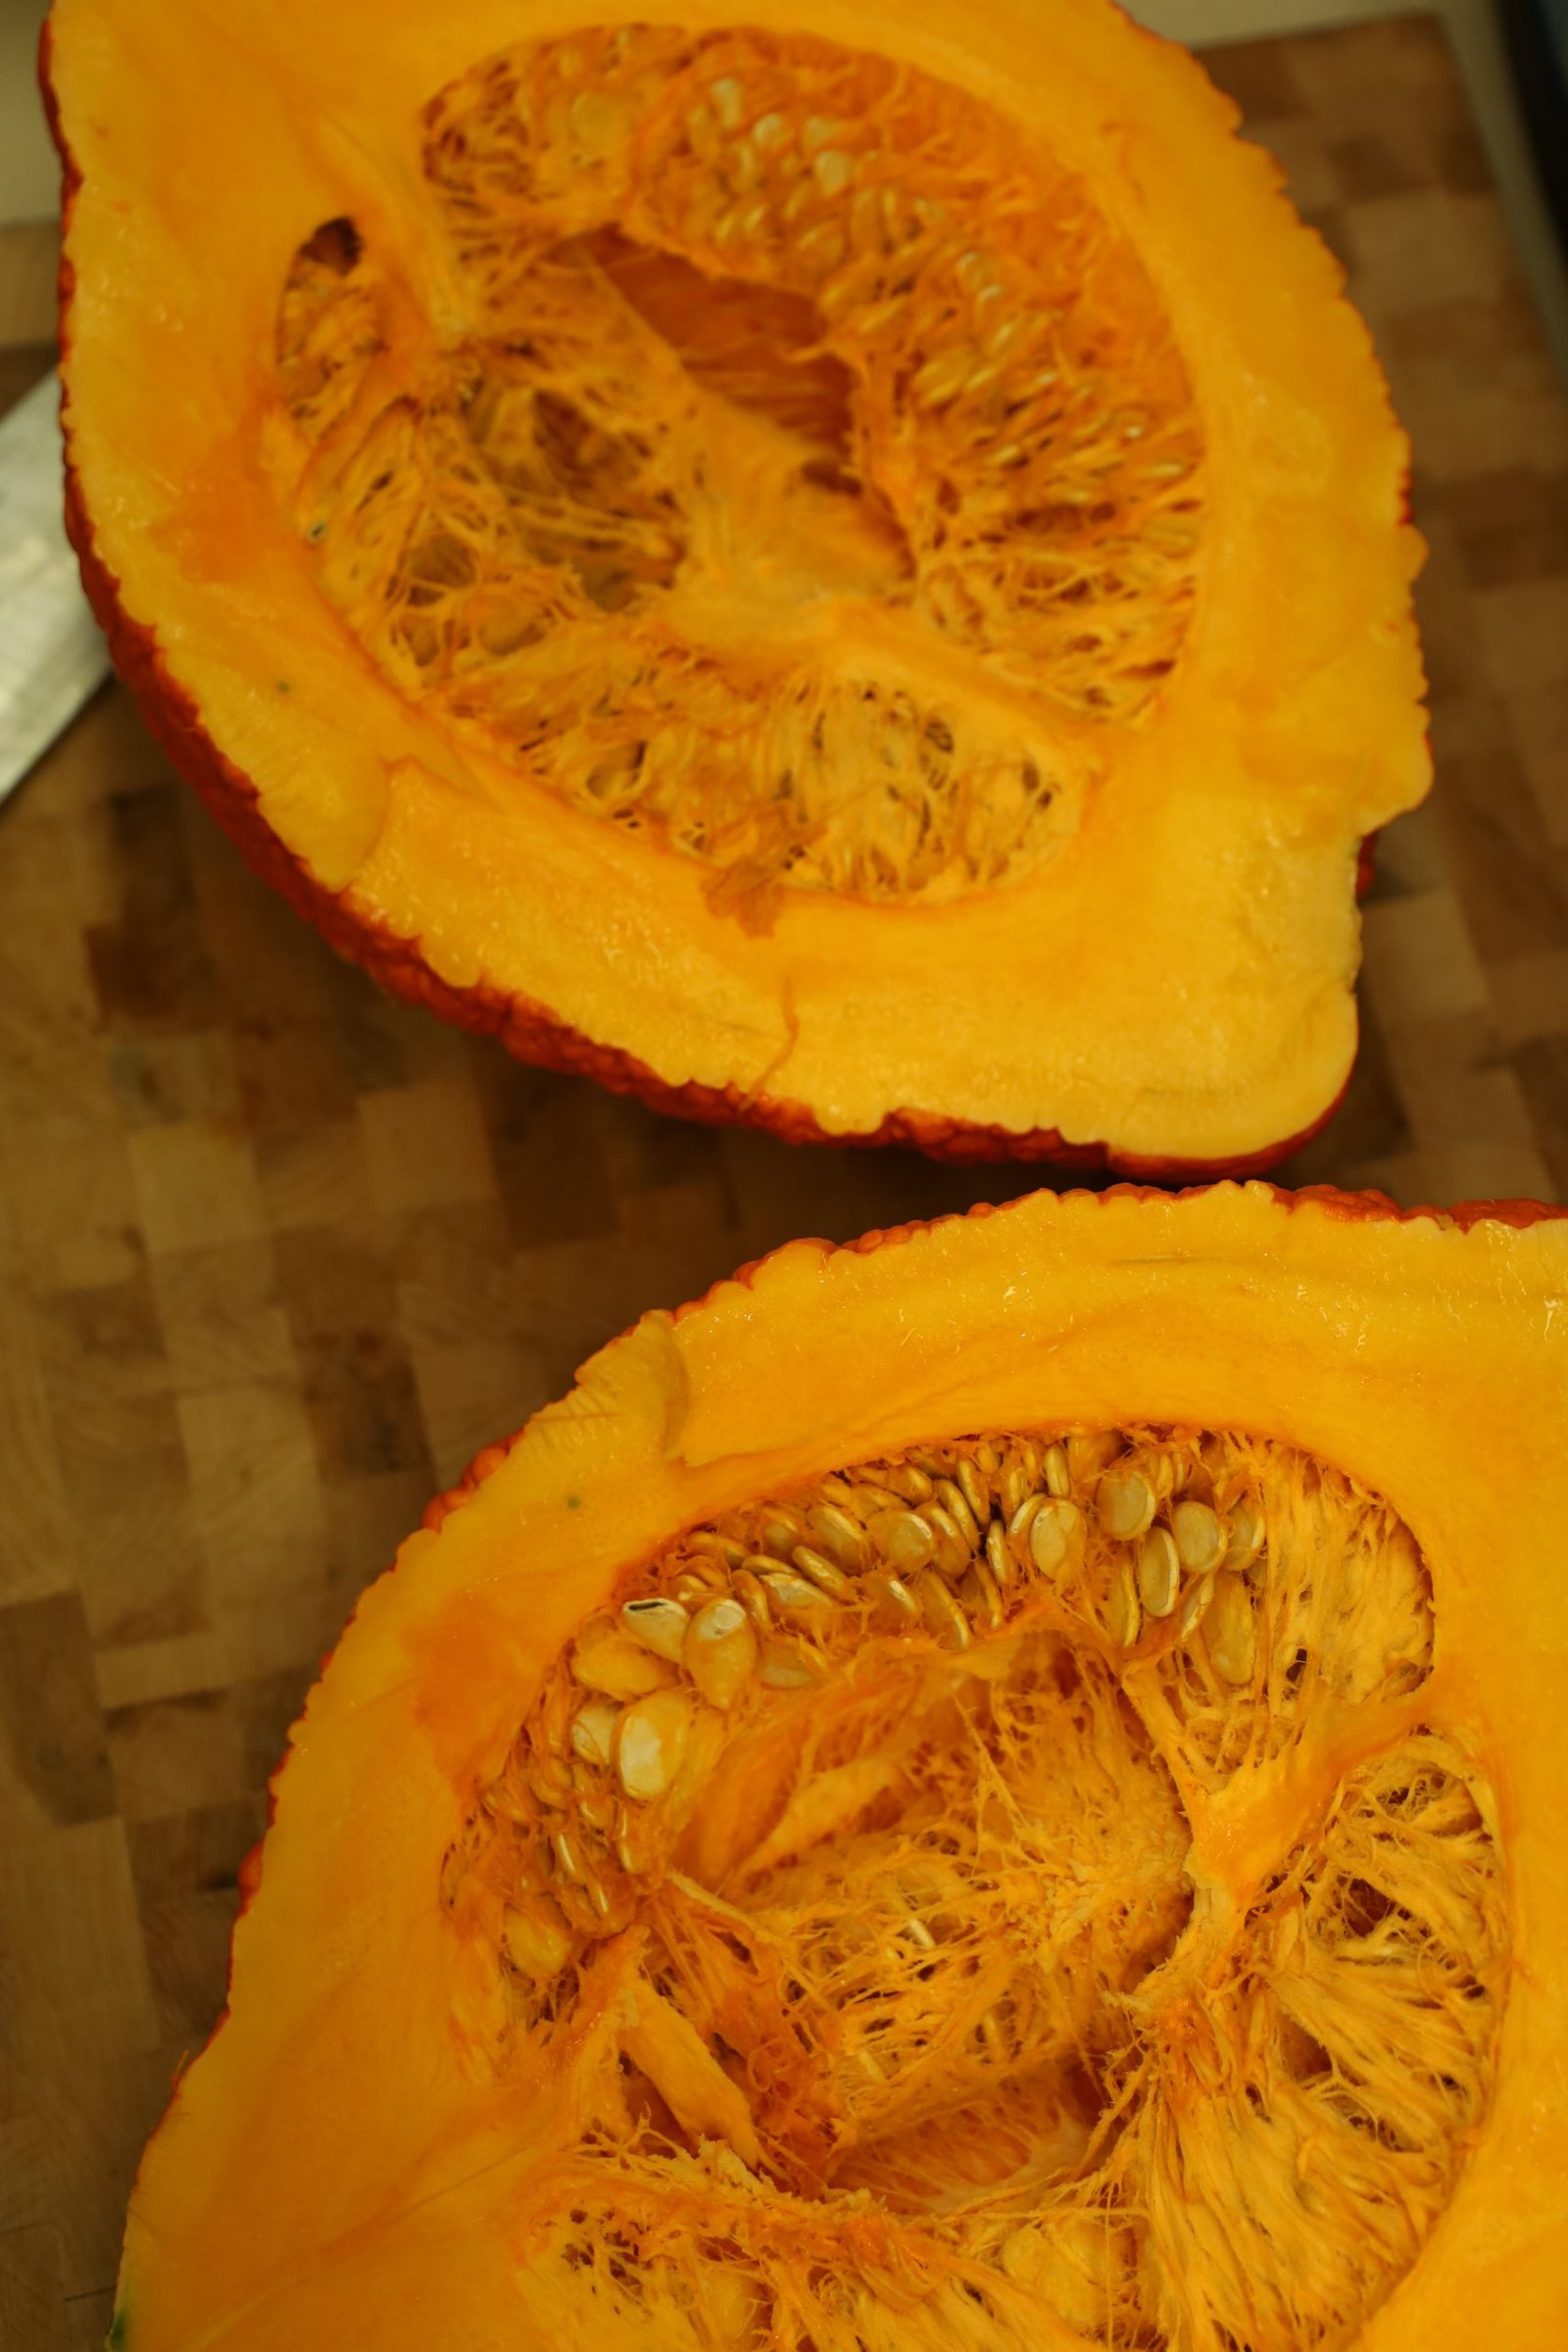
Look at all the seeds!

Remove the seeds by hand at first and save them to roast later if you so desire.
————————————————————–
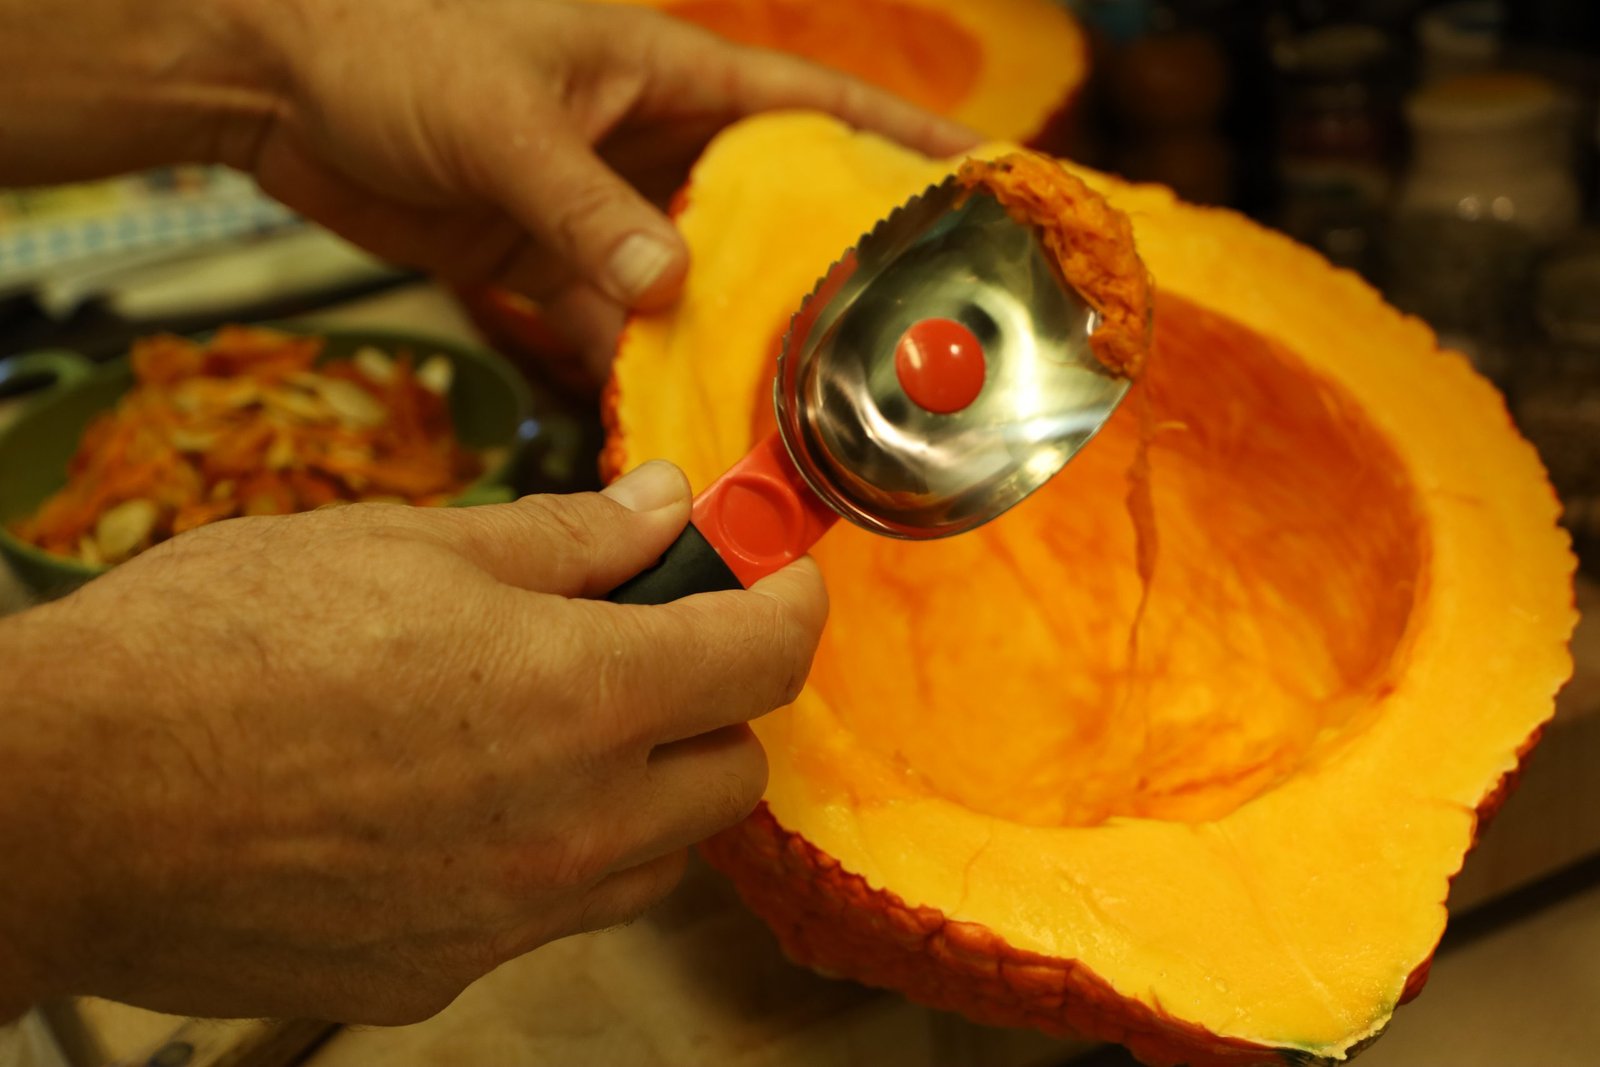
Use a pumpkin scraping tool to remove the more slimy parts. This tool is found in most pumpkin carving kits.
To get the squash to sit flat, slice off a section of the bottom as shown.
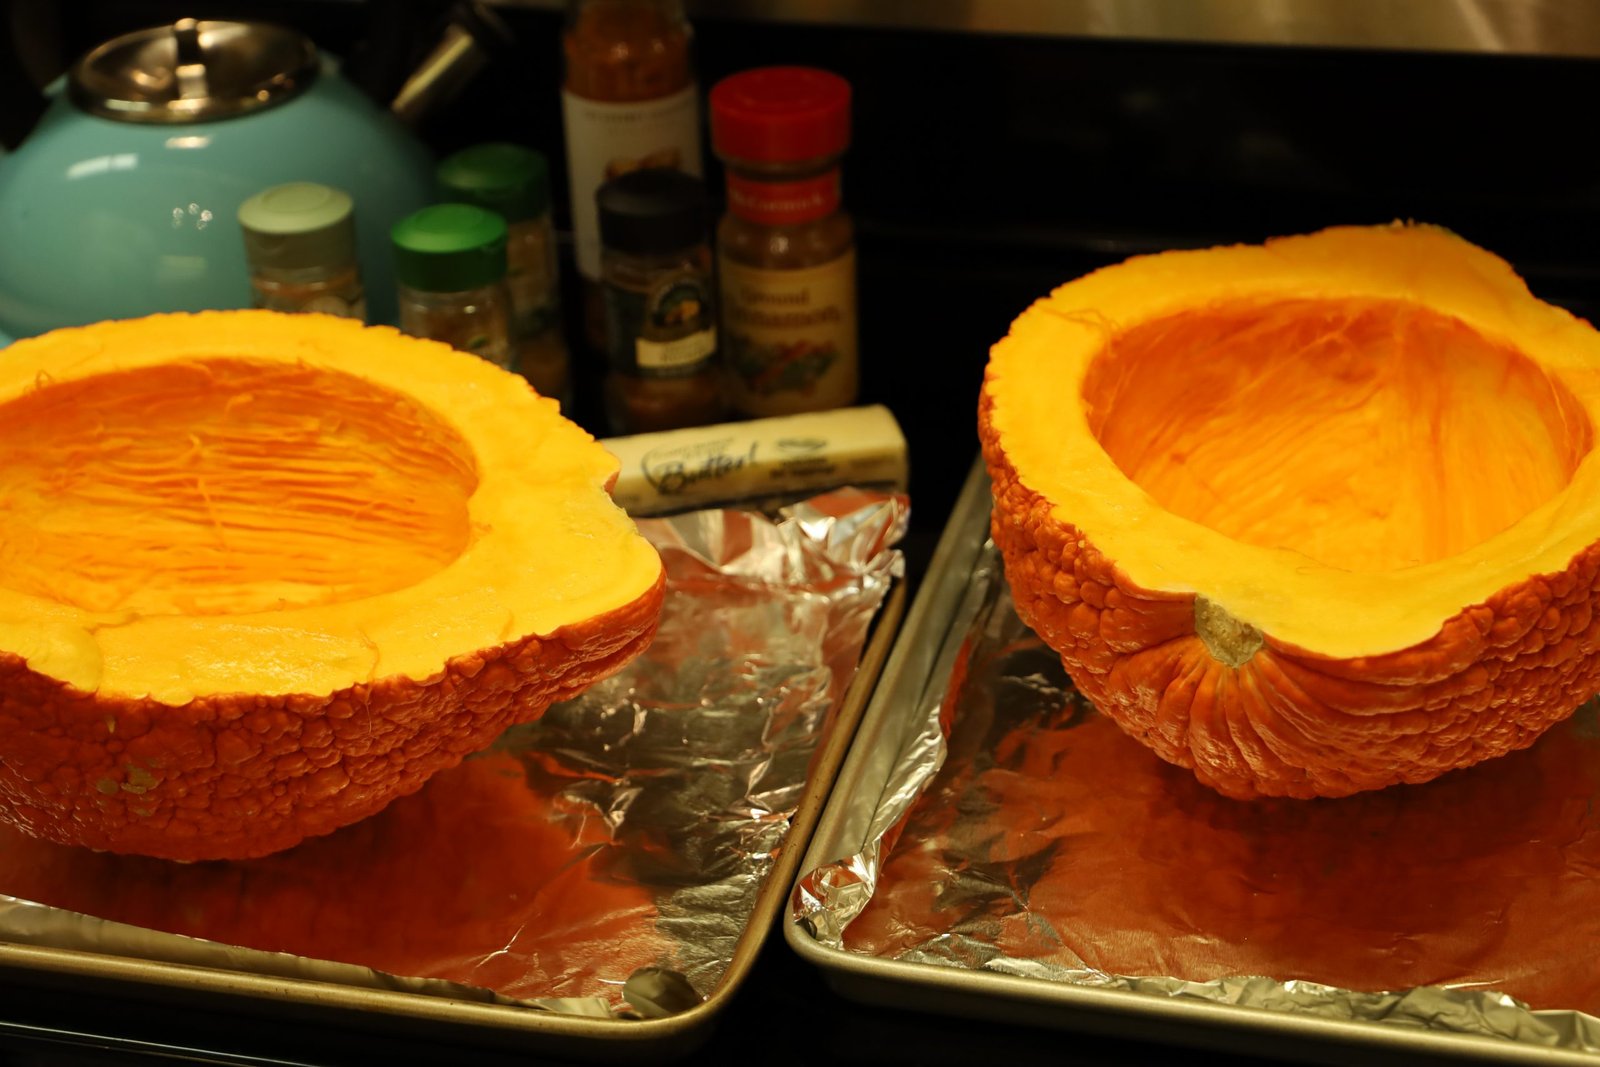
Place a sheet of foil down on top of the baking sheet and place a section of squash on each.
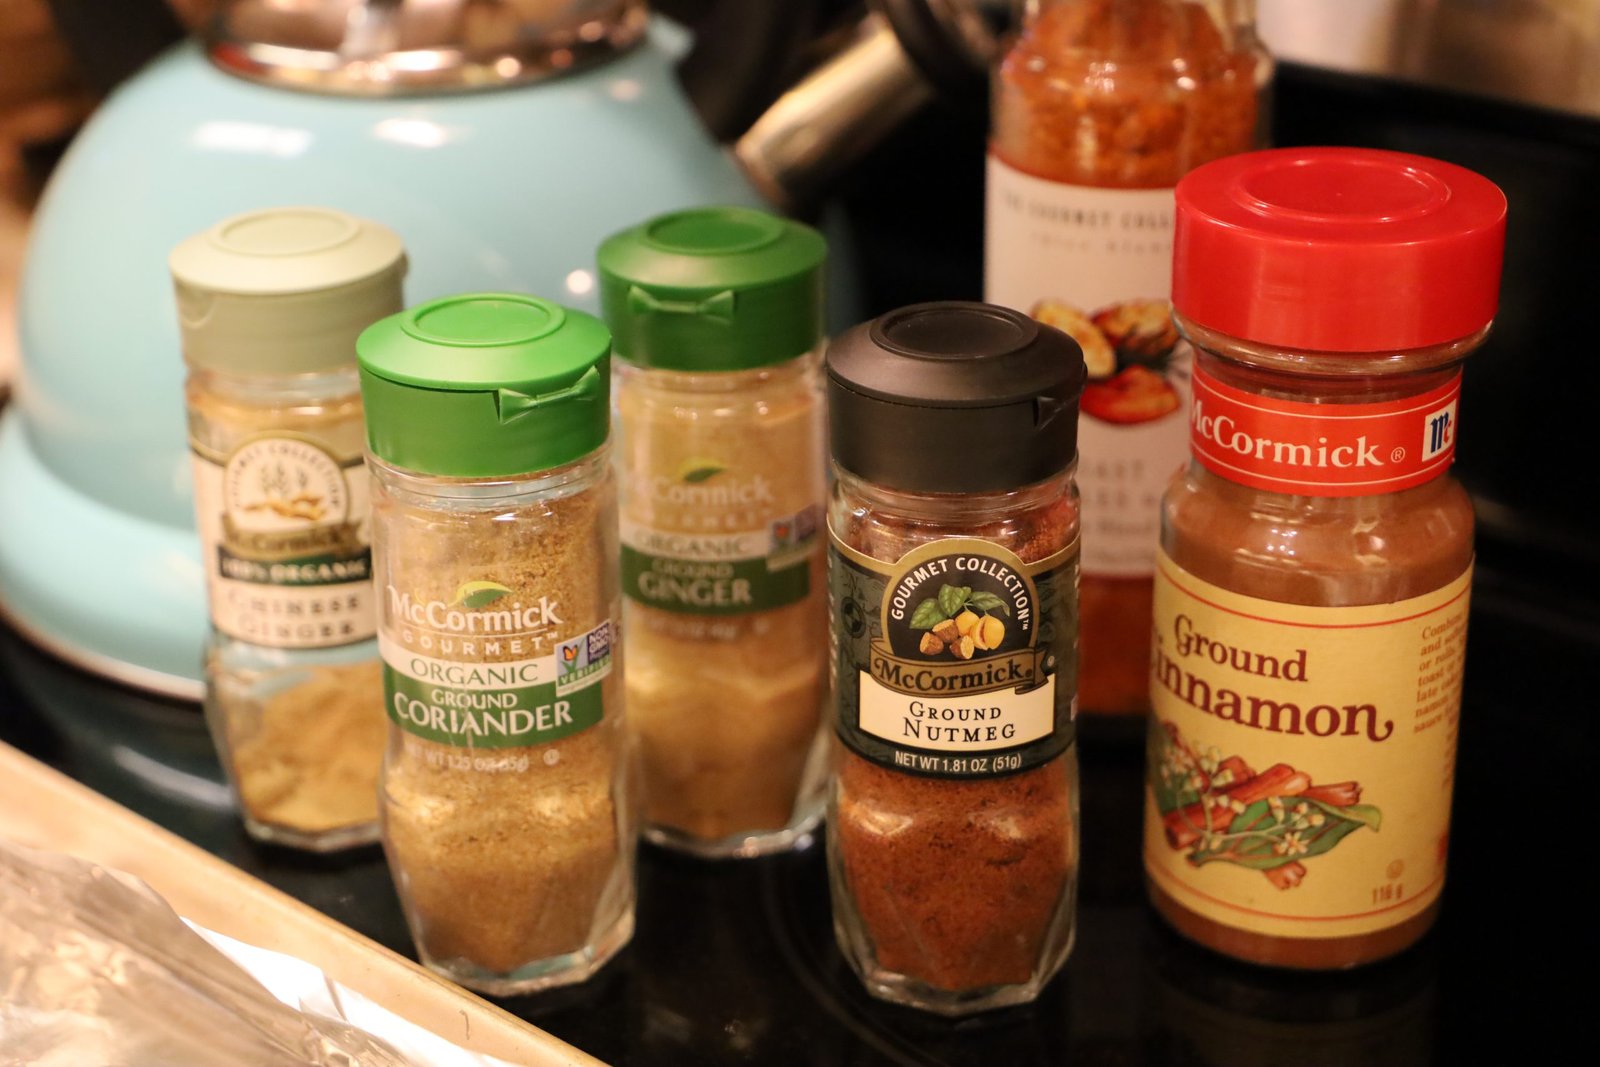
Sweet Ingredients:
3/4 Cup Brown Sugar
1 tsp. Ground Coriander
1/2 tsp. each of Ground Ginger/Ground Chinese Ginger
1 tsp. Nutmeg
1 Tbsp. Cinnamon
1/2 stick of Butter
Savory:
1/2 stick of Butter
3-4 Tbsp. Roast Vegetables and Fries Spice Blend
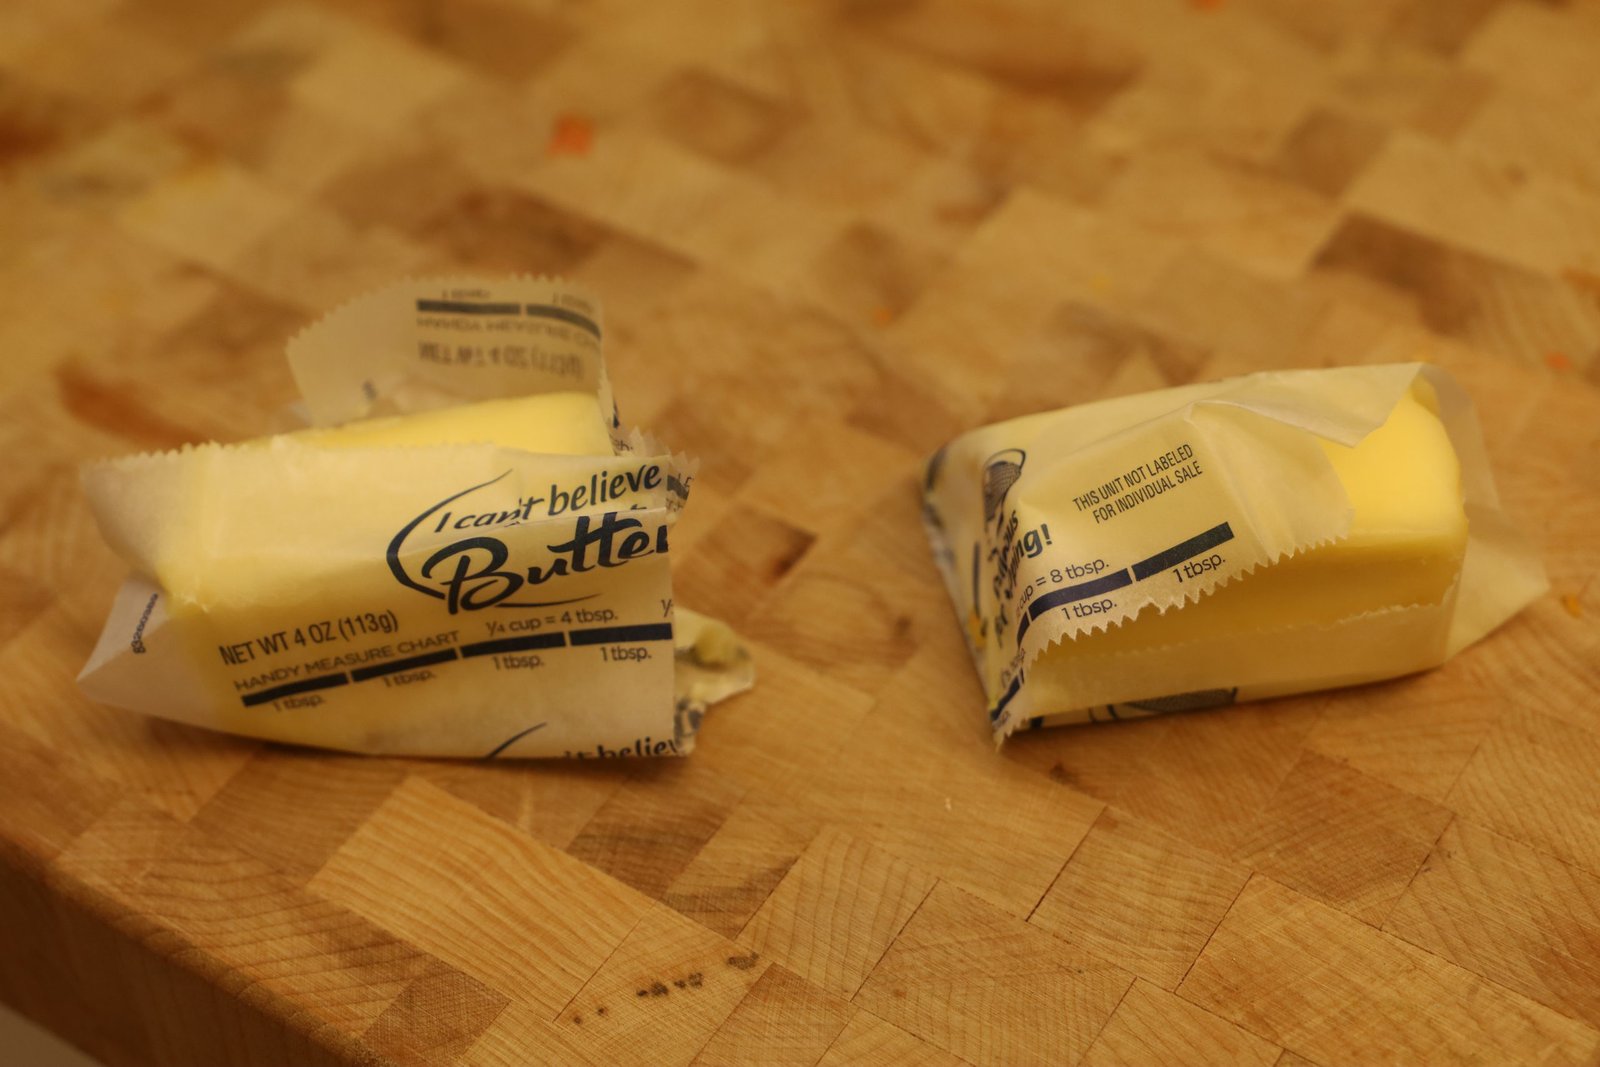
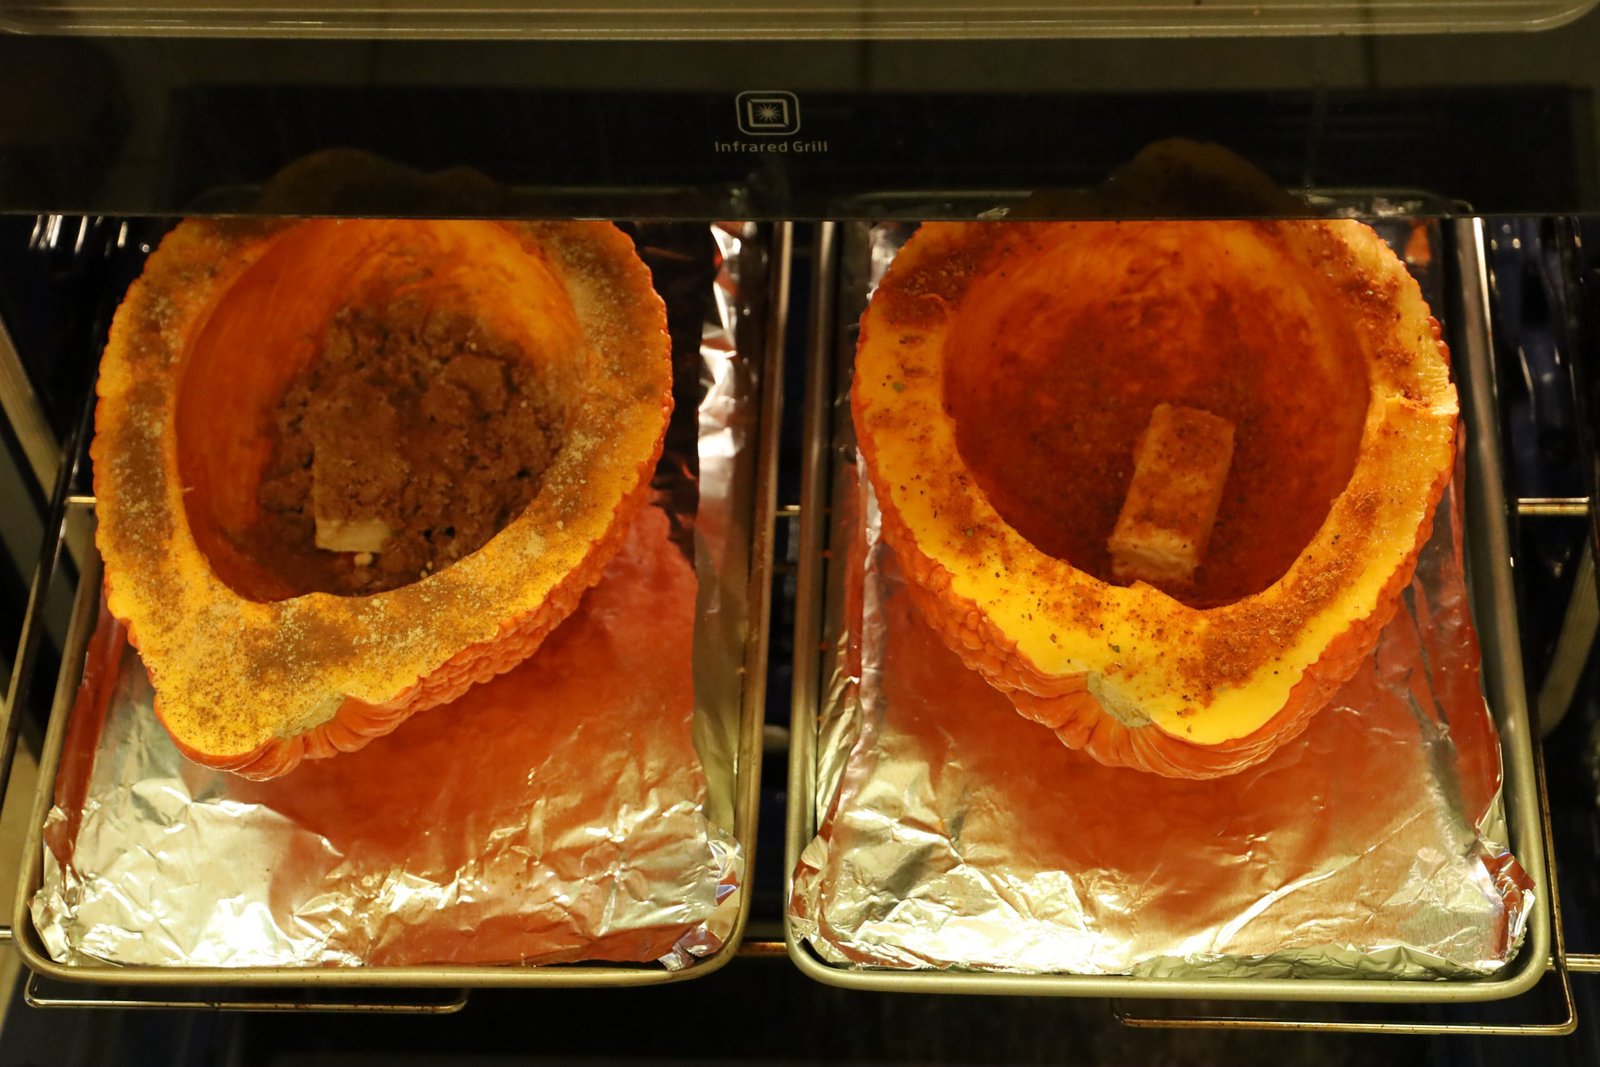
To begin, slice a stick of butter in half…
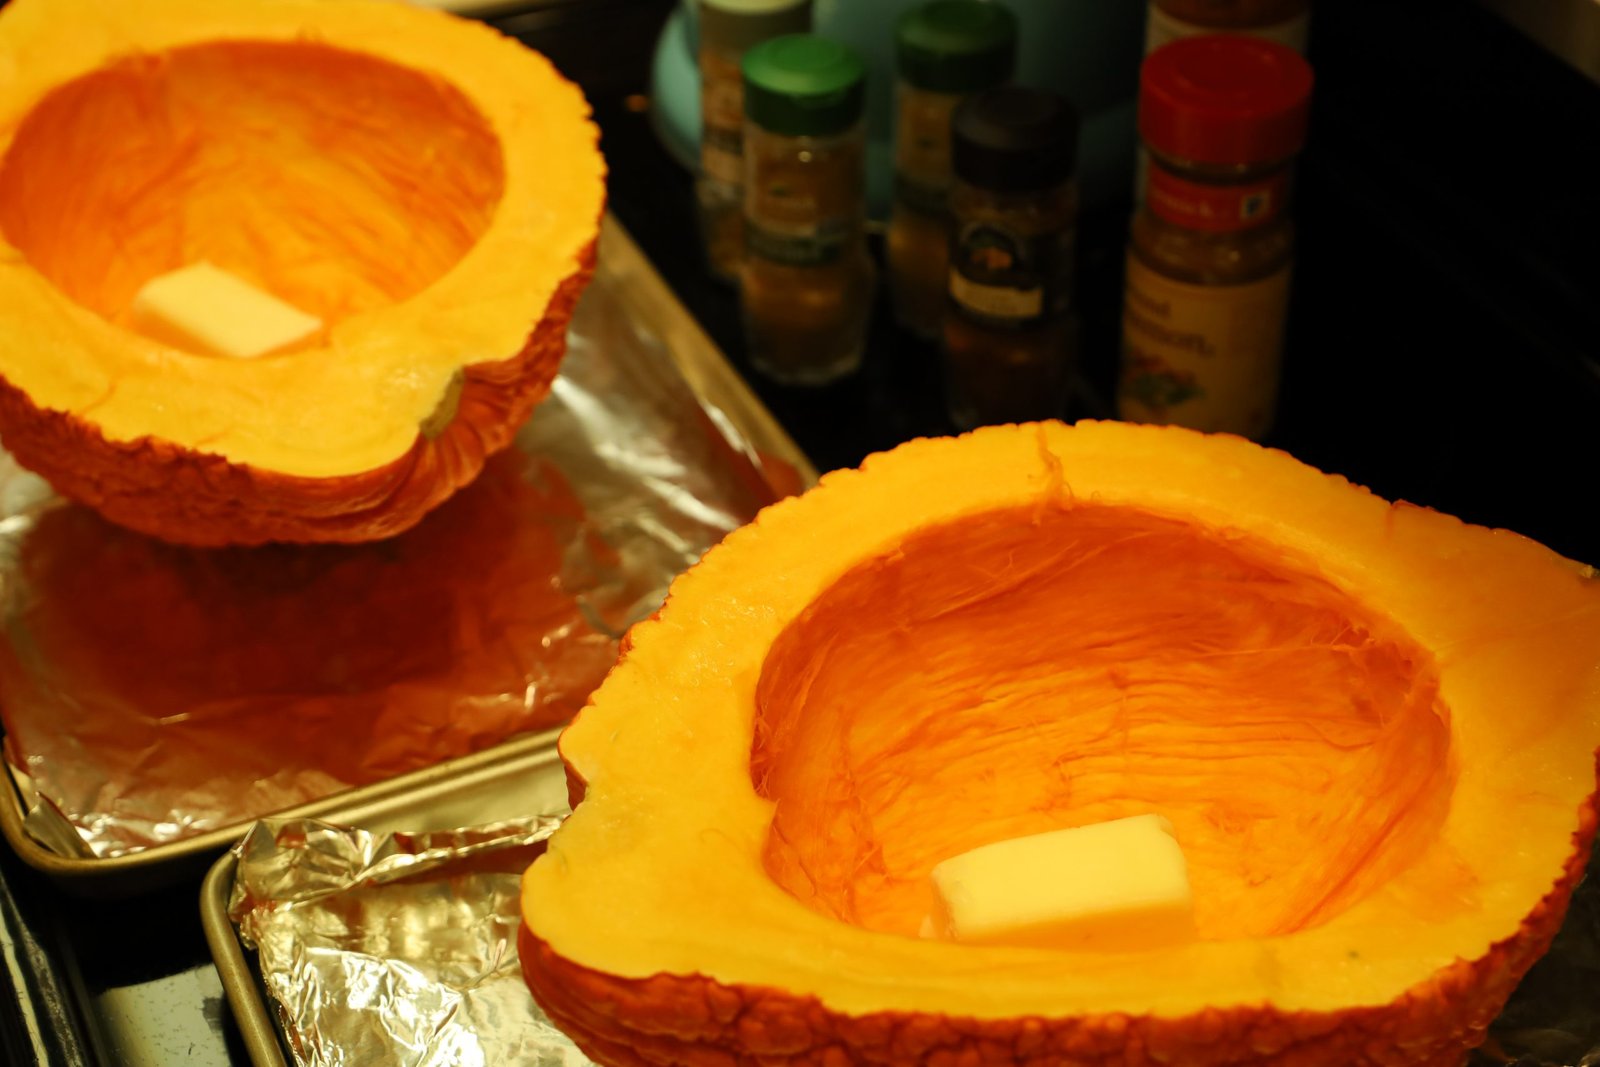
and place one into each half of the squash.
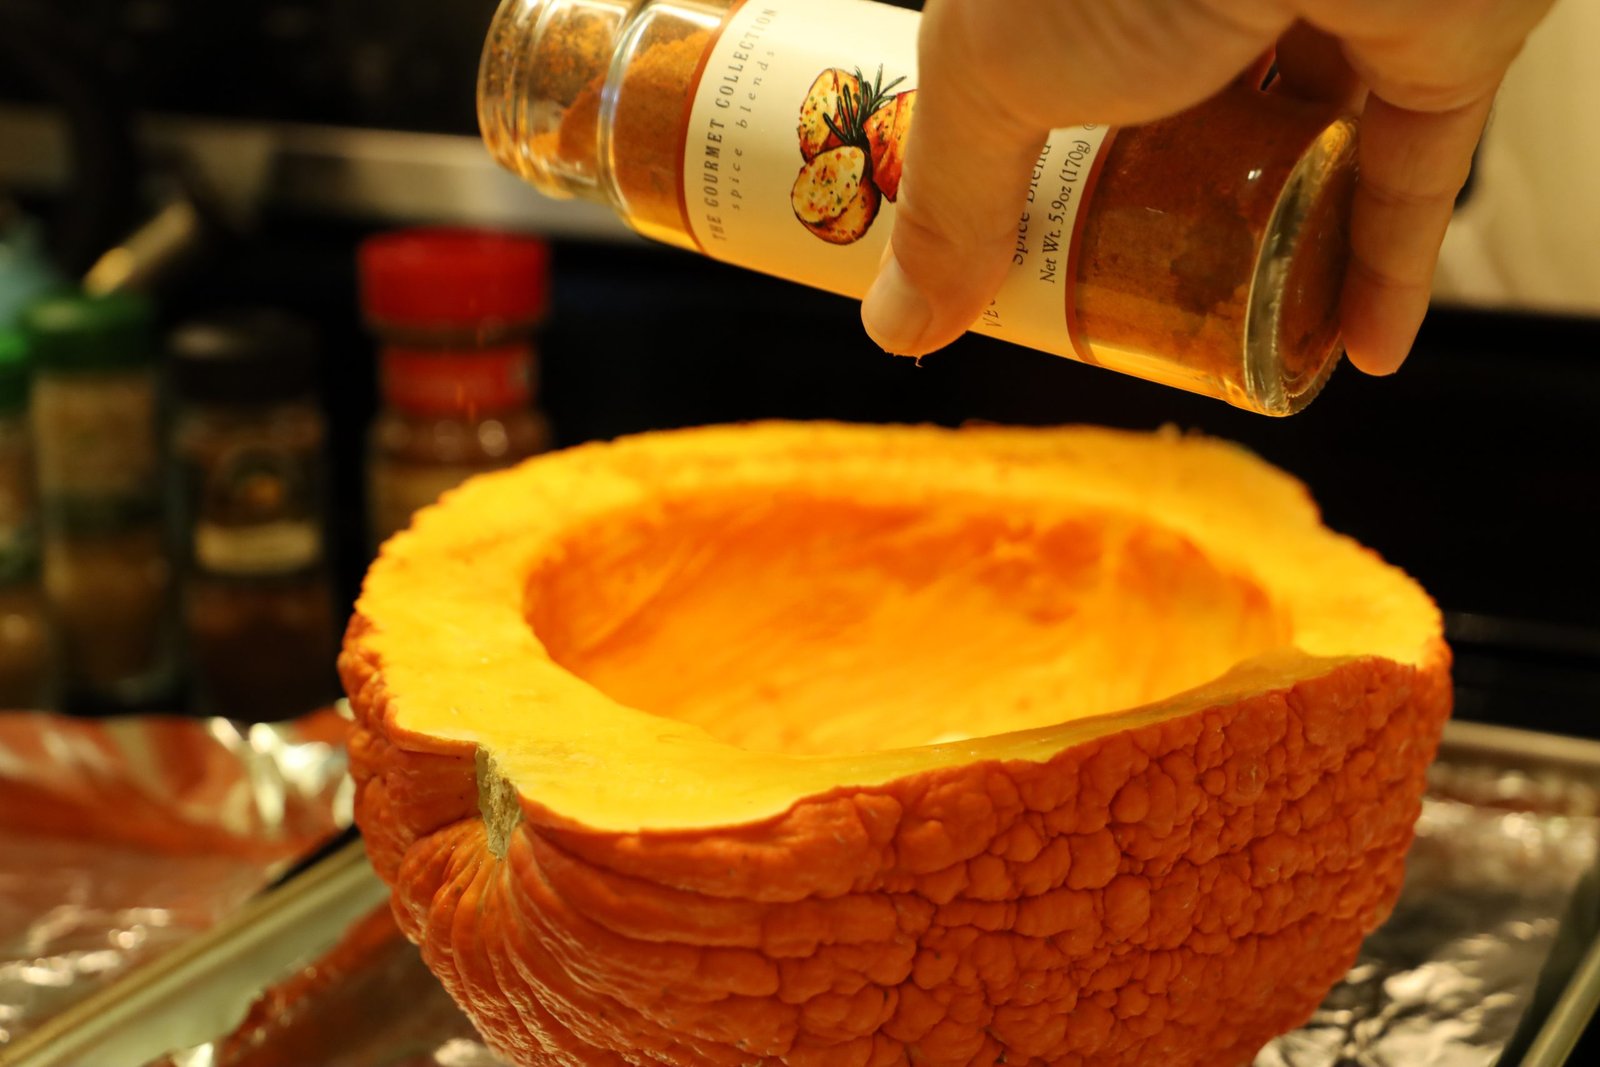
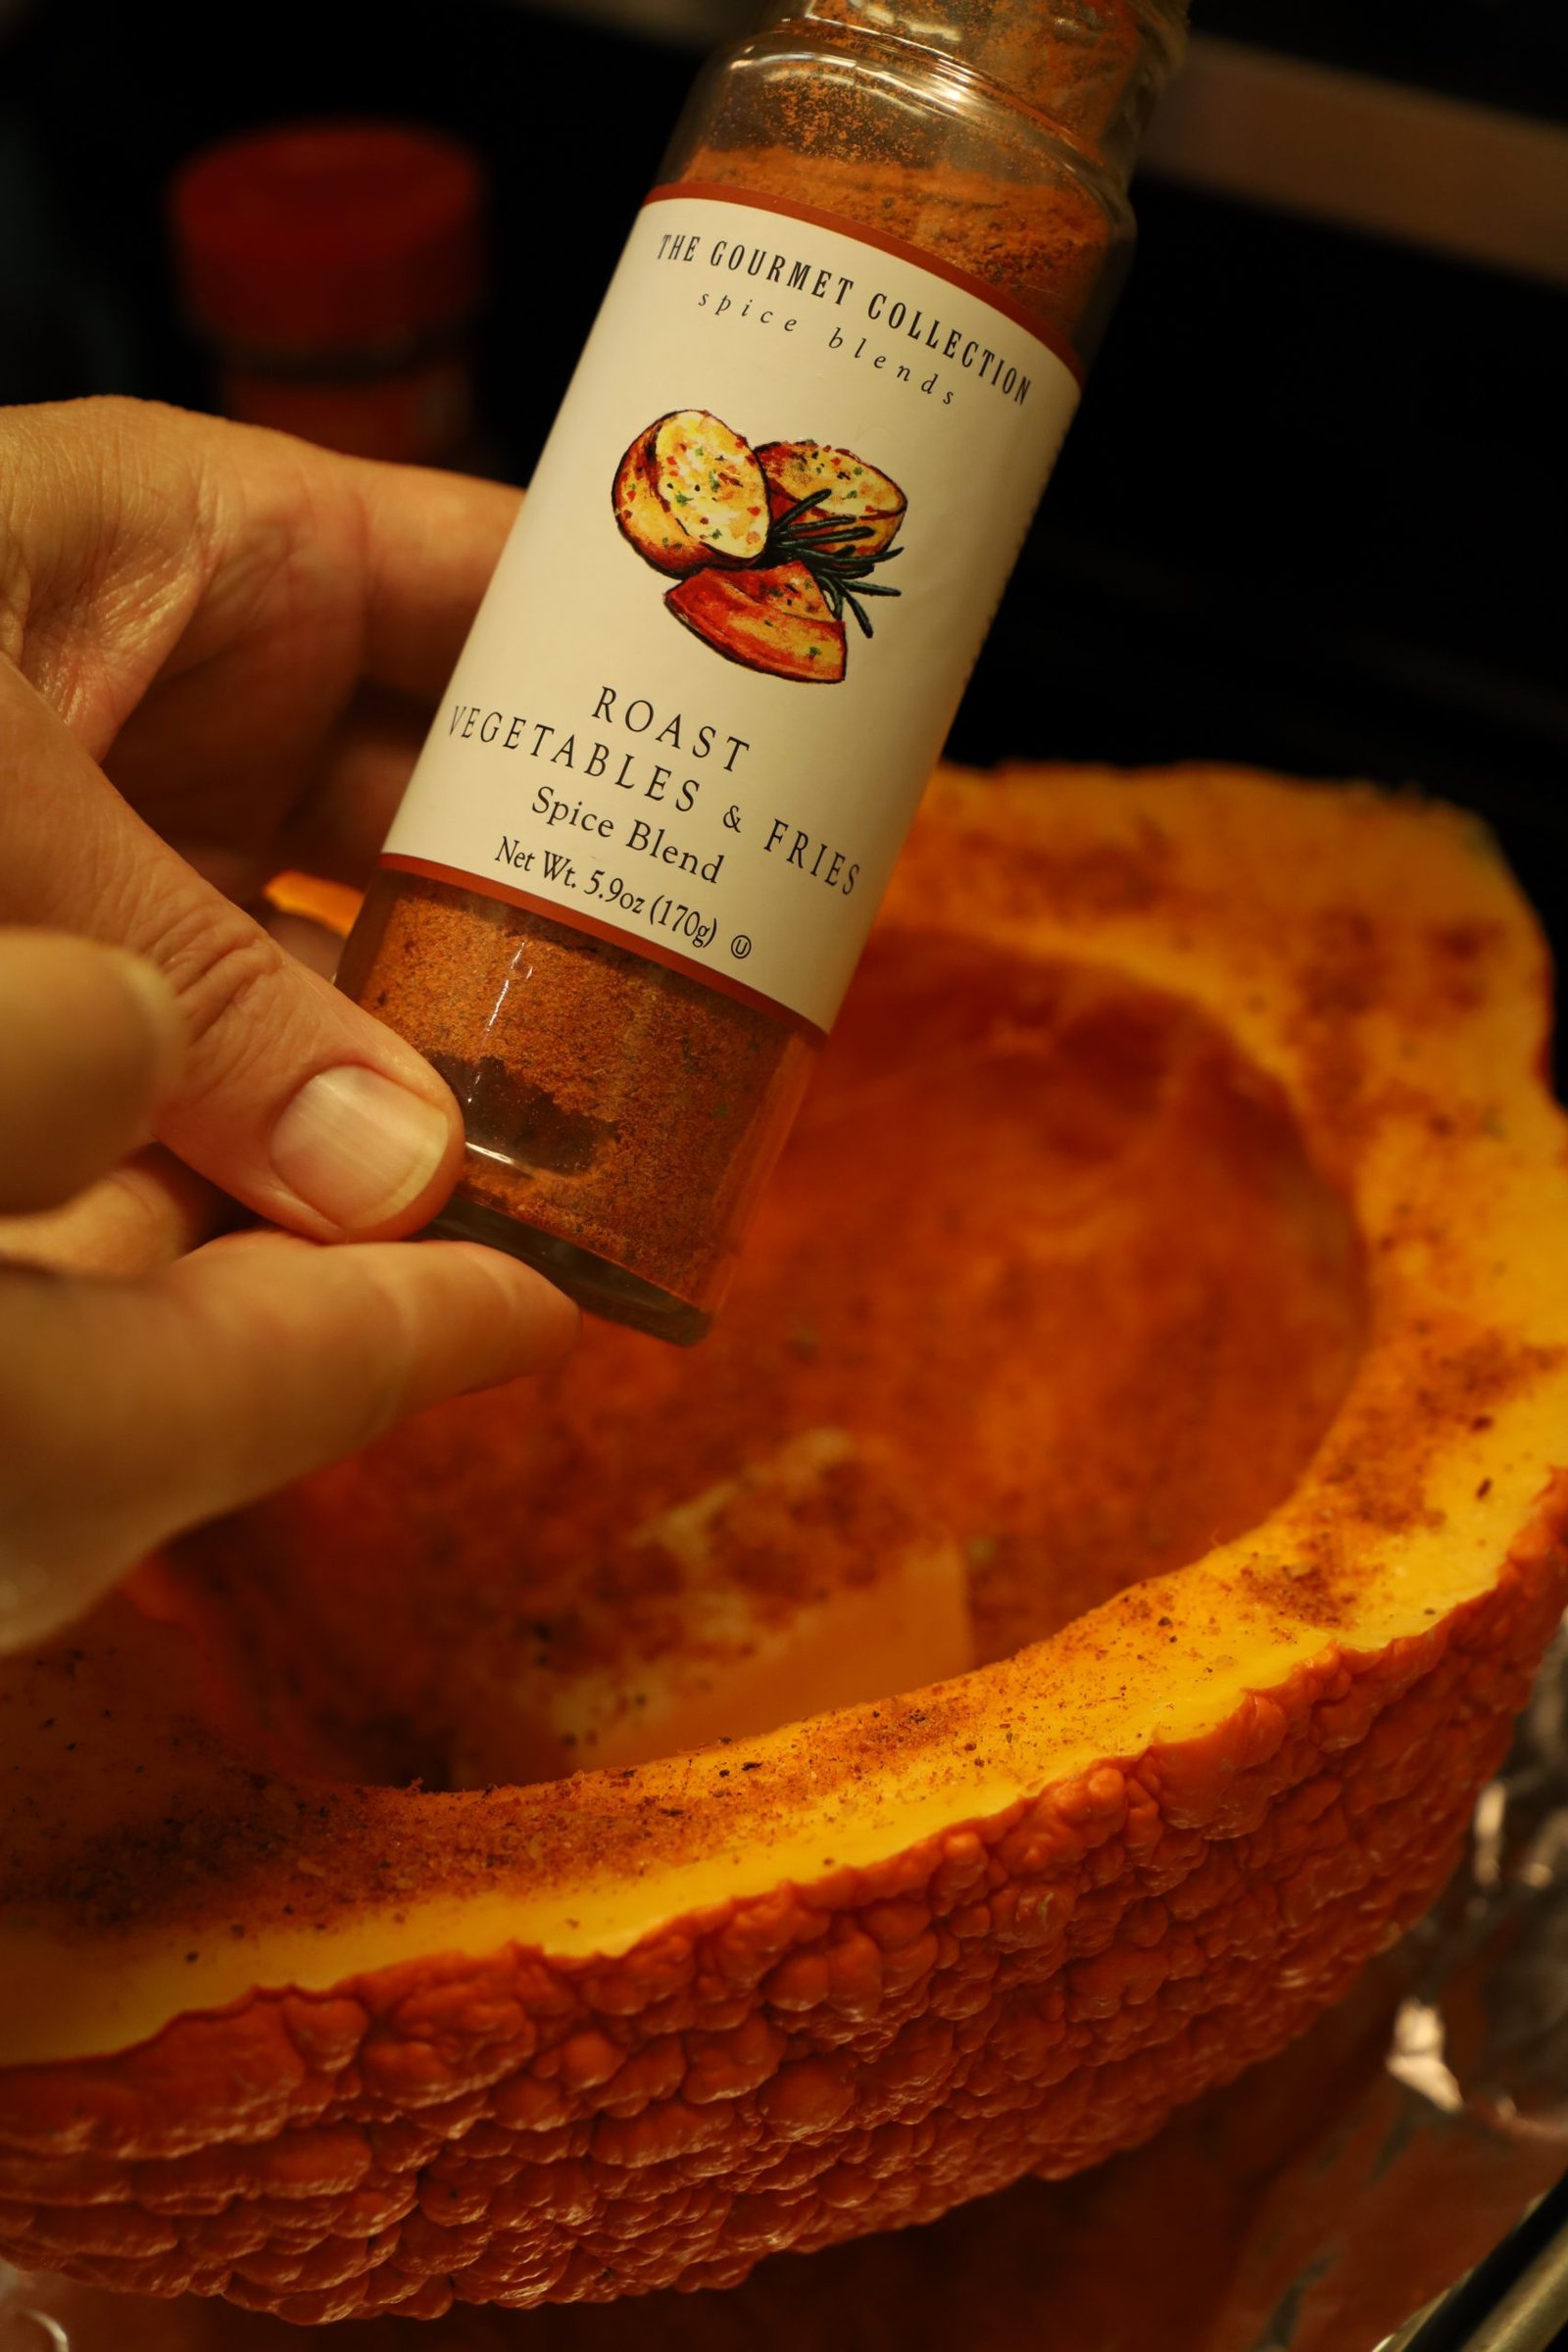
For the savory squash, sprinkle a generous amount of the Roast Vegetables and Fries Spice Blend all over the inside. The savory savory is now ready to be placed into the oven.

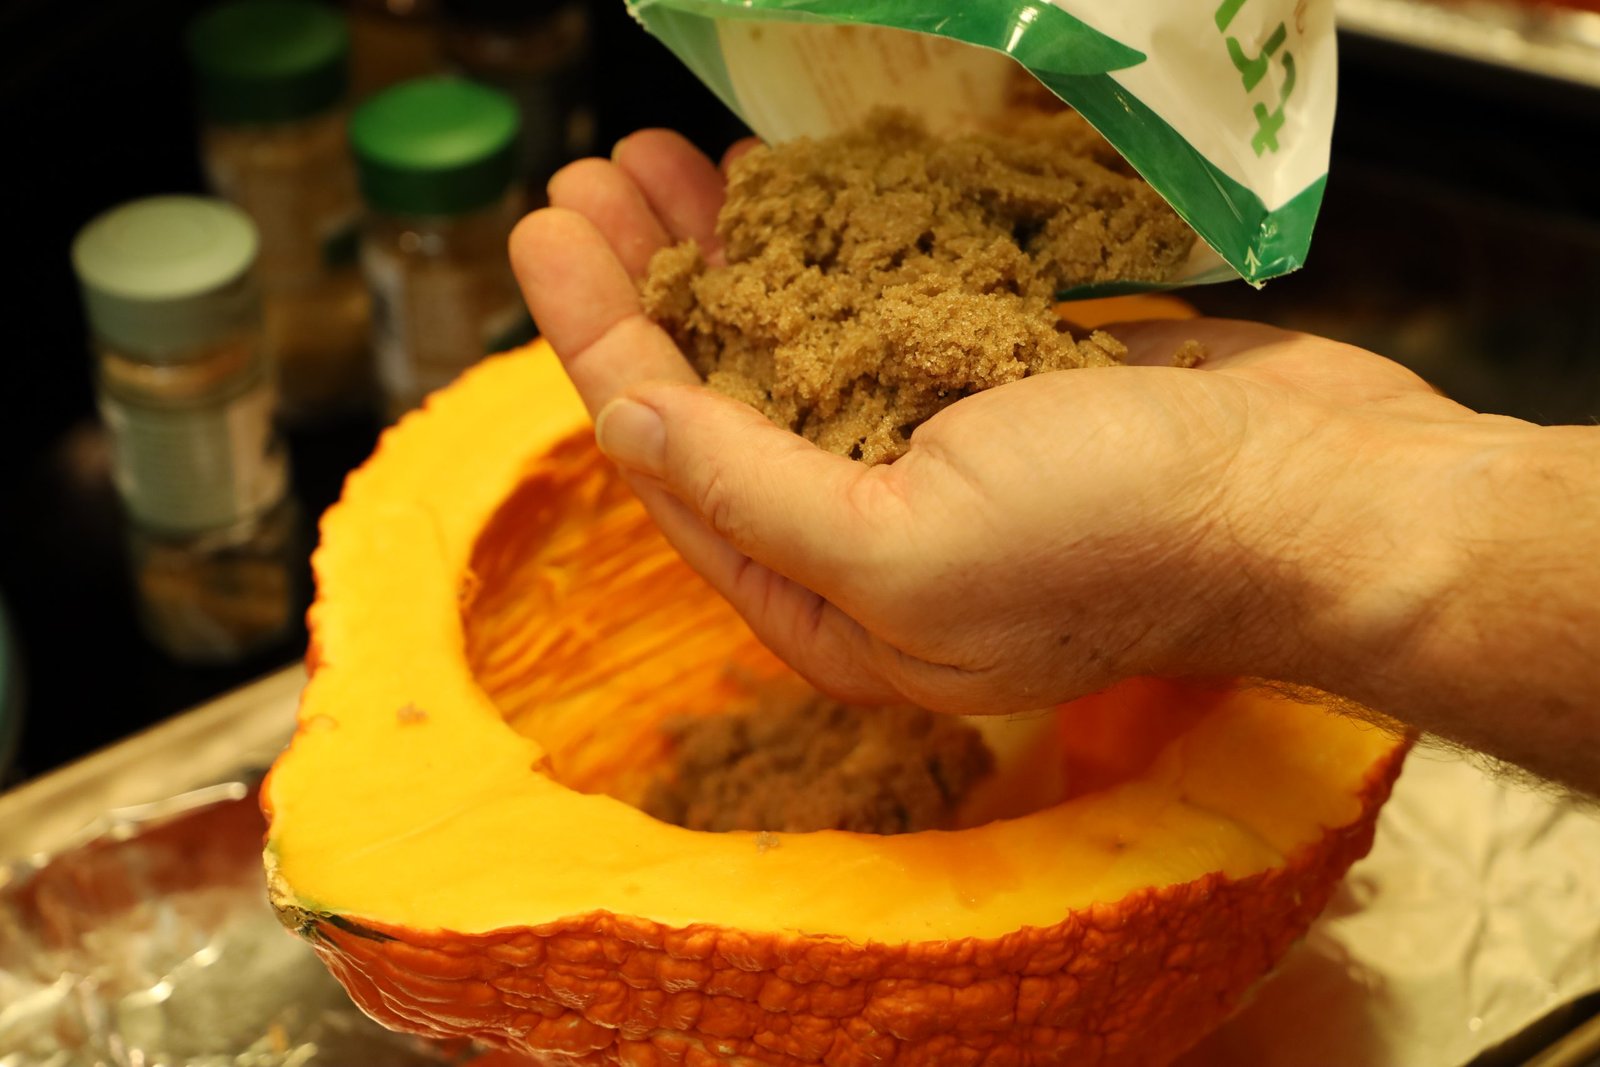
For the sweet half, add your brown sugar into the cavity.
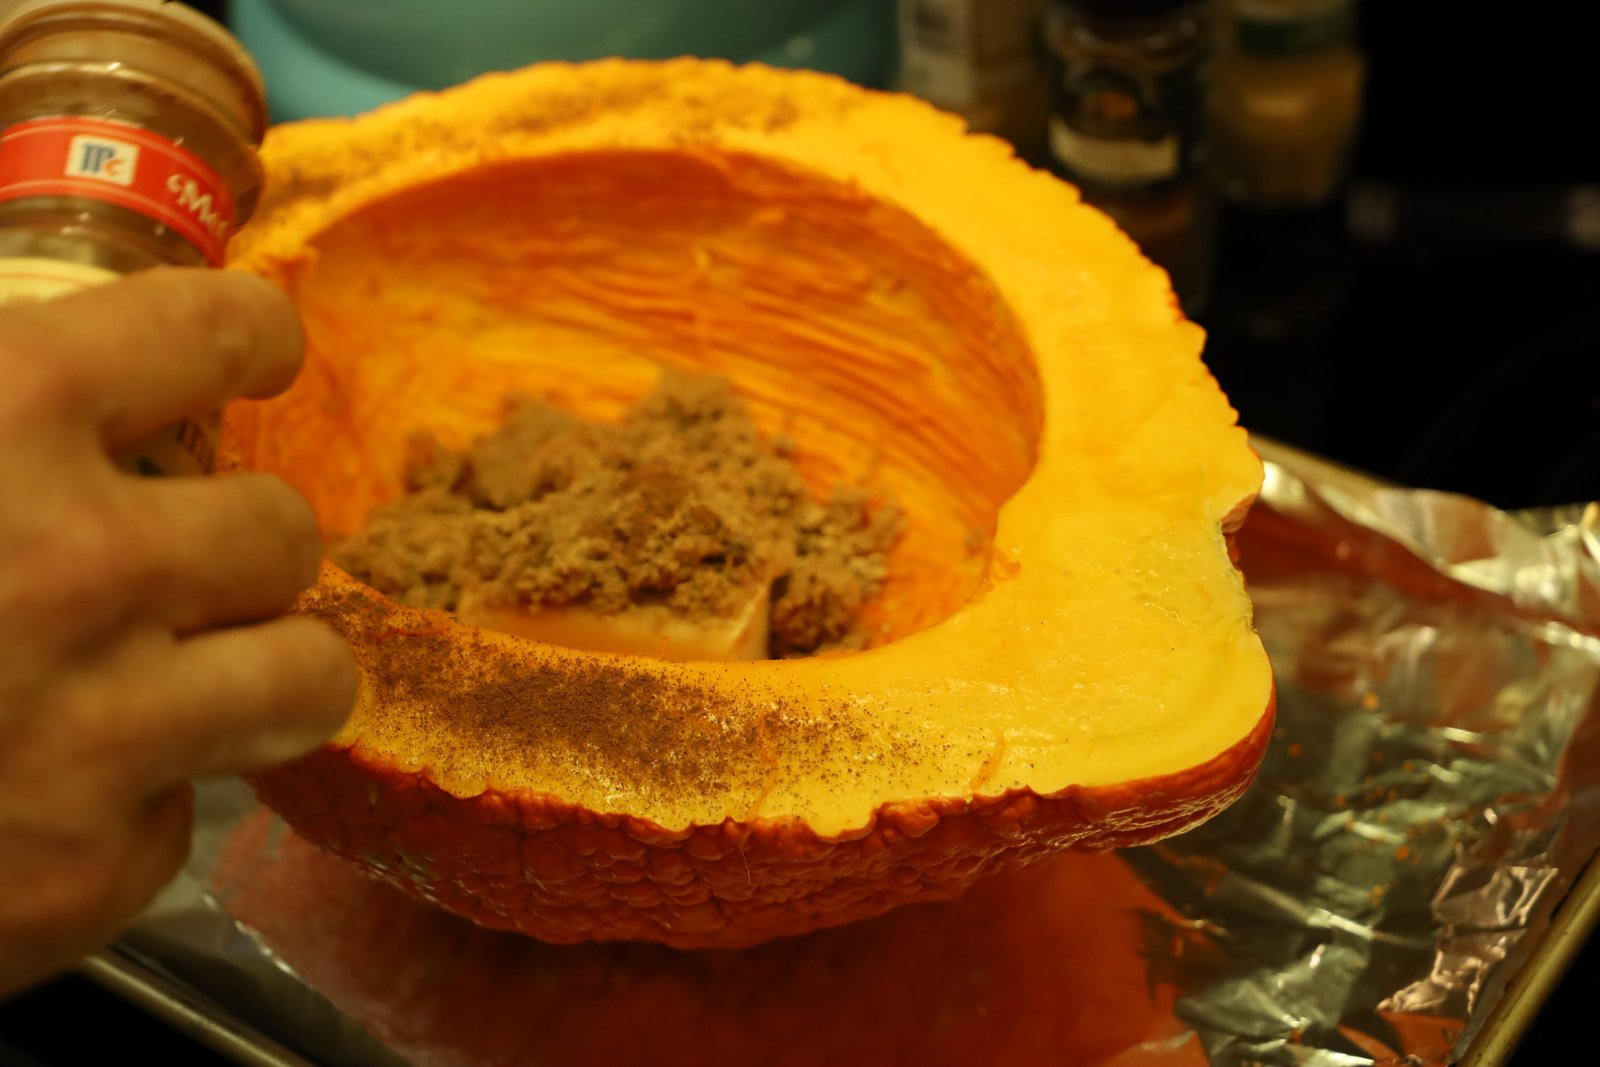
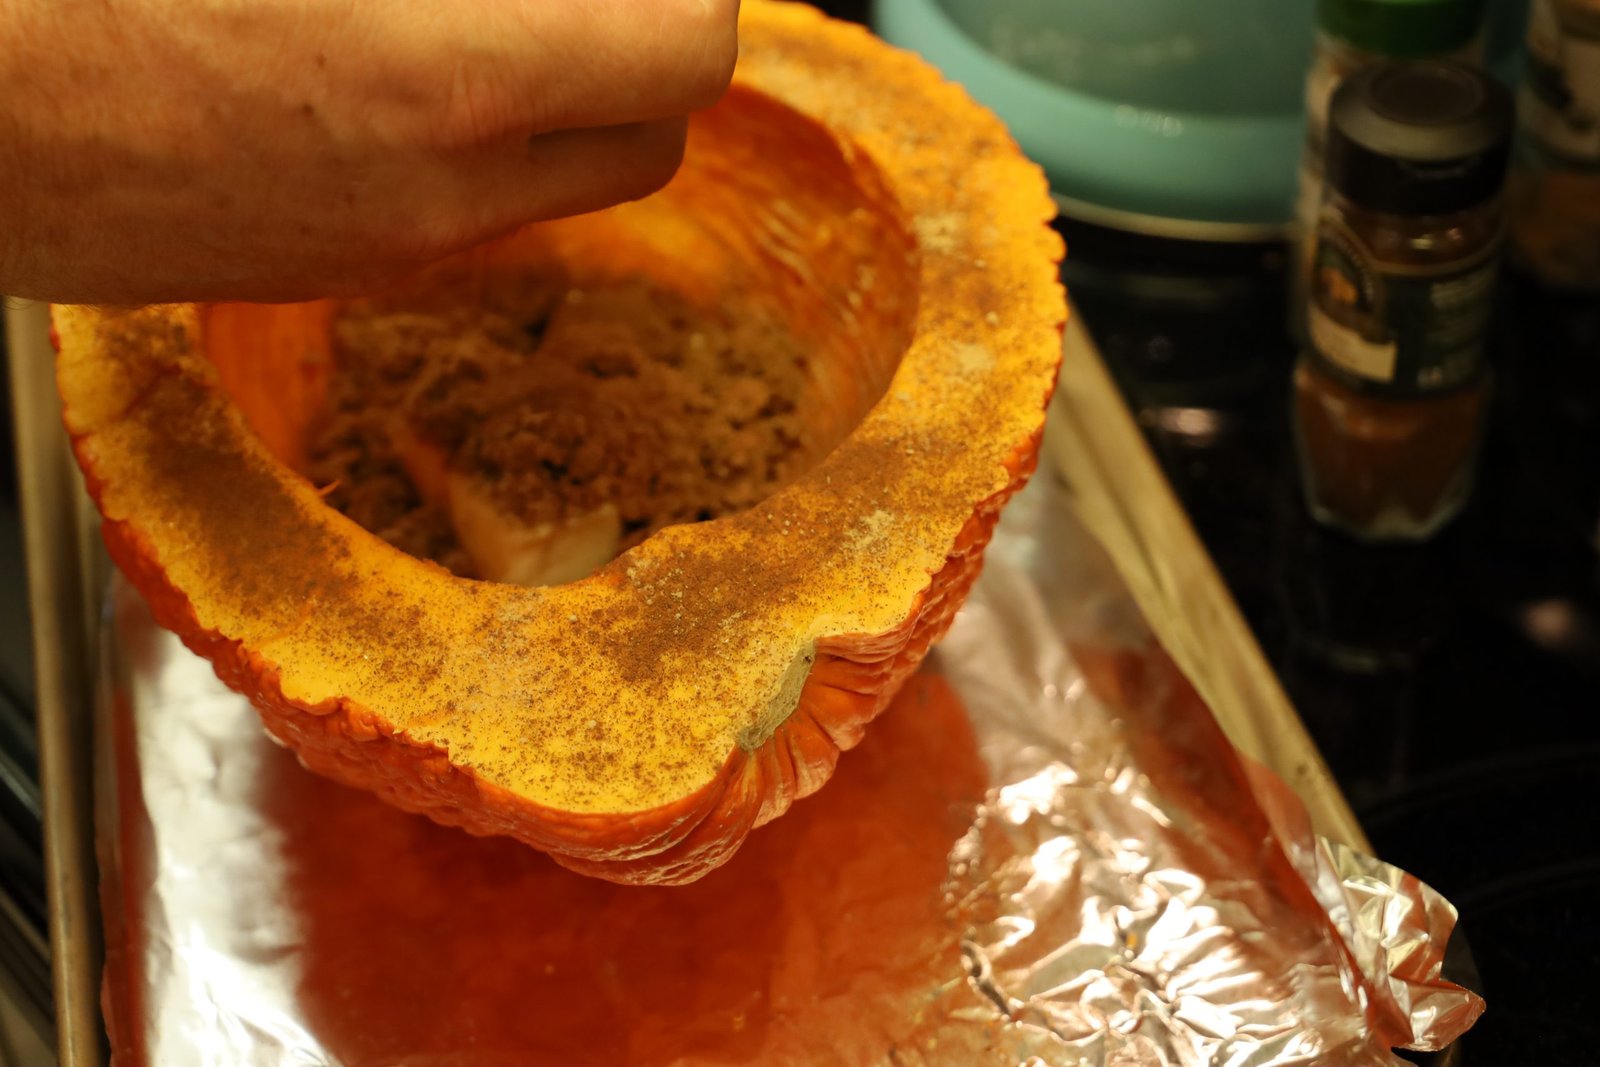
Now, sprinkle the rest of the seasonings all over the inside.
Place both halves into a preheated 400″F oven and roast for 25 min. or until tender.
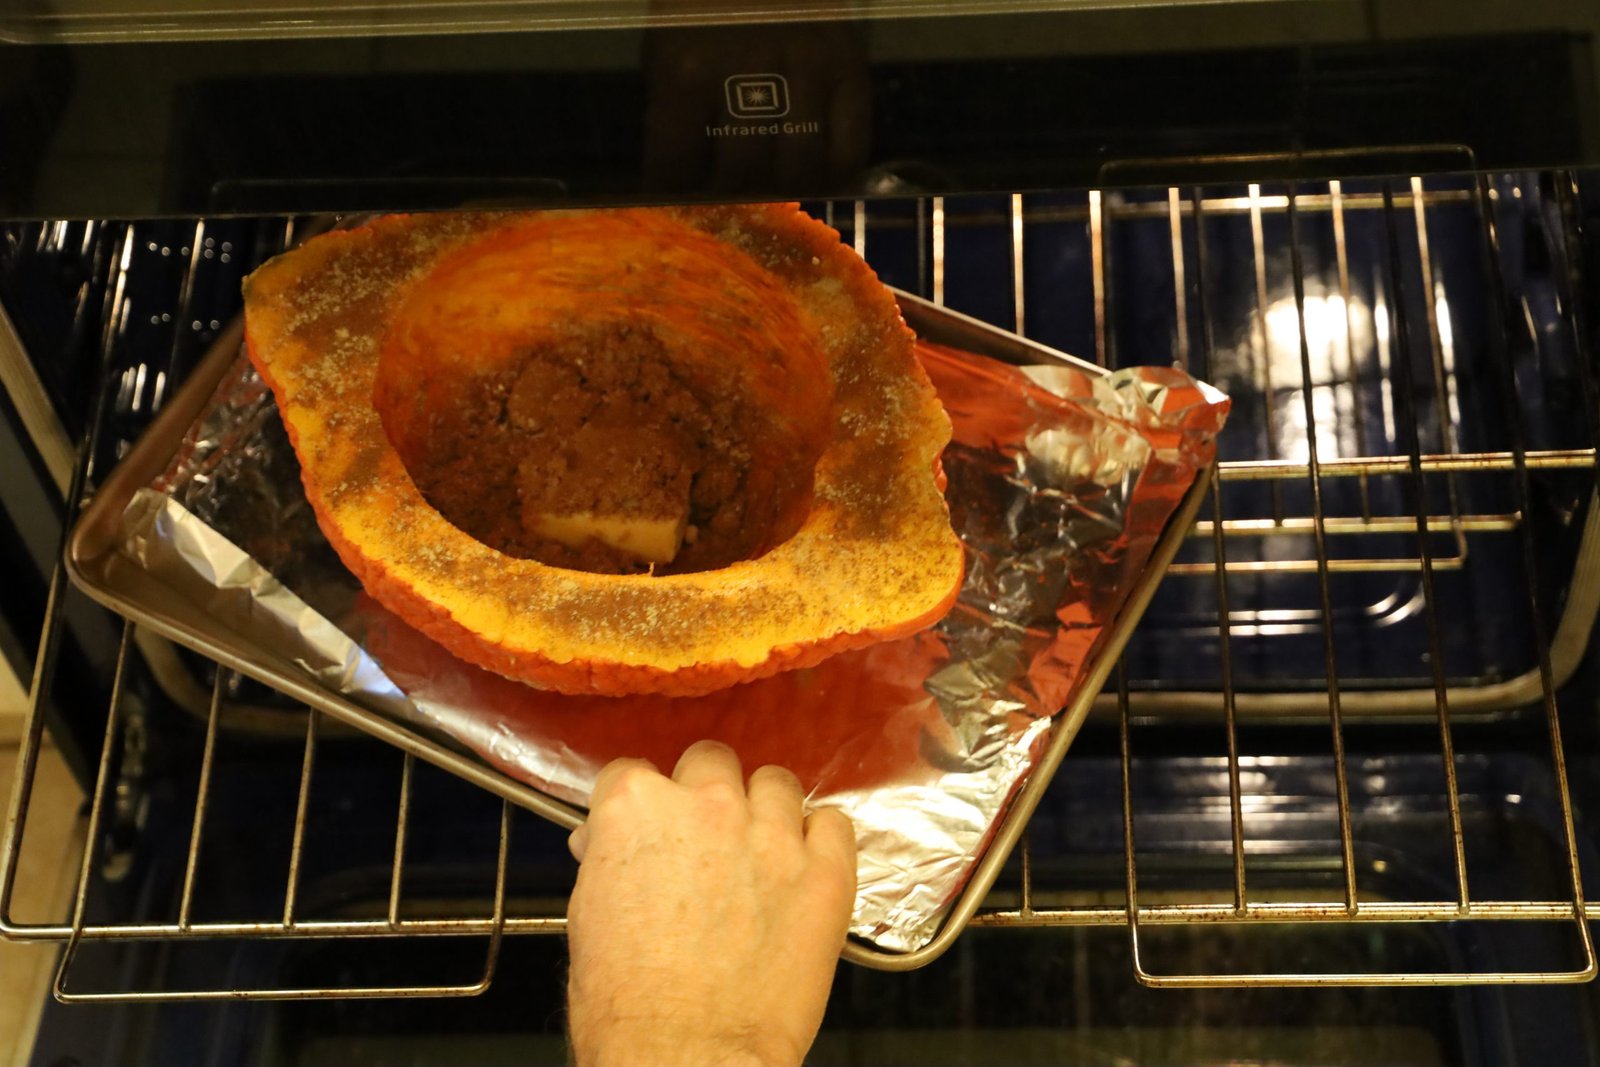
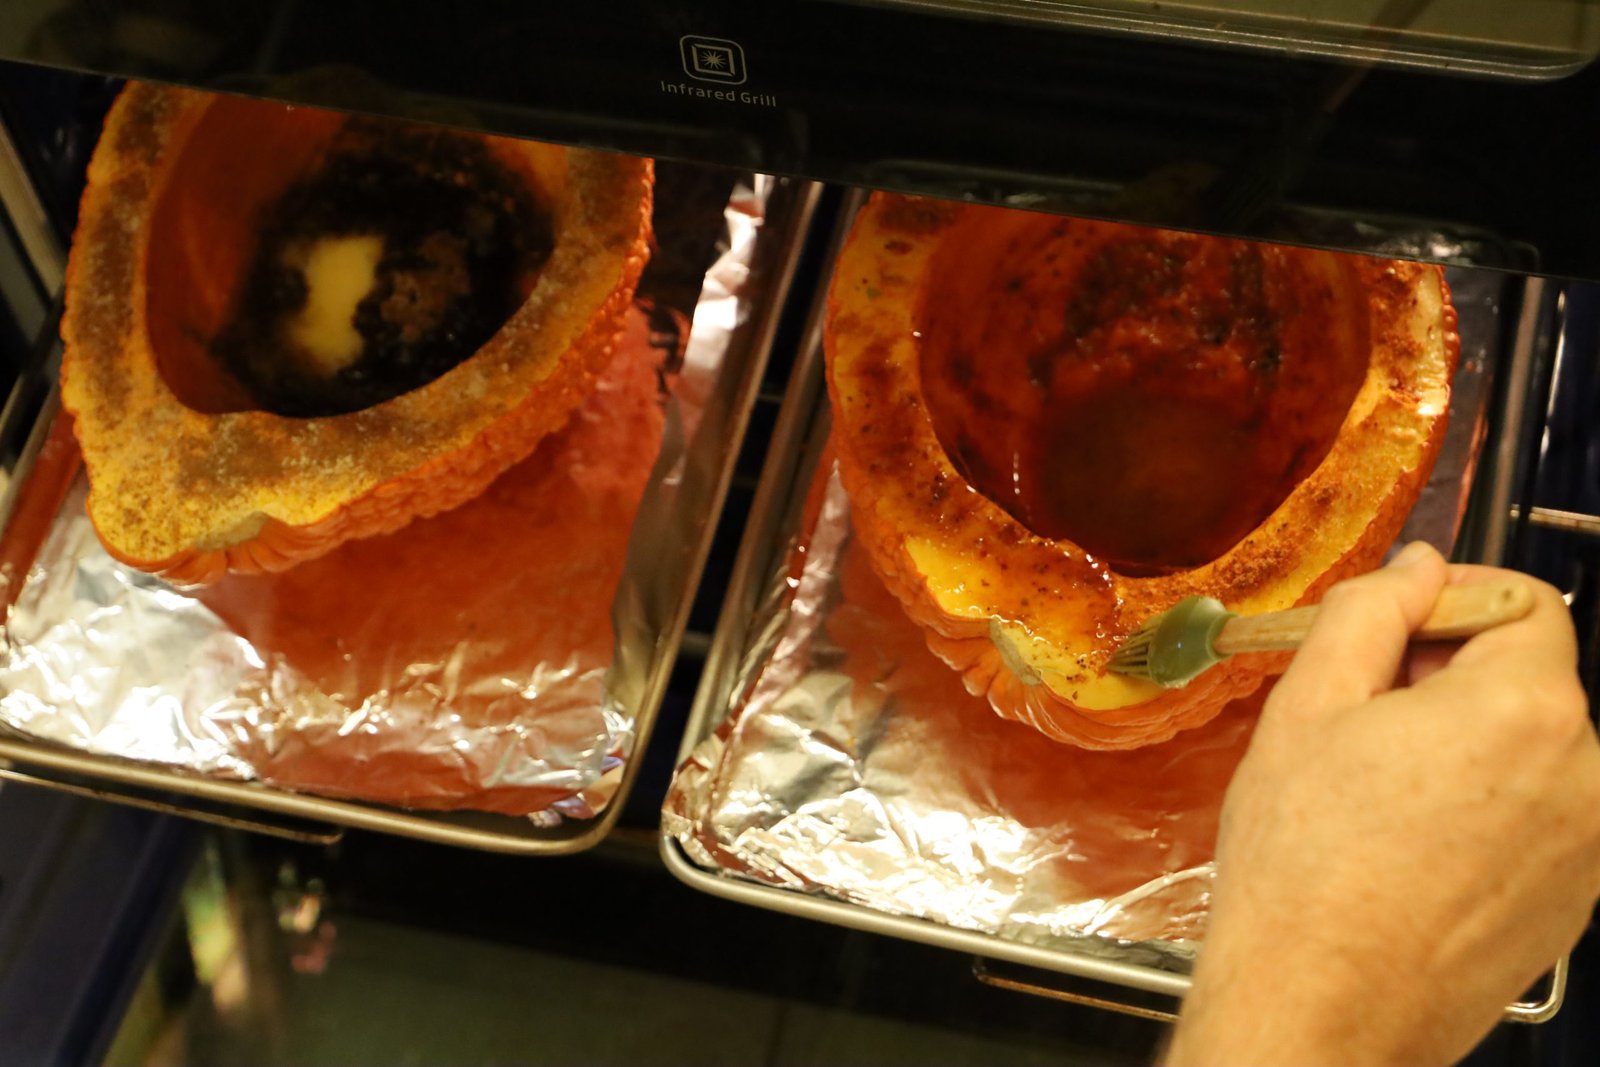
Half way through the cooking process, use a brush to spread the melted butter and seasonings all over the edge and insides of the squash as shown below.
—————————————————–
——————————————————–
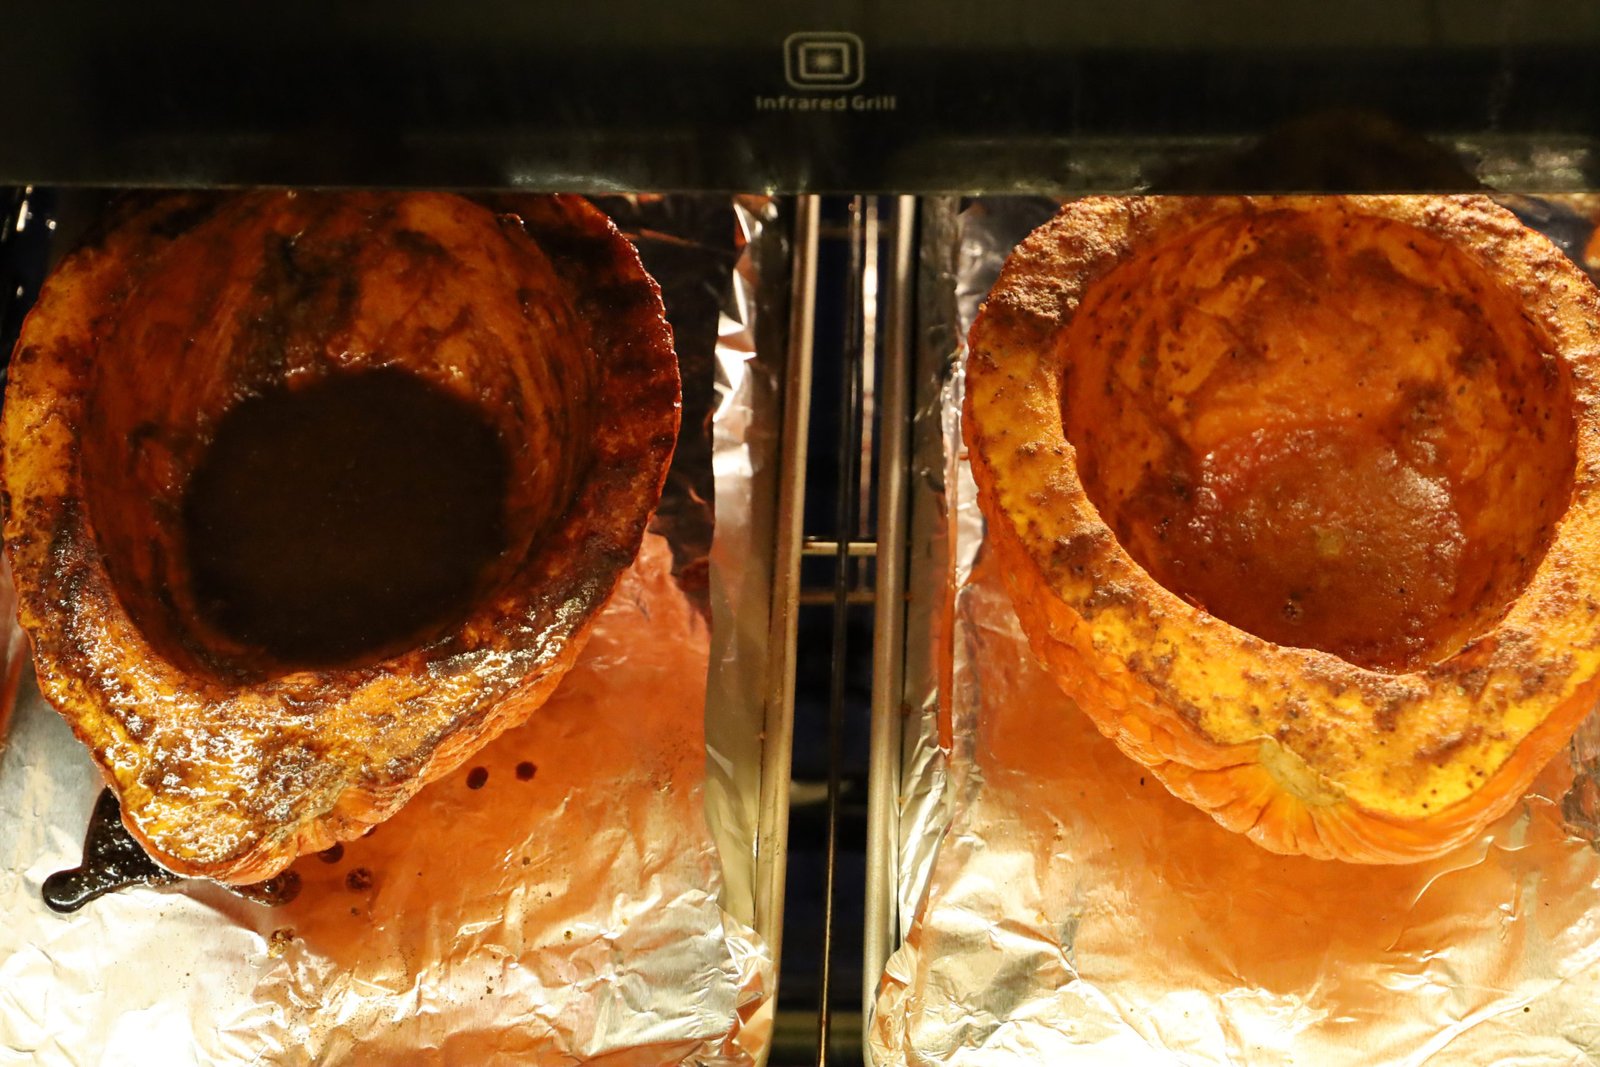
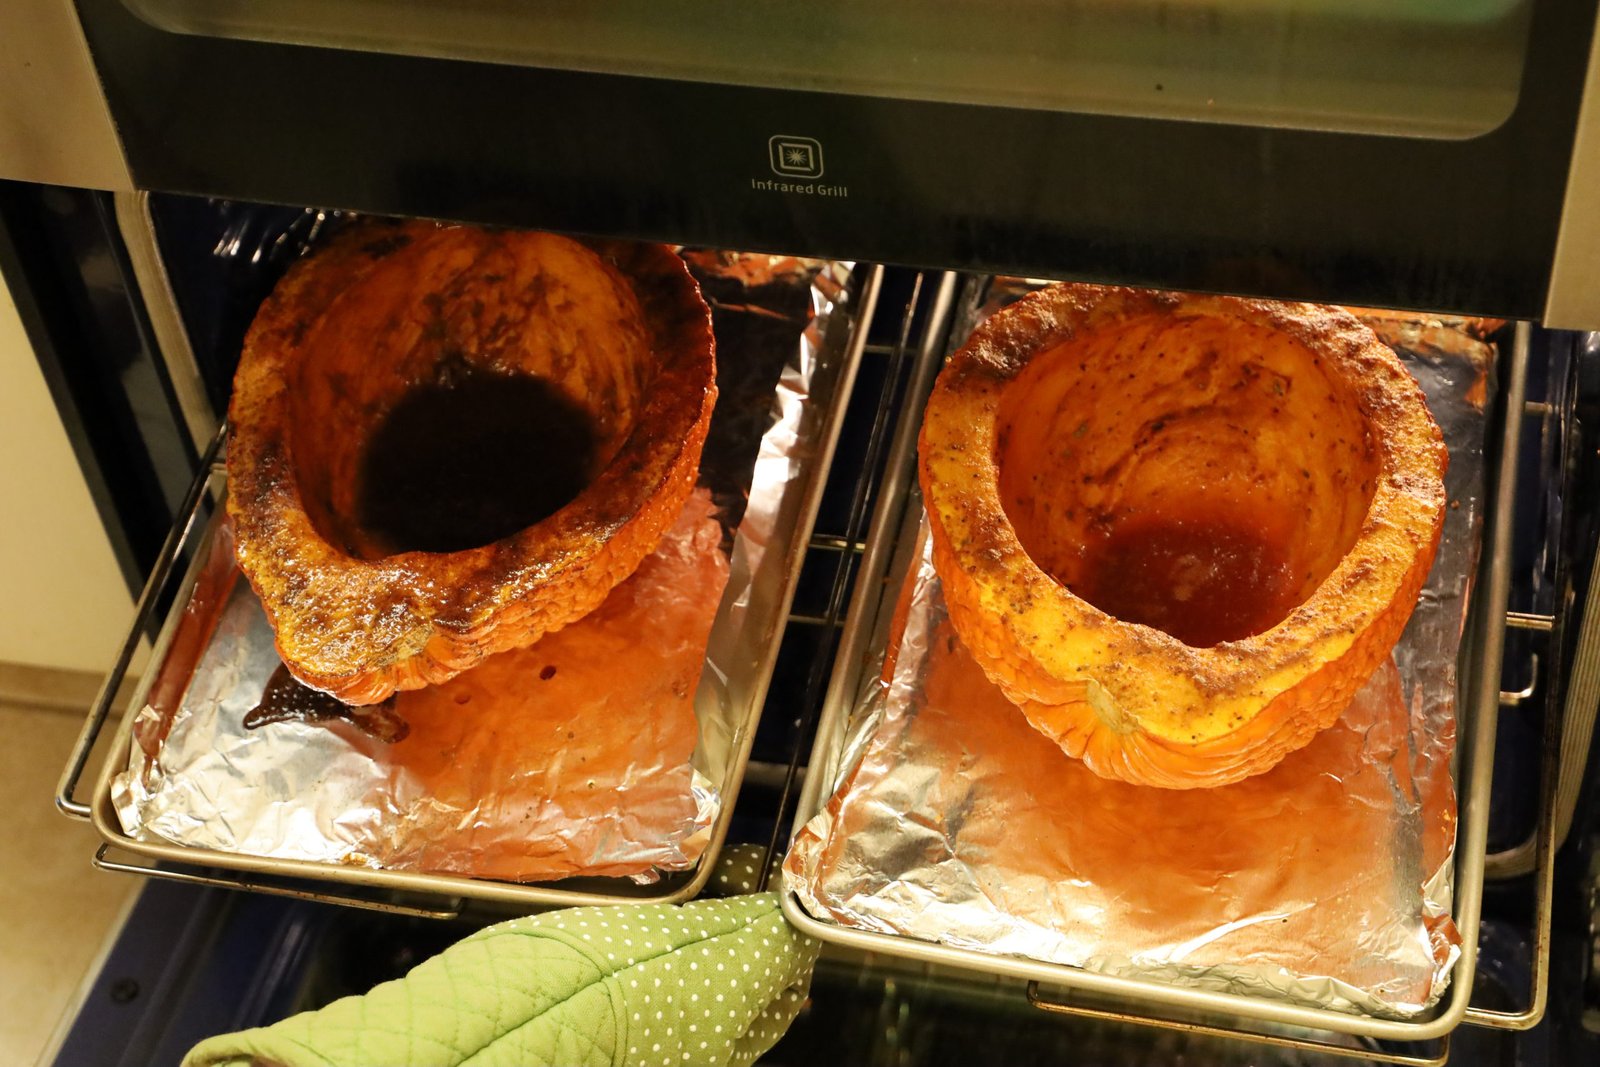
As they roast, they may tend to burn a bit before they have cooked all the way through.
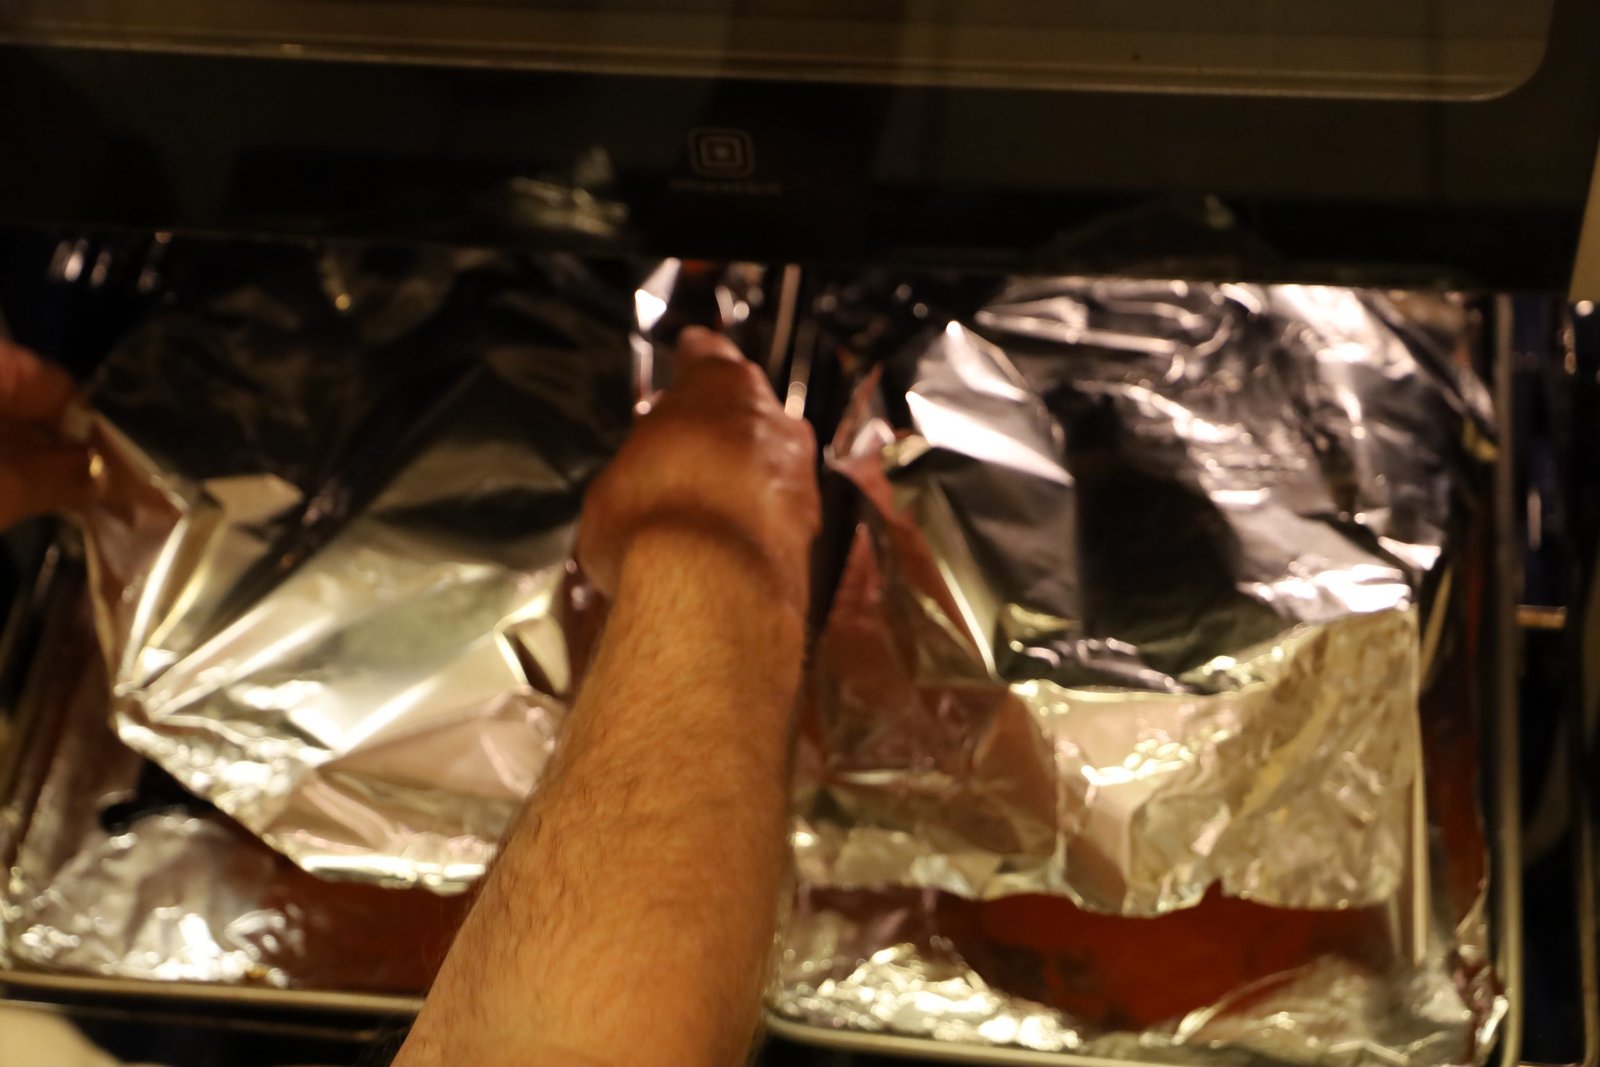
In that case, cover the halves with aluminum foil as shown and continue baking.
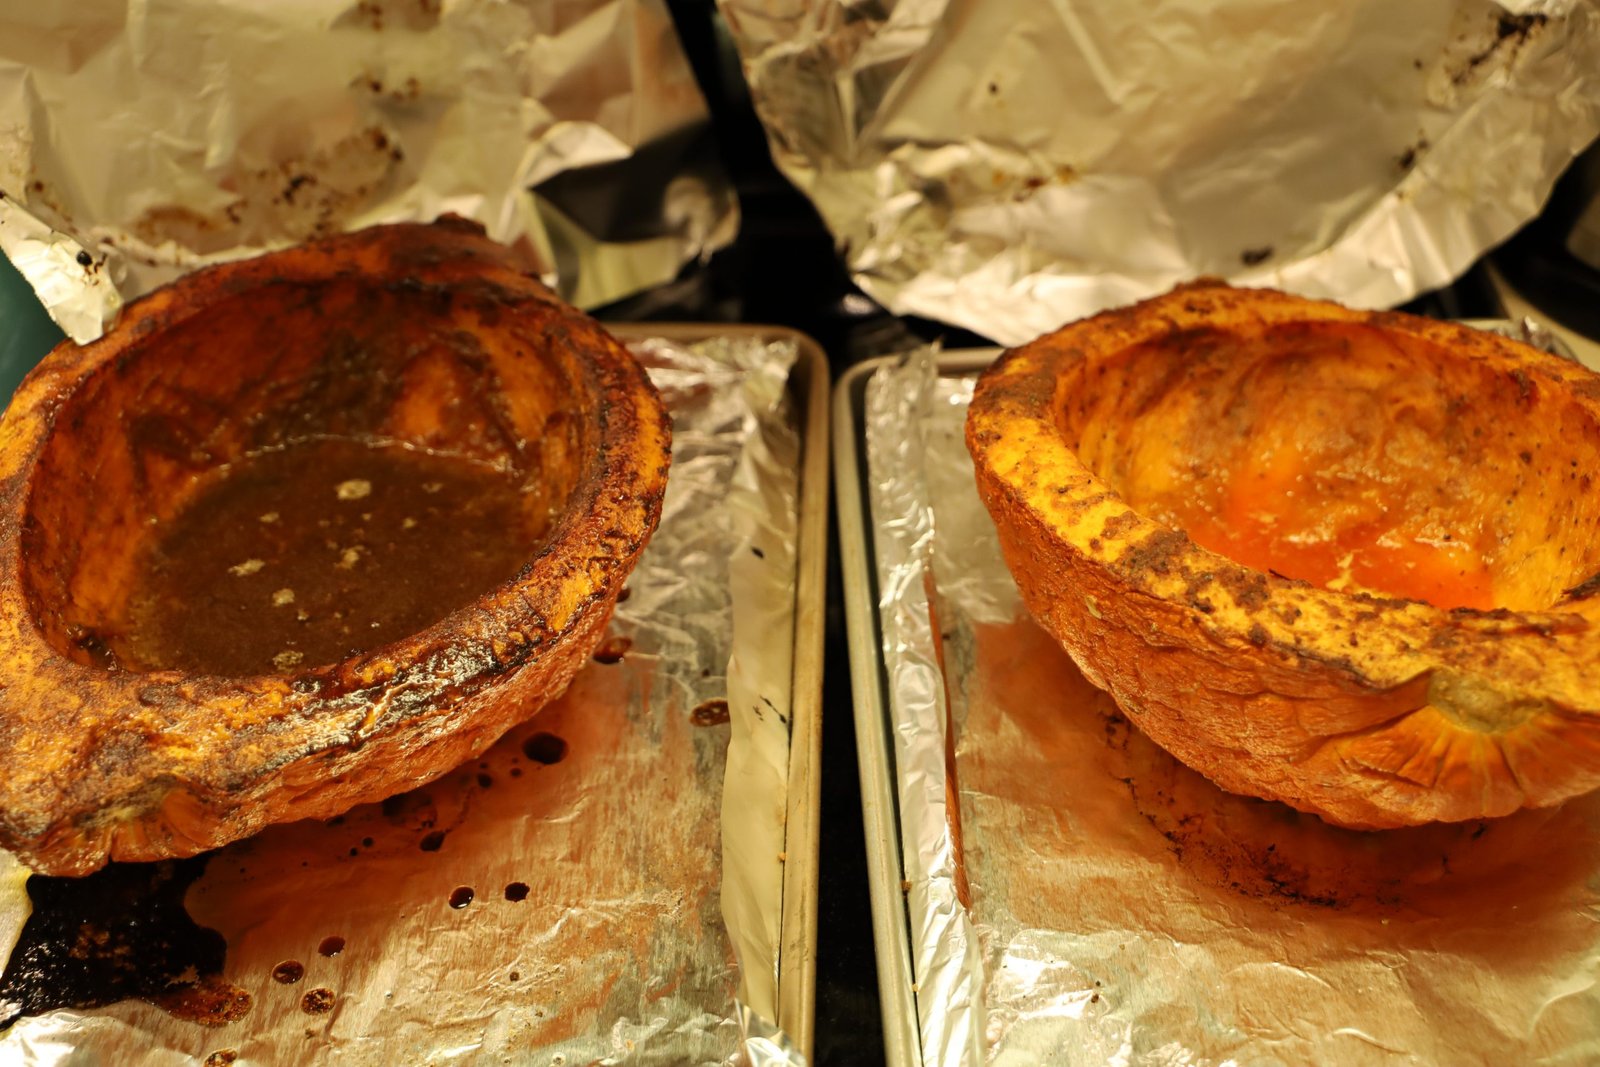
To serve, scoop the insides of the squash out and into a serving dish. Or you could just dig in like we did with each of us grabbing a fork and helping ourselves all at once. 🙂
——————————————
VEG ALL Casserole
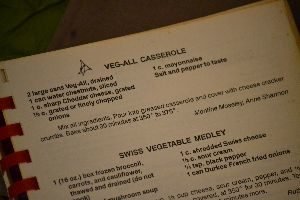
Recipe by: Montine Moseley and Anne Shannon
as taken from Cherished Recipes from First Christian Church, Rome, Georgia
This southern recipe was very popular at Covered Dish Dinners because all of the ingredients were always on hand in most every southern kitchen.
You can of course, use fresh veggies for this recipe but I wanted to relive a food memory so we made it the same way that most southern women did, they used CANS!

Topped with a Cracker Crust
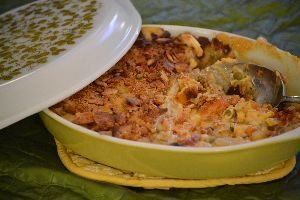
and Baked in my Grandmother’s Vintage Casserole Dish.
————————————–

Recipe as Written in the Book
The Ingredients:
2 Large cans Veg-All, drained
1 can Water Chestnuts, sliced
1 Cup Sharp Cheddar Cheese, grated
1/2 Cup Grated or Finely Chopped Onions
1 Cup Mayonnaise
Salt and Pepper to Taste
Mix all ingredients. Pour into greased casserole and cover with cheese cracker crumbs.
Bake about 30 minutes at 350*.
(We also added a few shakes of Tabasco Sauce)
———————————–
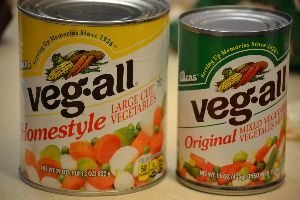
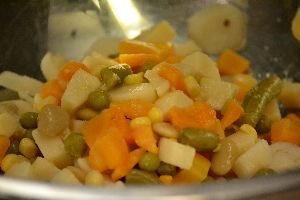
It wouldn’t be a Veg All Casserole without the cans of Veg All.
Let me just add that there is no need to add salt to this casserole as there is so much sodium in those cans of Veg-All!
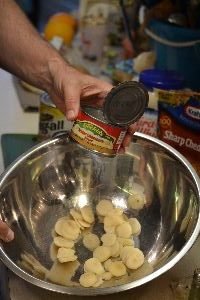
Water Chestnuts
Start by adding all your cans to a large mixing bowl.
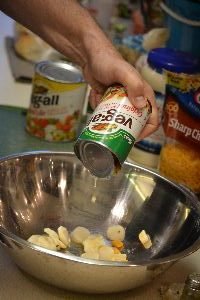

Be sure to drain them first.

————————————-
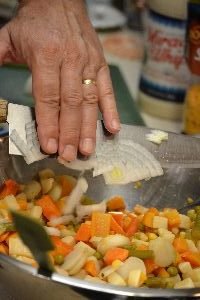
Here Gordon Chopped a Vidalia Onion and a Red Onion
————————————-

————————————–
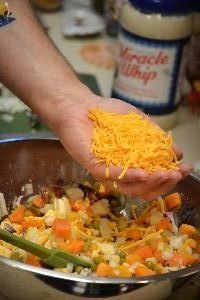

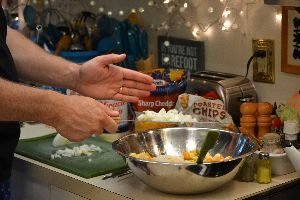
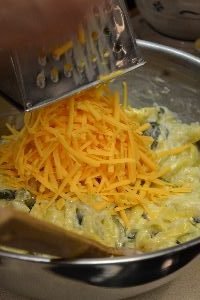
Grate the Sharp Cheddar Cheese and add to Bowl.
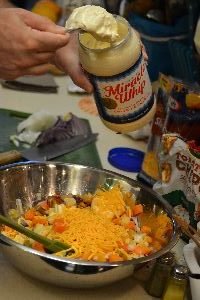
Next Comes the Mayo, you can add to Taste

—————————————-
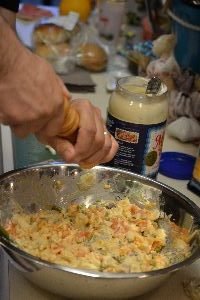

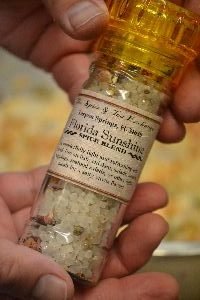
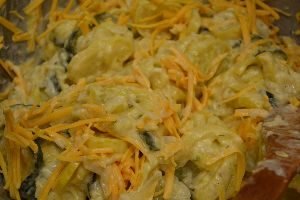
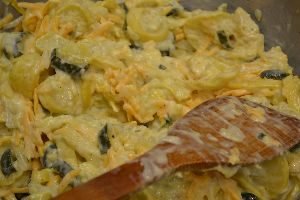
Gordon Grating some Black Pepper, Adding a few Shakes of Tabasco, and Grating a Florida Blend Seasoning Mix.
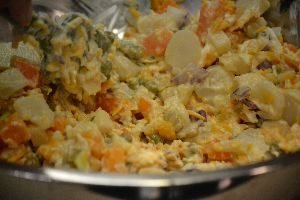
Stir Together……..

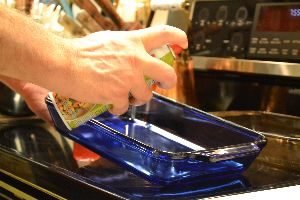
Now spray your casserole dish with a non-stick cooking oil spray.
————————————–

We ended up doubling the recipe so that we could freeze two of them for later use.
In our freezer at any given time are casseroles just like this one. That way if we find we don’t have enough food to stretch to an extra person that shows up unexpectedly, we can always throw in the oven an extra casserole or two in order to have enough food for all.

Just make sure that you wrap them up really well with Saran Wrap and Wax Paper, and Saran Wrap again.
————————————

Here Gordon is adding the cracker crumb topping.
(I do think that had we cooked the casserole about 15 minutes first, then added the cracker topping that it wouldn’t have burnt like it did.)

DO NOT add any of the cracker crumb topping to the casseroles you will be freezing.
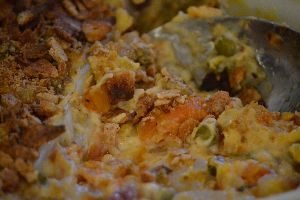
Into the Oven
Sometimes the Best Food to eat is a Memory
—————————————————————

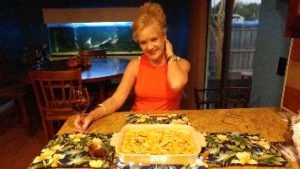
Julie
There is no one to record my making of the Autumn Macaroni and Cheese, so I thought I would take a selfie.
I had some of the leftover pasta from my Goulash, so I thought I would make a Macaroni and Cheese with it to take over to my daughter, Veronica’s, house for dinner.
Leftover Autumn Pasta
Way too Beautiful to Ignore
So, I very chaotically set to work on this.
I had an hour and a half before I ran out the door, baking time included. I don’t like to be rushed and I don’t do well under pressure. I’m laid back and I like to allot plenty of time to everything that I do.
The Ingredients:
8-10 ounces of Pasta (That’s about what I had leftover.)
3 Cups of Milk (I used Skim)
1 Cup Half and Half
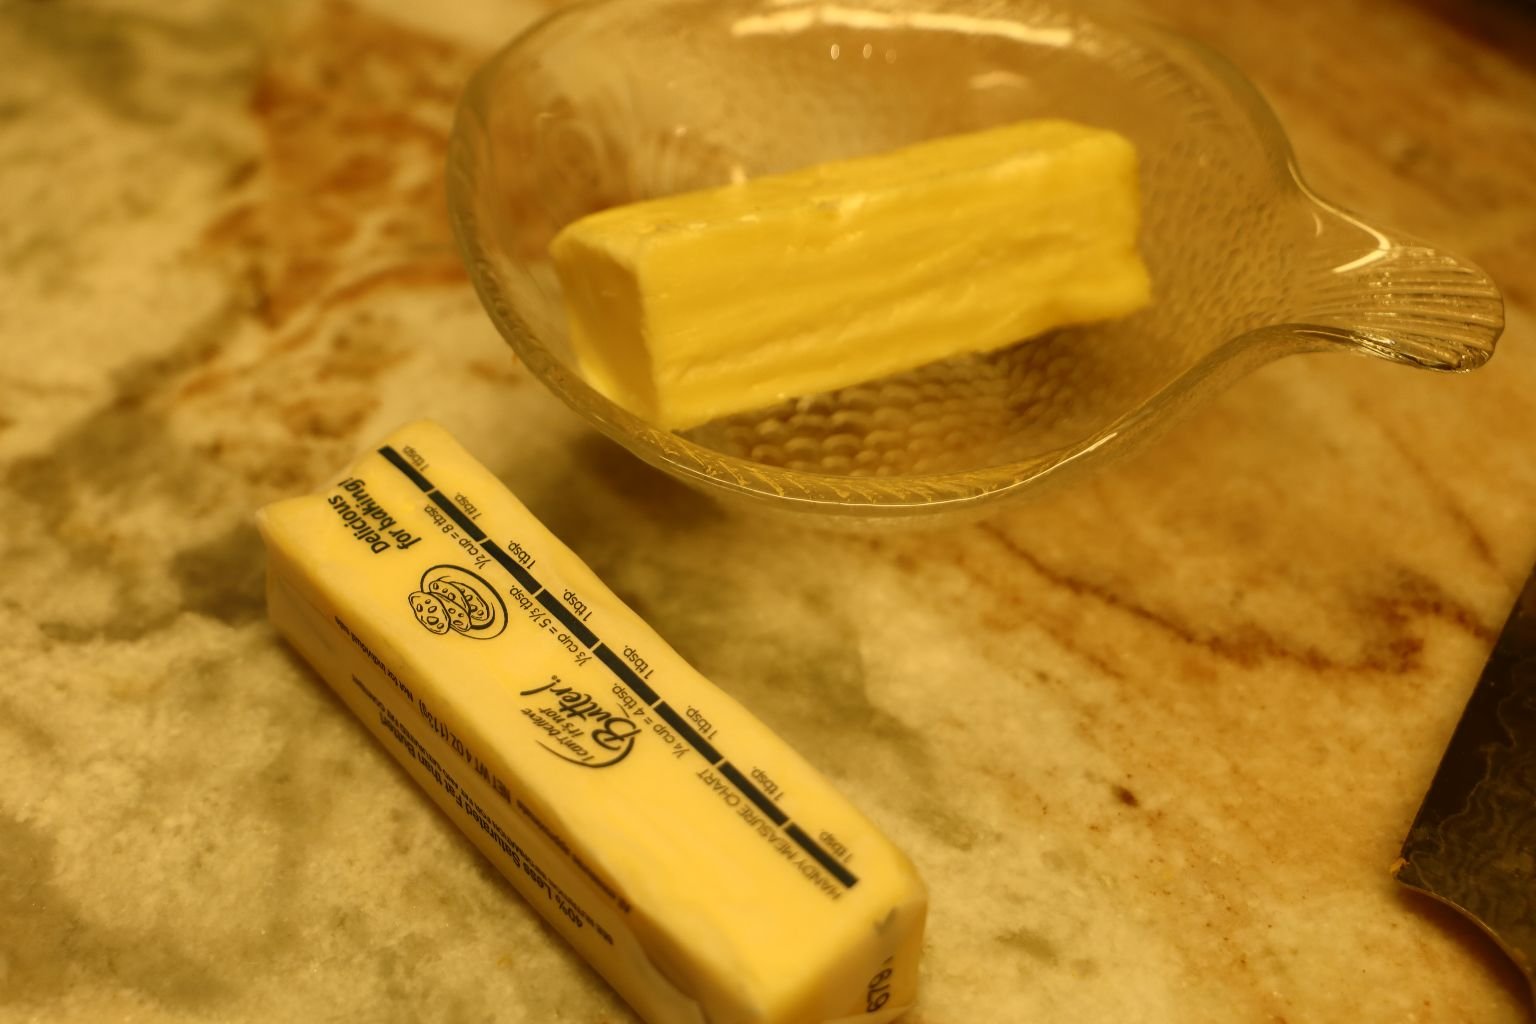
4 T. Butter/Margarine
Freshly Ground Black Pepper
Optional: A Sprinkling of Red Peppercorns
Now for the Cheeses:
I can only guess about the cheese as I was just grating away between Gordon calling me from the Commissary about what all he needed to pick up. He must have called me 3 times!! He can be so annoying sometimes. (He won’t ever read this so I’m good.) 🙂

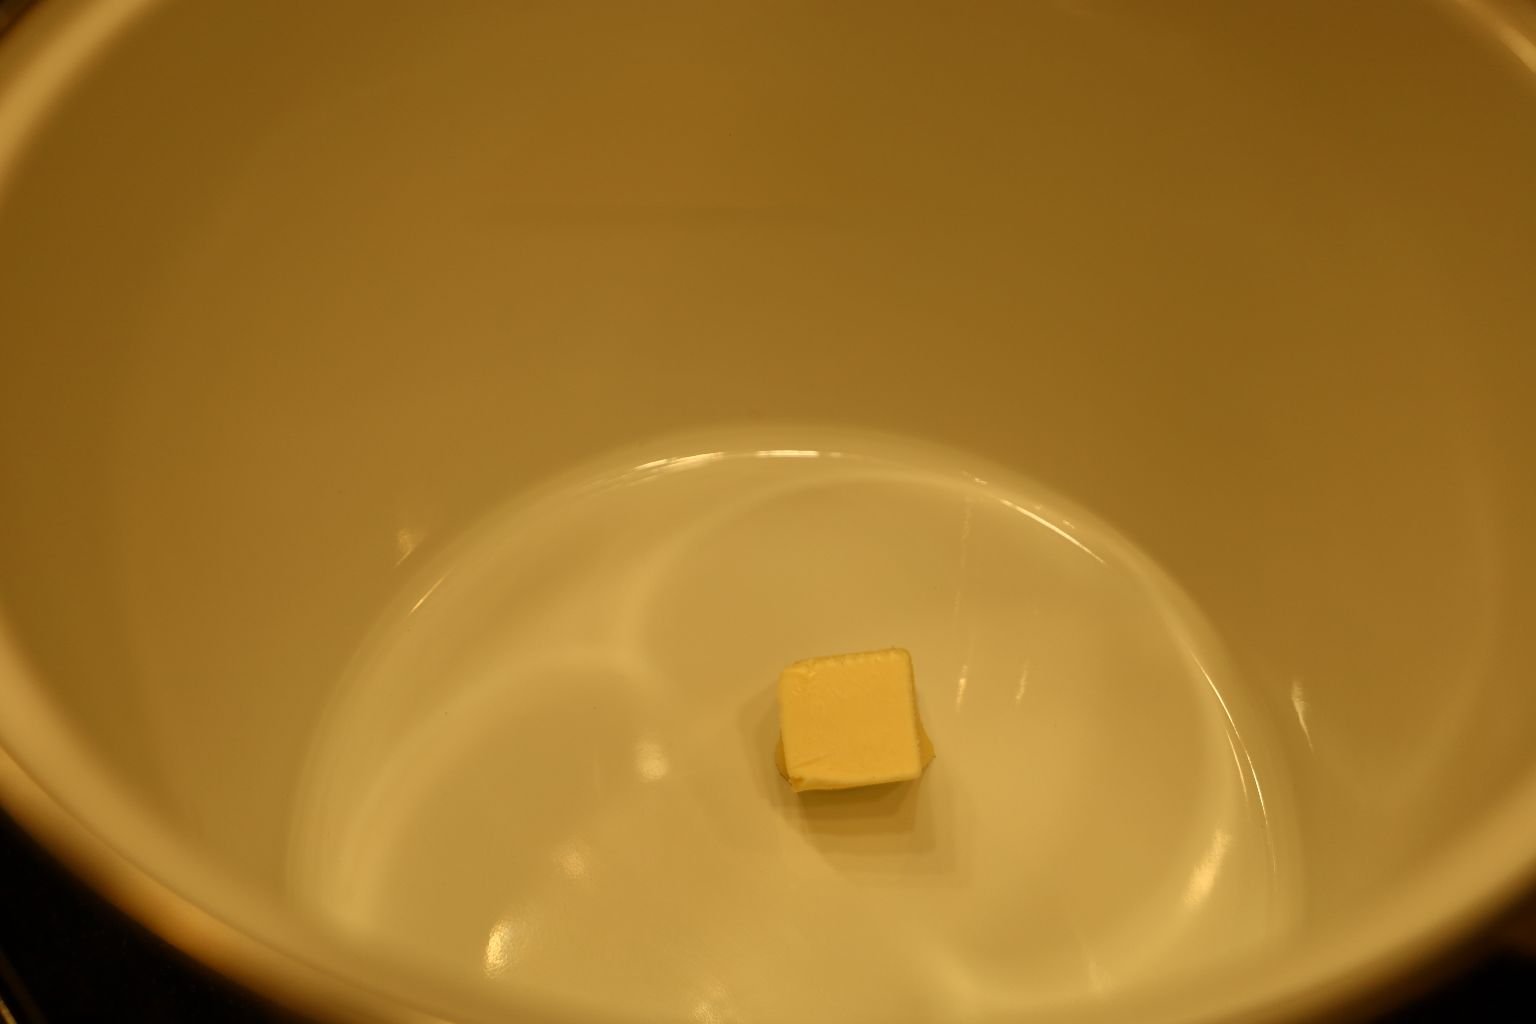
Well, while the butter is melting……
Kinda Pretty, Isn’t it?
Oh yeah, the cheese……
I probably grated about 4 cups combined, of:
Parmesan, Fontina, Gruyere, and Reggiano something or other…
O.K., so when the butter finished melting in the cast iron skillet on a med heat, and more importantly, when I finished taking my selfie, I whisked in the flour, one tablespoon at a time until it was combined. Then I started adding the milk, just a little at a time as I whisked away! Whisked away! I like that! Then I added the Half and Half as I once more, WHISKED AWAY!
O.K., so in a large pot I’m boiling the pasta as per package instructions.
I’m grating cheese like there is no tomorrow.
I’m whisking away the milk, half and half, flour, butter…..
AND, Gordon keeps calling!
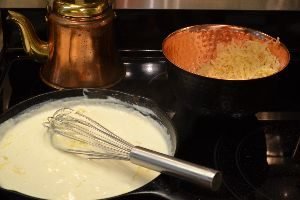
Well, I kept adding the cheeses to the saucepan and the cheese sauce thickened up very nicely! I was pleased.
Although there are no photos, I did drain the pasta and placed it into a large mixing bowl. I then added the cheese sauce and mixed thoroughly. Then, I placed everything into a casserole dish that I had sprayed with an olive oil spray.
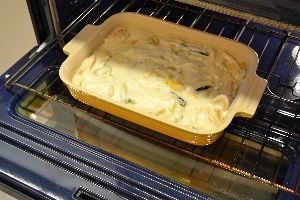
Now it goes into a 350F oven for about 35 minutes, or so, depending on your oven.
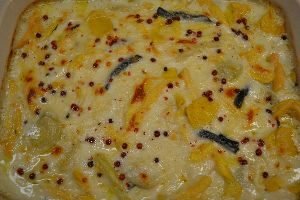
Doesn’t it look pretty? Because, ya know, food needs to??
Ahh, I’m at Veronica and Brian’s, I’ve got my wine, this girl is good!
Oh, and sprinkle some red peppercorns on top of just so people ask, “What are those little red things on top of it?”

I do want you to know that no alcohol was consumed in the write up of this macaroni and cheese pasta thing.
Yeah.
Julie
—————————-
Grammaw Nell’s Squash Casserole
This is a recipe that we have featured a few times on our website but I wanted it on this post as well because it is something that I especially enjoy eating in the Autumn.
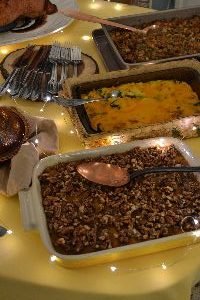
Squash Casserole is in the Middle
(This was from one of our Thanksgivings)
The Ingredients:
4 Zucchini Squash (sliced into rings)
7 Yellow Squash (sliced into rings)
3 Onions (sliced into half rings)
1 1/2 Cups Sharp Cheddar Cheese, grated (1/4 Cup reserved)
3 Eggs Beaten
1/2 Cup Miracle Whip
3/4 Cup Seasoned Bread Crumbs, or plain
Salt and Pepper to taste
———————————–
Gordon’s Prep

But first, it’s always a good idea to sharpen your knife.

Here Gordon is using a tool for that purpose.
——————————————
Chopping the Zucchini
Bringing the pot of water up to a boil.
Chop both the Zucchini and Yellow Squash in 1/4 to 1/2 inches thick rounds.
Add to the pot we are bringing up to boil.
Slicing the Yellow Squash.
Add to the Pot
Your Onions
Slice your onions to 1/8 to 1/4 inches thick.
—————————————–
Gordon Slicing the Onions

Adding Each Onion to the Pot
——————————————-


Place all in a large pot of salted water and until it just covers the vegetables.
Boil the vegetables until just tender about 10 min.
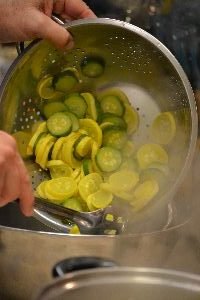
Drain the vegetables in a large colander.

Like so……
Here, you can see the squash is cooked and all in one piece which is exactly what you want.
Let the vegetable mixture cool.
In the meantime whisk your eggs, Miracle Whip, salt, pepper, then mix in the sharp cheddar cheese, being sure to reserve 1/4 Cup of cheese.
Gordon adding the pepper and the salt.
Whisking the Eggs
—————————————

Adding the Mayo to the Eggs

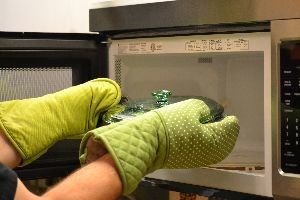
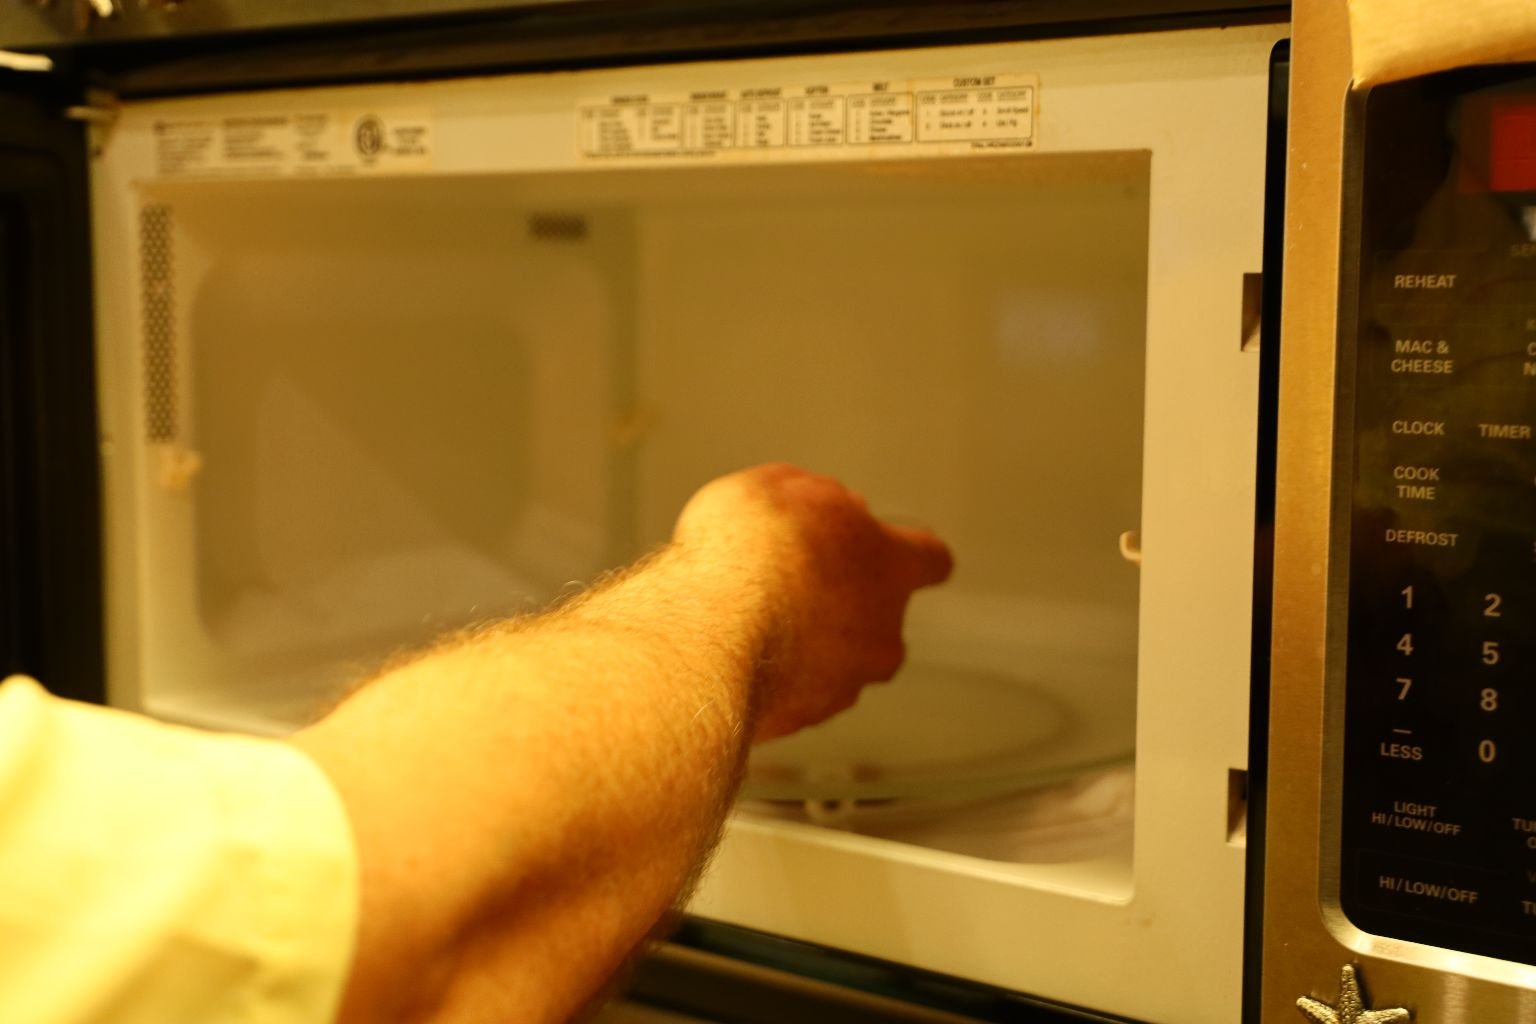
Gordon melted the butter in the microwave.
Place your cooled vegetables into your egg mixture and carefully combine together with a spoon.
Adding the Melted Butter/Margarine

Grating the Cheese into the Mixture
————————————–
Pour the mixture into a large baking dish which has been coated with olive oil.
I use a spray to evenly coat the dish.
——————————————-

Spread your reserved Sharp Cheddar cheese and Seasoned Bread Crumbs over the top of the mixture.
Cook the squash casserole at 350’F for 25-30 min. or until it is golden brown and firm.
You need to let the casserole rest before cutting into it just as you would a meat.
This is also a casserole that we tend to double when we make it and freeze one or two for when we need something extra to serve.
——————————————————————
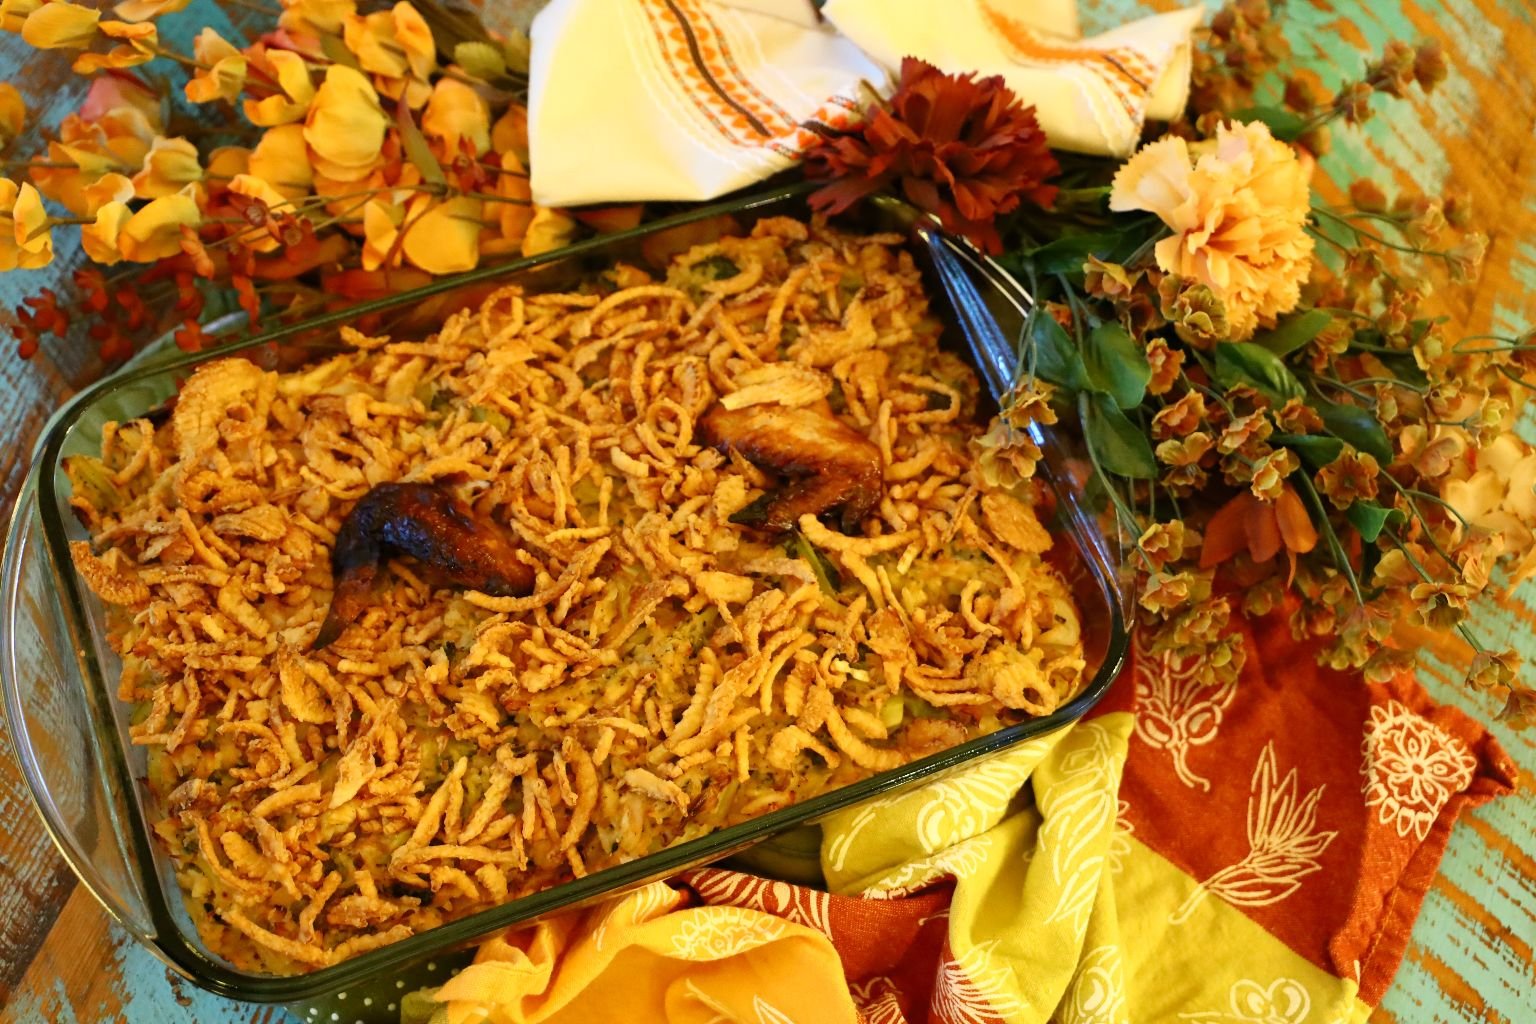
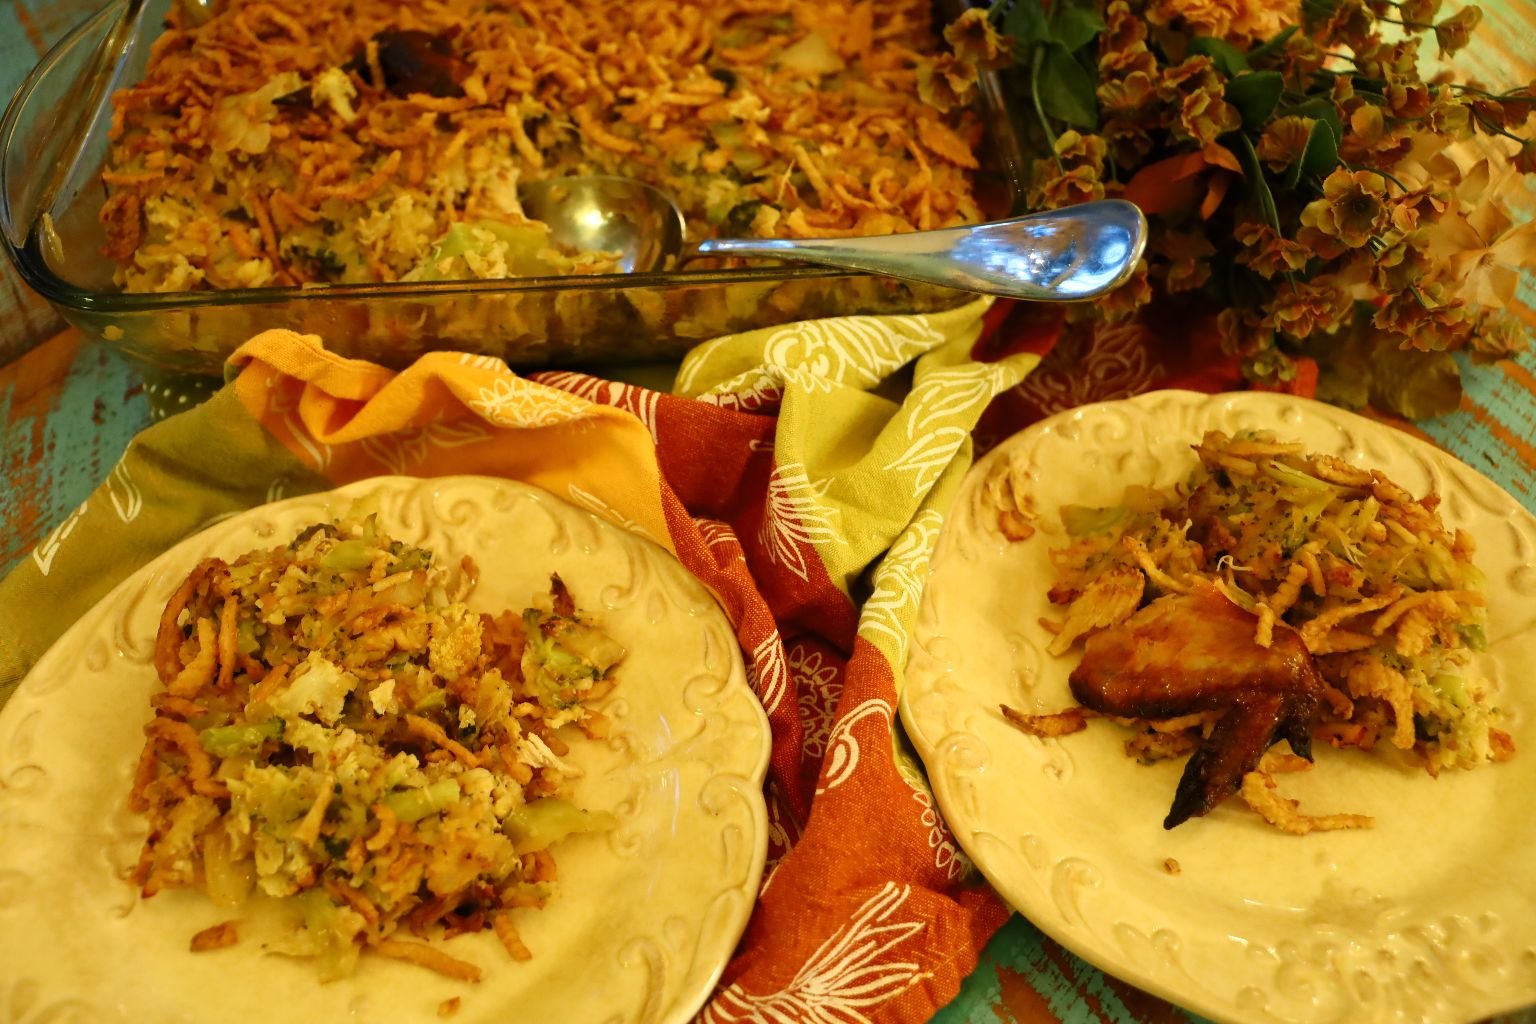
Grandma’s
Cheesy/Broccoli/Chicken/Rice/Cauliflower/Mushroom/Cabbage
Casser-All
I Julie, based this idea and recipe on an old favorite of mine:
Except, I wanted to build my recipe by using our Broccoli Cheese Dip as our base.
This is our Cheesy Broccoli Dip, we Love it with Corn Chips
In this Recipe we Also Added Cauliflower to the Dip
Here Is This Recipe:
The Broccoli and Cheese Dip
(This is a favorite of ours for many a holiday and we do eat it quite often.
You might even see it crop up on other posts as well.)

Broccoli and Cheese Dip
- 1 Large Family pack of Frozen Broccoli
- 4 T. Butter or Margarine
- 1 Cup Chopped Onions
- 6 Chopped Garlic Cloves, Chopped Fine
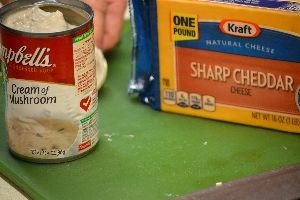
- 16 oz. Sharp Cheddar Cheese
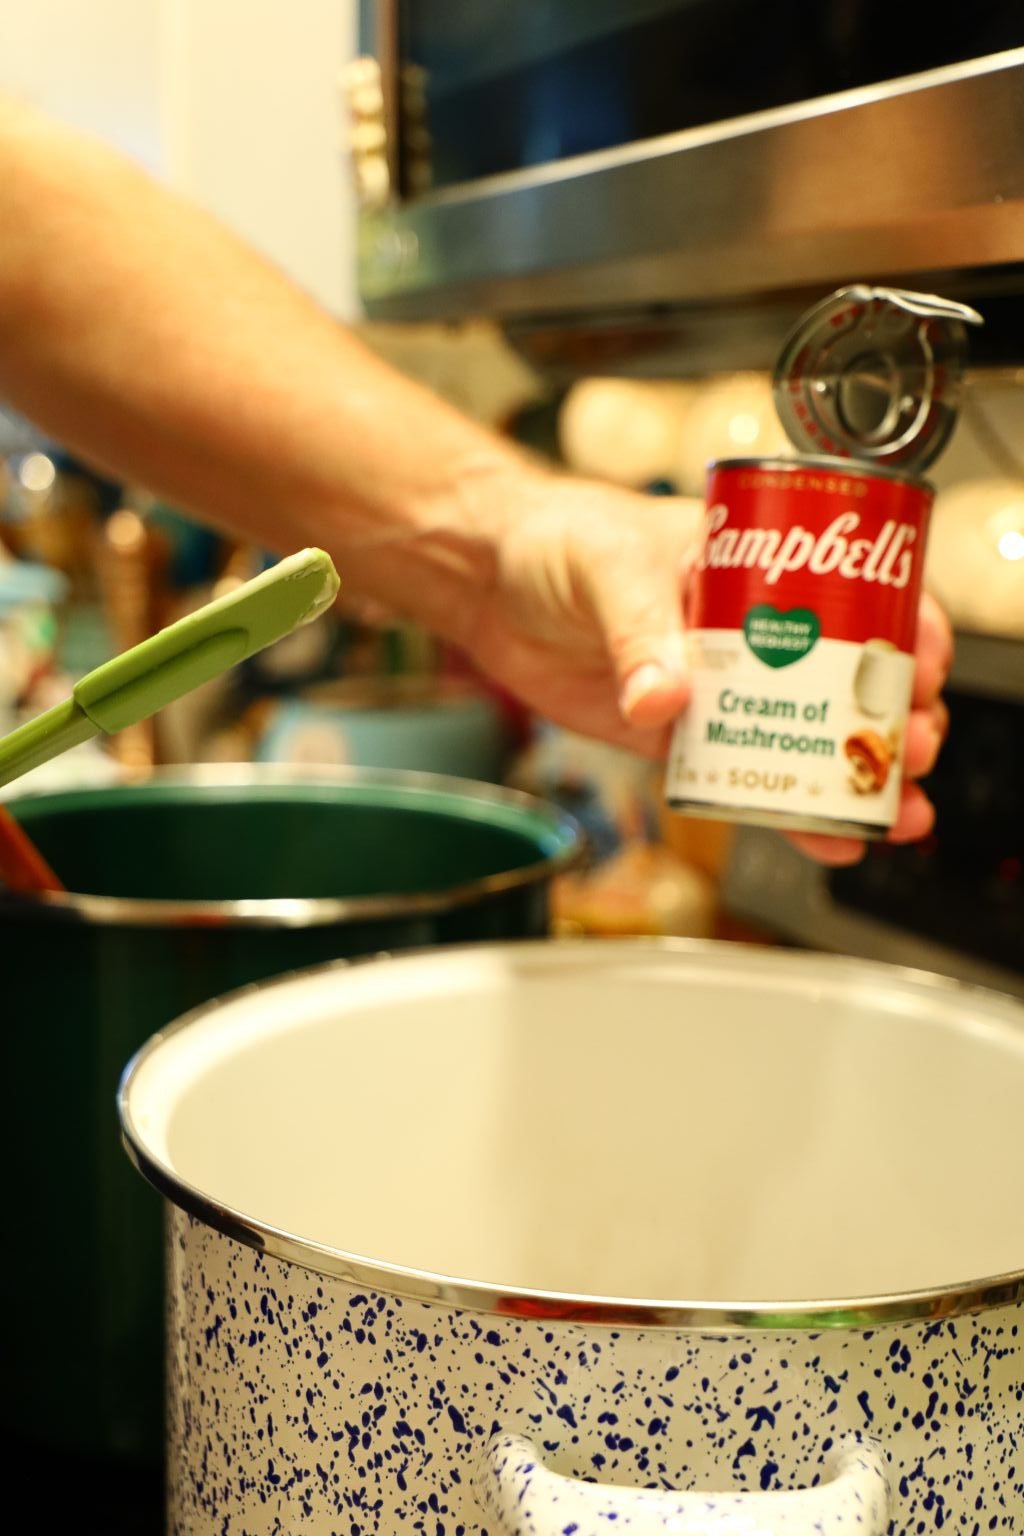
- 2 Cans of Cream of Mushroom Soup
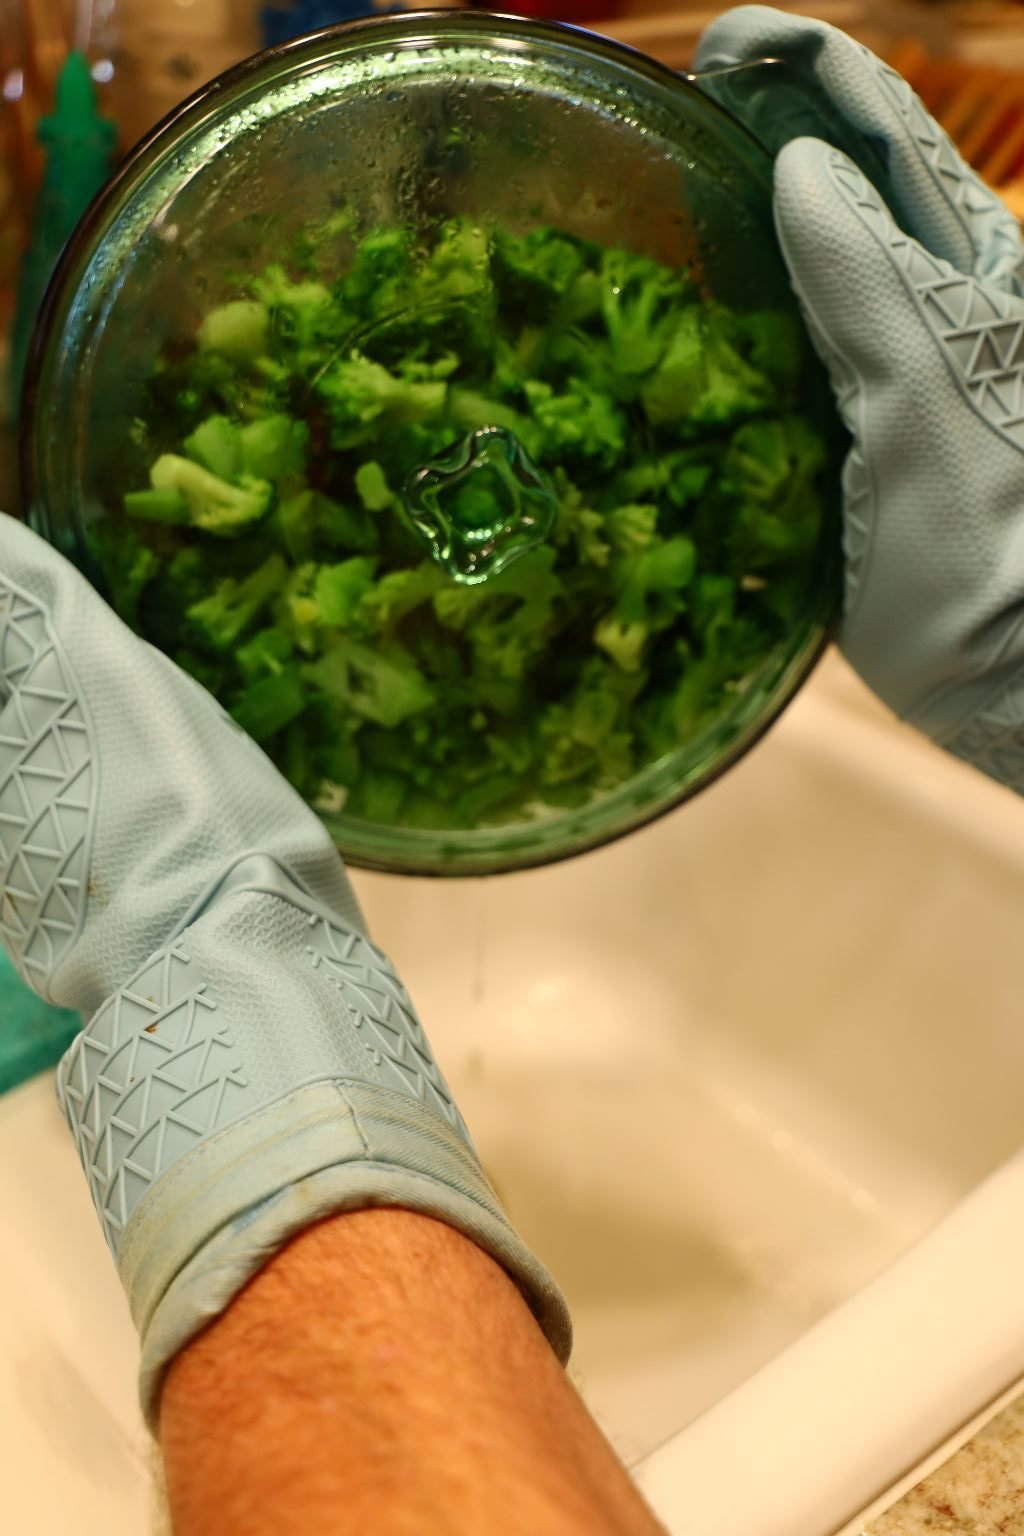
Allow broccoli to thaw and cook in the microwave for just a few minutes.
Drain the water.

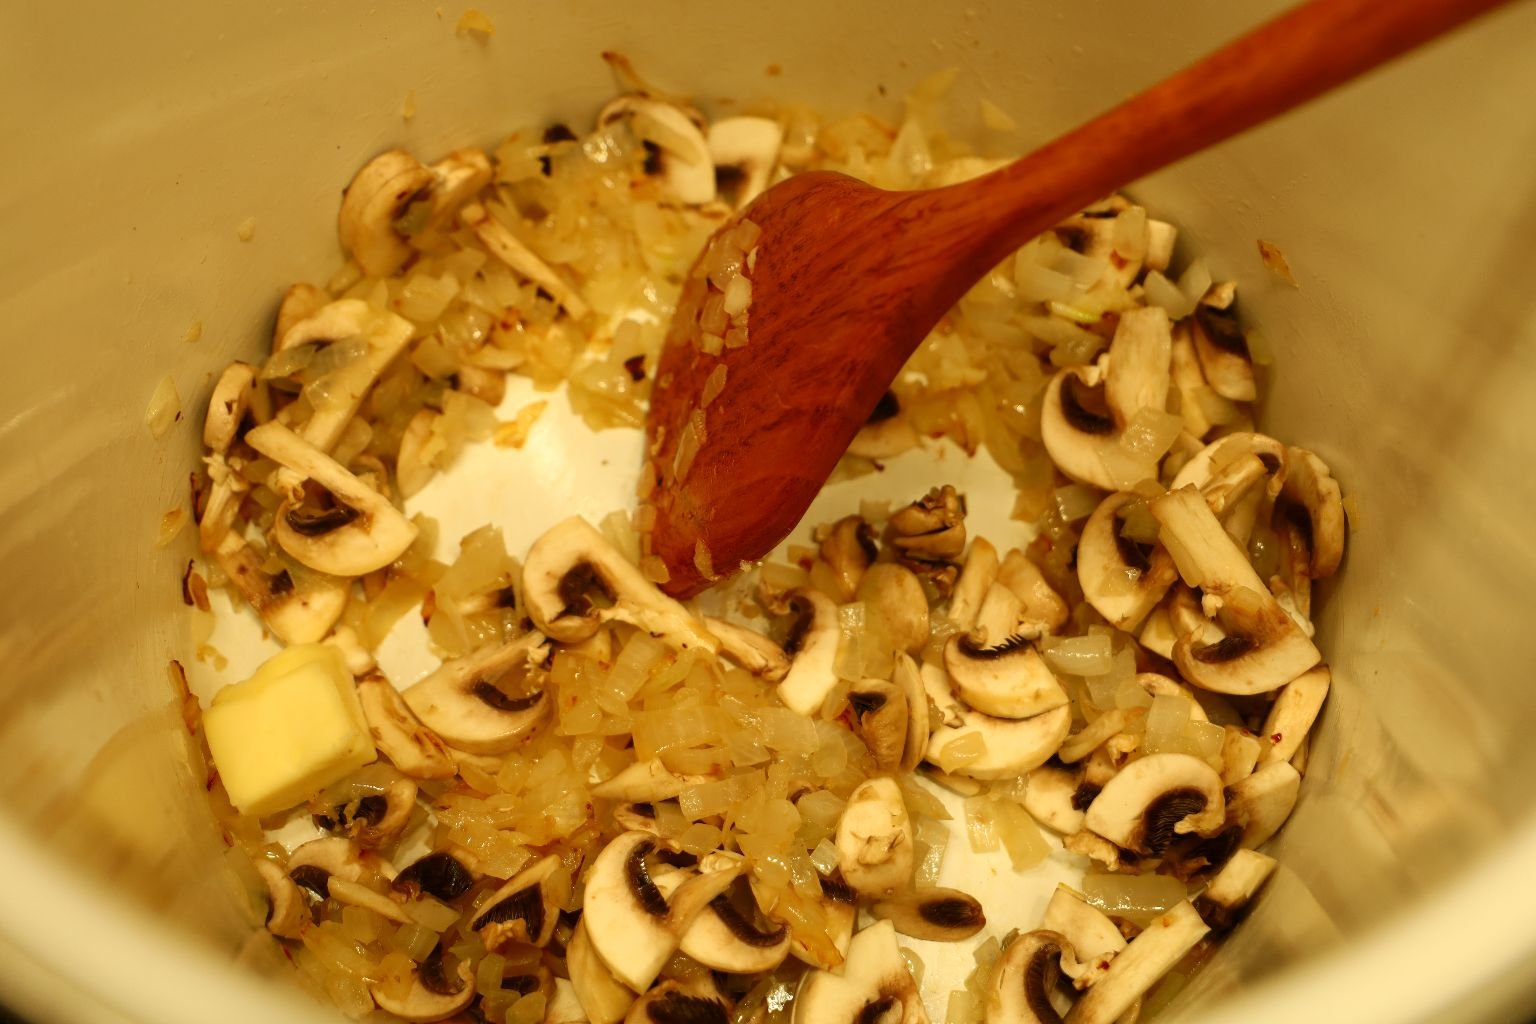
In a sauce pan on the stove top, saute the onions and garlic in the butter or margarine until nice and soft on a medium heat..
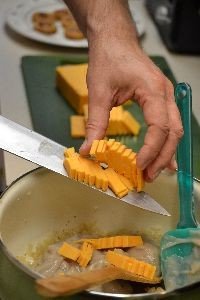
Then cut your cheese up into chunks and add to the mixture to melt.
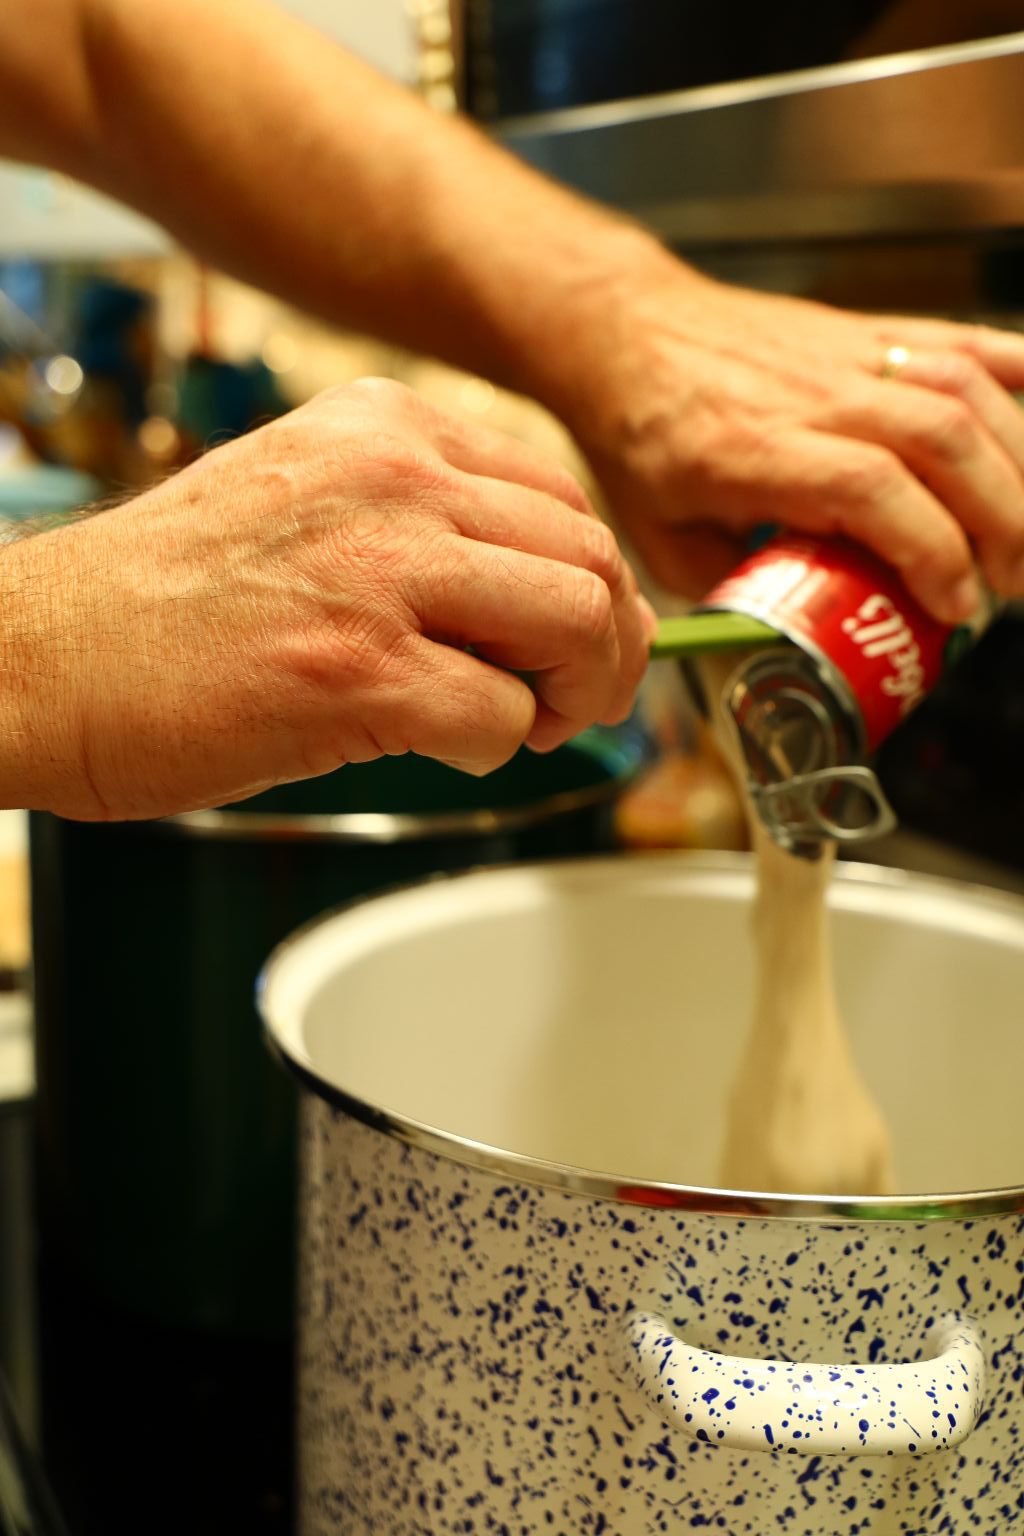
You may want to reduce your heat just a little. Then add your cans of Cream of Mushroom soup and your broccoli.


Allow the mixture to cook for about 10 minutes on a medium low heat.
Serve hot.
This is excellent eaten on top of a baked potato.
We however, like it as a dip served with corn chips.

You can thin it out with some milk if necessary.
———————————————————————–
Now, Here is the Recipe for our Casser-ALL:

This recipe is enough to make 2 casseroles.
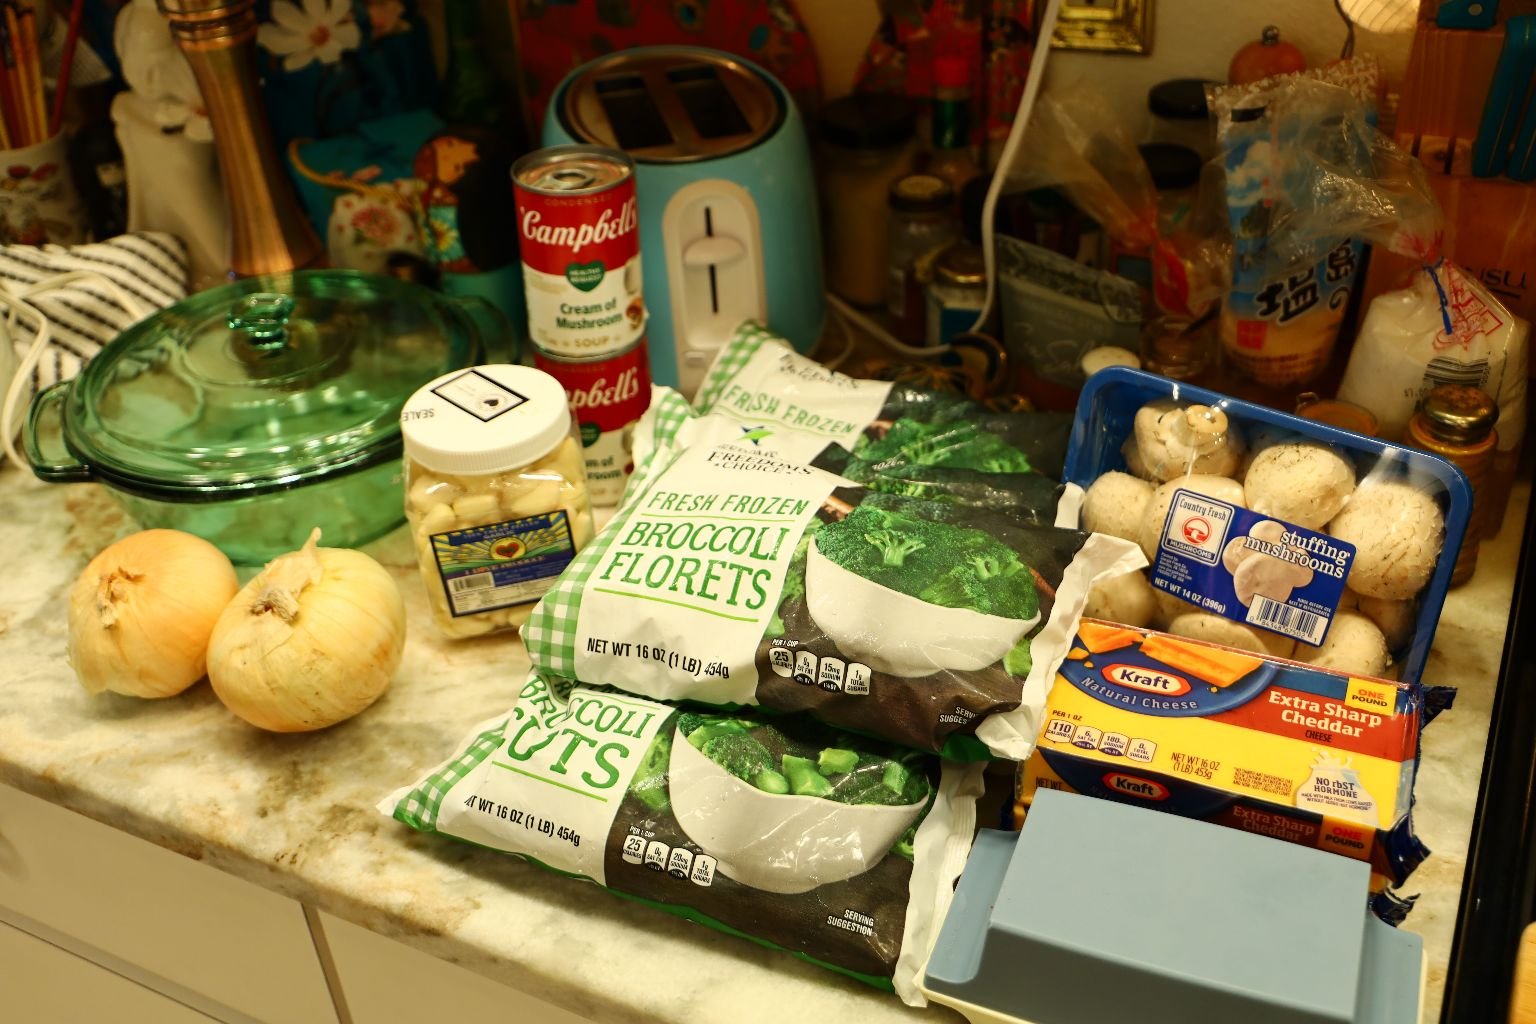
Ingredients:
2 Onions – Diced
6 Garlic Cloves – Minced
9 Tbsp. Butter
2, 1 LB. Pkgs. Frozen Broccoli
8 Lg. White Mushrooms – Sliced
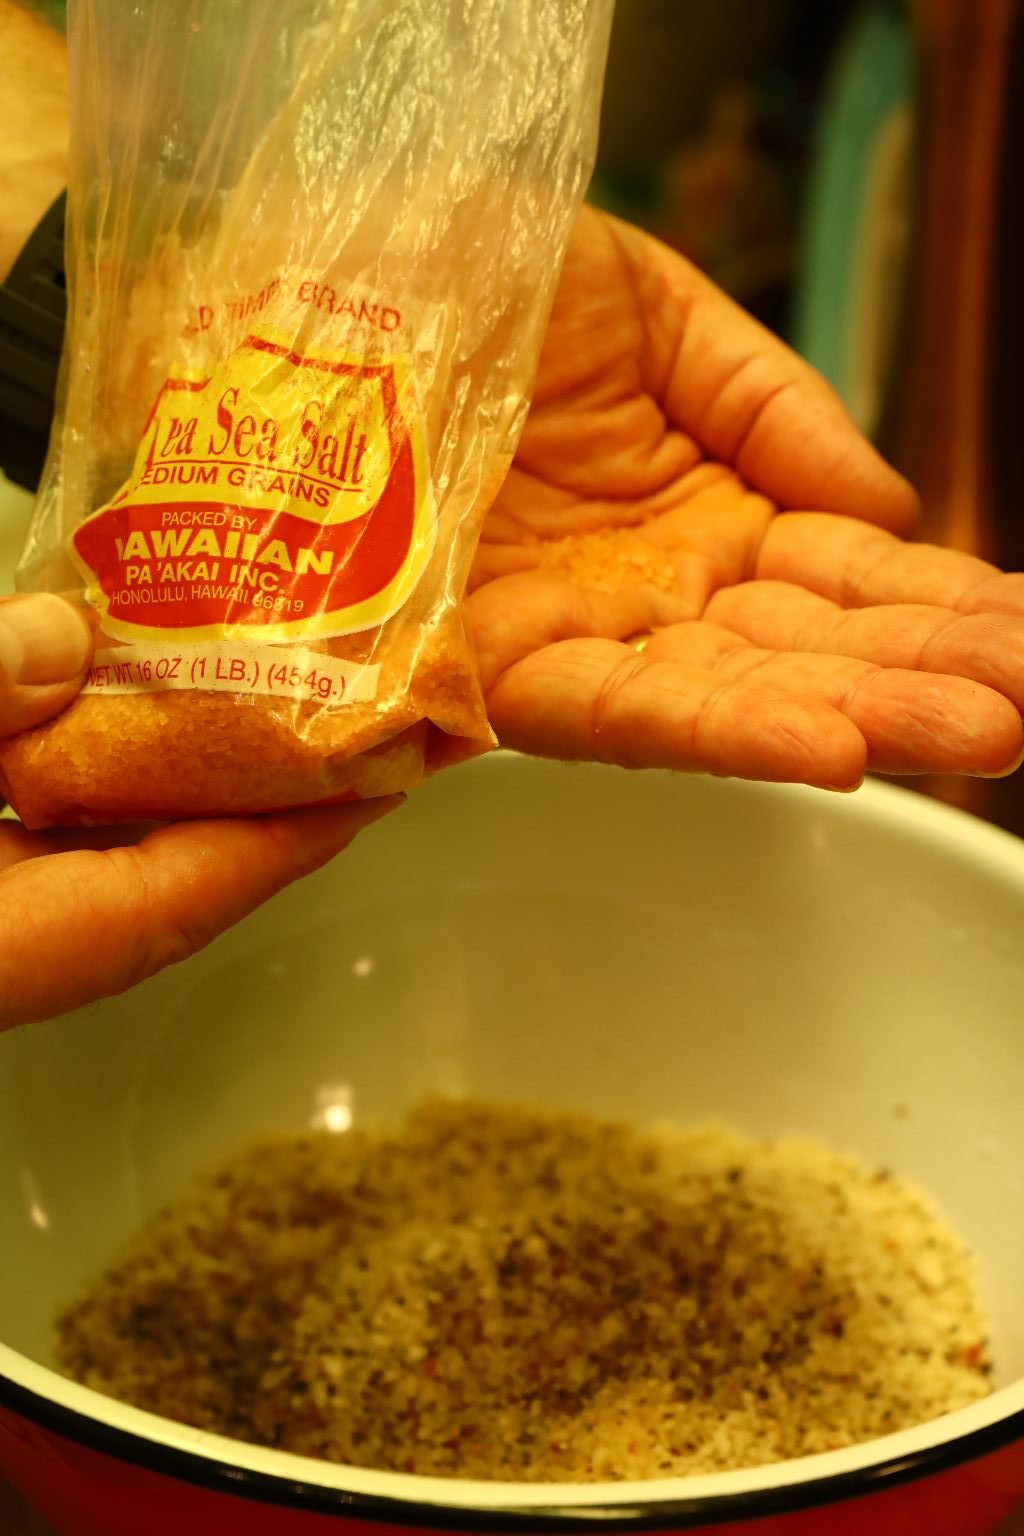
Hawaiian Sea Salt, and Freshly Ground Pepper to Taste
2 Cans Cream of Mushroom Soup
1 and 3/4 LB’s Blocks of Sharp Cheddar Cheese
1 Head Cauliflower – Florets sliced
3-4 Cups Cooked Jasmine Rice
Pam Olive Oil Cooking Spray
Garlic and Herbs All Purpose Seasoning “Kingsford”
3/4 Head of Cabbage – sliced thinly
1 Rotisserie Chicken – Meat removed
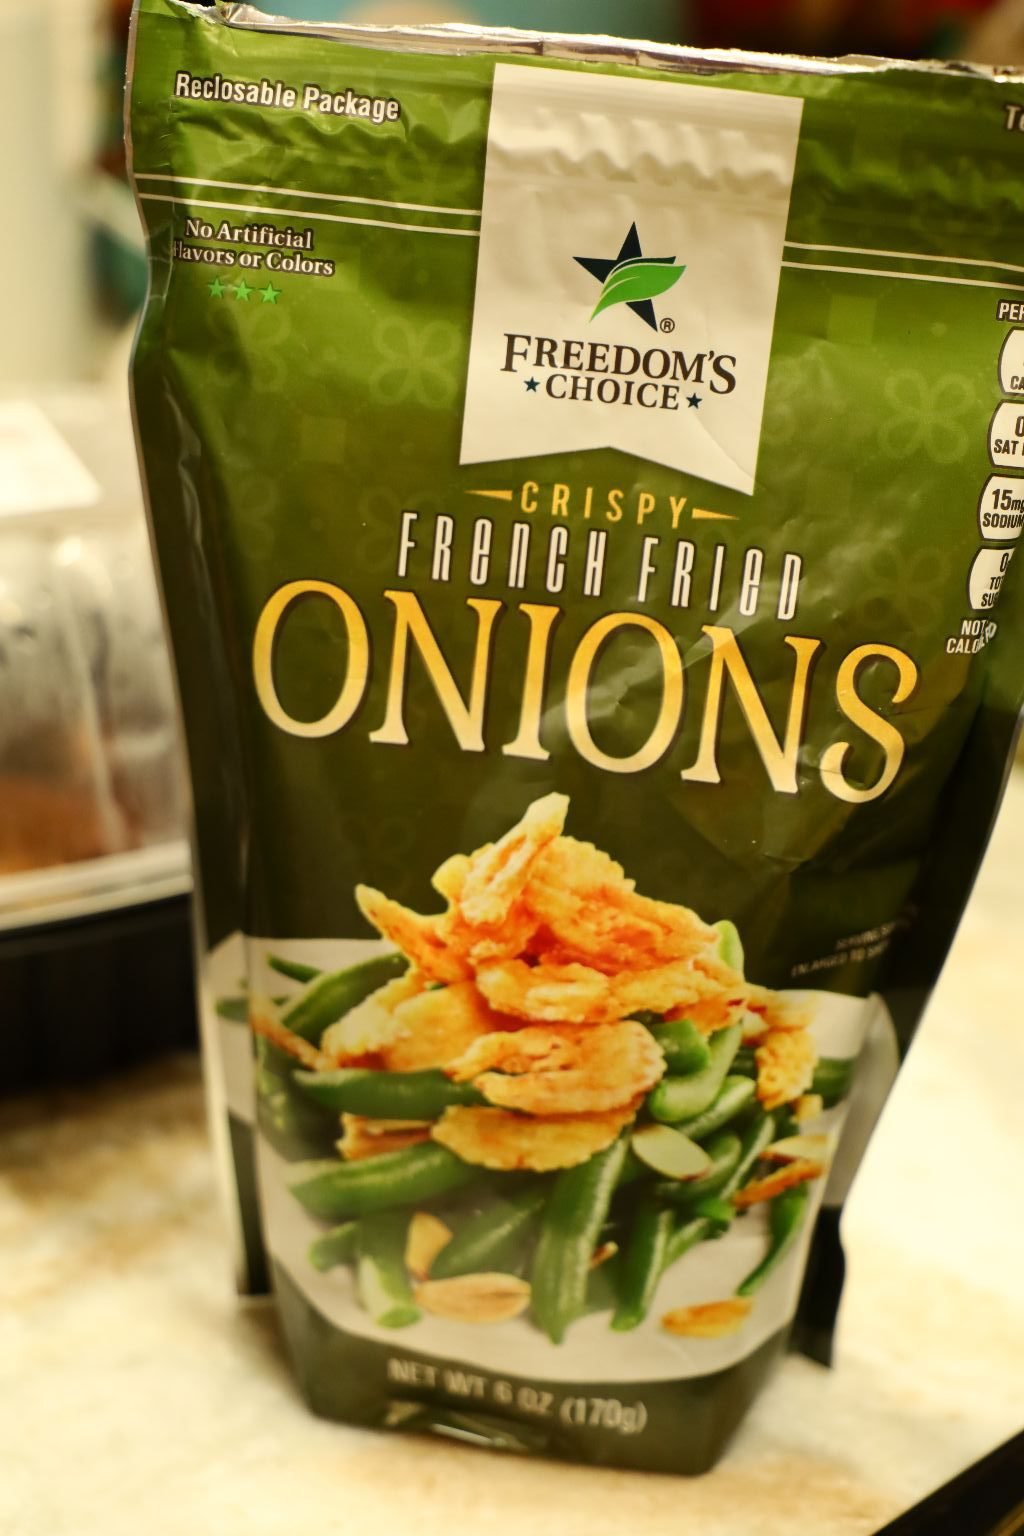
1, 6 oz. pkg. French Fried Onions
————————————————————————-
Here we are using two large pots to cook all the ingredients. Above are 2 Tbsp. butter in one of the pots. Turn the heat to Medium High and begin to melt the butter.
Start by slicing your onions removing the ends and skins…
Then slice them in half and dice them. I placed one onion in each pot.
Begin to saute the onions in the pots. You want to cook them until they start to caramelize.
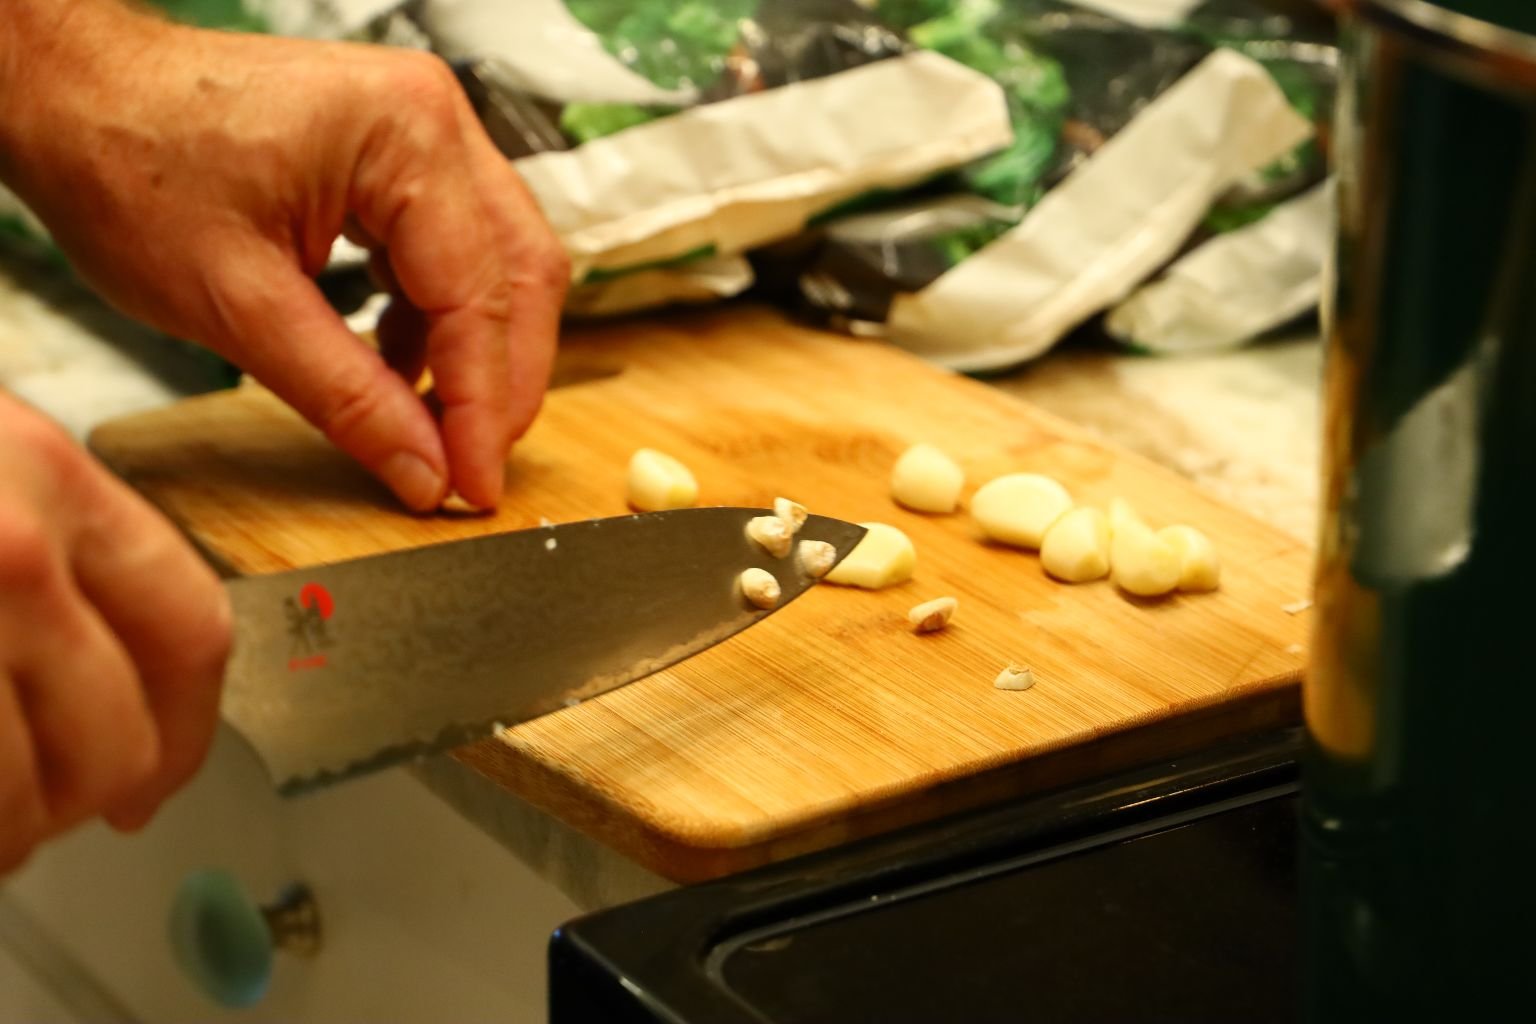
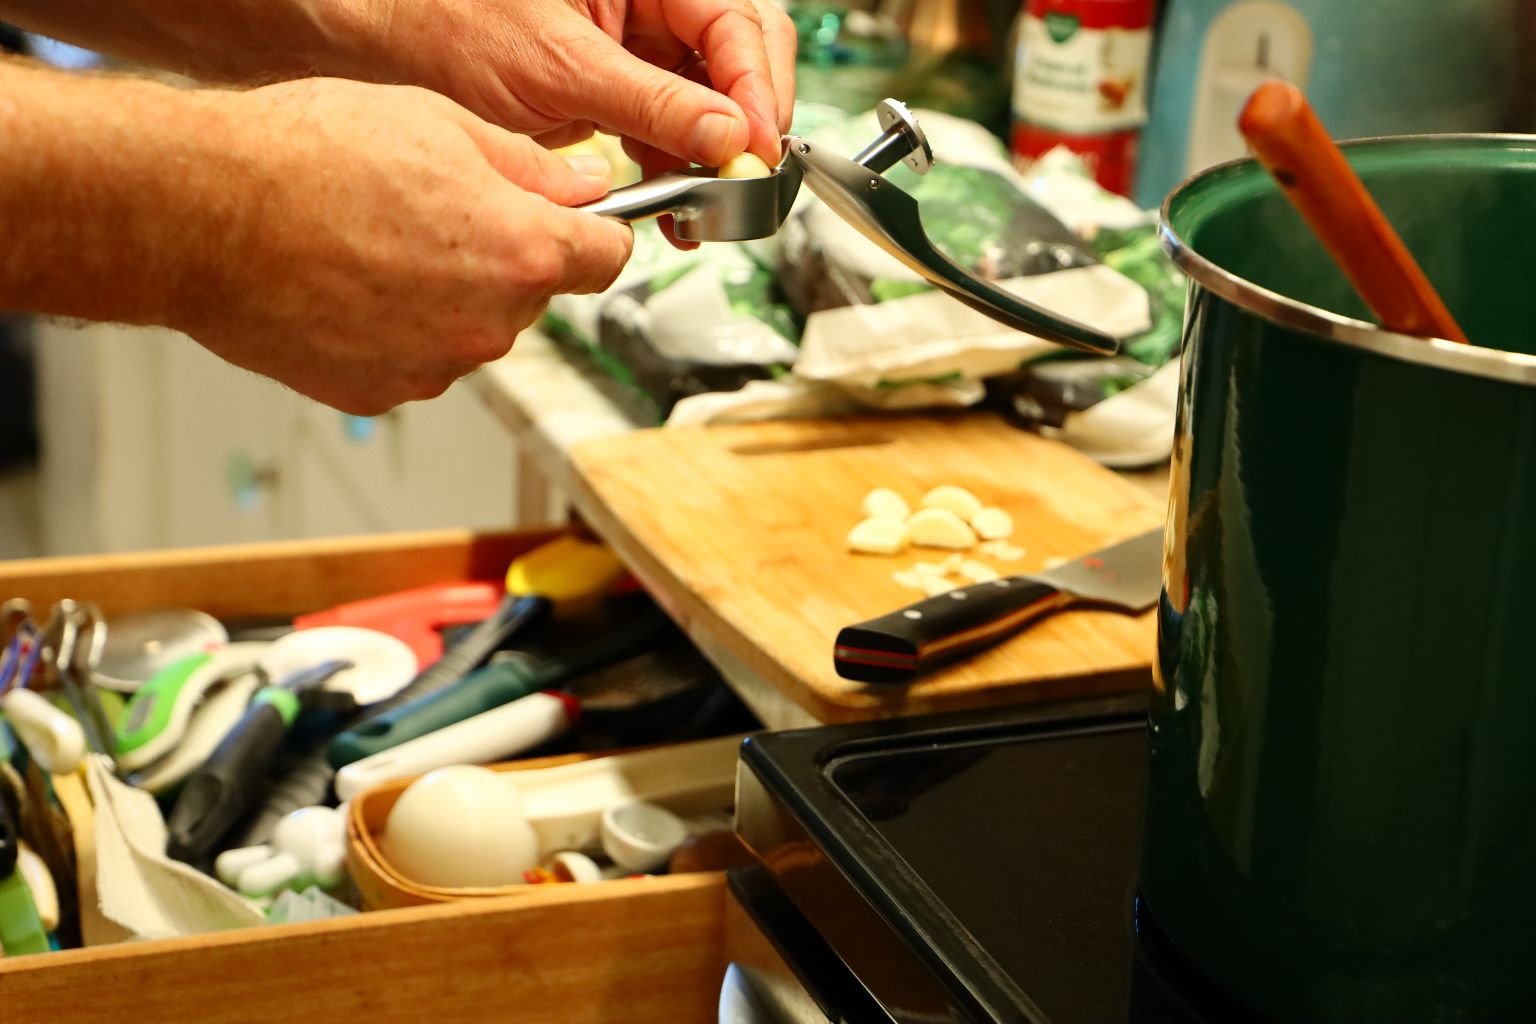
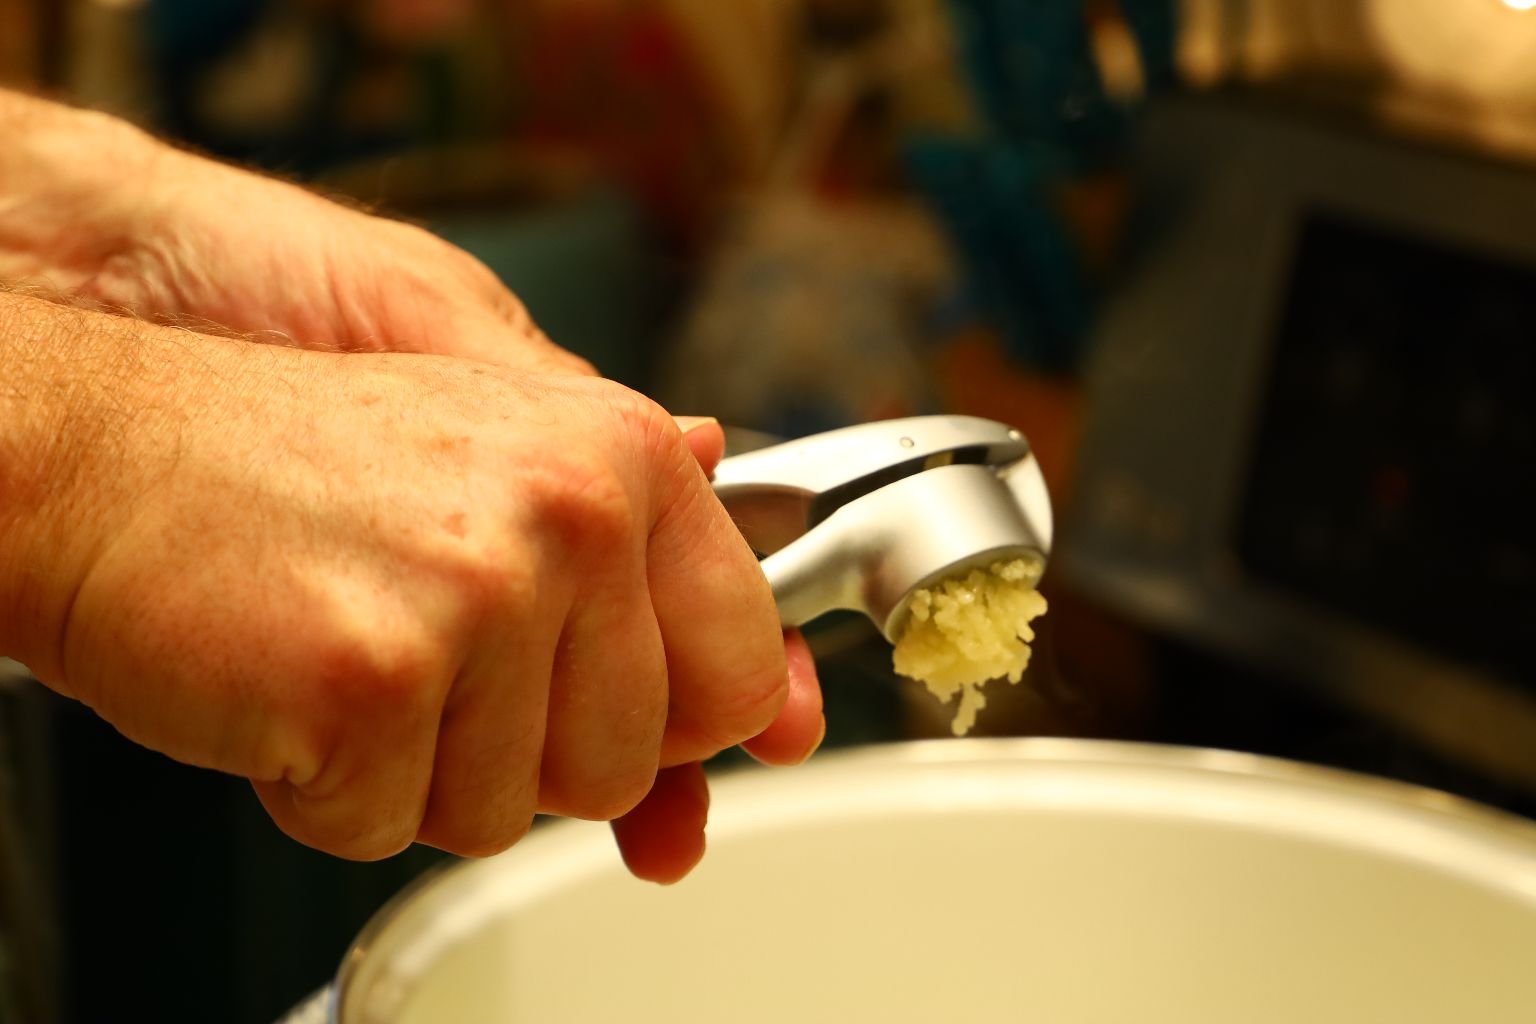
While the onions are cooking, slice the root ends off your garlic then mince them using a tool or your knife. Again, I place half of the garlic in each pot.
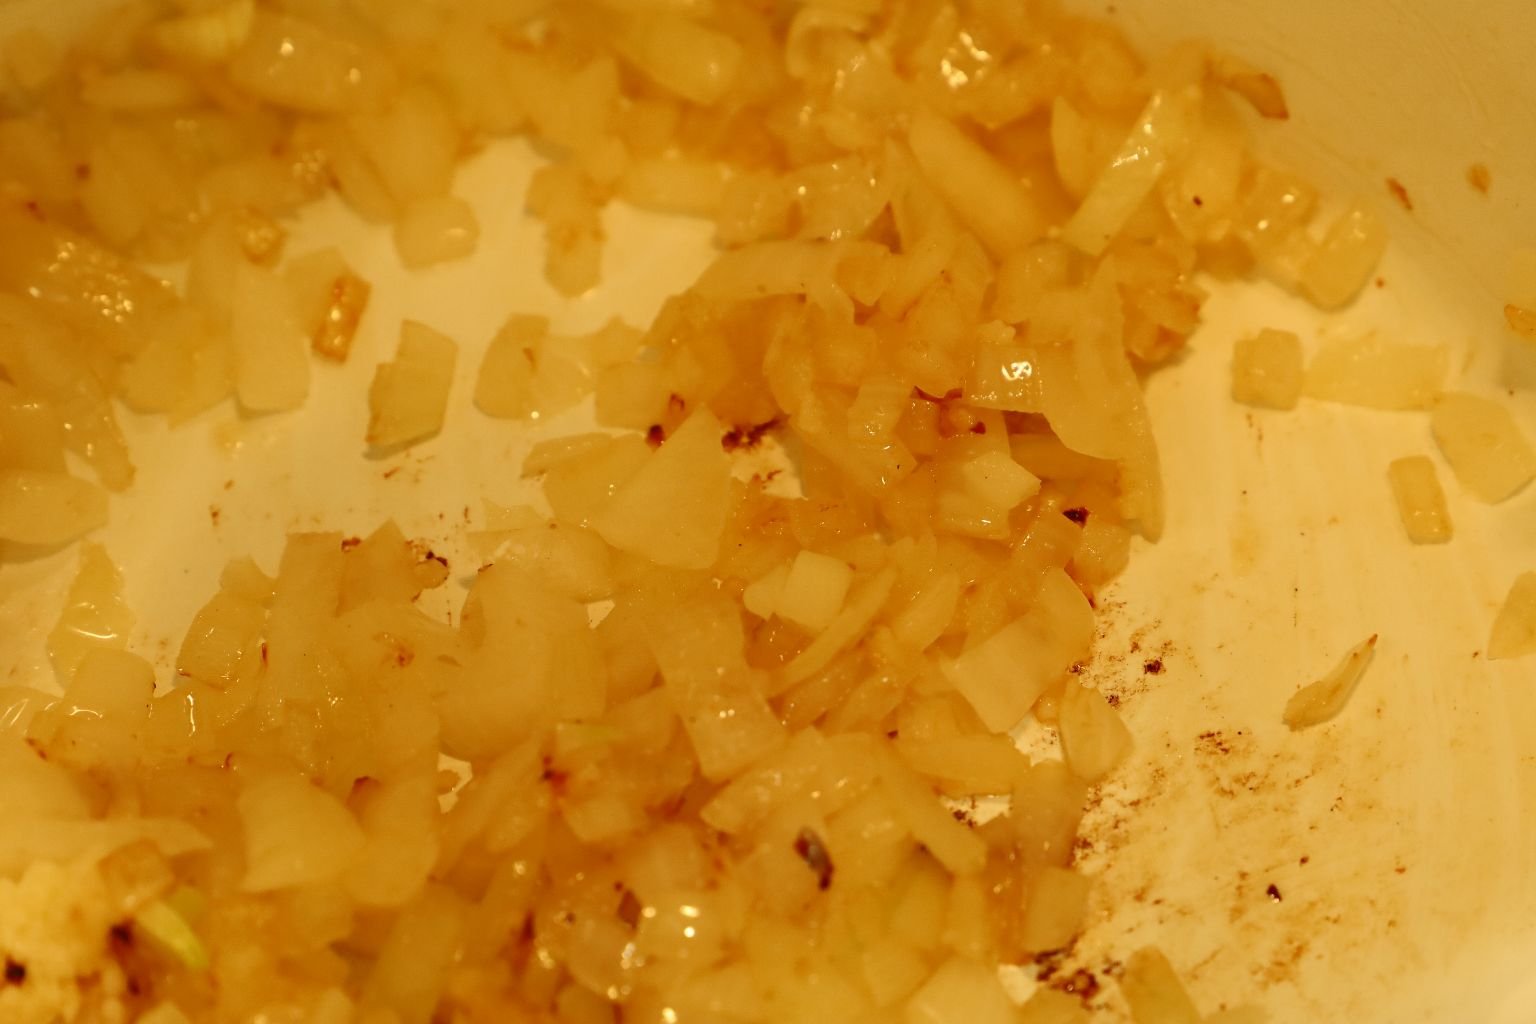
I placed the garlic in the pot when the onions were caramelized as shown above. Cook the garlic in the pot for at least a few minutes then remove the pots from the heat.
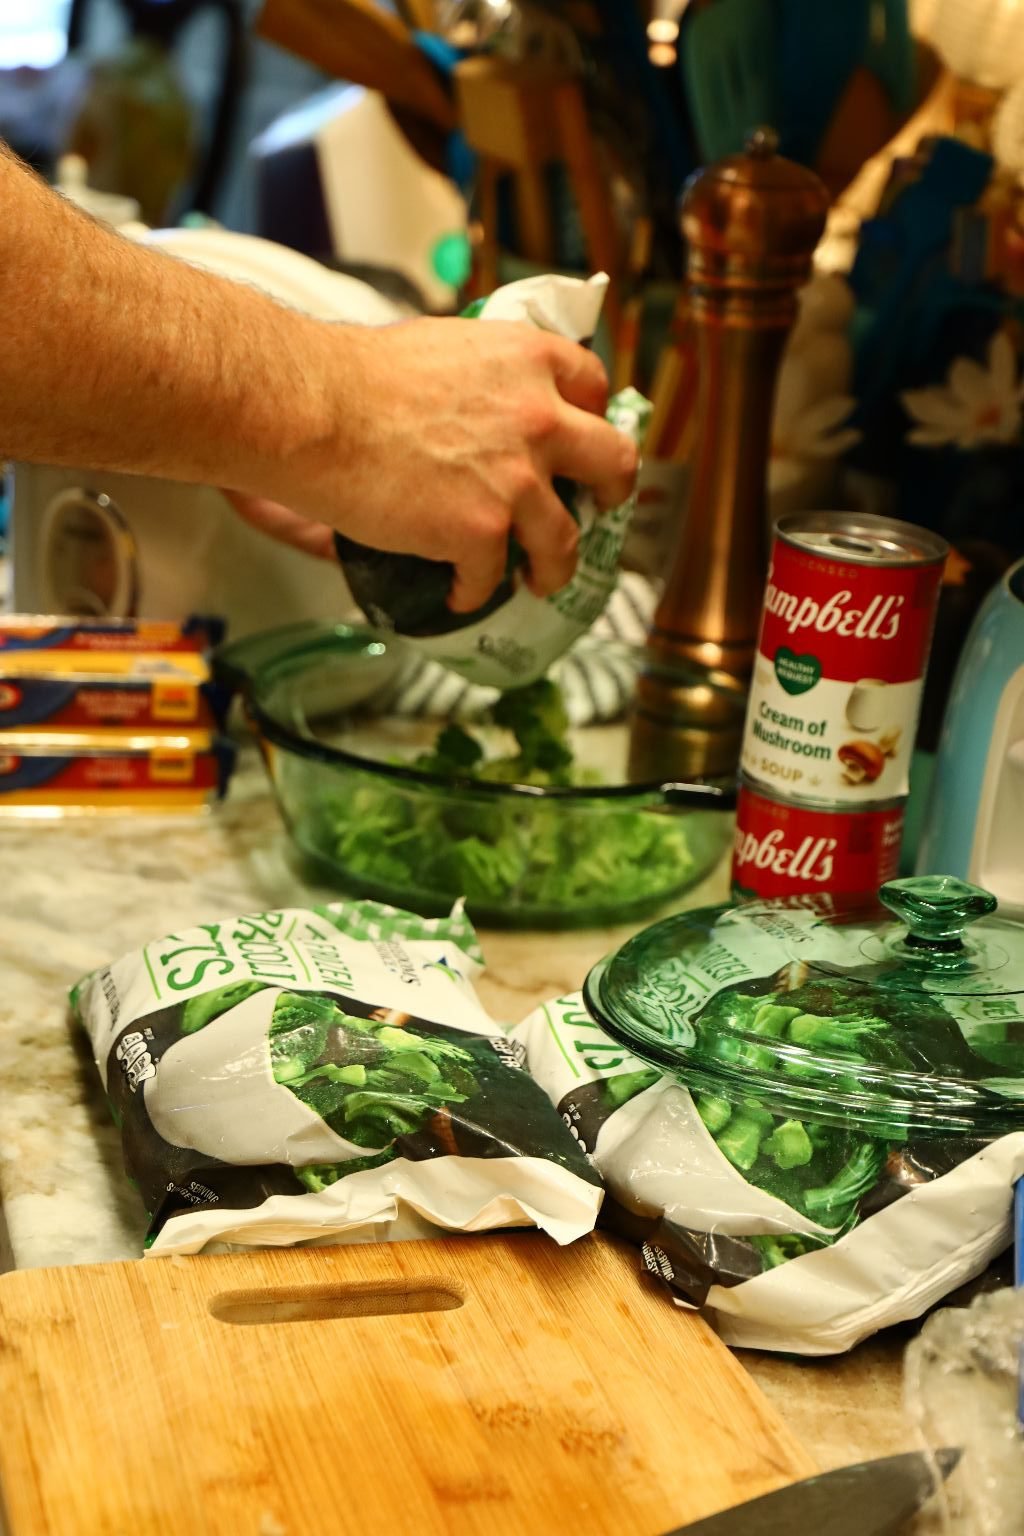
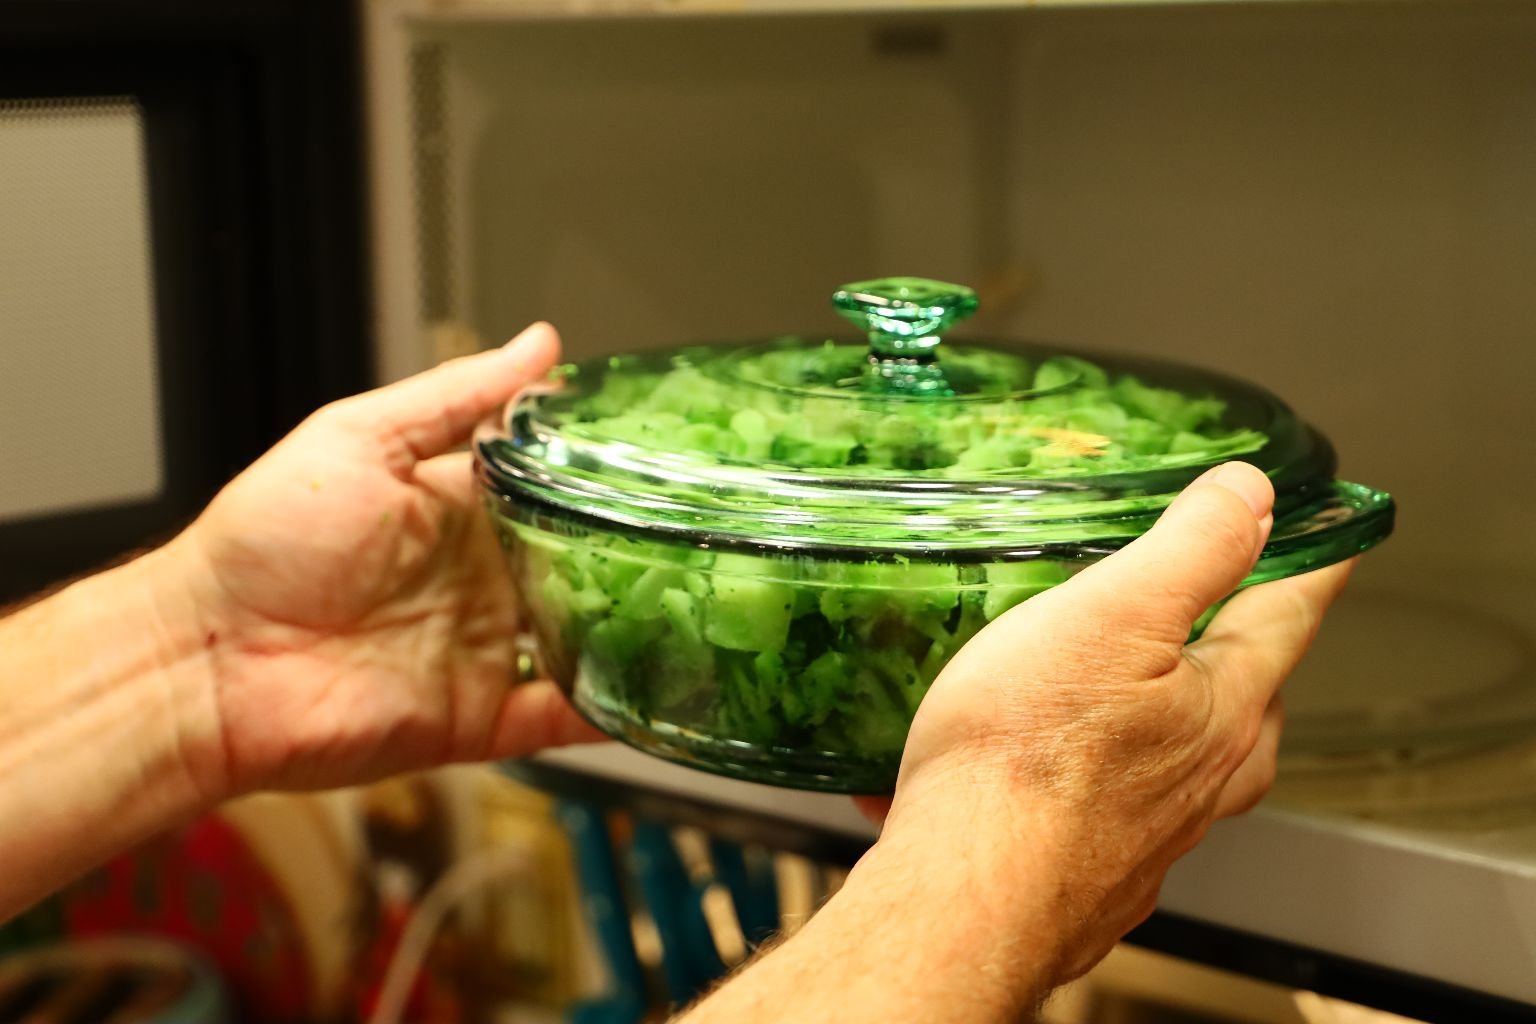
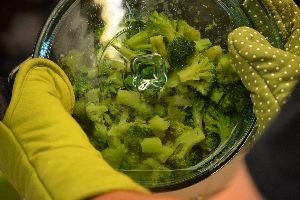
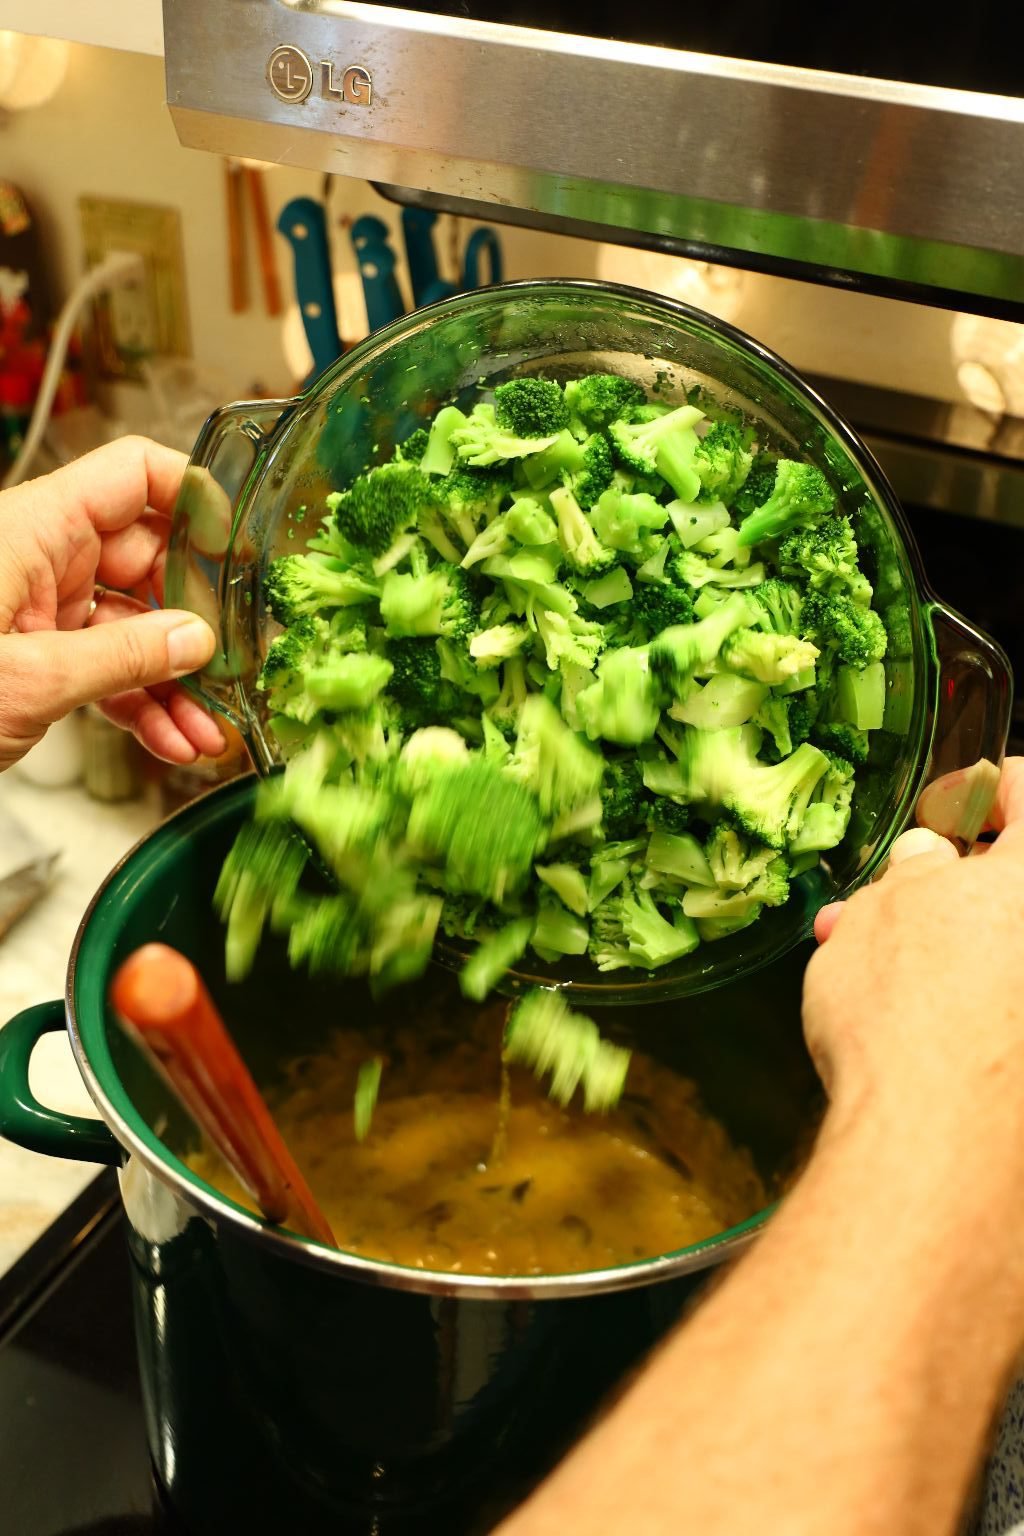
Begin to cook your broccoli by placing it in a large covered Pyrex glass dish as shown. Our microwave has a frozen vegetable setting which is what I used. If not, cook your broccoli for about 8 min. in the microwave.
While your broccoli is cooking, slice your mushrooms thinly as shown and place them in your two pots. Turn your heat to Medium High and add about 2 Tbsp. butter to each pot.
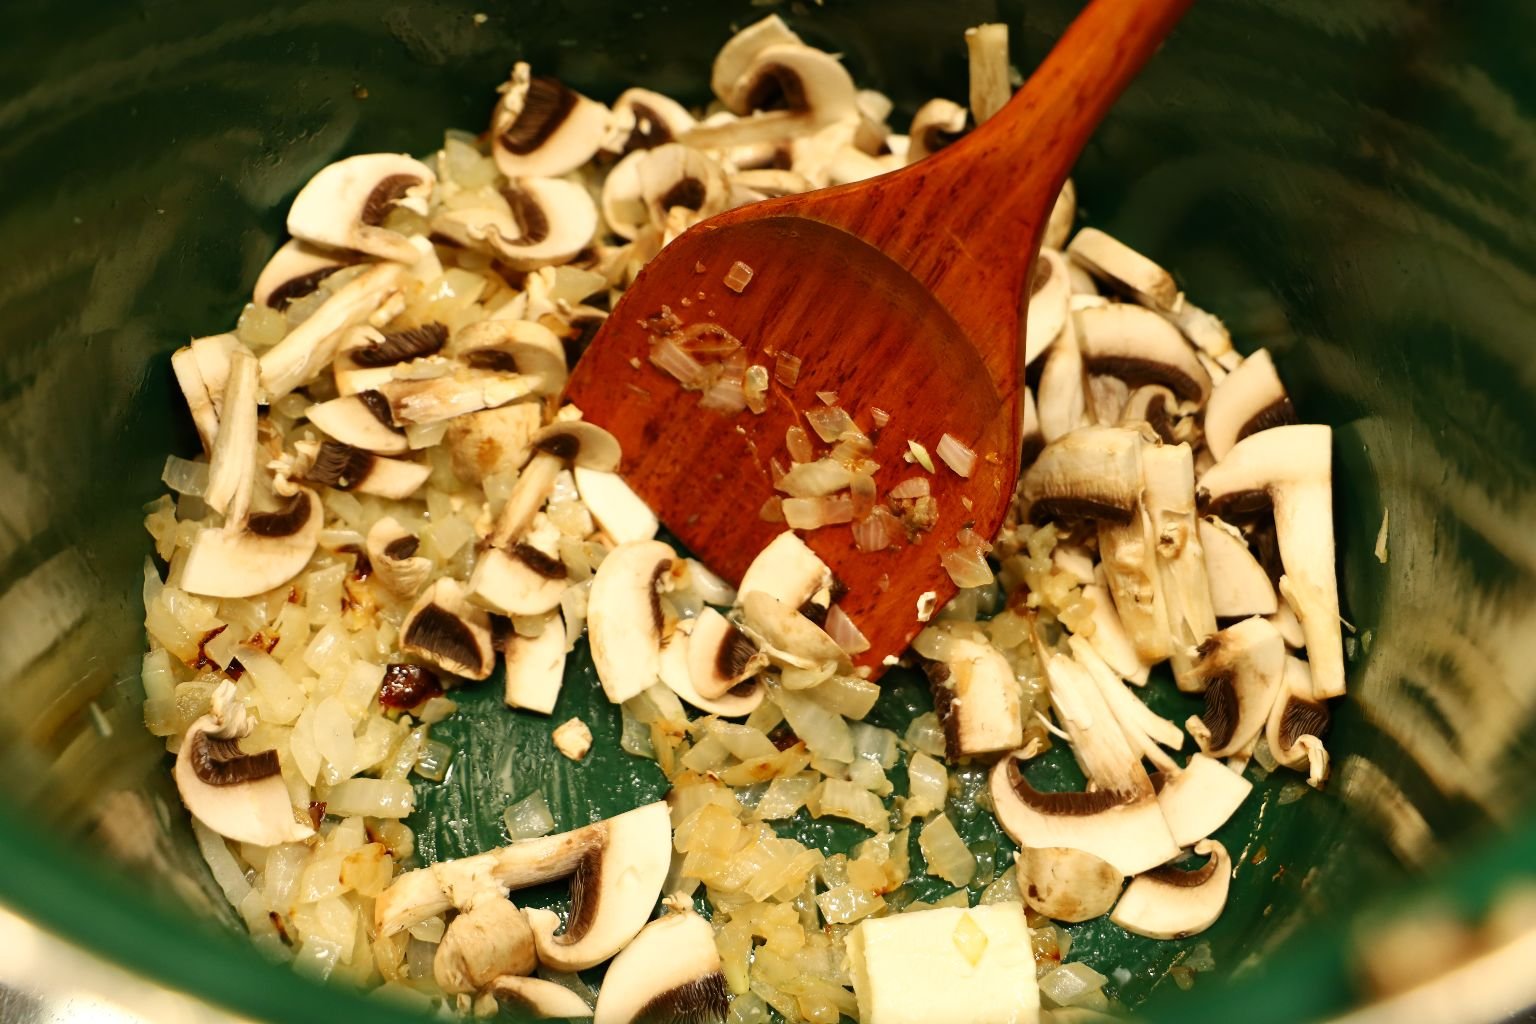
Stir the mushrooms together with the onions as shown above.
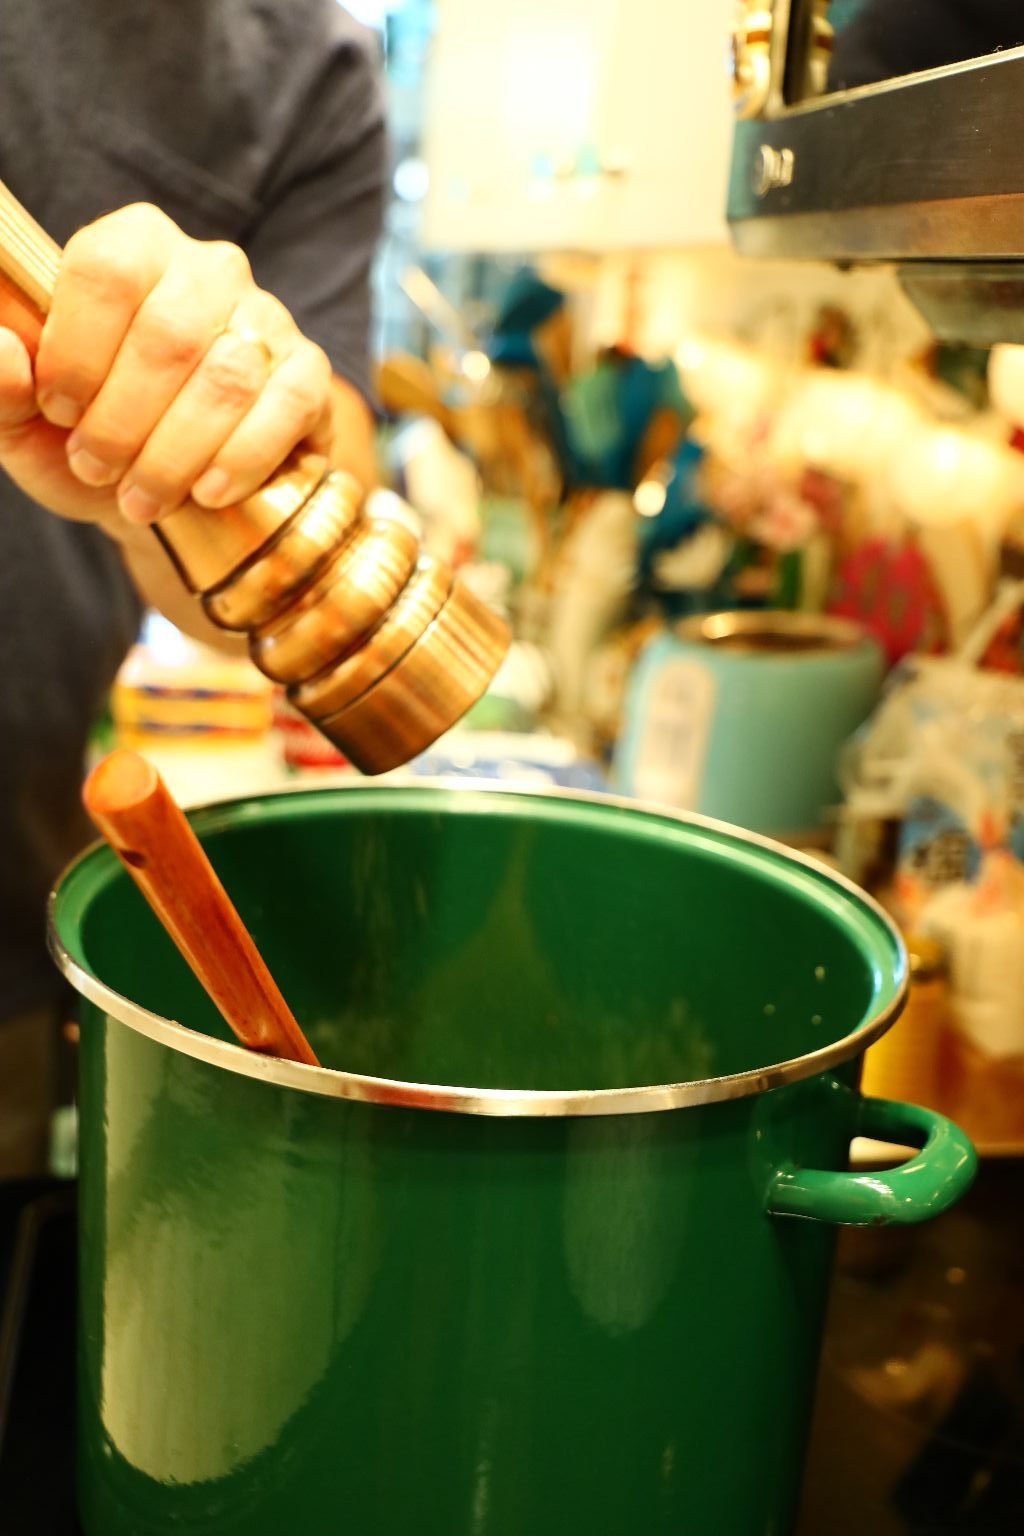

Add some pepper and Hawaiian Sea Salt to taste, to each pot.
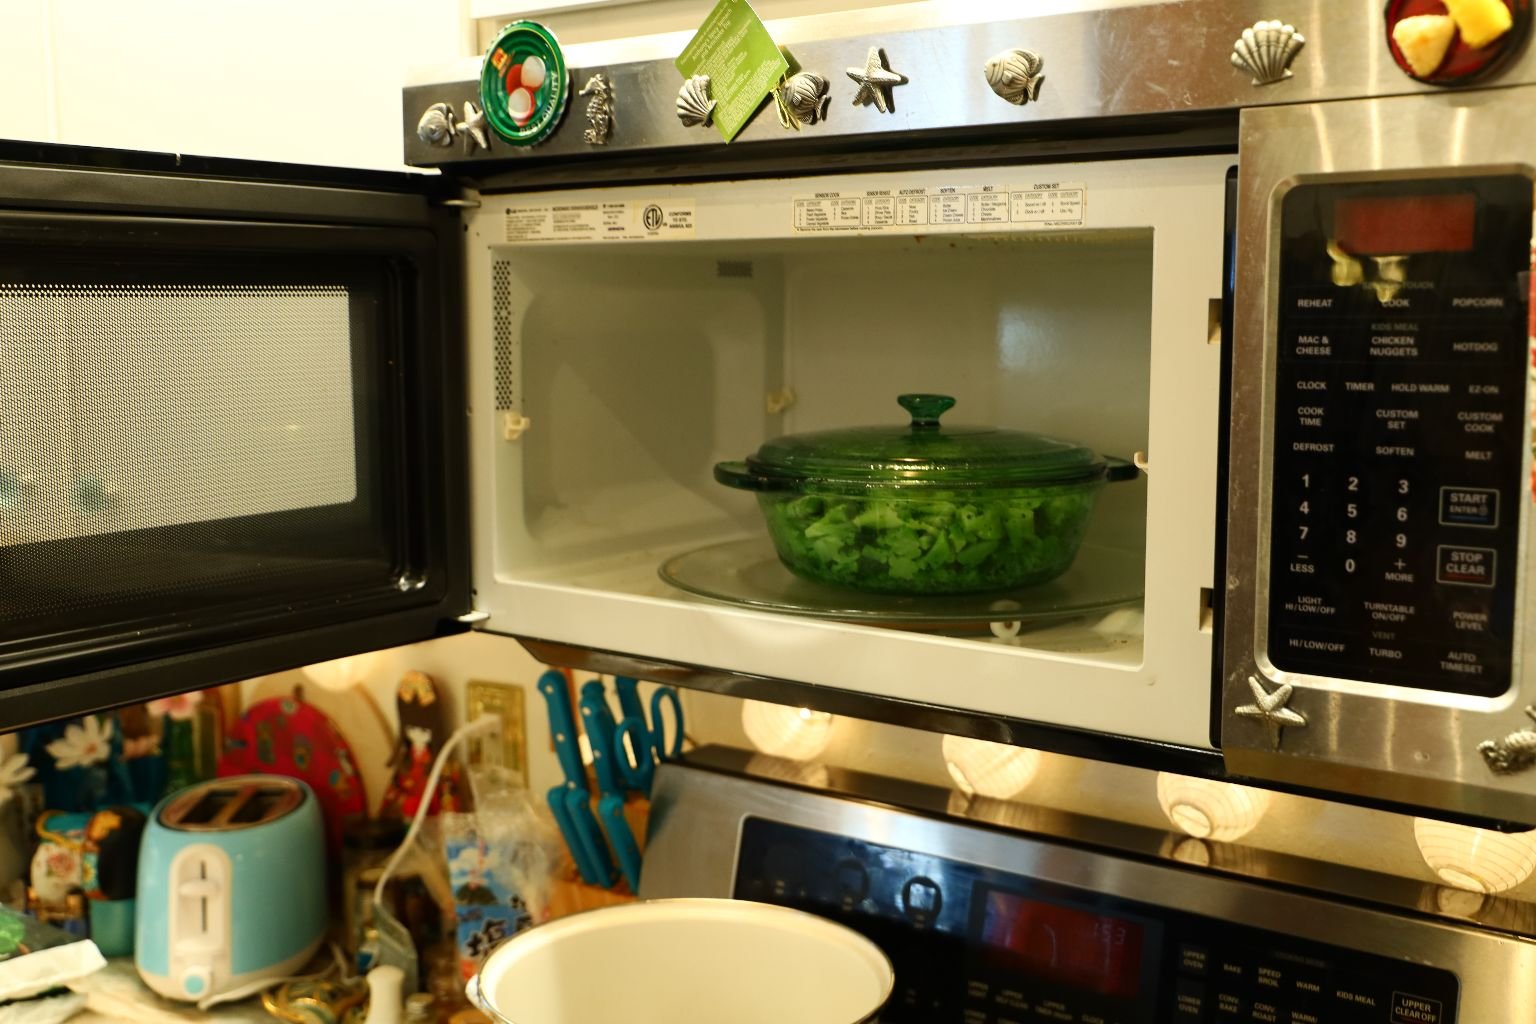
Now that your Broccoli has cooked, remove it from the microwave and turn it on its side over the sink to let the water drain out. Remove the cooked broccoli and repeat this procedure for another batch.
When your mushrooms have cooked down taking about 10 min. add your Cream of Mushroom Soup.
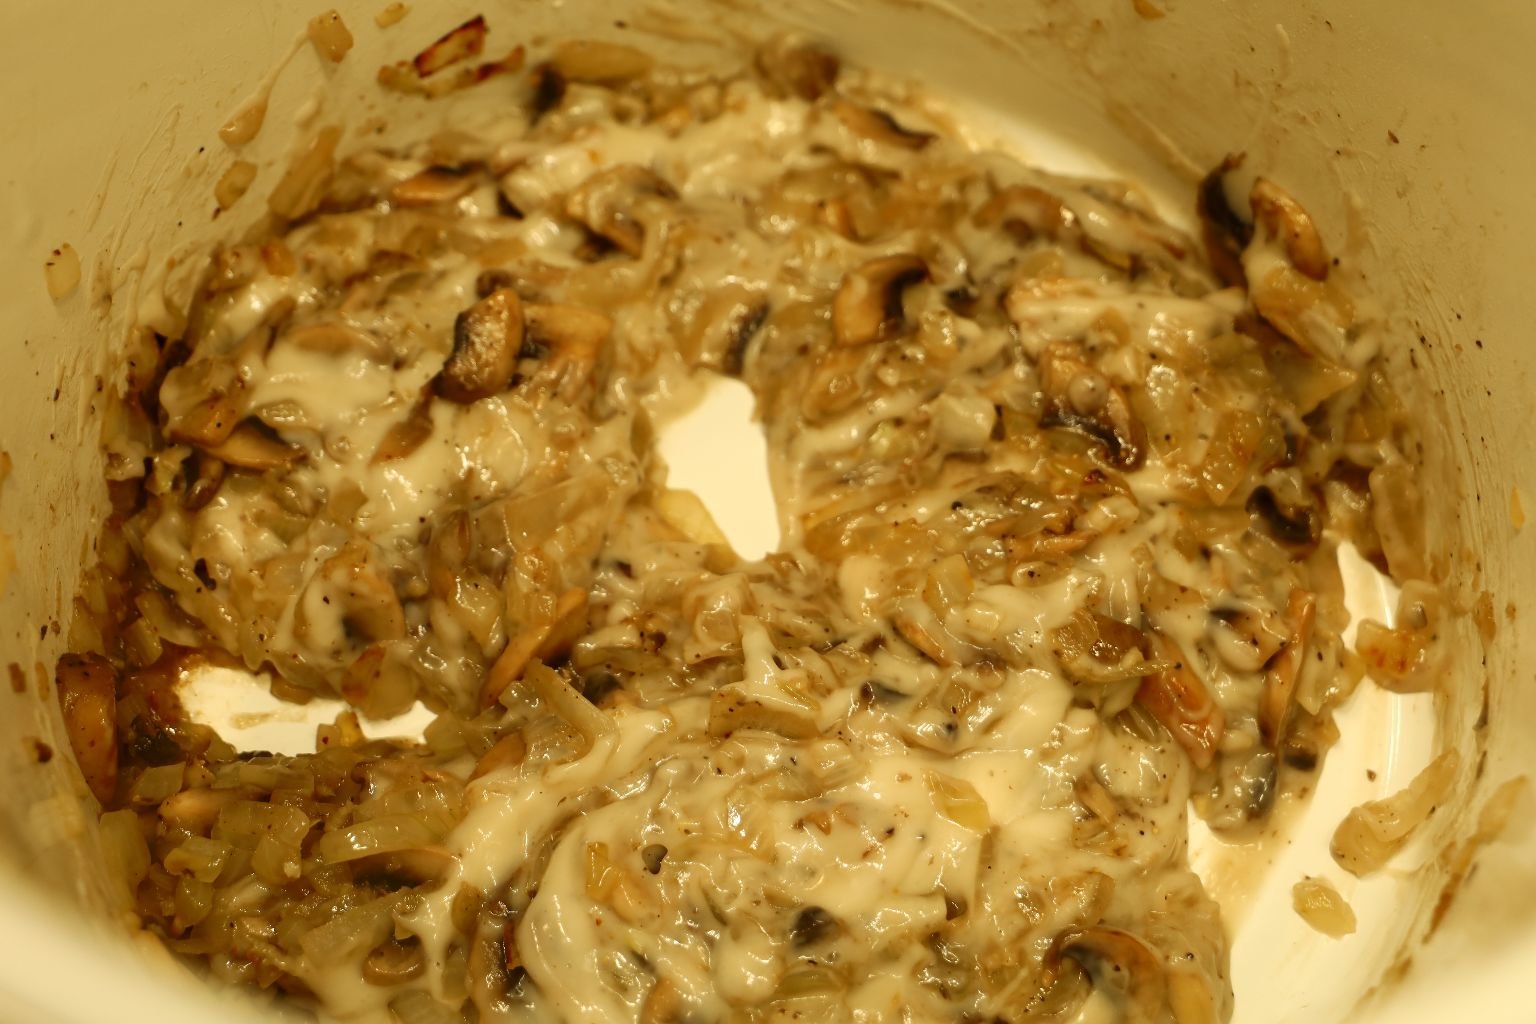
Mix all the ingredients well as shown.
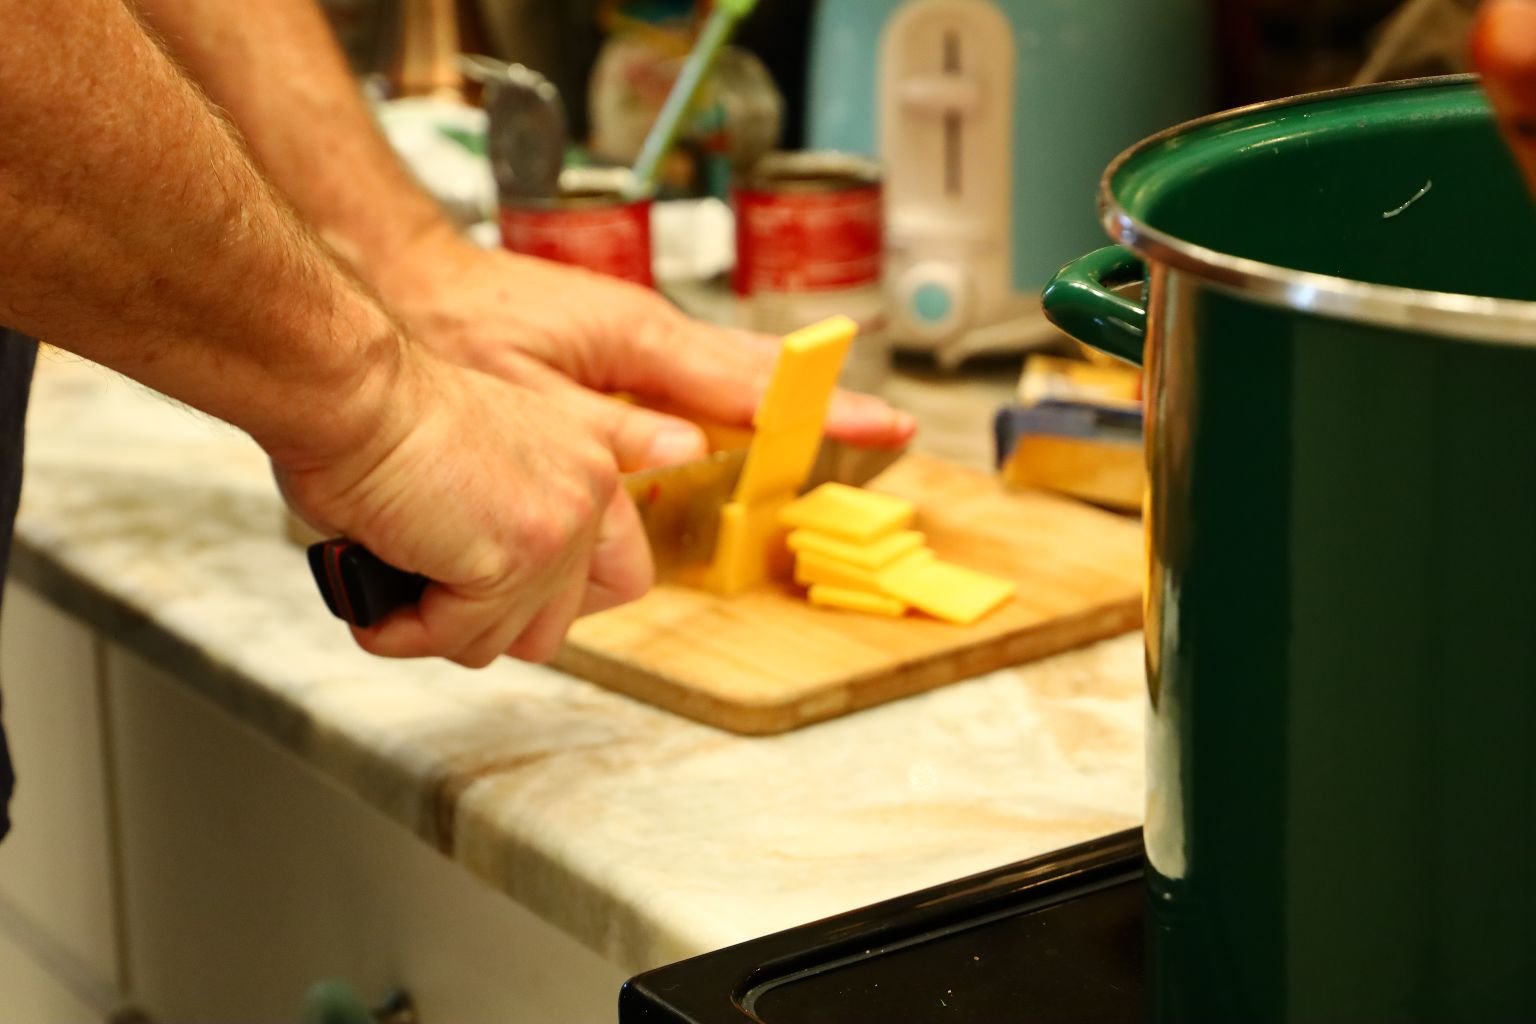
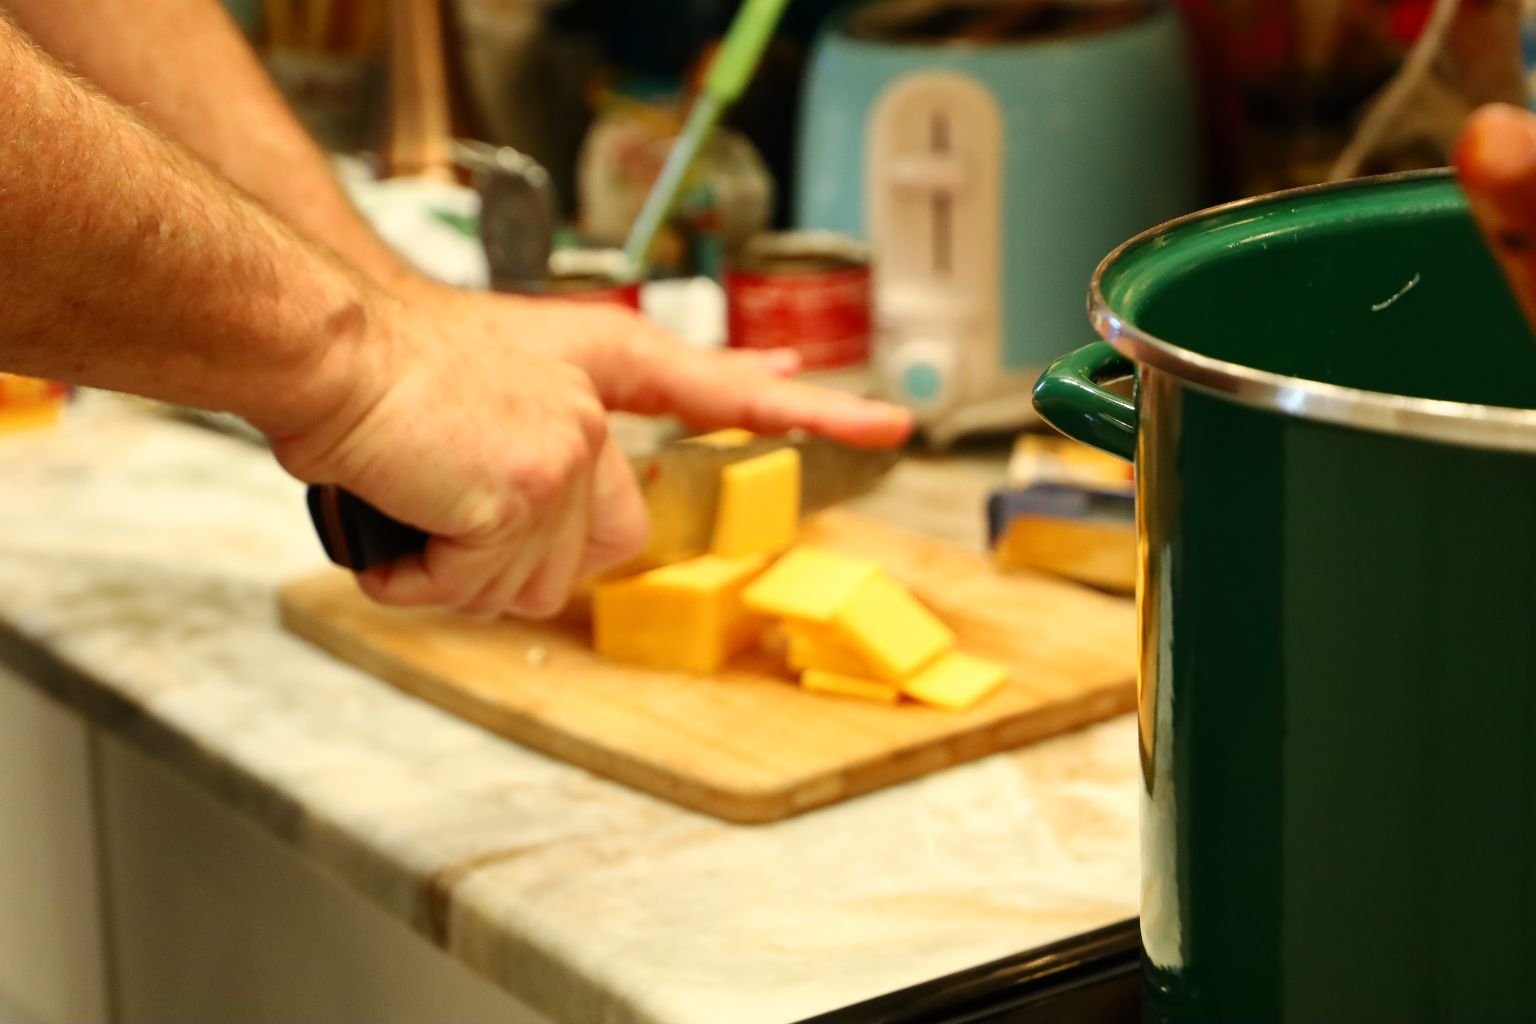
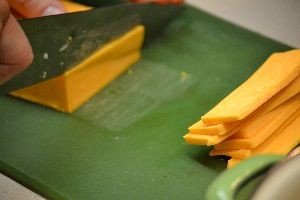
Now slice your Sharp Cheddar Cheese into thin block slices so it melts faster.
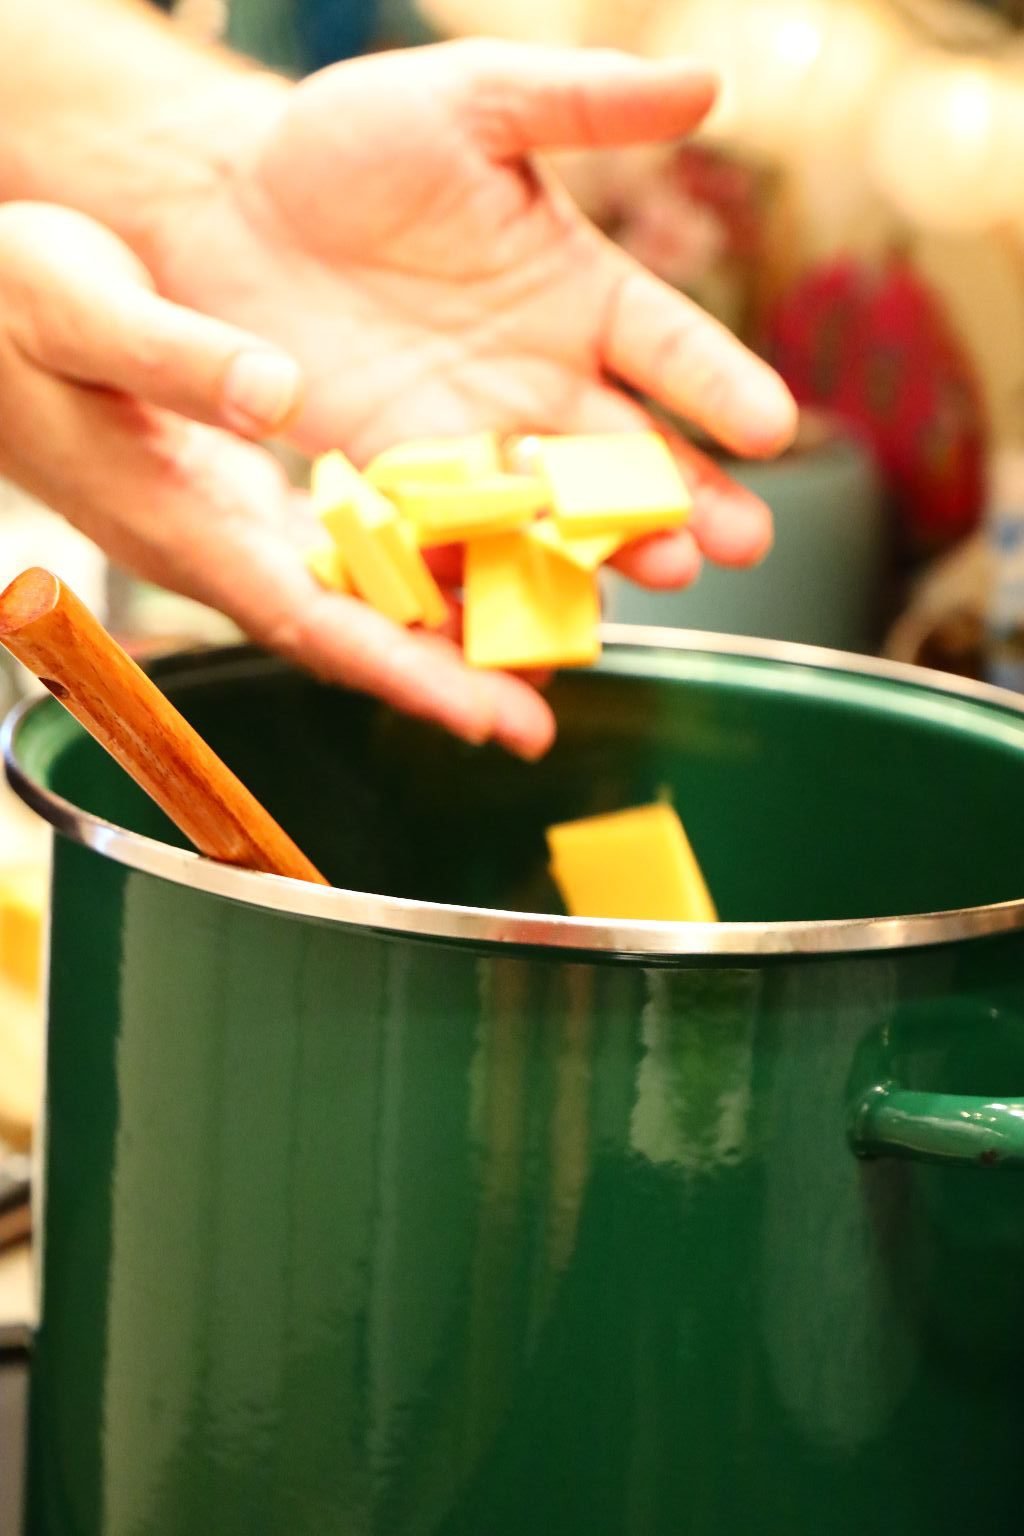
Add your cheese to the pots and mix well.
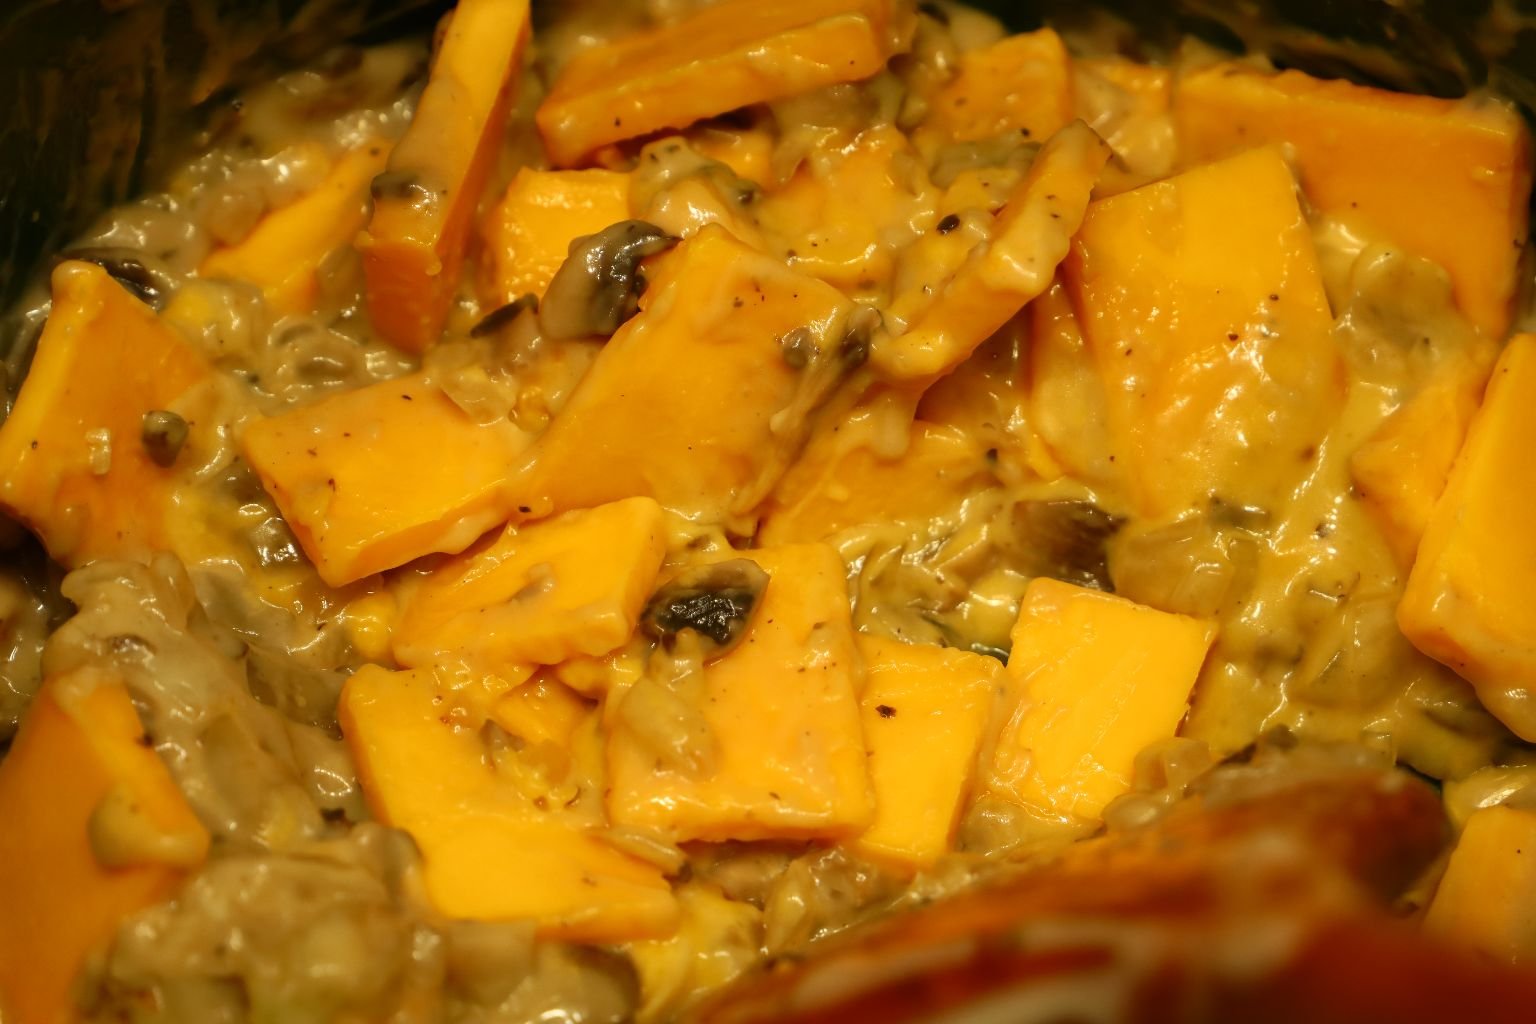
Here, my other portion of broccoli has finished cooking, so I drained it well then added it to a pot once the cheese melted.
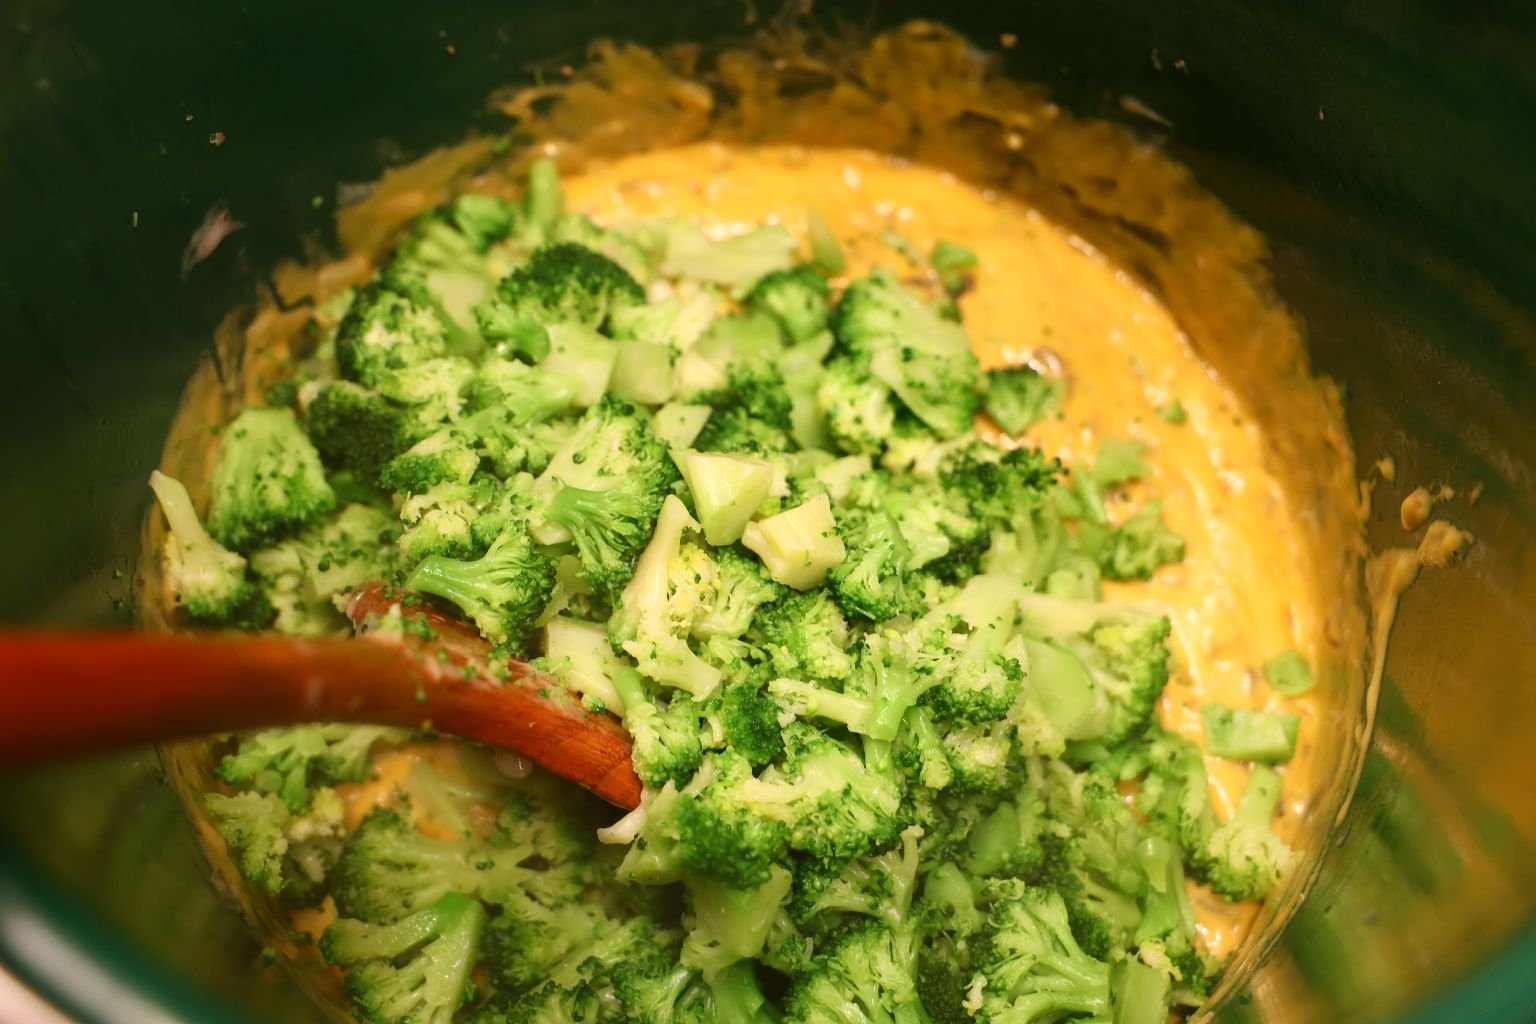
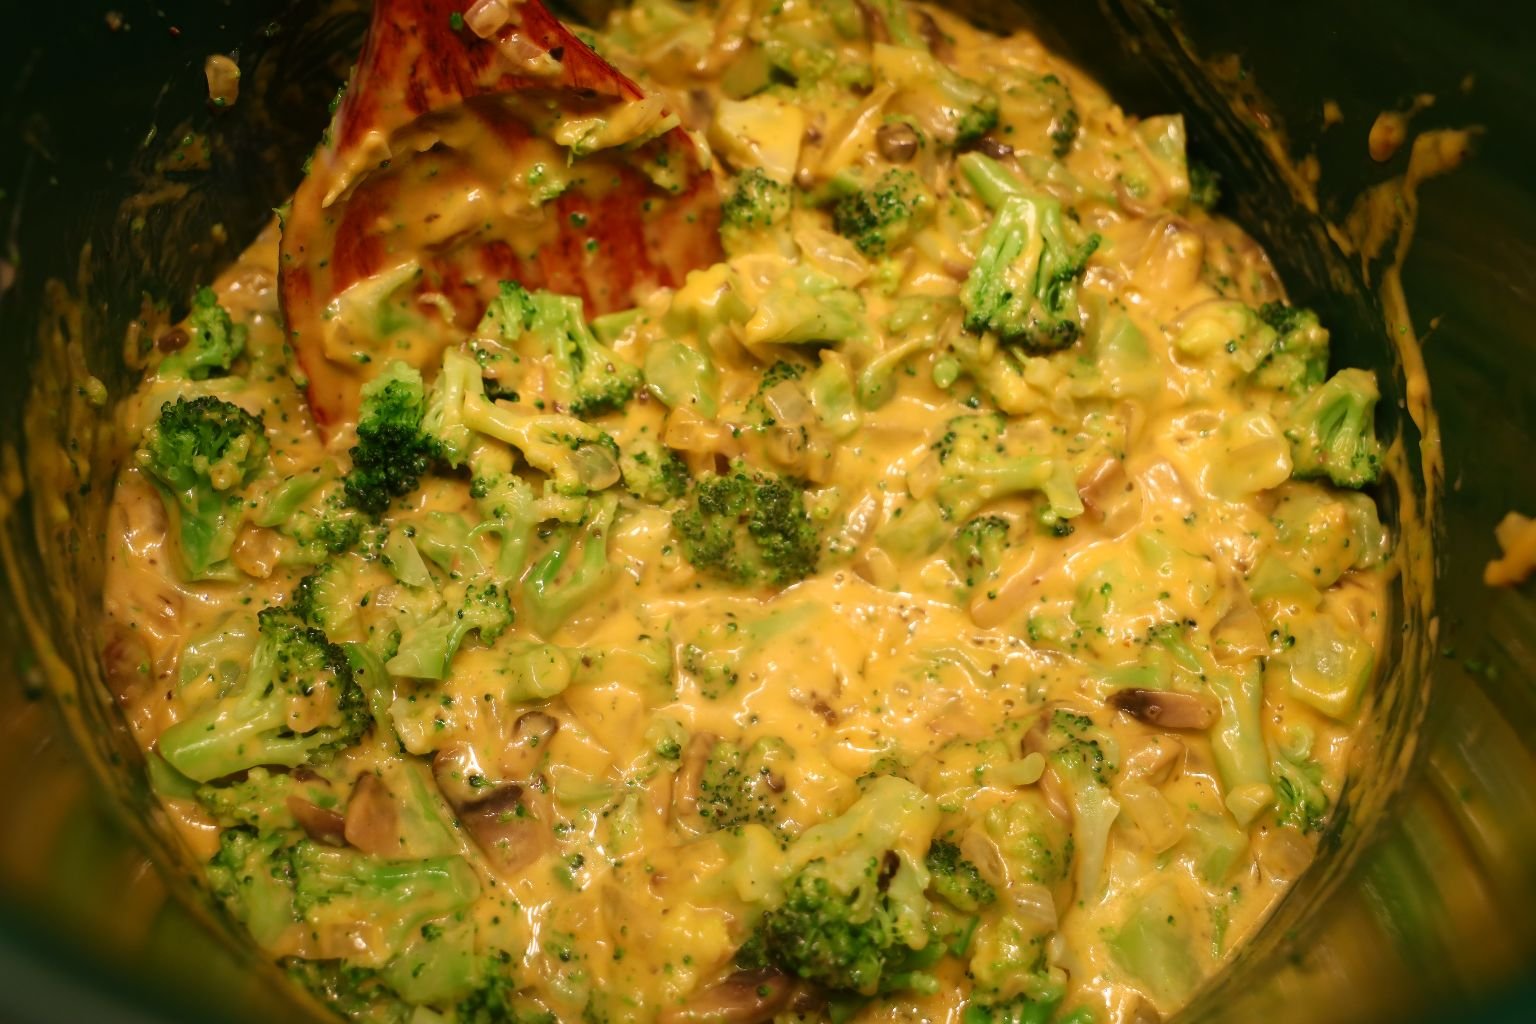
Stir to combine all the ingredients. Let this mixture cook on Medium Heat for about 10 to 15 more minutes stirring occasionally.
This is a great dip recipe which we use Fritos brand “Scoops” Corn Chips.
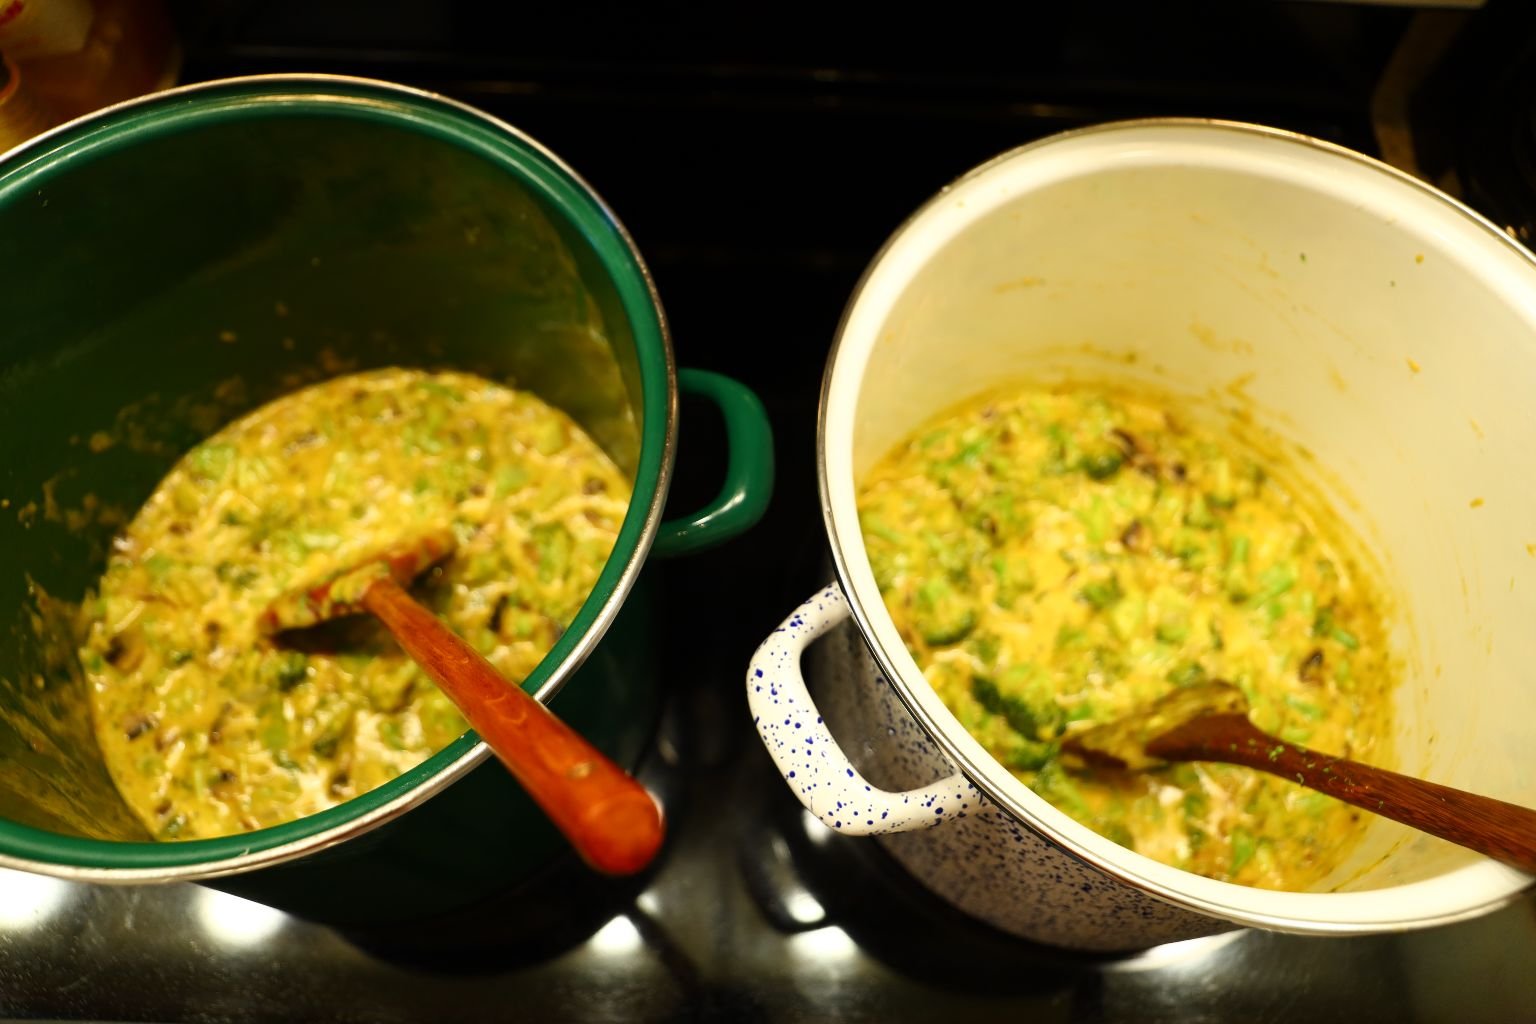
We are keeping one pot as our Broccoli and Cheese Dip, and the other pot will be part of our Casser-ALL.
—————————————————————————–
Making The Rice
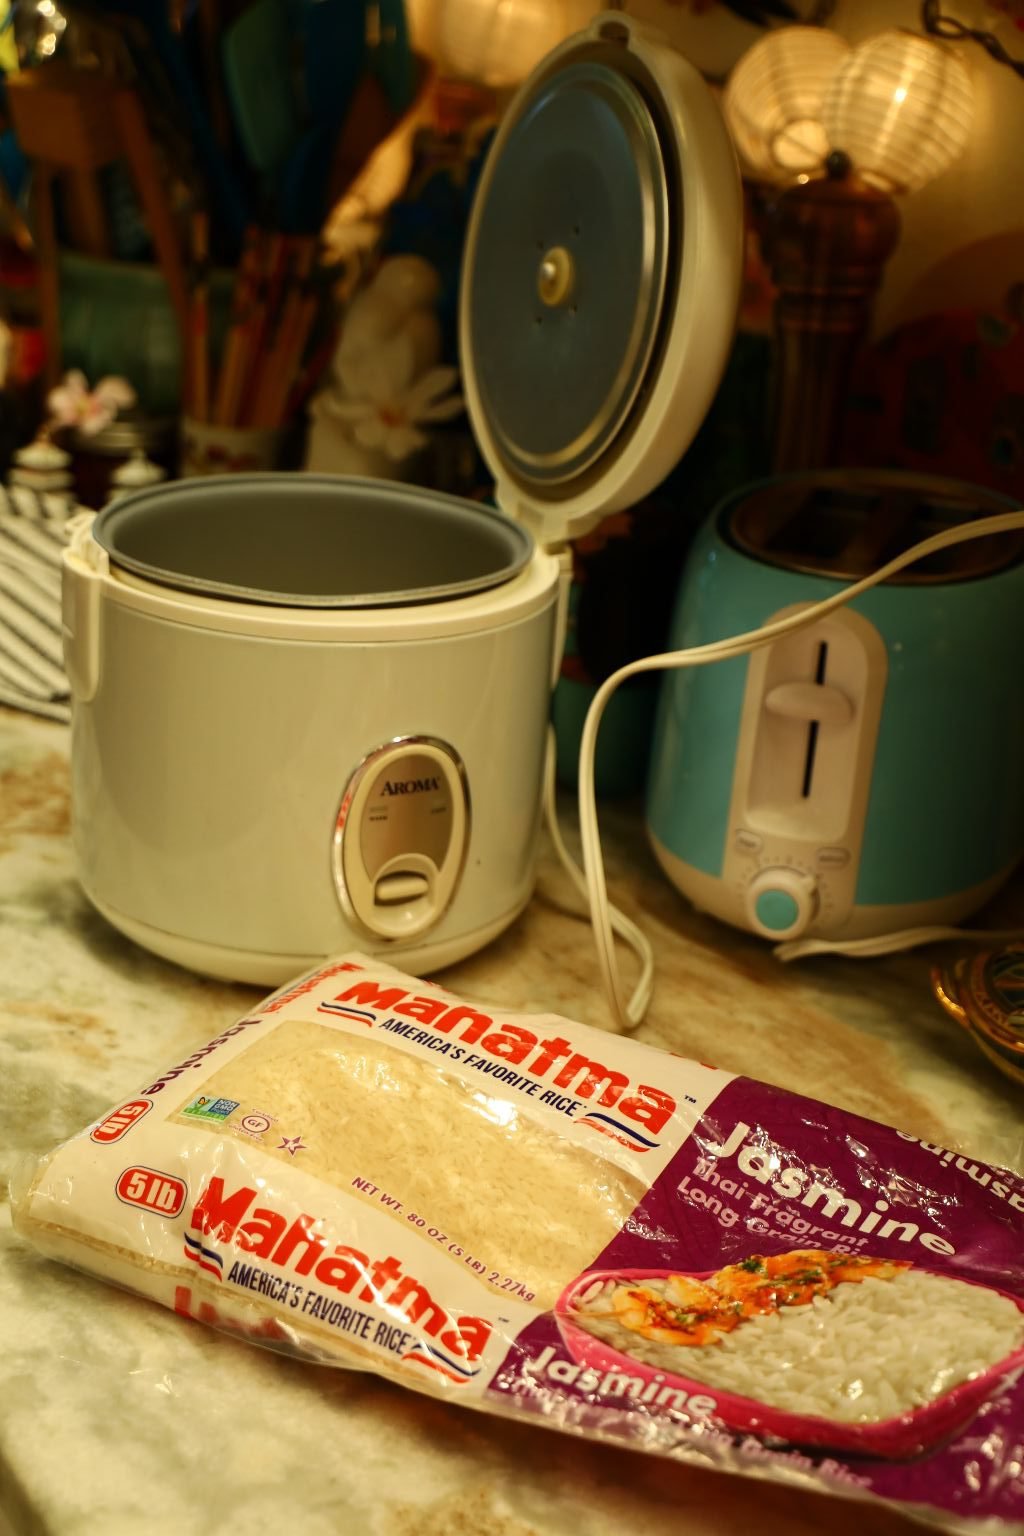
Here I am making the rice. Simply place about 2-3 cups of rice into the pot. Rinse the rice well until most of the starch has been removed, then add enough water until it is one inch above the rice. One inch is the distance from the tip of your index finger to your first knuckle.

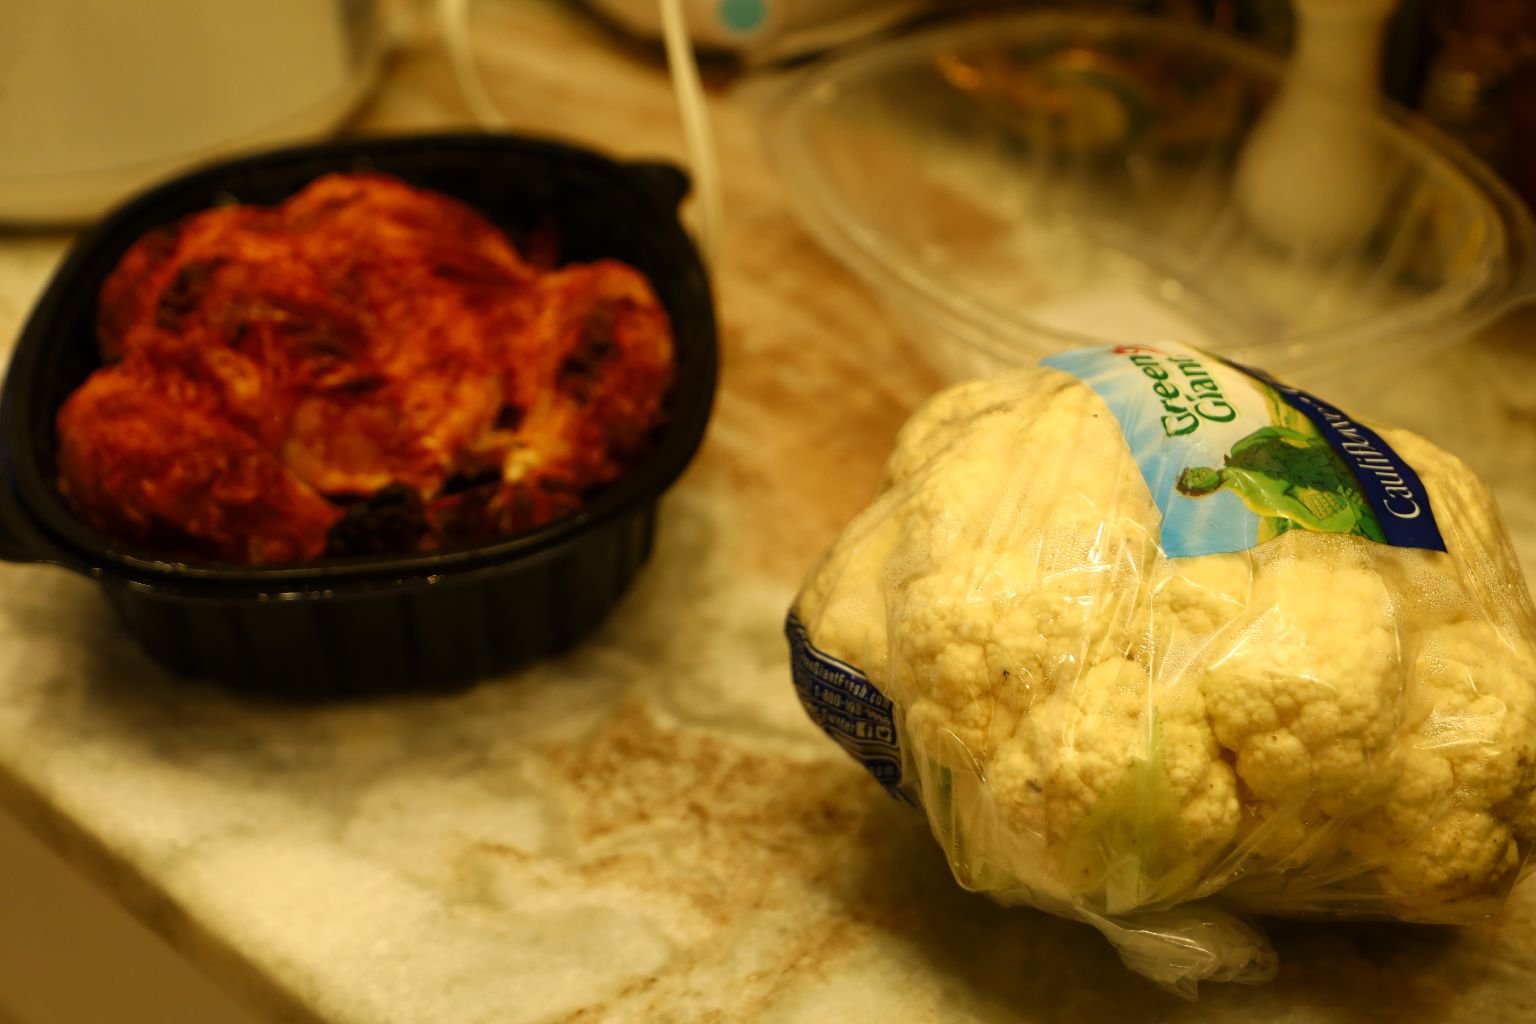
Here is the Rotisserie Chicken we bought.
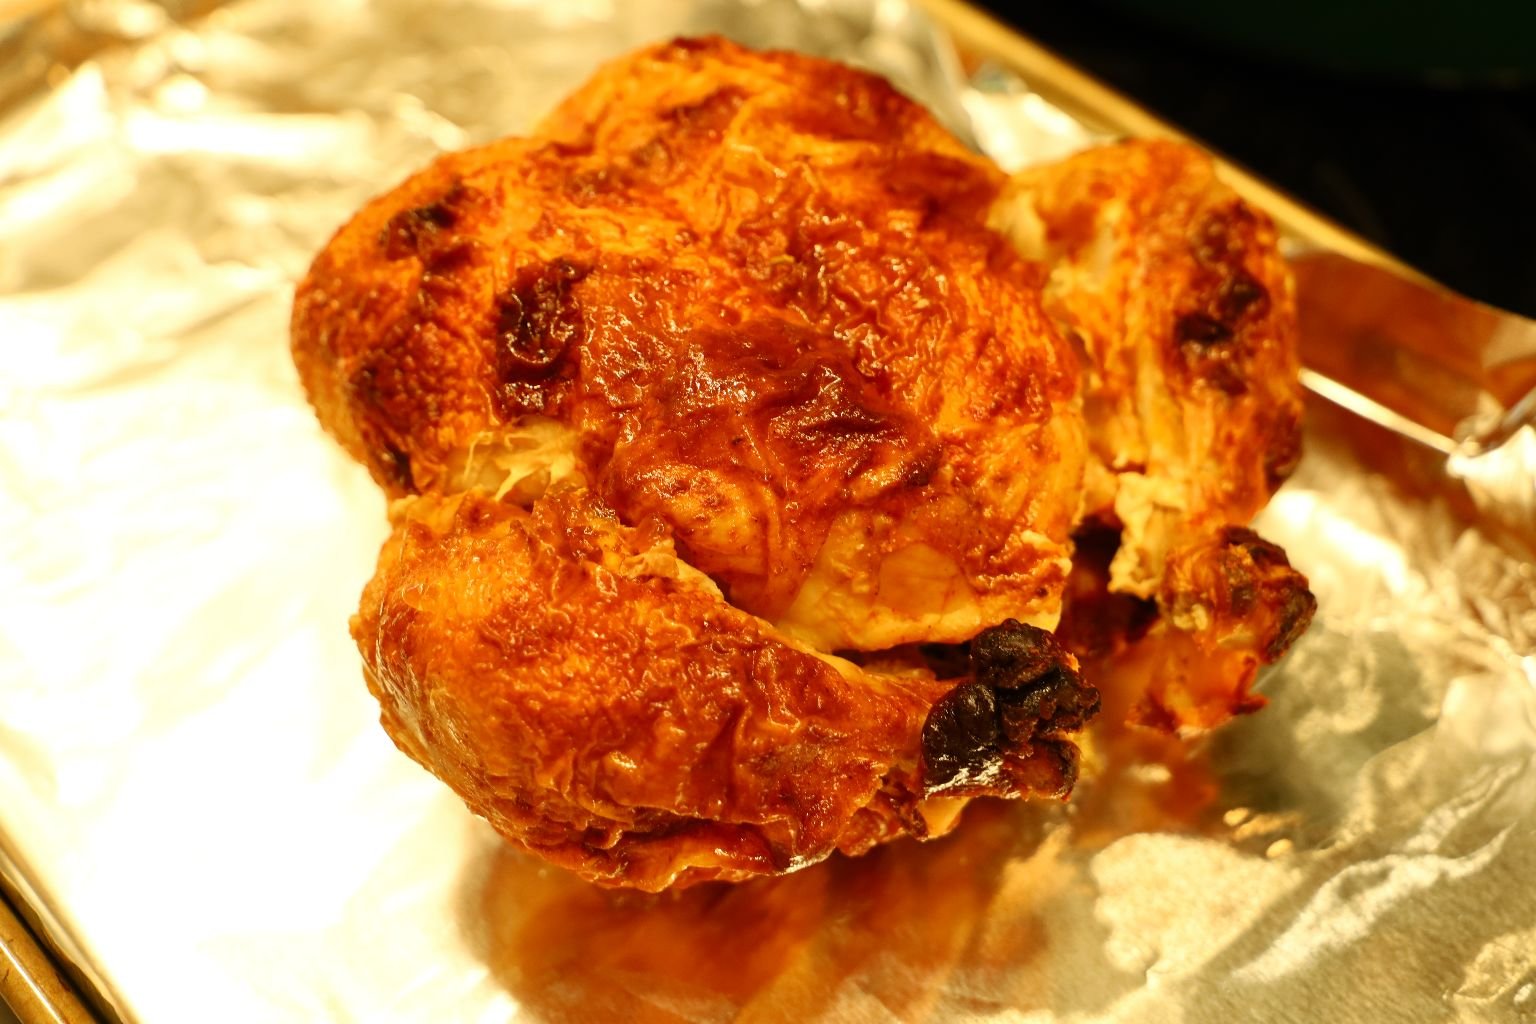
To more easily remove the meat, we heated it in the oven at 300’F for about 15 min.
————————————————————————–
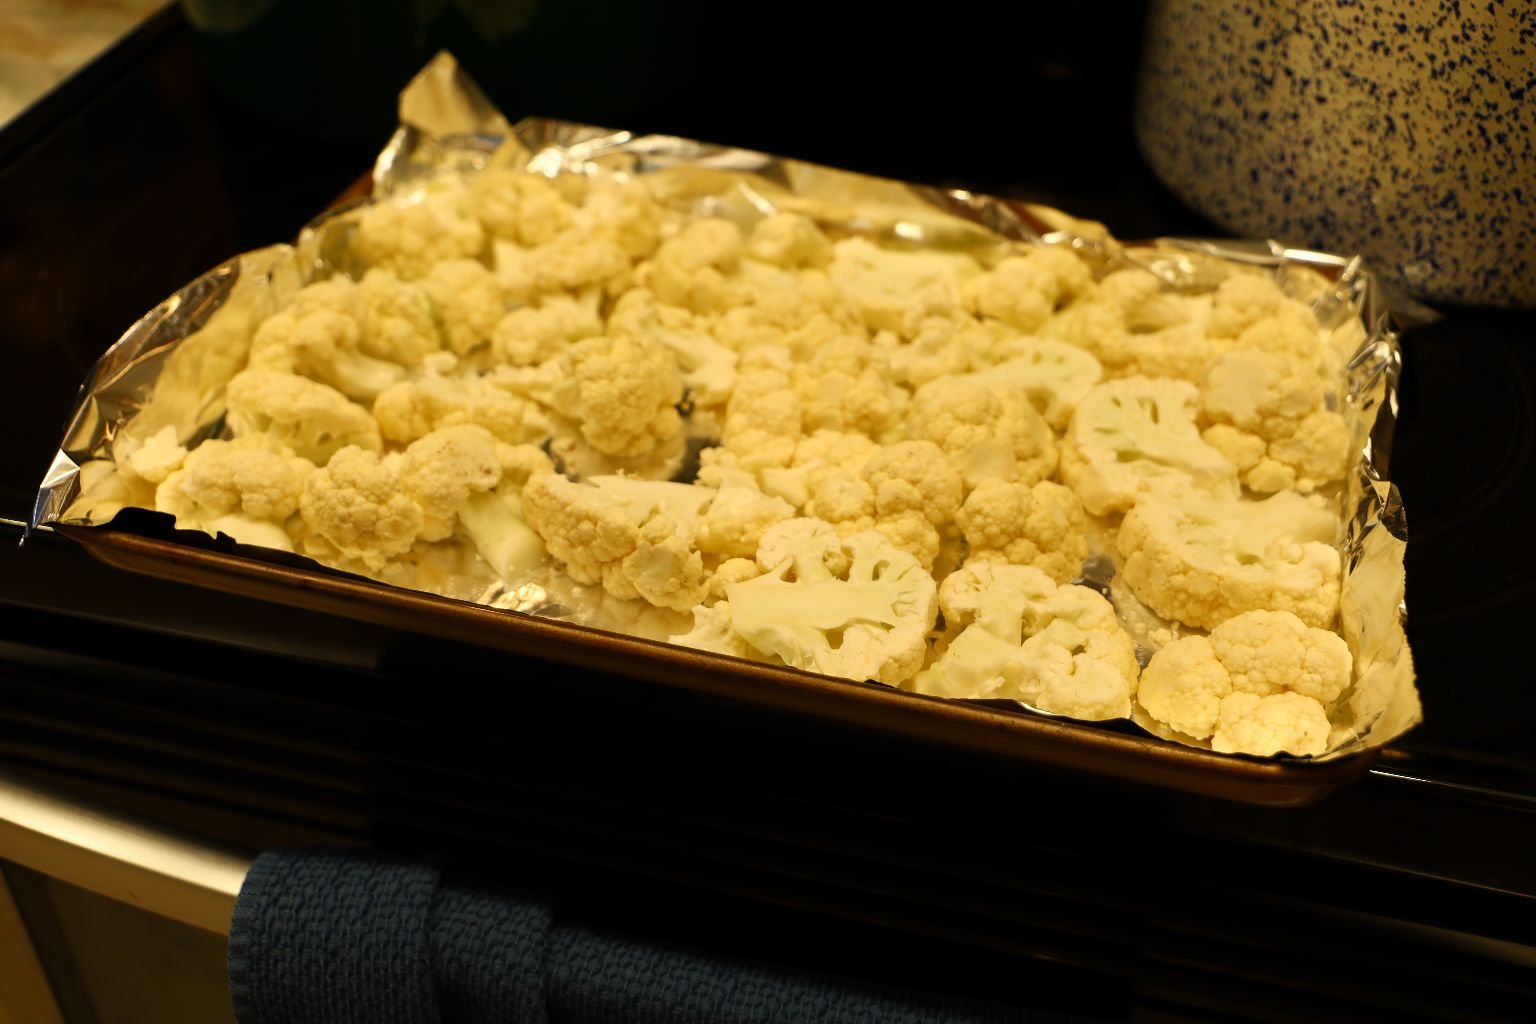
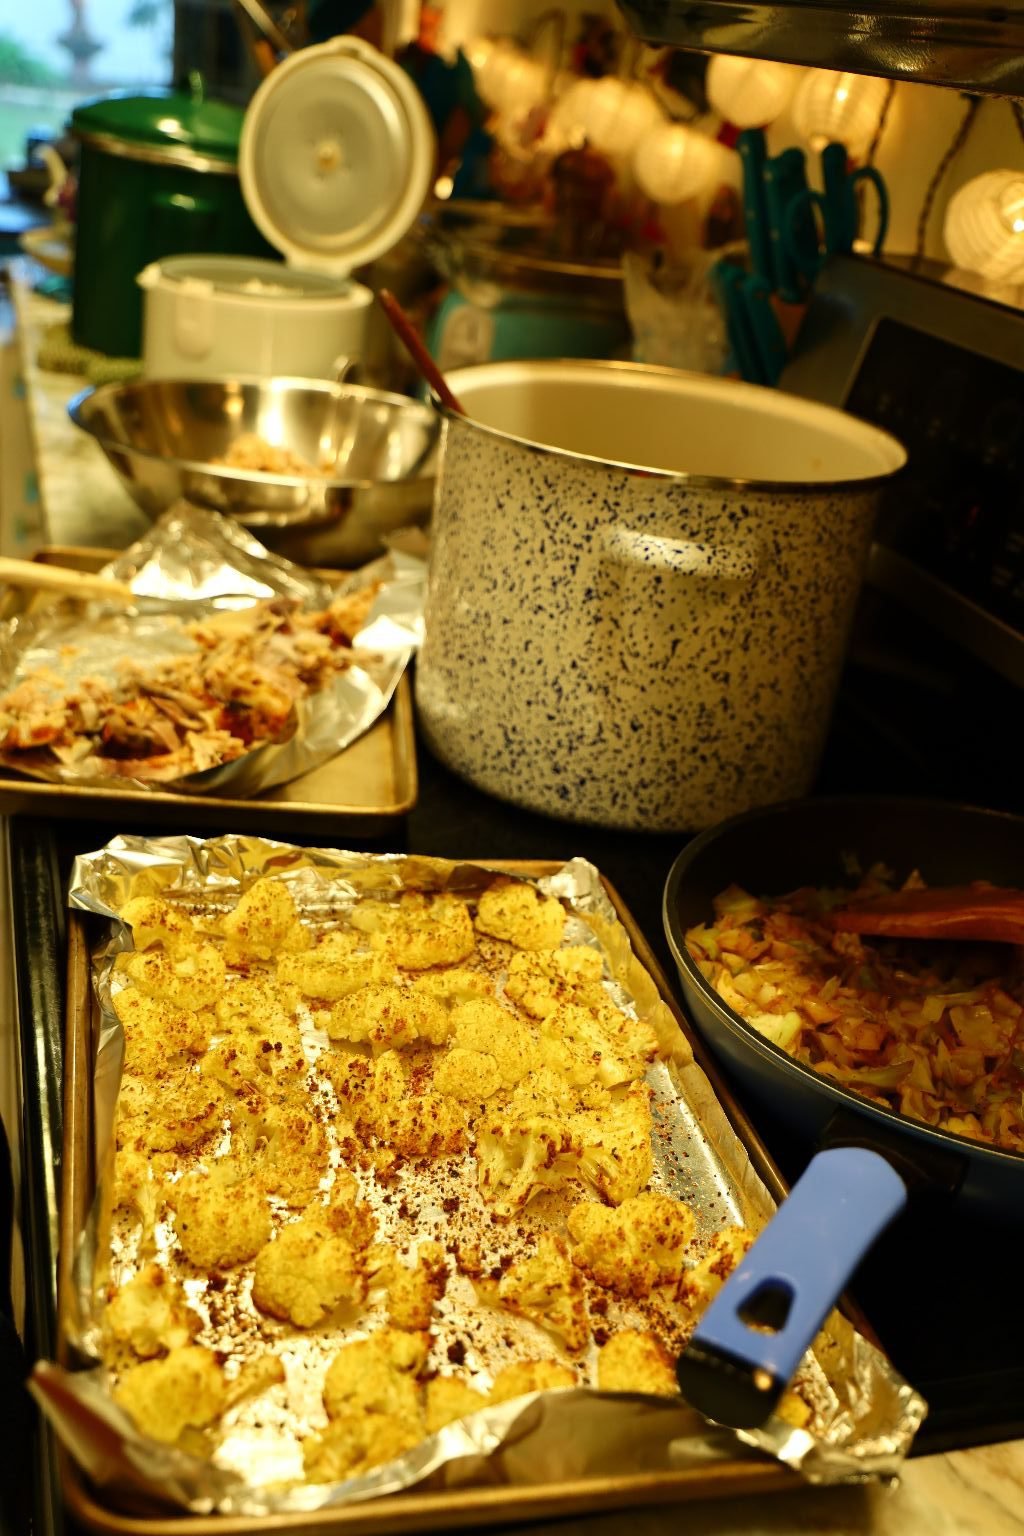
While the chicken is in the oven, I removed the cauliflower florets and sliced them in half or quarters, depending on their size. I didn’t want them to be too large. Place a sheet of aluminum foil on a sheet pan then spray it with some Pam cooking spray.
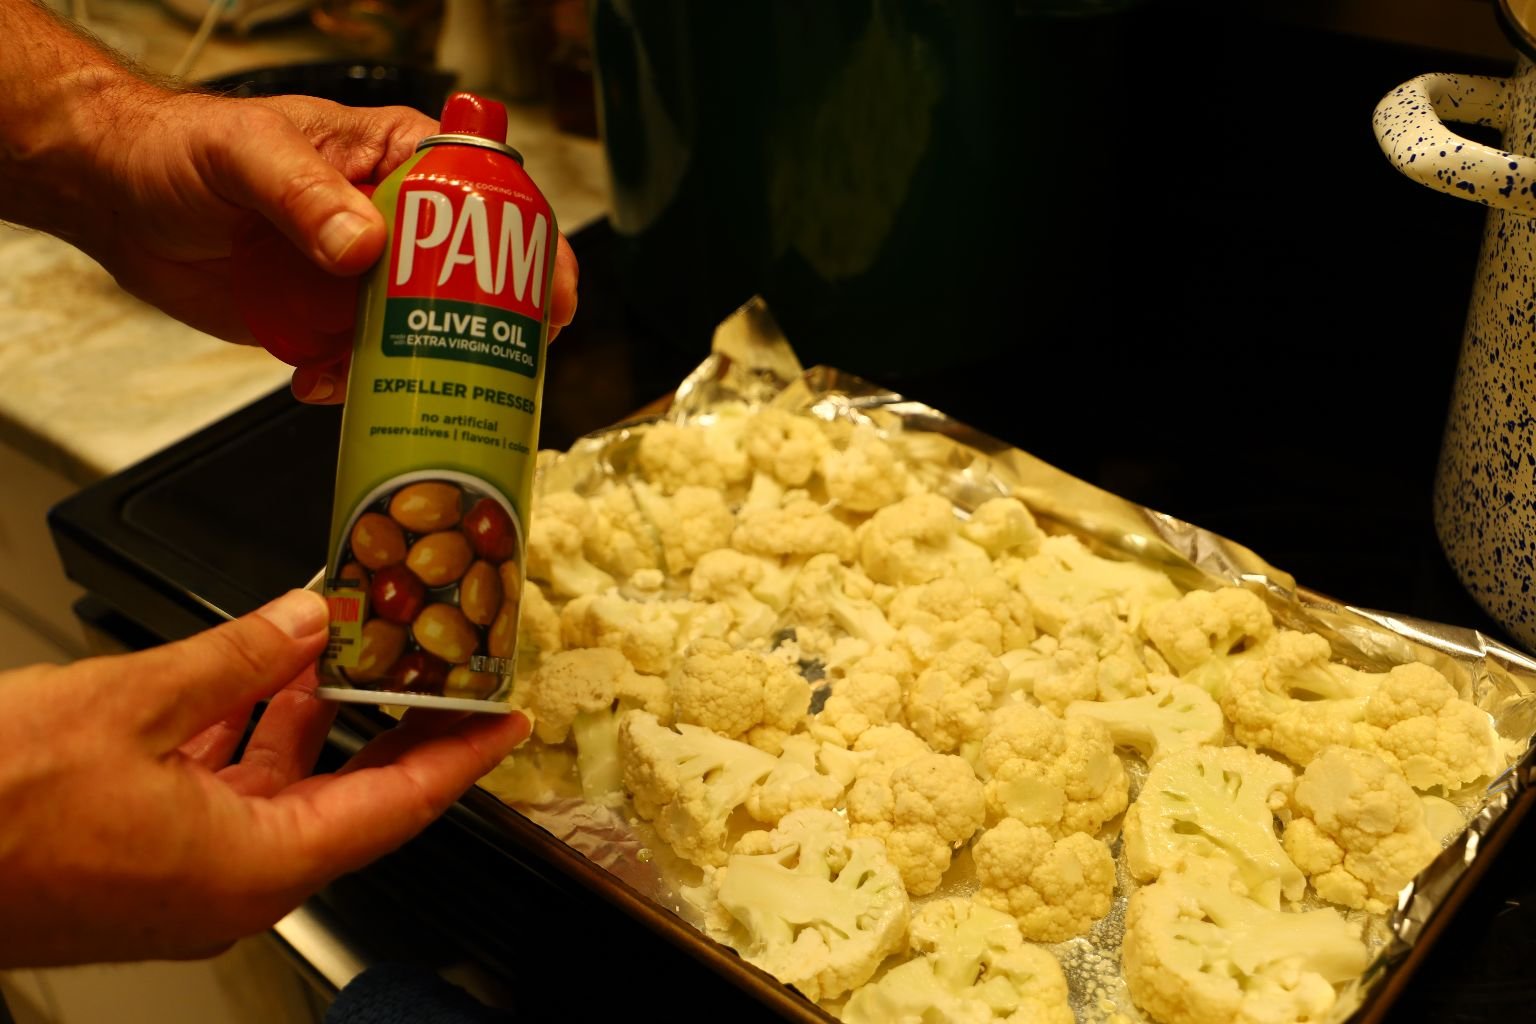
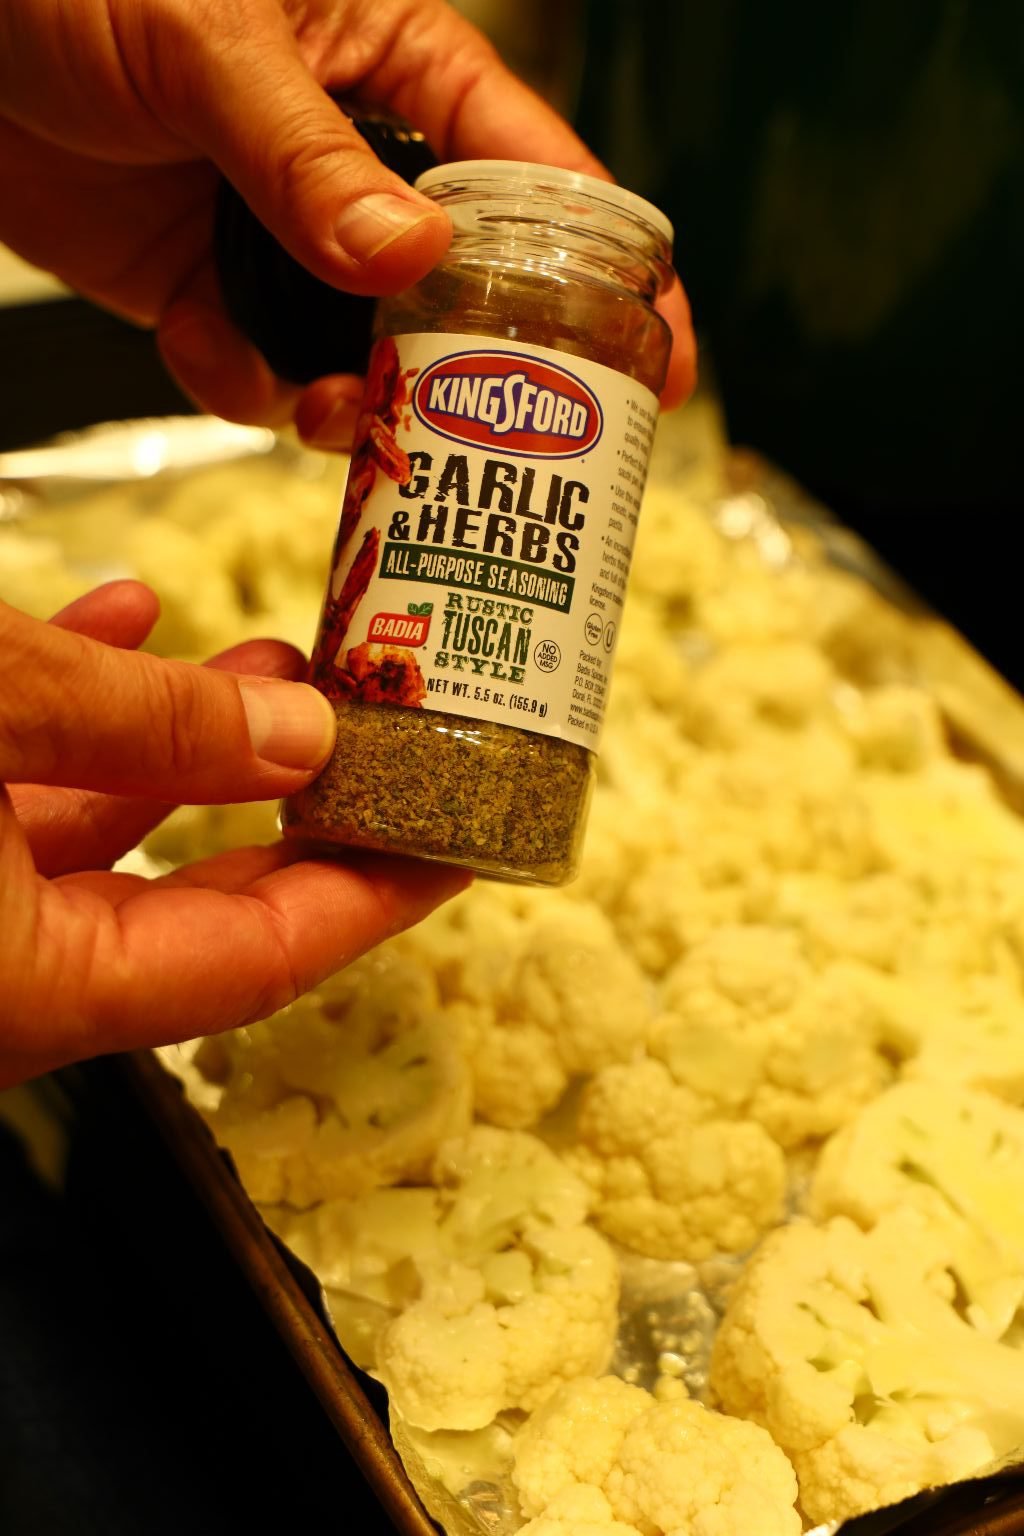
I then seasoned the cauliflower with some Garlic and Herb seasoning.
(Note: The cauliflower needed a bit of moisture to them, as in Olive Oil, however we didn’t want to drizzle too much because the cauliflower will be added to the pots and we didn’t want it to be too “oily,” so Gordon sprayed a light coating on top of the cauliflower with the Olive Oil spray.)
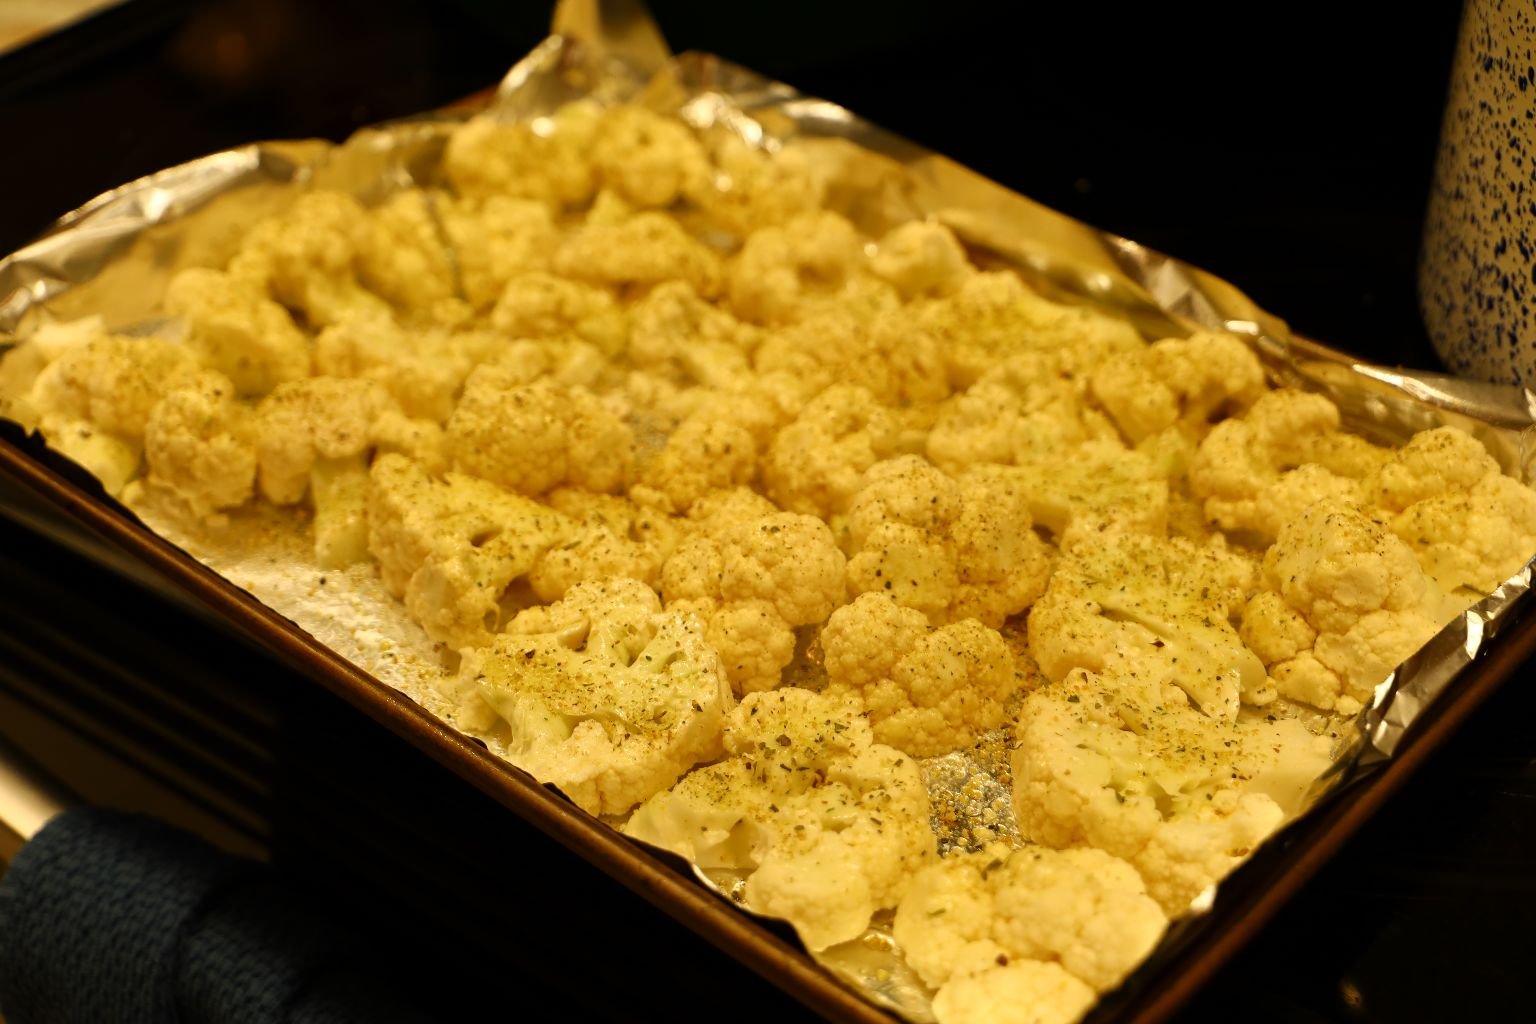
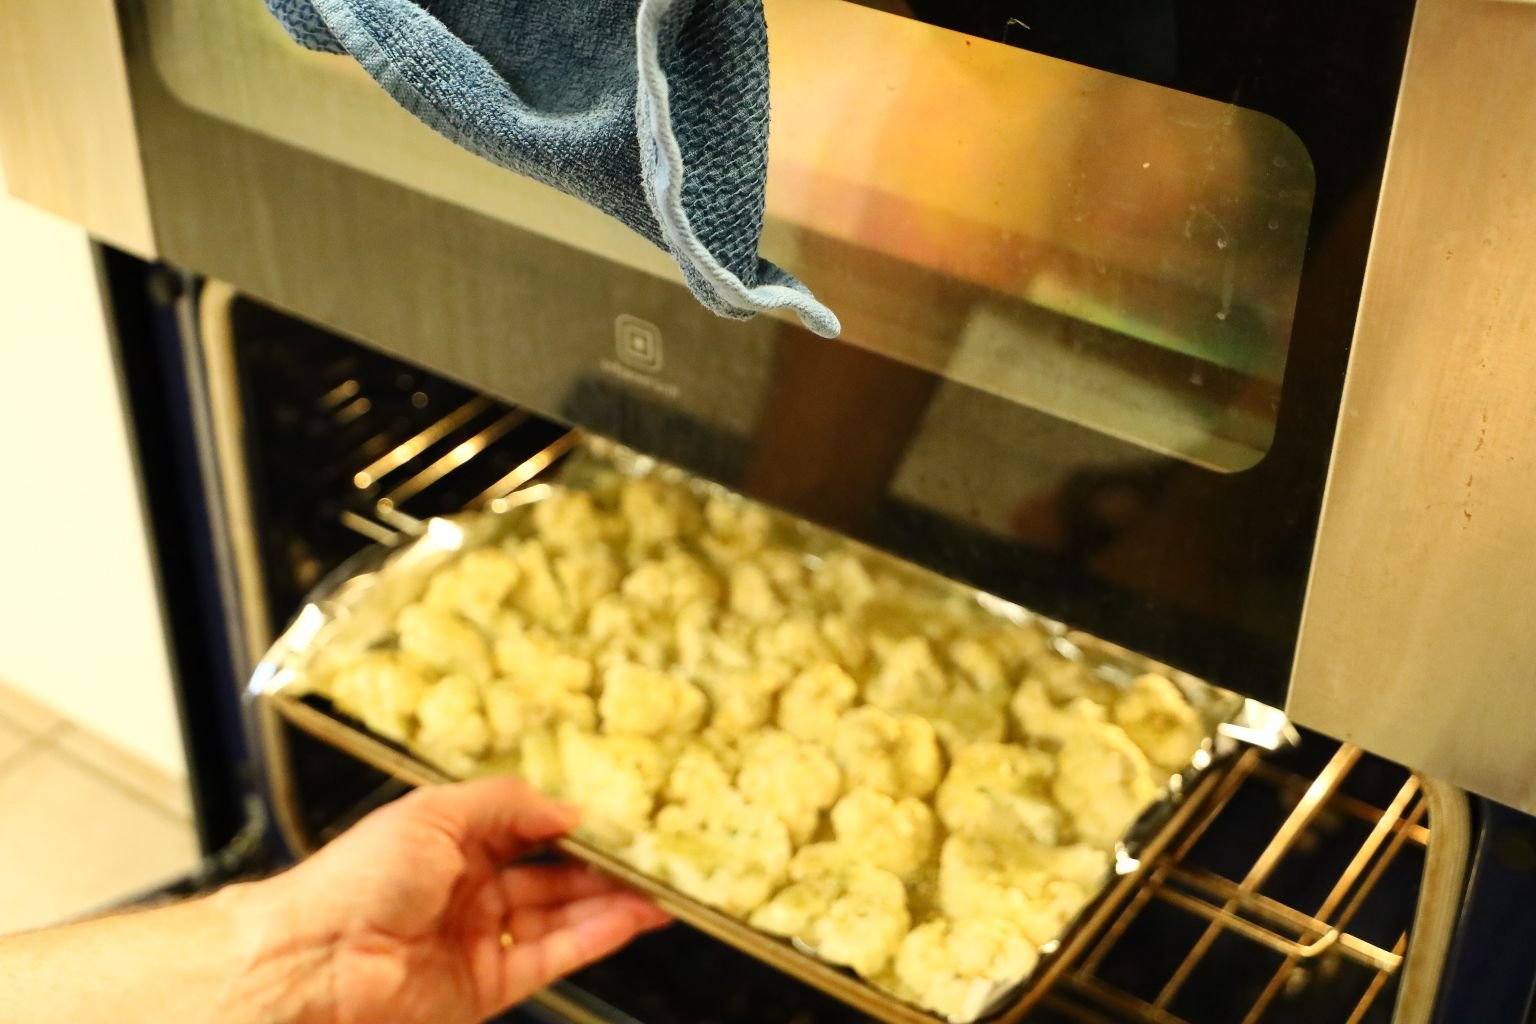
Roast the Cauliflower in a 400’F oven for about 25-30 min. or until starting to brown and are fork tender.
—————————————————————
The Cabbage
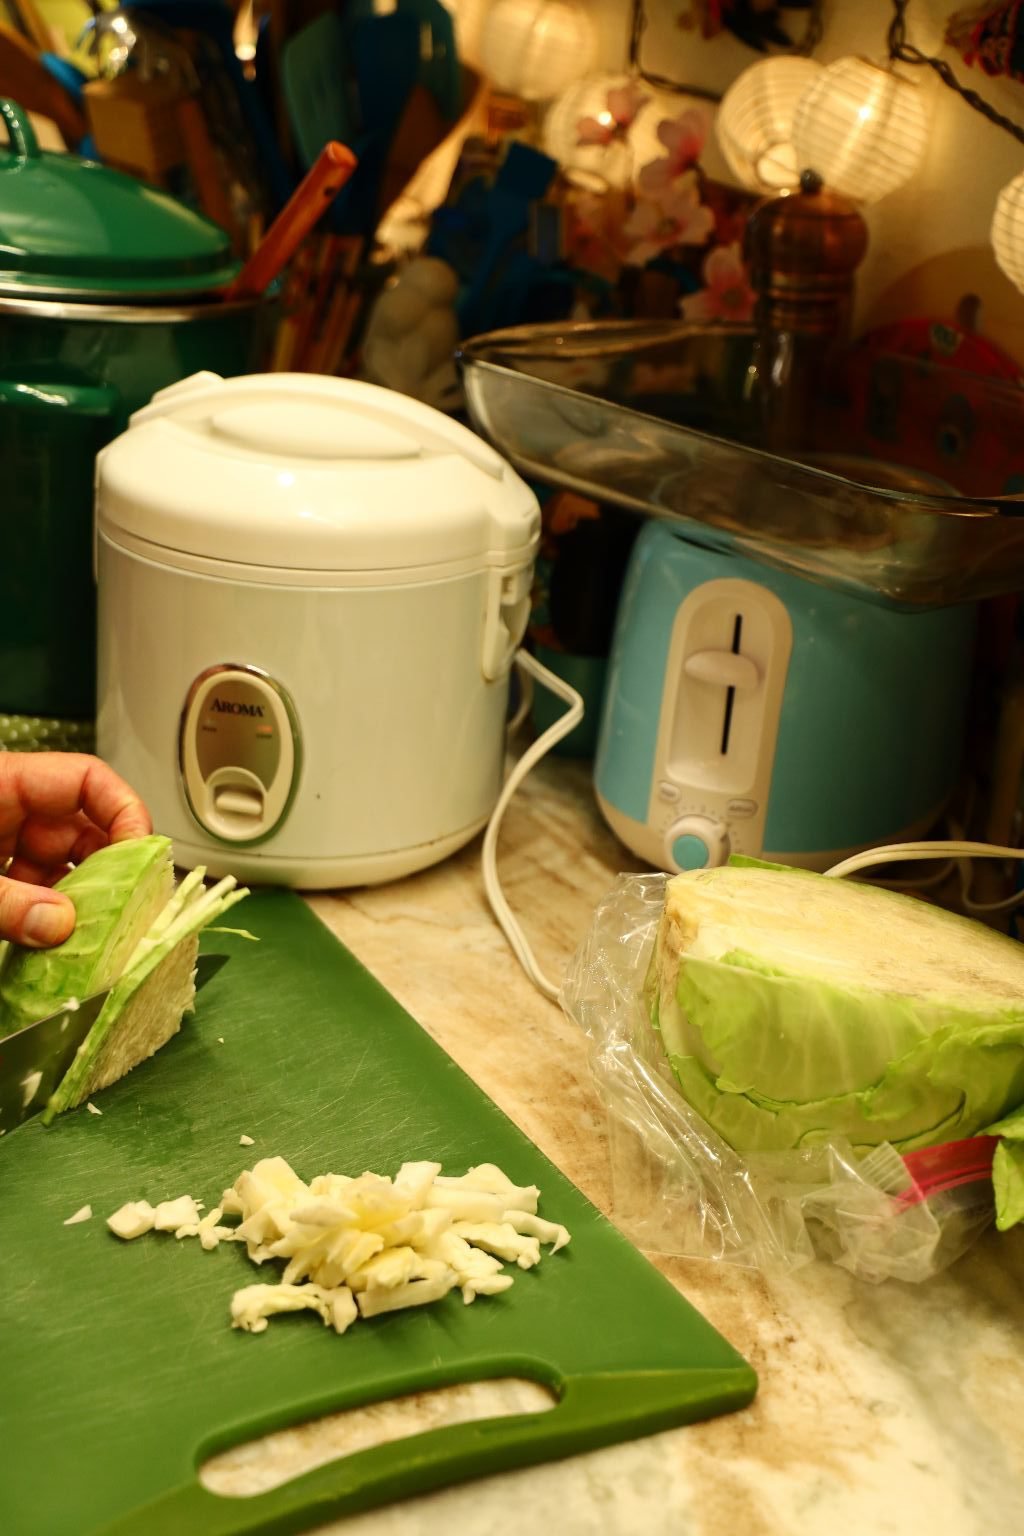
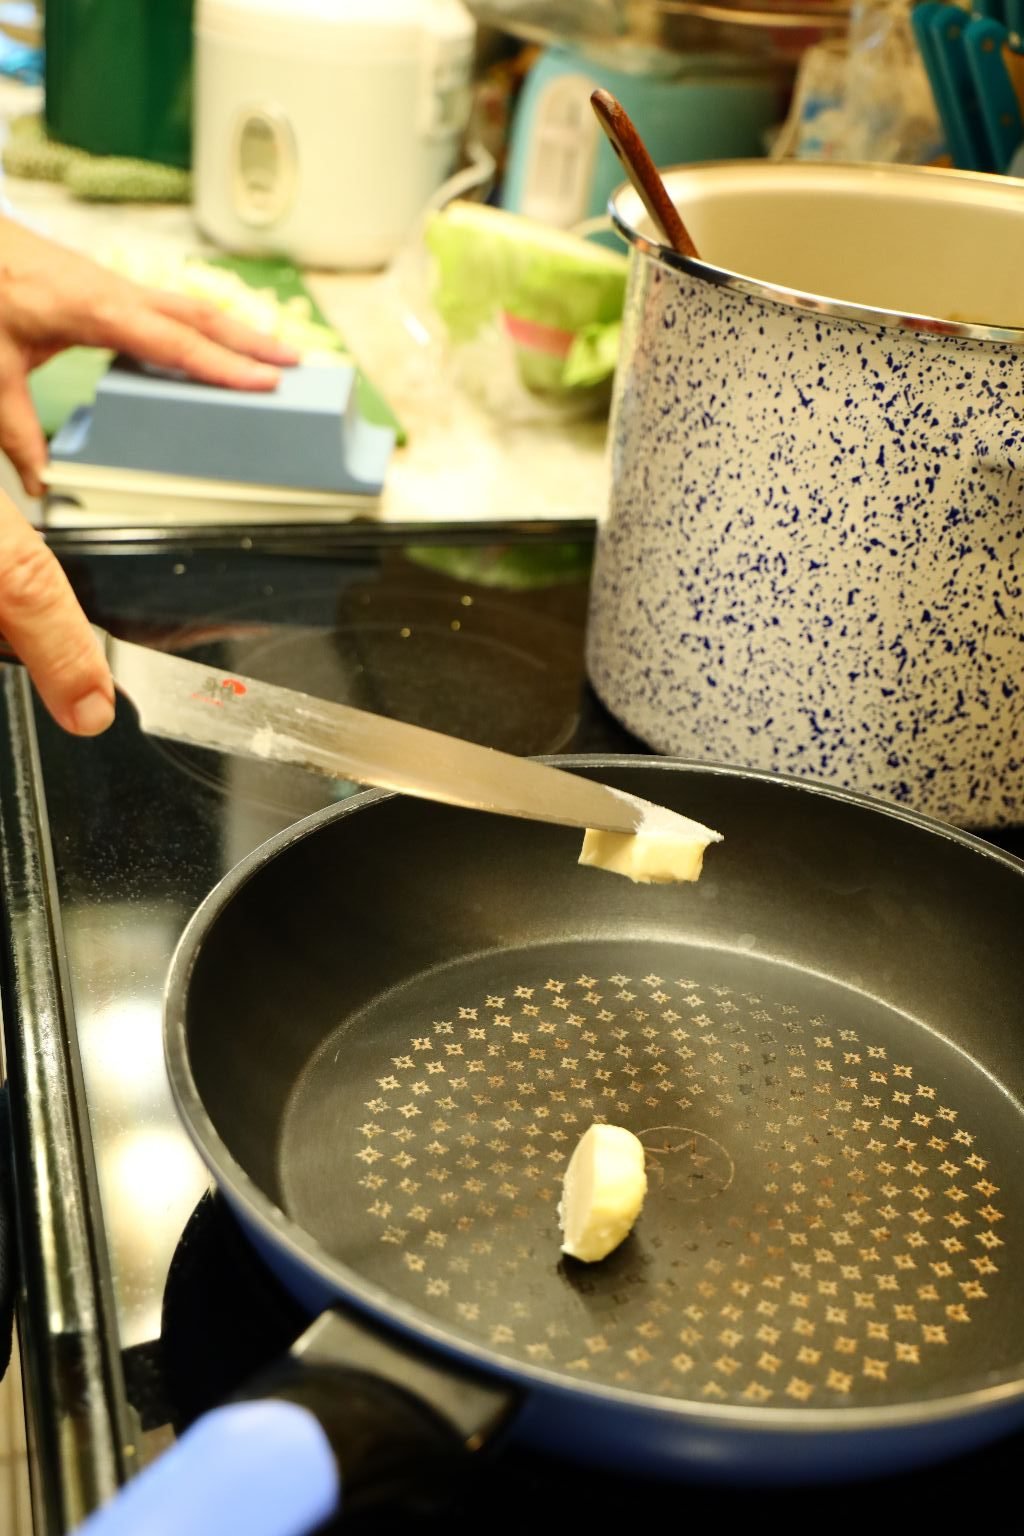
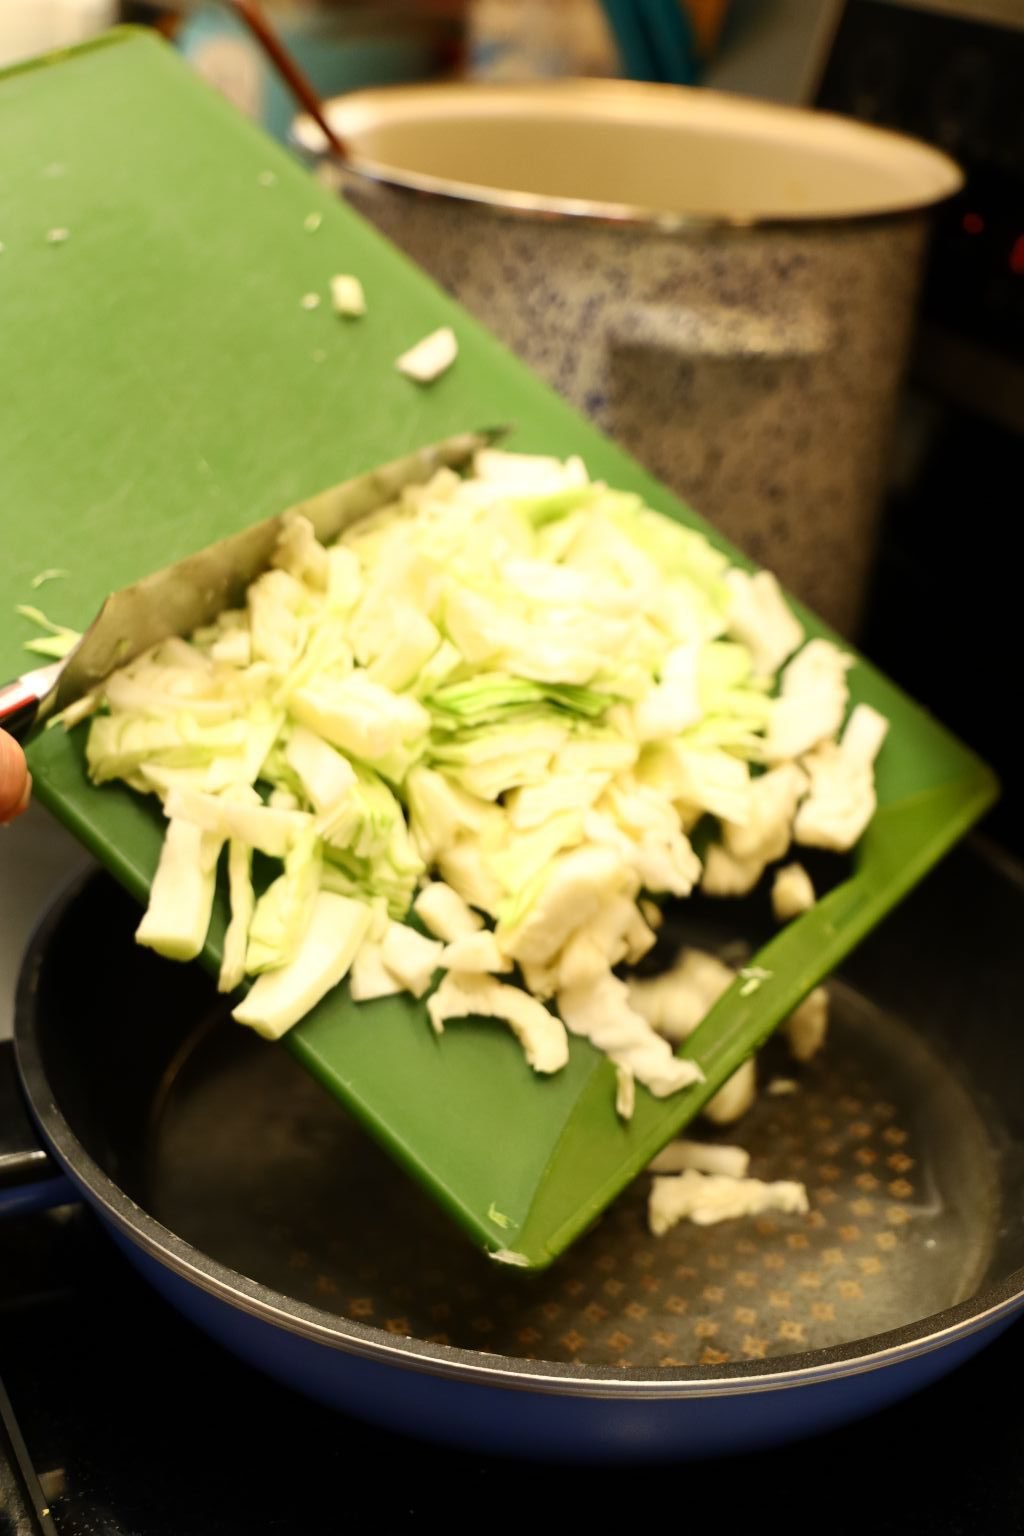
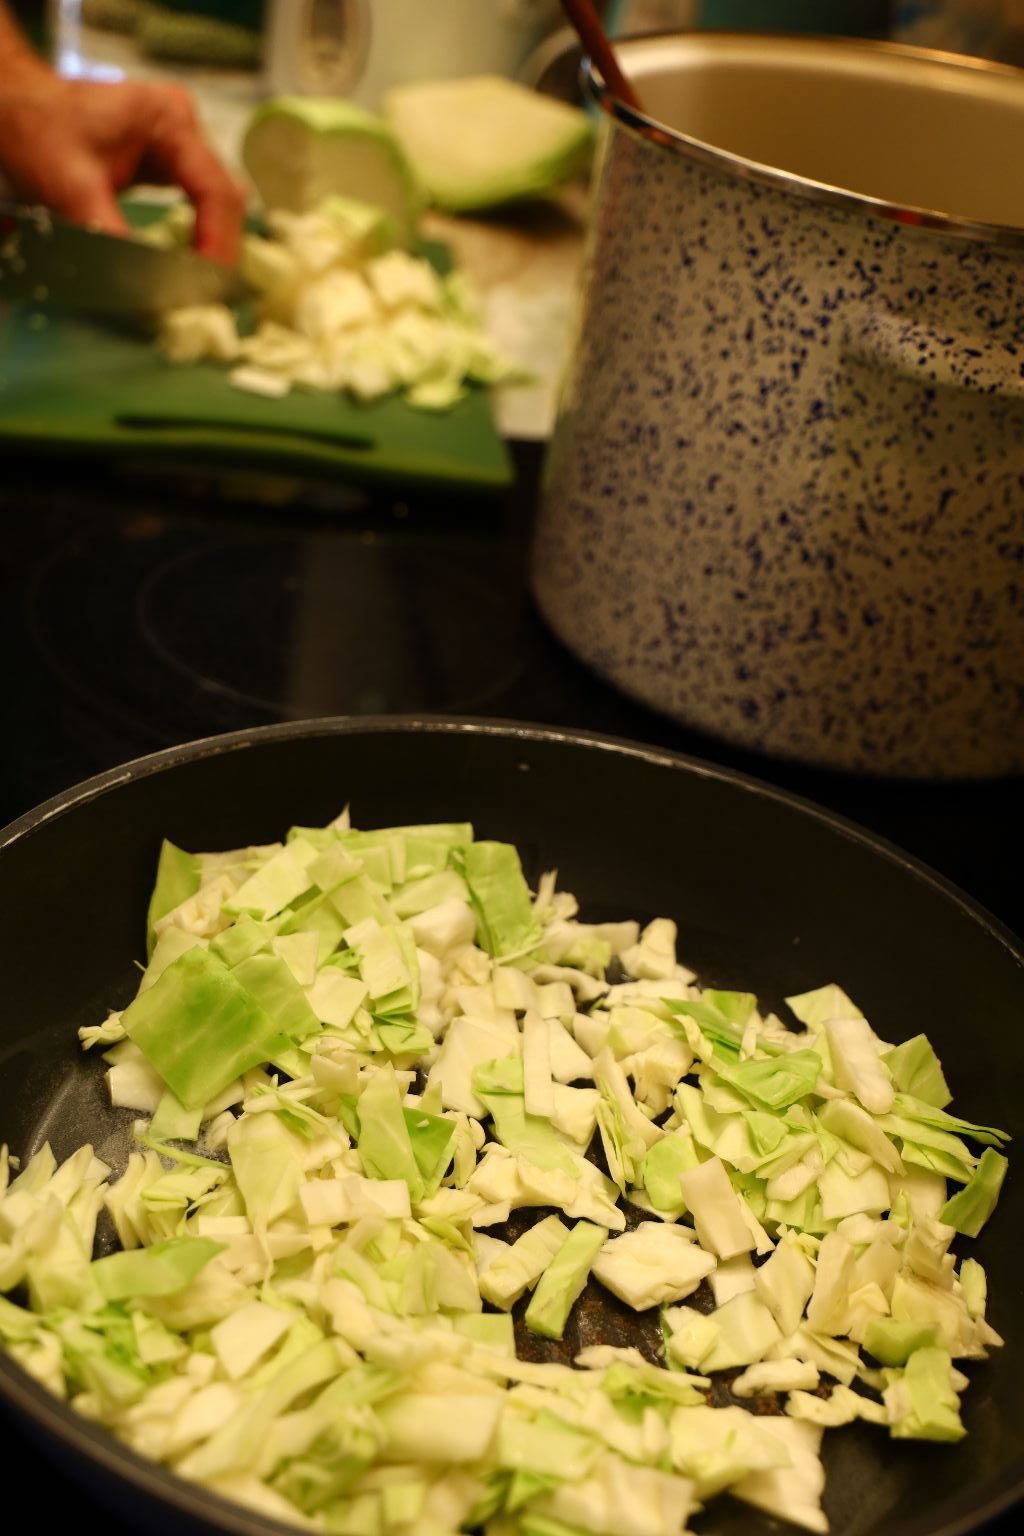
Using a large saute pan, add about 2 Tbsp of butter and add your thinly sliced and chopped cabbage and cook over medium heat.
—————————————————————————-
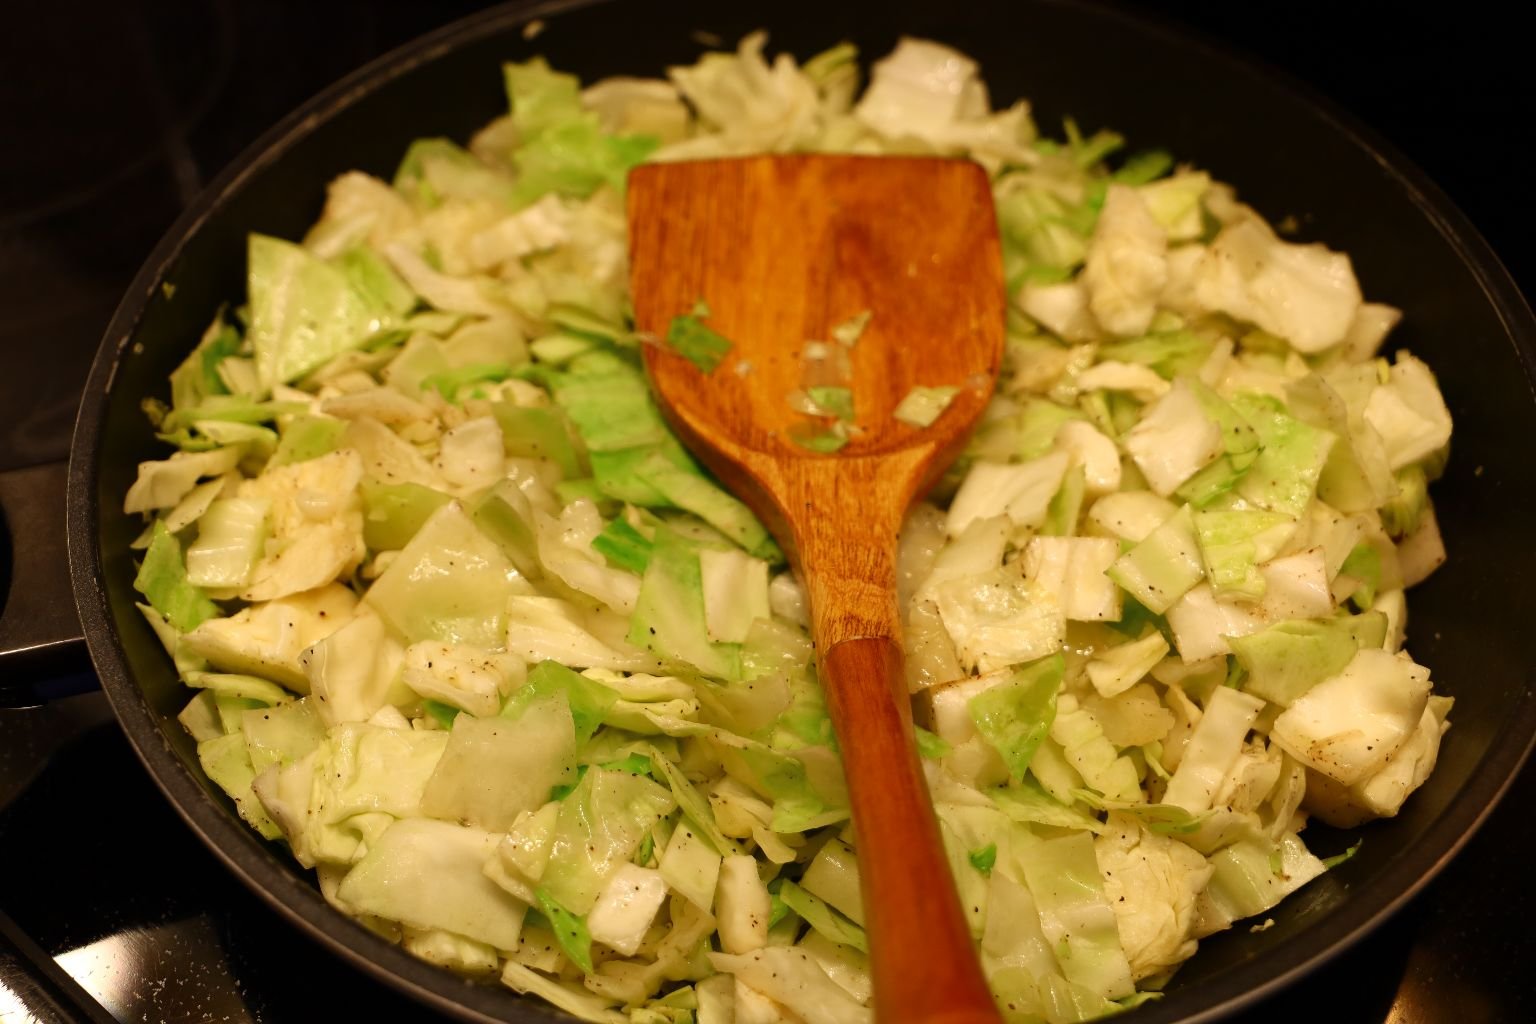
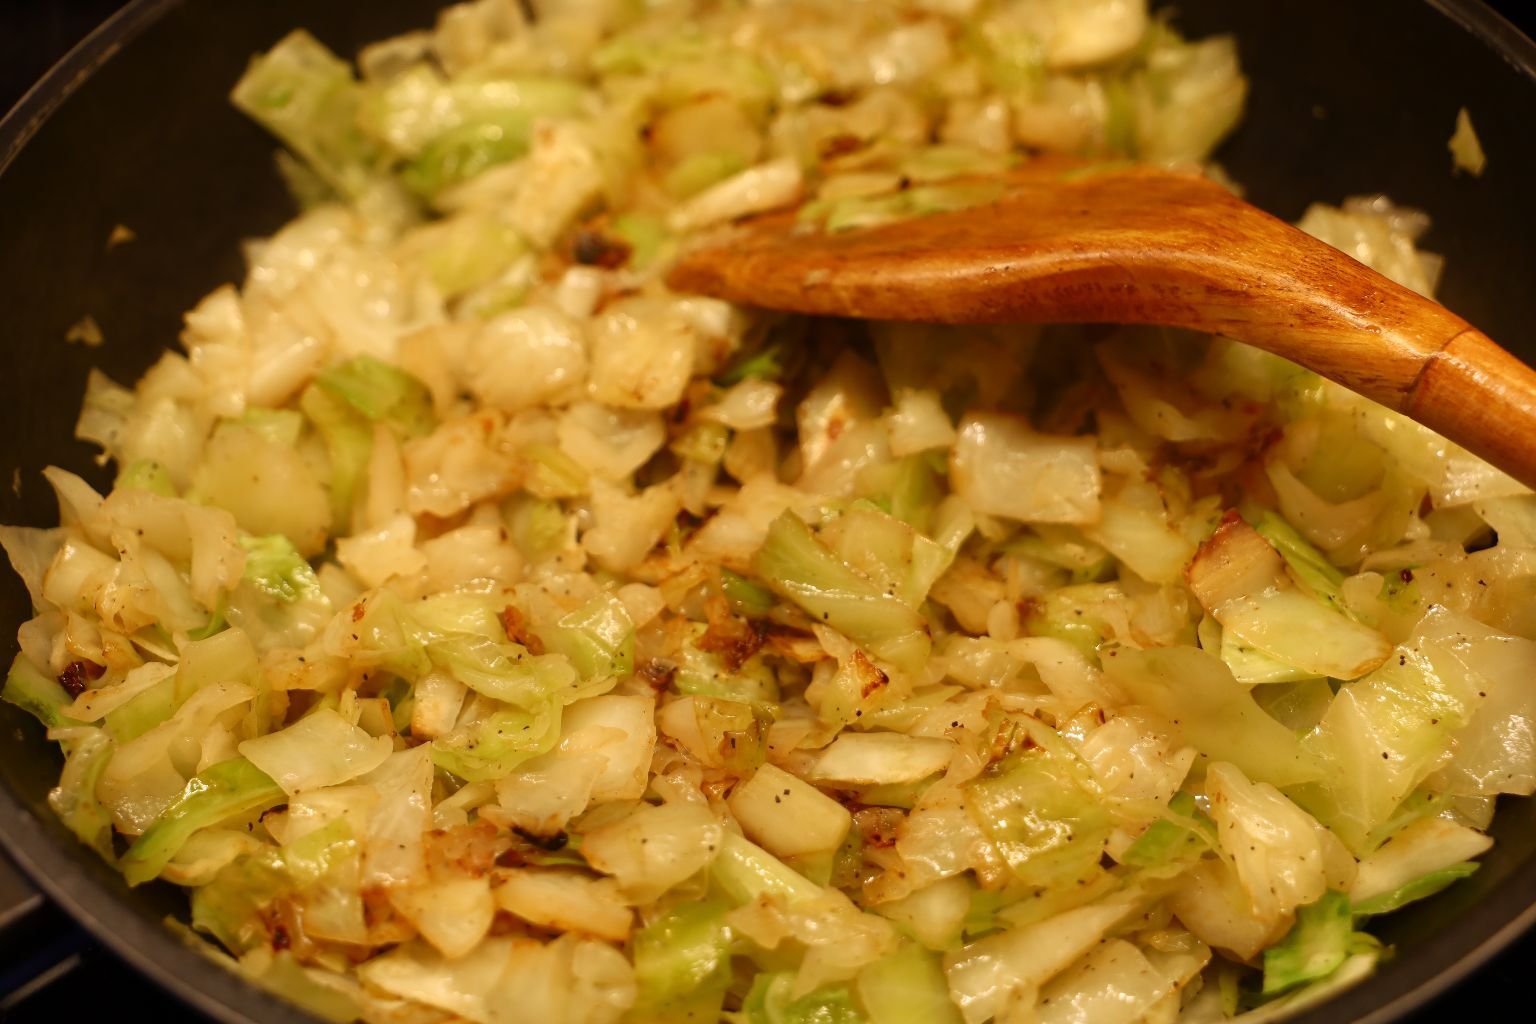
Add some salt and pepper to taste and saute until the cabbage starts to brown as shown. Remove it from heat and set aside.
——————————————————————
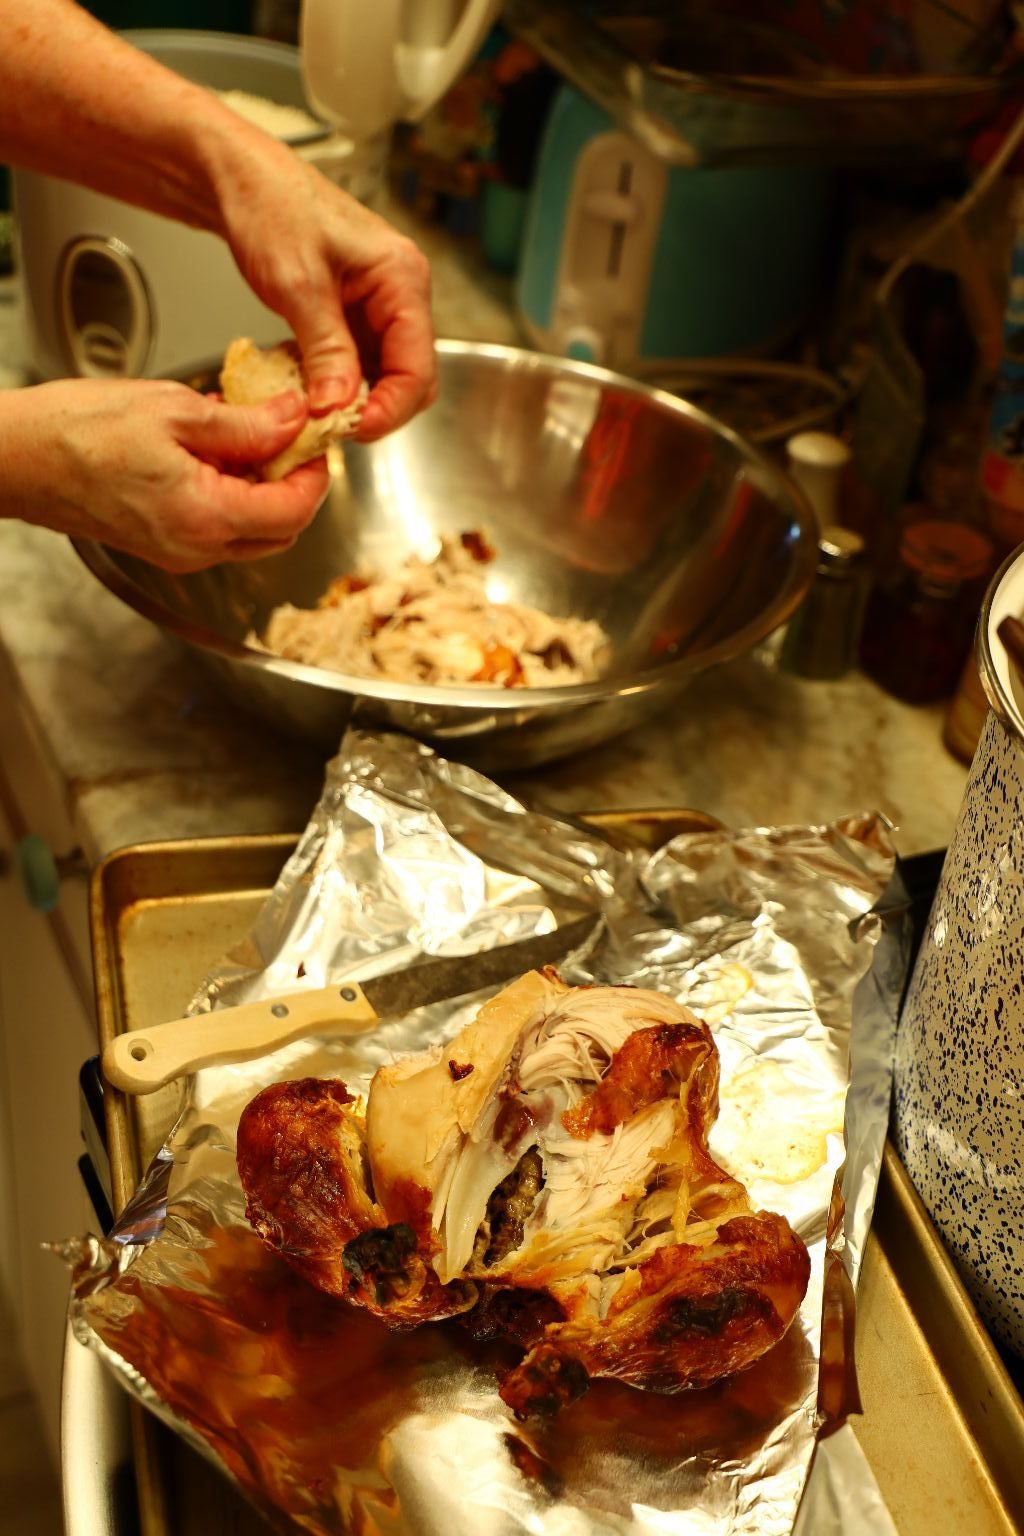

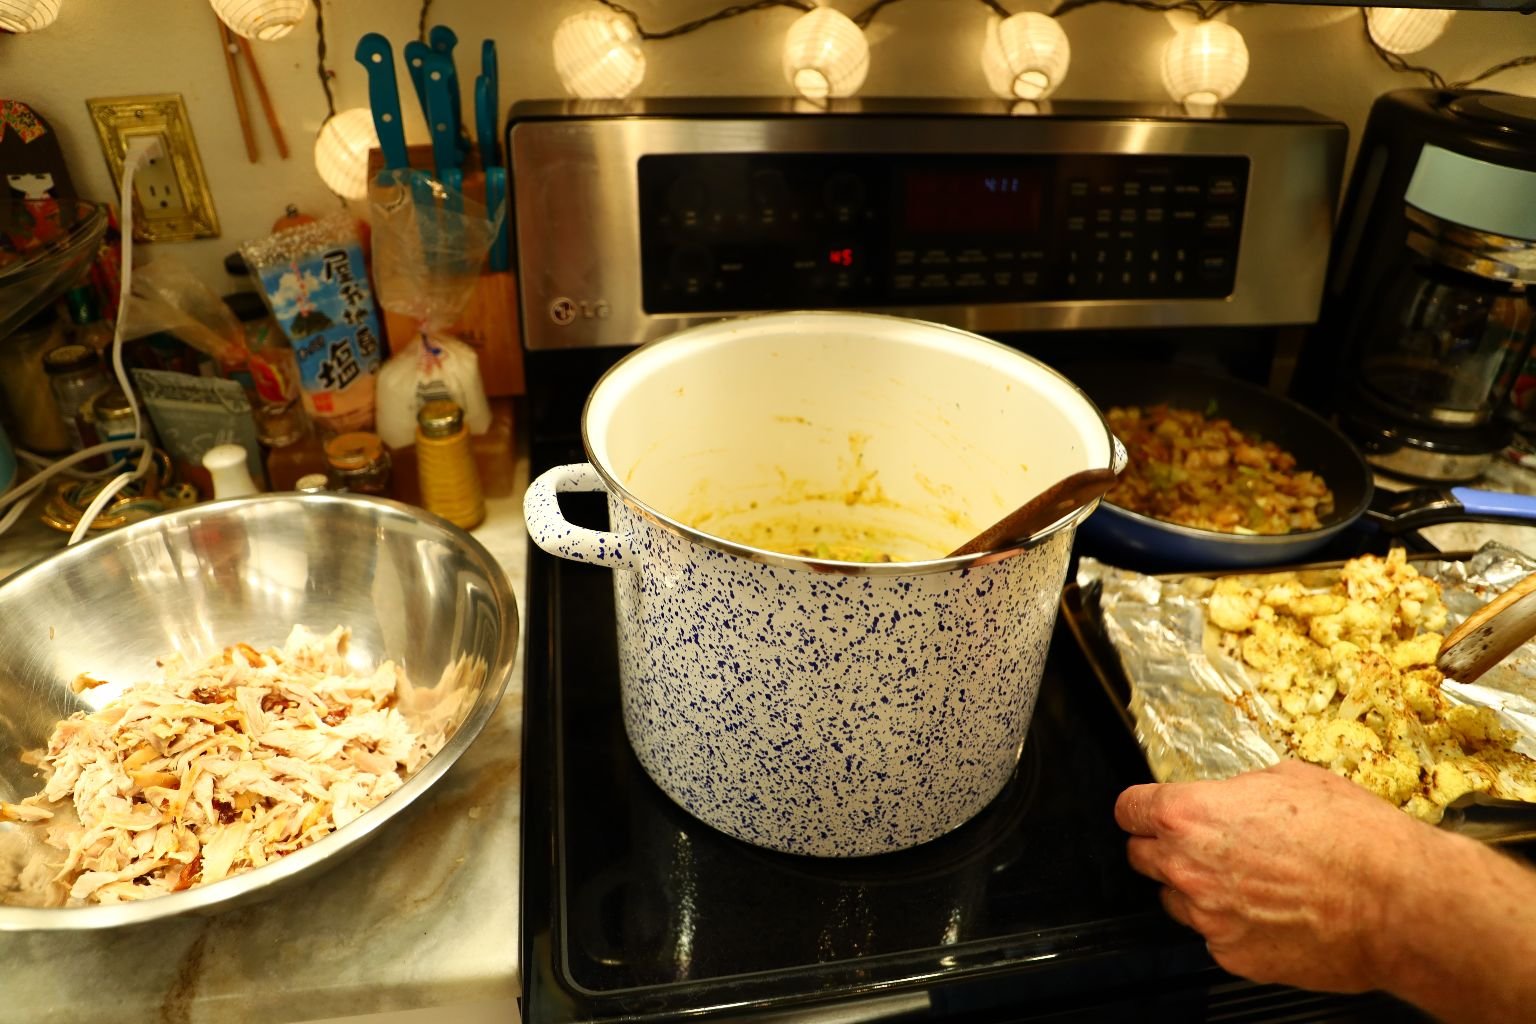
Remove all the white and dark meat from the chicken as shown and set aside.
———————————————————————
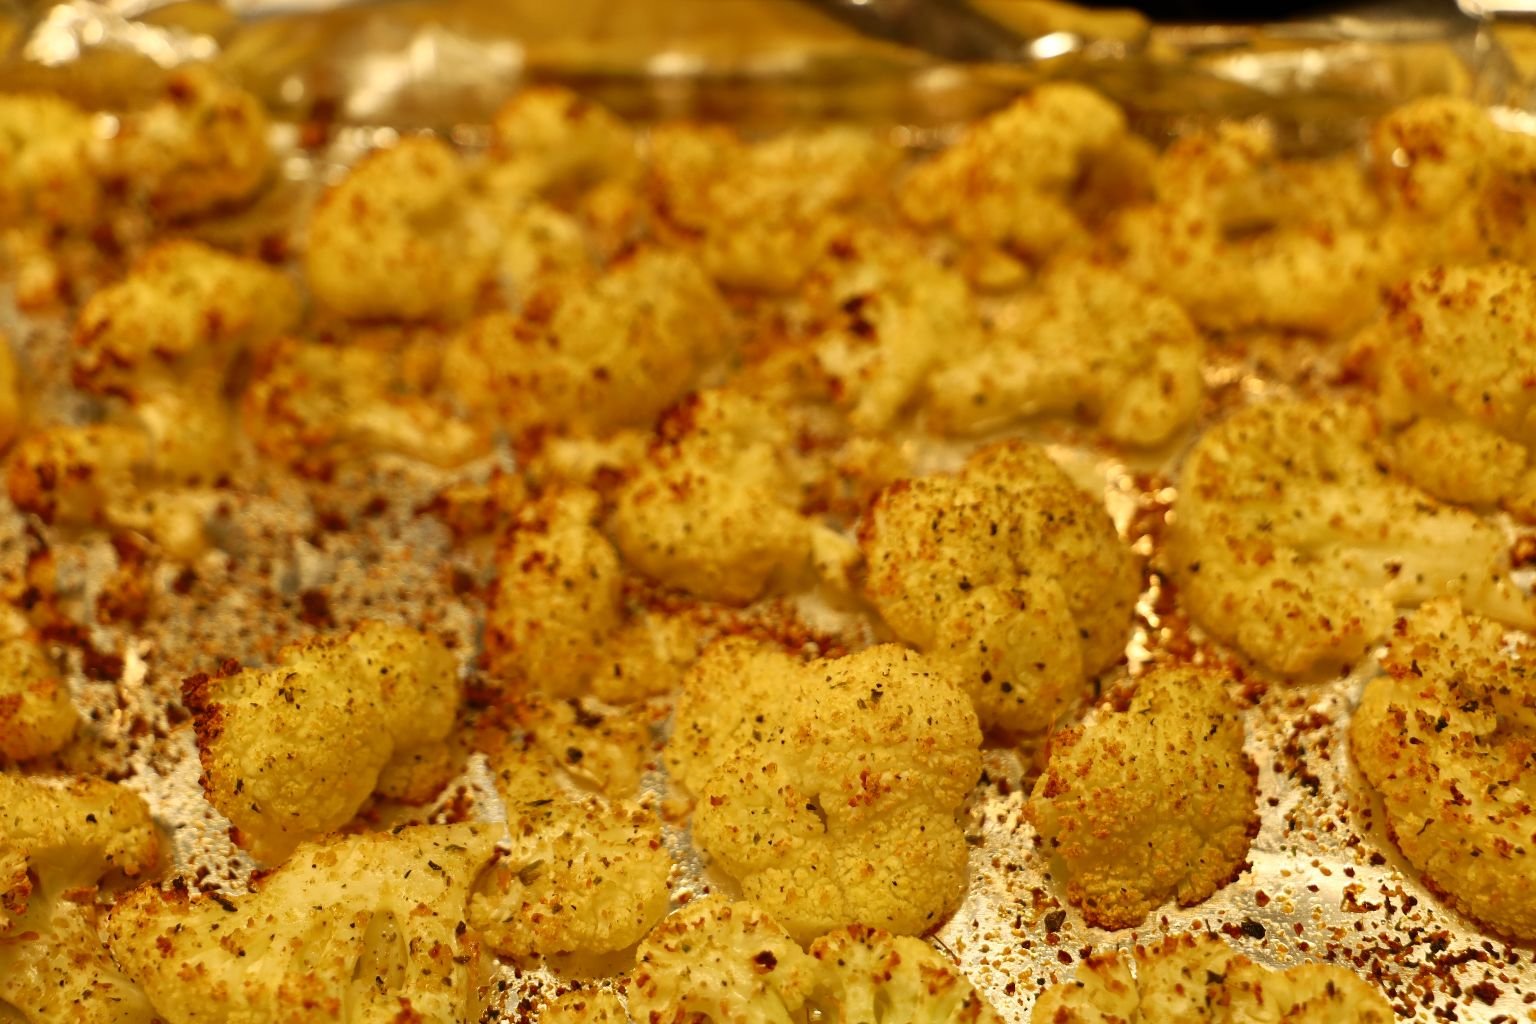
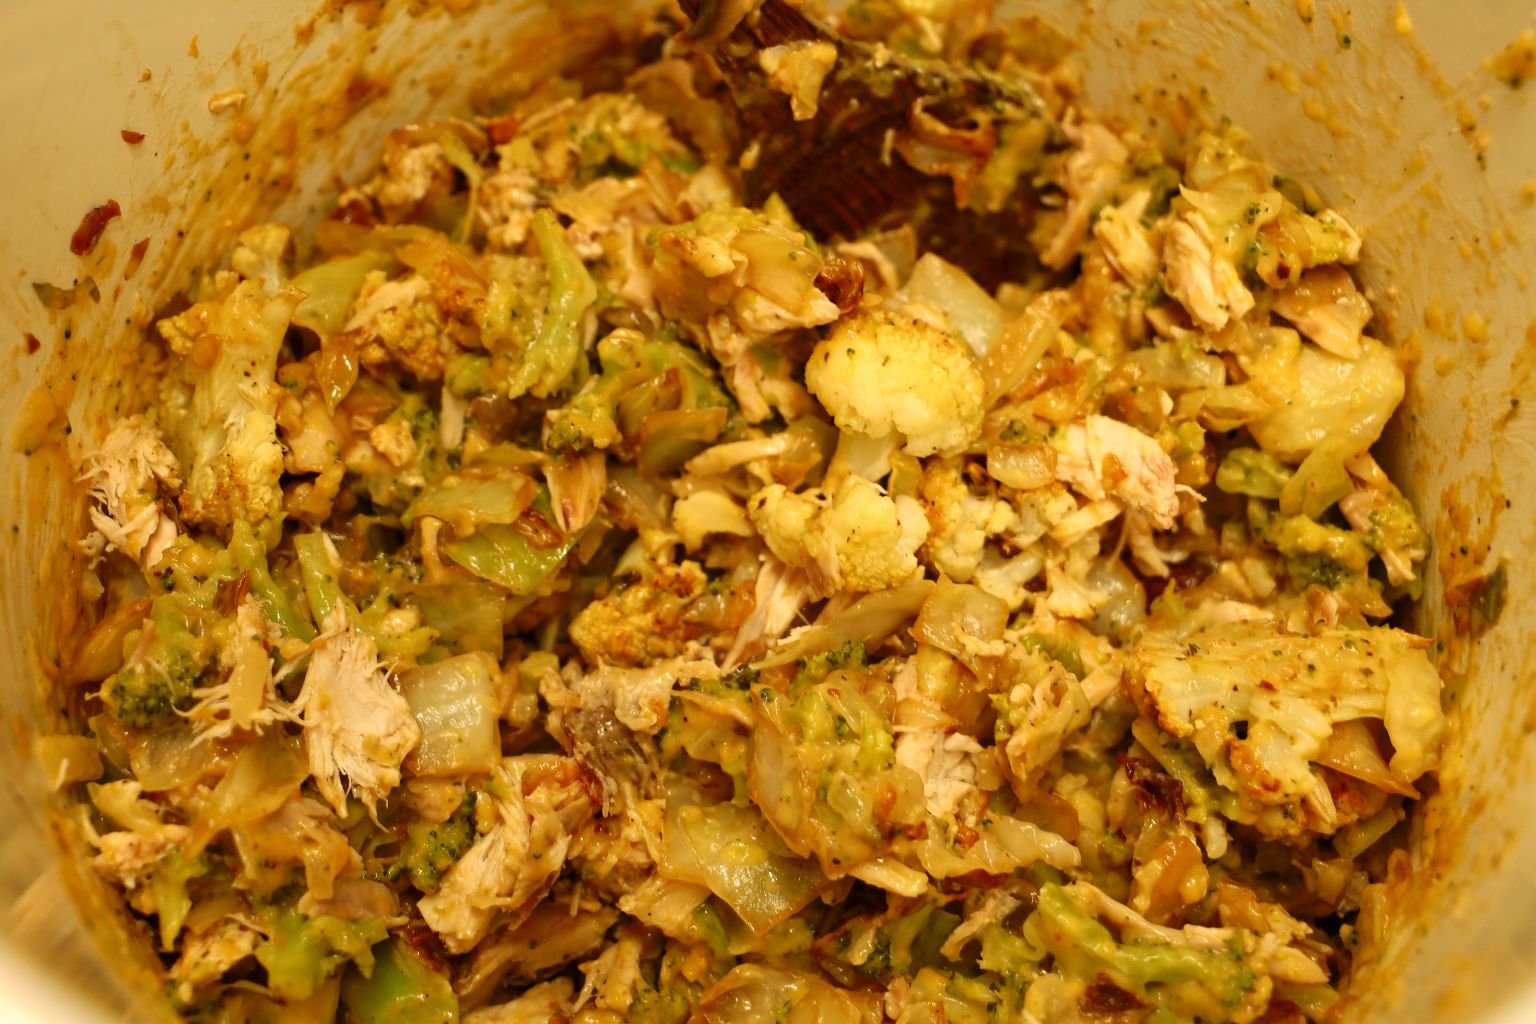
The cauliflower is cooked when it begins to brown.

Now we have all the other ingredients for this casserole at the ready.
I added all the broccoli ingredients to the white pot.
————————————————————————–
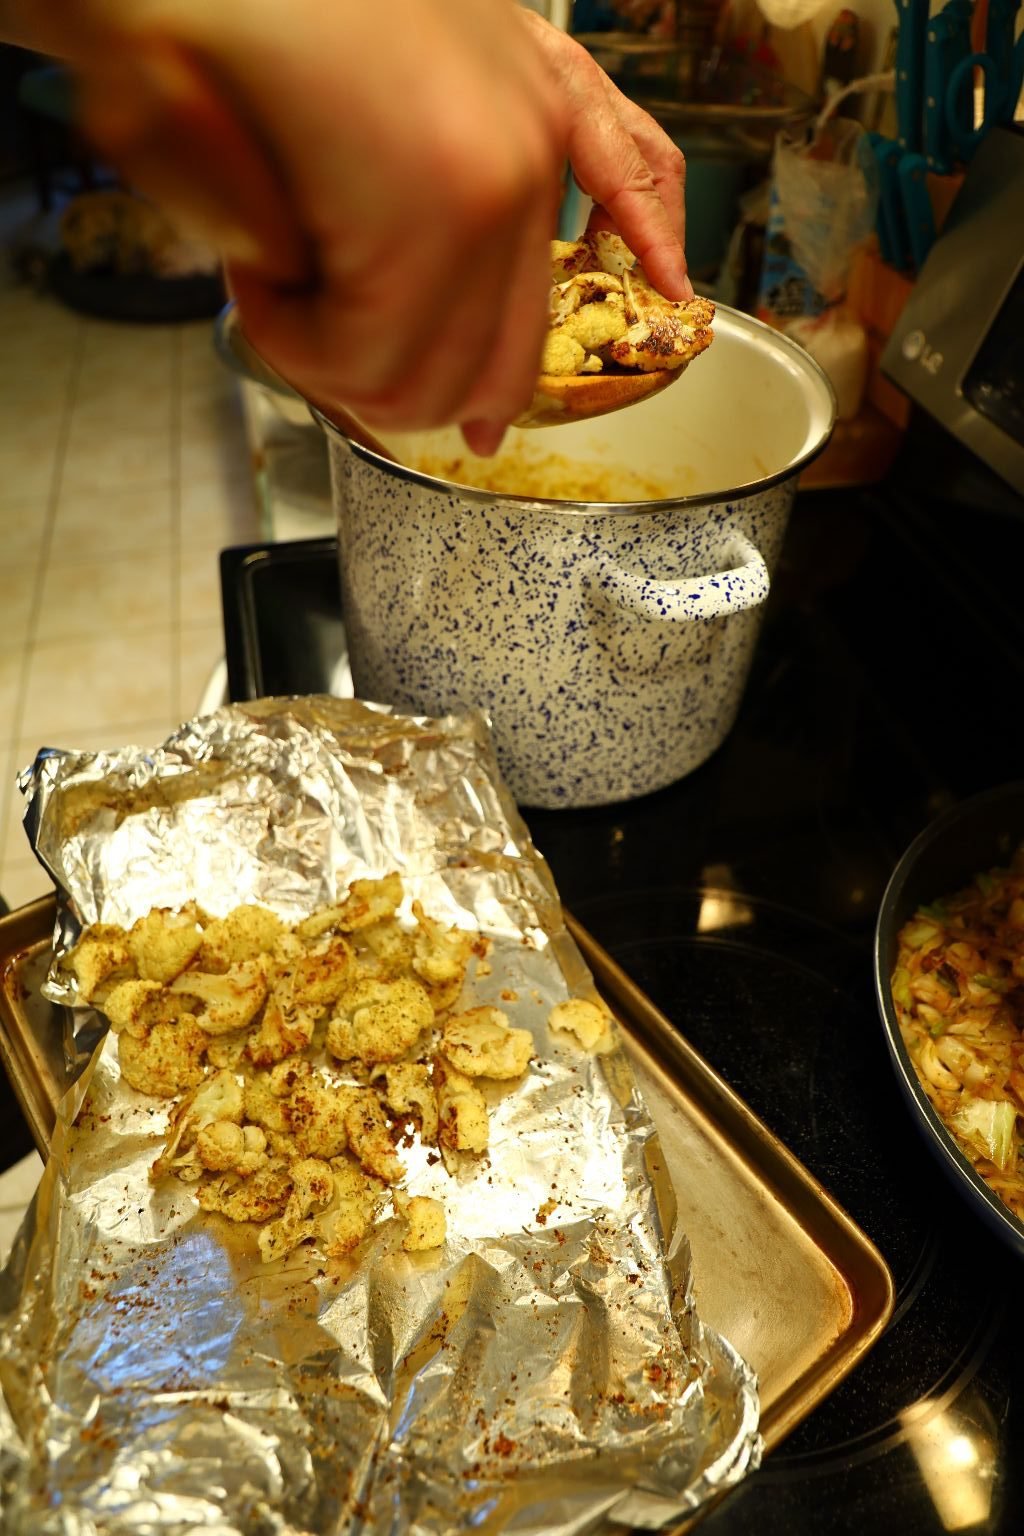
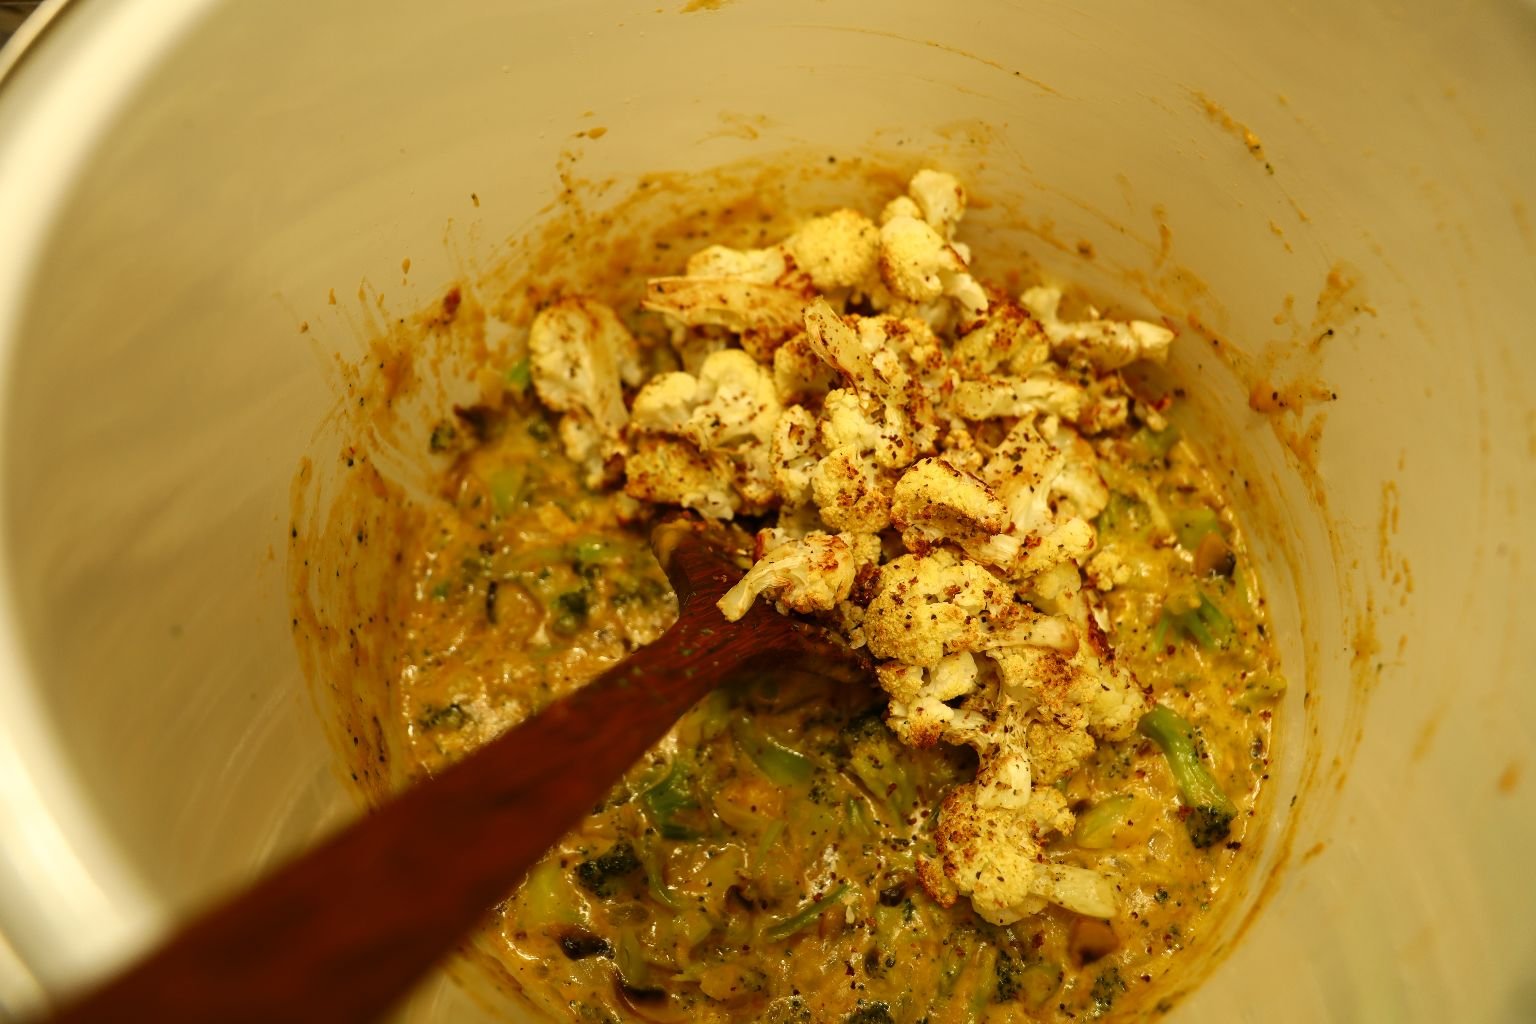
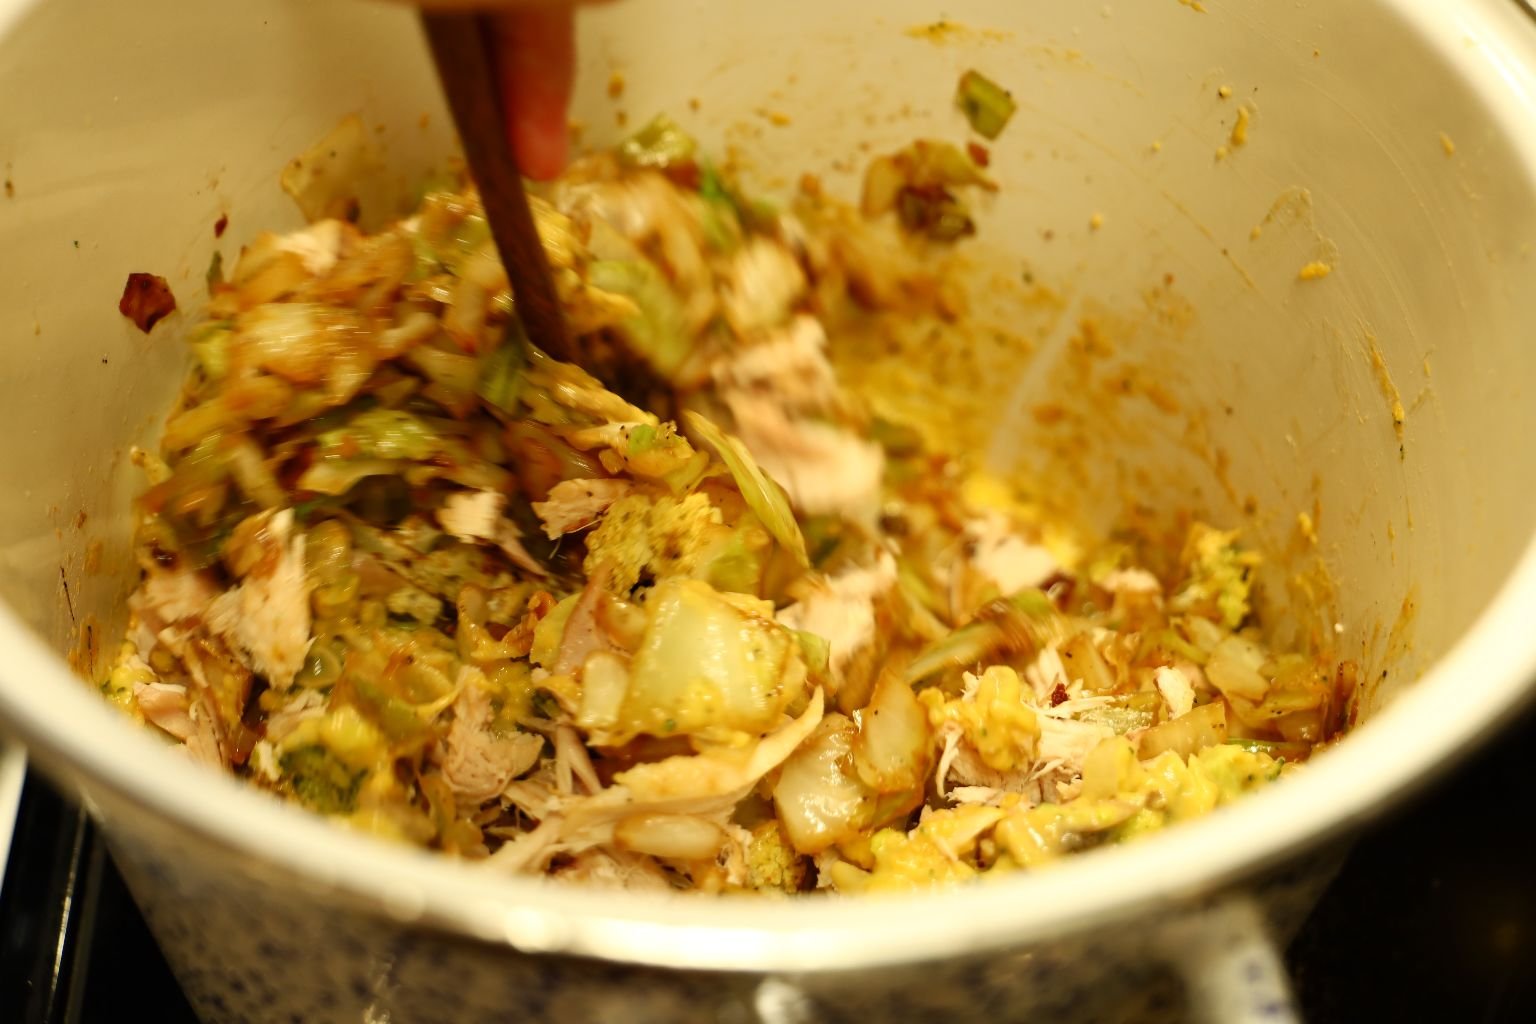
Simply begin to add all your ingredient into the broccoli filled pot.
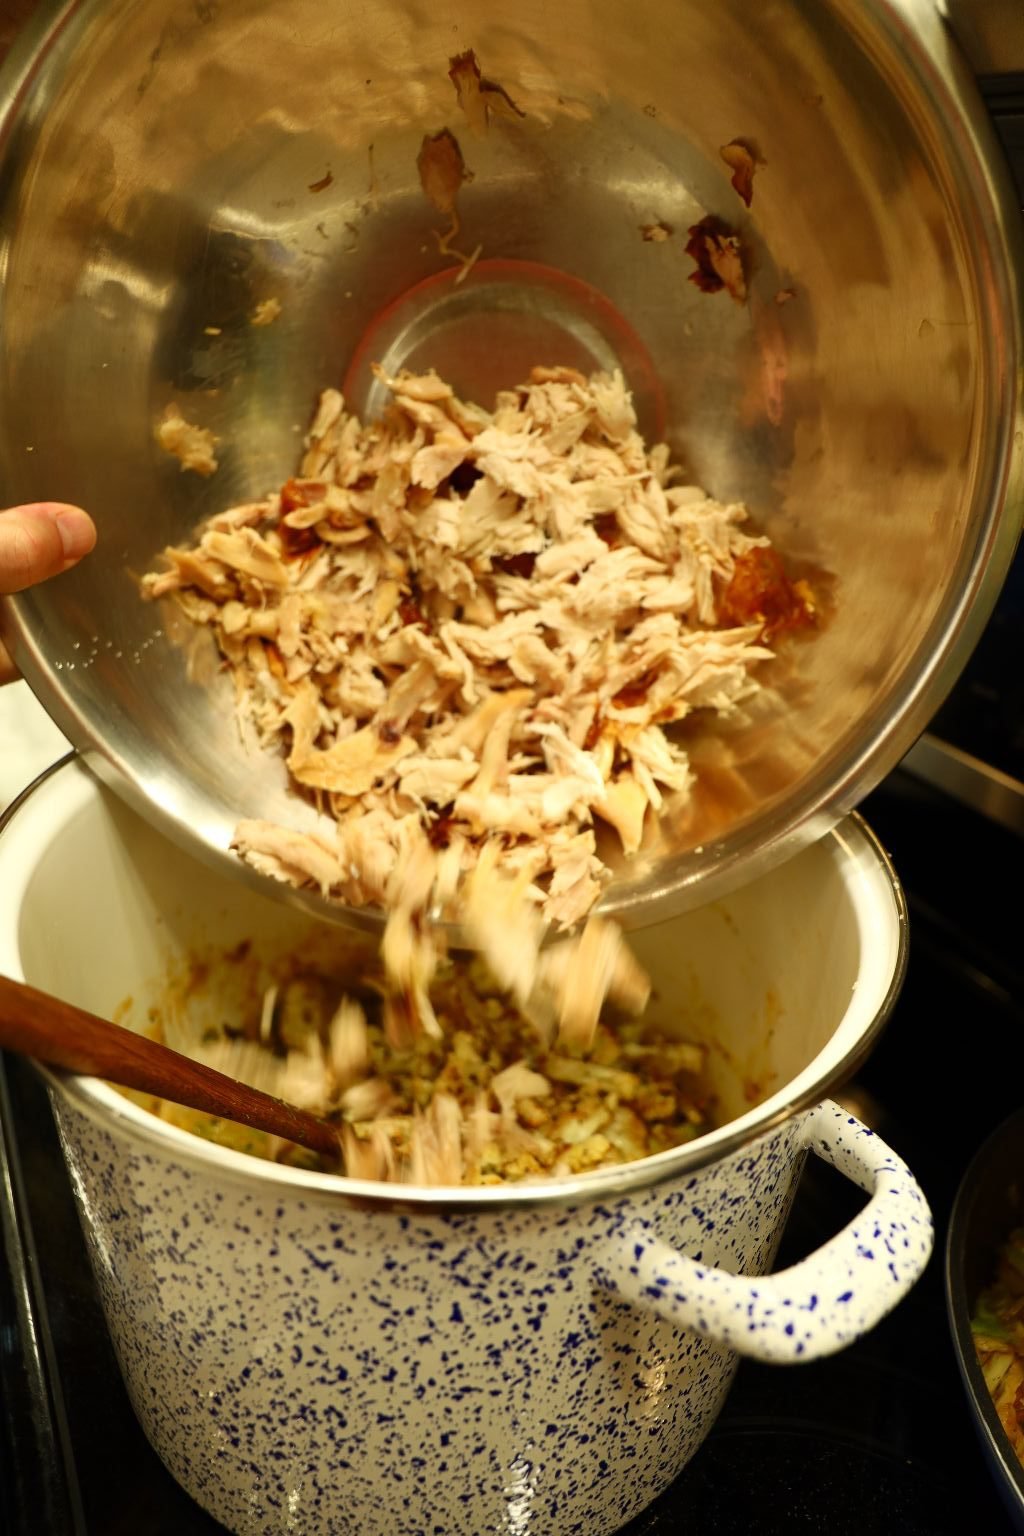
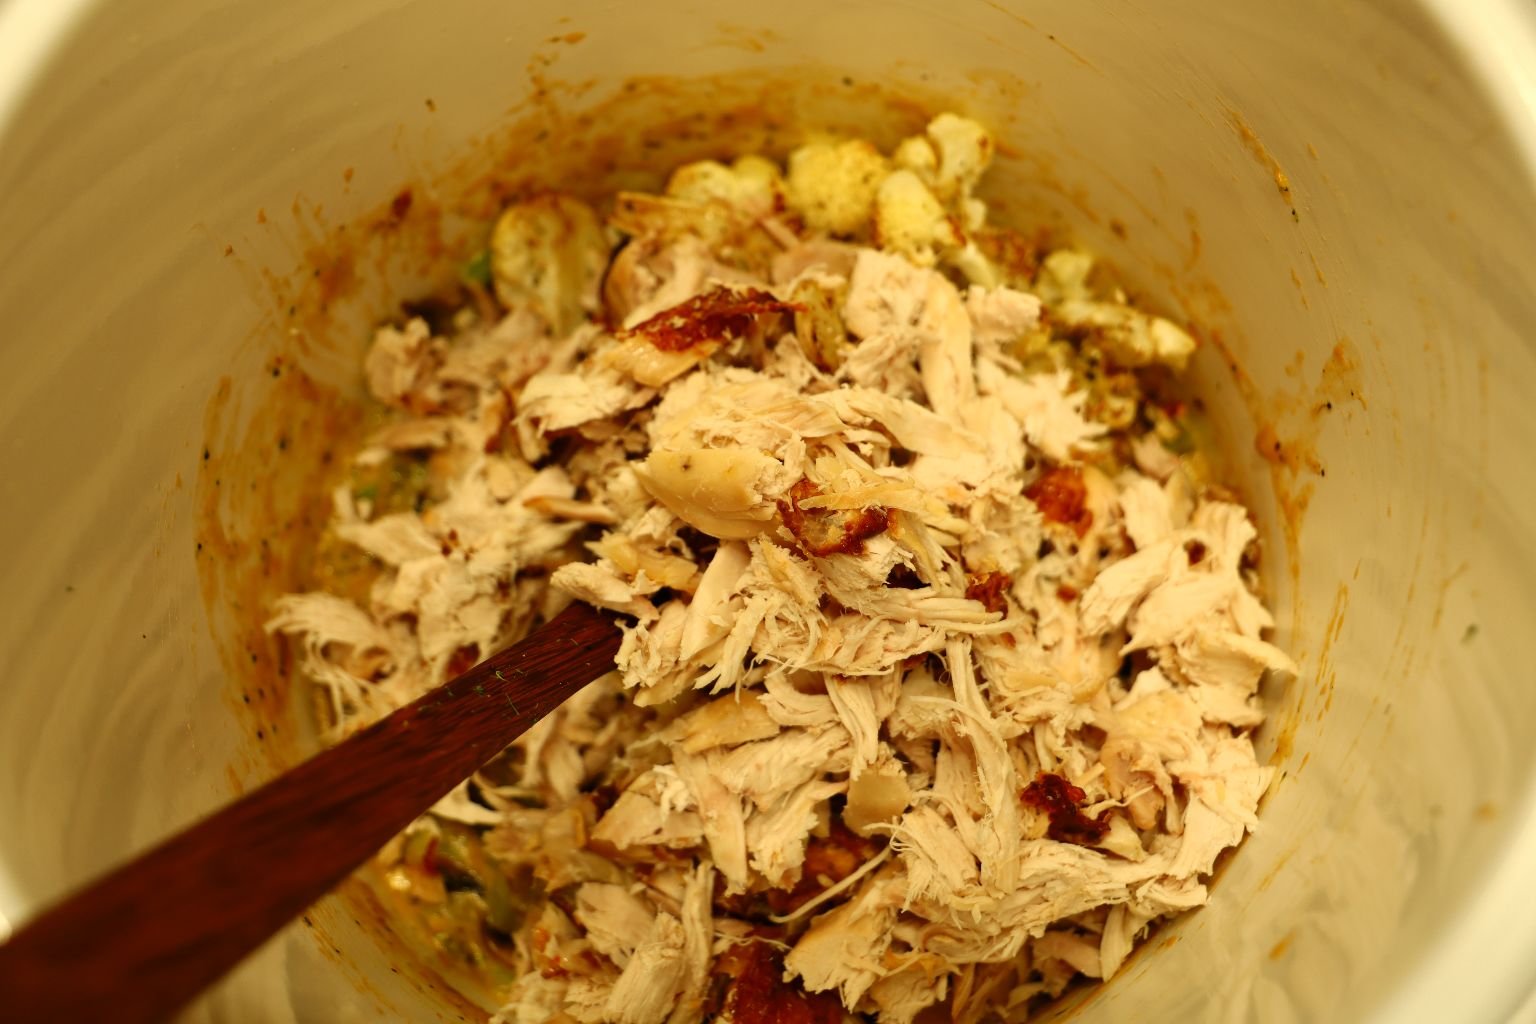
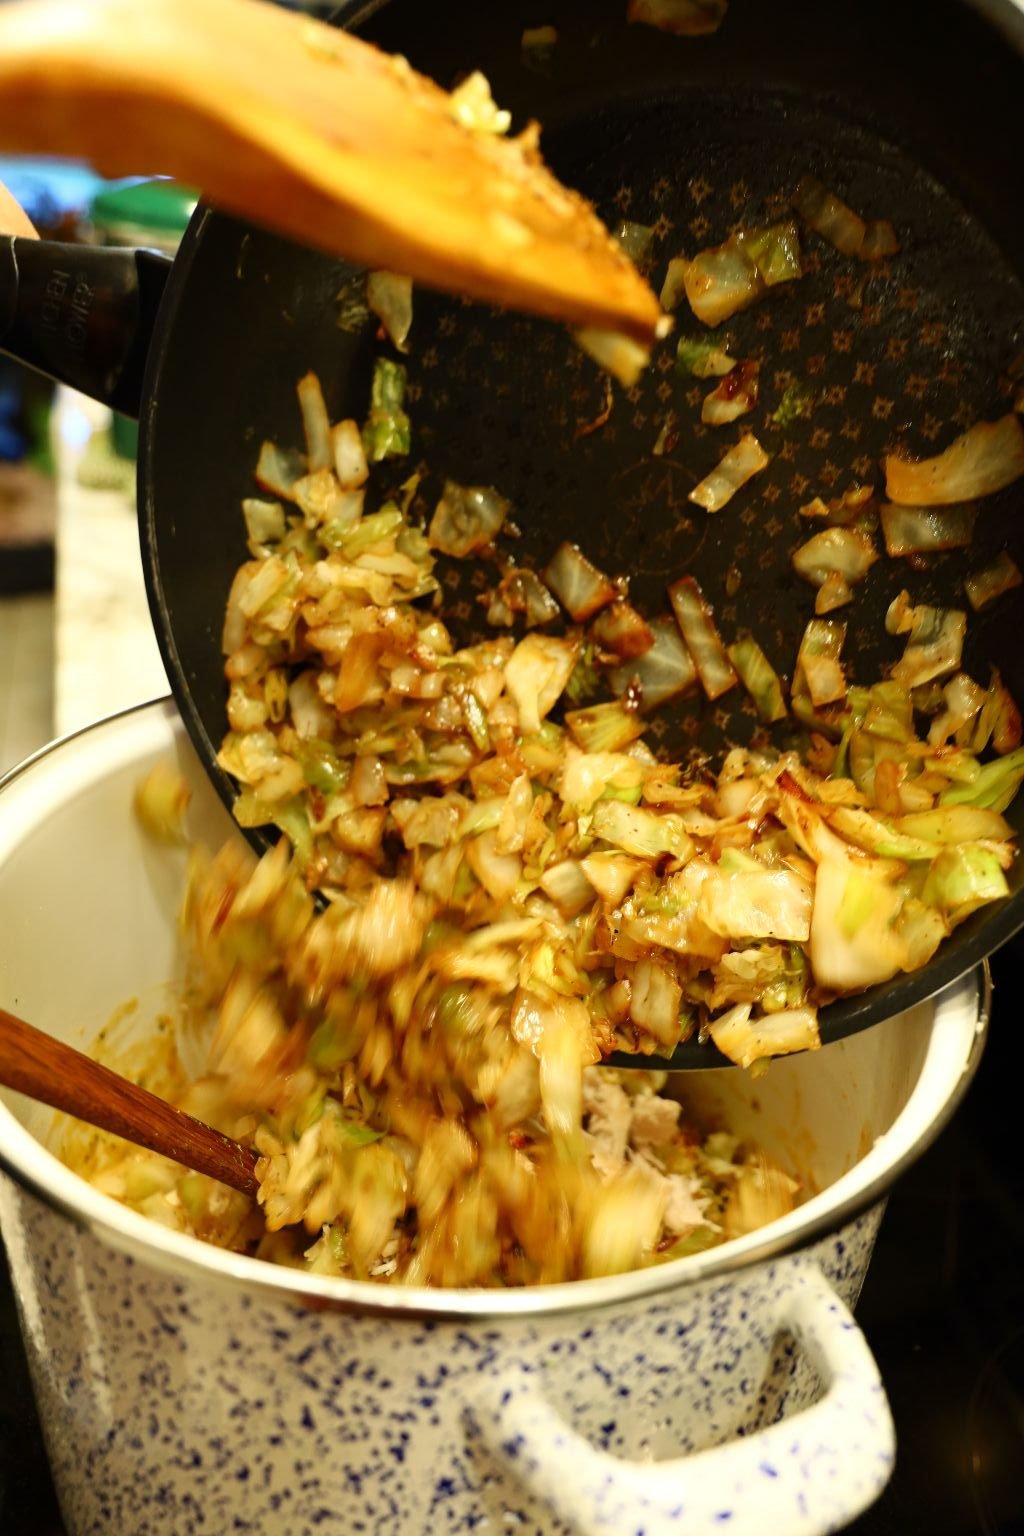
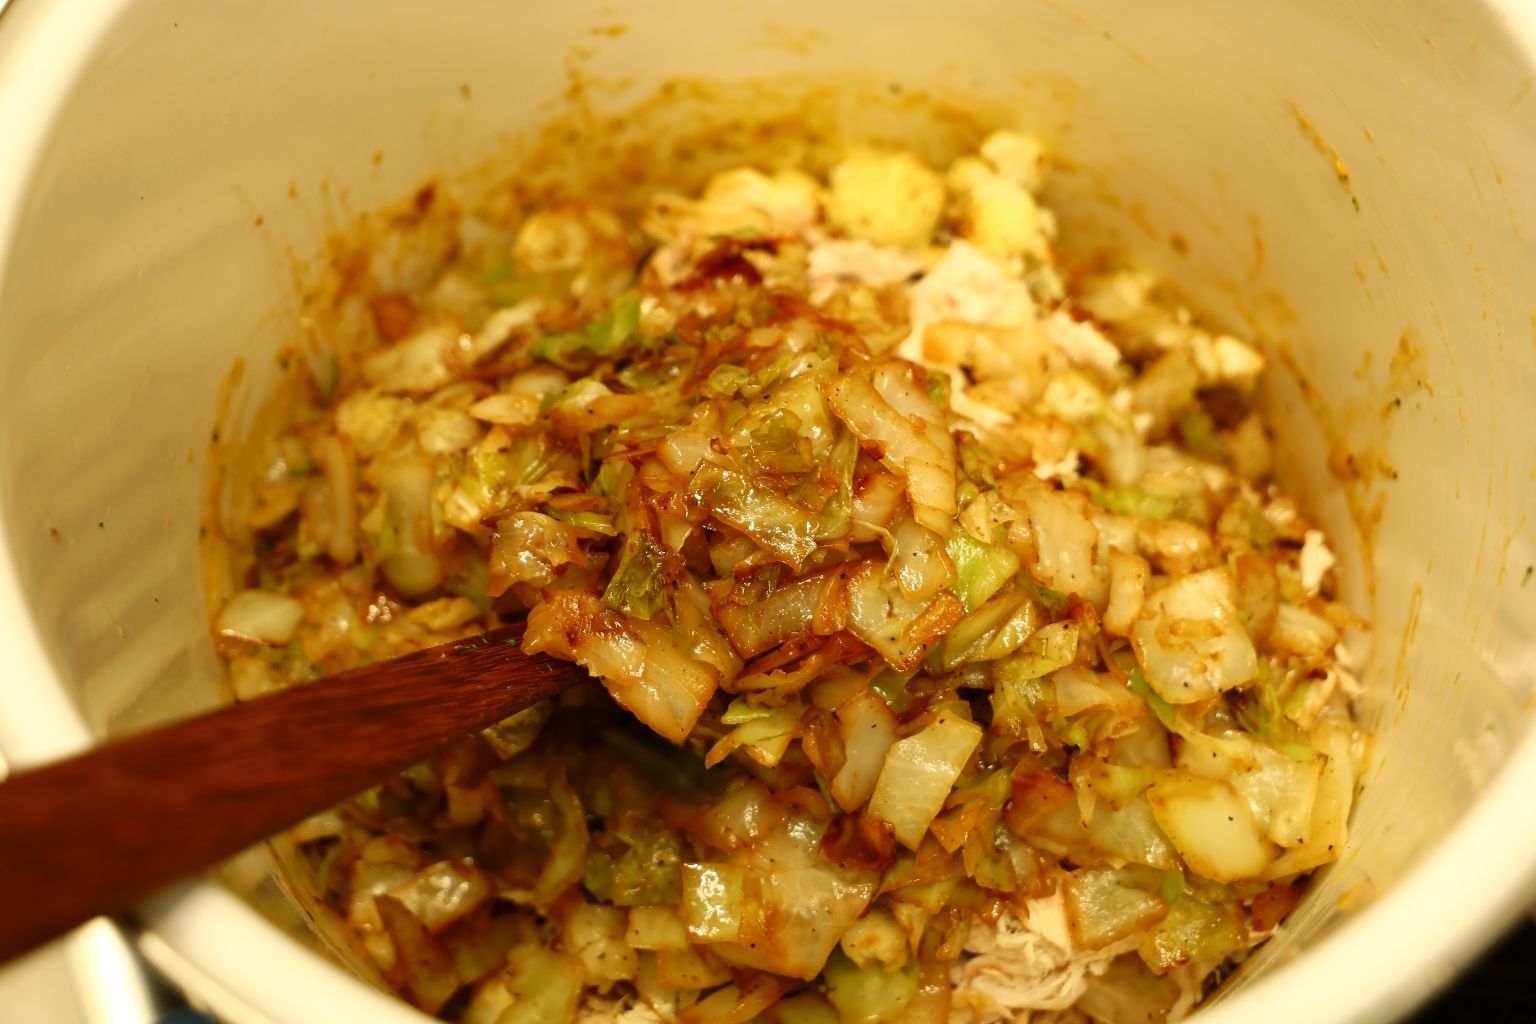
Mix well between adding the ingredients.
———————————————————————–
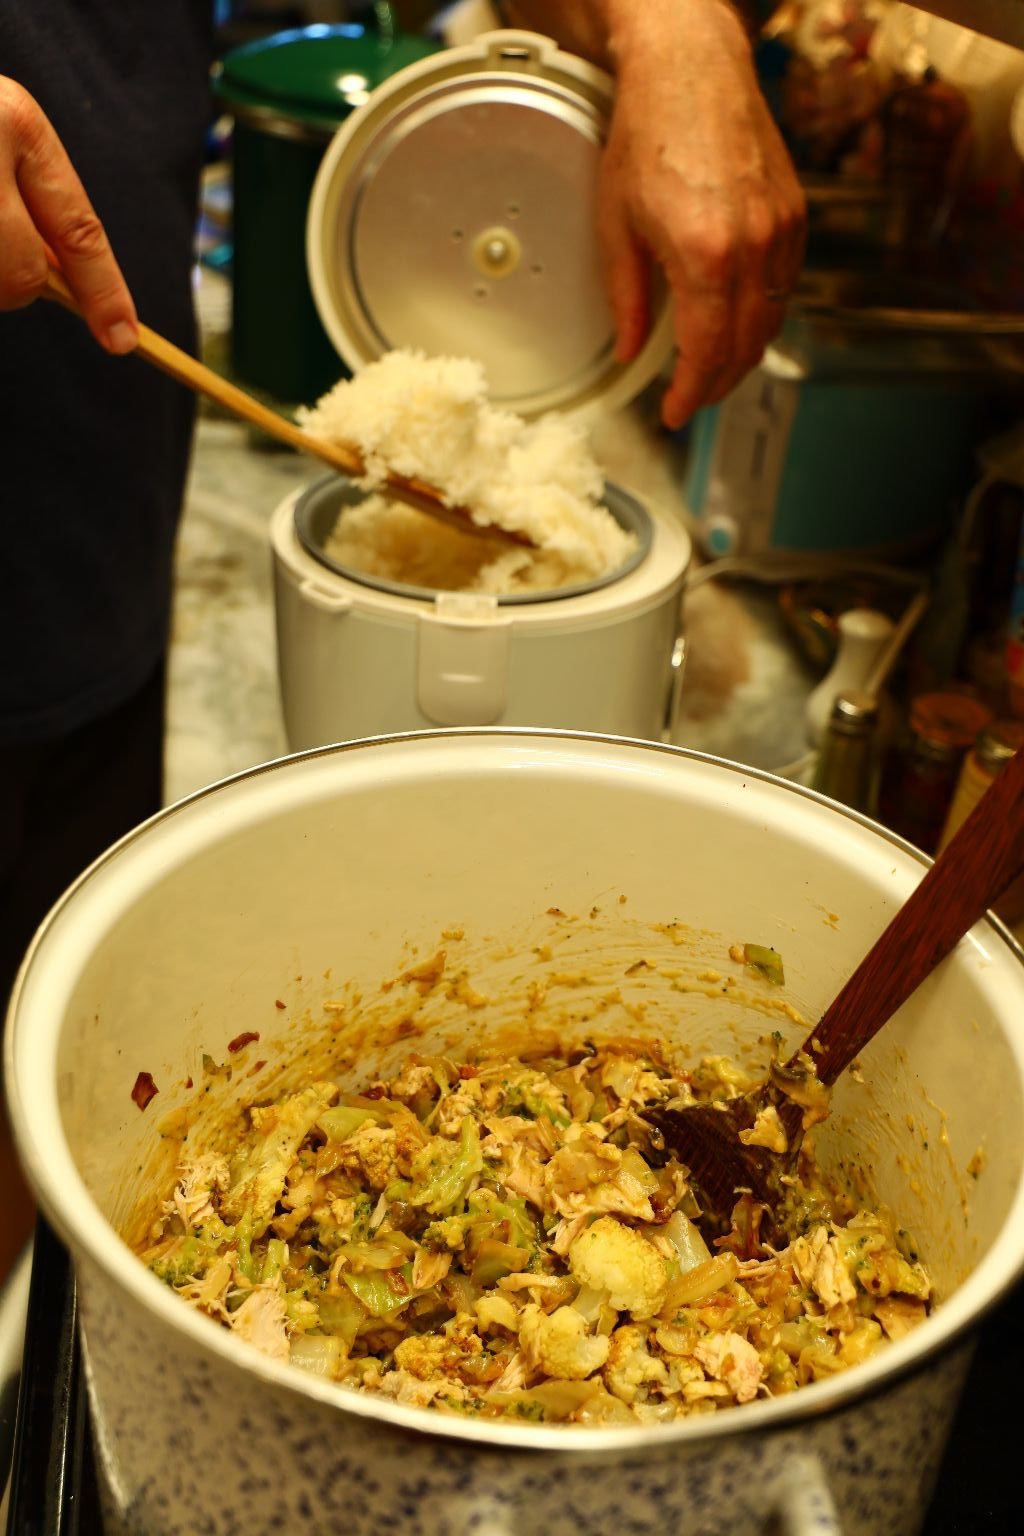
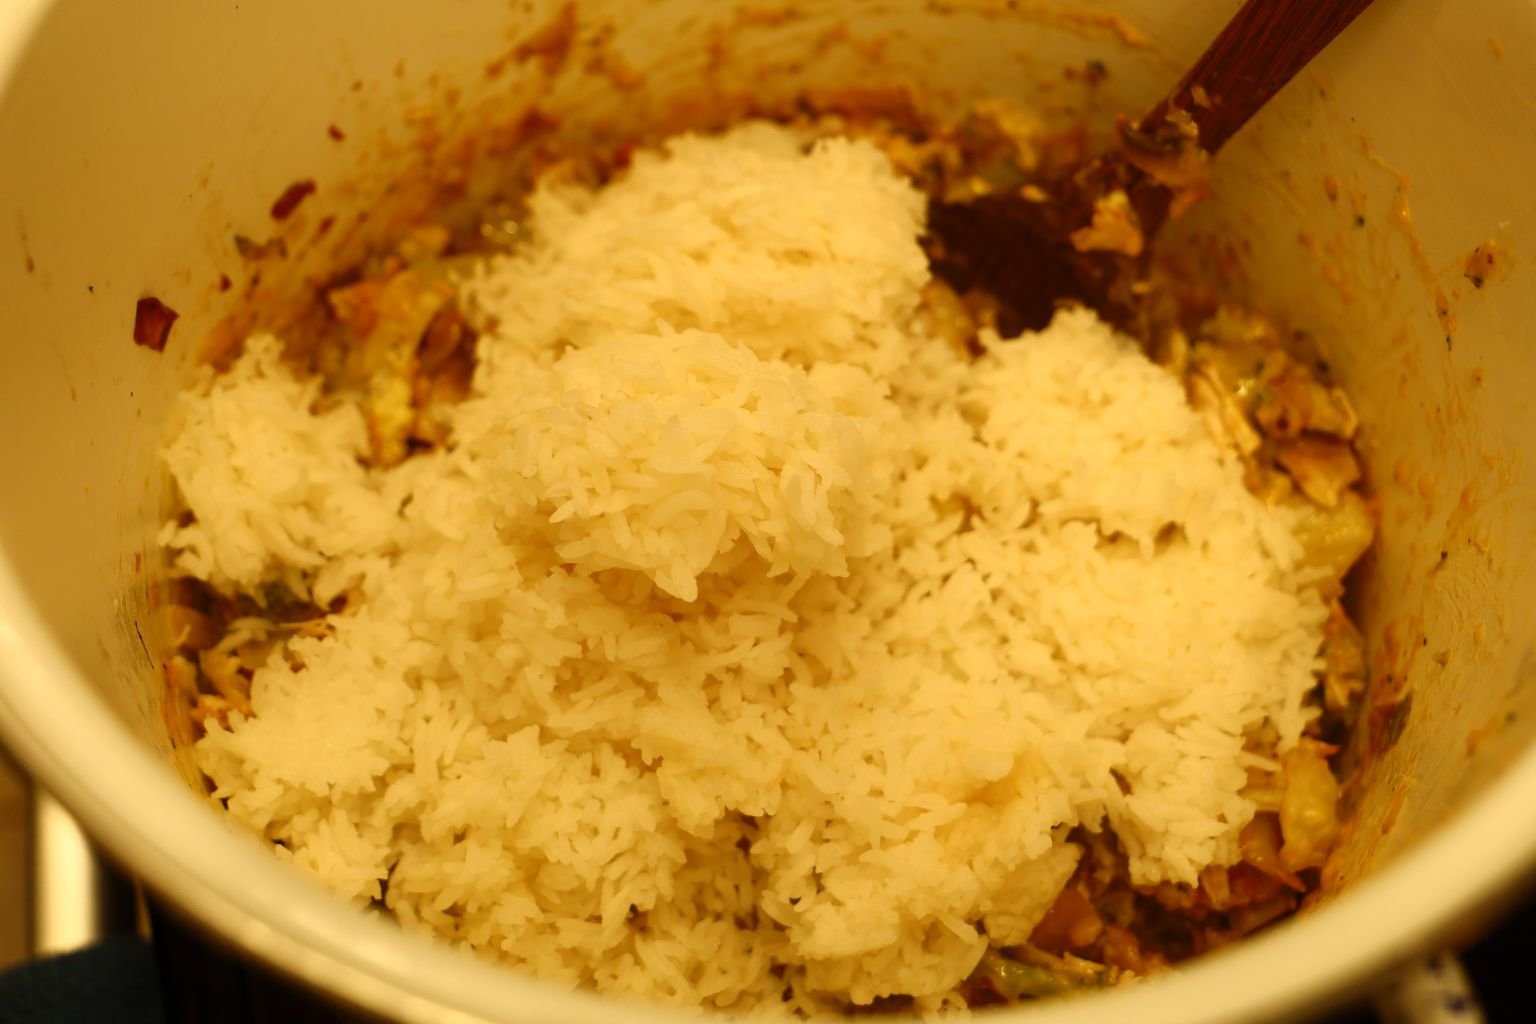
Here we added about 3 1/2 to 4 Cups rice to the pot.
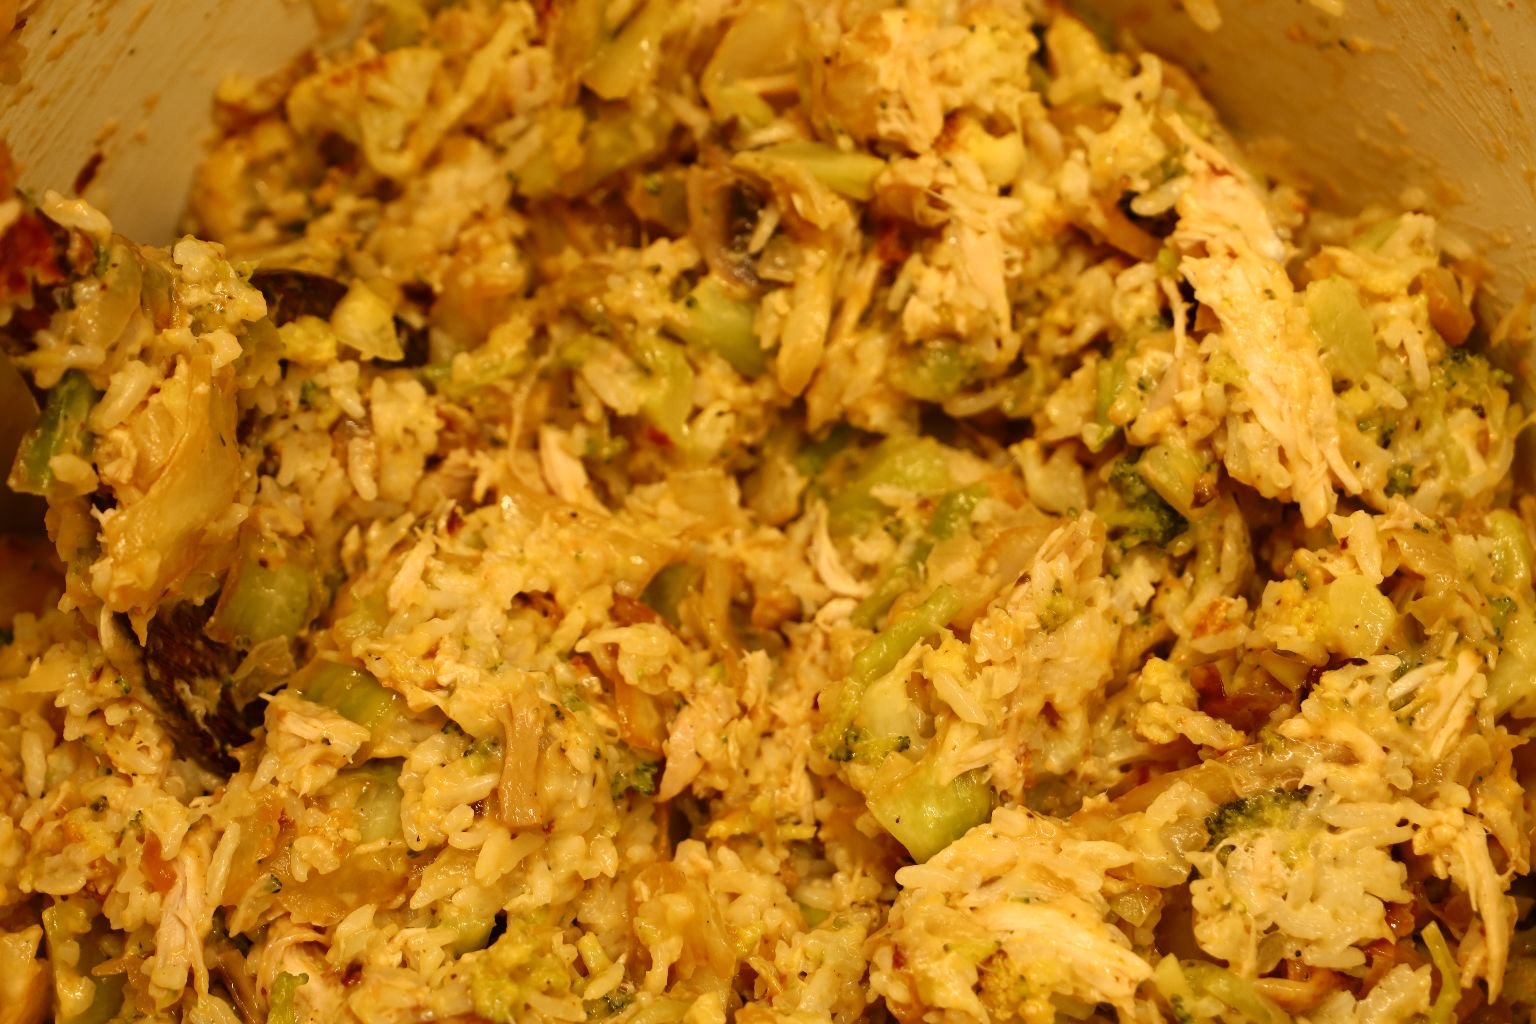
We liked how it looked and felt we didn’t need any more rice and it tasted great.
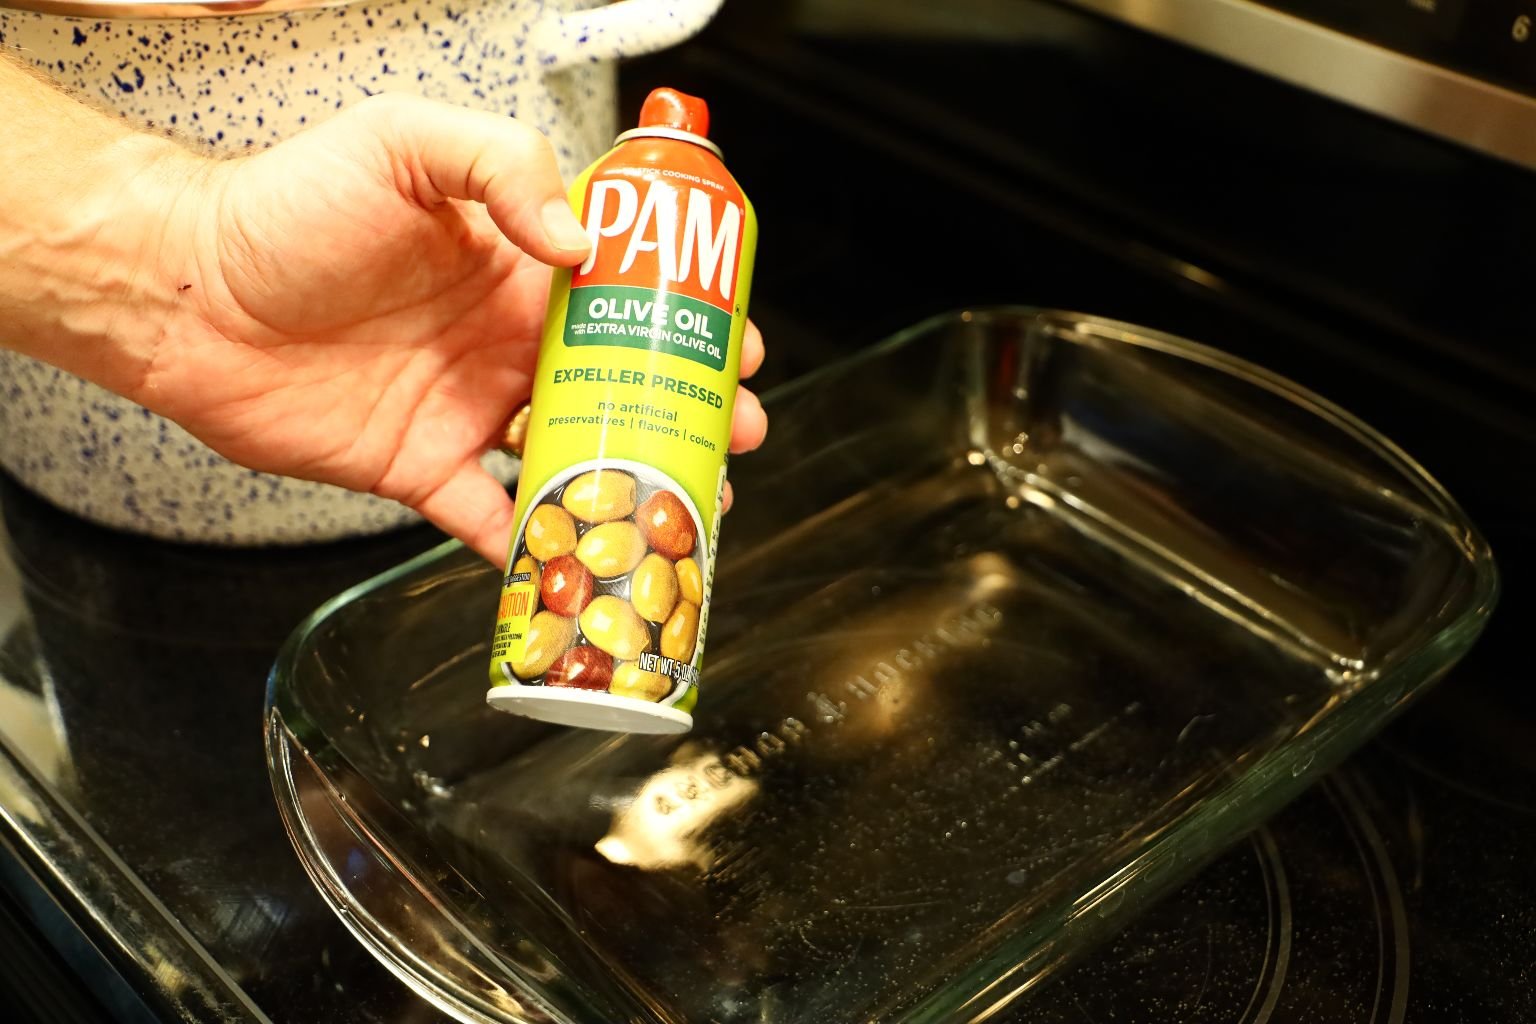
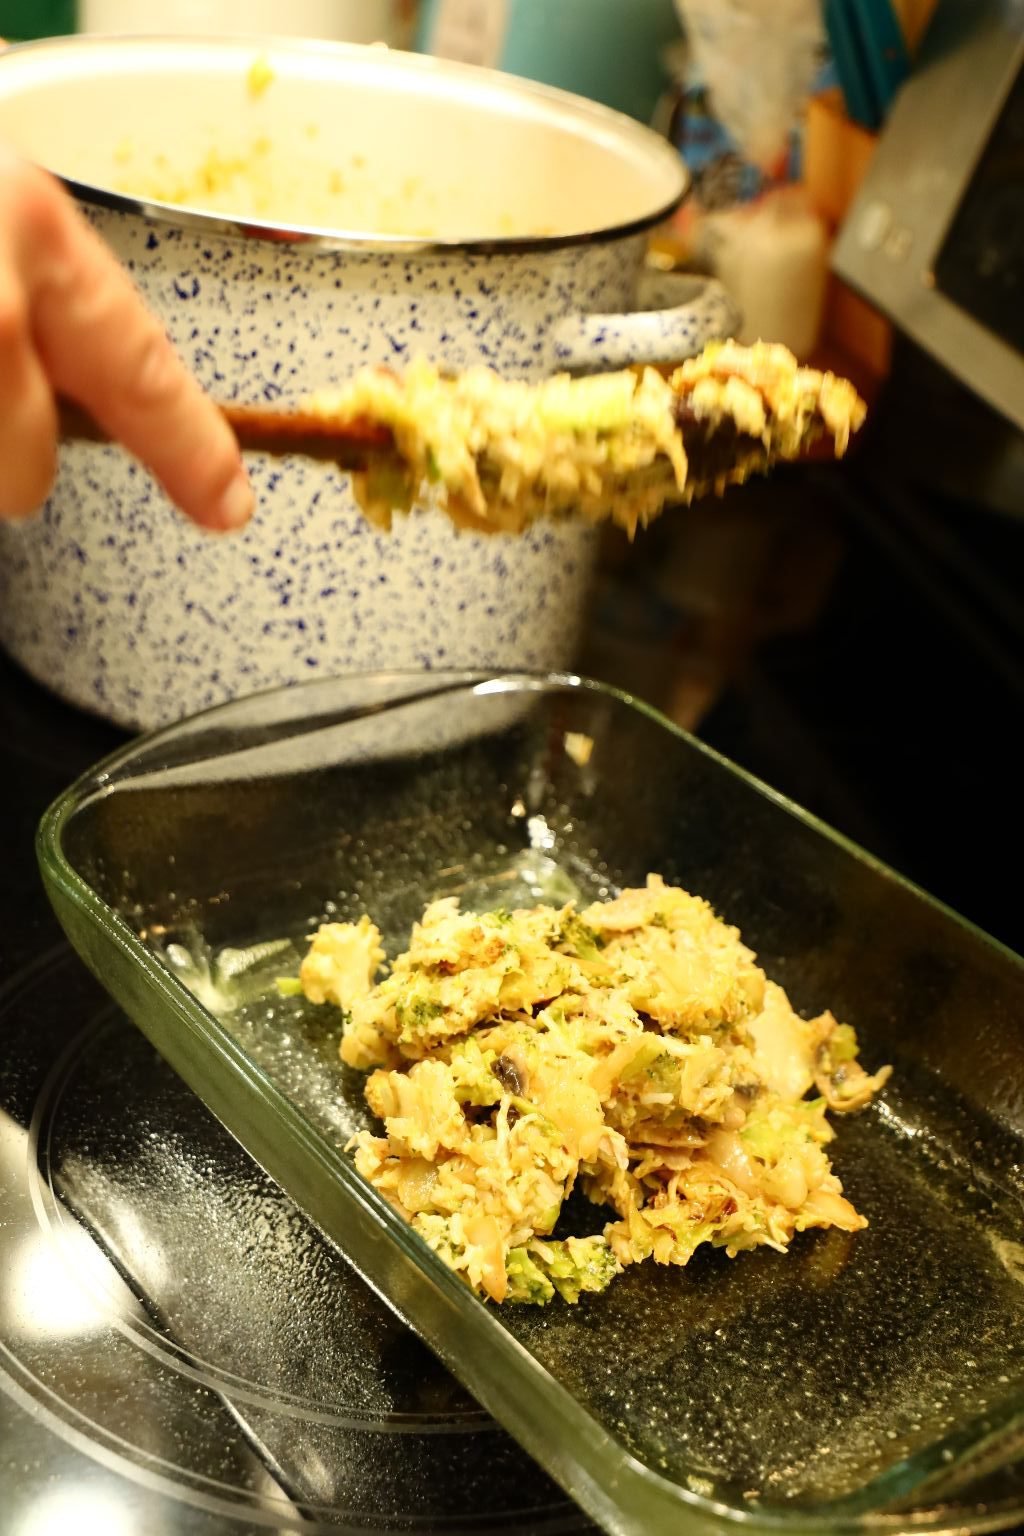
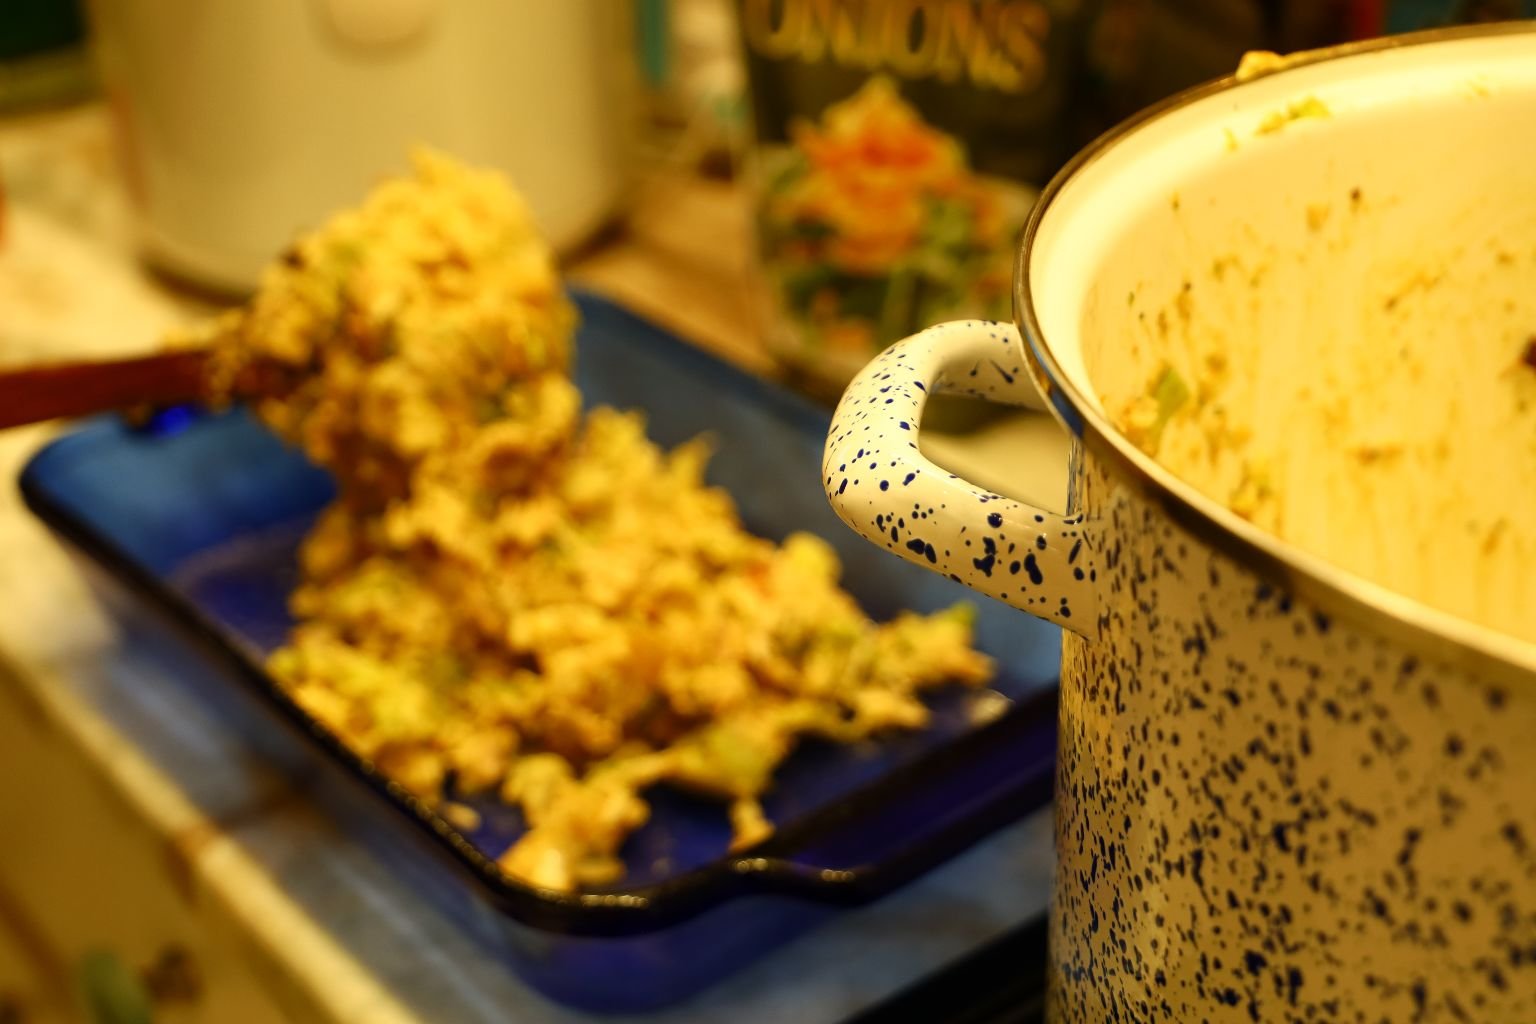
Spray your Pyrex casserole dishes with some Pam cooking spray and evenly spread the mixture into the dishes.

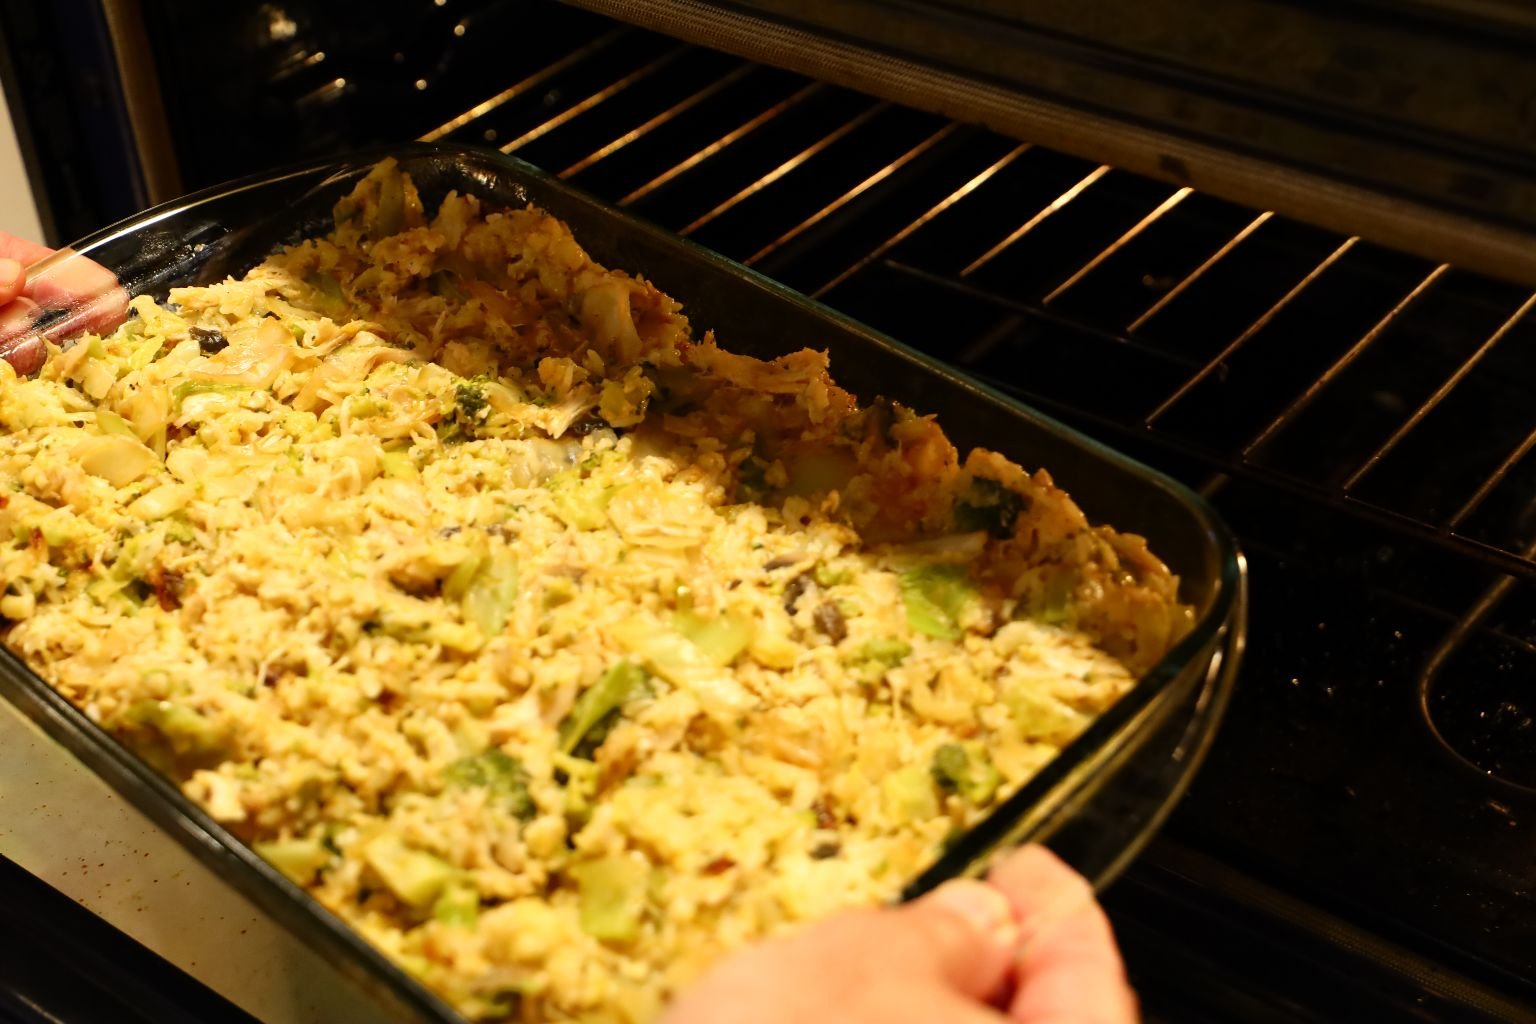
Bake these at 350’F for about 25 to 30 minutes or until the top begins to brown.
————————————————————————
—————————————————————
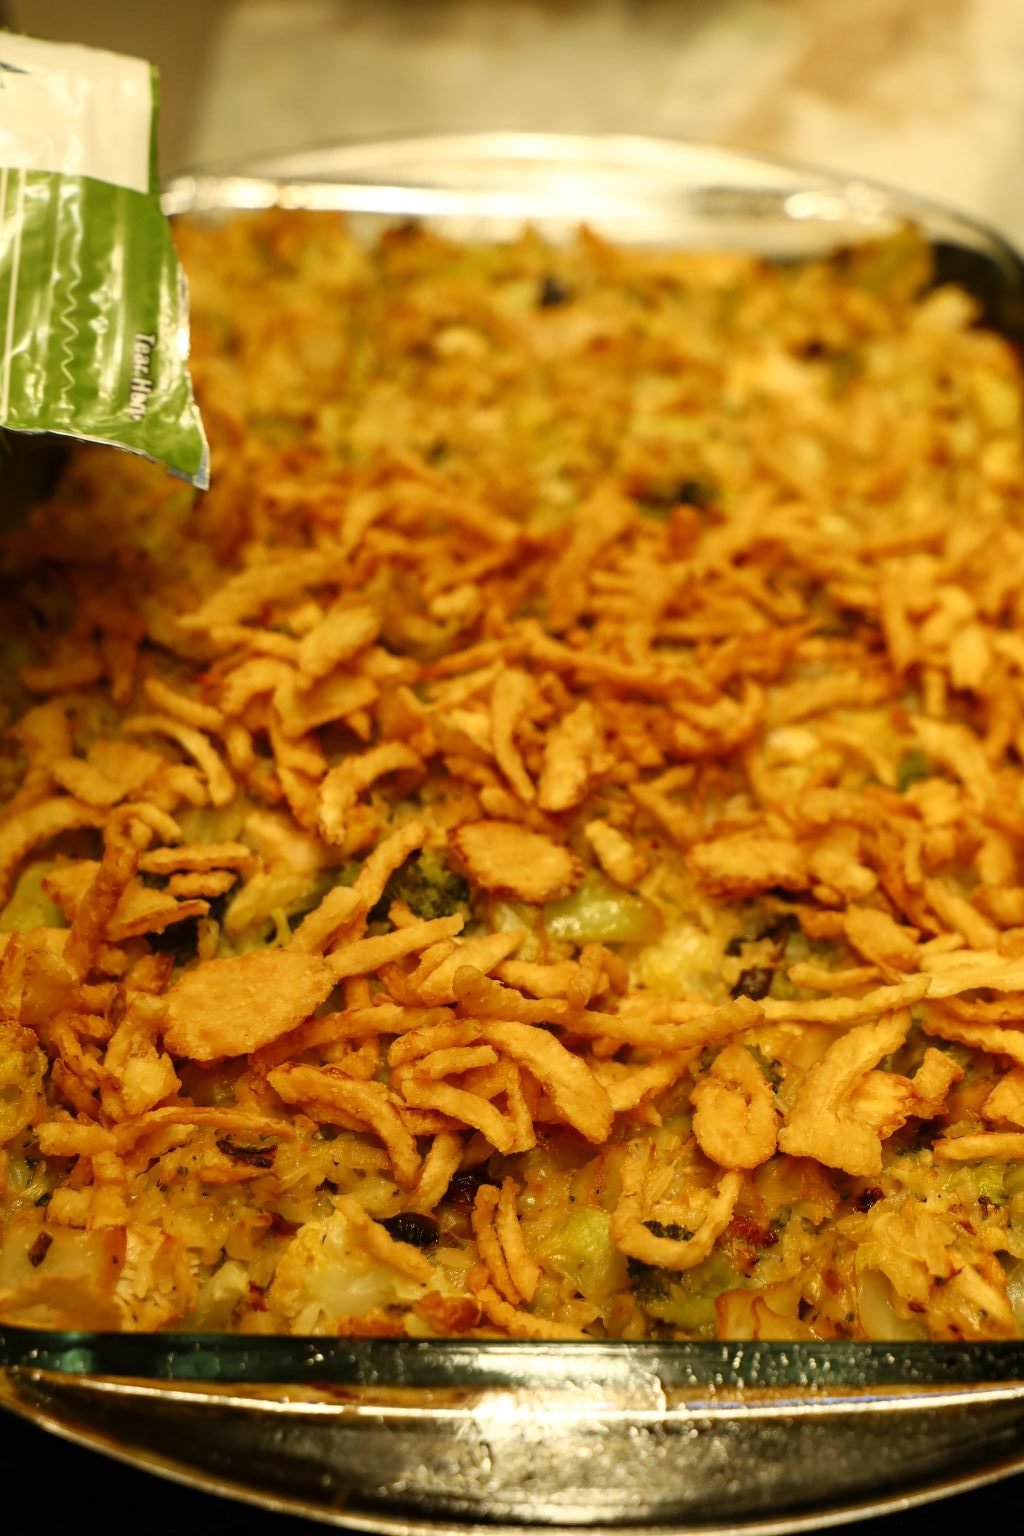
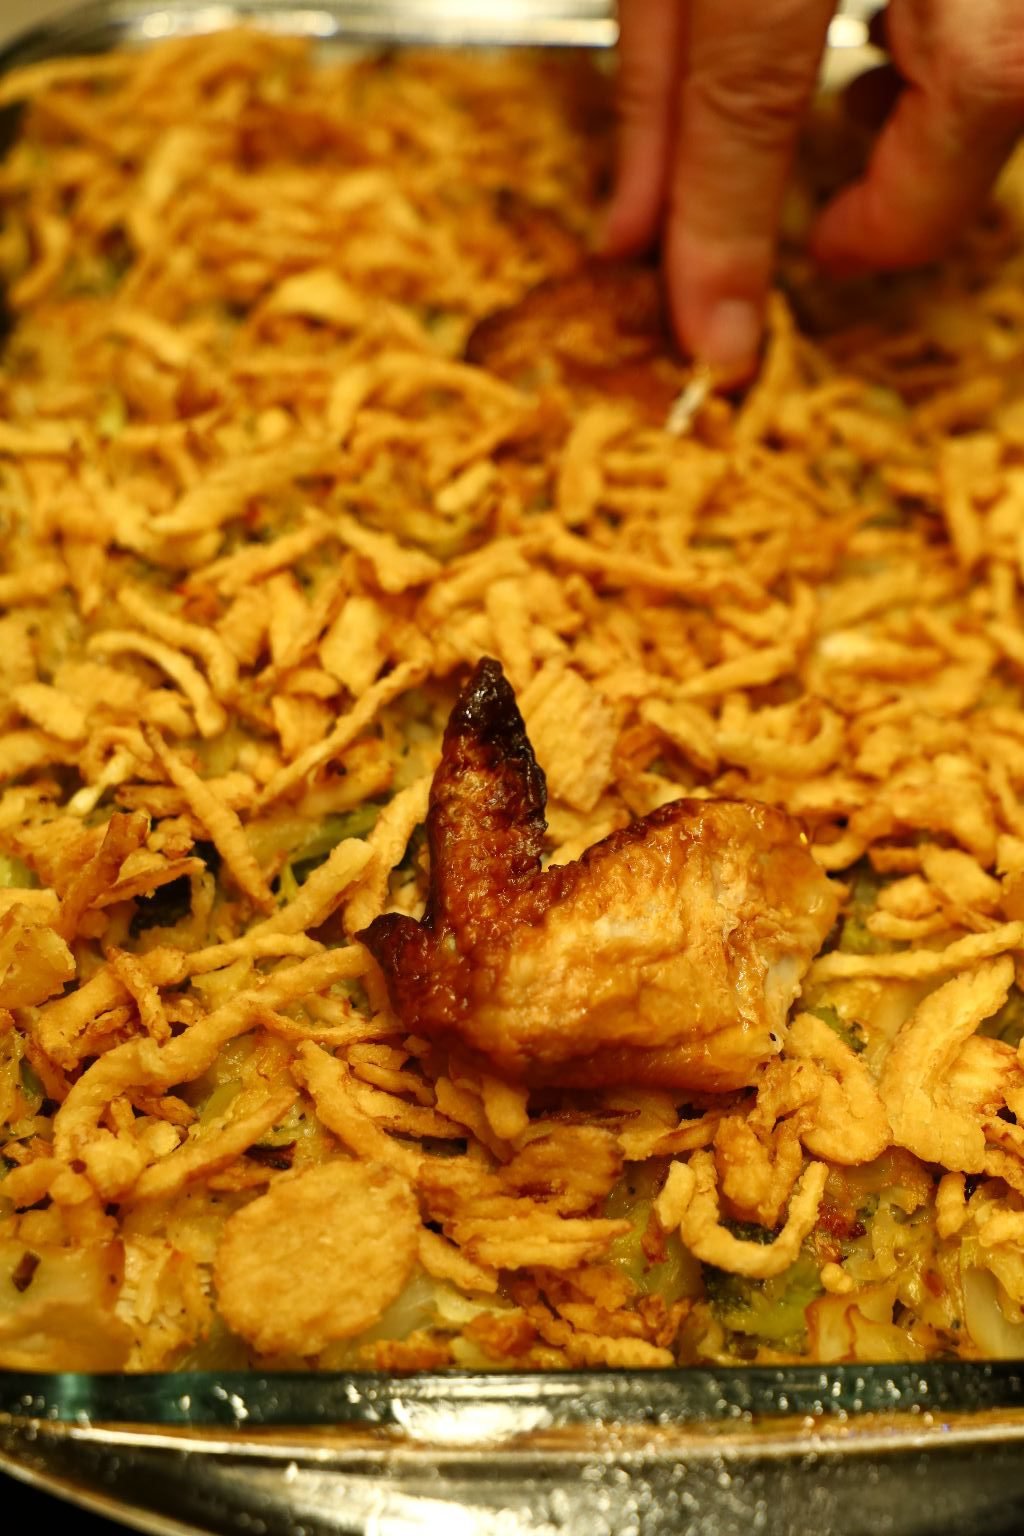
Once it starts to brown, about 5 minutes before the casserole is done, we added a good layer of French Fried Onions. We even added the Chicken Wings to the dish. Now place back into the oven for that additional 5 minutes and then remove to let cool.
—————————————————————————–
Freezing One For Later On
———————————————————————————–

An Excellent Way to Eat Your Thanksgiving Leftovers
Enjoy!
Gordon and Julie
————————————————————————
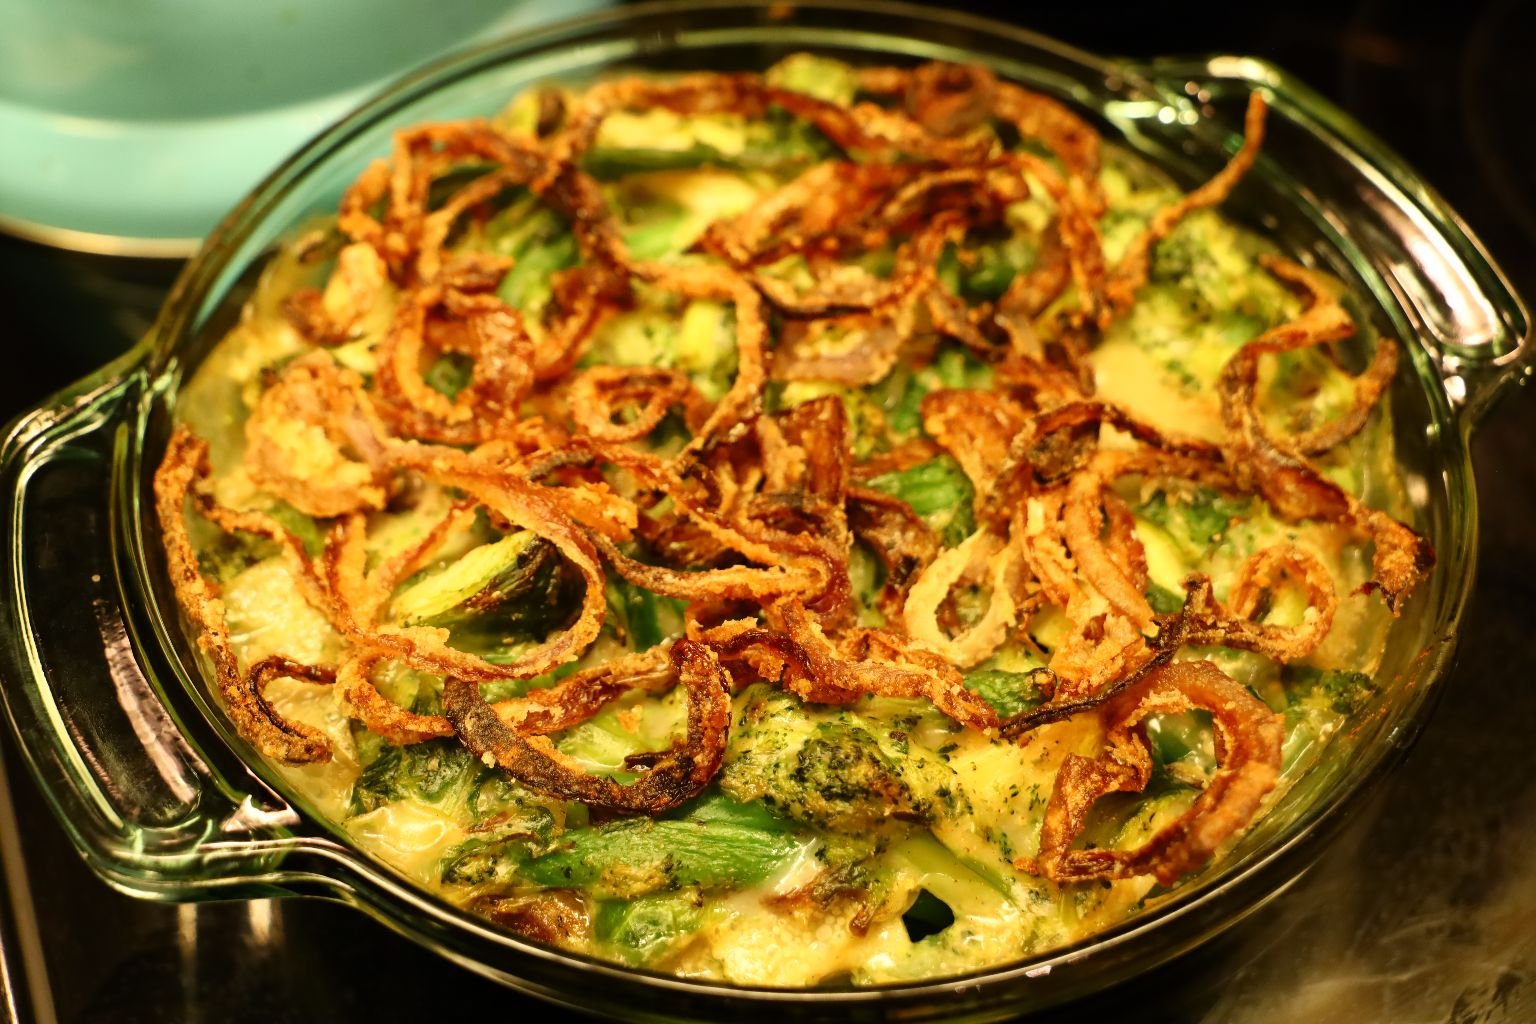
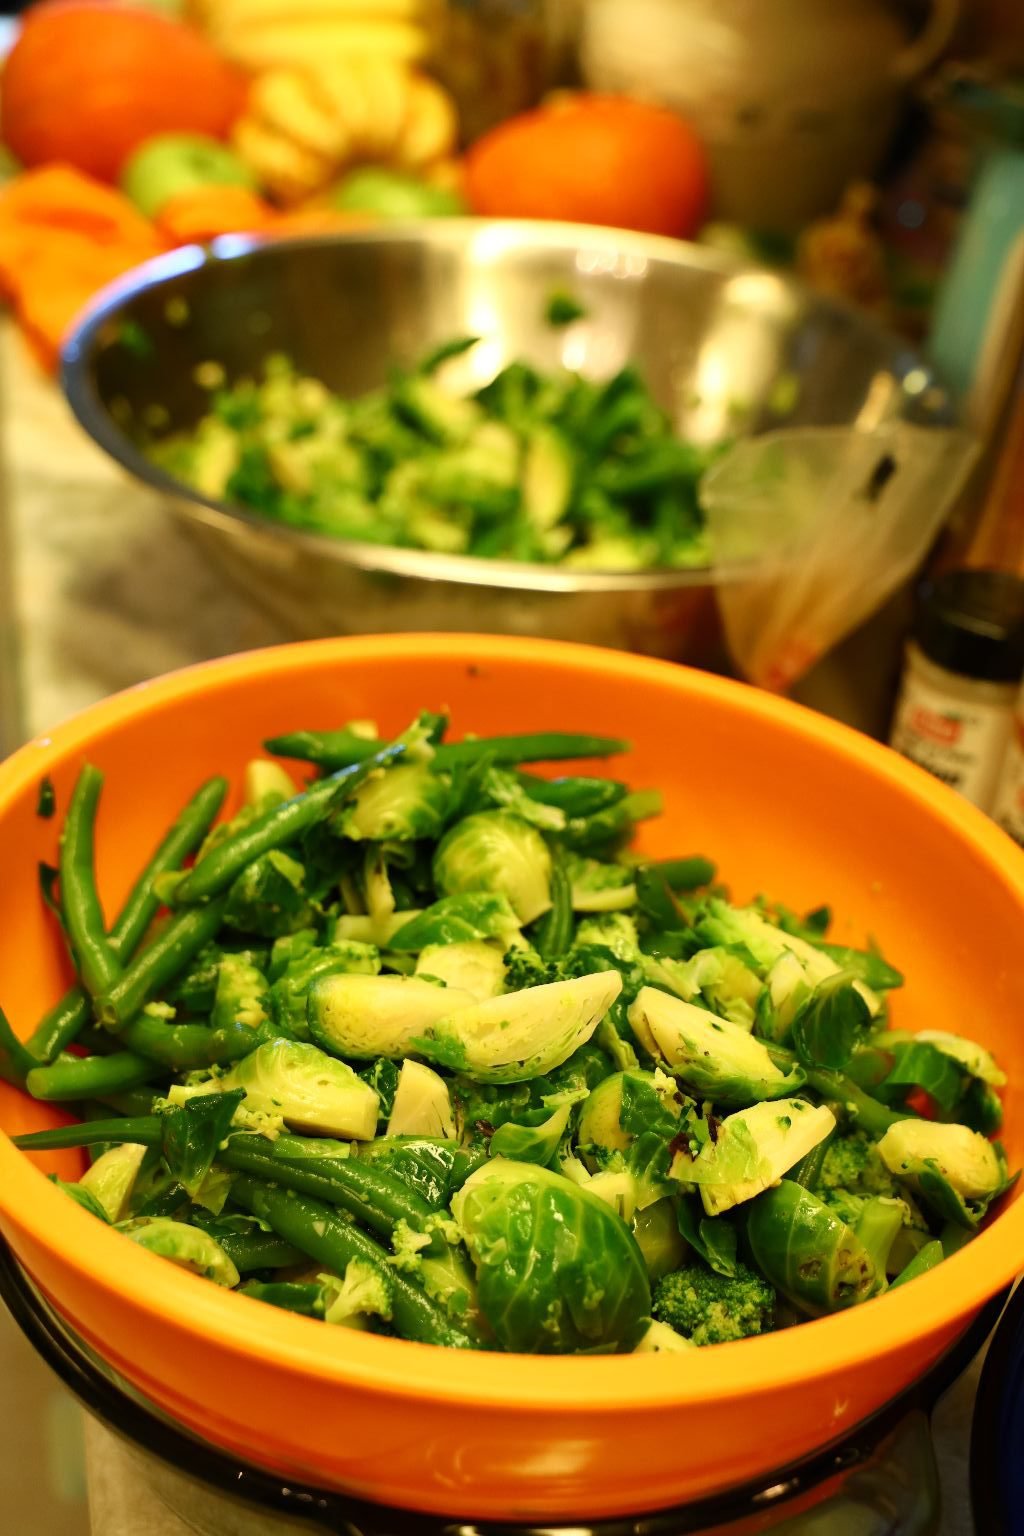
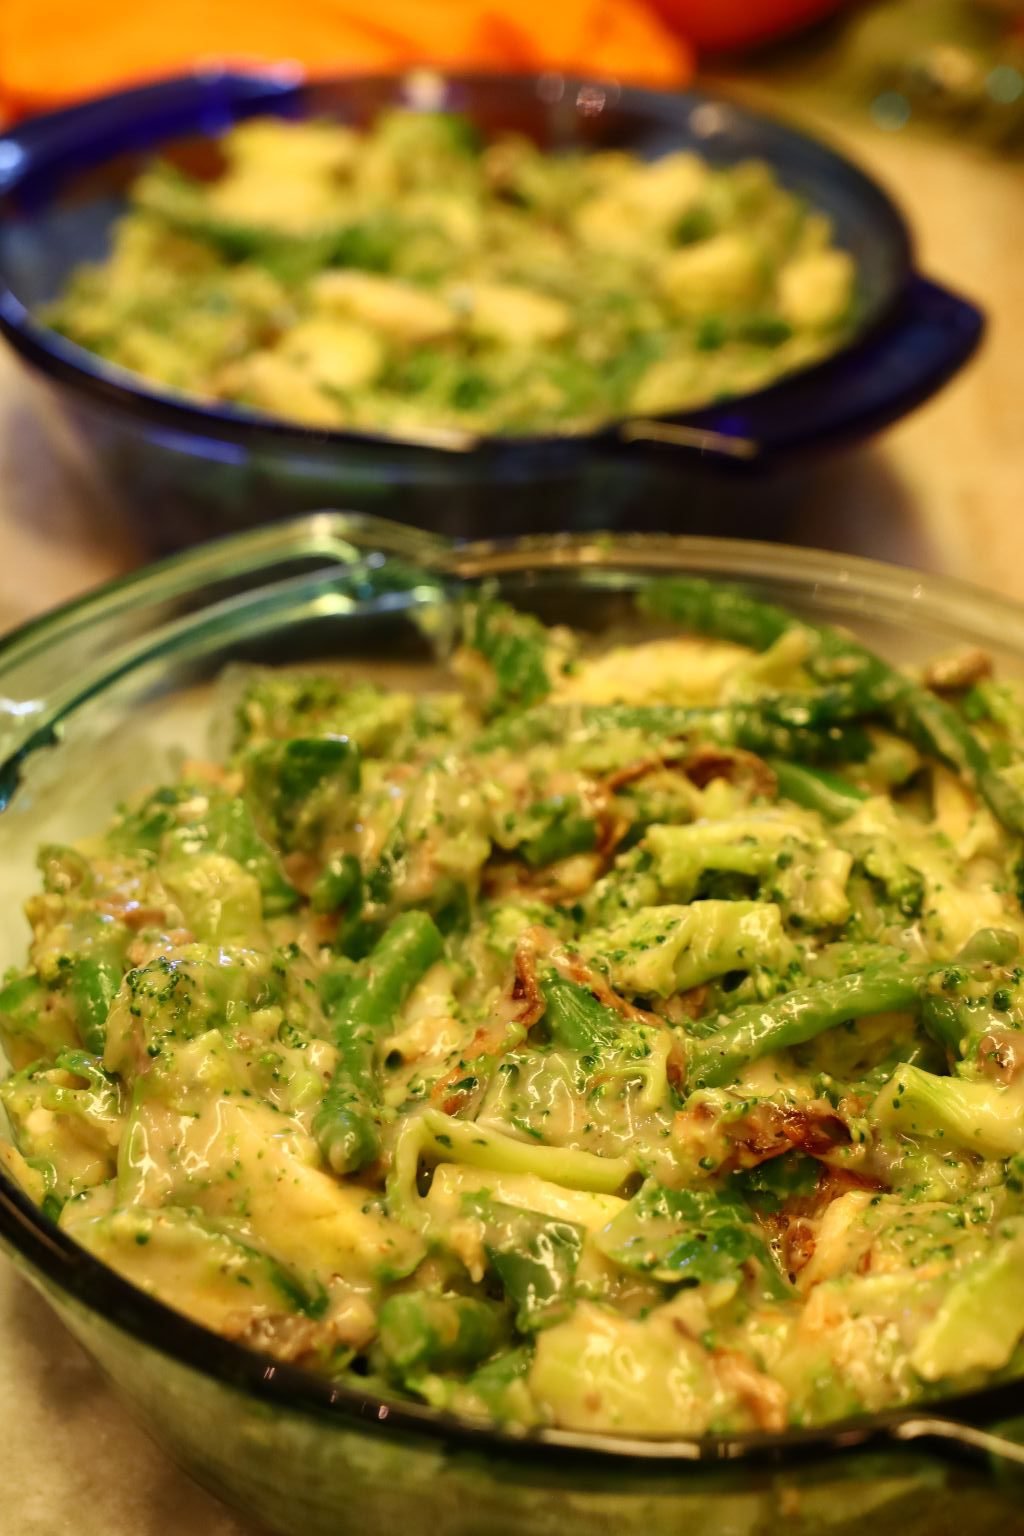
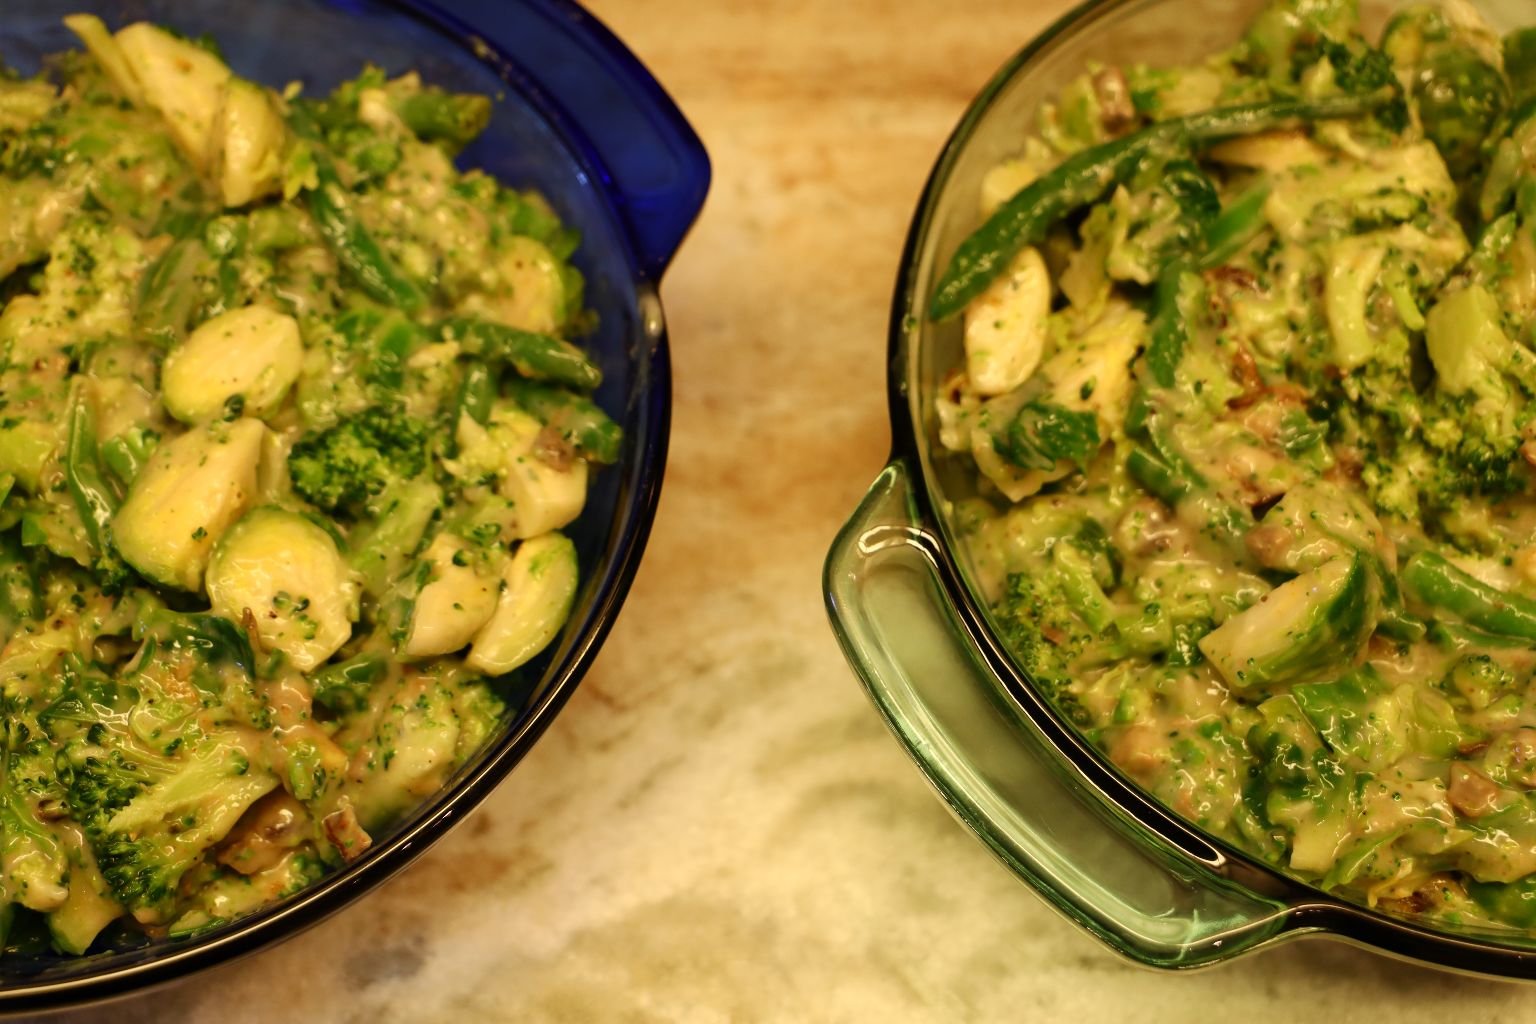
Not Your Mother’s Green Bean Casserole
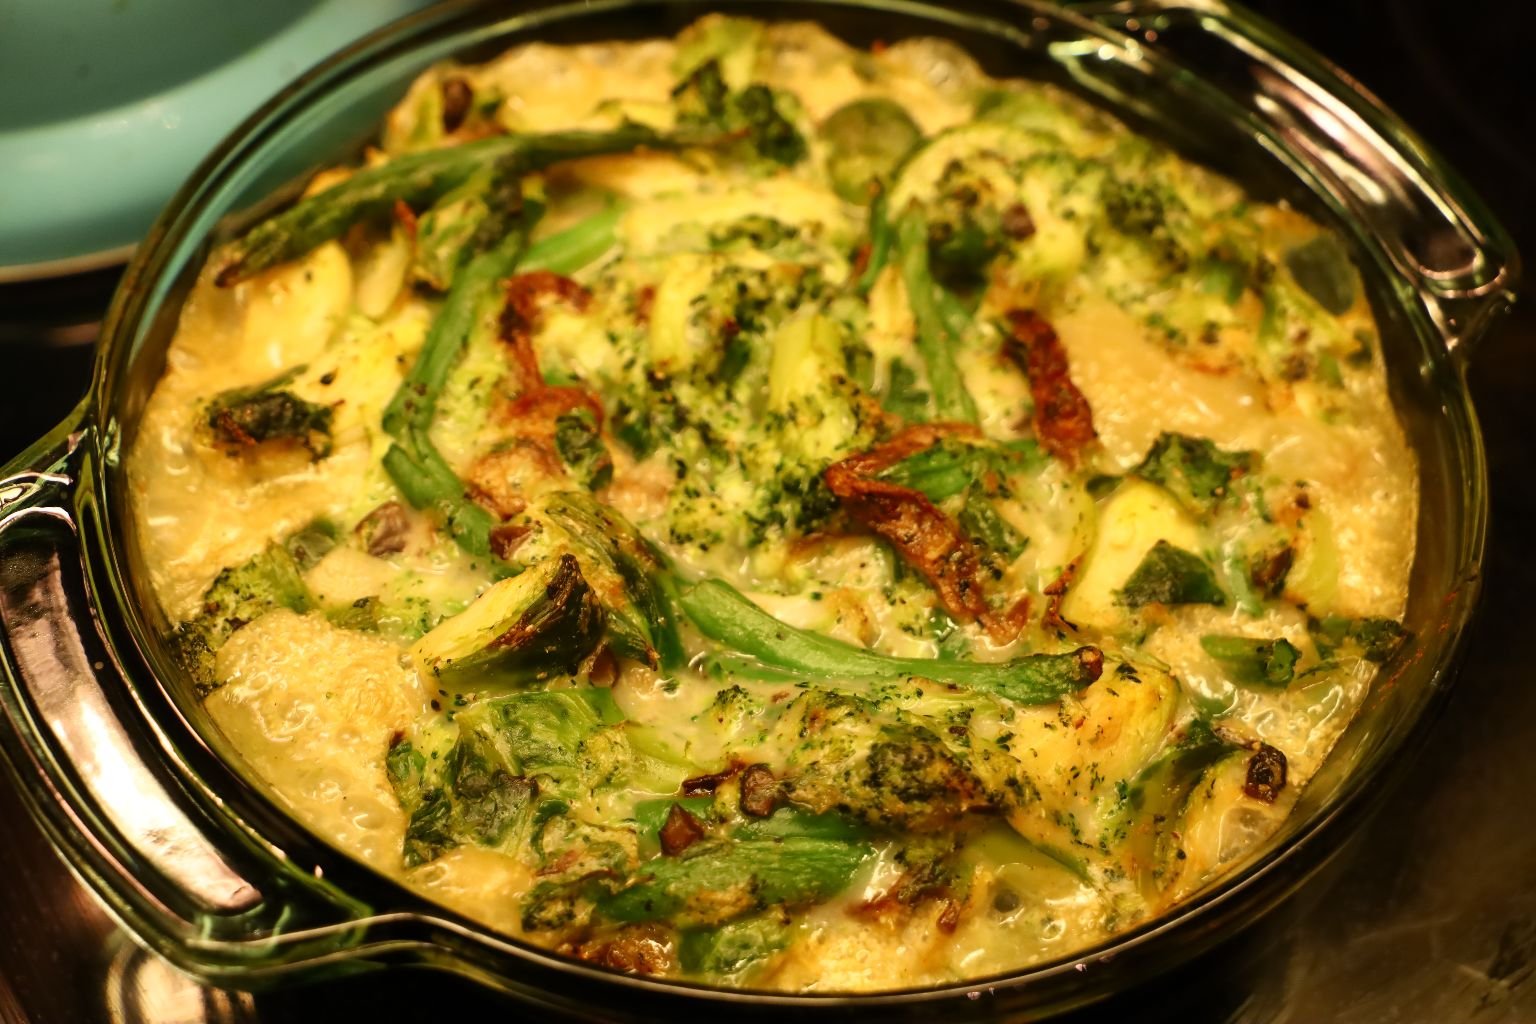
Casserole Photo Left: Mostly Baked and Ready
Casserole Photo Right: After Adding the Crunchy Fried Onions
————————————————————————
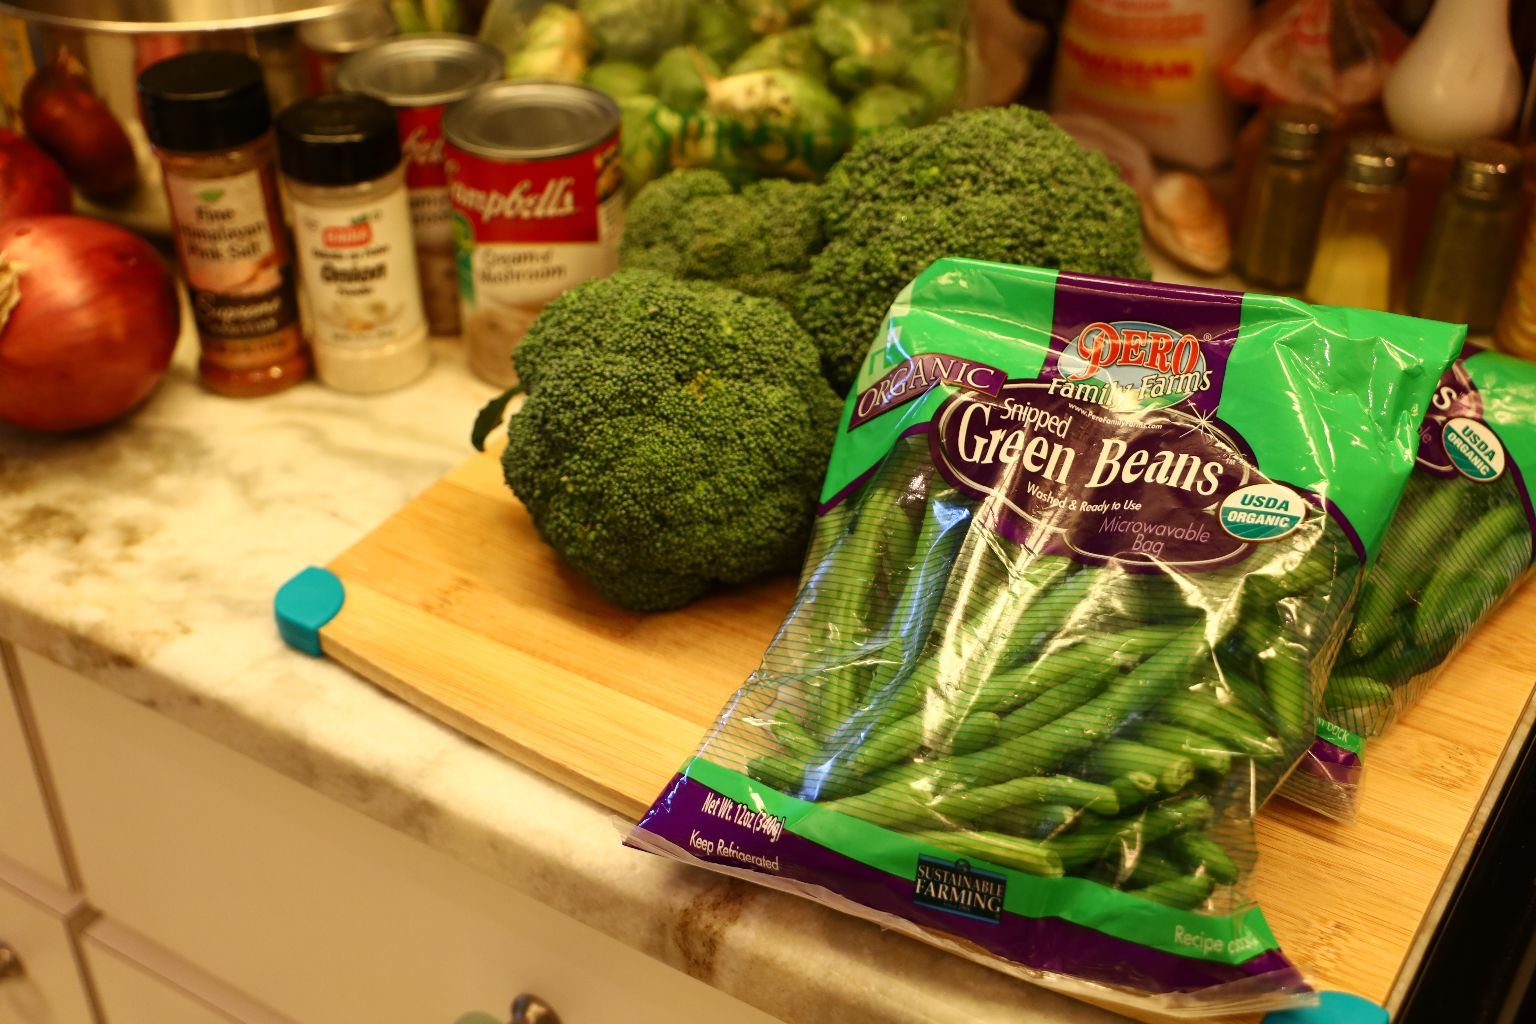
Ingredients:
(We doubled this recipe in order to eat one, freeze one. These ingredients are for two casseroles.)
——————————————————————
2 Tbsp. Sea Salt
3 Cups Fresh Broccoli
3 Cups Fresh Green Beans
3 Cups Fresh Brussels Sprouts
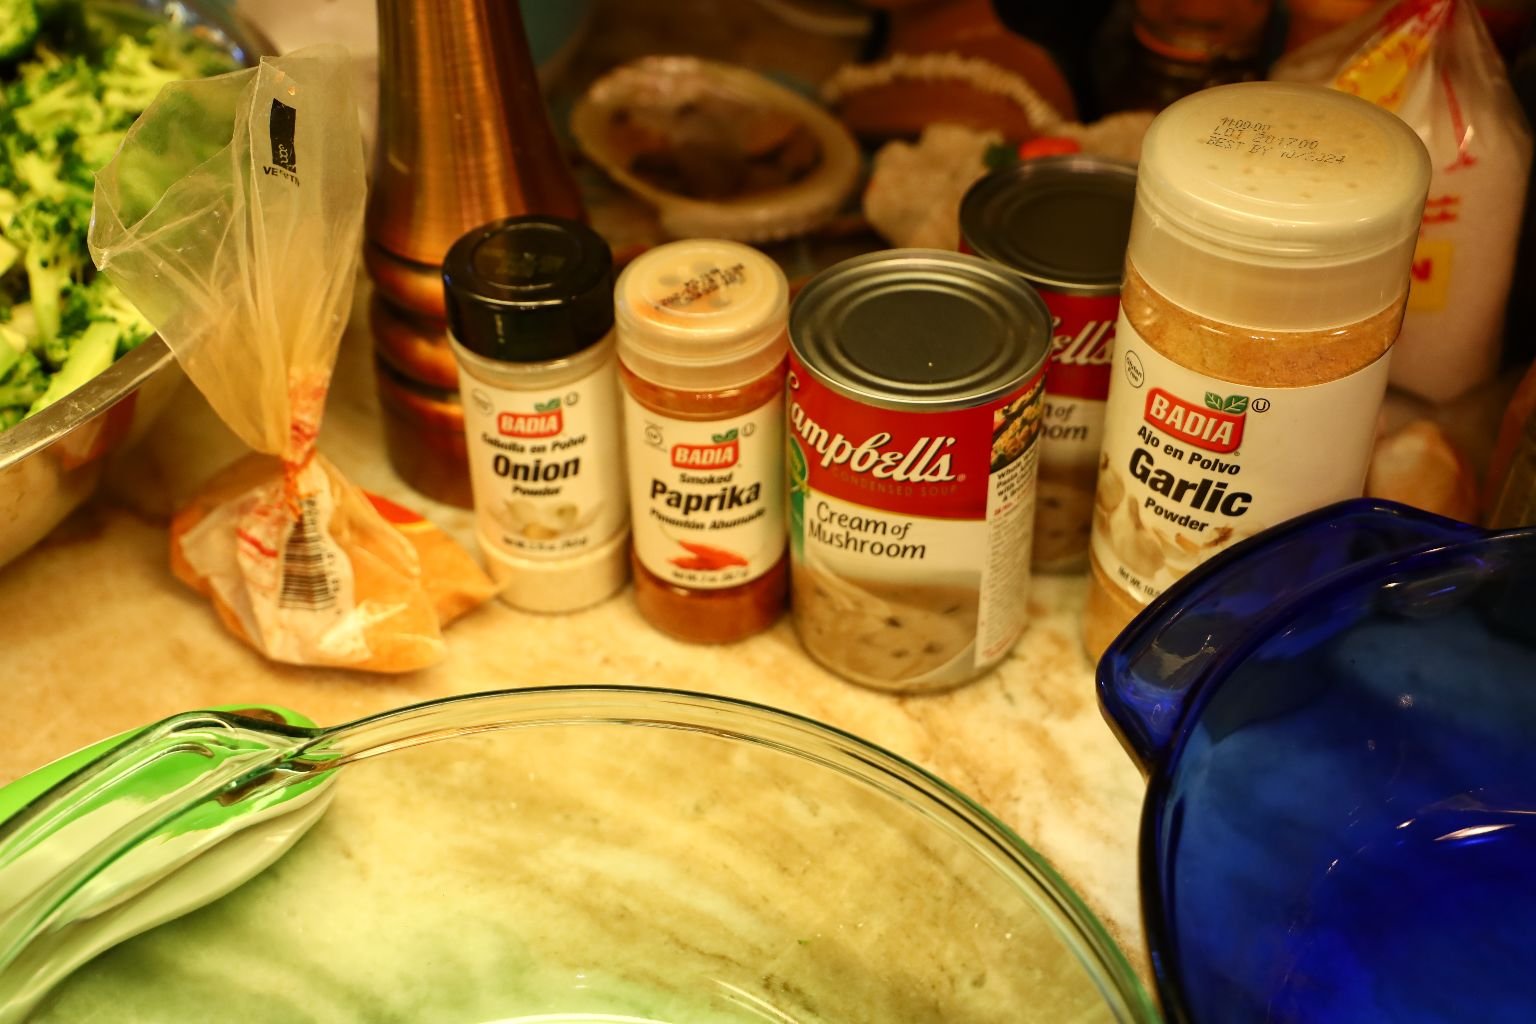
1 Tbsp. Paprika
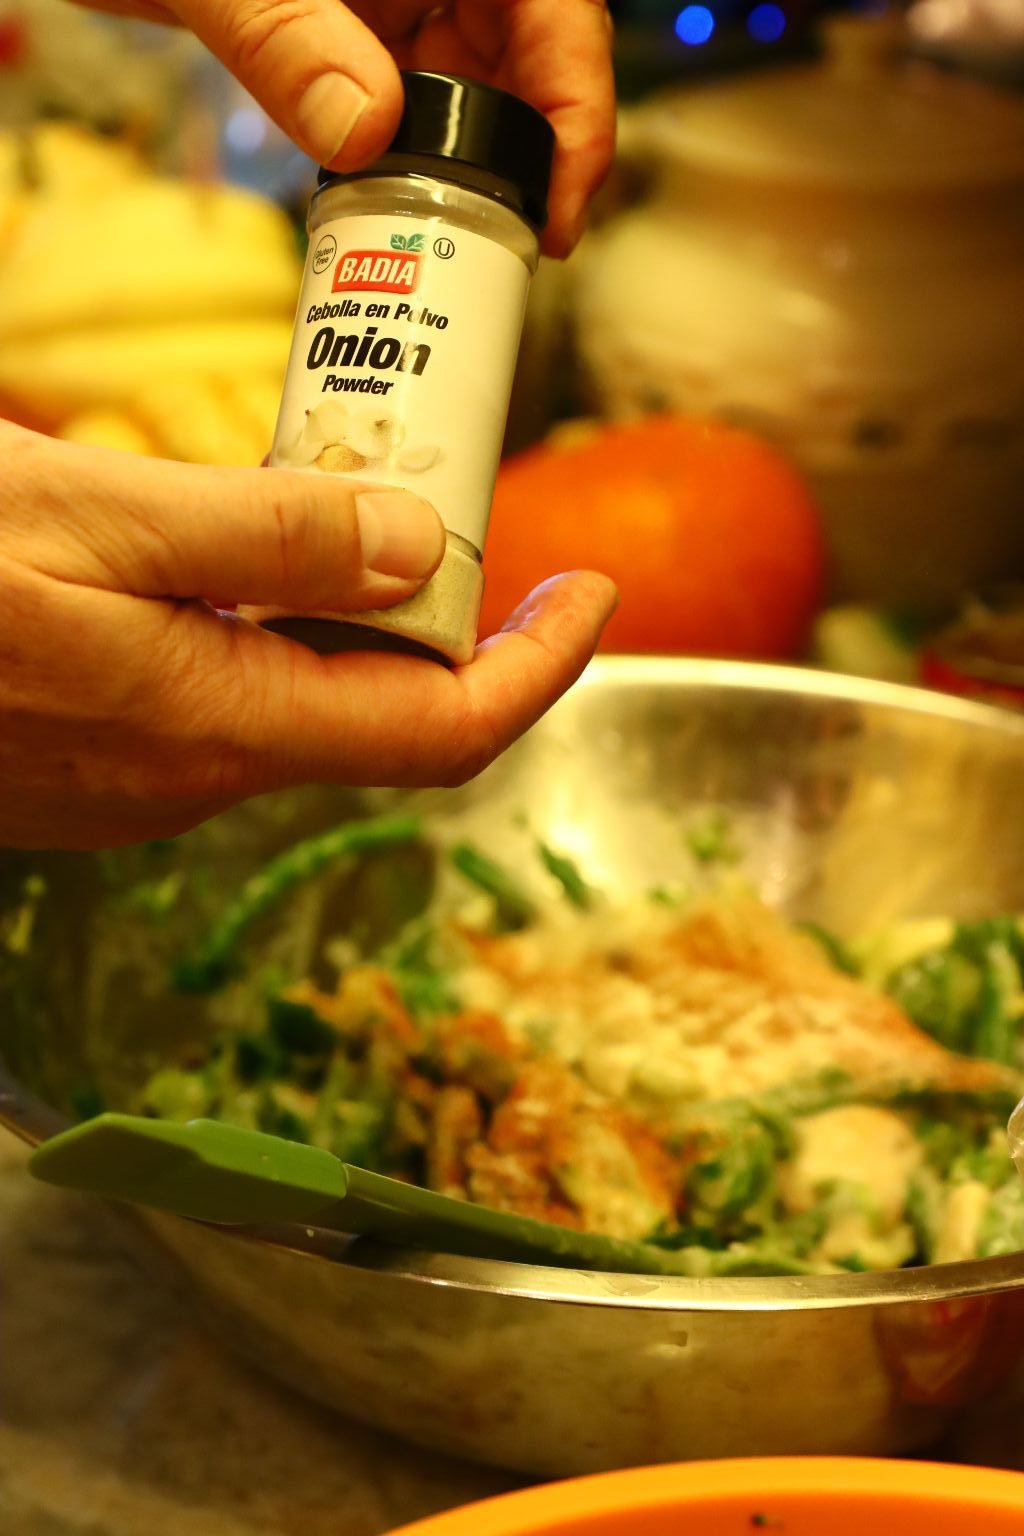
1 Tbsp. Onion Powder
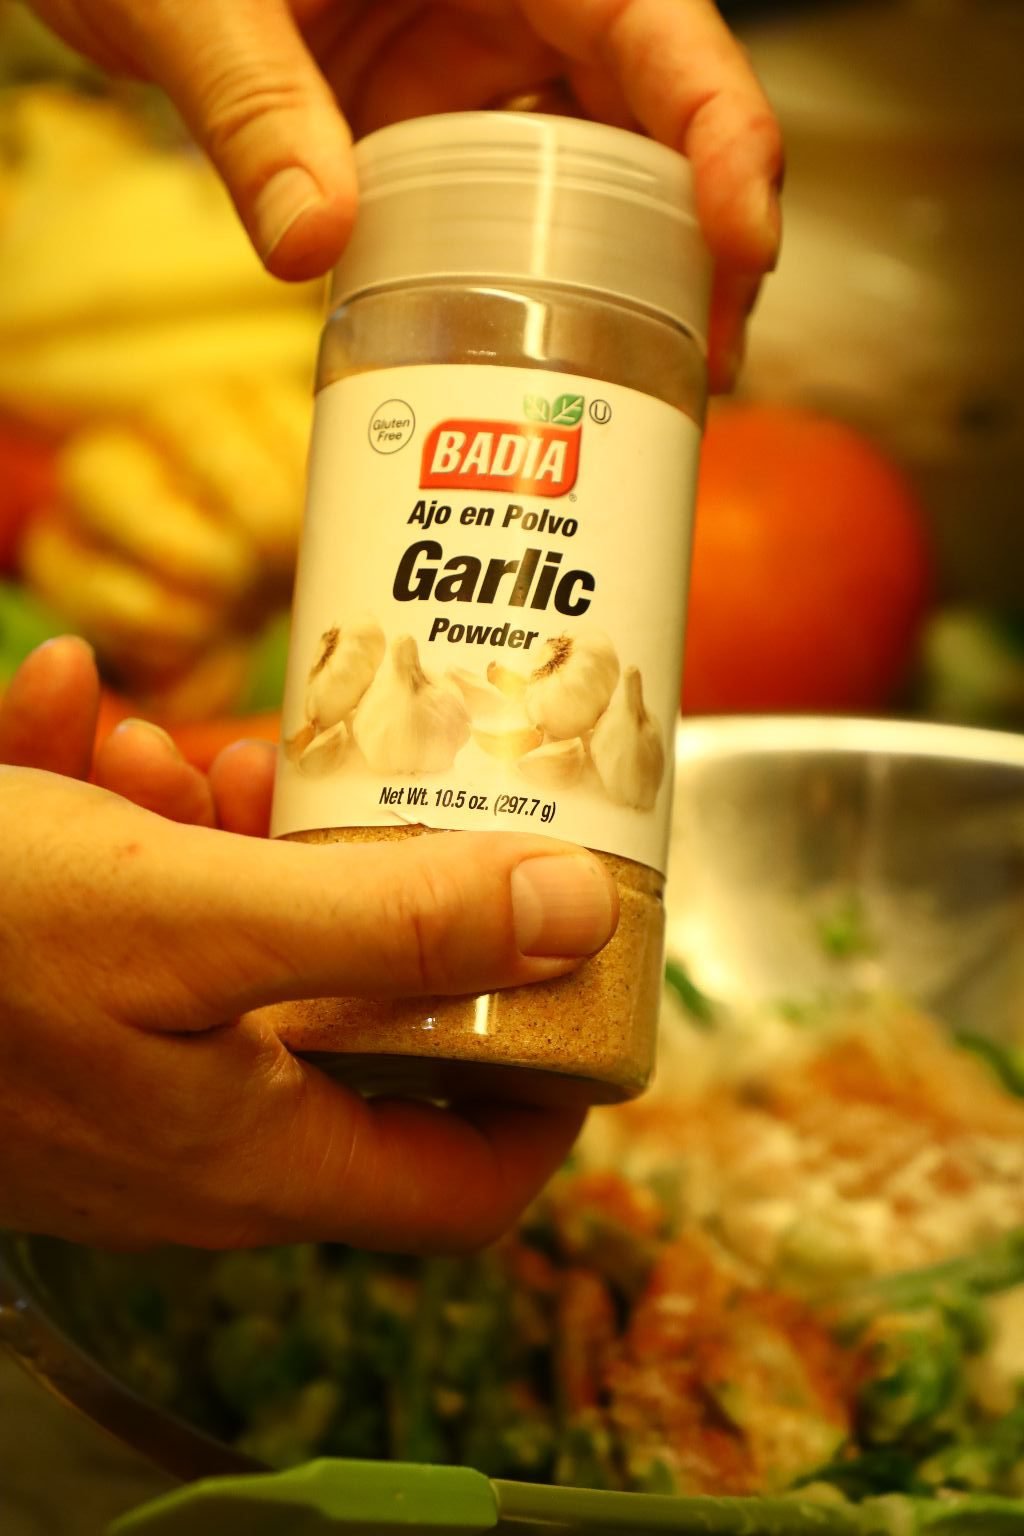
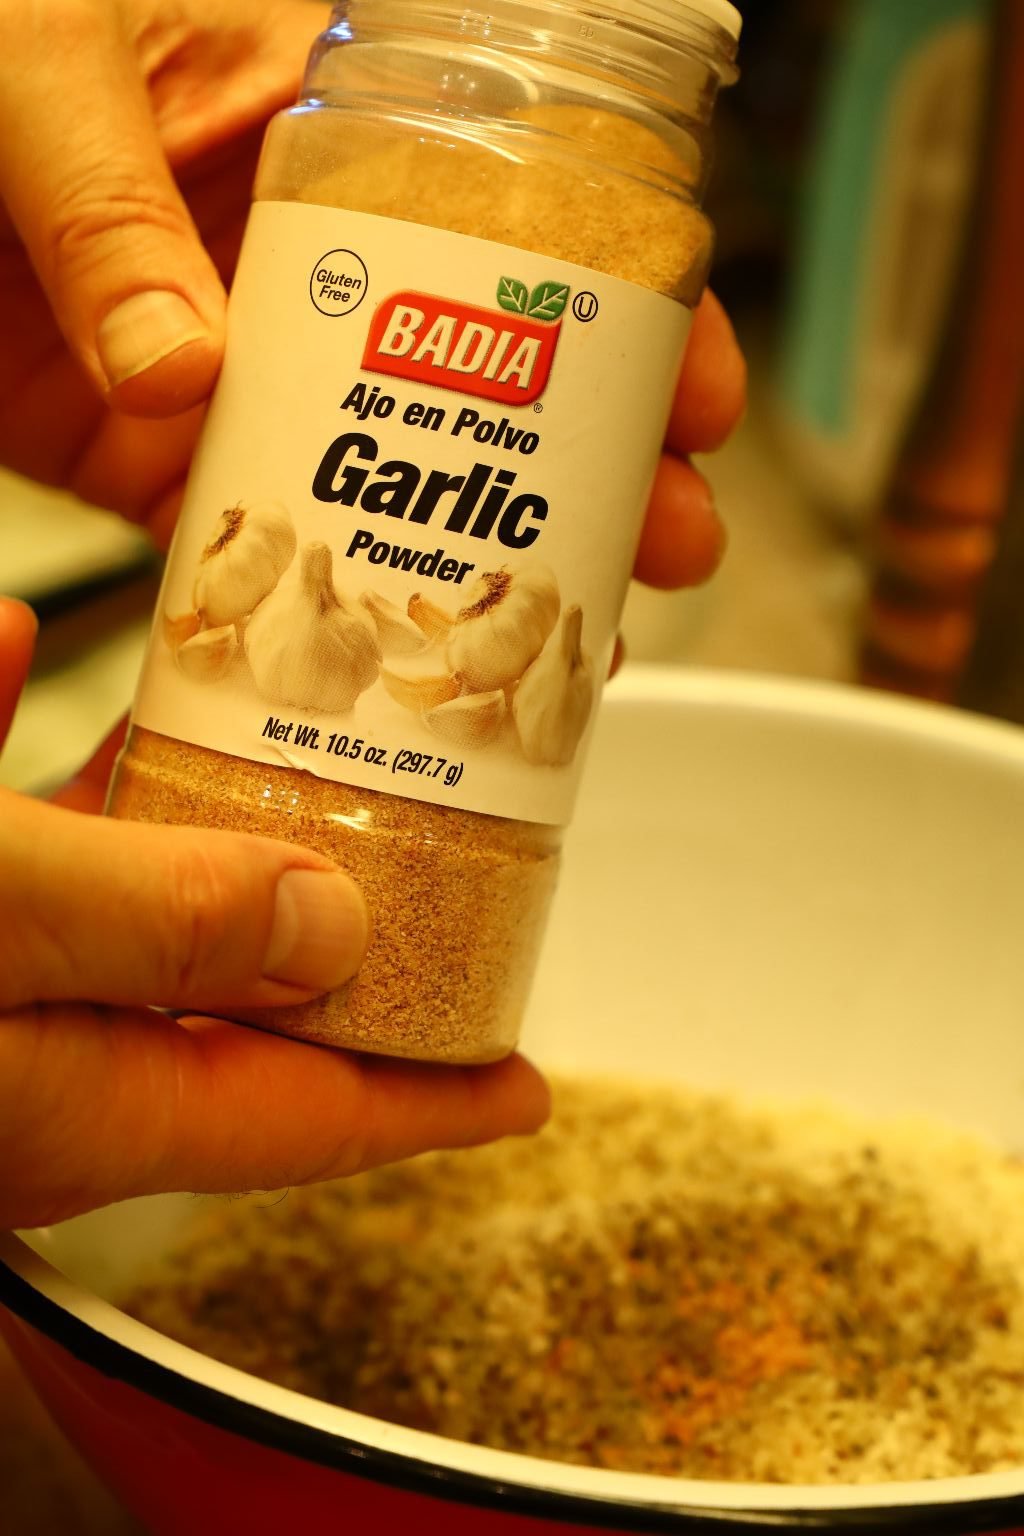
1 Tbsp. Garlic Powder
2 Cans Cream of Mushroom Soup
————————————————————————–
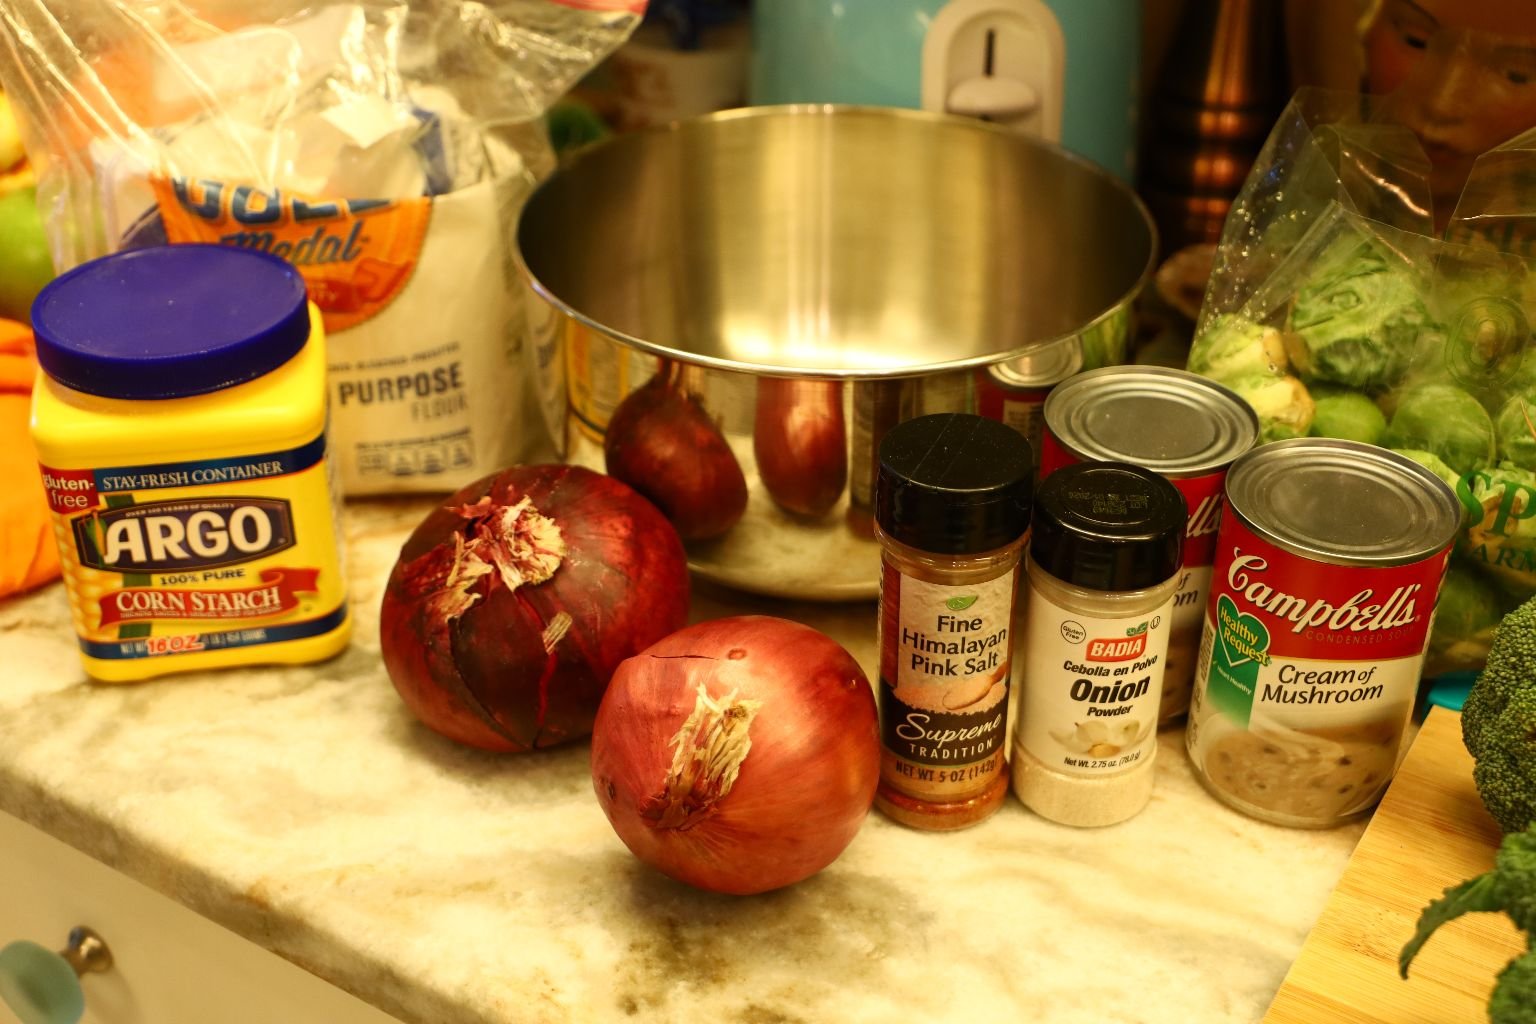
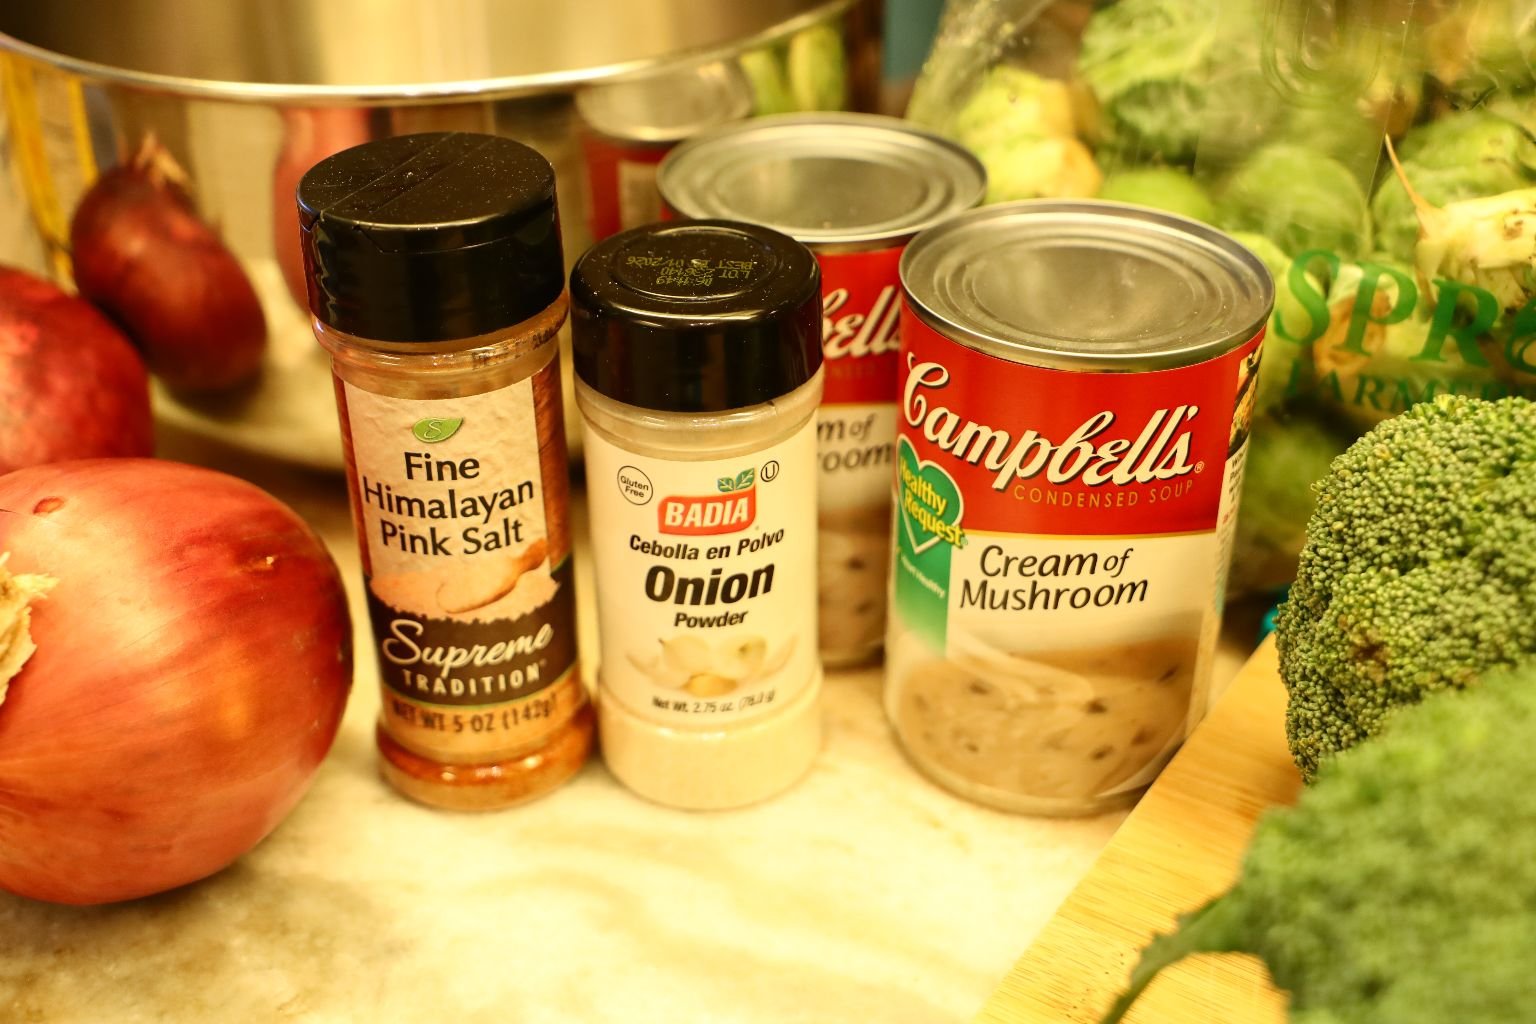
Fried Onion Ingredients:
1/2 Cup Corn Starch
1 Cup Flour
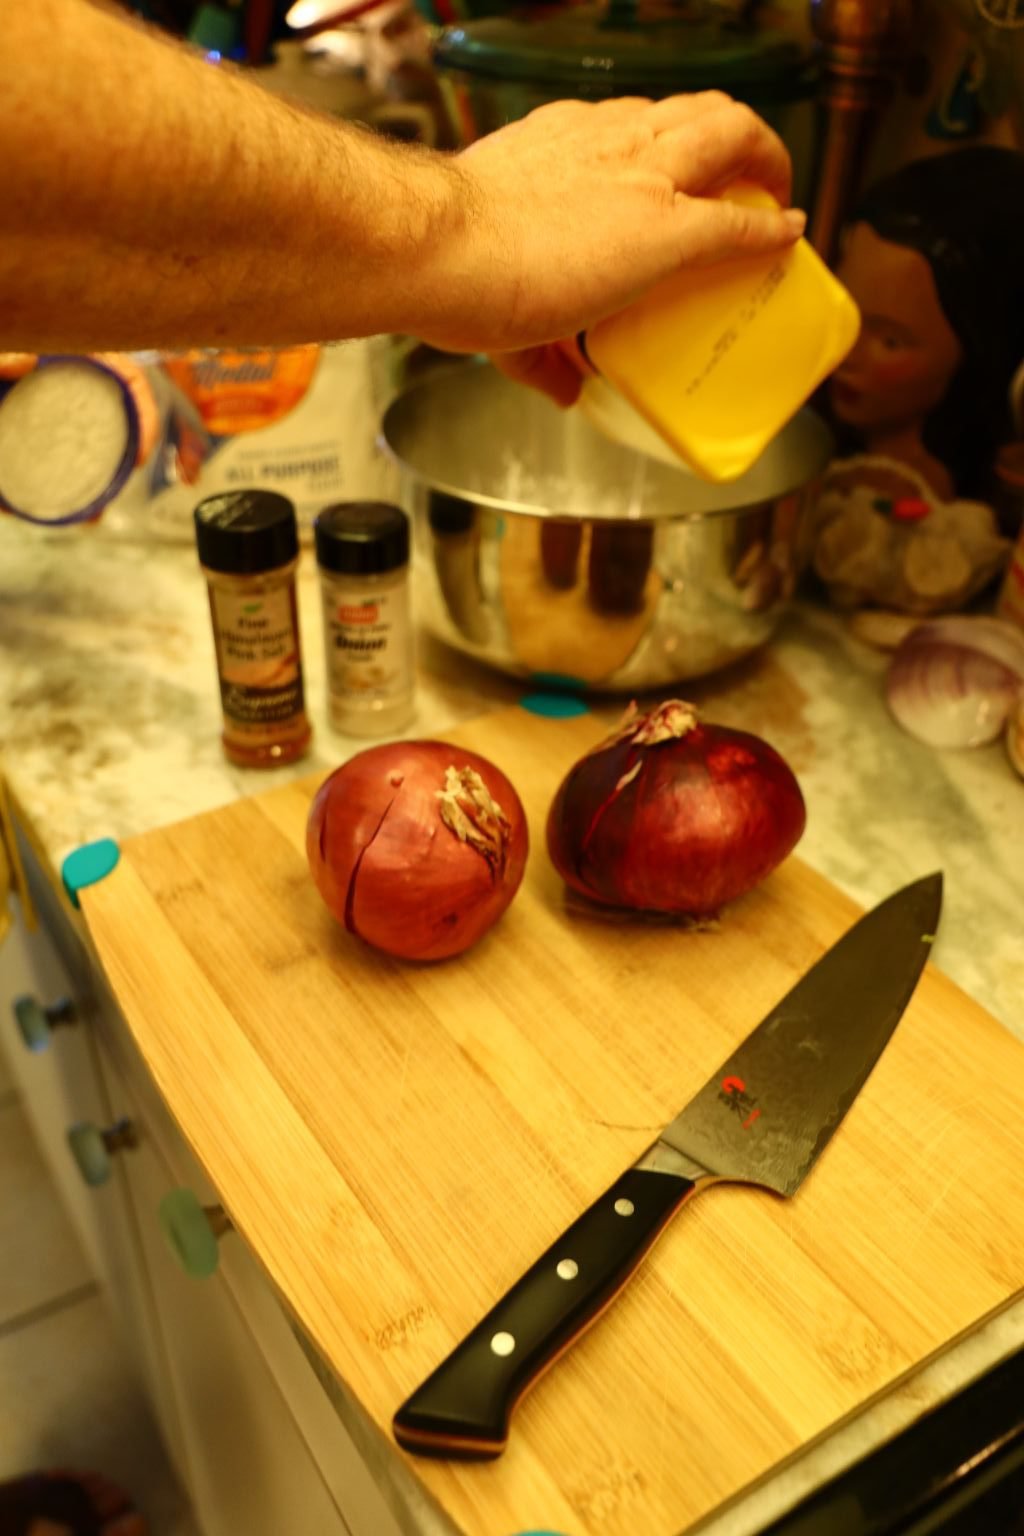
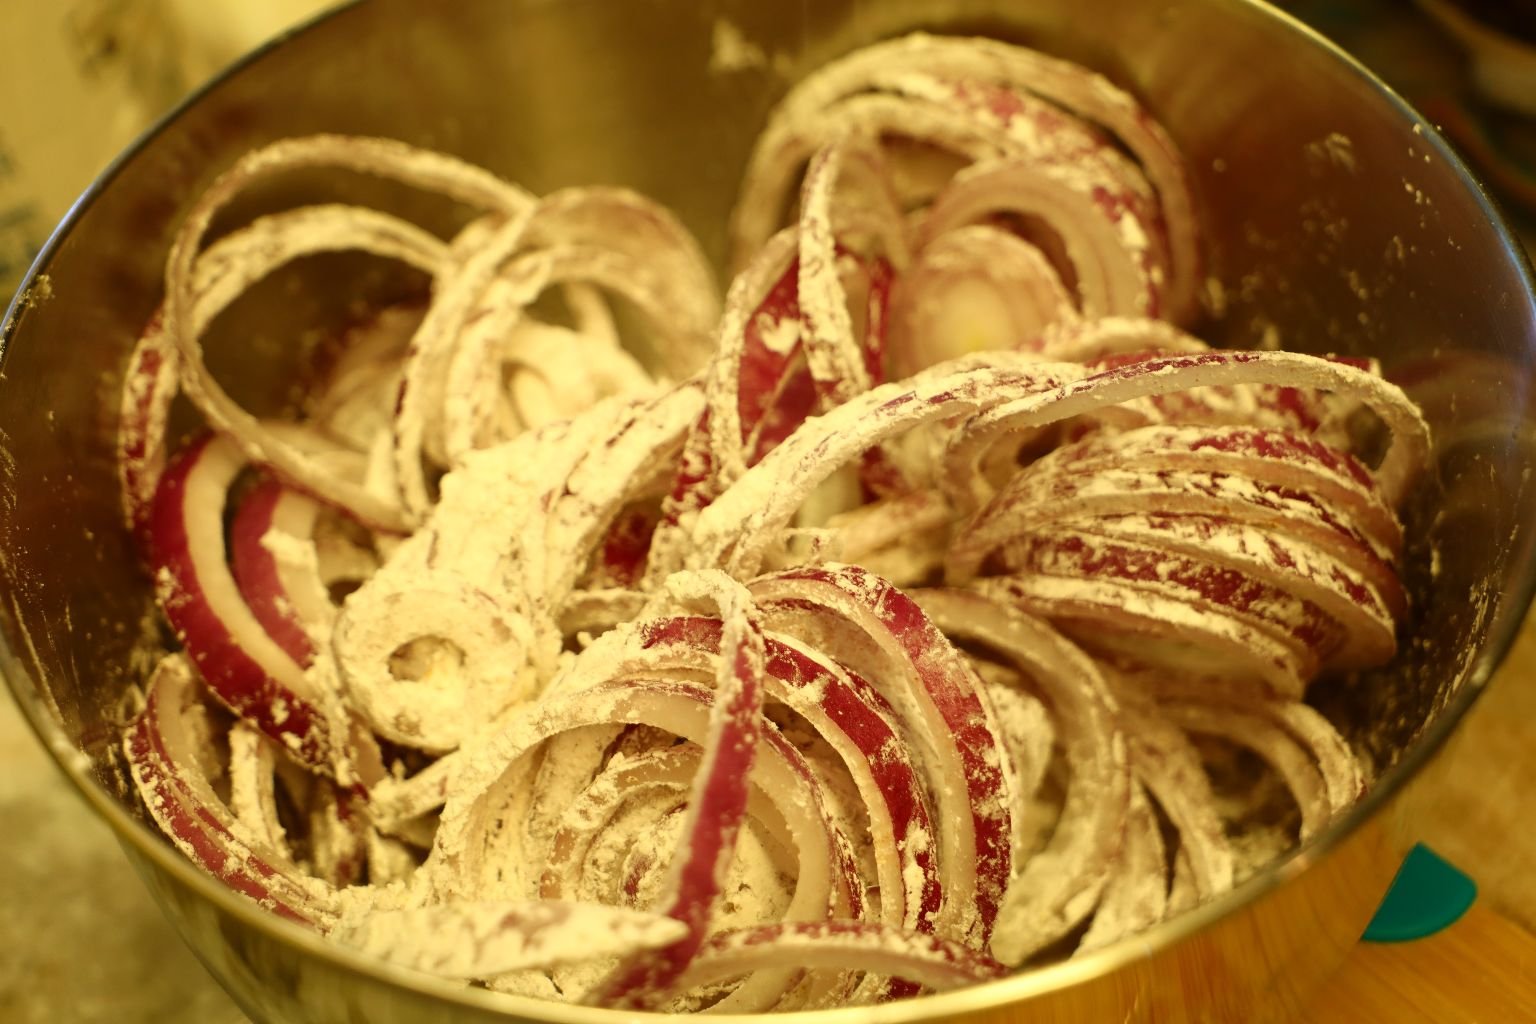
2 Red Onions
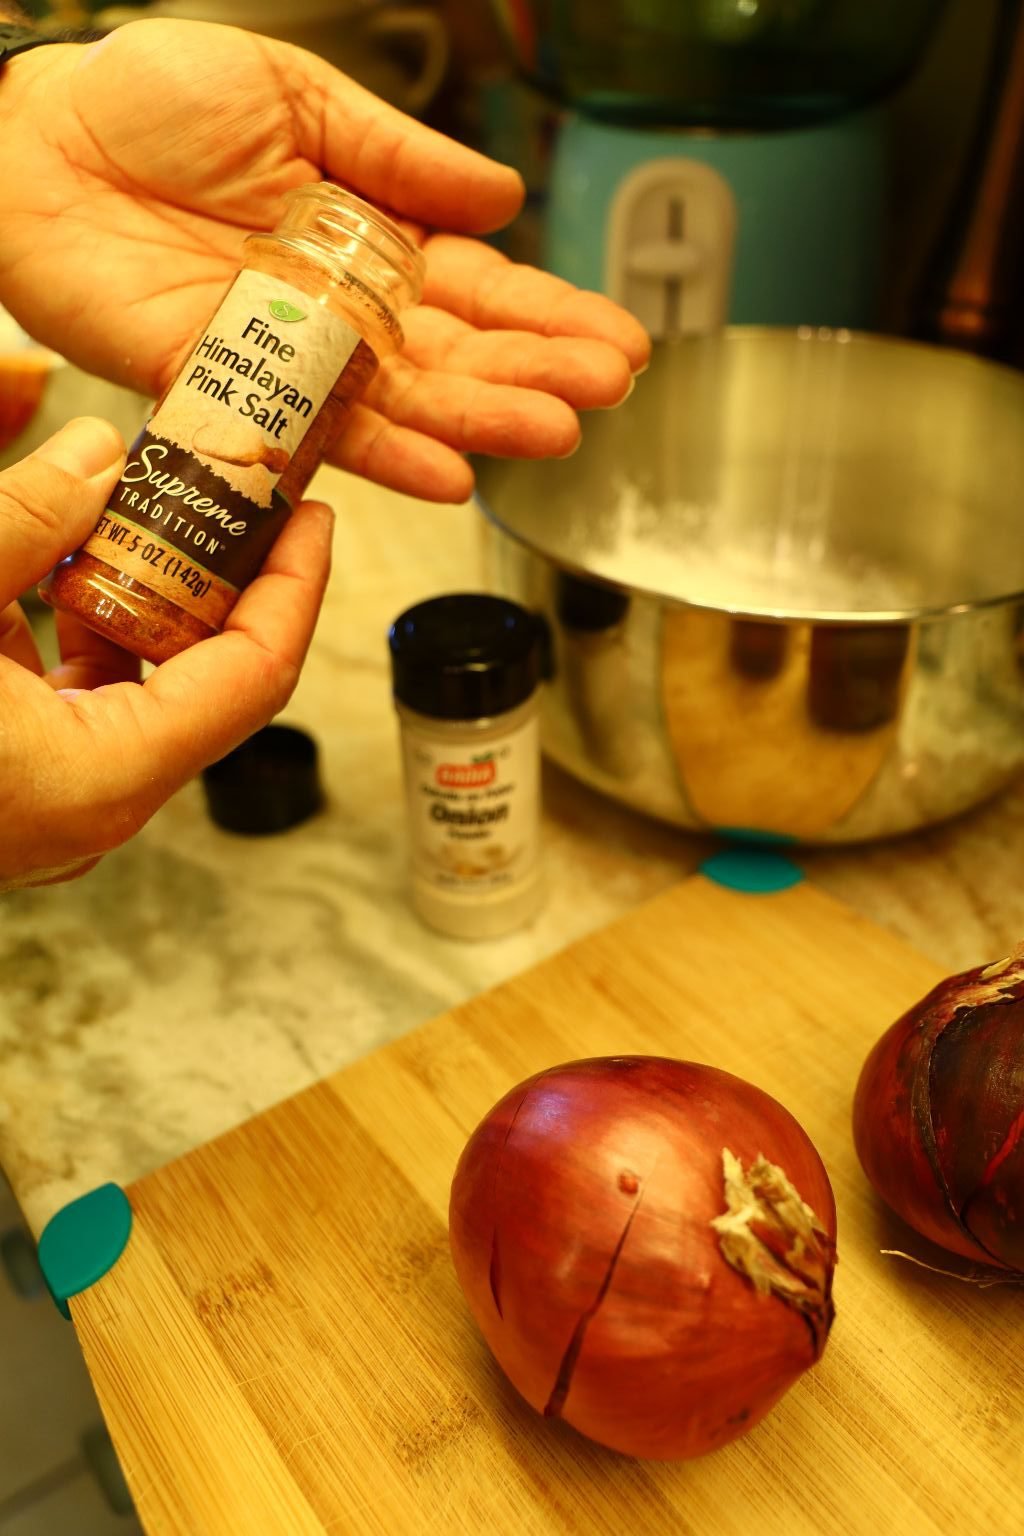
1 tsp. Himalayan Pink Salt
1/2 tsp. Smoked Paprika
1/2 tsp. Rosemary
1 Tbsp. Onion Powder
Ground Black Pepper
~1/2 Cup Peanut Oil
——————————————————————————

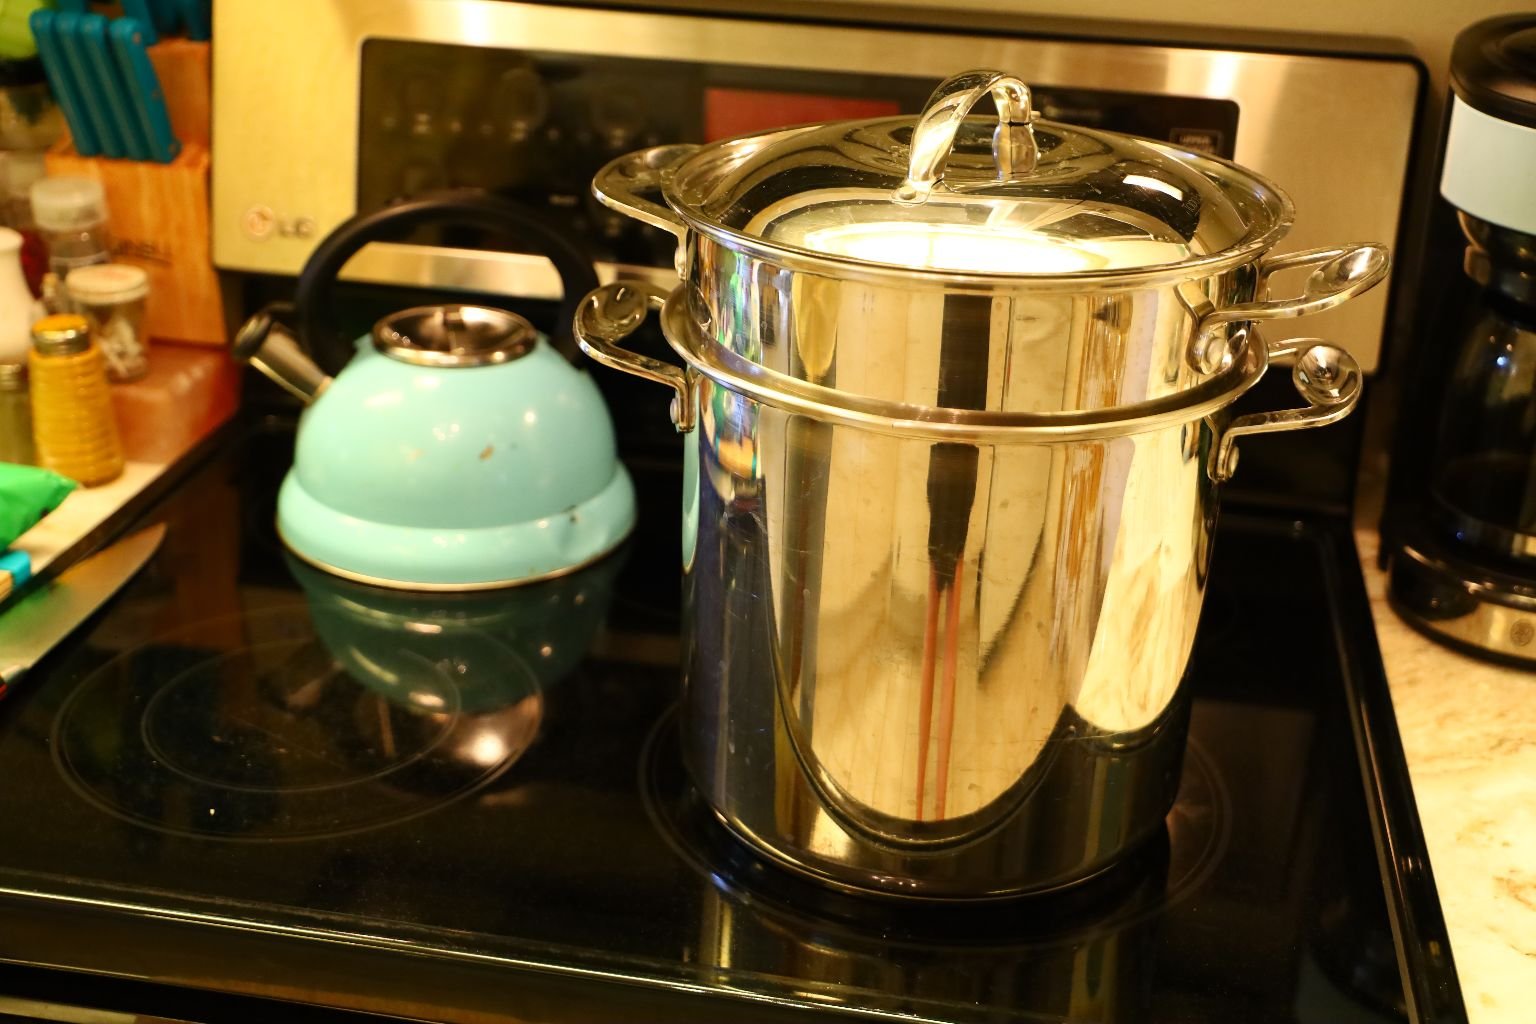
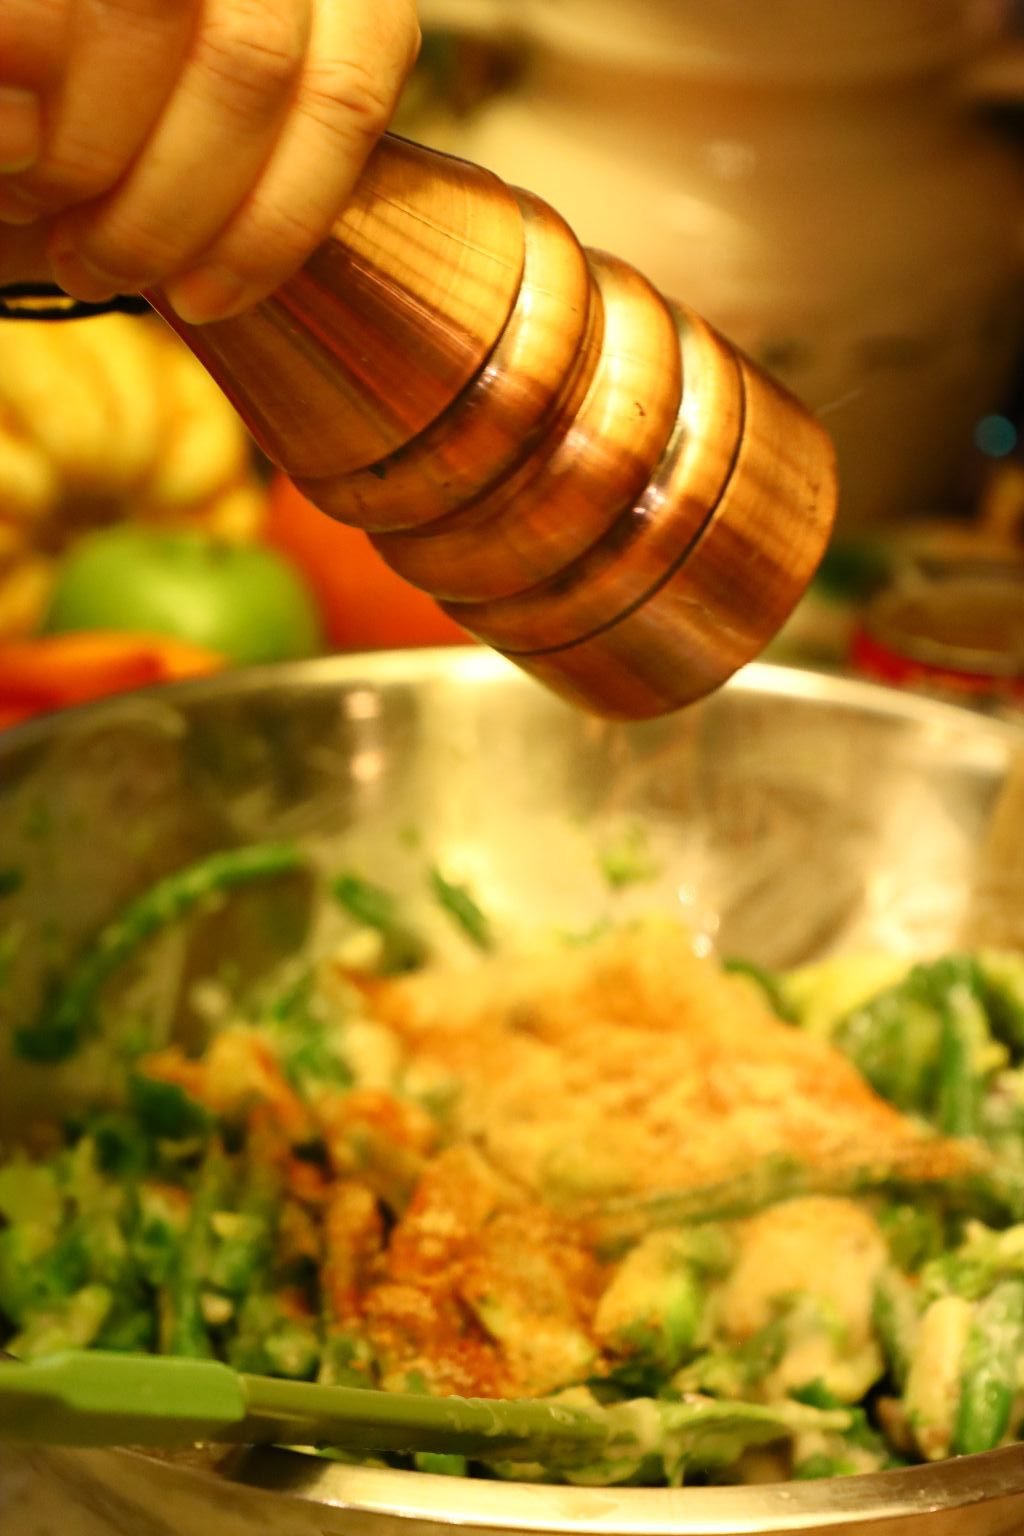
Add your salt to 4 quarts of water using a large pot turning the heat to high.
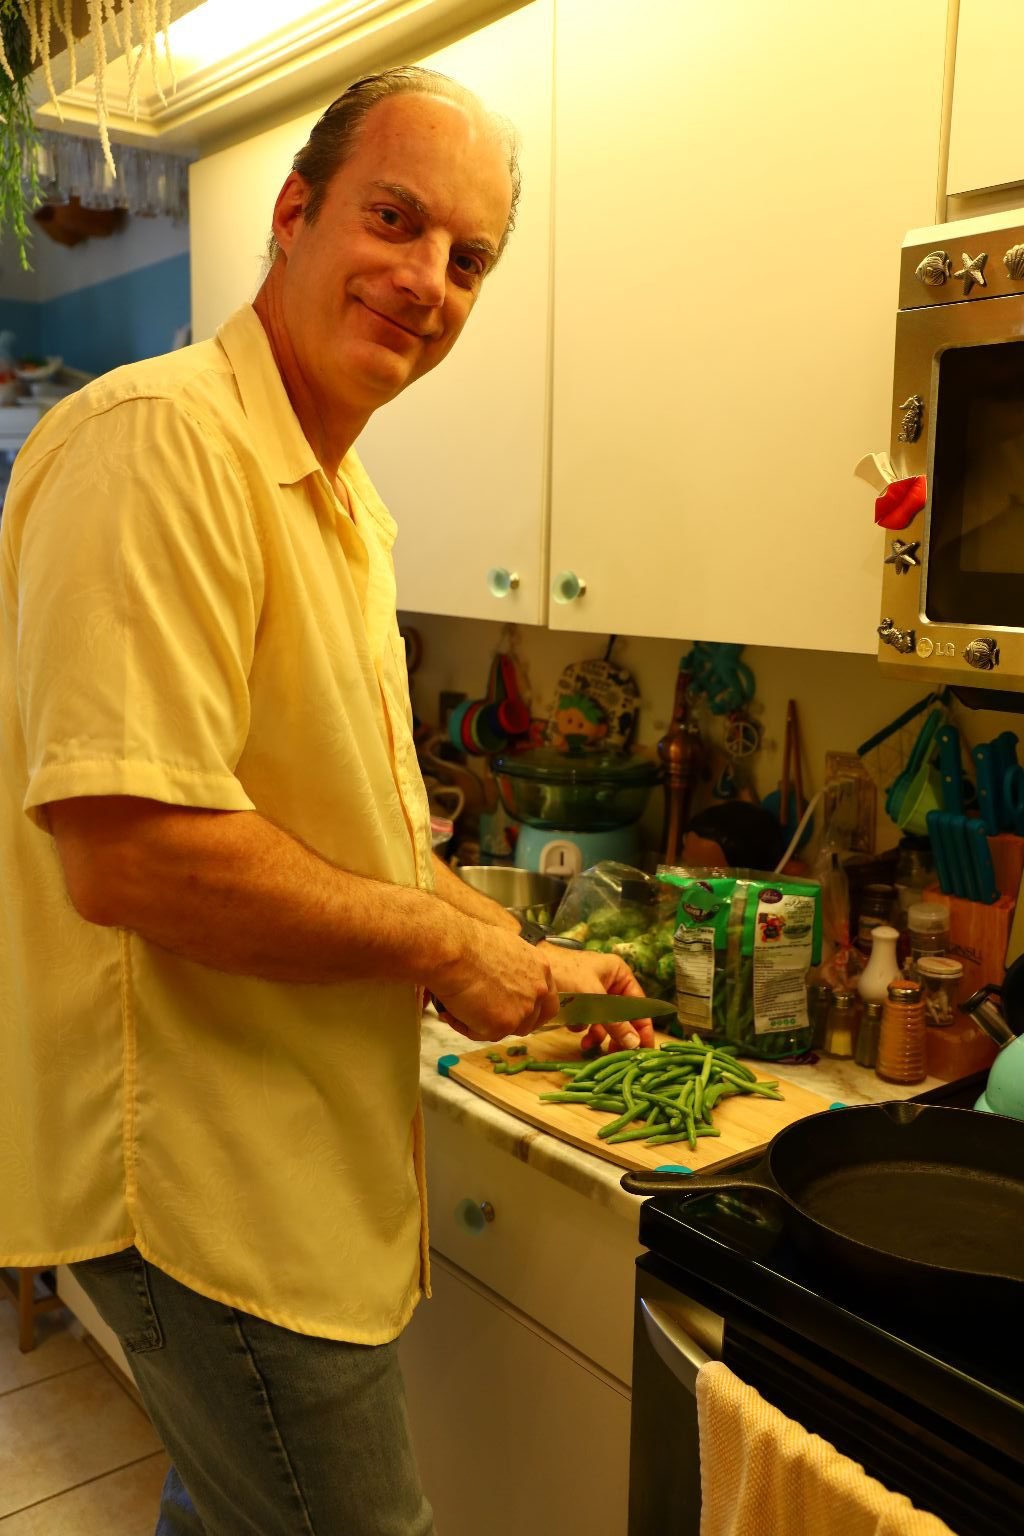
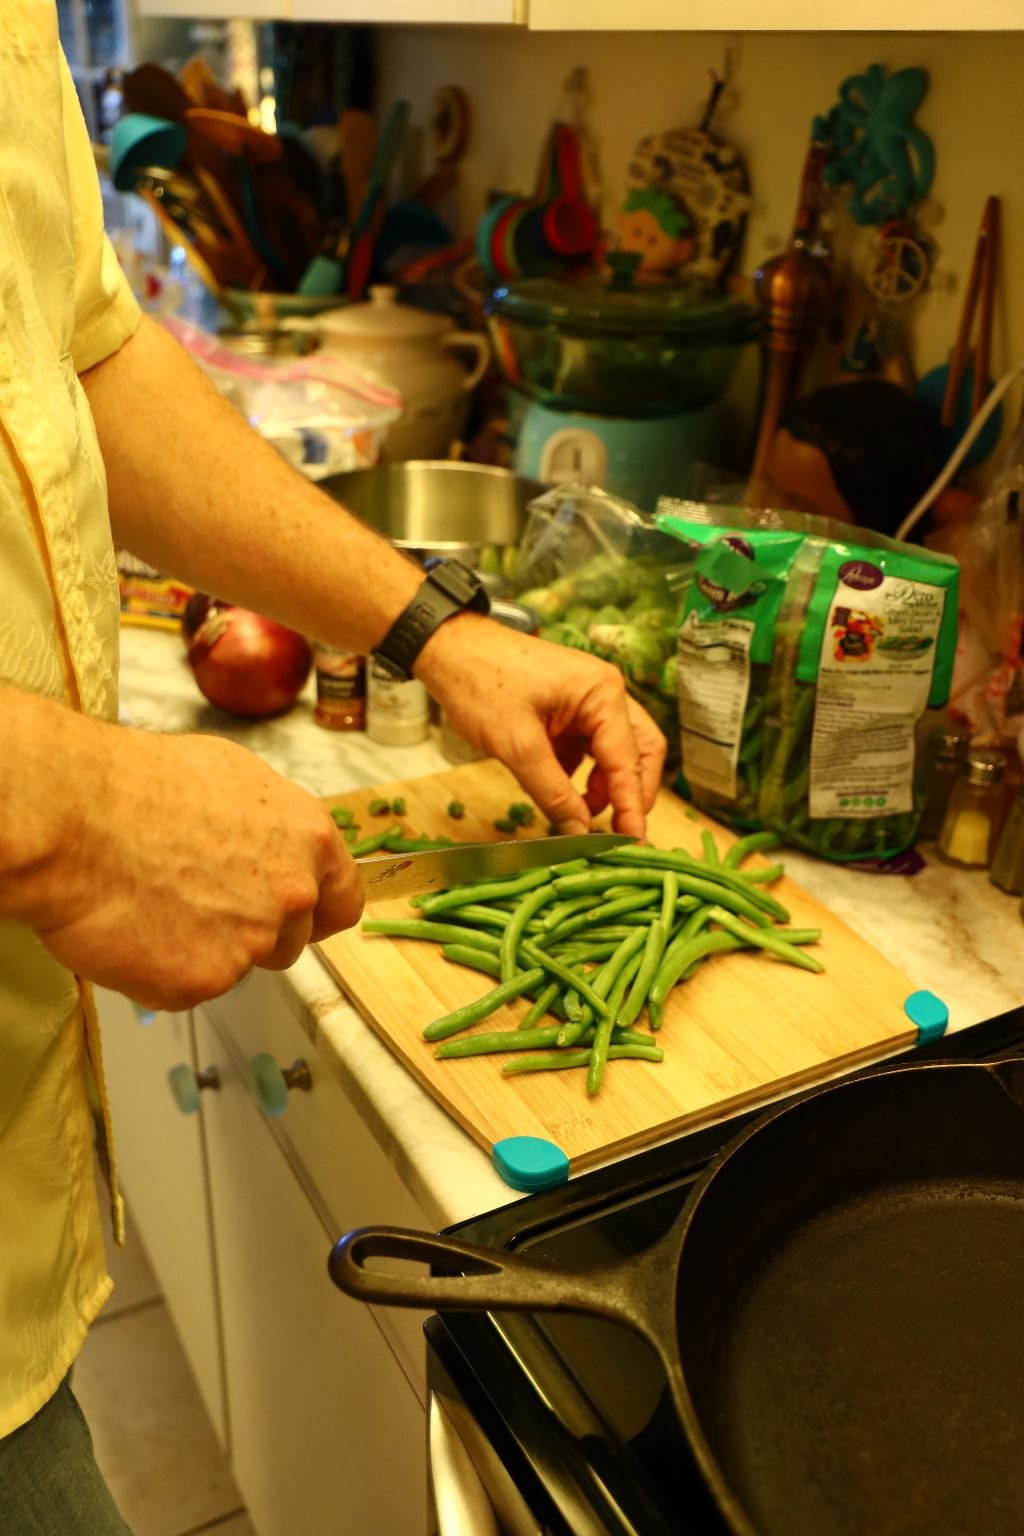
Here I am trimming the green beans of any brown stems or dried ends.
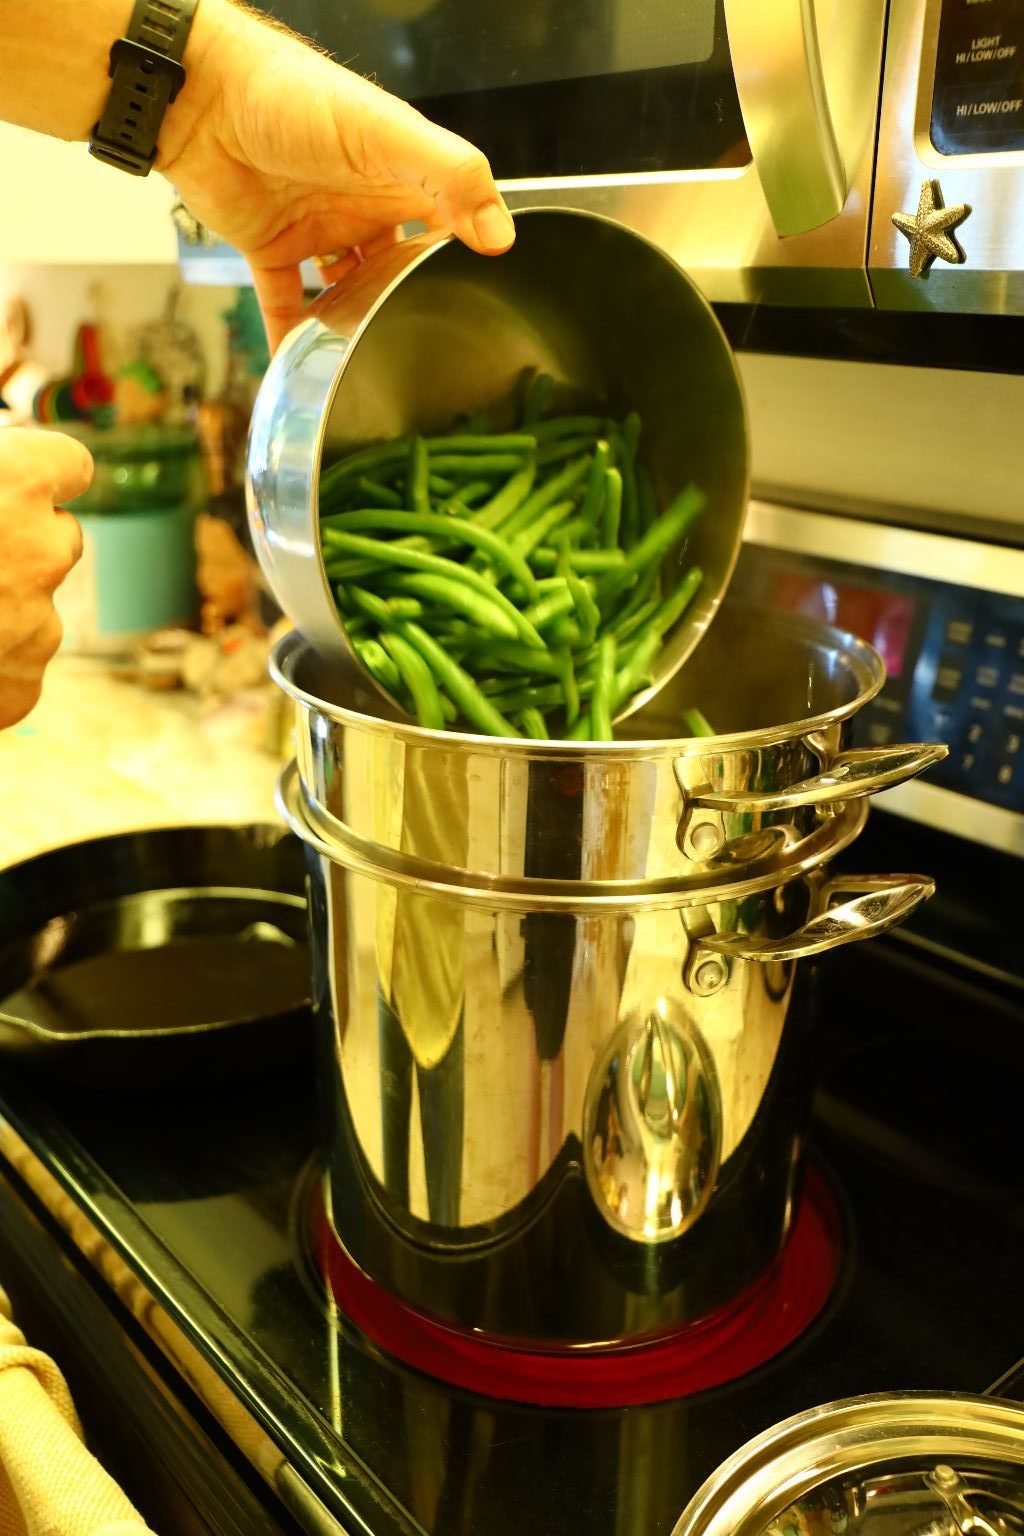
When the water is boiling, add your green beans and boil them until just tender, about 10 min.
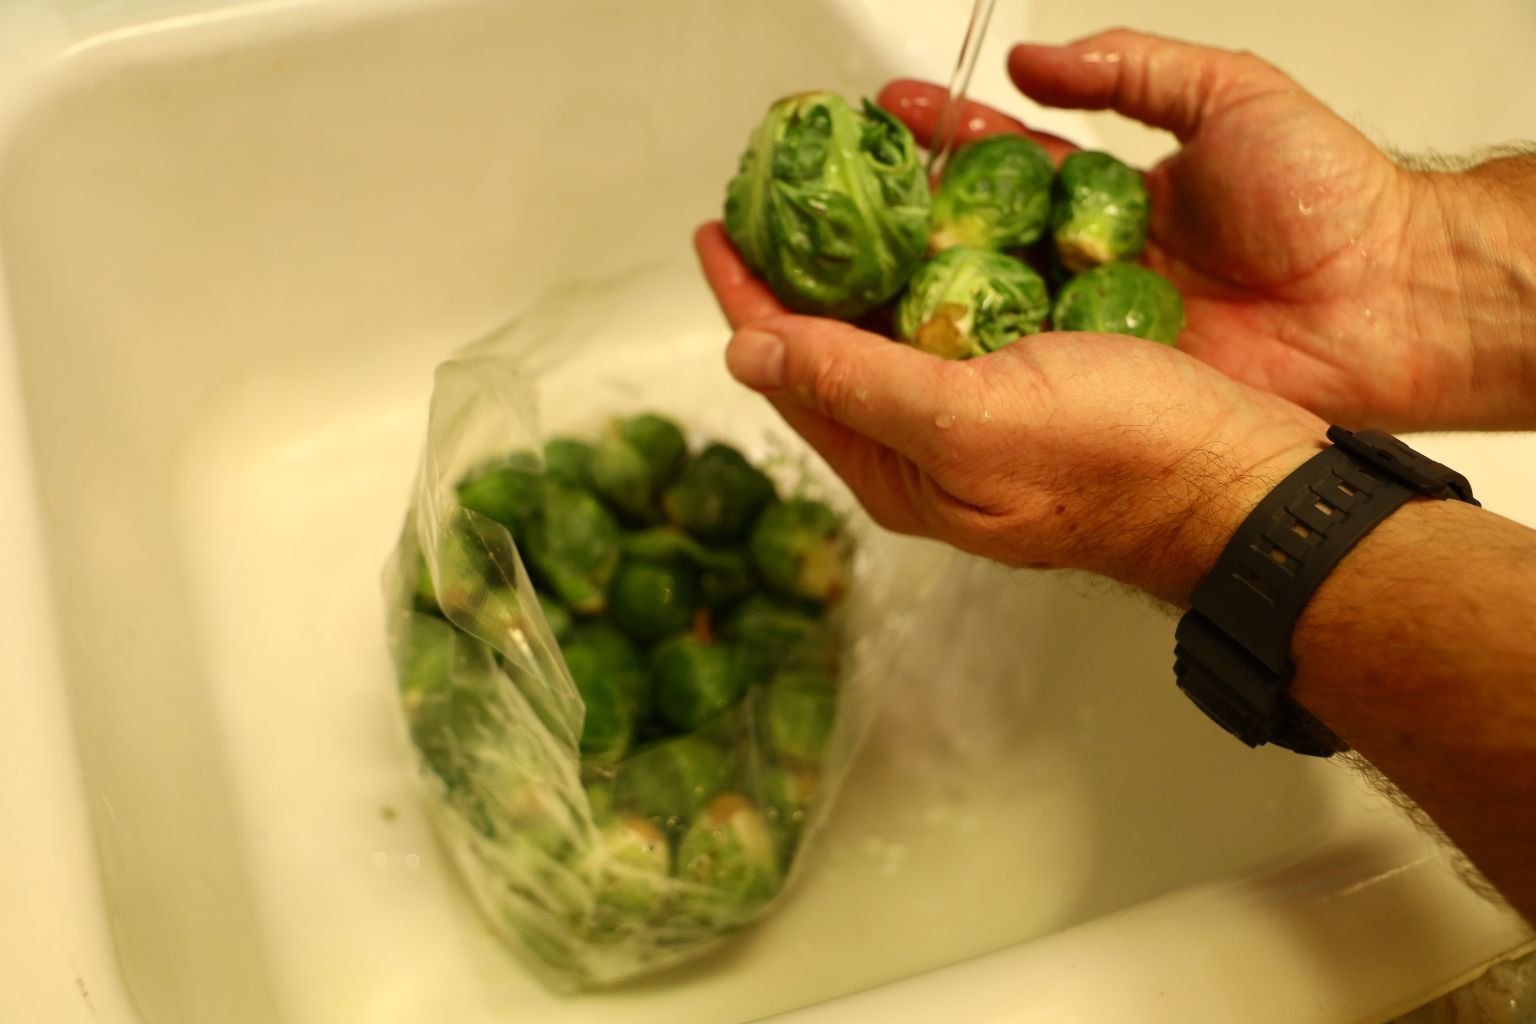
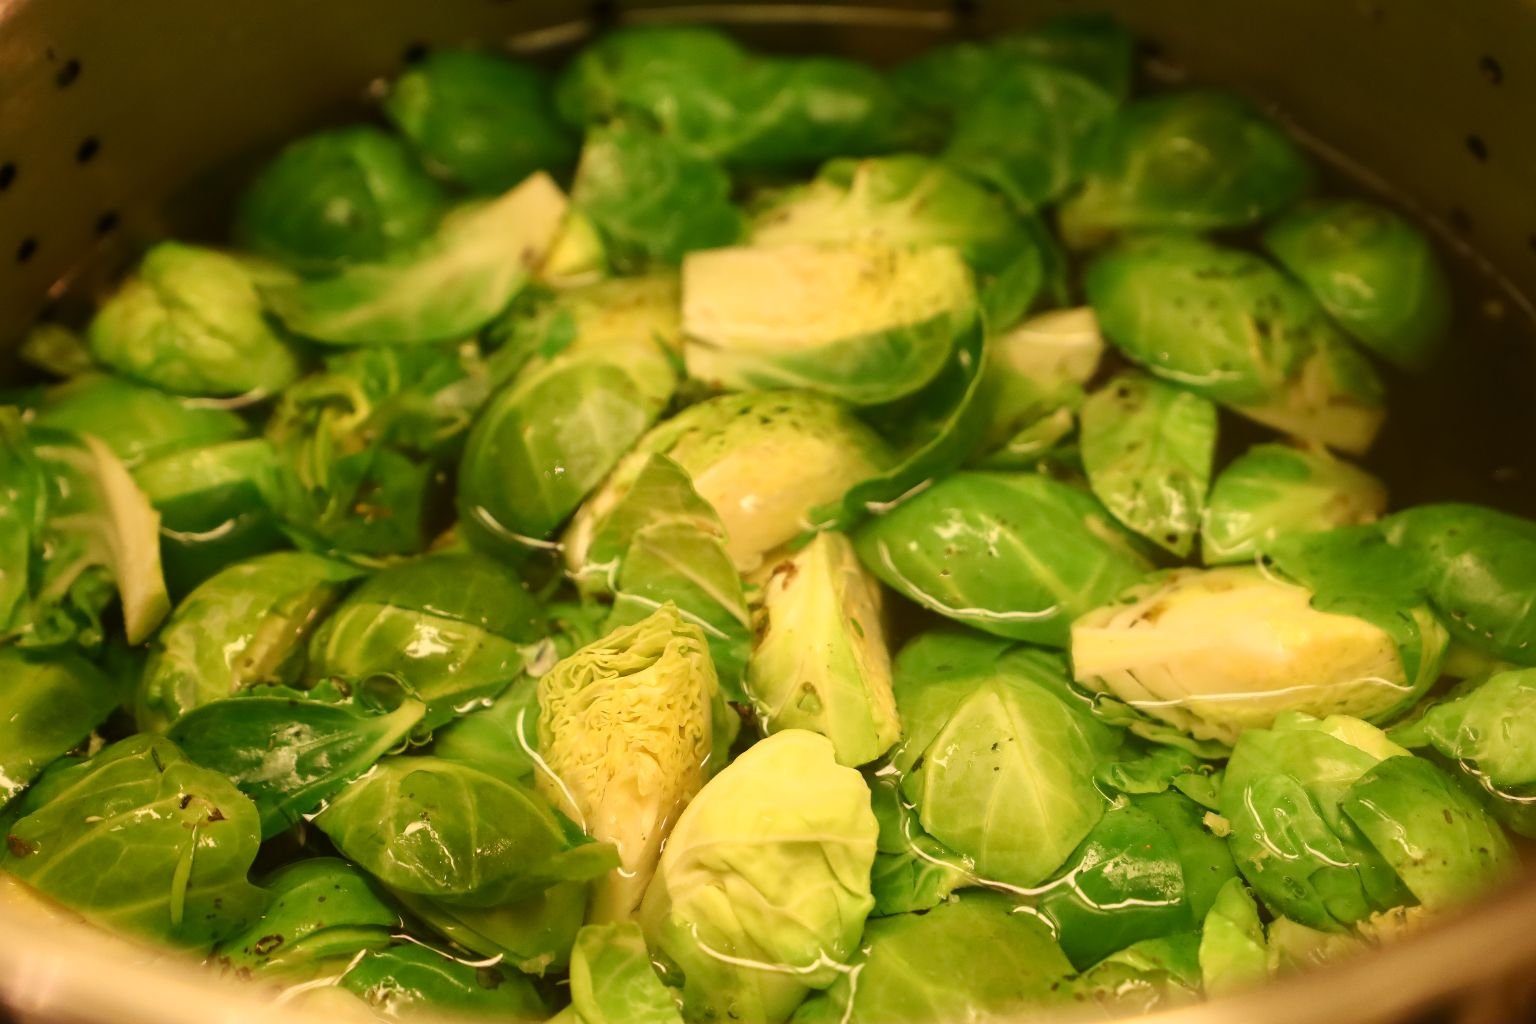
Be sure to wash your vegetables well before using. Here I am washing the Brussels Sprouts.
—————————————————————————-

Here are the ingredients for the fried onions.
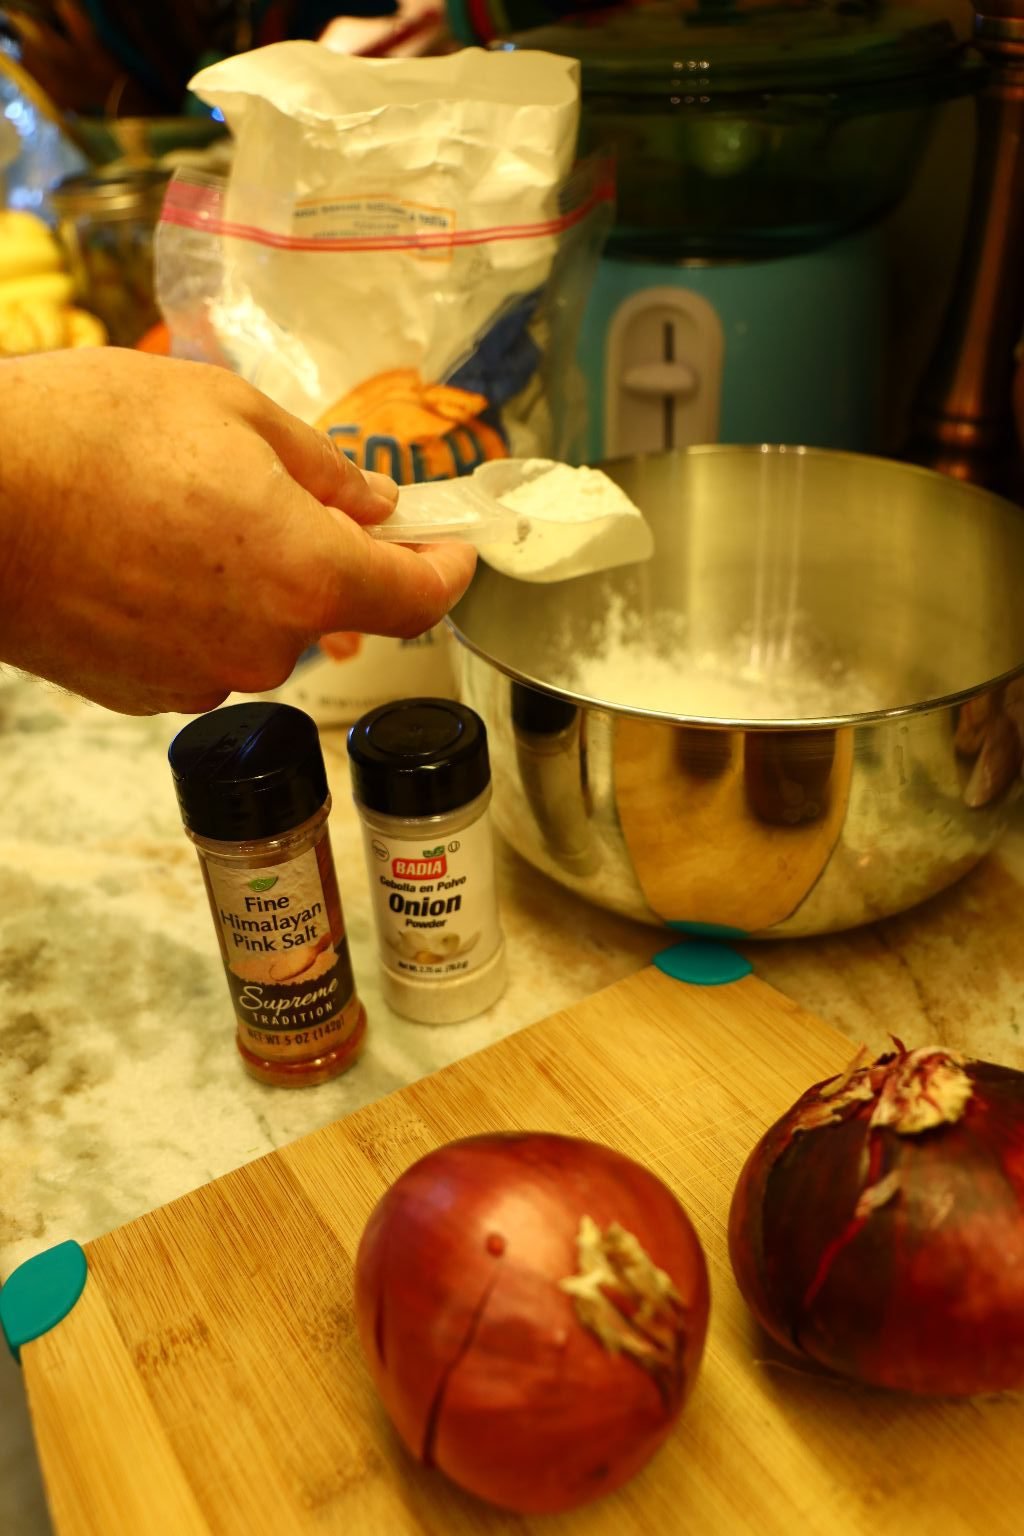
Place your Corn Starch, Flour, and salt in a large bowl as shown.
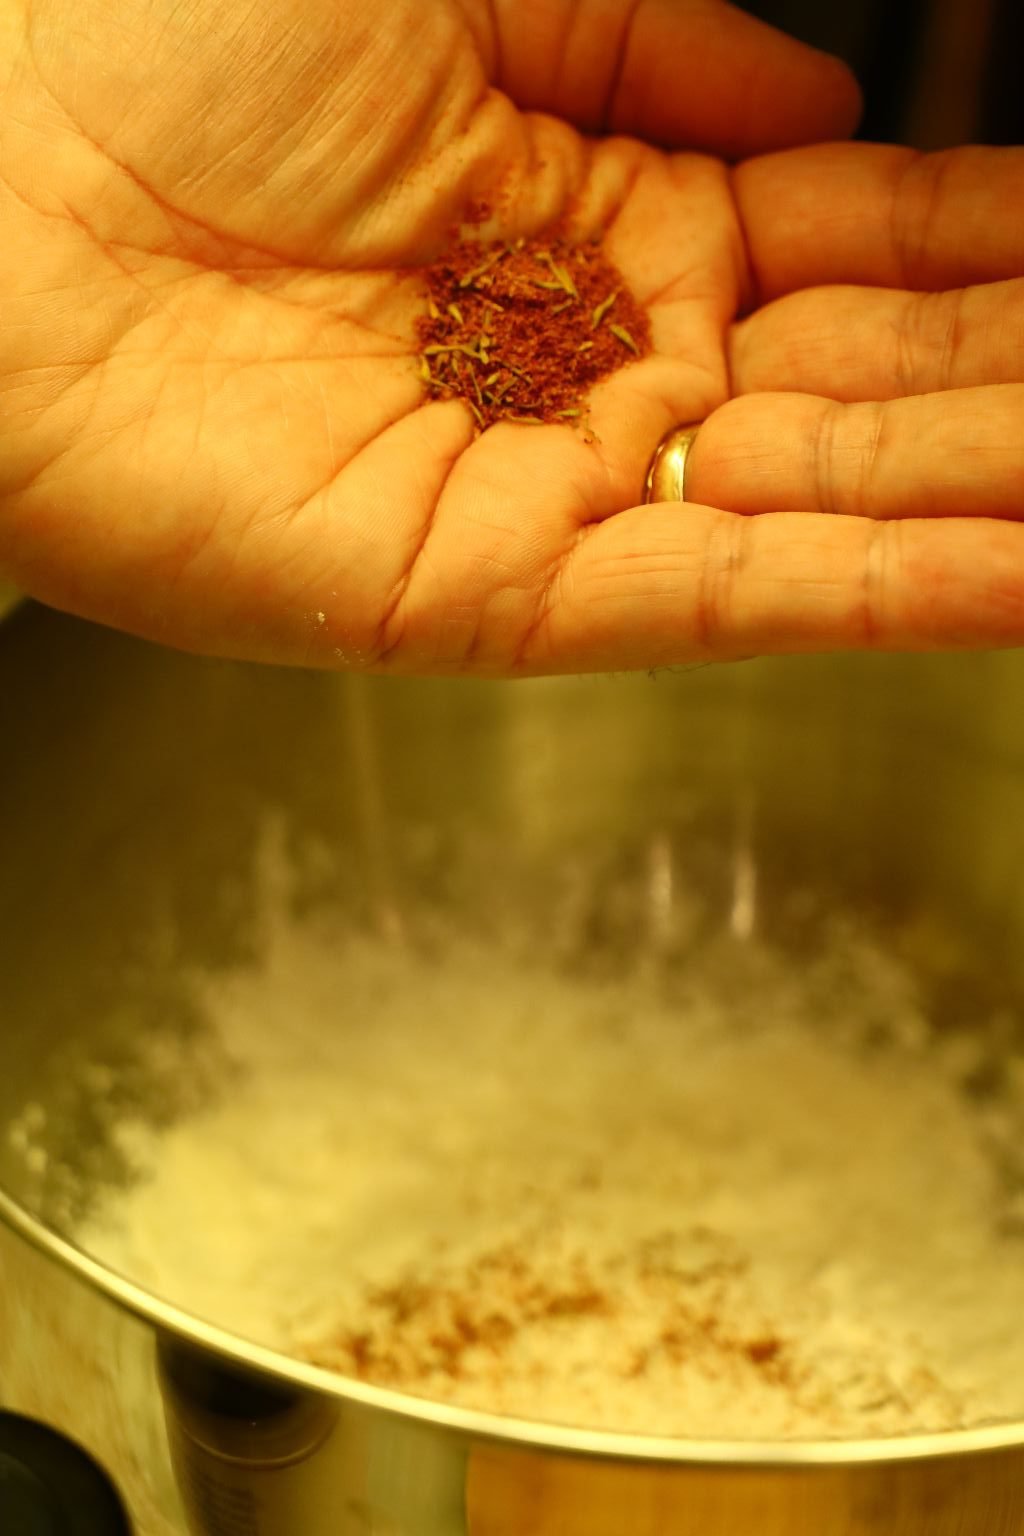
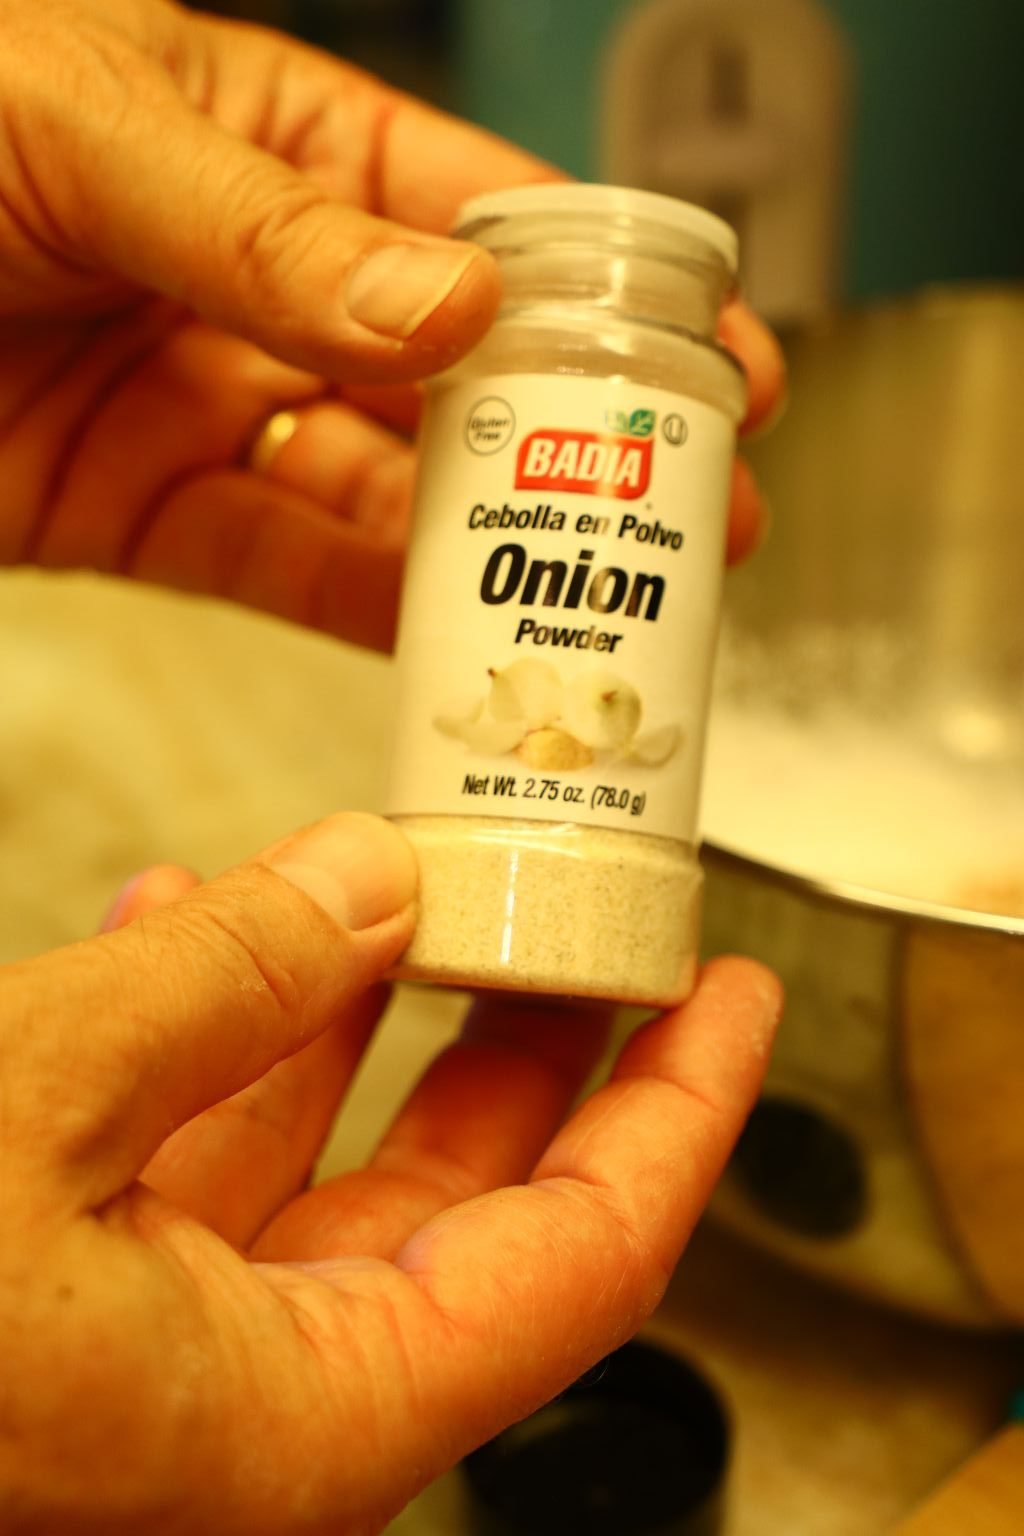

Then add your Paprika, Rosemary, Onion Powder and freshly ground Black Pepper to the bowl.
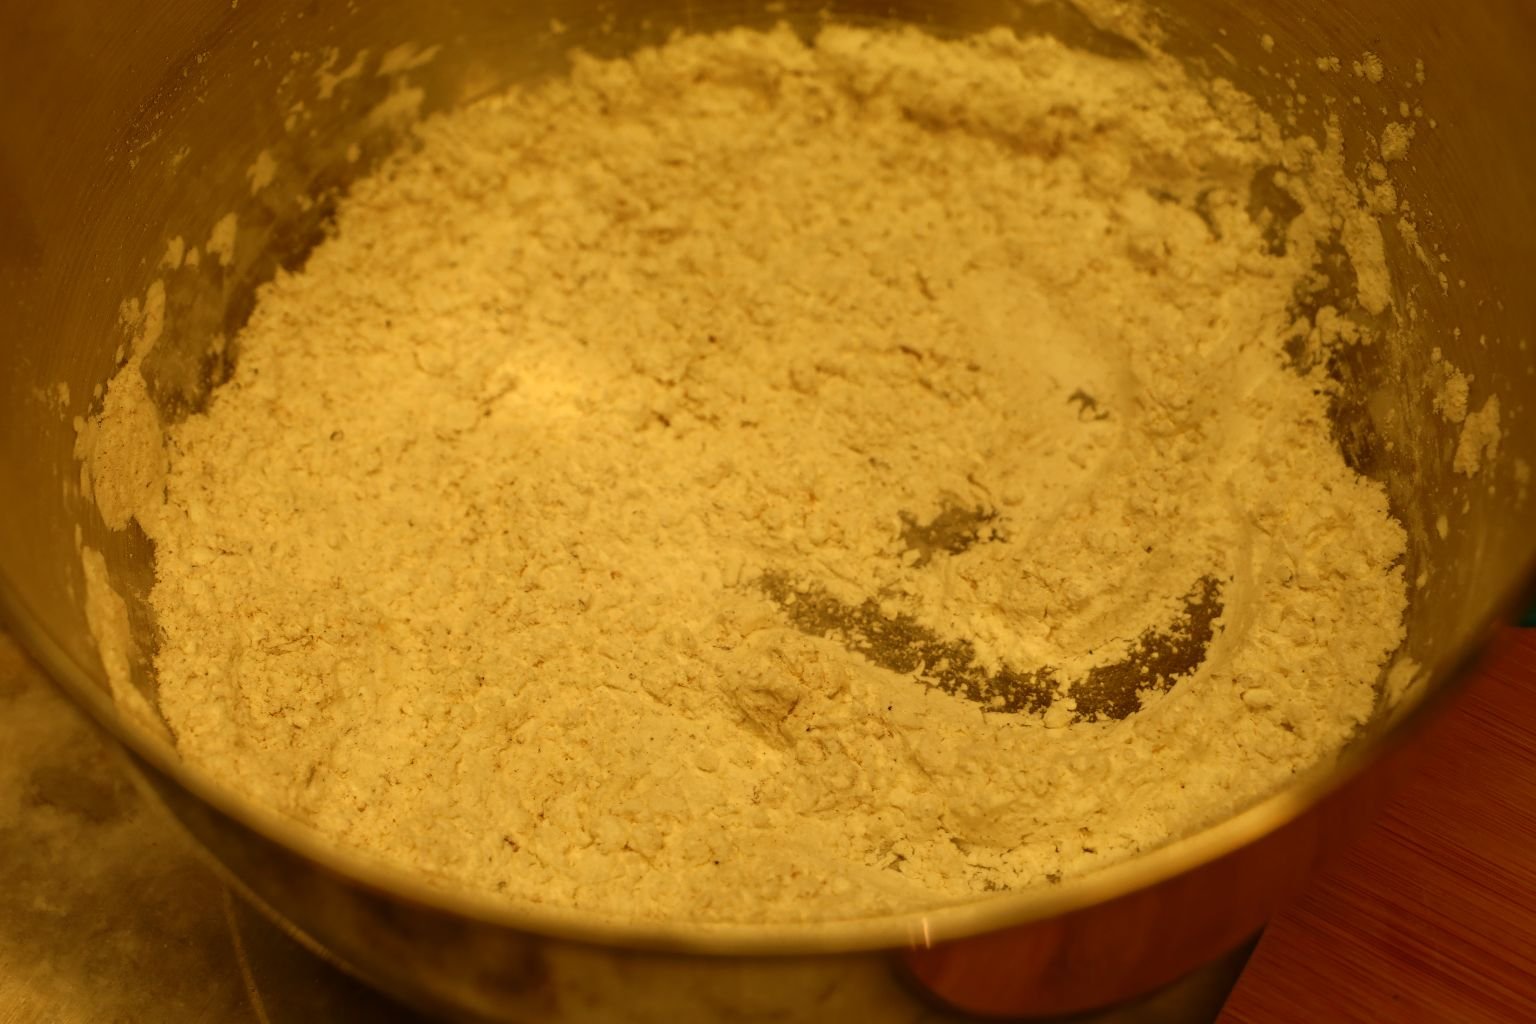
Mix all the ingredients well.
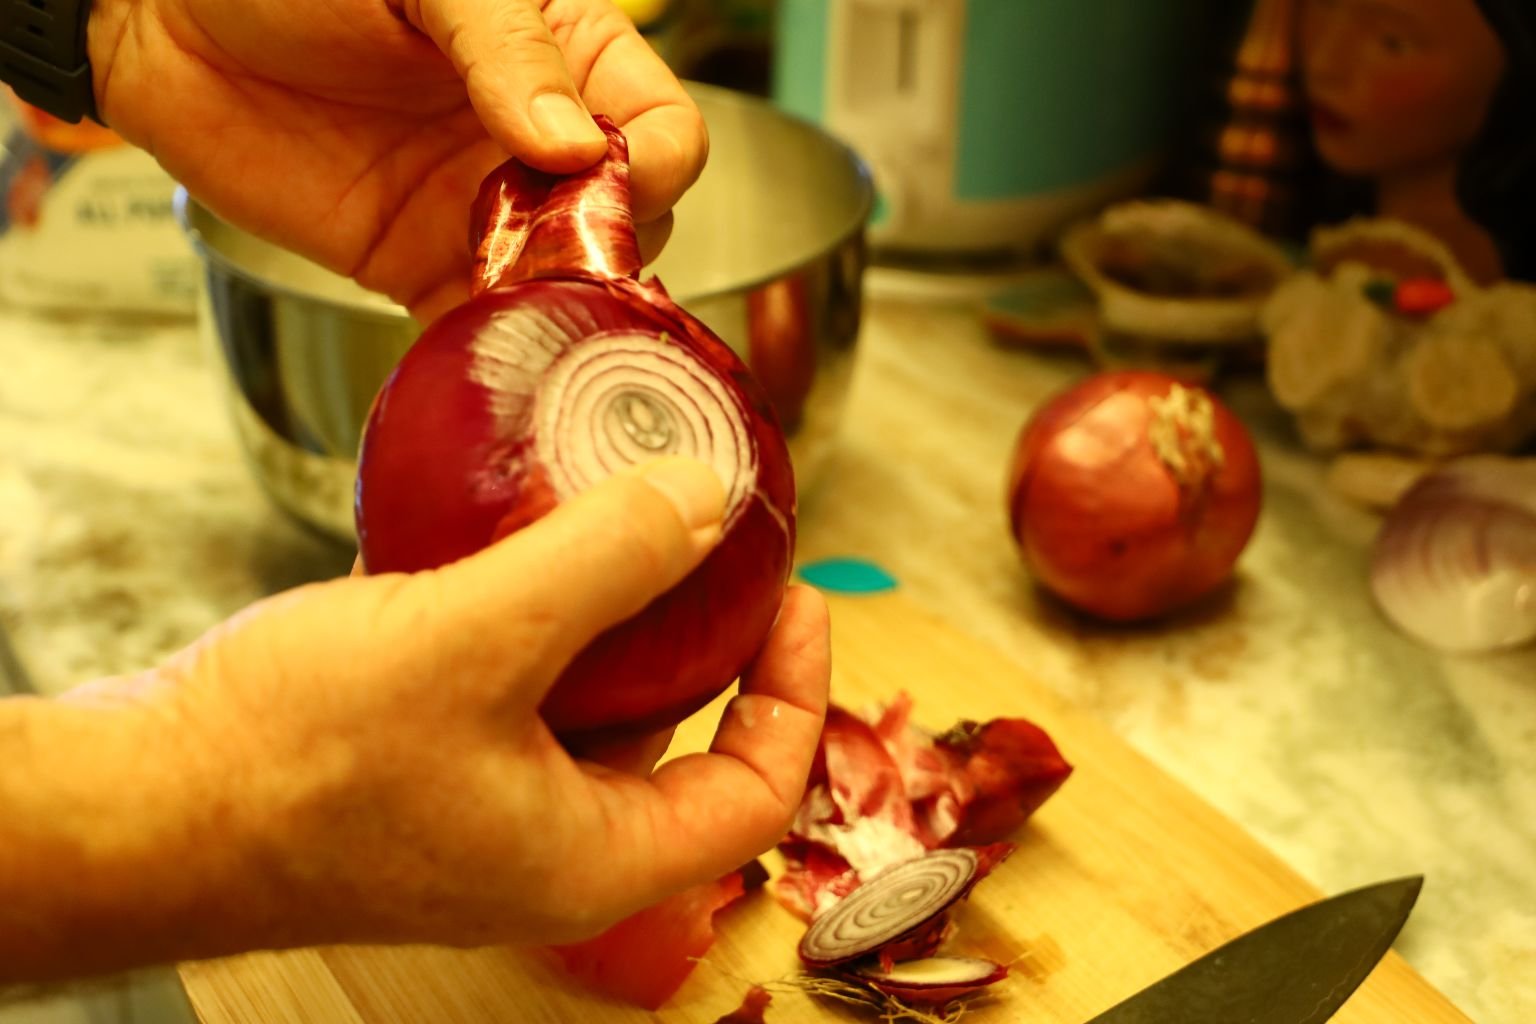
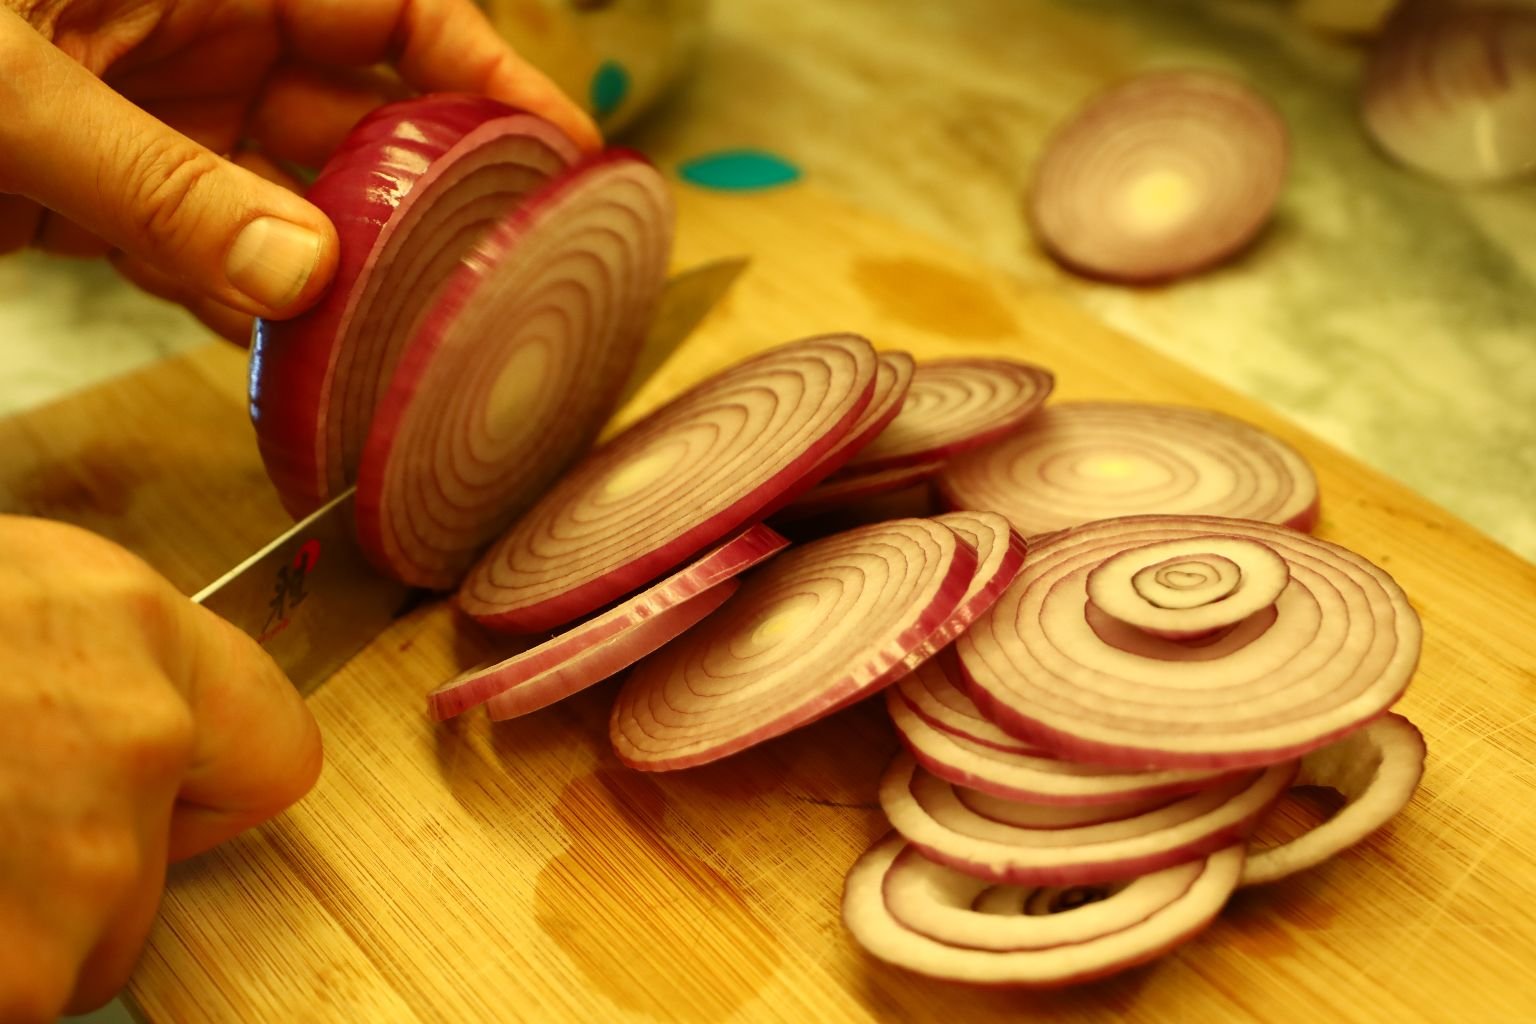
Peel and slice your Red Onions as shown.
——————————————————————————–
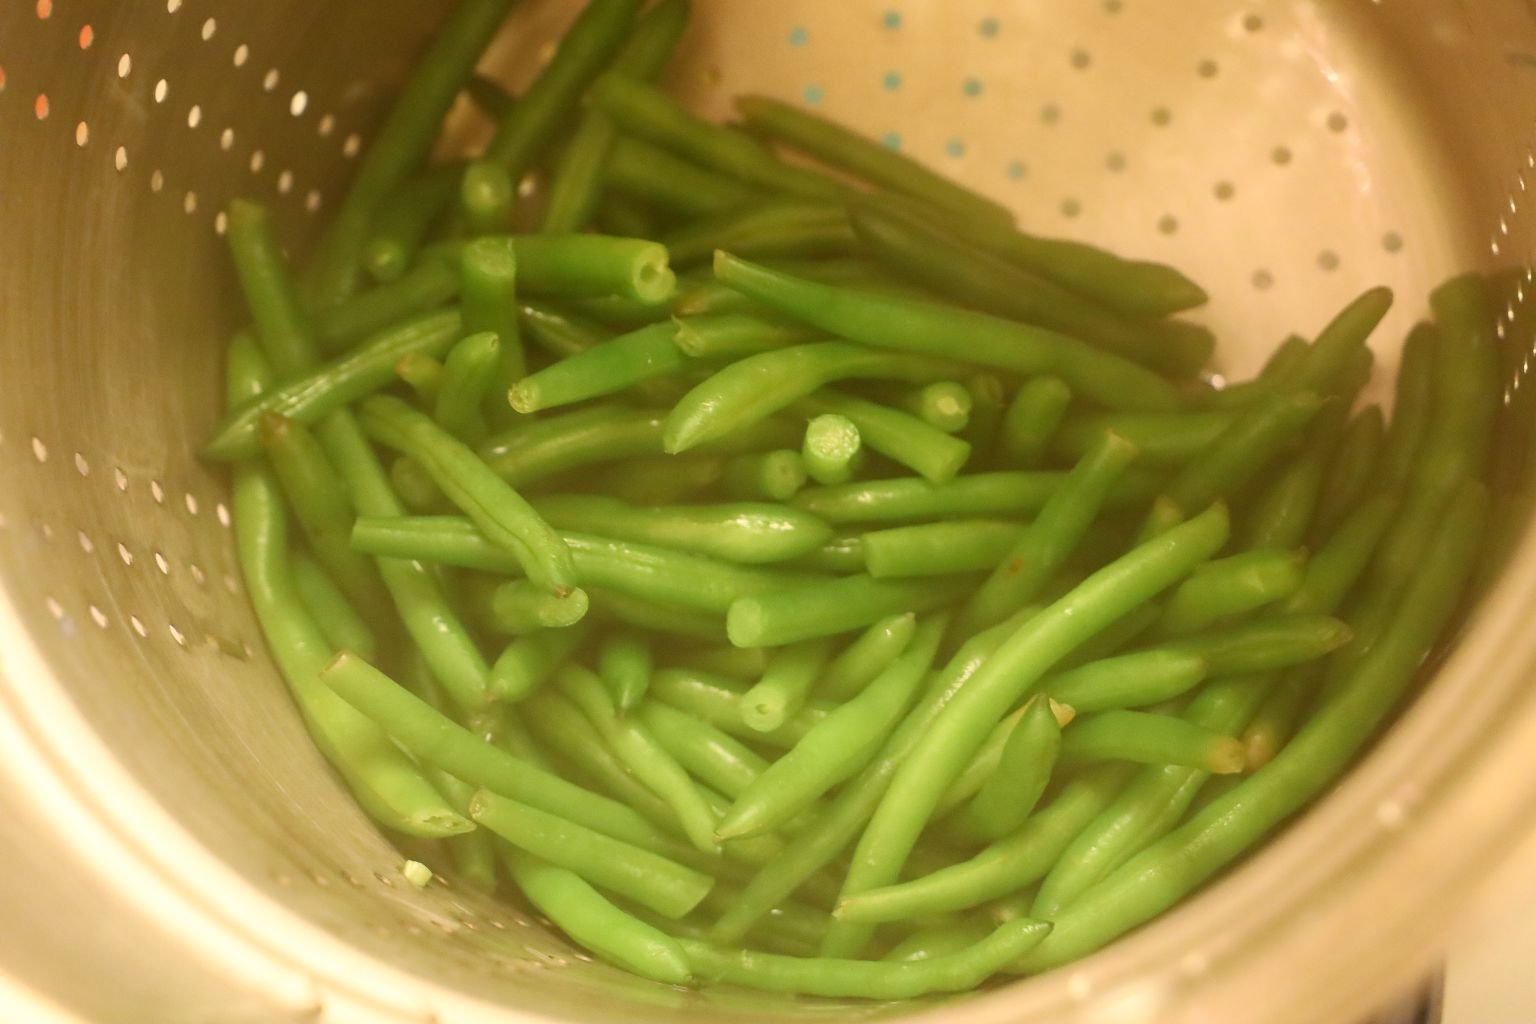
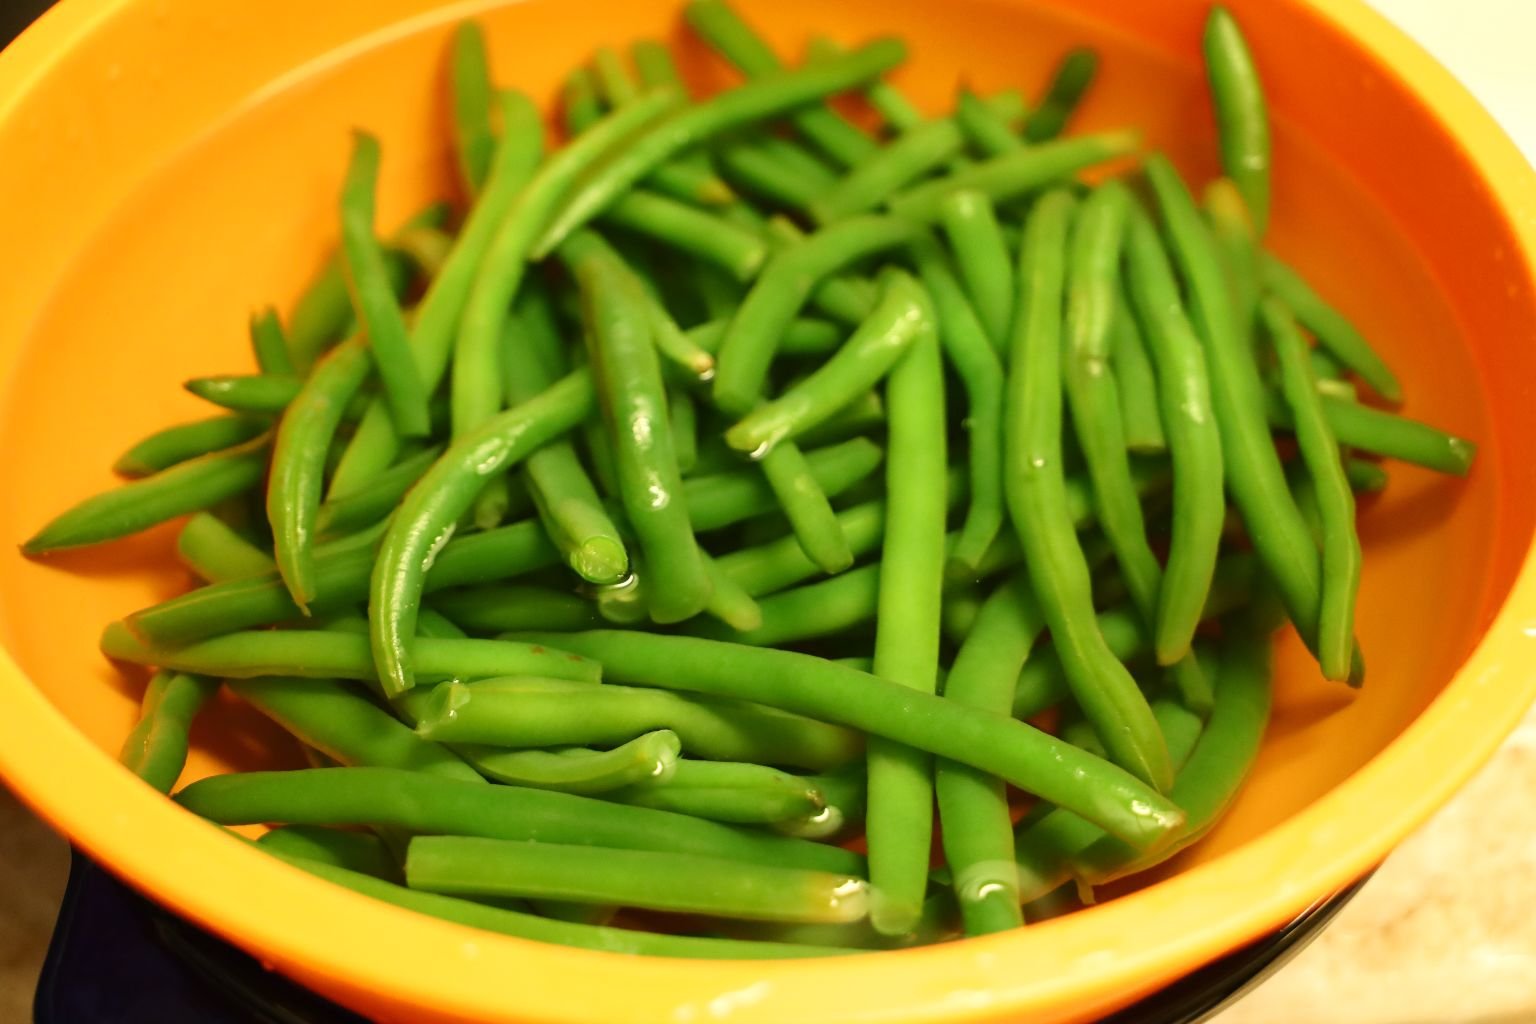
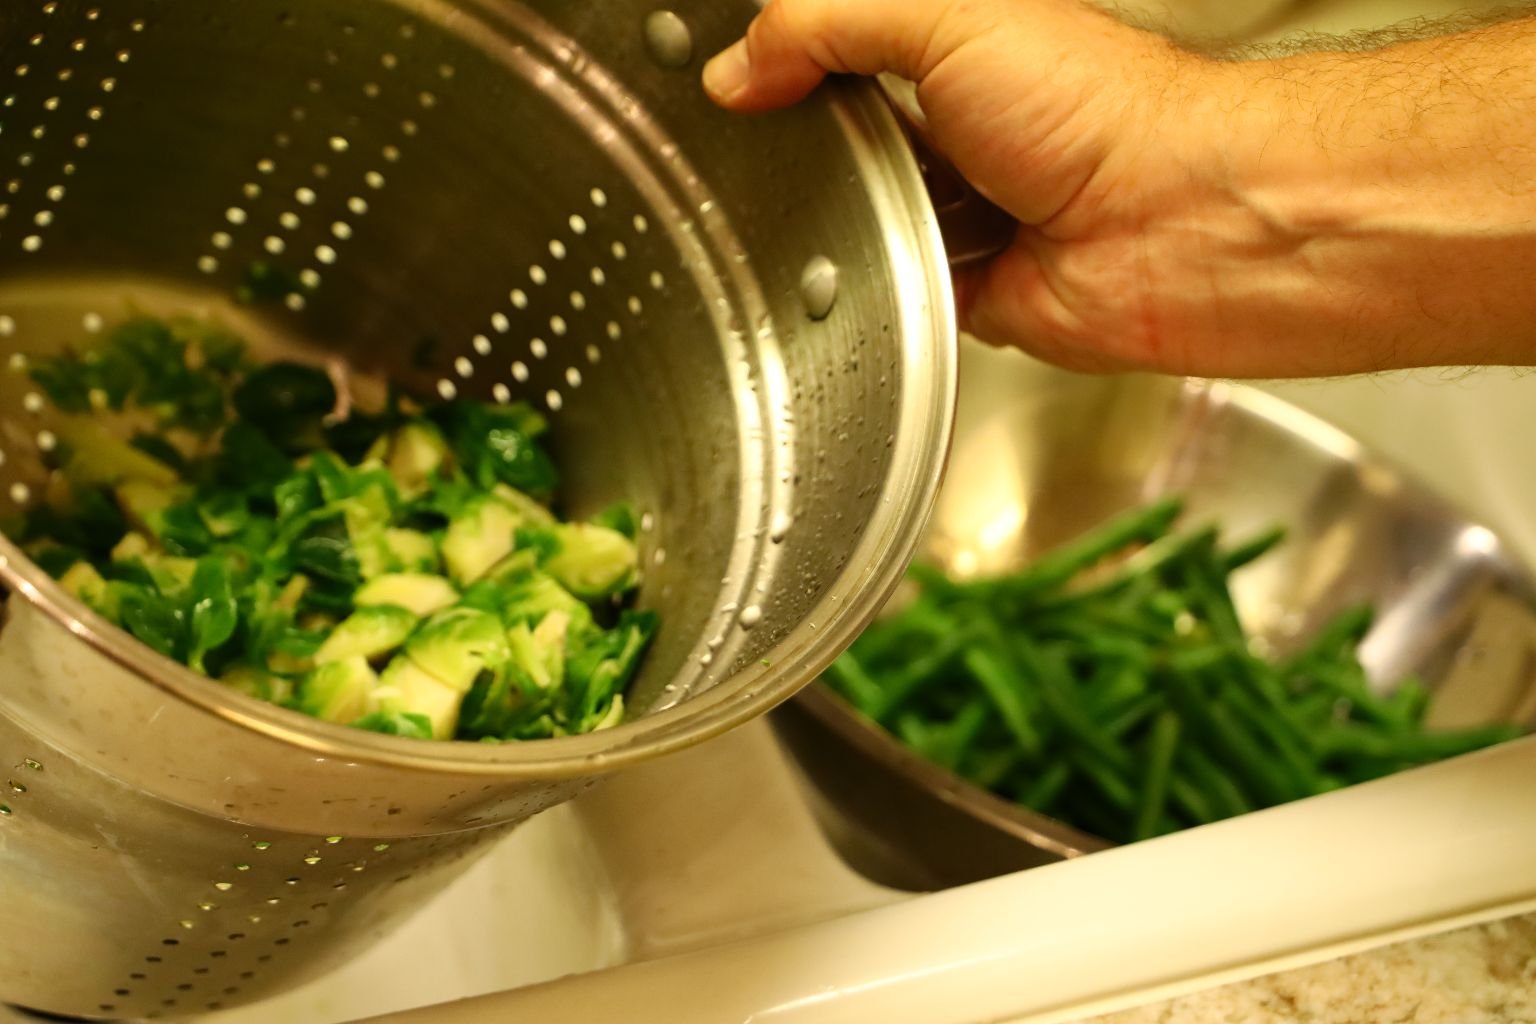
Test your Green Beans for doneness before removing them. Using the pot’s strainer helps with removing all the green beans. Rinse the beans well with cold water and place them in a bowl of cold water until fully cooled.
———————————————————————
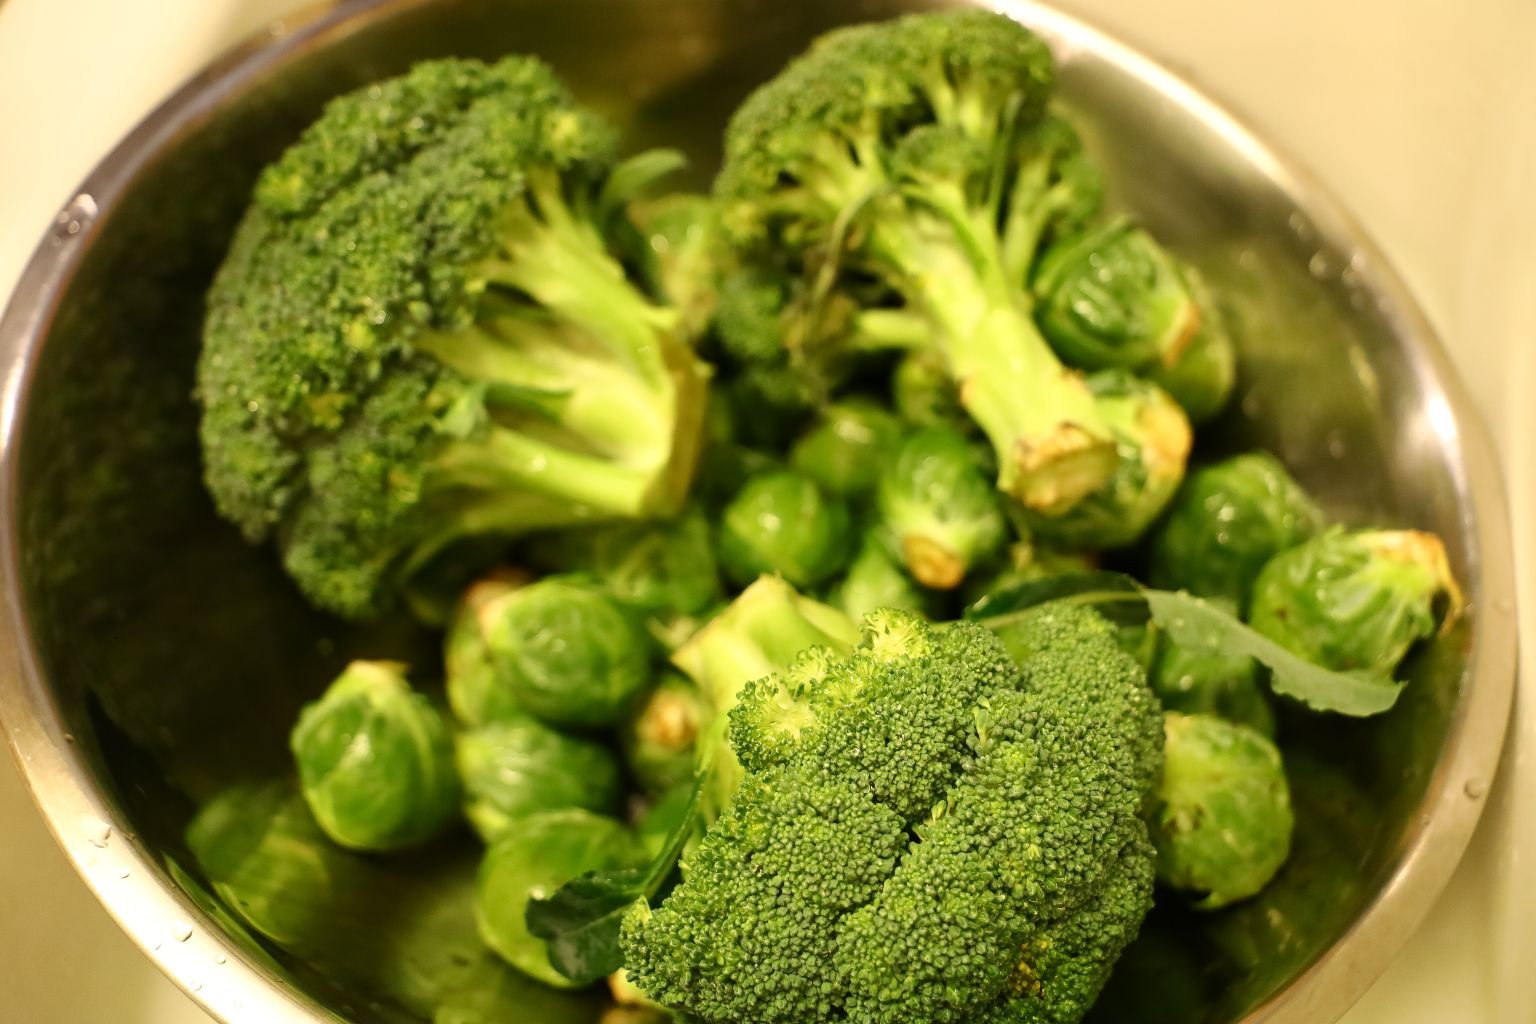
Here are the Brussels Sprouts, and Broccoli I used.
———————————————————————–

Going back to the fried onions….
Place the onion rounds in the corn starch and flour mixture and toss well.
————————————————————————
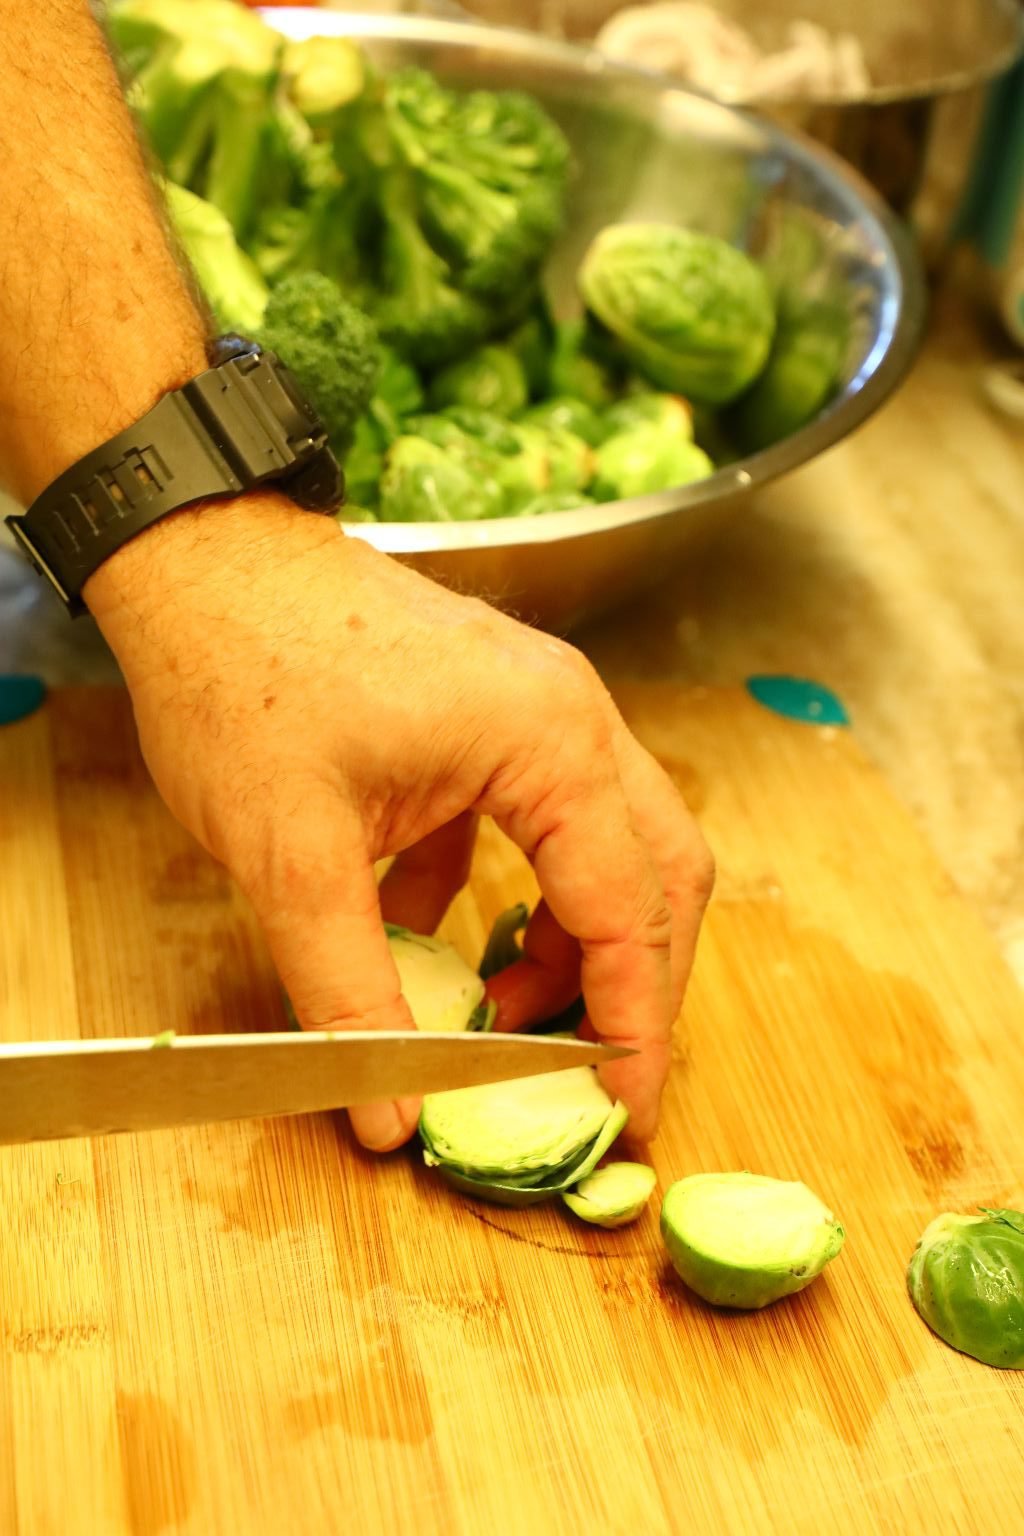
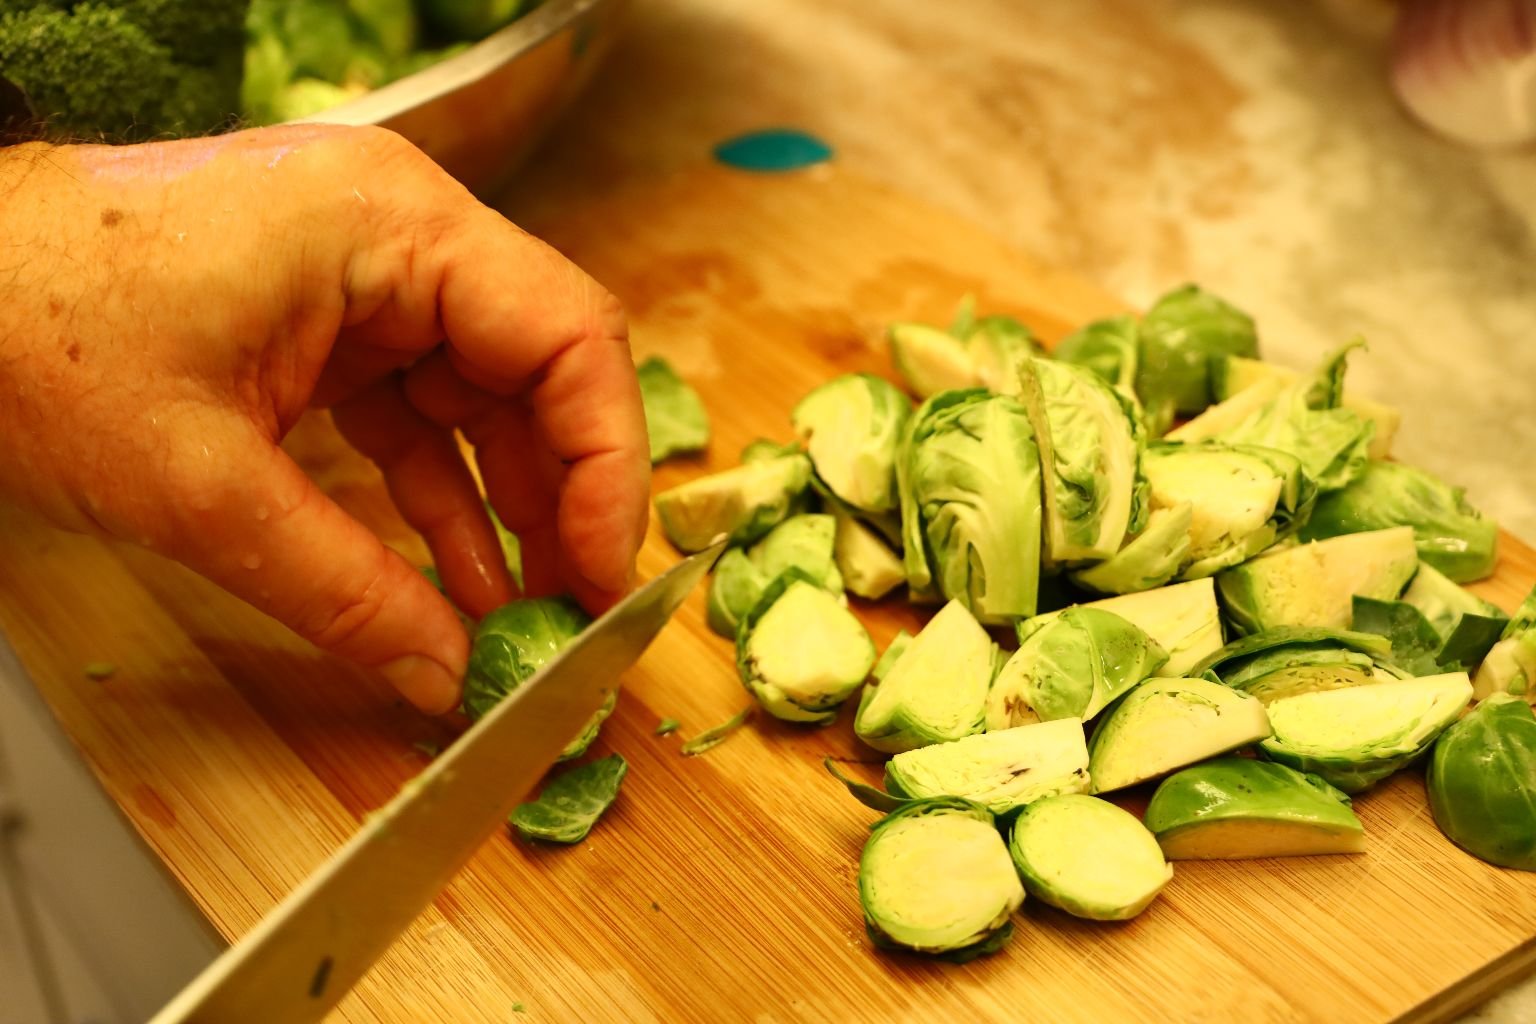
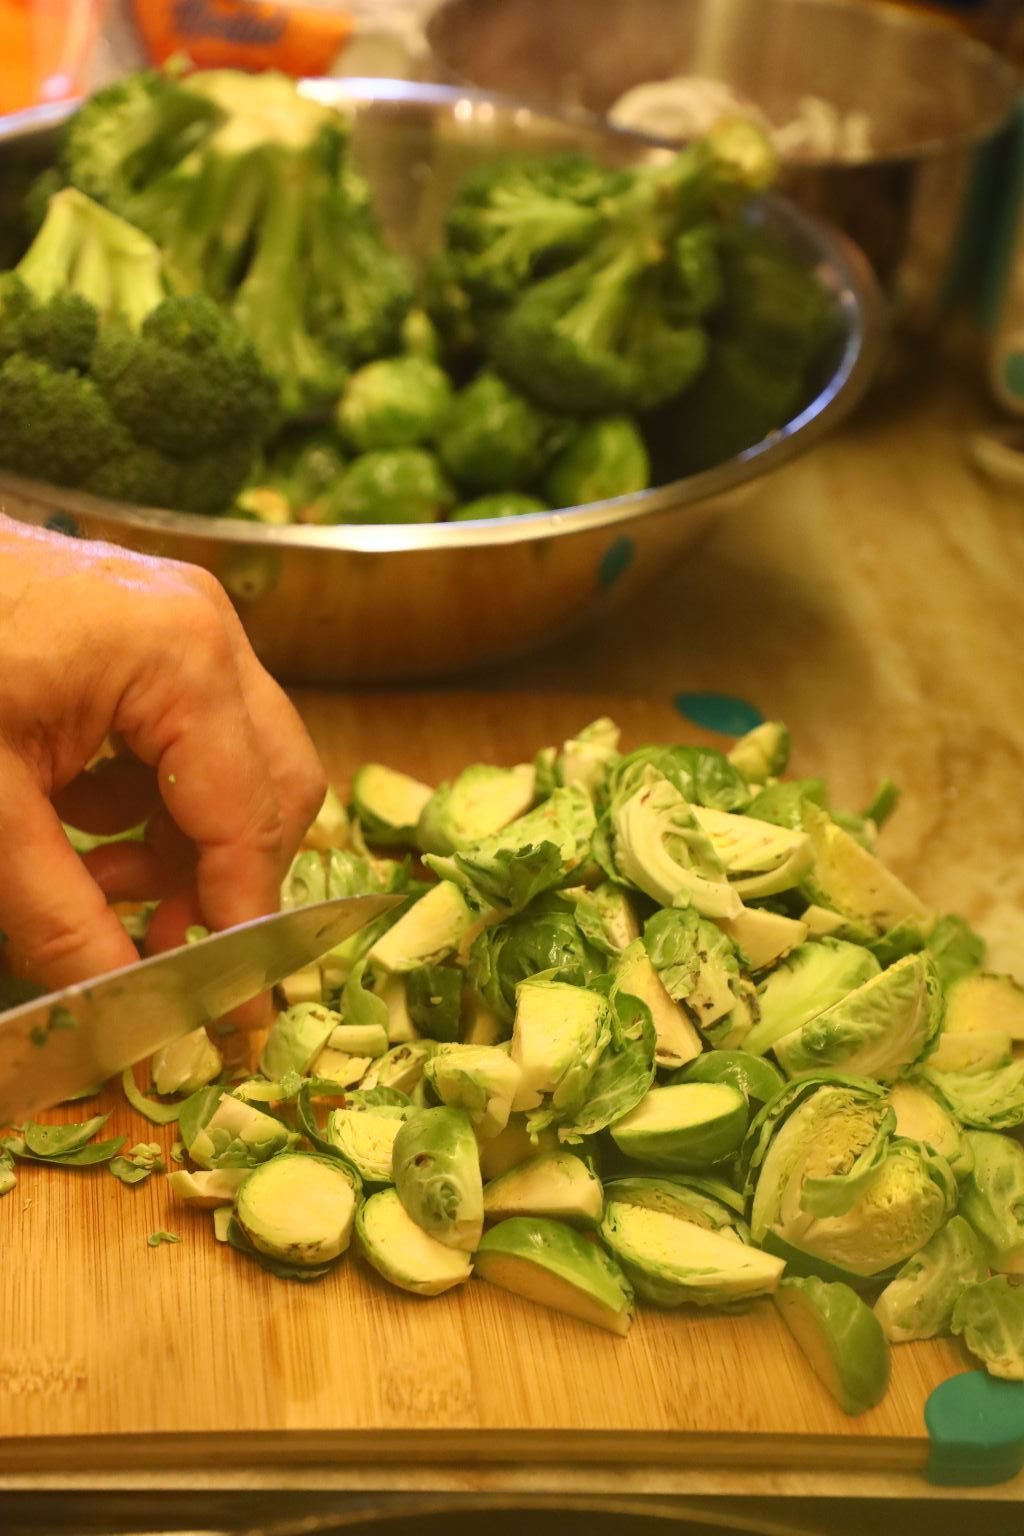
Remove the ends of the Brussels Sprouts and chop into quarters as shown.
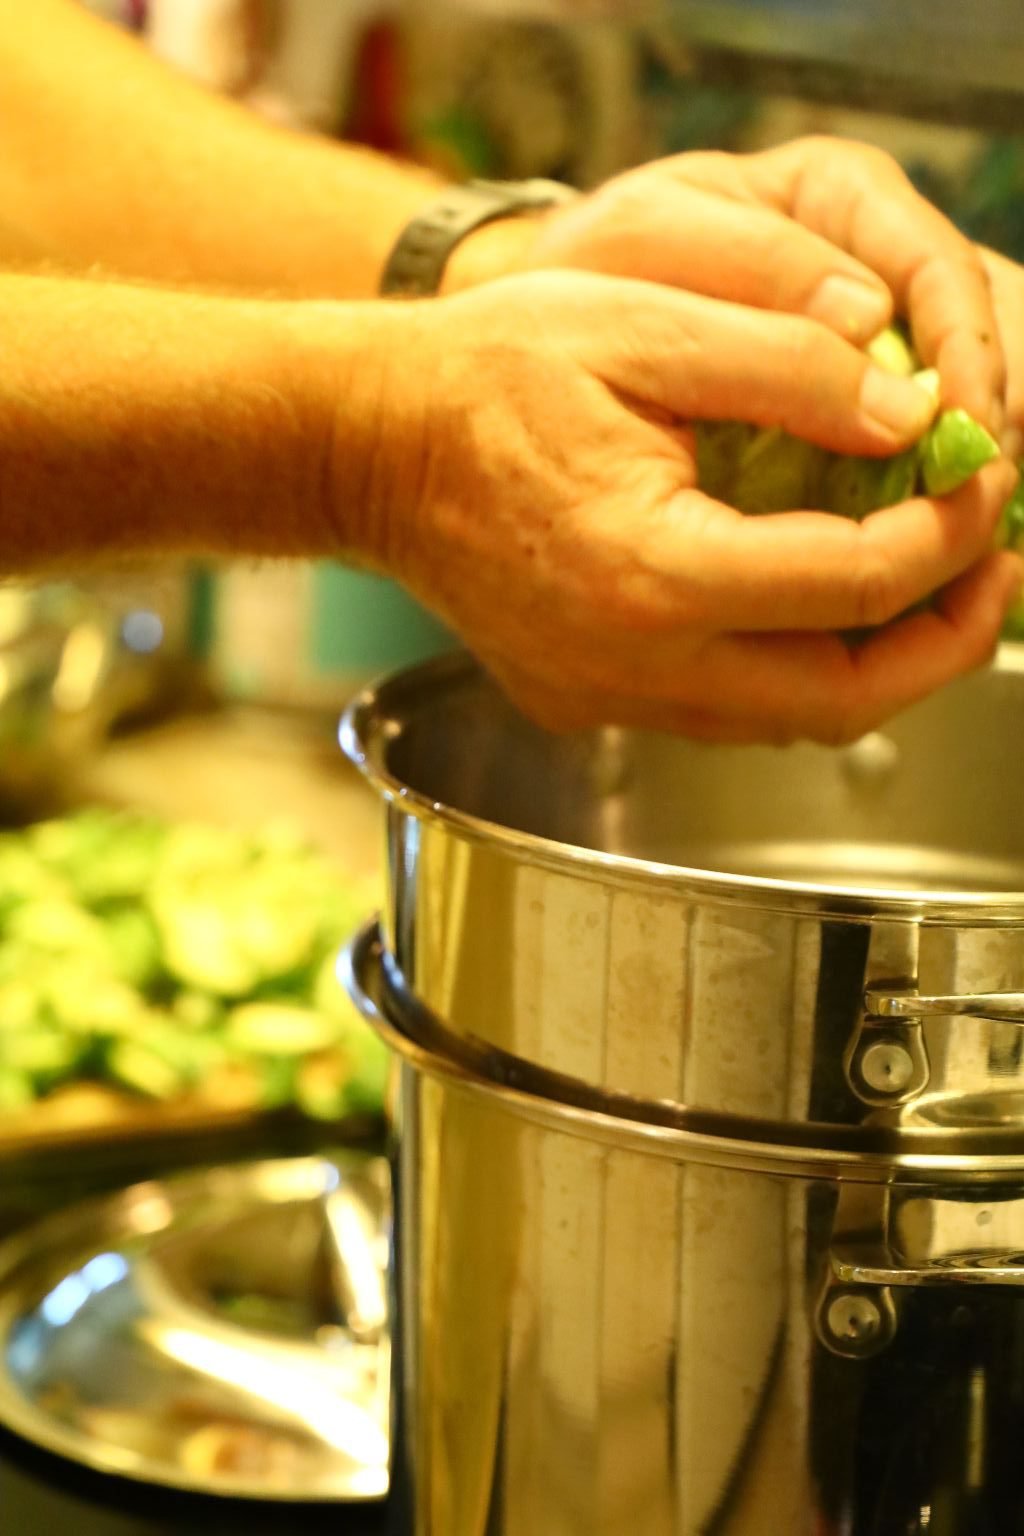
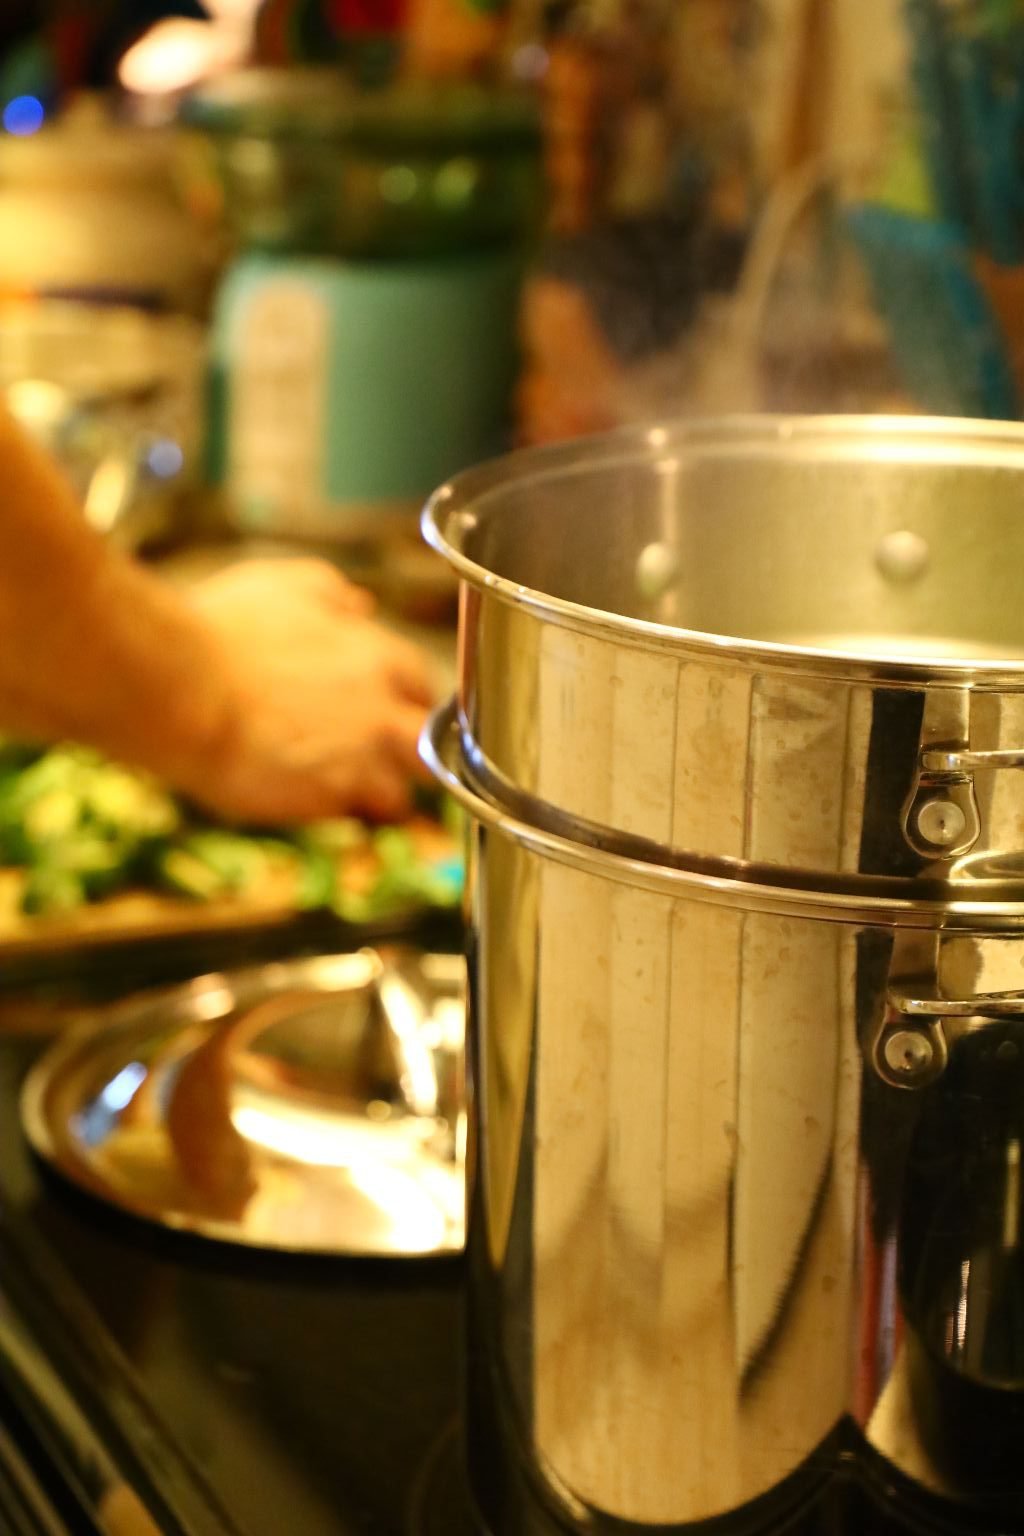
Place your Brussels Sprouts in the boiling water and cook until just tender… taking about 10 min.
———————————————————————-
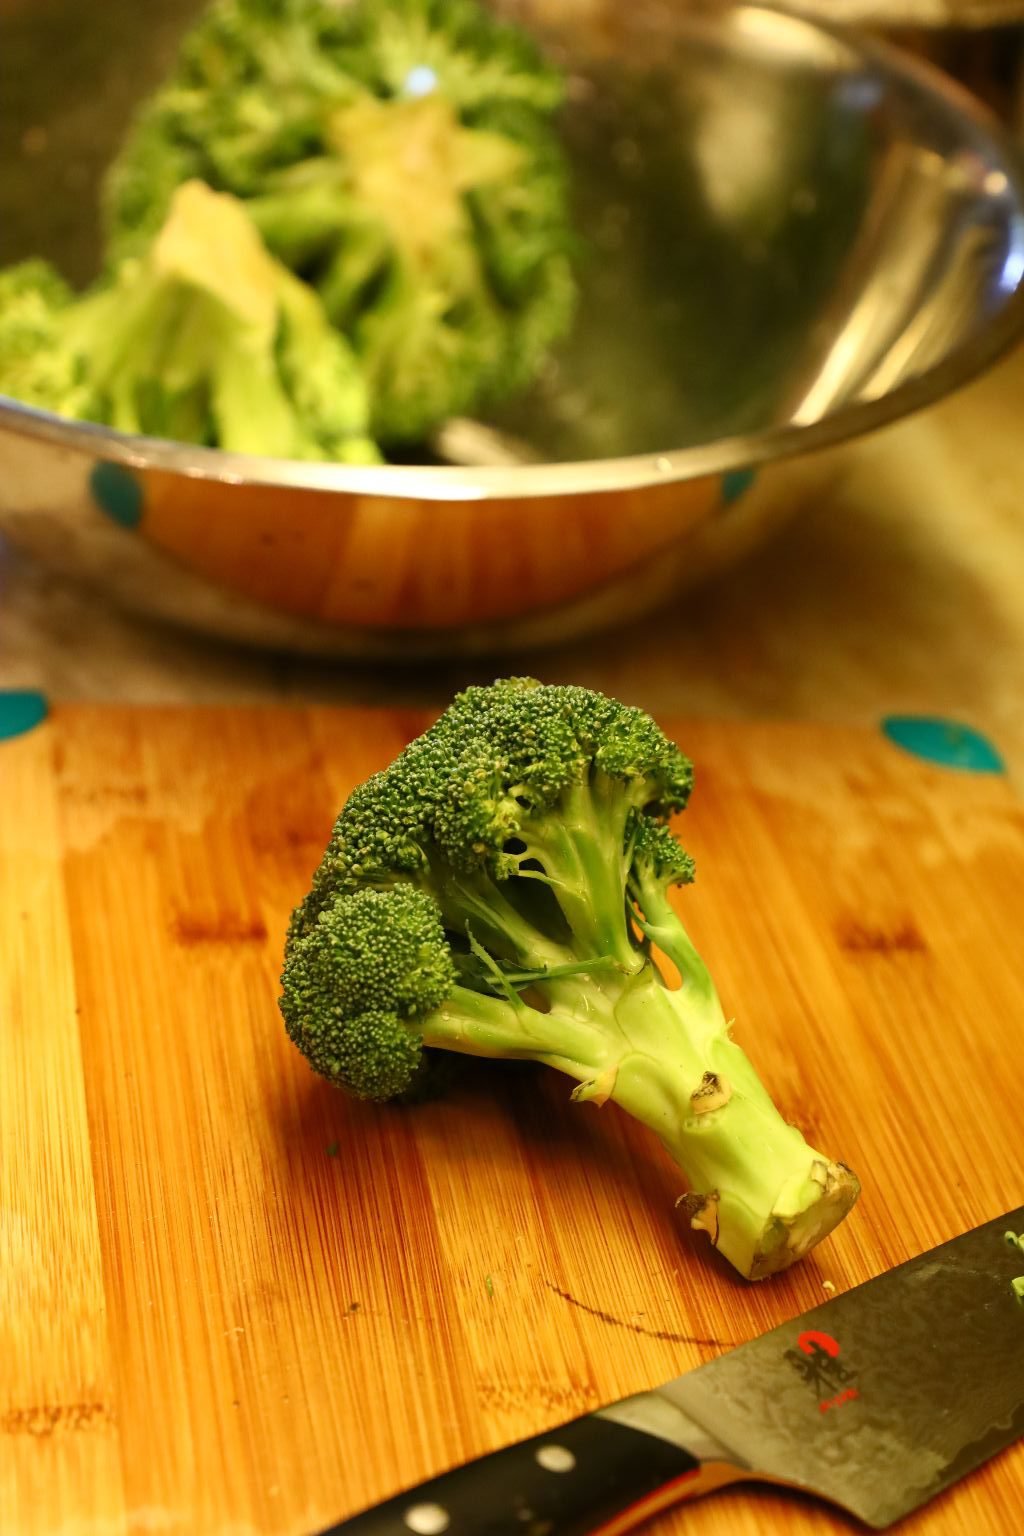

While the Sprouts are cooking, trim and cut your Broccoli into sections.
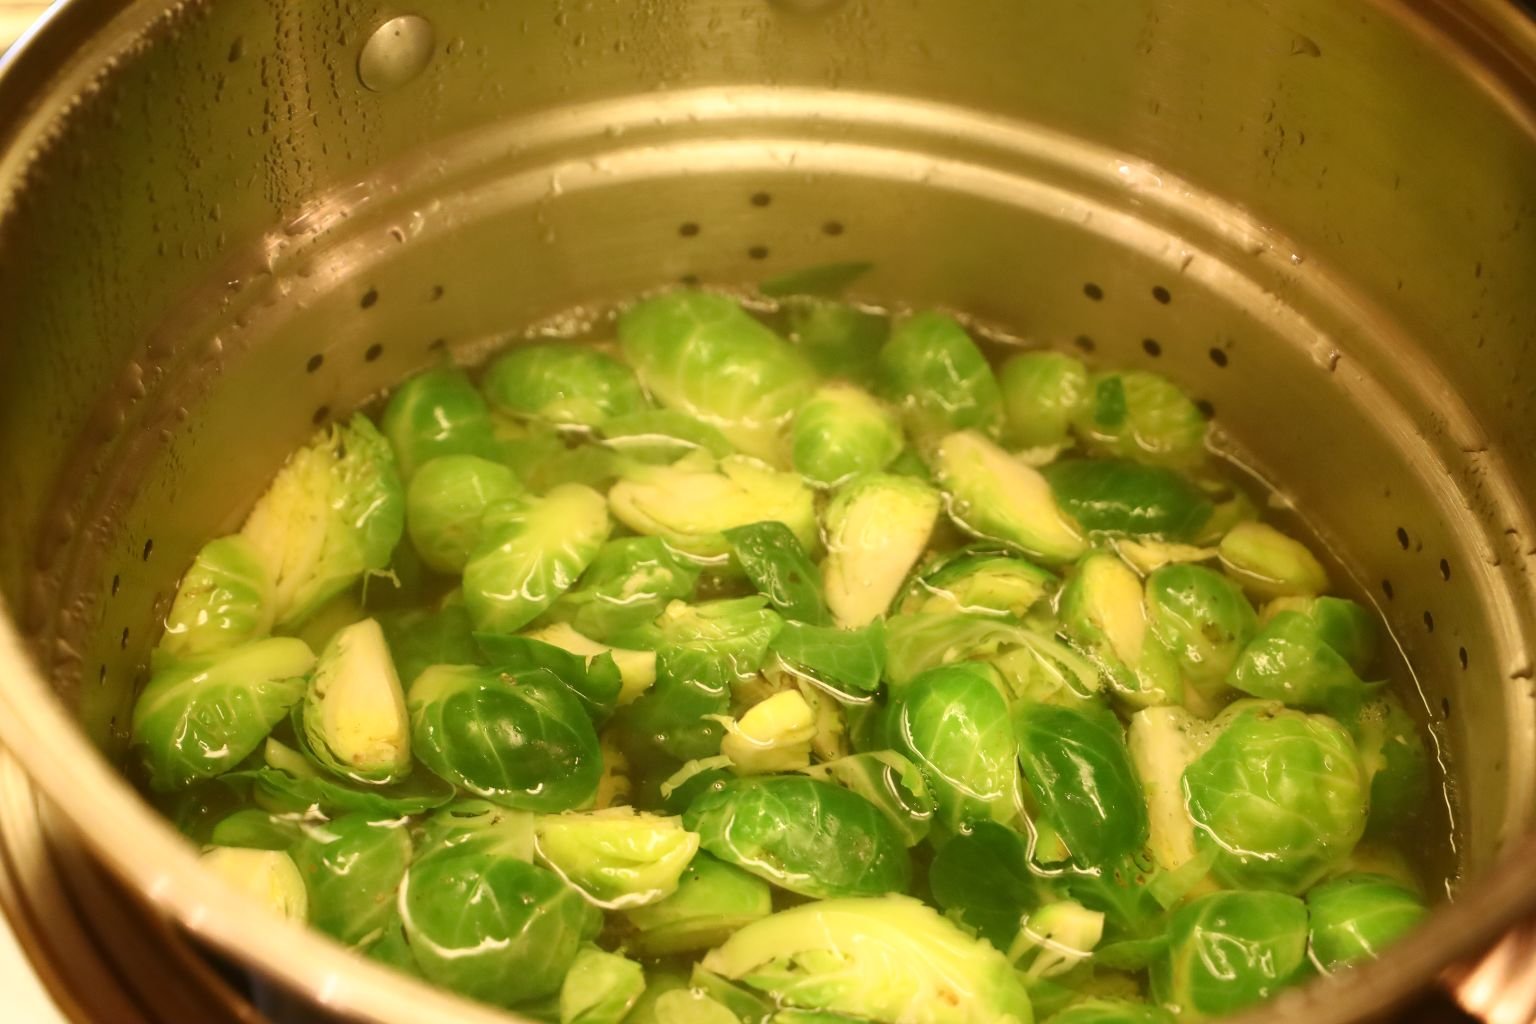
Sprouts Cooking

Here are the small pieces of Broccoli I used.
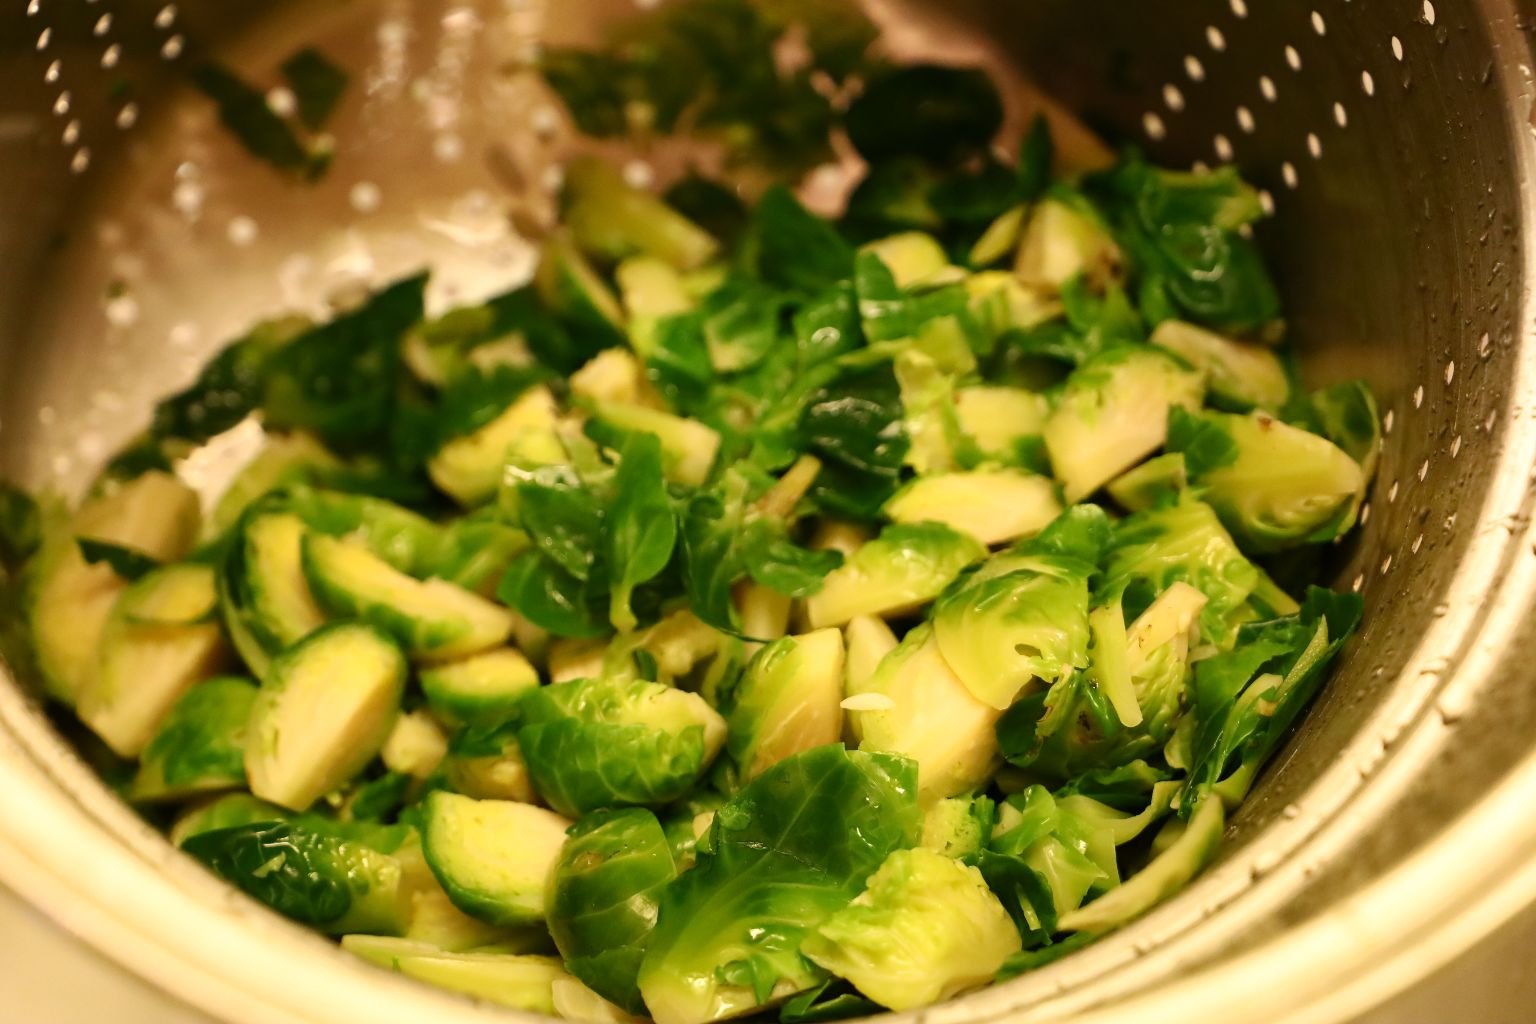
When the Brussels Sprouts are tender and green, remove them and cool as you did with the green beans.
————————————————————————–

Here I am heating my oil to fry the onion using a cast iron skillet.
The heat is on Medium High.
—————————————————————————–
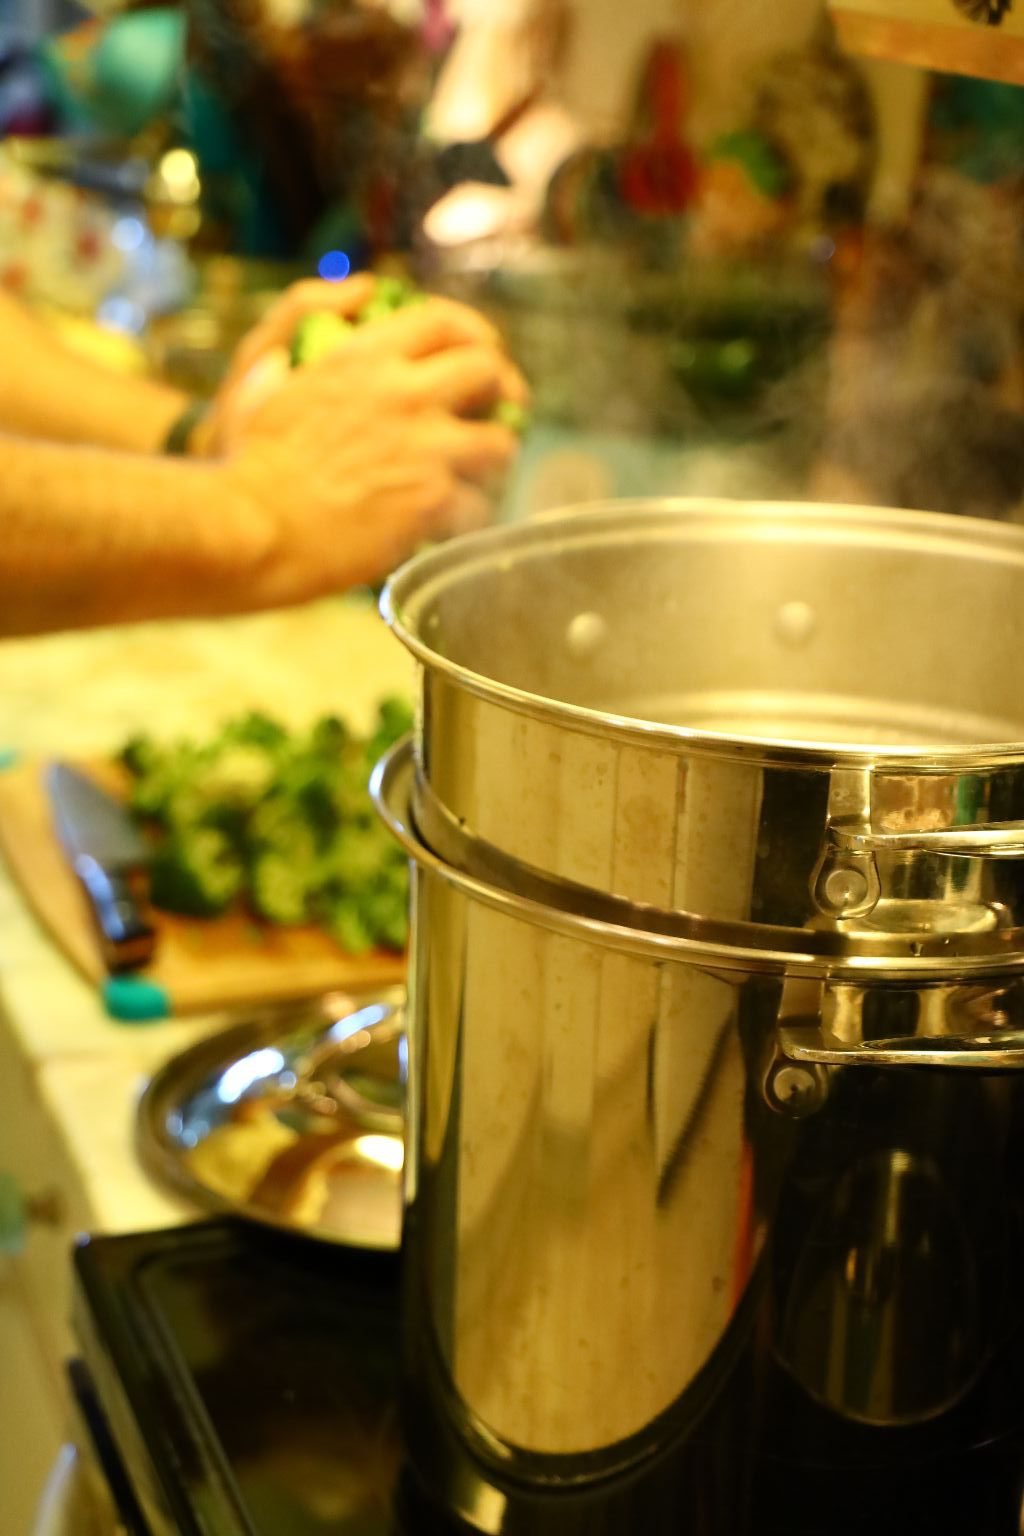
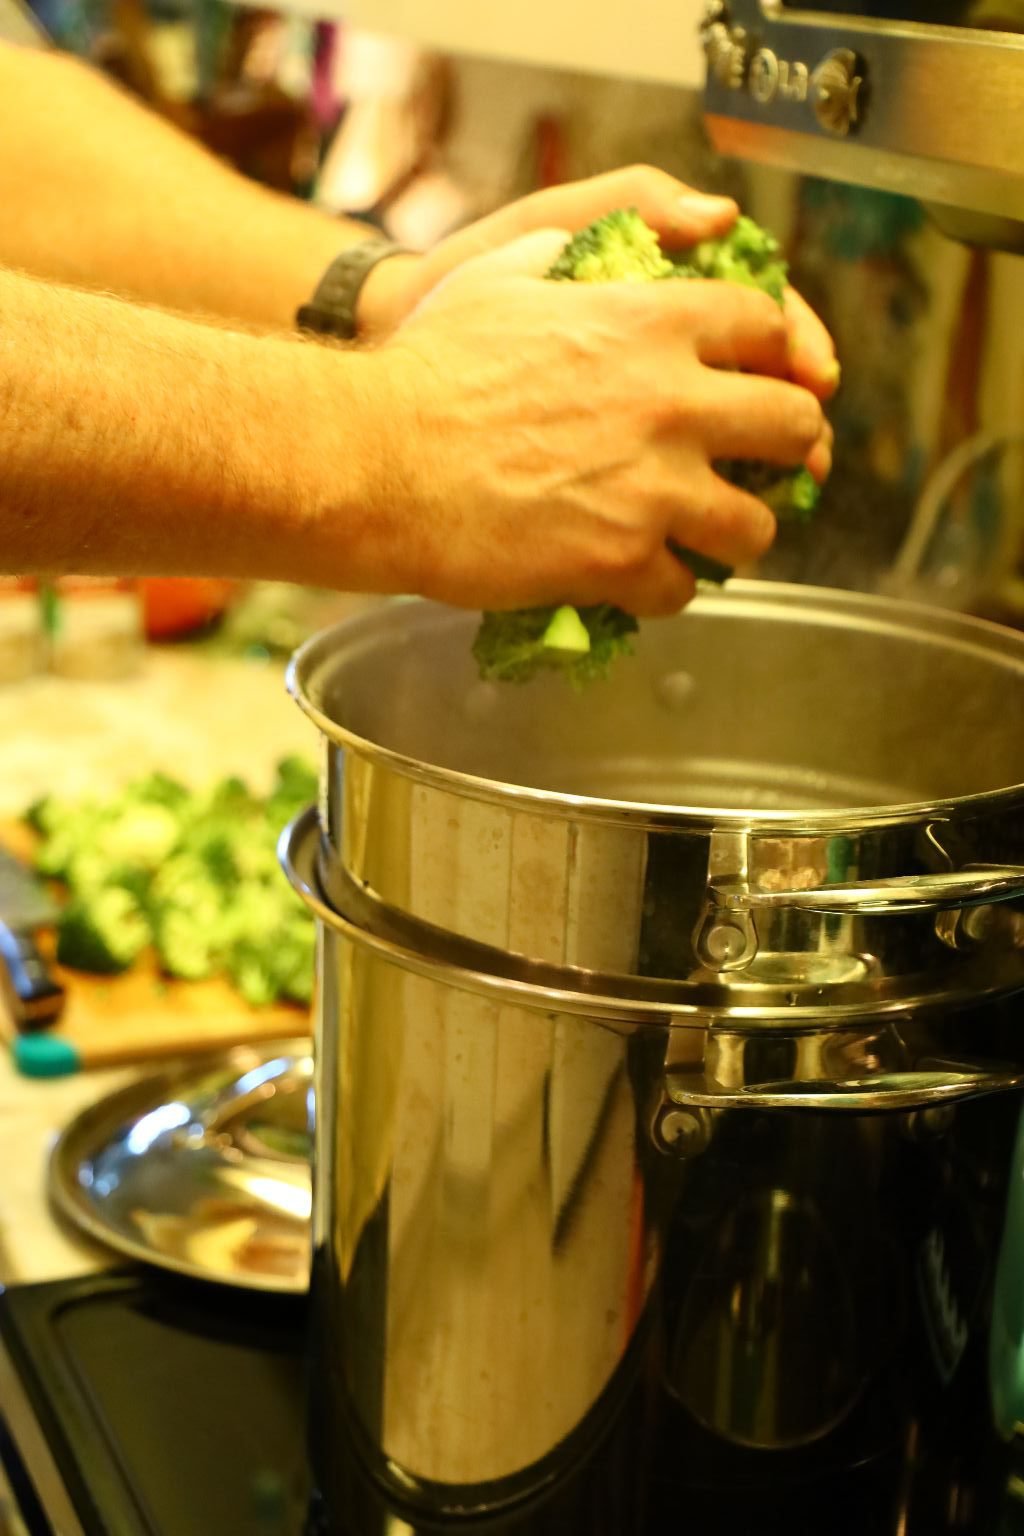
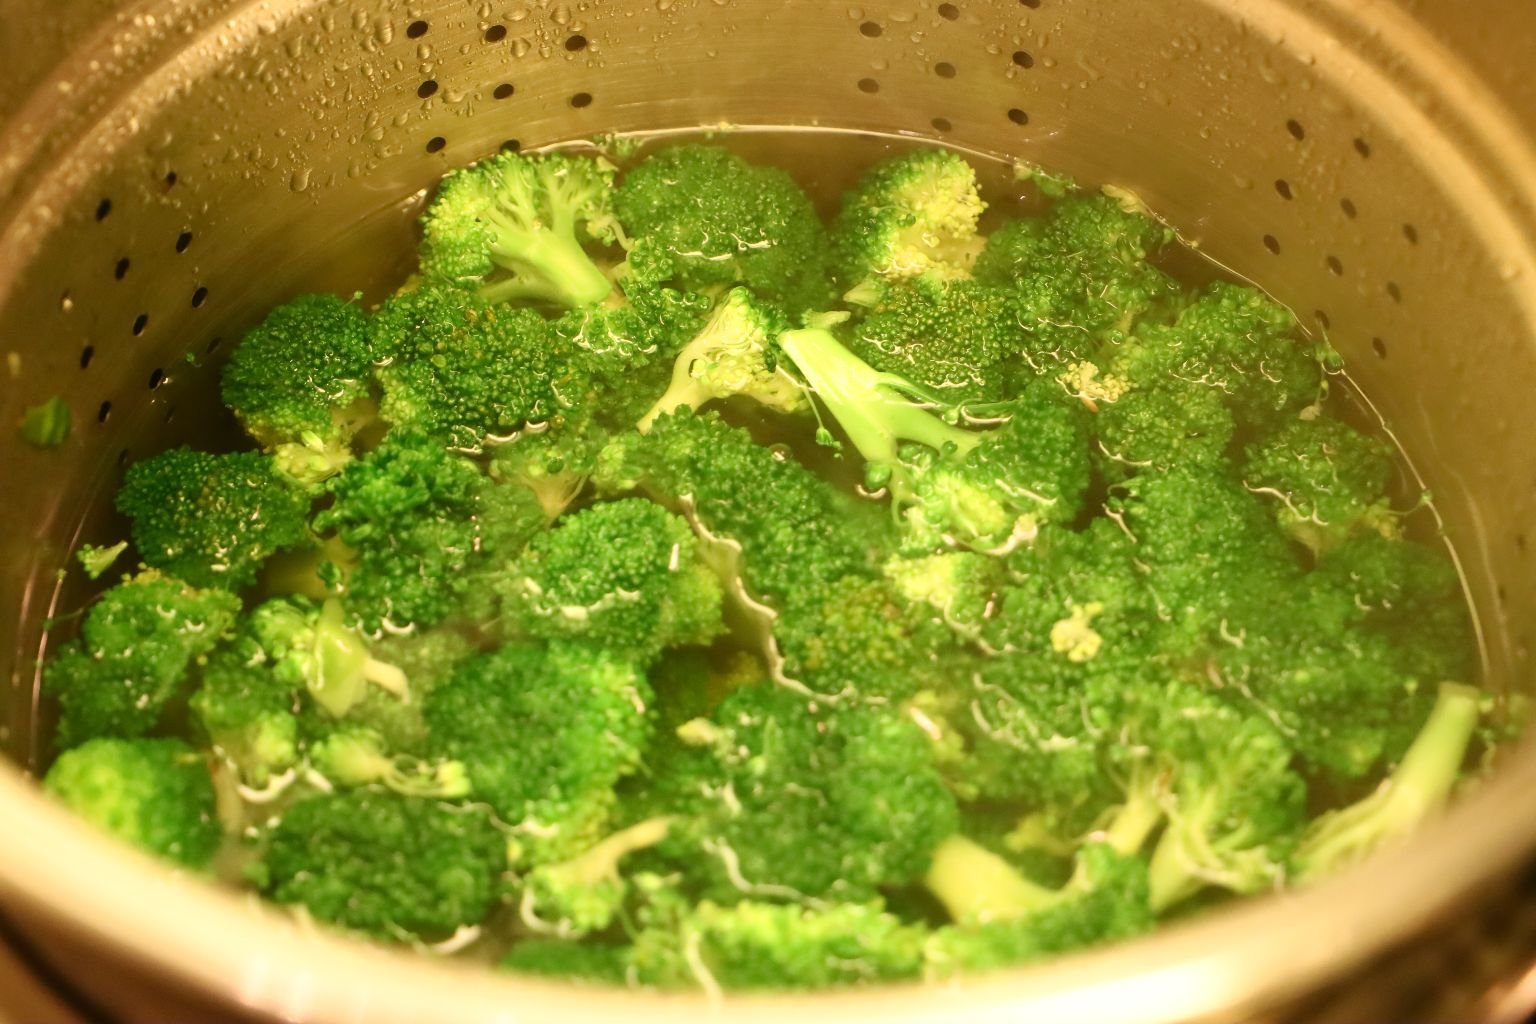
Now, place your Broccoli in the boiling water and cook until tender and green taking about 10 min.
As Shown
————————————————————————-
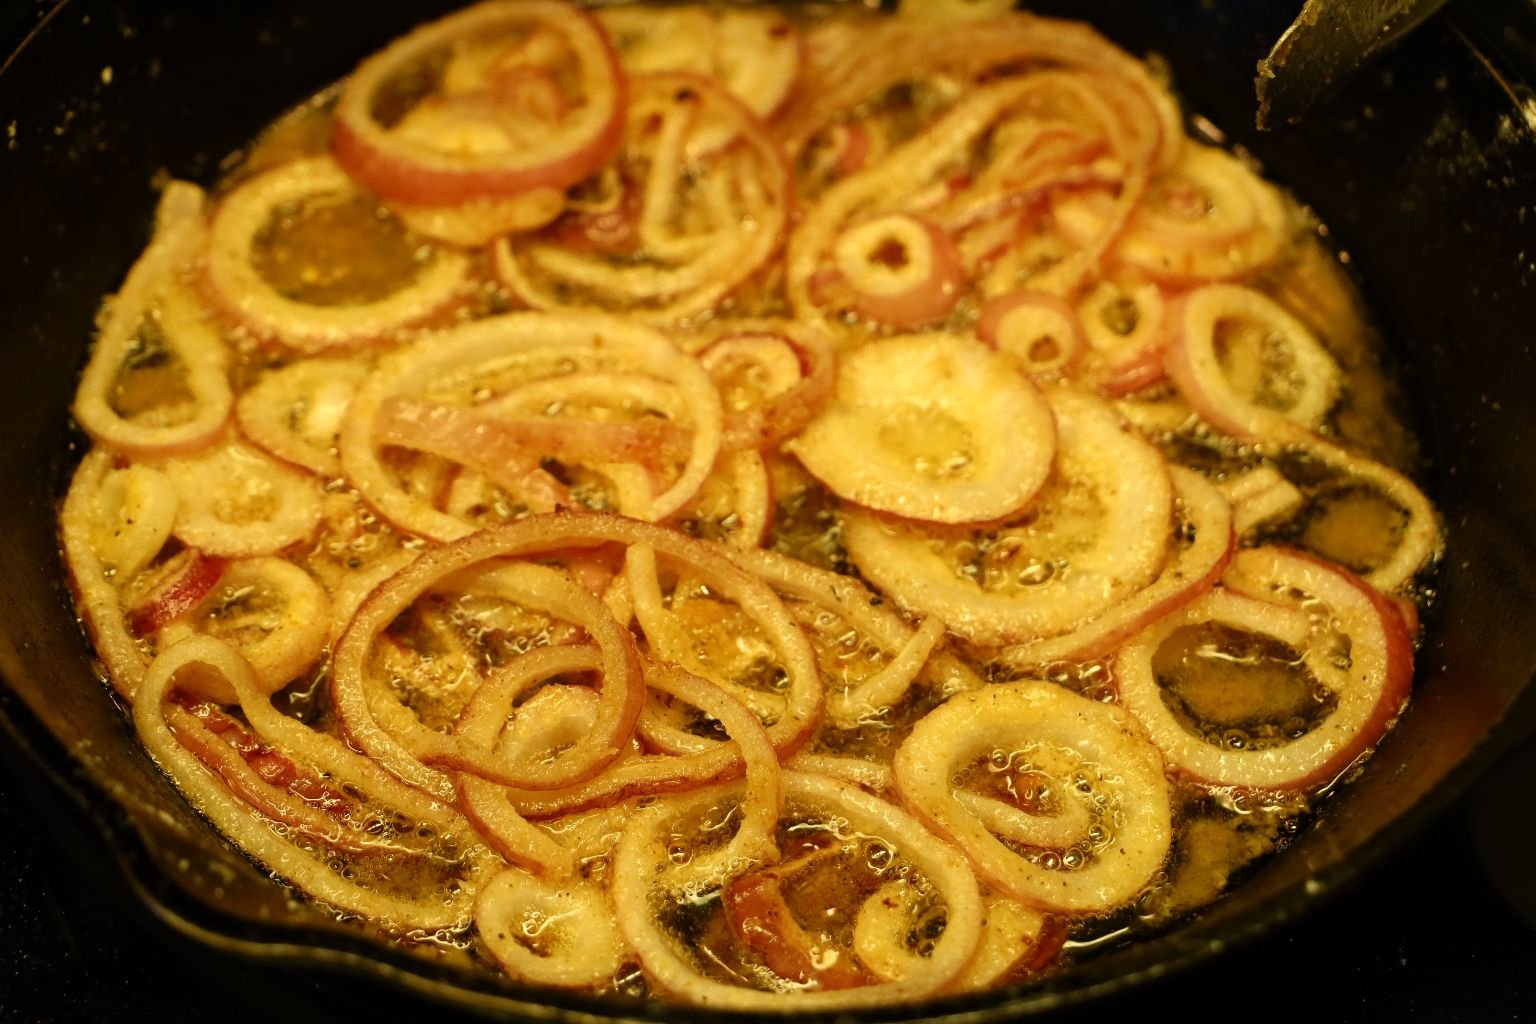
Frying The Onions
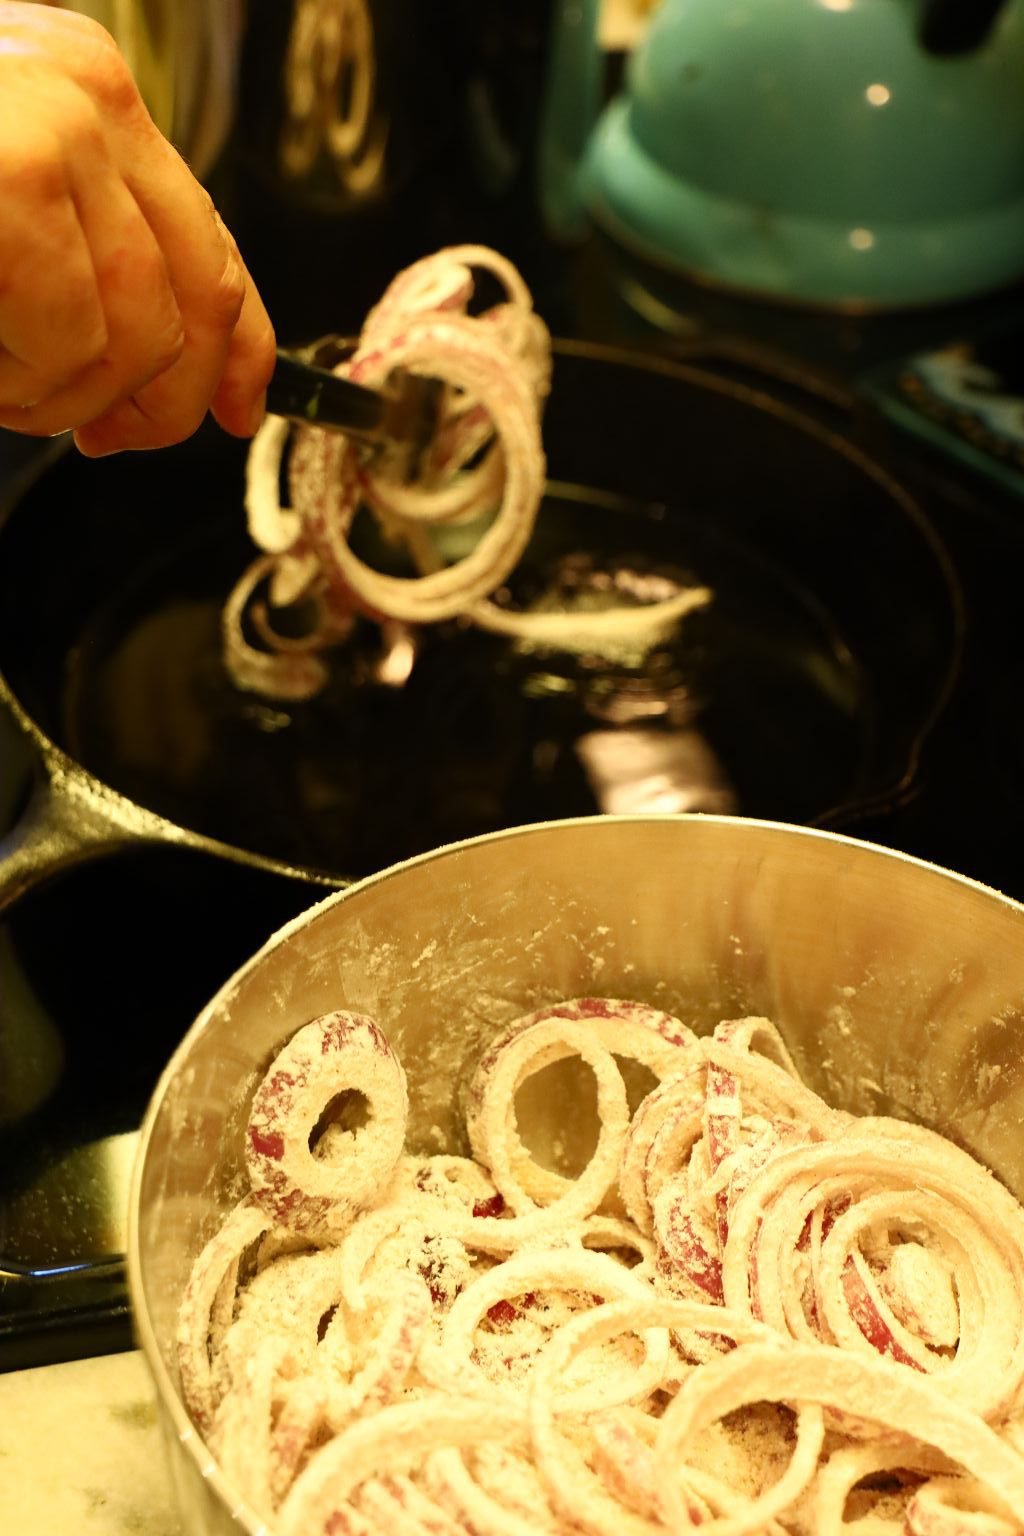
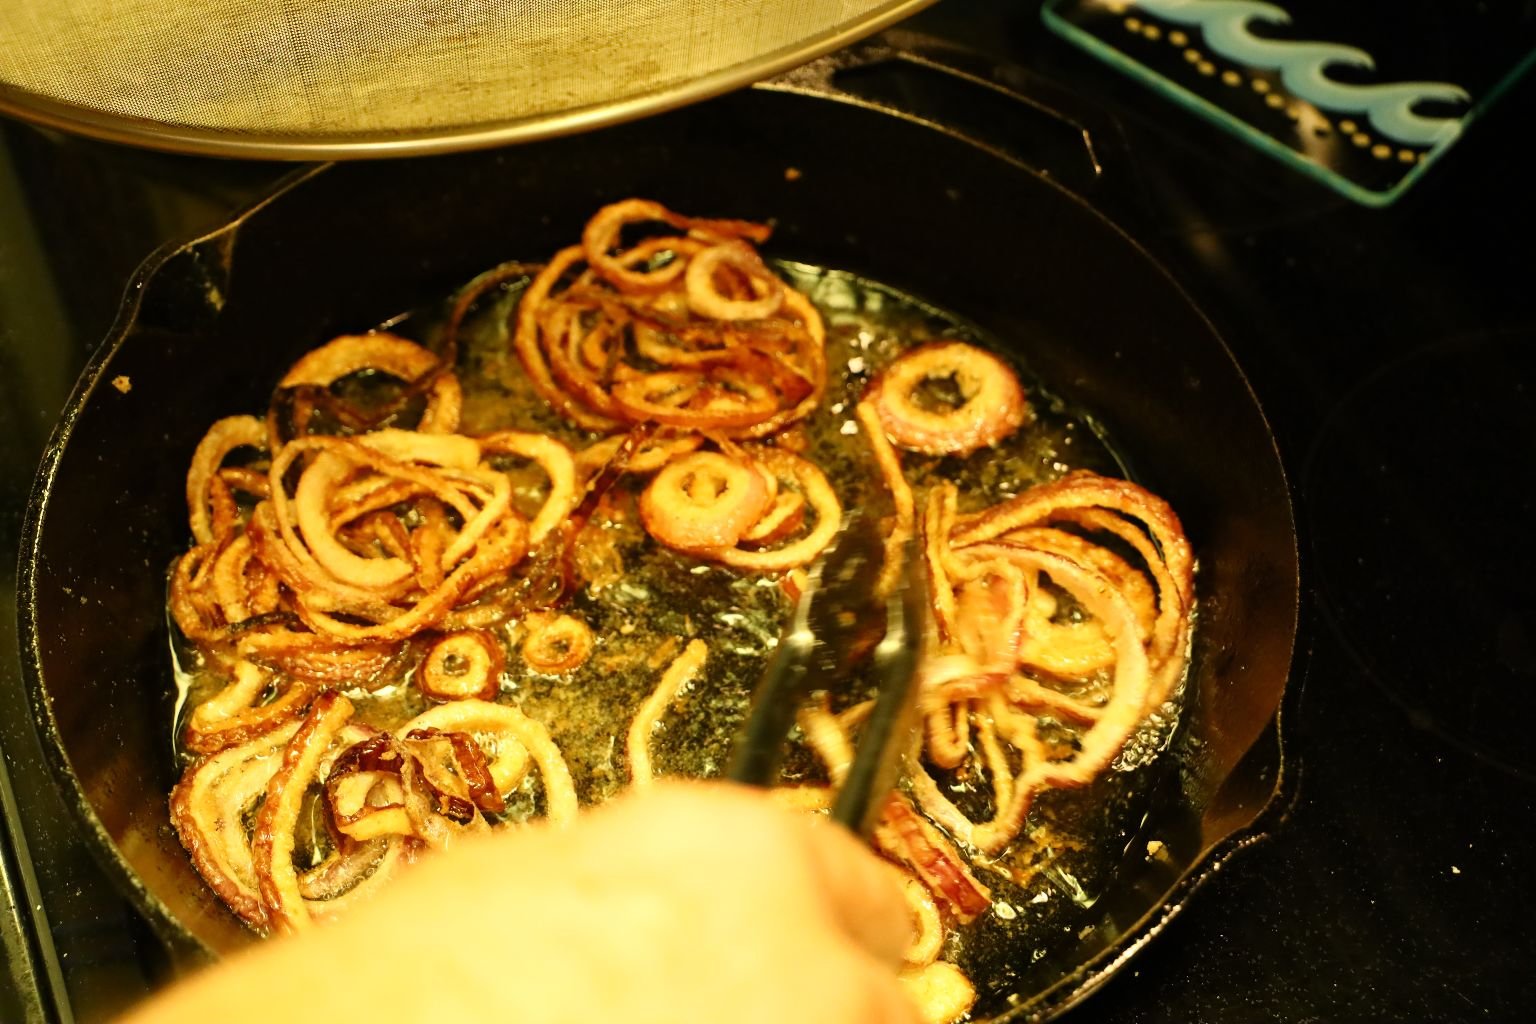
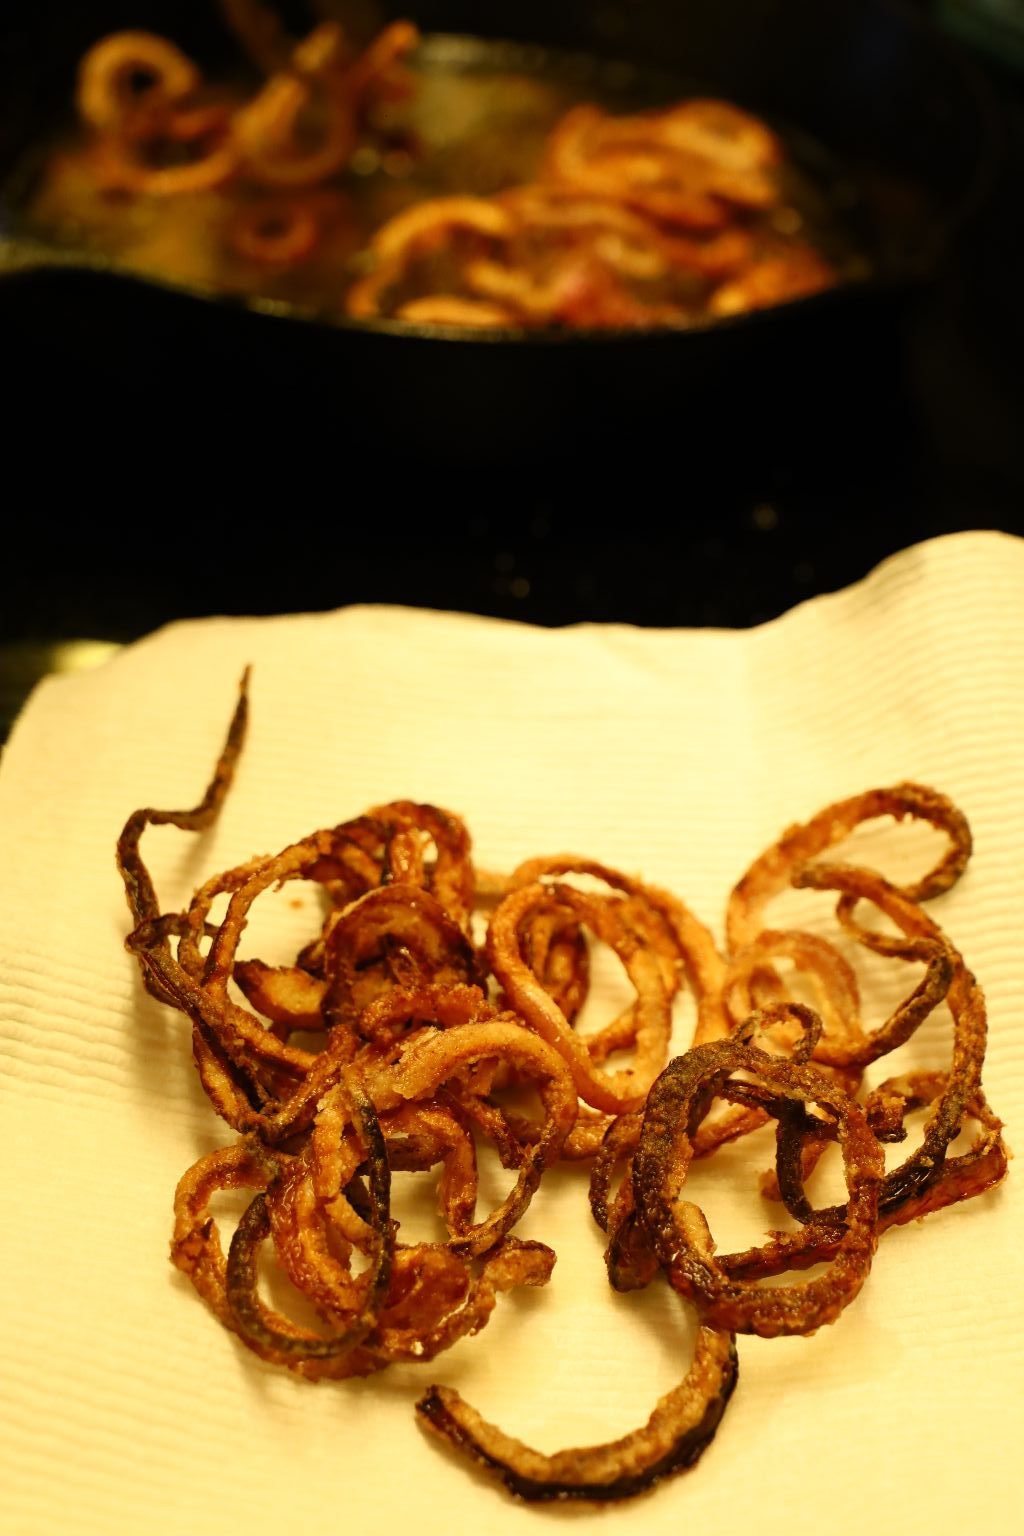
When the oil is at temperature, add your onions. When they start to brown, turn them using some tongs or a spatula. When fully cooked, place them on paper towel to collect any excess grease.
———————————————————————————–
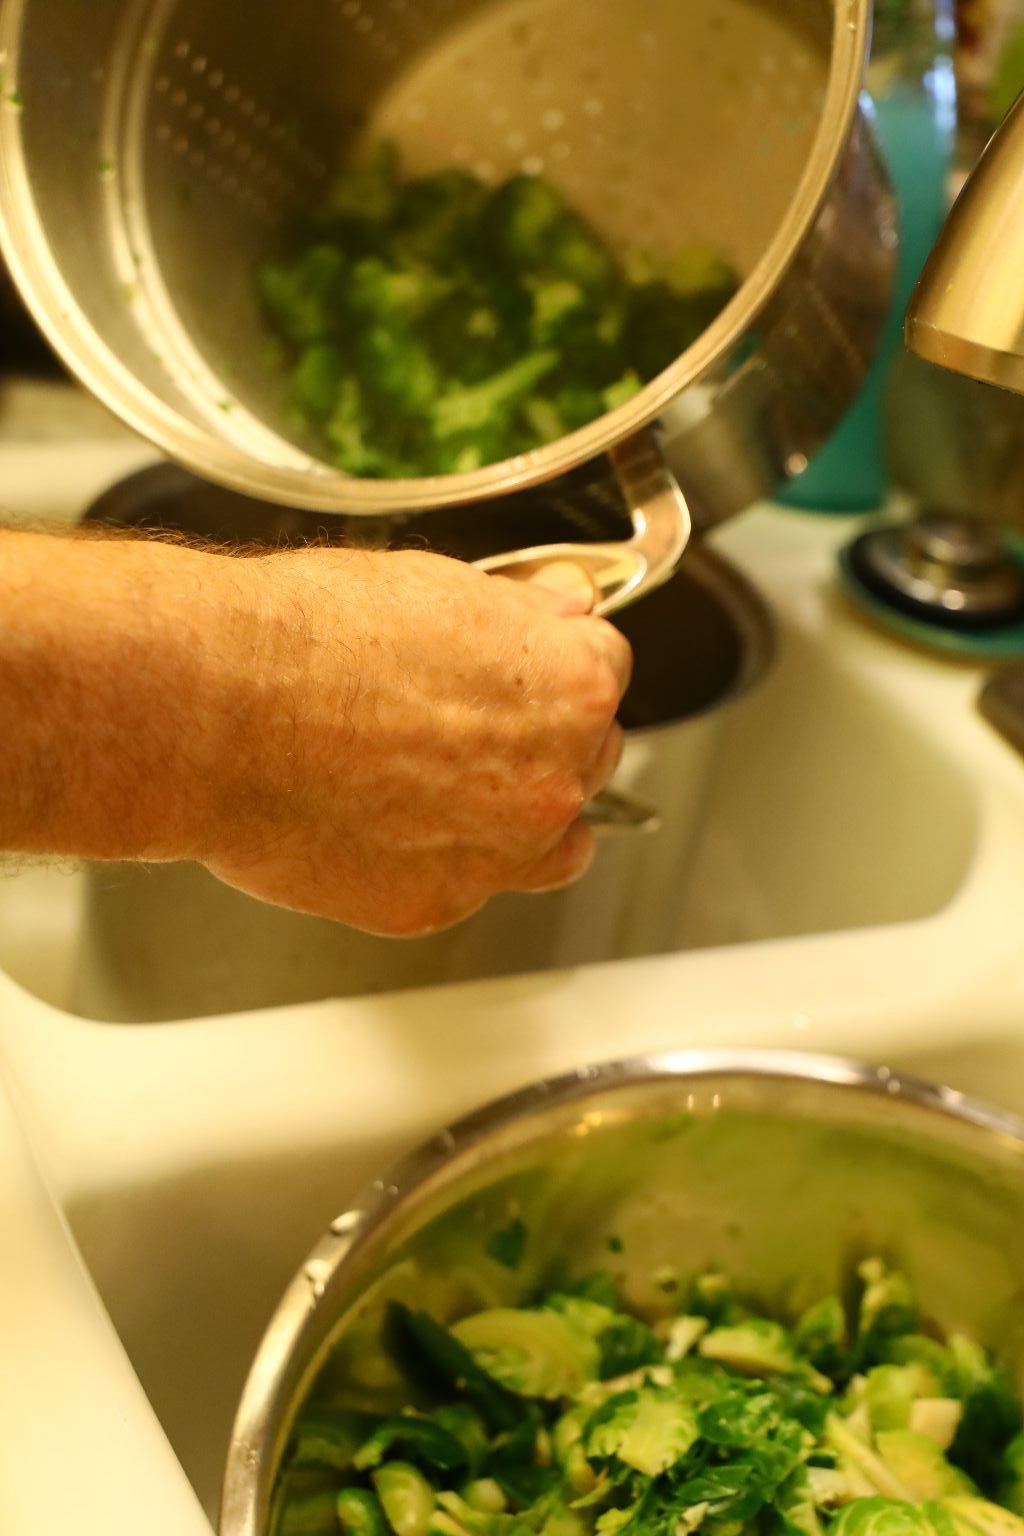
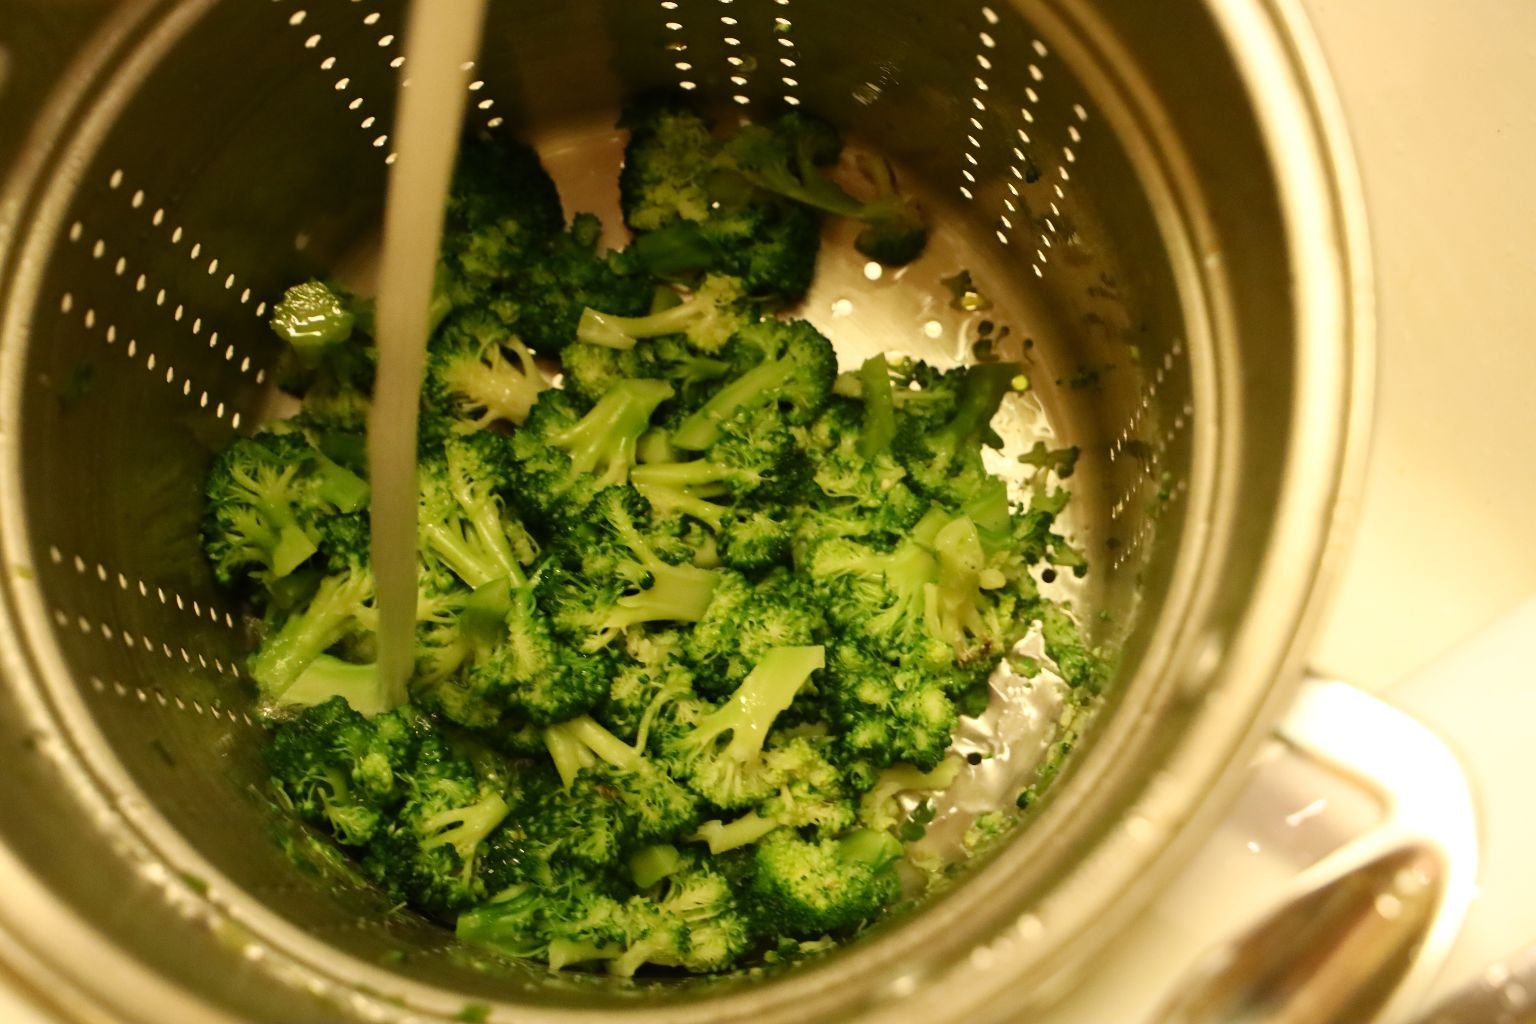
Remove the Broccoli from the boiling water when at temperature, and rinse with cold water to stop the cooking process keeping them bright green.
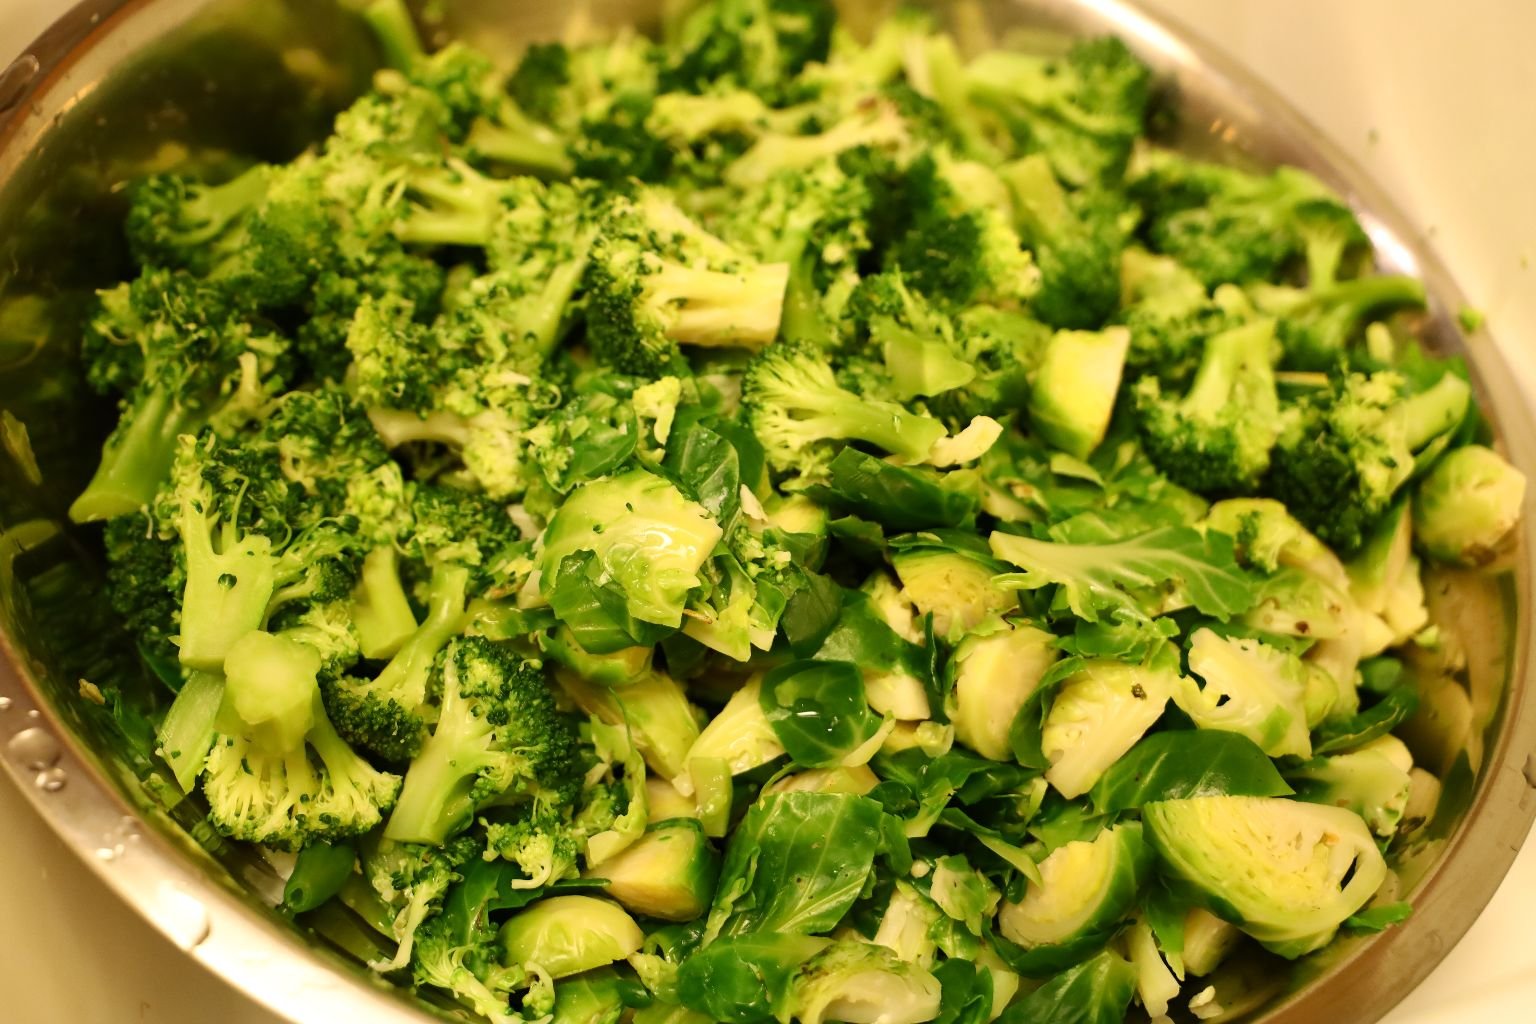
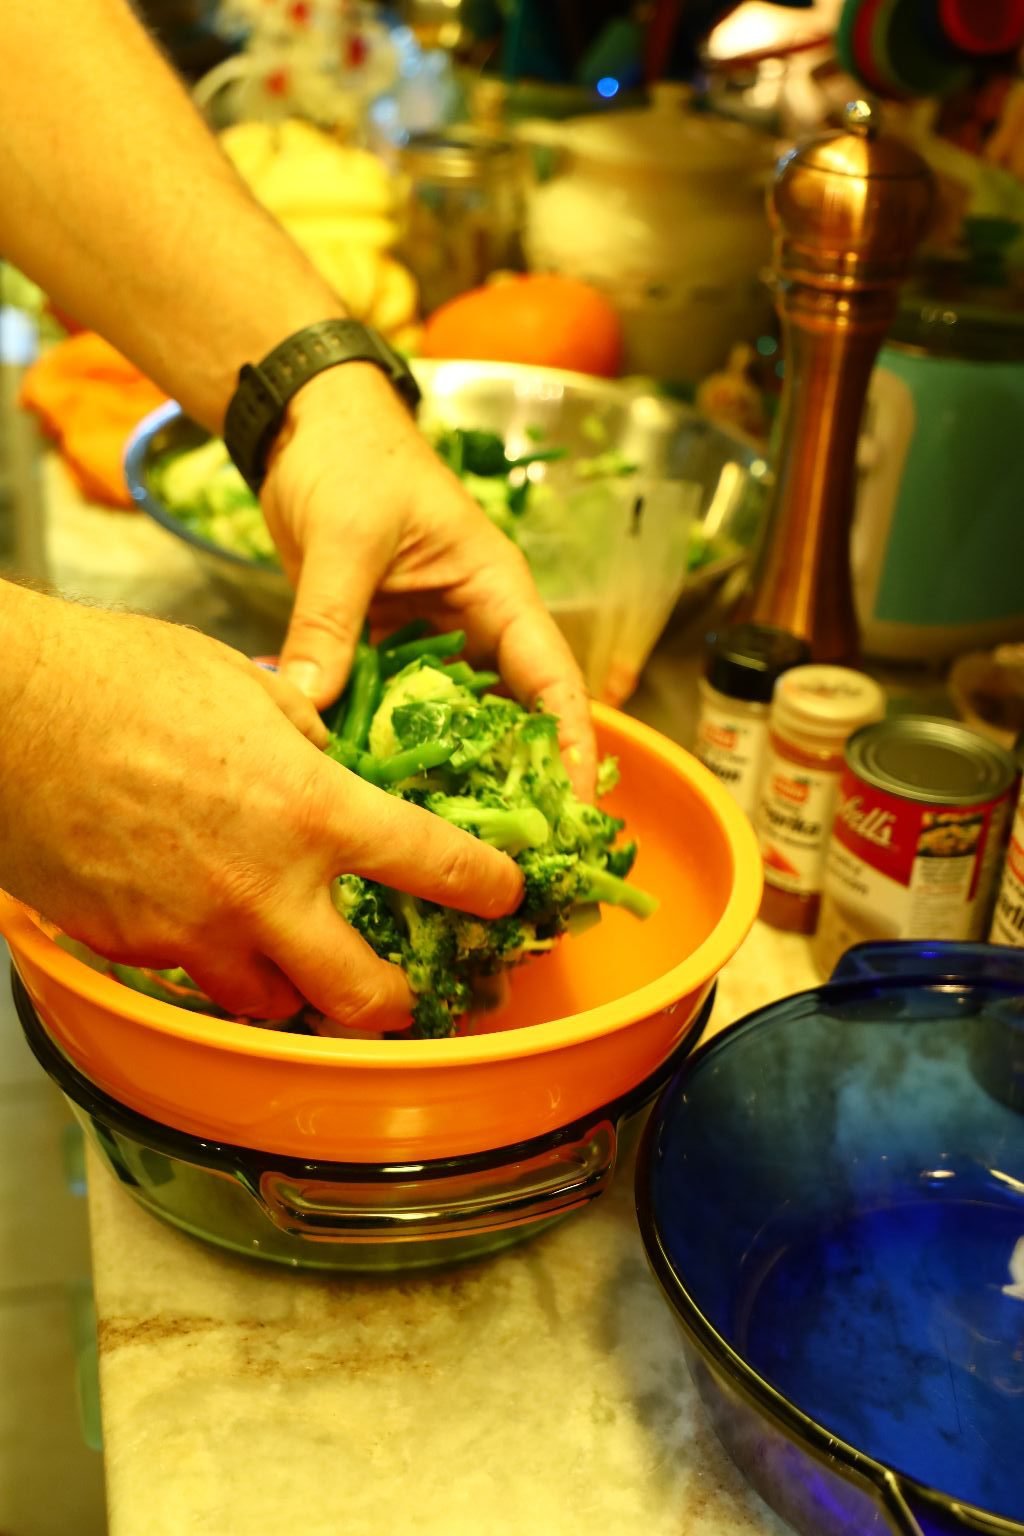
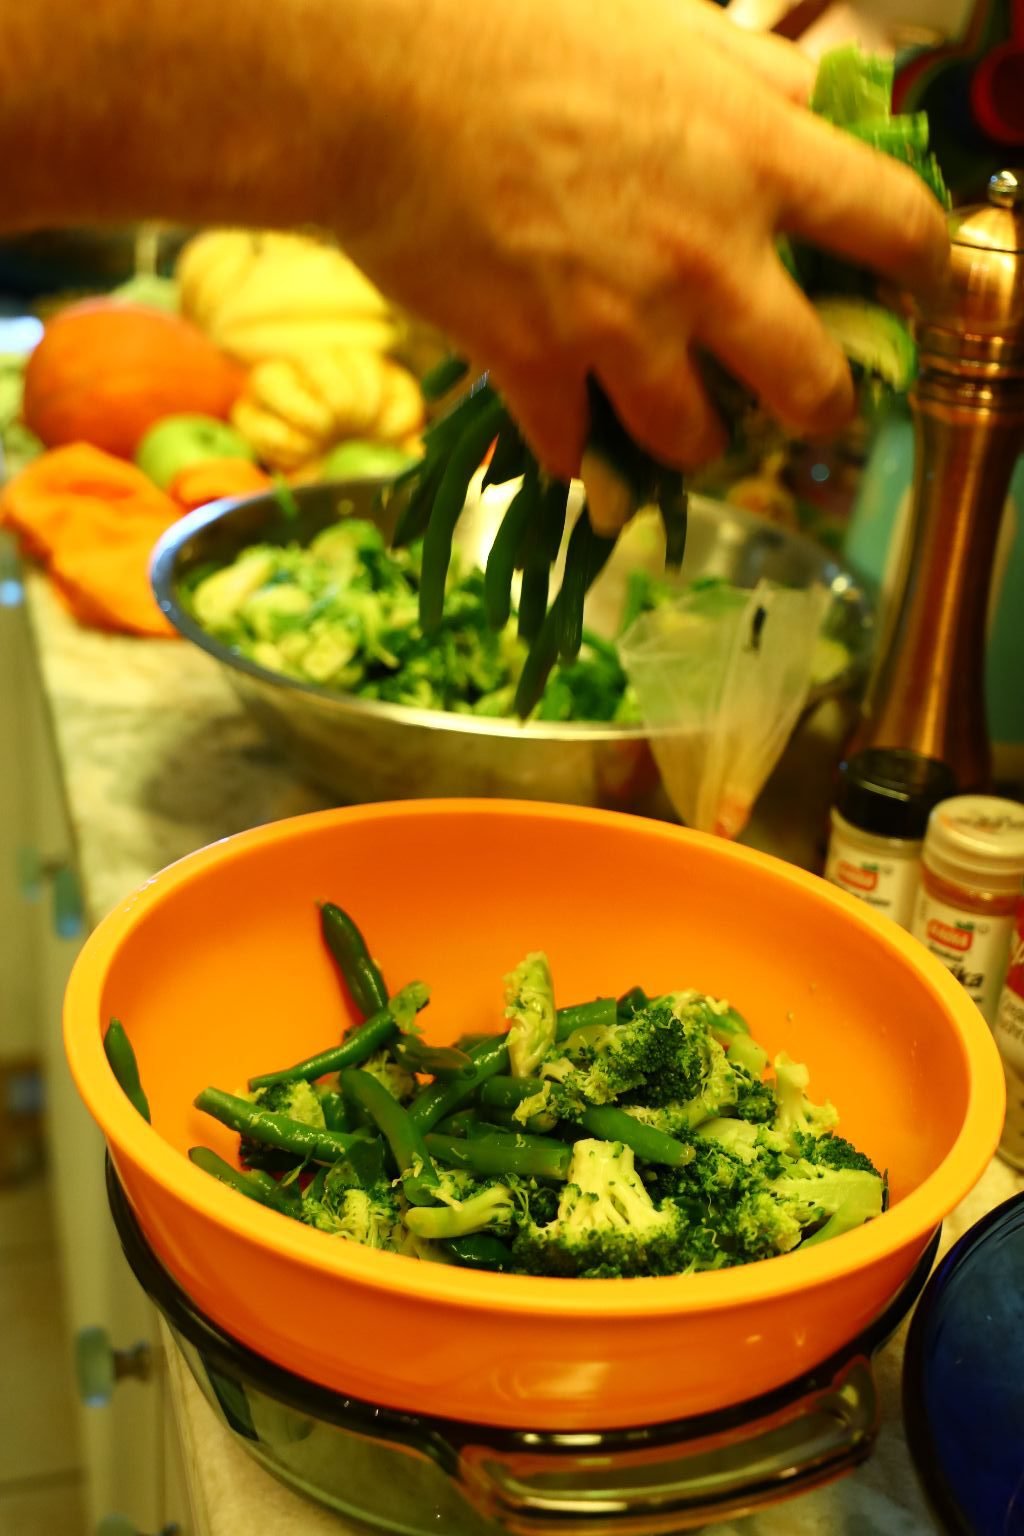
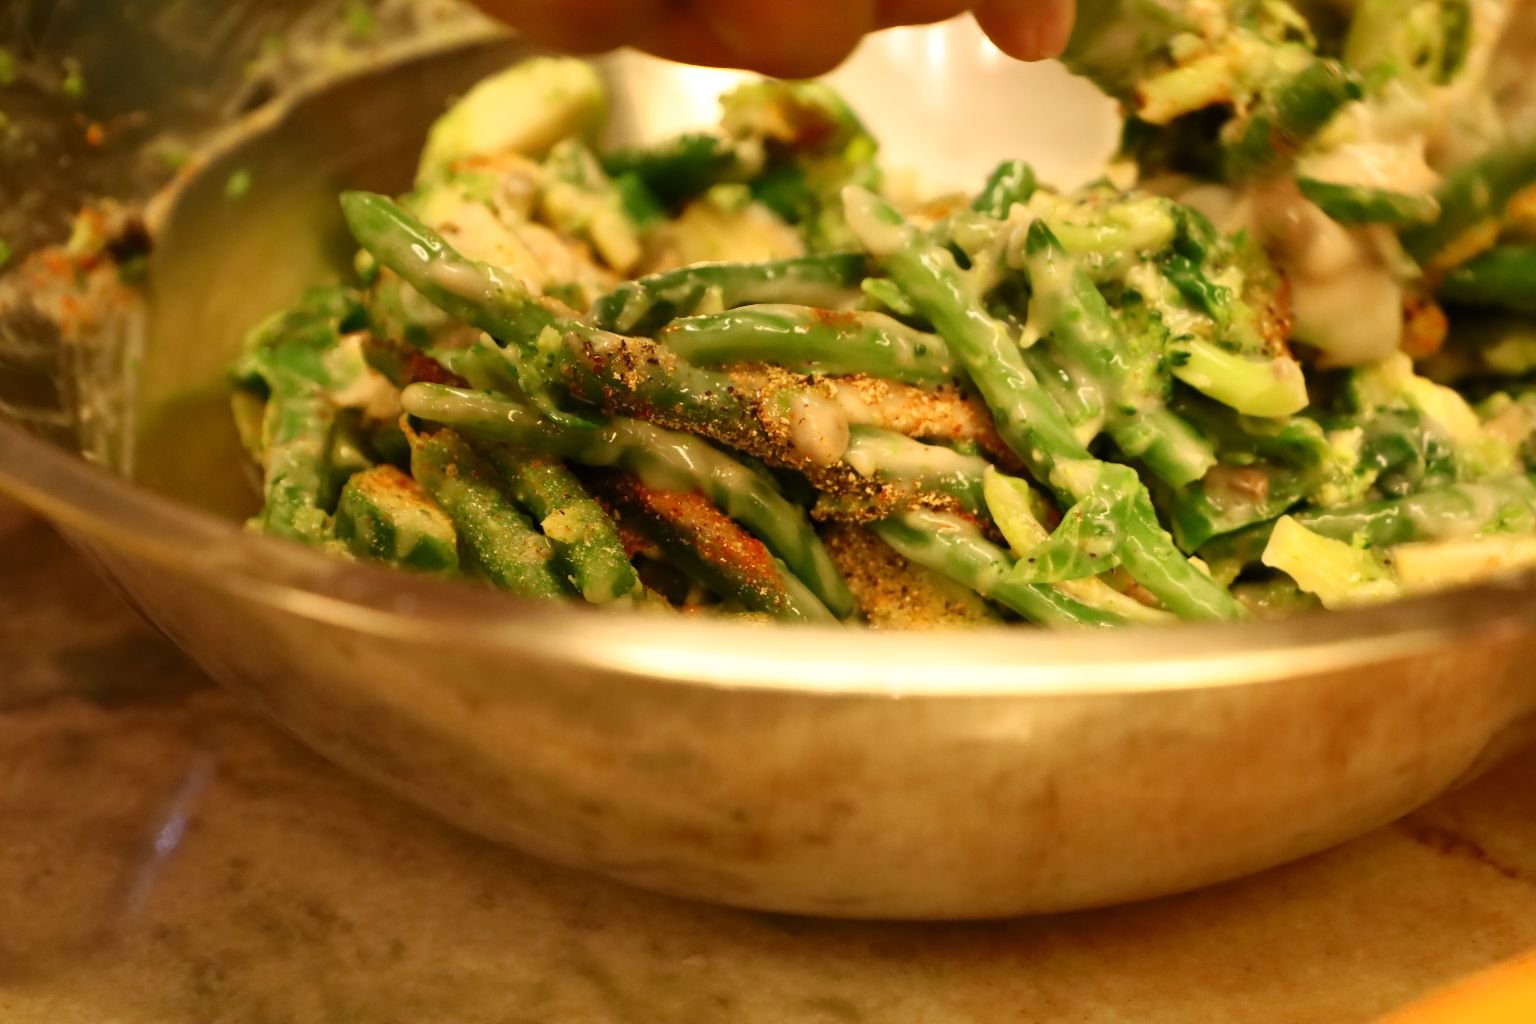
Add your tender vegetables to a bowl.
—————————————————————————–
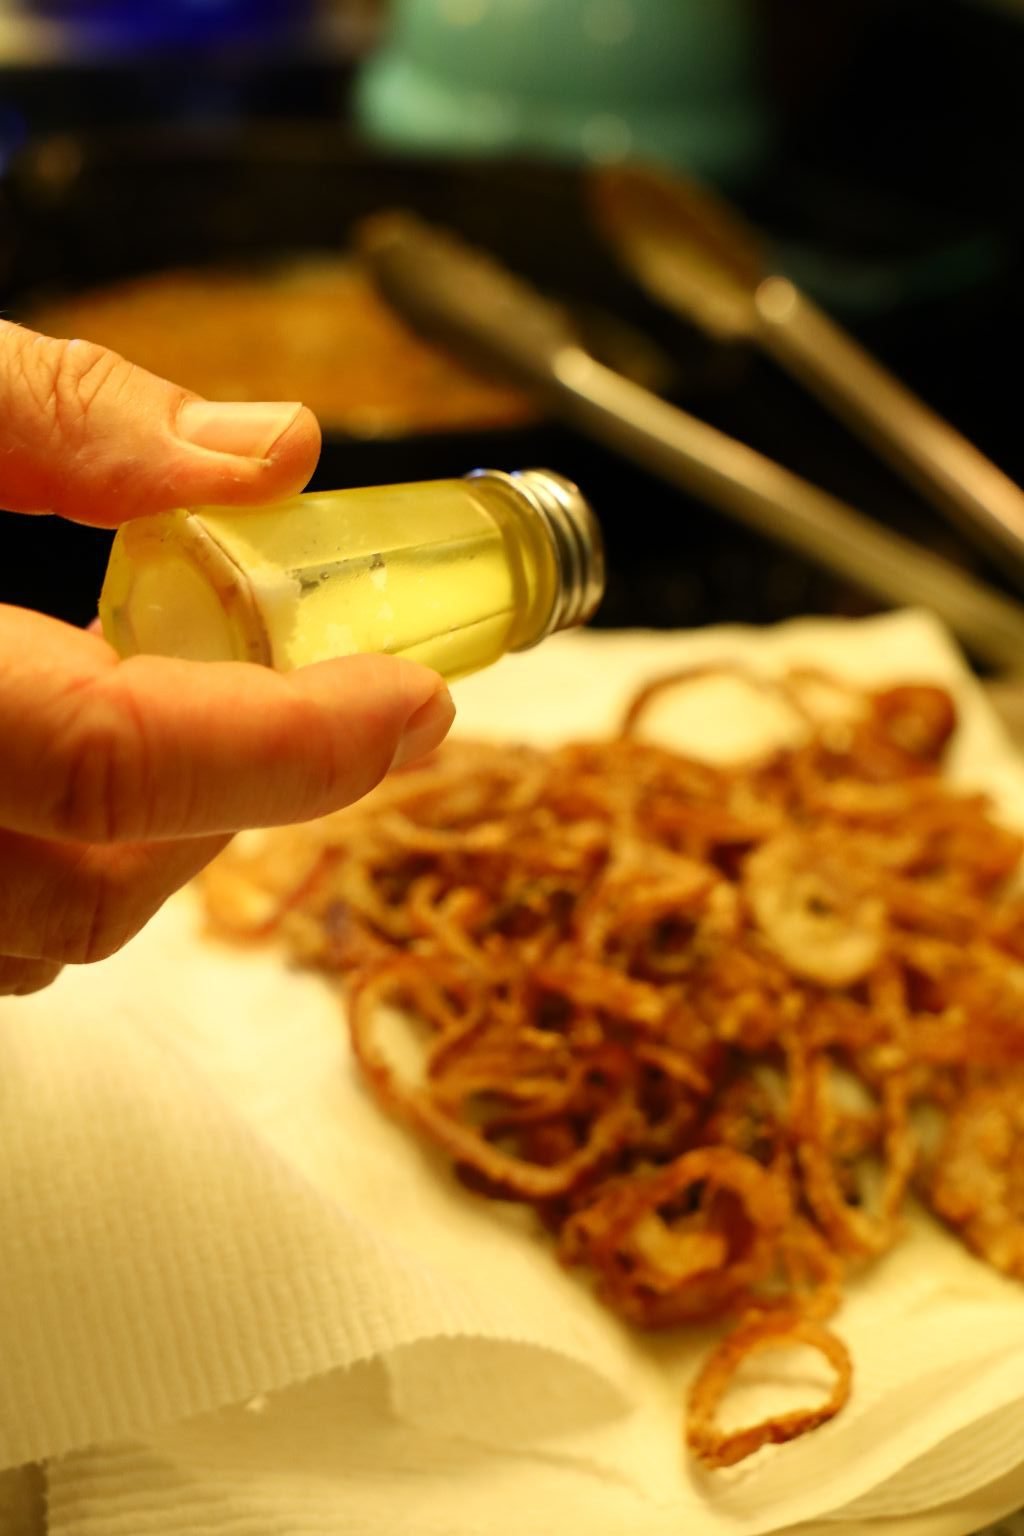
Continue to cook the rest of the onions until browned as shown.
Add a touch of salt to the cooked onions.
———————————————————————————-
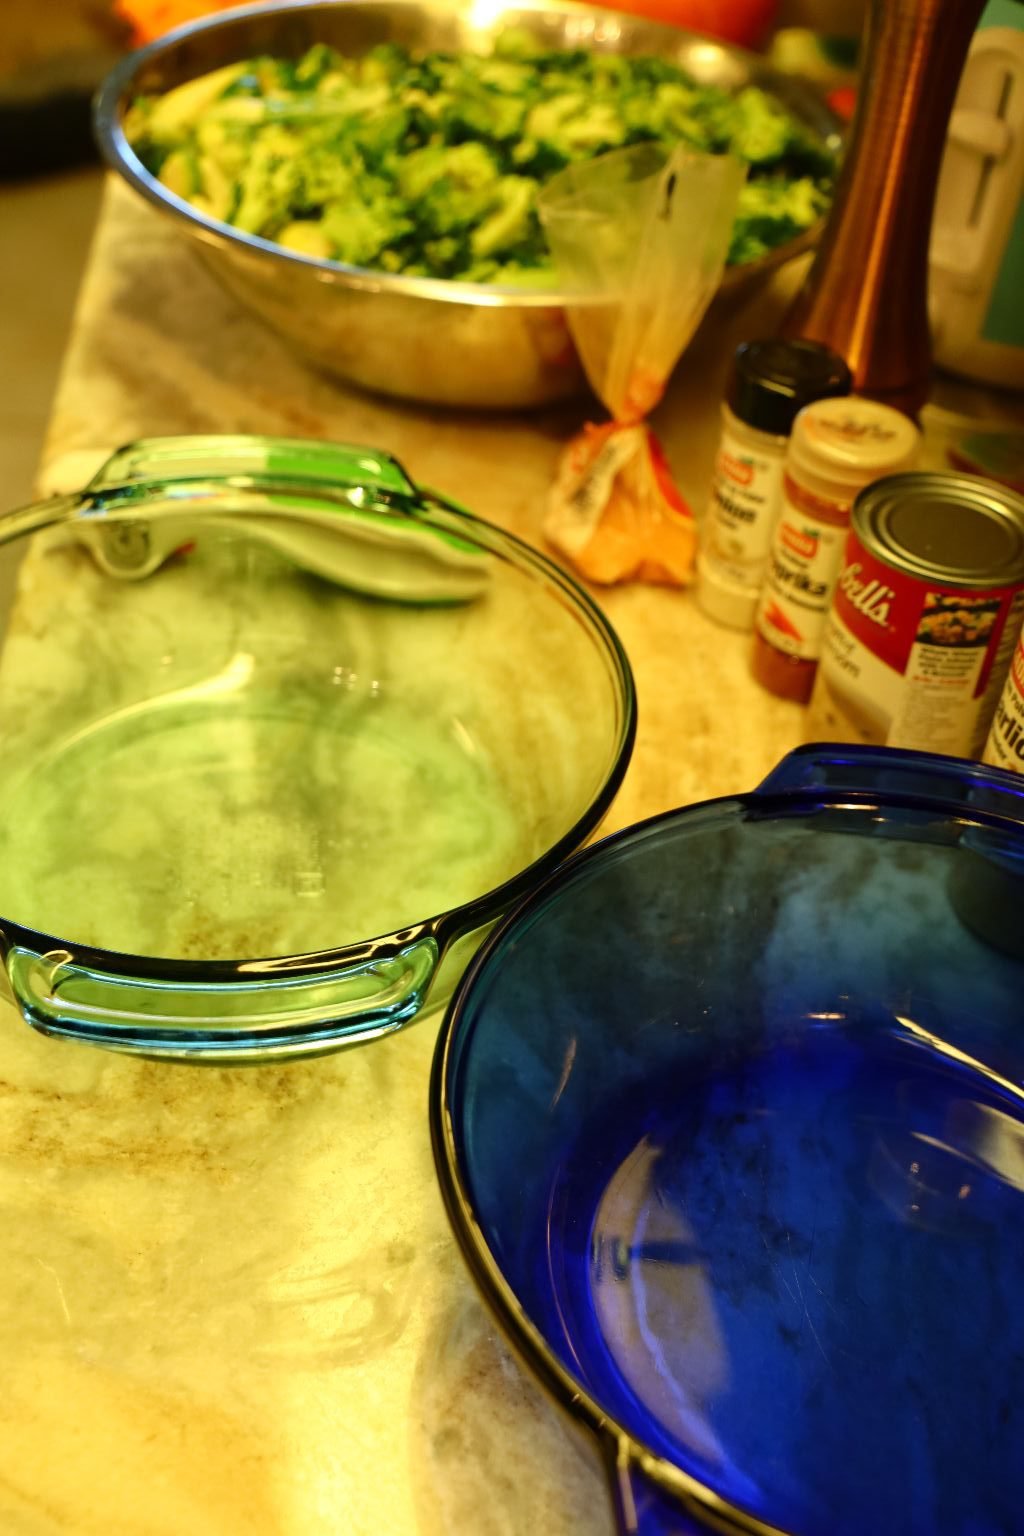
Here we are using two large oven safe glass bowls to finish cooking this recipe.
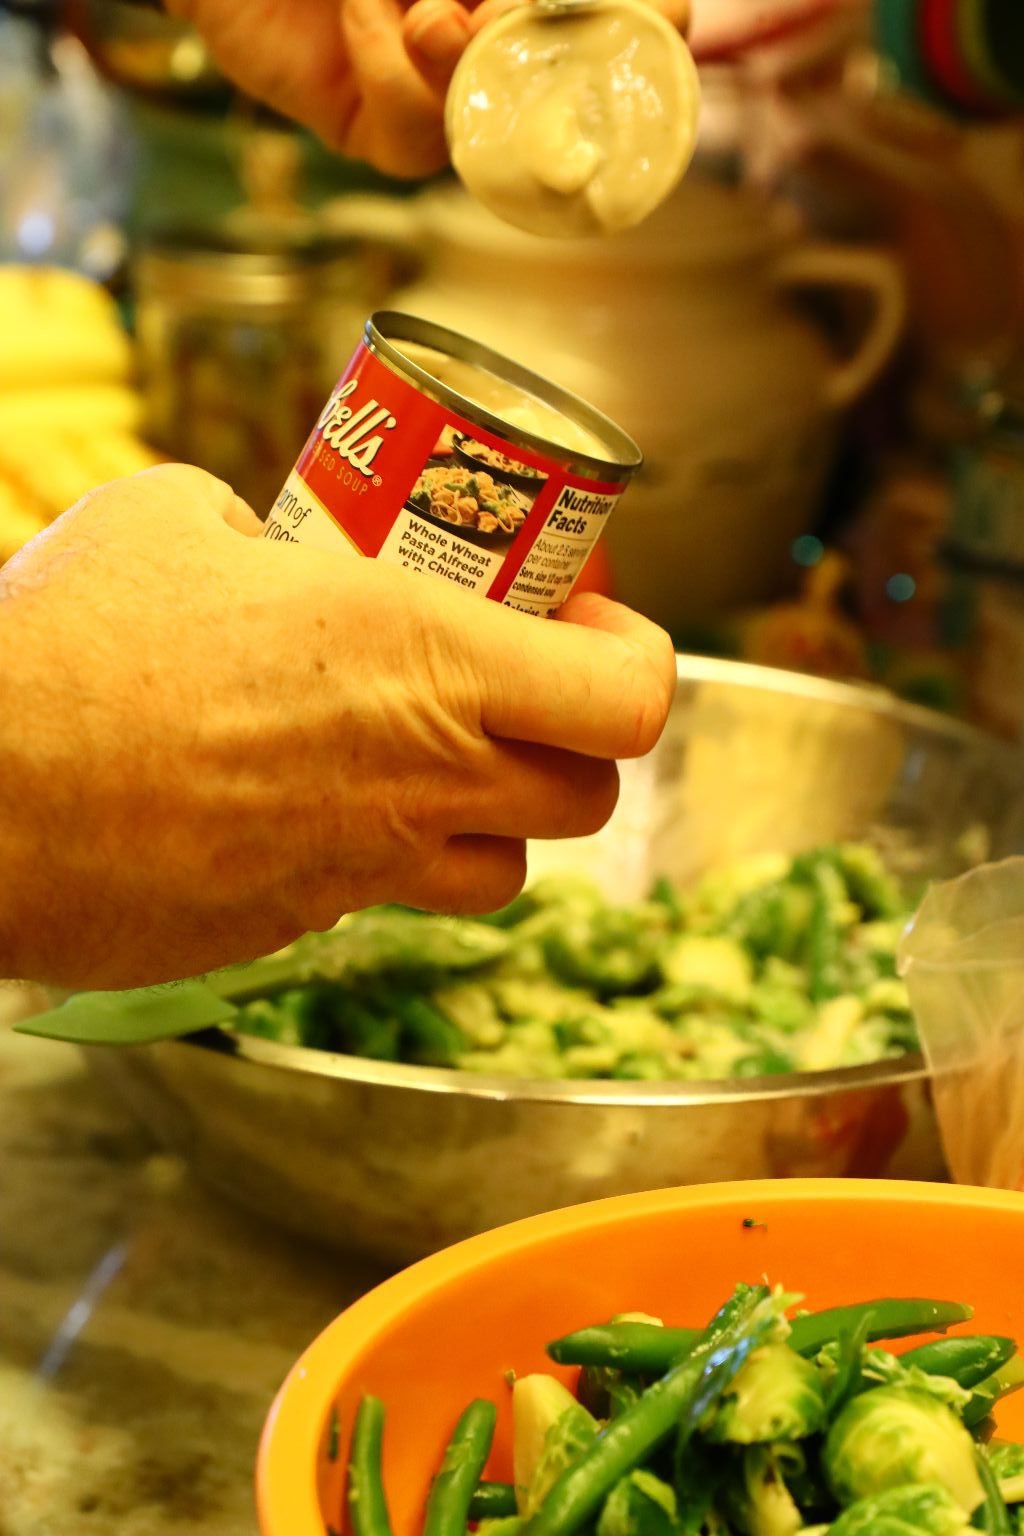
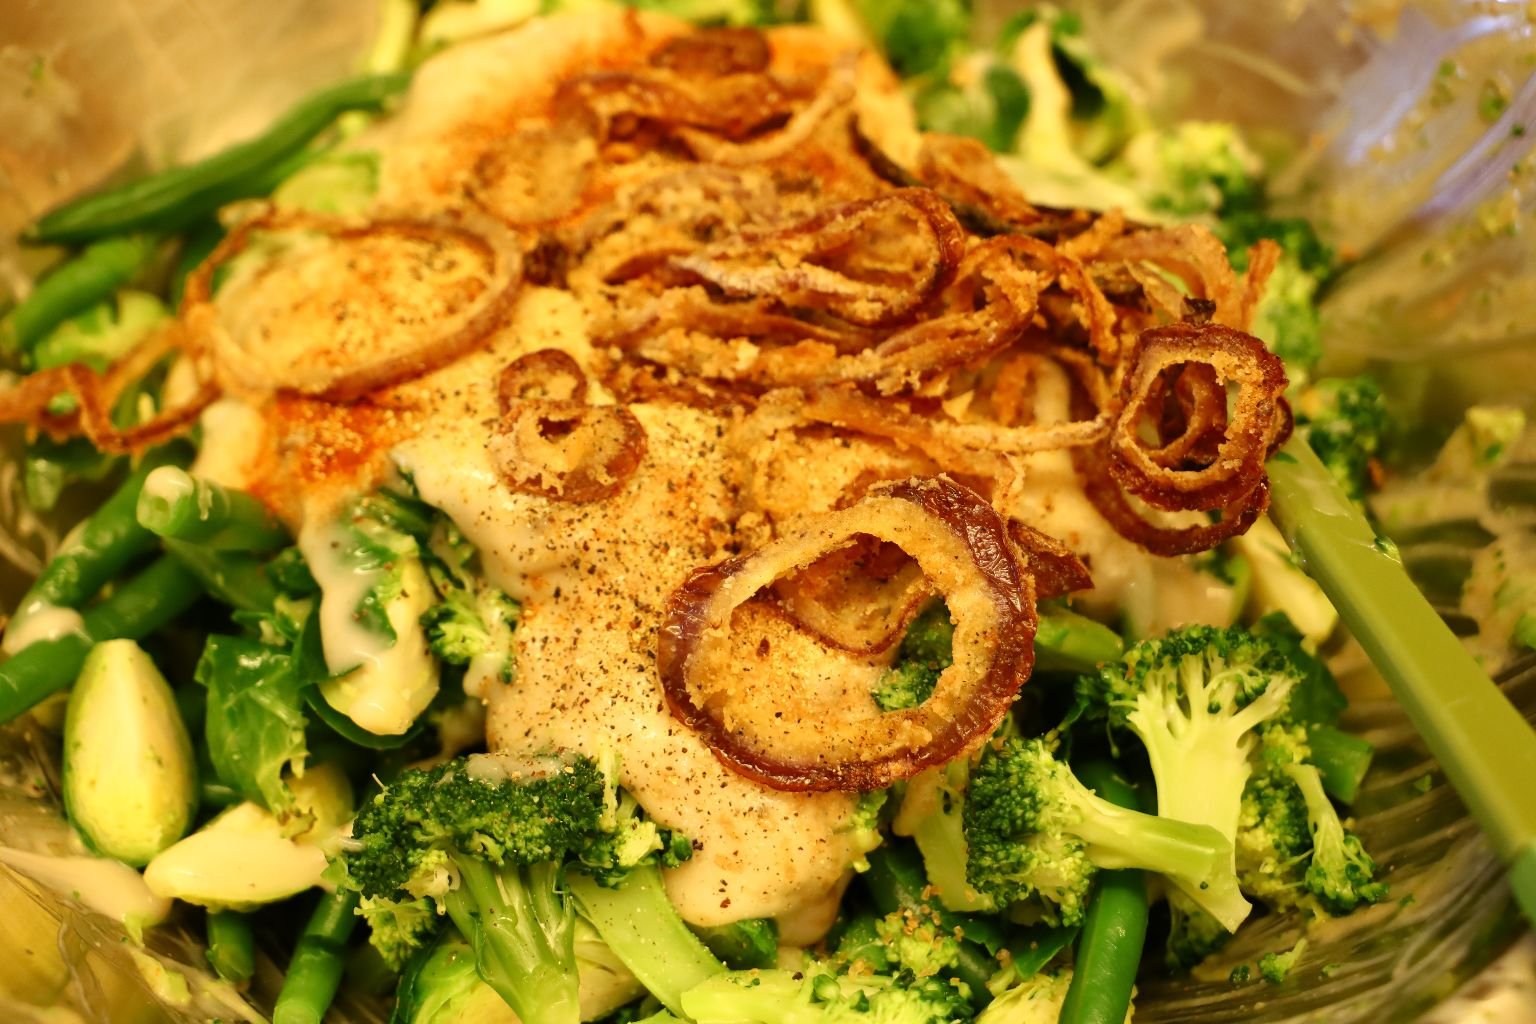
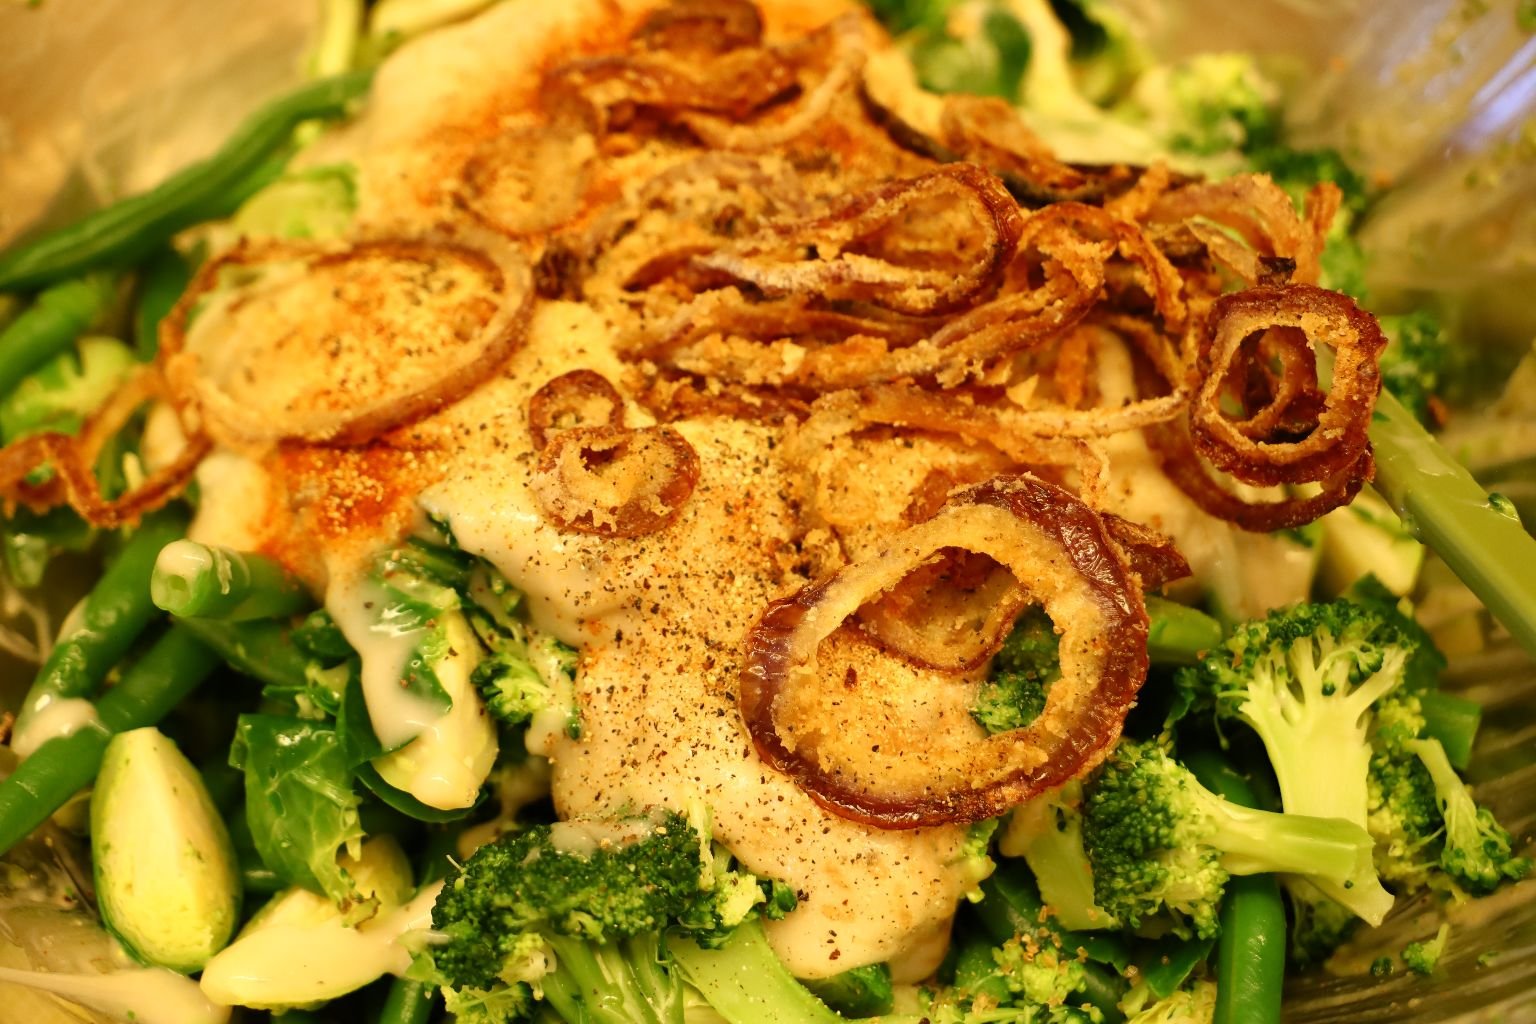
Place the vegetables evenly into two large bowls. Add 1 can of Cream of Mushroom Soup to each bowl.
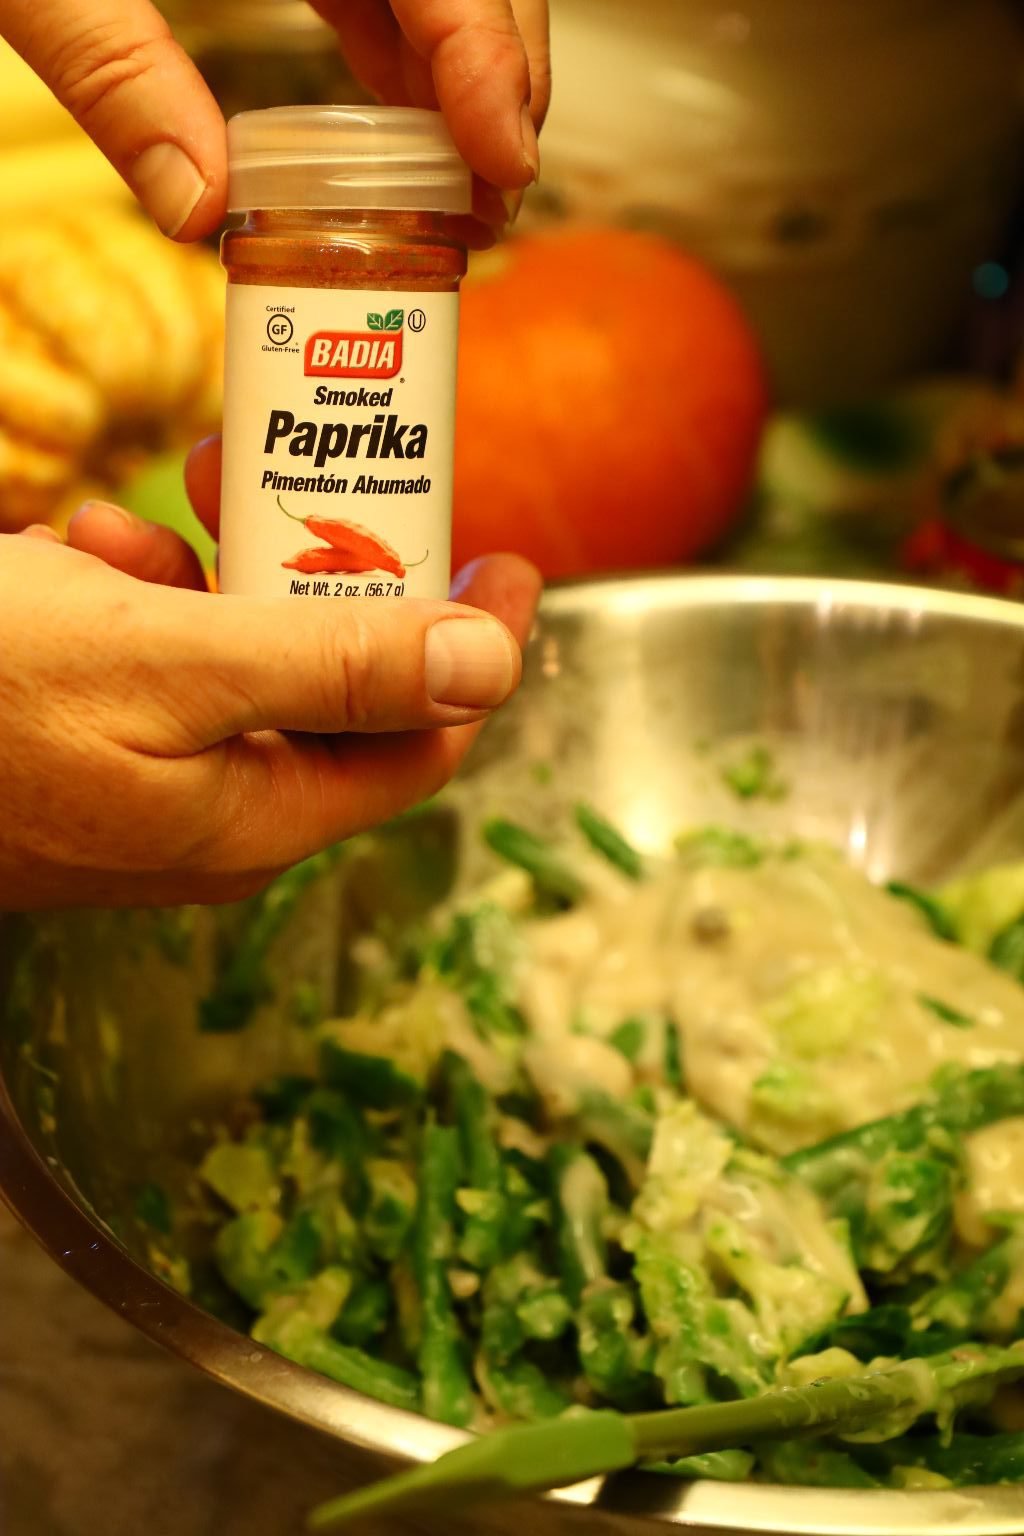

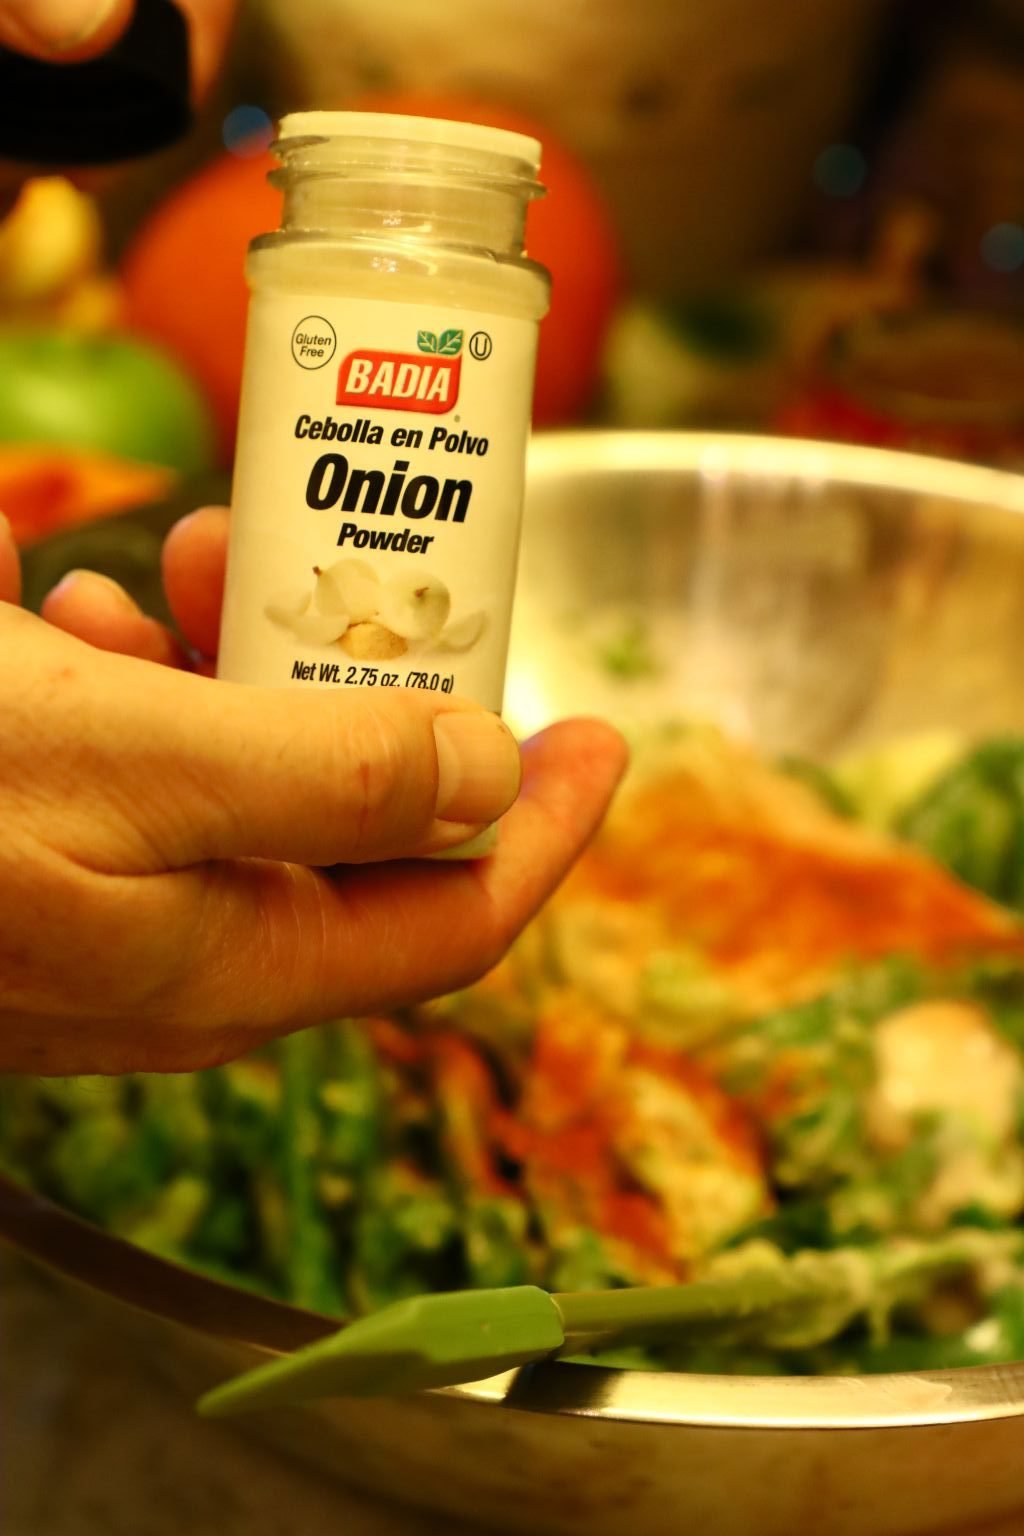
Then add your seasonings to each bowl.
—————————————————————————-
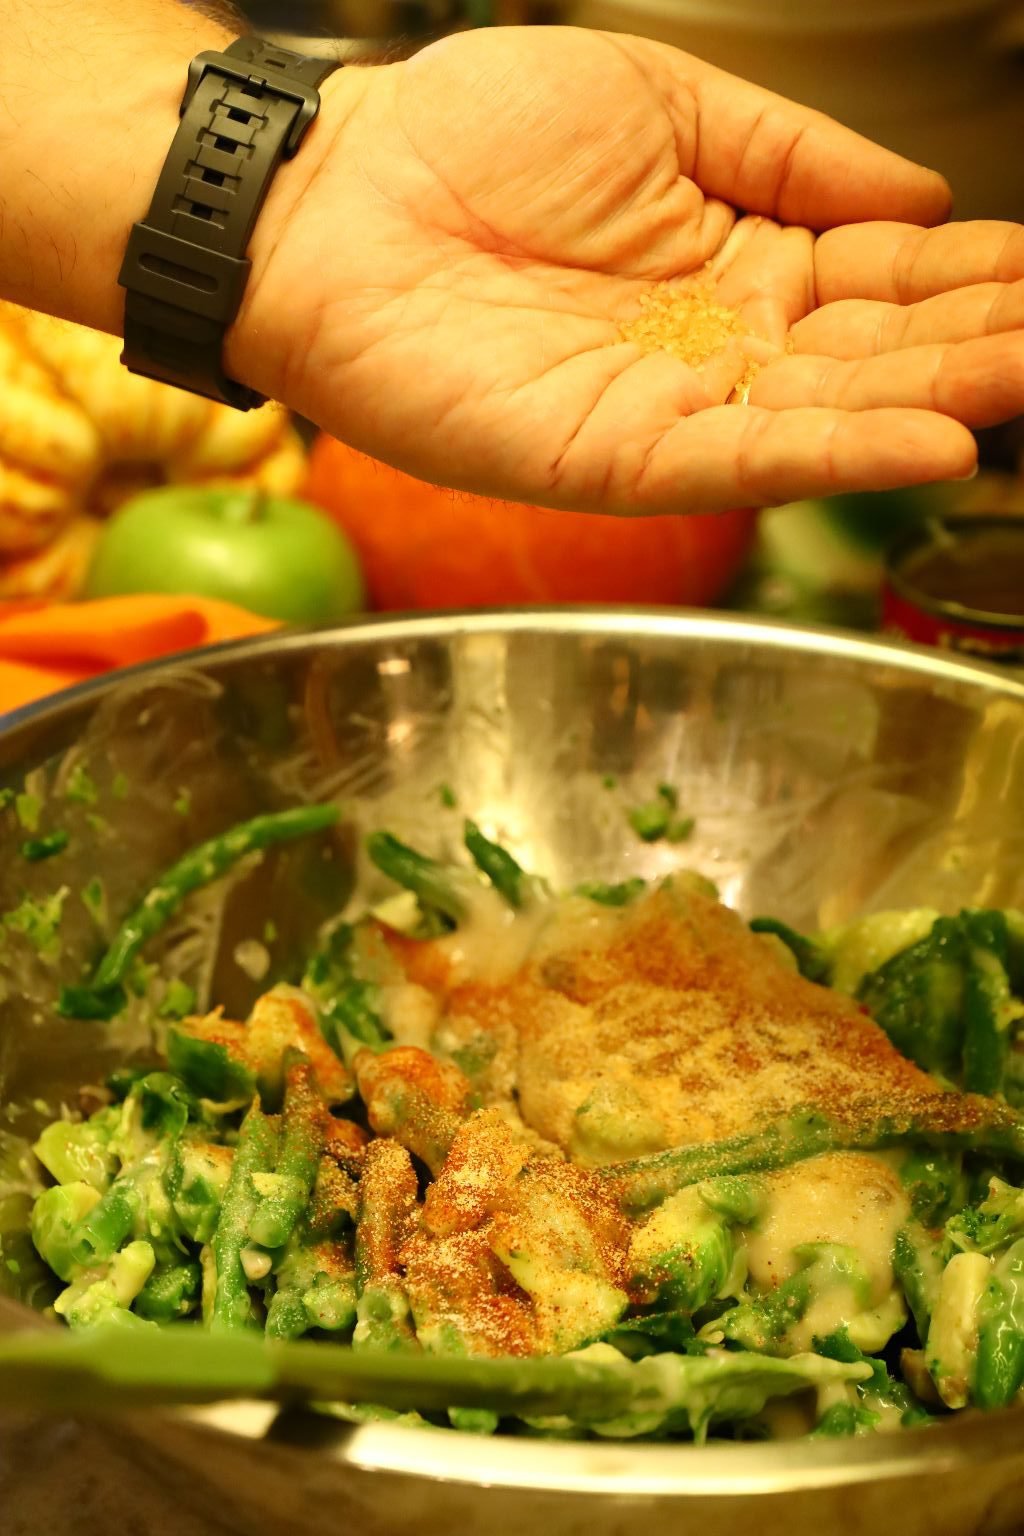
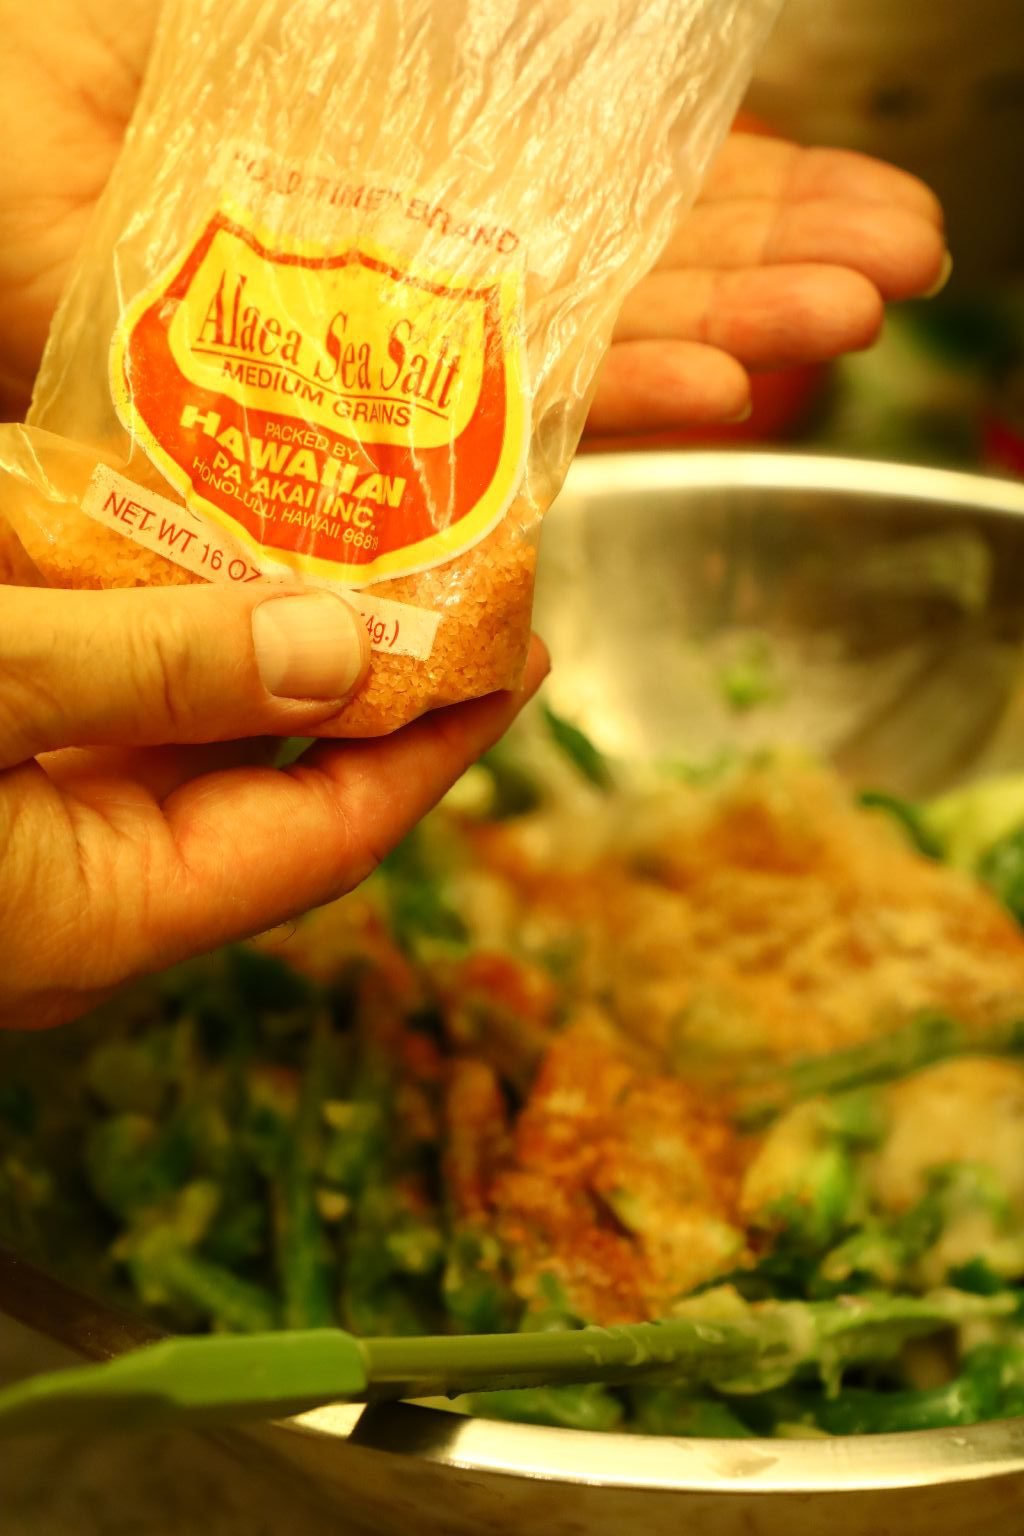
Lastly add your Himalayan Salt and freshly ground Black Pepper to each bowl.

——————————————————————————
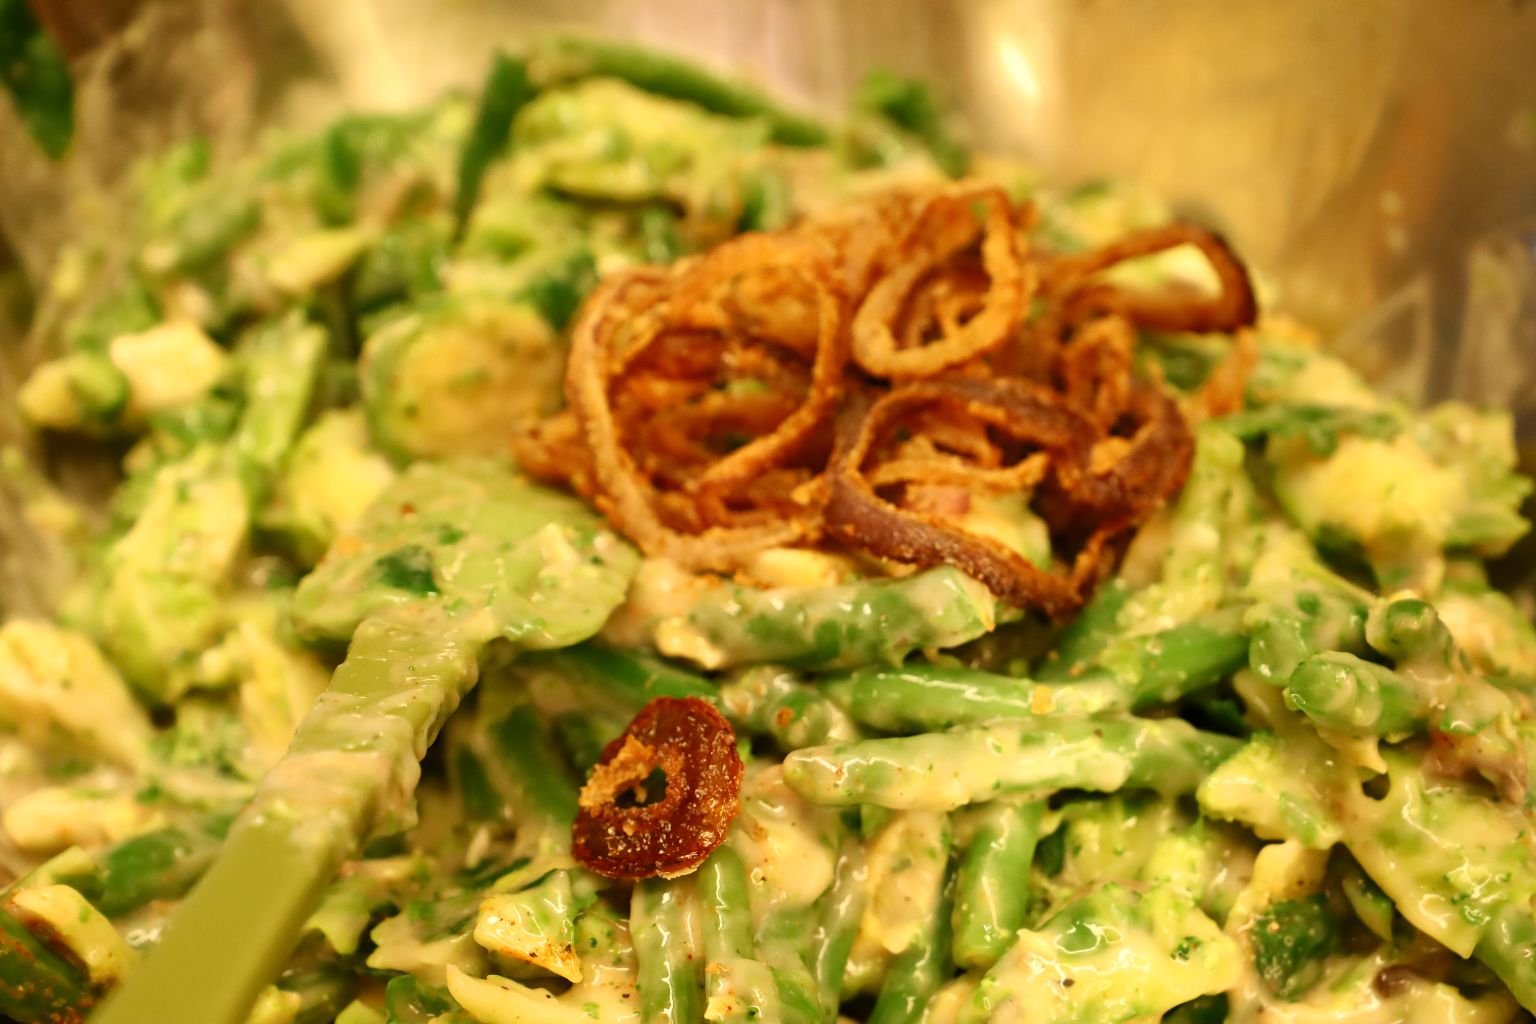
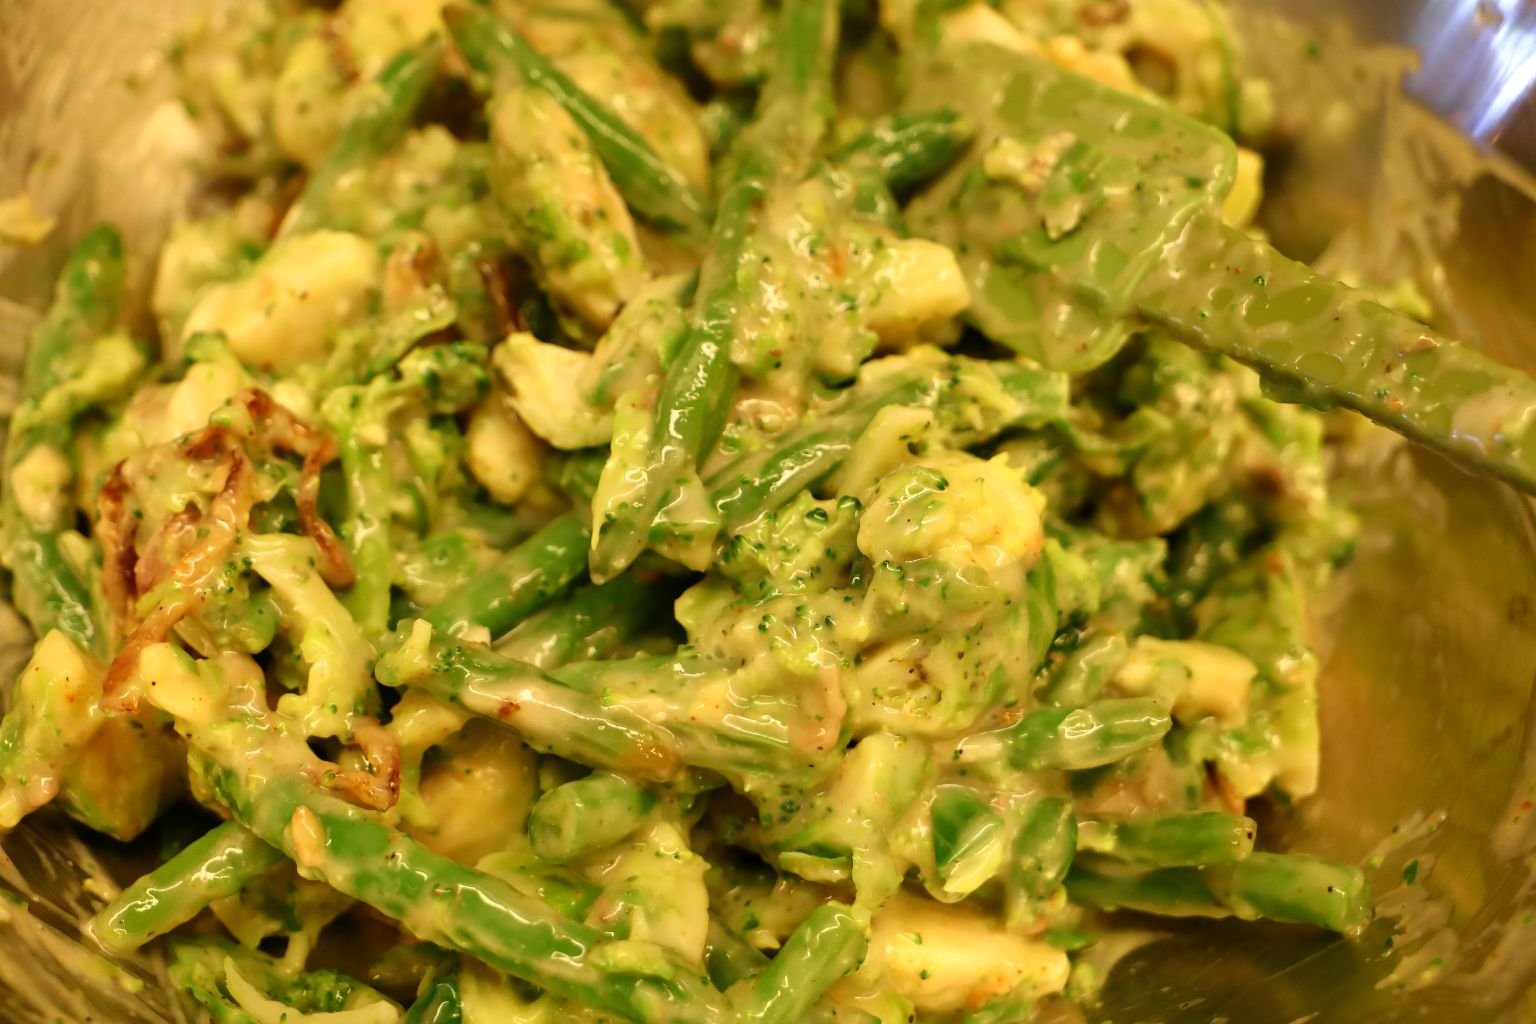
Add some of your Fried Onions to each bowl and mix all the ingredients well.
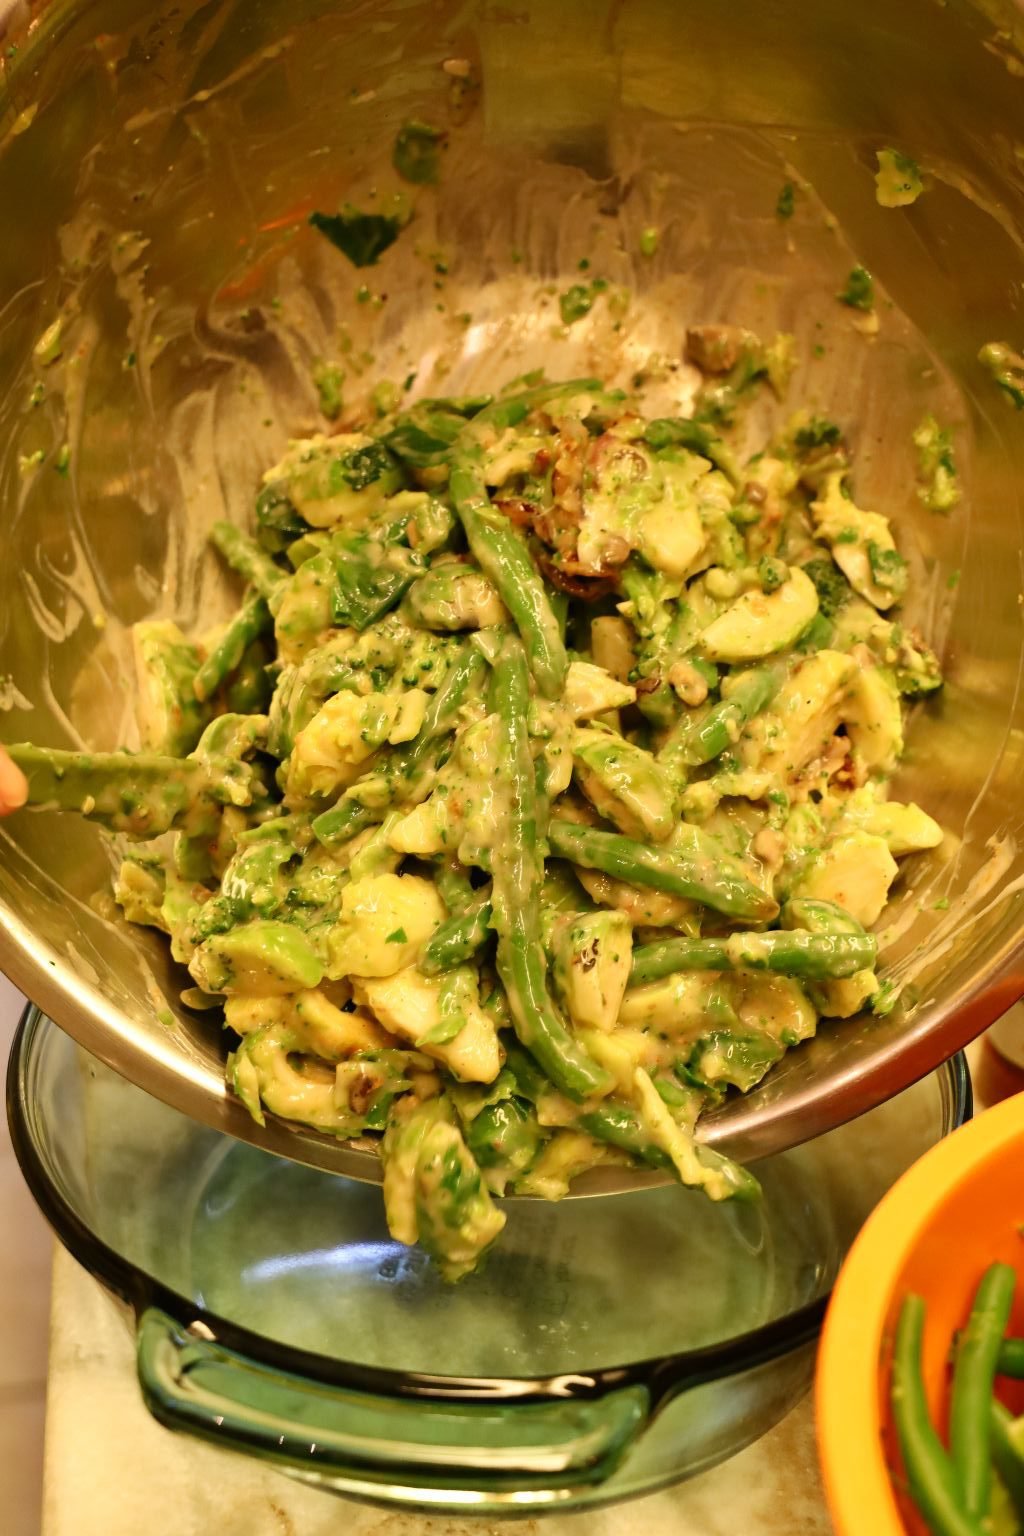
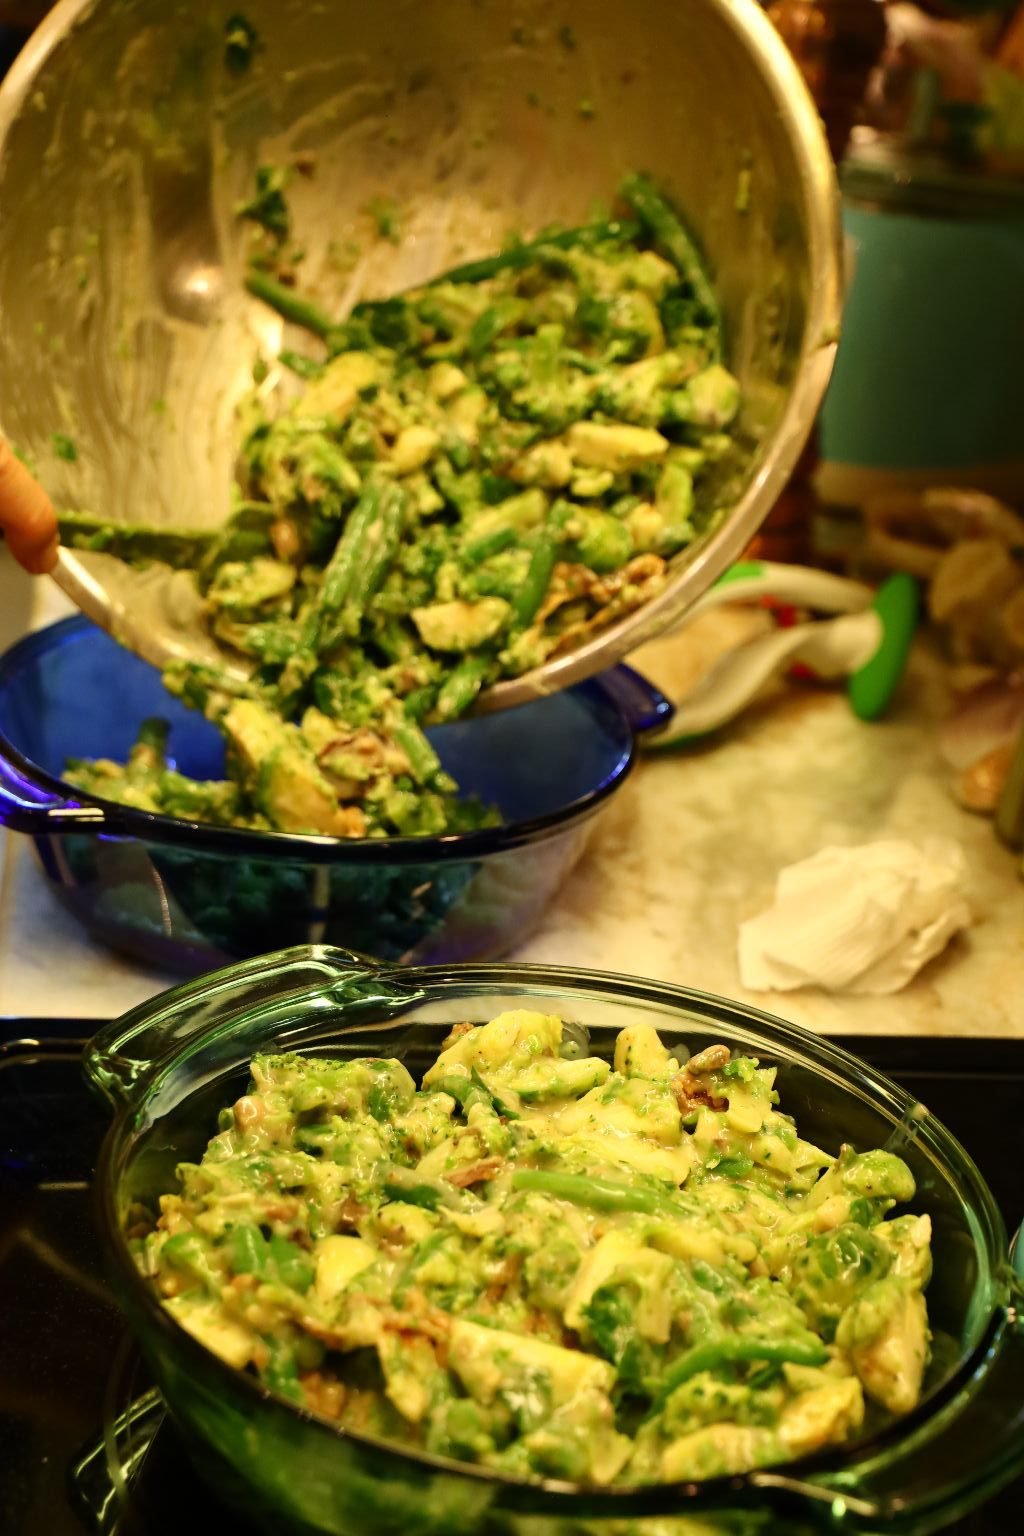
Add your vegetables to the bowls as shown. If you like, you can use a cooking oil spray in the bowls before you add the contents if you are worried about the food sticking to it. Just a light coating.
————————————————————————————-
Ready for the Oven, or the Freezer, or Both!
————————————————————————————
Bake your casserole in a 350’F oven for ~35 min. or until bubbling hot. Place your Fried Onions on top when done and serve! This recipe is sure to please. 🙂
—————————————————————-
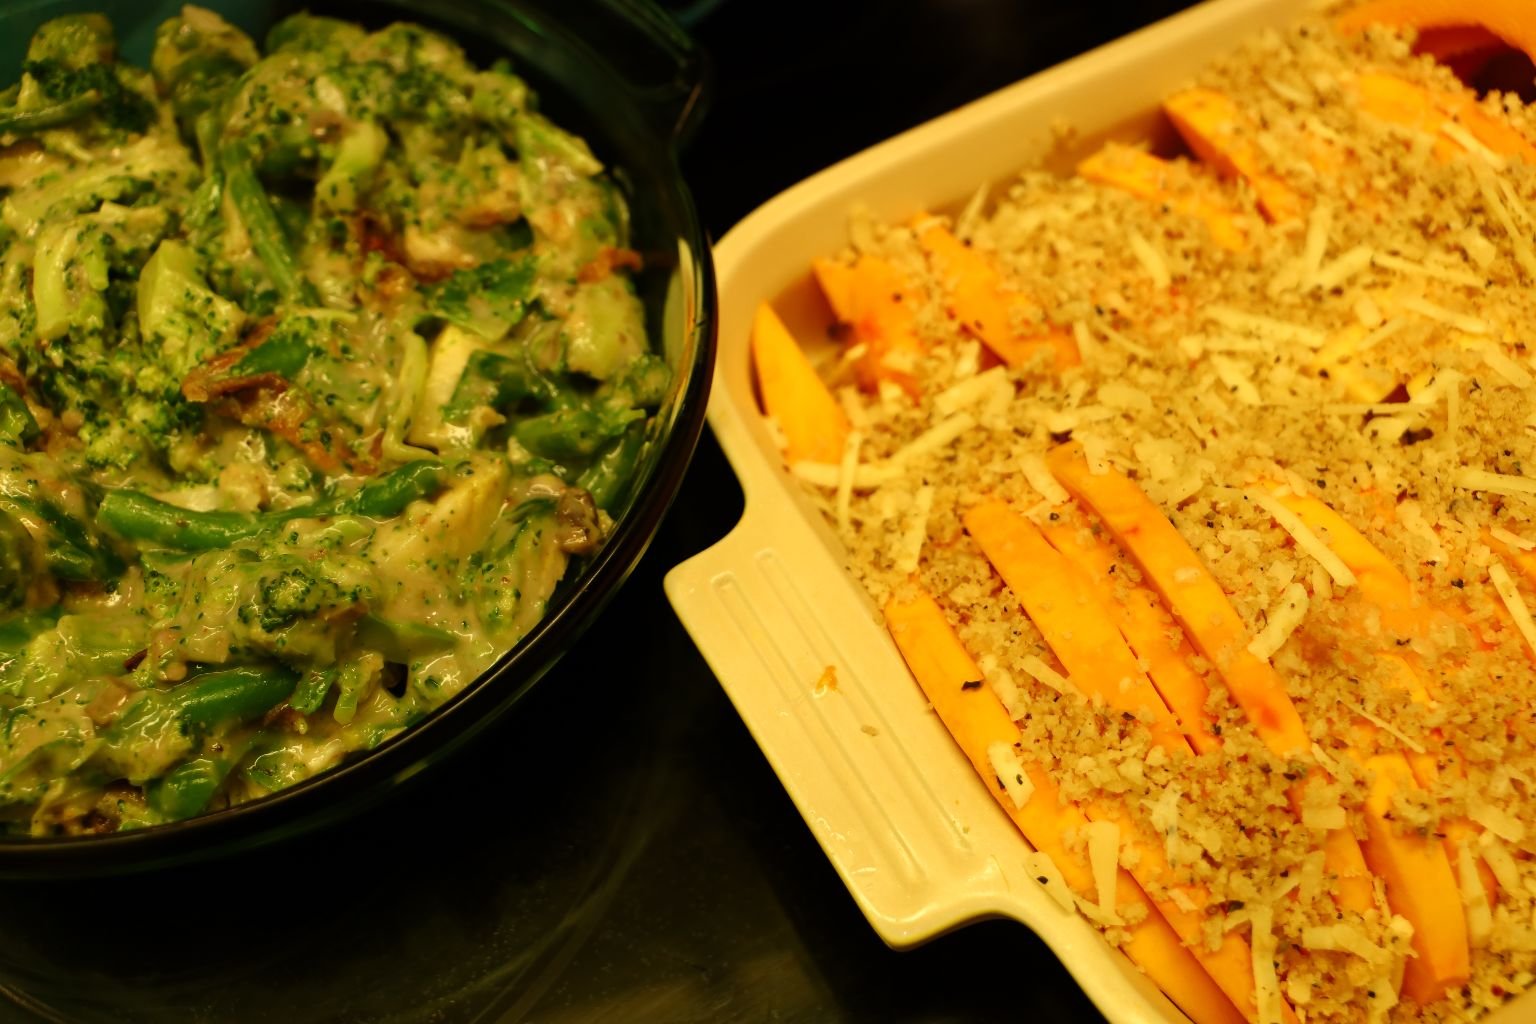
Our Italian Ornamental Squash Casserole
Photo Top Left: Right Out of the Oven
Photo Top Right: With the Crumbled Bacon
Photo Top: The Finished Casserole Topped With Flat Leaf Parsley
——————————————————————————
NOTE: The ingredients below are enough to make about 3 casseroles. We like to make extra to either freeze or give away to our kids.
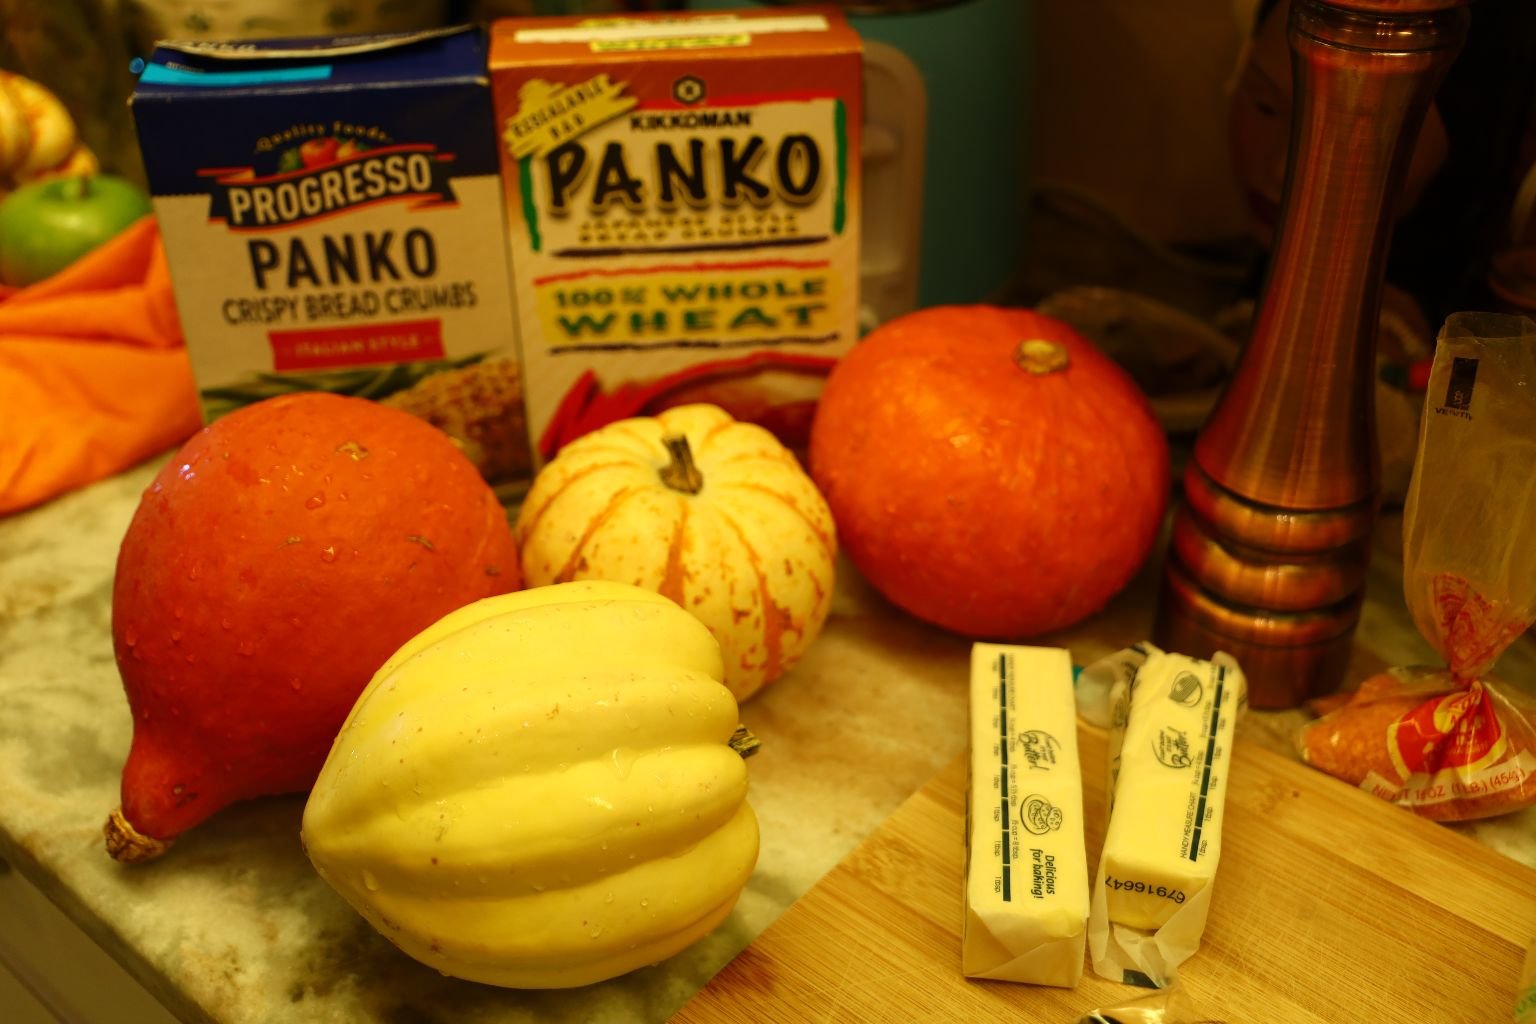
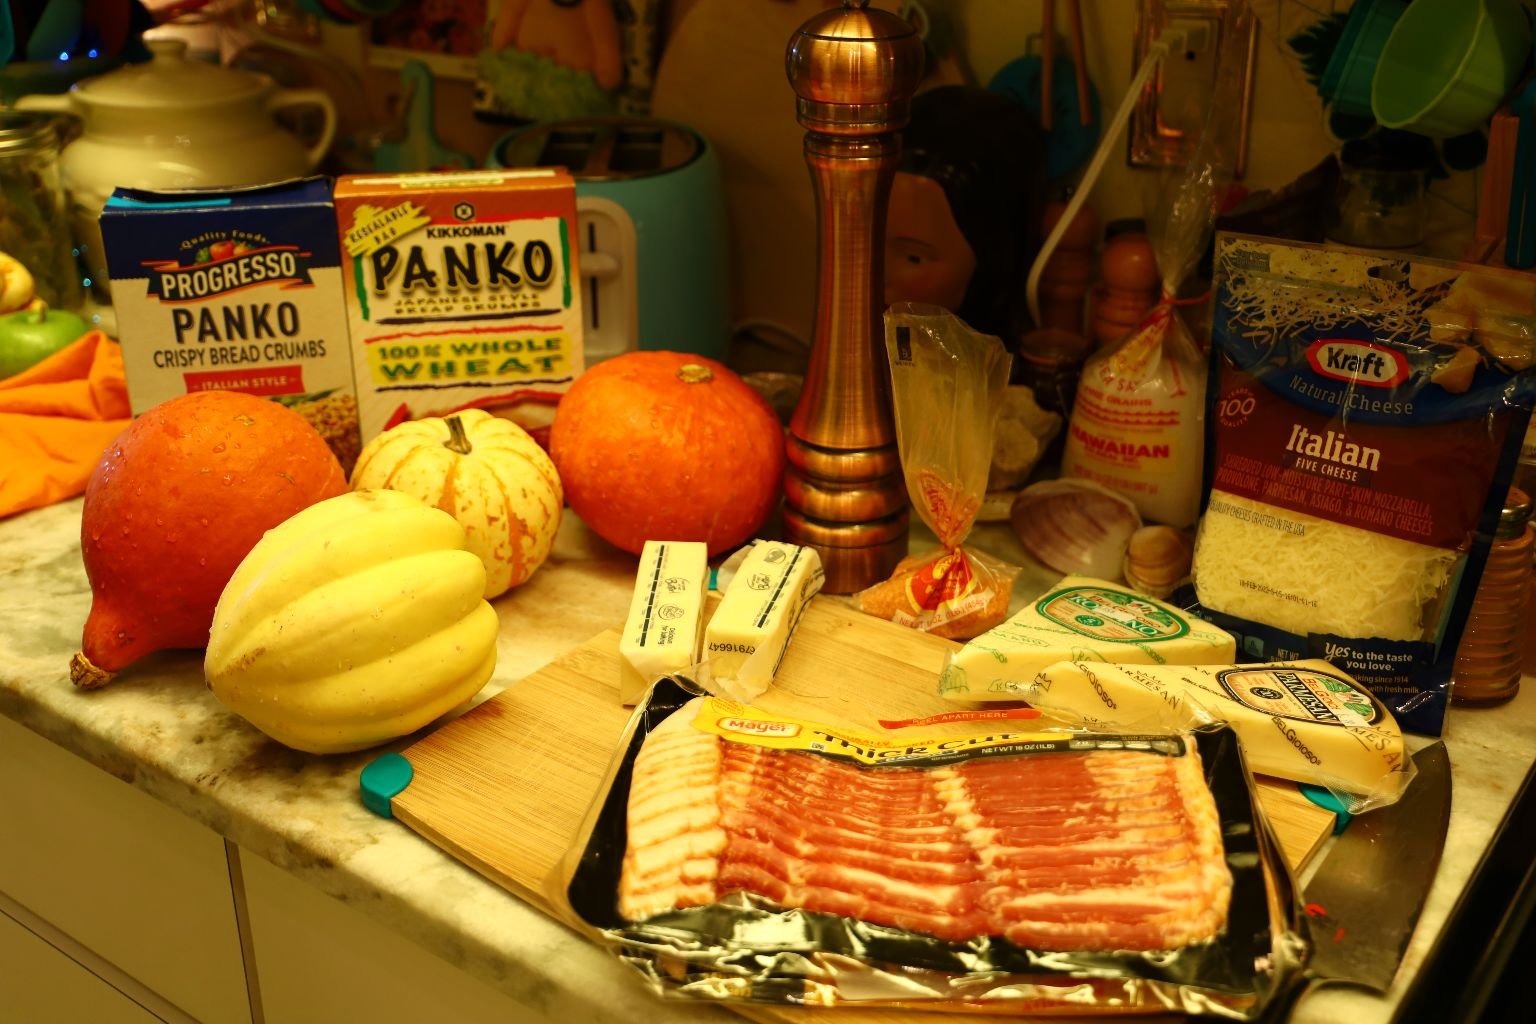
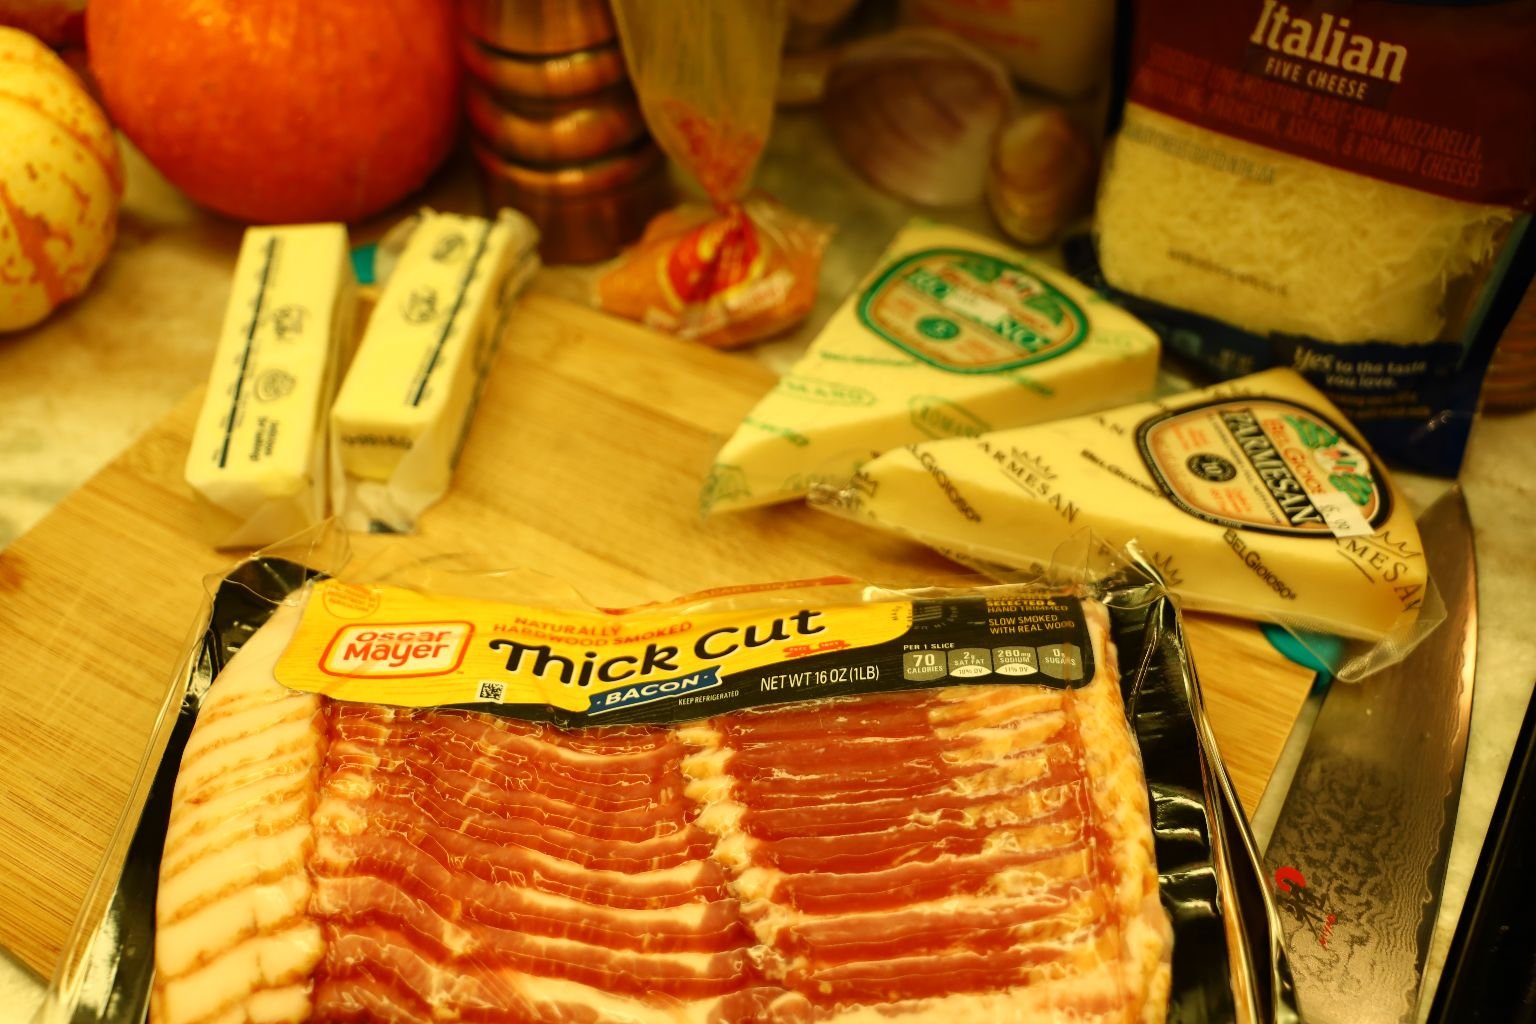
Ingredients:
1 pkg. Thick Cut Bacon – keep the bacon grease
1 Carnival Squash
2 Golden Hubbard Squash
1 White Acorn Squash
1-2 Sticks Butter
3/4 Box Whole Wheat Panko
3/4 Box Regular Panko
1/4 Cup Romana Cheese
1/4 Cup Parmesan Cheese
1/4 Cup Italian Cheese Blend
1 tsp. Hawaiian Sea Salt
1 Tbsp. Garlic Powder
1 tsp. Freshly Ground Black Pepper
Parsley Sprigs for garnish
—————————————————————————-
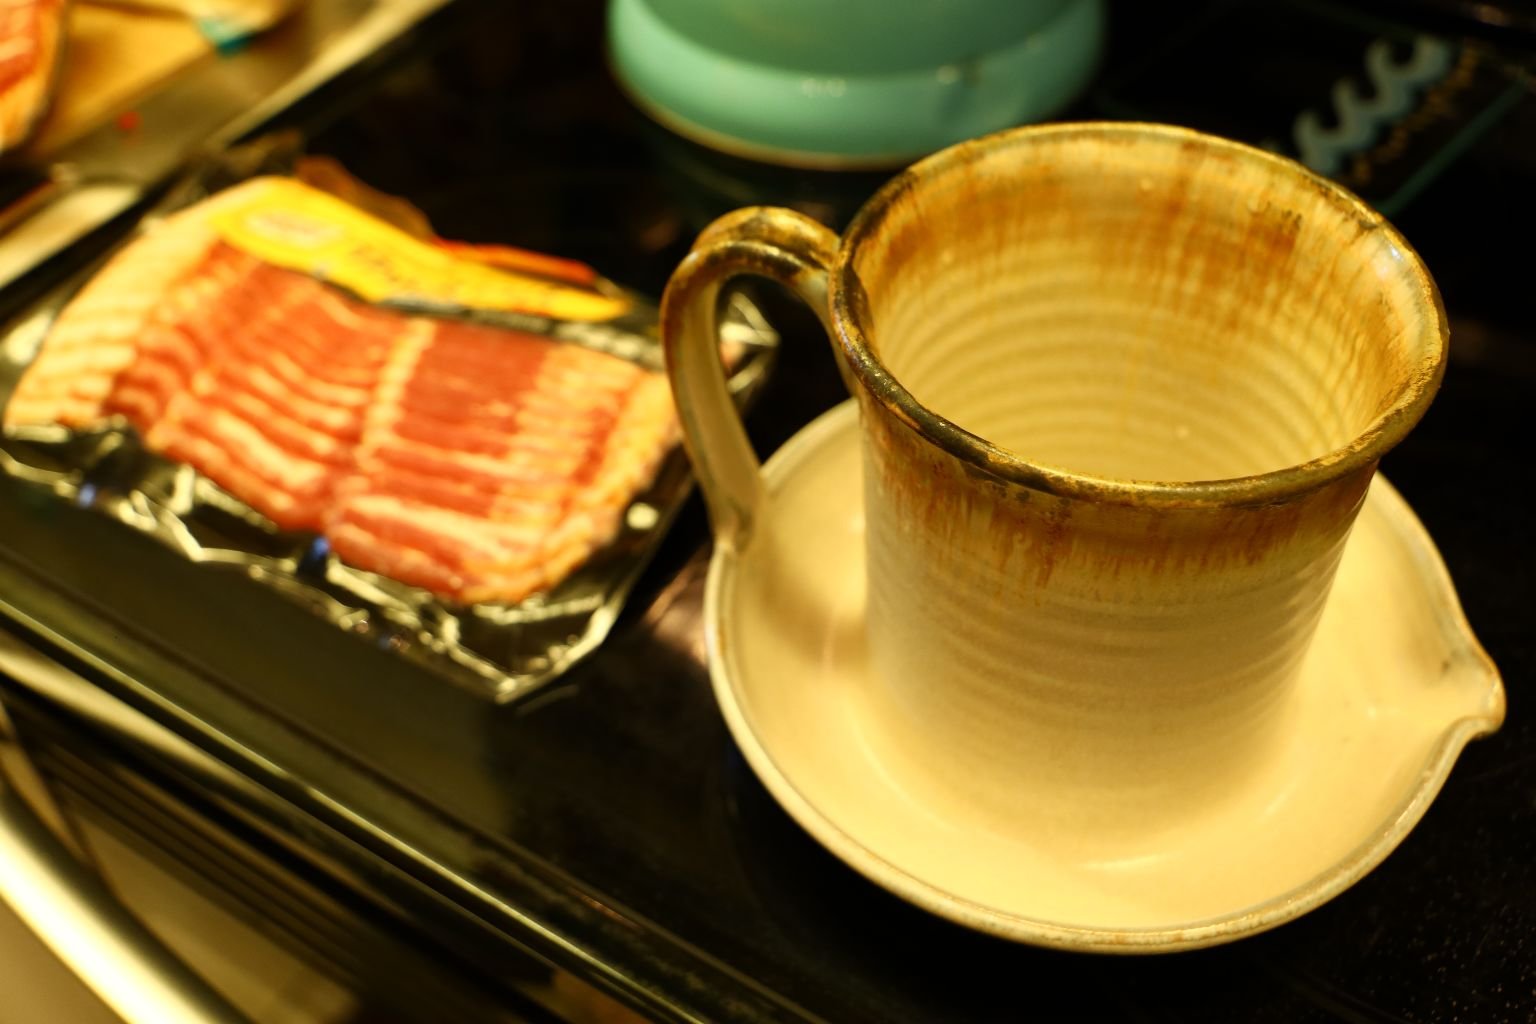
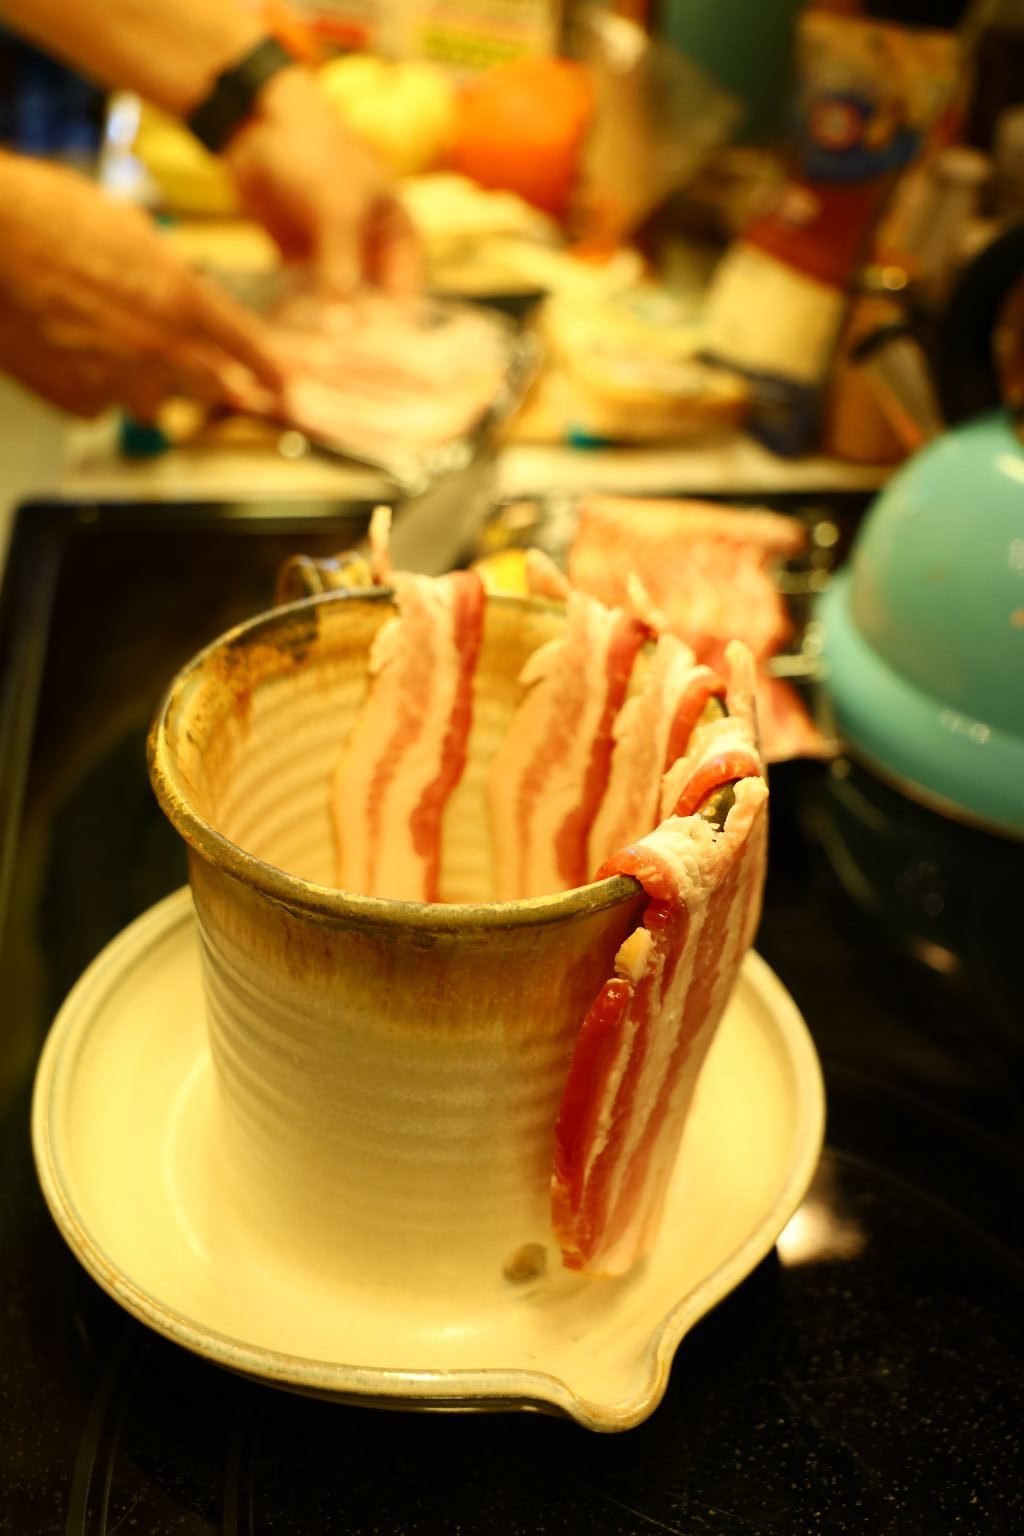
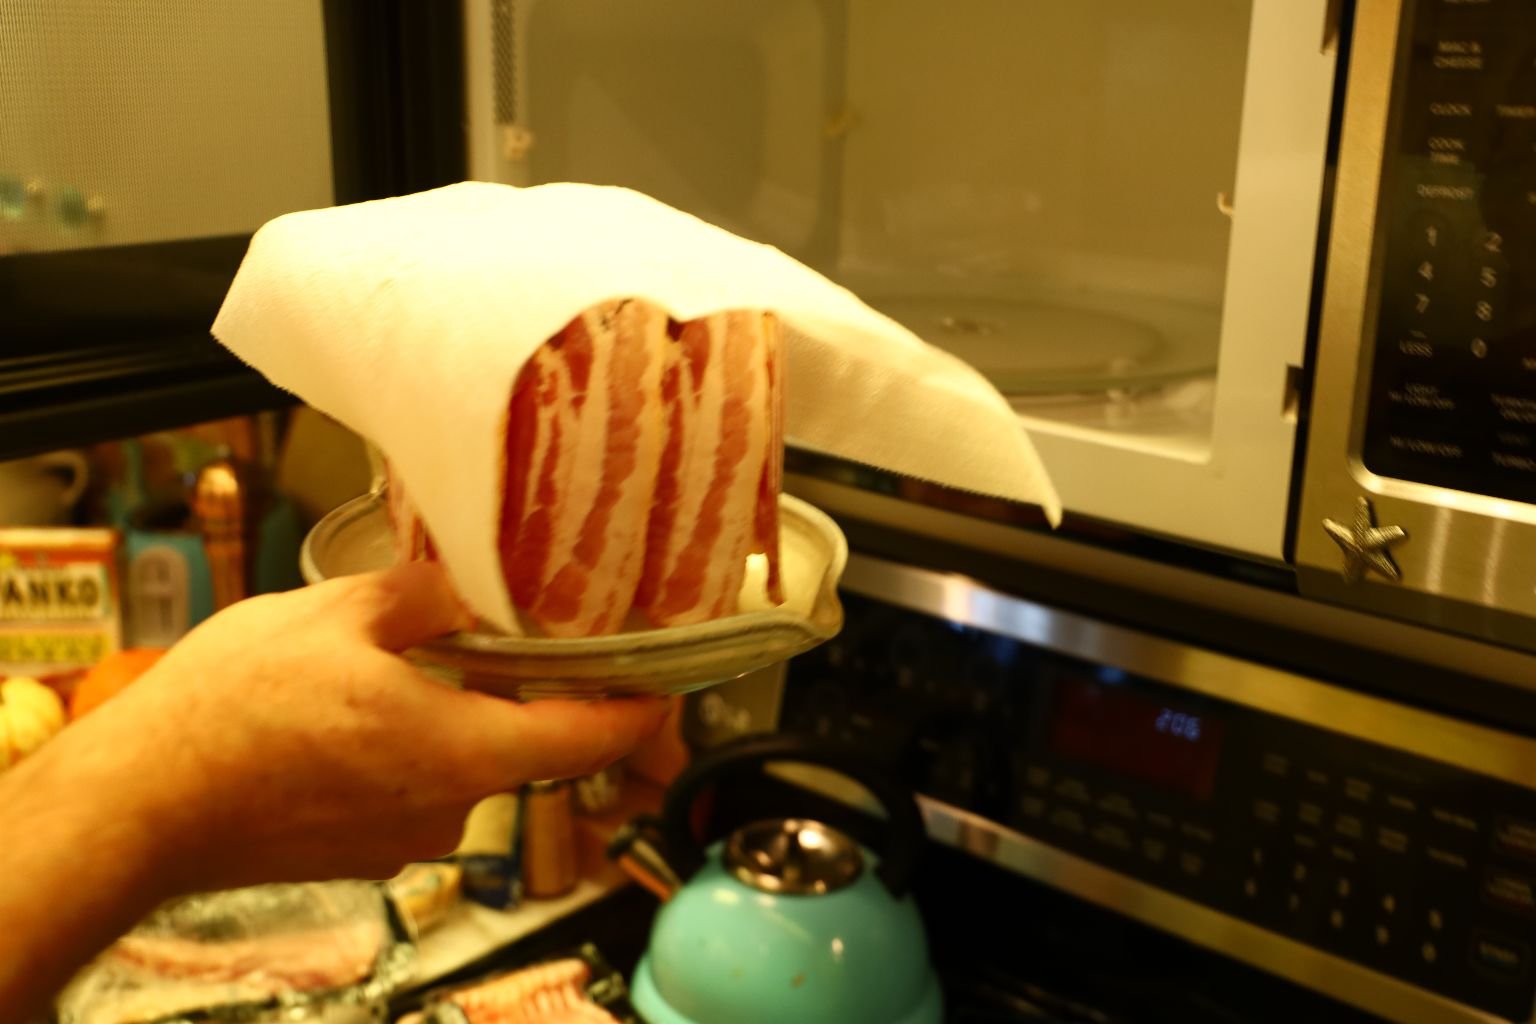
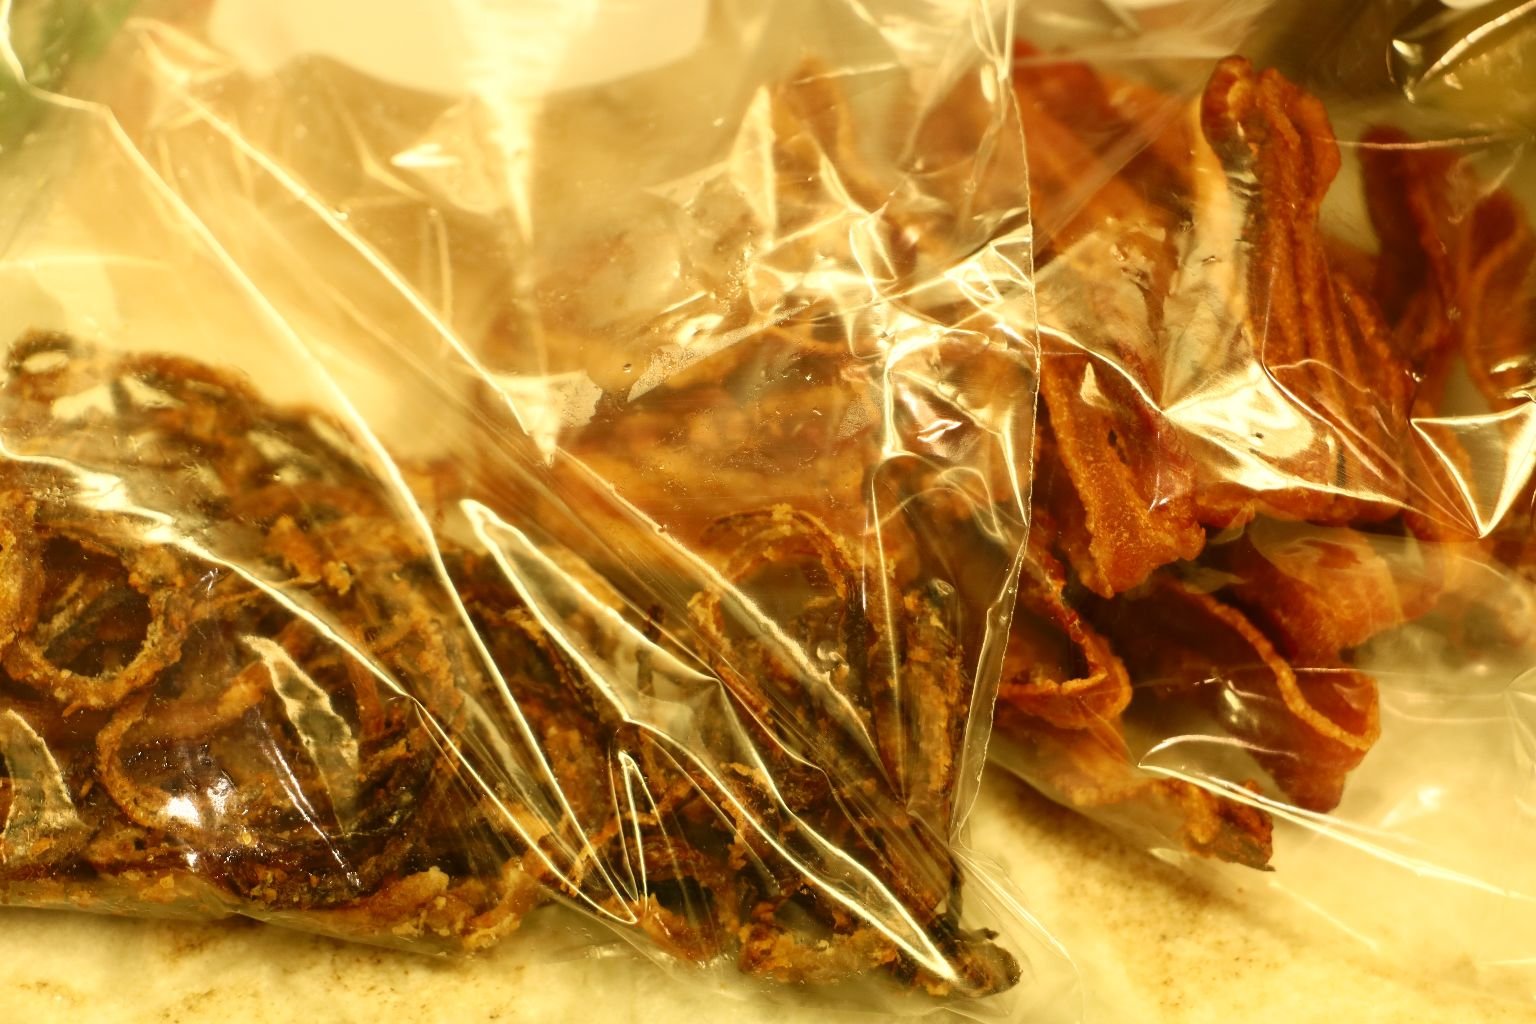
First, cook your bacon until crispy. We use this great pottery that looks like a cup and saucer which cooks the bacon in the microwave in about 10-12 min.
——————————————————————————
Here we have our Carnival, Golden Hubbard, and White Acorn Squash cut in half.
Remove the seeds with a spoon.
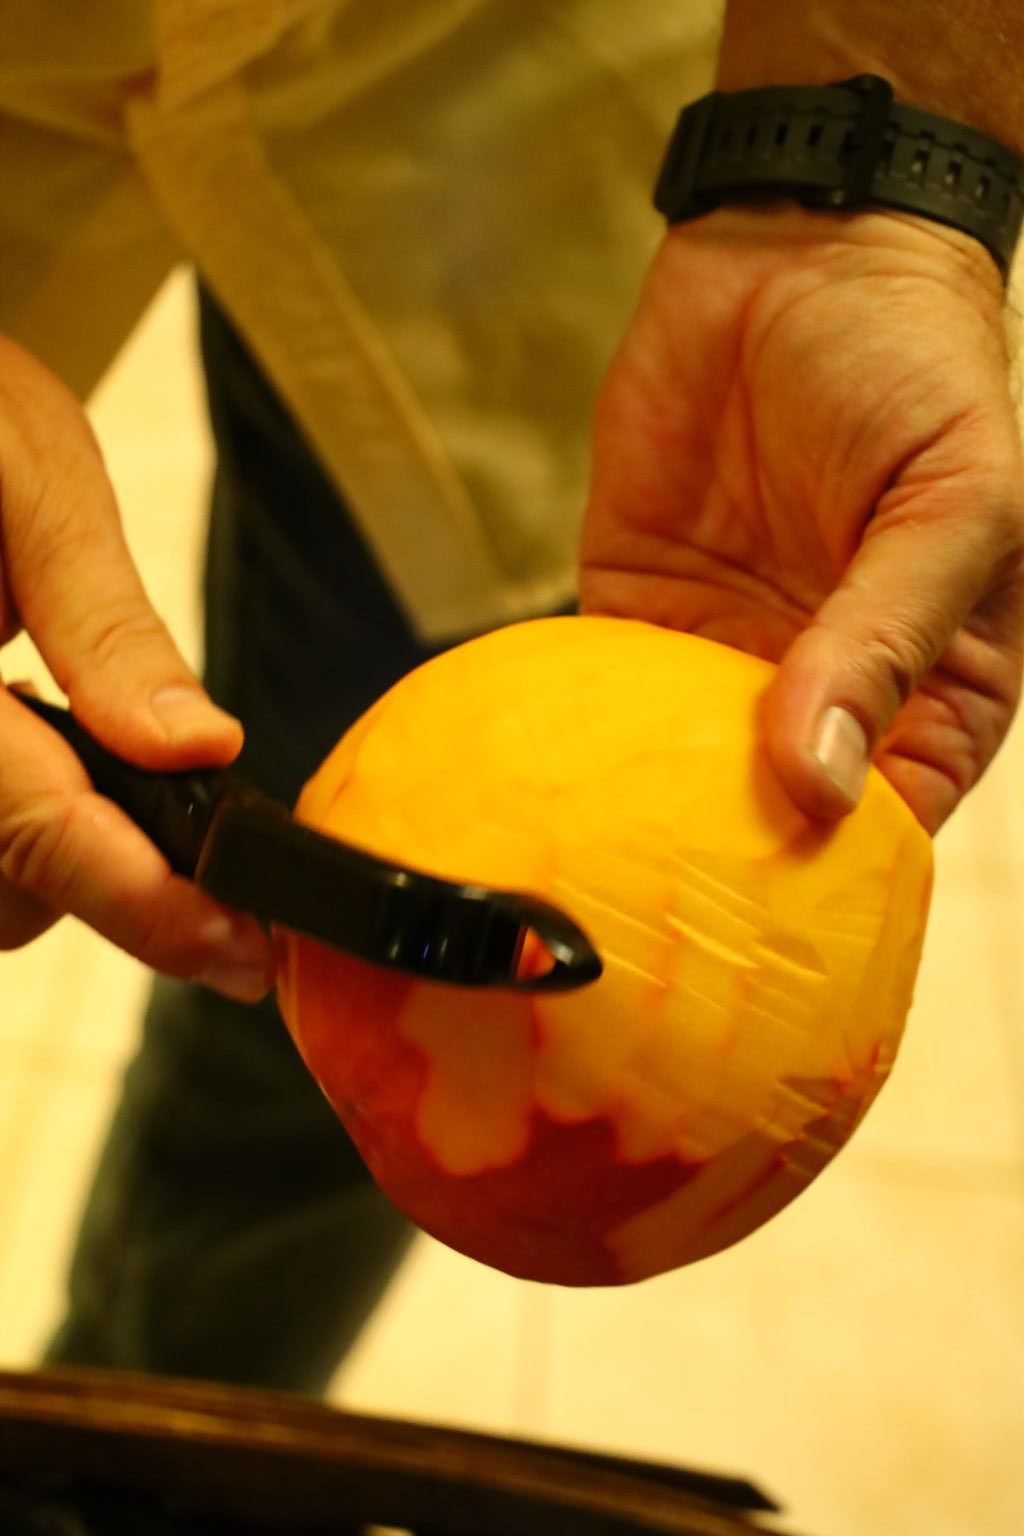
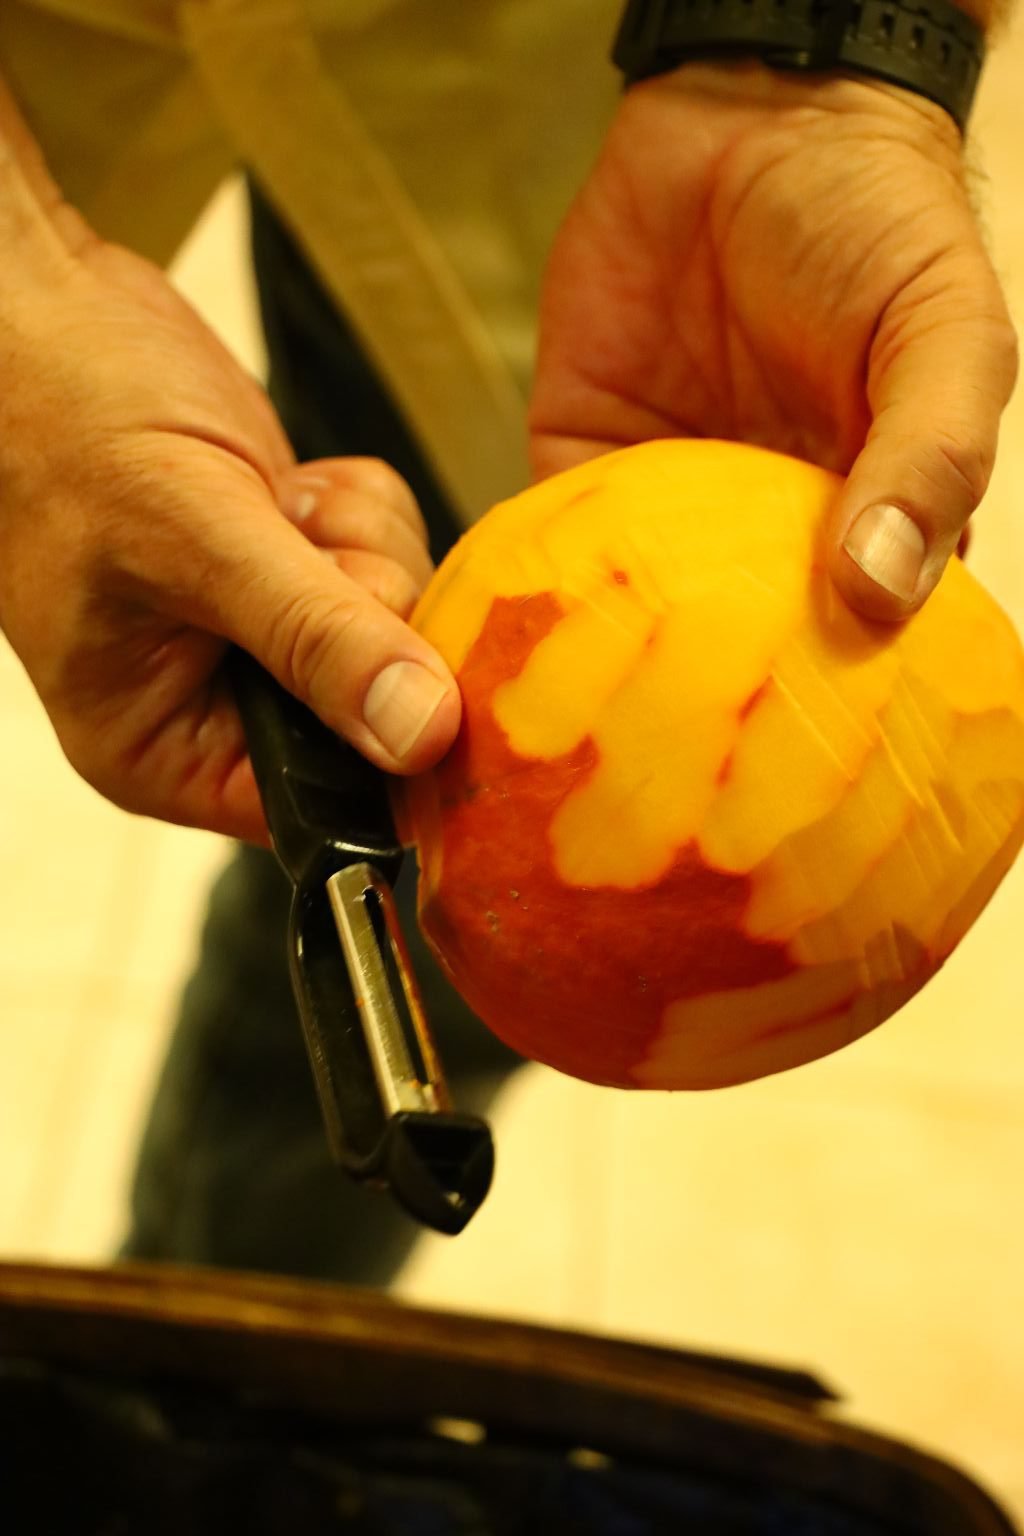
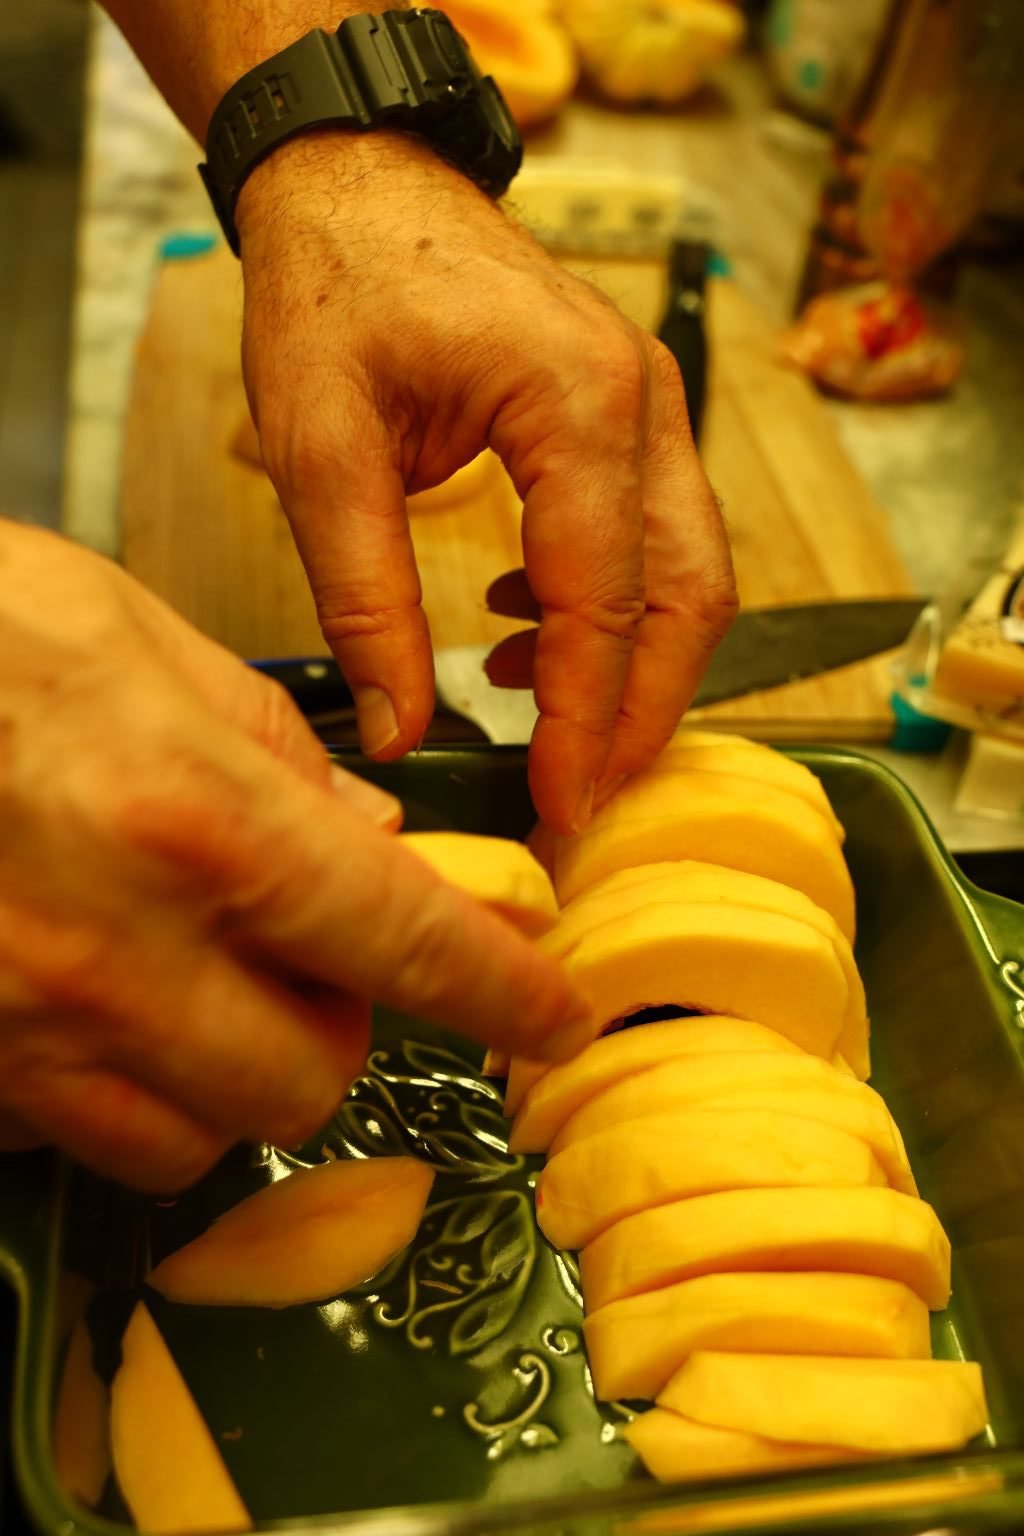
Peel the squash as shown.
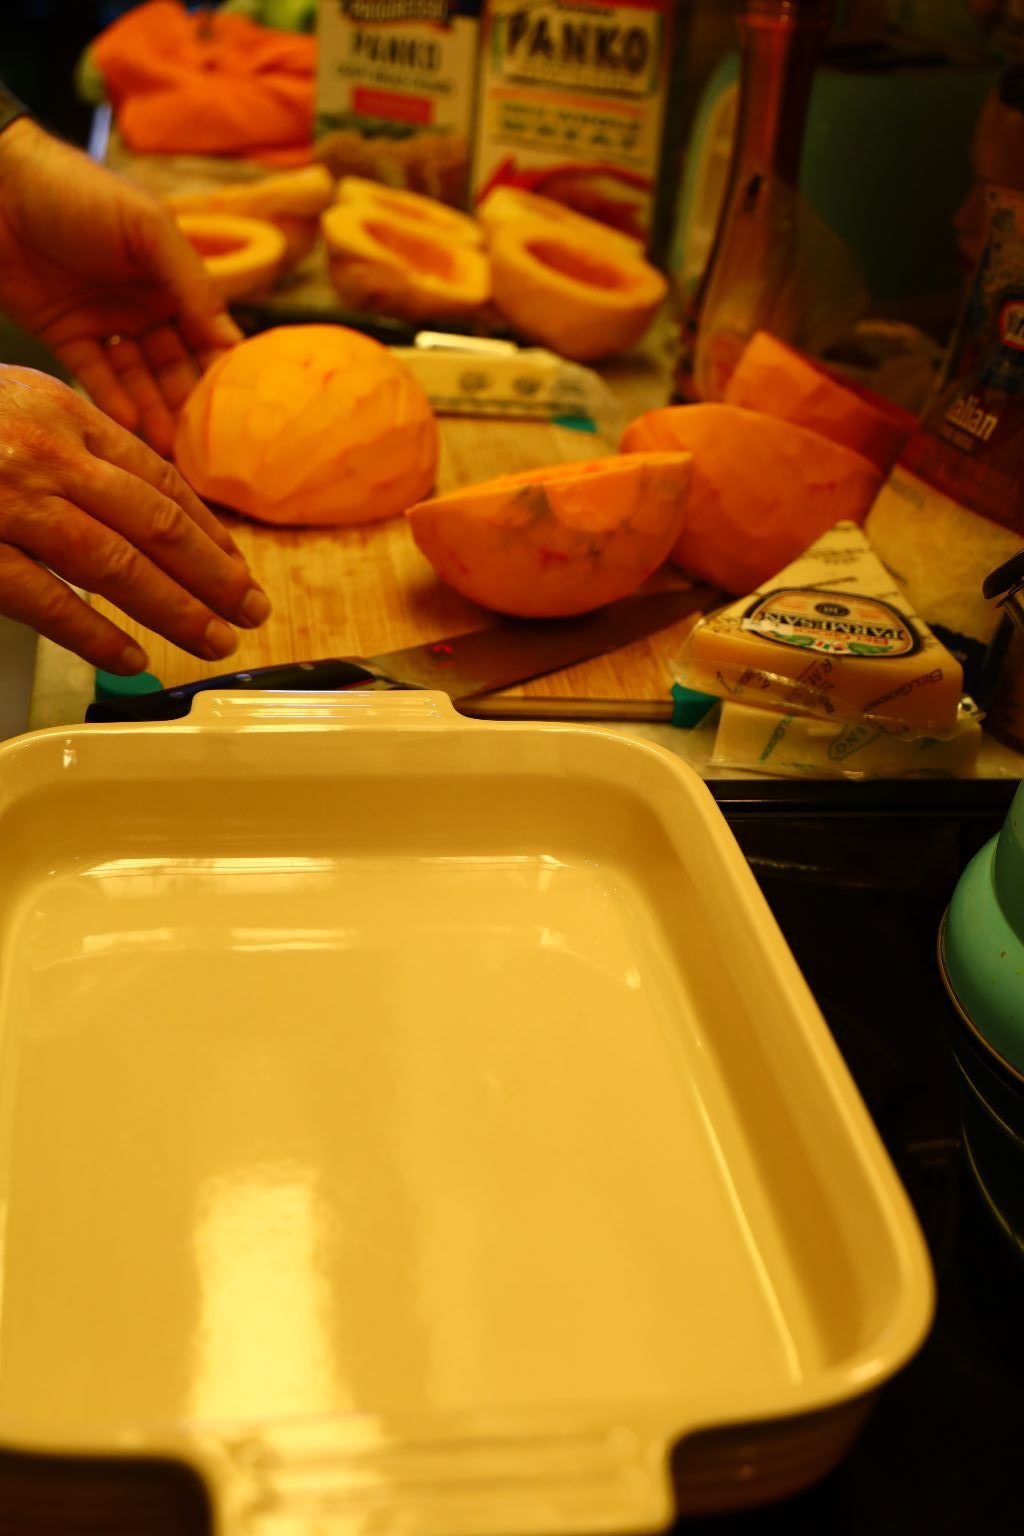
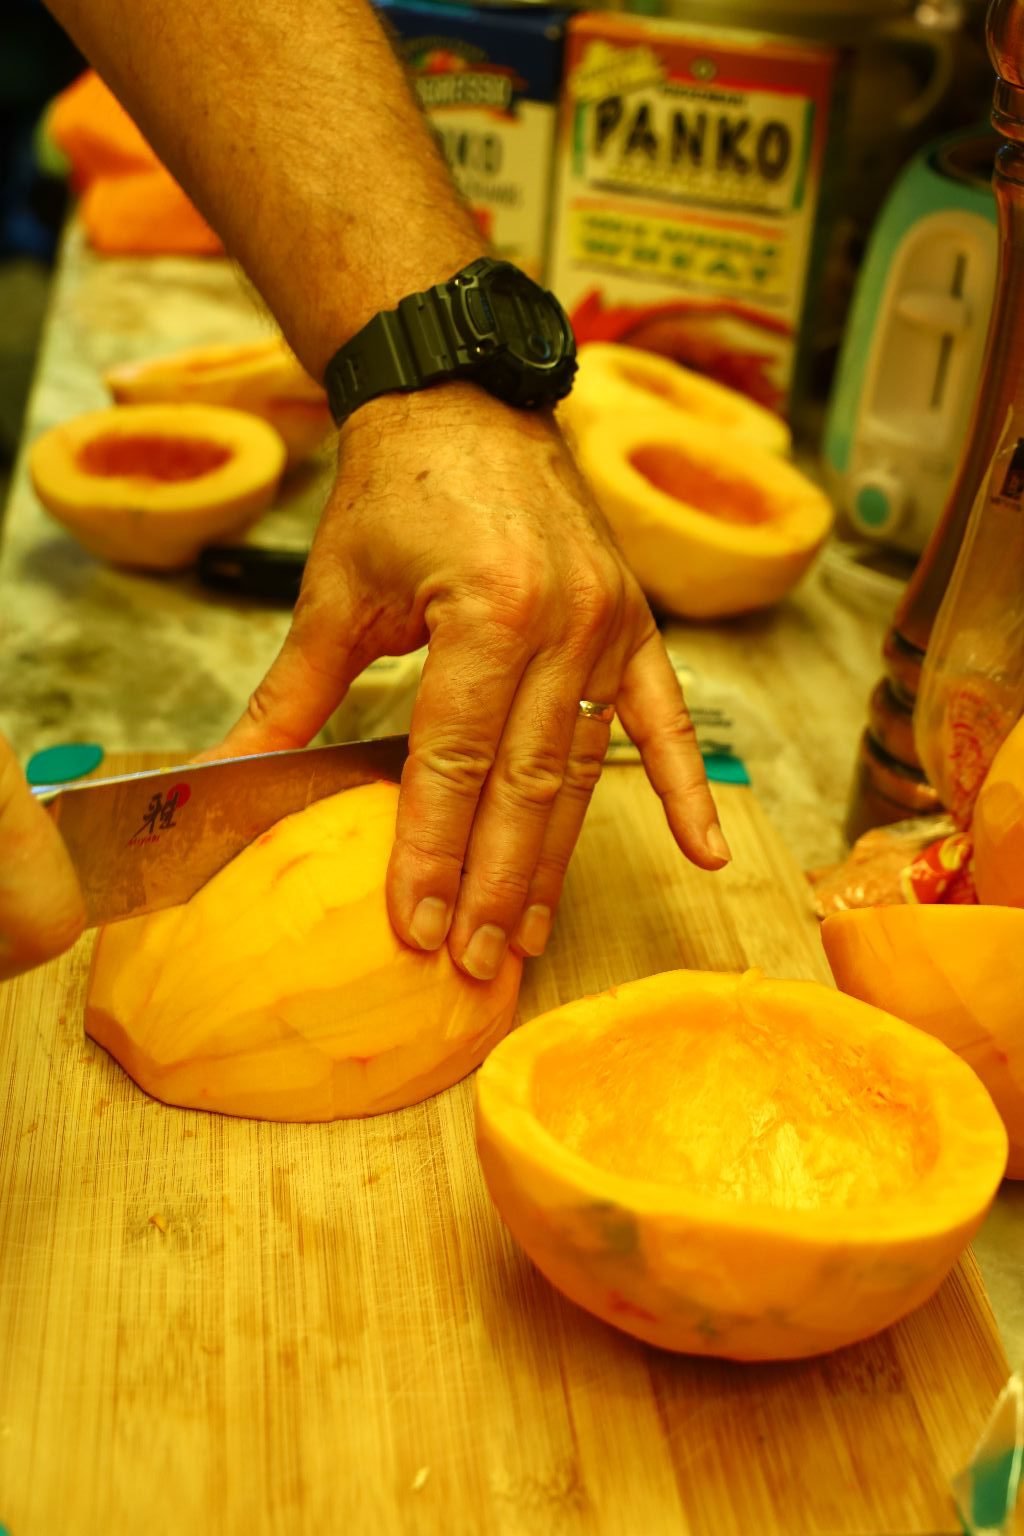
Slice the squash in 1/2 inch half moon slices.
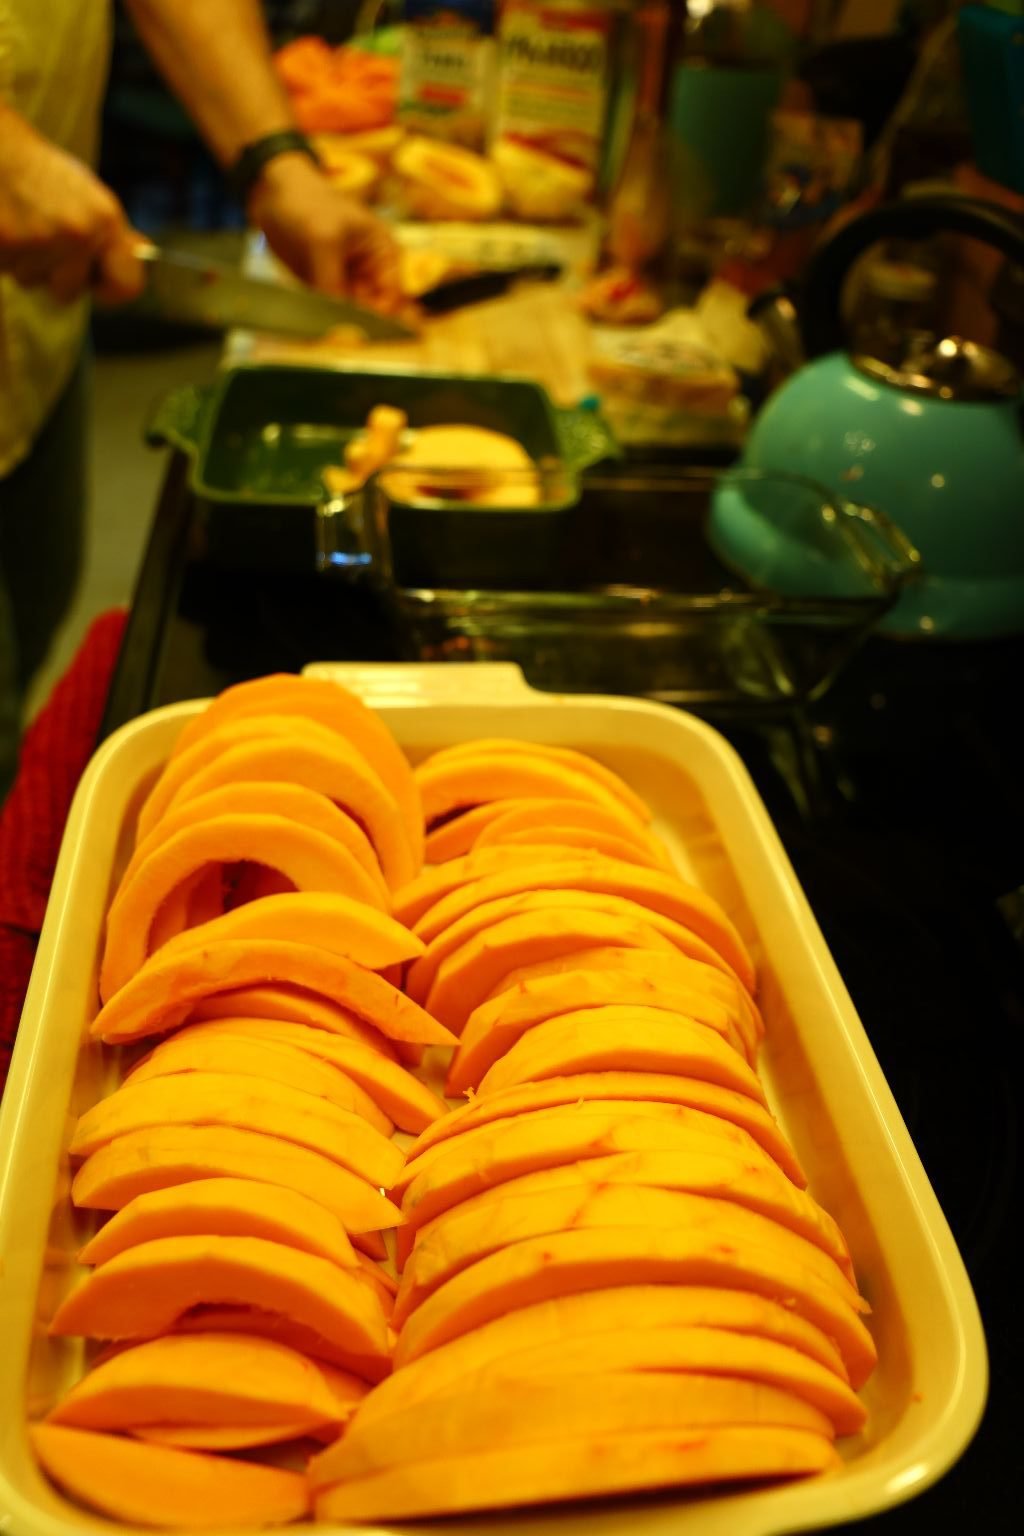
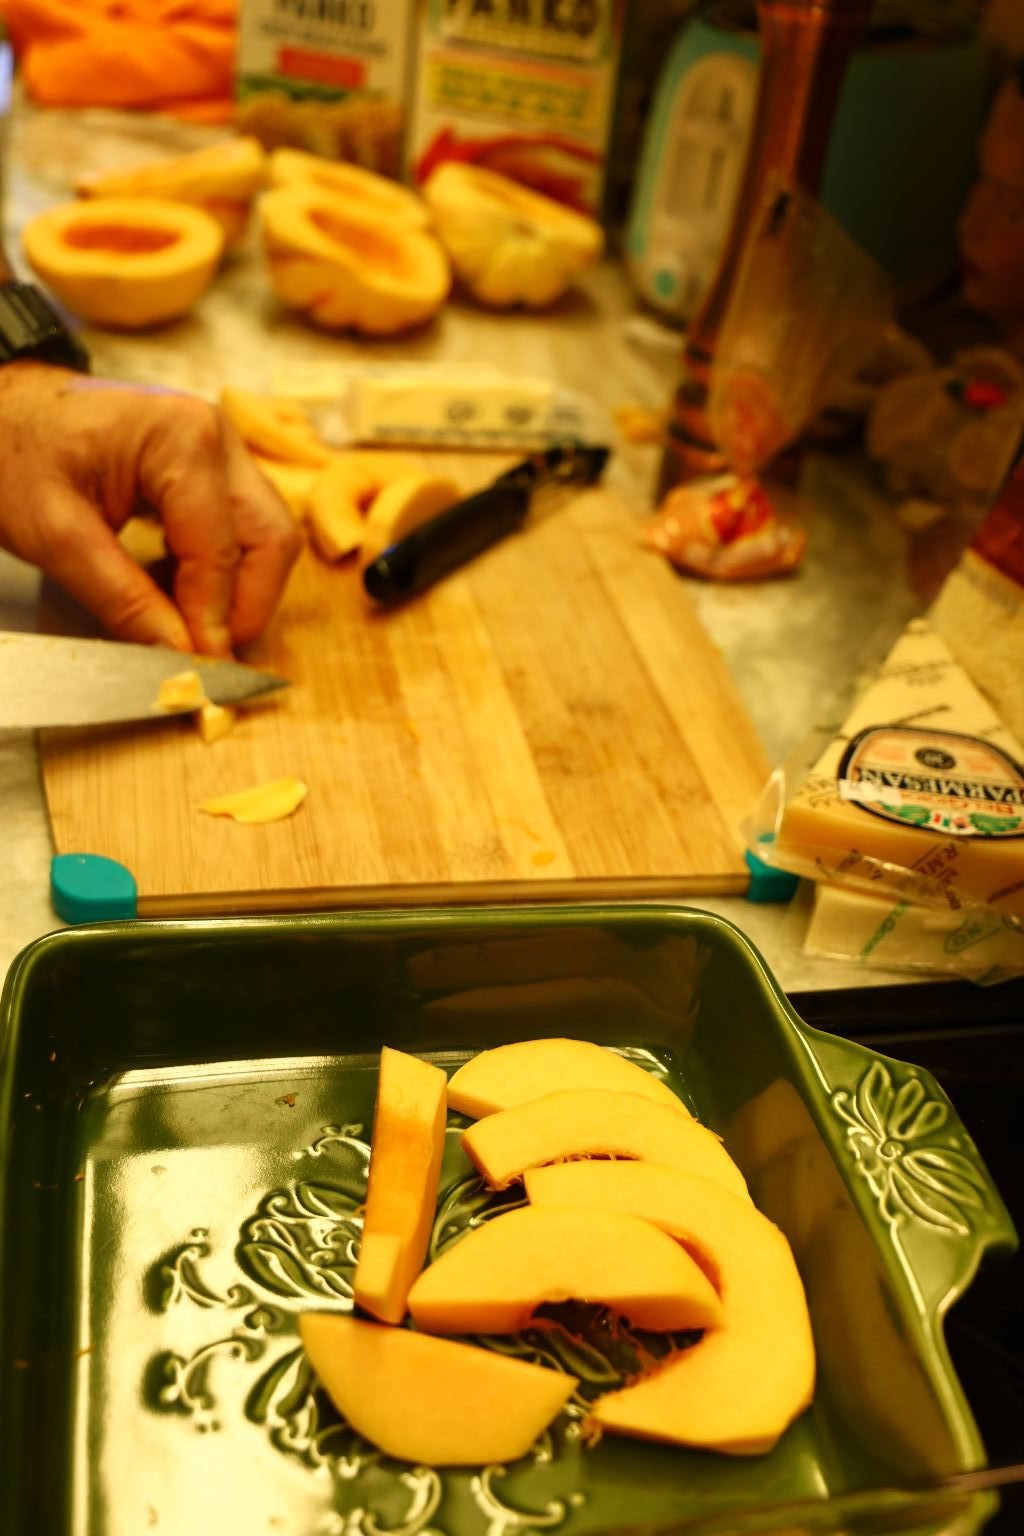
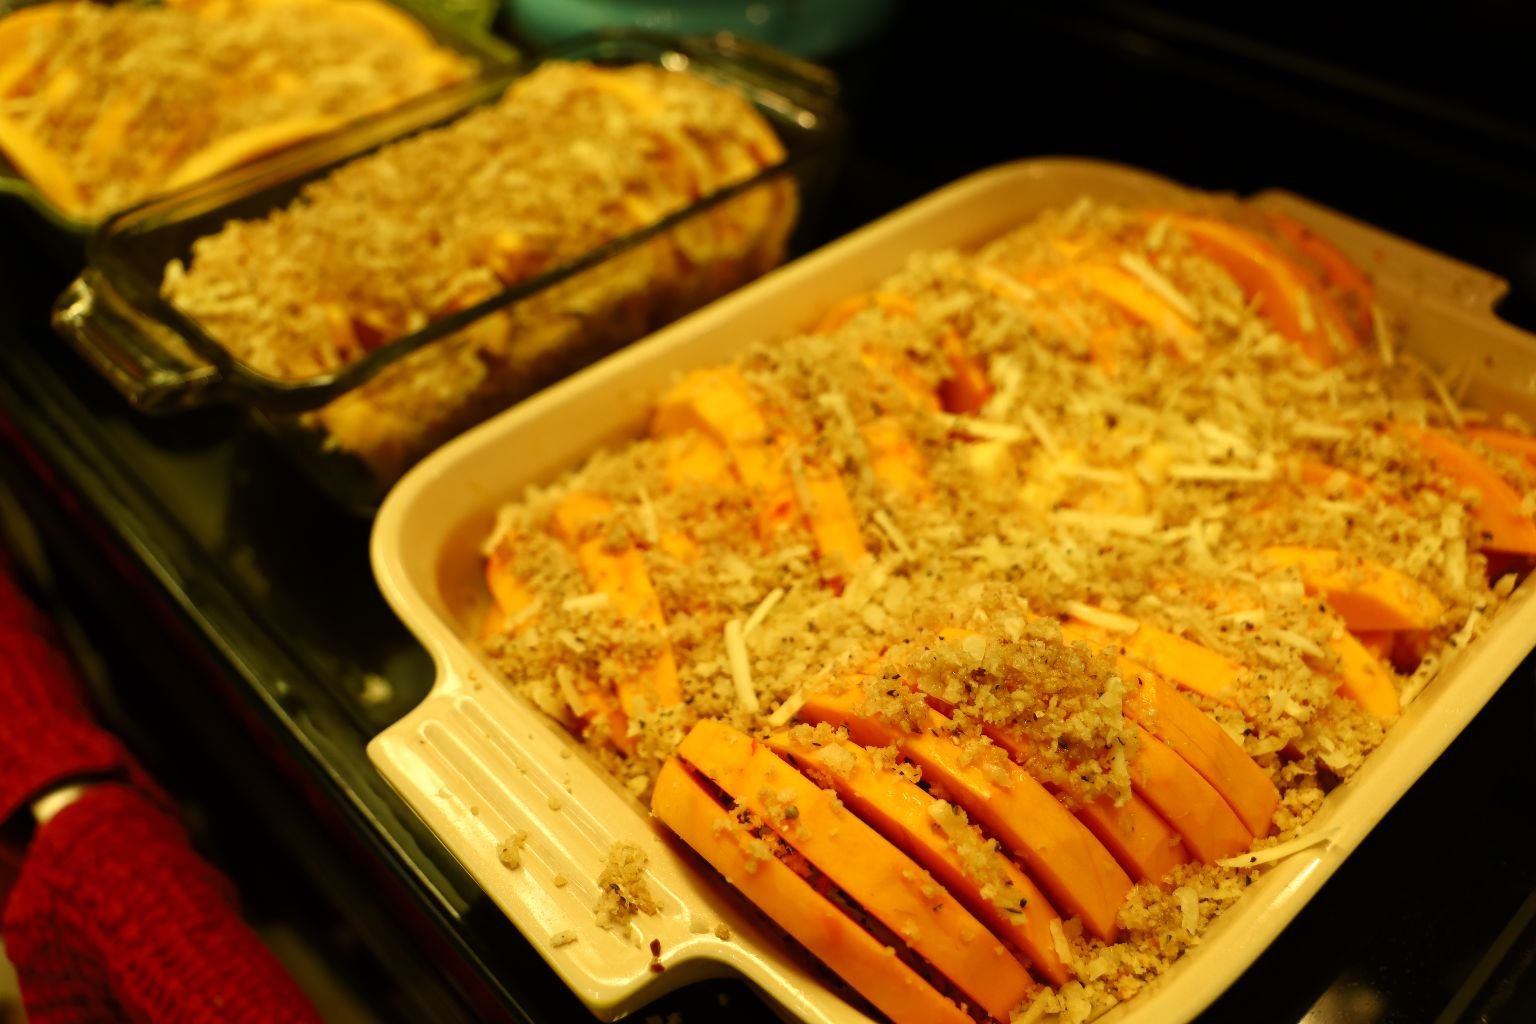
Place the sliced squash in a casserole pan.
(Julie wanted them to be displayed this way.)
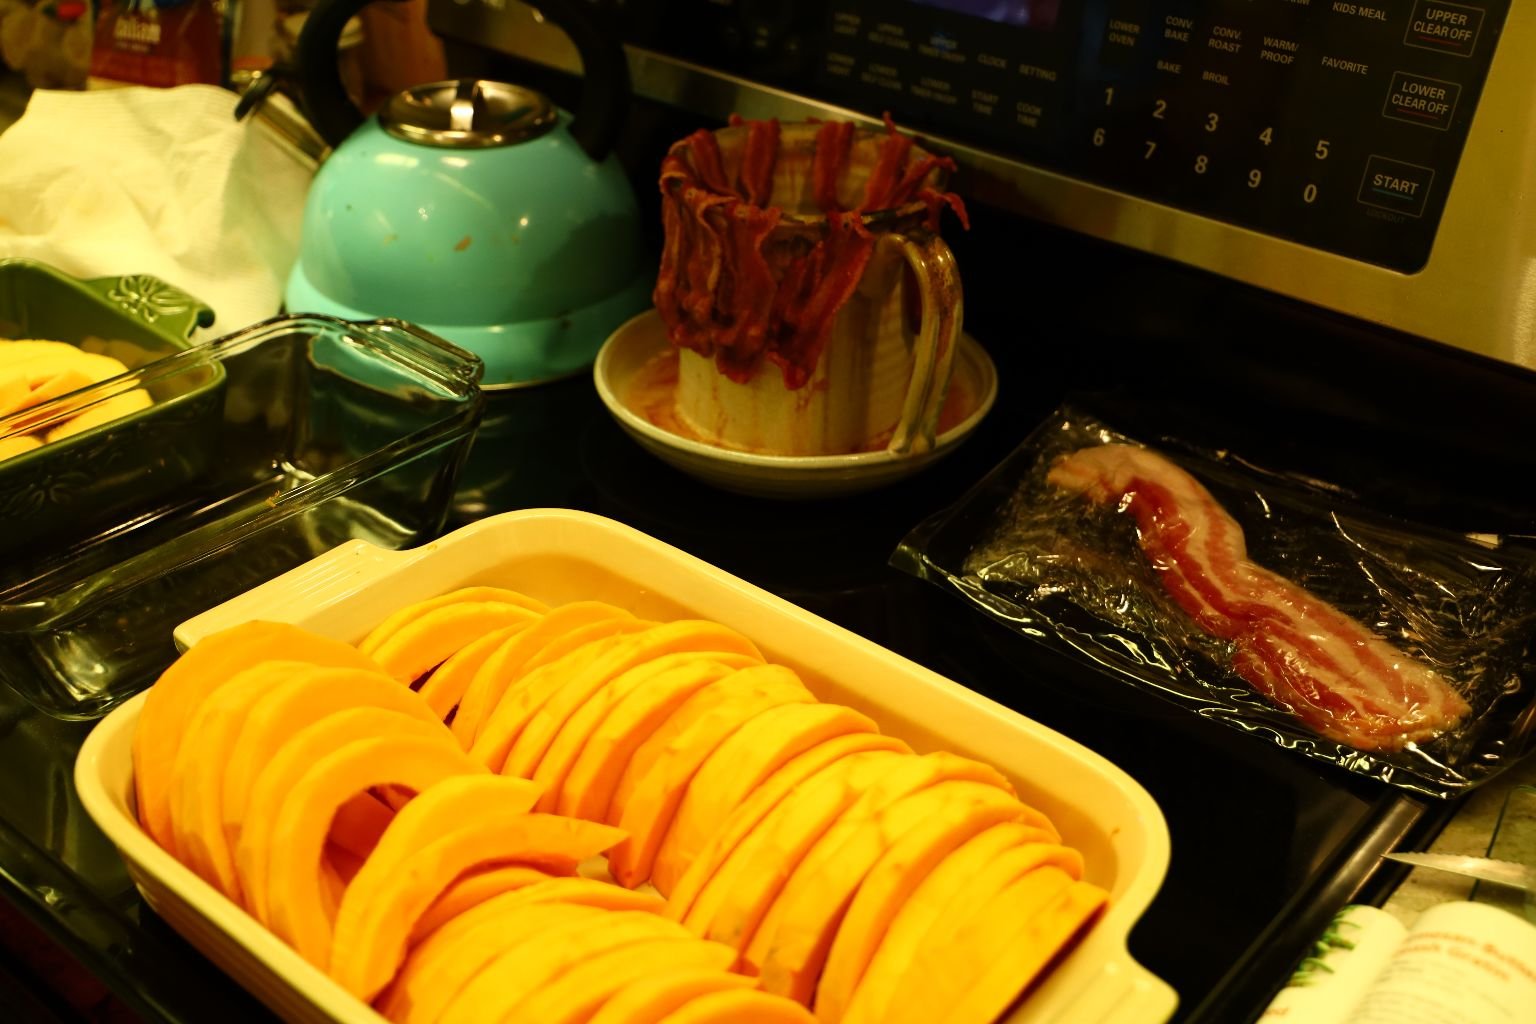
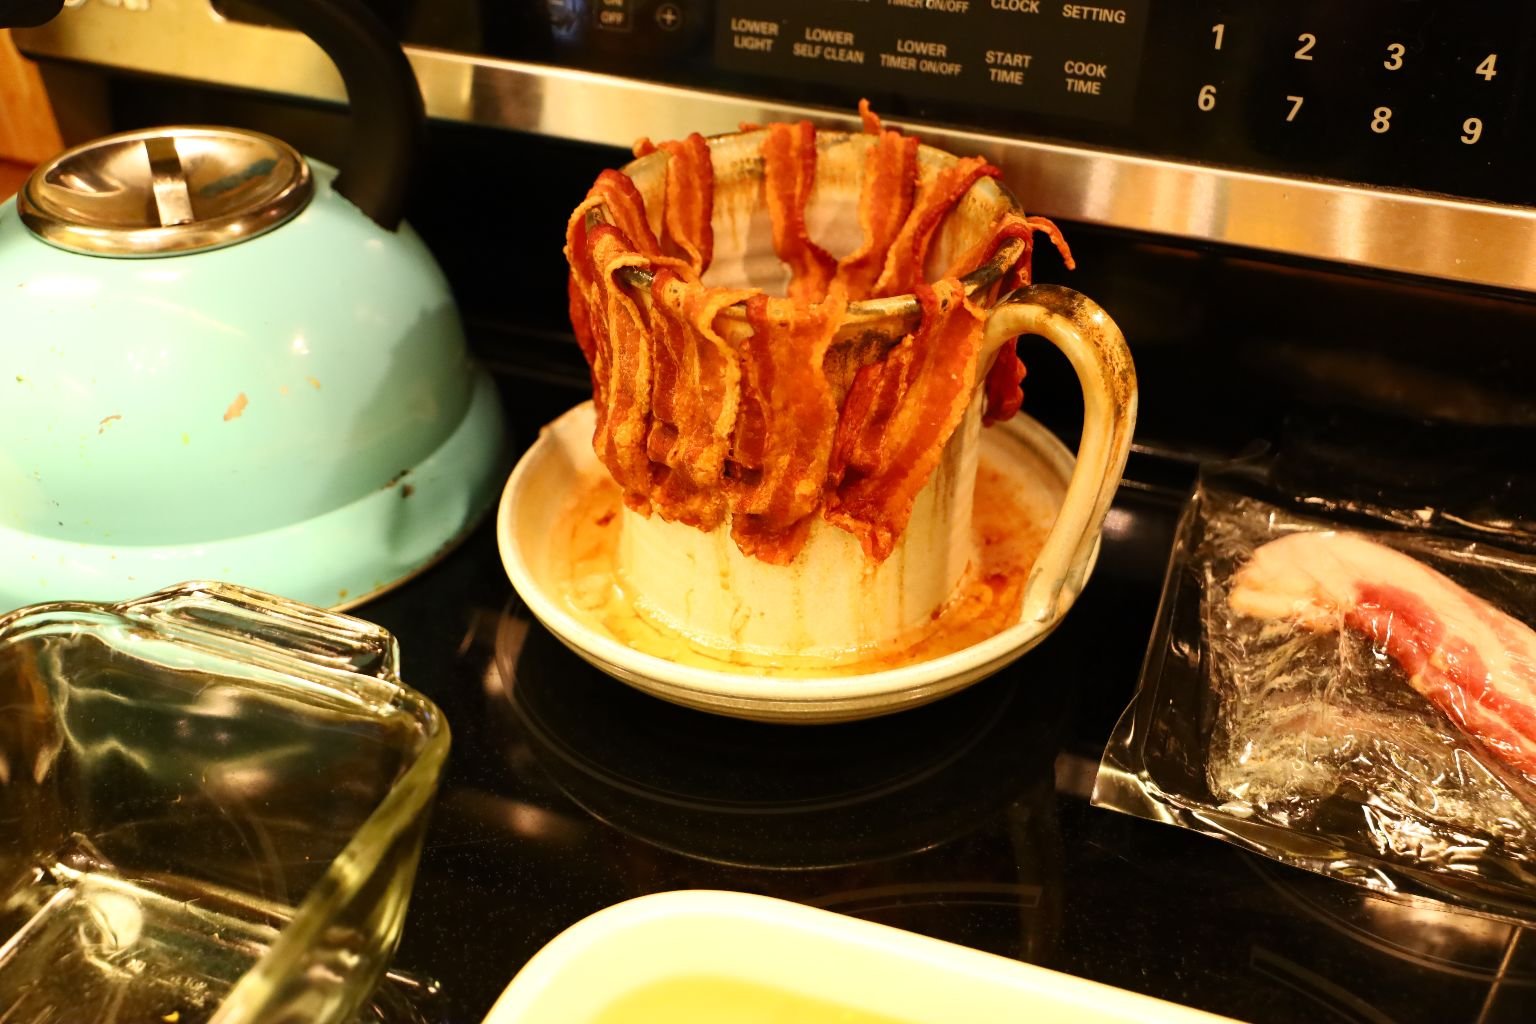
Here you can see the cooked bacon. The excess grease drips away and is in the saucer.
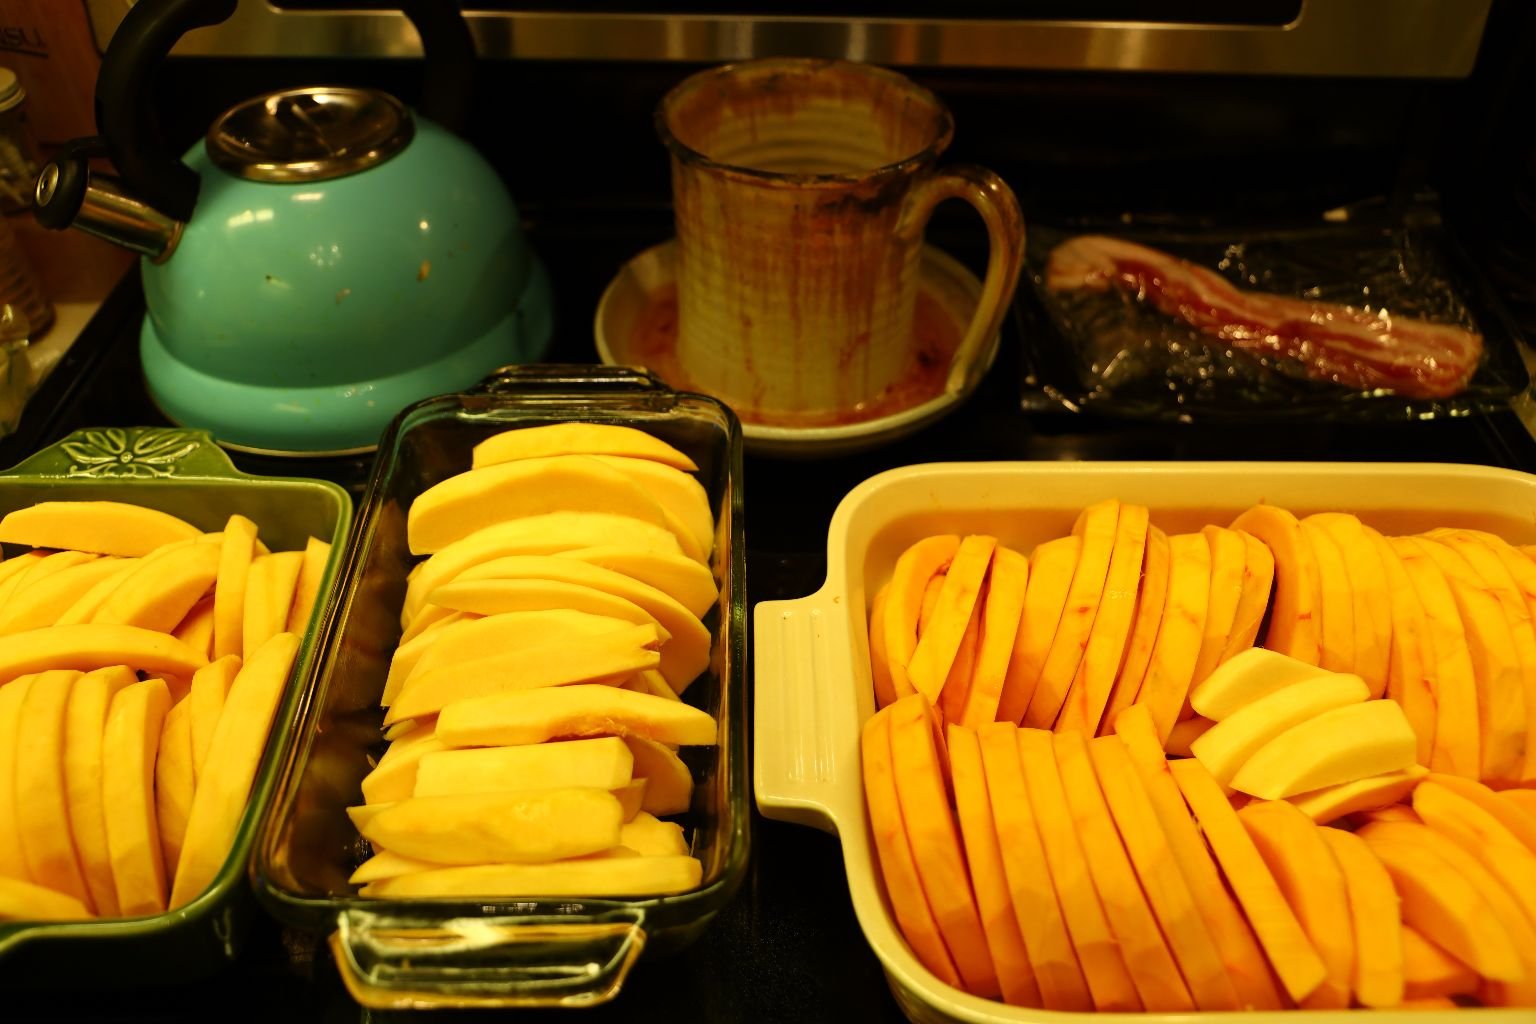
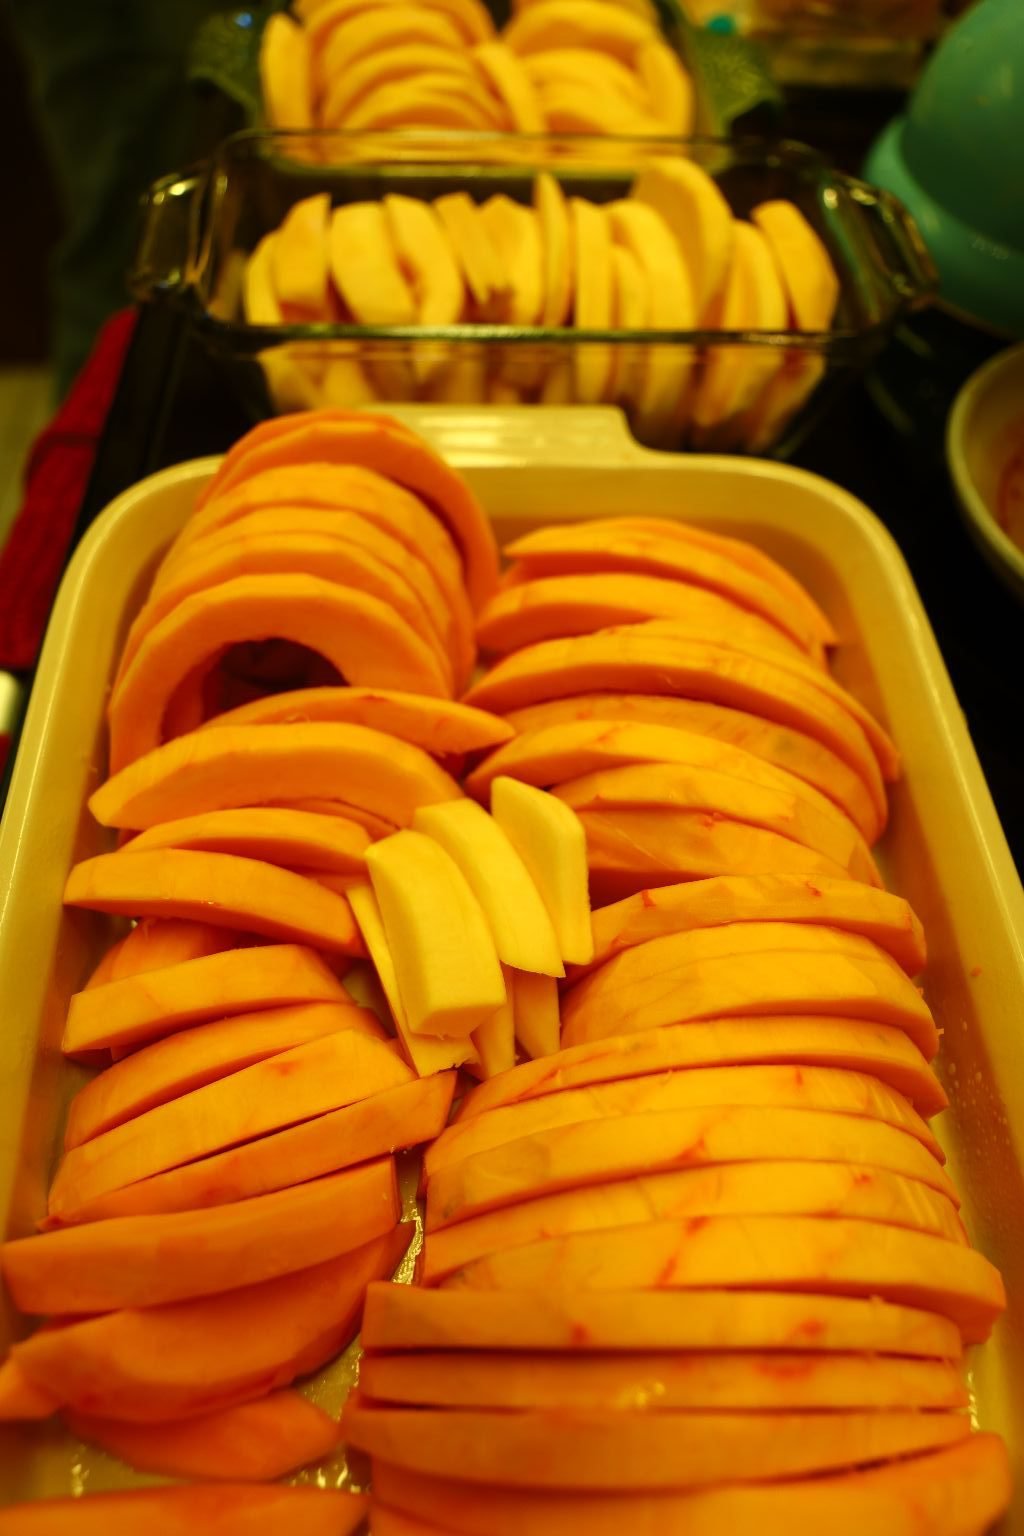
Lining up the squash side by side.
Place the stick of butter in a bowl and melt it in the microwave. This will take about 30 seconds to melt.
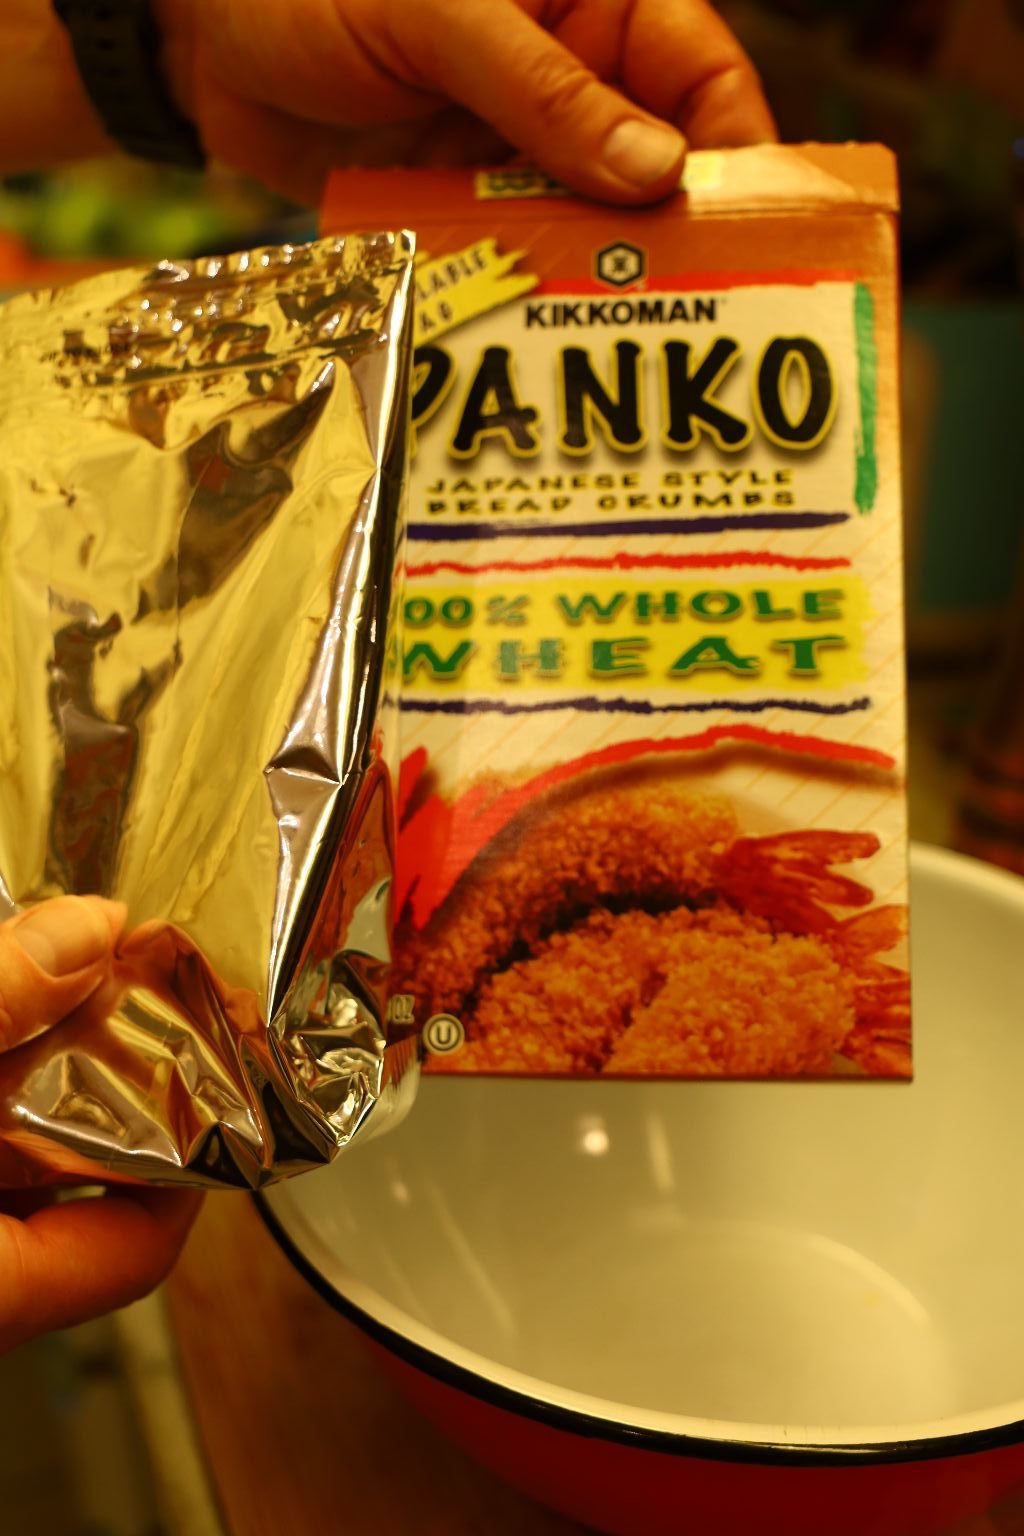
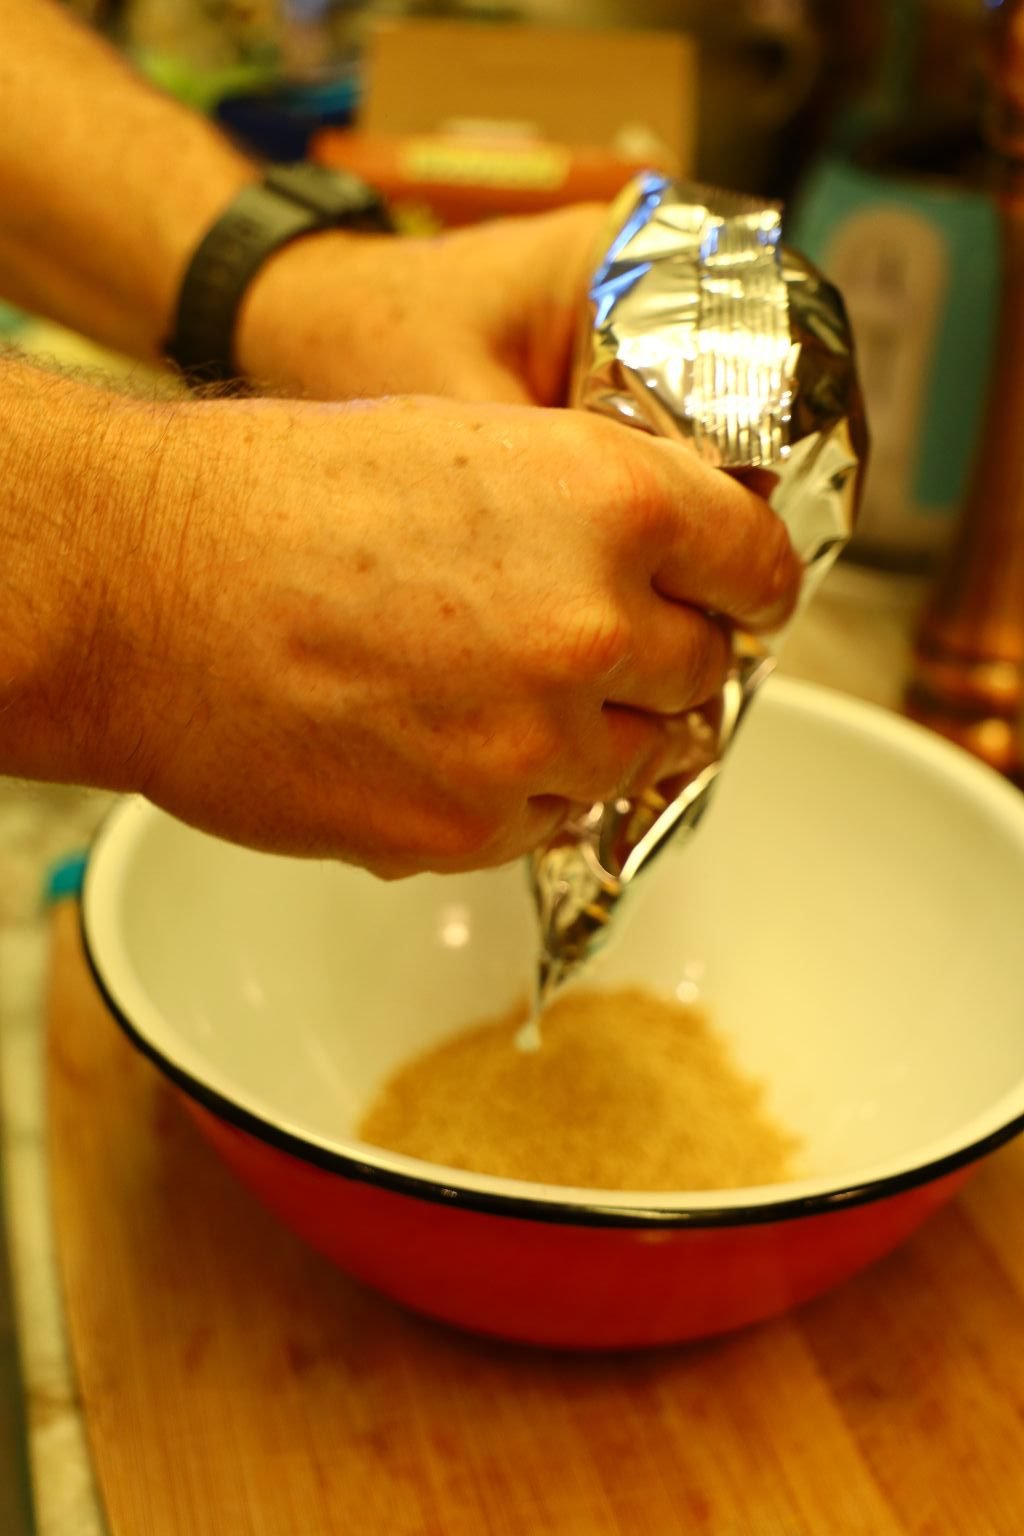
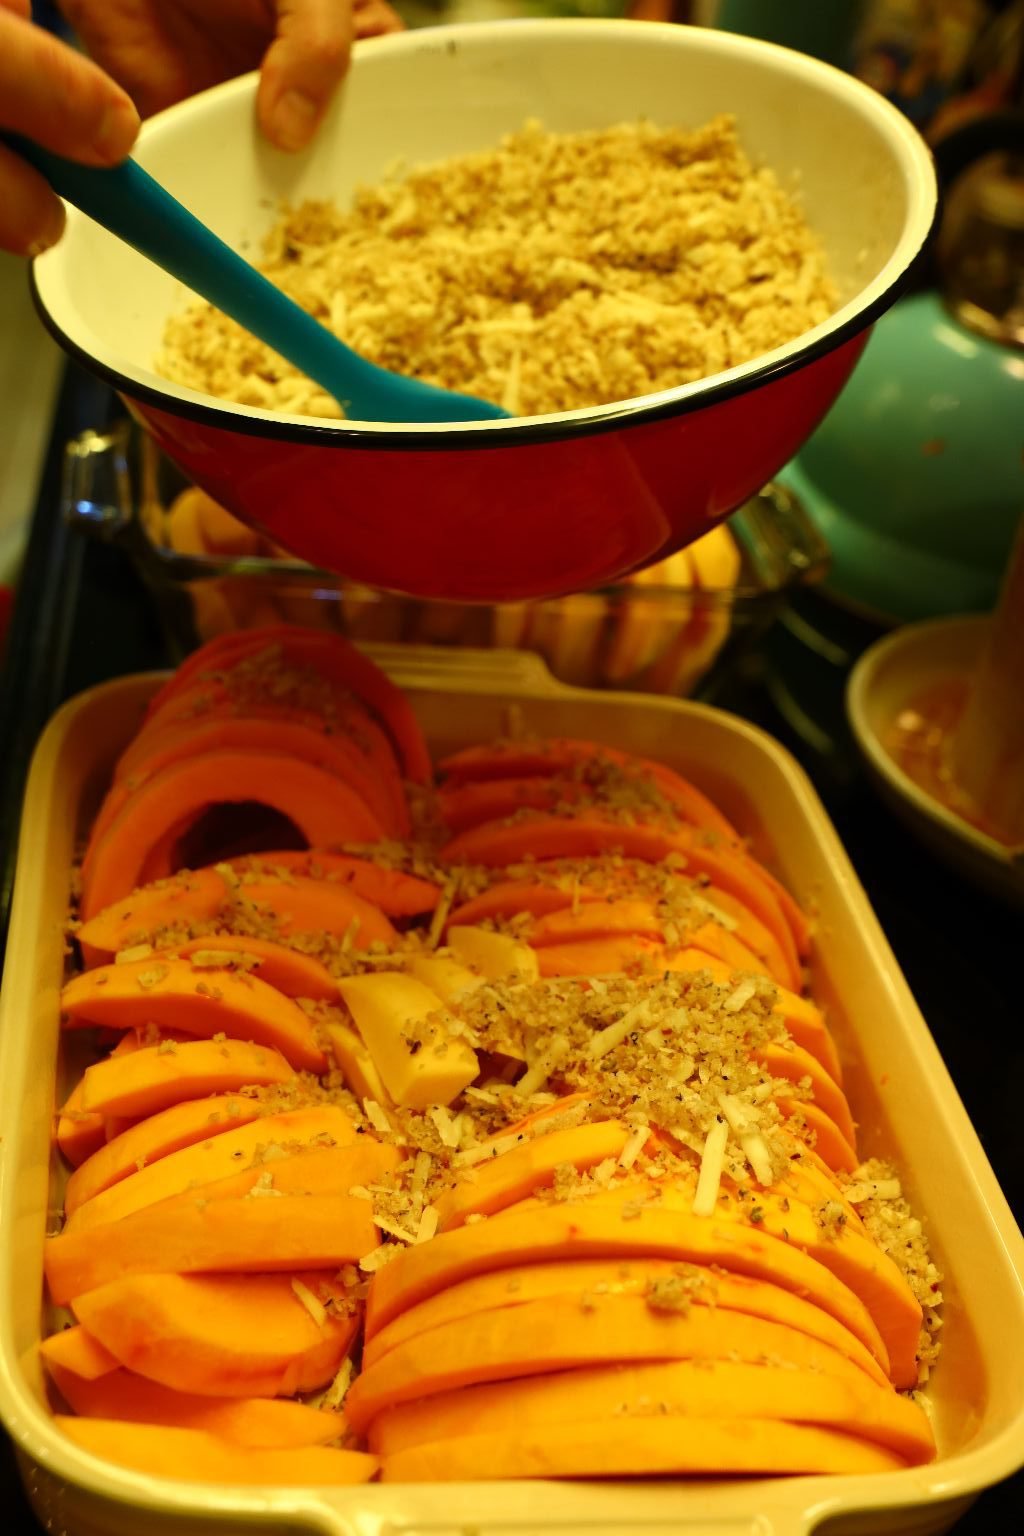
Place your Panko in a medium sized bowl as shown.
———————————————————————

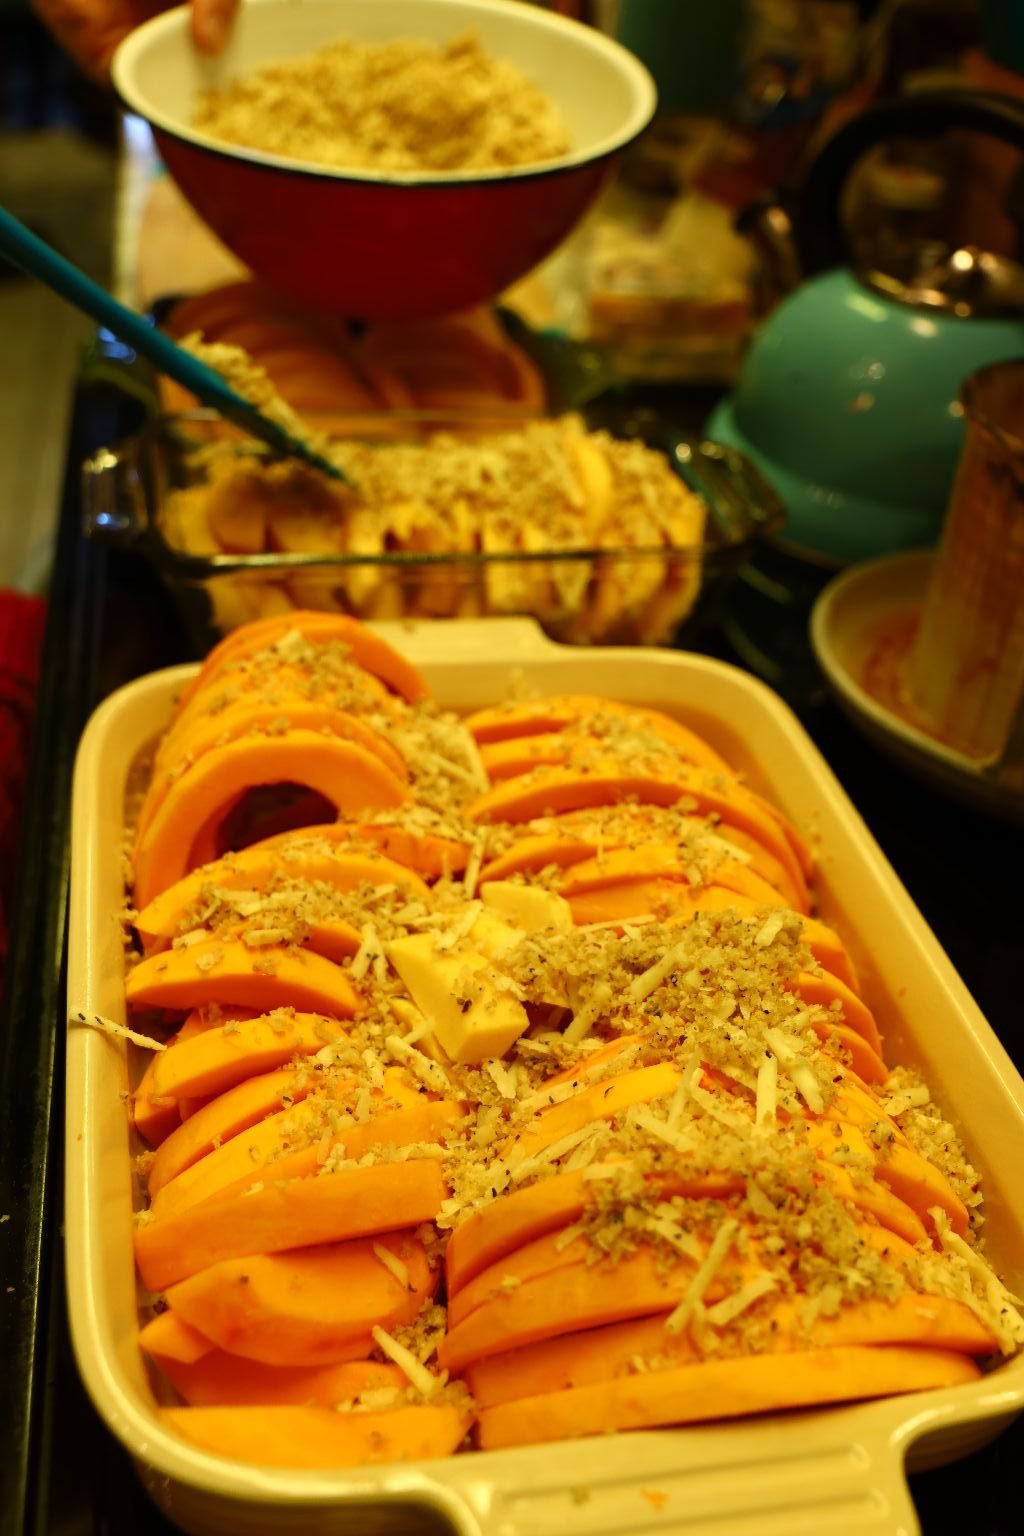
Here we have all the squash lined up in the casserole dish.
Add your butter to the Panko and then add your Black Pepper. If you like more butter then melt more until the Panko has the consistency you like.
Then add your Hawaiian Sea Salt and Garlic Powder.
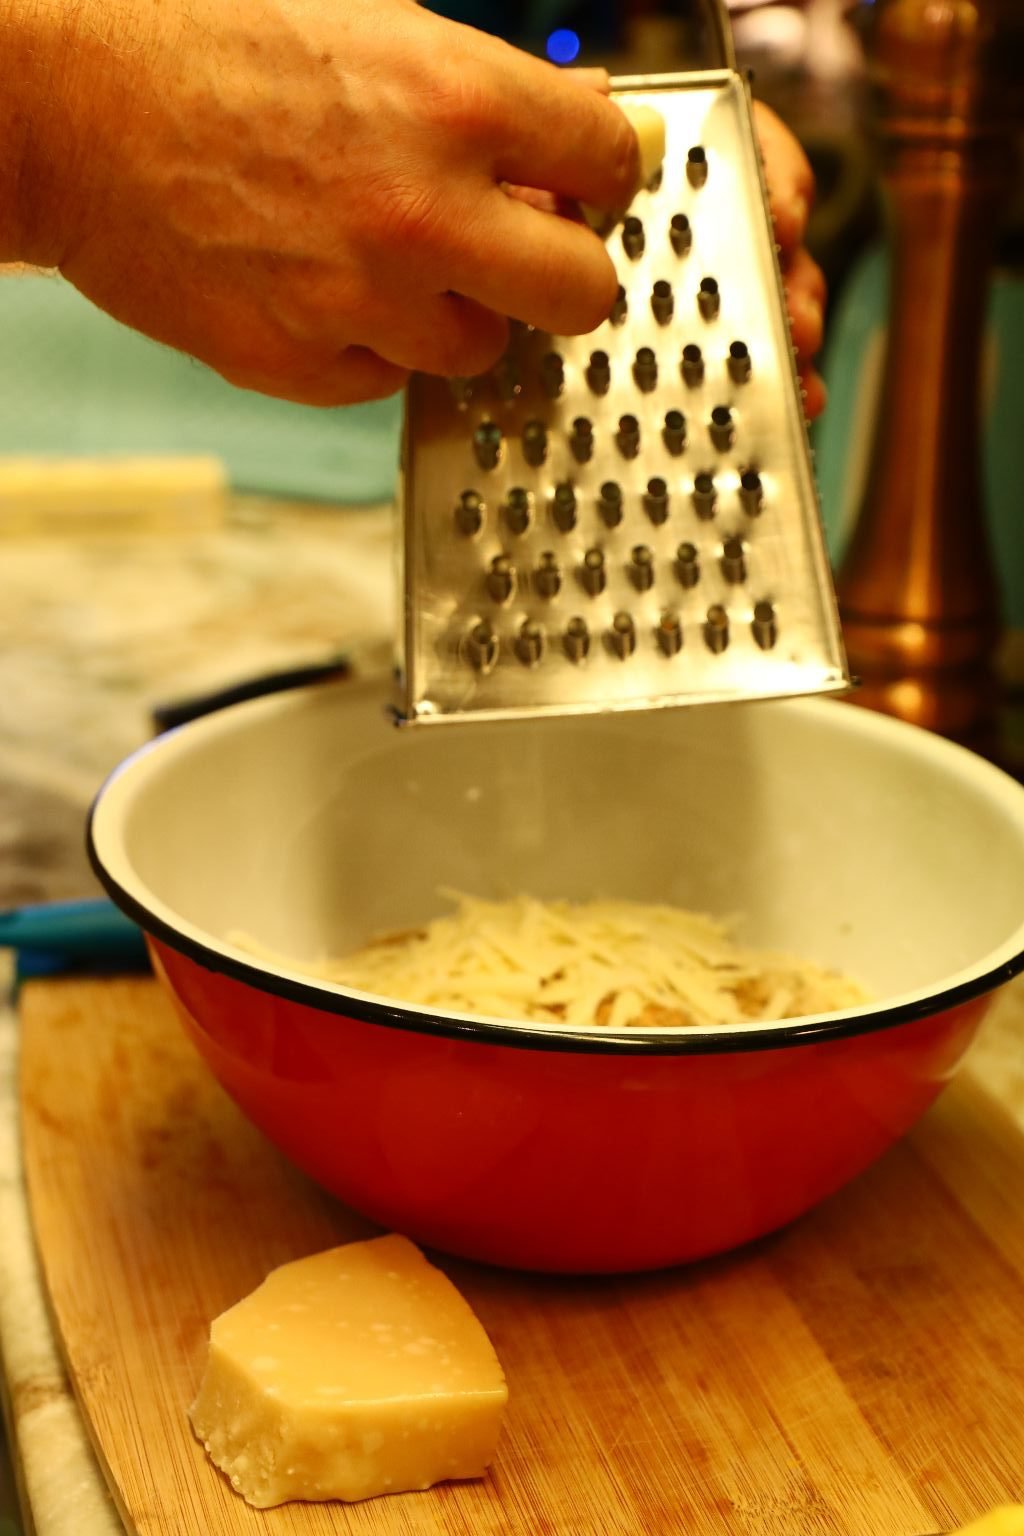
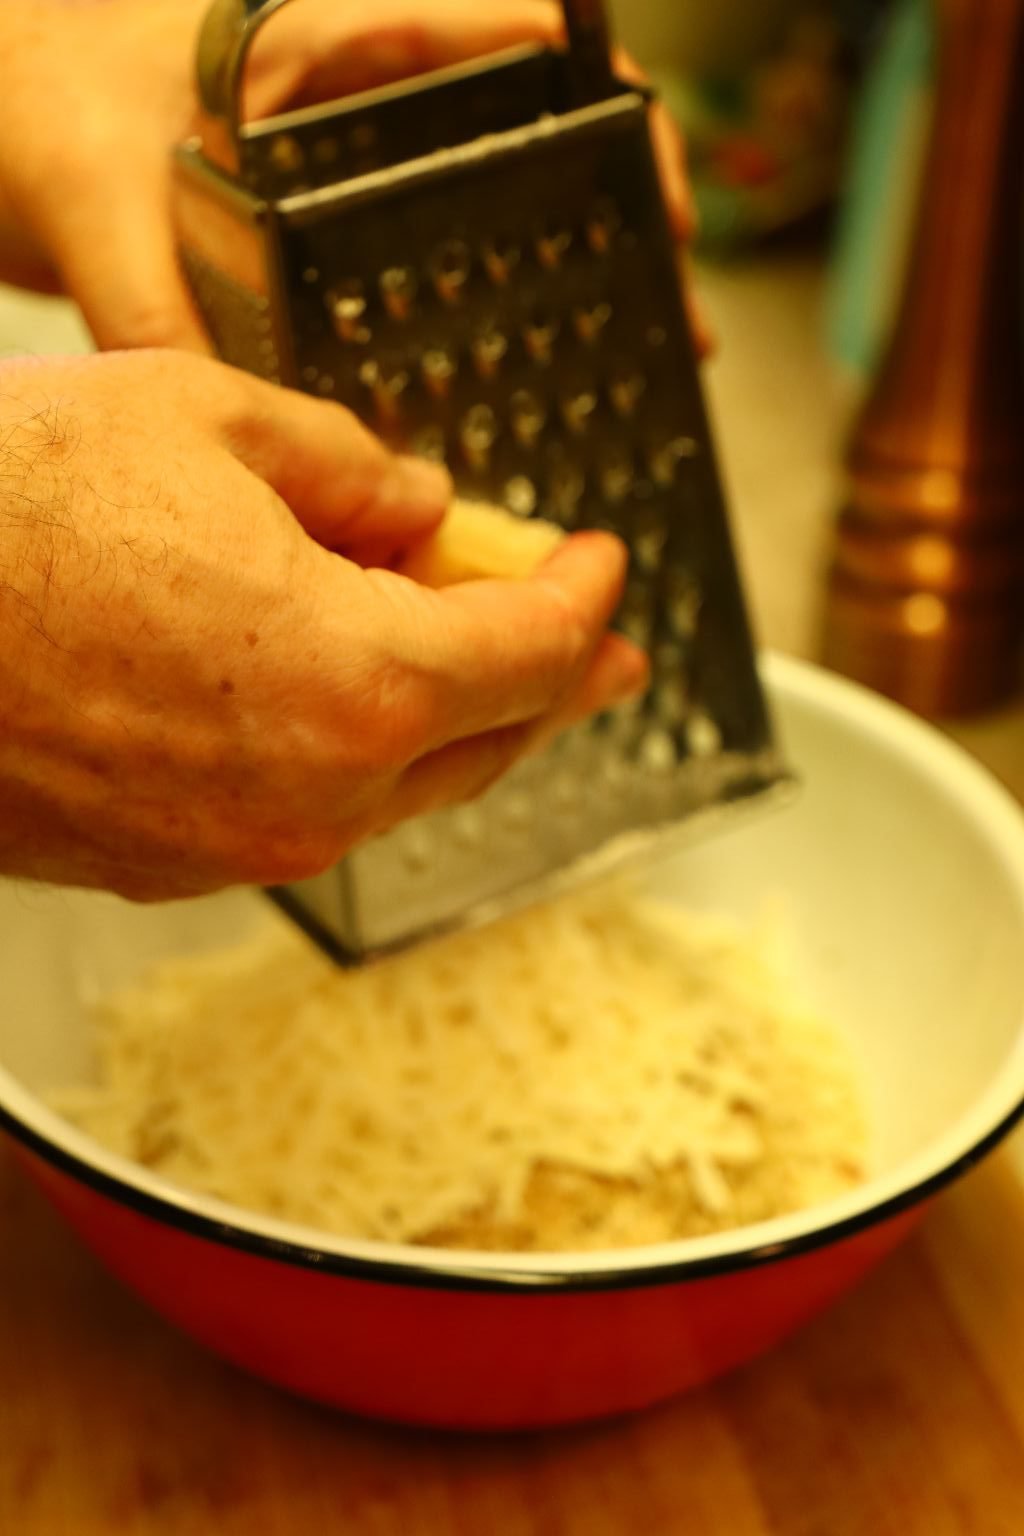
Now add and grate your cheese into the bowl.
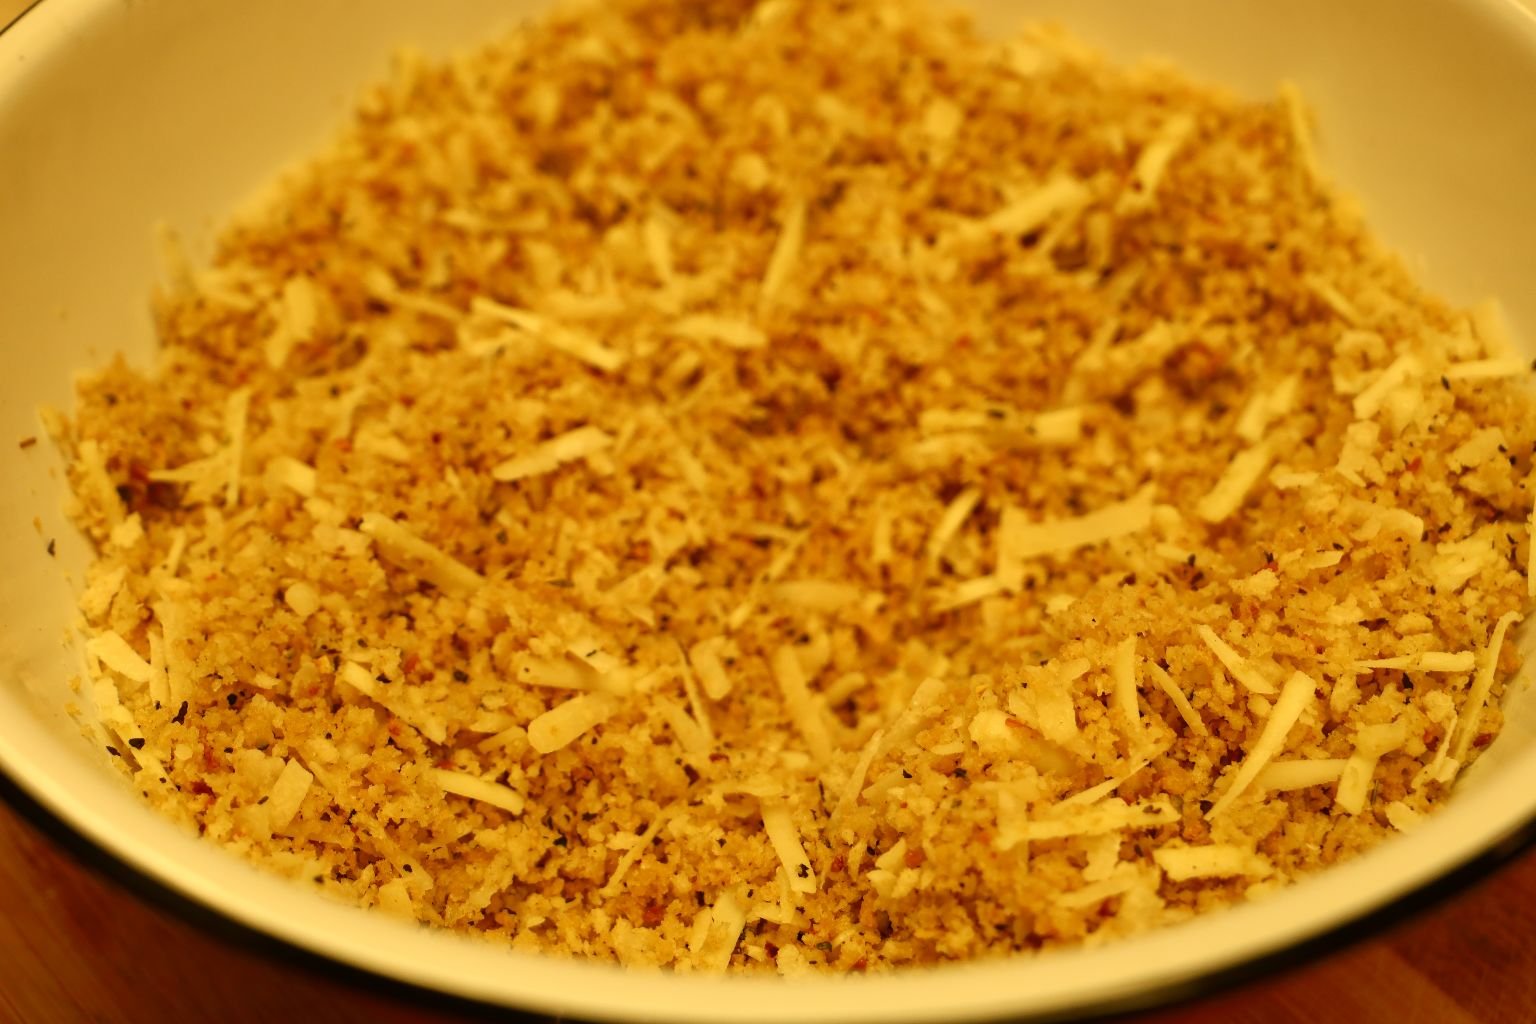
Mix all the ingredients together and add more of each if needed.

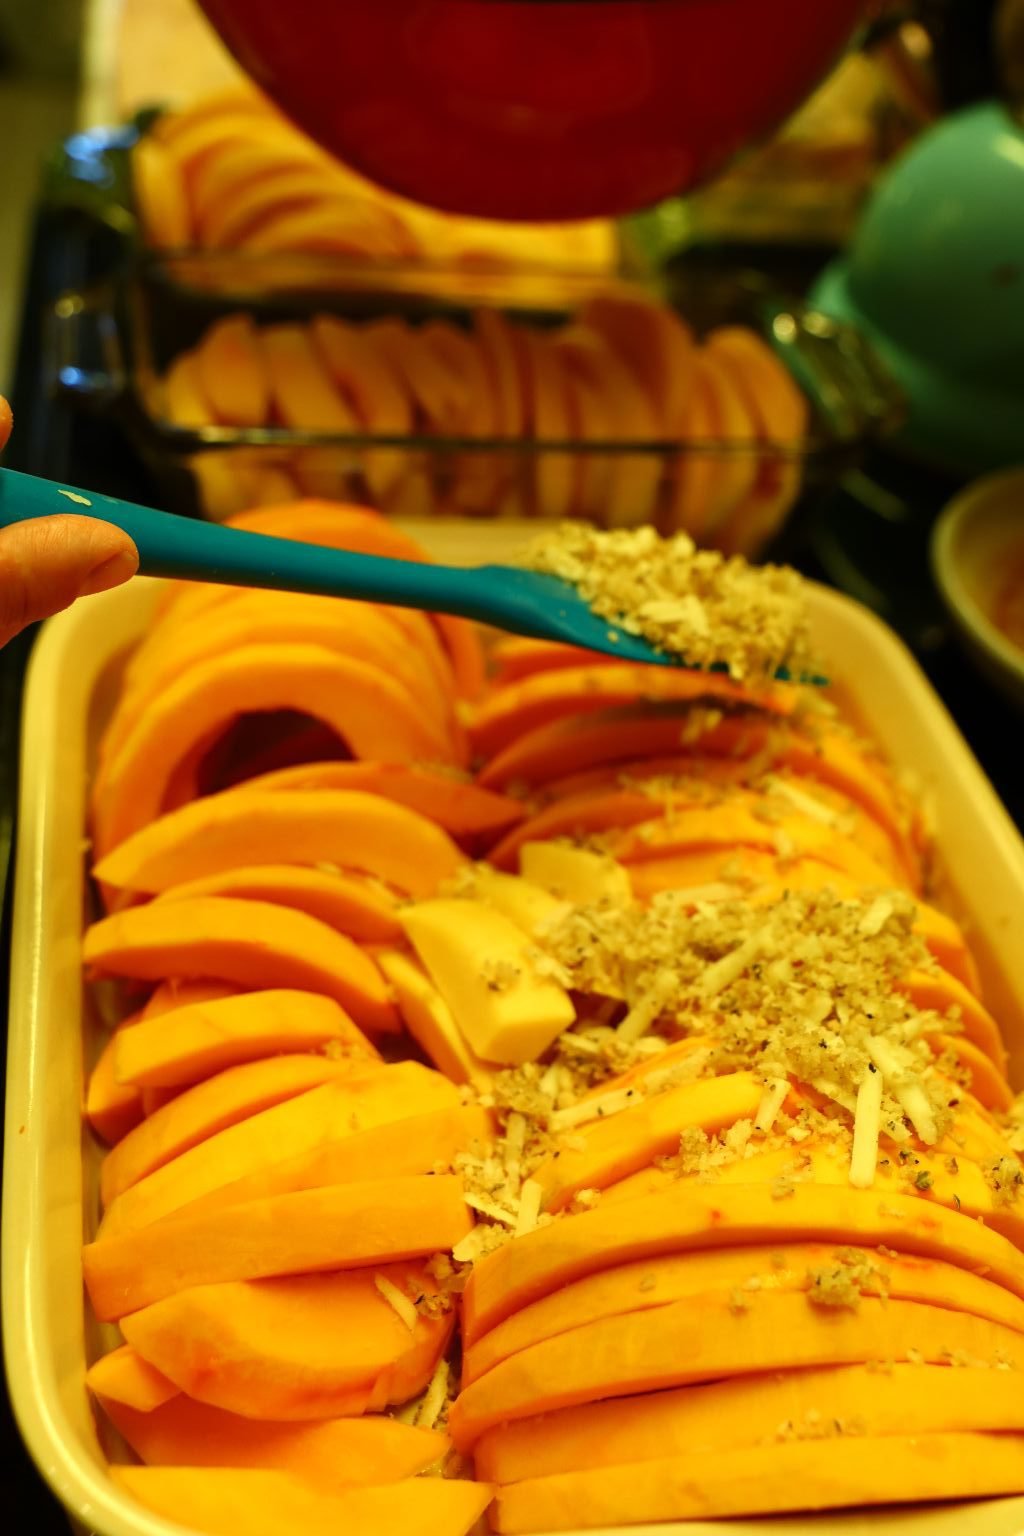
Spoon a good amount of the Panko and cheese mixture over the sliced squash.
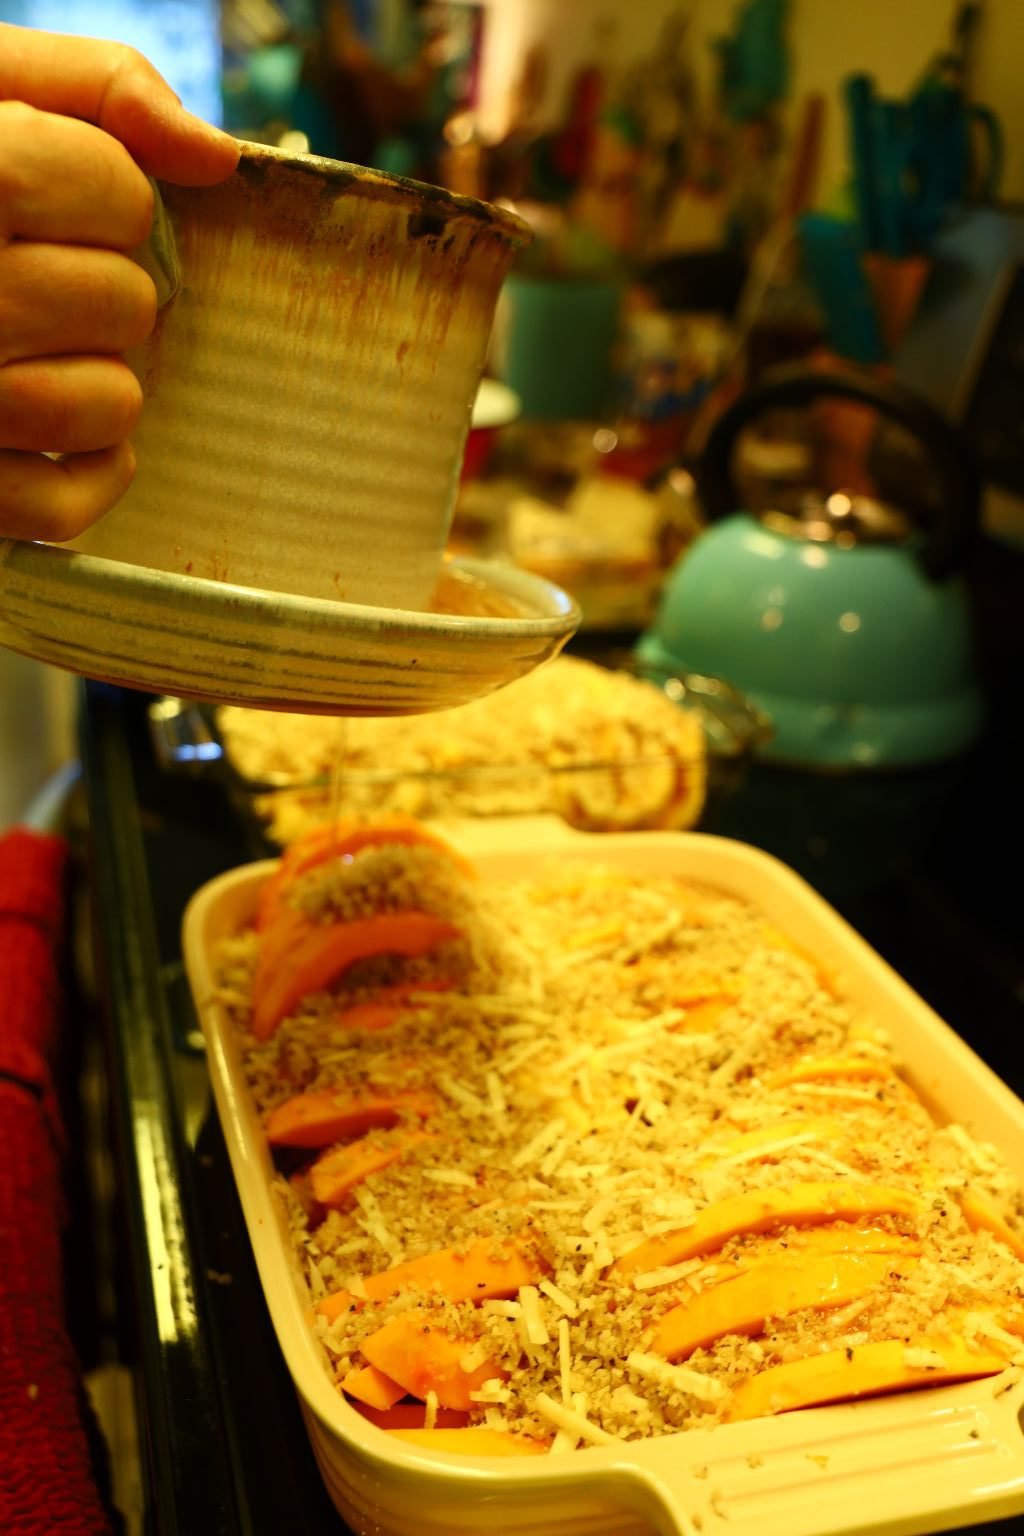
Here I am also adding some of the bacon grease to the Panko topping.

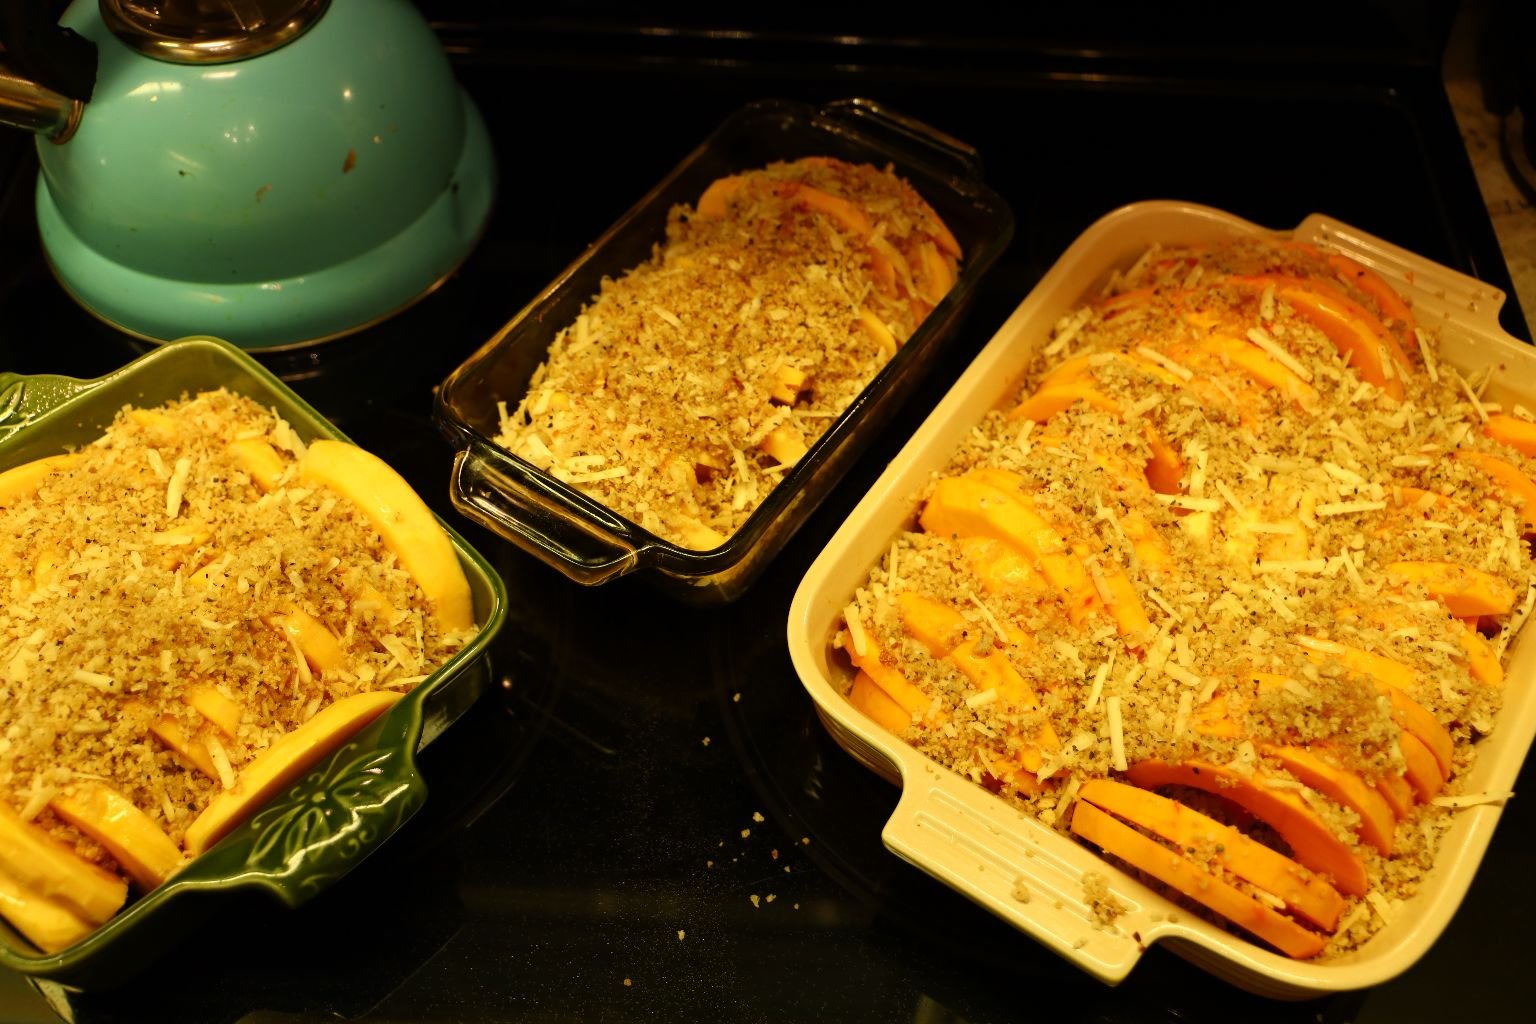
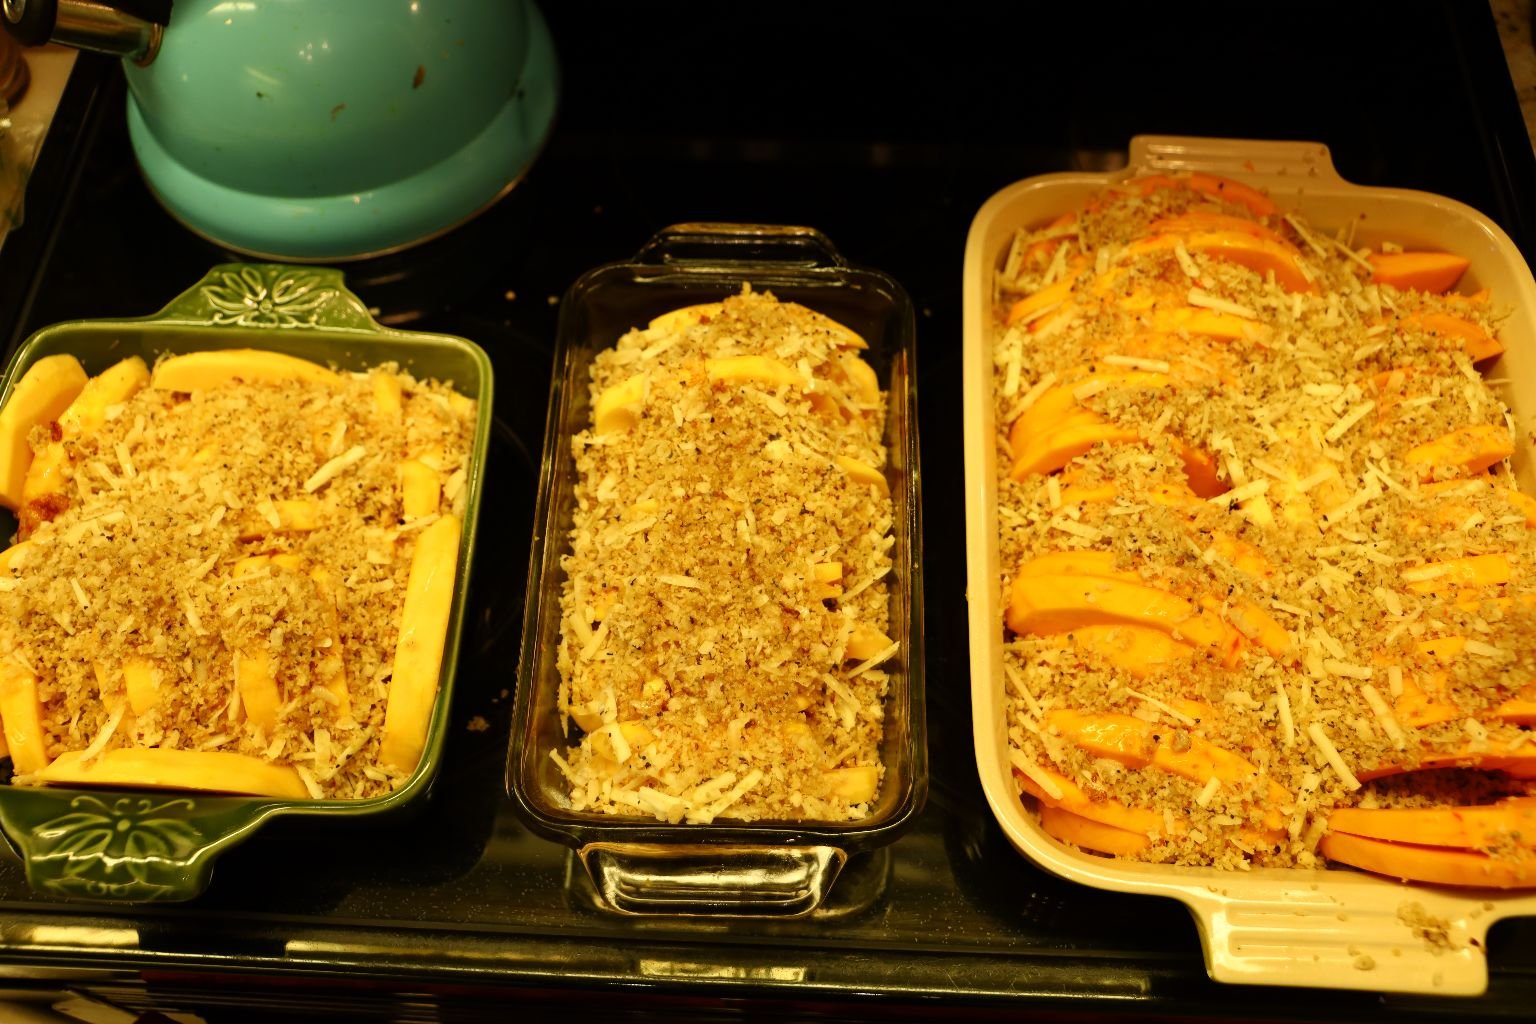
Here are our three casserole dishes filled with the squash slices and Panko topping.
These can be stored in your refrigerator for a few days or frozen to be served and eaten much later.
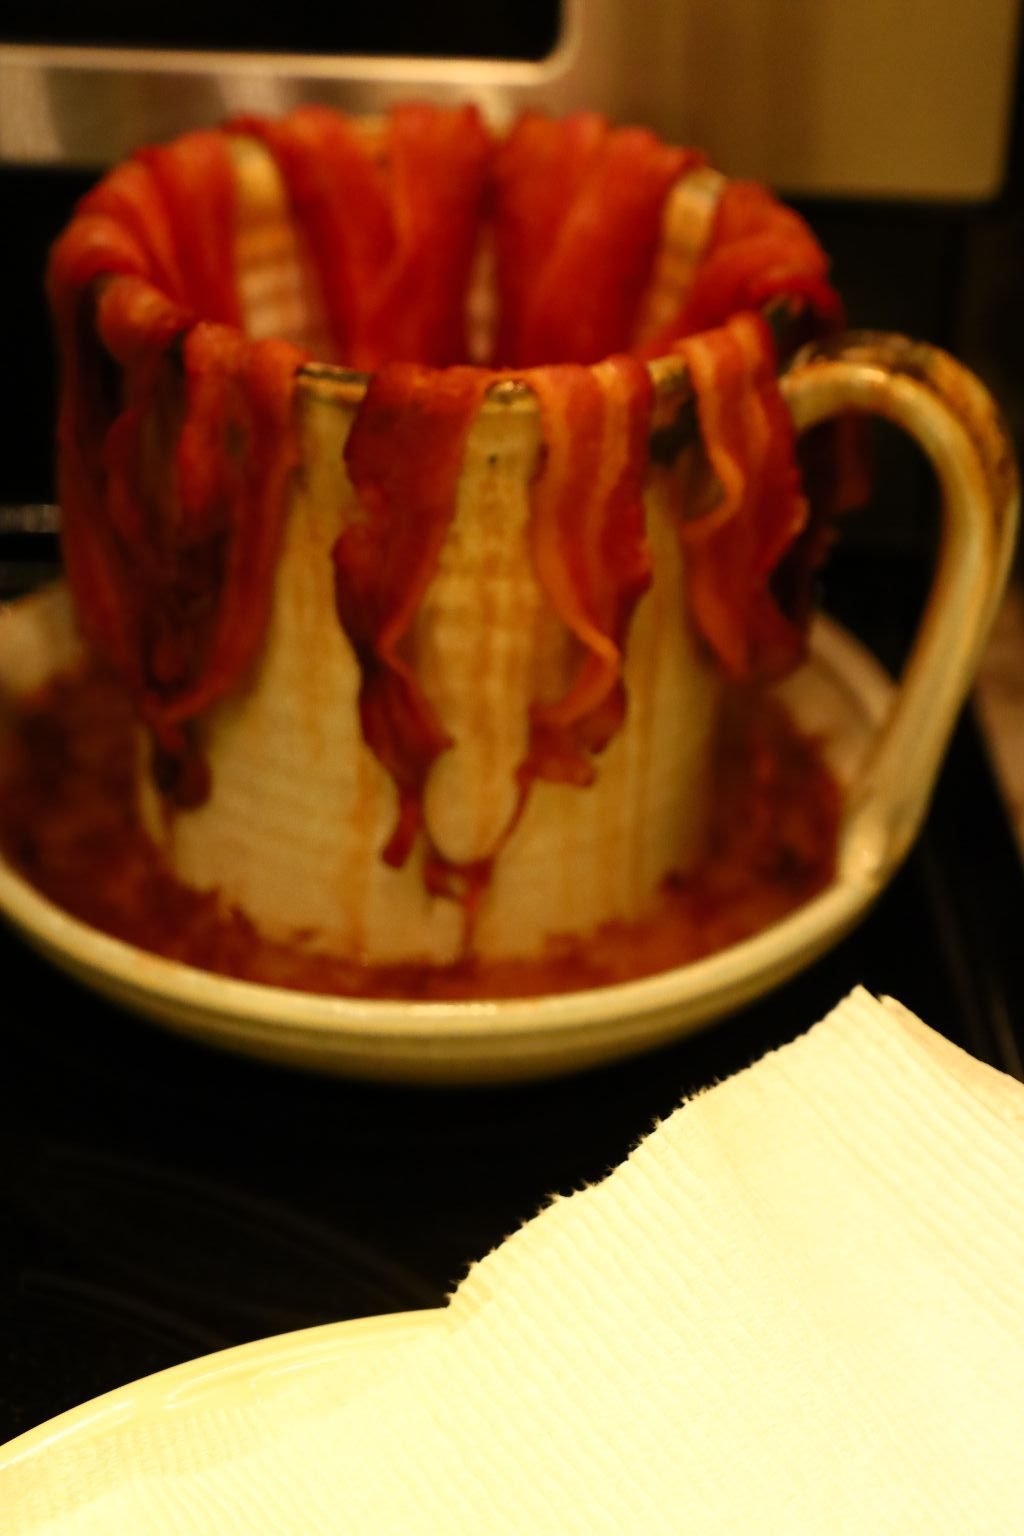
Who doesn’t like a picture of cooked bacon?
———————————————————————–
Both of our Not Your Mother’s Green Bean Casserole, and our Italian Ornamental Squash Casserole, were made the day before. That made Thanksgiving Day much easier. We even cooked the Bacon and fried the Onions the day before.
———————————————————————
Next Day, Thanksgiving Day…

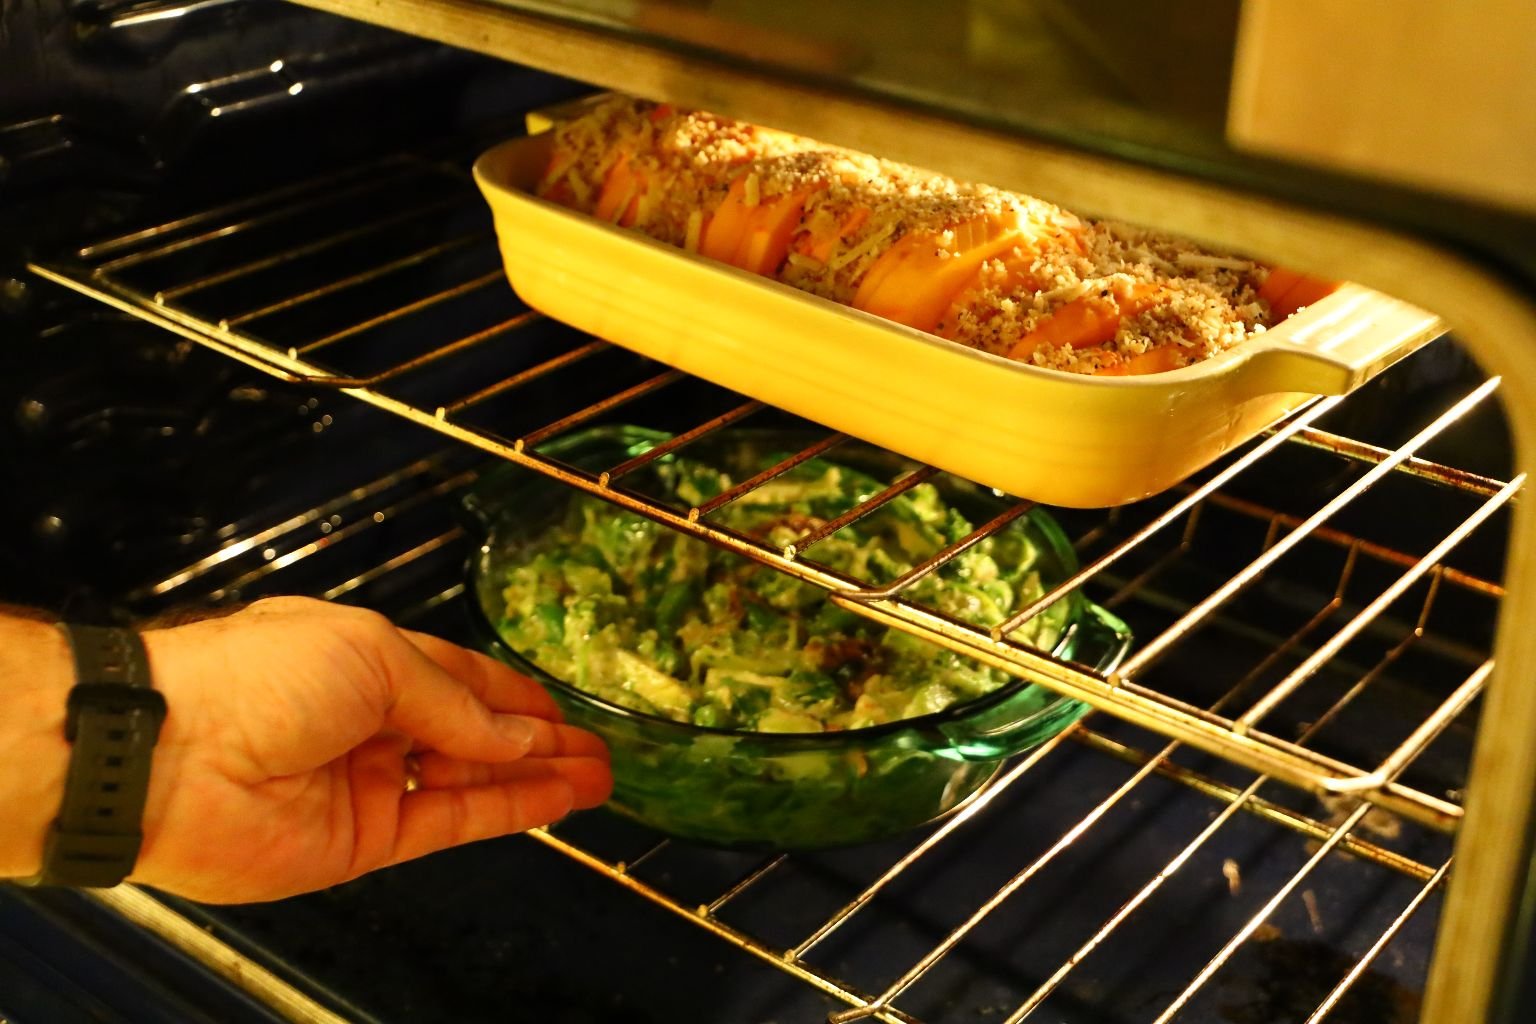
Ready to Bake the Casseroles
Cook this at 350’F for about 40 min. or until the squash is tender. Every oven varies so be sure to keep an eye and make sure it isn’t burning. If so, you can always cover it with foil while it finishes cooking.
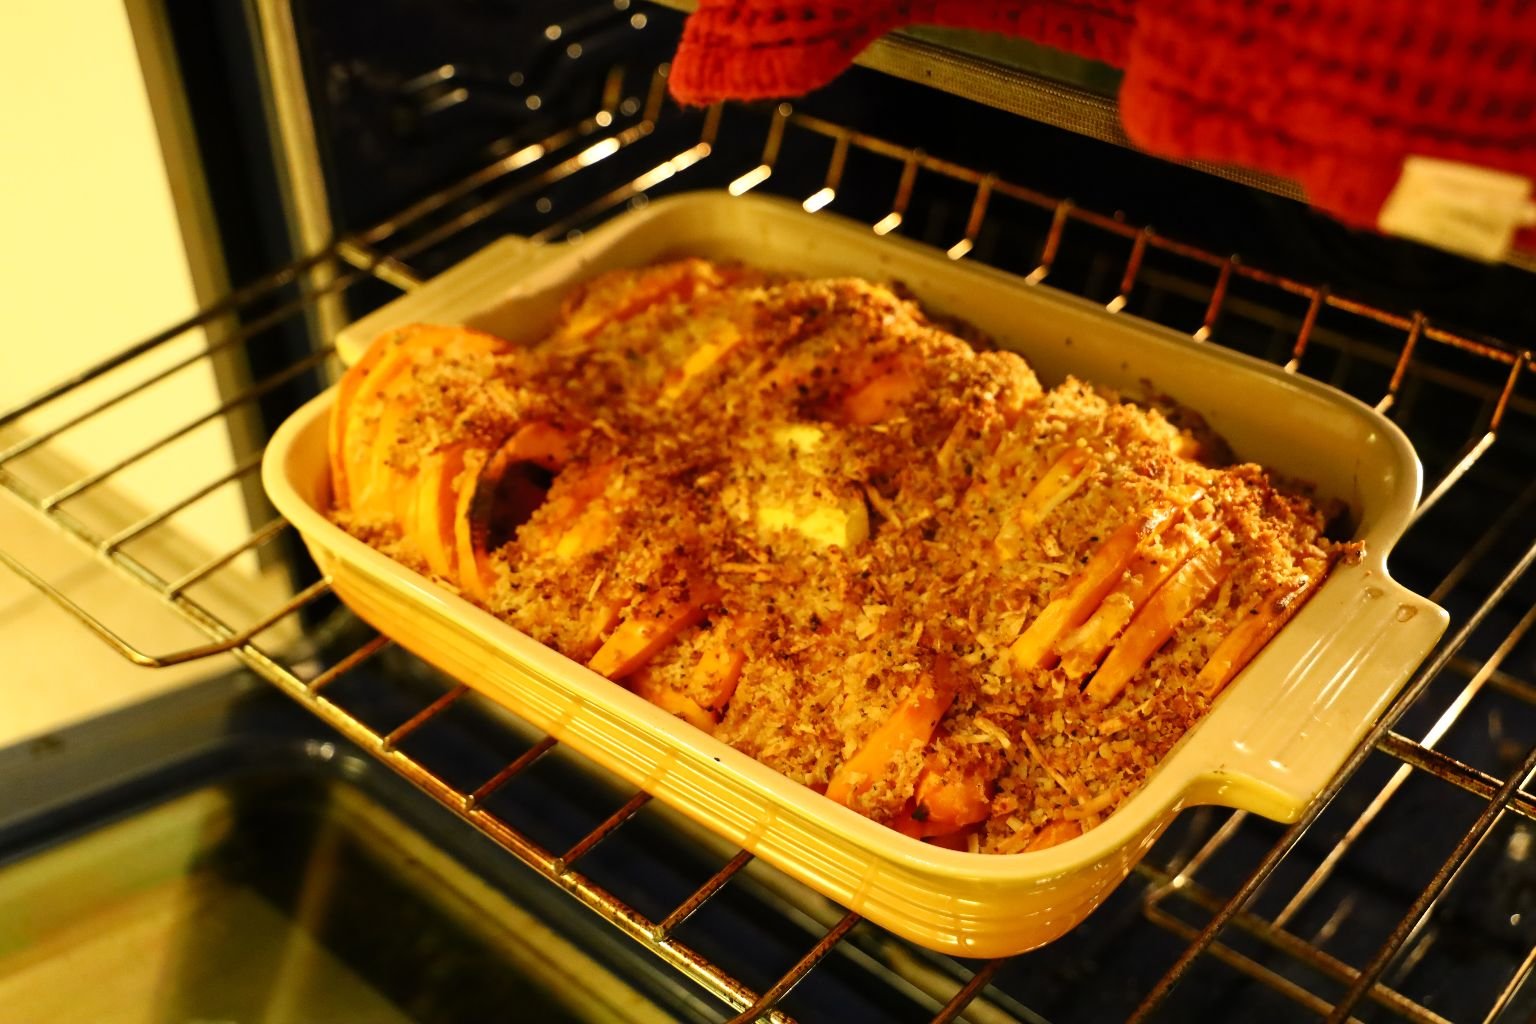
Here you can see the cooked squash and the nicely browned Panko.
Top this casserole with some of your bacon and some parsley sprigs.
———————————