Autumn Grillin’
Welcome to Autumn Grillin’!

Grilling outside shouldn’t be limited to just the spring and summer, nice warm weather, it can be something that you do all year long. We do live in Florida, so it is more ideal for us to grill year round, but we do know people that live in colder climates that grill outside during the winter months. So if they can do it, so can you.
This is a blog that we will be updating, so stay tuned for some great outdoor recipes.
———————————-
The Proper Way To Grill BBQ Pork Tenderloins
————————————————————————————————
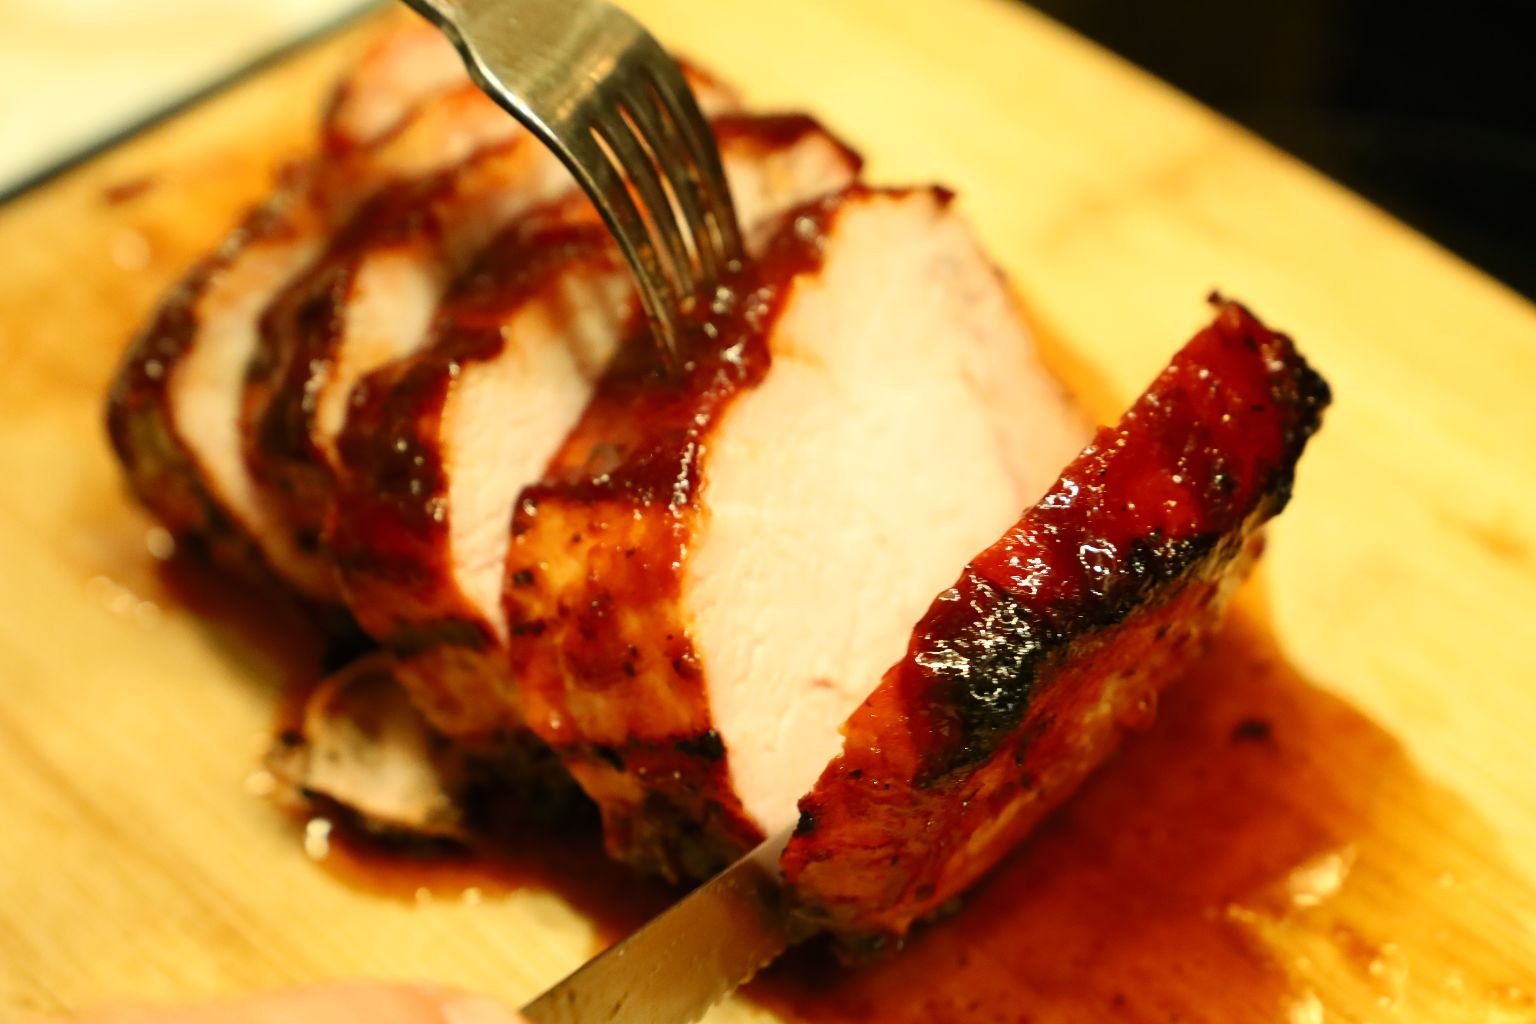
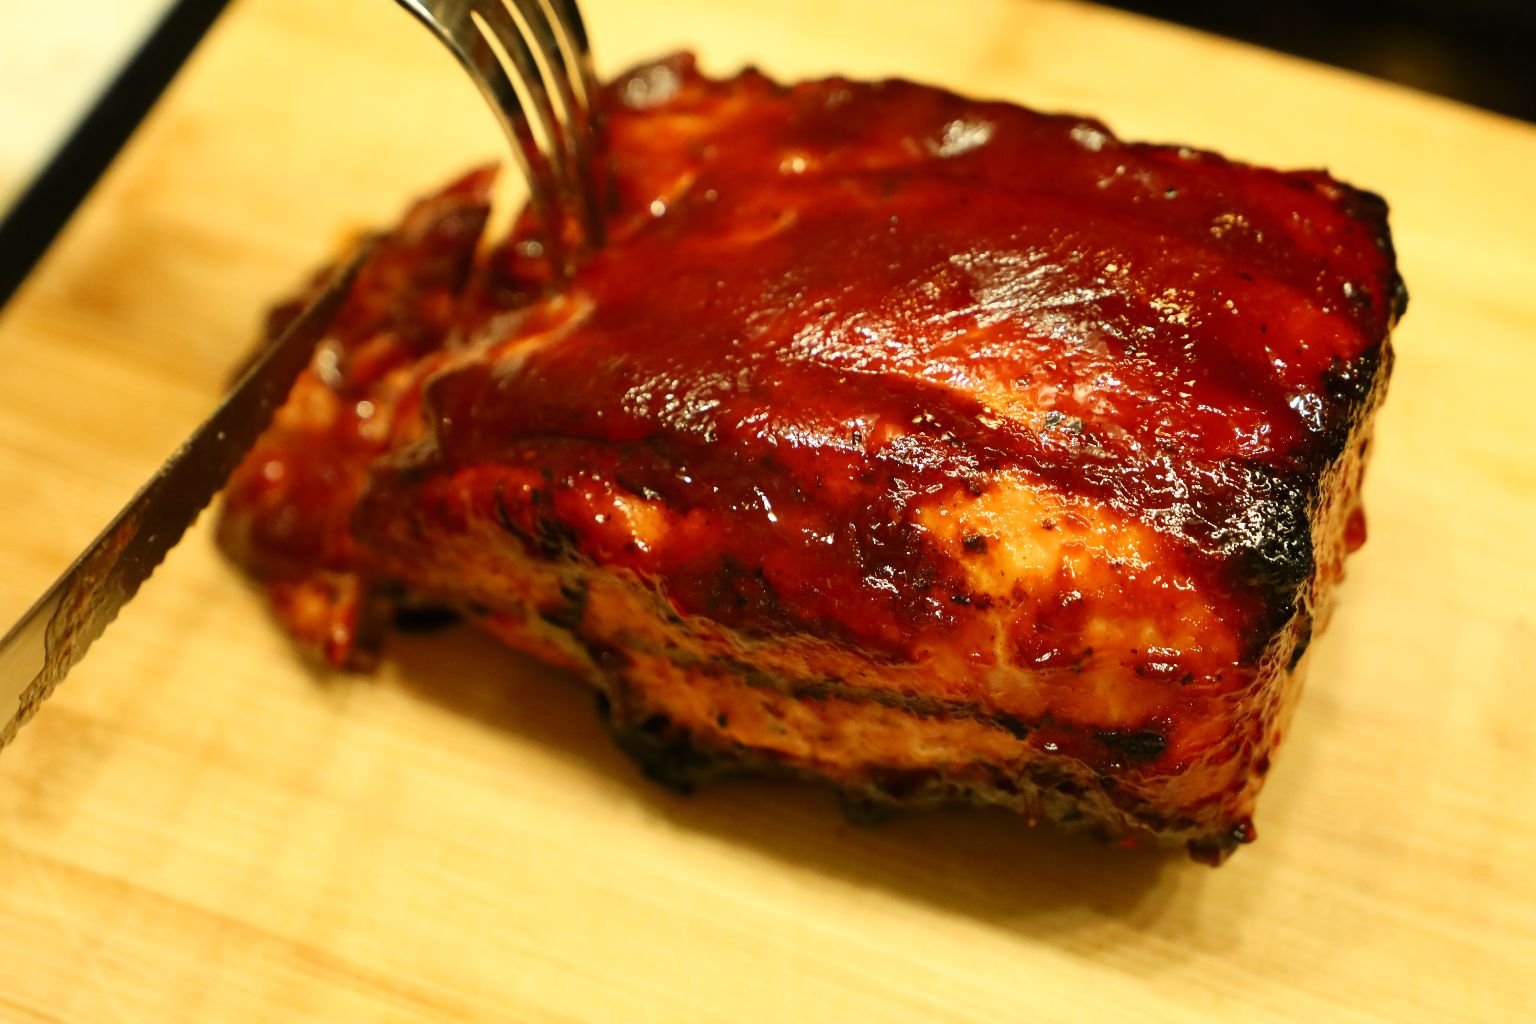
Julie doesn’t like it pink, so I cook it a touch longer for her… and she loves the end slices.
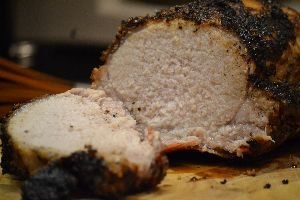
Here I sliced them to about 1-inch-thick, and you can see the meat is nice and white…
just the way Julie likes them.
Perfect!
(Recipe Down Below)
——————————————————————————
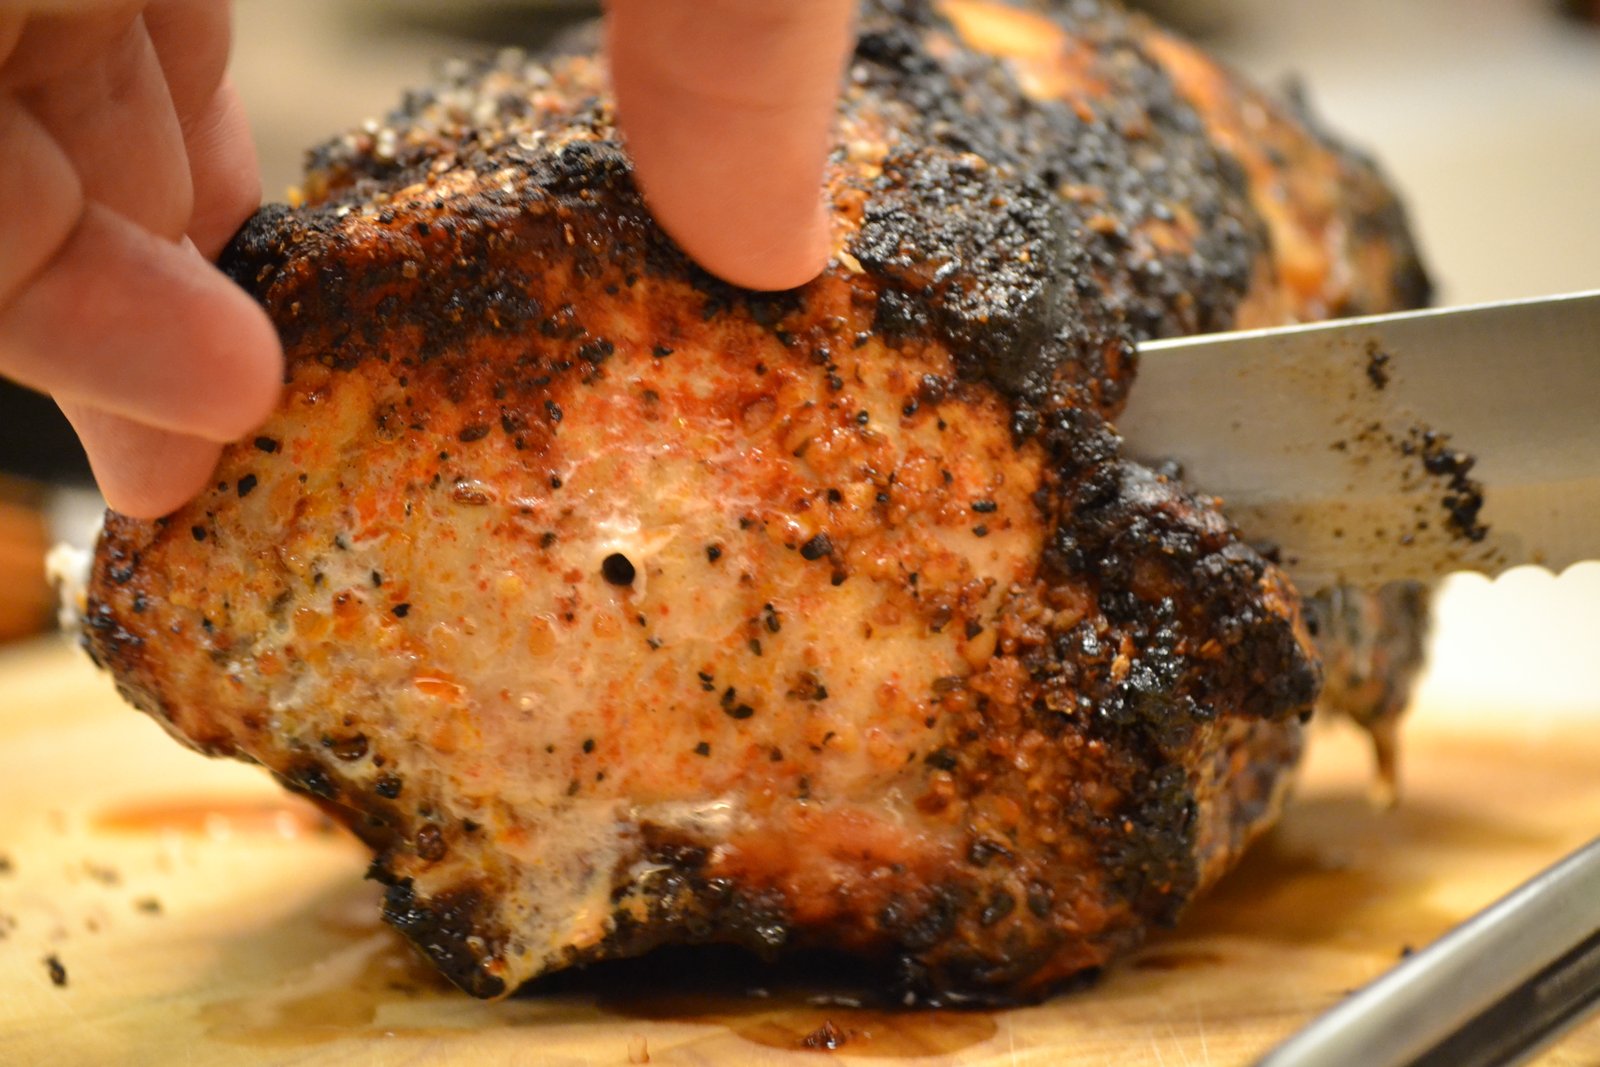
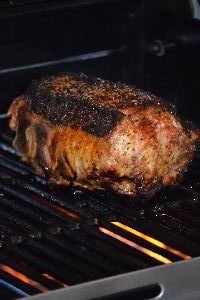
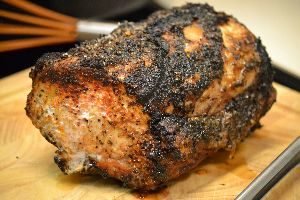
Bone in Pork Roast on the Grill
I cannot begin to describe to you just how delicious and perfect that this was.
So Juicy!
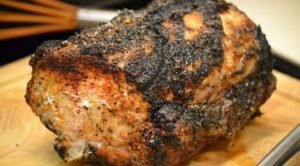

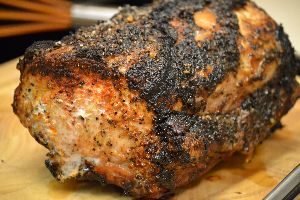
This truly is food porn! 🙂
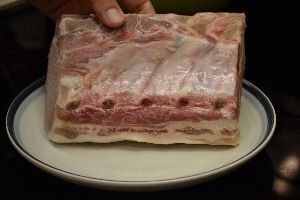
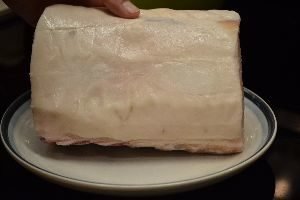
Here you can see both the bone side and the fat layer.
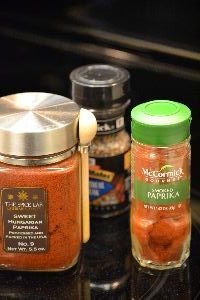
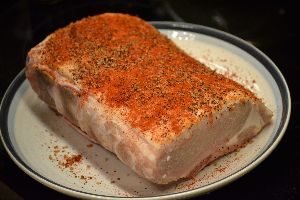
I used some sweet and smoked paprika along with some grill mates Montreal steak seasoning made by McCormick.
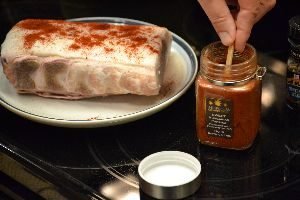
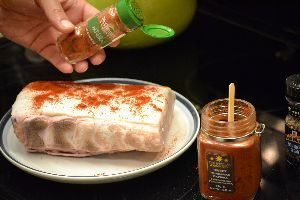
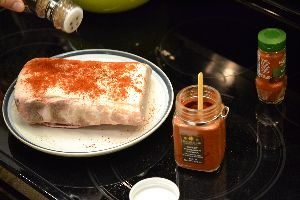
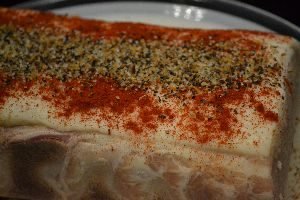
You want to coat the entire roast with it, so rub it in to ensure it sticks well to the meat.

I didn’t rub it in on the bone side as you can see.
Always cook the show side first, that way it will present well and in this case the fat will drip down over the meat during the rest of the cooking.
The fat holds all of the flavor.
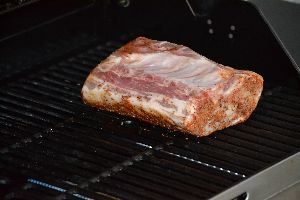
Turn your grill up high and coat the grates with some non-stick high temp oil. Heat your grill up this way for about 5 min., then place the roast fat side down on the grates and close the lid. Now, turn your grill down to medium heat.
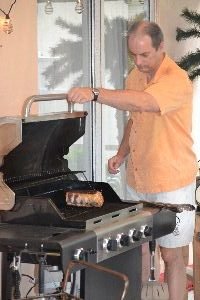
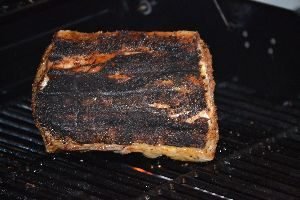
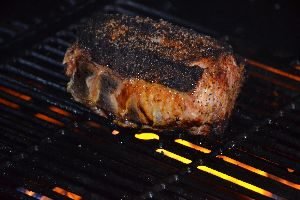
Here you can see the fat side is getting a nice char. This took about 10 min. Turn your roast to the bone side and close the lid. Leave it on this side a little longer checking it about every 4 min. for flare ups from the fat. If this happens, you can move the roast to another section of the grill or use a little water to put out the fire. I also placed the roast on each end for about 4 min. a side to get some color on the ends.
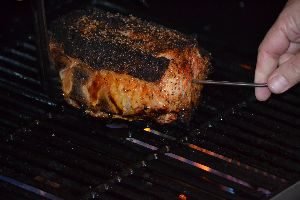
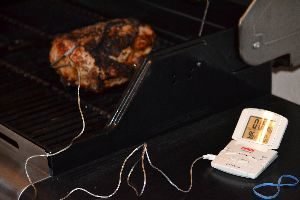
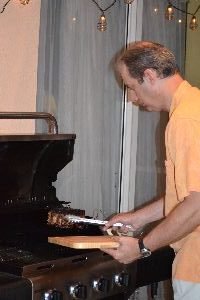
Remove it from direct heat and finish the cooking off to the side of the grill. You can then place digital thermometer into the center of the roast and cook it to 140’F.
If you want it a little more pink, cook it to 135’F. I will explain this more below.
Once ready, remove the meat from the grill, turn off the gas and close the lid to let the residual heat cook off any bits left on the grates.
Let the meat rest for at least 10 min. or more to ensure the hot juices have time to travel back to the center, cooking the meat up to 5 to 8’F more. Doing this will ensure you have a juicy perfectly cooked roast.
Remember, the meat doesn’t stop cooking after you remove it from the heat.
Those super heated juices traveling back into the meat do great things.
This is why I prefer an end temperature of 145’F.
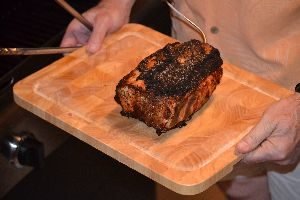
Perfection… and it tastes as good as it looks!

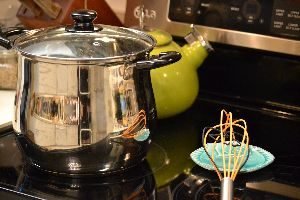
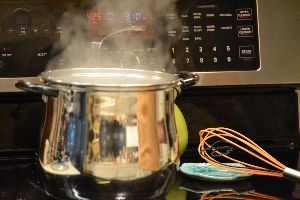
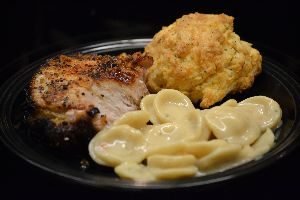
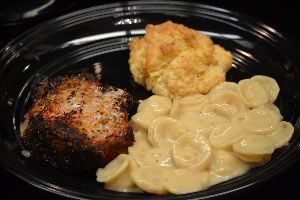
Biscuits and Pasta
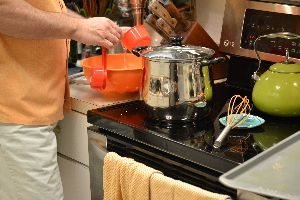
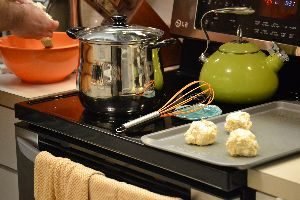
With the pork cooking on the grill it’s time to make some very easy and tasty side’s.

There is nothing wrong with buying up a pre-packaged cheesy pasta meal that only requires boiling the the pasta to al dente, and adding the cheesy packet and some water. 🙂
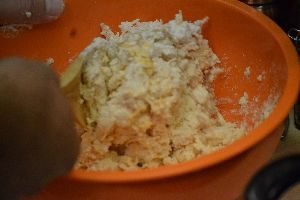
The biscuits did require a bit more work than the pasta, but boy are they worth it!
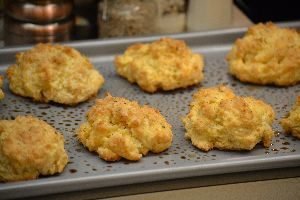
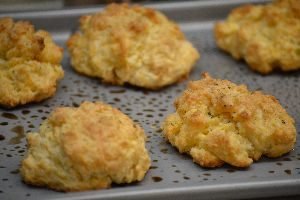
Old Bay Seasoning, Cheddar Cheese Drop Biscuits
Great Meal, Great Sides, Great Leftovers
Happy Grillin’!
———————————————————————————-
The Proper Way to Grill BBQ Pork Tenderloins
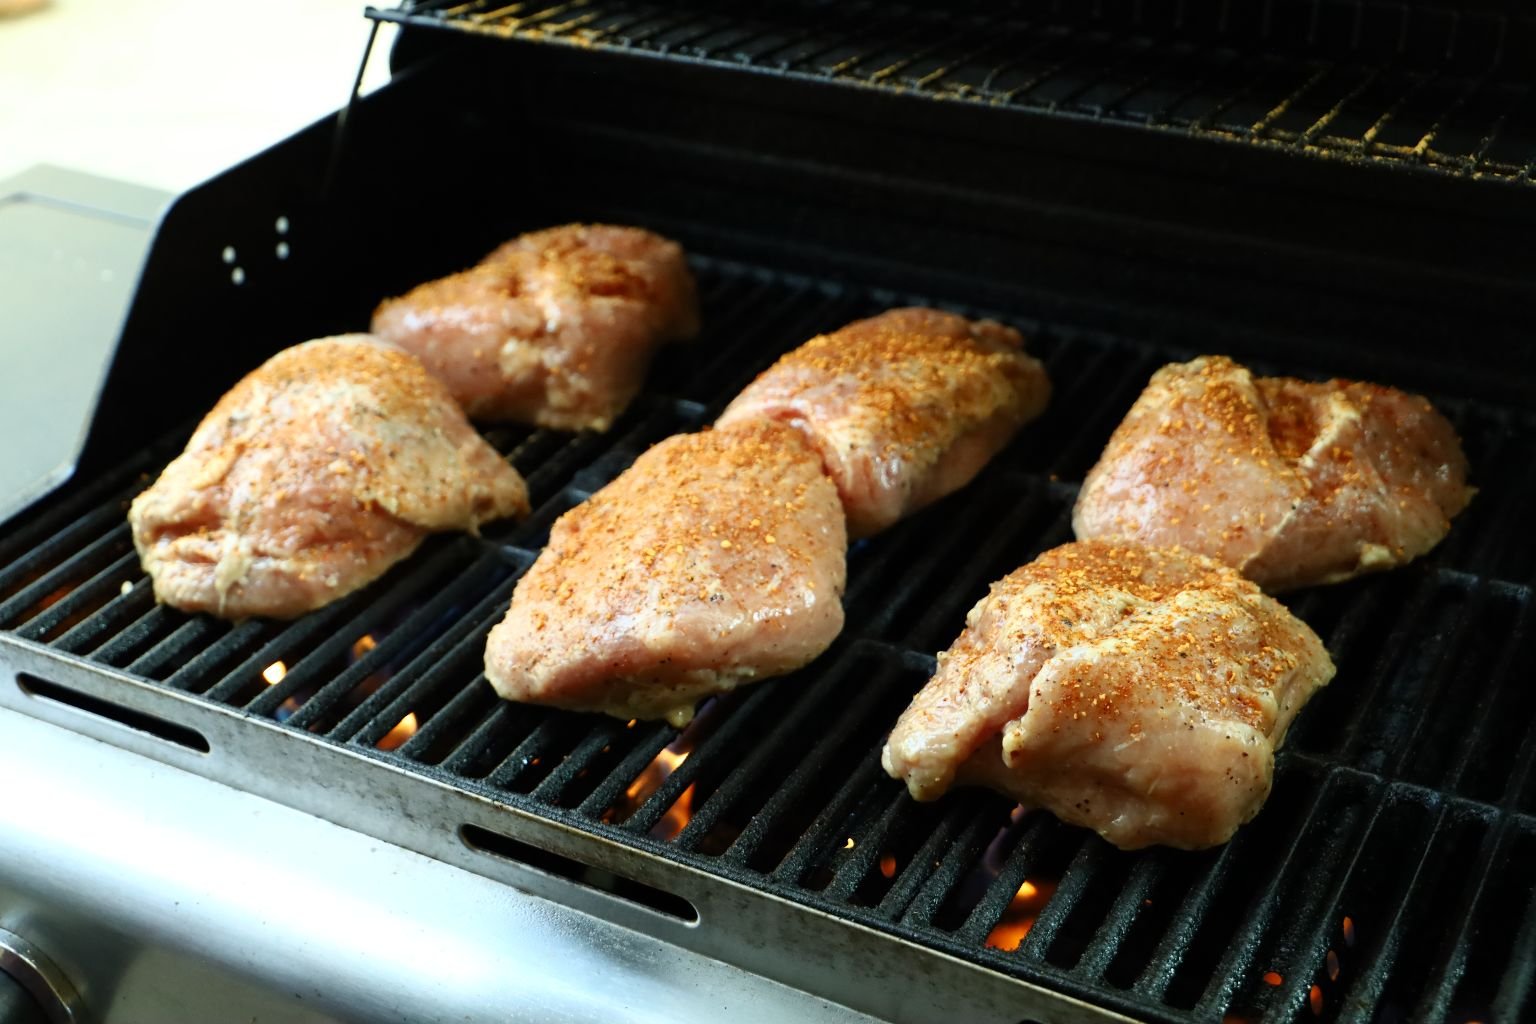
Start by removing them from their packages and give them a good rinse in cold running water to remove any excess blood and bone fragments. Dry them with paper towels.
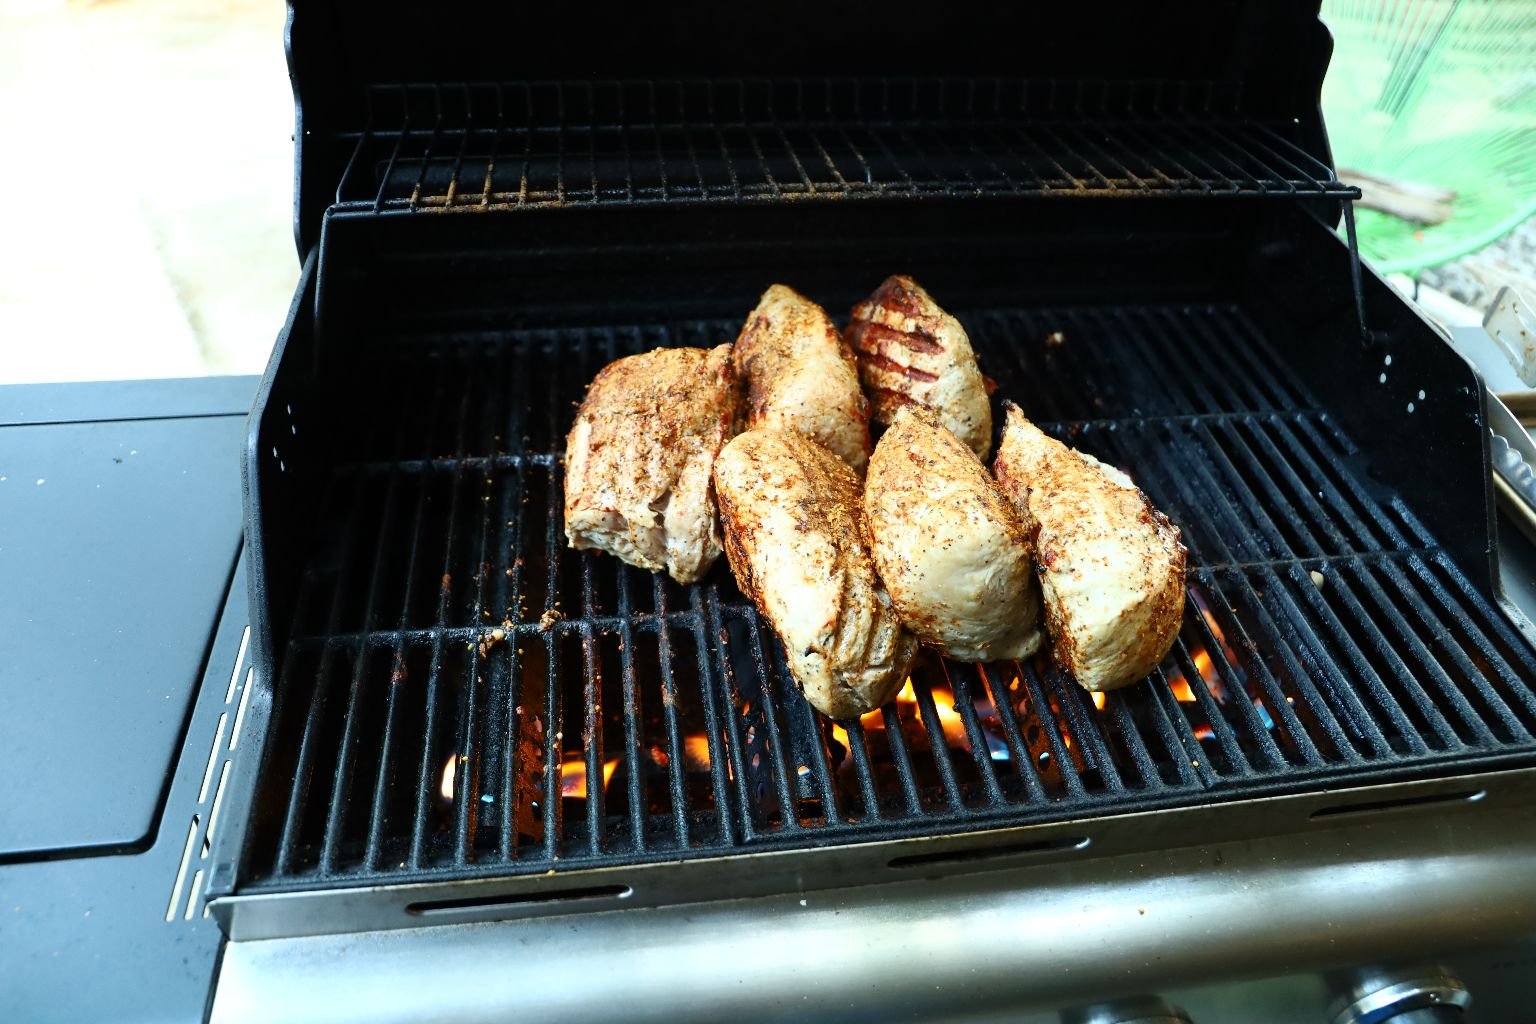
Turn your grill on full for at least 5 min. to clean off any leftover grilled food as well as heating the grates for a good sear on the meat.
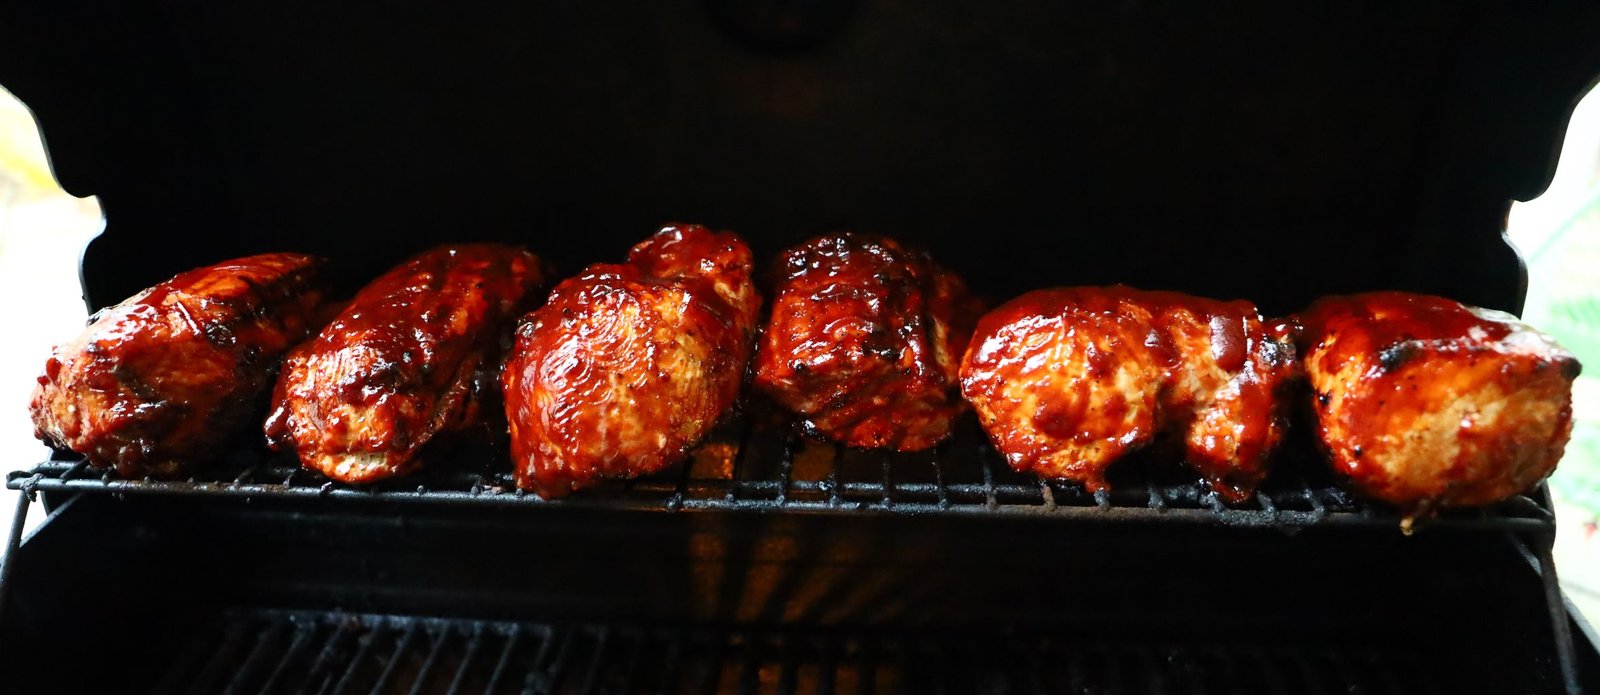
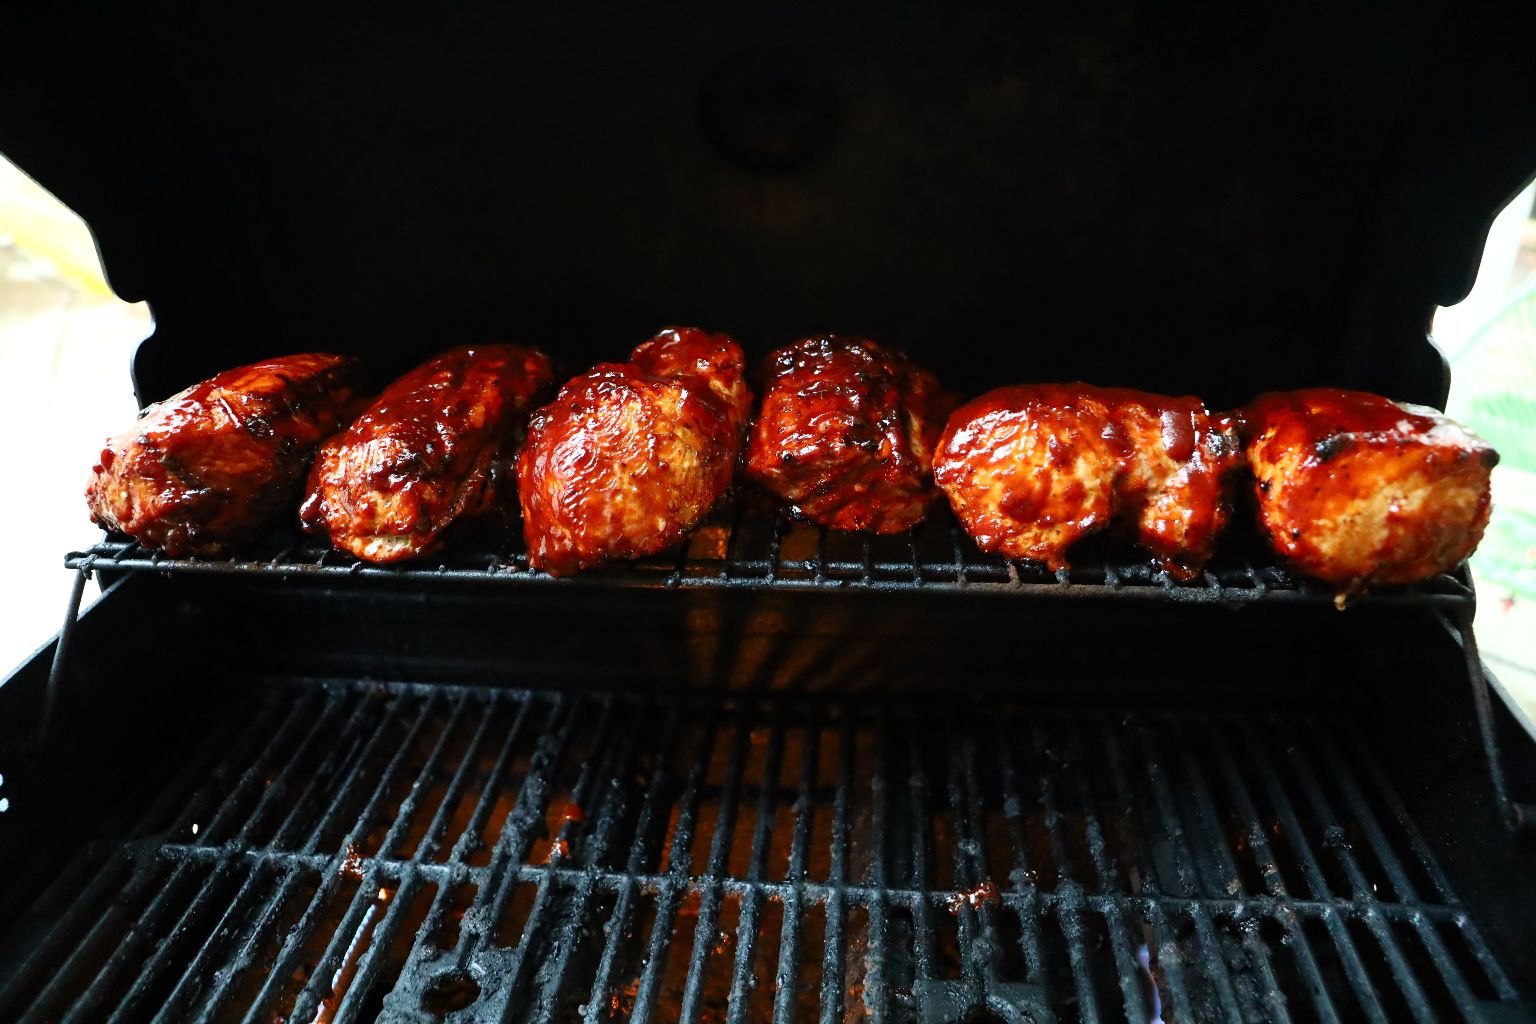
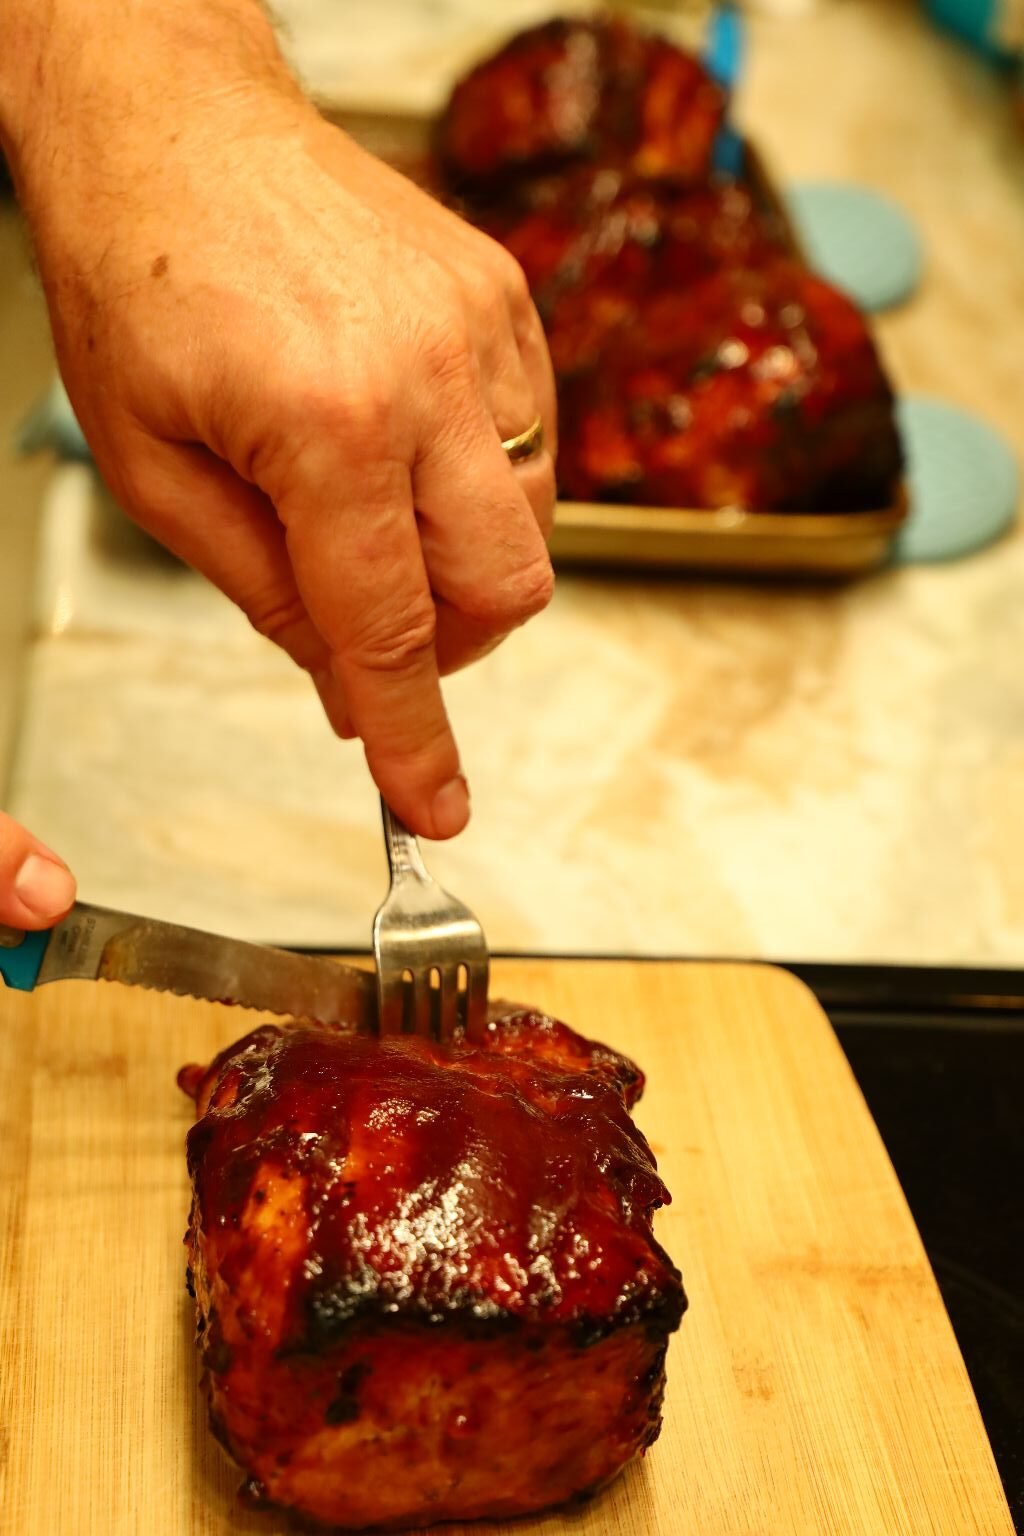
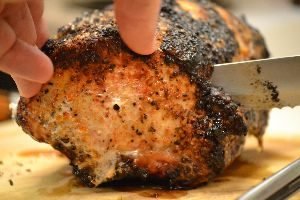
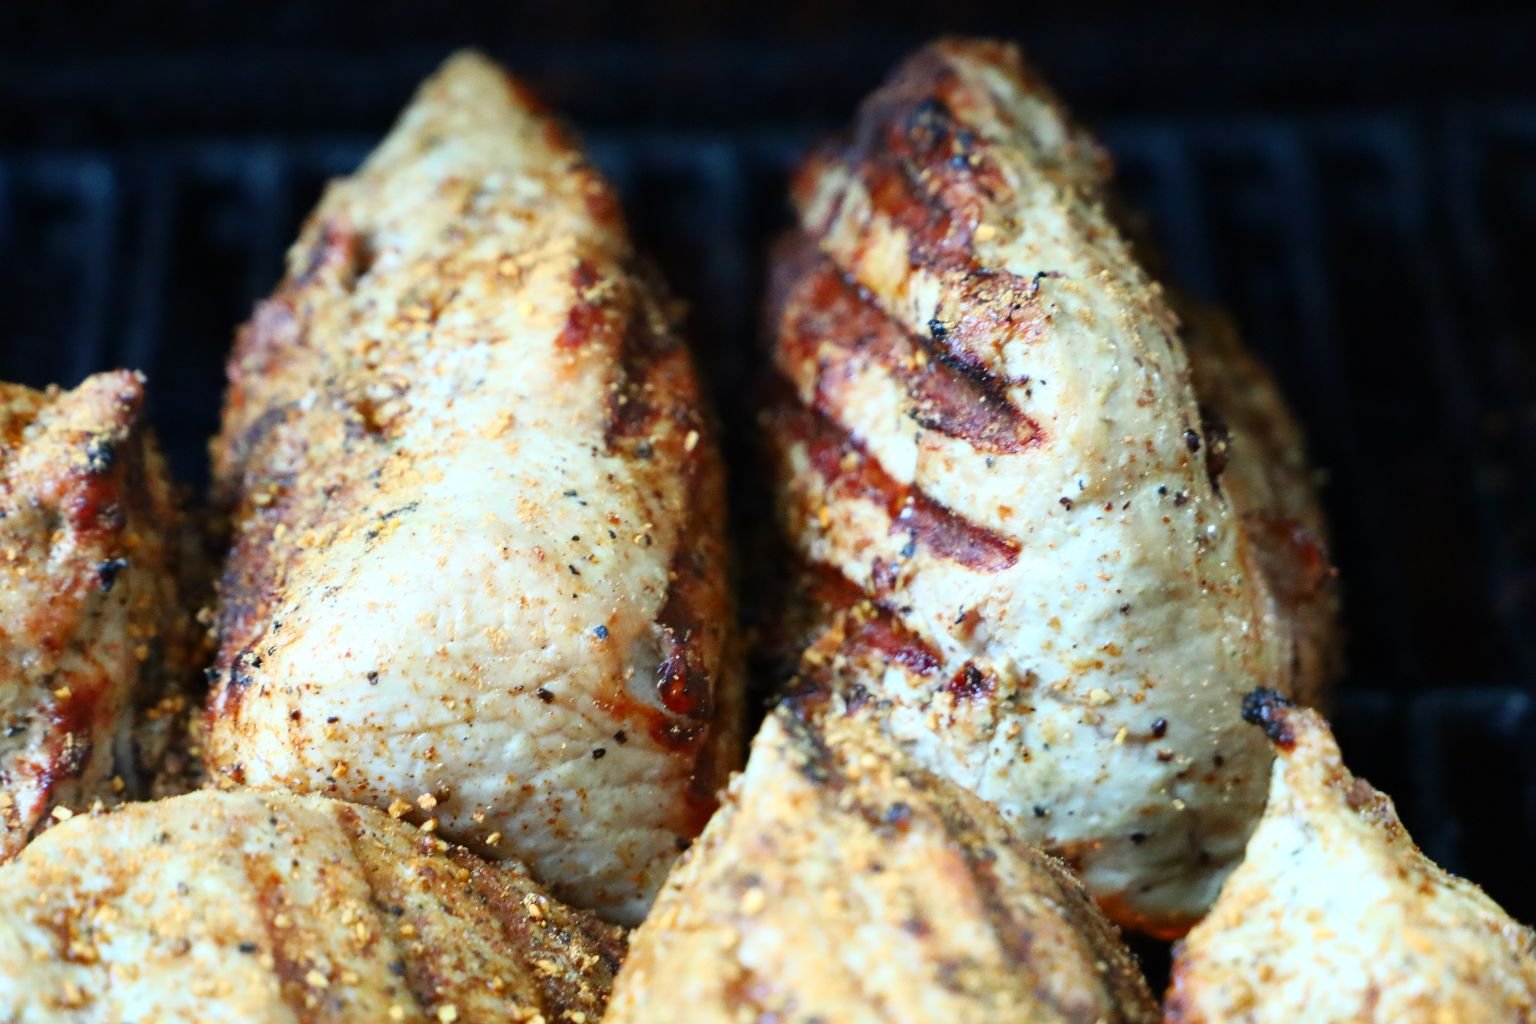
When ready, place your Pork Tenderloins on the grill and add some dry seasoning to start the flavor profile. Let them sit exactly where you placed them to ensure great grill marks. Note the time as you will cook pork tenderloins this size for about 8 min. per side. You will get at least three sides to most Tenderloins.
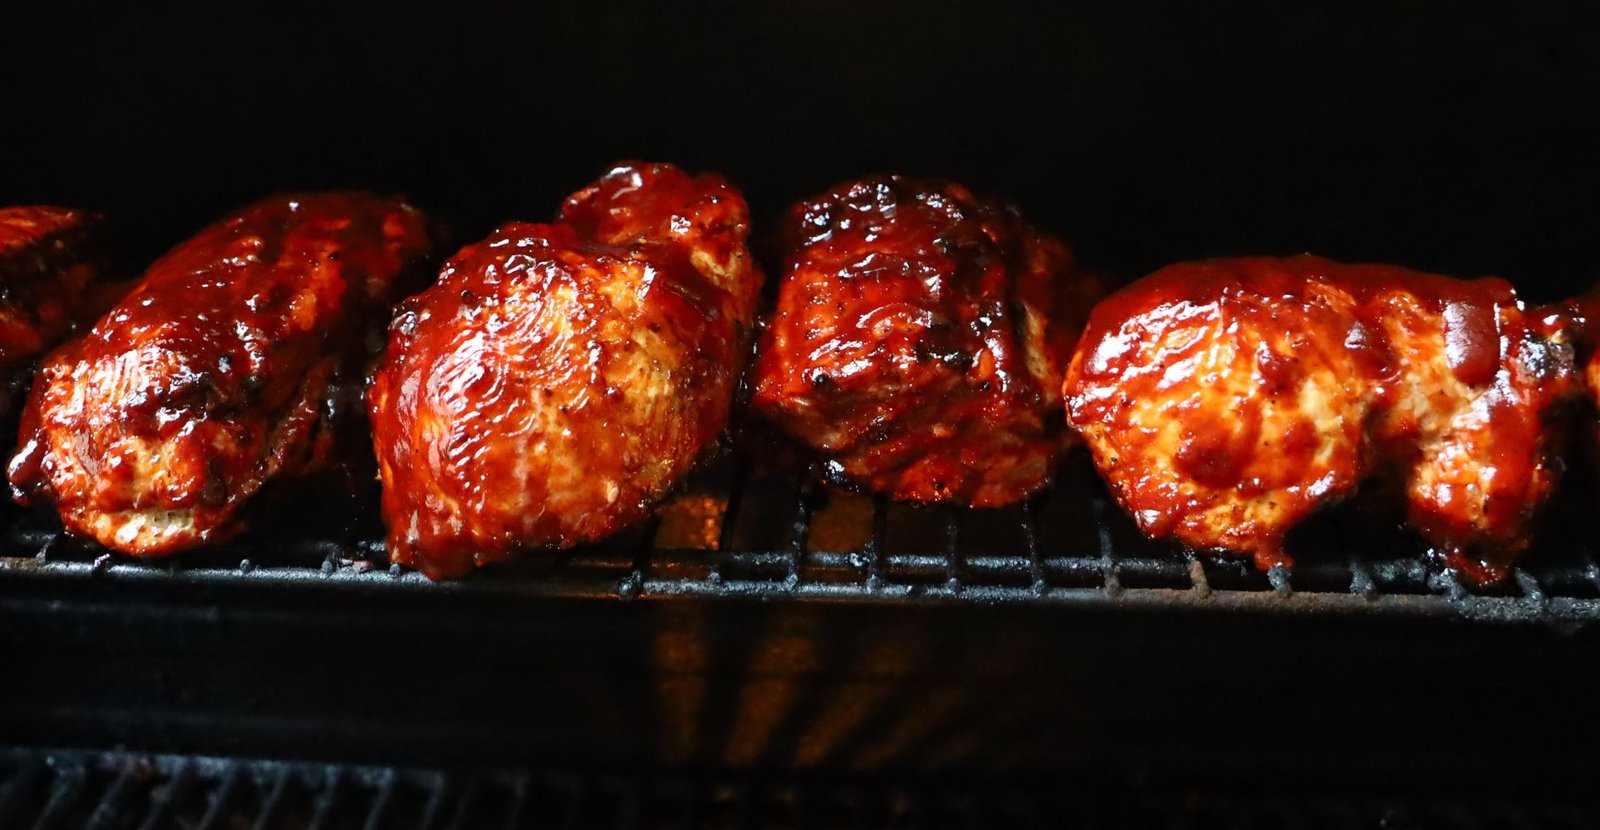
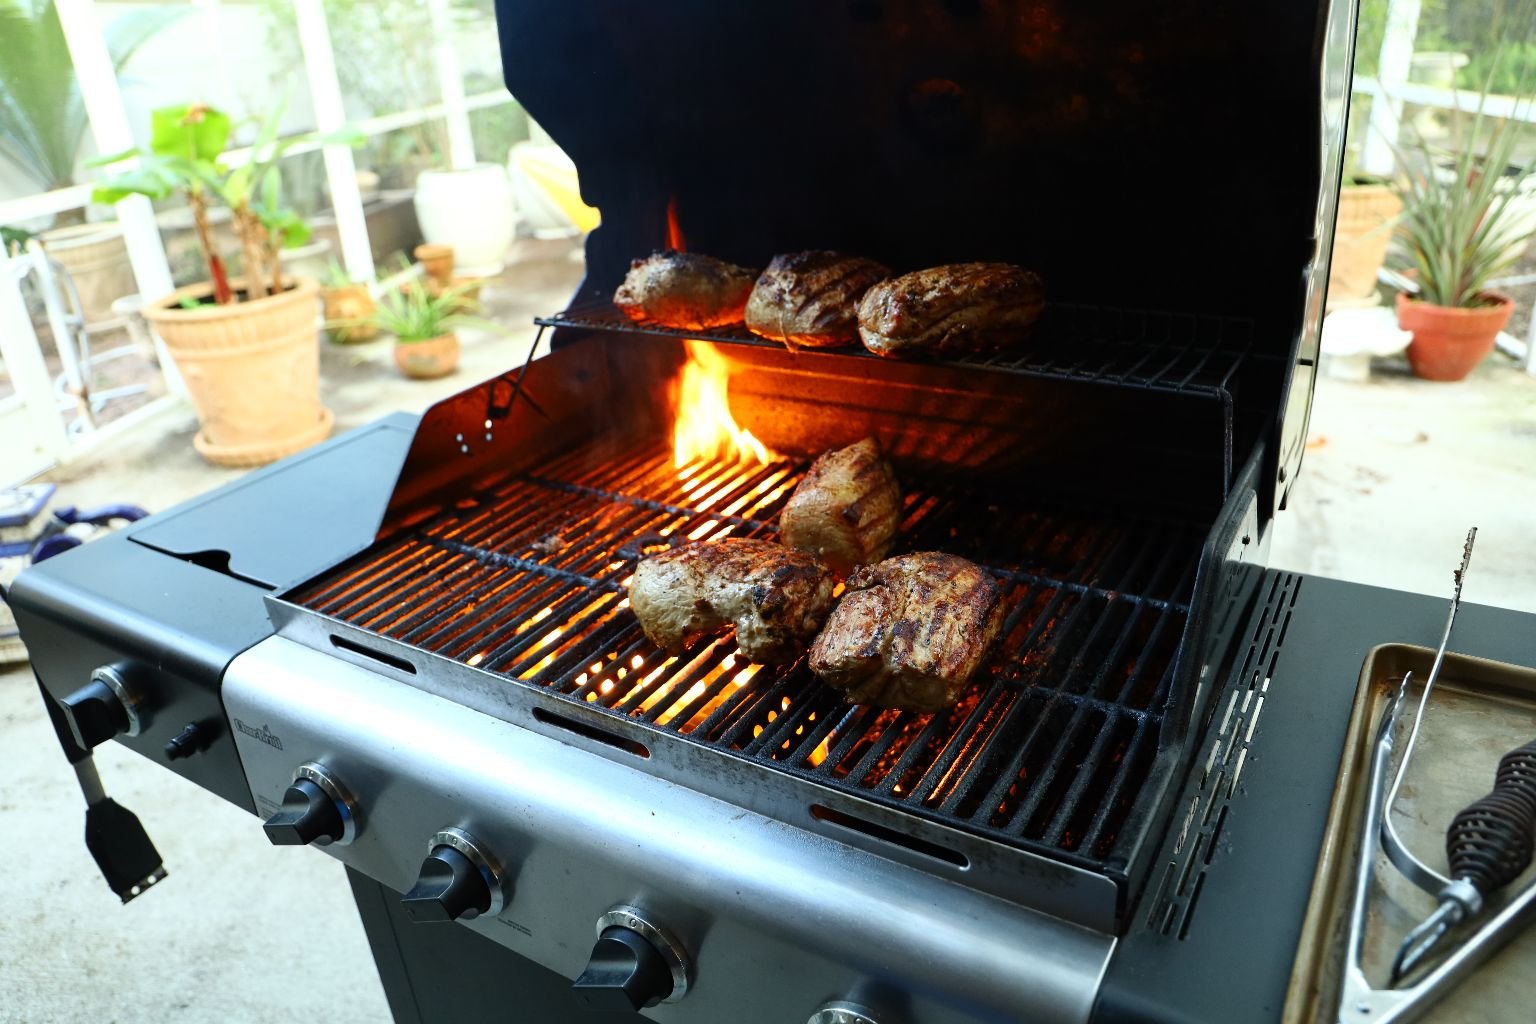
After 8 min. turn the tenderloins completely over and onto a new hot spot on the grill, again to ensure you get those grill marks. Then after another 8 min. turn them over to likely the last uncooked side. Now, add your first layer of liquid BBQ sauce.
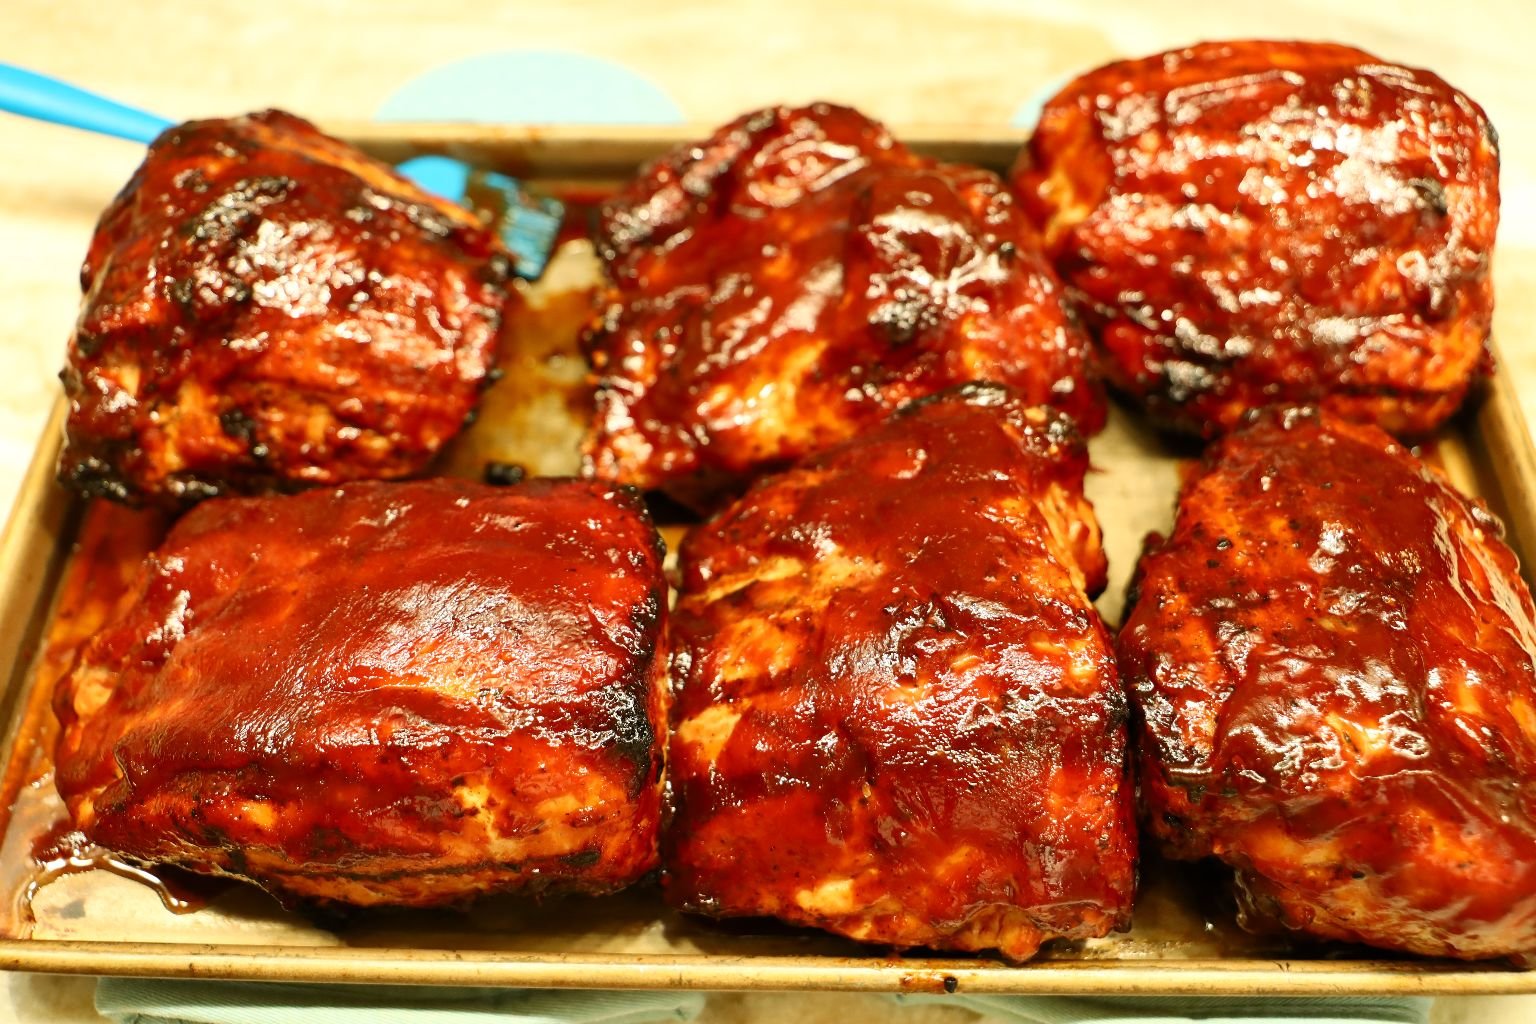
When done, turn off two of your burners leaving enough space to place your tenderloins on indirect heat… meaning there is no flame below them. You can also place them on your top rack as I did and turn the heat down to low. Grill / Bake them for their last 8 min. and add another layer of BBQ sauce.
—————————————————————————————
The FLAME!
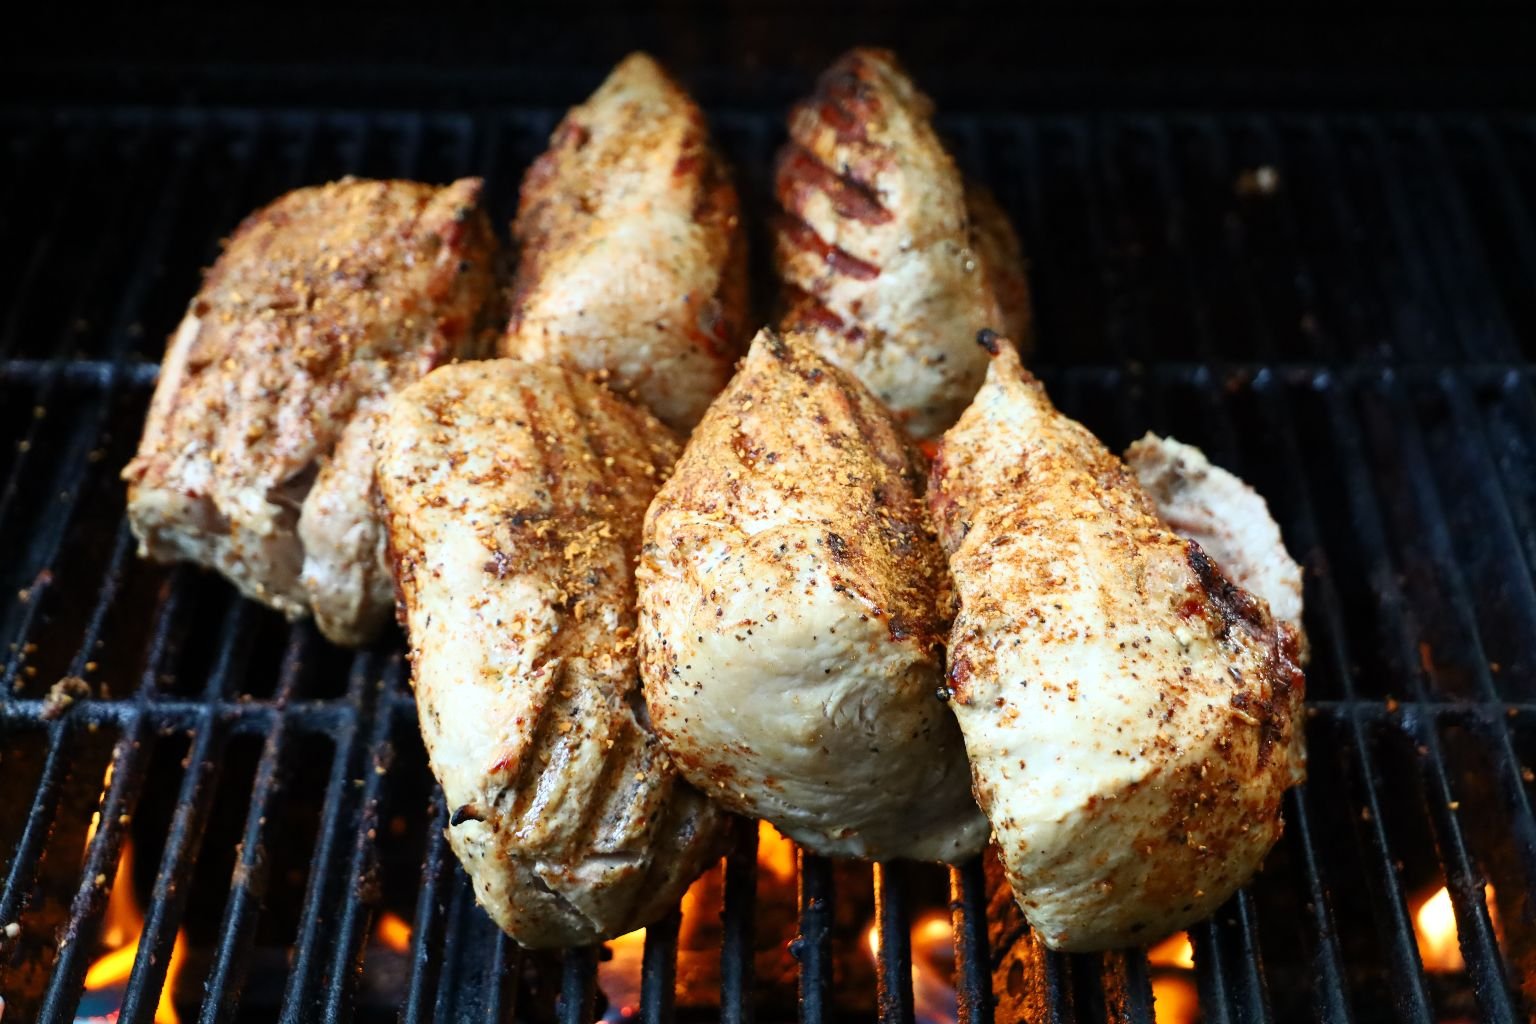
When done, remove them from the grill and let them rest for 10 min. This will allow those superheated juices that during the grilling process moved to the outer section of your tenderloin, to move back into the center, cooking your tenderloin to a perfect 145’F. The pink ring in the center will be perfectly round from your consistent grill timing. This method of timing also works great for Tuna Steaks achieving that perfect red center on all four sides.
Julie doesn’t like it pink, so I cook it a touch longer for her…
and she loves the end slices.
Here I sliced them to about 1-inch-thick and you can see the meat is nice and white…
just the way Julie likes them.
Perfect!
————————————————————————-
Happy Autumn!
Gordon and Julie