Gordon’s Poultry Gravy and Grilled Spatchcock Turkey

Happy Thanksgiving!

Welcome To Our Home
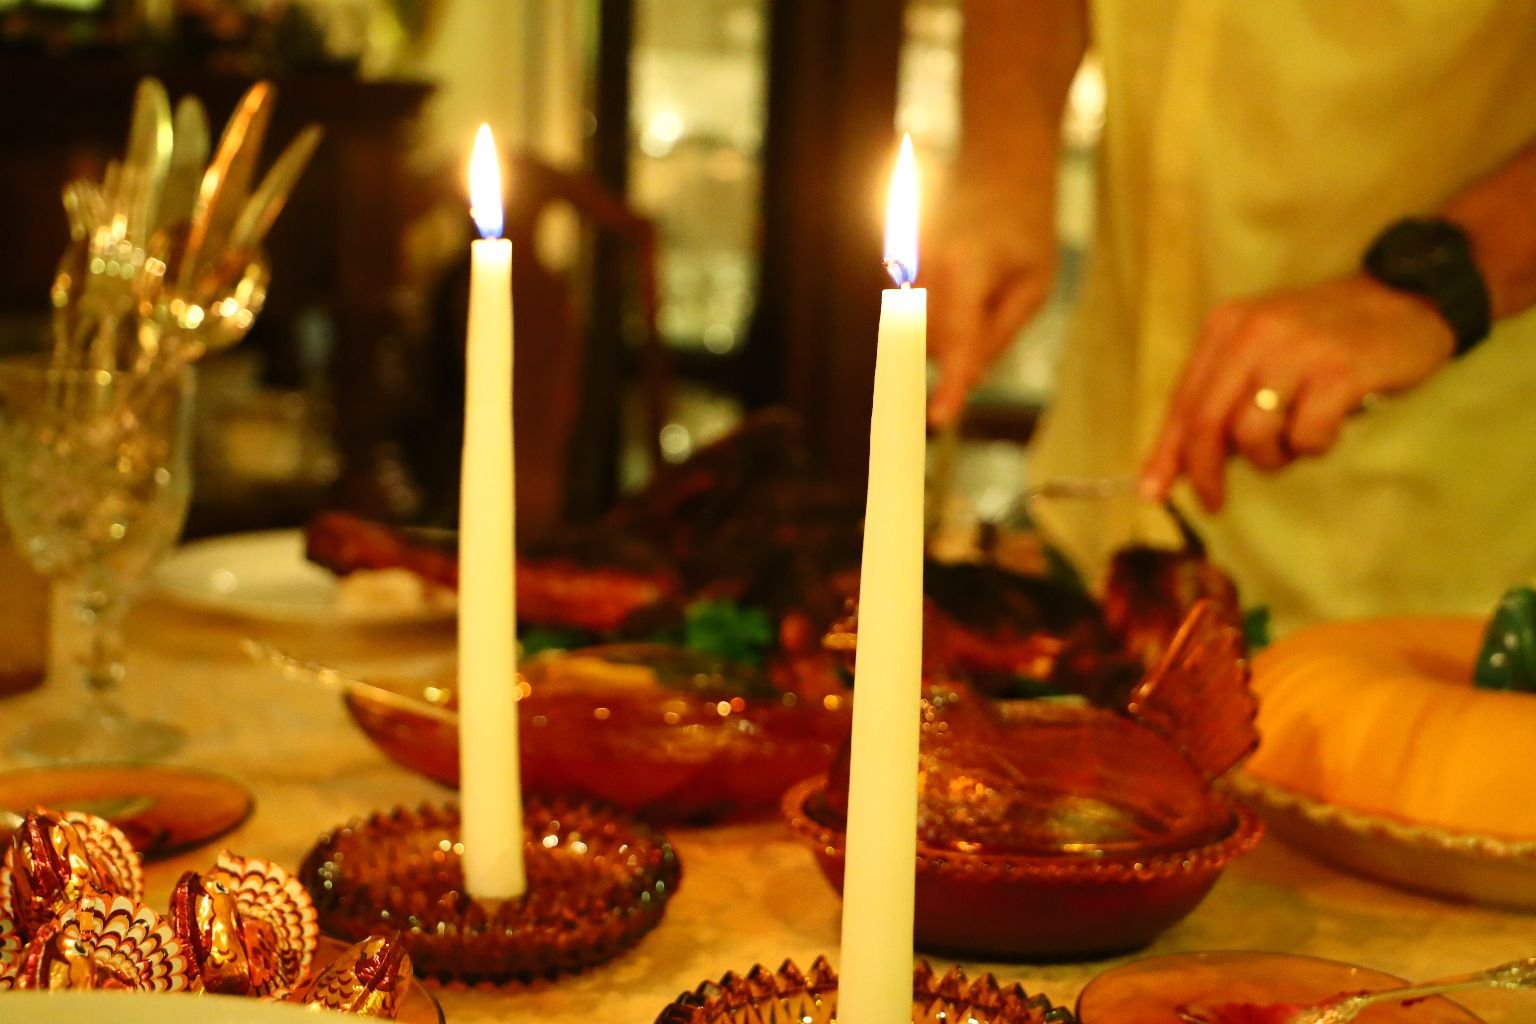
Pull Up a Chair and Have a Seat
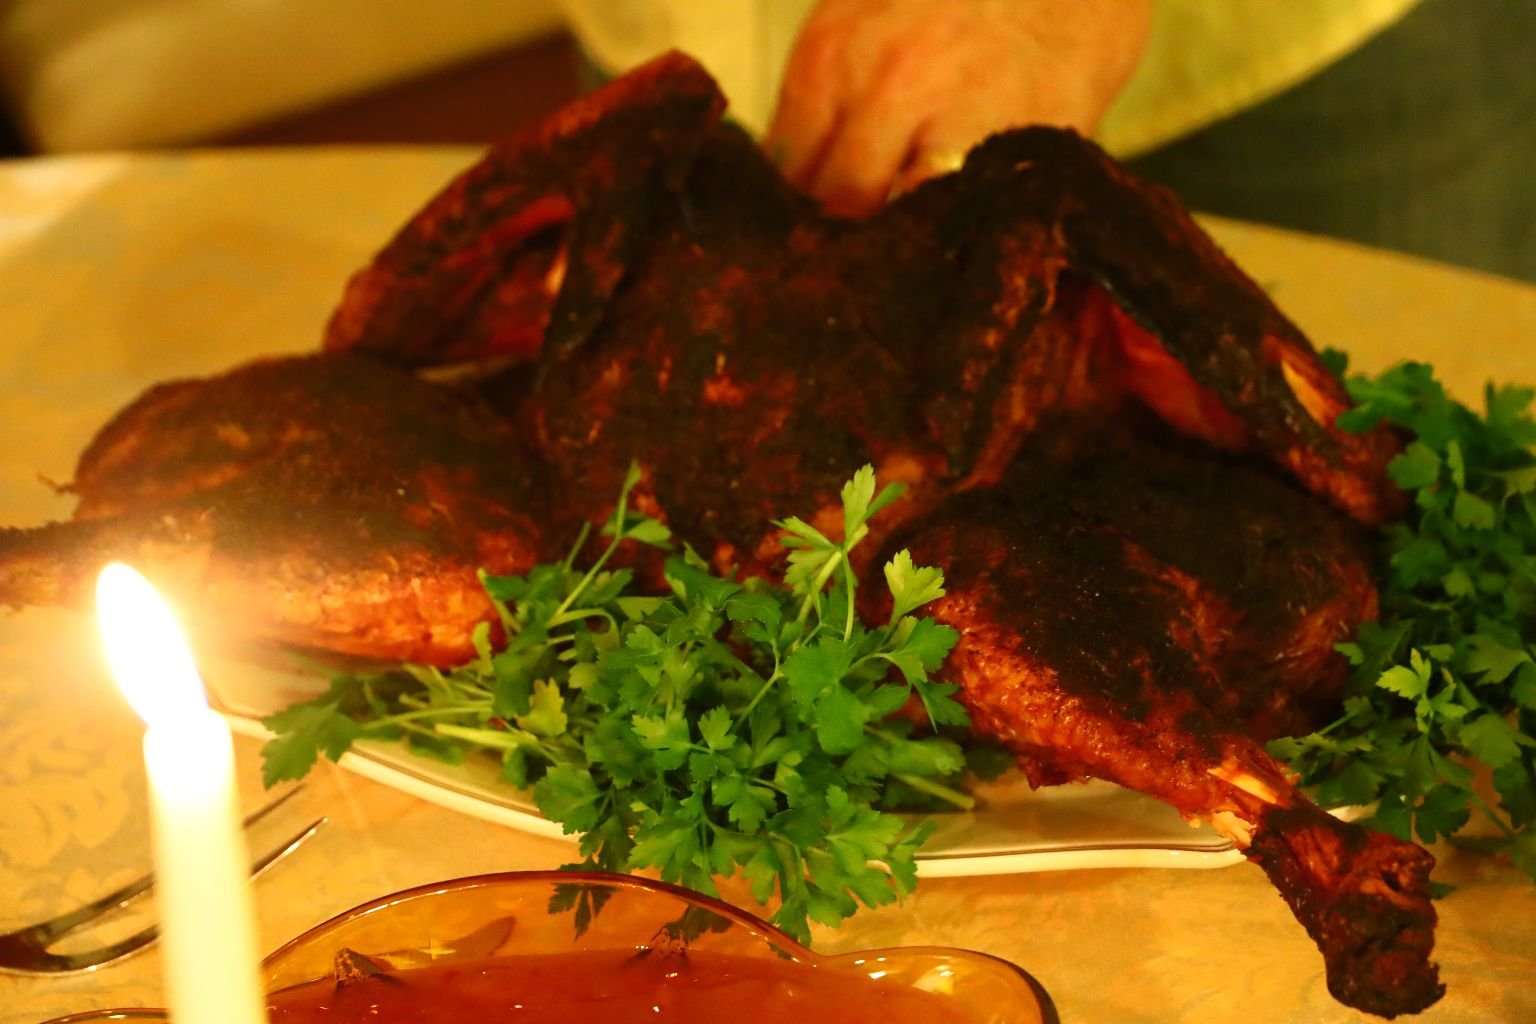
Won’t You Join Us In Partaking Of Our Grilled Spatchcock Turkey?
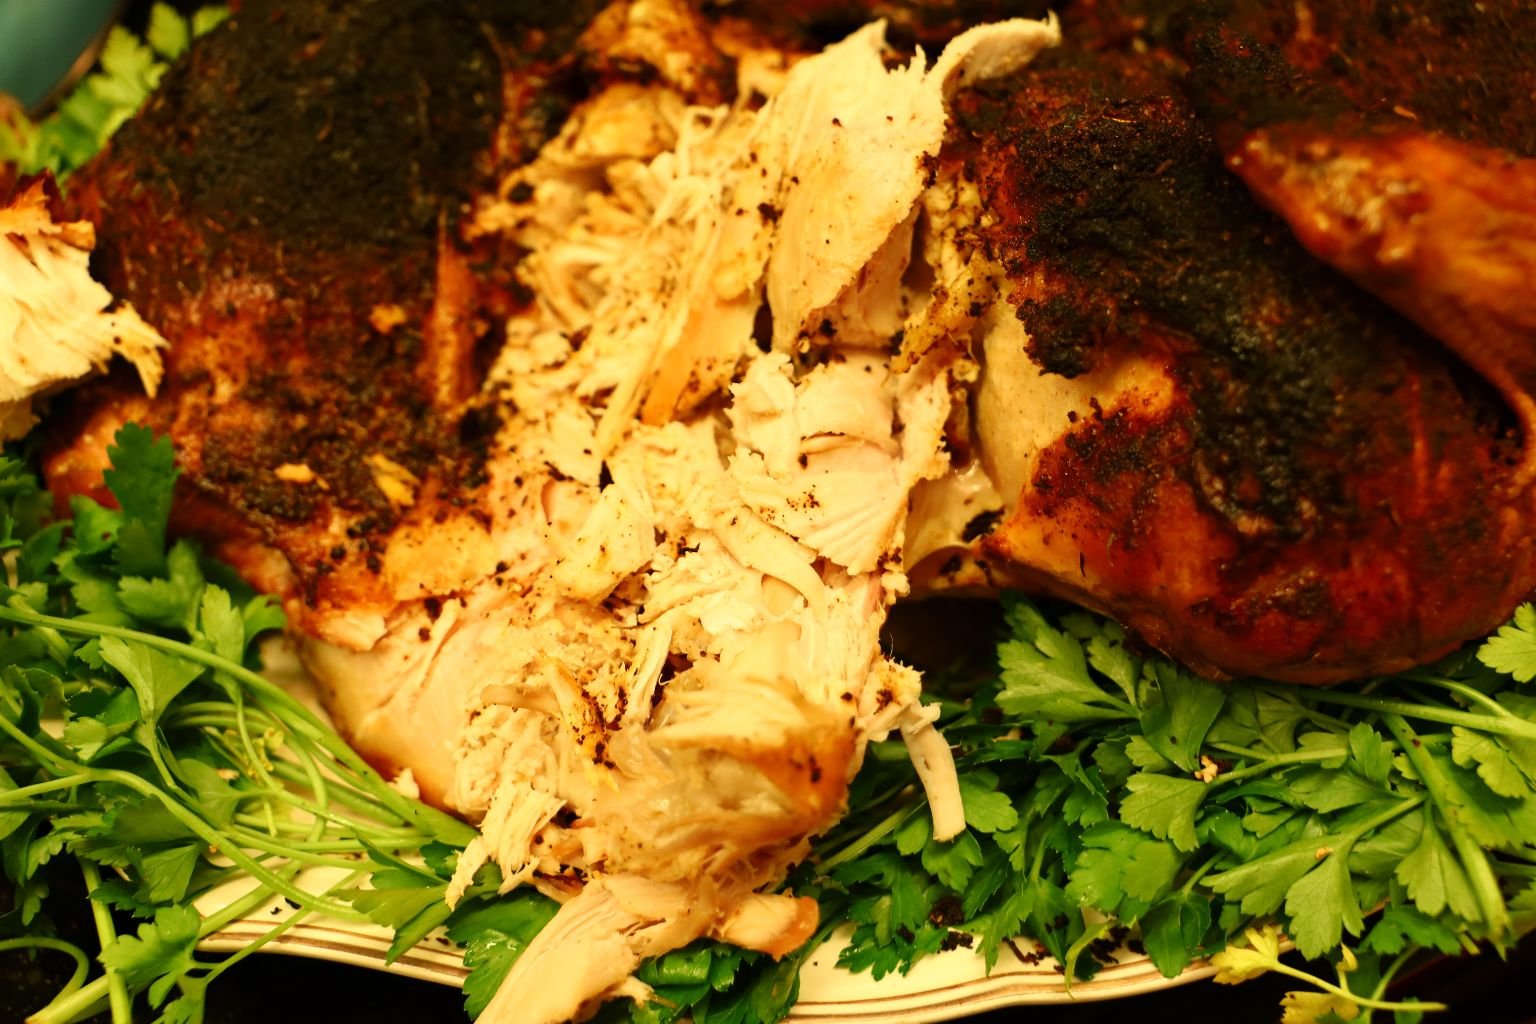
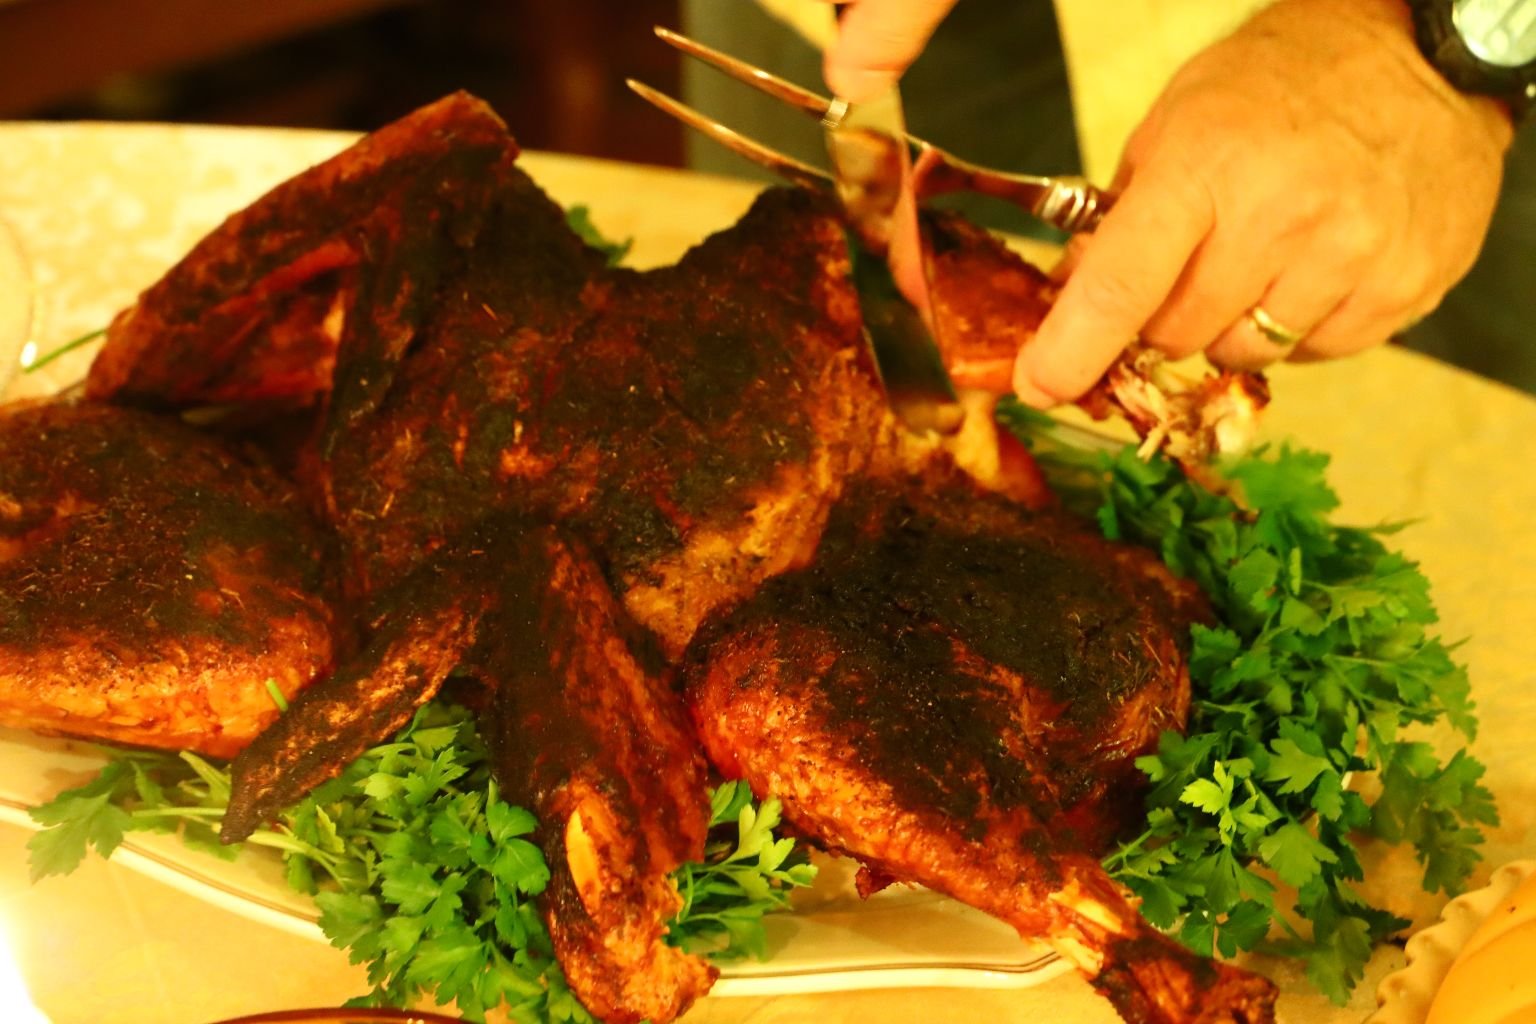
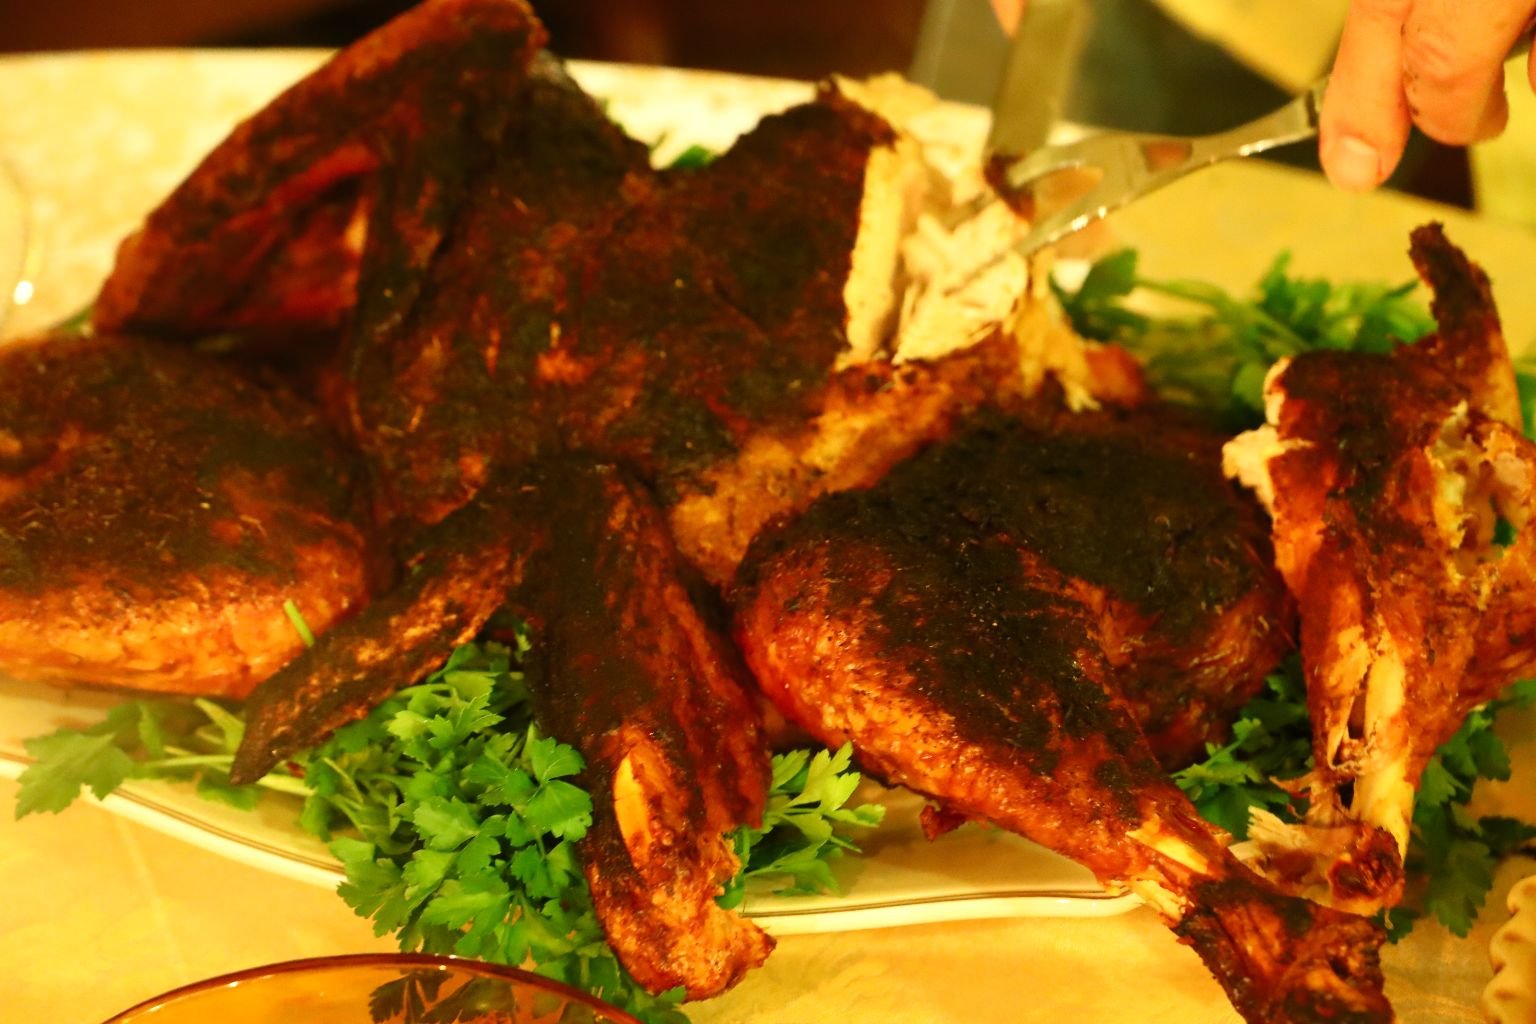
Gordon’s Carving
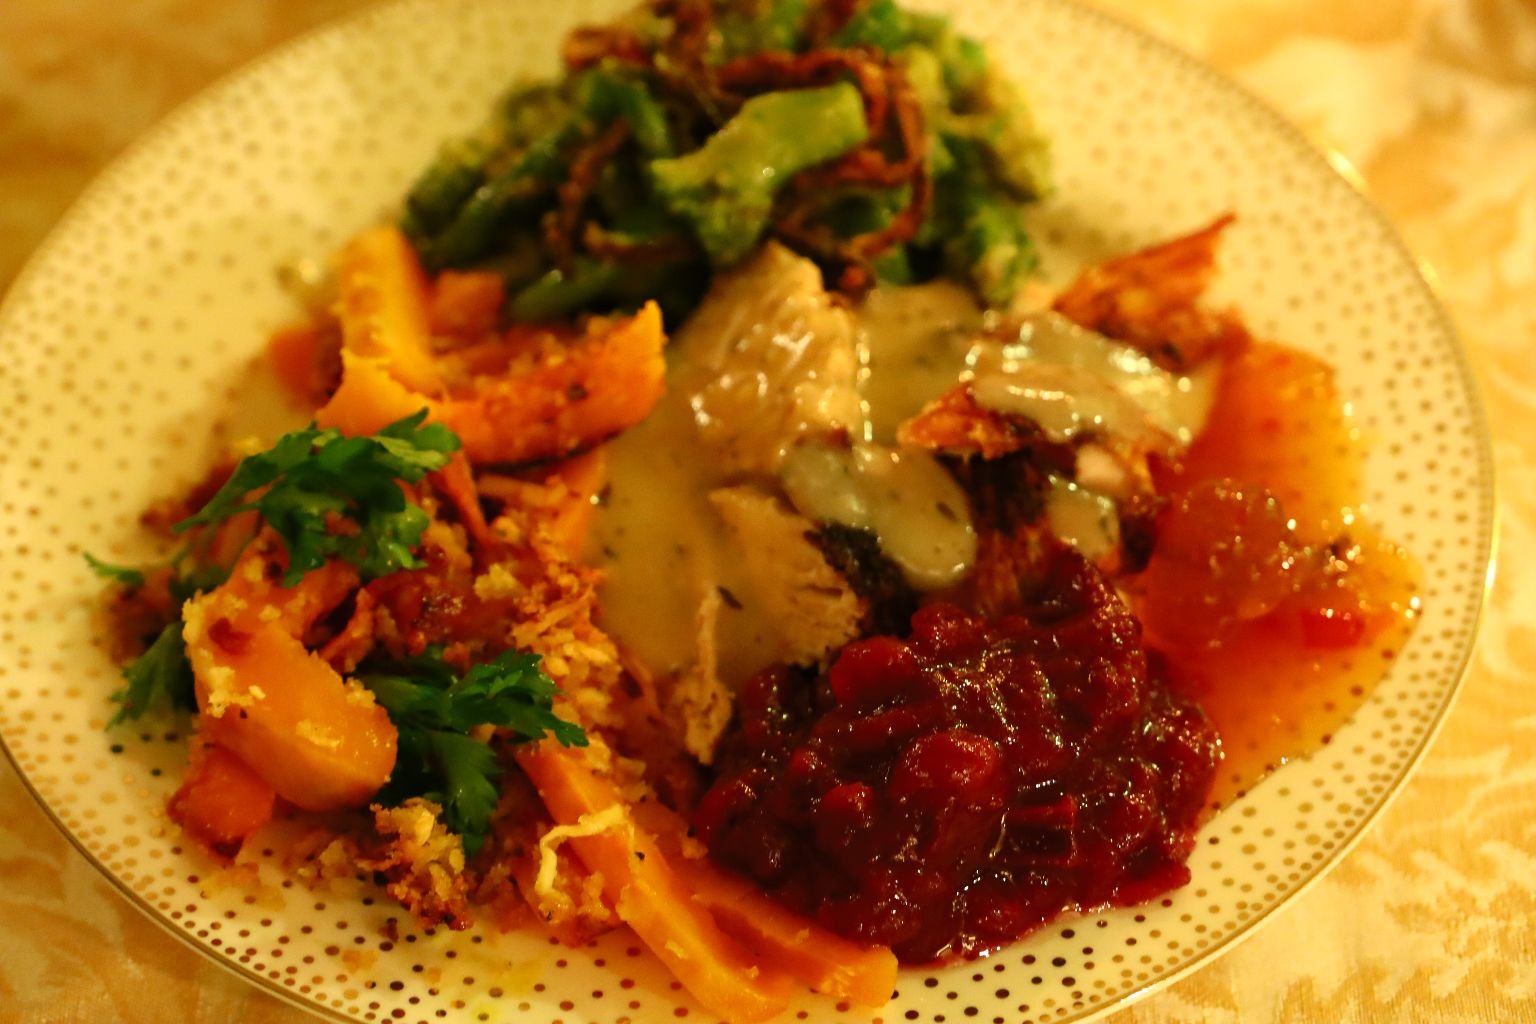
Looks Delicious, Doesn’t It?

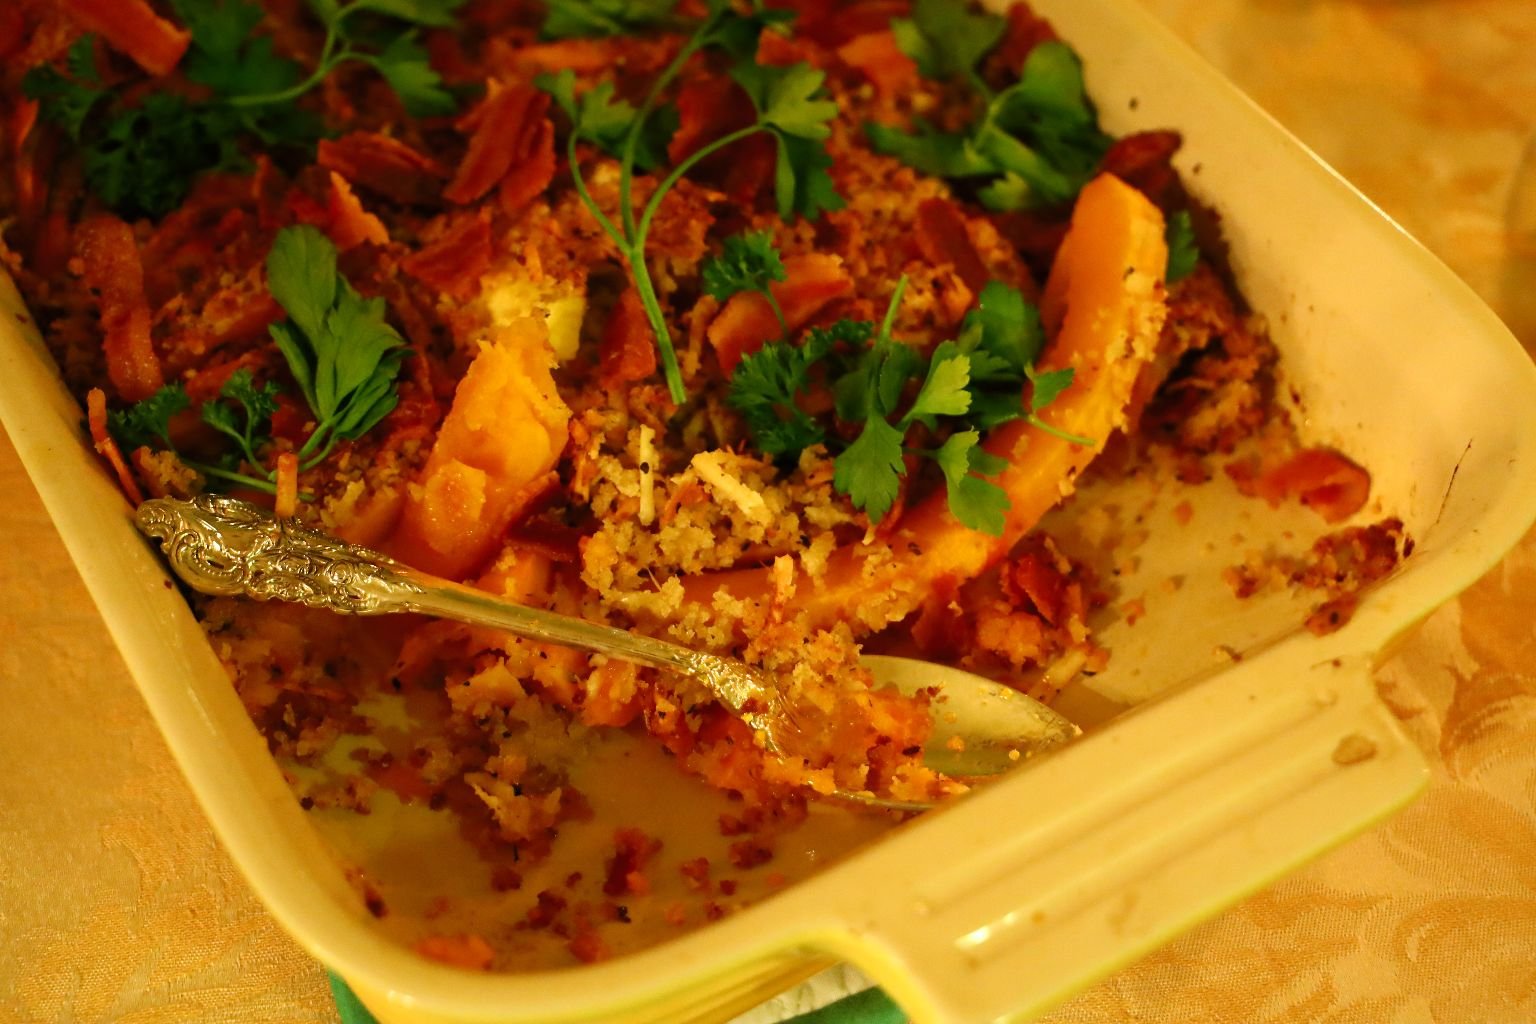
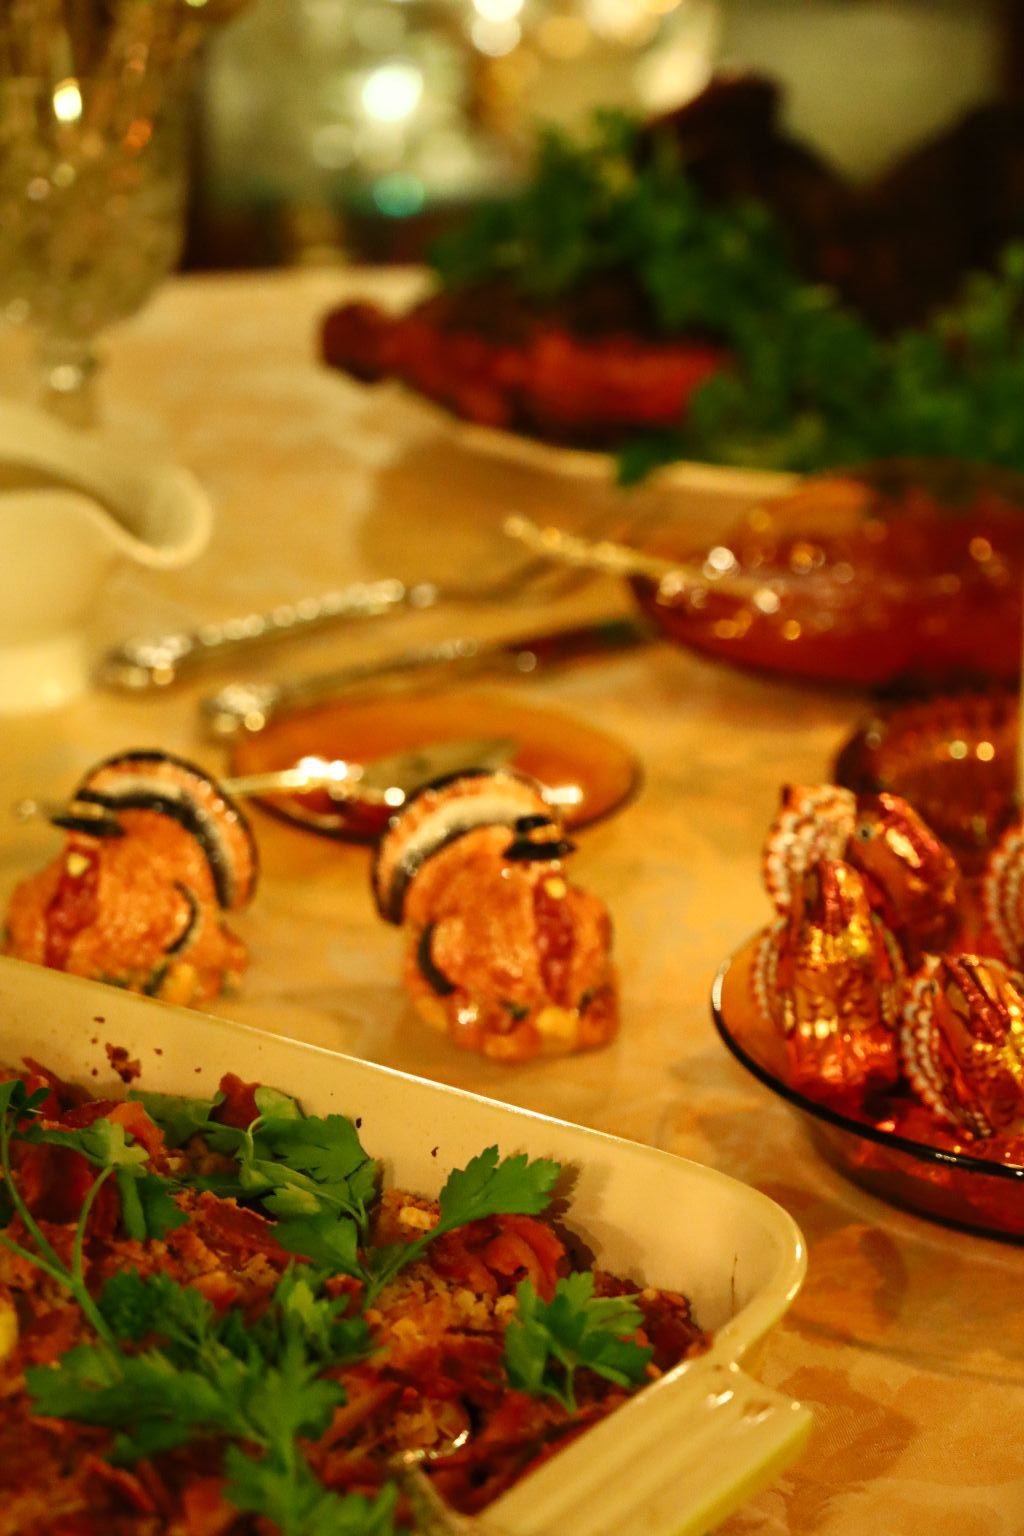
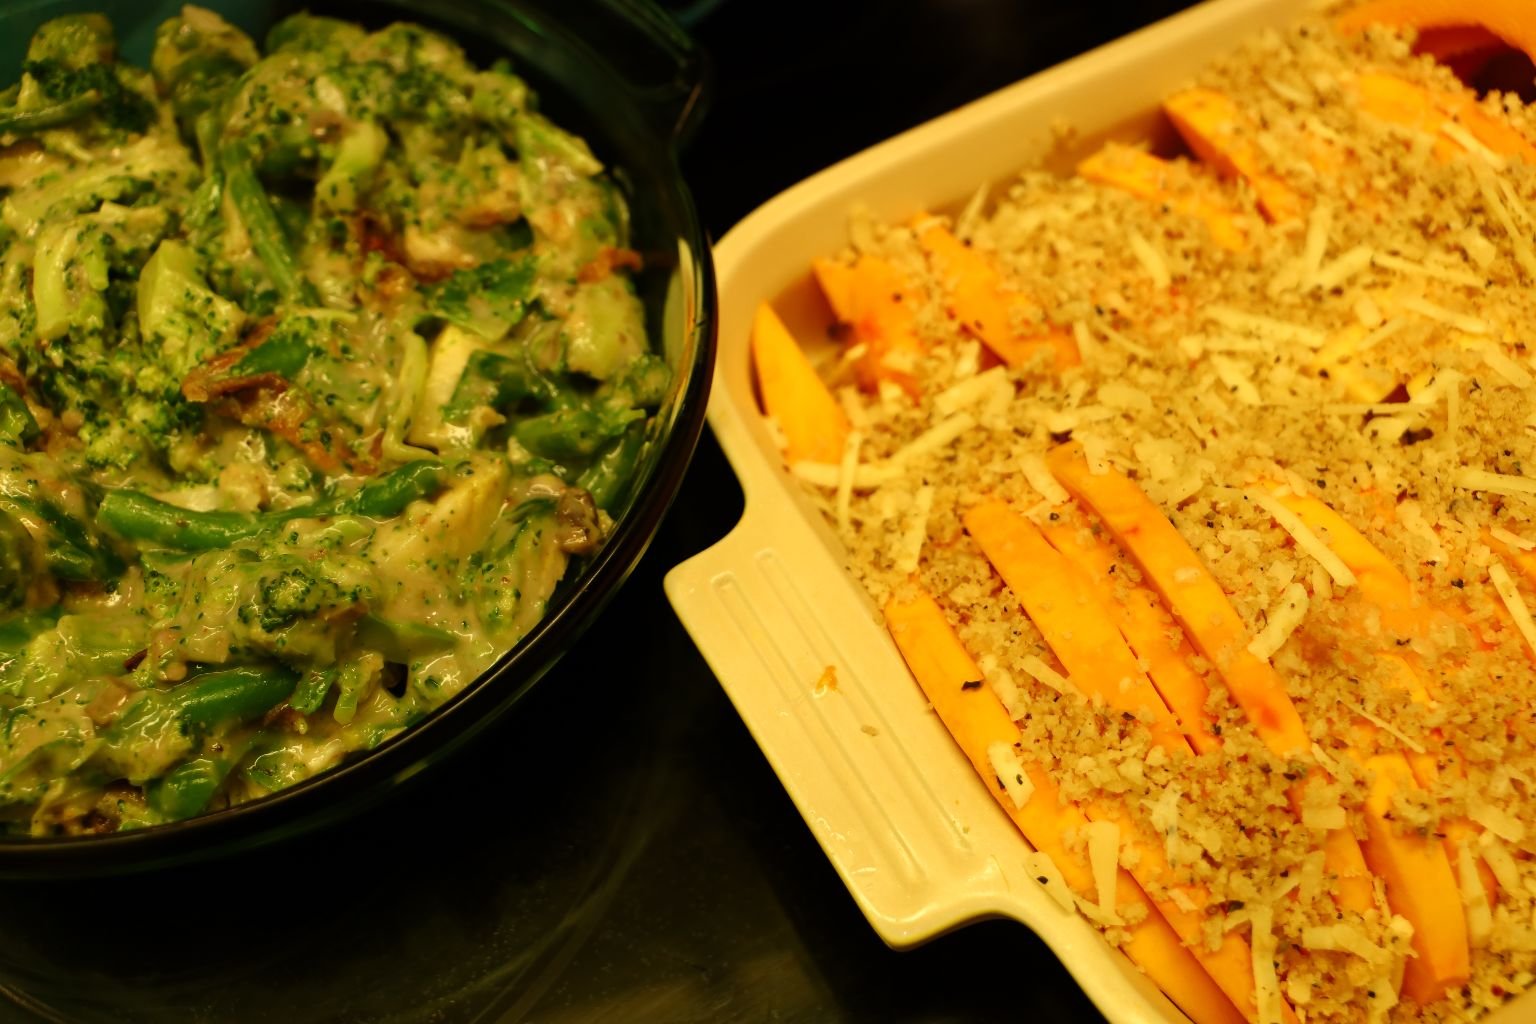
We Hope You Like an Italian Ornamental Squash Casserole?
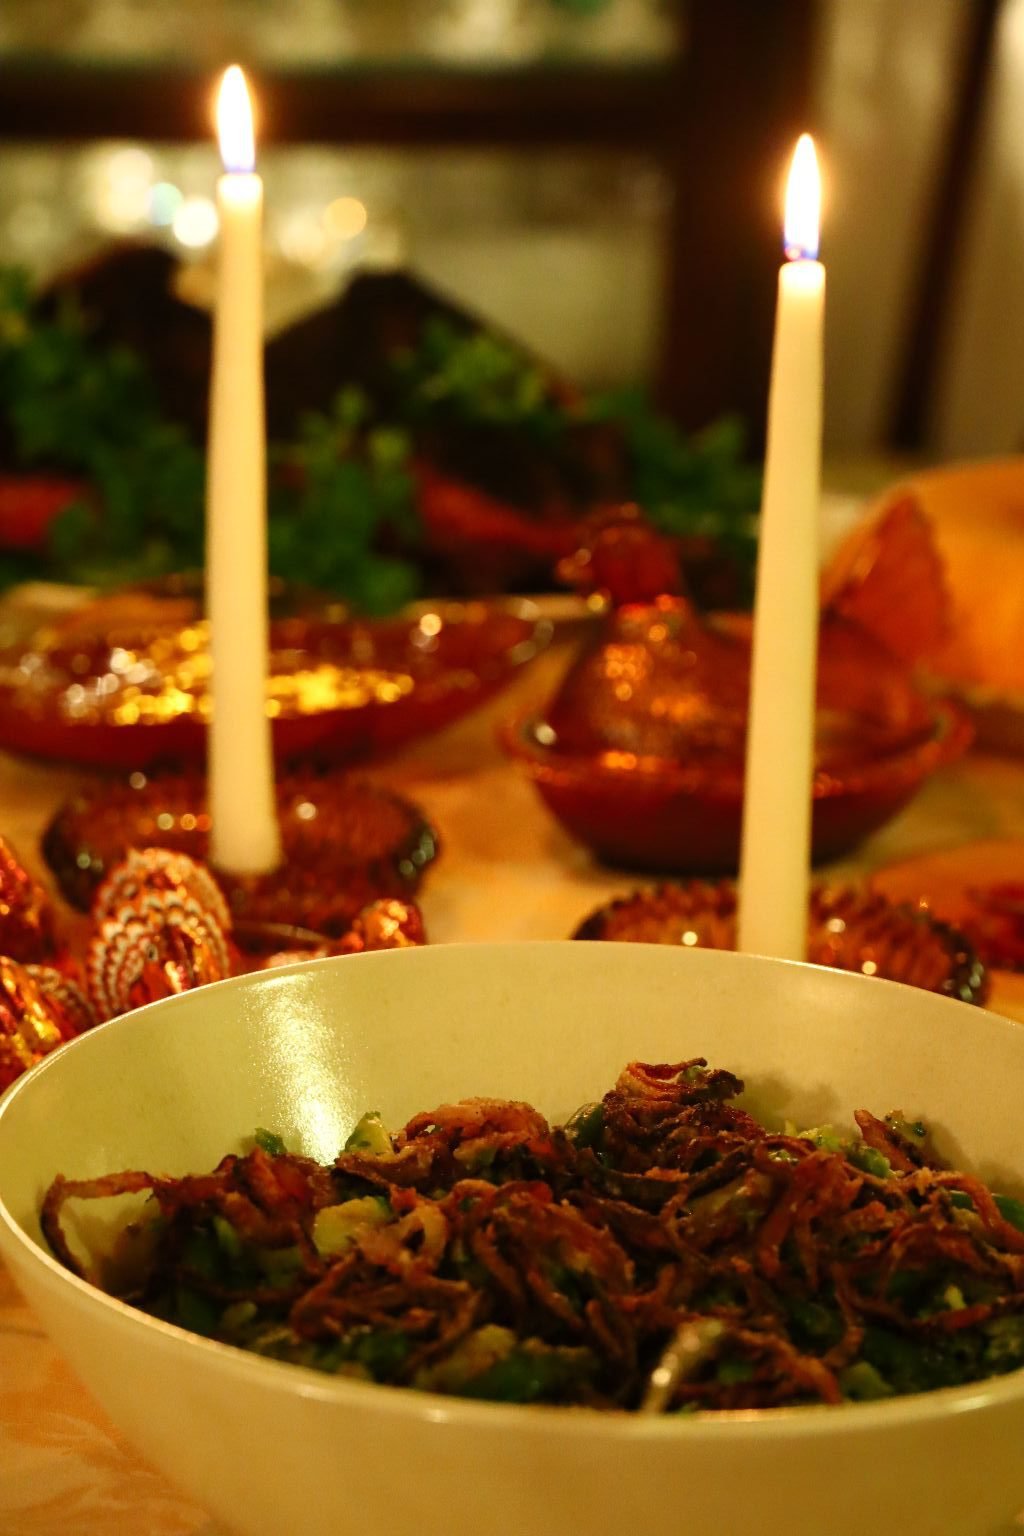
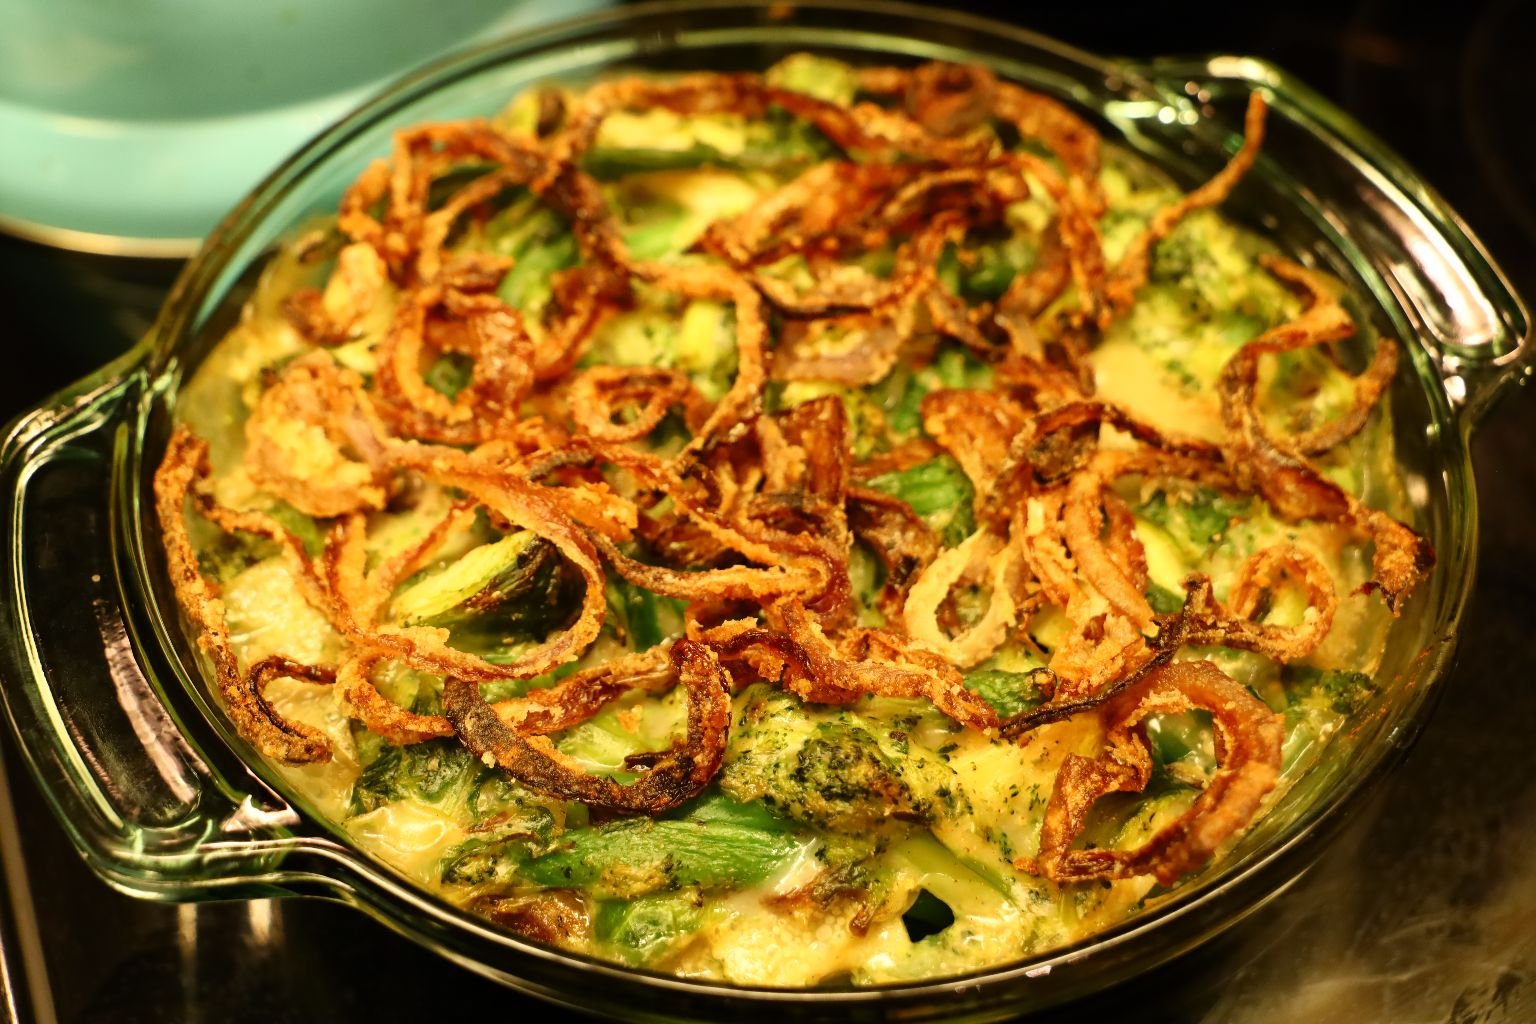
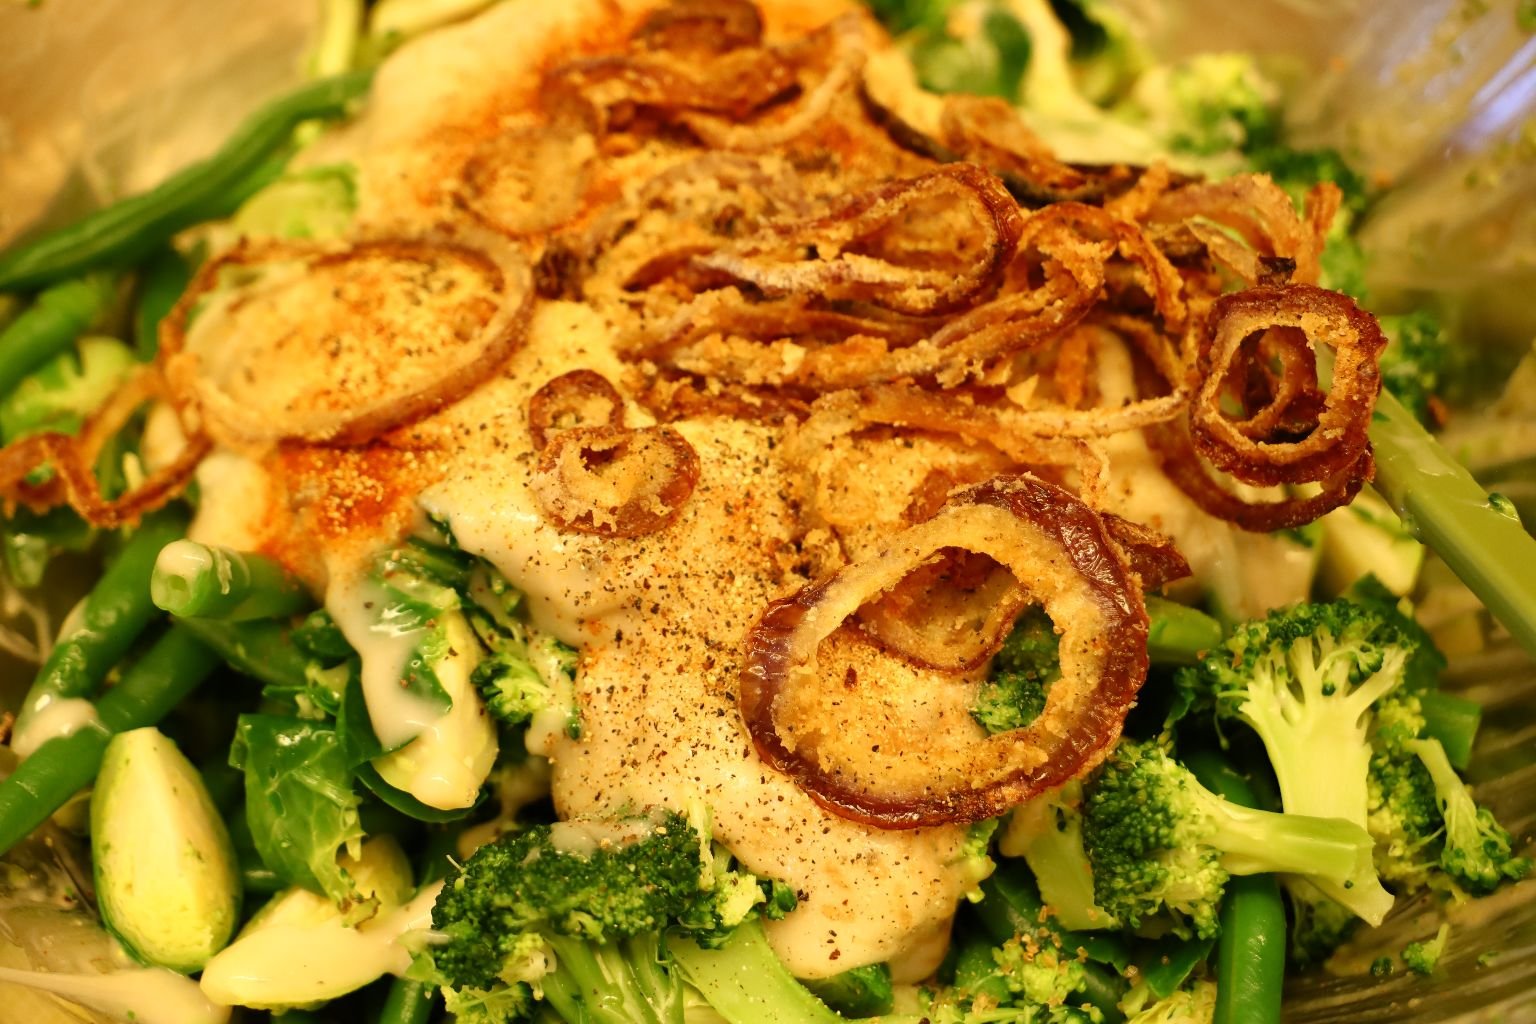
Oh, and a New Twist on Green Bean Casserole. We Call It, “Not Your Mother’s Green Bean Casserole.”

—————————————————————————

Not Your Mother’s Green Bean Casserole
————————————————————————-


Our Italian Ornamental Squash Casserole
Photo Left: Fresh Out of the Oven
Photo Right: With Crumbled Bacon
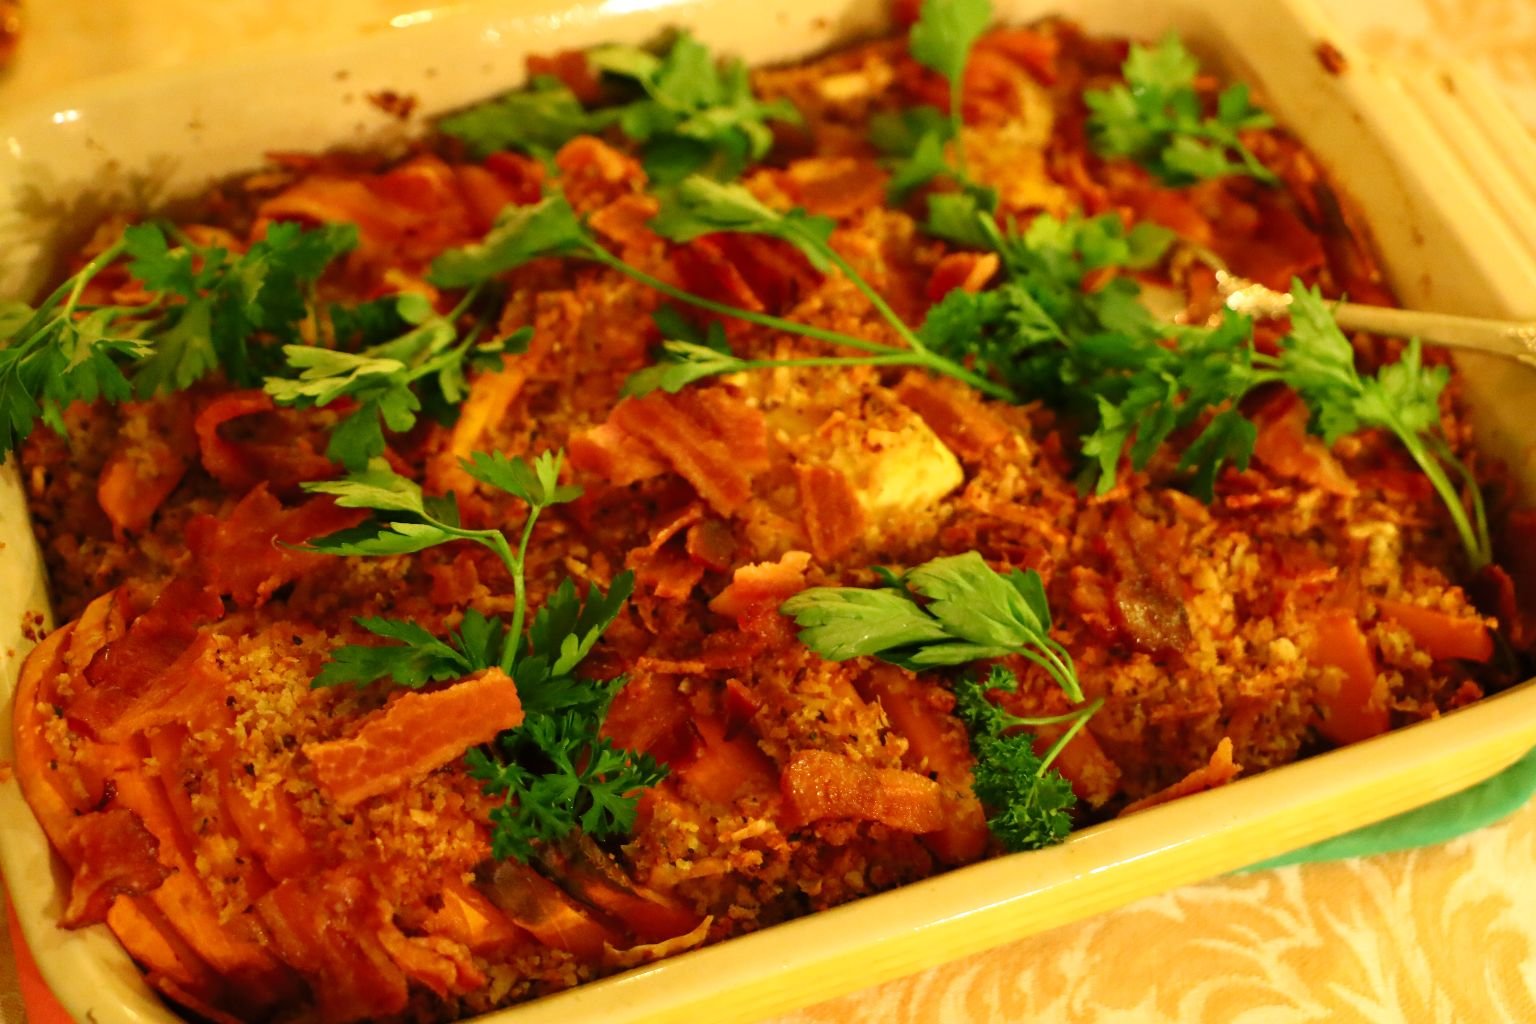
In This Photo it is Topped With Flat Leaf Parsley
Just Dig Right In!
———————————————————————–
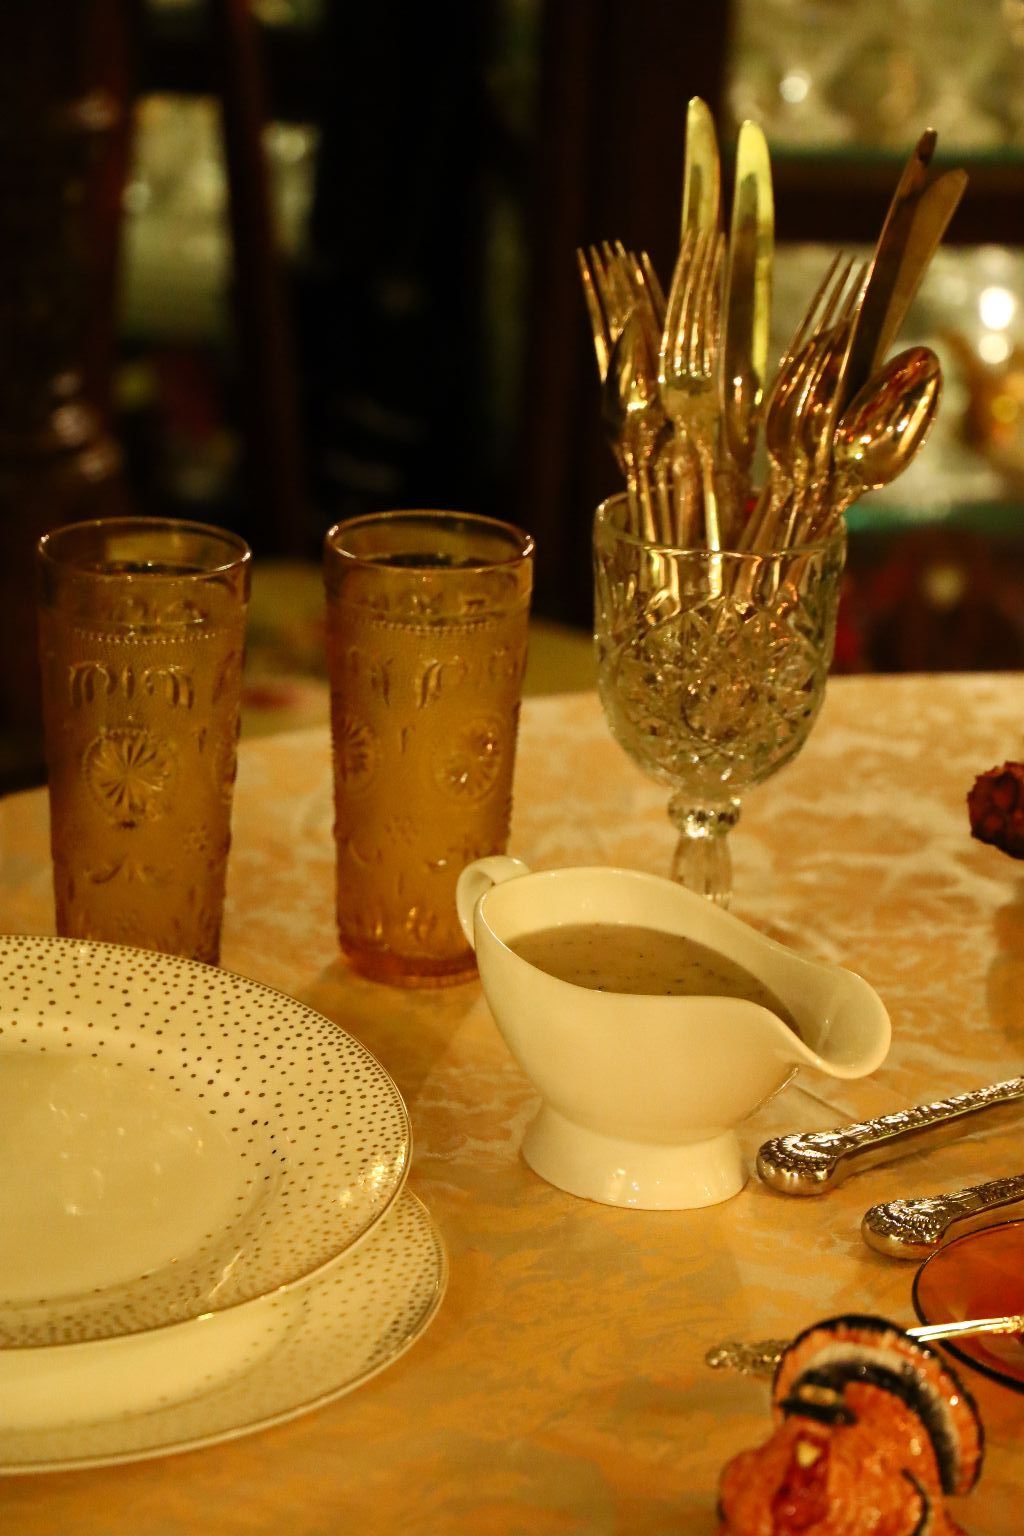
Oh, and How About Some GRAVY?
(Homemade From Scratch by Gordon) 🙂

Don’t Be Shy, Pile It On!
——————————————————————-
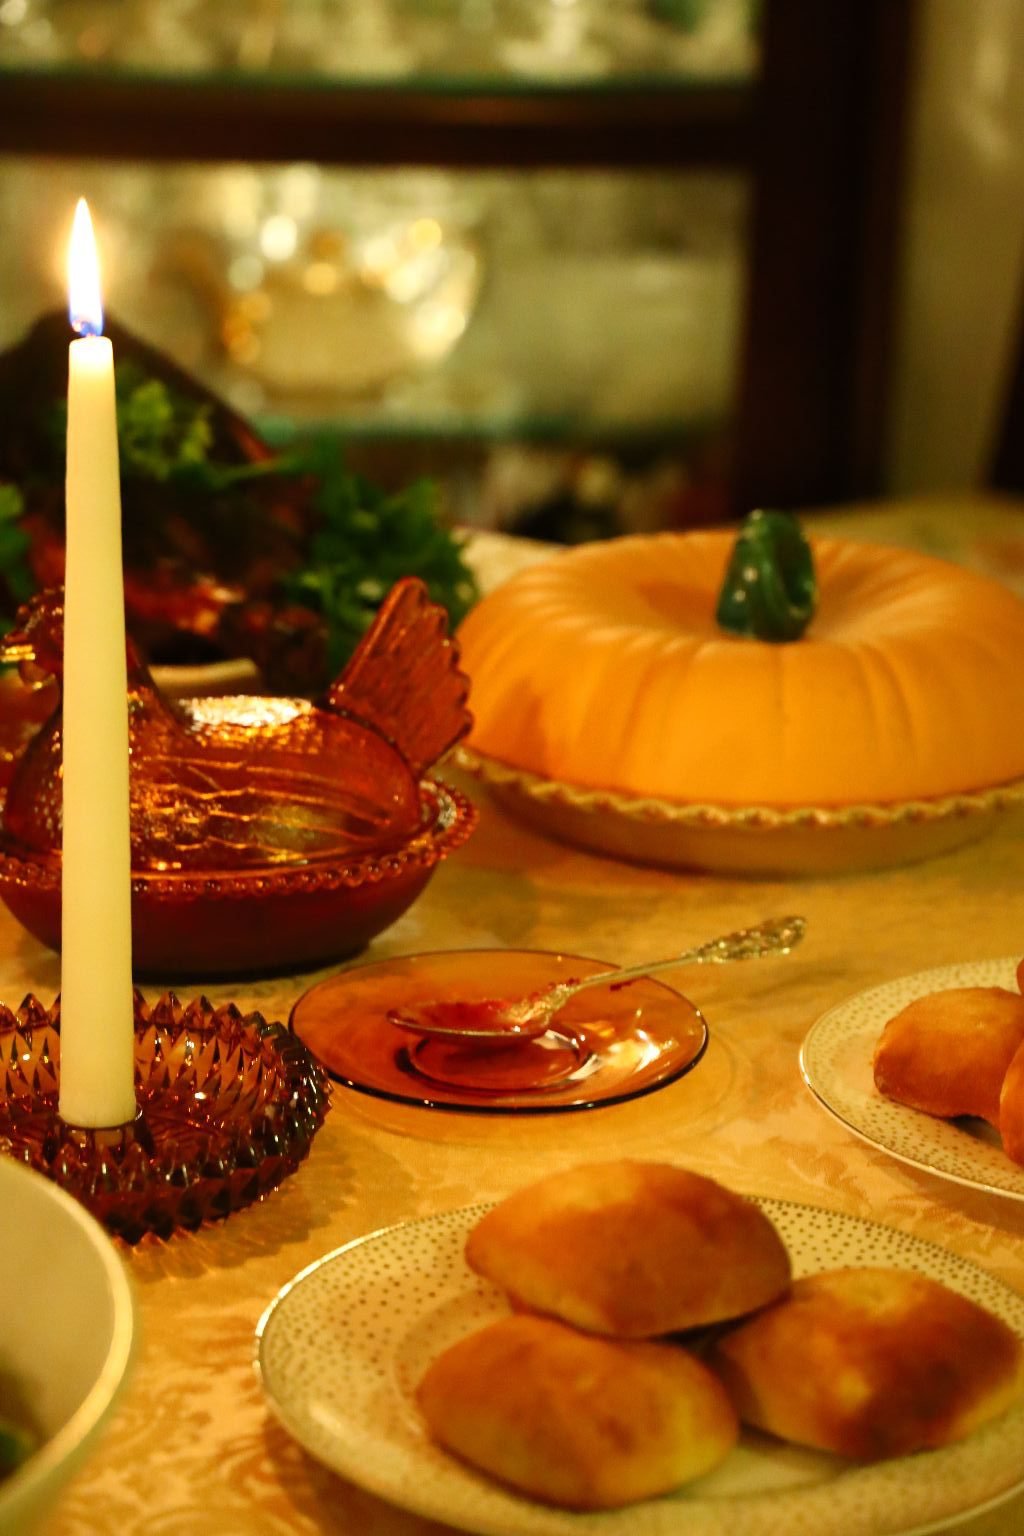
How About a Dinner Roll and Some Cranberry Sauce to go with?
——————————————————————–
But, first we have to start at the beginning….
THE GRAVY!
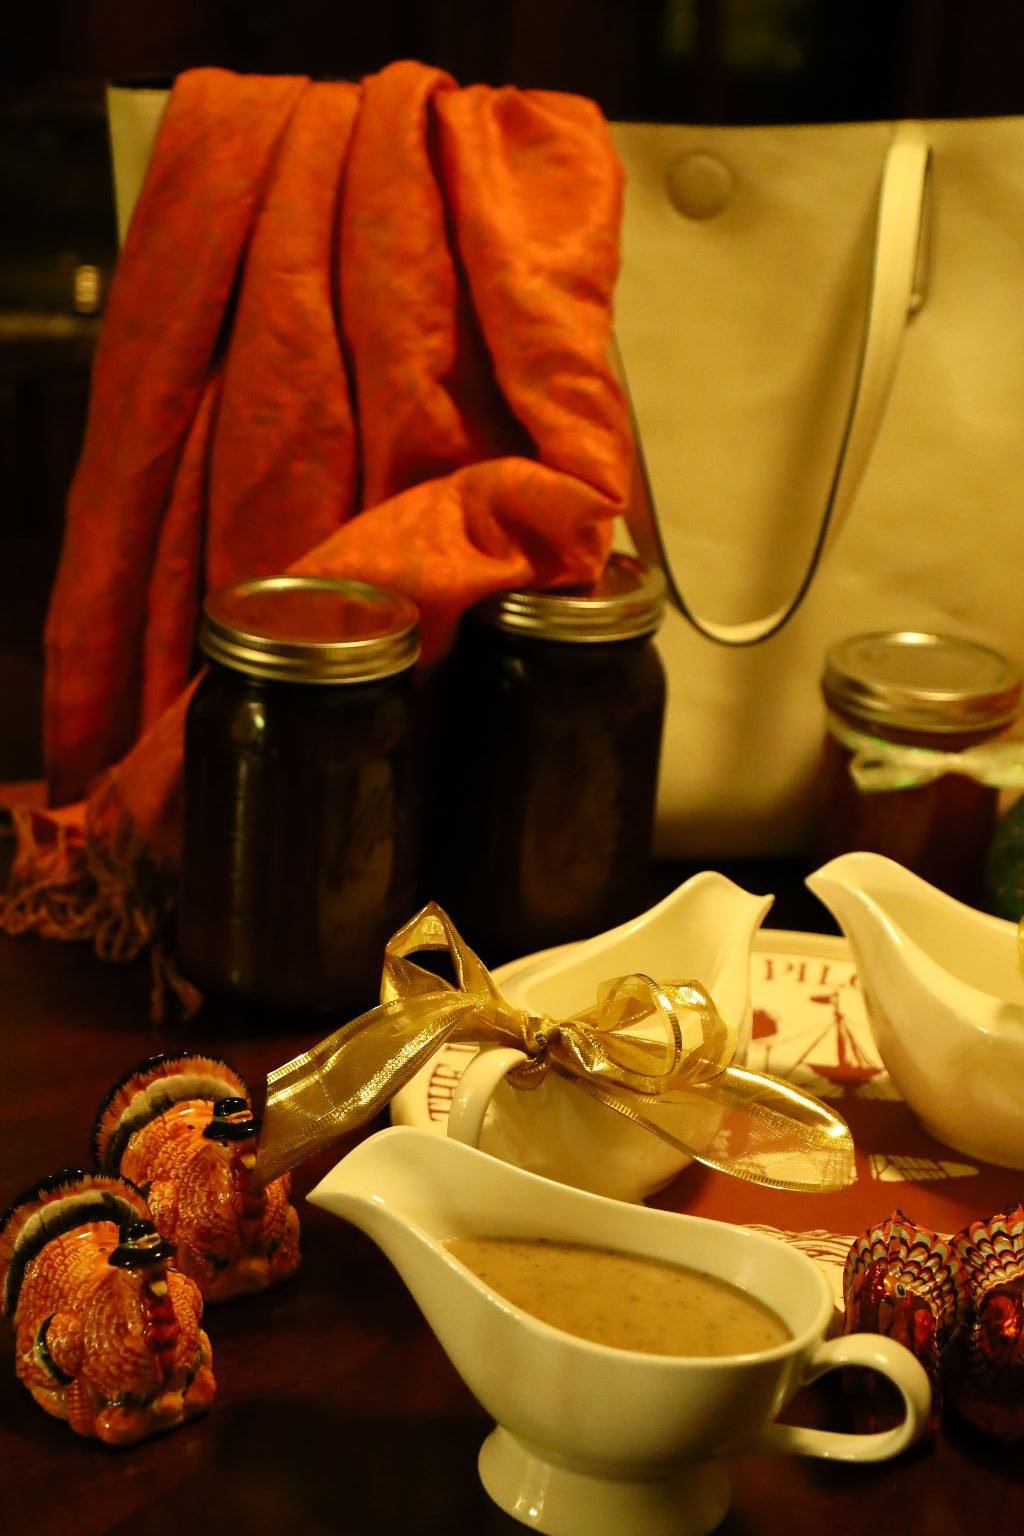
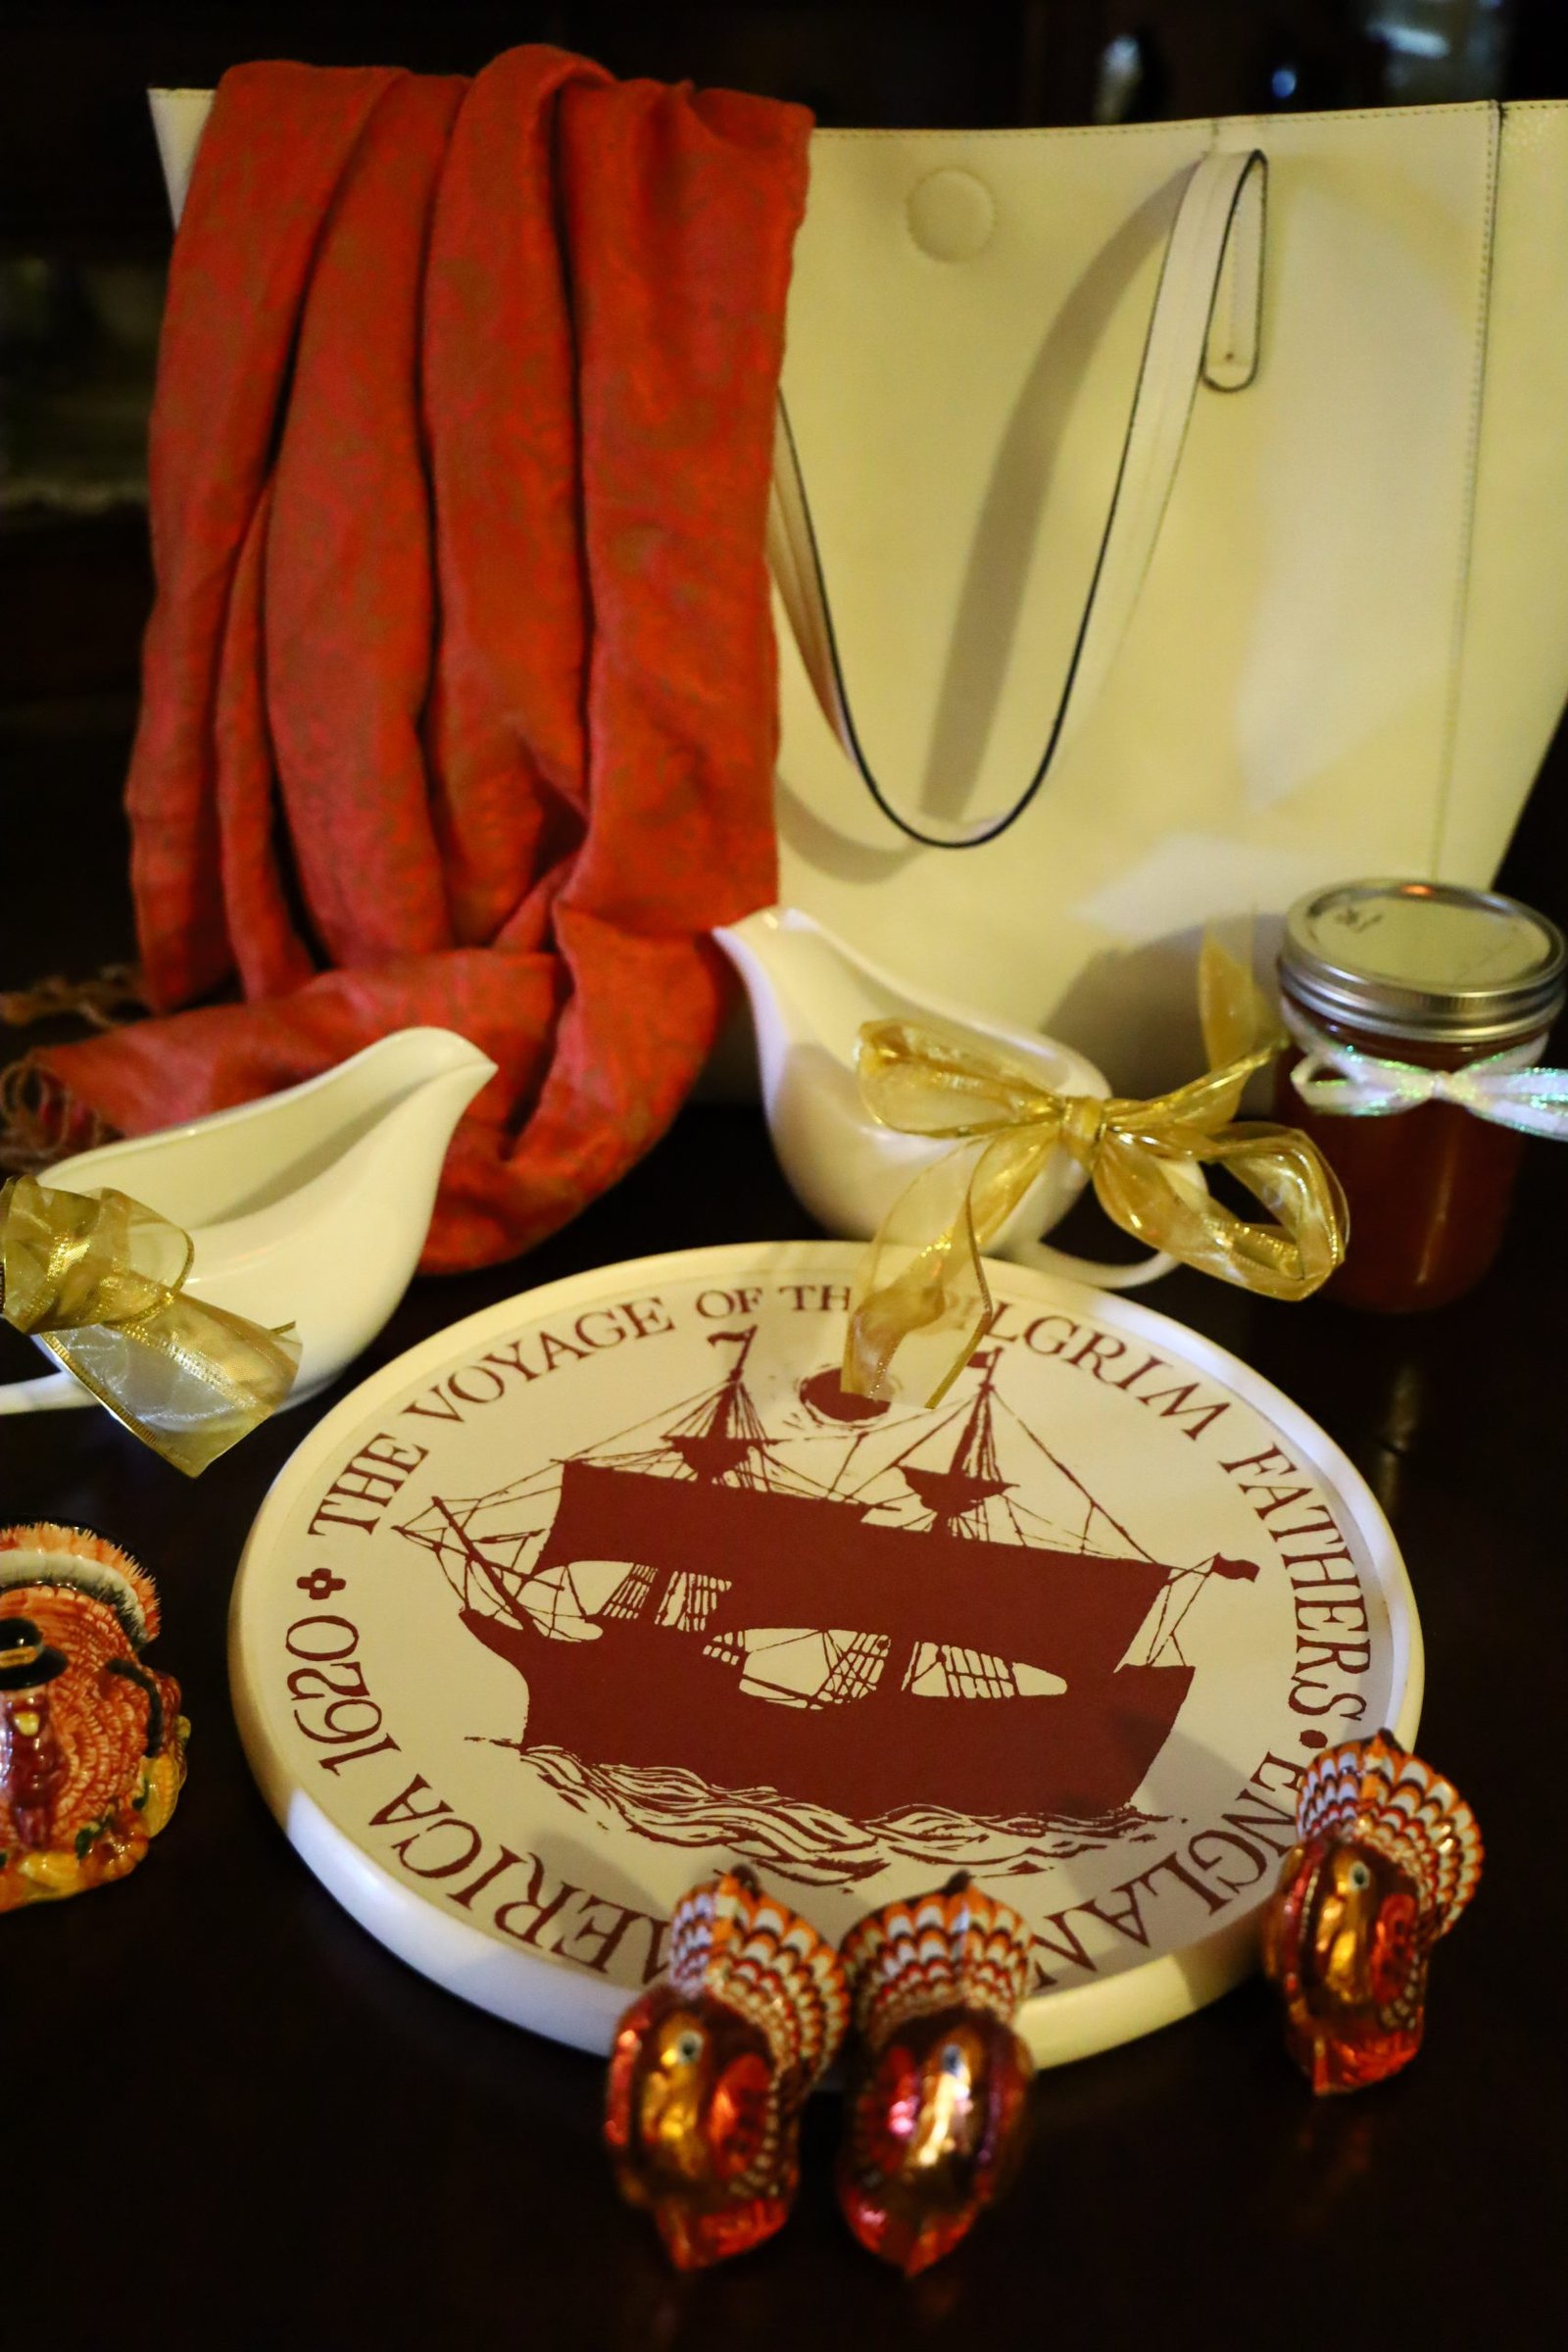
The Gift of Gravy…
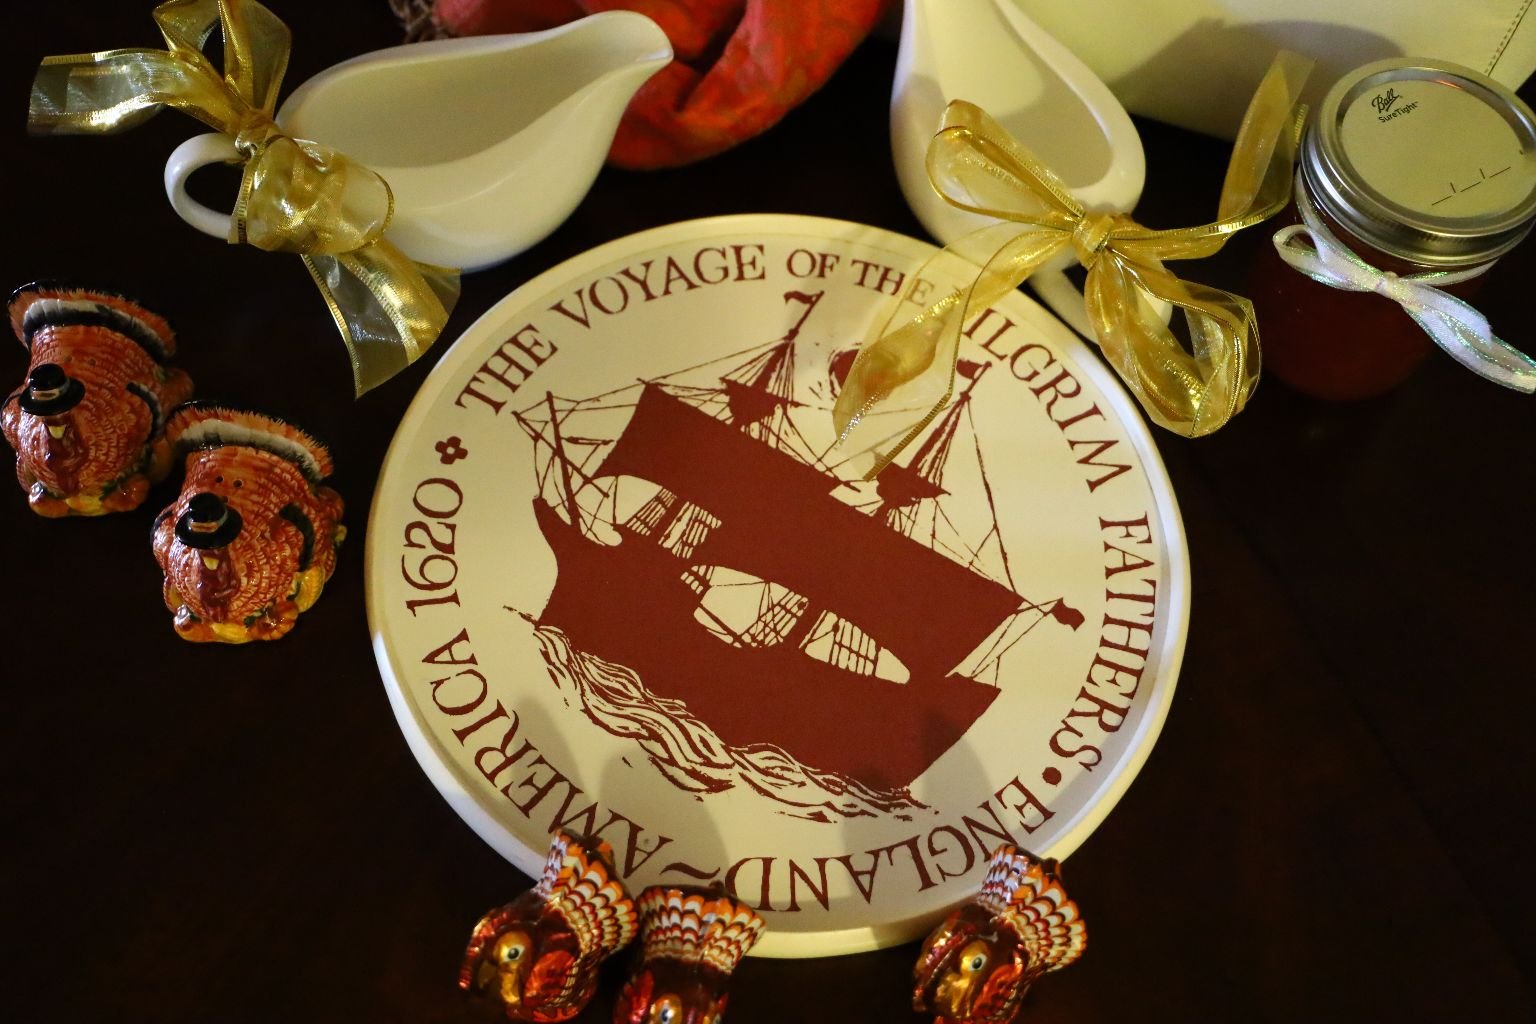
..and Gravy Boats
It was a few days before Thanksgiving in 2021 that it was my idea for Gordon to make a bunch of his gravy to give to our children and their partners, as our way of participating in their own Thanksgiving’s without us actually being there.
Gordon is an excellent Chef and makes a delicious homemade gravy from scratch. I, purchased a few white Gravy Boats to give as gifts as well. Just our way of adding to their kitchen holiday wares, and something to serve their Gravy in.
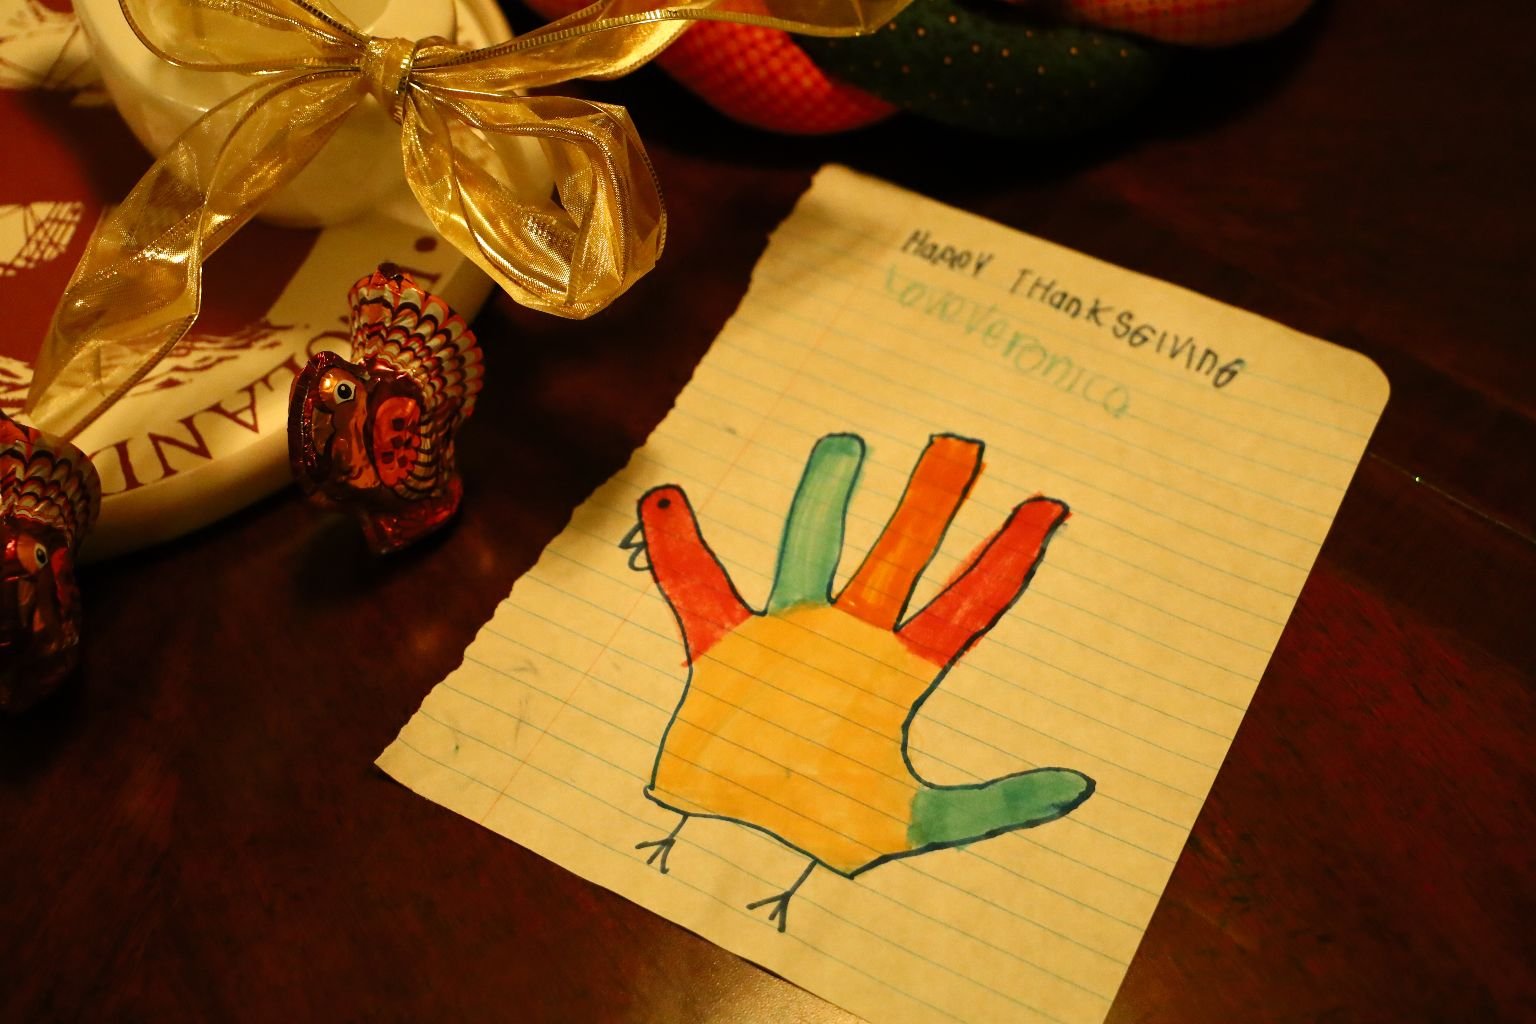
Childhood Artwork
That ‘Hand Turkey’ is something our daughter Veronica did when she was young.
As of 2021, she is 34 years old. (I’m one of those mommies that saves everything!)
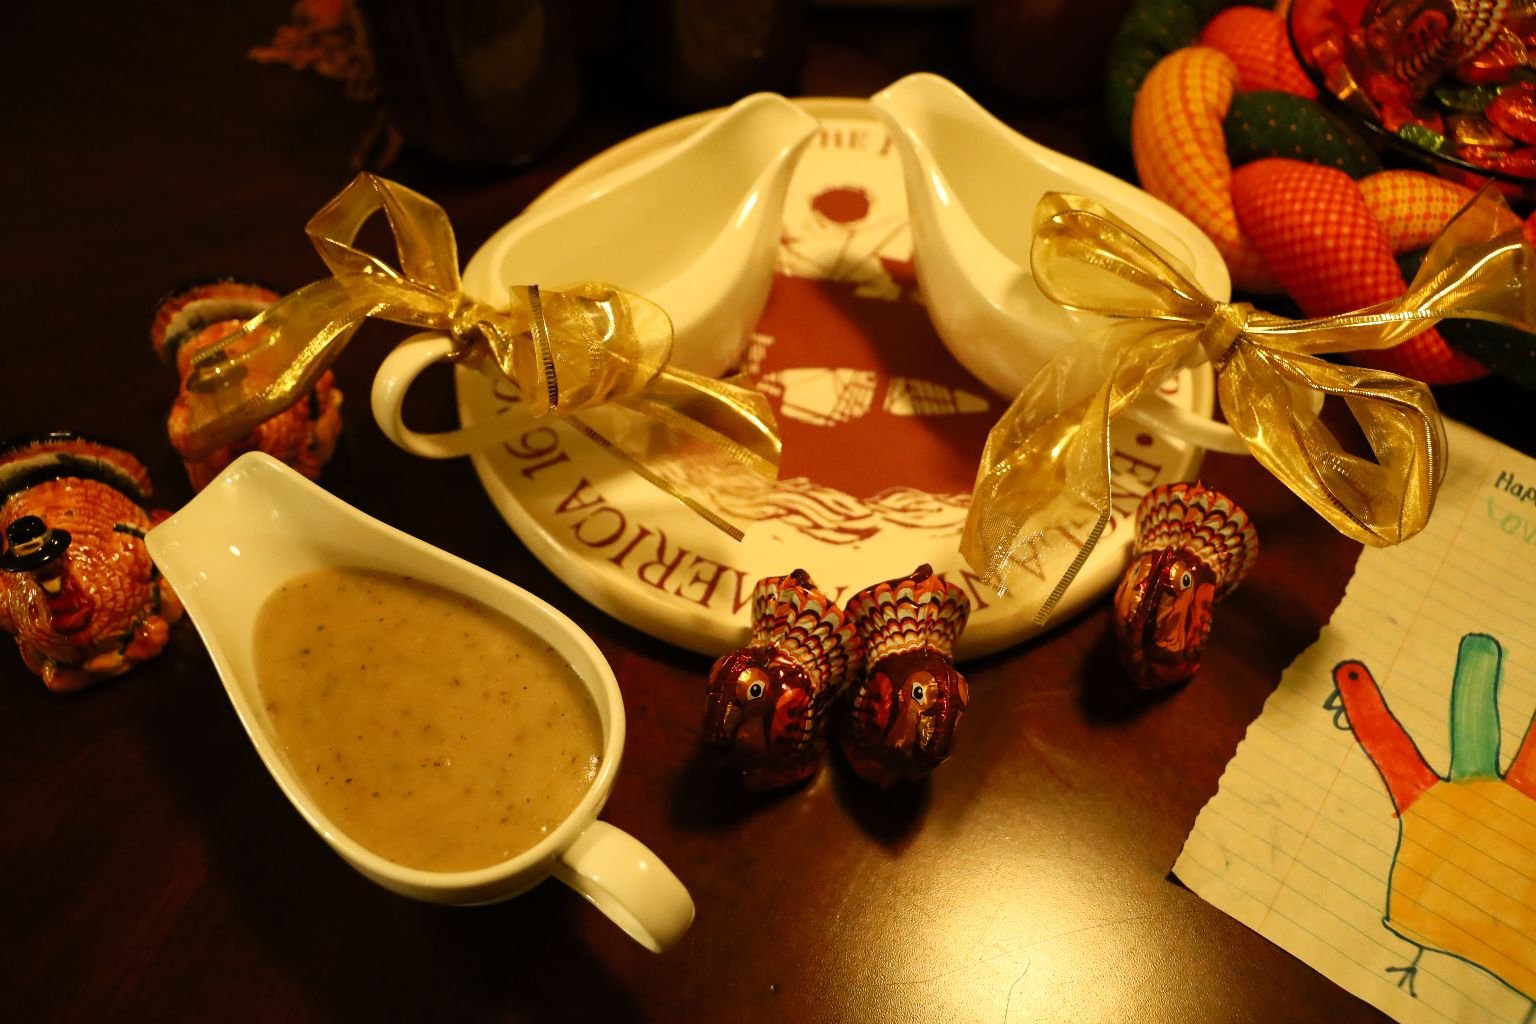
Gordon’s Delicious Poultry Gravy
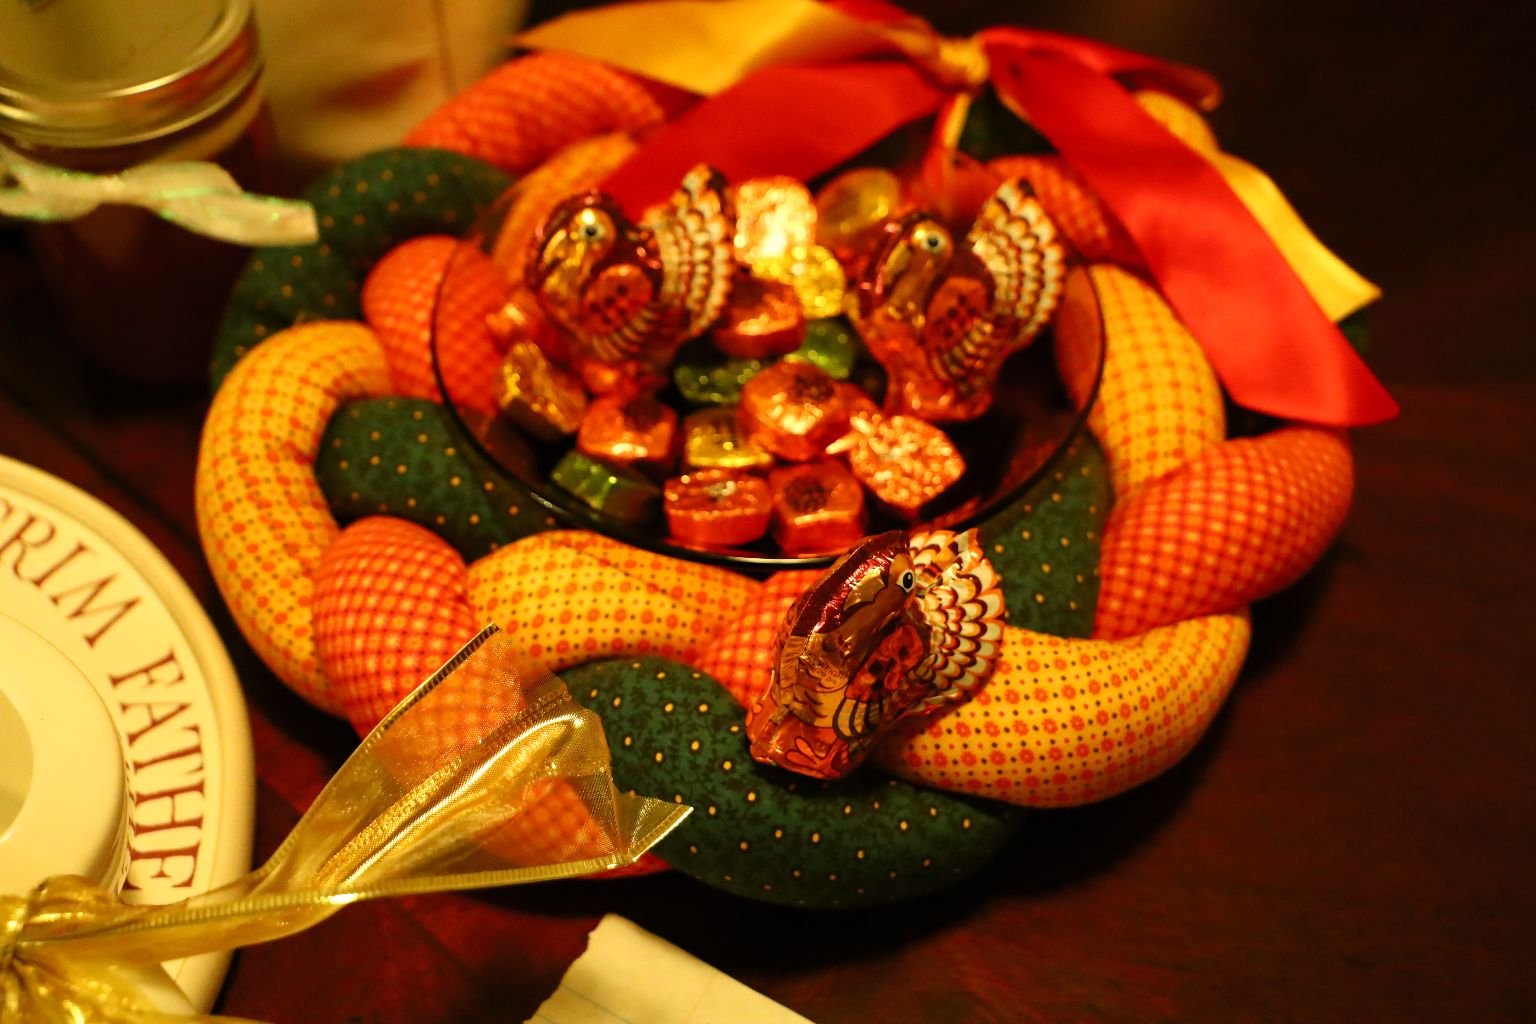
An Autumn Wreath My Mother-In-Law, Sarajane Whann, Passed On To Us
As always, we thank you for being here. We hope you enjoy yourself. And by all means, EAT UP!
Some years it’s easy to be thankful, other years we have to take a closer look to find those things to be thankful for. Either way, they are there. You just need to look, sometimes really hard. 🙂
Gobble, Gobble,
Julie and Gordon
P.S. Recipes Down Below.
———————————————————————
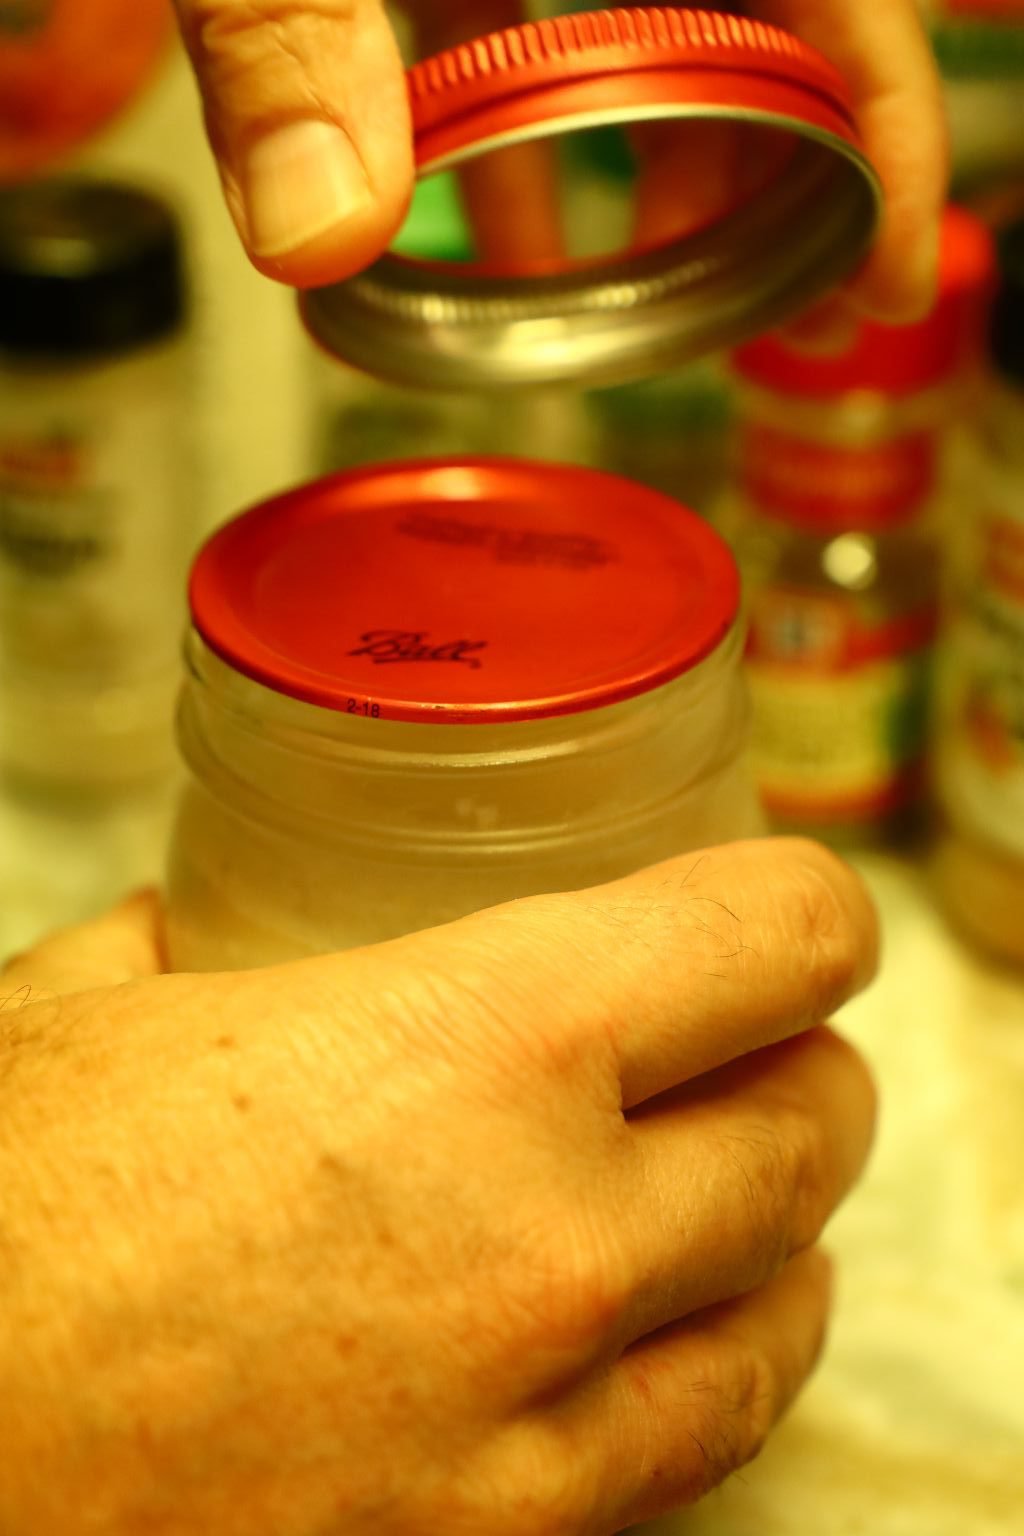
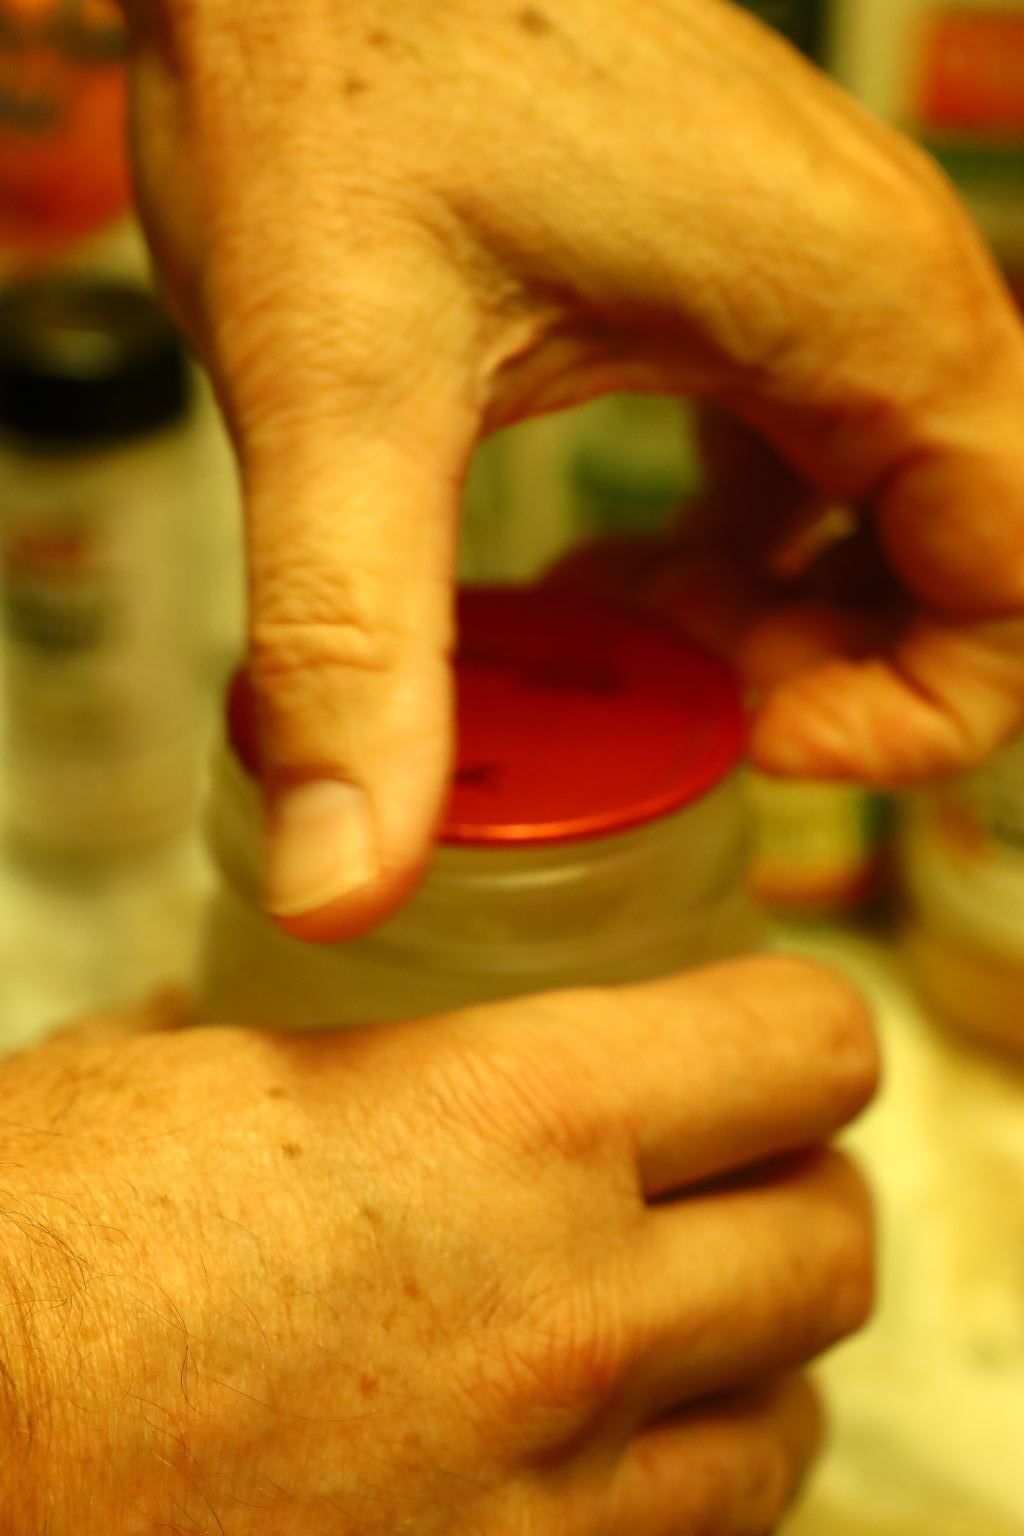
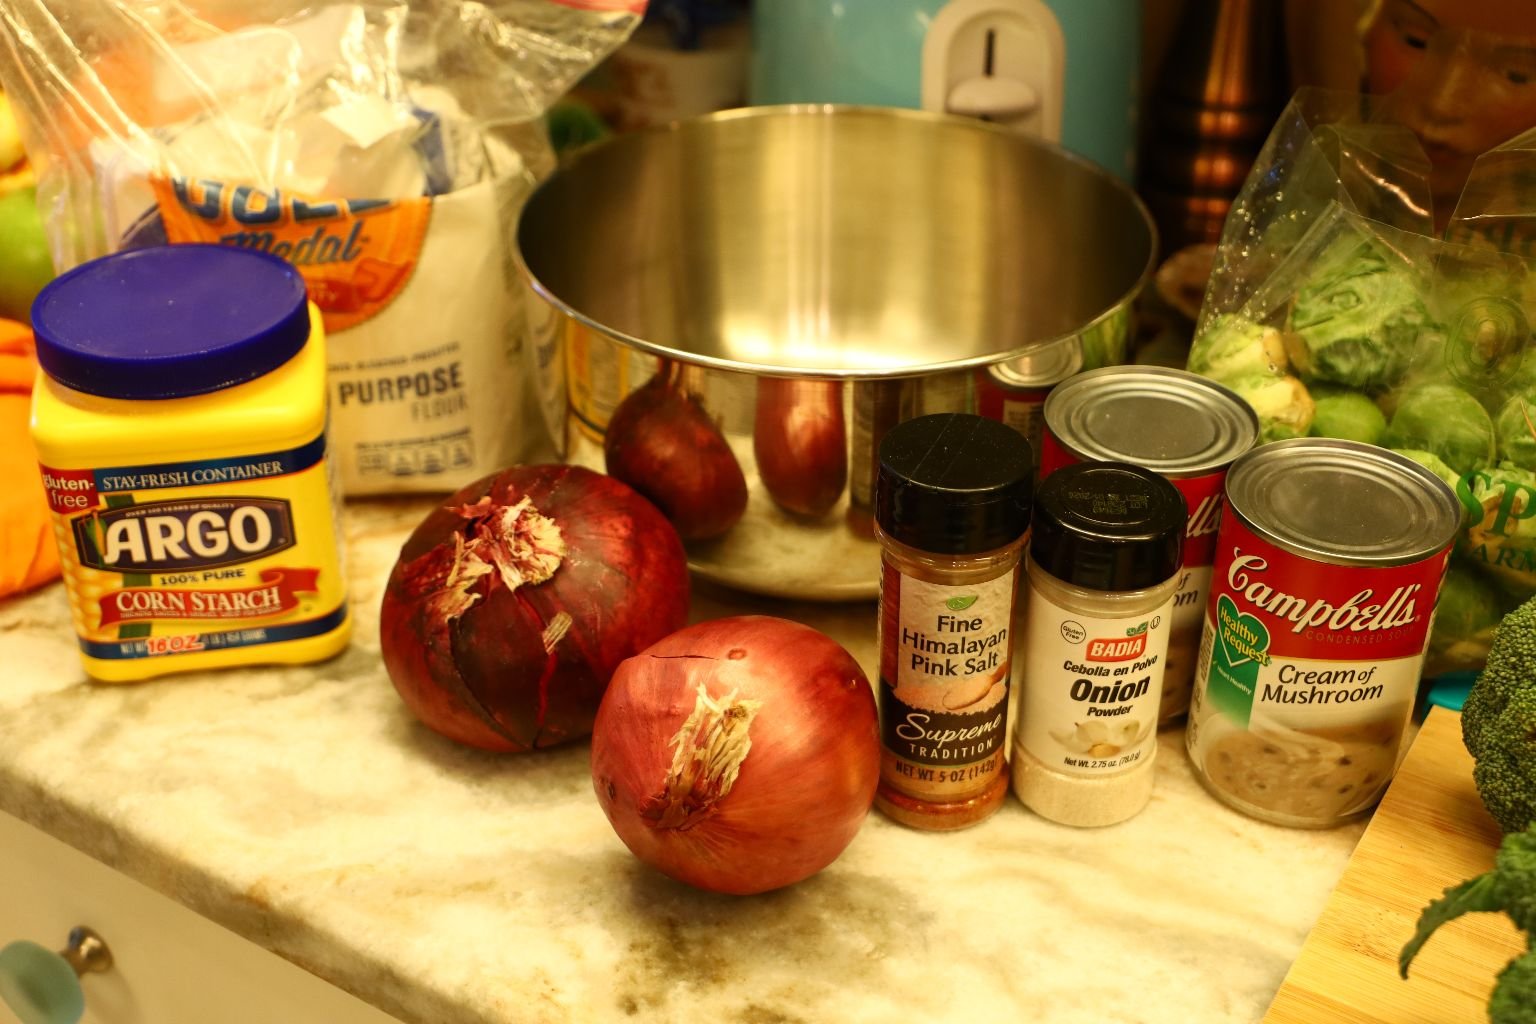
Gordon’s Poultry Gravy
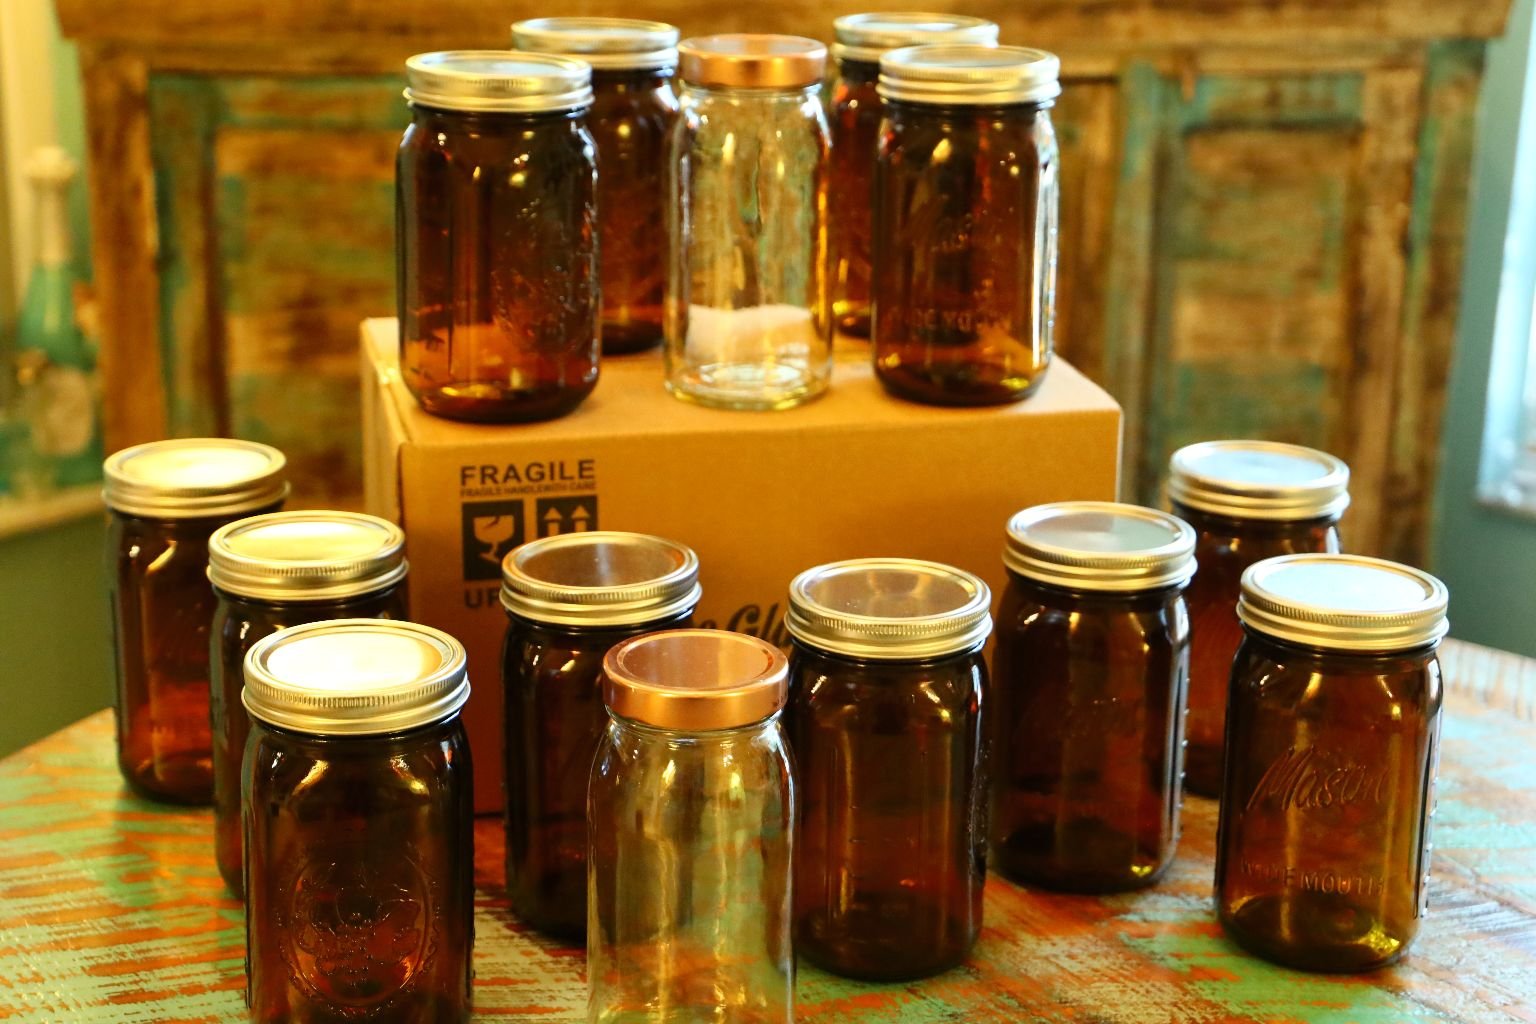
Brown Jars Are Ready
————————————————————————
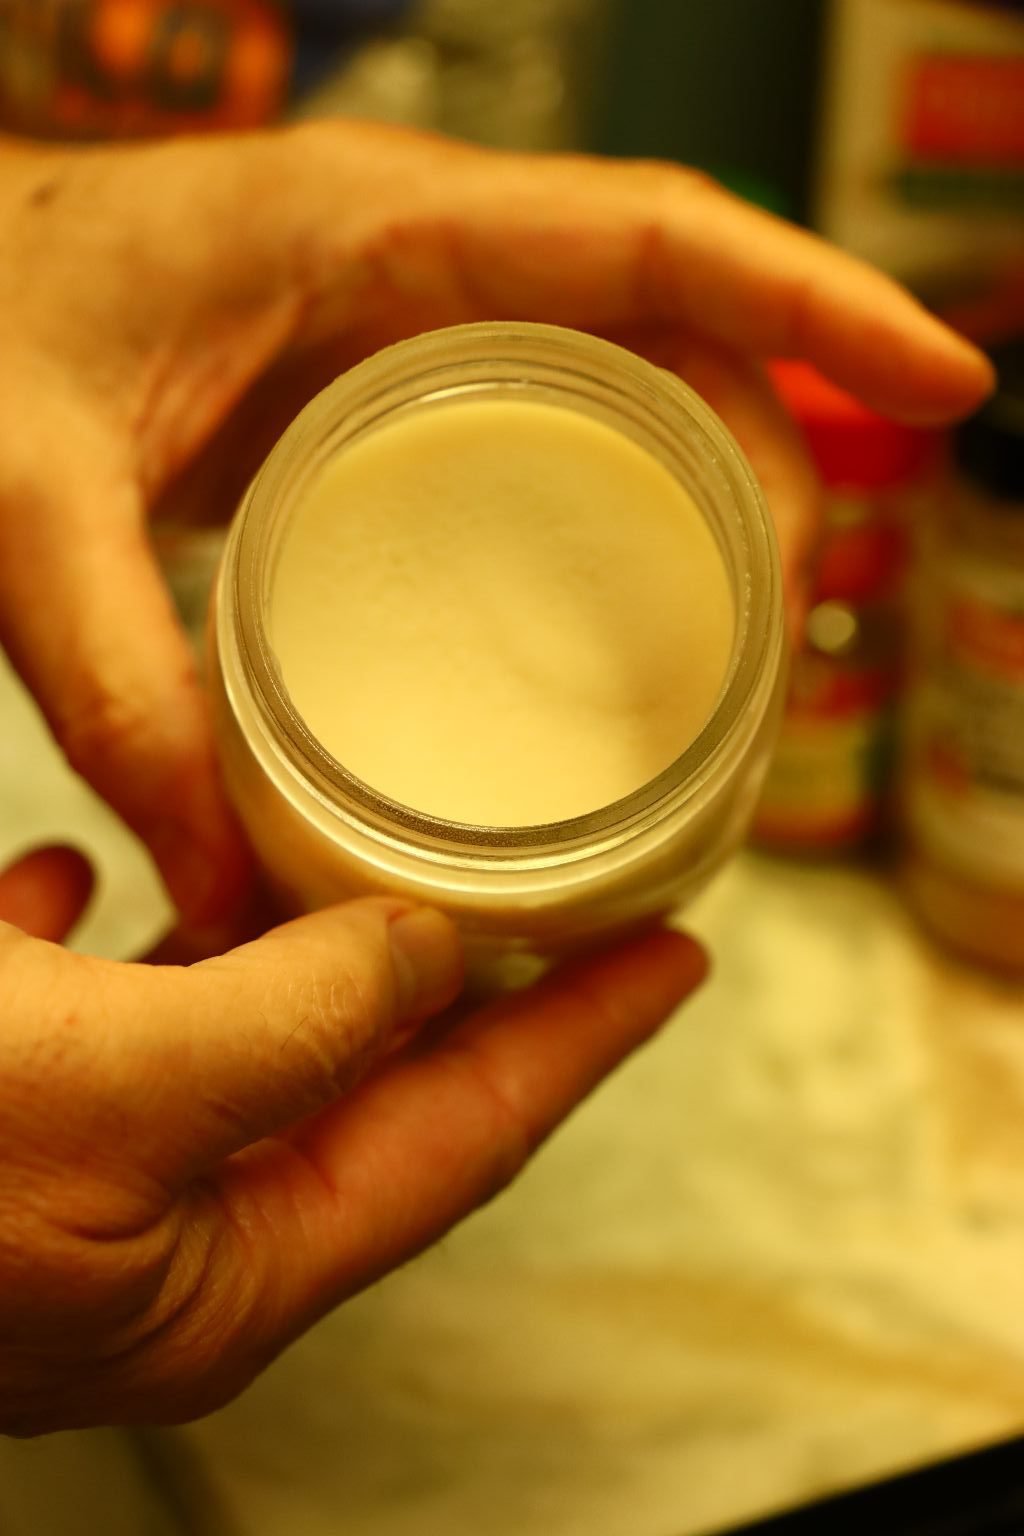
The Finished Product
Gordon’s Delicious Poultry Gravy
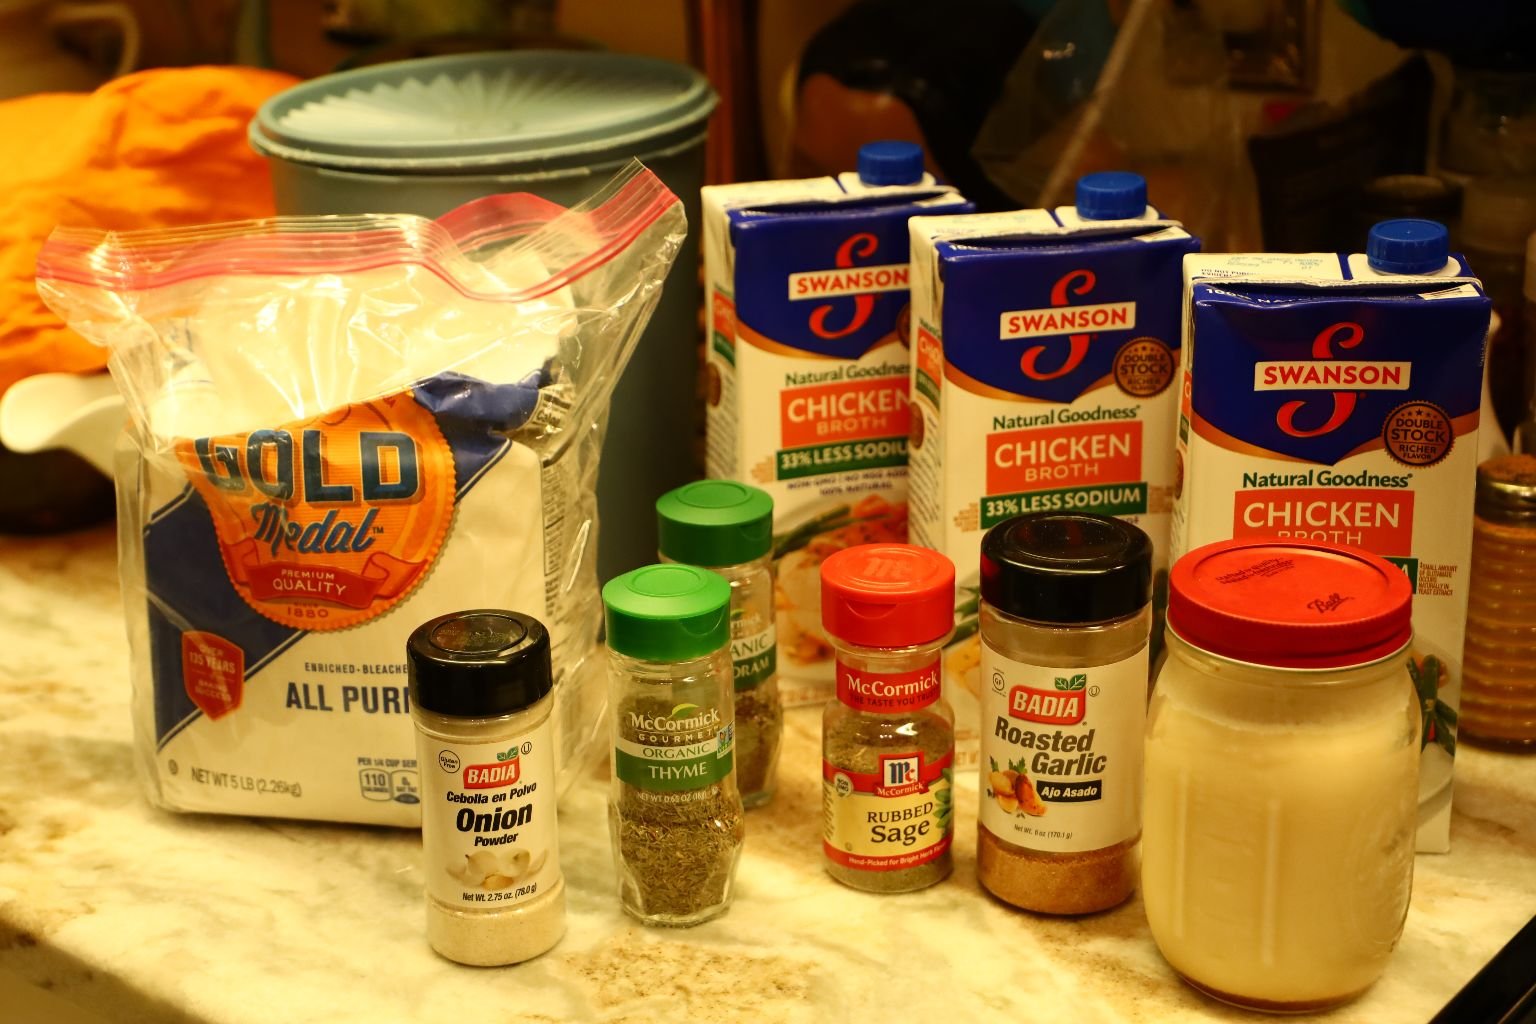
Ingredients: Enough for 2 -3 servings
2 Tbsp. Bacon Grease
2 Tbsp. Flour
~ 32 oz. Chicken Broth (33% Less Sodium)
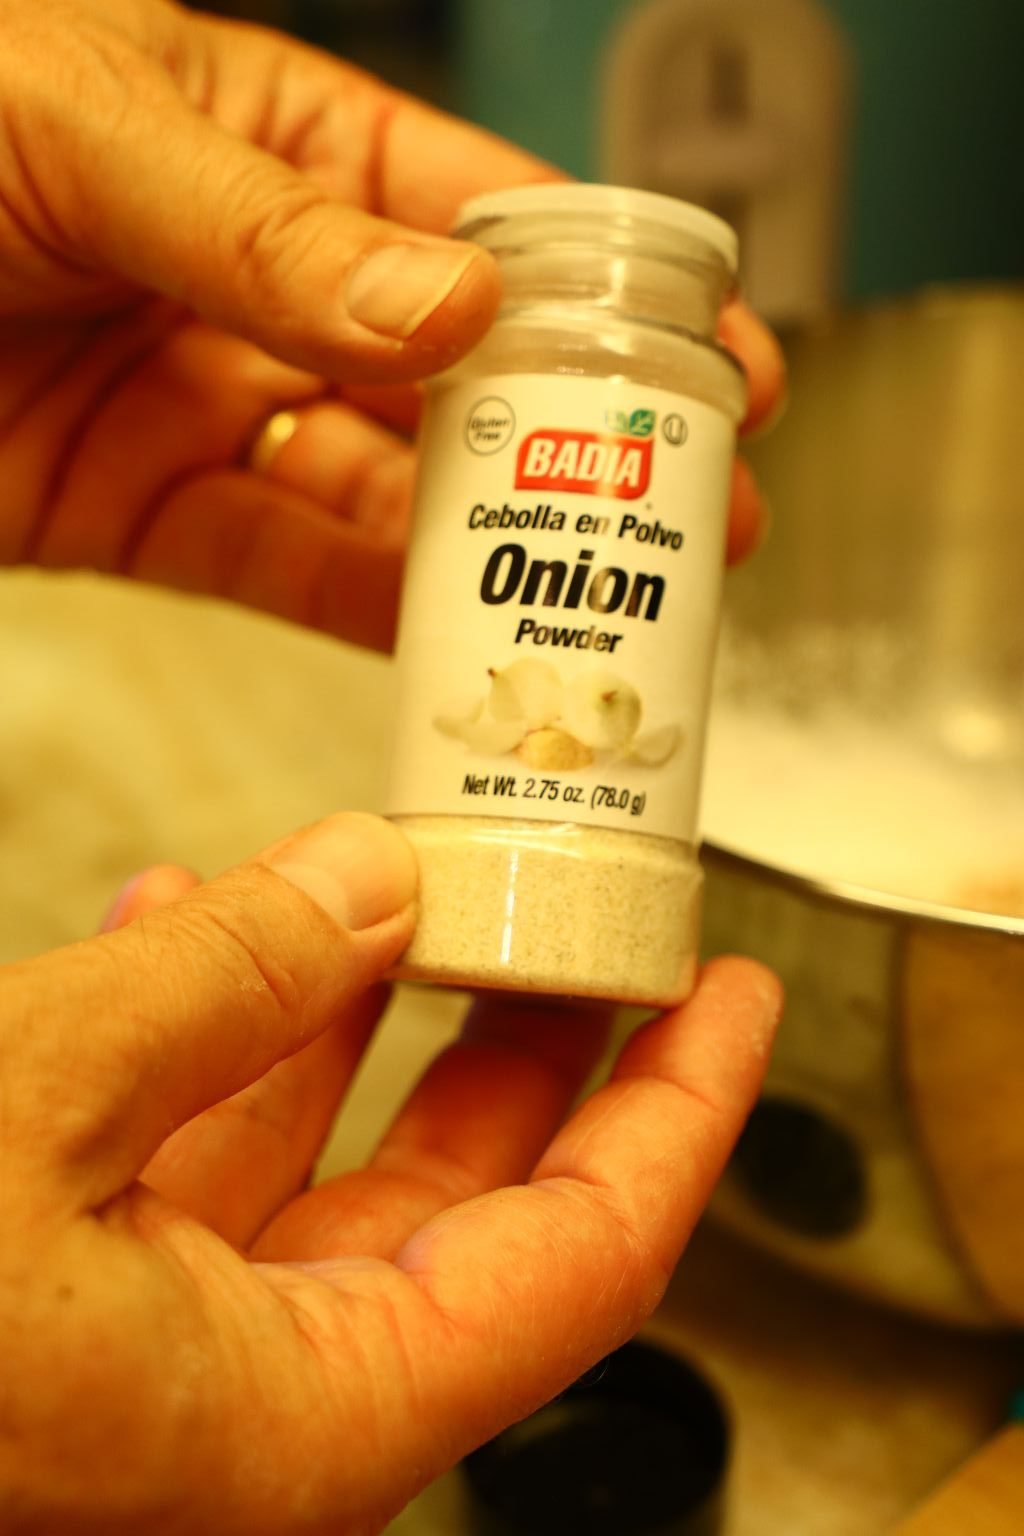
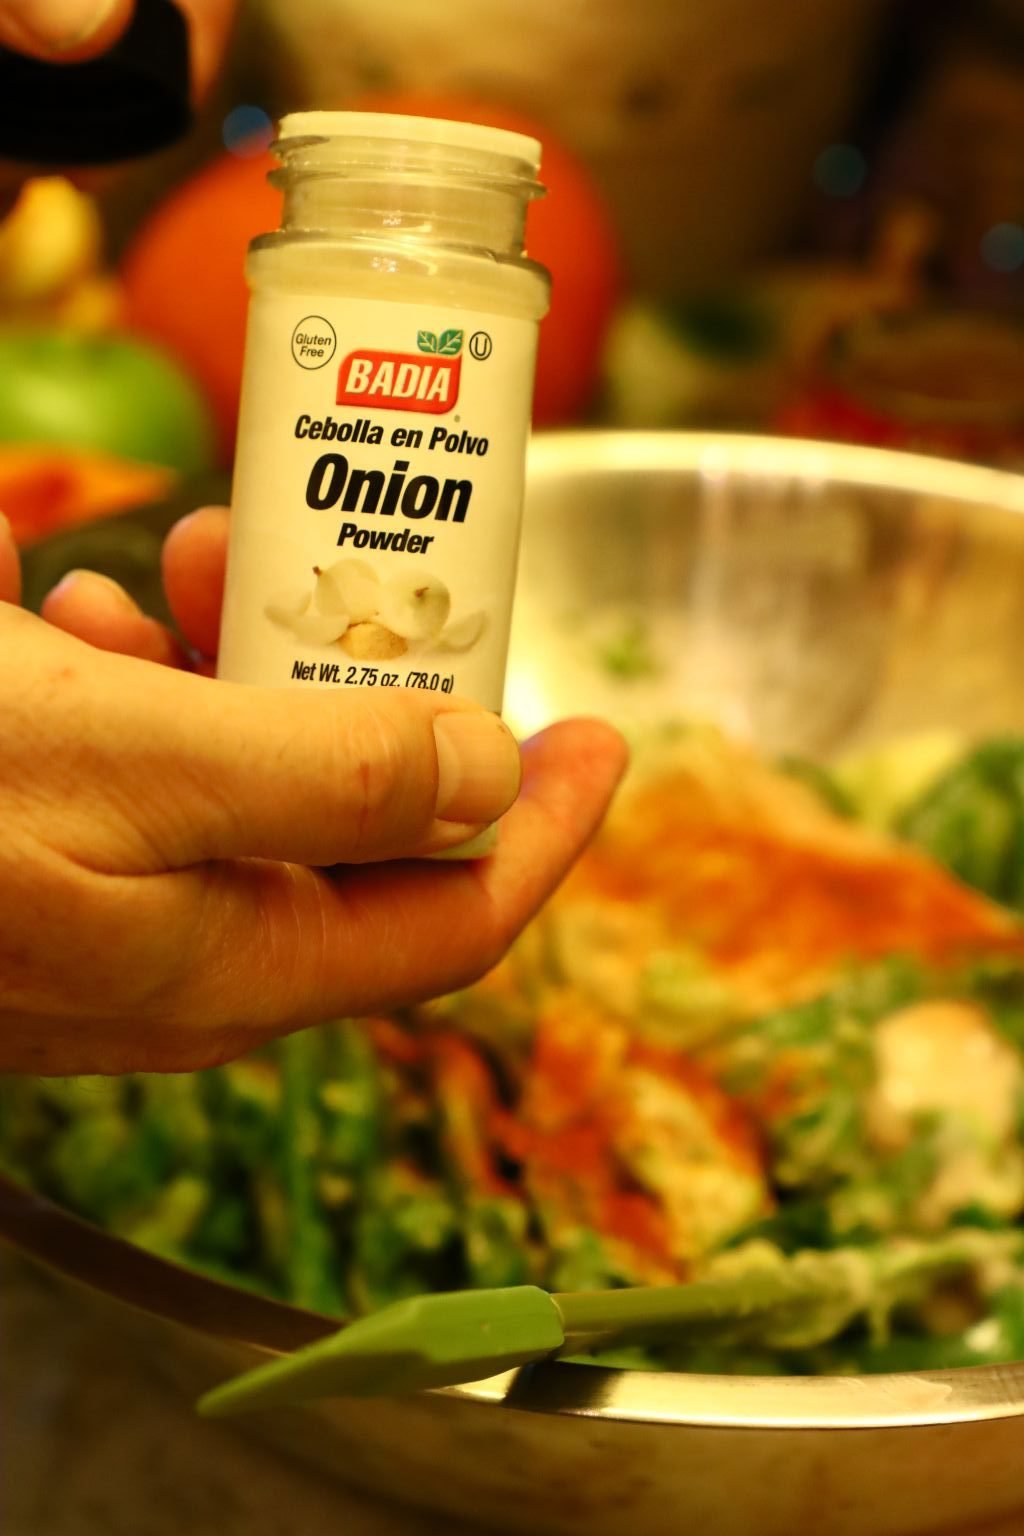
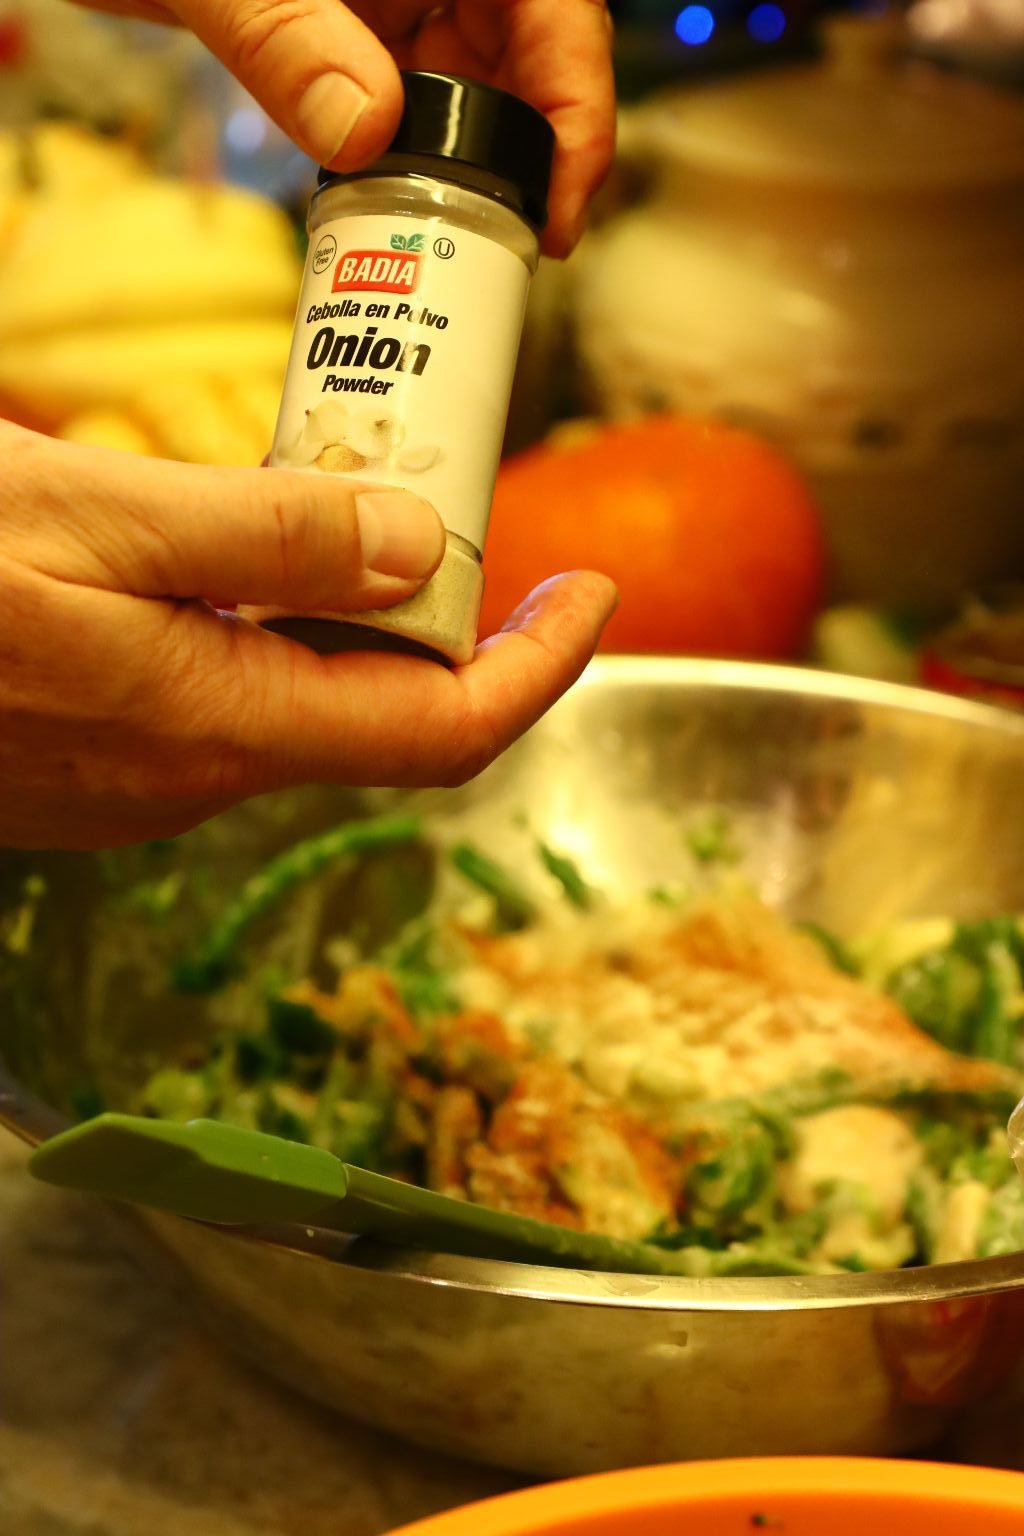
1 tsp. Onion Powder
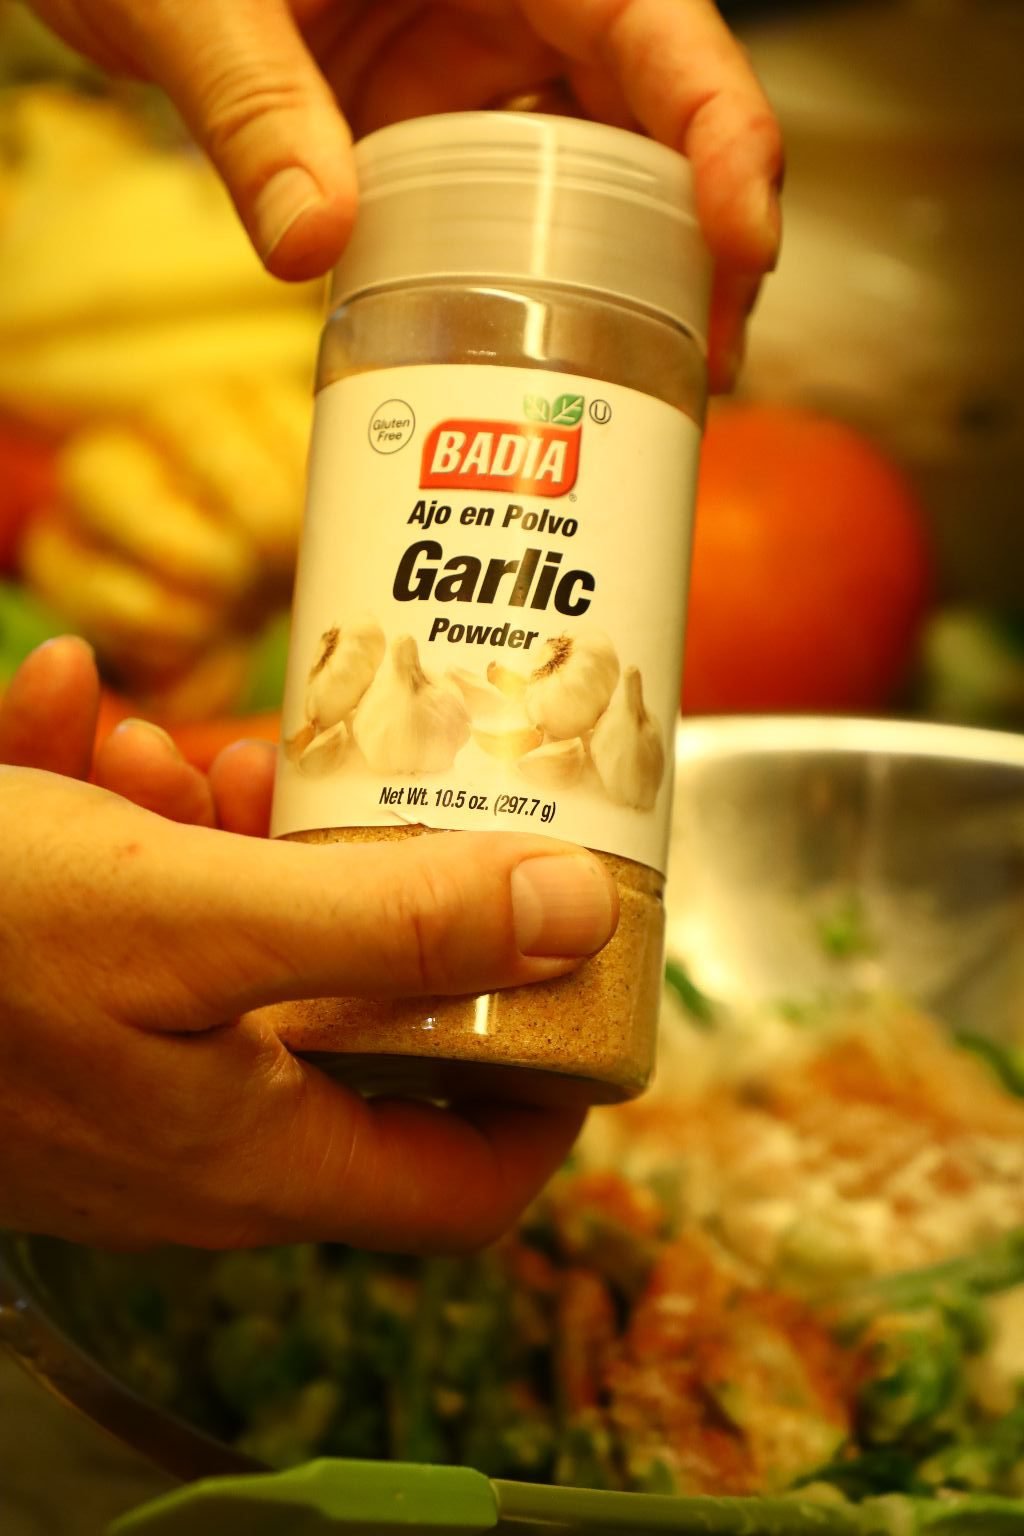
1 tsp. Roasted Garlic Powder
1 Tbsp. Rubbed Sage
1 tsp. Marjoram
1 Tbsp. Thyme
Salt and Pepper to taste
Note: Rosemary is another good herb to use in this recipe.
——————————————————————–
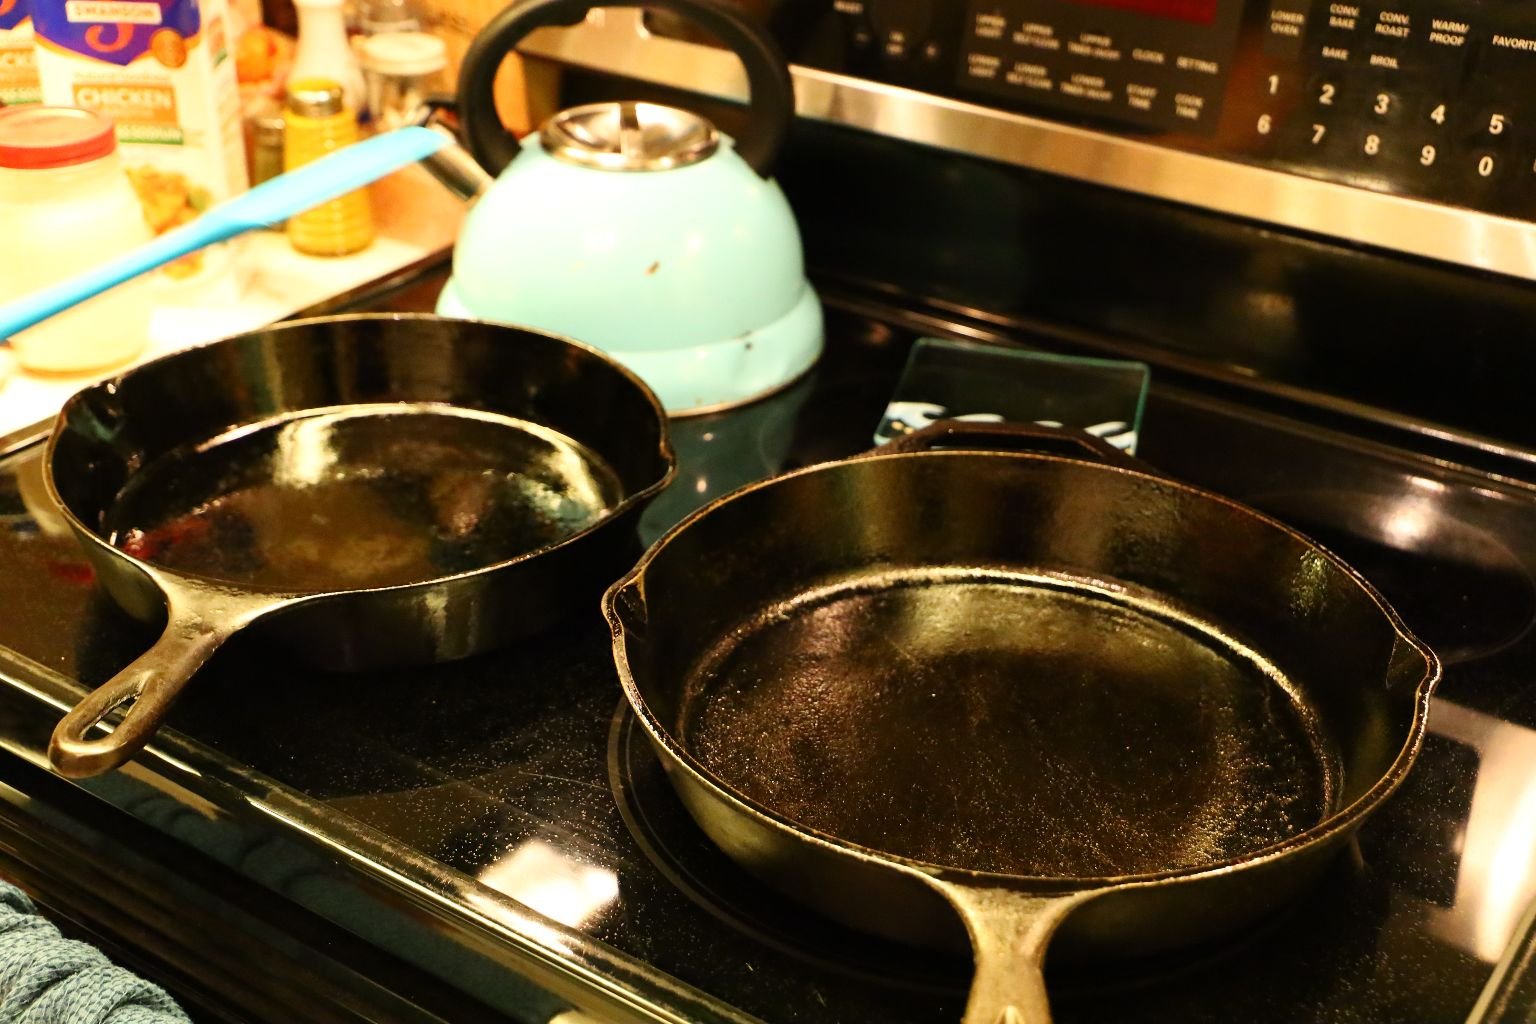
I feel the best way to make Gravy is by using a cast iron skillet. It retains the heat and spreads it evenly over the pan. Plus, it has been a tradition in our house for many decades to use these pans and they last forever. These pans are around XX years old and to us they are priceless. They have been passed down by Julie’s side of the family for 4 generations.
The ingredients above are enough for 2-3 people, so if you need more as I will demonstrate below, simply double or triple the ingredient amounts.
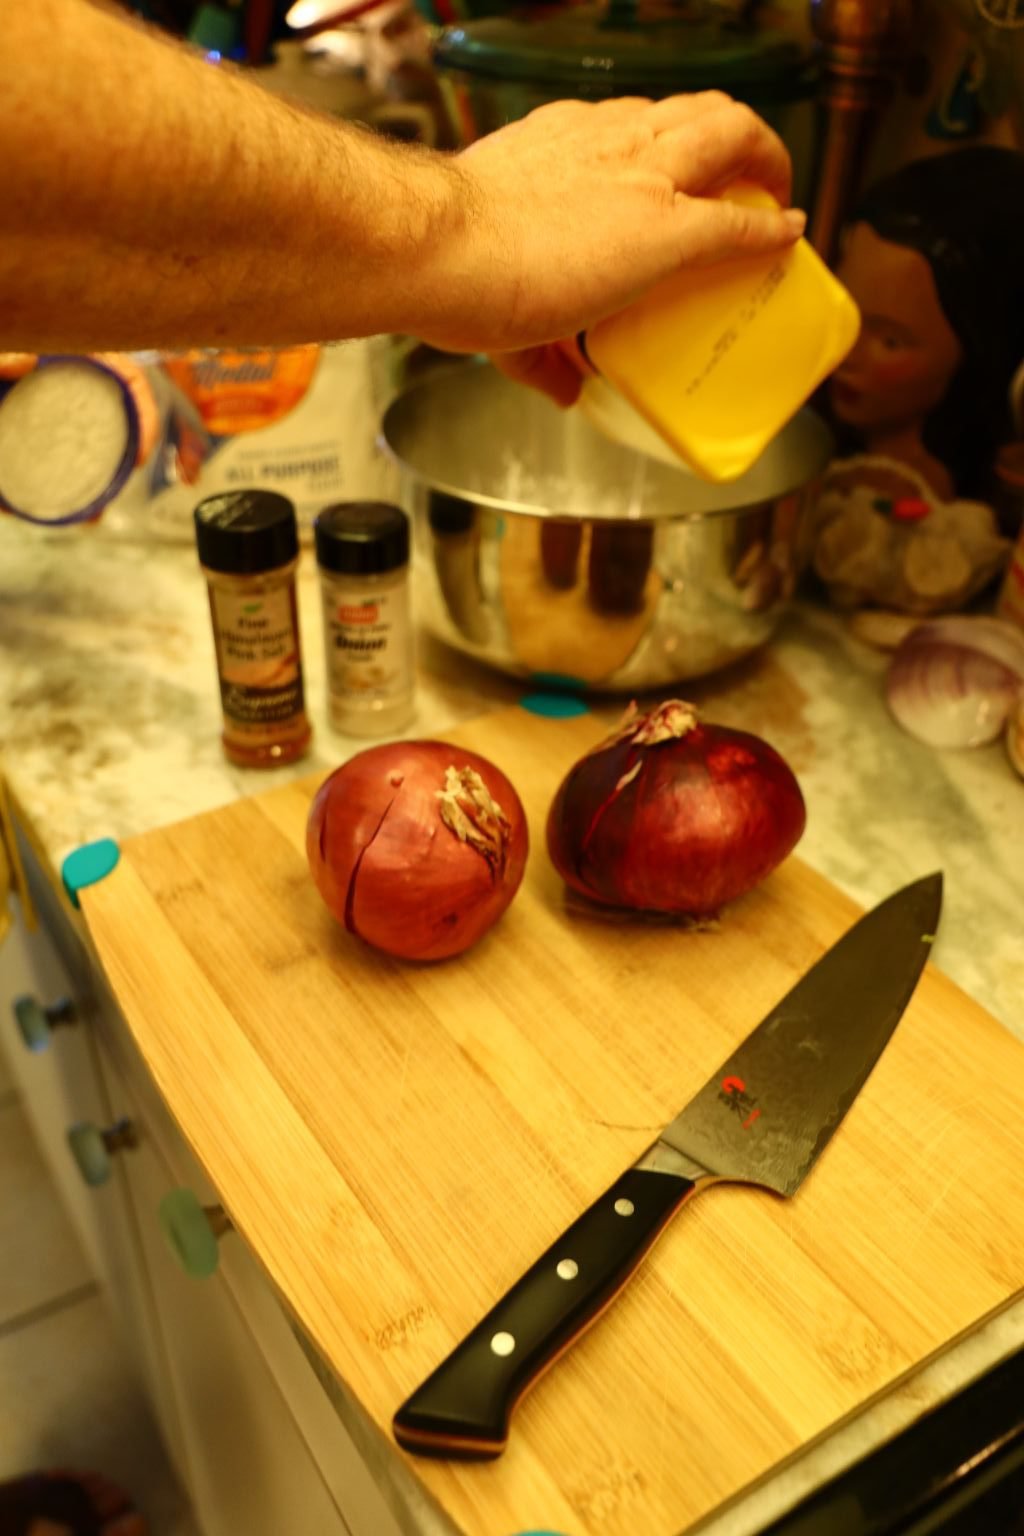
Bacon Grease
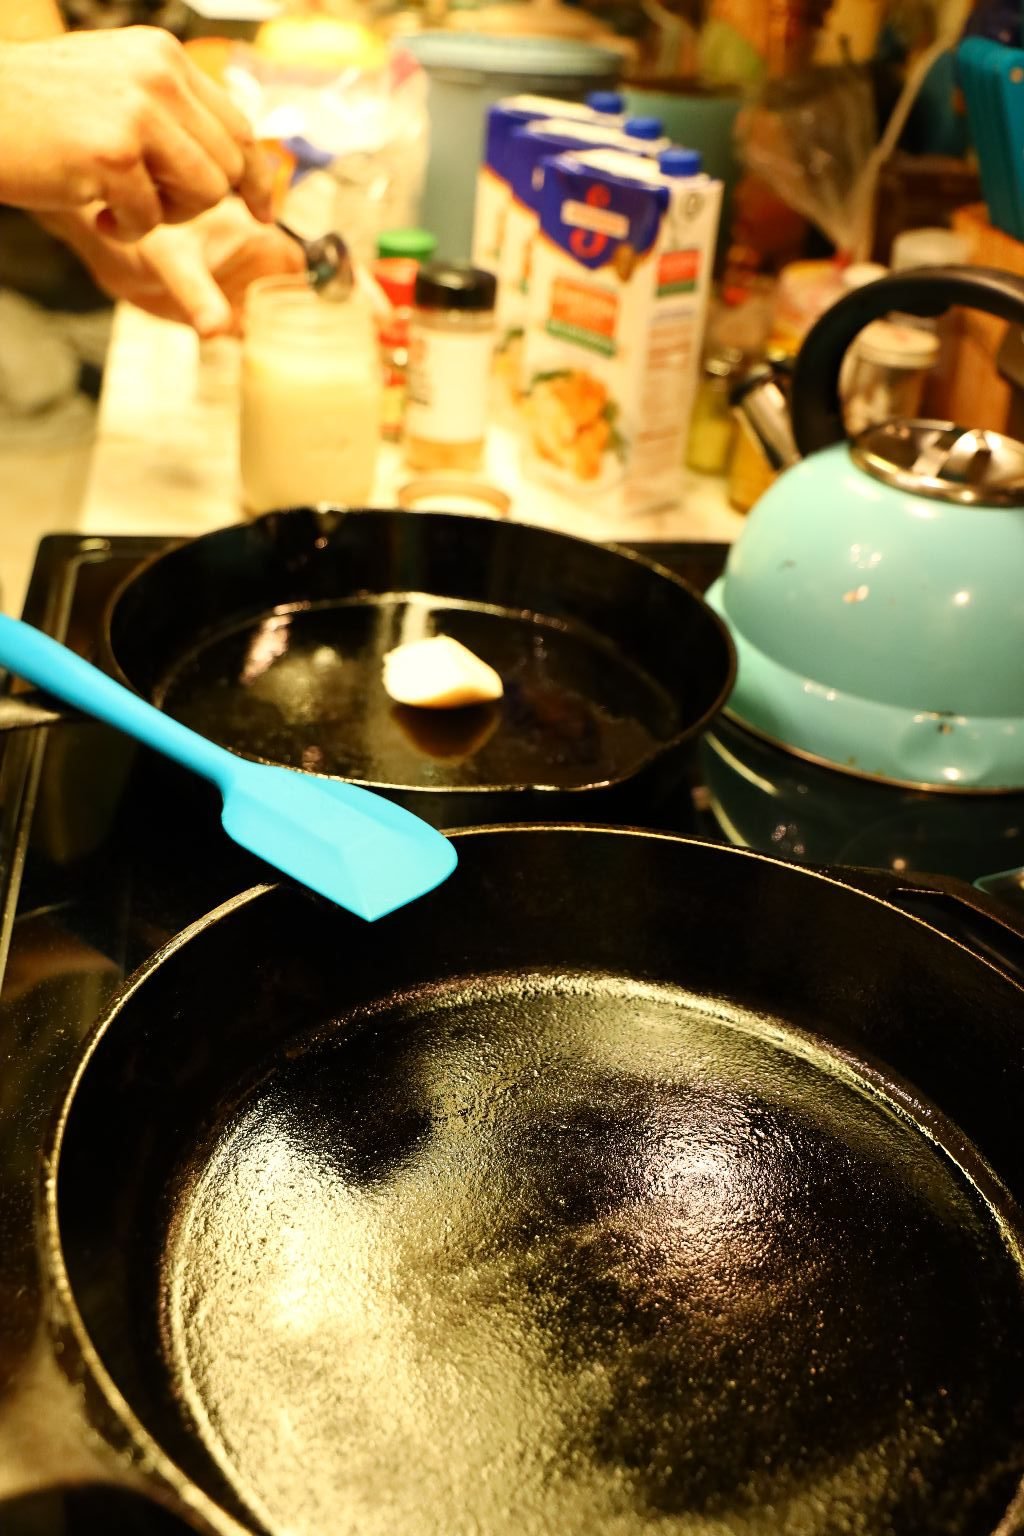
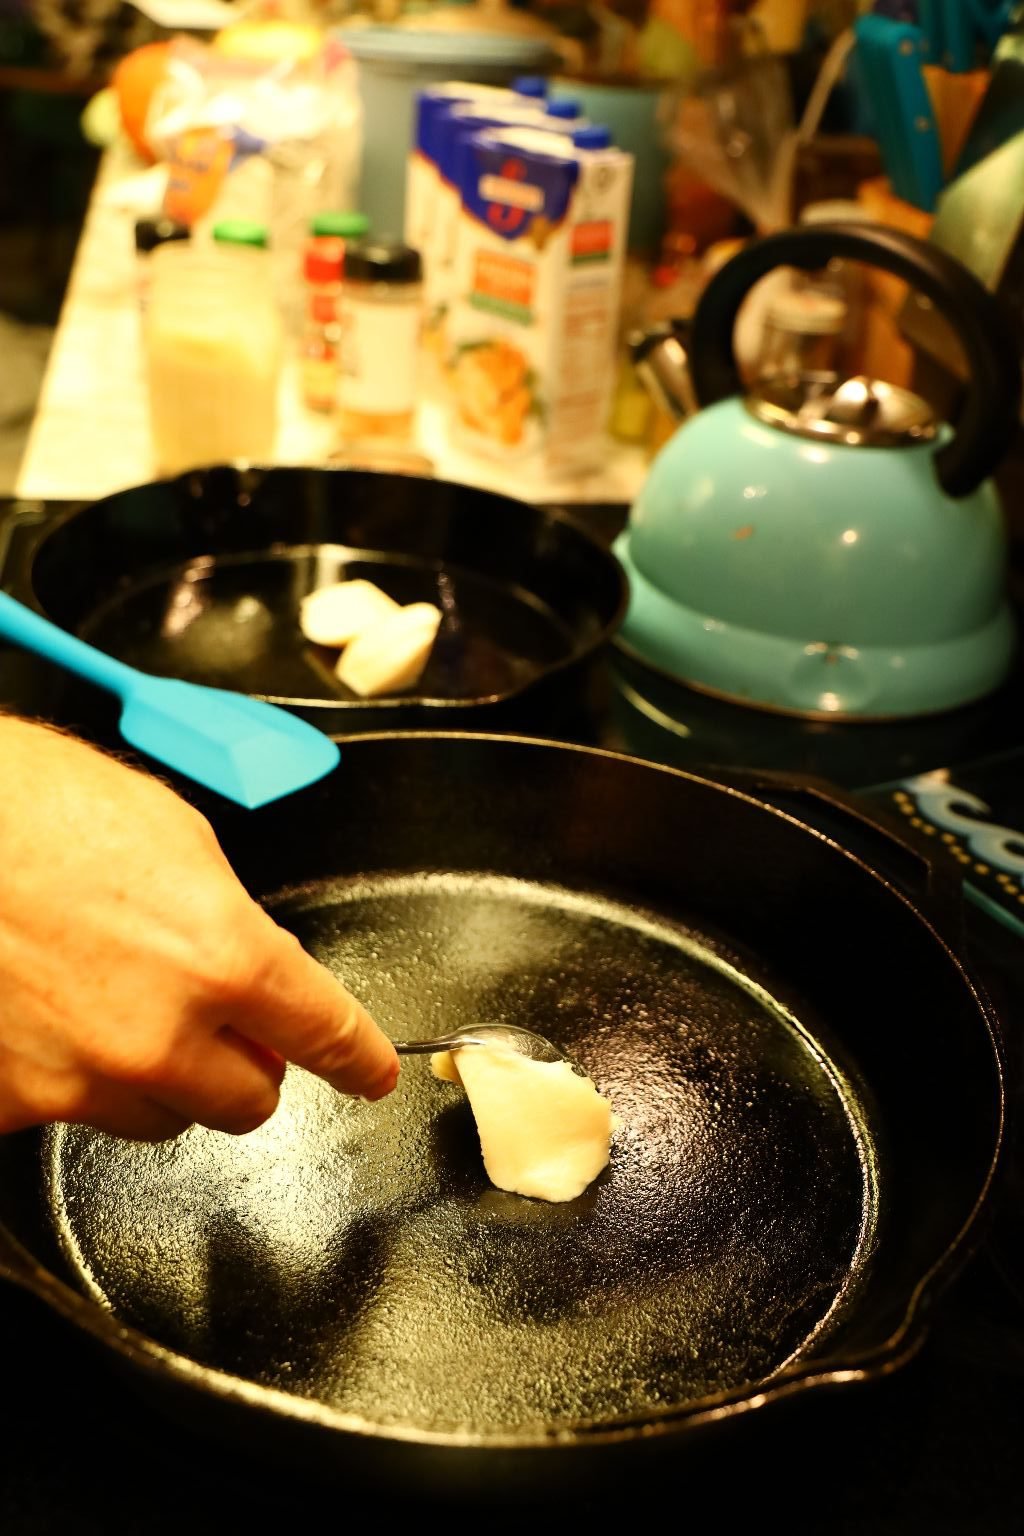
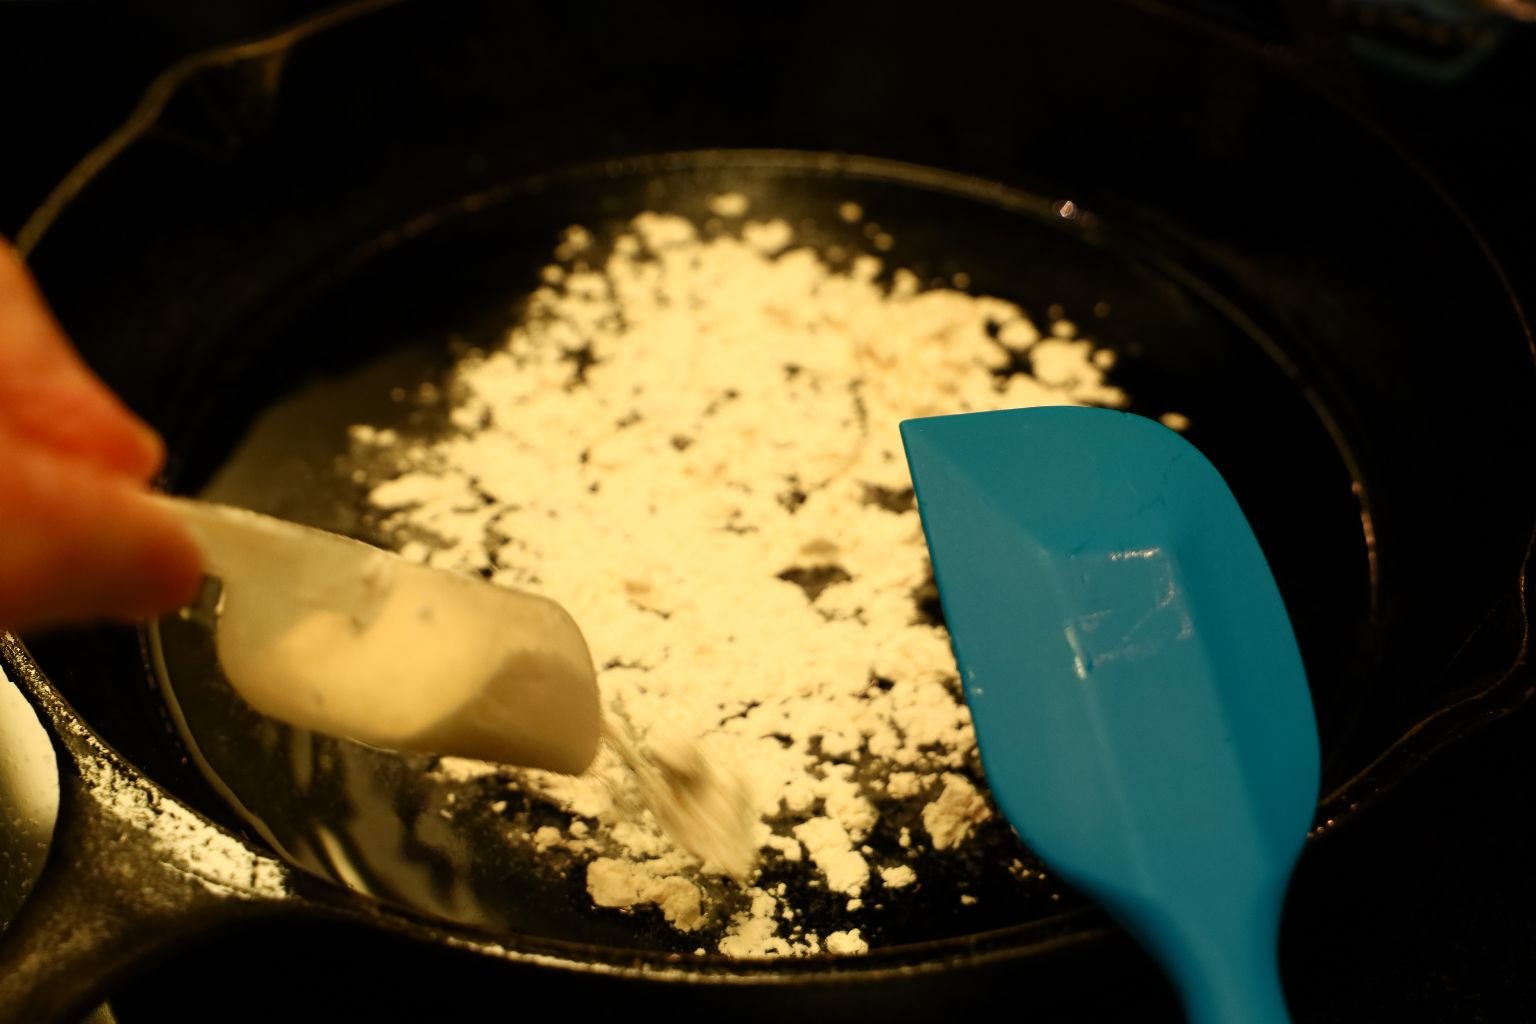
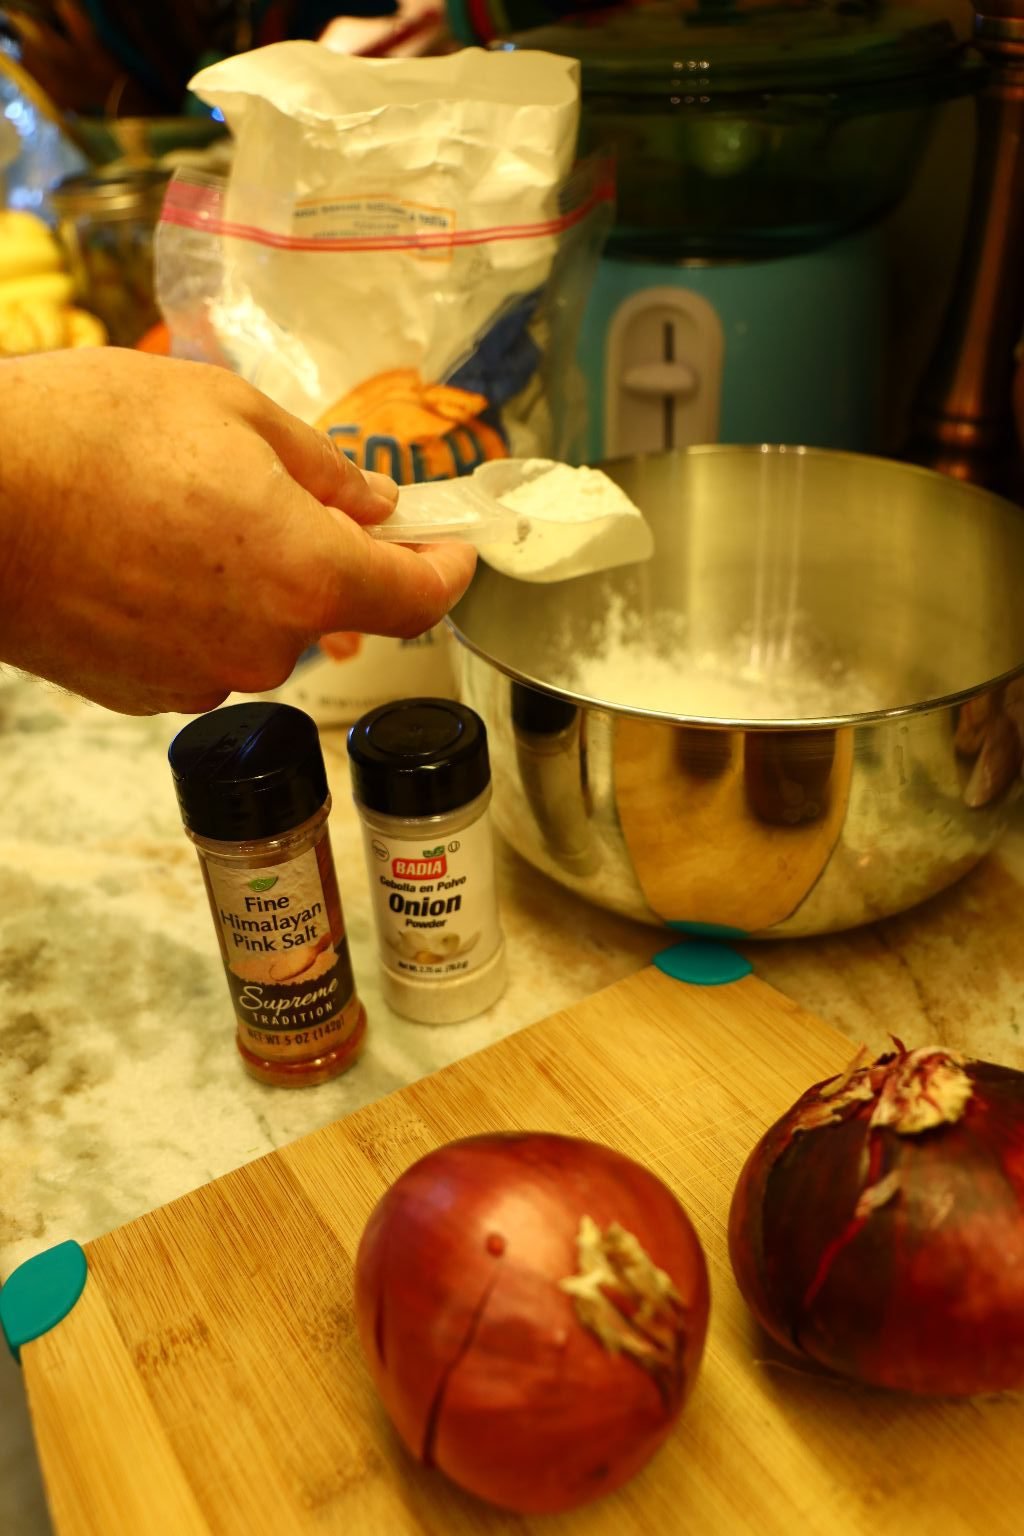
You will start to make your Gravy by making what is called a Roux. A Roux is made as a way to thicken a liquid such as Chicken Broth or Chicken Stock. You need two things to make a Roux, Fat and Flour. The Fat can be butter, Bacon Grease, or Oil of any type such as Peanut, Olive, Corn, Vegetable, etc… The trick with this is they have to be of equal parts. This can be done easily and I will show you how.
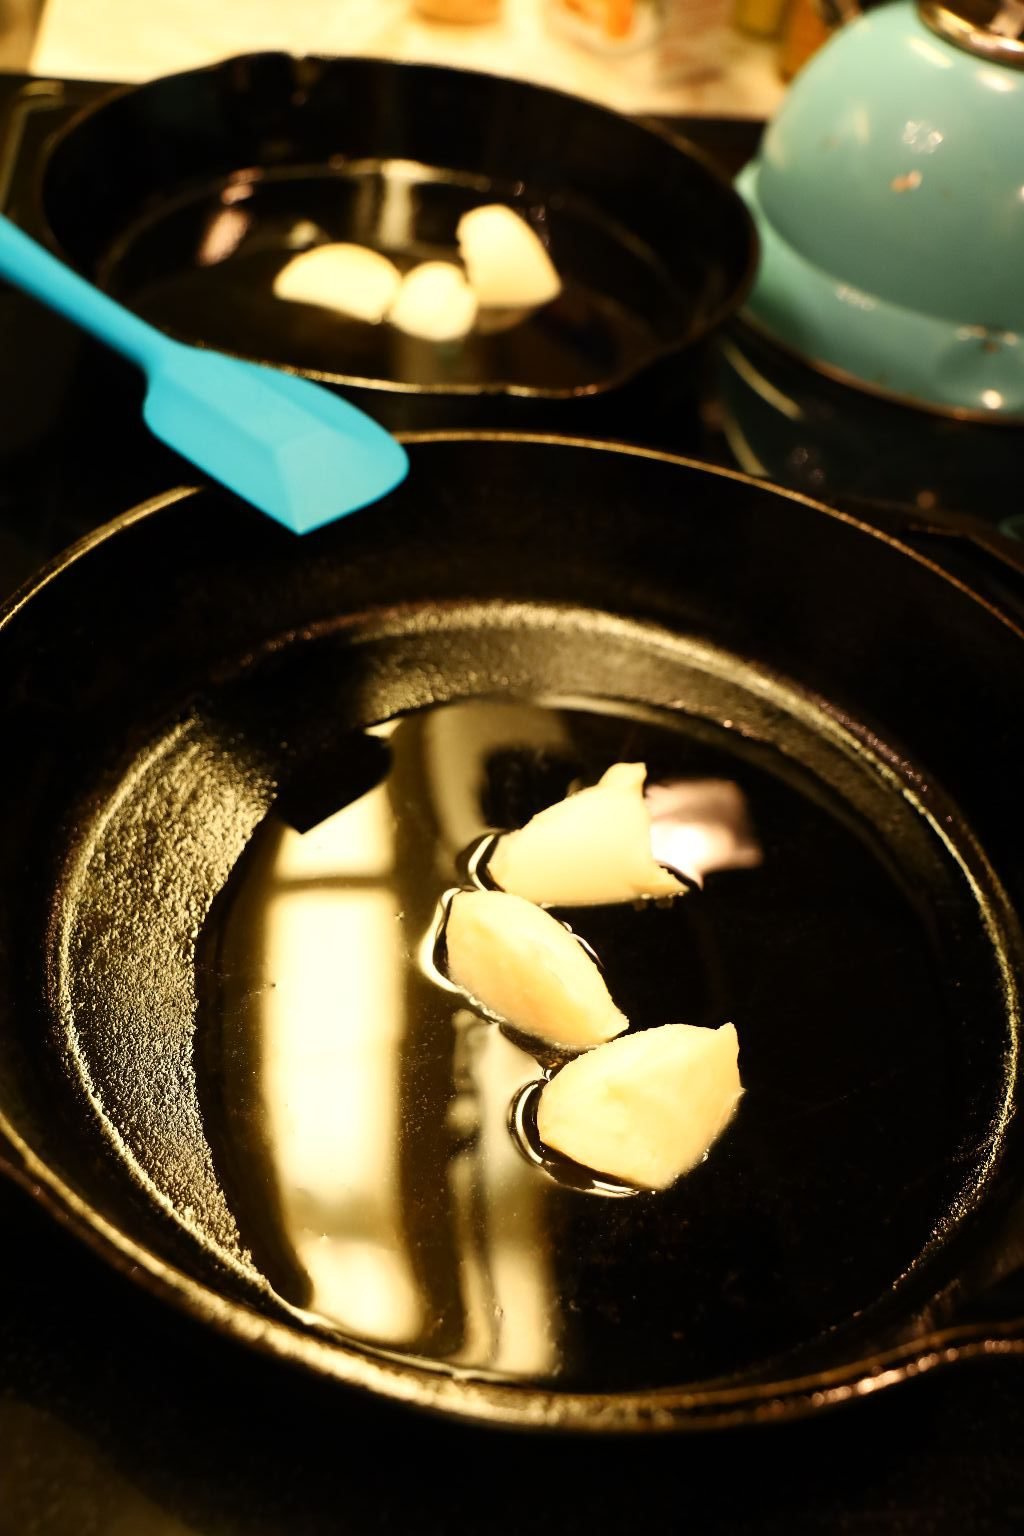
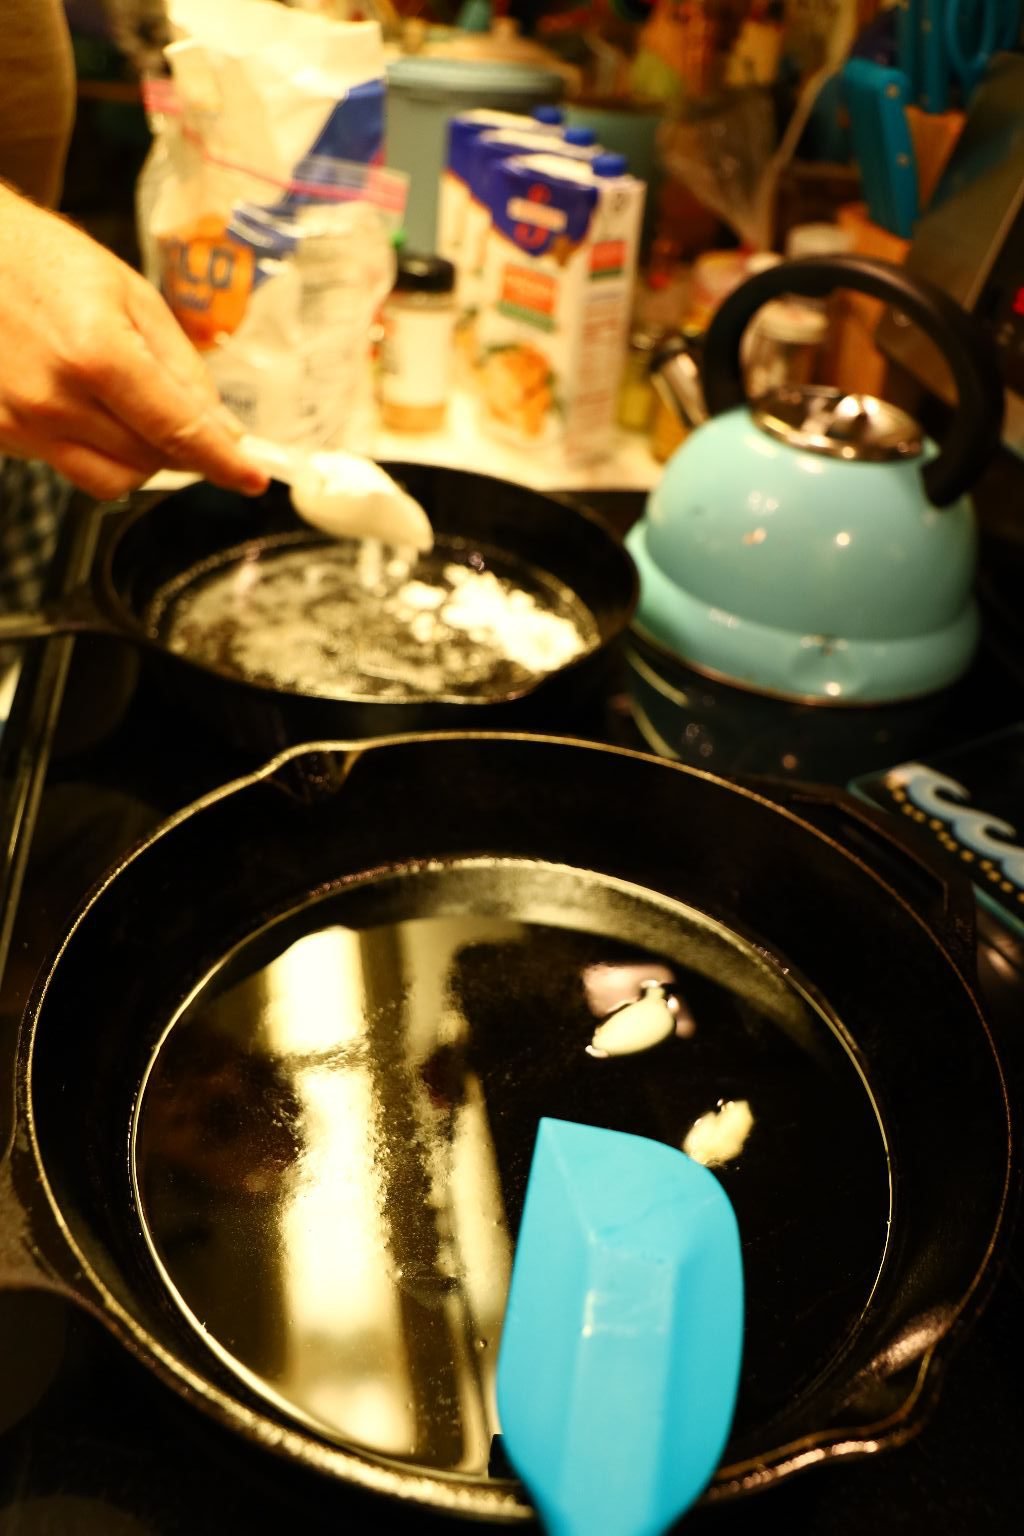
Turn your heat on to Medium and add your Fat. Here you can see I am not measuring out the Bacon Fat I am using as my Fat for the Roux.
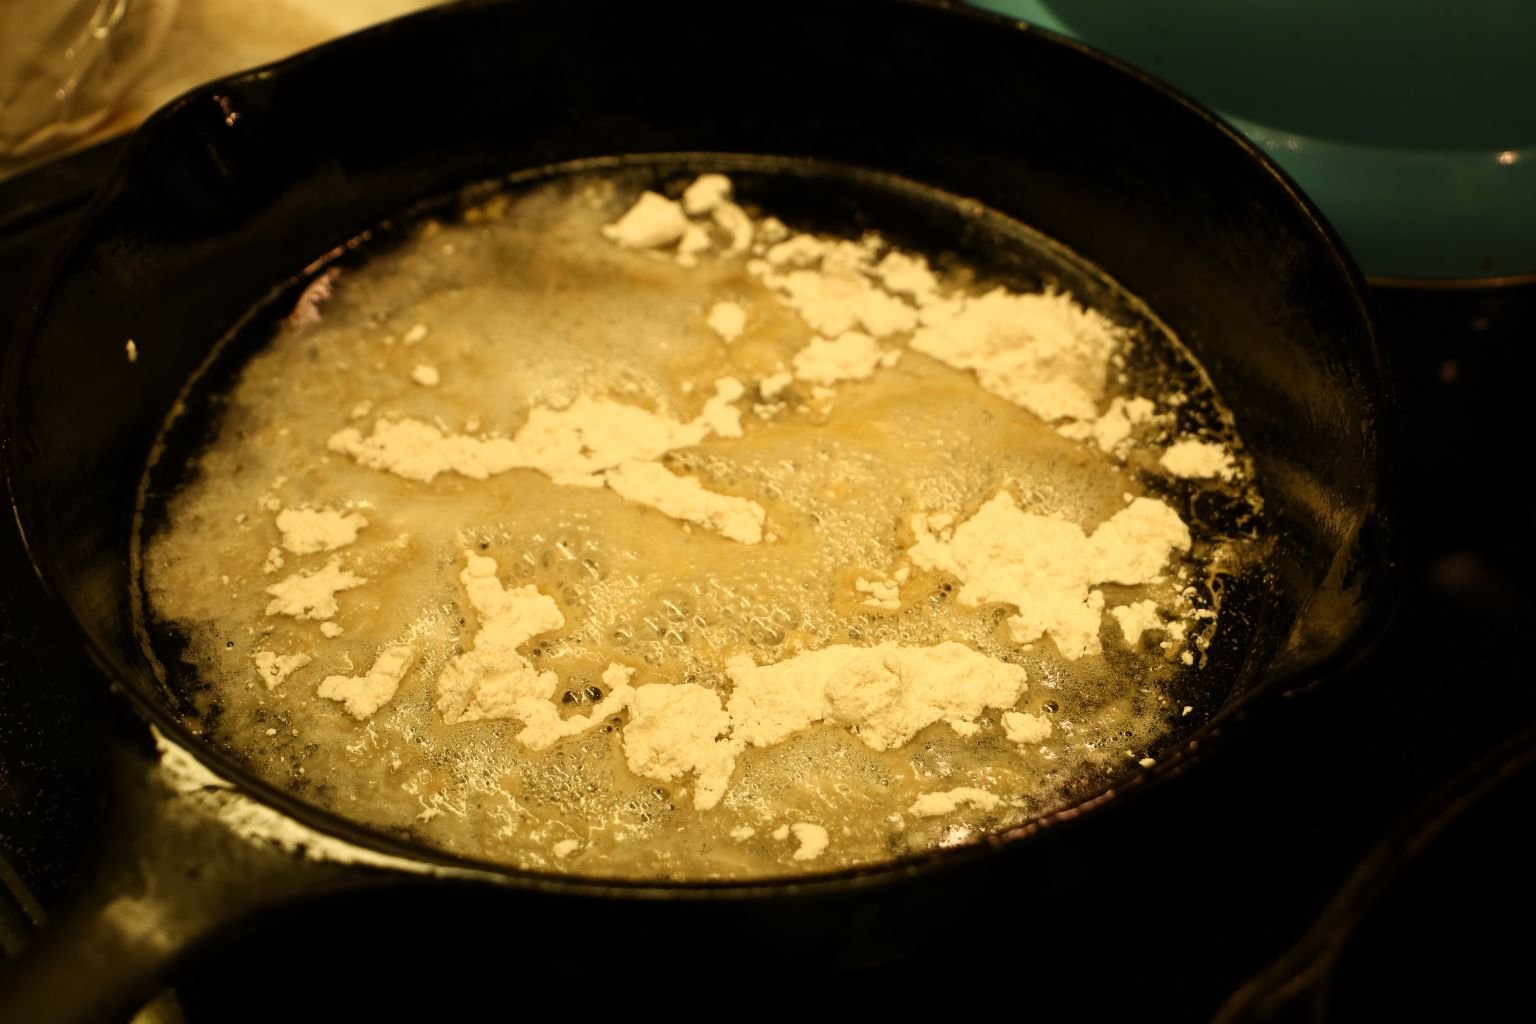
When the Fat melts, add enough Flour to make it look like wet sand when mixed together. If you add too much Flour then add a touch more Fat until you get the mix correct.
————————————————————————-

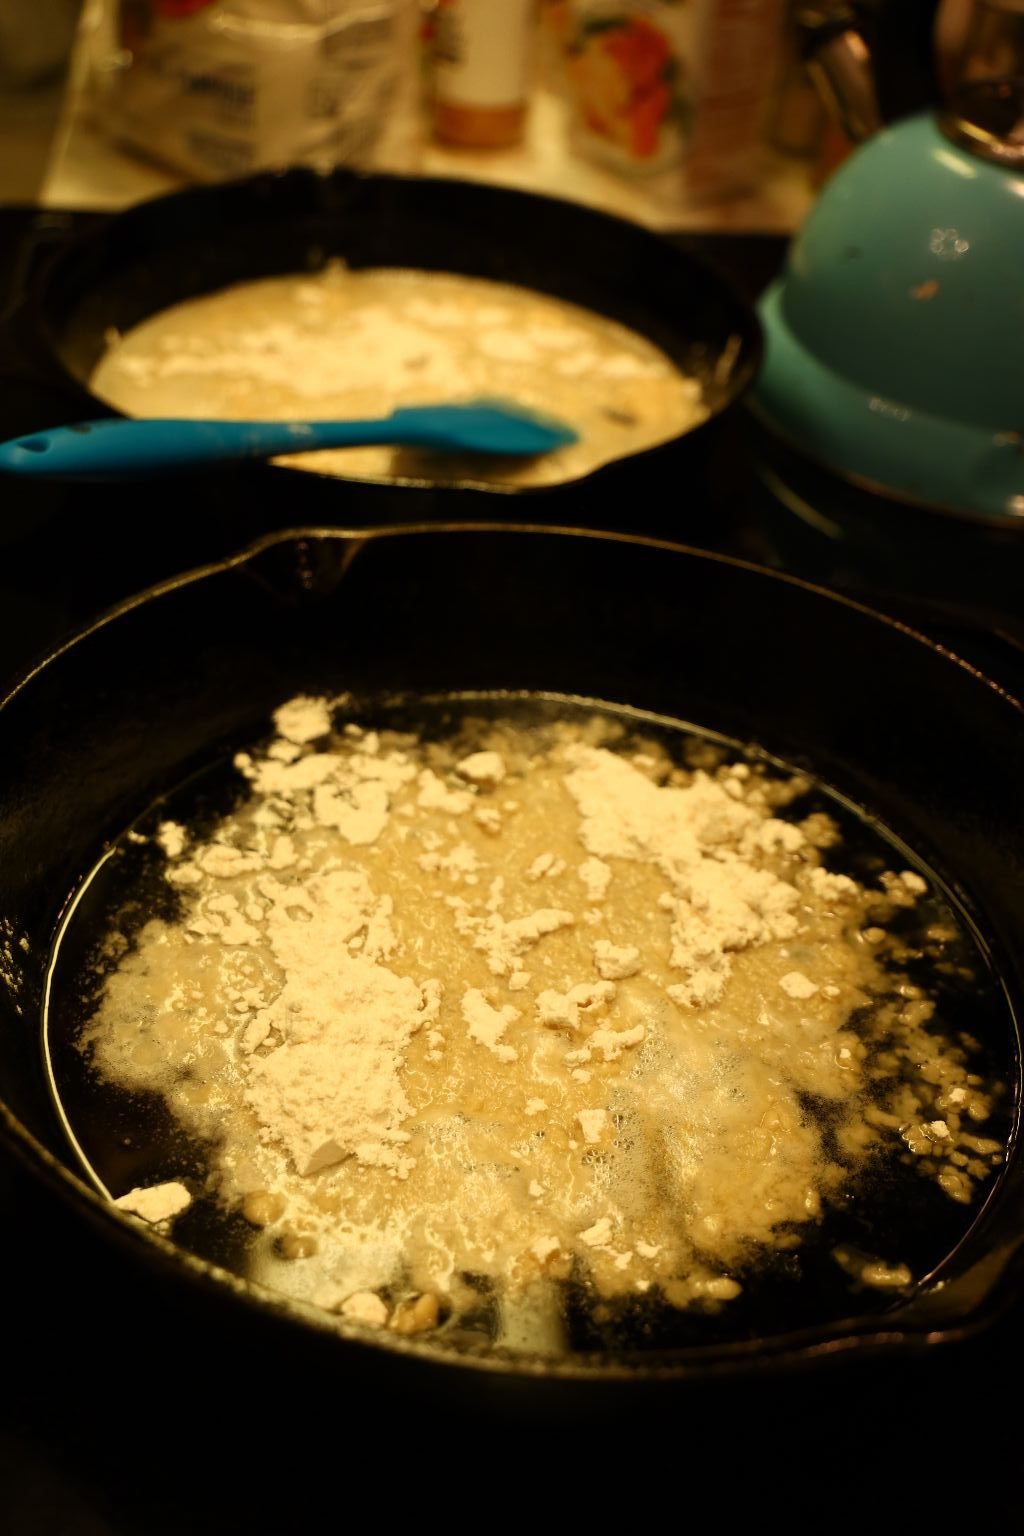
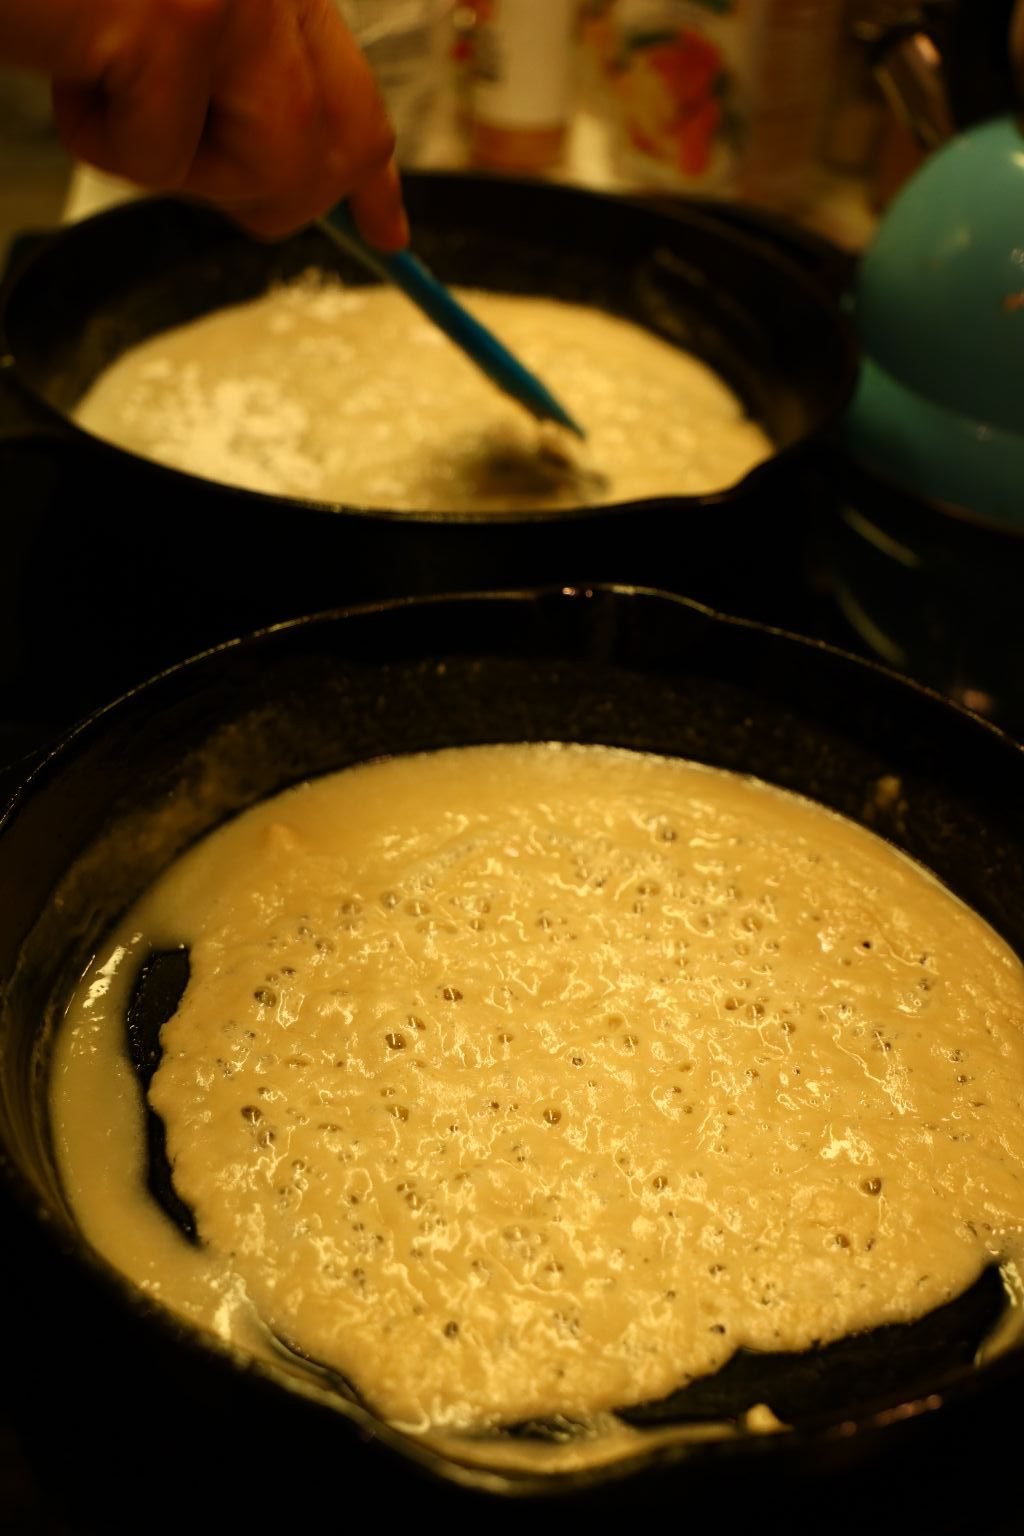
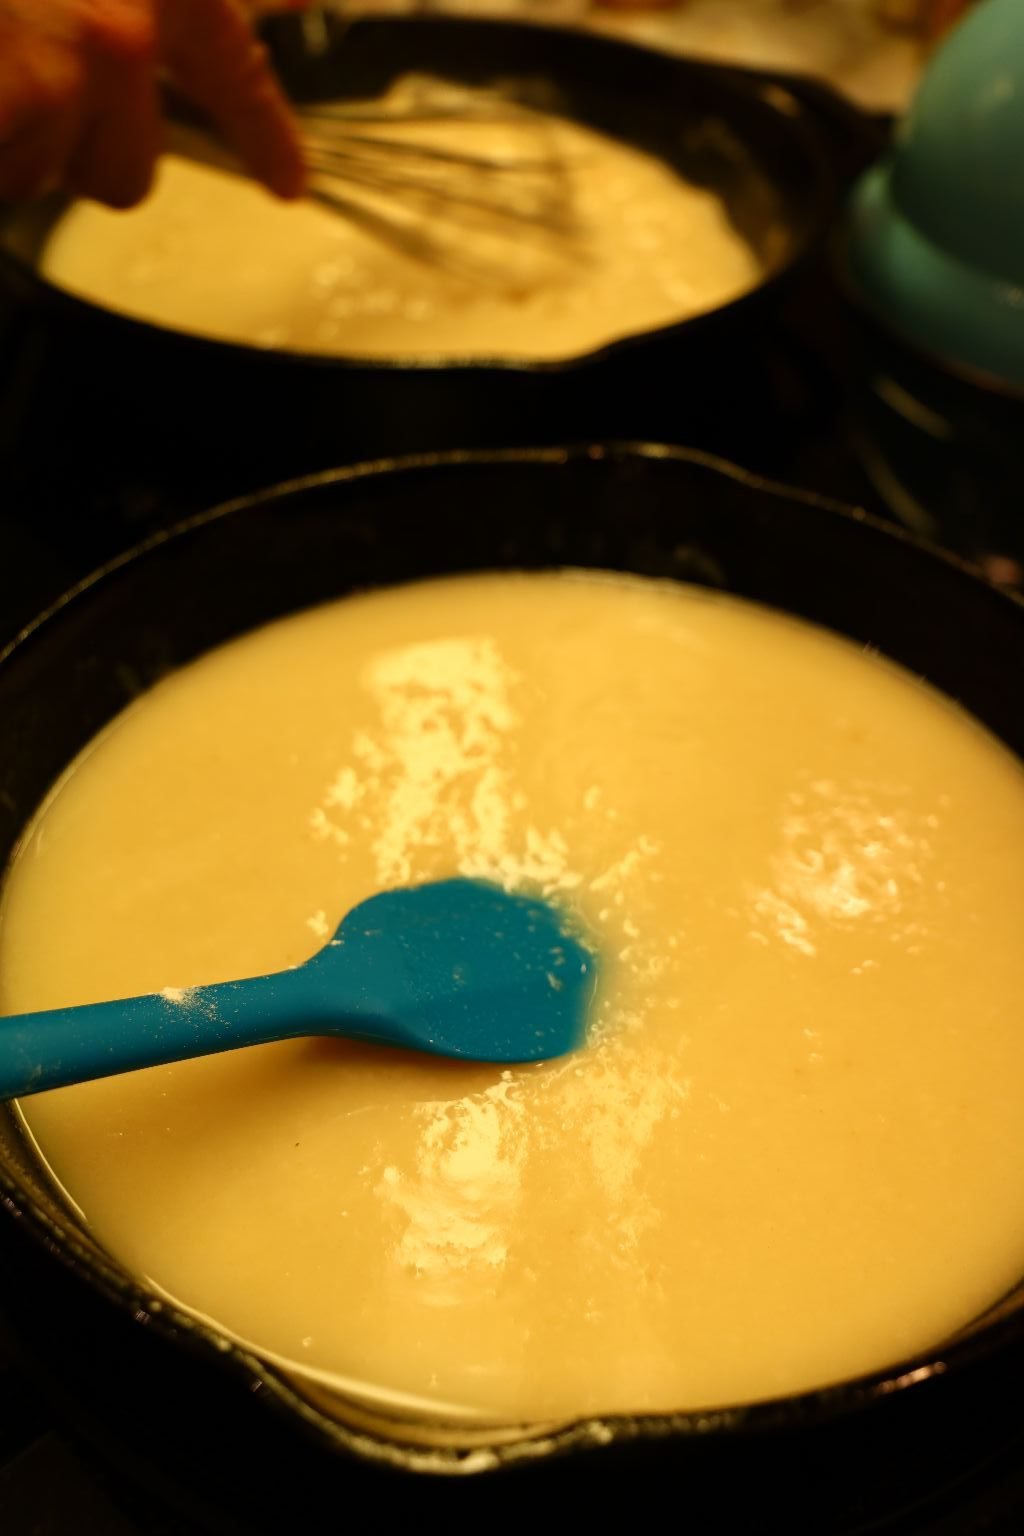
Here you can see a perfect example of what wet sand looks like as when you run your rubber spatula through it, it retains its shape. Stir this mixture constantly and adjust the heat as needed if it starts to brown too quickly. As you cook the Roux it will change from bright white to ivory, then to shades of brown. Here you need to decide what type of sauce or gravy you want, white or dark. I say this as technically, when you add your Chicken Stock to a White Roux you have made a Veloute Sauce. If you add your Chicken Stock to a Dark Roux you did not make a Brown Veloute of which there is no such thing, you have made Gravy. I learned this in Culinary School that there is NO SUCH THING as a Brown Veloute or Brown Bechamel Sauce.
Of note, if you add Milk to a White Roux you will have made a Bechamel Sauce. Then adding Milk to a Brown Roux you have made a Gravy usually associated with morning breakfast, where you top it over sausage and biscuits. Adding Cheese to your White Roux, and milk, then makes a Mornay Sauce great for making Mac and Cheese. Browning the Flour will create a nutty taste, but this decreases the Roux power to thicken your liquid.
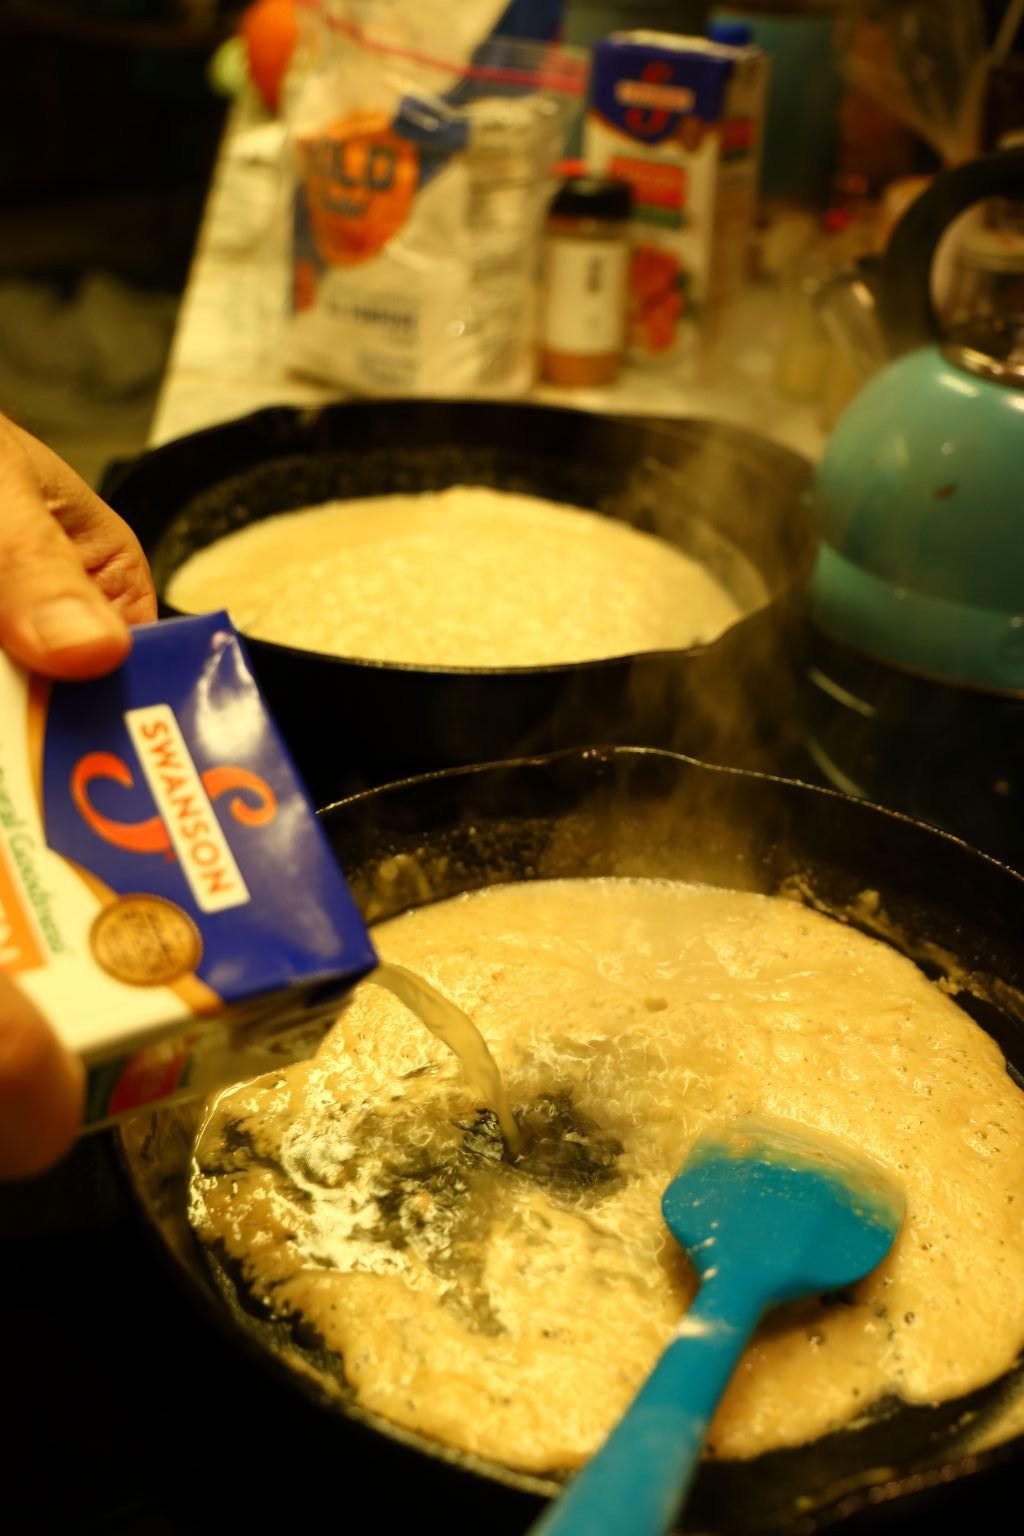
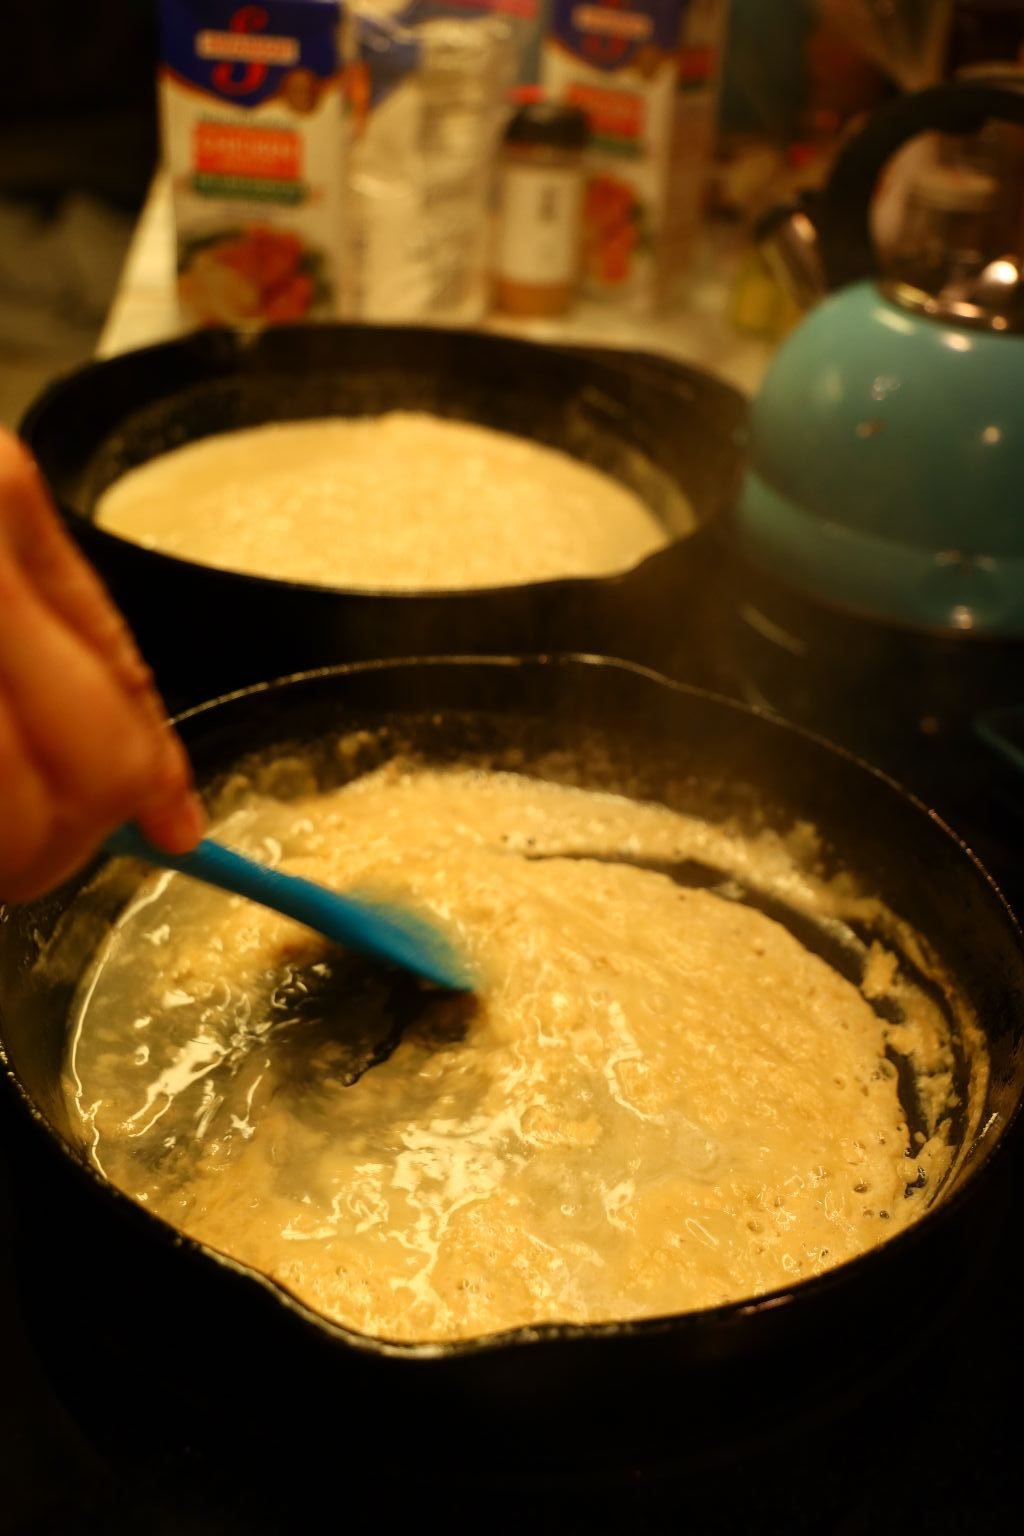
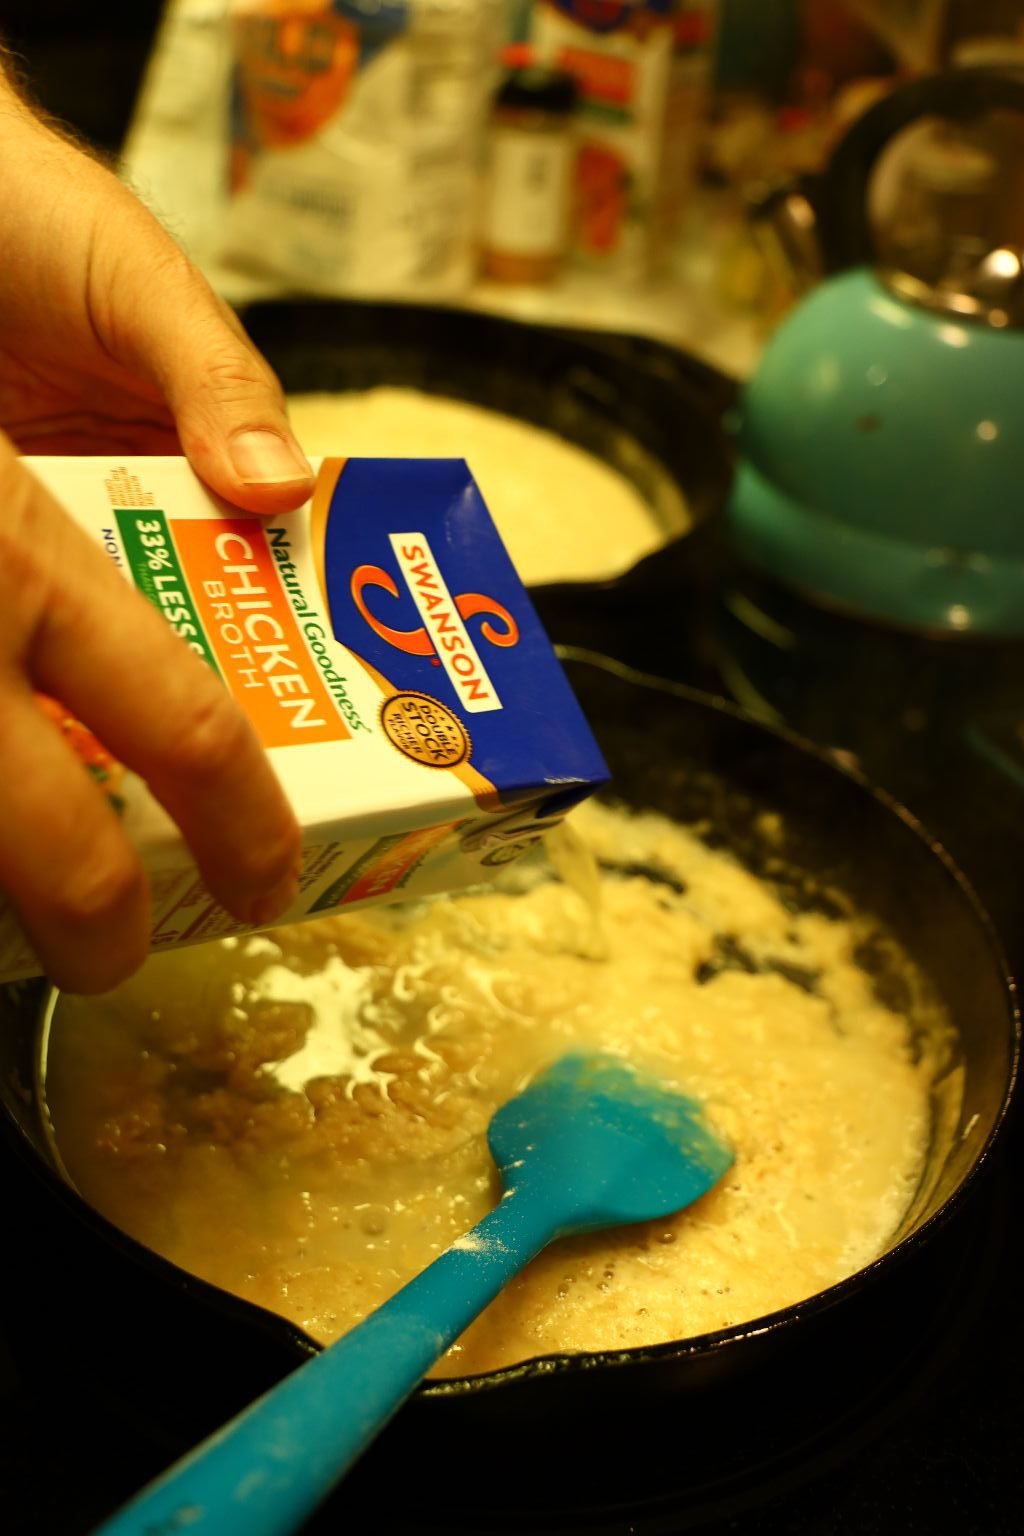
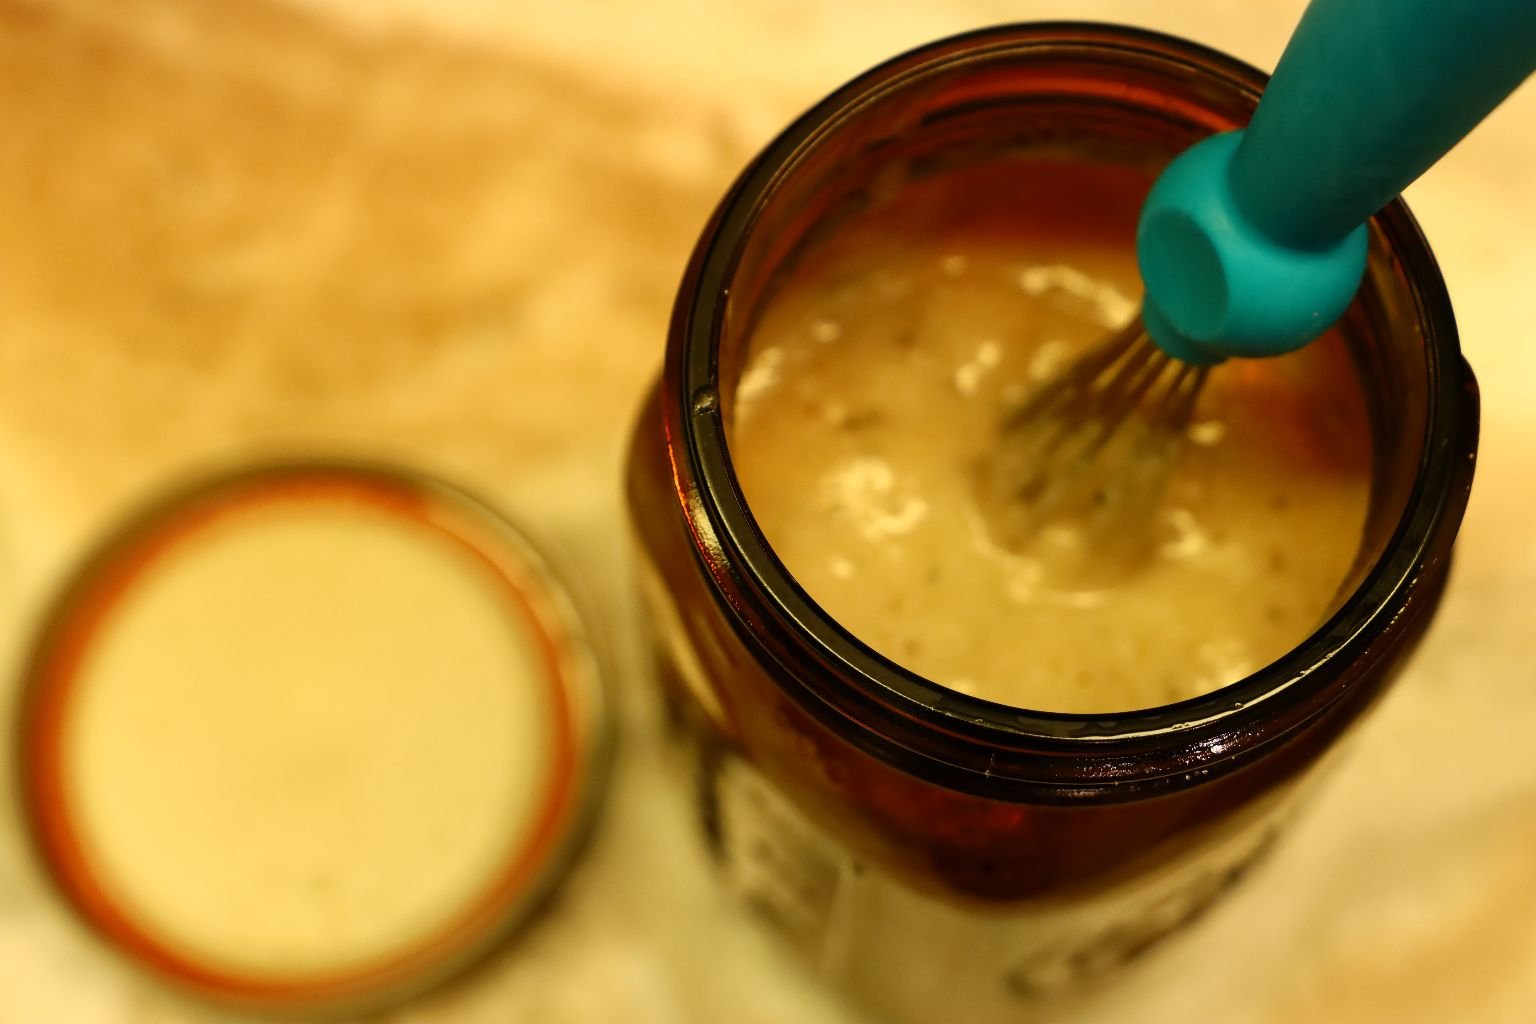
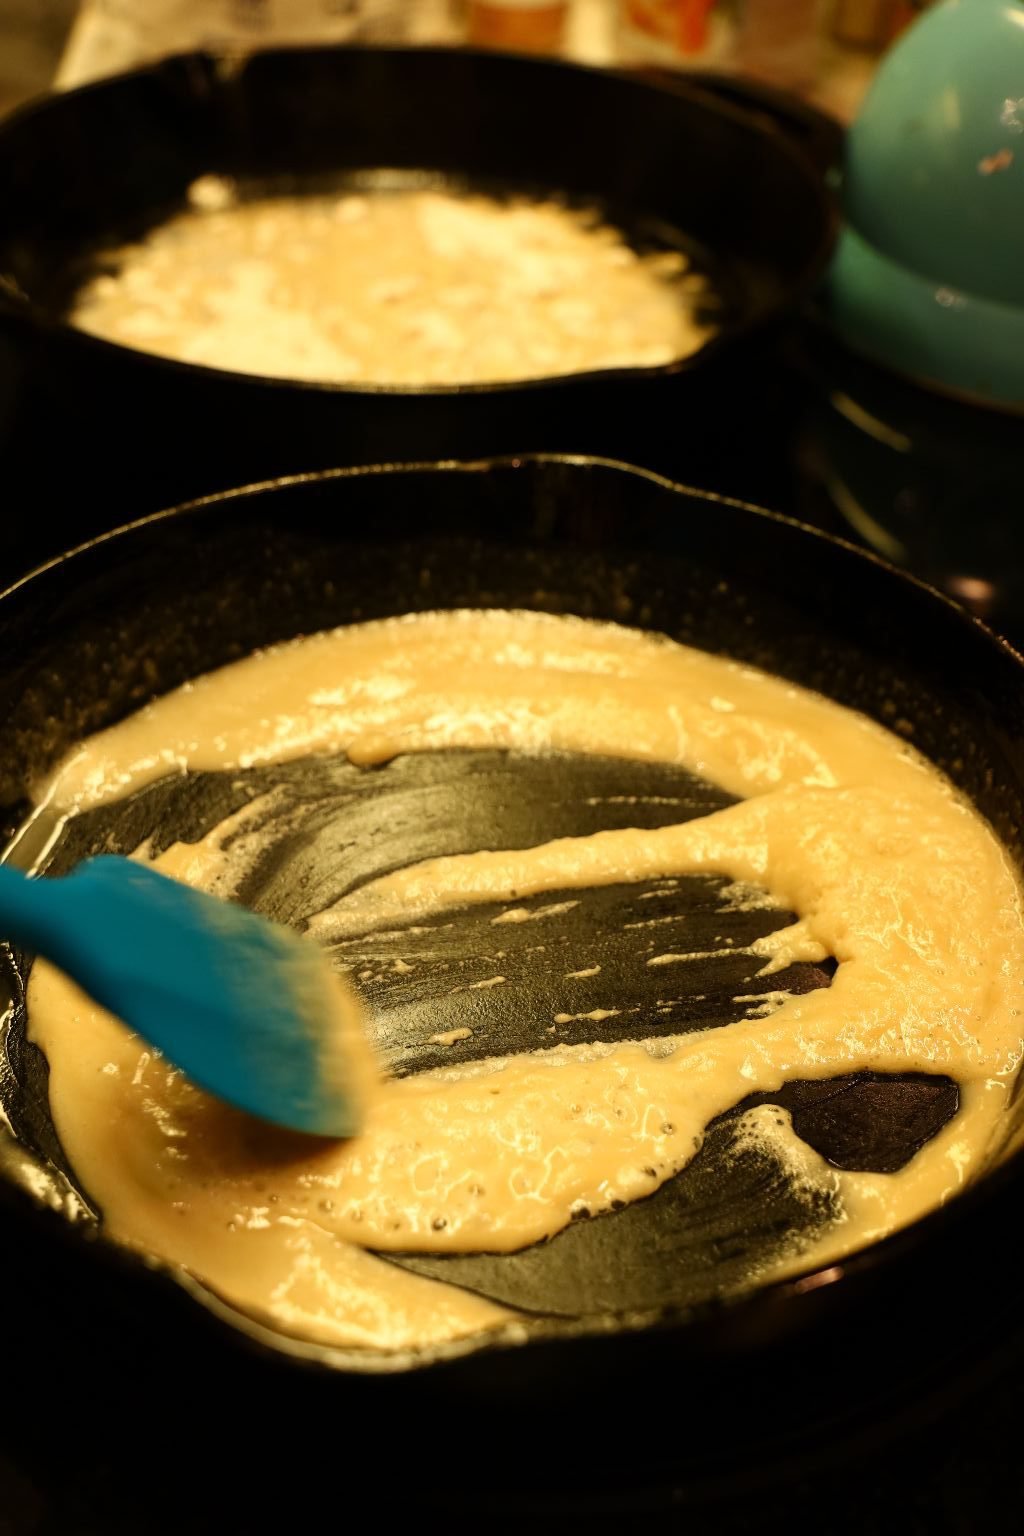
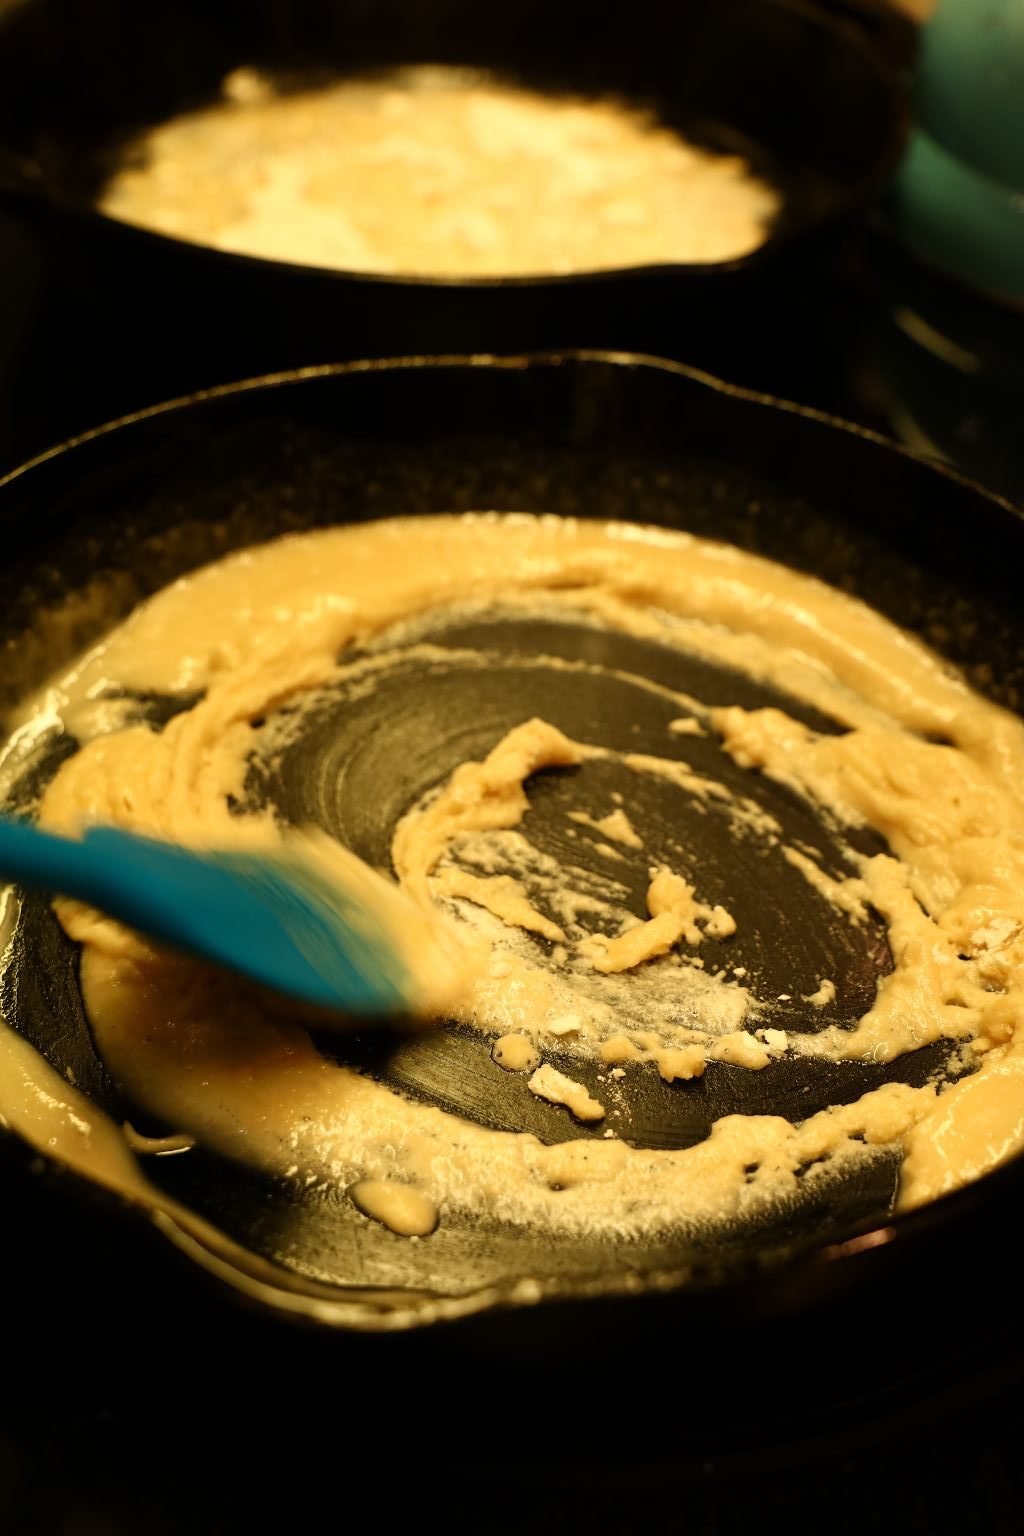
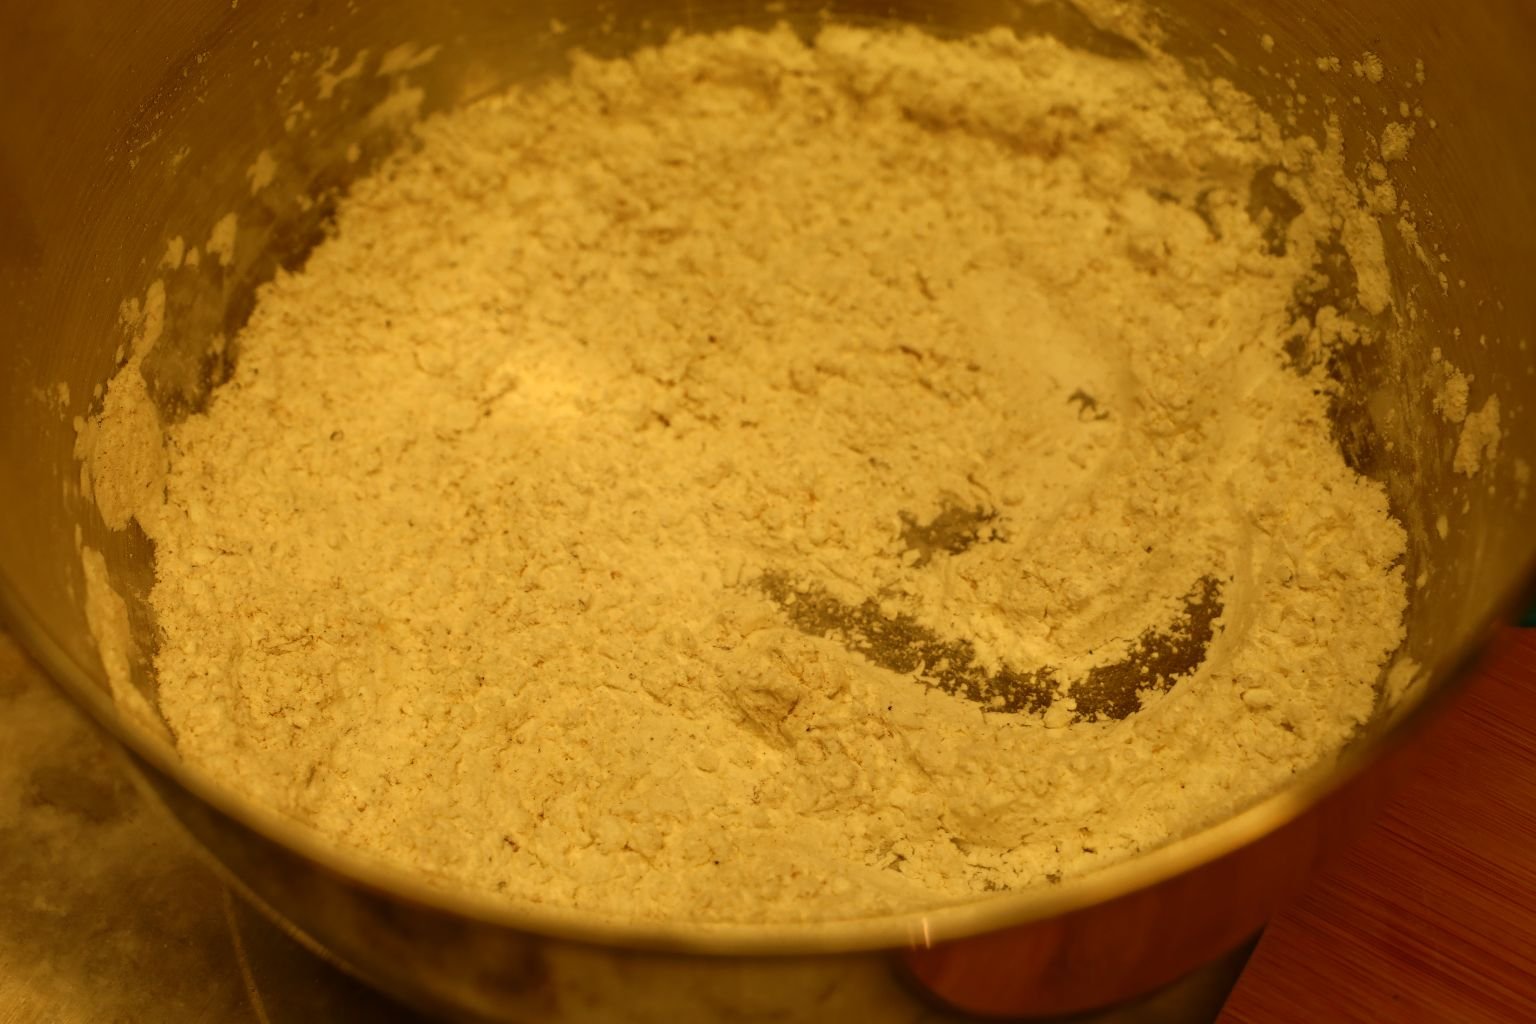
Back to the recipe.. here I let the Flour cook until it just got a little color in it still technically a Veloute. Cooking it for just a few minutes will remove the Flour taste. Here I am adding some of the Chicken Broth, stirring it in as I go keeping the temperature up as the liquid need to almost boil to be absorbed by the flour. Add the Broth in portions until you get to the thickness you like. Be advised the Flour will continue to absorb the Broth well after you have removed it from the heat.
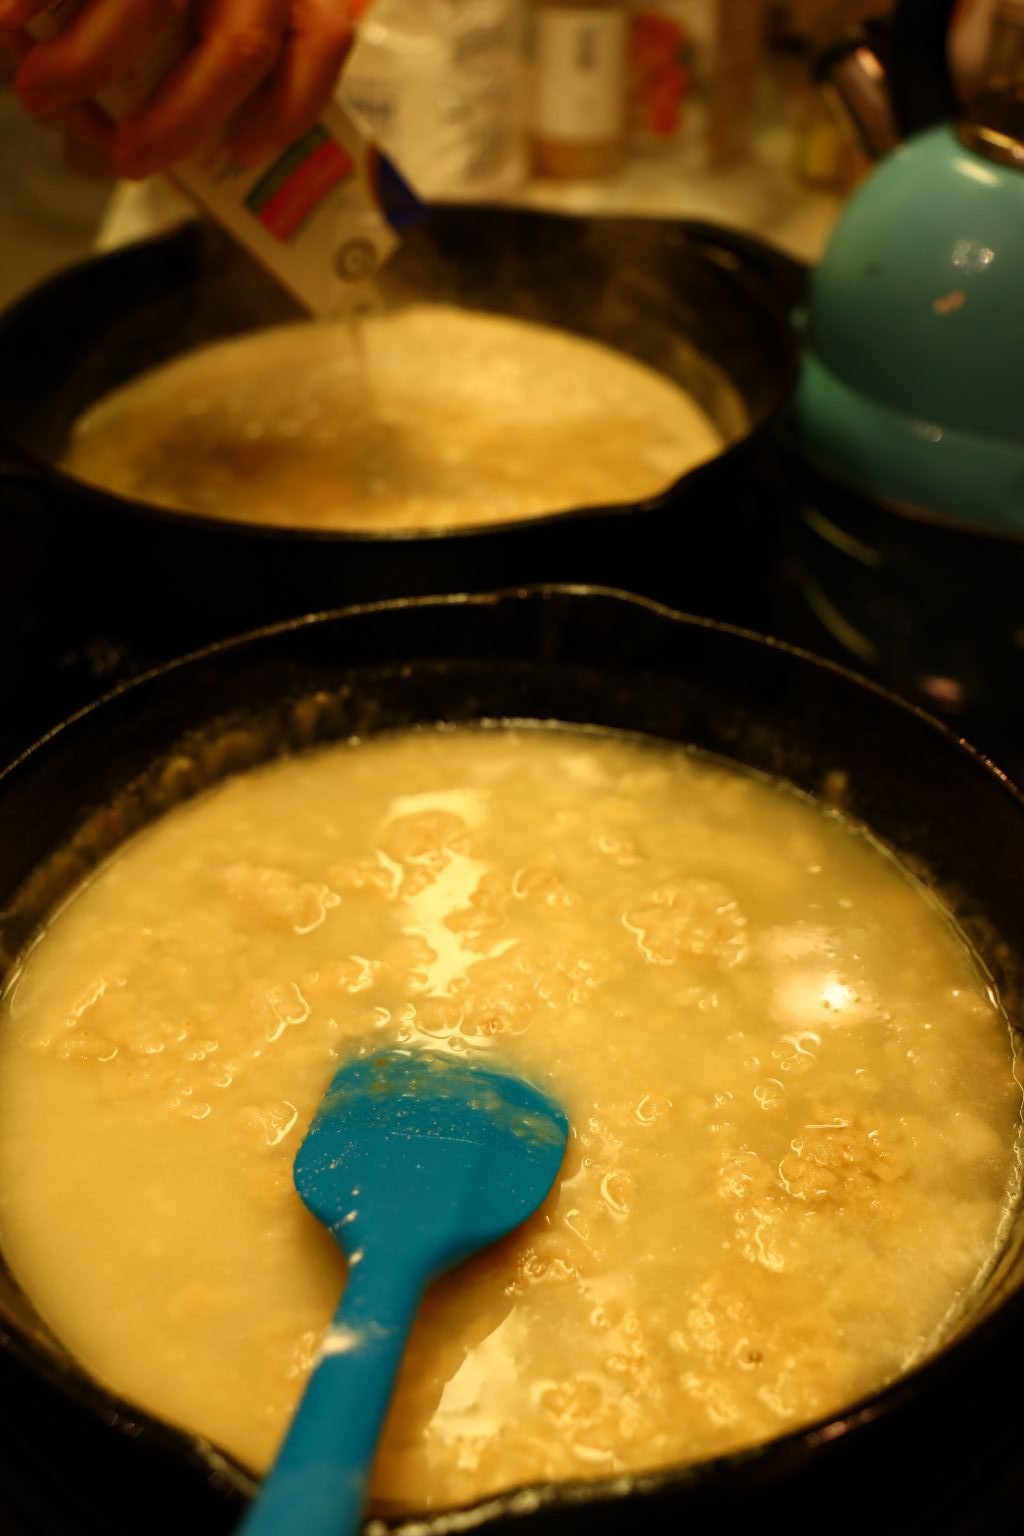
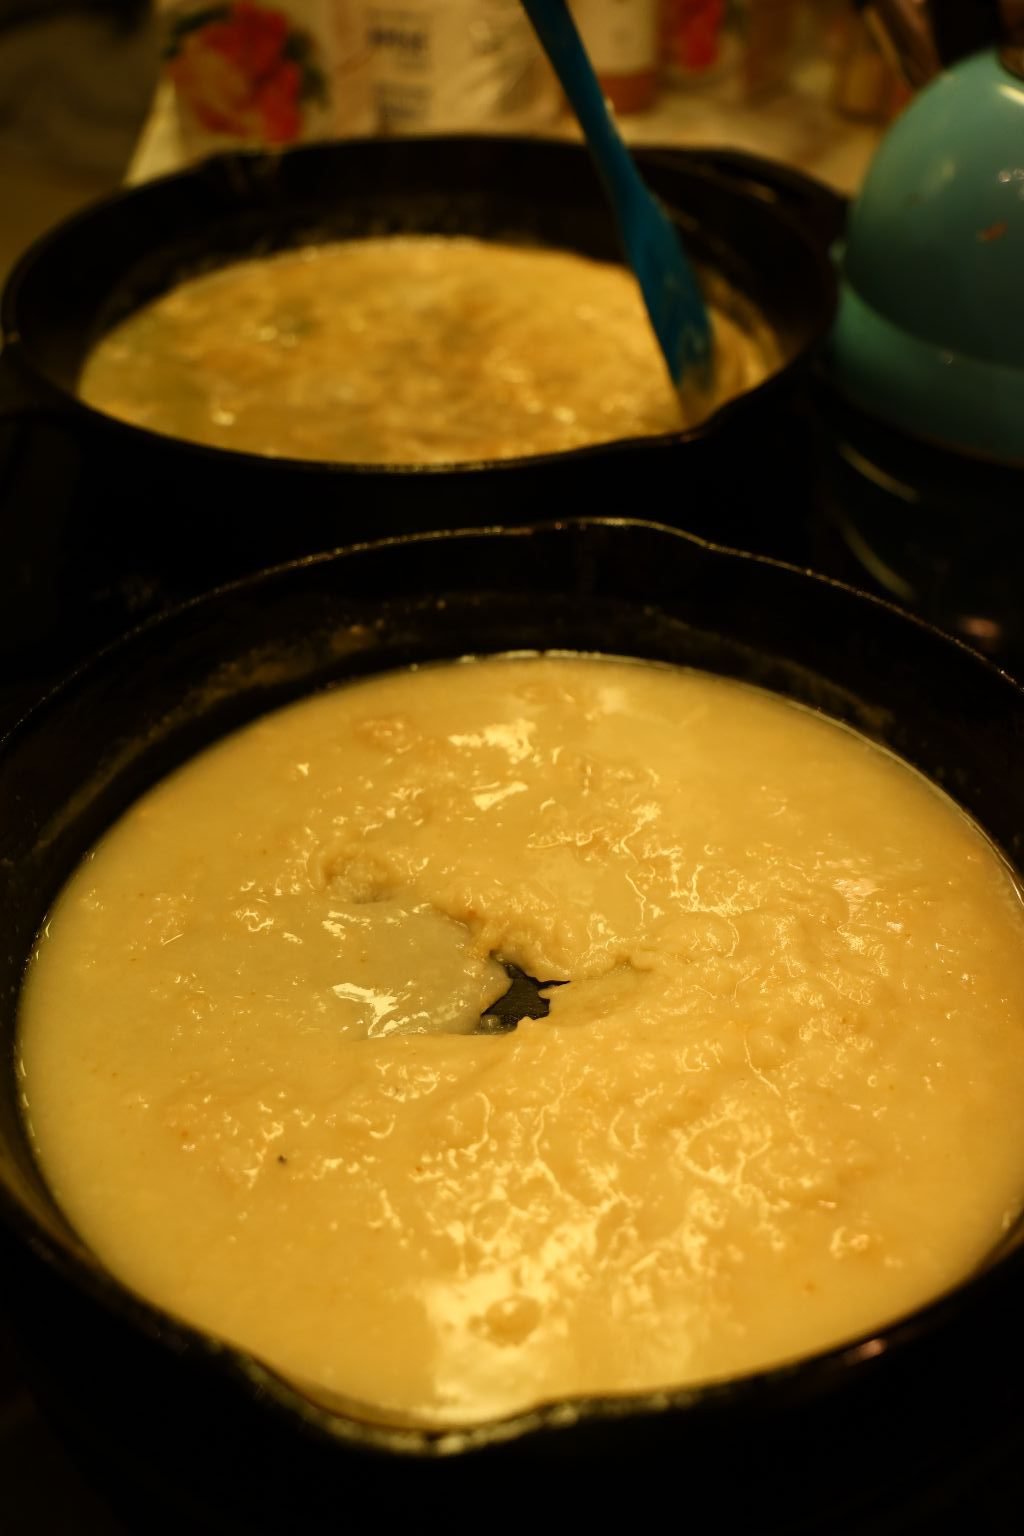
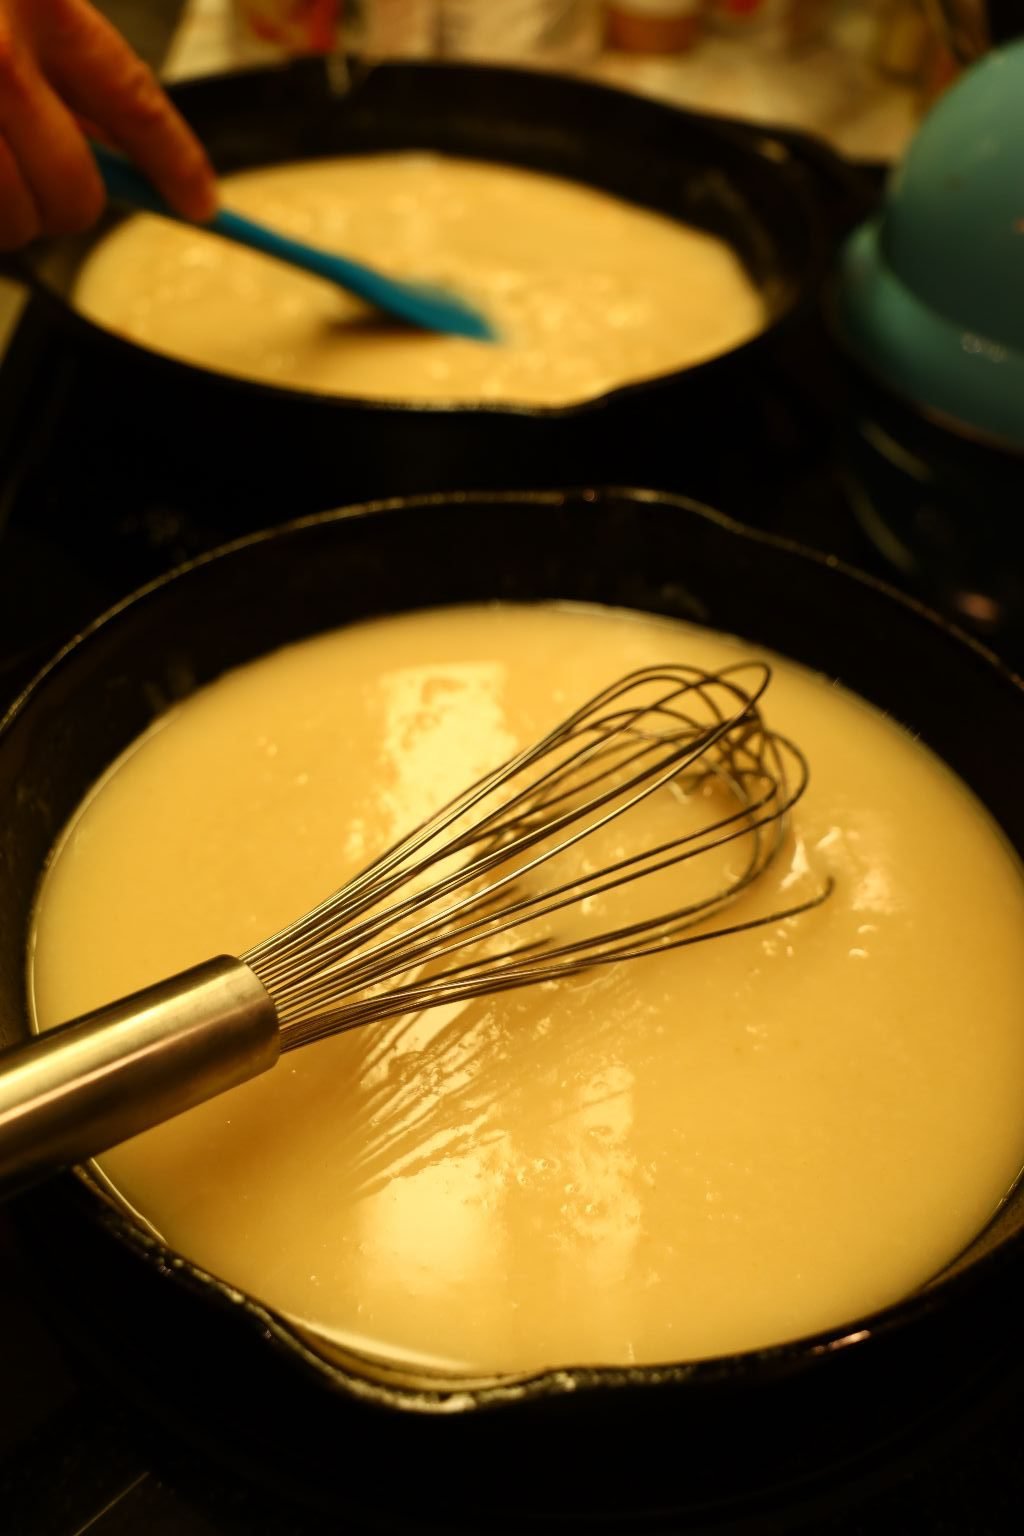
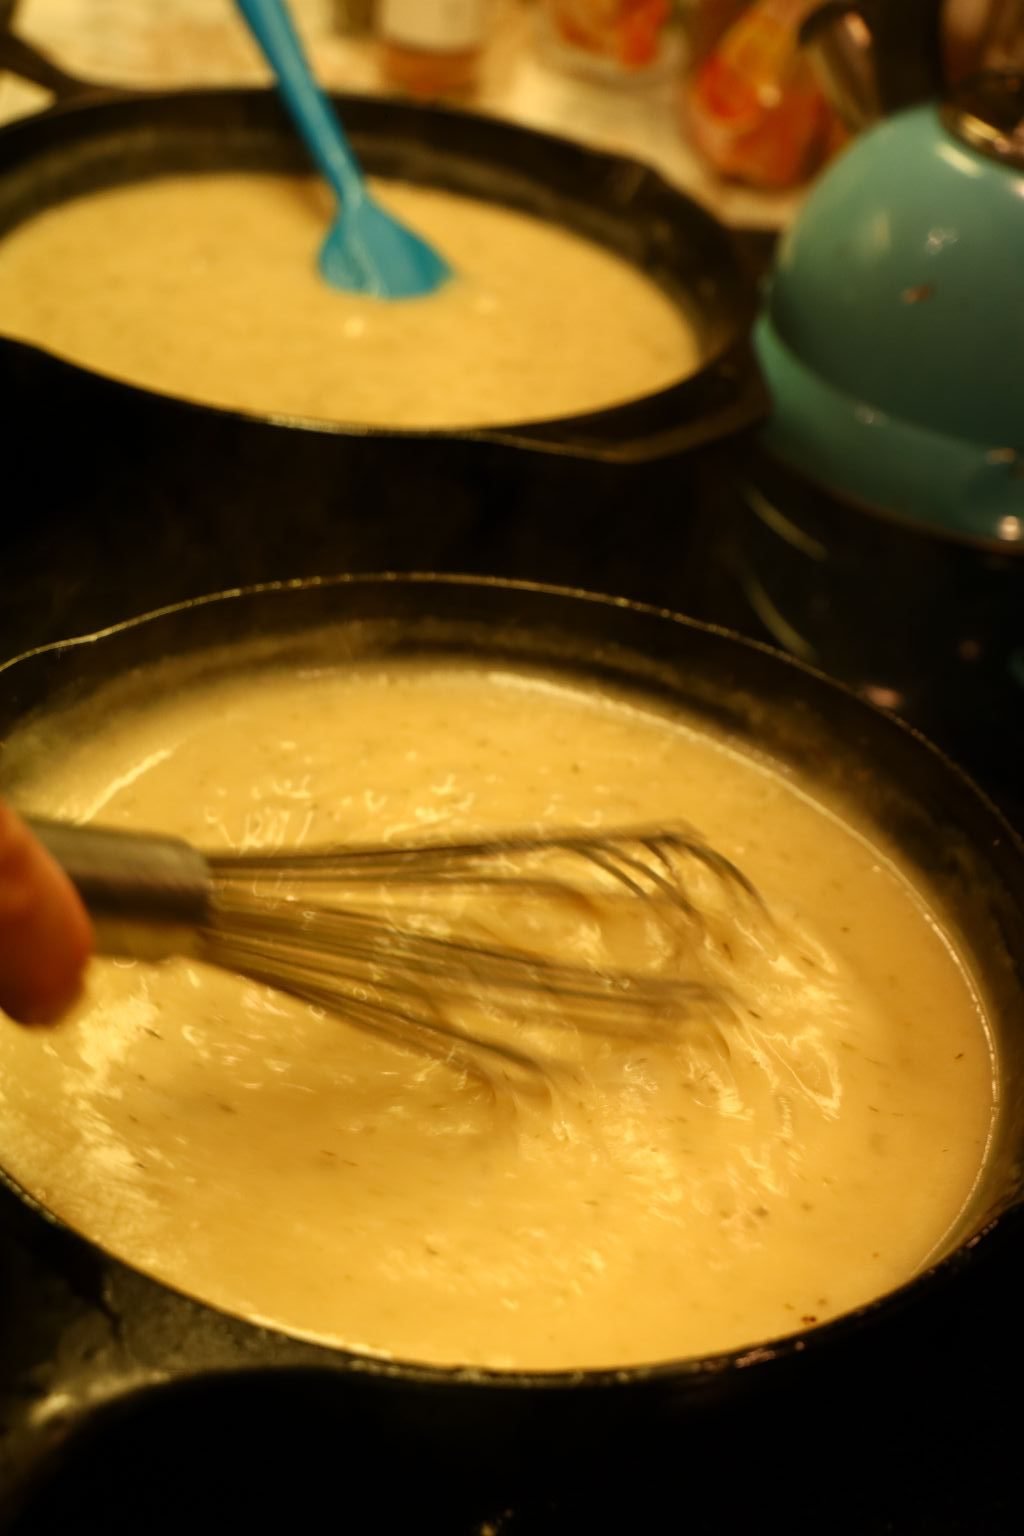
If you find you have a few lumps, move to using a whisk and they will quickly go away when stirred as seen in the last picture, right.
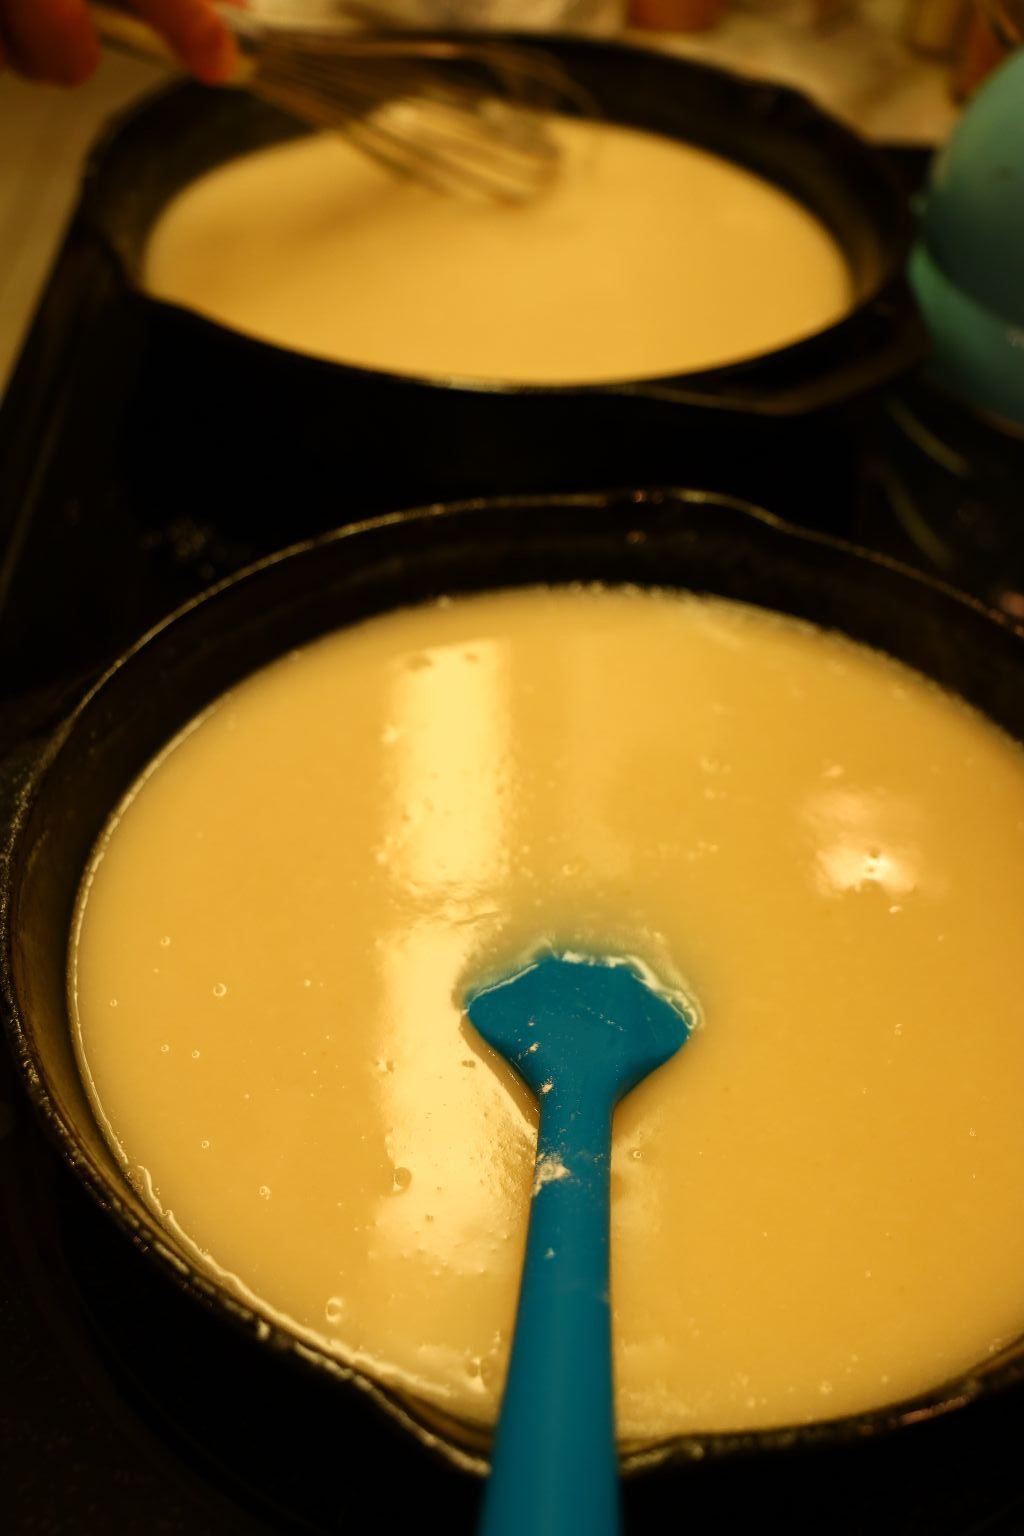
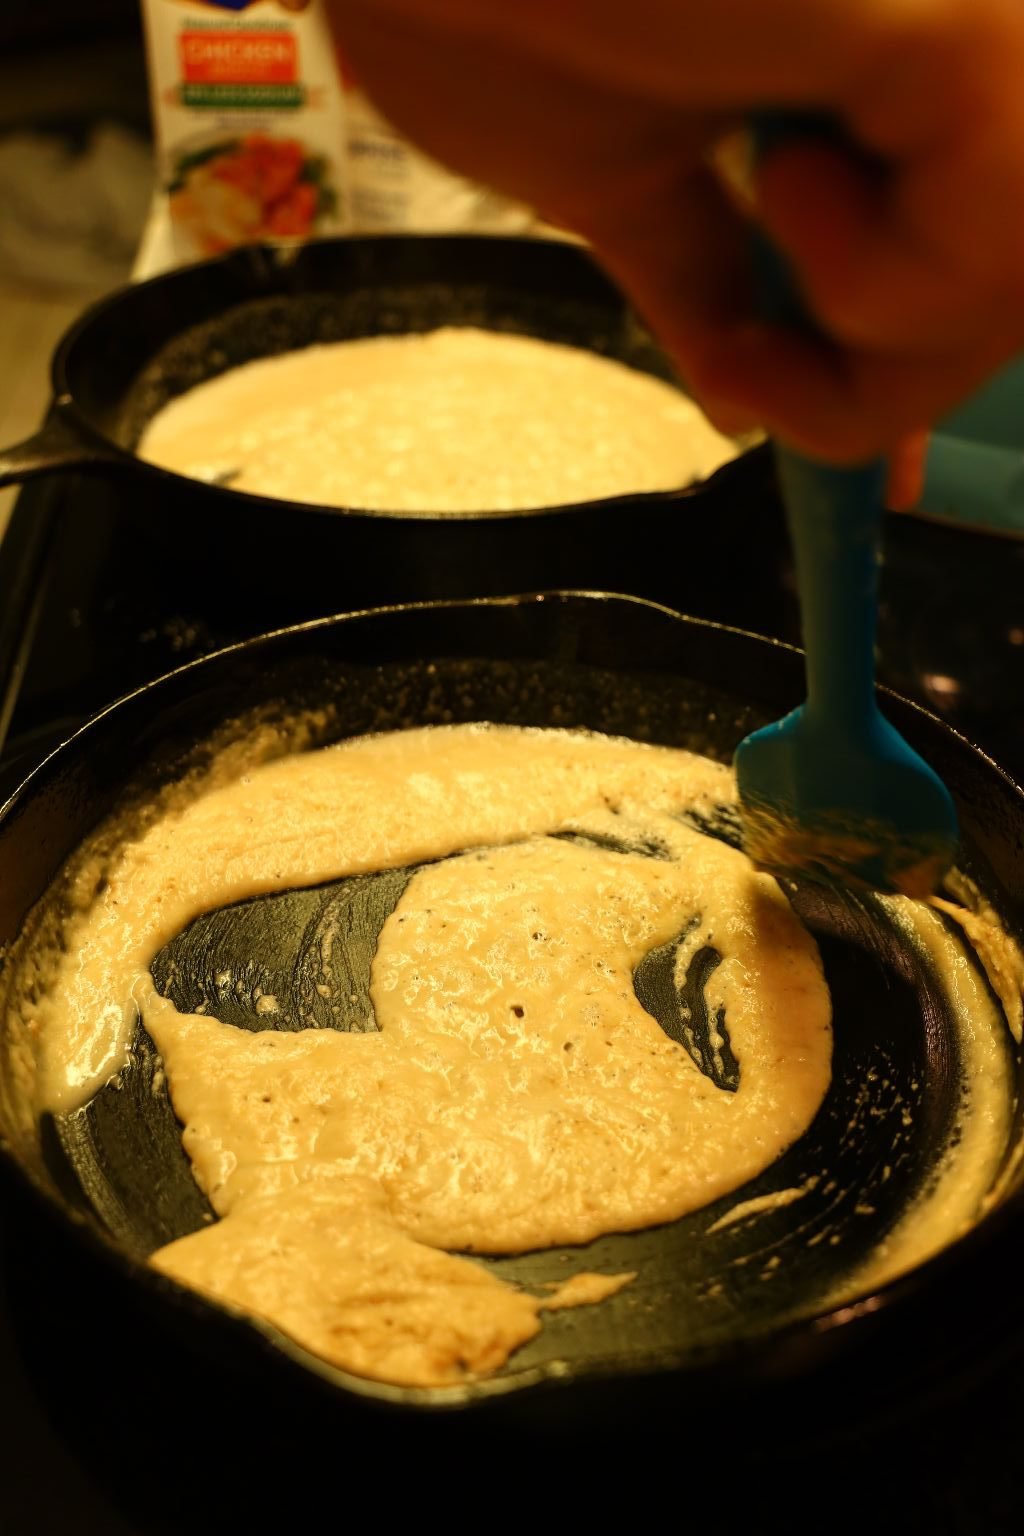
Now, turn your heat down to low.
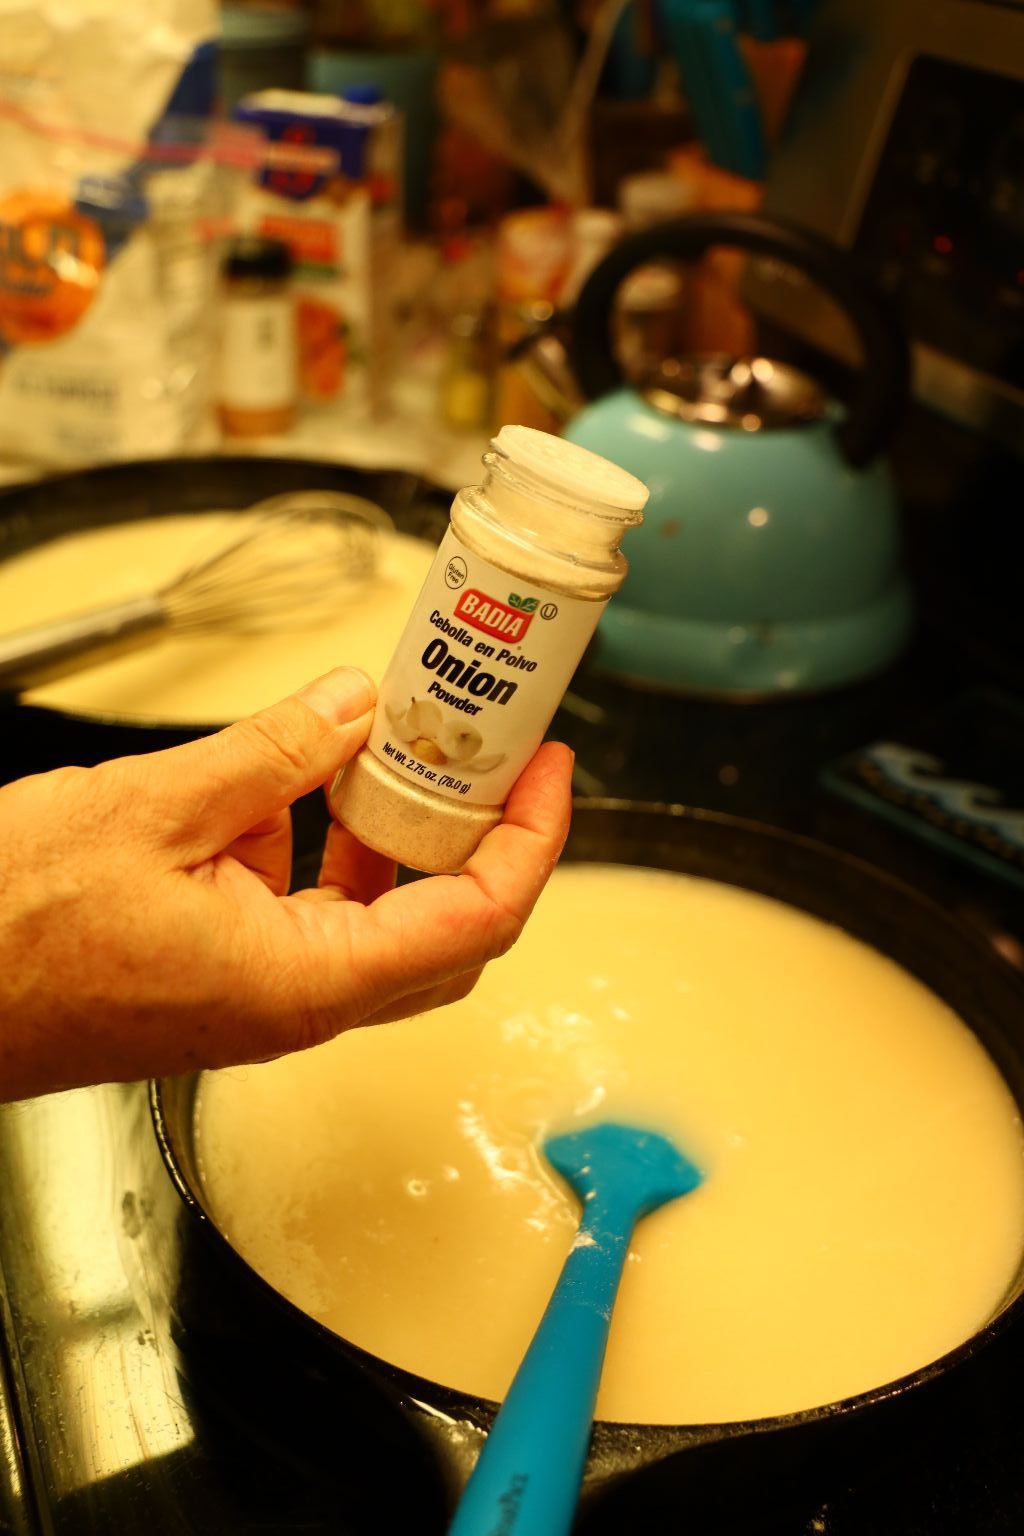
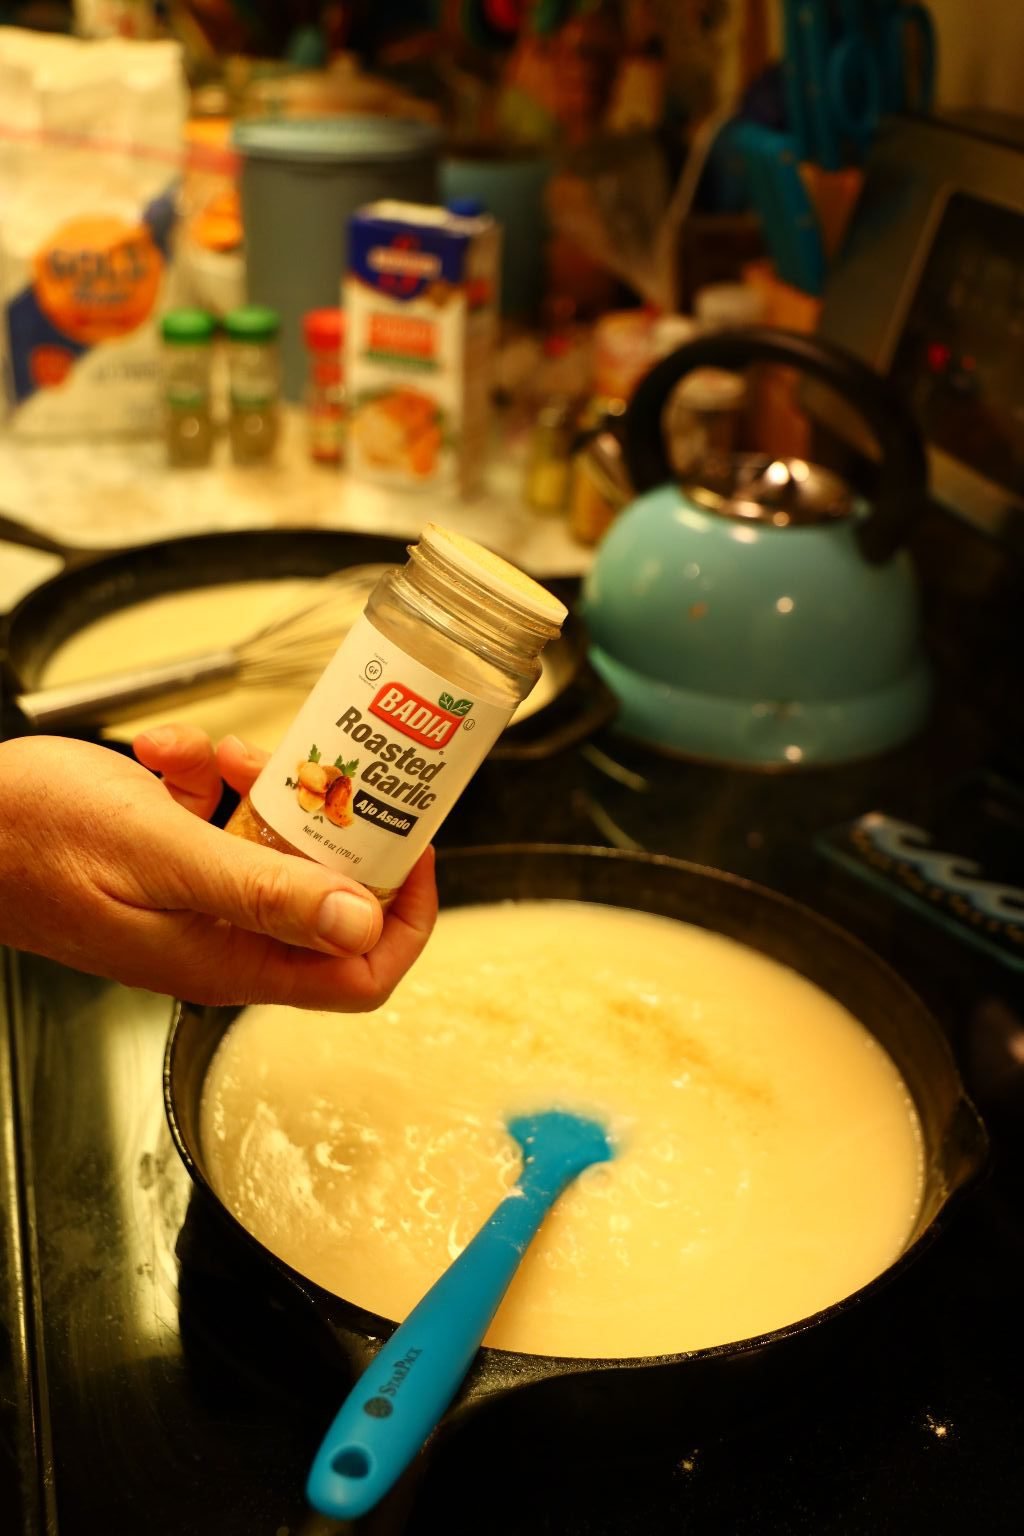
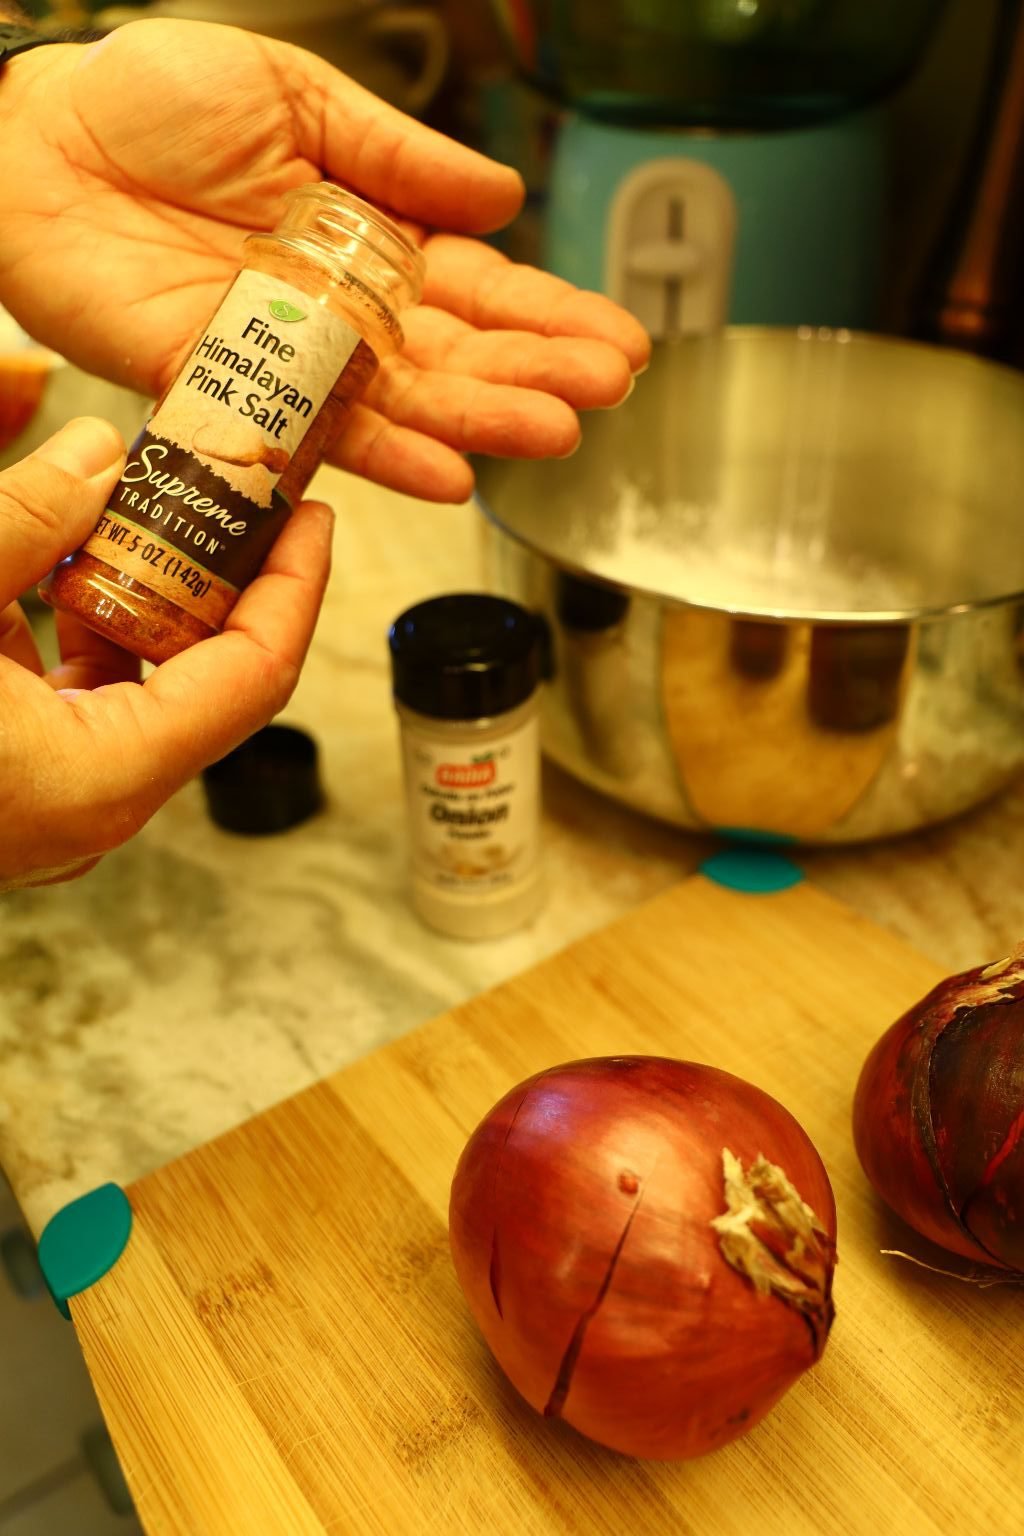
Begin to add your seasonings… Onion Powder and Roasted Garlic Powder…
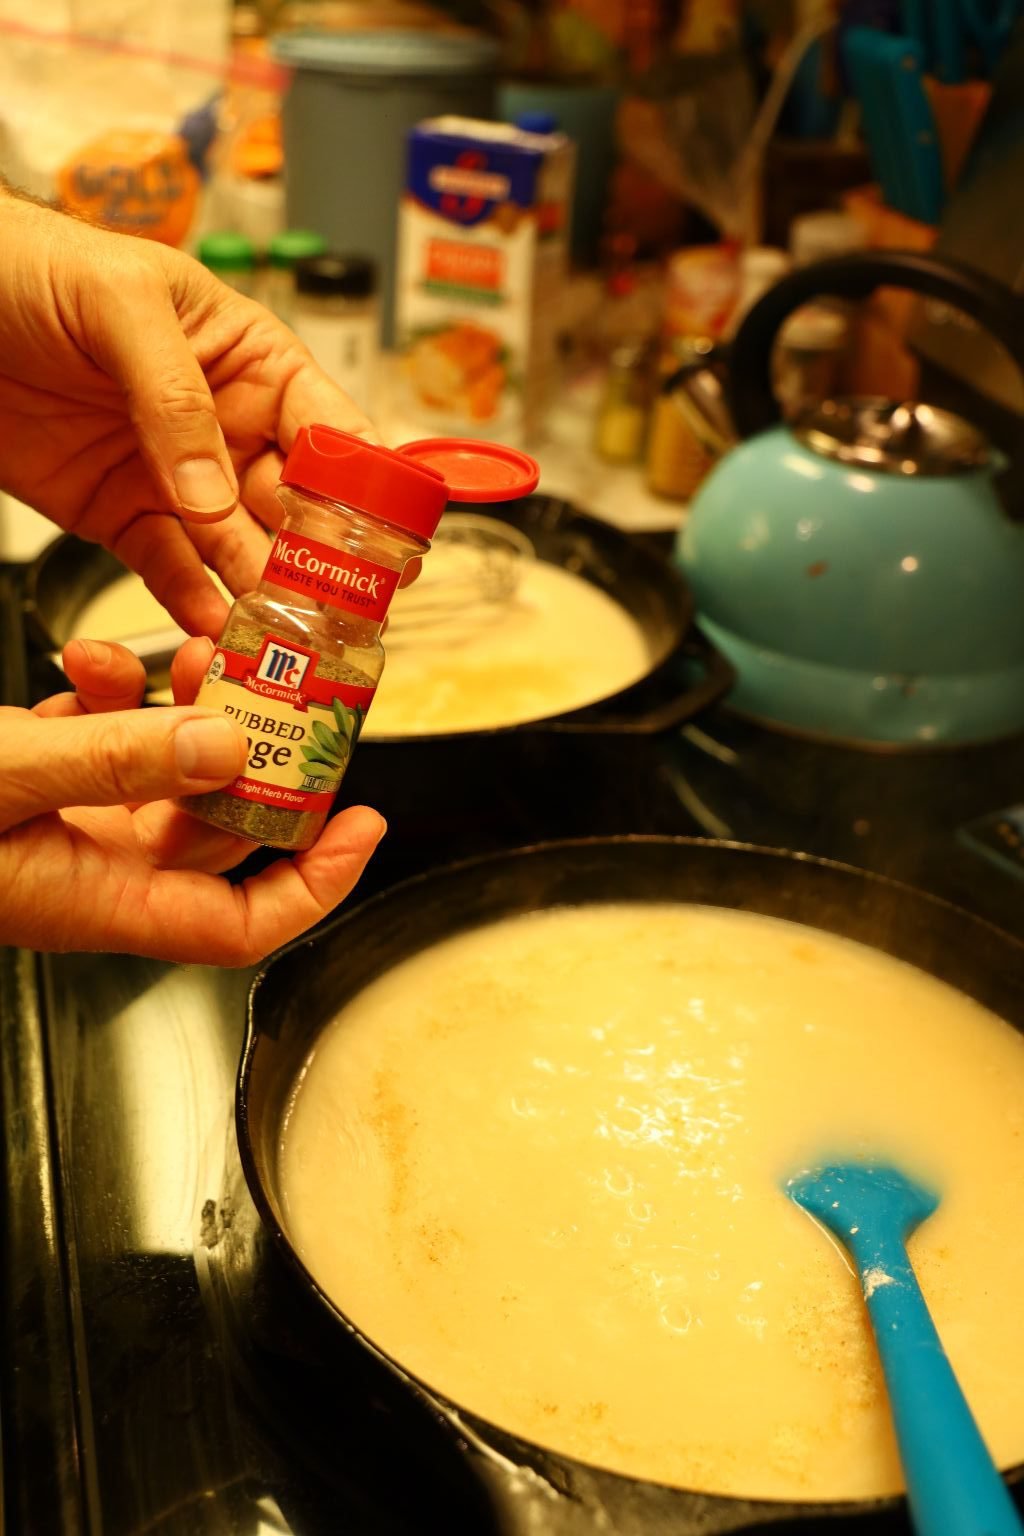
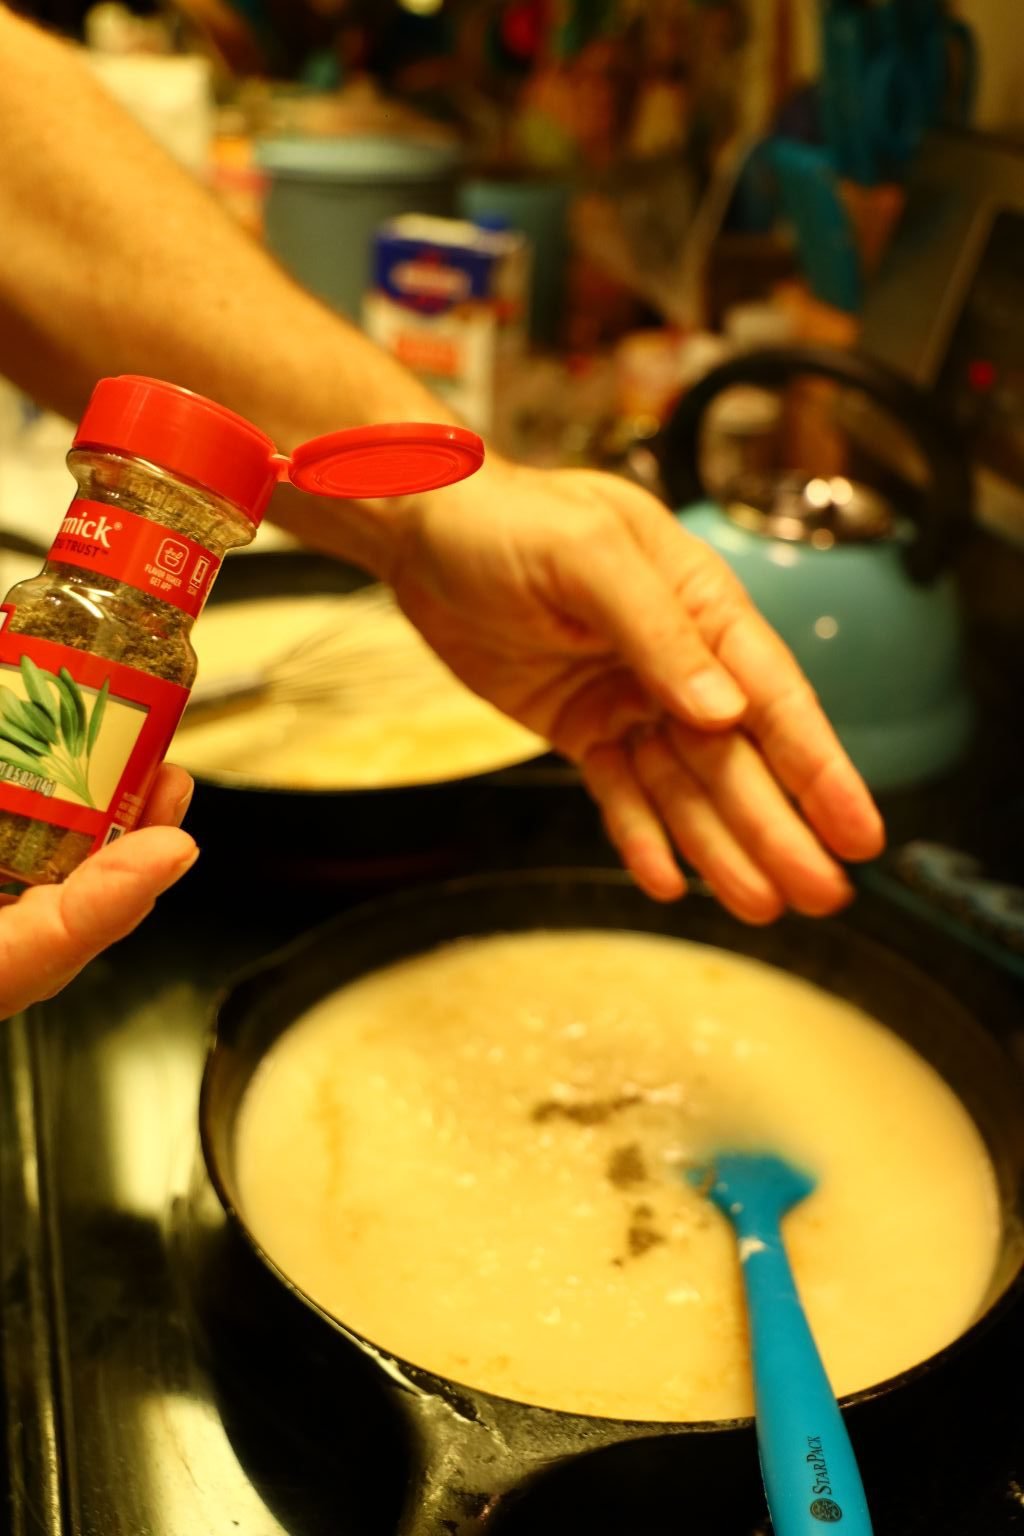
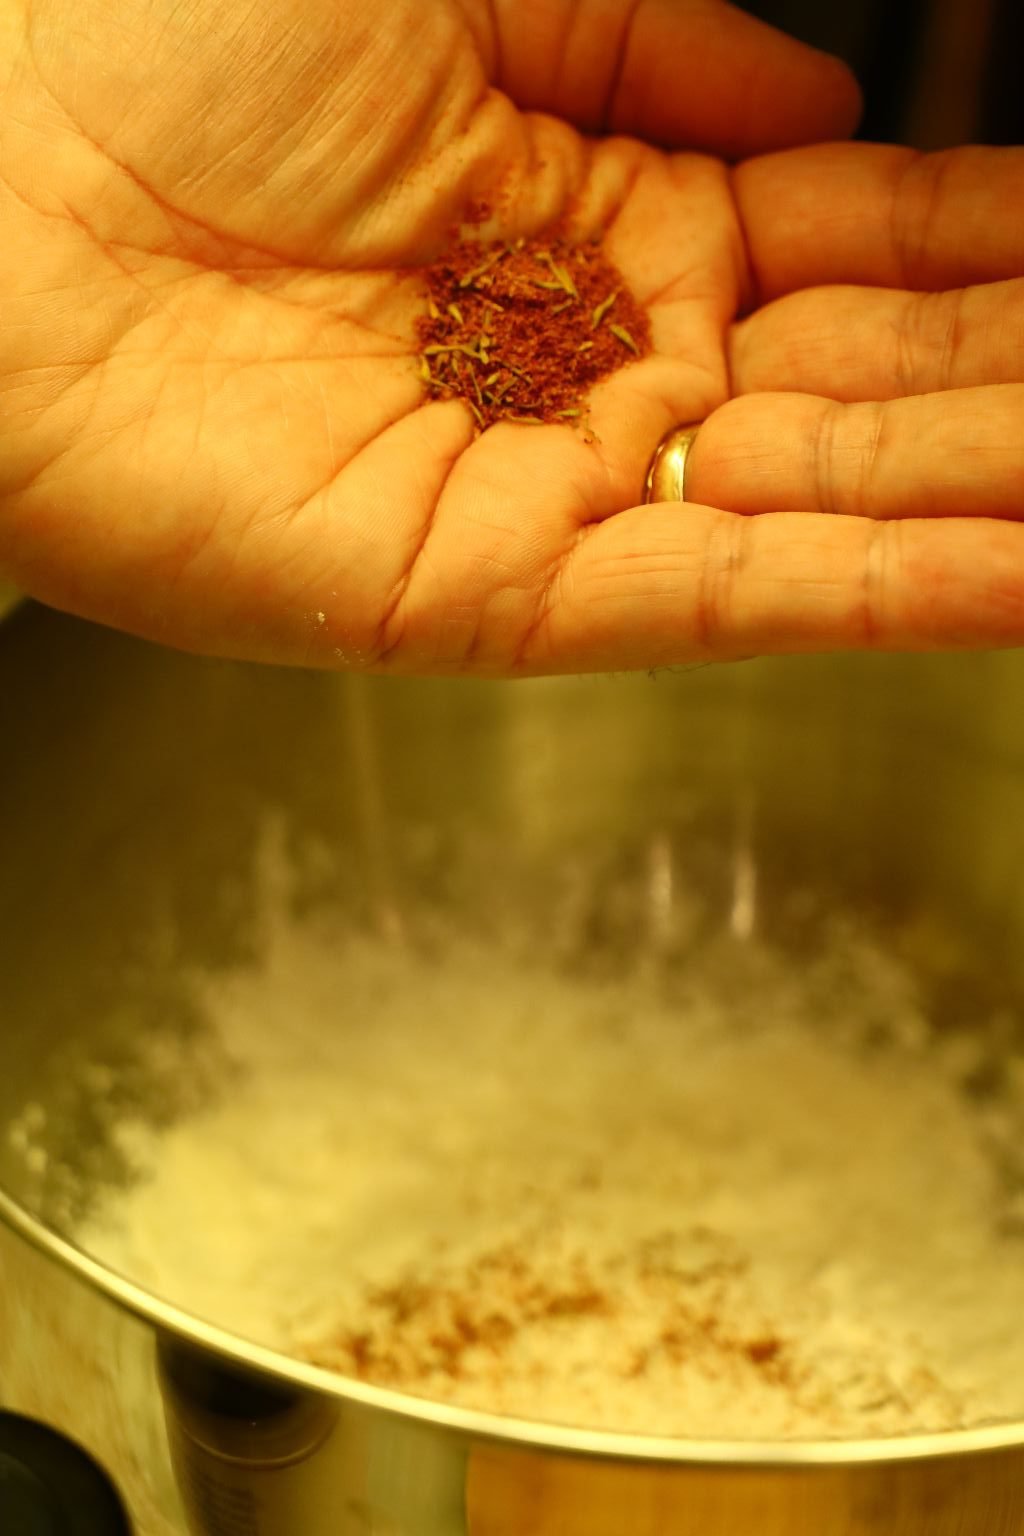
Rubbed Sage…

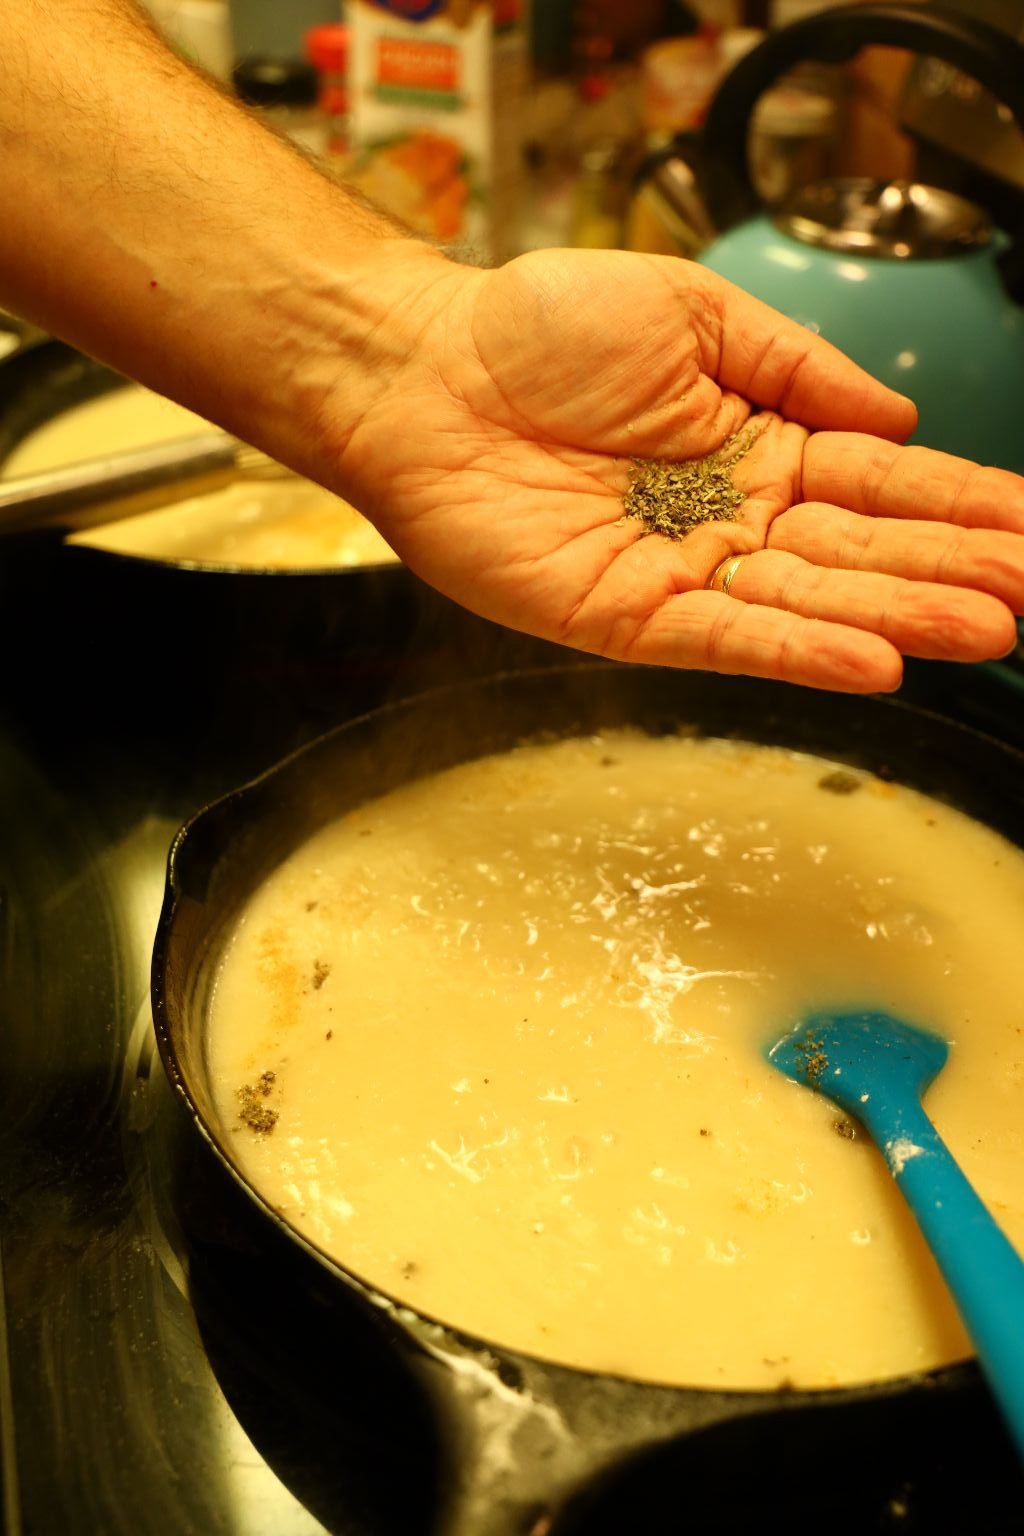
Marjoram…
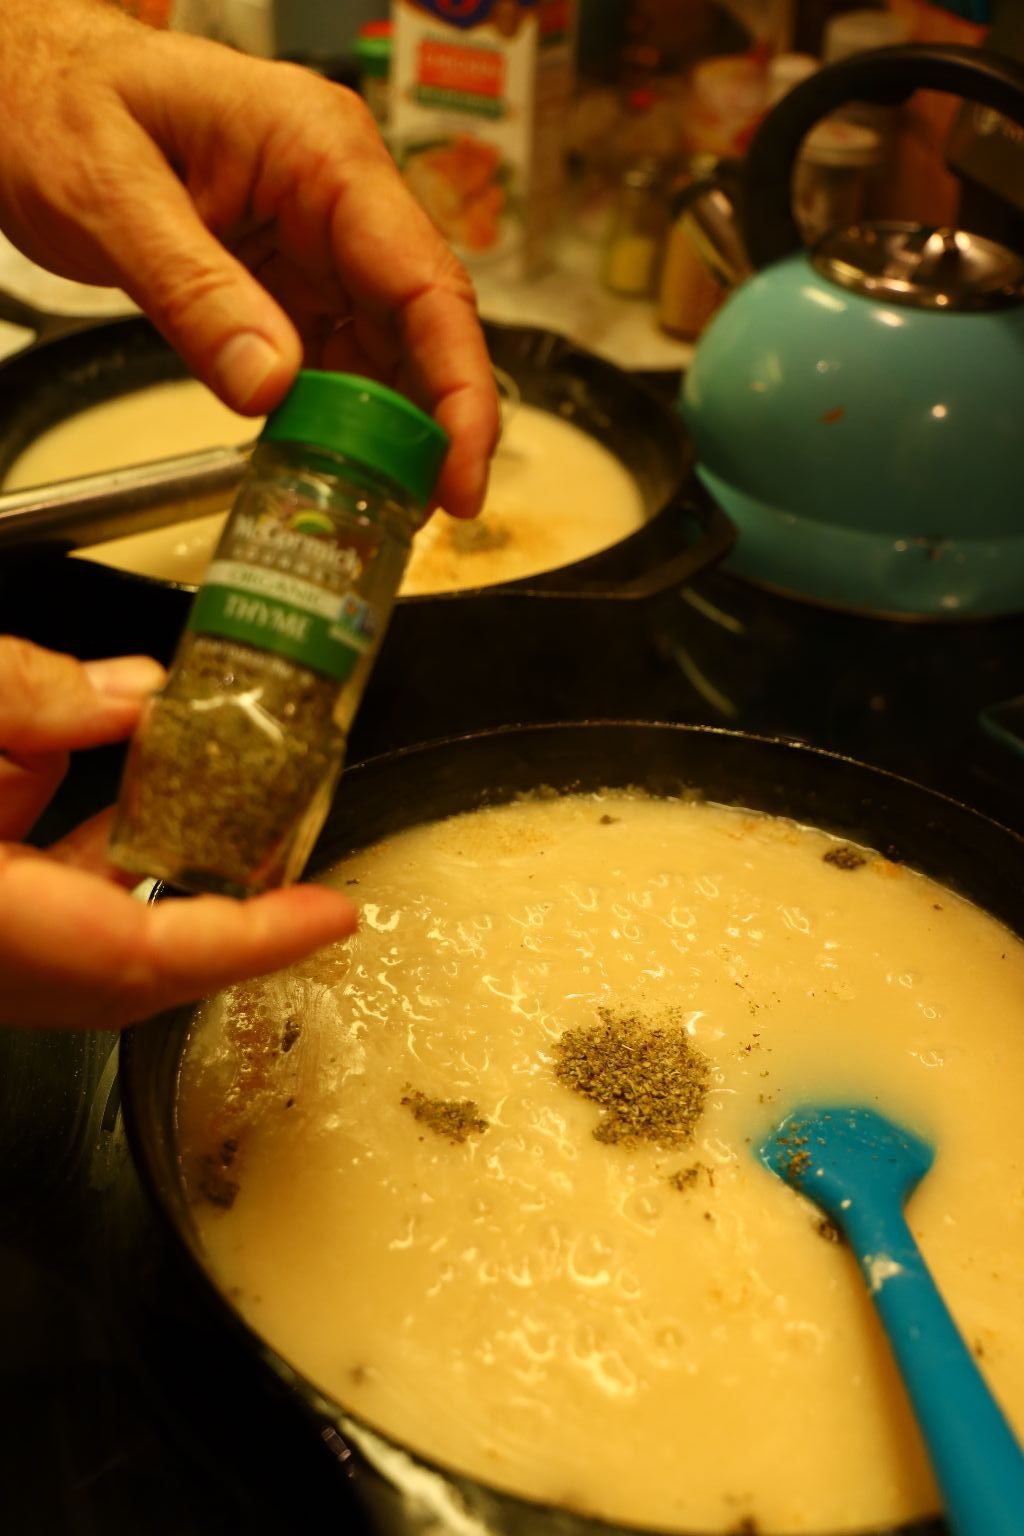
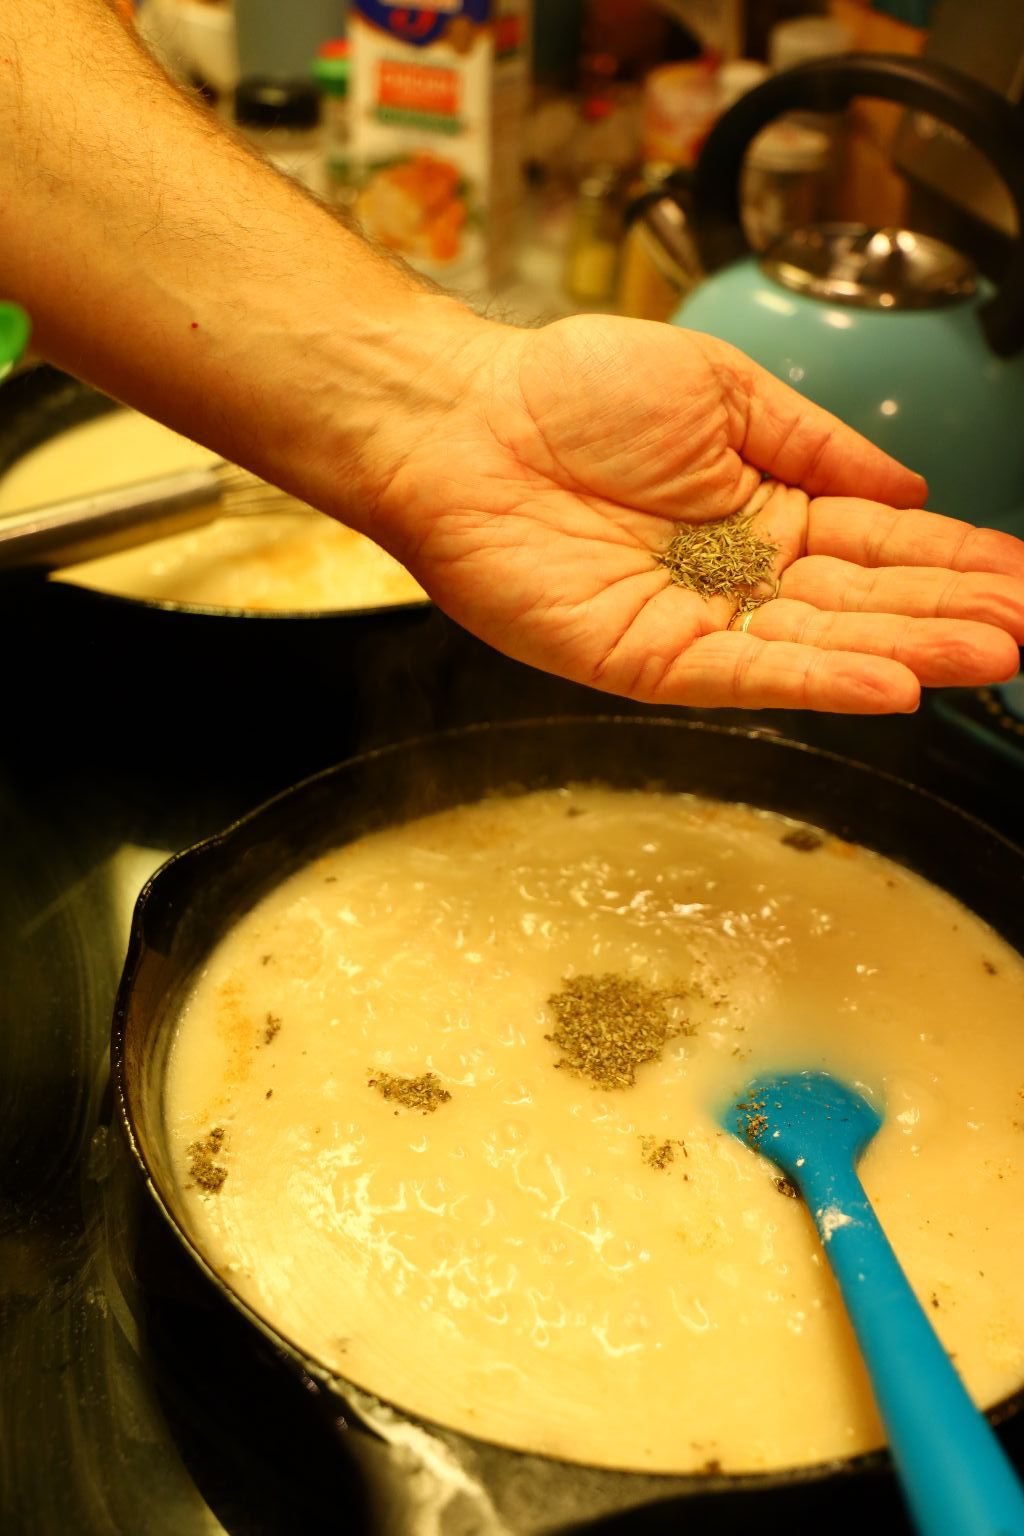
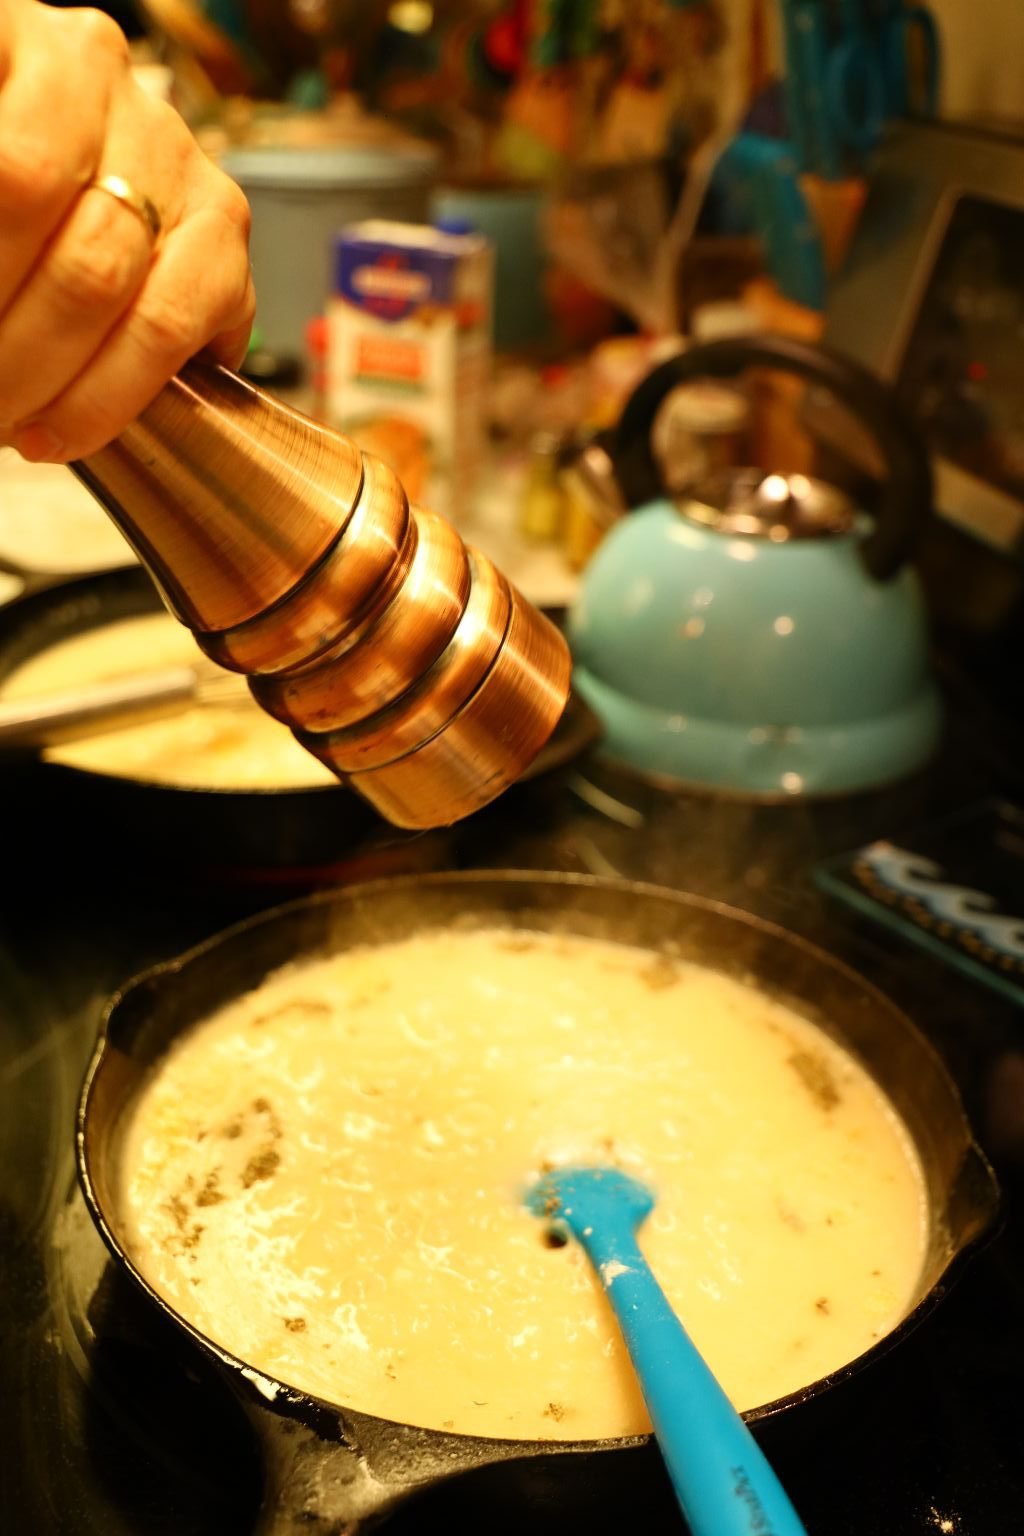
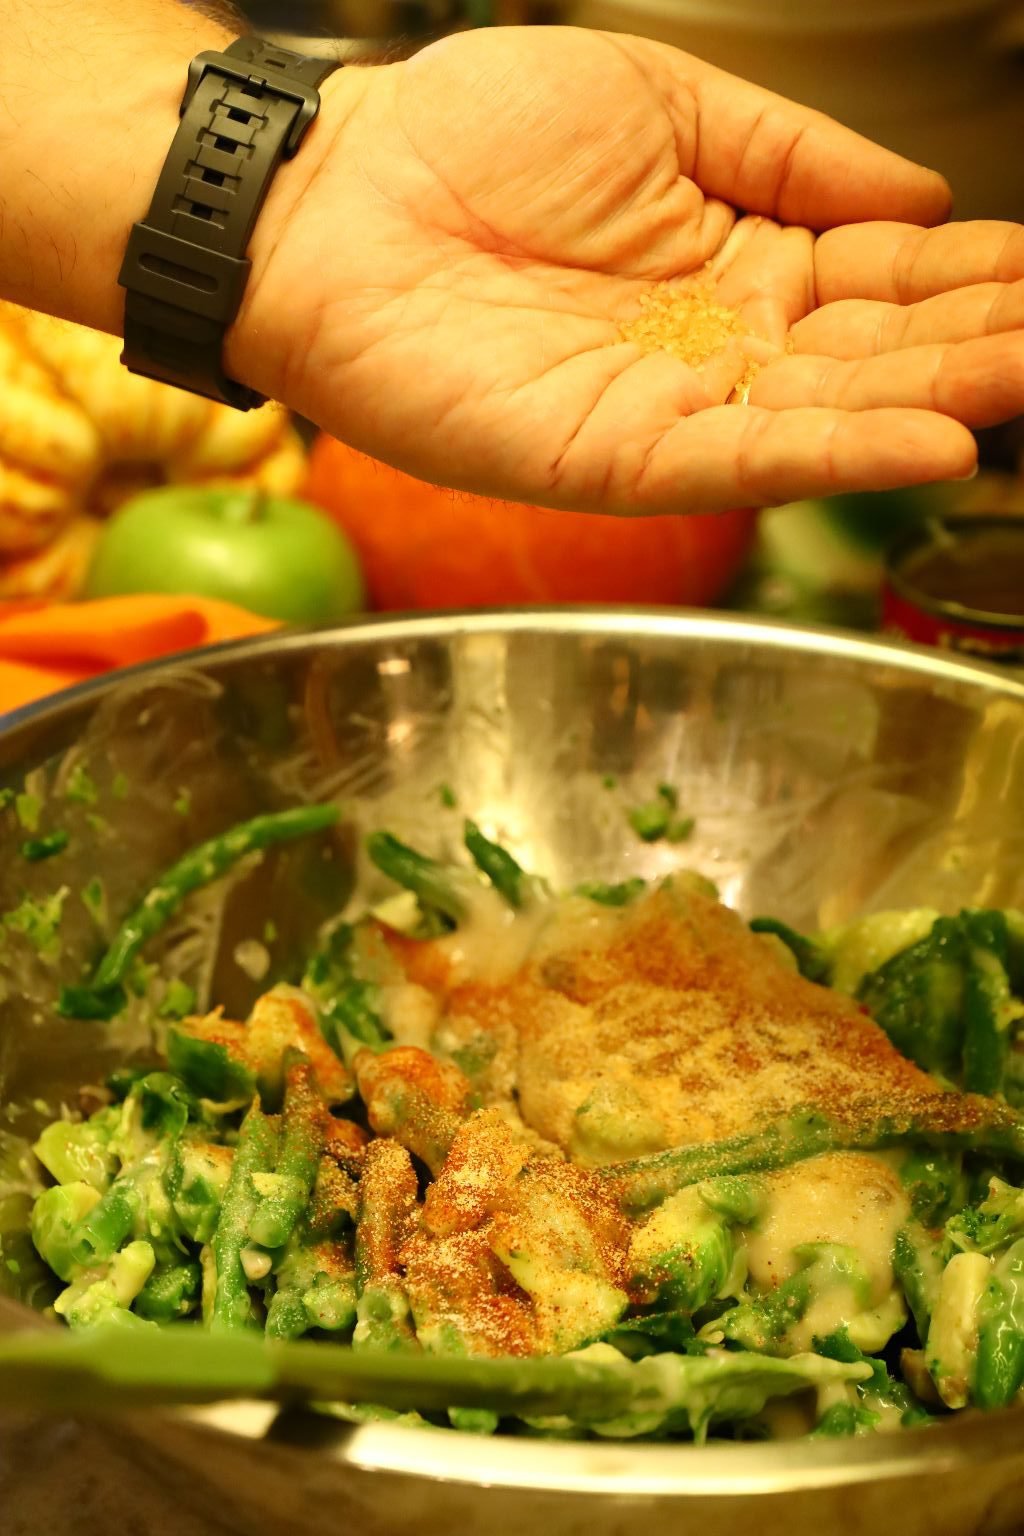
Thyme and Fresh Ground Pepper
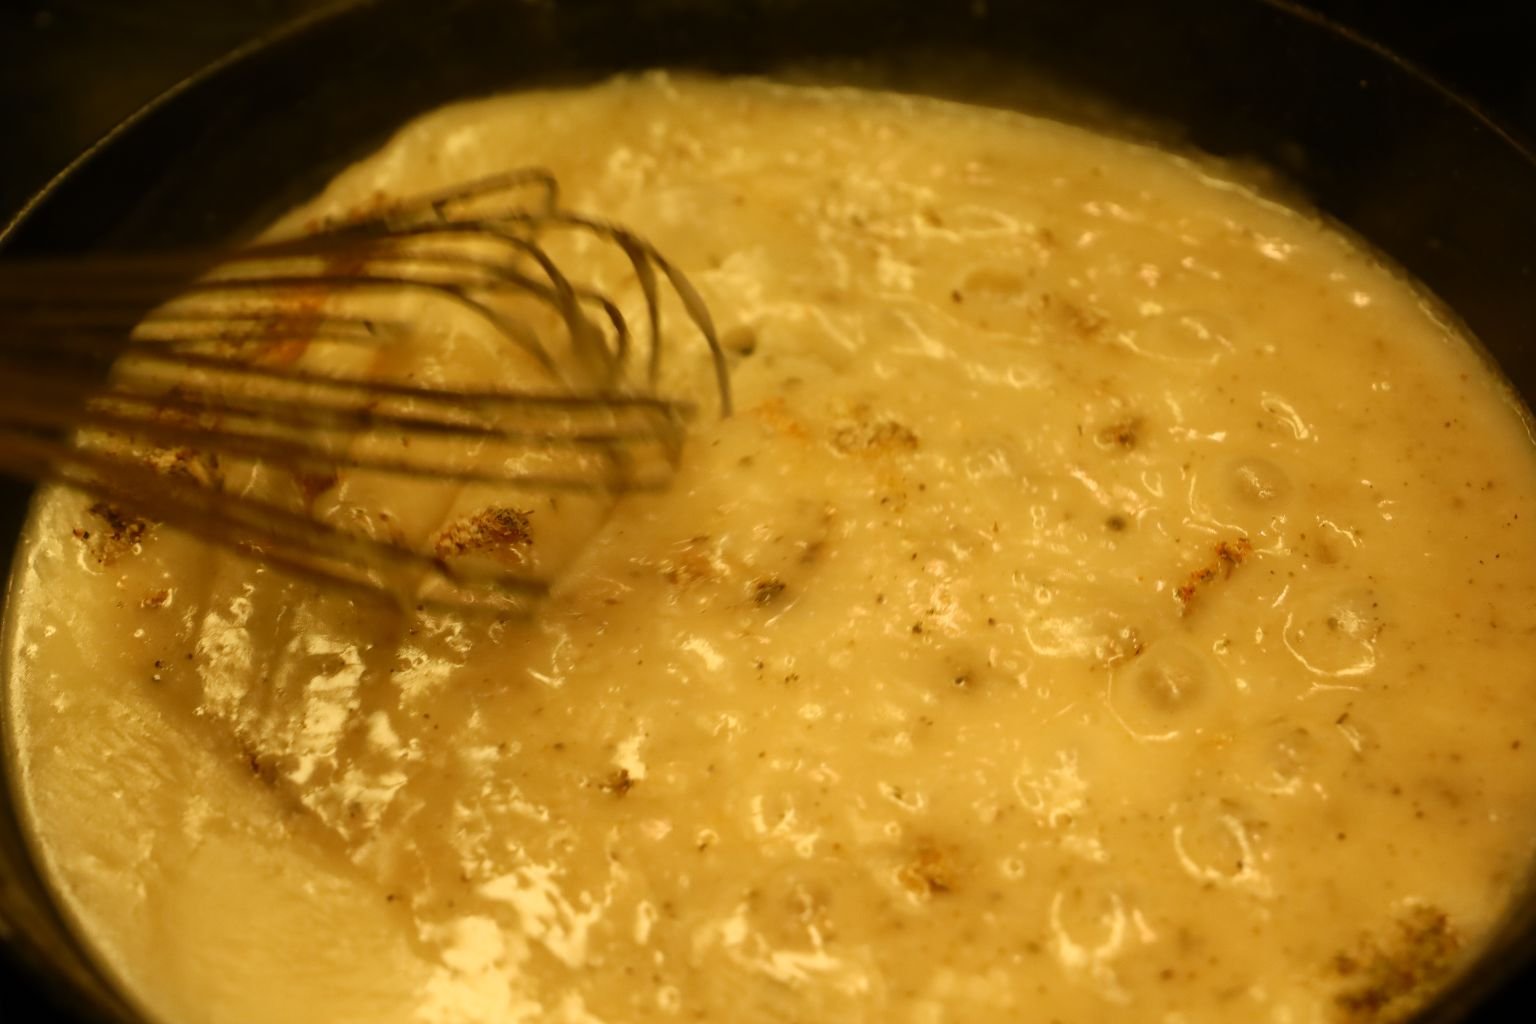
Use your whisk to combine the ingredients.
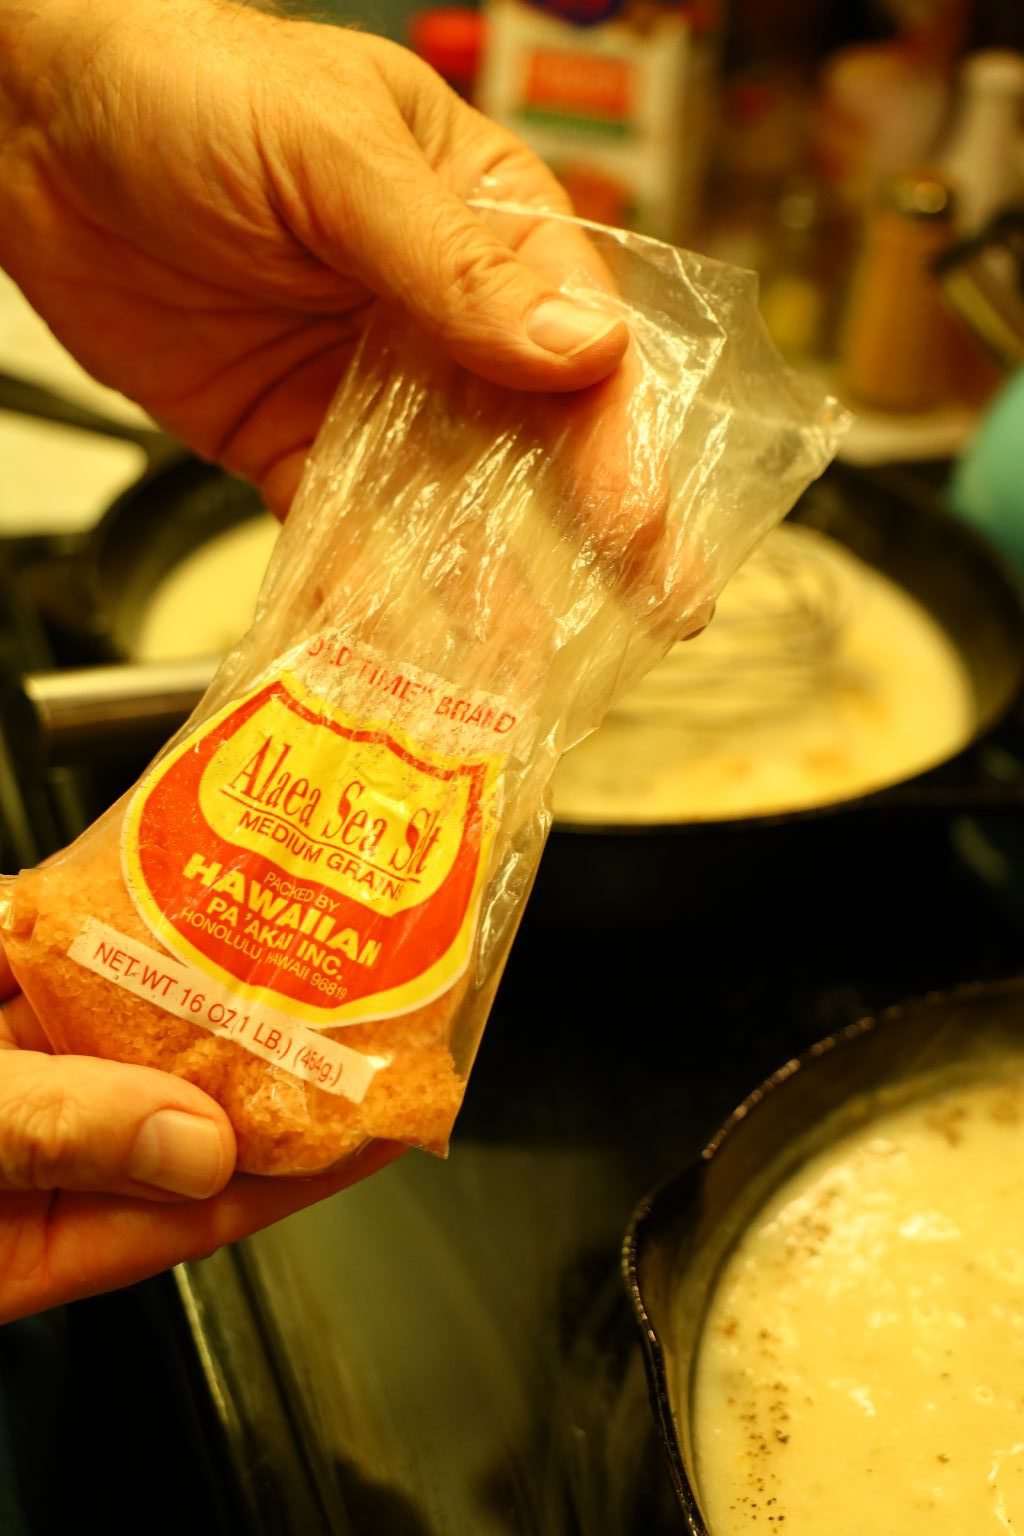
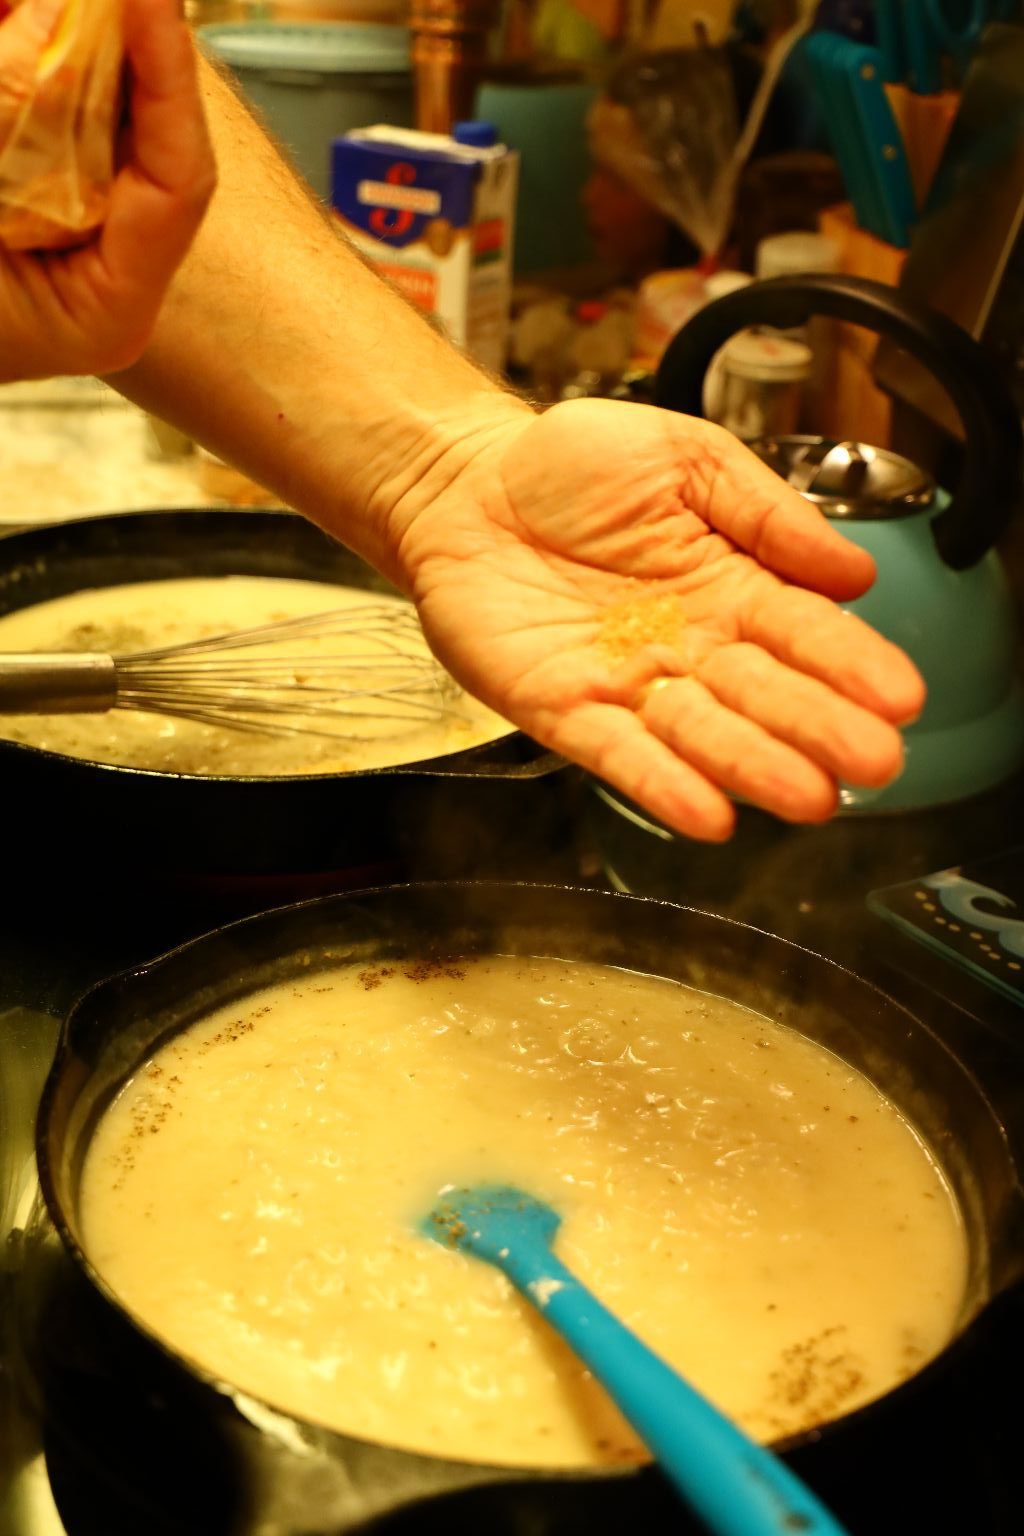
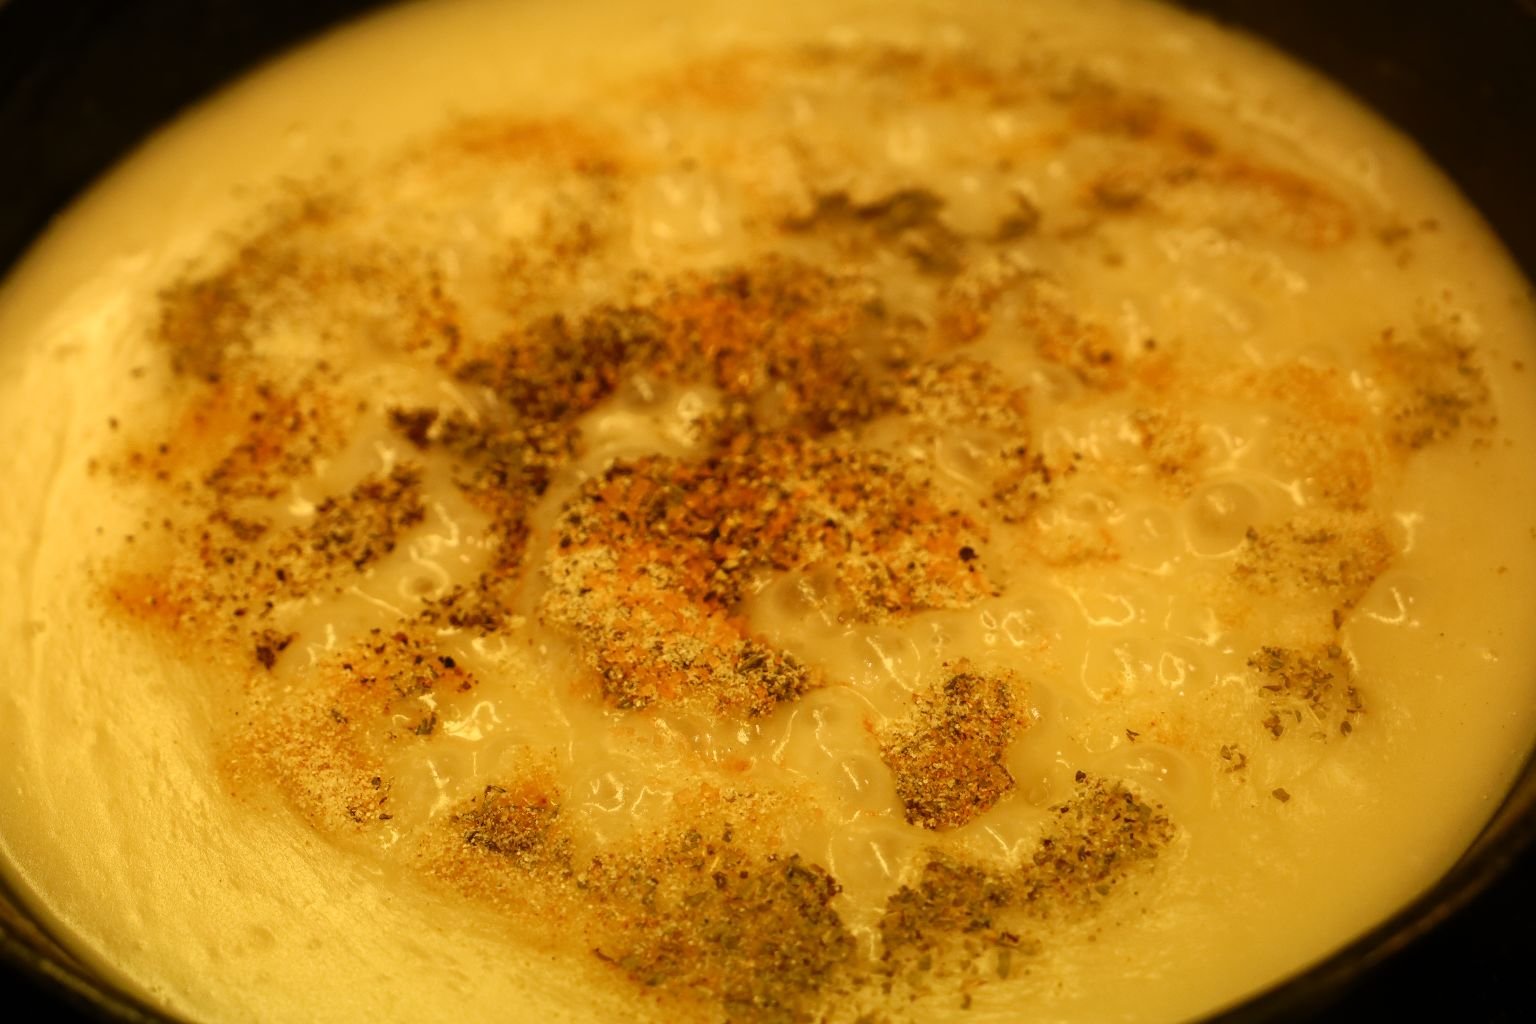
Salt to taste, and I do mean taste.
Be sure your Veloute is to your liking adding any of the ingredients as you feel are needed.
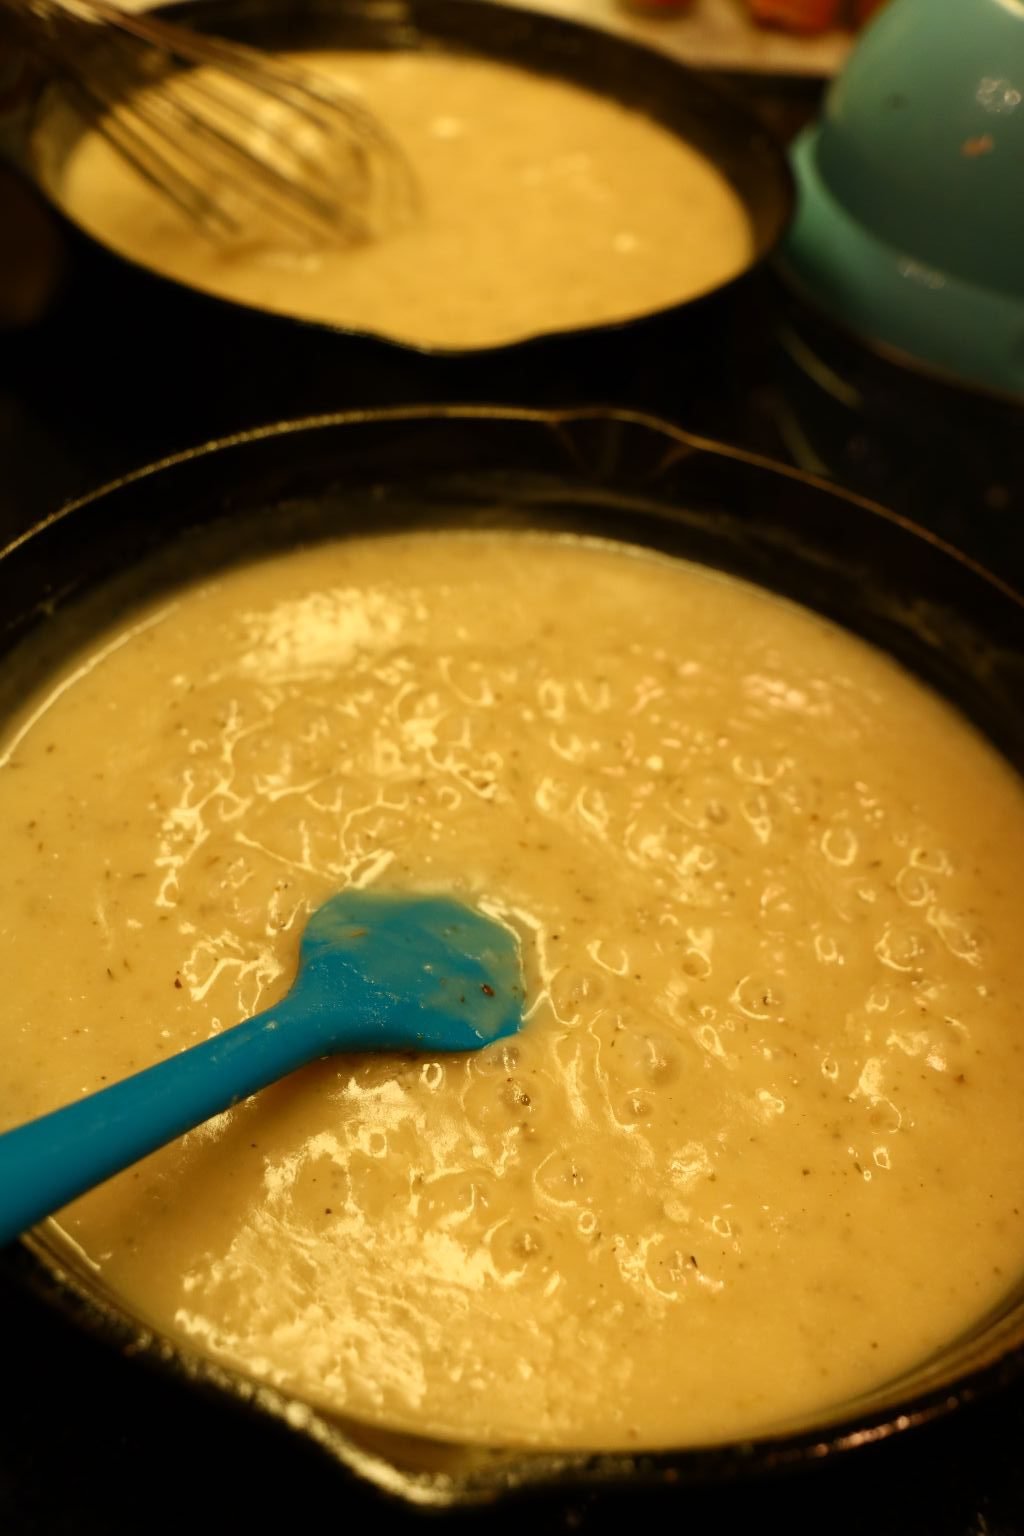
———————————————————————————
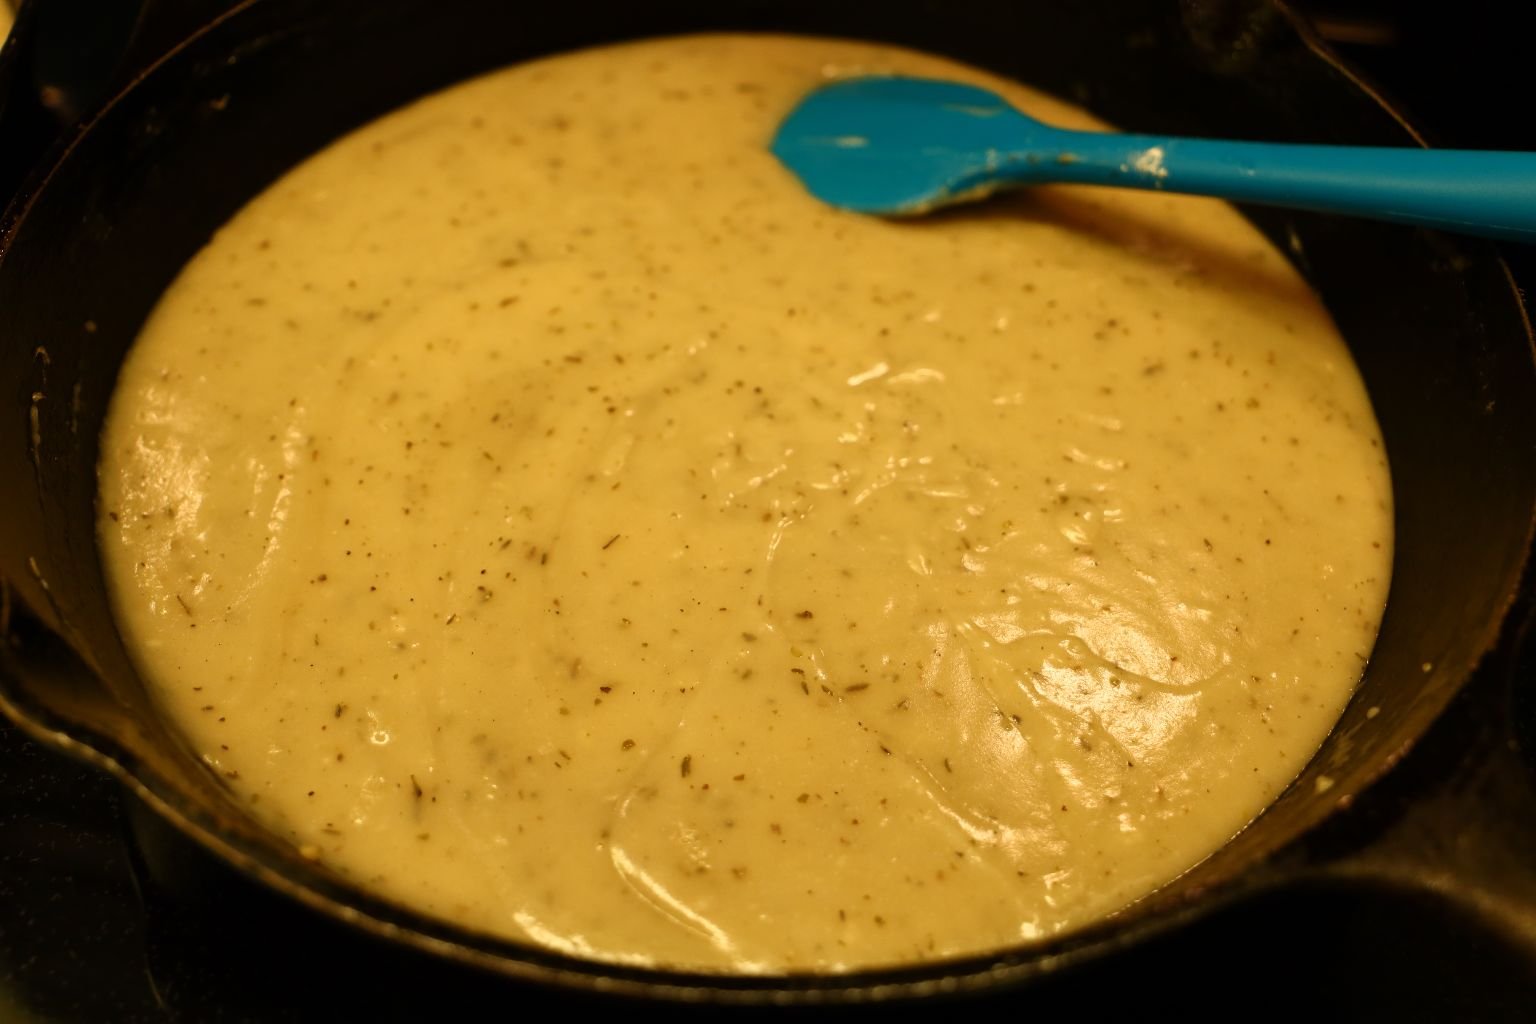
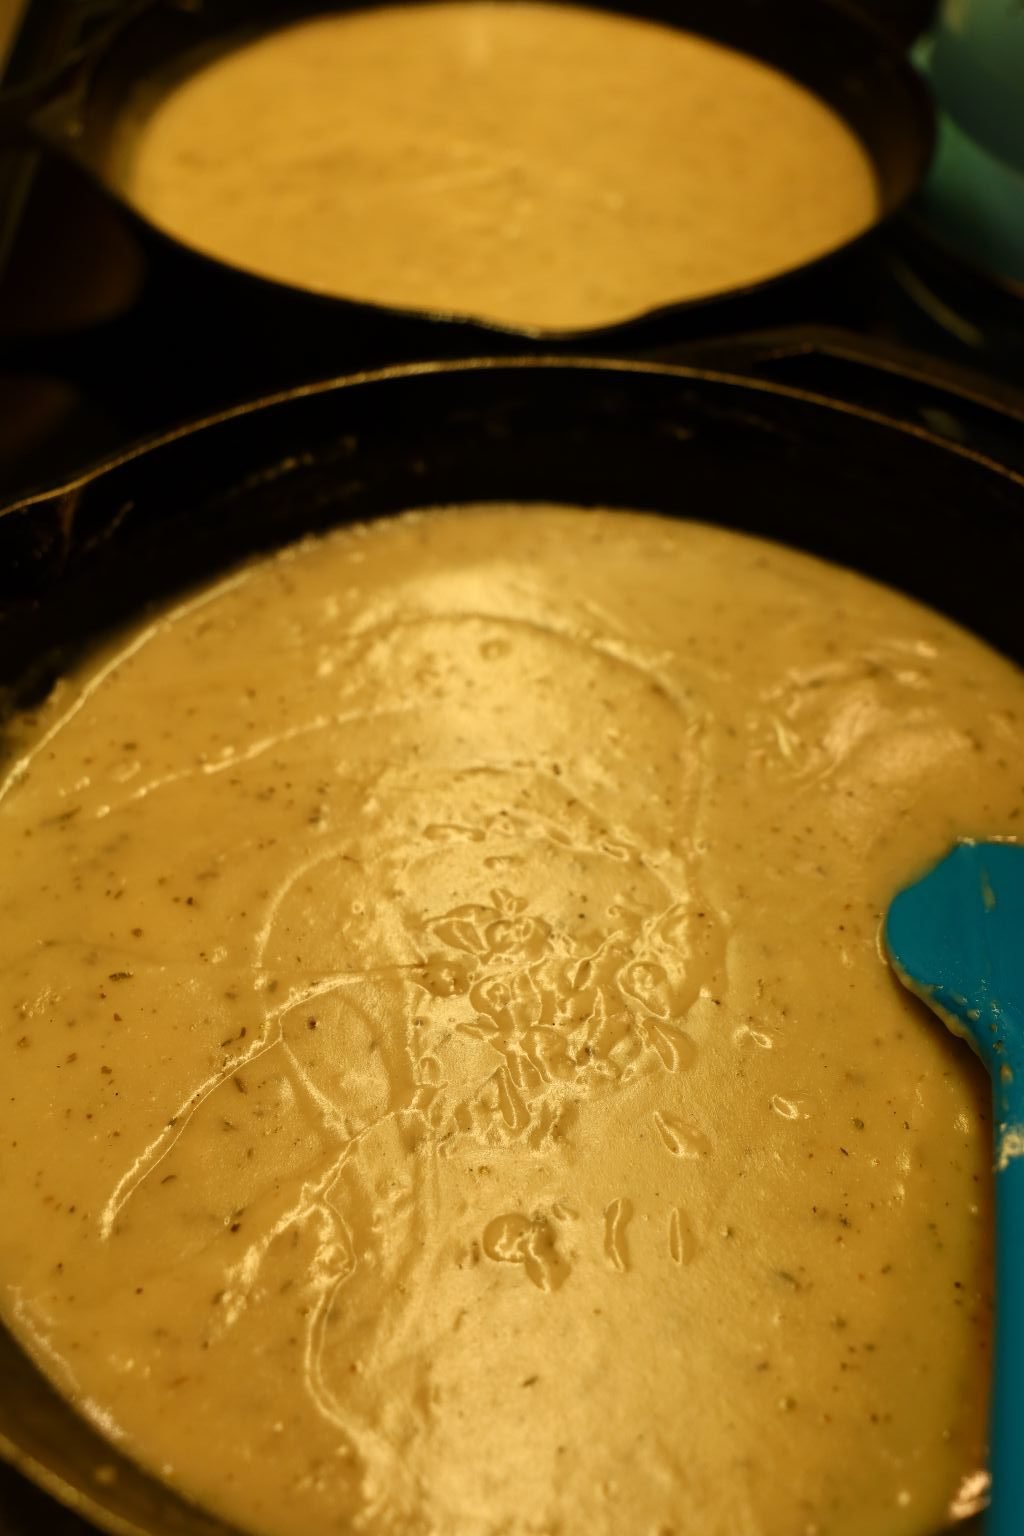
This is picture perfect… if I do say myself!
So much better than that jarred stuff you can buy at your supermarket.
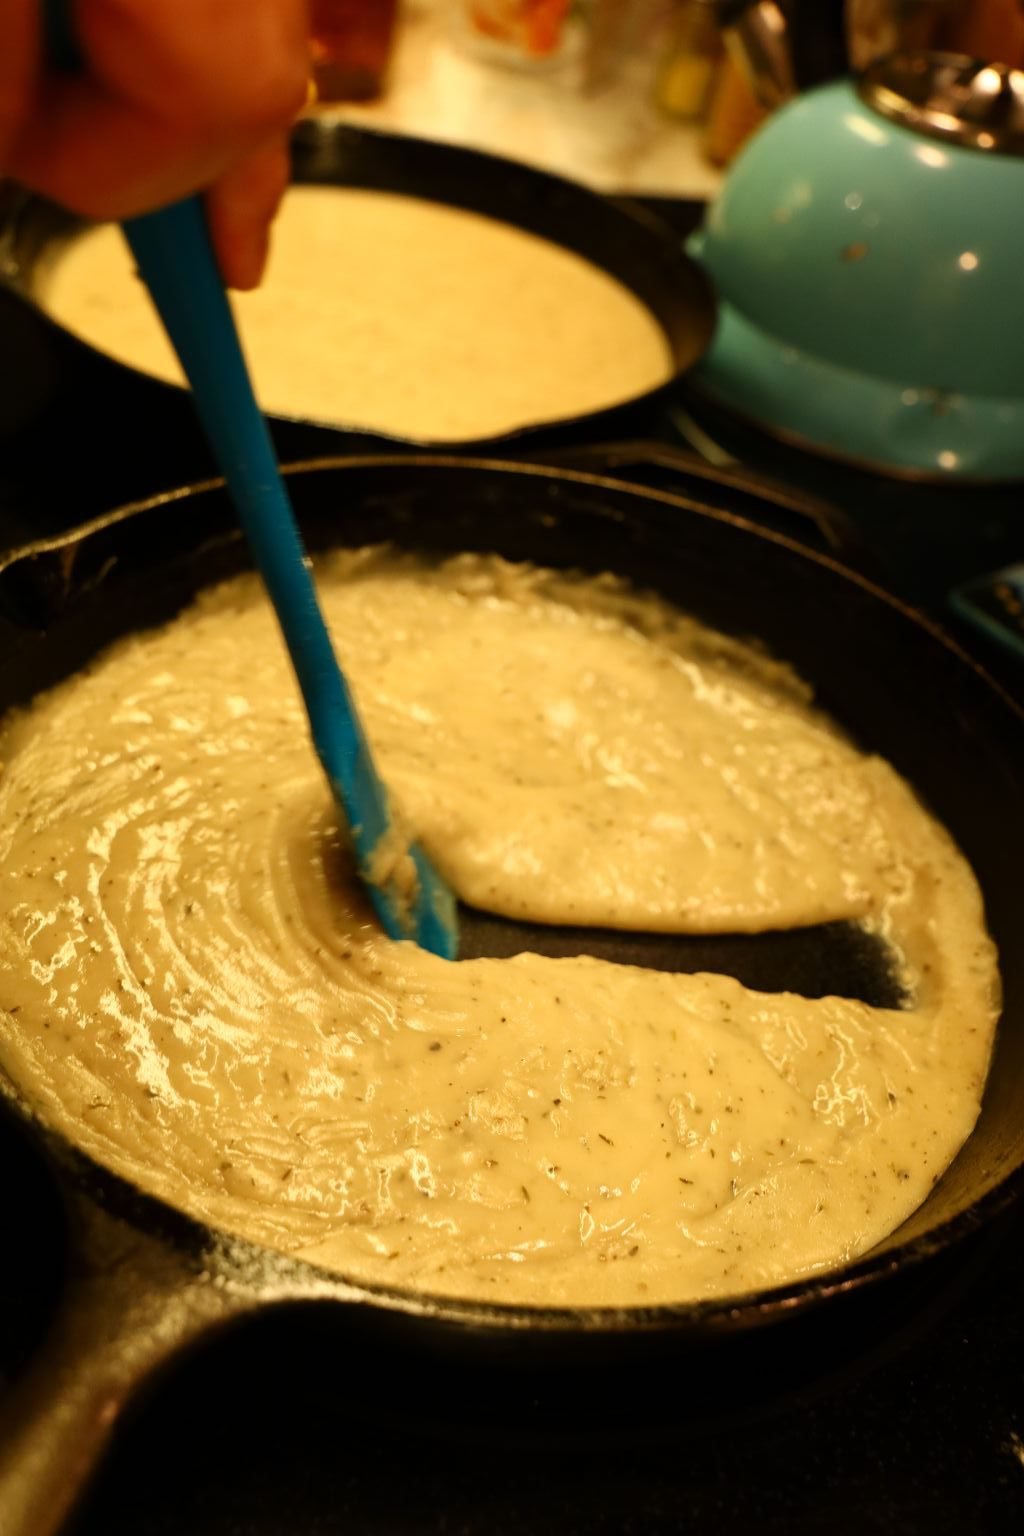
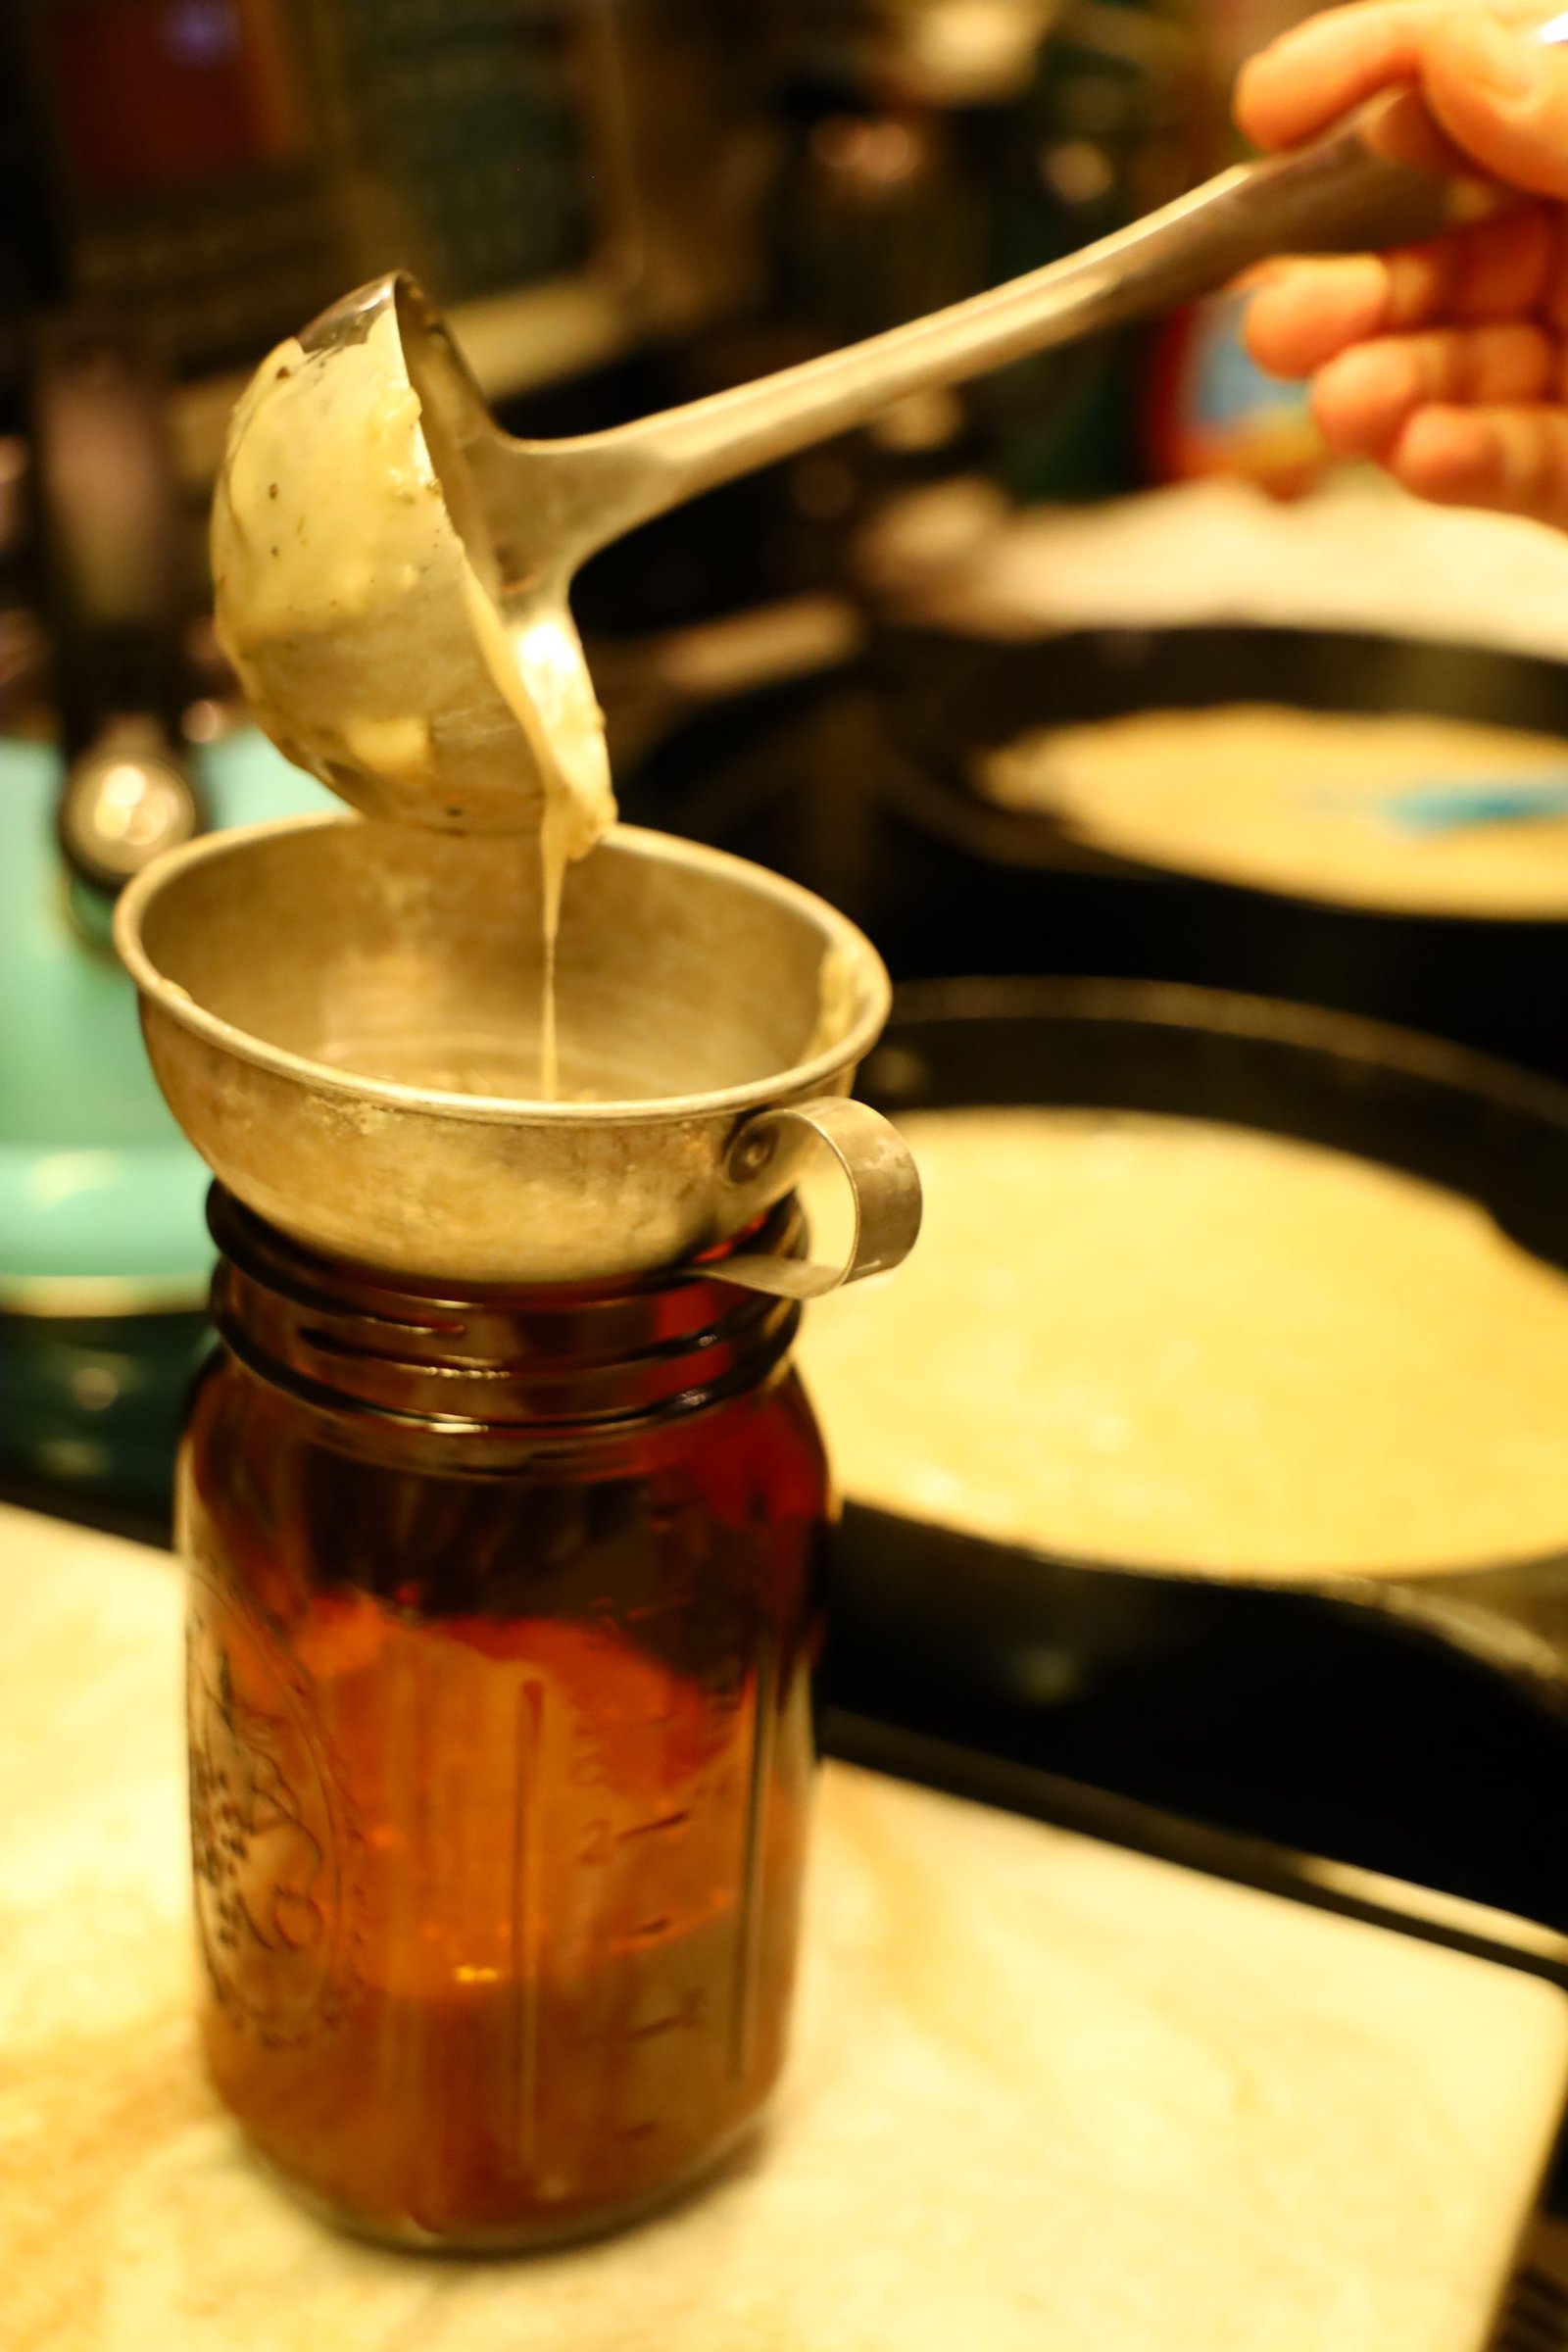
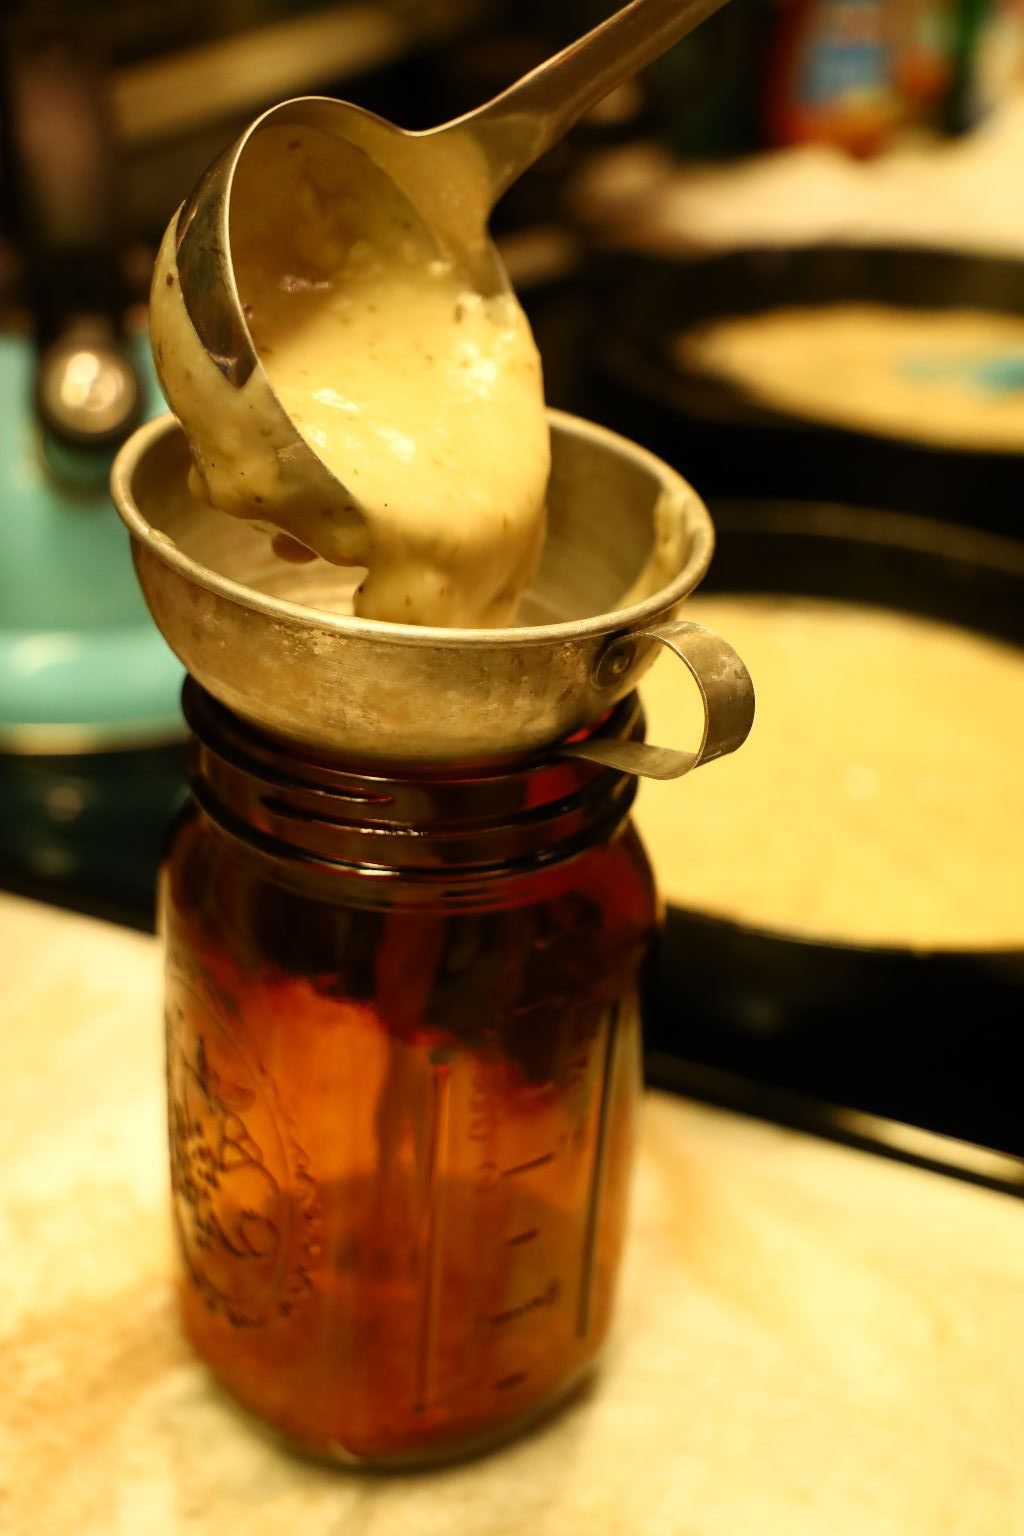
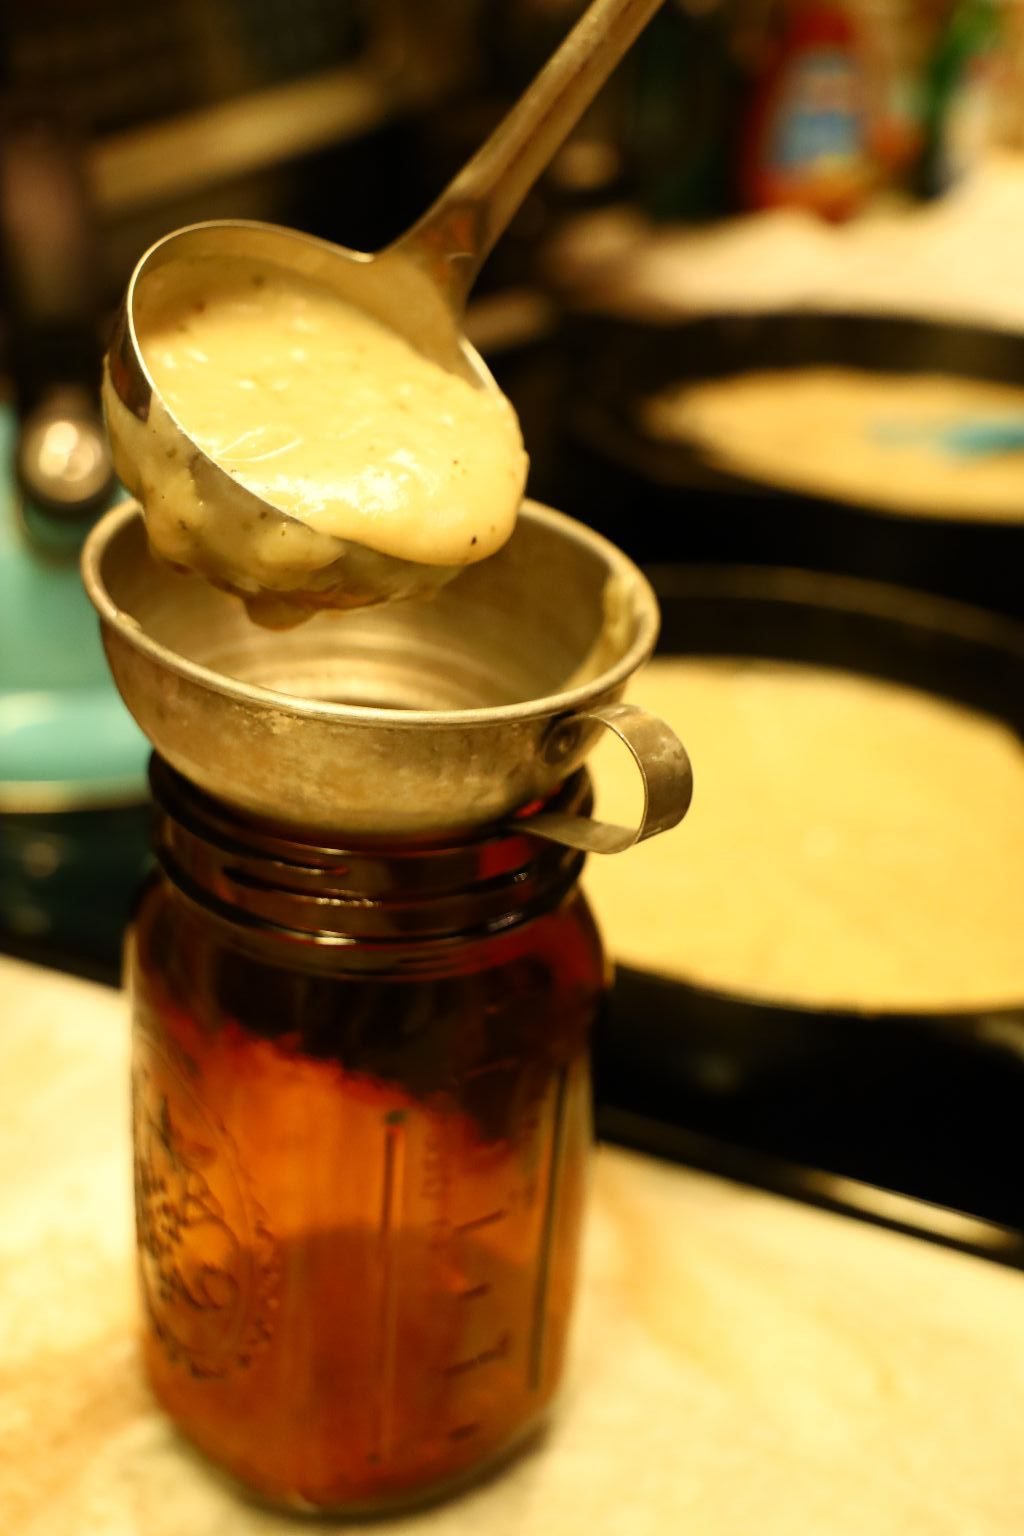
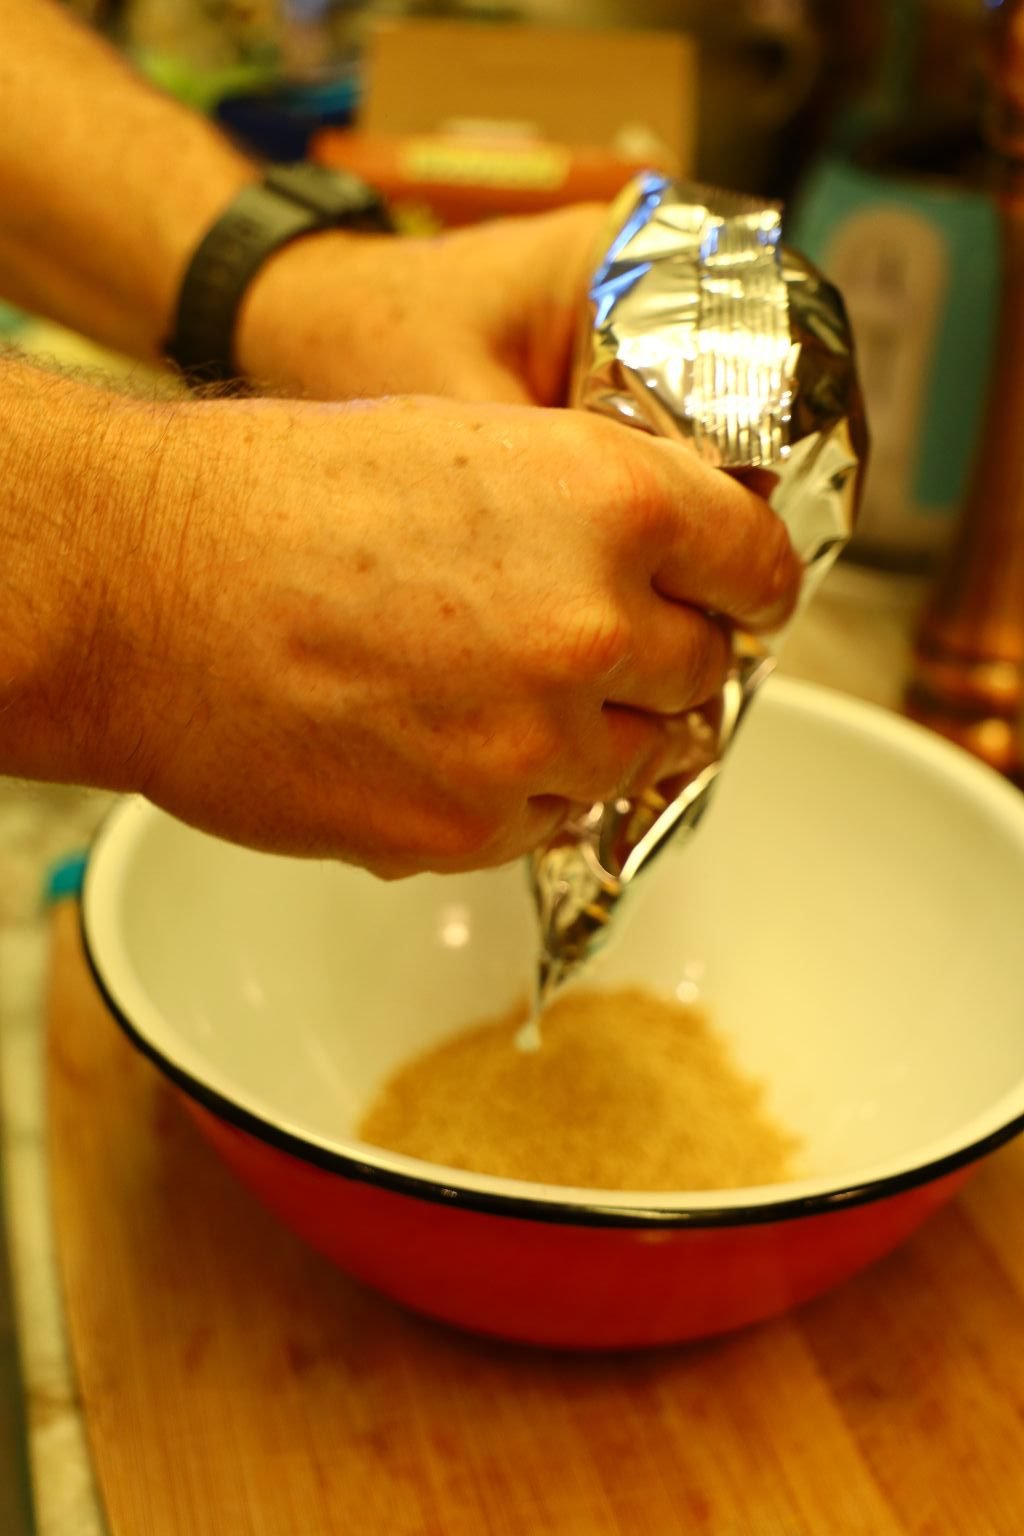
Here, we are jarring some to give away as a great gift.
It will last for at least a week when stored in your refrigerator.
————————————————————————————–
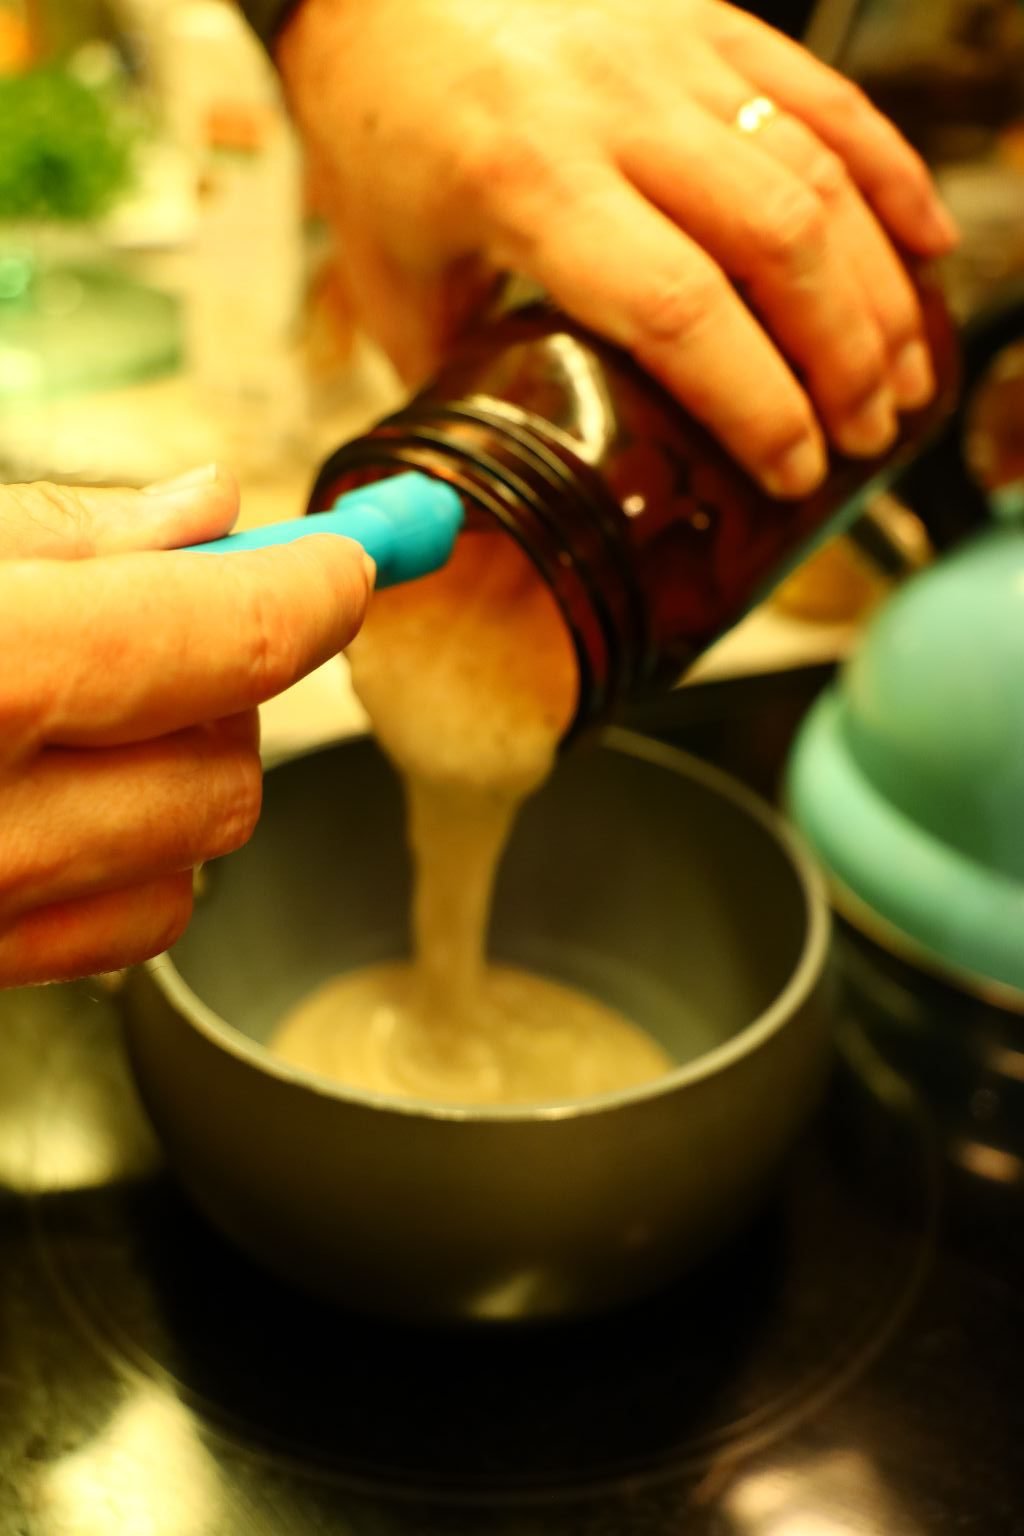
You can add a touch of Chicken Broth at the top of this as I said, the flour will continue to thicken well after the sauce is made. This will ensure the gravy is as perfect as when you first made it.
Note: You could also make this a Giblet Gravy by boiling the Turkey neck, heart, giblets, and liver, then remove the meat from the neck and chop up all the ingredients and add them to the Veloute Sauce when you add your seasonings.

This was our way of contributing to our Children’s Thanksgiving Dinner at their homes.
At least they didn’t need to worry about the Gravy. 🙂
It was also easy for us because we also made ourselves some Gravy, that was already prepared and not something we had to make on the actual Thanksgiving Day. 🙂
————————————————————————-
Grilled Spatchcock Turkey
——————————————————————————
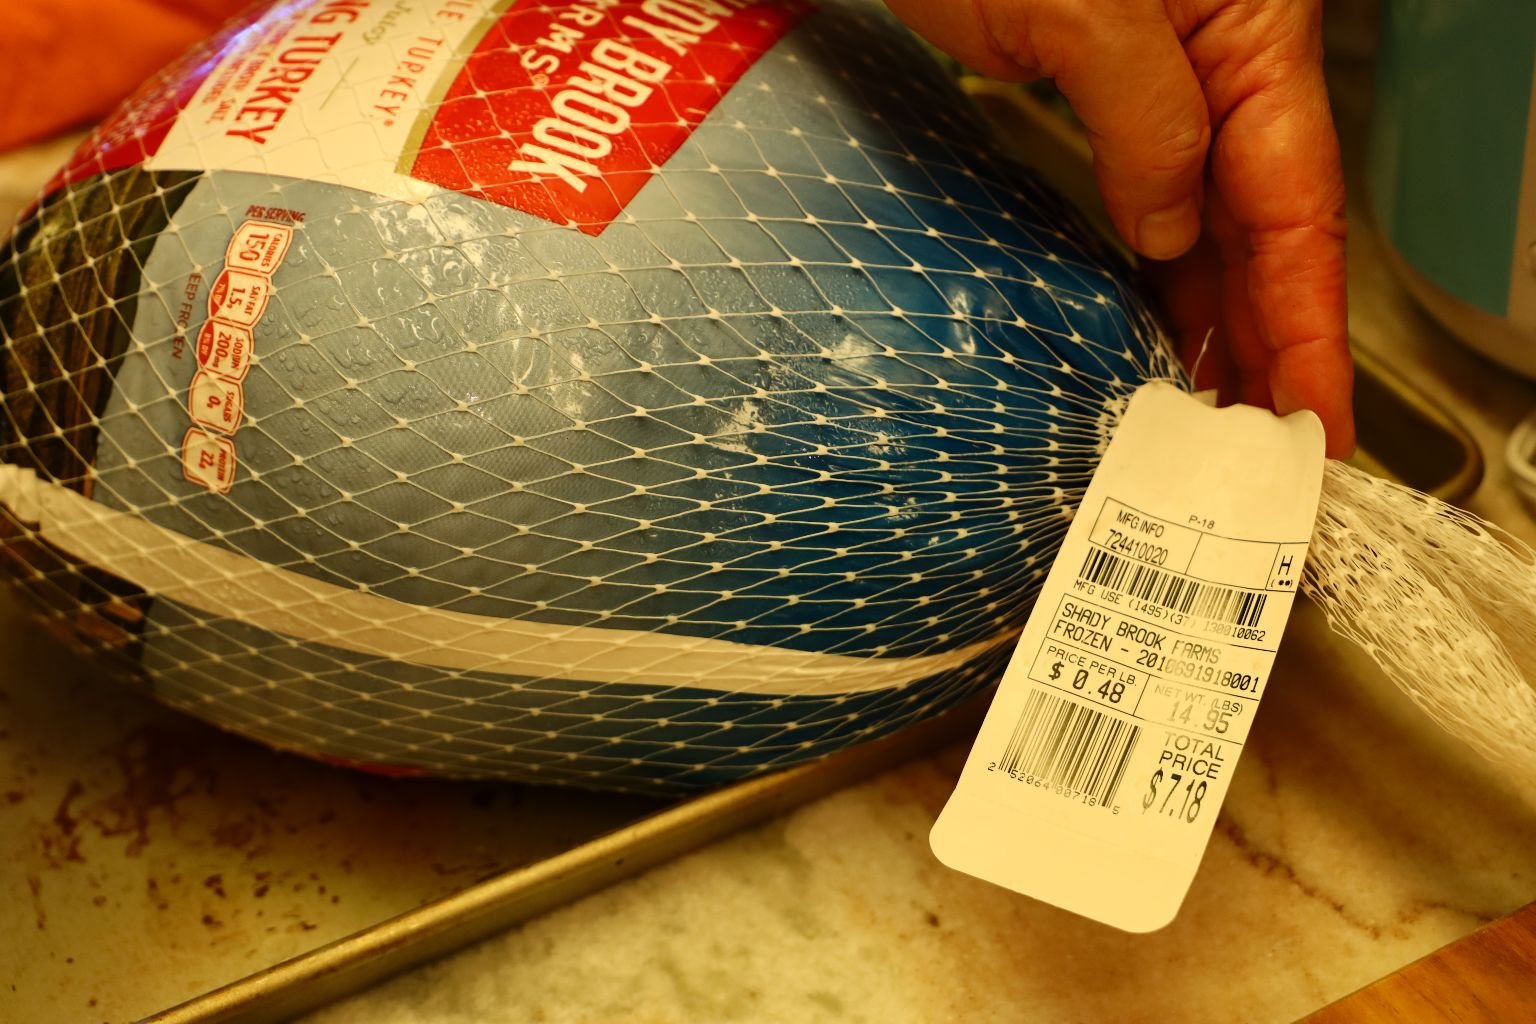
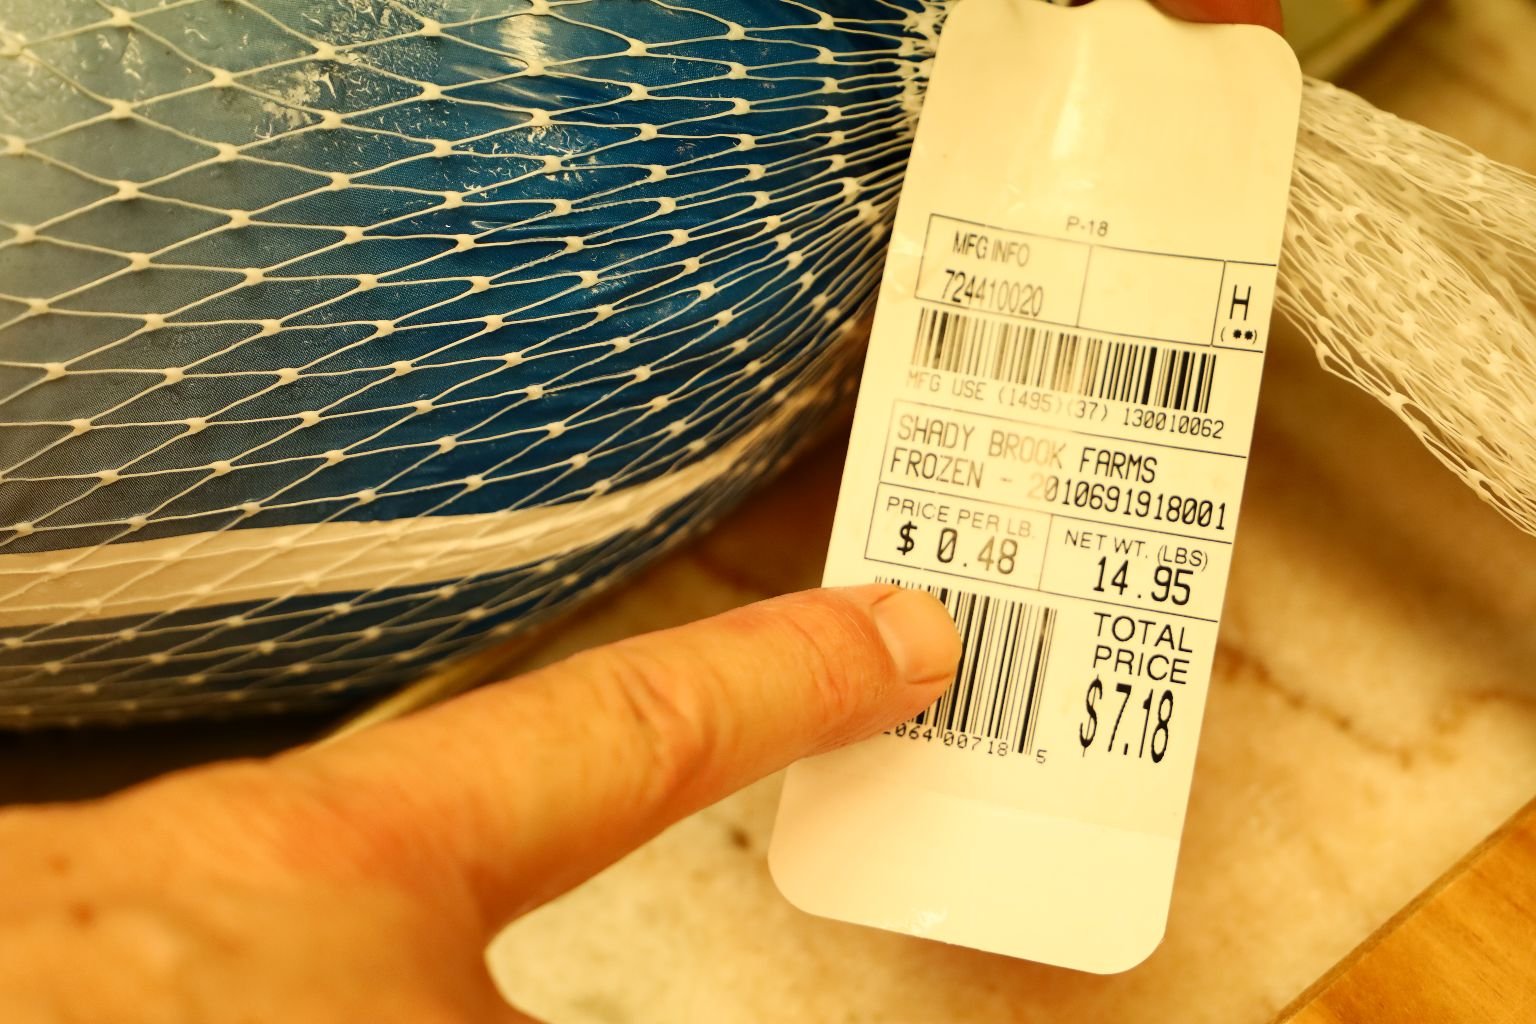
Here you can see I got a great price on this Turkey.
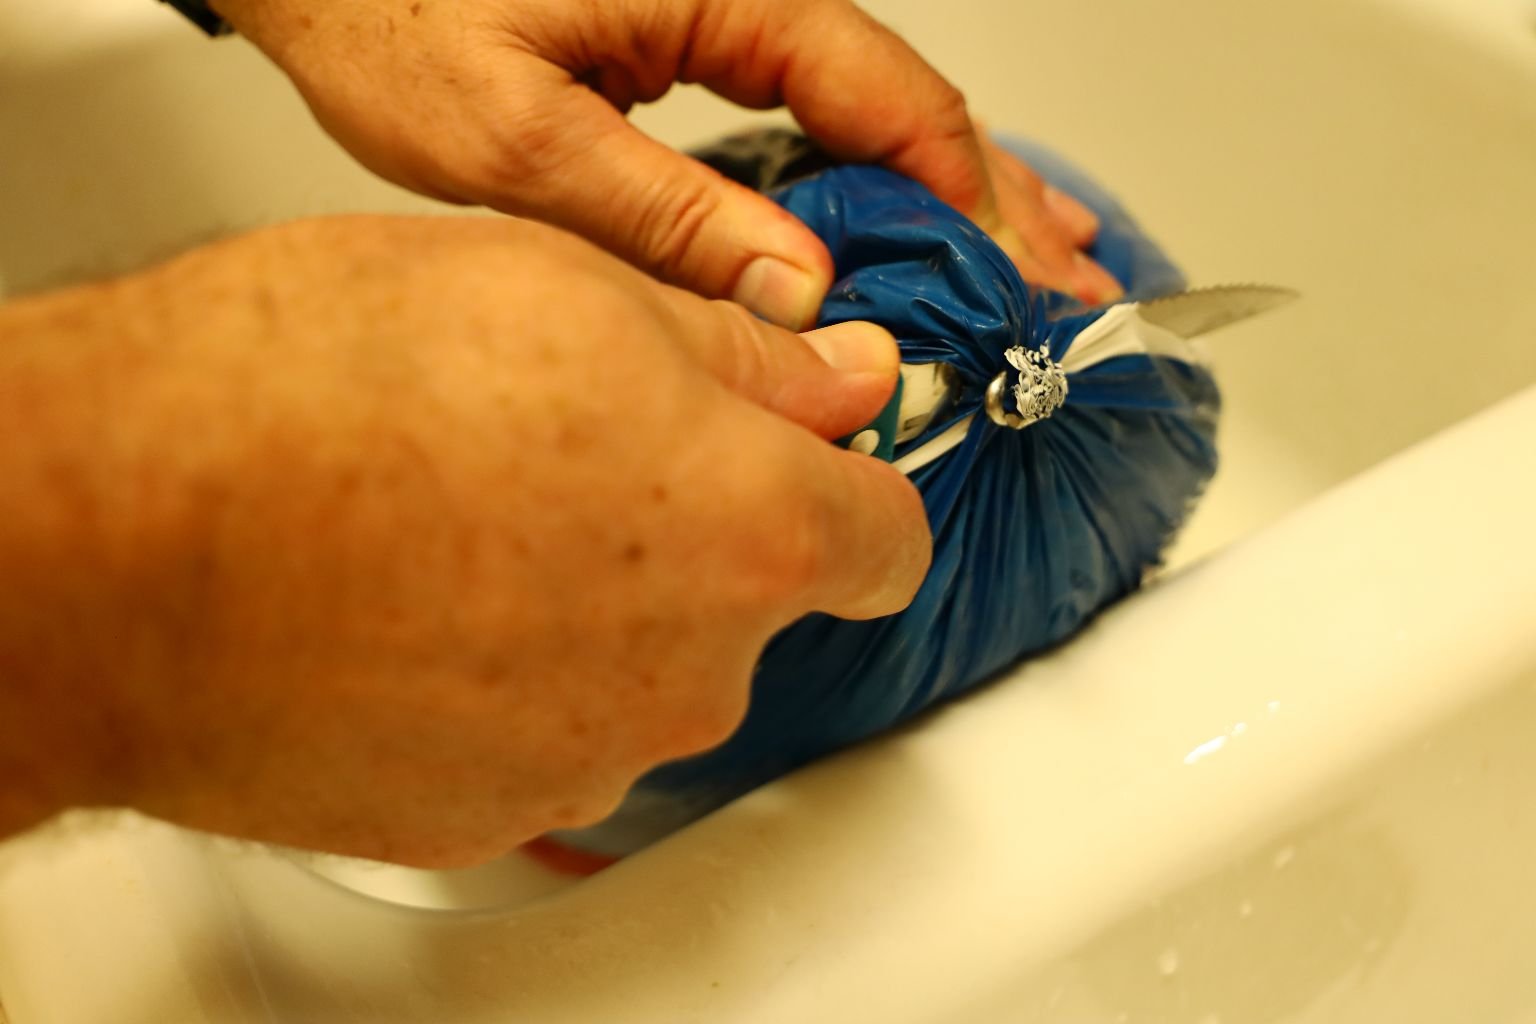
Remove the turkey from the wrapping.
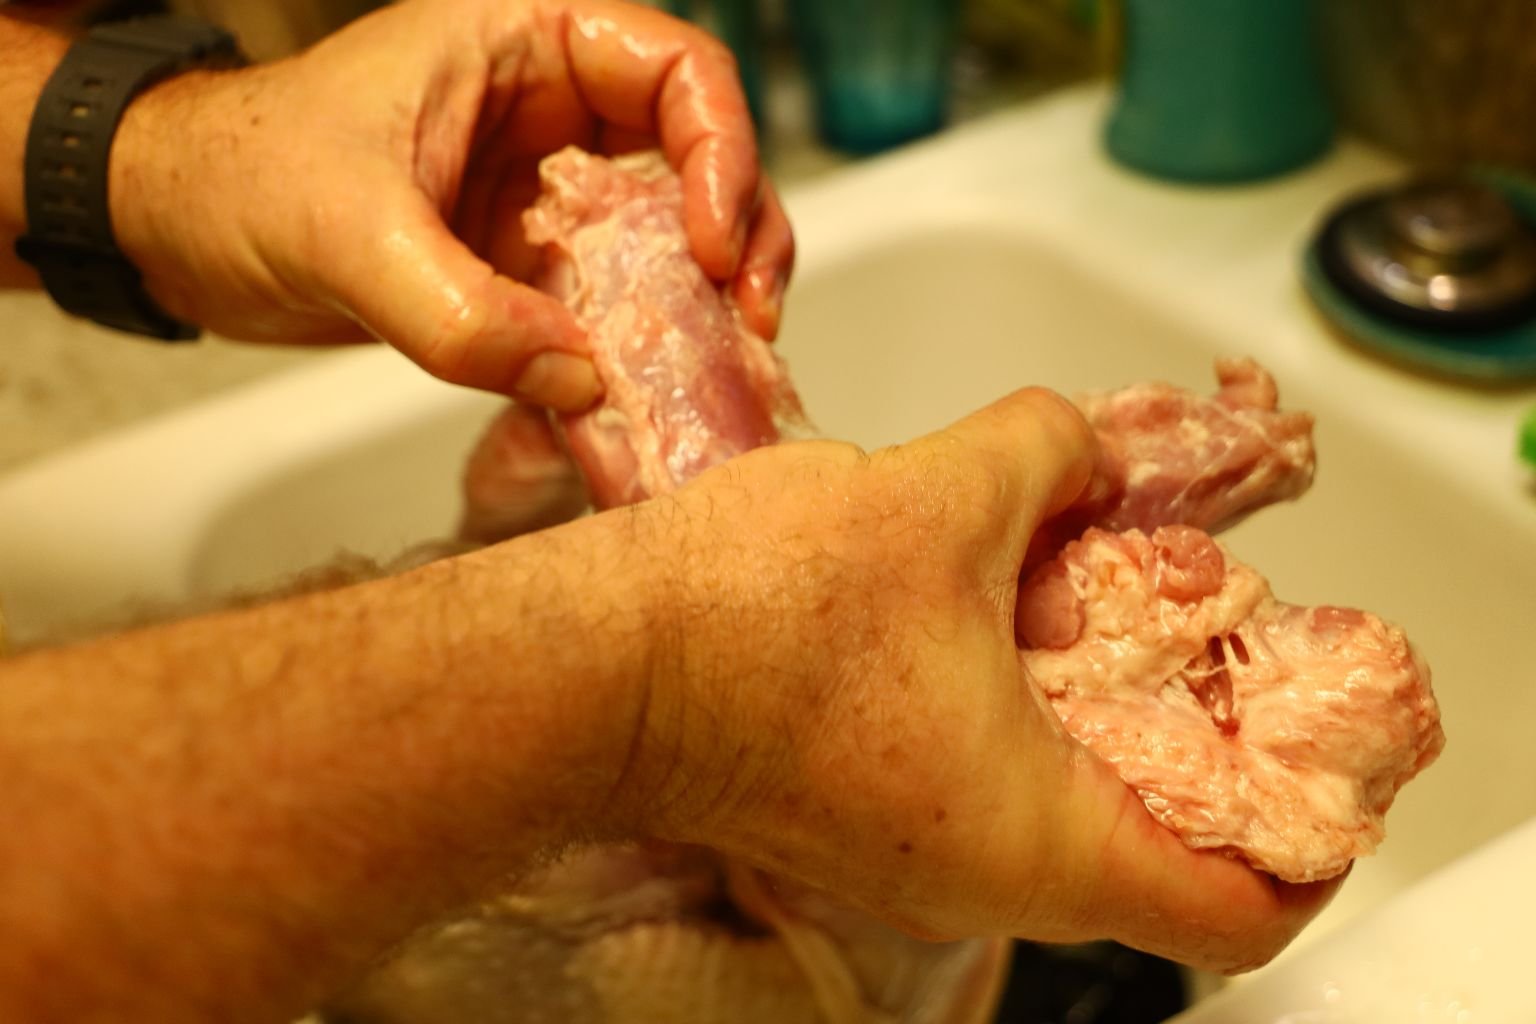
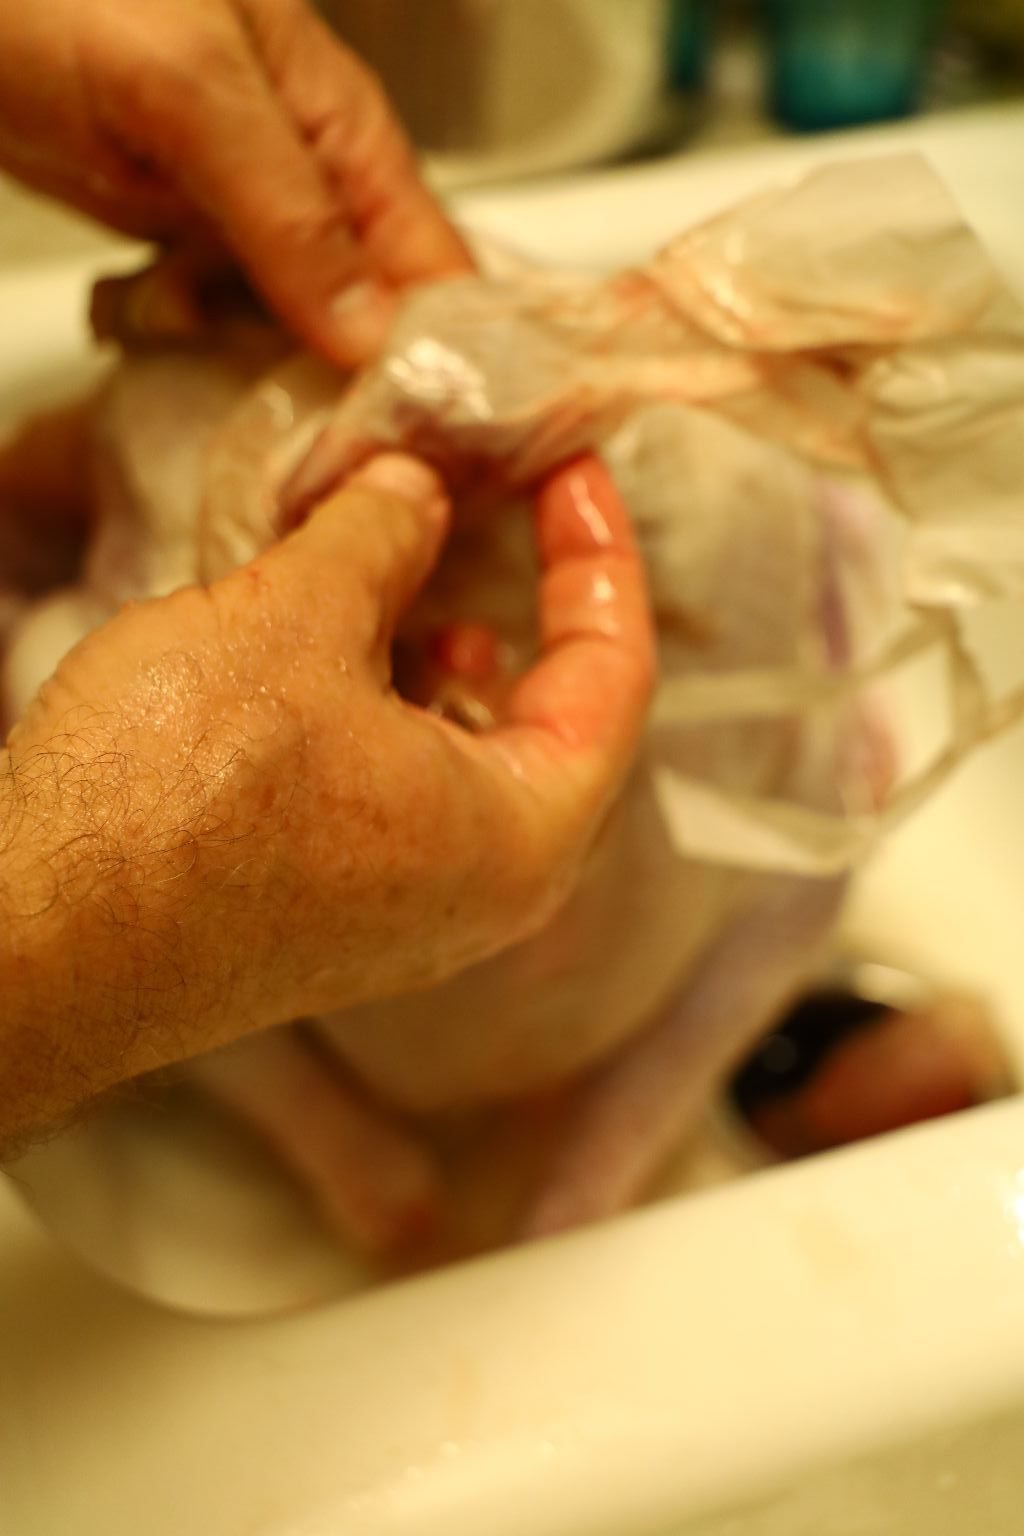
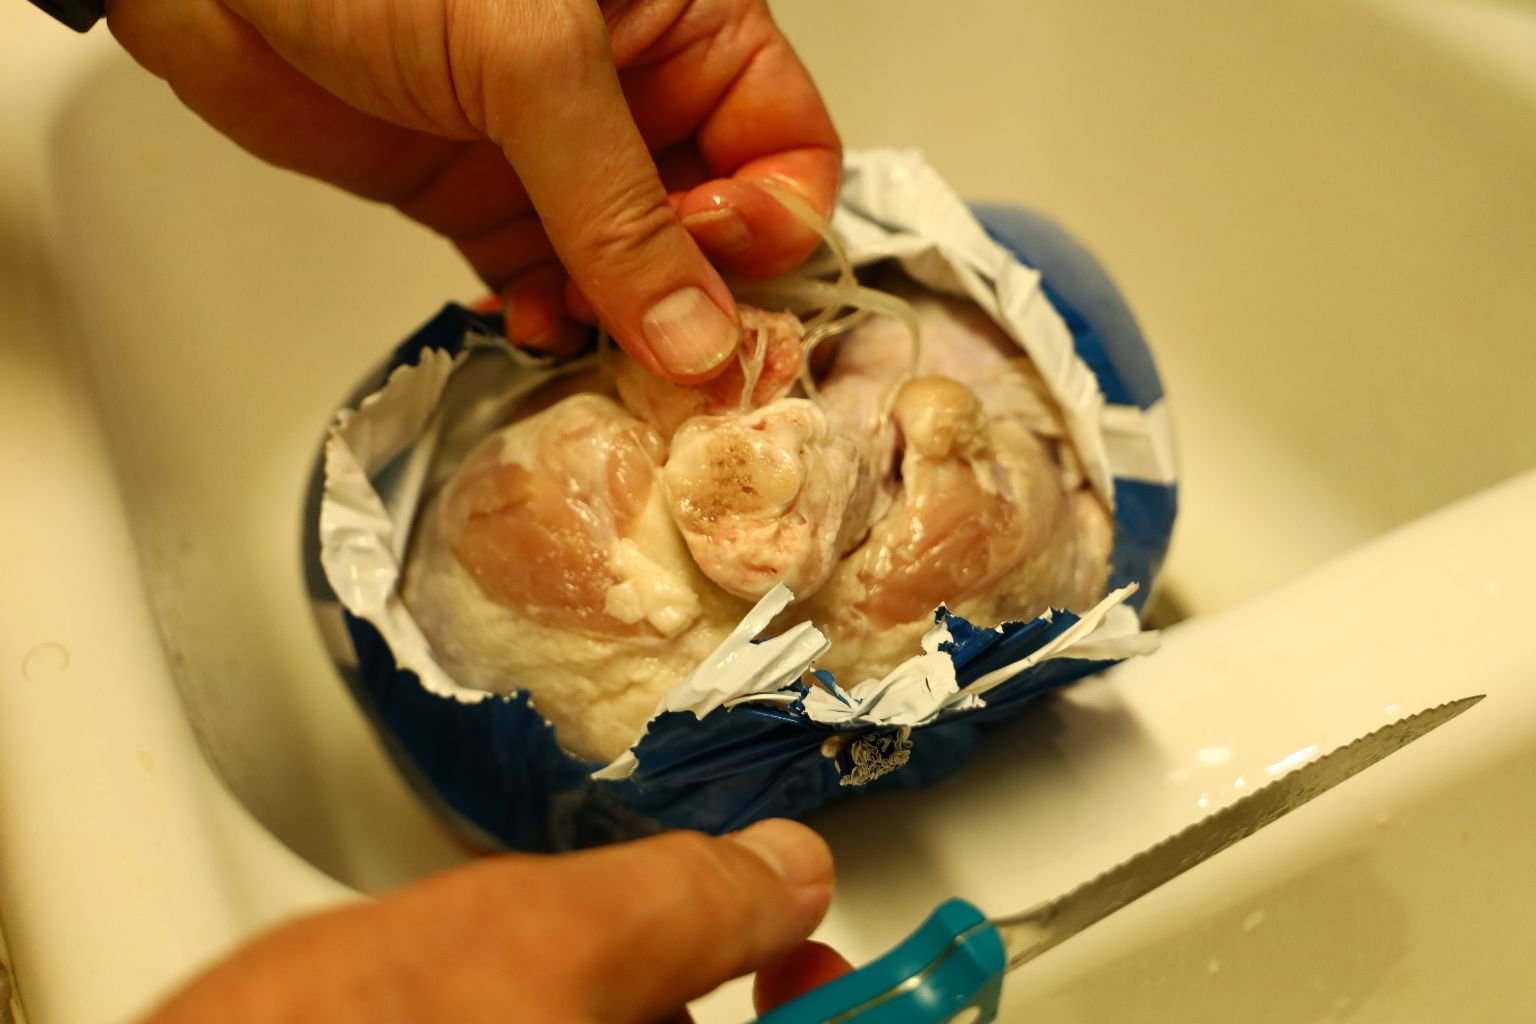
Remove the neck, heart, liver and giblets from the cavity and save for later use.
I also remove the plastic timer.
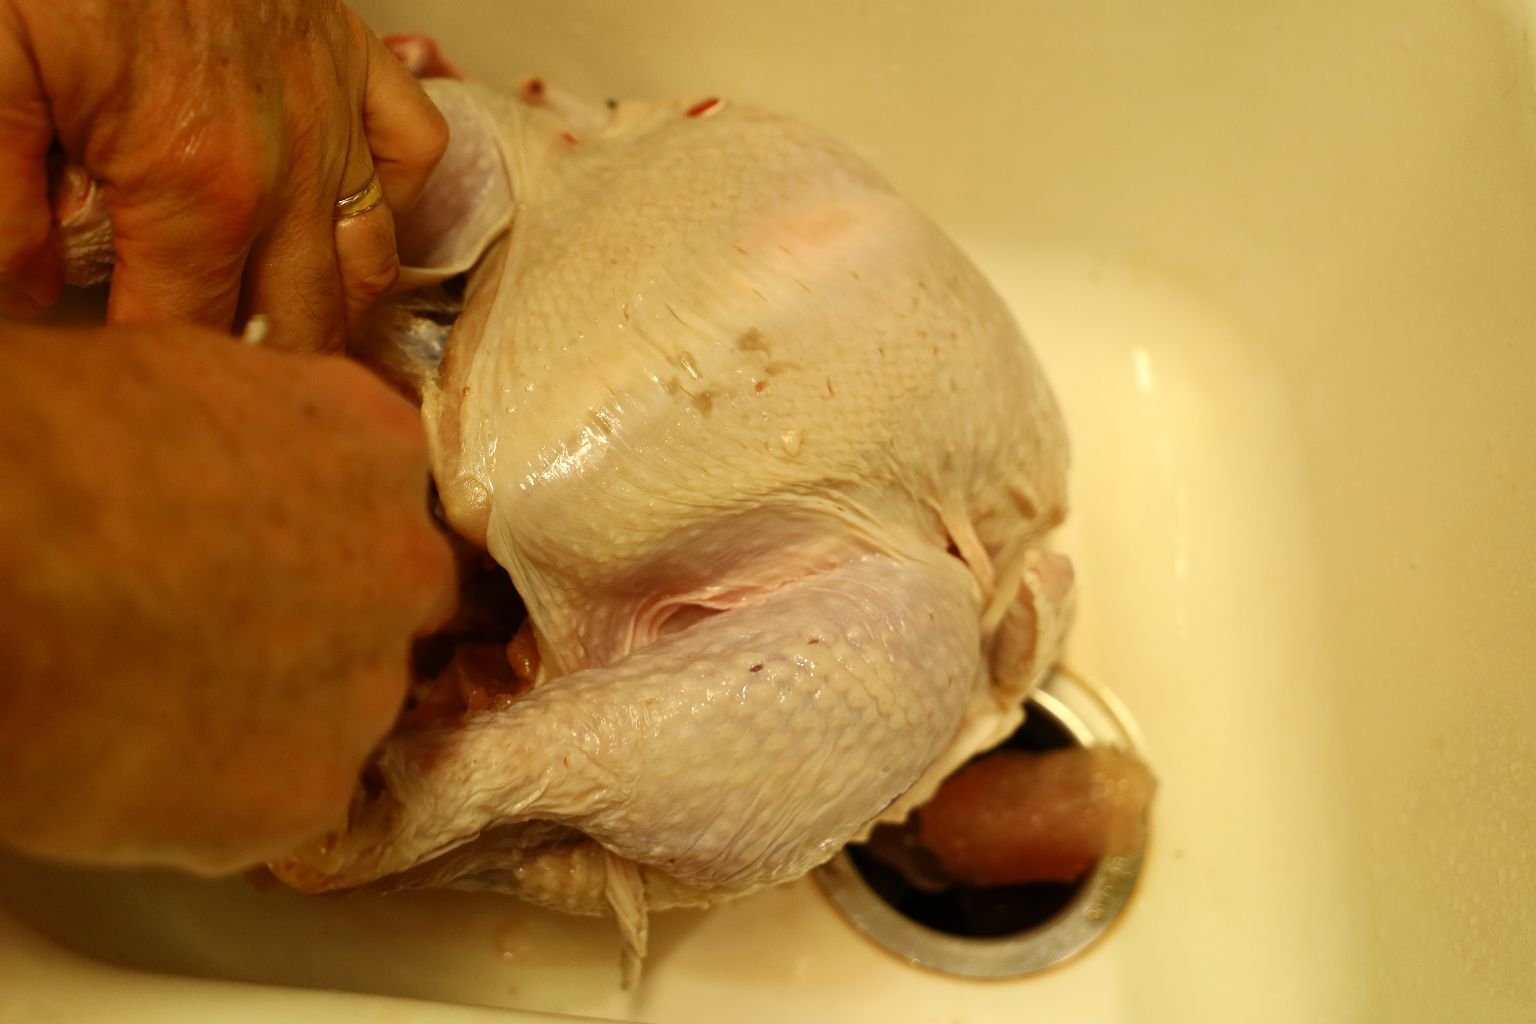
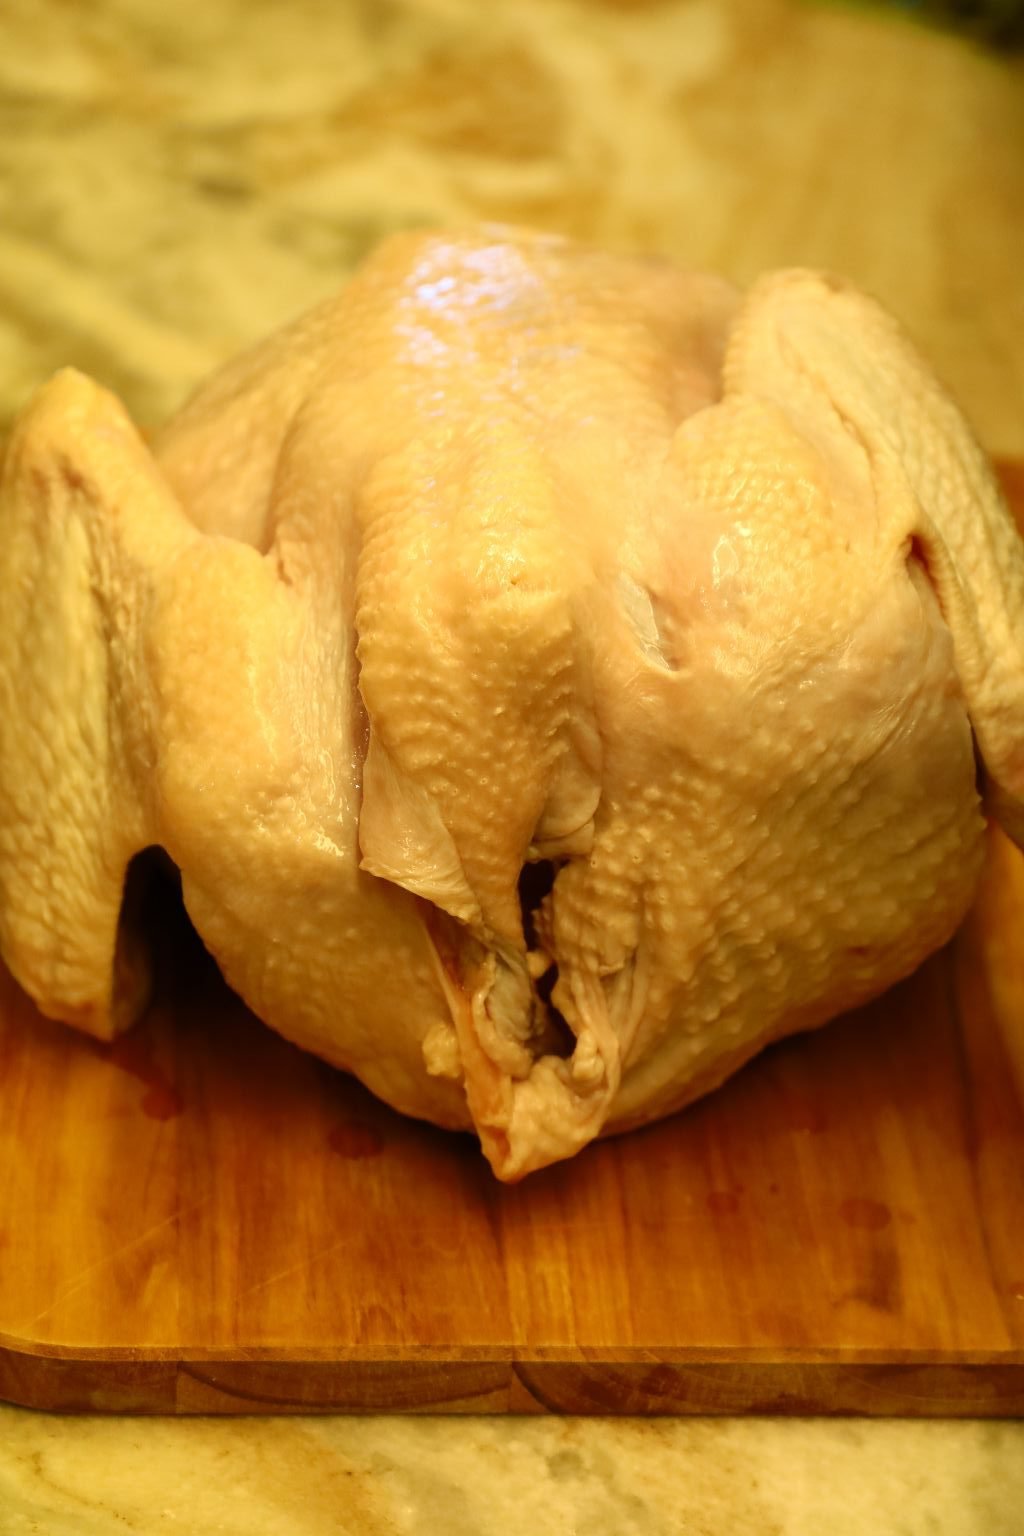
Now, give the turkey a good rinse to remove any old blood and particulates.
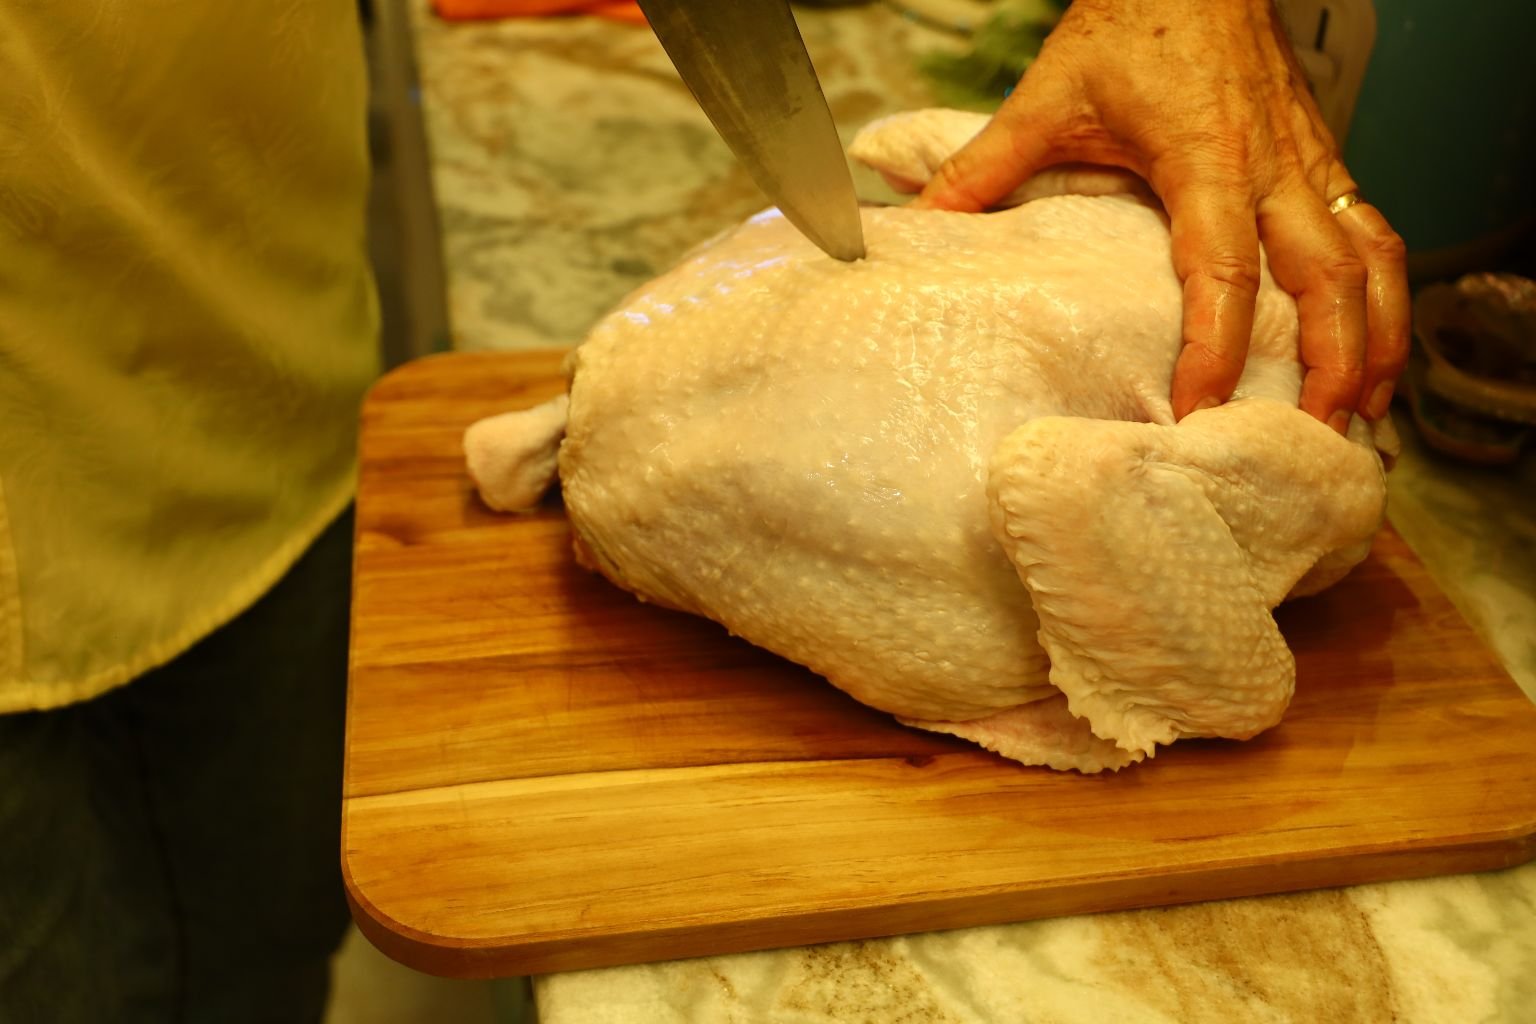
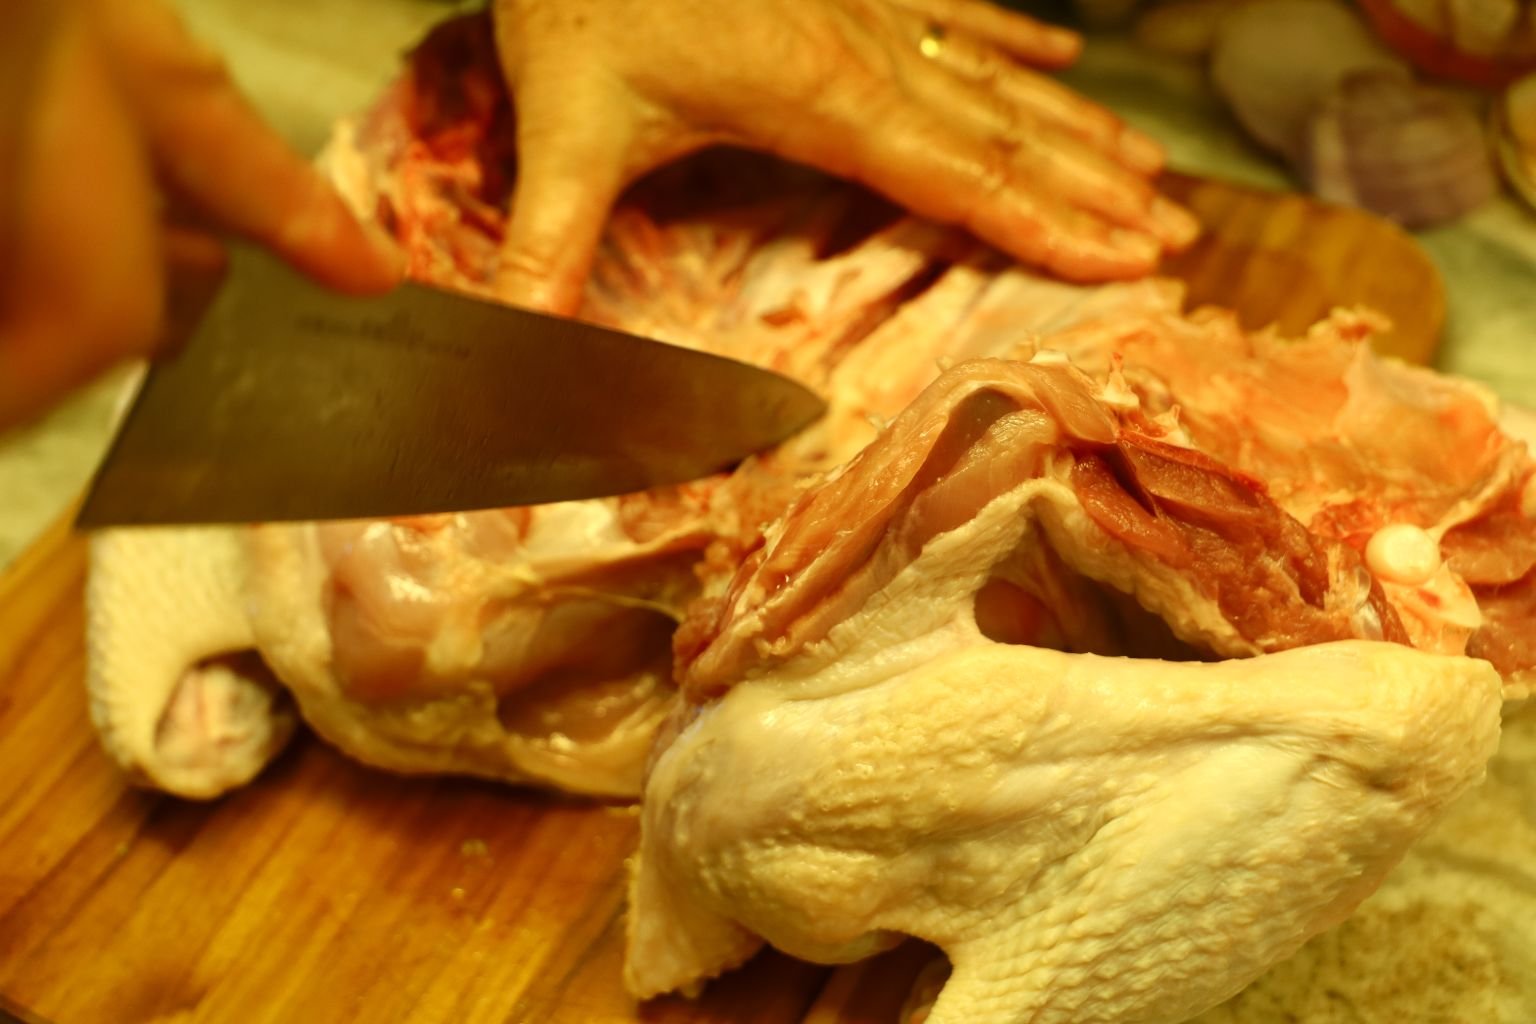
Using a sharp knife and cutting board, place the breast side down on the cutting board and slice down one side of the backbone.
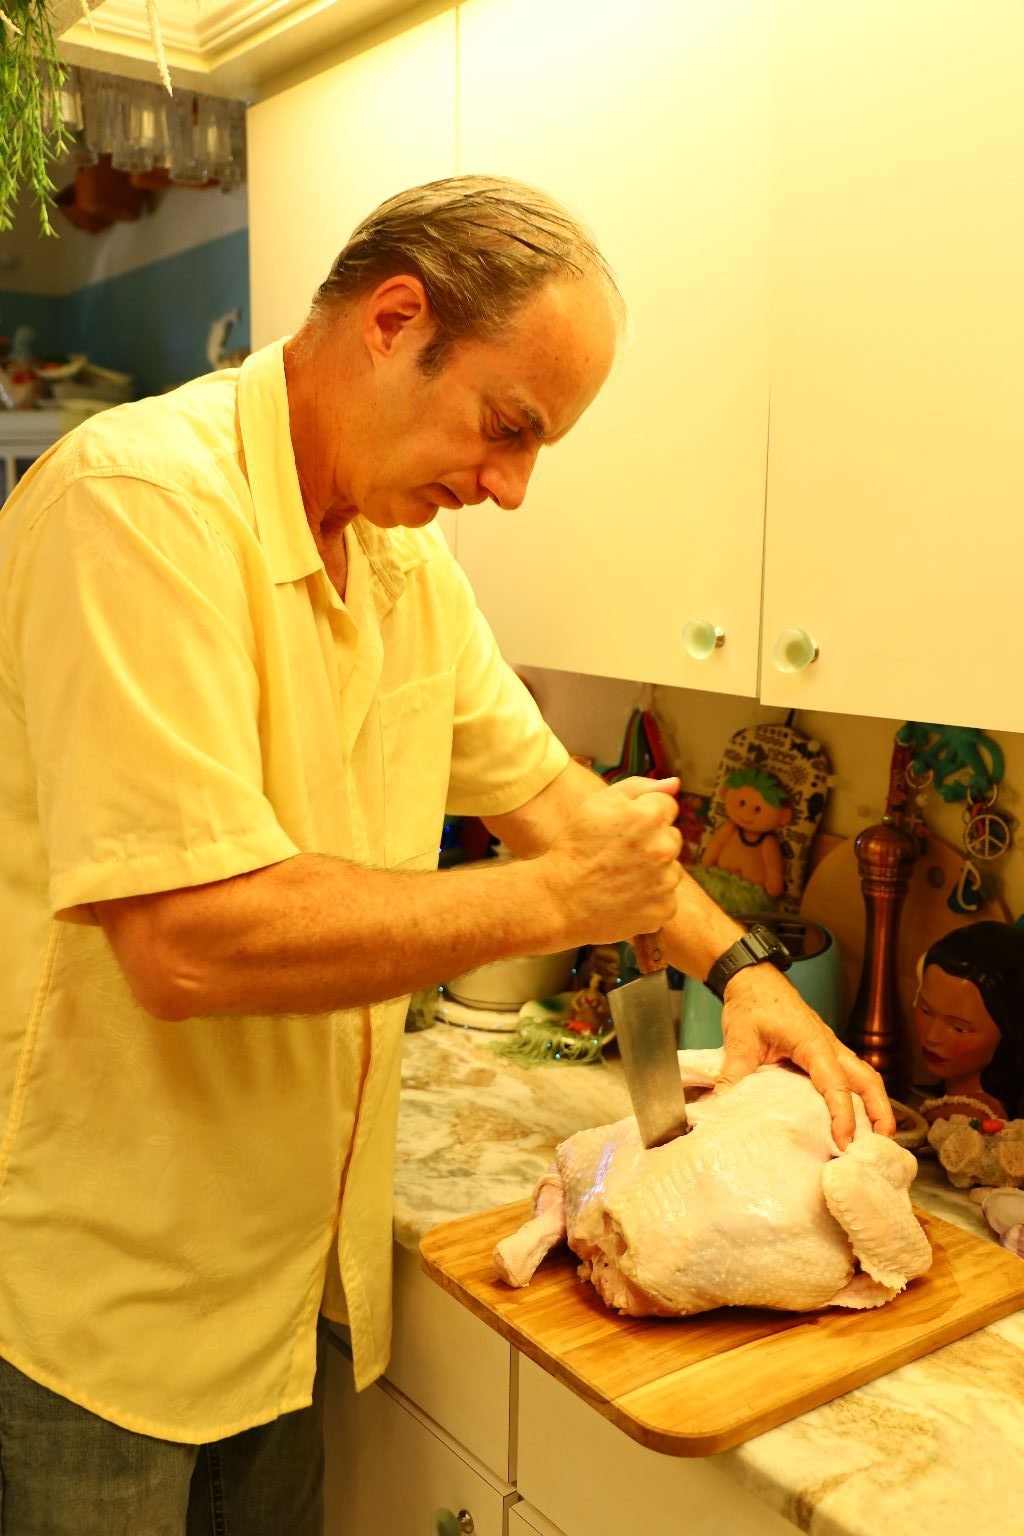

As you can see this will take some force to do.
Here you can see I sliced down the left side of the backbone.
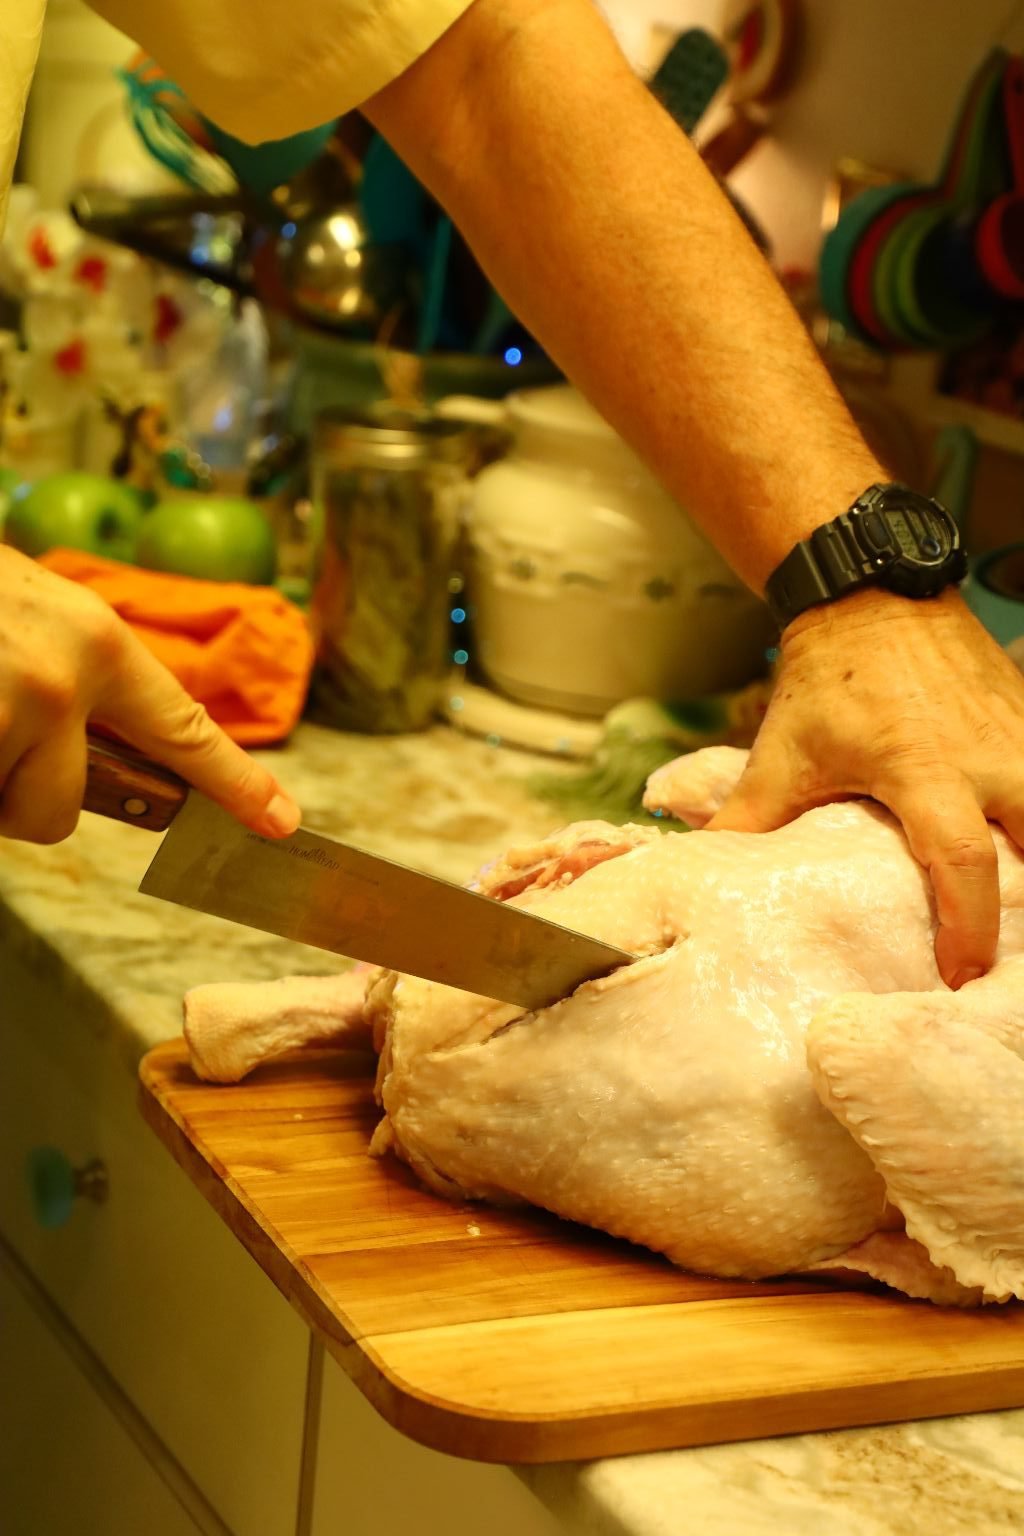
Now, slice down the right side of the backbone.
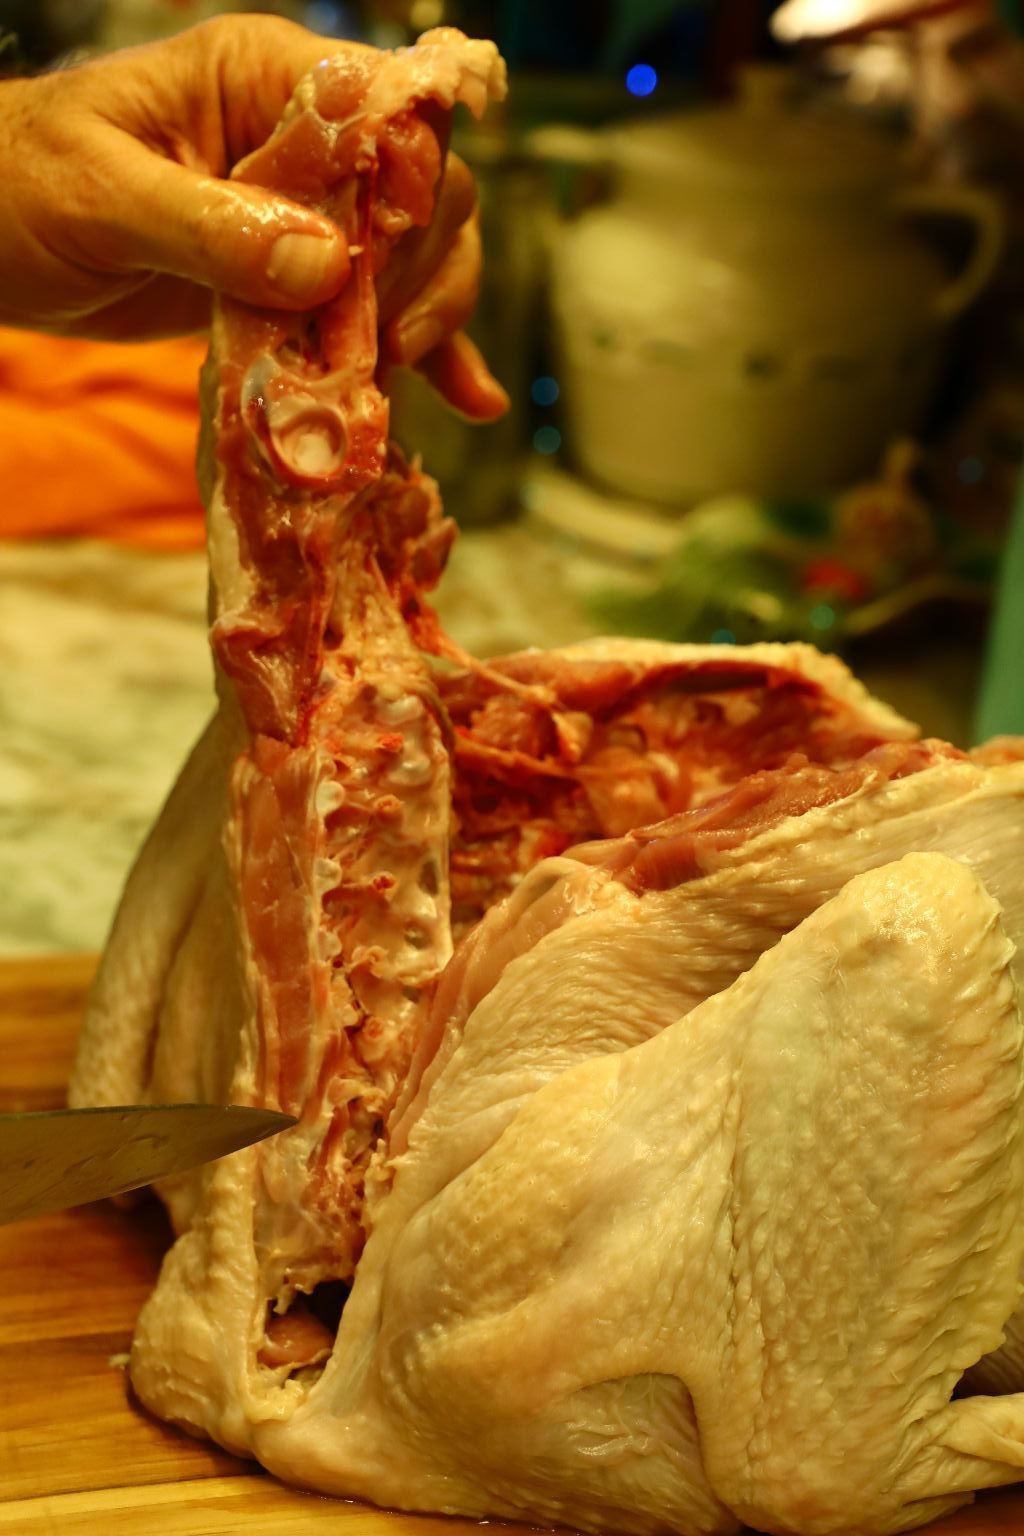
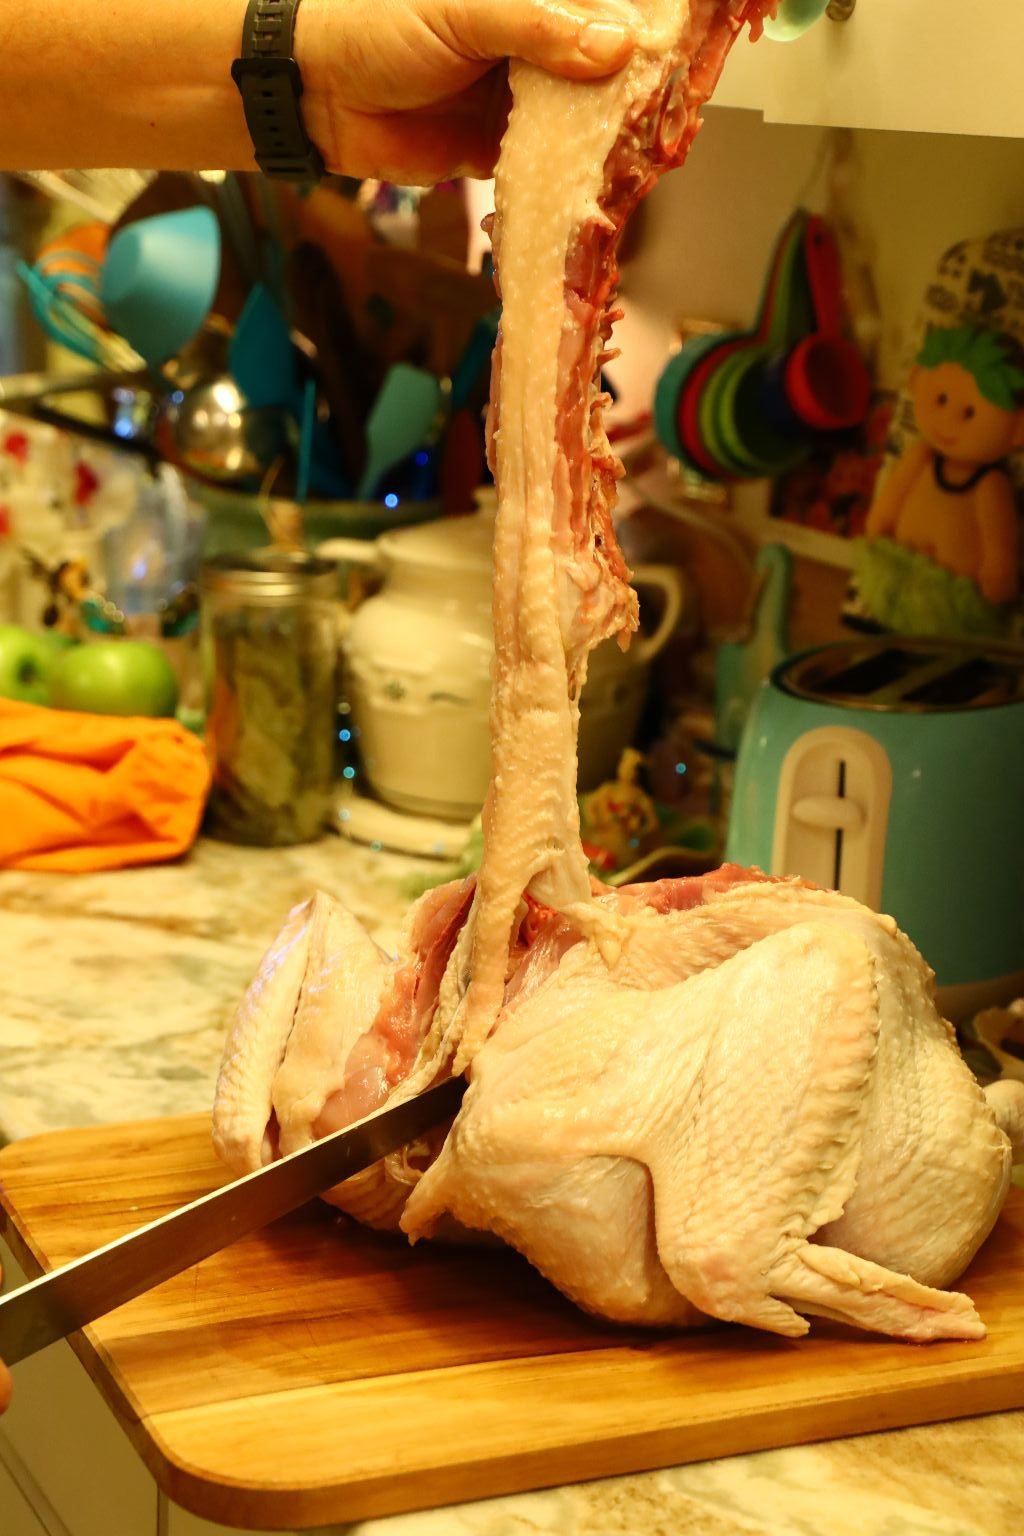
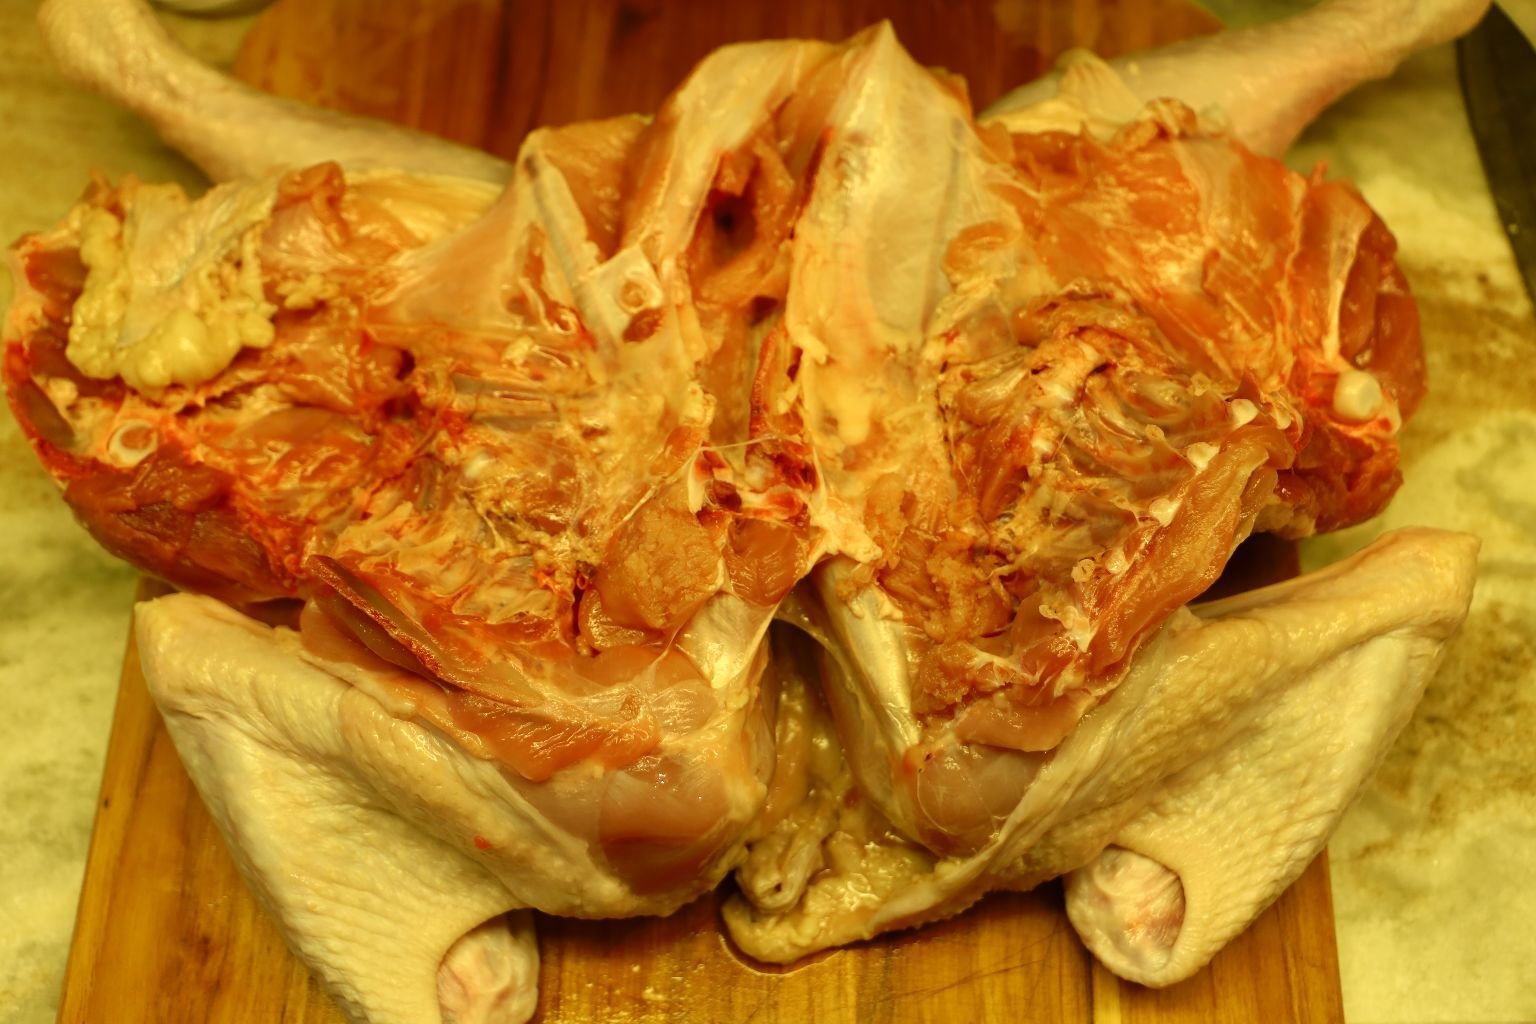
Remove the backbone when cutting is done, as shown.

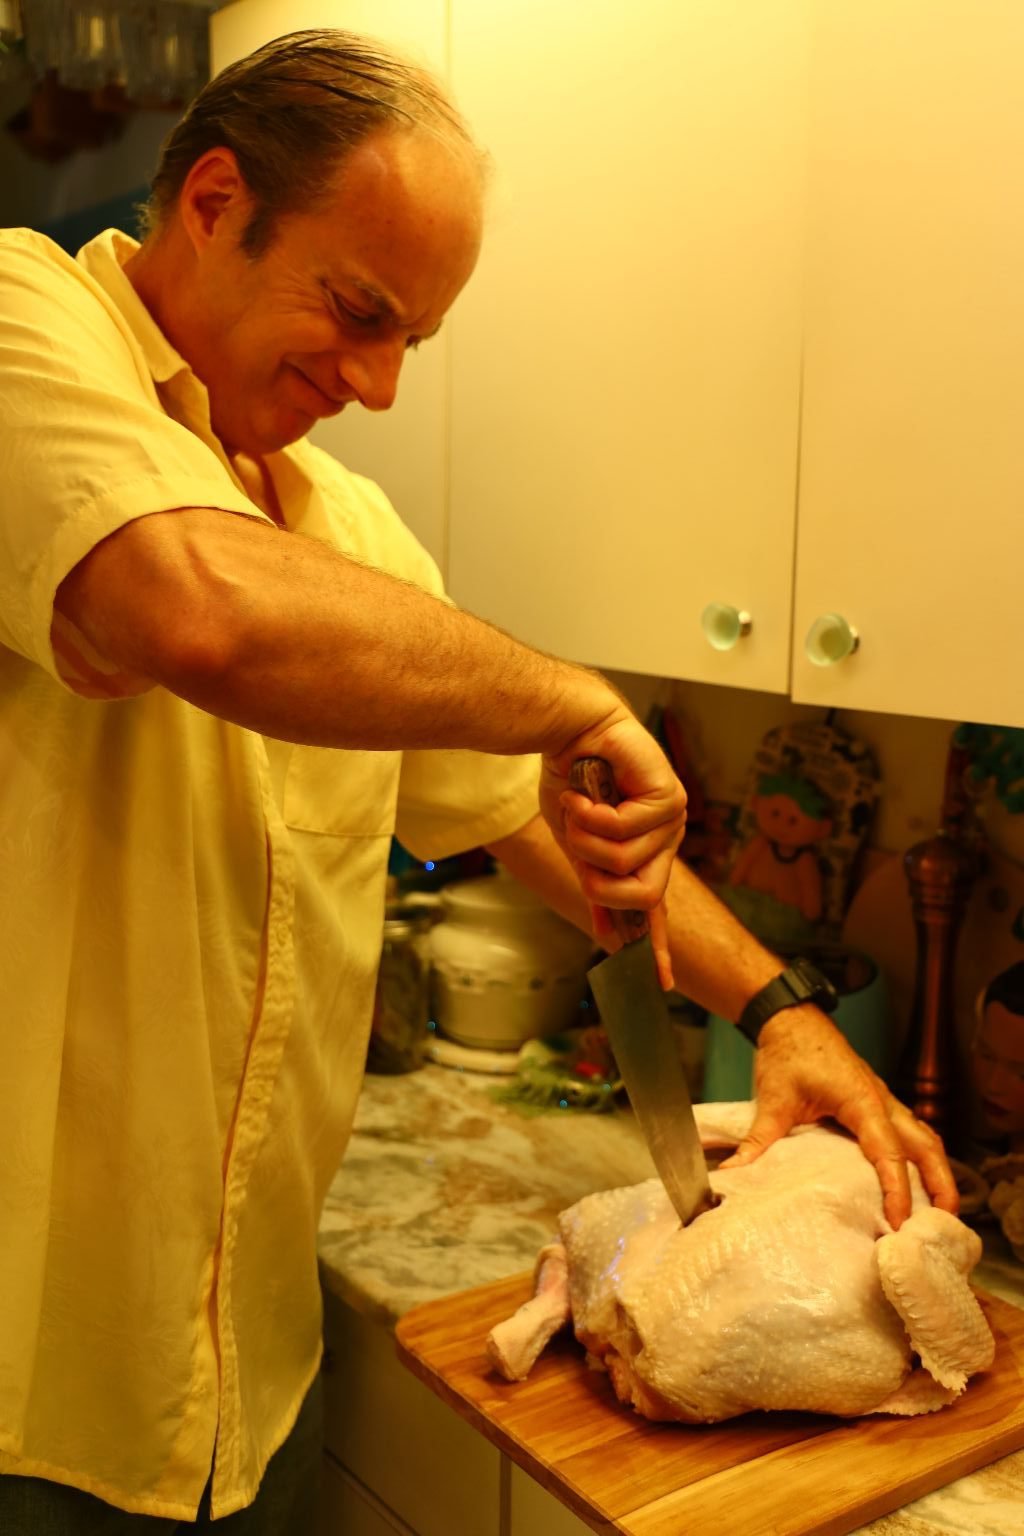
Here we are almost done.
You just have to get the turkey to lay flat.
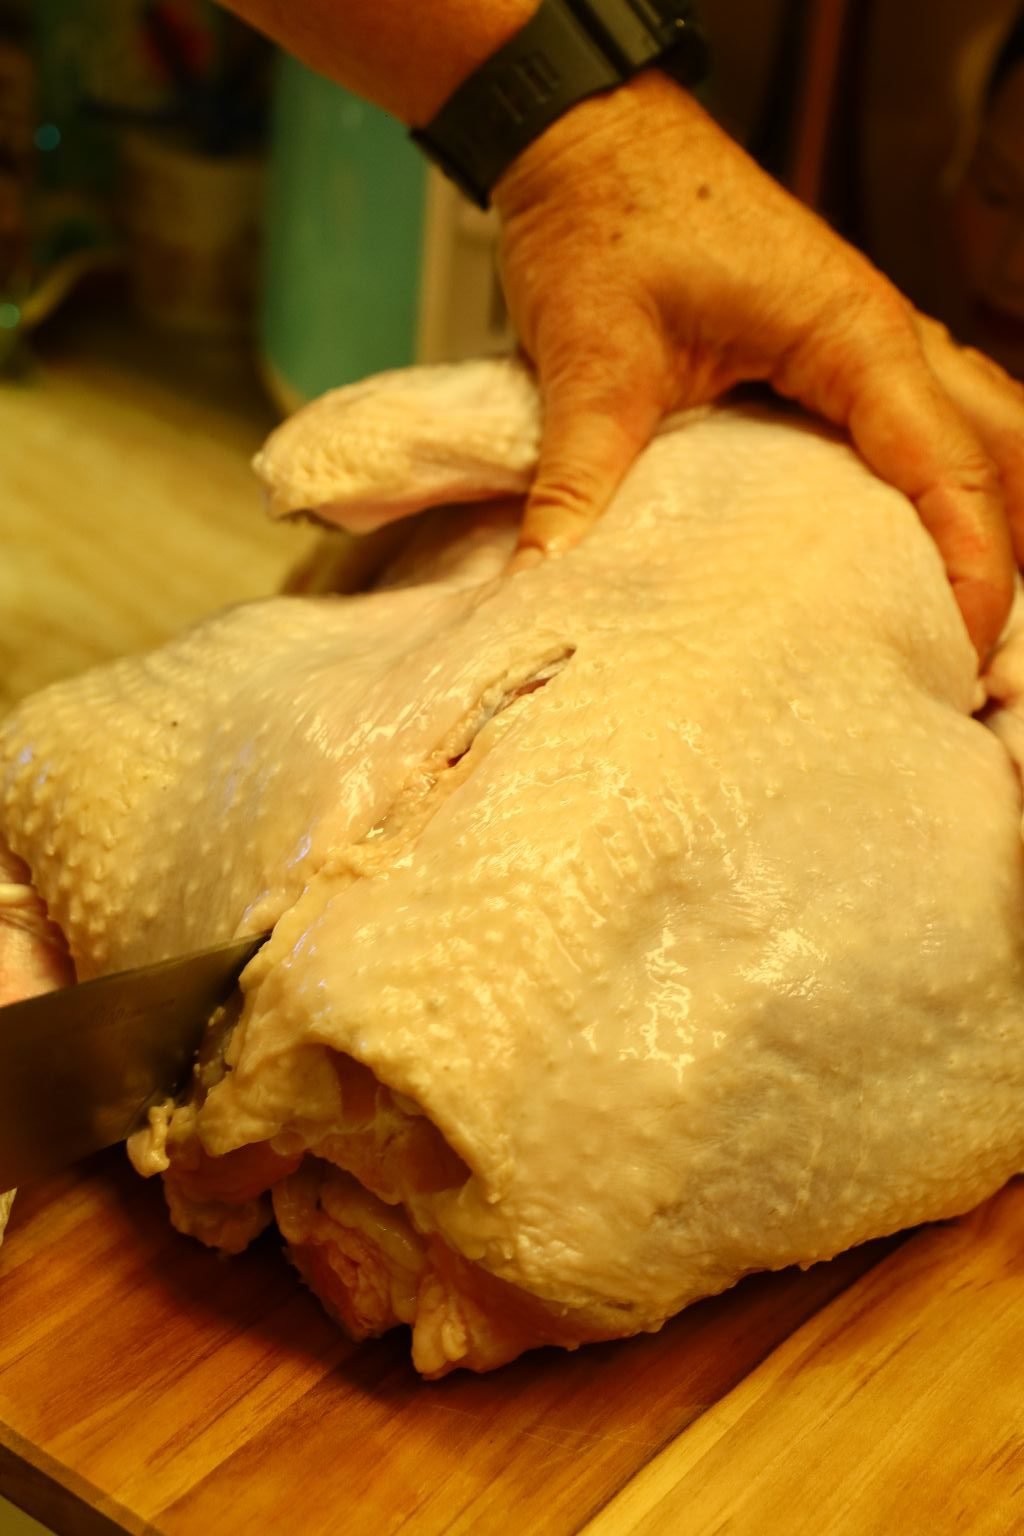
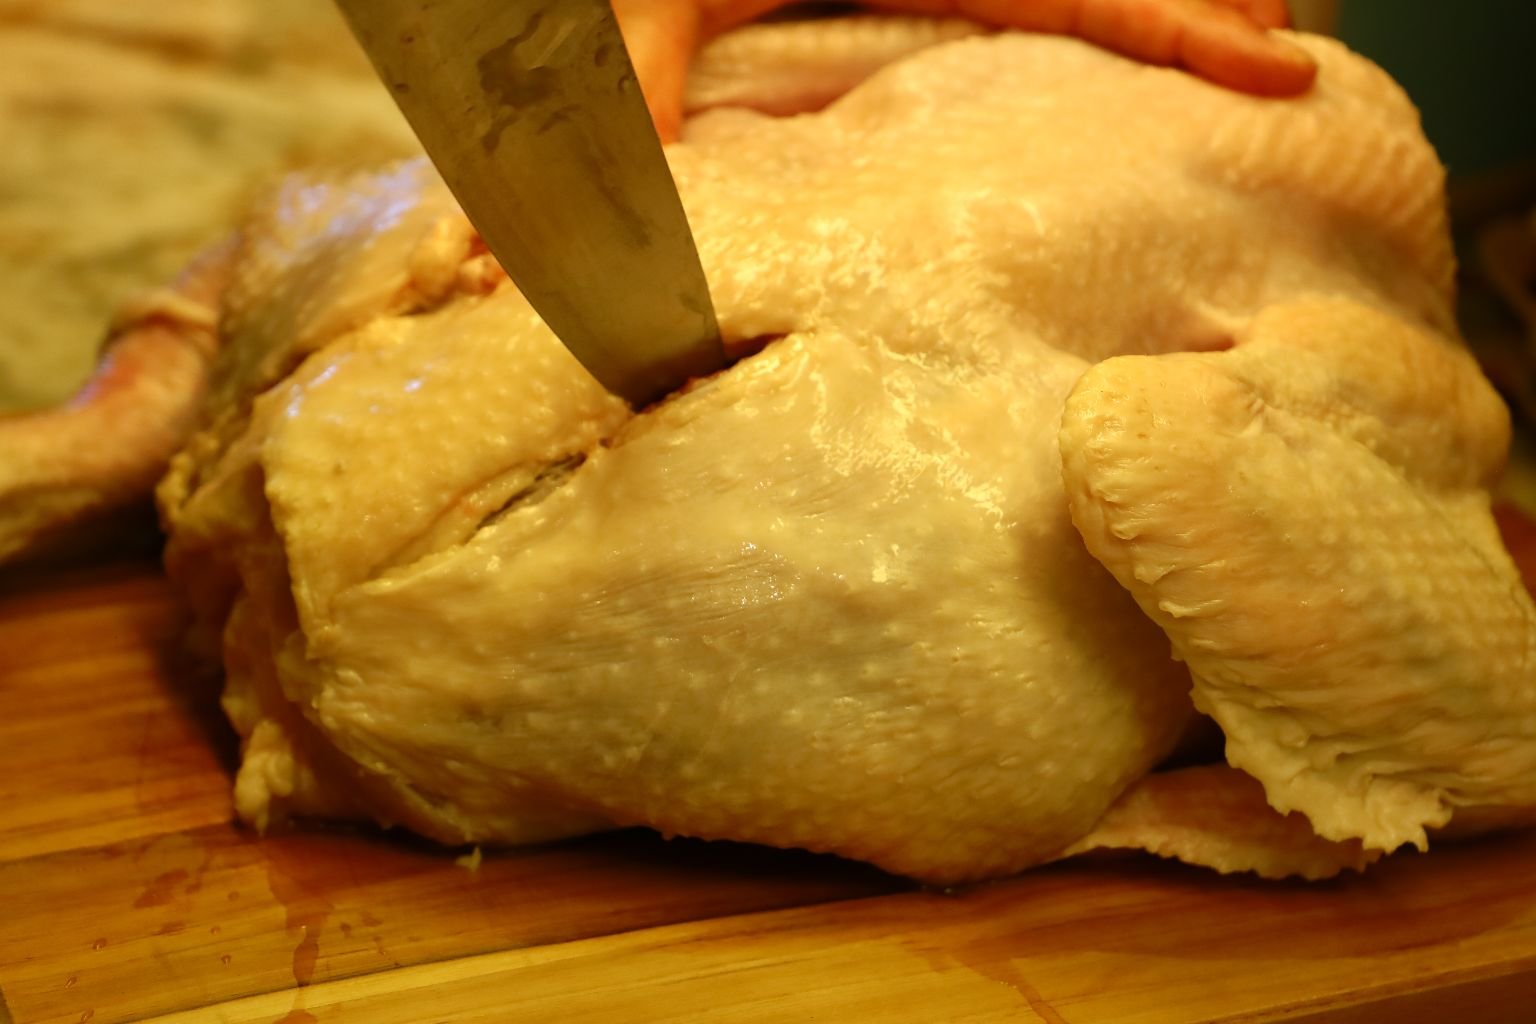
To do this you have to break the breast bone which is between the two breasts of the turkey.
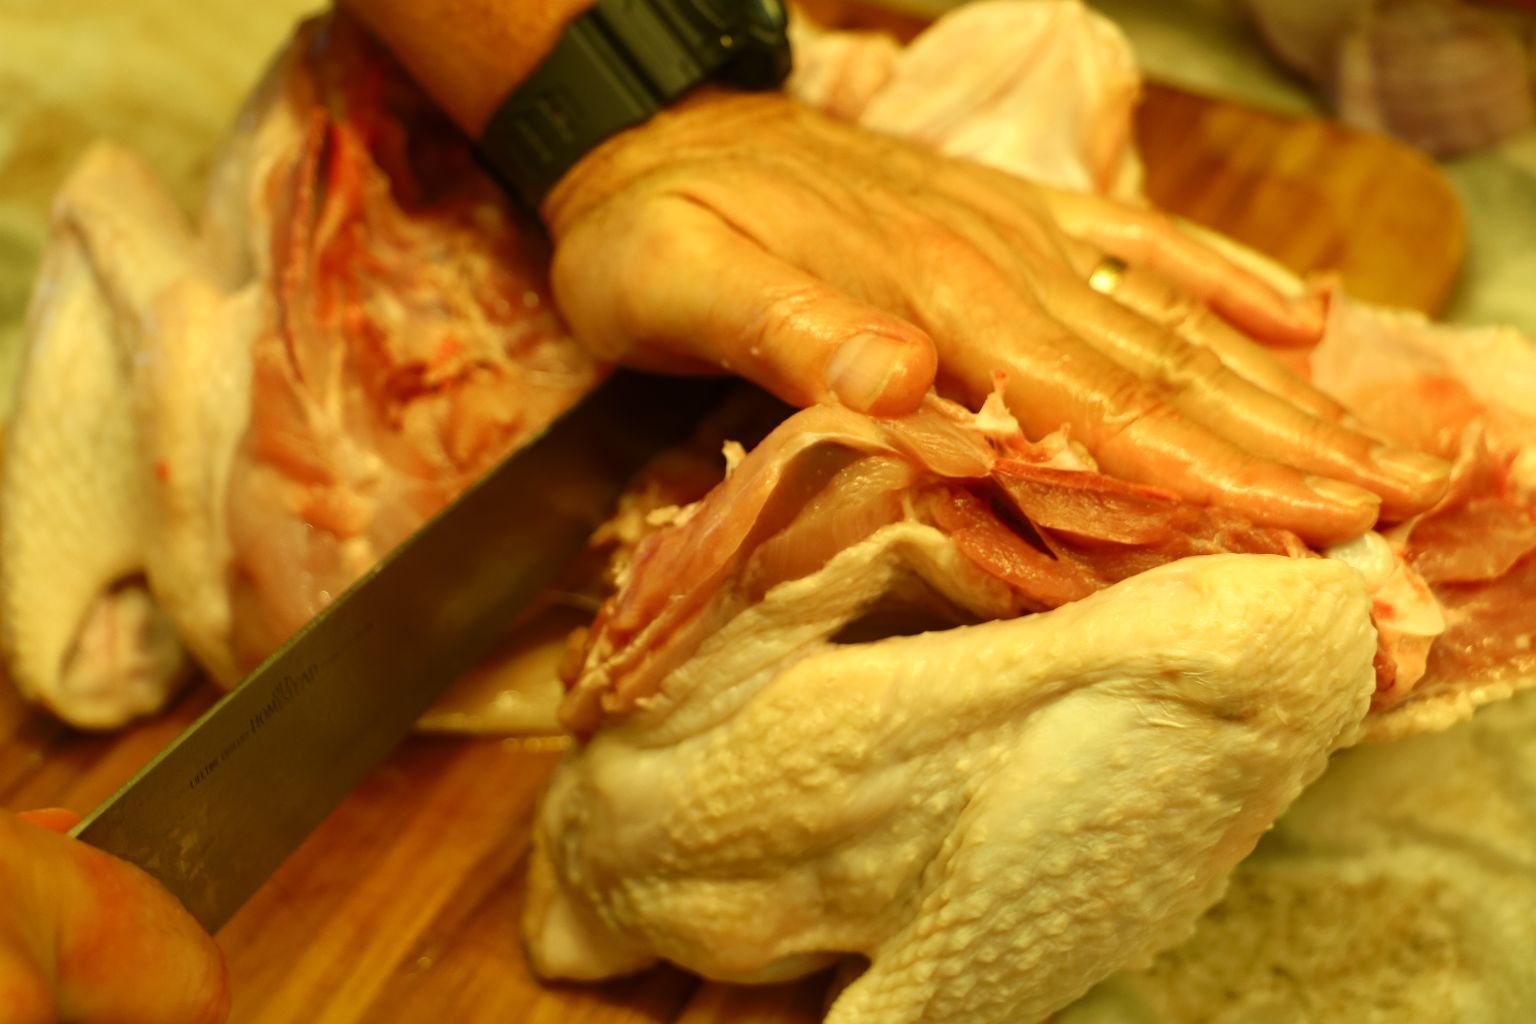
This can be done by placing your knife on the breast bone and slicing or cracking it.
Use your hands on opposite sides of the breasts and push firmly.
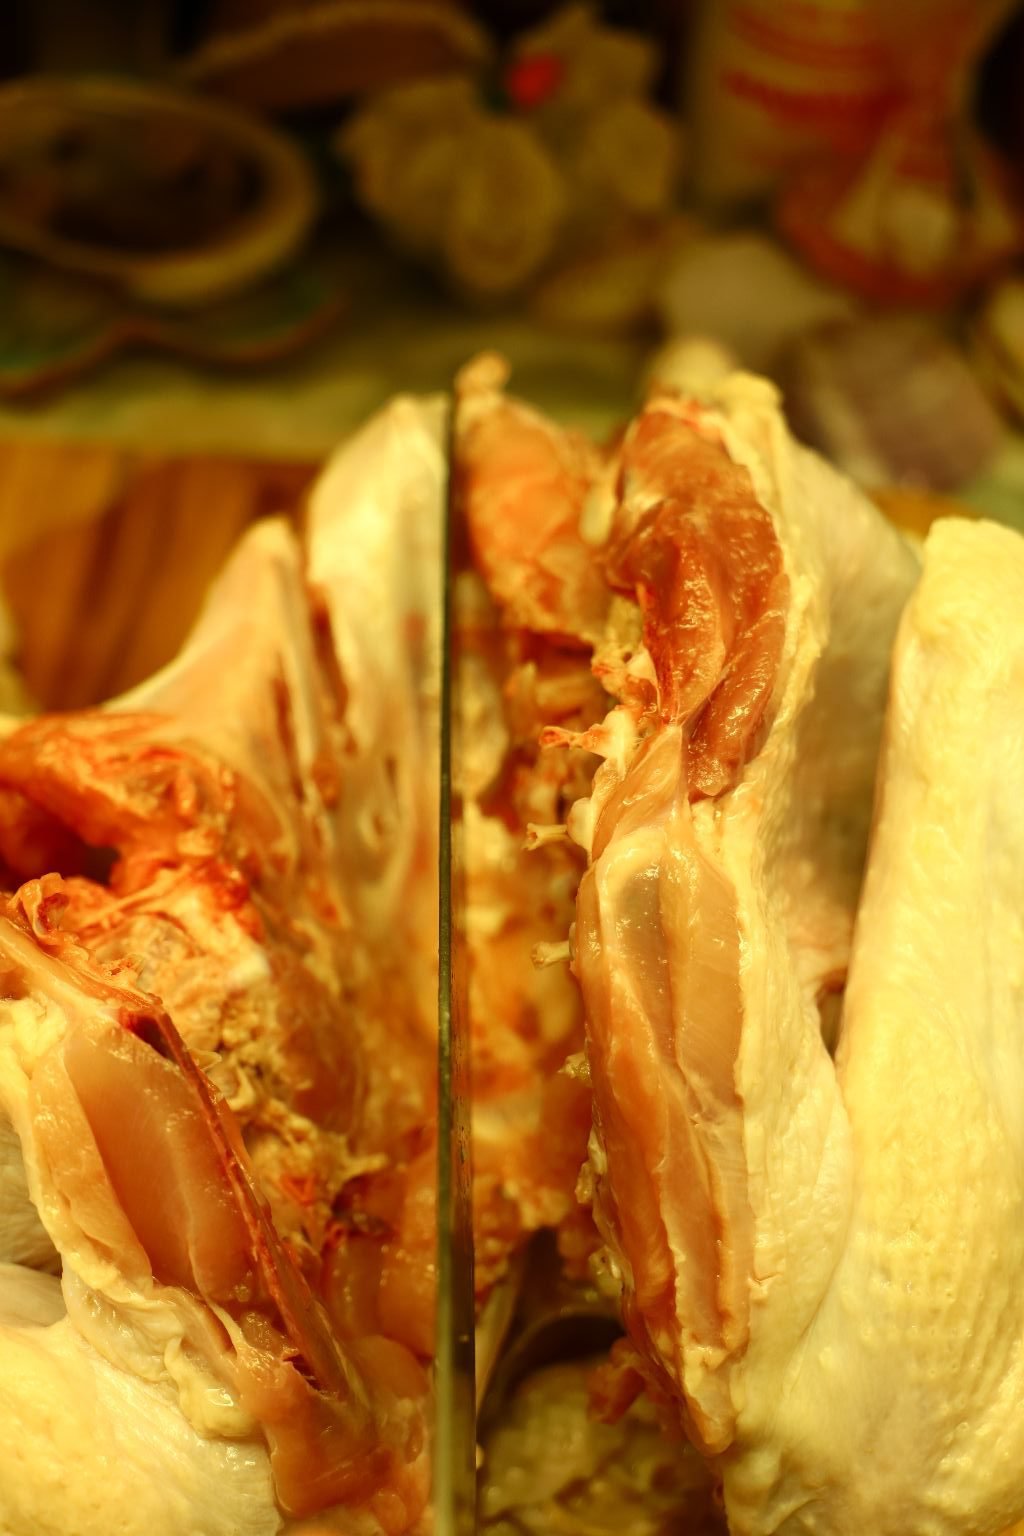
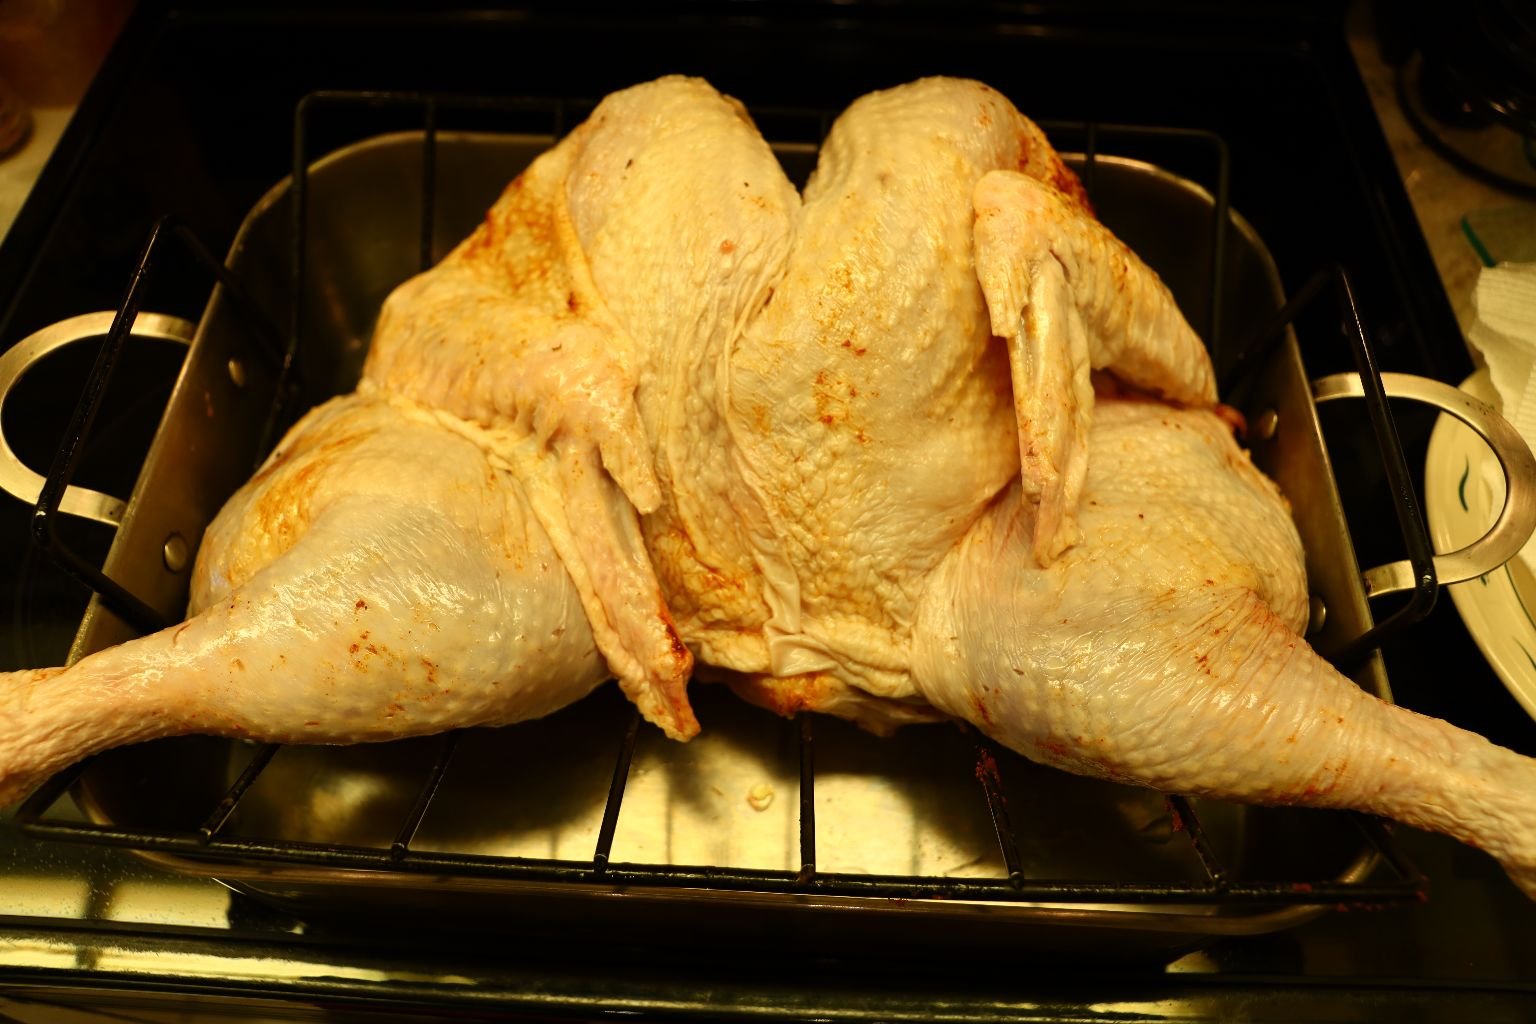
Now, your turkey should be laying flat as shown.
——————————————————————-
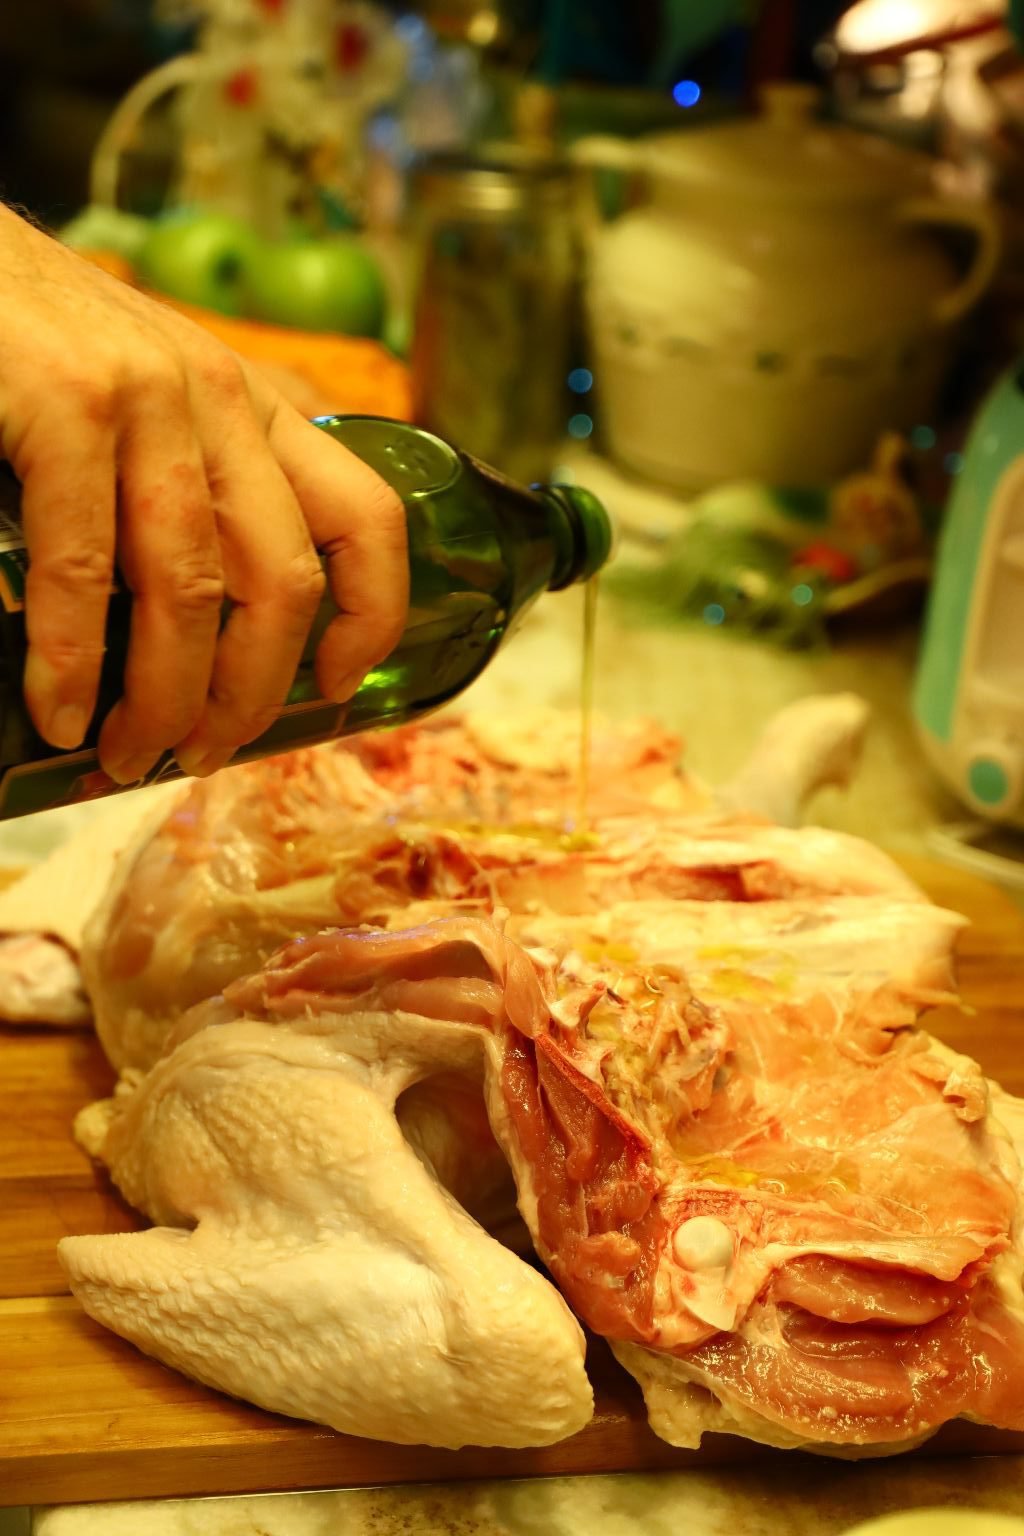
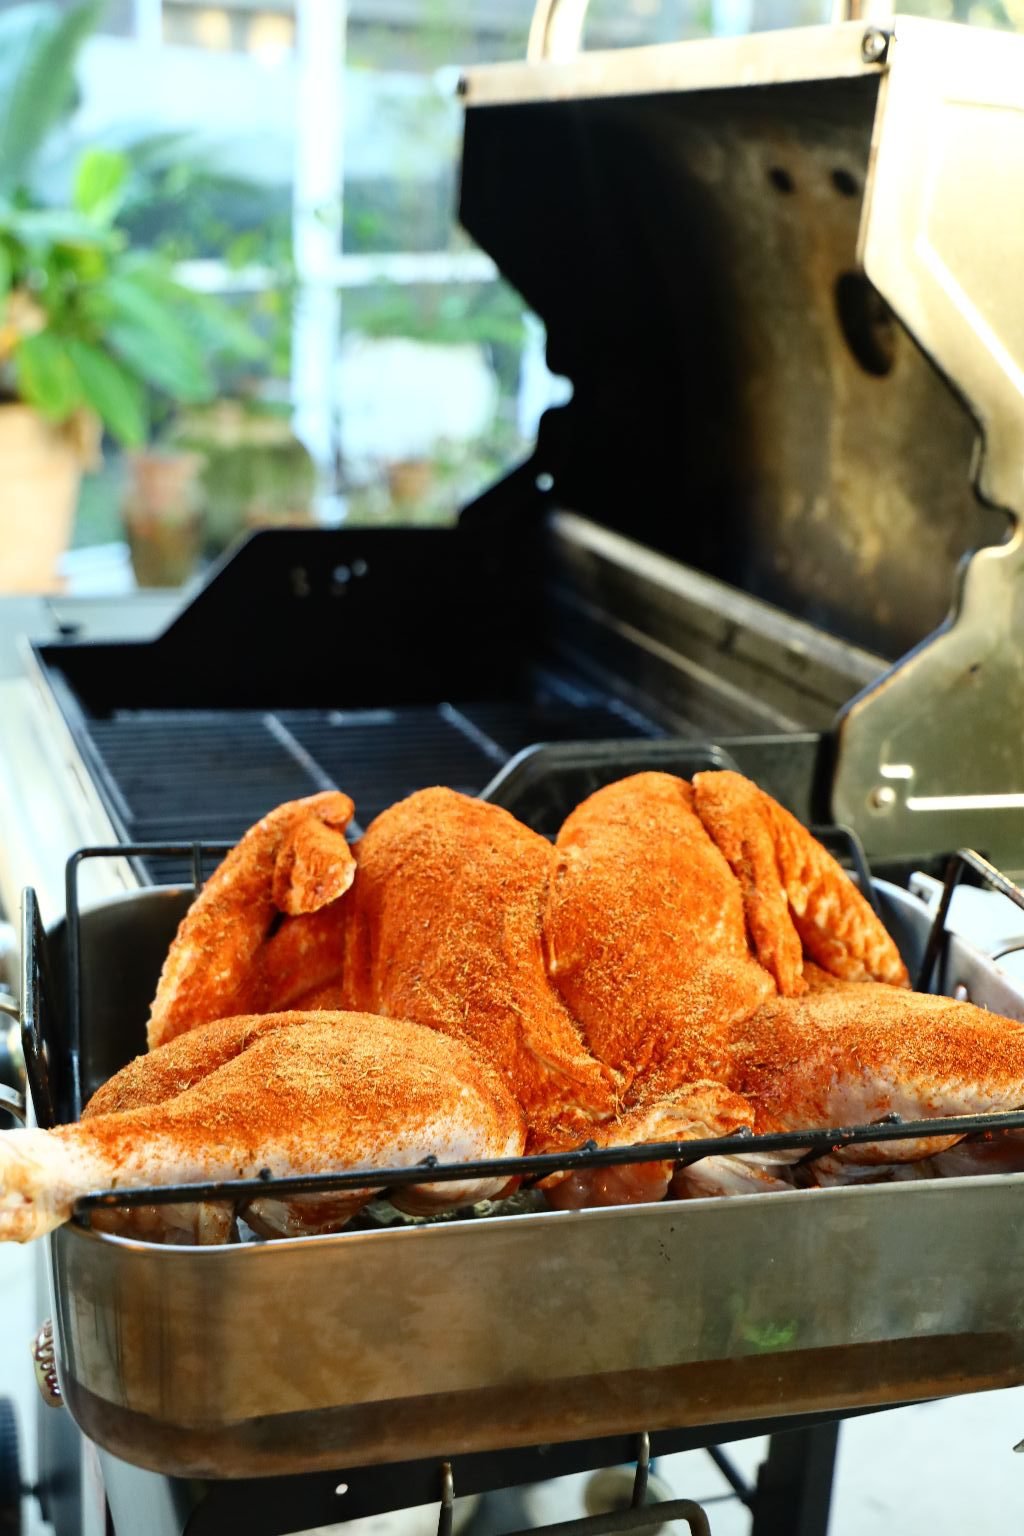
Here I am pouring some Roasted Garlic Olive Oil on the inside of the turkey and will do the same for the outside. You could use any oil that you have for this step. This helps to make the turkey to brown nicely and will make your seasonings adhere to the skin and meat.
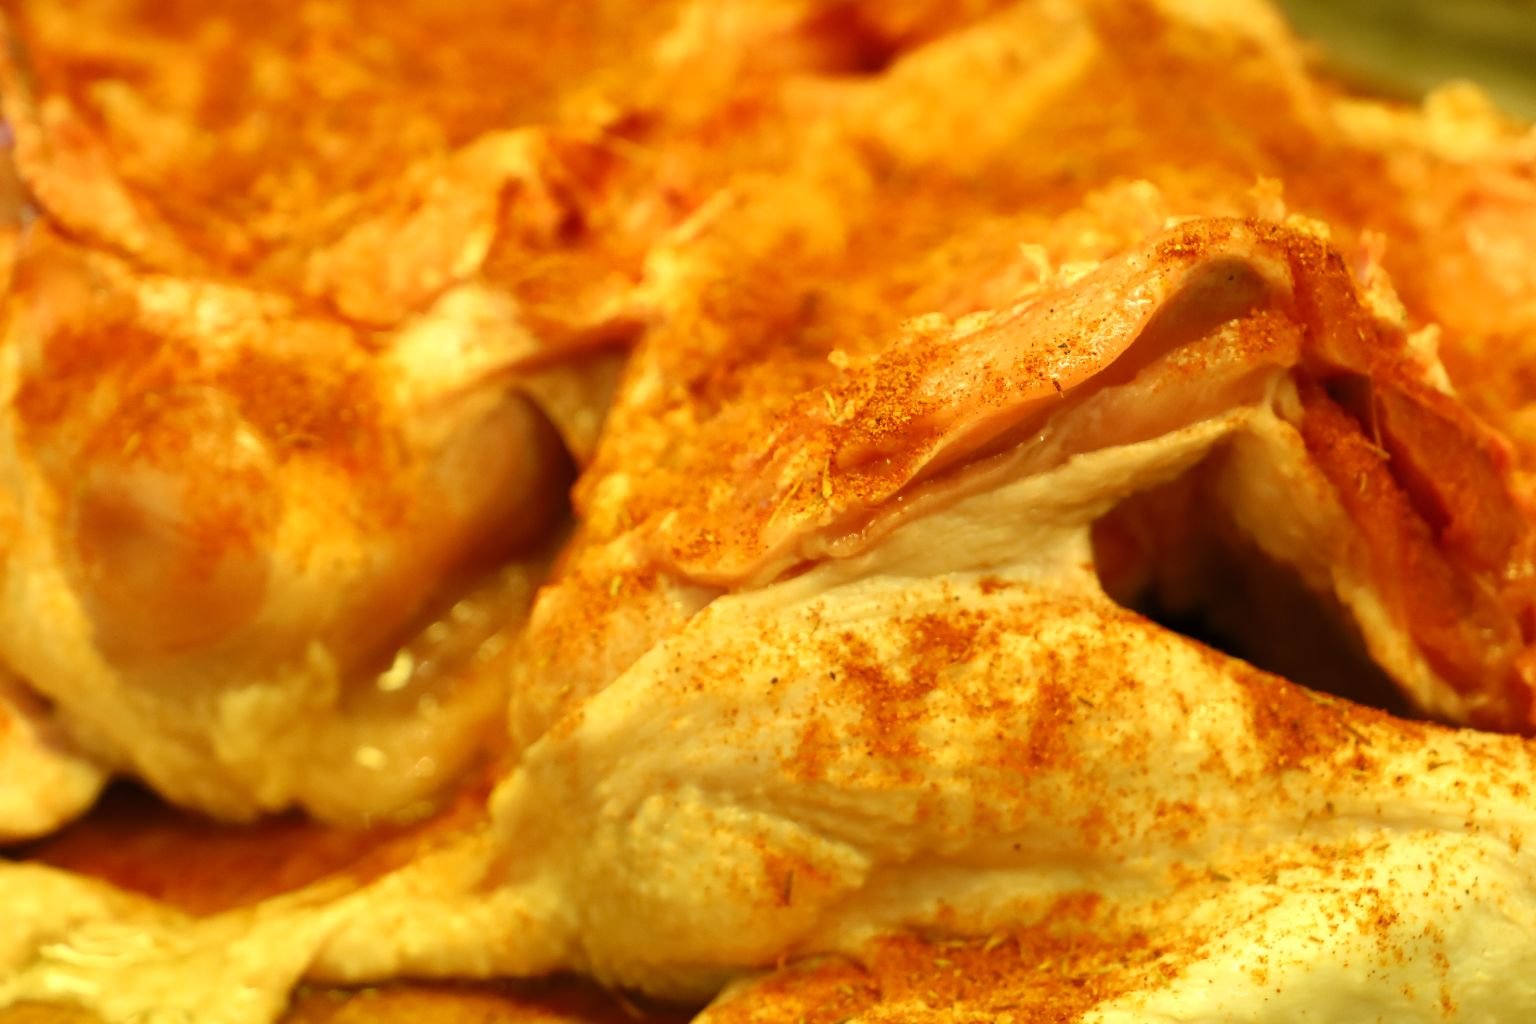
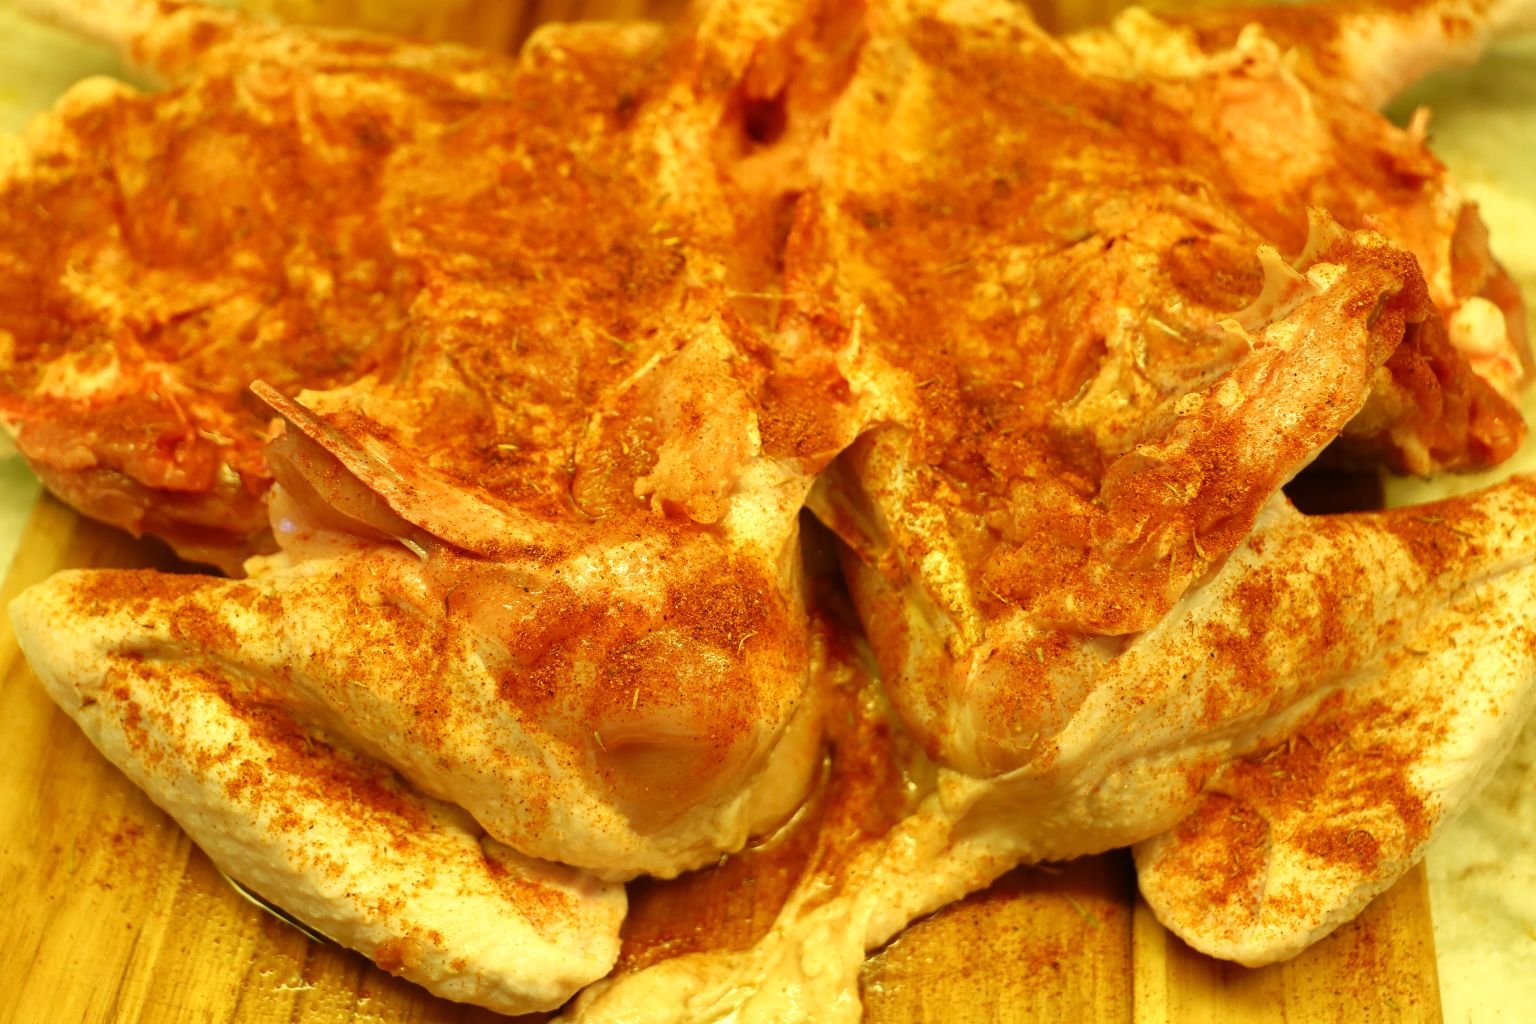
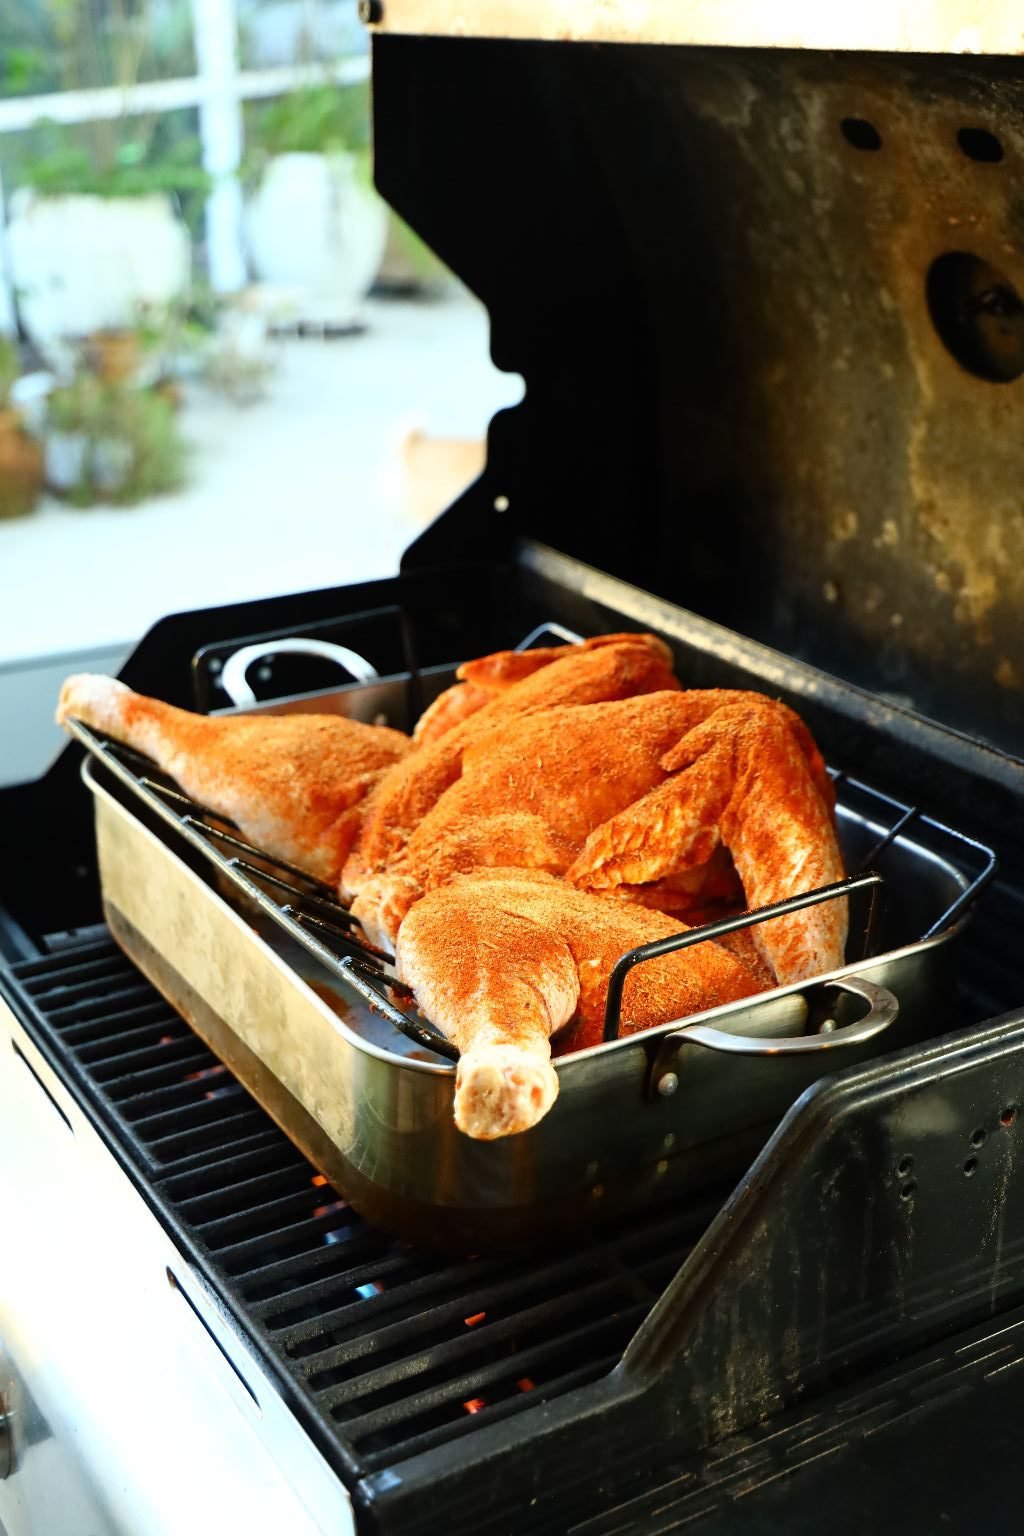
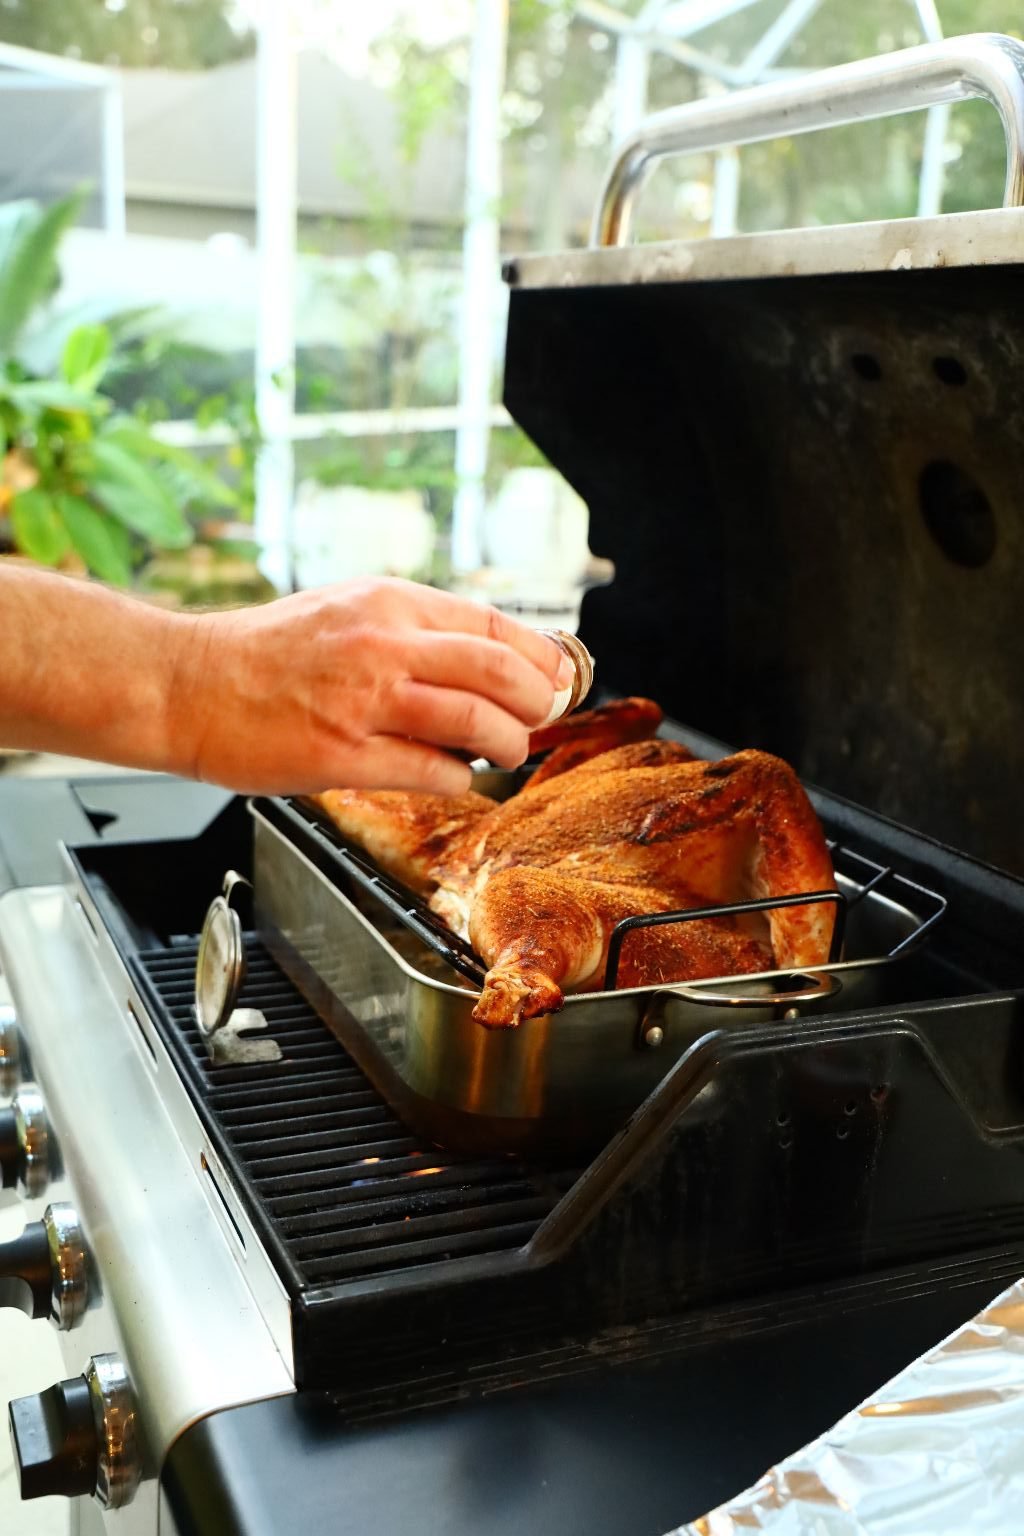
Season what was the inside of the turkey well, as shown. My seasonings of choice are a mixture of Paprika, Sea Salt, Freshly ground pepper, Marjoram, Thyme, Sage, Rosemary, Roasted Garlic Powder, Onion Powder, and a little Cayenne Pepper.
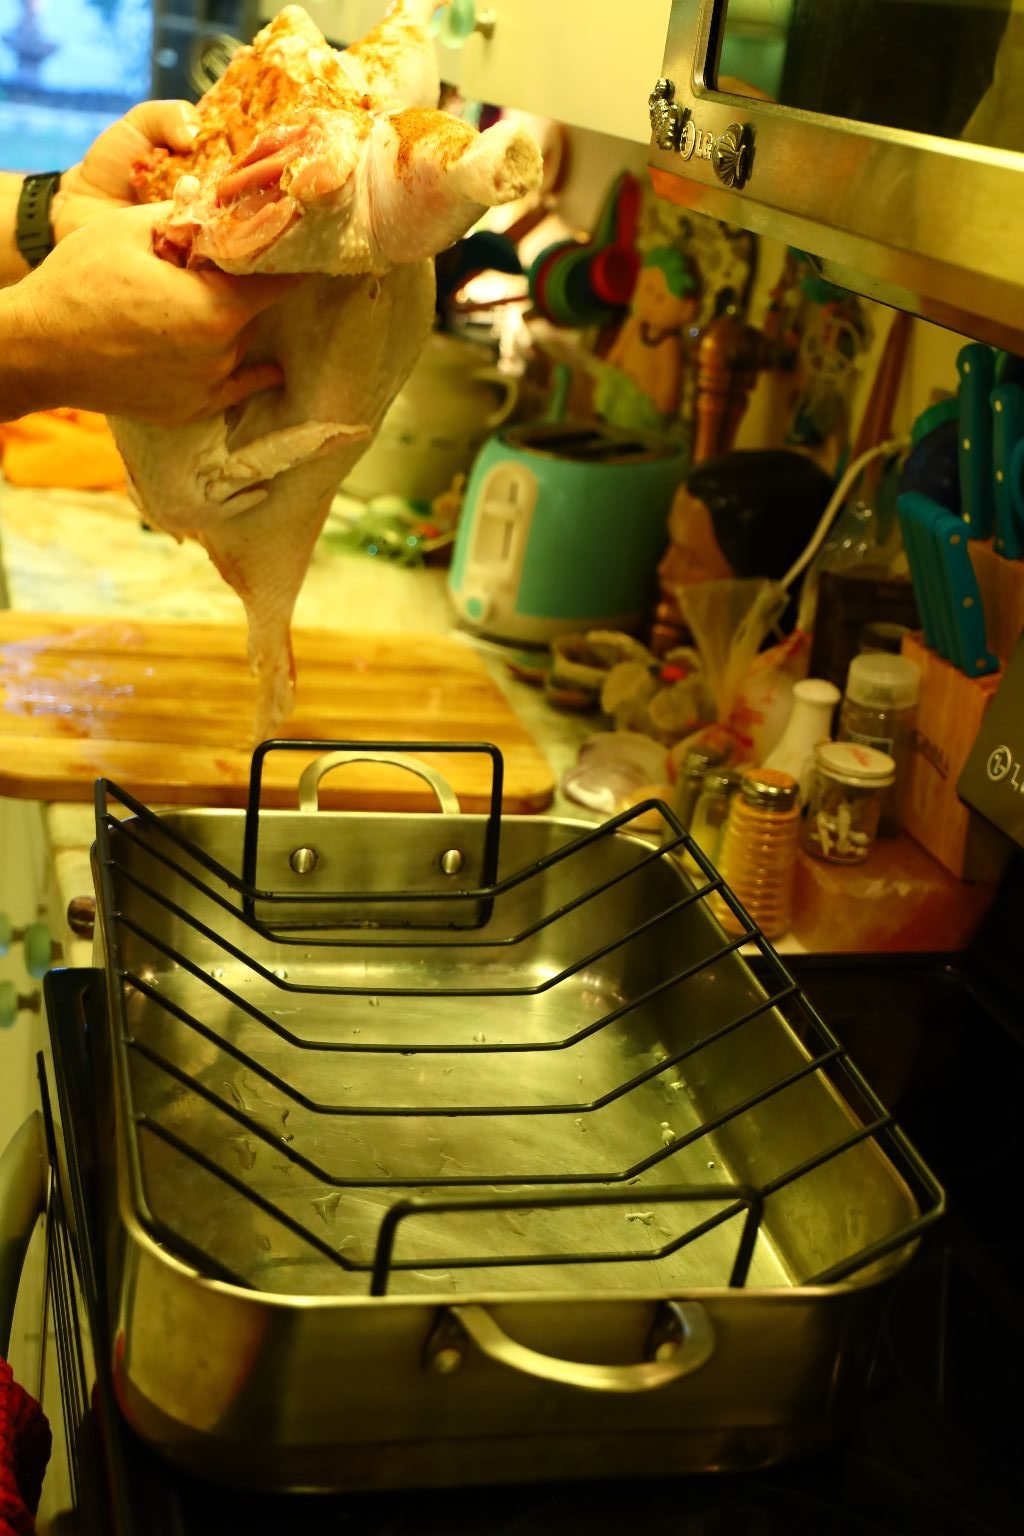
Once the inside of the turkey is seasoned to your liking, place the turkey skin side up on a roasting rack in a roasting pan as shown. Be sure to add a little water to the roasting pan so the dripping juices won’t burn in the pan.
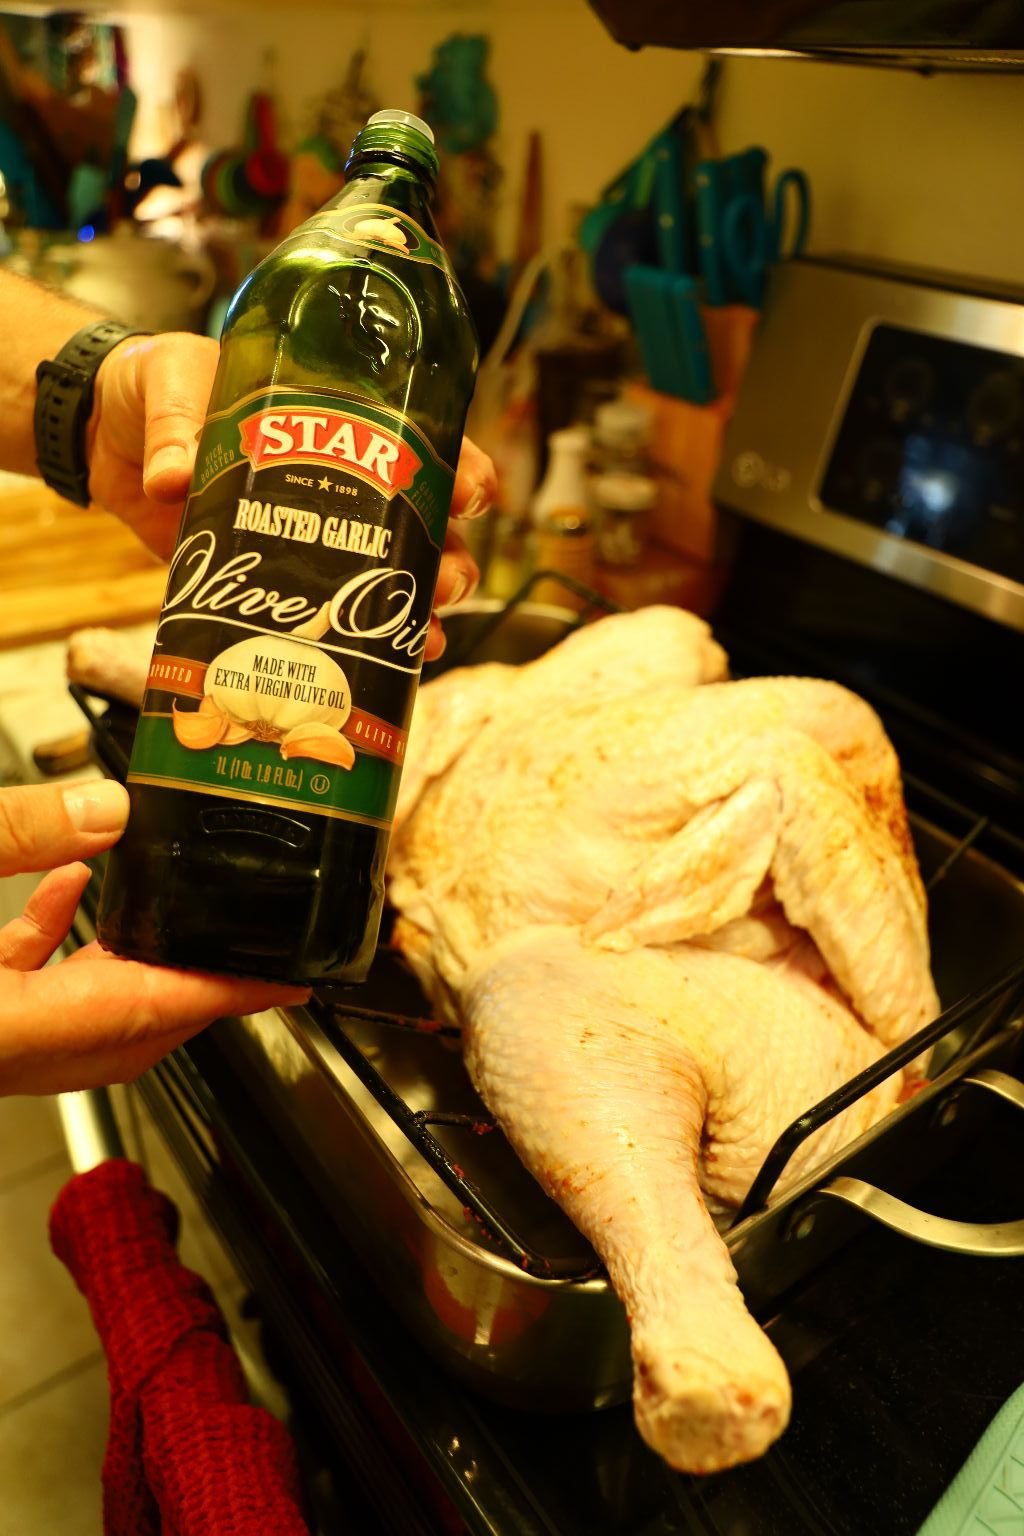
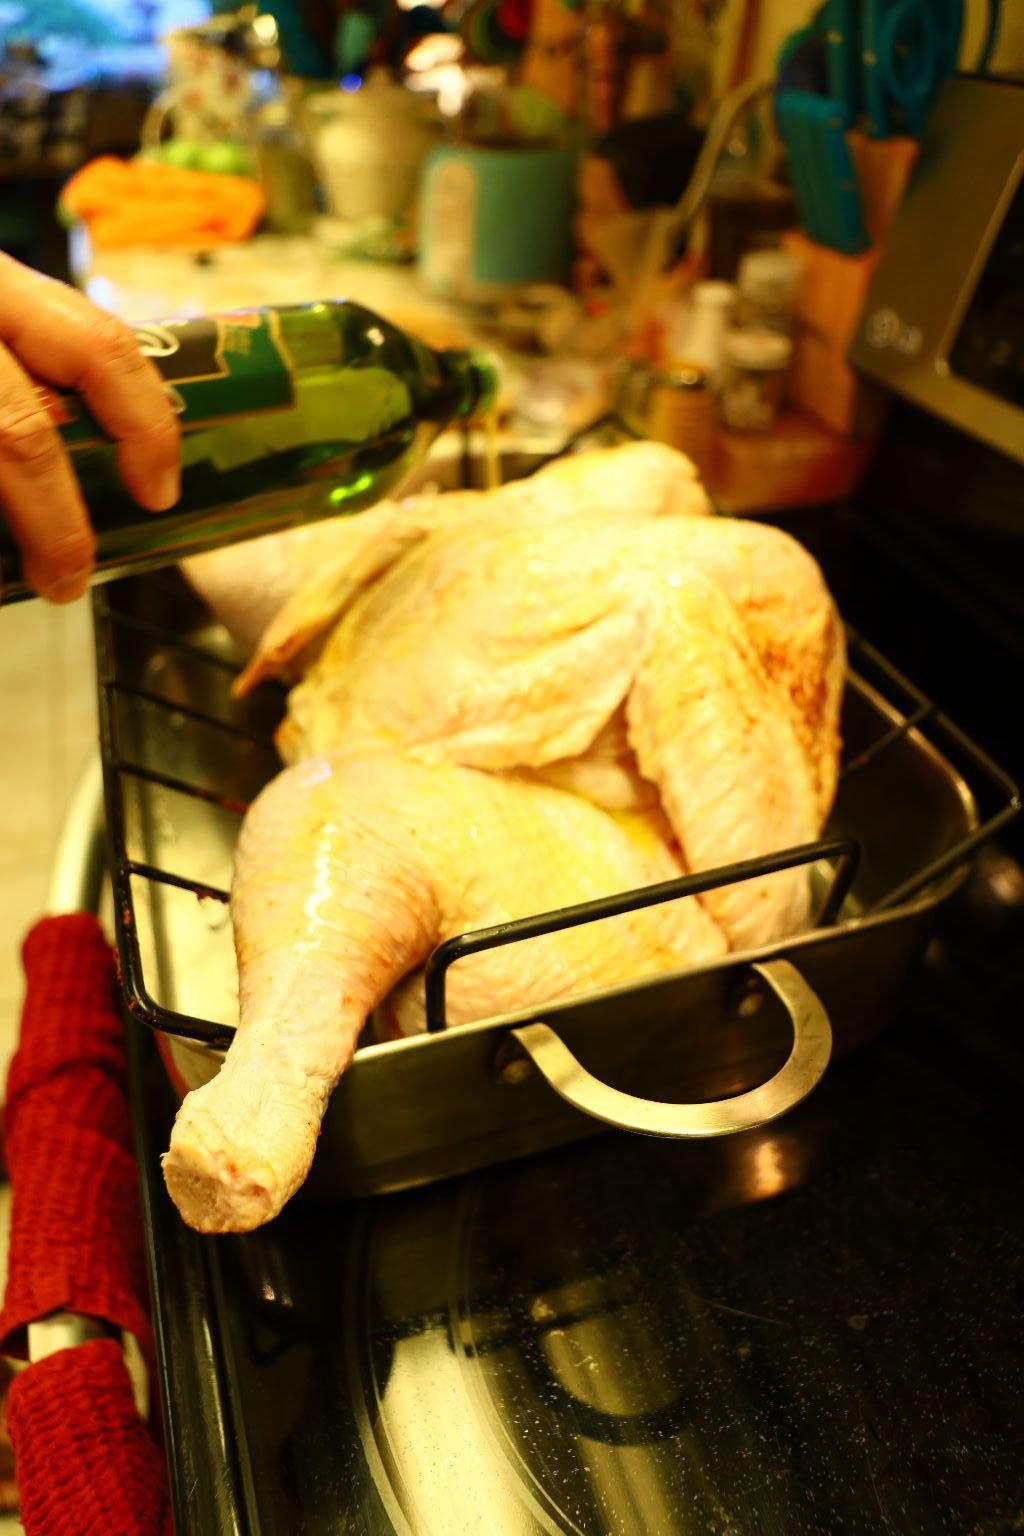
As I stated, I oiled the skin side as well with a Roasted Garlic Olive Oil to help flavor the turkey.
Use your hands to get the oil all over the skin.
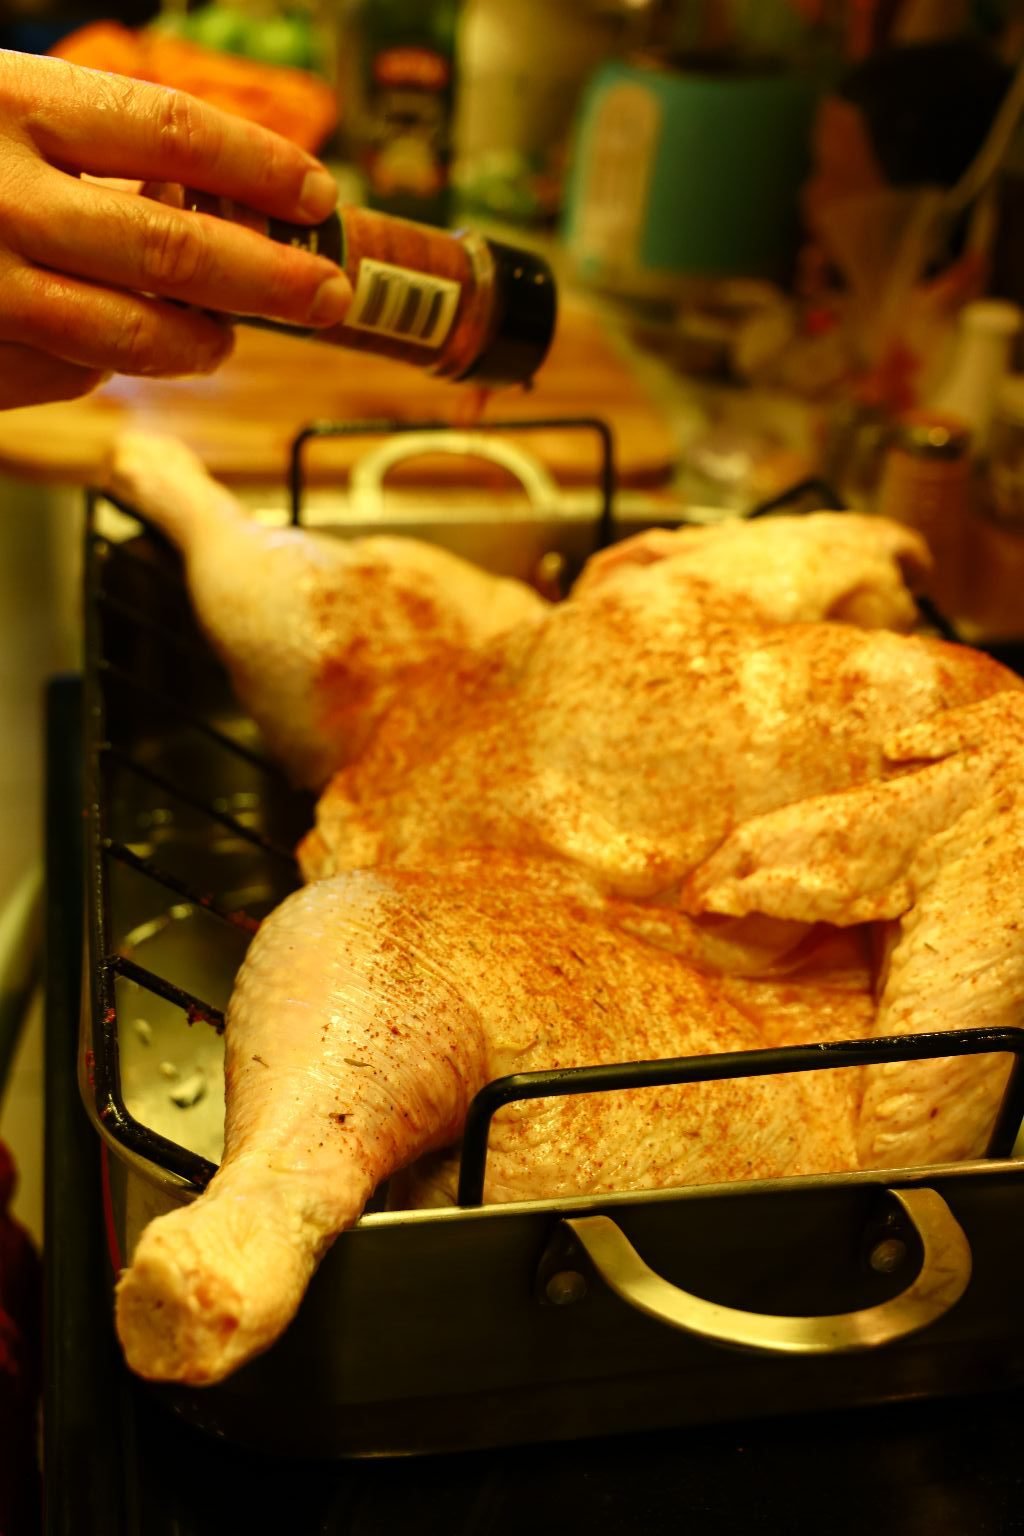
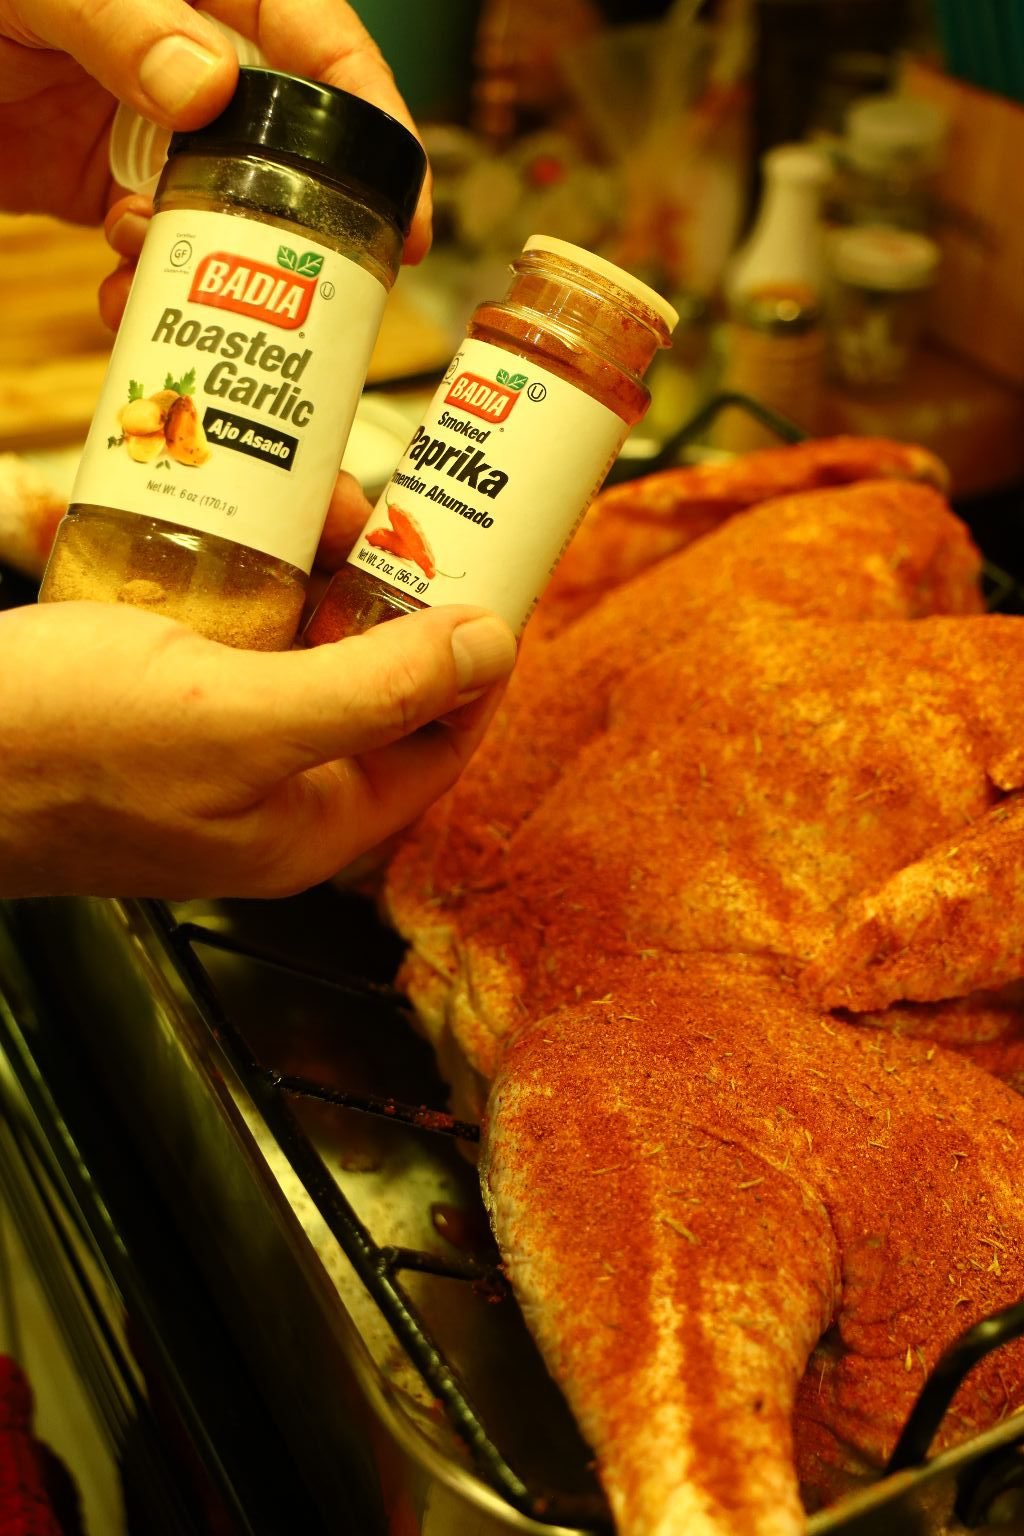
Here I am seasoning the skin side of the turkey.
—————————————————————————-
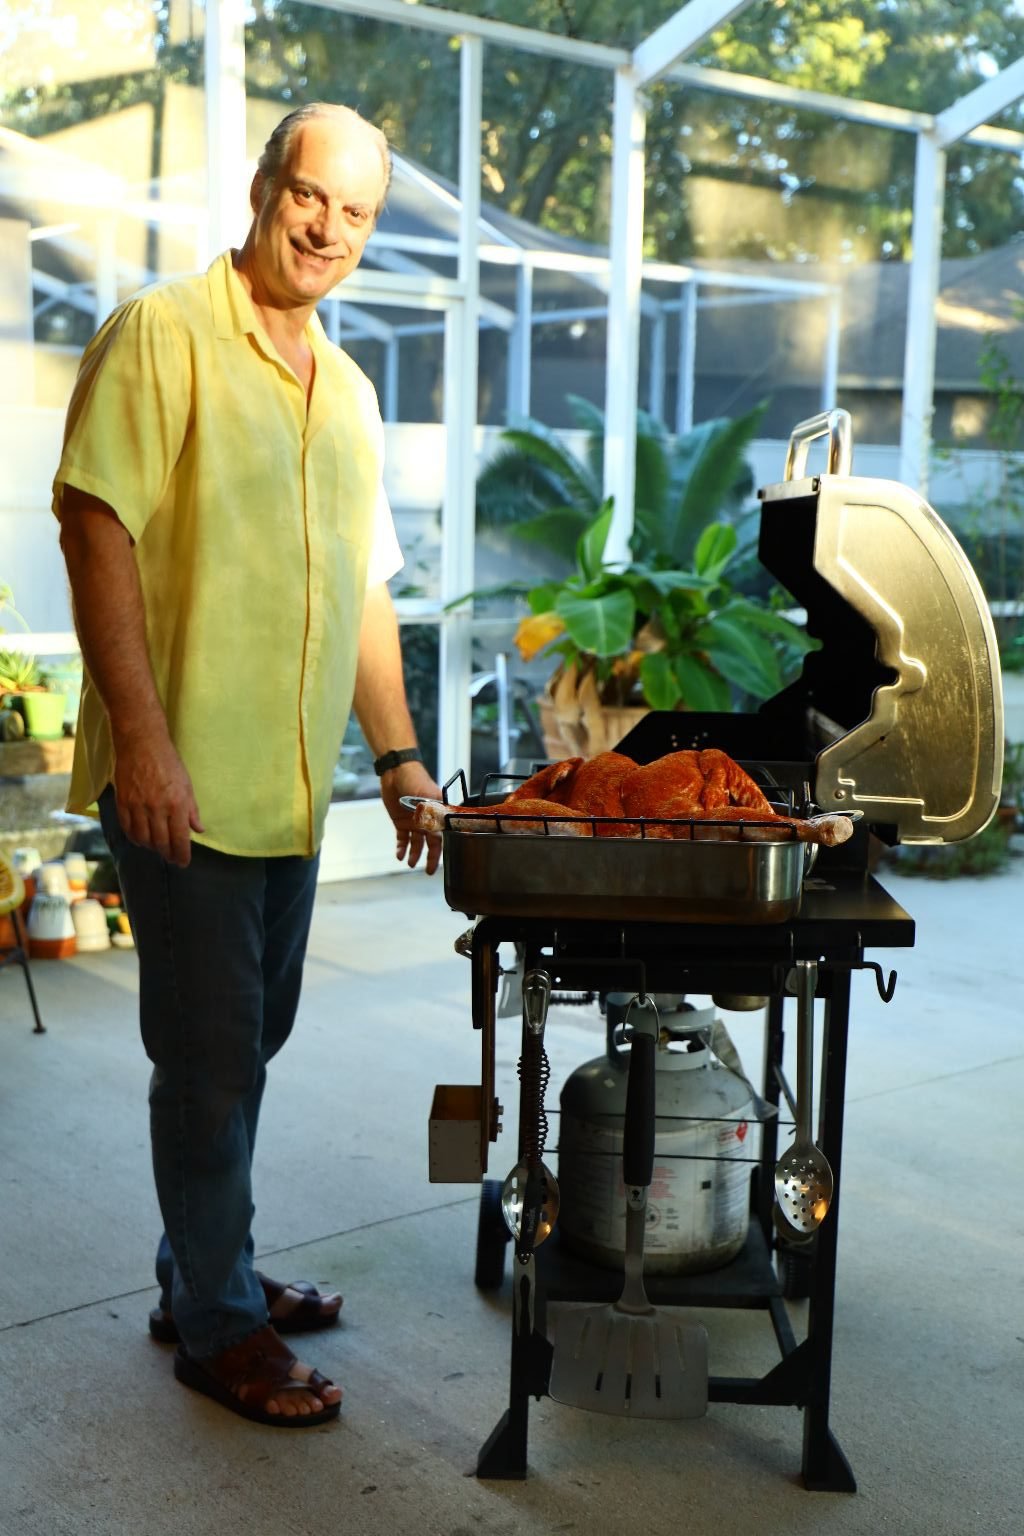
I lit my grill and turned up the heat to Medium.
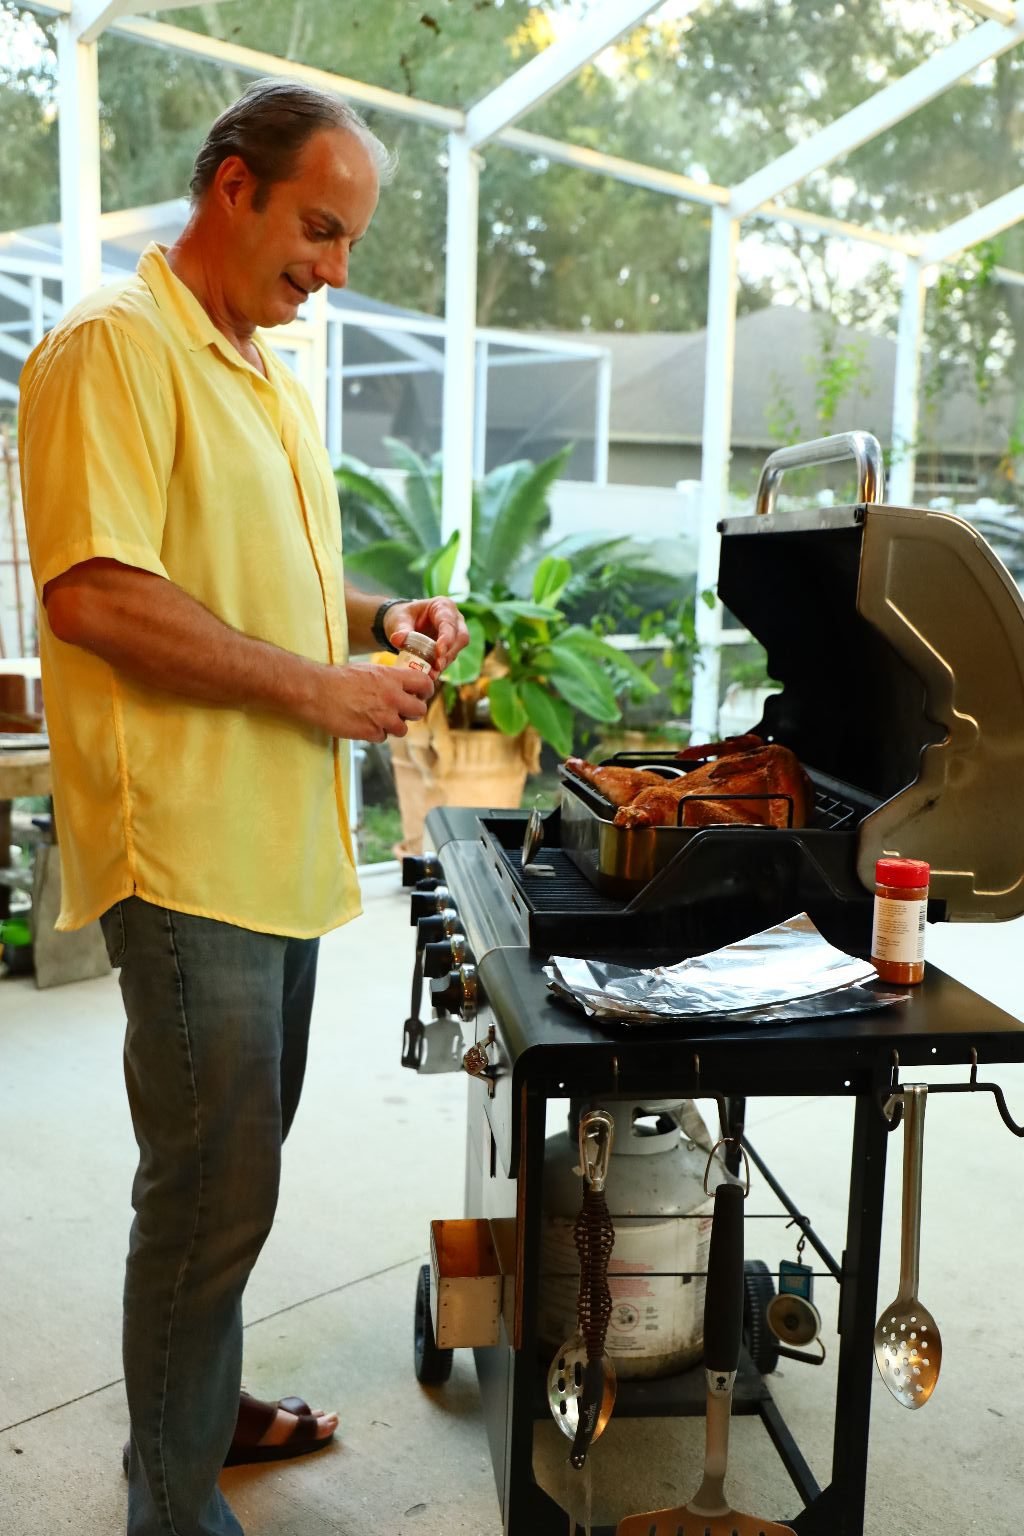
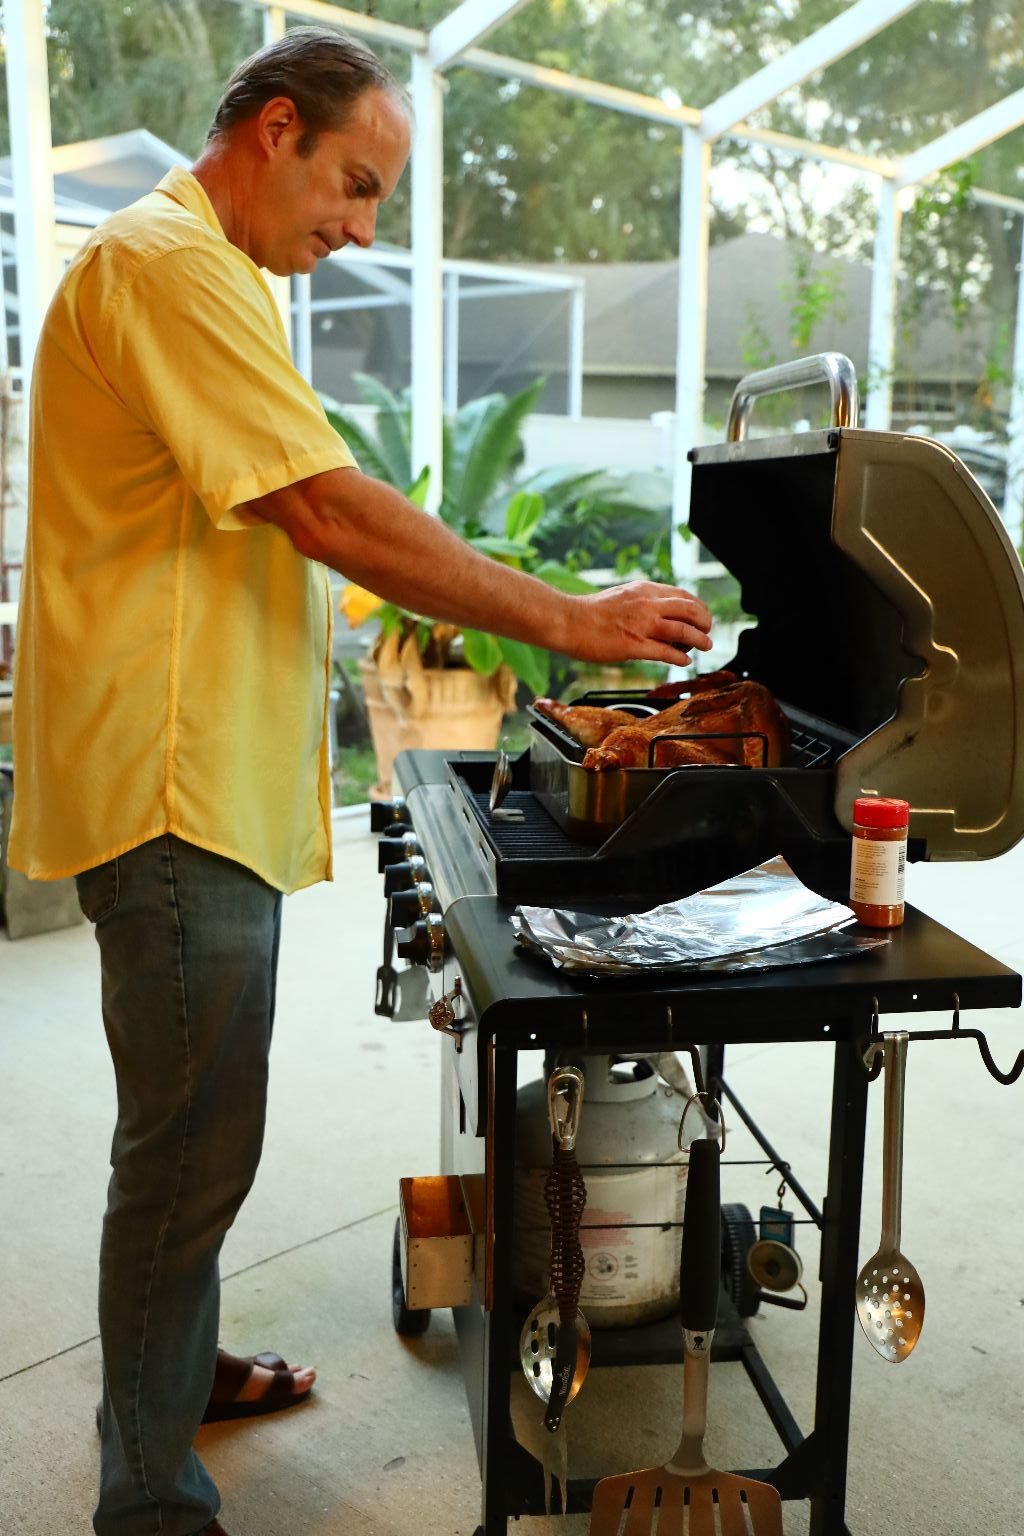
Here I am still adding some more seasonings.
——————————————————————————————
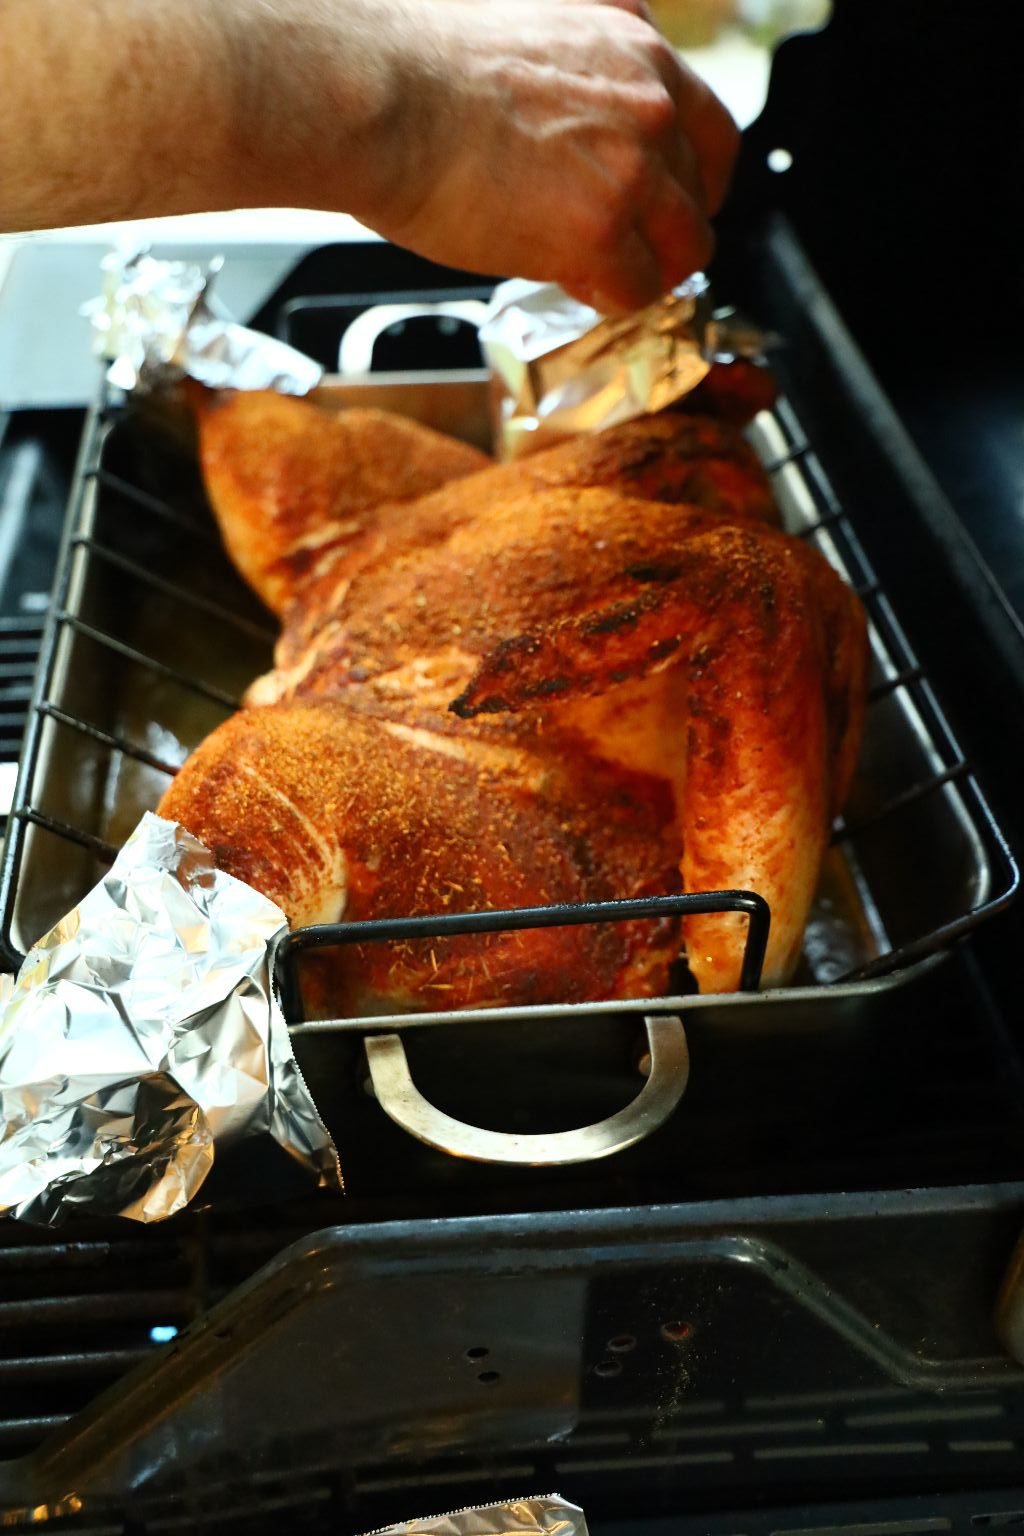
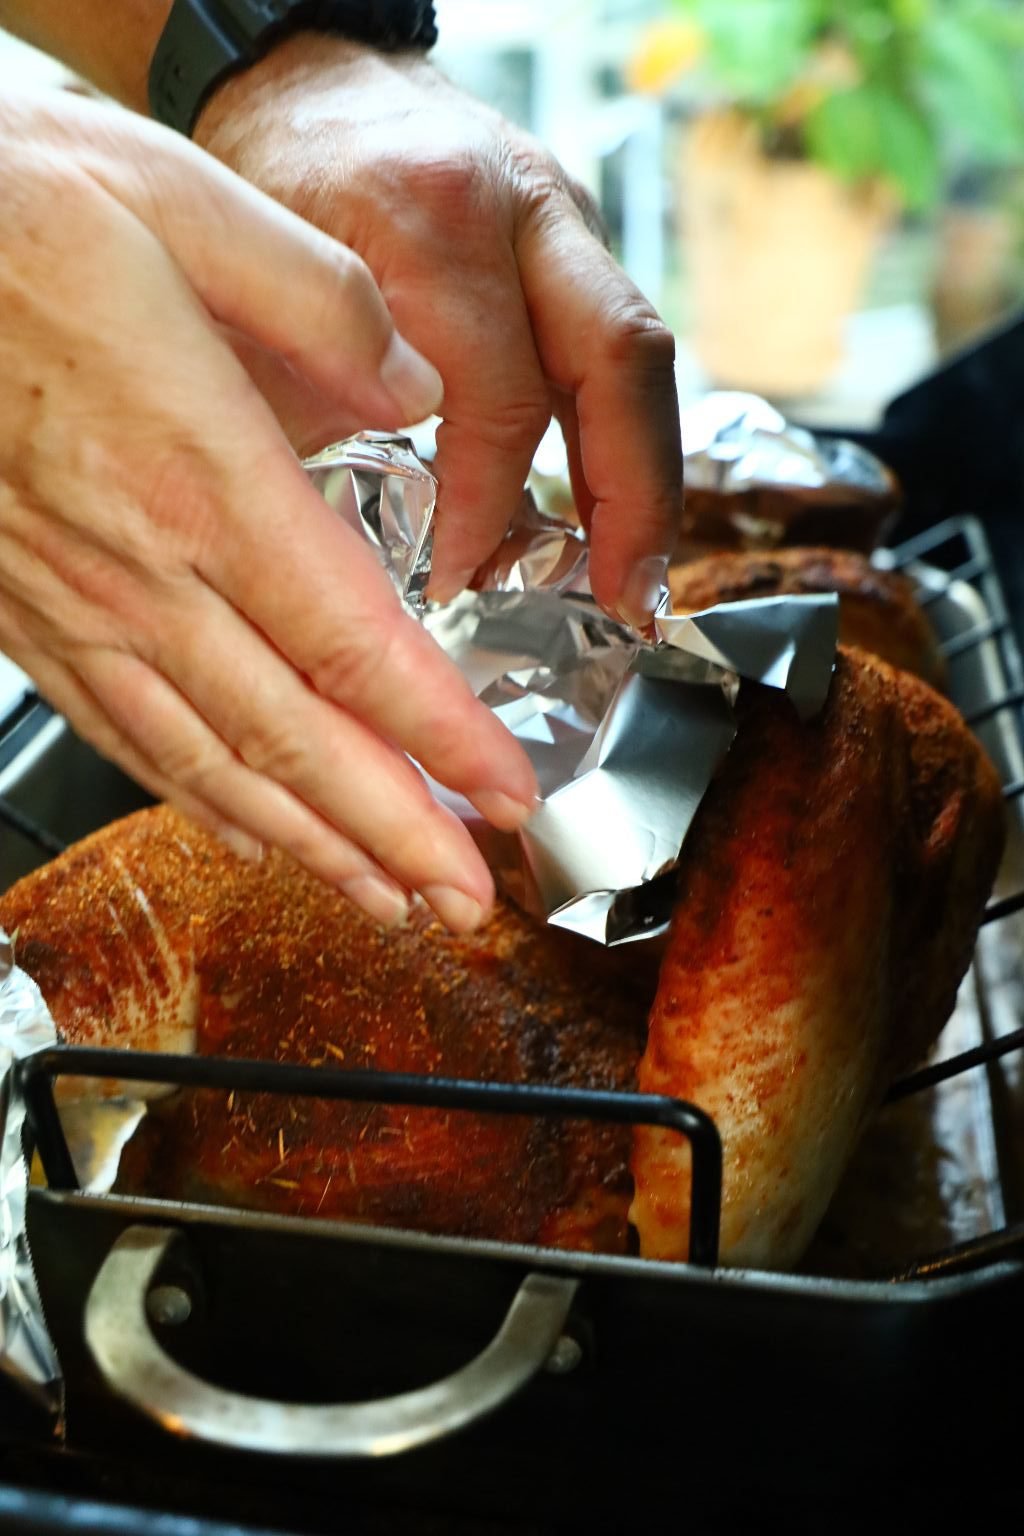
I placed some aluminum foil around the wing and drum ends so they wouldn’t burn as they cooked.
I will uncover them later if they needed some browning.
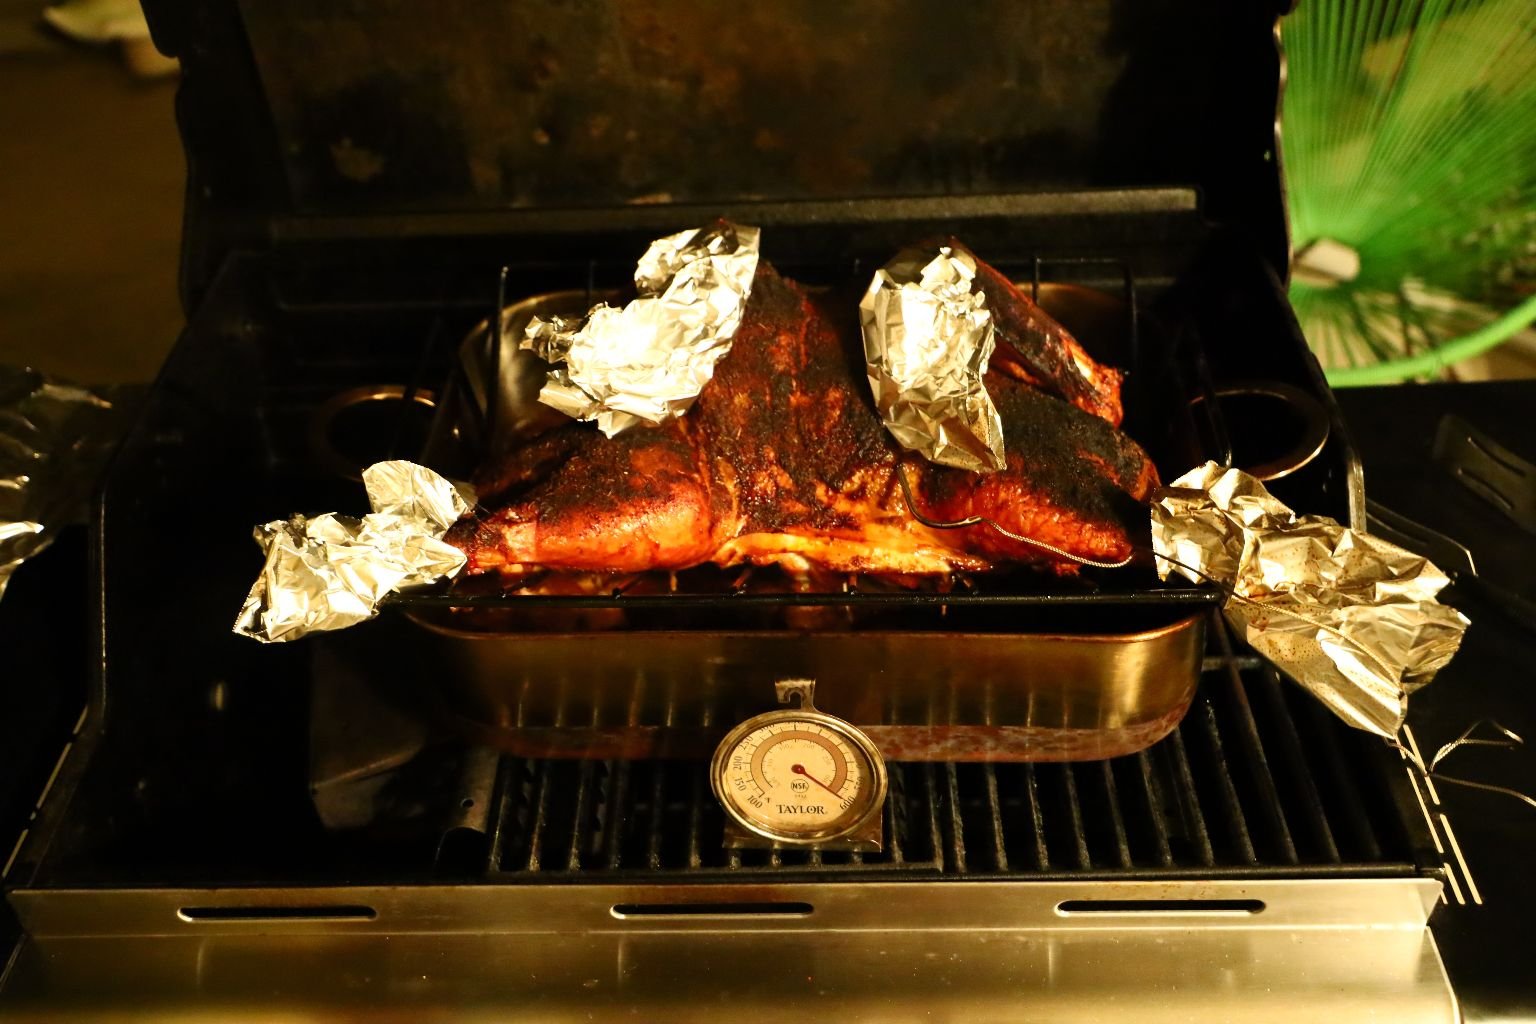
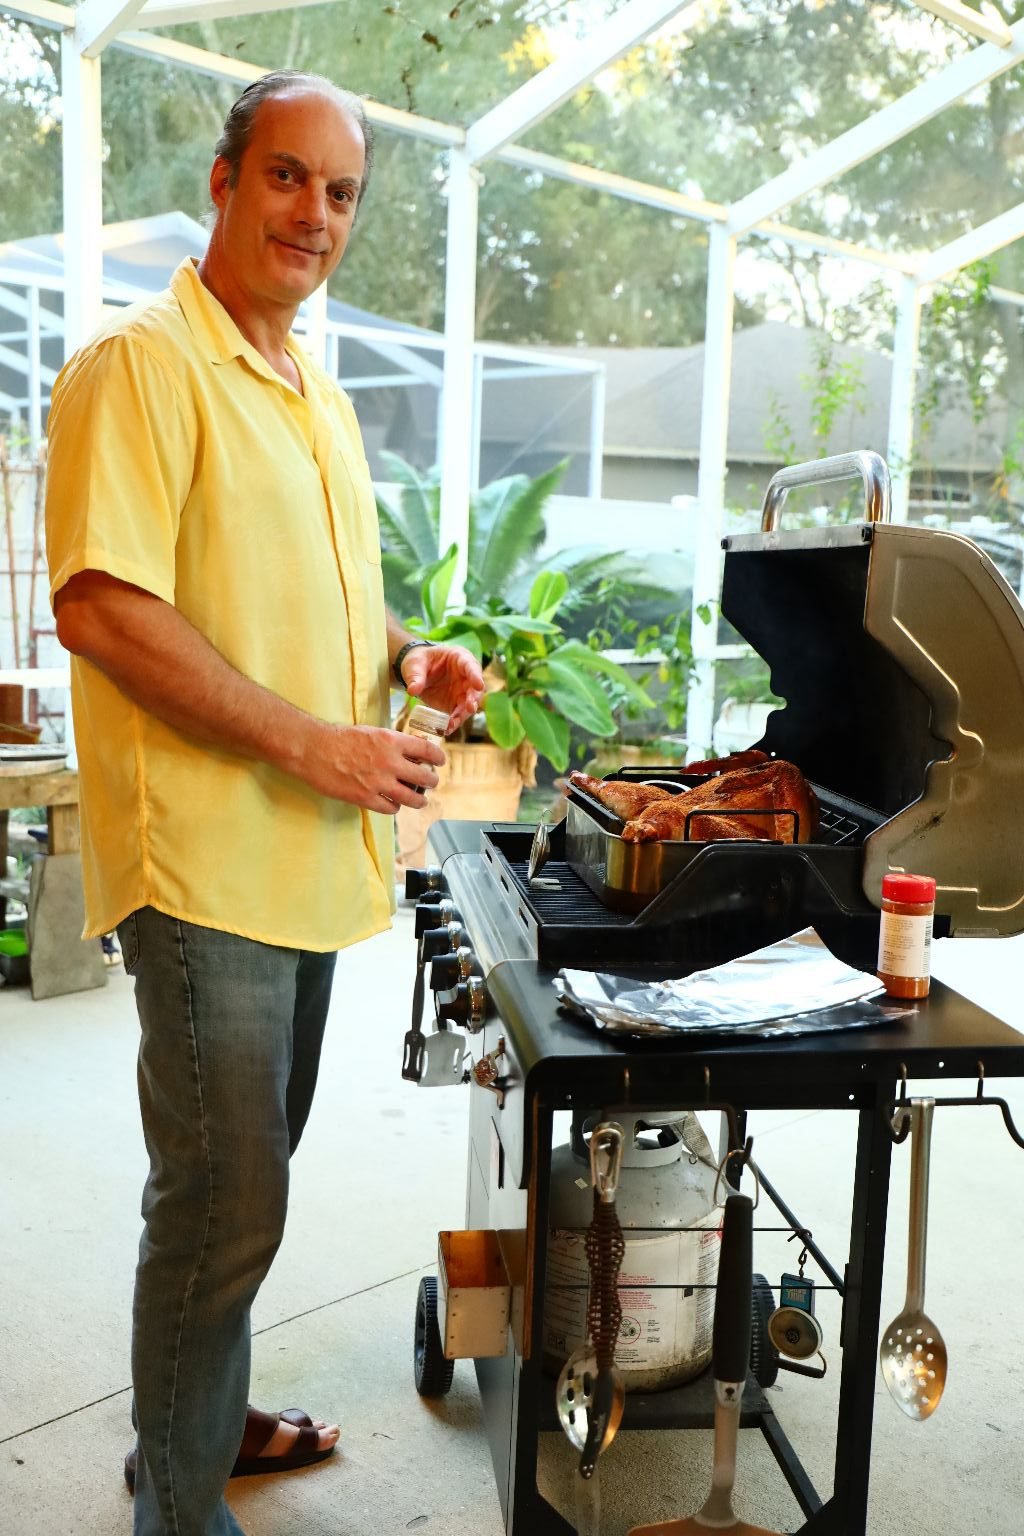
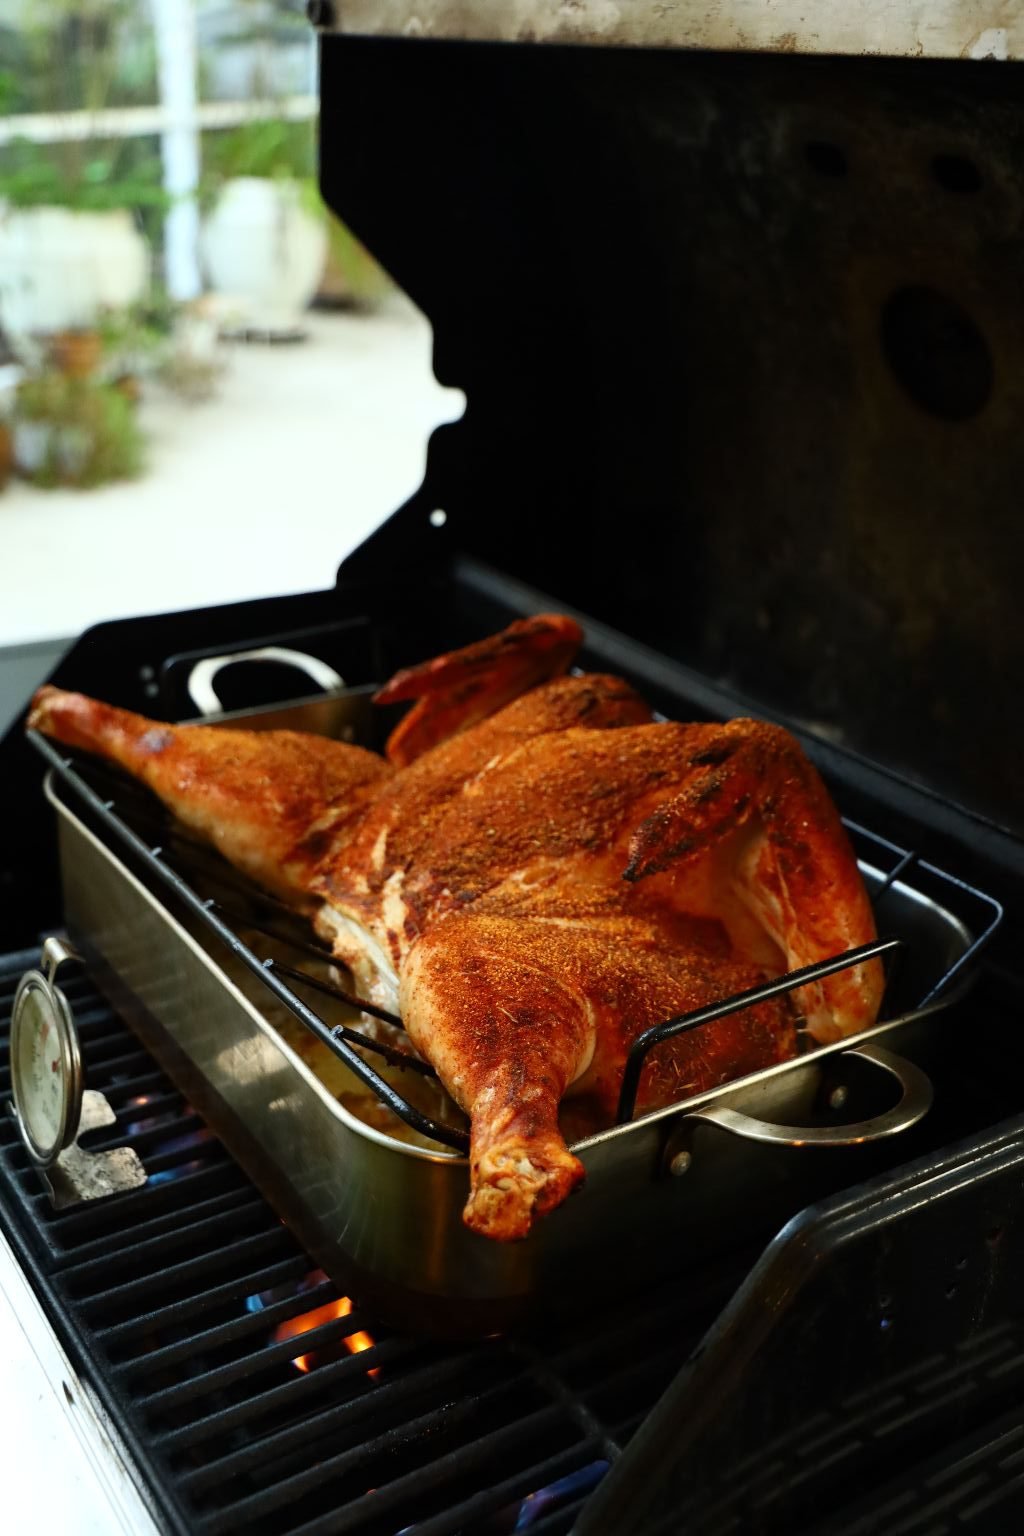
Place your meat thermometer into the thigh of the turkey making sure it doesn’t hit the bone. Let the turkey cook for about 2 hours and monitor what is going on with the meat about every 30 min.. If parts are burning cover them. The temperature should be set to 160’F. When the turkey reaches this temperature, remove it from the grill as the super heated outside juices will return to the center of the meat cooking it to 165’F before cooling down. It is important to not poke or cut the turkey at this time as the moving juices will just run out of the meat. I even leave my thermometer probe in to be sure I don’t disturb the meat.

——————————————————————————
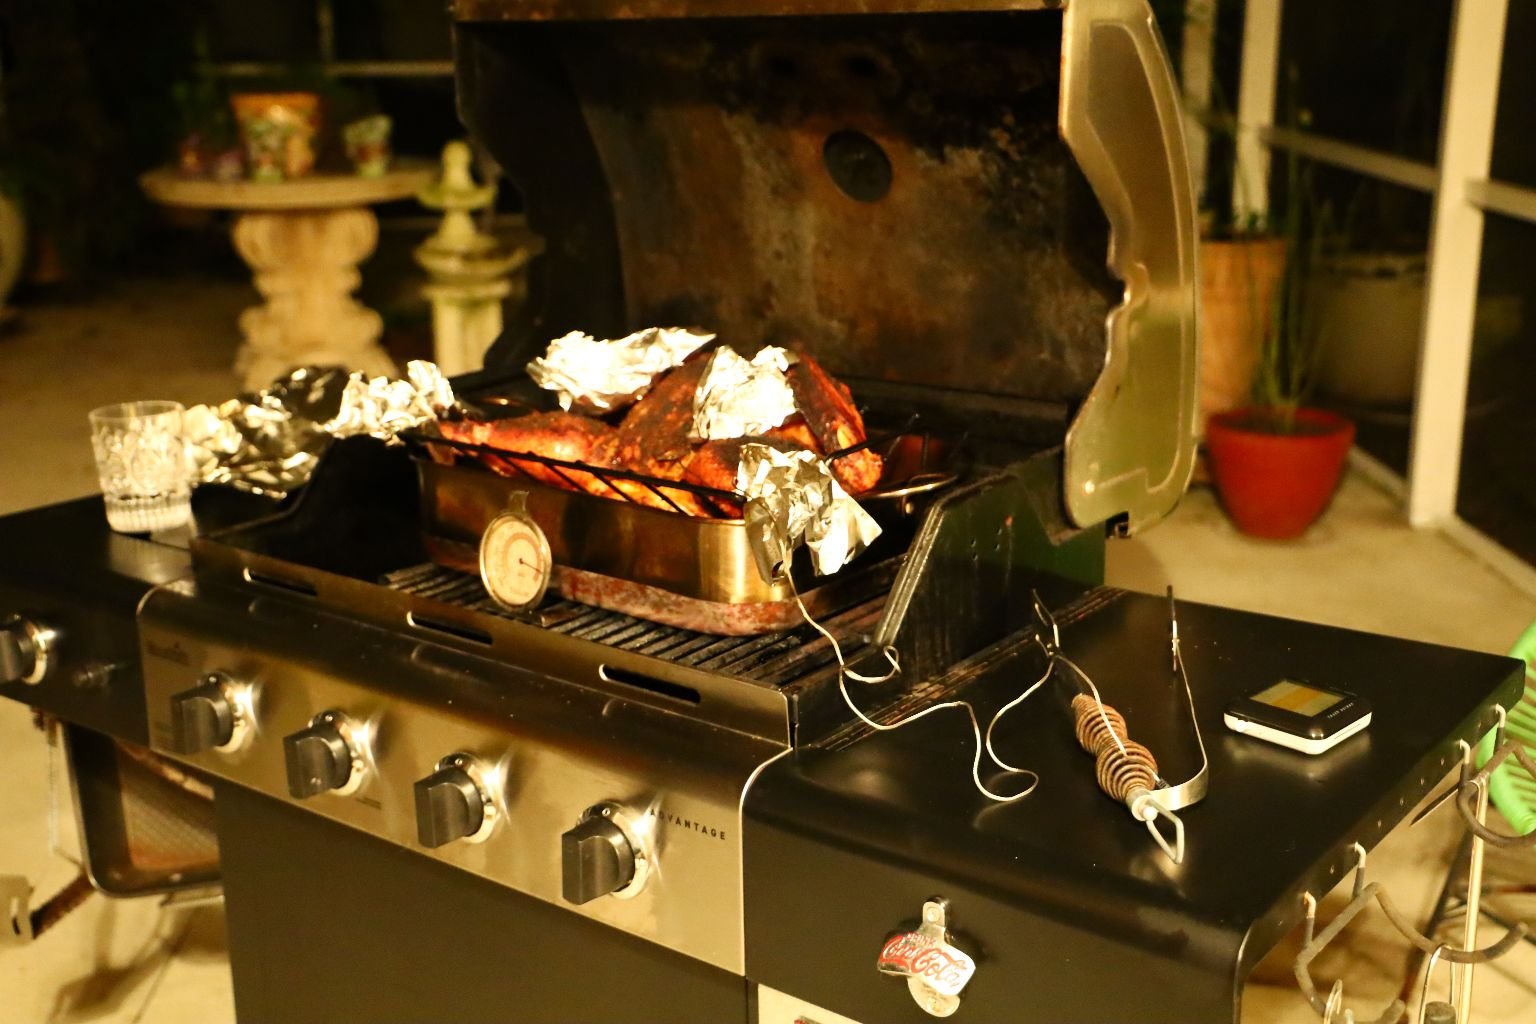
It’s Getting Dark!
The Turkey, and the Sky. 🙂
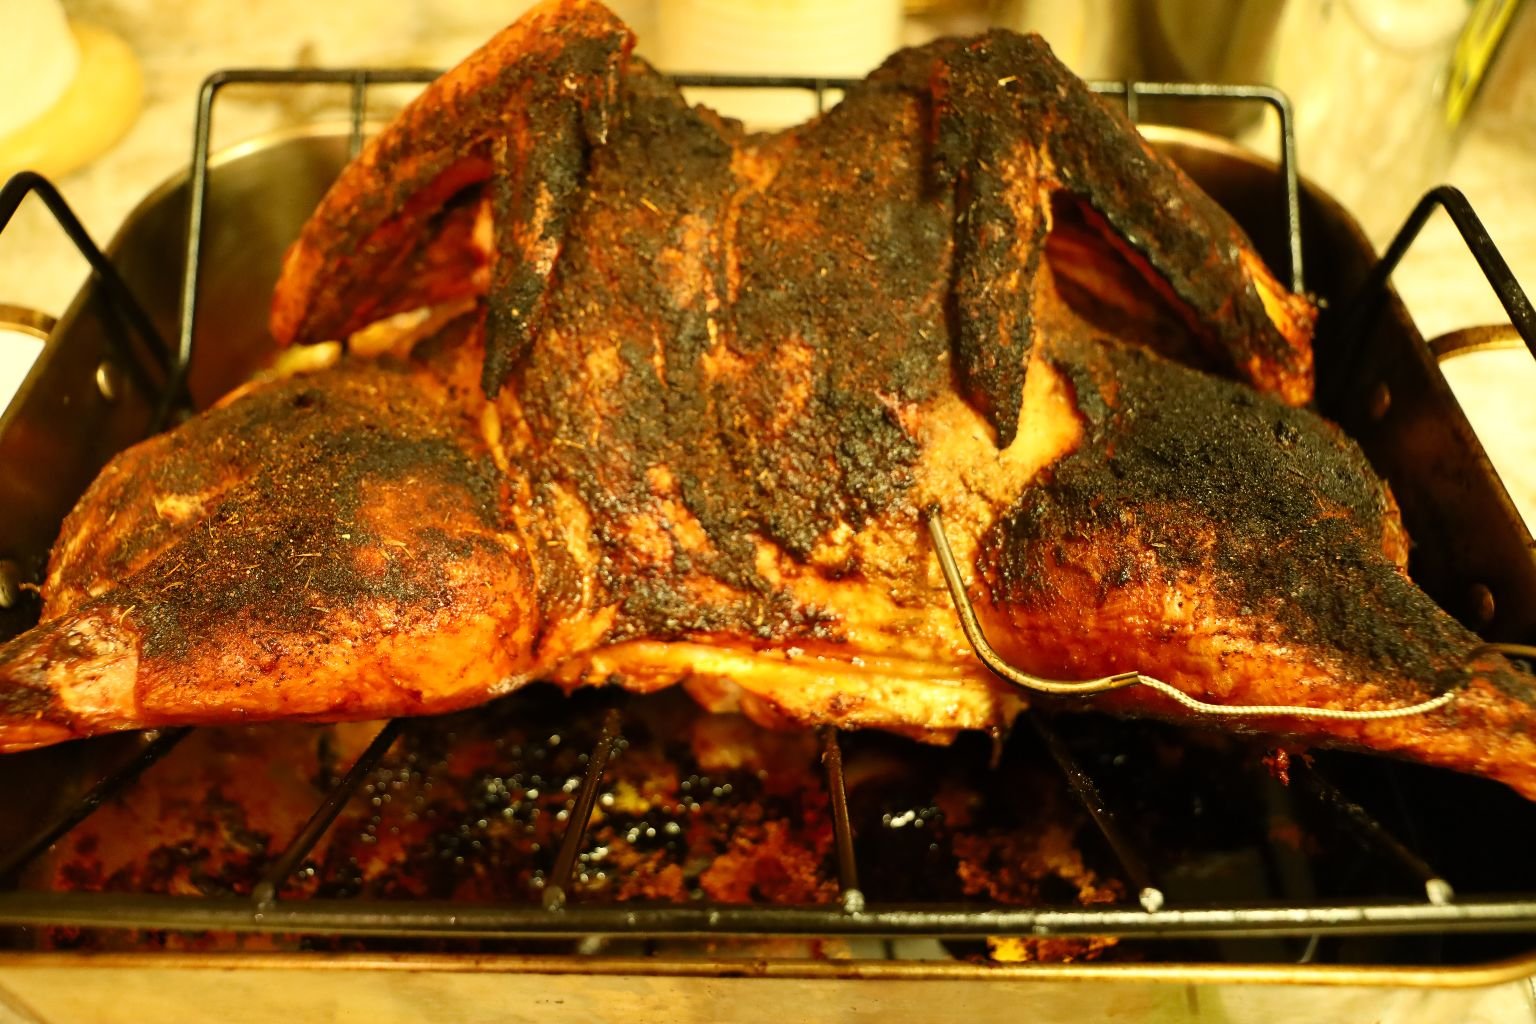
The turkey will remain warm for a good 30 min. leaving you time to tend to other things. Here you can see the cord of my thermometer still inserted into the turkey. The spices will burn some but taste great like when things are blackened.
TIP: You could have also light some wood chip wrapped up in foil to smoke the turkey adding to its flavor.
———————————————————————-
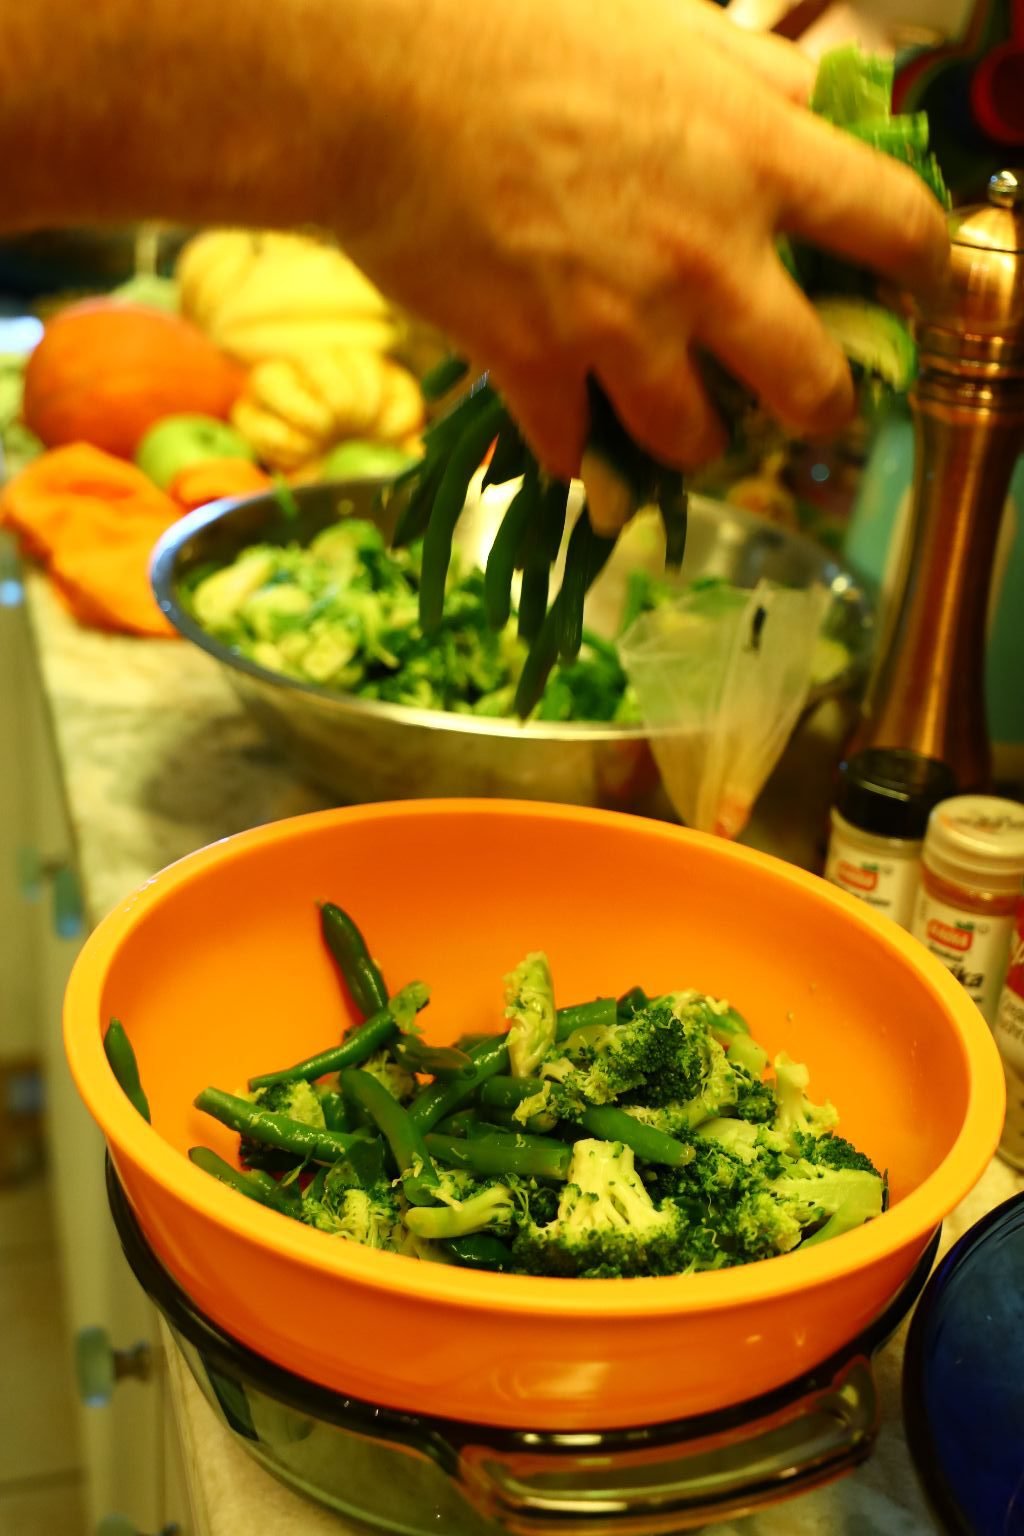
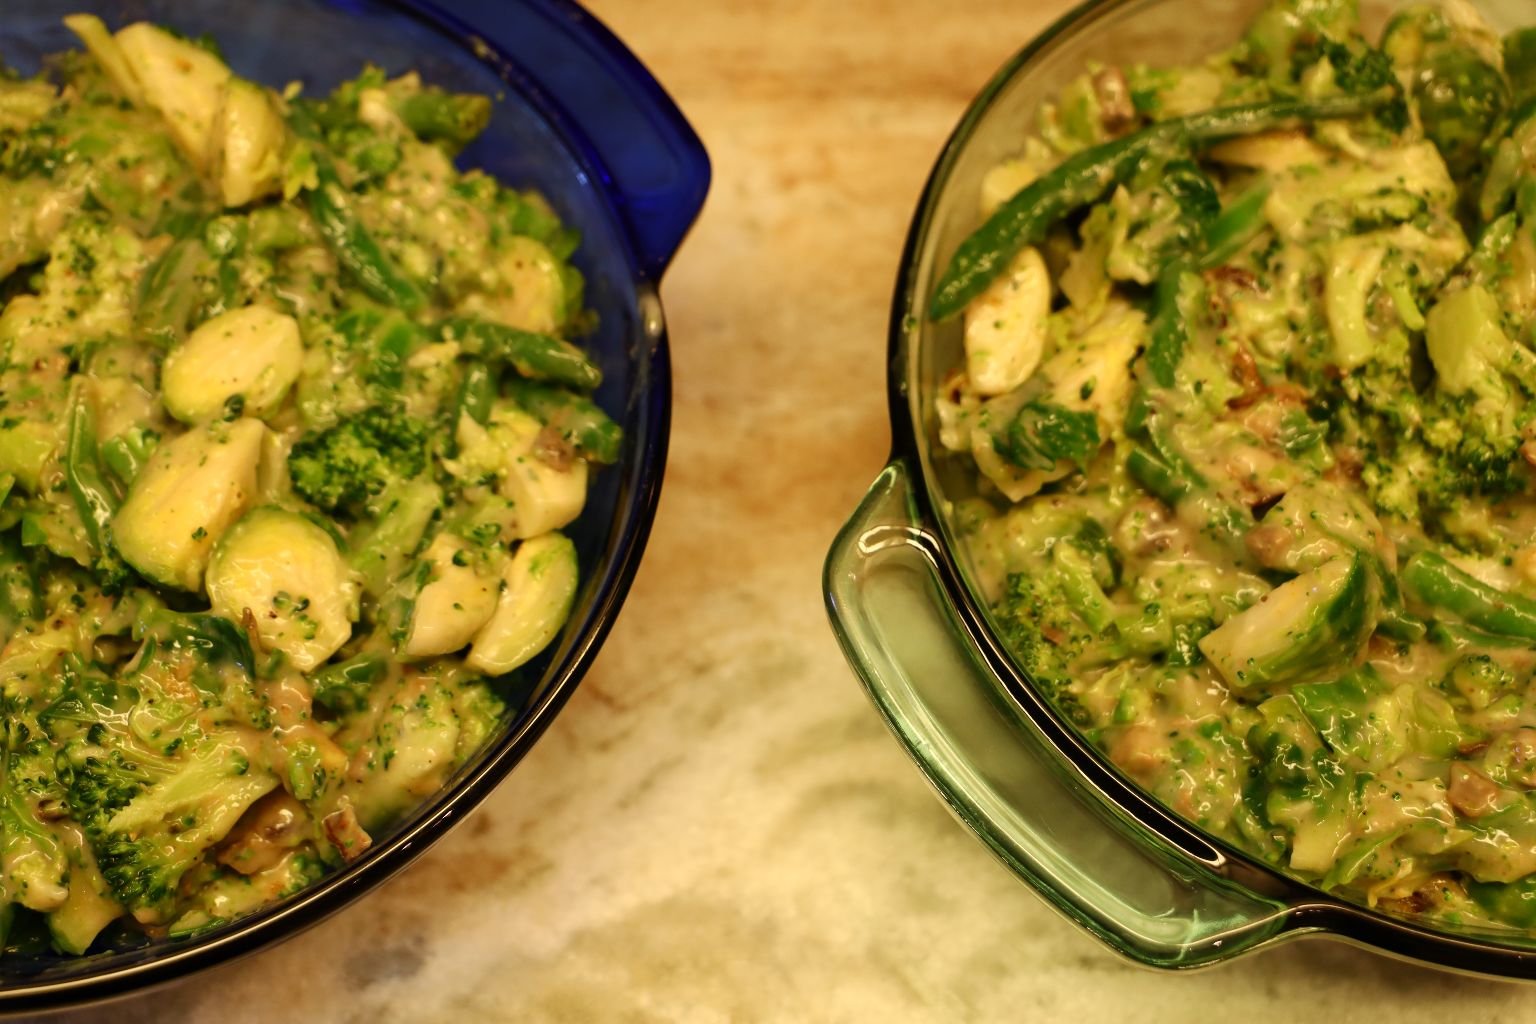
Not Your Mother’s Green Bean Casserole
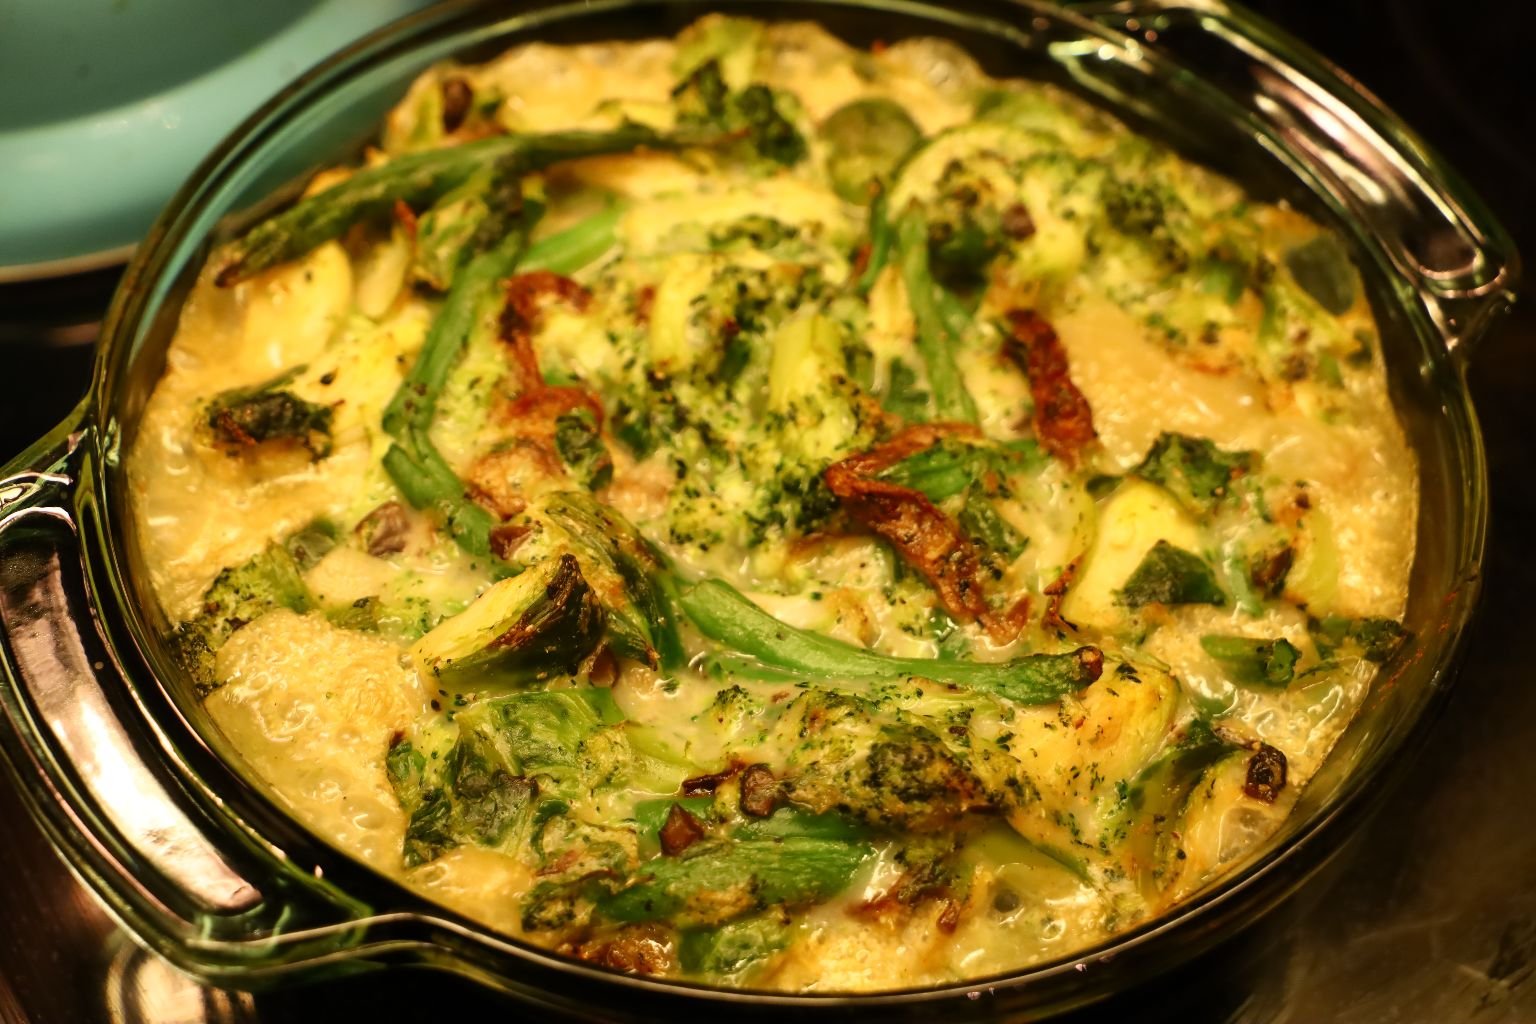
Casserole Photo Left: Mostly Baked and Ready
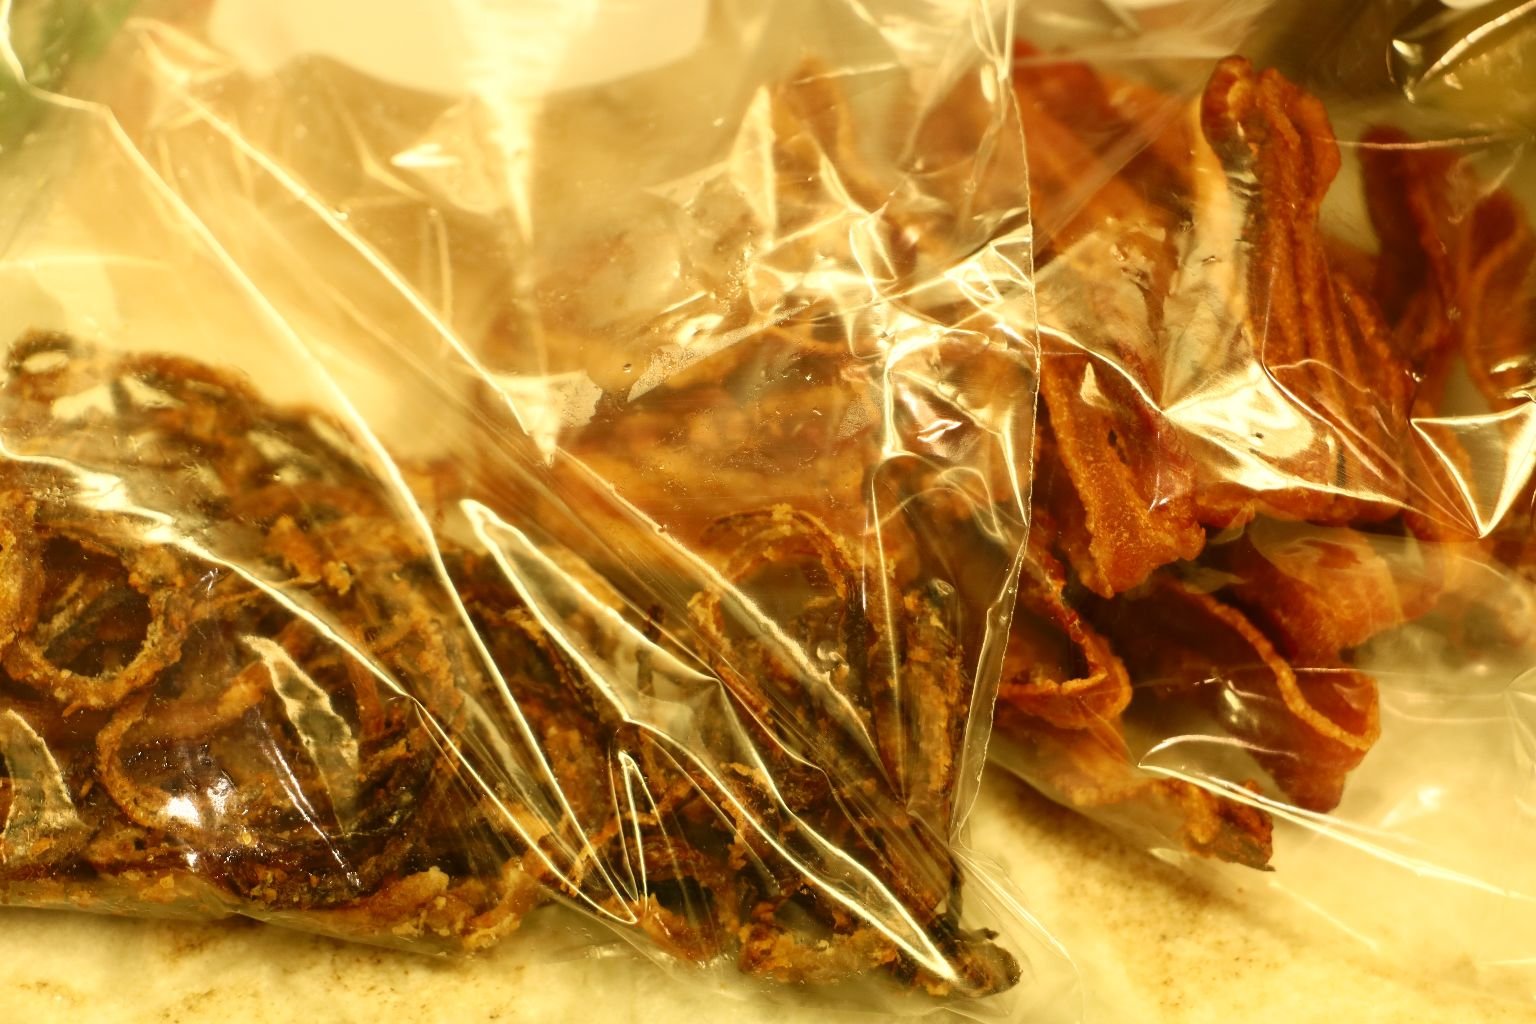
Casserole Photo Right: After Adding the Crunchy Fried Onions
————————————————————————
Ingredients:
(We doubled this recipe in order to eat one, freeze one. These ingredients are for two casseroles.)
——————————————————————
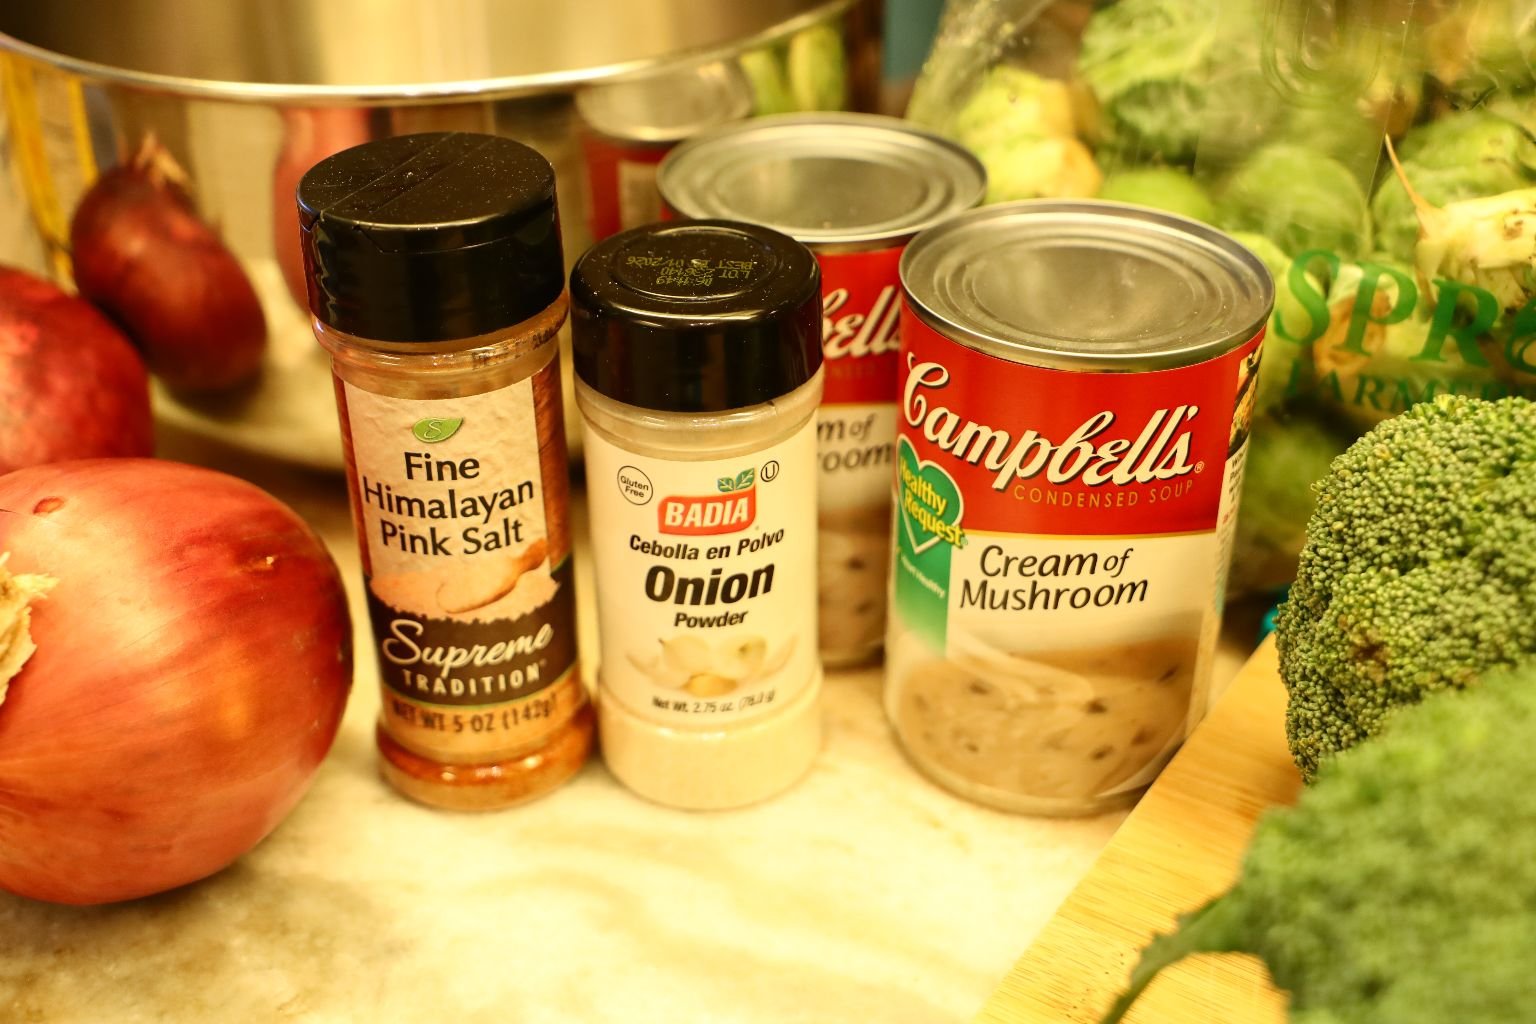
2 Tbsp. Sea Salt
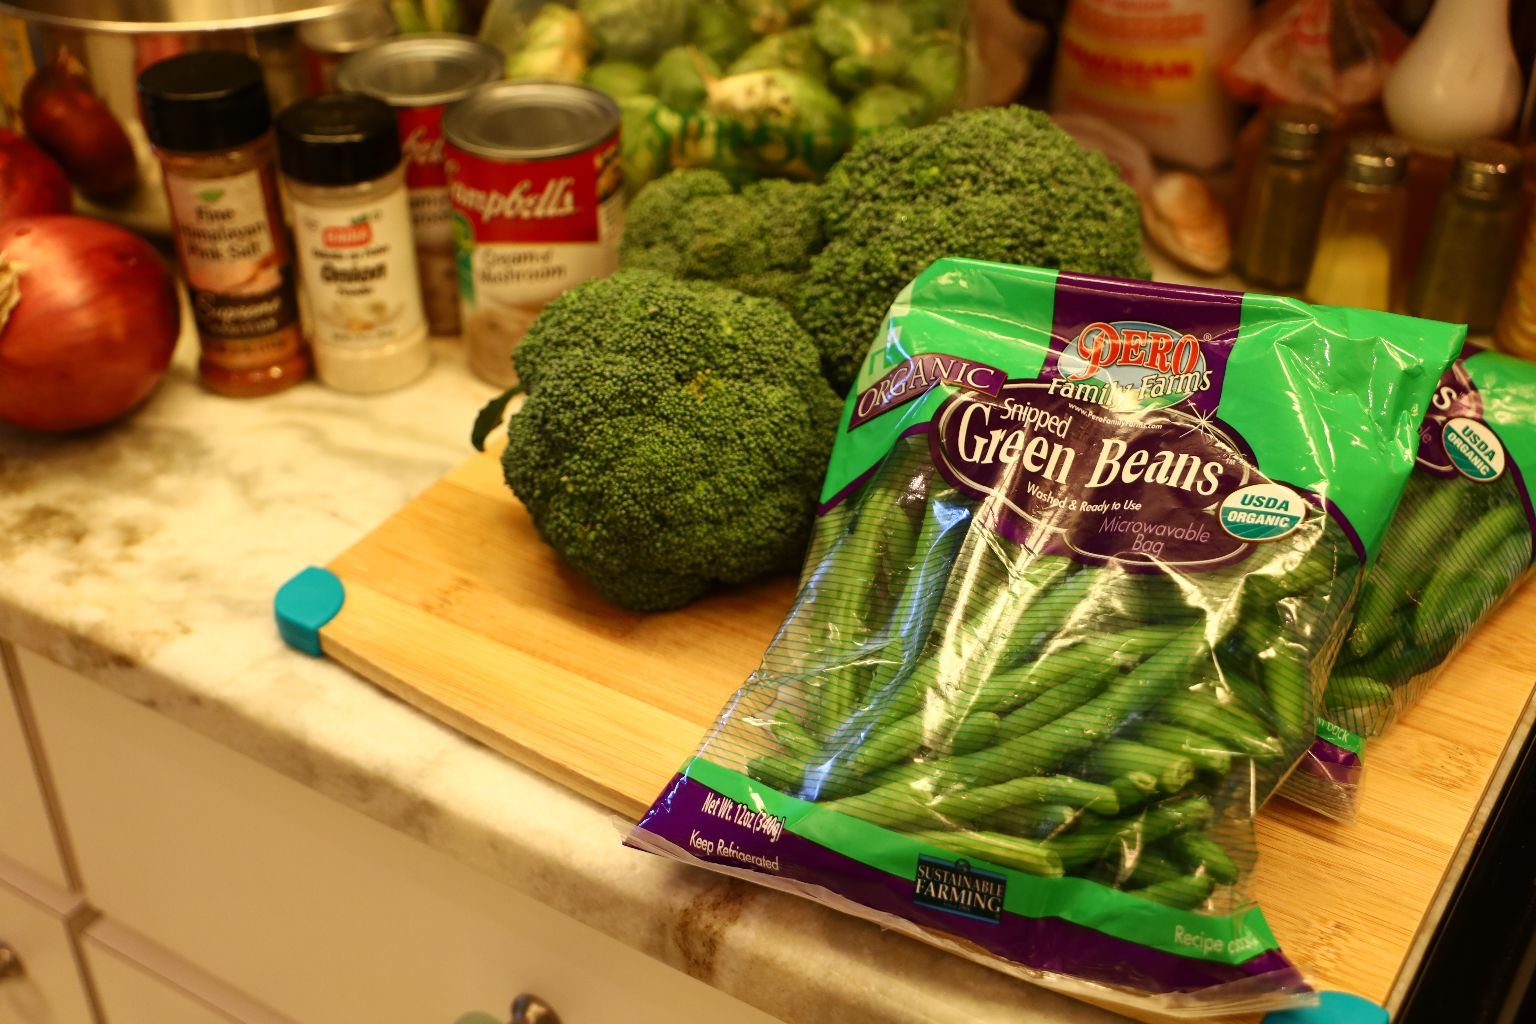
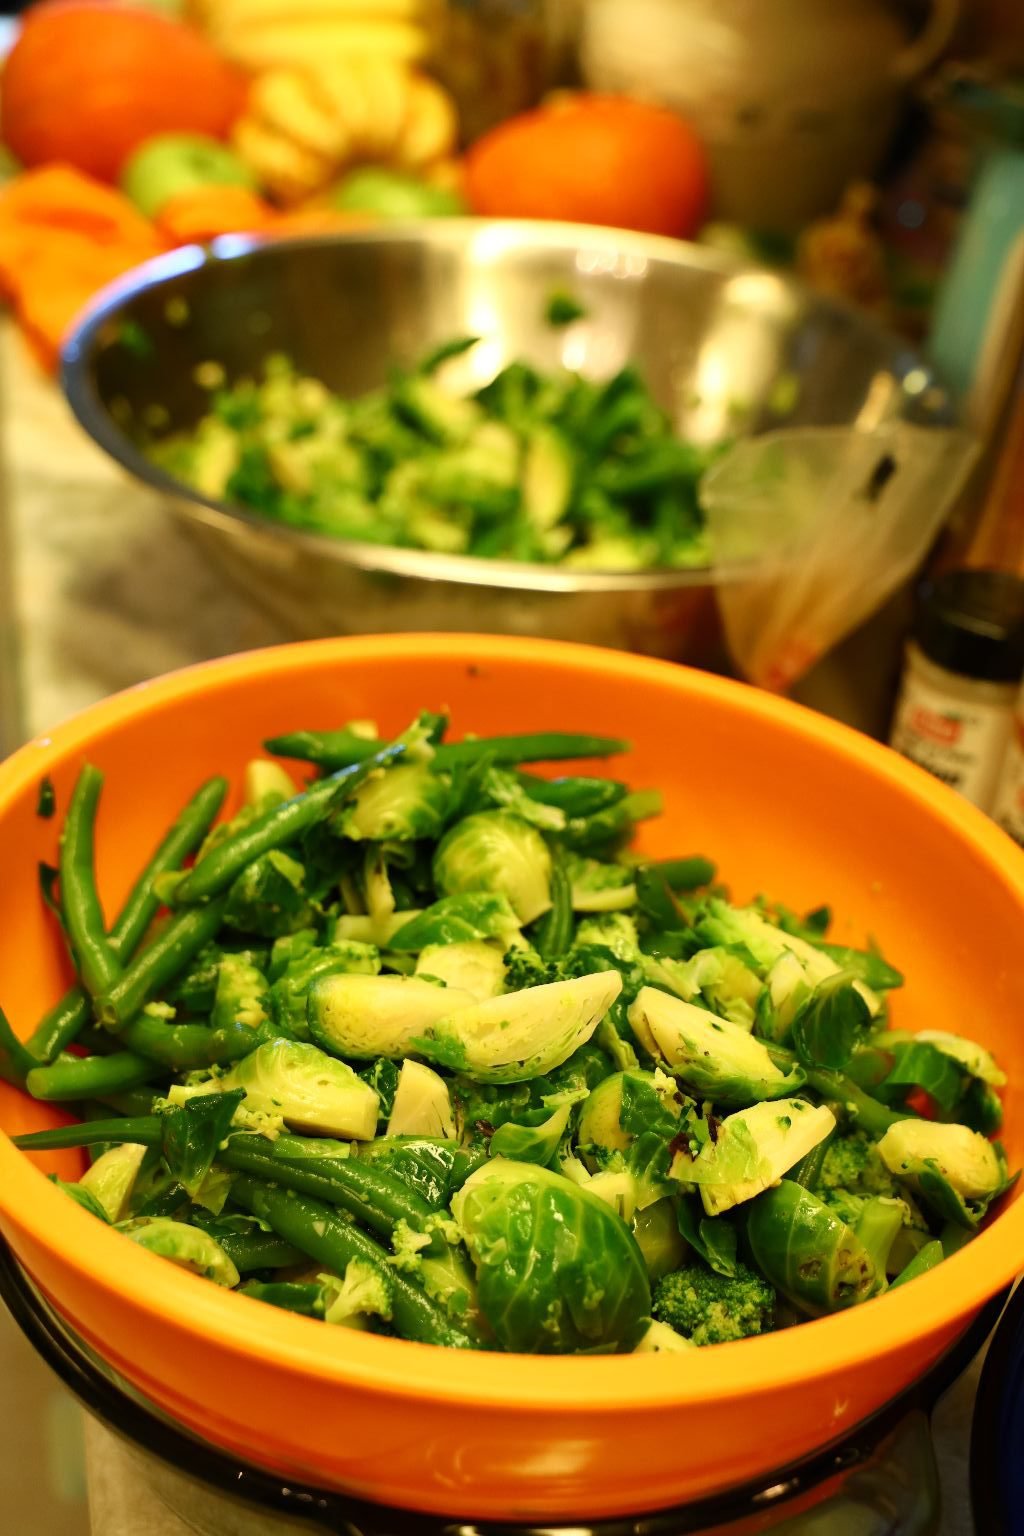
3 Cups Fresh Broccoli
3 Cups Fresh Green Beans
3 Cups Fresh Brussels Sprouts
1 Tbsp. Paprika
1 Tbsp. Onion Powder
1 Tbsp. Garlic Powder
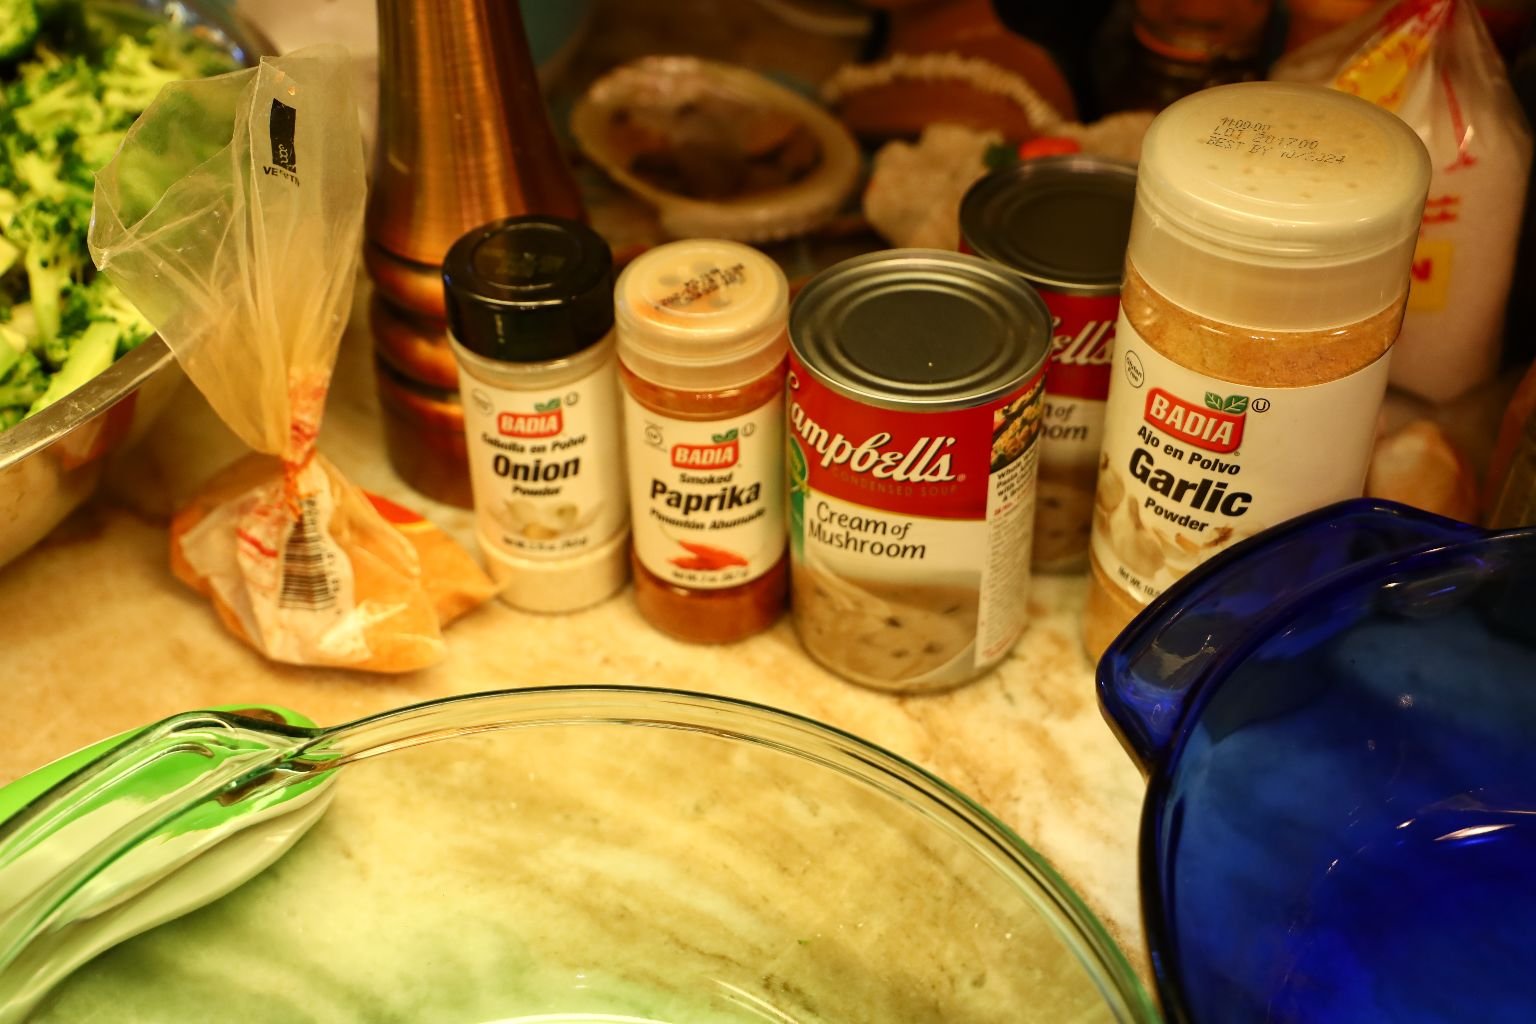
2 Cans Cream of Mushroom Soup
————————————————————————–
Fried Onion Ingredients:
1/2 Cup Corn Starch
1 Cup Flour
2 Red Onions
1 tsp. Himalayan Pink Salt
1/2 tsp. Smoked Paprika
1/2 tsp. Rosemary
1 Tbsp. Onion Powder
Ground Black Pepper
~1/2 Cup Peanut Oil
——————————————————————————

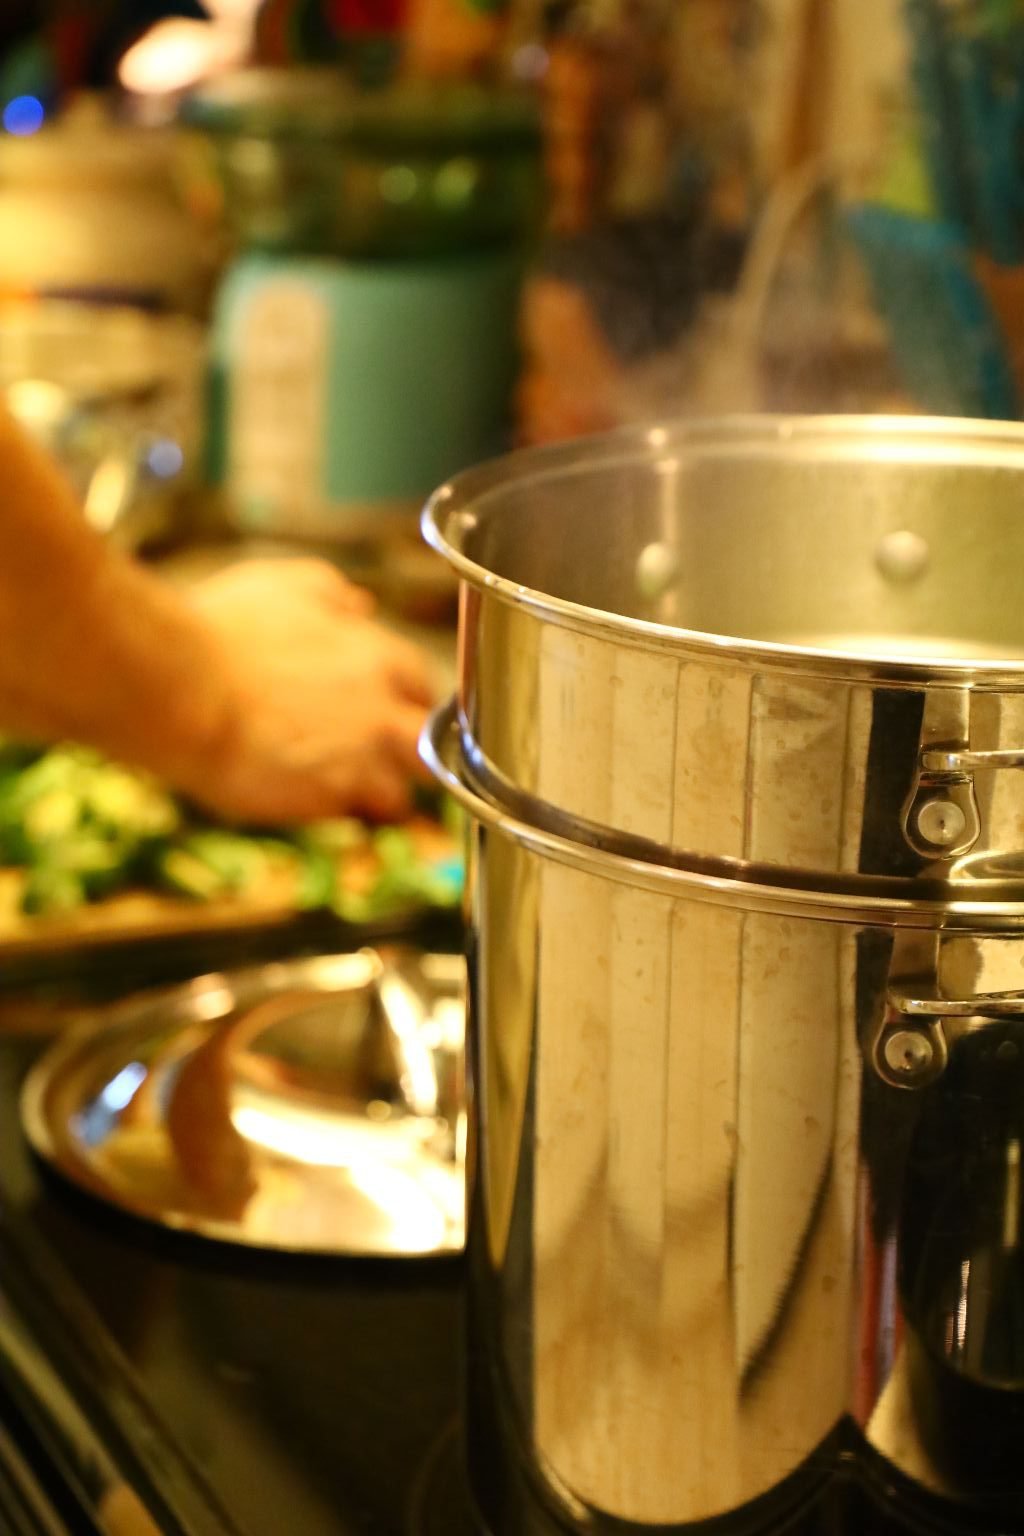
Add your salt to 4 quarts of water using a large pot turning the heat to high.
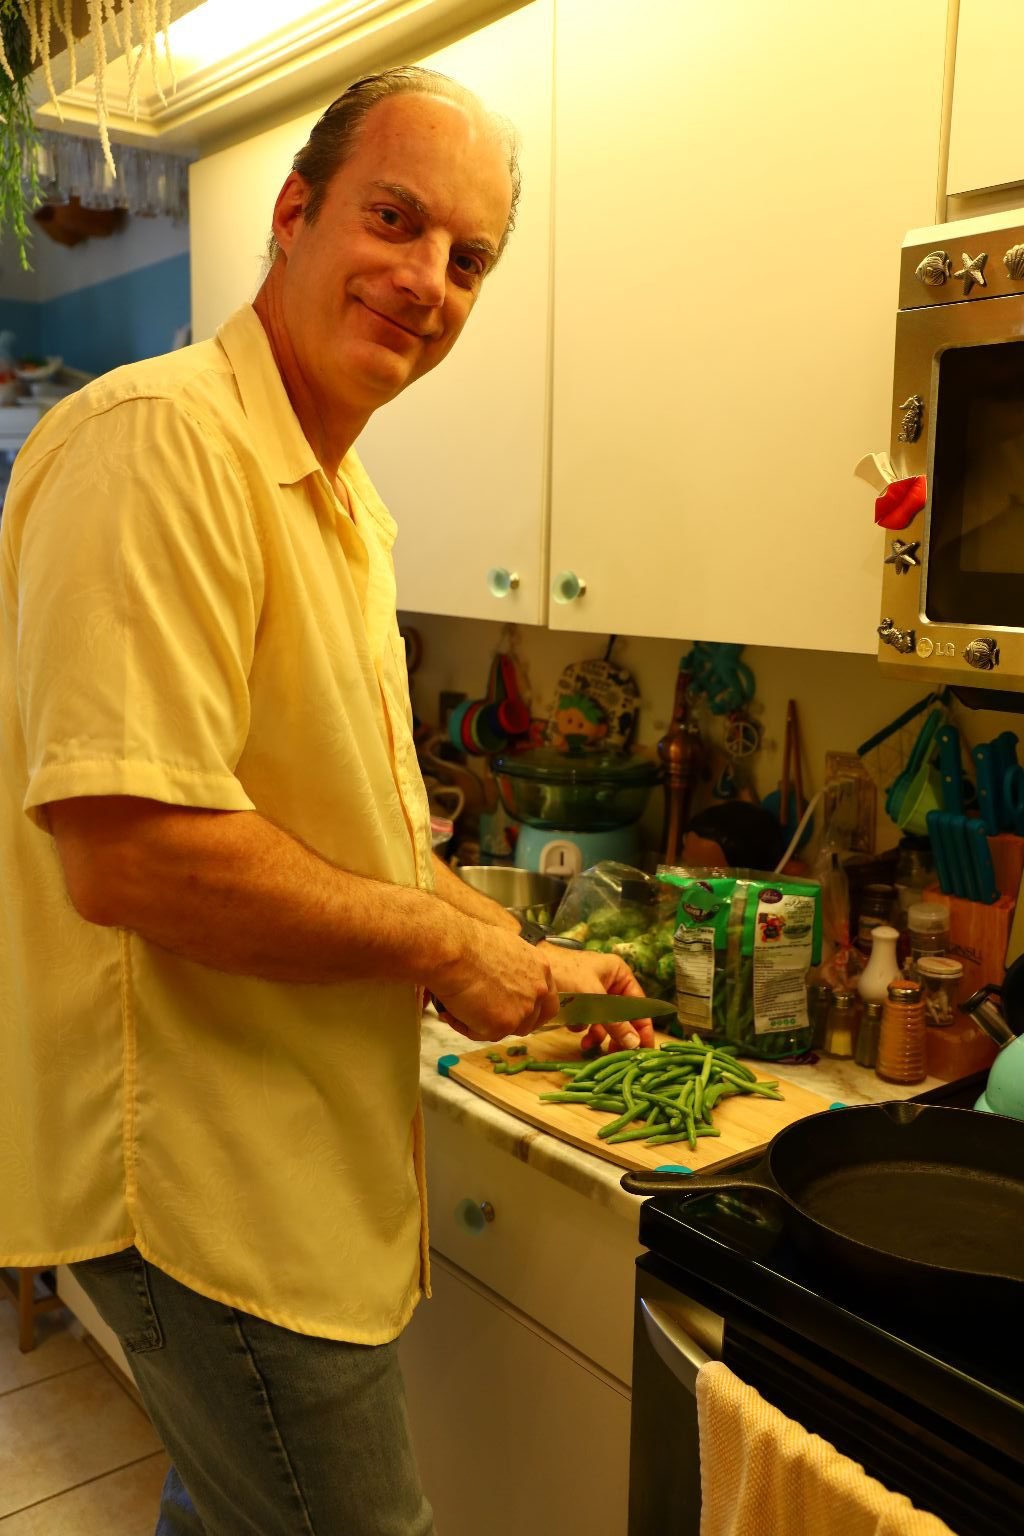
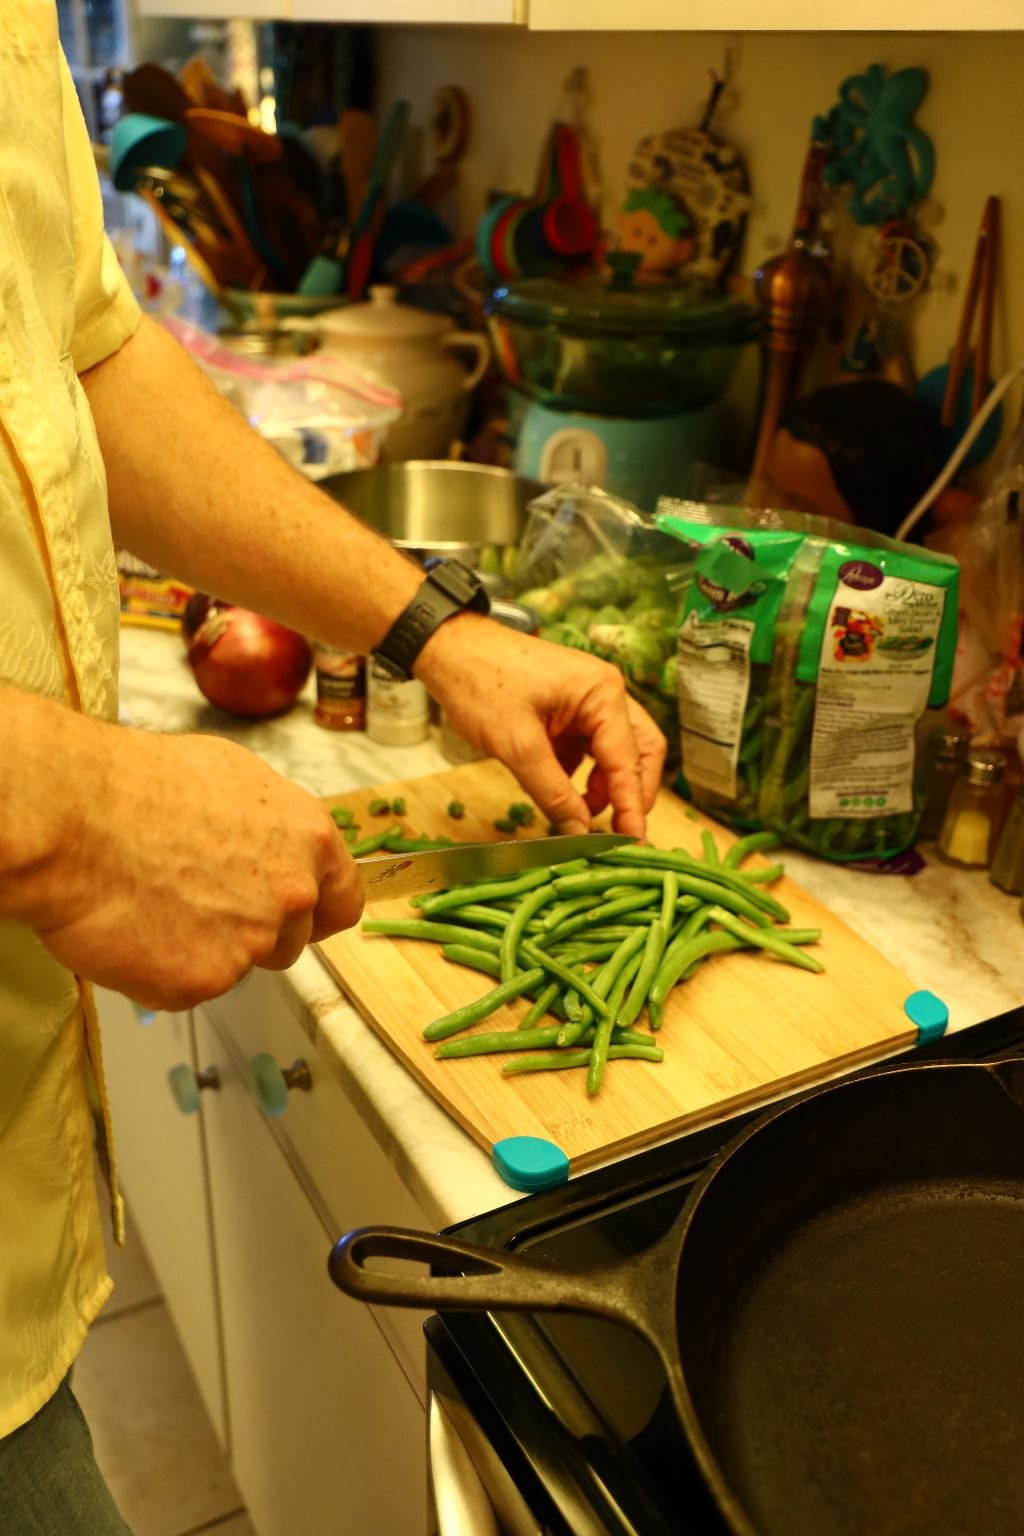
Here I am trimming the green beans of any brown stems or dried ends.
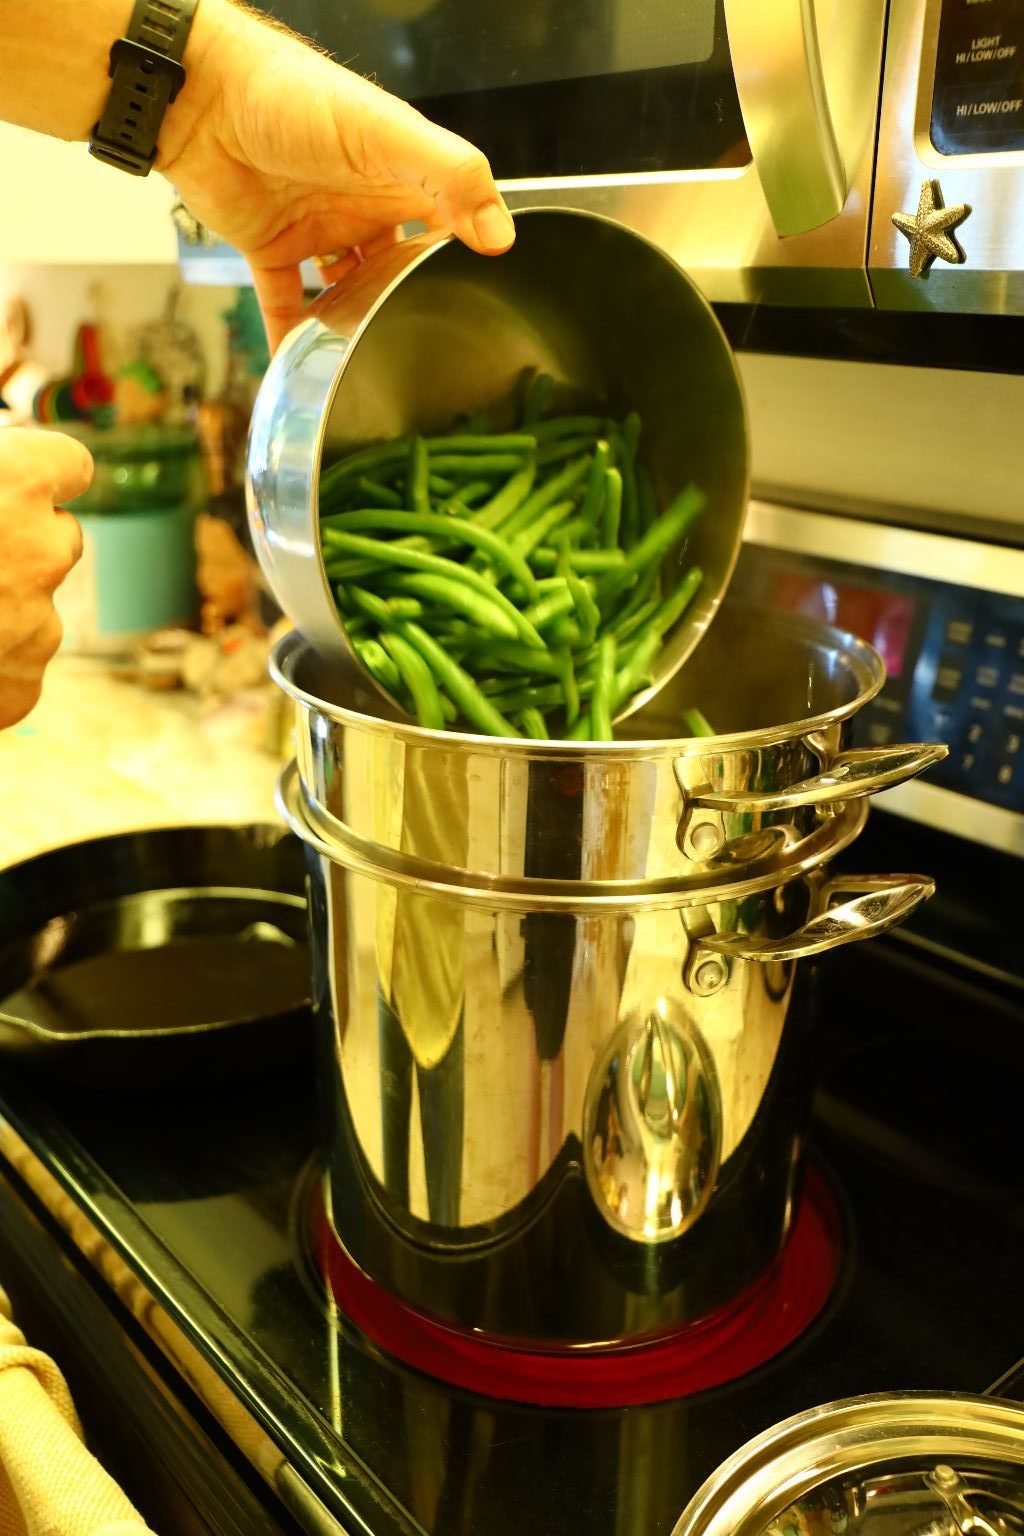
When the water is boiling, add your green beans and boil them until just tender, about 10 min.
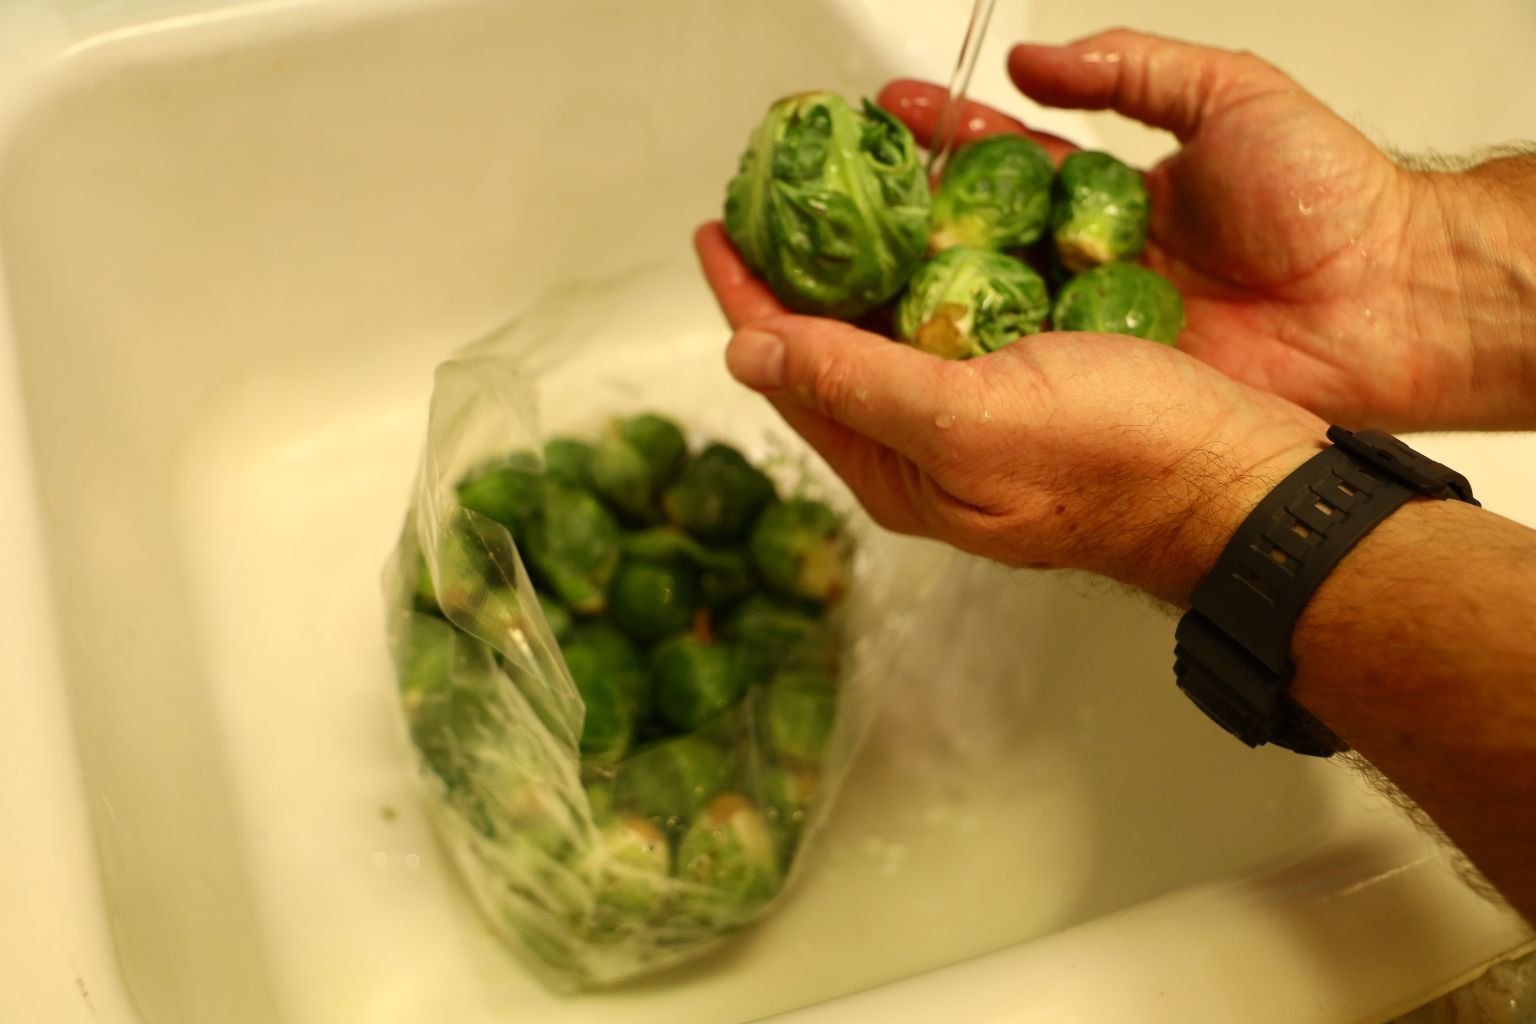
Be sure to wash your vegetables well before using. Here I am washing the Brussels Sprouts.
—————————————————————————-

Here are the ingredients for the fried onions.
Place your Corn Starch, Flour, and salt in a large bowl as shown.

Then add your Paprika, Rosemary, Onion Powder and freshly ground Black Pepper to the bowl.
Mix all the ingredients well.
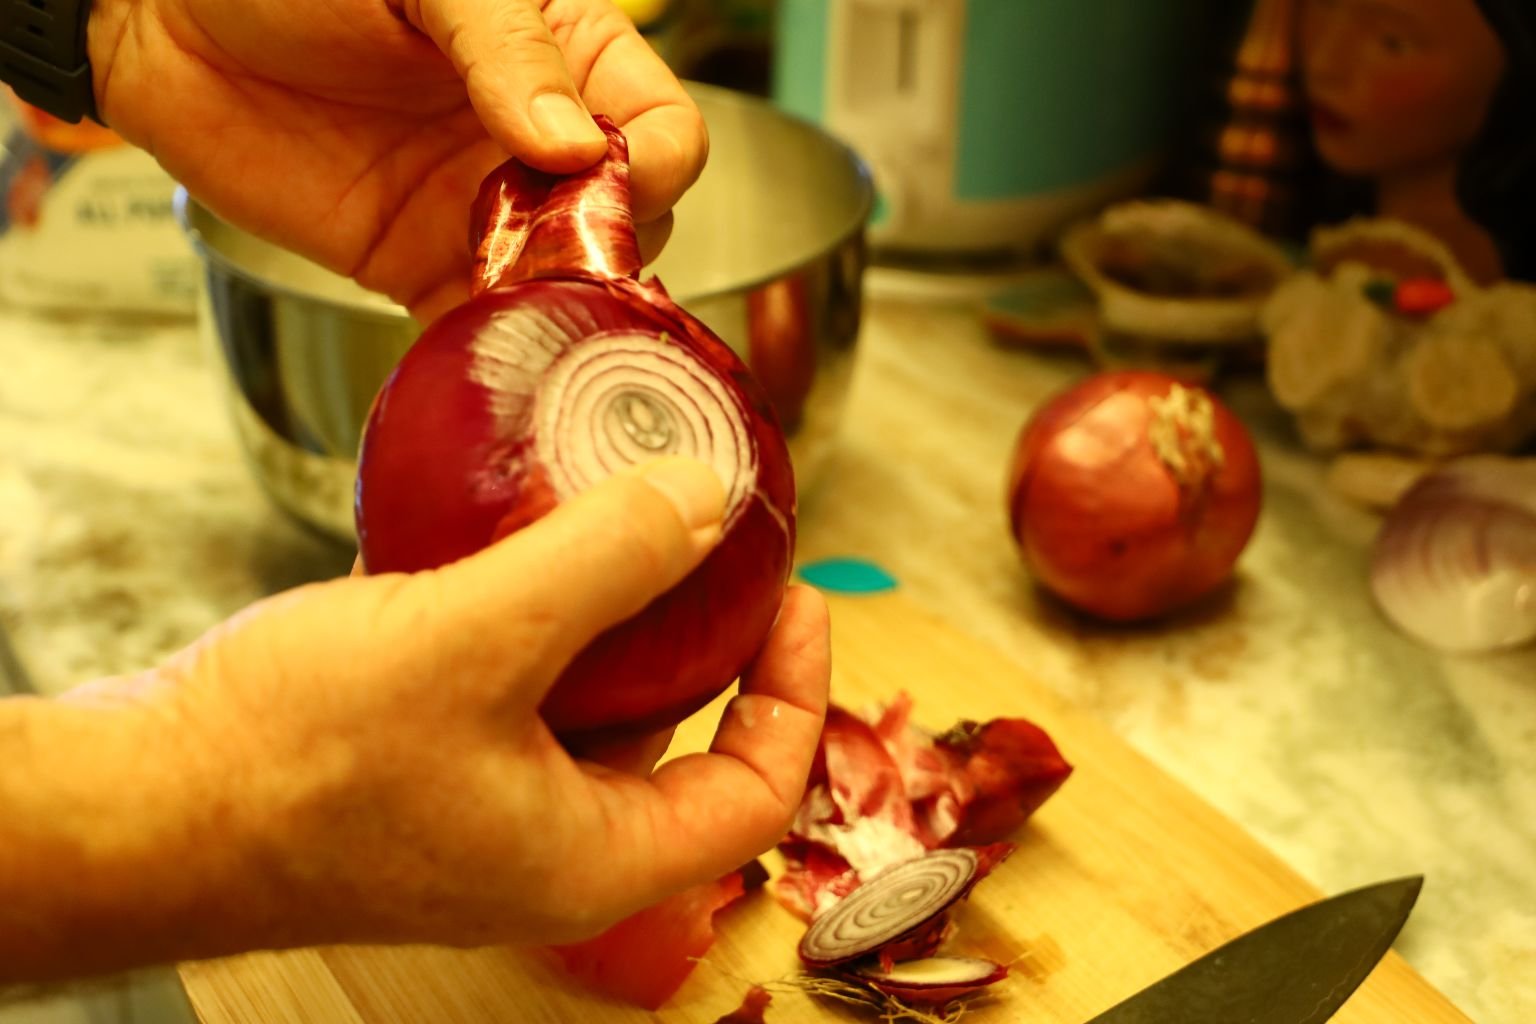
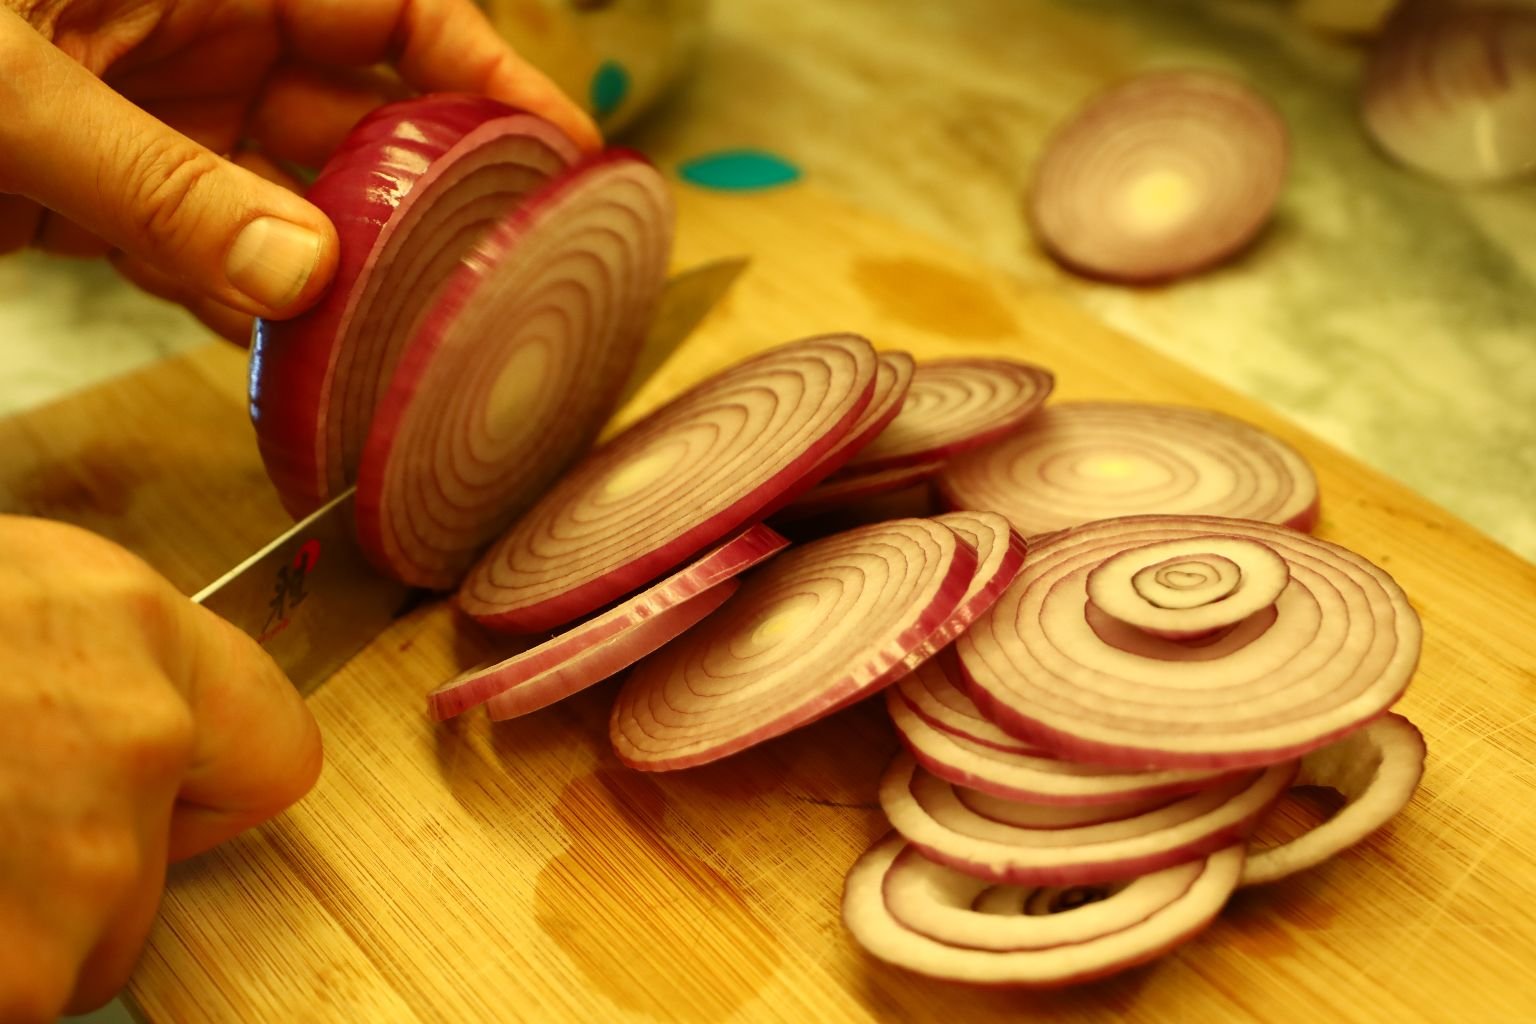
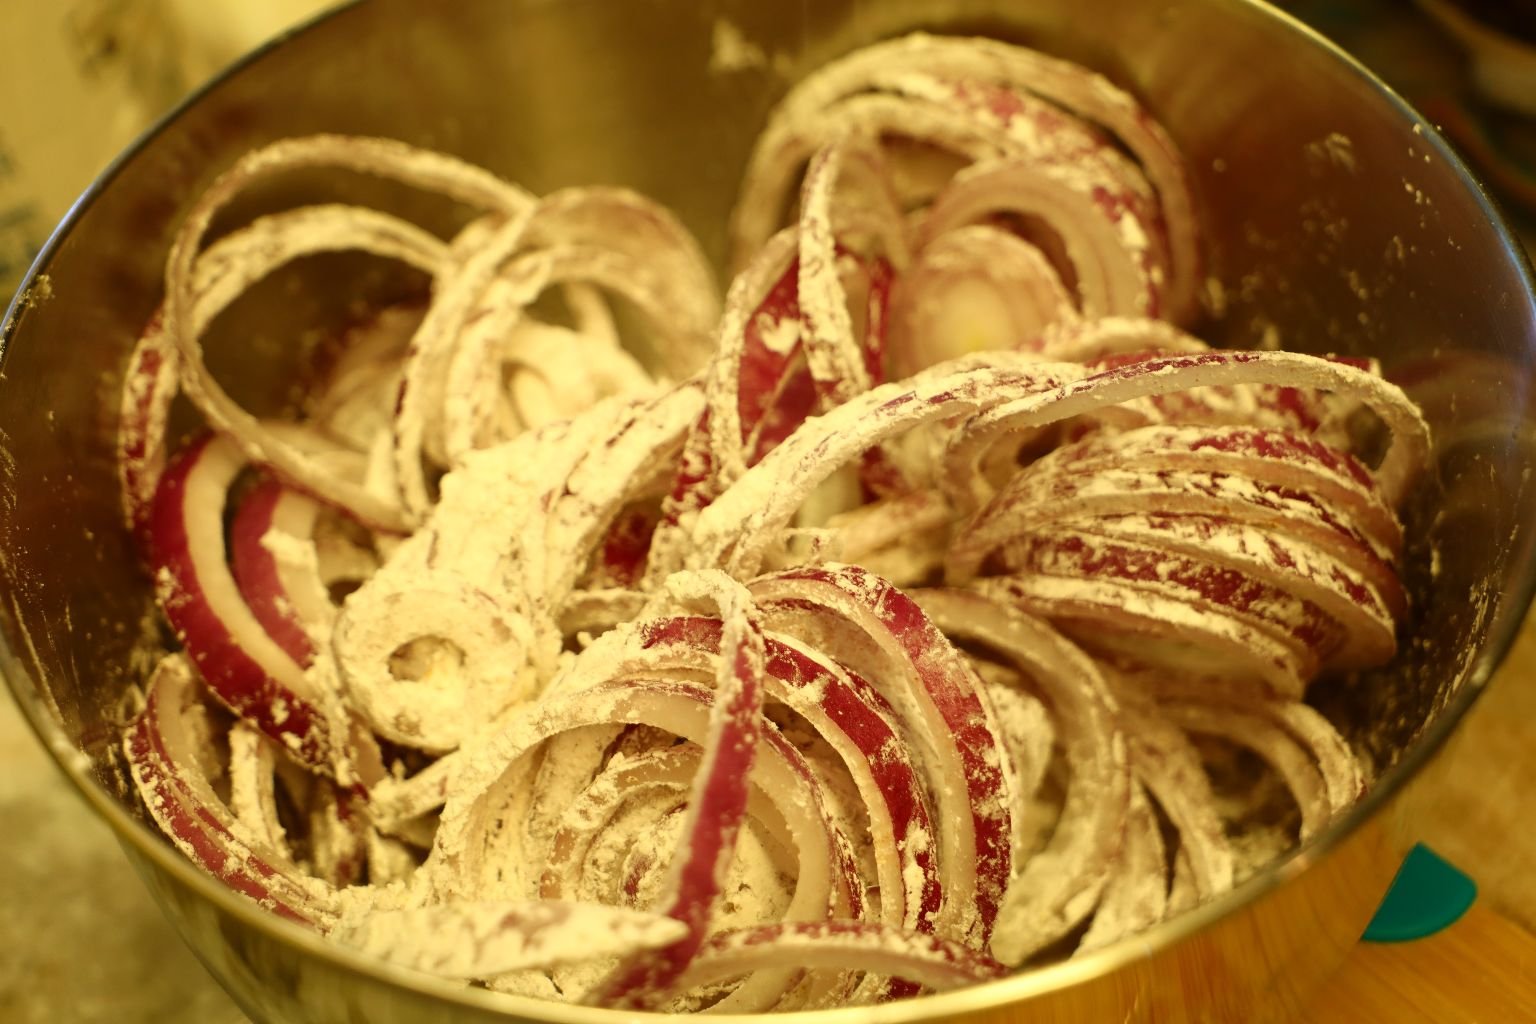
Peel and slice your Red Onions as shown.
——————————————————————————–
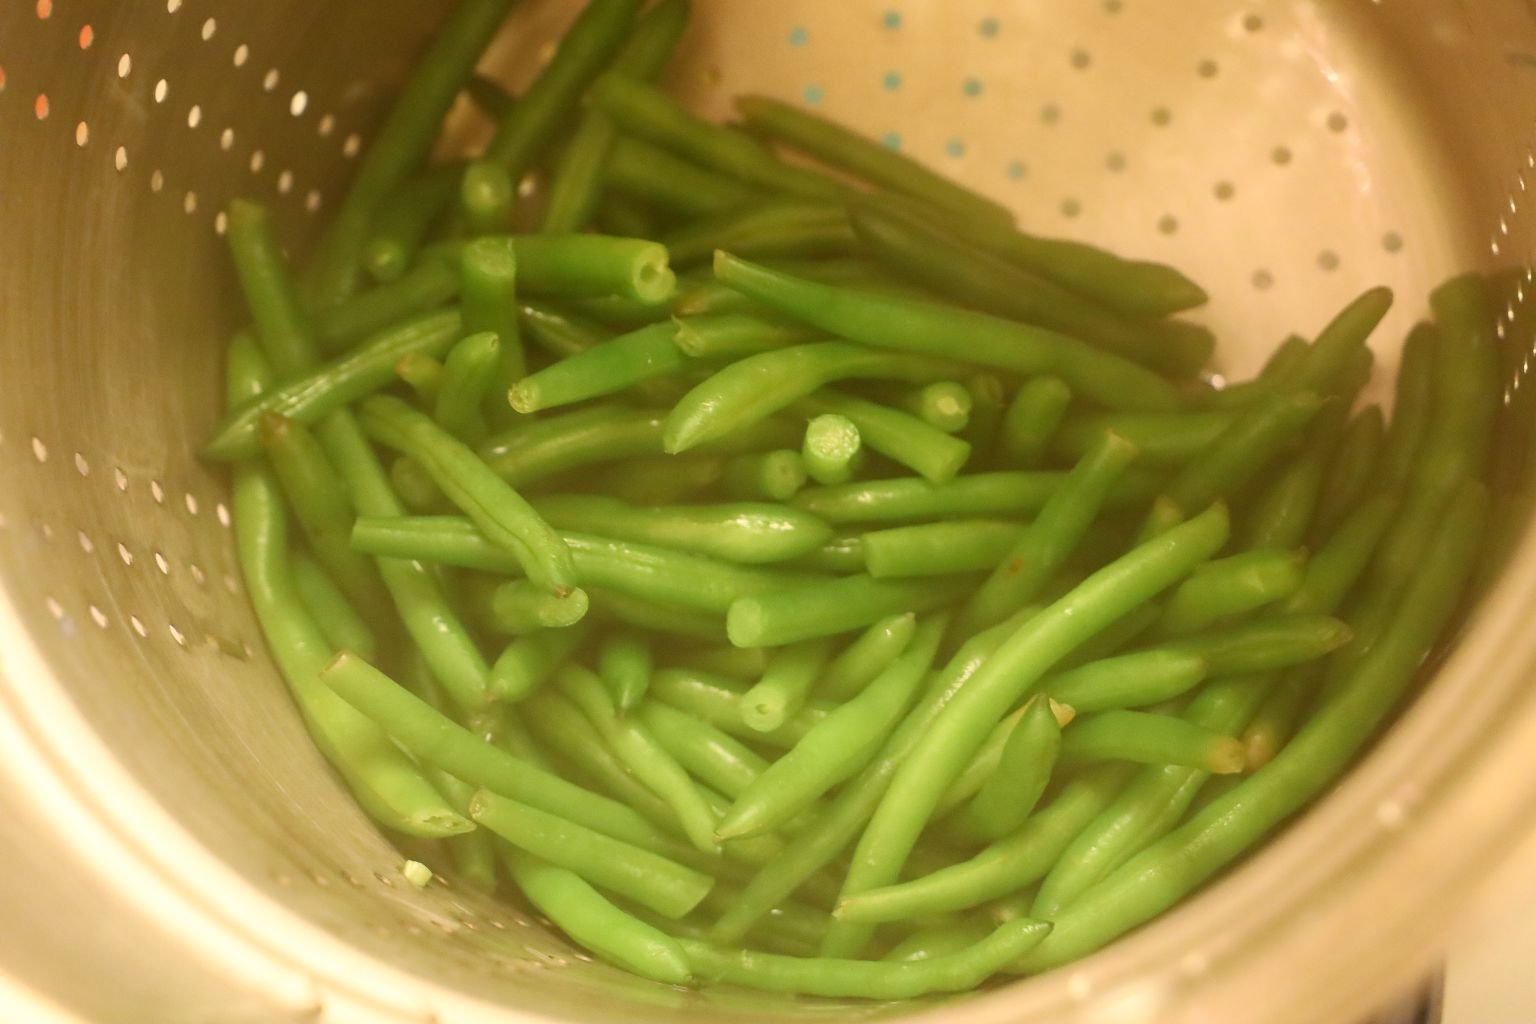
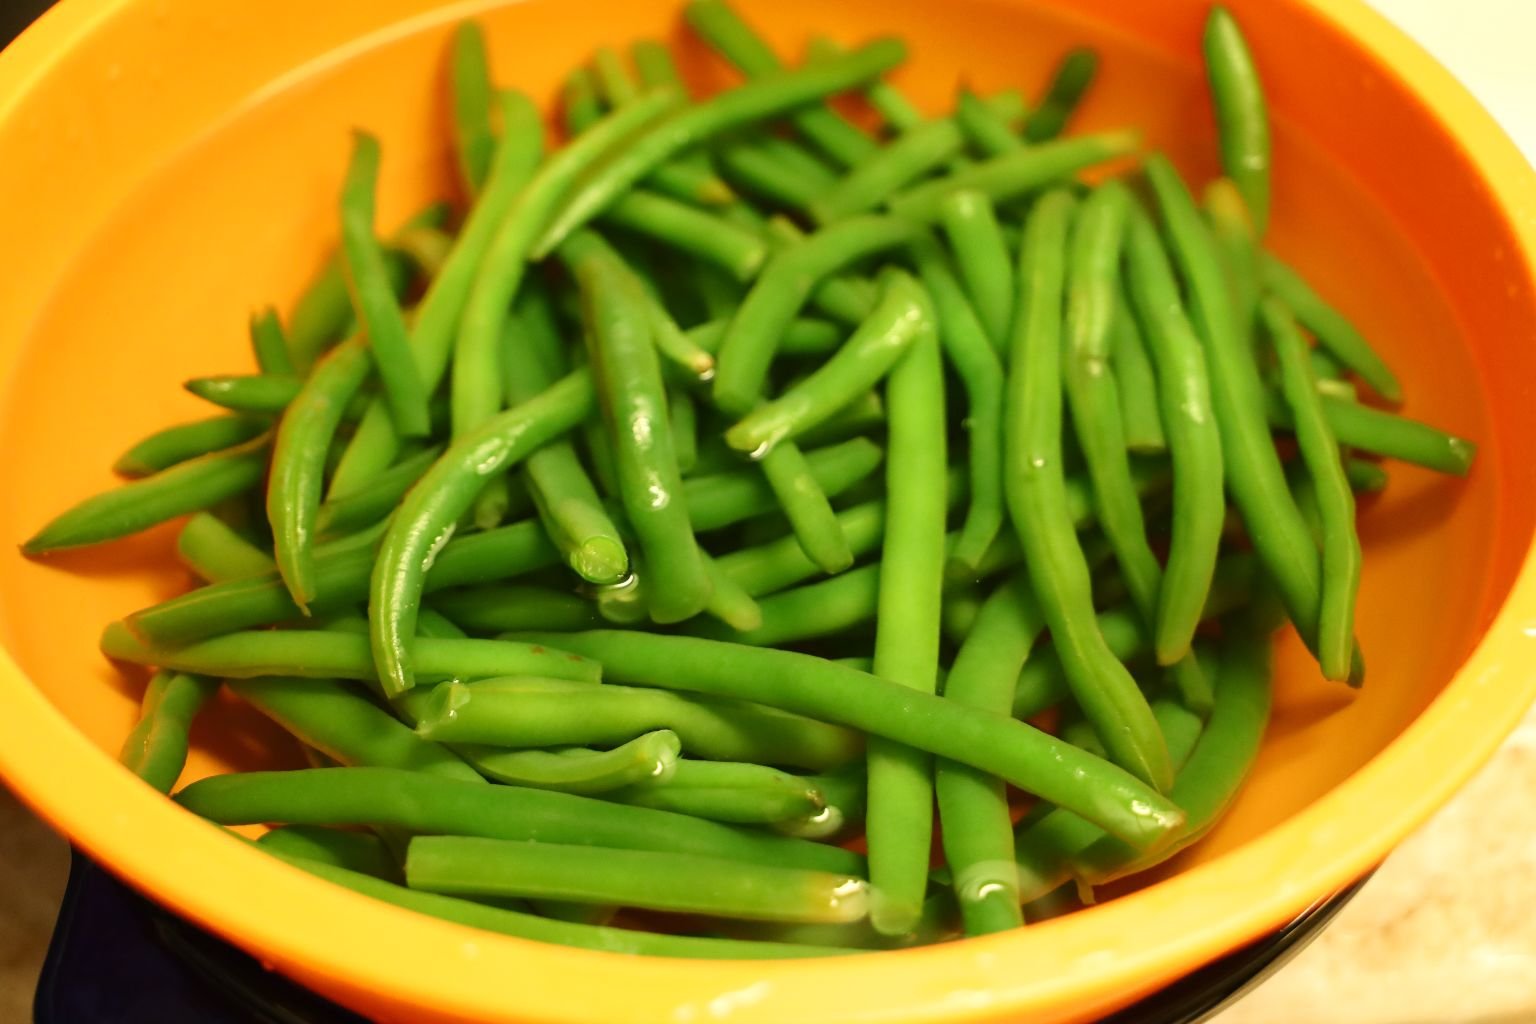
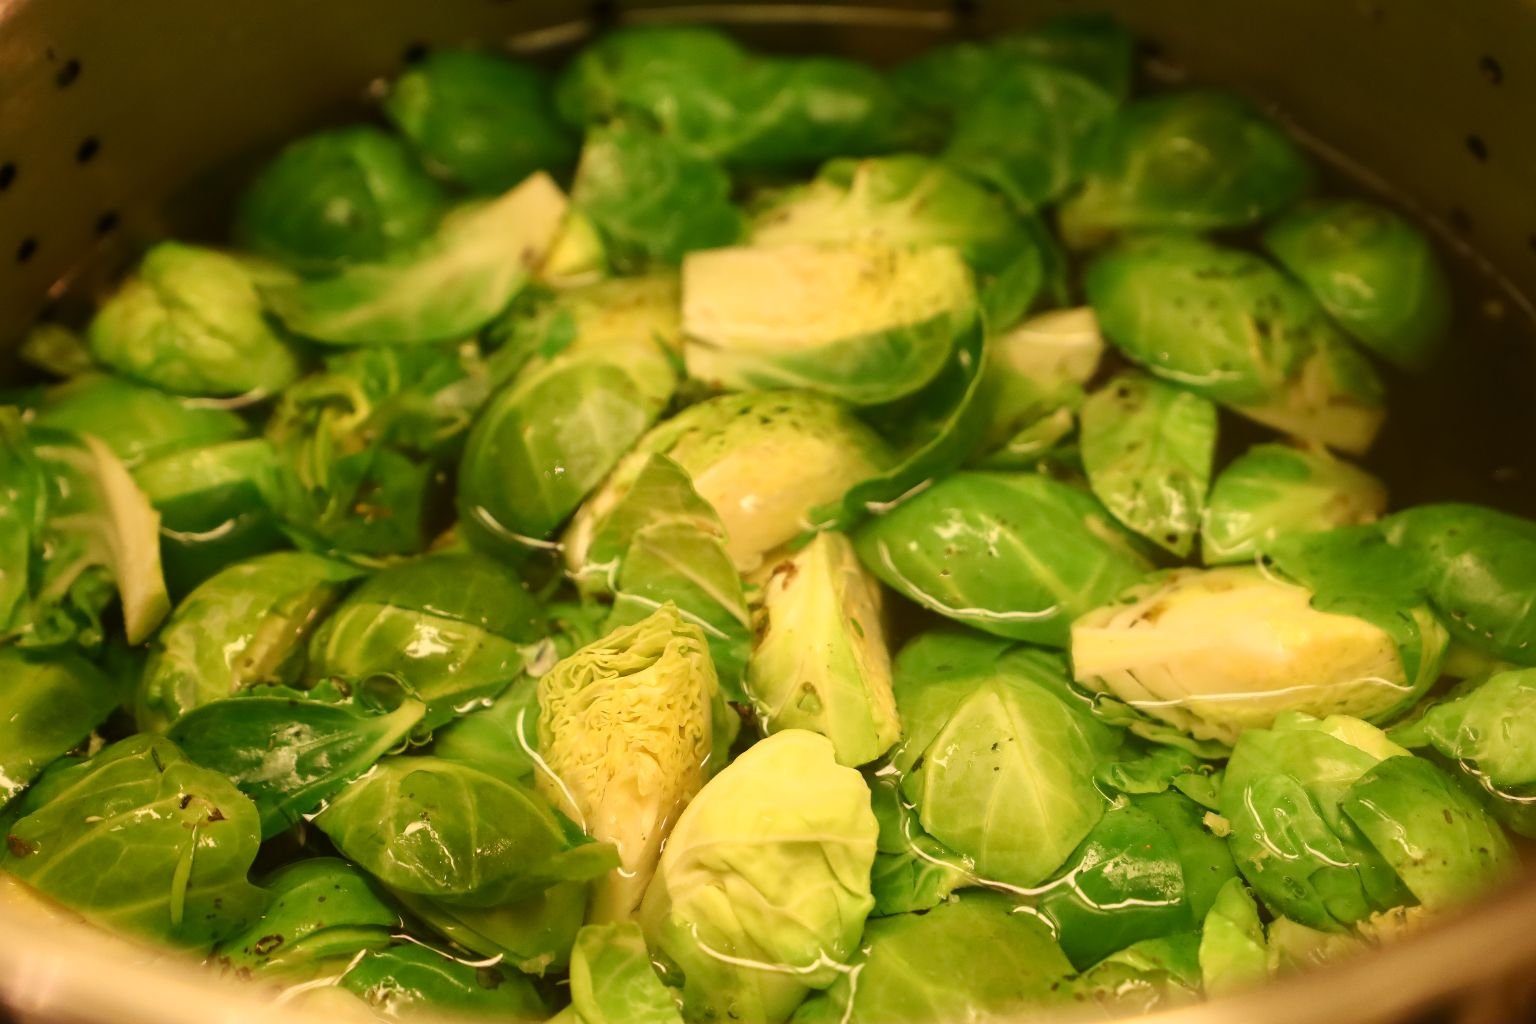
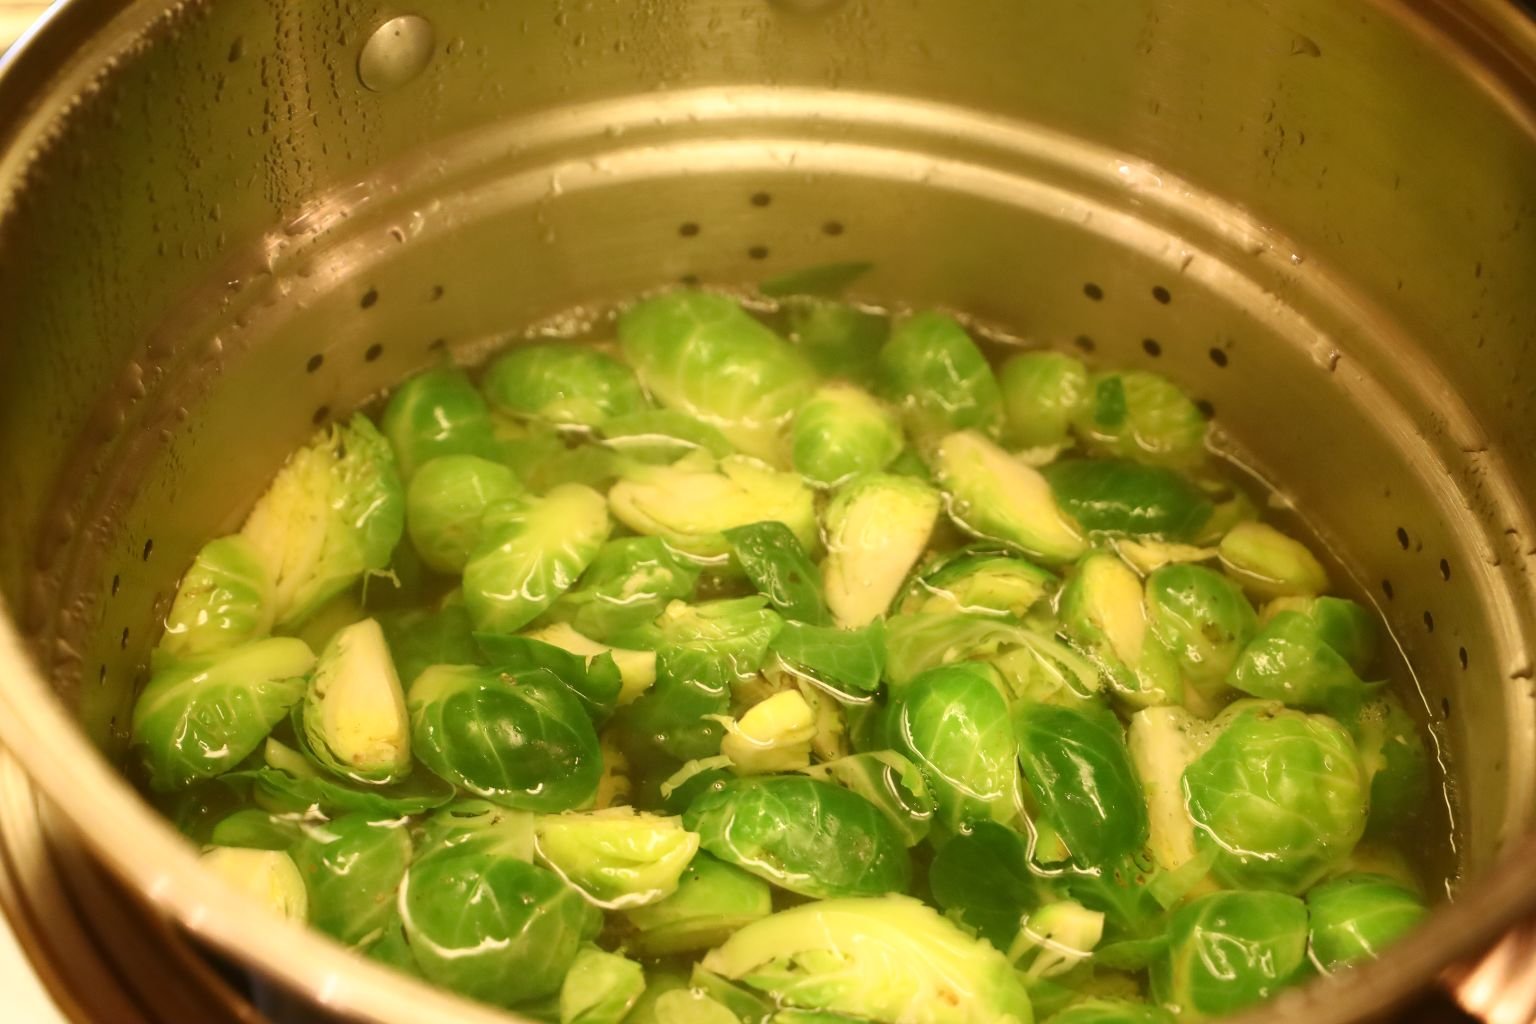
Test your Green Beans for doneness before removing them. Using the pot’s strainer helps with removing all the green beans. Rinse the beans well with cold water and place them in a bowl of cold water until fully cooled.
———————————————————————
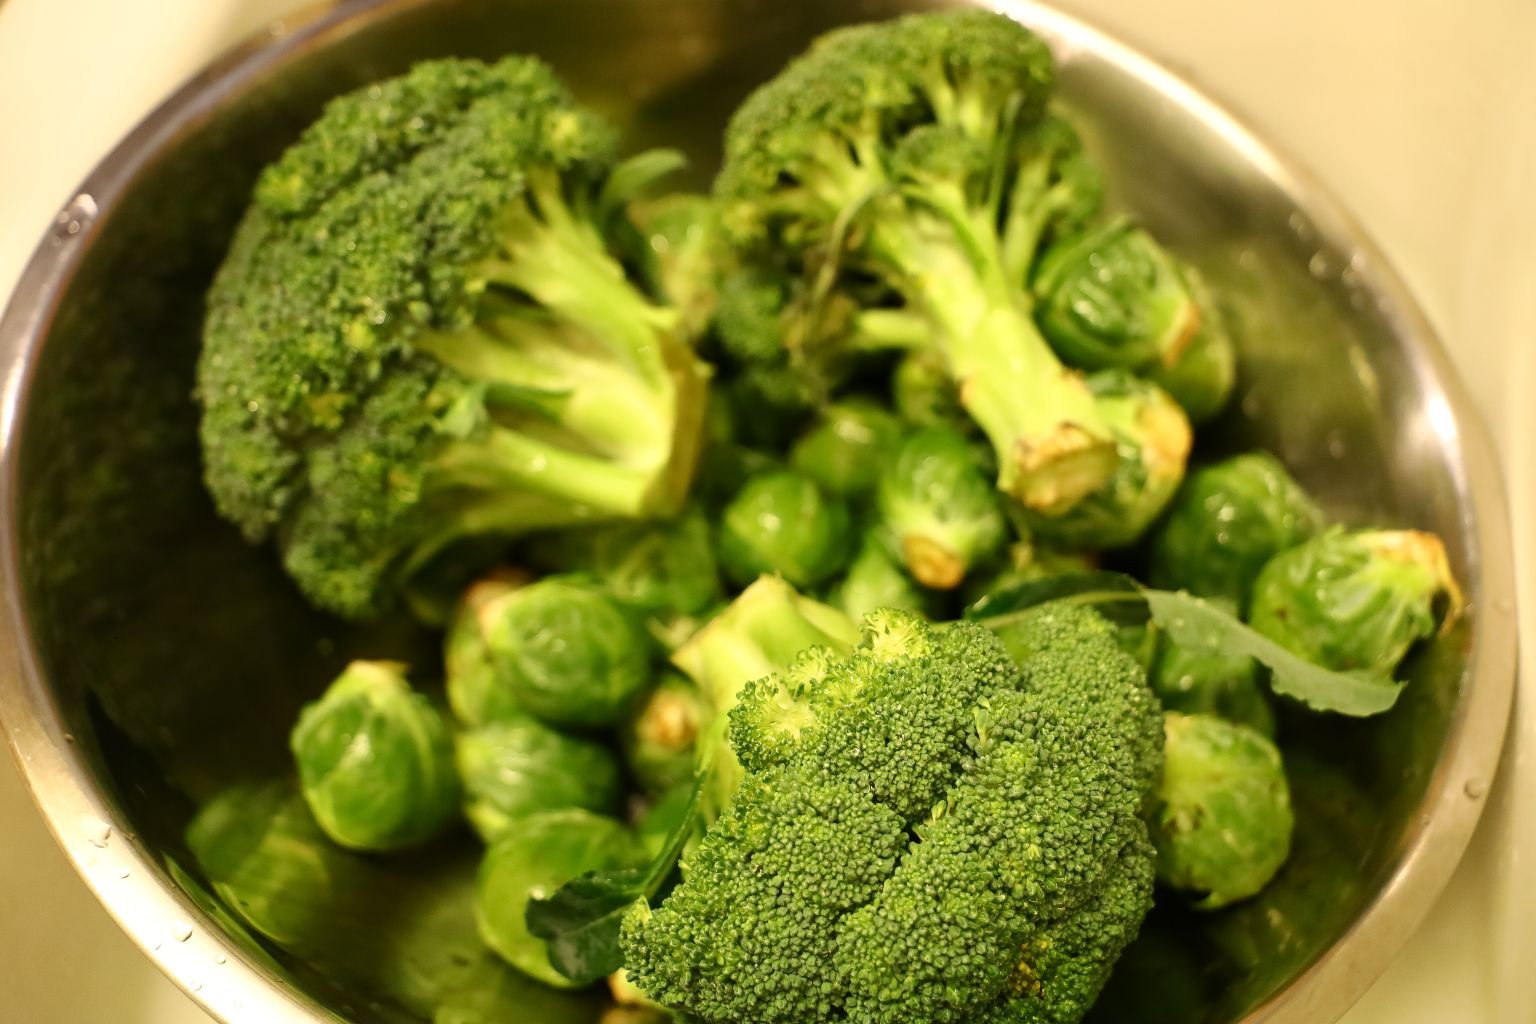
Here are the Brussels Sprouts, and Broccoli I used.
———————————————————————–

Going back to the fried onions….
Place the onion rounds in the corn starch and flour mixture and toss well.
————————————————————————
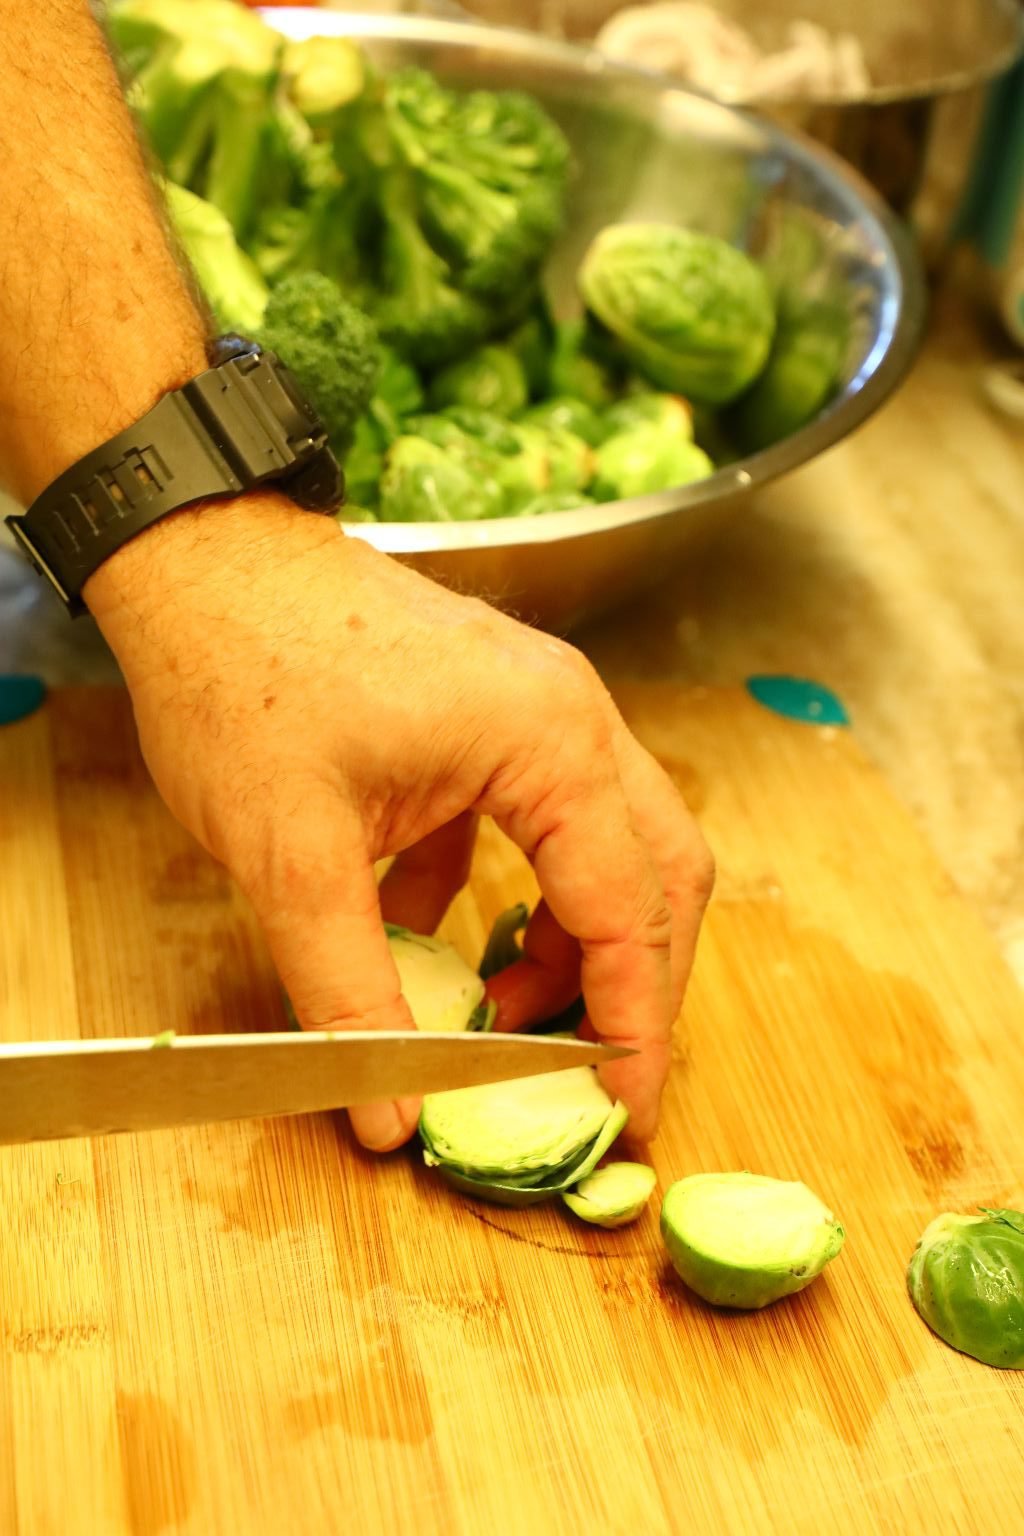
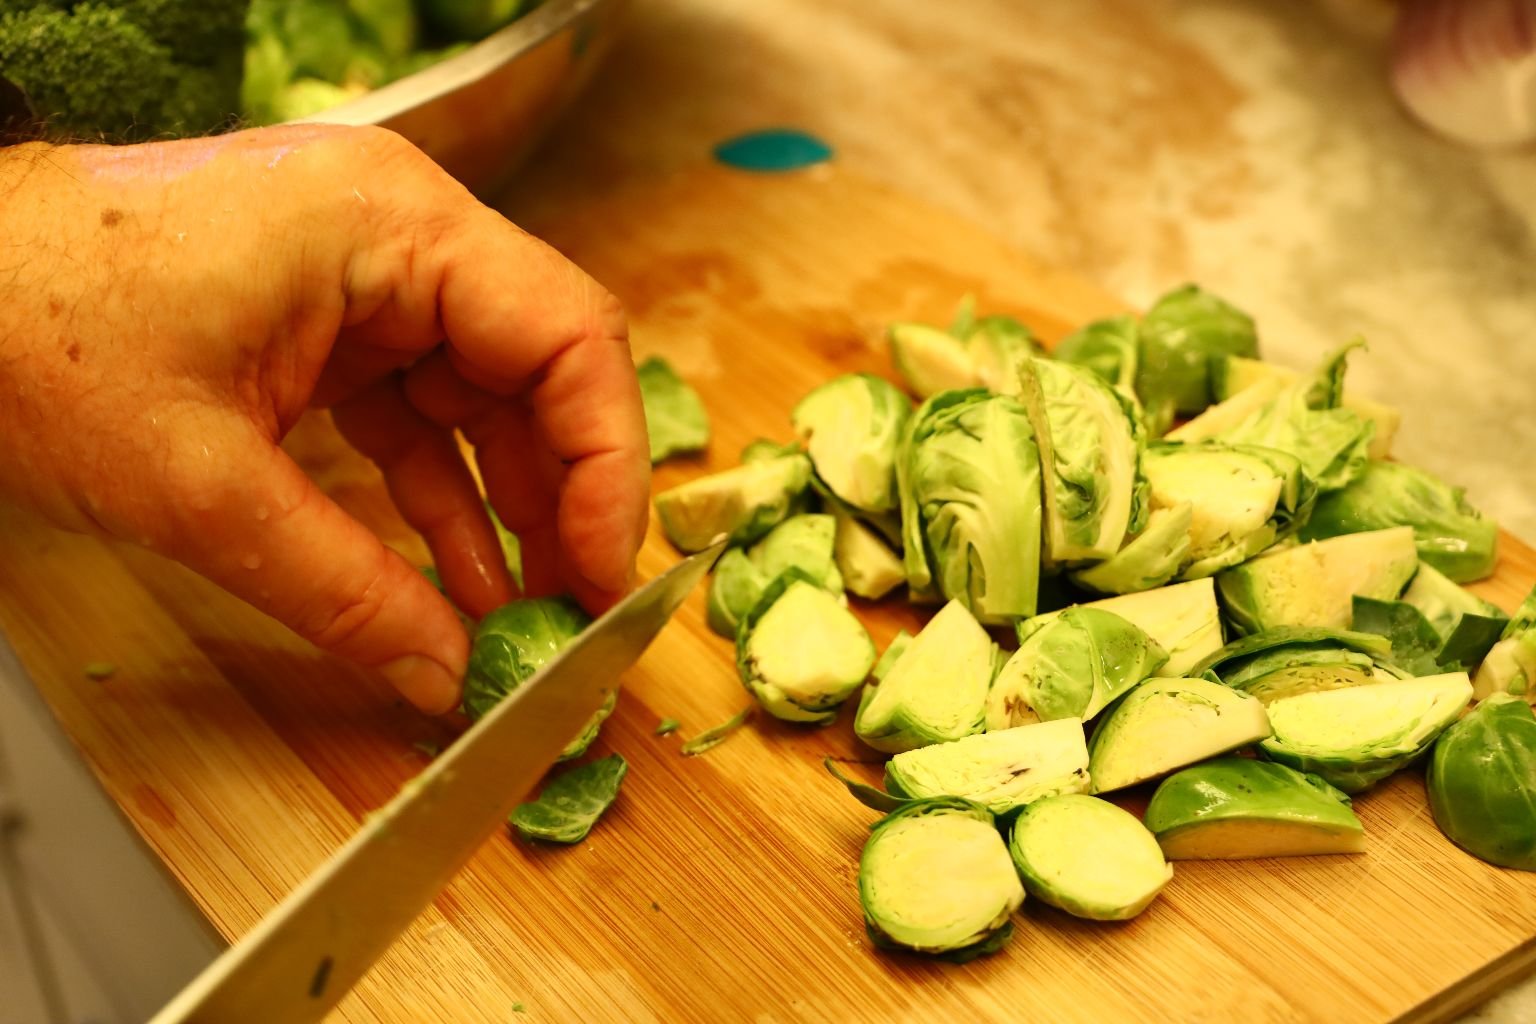
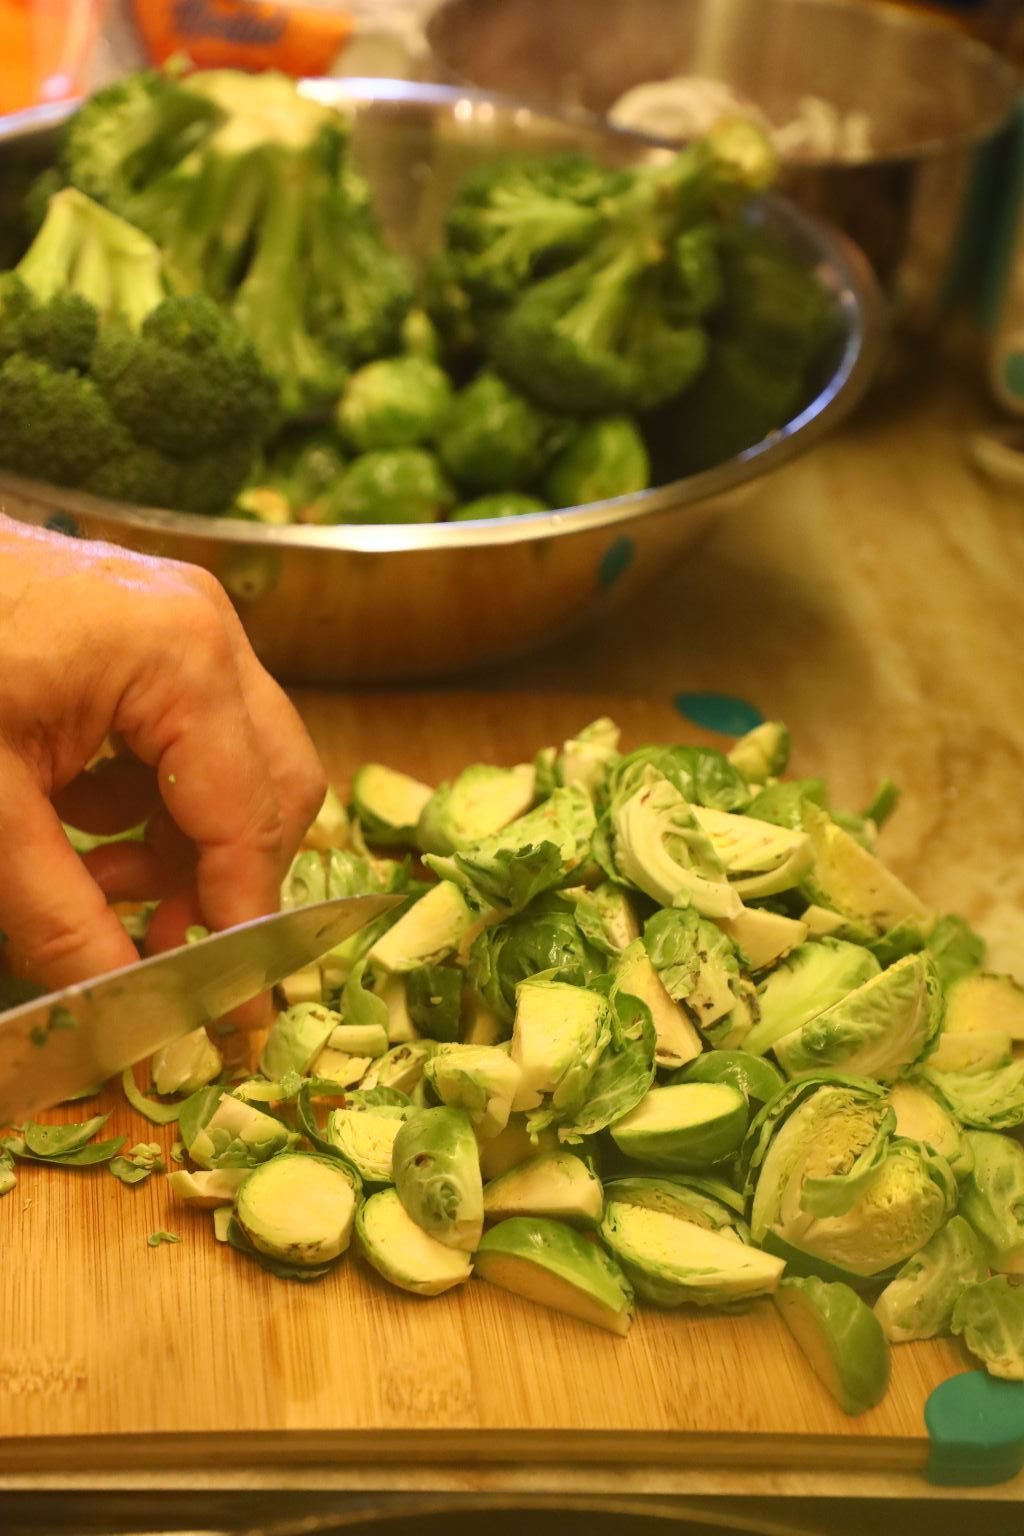
Remove the ends of the Brussels Sprouts and chop into quarters as shown.
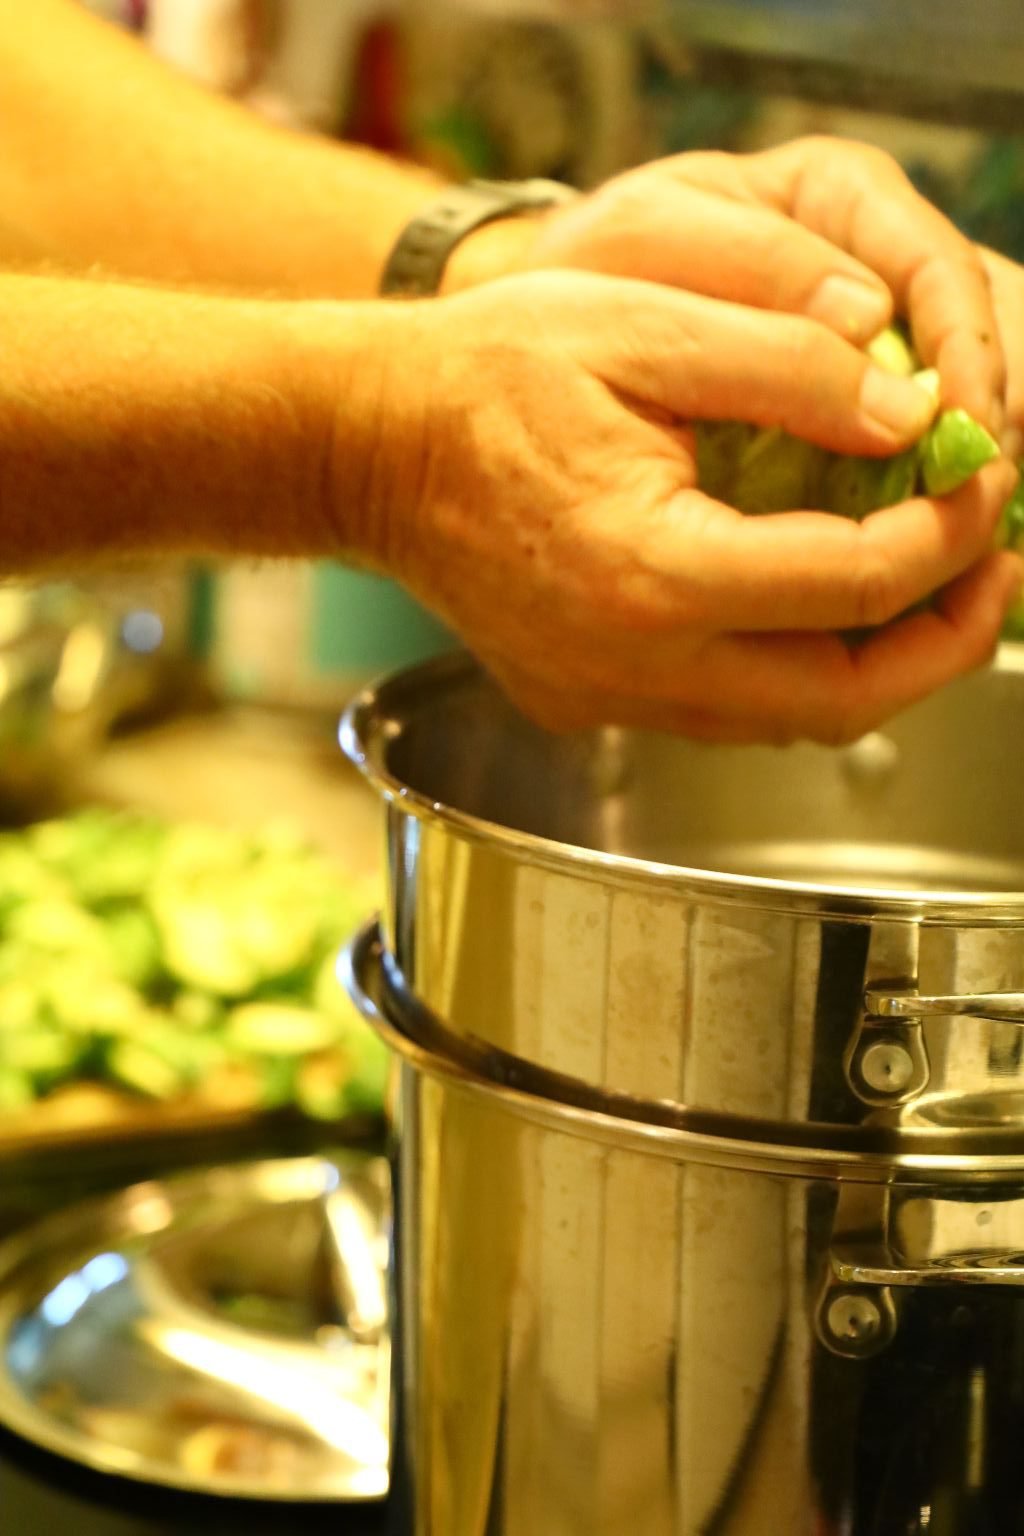
Place your Brussels Sprouts in the boiling water and cook until just tender… taking about 10 min.
———————————————————————-
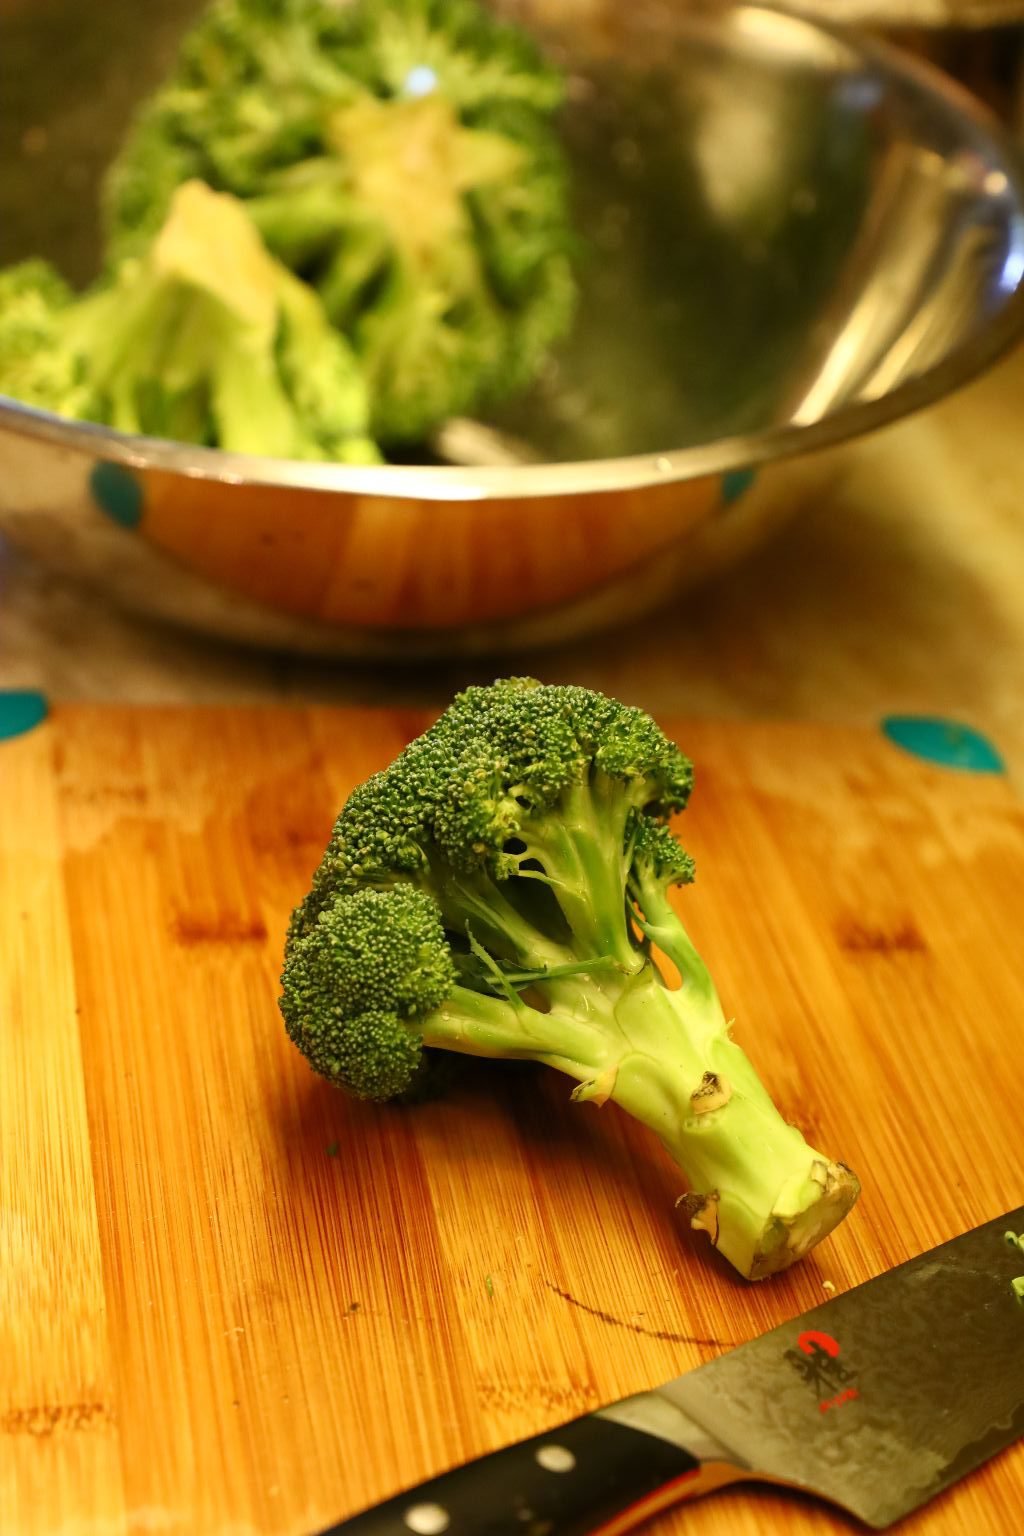

While the Sprouts are cooking, trim and cut your Broccoli into sections.
Sprouts Cooking

Here are the small pieces of Broccoli I used.
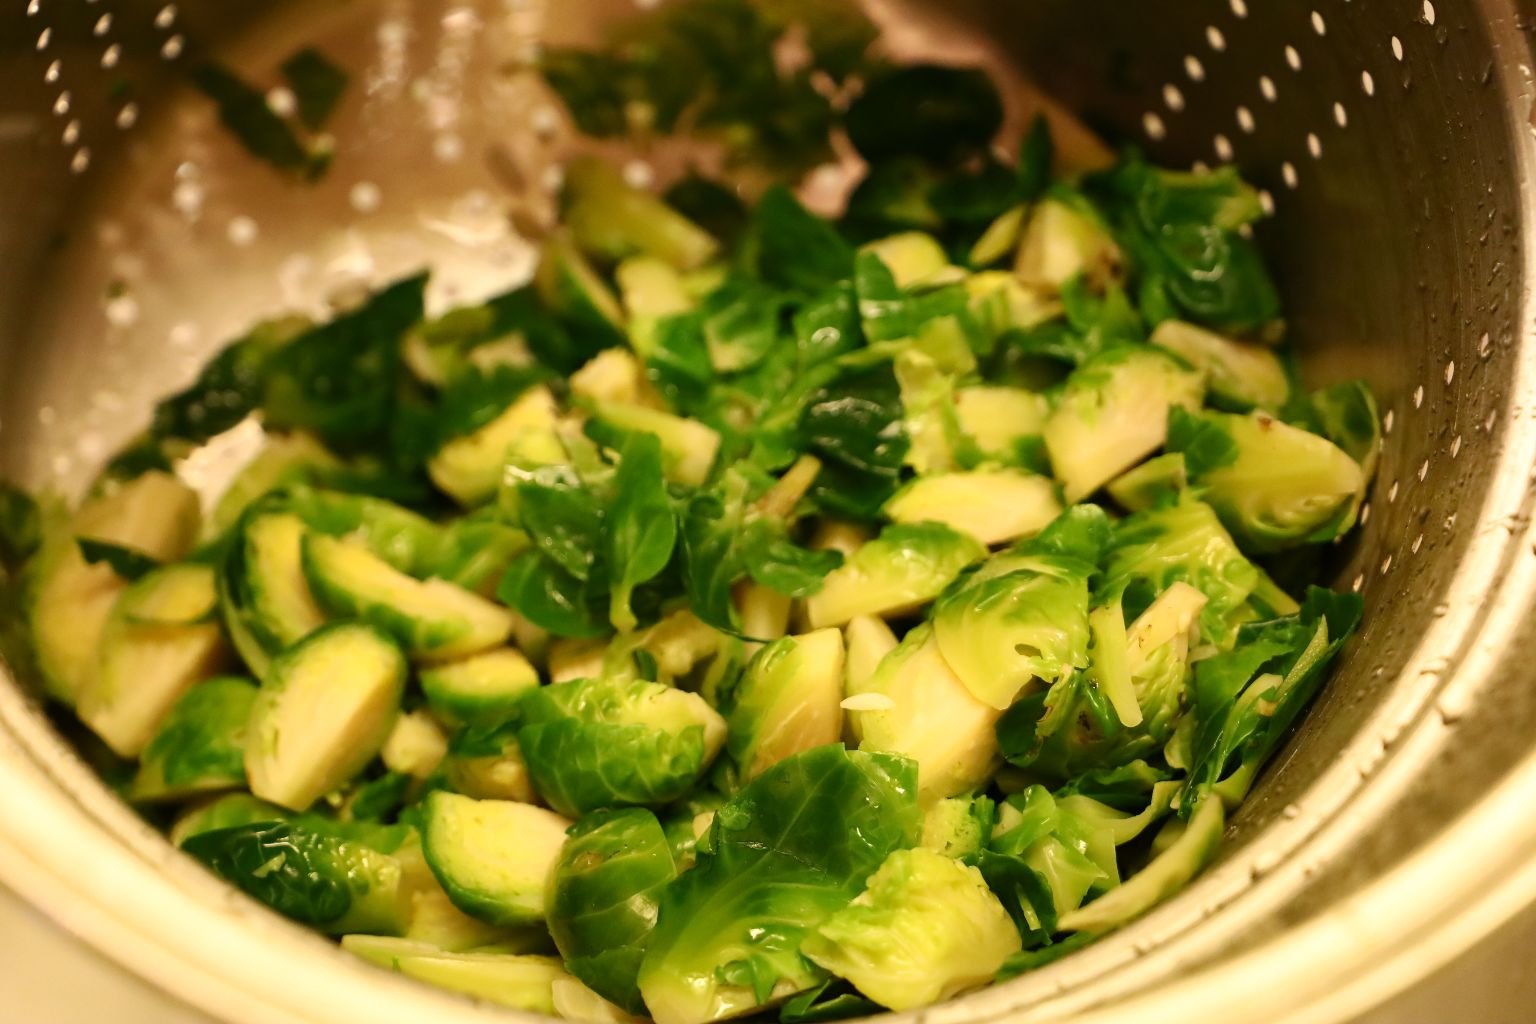
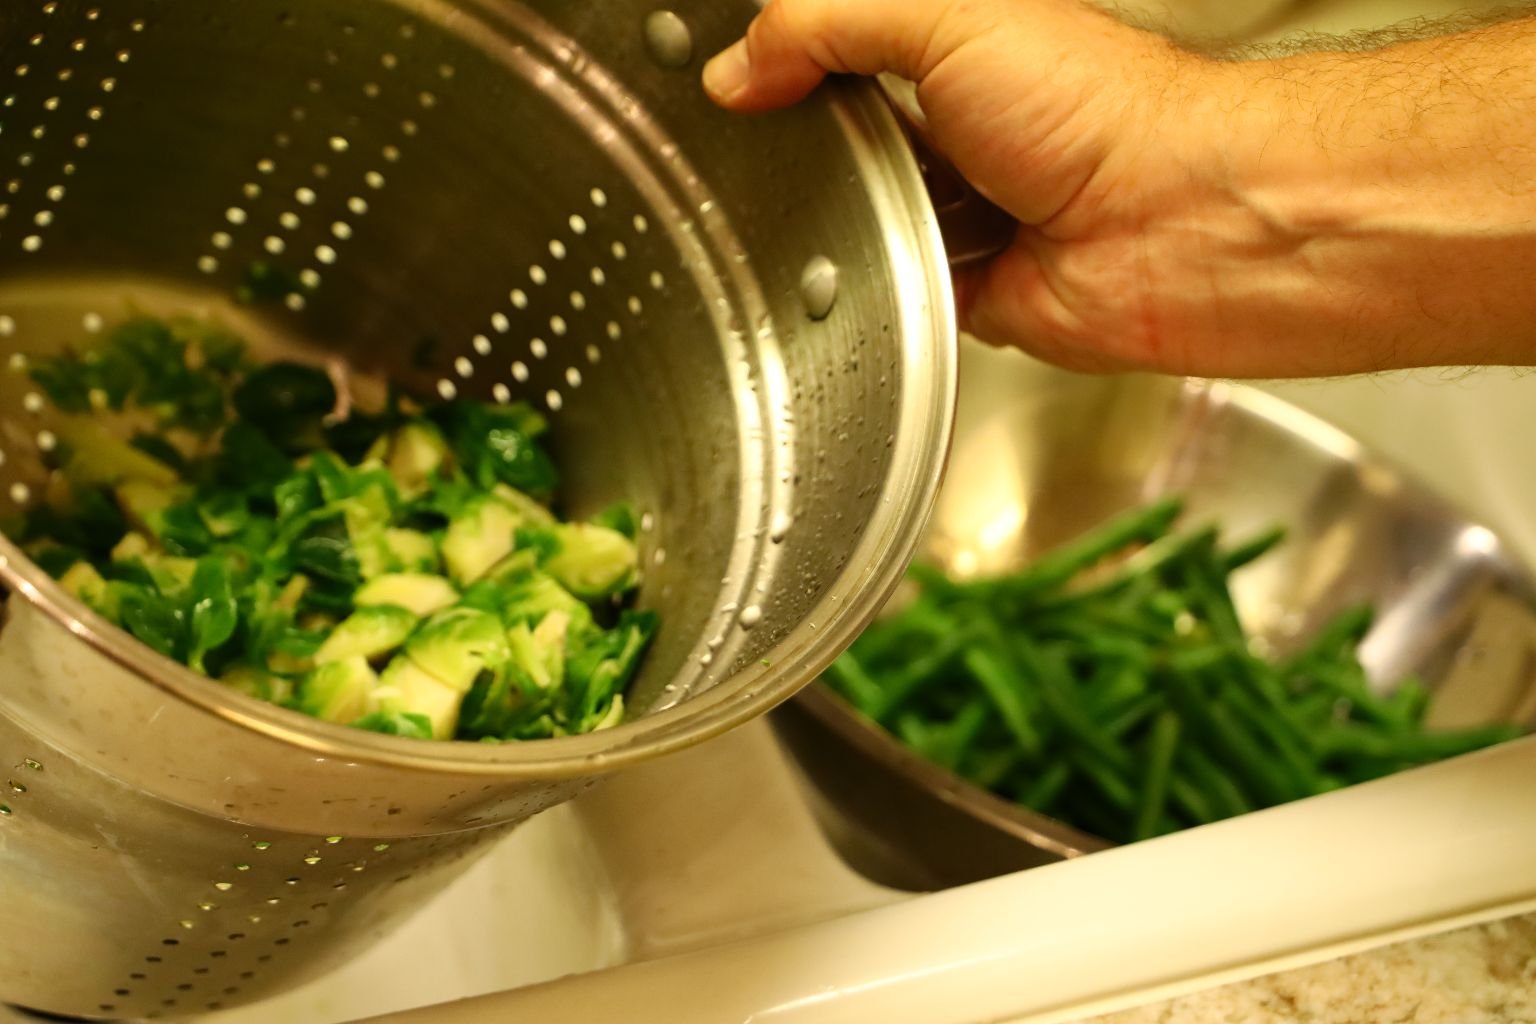
When the Brussels Sprouts are tender and green, remove them and cool as you did with the green beans.
————————————————————————–

Here I am heating my oil to fry the onion using a cast iron skillet.
The heat is on Medium High.
—————————————————————————–
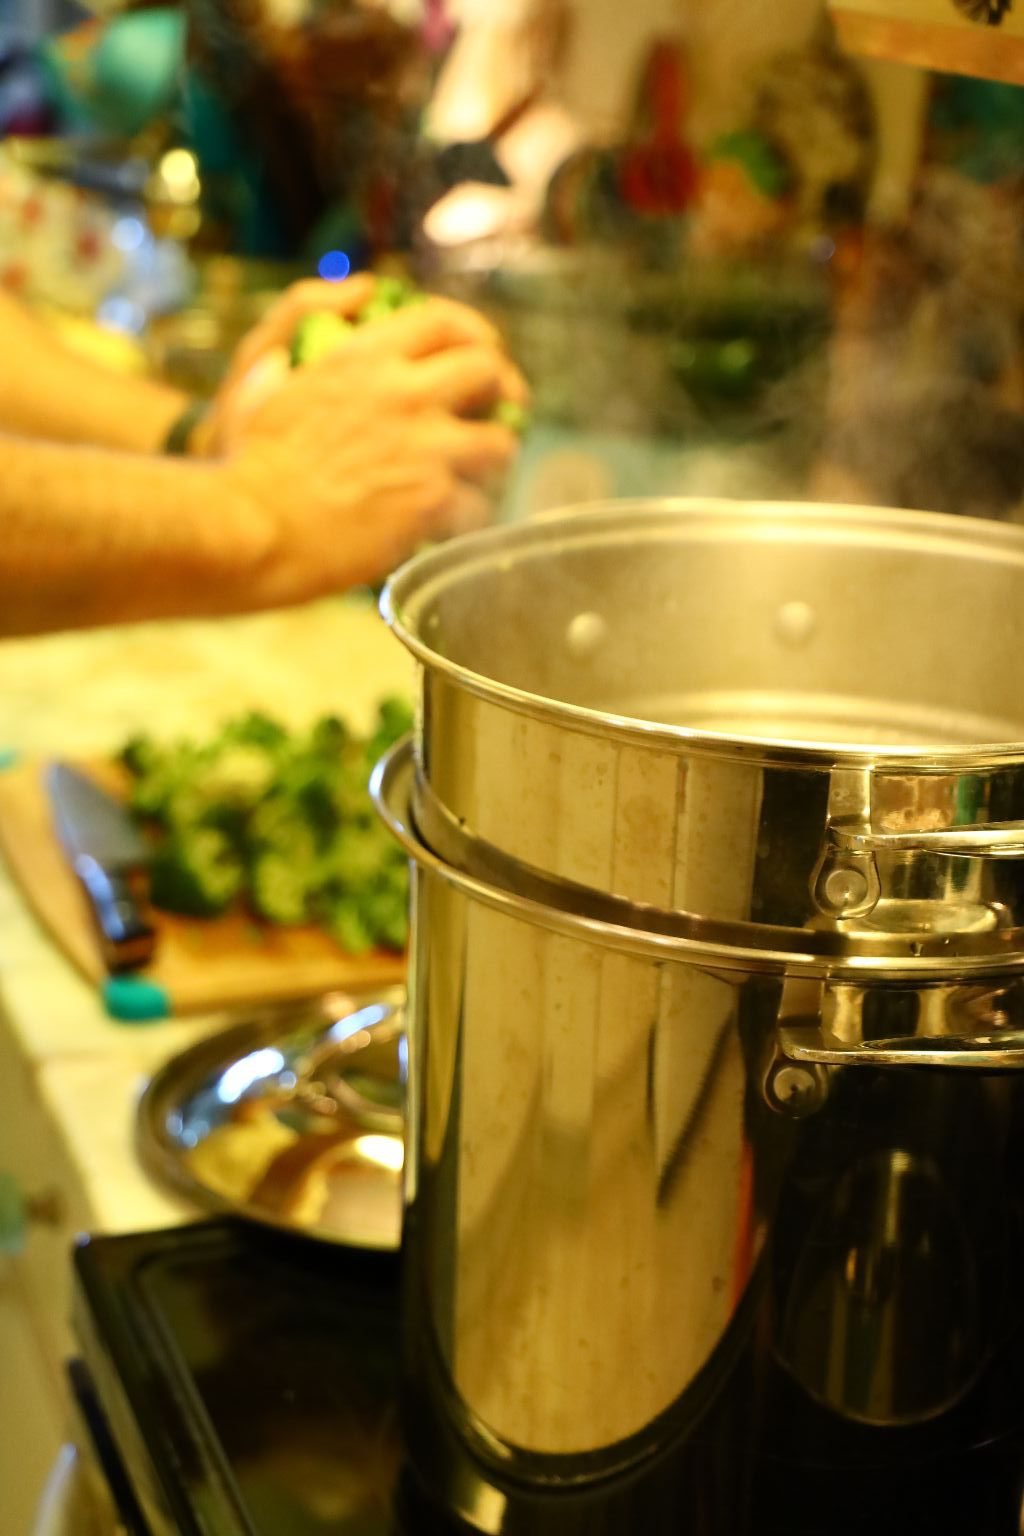
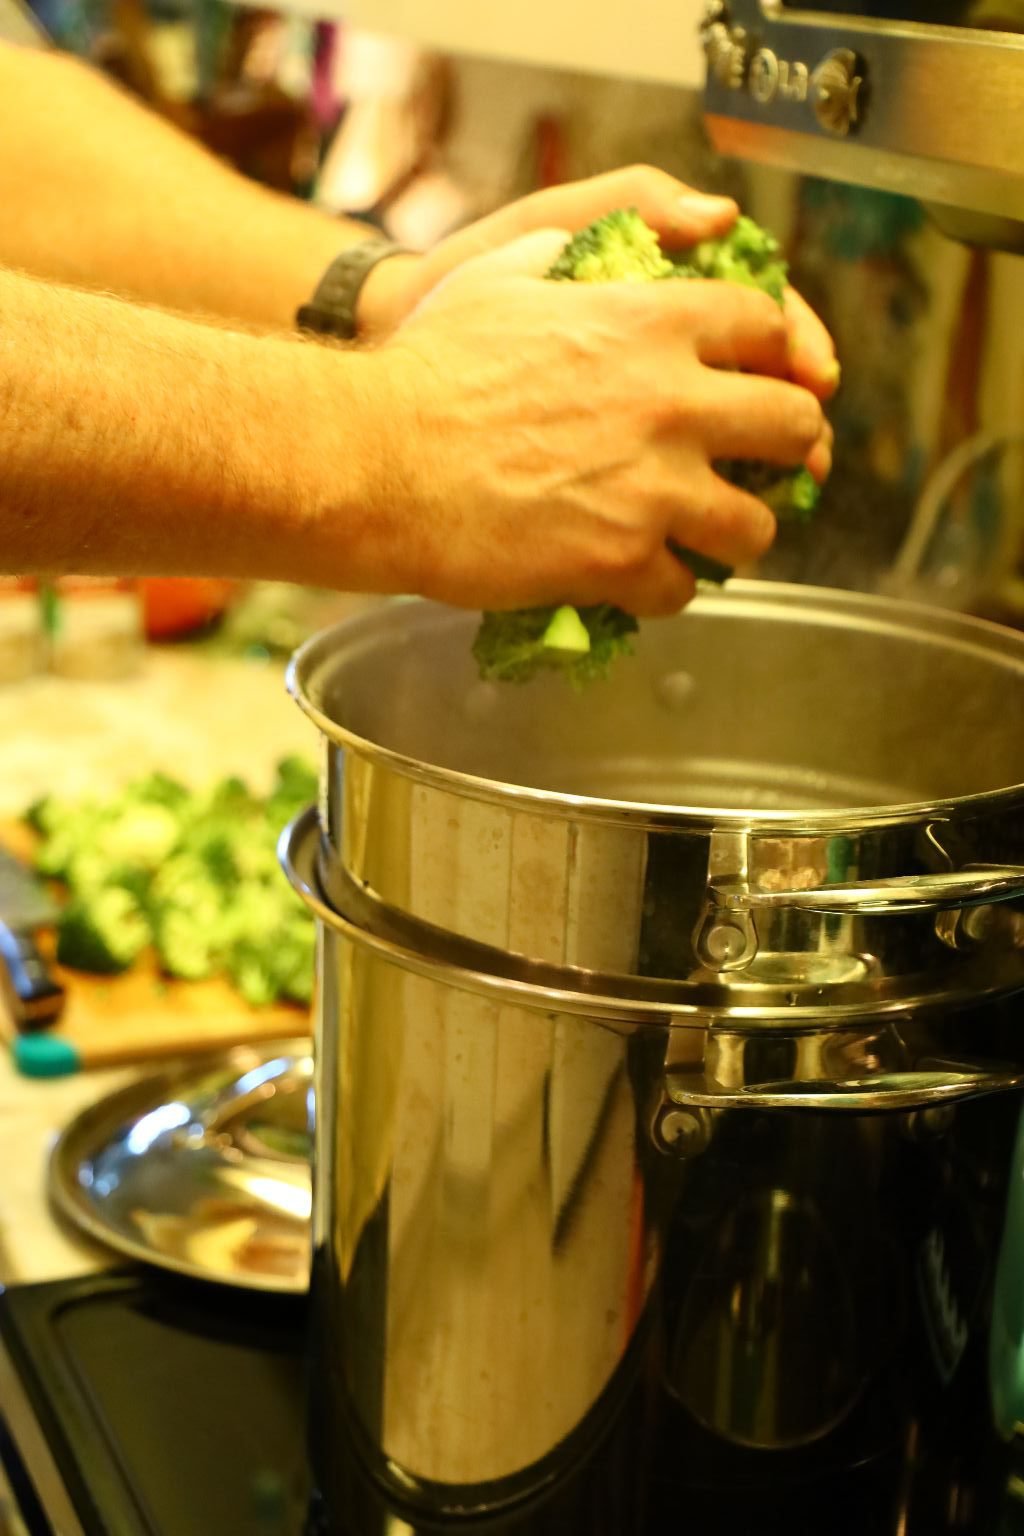
Now, place your Broccoli in the boiling water and cook until tender and green taking about 10 min.
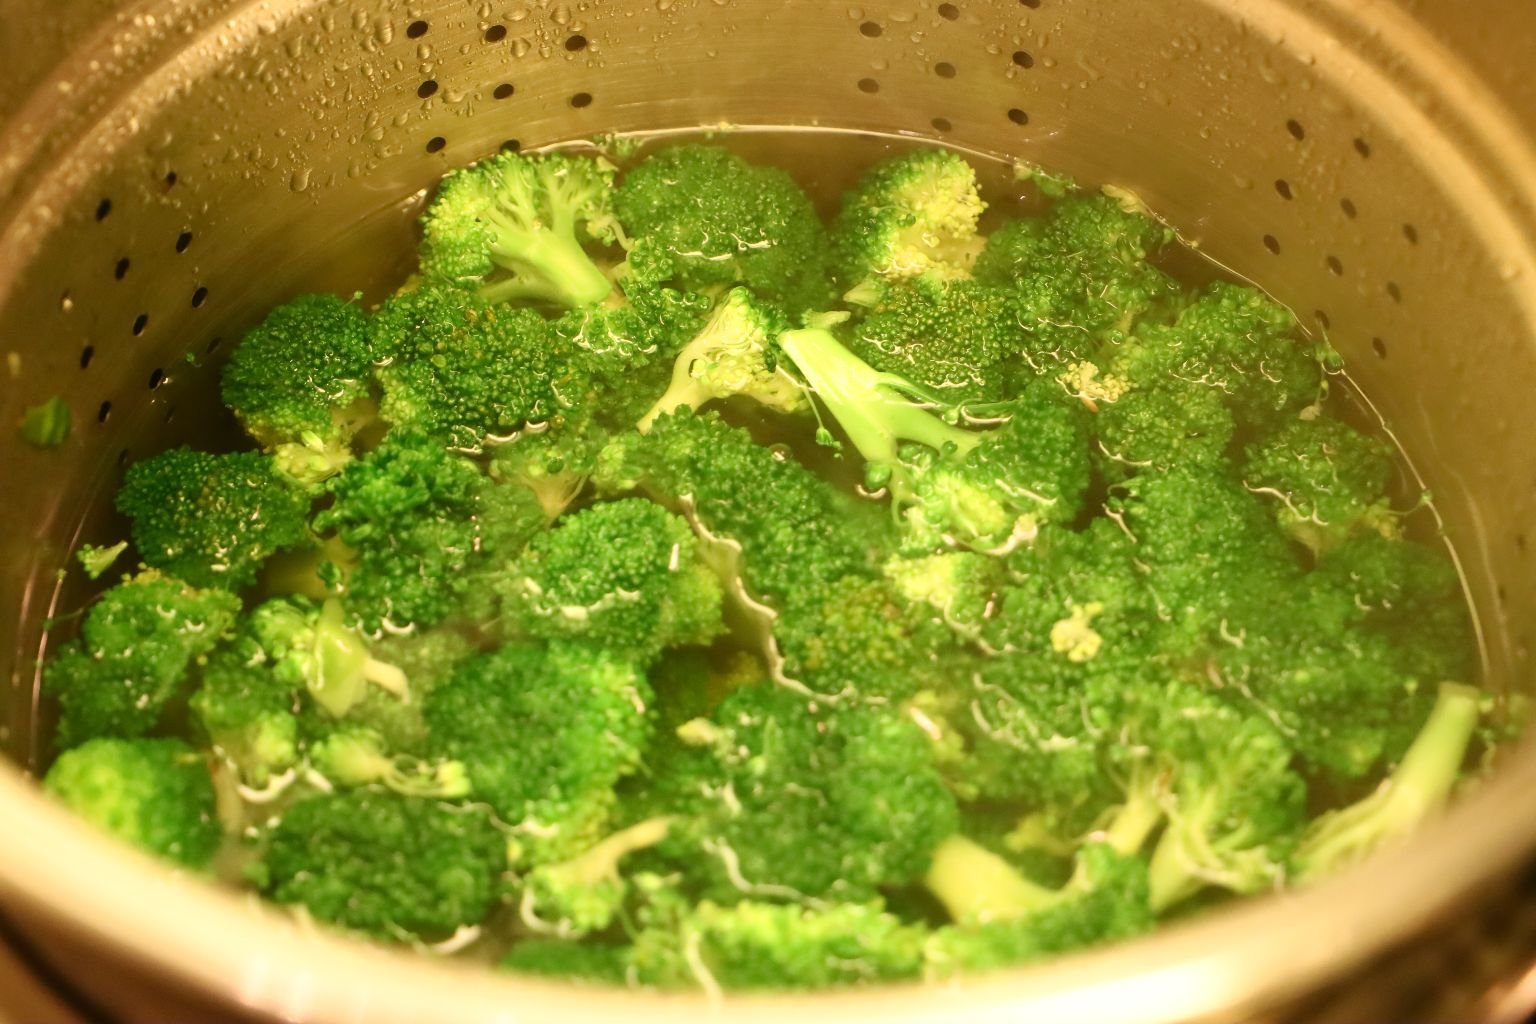
As Shown
————————————————————————-
Frying The Onions
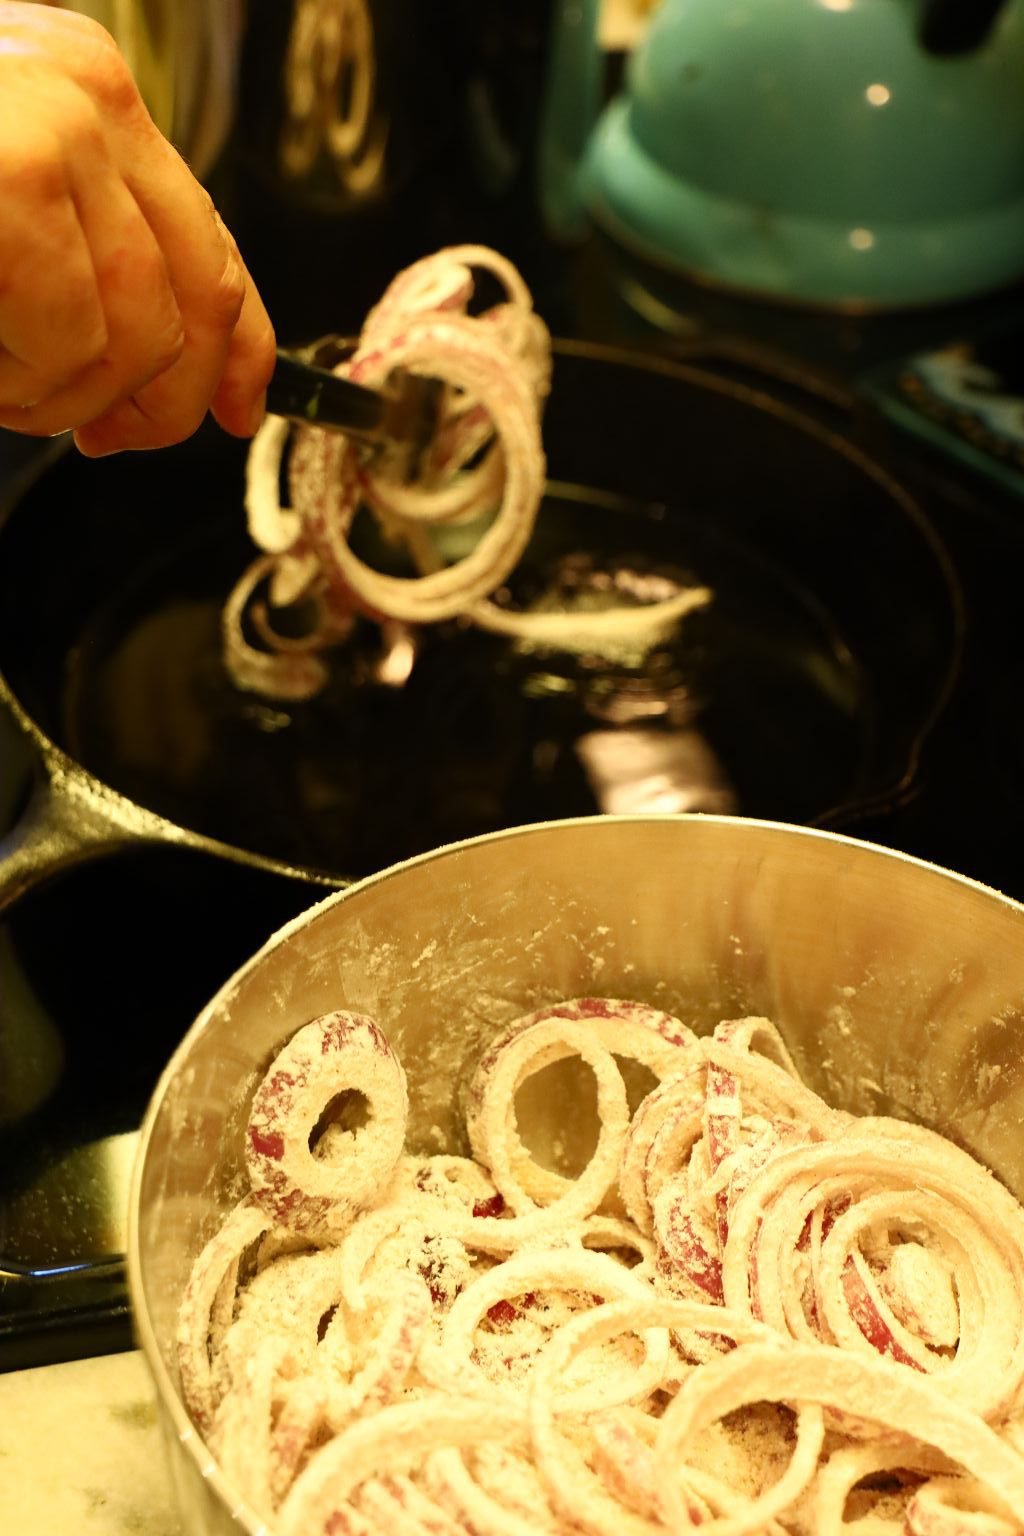
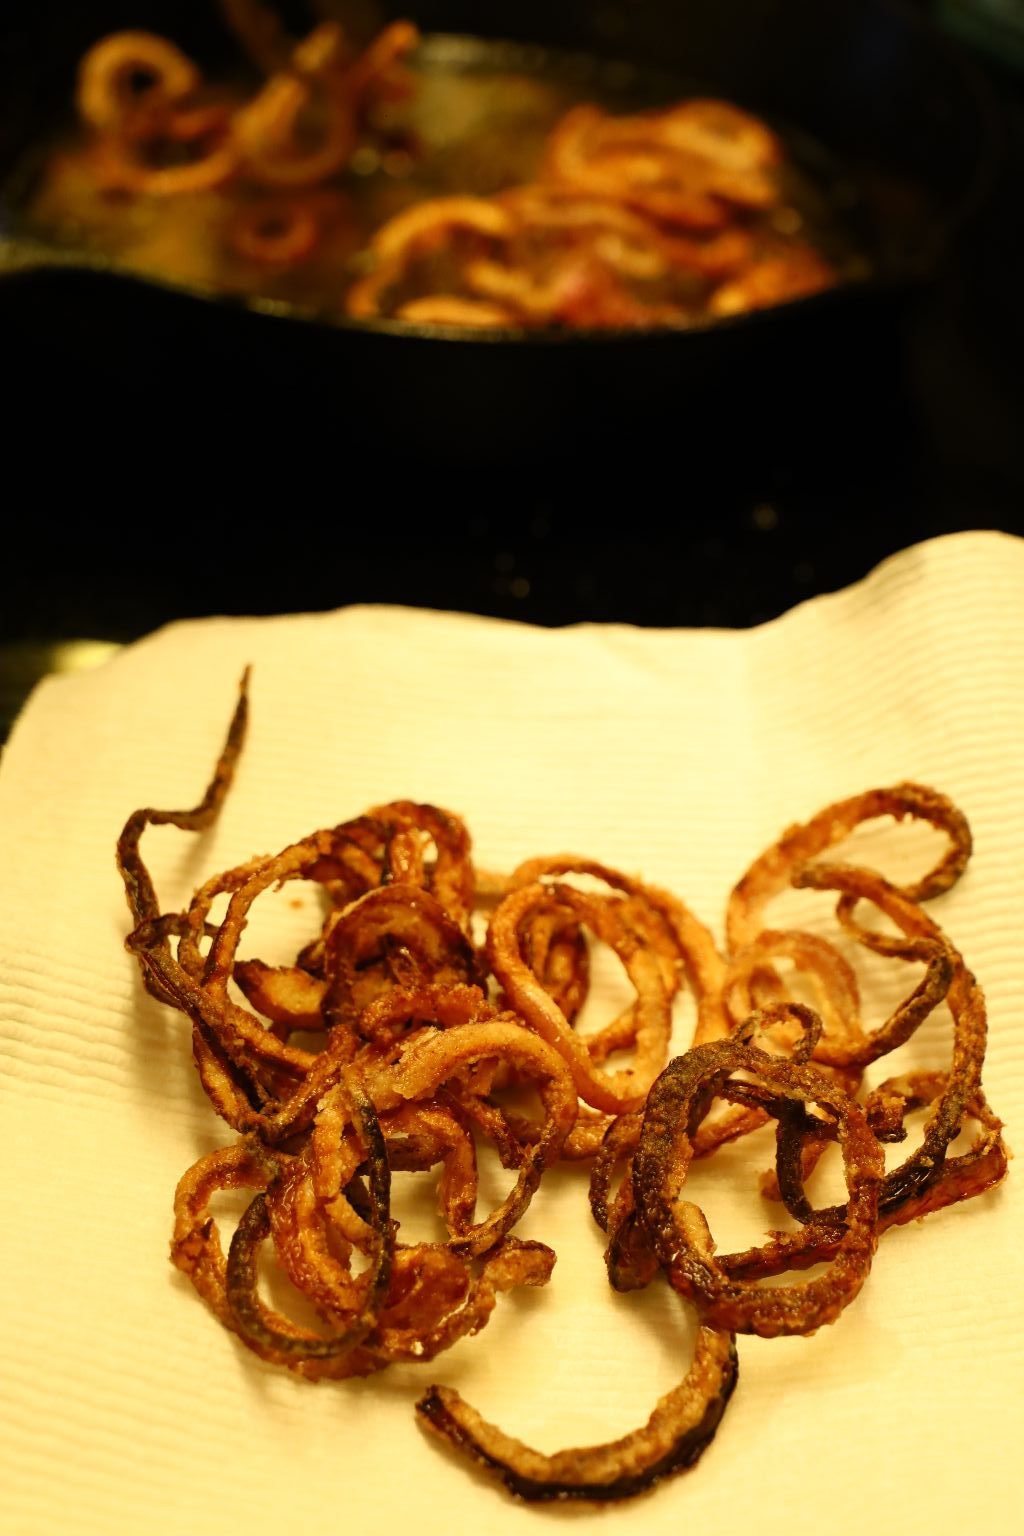
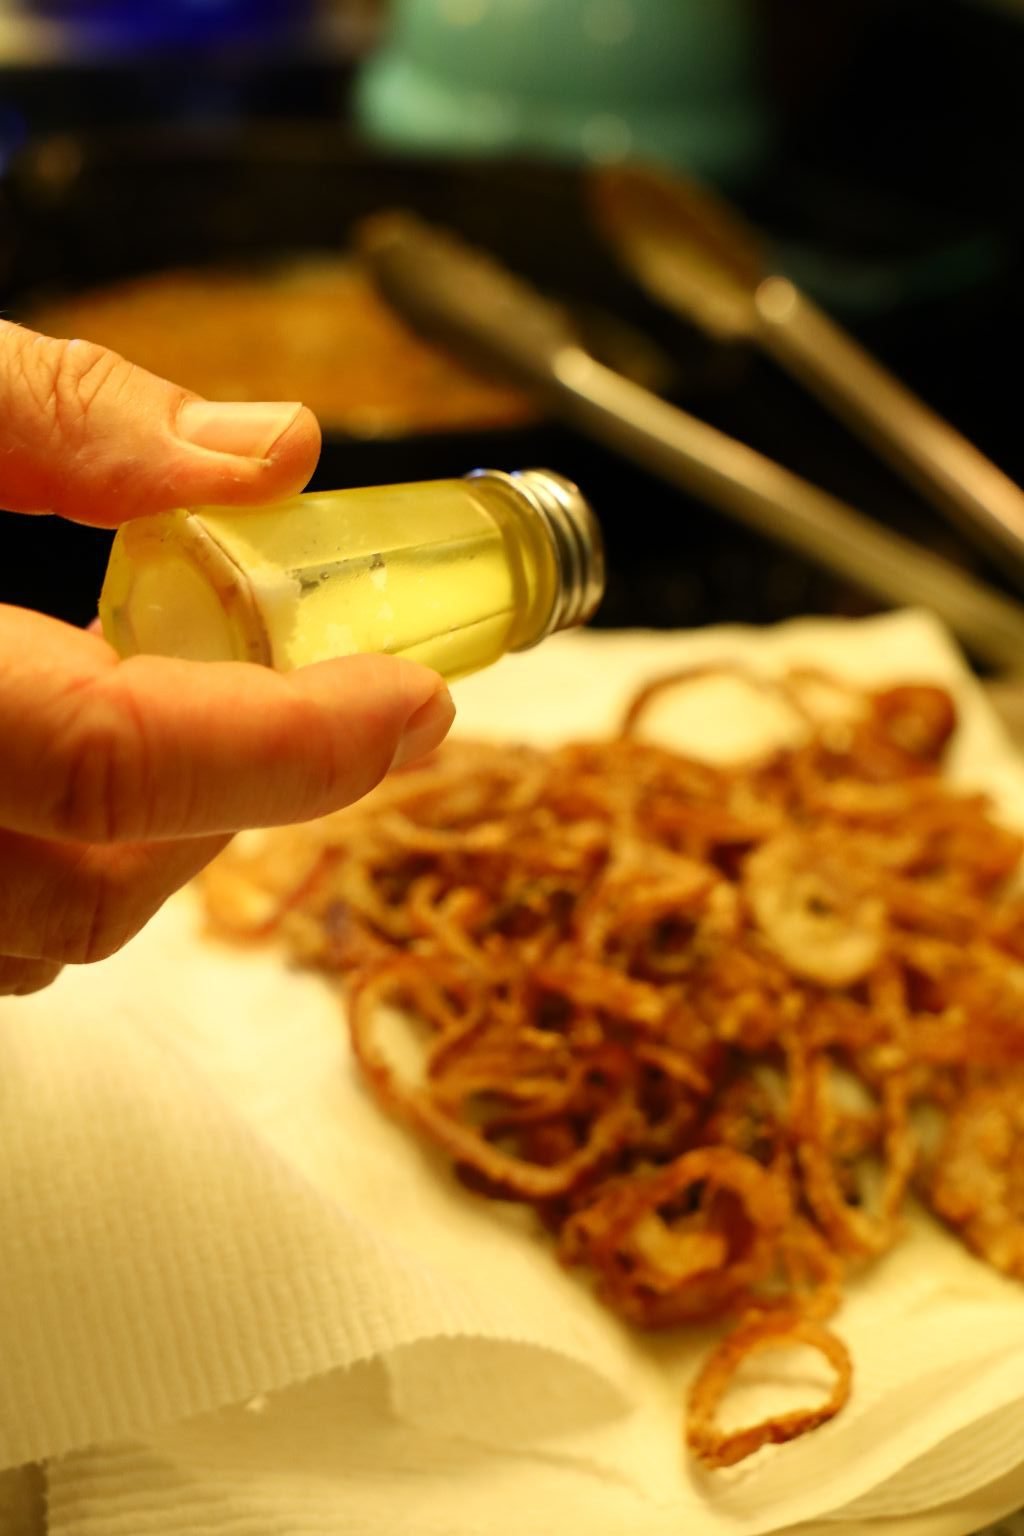
When the oil is at temperature, add your onions. When they start to brown, turn them using some tongs or a spatula. When fully cooked, place them on paper towel to collect any excess grease.
———————————————————————————–
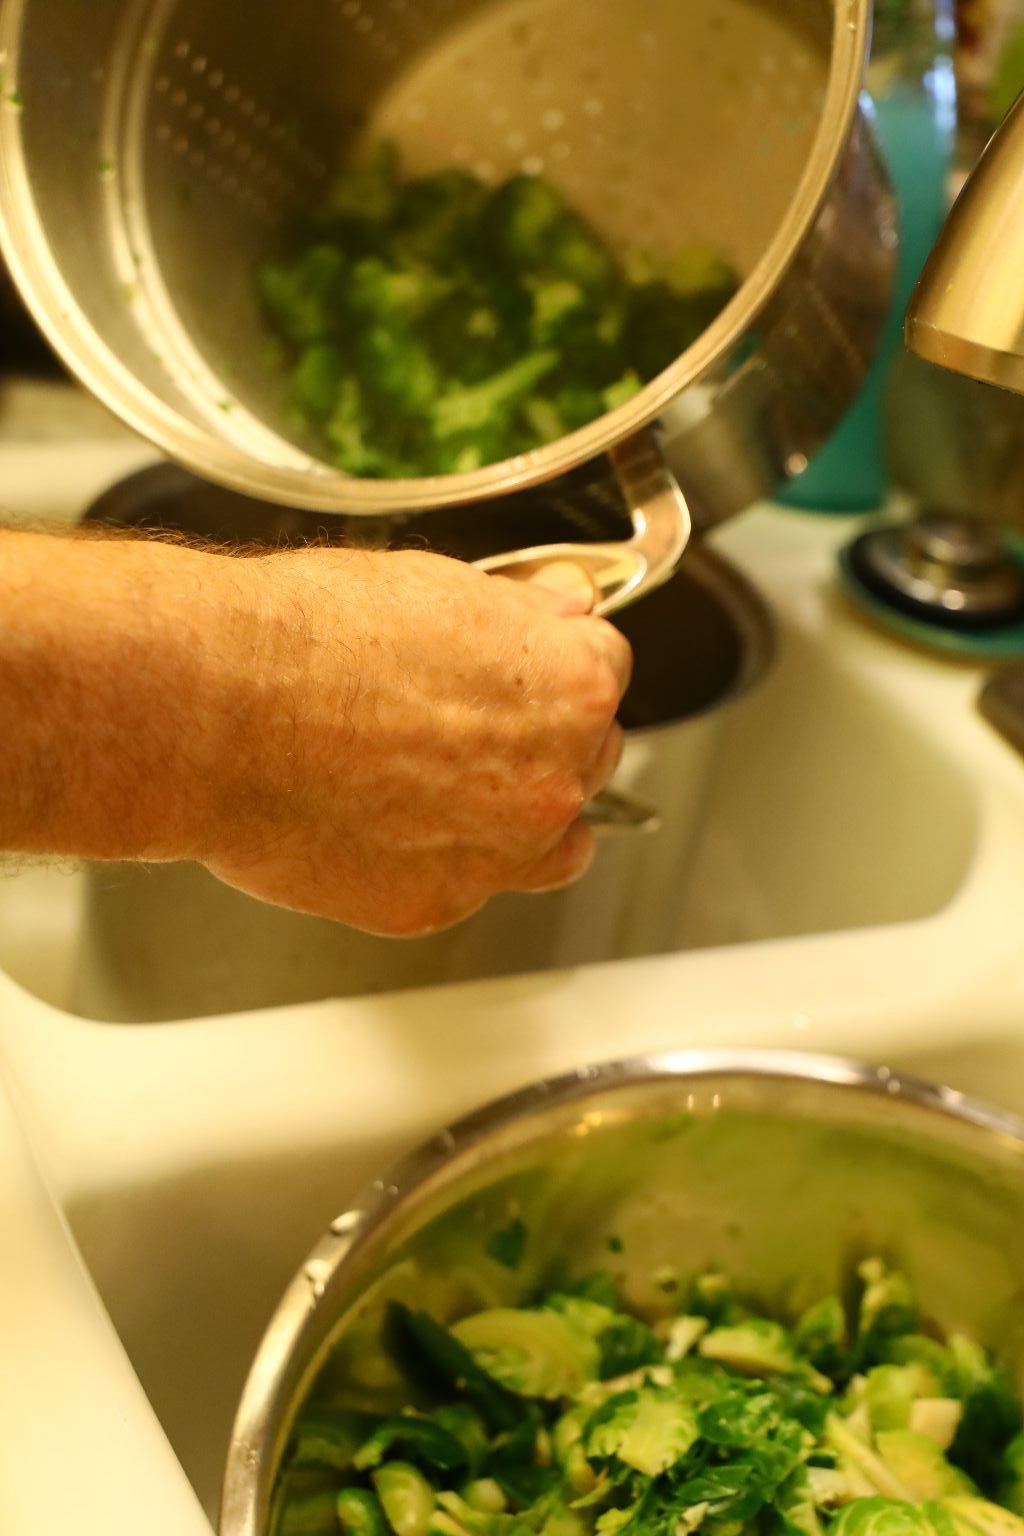
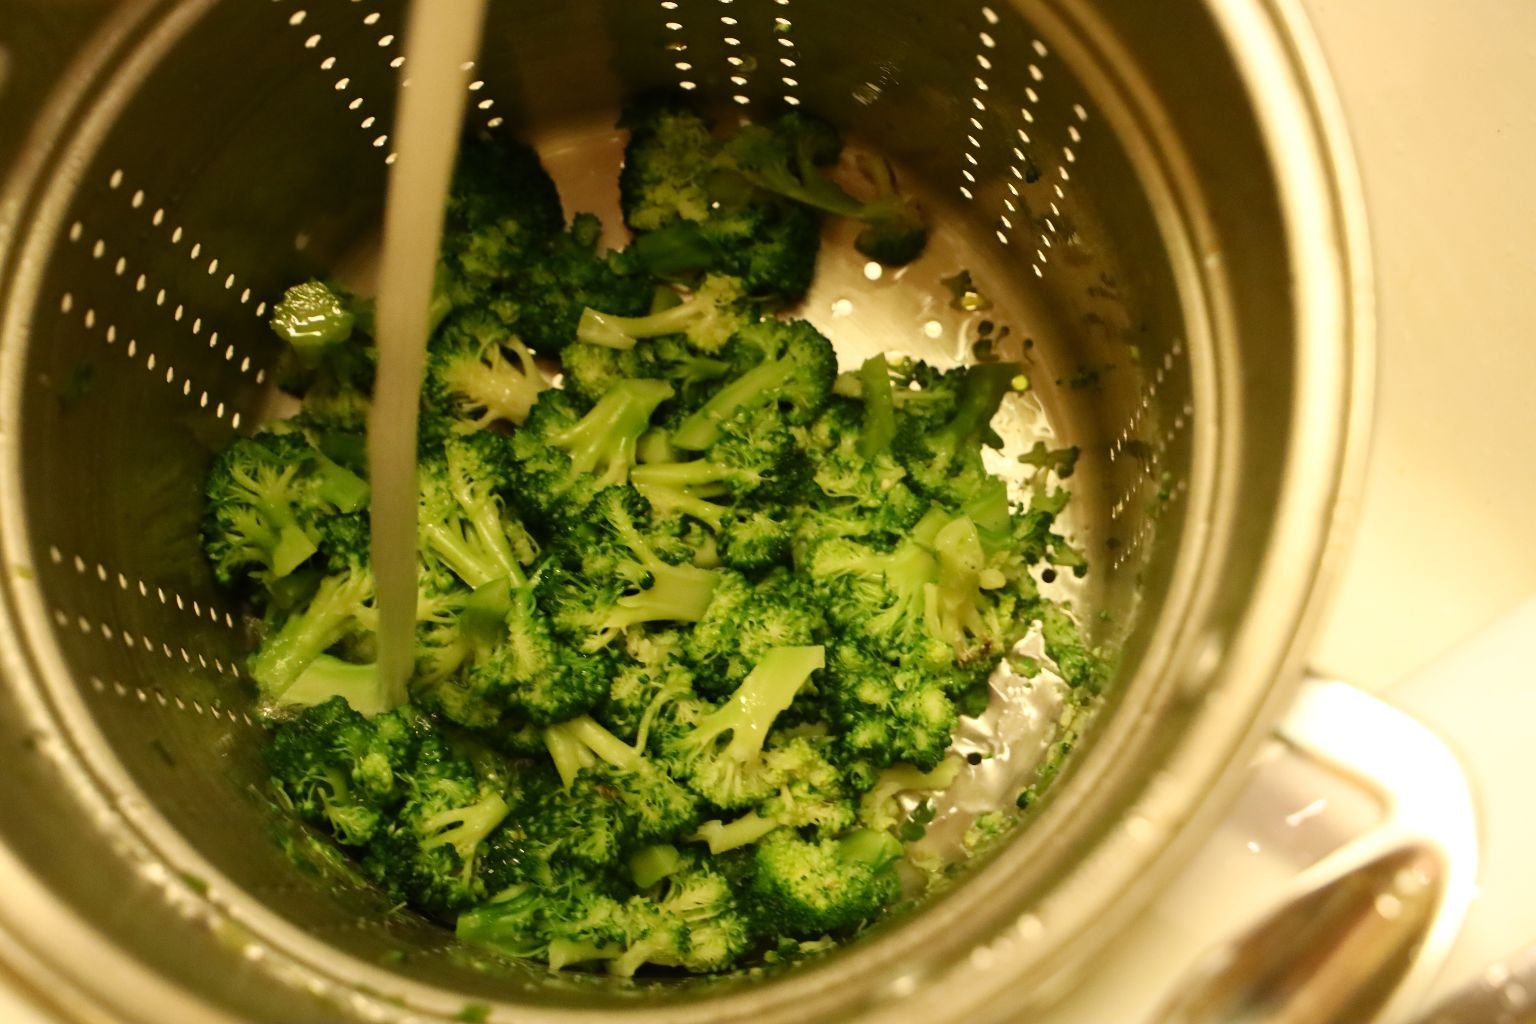
Remove the Broccoli from the boiling water when at temperature, and rinse with cold water to stop the cooking process keeping them bright green.
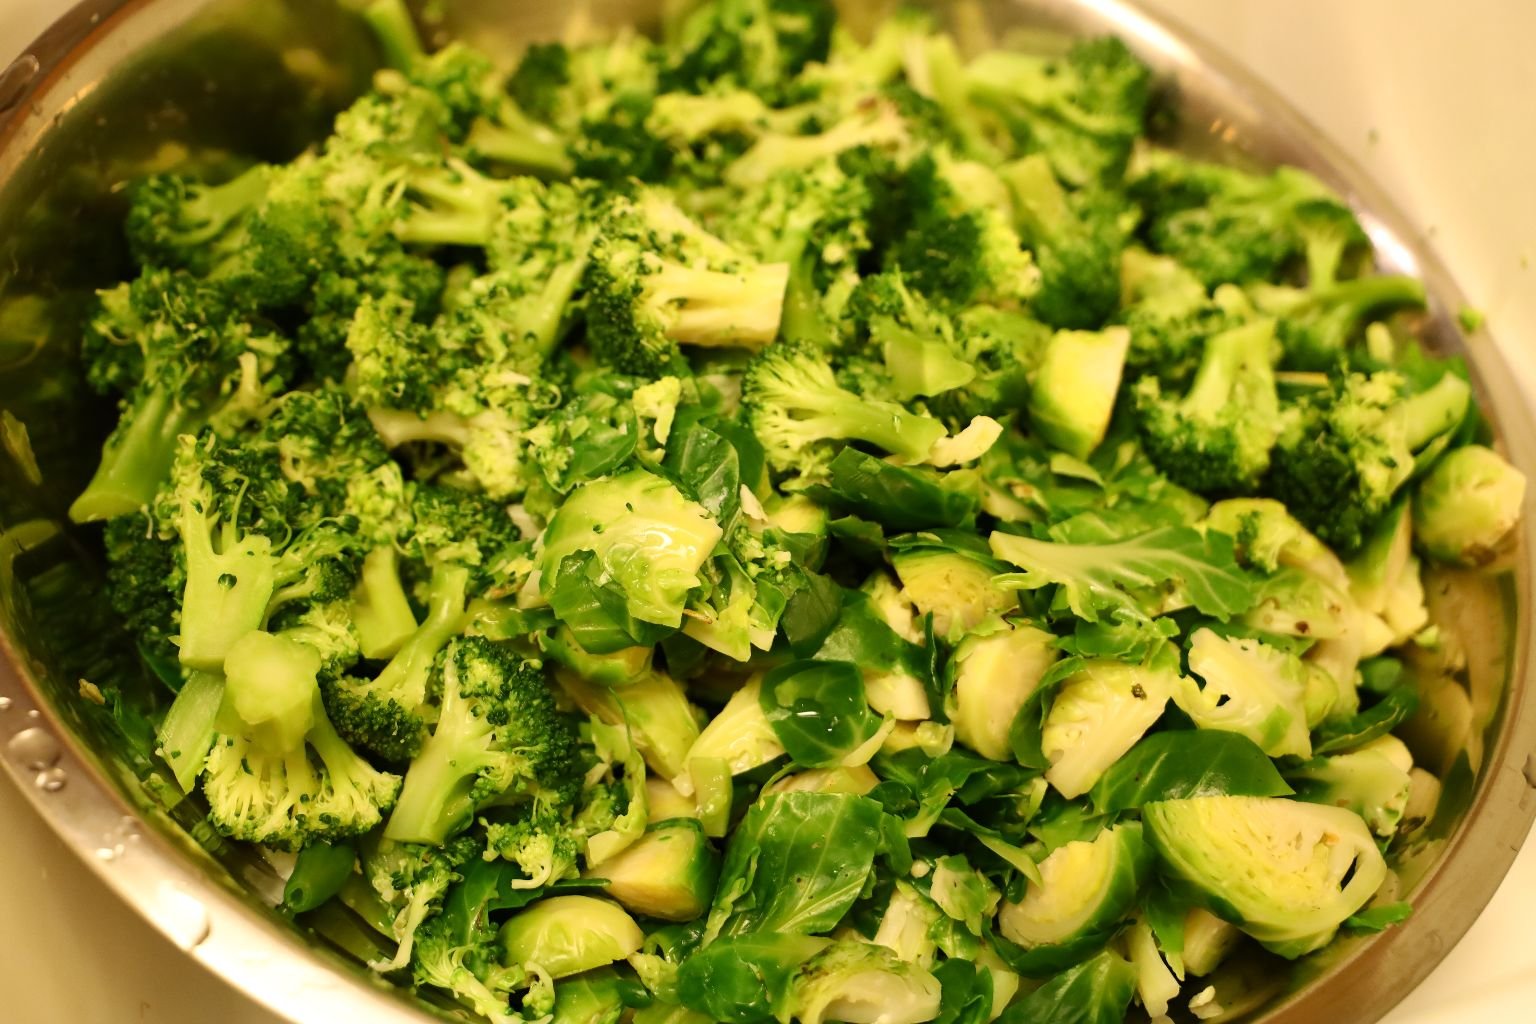
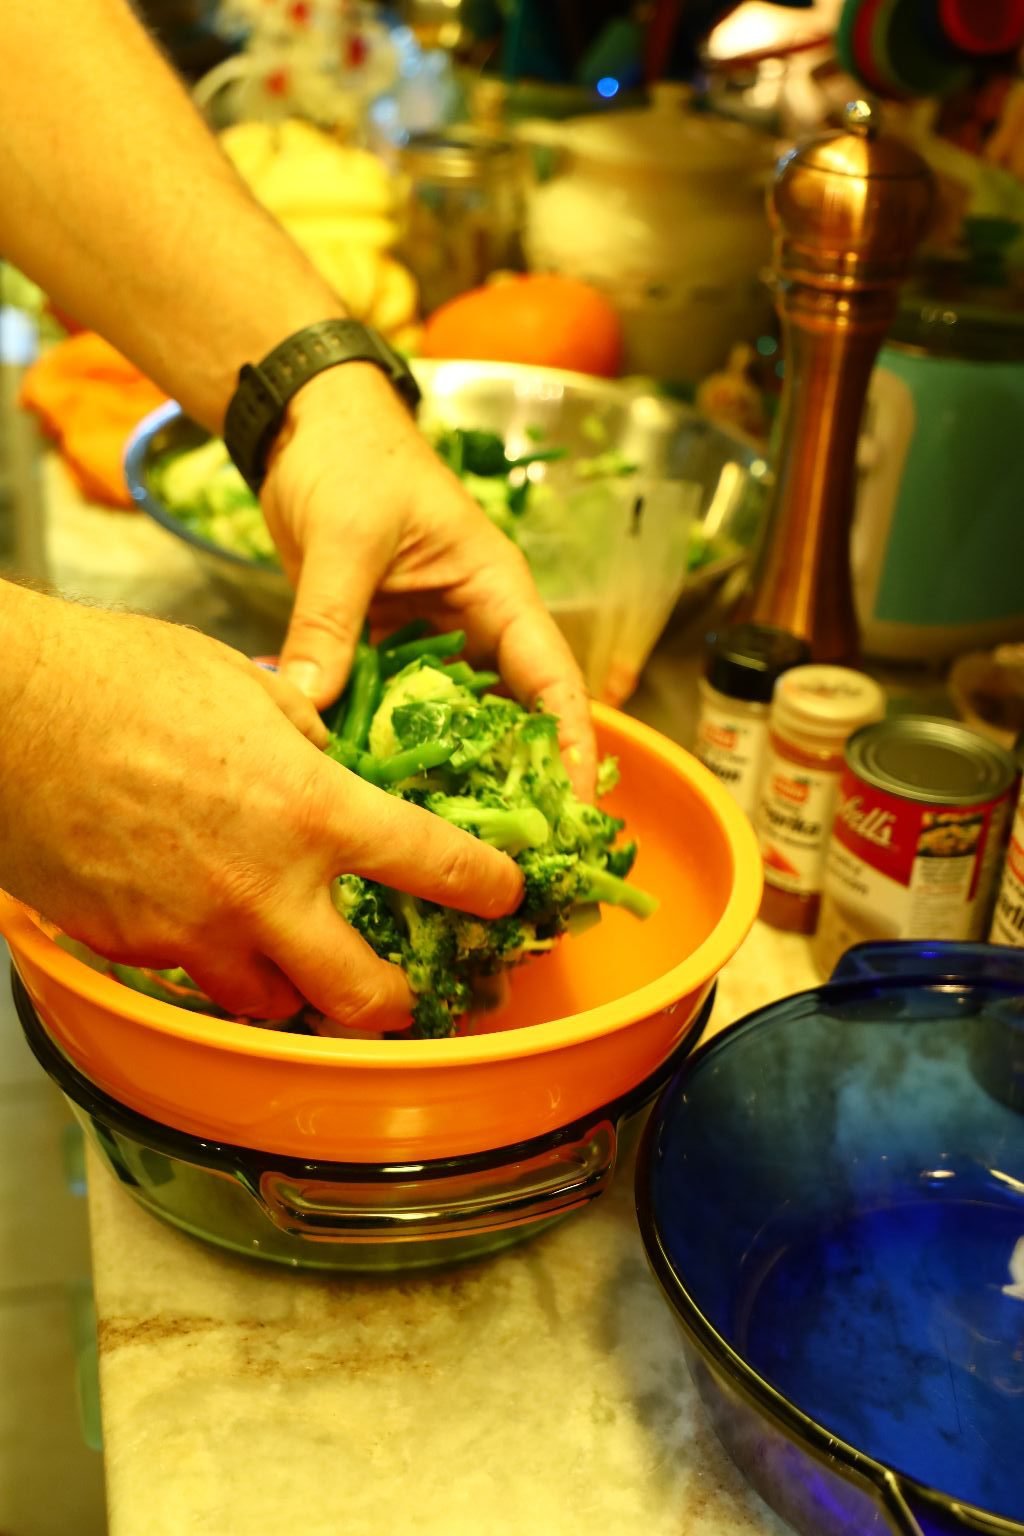
Add your tender vegetables to a bowl.
—————————————————————————–
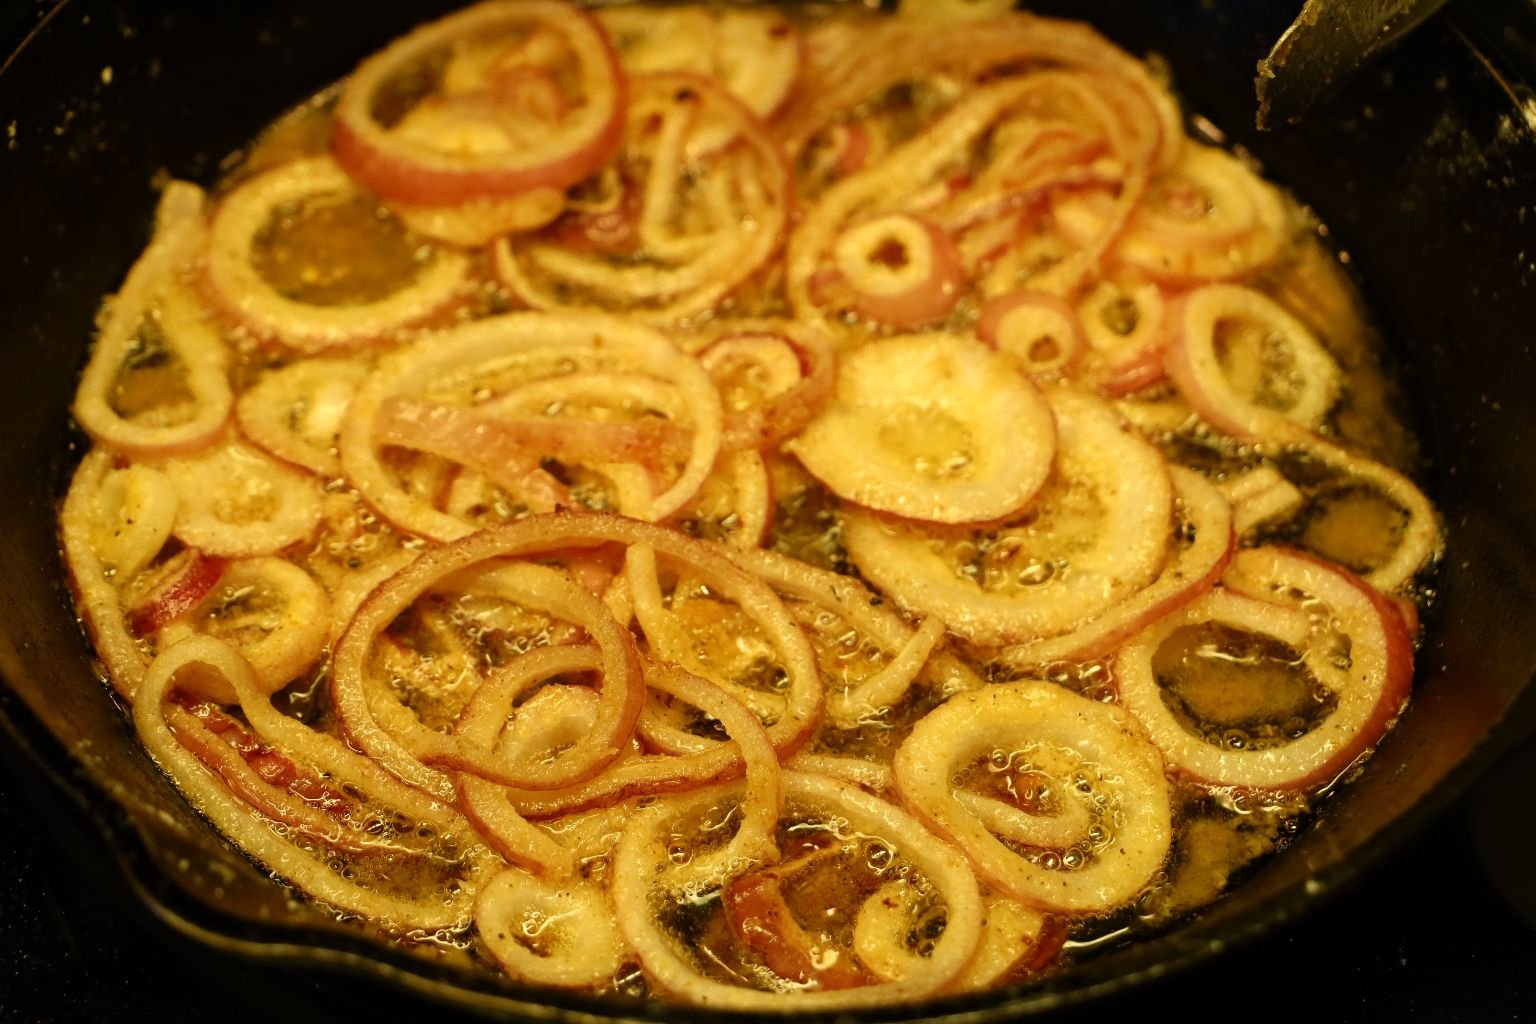
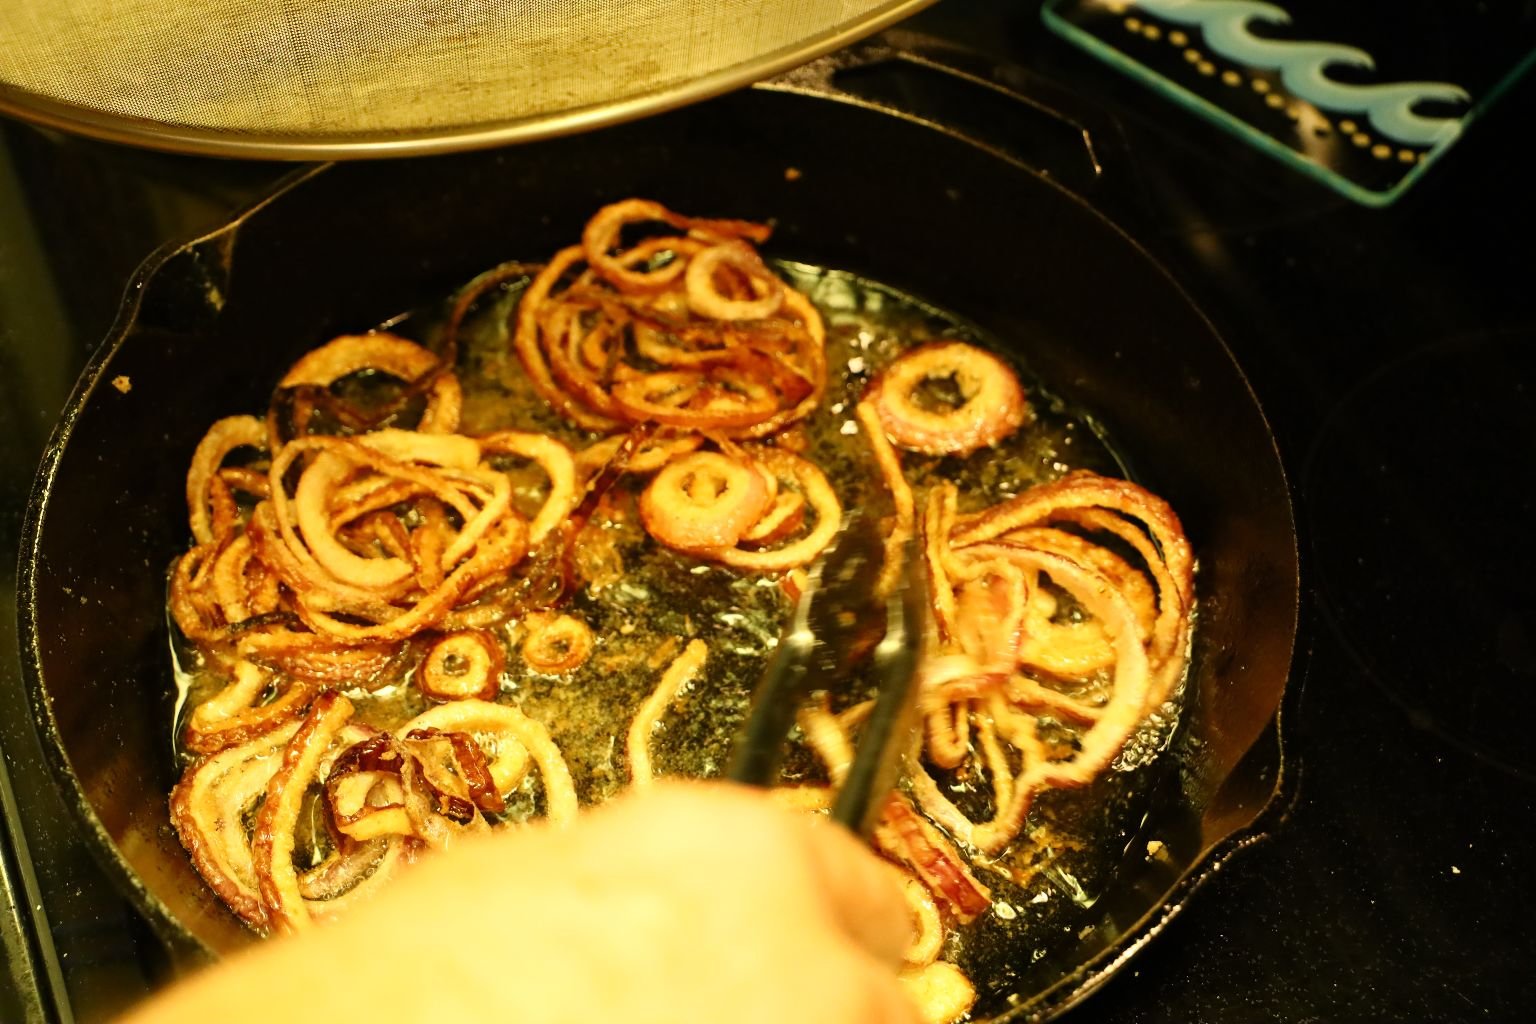
Continue to cook the rest of the onions until browned as shown.
Add a touch of salt to the cooked onions.
———————————————————————————-
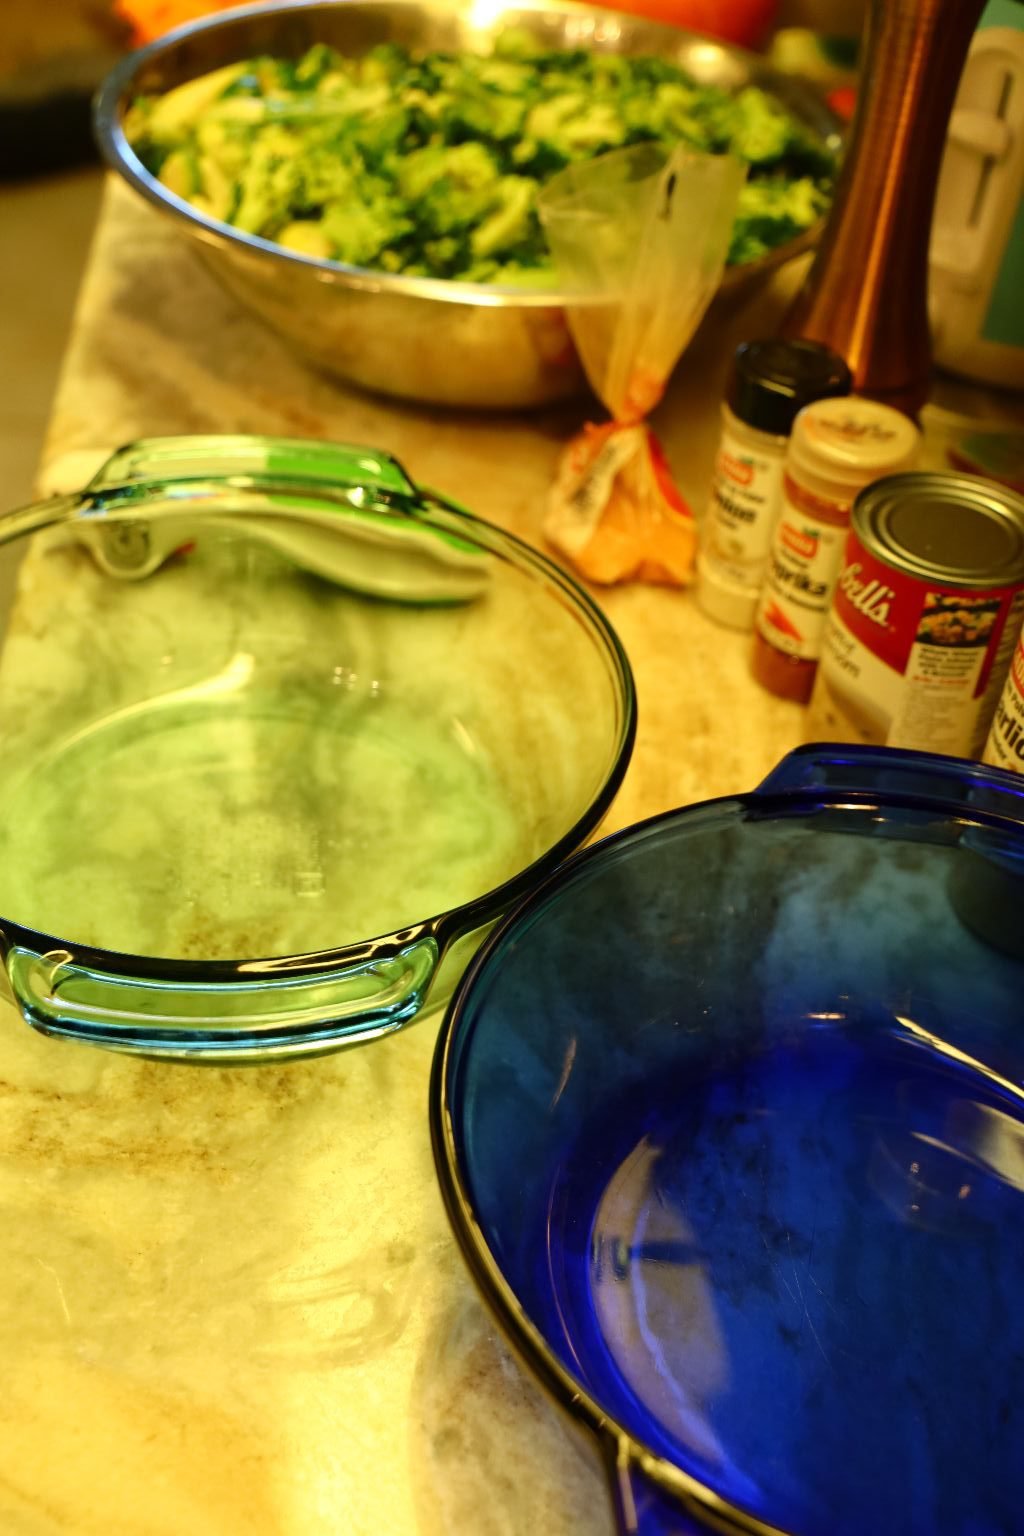
Here we are using two large oven safe glass bowls to finish cooking this recipe.
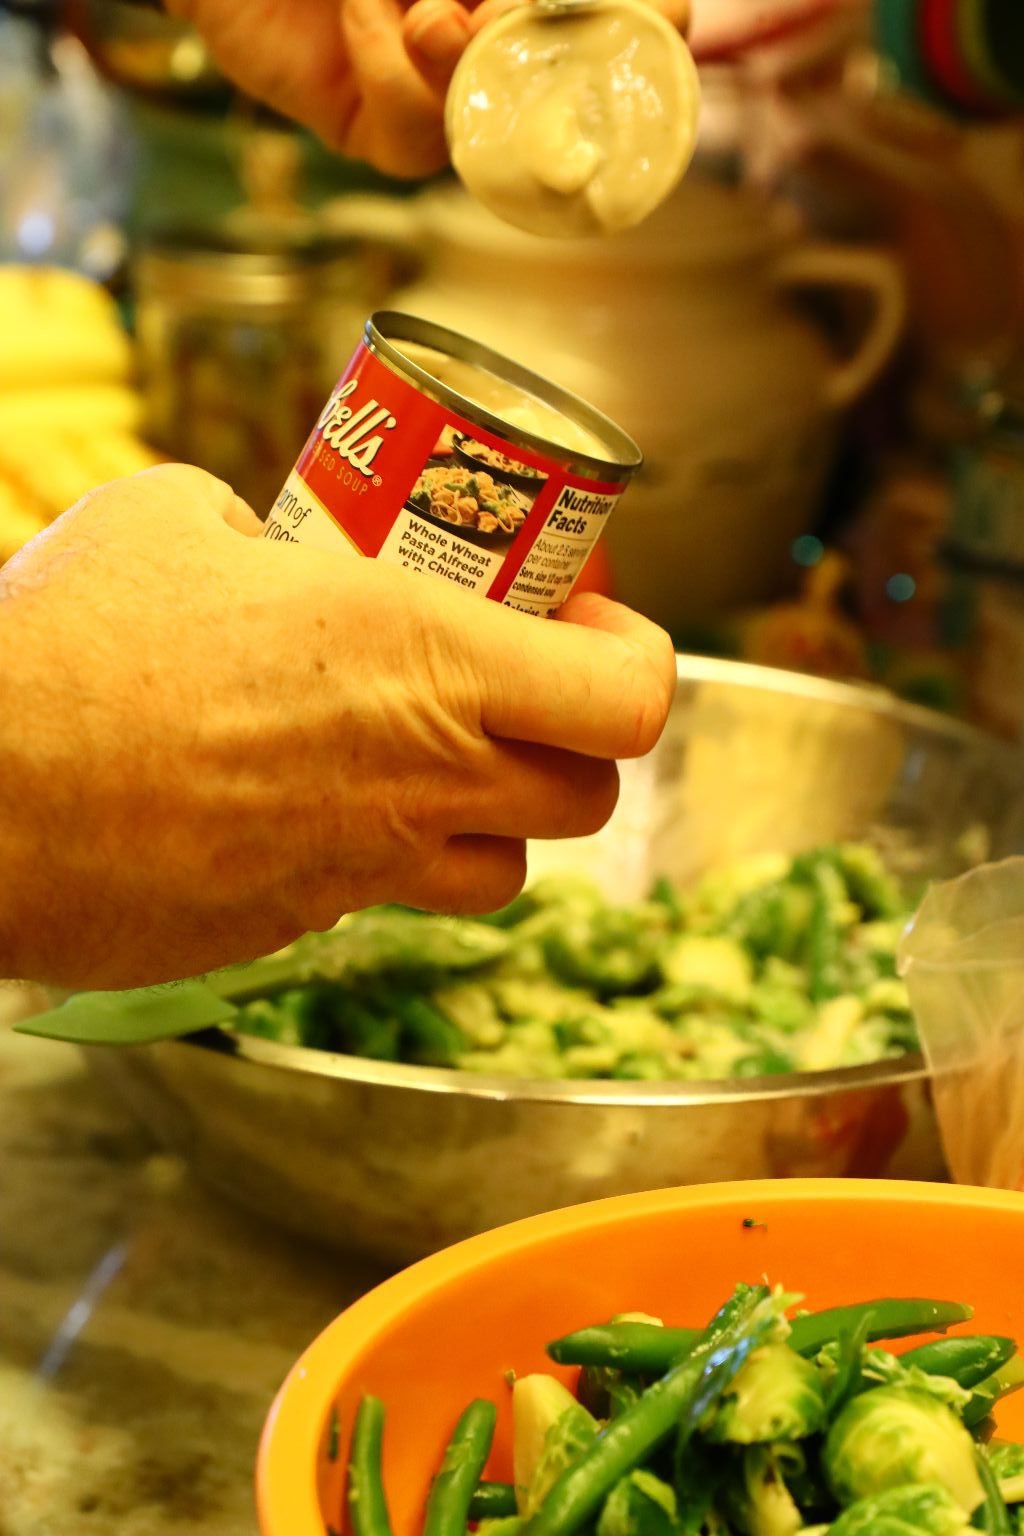
Place the vegetables evenly into two large bowls. Add 1 can of Cream of Mushroom Soup to each bowl.
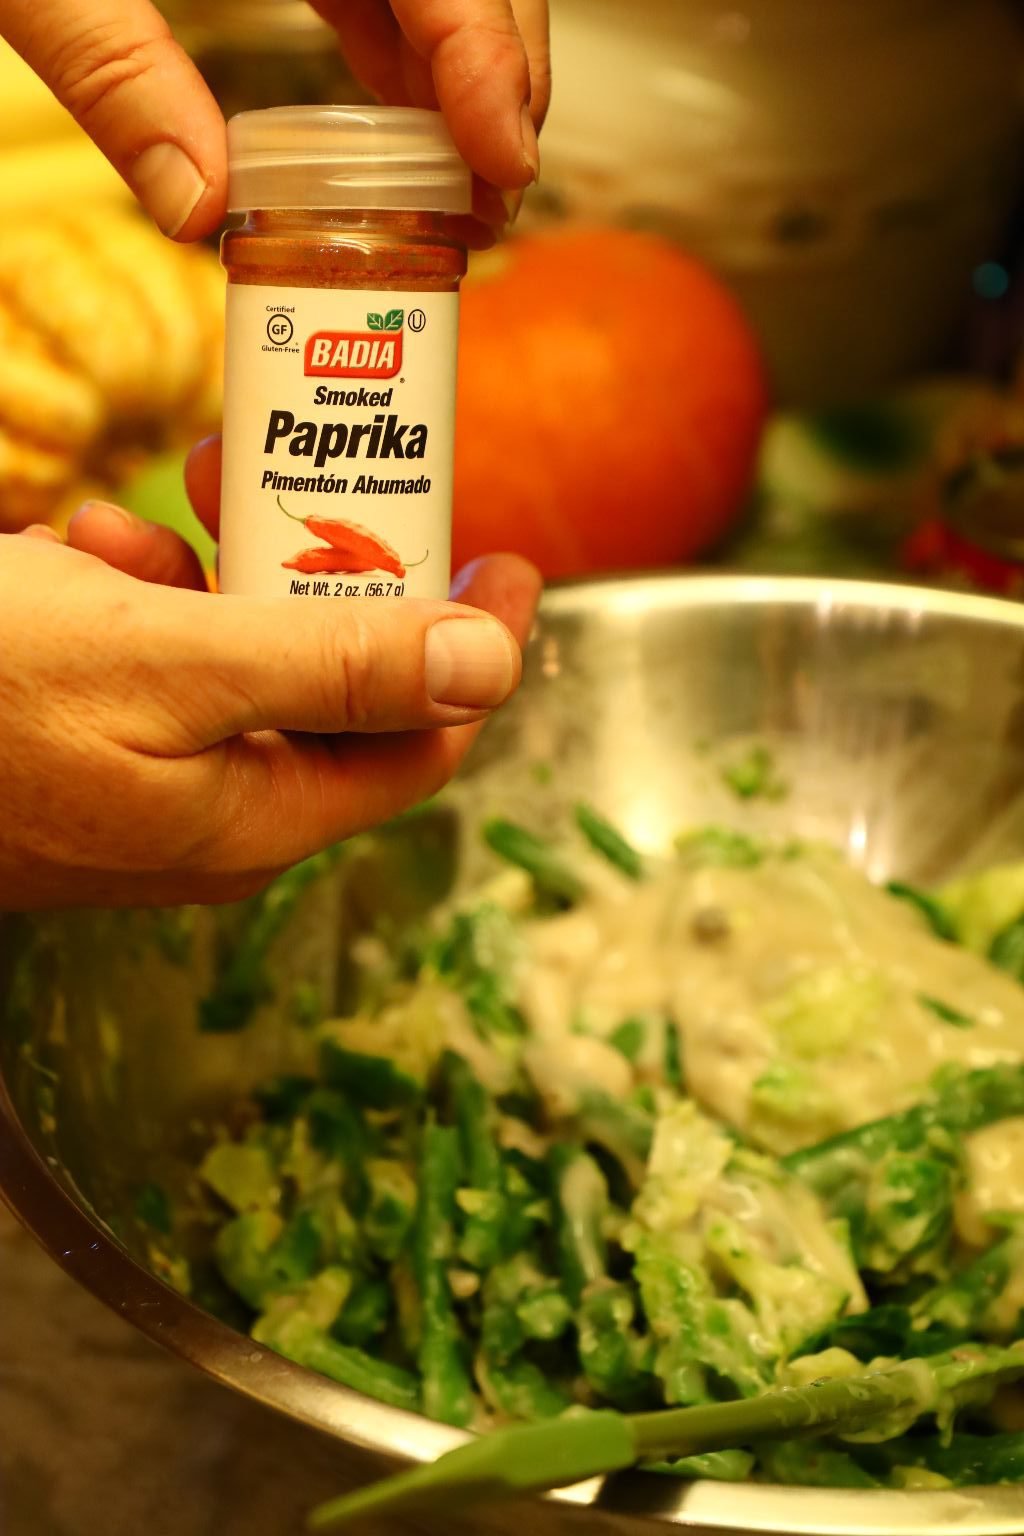

Then add your seasonings to each bowl.
—————————————————————————-
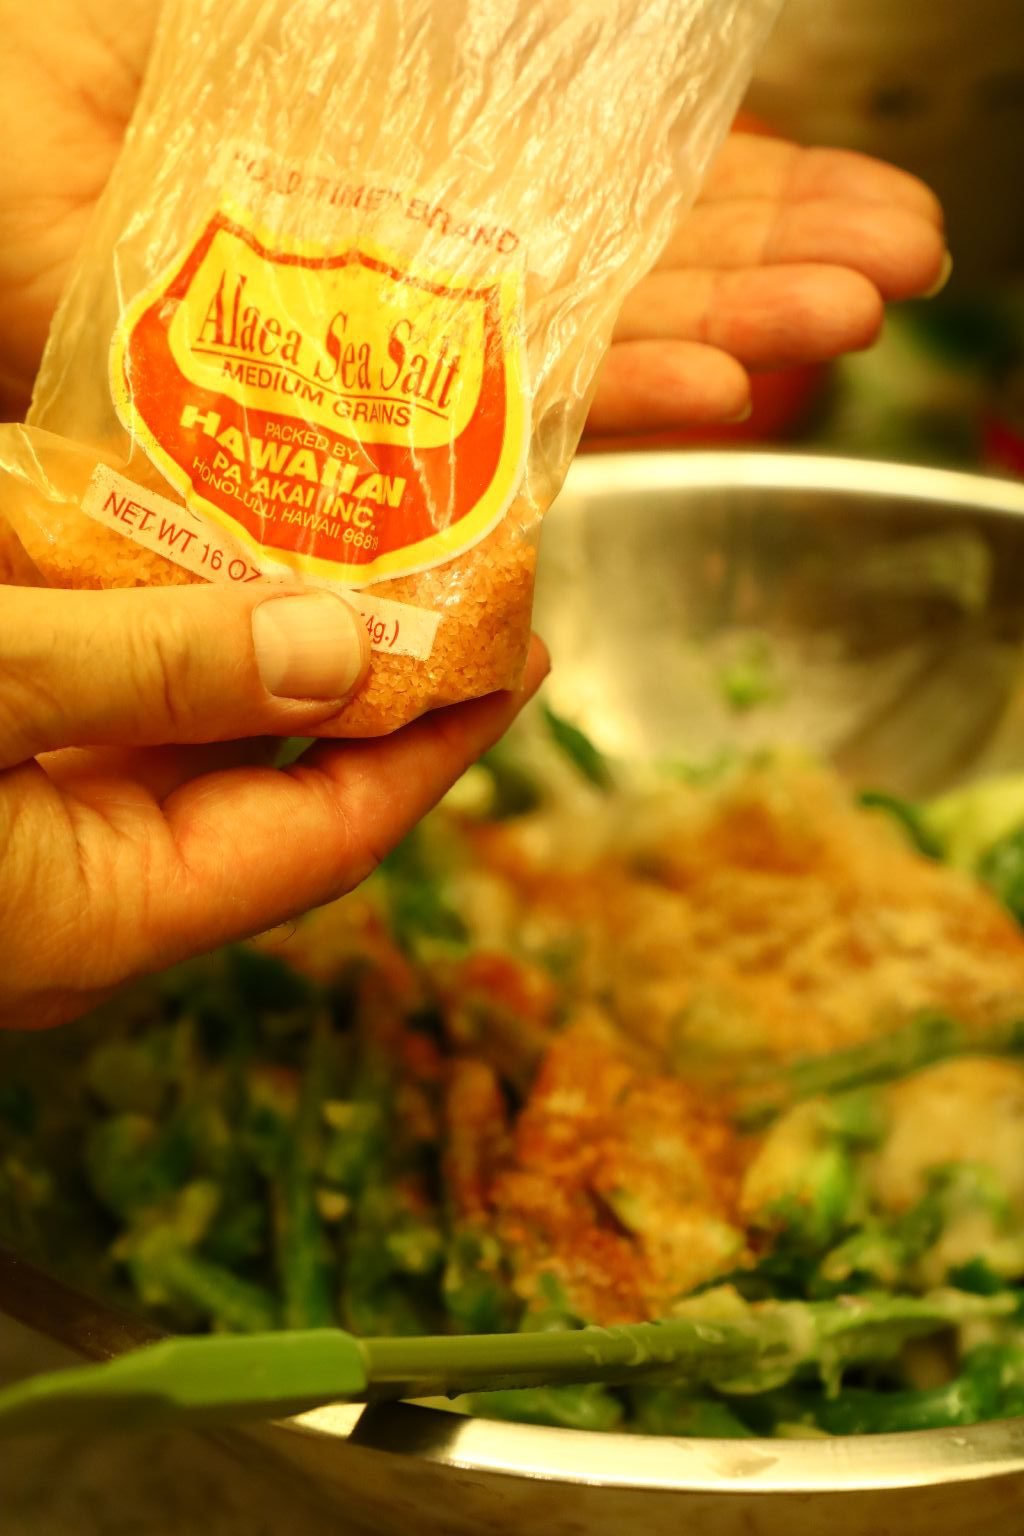
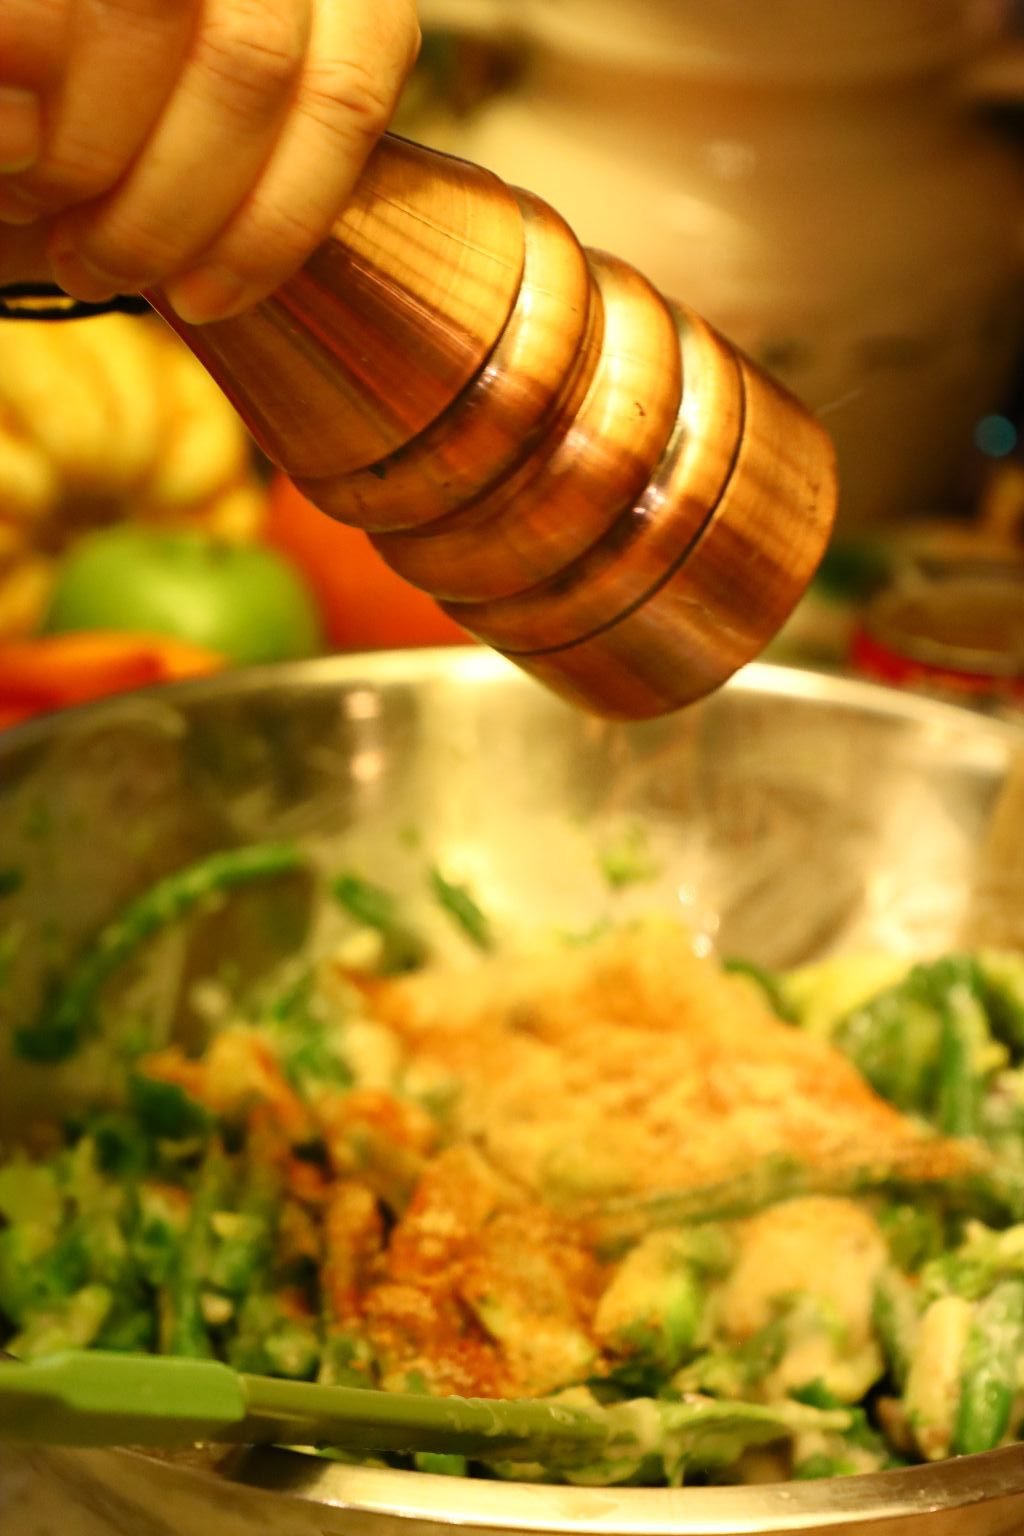
Lastly add your Himalayan Salt and freshly ground Black Pepper to each bowl.

——————————————————————————
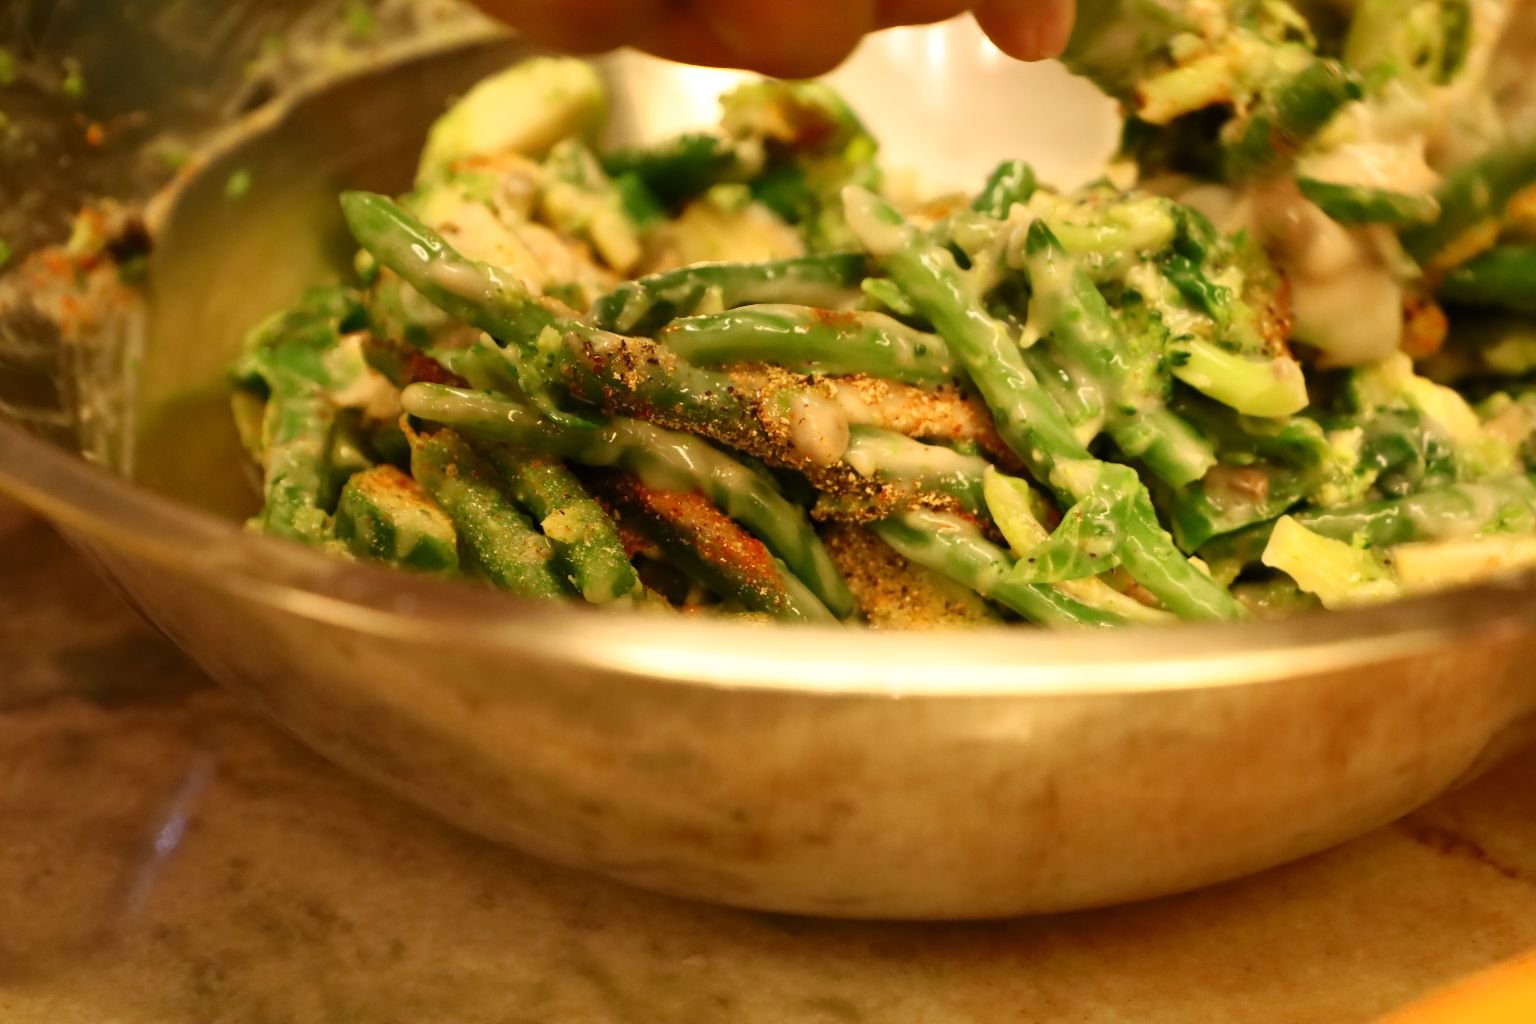
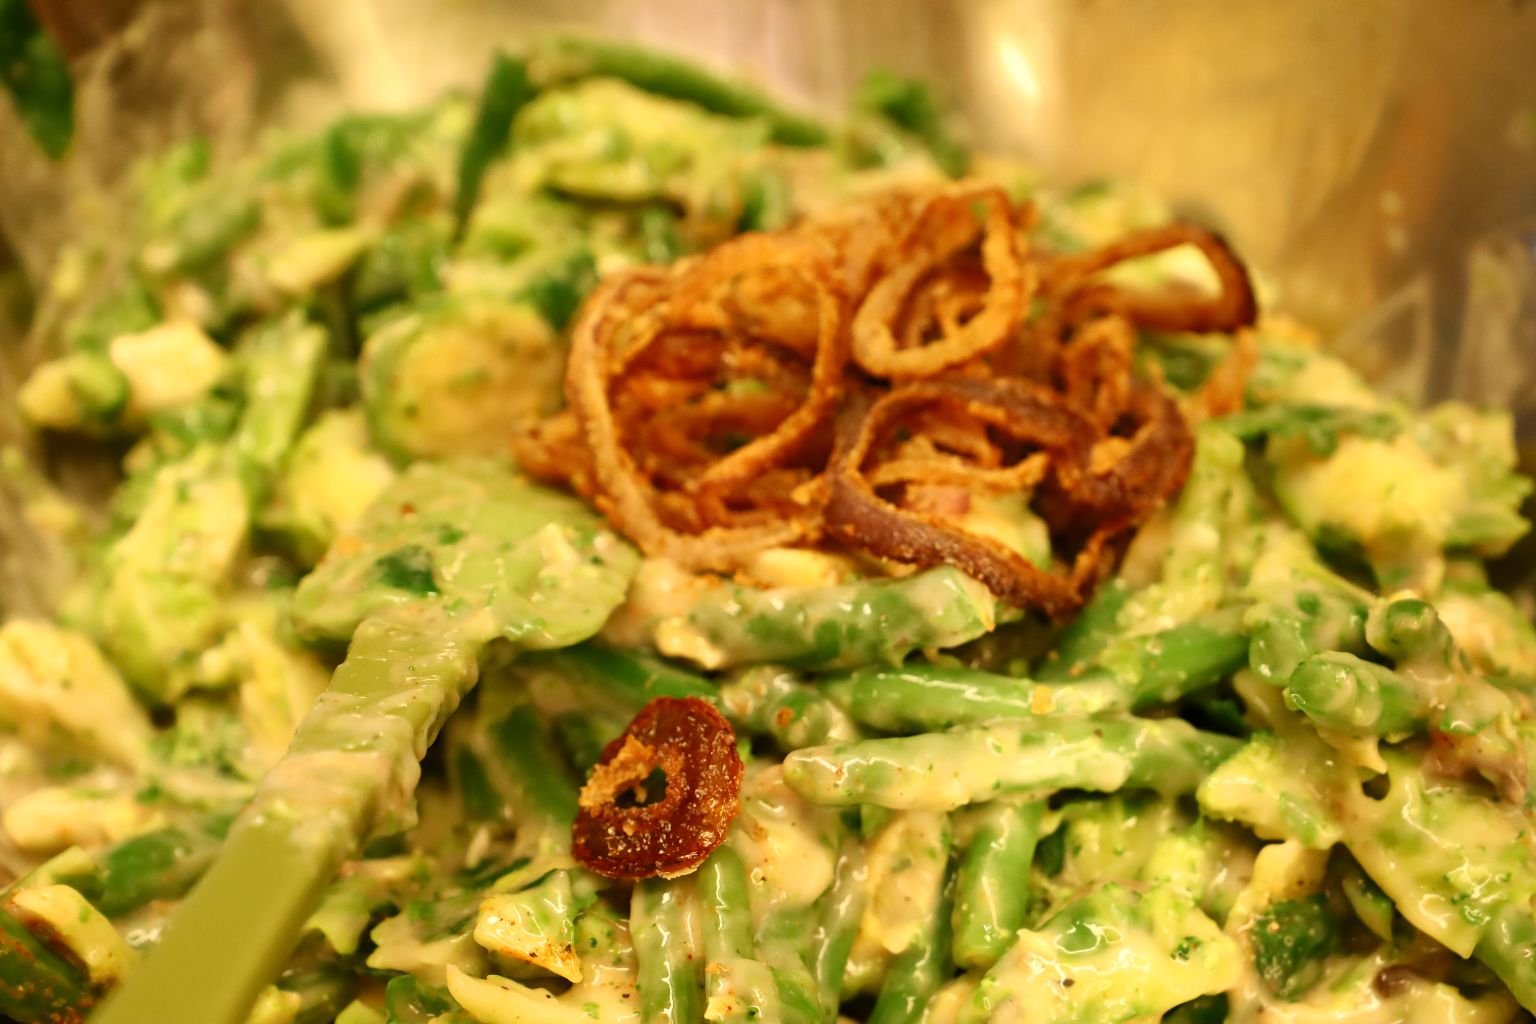
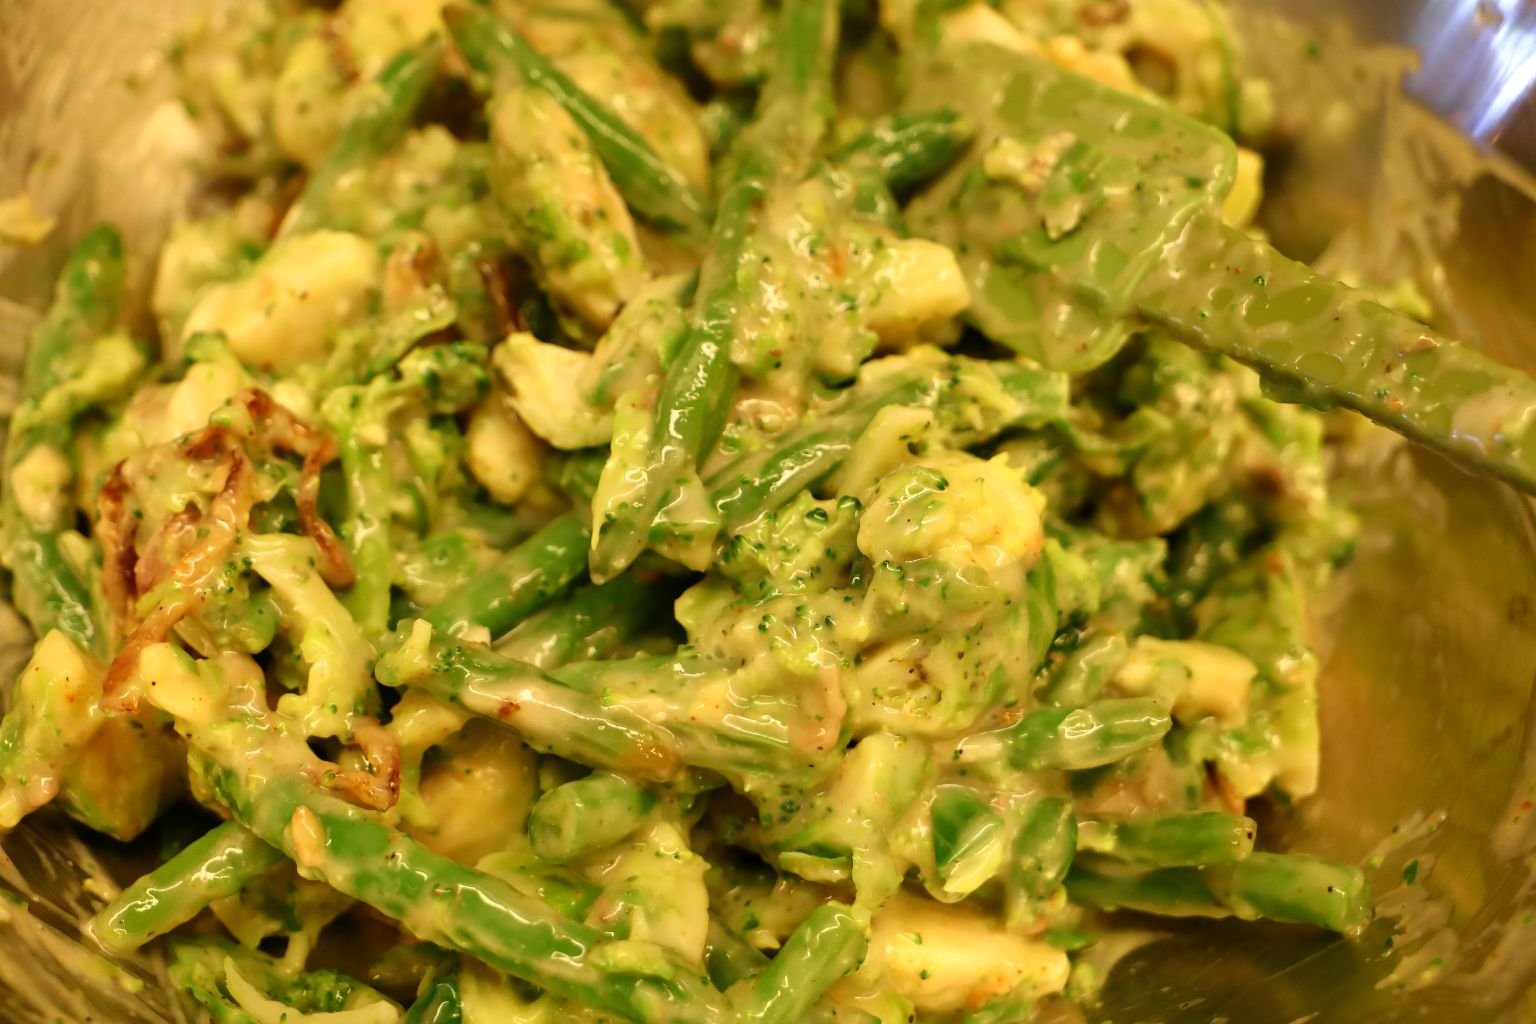
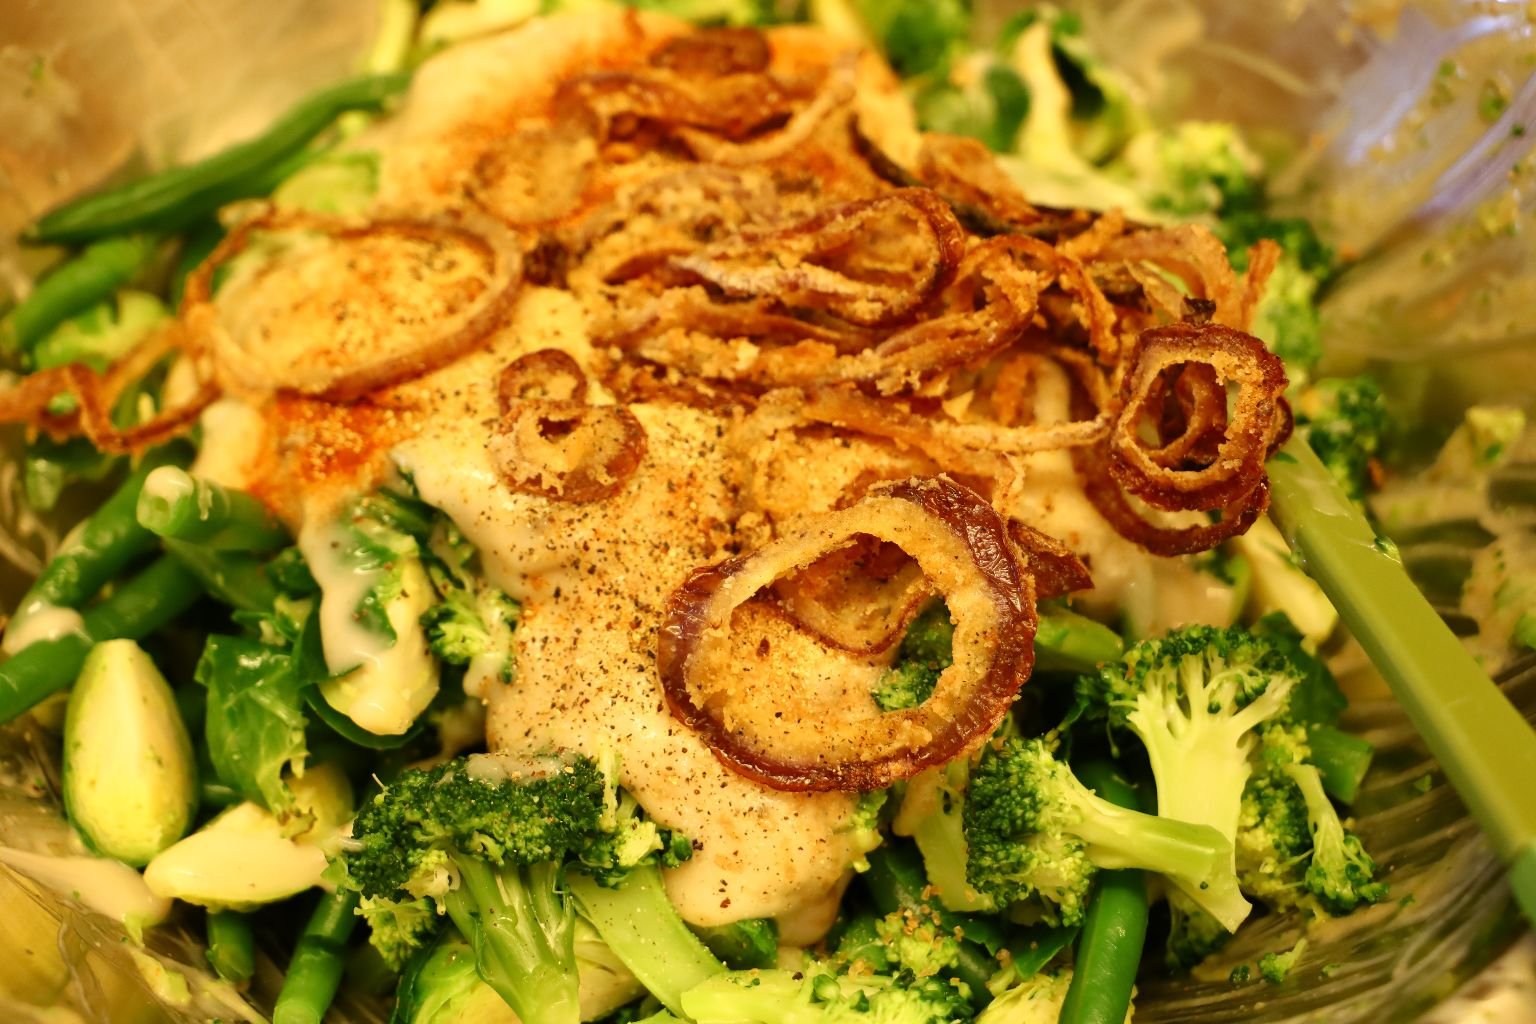
Add some of your Fried Onions to each bowl and mix all the ingredients well.
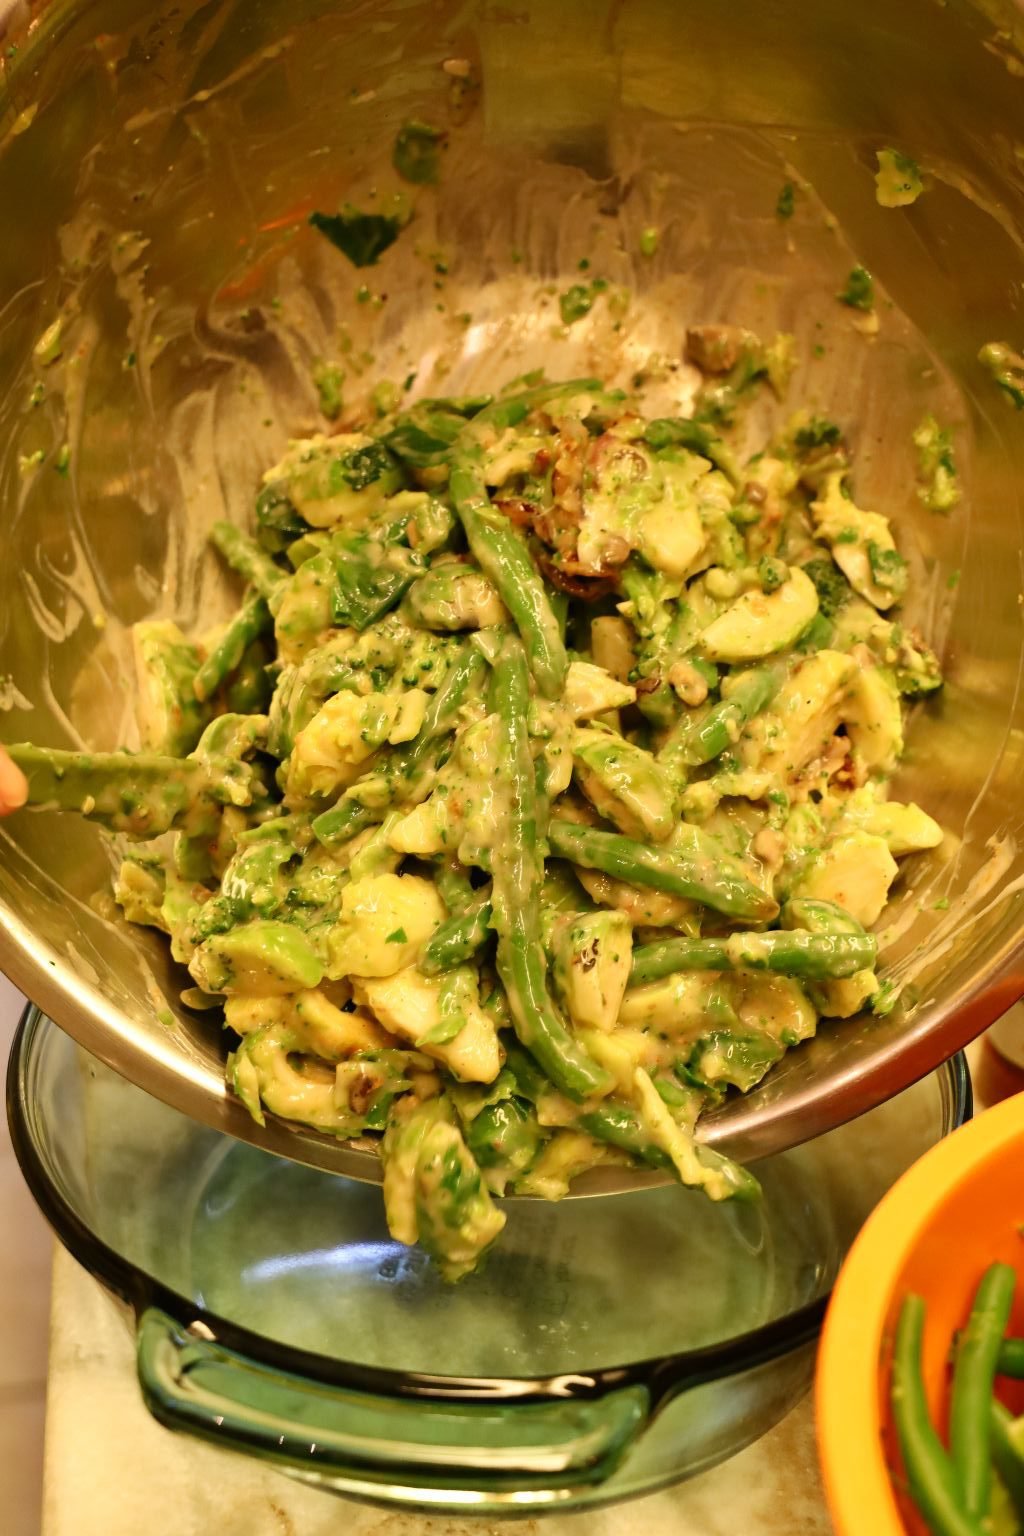
Add your vegetables to the bowls as shown. If you like, you can use a cooking oil spray in the bowls before you add the contents if you are worried about the food sticking to it. Just a light coating.
————————————————————————————-
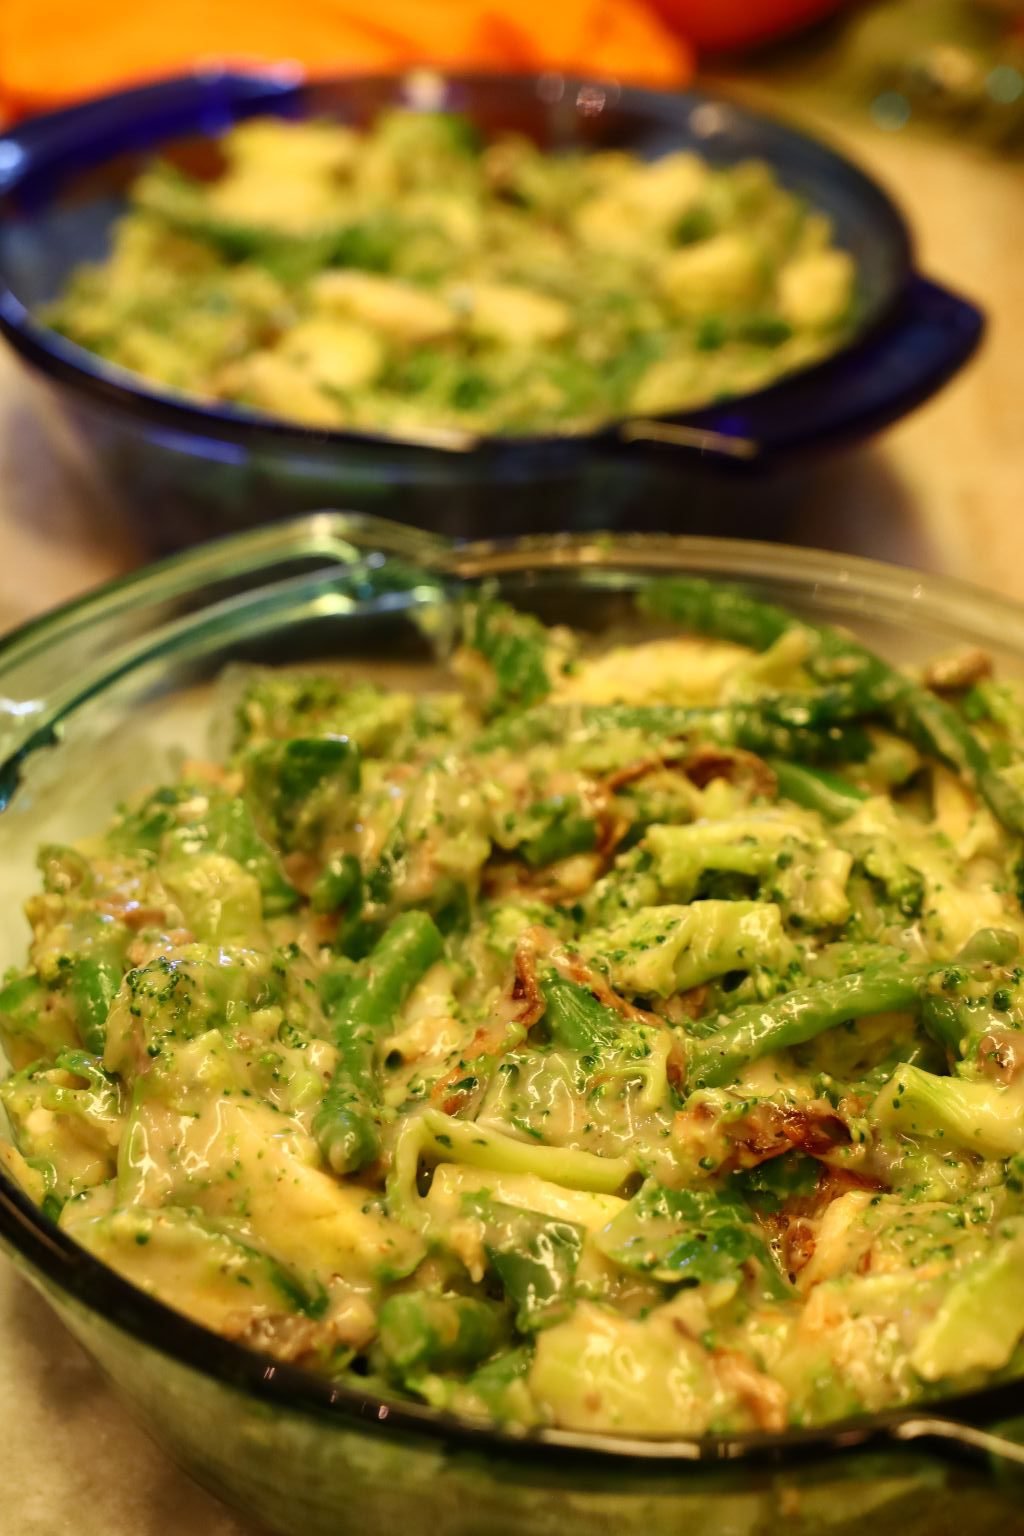
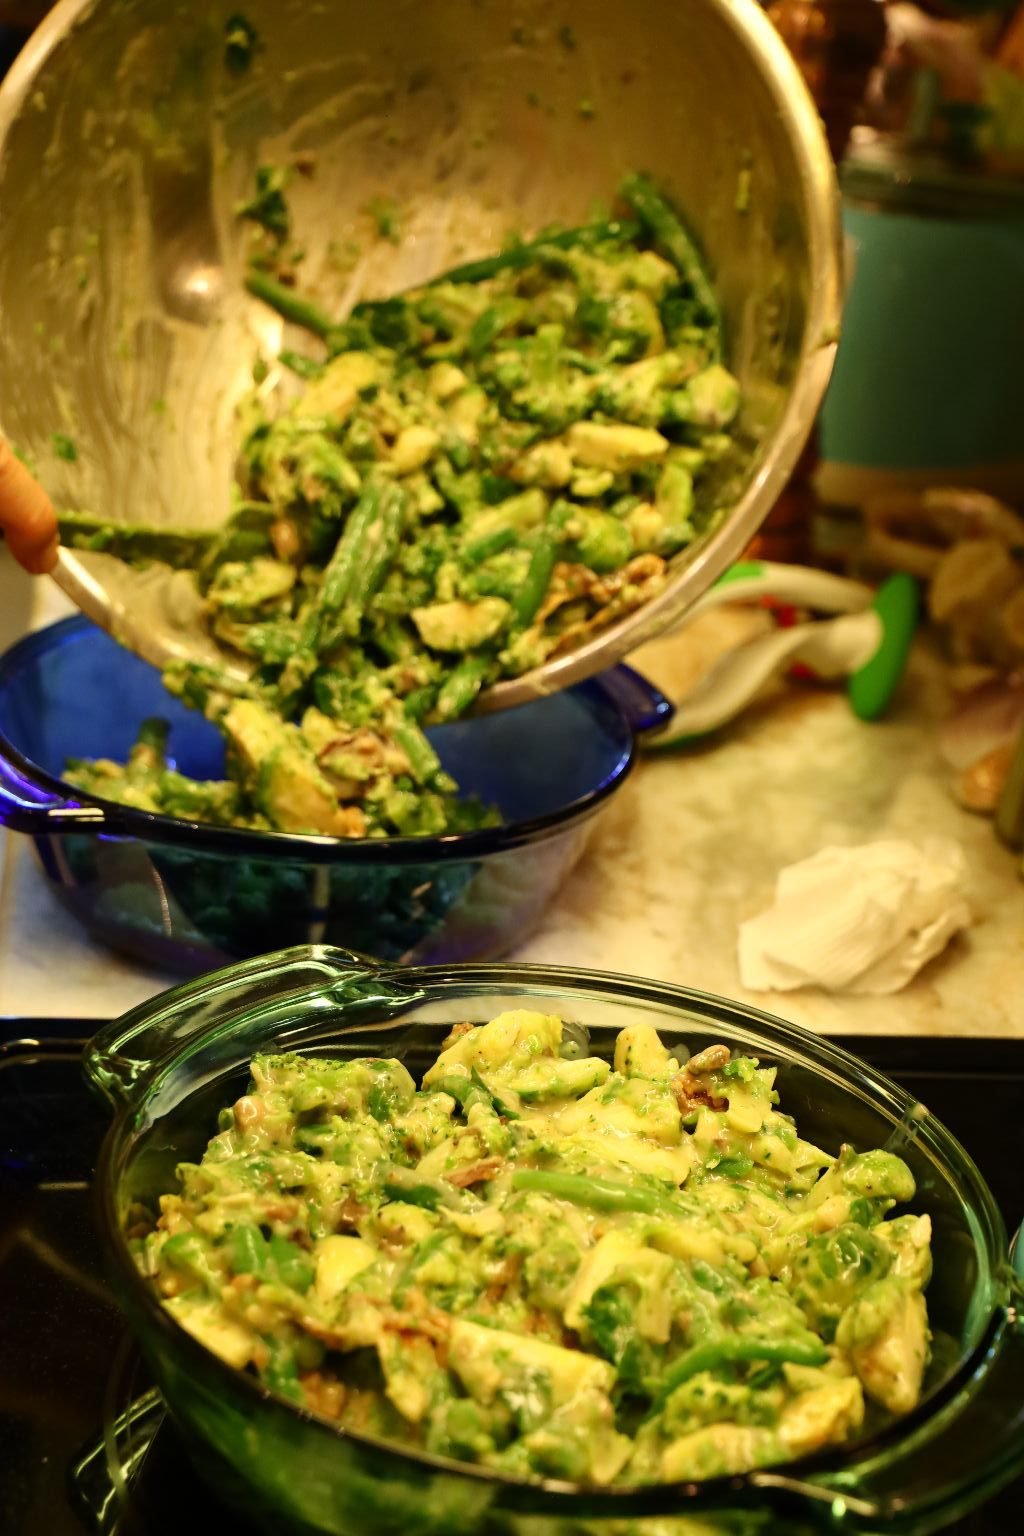
Ready for the Oven, or the Freezer, or Both!
————————————————————————————
Bake your casserole in a 350’F oven for ~35 min. or until bubbling hot. Place your Fried Onions on top when done and serve! This recipe is sure to please. 🙂
———————————————————————-
Our Italian Ornamental Squash Casserole
Photo Top Left: Right Out of the Oven
Photo Top Right: With the Crumbled Bacon
Photo Top: The Finished Casserole Topped With Flat Leaf Parsley
——————————————————————————
NOTE: The ingredients below are enough to make about 3 casseroles. We like to make extra to either freeze or give away to our kids.
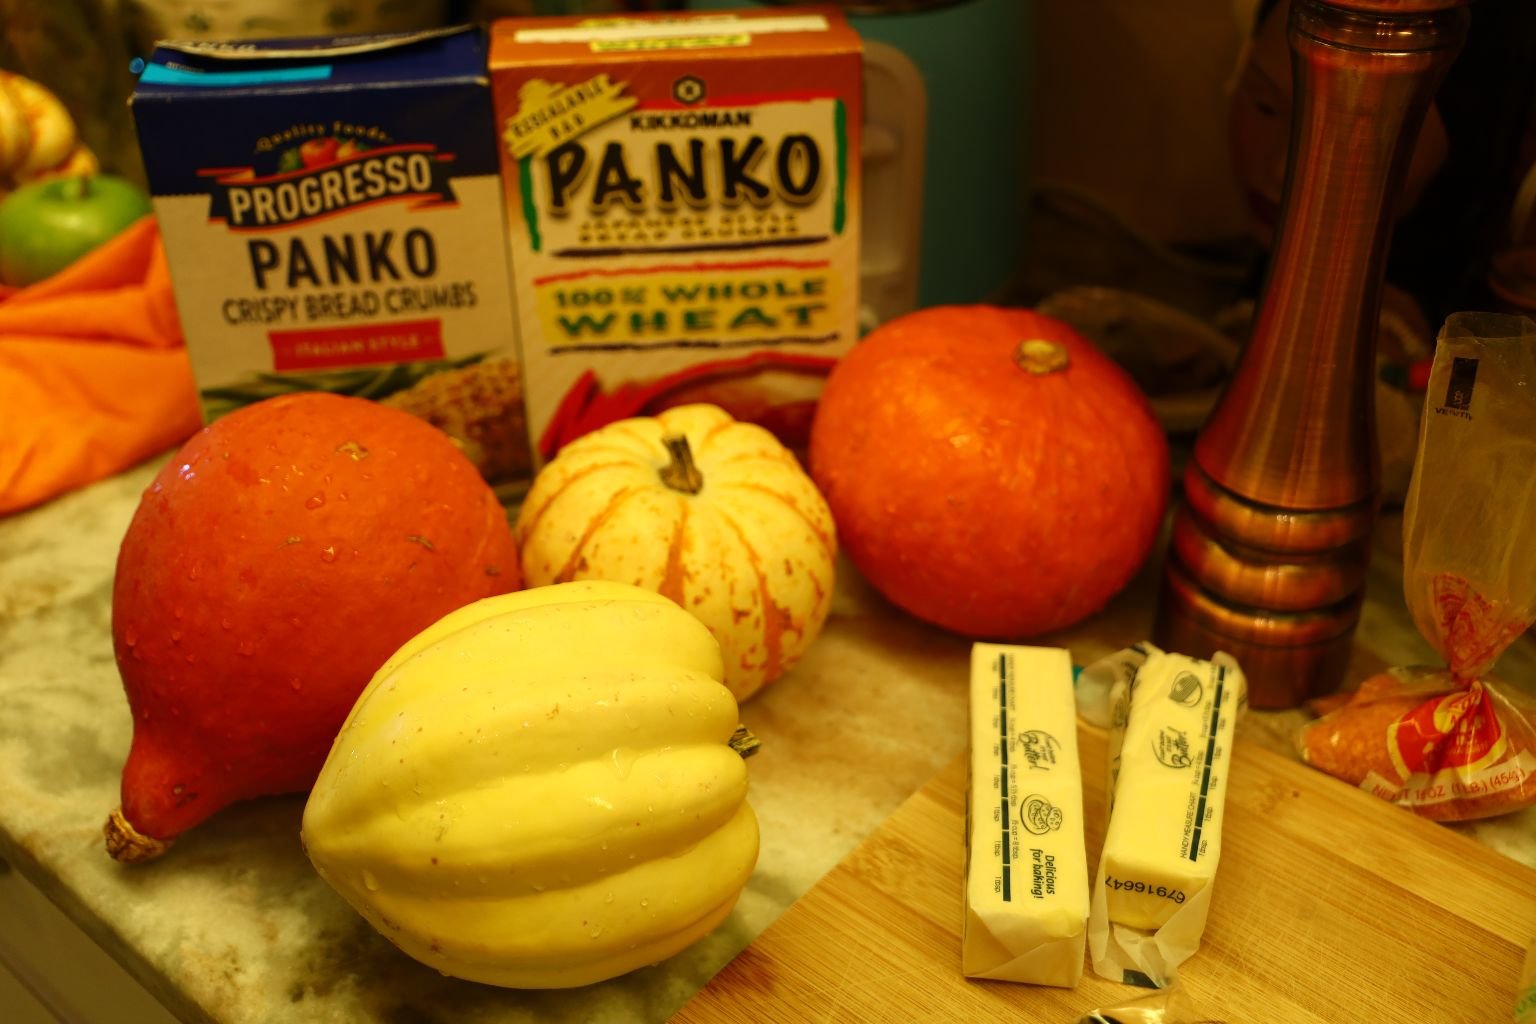
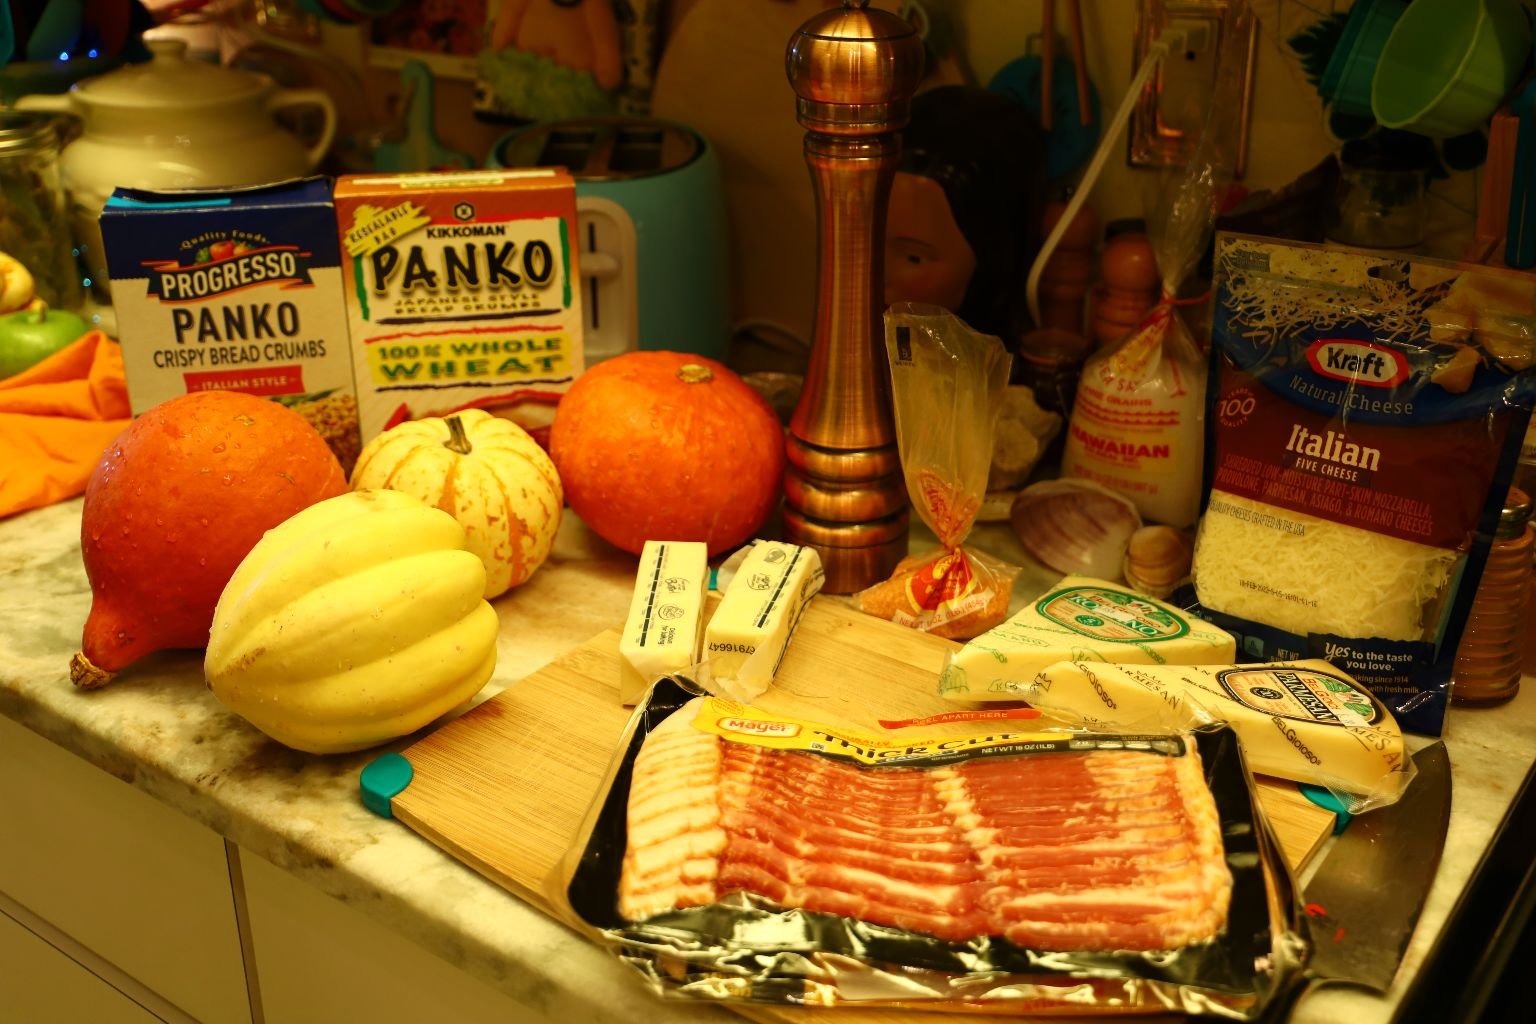
Ingredients:
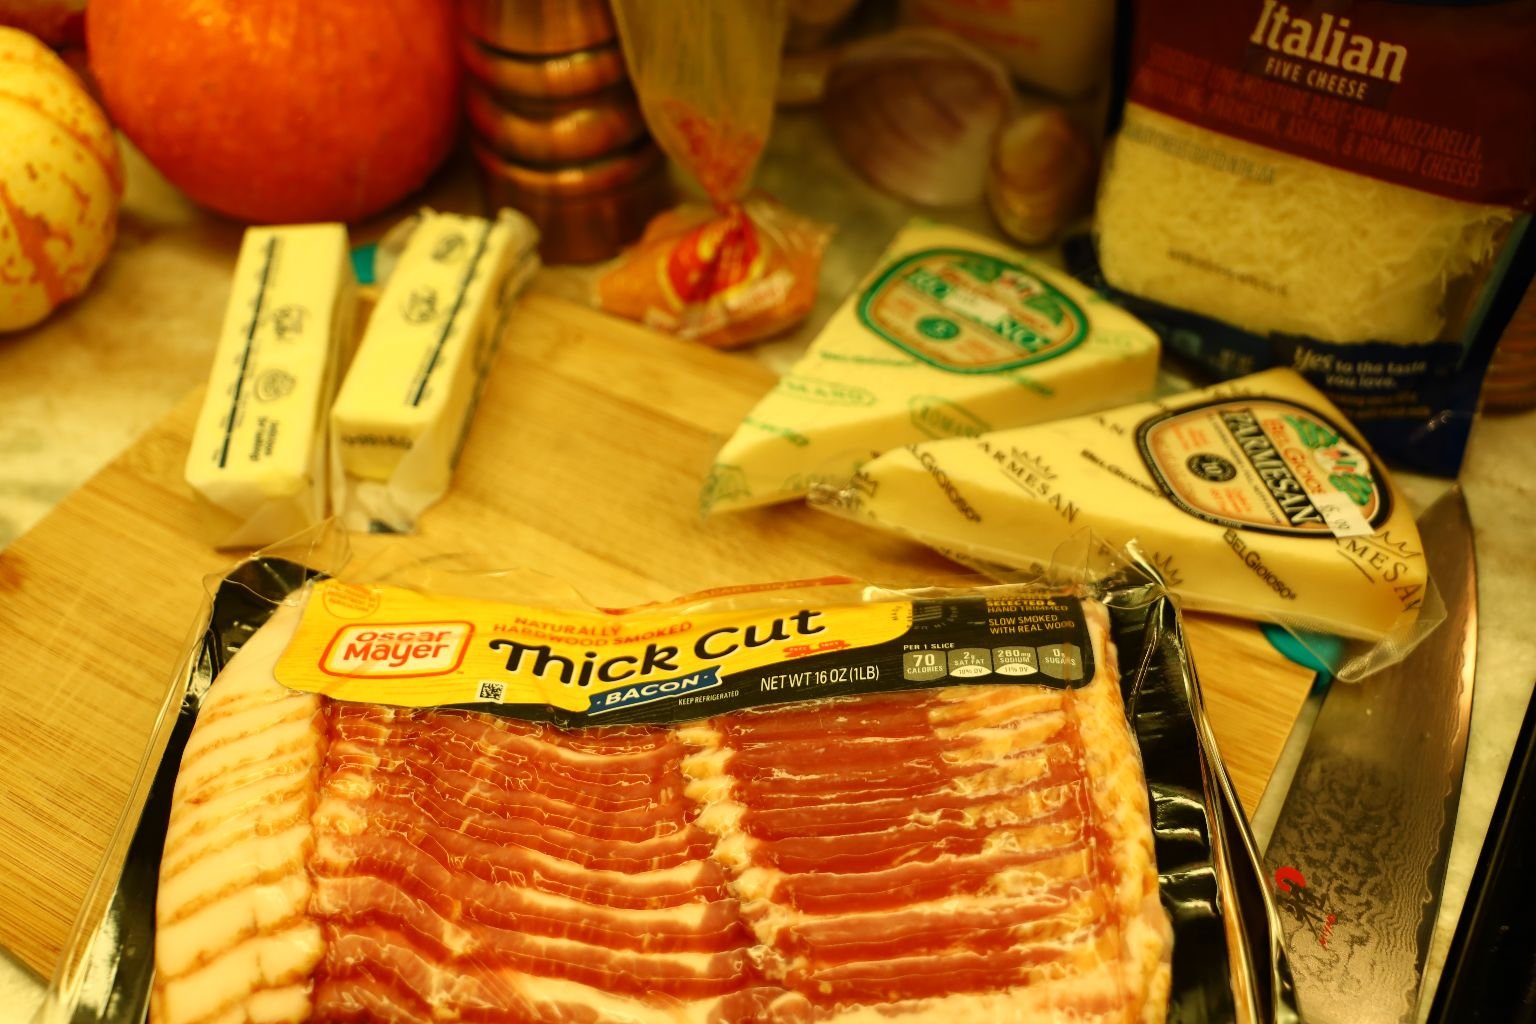
1 pkg. Thick Cut Bacon – keep the bacon grease
1 Carnival Squash
2 Golden Hubbard Squash
1 White Acorn Squash
1-2 Sticks Butter
3/4 Box Whole Wheat Panko
3/4 Box Regular Panko
1/4 Cup Romana Cheese
1/4 Cup Parmesan Cheese
1/4 Cup Italian Cheese Blend
1 tsp. Hawaiian Sea Salt
1 Tbsp. Garlic Powder
1 tsp. Freshly Ground Black Pepper
Parsley Sprigs for garnish
—————————————————————————-
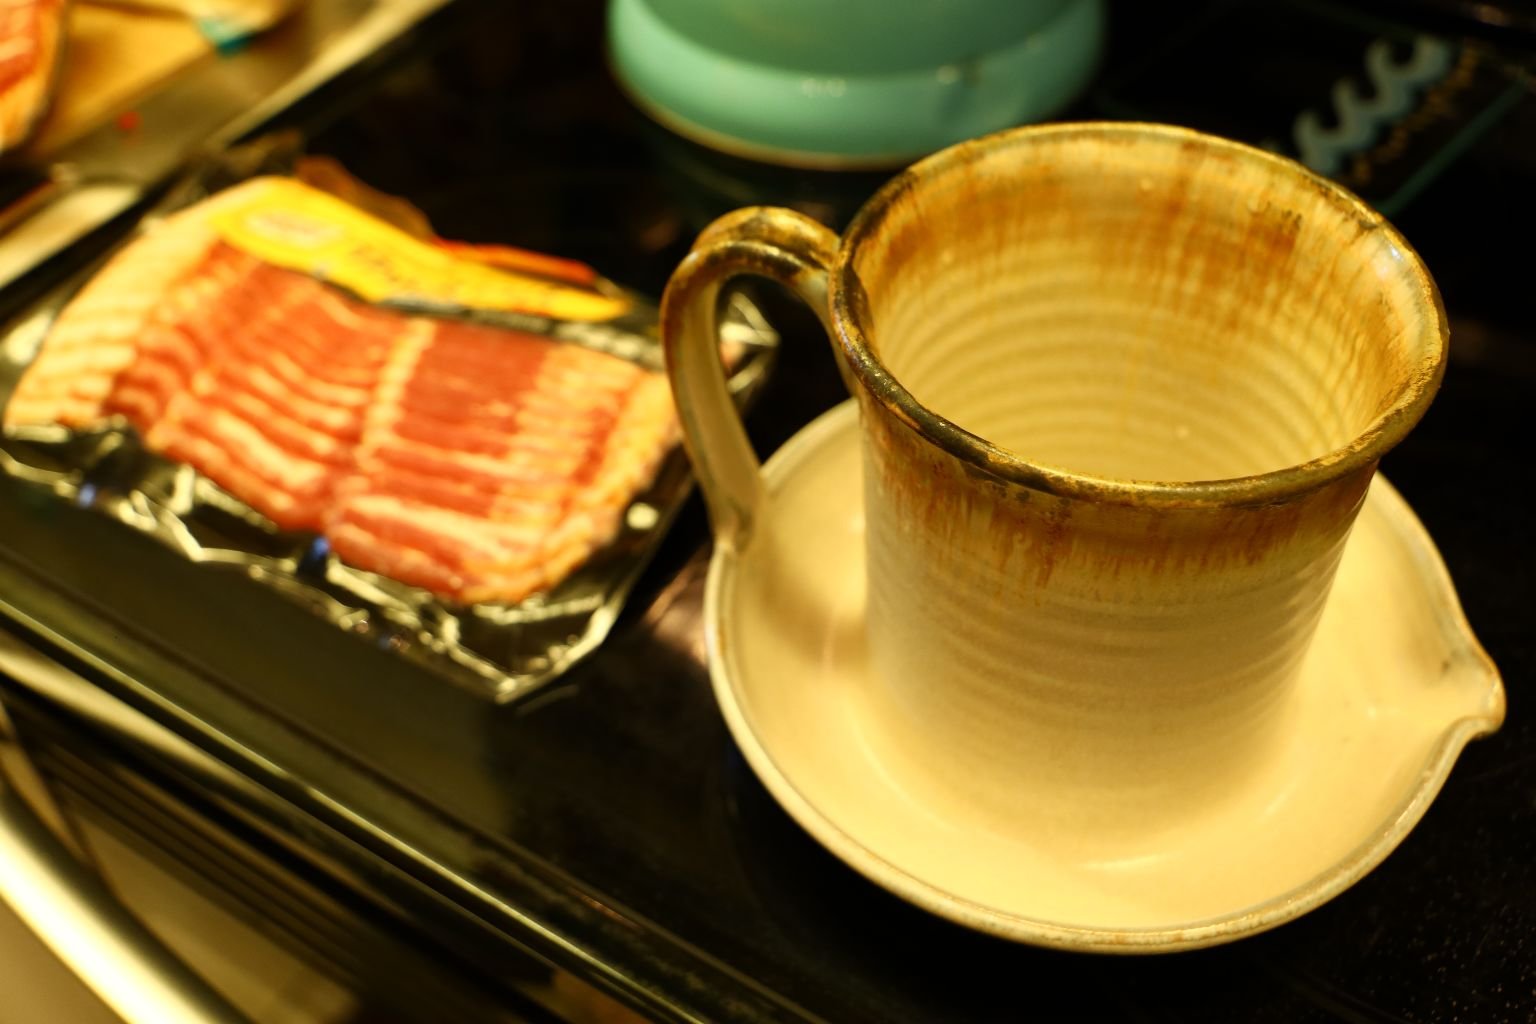
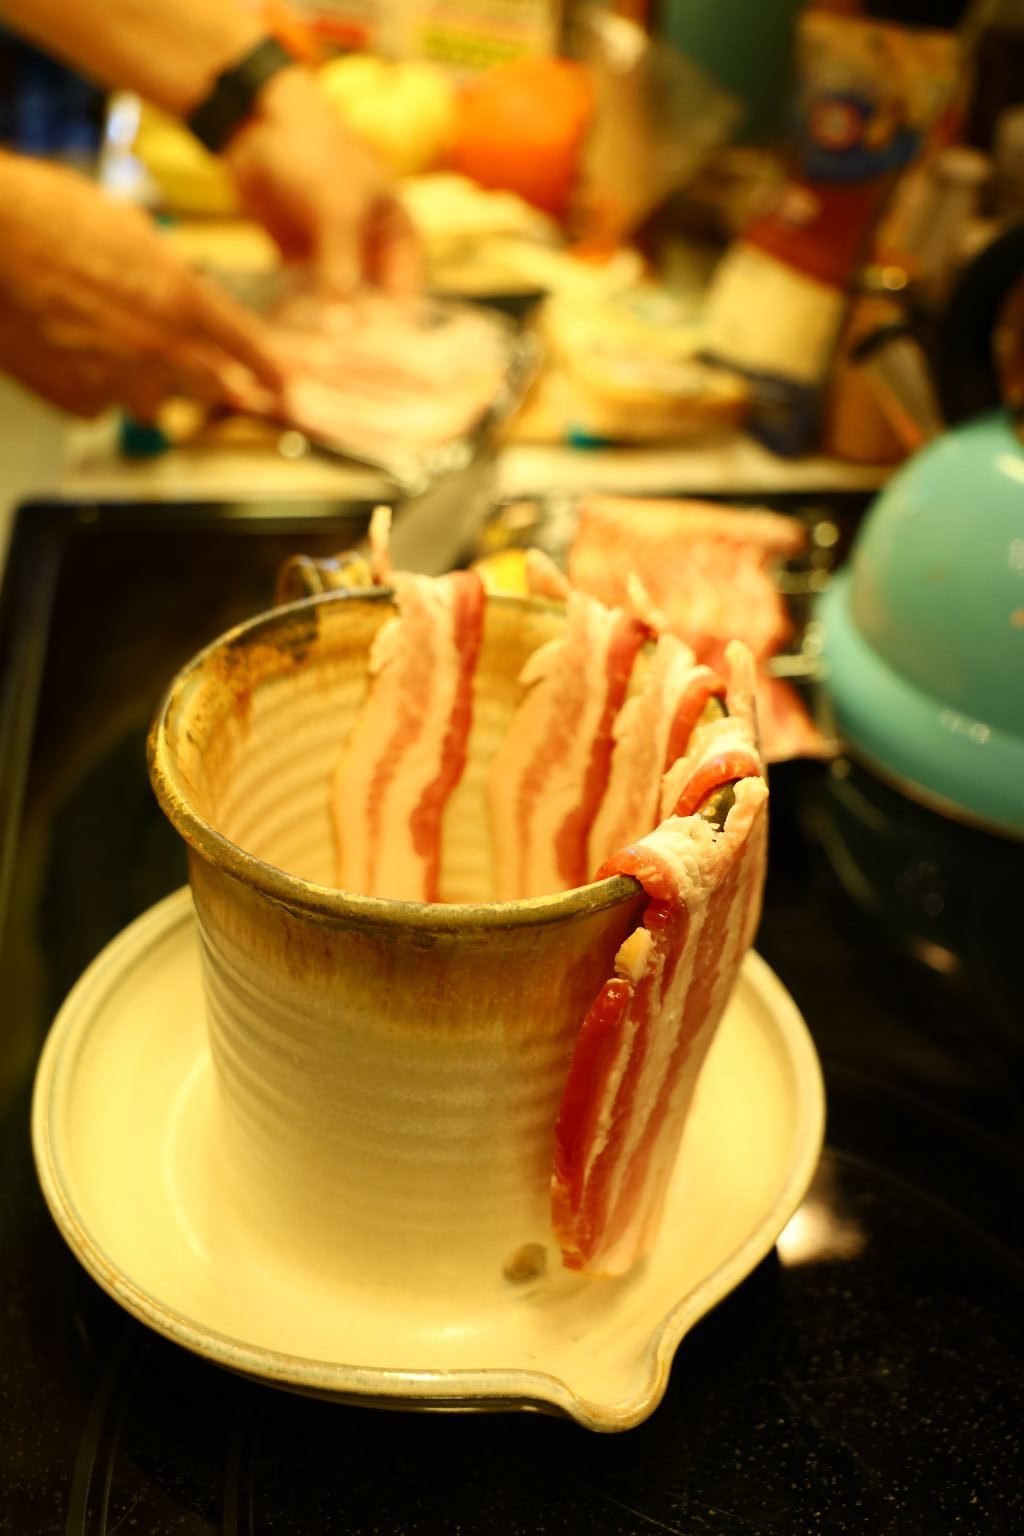
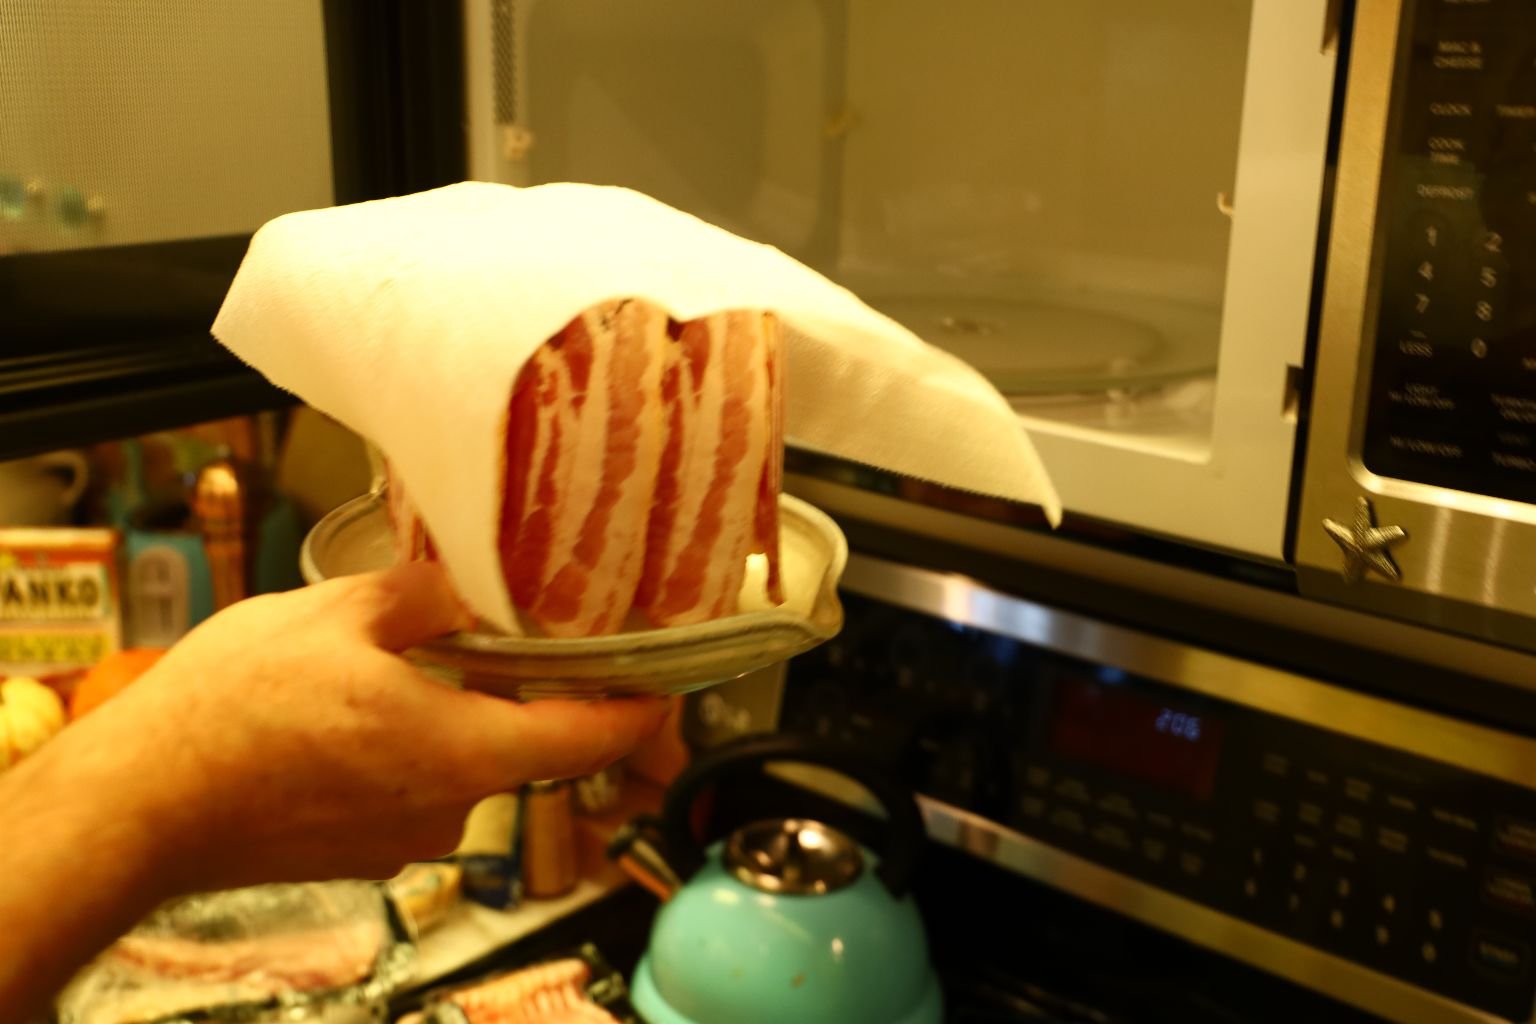
First, cook your bacon until crispy. We use this great pottery that looks like a cup and saucer which cooks the bacon in the microwave in about 10-12 min.
——————————————————————————
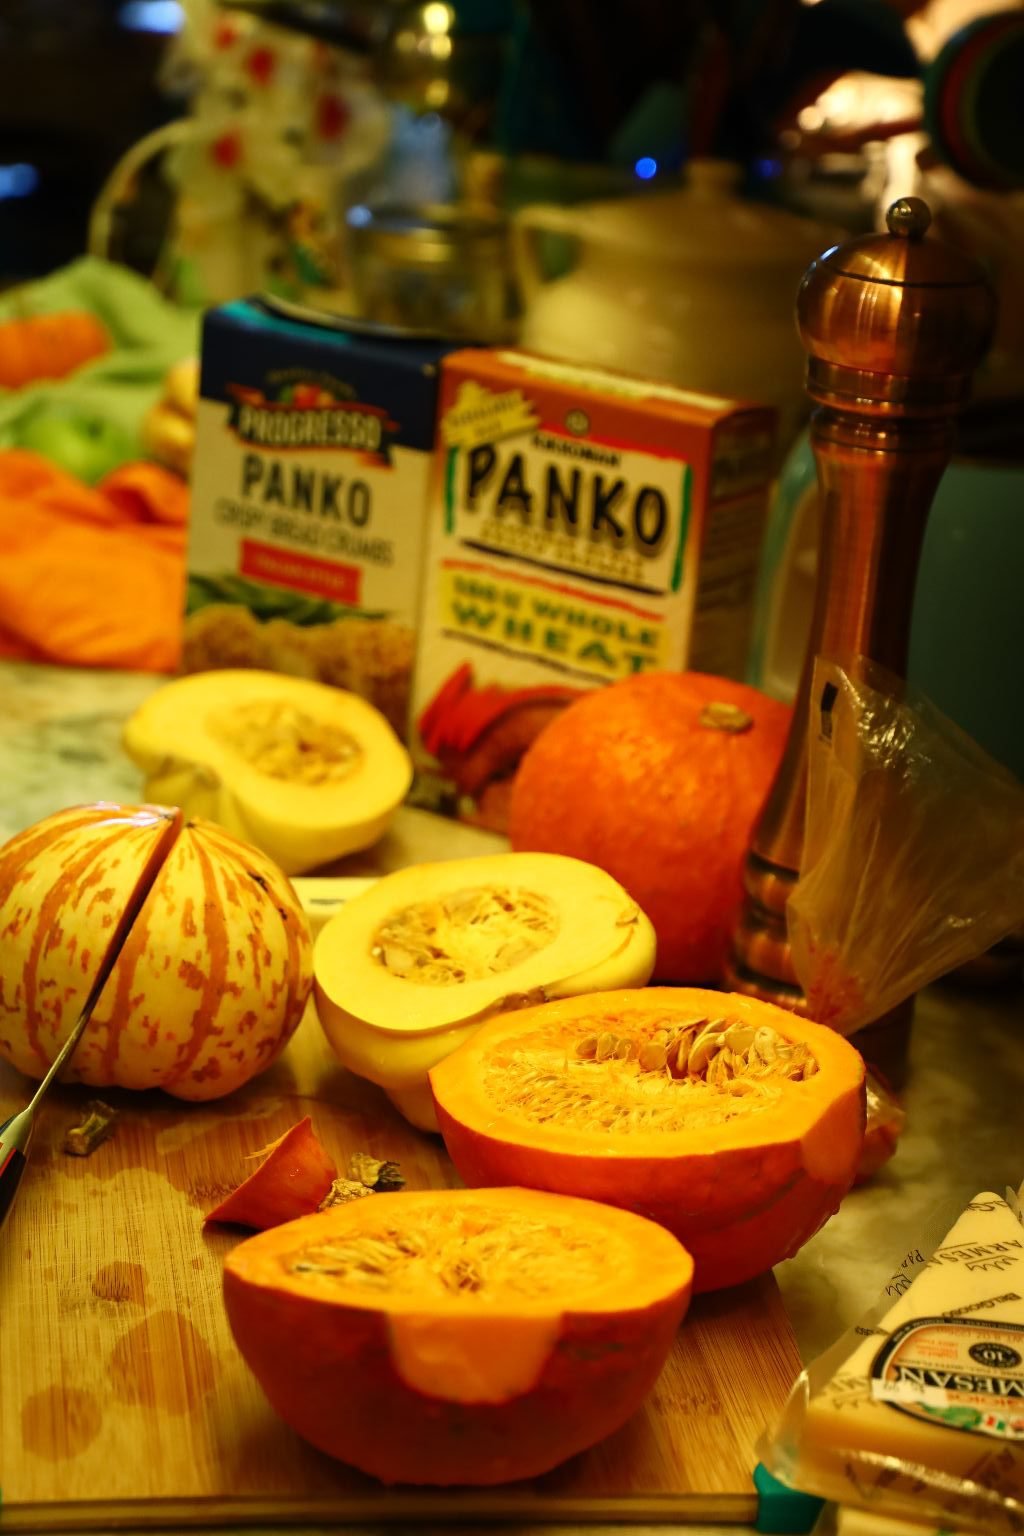
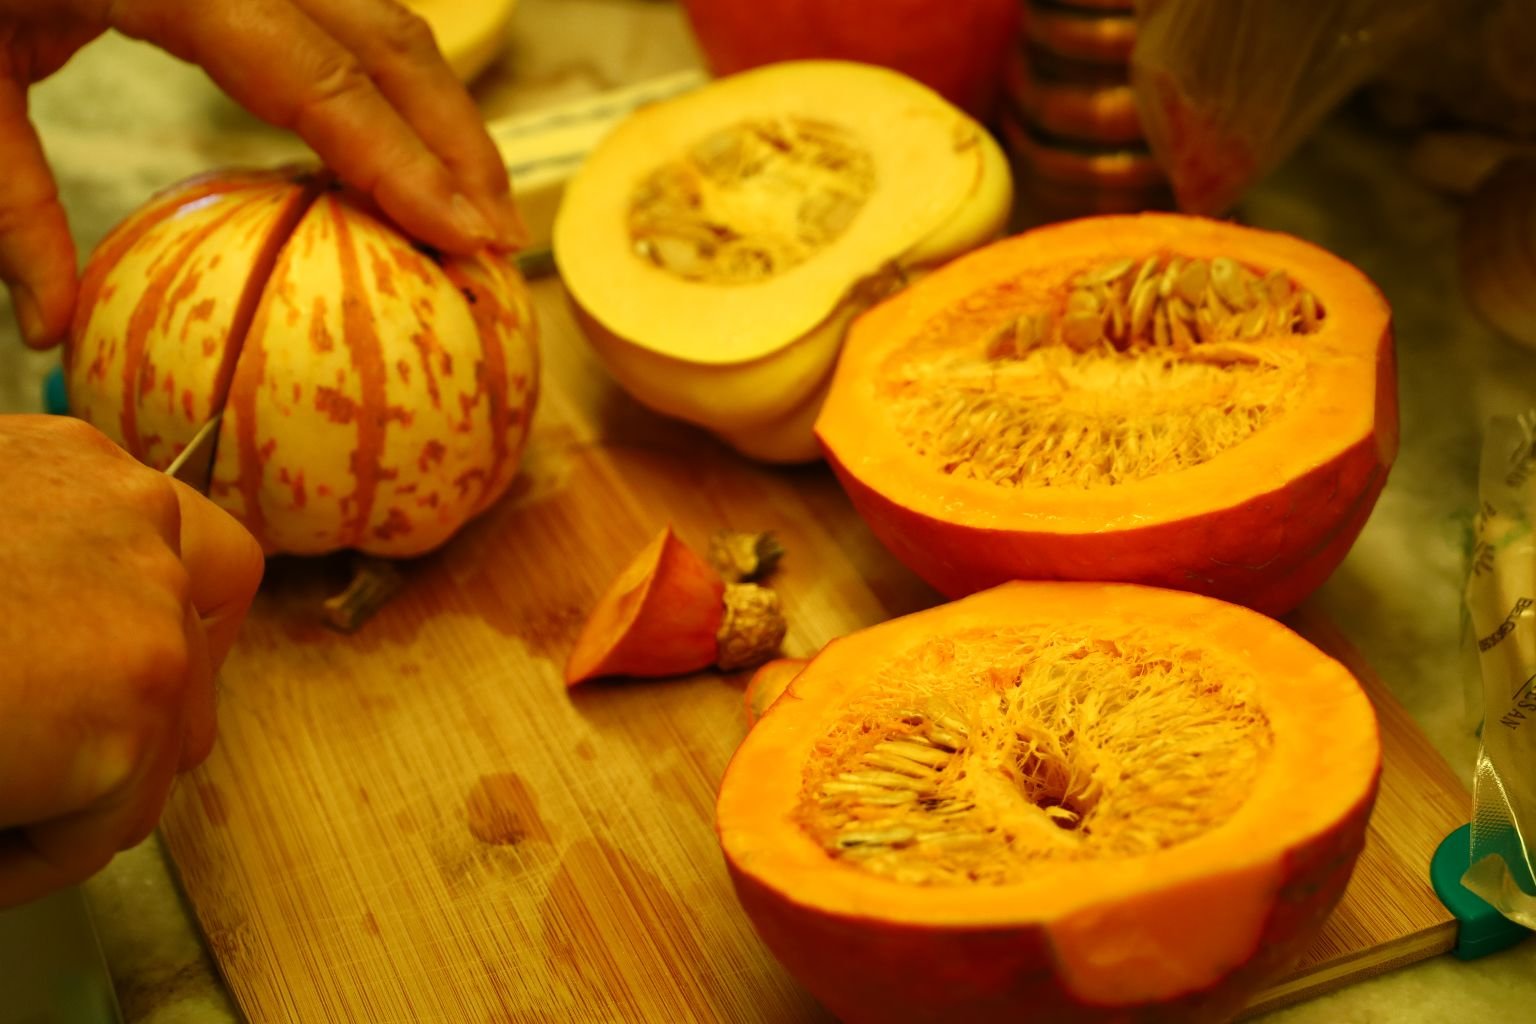
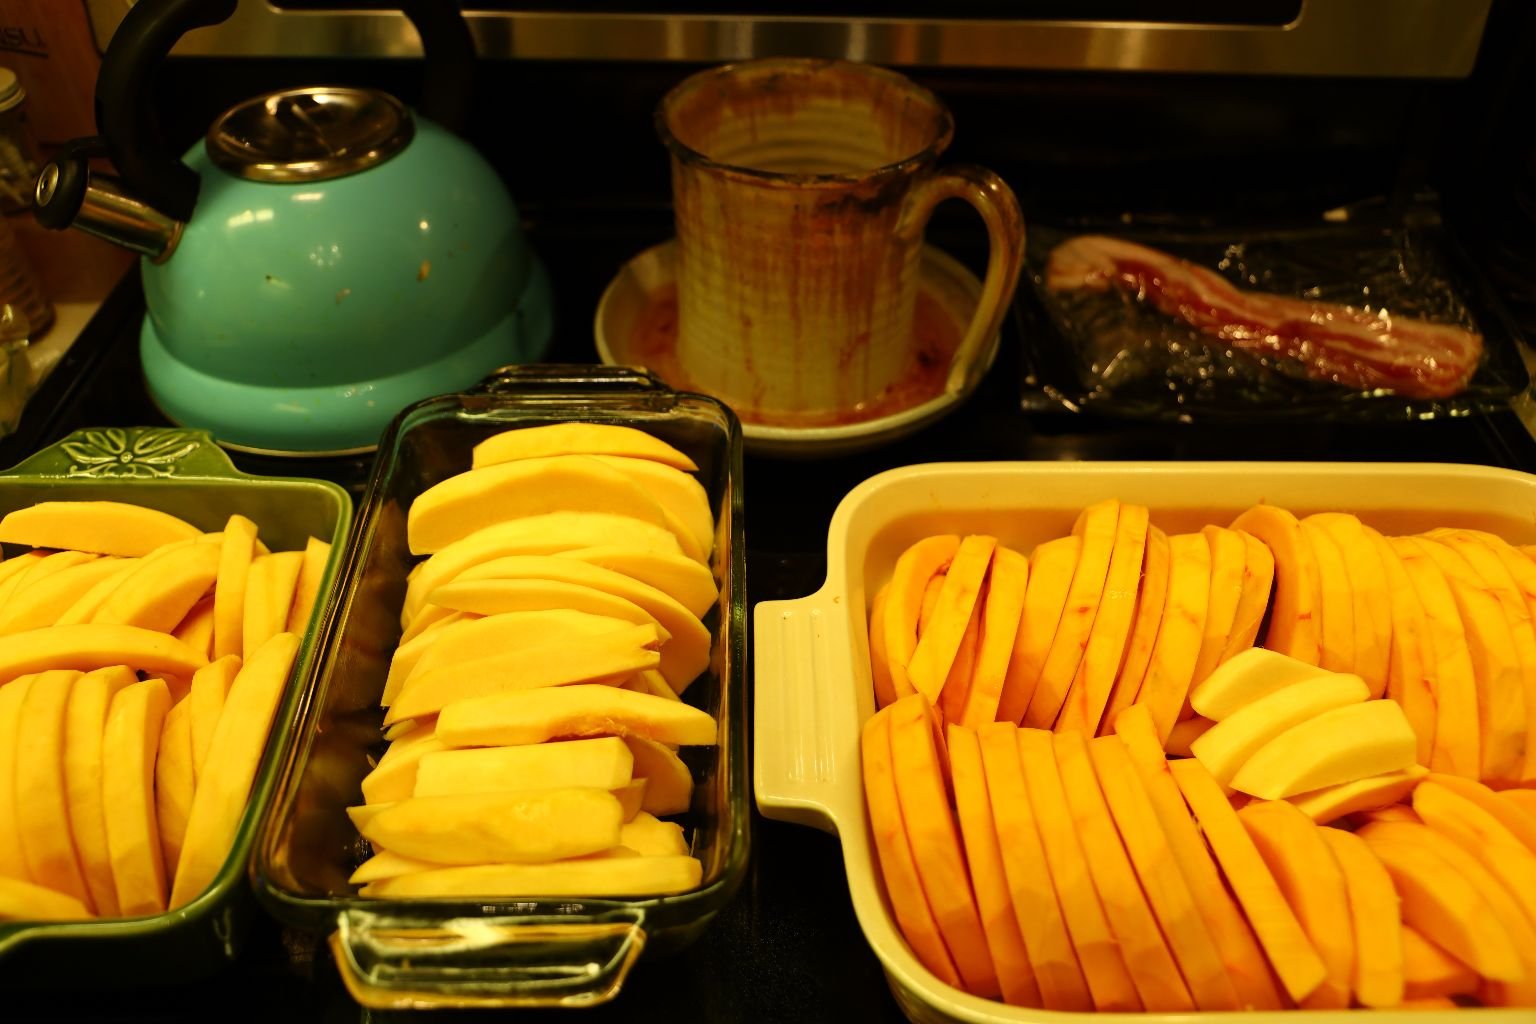
Here we have our Carnival, Golden Hubbard, and White Acorn Squash cut in half.
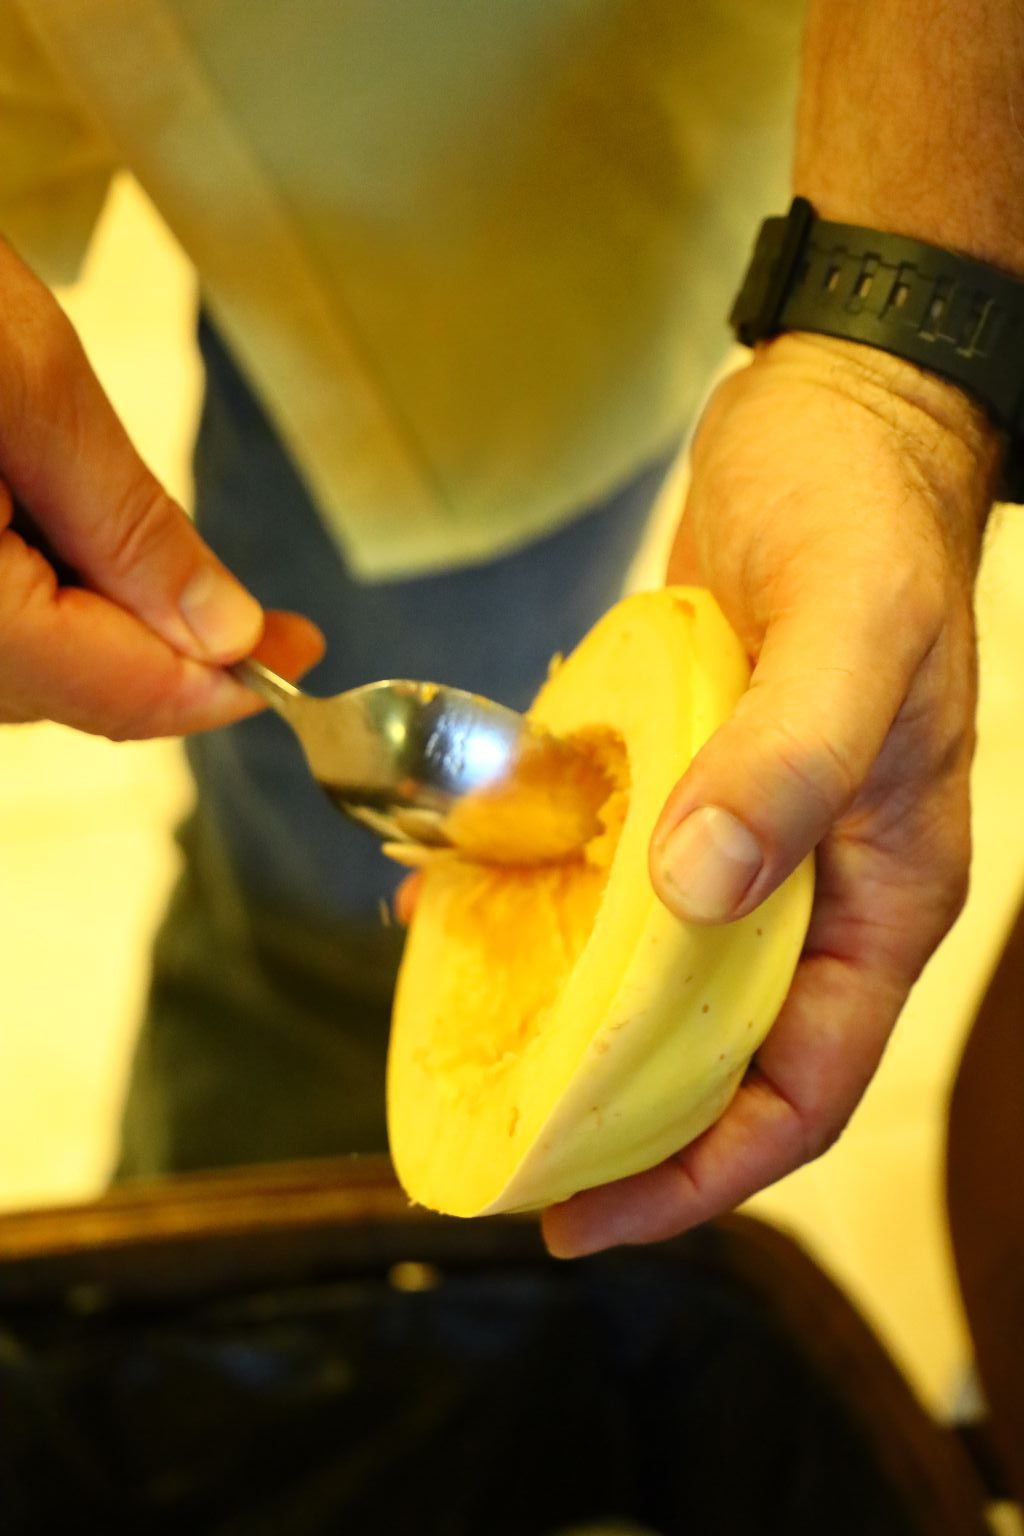
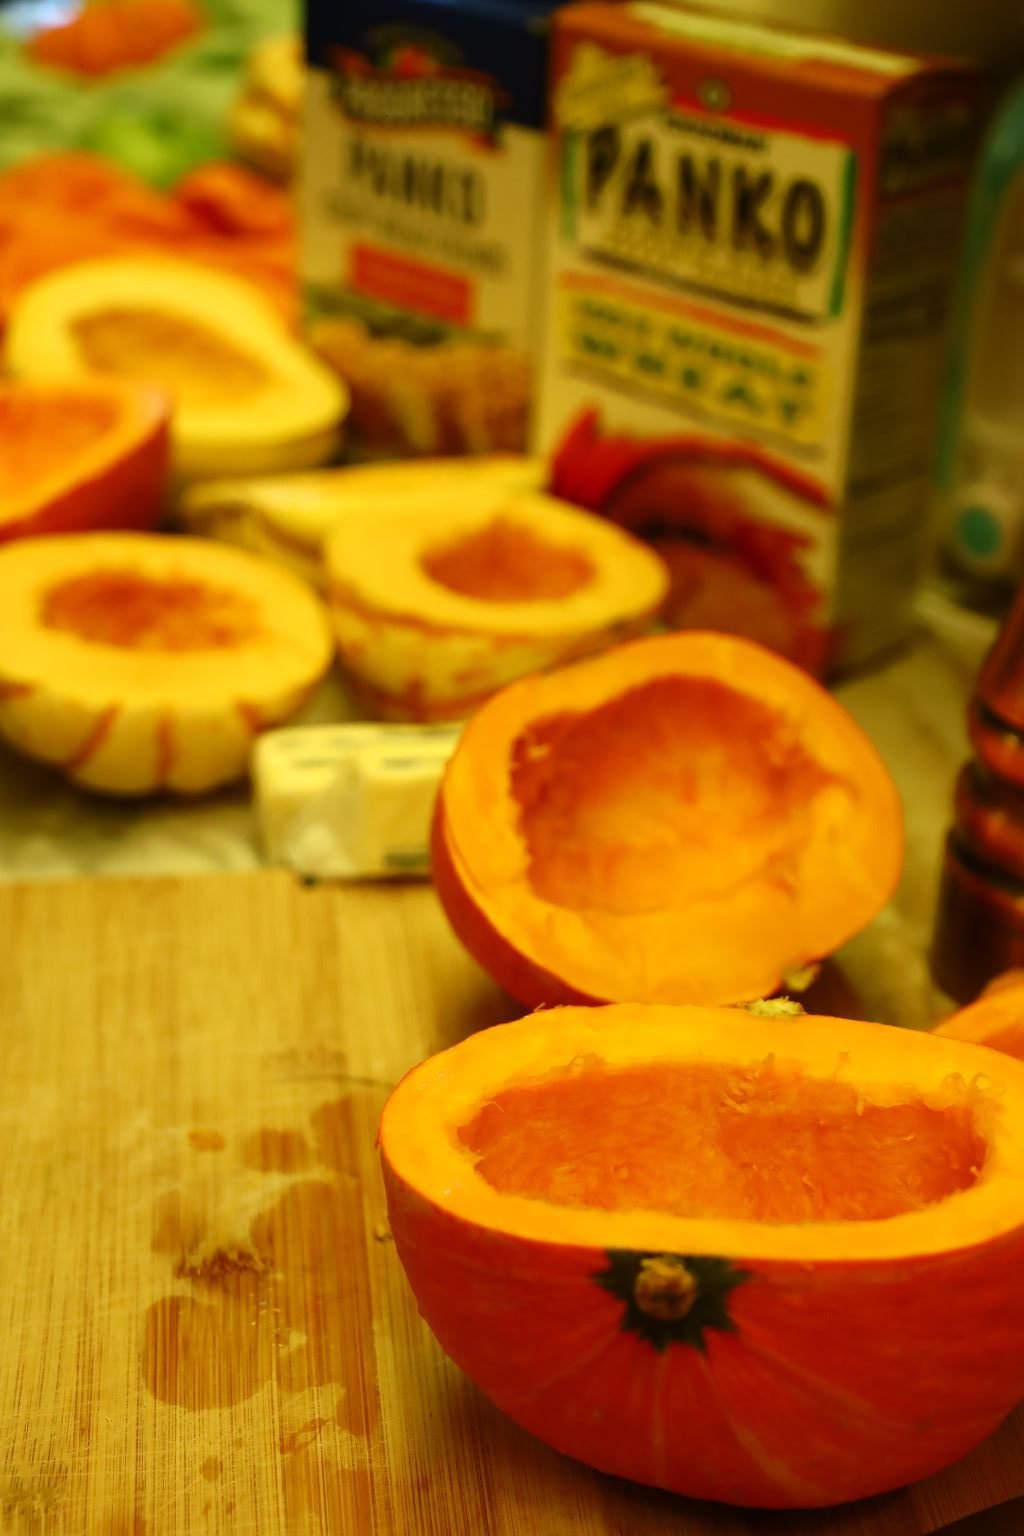
Remove the seeds with a spoon.
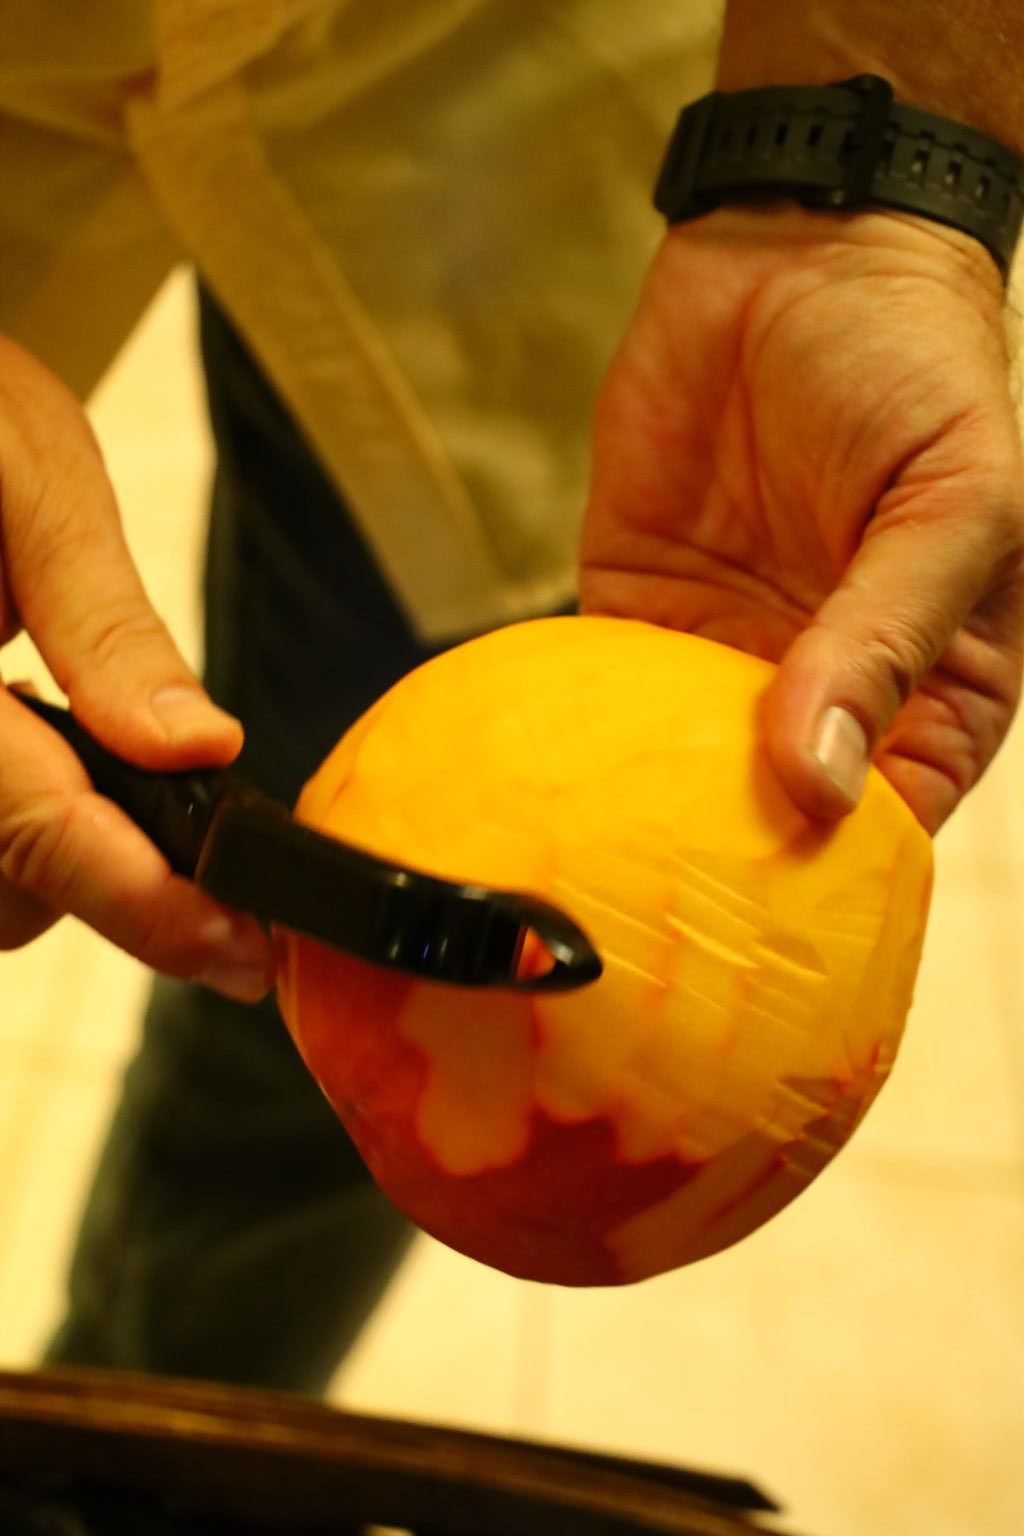
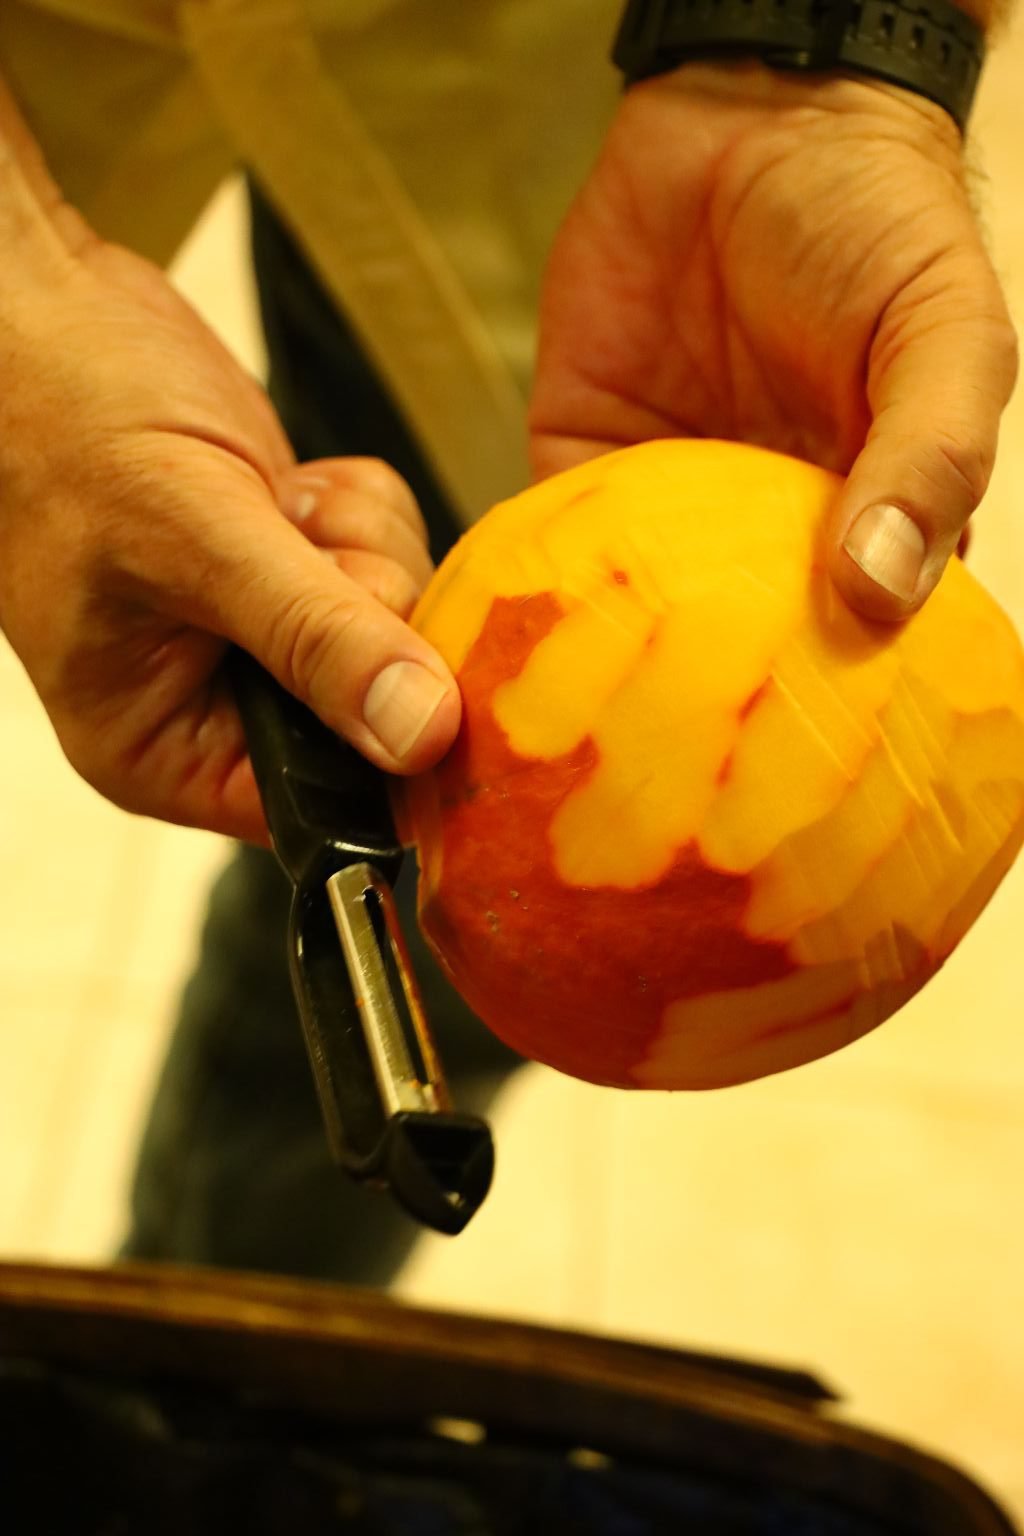
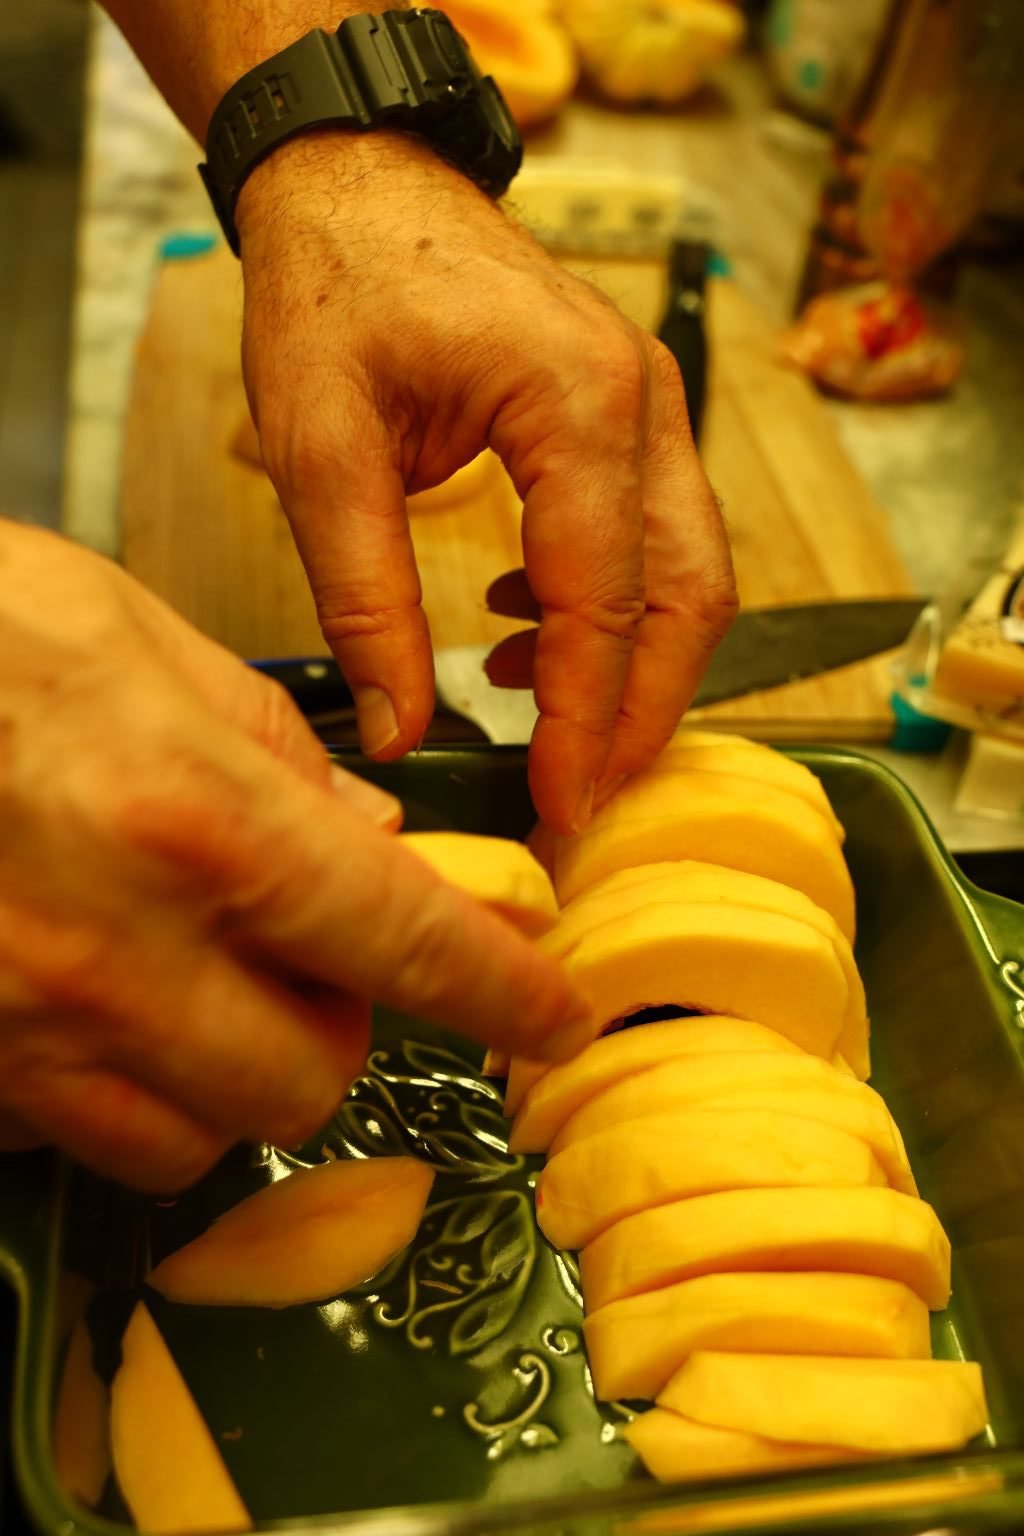
Peel the squash as shown.
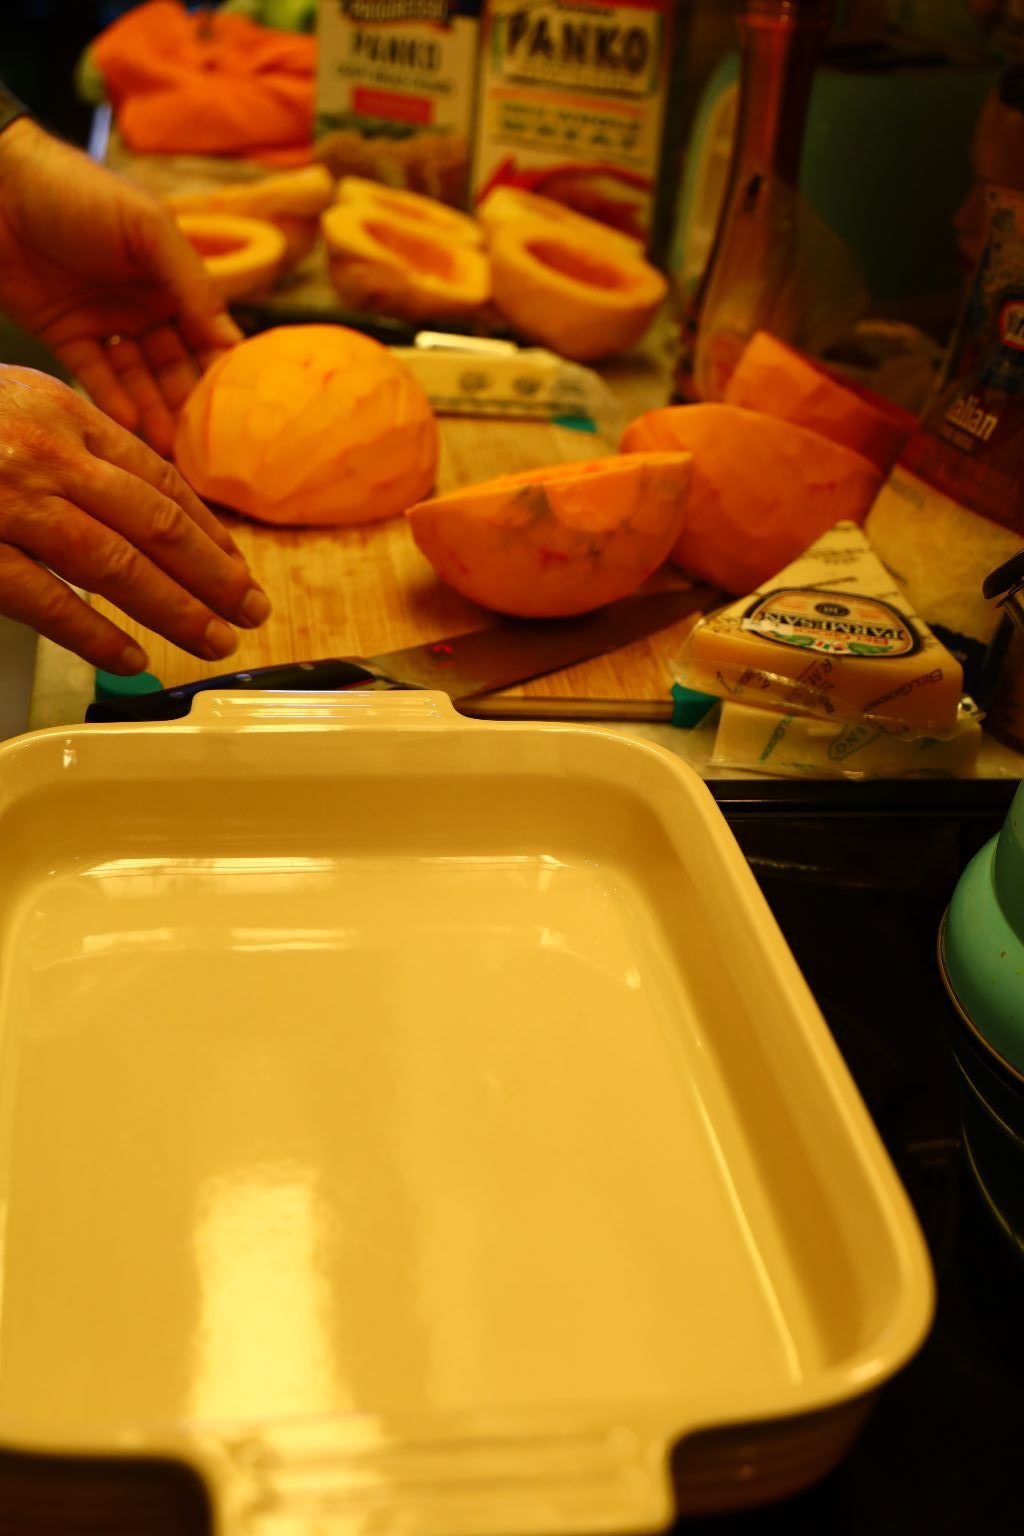
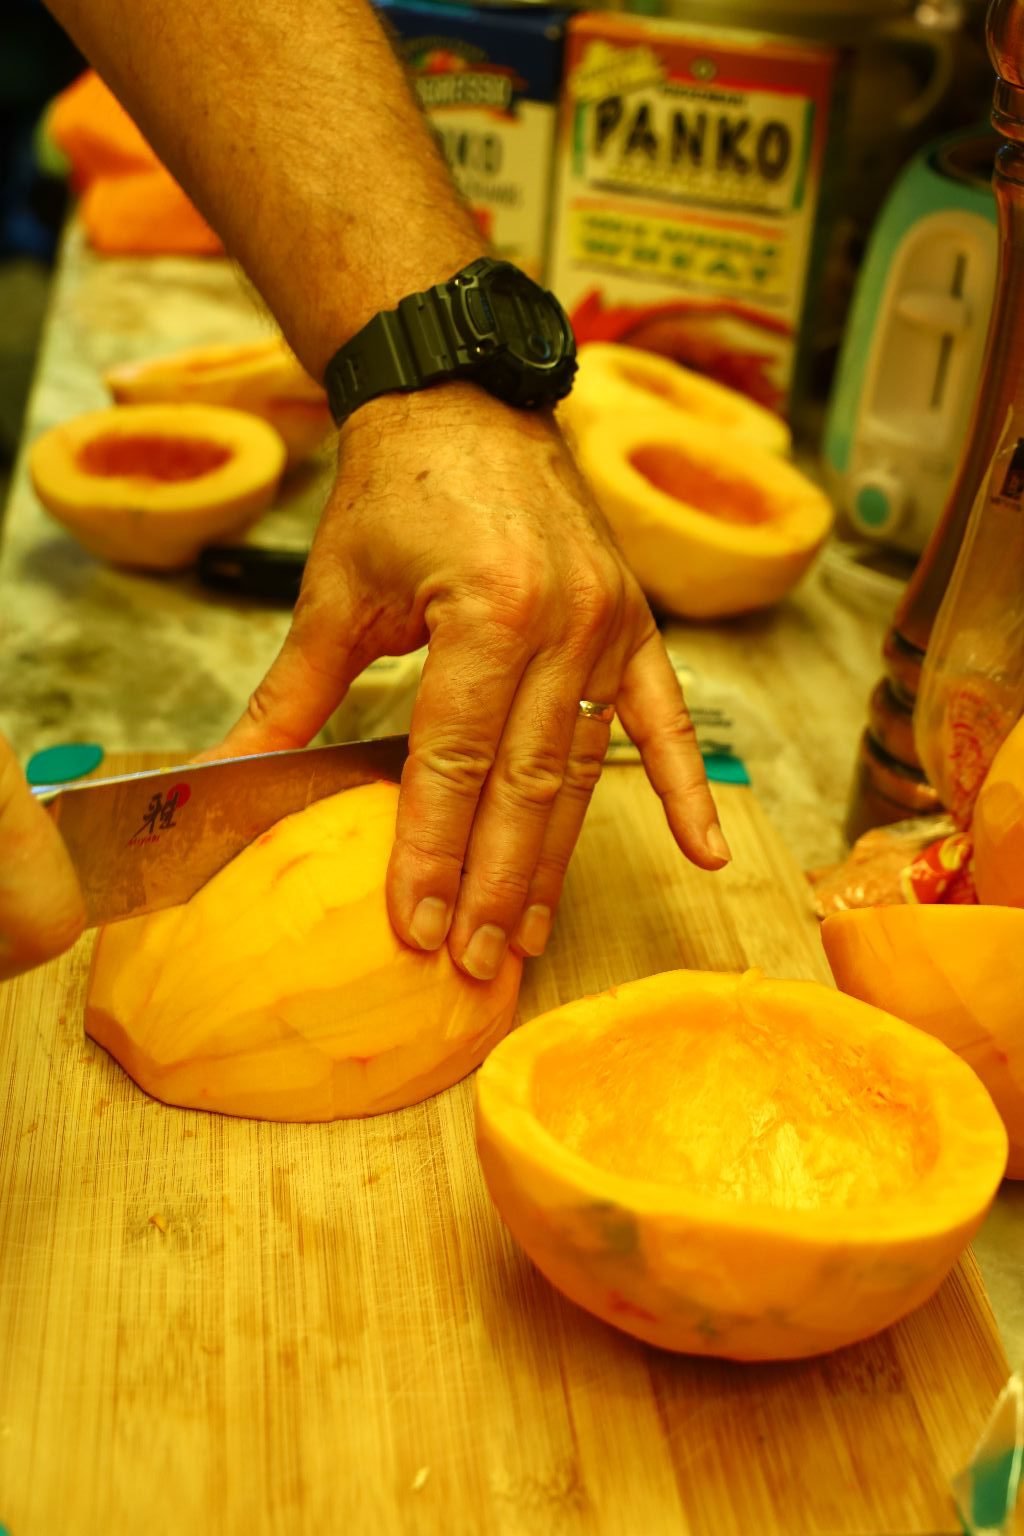
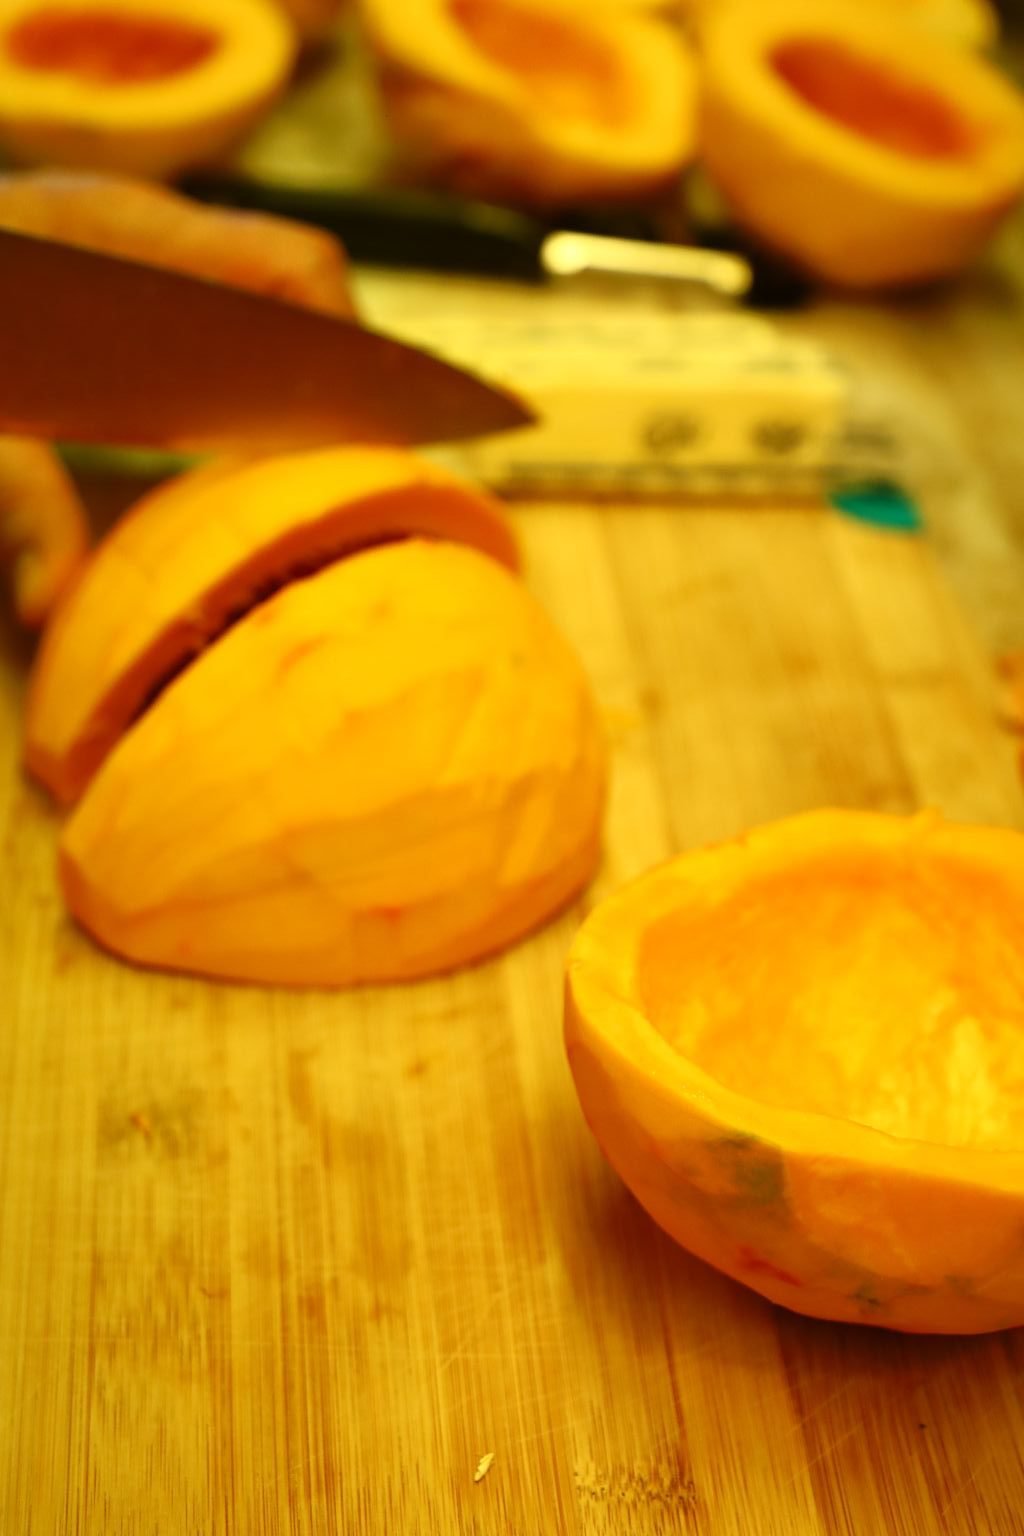
Slice the squash in 1/2 inch half moon slices.
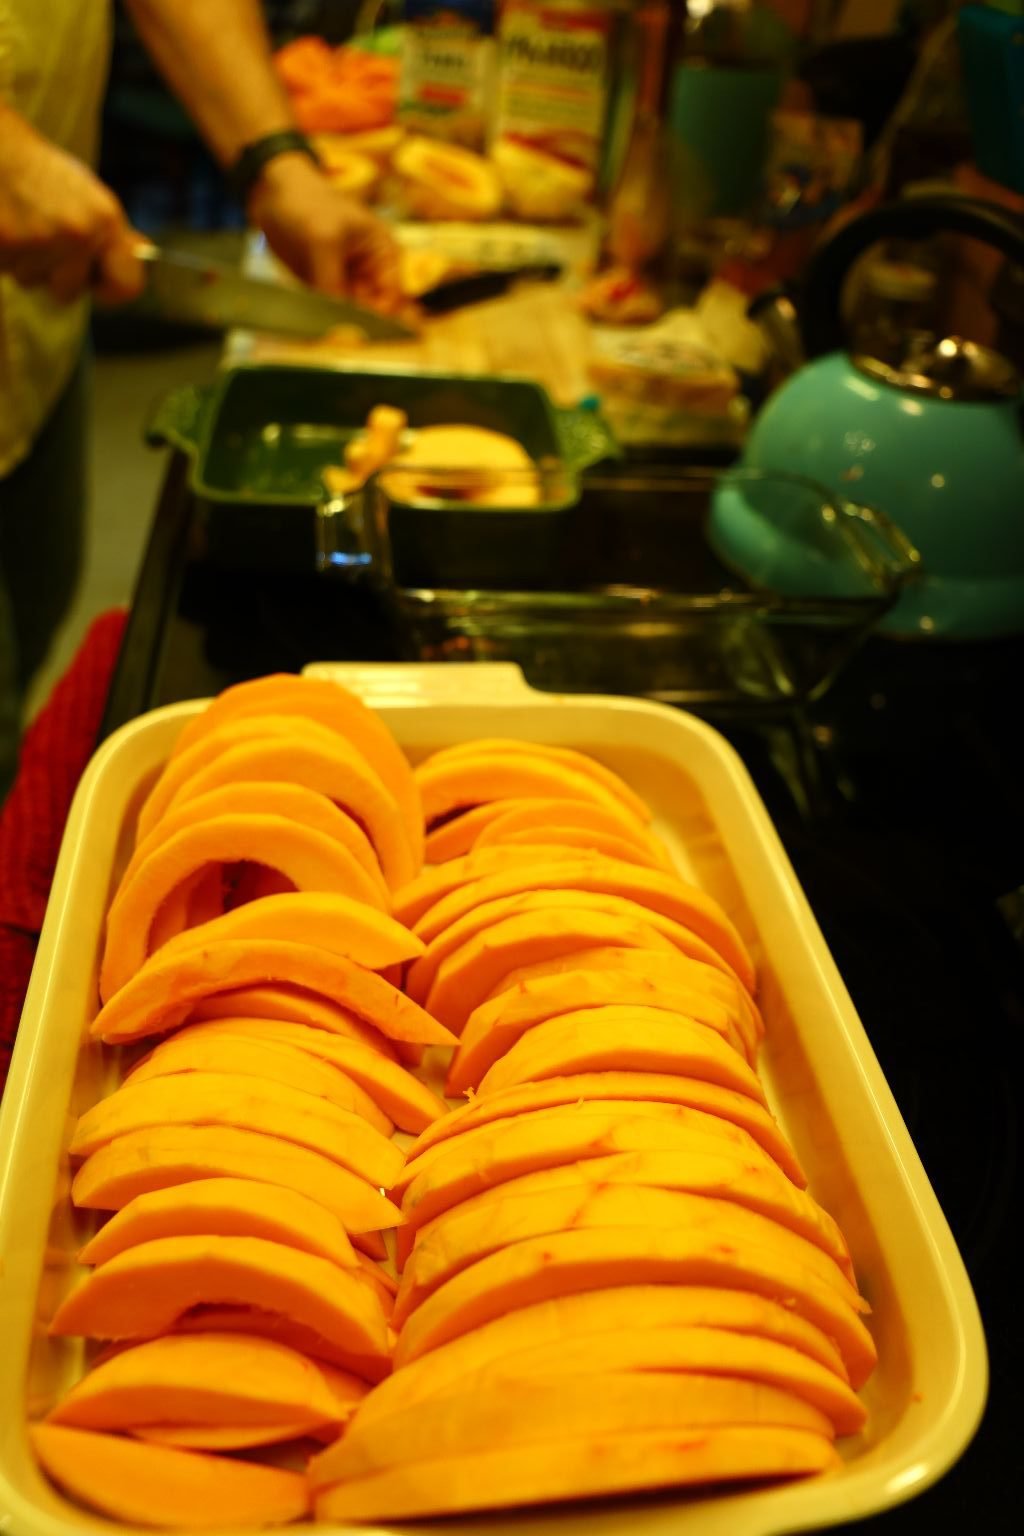
Place the sliced squash in a casserole pan.
(Julie wanted them to be displayed this way.)
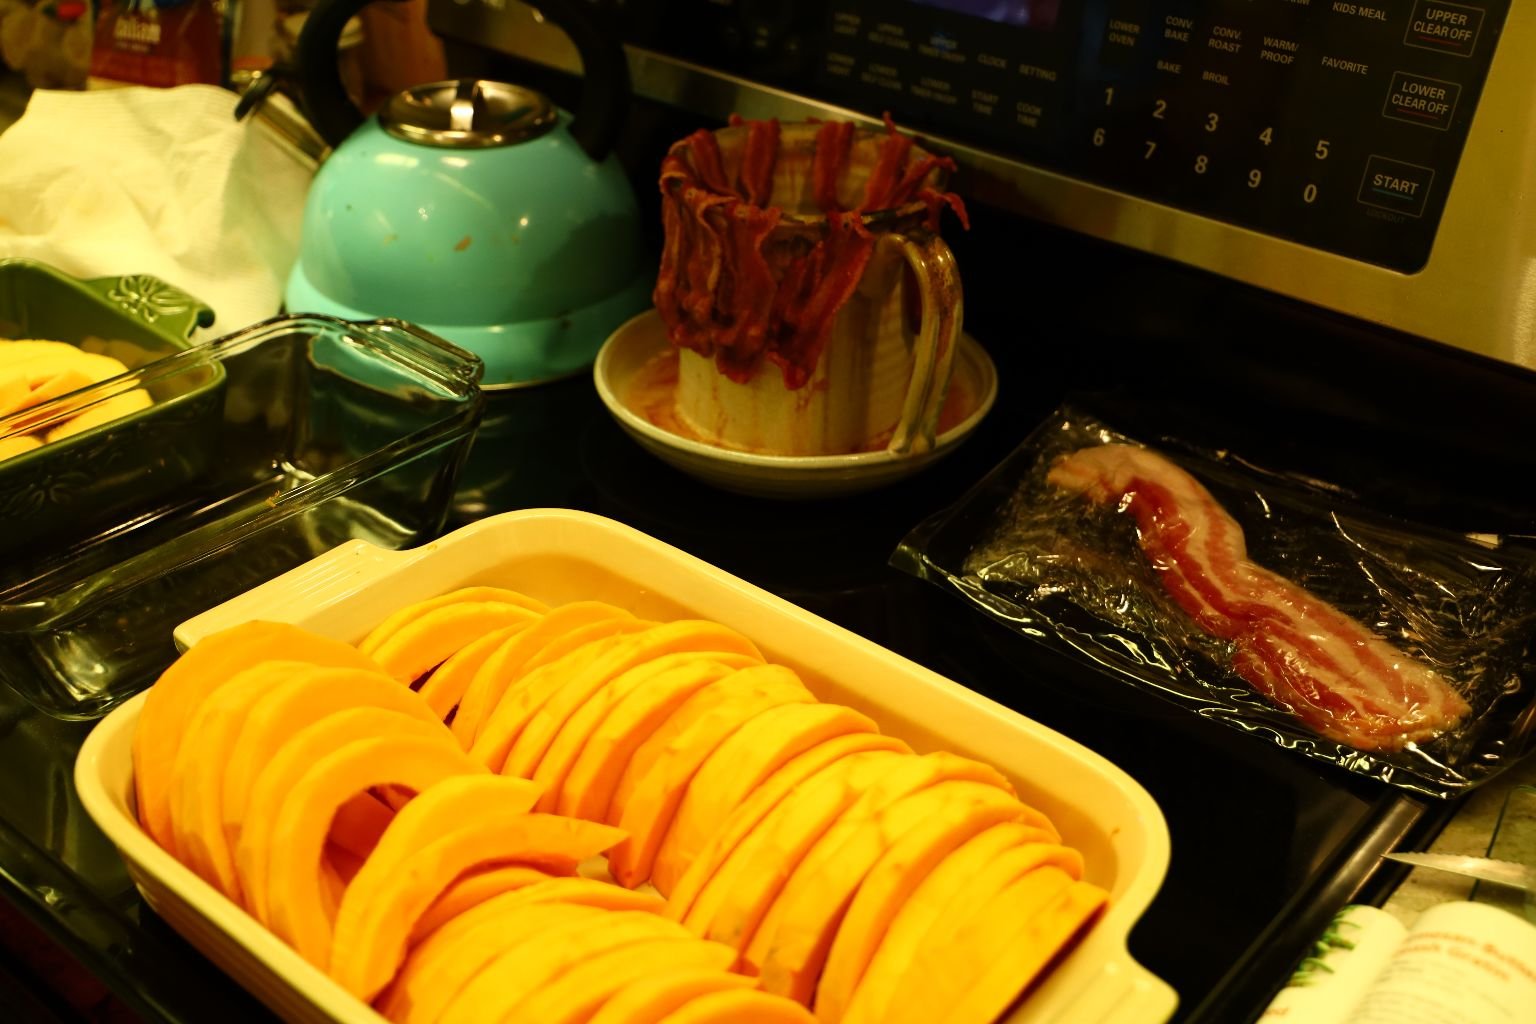
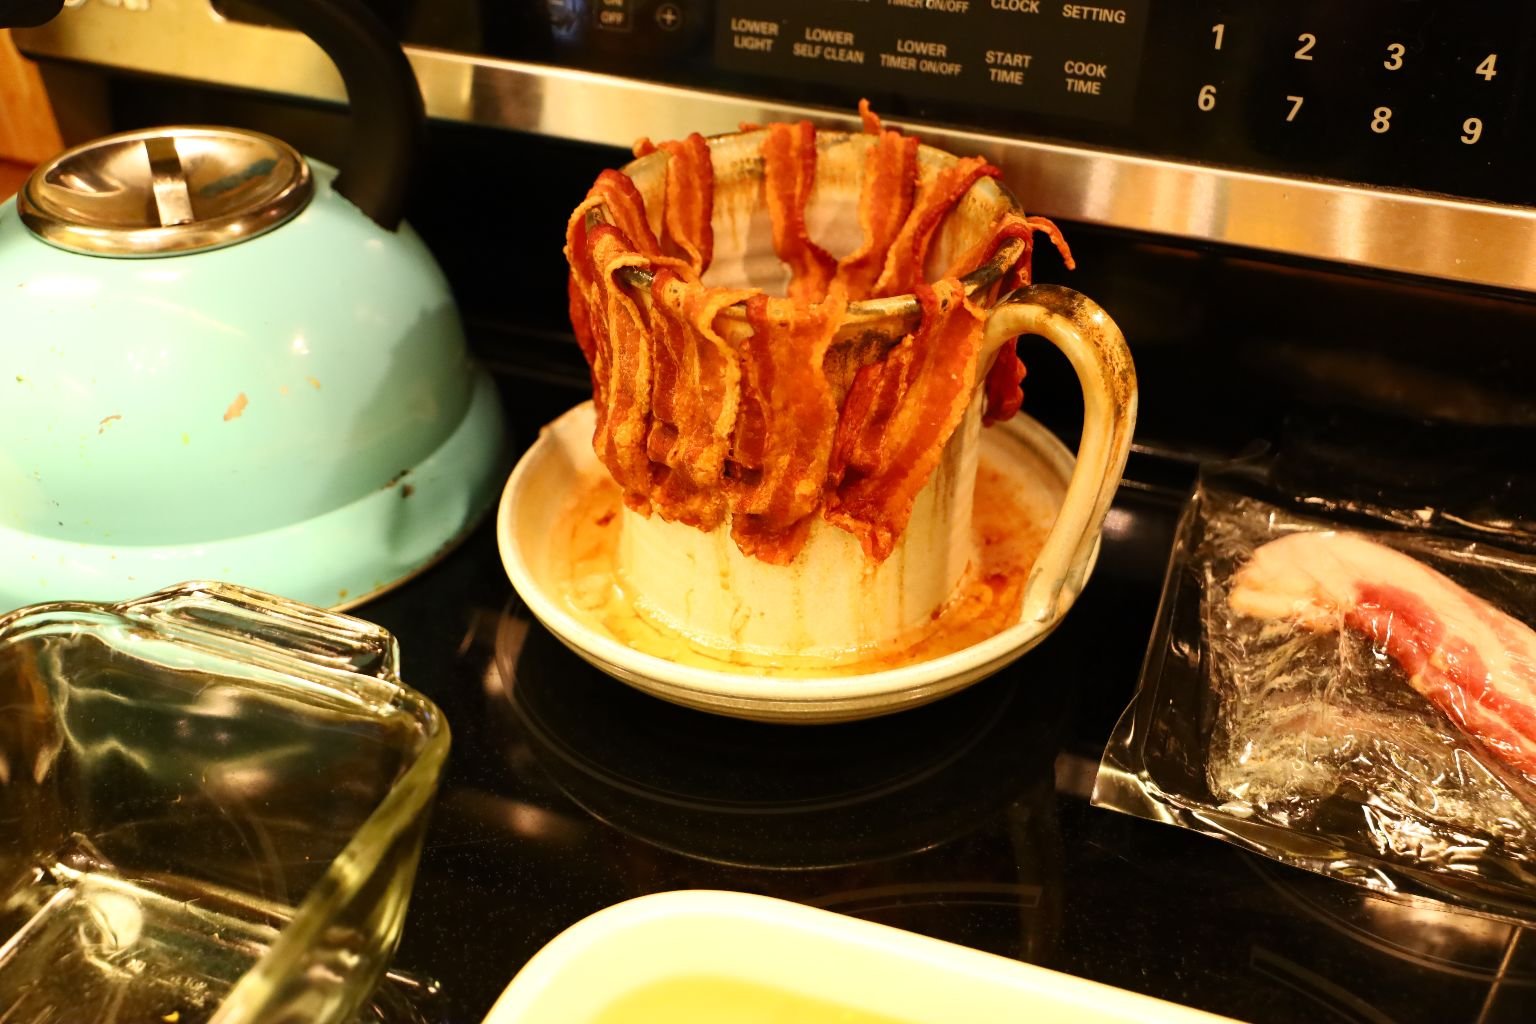
Here you can see the cooked bacon. The excess grease drips away and is in the saucer.
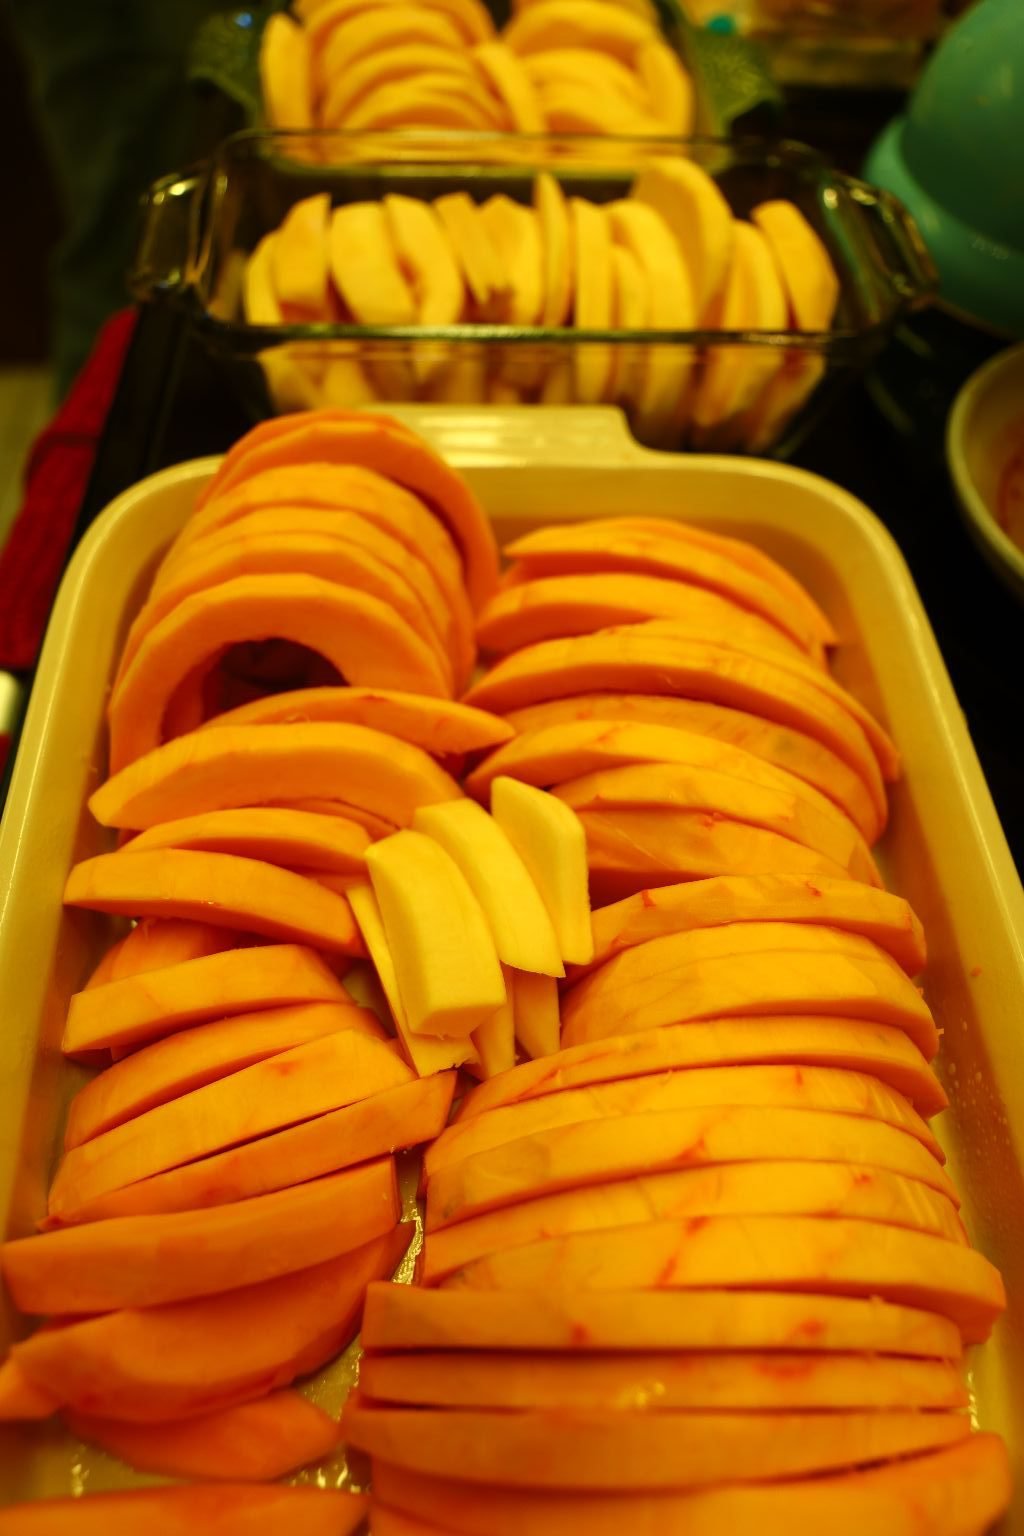
Lining up the squash side by side.
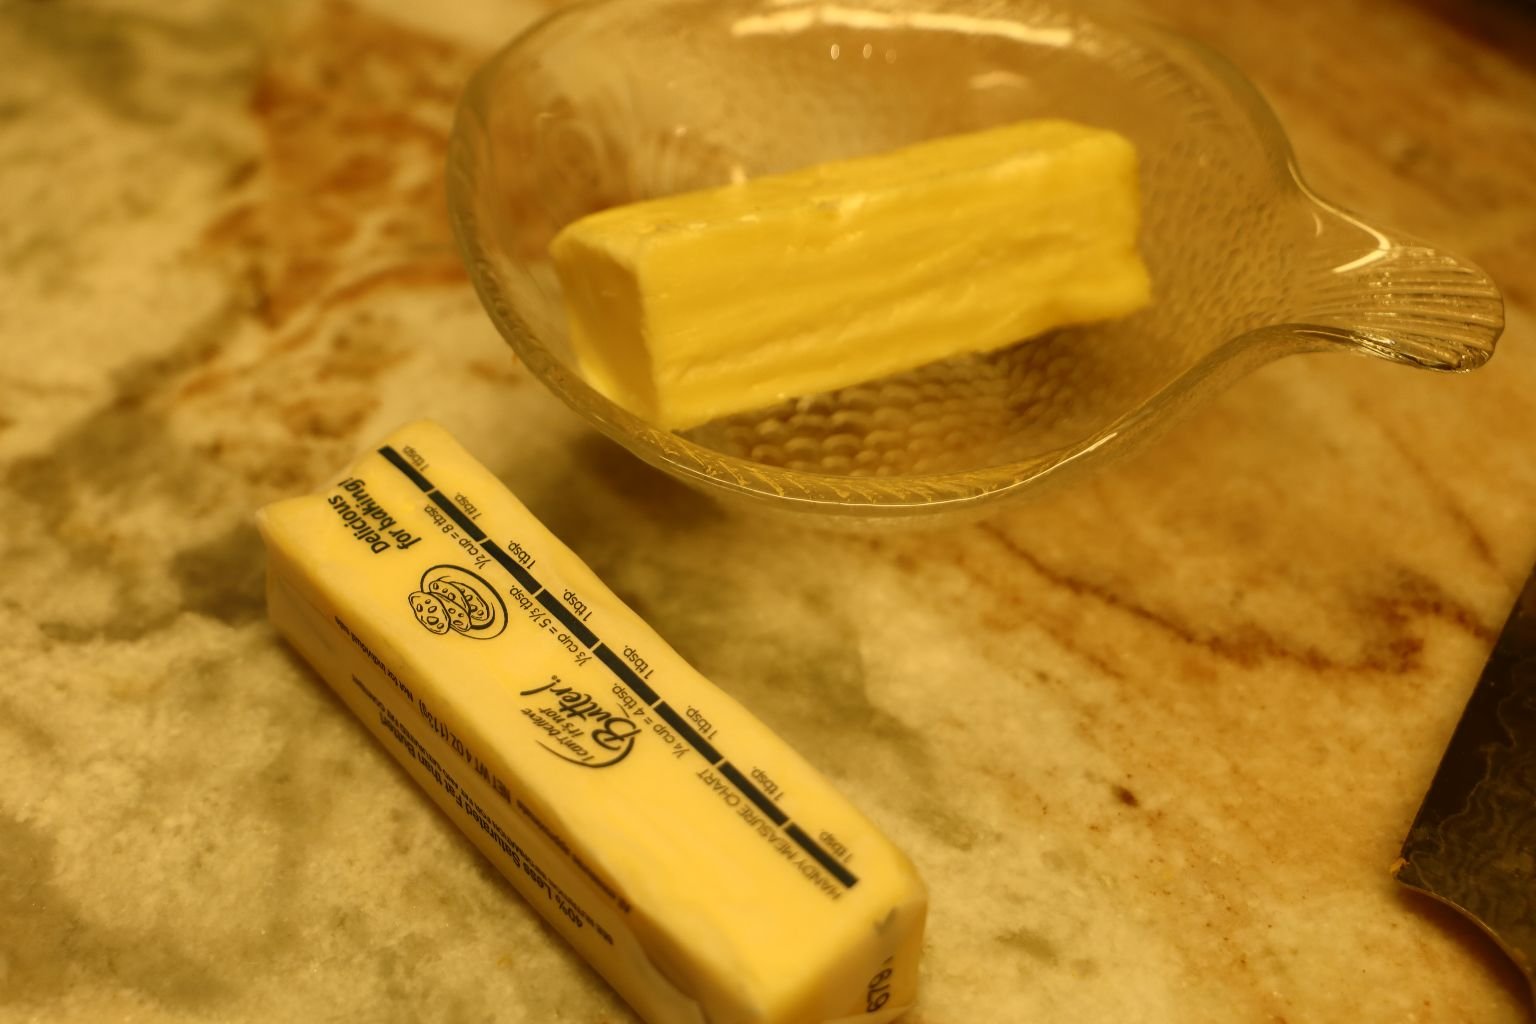
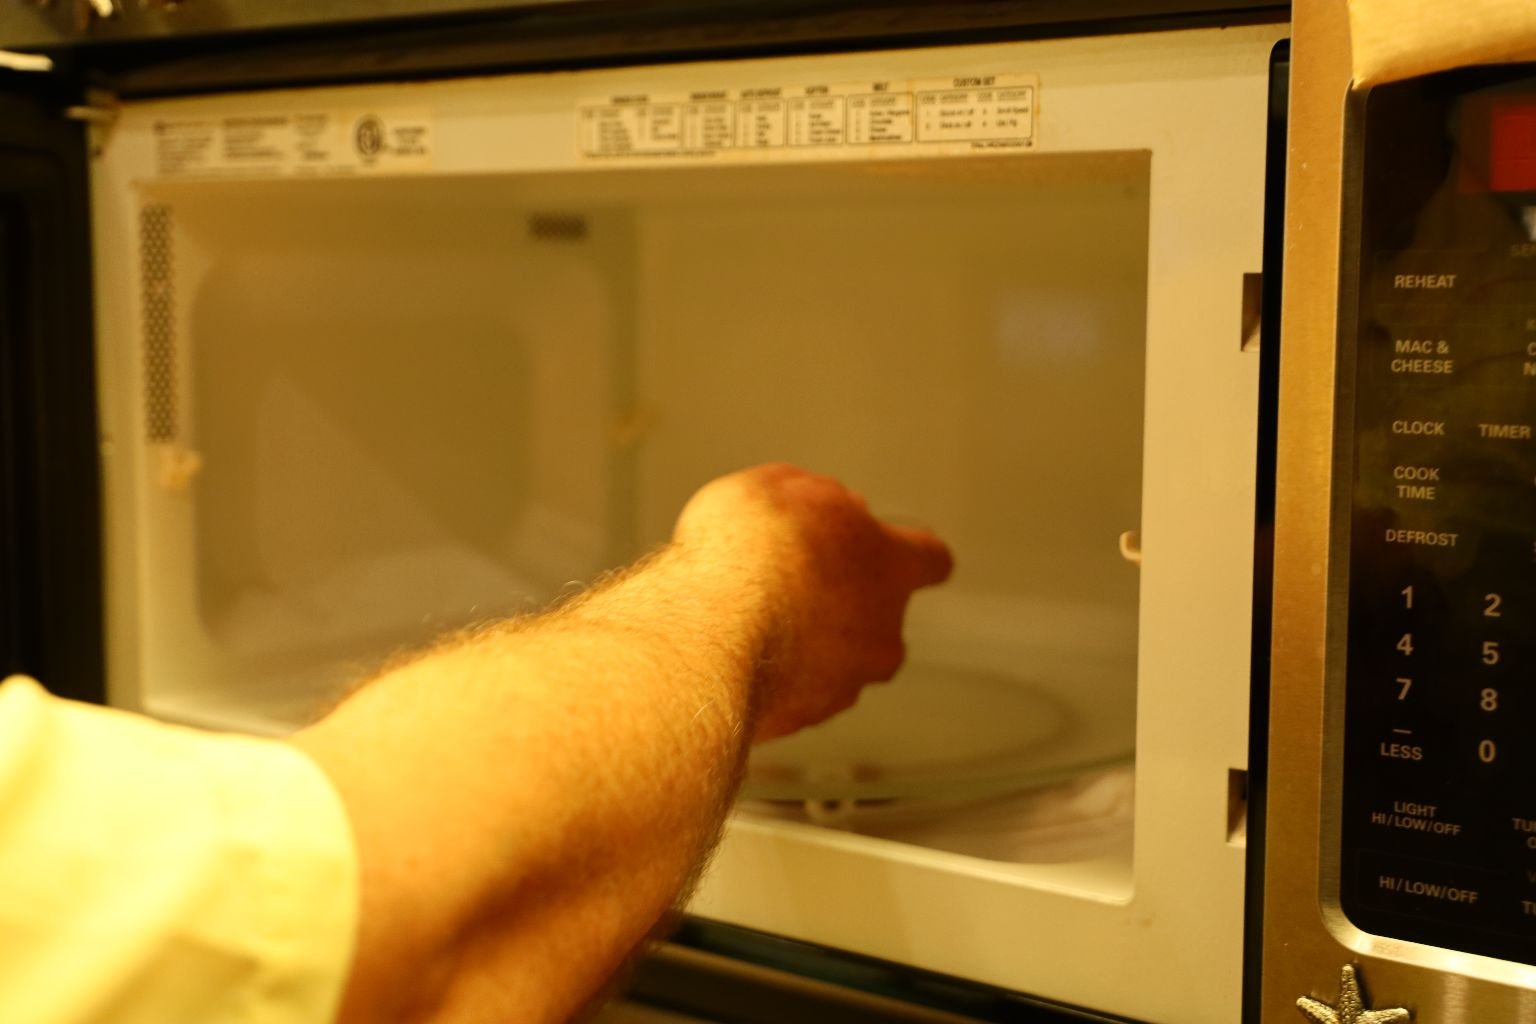
Place the stick of butter in a bowl and melt it in the microwave. This will take about 30 seconds to melt.
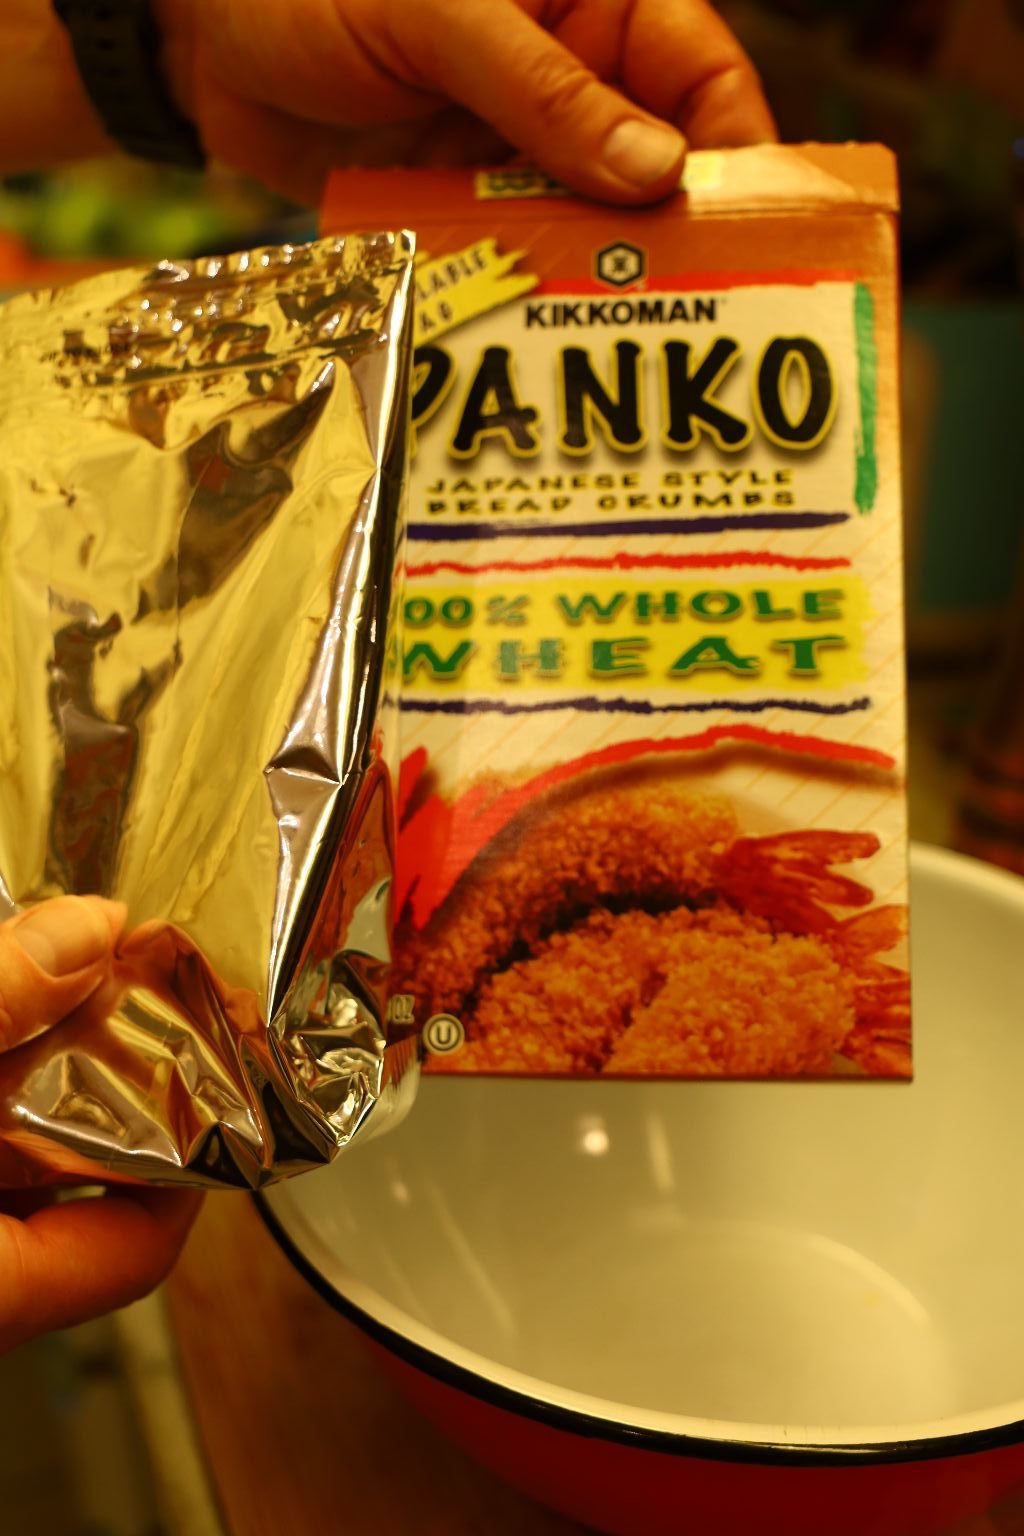
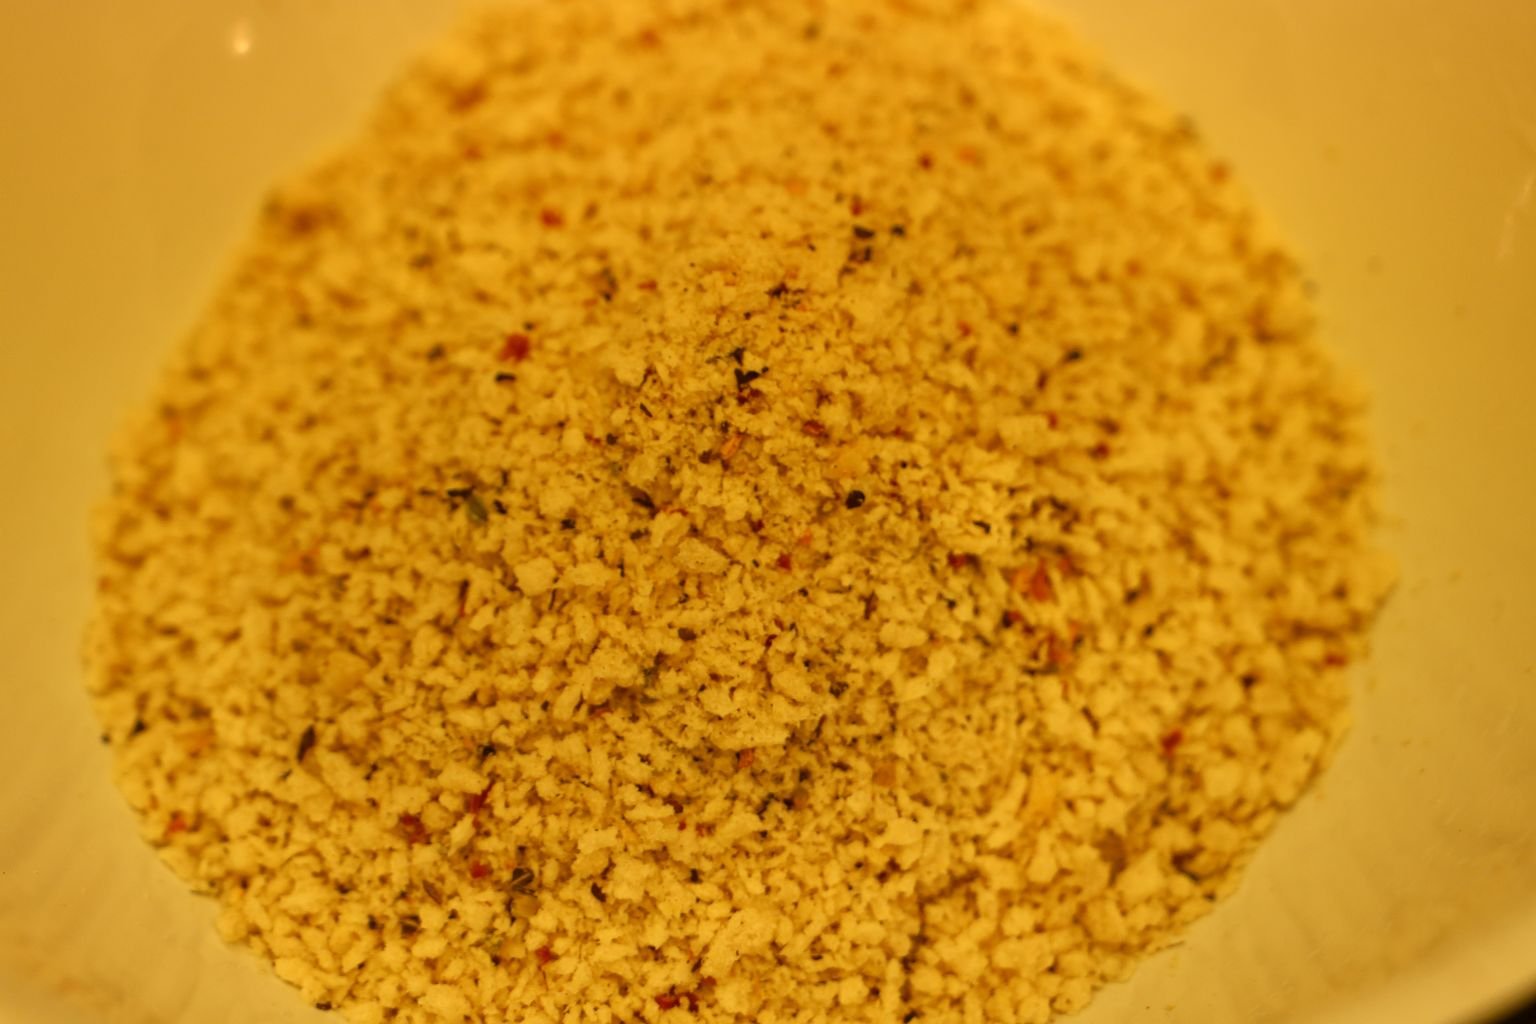
Place your Panko in a medium sized bowl as shown.
———————————————————————

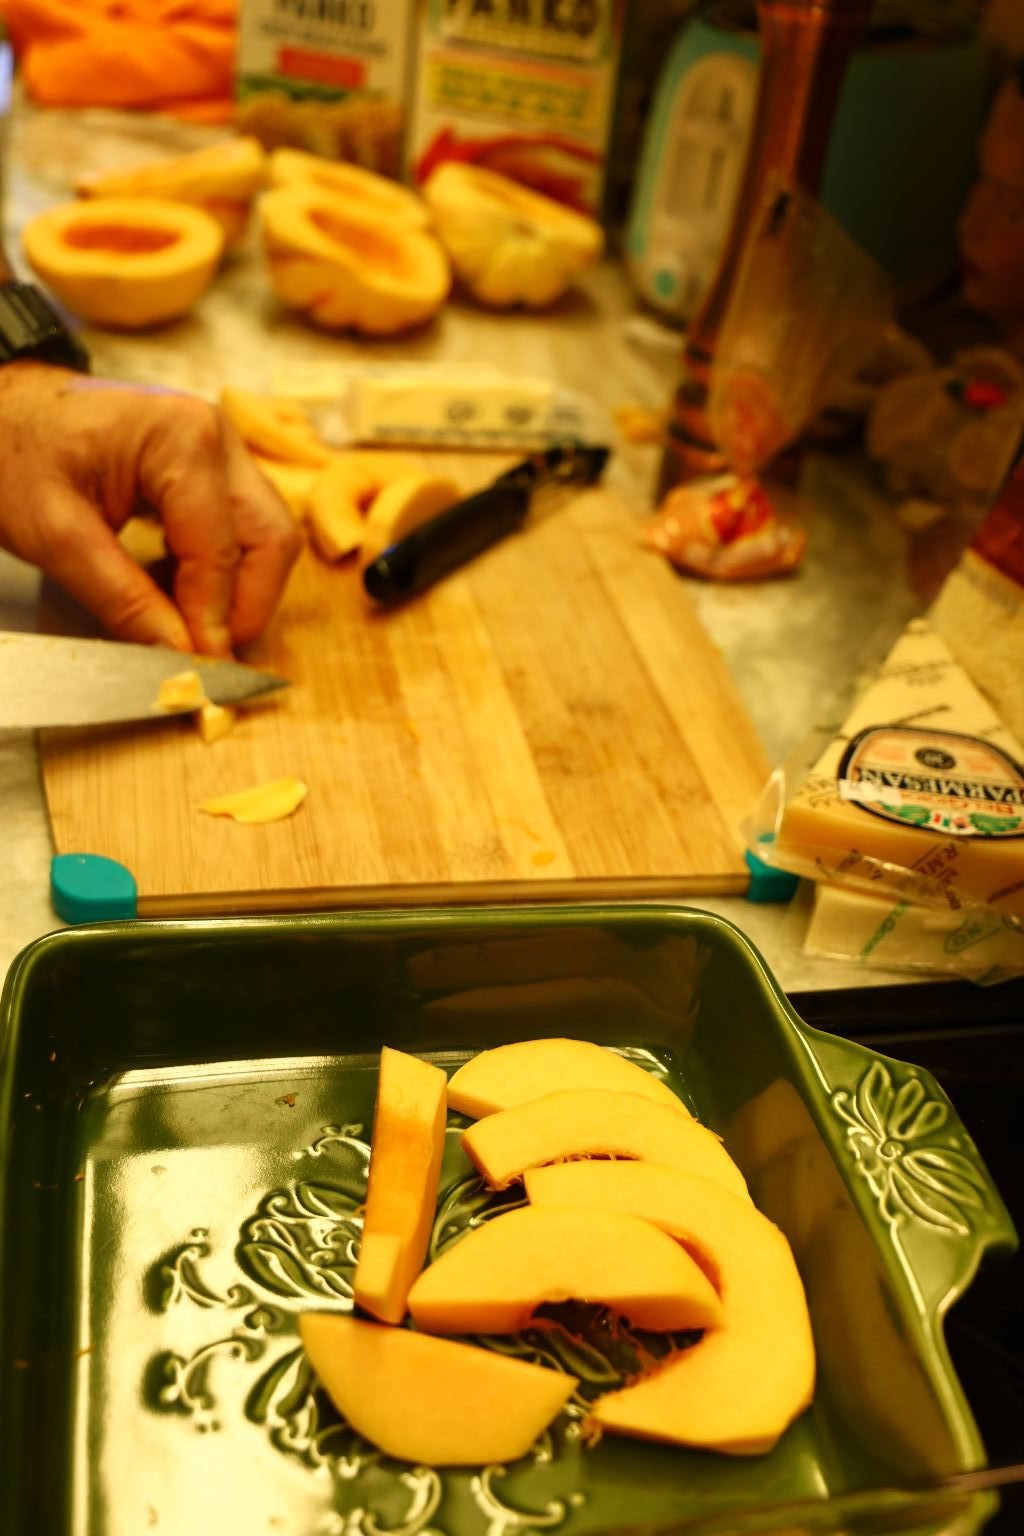
Here we have all the squash lined up in the casserole dish.
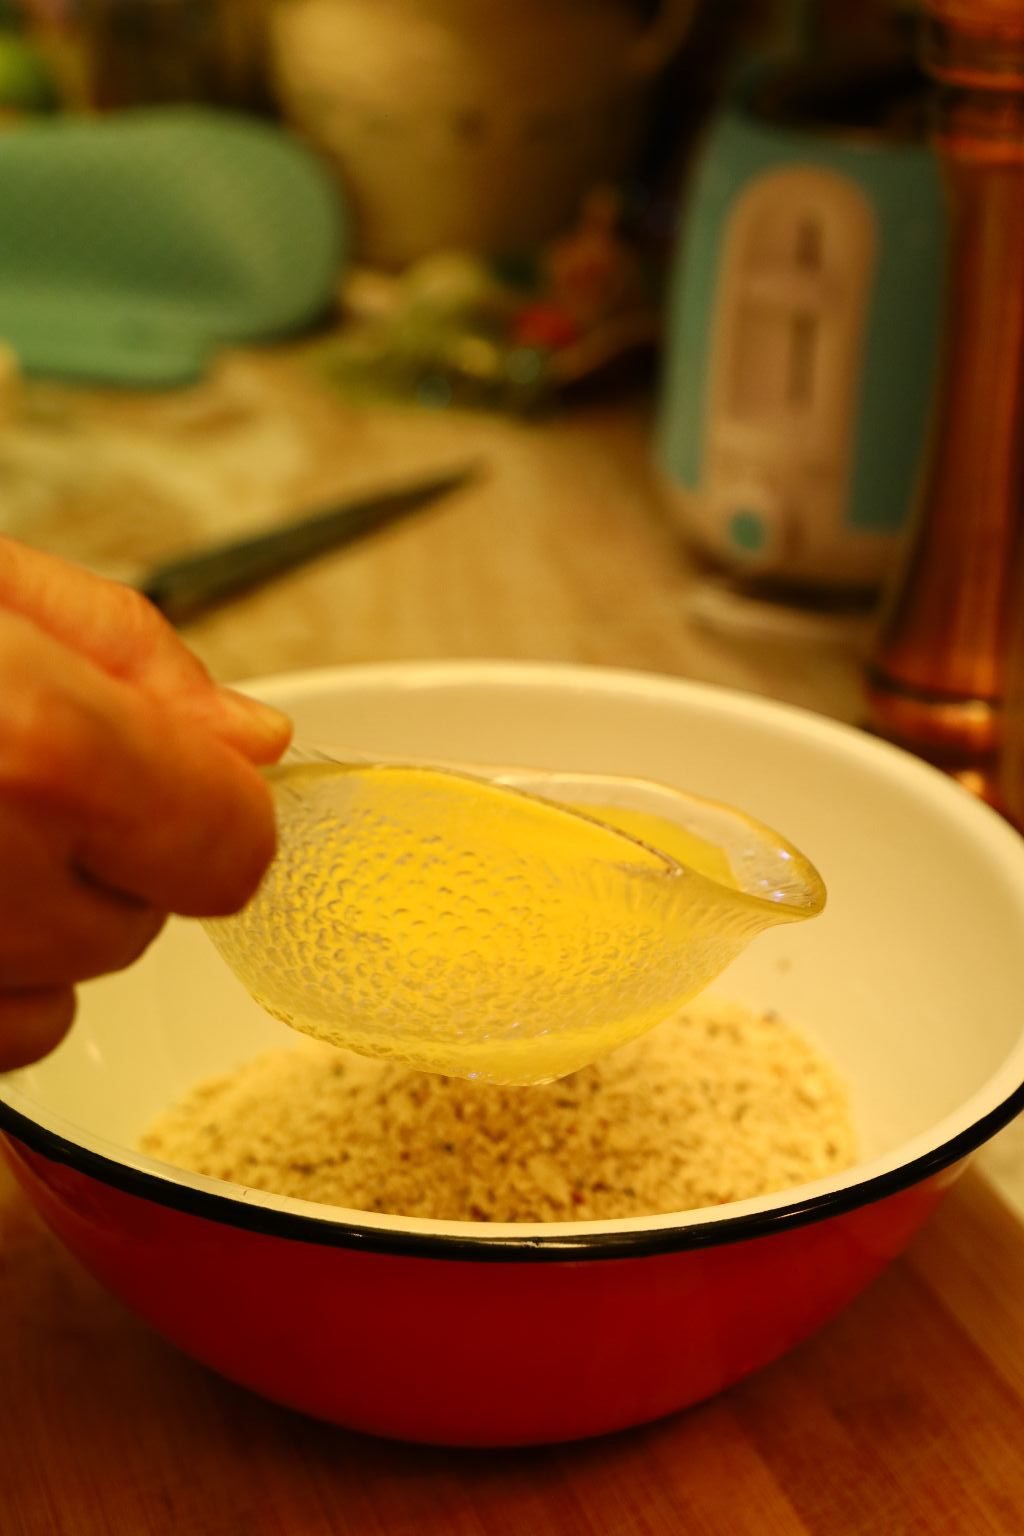
Add your butter to the Panko and then add your Black Pepper. If you like more butter then melt more until the Panko has the consistency you like.
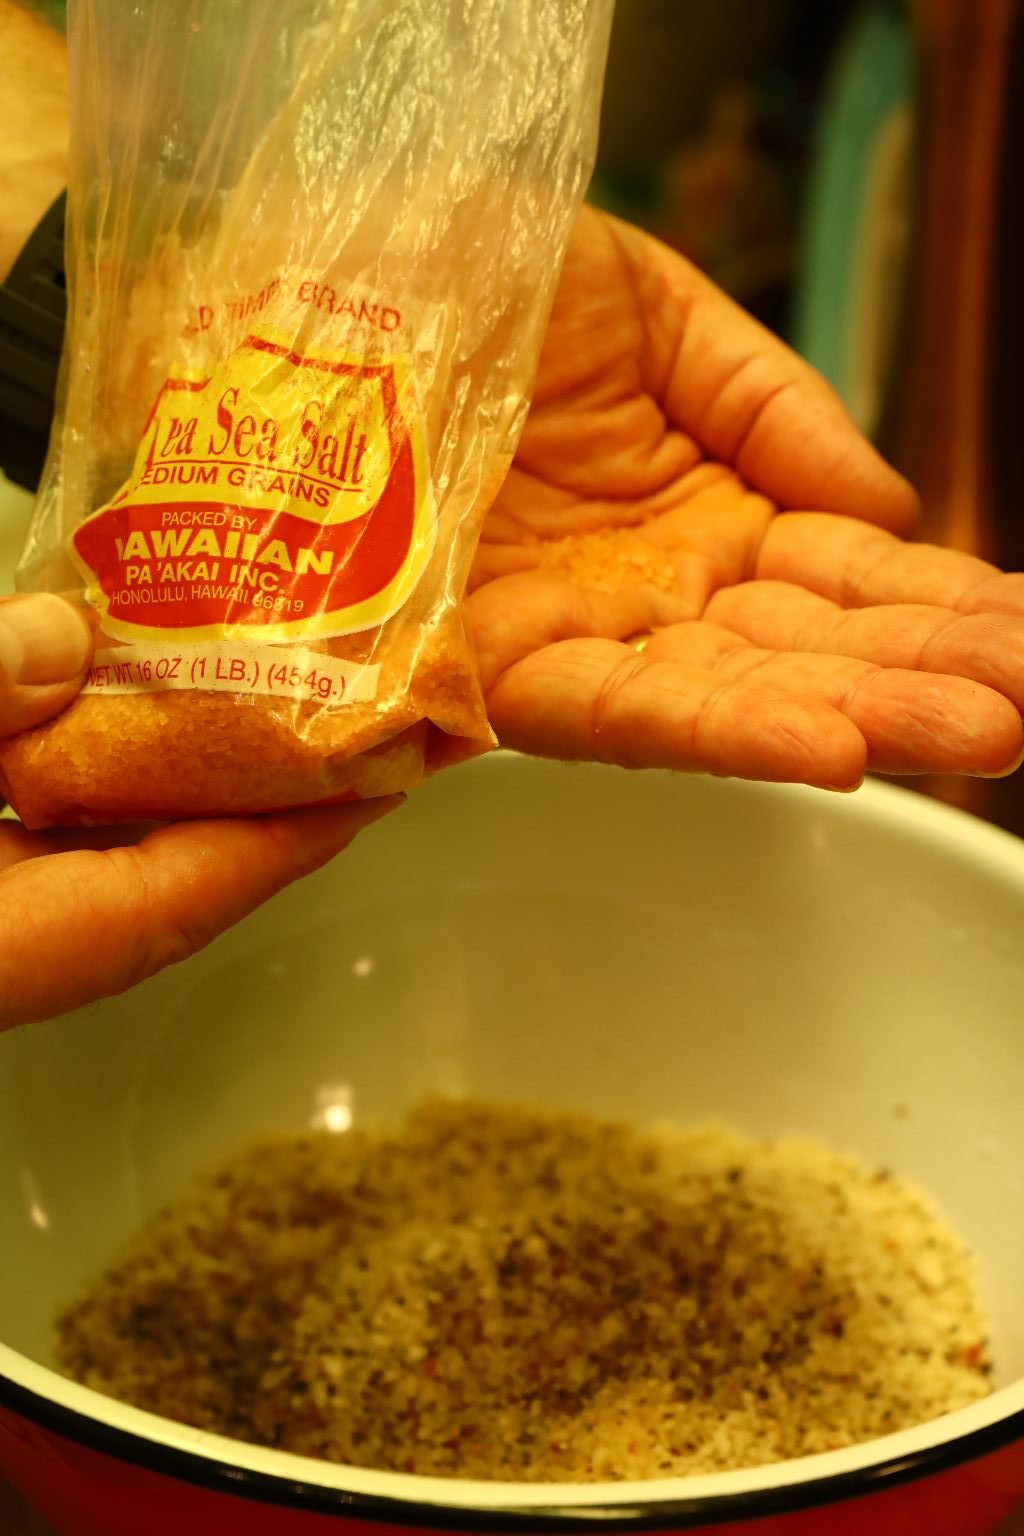
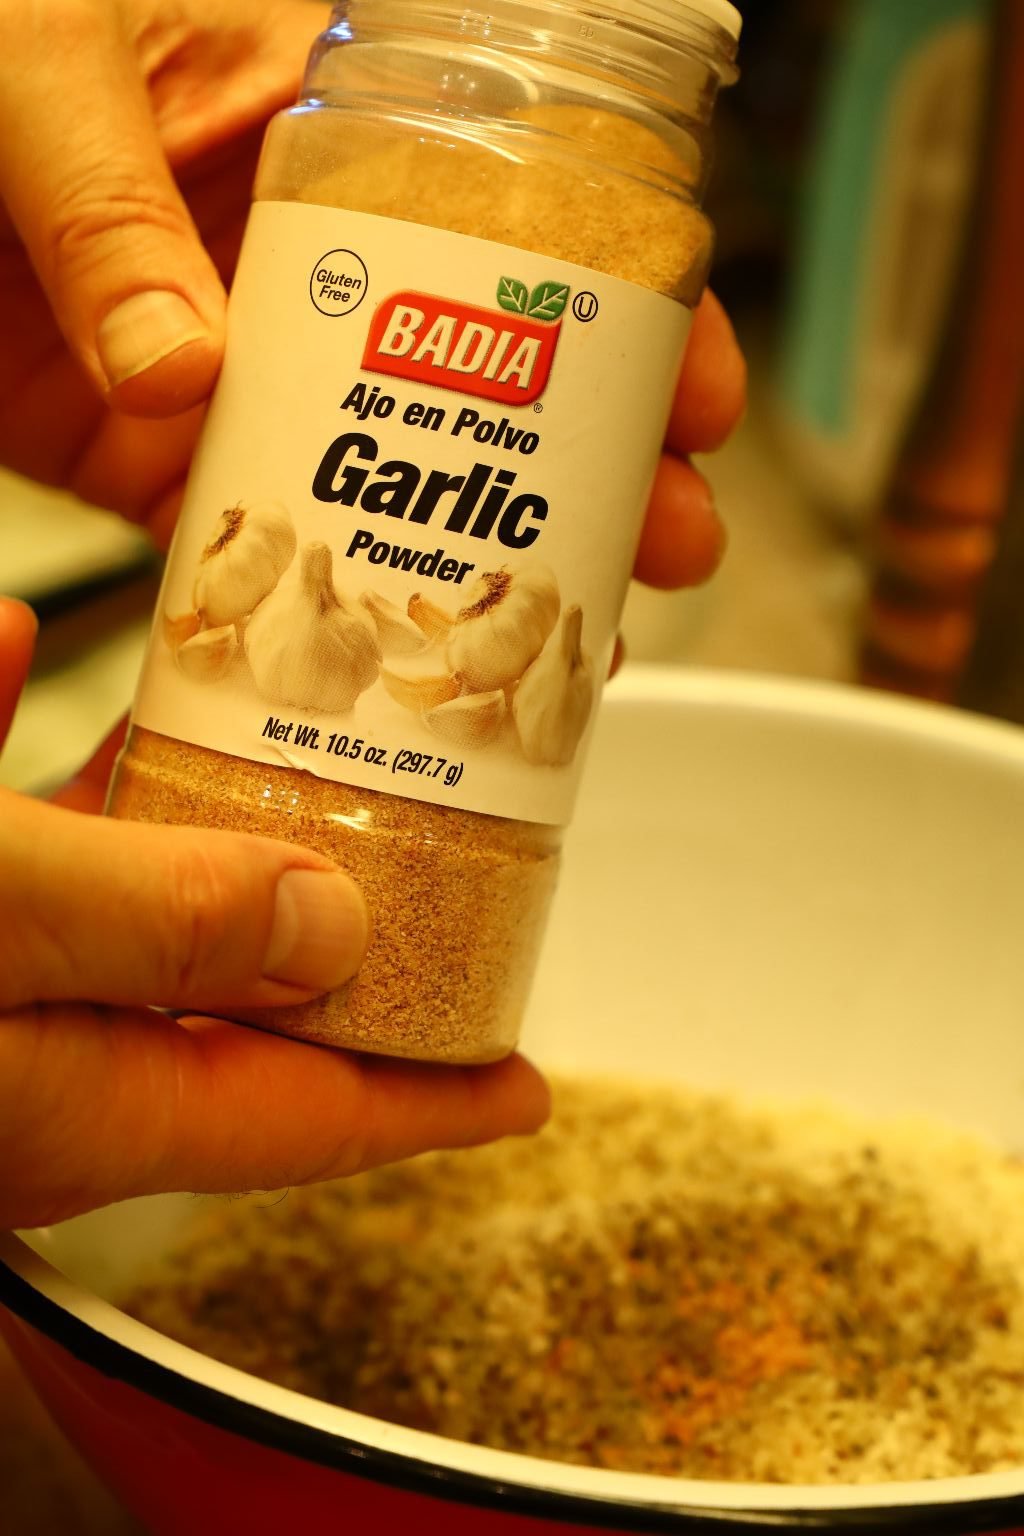
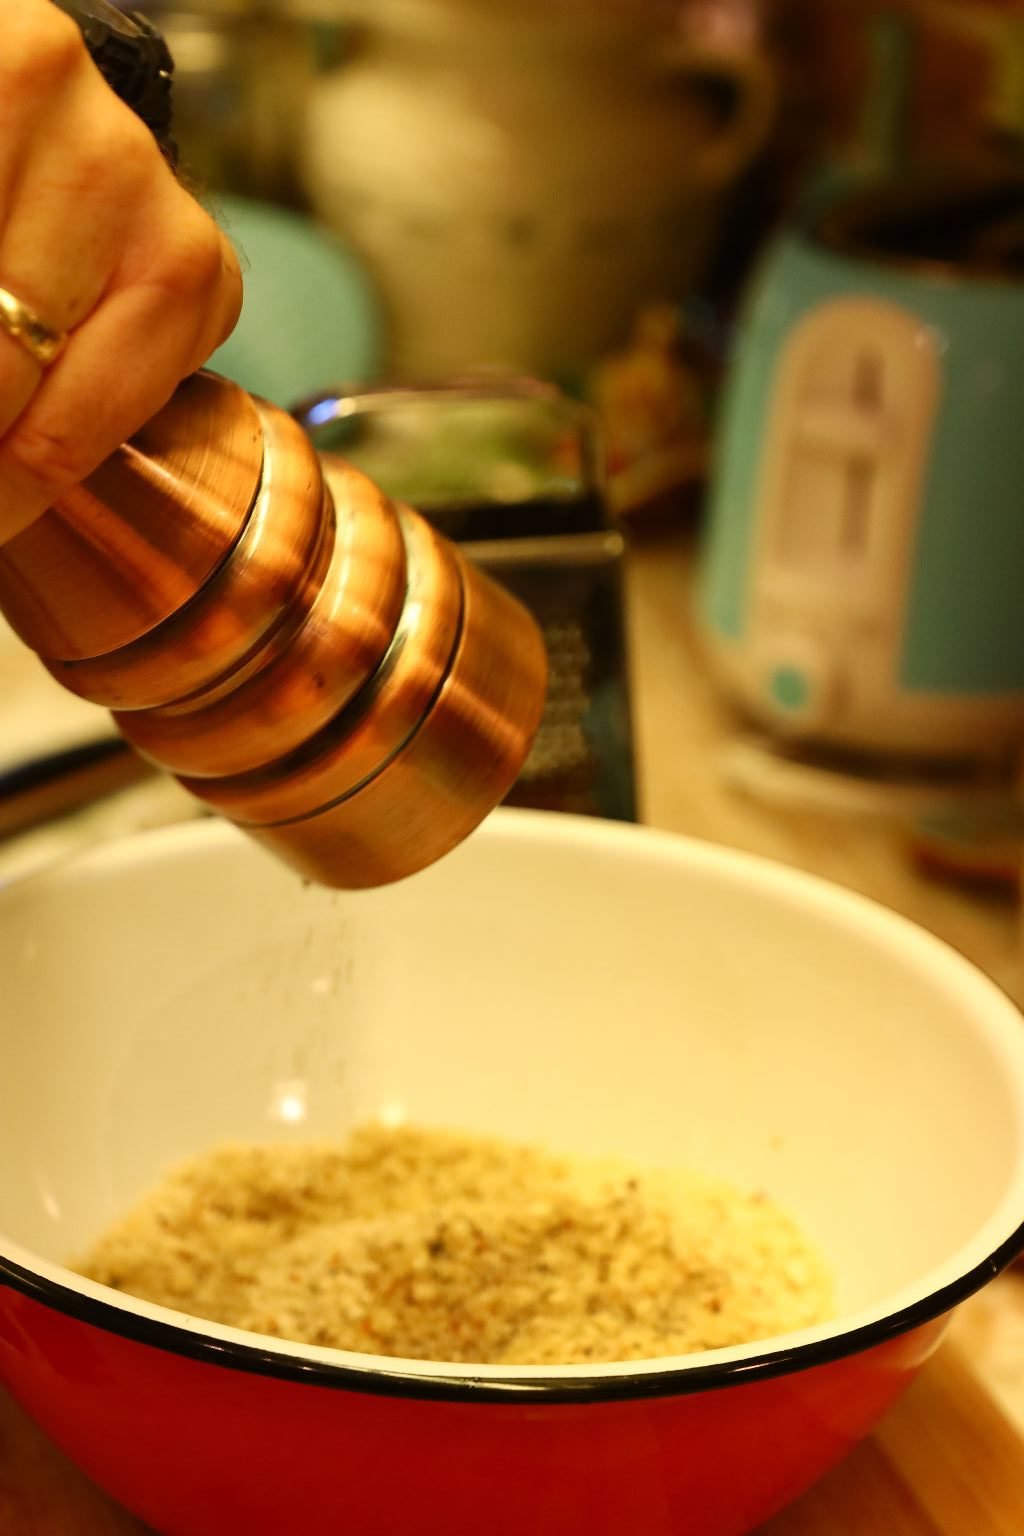
Then add your Hawaiian Sea Salt and Garlic Powder.
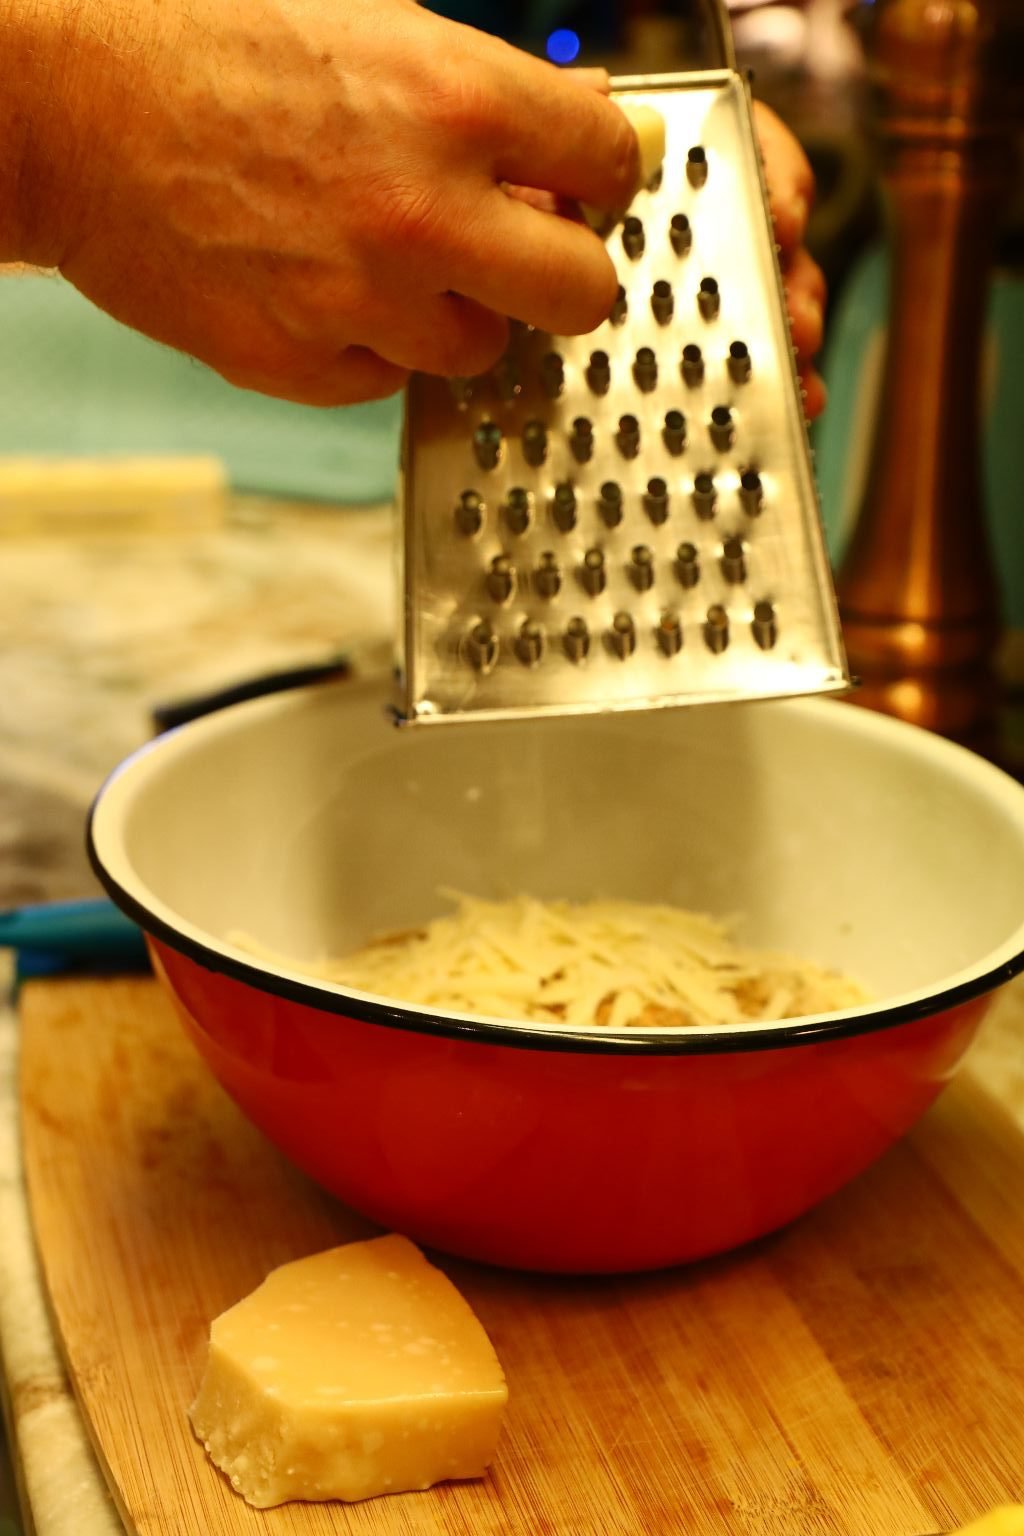
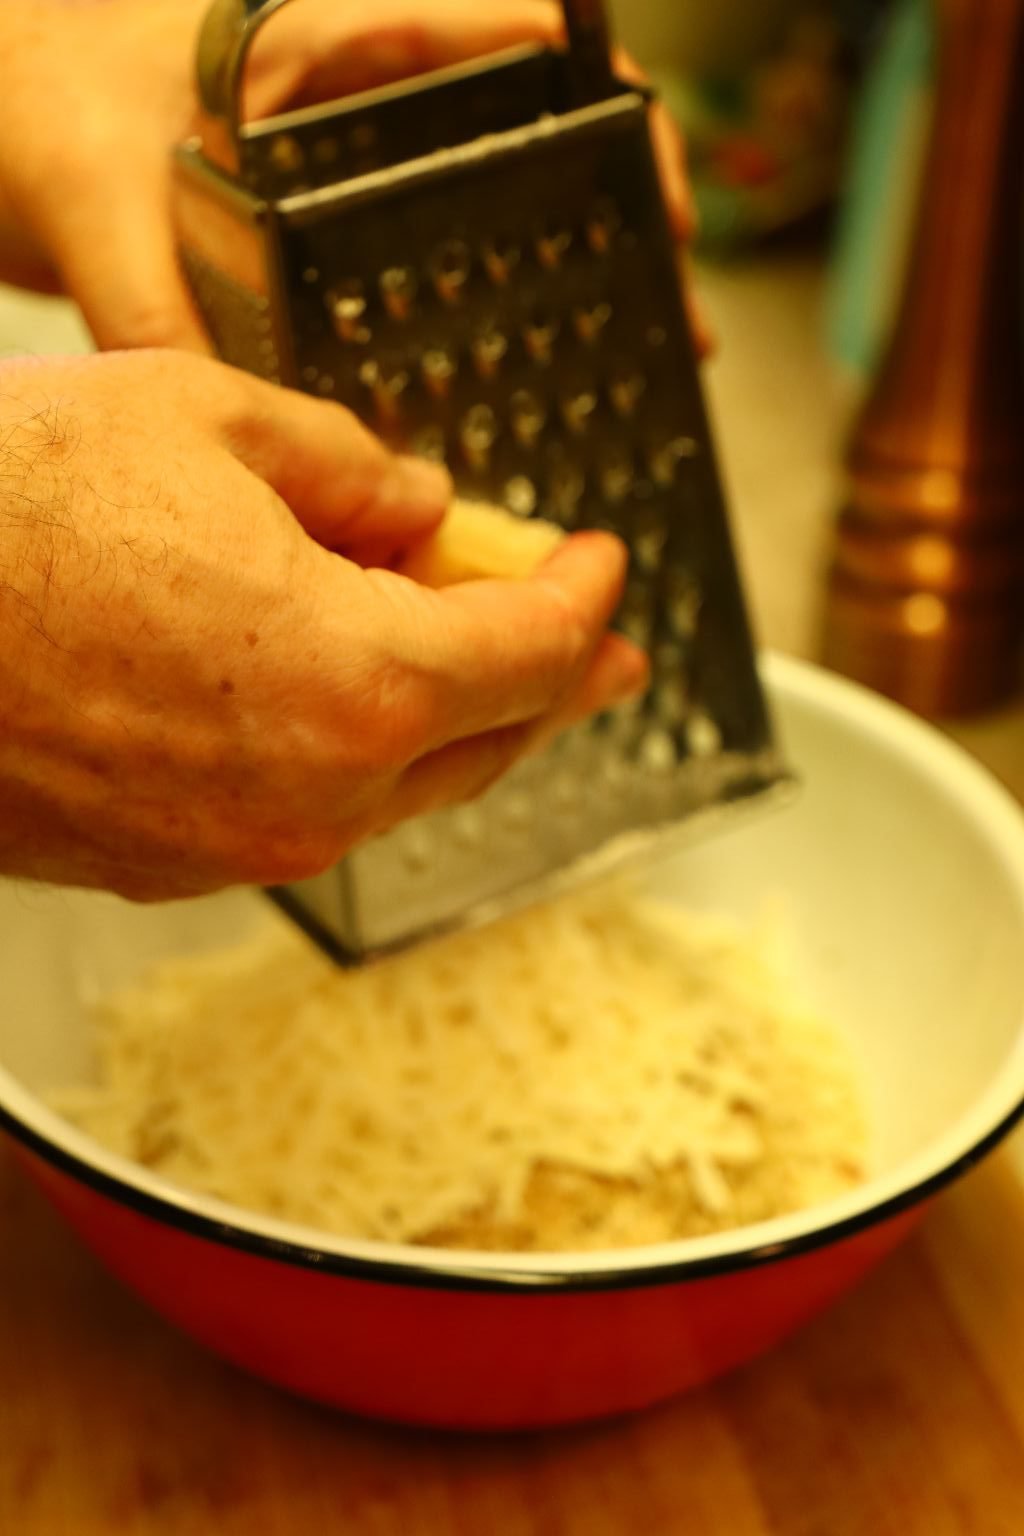
Now add and grate your cheese into the bowl.
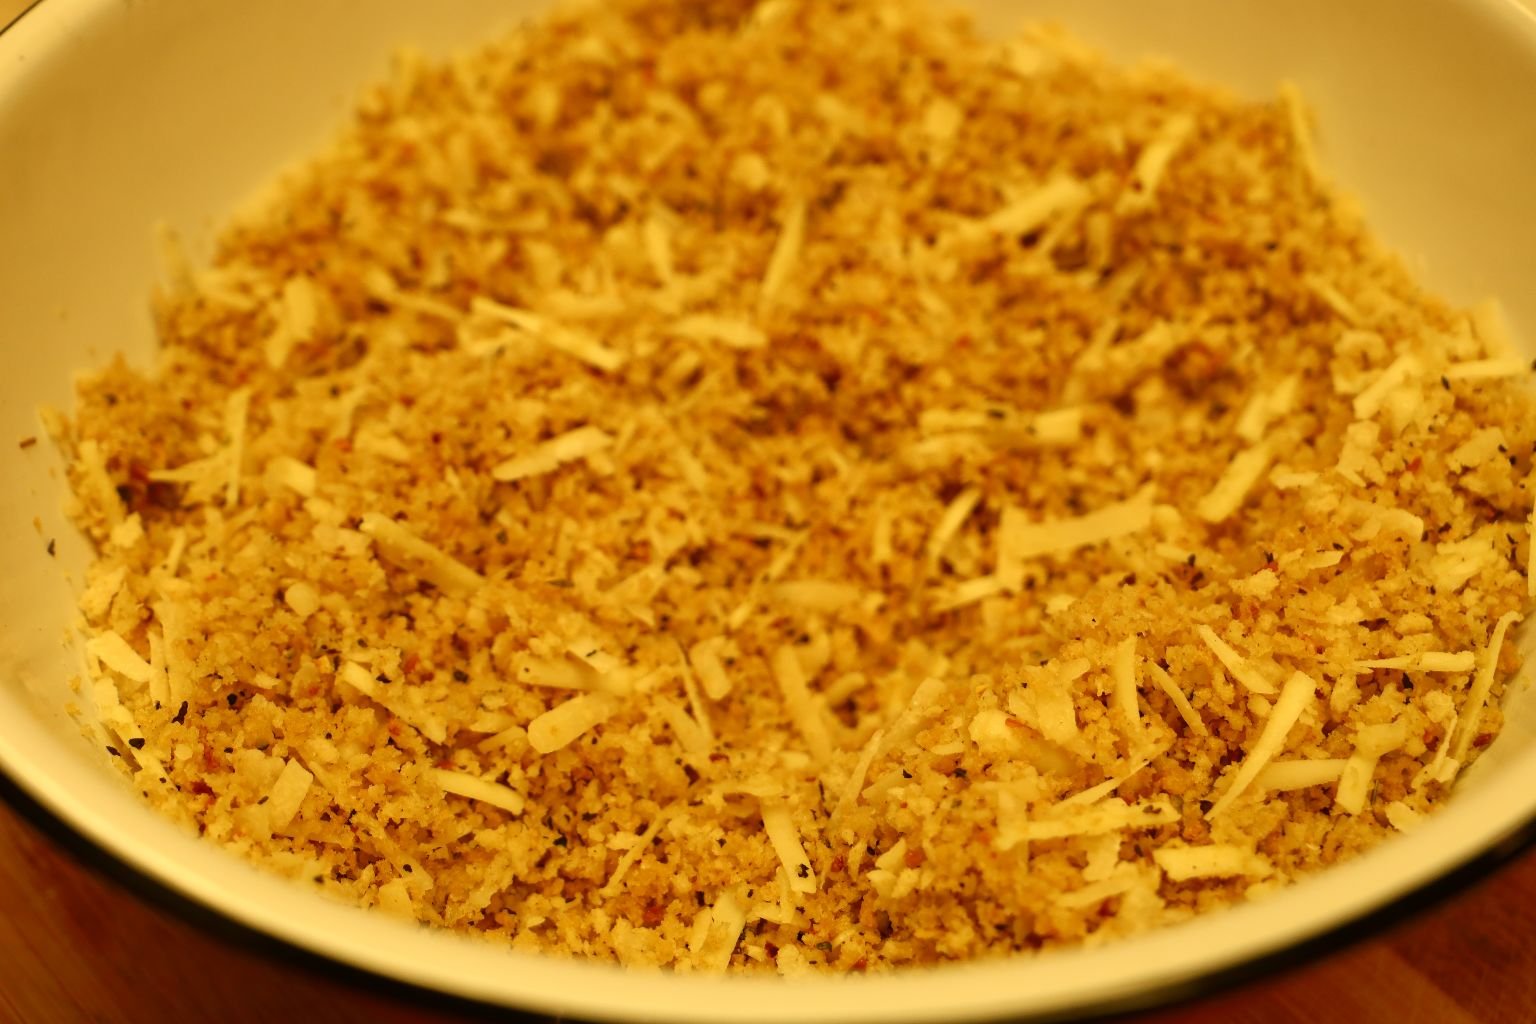
Mix all the ingredients together and add more of each if needed.

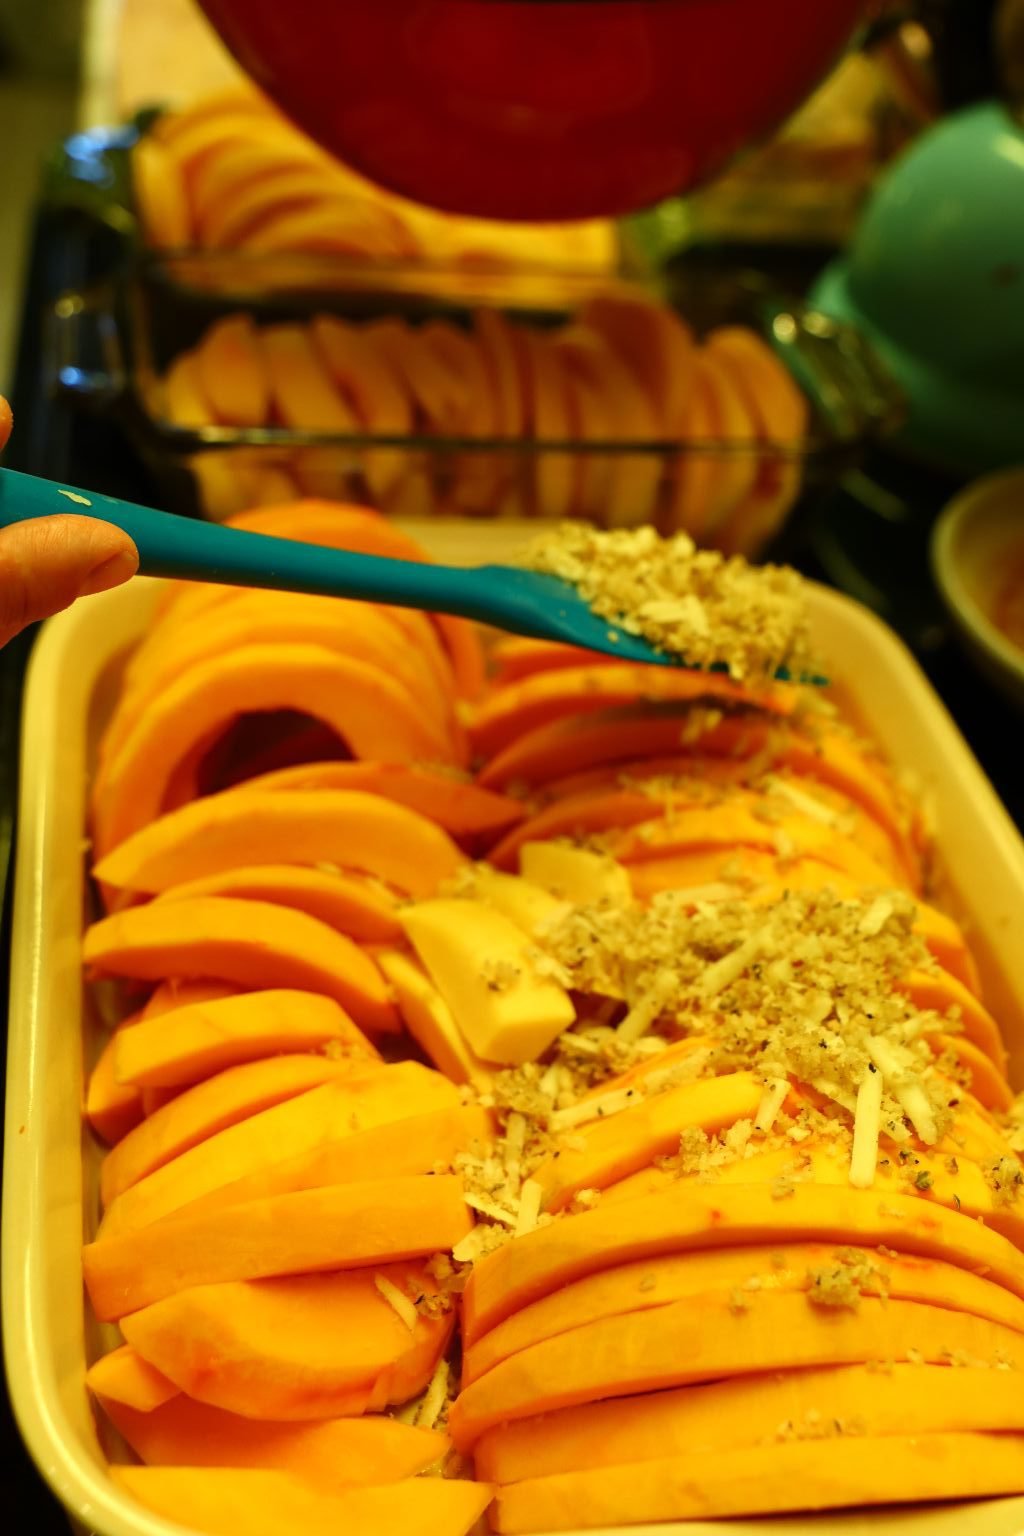
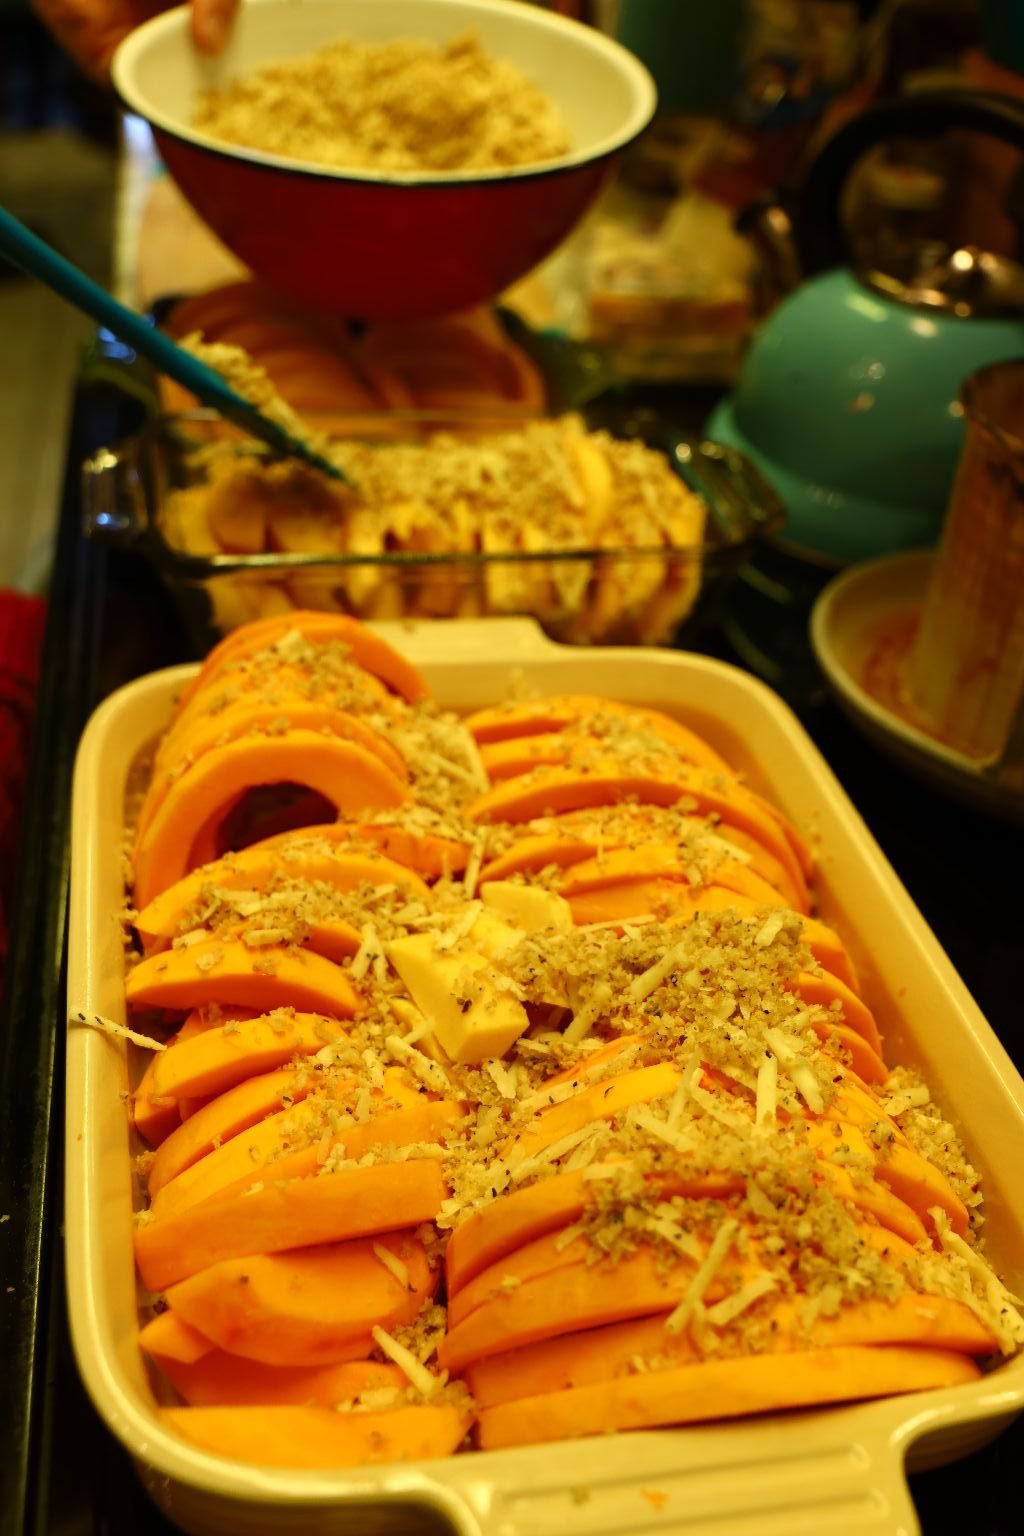
Spoon a good amount of the Panko and cheese mixture over the sliced squash.
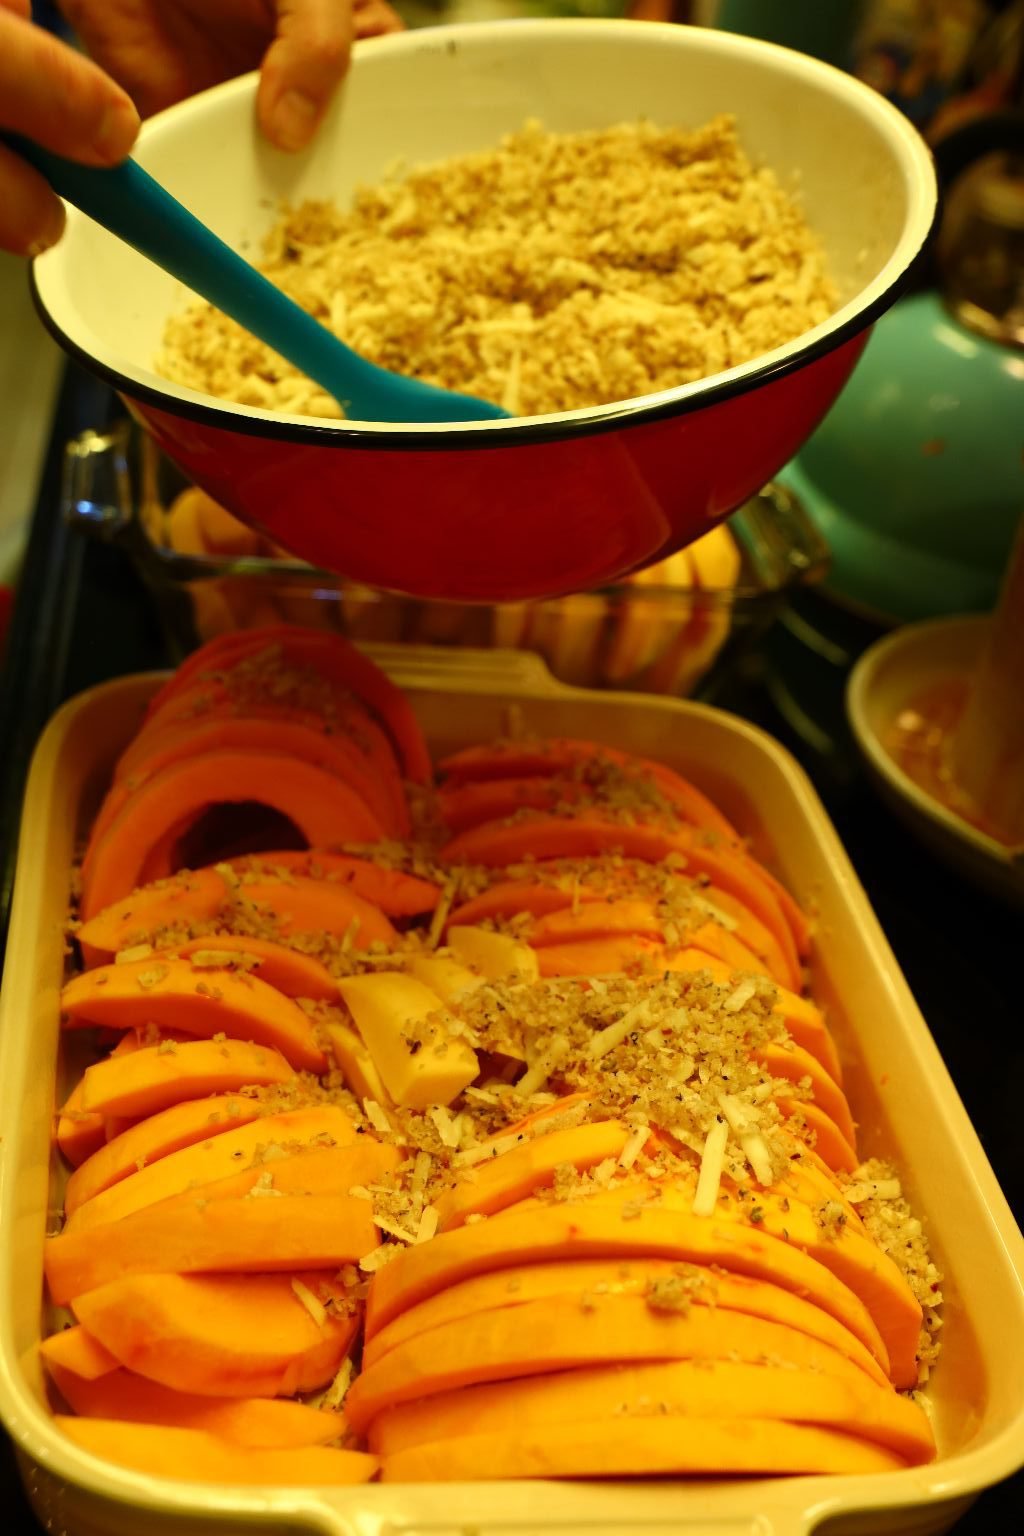
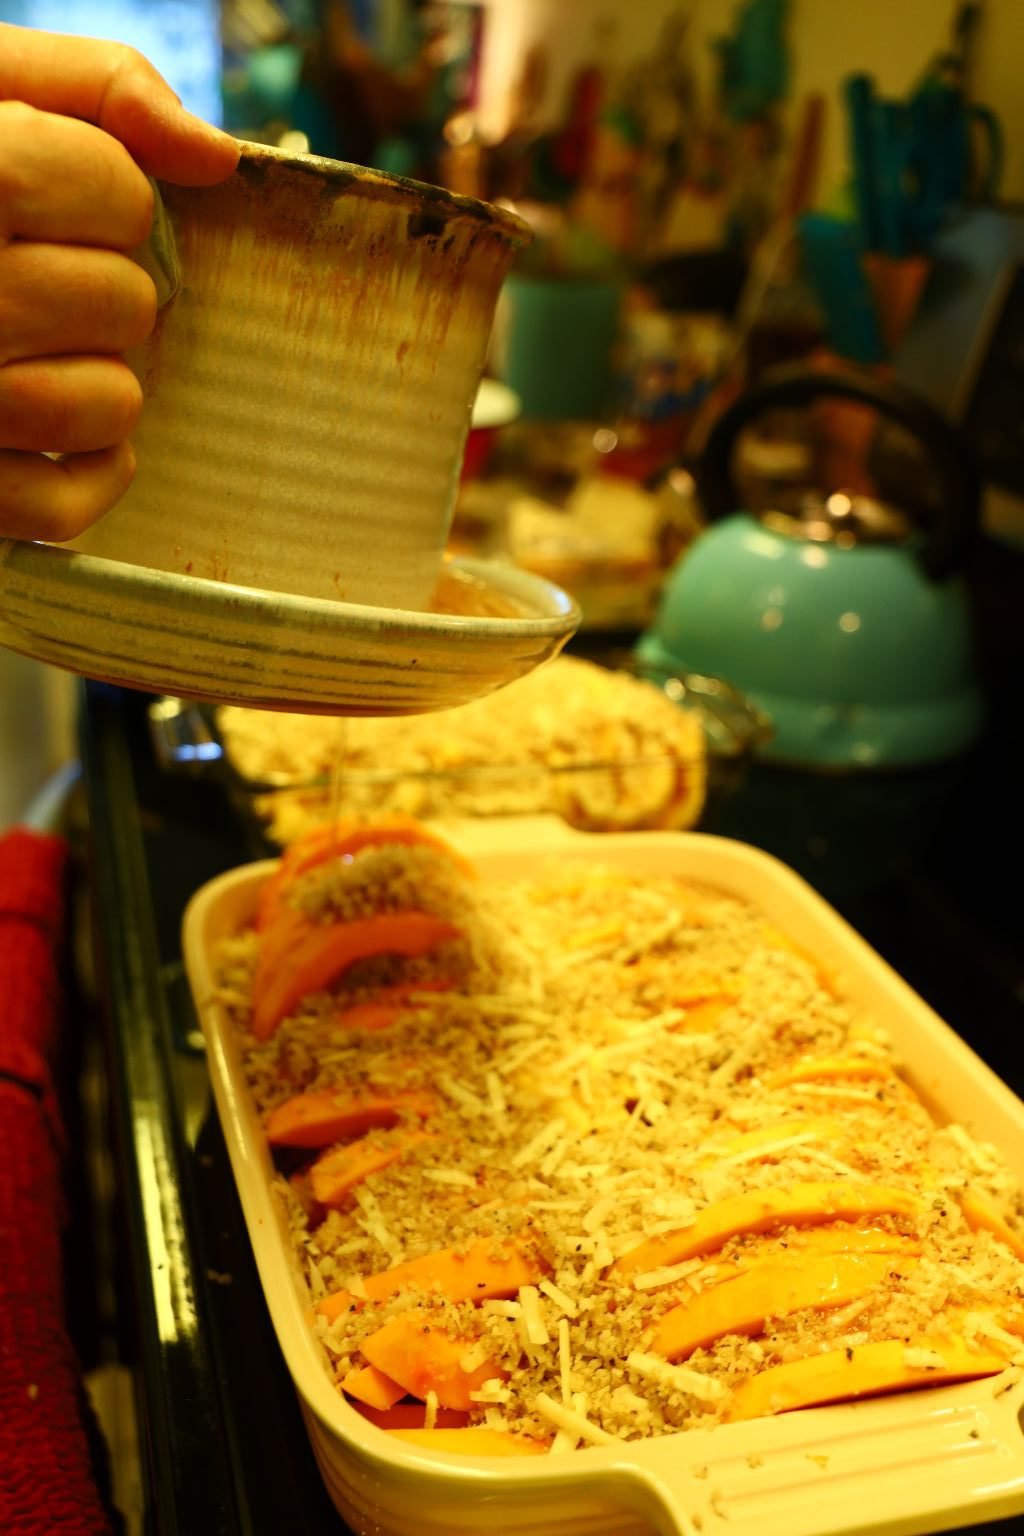
Here I am also adding some of the bacon grease to the Panko topping.

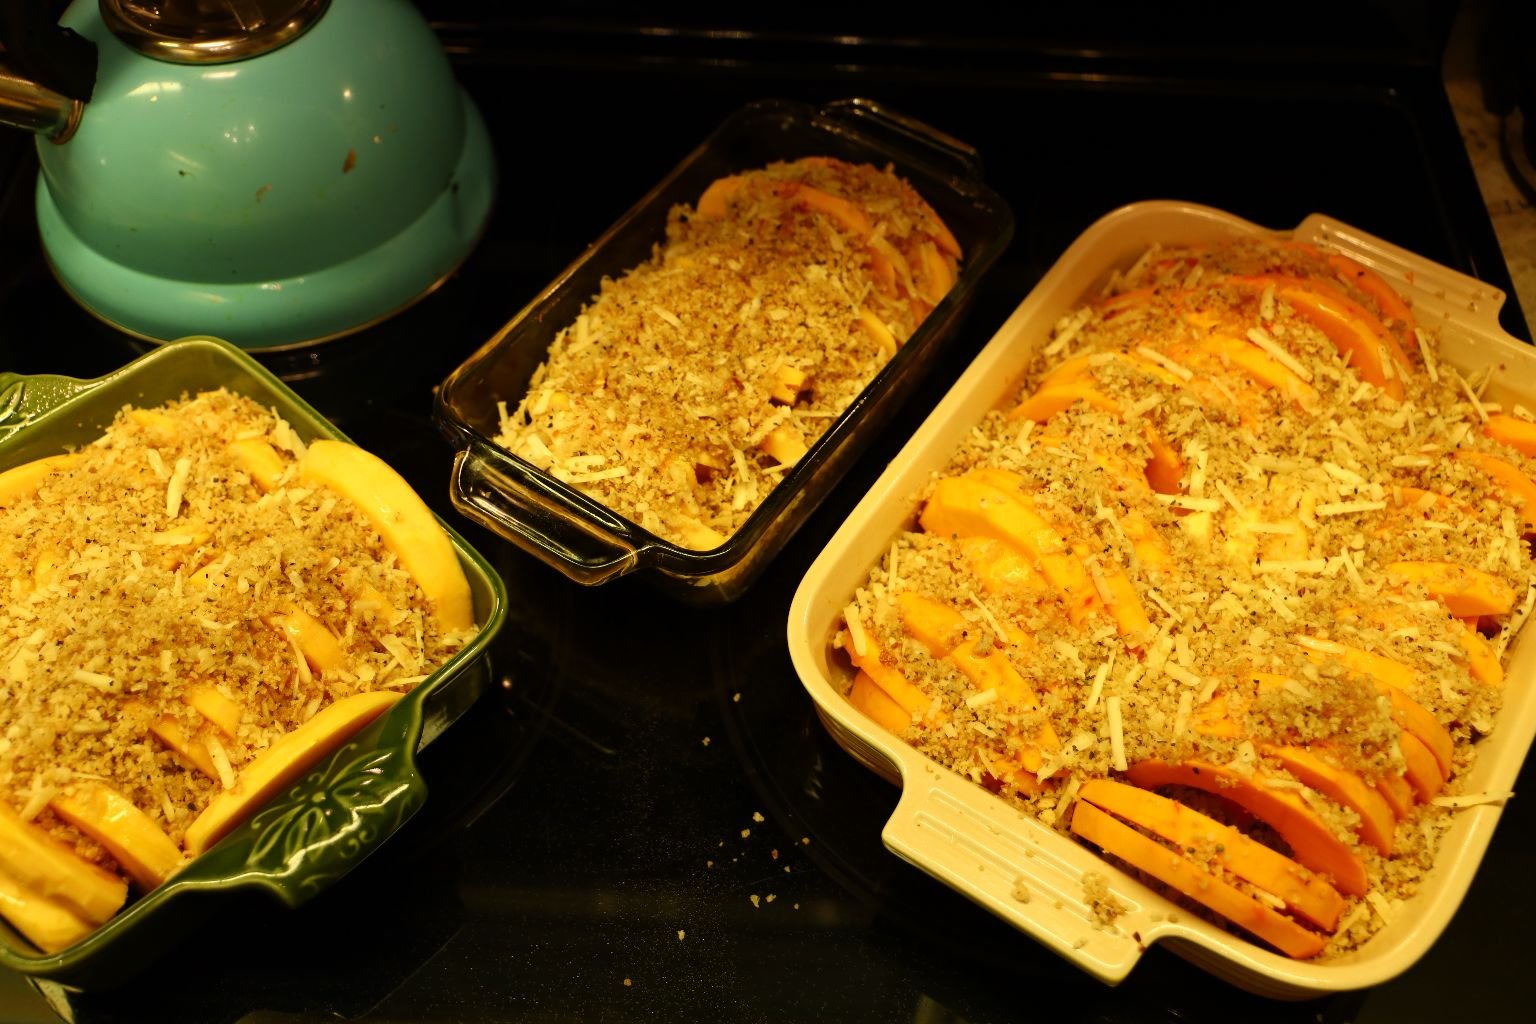
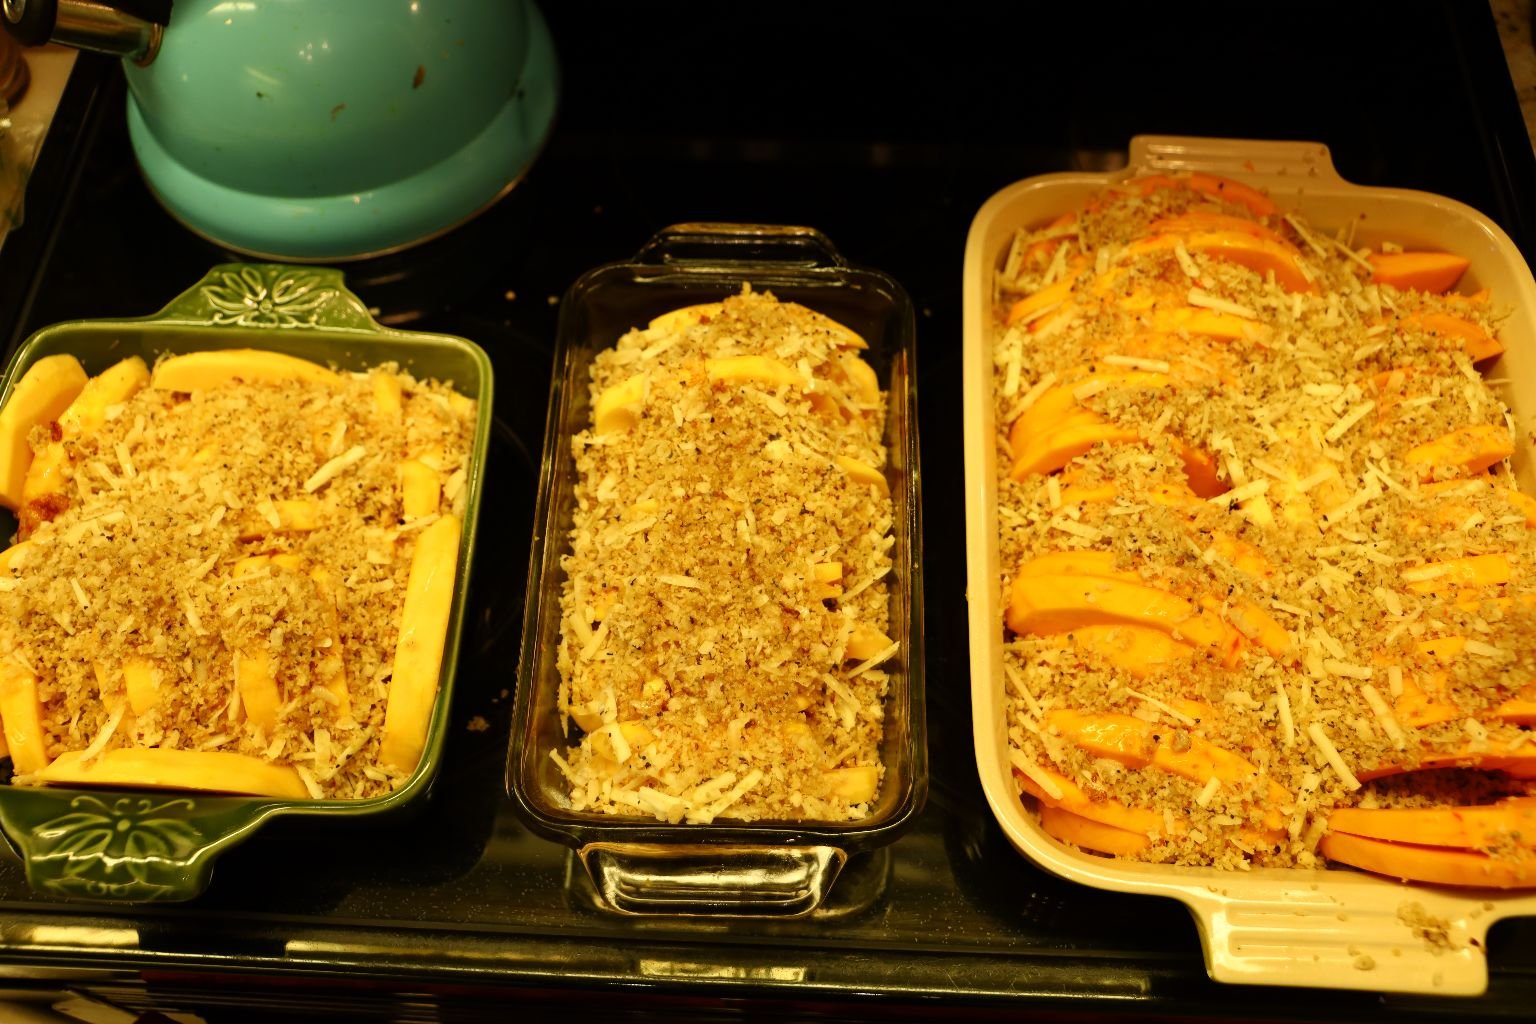
Here are our three casserole dishes filled with the squash slices and Panko topping.
These can be stored in your refrigerator for a few days or frozen to be served and eaten much later.
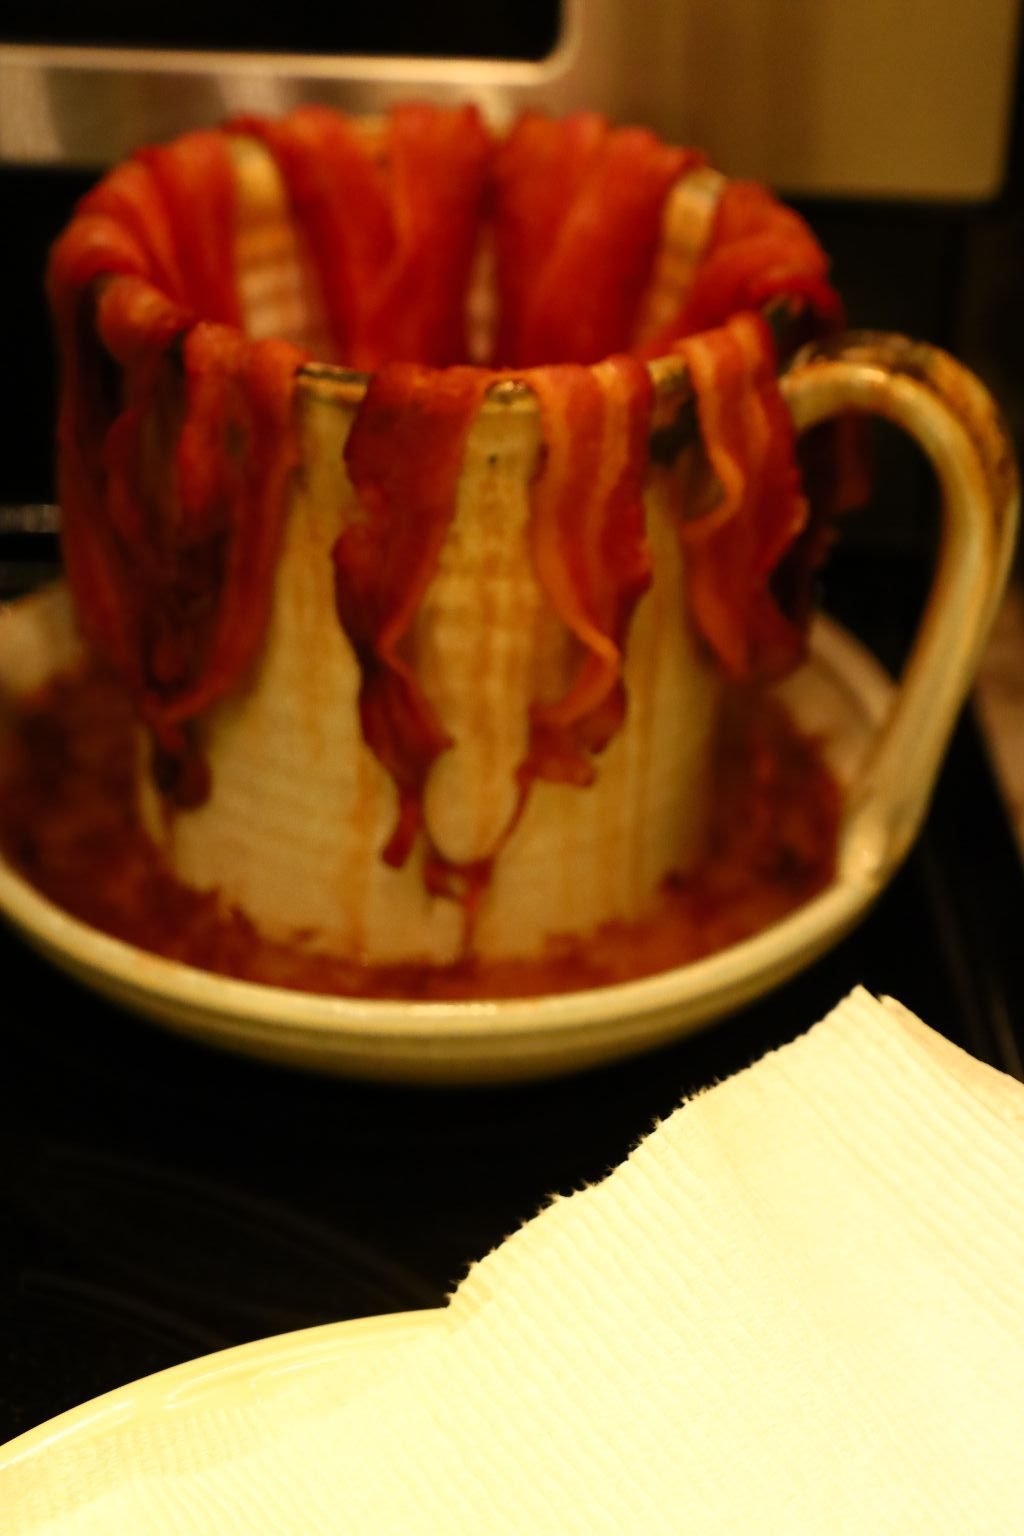
Who doesn’t like a picture of cooked bacon?
———————————————————————–
Both of our Not Your Mother’s Green Bean Casserole, and our Italian Ornamental Squash Casserole, were made the day before. That made Thanksgiving Day much easier. We even cooked the Bacon and fried the Onions the day before.
———————————————————————
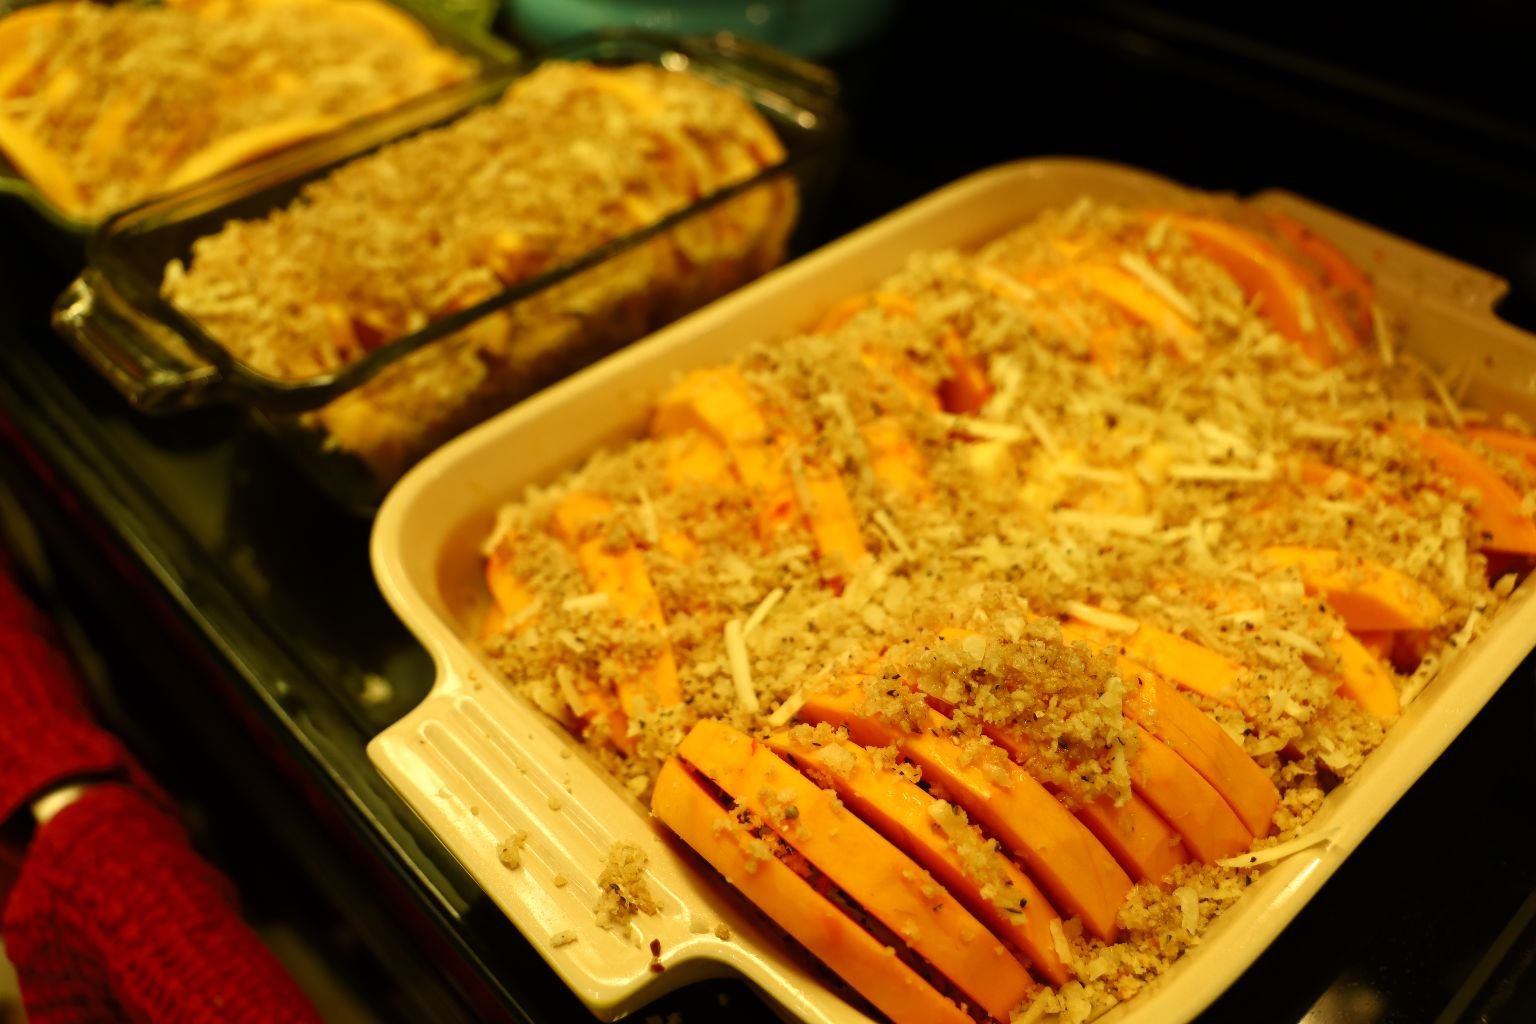
Next Day, Thanksgiving Day…

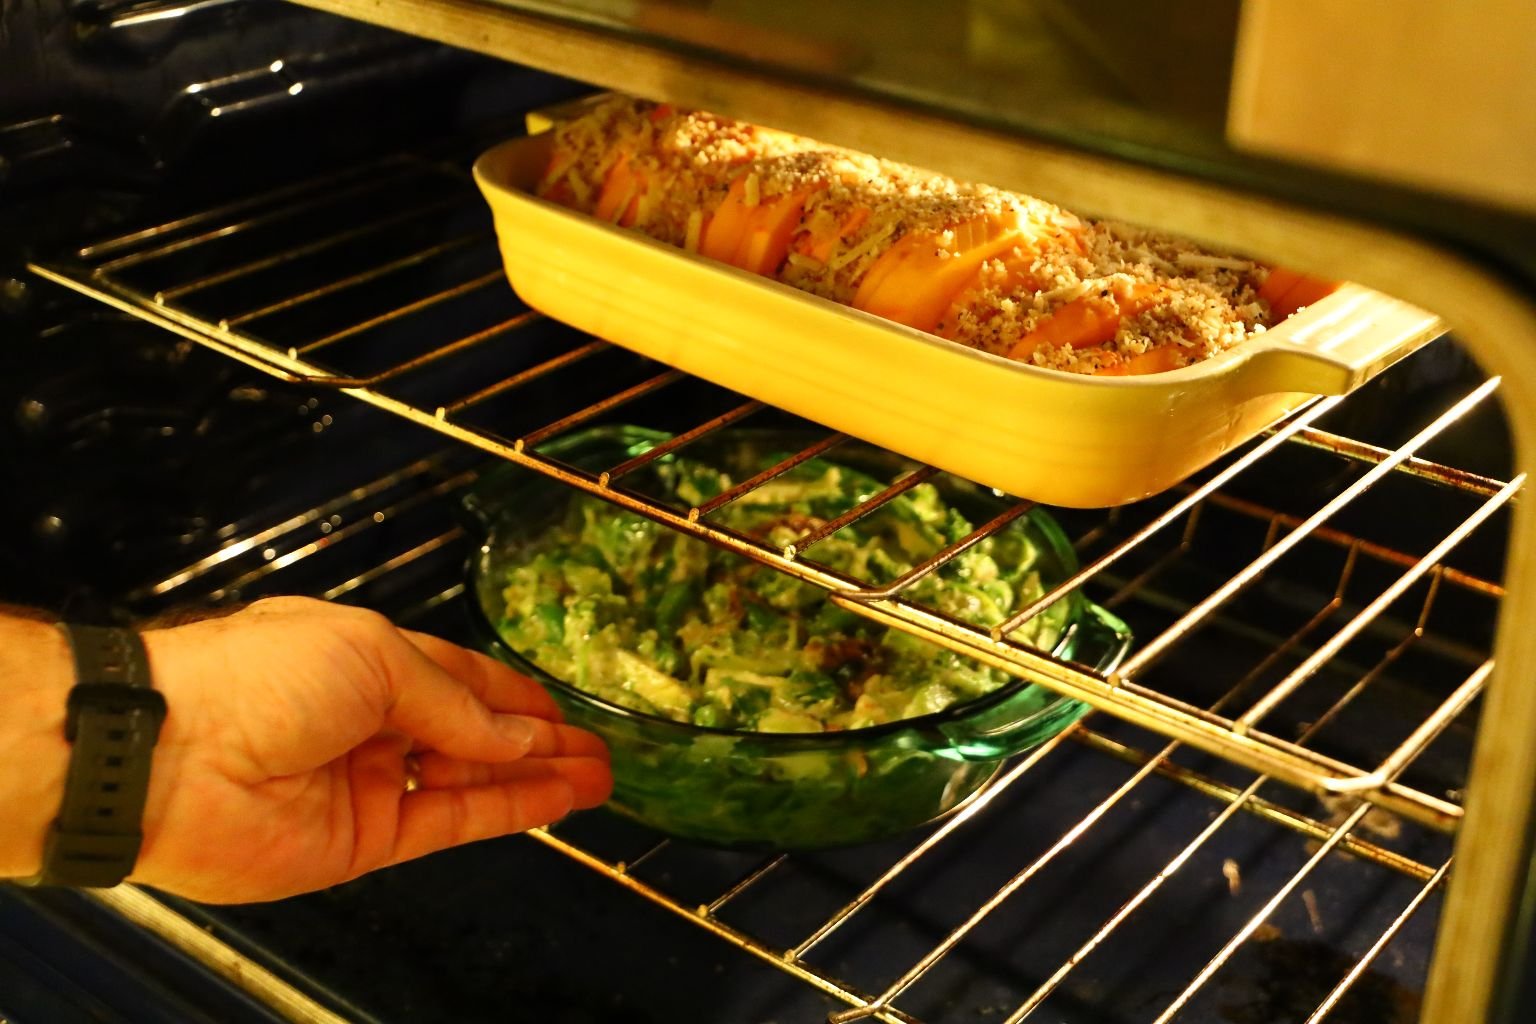
Ready to Bake the Casseroles
Cook this at 350’F for about 40 min. or until the squash is tender. Every oven varies so be sure to keep an eye and make sure it isn’t burning. If so, you can always cover it with foil while it finishes cooking.
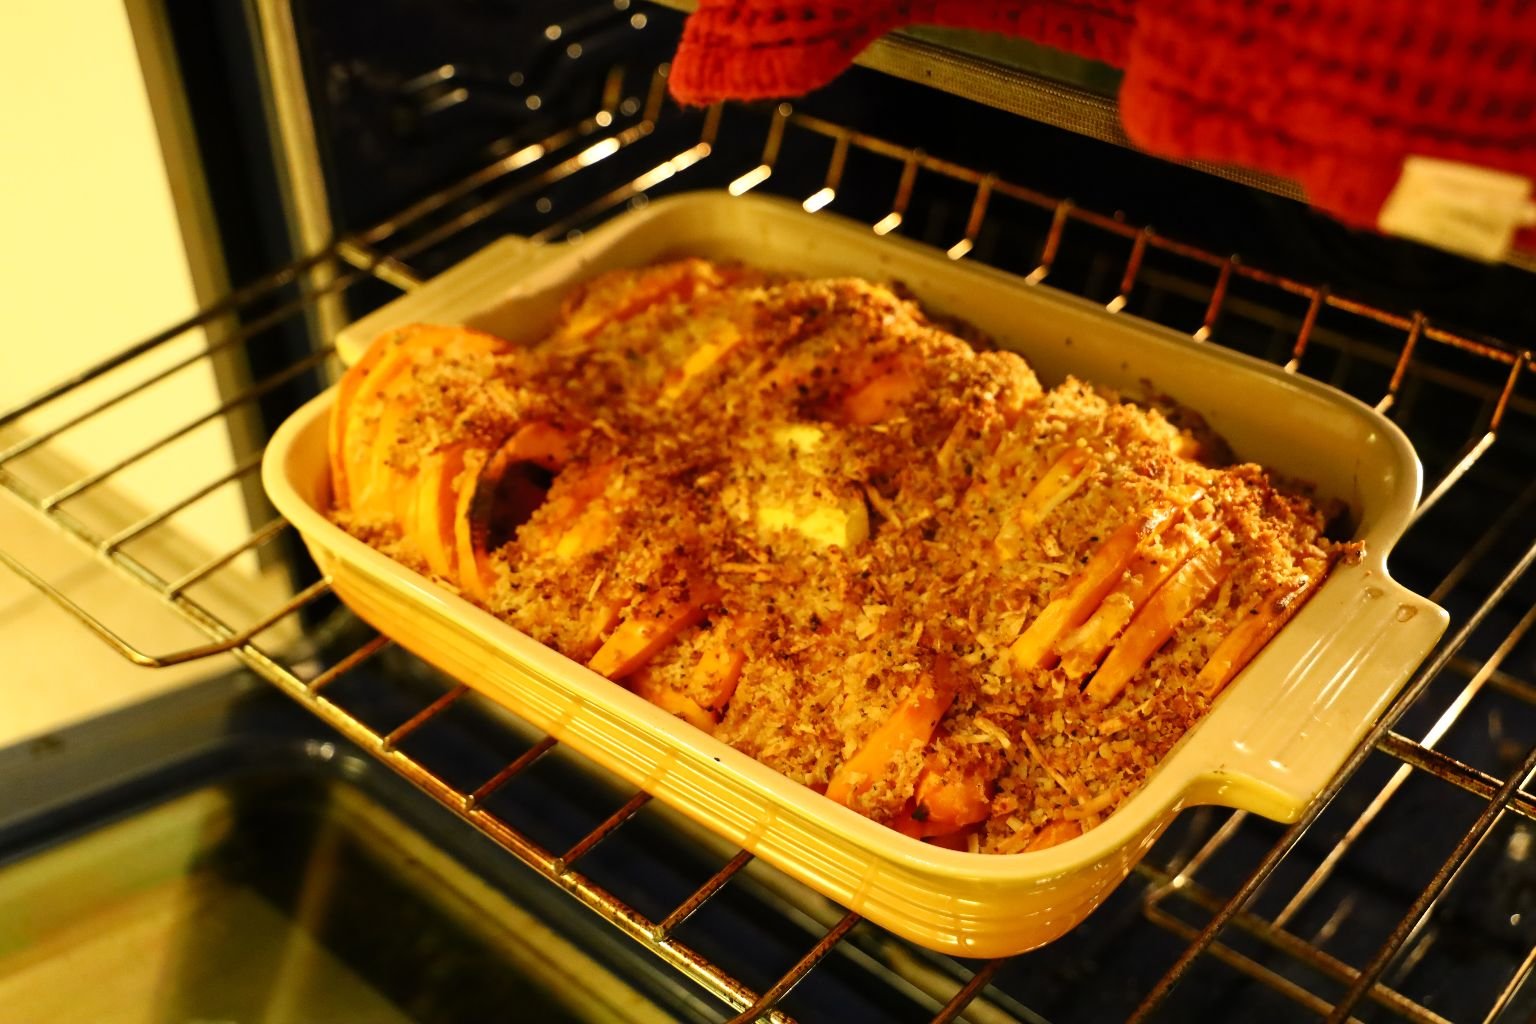
Here you can see the cooked squash and the nicely browned Panko.
Top this casserole with some of your bacon and some parsley sprigs.
——————————————————————
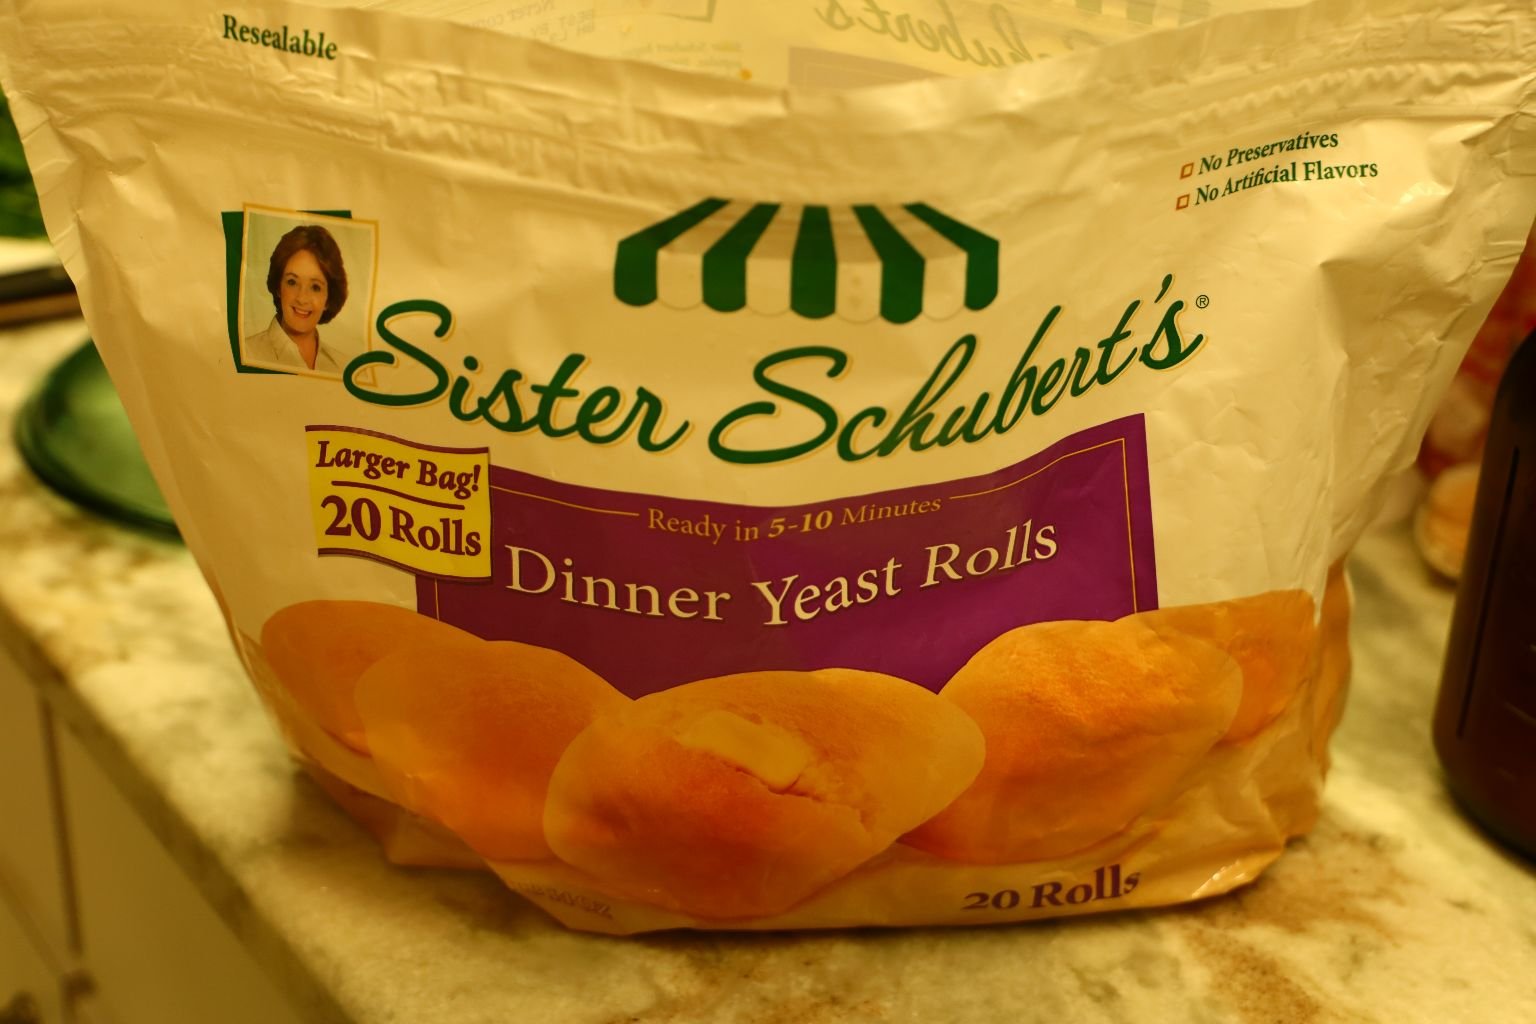
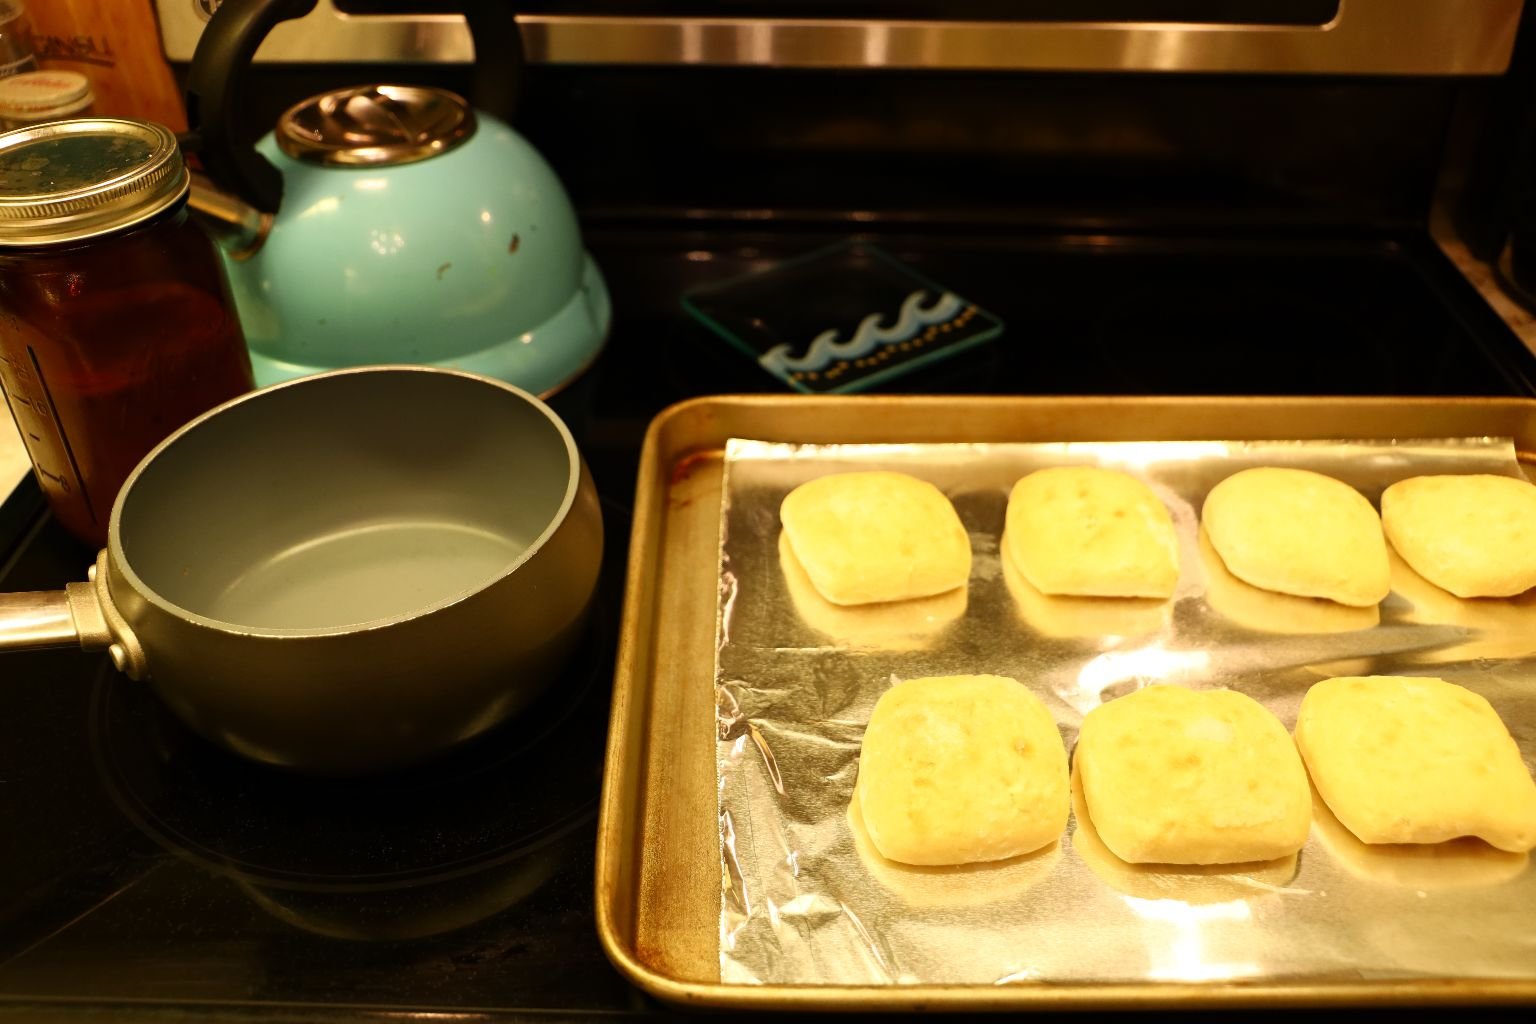
Dinner Yeast Rolls
(We just followed the package instructions on this one. But, we do love these dinner rolls!)
——————————————————————————-
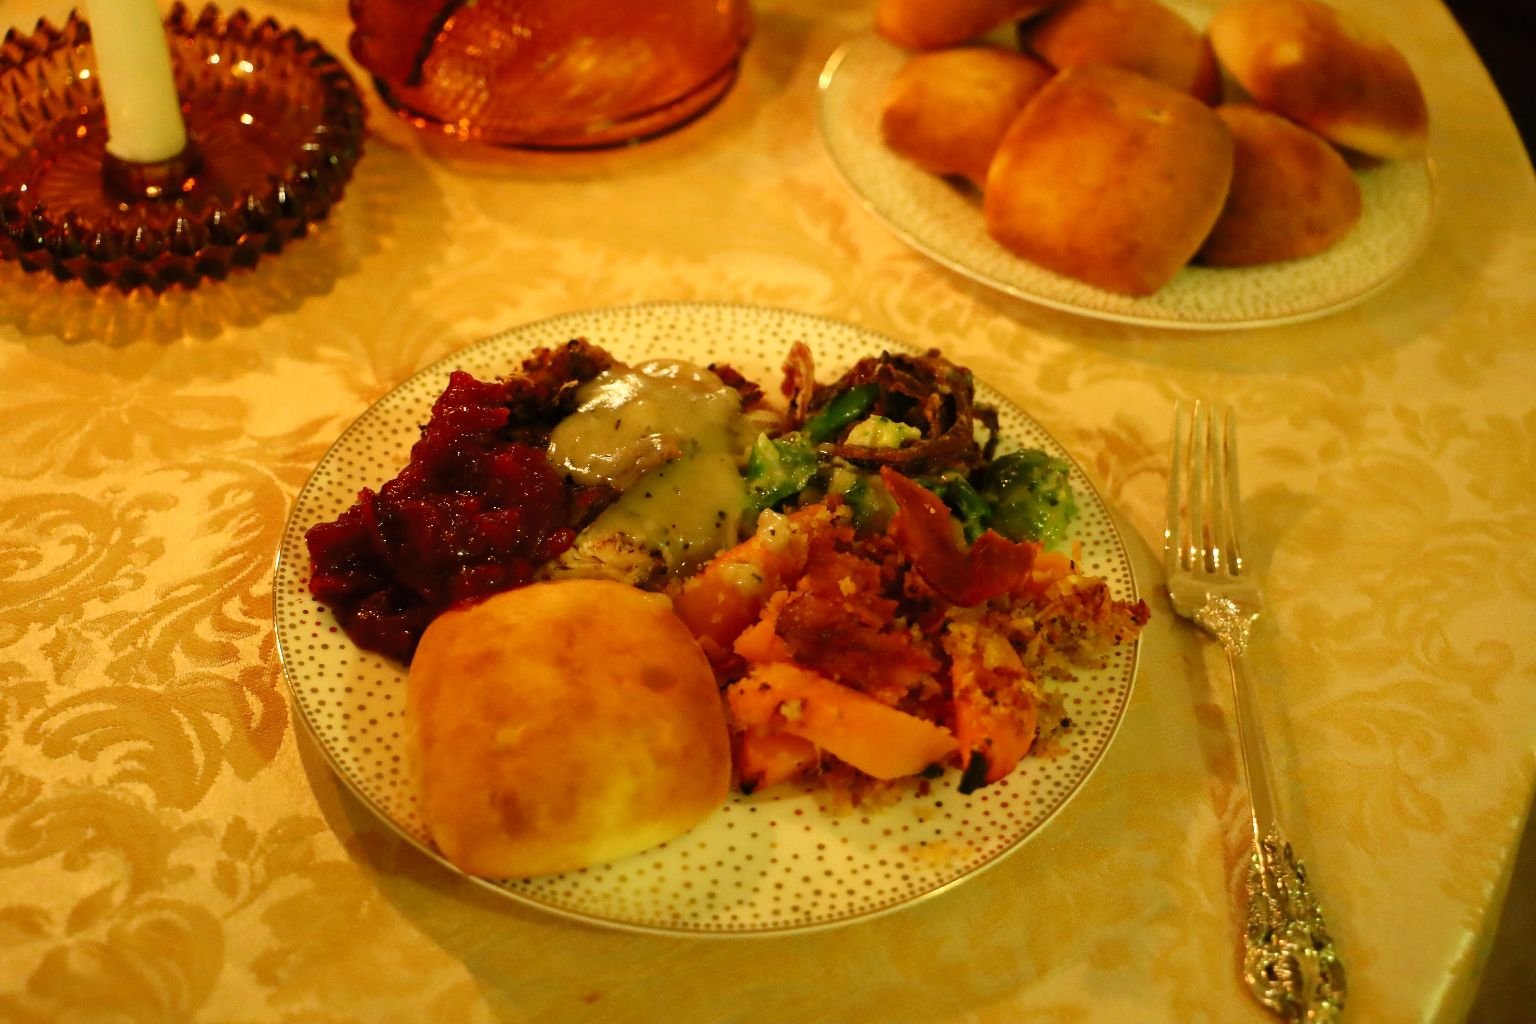
Thanksgiving Dinner
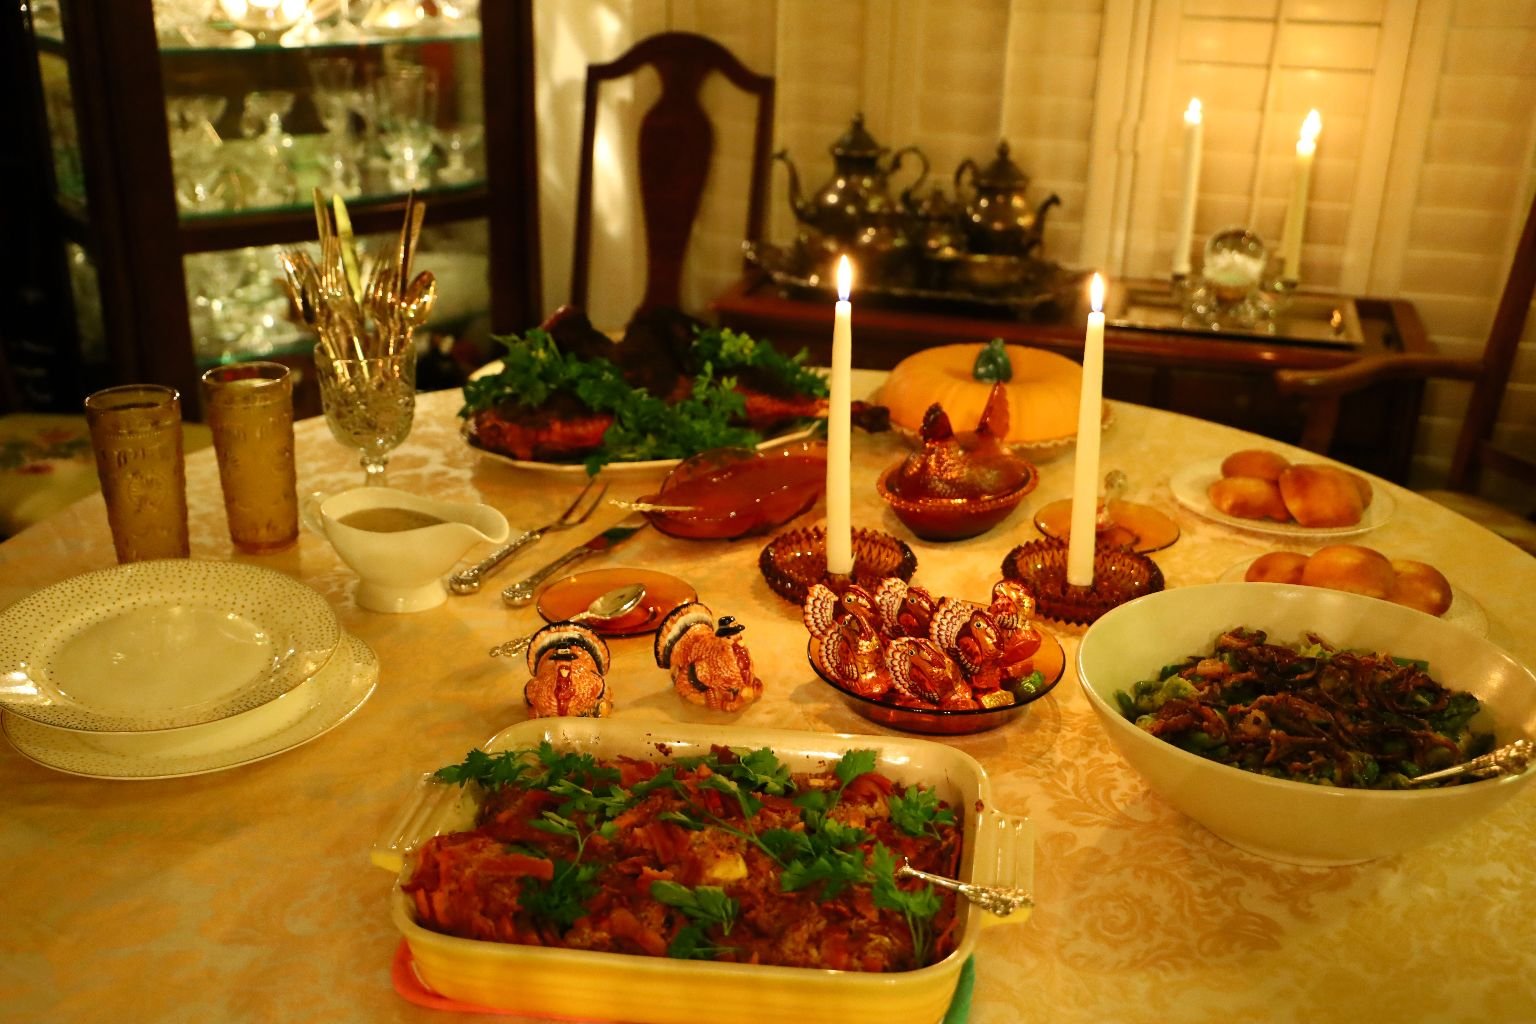
Have a GREAT Thanksgiving Everyone!
Gobble, gobble!
Julie and Gordon