

——————————————
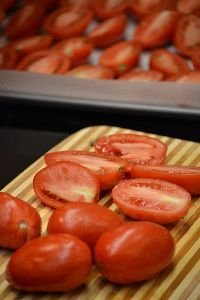
Oven Dried Roma Tomatoes


The first thing that you need for this is a lot of Roma tomatoes. I would say that I bought about 60 – 70. We find that using Roma just makes for a more perfect looking, tasting and textured tomato. A perfect thickness, all you have to do is slice them in half and place them onto a cookie sheet. But first put down some parchment paper.

———————————————
First wash them and then slice them in half.
After Two Hours of Baking

We baked them on 300F for two hours and achieved this result. Which was great and we did set aside a few of them for our Naan bread pizzas. Then we put the rest back into the oven so they could dry out a bit more.
After 3 and a Half Hours
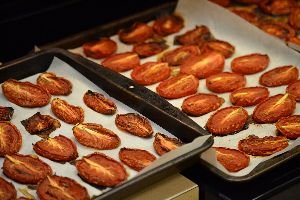
So chewy and caramelized!
Perfect!

Next you just want to store your oven roasted tomatoes into a jar, adding layers of basil and even some of our oregano fresh herbs, while covering in extra virgin olive oil.
Makes an excellent gift!

Here we used some of the oven roasted tomatoes on a pizza for me.

Buon Appetito!

Between the 60 – 70 Roma’s that I bought and the Naan bread pizzas that we ate, they all fit into these two jars. They do shrink down so consider that when you make them.
————————————

————————————————————–

Happy Anniversary to Veronica and Brian!
Cabbage, Potatoes, Cans of Corned Beef and Hash, and Guinness, of course!
(The bread in the ramekins is something different and not in the recipes here.)
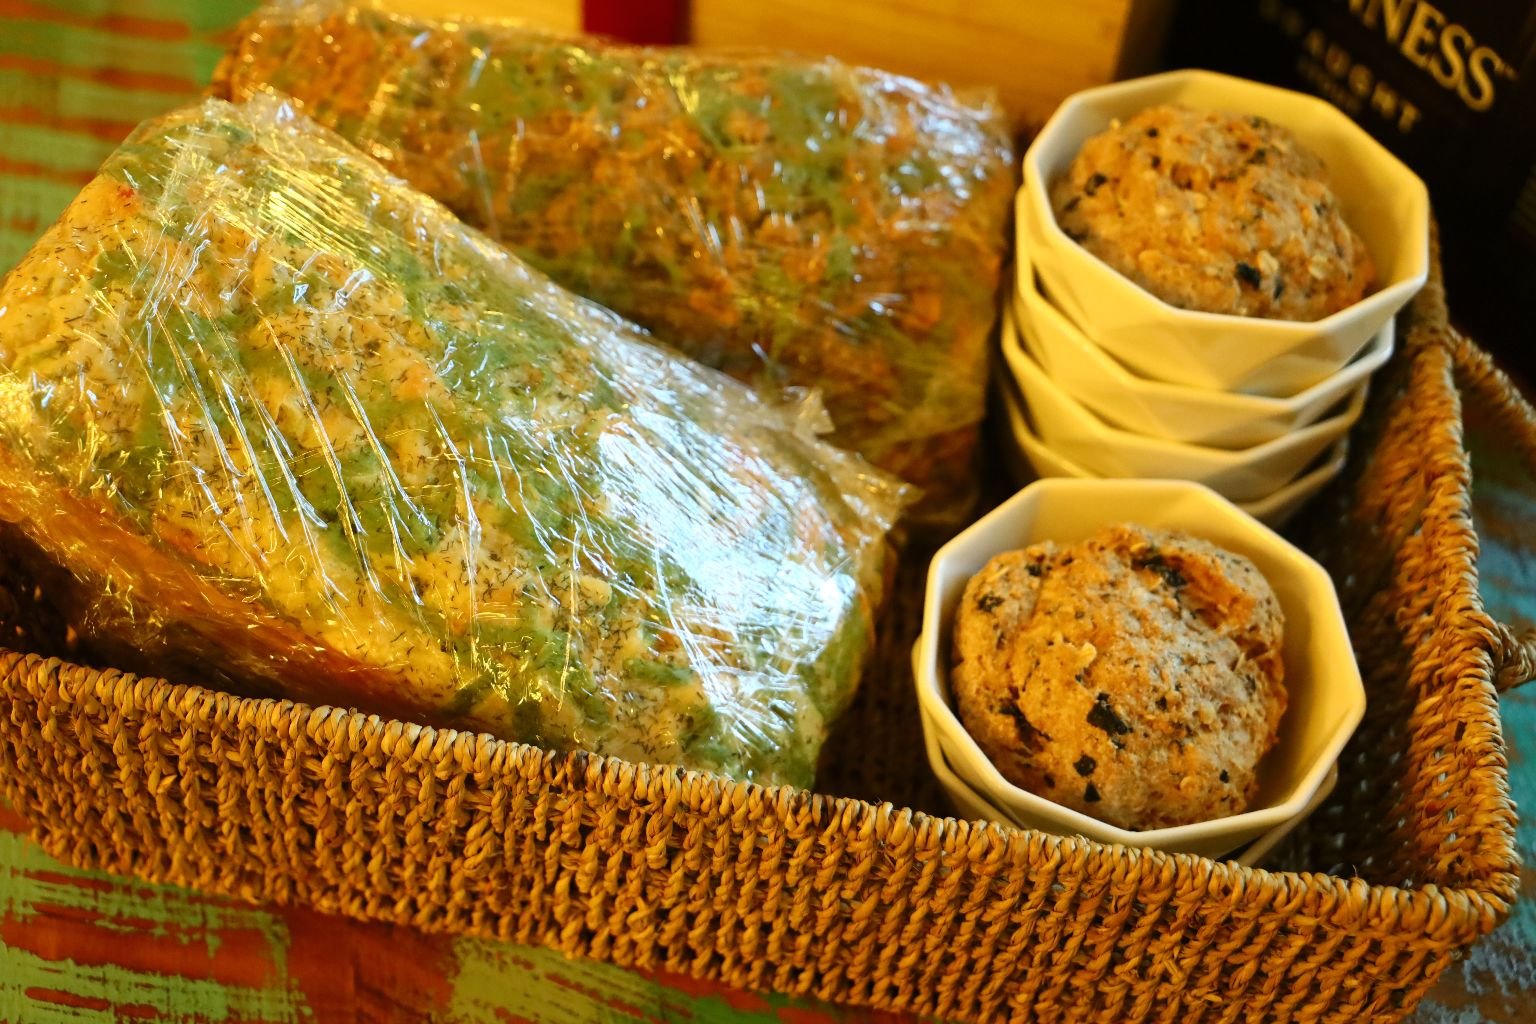
Italian Beer Bread

This is the easiest and tastiest bread we have ever made. I promise that you will have no problems creating this recipe in your own kitchen. I also guarantee you will have this bread on repeat from now on.


I Wish My Website Allowed for This Aroma

Ready to be Delivered to the Happy Couple
(Recipe Down Below)
Homemade Mozzarella in Olive Oil
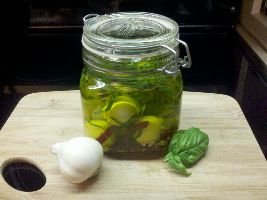
Homemade Mozzarella

Make Your Own Mozzarella Cheese

This also makes an excellent gift when put into pretty clear jars for any occasion.
This was actually pretty easy and exciting to make. It was a lot of fun on a very rainy day to spend it in the kitchen.

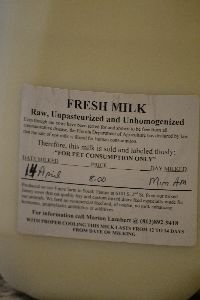
The Ingredients
1 Gallon Milk
1/2 Rennet Tablet
2 Tbsp Citric Acid
1 tsp salt
1/2 cup water
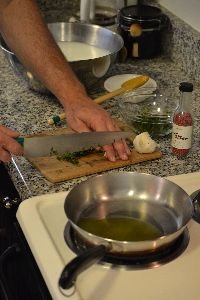
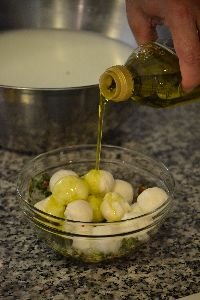
Marinade
Fresh Basil and Garlic to taste
3 cups Olive Oil
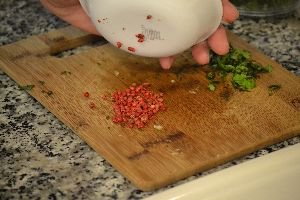
1 Tbsp Red Peppercorns


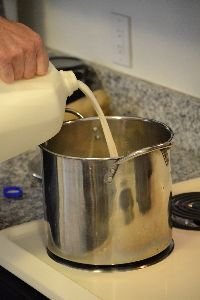
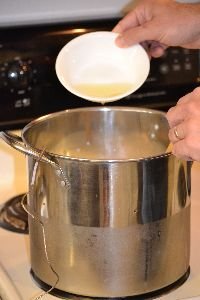
Using two containers dissolve the rennet in ~1/4 cup water in one container and in a different container dissolve the citric acid in the same amount of water.

Add the dissolved citric acid into the milk and stir well.
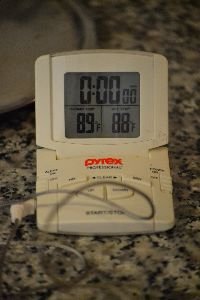
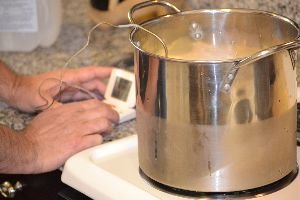
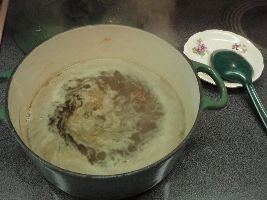
Heat the milk to 88’F and the milk will start to look chunky. Now add the dissolved rennet into the milk mixture and stir well. Heat the mixture to 105’F, turn off the heat, cover, and let the mixture sit for 20 min.
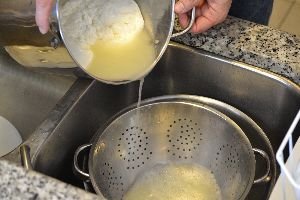
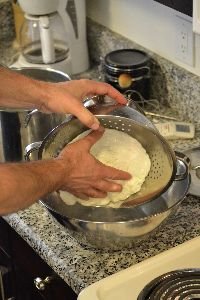
Pour the cheese into a colander with a larger bowl underneath to catch the whey.

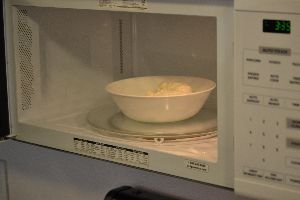
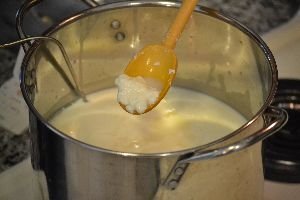
You can also place the cheese into the hot water and it will heat the cheese like the microwave does and then kneed the cheese as before.
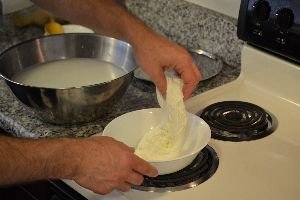
You can also pull it long forcing it through your hand into a ball. You may need to place the cheese back into the microwave or hot water to make the cheese more pliable while handling it.
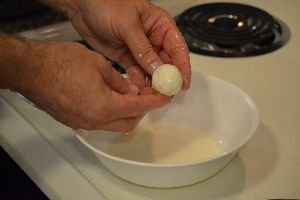
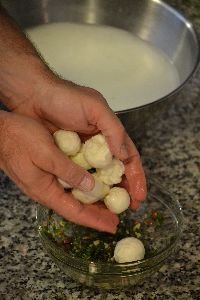
Form Into Balls

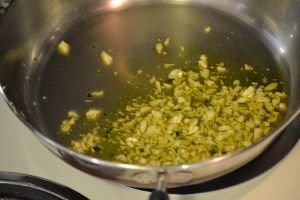
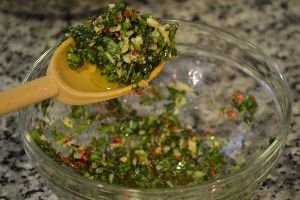
Chopped basil, garlic and red peppercorns.
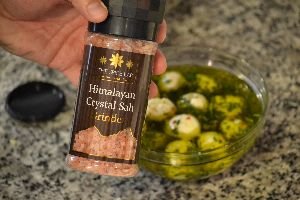 Himalayan Crystal SaltYou can use any salt that you like. We like using exotic salts because they have a different flavor to add to our dishes. This particular salt is a very light flavor. Not to mention quite pretty to look at.

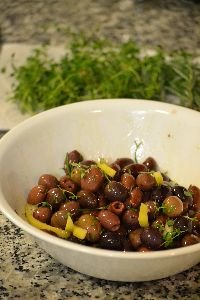
Recipe for Roasted Olives

OMG! These olives are wonderful!
We made them the night before a trip to take with us to eat with our picnic. I cannot even describe to you how wonderful that they smell. It would make the best air freshener ever.
This is now going to be a staple in our kitchen.
——————————-

-2 cups Greek olives (or any olives you prefer)
without the pits.
-1/2 cup extra virgin olive oil.
-2 – 3 Tablespoons fresh rosemary.
-2 – 3 Tablespoons fresh lemon-thyme leaves.
-About 2 wedges of preserved lemon sliced into skinny strips.

Our Preserved Lemon
-Freshly ground black pepper.
———————————————————————
Pre-heat your oven to 400F
Use a cookie sheet and place aluminum foil down onto it.
In a bowl mix together all your ingredients making sure everything is coated. Then place on the cookie sheet and cook for about 10 – 13 minutes. The olives will get a bit wrinkly. You might want to remove from the oven about half way through and stir around on the tray, then place back into the oven.
(I think these olives would make an excellent edible gift when placed into a pretty jars.)
————————————
Preserved Lemon
This is truly perfection!


Ingredients:
- 8-10 lemons
- 2 cups rock salt (We used a combination of Himalayan Sea Salt and New Zealand Sea Salt.)
- About 6 Bay Leaves
- 1 teaspoon Caraway Seeds
- 1 teaspoon Coriander Seeds
- 1 1/2 cup Freshly Squeezed Lemon Juice
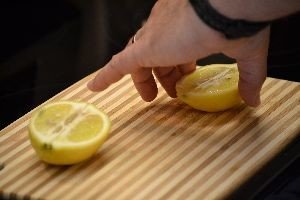

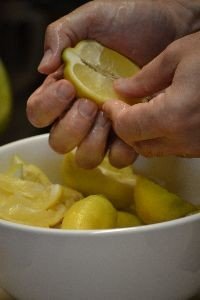
You want to halve your lemons and then slice them down the middle without cutting all the way through. Also sqeeze the juice out of them and into the same bowl with the cut lemons.

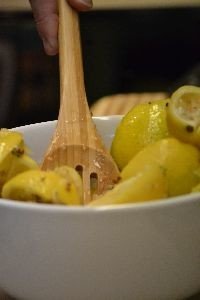
Now you want to combine all your ingredients except the bay leaves.
We just added everything to the bowl of lemons.


Now just combine and mix everything together. We also added some already squeezed Italian lemon juice that we had in the refrigerator.
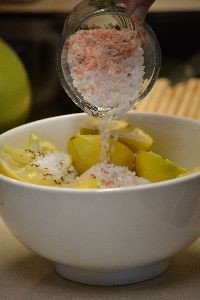
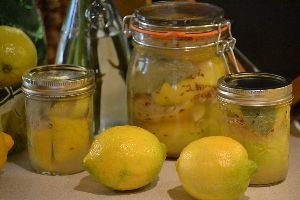
Now you want to pack the lemon mixture into some canning jars and placing the bay leaves inside the jars as well.
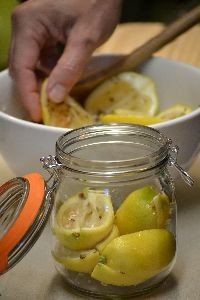

We filled the jars up to the top with leftover lemon juice.

Now place them into the refrigerator for a few weeks for the lemons to preserve and they are then perfect!

They also make lovely gifts.
——————————————————-
Irish
Our Grilled Cabbage Slaw

An Excellent Edible Gift

With a Lovely Dressing…

Tossed and Ready to Eat
—————————————————————

Bangers with Peppers and Herbs
——————————————————————-
Grilled to Perfection!

And, Our Kale and Snap Peas

What an Excellent Dinner!
—————————————————————–

——————————————————–

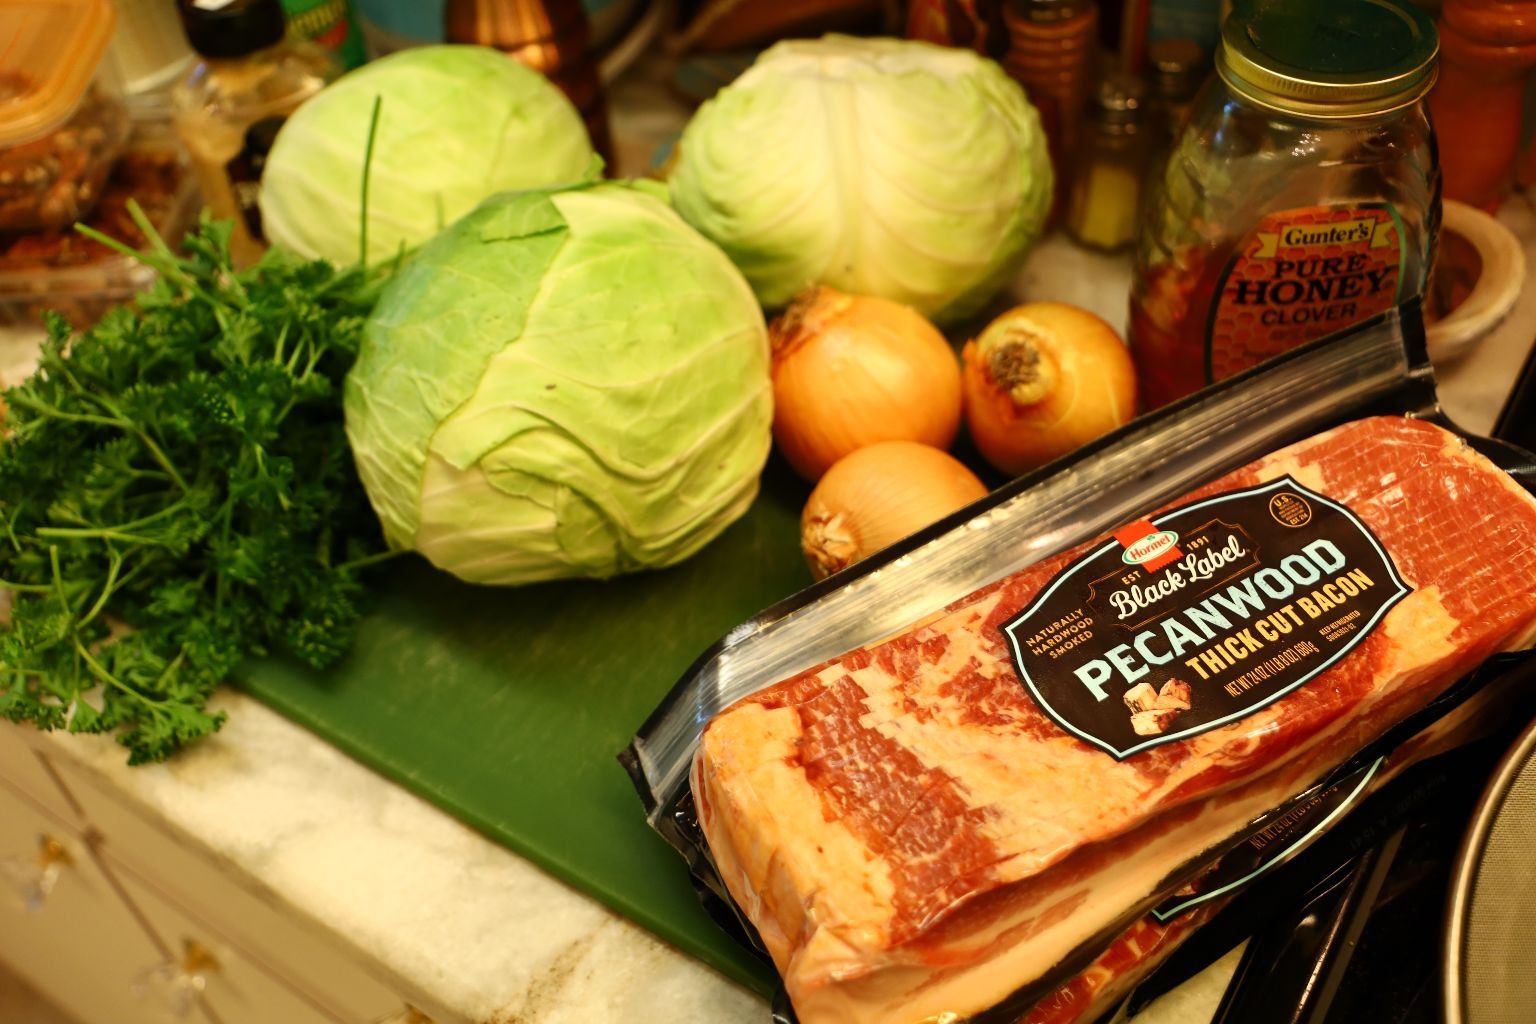
Ingredients:
1 pkg. Pecanwood Thick Cut Bacon
3 Cabbage
3 Yellow Onions
1/2 Cup Bacon Fat
1 Cup Lemon Juice
1 Tbsp. Whole Grain Mustard
1 Tbsp. Delicatessen Mustard
Salt and Pepper to taste
~3 Tbsp. Parsley – thinly chopped
2 Cups Whole Pecan Halves
————————————————————-

Pecanwood Thick Cut Bacon


Here we are placing our bacon on our pottery specially made for this task.
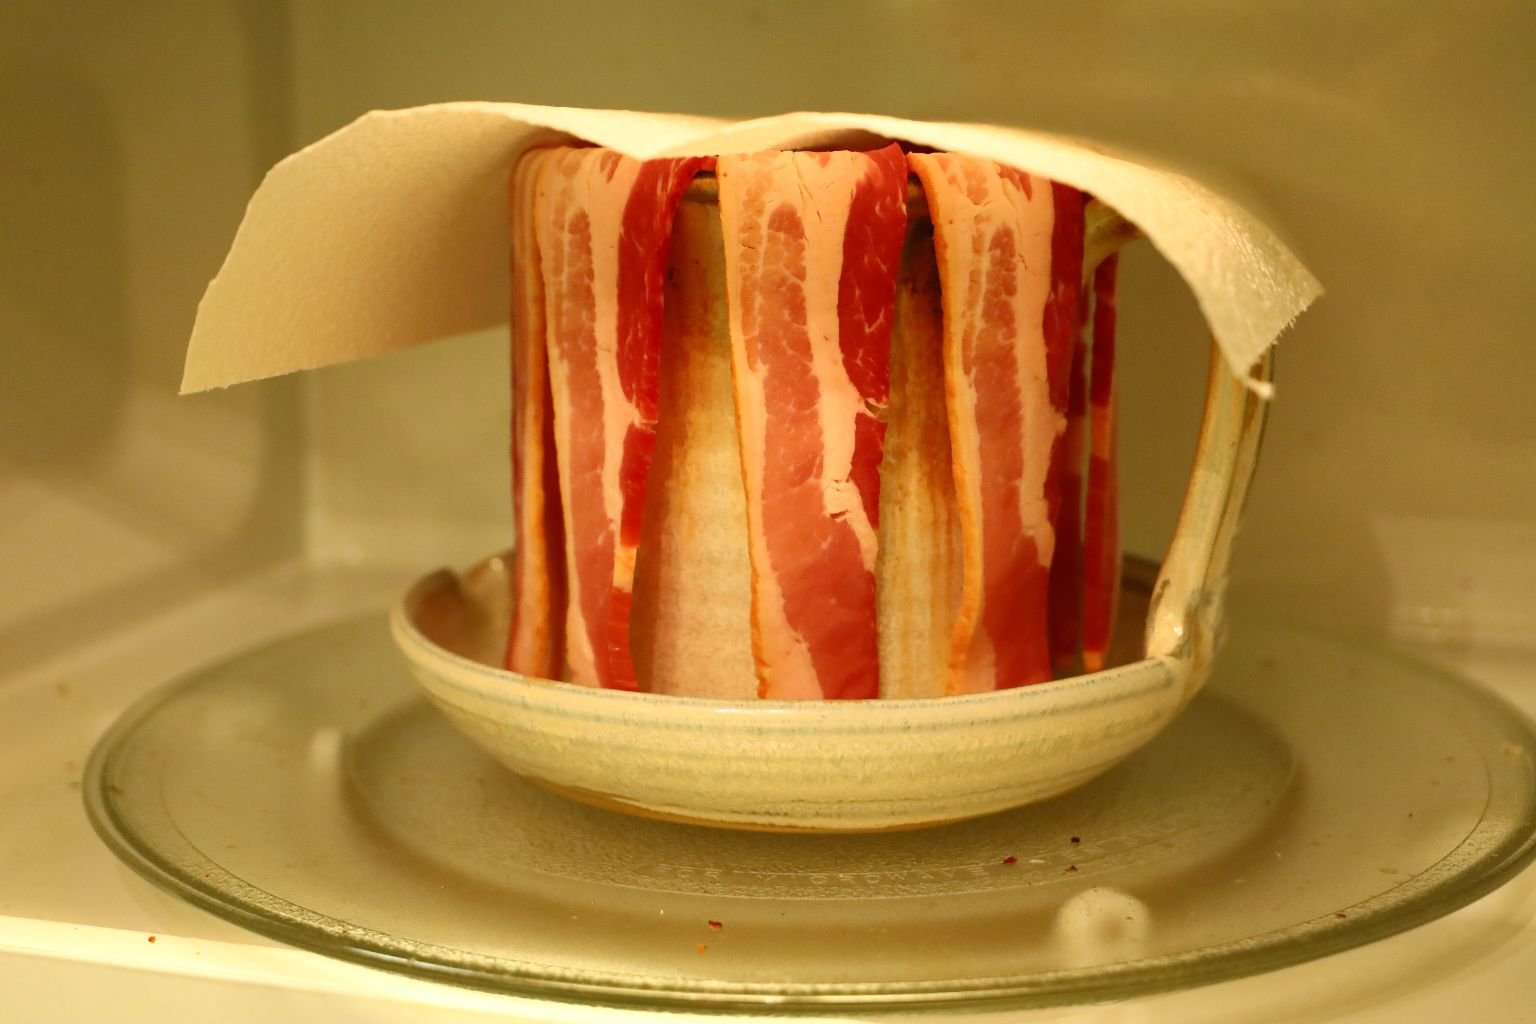
Place a sheet of paper towel on top to prevent spattering.

————————————————————-

Cook the bacon in the microwave for about 10 min. or until crispy.


Carefully remove the bacon and place on a paper towel keeping the bacon fat for later uses. Continue this process until all the bacon is cooked. We clean the pottery cooker between each cook.

Slice the cabbage into ~1 inch thick slices.


Like so….


—————————————————————-


Peel and slice your onions into quarters.
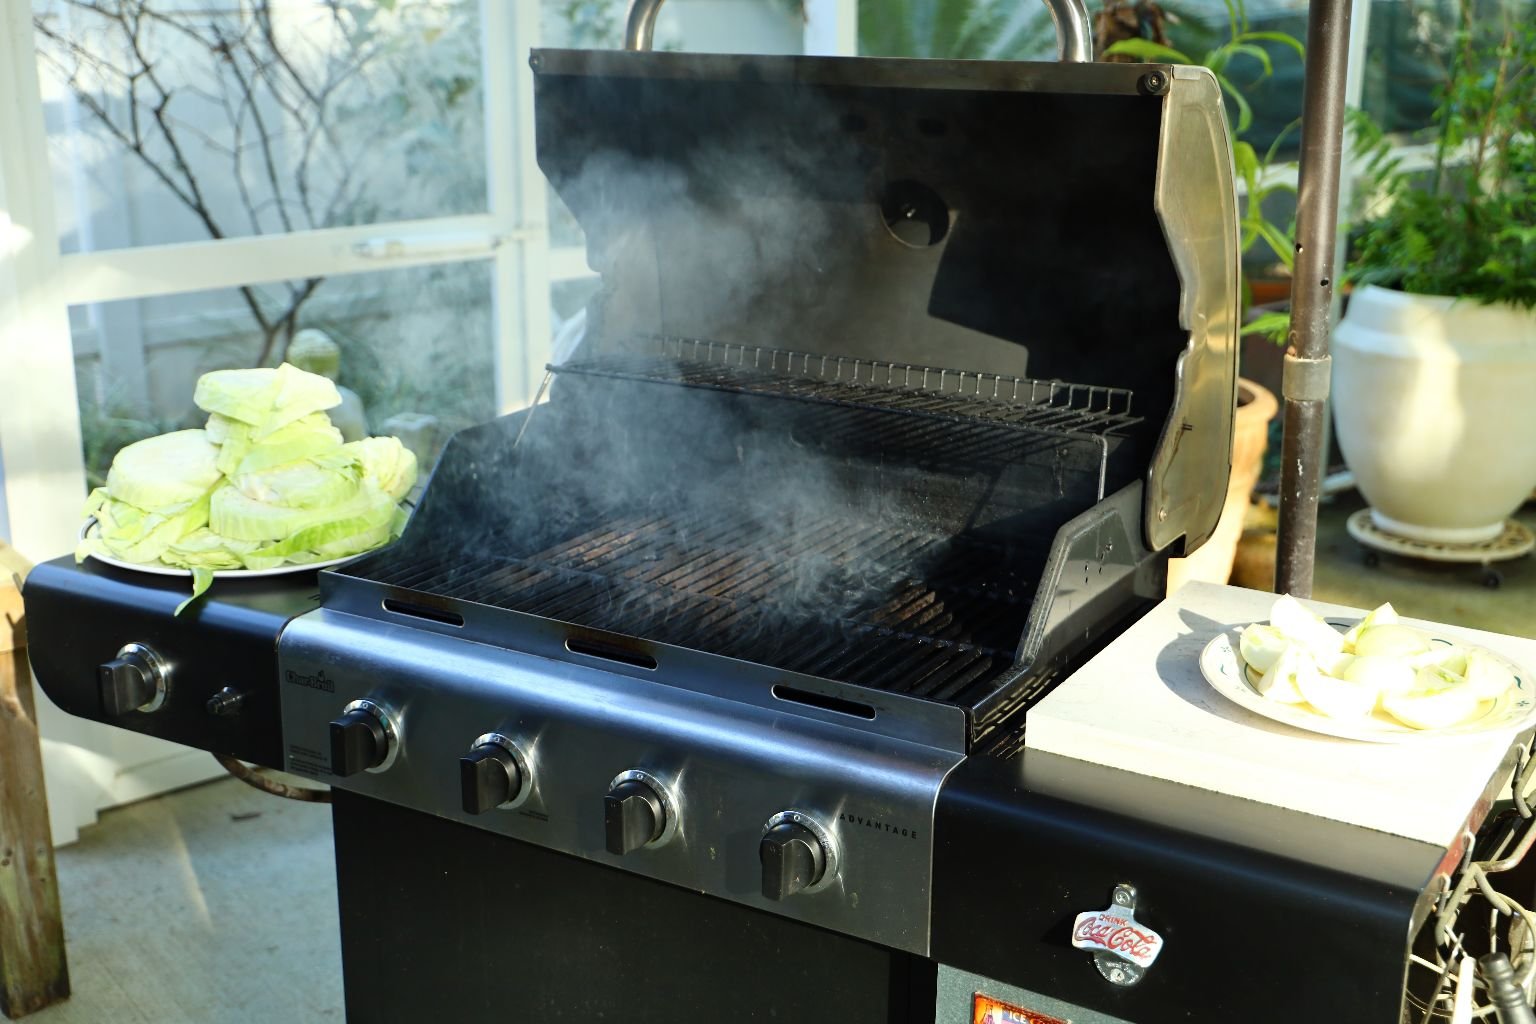
Heat your grill to medium high heat …


and place the cabbage evenly over the entire grilling surface as shown.

I then placed the quartered onions on the upper grilling surface to start their cooking.


Keep aware of your grill’s hot spots and turn and move the cabbage as it cooks.

———————————————————–

Here you can see the nice grill marks and a little char on the cabbage.


As the cabbage finishes cooking, place it on a platter as shown.


When there is room on the grill, bring down the onions and grill them the same as the cabbage.
———————————————————–
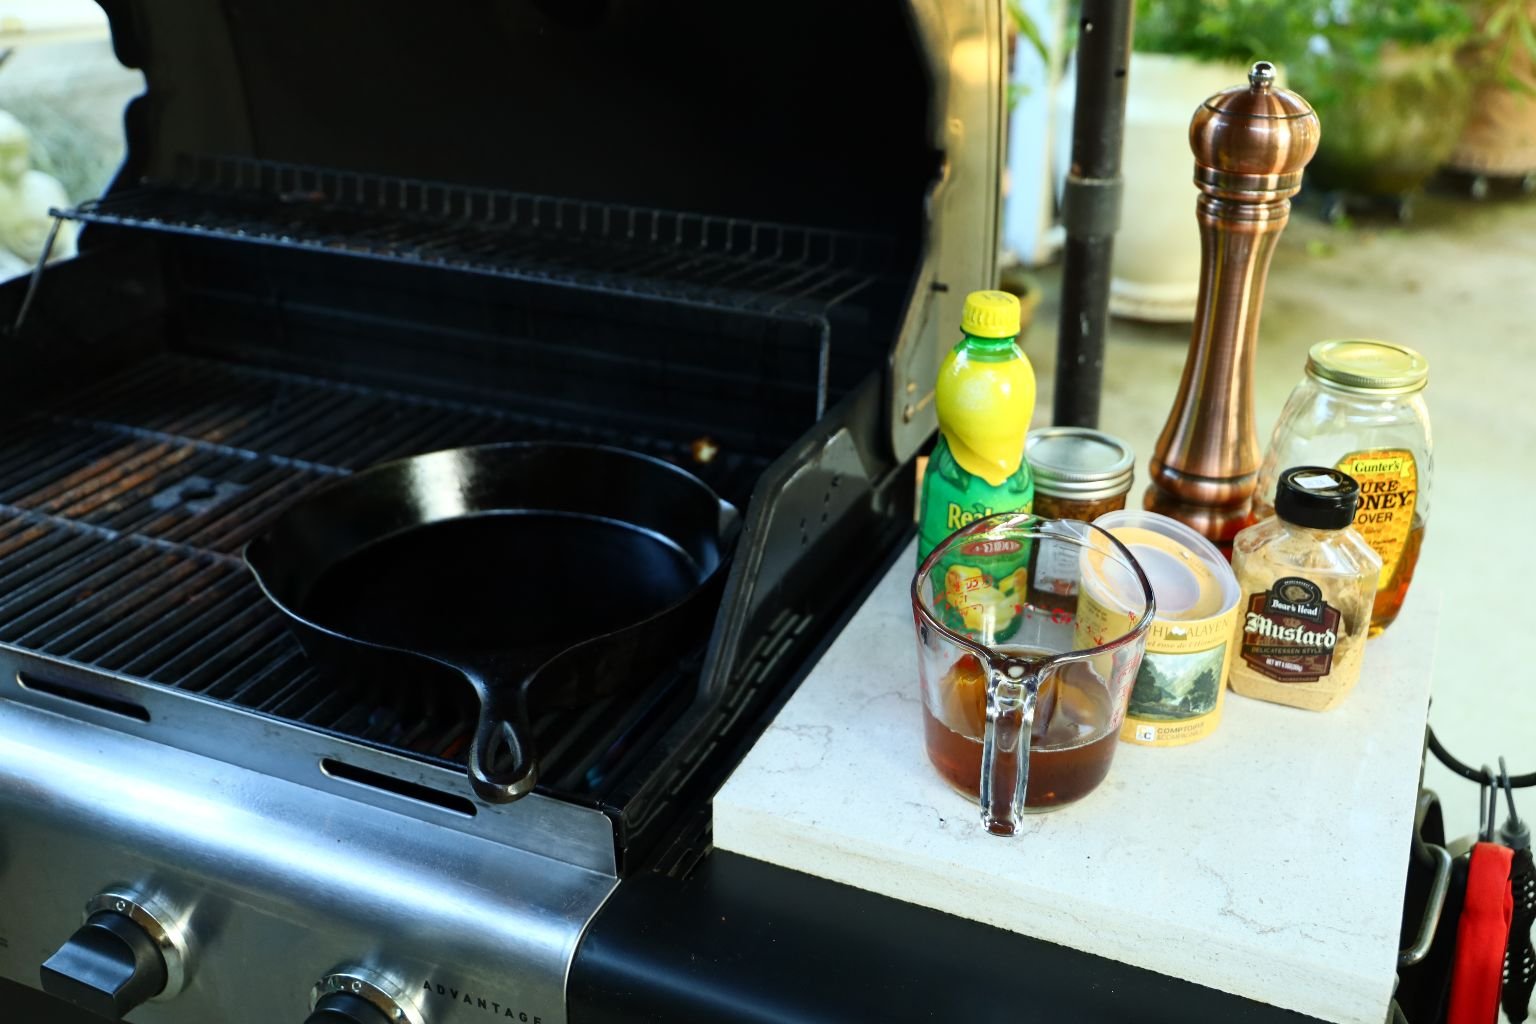
For the dressing, use a cast iron skillet as I find it retains its heat and cooks evenly.
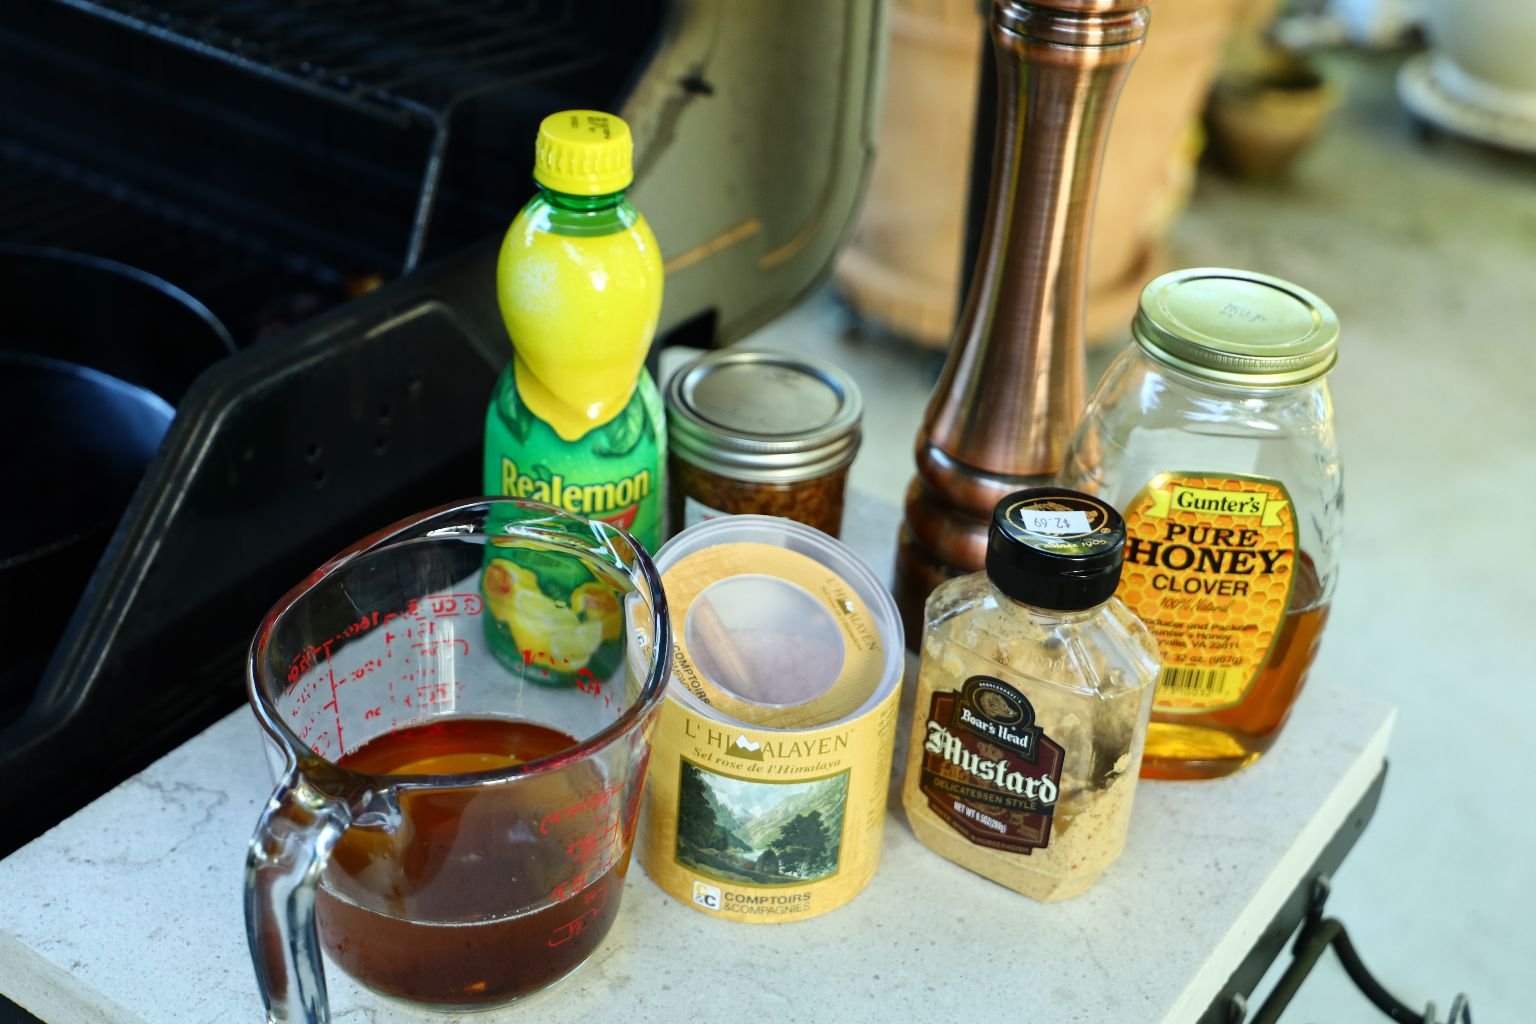
Our Dressing Ingredients
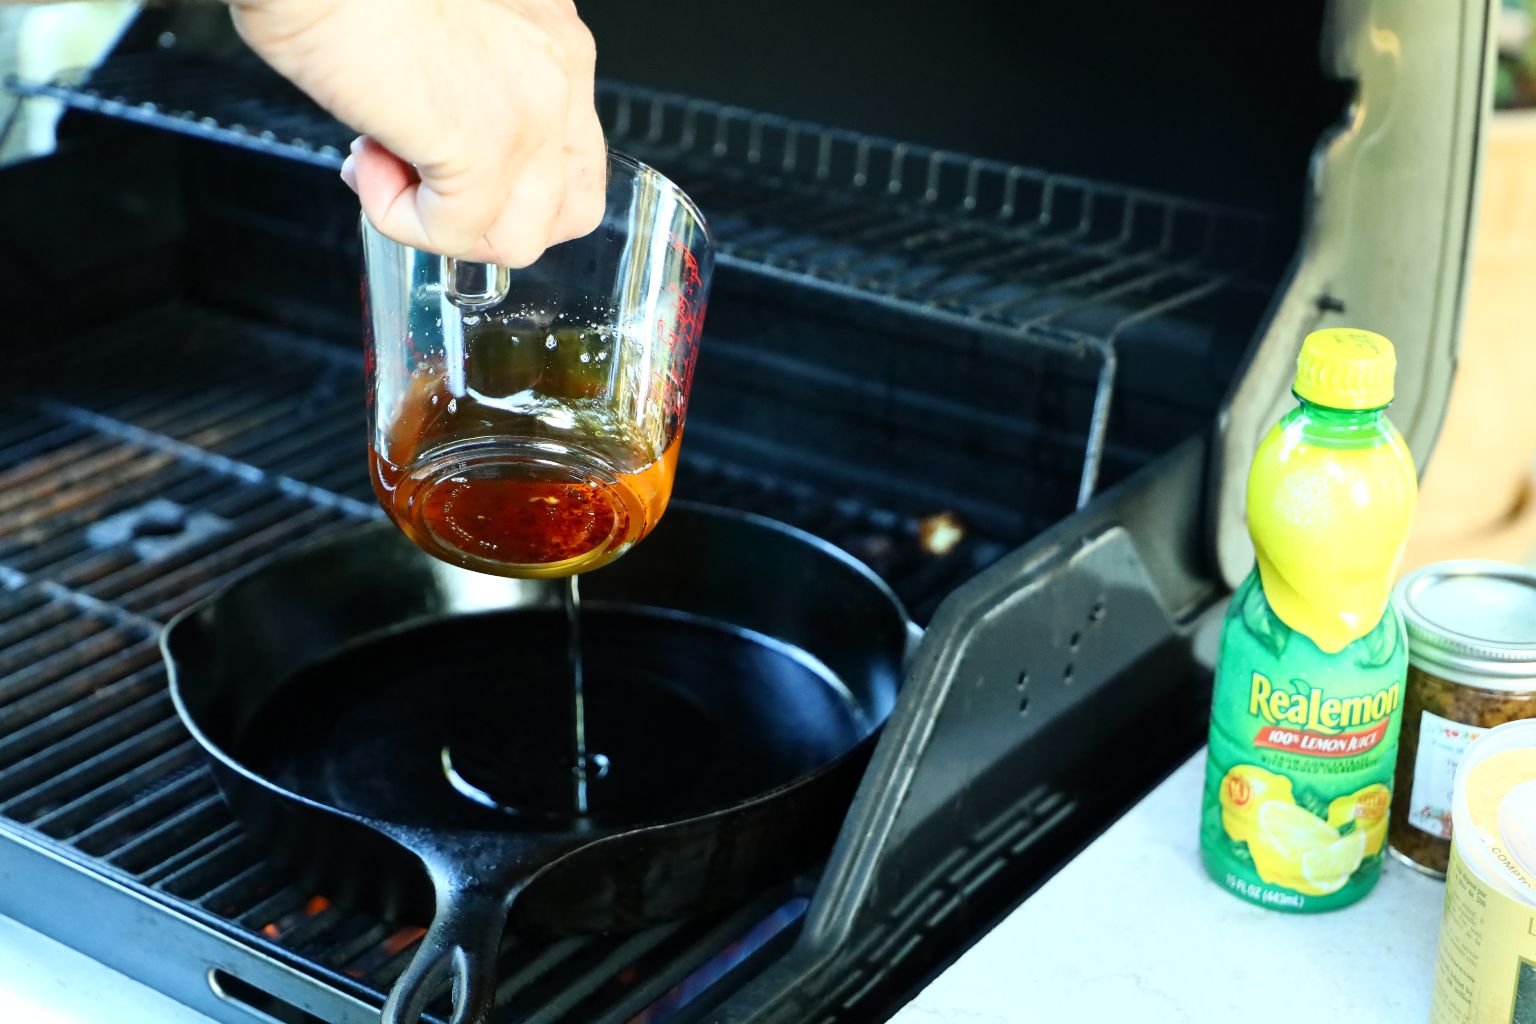
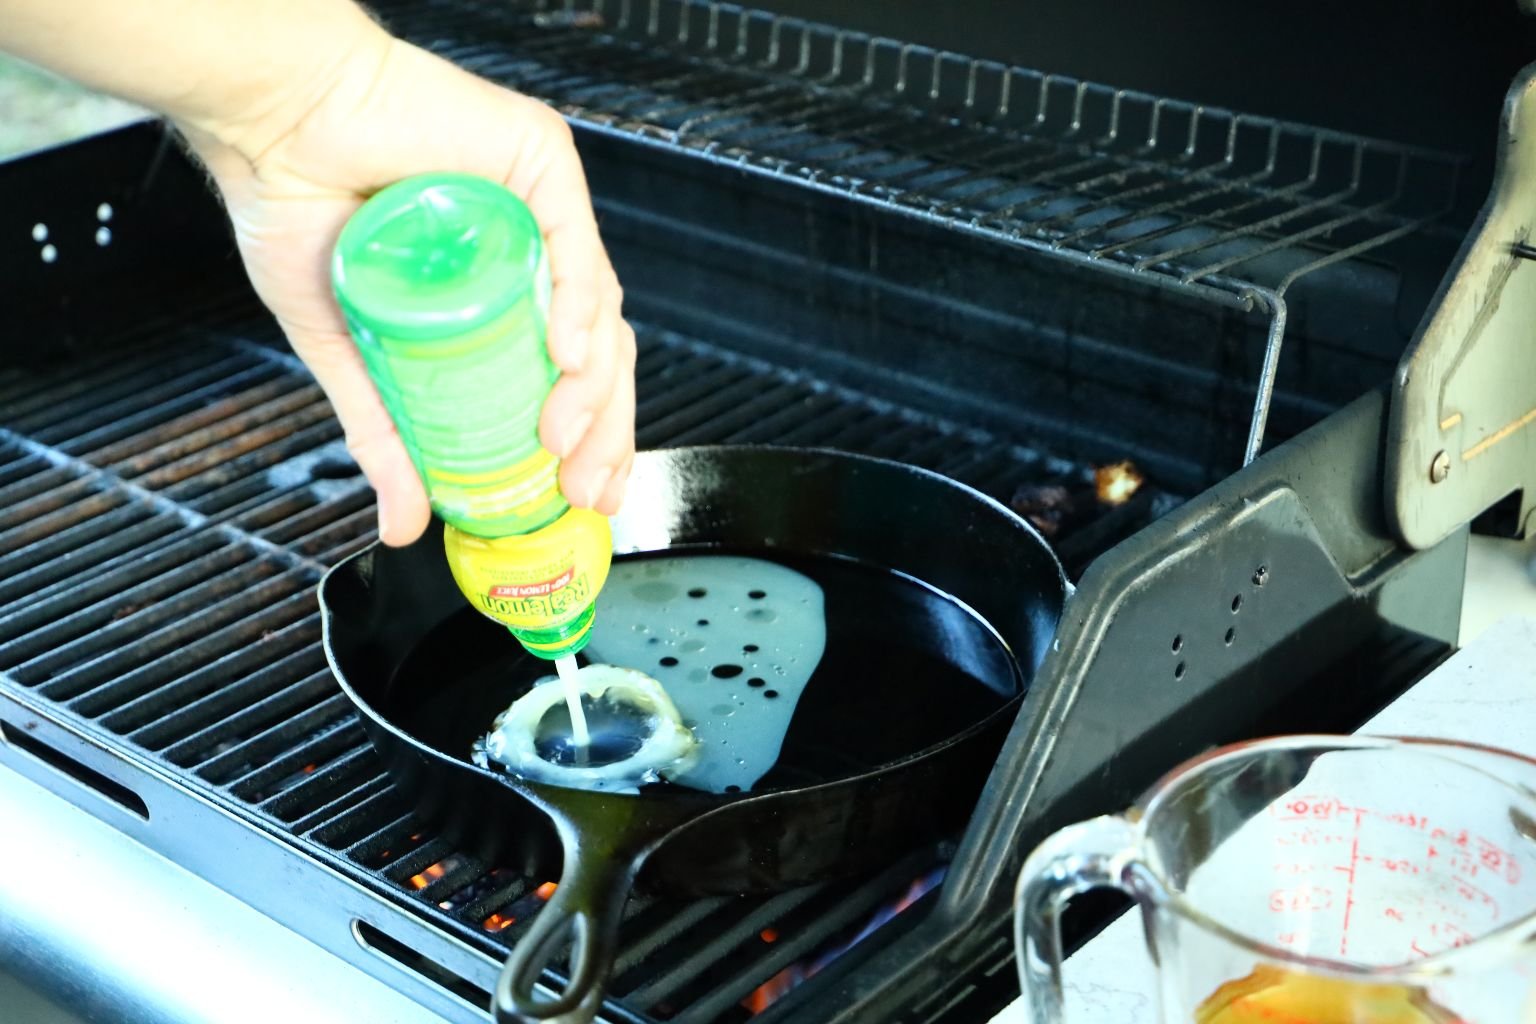
Heat your skillet to medium heat and add a good amount of your bacon fat to the pan. Now add most of your lemon juice to the pan.


Now your grainy mustard…
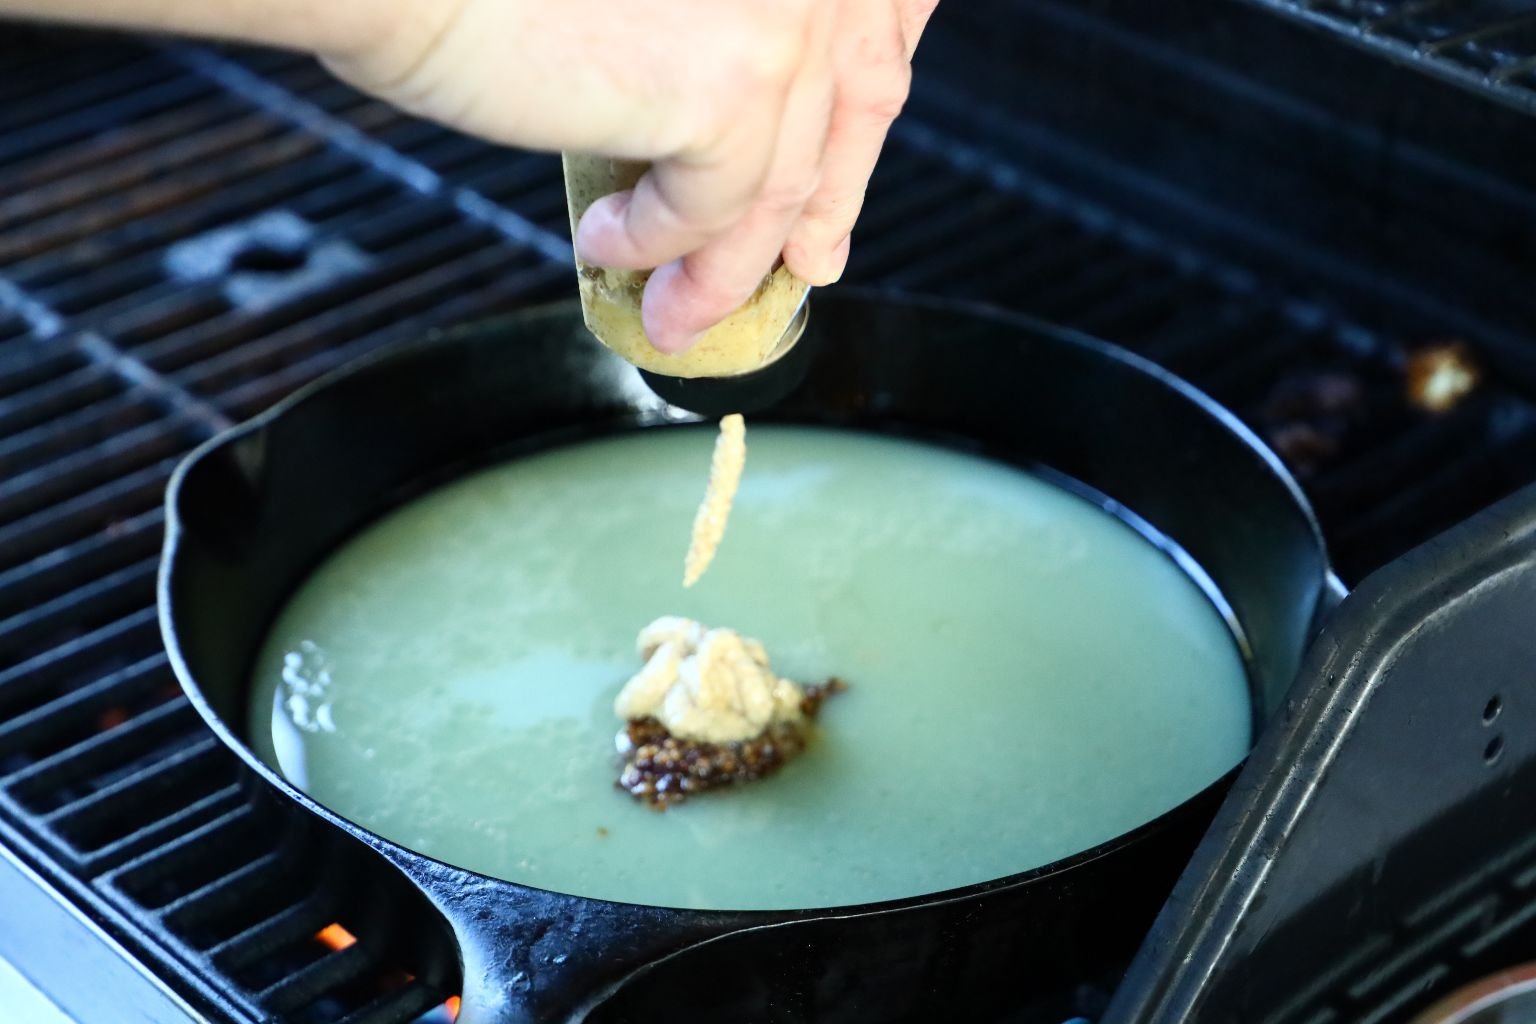
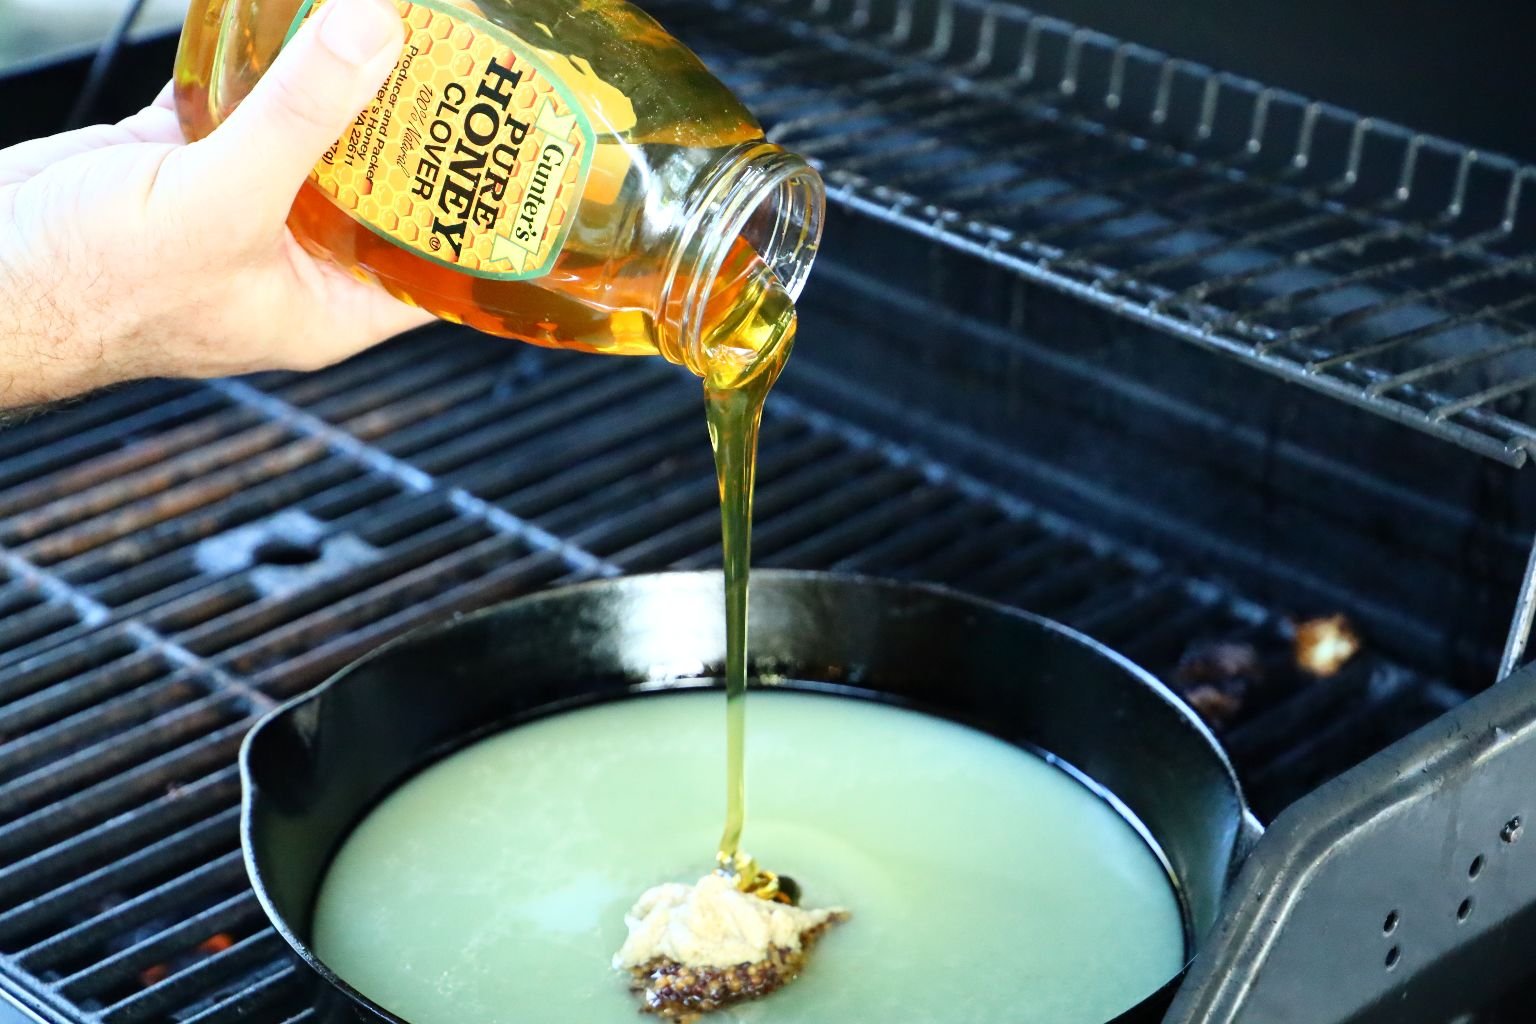
Then your delicatessen mustard, and honey.
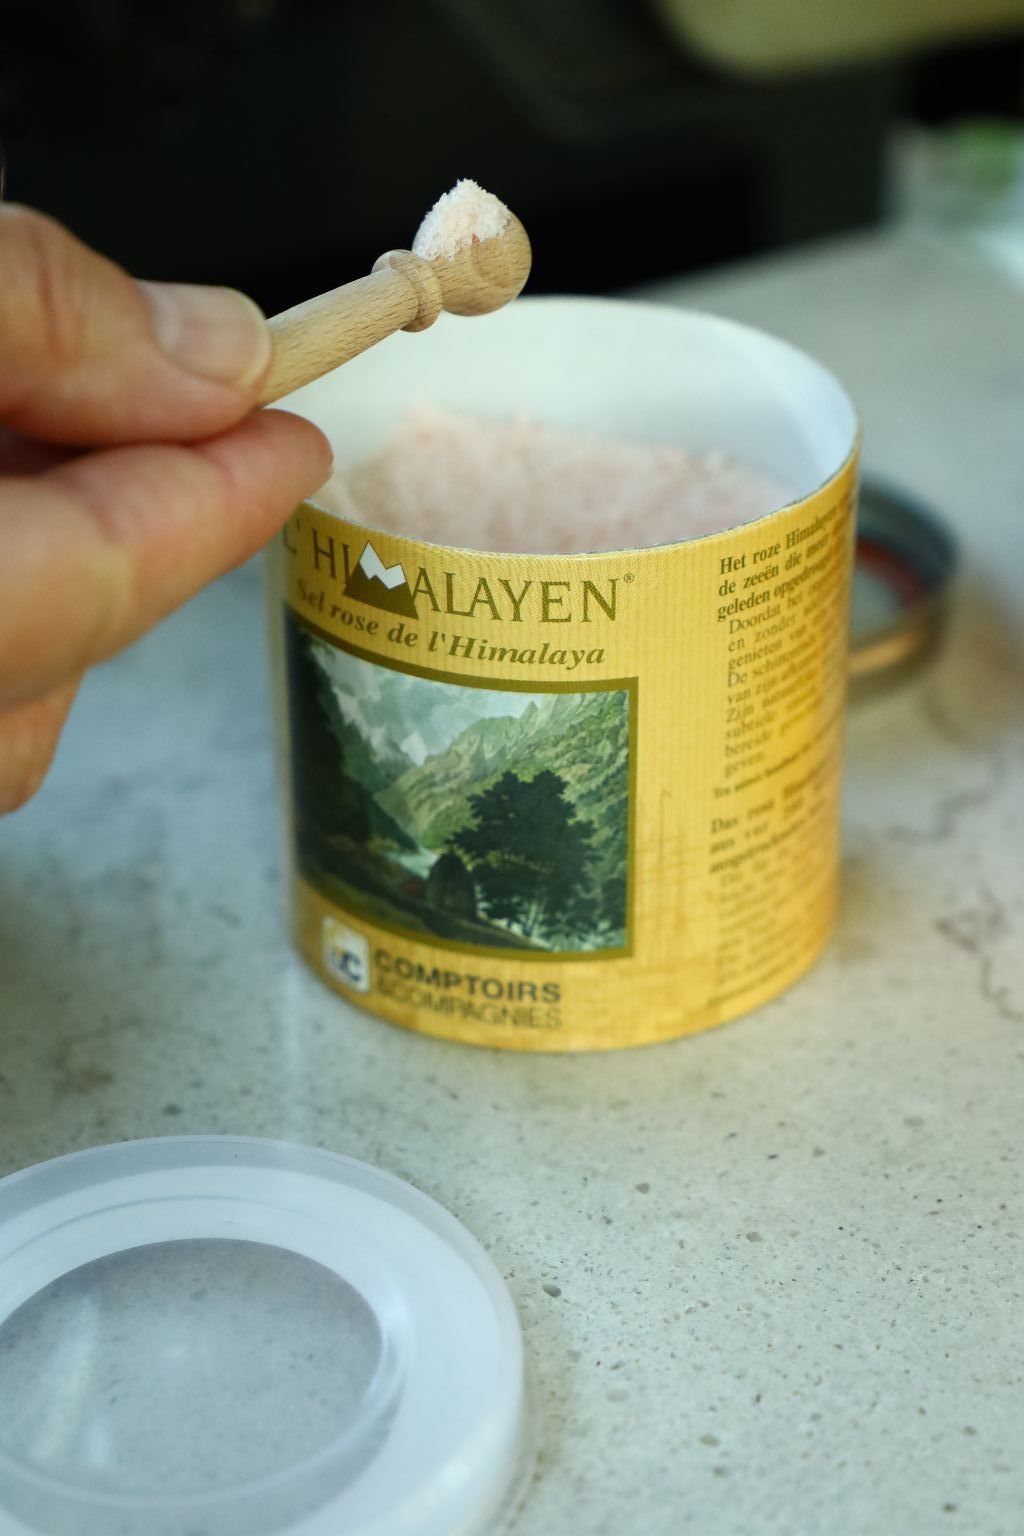
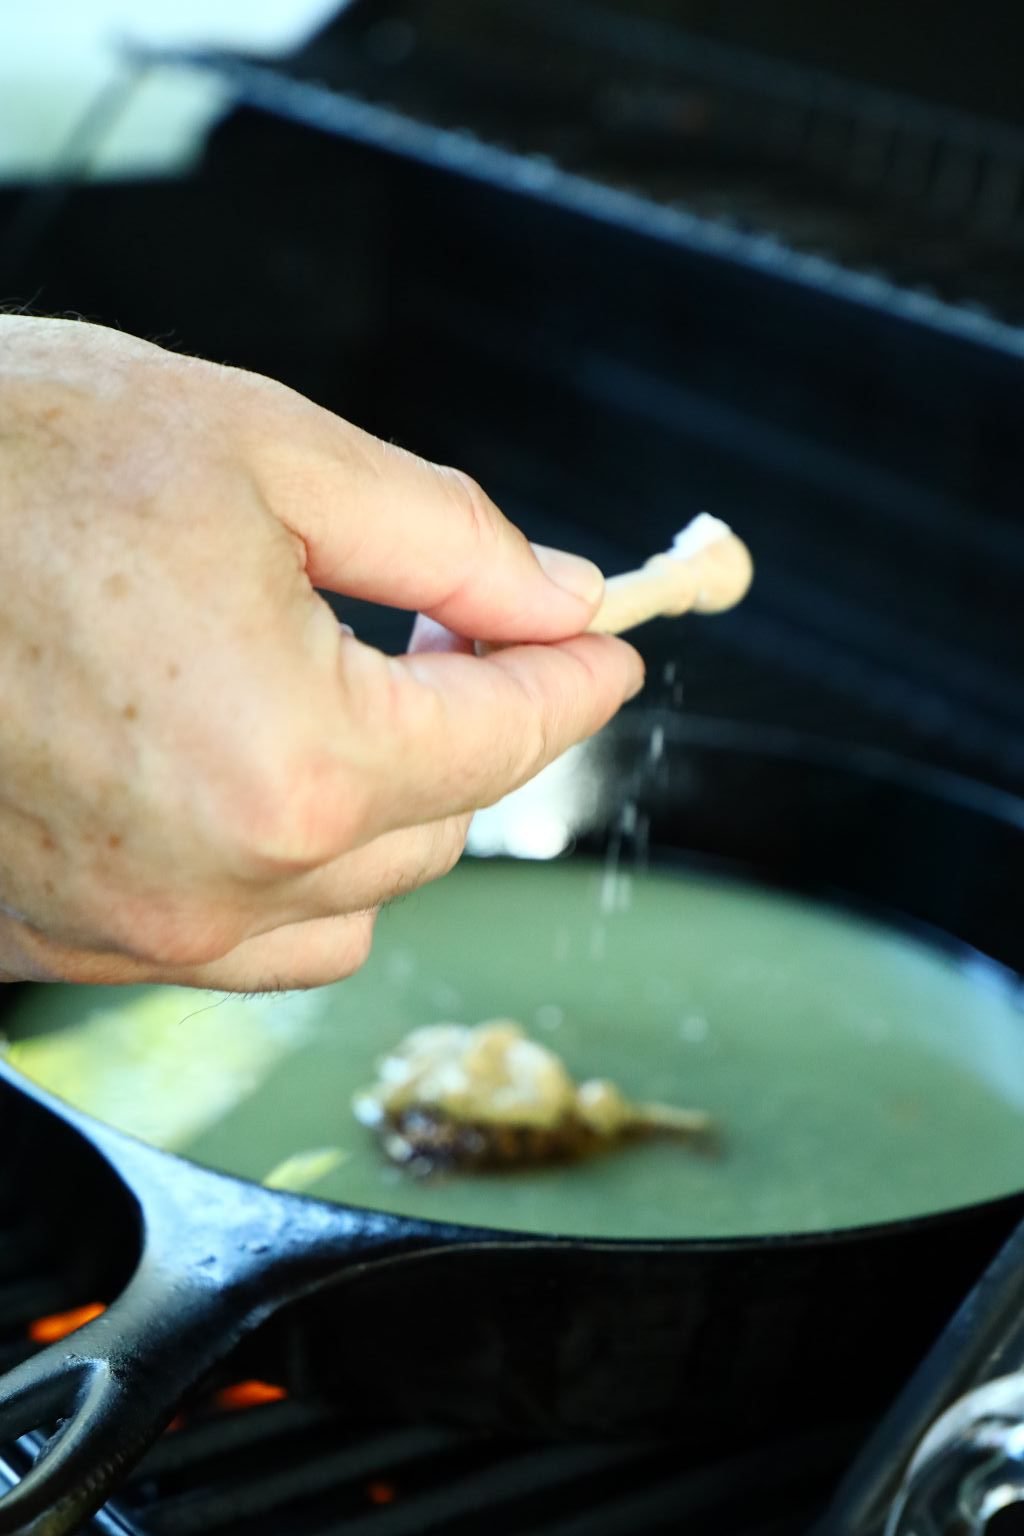
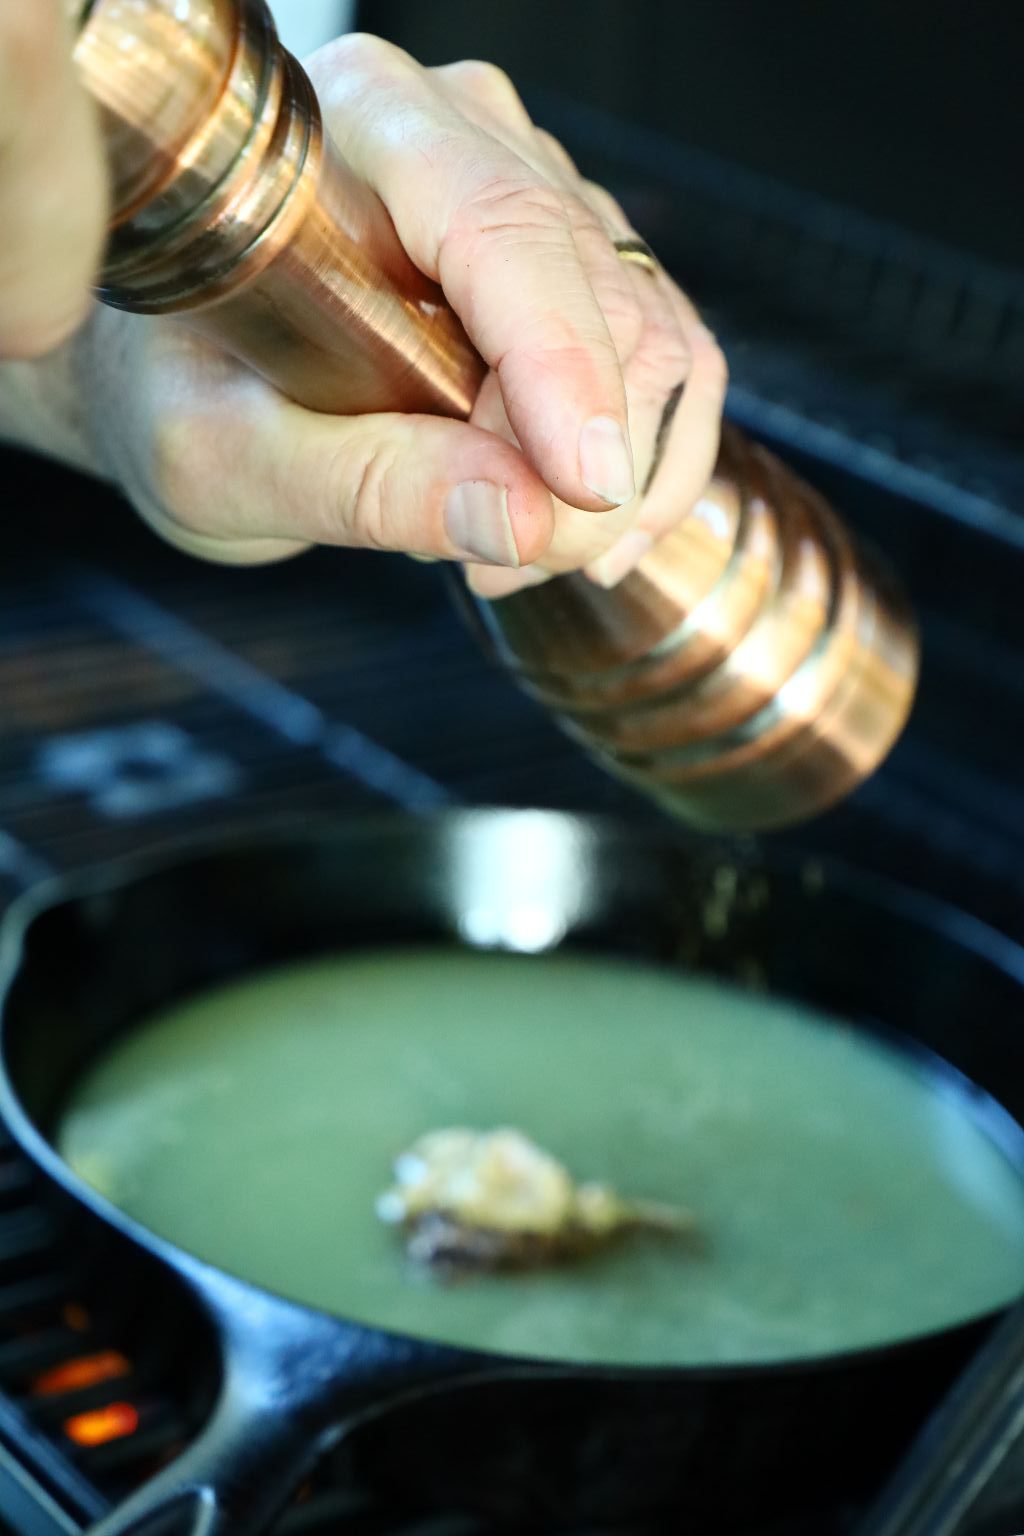
Now add your salt and freshly ground pepper to taste.
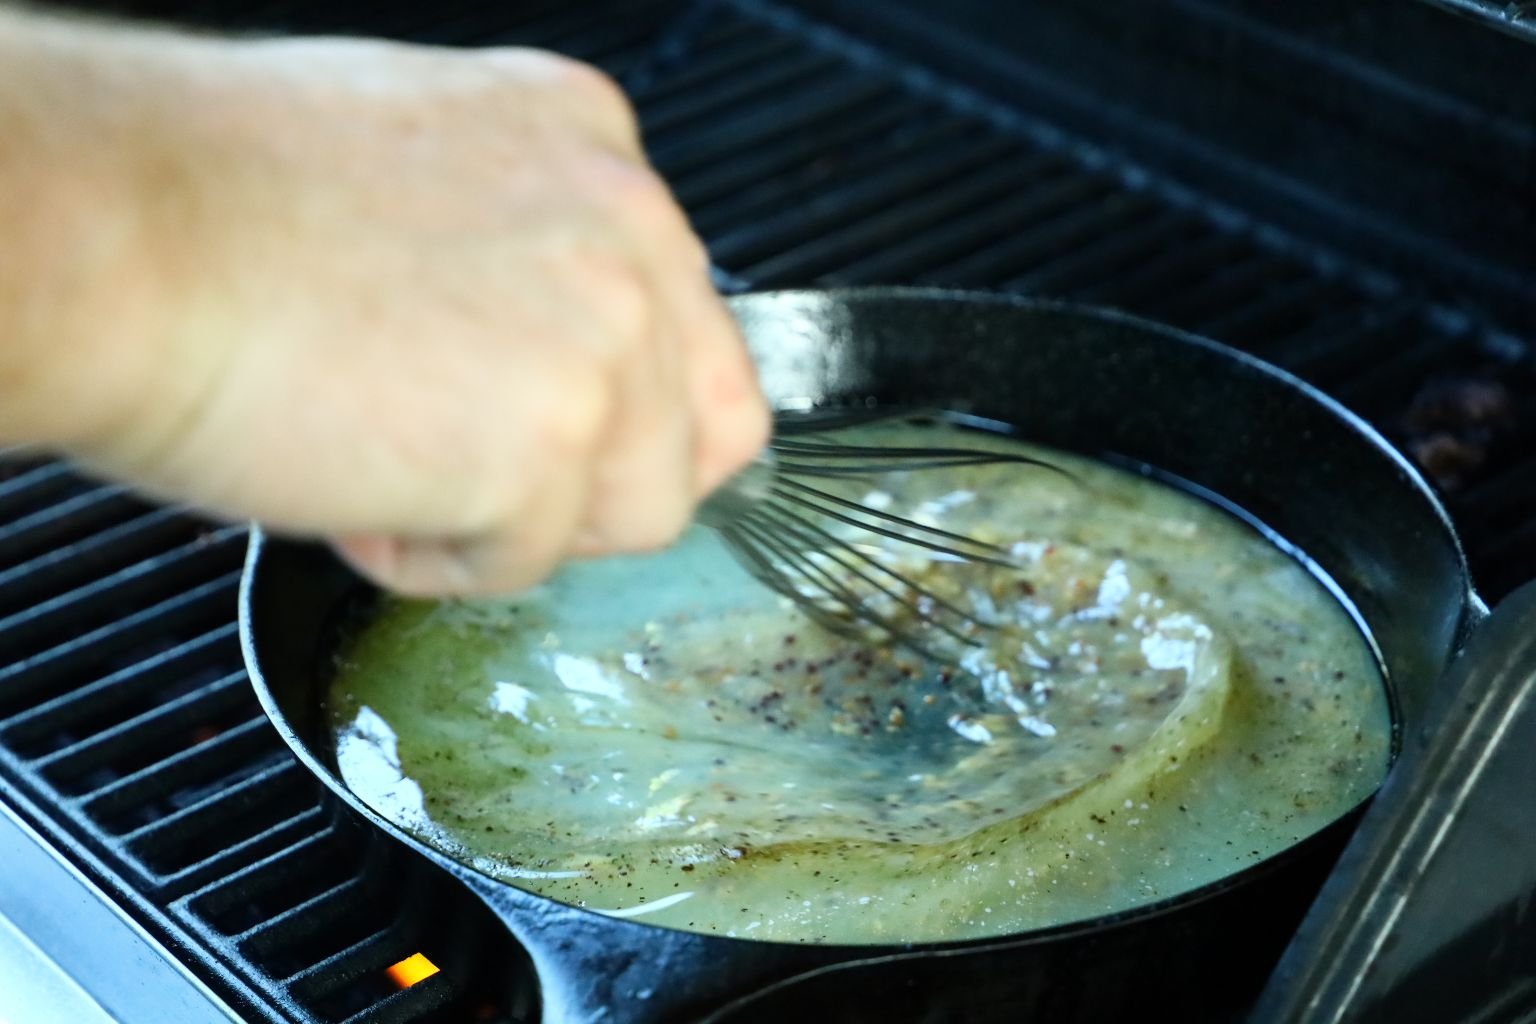
Whisk all this ingredients together.
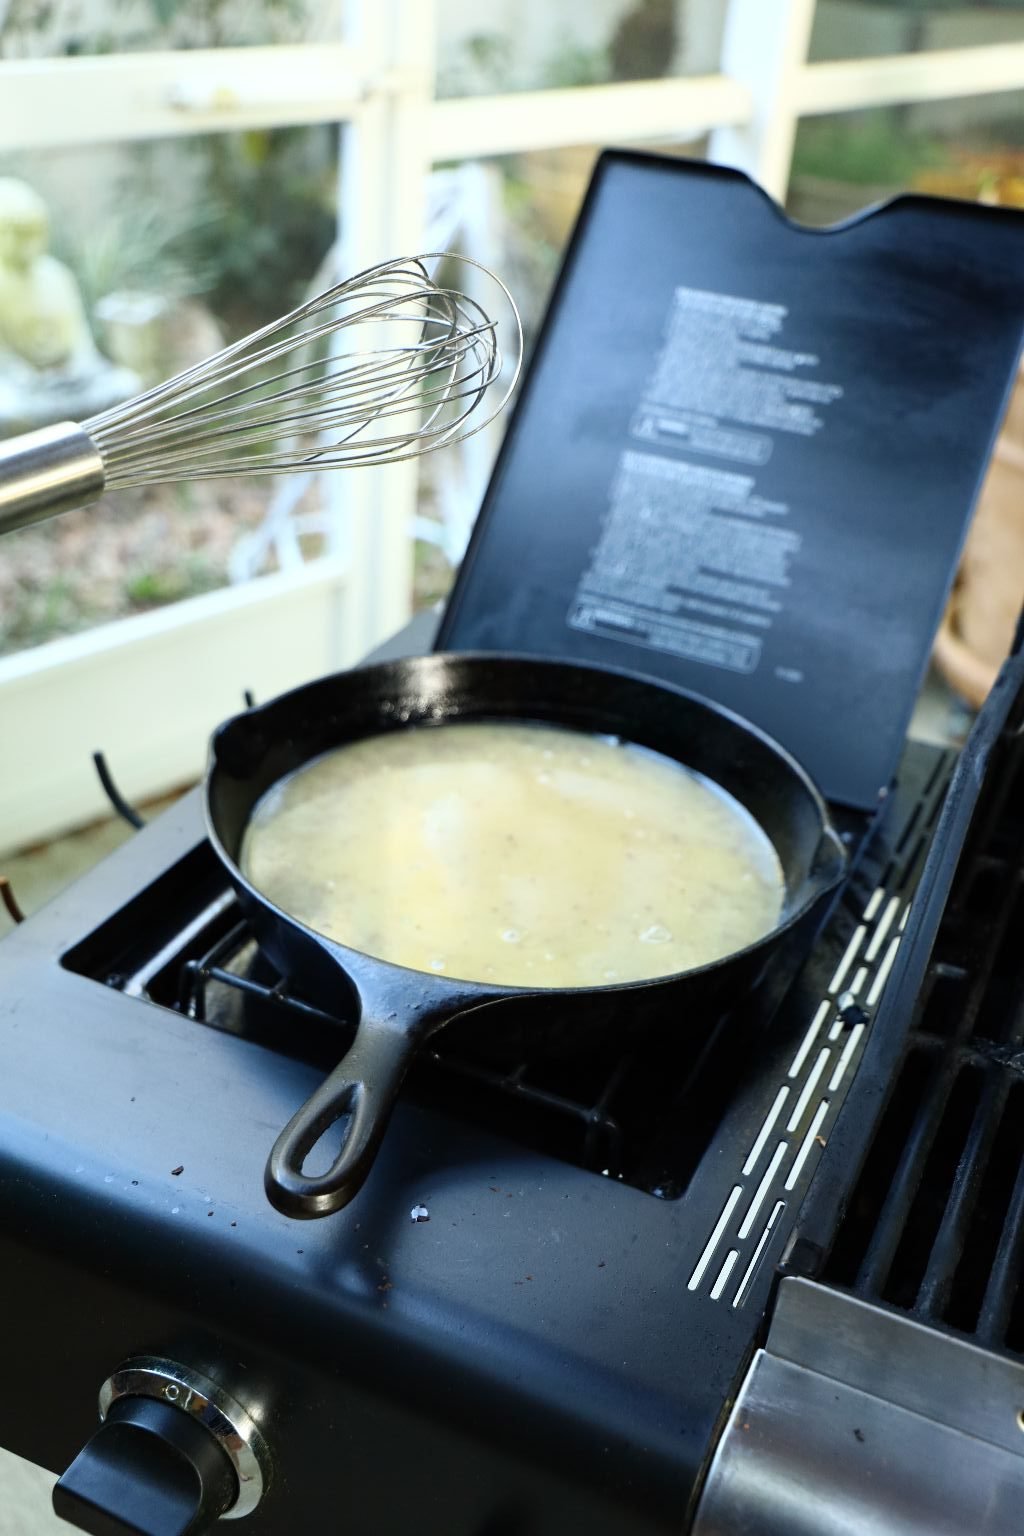
Cook the dressing on the grill, or you can use your side burner if you have one.
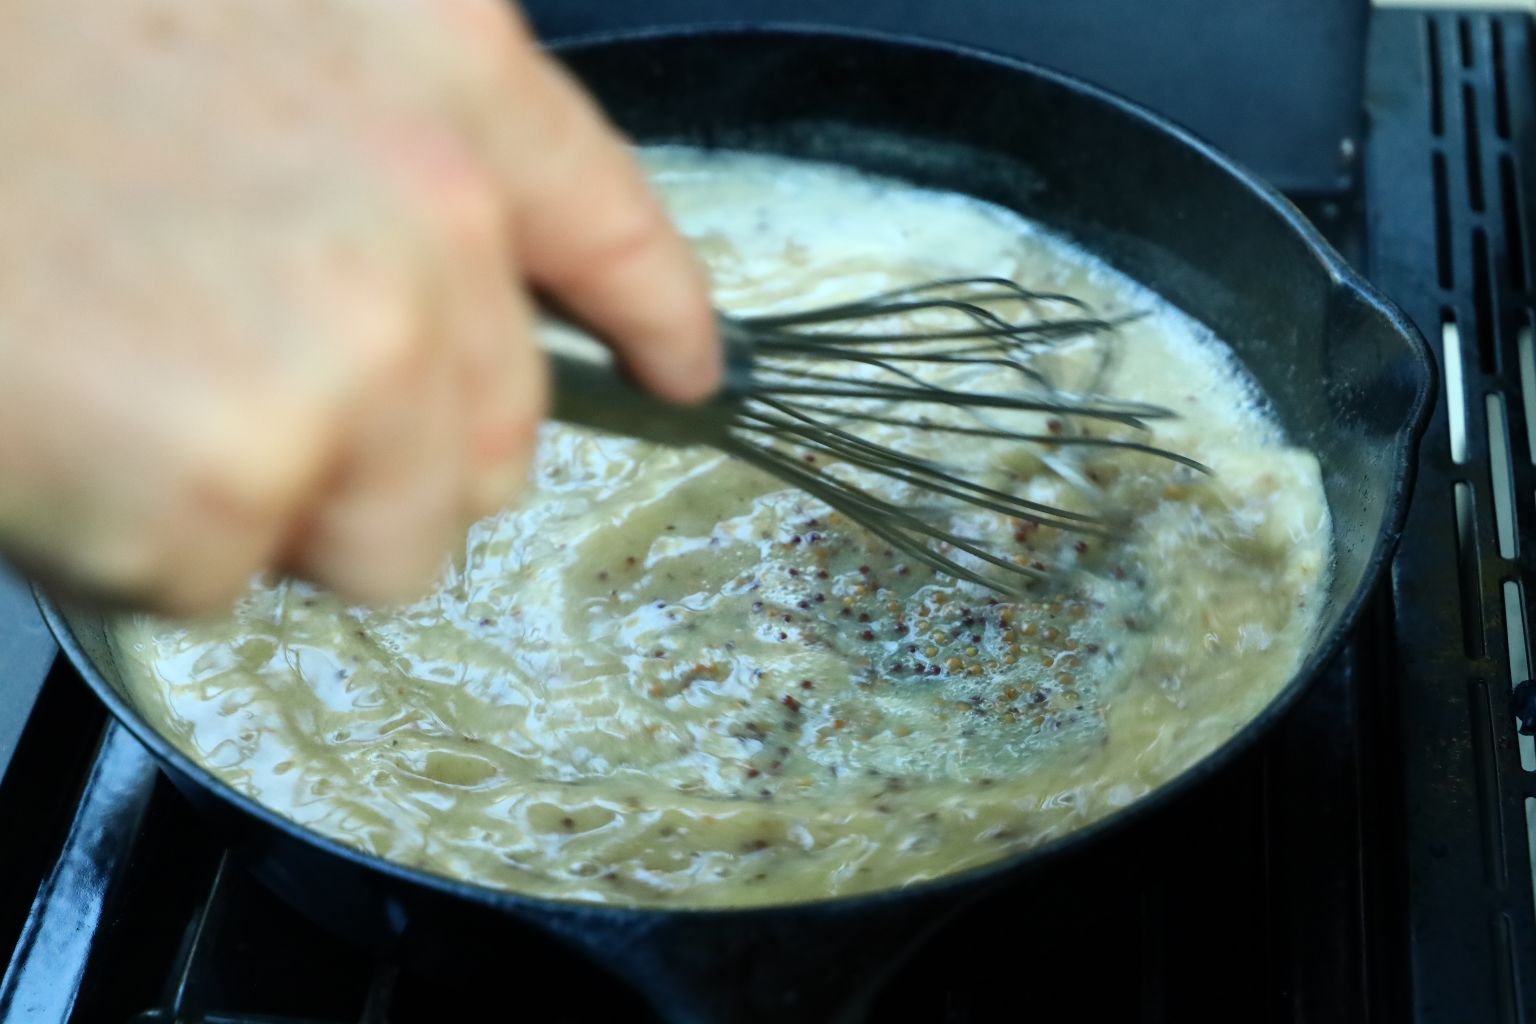

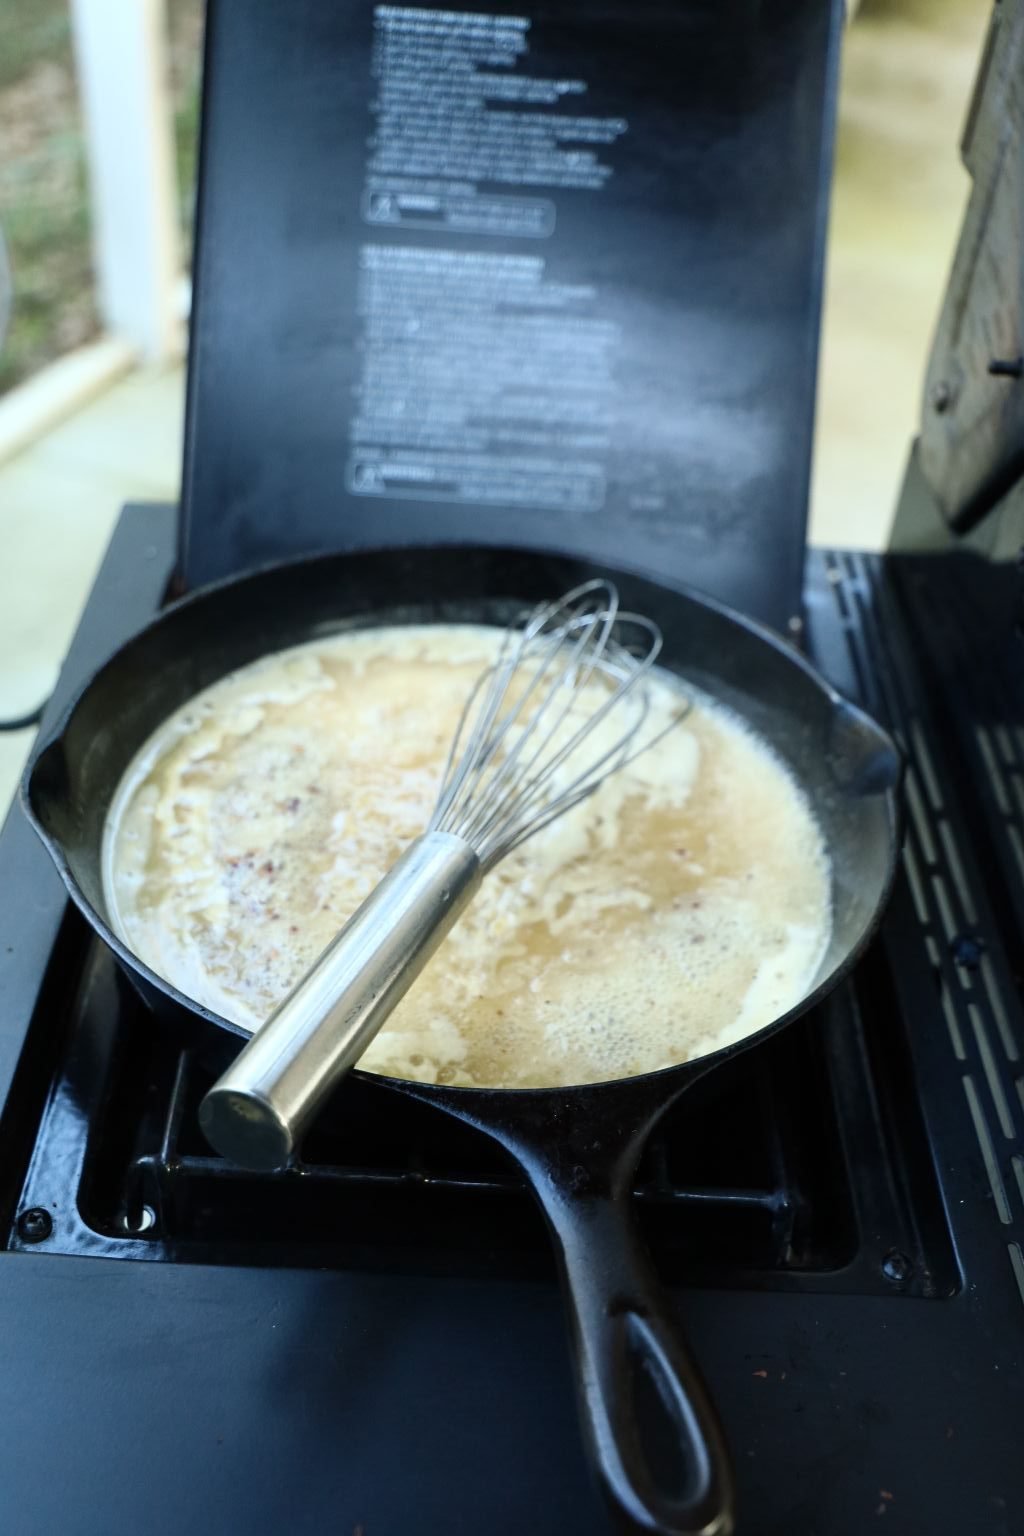
As the dressing cooks, the mixture will begin to reduce and slightly thicken.
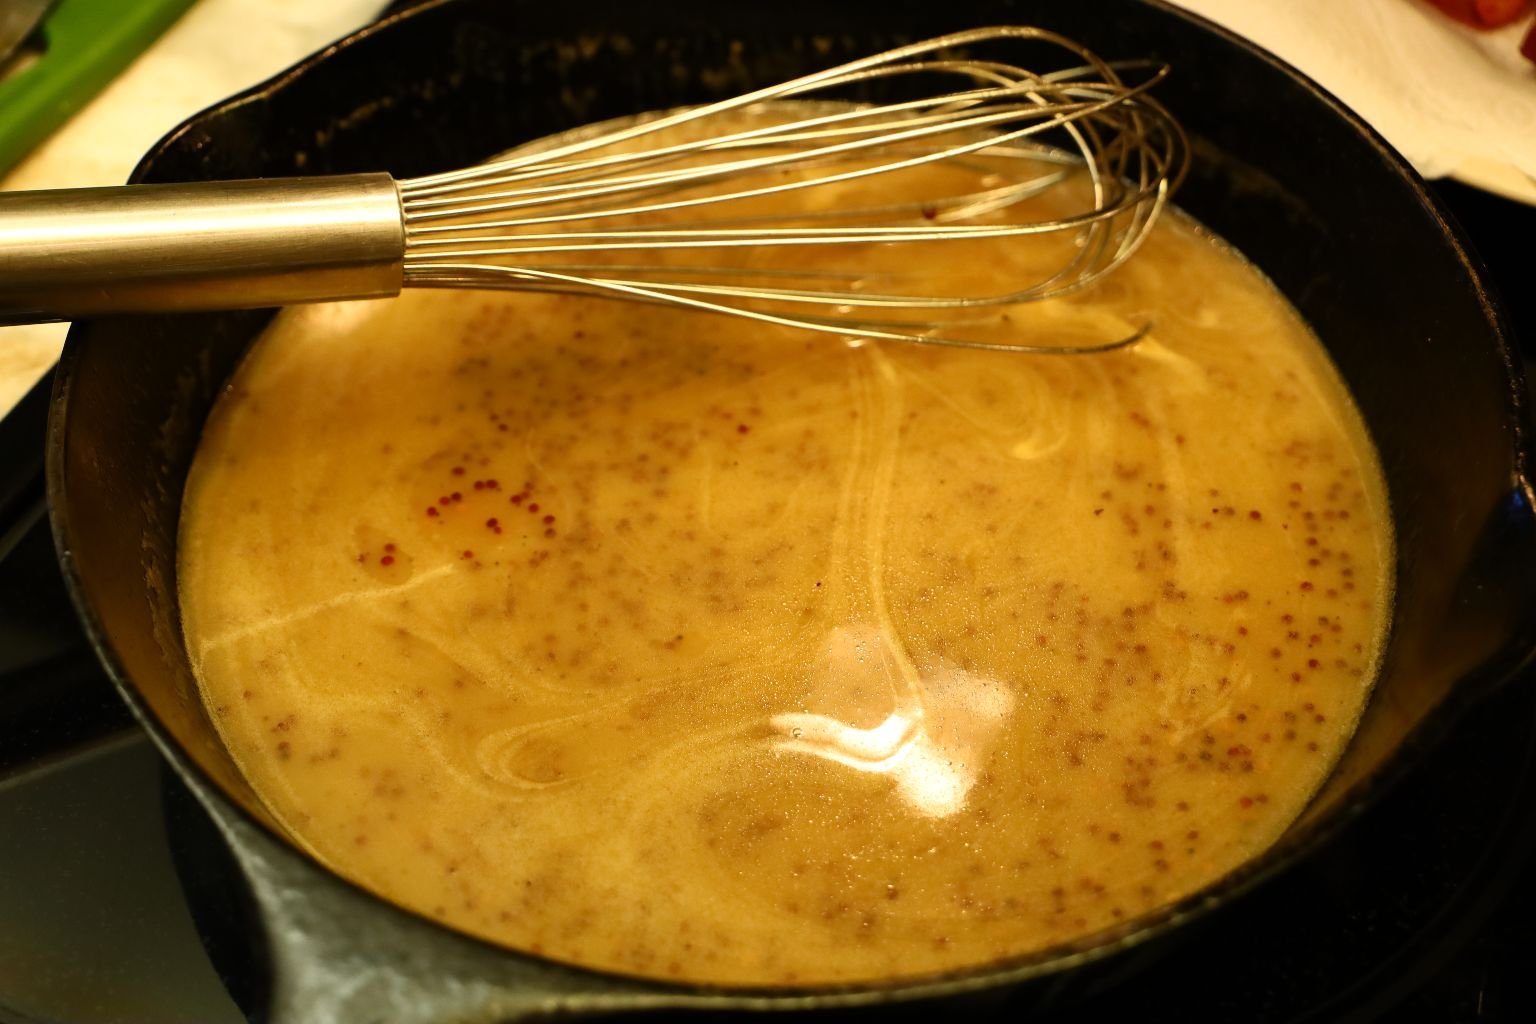

Taste your dressing and add ingredients as needed.
———————————————————-
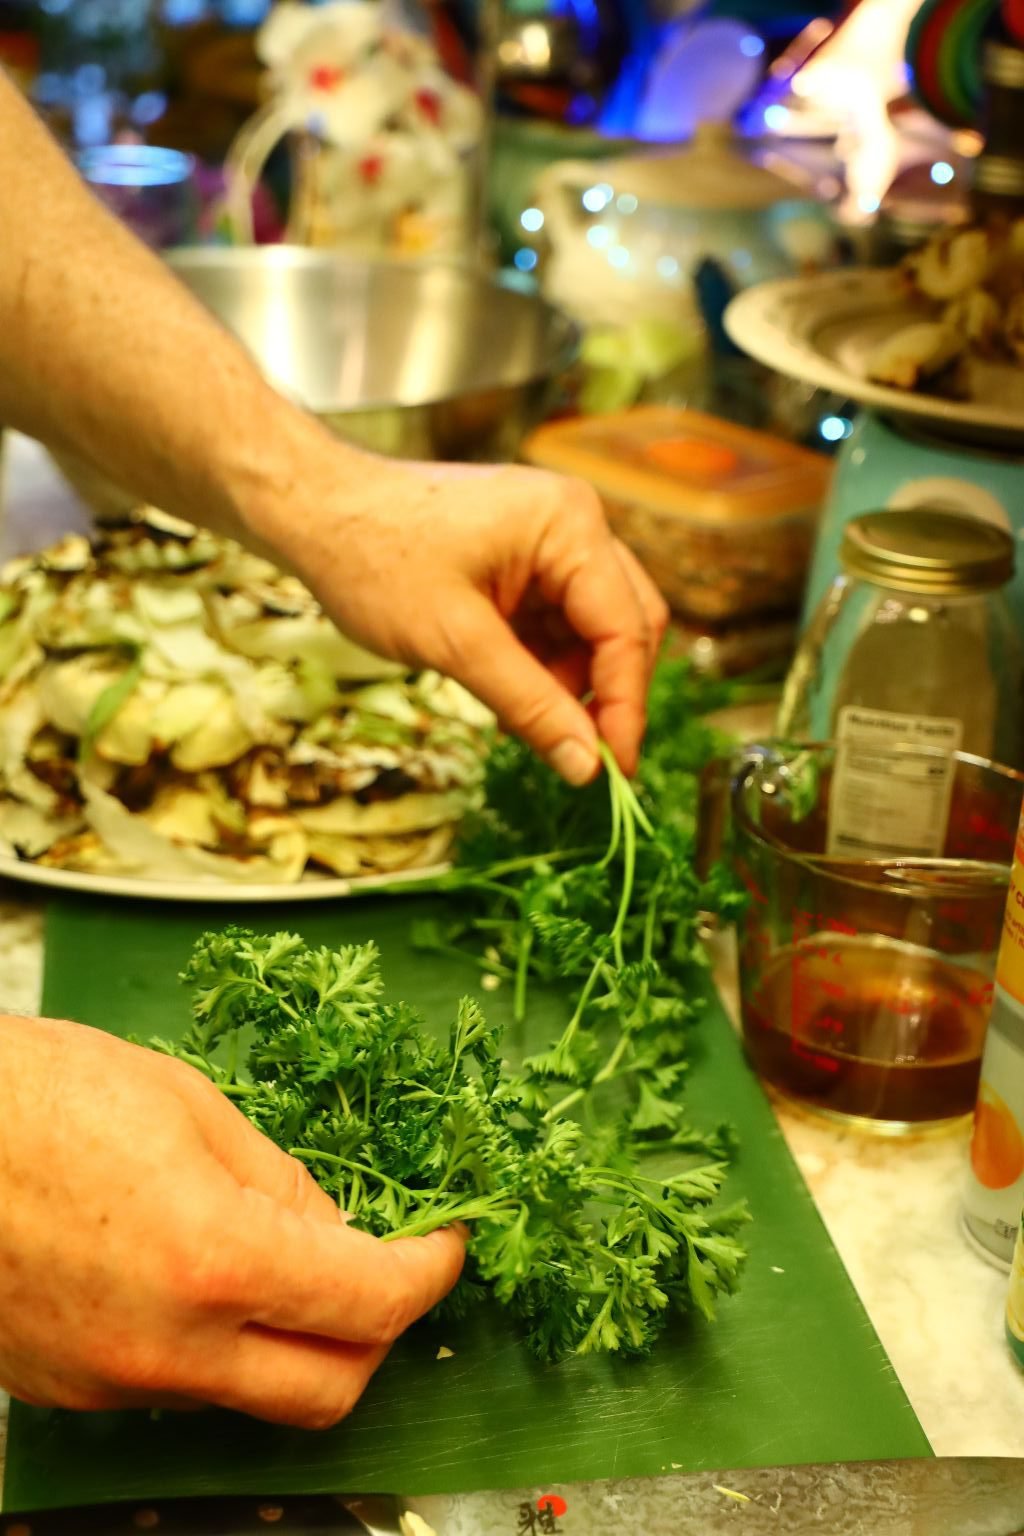

Slice your parsley…
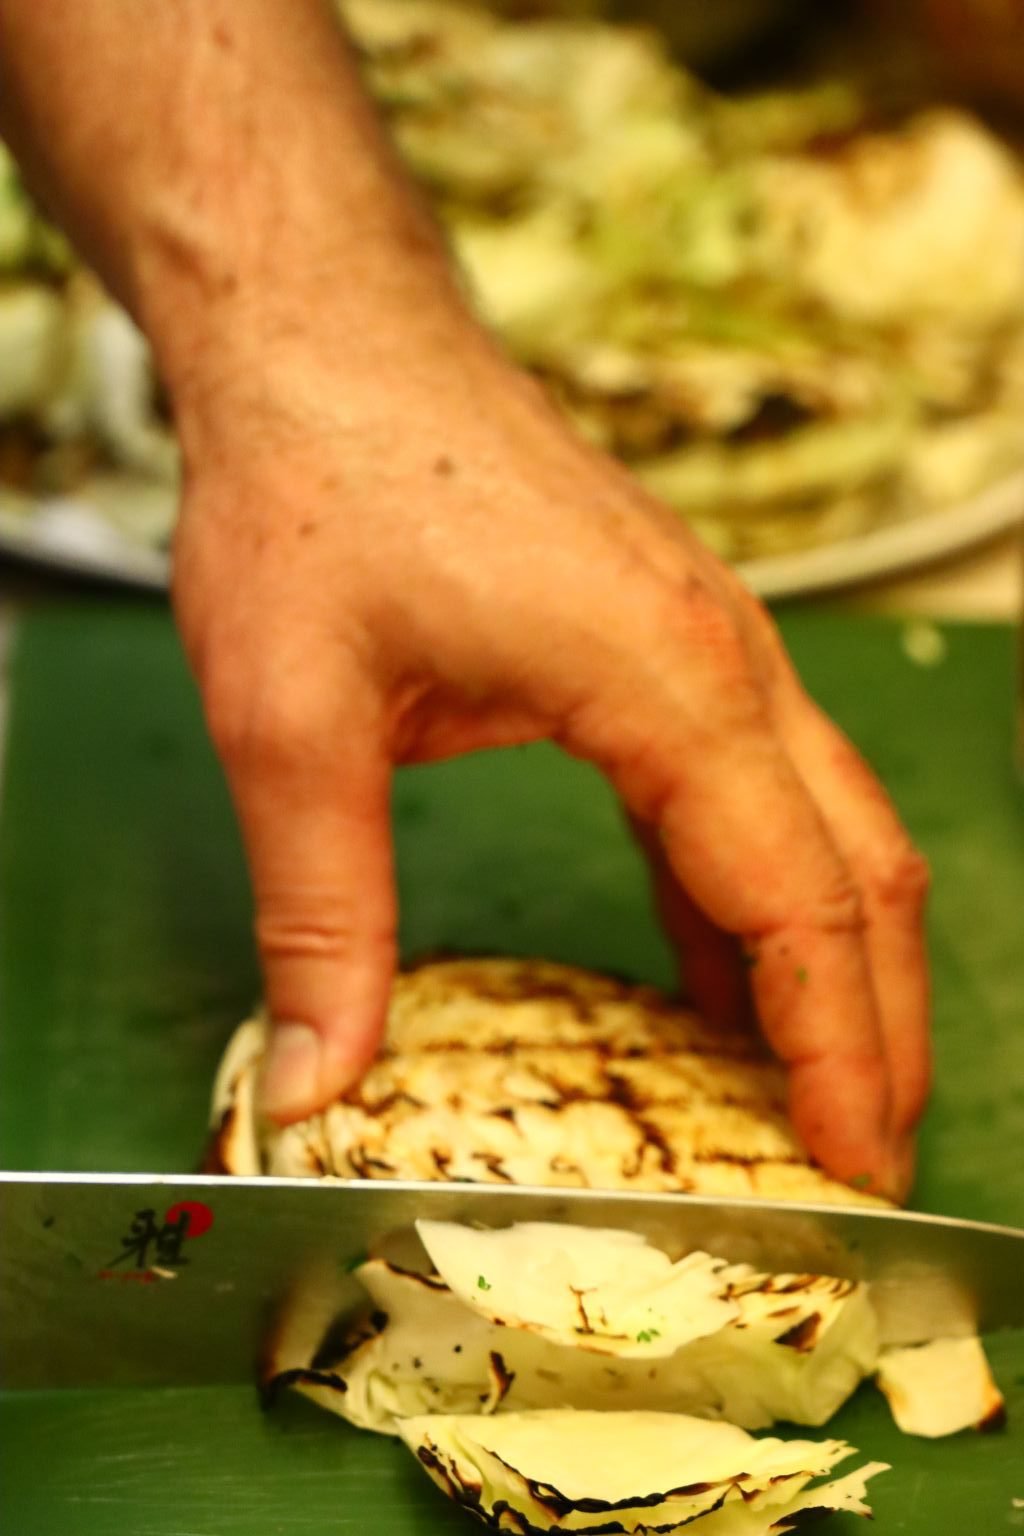

then chop your grilled cabbage into bite size pieces.


Here, I wanted a little more bacon flavor so I added the rest of the bacon fat.


Place the chopped cabbage into a large mixing bowl then add the parsley.

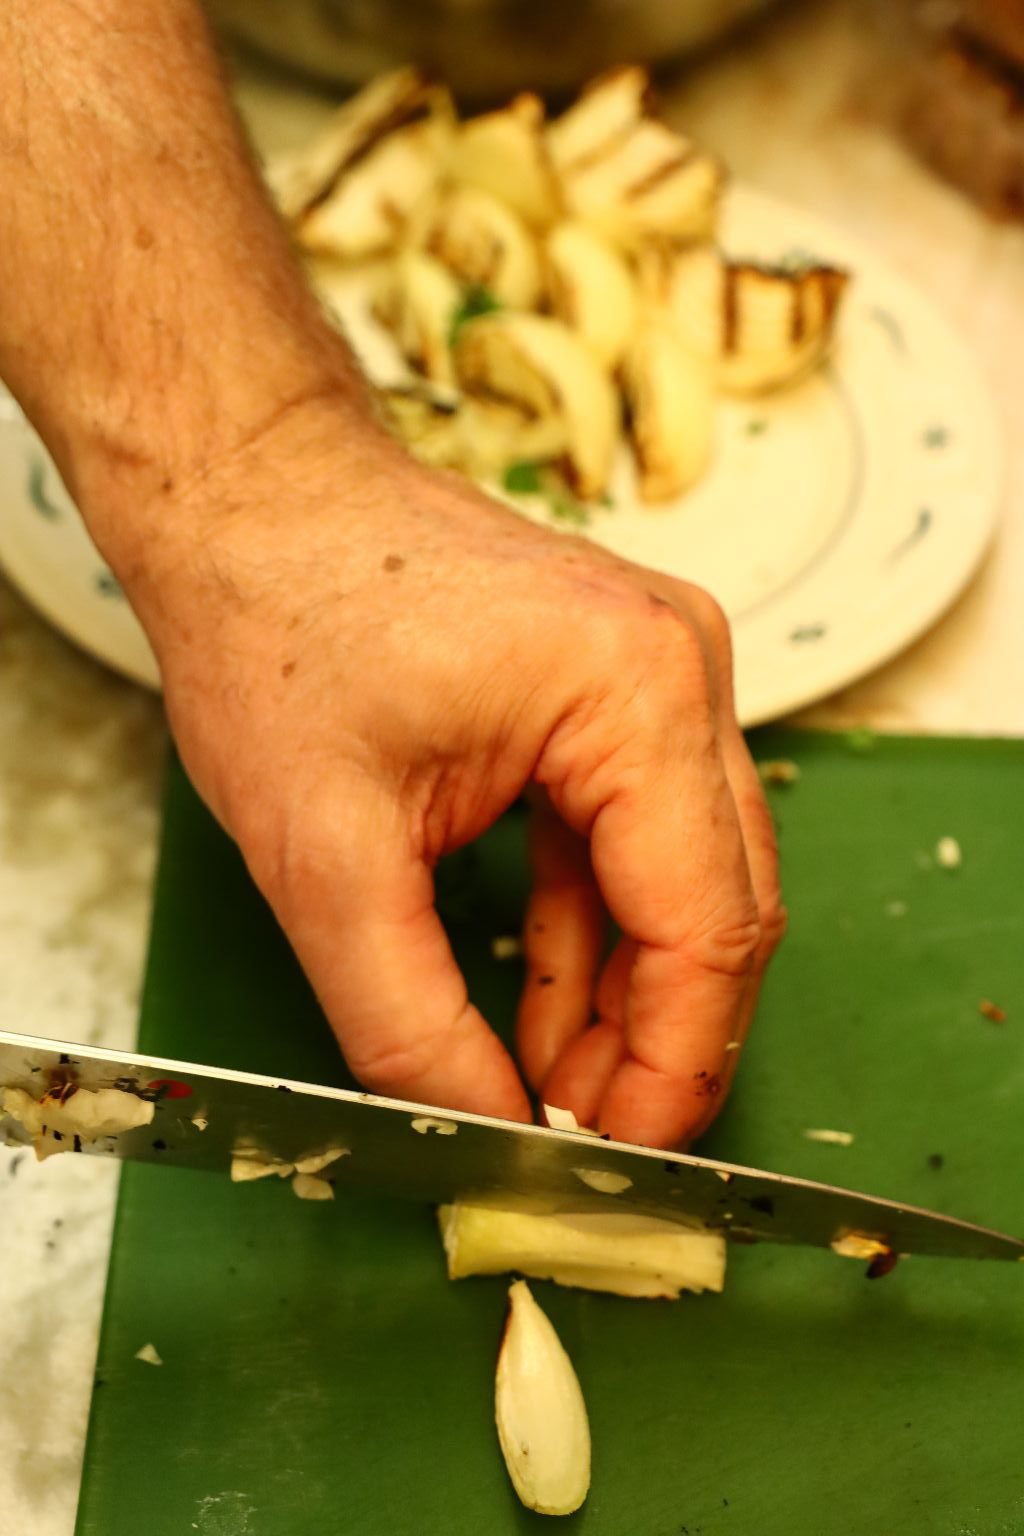
Slice your onions lengthwise …

———————————————————–


and place them in the mixing bowl with the other ingredients.
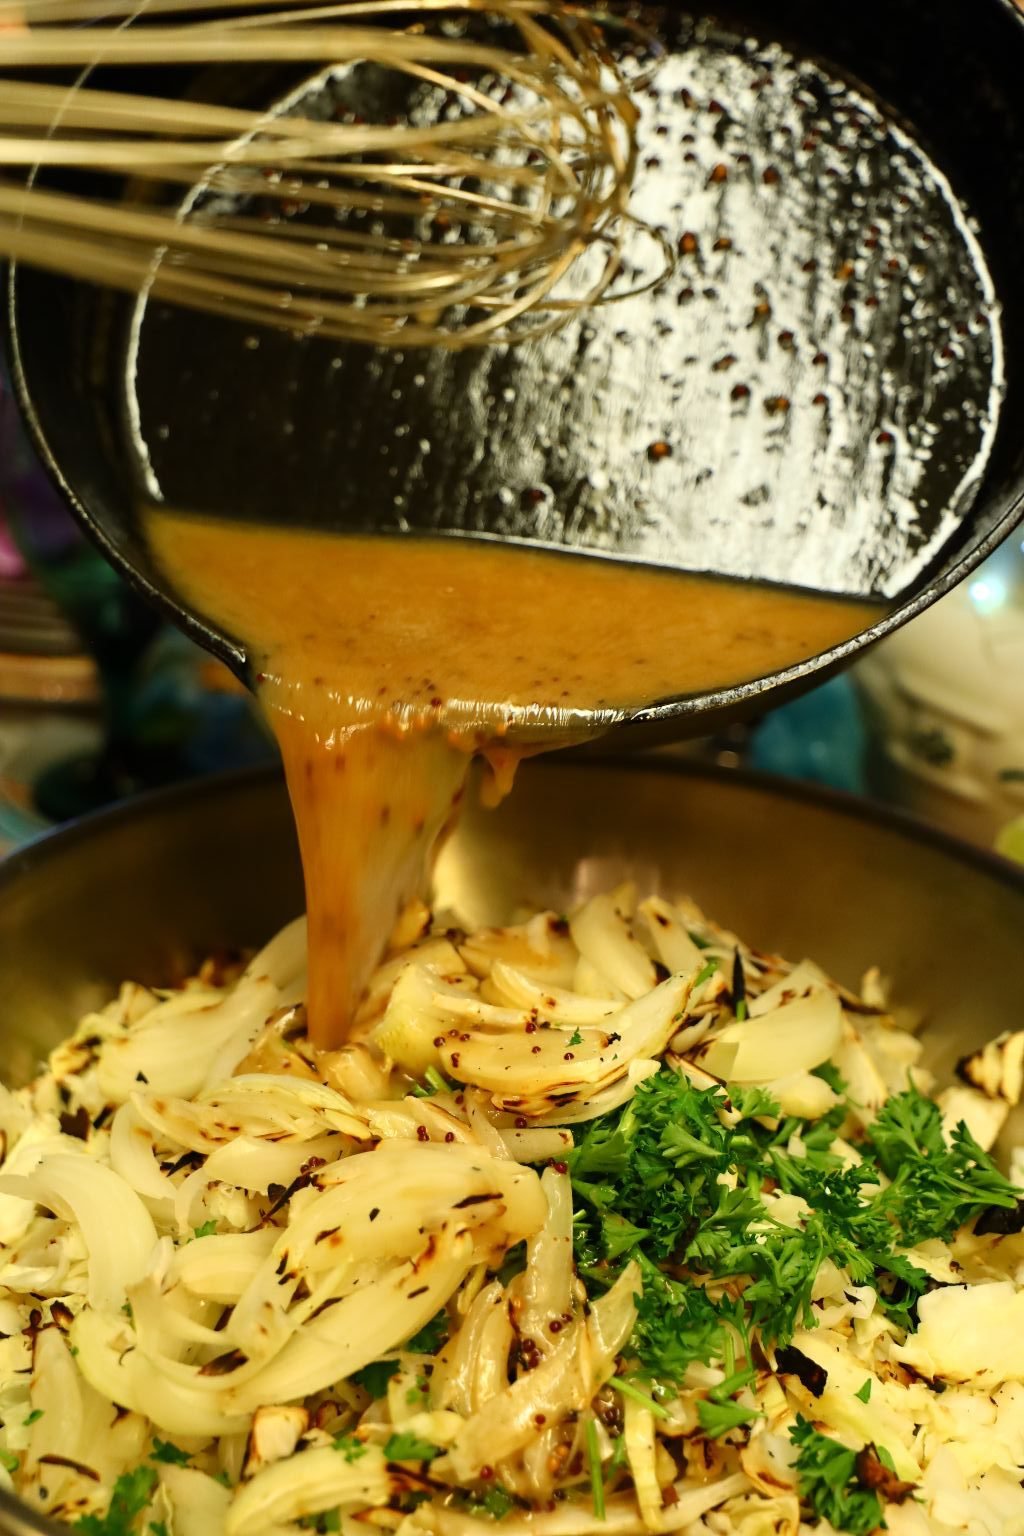


Now, add your dressing to the bowl and mix all the ingredients well.

—————————————————————


Add your pecans to the bowl…

then add your bacon breaking it apart into bite sized pieces.

—————————————————————

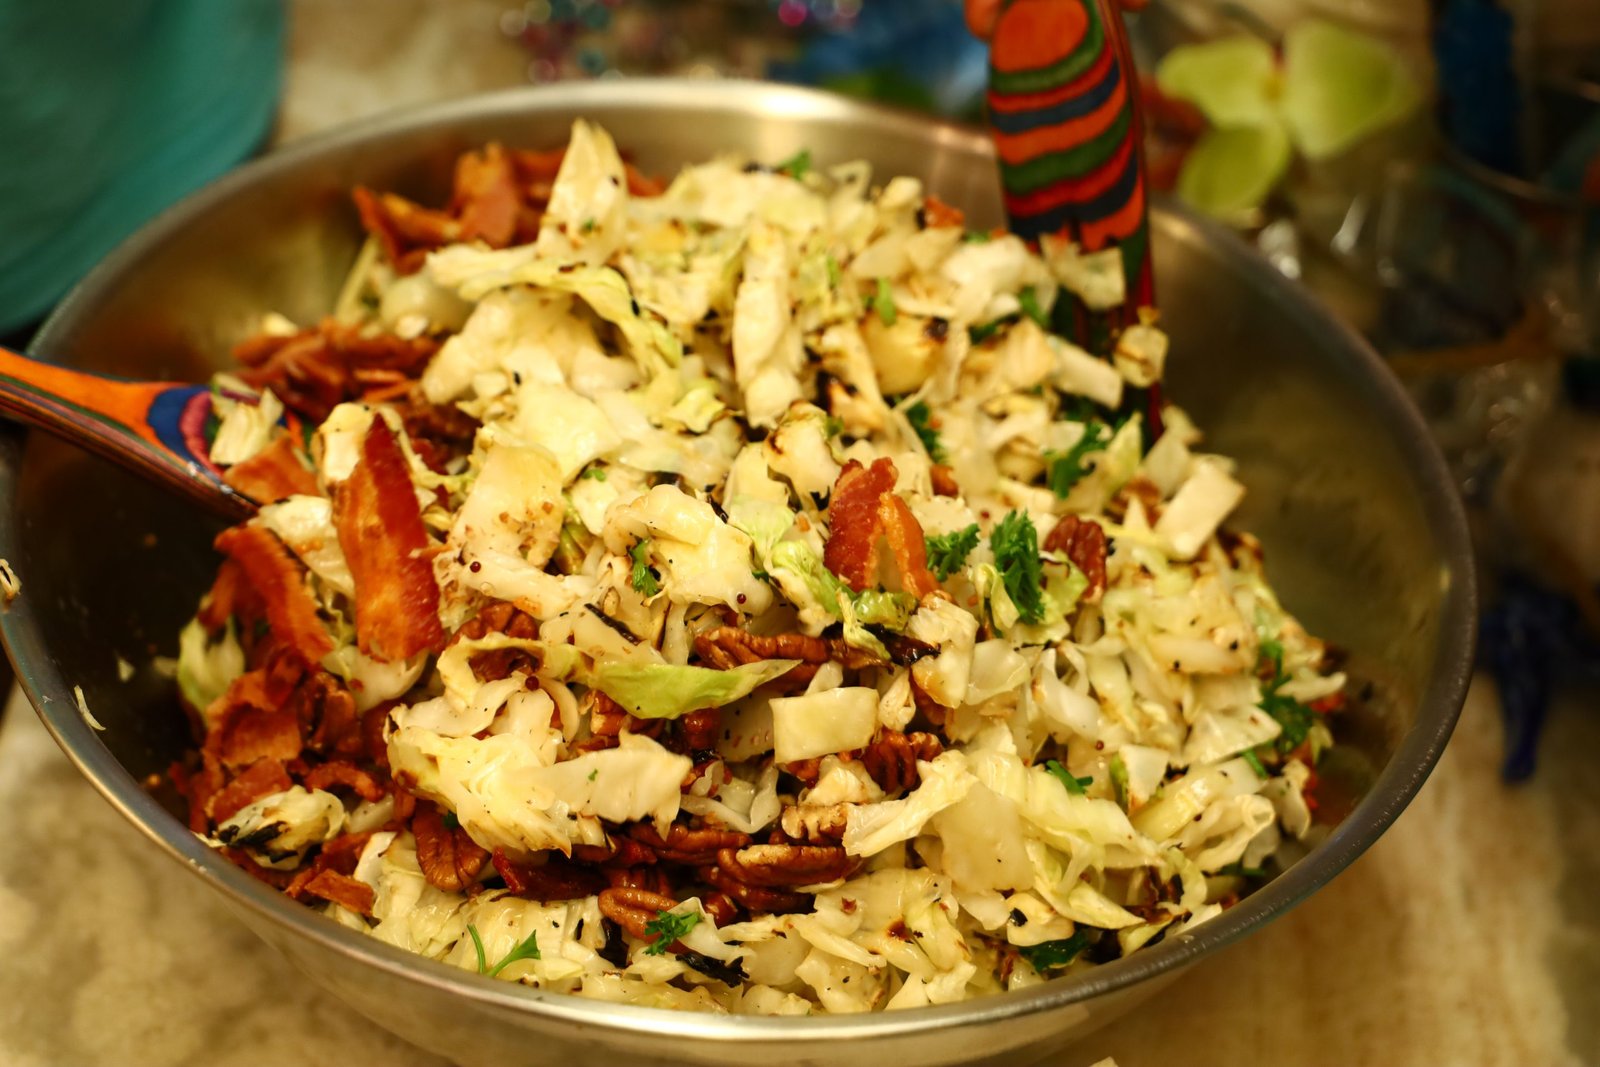
Mix all the ingredients well.

————————————————————————
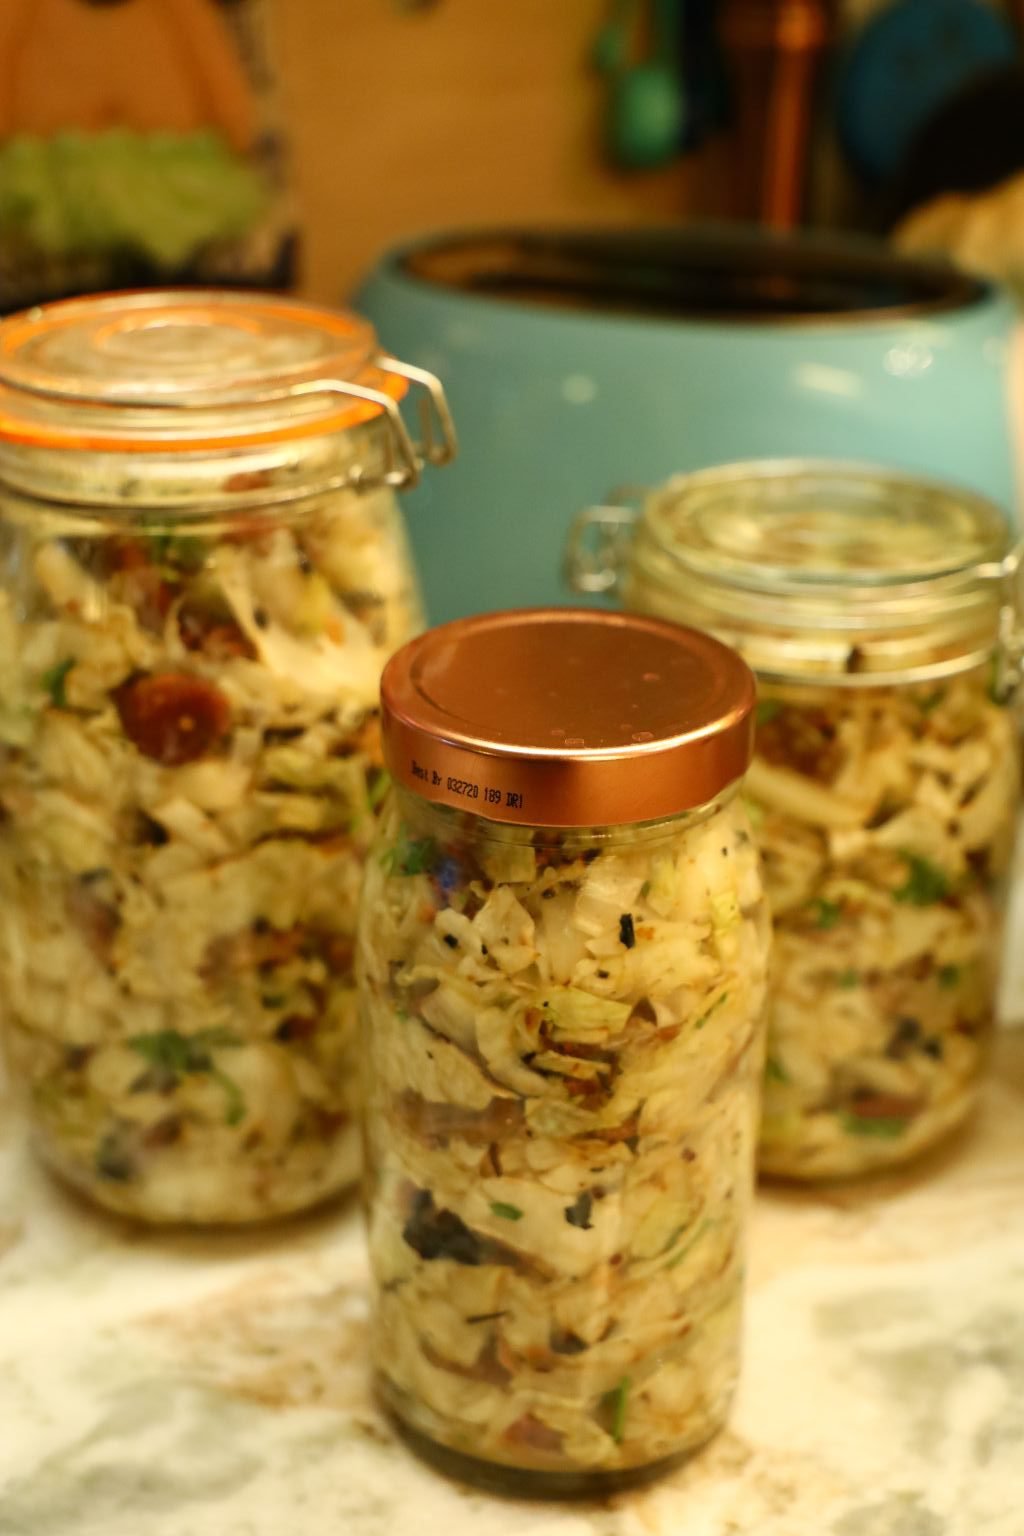
Place the cabbage mixture into jars which can last for a week or more in the refrigerator as the acid in the lemon juice will keep it from spoiling.
They also make excellent edible gifts.
——————————————————————–

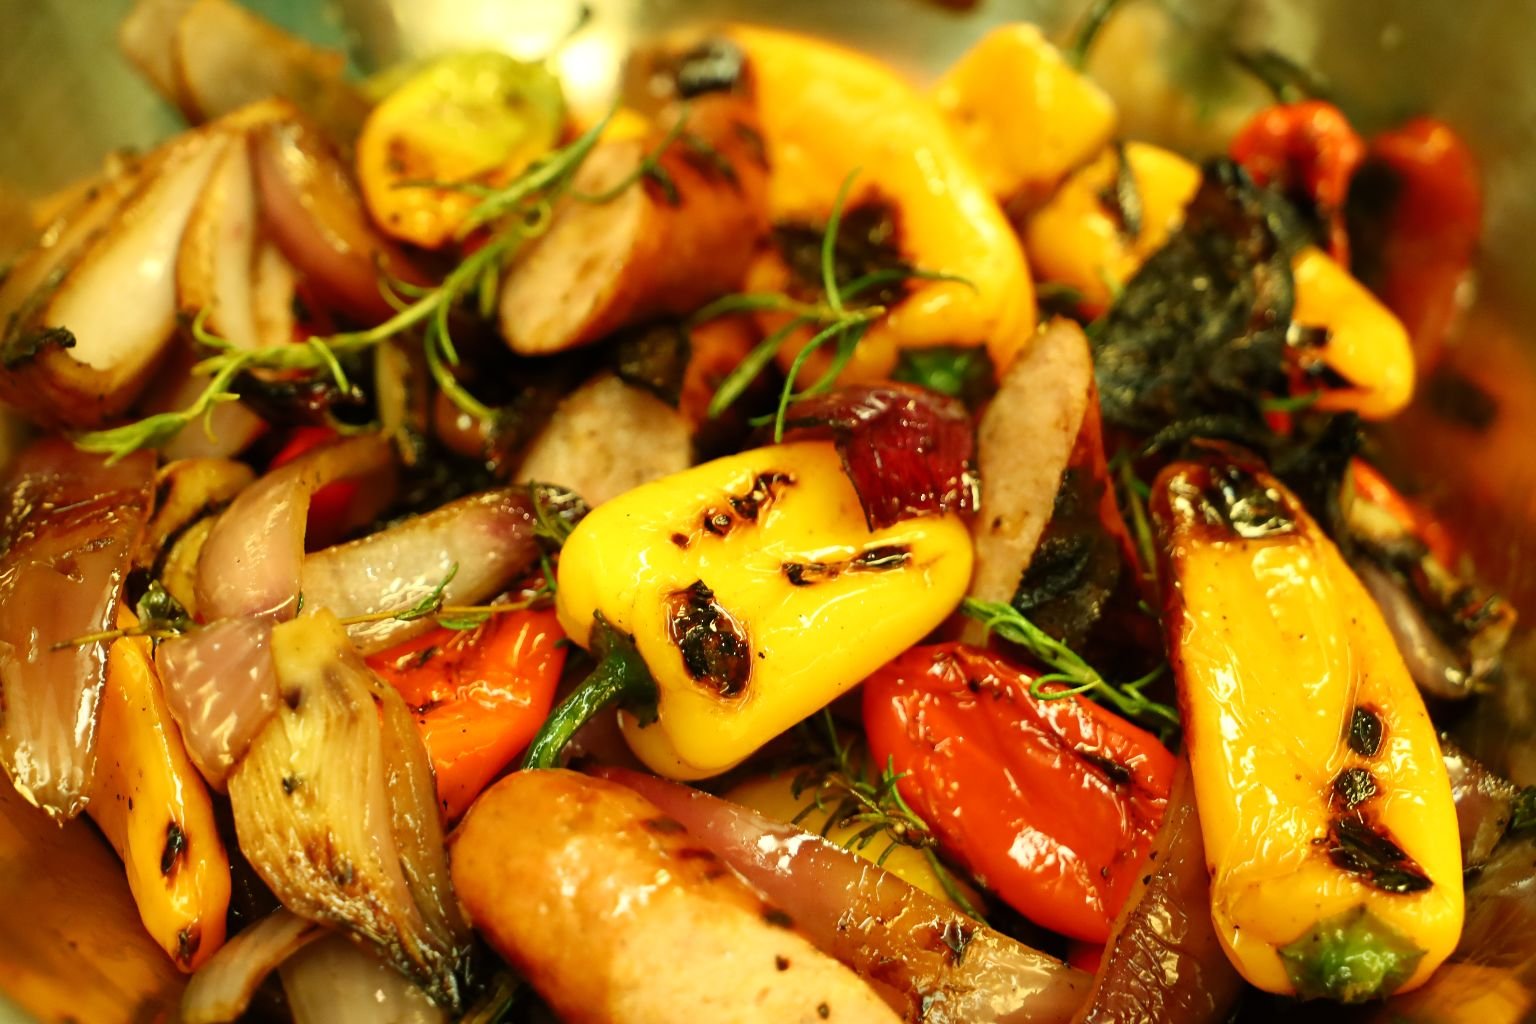
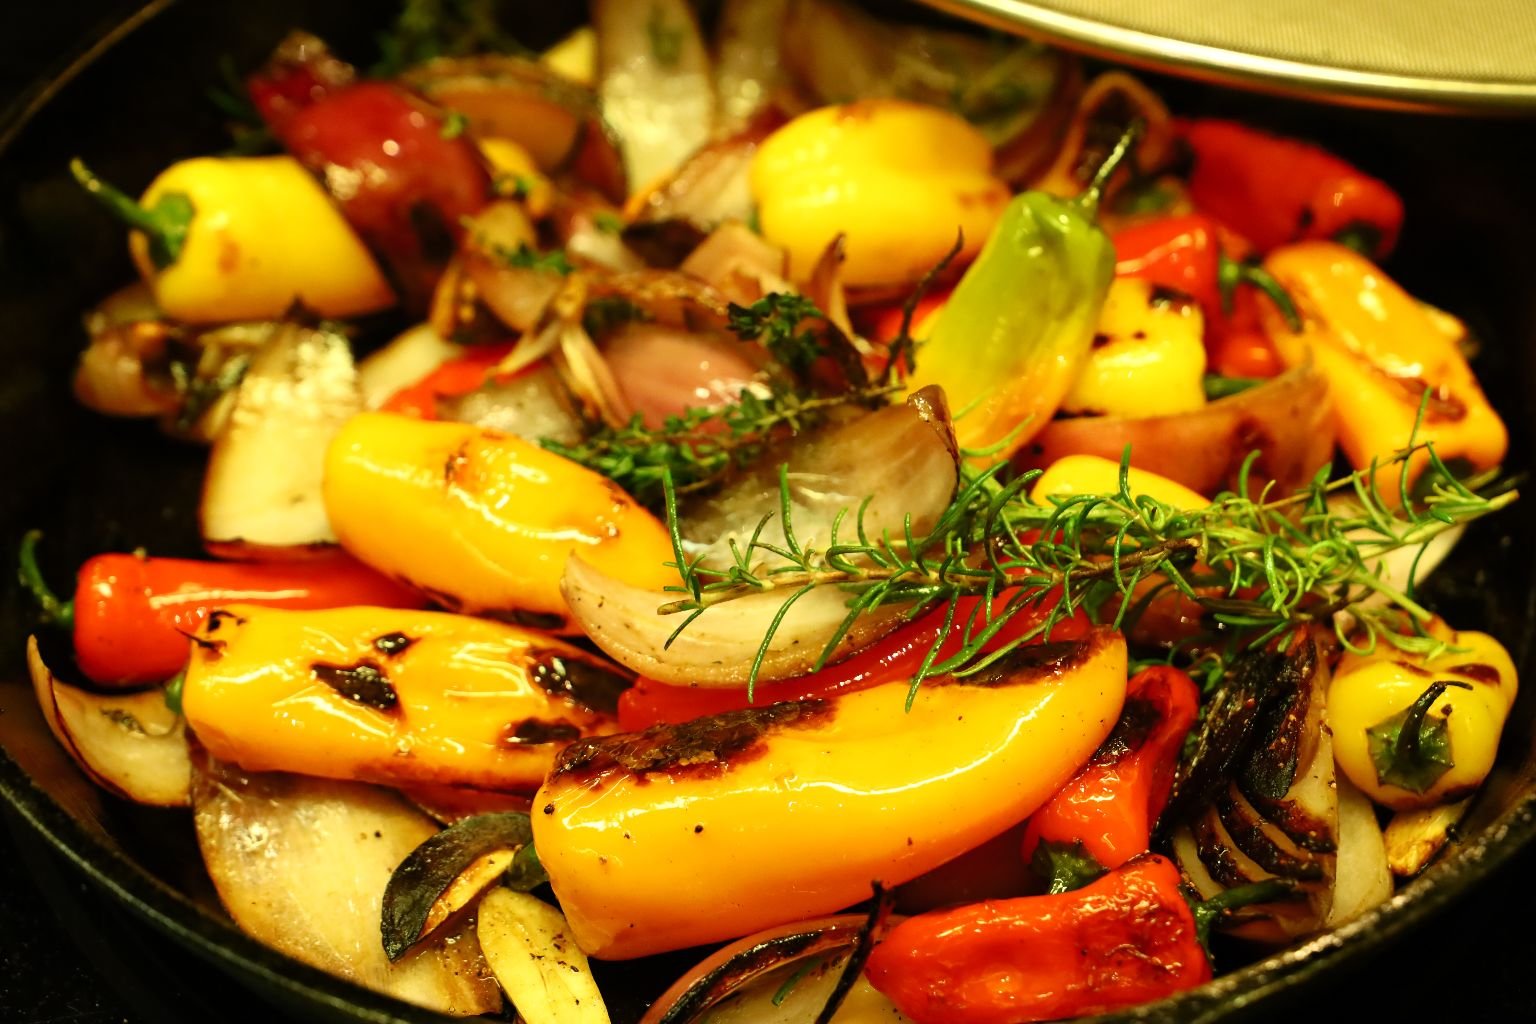
Our Grilled Bangers, Peppers, Onions, Garlic and Herbs
————————————————–

Ready to Get Started


Ingredients:
Apple Chicken Sausage
2 Tbsp. Vegetable Oil
2 Red Onions – Sliced into wedges
~20 Mini Sweet Peppers – Left Whole
~8 Garlic Cloves – Left Whole
~6 Sprigs of Rosemary
~4 Sprigs of Thyme
Salt and Pepper to taste
—————————————————————
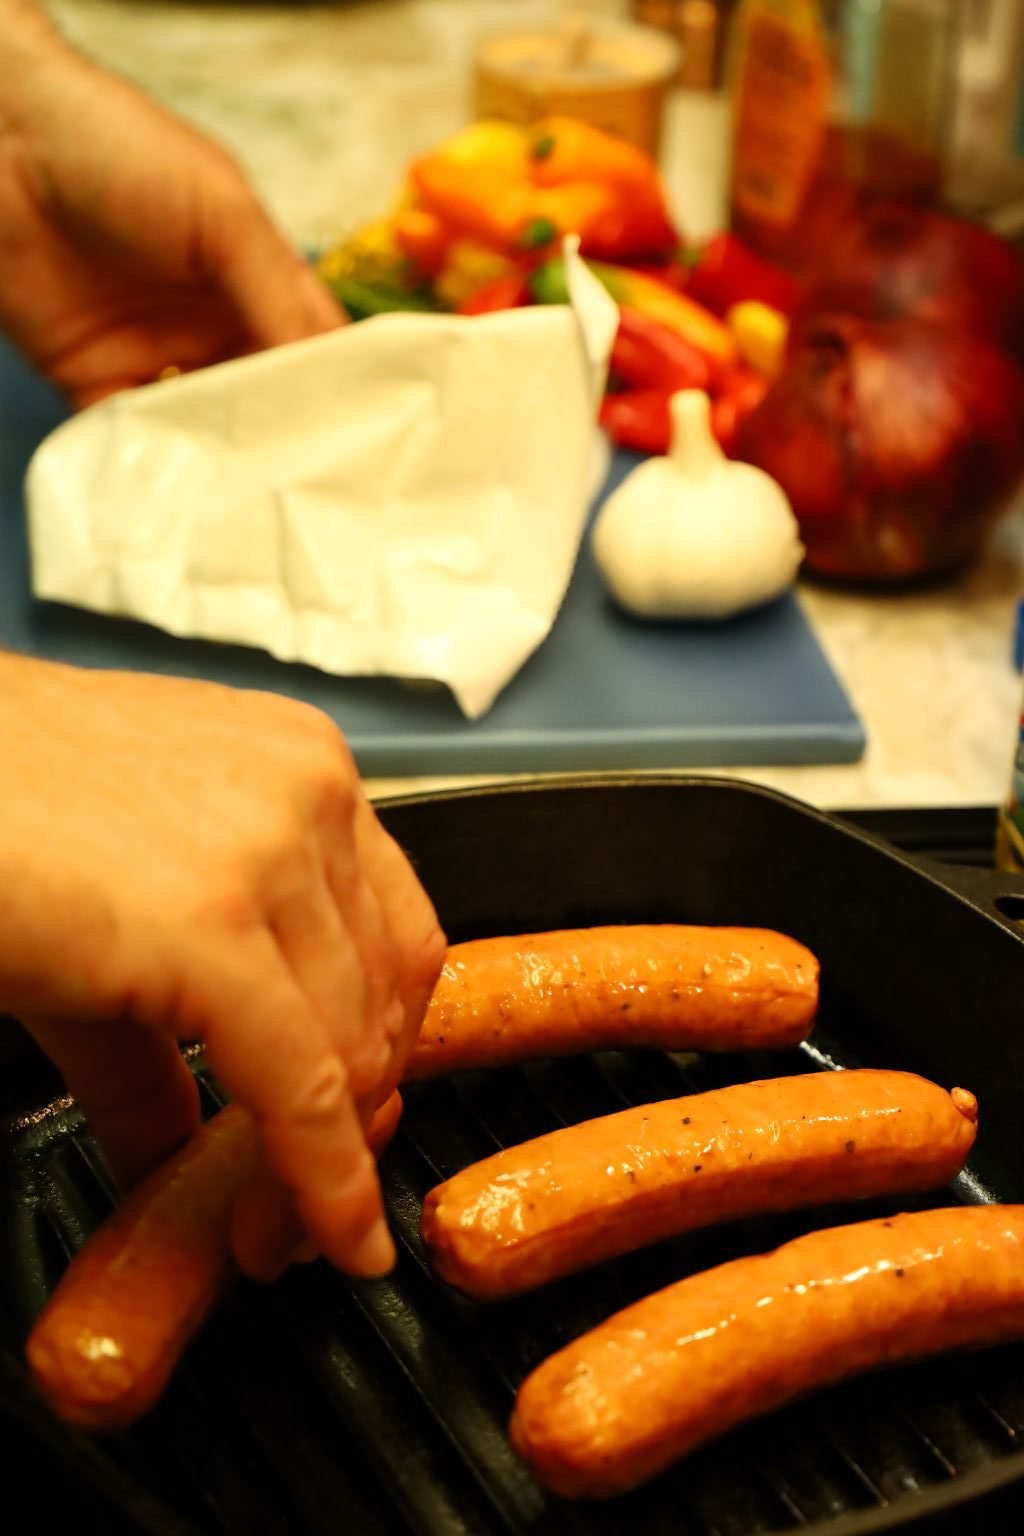

Cook the sausage on your grill or a preheated to medium high heat grill pan as shown, to obtain the nice grill marks.

Turn the sausage as needed cooking them for about 5 min. on each side.

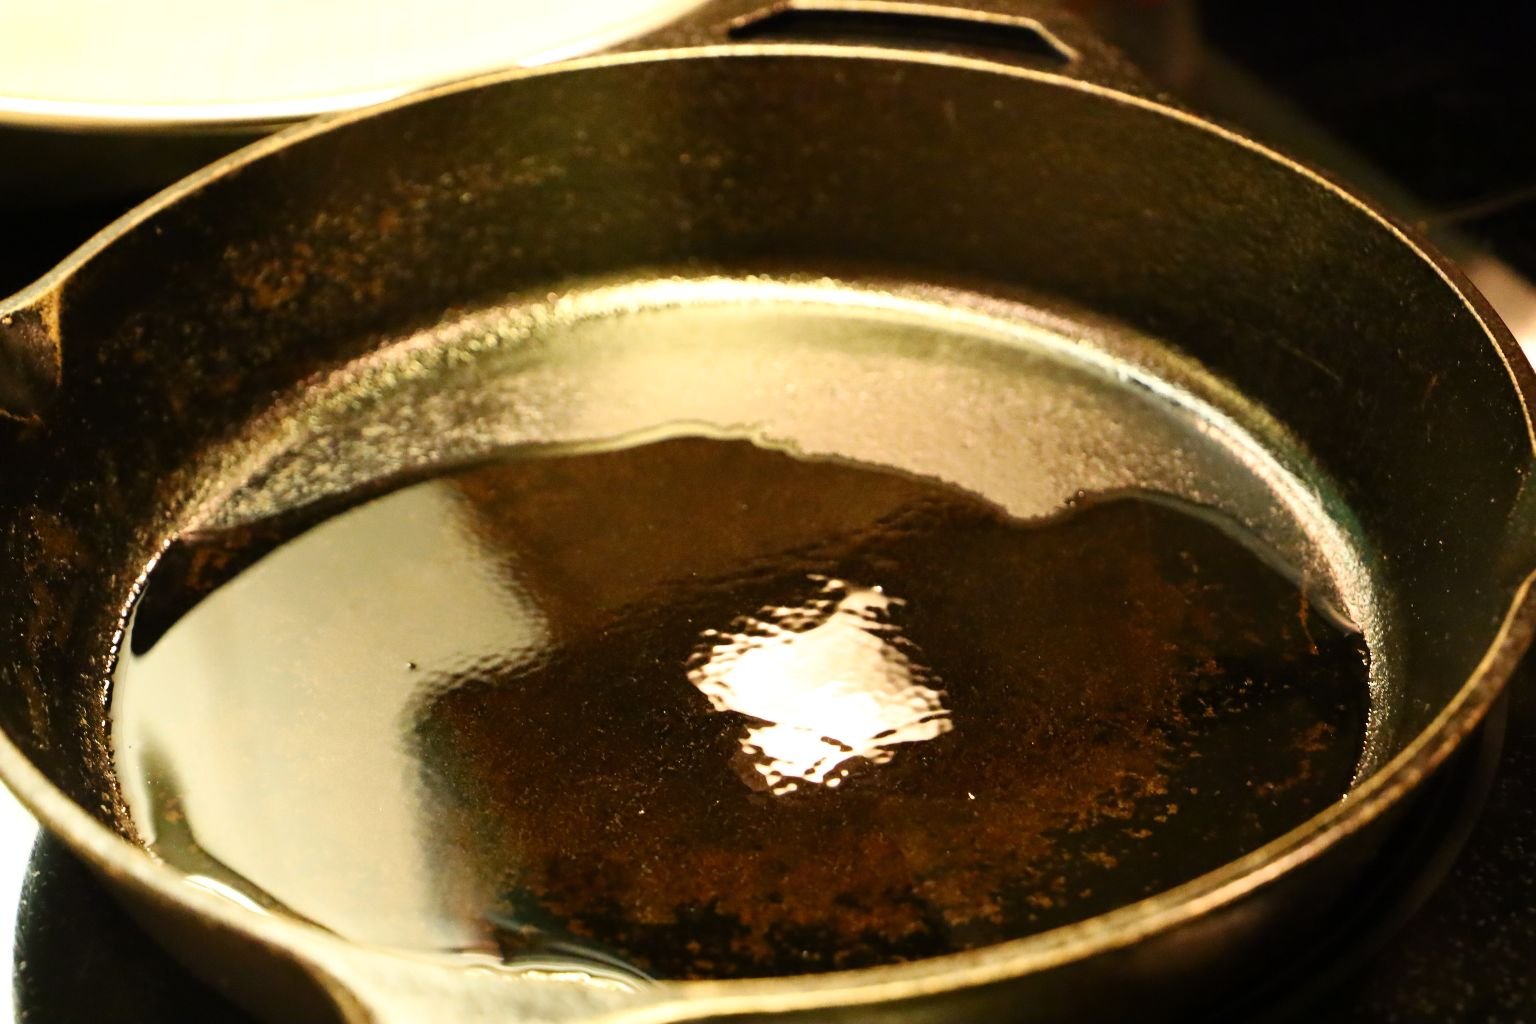

Pour ~2 Tbsp. of vegetable oil into a cast iron skillet and turn the heat to medium high.
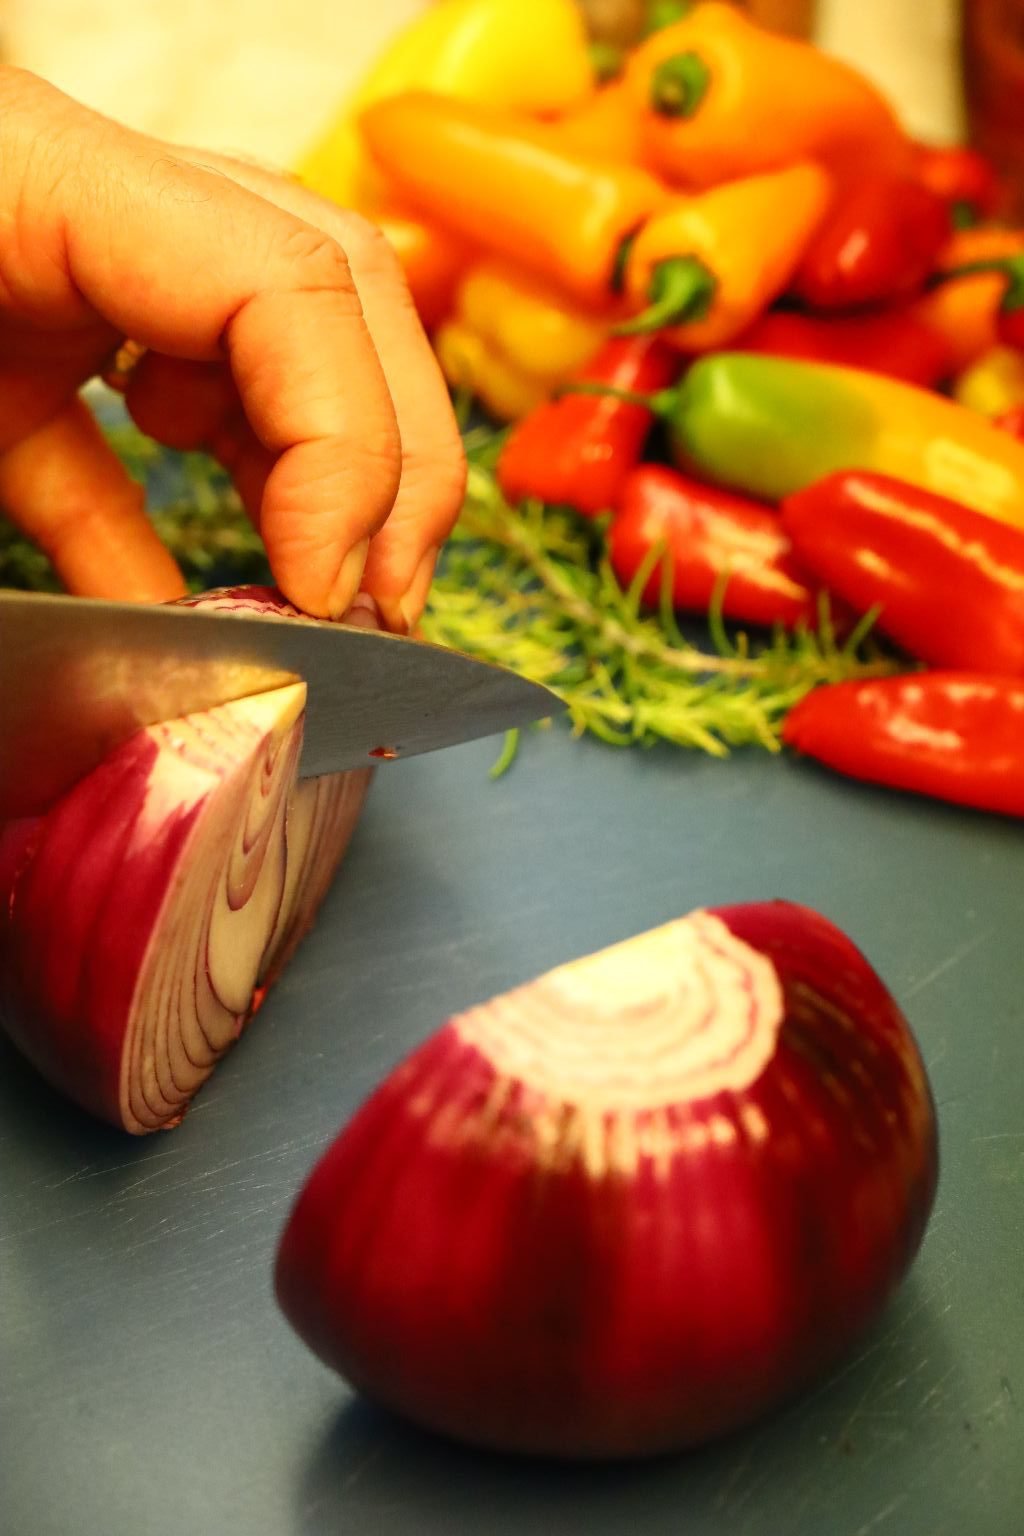
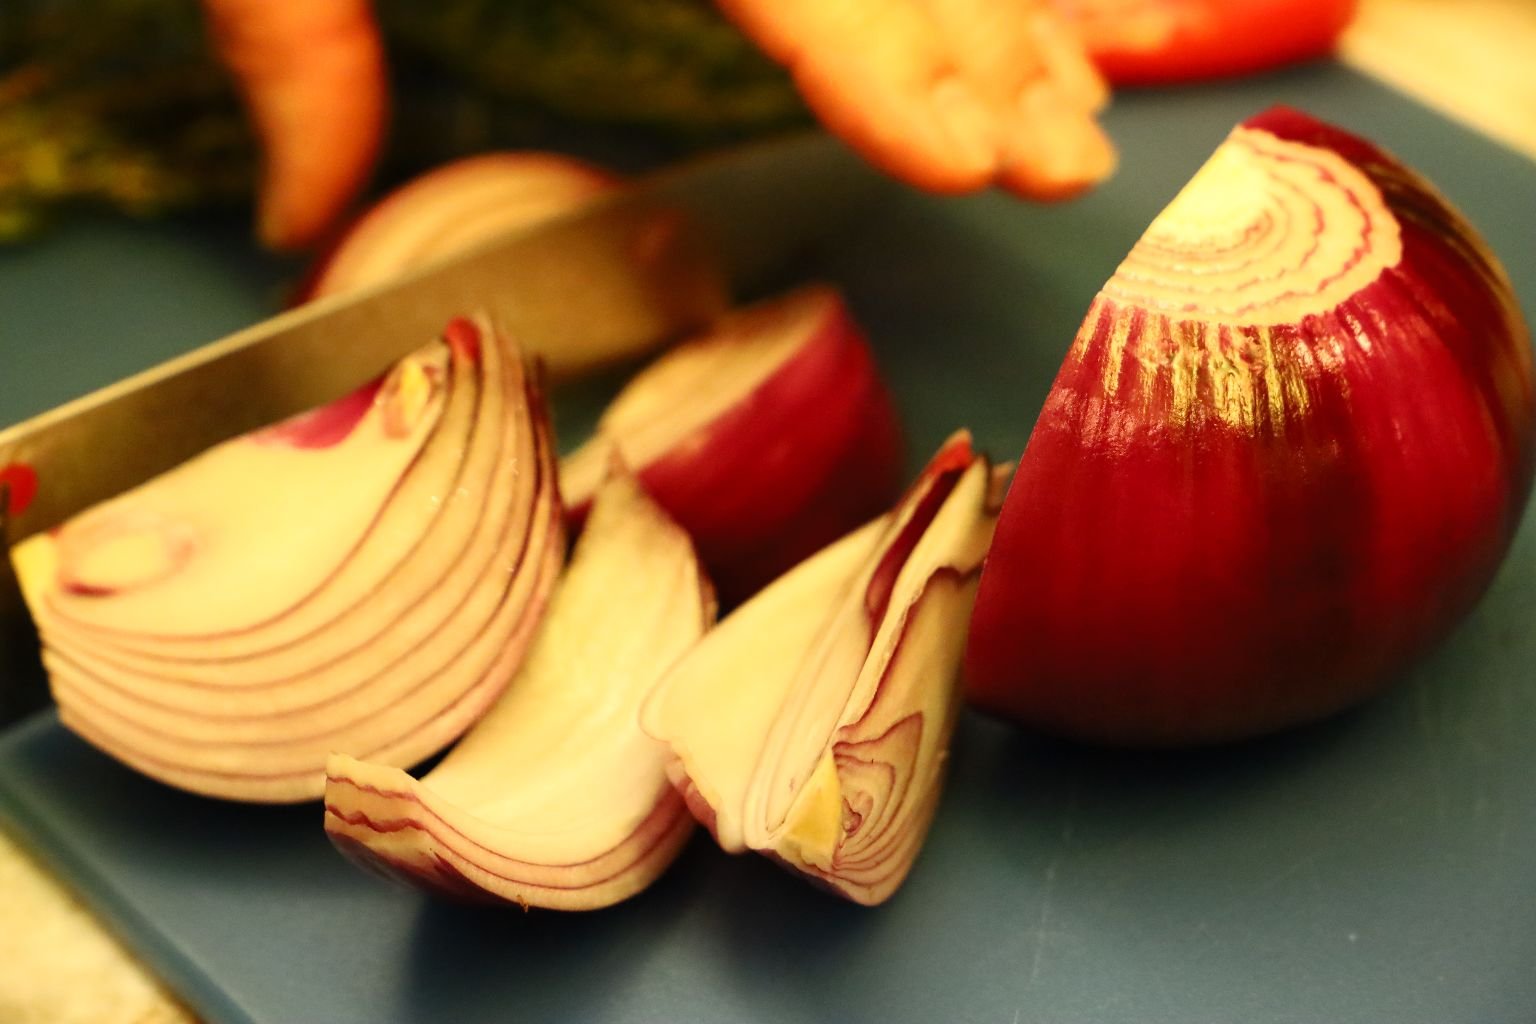
Slice your Red Onions into 1 inch wedges making sure to have a section of the root side in each wedge.


Doing this will keep the onions sections together during the initial cooking.


After about 5 min. of cooking the onions, add your mini sweet peppers to the pan.

Turn the onions and peppers over periodically to ensure even cooking.

—————————————————————–
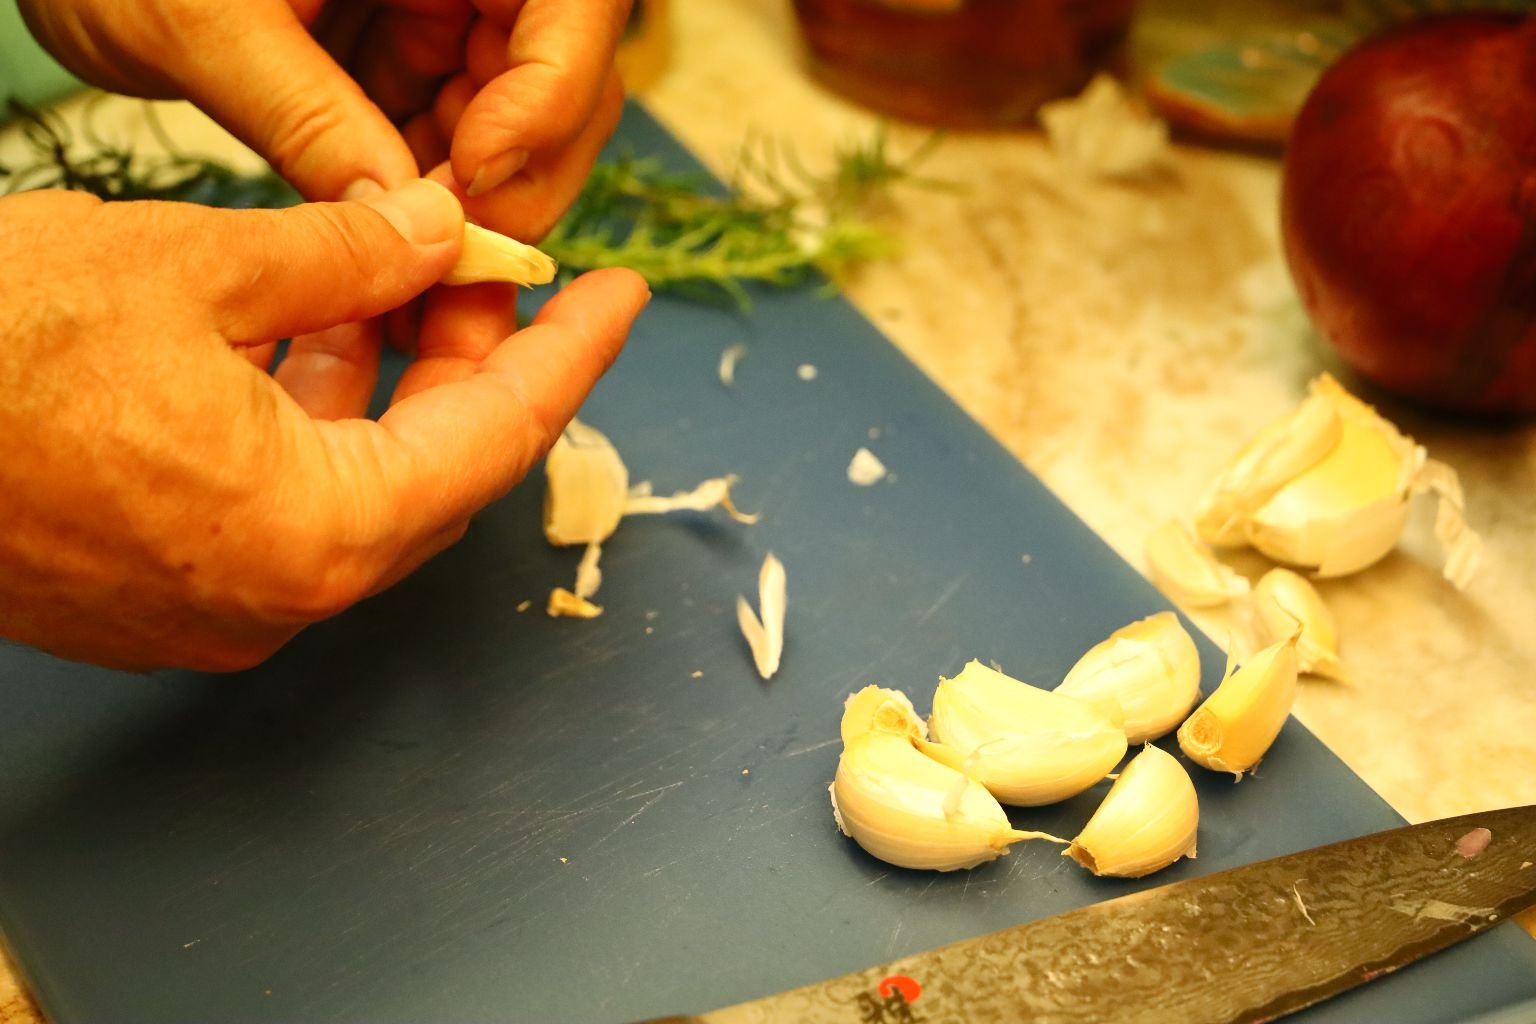

Peel your garlic and add them whole to the pan with the other ingredients.


Add your salt and freshly ground pepper to the pan adding more vegetable oil if needed.

Continue to turn the vegetables for even cooking and add your Rosemary and Thyme sprigs to the other ingredients.


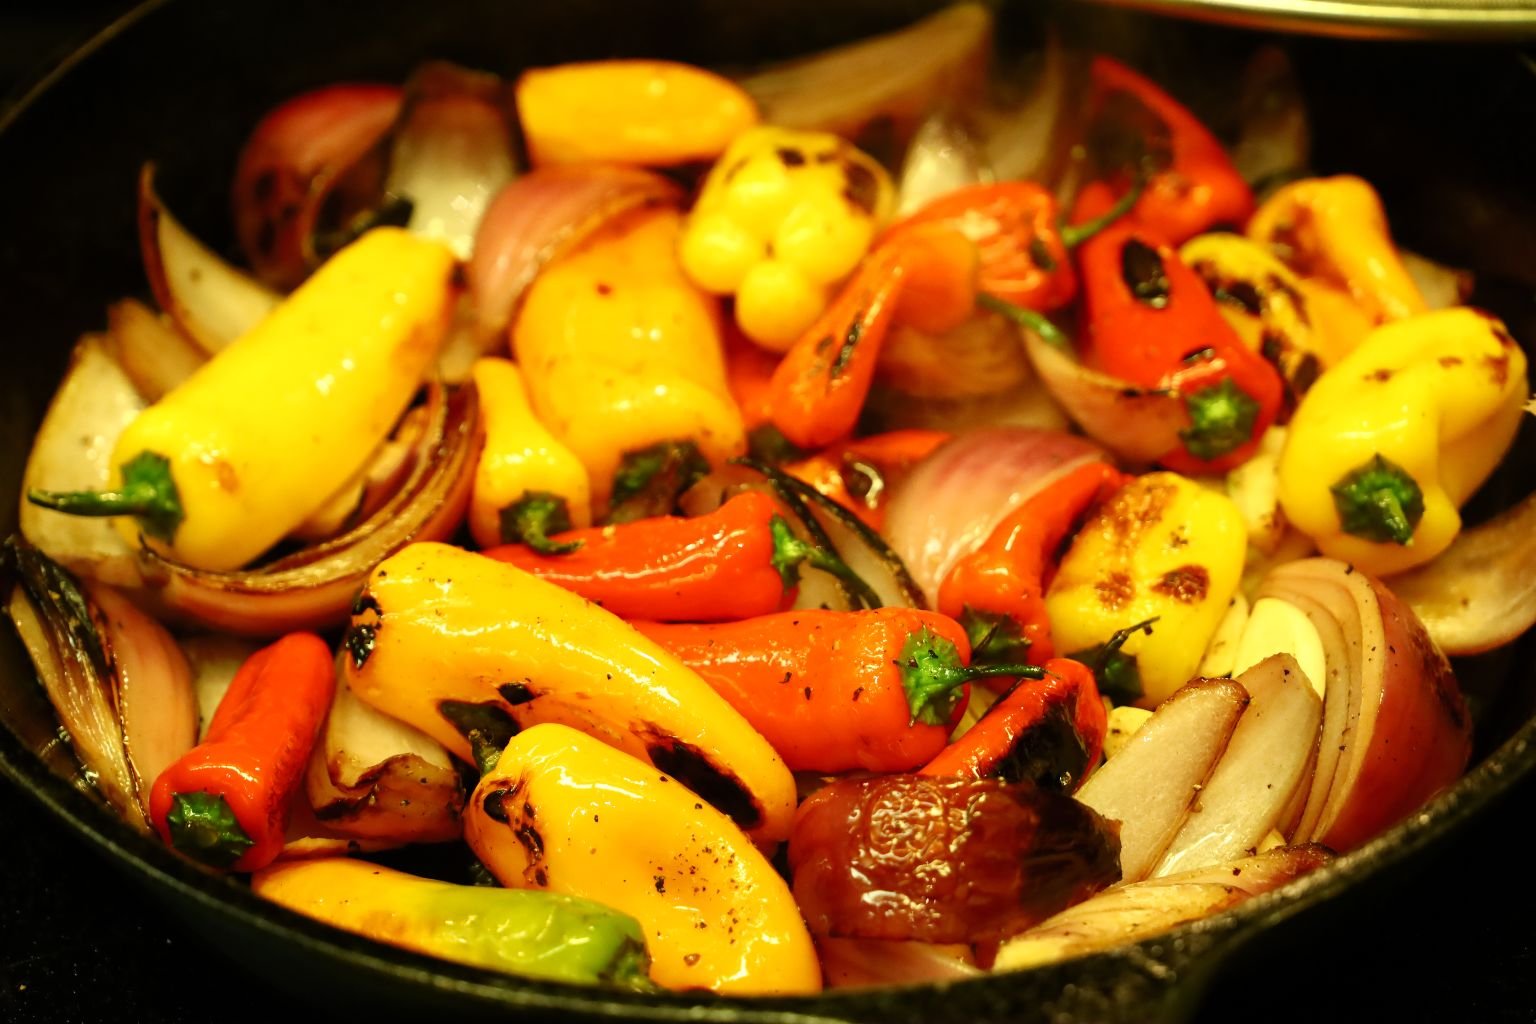
After about 20 to 25 min. of cooking, the vegetable are likely tender.
When cooked to your liking, add the vegetables to a large bowl.

Slice your sausages diagonally into ~2 inch sections and add them to the bowl

Here you can see the nice char on the vegetables bringing the dish lots of flavor.
———————————————————————-
Our Kale and Snap Peas


In the same pan heated to medium heat add ~2 Tbsp. of bacon fat to the pan then when heated add ~3 Cups of fresh Kale.


Add a touch of salt to the Kale into the bacon fat. Wash your Snap Peas well.

Add about 1/4 Cup of water to the pan to steam the Kale.


Add some salt and freshly ground pepper to the dish. Continue to turn the Kale as needed for even cooking. At this point your Kale has cooked for about 2 min.

Add about 1 Tbsp. of good honey to the pan.


Then add your Snap Peas to the pan and cook for about 5-7 min. keeping the vegetables bright green and slightly tender.
When Done, Serve….

———————————————————————-
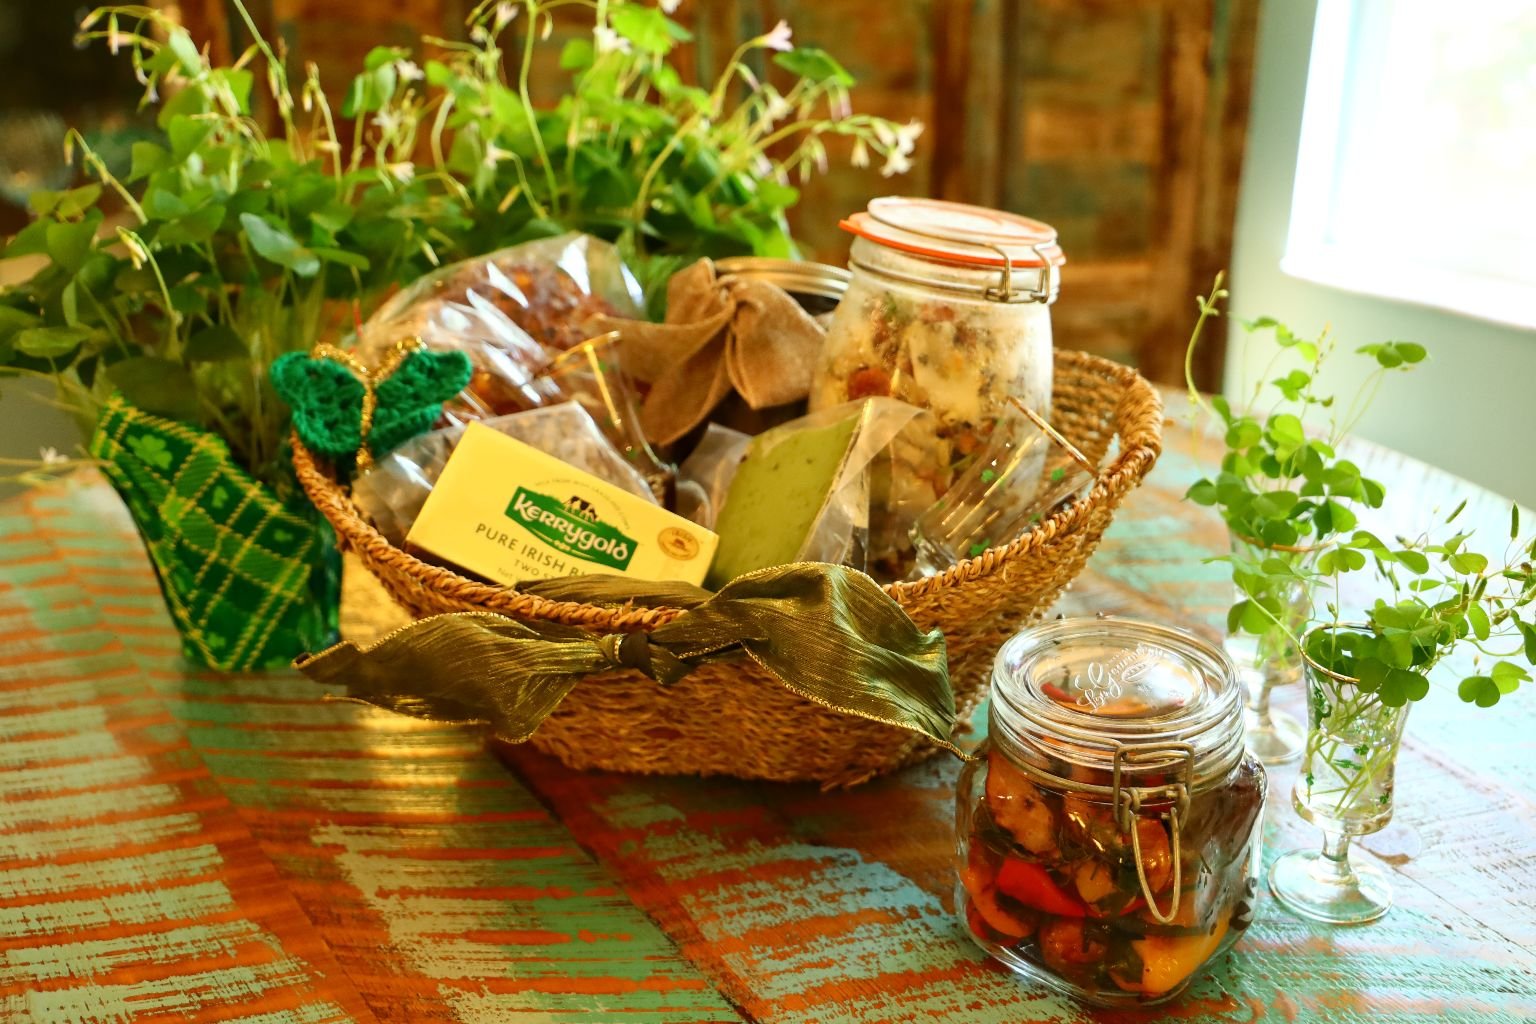
We Also Gave this Dinner as an Edible Gift
———————————————————————
Irish Tomato Chutney

Beautiful Vine Ripened Tomatoes
The recipe calls for plum tomatoes because they are very meaty but we used these vine ripened tomatoes and they worked very nicely.
Tomato Chutney
1 cup of sugar (we use the Splenda sugar)
1 ½ cups cider vinegar
2 teaspoons crushed cardamom seeds
1 teaspoon ground ginger
½ teaspoon mustard seeds
¼ teaspoon ground cloves
1 ½ pounds plum tomatoes, quartered
1 medium onion (we used a red onion)
2 Tablespoons minced garlic
1 Tablespoon olive oil
½ cup golden raisins
Freshly ground pepper to taste
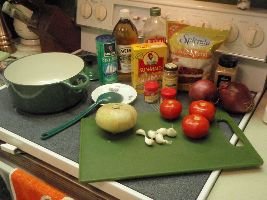
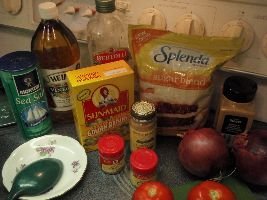
The Ingredients:
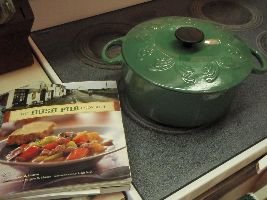
The Irish Pub Cookbook
In a large saucepan over medium-low heat, combine the sugar, vinegar, salt, cardamom, ginger, mustard seeds, and cloves. Slowly bring the mixture to a boil, stirring until the sugar is dissolved. Add the tomatoes, onion, garlic, olive oil, raisins, and pepper. Reduce the heat to low, and simmer, uncovered, stirring frequently, for 1 to 1 ¼ hours, or until the mixture is thickened. (After a few minutes cooking time, the tomato skins will separate from the pulp. Remove the skins with a fork and discard.) Spoon the chutney into a clean jar or bowl, cover, and refrigerate for up to 3 weeks. Makes about 2 cups.


Here are the cardamom seeds and beside it a teaspoon of cardamom powder. I just wanted to show you what the seeds look like before they are ground.
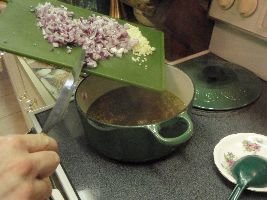
Adding your onions and garlic
Bringing your ingredients to a boil.

Adding your tomatoes. I cannot even begin to describe to you how heavenly this smells. And tastes!

As the tomatoes cook the skins will start to come off and you are to scoop them out of the pot.

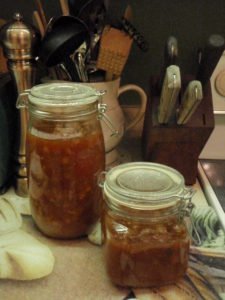
We like for the chutney to cook down for a few hours on a low heat. When the chutney is ready then just put into these jars. I always look out for these jars when I am out at thrift stores and antique malls. The chutney looks so good in them. They also make great Christmas gifts. The lovely red color is perfect for that.
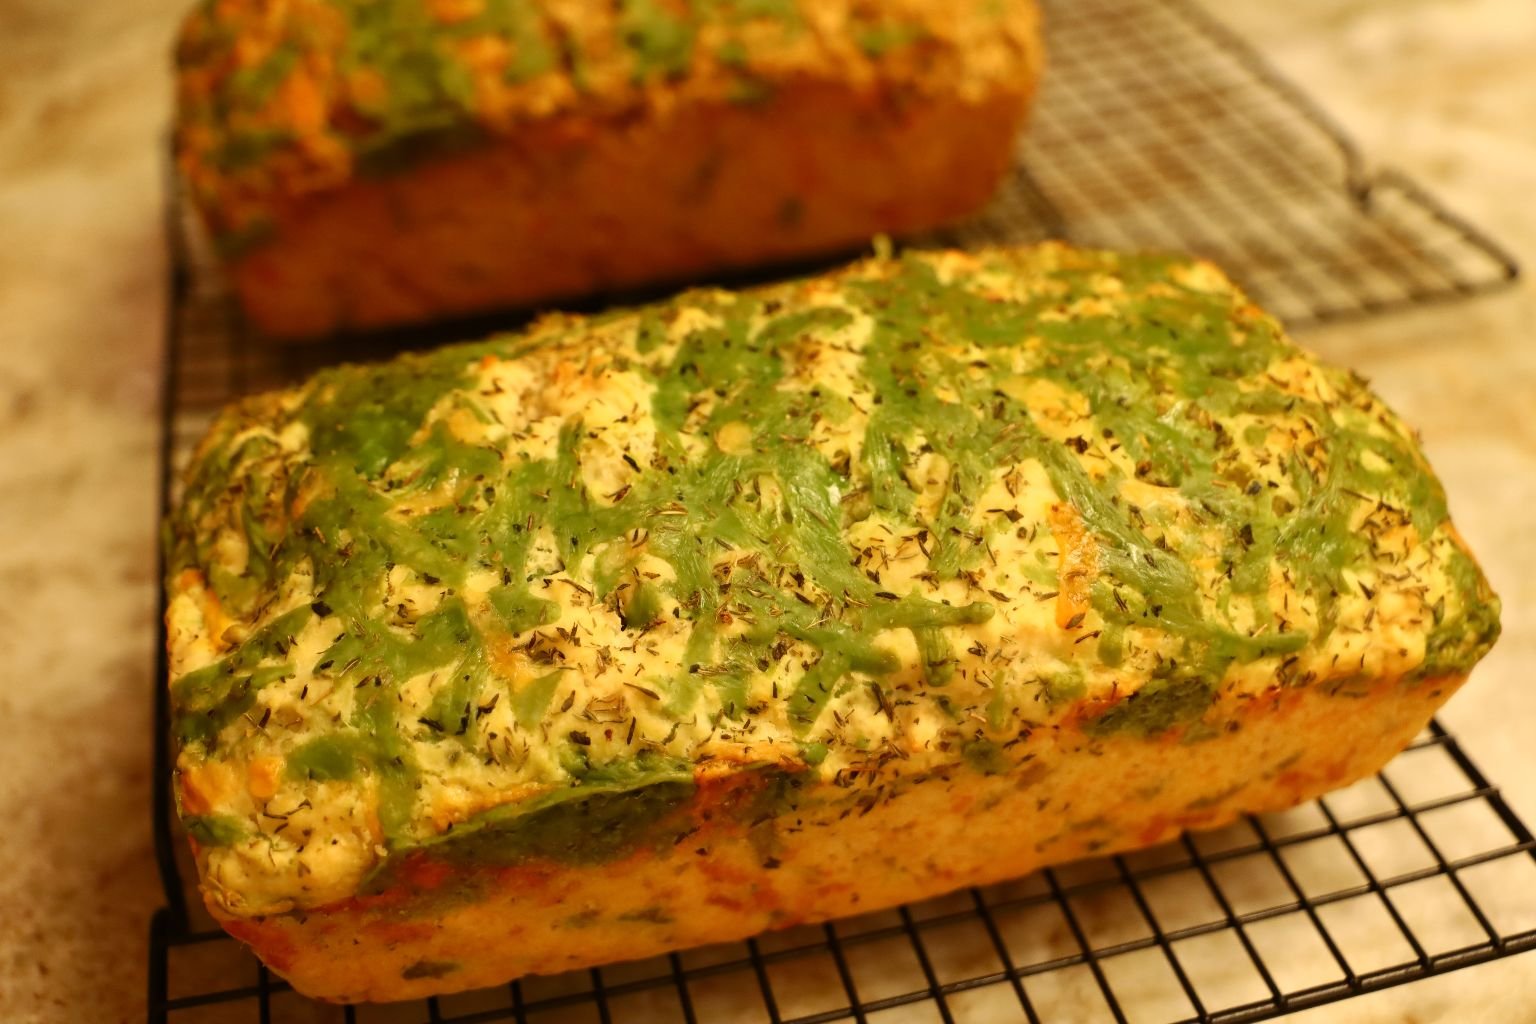
Italian Beer Bread
(As well as Irish, and Traditional Beer Breads)
Cooling on the Racks
You can see the Herbs and the Green Pesto Gouda Cheese
(It certainly looks like St. Patrick’s Day here.)
But, whether it be Italian or Irish, this bread is easy and delicious.
————————————————-

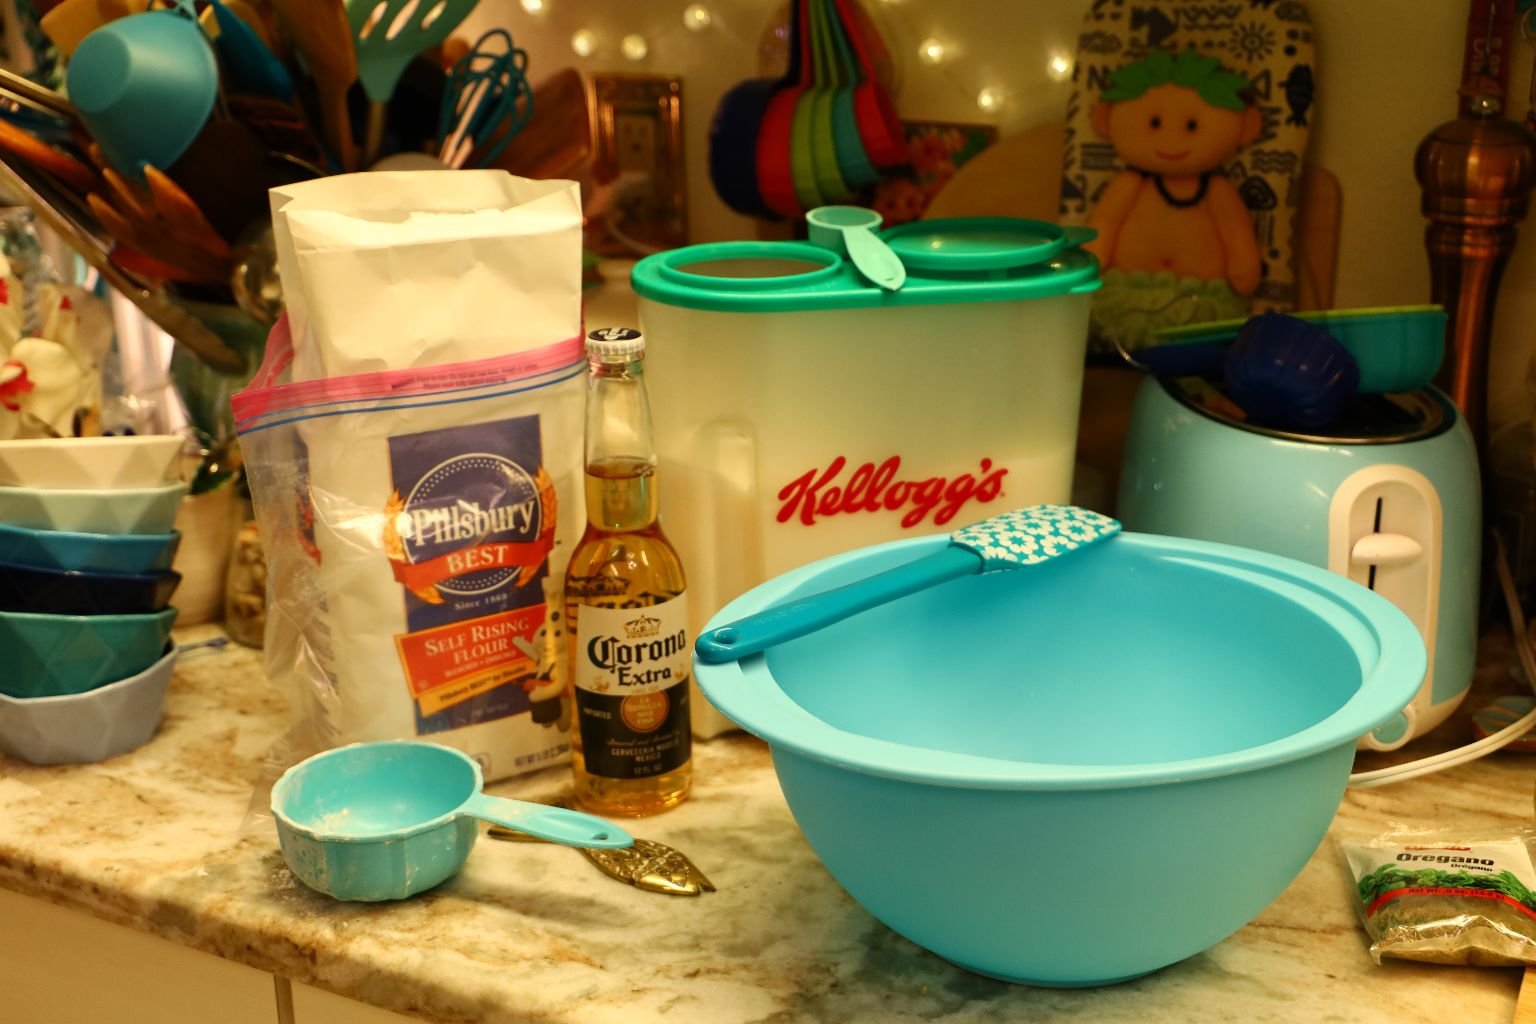
Here are all of our Ingredients for 3 Loaves of Bread:
(I would like to state that had we thought further ahead than we did then we would have purchased Italian Beer for this recipe but, we did use Italian Cheeses and Italian Herbs.)


Ingredients:
(This recipe makes one loaf of bread.)
3 Cups of Self Rising Flour
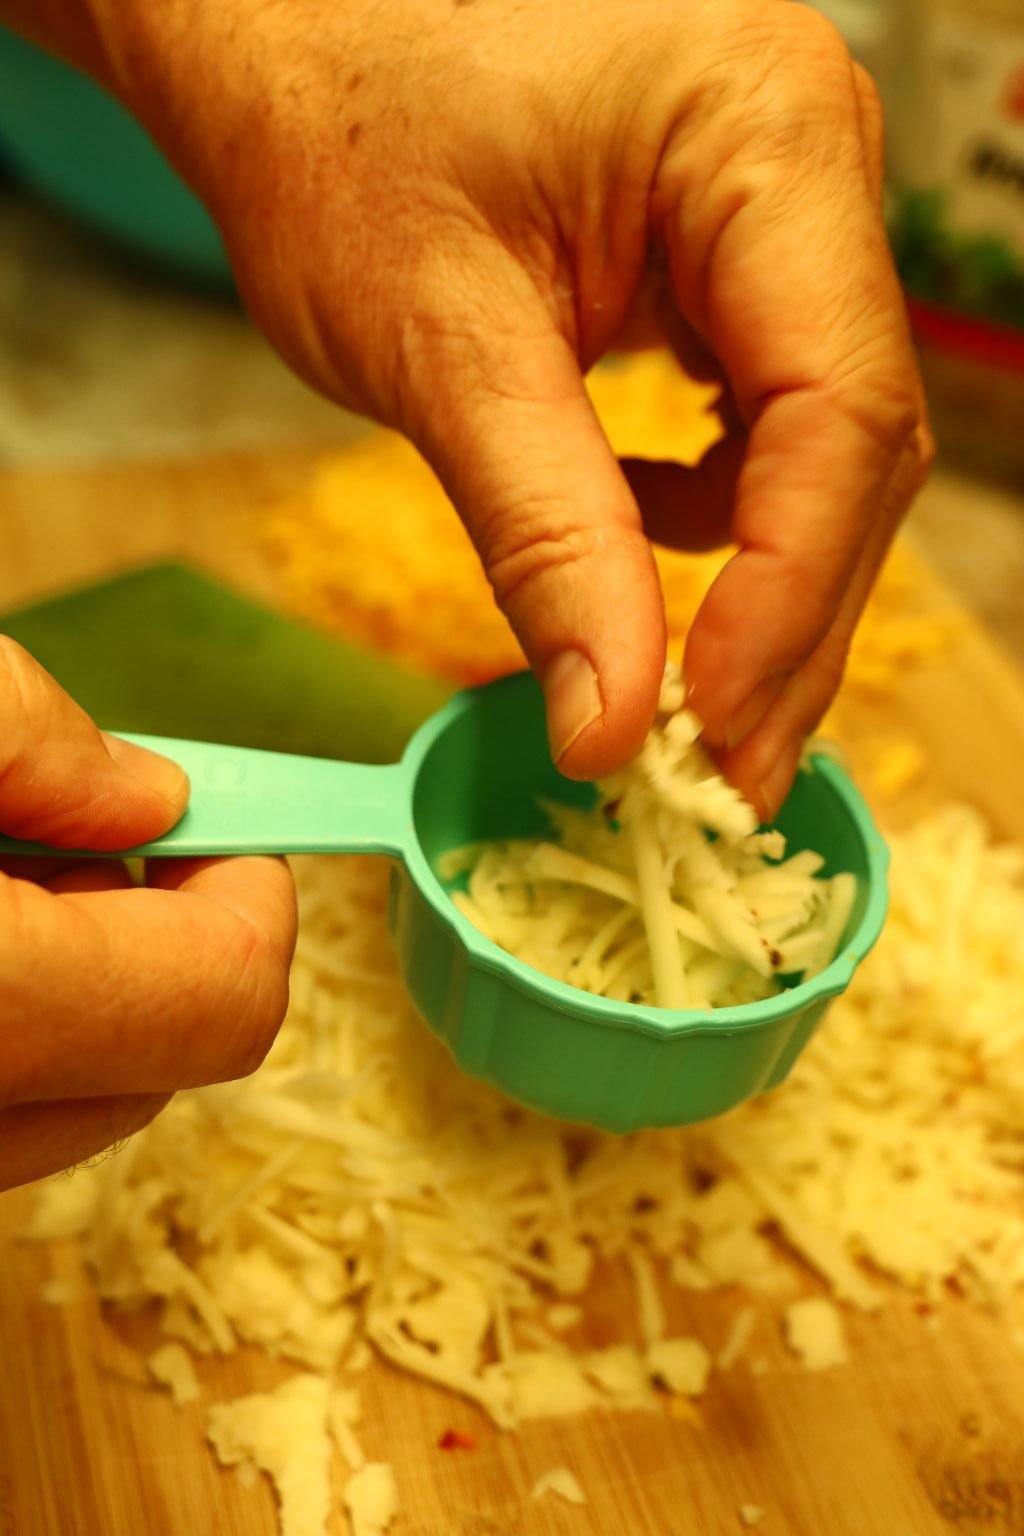
1 Cup of Shredded Cheese (You can combine a few if you like.)
(For our Italian Bread we used a Pepper Jack and the Green Pesto Gounda.)
(For our Irish Loaf we used Sharp Cheddar, Pepper Jack, and a little bit of the Green Pesto Gouda.)
2 T. Granulated Sugar
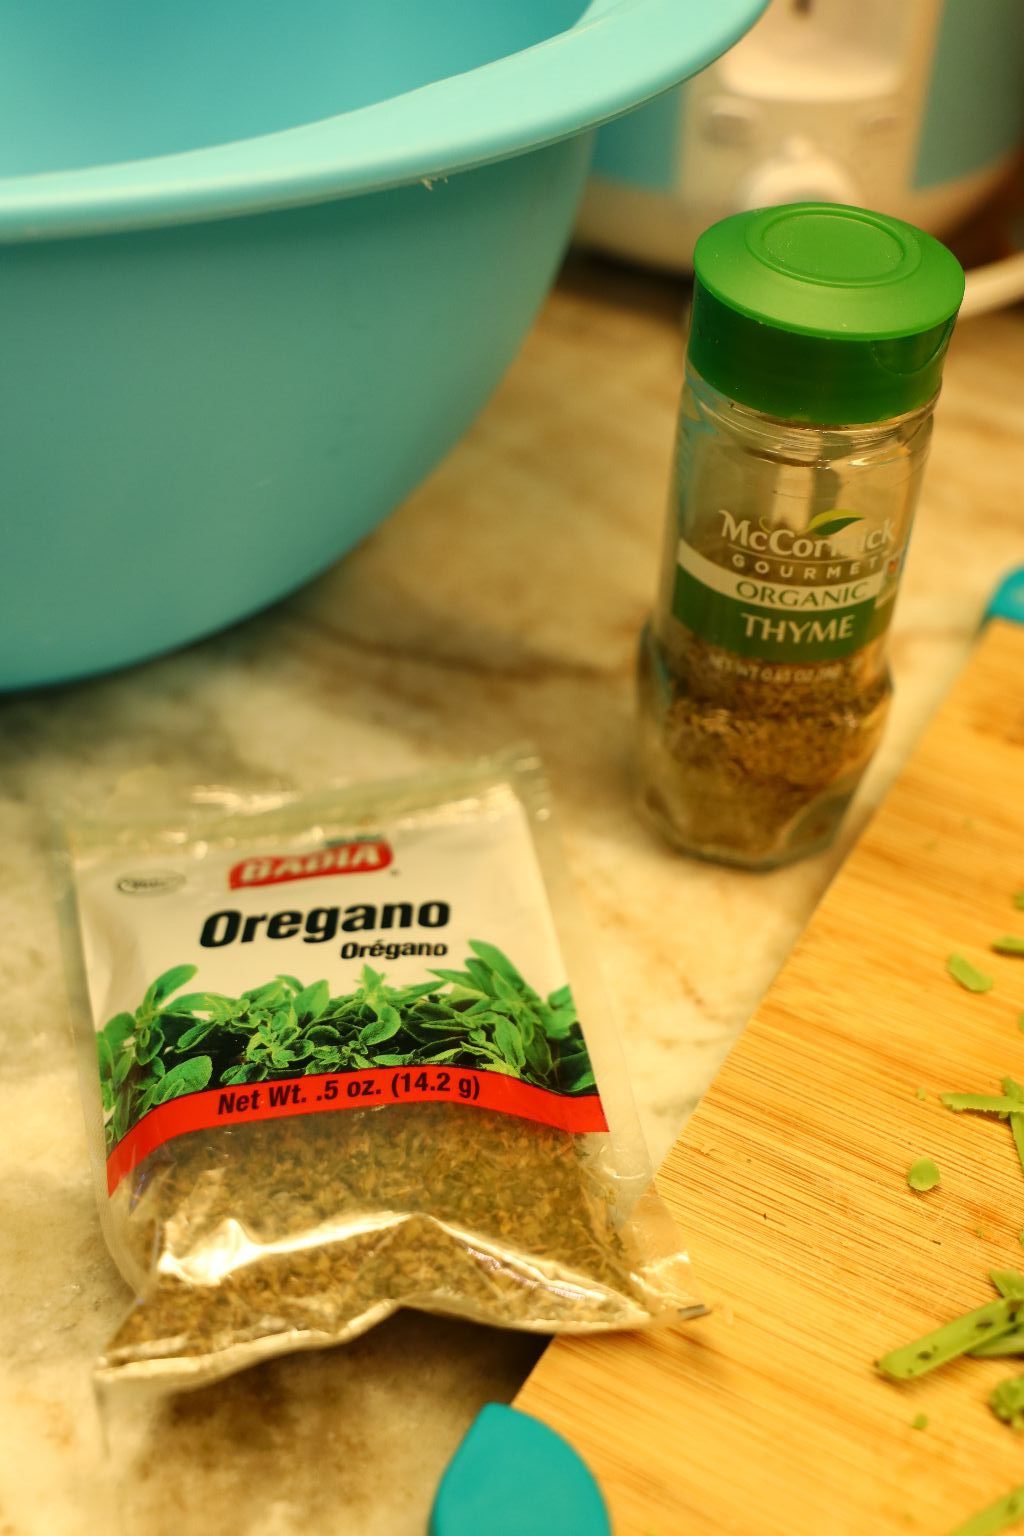
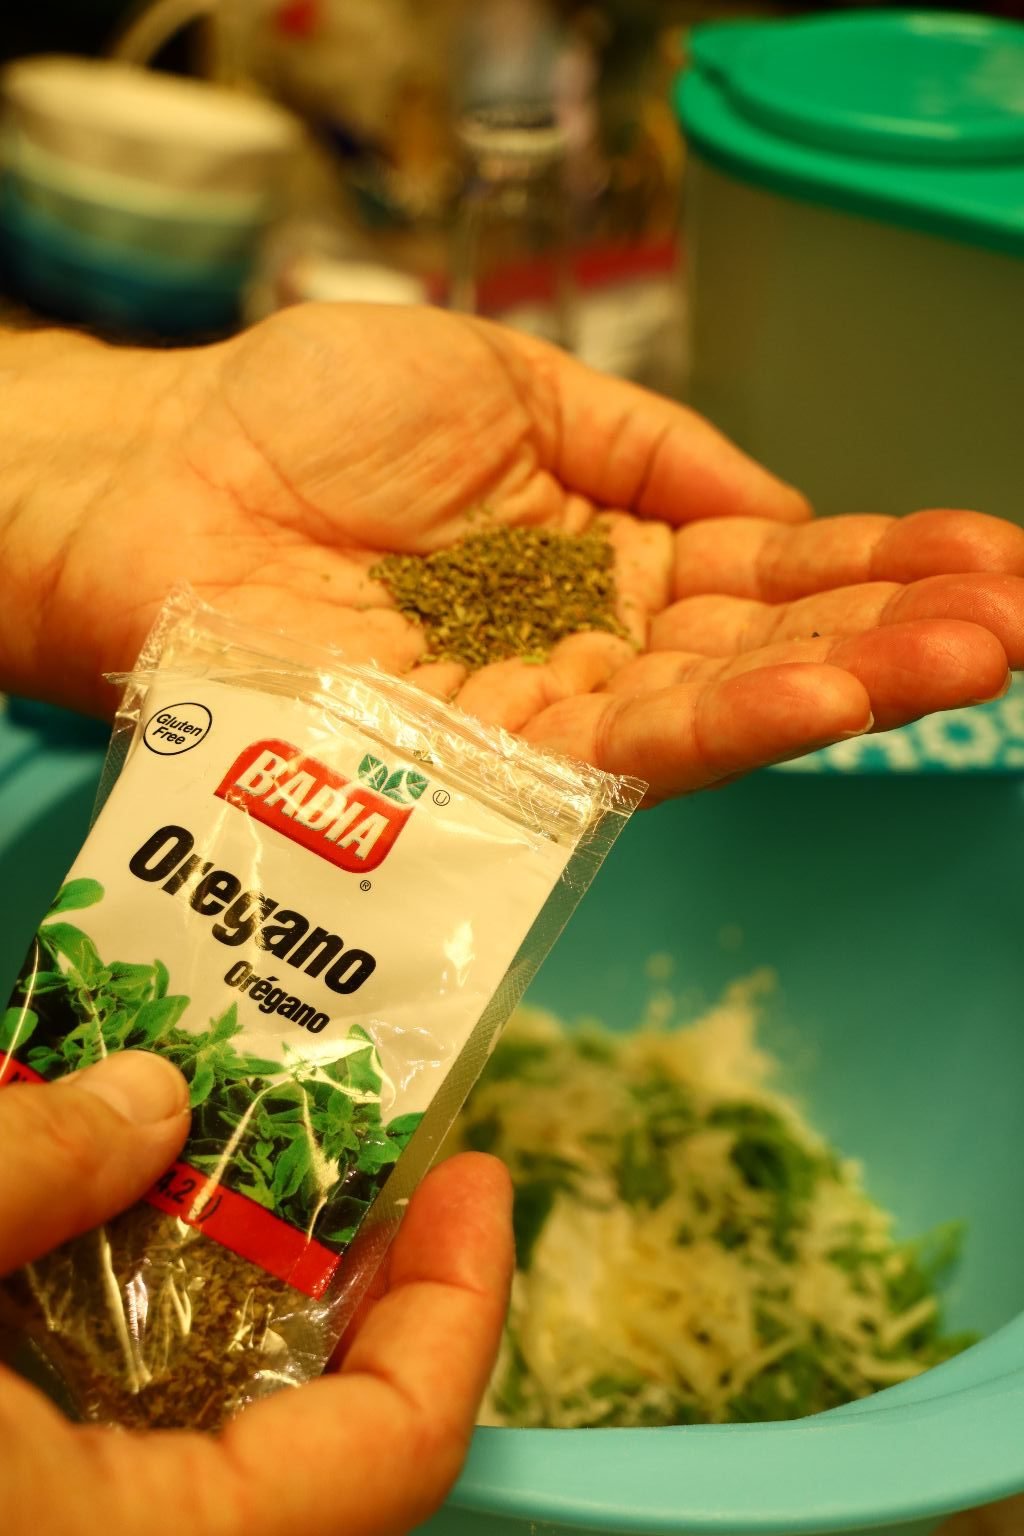
3 t. Dried Herbs (Any you desire.)
(For the Italian loaf we used Thyme and Oregano.)
(For the Irish loaf we used Thyme and Dill.)
1 Can or Bottle of Beer (12 ounces)
(We used Corona for the Italian, and a Stout for the Irish.)
——————————————————


Our Beers, and Dried Herbs

You will need Loaf Pans for this.
Spray them with a cooking oil spray to coat.
———————————————————–
Pre-Heat Your Oven to 350F

Grating the Sharp Cheddar Cheese


This is so easy!
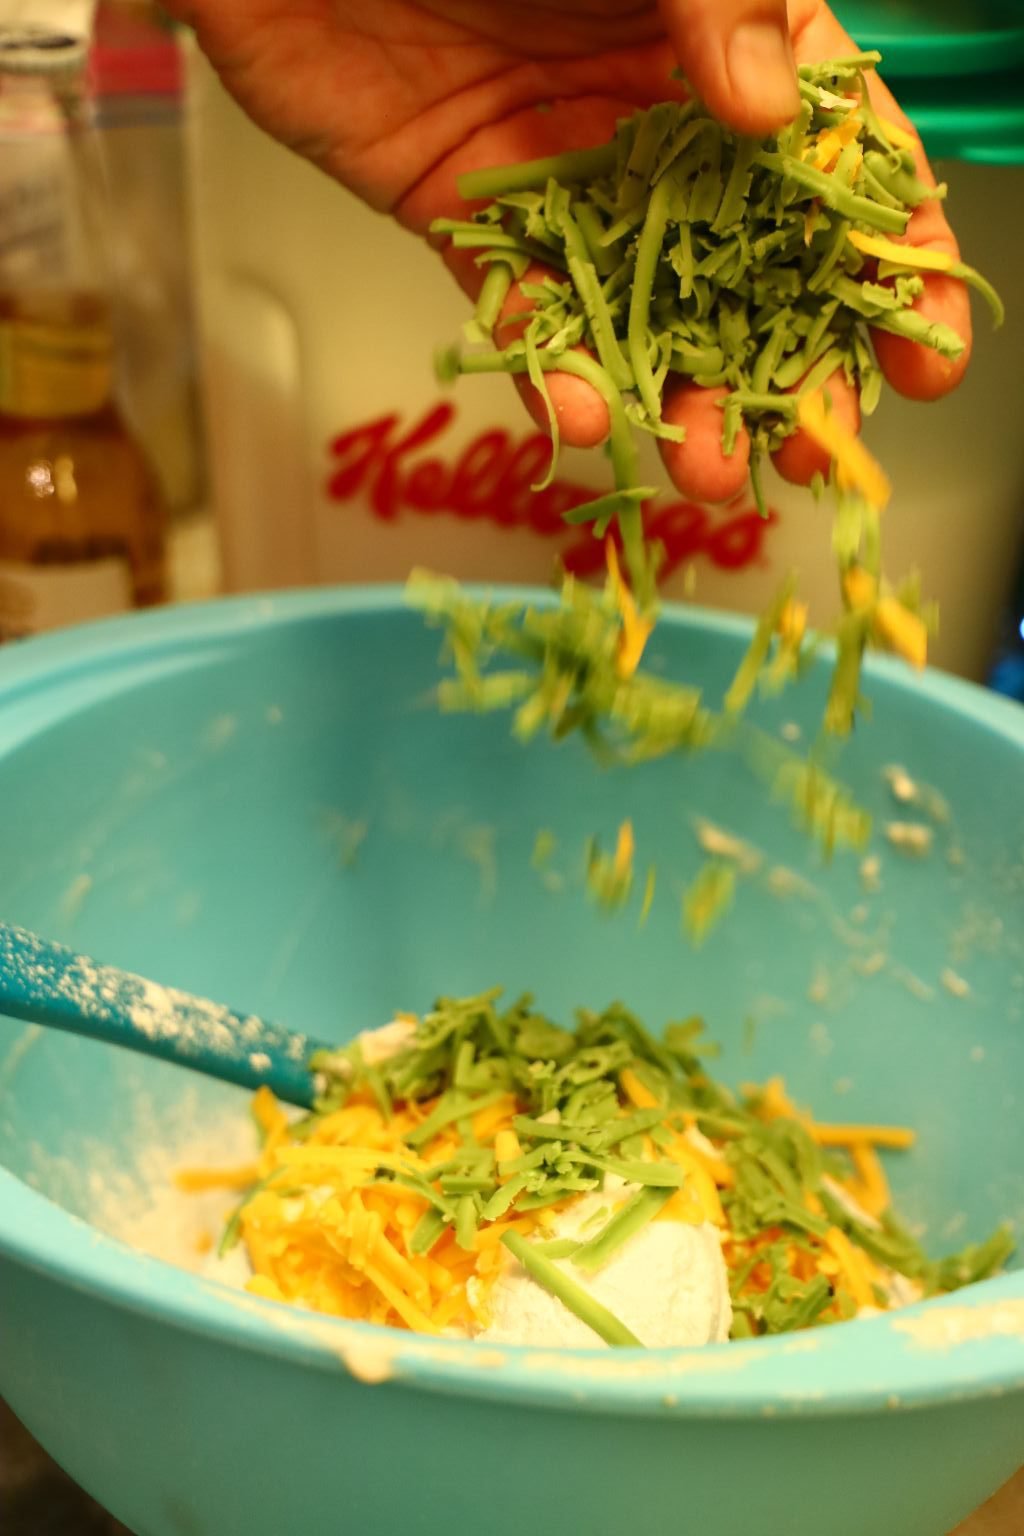
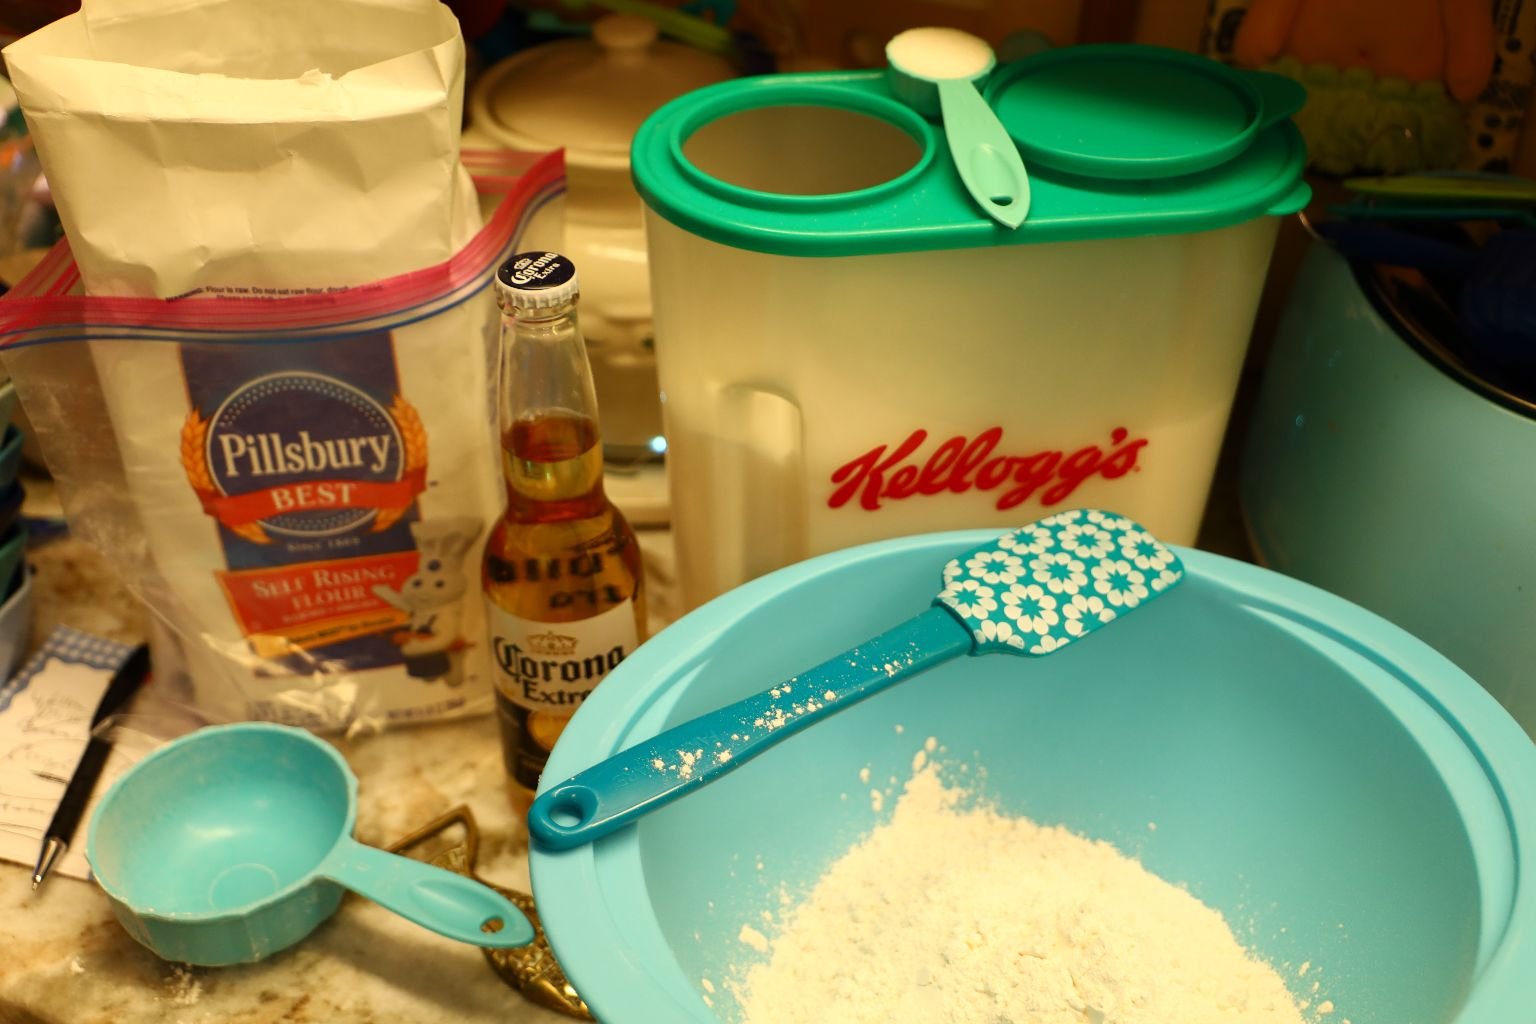
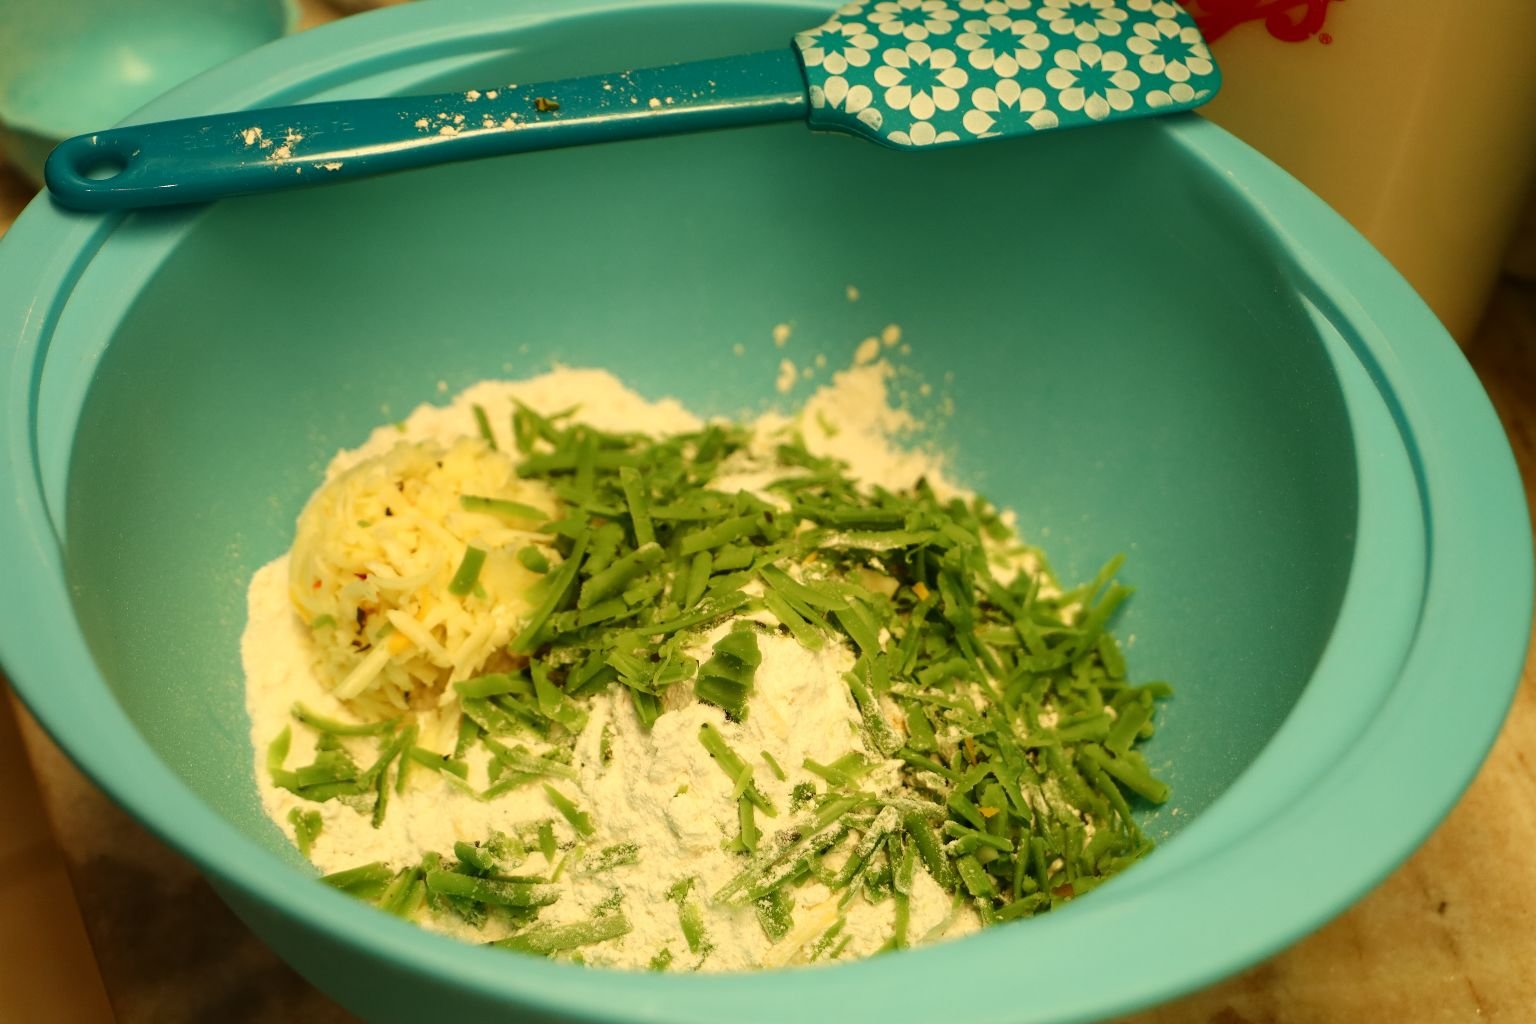
Just place the ingredients into a mixing bowl.

——————————————————————


Grating All Our Cheeses For Our Breads

—————————————————————–
The Shredded Pepper Jack Cheese


We Did Put Some Green Gouda Pesto Cheese in this Loaf


Adding Our Sugar and Dried Herbs


Dried Thyme and Oregano
—————————————————————–


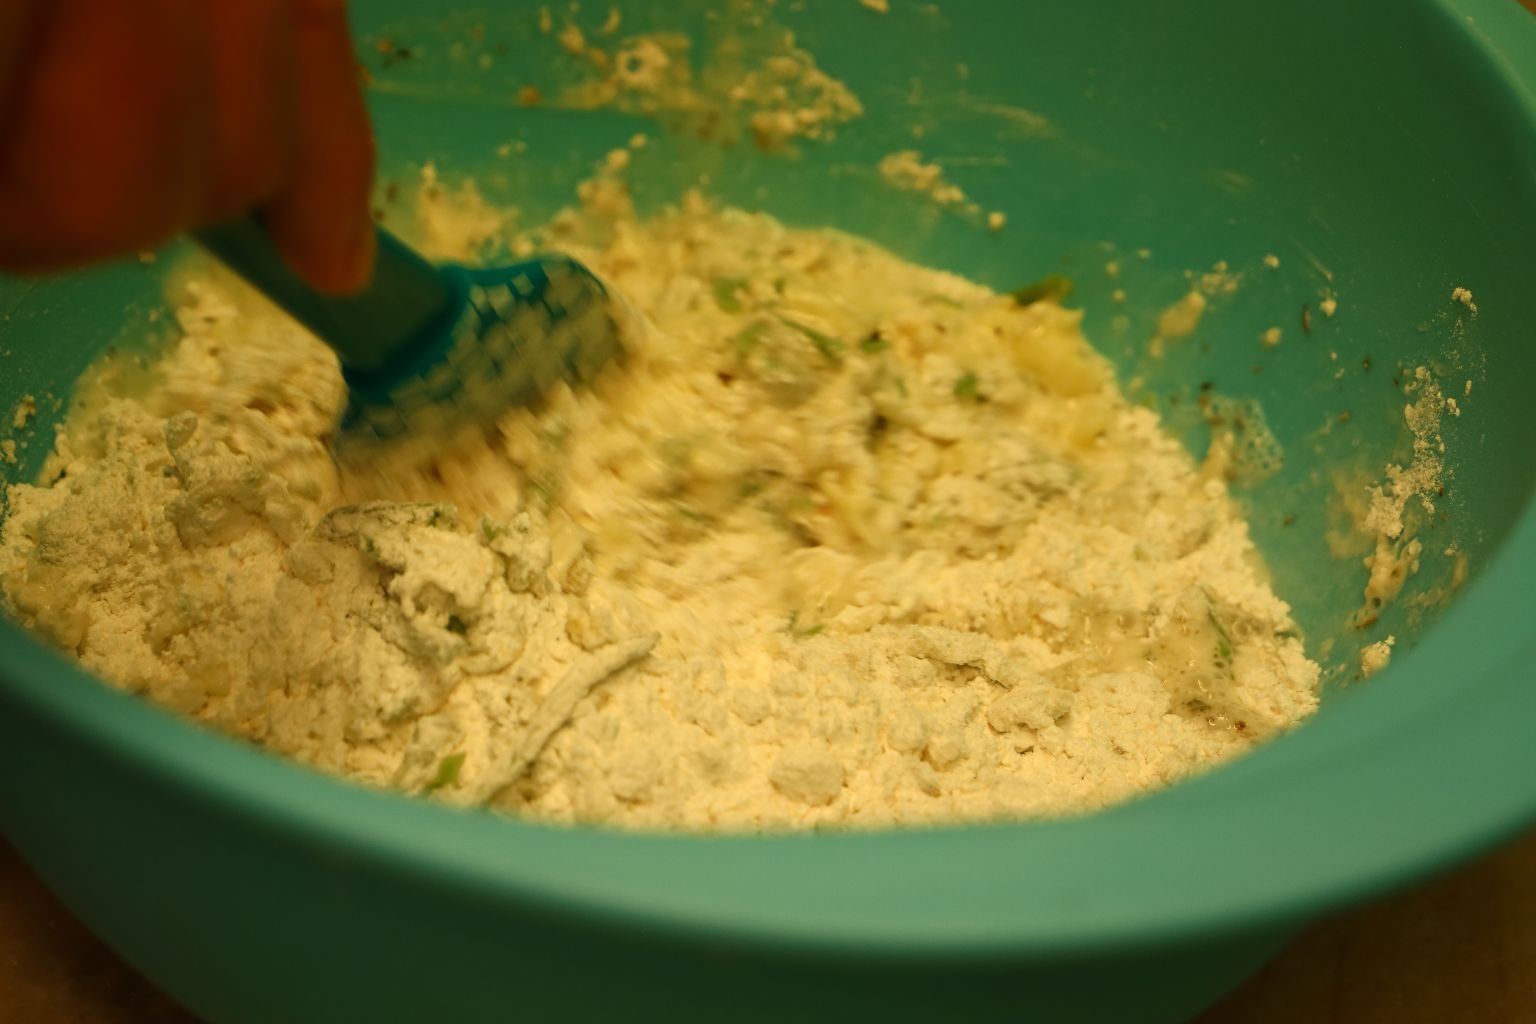
Just mix everything together in the bowl with your hands….


then pour in the beer.


Mix Together With a Spoon or Spatula

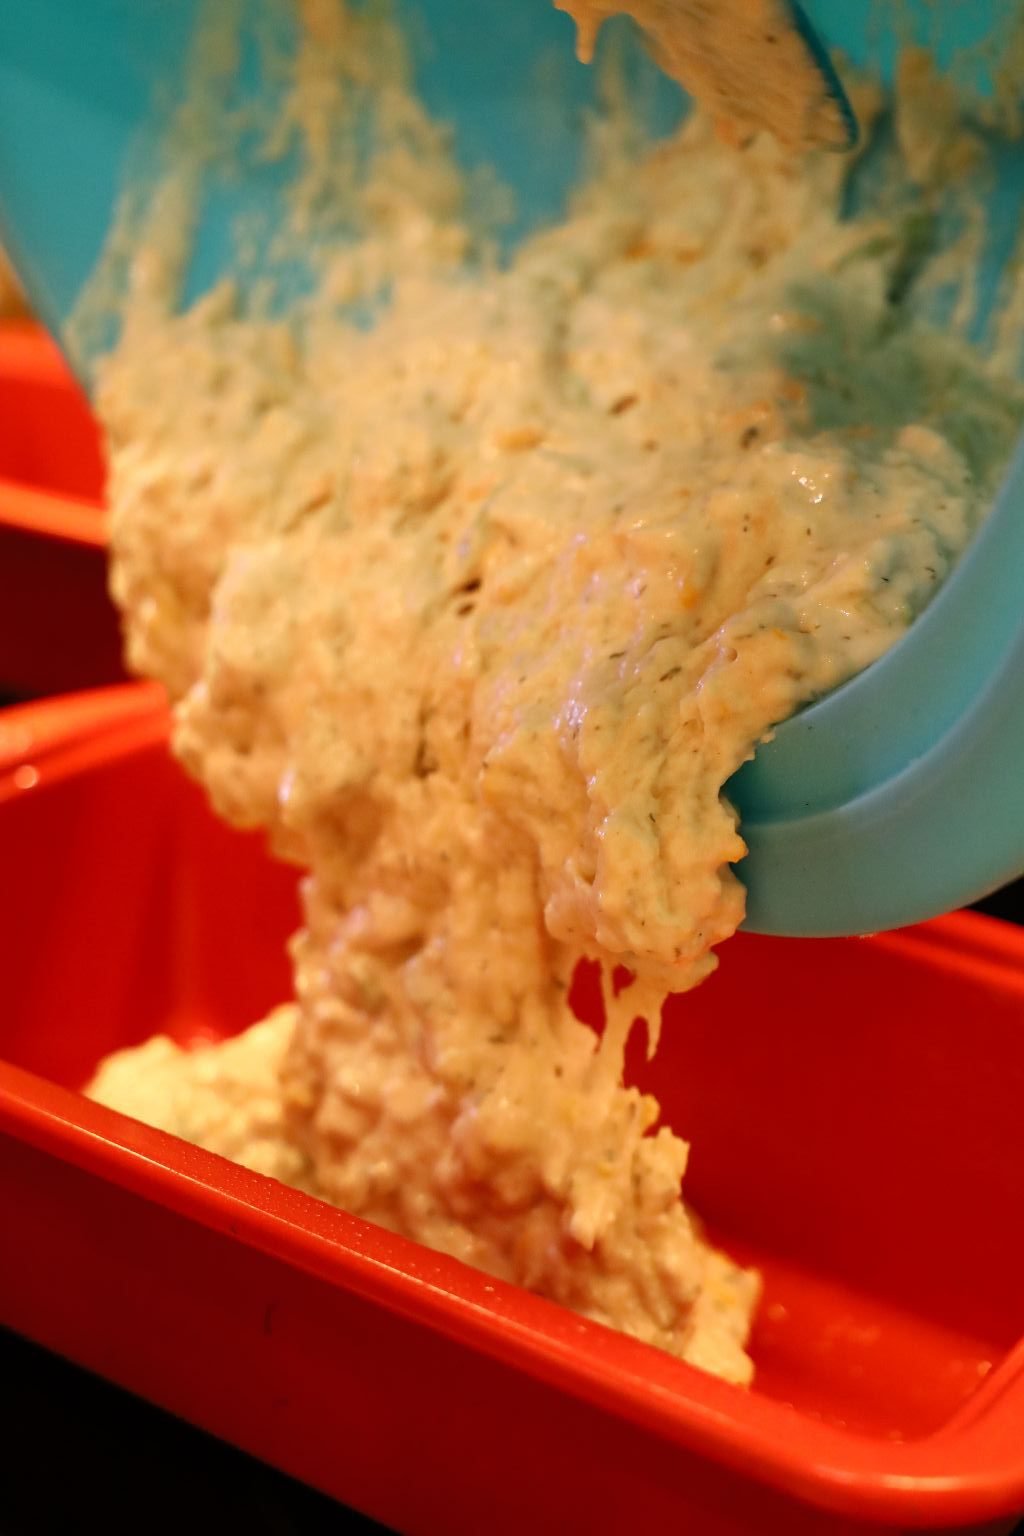
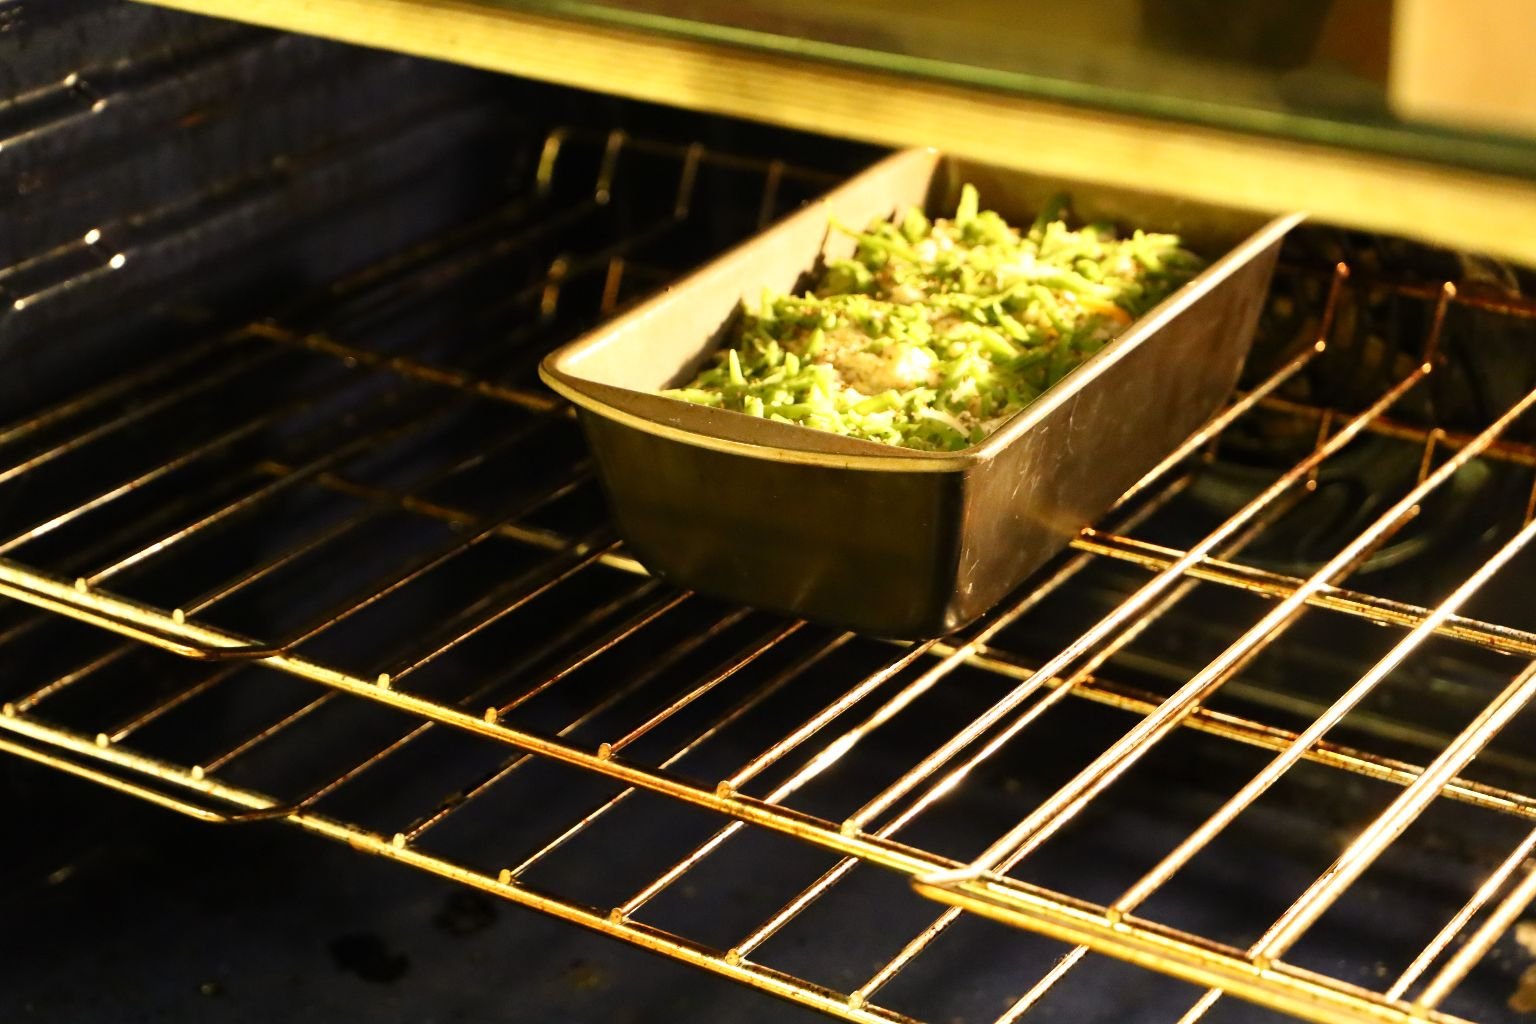
Now, Pour into a Greased Loaf Pan
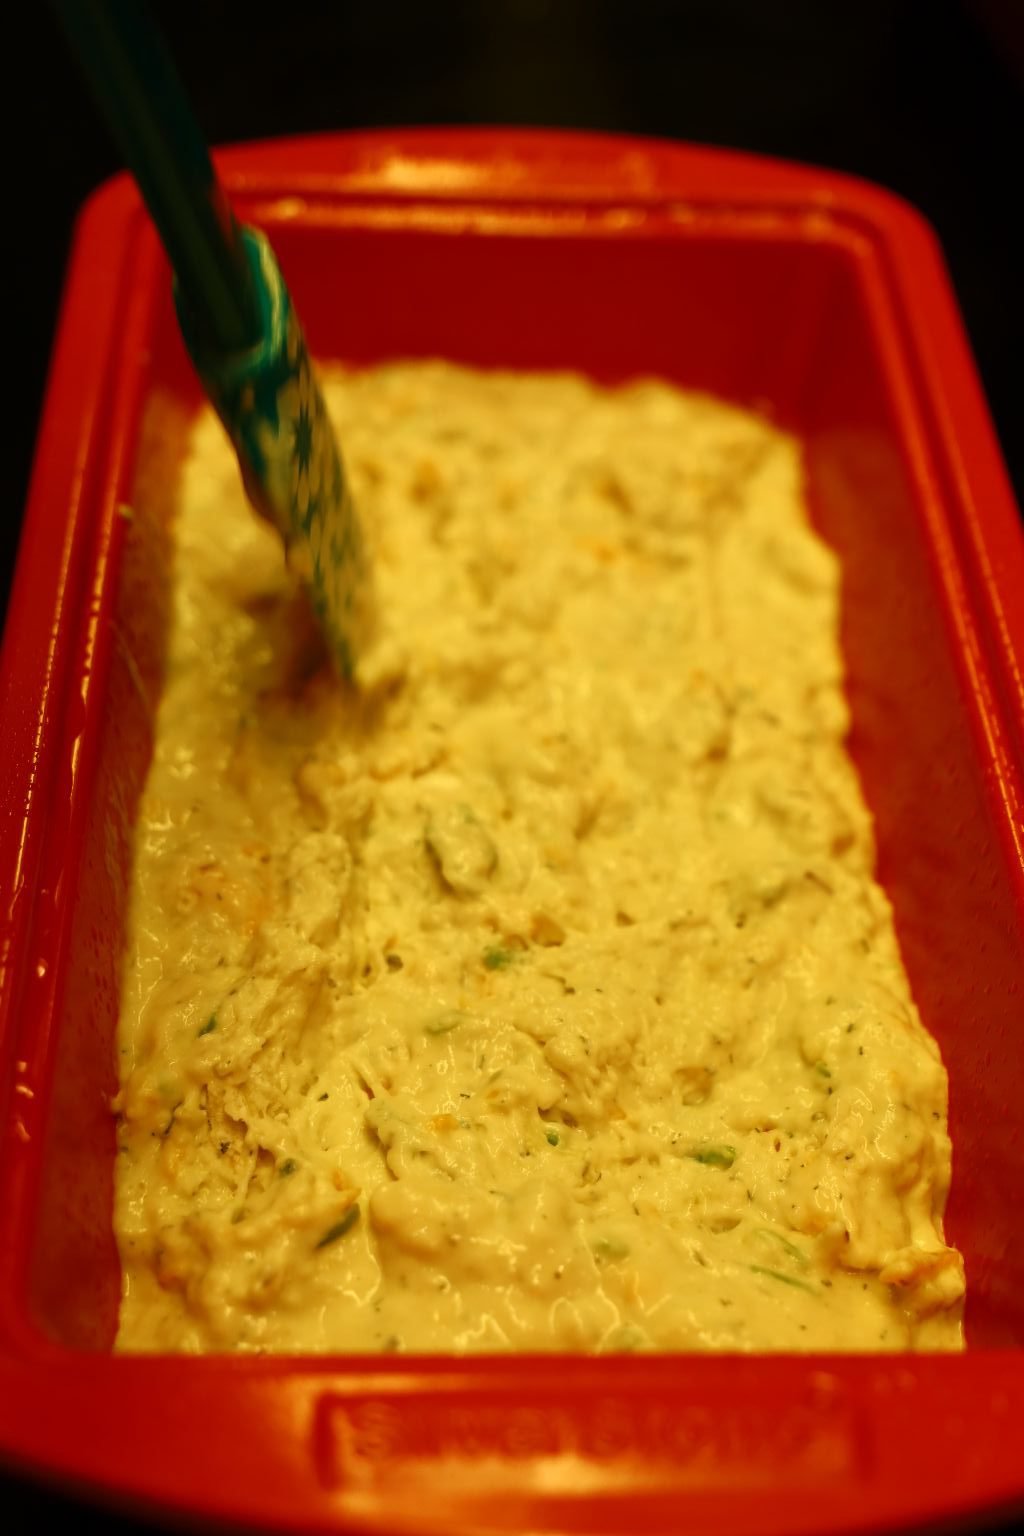
————————————————————–


We Did Top With Some Cheese and….

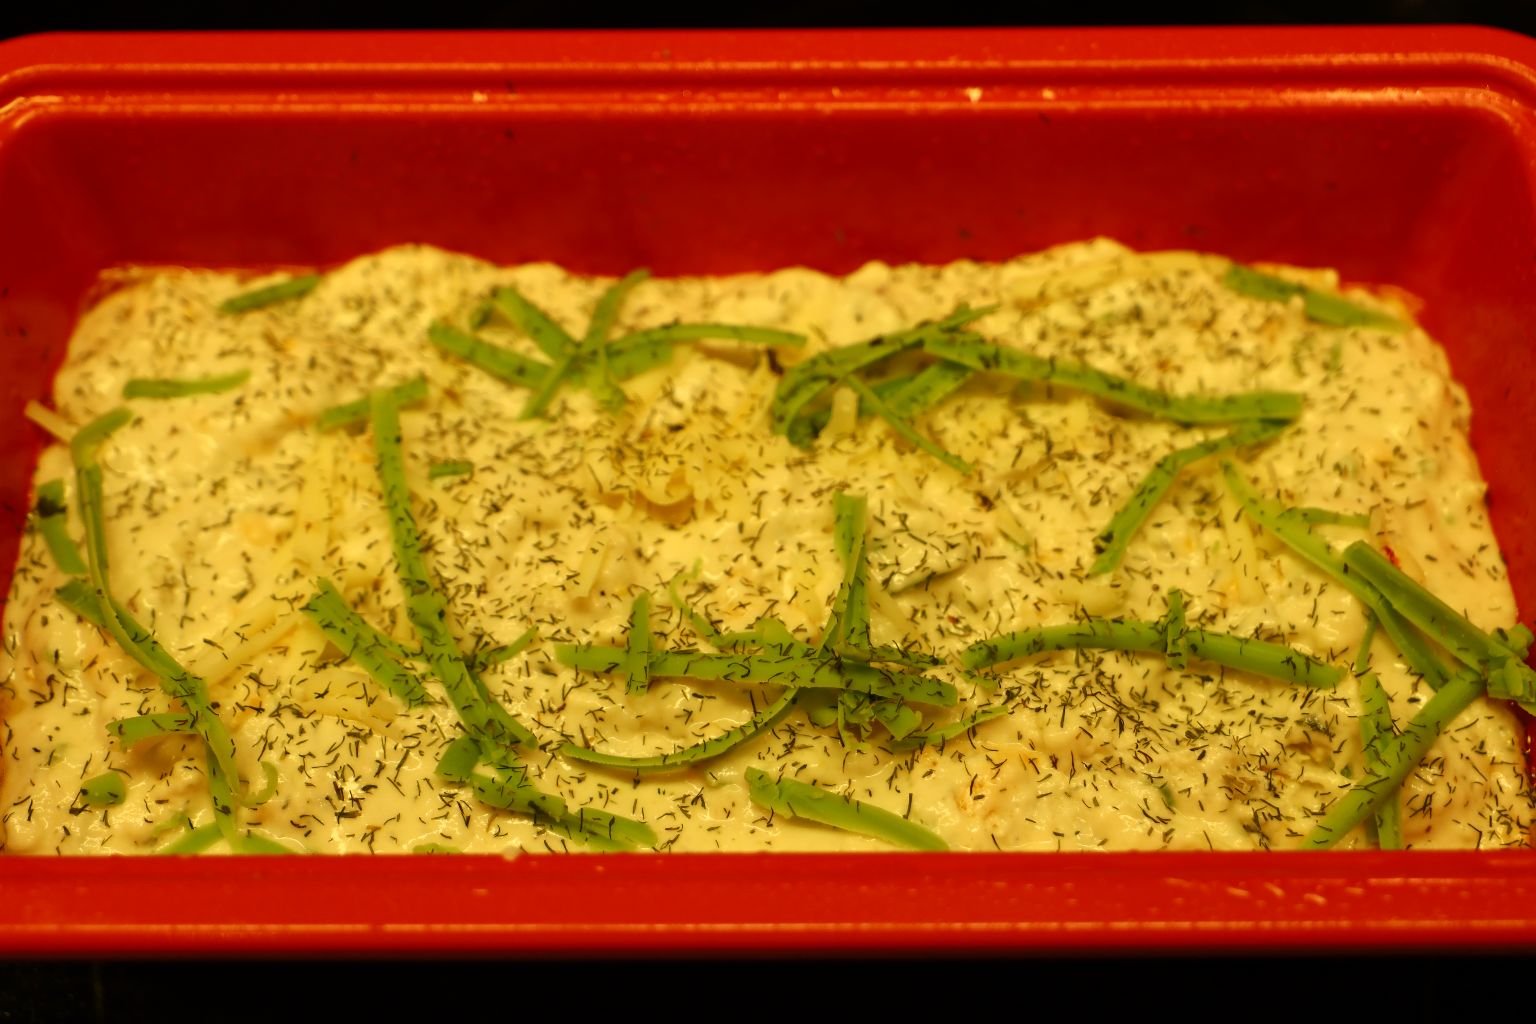
a Sprinkling of Dried Herbs.
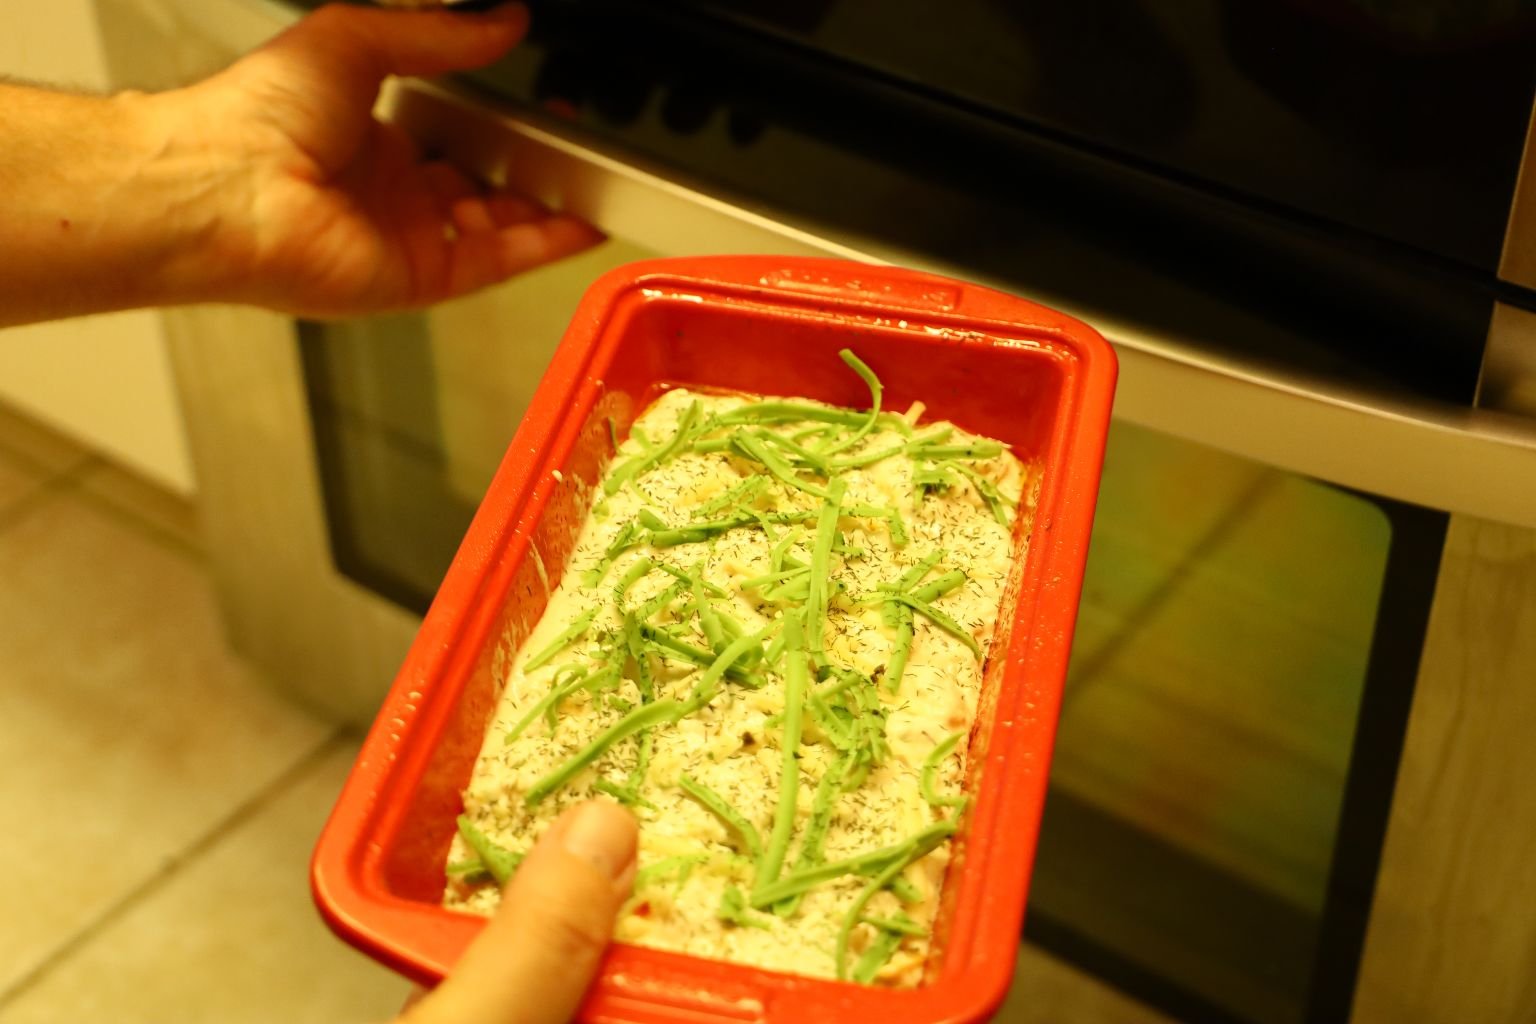
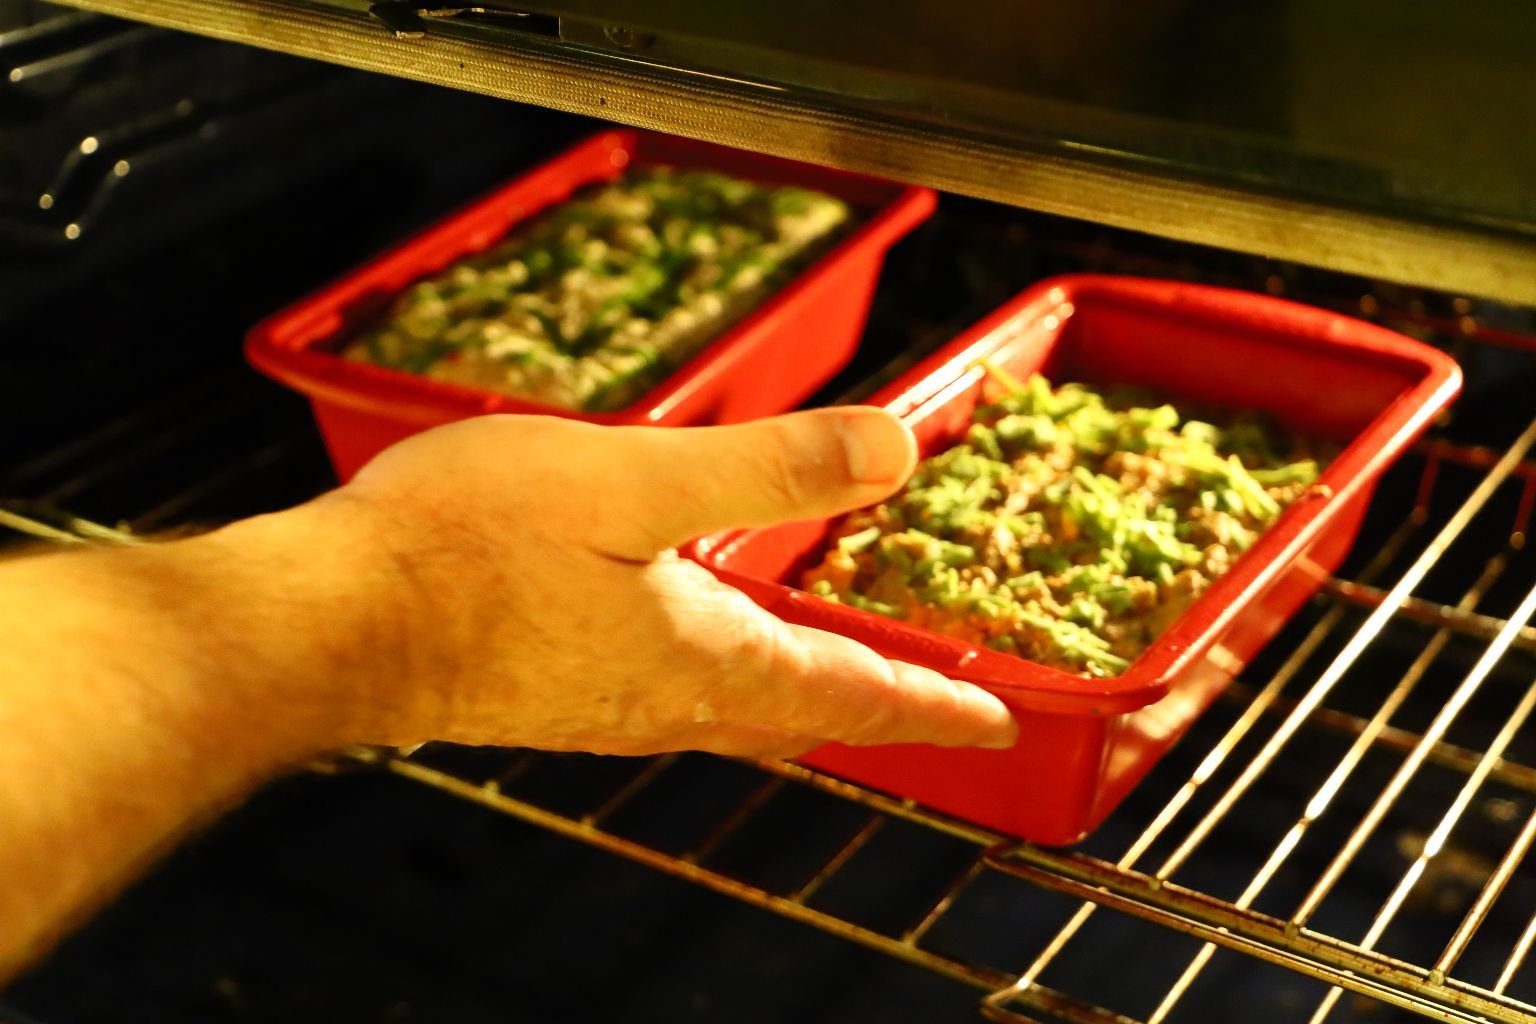
Place into the Oven for 40 – 45 Minutes Until Done
—————————————————————
Our Stout Bread (Irish)

Same as the Recipe Above…


Add The Stout

Mix Together

Place into Greased Loaf Pan

Top with Cheese and Dried Herbs
Bake in a 350F Oven for 40 – 45 Minutes
———————————————————————
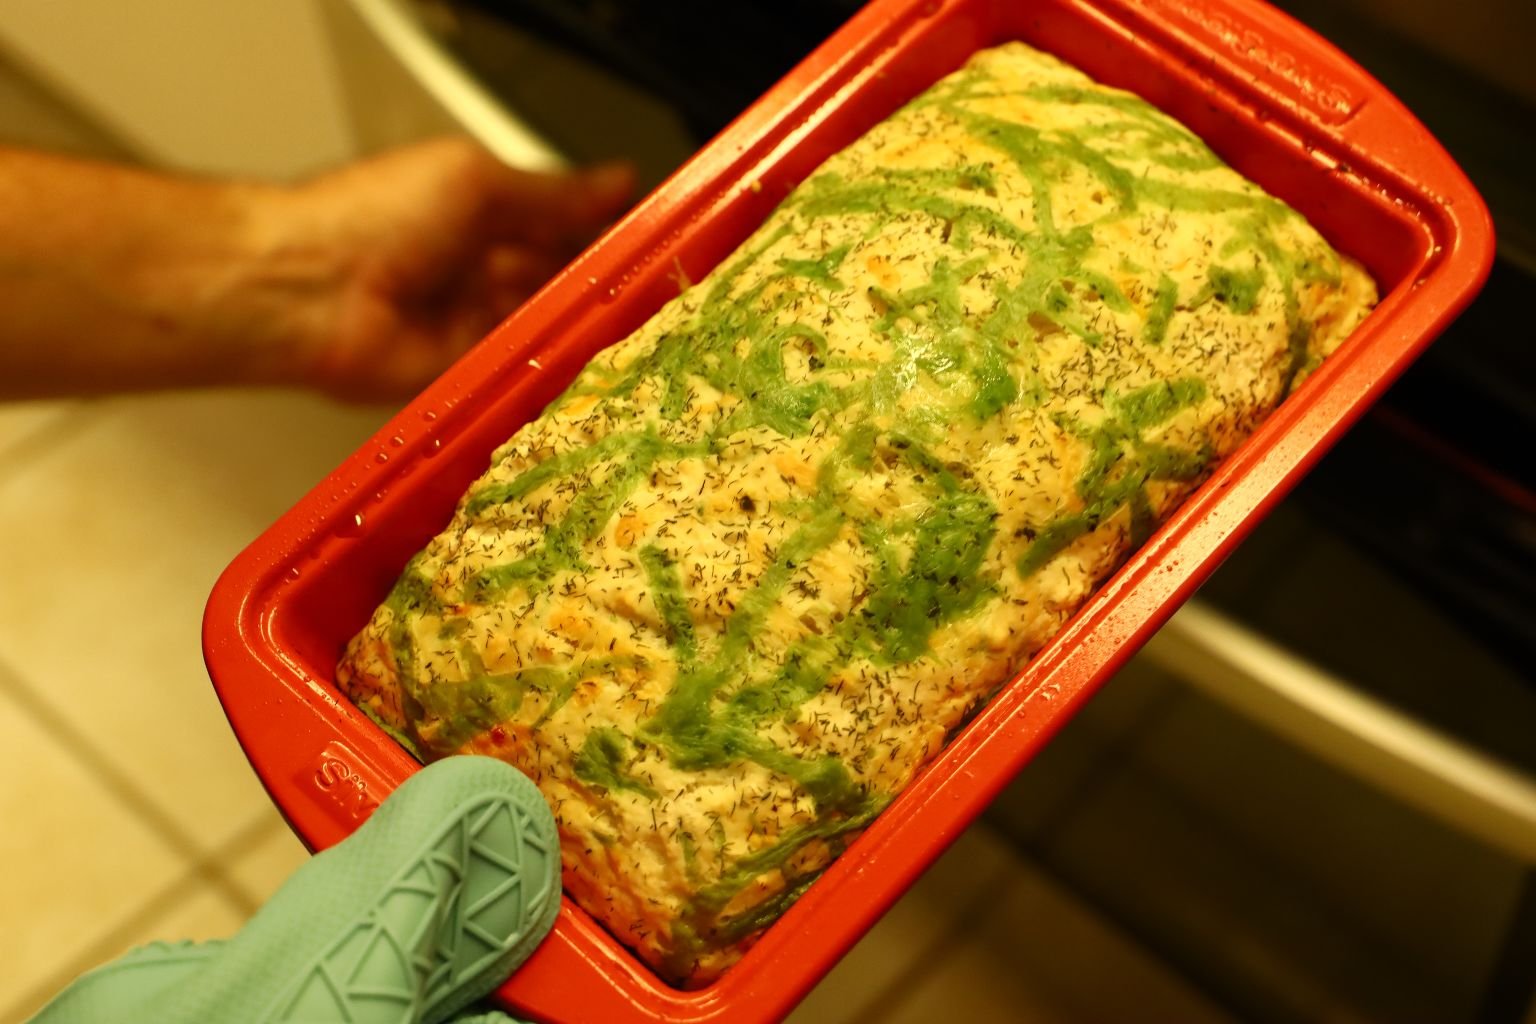
Right Out of the Oven…. Beautiful!

Let Cool on a Wire Rack
This loaf smells wonderful!!!
———————————————————
This is Specifically Our Italian Cheese Bread
Our Same Ingredients as Above:

Grated our Italian Cheeses

Throwing Everything Together…


Adding our Cheeses….
In The Mixing Bowl


Adding Our Dried Herbs


Adding our Beer…

Mixing Together, Placing into a Greased Loaf Pan

Topped With Some Cheese and Herbs..
Into the 350F Oven for 40 – 45 Minutes
Cooling….