From The Smith House to The Whann House, For Easter
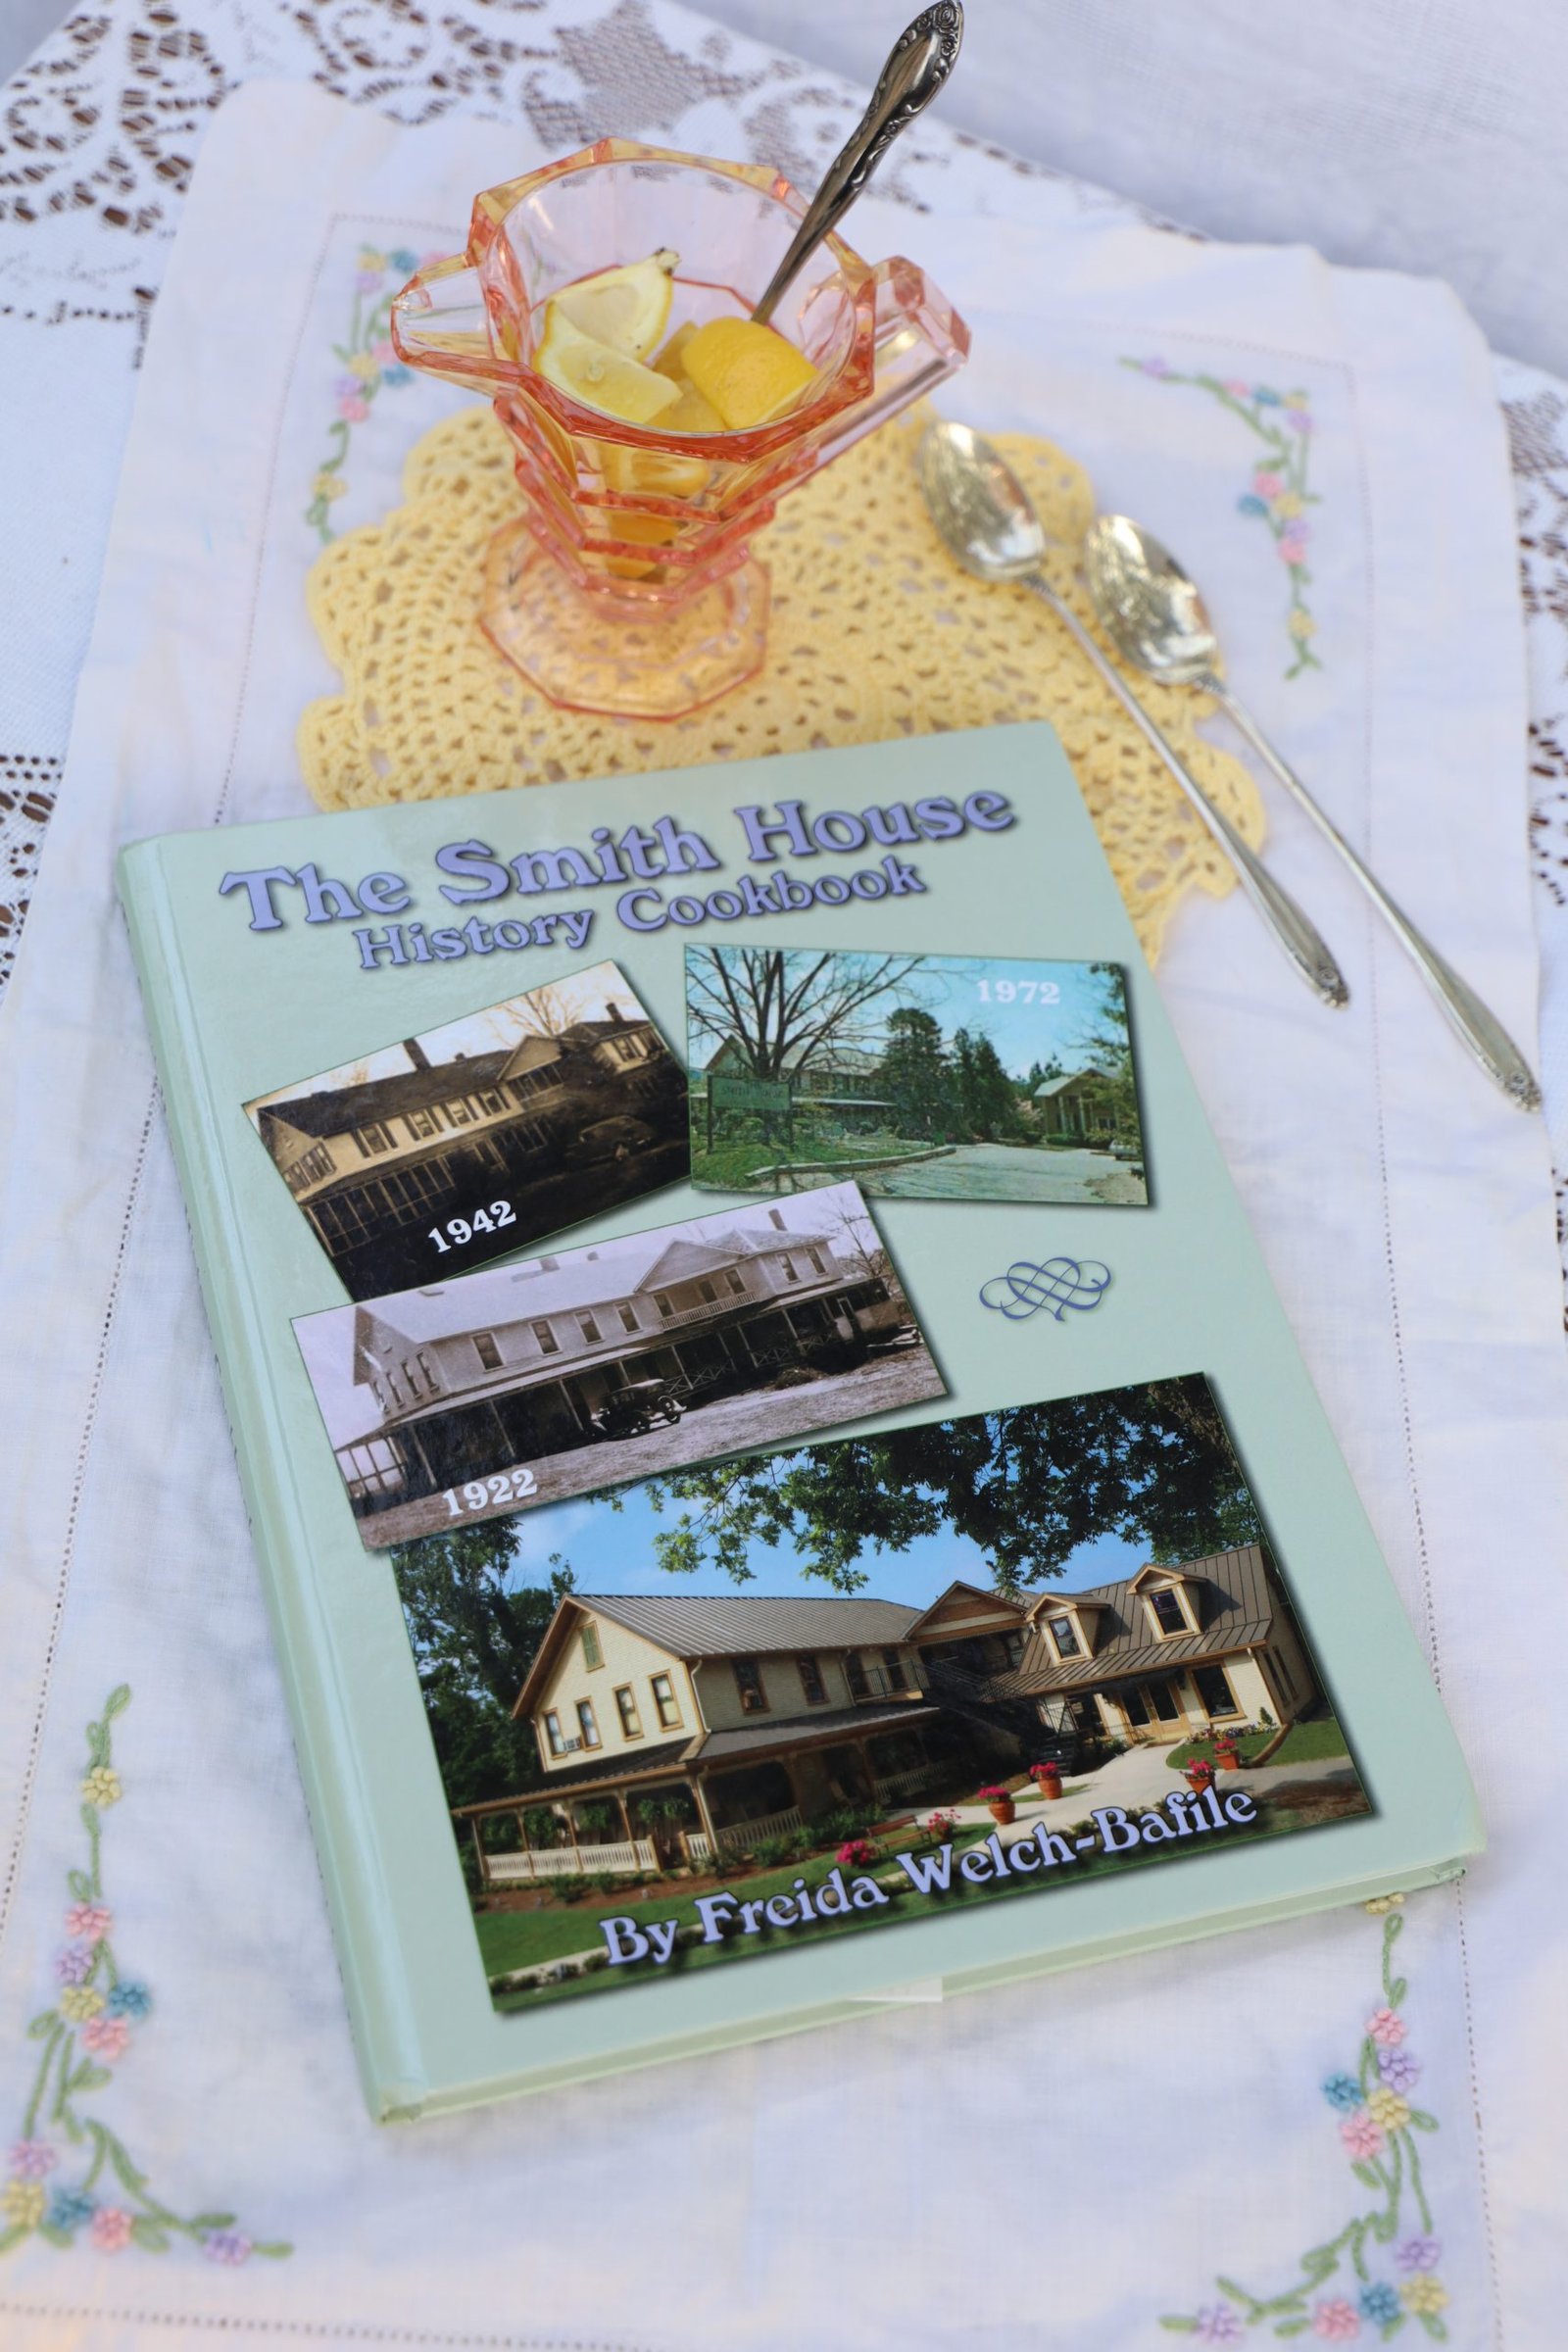
The Smith House History Cookbook
(Only in the south do you find teaspoons. Especially in silverware sets.)
—————————————————–

Easter, 1970
Me, my little brother Johnny and my mother, Mary Keith in our front yard in Dahlonega, Georgia.
(Although my mother does look like an airline stewardess here.)
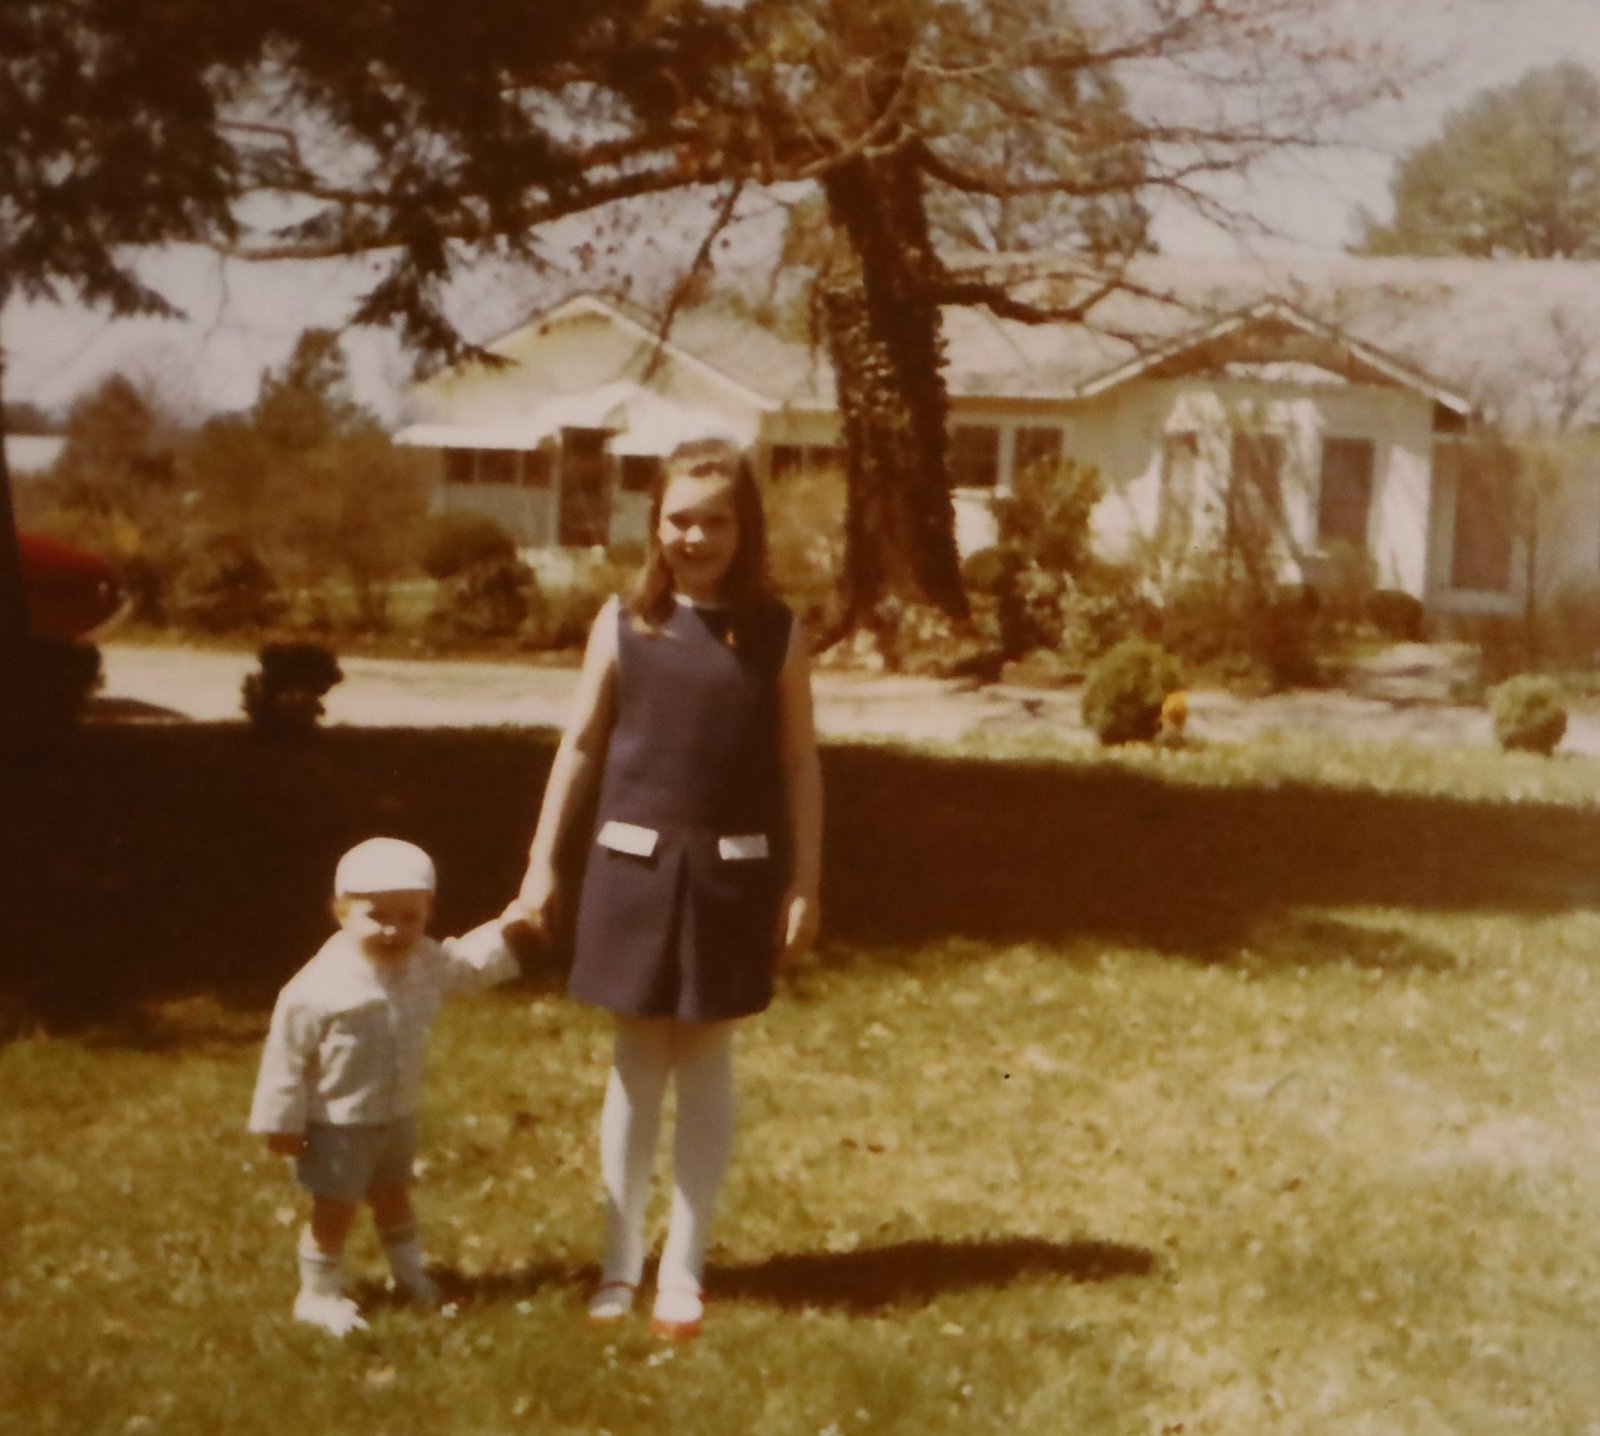

Me, and Baby Johnny in our Front Yard in Dahlonega on our way to Church.
——————————————————-


We lived in Dahlonega, Georgia for about 3 years when I was a girl. I was 7 when we moved there and 10 when we left to move to Roanoke, Virginia. This was in the late 60’s- early 70’s. My step-father was the only doctor in the small town, he even made house calls. Something unheard of in our ‘for profit’ healthcare system we have now. He liked being a big fish in a small pond. My brother Johnny was born there when I was 8. I was happy there. I think we all were.
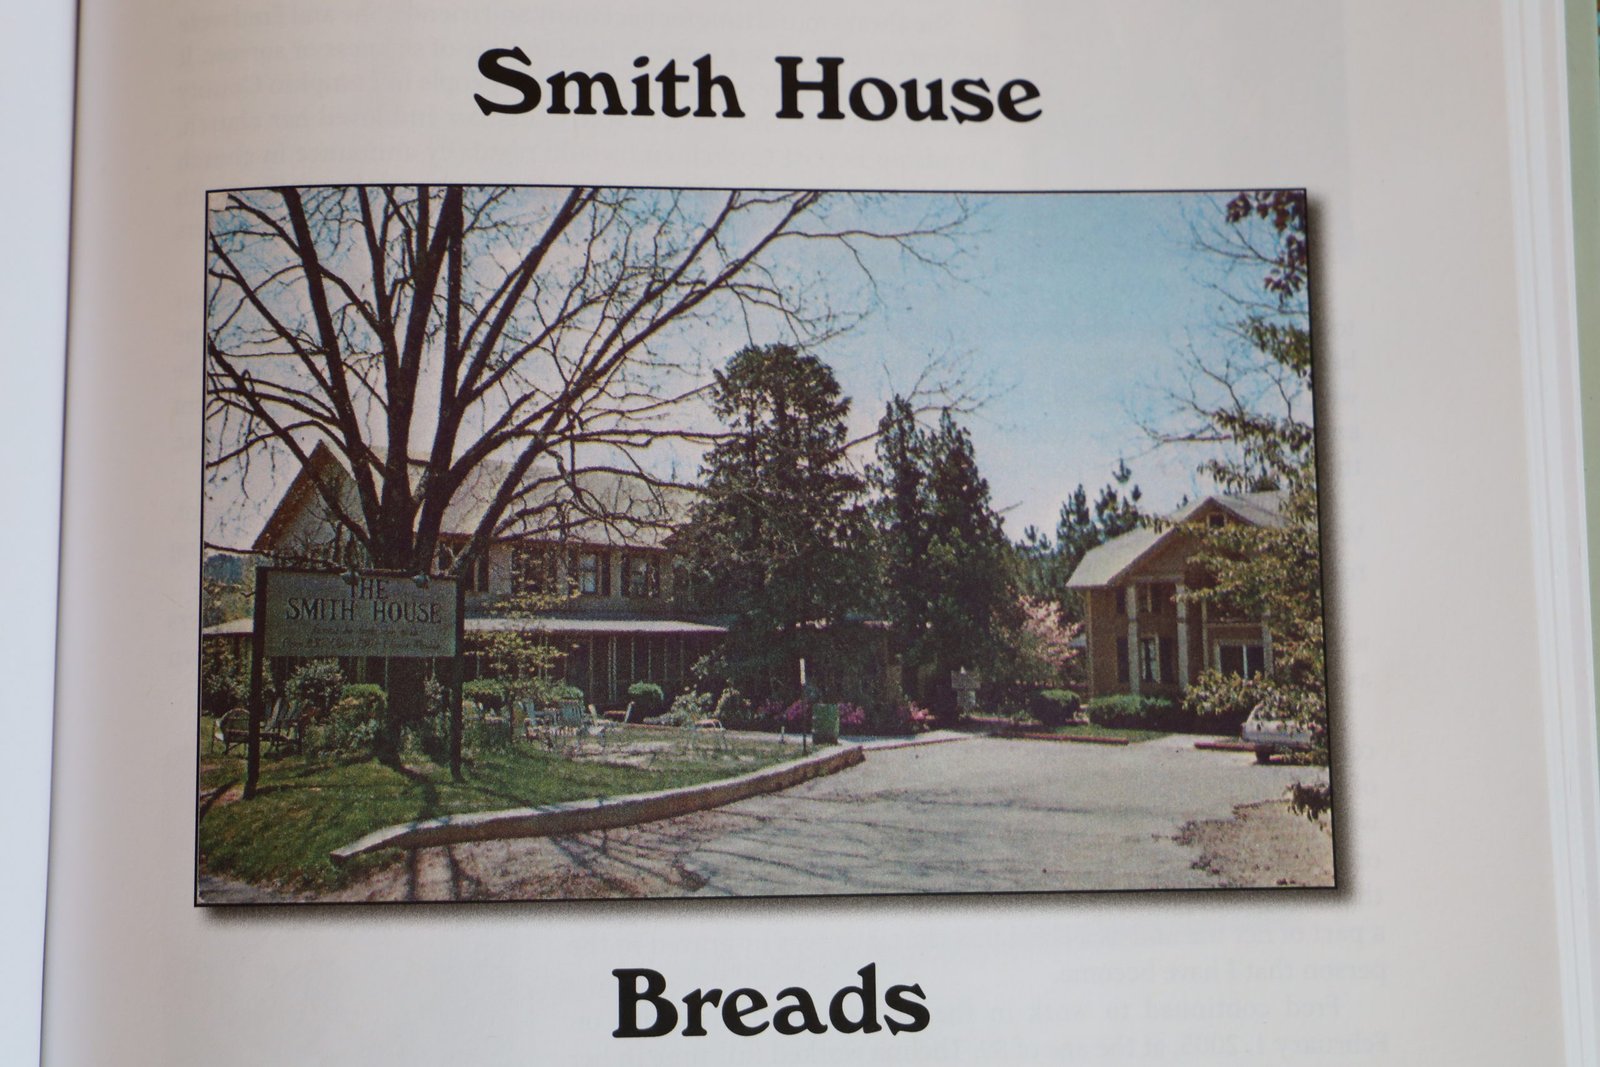
One special memory I have of Dahlonega was this restaurant called, The Smith House. It was unlike other restaurants at the time. There was no menu for you to order off of. You would enter the restaurant while being greeted with what was quite a nice tradition at the time called ‘Southern Hospitality.’ Things are a bit different in the south now but I did get to live through a time when the south was hospitable. They would sit you down next to another family that you didn’t know. If you had a large group then you got a table to yourselves, but if you were a family of 2, or 3, or 4, then you would get seated next to another small group of people. We would introduce ourselves to our fellow diner’s and the polite conversation would ensue while we waited for our food to arrive.
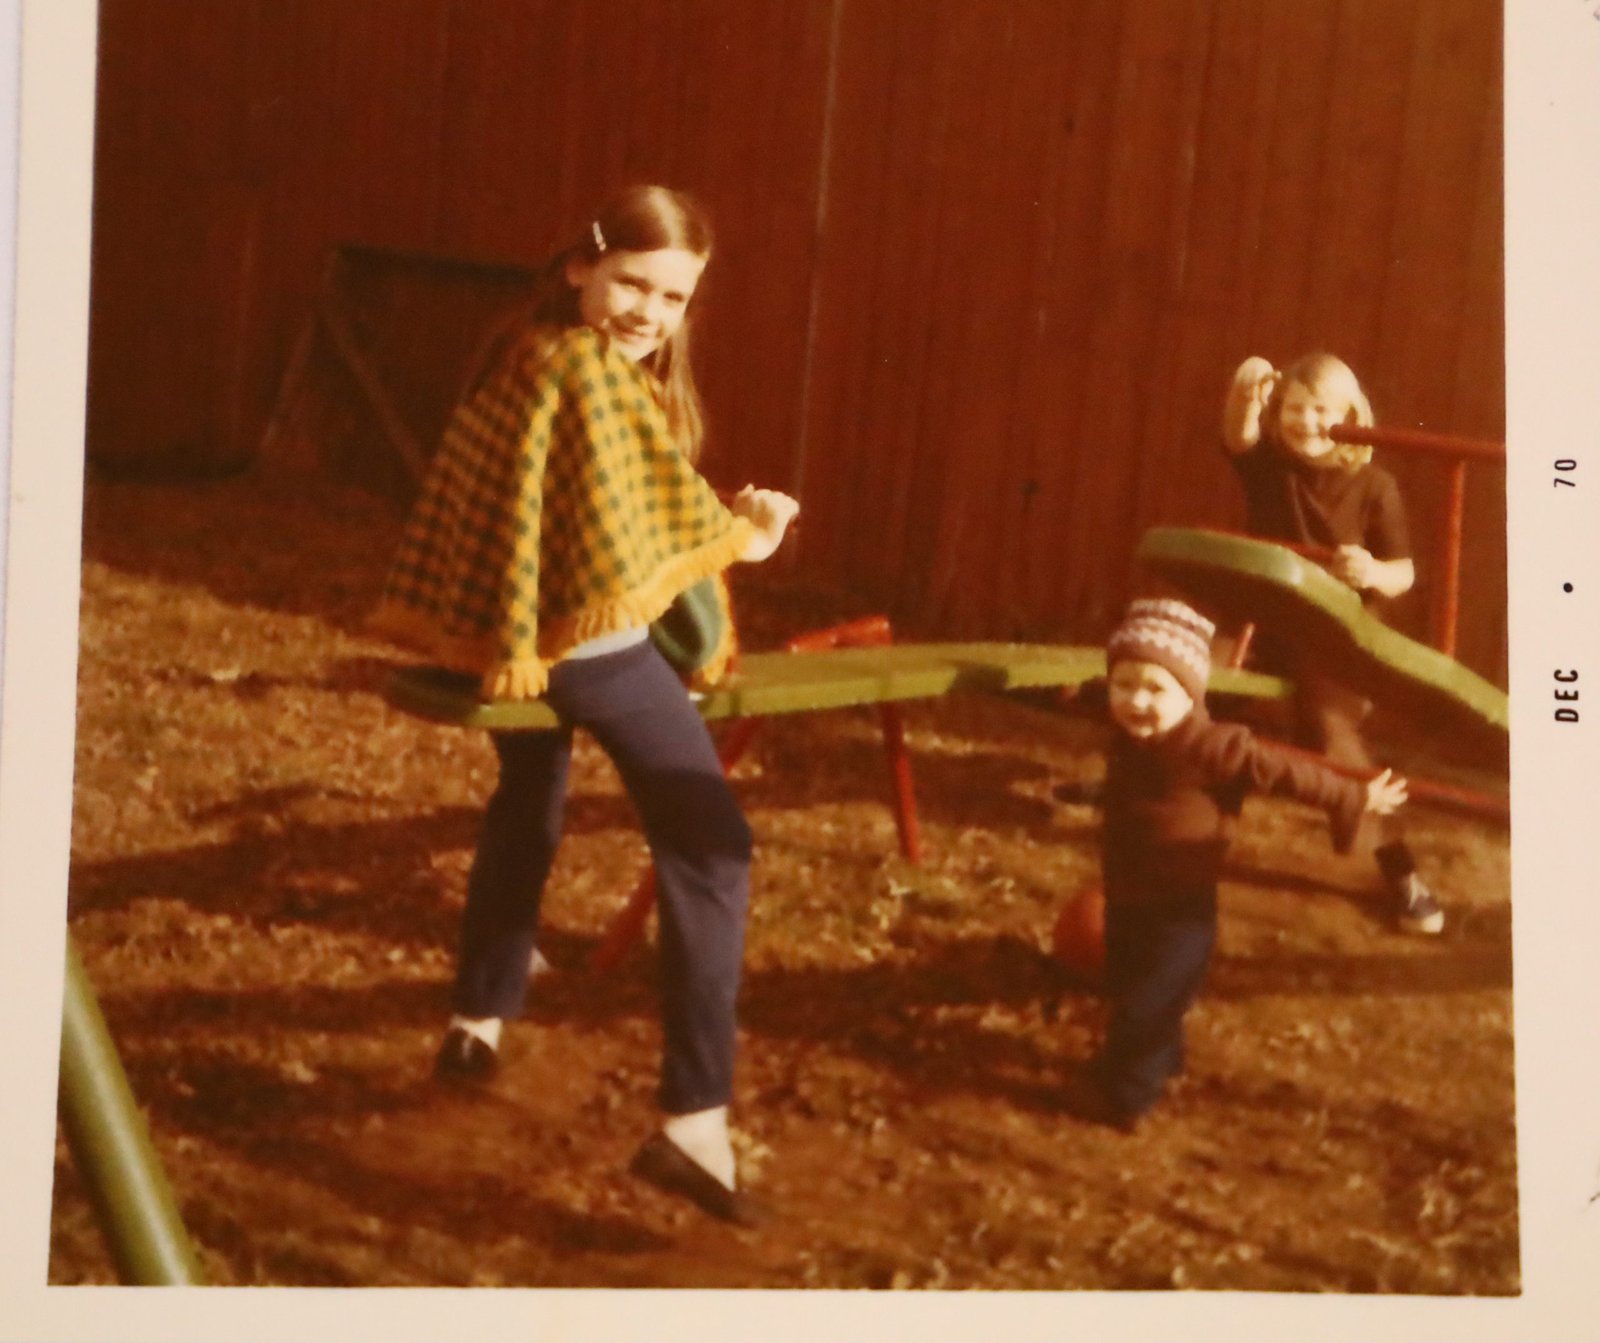
Julie and Johnny, Dahlonega 1970
————————————————–
Family Style Dining
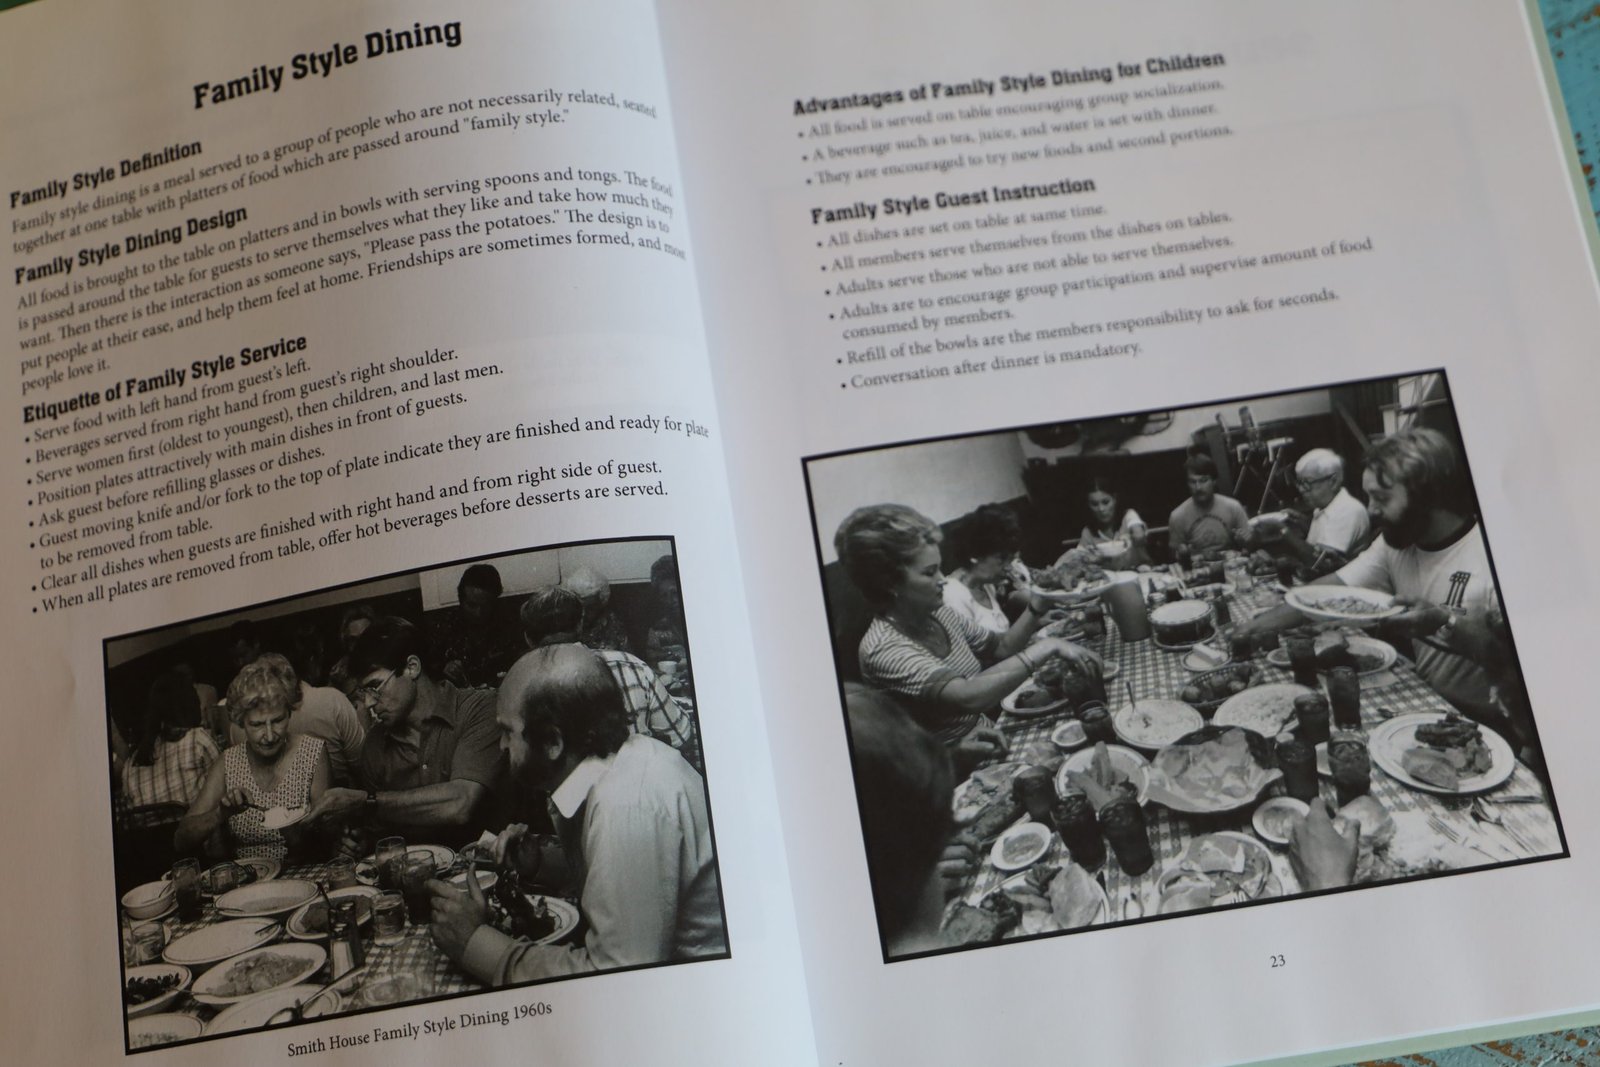
(I do love that the bread basket in the photo at right is empty.
Looks like I’m not the only one that loved those dinner rolls.)
The food is cooked fresh everyday in the kitchen and placed into bowls and platters and set on the table in front of you. You had no say on what they placed in front of you. At least that is how I remember it at the time. You would then serve yourself and pass the bowls around to the other people at your table. When you ran out of mashed potatoes you would motion to the waitress and she would disappear into the kitchen and return with a heaping bowl full to place in front of you for you to enjoy. It was all southern cooking. Probably very plain in taste by today’s restaurant standards but the food was delicious because you were tasting the food. Not tons of spices or sauces.
Salt and pepper, butter,
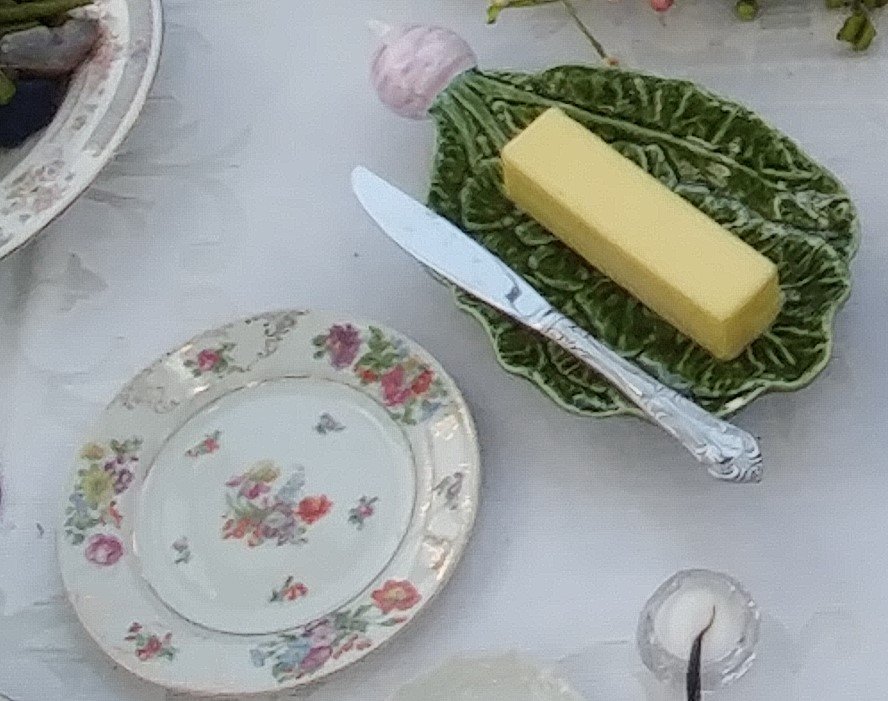
bacon grease, lard, and gravy
were all you really needed to season your food.
At least that’s how we liked it in the south.
—————————————————–
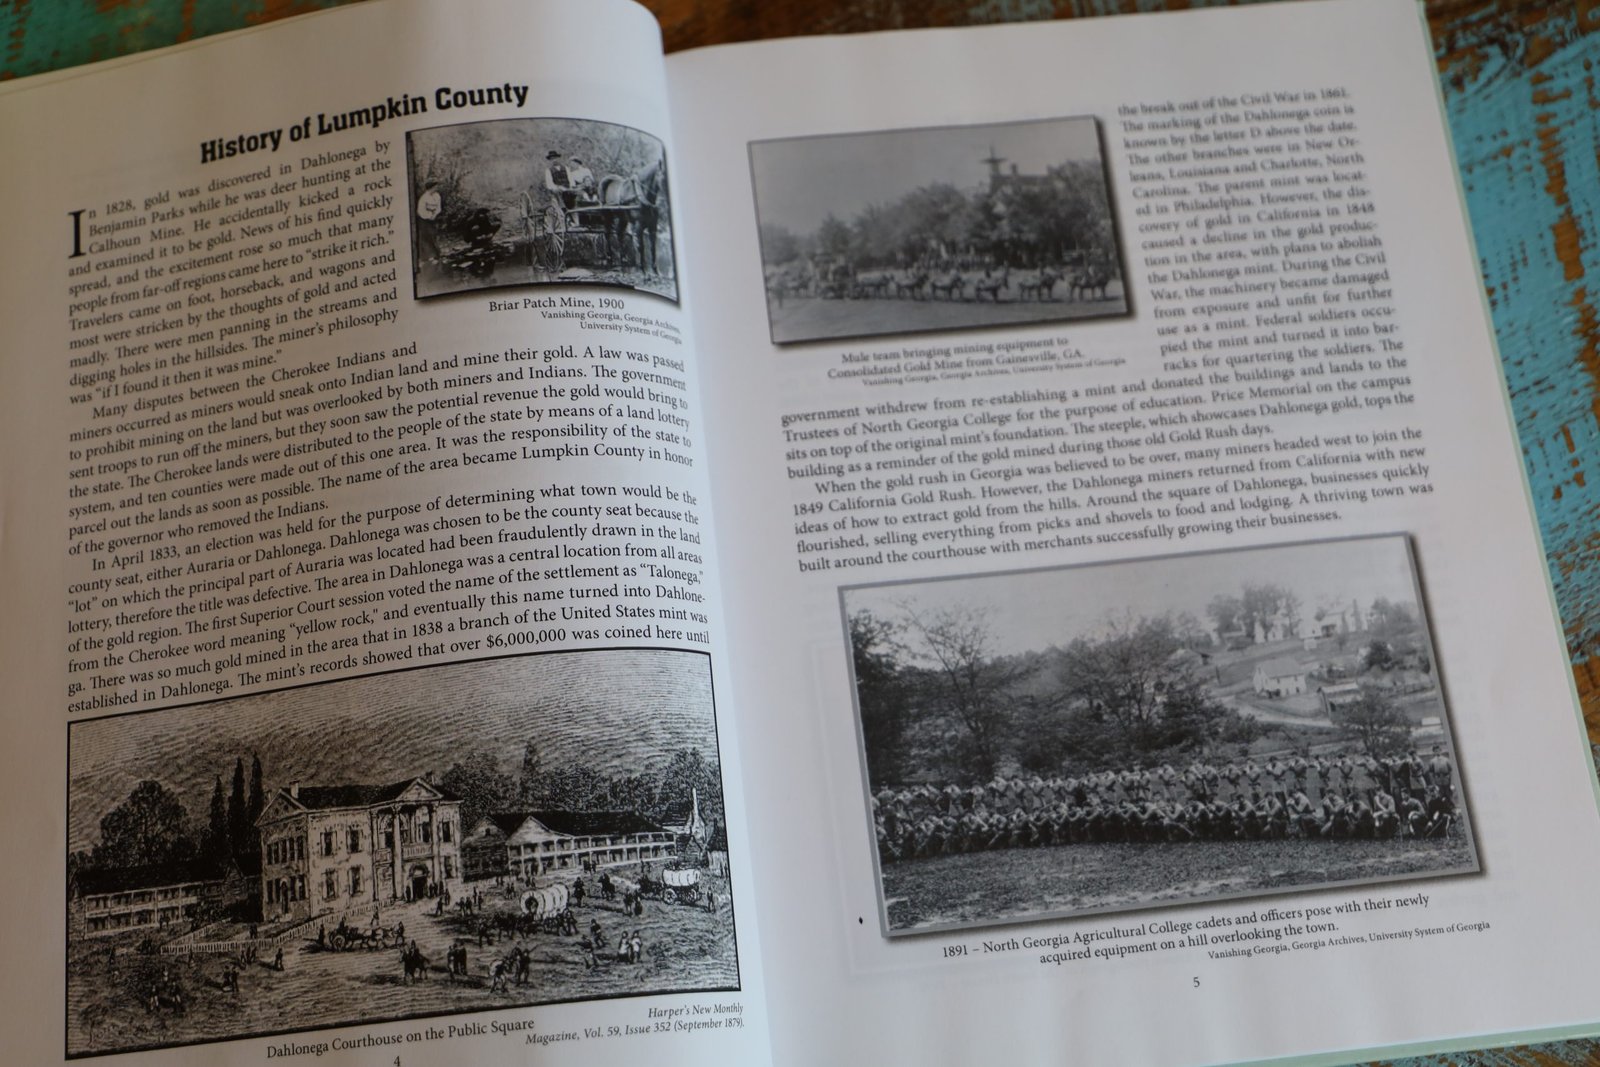
There’s Gold in Them Thar Hills!
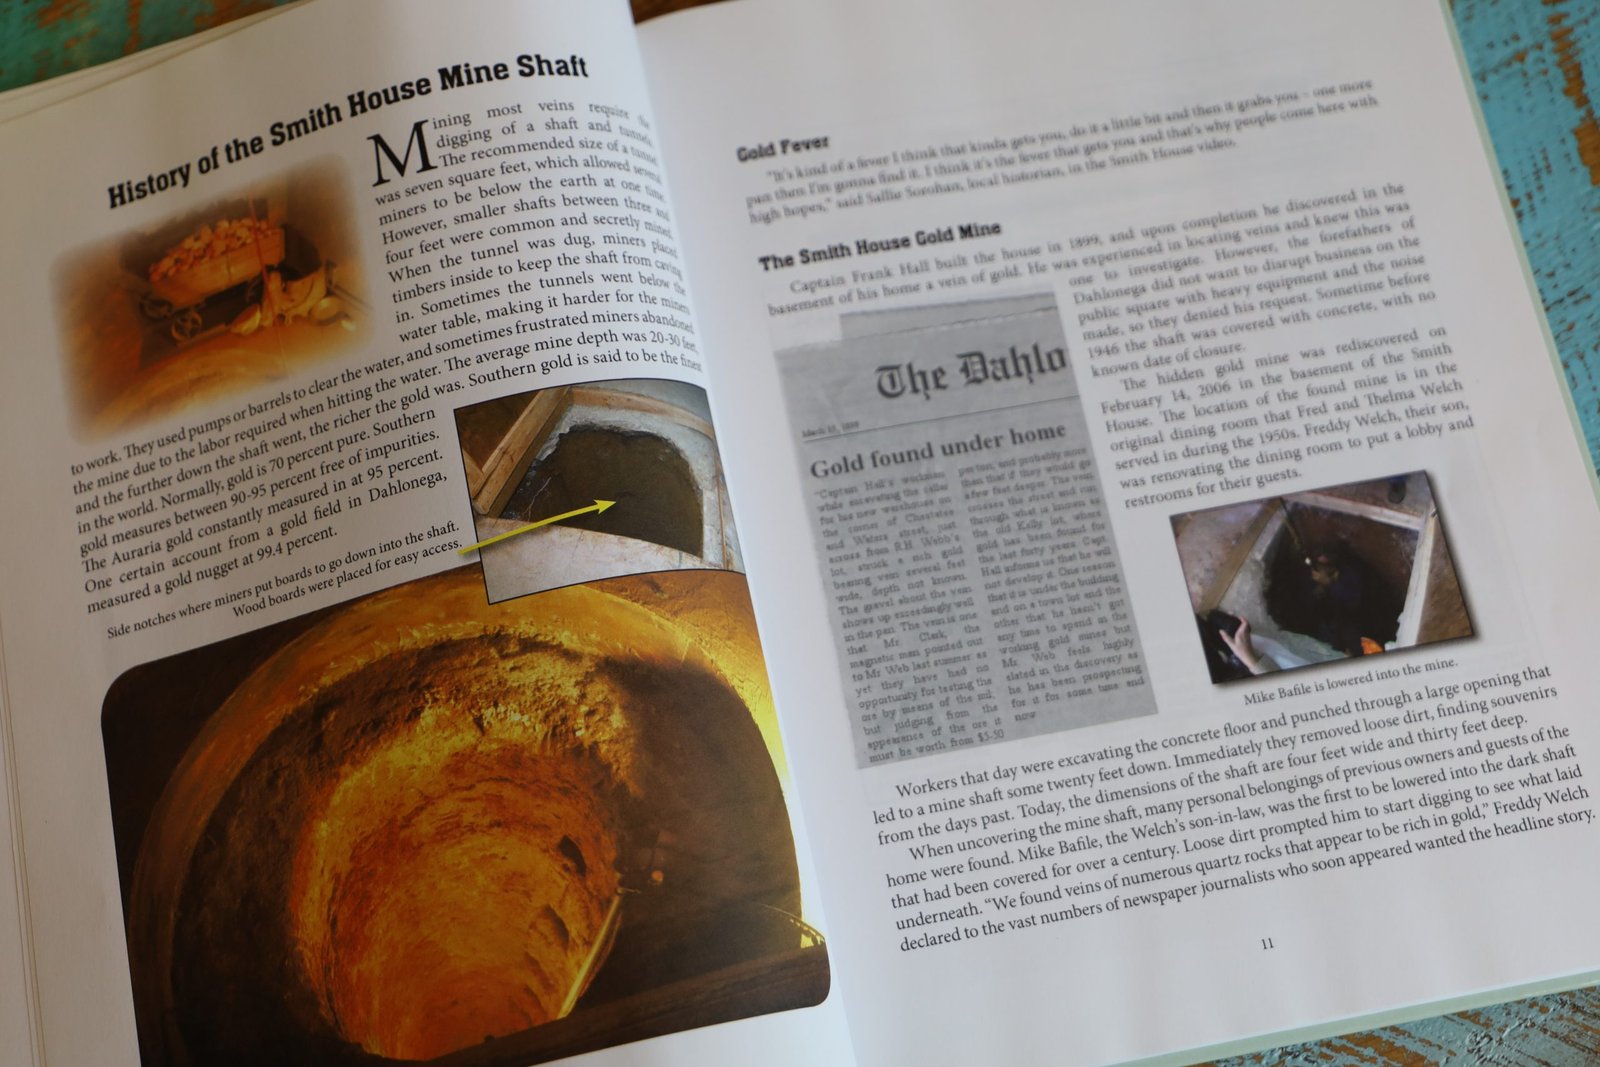
I can’t talk about Dahlonega without mentioning it’s gold mining past. It was during The Great Gold Rush to California that gold was discovered in Dahlonega. To prevent the residents of Lumpkin County from leaving, the mayor of Dahlonega said to his residents not to leave because, “There’s gold in them thar hills!”
Most people have heard that quote before but hardly anyone knows who said it.
My family and I used to go spelunking and panning for gold when we lived in Dahlonega. I never found a nugget just lots of gold flakes that were put into a vial of water and worn as a necklace. But we have certainly prowled our way through many caves in our spelunking adventures. My mother has all those photos.
I can also remember us driving up through the mountains and pulling over to the side of the road where I was handed a paper cup by my mother telling me to pick up those Garnet Nuggets because they were everywhere. So, we climbed steep embankments and started looking through the dirt finding them. I don’t remember how they knew they were all over that embankment but we got quite a haul that day. And I believe for my following birthday I was given a rock cleaning and polishing kit. It was a machine and was very loud so we set it out in the garage, but the rocks came out all smooth and shiny. I even have a few of those stones that we had placed into jewelry. They are somewhere in my house.
Spelunking, Panning for Gold, those were the days!

Mary Keith, my mother, and Me
———————————————————
When you drive through Atlanta you will see the Georgia State Capital building and it’s gold dome with gold from Dahlonega.

Georgia State Capital Dome
Atlanta, Georgia

——————————————————
My one food memory that I have from Dahlonega, and The Smith House were their Dinner Rolls. Rolls were my food! As my Grandfather used to say, ‘All Julie cares about eating are rolls, rolls, and rolls.
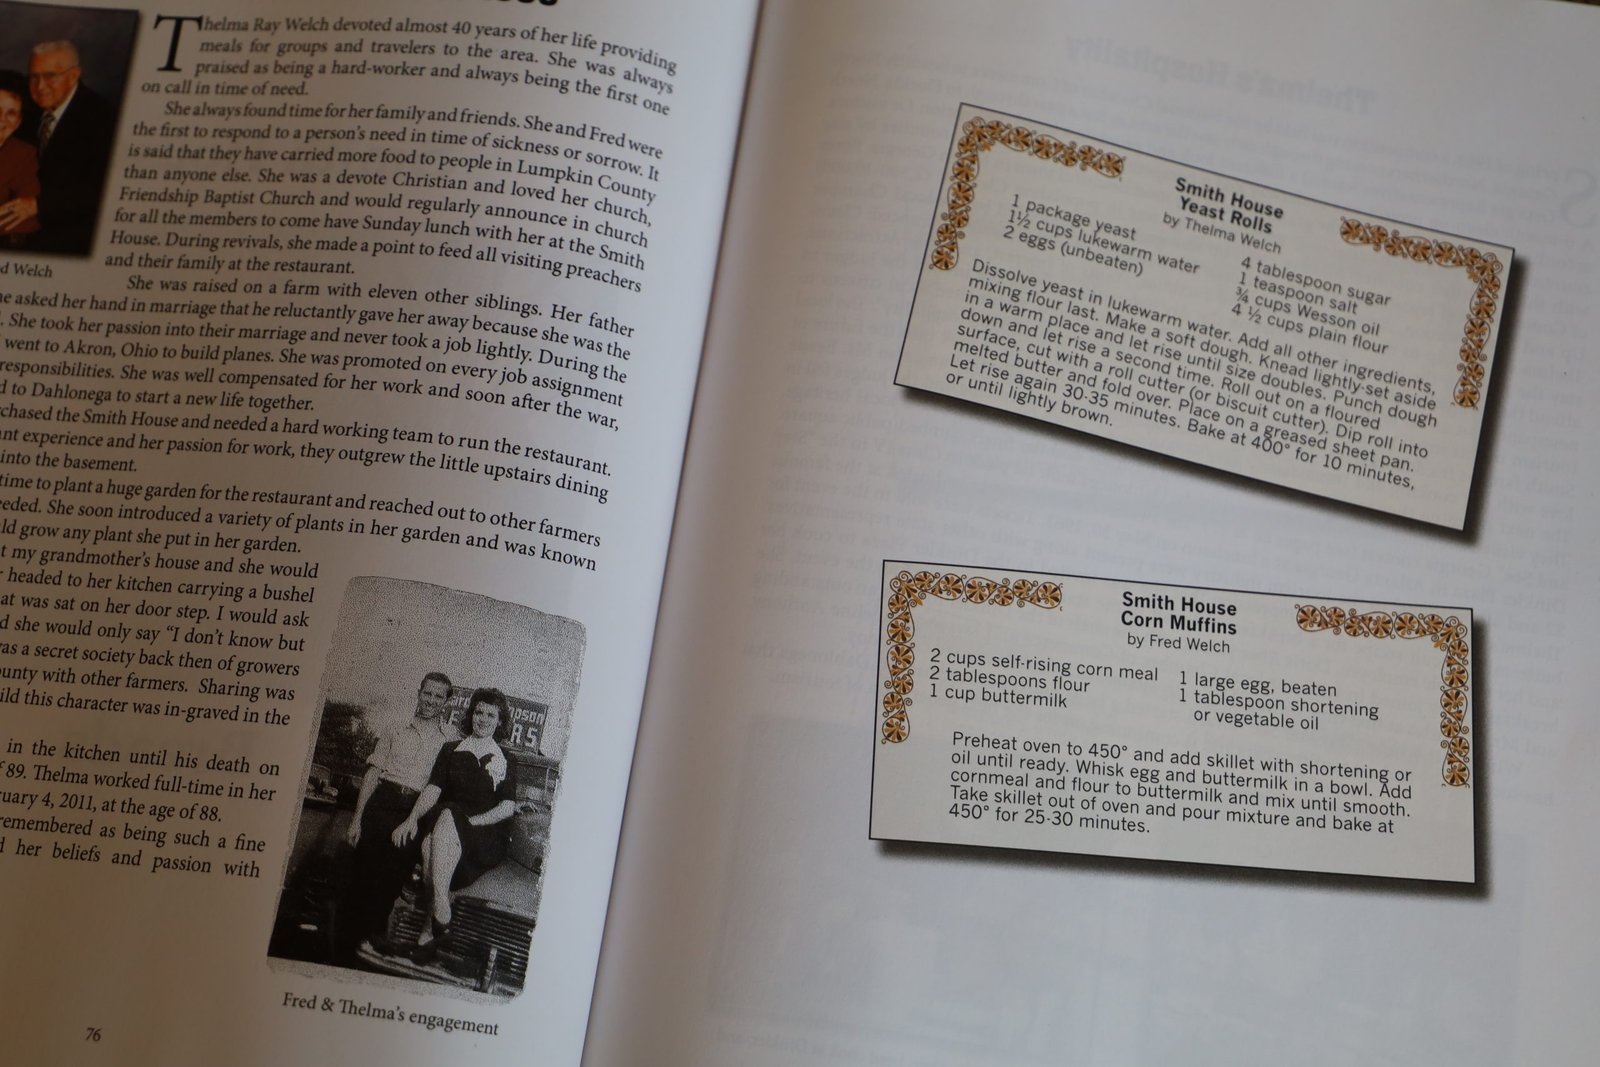
The Smith House made the best rolls I have ever eaten in my life and it occurred to me to look online and see if the recipe was out there for me to make them myself. That is when I spotted their book online and of course, I purchased it.
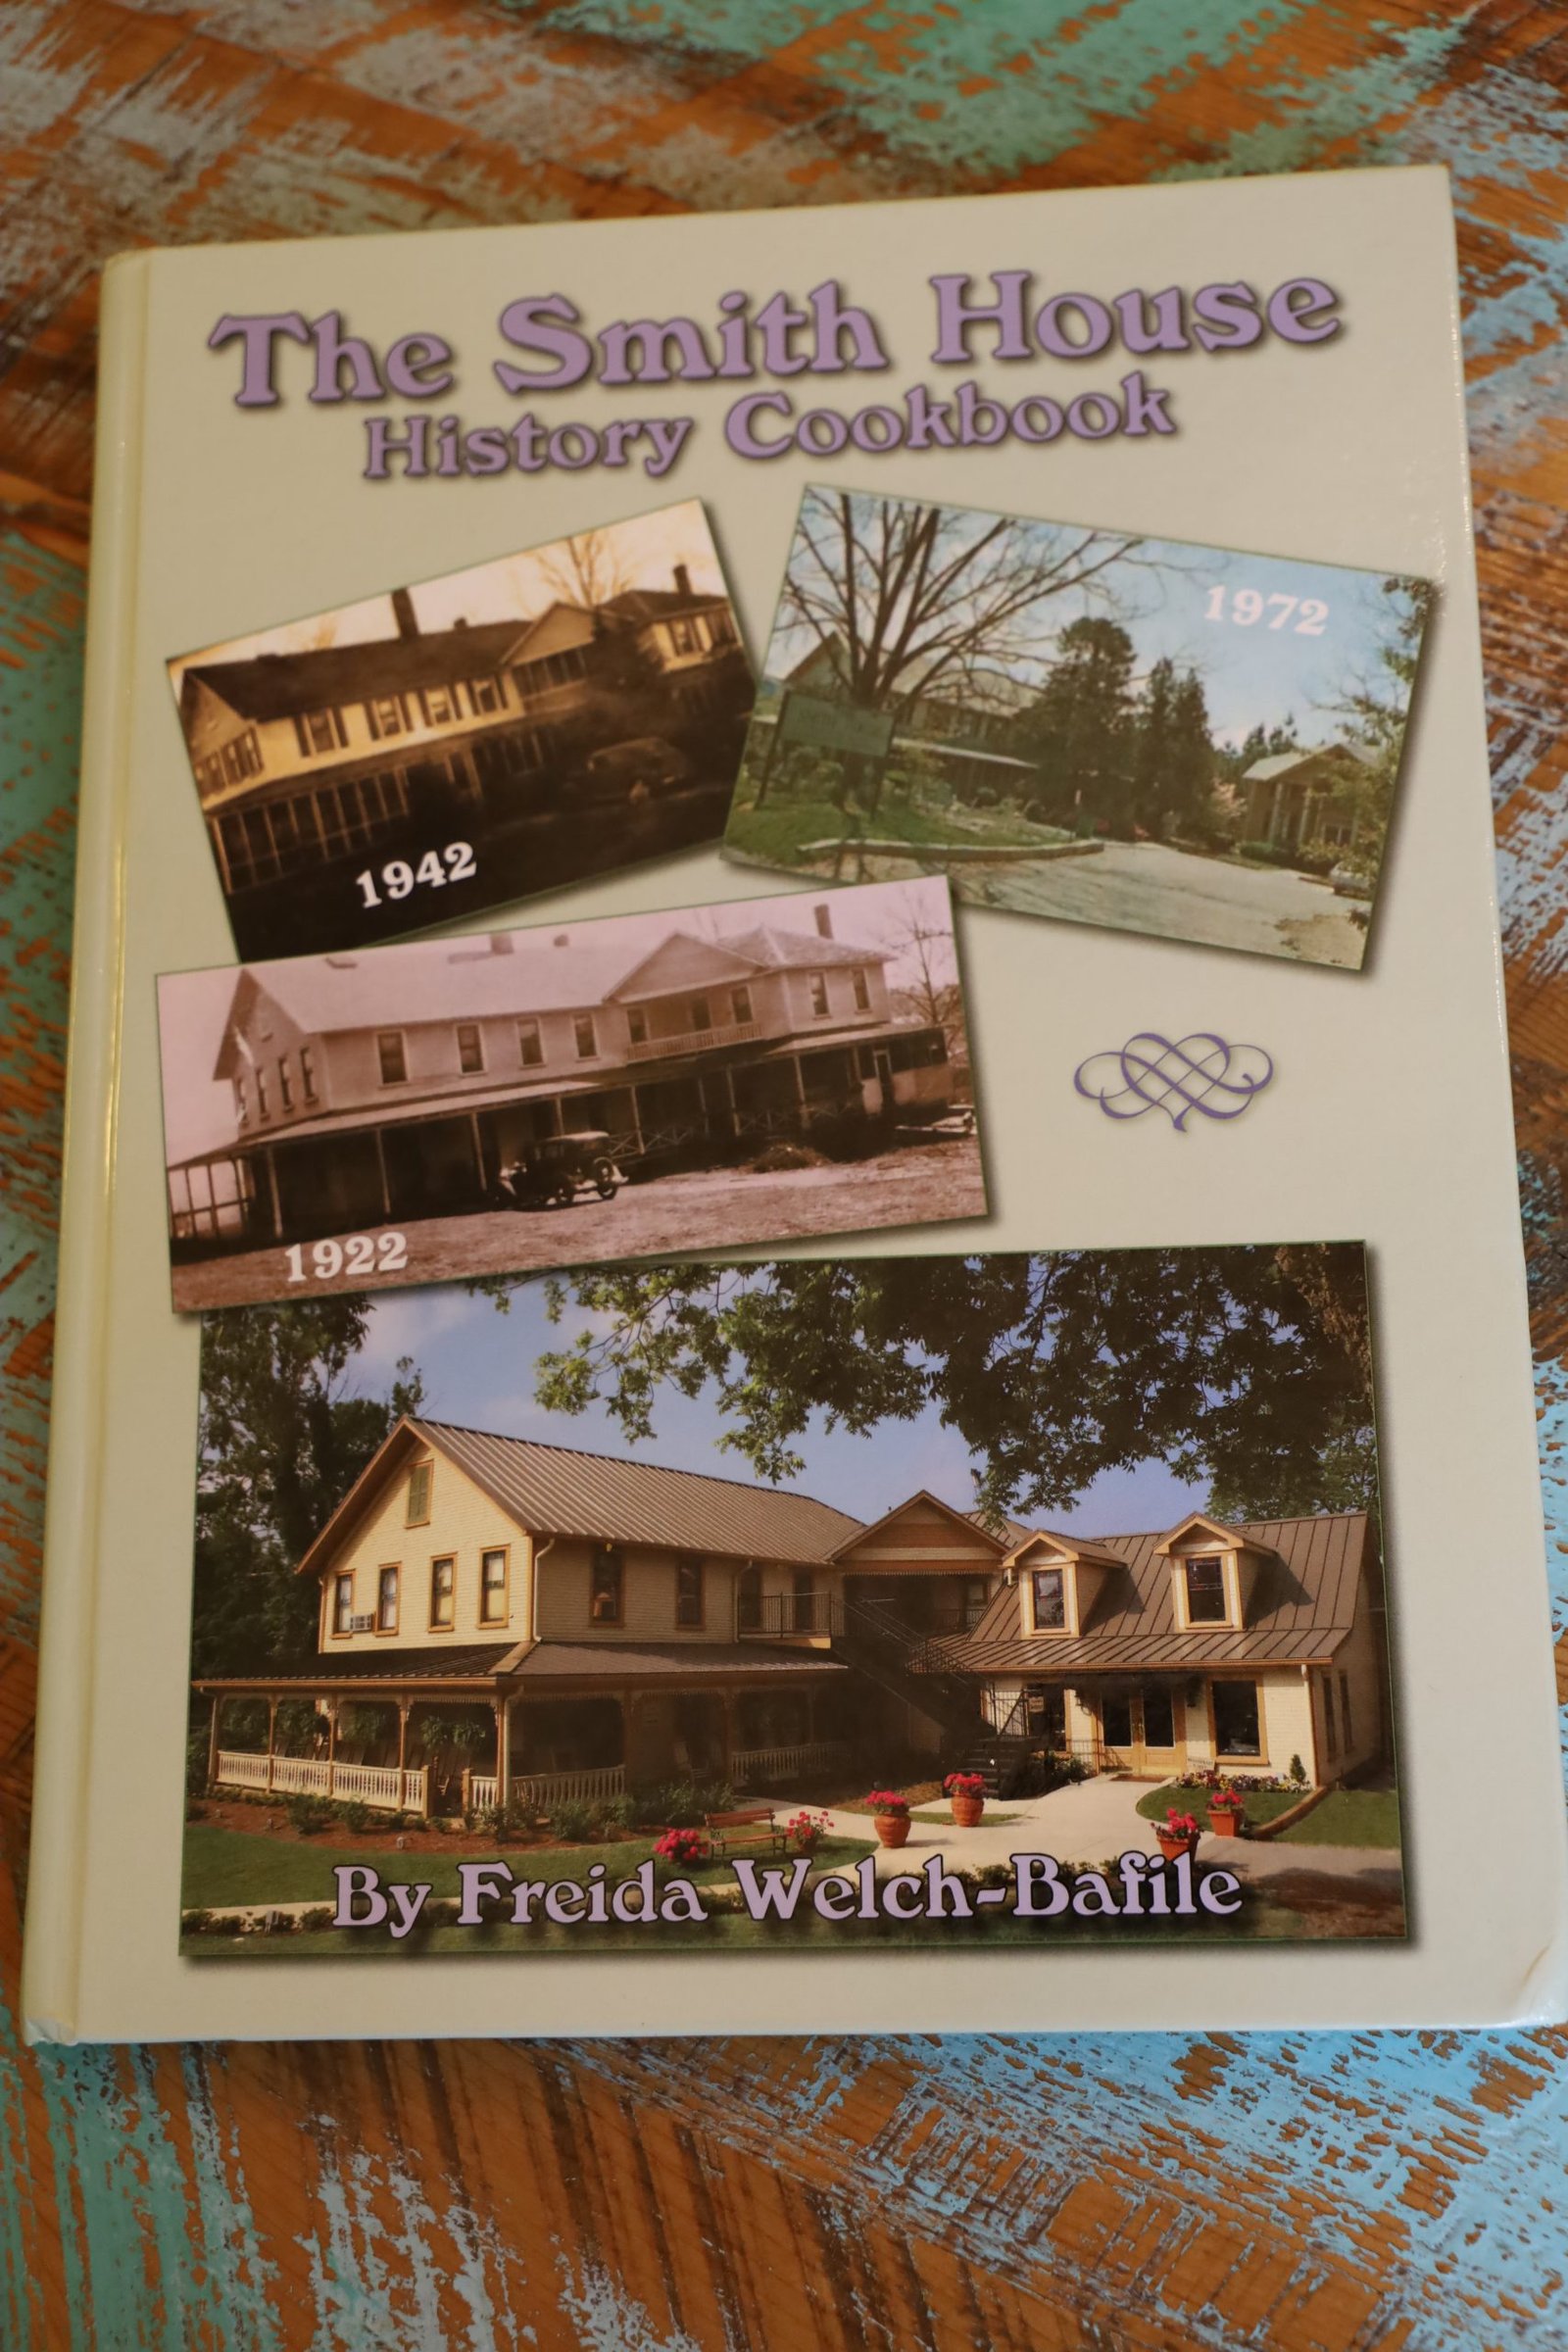
The Smith House History Cookbook
Of course I am enjoying reading a bit about the history. Some things I knew and other’s I didn’t.
But what I am enjoying the most are the recipes listed throughout the book.


The Recipes!
There are many and I am not going to post them all but the one that I was THE most excited to find…..
IS………..
THIS ONE!
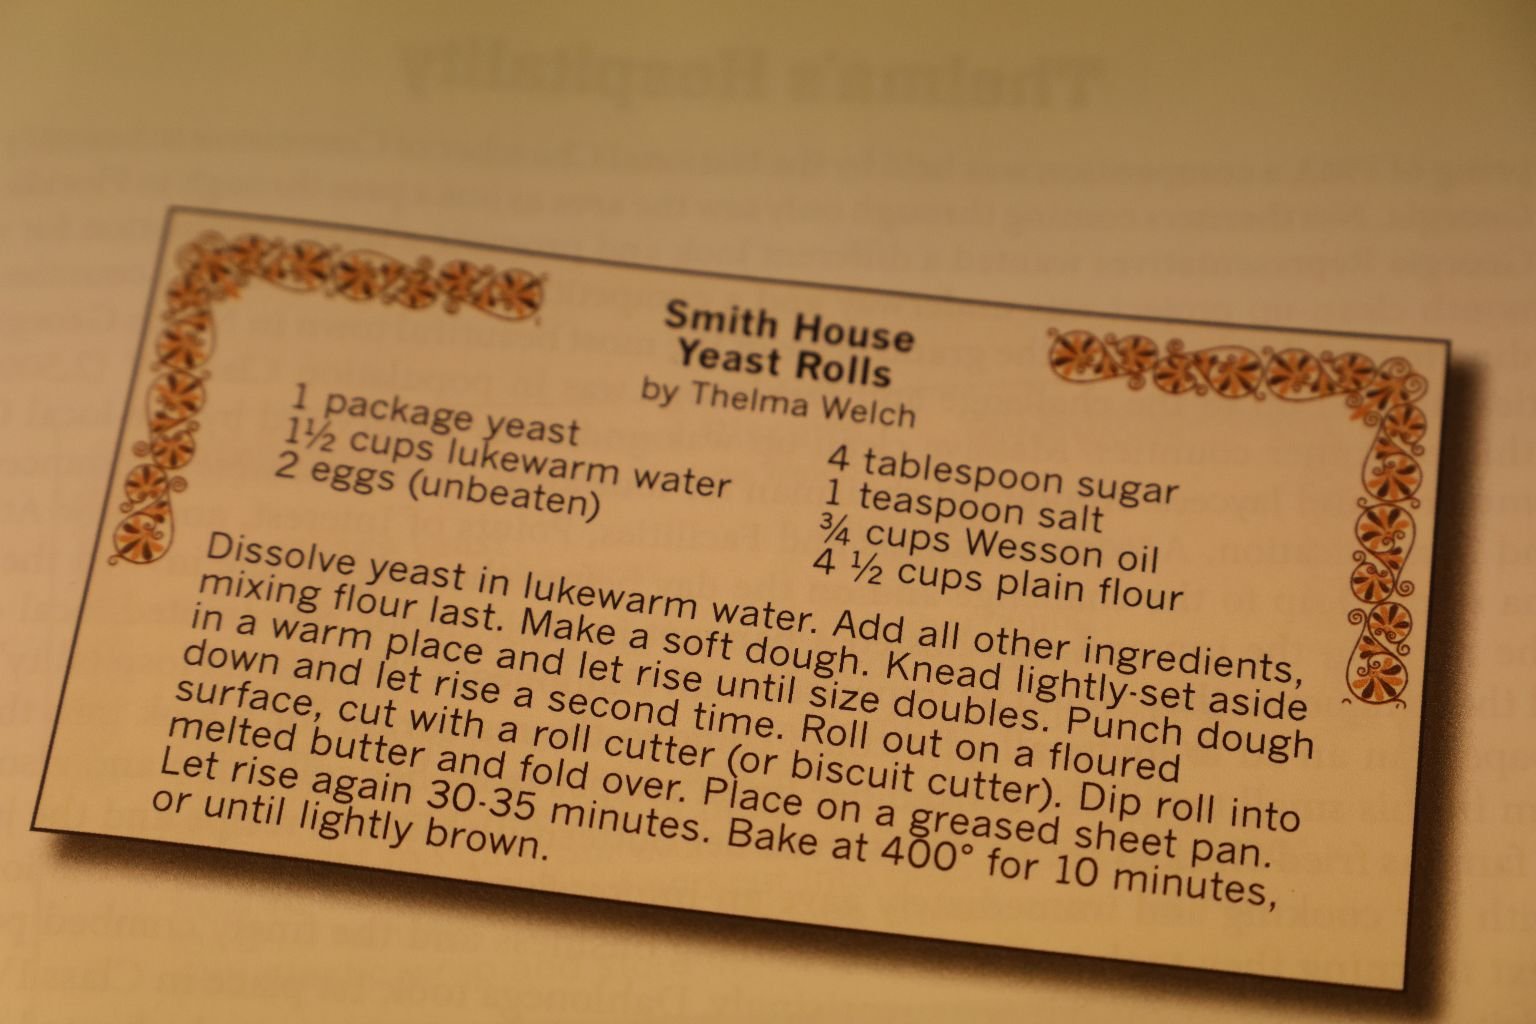
Smith House Yeast Rolls!!
YES! YES! YES!!!
———————————————-
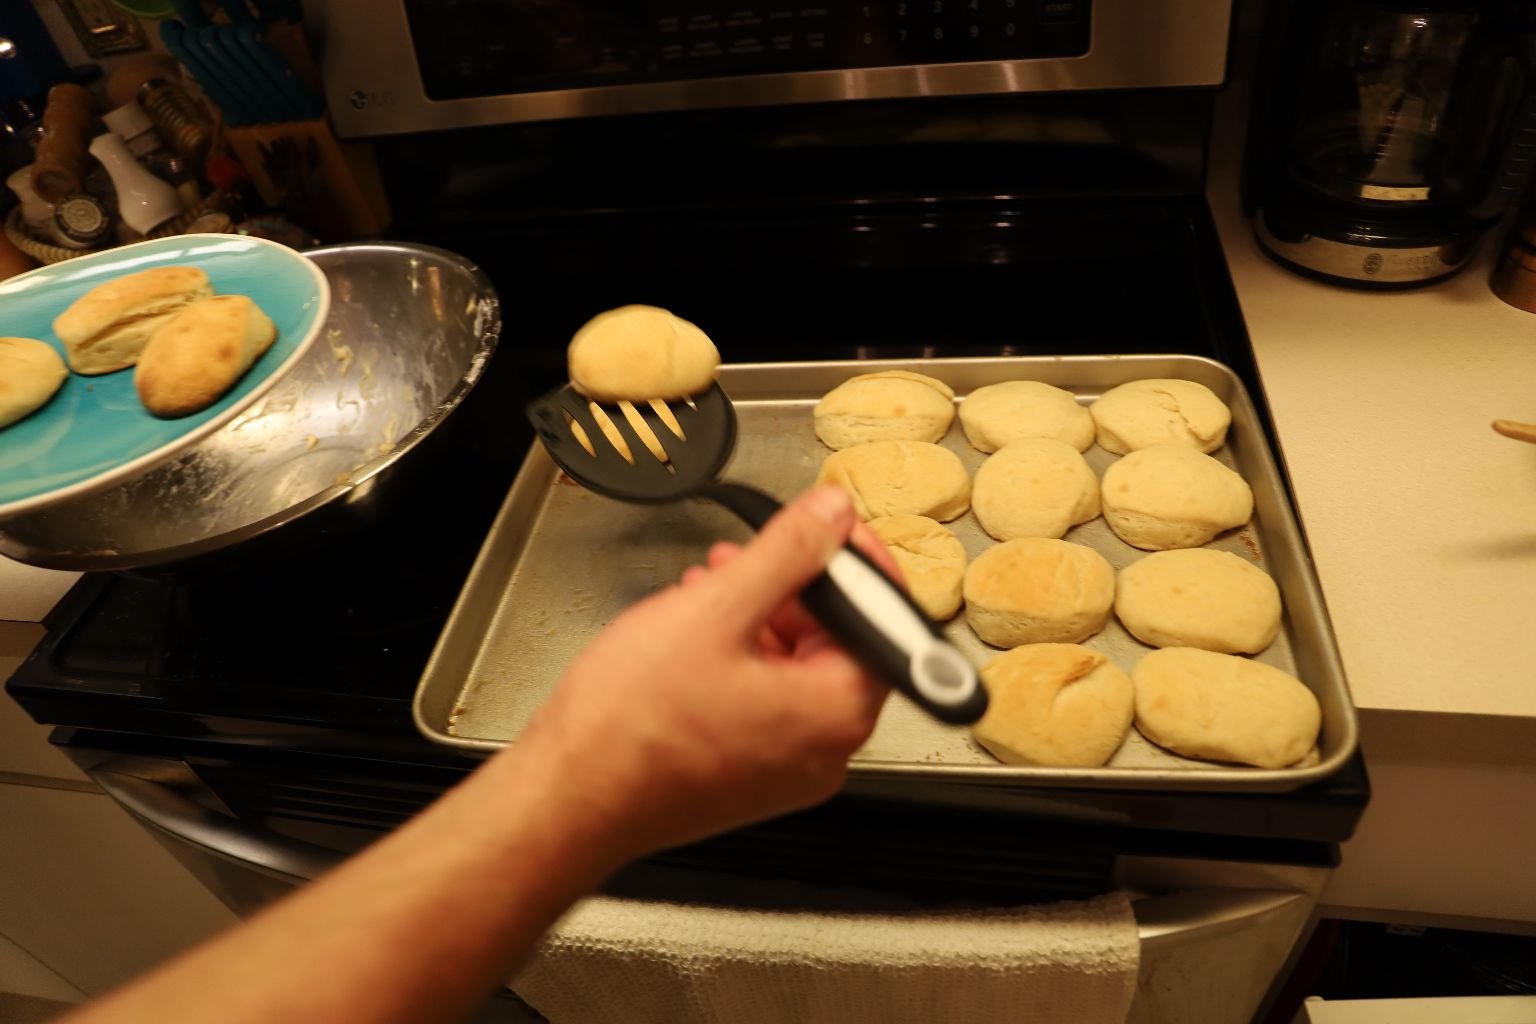
This entire Easter Dinner is based on these.
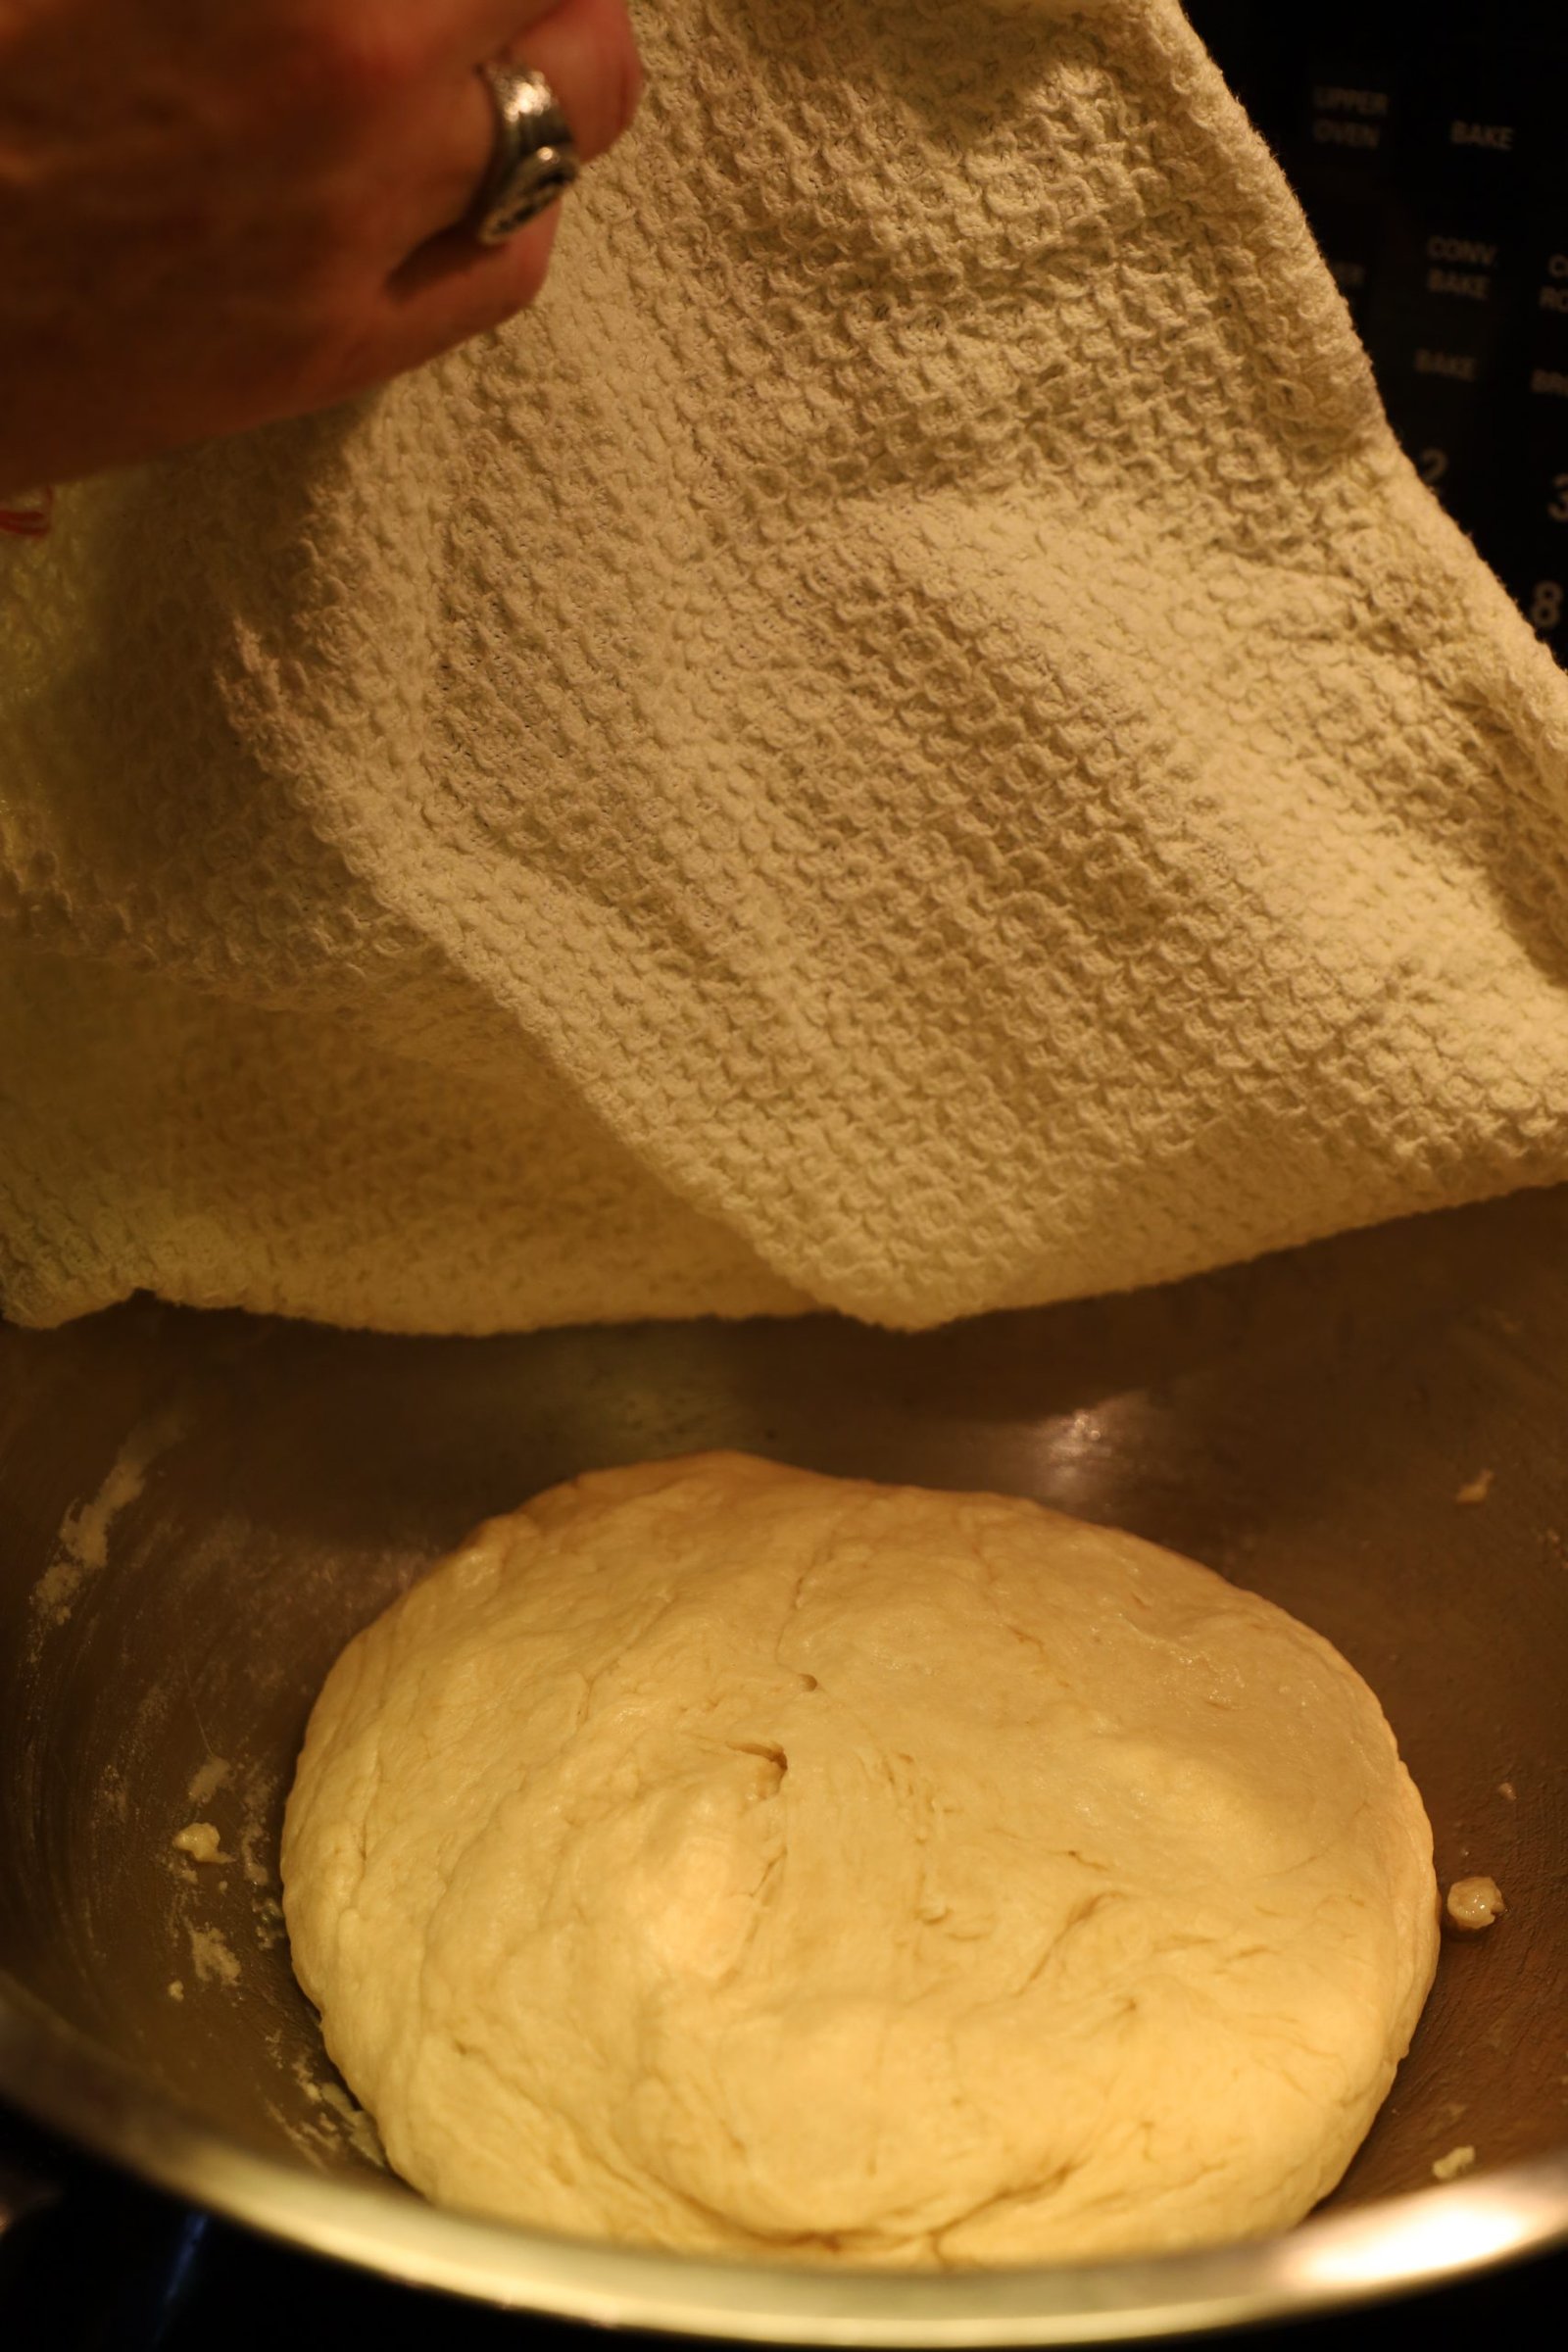

Smith House Recipe Yeast Dough
(Waiting for the dough to rise.)
Made by Brodie and Mackenzie

The Smell is Amazing!
————————————————————
2020

I made sure the basket was sitting right next to me on our Easter table. 🙂
The rolls were delicious! They tasted a bit like I remember and Brodie and Mackenzie had never baked bread before so taking all that into consideration they did a wonderful job, but the rolls that I remember had probably been made hundreds of times by the same women in that Smith House kitchen. They had perfected a technique that they probably had no idea that they had. Just handing out a recipe doesn’t mean that we will be able to recreate it exactly as they did. But I was given a delicious taste of a happy childhood food memory that I have carried with me from the age of 7 and I do appreciate that.
——————————————————

Me, on a swing with Anne Catherine Folger in Dahlonega.
(She’s the pretty one. I’m sticking my tongue out.)
——————————————————-
Sequoya’s Alphabet

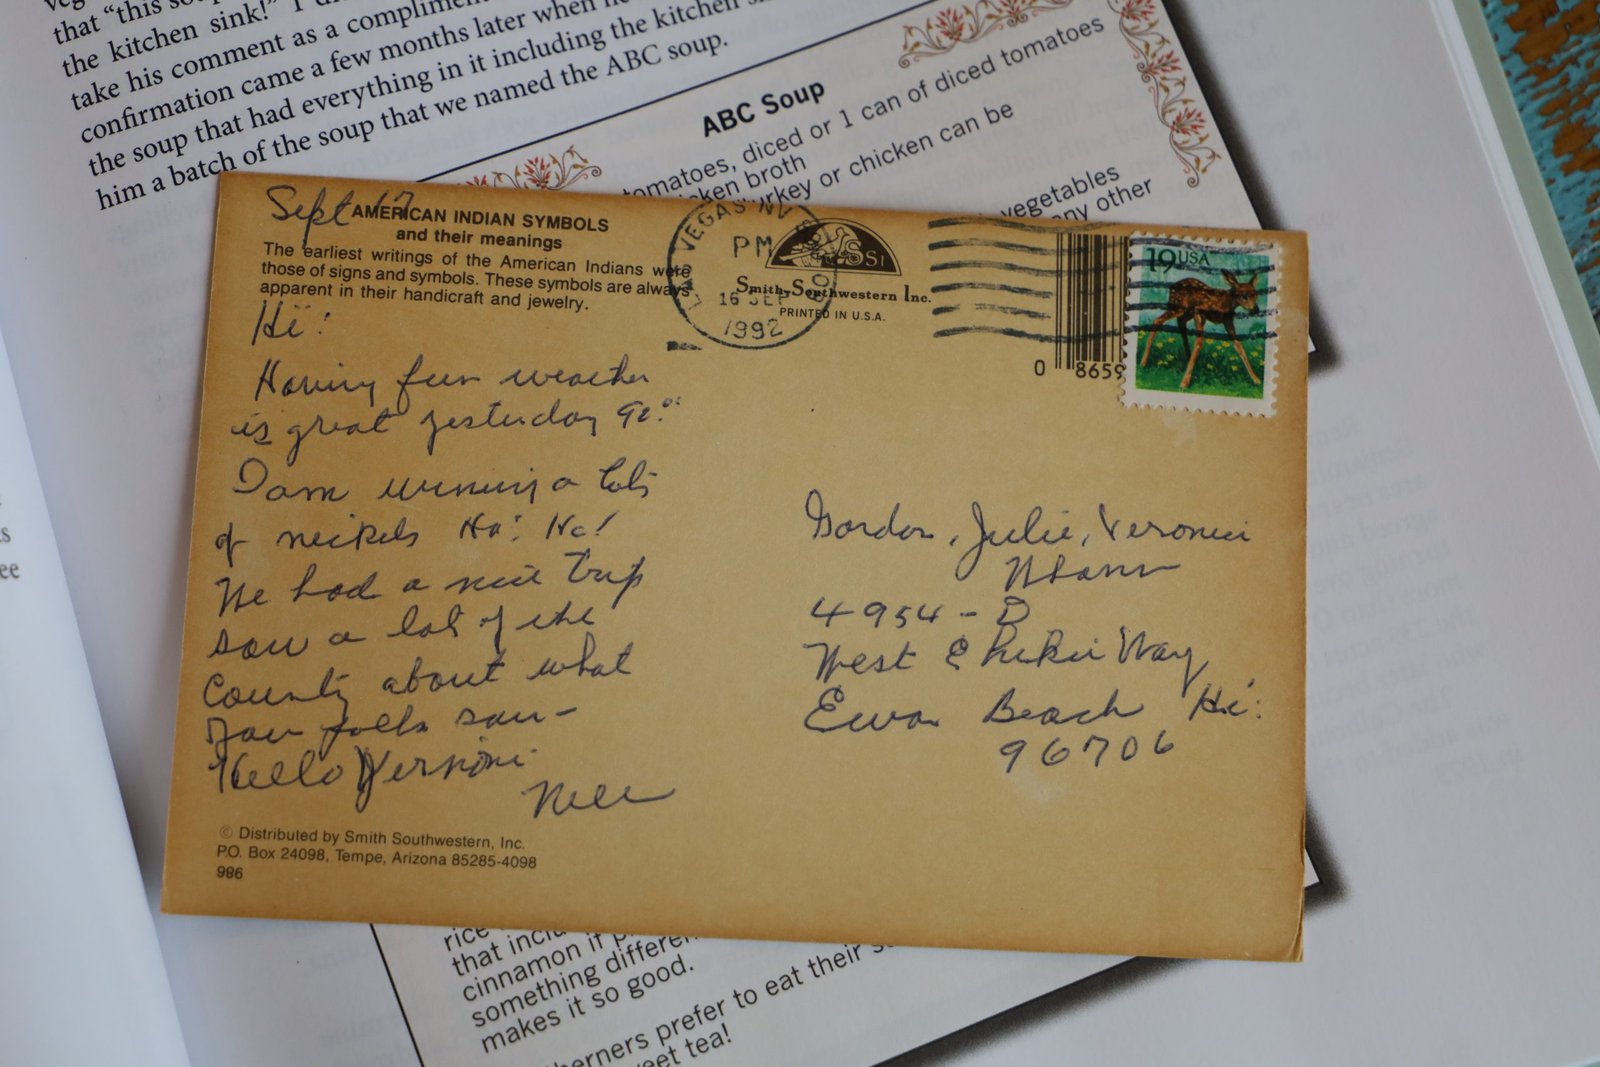
(The photo above is a post card that my Grandmother sent to us from Las Vegas in 1992. It depicts Indian symbols and their meanings. There is a section in the Smith House History Cookbook that speaks of Sequoya (Sikwayi) and his Alphabet.)
The Indian Tribe that we most know of in the state of Georgia is the Cherokee Nation. Sequoya’s mother was Cherokee and his father was white. Sequoya was most impressed that the white man could “put talk on paper.” The Cherokee Alphabet was invented in 1821. Sequoya created an alphabet of 86 characters. The English Alphabet only has 26 letters. The Cherokee Nation embraced Sequoya’s Alphabet.
I grew up in a family that loved our Native American’s and we were taught quite a bit about them. My parents admired them for the great people that they were and are, and they passed that down to me and all 3 of my brother’s. We have spent many a family vacation visiting Indian Reservations throughout our country, in the south as well as out west.

This is me, July 1969. I don’t know where we are here but I know that my Grandfather took the photo. I also remember him buying me that necklace. 🙂 I am with a Native American Chief here.
—————————————————–
Sadly, the Trail of Tears started in my hometown of Rome, Georgia. But, I was happy to see Sequoya included in this Smith House History Cookbook.
———————————————————–
I wanted to add that this Easter Dinner wasn’t just about remembering The Smith House, it was also about remembering all my childhood Easter’s with my Grandparents and Great-Grandparent’s. Adding the table extensions to the dining room table in order to seat 8-10 instead of 4. The dining table pad that would be placed on top of the table. The white linen tablecloths ironed to perfection, same with cloth napkins. The beautiful China bowls and platters set on the table filled with delicious southern, and northern cooking. (I had Yankee relatives too.) Shhh…. 🙂
Remember the crystal goblets, and let’s not forget the silver that would be polished a week or so in advance so that everything gleamed and sparkled on our Easter table.
That is why this year I wanted for us to eat all those delicious southern foods that I grew up with. Some cooked their way, and some cooked our way. I did use the Smith House cookbook as a template for the foods I wanted on our table although the only recipe we followed from the book was for the yeast rolls. At least, so far. Rediscovering traditional southern cooking has been something I have been doing for the last few years. It is fun to try the newest cooking trend but that is all they ever seem to be. Trends. I guess where food is concerned lately I’ve been more interested in going home.


Me, playing on my tire swing in our backyard in Dahlonega. And me with our dog Little Bit. Sadly, the neighbor right in back of us, the Whitmyer’s didn’t like our dog so the man took him away one day and left him in the mountains to die. That is what I was told by my mother. So, on that happy note…..
Happy Easter,
Julie
Oh, and P.S. Former President Jimmy Carter has eaten there. He was born and grew up in Plains, Georgia. His family were the only white people in that small town. He didn’t see his first white person (other than his immediate family) until he was 14.
——————————————————–

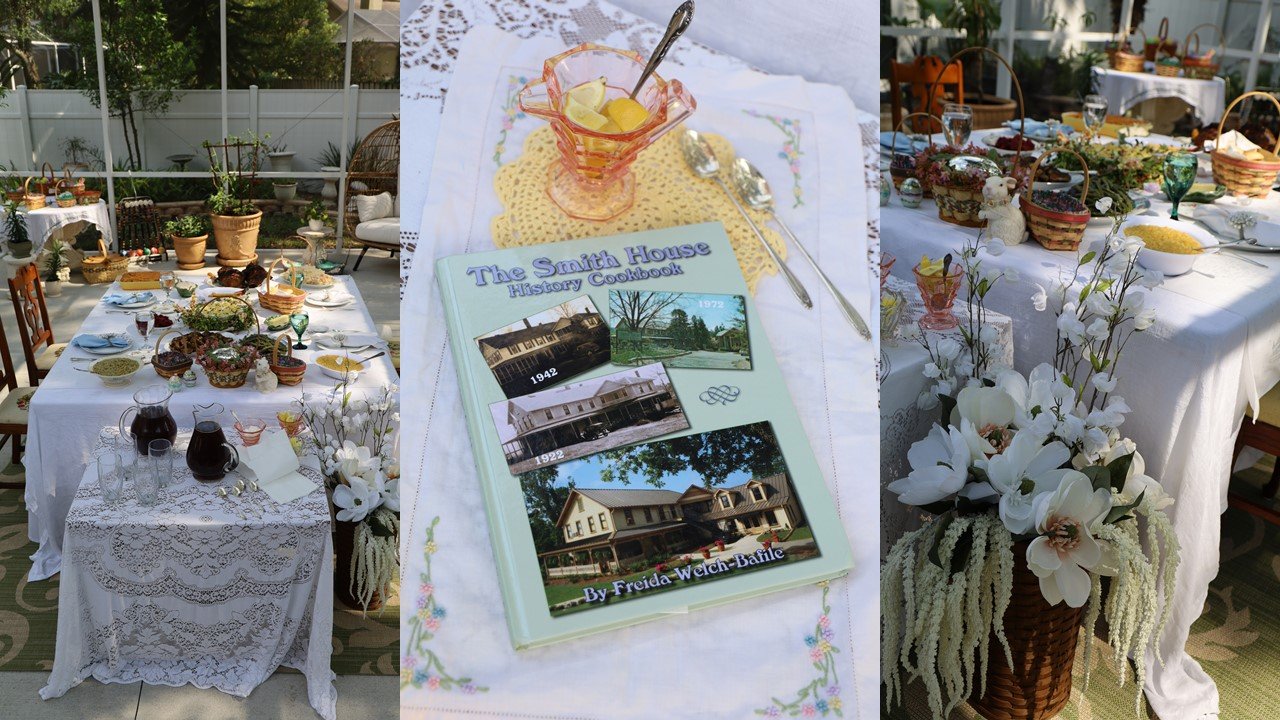
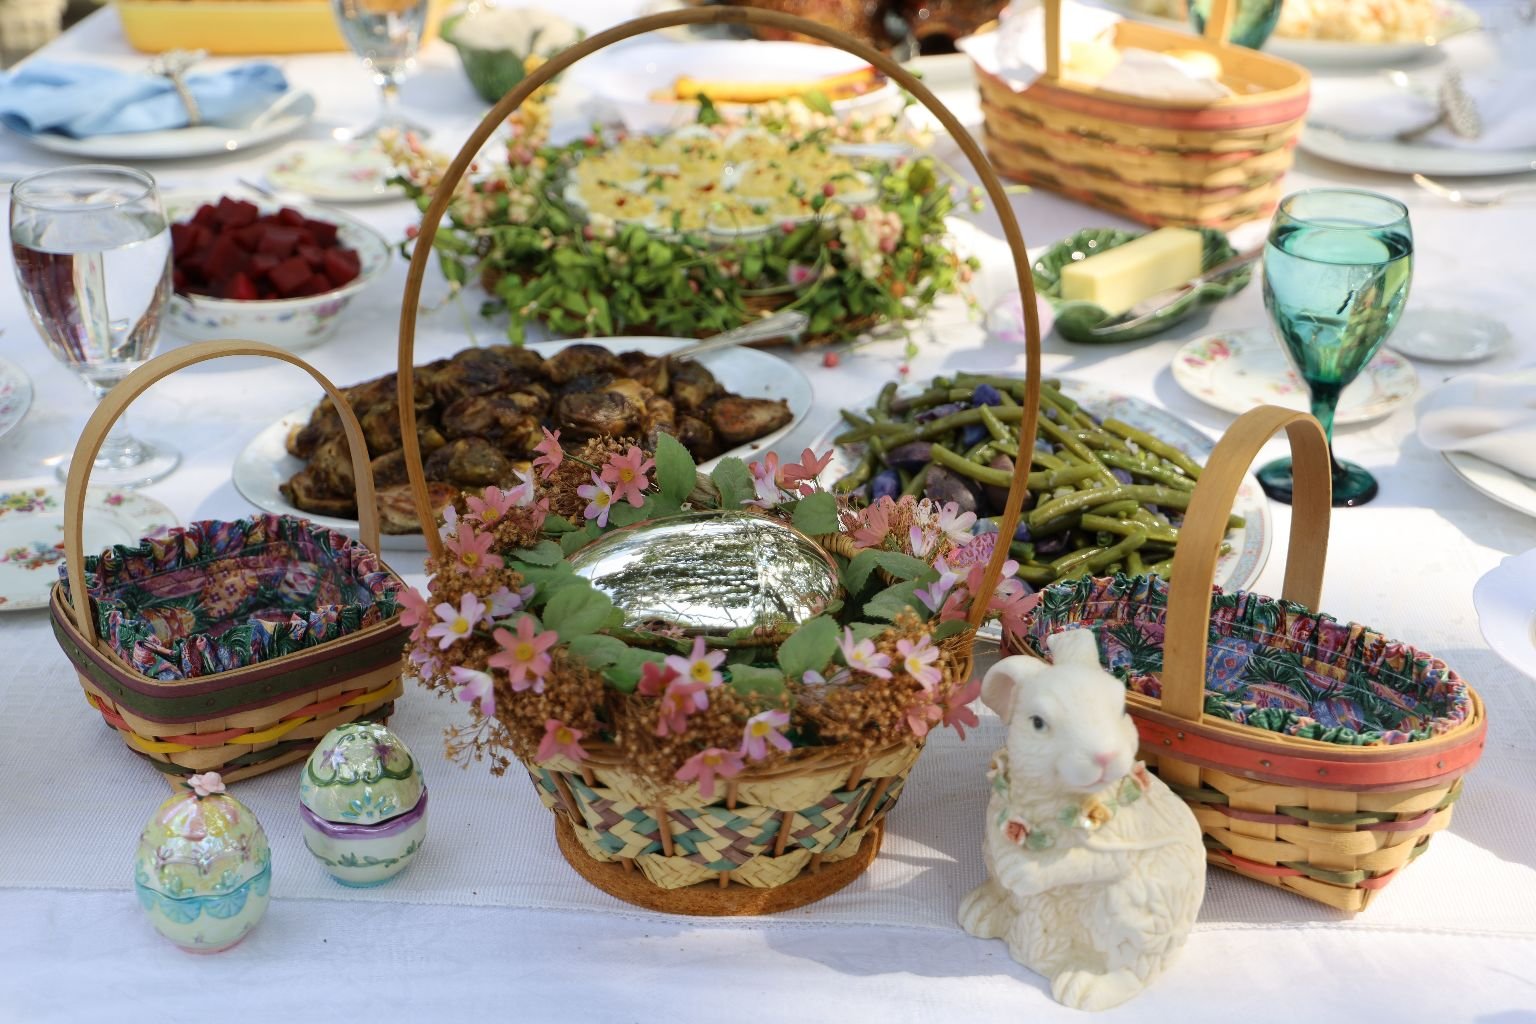
Our Easter Table

Easter Baskets Adorn
(Along with the GOLDEN EGG. Something I never found at childhood Easter Egg Hunts.)
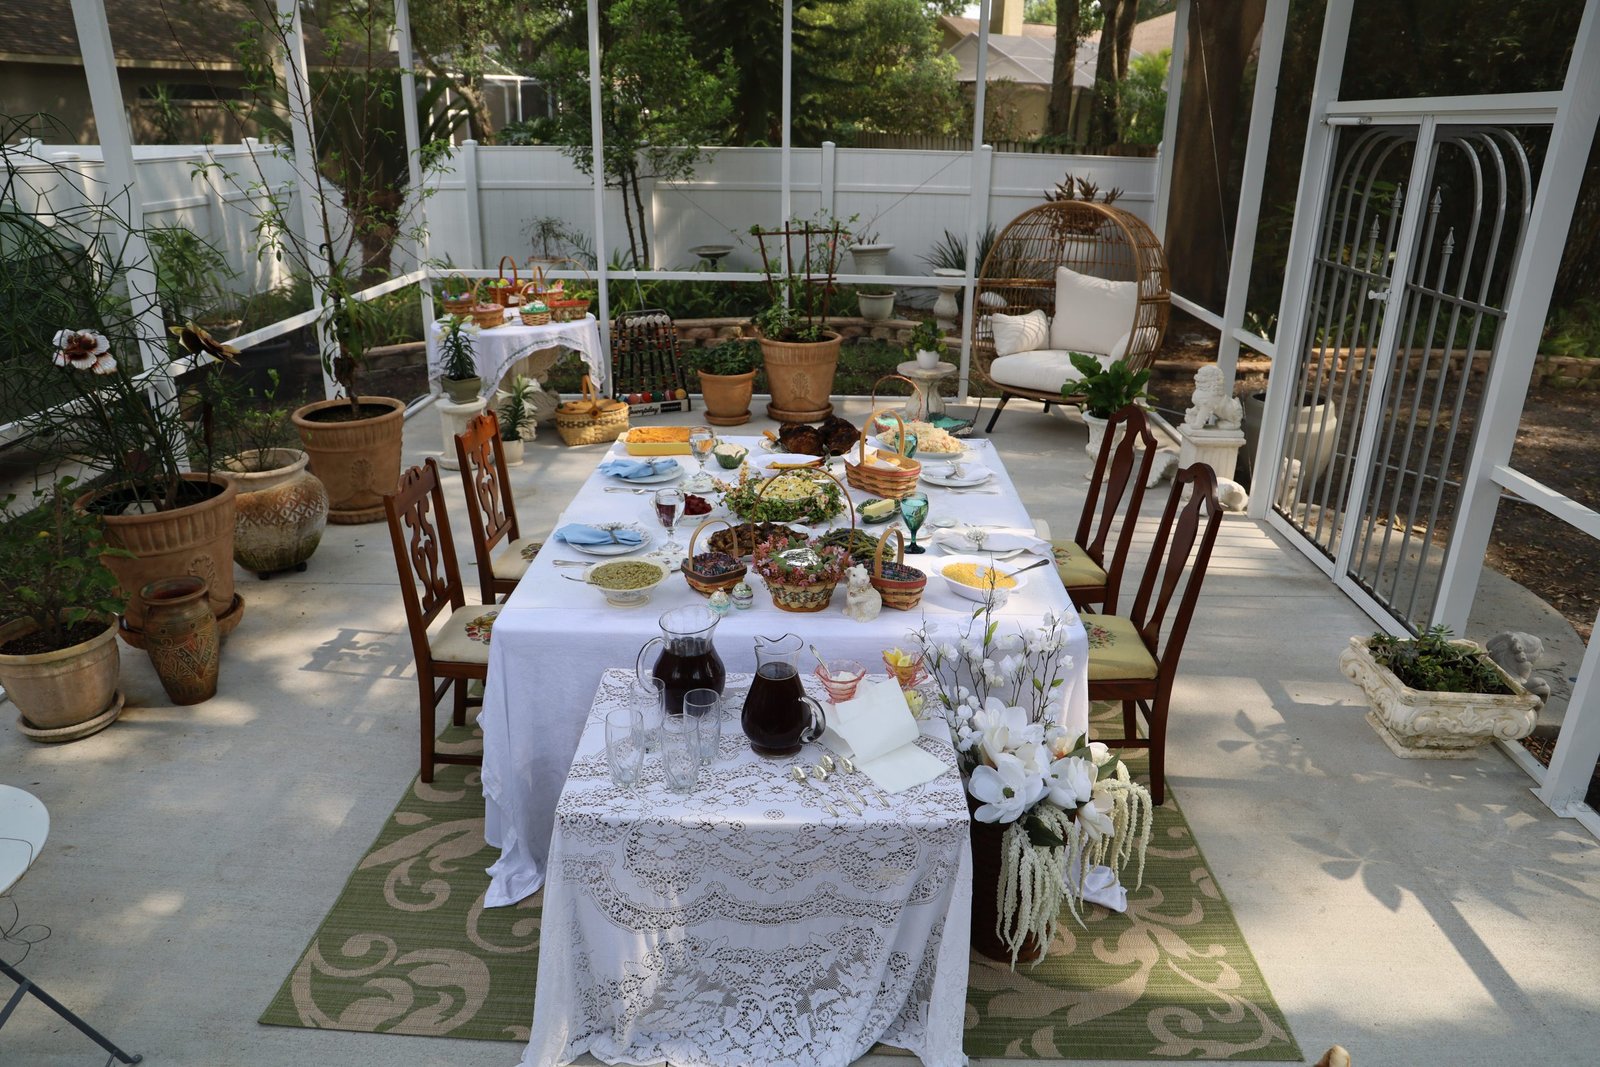
Our Extended Lanai
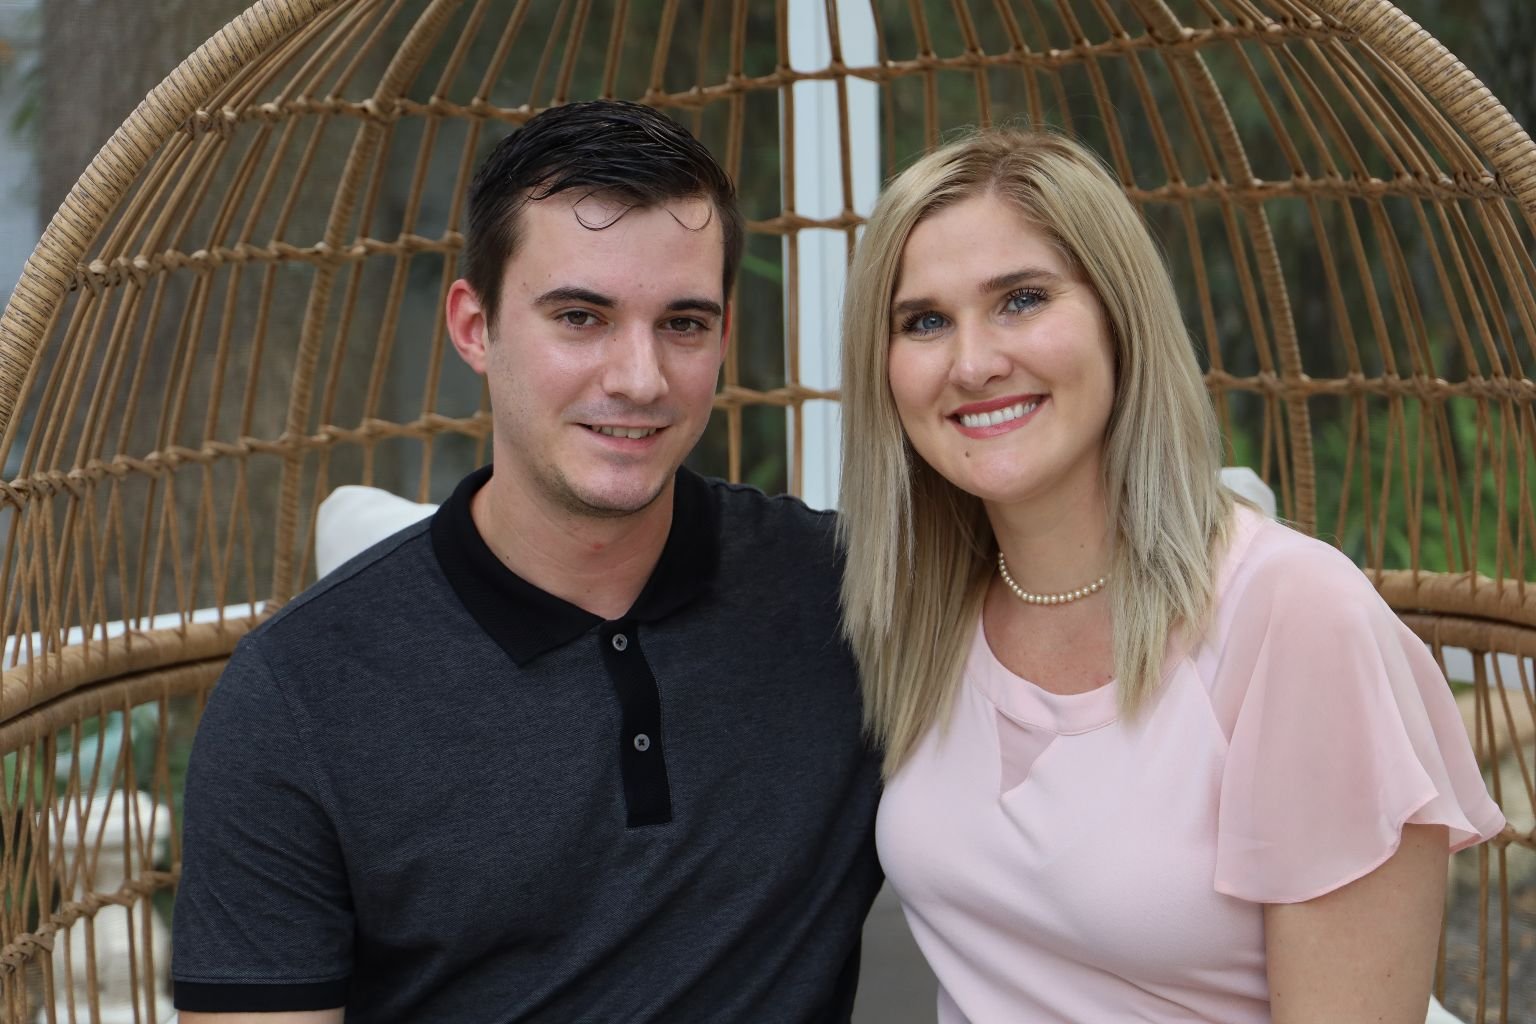
Brodie and Mackenzie
Living in Florida does give us an advantage to enjoying outdoor life throughout the year. I knew that I wanted us to eat outside and enjoy our spring weather before our hot summer arrived. I also knew that I wanted to make the best of this Easter and just enjoy our lovely holiday while in lockdown due to the Coronavirus. It was just the 4 of us, Gordon, myself, our son Brodie, and his girlfriend Mackenzie.
I knew that I wanted to use all the old linen tablecloths and napkins that belonged to my Grandmother and Great-Grandmother’s. I knew that I wanted to use my Grandmother’s silverware. I knew that I wanted our food put into some of the platters and bowls that once belonged to them as well. I knew that I wanted to set a formal table but also bring it into my tastes. I knew that I wanted to make it formal but also fun and casual all at the same time.
I knew that I wanted for us to cook the foods that I remember from my youth, but I also knew that I wanted Gordon to create something new and tasty at add to our traditional southern menu. And he did!
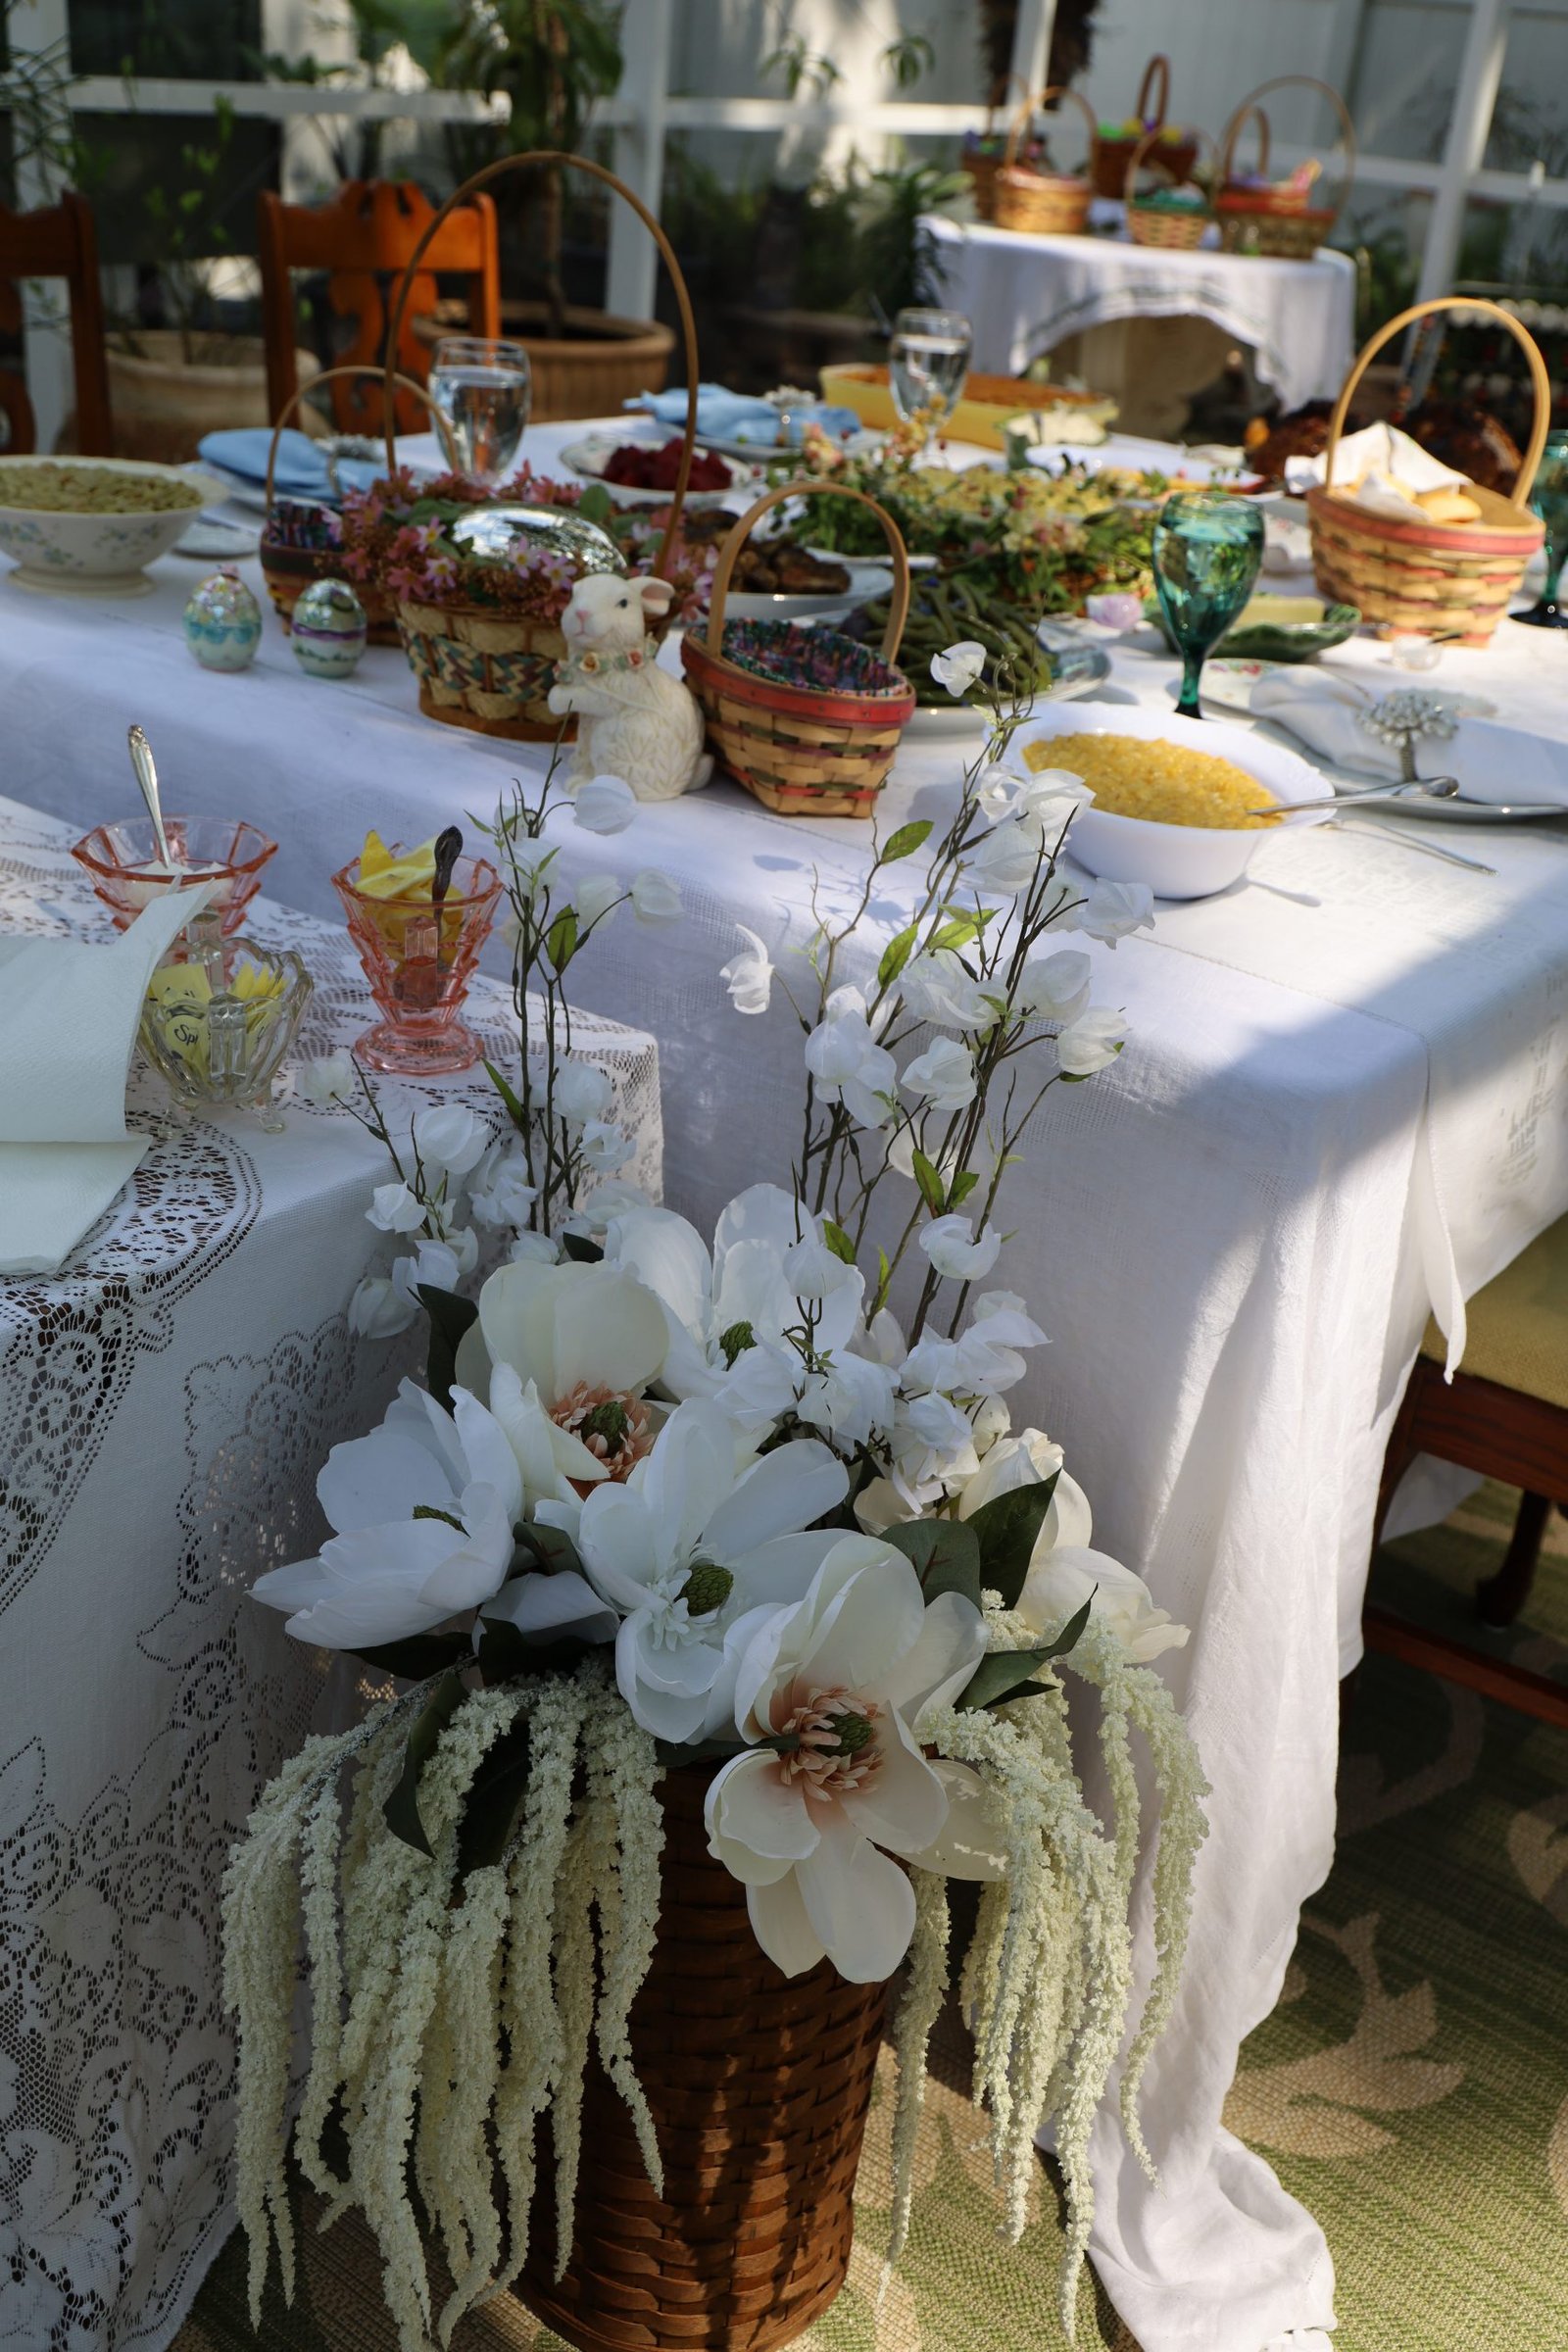
When in Lockdown Fake Flowers work Nicely
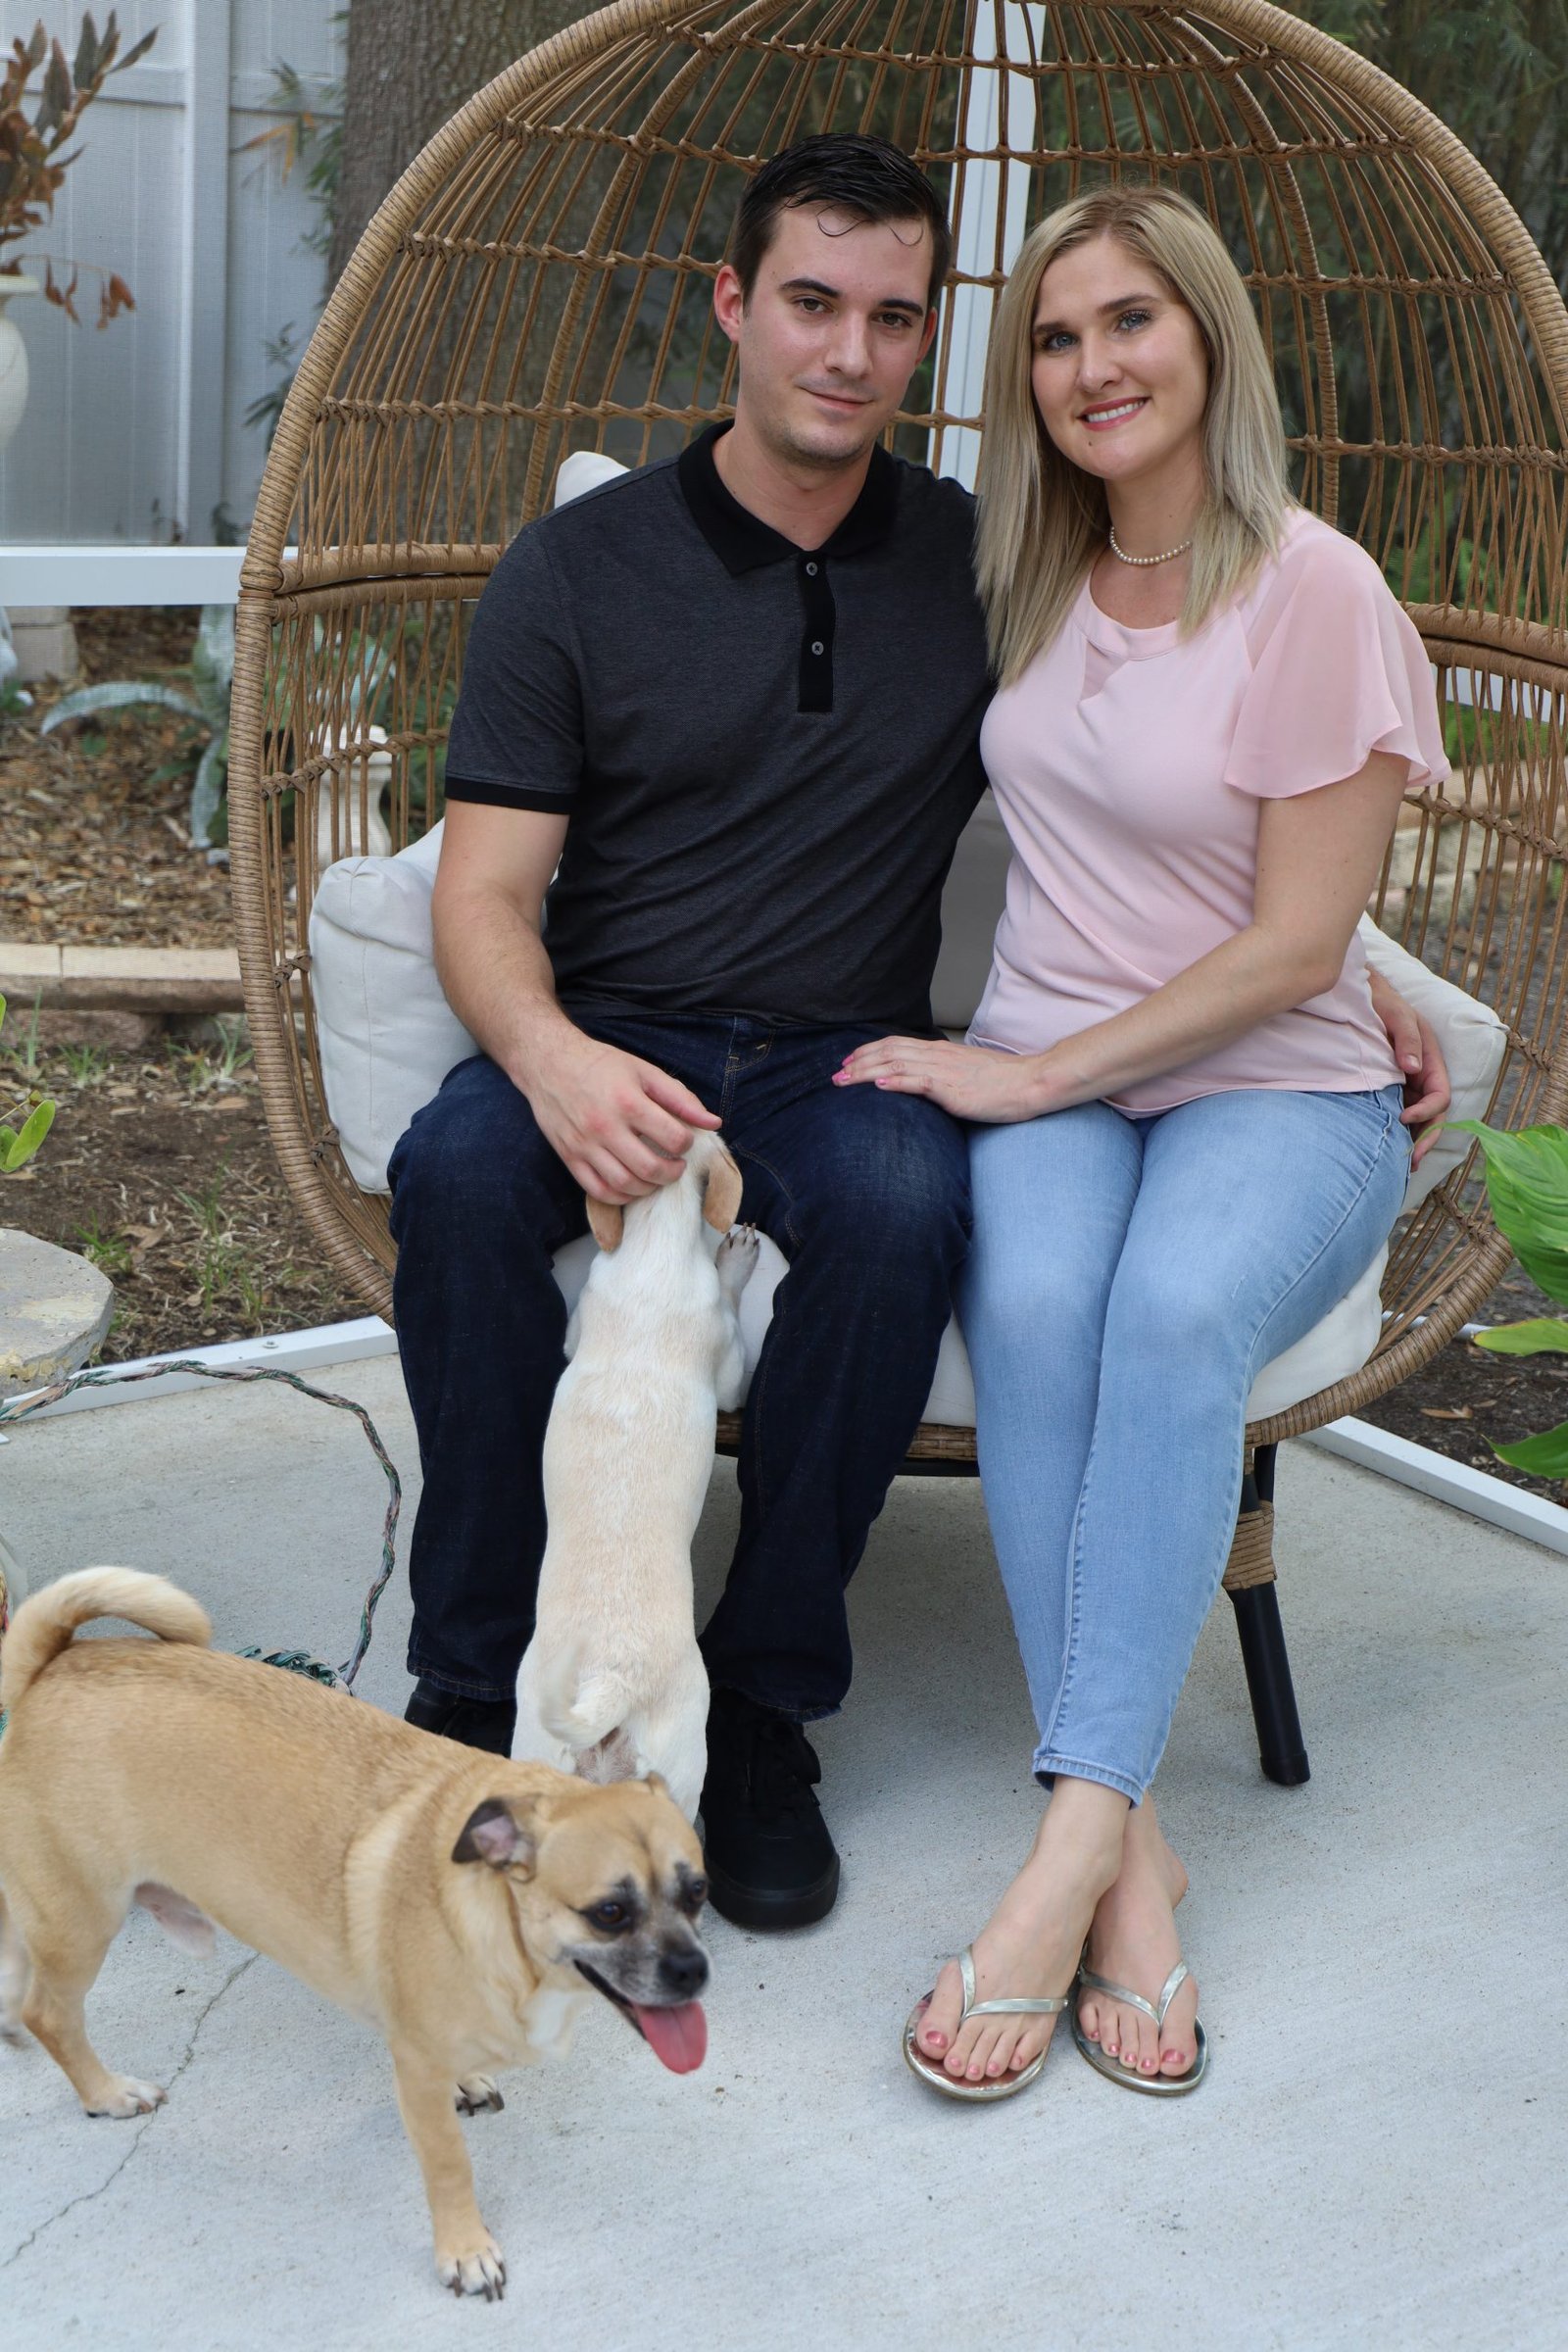
Brodie and Mackenzie with Sparky and Spooky
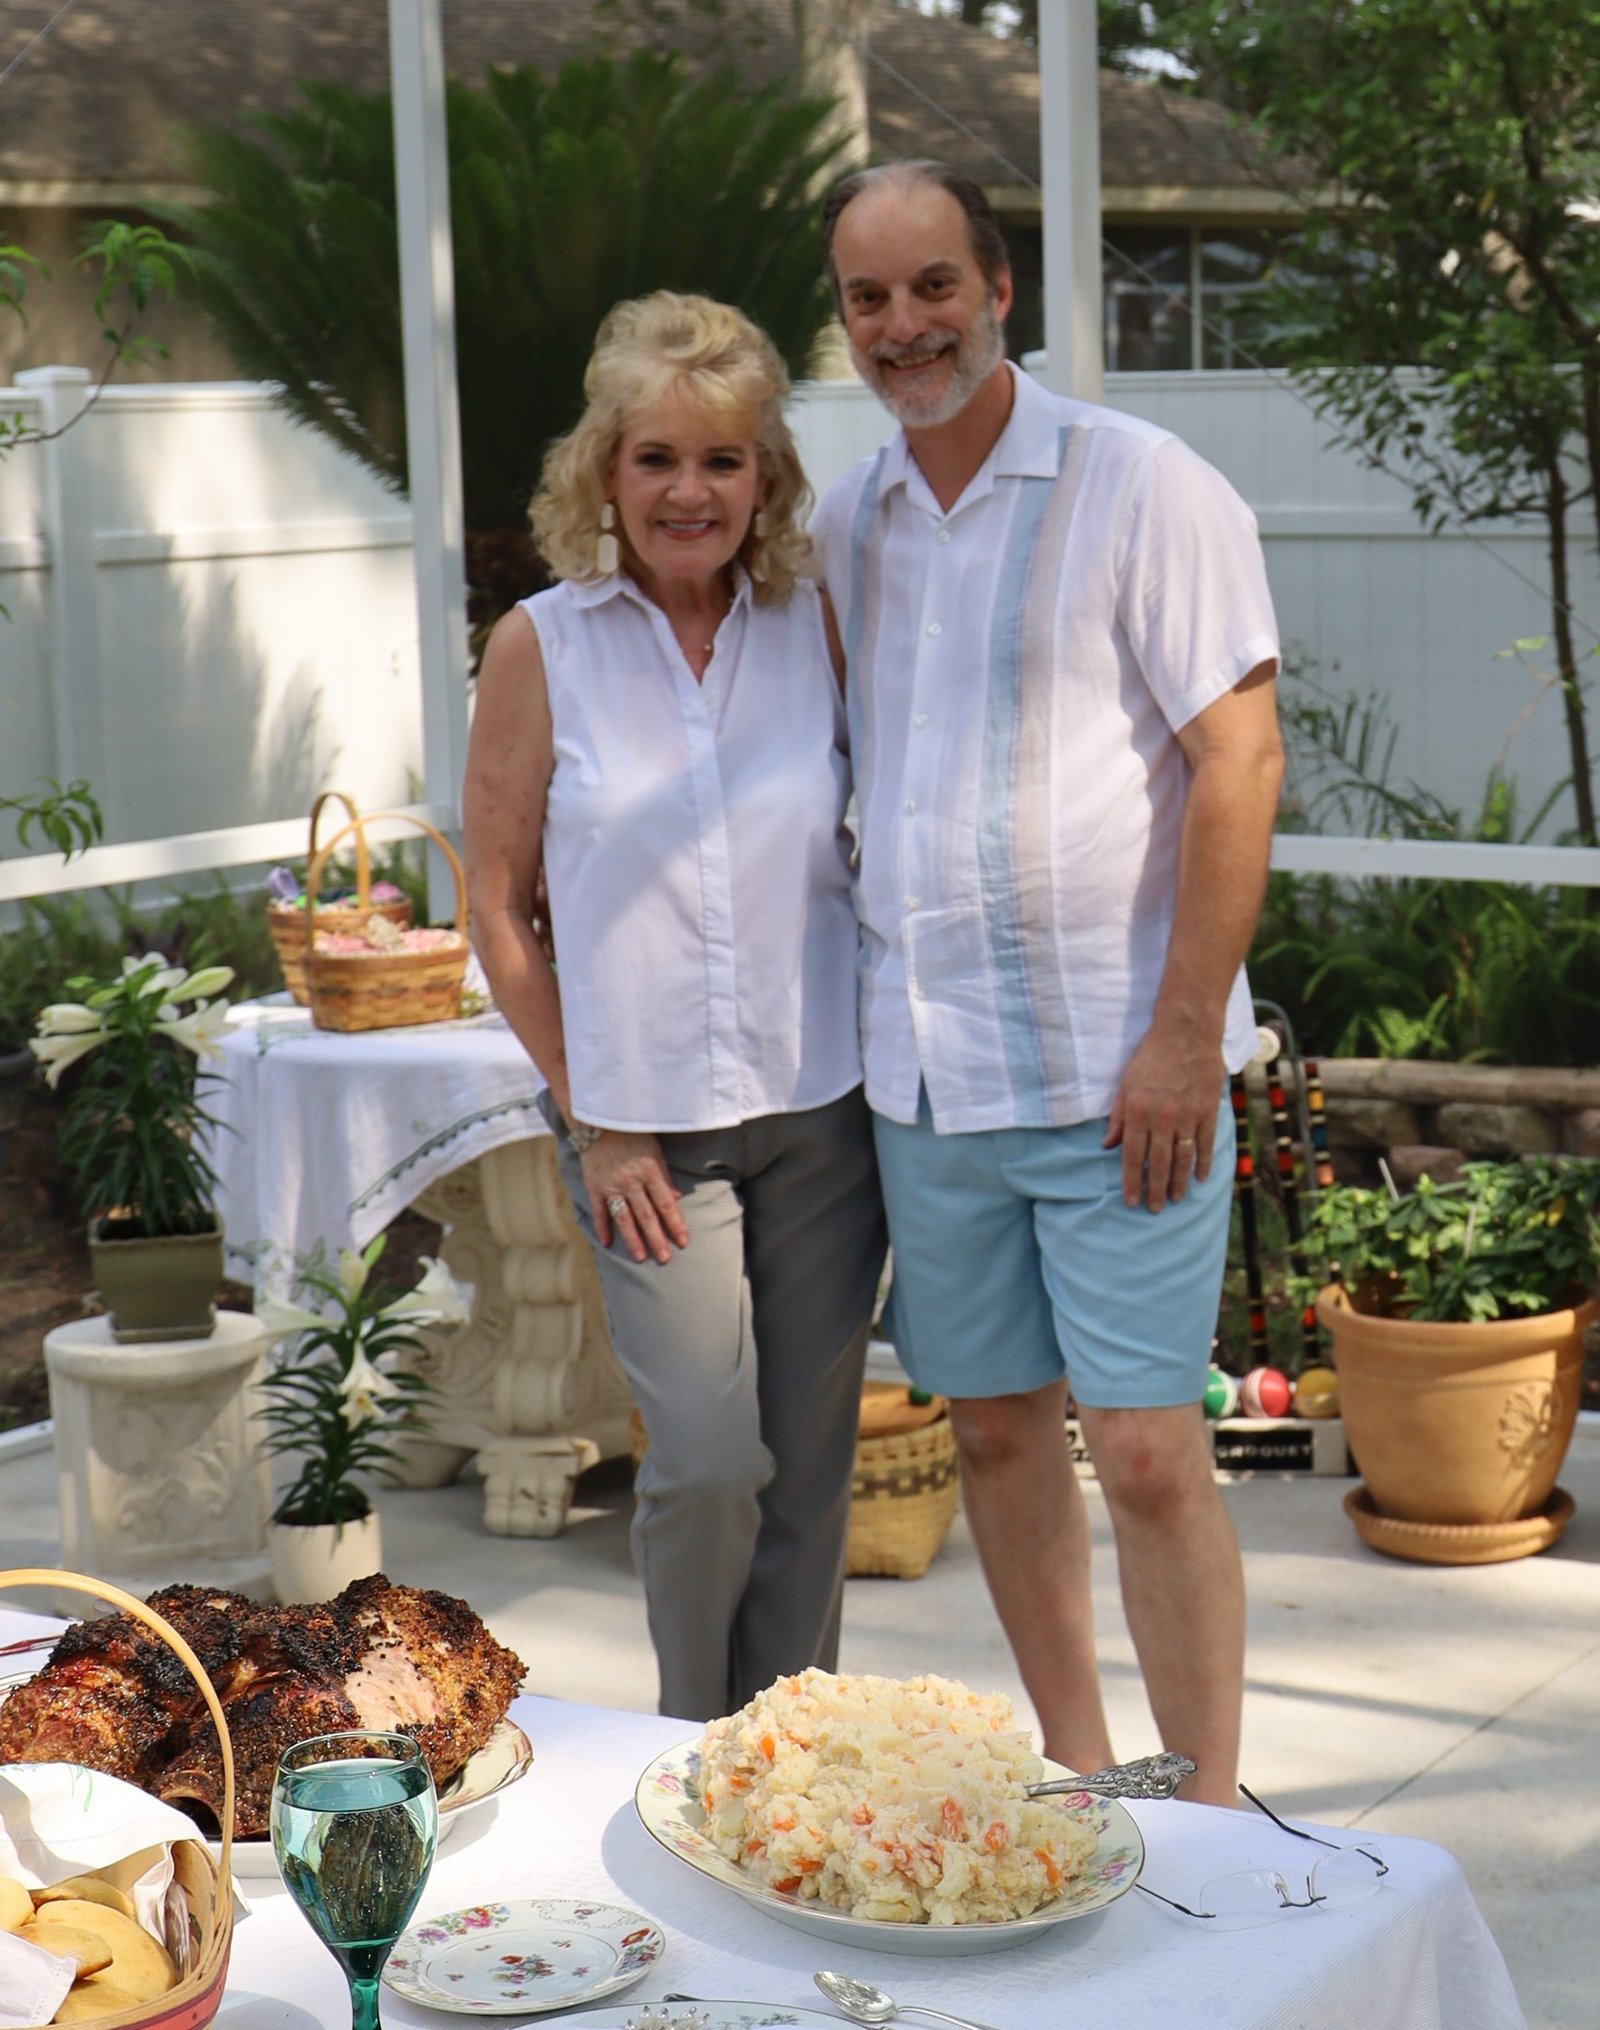

Julie and Gordon

Julie and Mackenzie
—————————————————-
I would like to introduce you to:

Our Easter Menu

Bone In Pork Roast

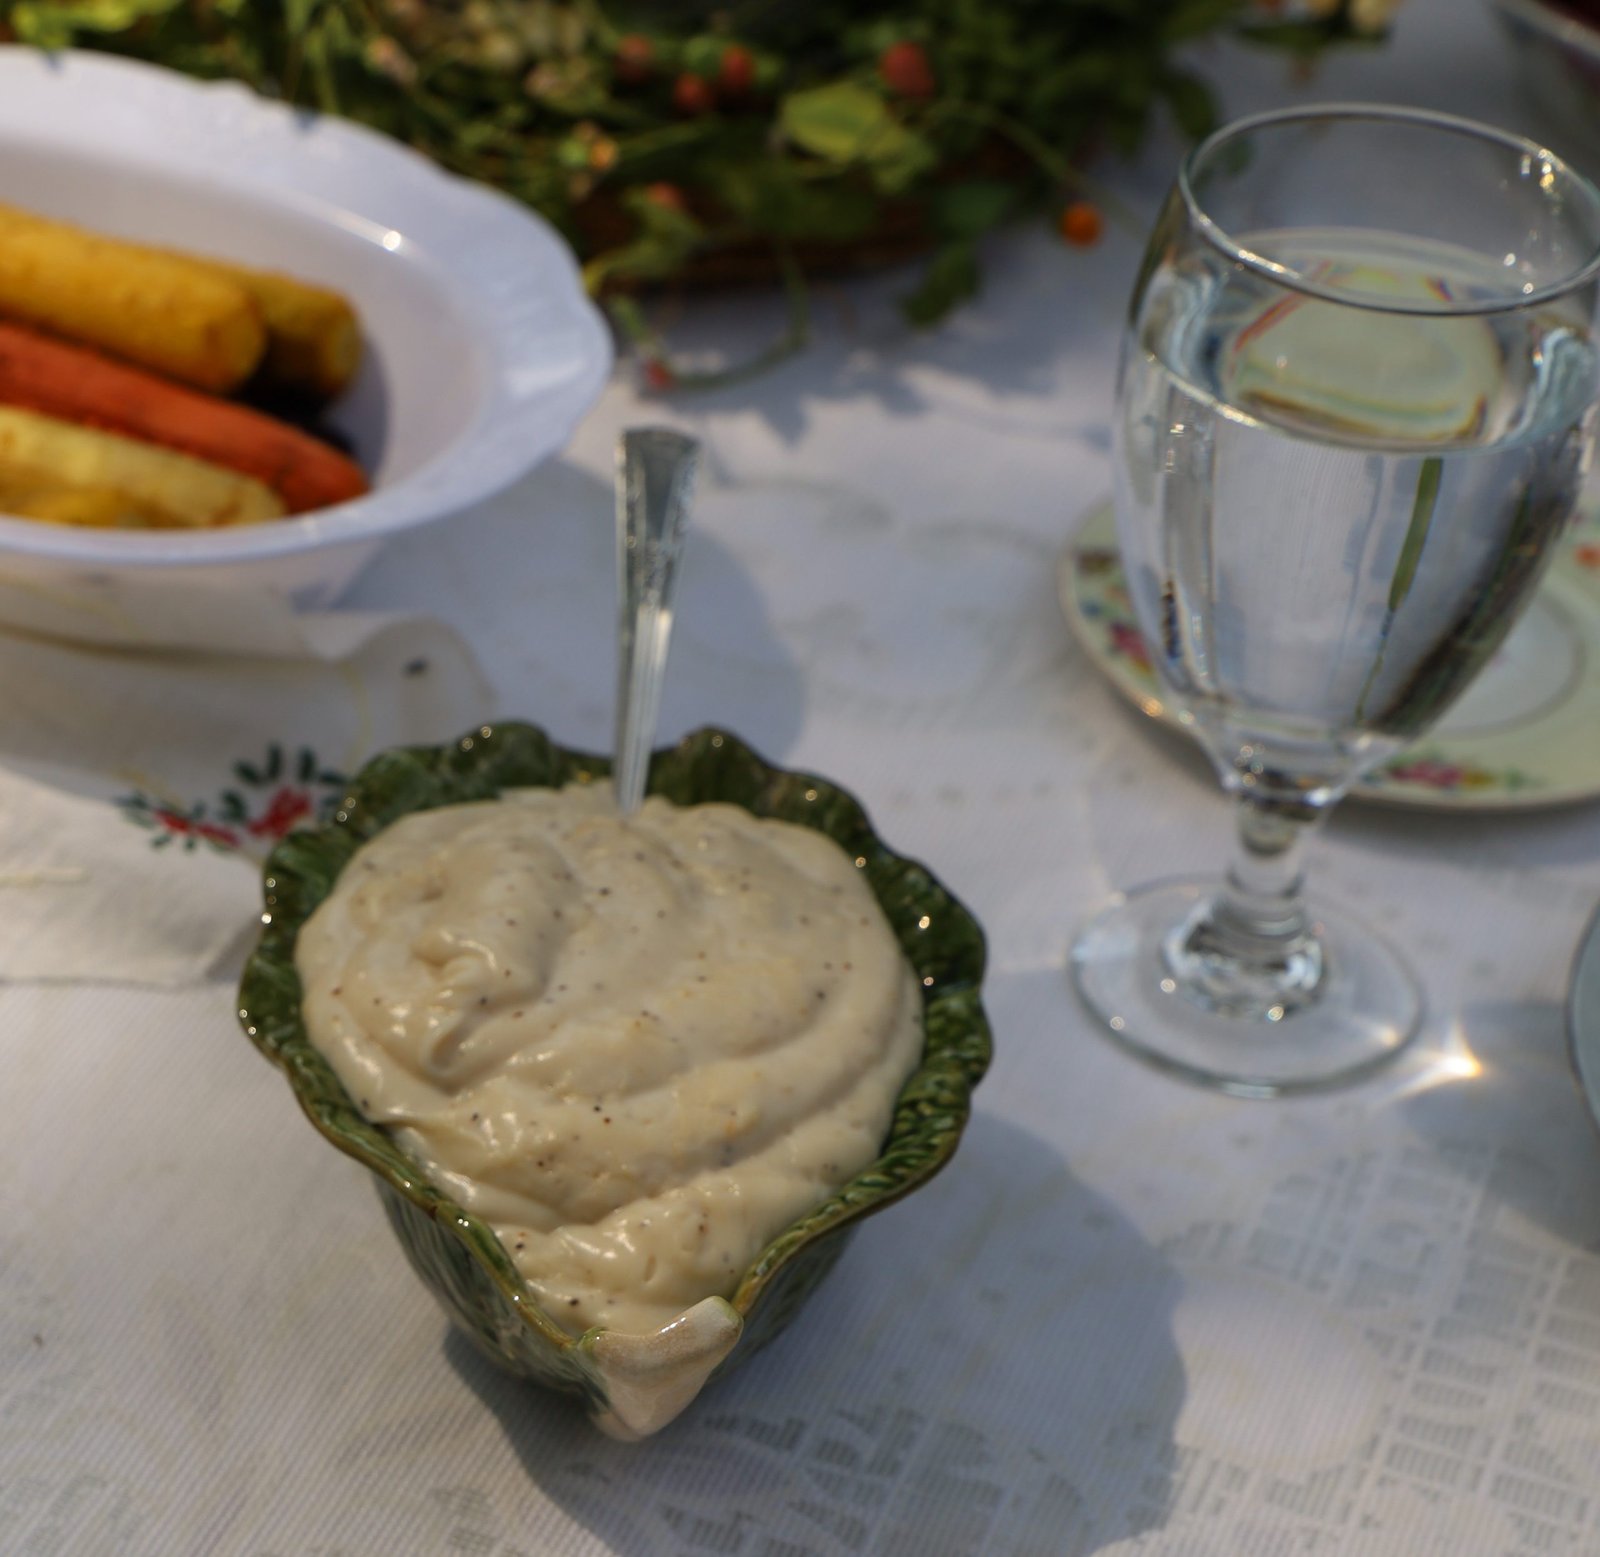
Mashed Potatoes with Carrots
Macaroni and Cheese
Green Beans with Blue Potatoes
Corn and Creamed Corn

Purple Beets
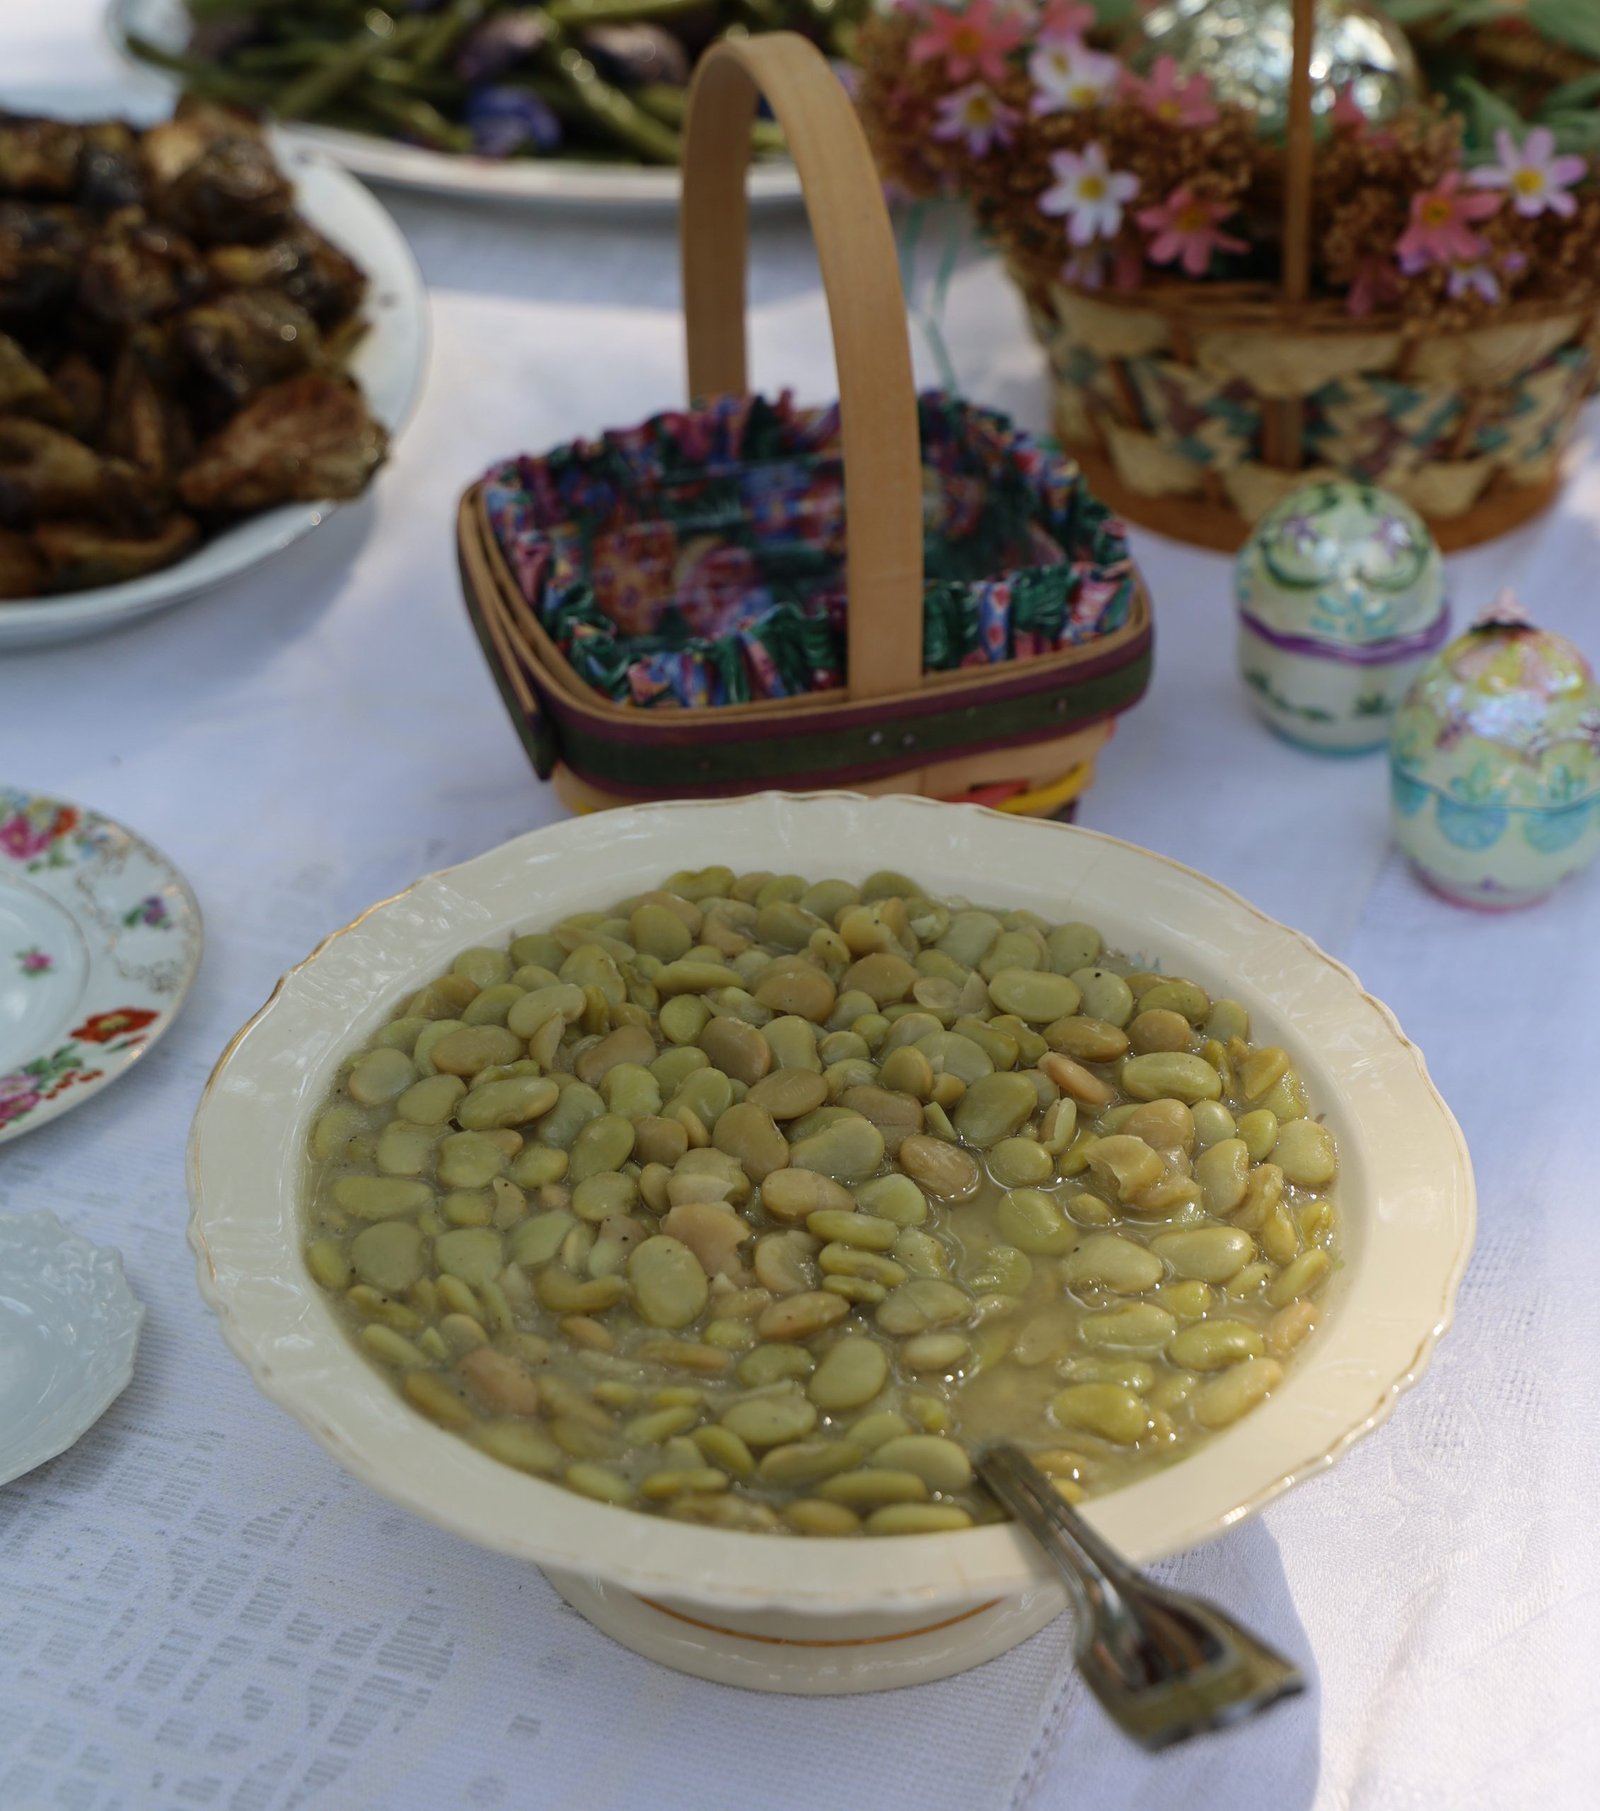
Lima Beans
Sea Island Red Peas and Ham

Roasted Brussel Sprouts

Grandma Nell’s Squash Casserole
Yeast Rolls
Gravy

Julie’s Deviled Eggs
AND,

A little something for the Easter Bunny!
——————————————————–

The Iced (melted) Tea Table
(Served two ways: Sweetened, or Unsweetened.)
I knew that I wanted to honor my past by having what every edible function I had ever been to in my life had, Sweetened, or Unsweetened Iced Tea. Usually with a little card in front of the pitchers letting you know which one was which. Something I didn’t have time to make prior to this dinner. But the two pitchers do represent the only two selections in the south. 🙂
———————————————————
Traditional Place Setting
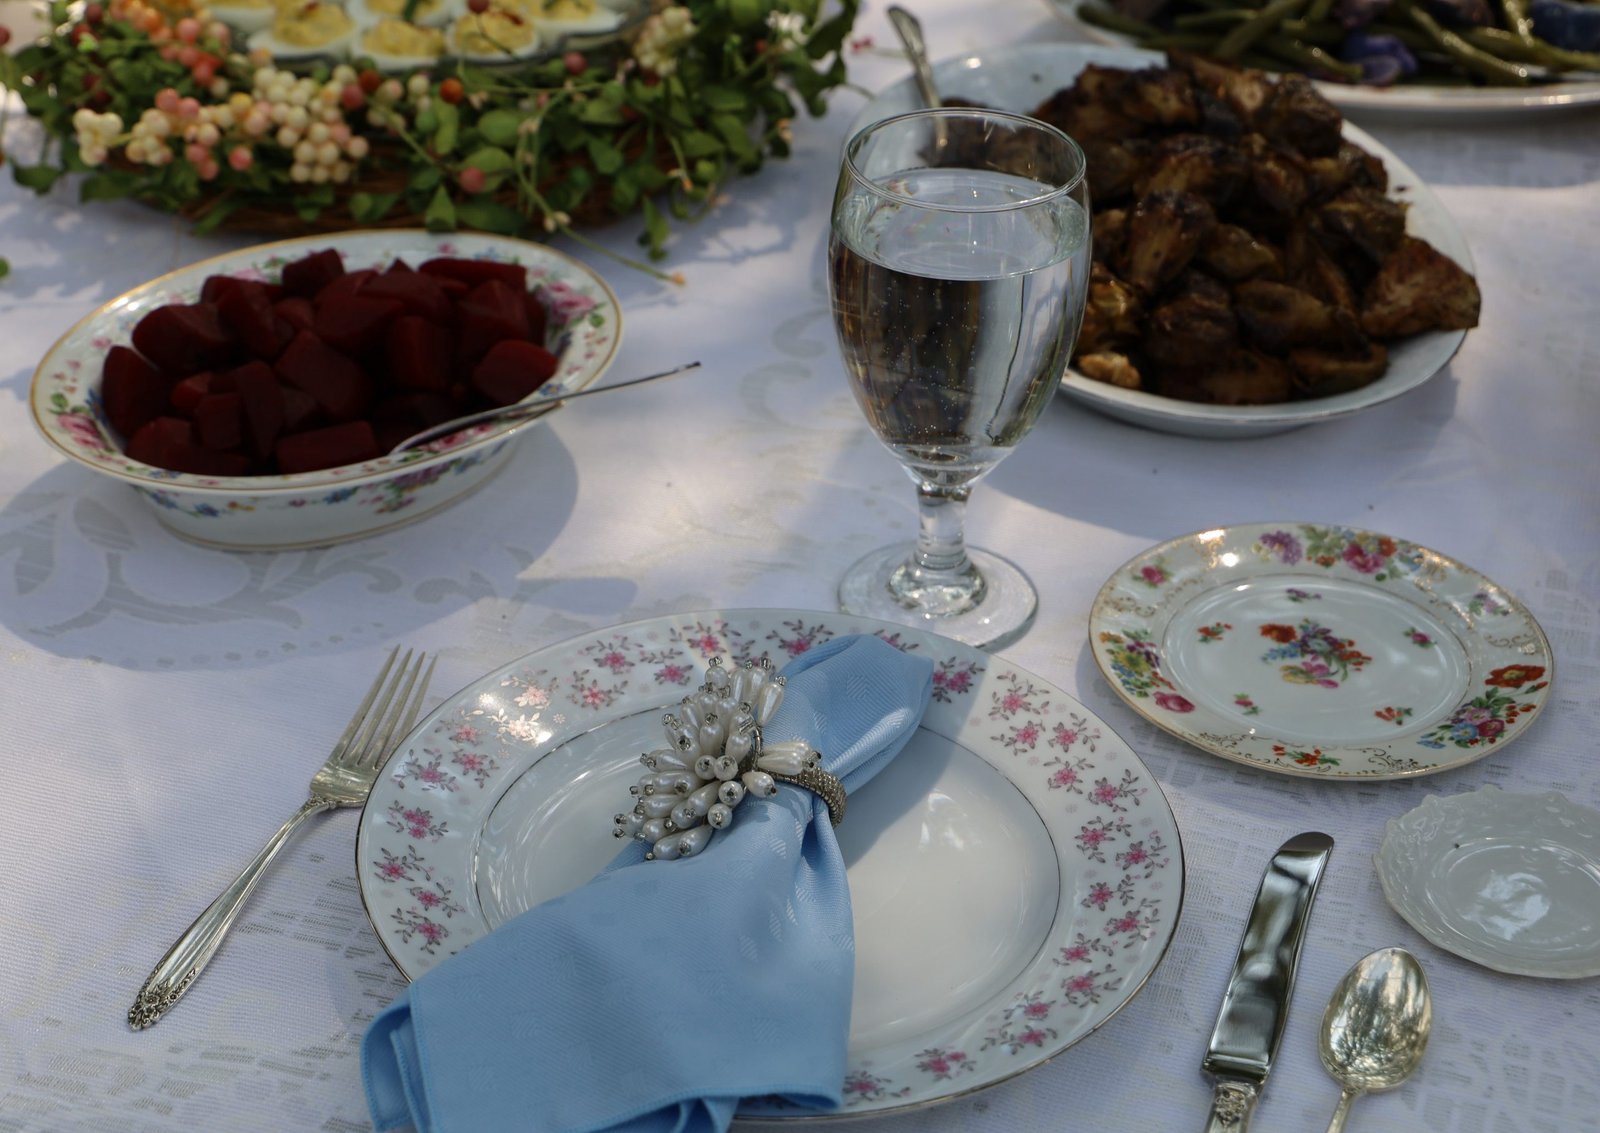
I enjoyed getting out the China and Silver.
No crystal goblets though.
————————————————–
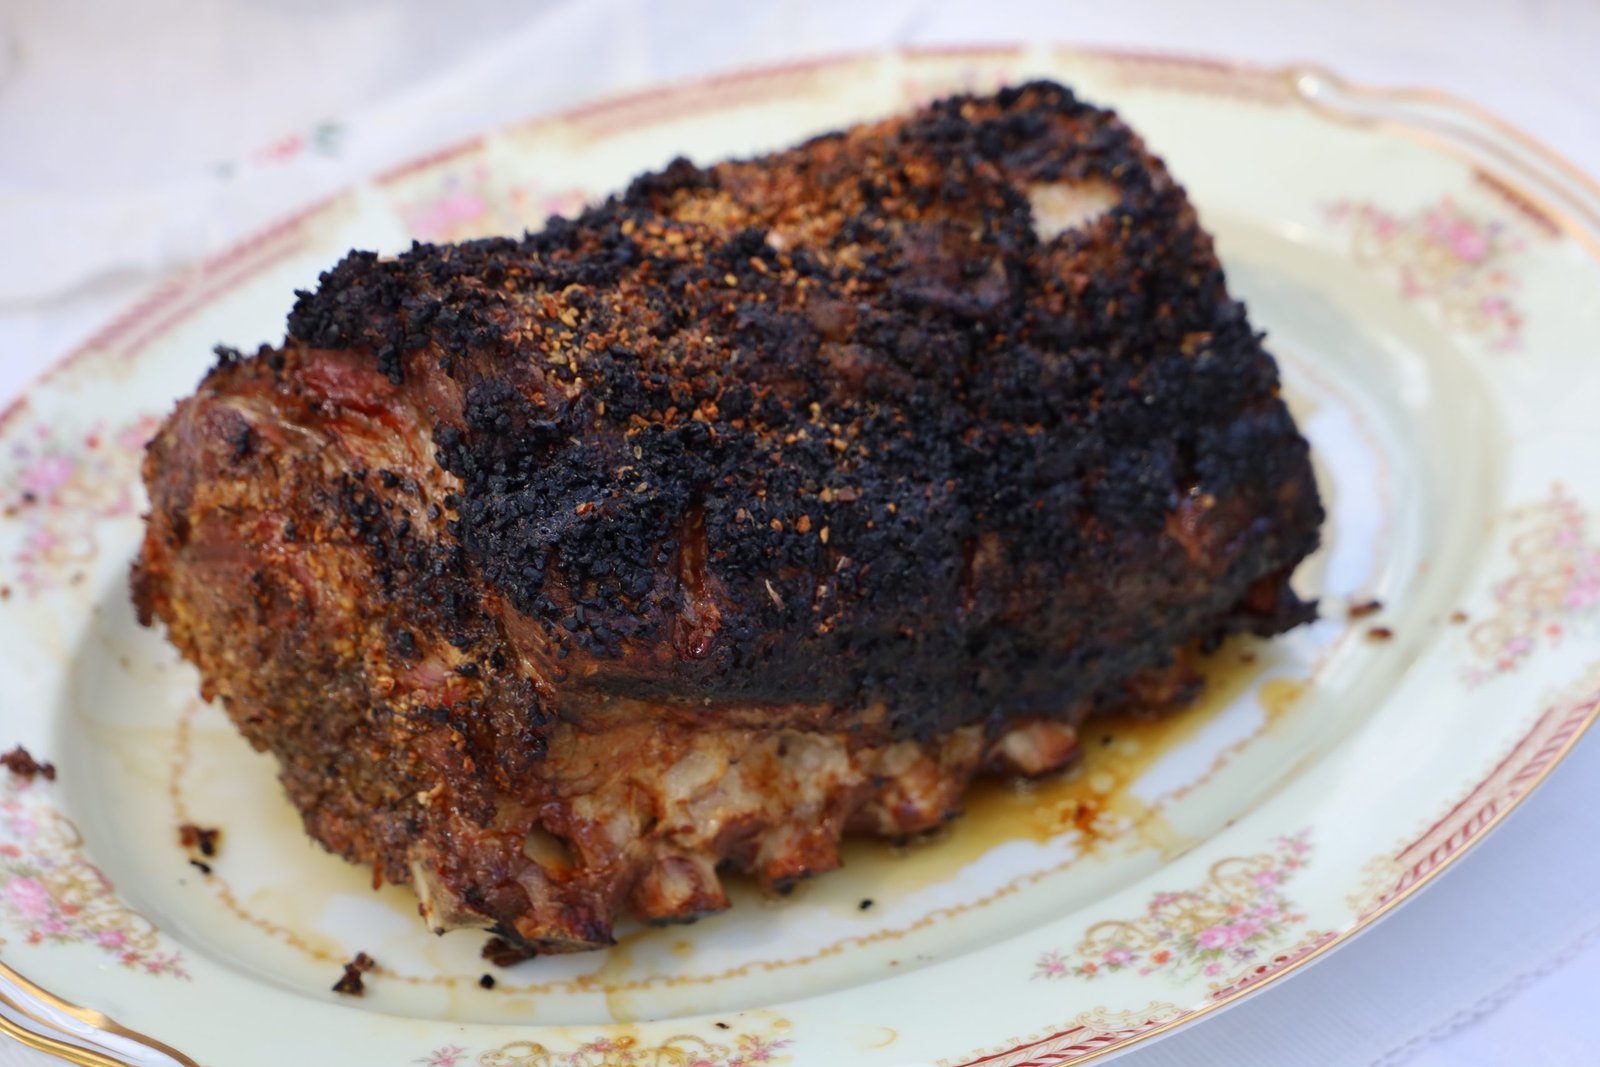
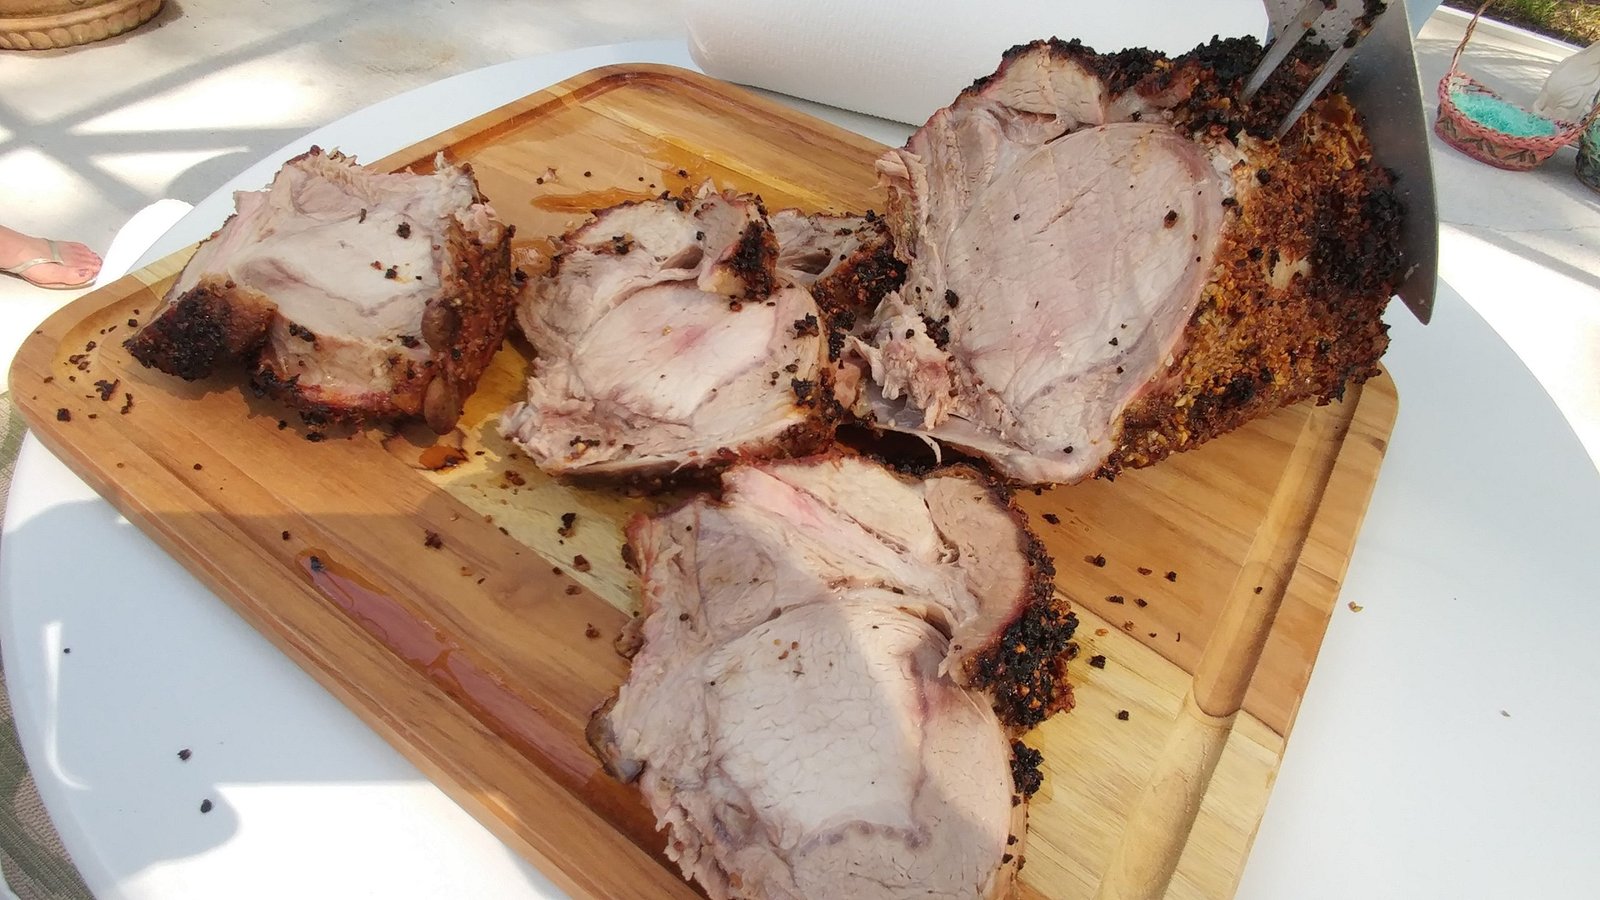
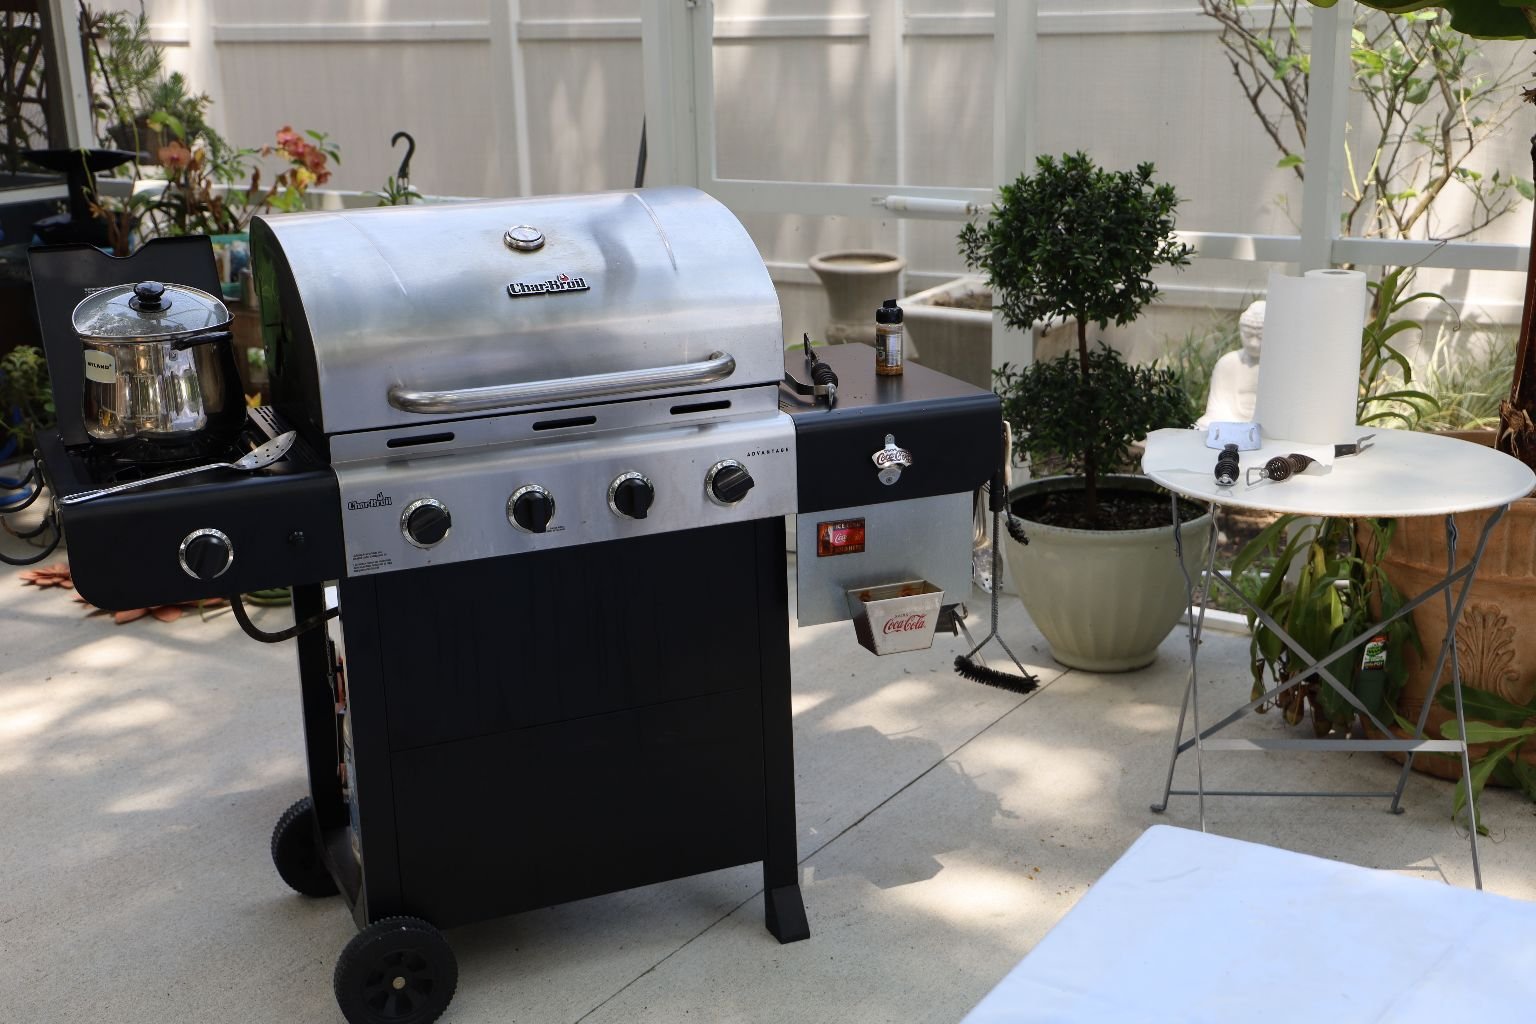
Gordon’s Bone In Pork Roast Cooked on the Grill
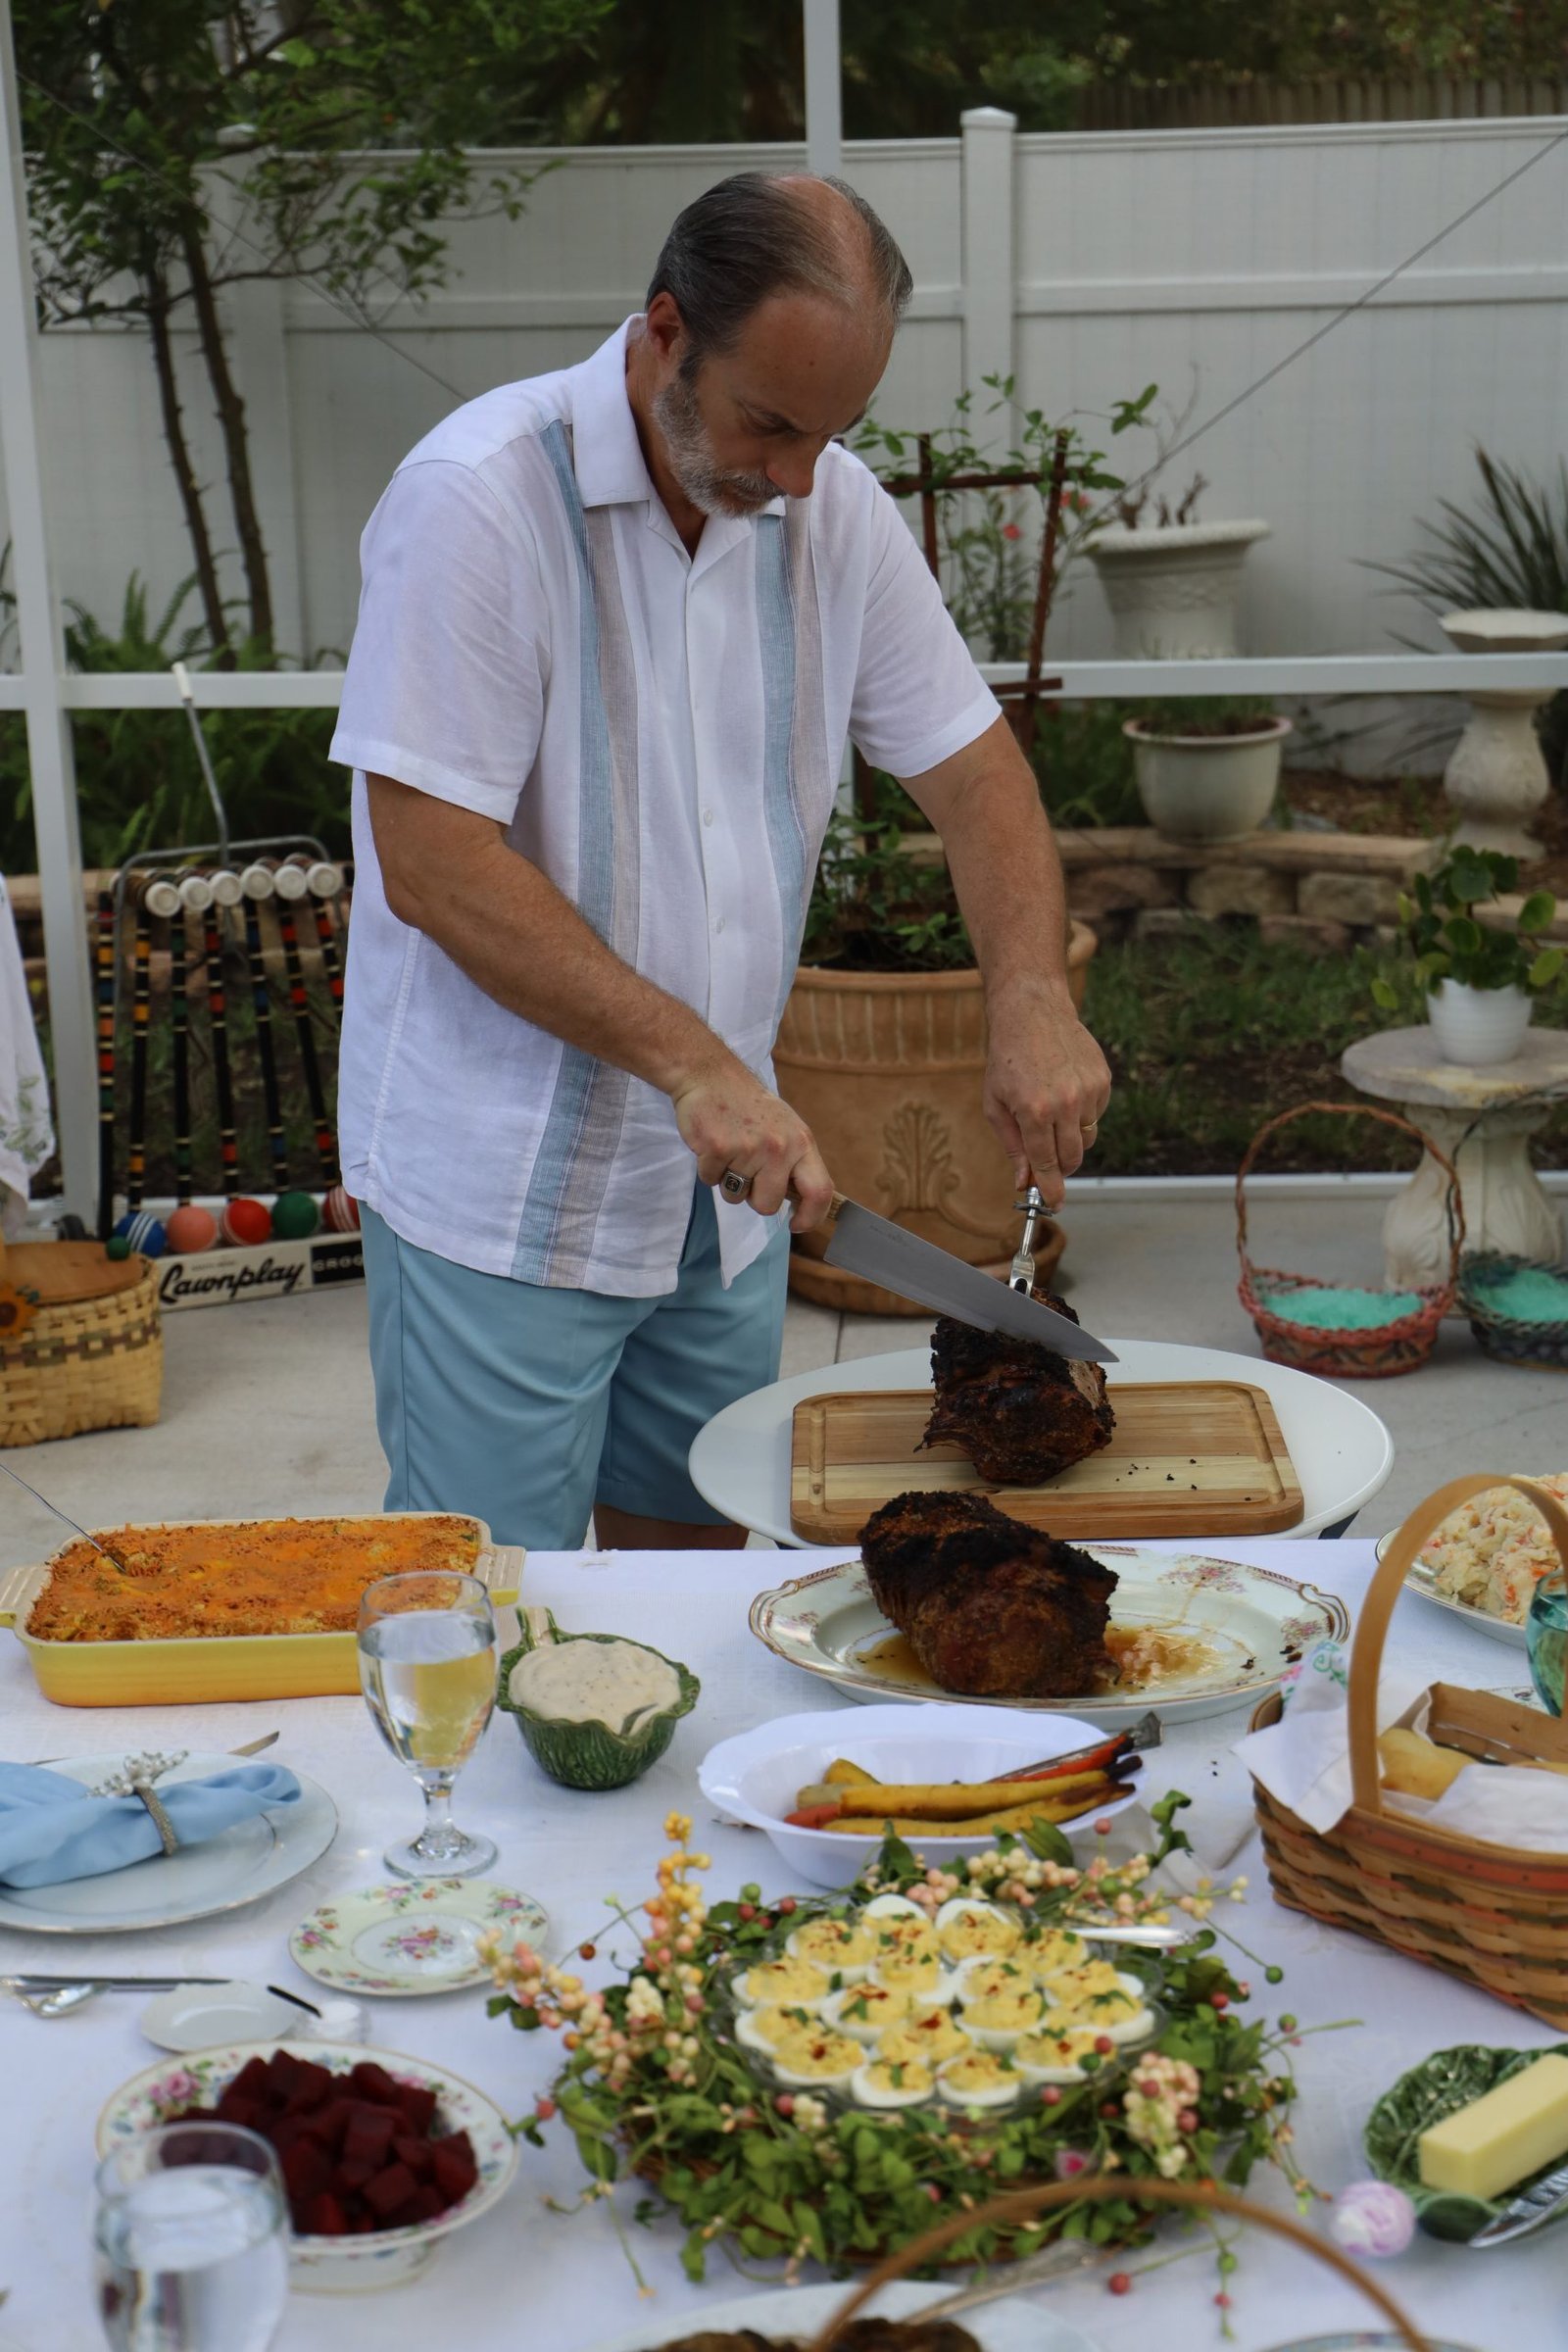
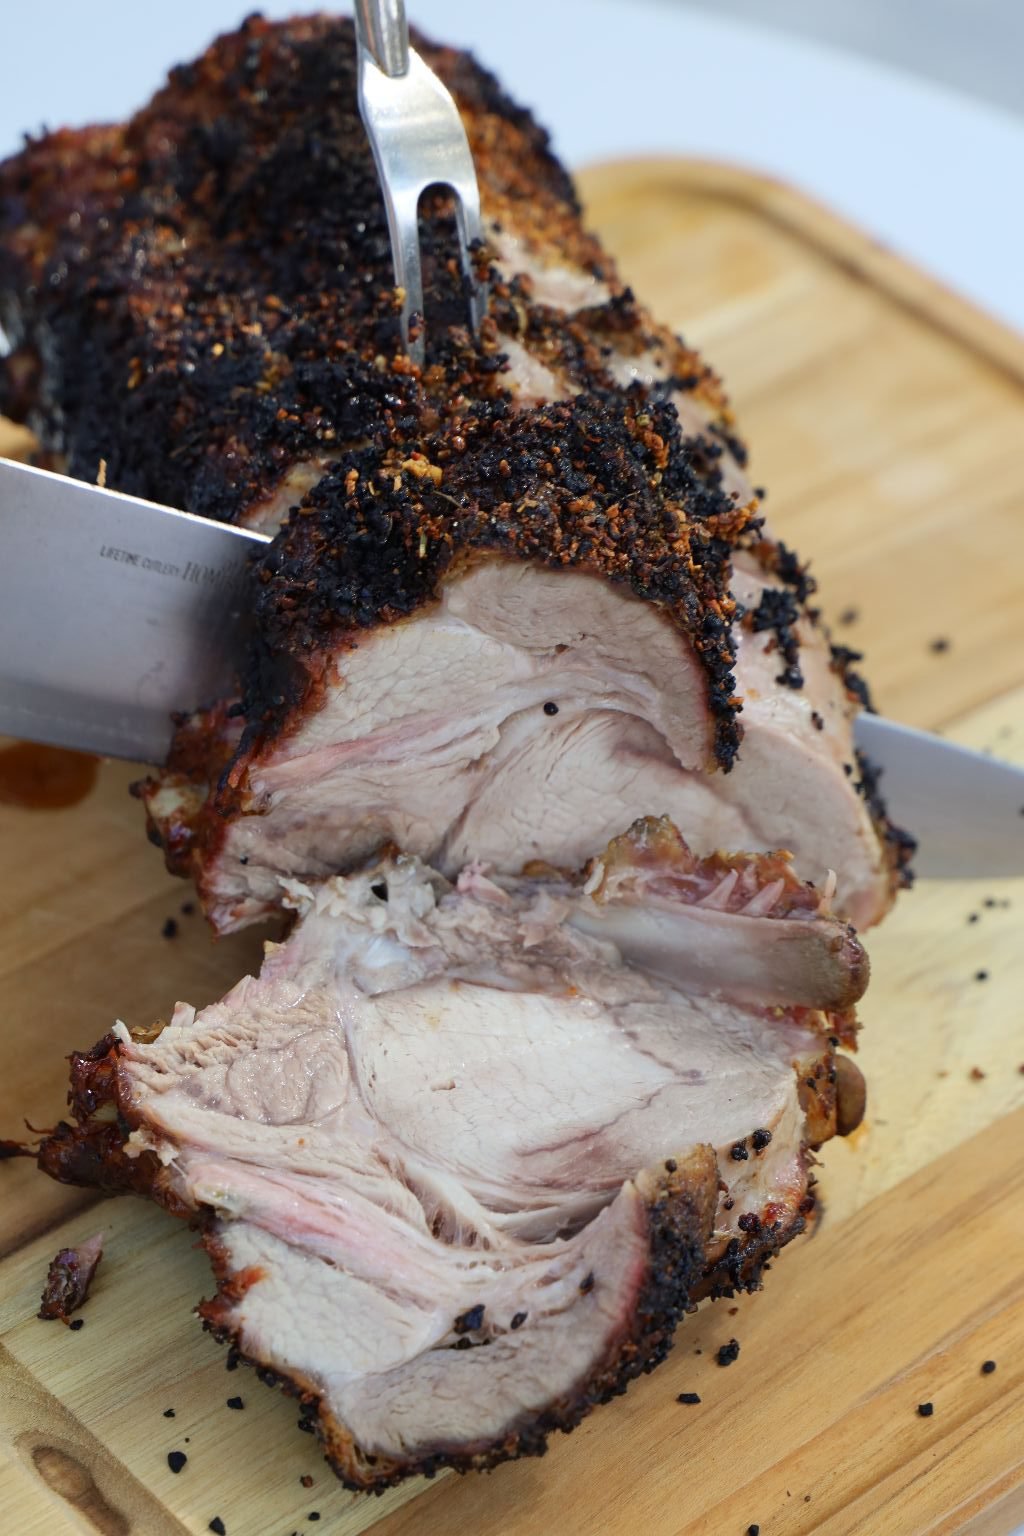
Gordon Carving our Bone In Pork Roast


Looks delicious, doesn’t it?
——————————————————-

Our Easter Table
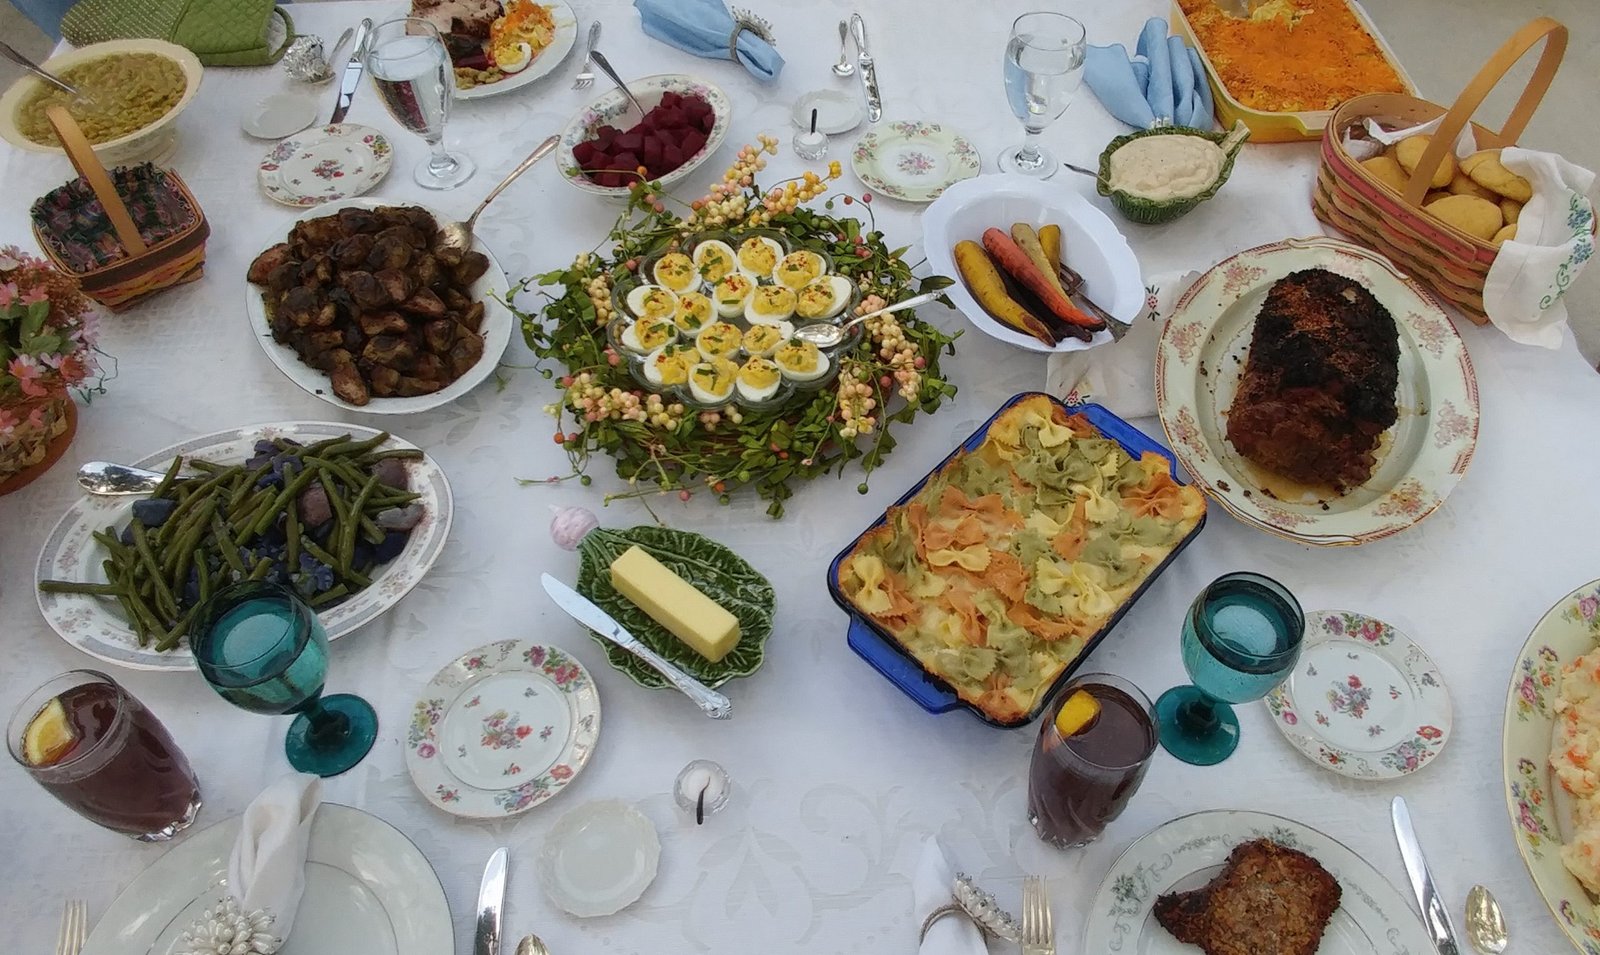
Of course my Deviled Eggs took center stage. Easter is all about the eggs.
I placed them over a pretty spring wreath that I had.
Another thing I love about Easter is that even the foods are very colorful with all the colors of spring.
As if the Easter Bunny had painted them himself.

Mackenzie and Brodie Digging In
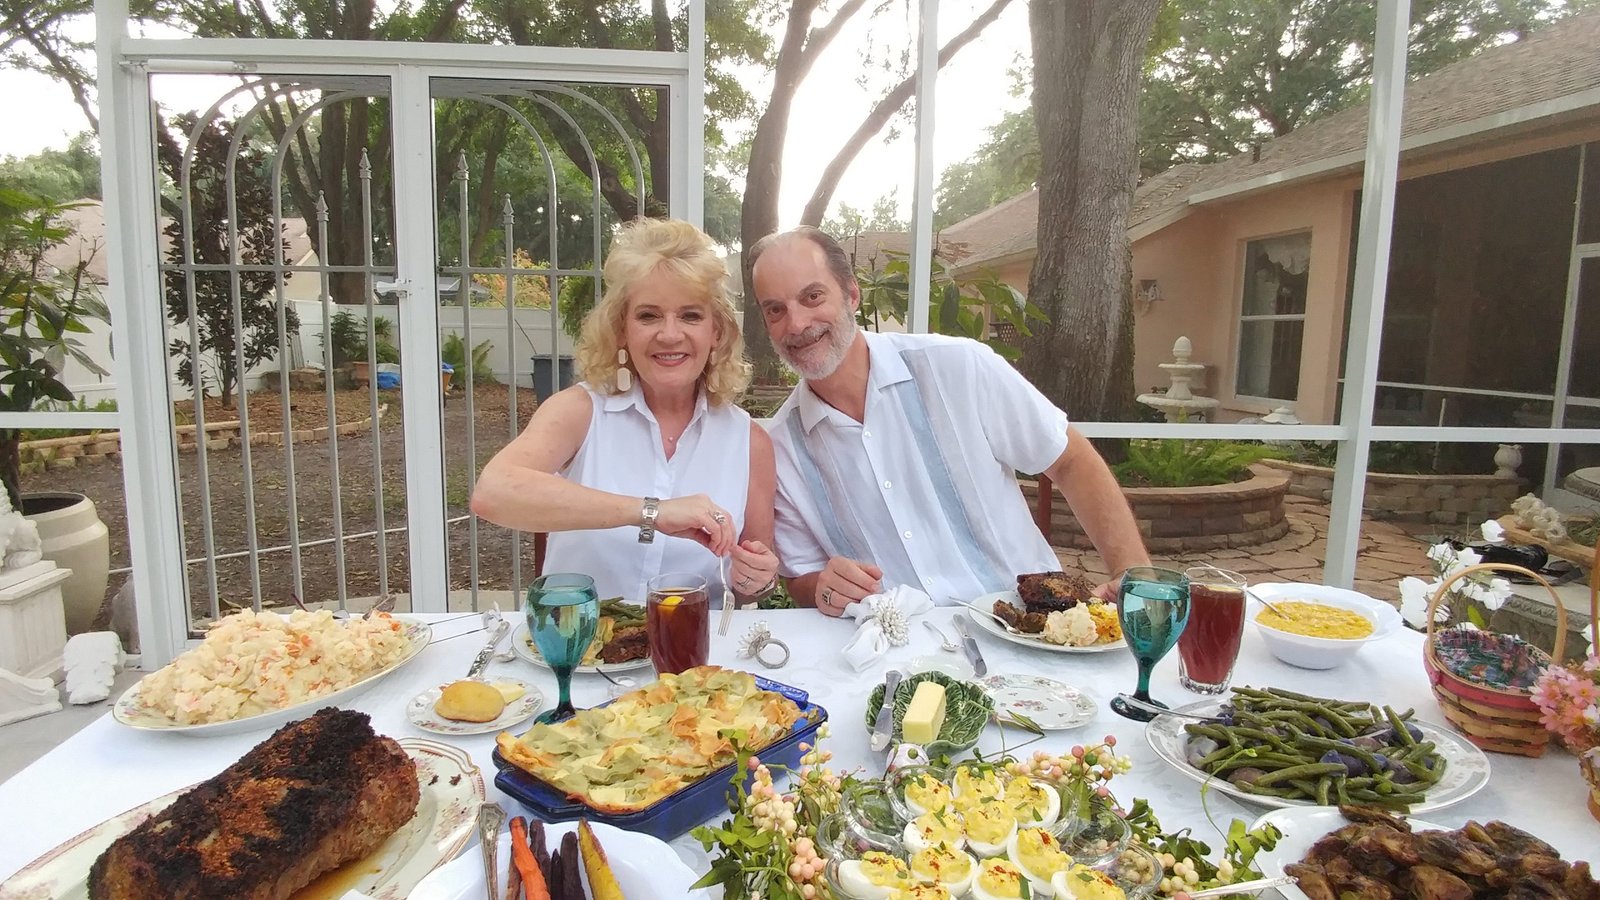
Gordon and Julie Ready to Feast

My, Julie’s, Dinner Plate and Place Setting
——————————————————
Another Southern Reminder…….
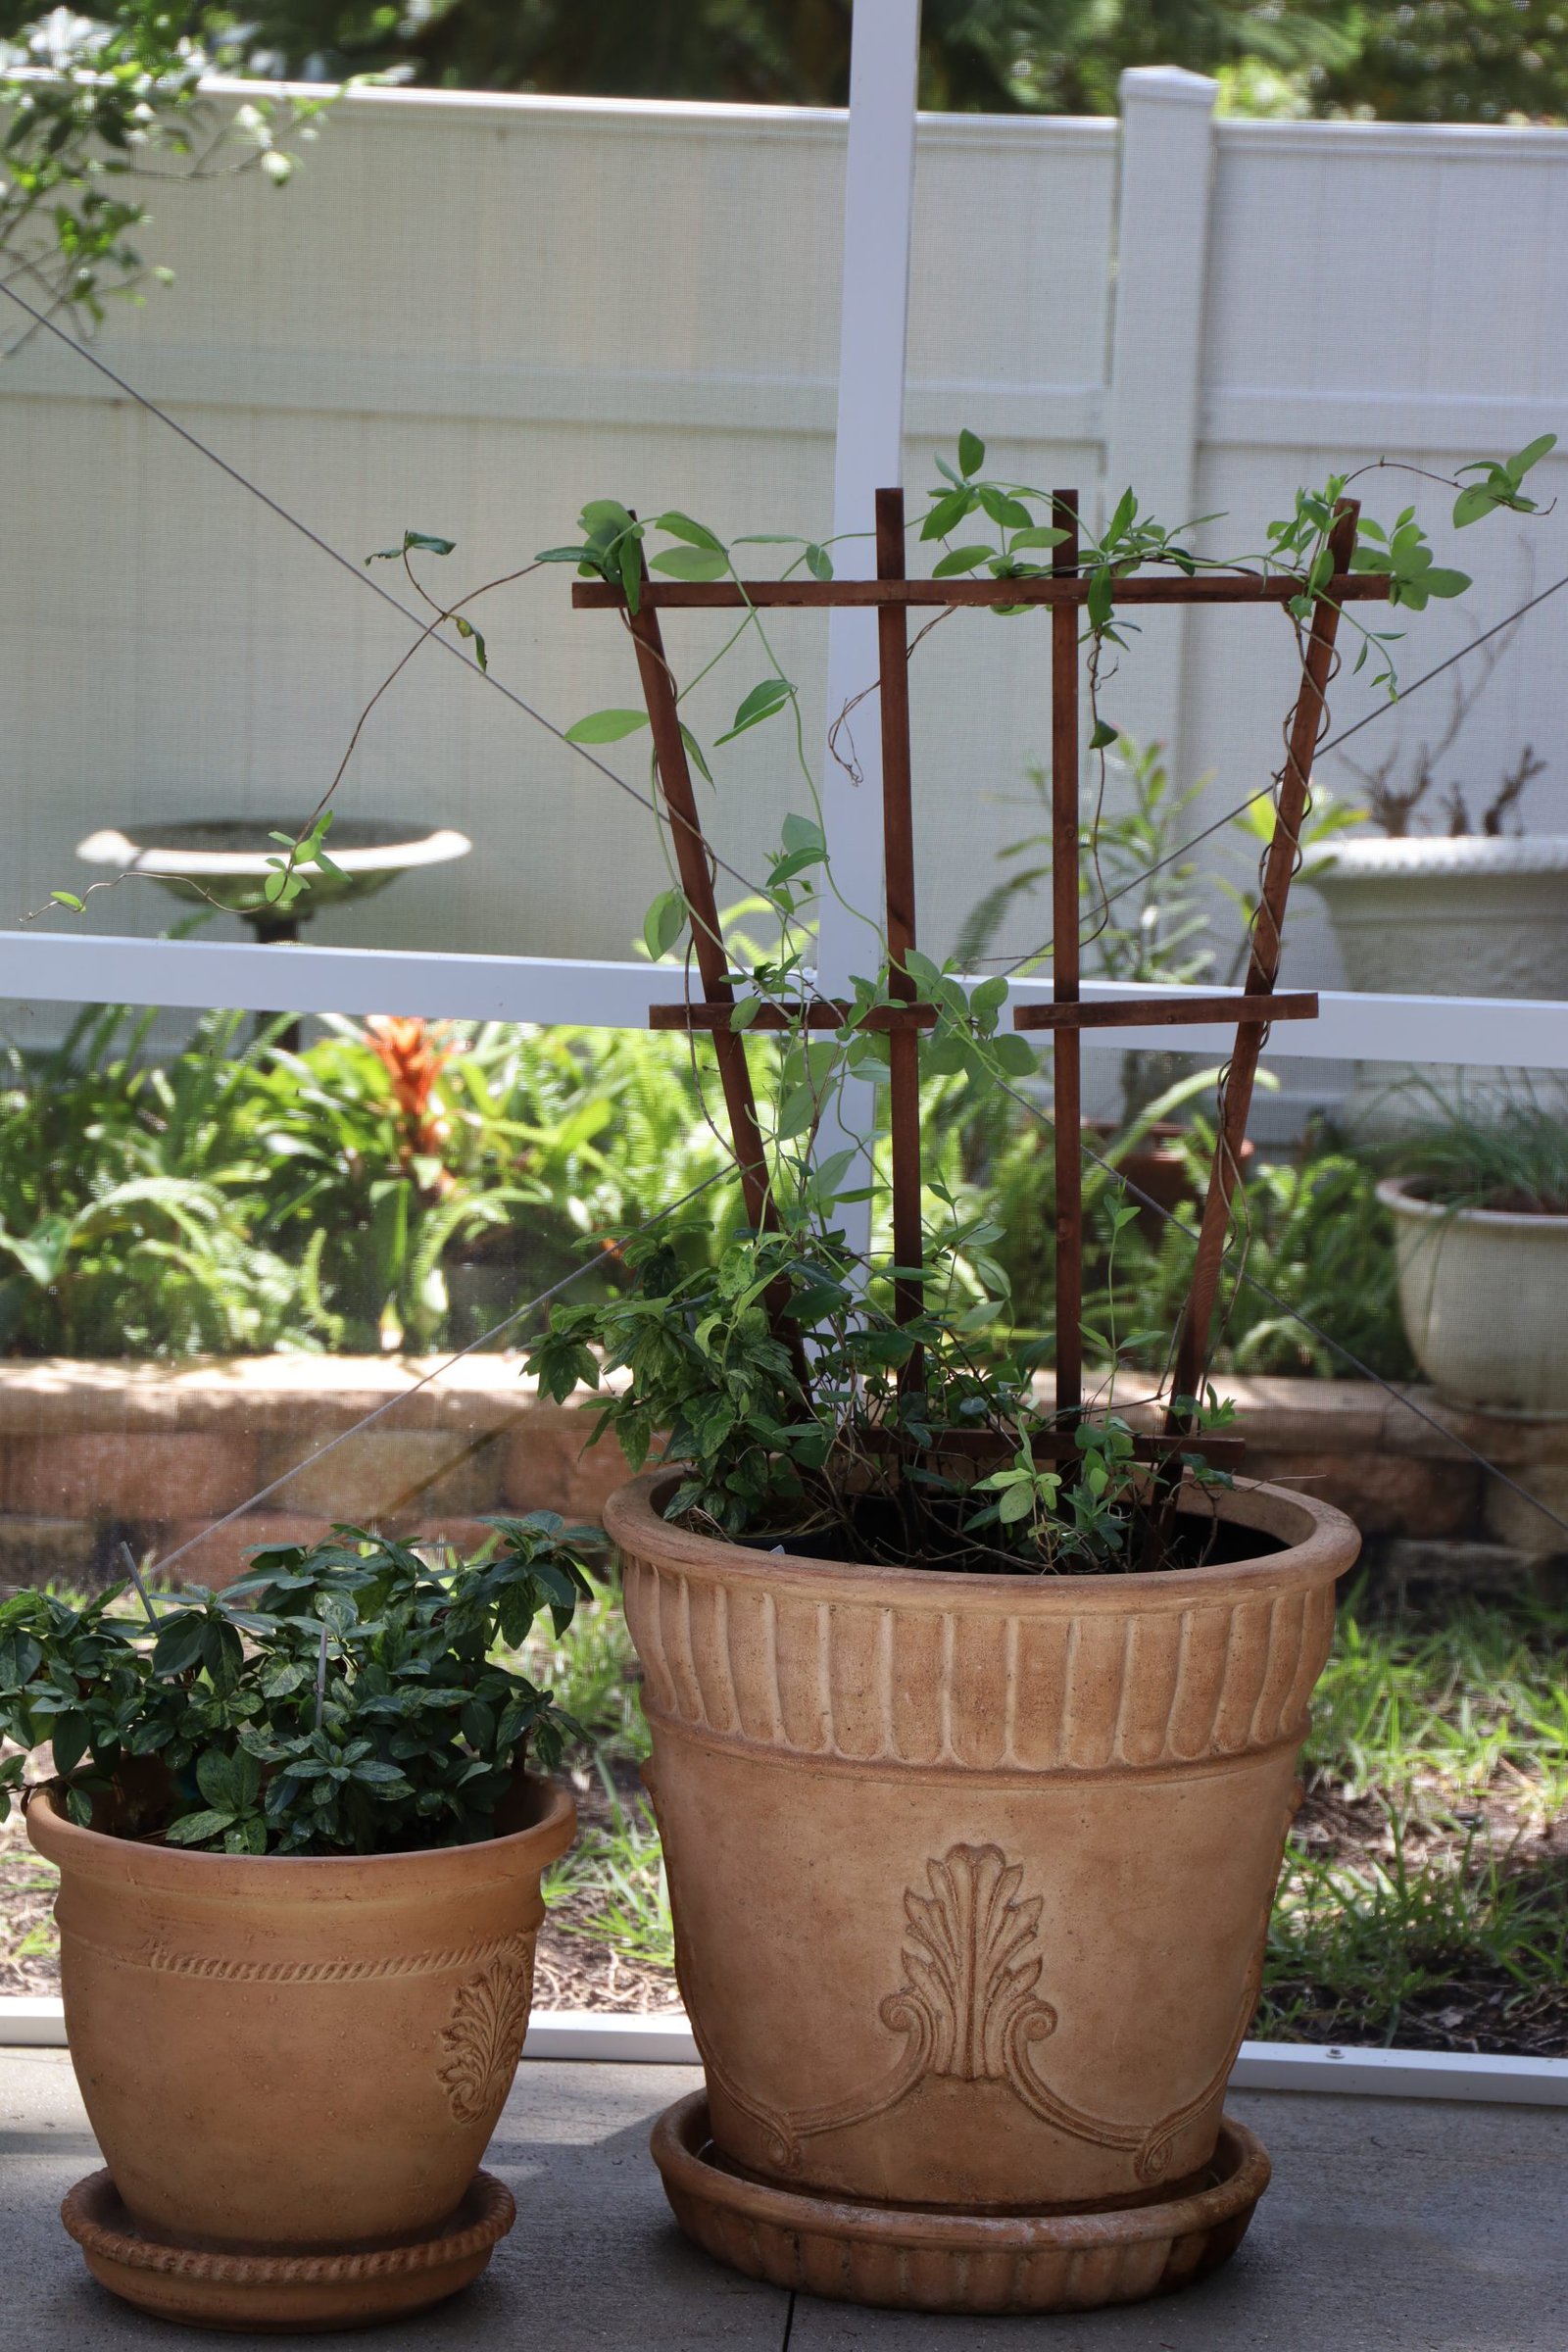
My Honeysuckle Vines
I am just waiting for the blooms to emerge. Having grown up in the south most every property had Honeysuckle growing, whether it was crawling all over fences, gates, trellis’s, it was everywhere most of the time growing wild. It was also overlooked as being some weed and not really appreciated. Same with grape vines that grew everywhere. My friends and I would always pick the blossoms off the Honeysuckle Vines and place the sweet stem from the bottom of the blossoms in our mouth and suck out to taste the sweet nectar. I still do whenever I see the vines growing.
——————————————————-


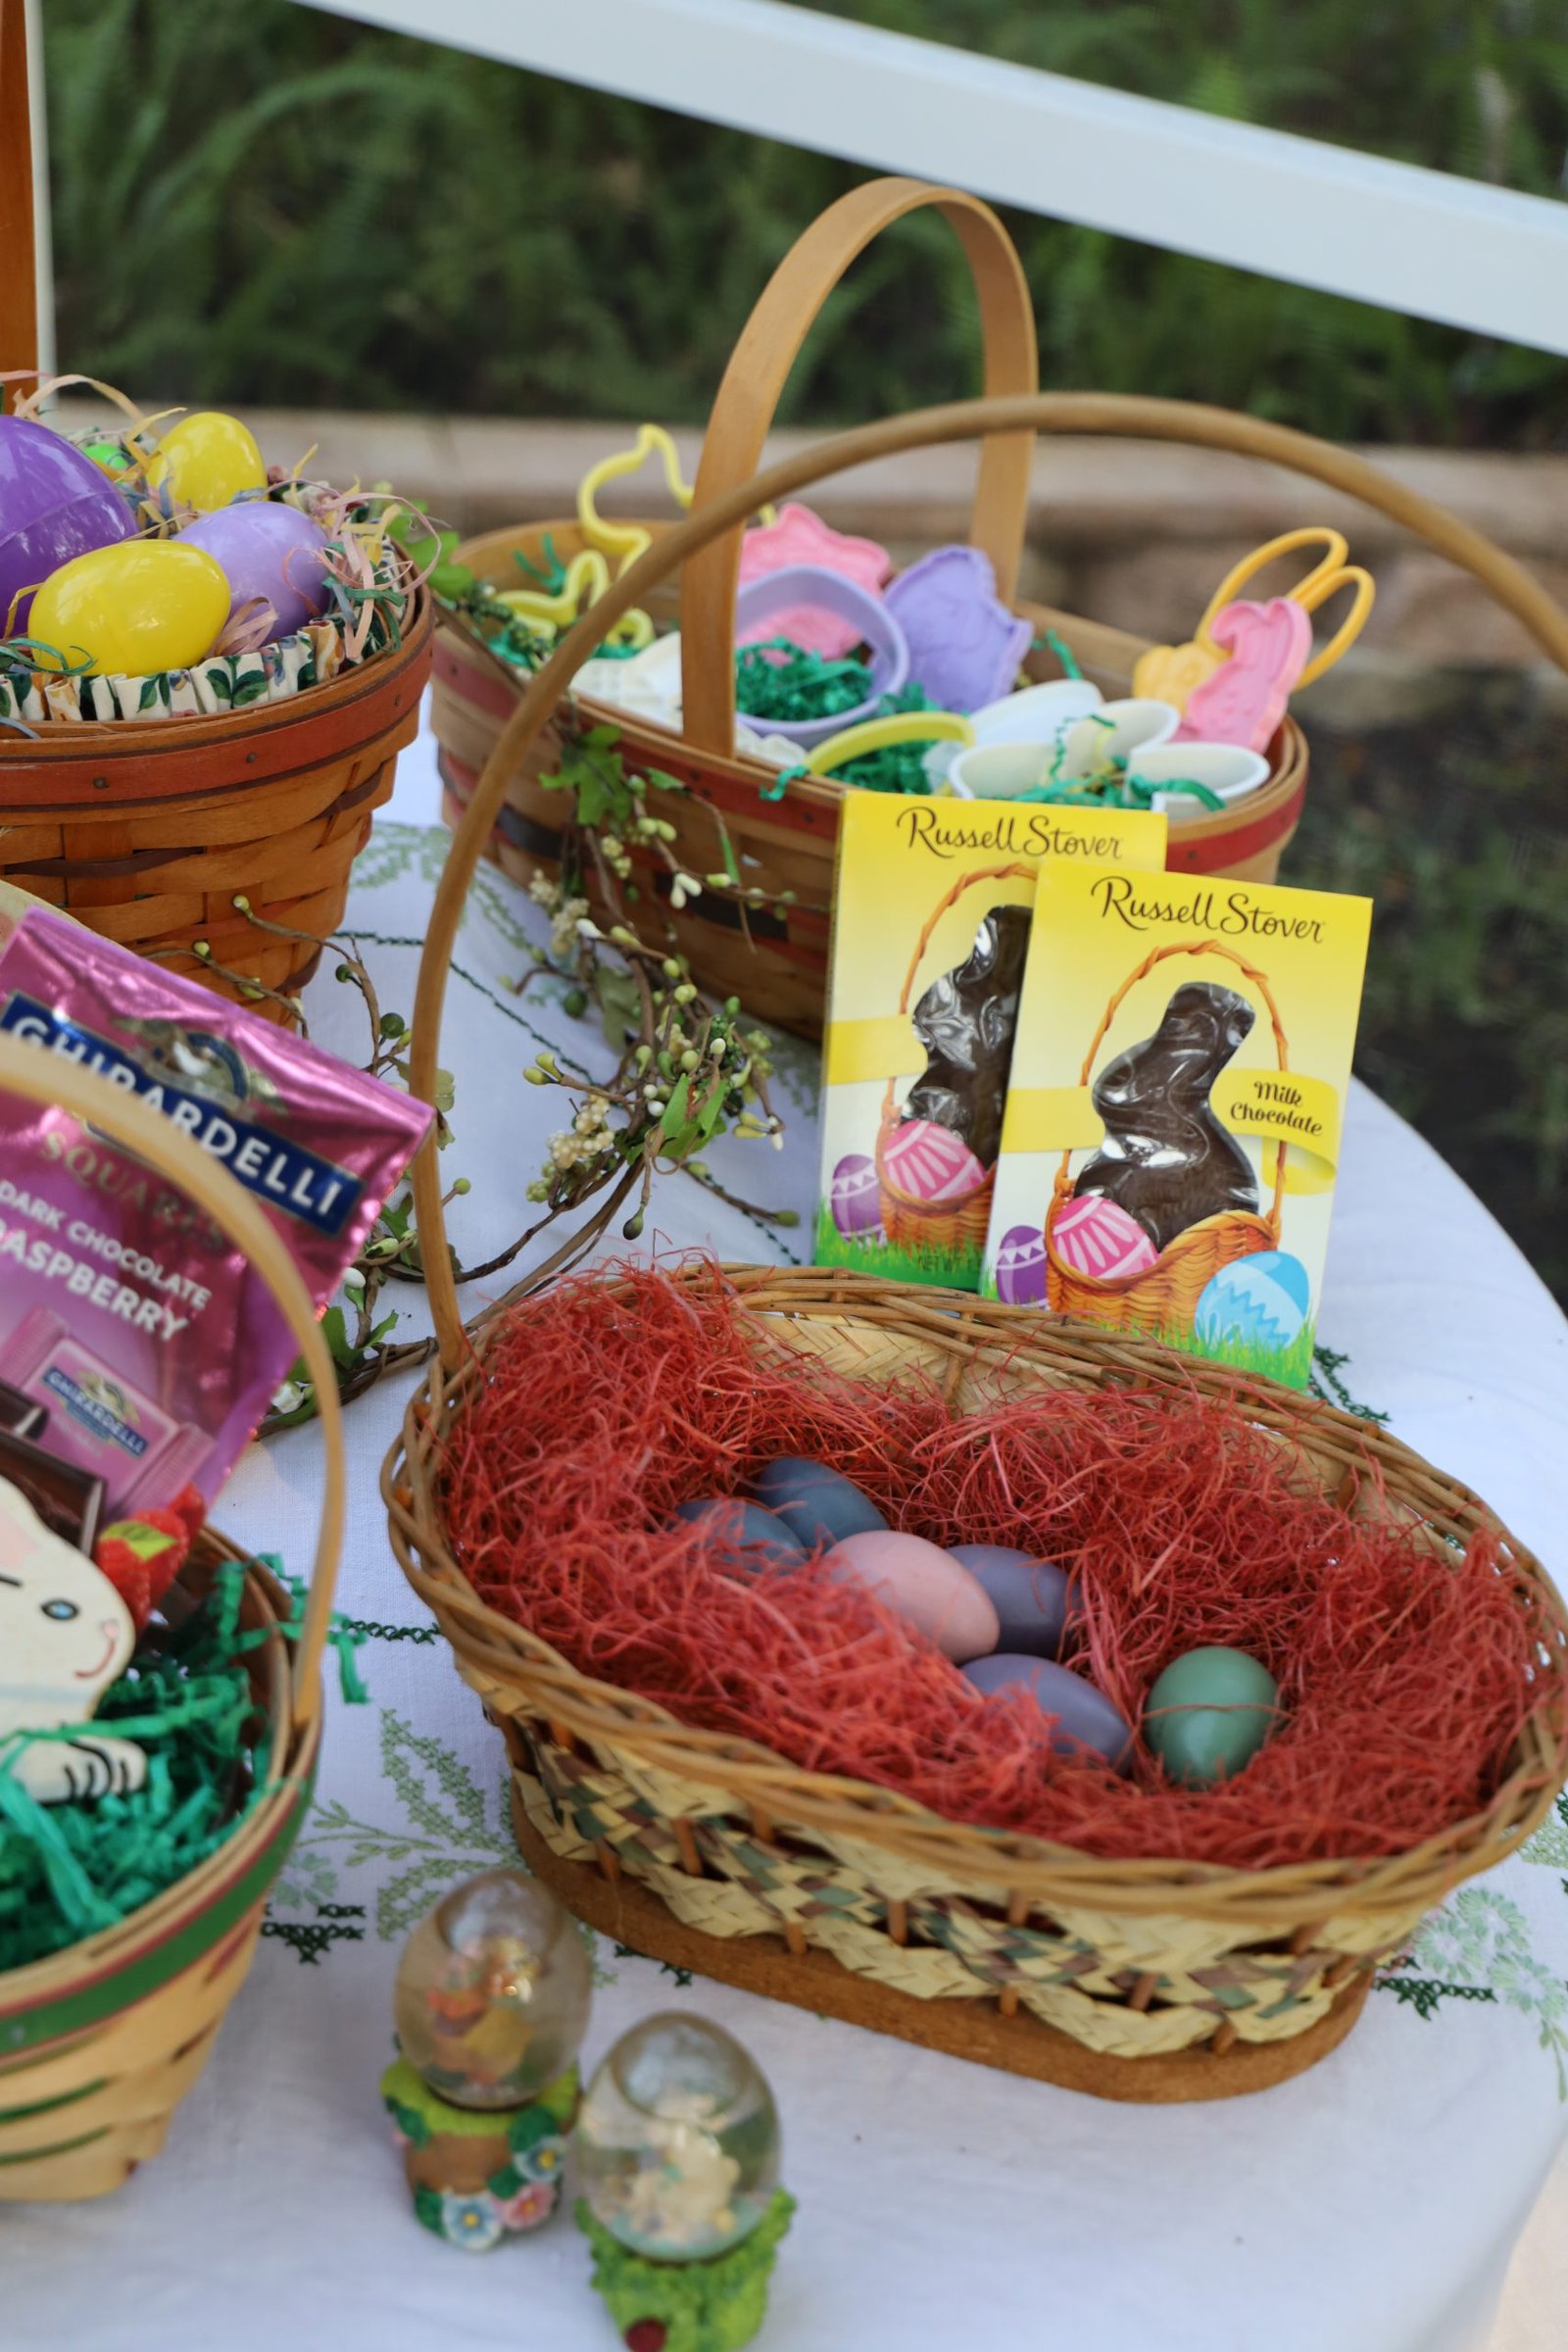
Easter Baskets Filled with Goodies

It wouldn’t be Easter without a Chocolate Bunny, or two.
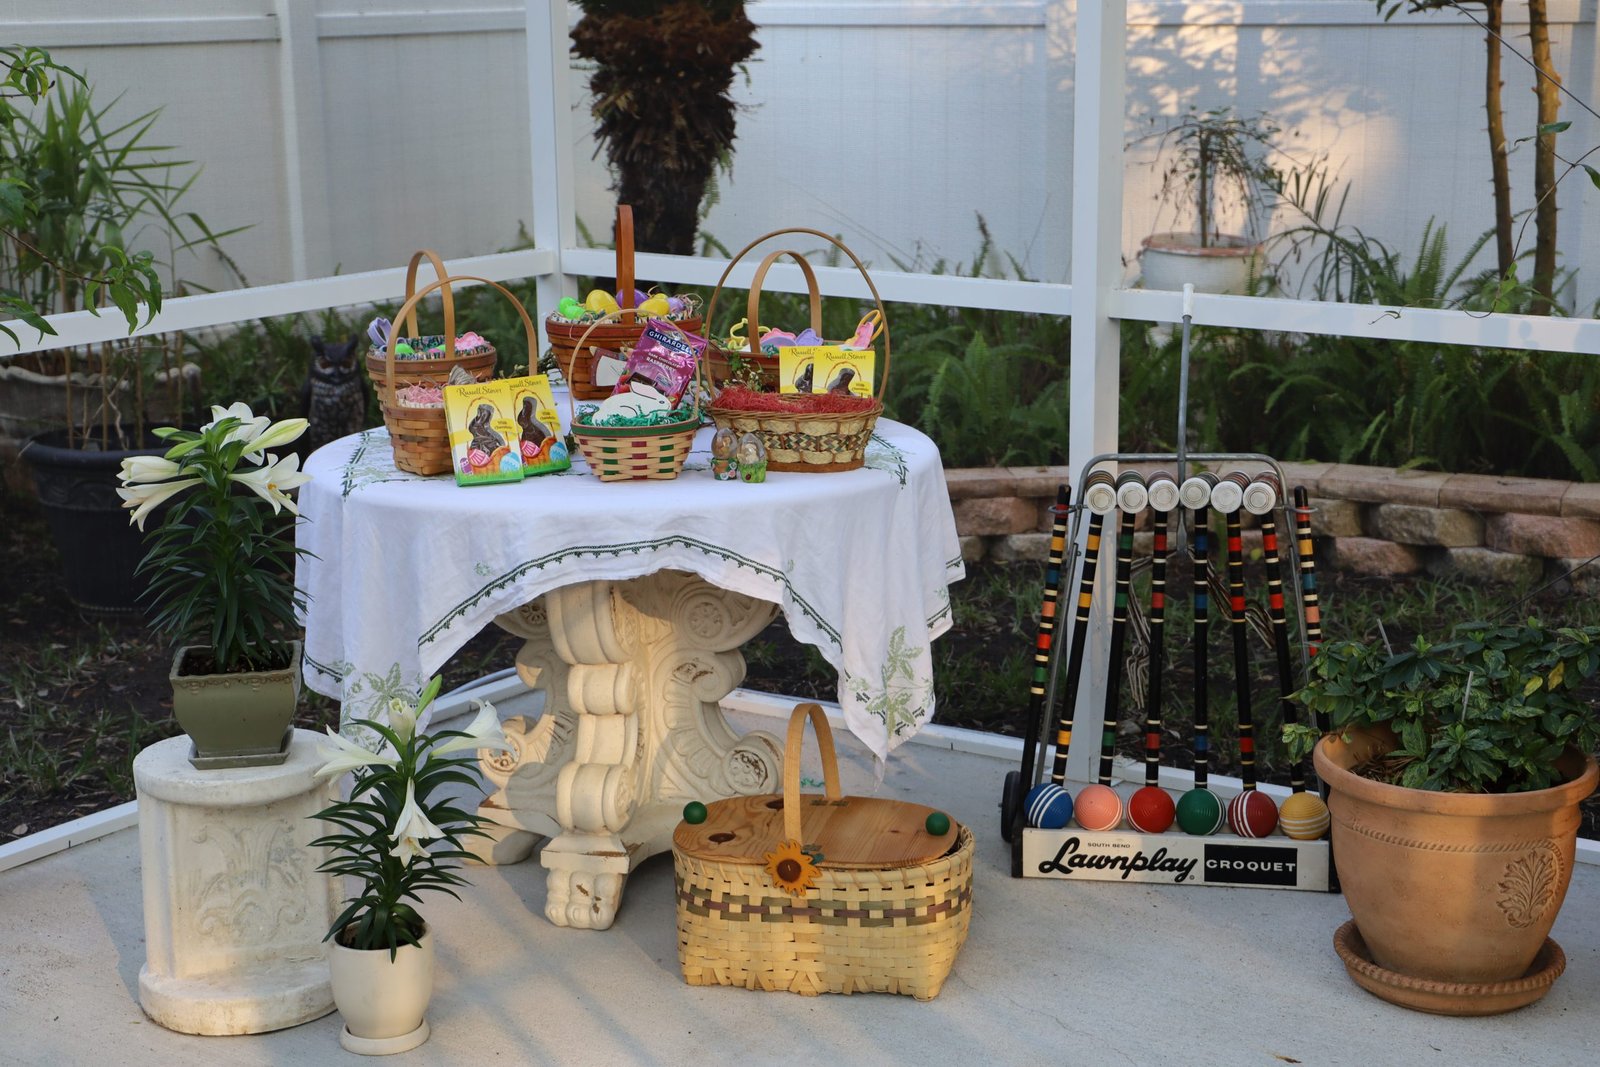
I did manage to get my hands on two Easter Lily plants for this Easter.
Oh, and see the picnic basket in front of the table?
I made that when we were living in Hawaii. It only took me a few hours.
————————————————————

The Dessert Table
(We don’t have time to make everything from scratch.)

3 small pies that we bought from the grocery store and had delivered. 1 peach and 2 apple. I thought they looked plain so I opened our stash of Easter candies and doctored them up a bit.
China plate, Silverware, Magnolia Tree wreath, old Chandelier, Lacey Basket Liner, and a hand drawn in pastels picture by our daughter Veronica that I wanted to include here.
————————————————————–
Into the Kitchen
RECIPES START HERE!

Getting the Lanai Ready for Easter
———————————————————–
Making Southern Iced Tea
(We just call it Ice Tea)
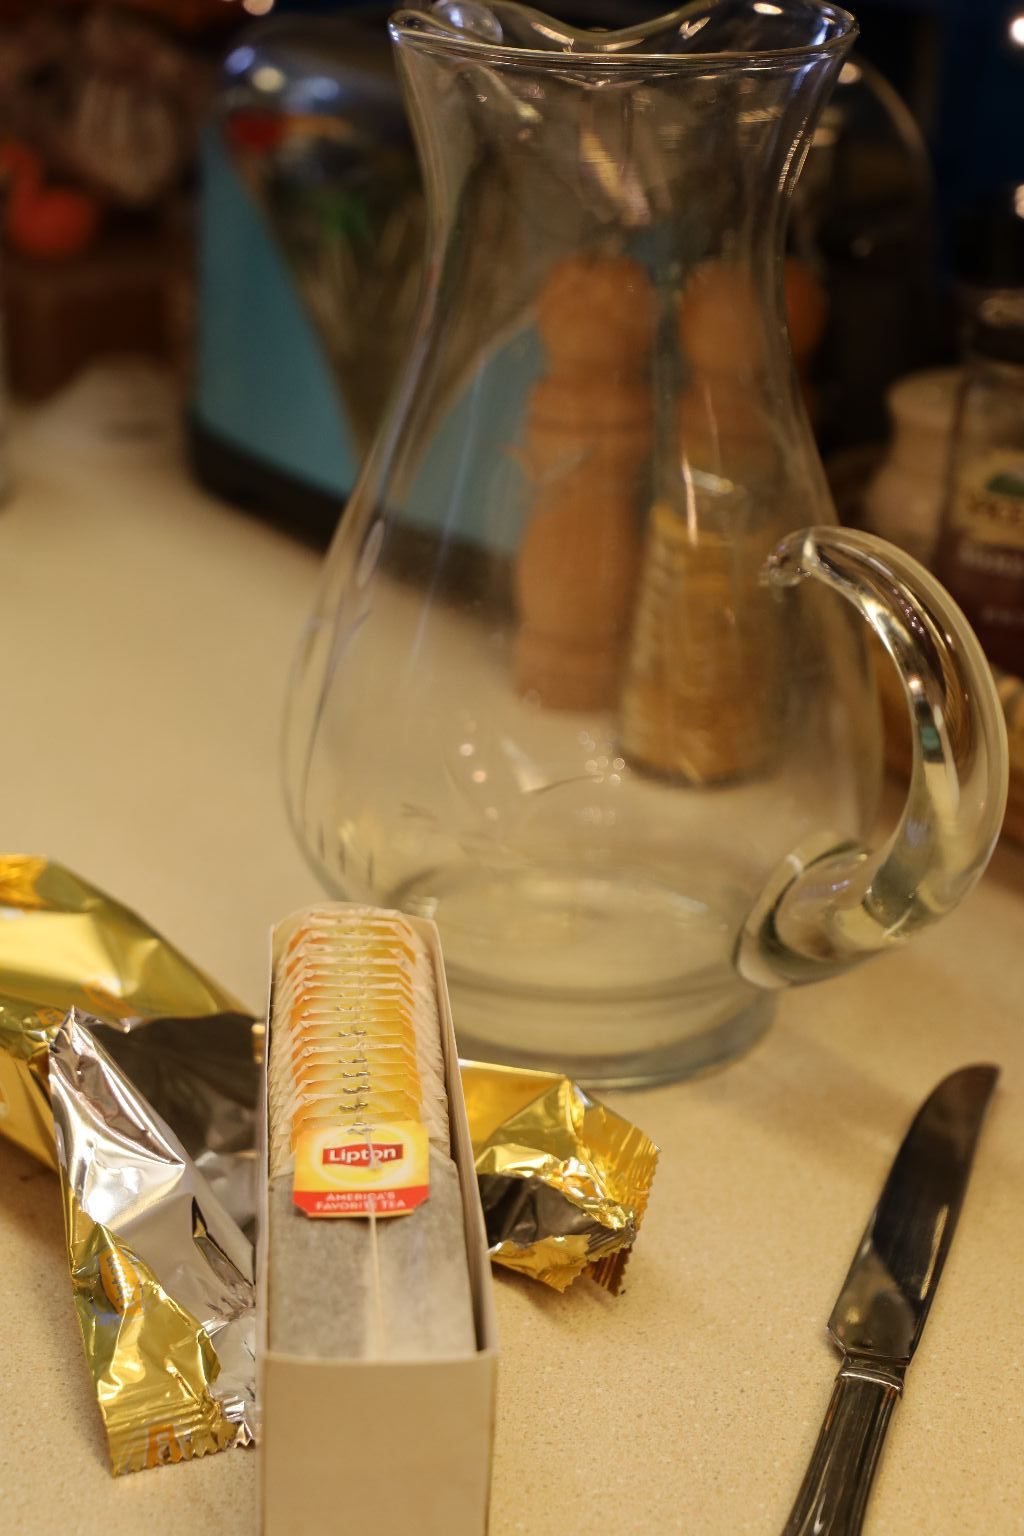
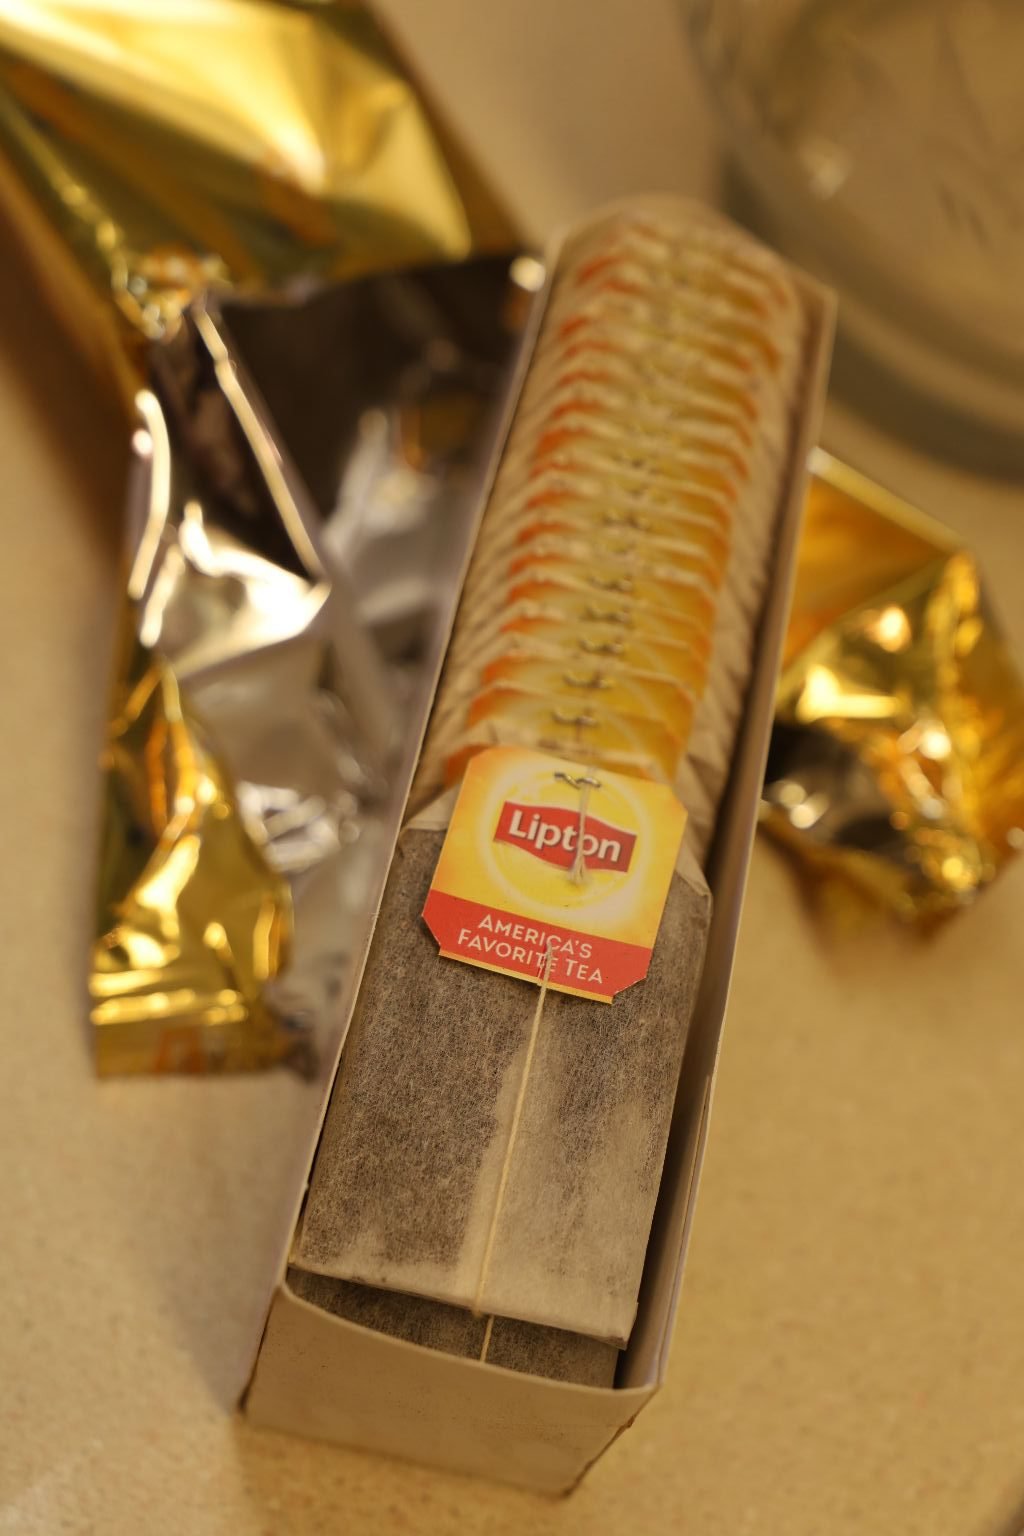
Lipton Tea Bags
(This to the south is GOLD, but to the rest of the world it’s just tea dust.)
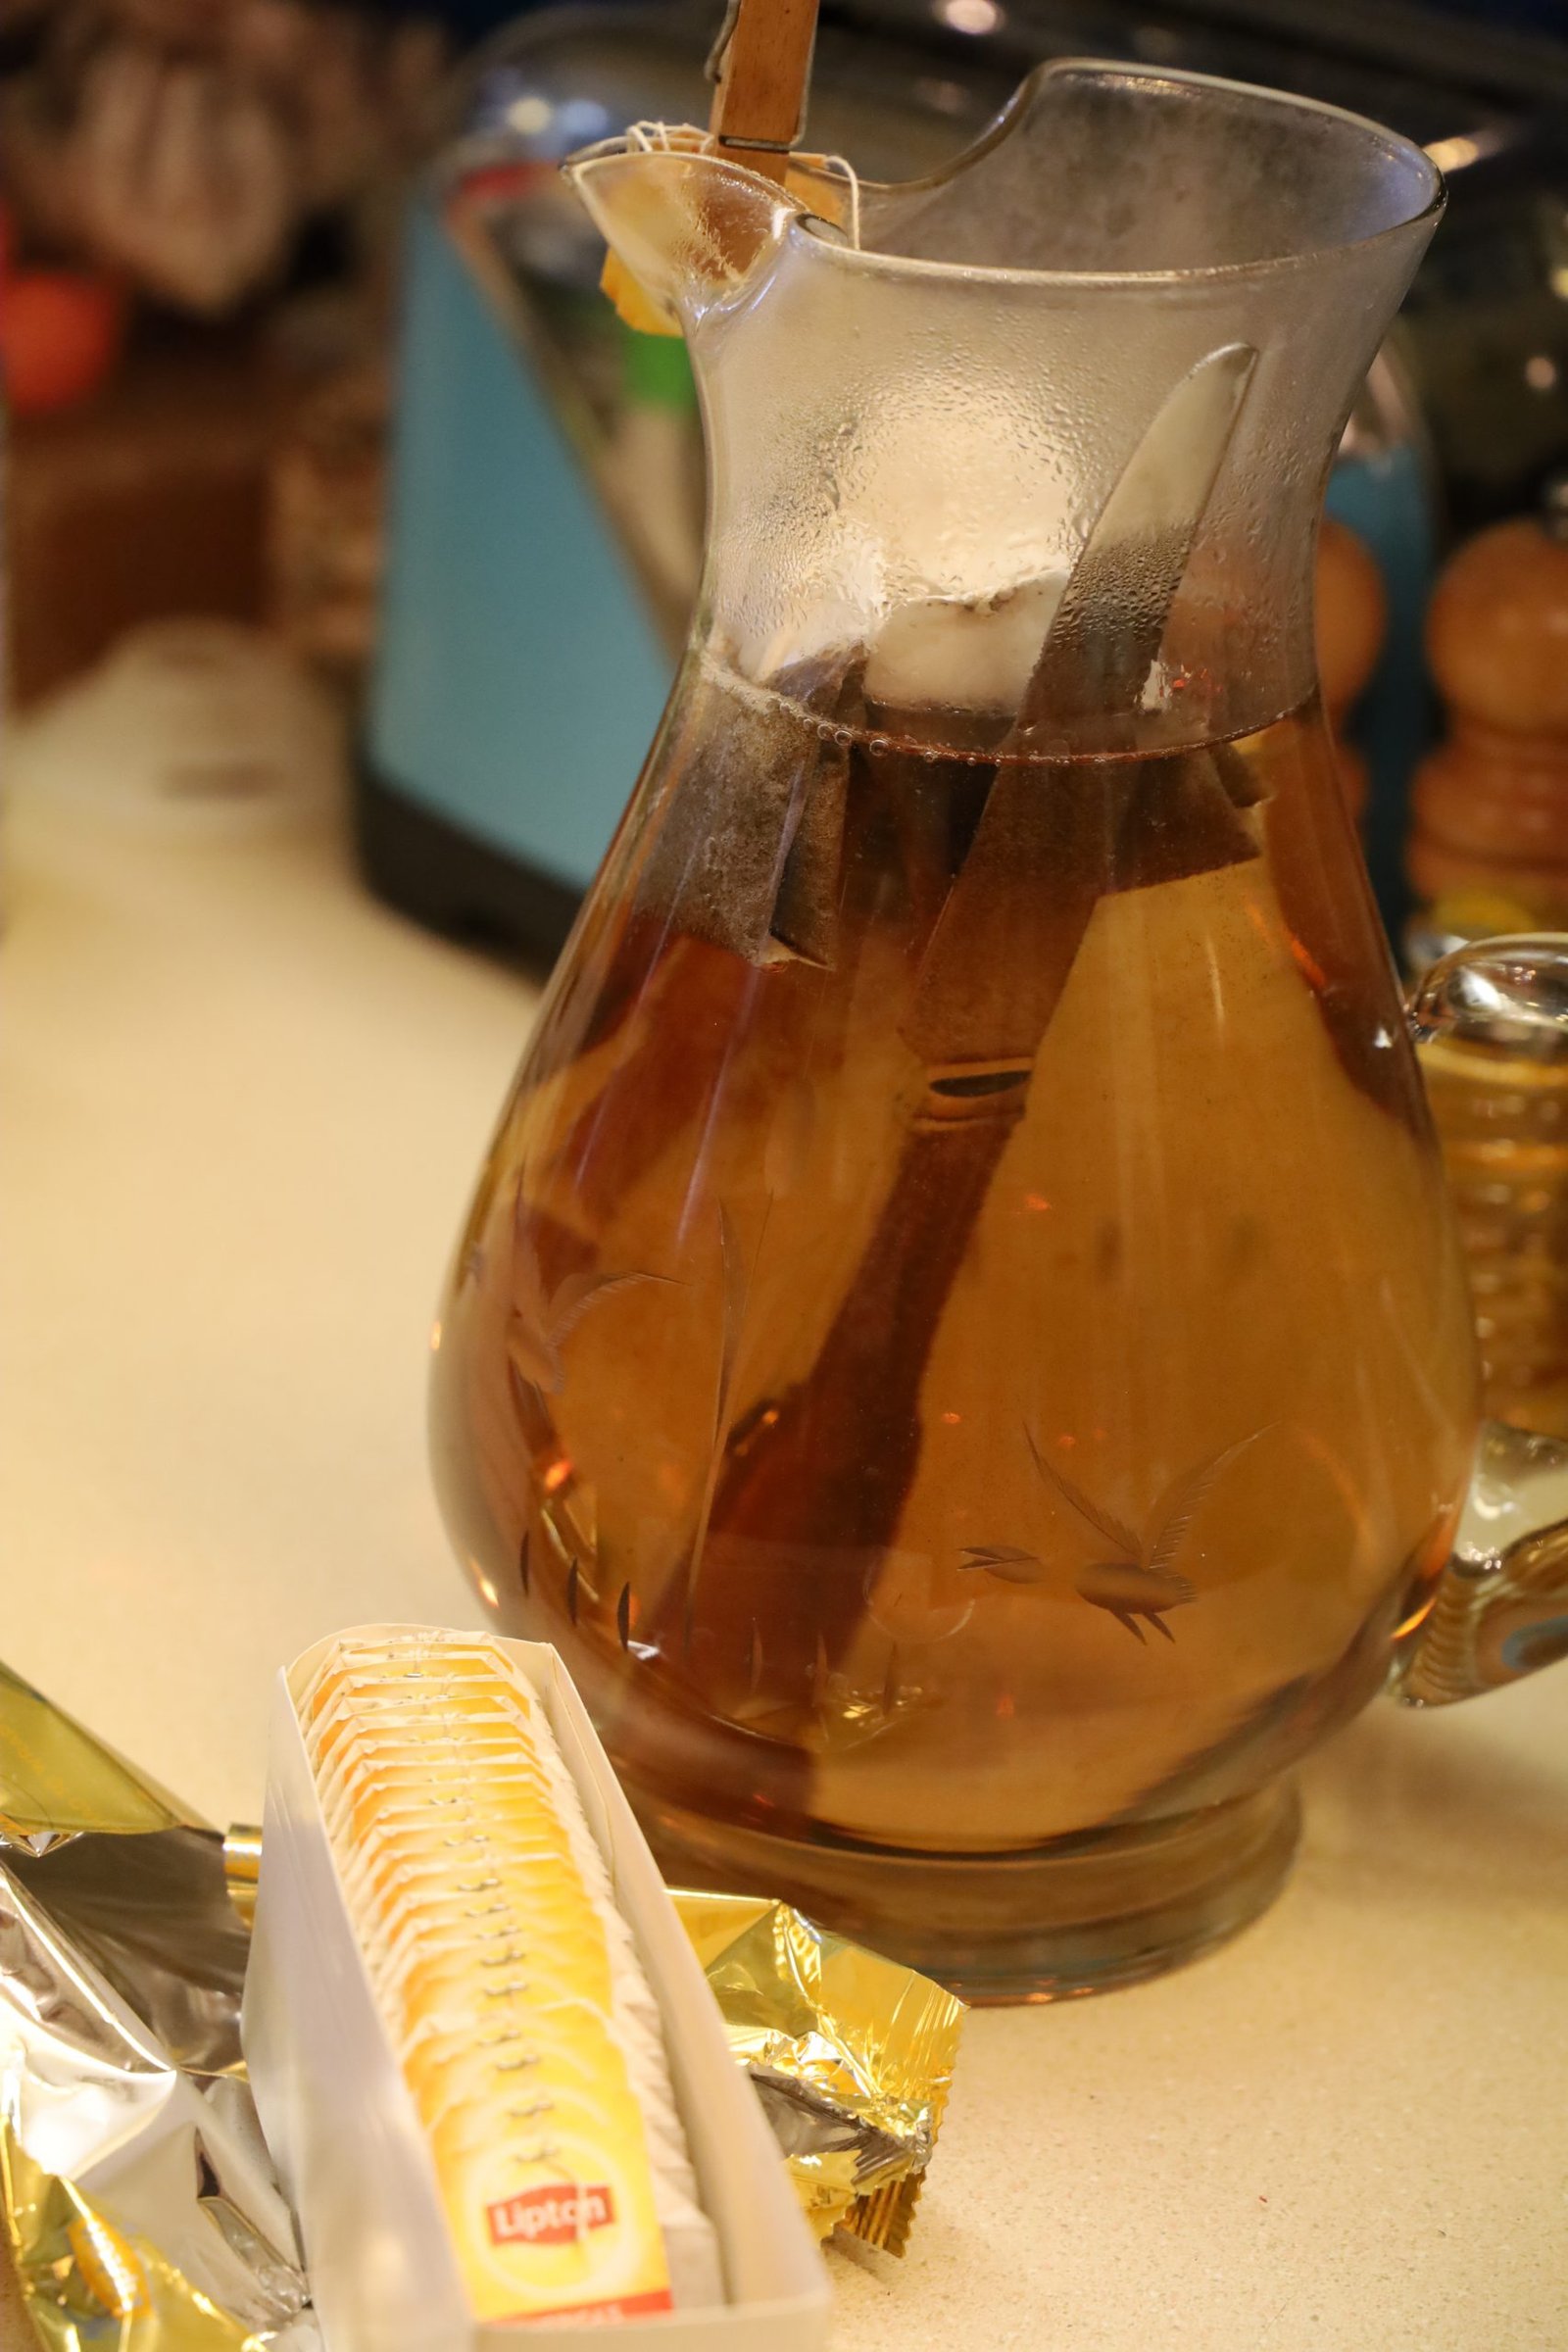
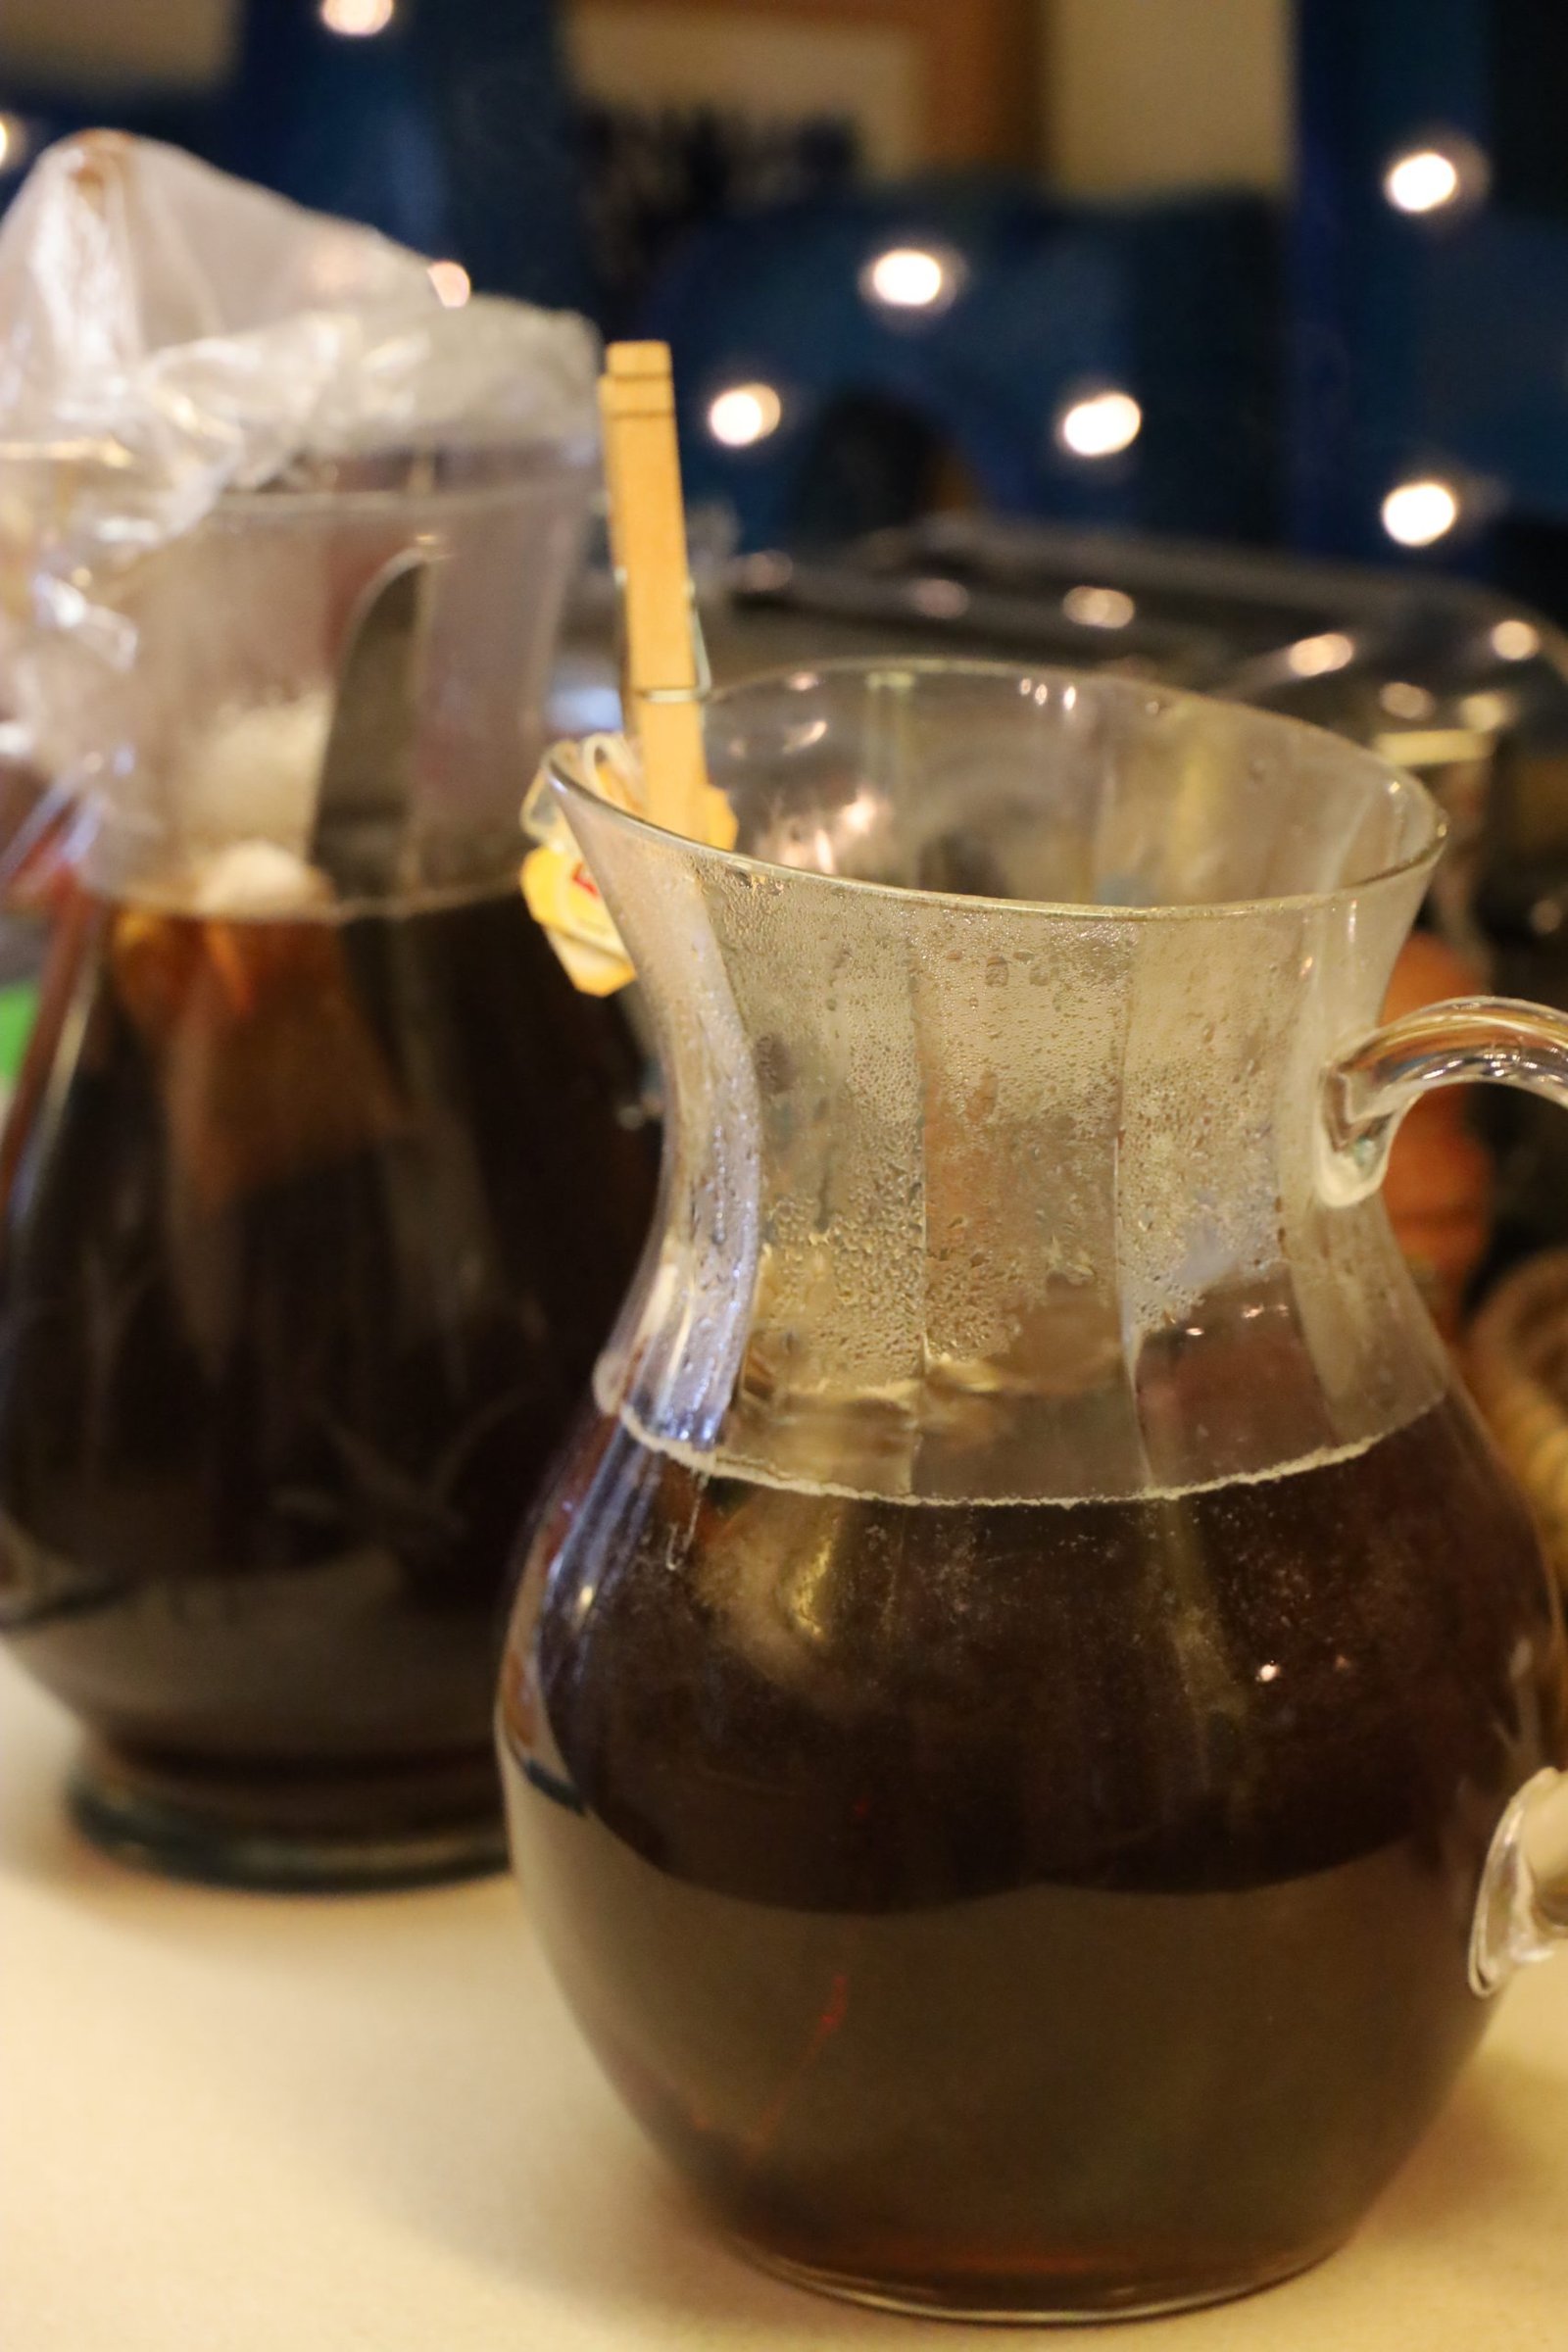
It was always Lipton or Nestle. Those were the brands of tea that everyone would buy. There were always two pitchers, one for Sweet Tea and one for Unsweetened Tea. My grandmother would boil water on the stove top and then pour it piping hot into a glass pitcher with tea bags. To prevent the glass pitcher from breaking she would insert a knife into the pitcher to prevent that from happening. Don’t ask me how it works, it just does.
Once the tea has cooled then into the refrigerator the pitchers go to get really cold. Right before the tea is served ice cubes are usually added to the tea. With sugar added to only one pitcher for those that like it sweet.
———————————————————–
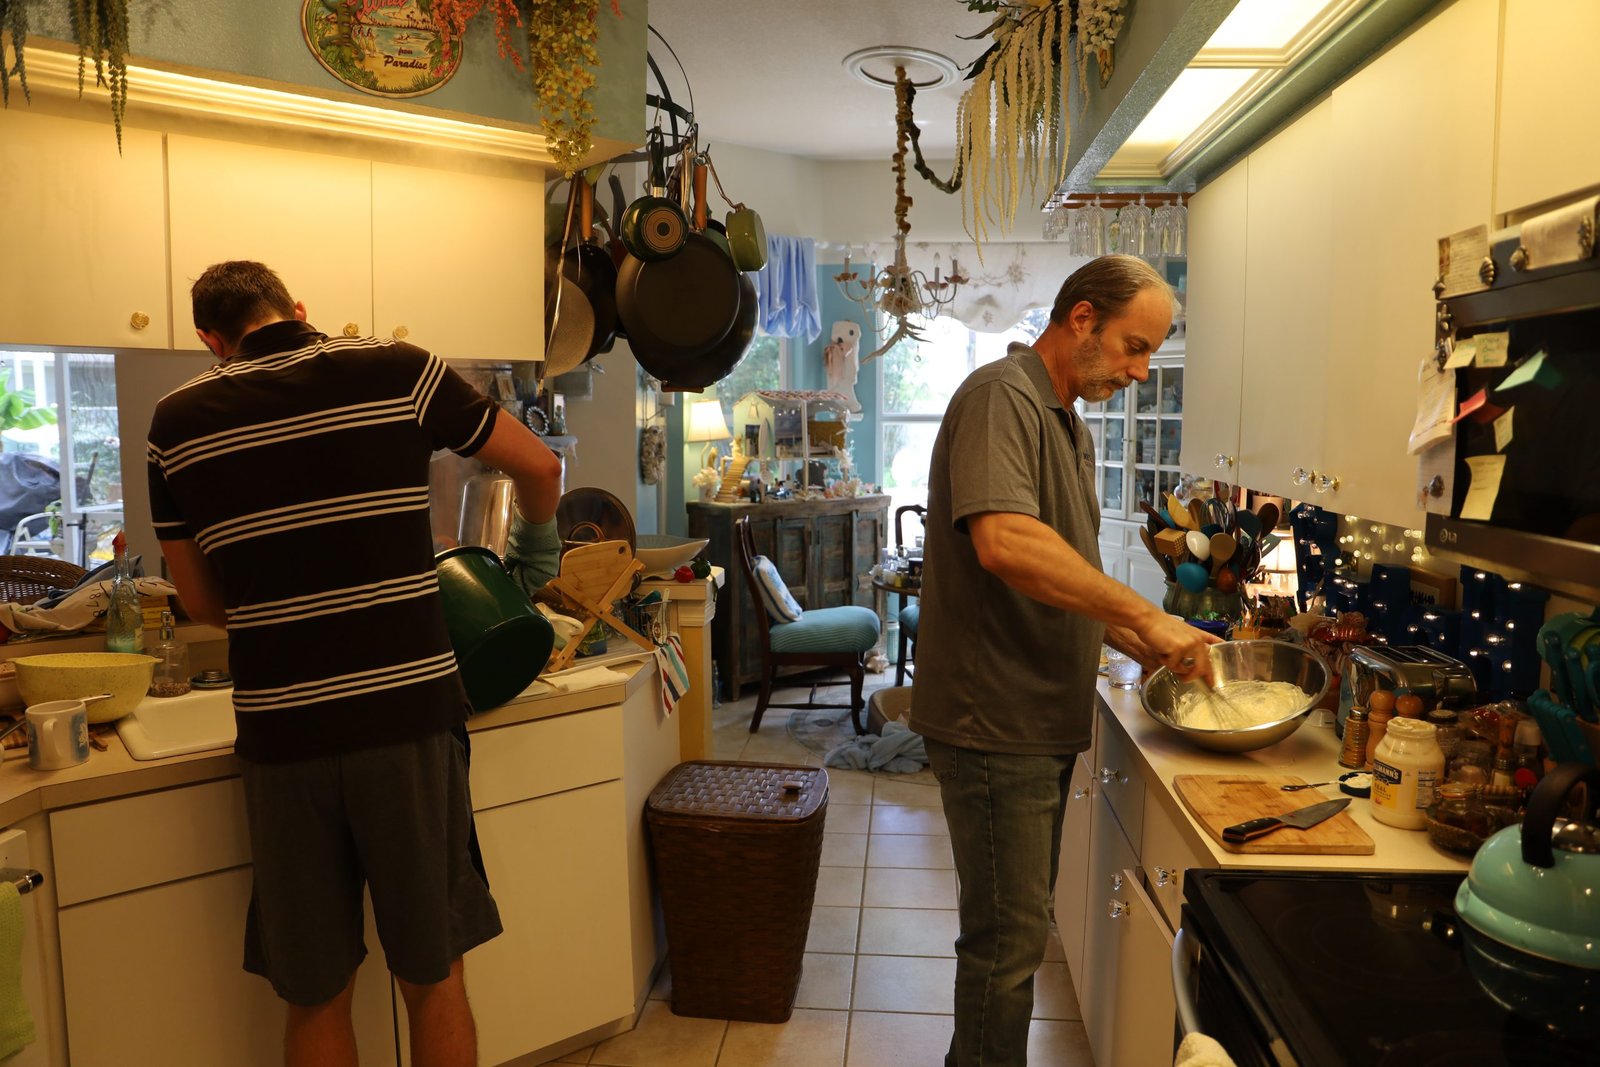
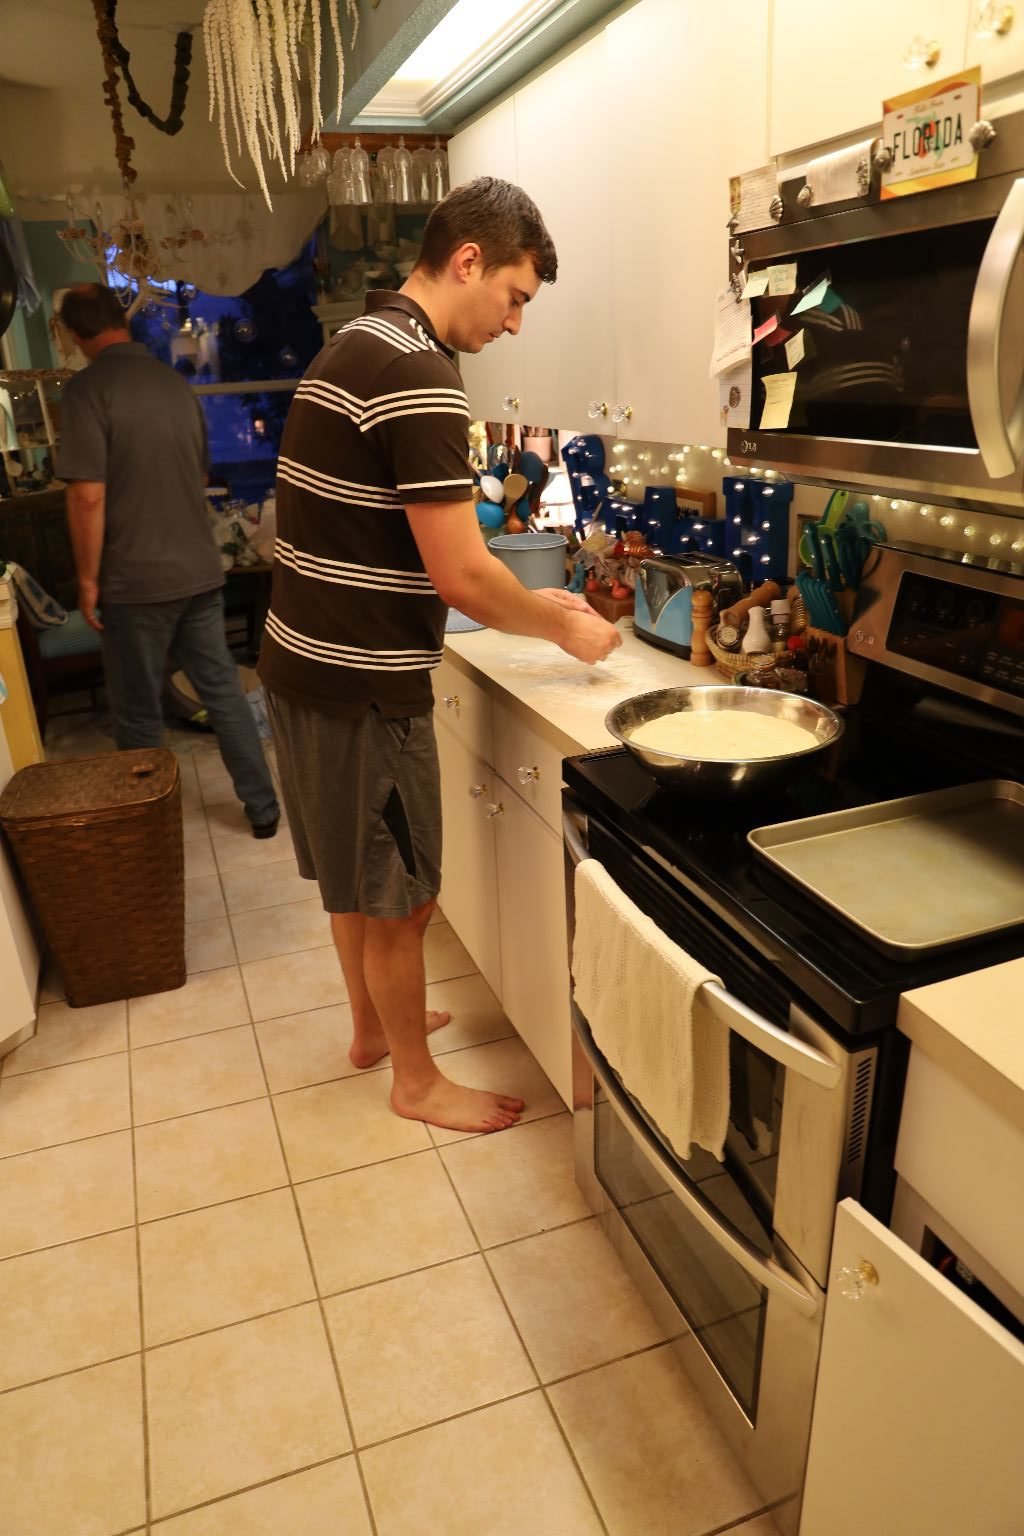
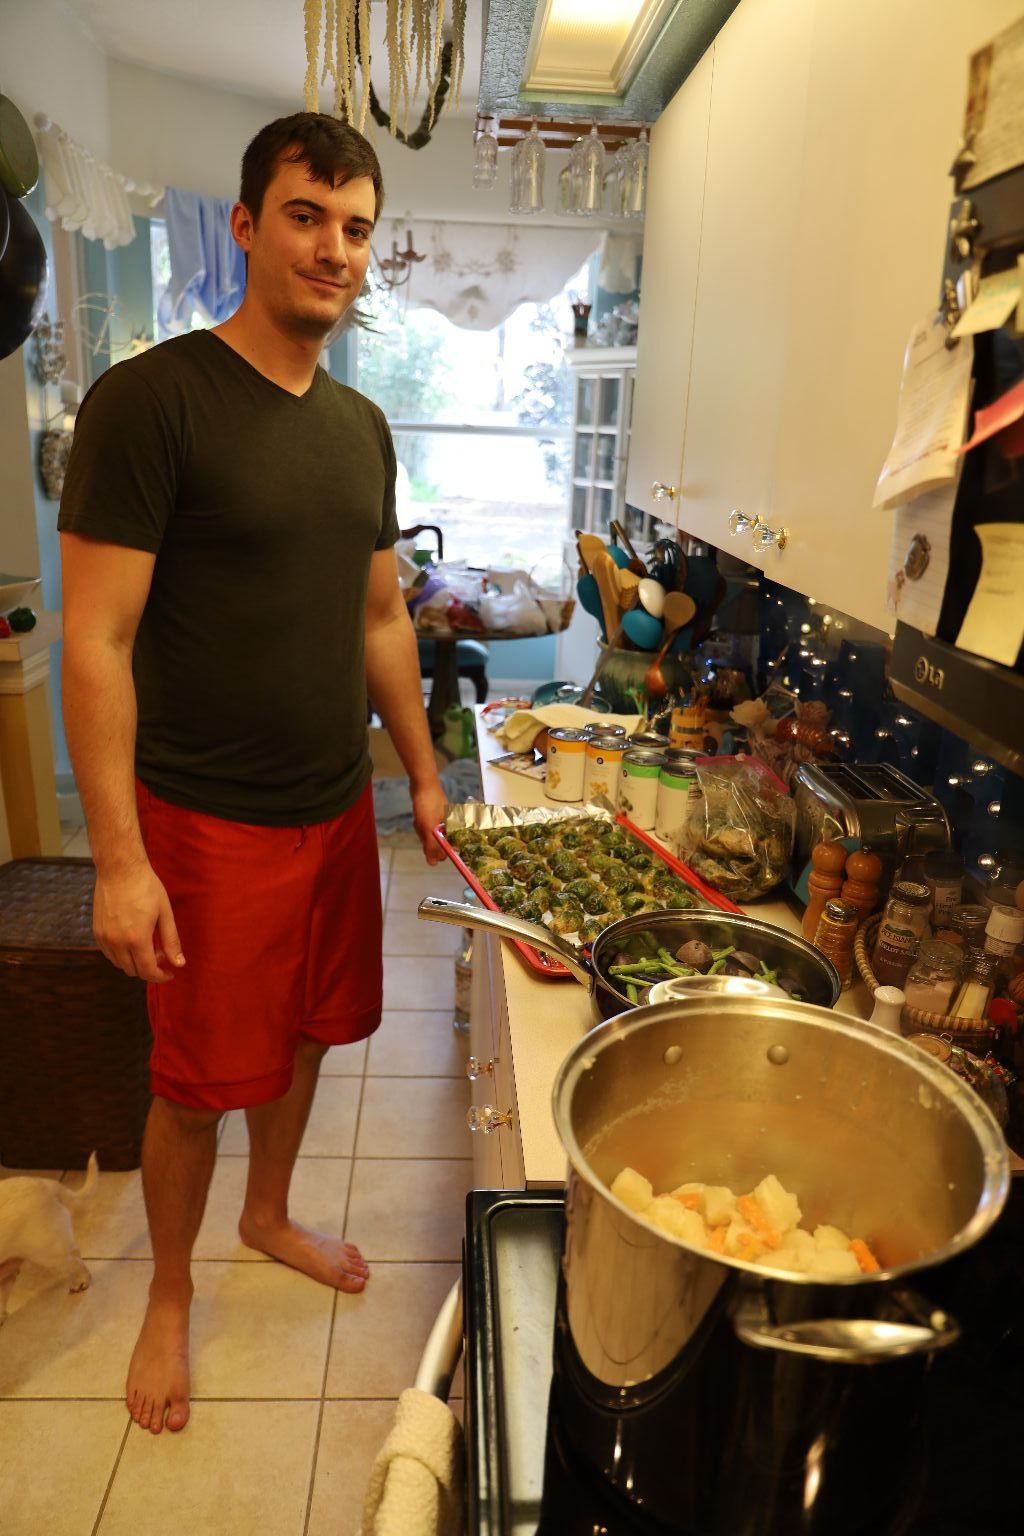
Gordon and Brodie in the Kitchen Working Their Magic

Gordon did grow a beard for lockdown.
——————————————————-

Spooky and Sparky love being in the kitchen with us when we are cooking.
———————————————————-
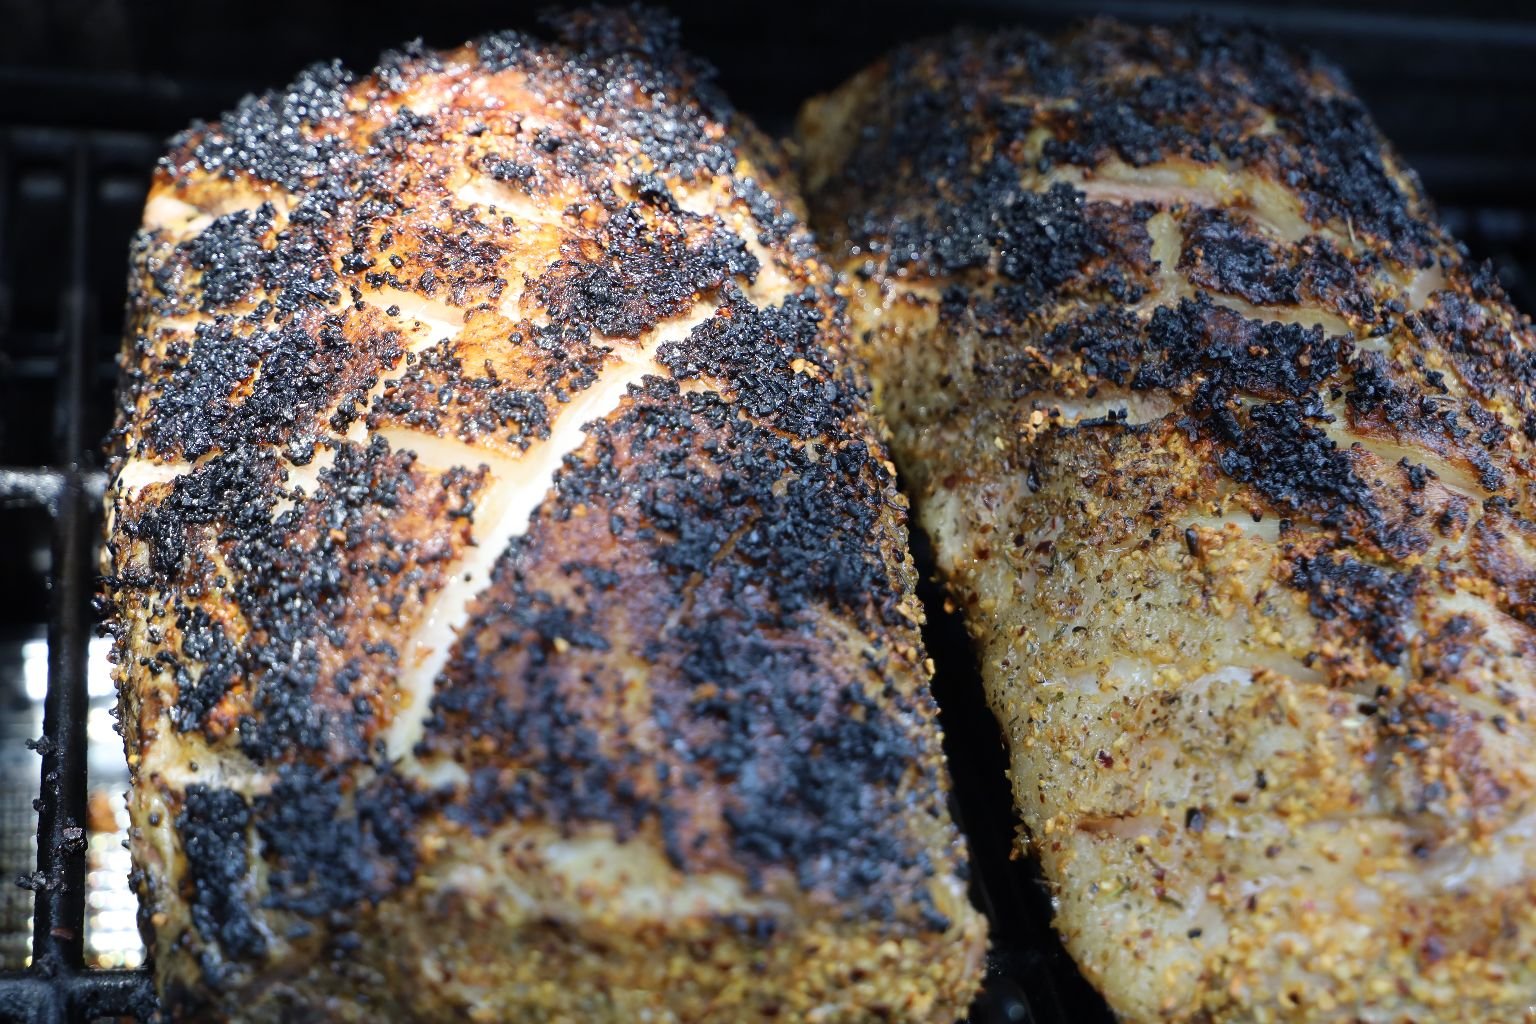
Gordon’s Bone In Pork Roast
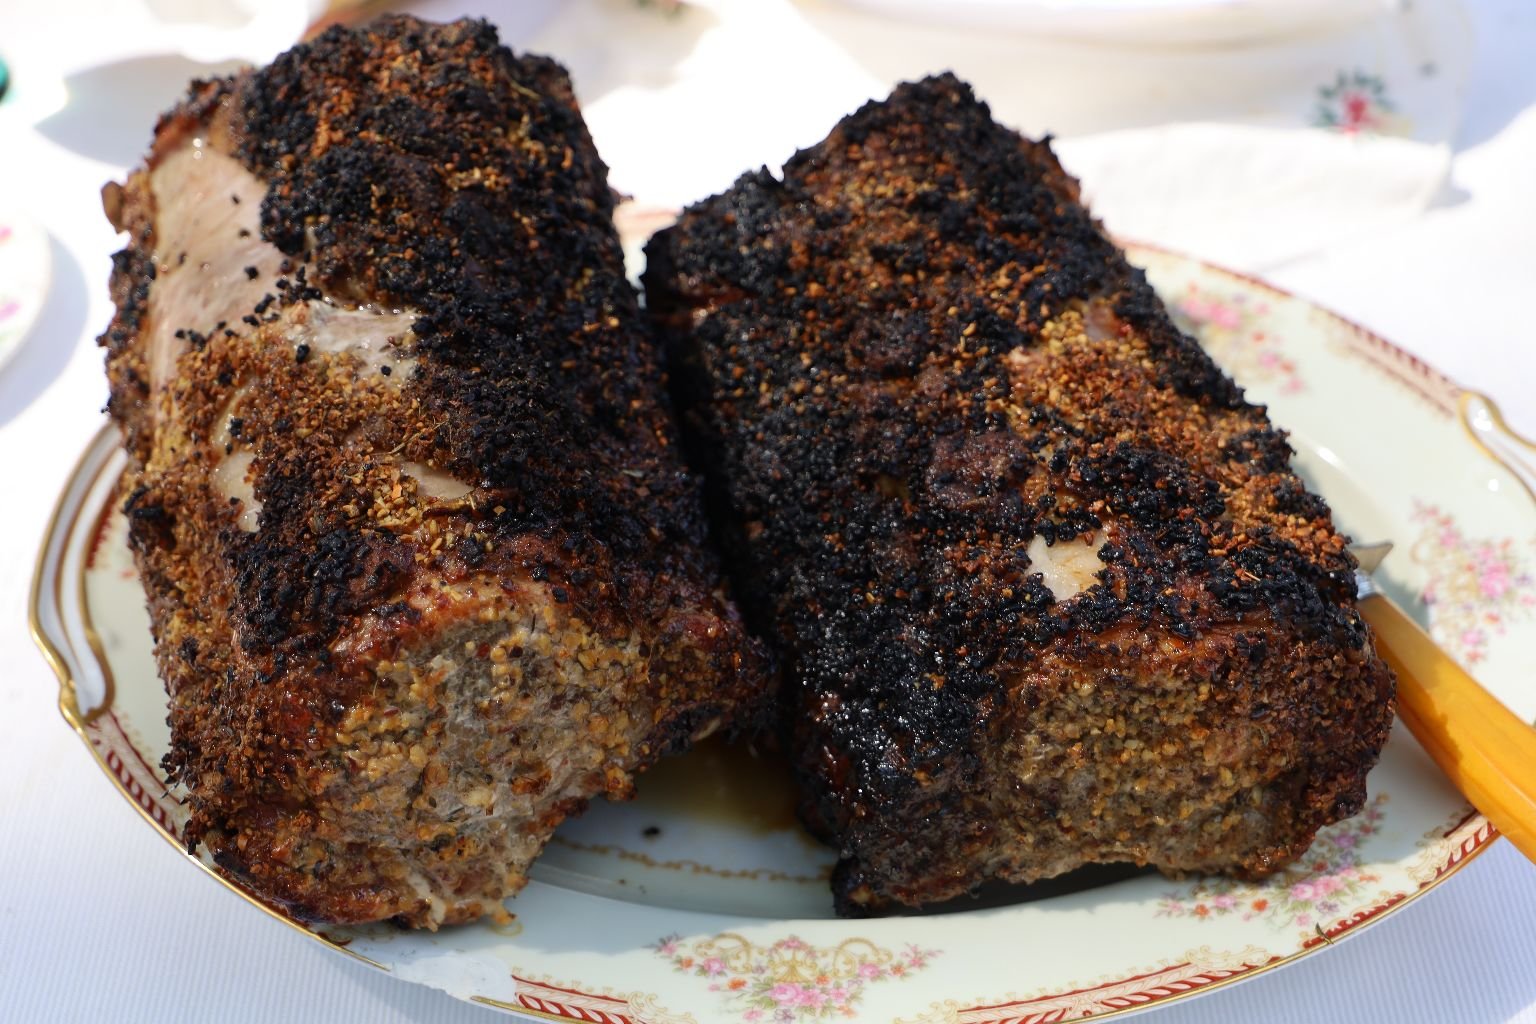
We Made TWO!

——————————————————————-
——————————————————————-


Ingredients:
2x ~6lb. Bone in Pork Roasts
1 1/2 Cups (Weber’s) Roasted Garlic and Herb seasoning
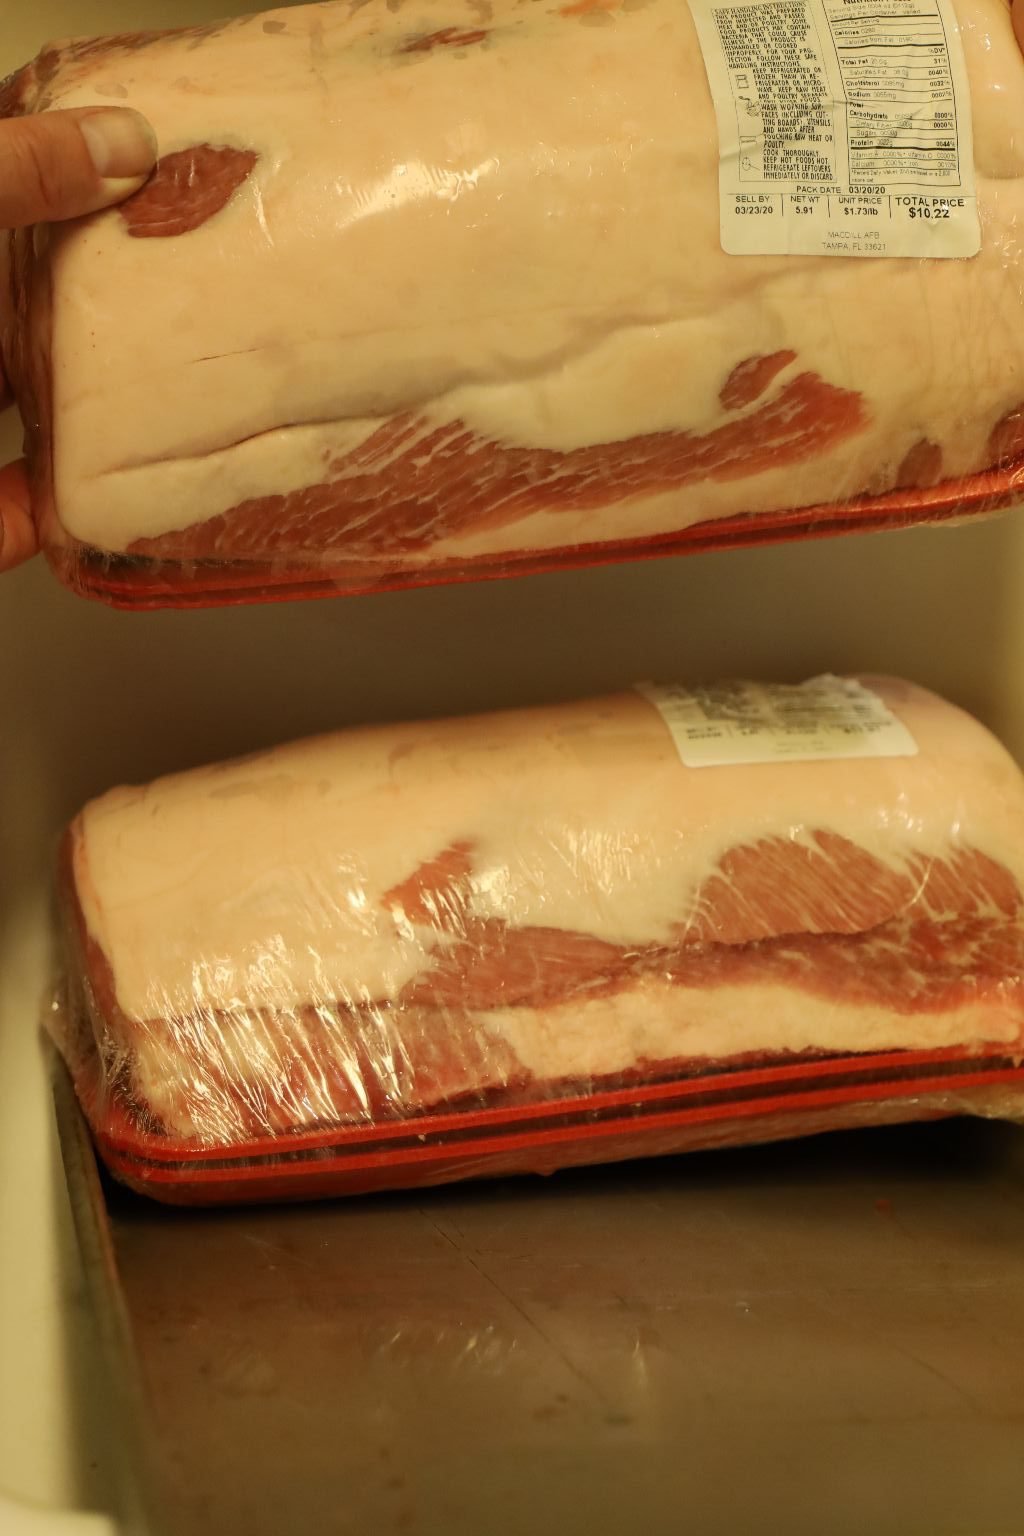
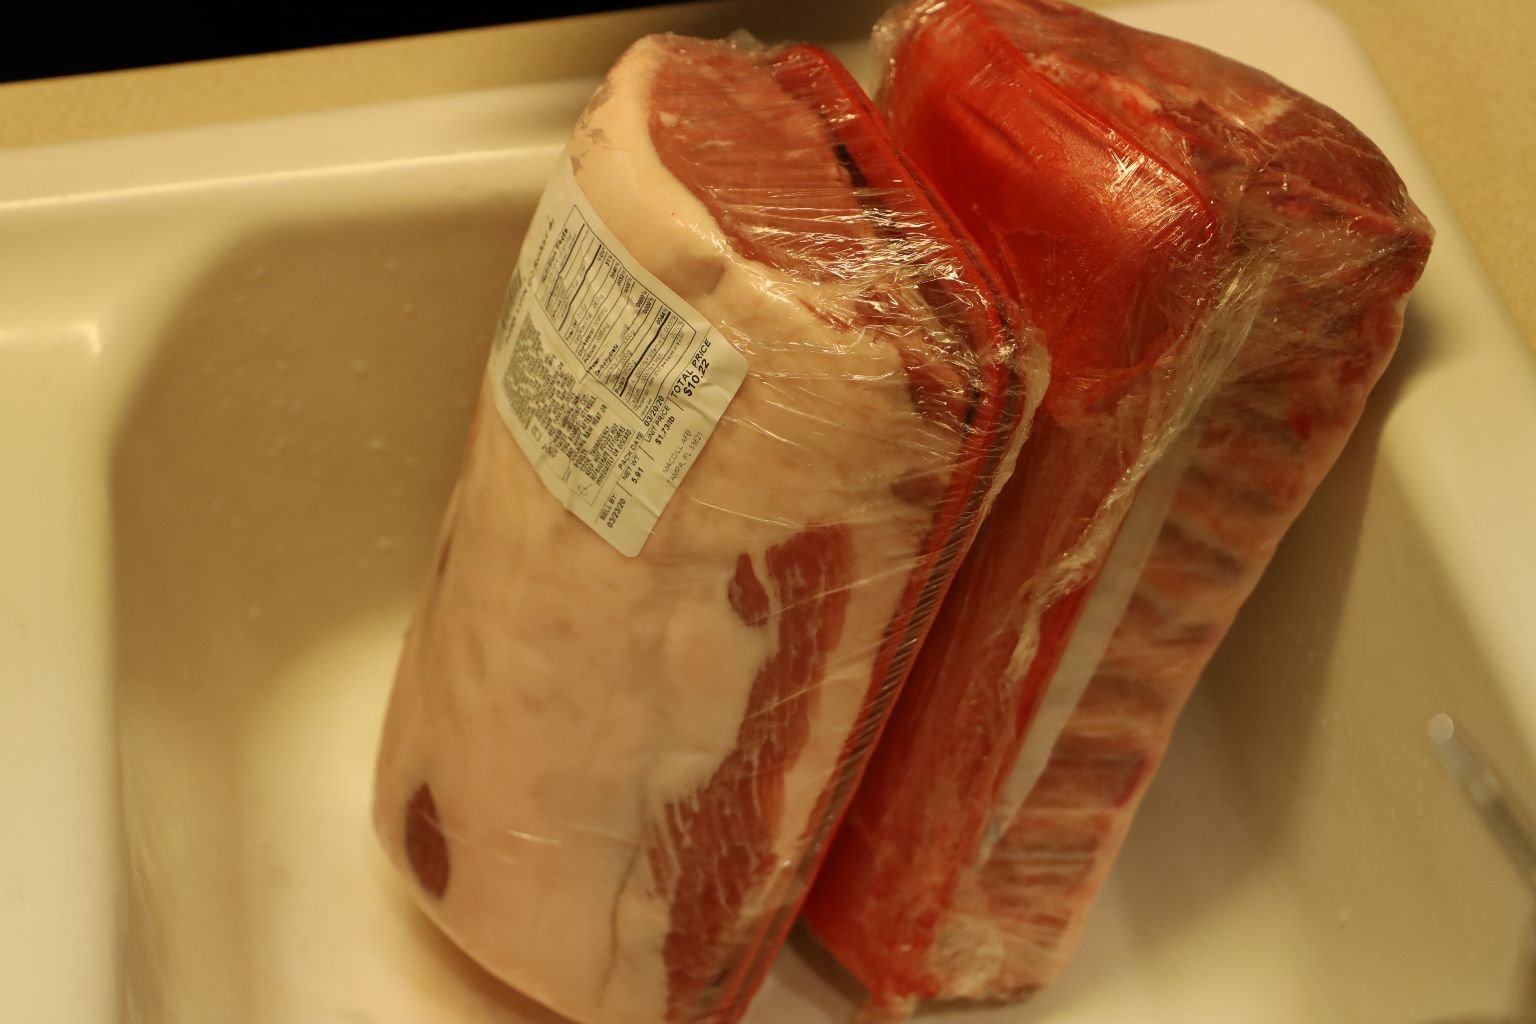
Let the pork roasts come to room temperature.
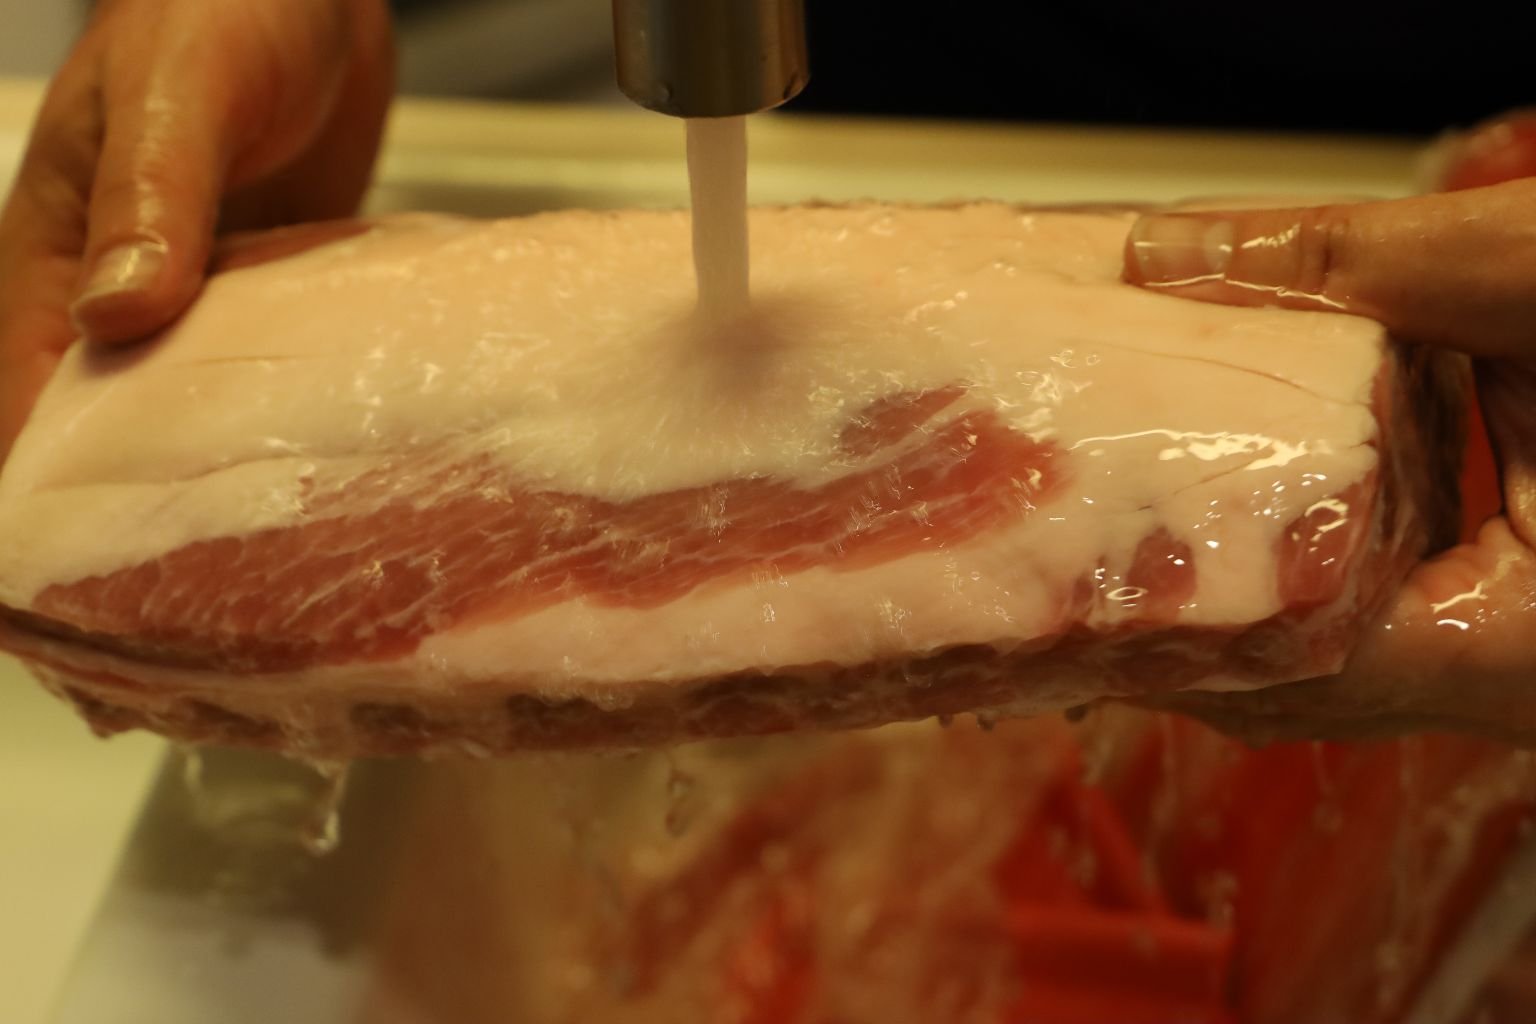
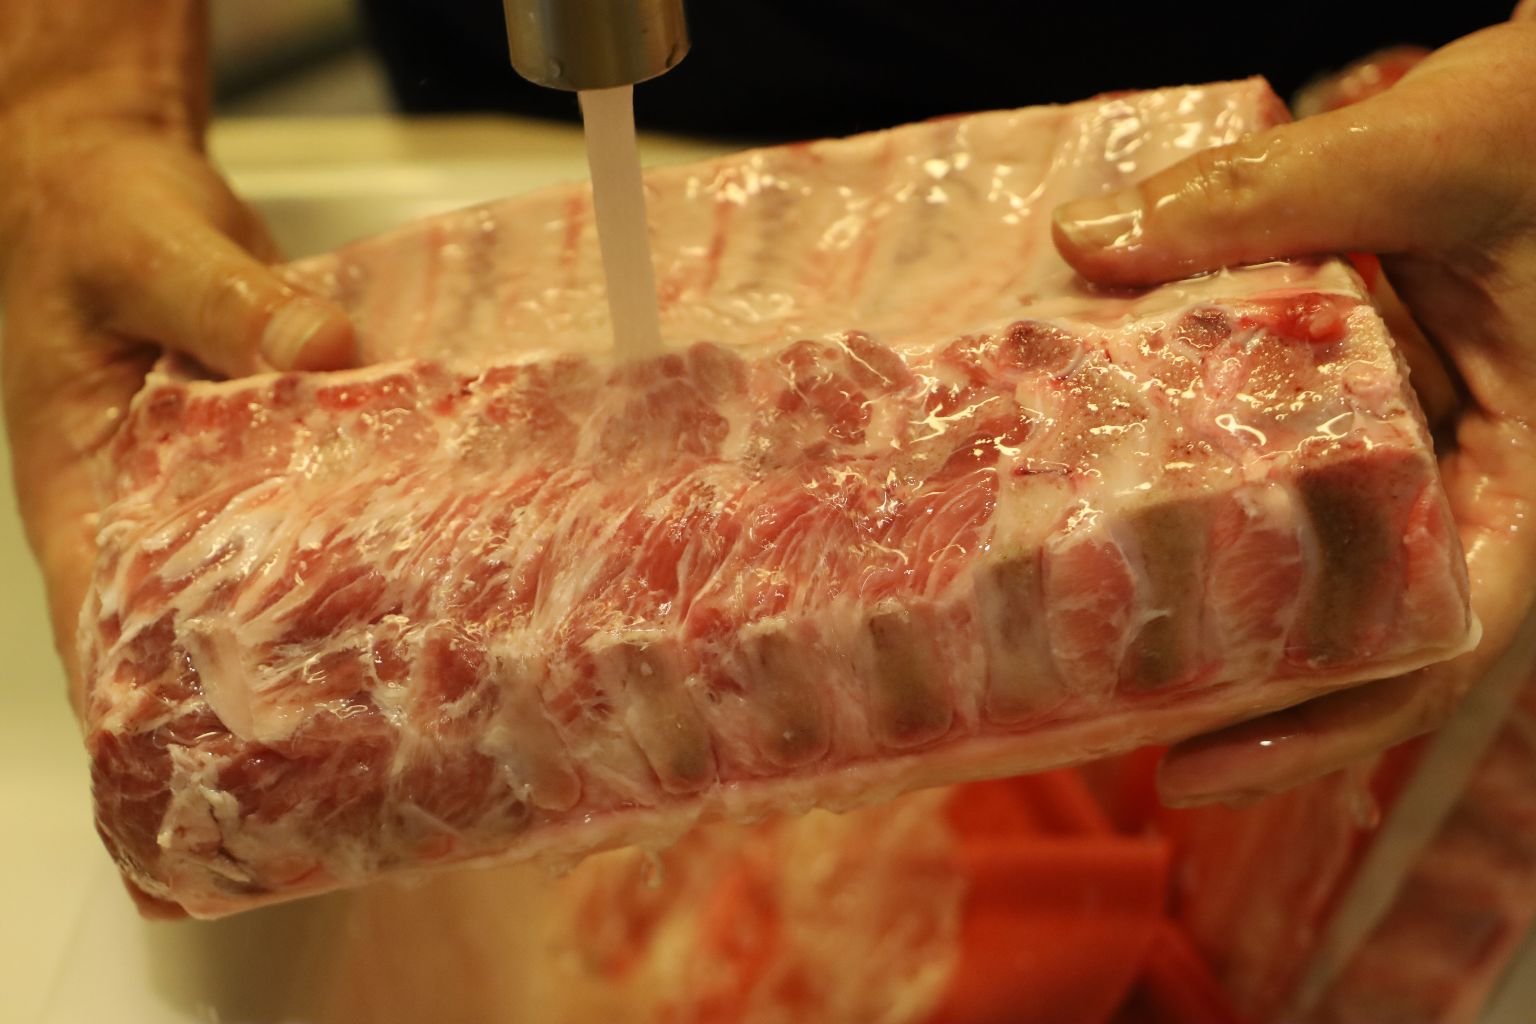
Remove the plastic covering on the pork roasts and rinse the excess blood and bone debris with fresh water. Not shown, remove the silver skin from behind the bones as your would with ribs. It usually peals off fairly easily once started.
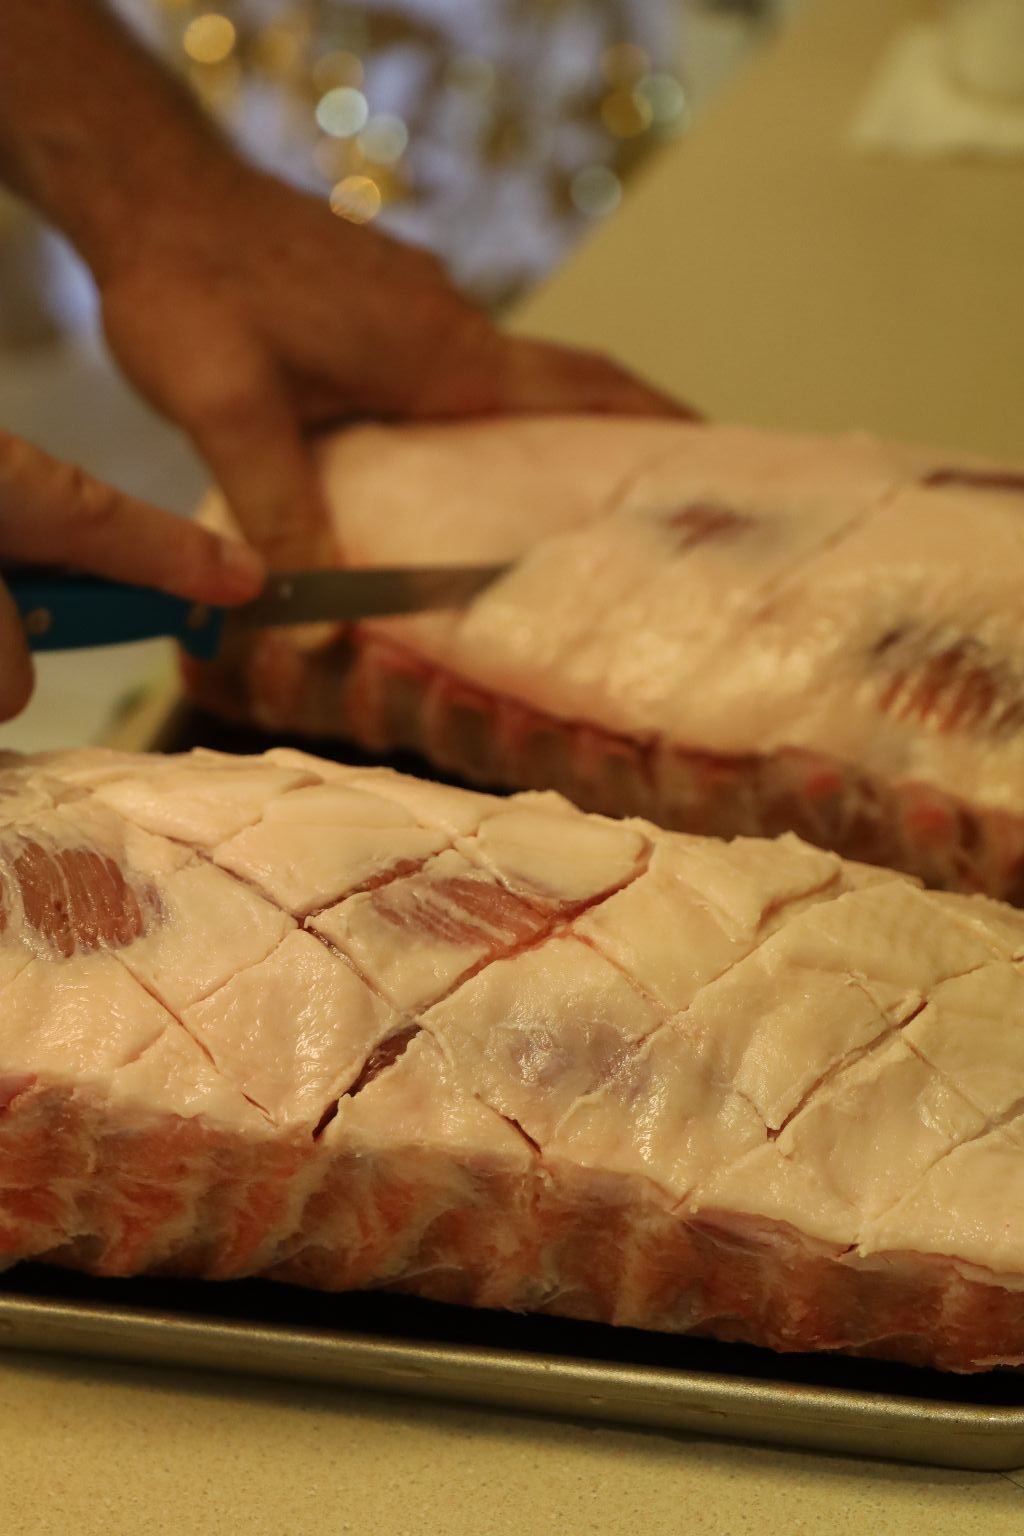
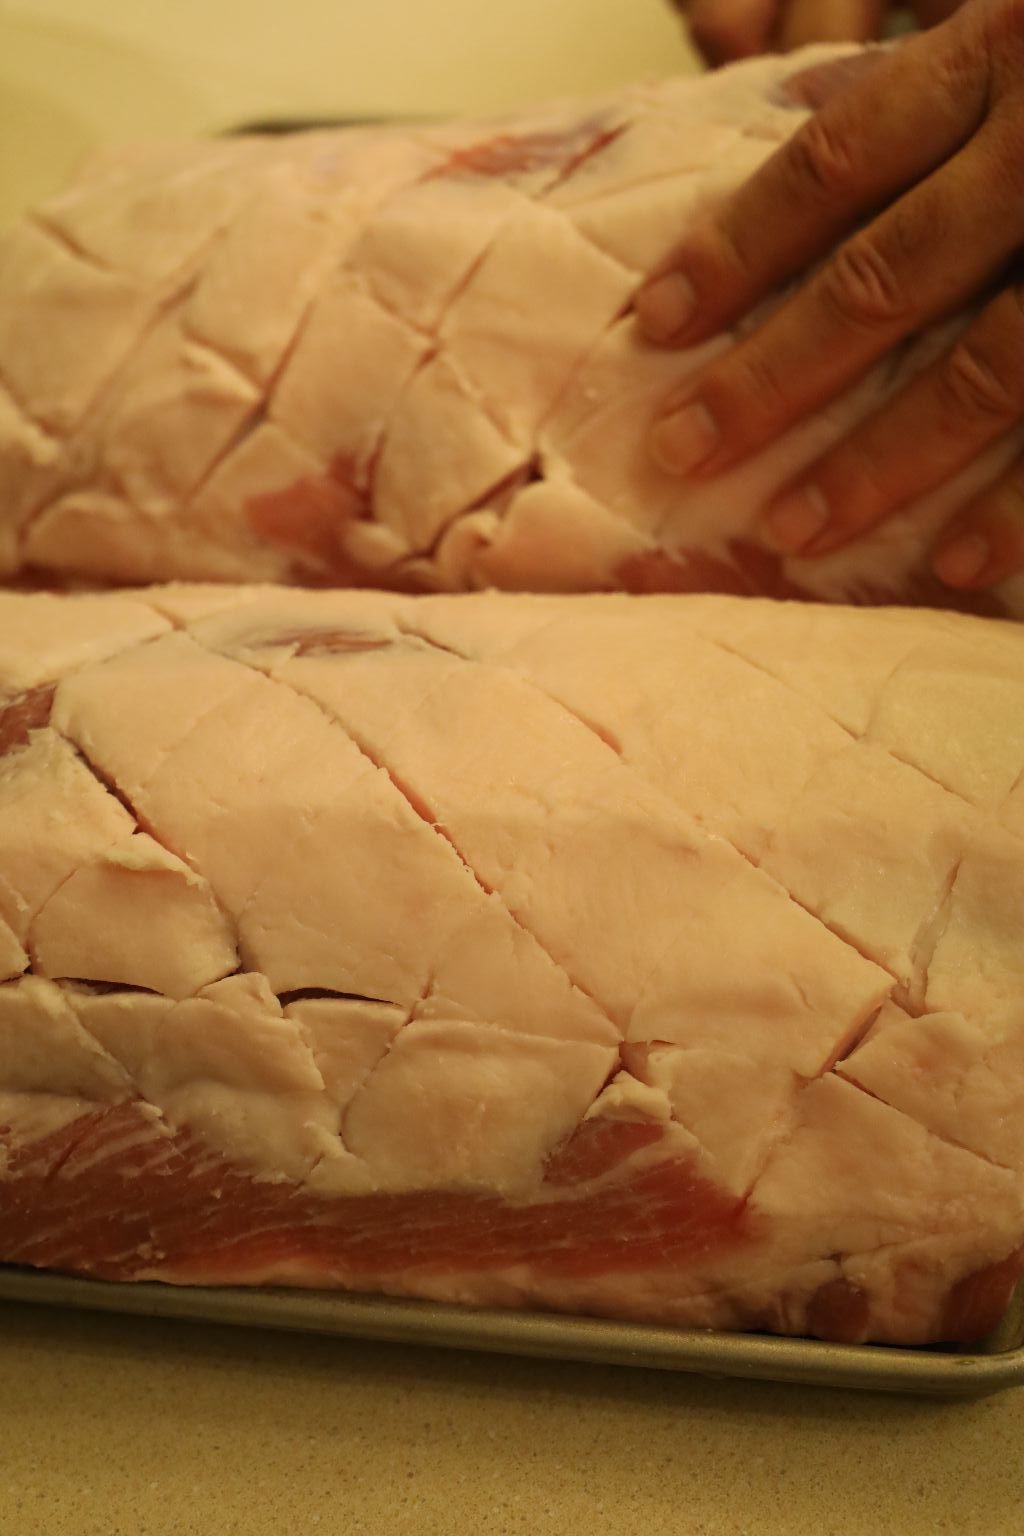
Remove the excess water using a paper towel until dry. Using a sharp knife, score the fat about 1/8 inch deep to allow the spices to penetrate the meat and help the fat to drain off.
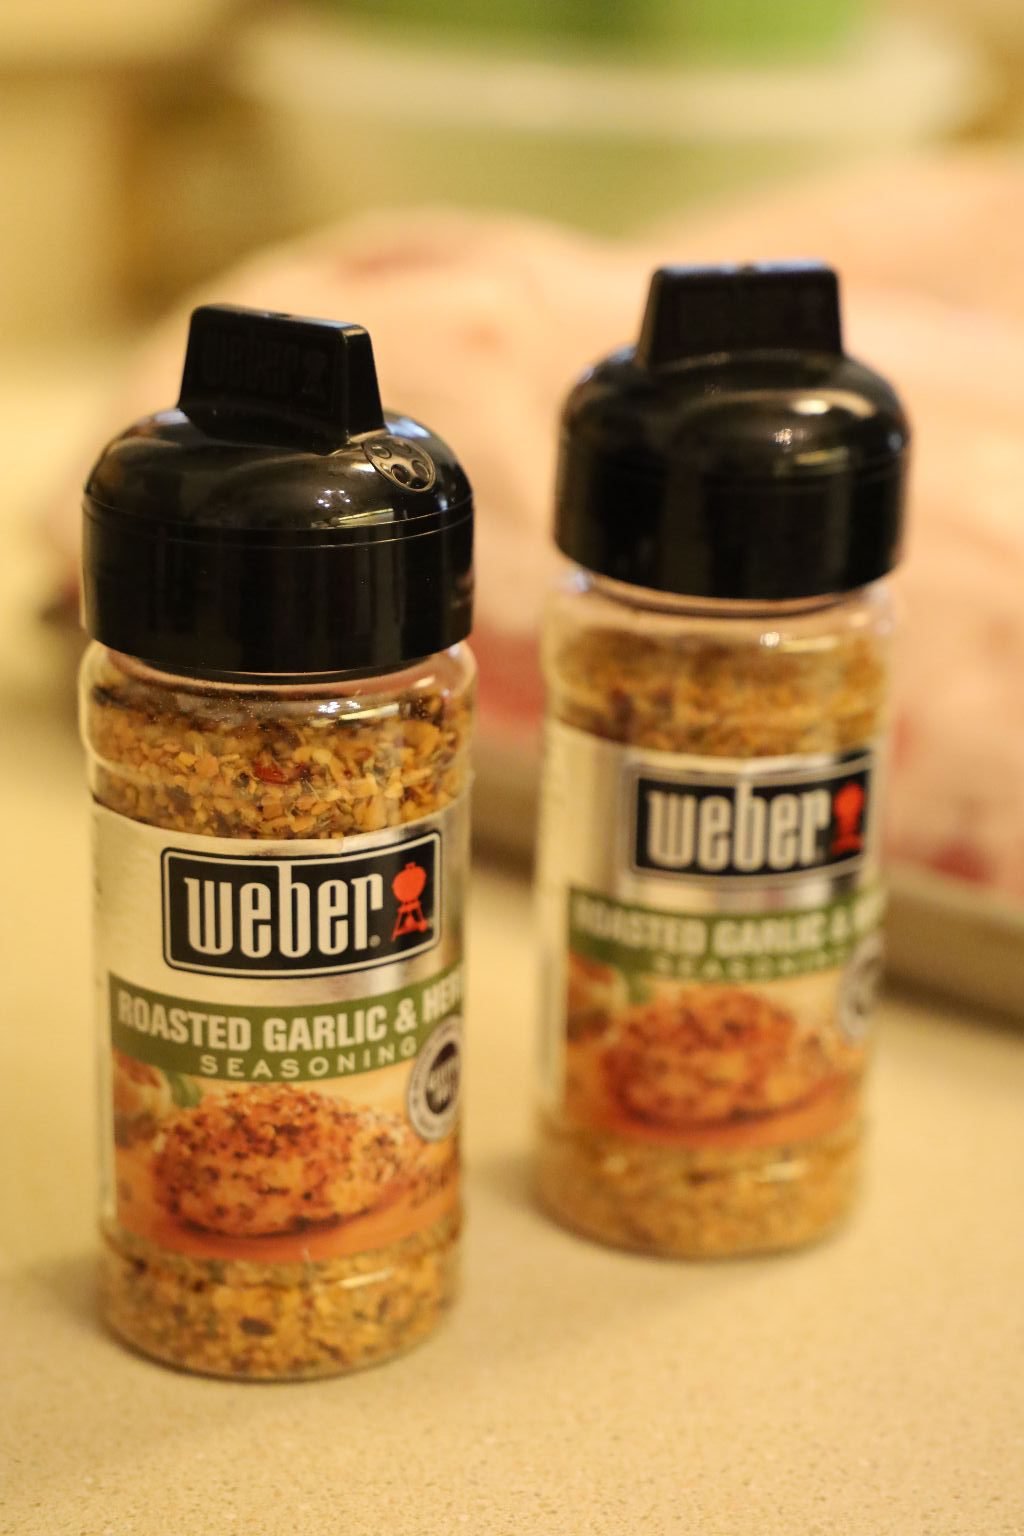
Here is a picture of the spices I used.
These have a bold garlic taste and the herbs compliment the flavor of the meat.
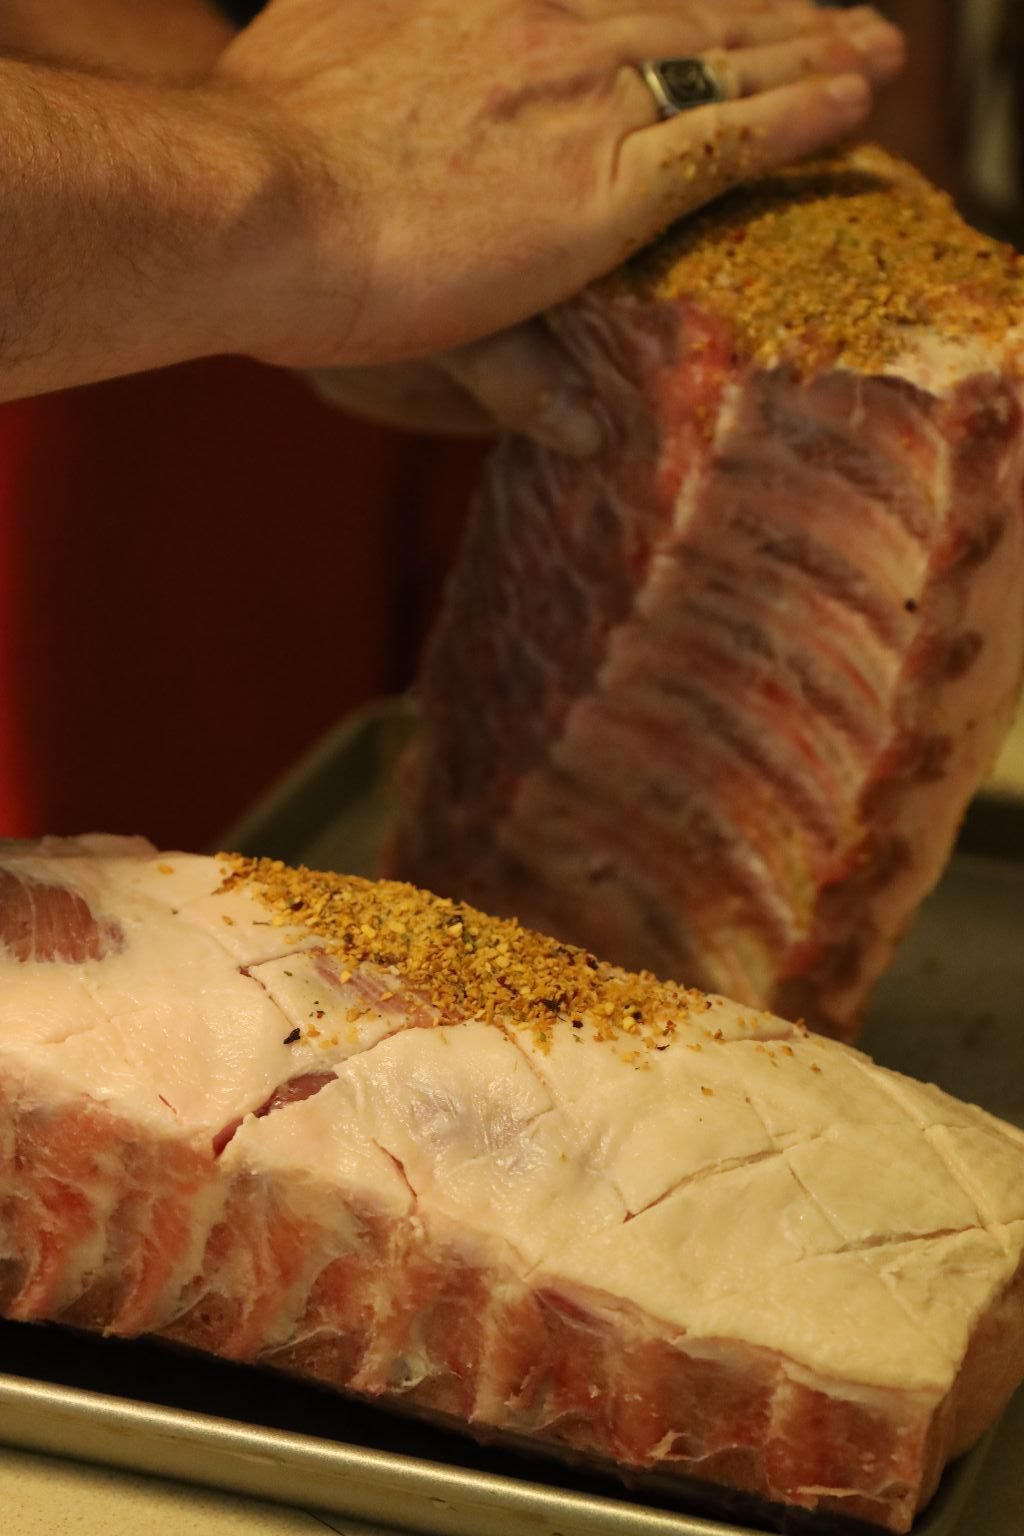
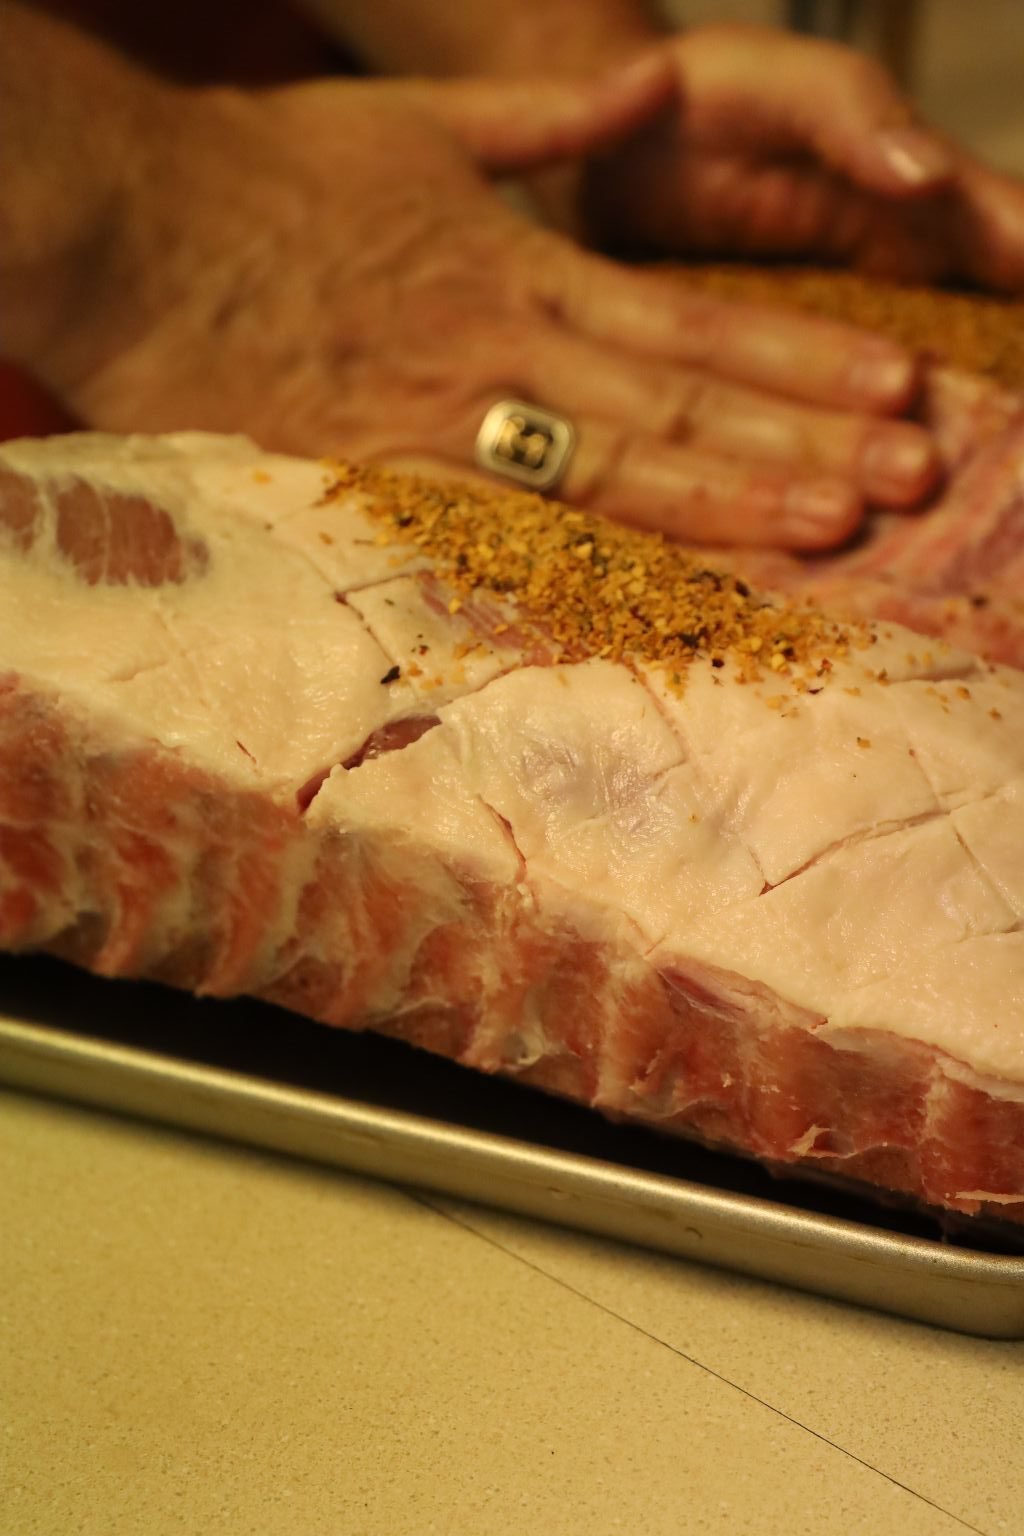
Place a large amount of the spices into your hands and push and rub the spices into the meat.
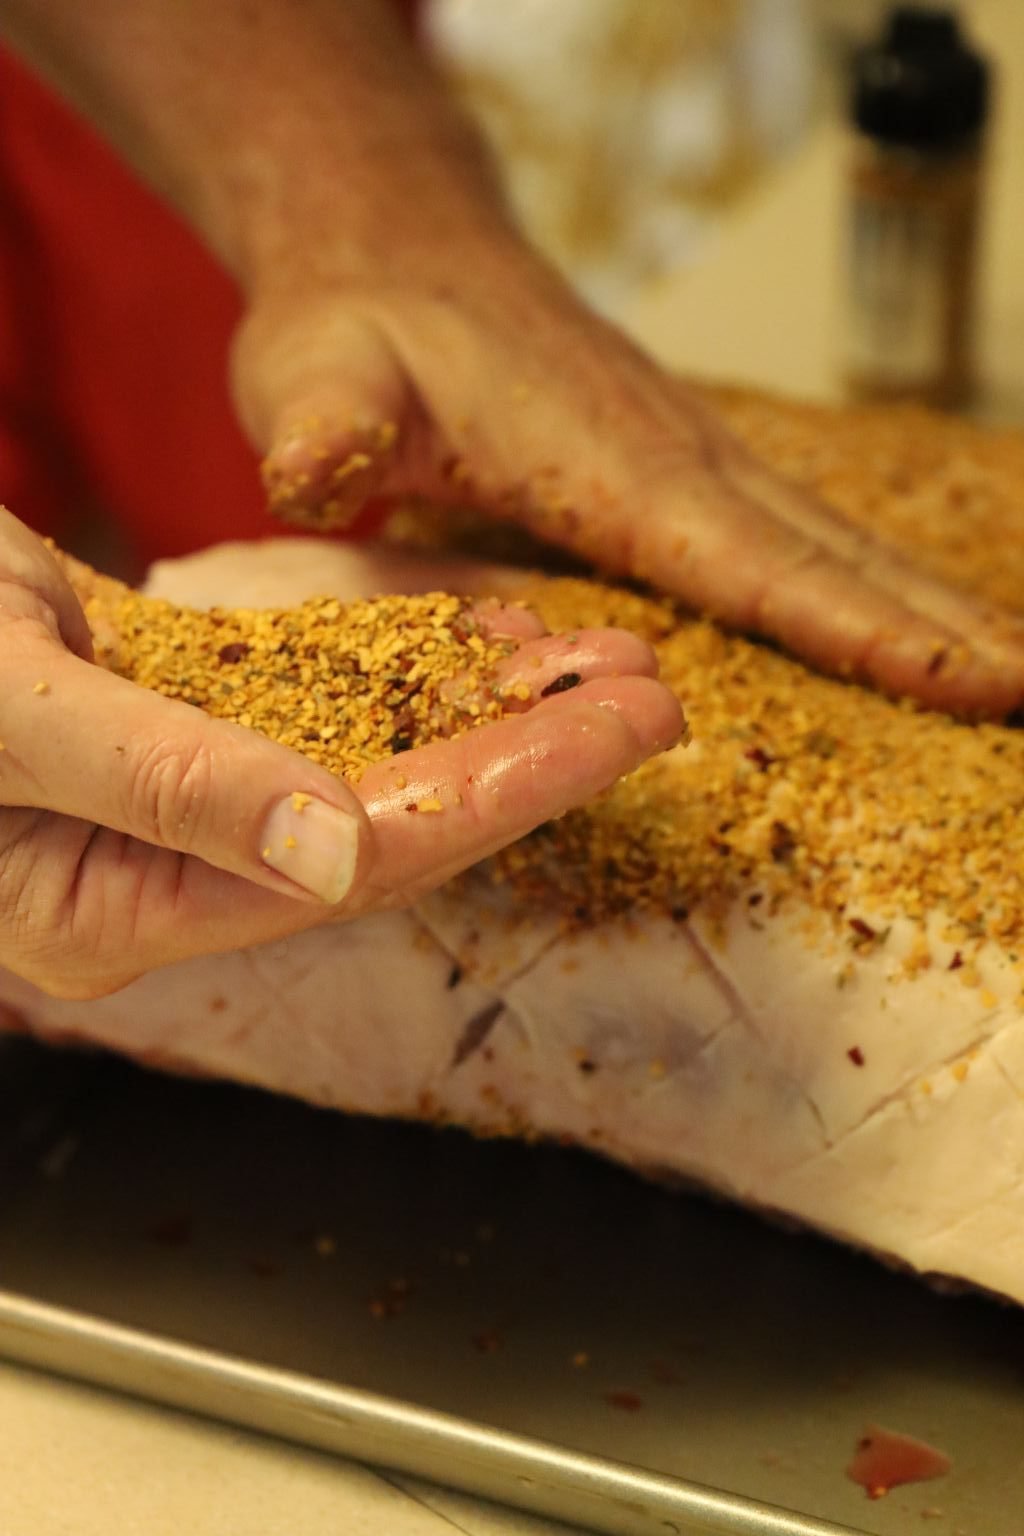
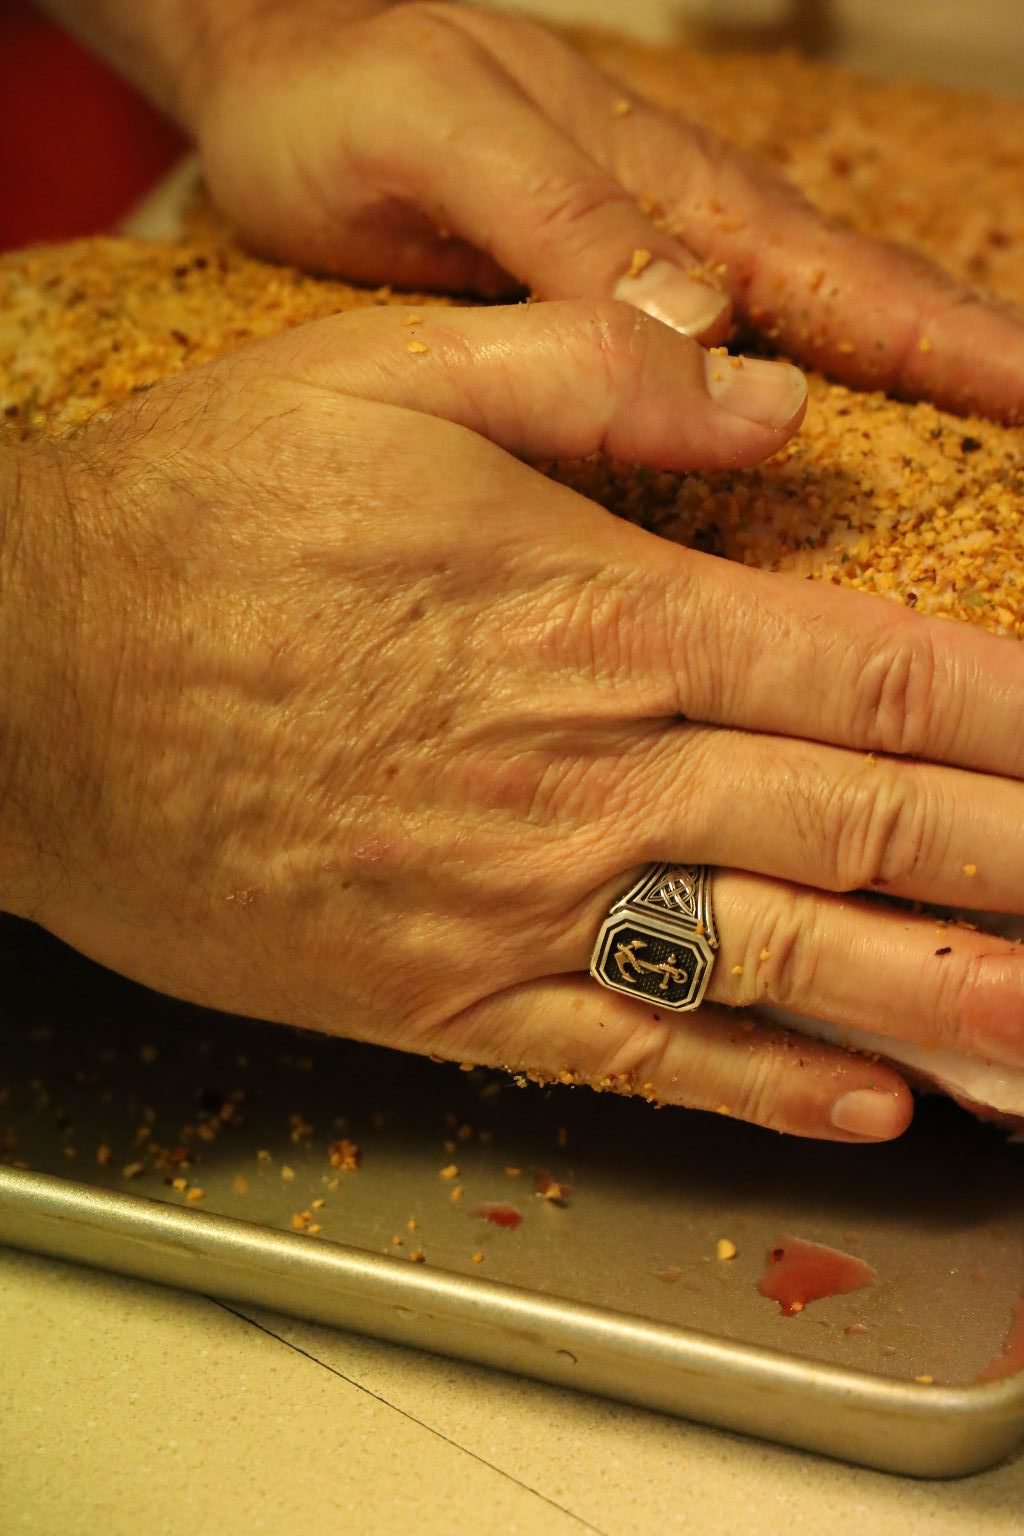
Do this on all sides of the meat.
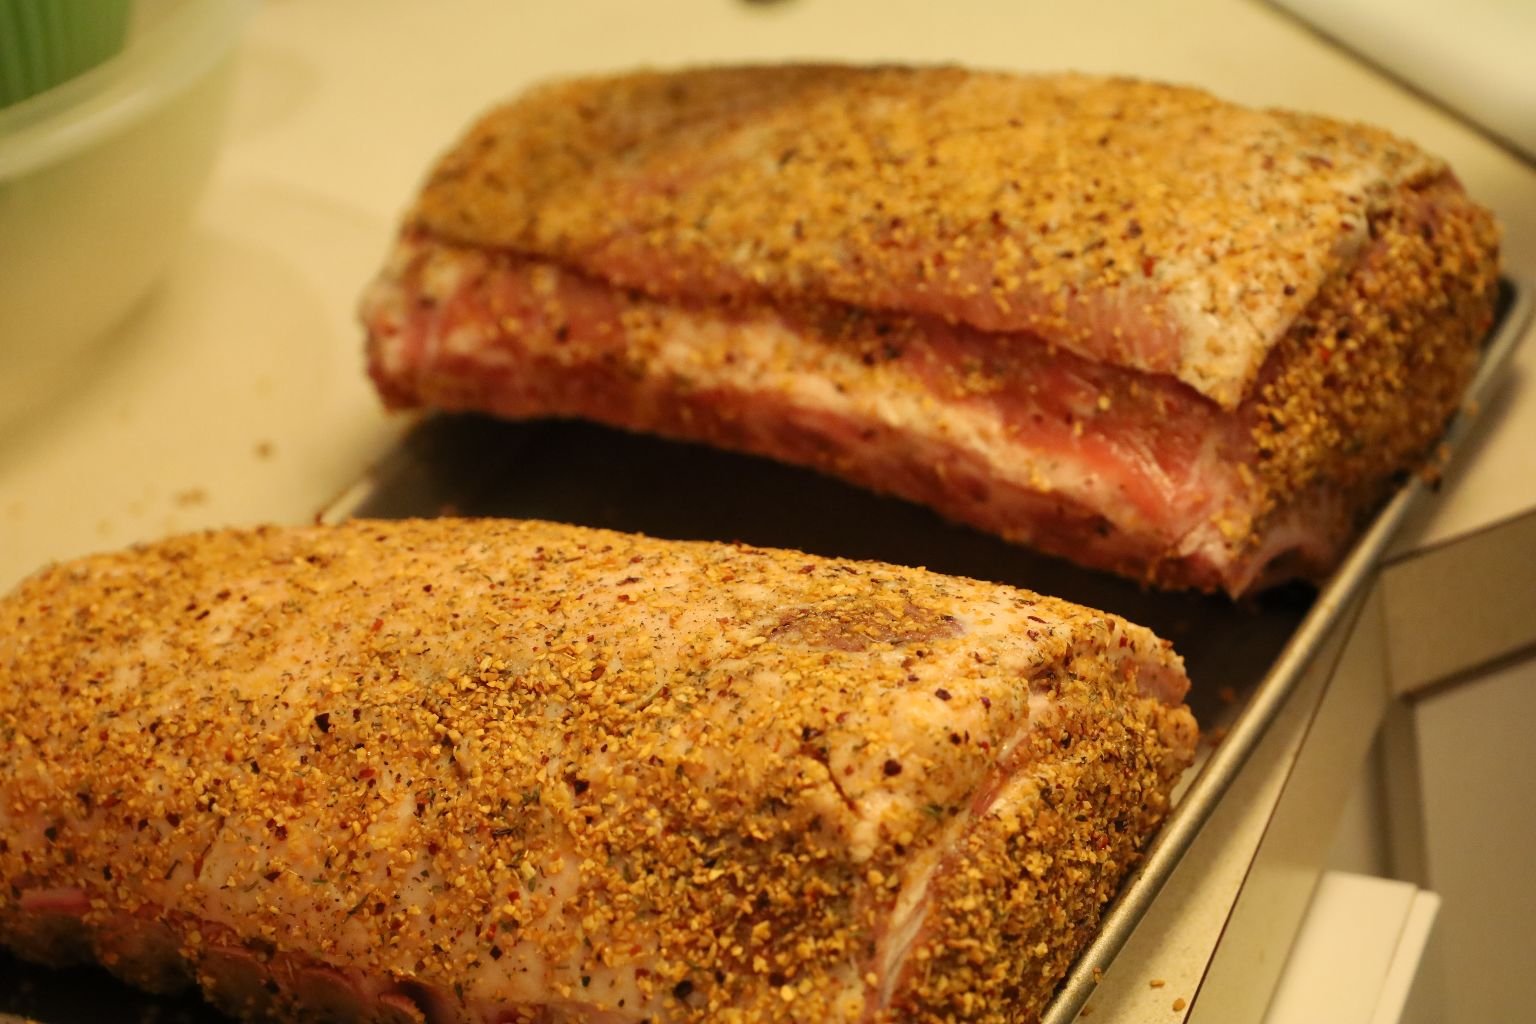
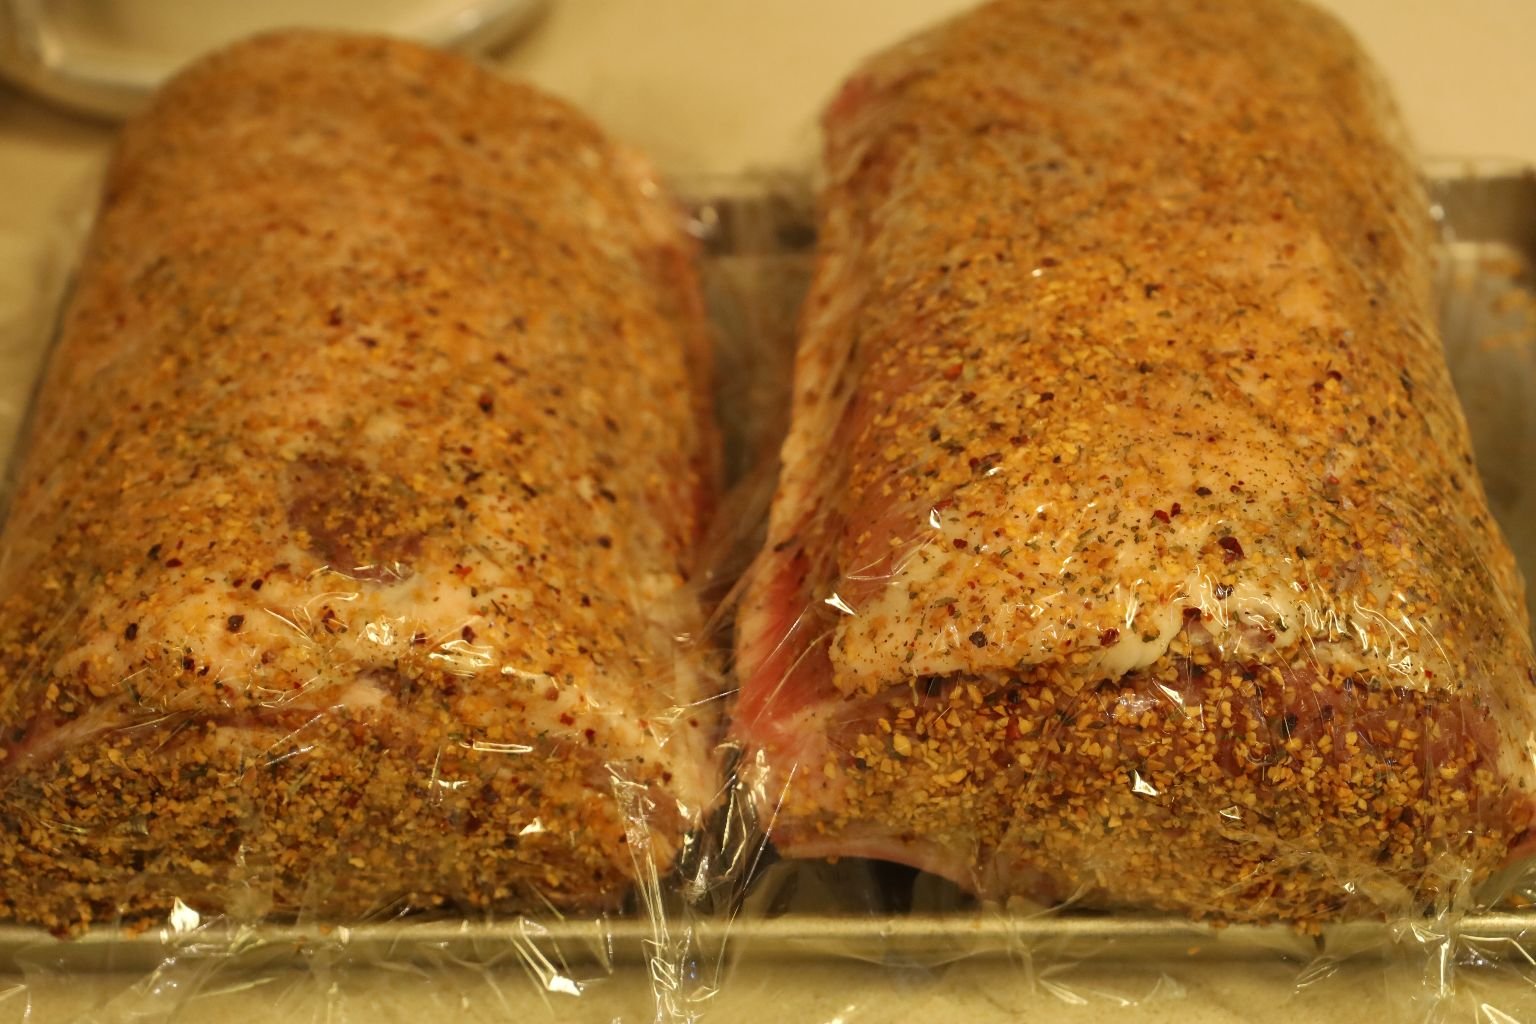
Here you can see the meat is well seasoned. I then wrapped the meat in plastic until I was ready to cook them. This will also allow the seasoning to somewhat marinade the meat.
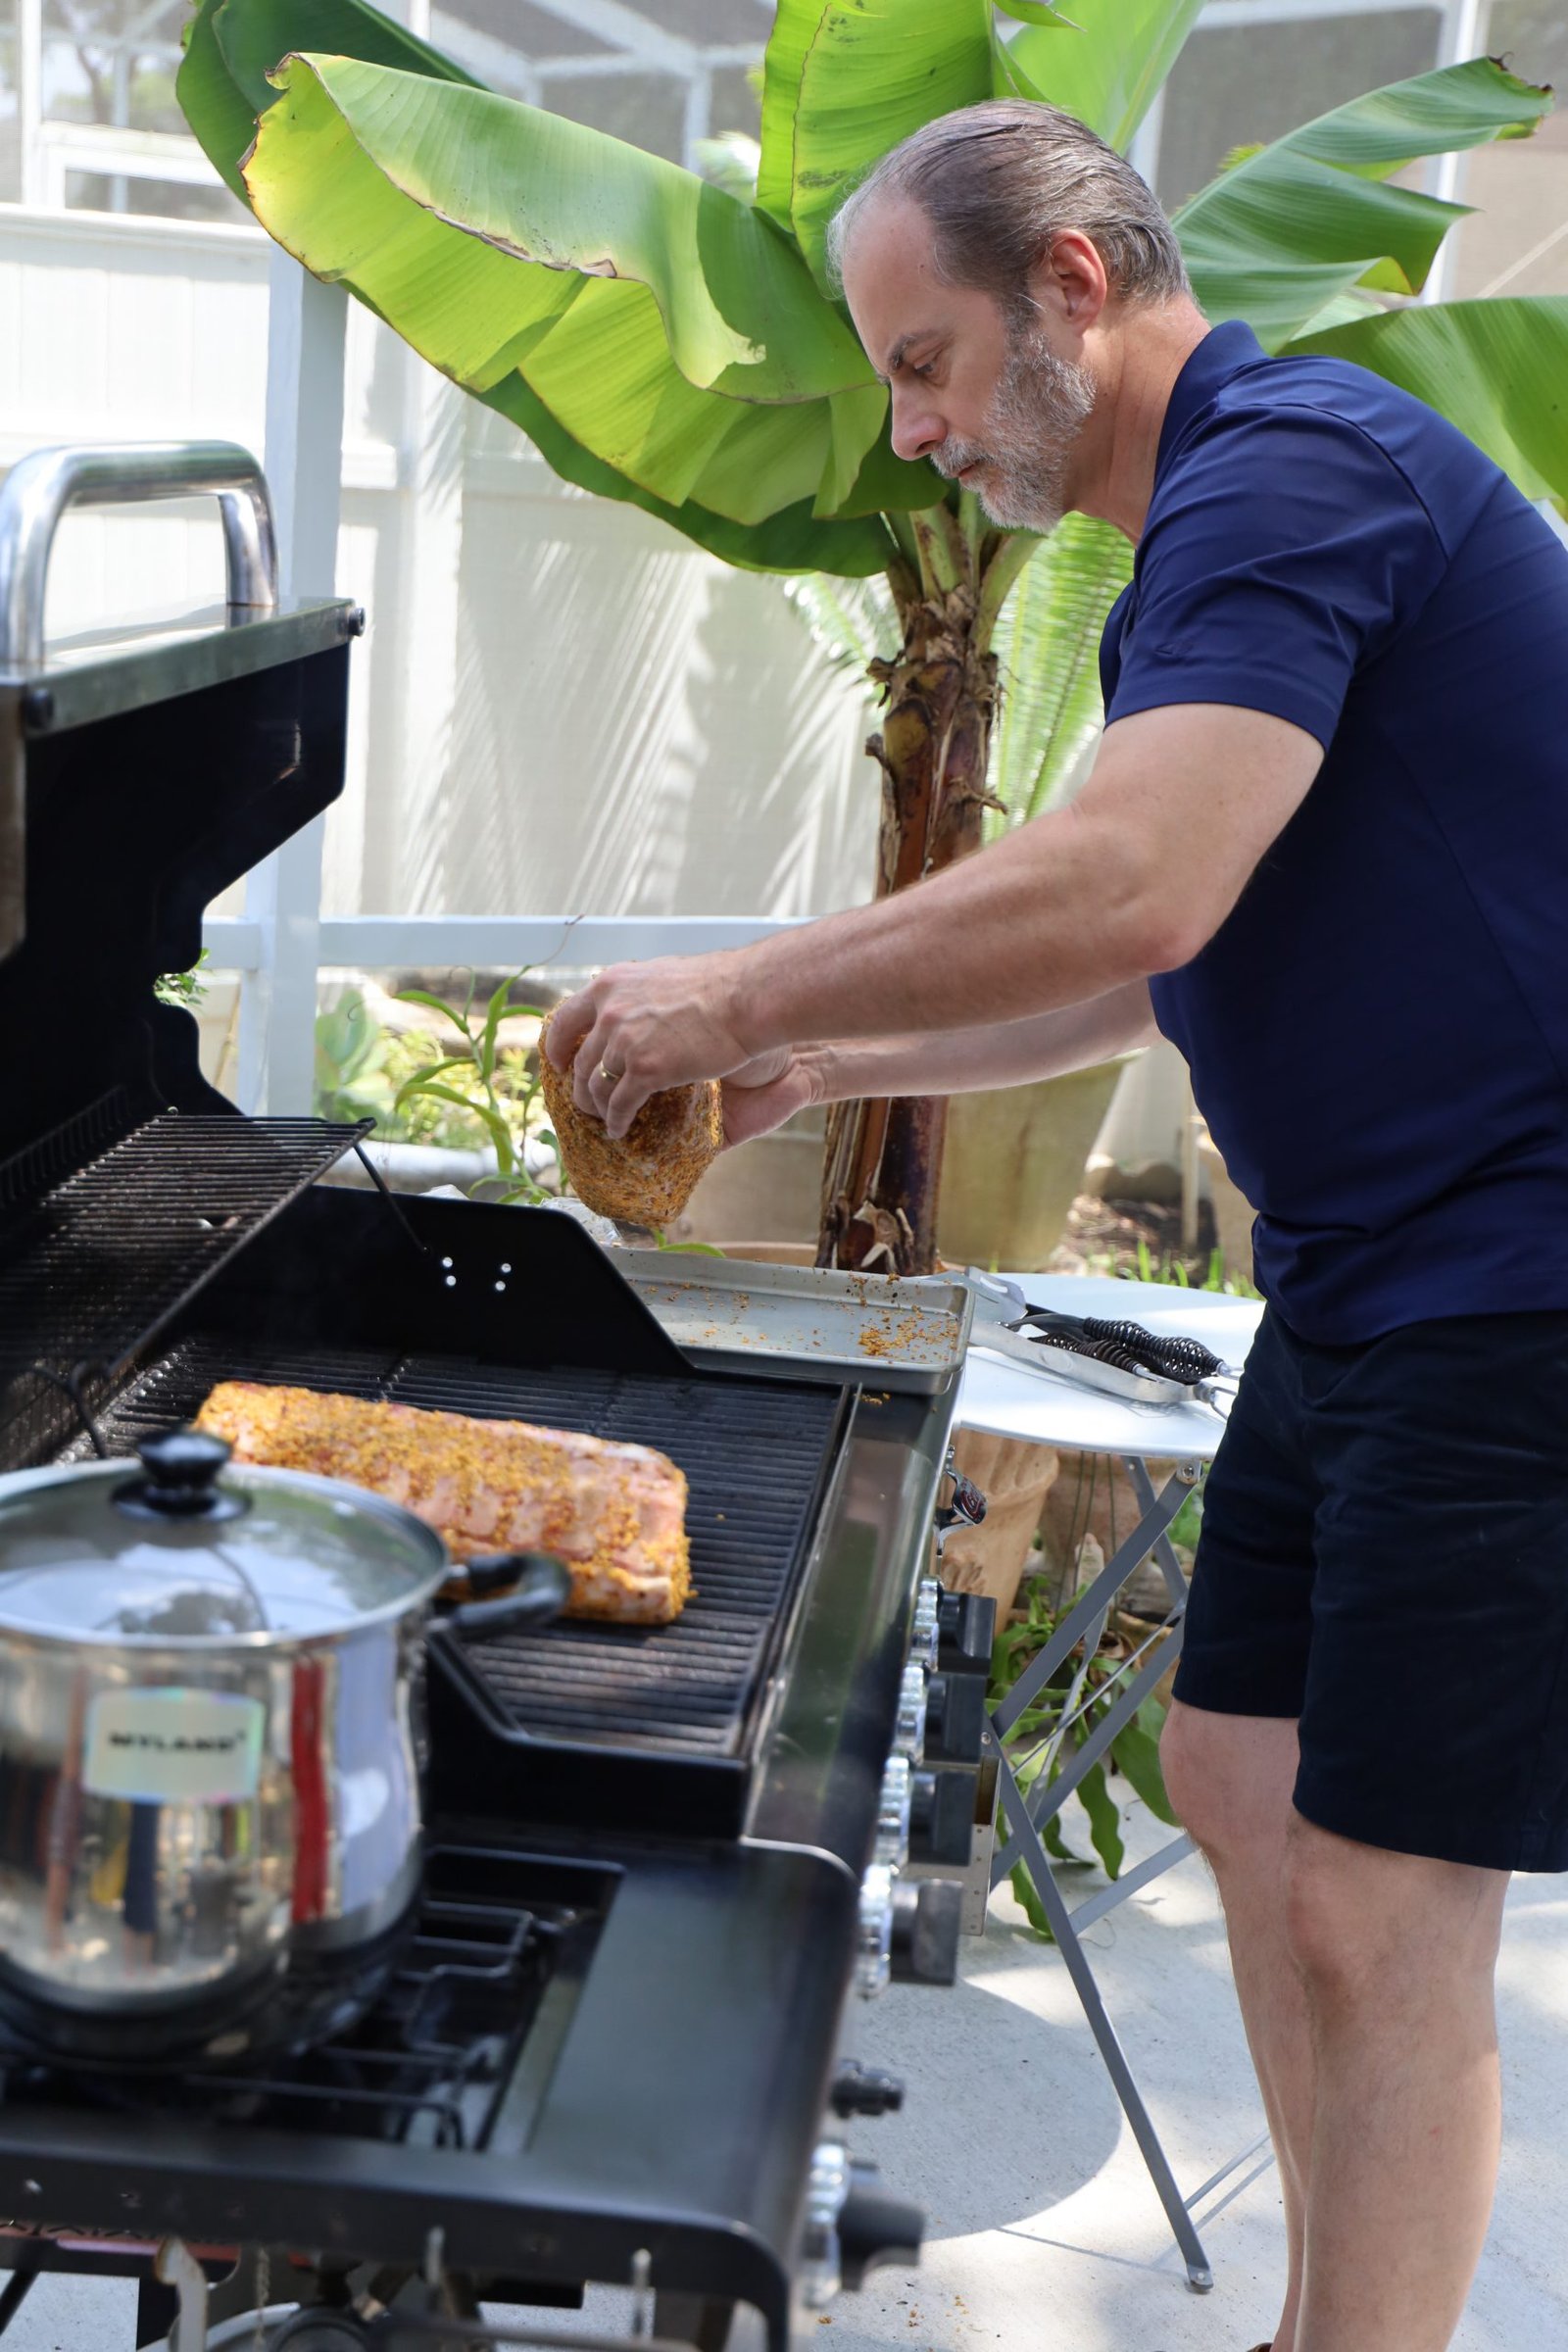
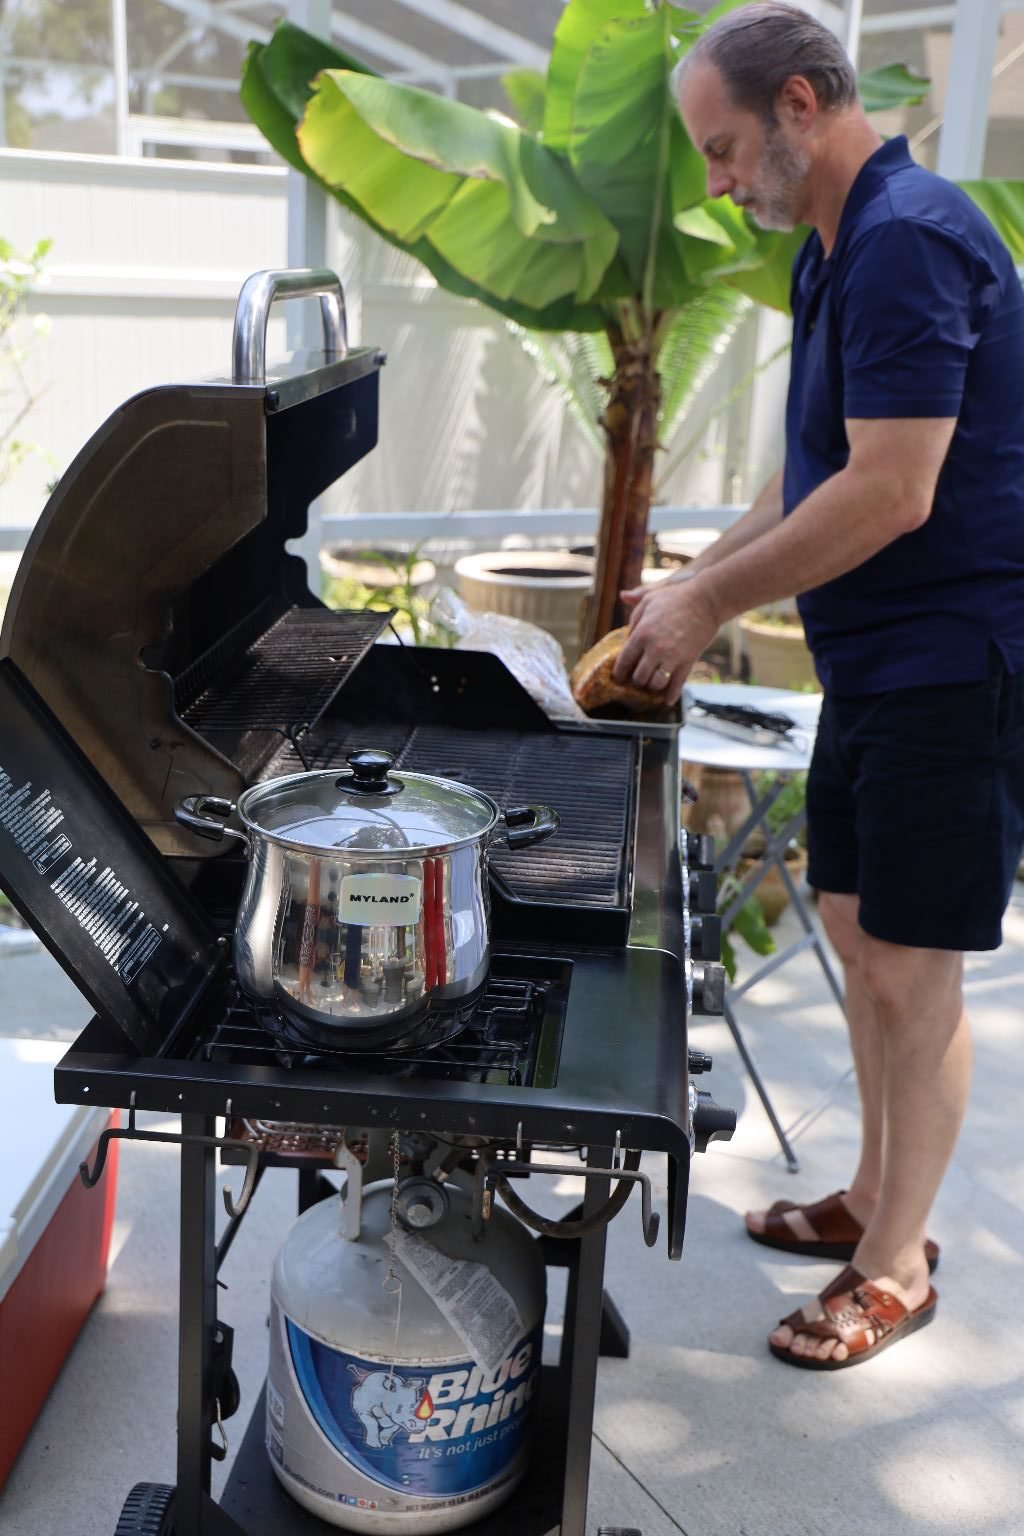
Heat your grill to medium heat and place the fat side down to get some initial cooking on the fatty side. Here I have the burners on directly under the meat.
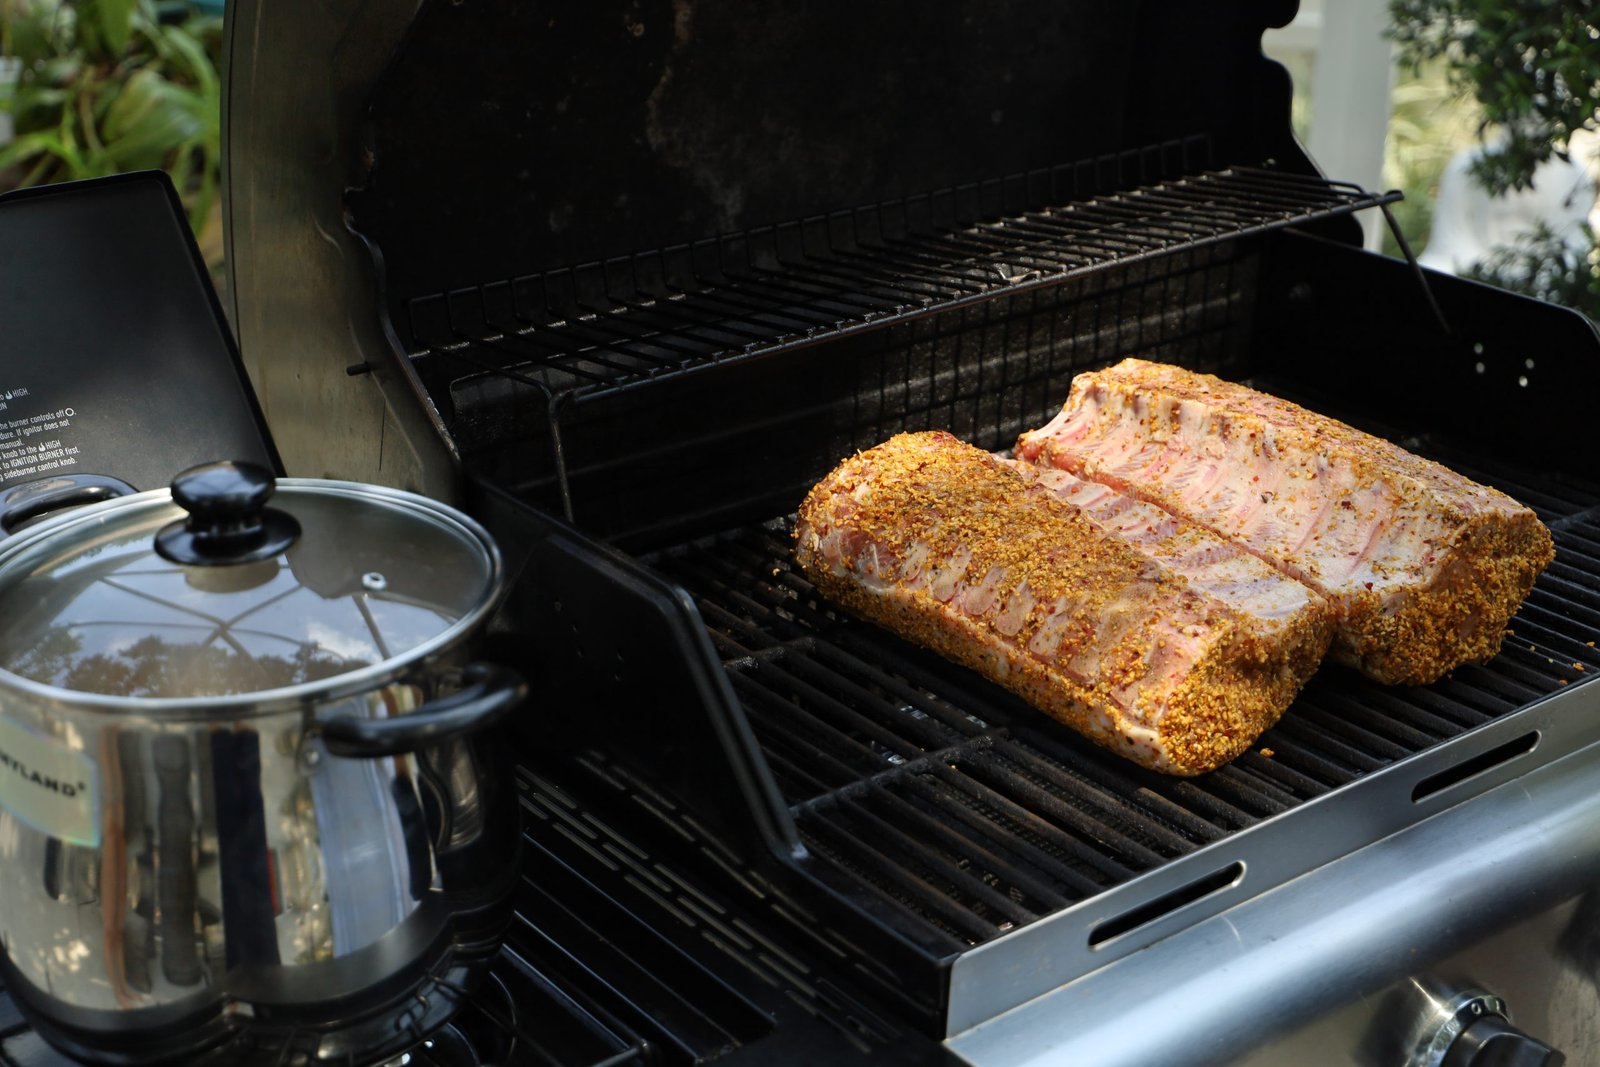
Here you can see I am cooking more food in the pot next to the grill.
Cook the meat on the fatty side until you begin to get some good char.
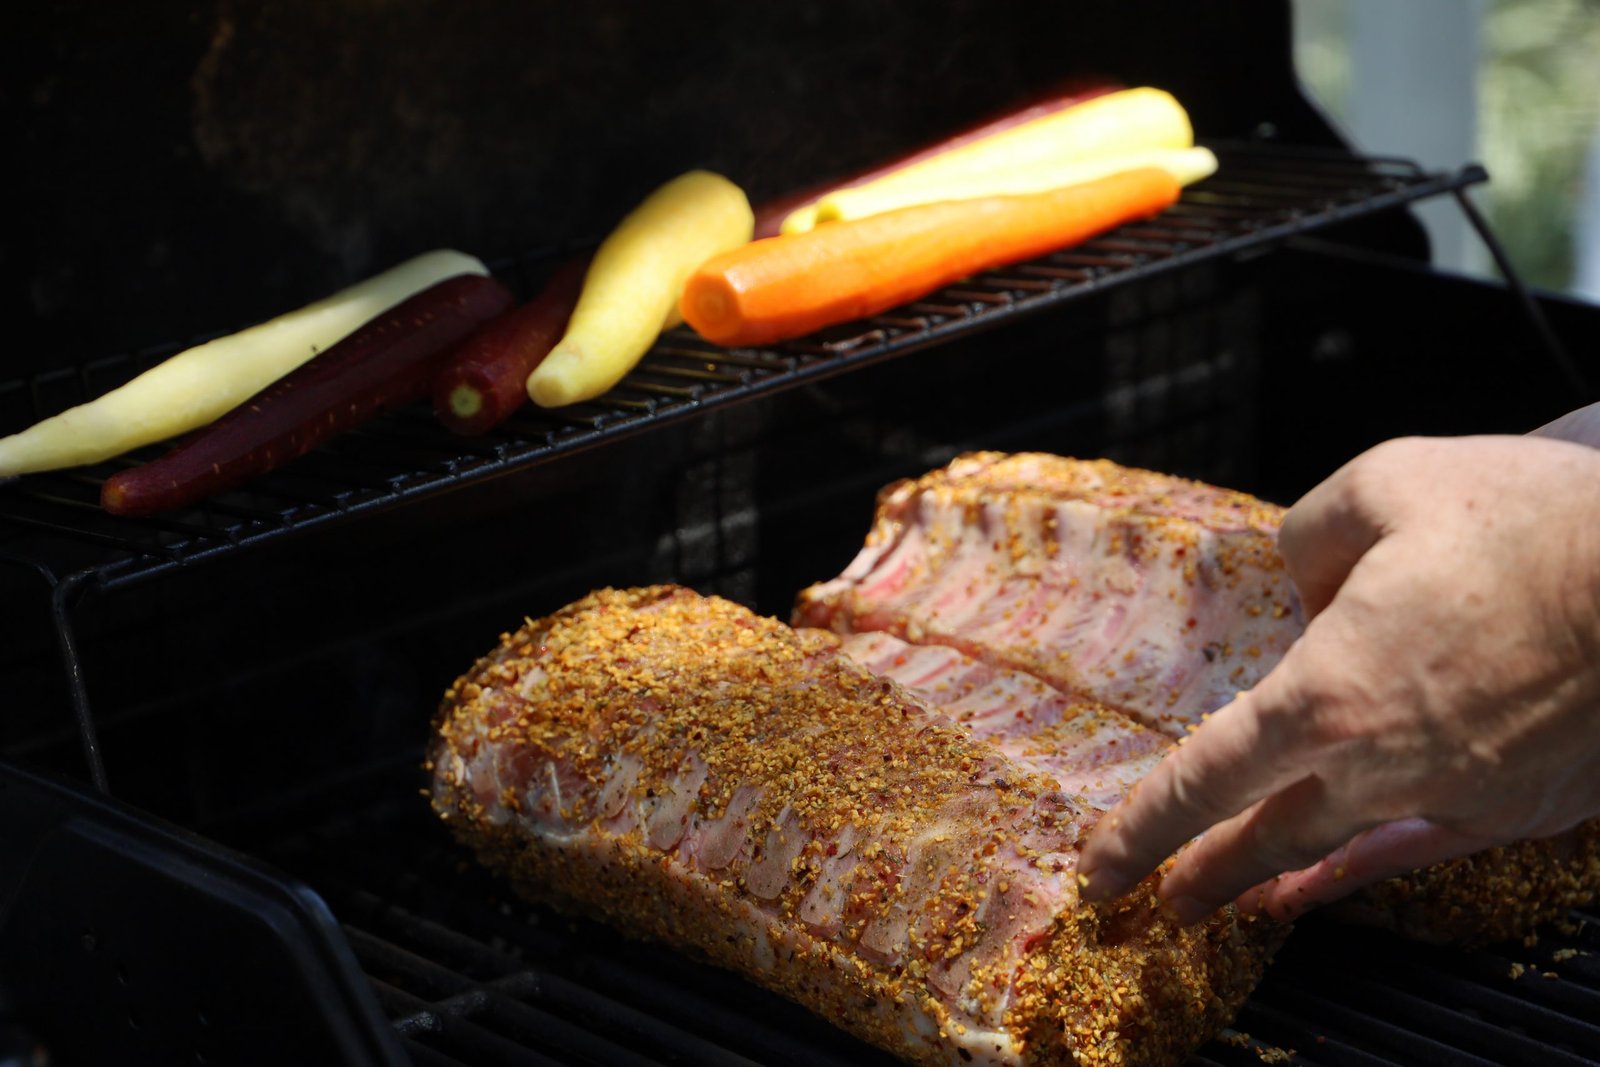
(Easter Bunny Carrots Grilling as well.)
Once you have the char you like, turn the meat over and begin to cook the meat on the other side. Now, turn off the burners directly under the meat and turn on the ones to the outside of the meat to medium high. This will prevent the fat from catching on fire and burning your meat. Having the burners on will roast the meat from the heat on both sides.
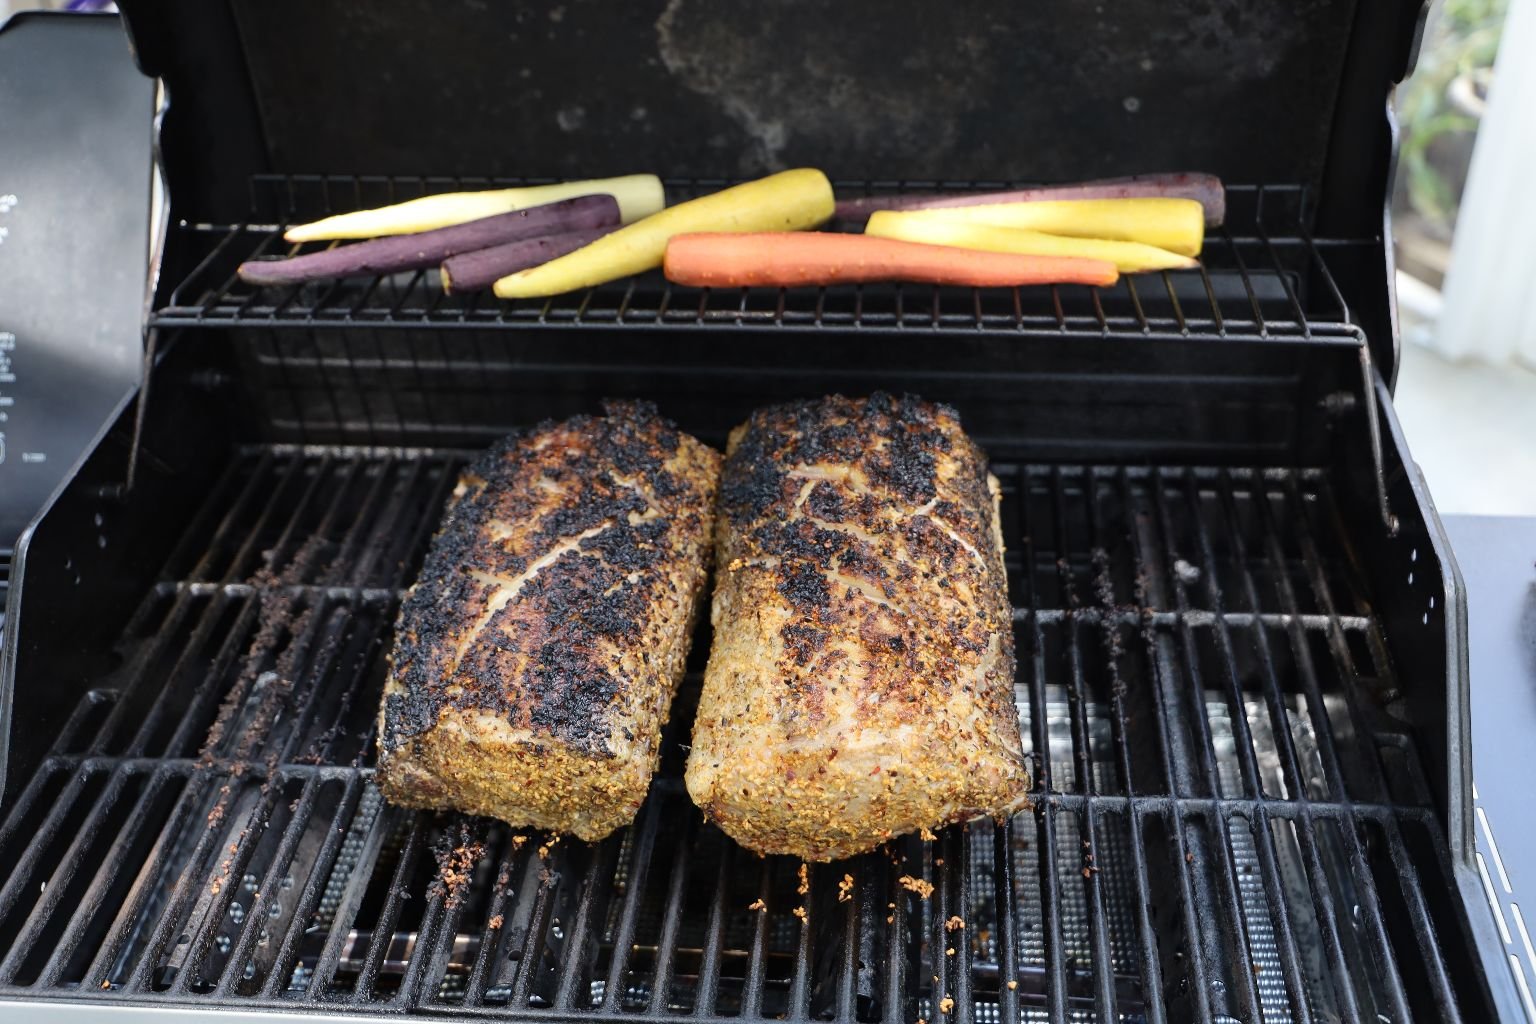
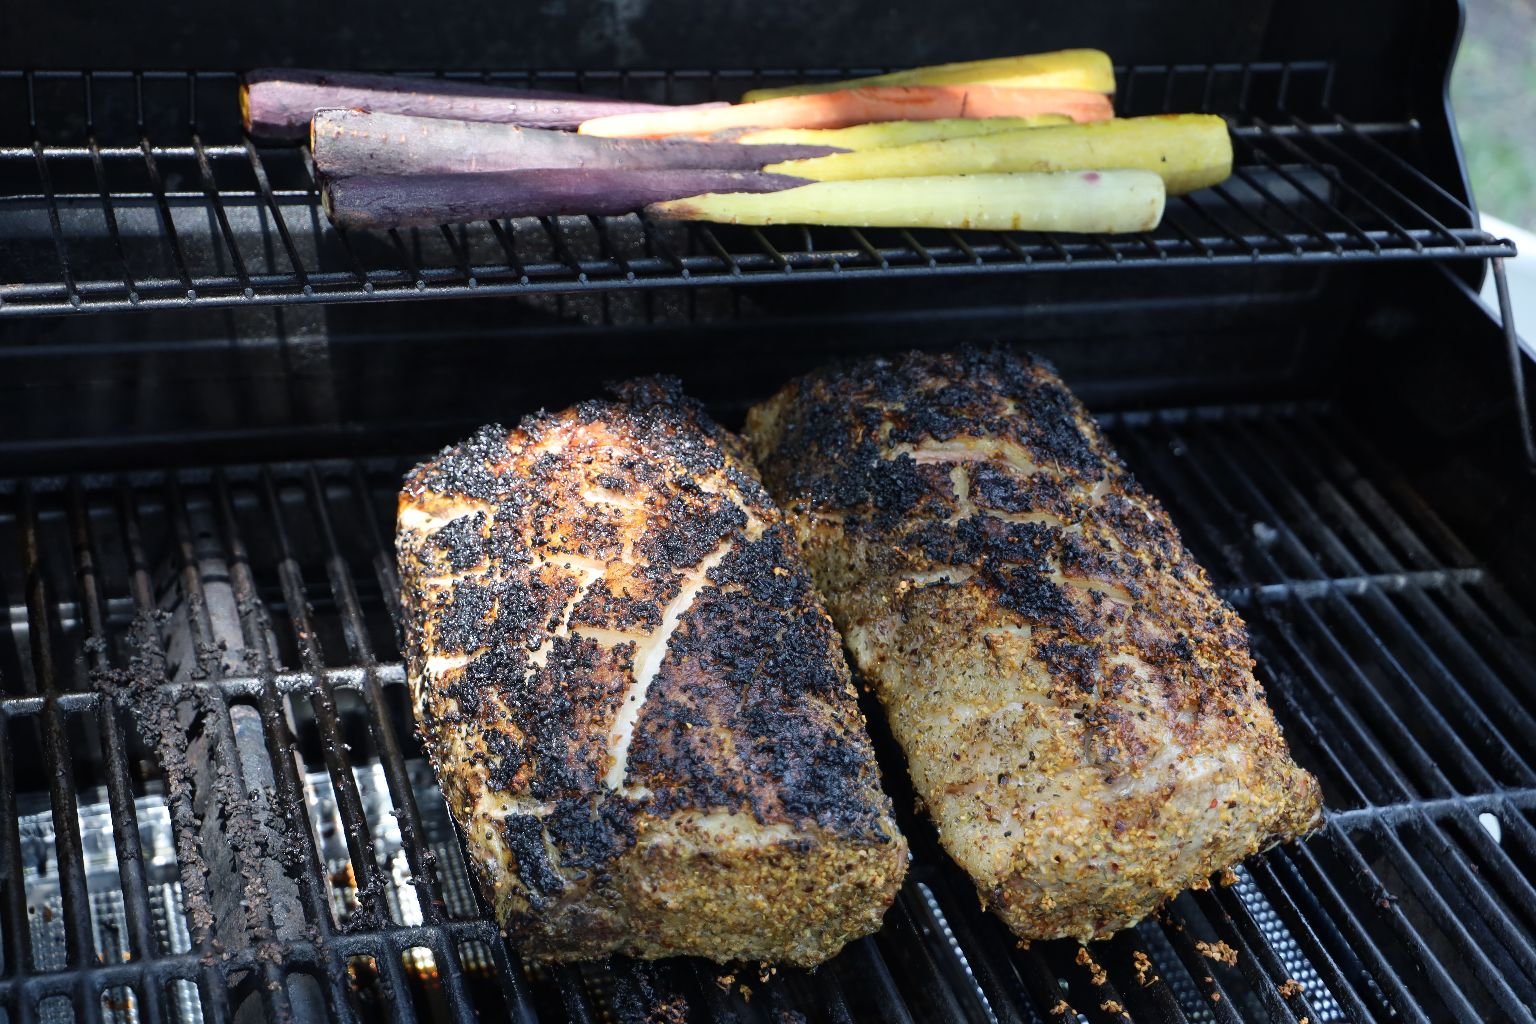
Cook your pork roasts until they have an internal temperature of ~140’F.
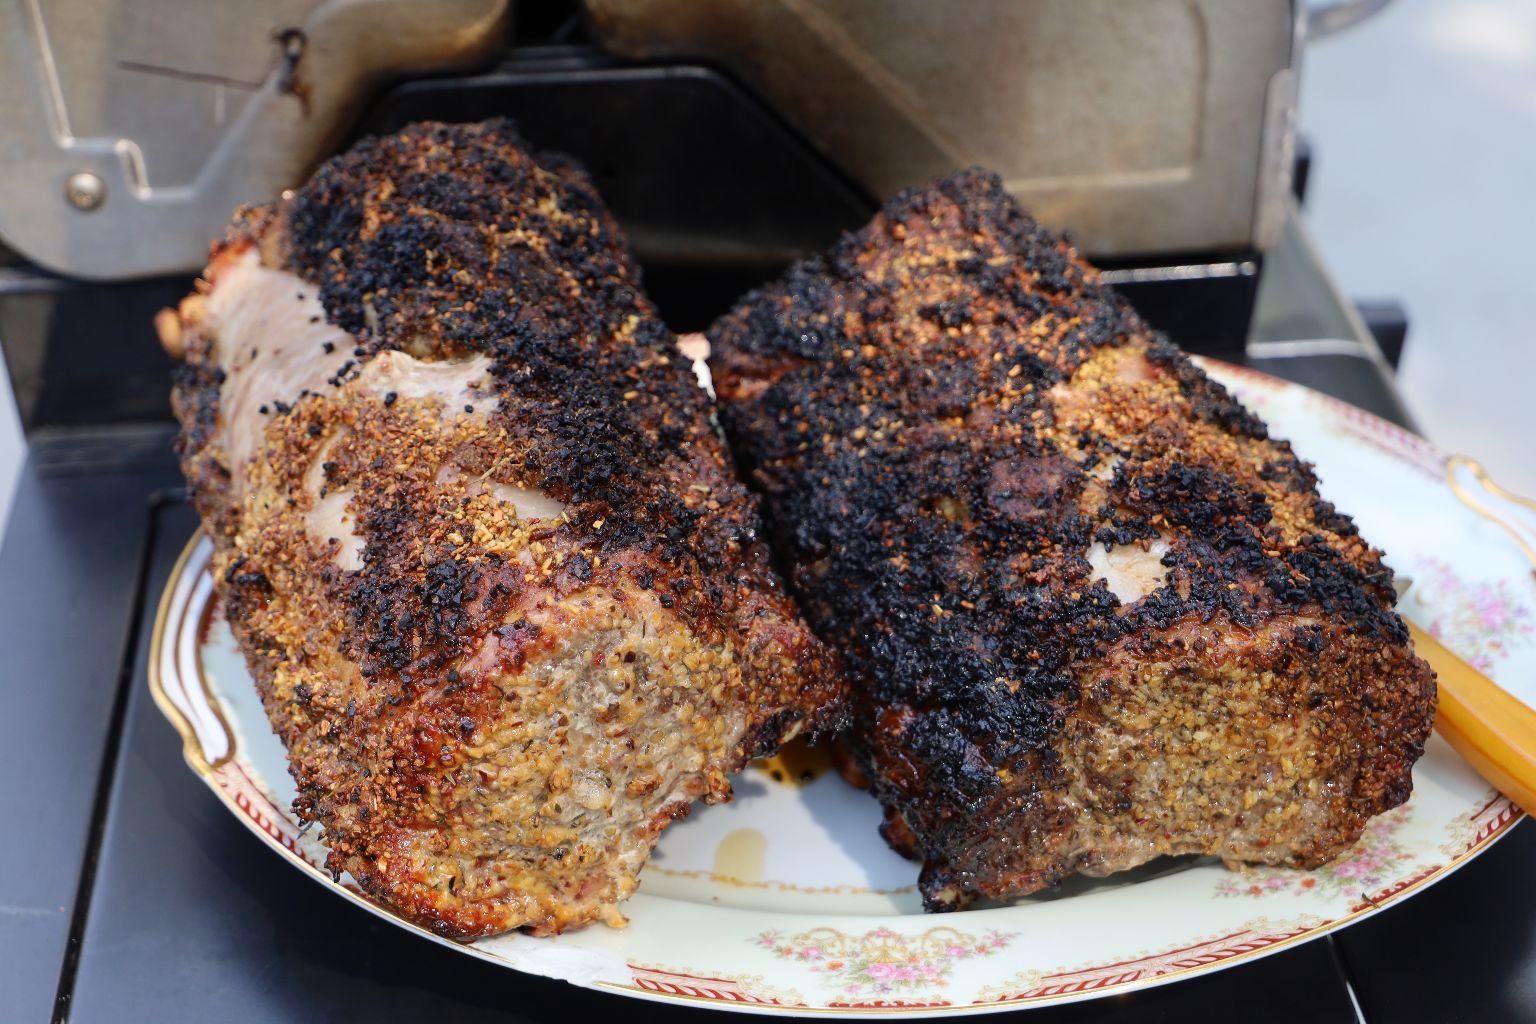
The heated juices will raise the meats internal temperature to 145’F as the meat rests. The heated juices will return to the center of the meat if you let it rest for ~15 min.
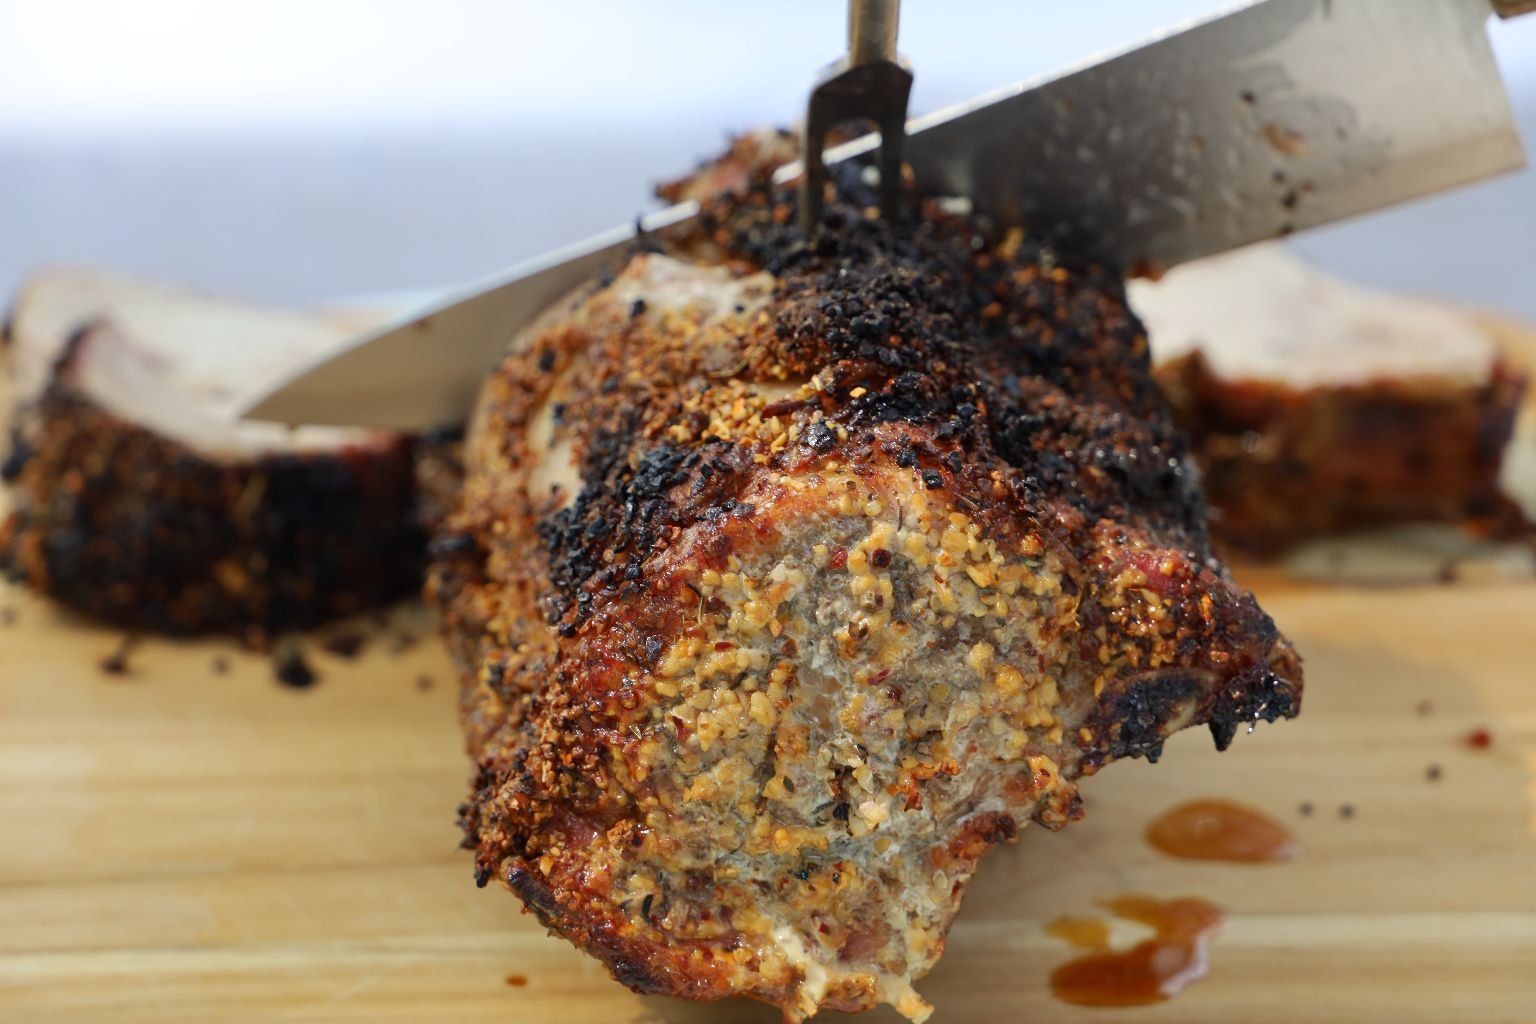
If you don’t let it rest and immediately cut into the roast, those moving juices will just run all over your plate. Here you can see a nice end cut of the meat. Trust me, it is difficult to let the meat rest as it looks so good!
———————————————————–
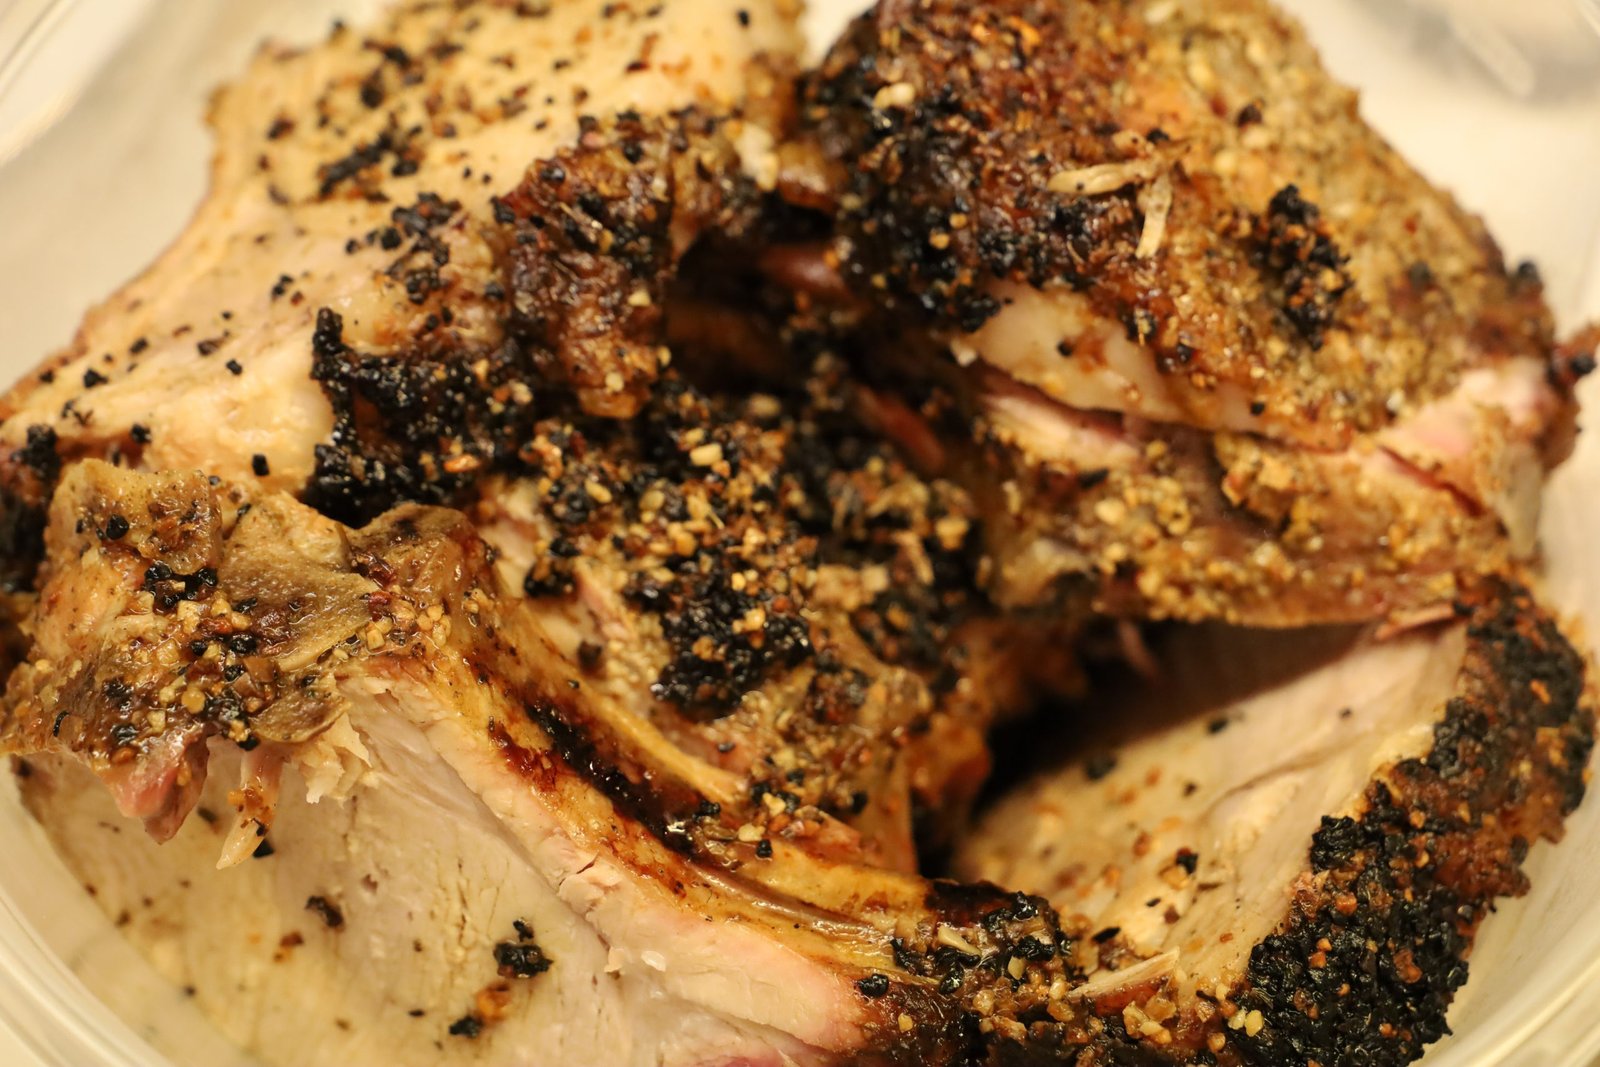
Leftovers……. 🙂
—————————————————————–
Easter Bunny Food

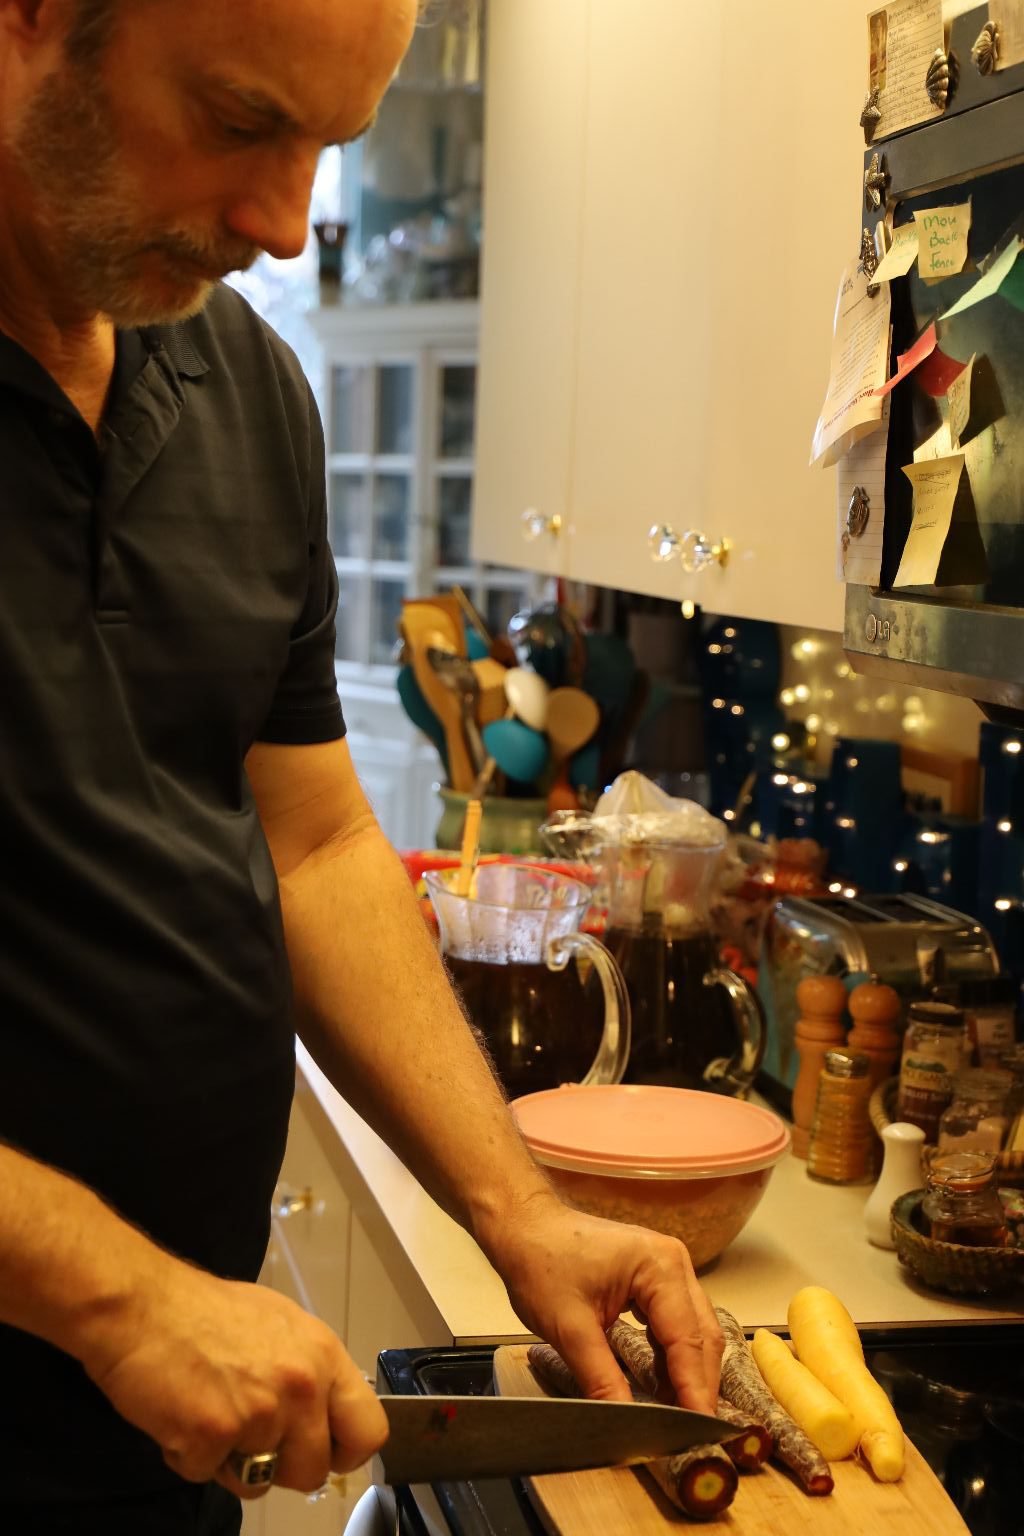
Here Gordon is preparing the multi-colored carrots for roasting in the grill. Slice off both ends of the carrots and peel them if you like.

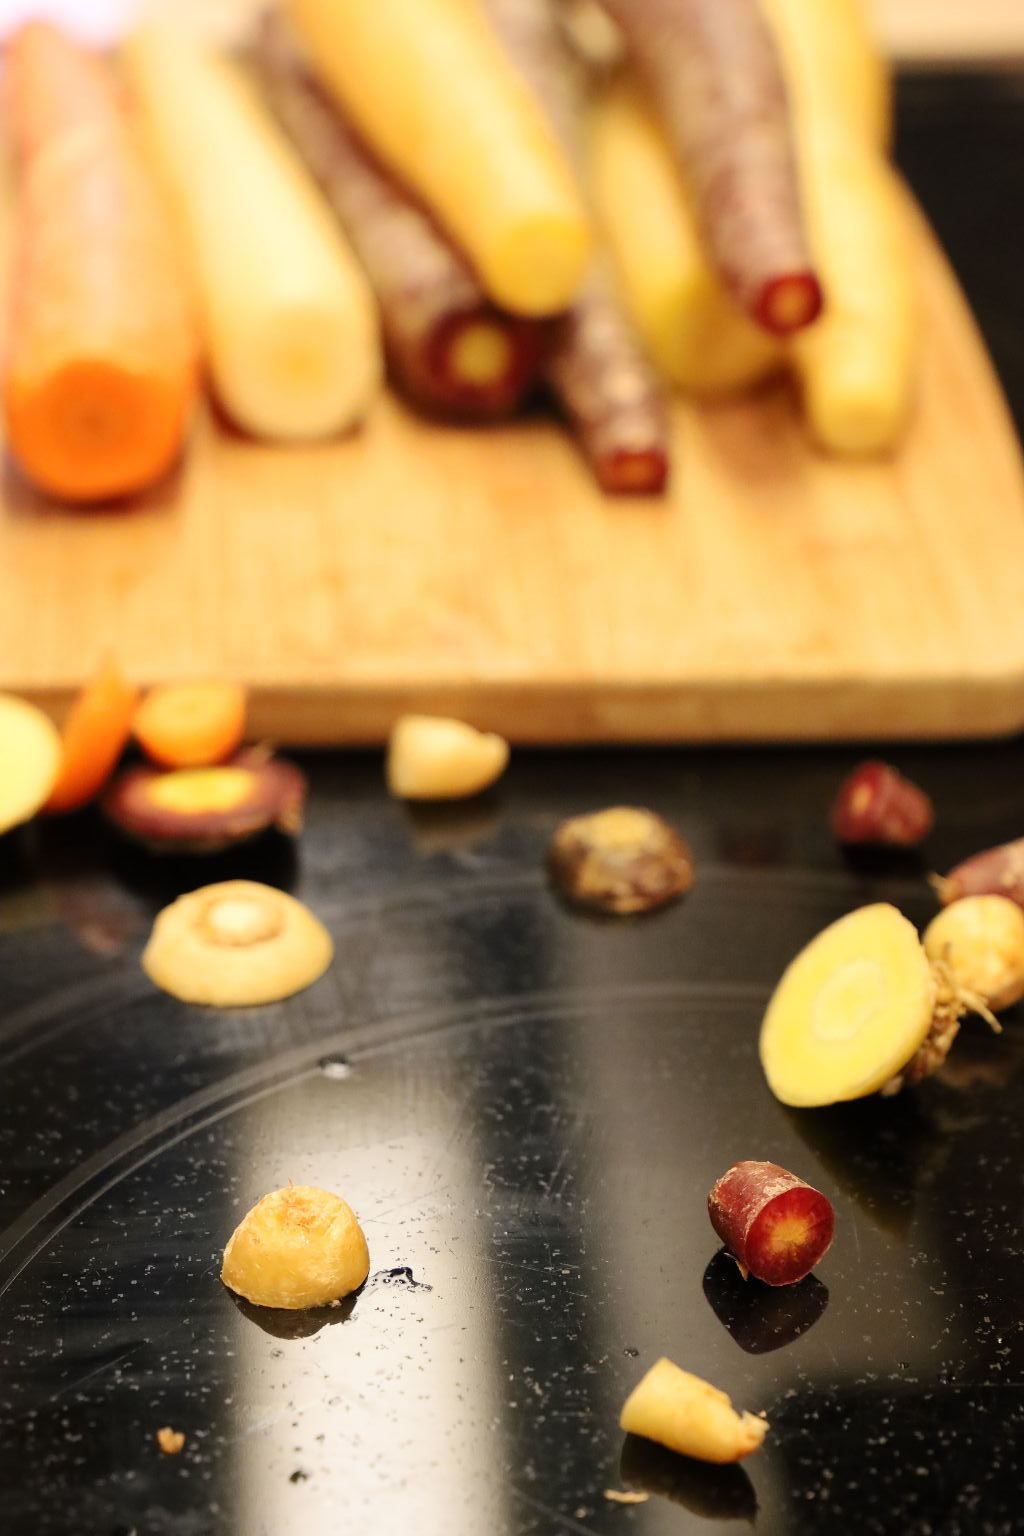
Her you can see the sliced carrots.
He roasted the carrots above the pork where they will cook absorbing the great pork flavors. Roast them until just tender about 35 minutes.
——————————————————-
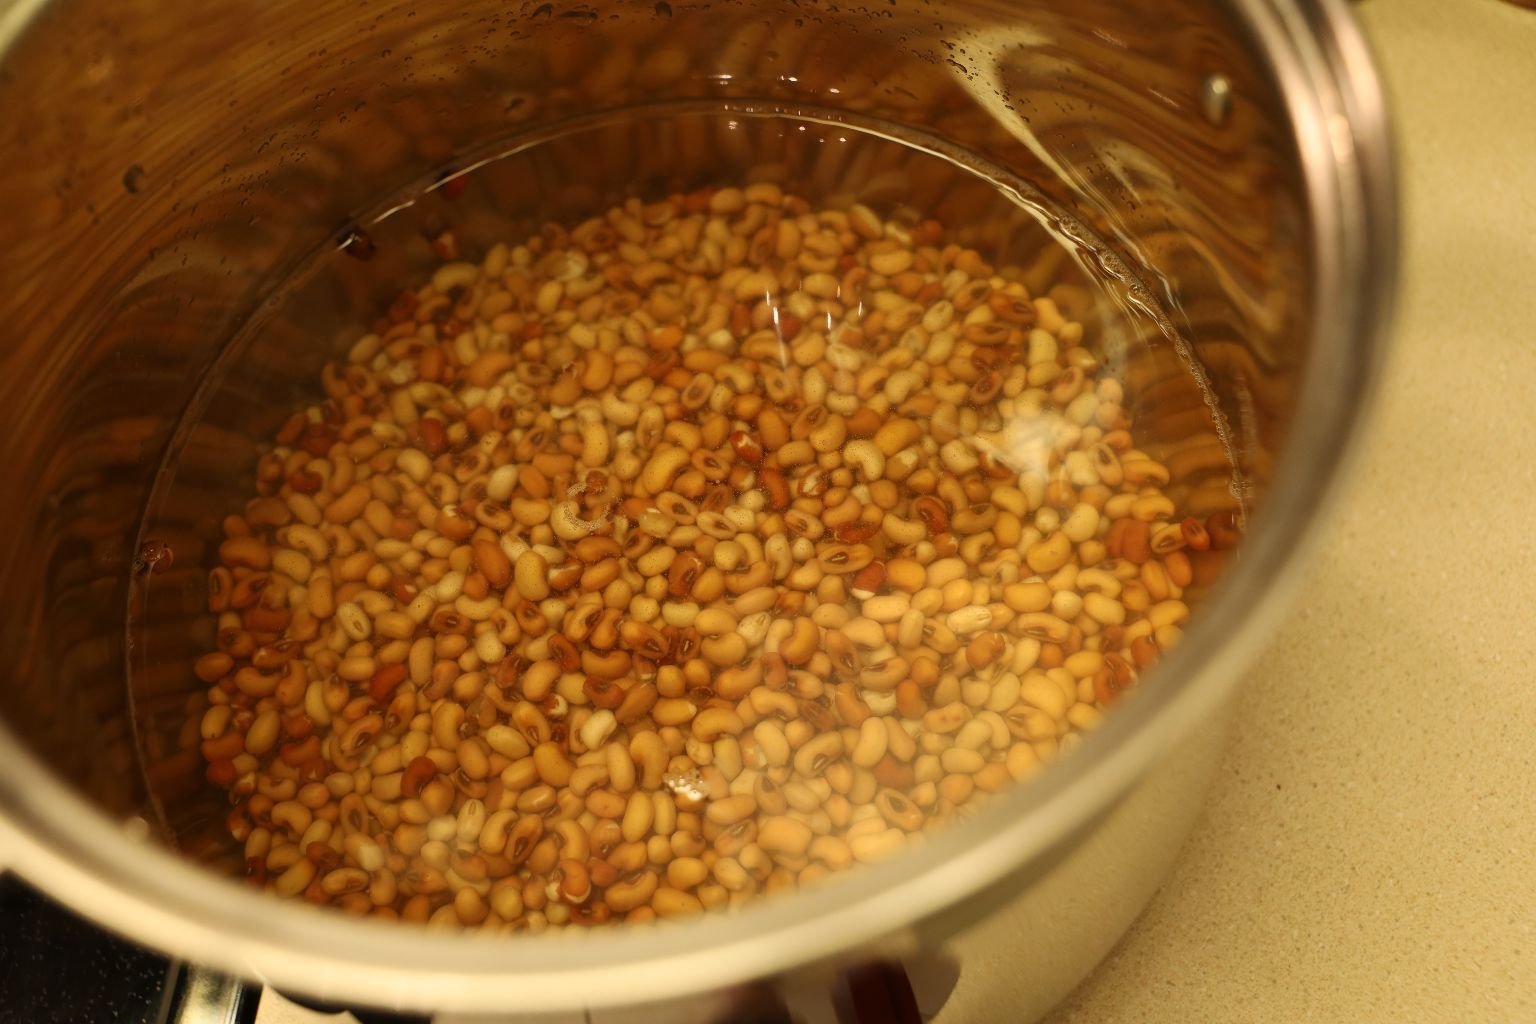
Sea Island Red Peas


Soak the Red Peas in water for at least 24 hours. This will re-hydrate the peas.


Just place them in any sort of container with a lid.
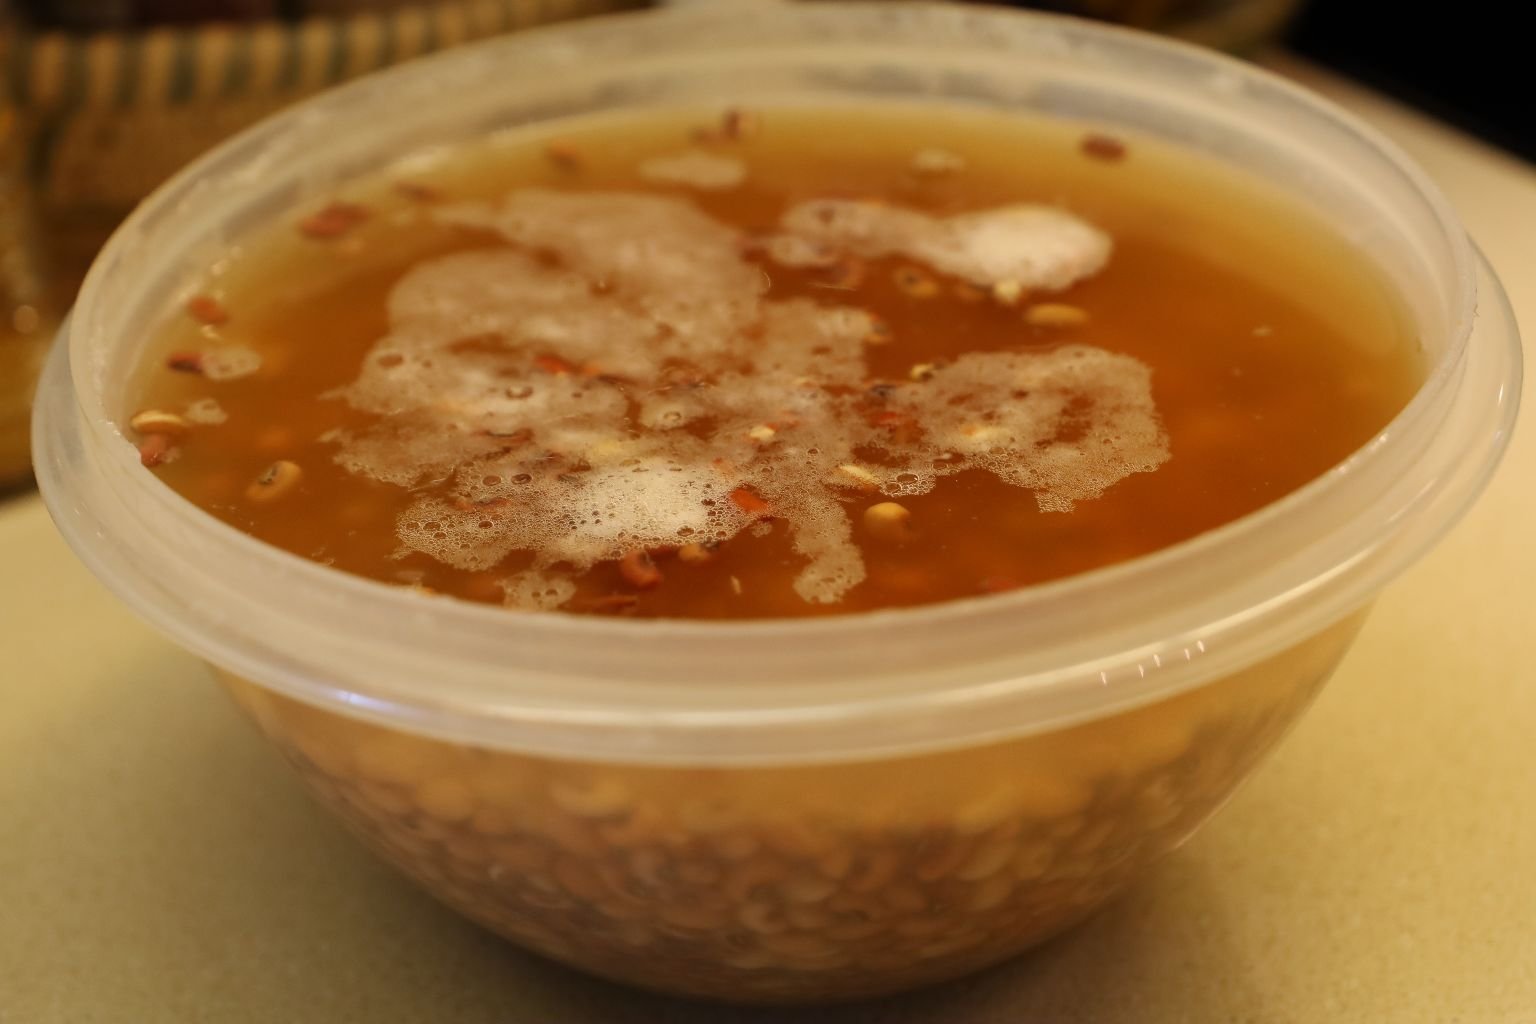
After 24 hours when the peas are tender then drain them of the excess water through a colander and rinse them.
—————————————————————
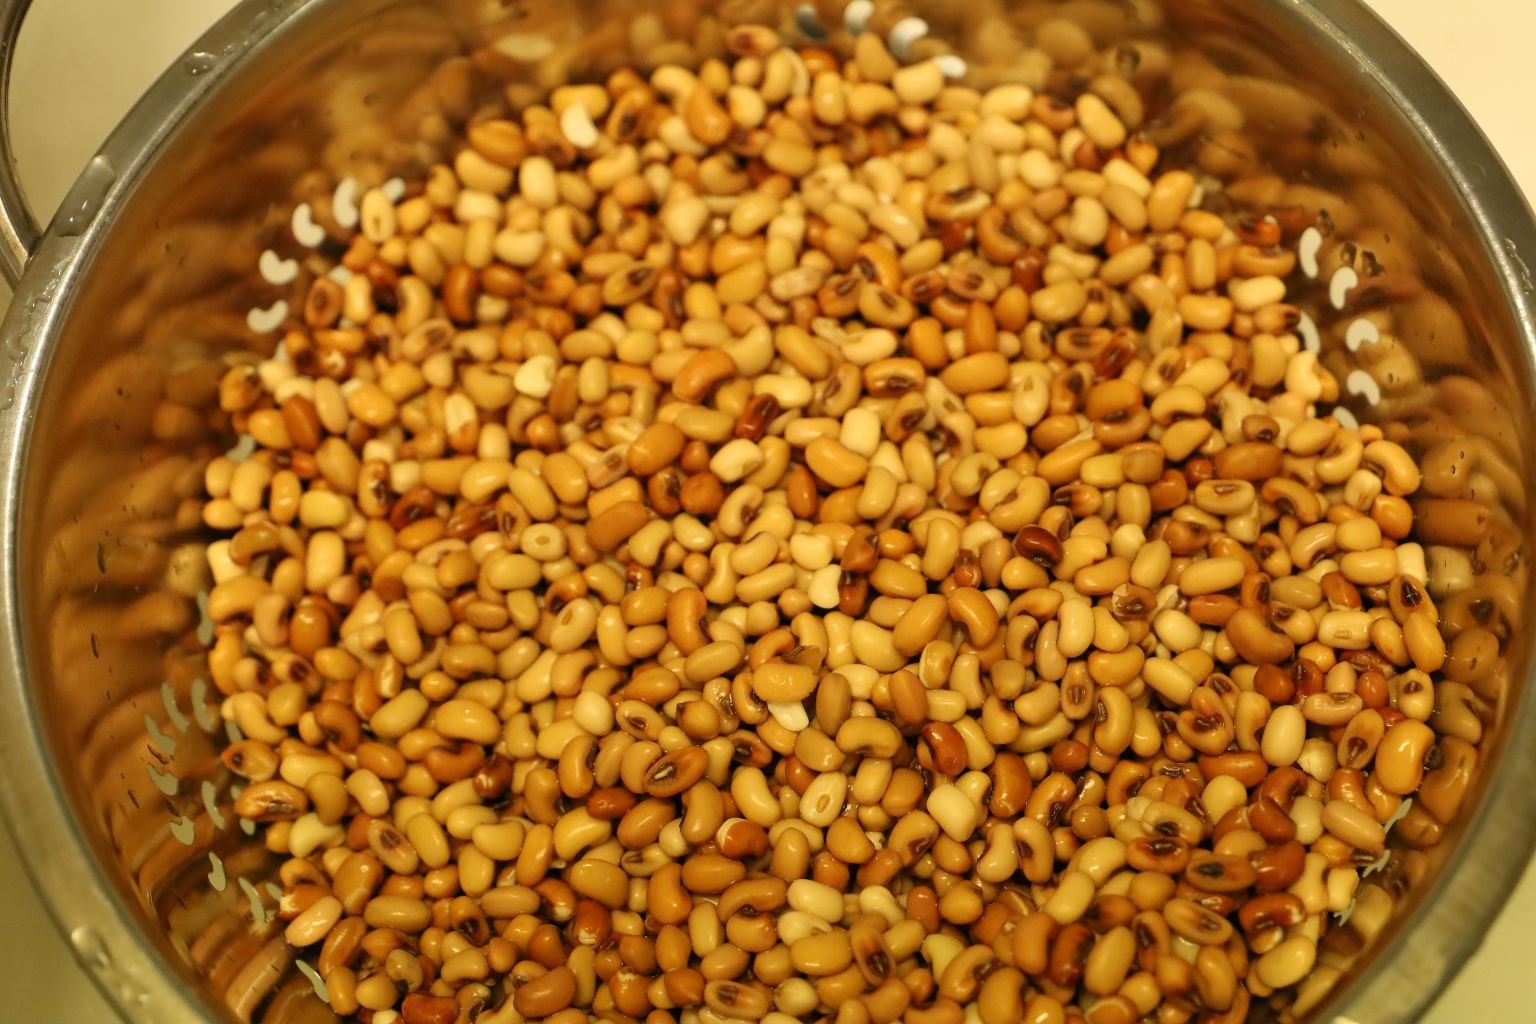
Here you can see the peas after they have absorbed the water and are ready for cooking.

Mackenzie showing off her knife skills by slicing a medium yellow onion to a small dice.
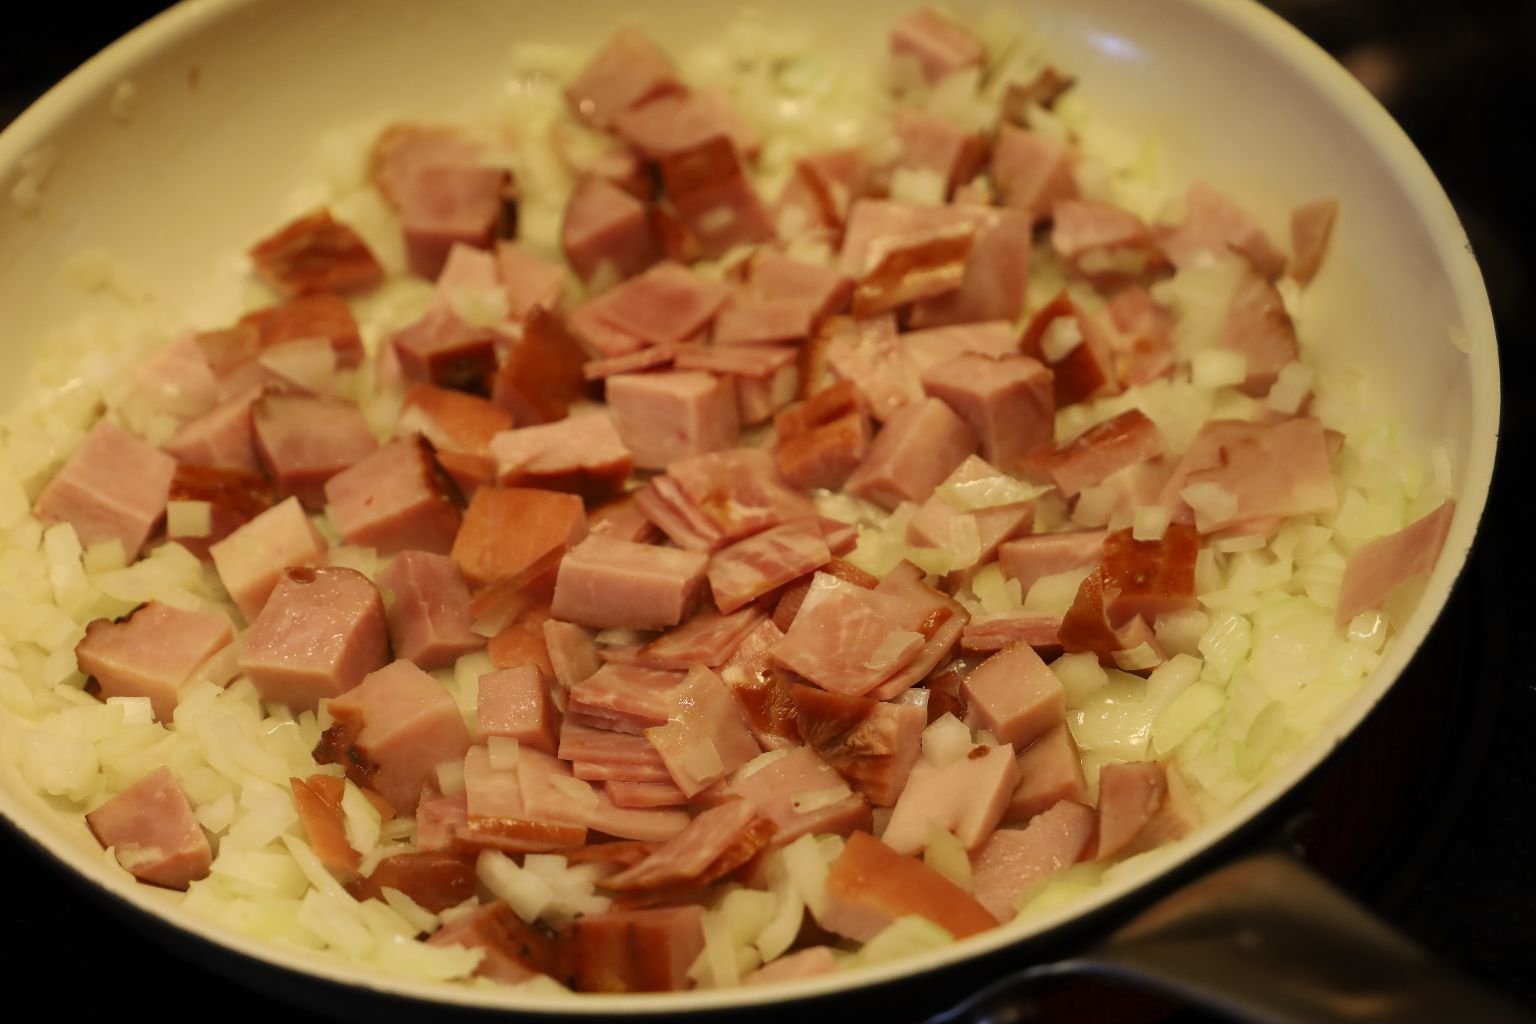
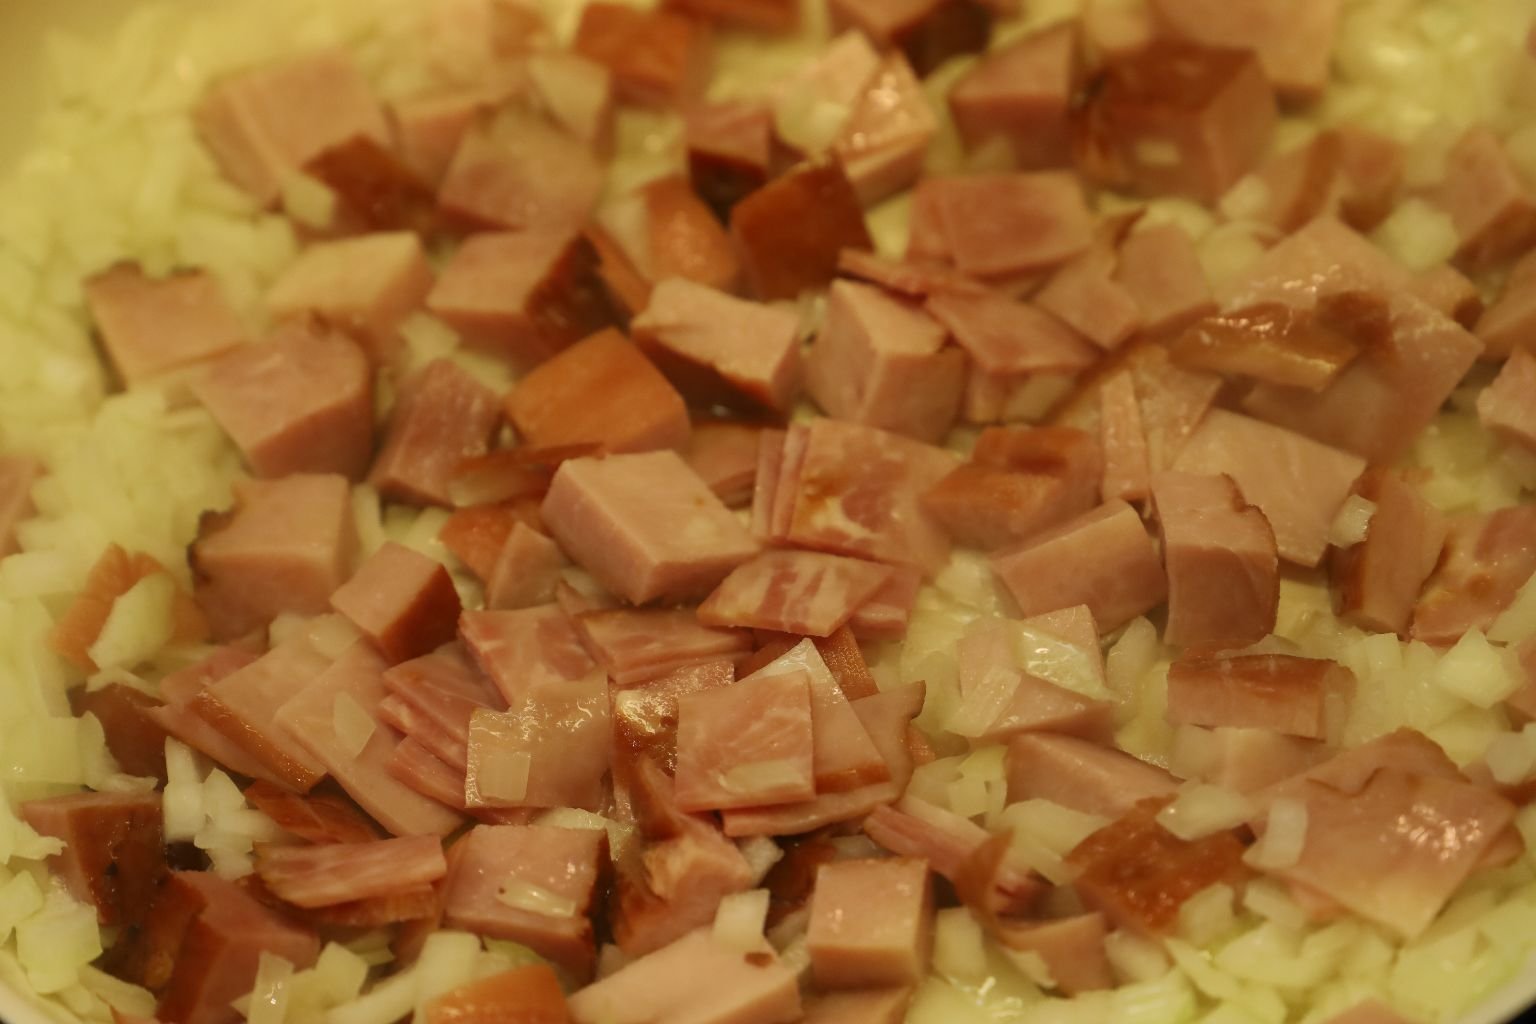
Add the diced onion to a large saute pan with a few tablespoons of bacon fat/grease. Let the onions cook for a few minutes then add some diced ham. I buy the Deli end cuts all the time from the Commissary (Military Supermarket) This isn’t sold in most stores. The end cuts are exactly that, the ends of the meat that are cut off to get to the nicer slices. In the Commissary they are half the price per pound and are perfect for dishes like this. Brodie is slightly browning the onions and ham together where each will absorb the other’s flavors, along with the great taste of the bacon fat!

Here you can see Brodie sauteing the ingredients with the bacon fat.
Cook the peas in a large amount of water to help them become tender. This will take a few hours of cooking. I didn’t add much salt to the water as the pork and bacon fat have enough salt in them.
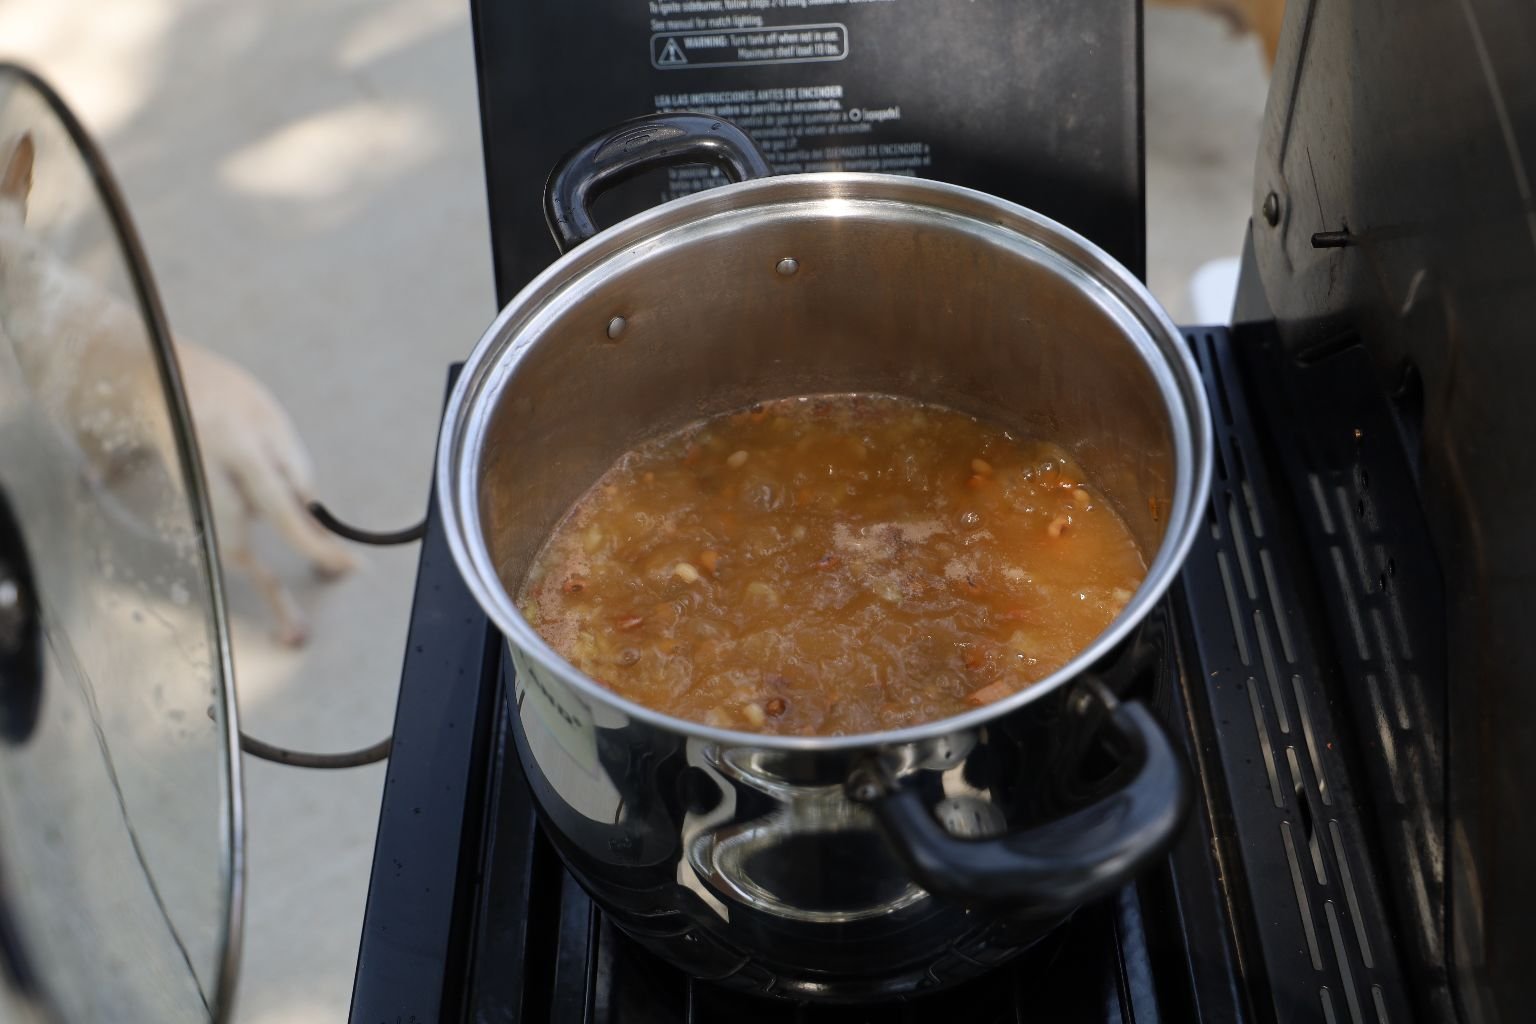
Since I was cooking at the grill, I thought it would be a great idea to use my grill’s side burner as shown. Cover the Red Peas and cook them until tender.
———————————————————————
Cooking the Red Peas on the Grill Burner

Once the peas are tender, remove most of the water and add the pork and onion mixture, cover with a lid and place on low heat stirring occasionally so they don’t burn.
Seeing as how we ate outside we didn’t plate the peas. We just kept them on a simmer to stay warm and everyone just helped themselves.
——————————————————————–
Smith House Yeast Rolls
Below are the ingredients from above:
1 Package Yeast
1 1/2 Cups lukewarm water
2 Unbeaten Eggs
4 Tbsp. Sugar
1 tsp. Salt
3/4 Cups Wesson Oil
4 1/2 Cups Plain Flour
When ready to bake:
1 Stick of Melted Butter
Smith House Recipe Yeast Dough
(Waiting for the dough to rise.)
Made by Brodie and Mackenzie


Mackenzie ready to make some biscuits from scratch!

Here are all the ingredients they used to make the great biscuits.


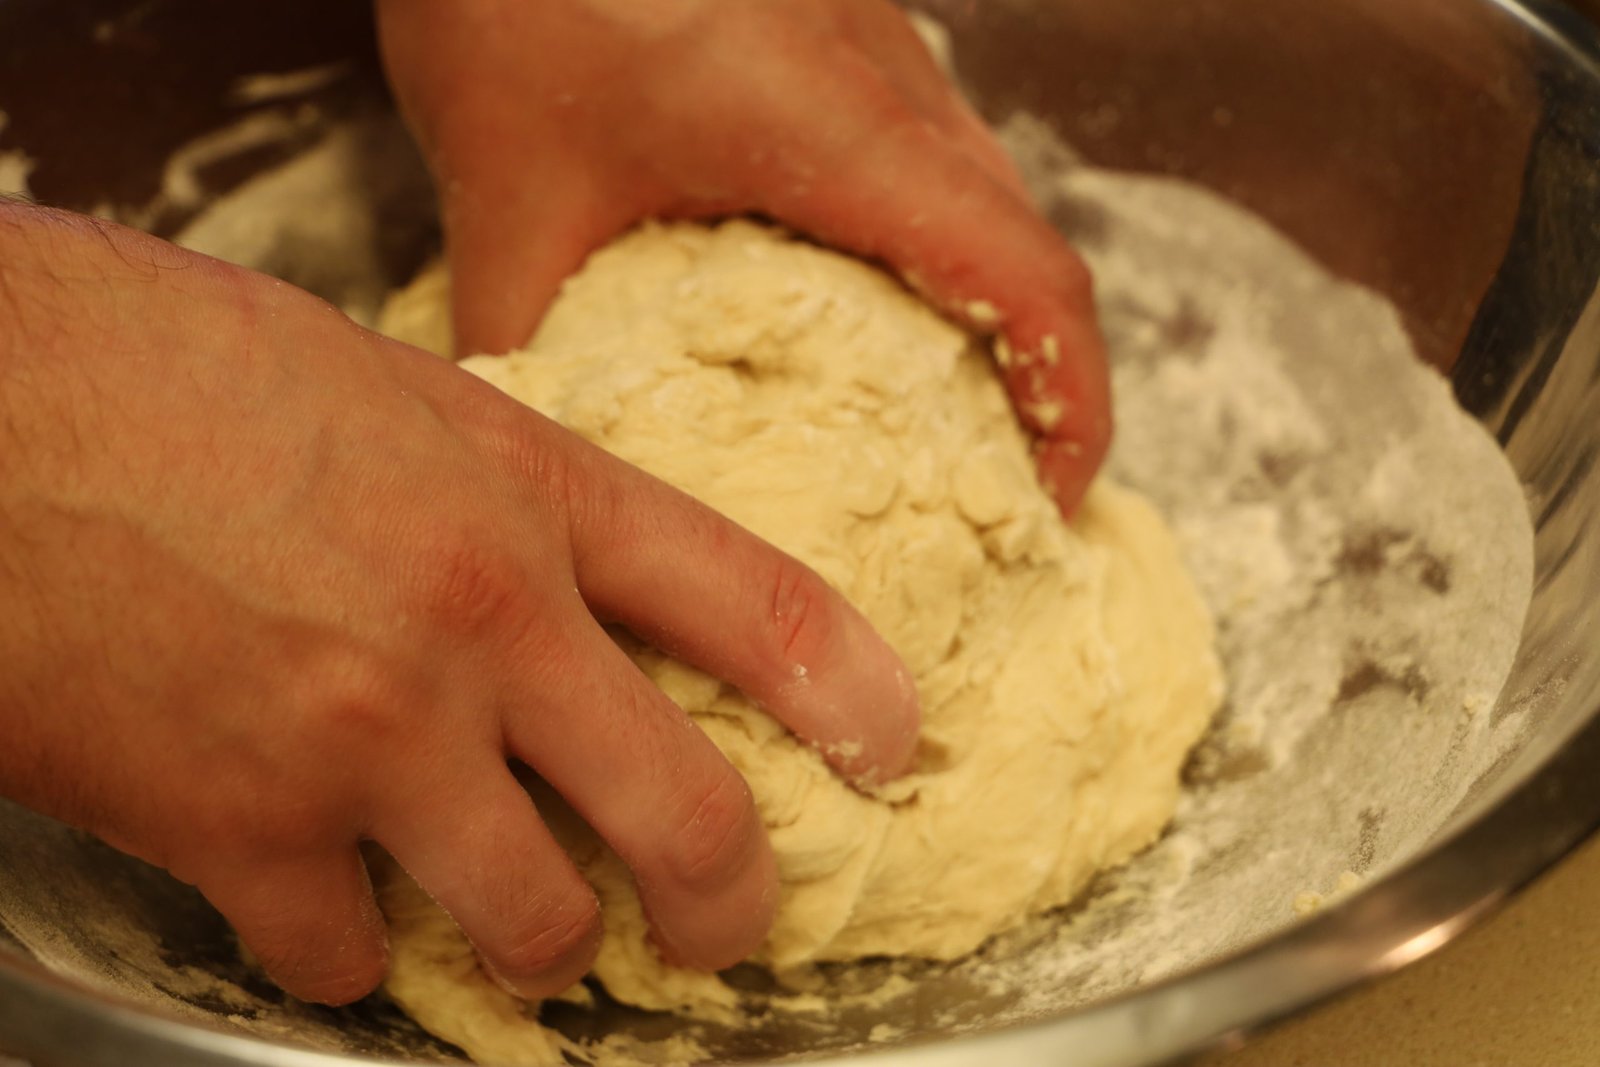
Here they are dissolving the yeast in a bowl in the lukewarm water.

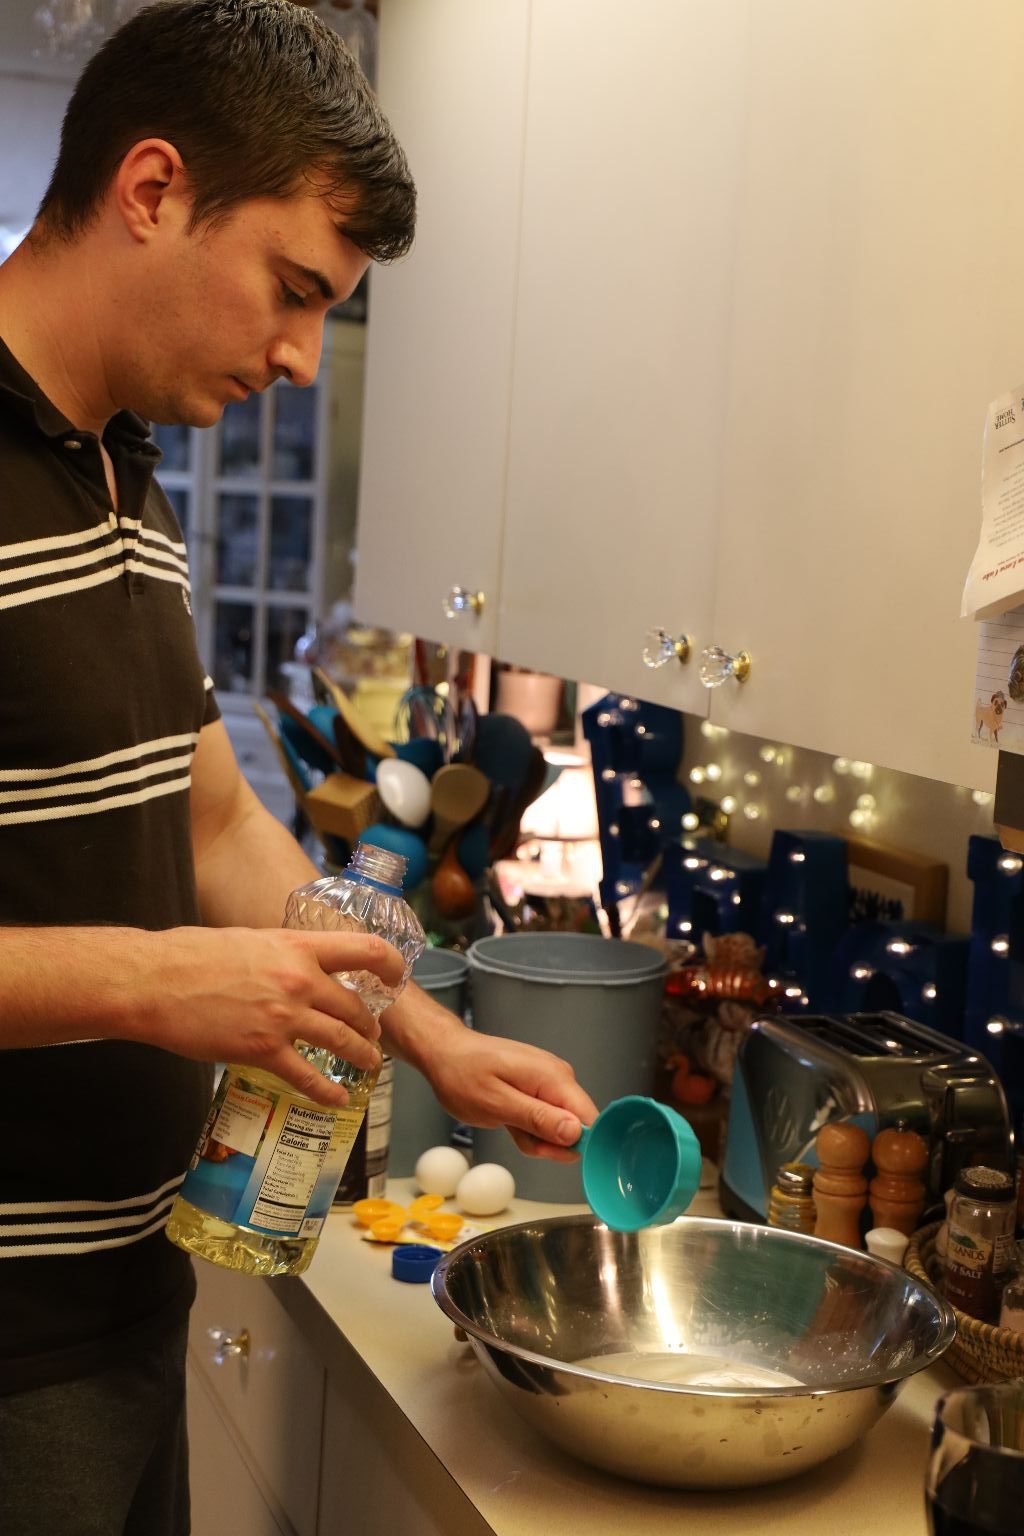
Brodie is then adding the Wesson Oil to the bowl.

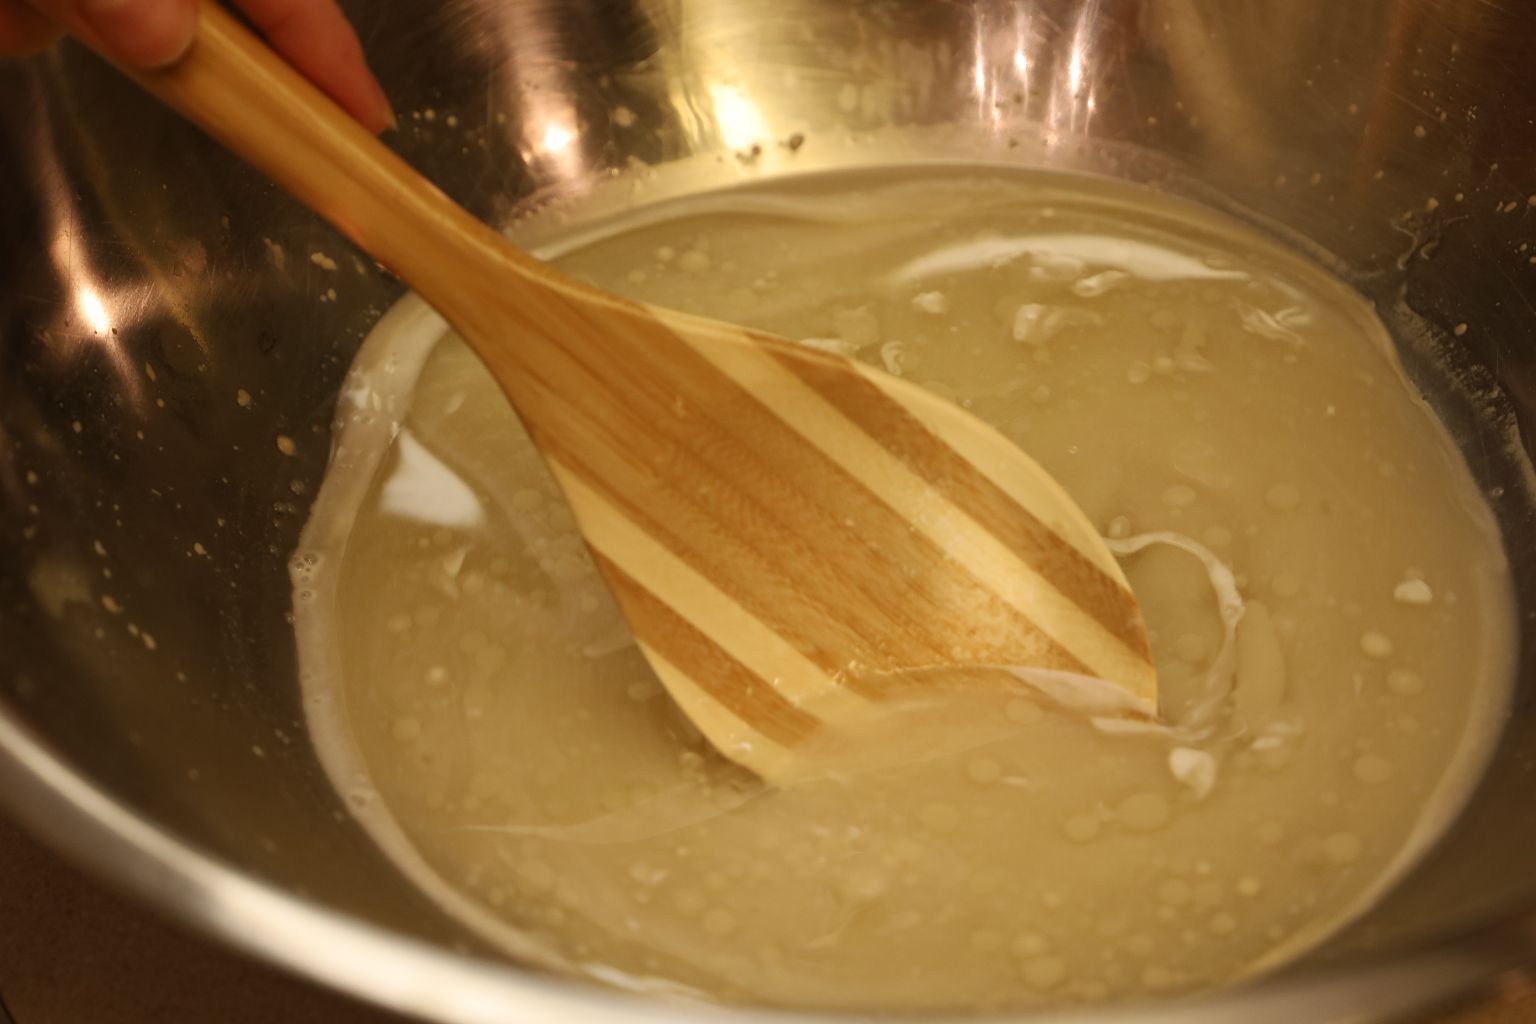
Stir in a little bit of the sugar to help the yeast activate which will only take a few minutes. You will see frothy bubbles forming when the yeast activates or blooms.

Once the yeast activates, add in the rest of the ingredients.
Here they are adding the eggs.


Then add the salt, sugar, and lastly the flour. Mix all the ingredients together as shown.

Adding more flour….

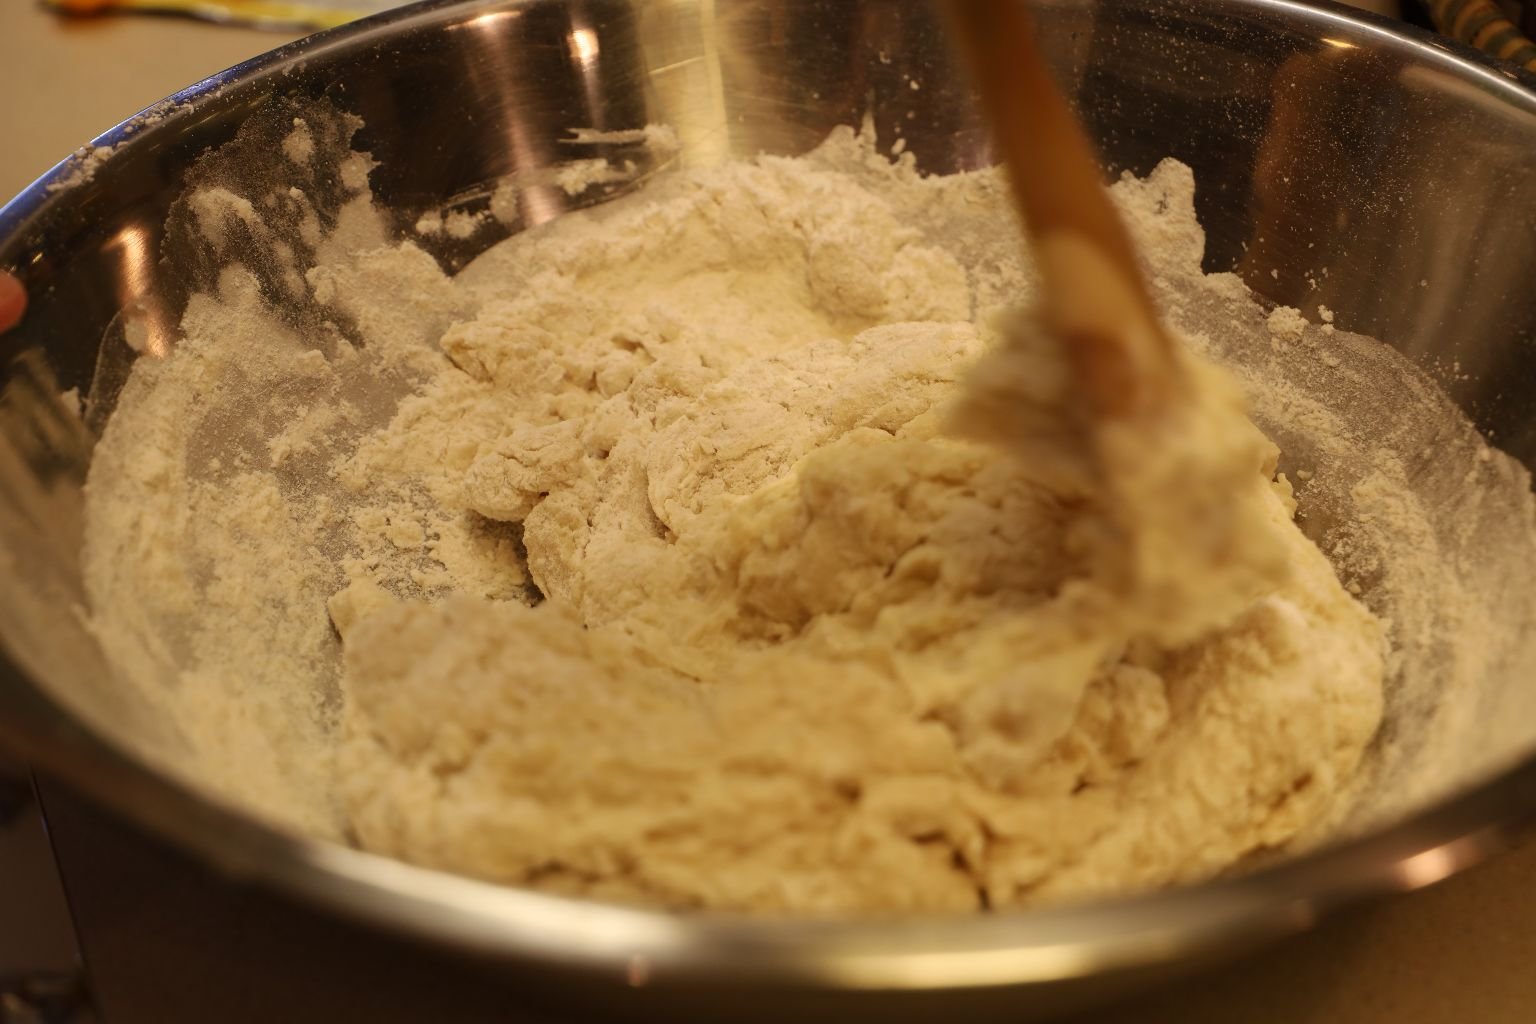
as you add the flour, you will see the dough start to form.
This is what you will get once all the flour is added. Now, knead the flour folding it over and over again on itself for a few minutes. This will help to combine all the ingredients and start the dough to form gluten, which makes the dough elastic.


Place the dough in a large bowl that has been lightly oiled. Oil the dough as well which as is grows will help it to rise along the sides of the bowl. Place the dough in a warm spot and cover with a dish cloth. If it is cold out, I will use my oven for this. Turn the oven on for about 30 seconds then turn it off and place the covered bowl inside. Don’t open the oven for about 45 min.
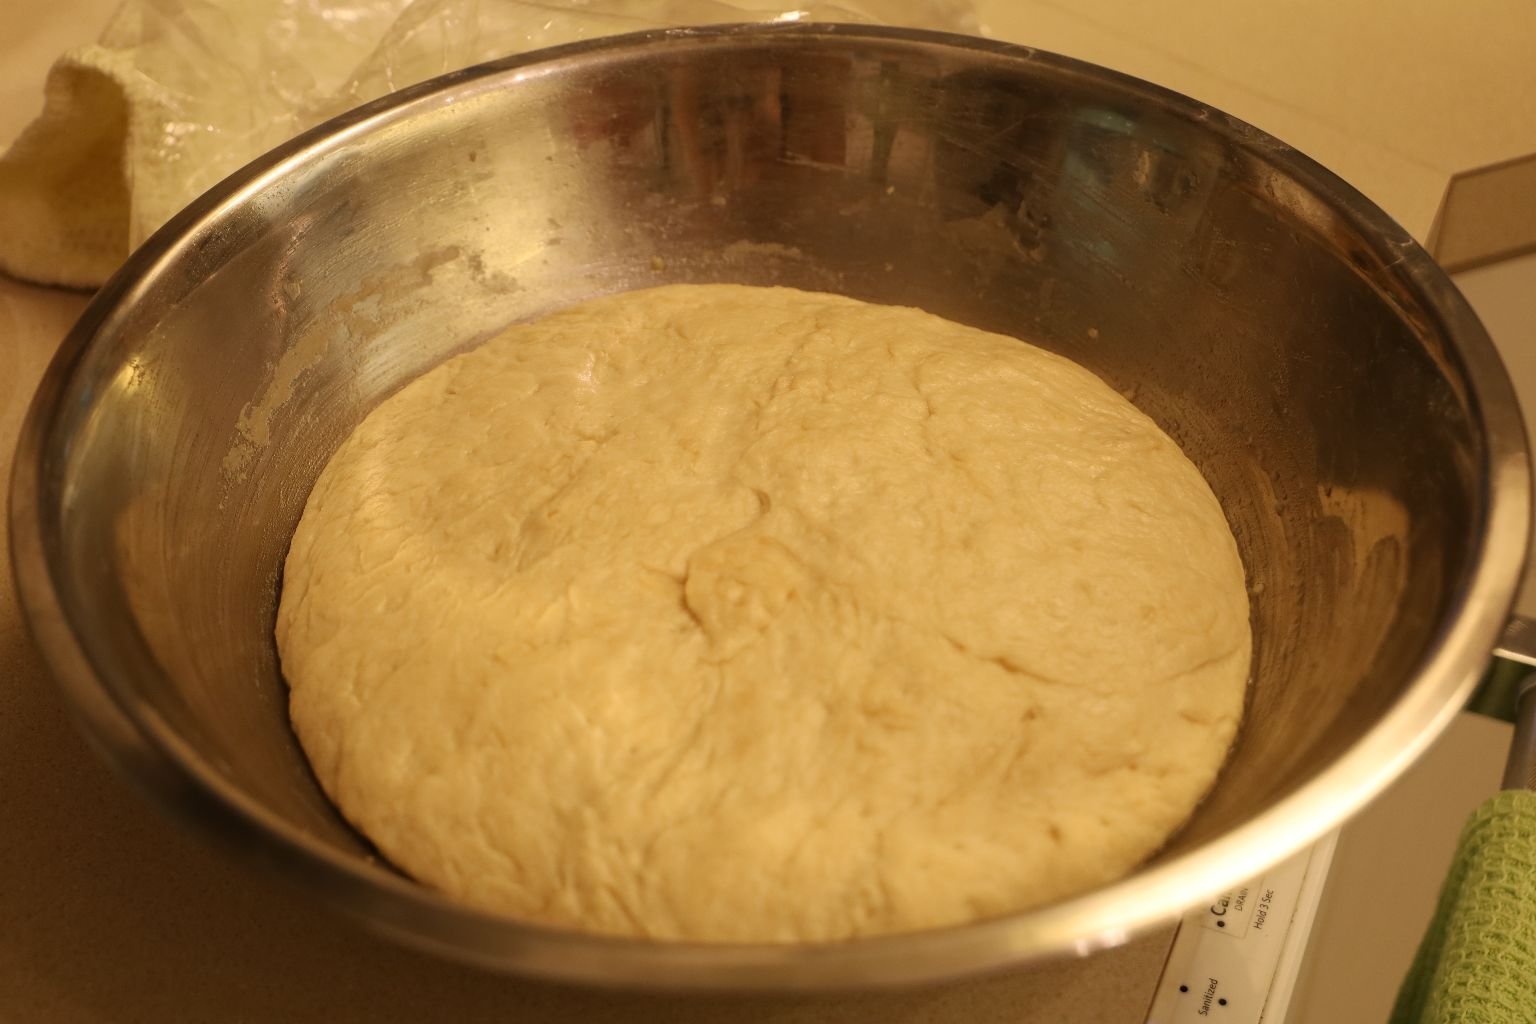
Here you can see the dough has risen.

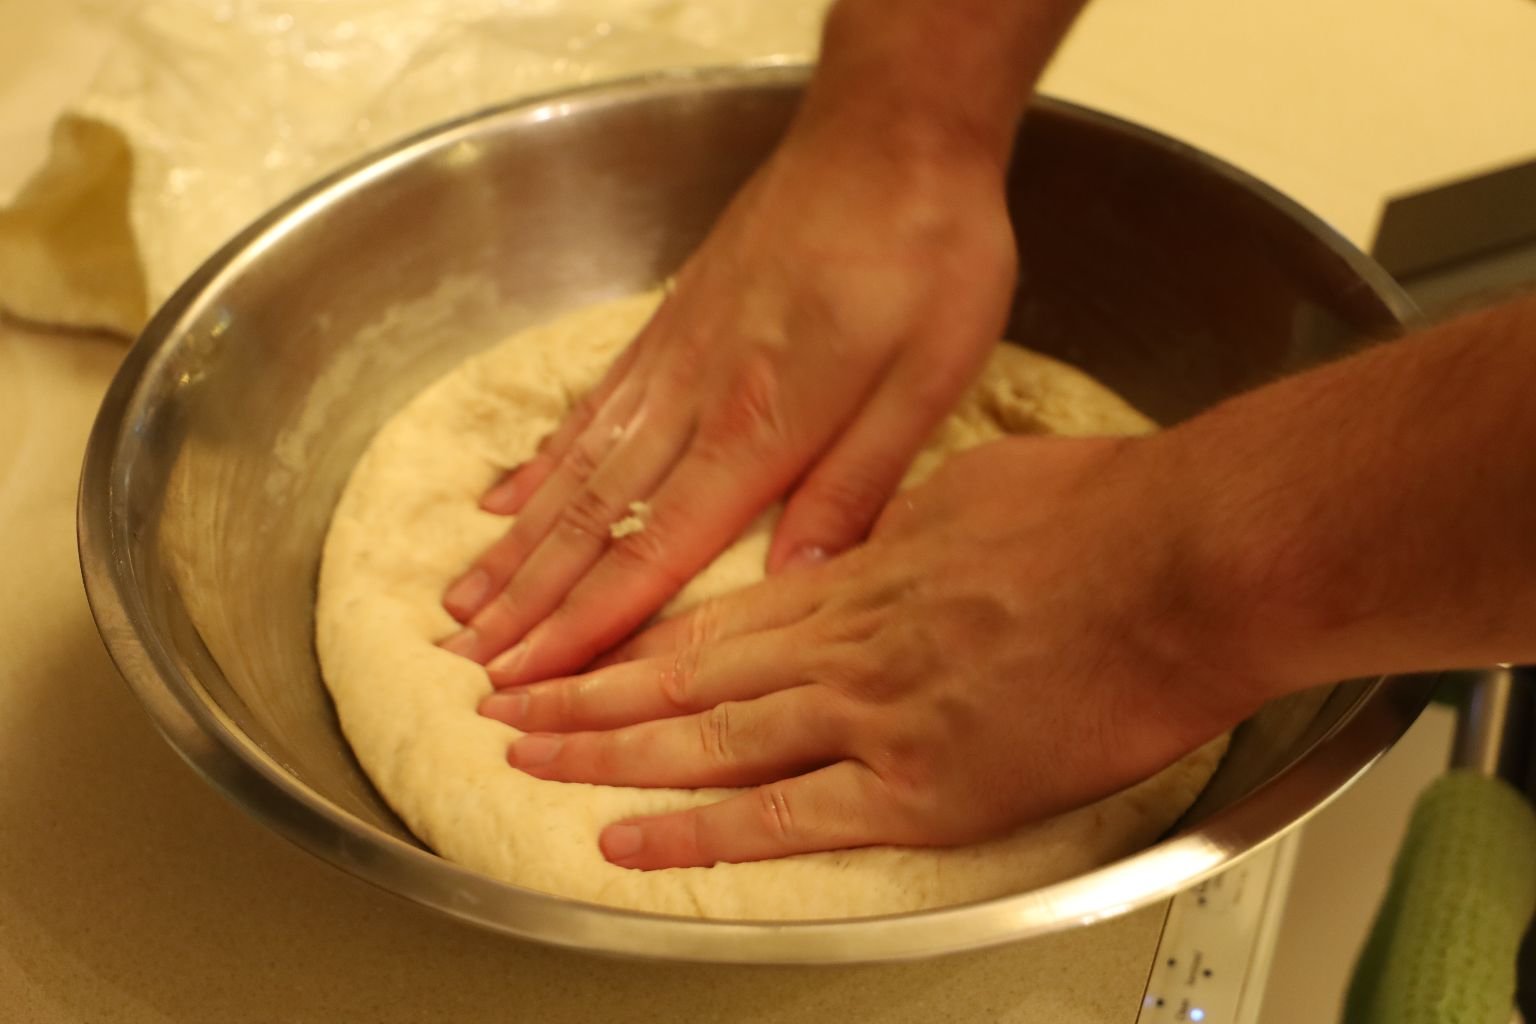
Now punch down the dough as Brodie is doing and place the dough back in the warm spot for another 45 min. to let it rise again.

Here you can see the dough has risen a second time and Brodie is now ready to roll it out on a floured surface.
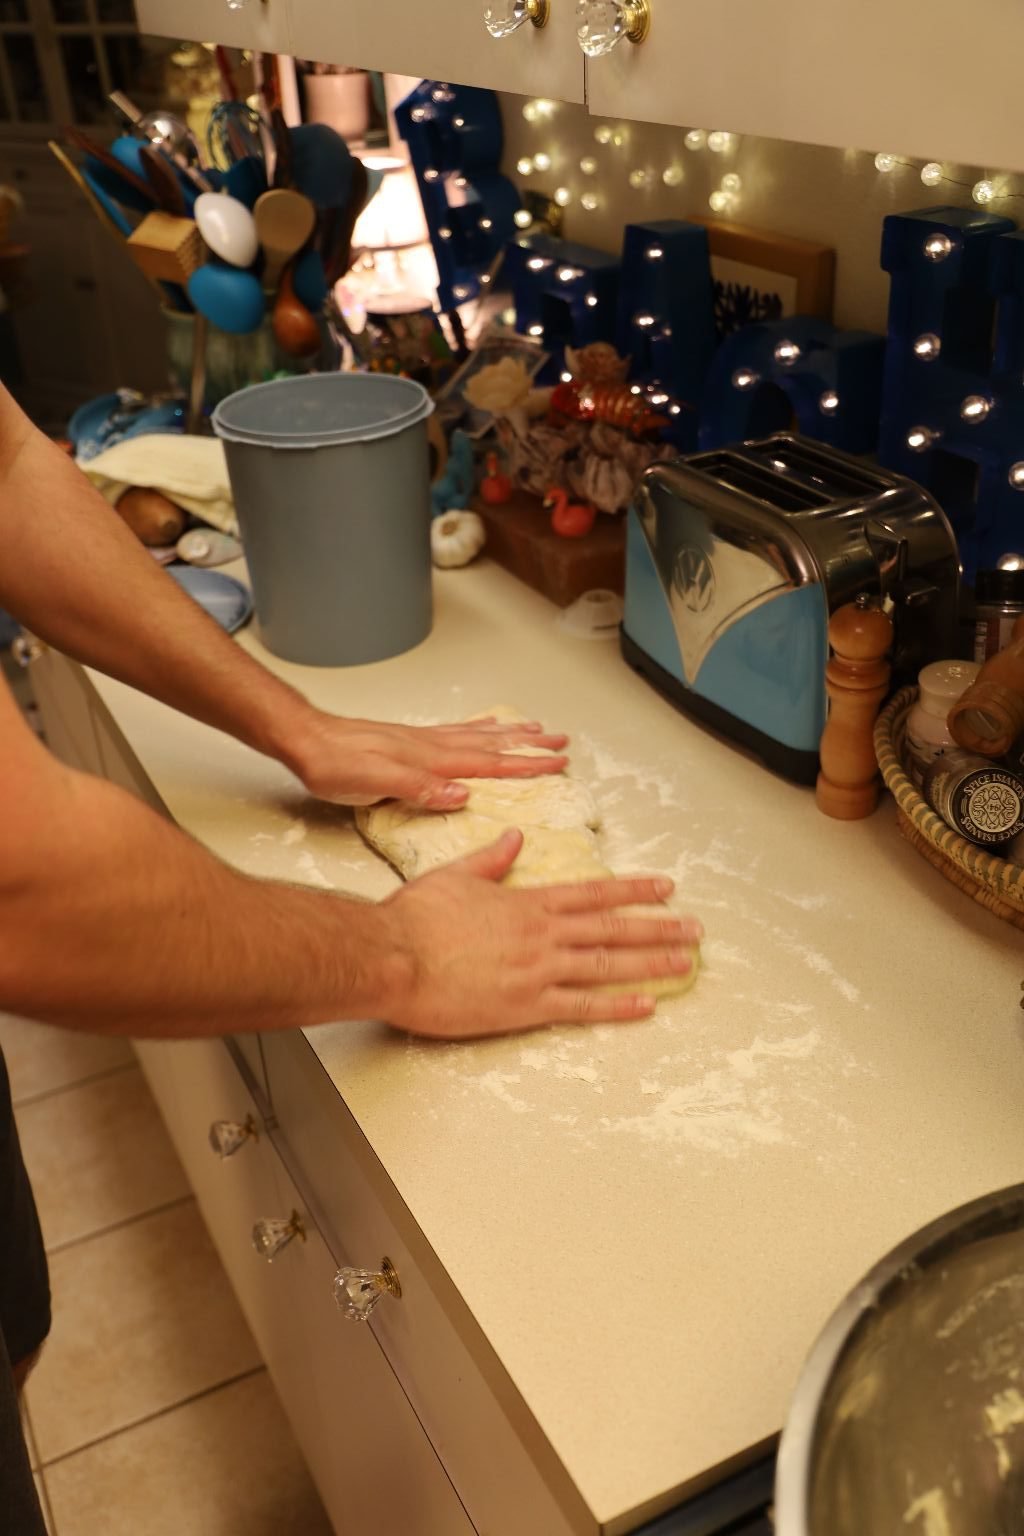
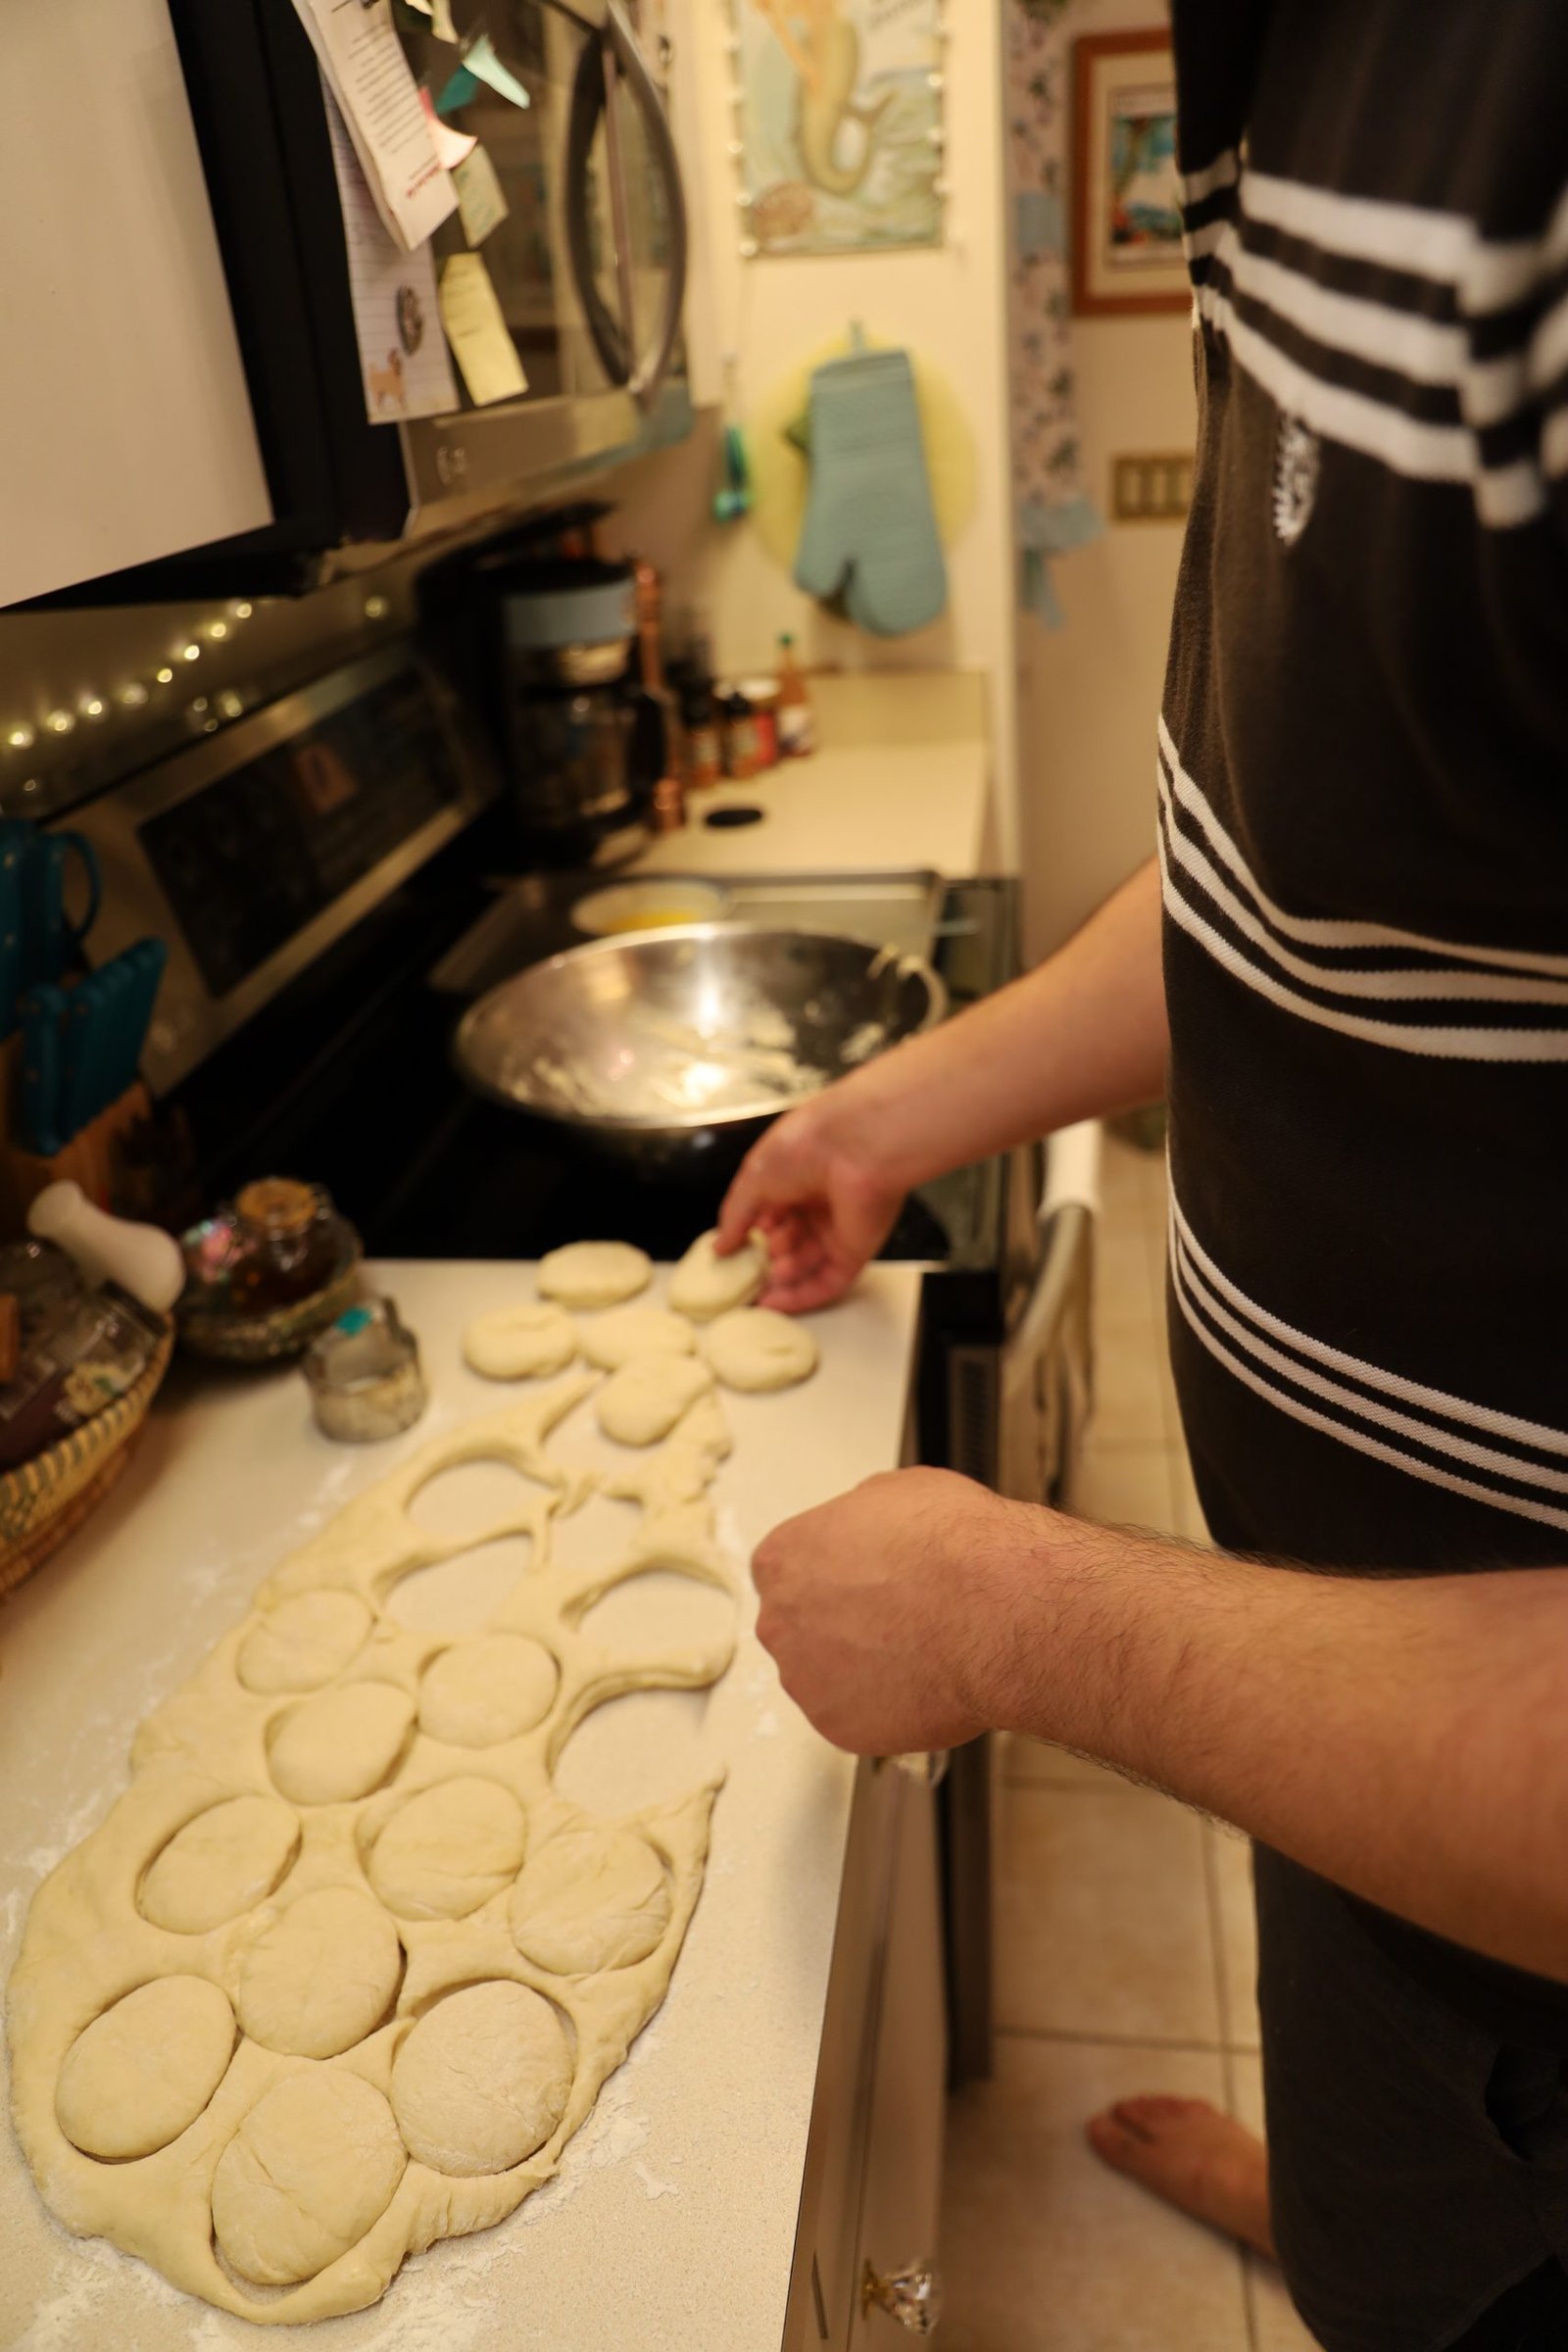
Lightly sprinkle the flour over the counter top as shown. Remove the dough from the bowl and begin to flatten it to 3/4 of an inch thick.
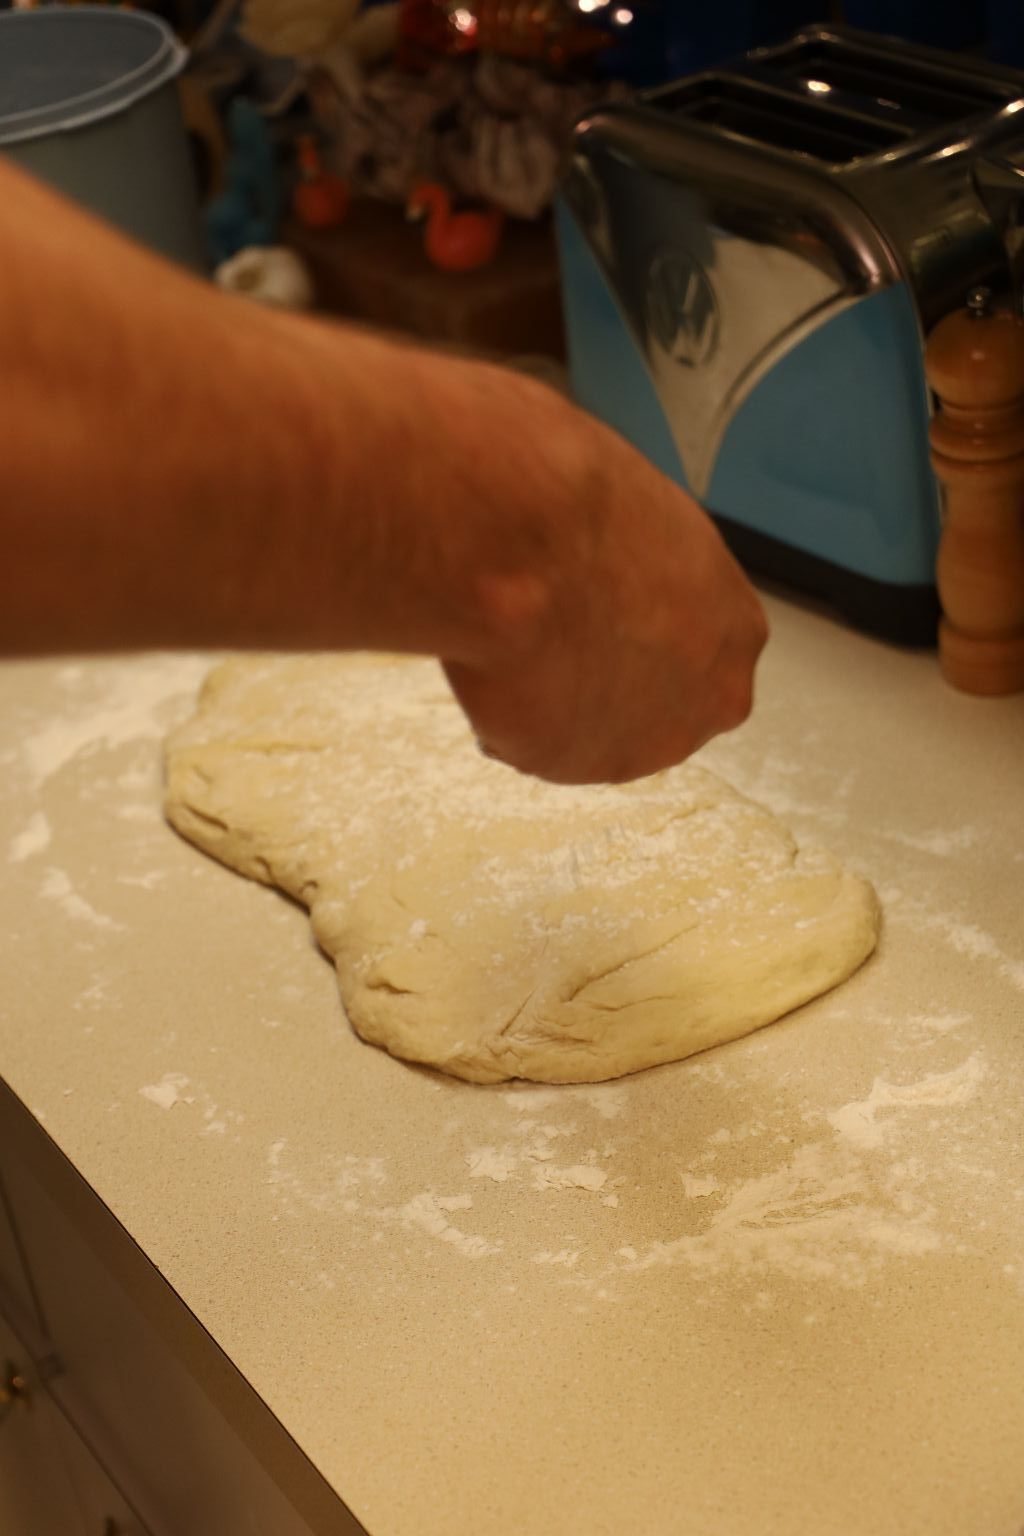
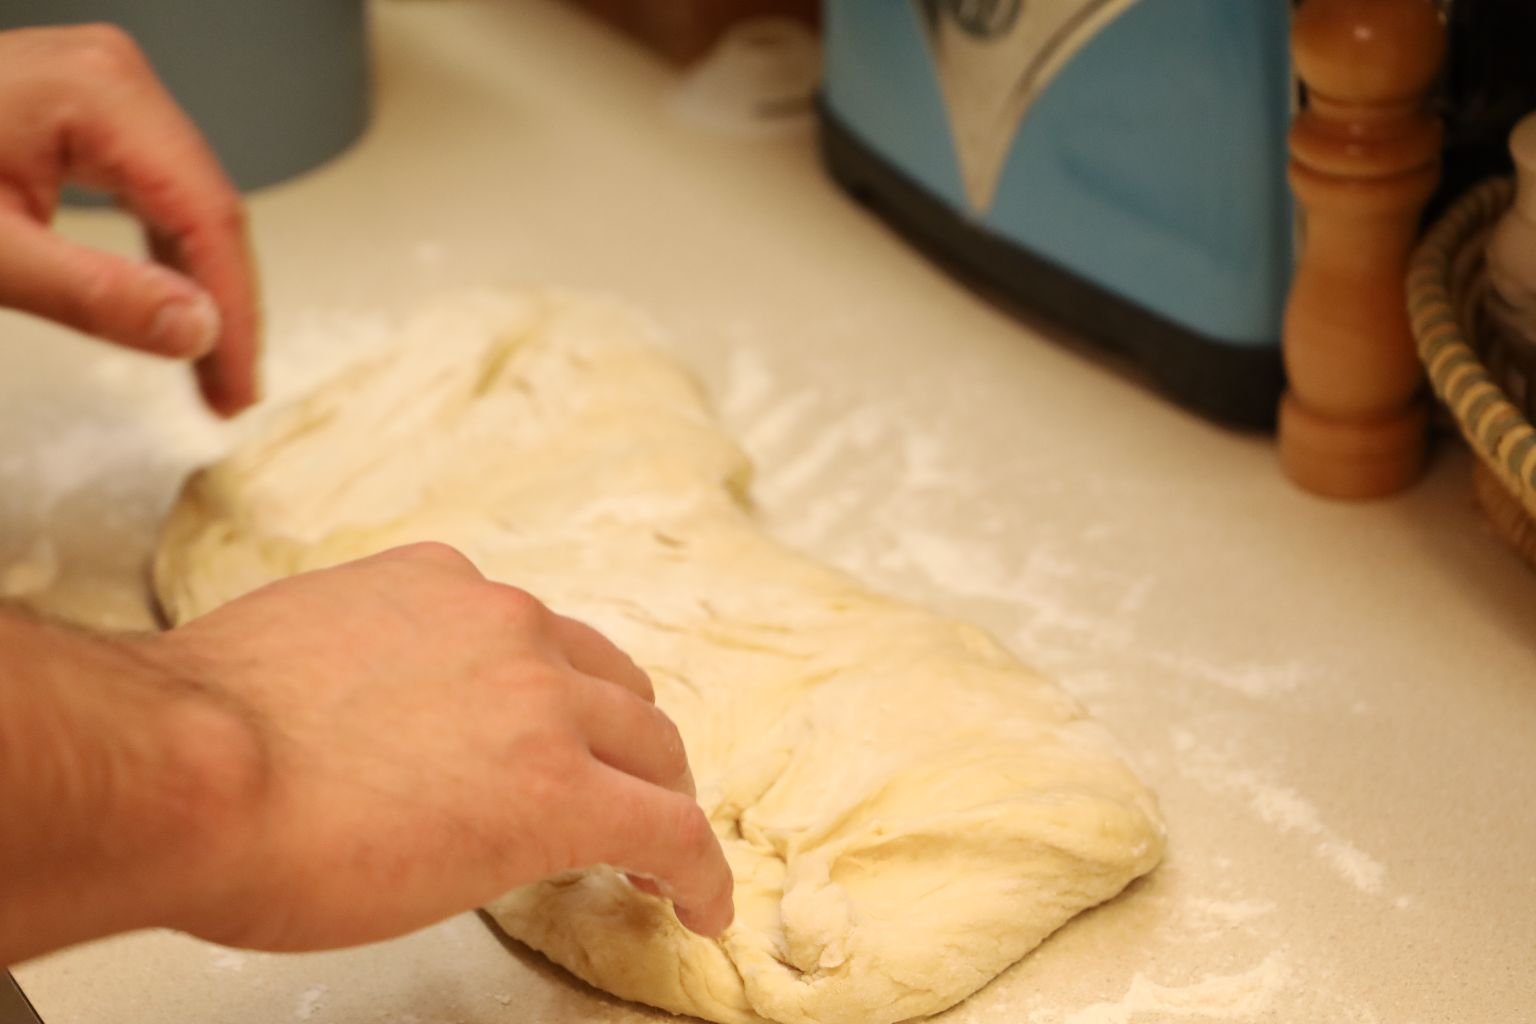
Brodie is placing a little flour on top as well to prevent the roller from sticking.
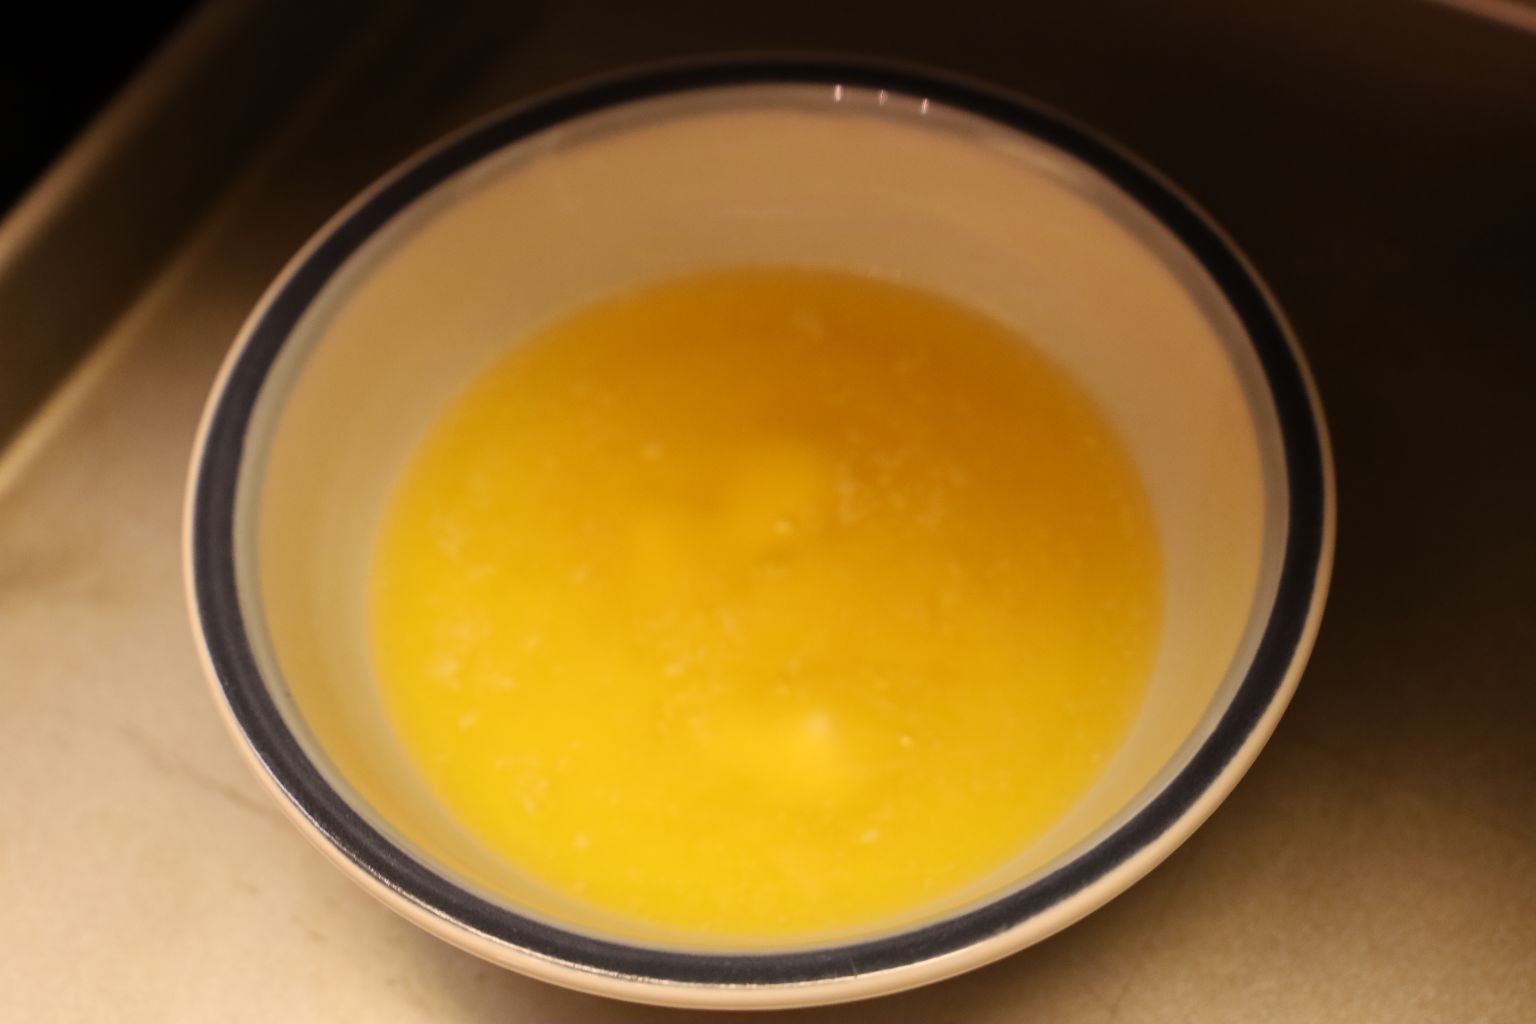
Melt one stick of butter in the microwave.
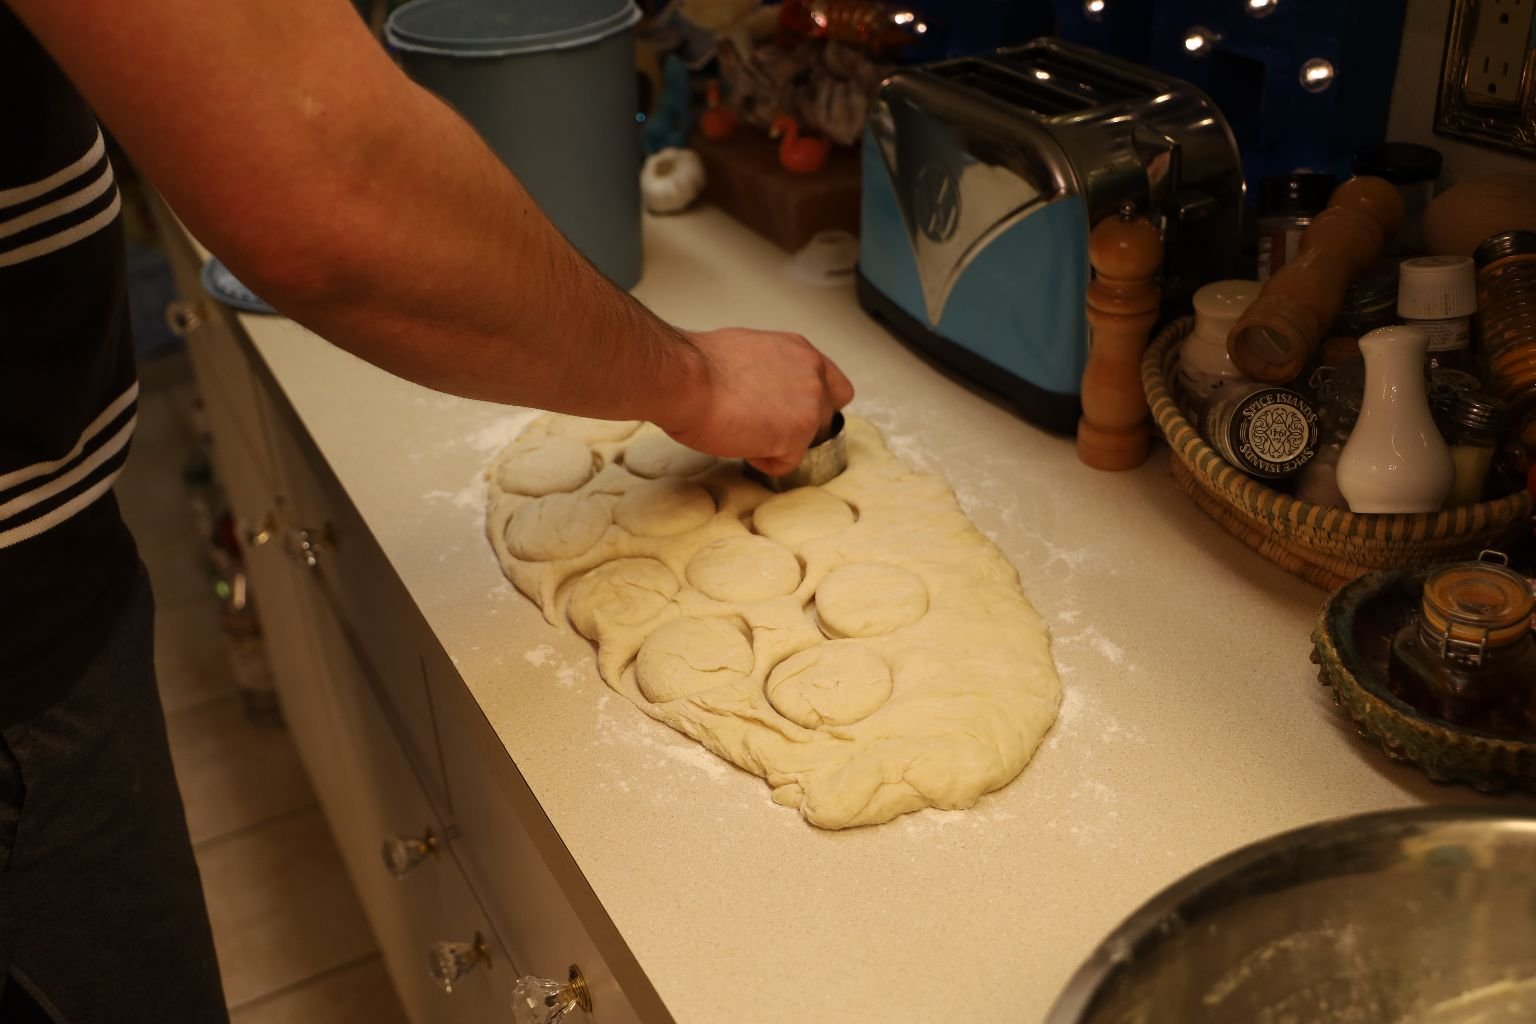
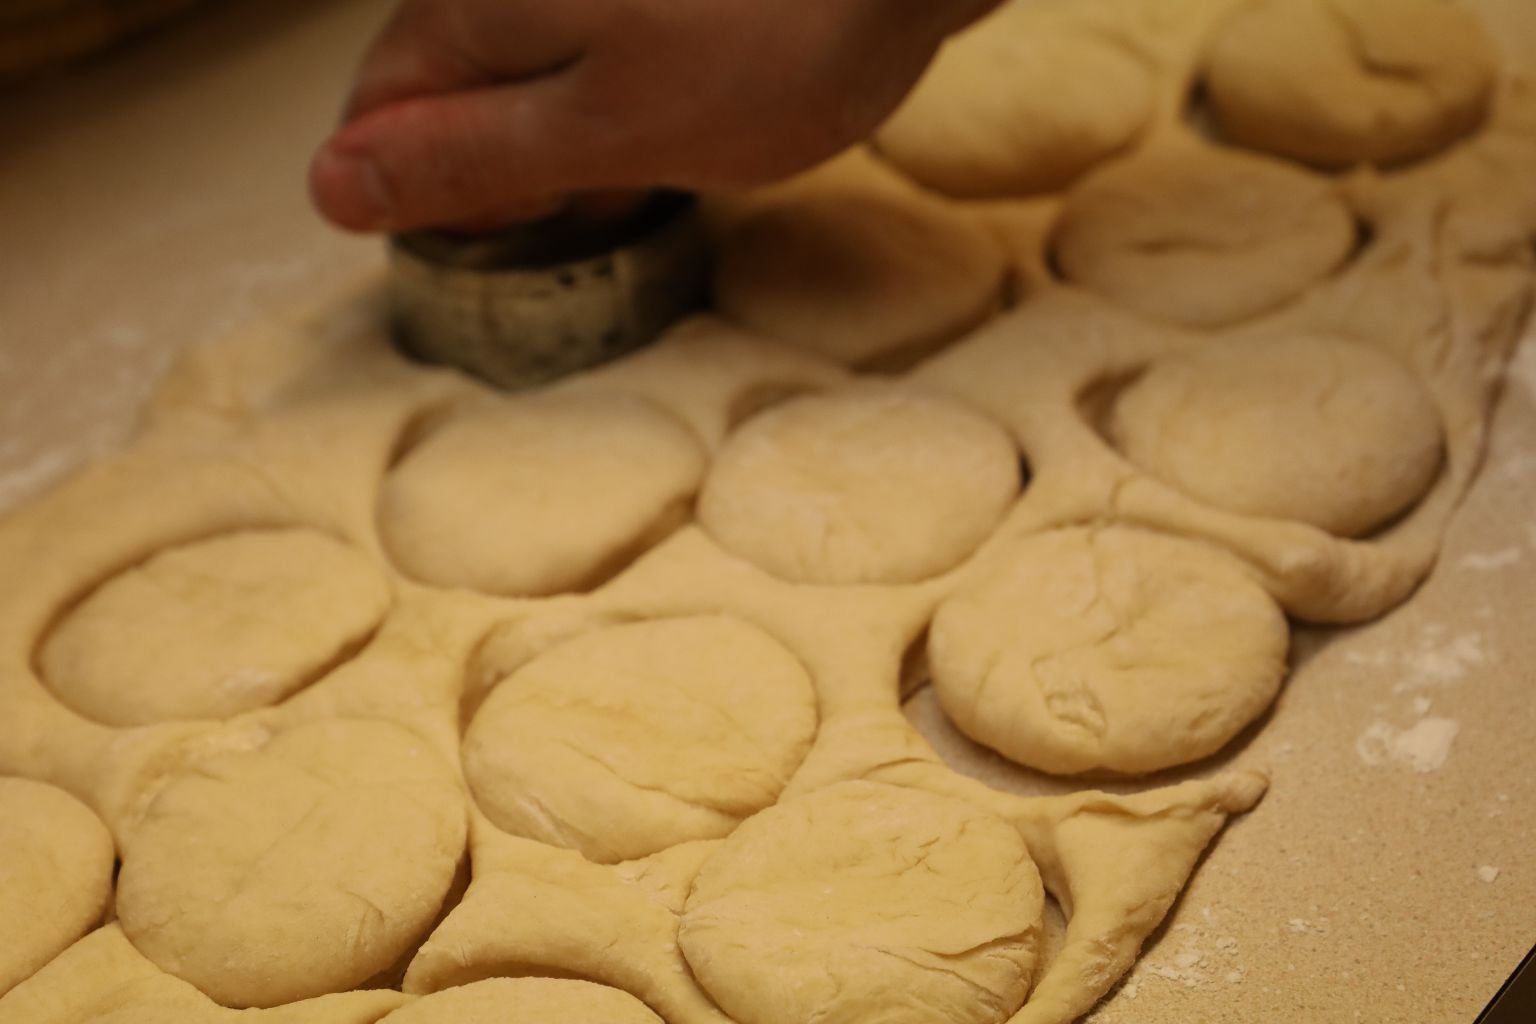
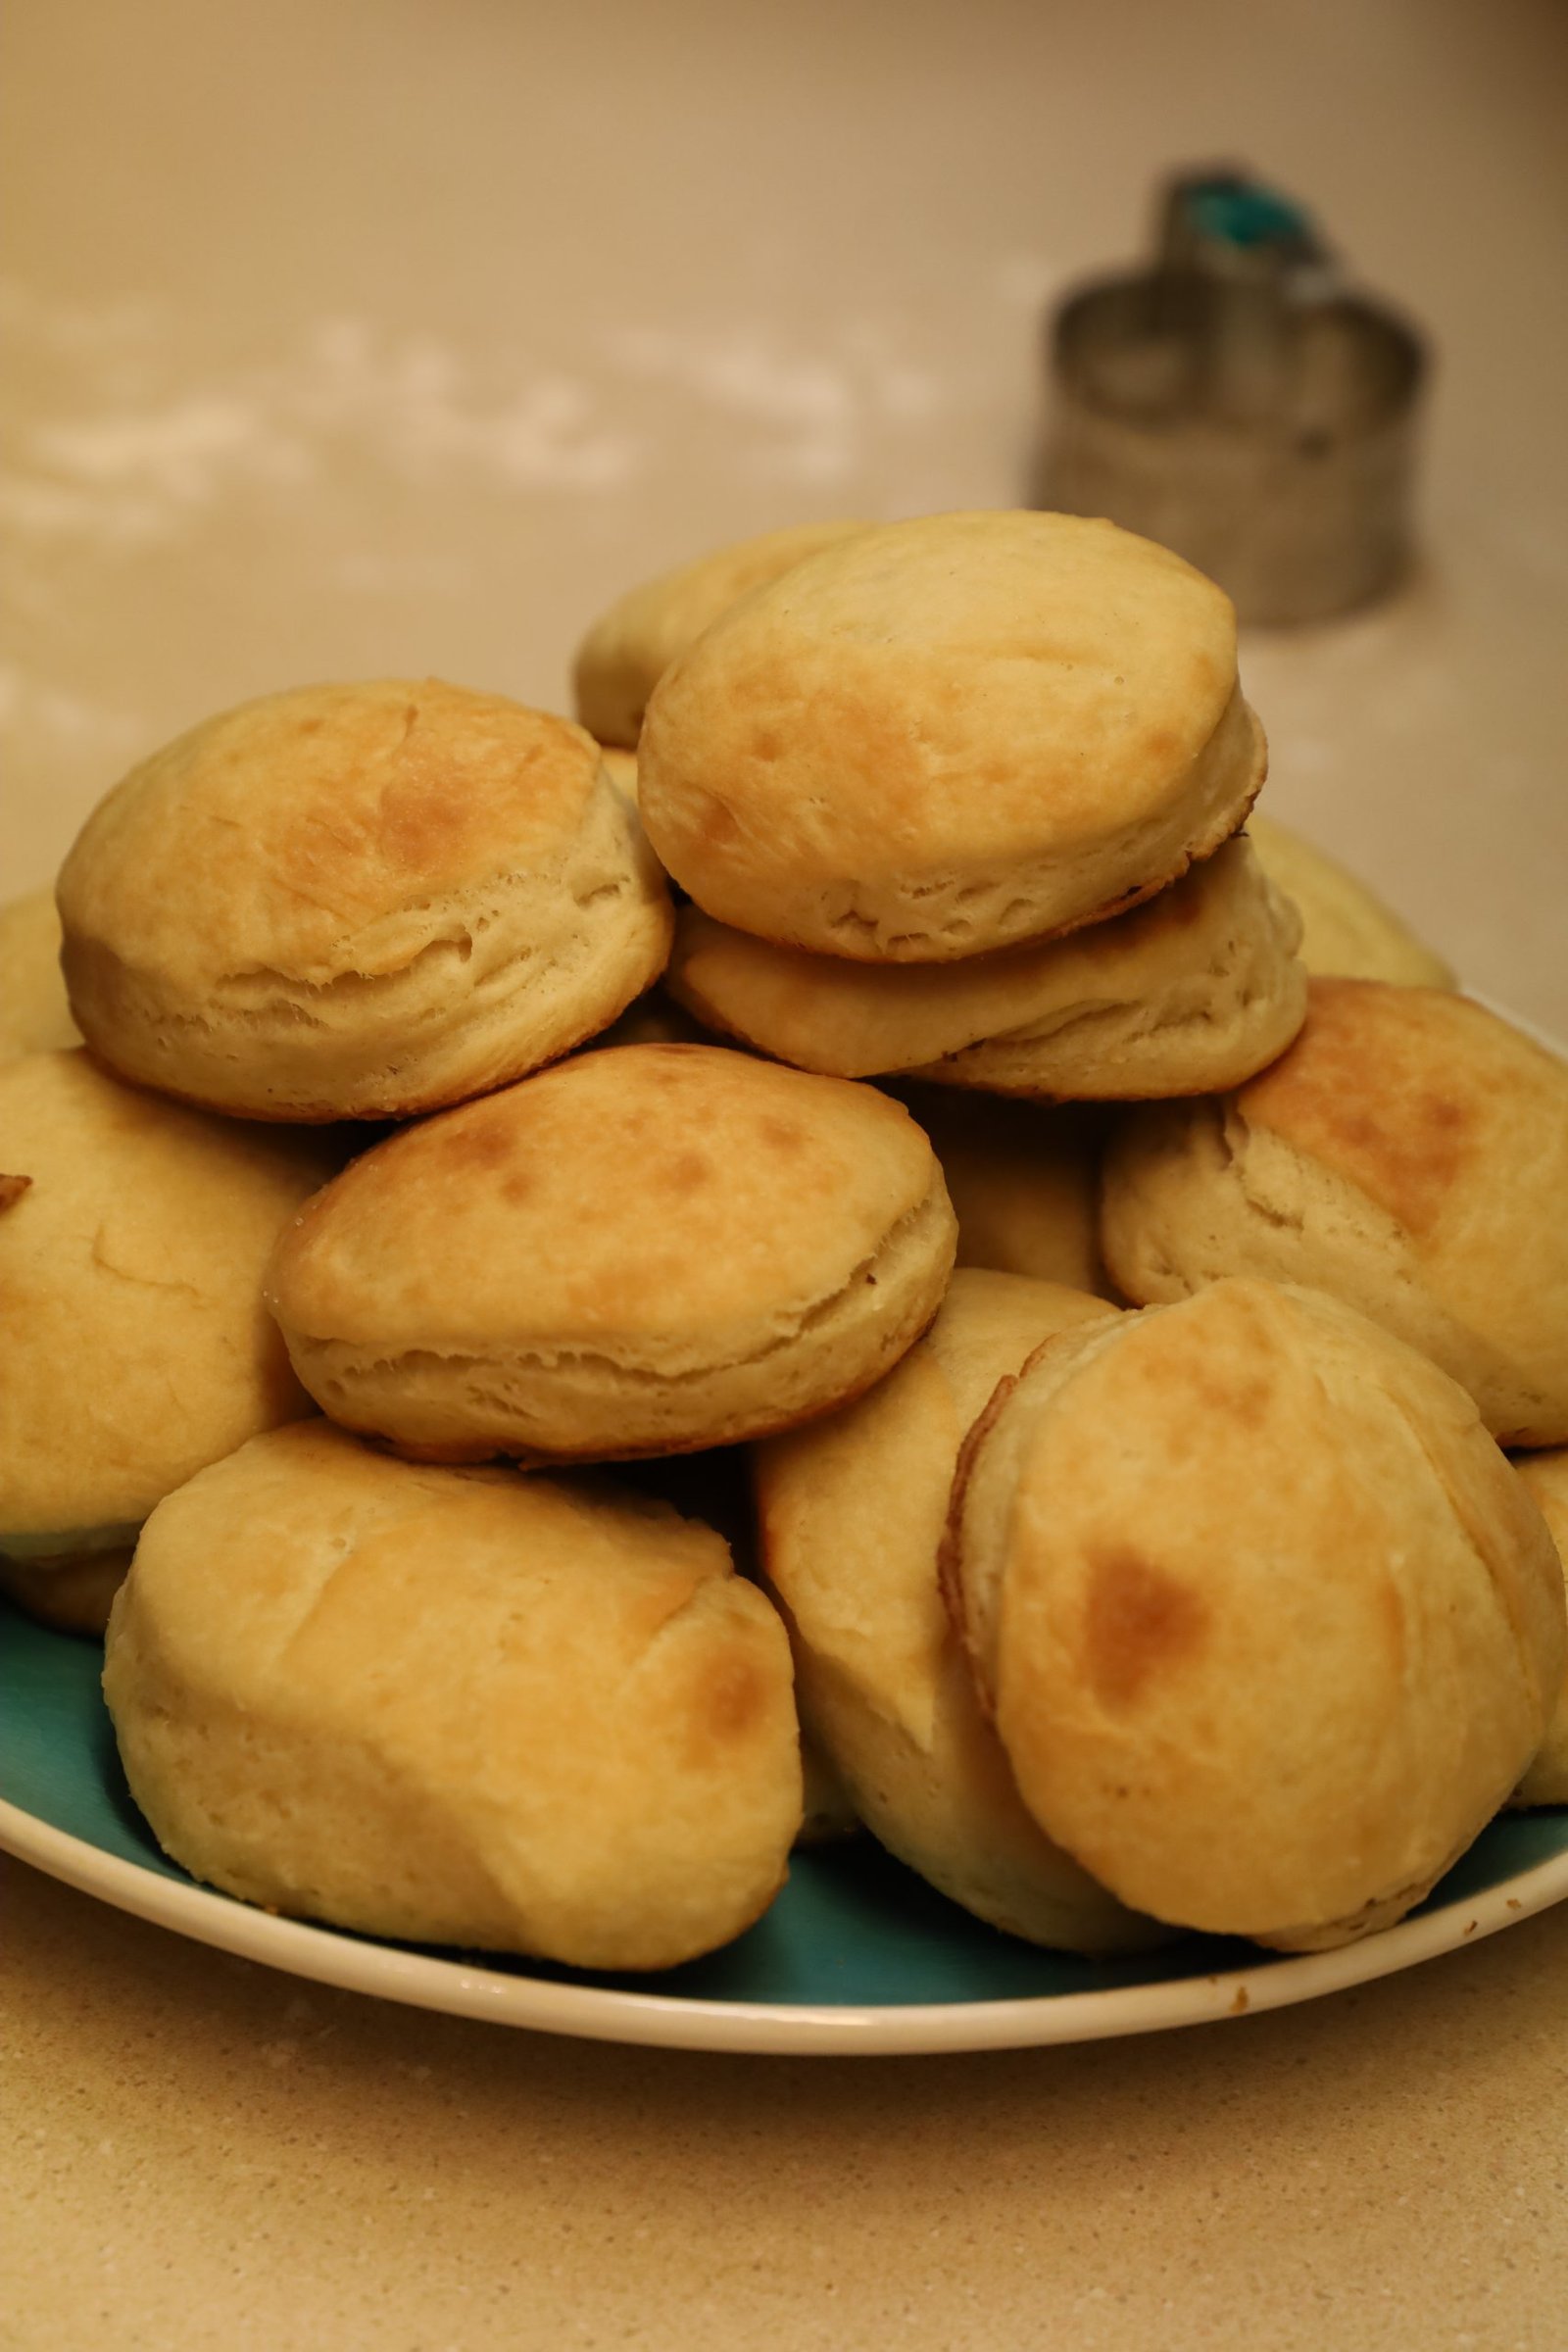
Using a biscuit cutter, cut the biscuits into perfect rounds.

Here you can see the nicely cut biscuits.
Remove the excess dough and form it again into 3/4 inch round and continue to cut out more biscuits.

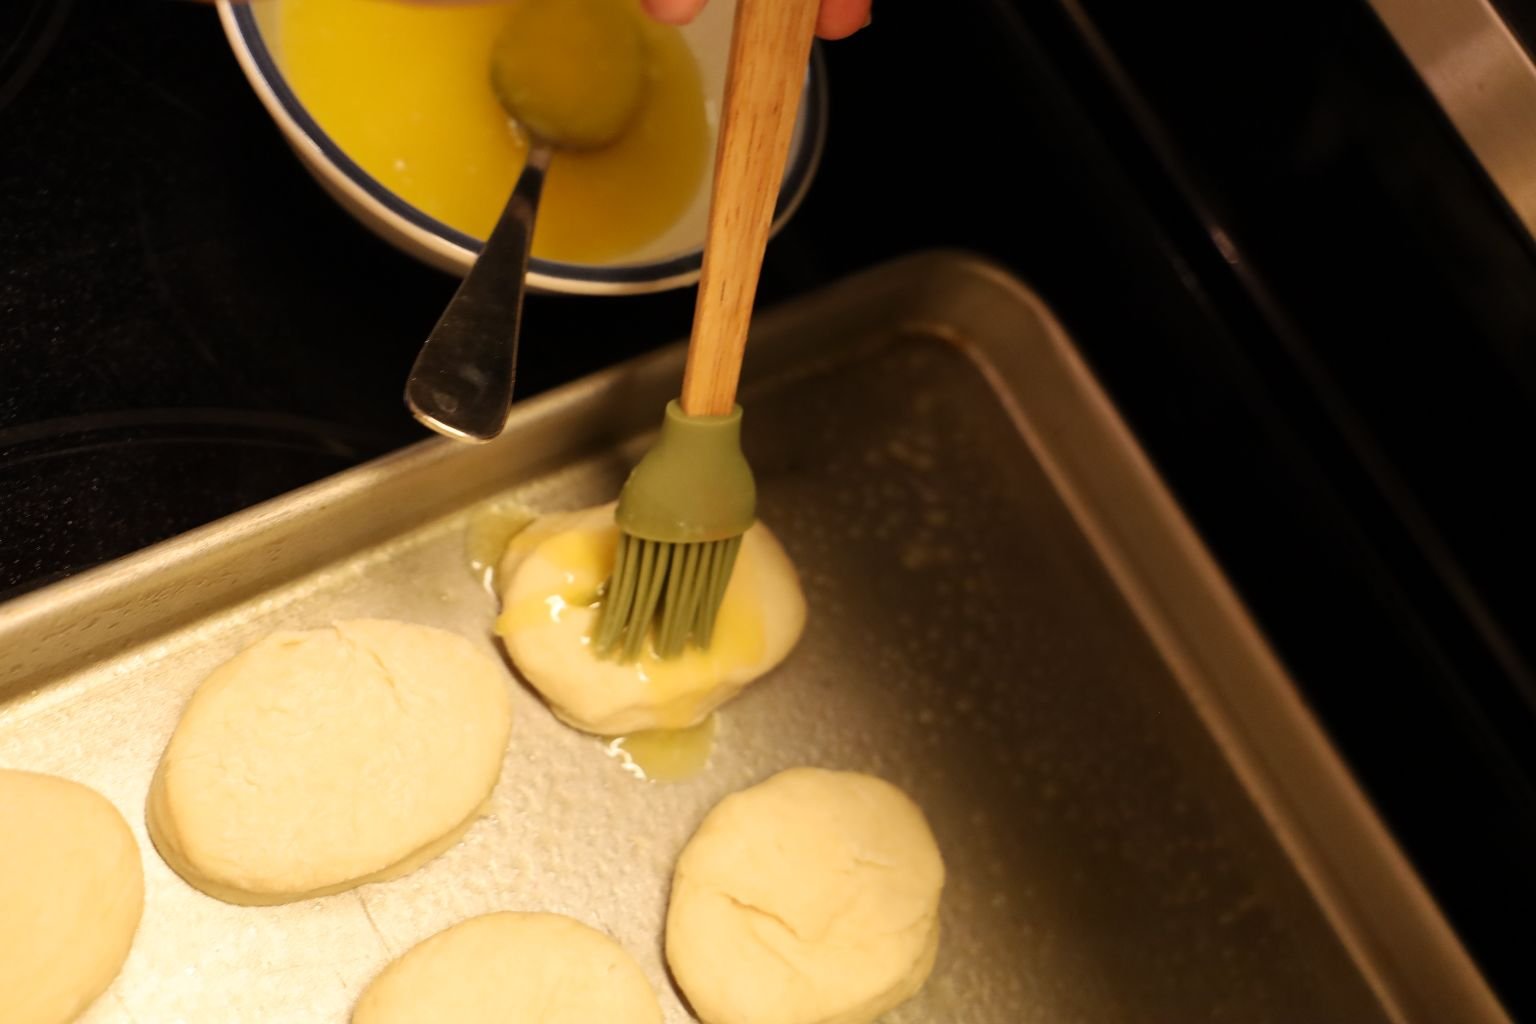
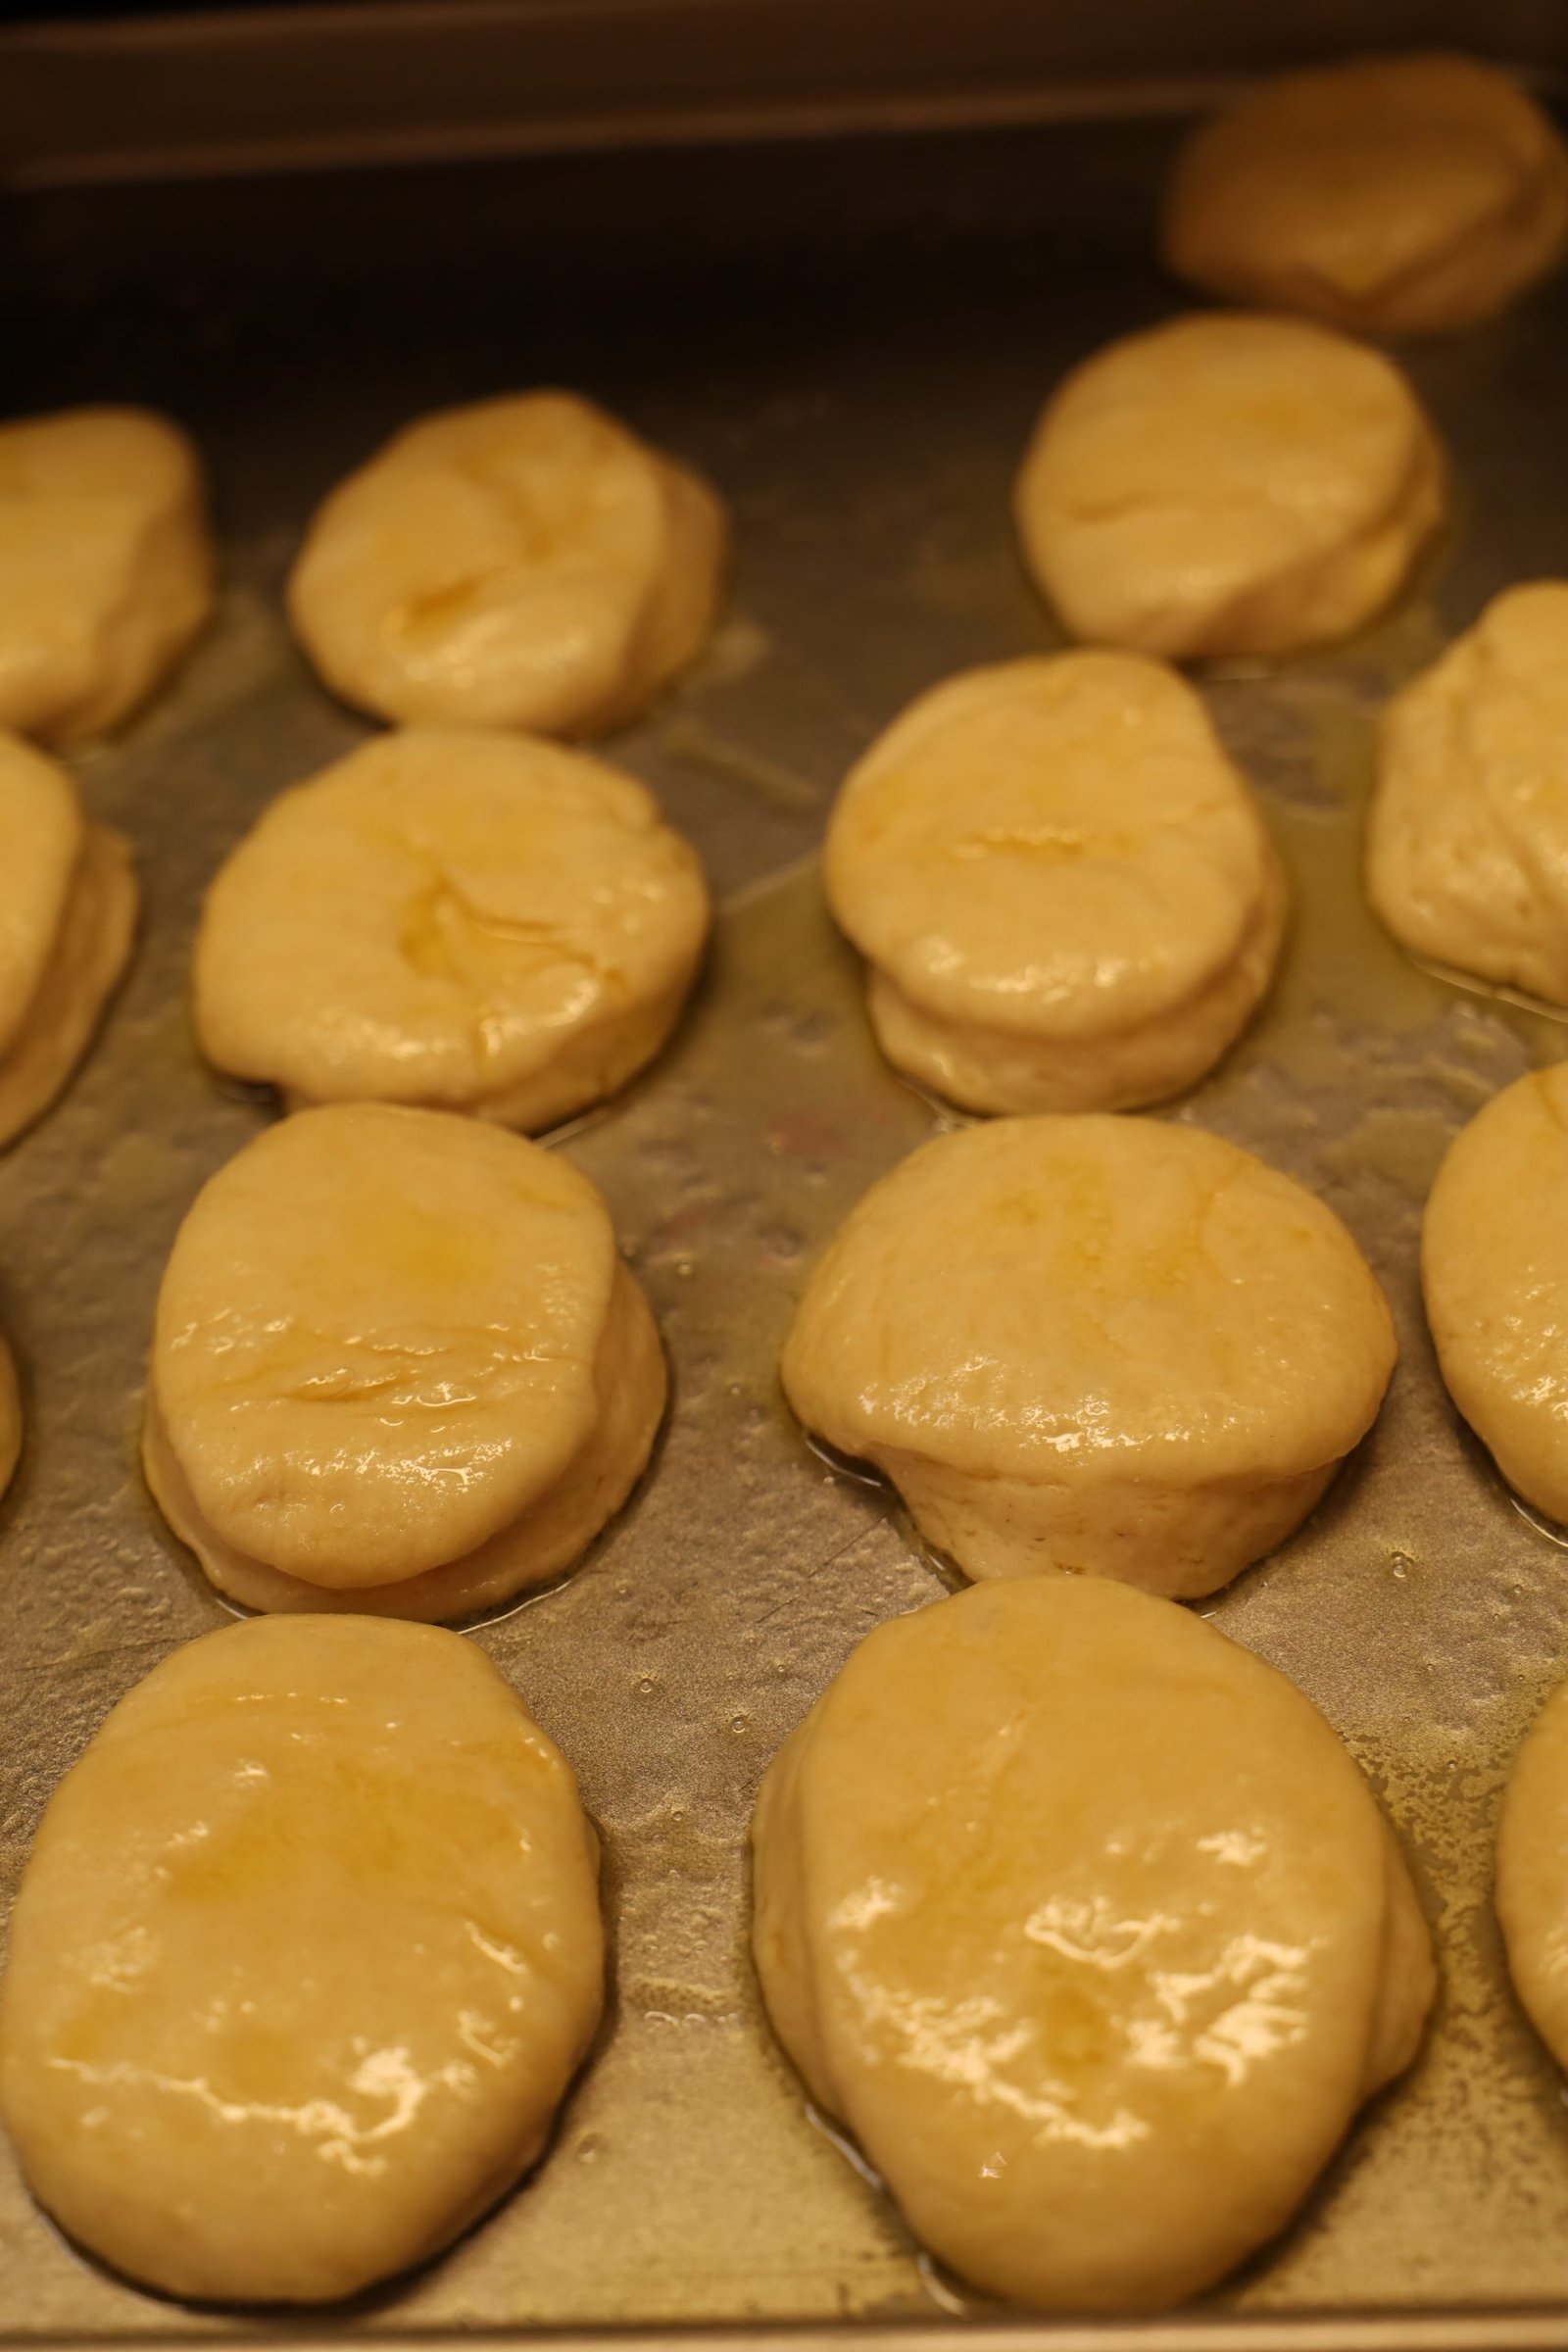
Spray some oil onto a baking pan and place your biscuits on it with a little separation as shown. They then brushed the butter on the top of the biscuits instead of dunking them as per the recipe directions.
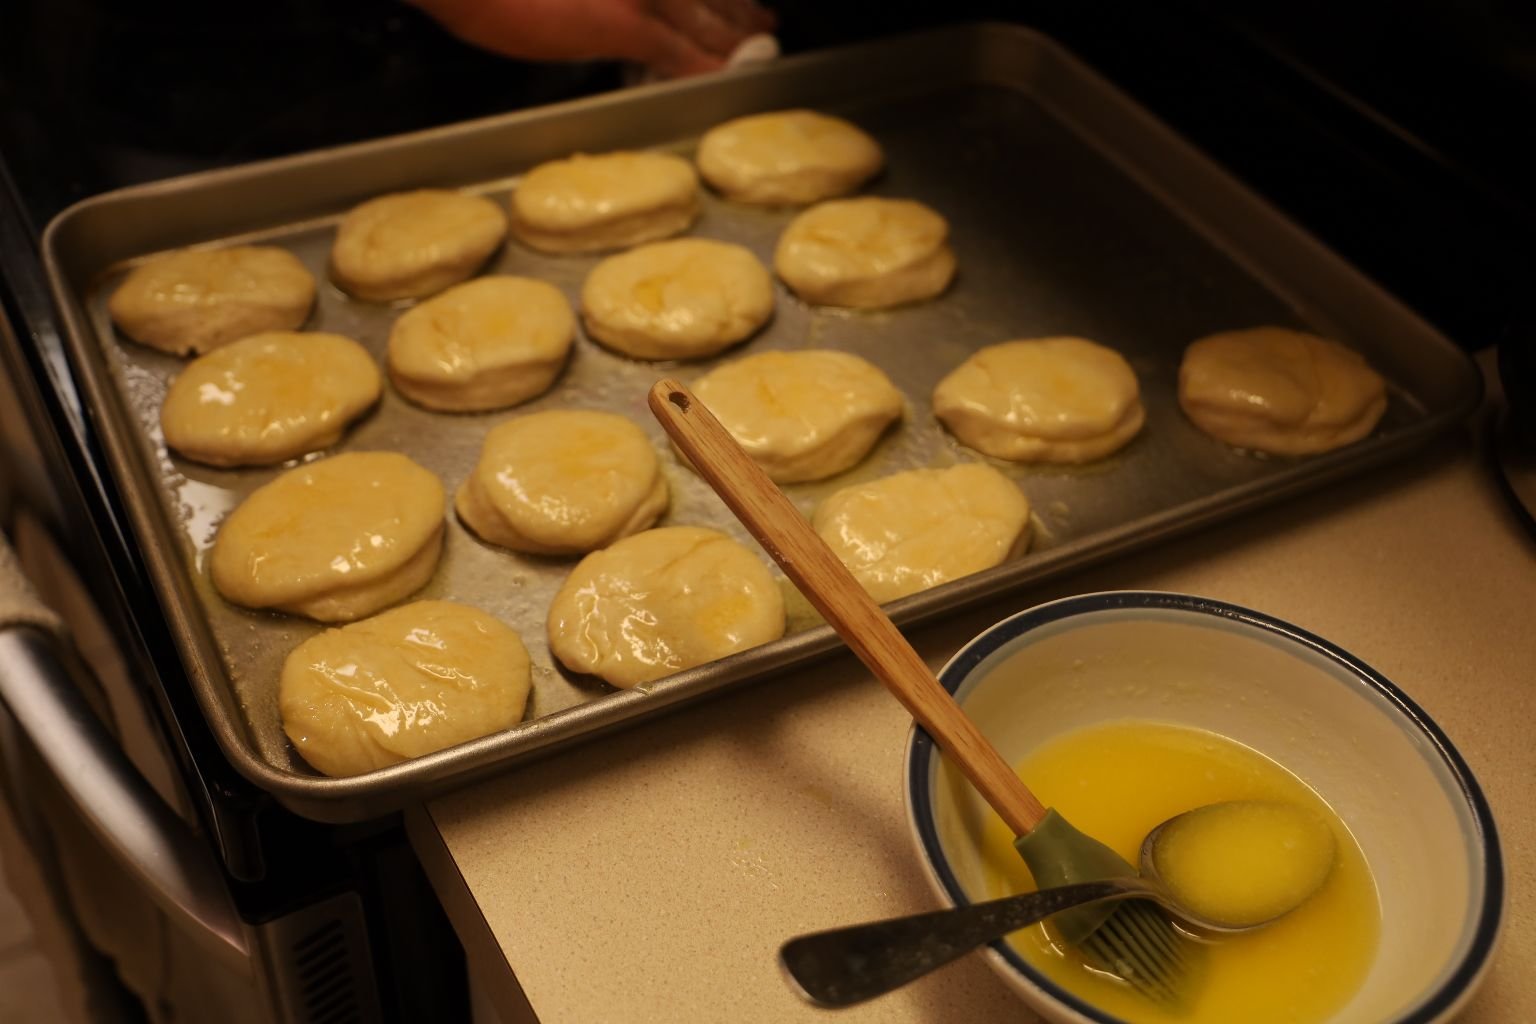
Set the biscuits aside for about 30 min. to let the biscuits rise for a third time.
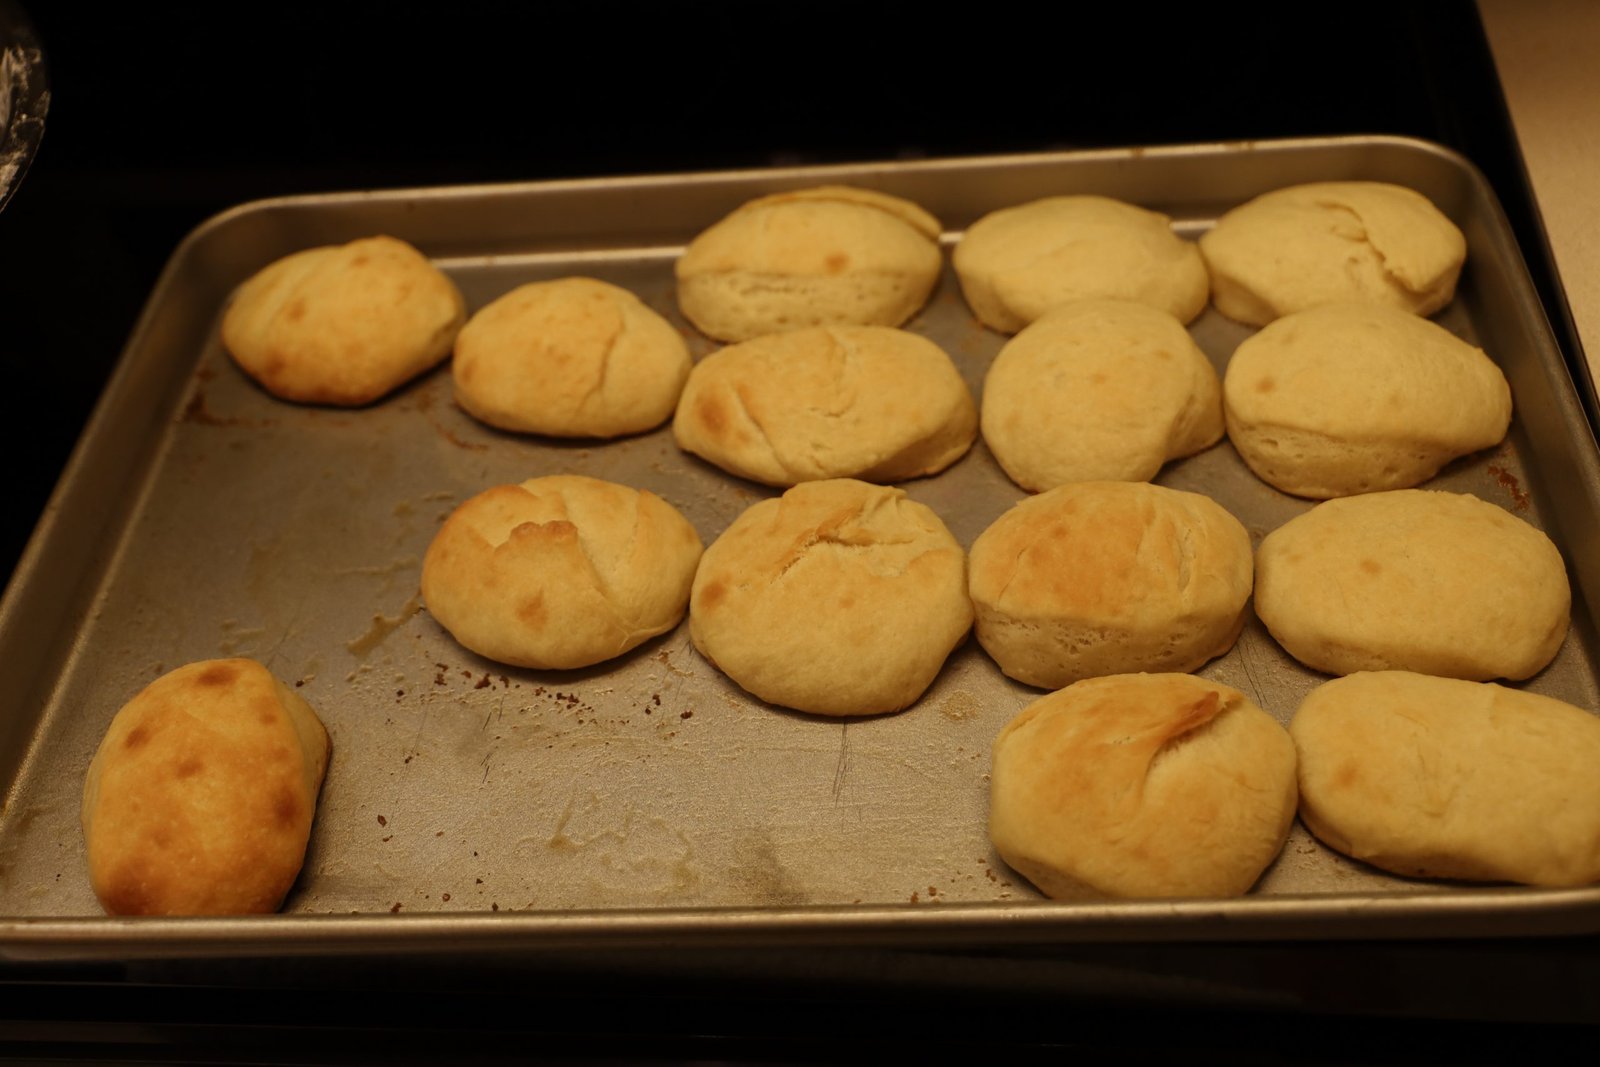
Here, the biscuits are ready to be baked at 400’F for about 10 – 12 min. or until lightly browned. Halfway through the baking, turn the biscuit pan in the oven for even baking.
The Smell is Amazing!
Because these were made the day before Easter we allowed them to cool and then ate them at room temperature the following day. That’s the thing about bread. It tastes good hot, neutral, or cold. 🙂

———————————————————
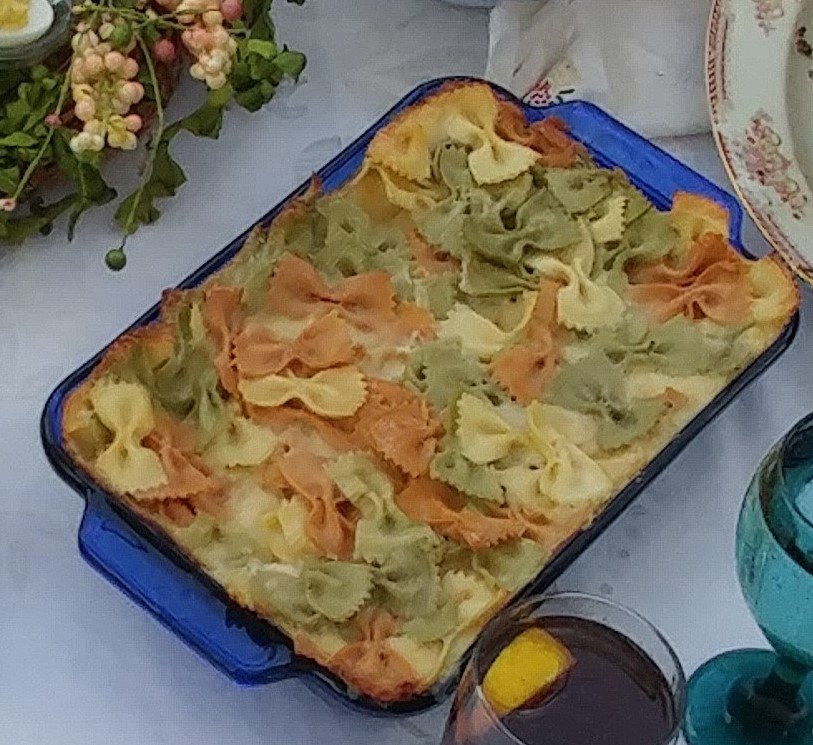
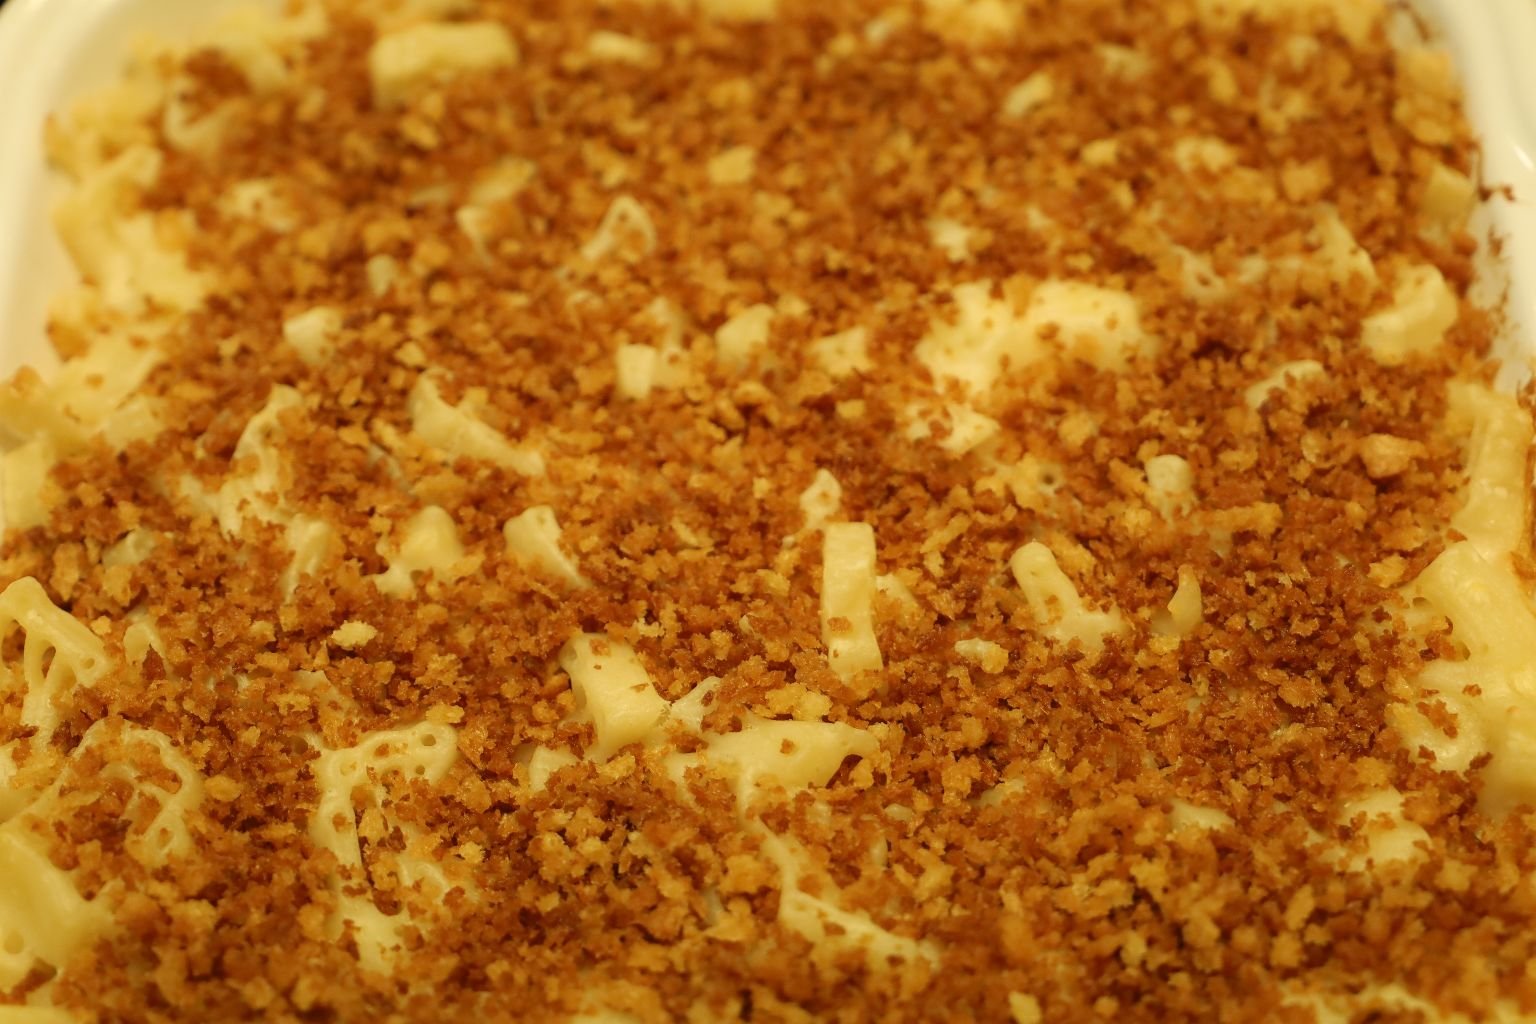
Macaroni and Cheese
Macaroni and Cheese is always a favorite at our house. I especially love the colorful pasta that we use when we do make it. This time I had some lovely Bow Tie Pasta’s from Italy that I wanted for us to use. They are vegetable dyed. Brodie and Mackenzie made this the day before Easter and we just kept it in the refrigerator overnight, and then baked it about an hour or so before we ate.
This is a recipe that we sometimes change up our cheeses by using whatever we have in our refrigerator. But, most of the time they are white cheeses like Manchego, Parmesan and Gruyere. White cheese also has less cholesterol than the yellow ones.
——————————————————————–


Ingredients:
About 1 Pound of Pasta
4 T. Flour
4 T. Butter/Margarine
3 Cups of Milk (I used Skim)
1 Cup Half and Half
Freshly Ground Black Pepper
Grated Nutmeg (About a good sized Pinch)
4 Cups White Grated Cheeses of Your Choice
(We used Gruyere, Manchego, White Cheddar, Fontina, Parmesan, and some leftover Cheeses.)


Gordon Supervising the Cooking… a great teaching moment!

To make the Cheese Sauce (in culinary terms called a Mornay Sauce) you first have to make a roux, then a gravy (Bechamel Sauce), then a Cheese Sauce (Mornay Sauce or Fondue). This is done by first measuring out equal parts flour and oil/fat/butter/bacon grease. As you can see you can make many different flavors of roux as it will be based upon the fat you use. About 1 Tbsp. of flour will make just over 1 cup or so of Bechamel Sauce.
Using a large saute pan or cast iron skillet, melt your butter over medium heat then add your flour. Mix the two together making a wet sand consistency. Continue to cook the now roux for about 3 min. stirring constantly. You need to cook the flour slightly which will rid it of that flour taste. You don’t want the roux to turn color as it will not be able to thicken as much the more it browns.
TIP: If you want to make a brown gravy, simply continue to cook the flour and butter mixture until you get a light brown. The mixture will also turn a slight amber if you cook it longer, but this will not thicken as much as a light brown roux will which is a typical brown gravy. Follow the rest of the below procedures to make the brown gravy.
Now that you have slightly cooked the flour and butter, add 3 cups of milk and continue to stir all the ingredients together. In just a short time the magic will happen and the milk will thicken.

Here you can see Brodie adding the milk to the roux. After making it many times, you won’t need to measure the milk you add.


Here you can see the ingredients getting thick. Once it begins to thicken again, add your half and half and stir in to combine. You can see it has thickened when you can make a line in the pan and it stays. You can also use a whisk for this step if needed to make smooth. Once combined, turn down the temperature to low.
Congratulations… you have now made a Bechamel Sauce!
—————————————————————


To make a Mornay Sauce, simply add your cheese! Using your spatula, stir all the ingredients together. As the cheese melts it will create a beautiful smooth sauce.


TIP: If the Mornay sauce is too thick, add a little more milk or half and half and stir to combine. As the flour sits, it will continue to absorb the liquids, so you may have to add a touch more milk or Half and Half just before serving as a Fondue if it sits for a period of time.

Here you can see they added a touch more milk making the Mornay nice and creamy!
Perfect guys! They are also done cooking the pasta in a large pot of boiling water… nice timing!

Drain the pasta in a large colander as shown, being sure not to rinse it. Rinsing it would remove the starch making the cheese not stick to the pasta.


Here they are grating some fresh nutmeg to the Mornay Sauce. It just doesn’t get any better than that!

Stir in to combine.

I really enjoy teaching my son all the culinary things I learned over the years and at school. It’s also great that Mackenzie is interested in learning as well.

He and Mackenzie have really become great cooks.
————————————————————–


Now time to add the pasta to a large bowl and ladle in the Mornay sauce.

———————————————————————-


Continue to add the Mornay Sauce to the pasta until it is to your liking. Gently fold all the ingredients together so as not to breakup the pasta.

Add a ladle of Mornay Sauce to the bottom of the baking dish as well…
this will help prevent the pasta from sticking or burning.

Then pour your pasta into the baking dish.

Place the pan into a 350’F oven for about 45 min. or until the mixture begins to boil around the edges and middle. If you want you can top with some grated cheese or breadcrumbs if you like.
Always a family favorite!
—————————————————–
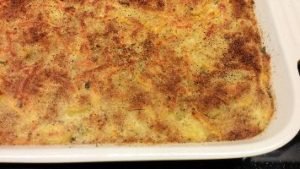
Grammaw Nell’s Squash Casserole
This is a family recipe that my grandmother would make quite a bit. Except, she never topped hers with cheese and breadcrumbs. Hers was perfect just the way that it was. BUT, I have experimental cooks and a chef in the family that likes to change things up every now and then. Hence, the toppings. It was good, but you don’t mess with perfection and you DON’T mess with a tried and true family recipe. I just wanted to think of her on this day and taste her recipe, not something new.

Ready for the Oven
————————————————————–
Brodie and Mackenzie also made this, with Gordon’s supervision, of course. They made it the day before Easter which helped out tremendously, and we baked it about an hour or so before we ate dinner. It really does help to eliminate the stress and amount of cooking if you can make things ahead of time.
—————————————————————-

Ingredients: Squash Casserole
—————————————————————————–
Old Photo of my Grandmother’s Casserole and what it is supposed to look like.
Here are The Ingredients For HER Casserole
4 Zucchini Squash (sliced into rings)
7 Yellow Squash (sliced into rings)
3 Onions (sliced into half rings)
1 1/2 Cups Sharp Cheddar Cheese (1/4 Cup reserved)
3 Eggs Beaten
1/2 Cup Miracle Whip
3/4 Cup Seasoned Bread Crumbs
Salt and Pepper to taste

And this is how clean it comes out when done.
——————————————————————
Here is the start of Gordon, Brodie and Mackenzie’s Squash Casserole
(I’ll let Gordon do this write up.)

Slice your Zucchini and Yellow Squash into ¼ inch thick round slices.


Then slice your onions the same way into rounds. Place all the Zucchini, Yellow Squash, and Onion into a large pot adding enough water to just cover them.


Bring the water to a boil and add about a tsp. of salt to the pot and vegetables. Boil the vegetables for about 5 min. or until just tender.


————————————————————-

Occasionally remove a round of squash to test its tenderness. You don’t want it fully cooked and mushy, to be technical. You want the squash to still have a little bite to it.


——————————————————————
When done, pour the squash and onion rounds into a colander and drain fully.
In a large mixing bowl, mix together your eggs, and Miracle Whip, then add your cheddar cheese.
Pour the drained squash and onions into the cheese mixture and add a touch more salt and freshly ground pepper.
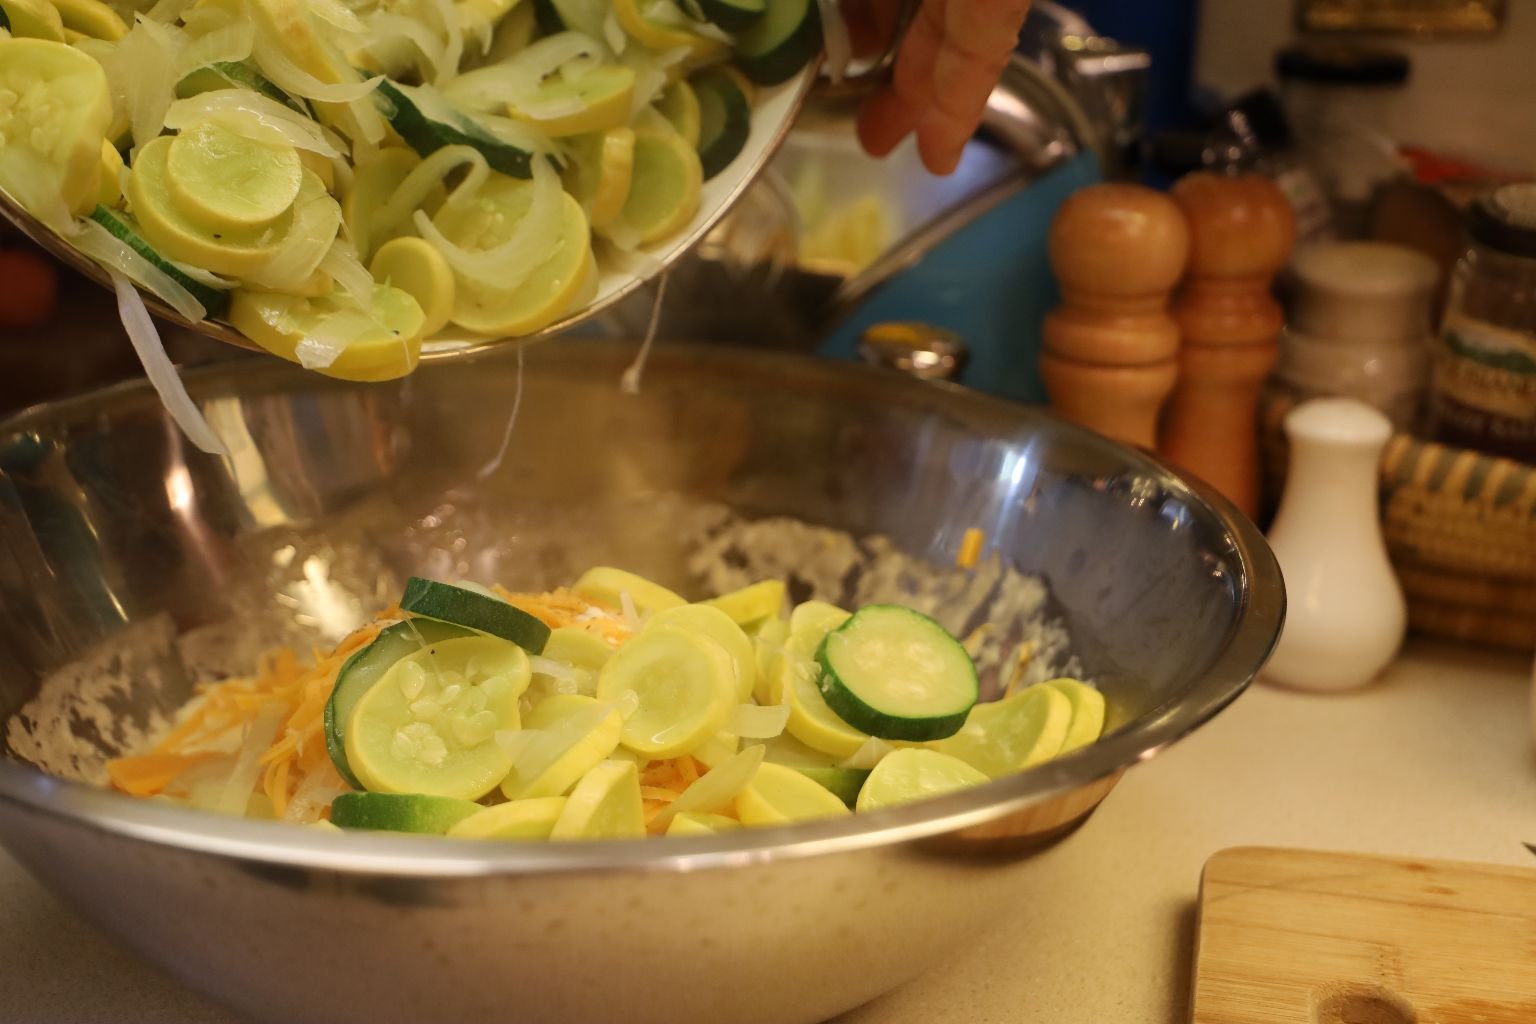
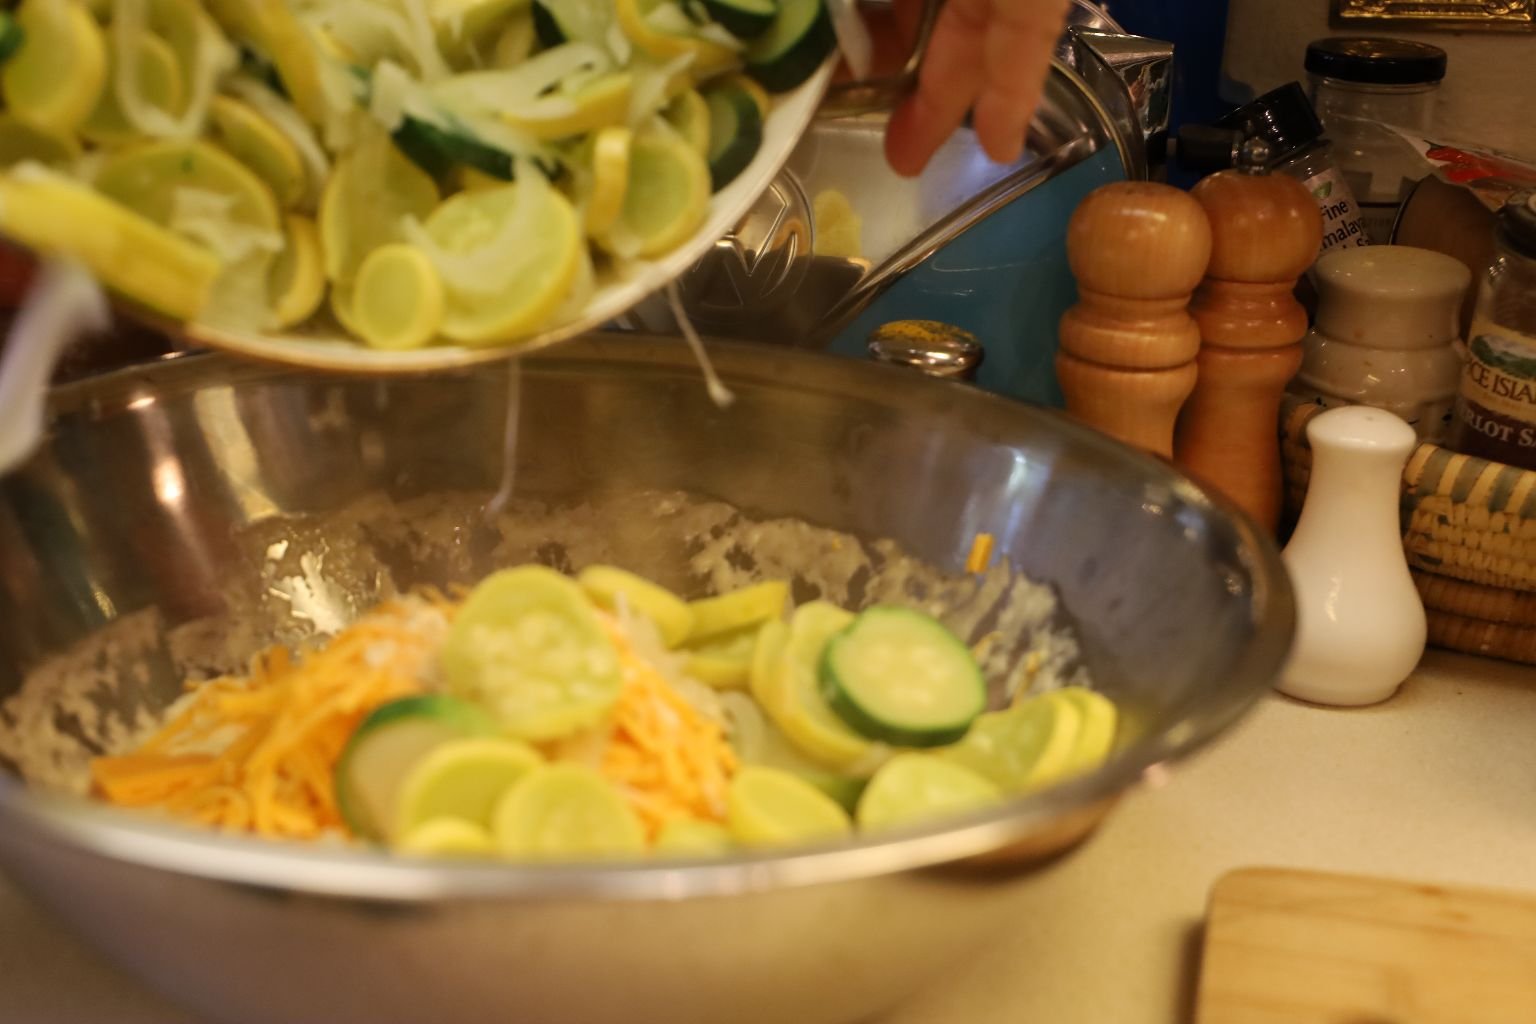

Fold all the ingredients together until fully mixed.

Here is what it looks like when fully combined.
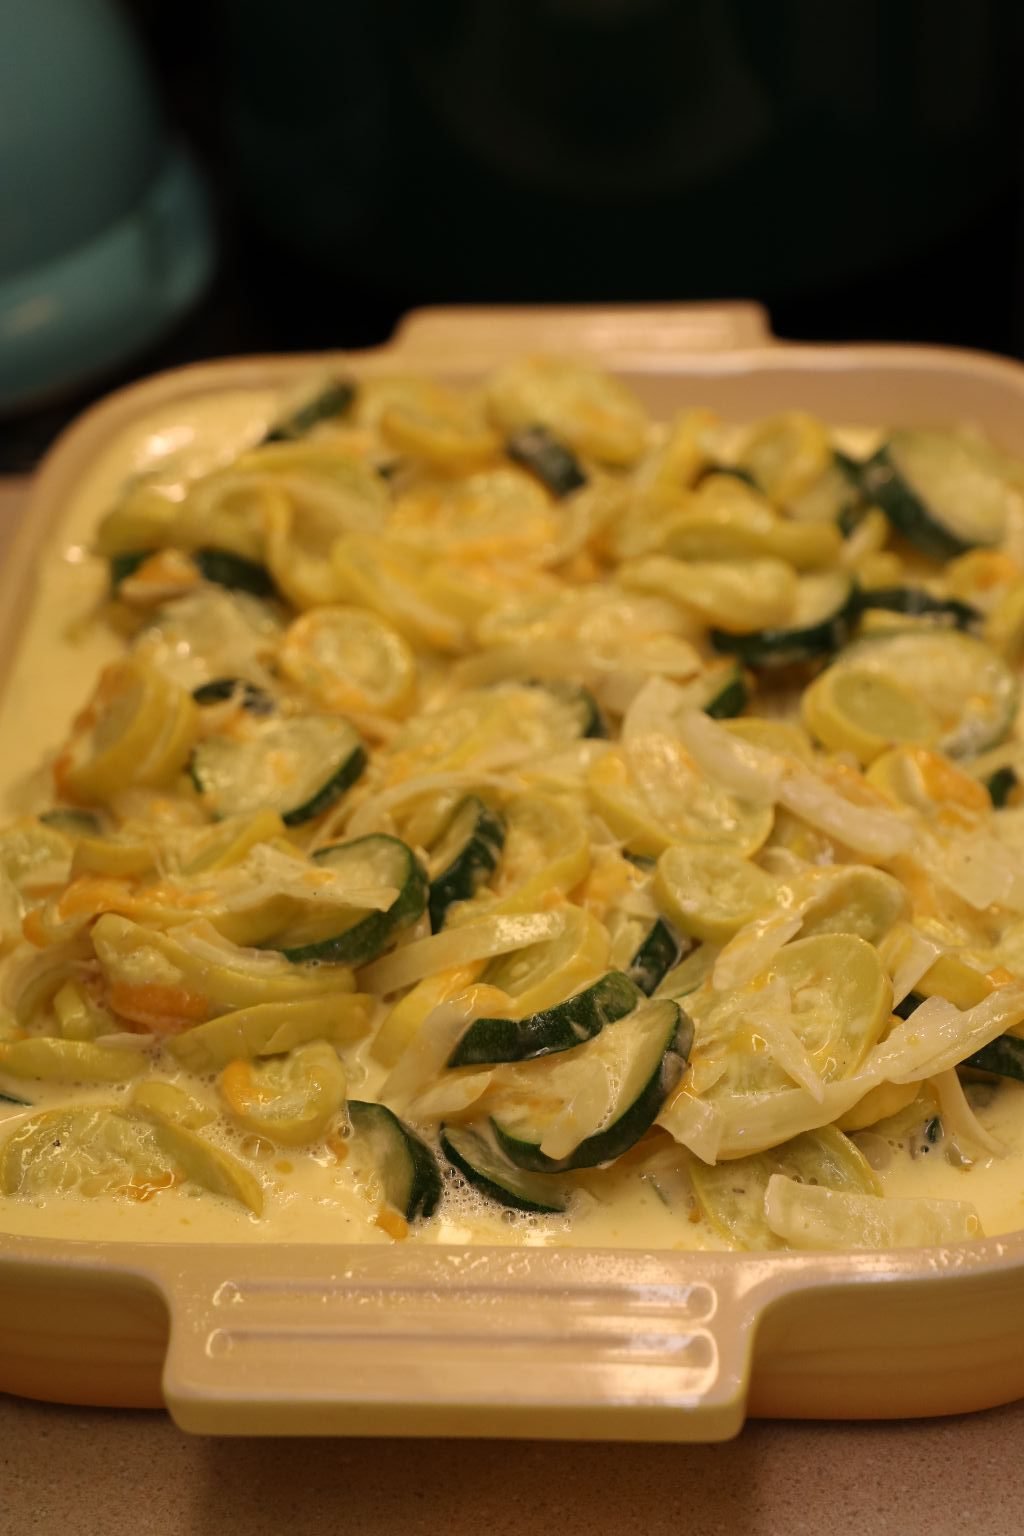

Spray a large casserole dish with cooking spray and add the squash and cheese mixture to the dish.

Add your seasoned breadcrumbs to the top of the casserole. Bake the casserole at 350 for ~45 min.
(Ignore that fried SPAM in the photo at left, top.) 🙂
About 5 minutes before the casserole is done you can top it with more cheese and then place back into the oven to finish cooking and to melt the cheese.
———————————————————————

Into the Oven Go our Squash Casserole and our Macaroni and Cheese Dishes
—————————————————————
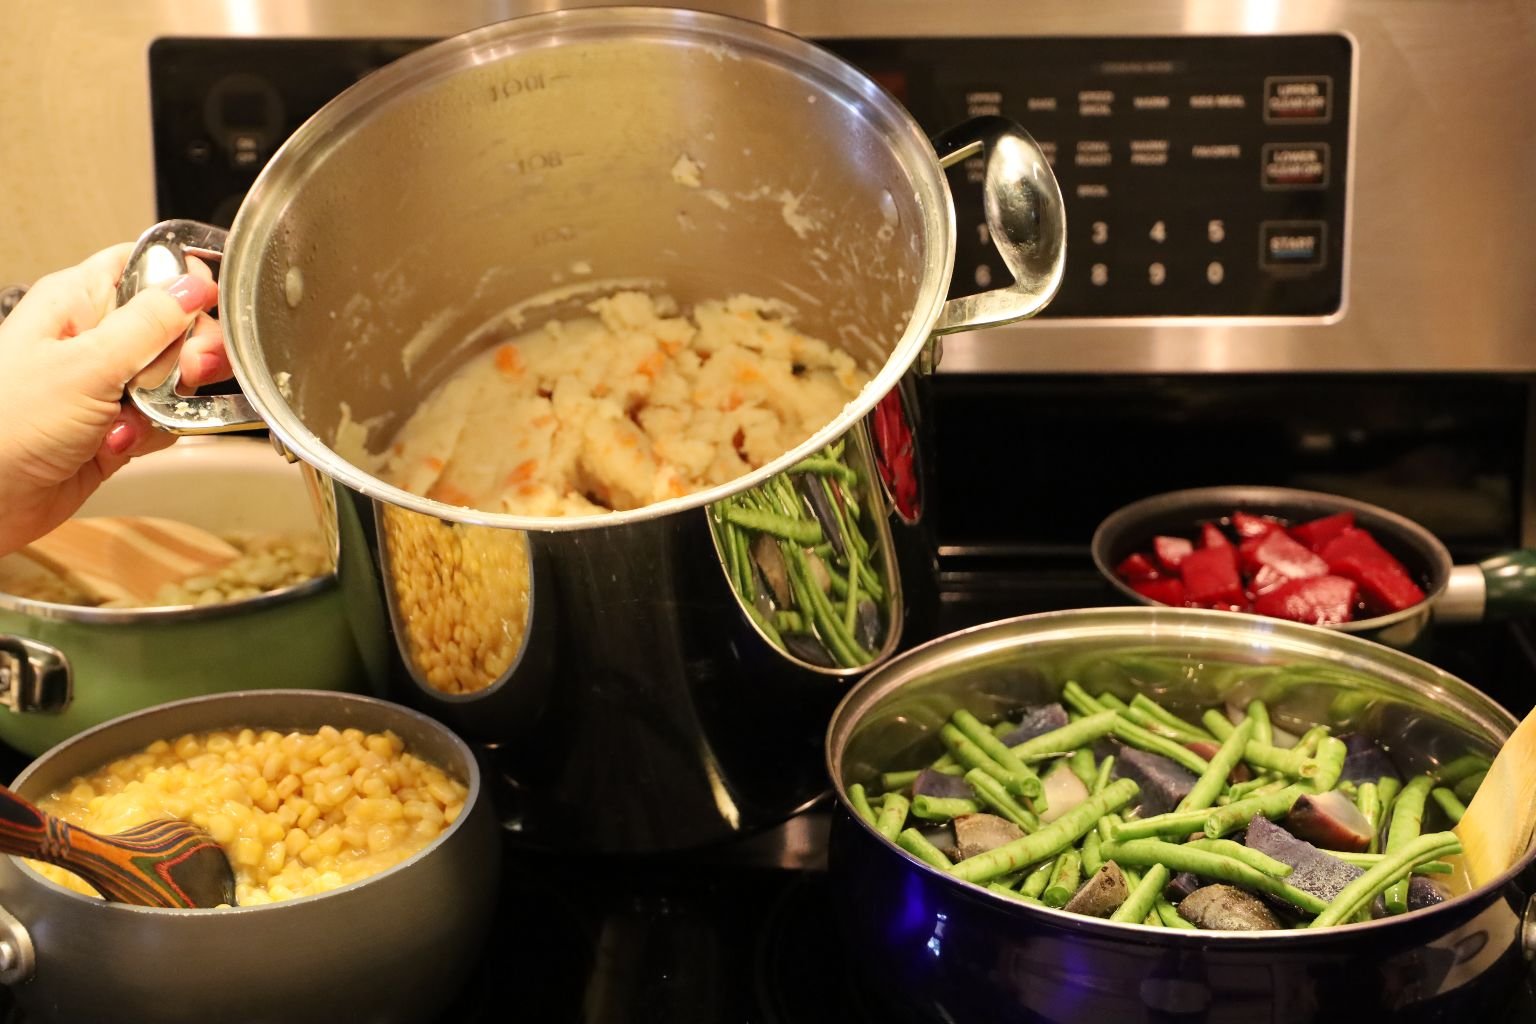
Vegetables on the Stove Top Cooking
L to R: Lima Beans, Corn and Creamed Corn, Pot of Mashed Potatoes and Carrots, Green Beans and Blue Potatoes, and Purple Beets.
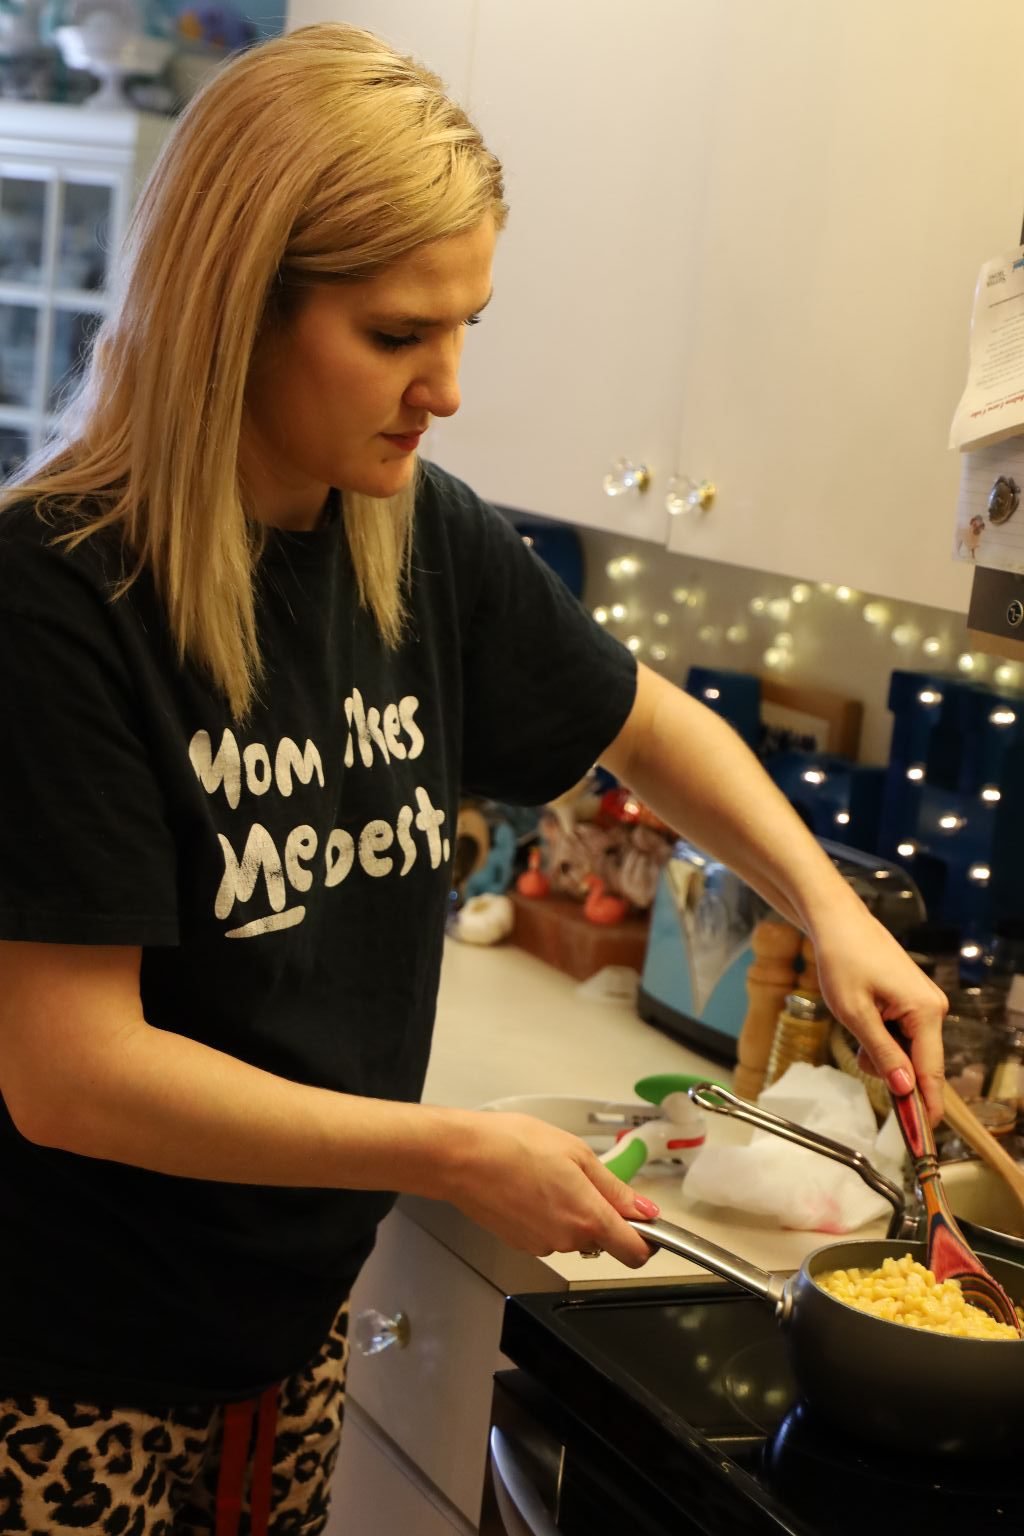
Mackenzie Stirring the Corn, and Creamed Corn
—————————————————————-
Time to Make the Blue Potatoes and Green Beans

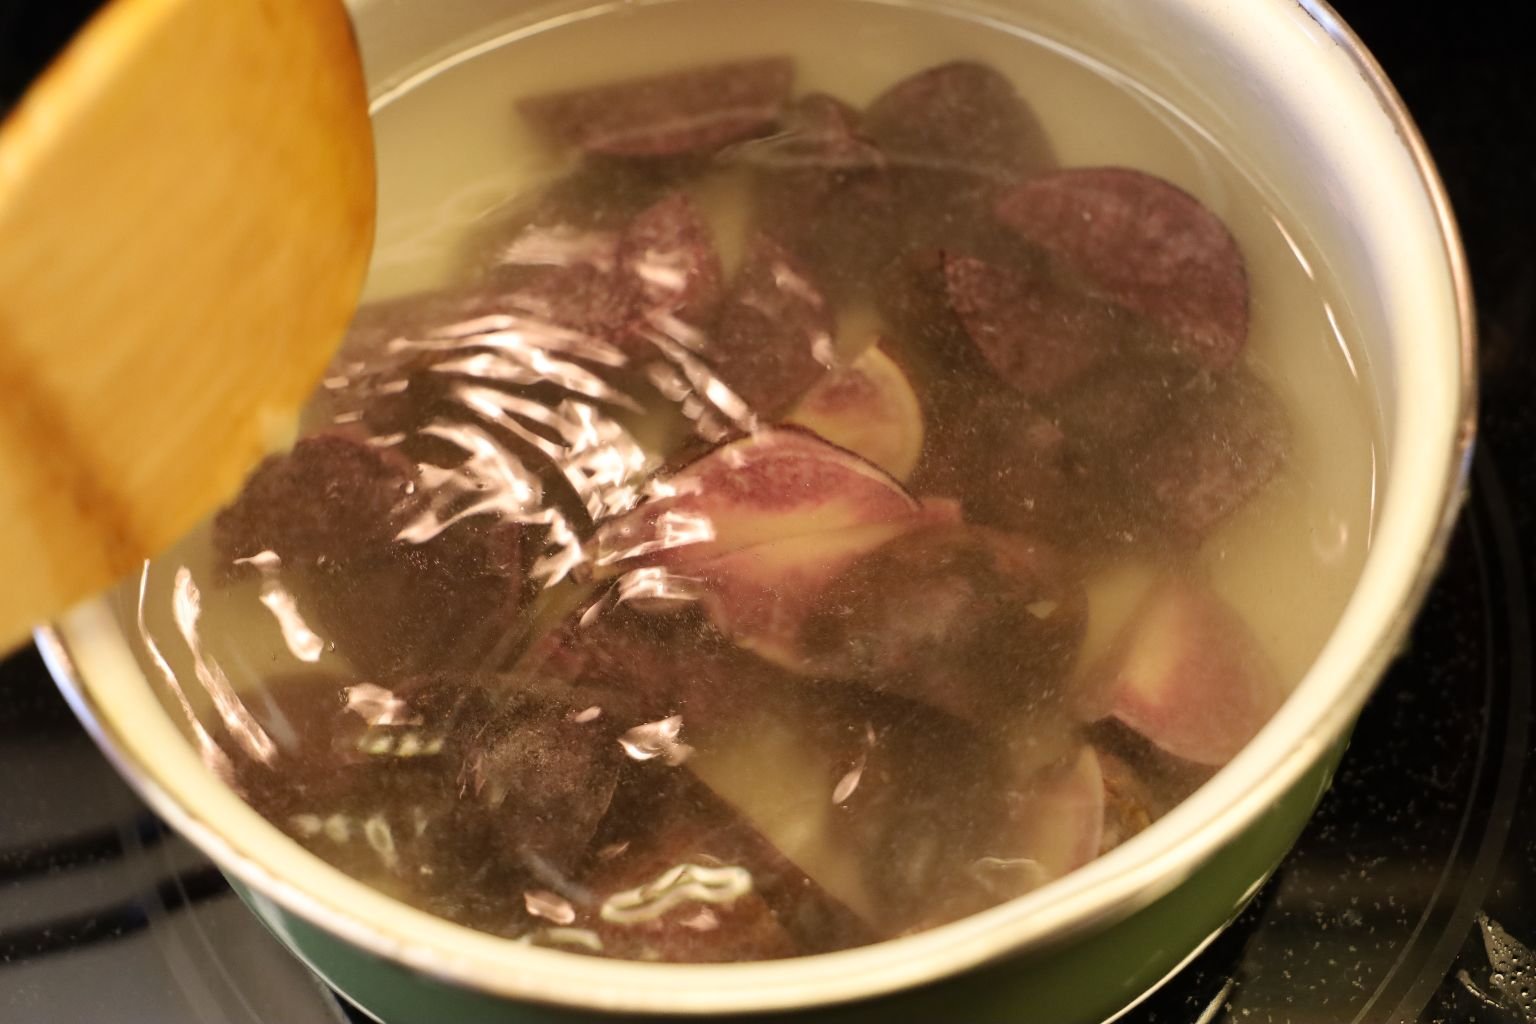
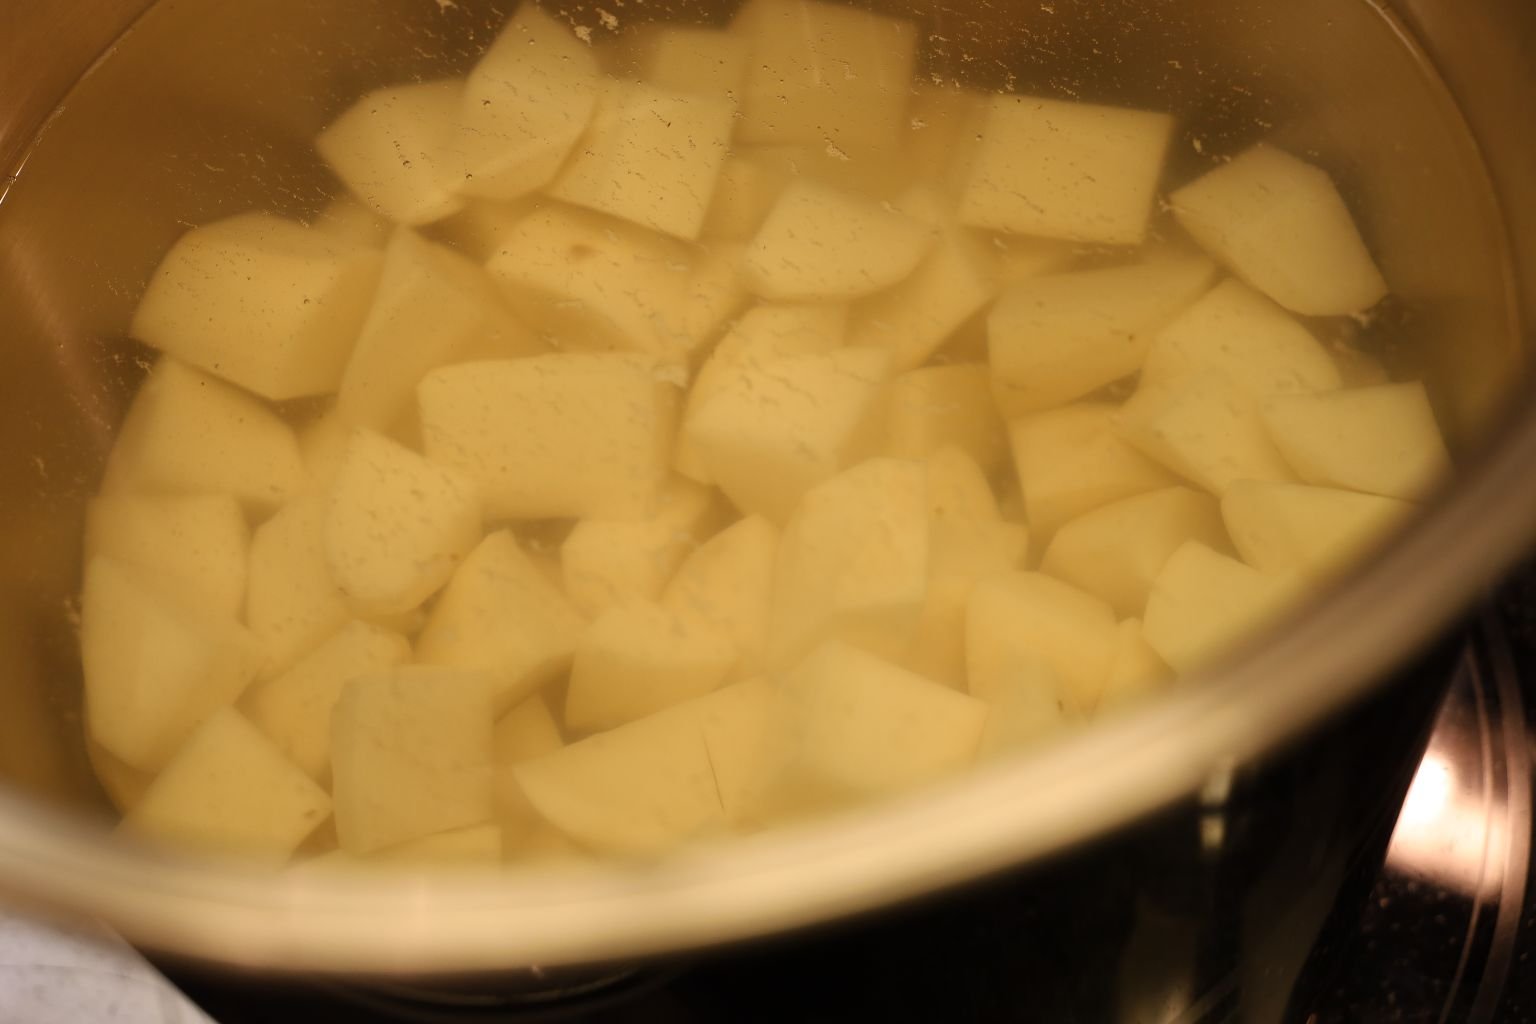
Scrub and wash your potatoes.
Slice into quarters about 2 to 3 potatoes per person. Place the potatoes into a large pot of water and turn the water on to boil. Add about ½ tsp. salt to the water to add flavor to the potatoes.
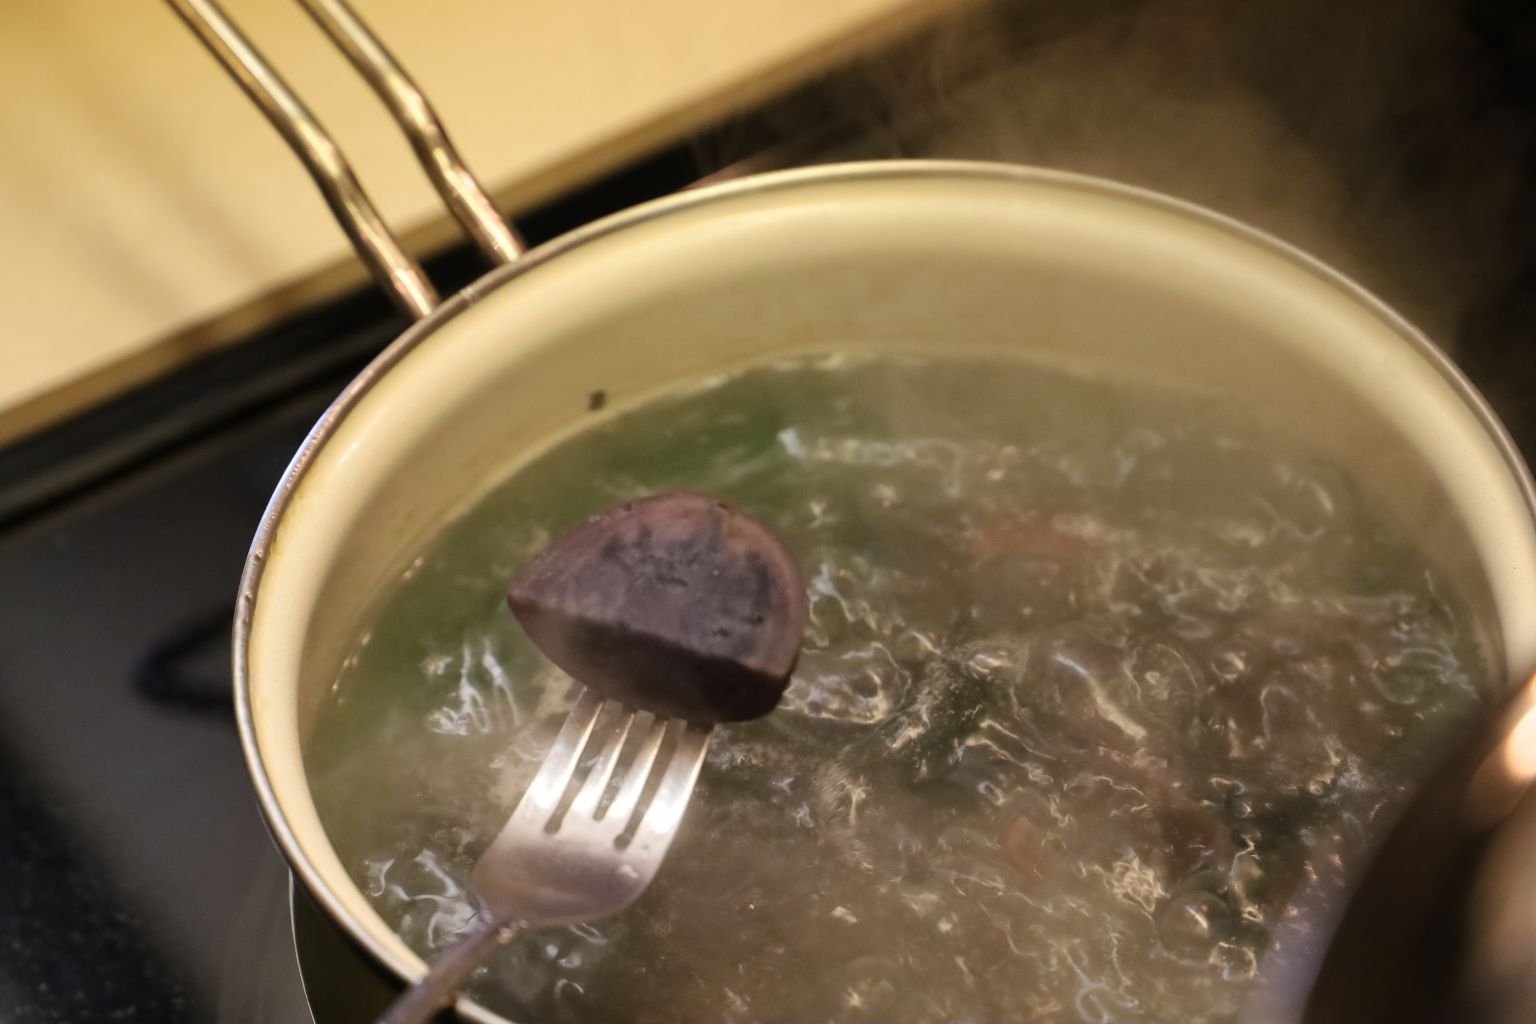
Cook the potatoes until they are fork tender which takes about 15 min. of boiling.

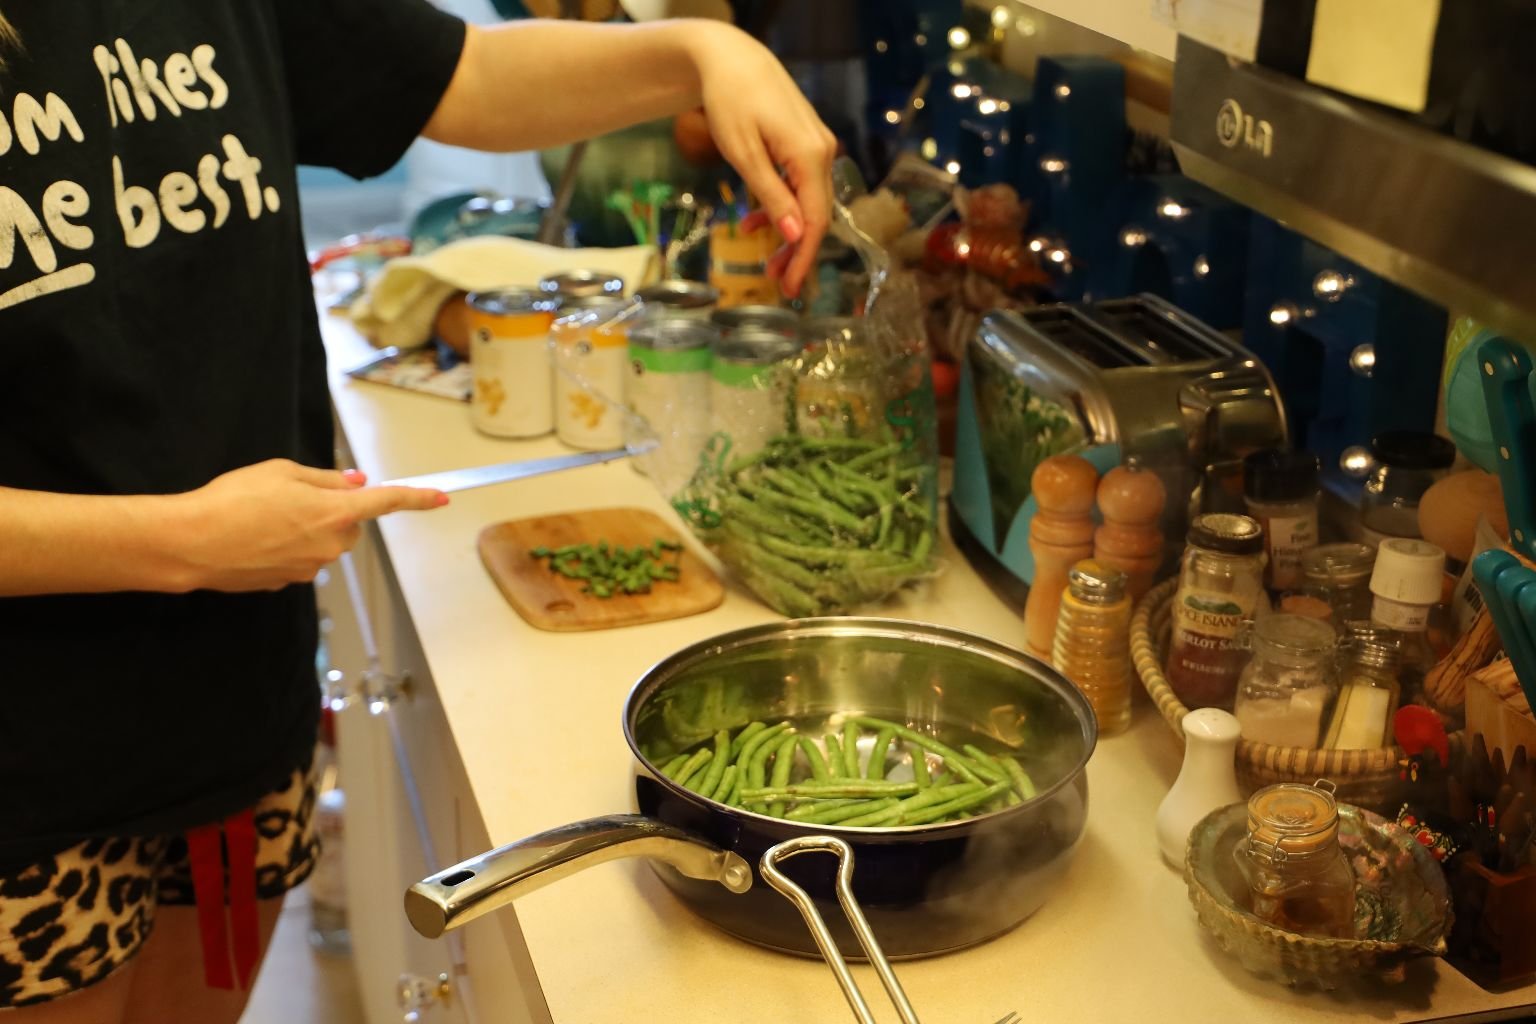
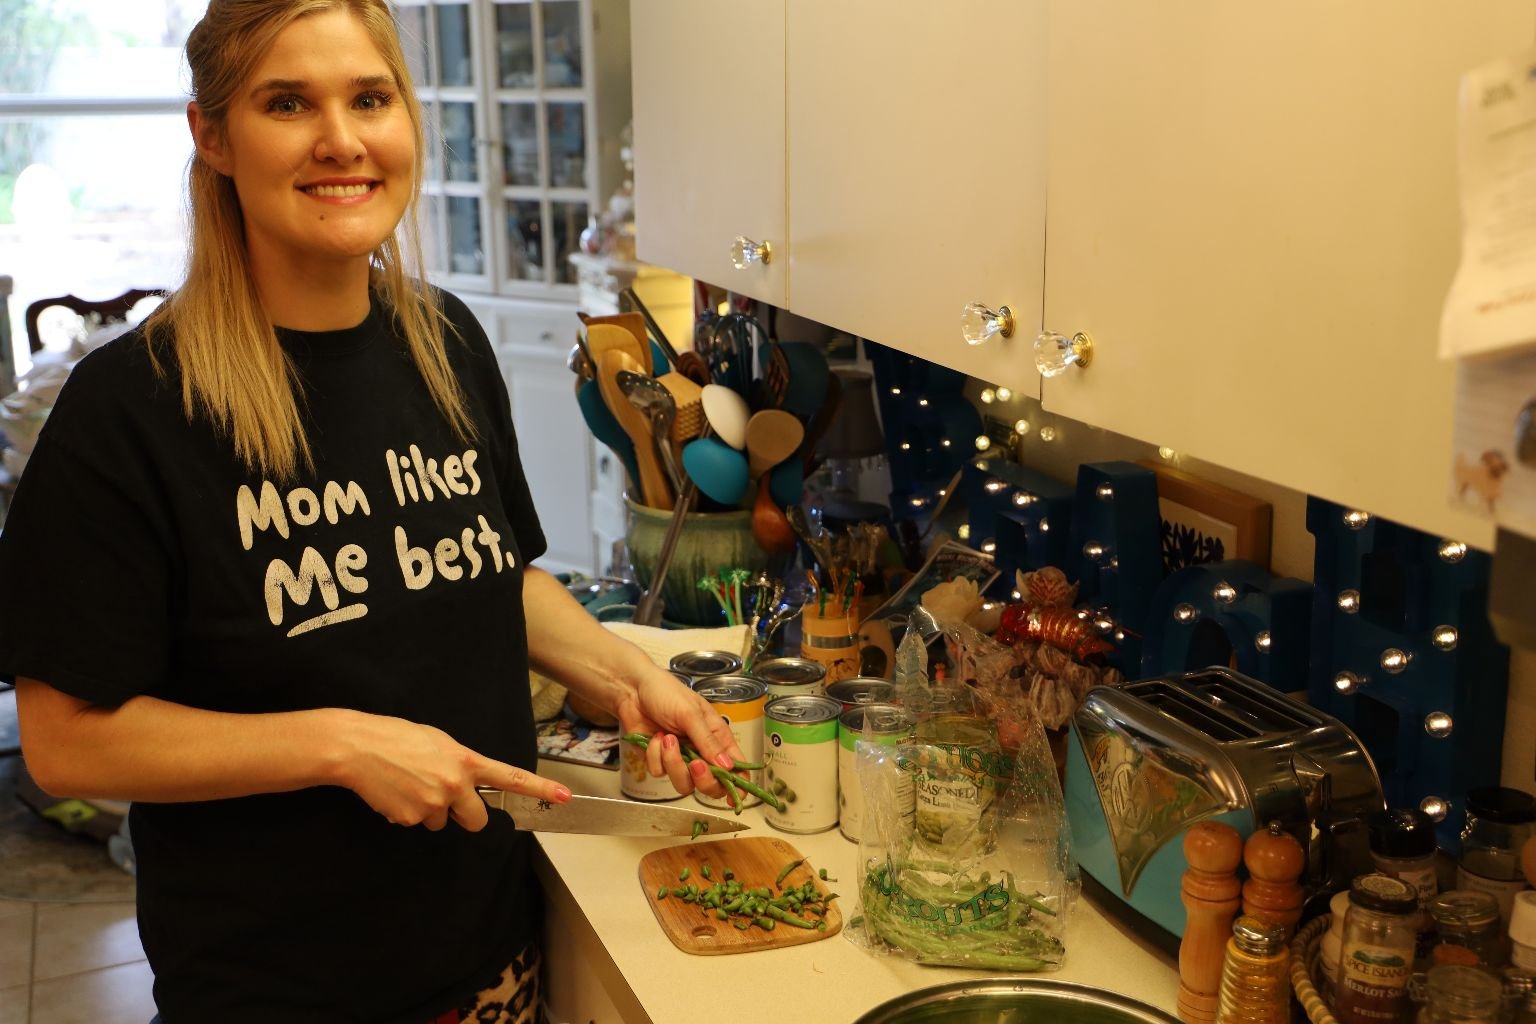
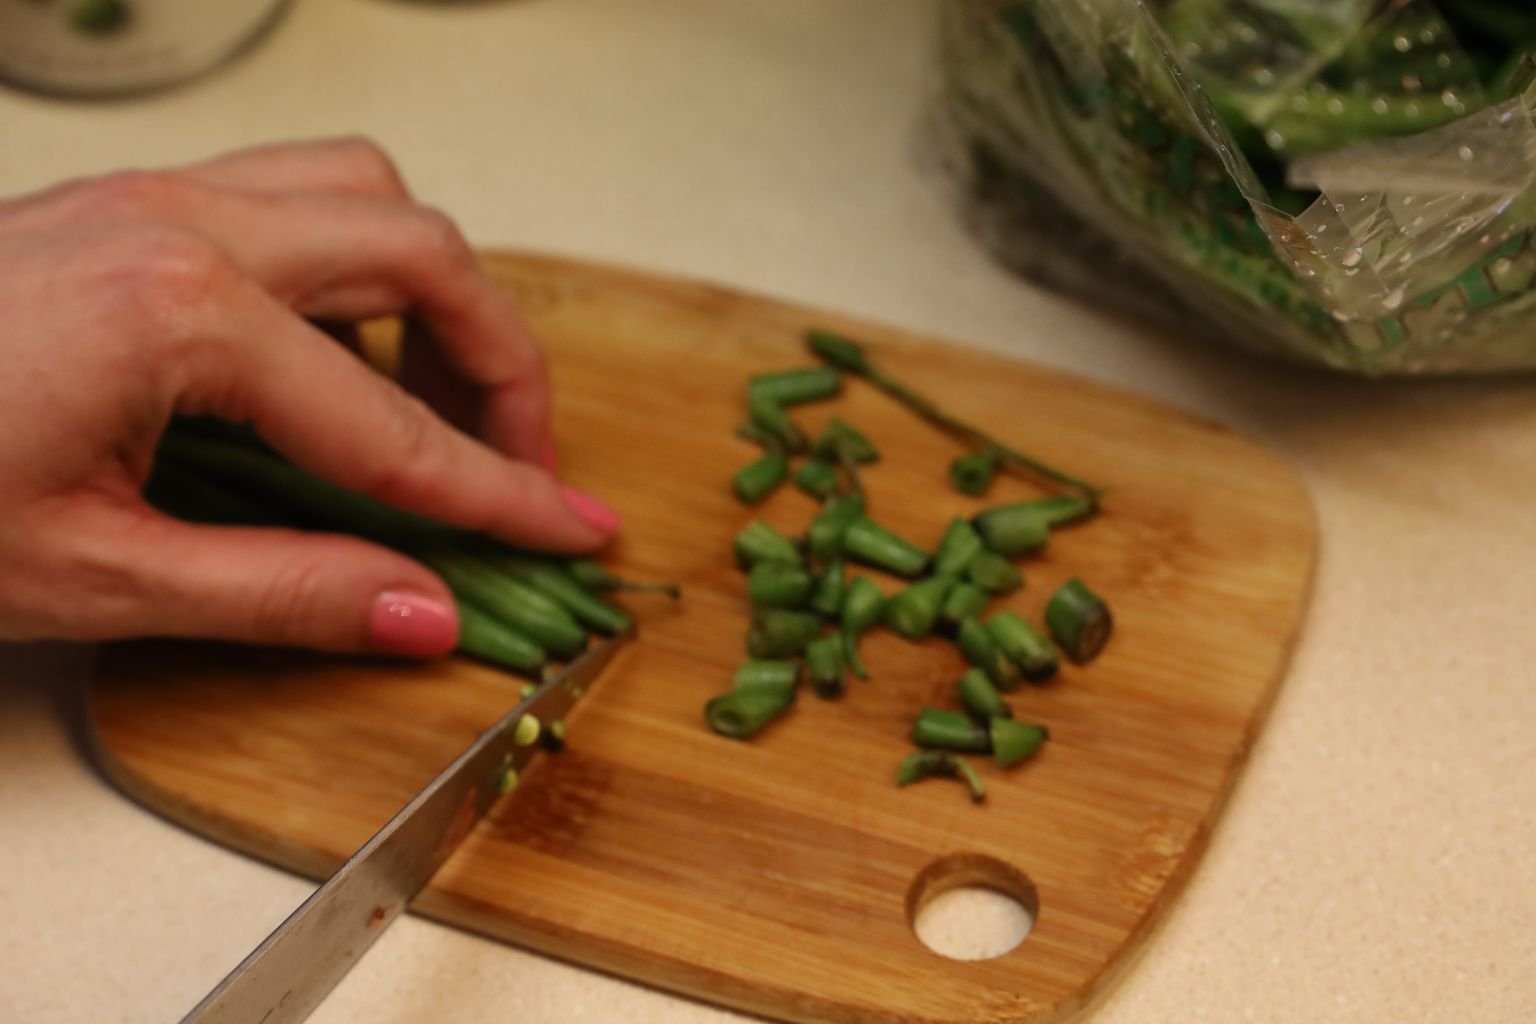
At the same time, wash your green beans and cut off the ends.
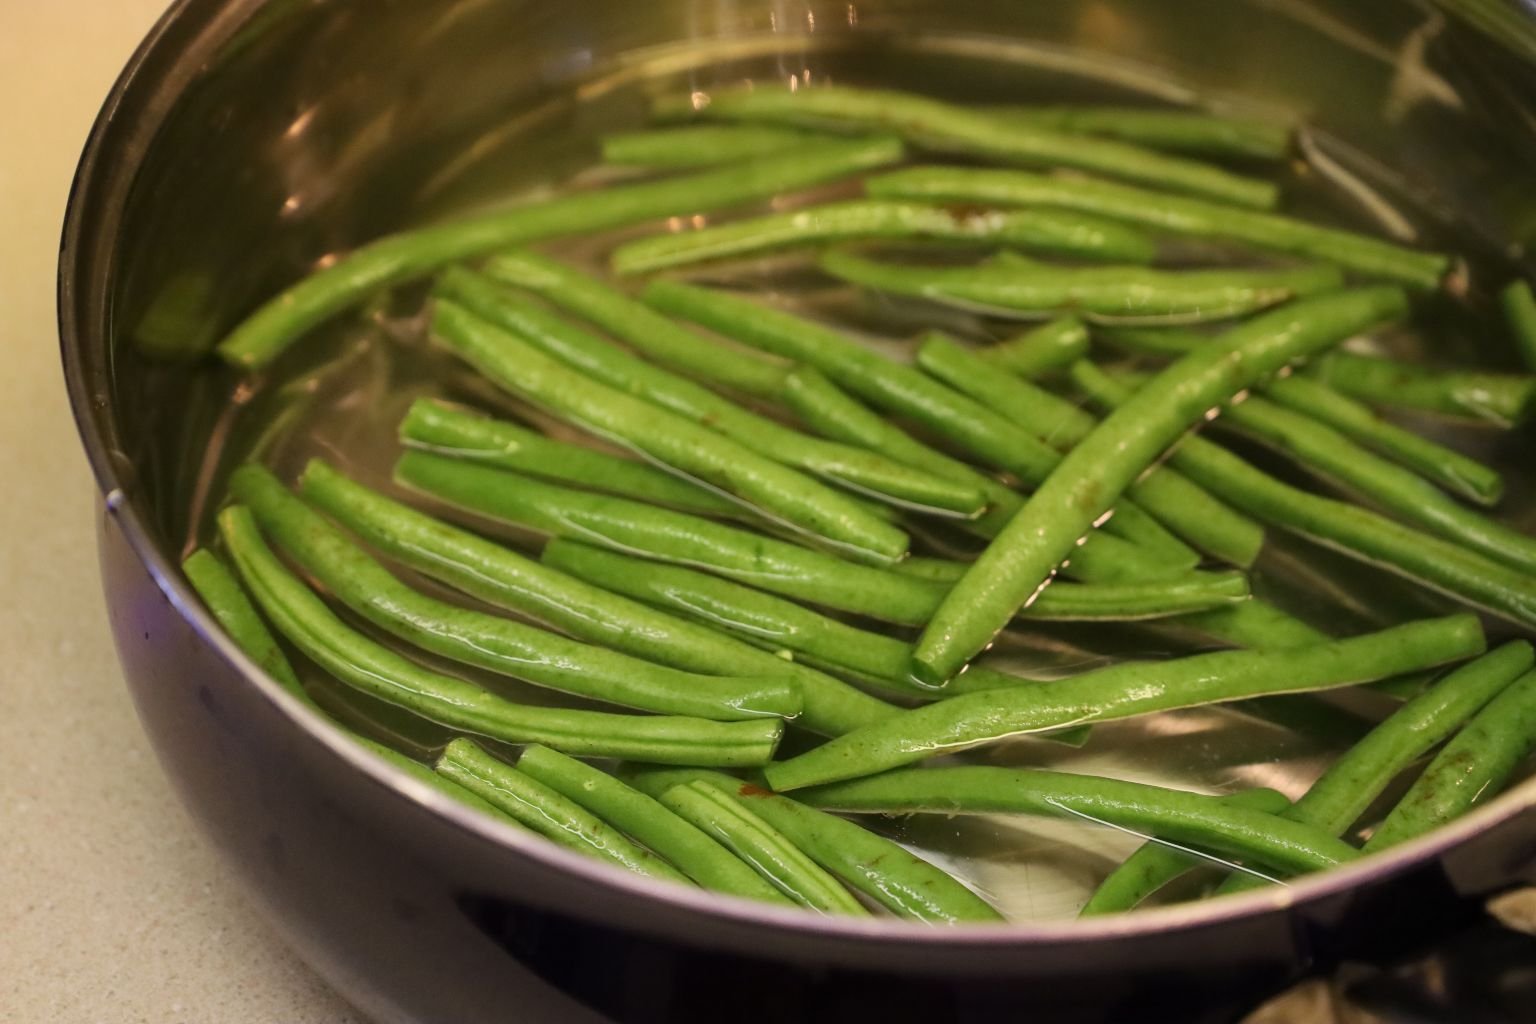
Place the beans in a pot of water as shown and boil them for about 10 min. or until just tender.
Drain the beans in a colander and add the cooked potatoes to the green beans in the pan.

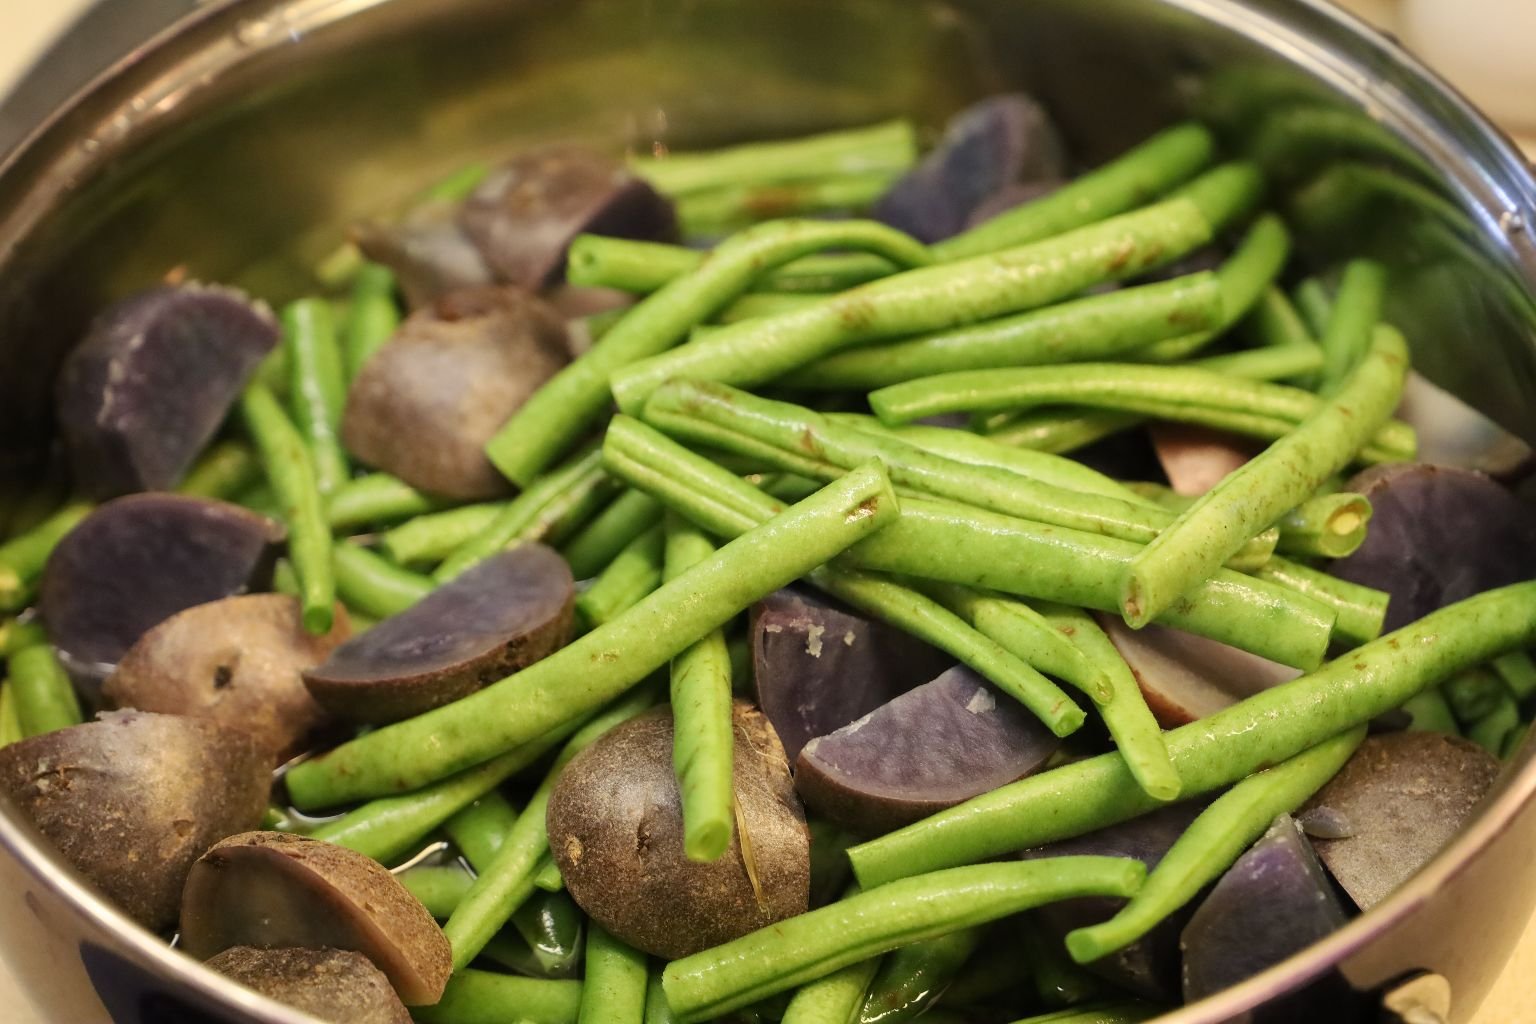
You can reserve a little bit of the water so they don’t burn and just keep the burner on low until ready to serve. You could also add a little bit of olive oil and some garlic powder if you like.
—————————————————————————
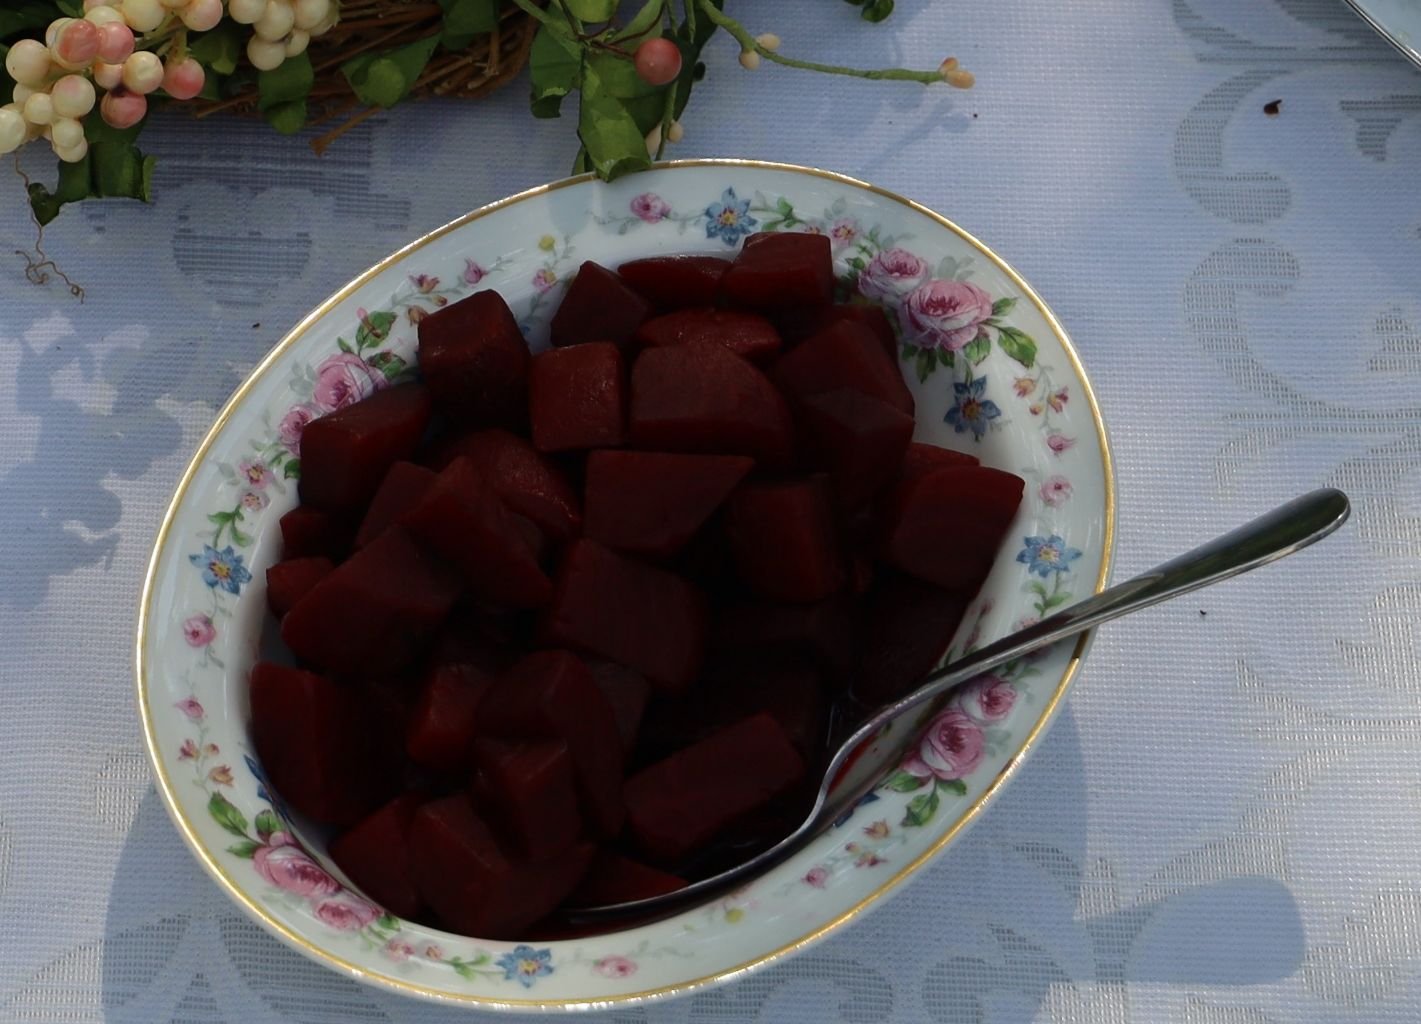
Purple Beets
(This pretty much came from a can heated up on the stove top so there is no write up.)
—————————————————————–

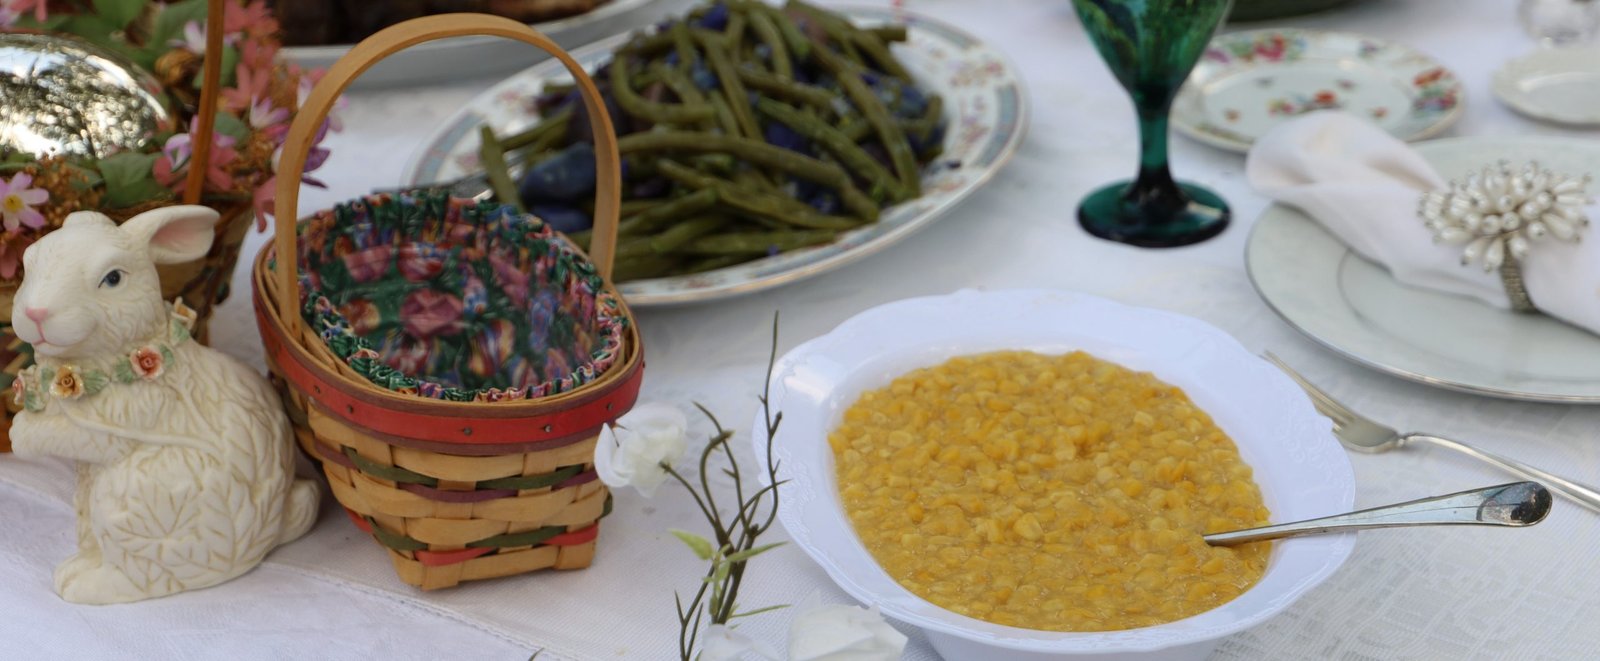
Corn, Creamed Corn, and Blue Potatoes and Green Beans
(The Corn and Creamed Corn came from cans as well so there is no recipe for these. I was just a bit disappointed that the creamed corn was so runny and I added a can of regular corn just to thicken it up.)
———————————————————————–

Roasted Brussel Sprouts
This is also a big family favorite of ours as well. Easy and delicious. Can also be prepared a few days in advance but does need to roast the day of.

Brodie Placing the Brussel Sprouts onto a Sheet Pan with Foil
(Although we don’t have many photos in the preparation of these. I can explain to you what we did.)
A Few Days Before Easter…..
Wash the Brussel Sprouts and slice them in half. Place the cut halves into a large Ziplock Bag and marinate the cut halves in about 2 packets of dry Zesty Italian Seasoning Mix. Add just enough Extra Virgin Olive Oil to the sprouts to just coat them. Marinate the sprouts in the refrigerator for at least 24 hours.
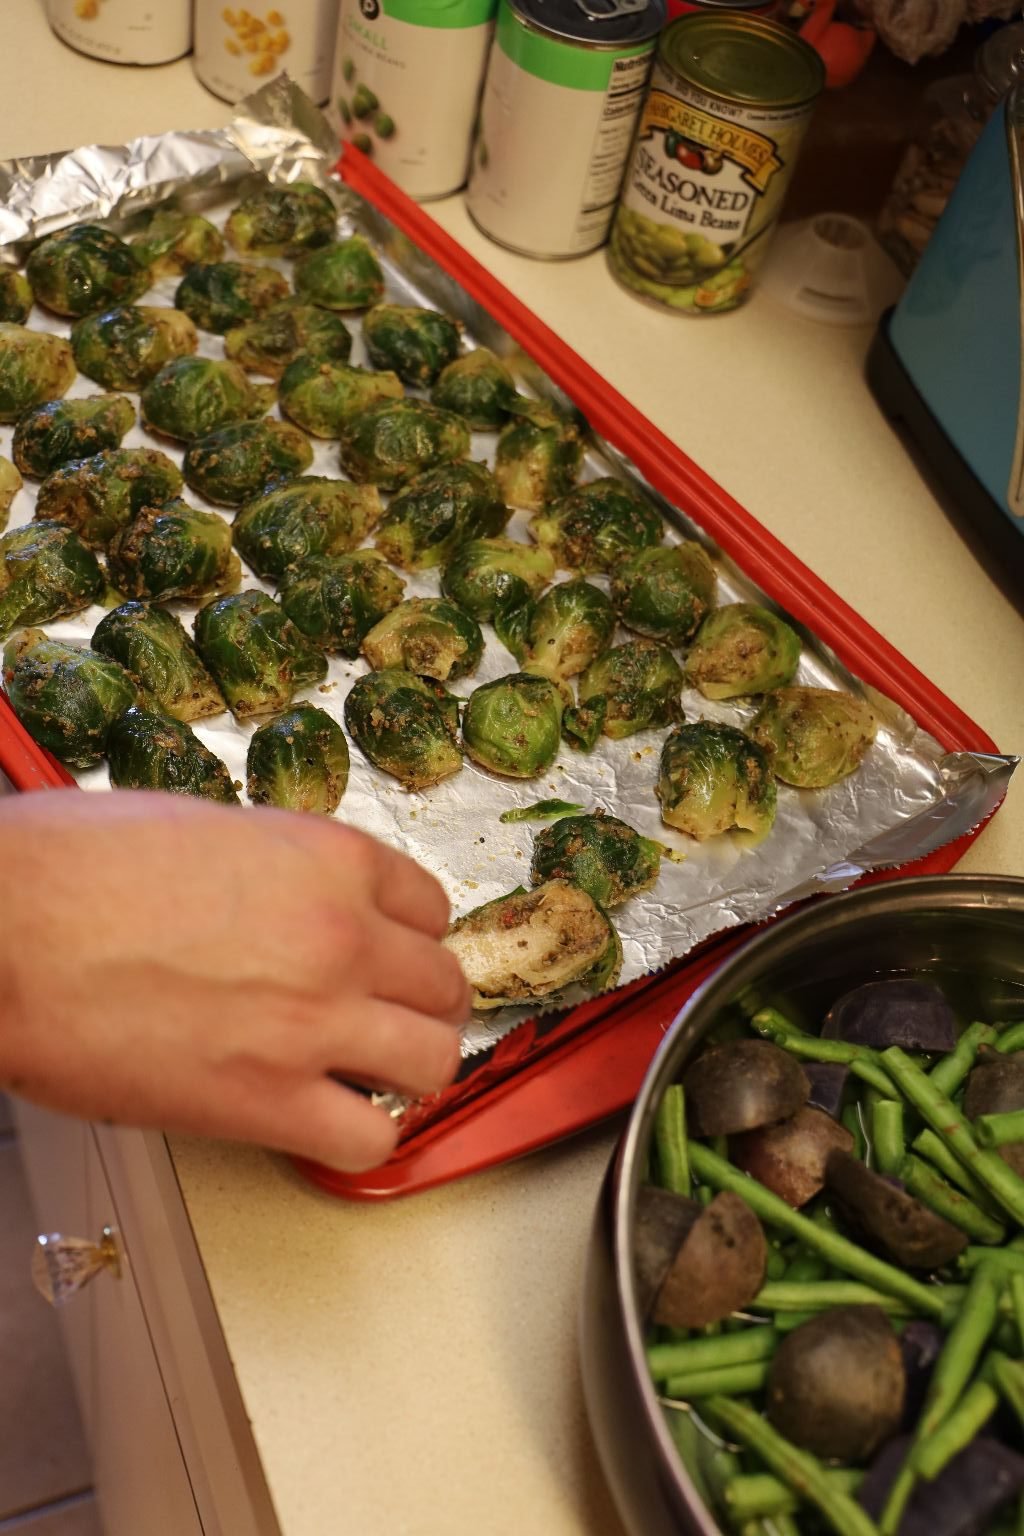

Place a sheet of non-stick aluminum foil on a sheet pan and place the sprouts cut side down. Roast the sprouts at 400”F for ~20-25 min. or until the cut side turns slightly brown and caramelized.

Roasting in the Oven for Easter
————————————————————————

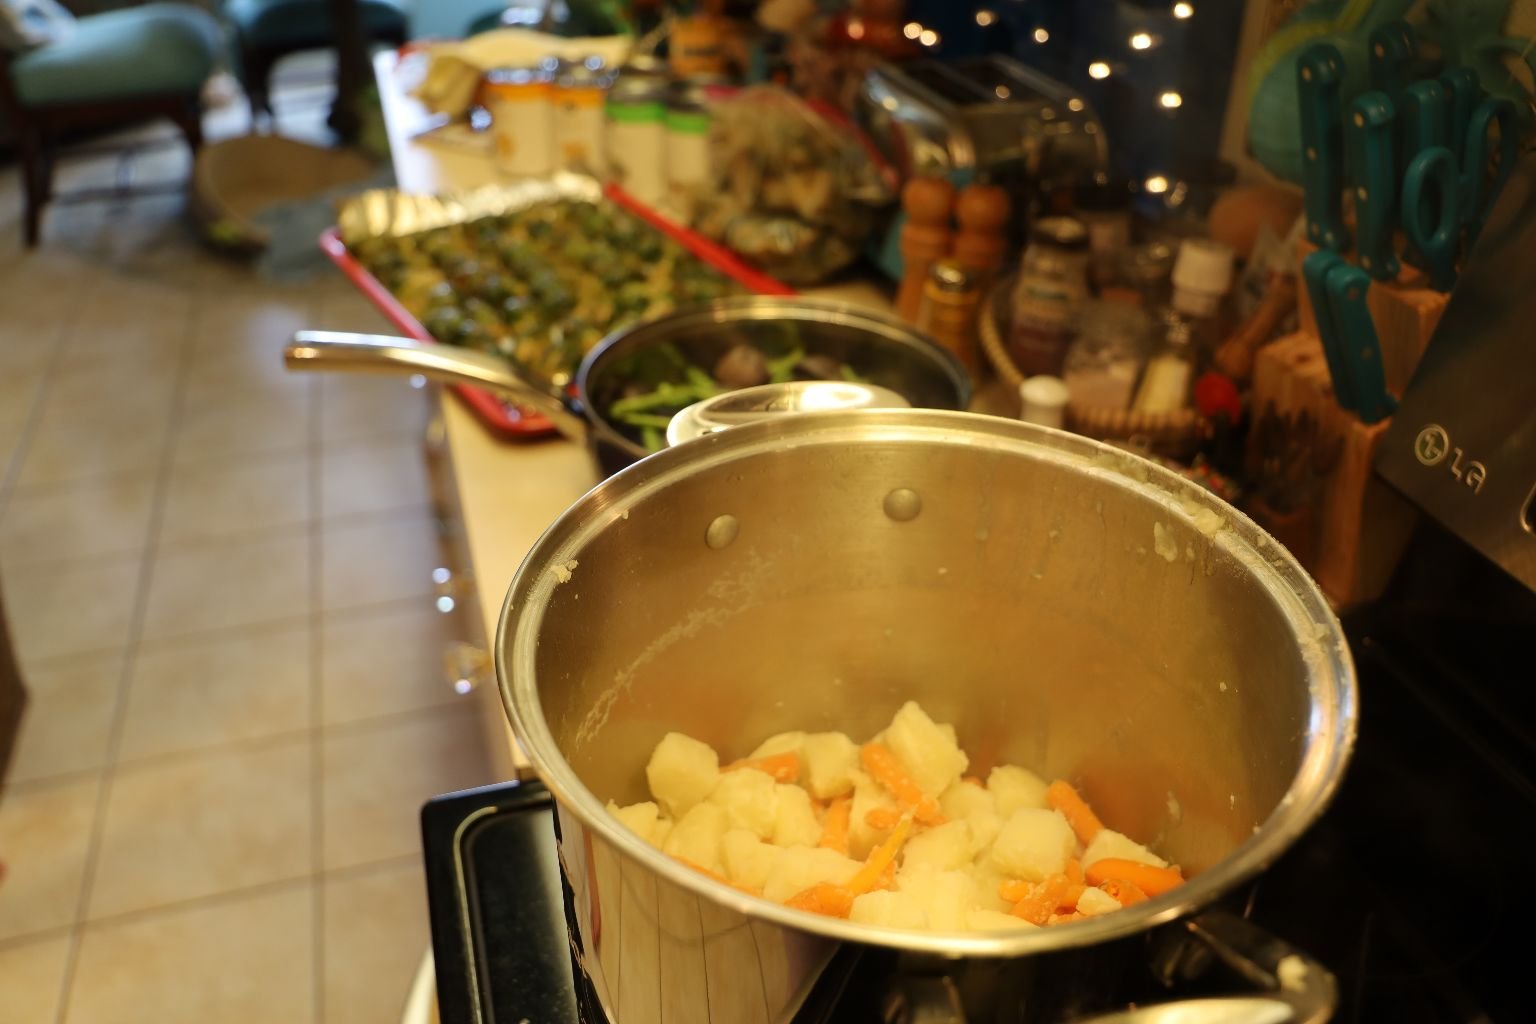
Mashed Potatoes with Carrots
(This recipe is based on Gordon’s sister Heather’s recipe. I, Julie, first ate Heather’s Mashed Potatoes with Carrots when we stayed with them in Orlando in 1986 on our way to Hawaii to live. She made these for us and they are the best mashed potatoes that I have ever eaten. To tell you the truth, I don’t even remember what else we ate. I only cared about these. Which is why I wanted to recreate these for this Easter meal.)
———————————————————-
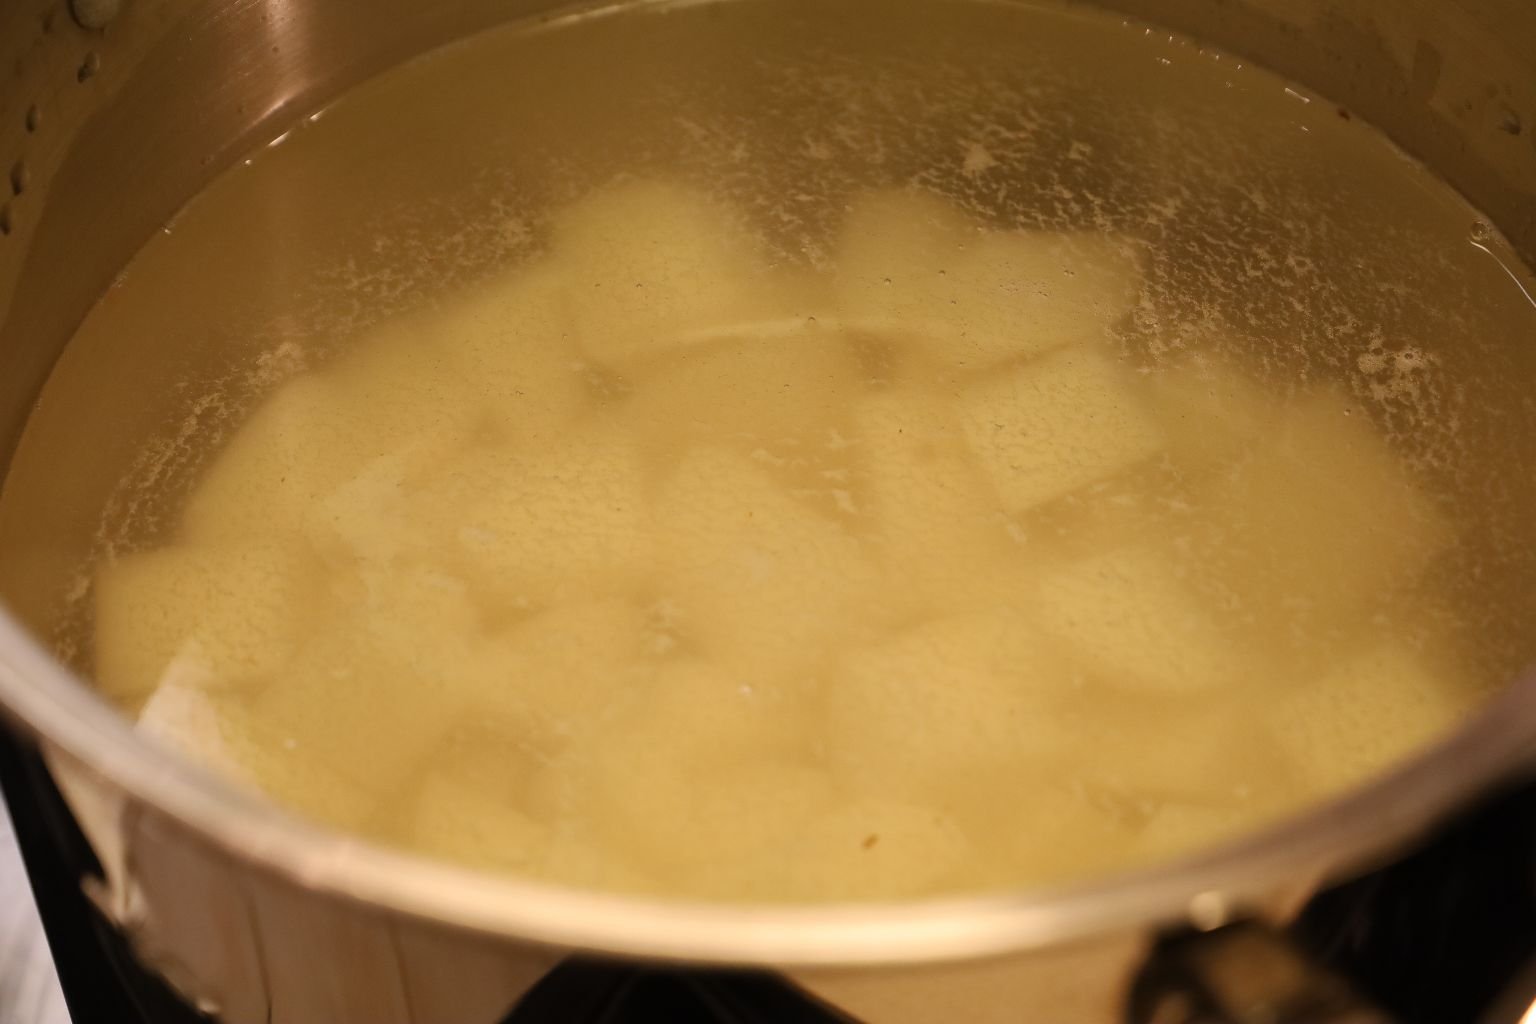
Wash and peel about 8 potatoes and cut them into medium chunks. Wash and peel your carrots as well and cut them into rounds or chunks. Place your potatoes into a large pot of water and turn on high to boil.
TIP: If you place the cold potatoes into boiling water, you will over cook the outside of the potatoes before the inside is cooked. This is why some peoples potato salad is mushy and the potatoes don’t have a nice shape to them.
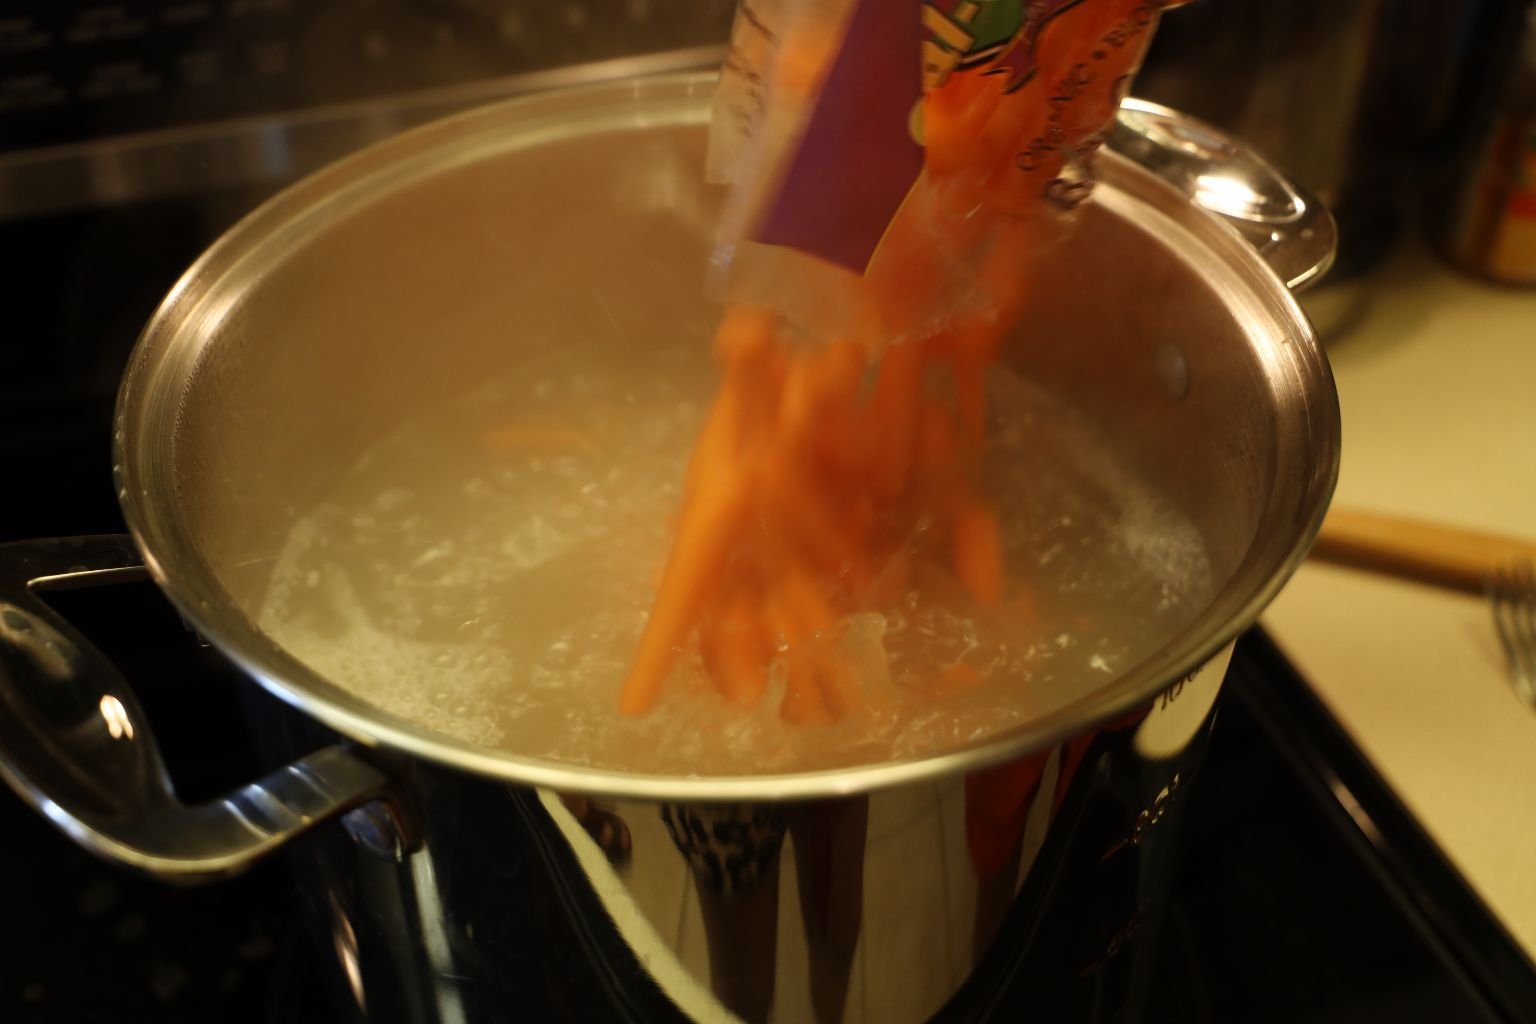
After the potatoes have cooked for about 15 min. add your carrots to the pot. Yes, the boiling water will cook the outside of the carrot faster, but the carrot is a little more dense and hearty than a potato and won’t hurt it. Cook the carrot and potatoes for about another 10 min. or until the carrots are tender and the potatoes are fully cooked.
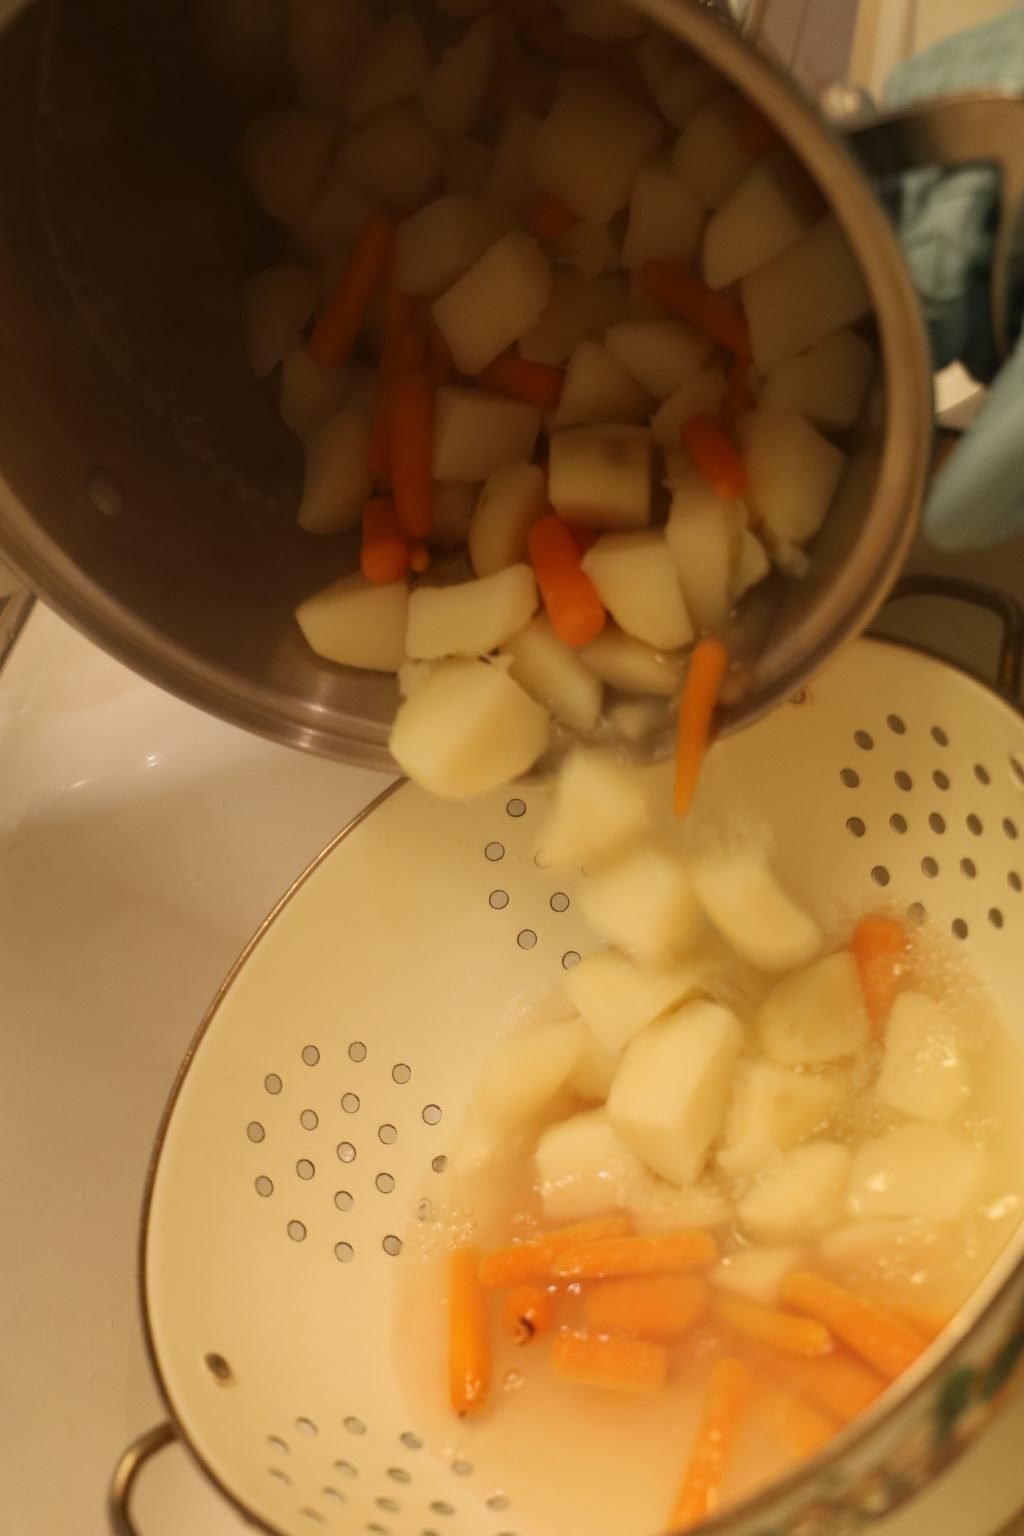
When cooked, pour the carrots and potatoes into a colander.

—————————————————————

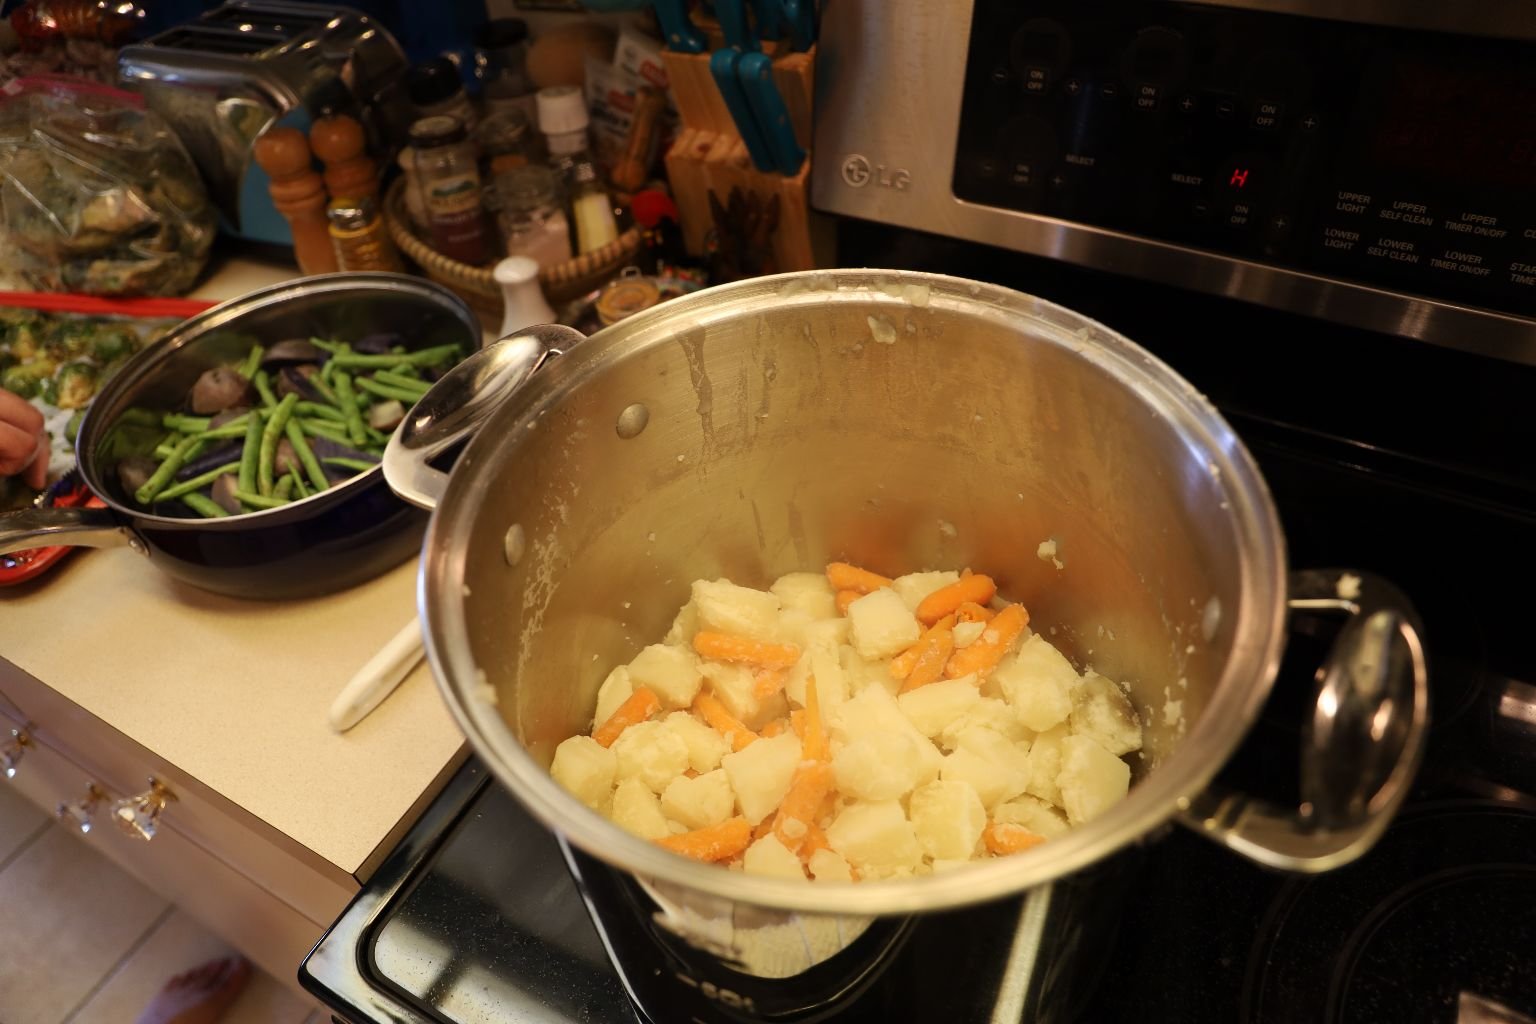
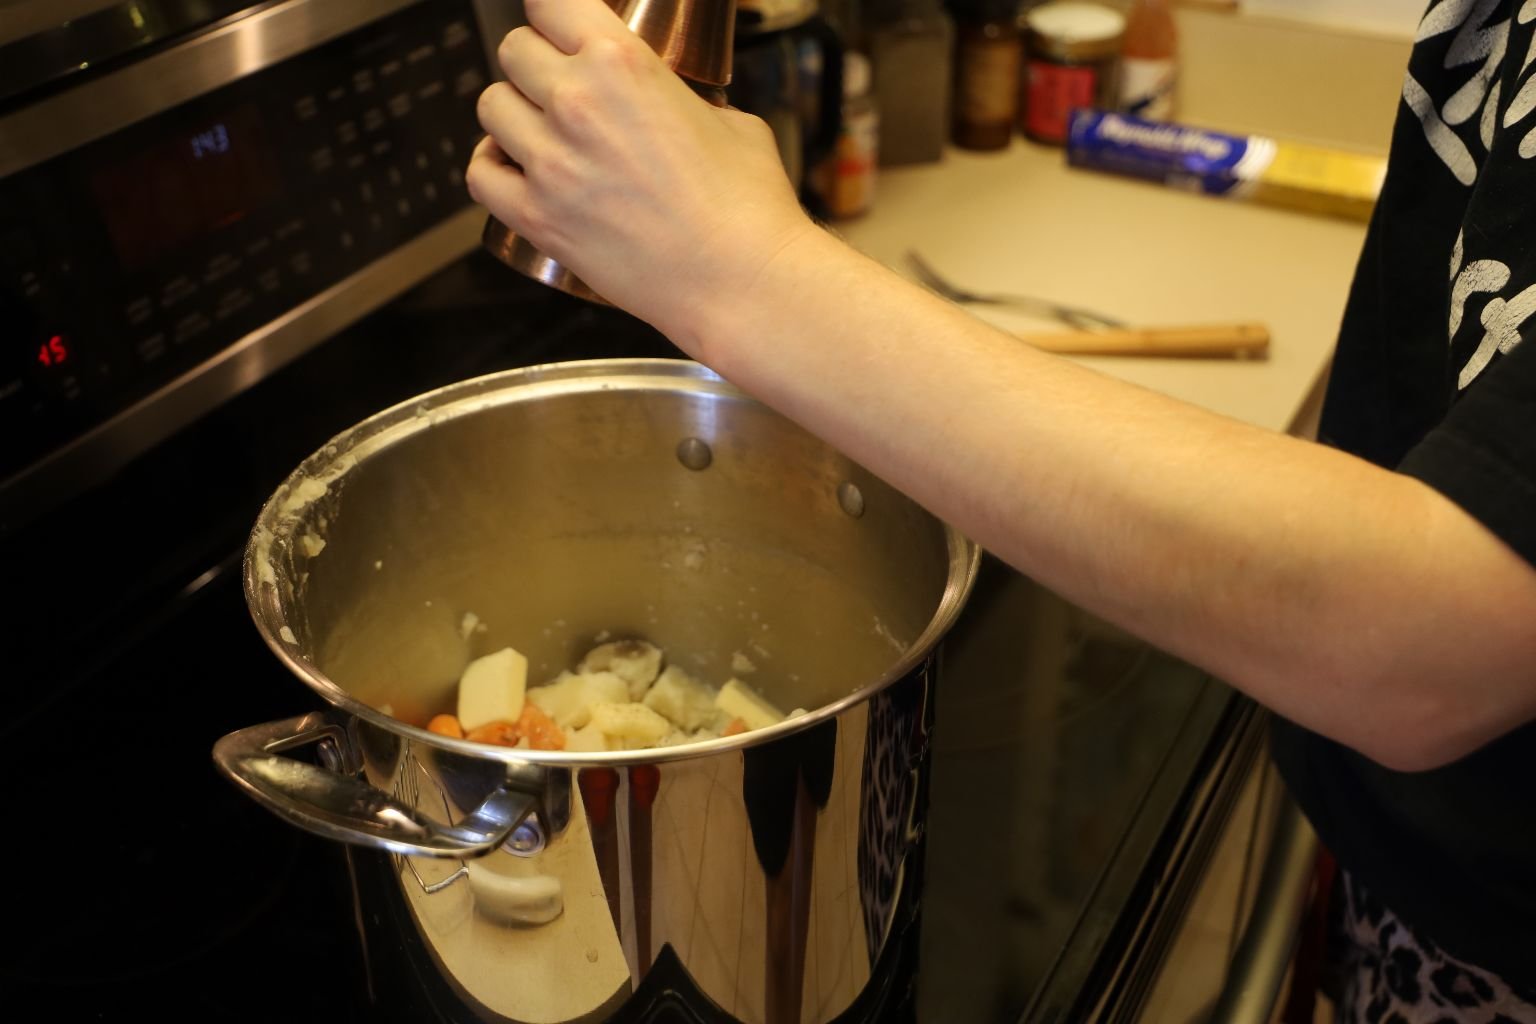
Add a few tablespoons of butter the the pot.
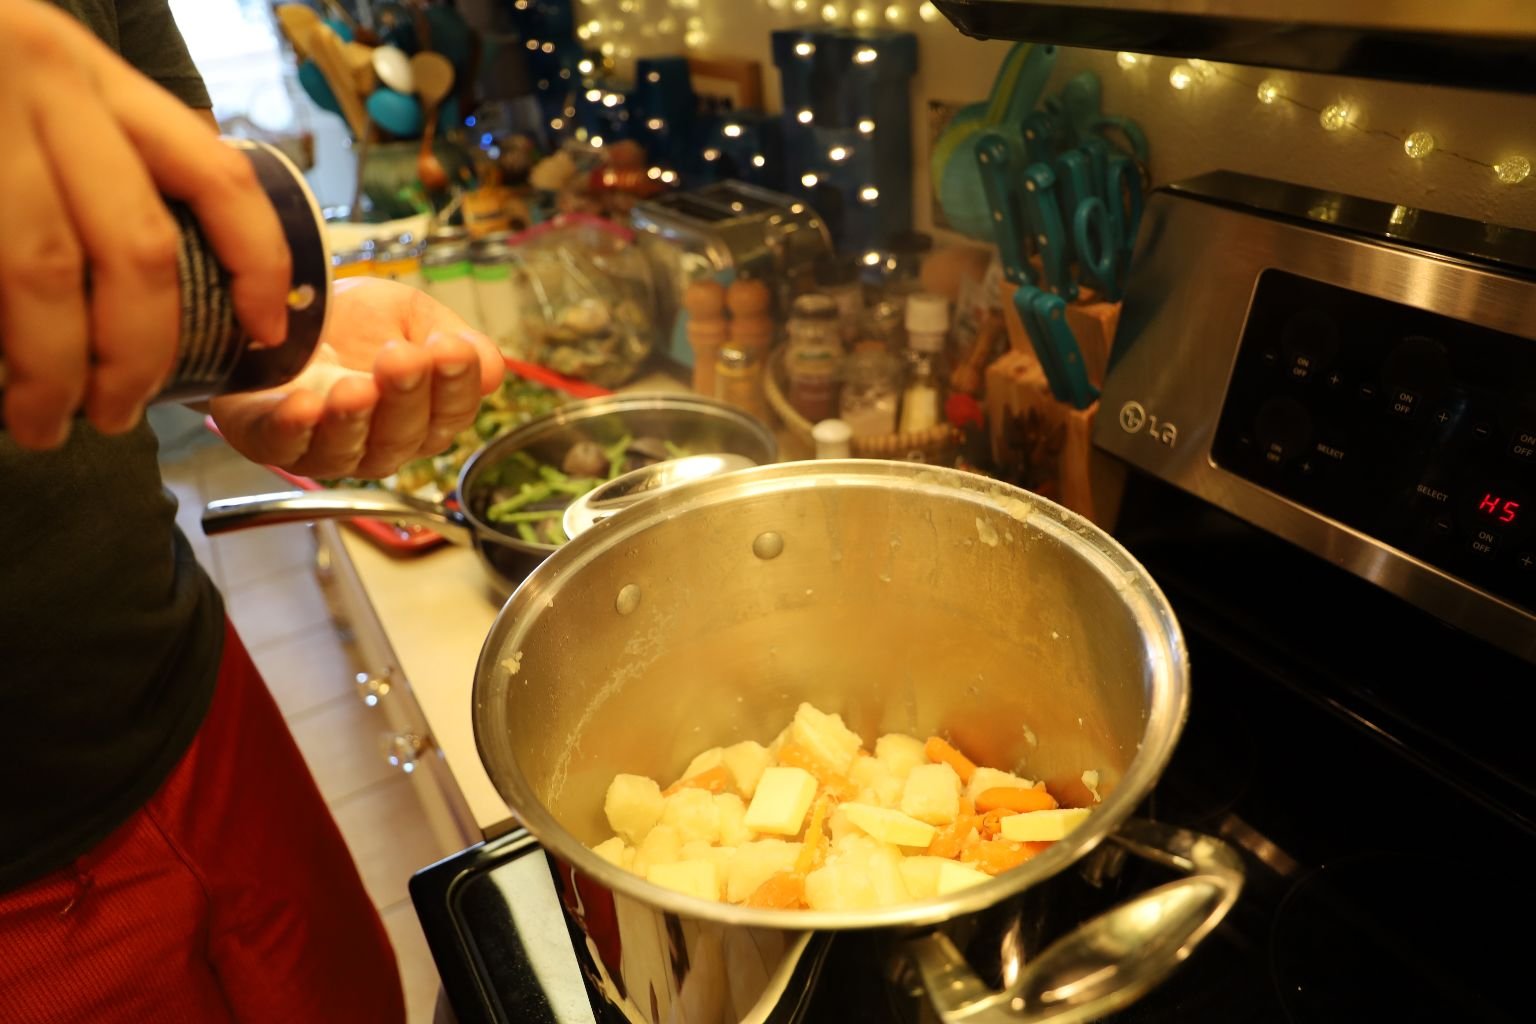
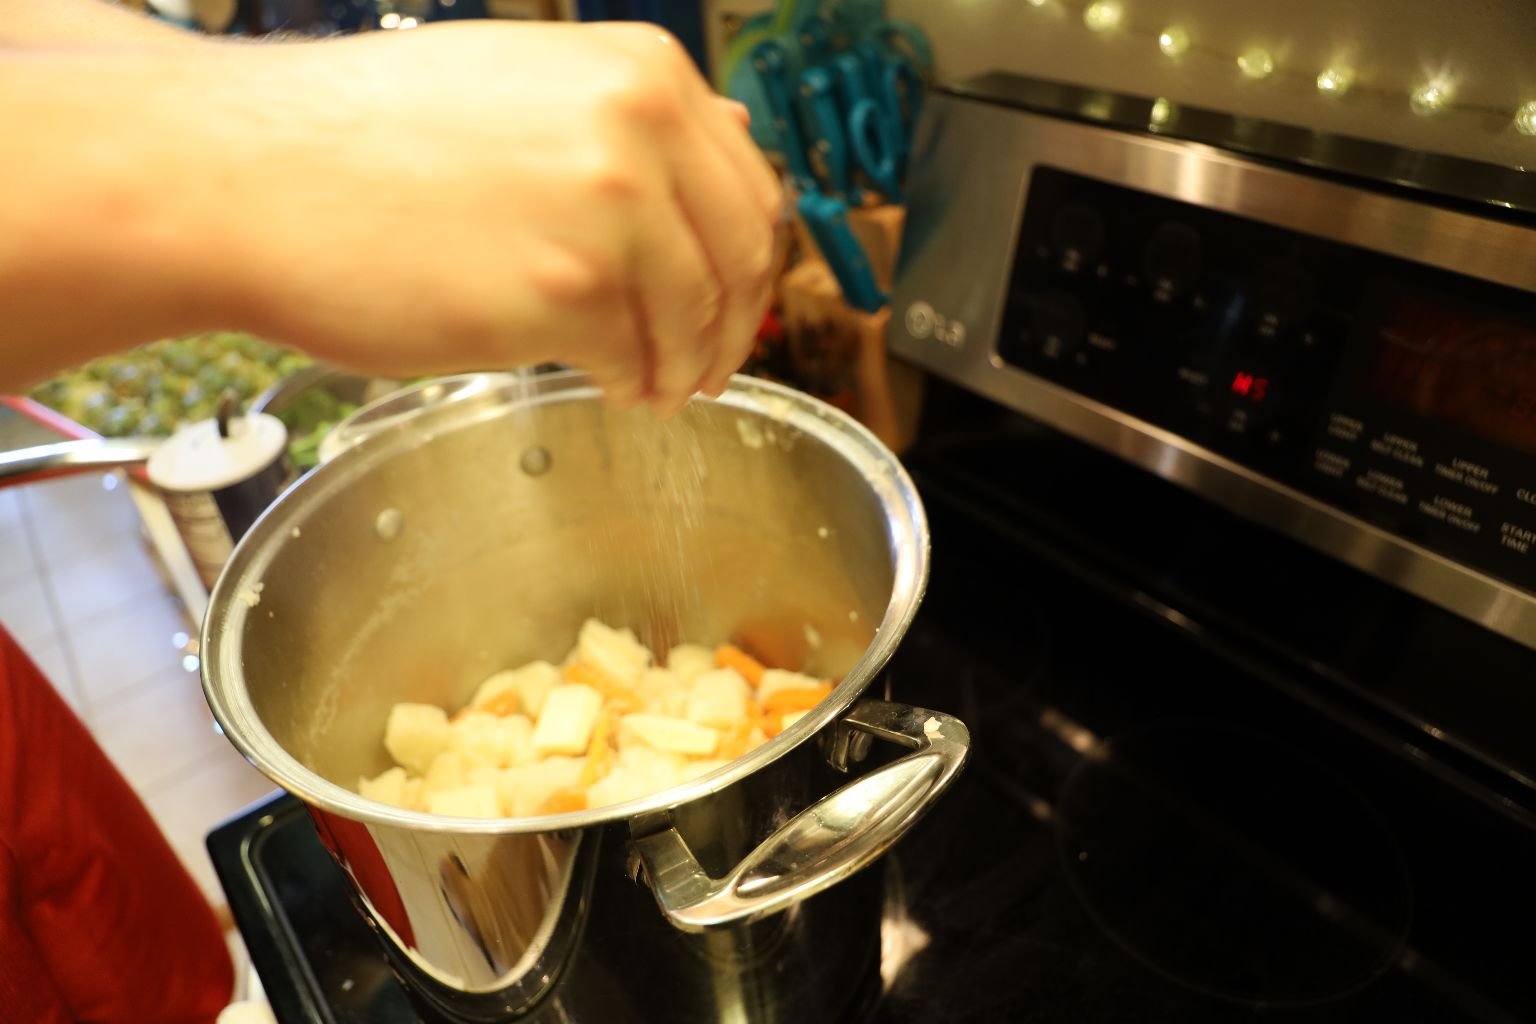
Then add some course Sea Salt.
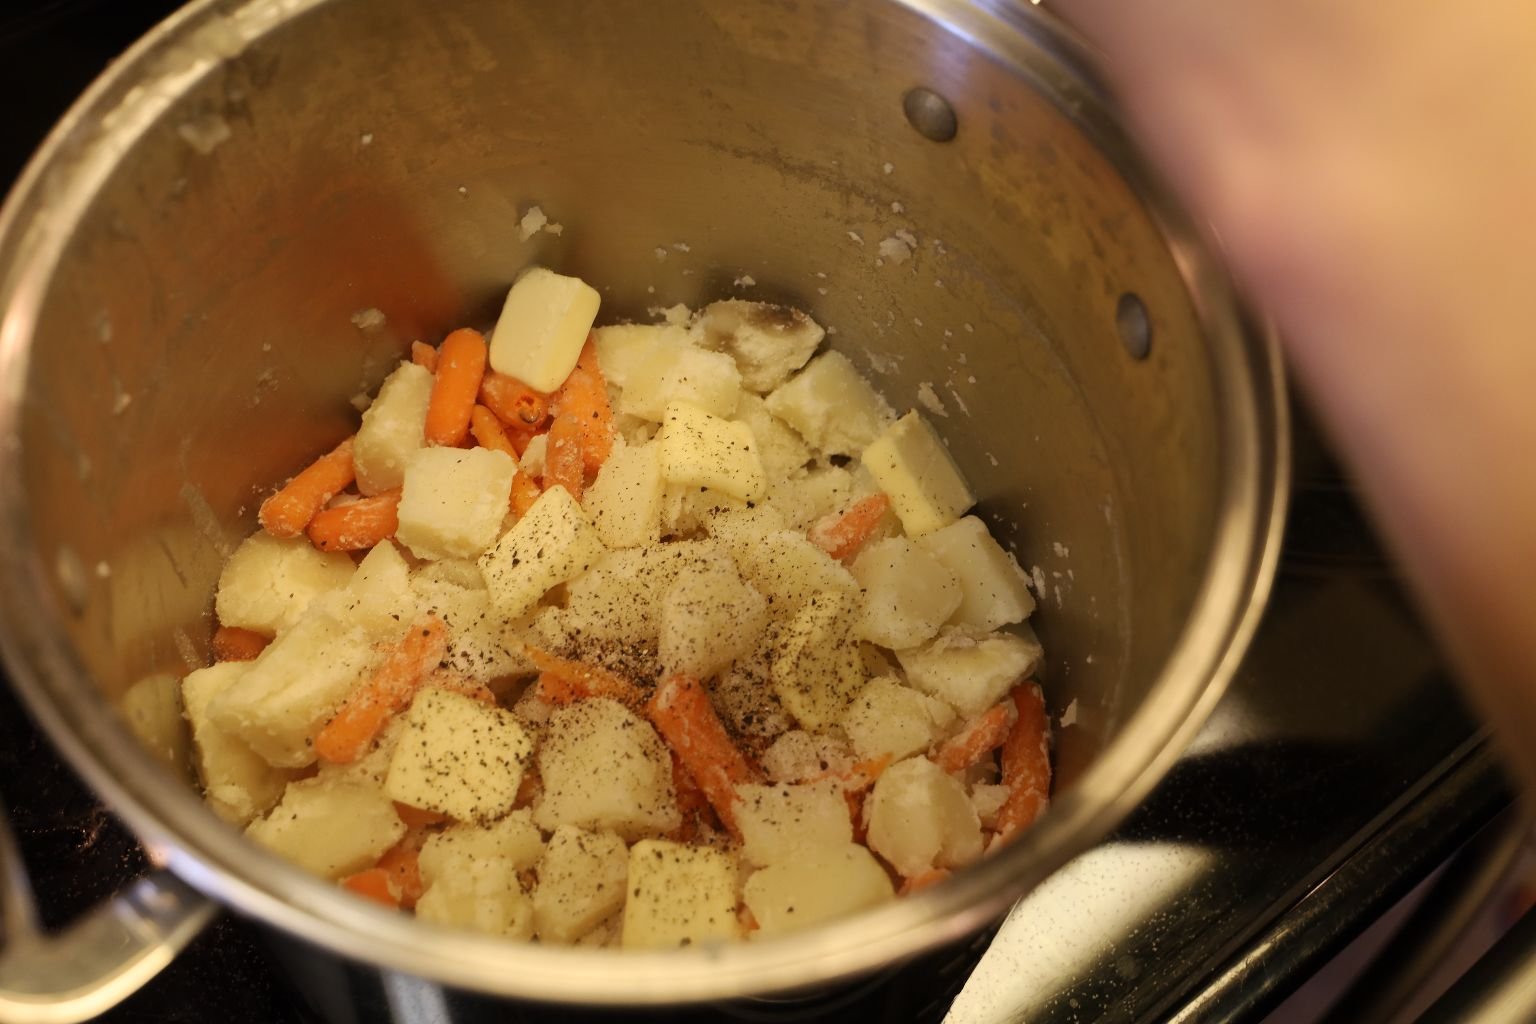
Then some fresh cracked pepper.
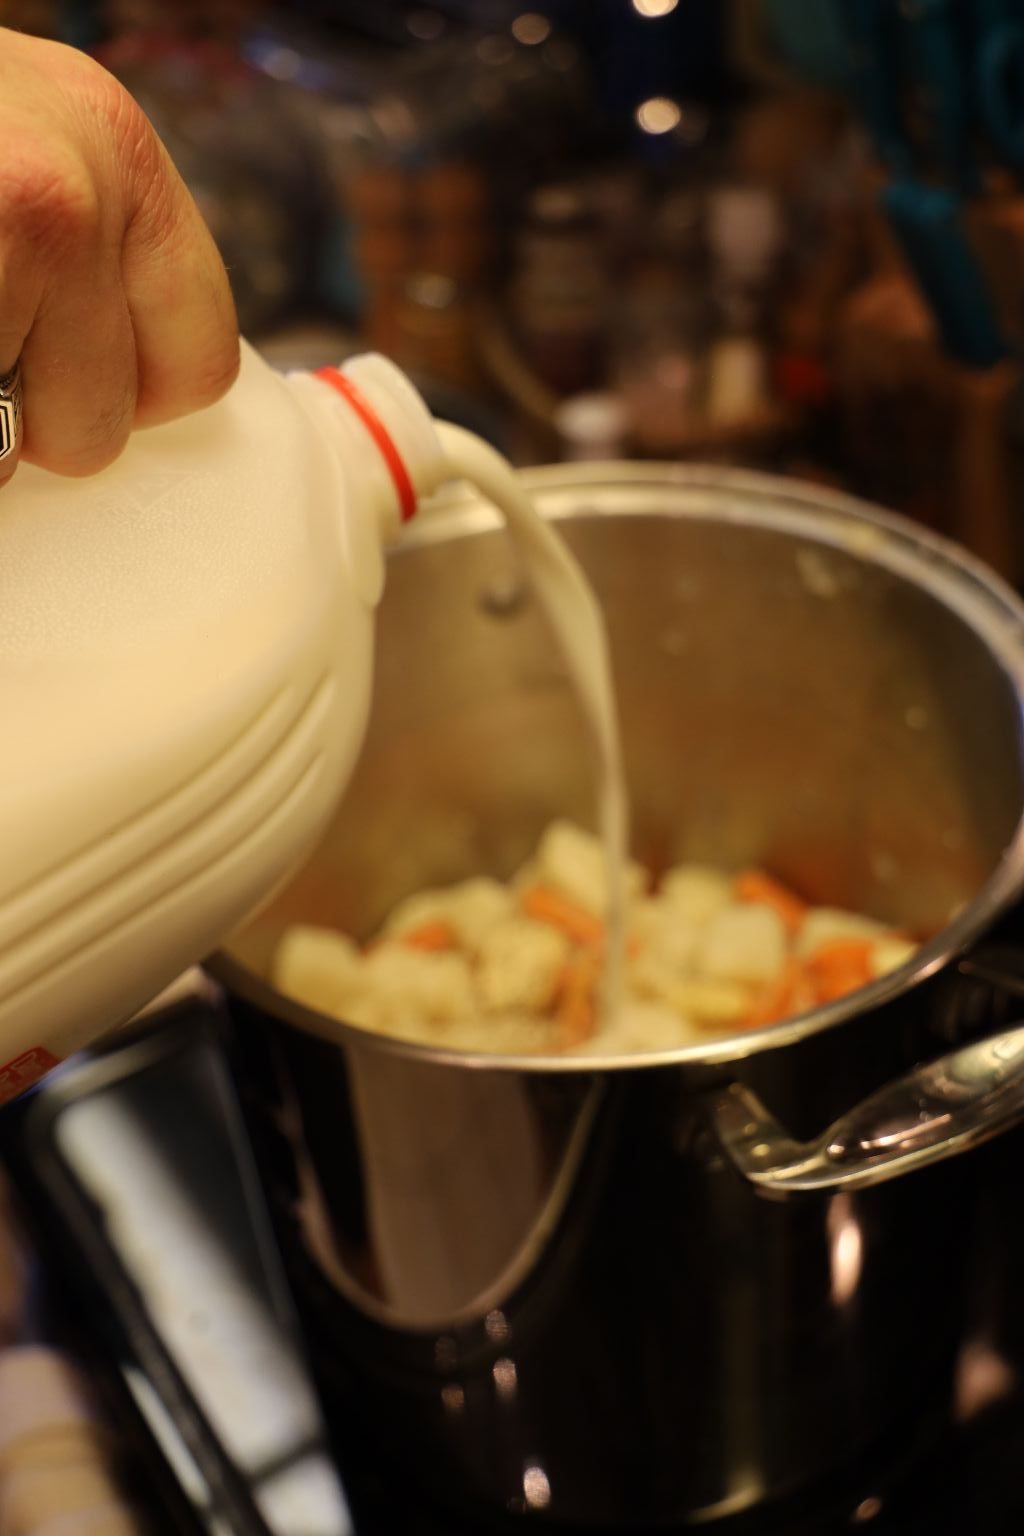
Lastly, add about 1/2 Cup of milk to the pot.

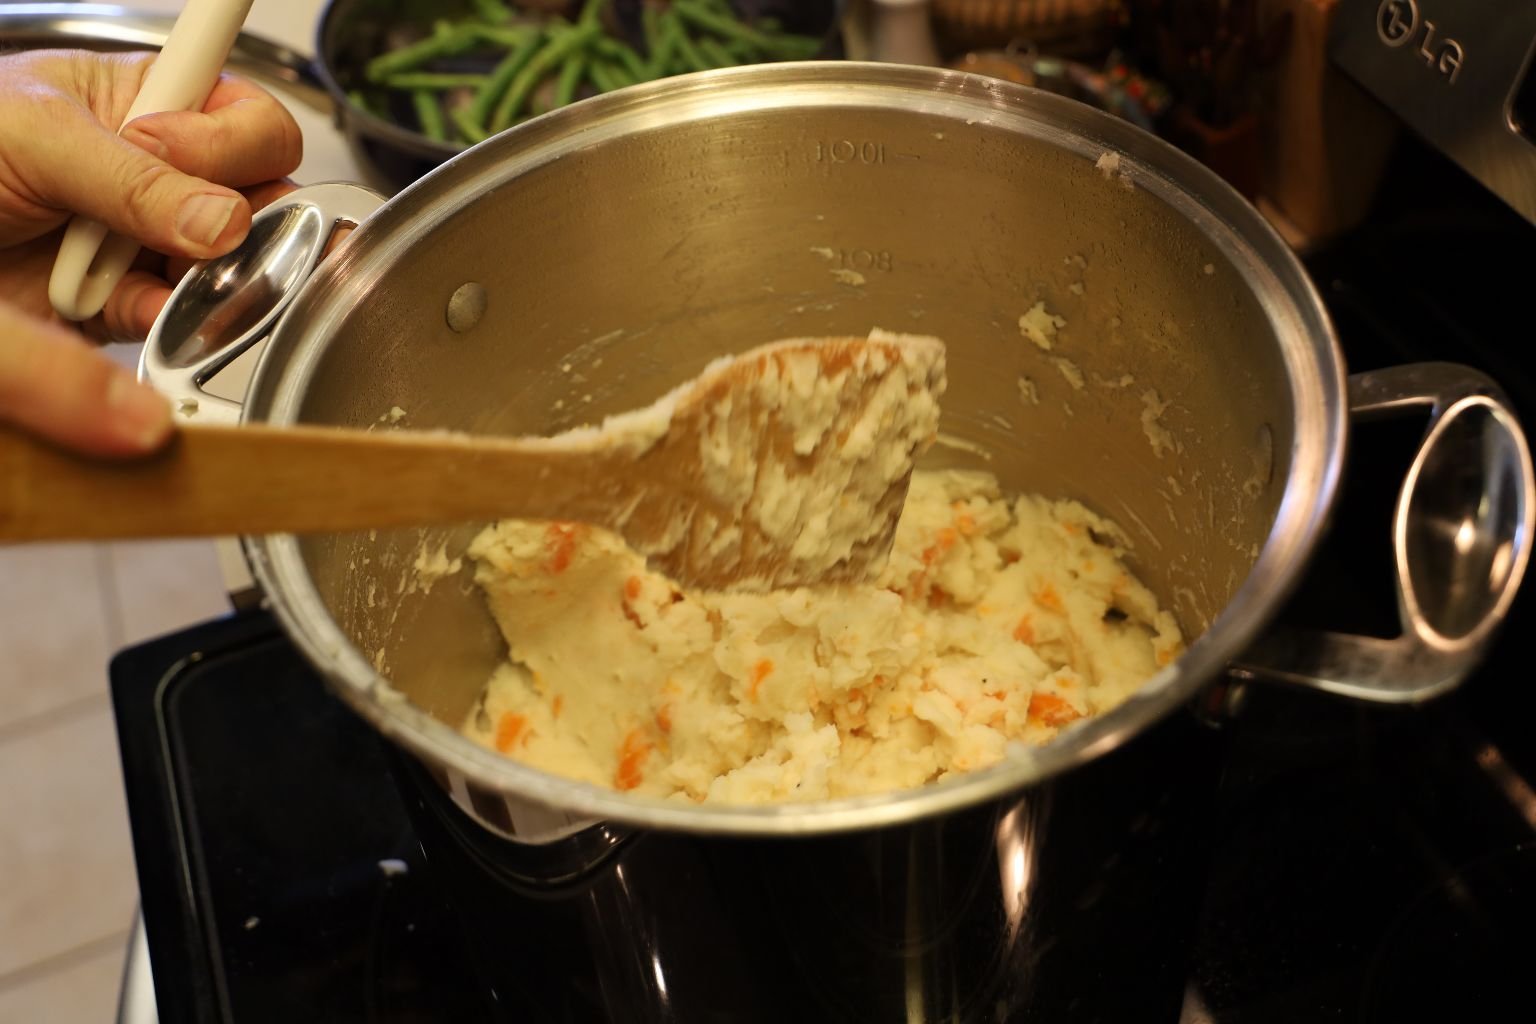
Using a potato masher, mash the potatoes and carrots until just combined. Over mixing these ingredients will make them turn to paste. Taste the mixture, and add salt, pepper, butter or more milk if needed.

A nice twist on simple mashed potatoes.
———————————————————-
Lima Beans

Gordon HATES Lima Beans! 🙂
These came from a can so there is no recipe but at least I don’t have to worry about Gordon eating them all. 🙂
—————————————————————————–
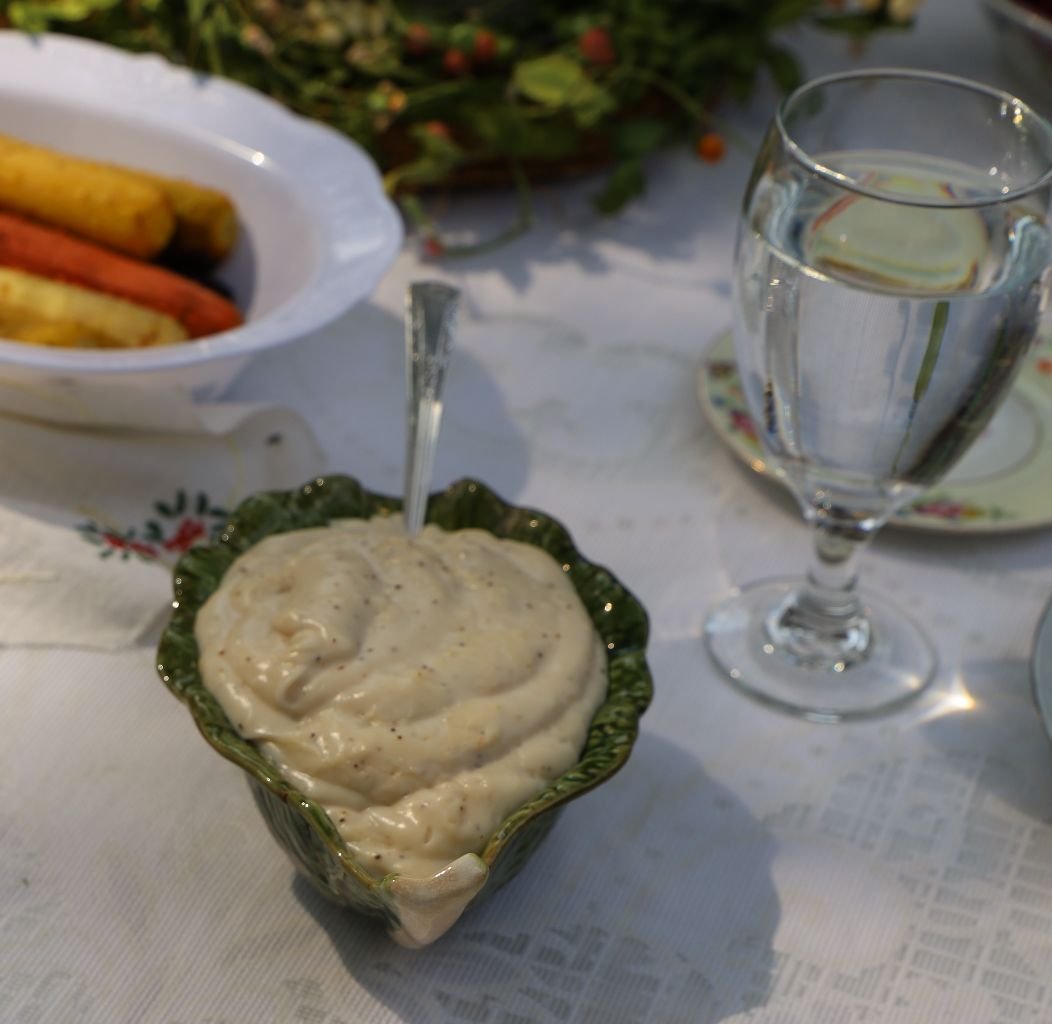
“Homemade” Gravy
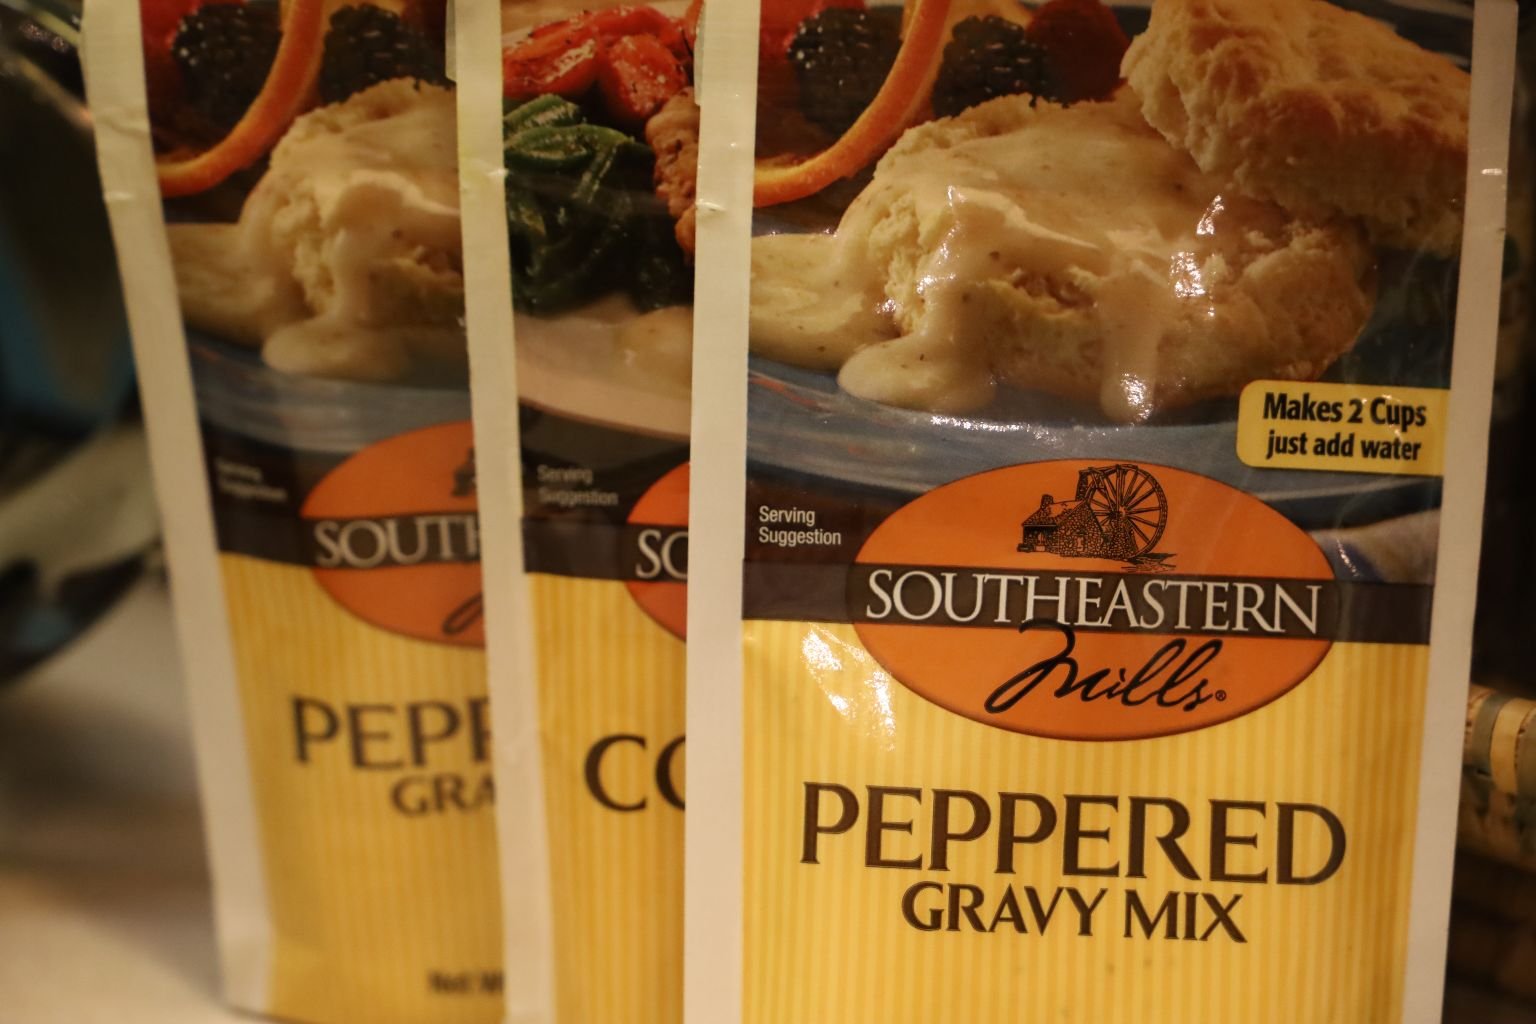

SouthEastern Mills, Inc.
Rome, Georgia
(Gravy from home.) 🙂
I am originally from Rome, Georgia so this gravy is HOME! It is a white gravy, which is a country gravy. We just followed the package directions. You can always add a spice or two to anything. Remember that. Although we didn’t doctor this up, you always can.
———————————————————–

Cute Spooky and Sparky Doggie Break
w/ their Stuffed Critters

————————————————————–

I wanted to give a big THANK YOU to Brodie and Mackenzie for all that they did to make this holiday meal special.
I knew that they had done a lot of the cooking but I never realized just how much they did until I put all of this together when I worked on this post.
They have a future of bringing delicious meals to their own table and satisfying their future guests with their cuisines.
We love you guys!!!!
Julie and Gordon
(Just invite us over occasionally.) 🙂
——————————————————————

Good Lighting, Camera, ACTION!


Happy Easter!